19 Cottagecore-Style DIY Projects on a Budget
Cottagecore isn’t about buying a new aesthetic — it’s about making your home feel like it grew there. I fell for the look after visiting a friend’s cottage: the floral cushions, the mismatched china, the jars of dried flowers everywhere. Nothing was expensive; everything was handmade or secondhand. These cottagecore diy decor projects bring that same feeling home, all for pocket money.
I’ve grouped the nineteen projects into four little collections — textiles, kitchen touches, garden pieces, and cosy corners — so you can tackle whichever mood calls to you first. Most cost under $15, and every one is beginner-friendly.
Soft cottagecore textiles
1. Floral Cushion Covers from Tea Towels
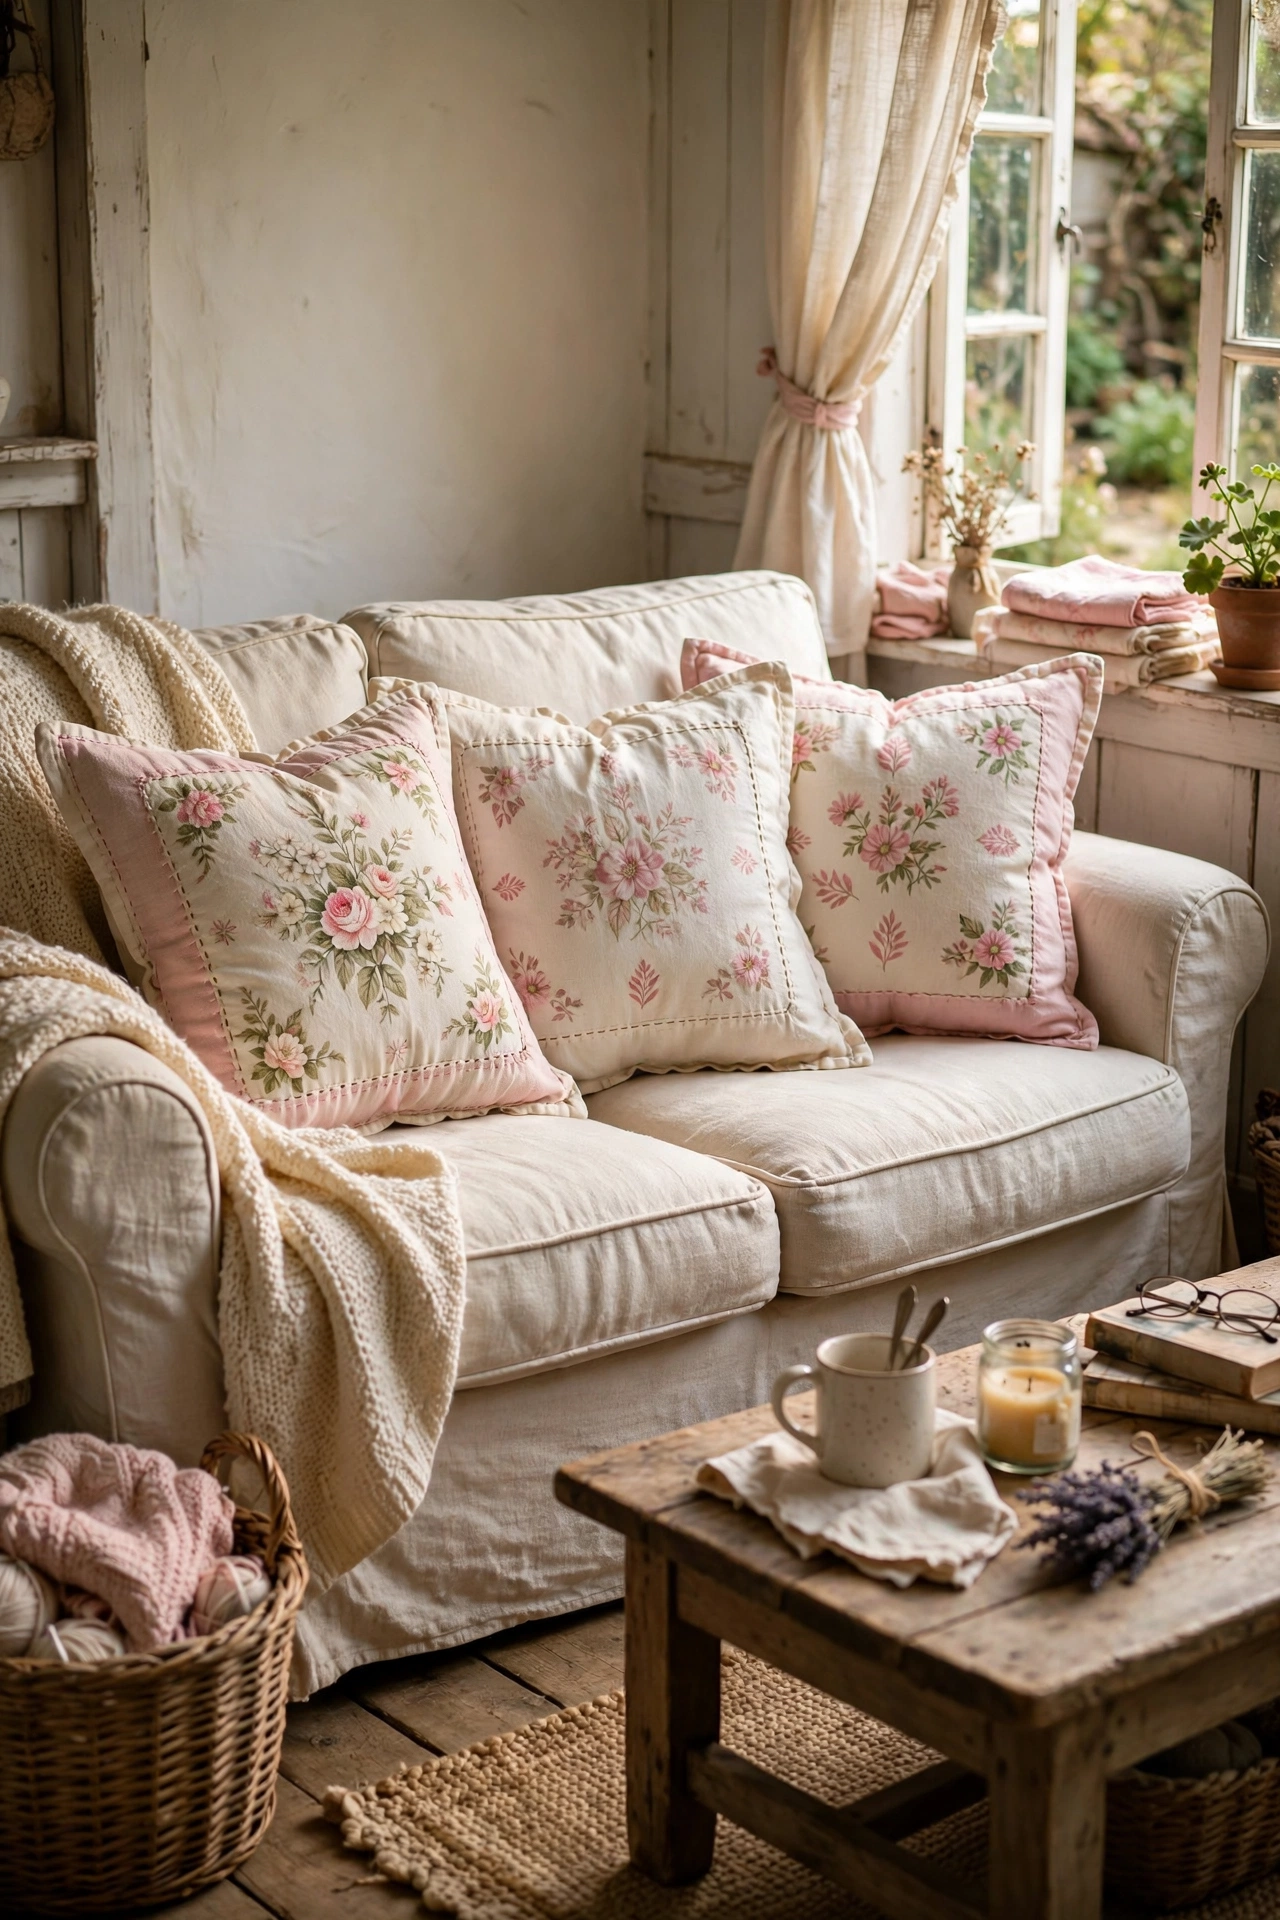
Vintage-style tea towels with floral prints make the prettiest cushion covers, and they’re a fraction of the price of fabric by the metre. Fold a tea towel around a cushion pad, stitch or glue the open edges, and add buttons for a removable cover. I made four for my sofa from a charity-shop bundle of towels and they look like they came from a country interiors shop. Iron the towels first so the covers sit smoothly, and choose a pad one size up so the cover looks plump rather than saggy.
Pro tip: sew a simple envelope closure at the back — no zips to buy and the covers come off for washing.
Cost: ~$8 | Time: 1 hour
2. Lace Curtain Tie-Backs
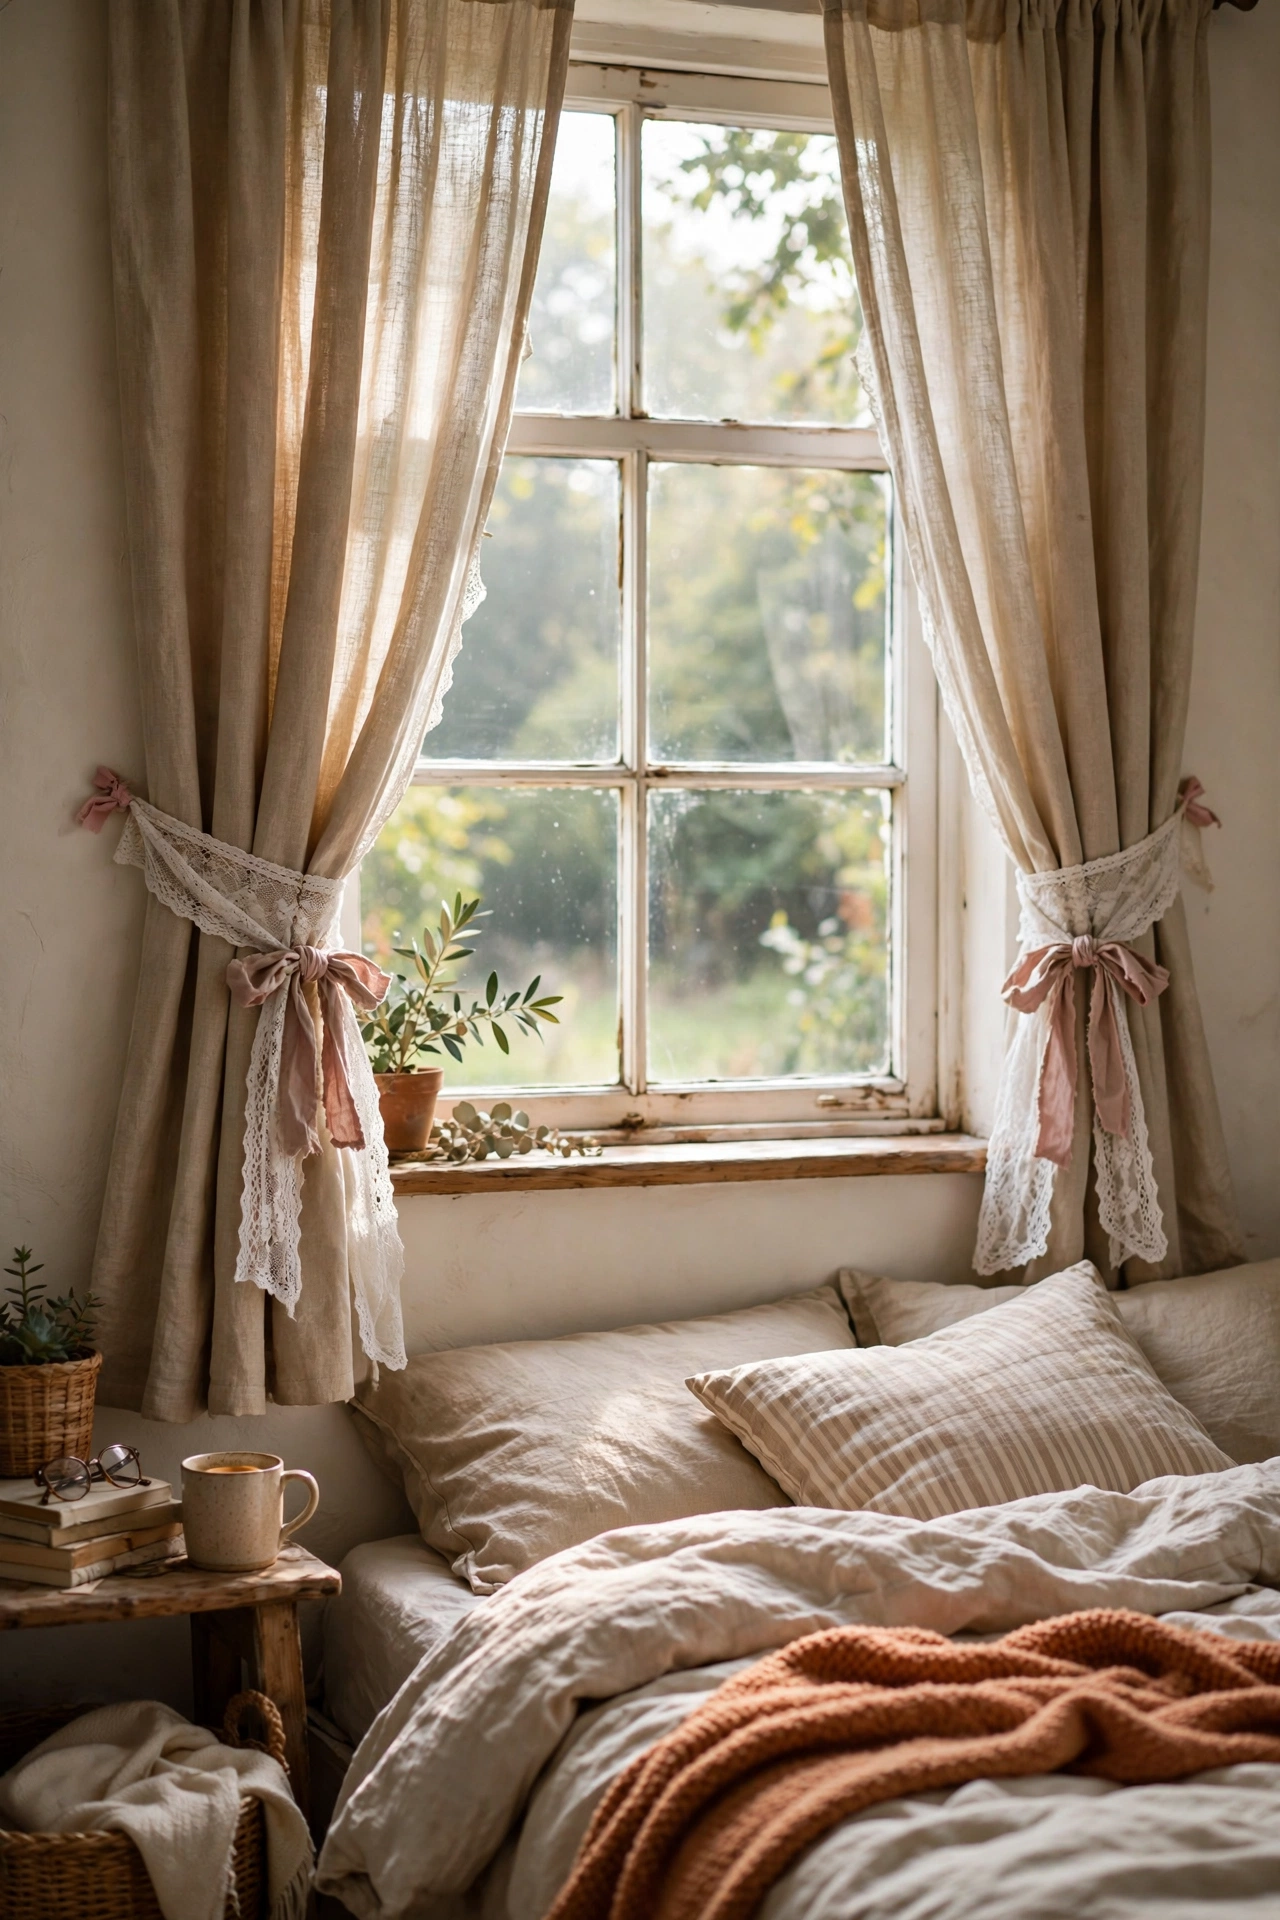
Wide lace trim, looped and tied with ribbon, makes the softest curtain tie-backs. Cut two lengths of lace about thirty inches long, gather the middle with a ribbon bow, and hook them onto small cup hooks. I made these for my bedroom from a lace remnant and they flutter so prettily when the window’s open. Don’t use narrow lace — it looks skimpy. Three-inch-wide trim gives that generous, romantic drape.
Pro tip: tea-stain bright white lace for an aged, vintage look that suits cottagecore perfectly.
Cost: ~$5 | Time: 25 minutes
3. Patchwork Throw from Fabric Scraps
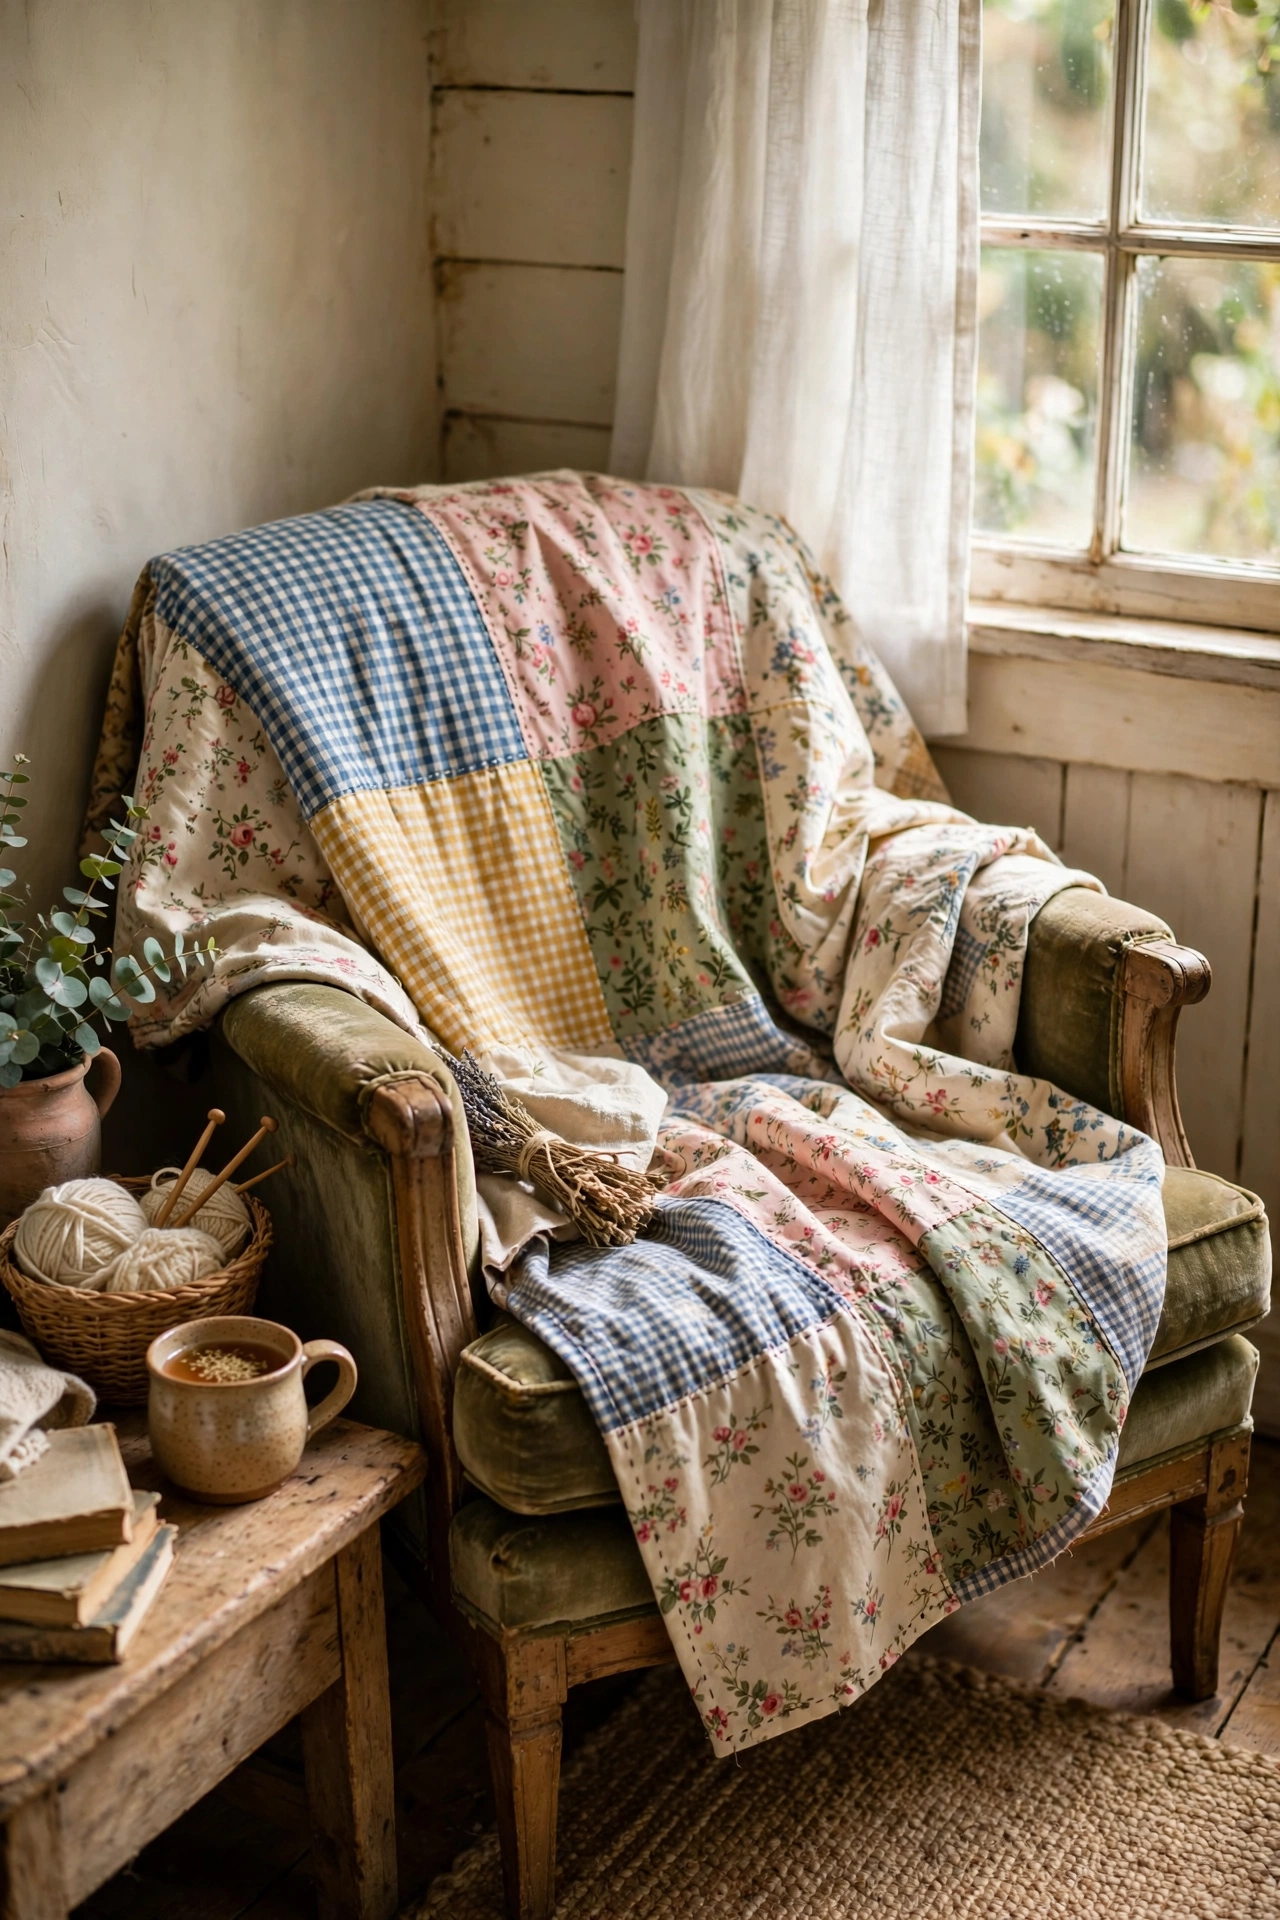
You don’t need quilting skills for a charming patchwork throw — just squares and straight seams. Cut six-inch squares from floral and gingham scraps, sew them in rows, back the whole thing with an old sheet, and tie it with yarn at each corner instead of quilting. I made mine from my grandmother’s old blouses and it’s the most treasured thing in my living room. Press every seam as you go; unpressed patchwork puckers and looks homemade in the wrong way.
Pro tip: stick to three or four colours maximum so the patchwork reads cosy, not chaotic.
Cost: ~$6 | Time: 3–4 hours
4. Doily Table Runner
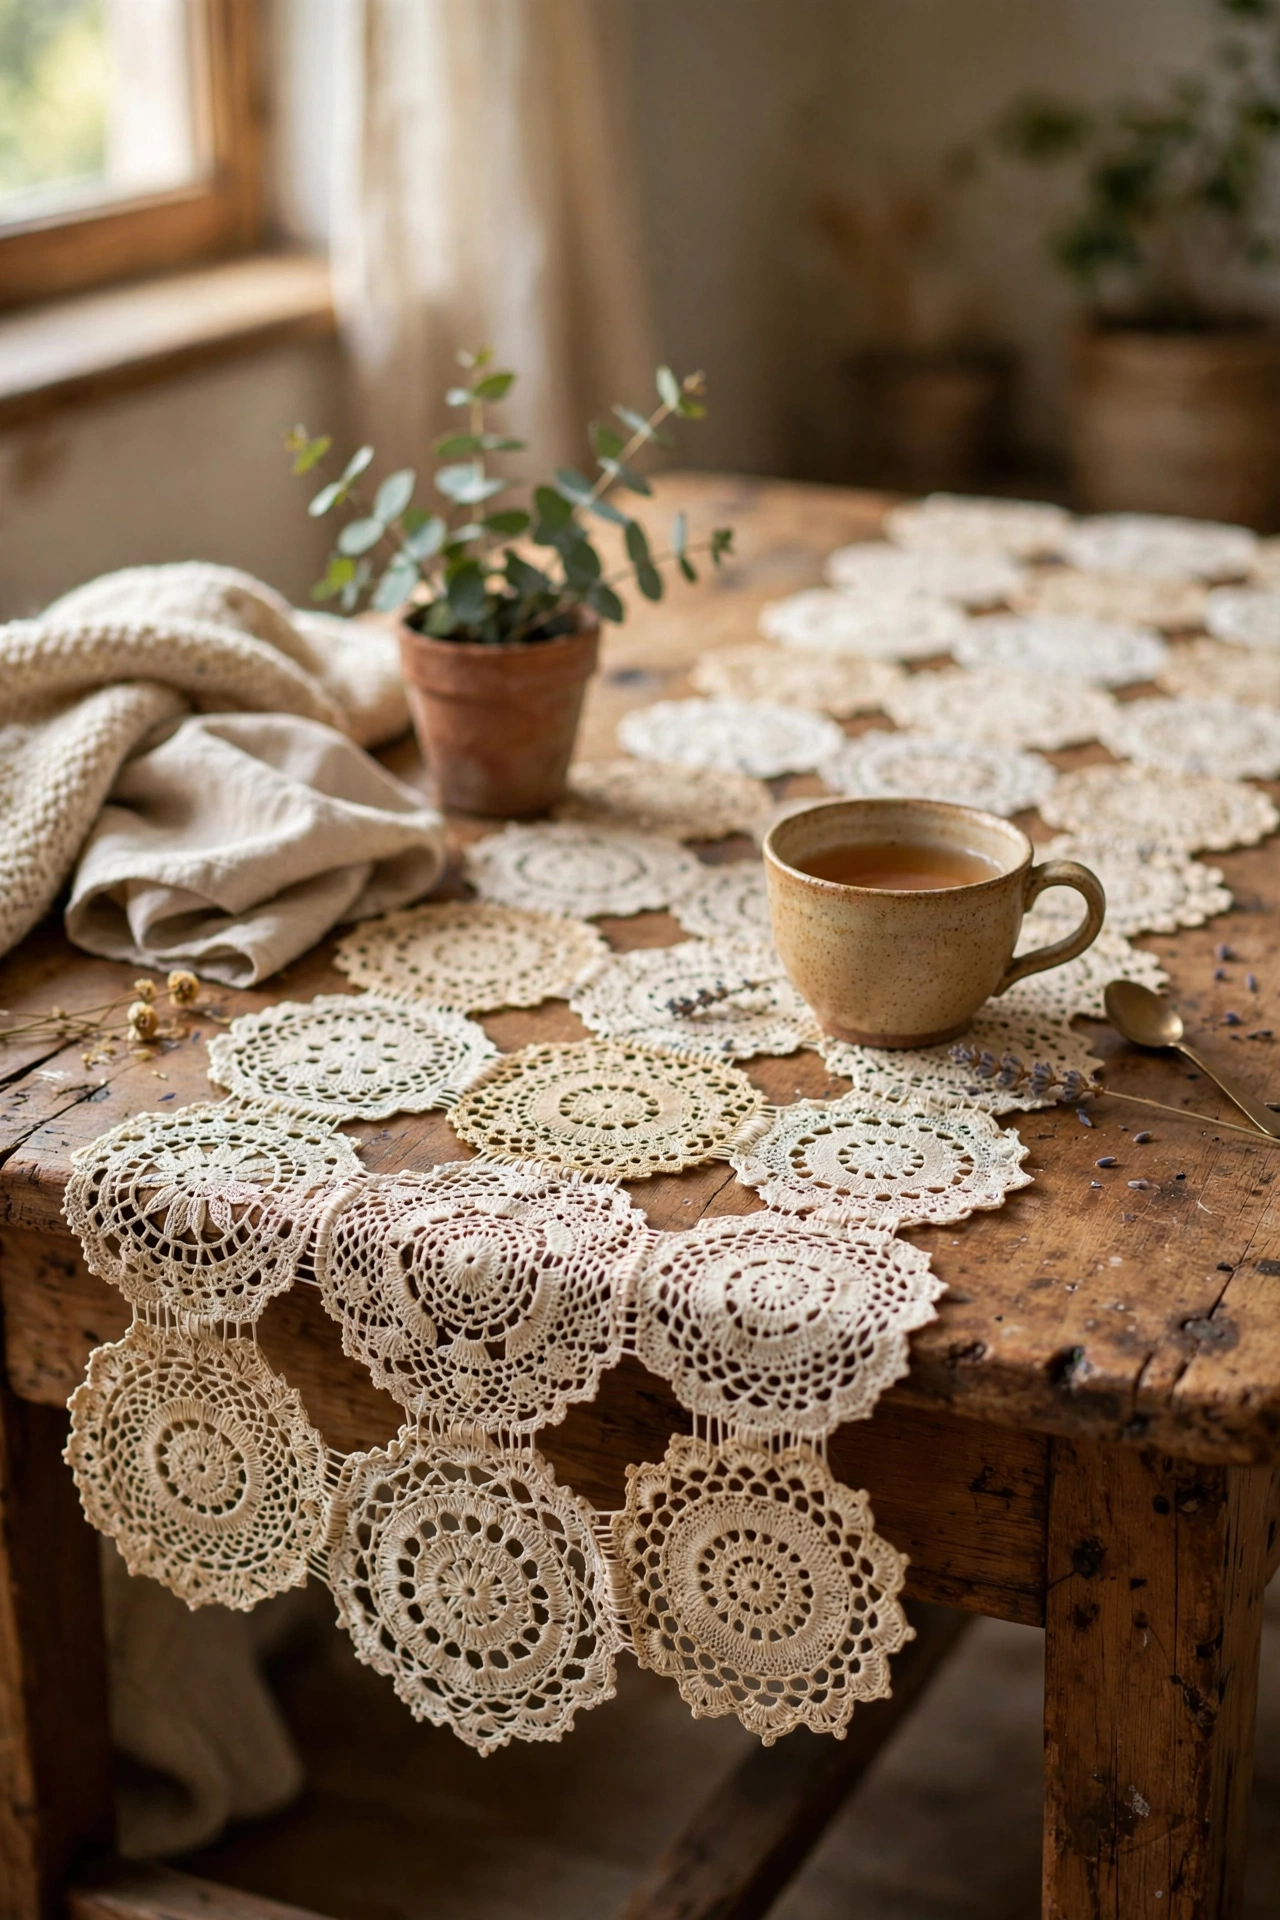
Join a row of thrifted doilies edge to edge with tiny hand stitches and you have a table runner full of cottage charm. I collected mismatched doilies for months before I had enough — eleven made a runner for my coffee table. Lay them out first and photograph the arrangement, because once you start stitching, rearranging is a faff. Stitch just the touching edges with a few whip stitches in matching thread; the runner should drape softly, not lie stiff.
Pro tip: layer the runner over a plain linen cloth for a styled, collected table.
Cost: ~$7 | Time: 1.5 hours
5. Embroidered Hoop Wall Art
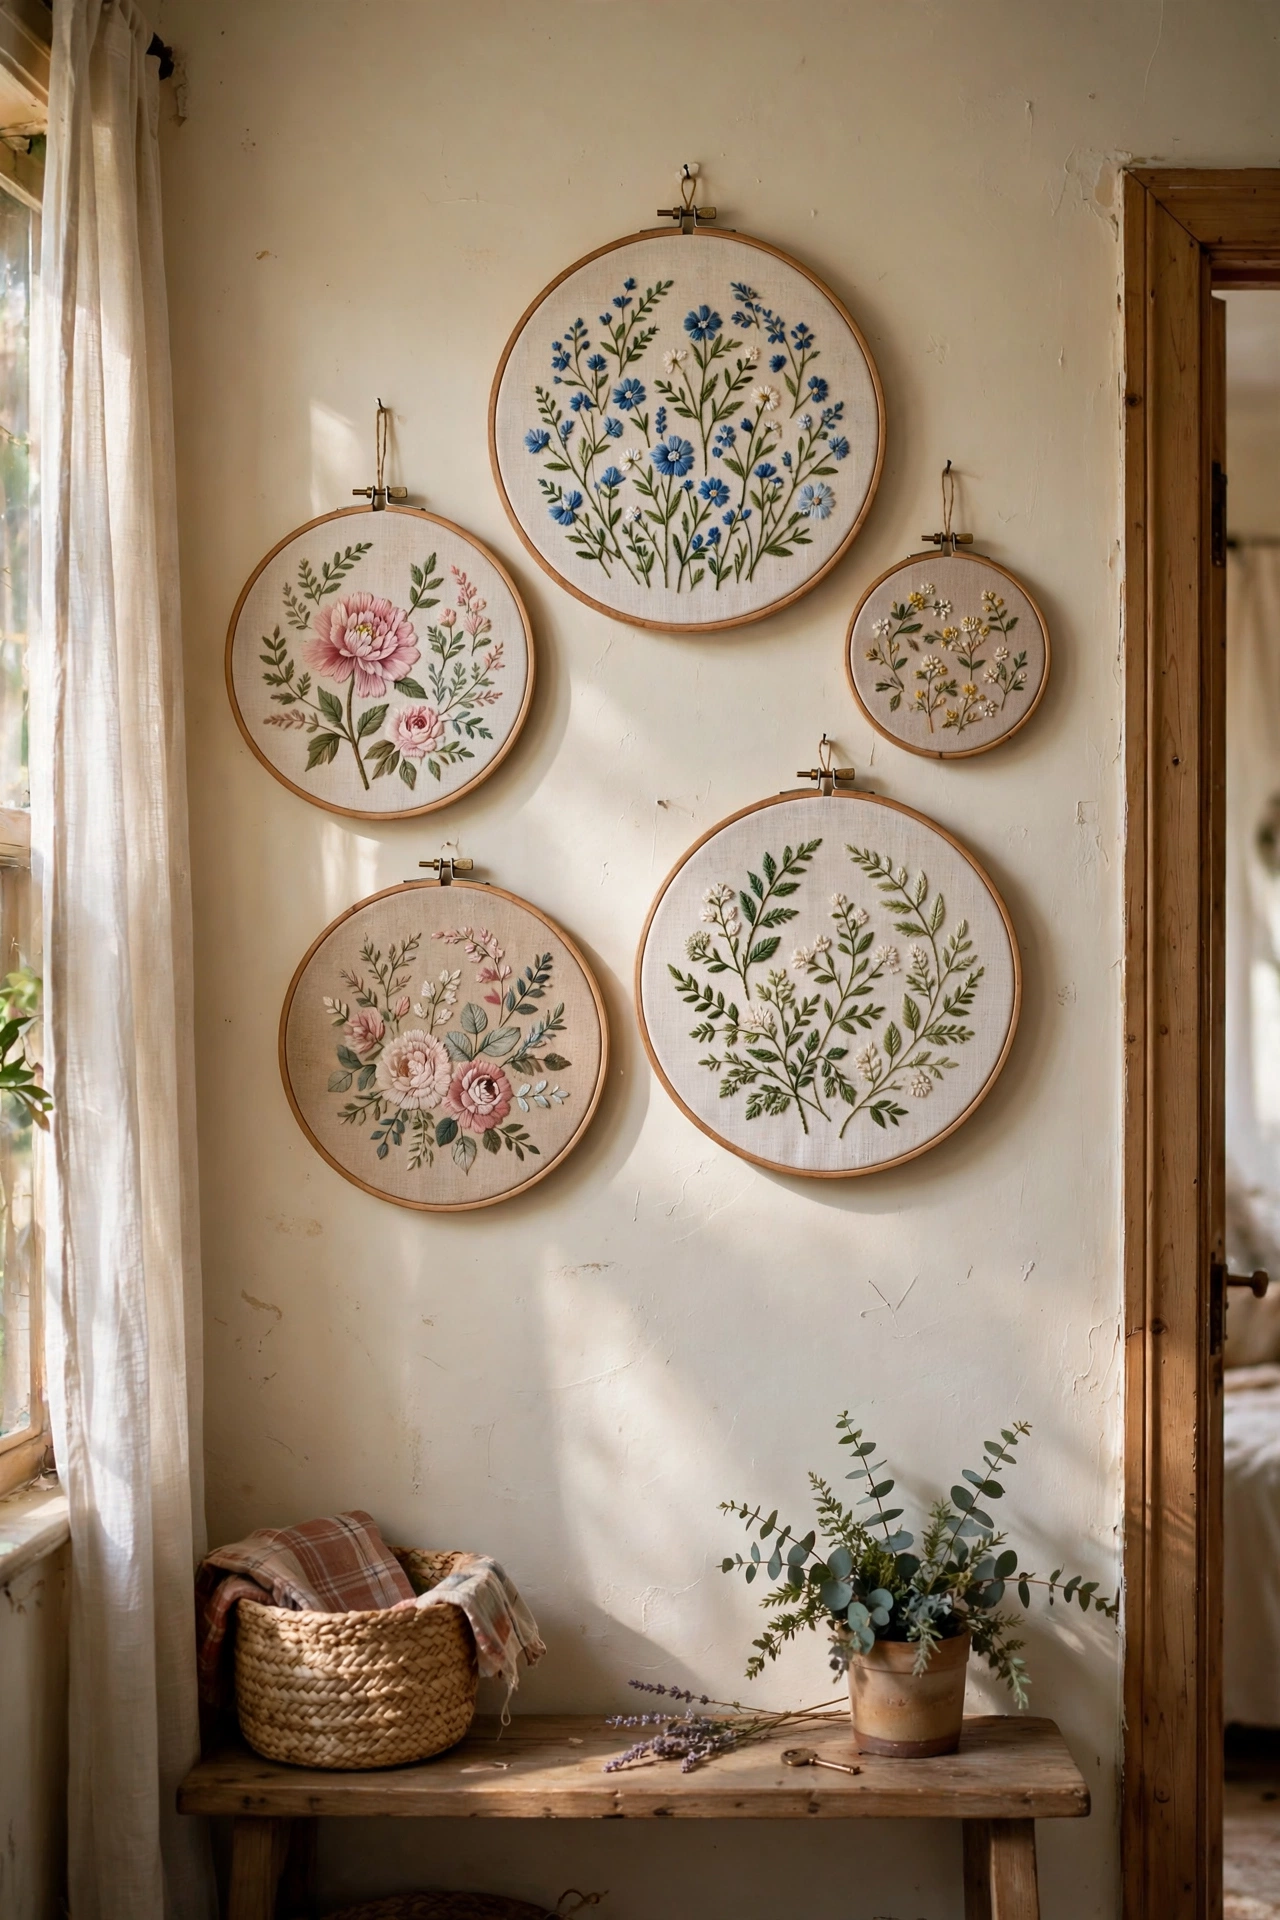
Stretch pretty fabric — floral, gingham, or even a vintage handkerchief — inside an embroidery hoop and hang it as wall art. That’s genuinely all there is to it. I grouped five hoops of different sizes on my hallway wall with fabrics from a remnant bundle. Add a simple stitched word or motif if you’re feeling ambitious, but plain fabric in a wooden hoop already looks lovely. Tighten the hoop screw firmly; fabric that sags in the middle ruins the effect.
Pro tip: mix hoop sizes from four to ten inches for a gallery that feels collected over time.
Cost: ~$9 | Time: 30 minutes
Vintage kitchen touches
6. Painted Mason Jars for Pantry Storage
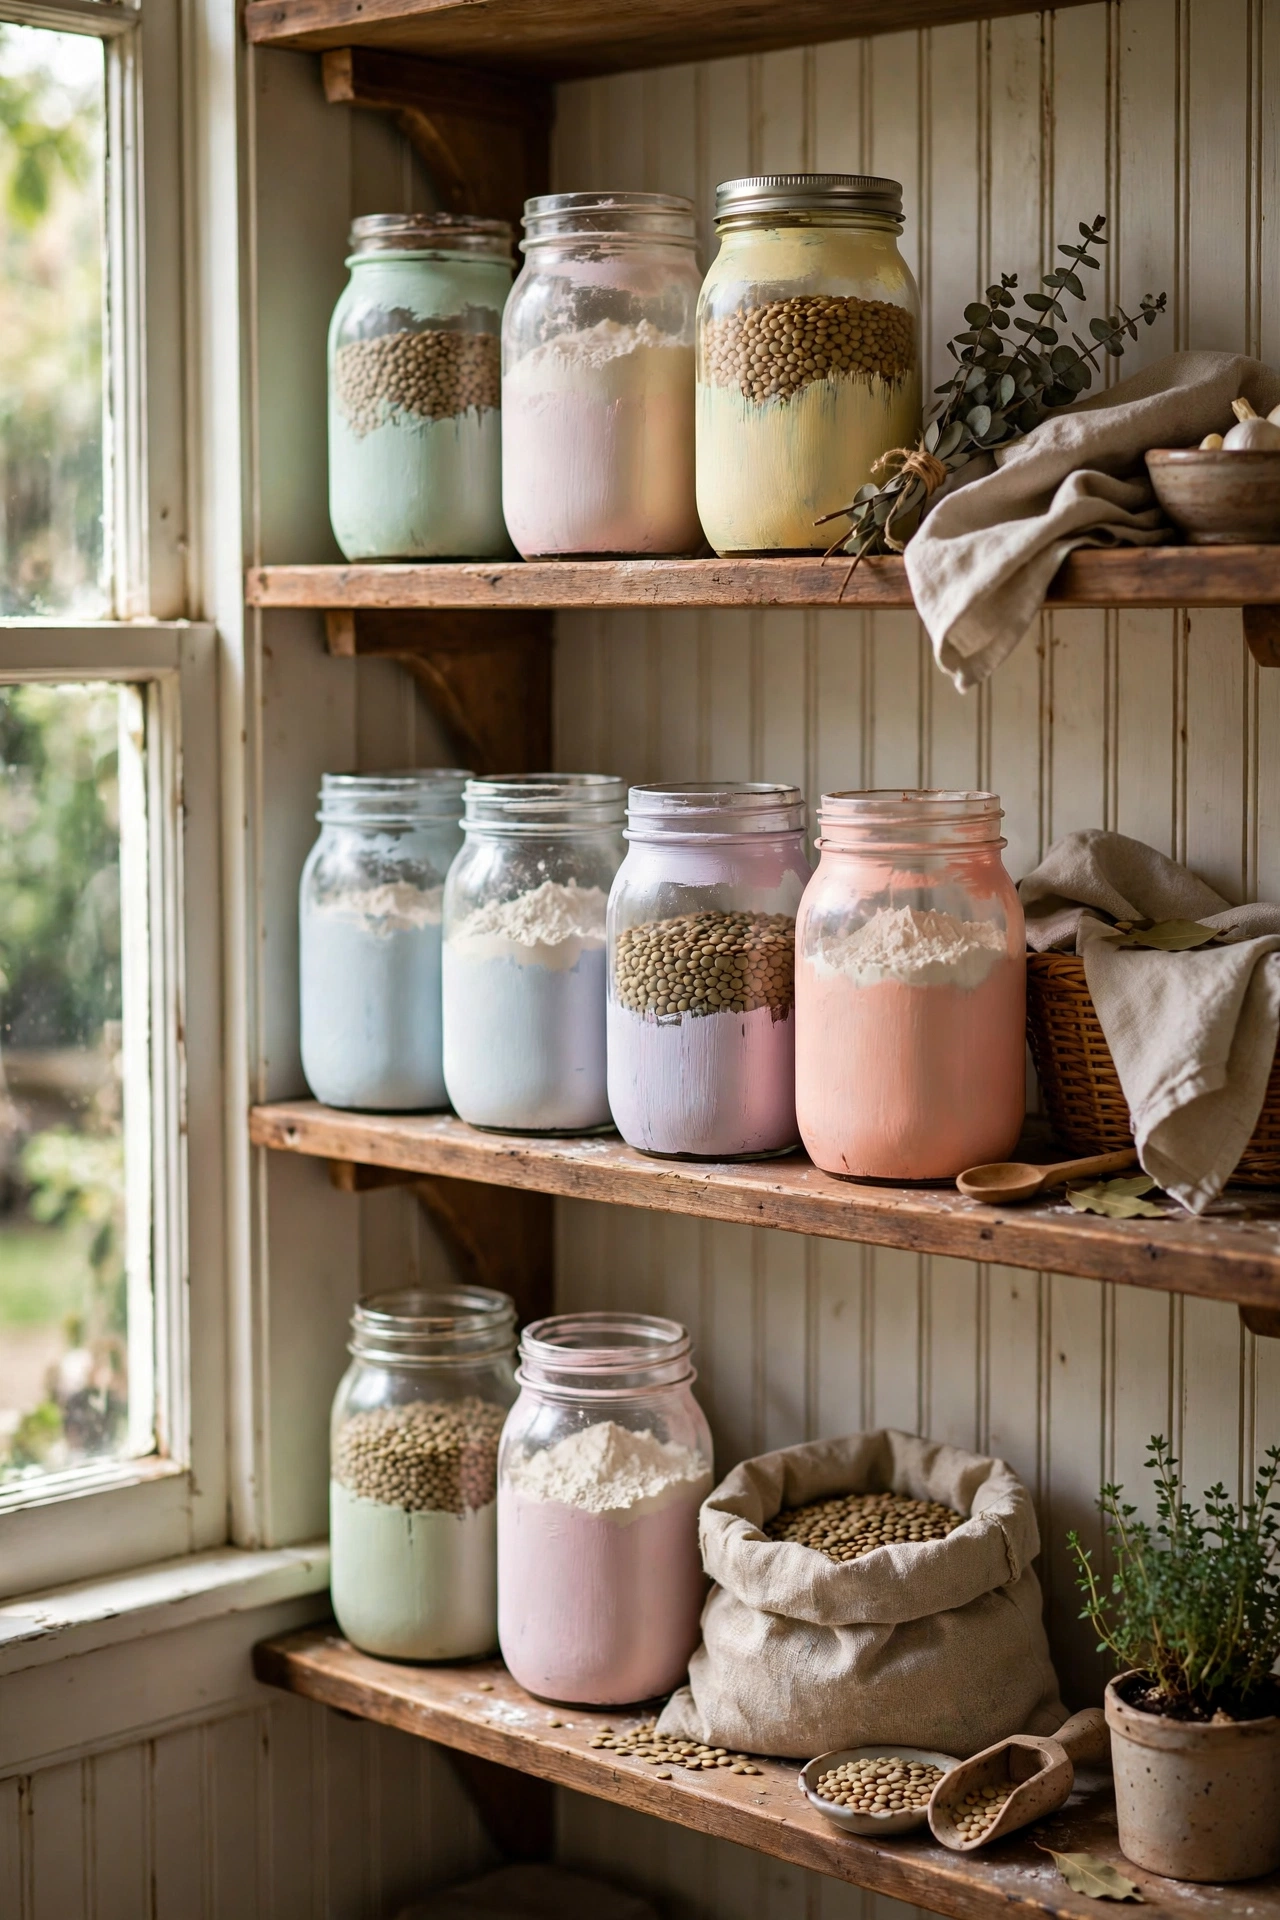
Paint mason jars in soft pastels — sage, blush, cream — and your pantry shelves look like a country kitchen overnight. Brush on two thin coats of chalk paint, distress the edges lightly with sandpaper for a vintage feel, and fill with dry goods. I did a whole shelf in mixed pastels and opening the pantry door genuinely makes me happy now. Don’t paint the insides; paint belongs on the outside only, and seal with wax so the jars wipe clean.
Pro tip: keep the jar rims unpainted for a clean seal and easier lid fitting.
Cost: ~$10 | Time: 1 hour plus drying
7. Hand-Lettered Pantry Labels
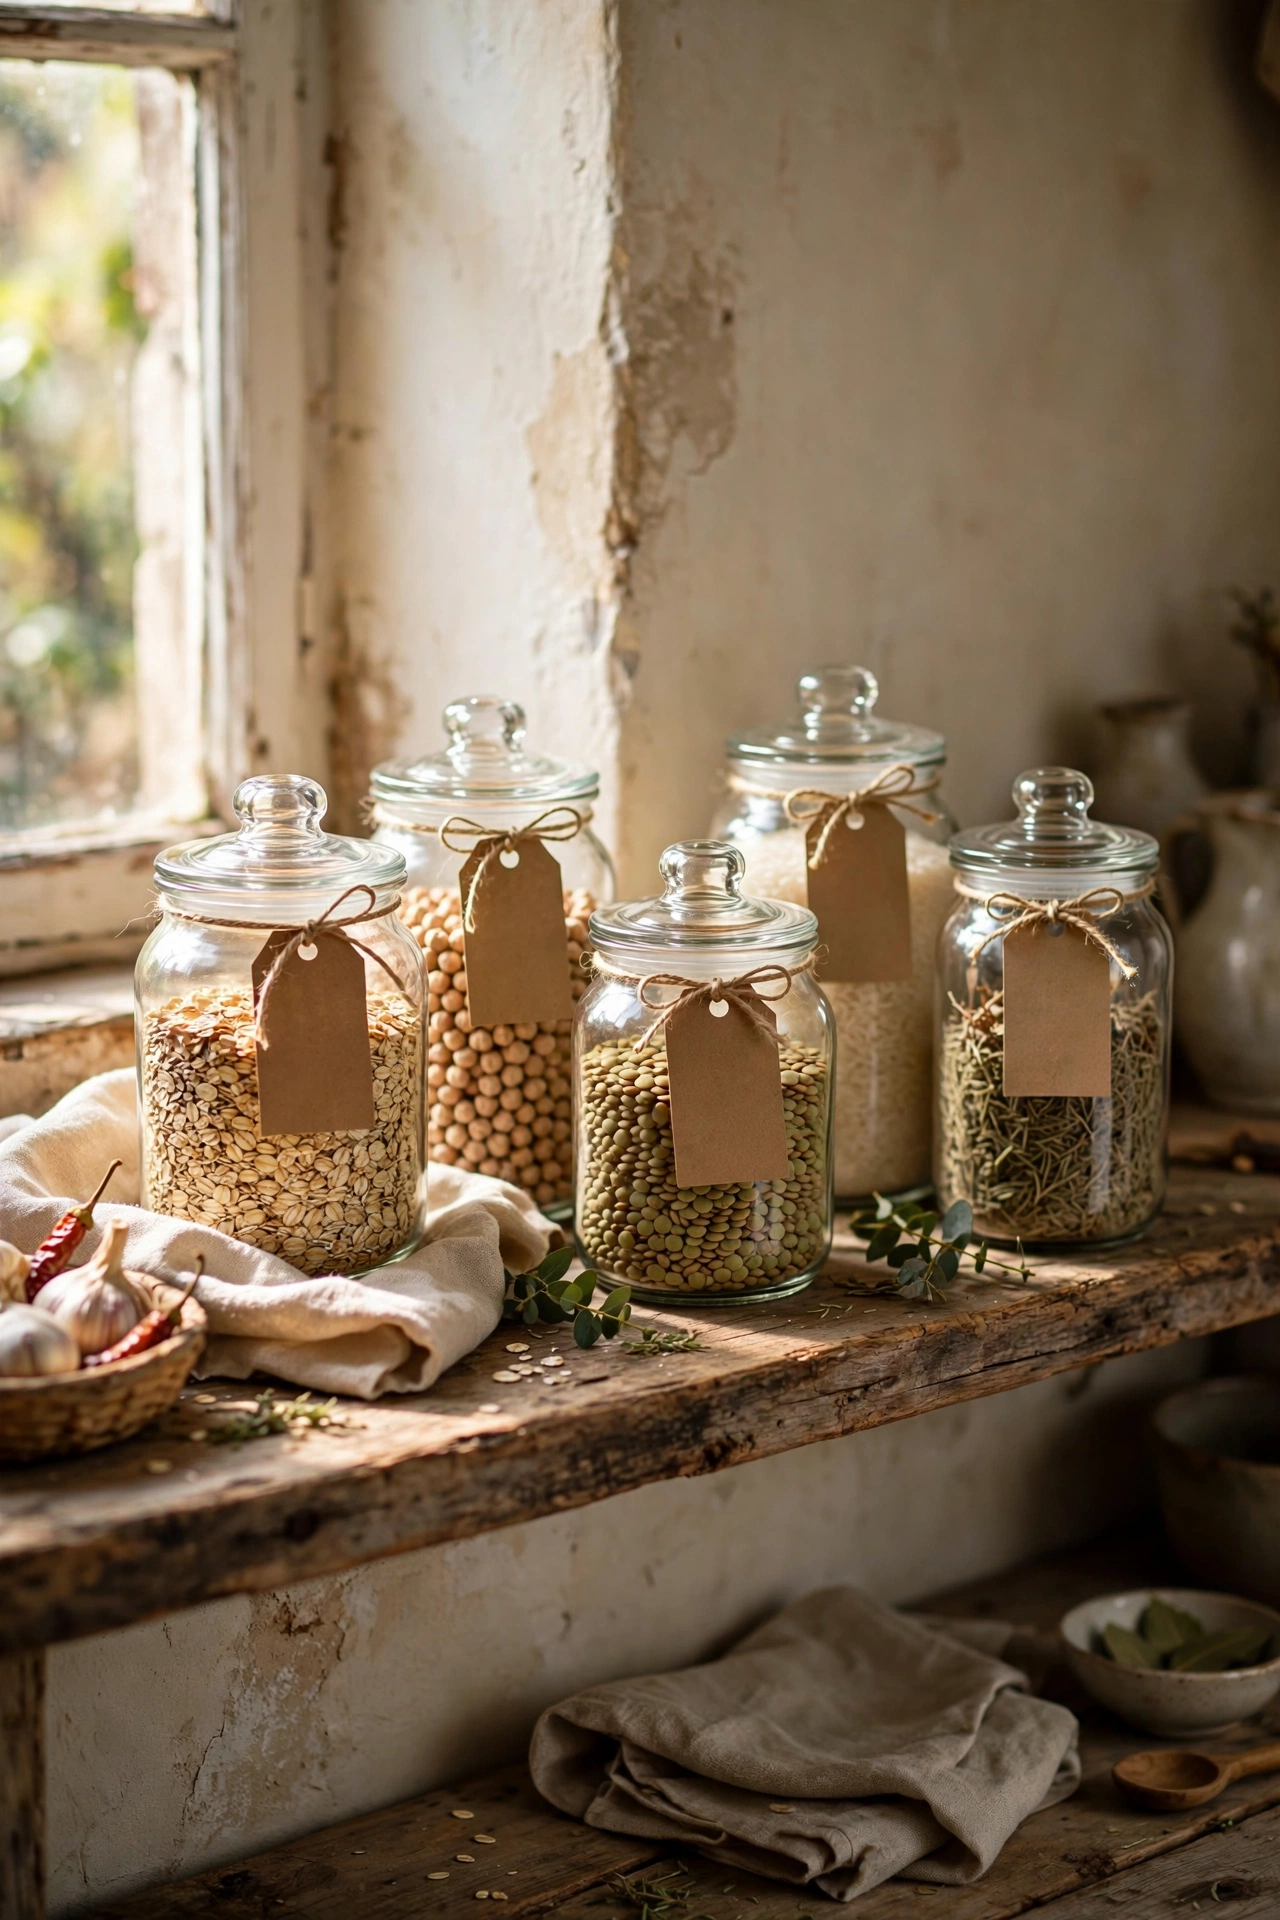
Small kraft tags tied with twine, hand-lettered in your best script, give every jar a cottage-kitchen feel. Write with a brown fine-liner pen for a vintage-ink look, or use alphabet stamps if your handwriting embarrasses you — no judgement, mine did too until I practised. I labelled flour, sugar, lentils, and rice, and the whole shelf looks like a farmhouse shop. Tie the tags with twine rather than ribbon; ribbon reads gift-shop, twine reads farmhouse.
Pro tip: write the label, then smudge the ink very slightly with your finger before it dries for an aged look.
Cost: ~$4 | Time: 40 minutes
8. Enamel Tin Herb Planters
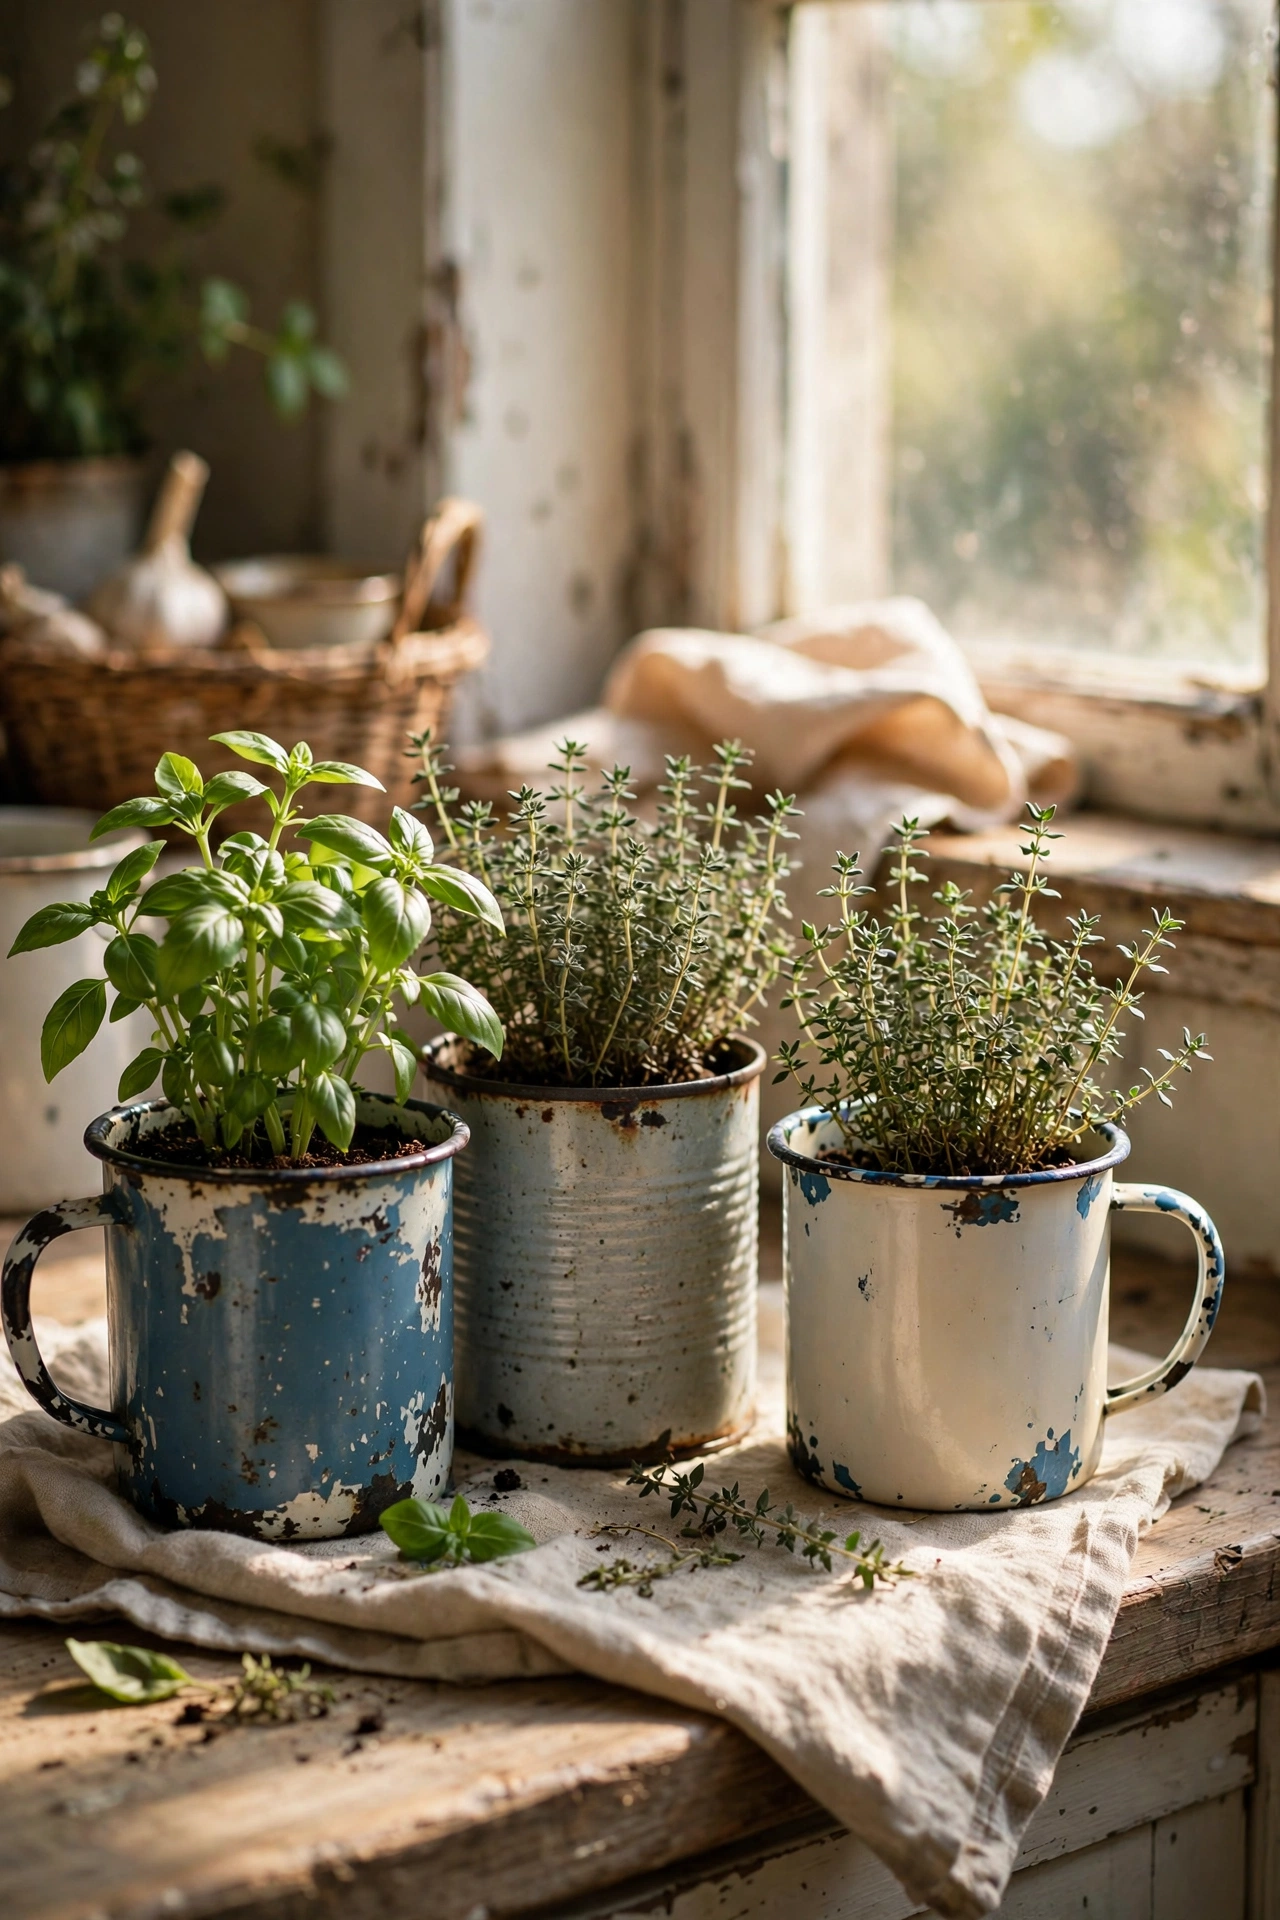
Old enamel mugs, tins, and jugs — the chipped, characterful kind — make perfect herb planters for a kitchen windowsill. Drill a drainage hole in the bottom, add a layer of small stones, then soil and your herb. I grow basil, thyme, and mint in a row of mismatched enamel cups and it’s both pretty and practical. Don’t skip the drainage hole; enamel holds water and herbs rot fast in soggy soil. A masonry bit drills through enamel cleanly.
Pro tip: choose herbs you actually cook with — pretty but unused plants just become clutter.
Cost: ~$8 | Time: 30 minutes
9. Decorative Plate Wall Display
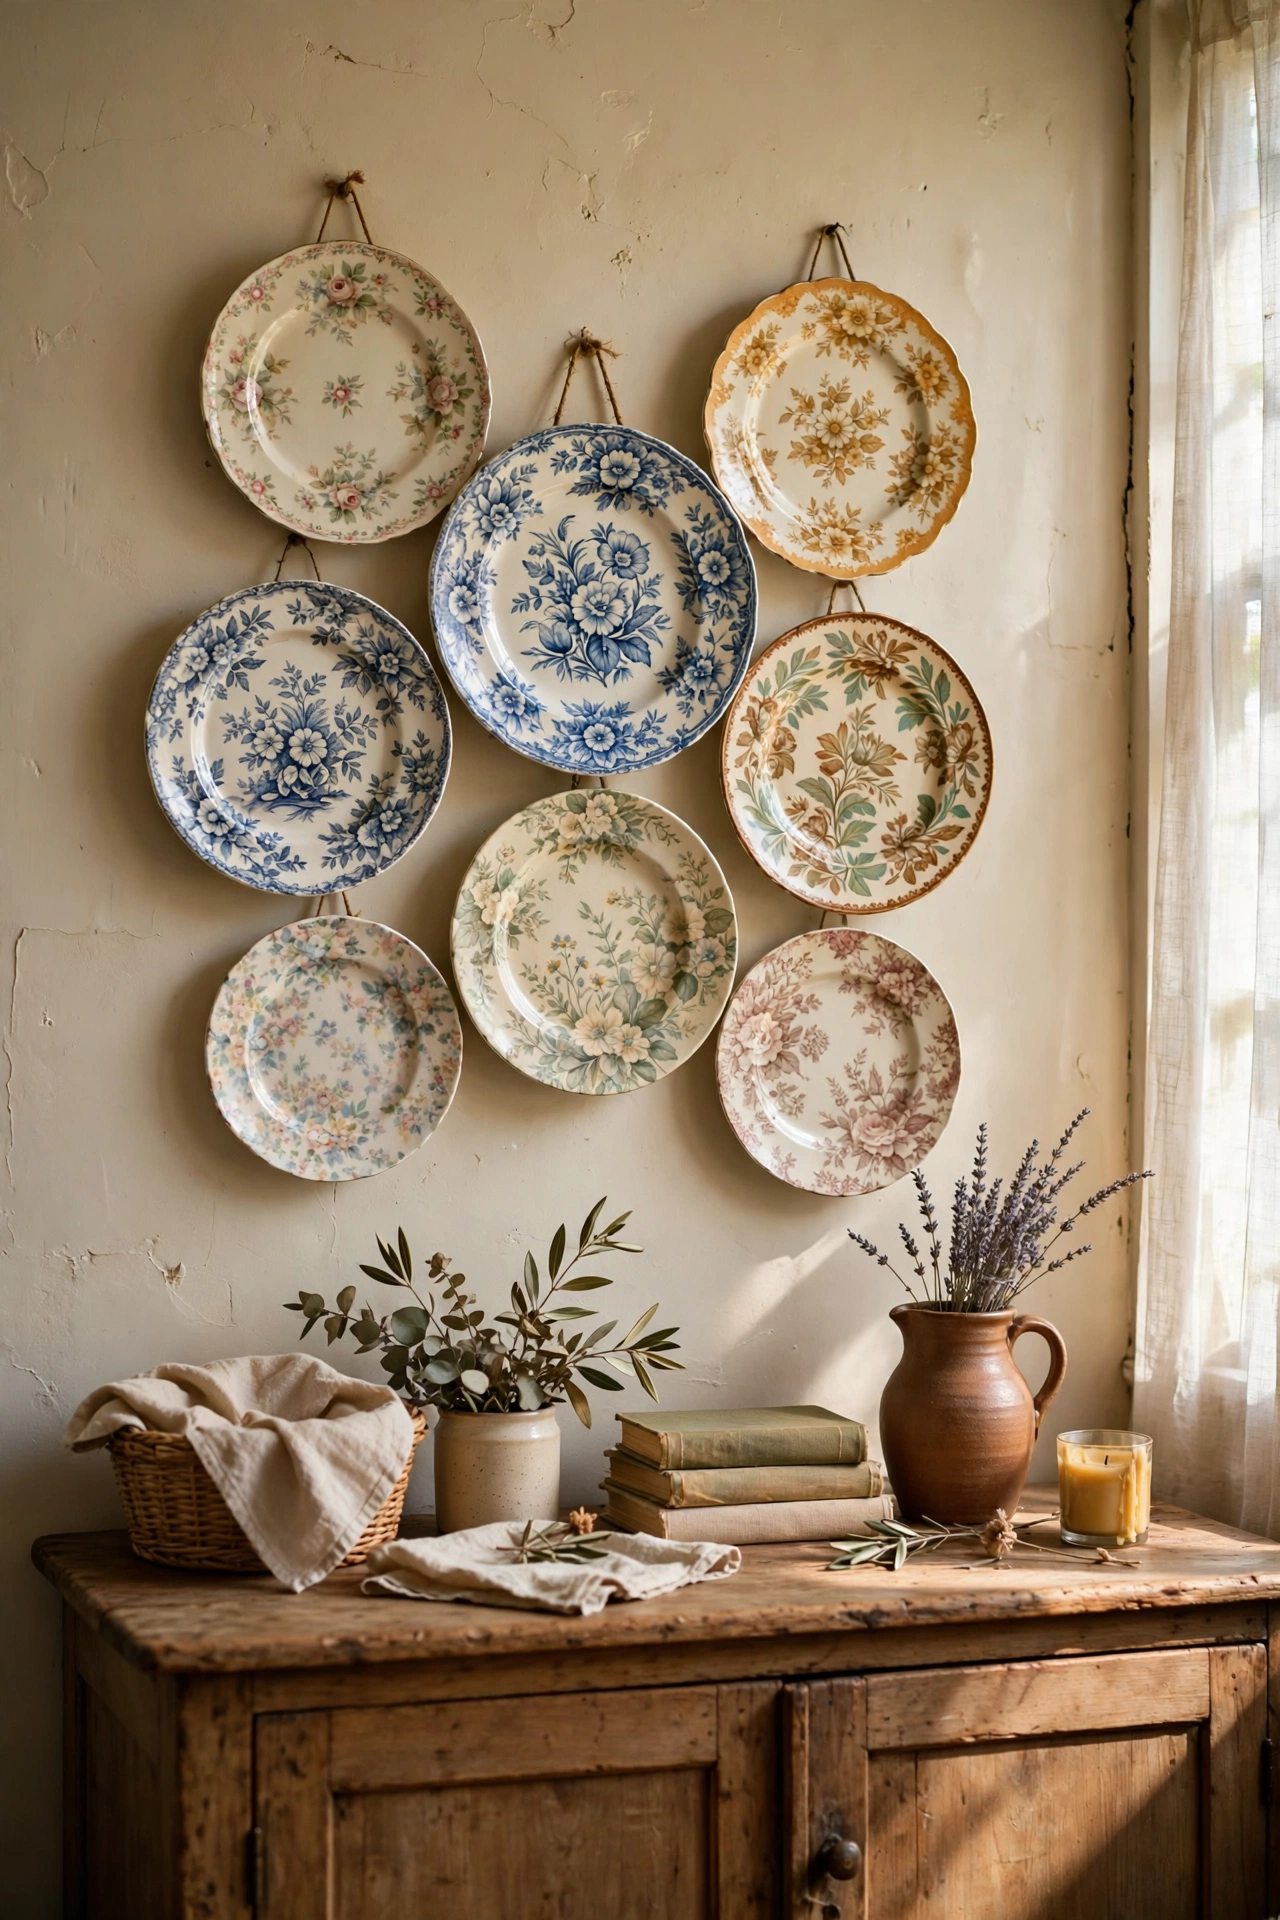
Floral and patterned plates from charity shops, hung in a cluster, are pure cottagecore. Buy plate hangers — the spring-wire kind — for each plate, arrange the cluster on the floor first, and hang with the largest plate as your anchor. I covered the wall above my sideboard with eight plates for under $12 total. Keep the palette to two or three colours; random rainbow plates look like a jumble sale rather than a display.
Pro tip: include one or two plain cream plates among the patterns to give the eye somewhere to rest.
Cost: ~$12 | Time: 1 hour
10. Lace Shelf Edging
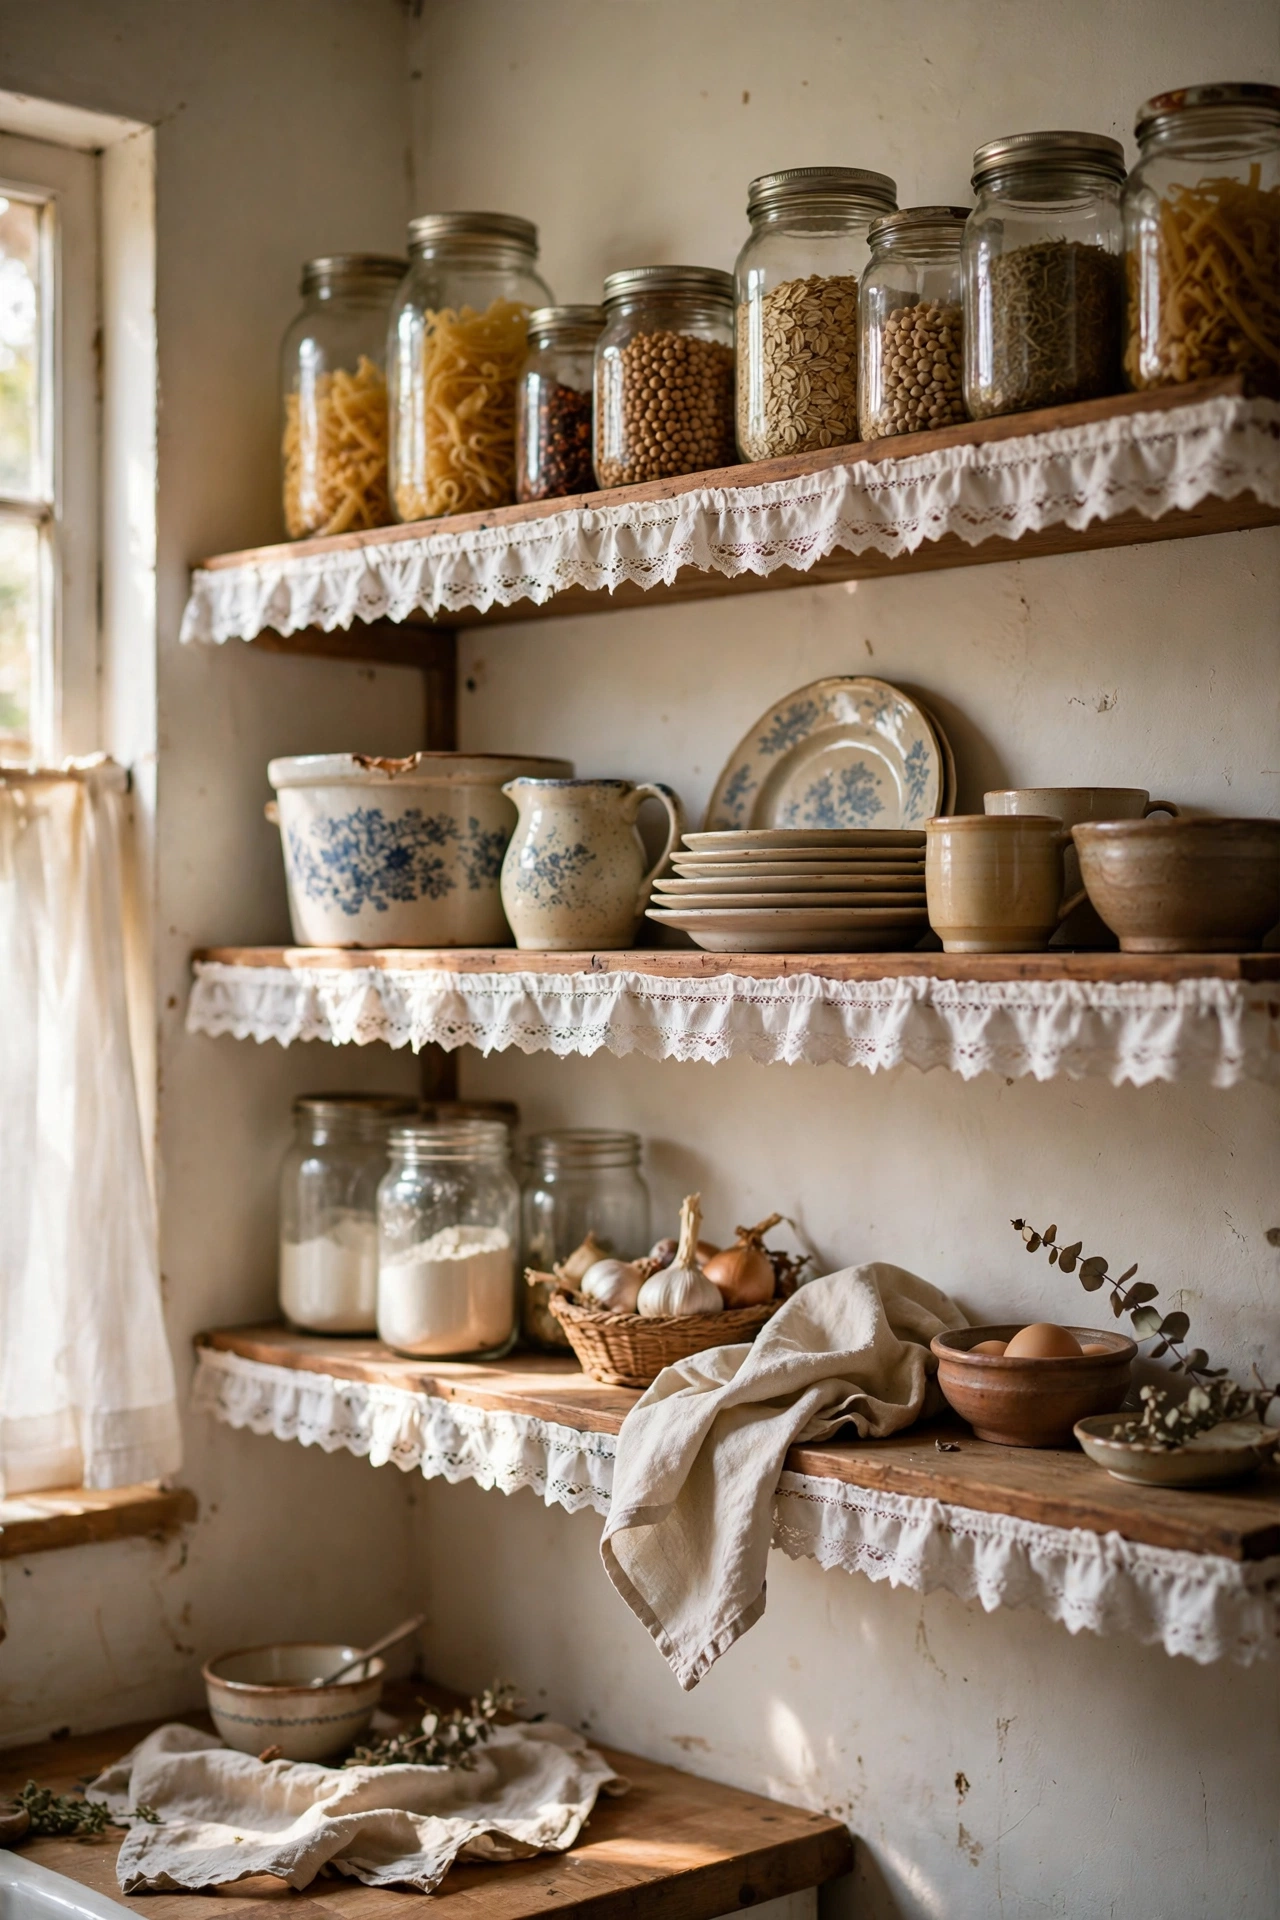
A strip of lace glued or pinned along the front edge of open shelves is the sweetest old-fashioned detail. Cut lace trim to the shelf width, attach with a thin line of fabric glue or tiny brass pins, and let it drape just below the edge. I edged my kitchen shelves this way and they look like something from a storybook. Measure twice and cut once — lace stretches as you handle it, so cut it slightly short and ease it on.
Pro tip: choose washable cotton lace for kitchen shelves; delicate vintage lace yellows near cooking steam.
Cost: ~$6 | Time: 30 minutes
Wild garden pieces
11. Dried Wildflower Wreath
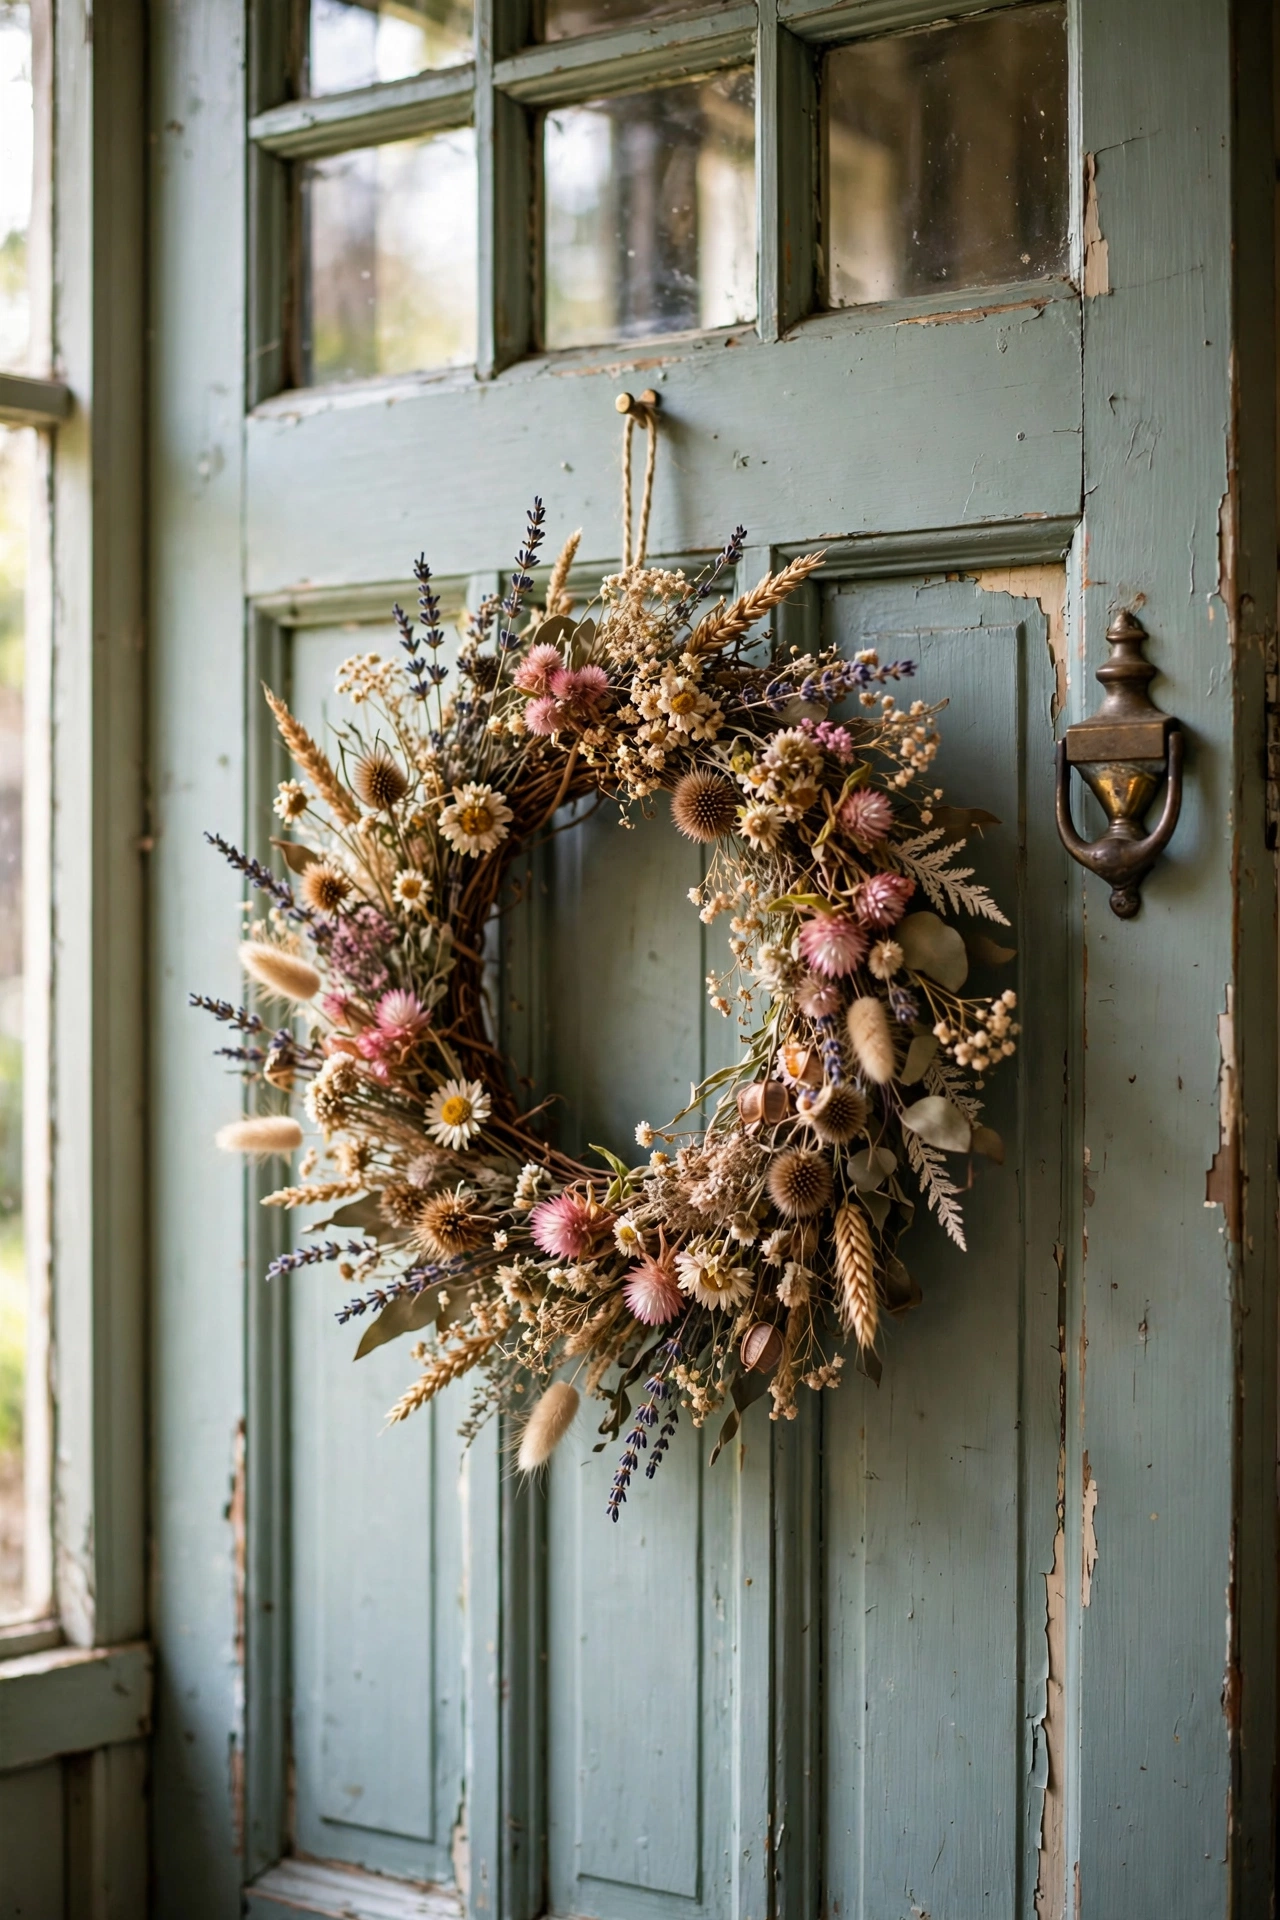
Gather wildflowers and grasses — or buy dried bunches cheaply — and wire them onto a grapevine wreath base for a meadow-on-your-door look. Work in small bunches, wiring each at an angle so they layer like a thatched roof, and cover the whole base. I made mine from flowers picked on summer walks, and every stem holds a memory. Hang it on a covered door; direct rain rots dried flowers fast, but sheltered it lasts for years.
Pro tip: add the grasses first as a base layer, then tuck the flower heads in last for fullness.
Cost: ~$10 | Time: 2 hours
12. Pressed Flower Frames
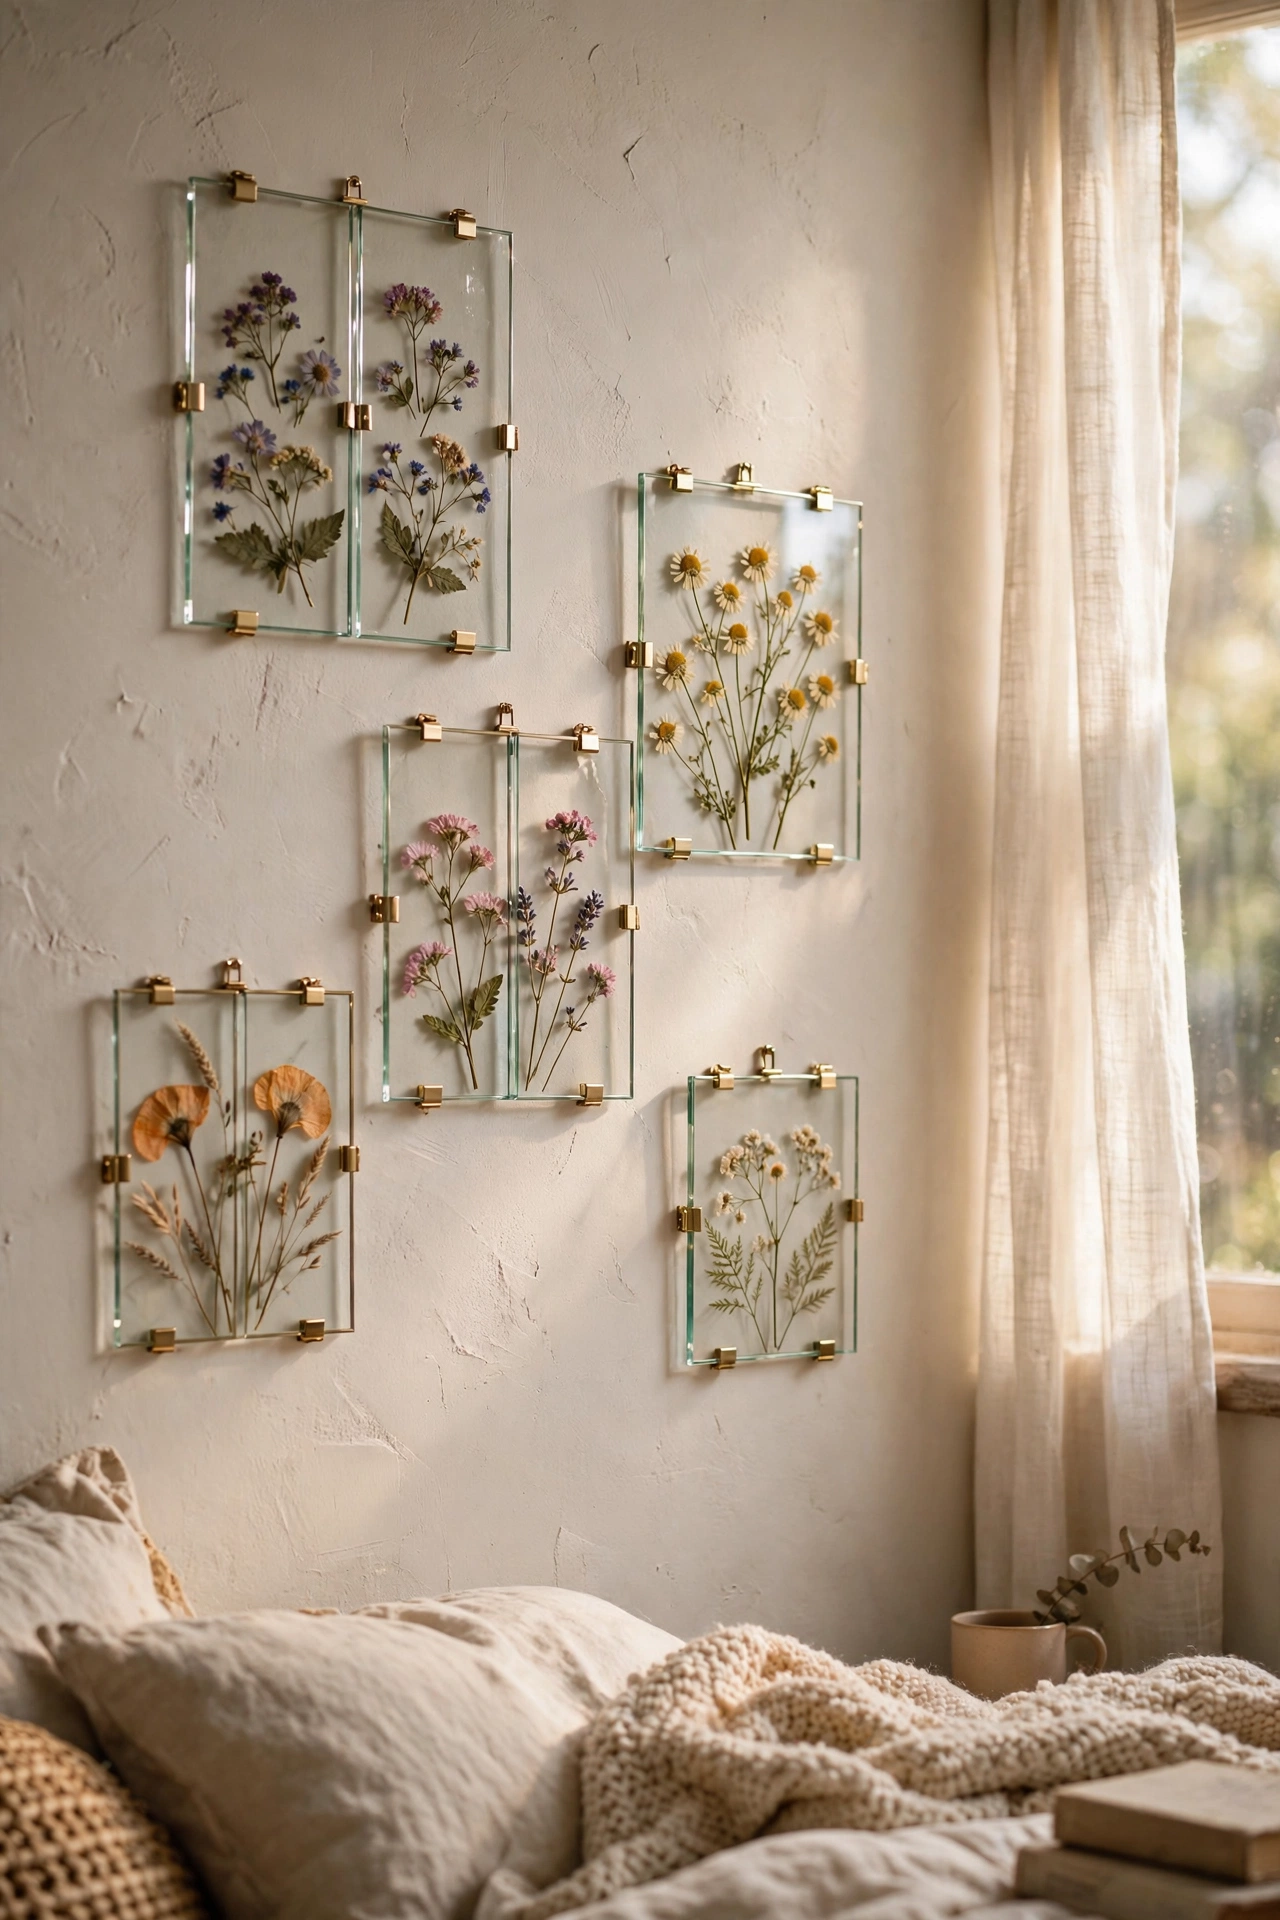
Press flowers between heavy books for two weeks, then arrange them on card and frame them under glass. Floating frames — glass on both sides — show the flowers off best. I pressed wildflowers from my garden and made a set of three for my bedroom; they look like botanical prints but they’re real and personal. Press more flowers than you need, because some will brown or crumble. The flat, sturdy ones — daisies, ferns, lavender — press most reliably.
Pro tip: keep pressed-flower frames out of direct sun; the colours fade within months otherwise.
Cost: ~$11 | Time: 30 minutes plus pressing time
13. Moss-Covered Plant Pots
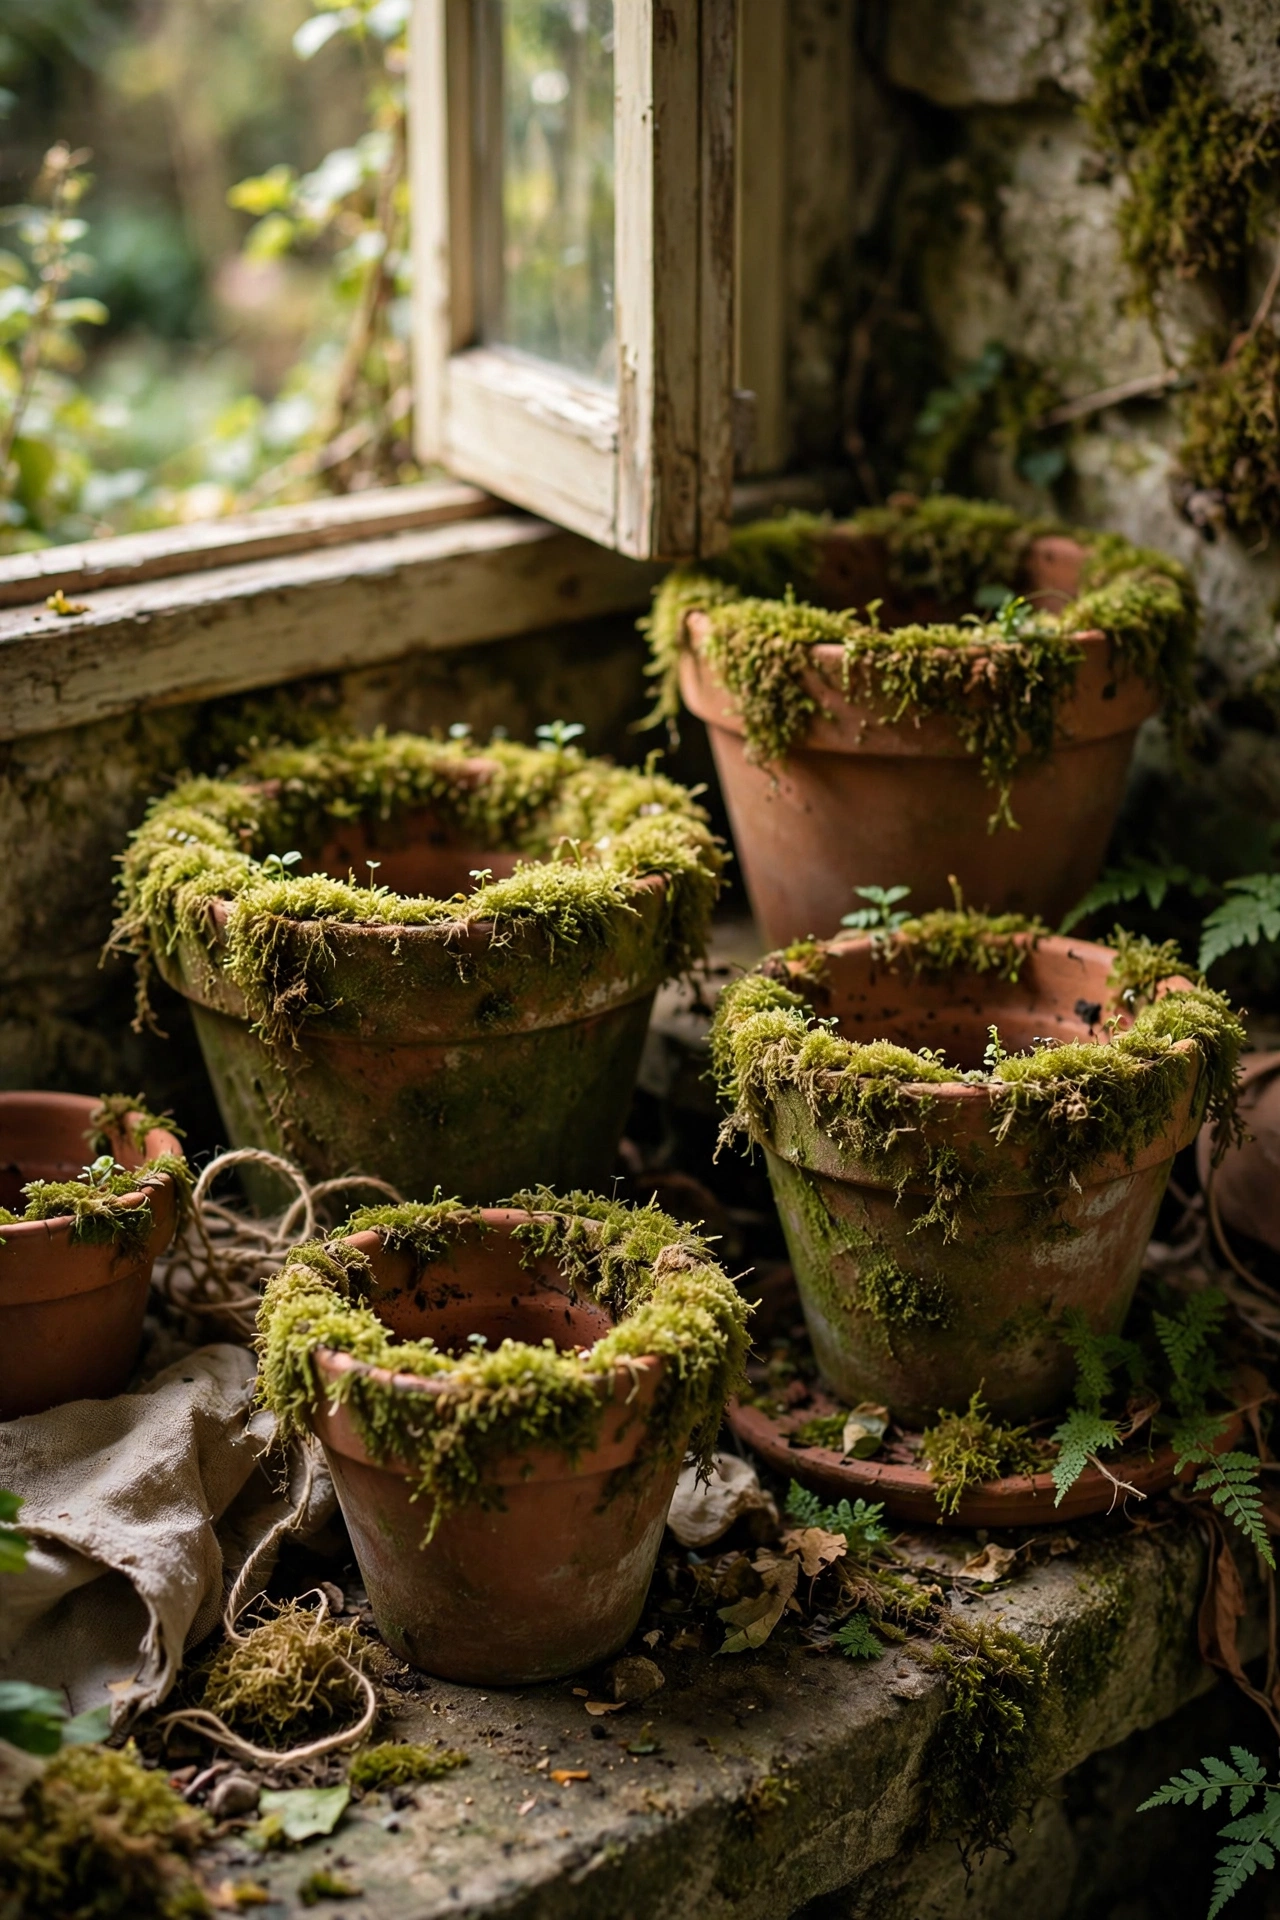
Brush a terracotta pot with plain yoghurt, press sheet moss onto the surface, and mist it daily — within weeks the pot wears a living green coat. It sounds odd, but the yoghurt feeds the moss and it grips the porous clay beautifully. I did three pots for my shade garden and they look like they’ve been there for decades. Keep them in shade and mist regularly; moss hates direct sun and dries out fast in it.
Pro tip: start the moss on the shady side of the pot and let it spread naturally — forced coverage looks patchy.
Cost: ~$7 | Time: 20 minutes plus growing time
14. Twig Birdhouse
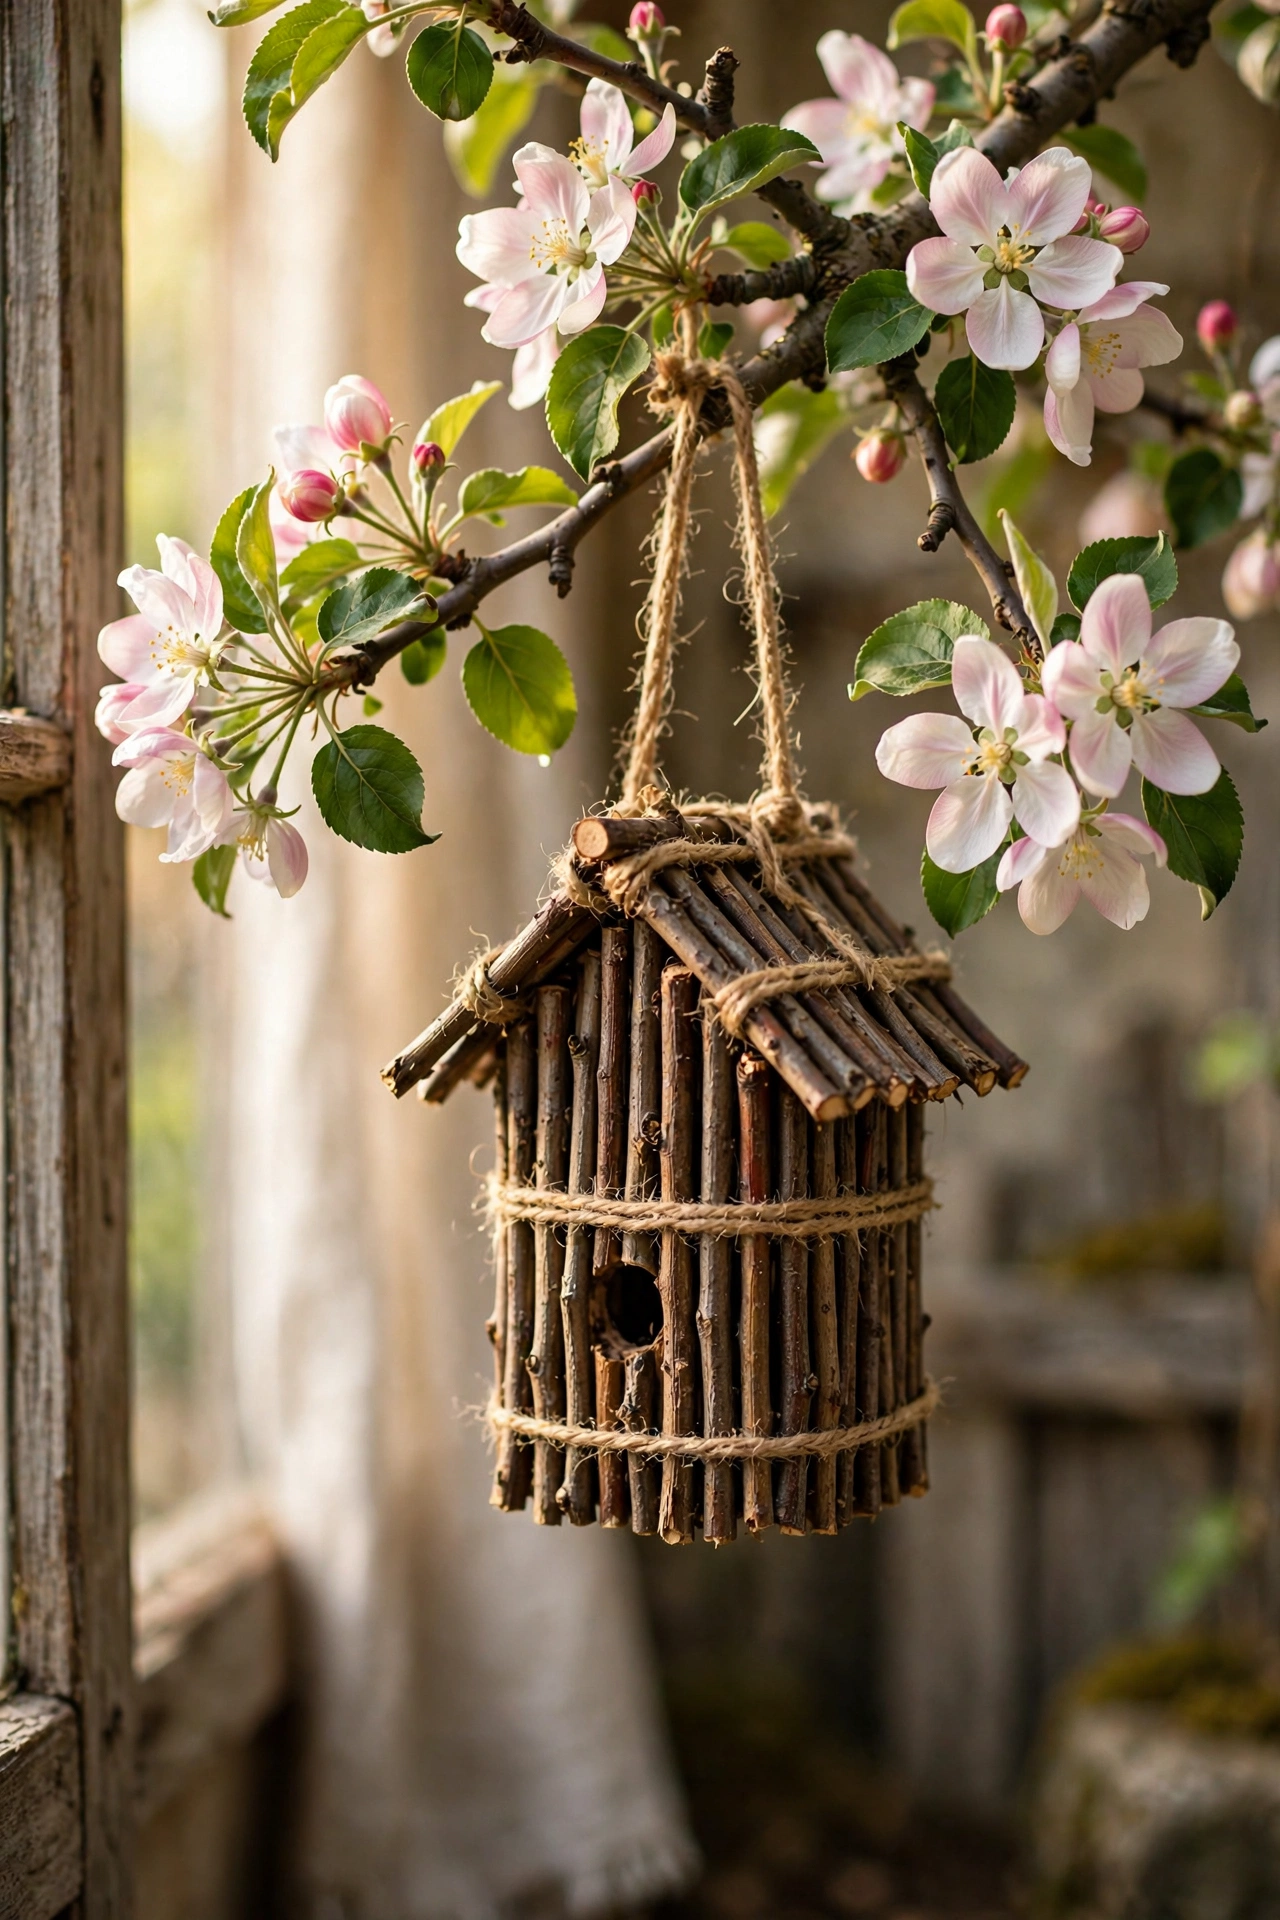
Glue straight twigs vertically around a simple wooden box — or even a small cardboard box sealed with varnish — and you have a rustic birdhouse. Cut twigs to equal lengths, glue them side by side around all four walls, and add a twig perch below the entrance hole. I hung mine in the apple tree and blue tits moved in within a month. Make the entrance hole about 32mm for small garden birds; bigger holes invite starlings who evict everyone else.
Pro tip: don’t paint the inside — birds prefer bare wood, and paint fumes can harm nestlings.
Cost: ~$9 | Time: 2 hours
15. Garden Twine Tool Hanger
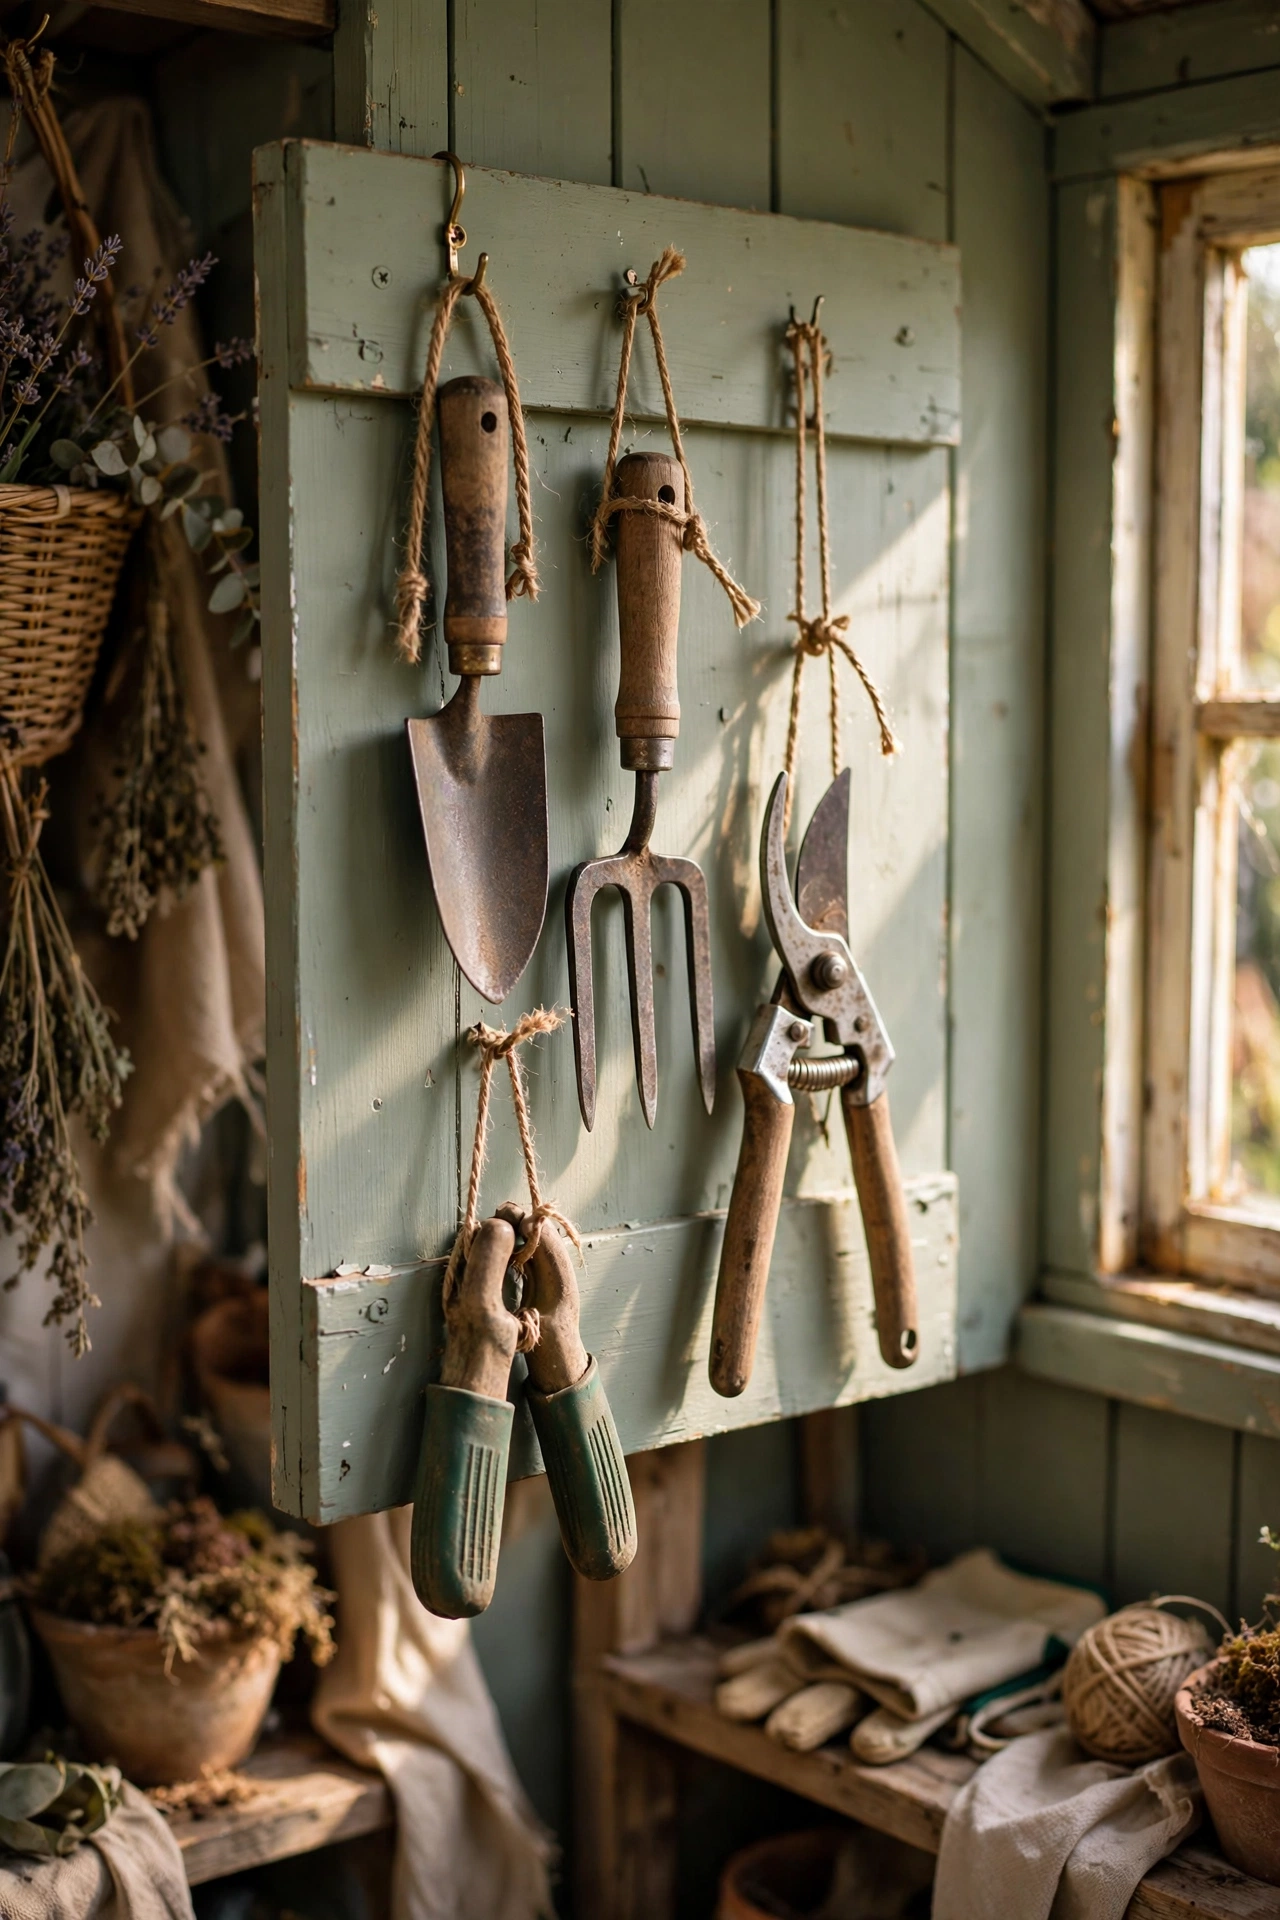
Screw a row of cup hooks into a reclaimed plank, mount it in the shed or by the back door, and hang your hand tools on twine loops. It’s simple, but a tidy tool wall in a cottage garden shed is deeply satisfying. I painted my plank in faded sage first, and the whole thing looks intentional rather than improvised. Label each hook with a little wooden tag so every tool has a home — that’s what keeps it tidy long-term.
Pro tip: hang tools by their handles with the working ends down; it’s safer and the silhouette looks neater.
Cost: ~$8 | Time: 45 minutes
Cosy cottage corners
16. Jam Jar Candle Lanterns
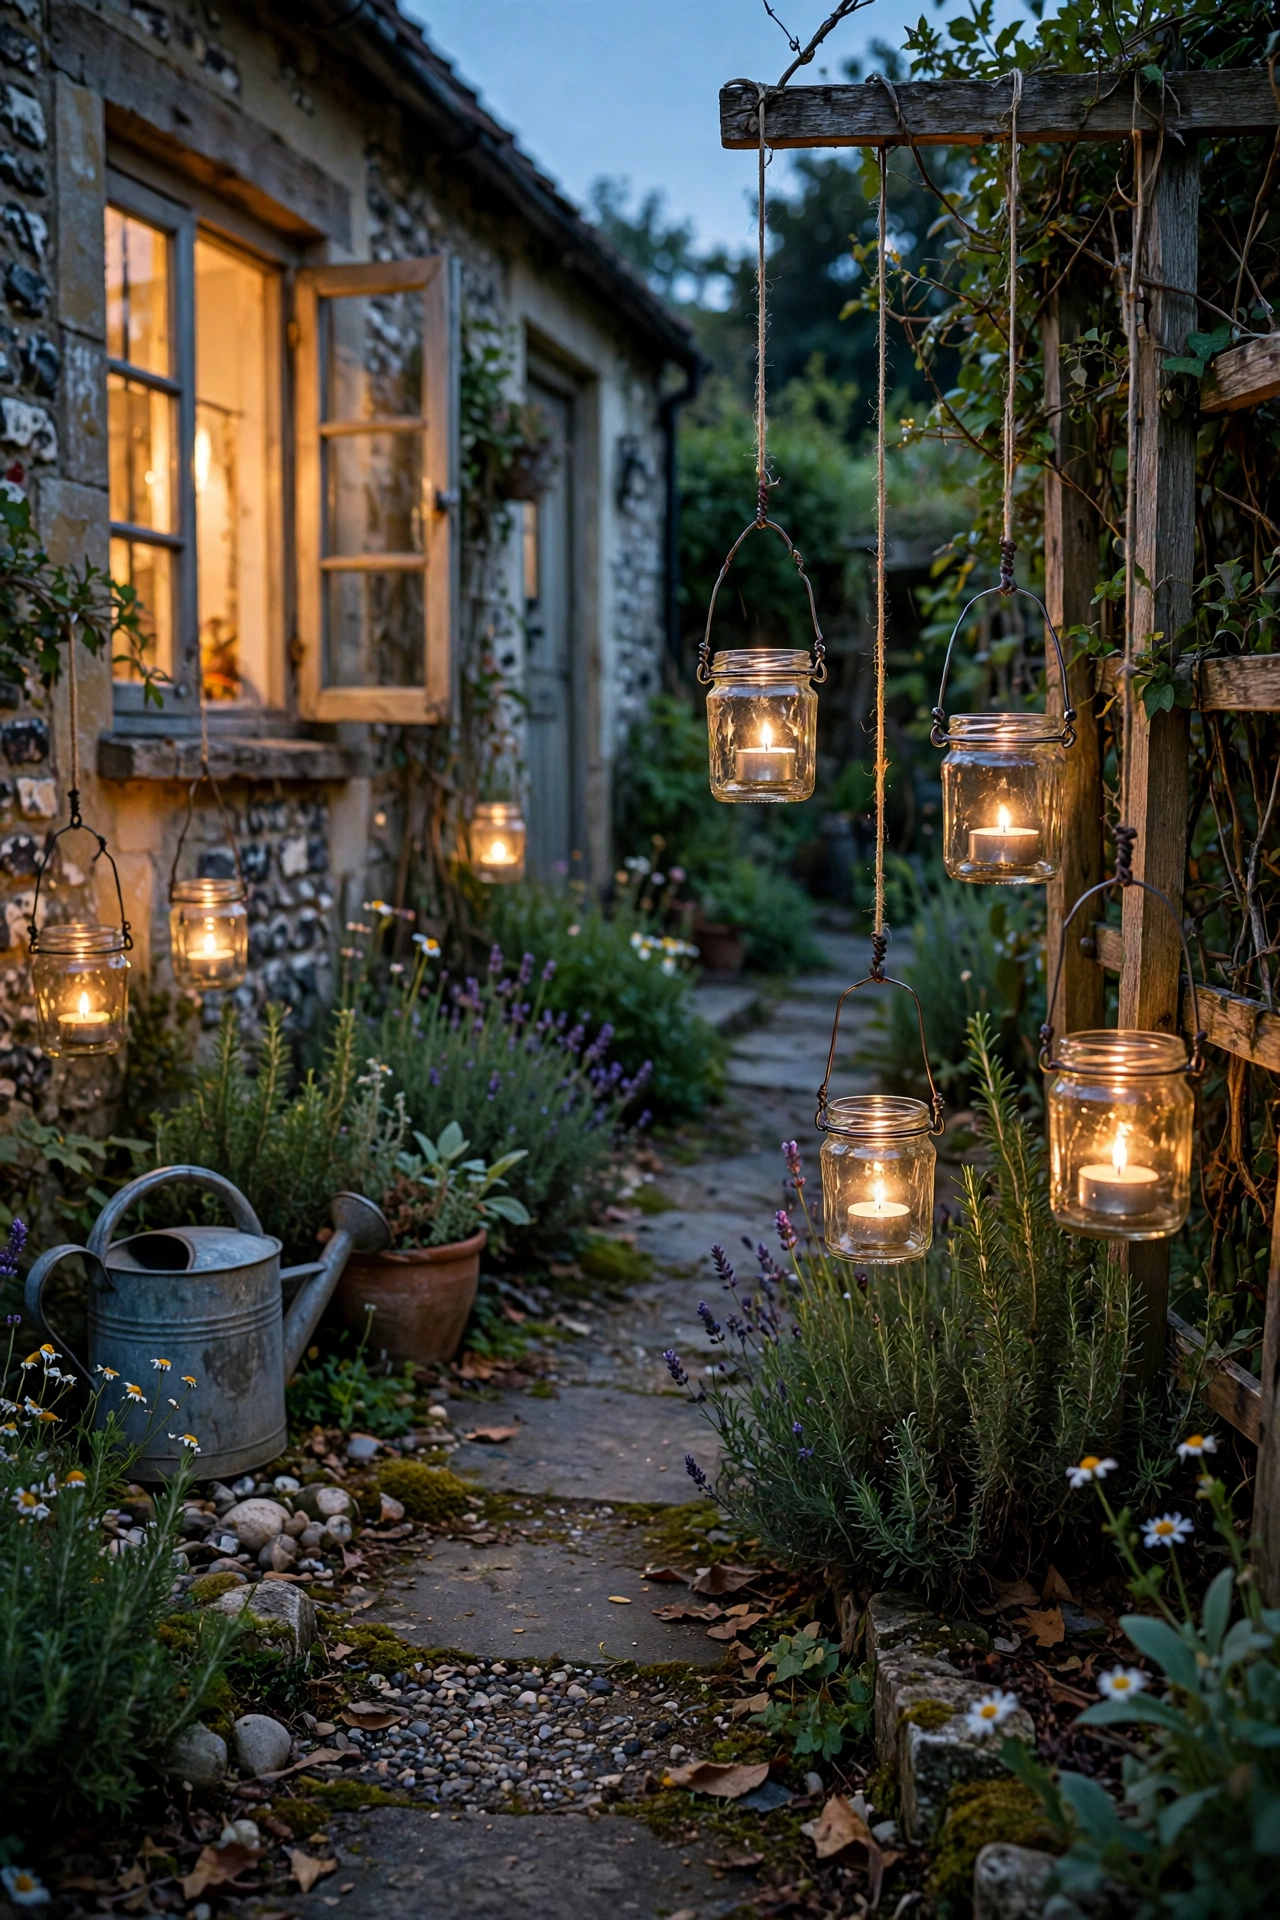
Wrap wire around the neck of a jam jar to make a handle, drop in a tealight, and hang the lantern from a branch, hook, or shepherd’s crook. A row of them along a garden path at dusk is pure magic. I made six for a summer evening gathering and guests asked where I’d bought them. Use LED tealights for hanging lanterns — real flames in a swinging jar near dry summer grass is a risk not worth taking.
Pro tip: add a spoonful of sand to the bottom of each jar so the tealight sits steady.
Cost: ~$6 | Time: 30 minutes
17. Floral Bunting for a Reading Nook
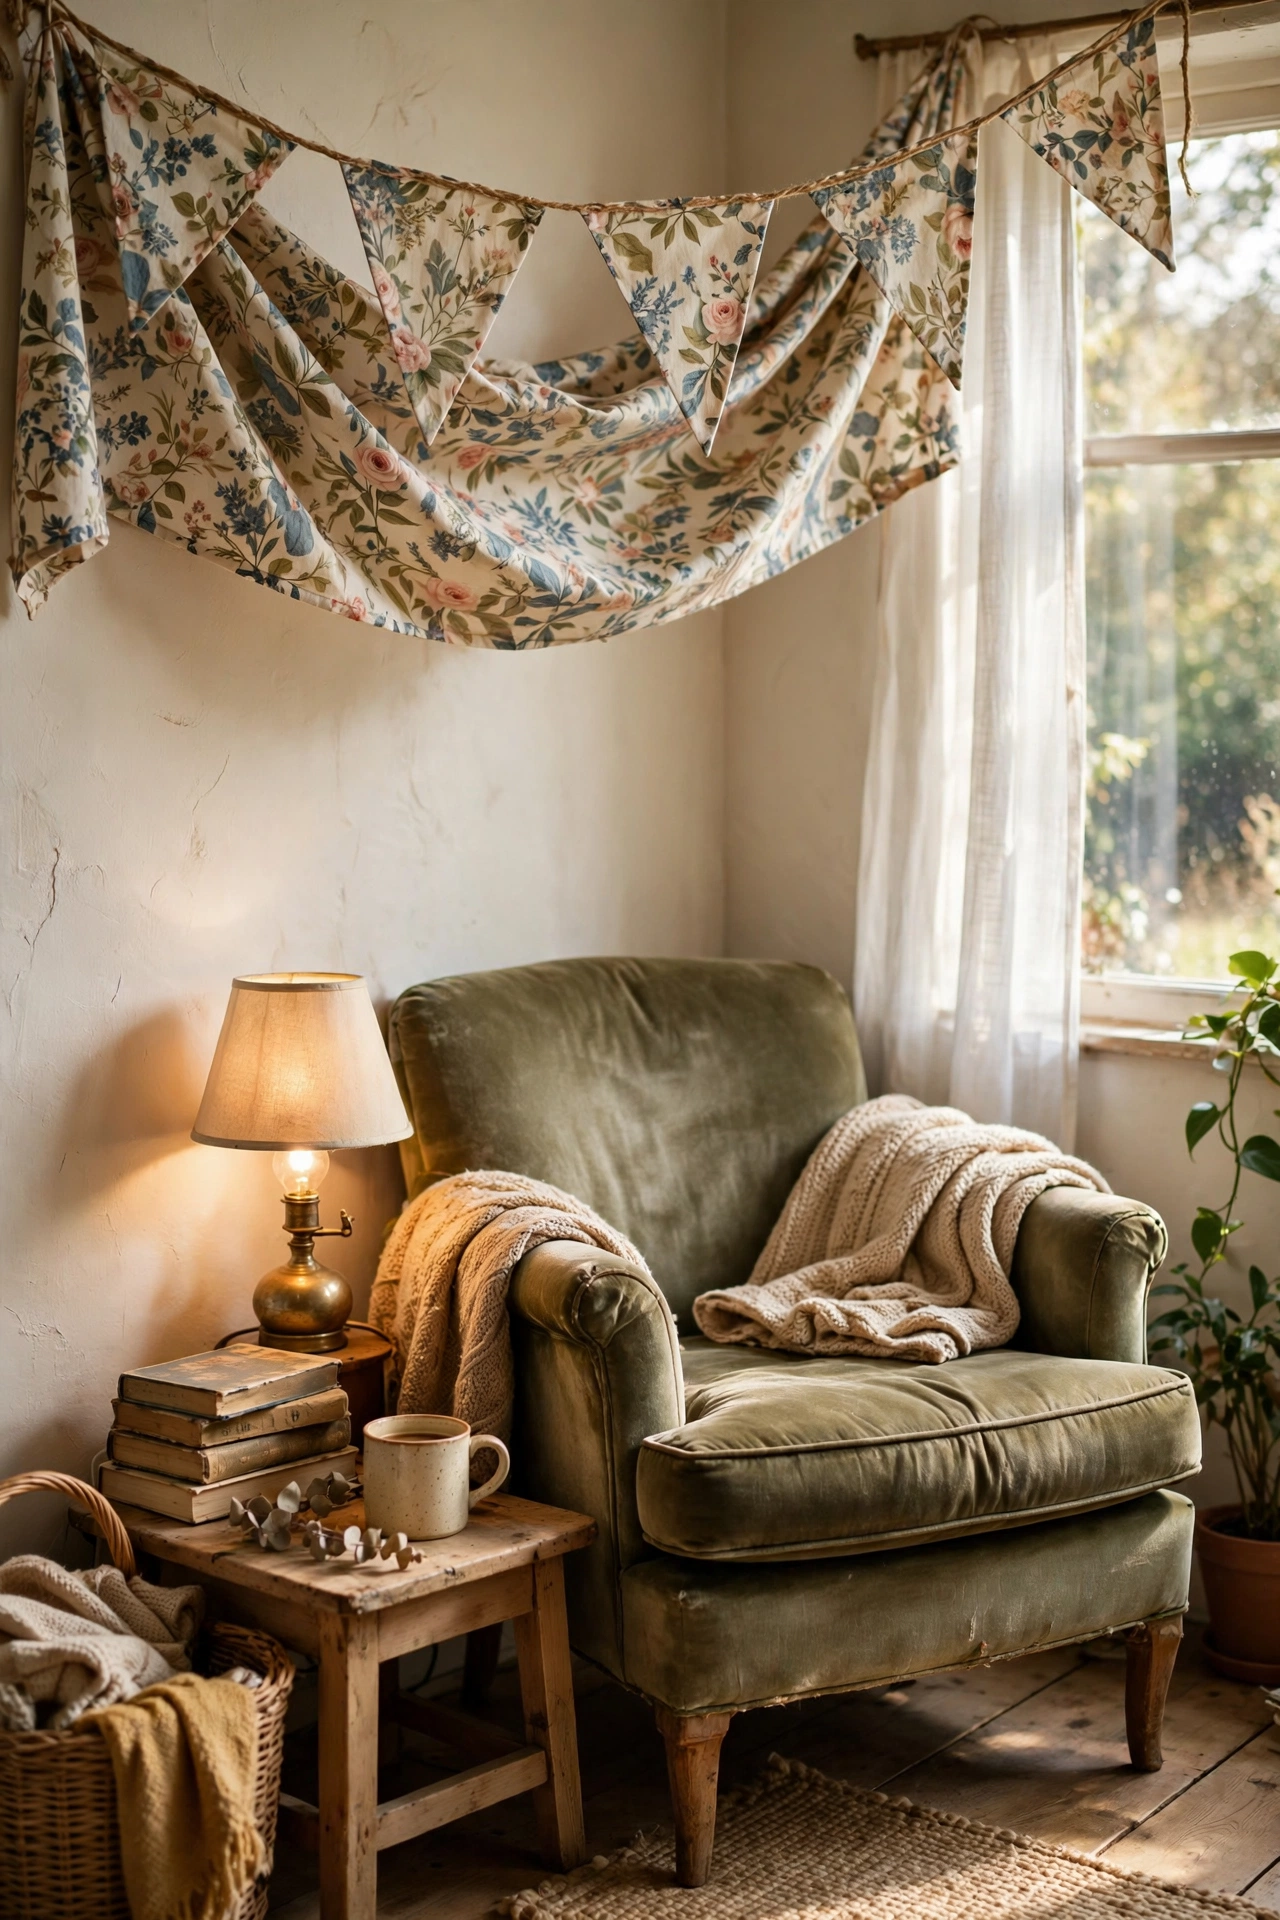
Cut triangles from floral fabric scraps, fold the tops over twine, and stitch or glue a strand to drape across your reading corner. It turns any chair-and-lamp setup into a proper nook. I hung mine above my armchair with a small shelf for tea, and it’s now the spot I end every day. Iron the triangles before hanging so they fall in crisp points instead of curling.
Pro tip: mix one stripe or gingham in with the florals to keep the look fresh, not fussy.
Cost: ~$5 | Time: 45 minutes
18. Vintage Book Stack Side Table

Stack four or five large hardback books, glue them together at the spine edges, and top with a small tray — an instant side table with cottage soul. Choose books with pretty spines in coordinating colours. I built one beside my reading chair from charity-shop finds and it holds my tea, my current read, and a candle. Glue only the spines, not the pages, so the books keep their shape and the stack stays solid.
Pro tip: place the largest book at the bottom and work up in size order for stability.
Cost: ~$7 | Time: 30 minutes plus drying
19. Dried Lavender Bundle Display
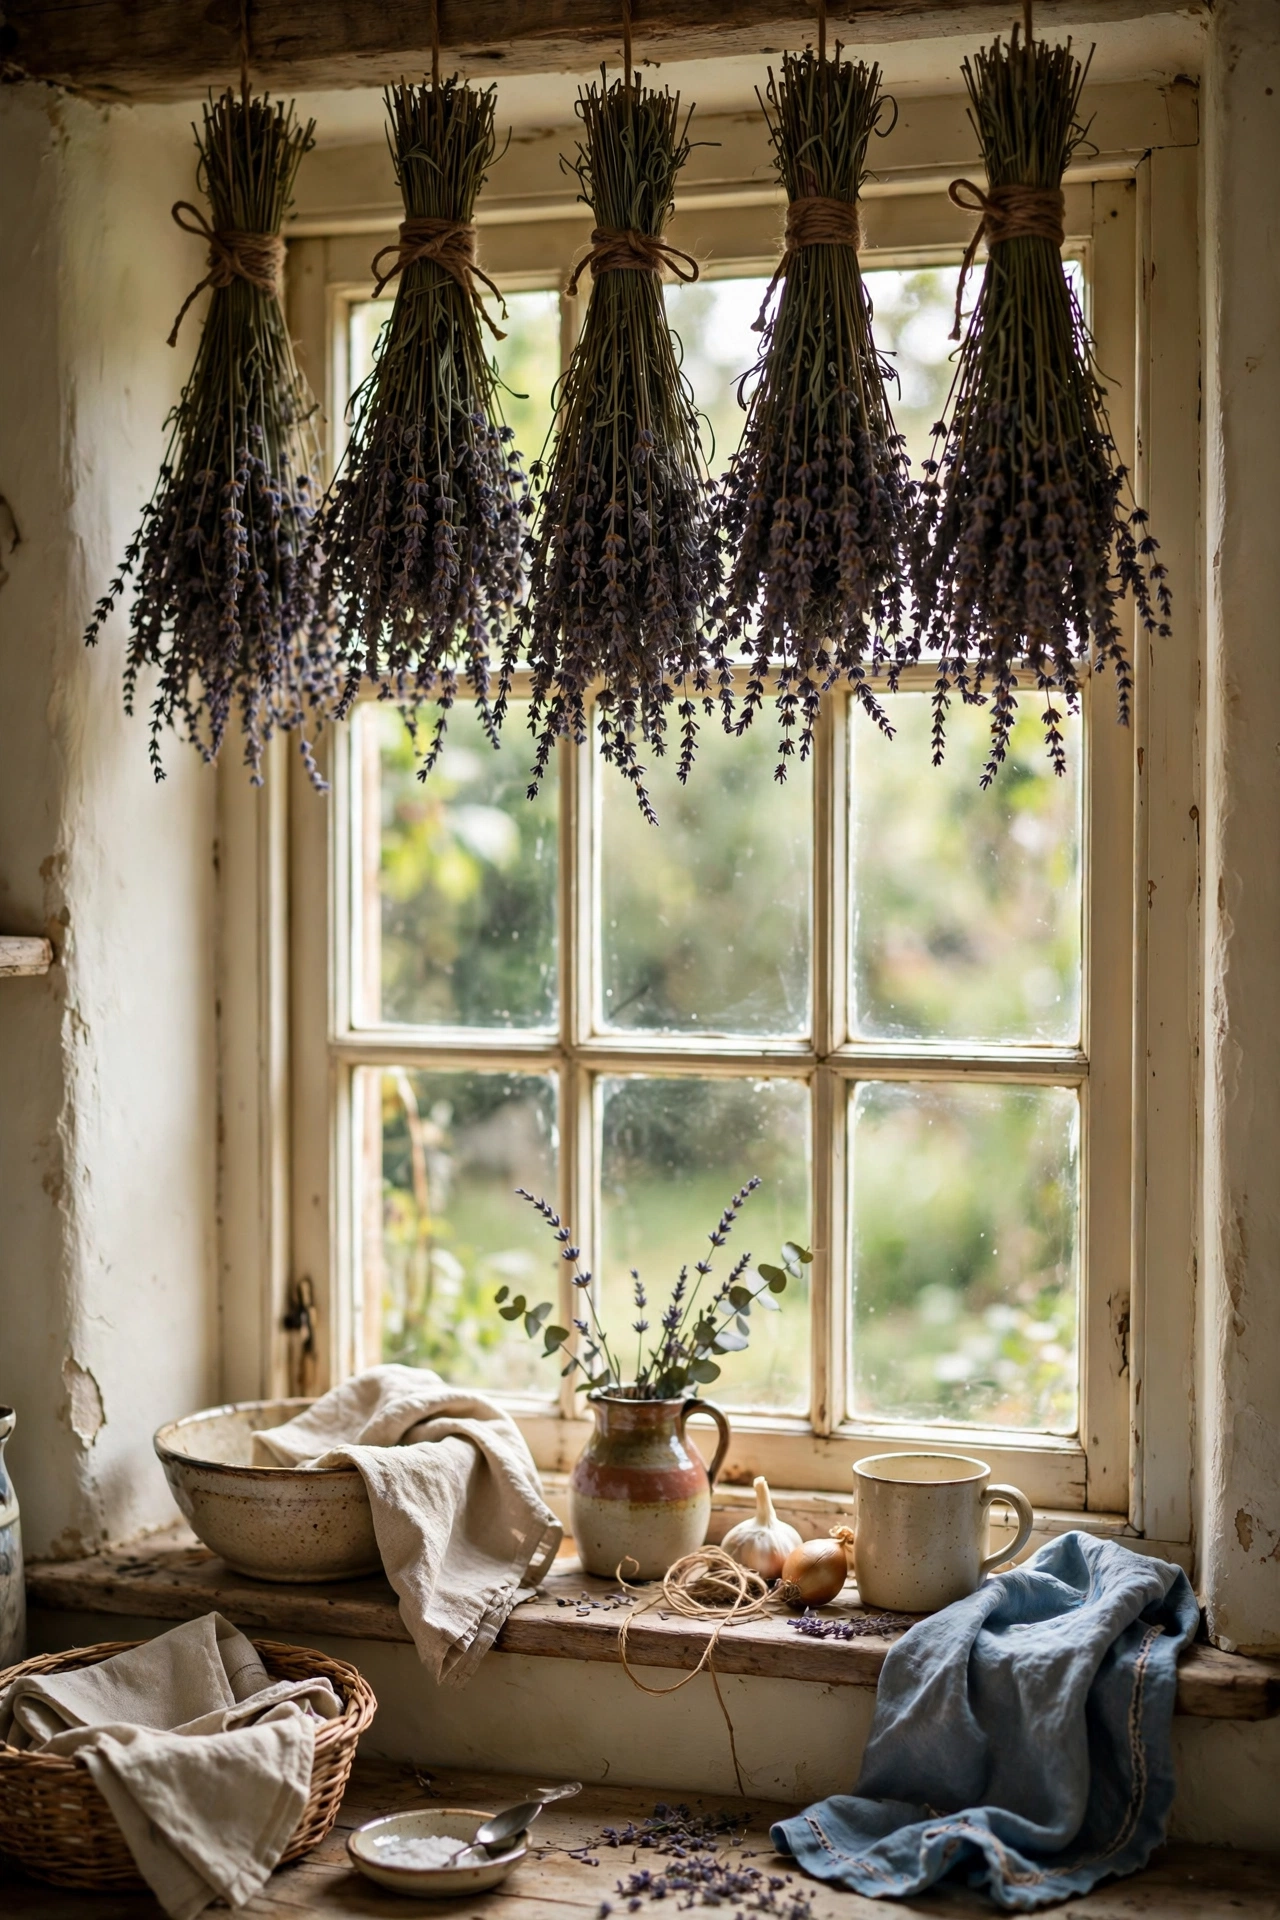
Tie bunches of dried lavender with twine and hang them upside down from a beam, hook, or even a curtain rod. They scent the room gently and look beautiful as they are — no arranging skill needed. I hung five bundles above my kitchen window and the whole room smells like a French farmhouse. Harvest or buy lavender just as the buds open; picked too late, the buds shatter and you lose both colour and scent.
Pro tip: hang bundles in a dark, airy spot to dry — sunlight bleaches the purple within days.
Cost: ~$8 | Time: 20 minutes
Quick questions, answered
What defines cottagecore decor, really?
It’s the look of a romanticised rural life: floral fabrics, natural materials, handmade and vintage pieces, and a slightly wild, gathered-over-time feel. Think grandmother’s cottage meets a wildflower meadow — nothing sleek, nothing mass-produced looking.
How do I keep cottagecore from looking cluttered?
Stick to a tight colour palette — creams, sages, soft florals — and give every collection breathing room. A shelf of pretty jars looks curated; every surface covered looks chaotic. Edit ruthlessly and leave some empty space.
Can I do cottagecore in a modern flat?
Absolutely. You don’t need beams and a fireplace. A few floral textiles, some dried flowers, vintage-look storage jars, and warm lighting bring the feeling to any space. Start with one corner and let it grow.
📌 Loving this look? Pin this post now so you can save this idea for your next weekend refresh.
Keep the calm going with these next: (see also: 15-diy-wall-art-ideas-on-a-budget/) (see also: 17-one-hour-diy-decor-ideas-for-busy-people/) (see also: 15-upcycled-home-decor-ideas-worth-trying-this-weekend/)
Cottagecore is really just permission to make your home soft, personal, and a little bit wild. Start with whichever collection spoke to you, and let the rest grow one handmade piece at a time.
