25 Dollar Store DIYs That Look High-End
I wandered into a thrift store last spring hunting for picture frames and walked out with a bag of chipped vases, cloudy glassware, and a wobbly candle holder. The cashier probably thought I was mad. But every single piece became part of my dollar store DIY decor experiments, and those sad little finds now look like expensive boutique pieces sitting around my home.
I have made every project below with bits that cost a dollar or two, plus a few supplies from my craft box. None of them look cheap, and that is the whole point. Here are the twenty-five dollar store transformations that genuinely fooled my friends.
1. Paint Vases with Baking Soda for a Ceramic Look
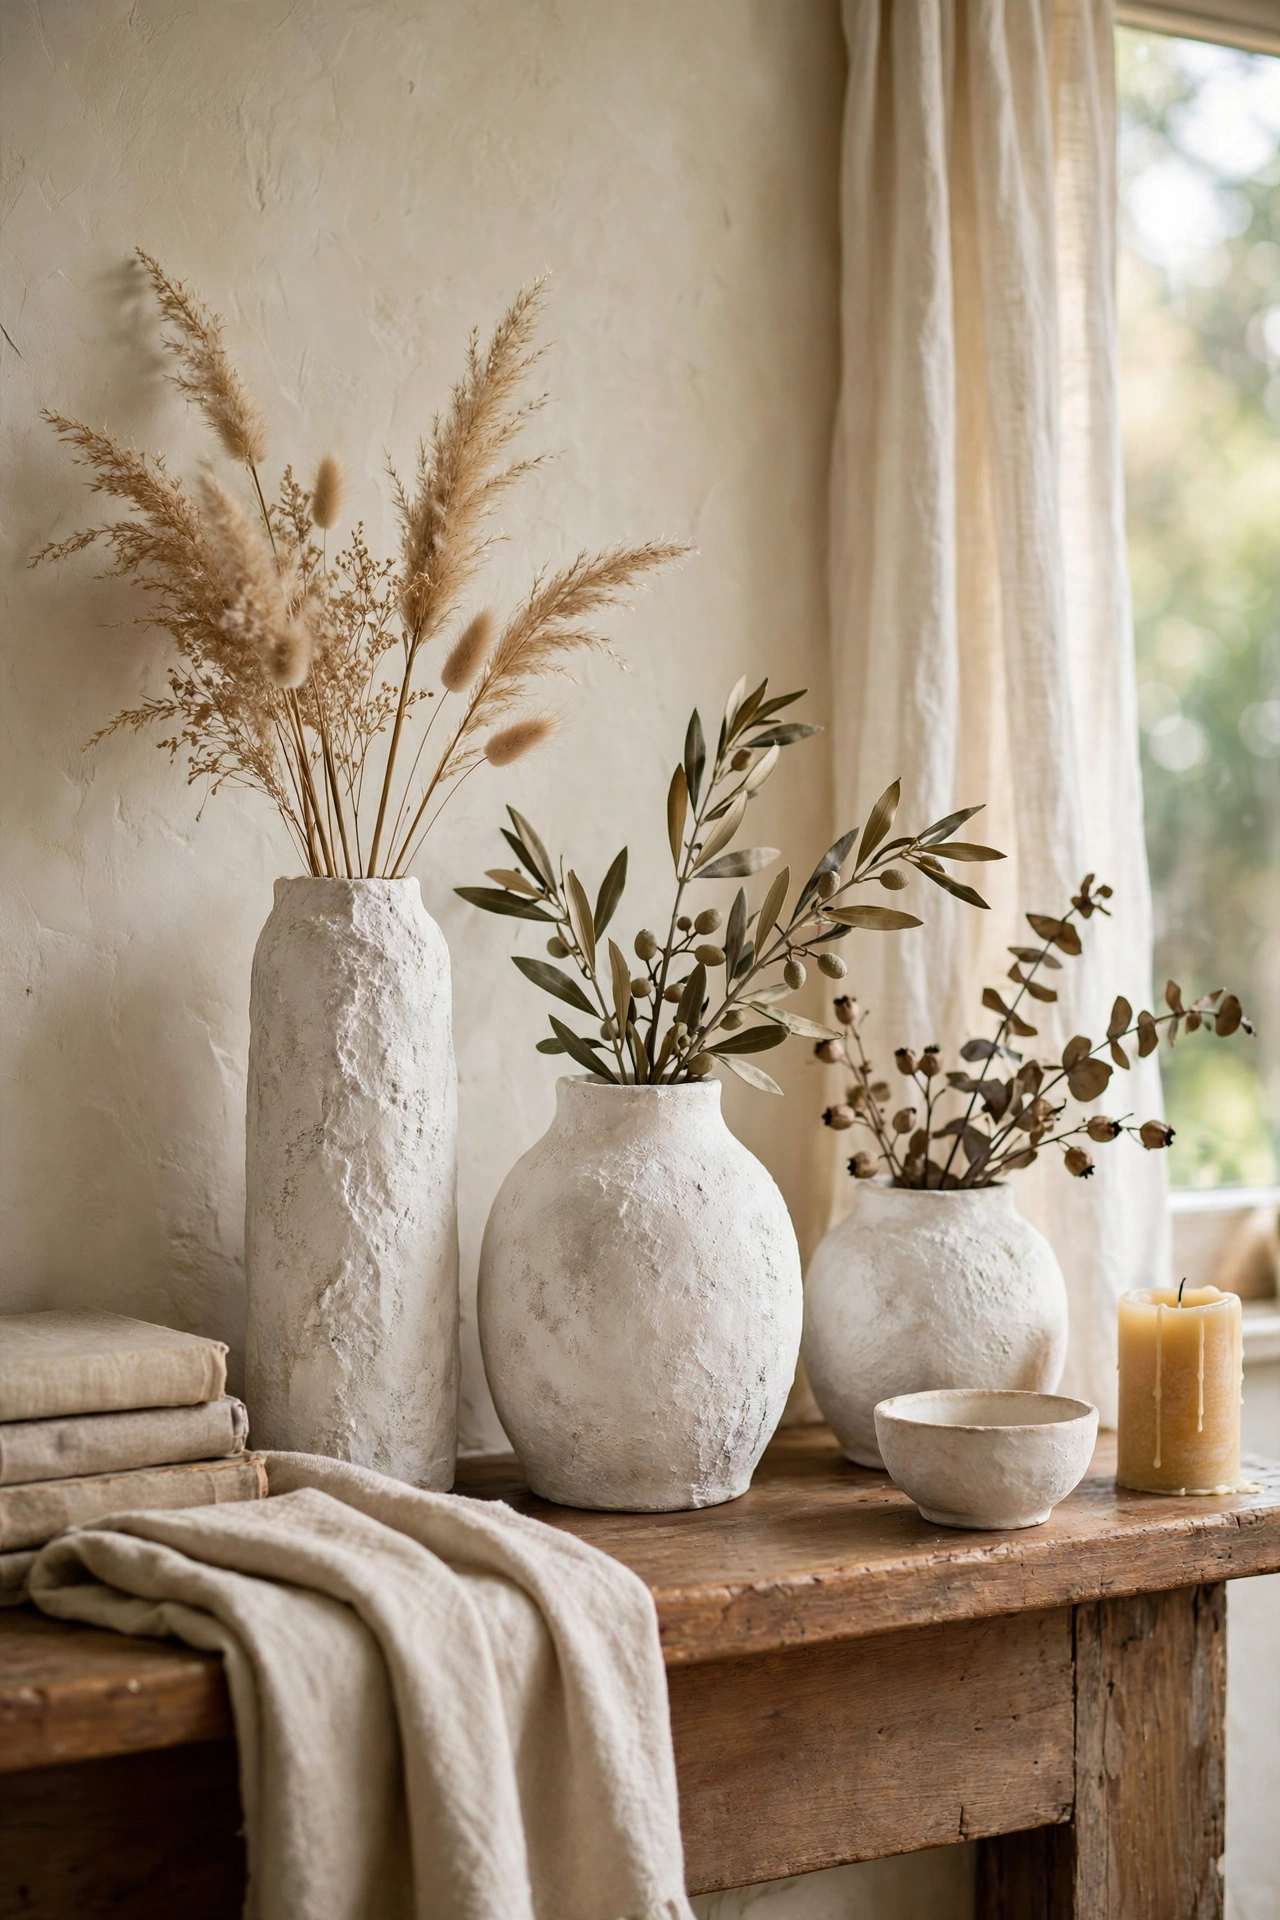
Shiny dollar store vases look cheap, but baking soda paint fixes that completely. I mixed matte paint half and half with baking soda and brushed two thin coats onto plain glass vases. They dried with a gritty, handmade texture that looks like artisan stoneware. Let each coat dry fully or the finish cracks. My first vase went on too thick and I had to sand it back, so thin layers matter. In warm white and clay tones they look genuinely expensive. I keep three on the mantel and nobody guesses their origin.
Materials: dollar store vases, matte paint, baking soda, brush | Cost: ~$4-8 | Time: 1 hour plus drying
2. Build a Gallery Wall from Dollar Store Frames
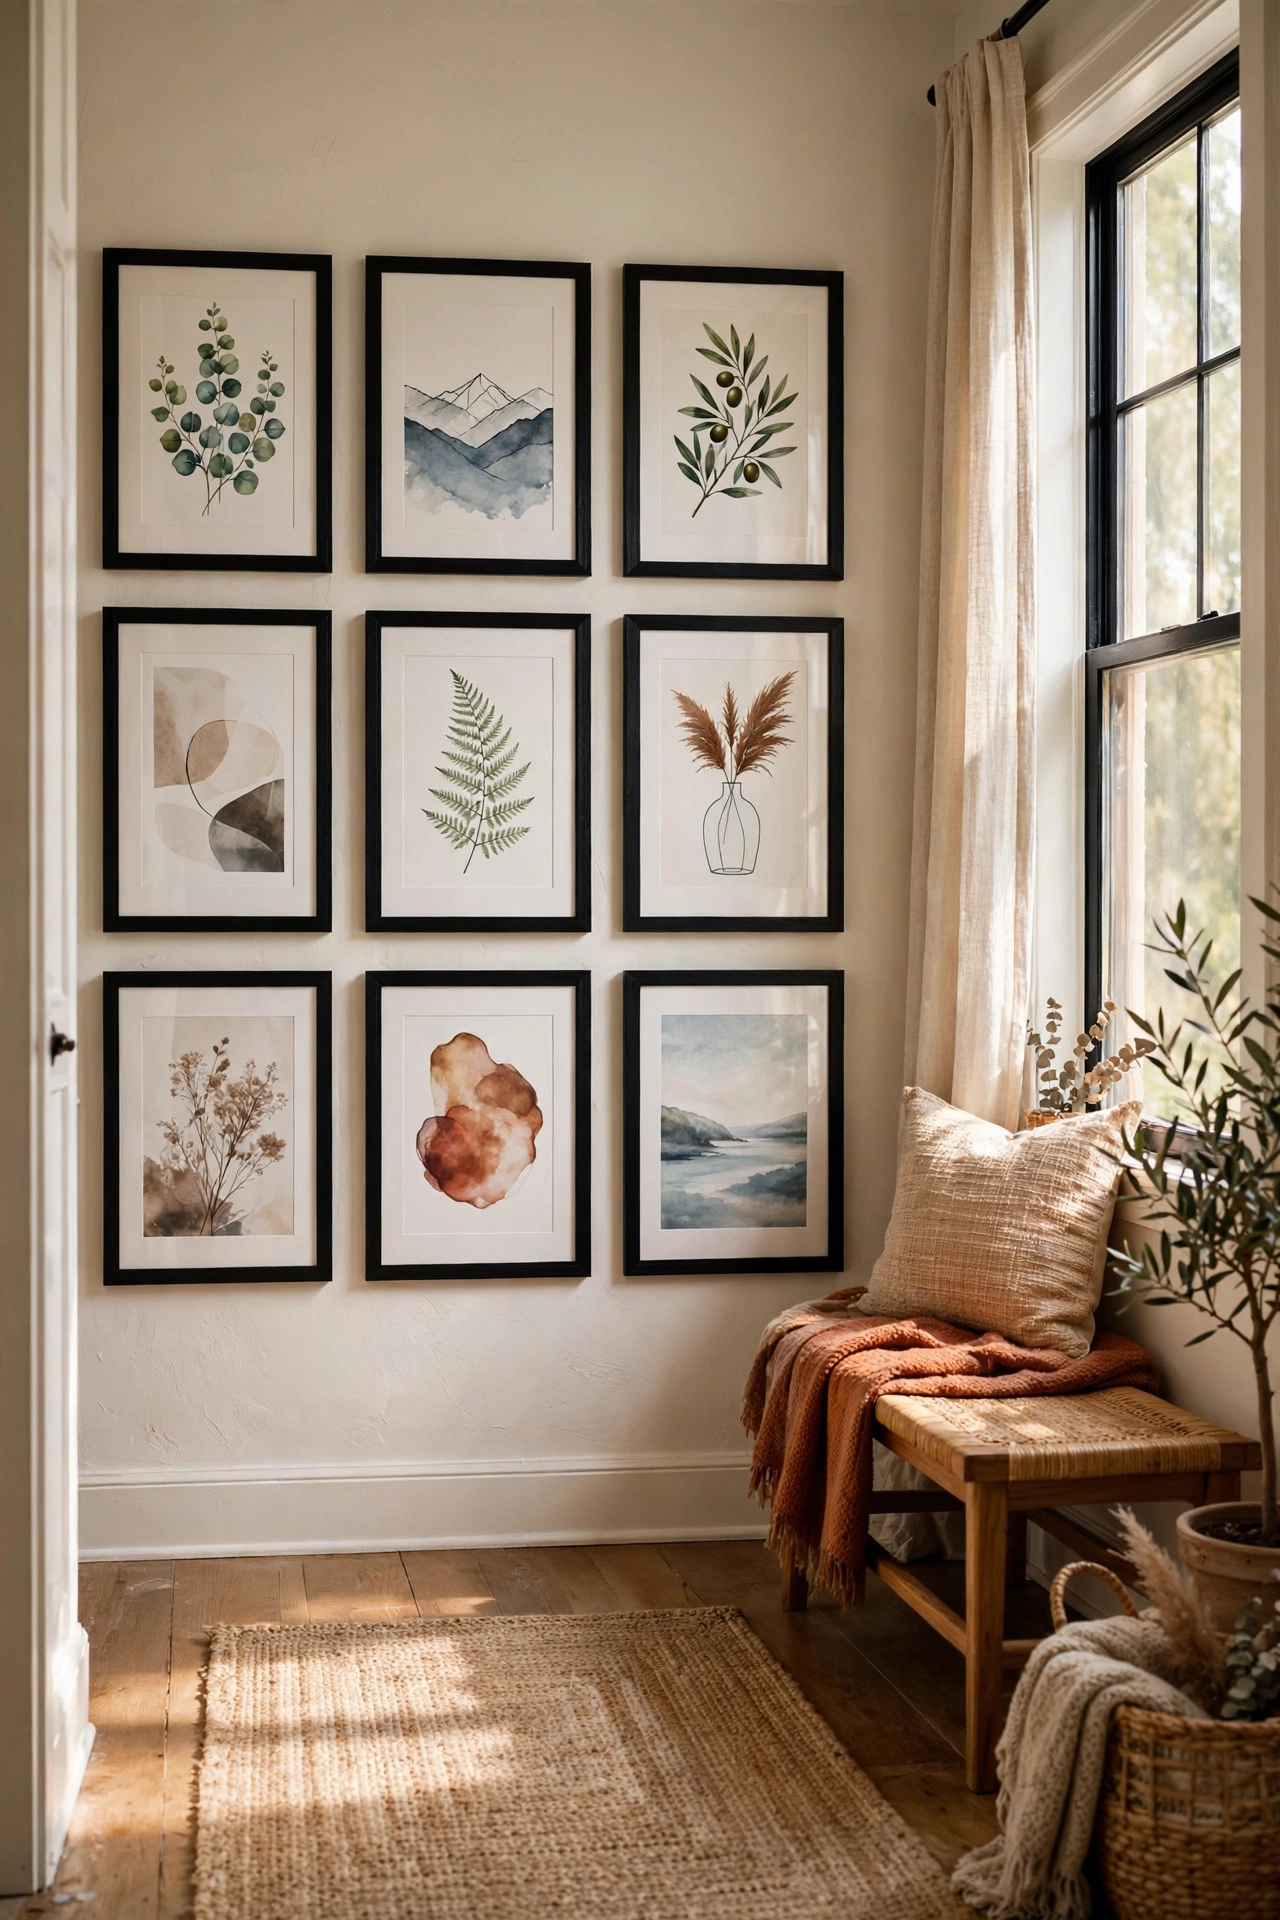
Dollar store frames look cheap individually, but a full wall of them looks like a deliberate gallery. I bought twelve matching black frames and filled them with free printable art and family photos. Spray painting them all the same colour is what makes it work, because uniformity reads as designed. Hang them with a paper template so the spacing stays even. My hallway wall went from blank to boutique in one afternoon. Guests always assume it cost a fortune. I change the prints with the seasons, so the wall never feels stale.
Materials: matching frames, spray paint, prints, hanging strips | Cost: ~$15-25 | Time: 2 hours
3. Make a Faux Marble Tray with Contact Paper
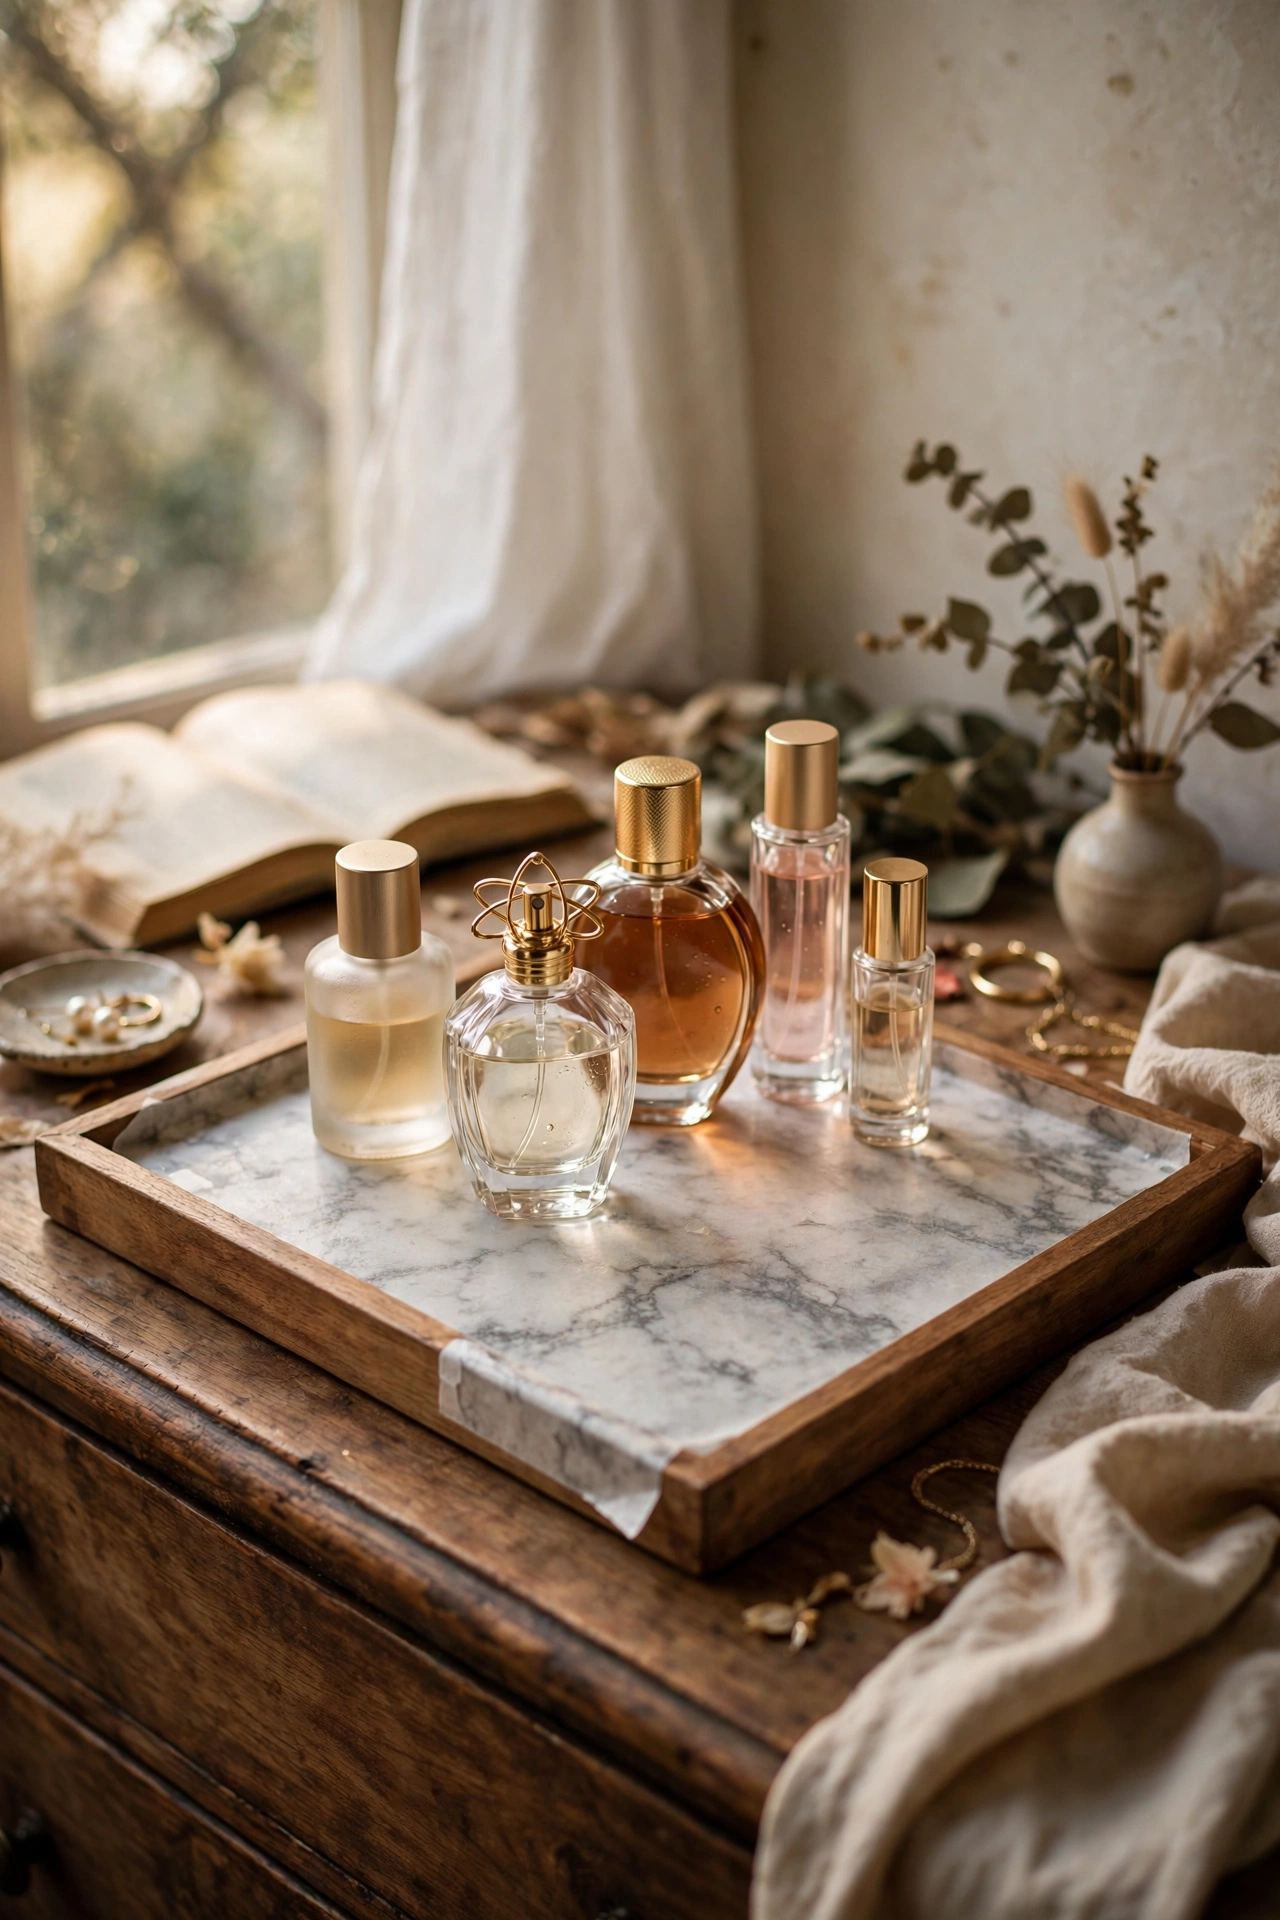
Marble contact paper over a plain tray looks remarkably like the real thing. I covered a flat wooden tray, smoothing out bubbles with a credit card as I went, and trimmed the edges neatly underneath. Work slowly from one end to avoid wrinkles. My first attempt trapped a huge bubble because I rushed, and peeling it back carefully saved it. It holds perfume bottles on my dresser and looks properly luxurious. The marble pattern hides a multitude of sins. I made a second one for the bathroom, and it looks just as smart there.
Materials: plain tray, marble contact paper | Cost: ~$3-6 | Time: 20 minutes
4. Wrap Candle Holders in Twine
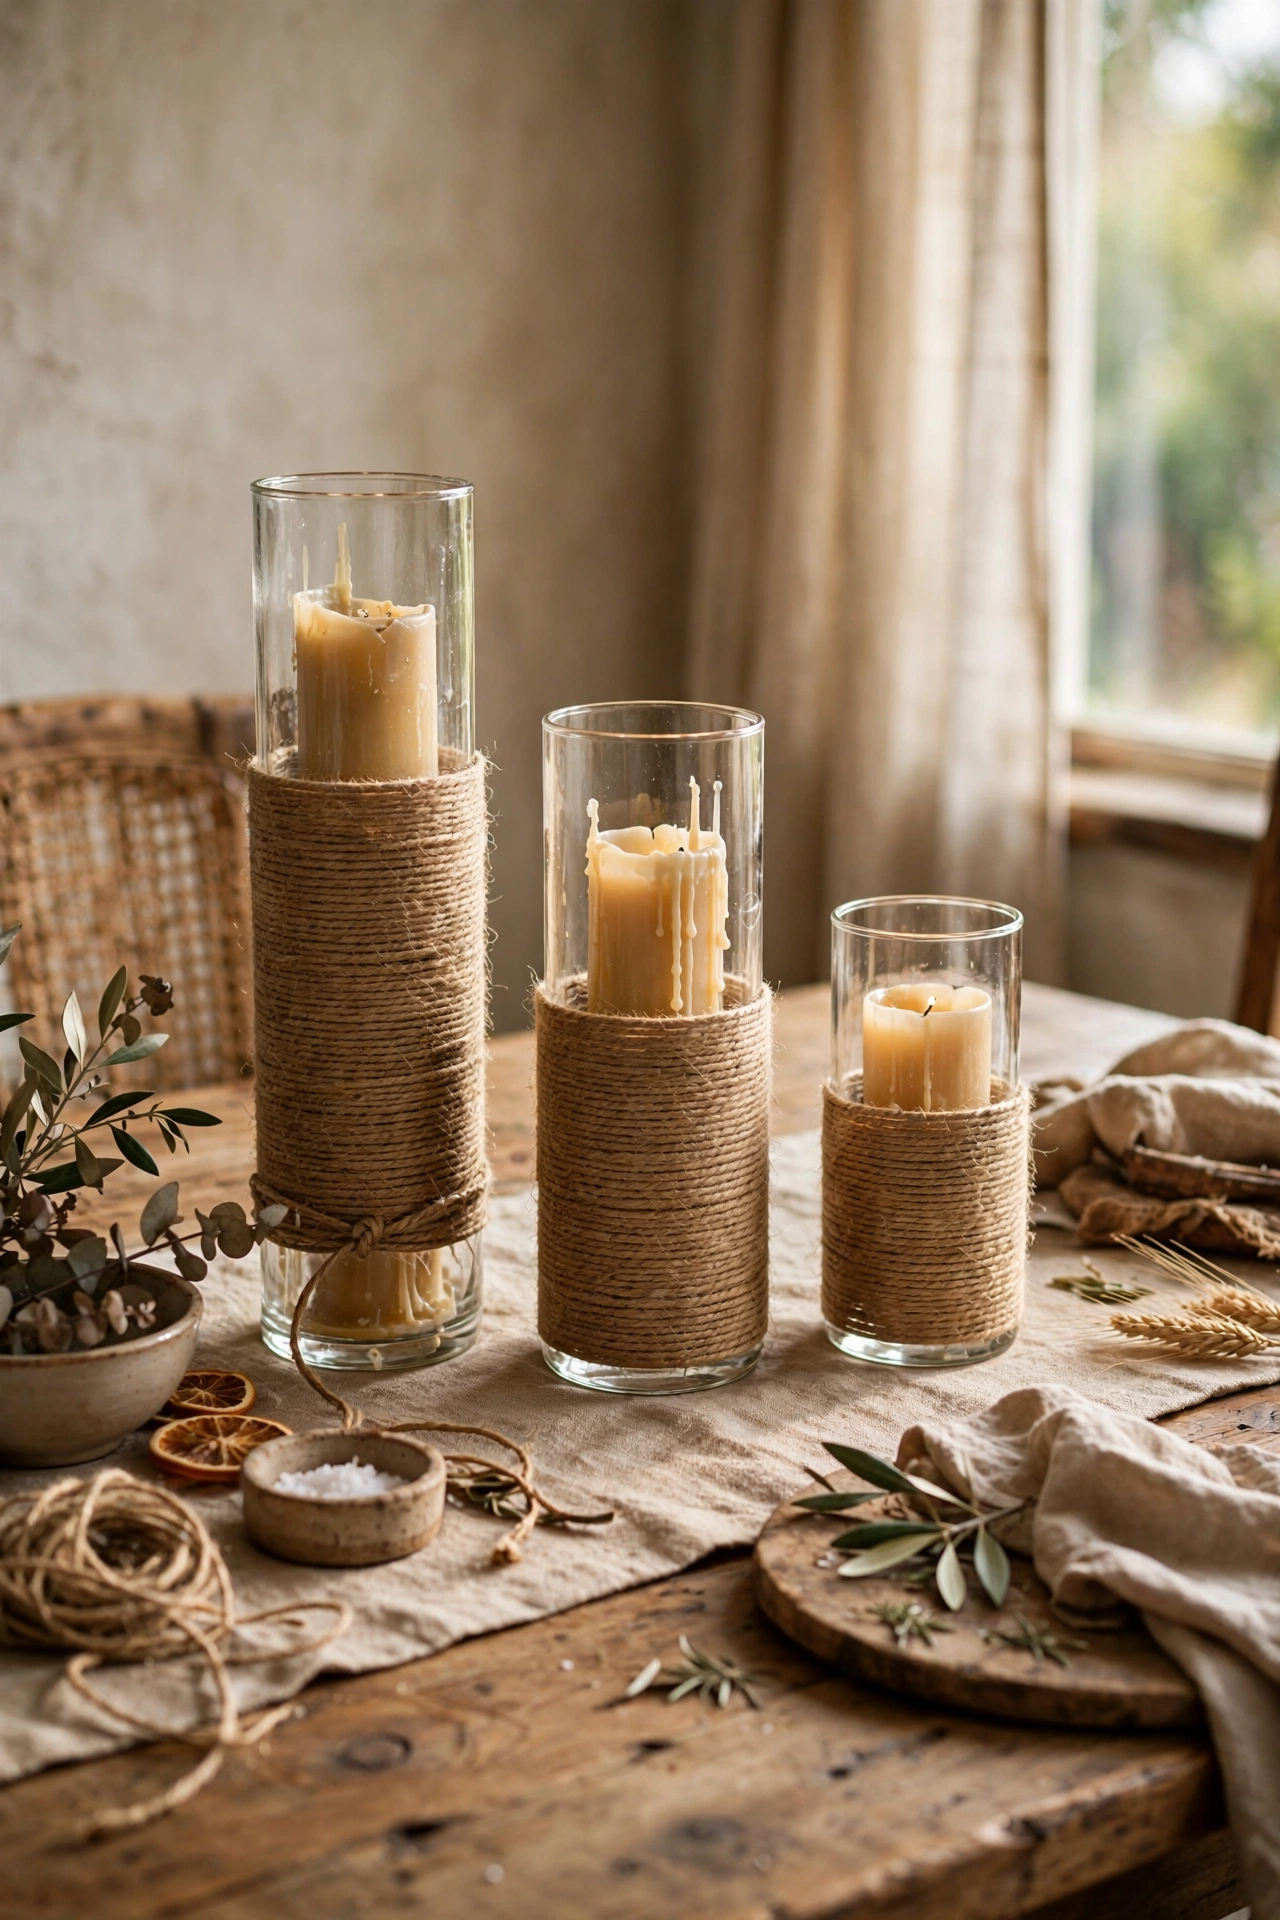
Plain glass candle holders become rustic-chic wrapped in jute twine. I glued the twine end at the base and wound it tightly upward, keeping every row touching. A dab of glue every few rows stops it slipping. My first holder had gaps because I wound too loosely, so keep firm tension. The natural texture looks wonderful with candlelight flickering through. I made a set of three in different heights for the dining table. They cost almost nothing and look like a coastal boutique set.
Materials: glass candle holders, jute twine, hot glue gun | Cost: ~$4-7 | Time: 45 minutes
5. Assemble a Faux Boxwood Topiary
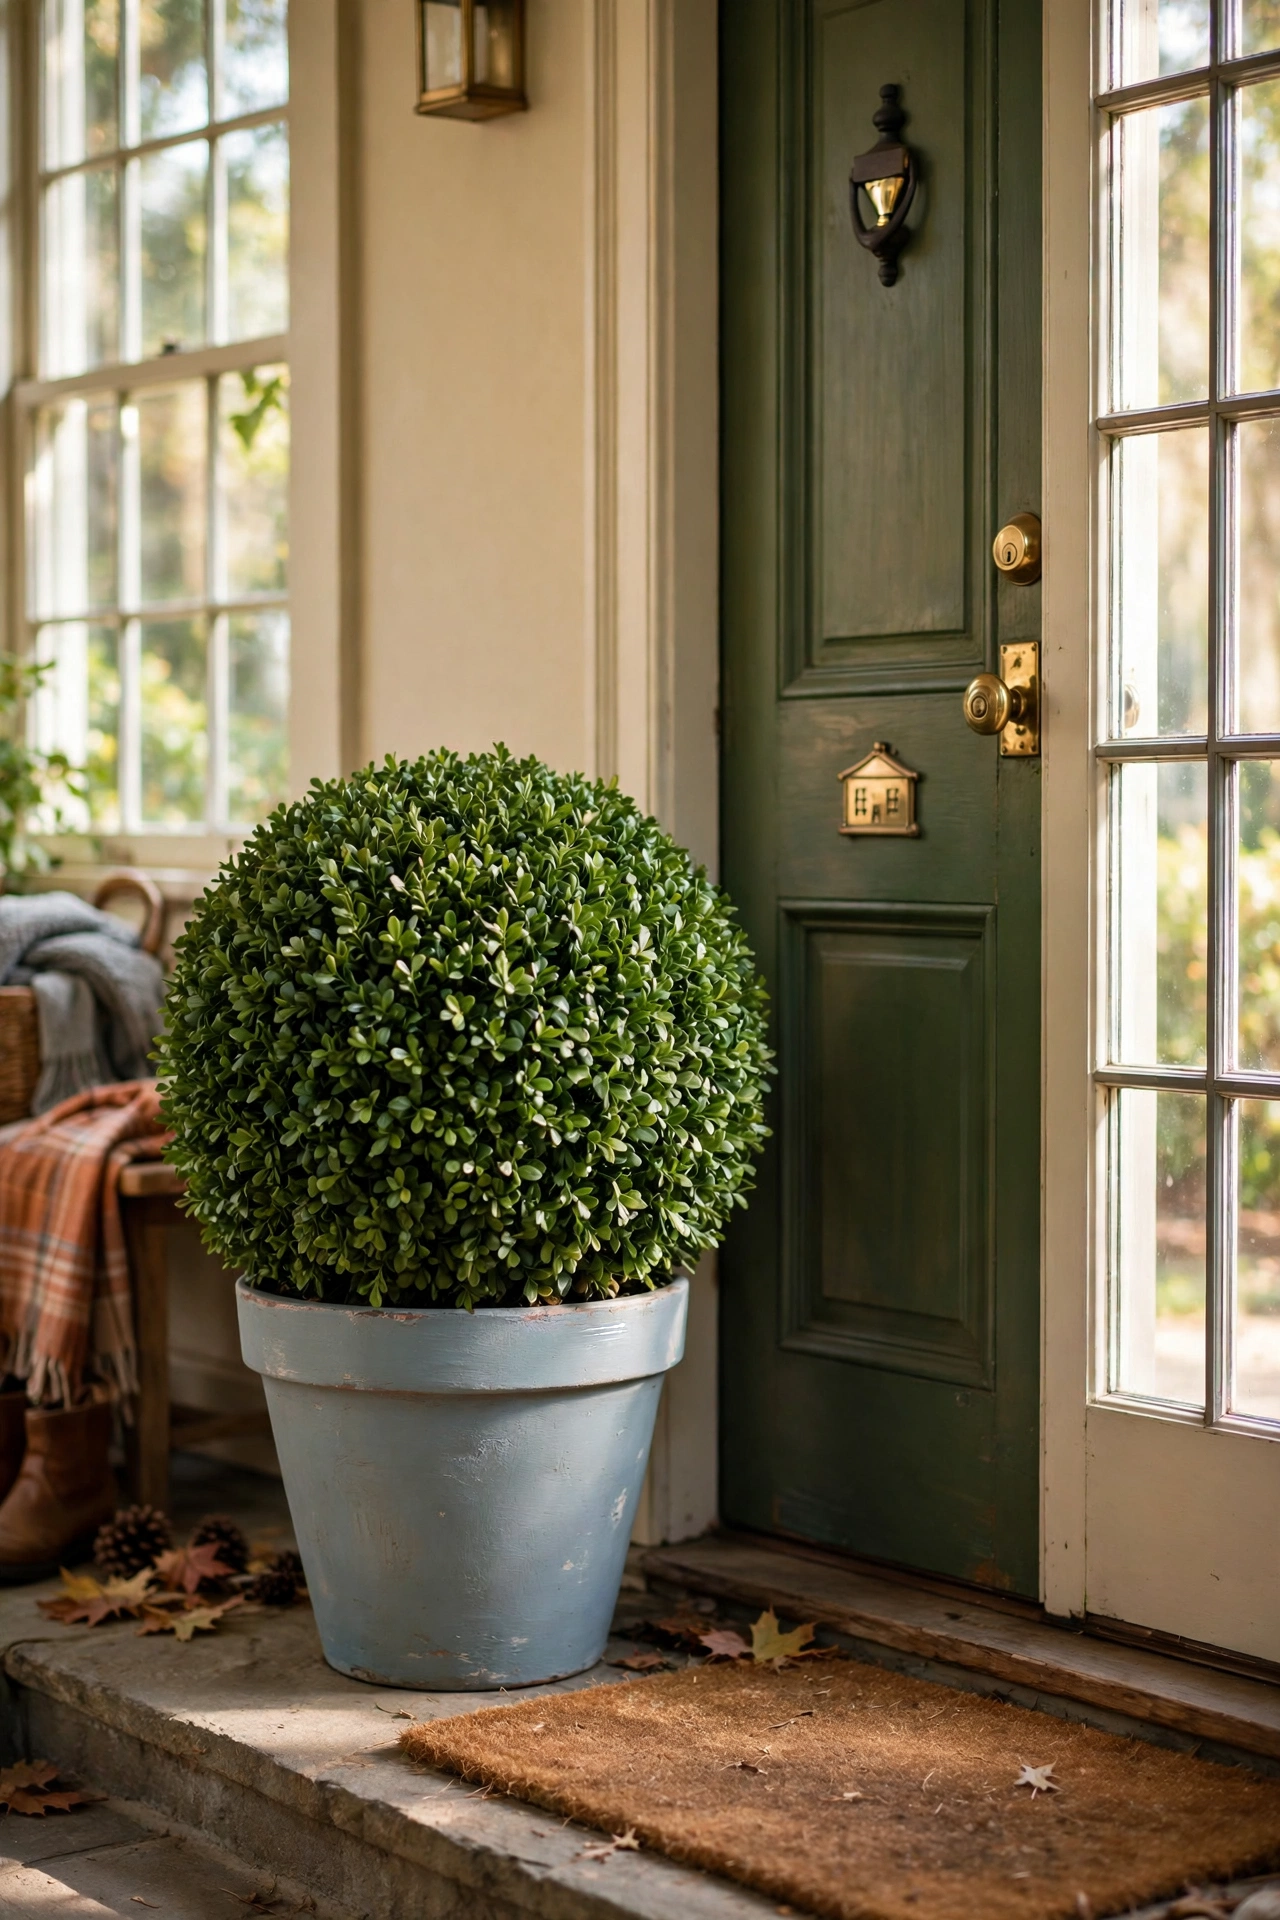
Dollar store boxwood picks pushed into a foam ball make a topiary that looks professionally made. I covered a foam sphere with the picks, pushing each stem in firmly until no foam showed, then mounted it on a dowel in a painted pot. Fluff the picks outward as you go for fullness. My first one looked patchy because I spaced the picks too far apart, so pack them densely. It sits by my front door and looks far more expensive than its few dollars of parts.
Materials: boxwood picks, foam ball, dowel, pot, paint | Cost: ~$8-12 | Time: 1 hour
6. Hang Charger Plates as Wall Art
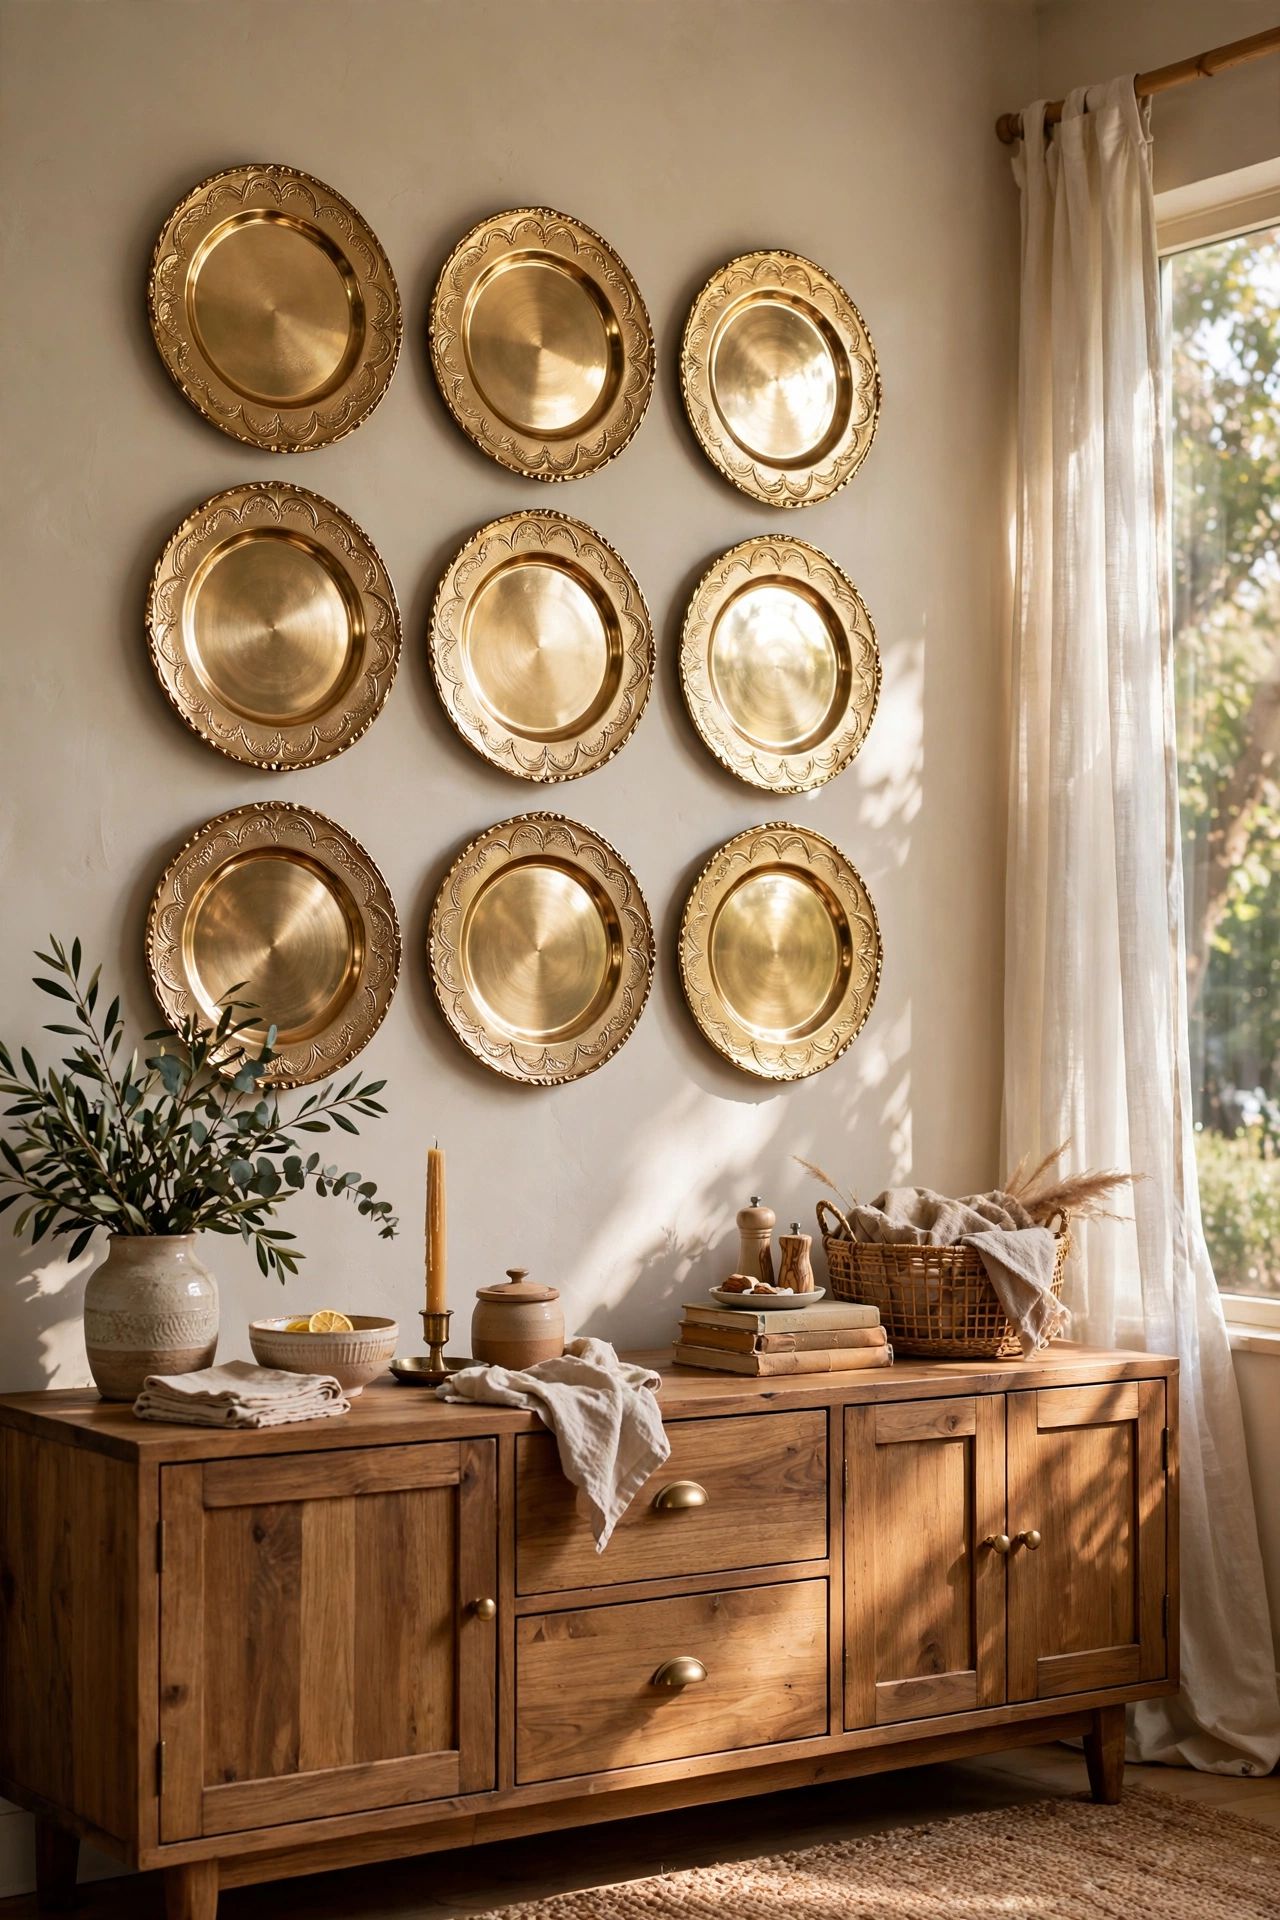
Metallic charger plates hung in a cluster look like expensive wall sculpture. I bought six gold chargers and hung them with plate hangers in a loose organic arrangement above the sideboard. Mixing two metallic tones keeps it interesting. My first layout was too symmetrical and looked stiff, so I went asymmetrical and it came alive. The metallic finish catches the light beautifully. It is the most complimented wall in my dining room and cost less than a takeaway. I rearrange the plates every few months when I fancy a change.
Materials: metallic charger plates, plate hangers | Cost: ~$8-12 | Time: 30 minutes
7. String a Wooden Bead Garland
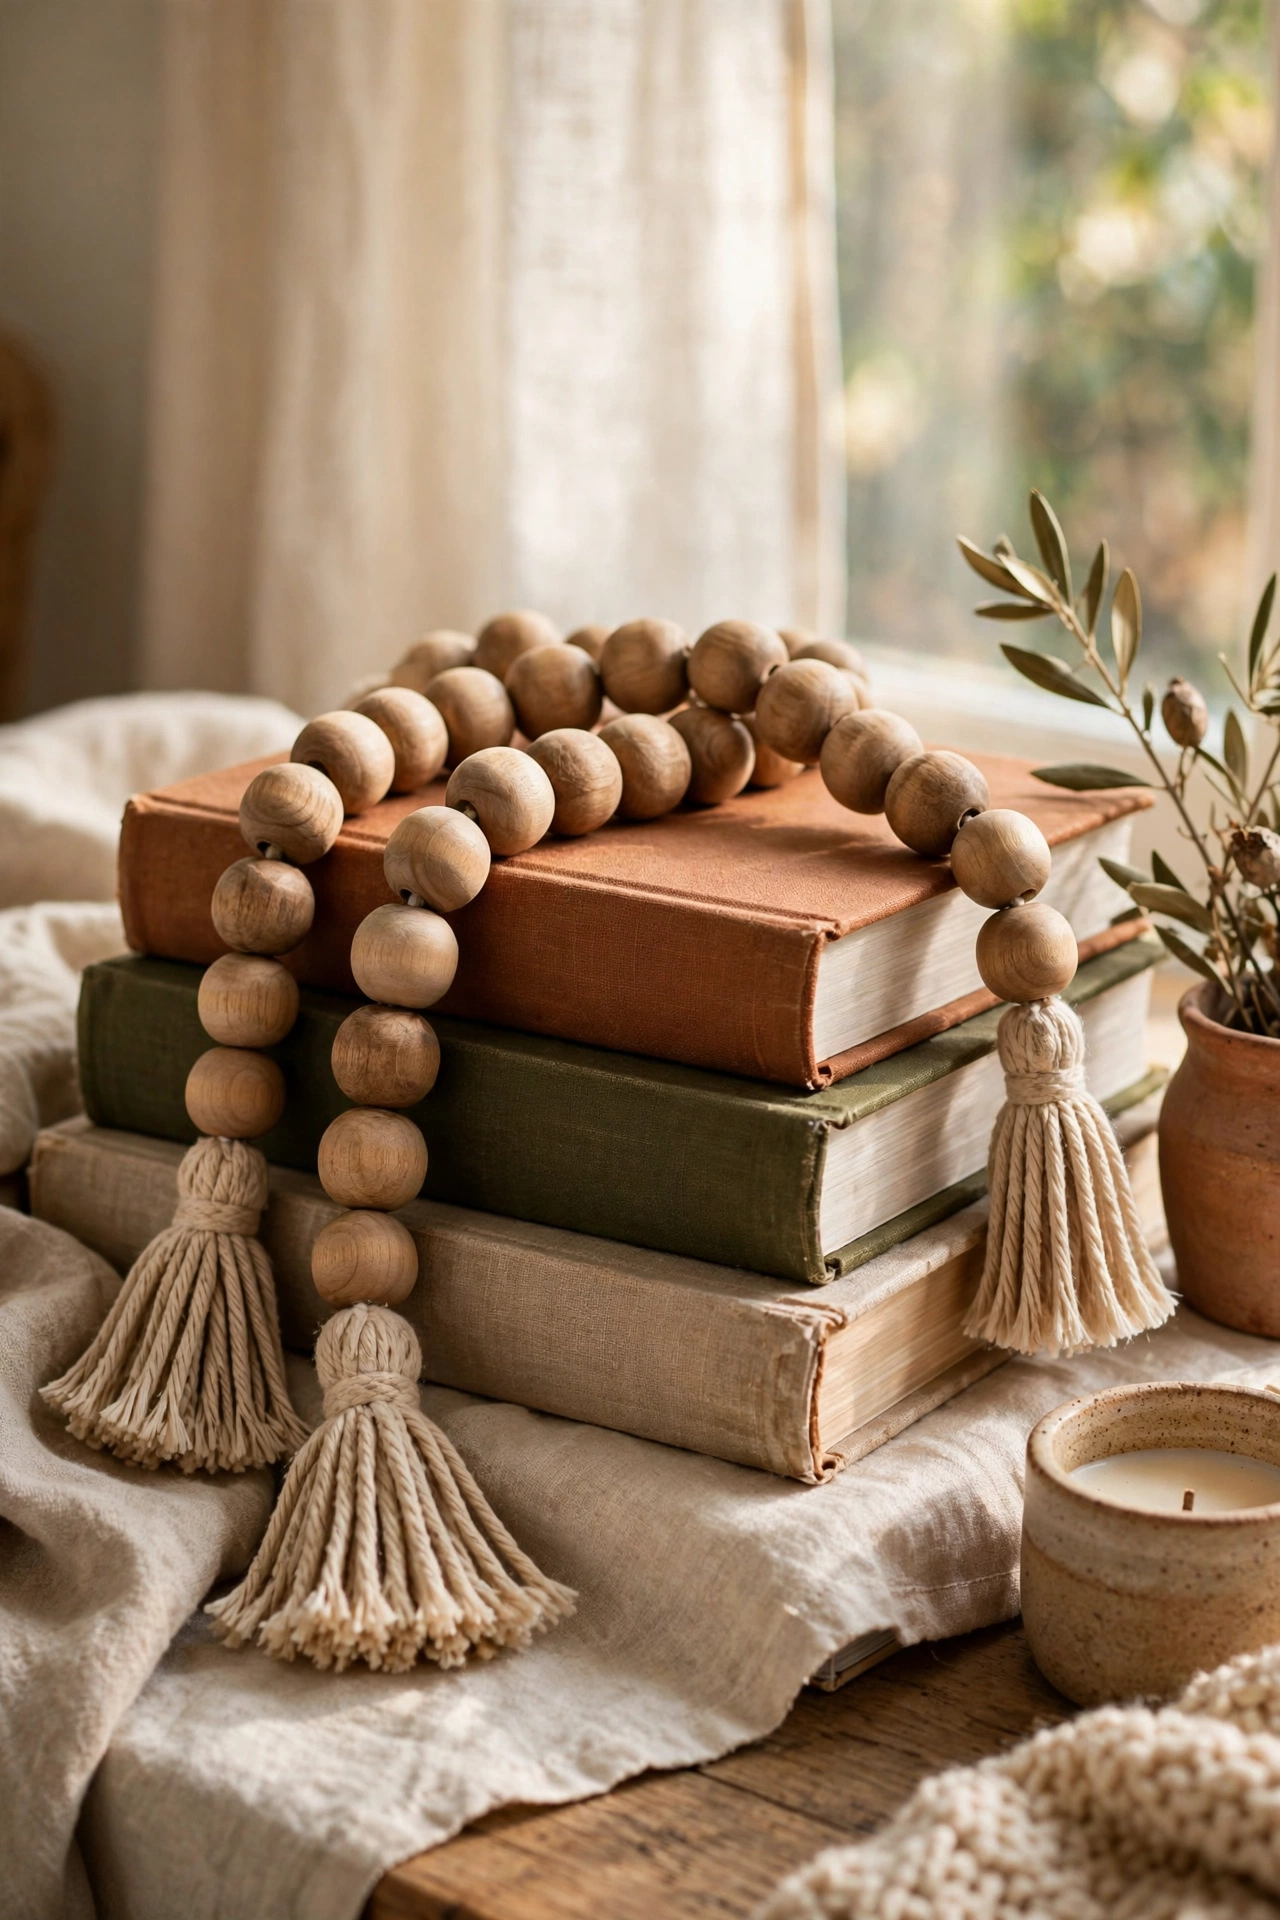
Wooden bead garlands drape beautifully over vases, trays, and mantels. I strung large unfinished wooden beads onto jute cord with a tassel tied at each end. Sand any rough beads first or they snag. My first garland used beads that were too small and it looked fiddly, so go chunky for the best effect. Draped over a stack of books it adds instant styled warmth. I made three in different lengths and use them everywhere. They look like the expensive ones from home boutiques.
Materials: large wooden beads, jute cord | Cost: ~$4-7 | Time: 30 minutes
8. Make a Mirrored Tray from Coaster Tiles
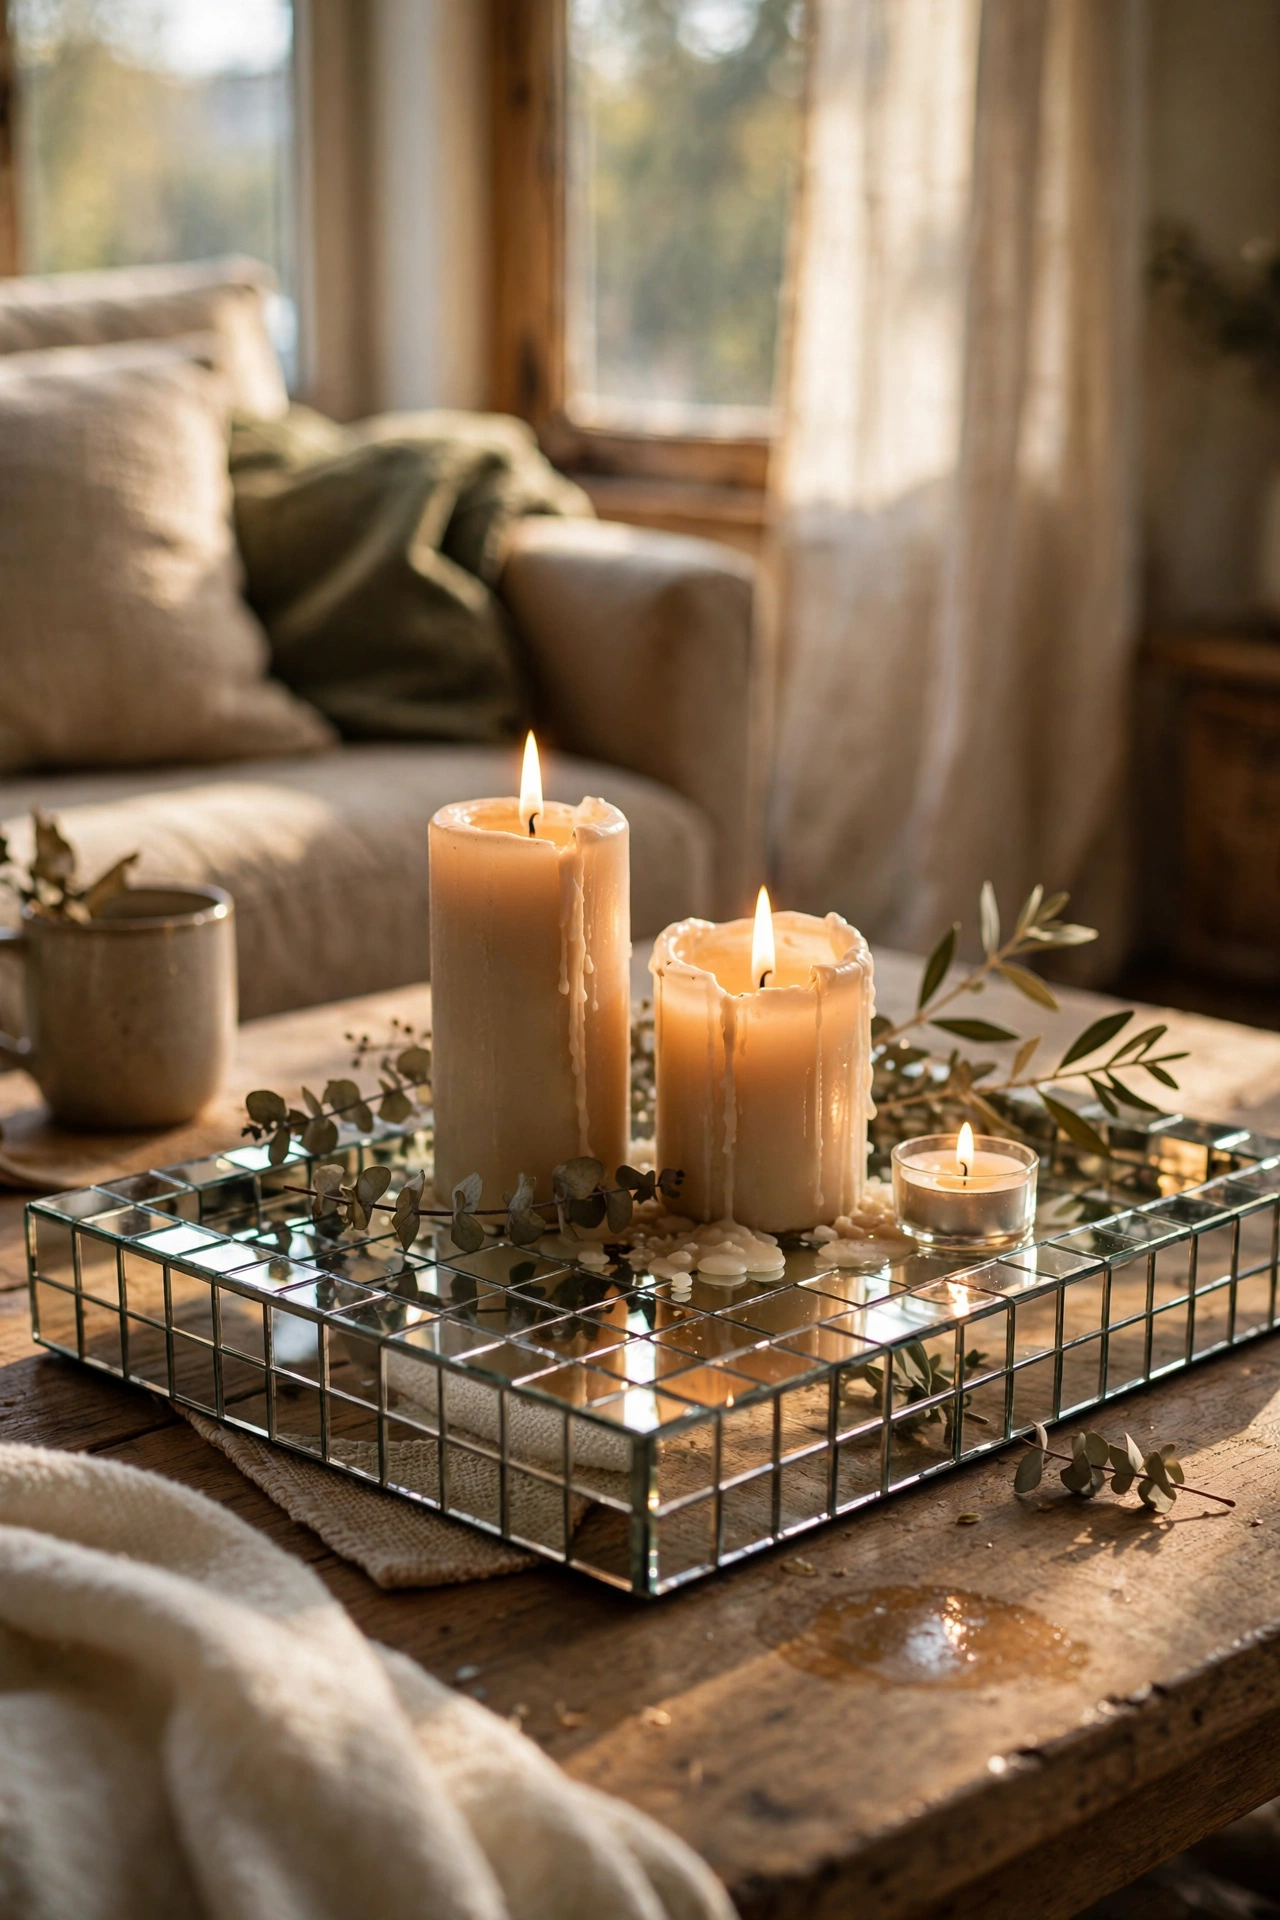
Mirror coaster tiles glued onto a tray base create a glamorous mirrored tray. I arranged square mirror tiles on a plain wooden tray with strong glue, leaving tiny even gaps, then sealed the edges. Wear gloves when handling cut mirror edges. My first tray had uneven gaps because I eyeballed it, so use spacers. It reflects candlelight beautifully on the coffee table. It looks like something from a high-end home store and cost me a few dollars. I use it for keys and sunglasses by the front door.
Materials: plain tray, mirror tiles, strong glue | Cost: ~$6-10 | Time: 45 minutes
9. Build a Faux Eucalyptus Wreath
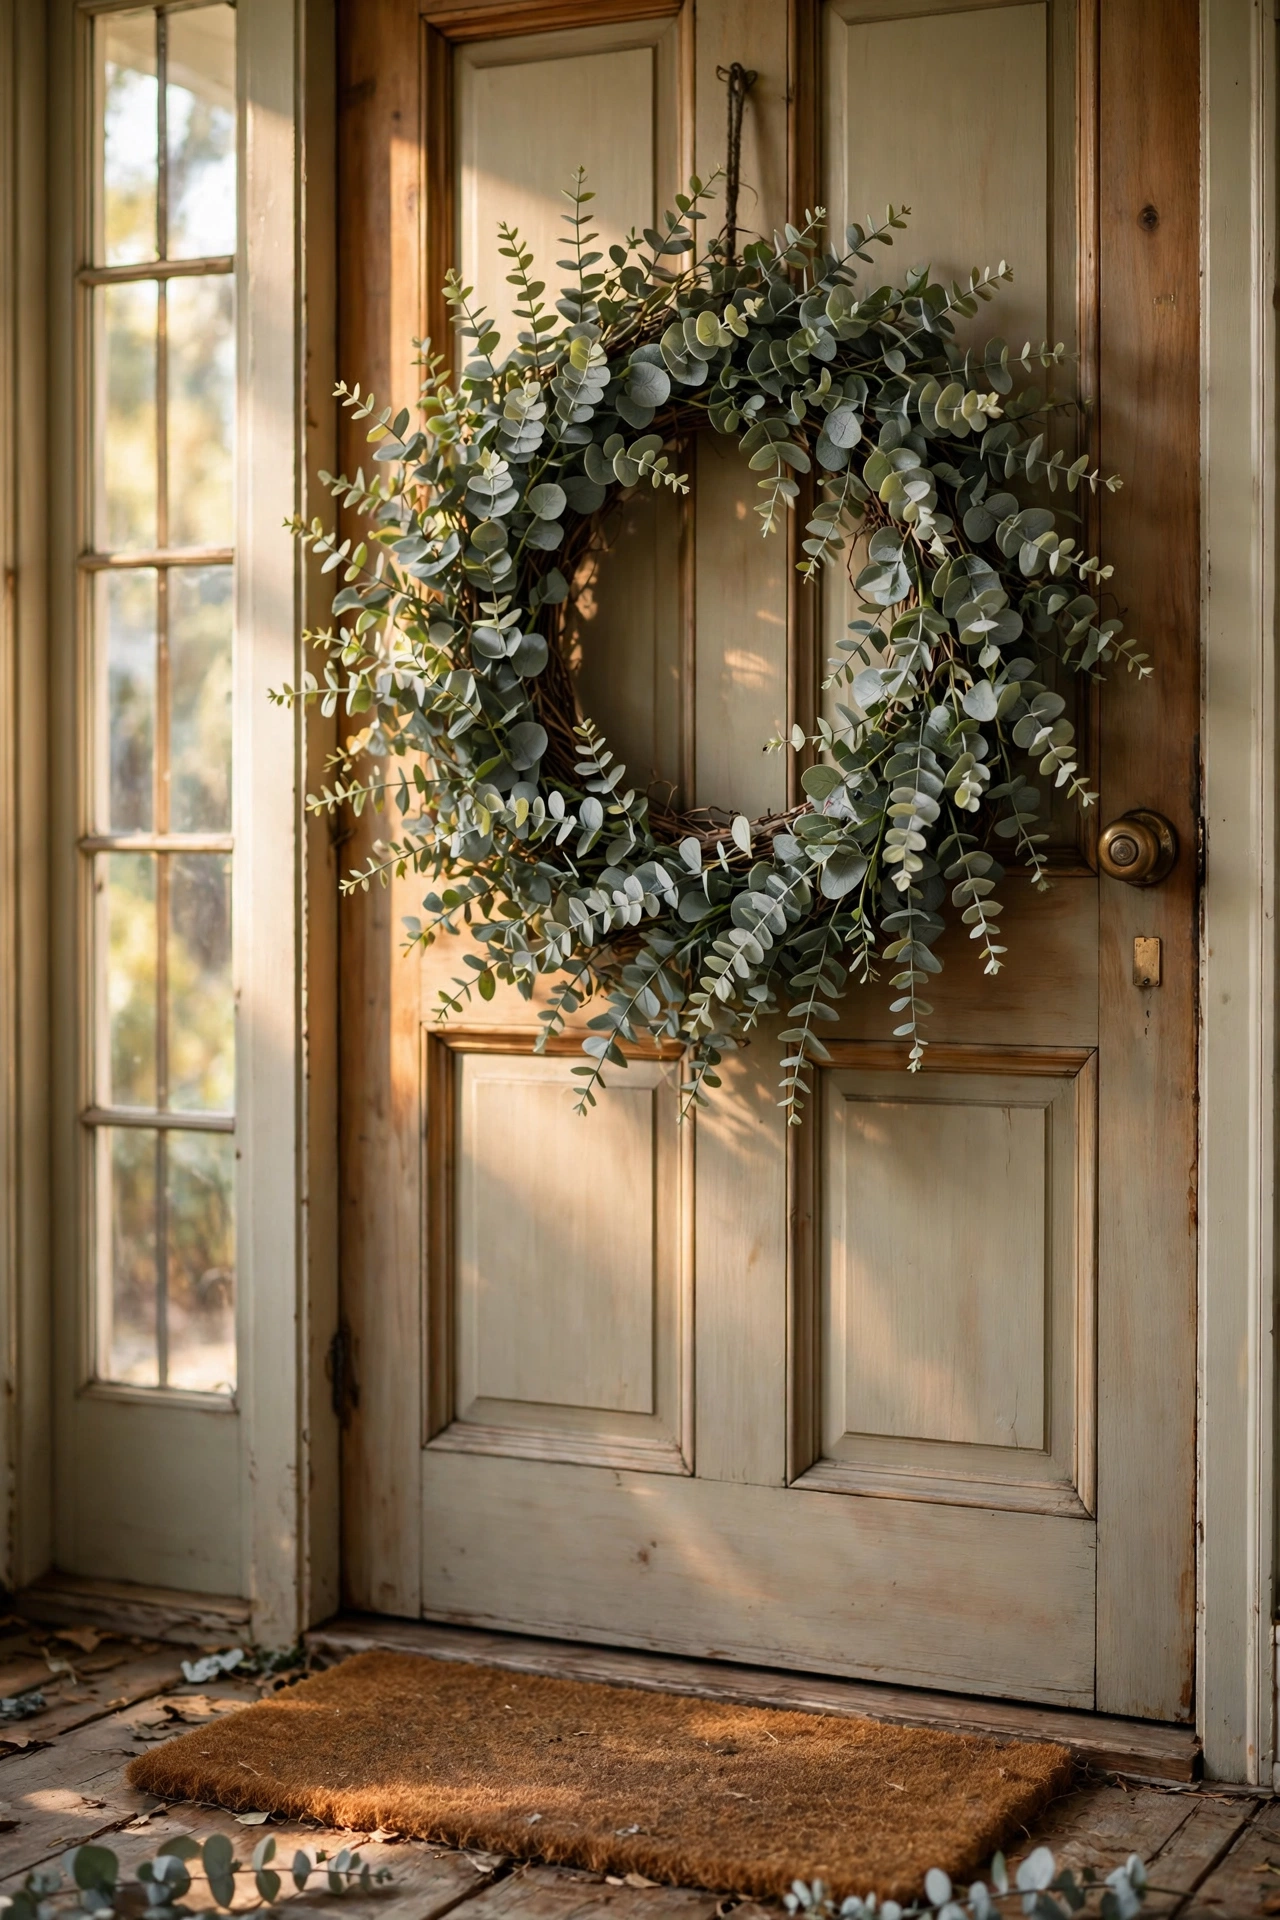
Dollar store eucalyptus stems wired onto a grapevine wreath look fresh and expensive. I wrapped the stems around the wreath form with floral wire, layering them in the same direction for a natural flow. Tuck the stem ends under previous layers to hide the wire. My first wreath looked sparse because I used too few stems, so buy more than you think you need. It hangs on my front door and has survived two seasons. The silvery green suits every season.
Materials: faux eucalyptus stems, grapevine wreath, floral wire | Cost: ~$8-12 | Time: 1 hour
10. Spray Paint Faux Decorative Books
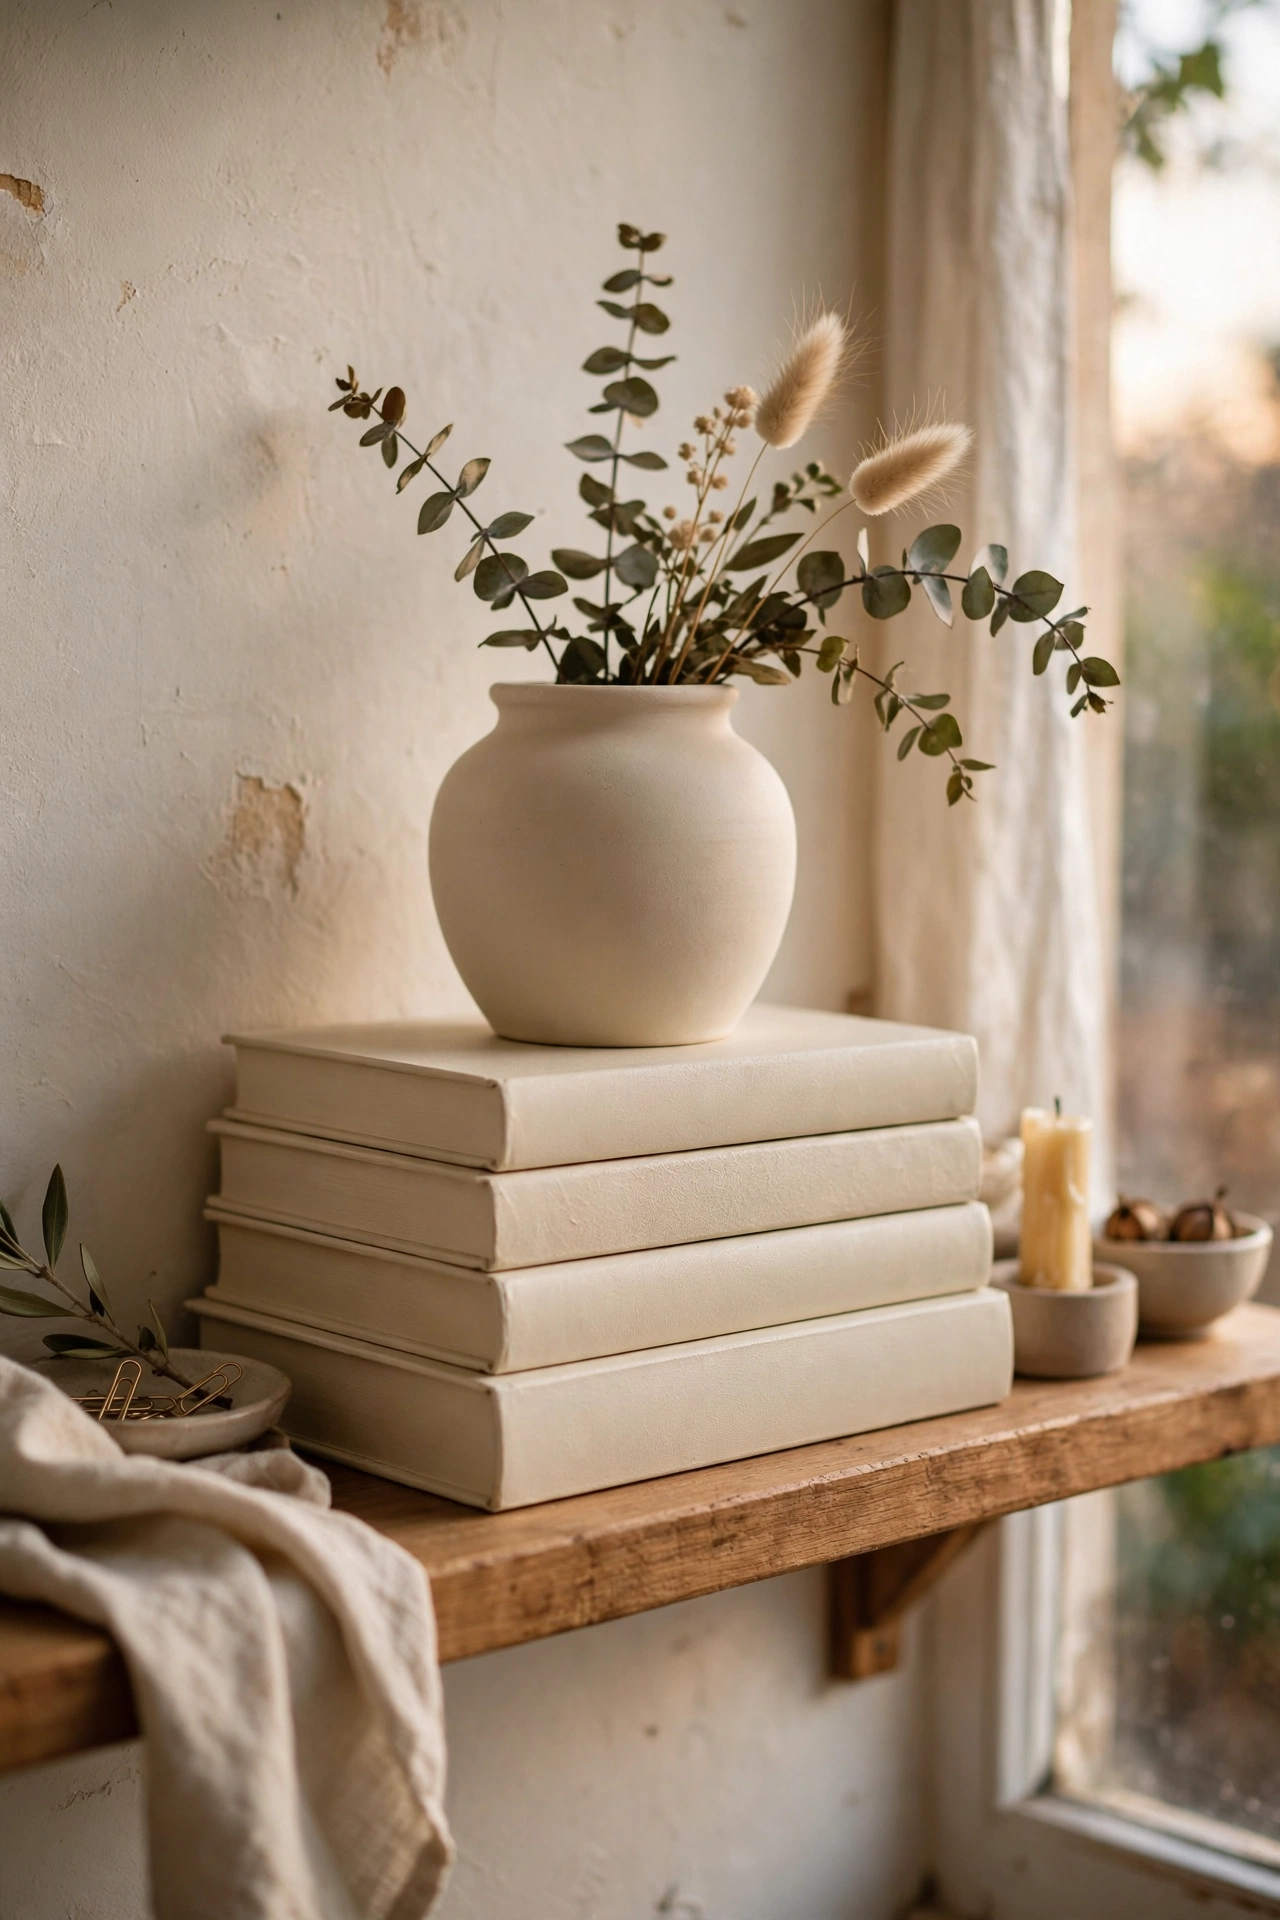
A stack of old hardbacks sprayed one colour looks like curated shelf styling. I picked books with interesting sizes from the charity shop, removed the dust jackets, and sprayed them all matte cream. Tape the page edges first so they stay clean. My first stack looked messy because the books were all the same size, so vary the heights. They sit under a vase on my shelf and look completely intentional. It is the cheapest styling trick I know. Charity shops always have plenty of old hardbacks, so the supply never runs out.
Materials: old hardback books, spray paint, tape | Cost: ~$4-8 | Time: 30 minutes plus drying
11. Stack Vases into Apothecary Jars
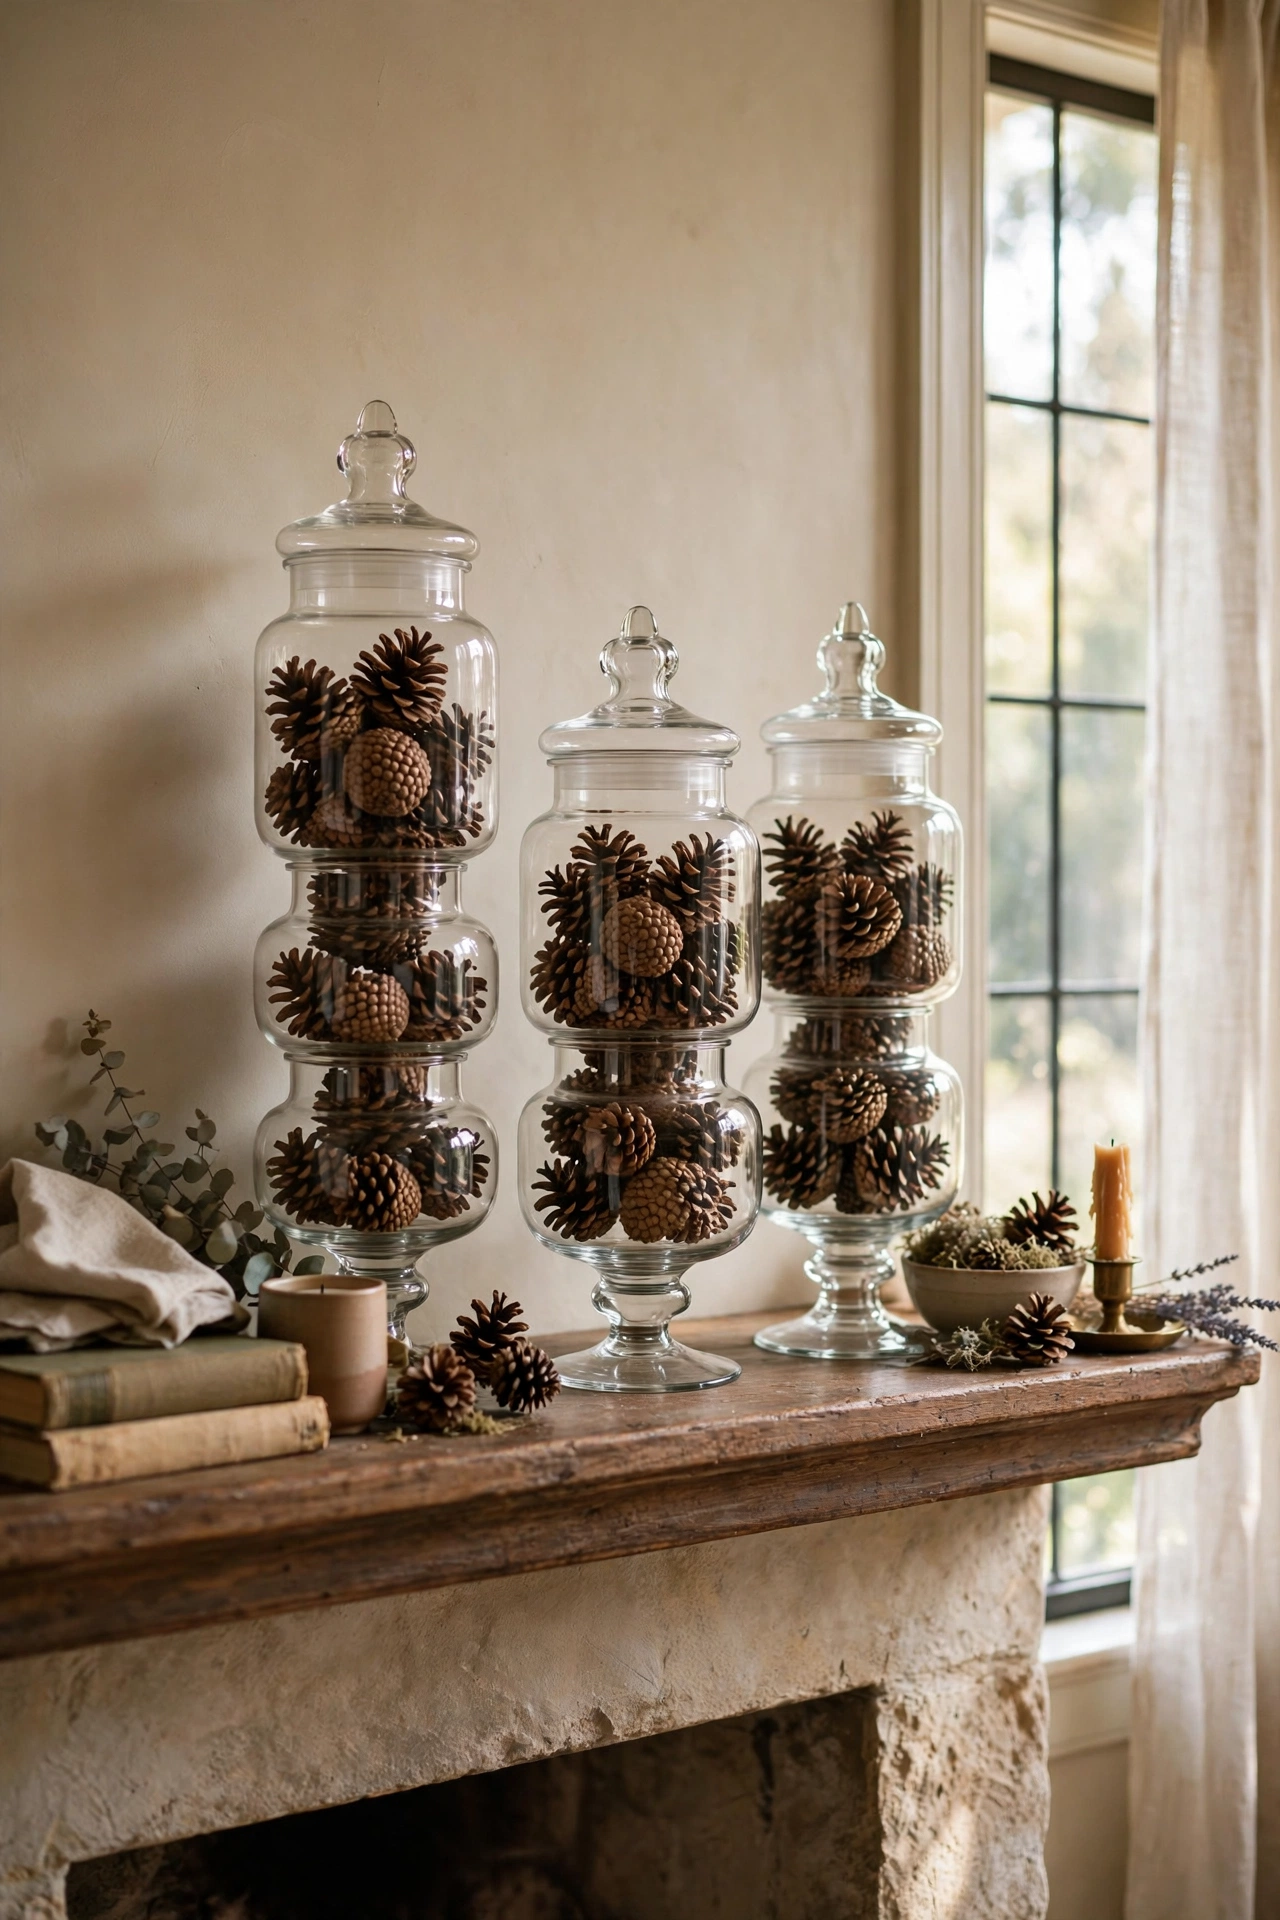
A glass vase glued upside down onto a candlestick becomes an apothecary jar. I glued a small vase onto a sturdy candle holder with strong adhesive, let it cure overnight, and filled it with pinecones. The join must be perfectly centred or it wobbles. My first one leaned because I rushed the gluing, so let it set undisturbed. Filled with seasonal bits it looks like expensive display decor. I made a trio in different heights for the mantel. They look especially pretty filled with fairy lights at Christmas.
Materials: glass vases, candle holders, strong adhesive | Cost: ~$5-9 | Time: 20 minutes plus curing
12. Craft Faux Marble Coasters
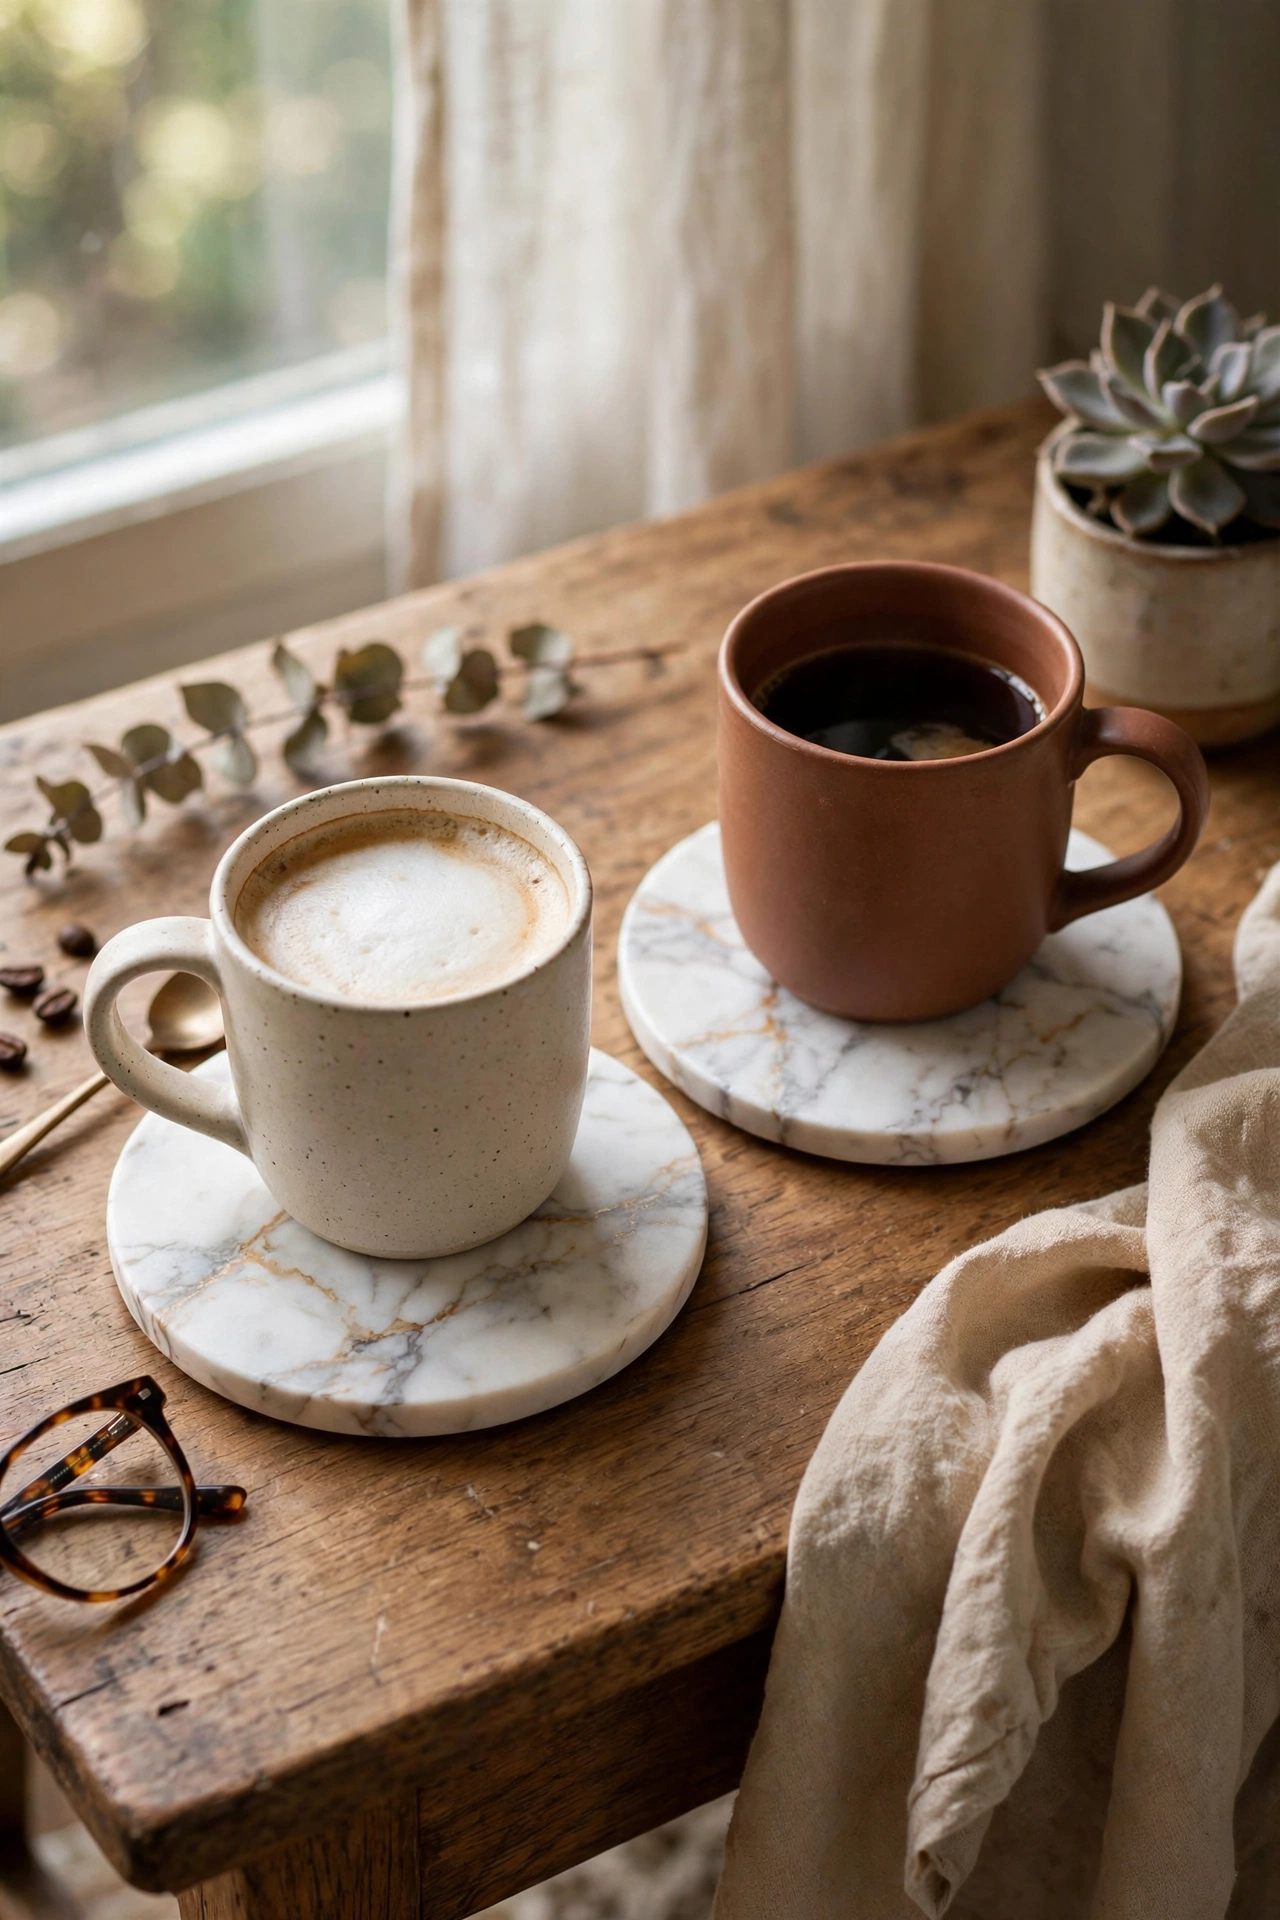
Square tiles wrapped in marble contact paper make coasters that look like real stone. I covered plain white tiles, smoothing carefully, then added felt pads underneath. Trim the paper neatly around the edges for a clean finish. My first set had ragged edges because I cut too fast, so use a sharp blade. They feel substantial under a mug and look properly smart. I made a set of six as a gift and the recipient refused to believe they were homemade.
Materials: plain tiles, marble contact paper, felt pads | Cost: ~$4-7 | Time: 30 minutes
13. Turn a Laundry Basket into a Rope Basket
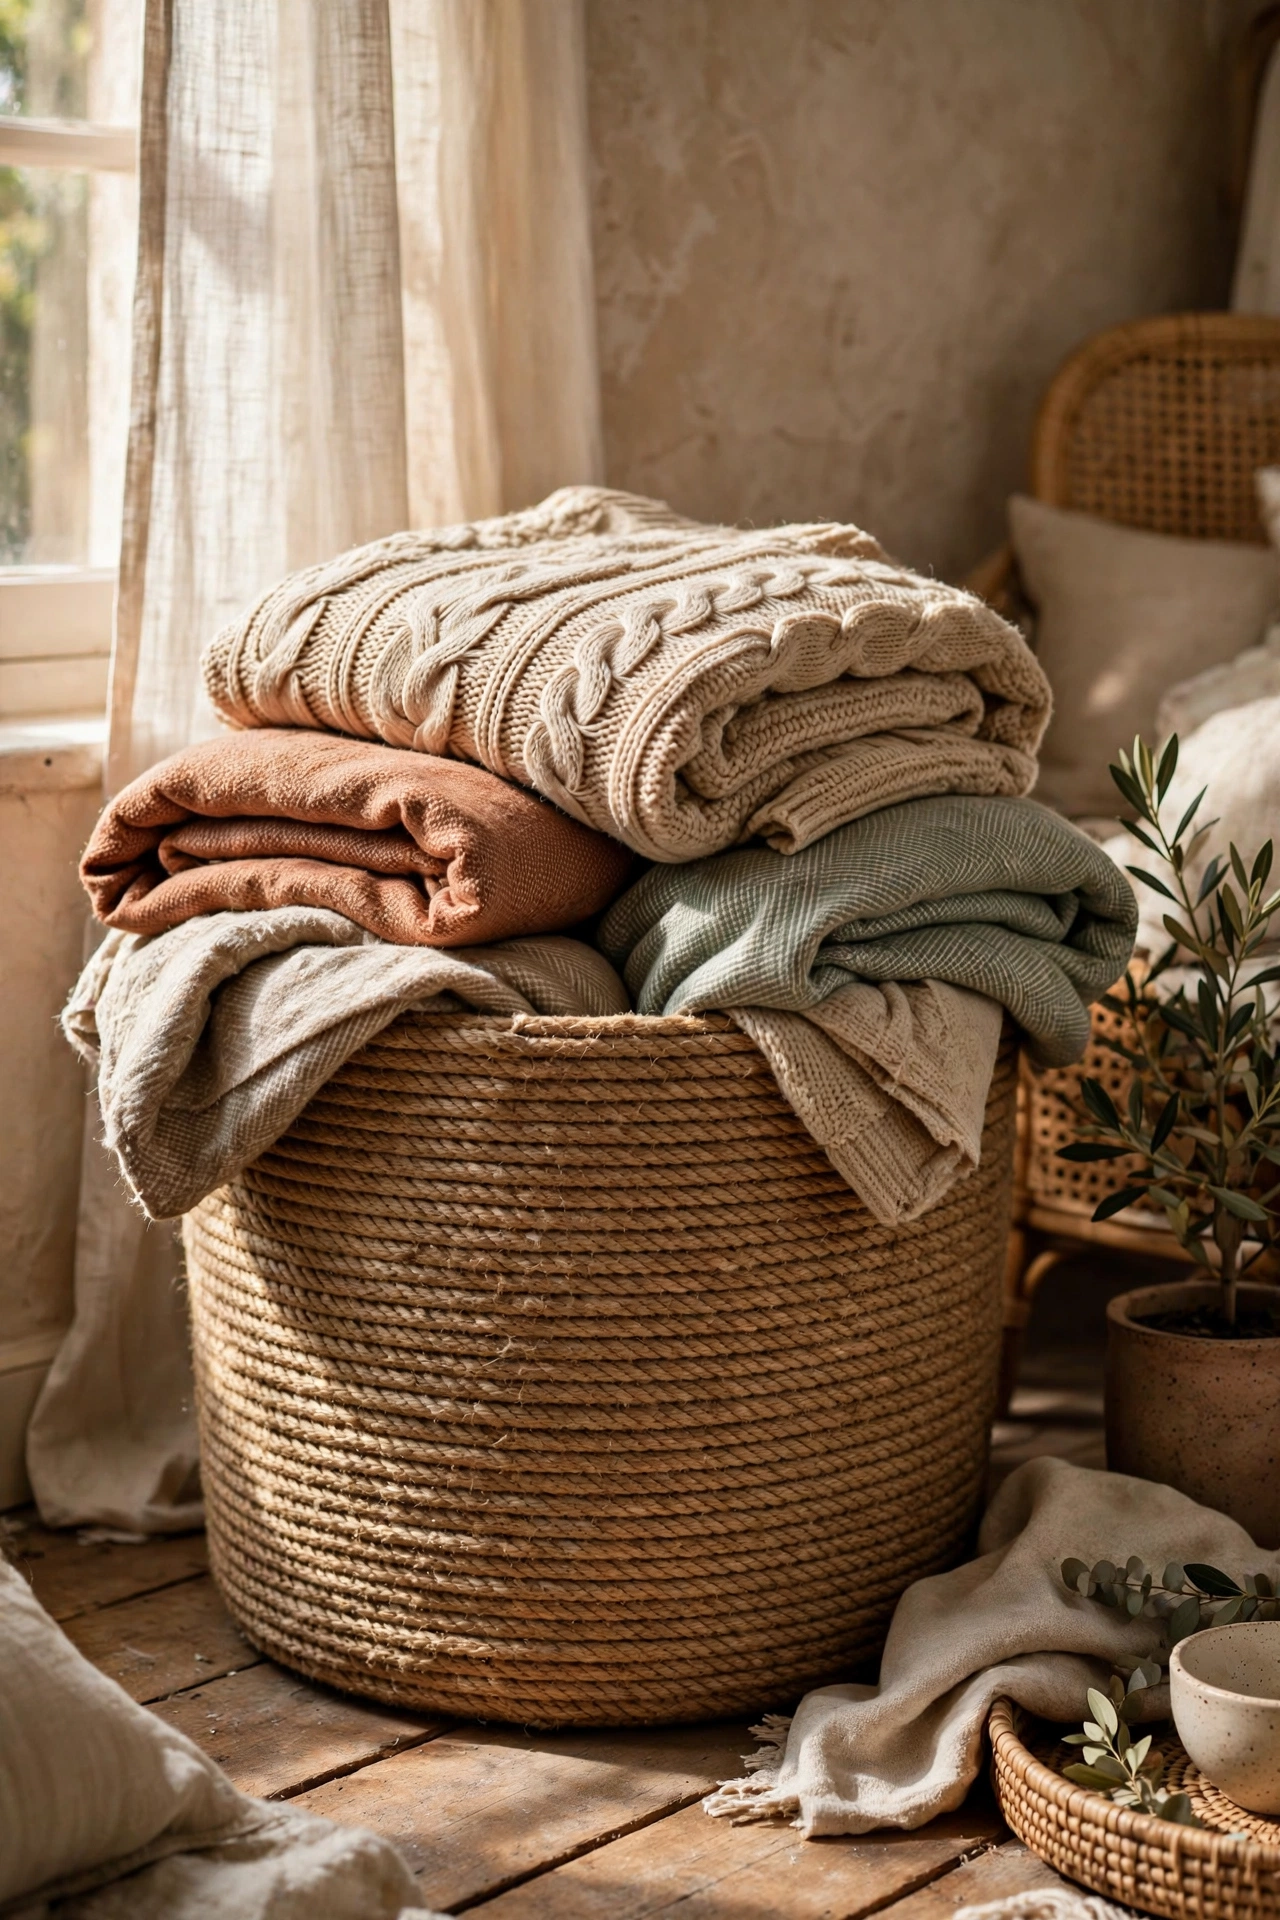
A plastic laundry basket wrapped in rope becomes a beautiful storage basket. I hot-glued thick jute rope around a plain basket in tight rows from bottom to top. Work in sections and press firmly or gaps appear. My arms ached by the end, but the result looks like a pricey boutique basket. It holds blankets in the living room and nobody guesses it started as plastic. This is the most transformative project on the list. Just take breaks as you work, because your hands will thank you afterwards.
Materials: plastic laundry basket, thick jute rope, hot glue gun | Cost: ~$8-14 | Time: 2 hours
14. Make a Glass Cloche from a Vase and Plate
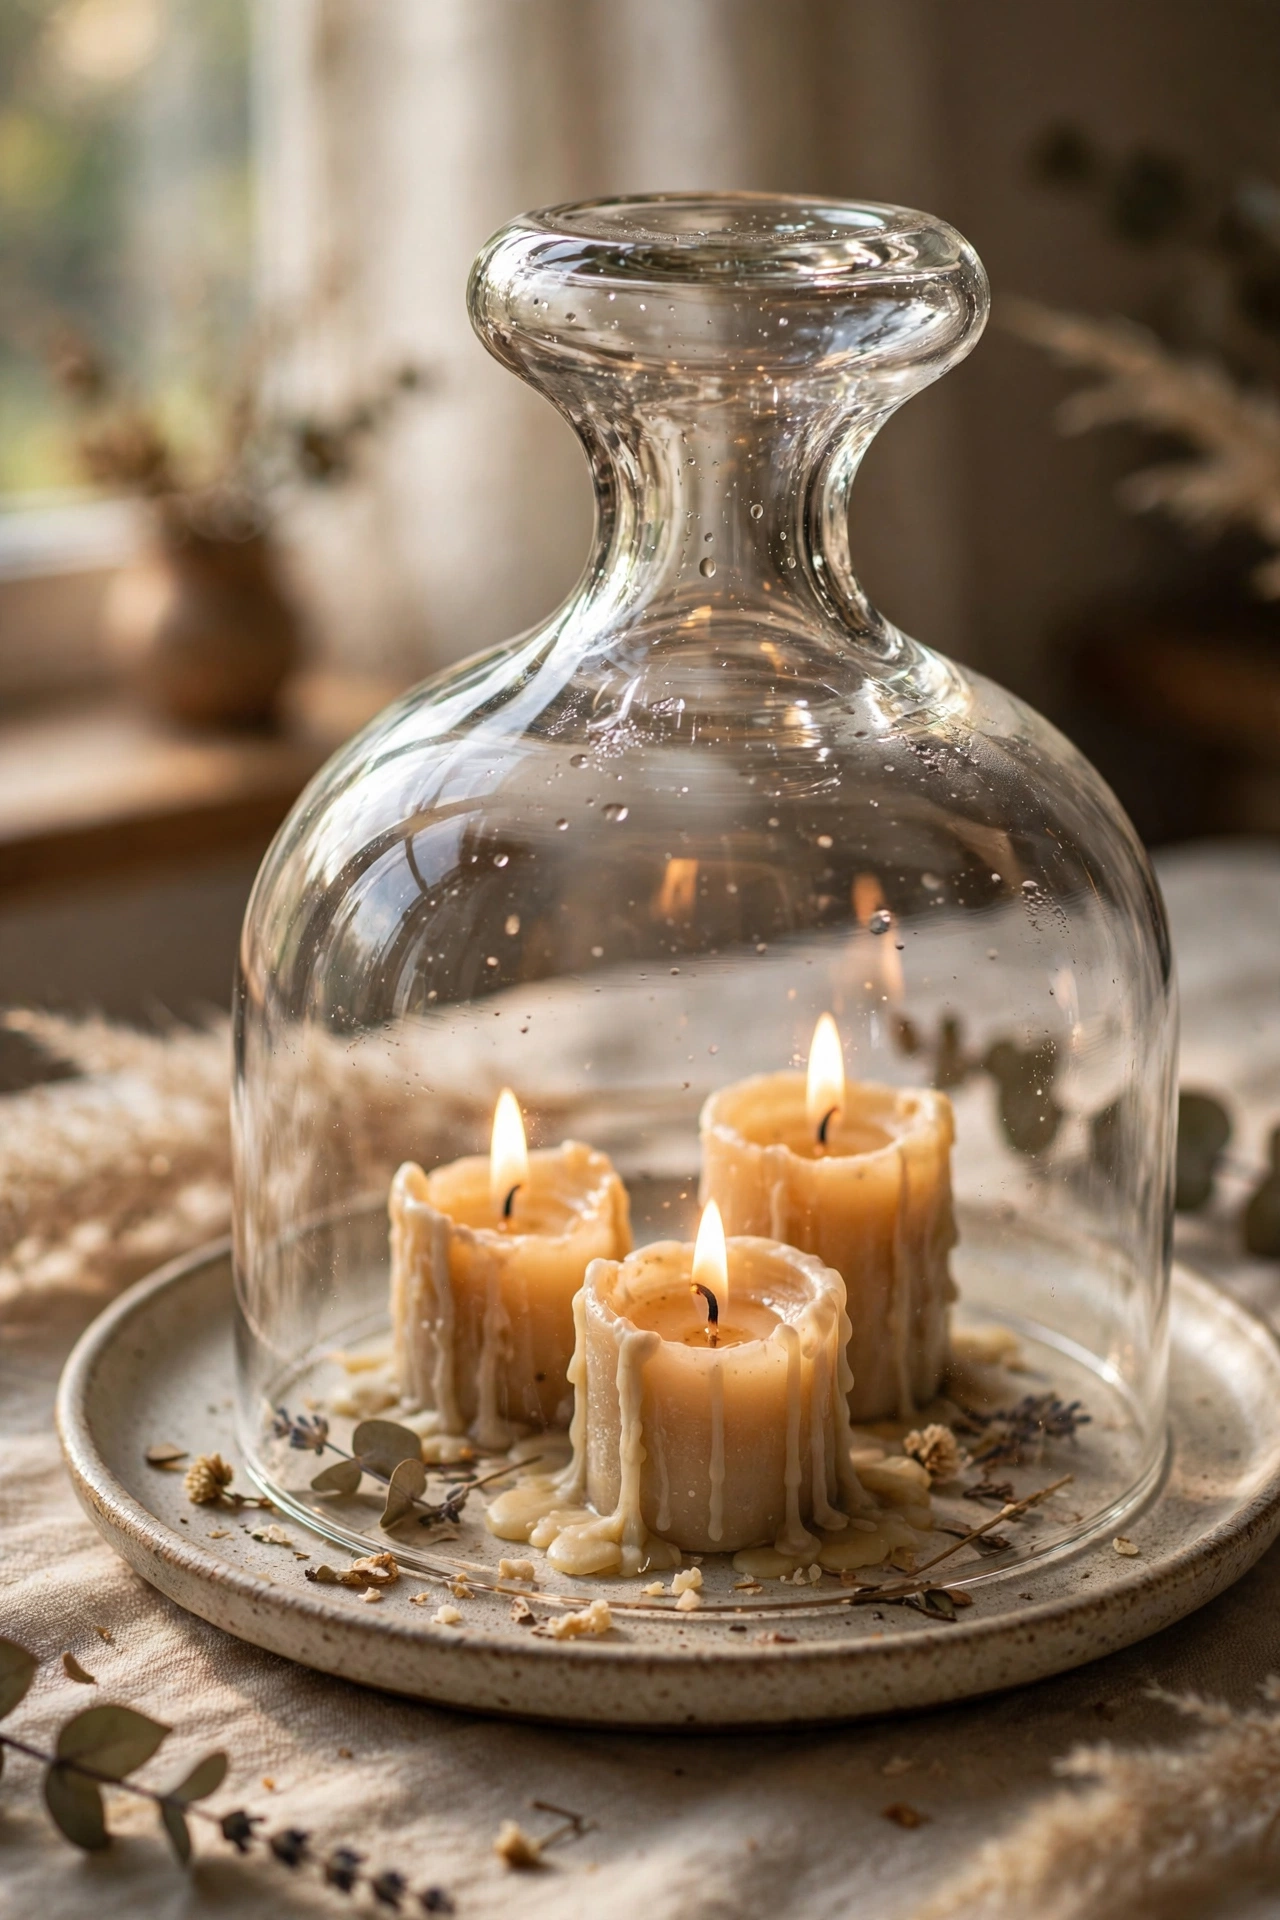
A glass vase flipped over a plate becomes a display cloche. I glued a small knob to the vase base for a handle and set it over a plain plate. It now displays candles and seasonal decorations beautifully. Make sure the vase rim sits flat on the plate or it rocks. My first pairing wobbled until I swapped the plate for a flatter one. The glass magnifies whatever is inside. It looks like expensive displayware and cost almost nothing. I swap the display inside with the seasons to keep it fresh.
Materials: glass vase, plate, small knob, strong glue | Cost: ~$4-7 | Time: 20 minutes
15. Chalk Paint Old Picture Frames
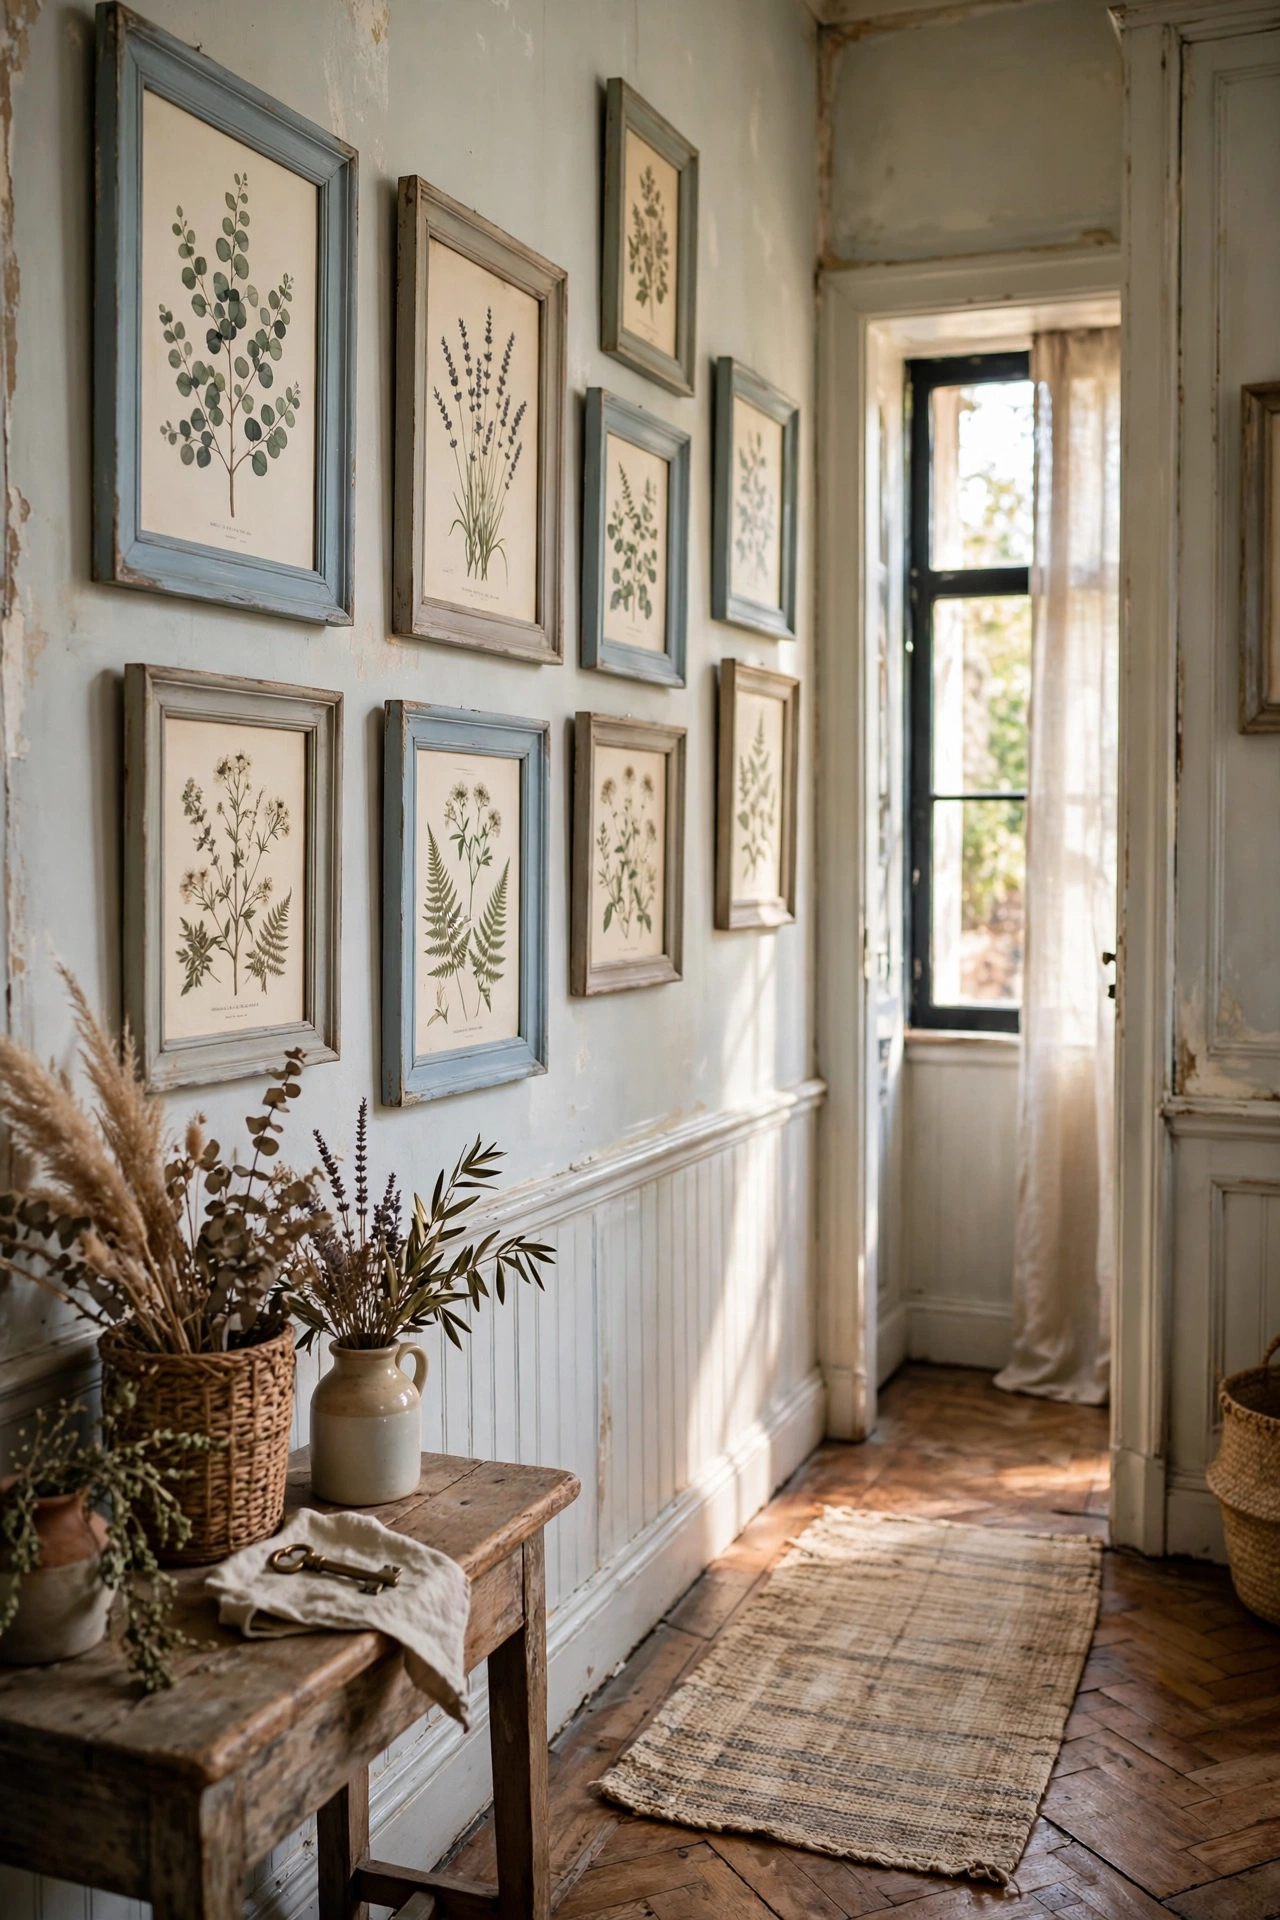
Chalk paint gives cheap frames a soft, matte, vintage finish. I brushed two coats onto mismatched frames, distressed the edges lightly with sandpaper, and sealed with wax. The distressing is what sells the vintage look, so focus on corners and raised details. My first frame looked too perfect until I added the wear. A light sanding between coats gives the smoothest finish. They now hold botanical prints in the hallway and look like antique finds. For more secondhand styling wins, see these (see also: 17-thrifted-bedroom-decor-worth-every-penny/) ideas.
Materials: old frames, chalk paint, sandpaper, wax | Cost: ~$5-9 | Time: 1 hour plus drying
16. Arrange Faux Succulents in a Low Bowl
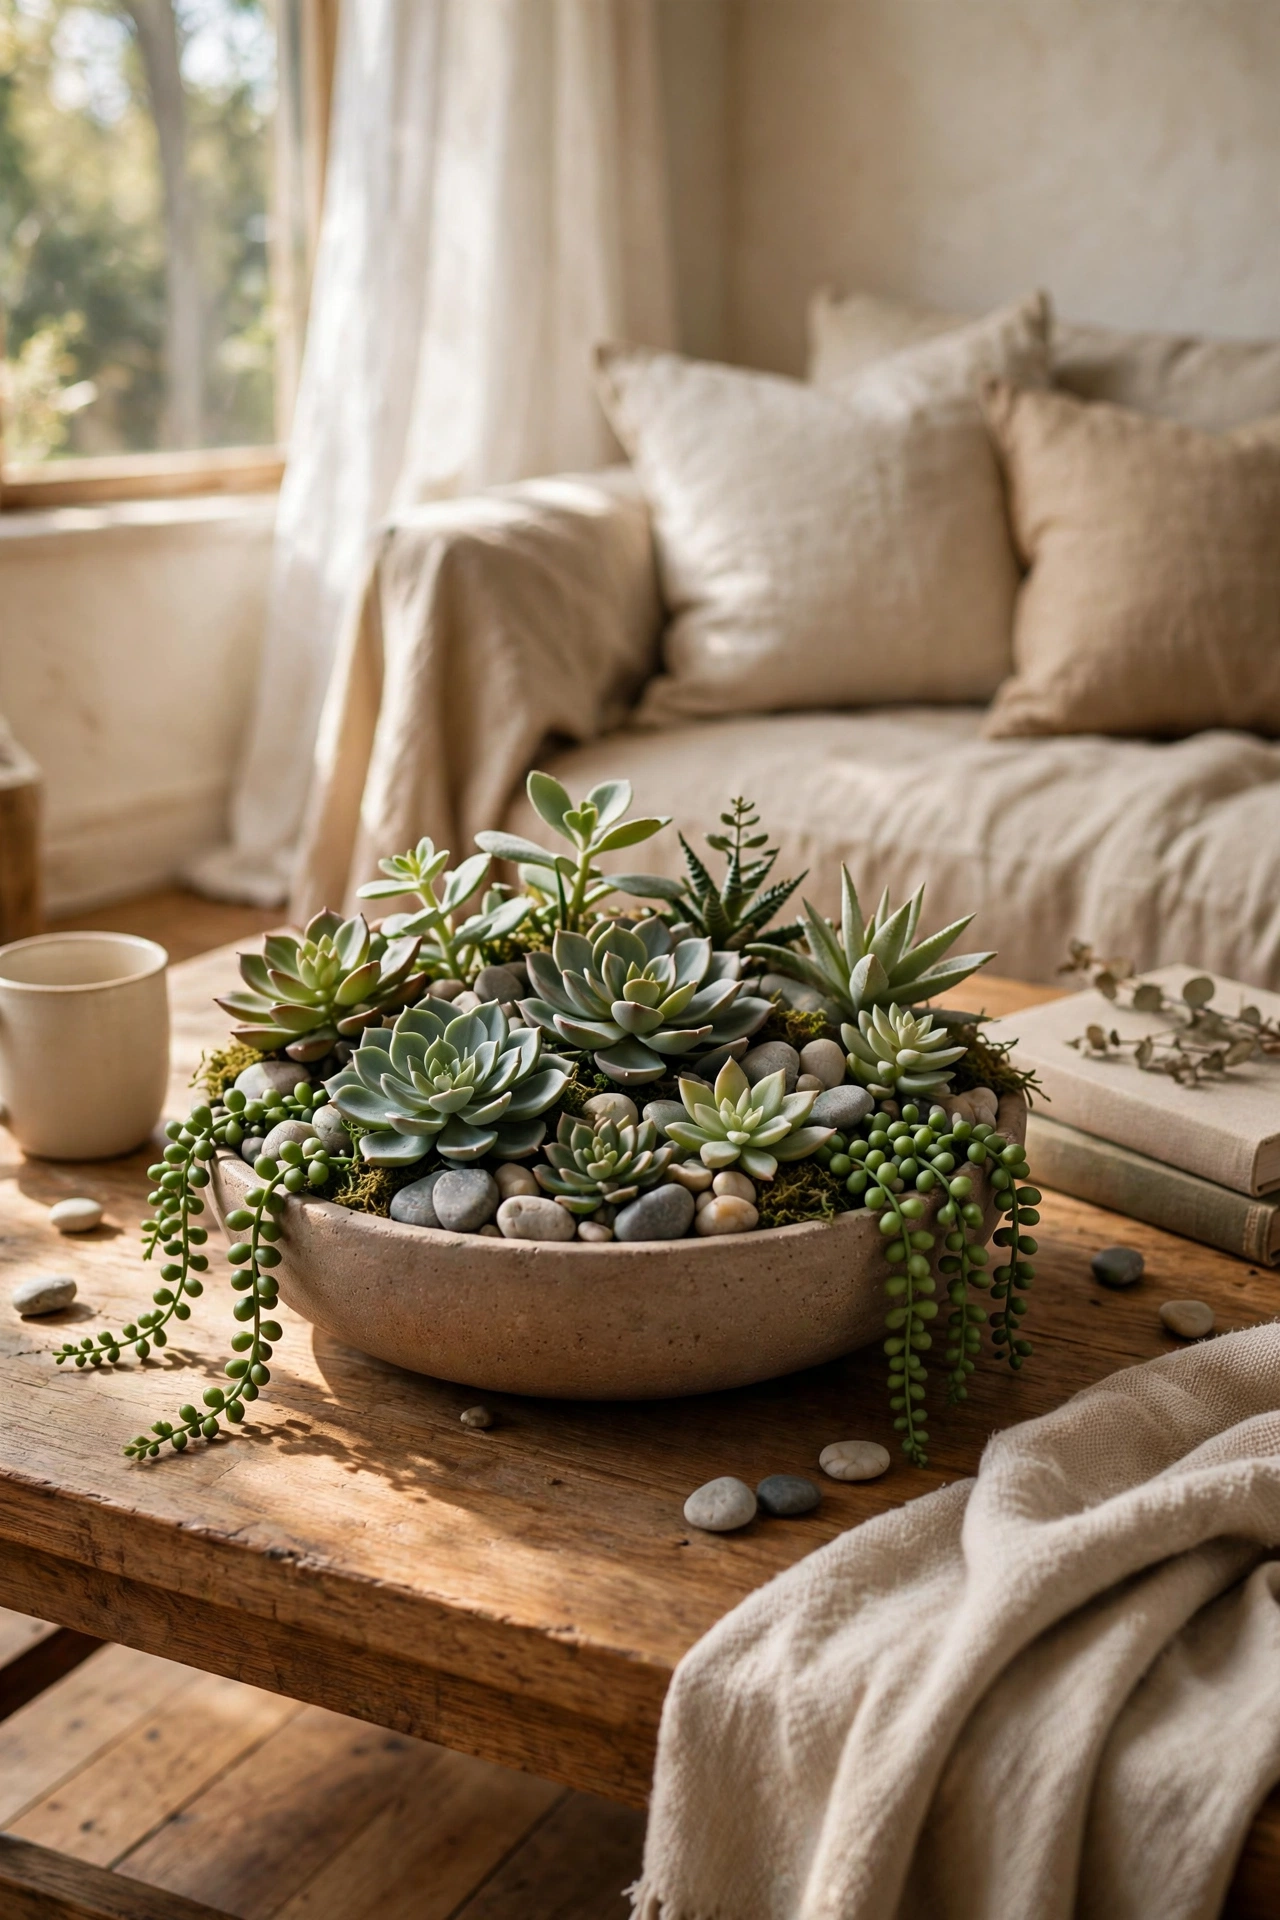
Dollar store succulents arranged in a low bowl look like a designer centrepiece. I filled a shallow bowl with floral foam, pushed in a variety of succulent picks at different heights, and covered the foam with small pebbles. Vary the heights and types for a natural look. My first arrangement looked flat because everything was the same height, so build some drama. It needs no water and never dies. Mine sits on the coffee table year round. A quick dust with a soft brush keeps it looking fresh.
Materials: faux succulent picks, low bowl, floral foam, pebbles | Cost: ~$8-12 | Time: 30 minutes
17. Cover Storage Boxes in Linen Fabric
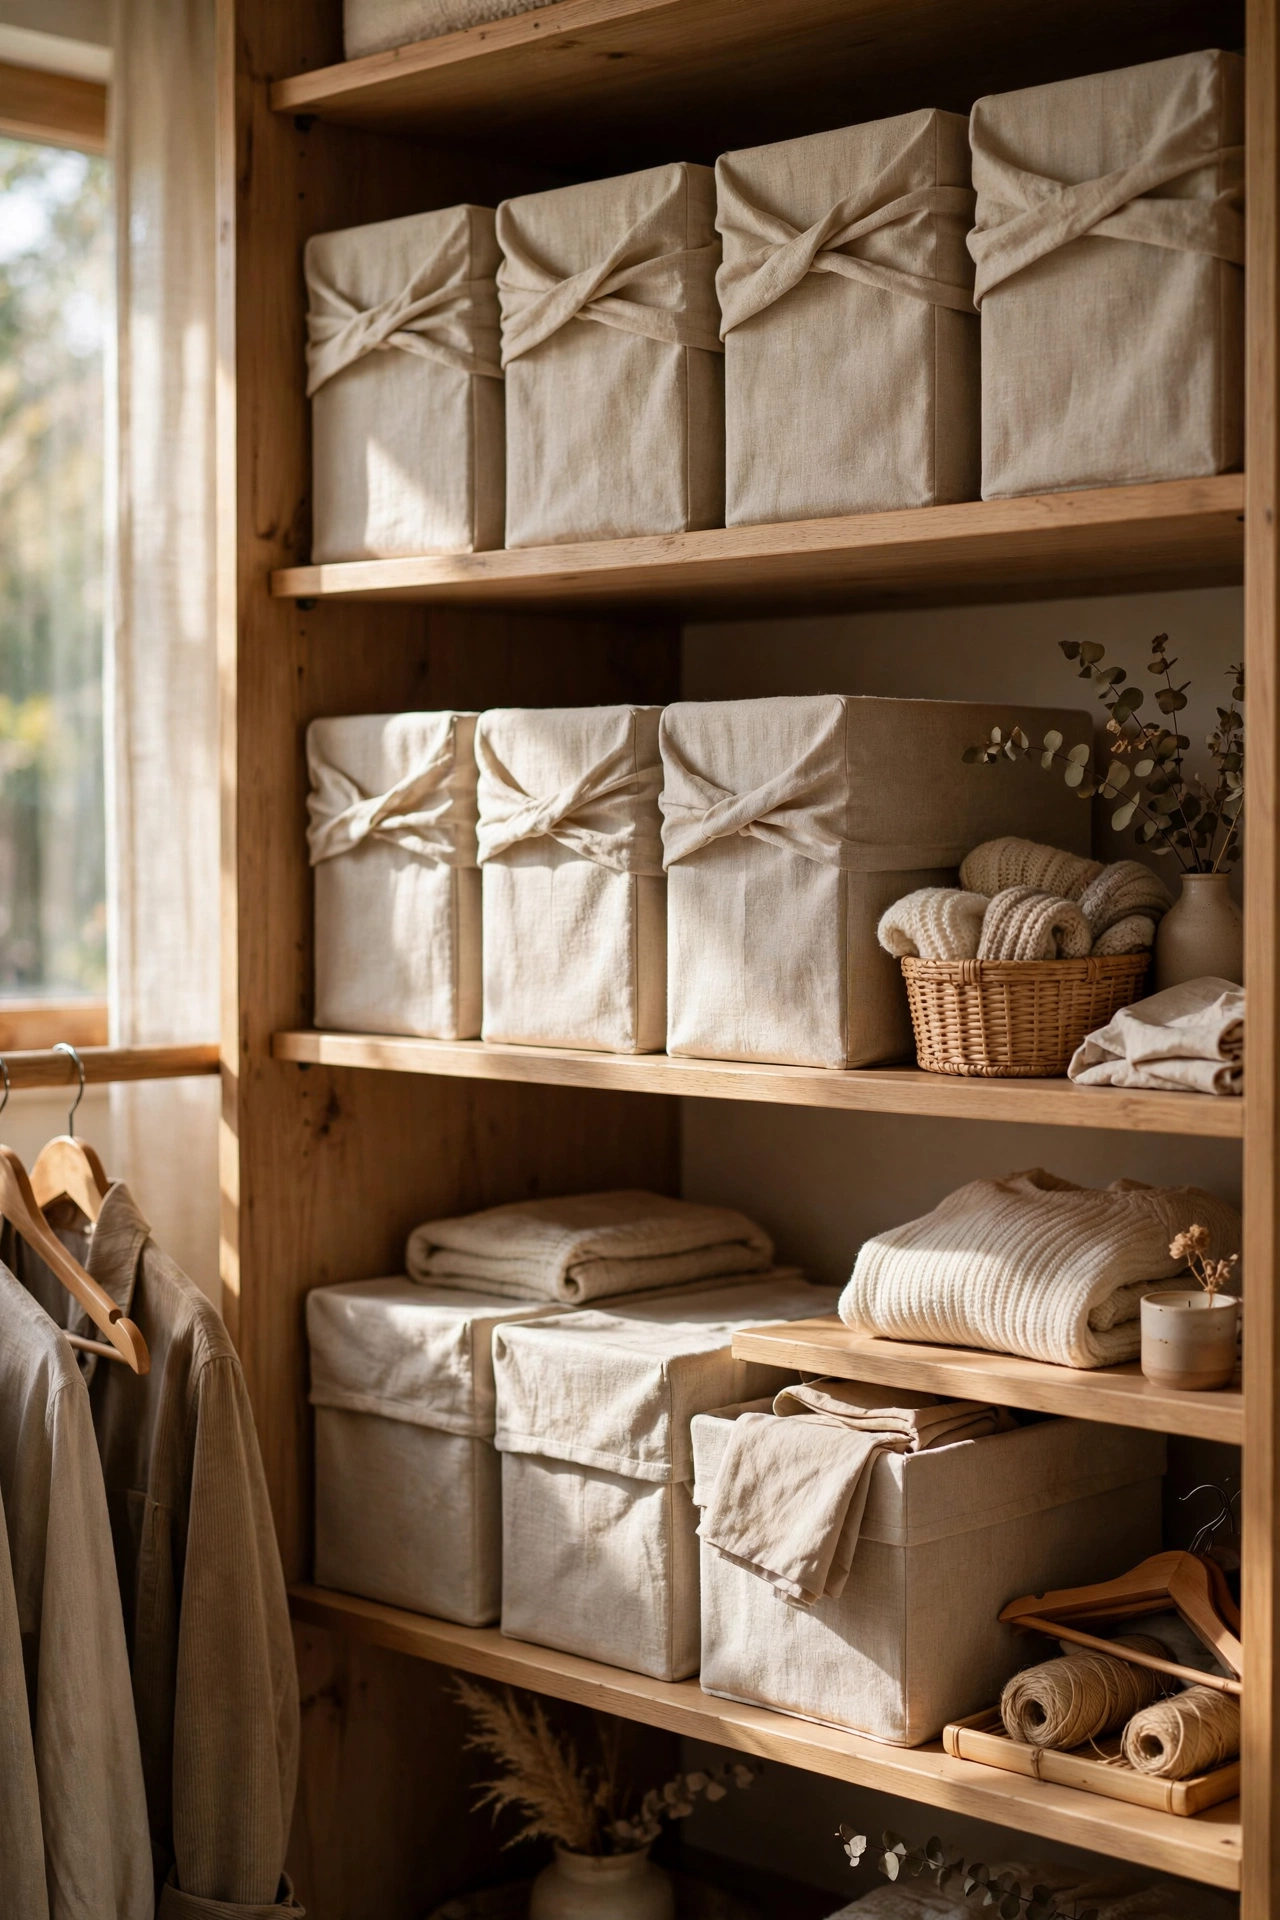
Plain cardboard boxes wrapped in linen-look fabric become chic storage. I measured each box, cut fabric with overlap, and glued it smoothly around the sides, folding neat corners like wrapping a present. Iron the fabric first or wrinkles show through. My first box had lumpy corners because I skipped the folding technique, so take time on them. They line my wardrobe shelves and look completely custom. Nobody believes they are cardboard underneath. I labelled each one, which makes finding things wonderfully easy.
Materials: cardboard boxes, linen-look fabric, glue | Cost: ~$6-10 | Time: 1 hour
18. Gold-Dip Plain Glass Vases
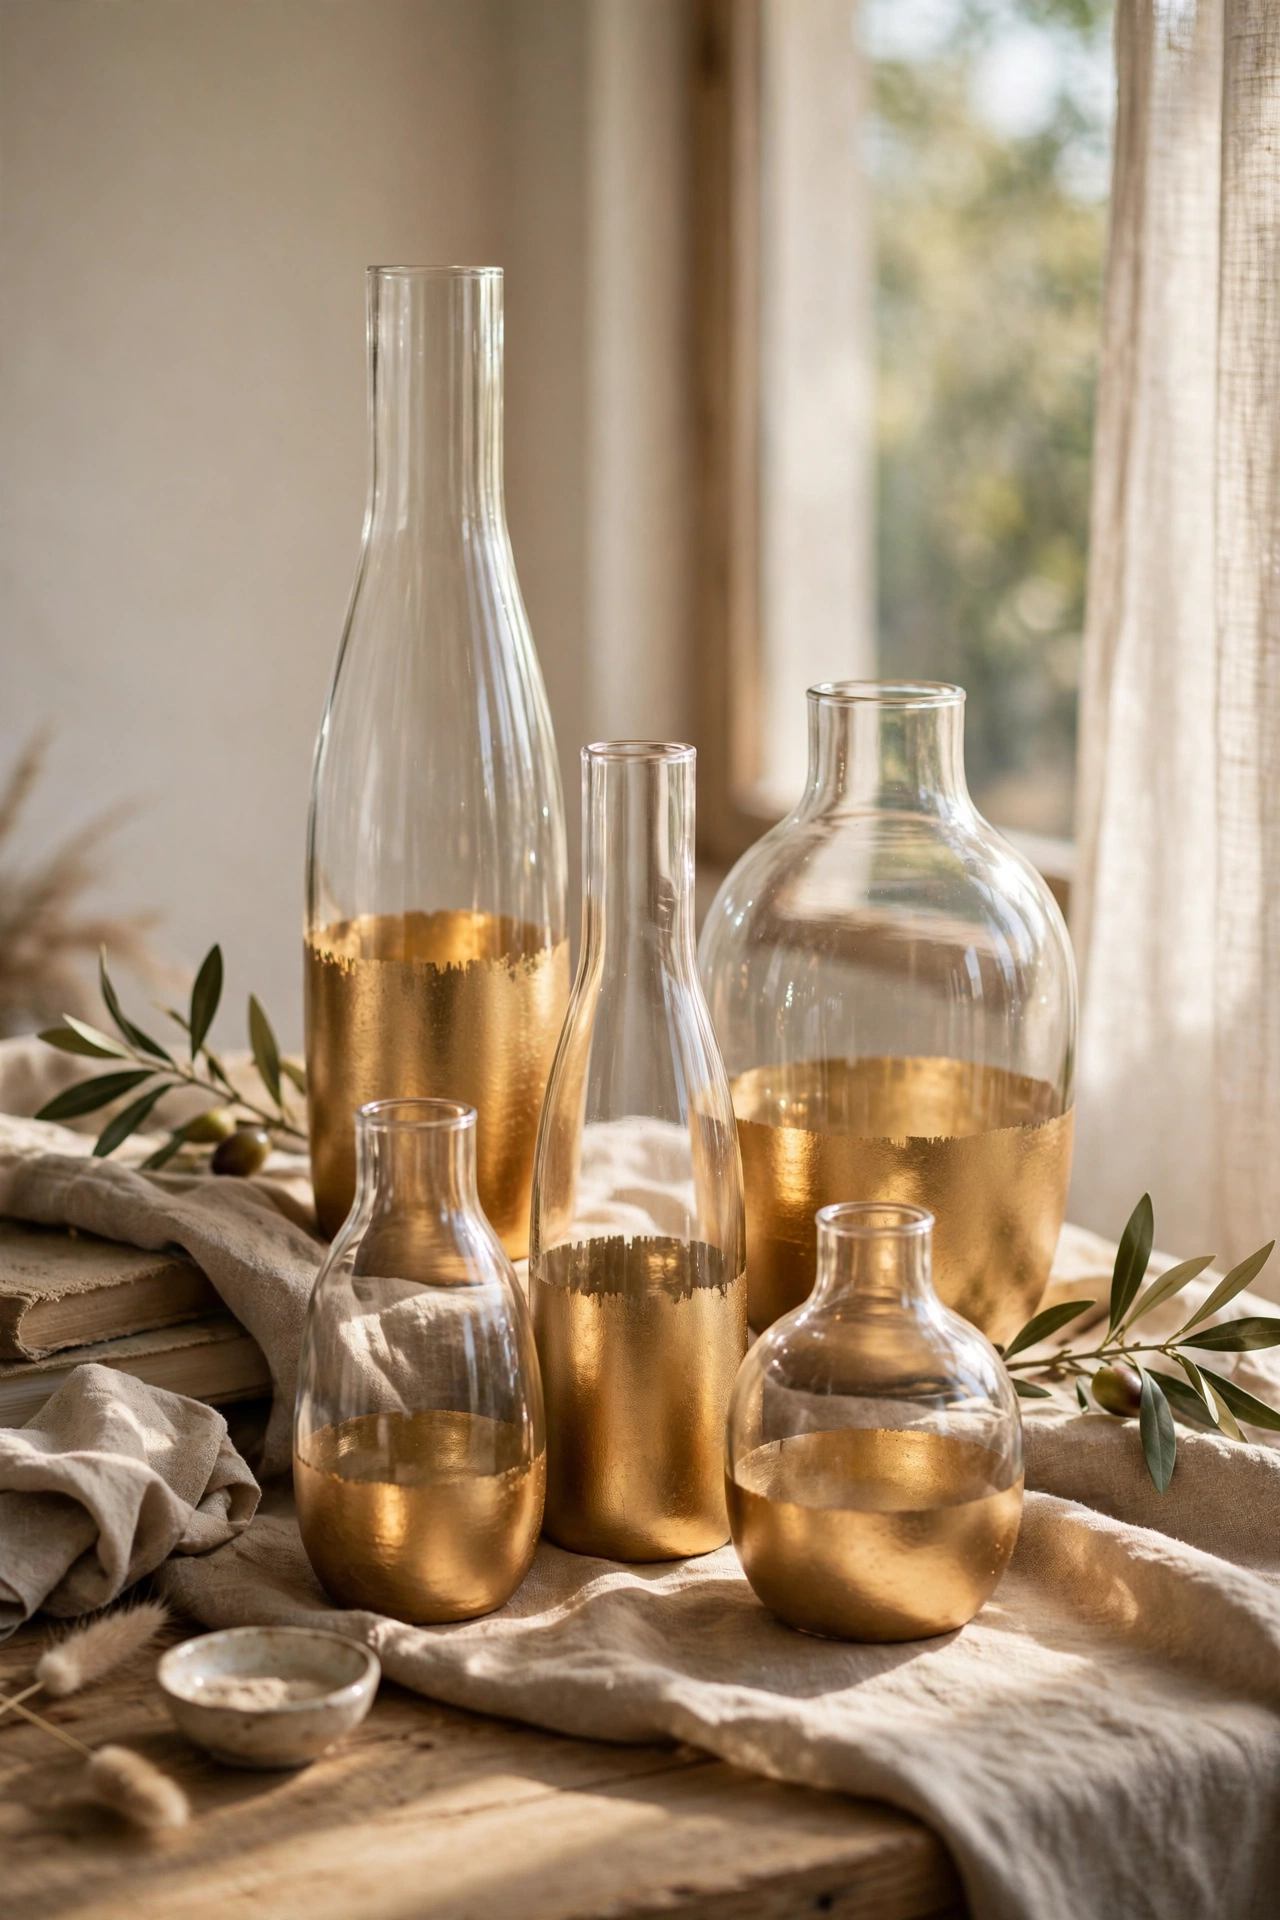
Dipping the bottom half of a plain vase in gold paint looks incredibly chic. I taped a clean line around the middle, brushed on metallic gold below it, and removed the tape while the paint was tacky for a crisp edge. Two thin coats give the best coverage. My first attempt bled under the tape because I pressed it down poorly, so seal the tape edge firmly. The gold and glass combination looks expensive. I grouped three different heights together and they steal the show.
Materials: plain glass vases, metallic gold paint, tape, brush | Cost: ~$5-9 | Time: 45 minutes plus drying
19. Paint Bricks as Faux Stone Bookends
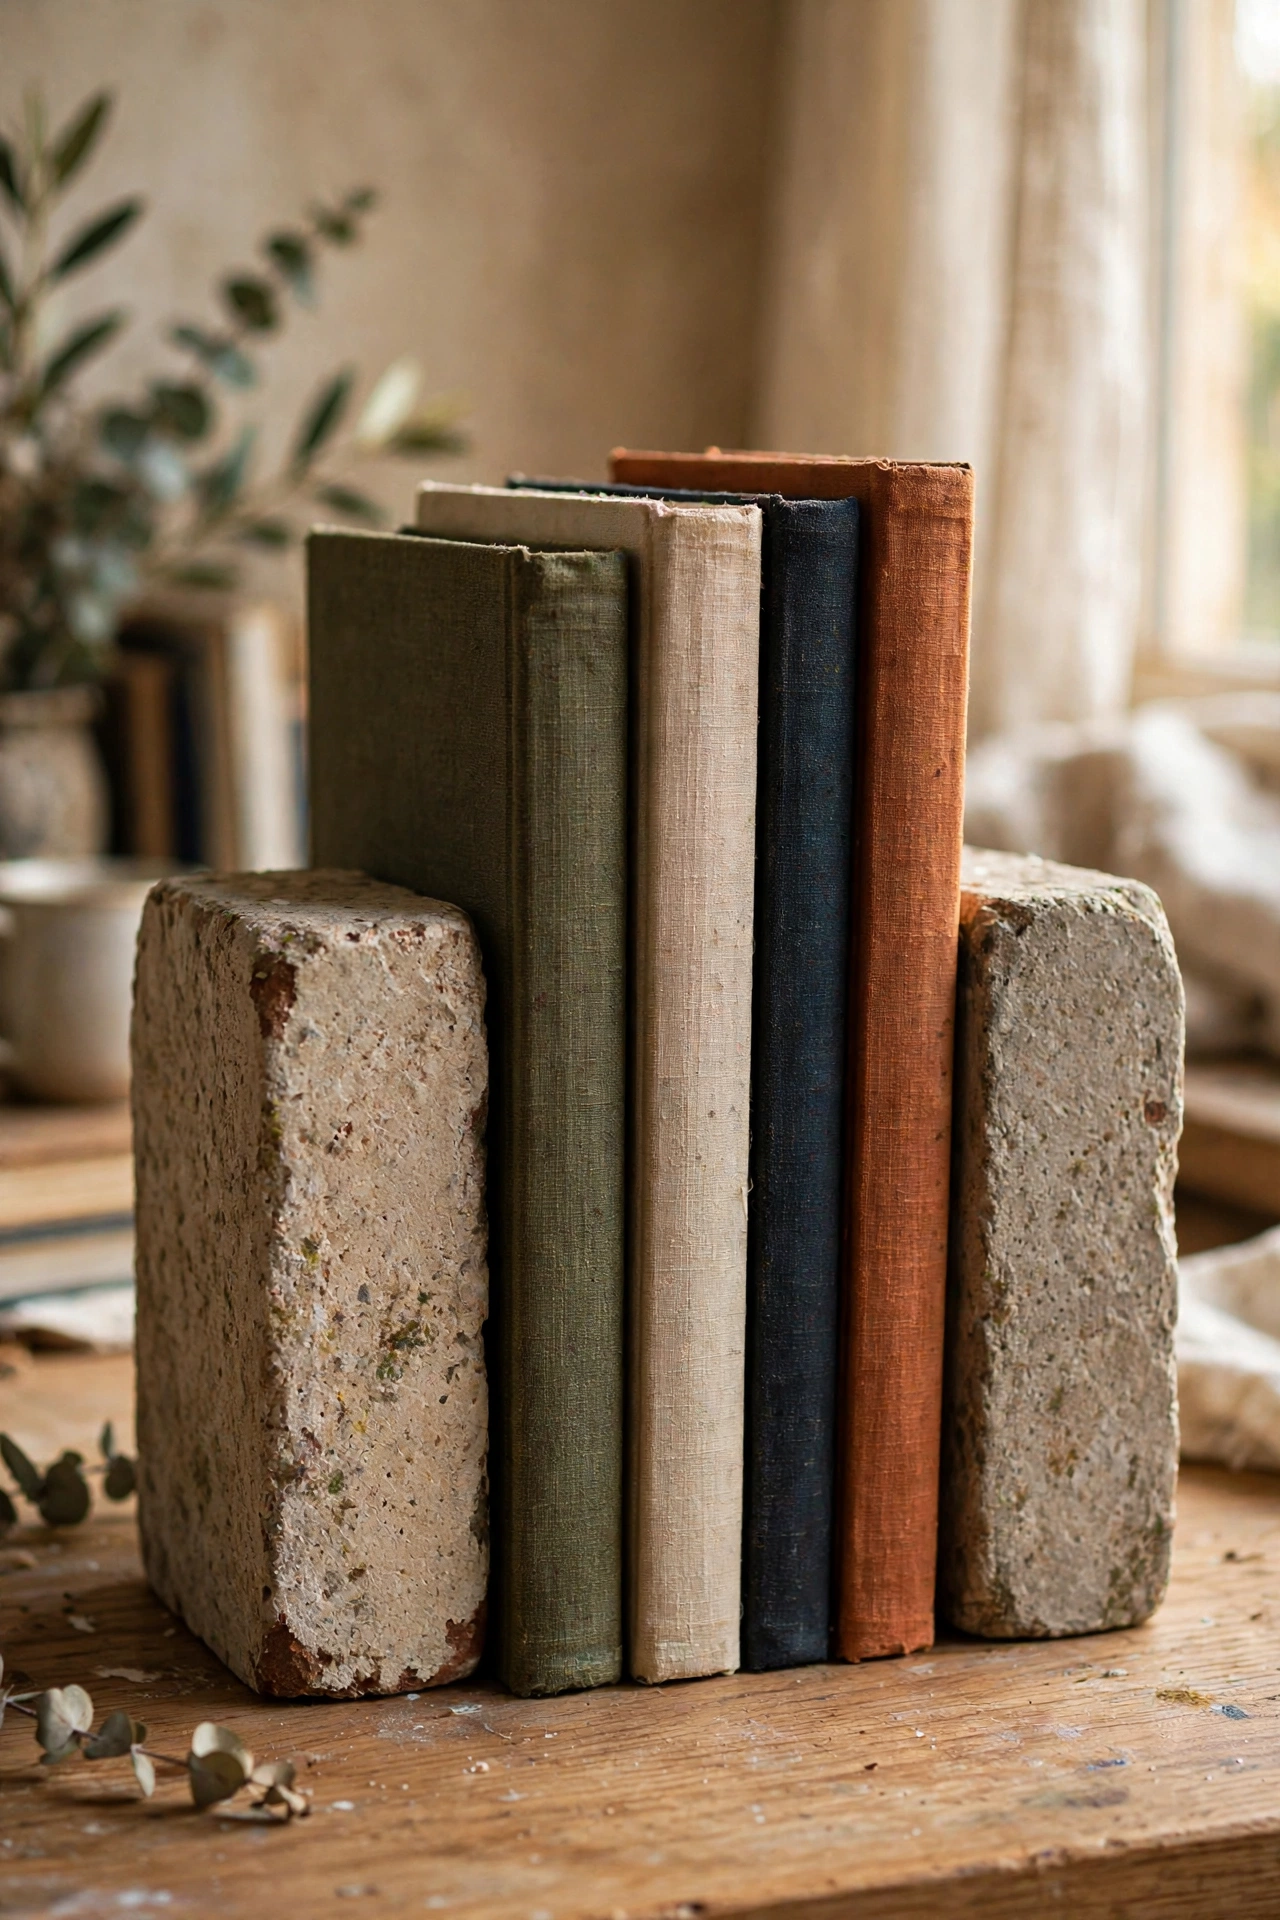
Ordinary bricks painted to look like stone make weighty, handsome bookends. I cleaned two bricks, painted them matte grey, and sponged on lighter and darker tones for a natural stone effect. The sponging layers are what create realism, so build up at least three tones. My first brick looked flat grey until I added the variation. Sealed with matte varnish, they look like carved stone. They hold up my heaviest art books without budging. Felt pads underneath stop them scratching the shelf.
Materials: 2 bricks, grey paints, sponge, matte varnish | Cost: ~$4-8 | Time: 1 hour plus drying
20. Add Ribbon Trim to a Lampshade
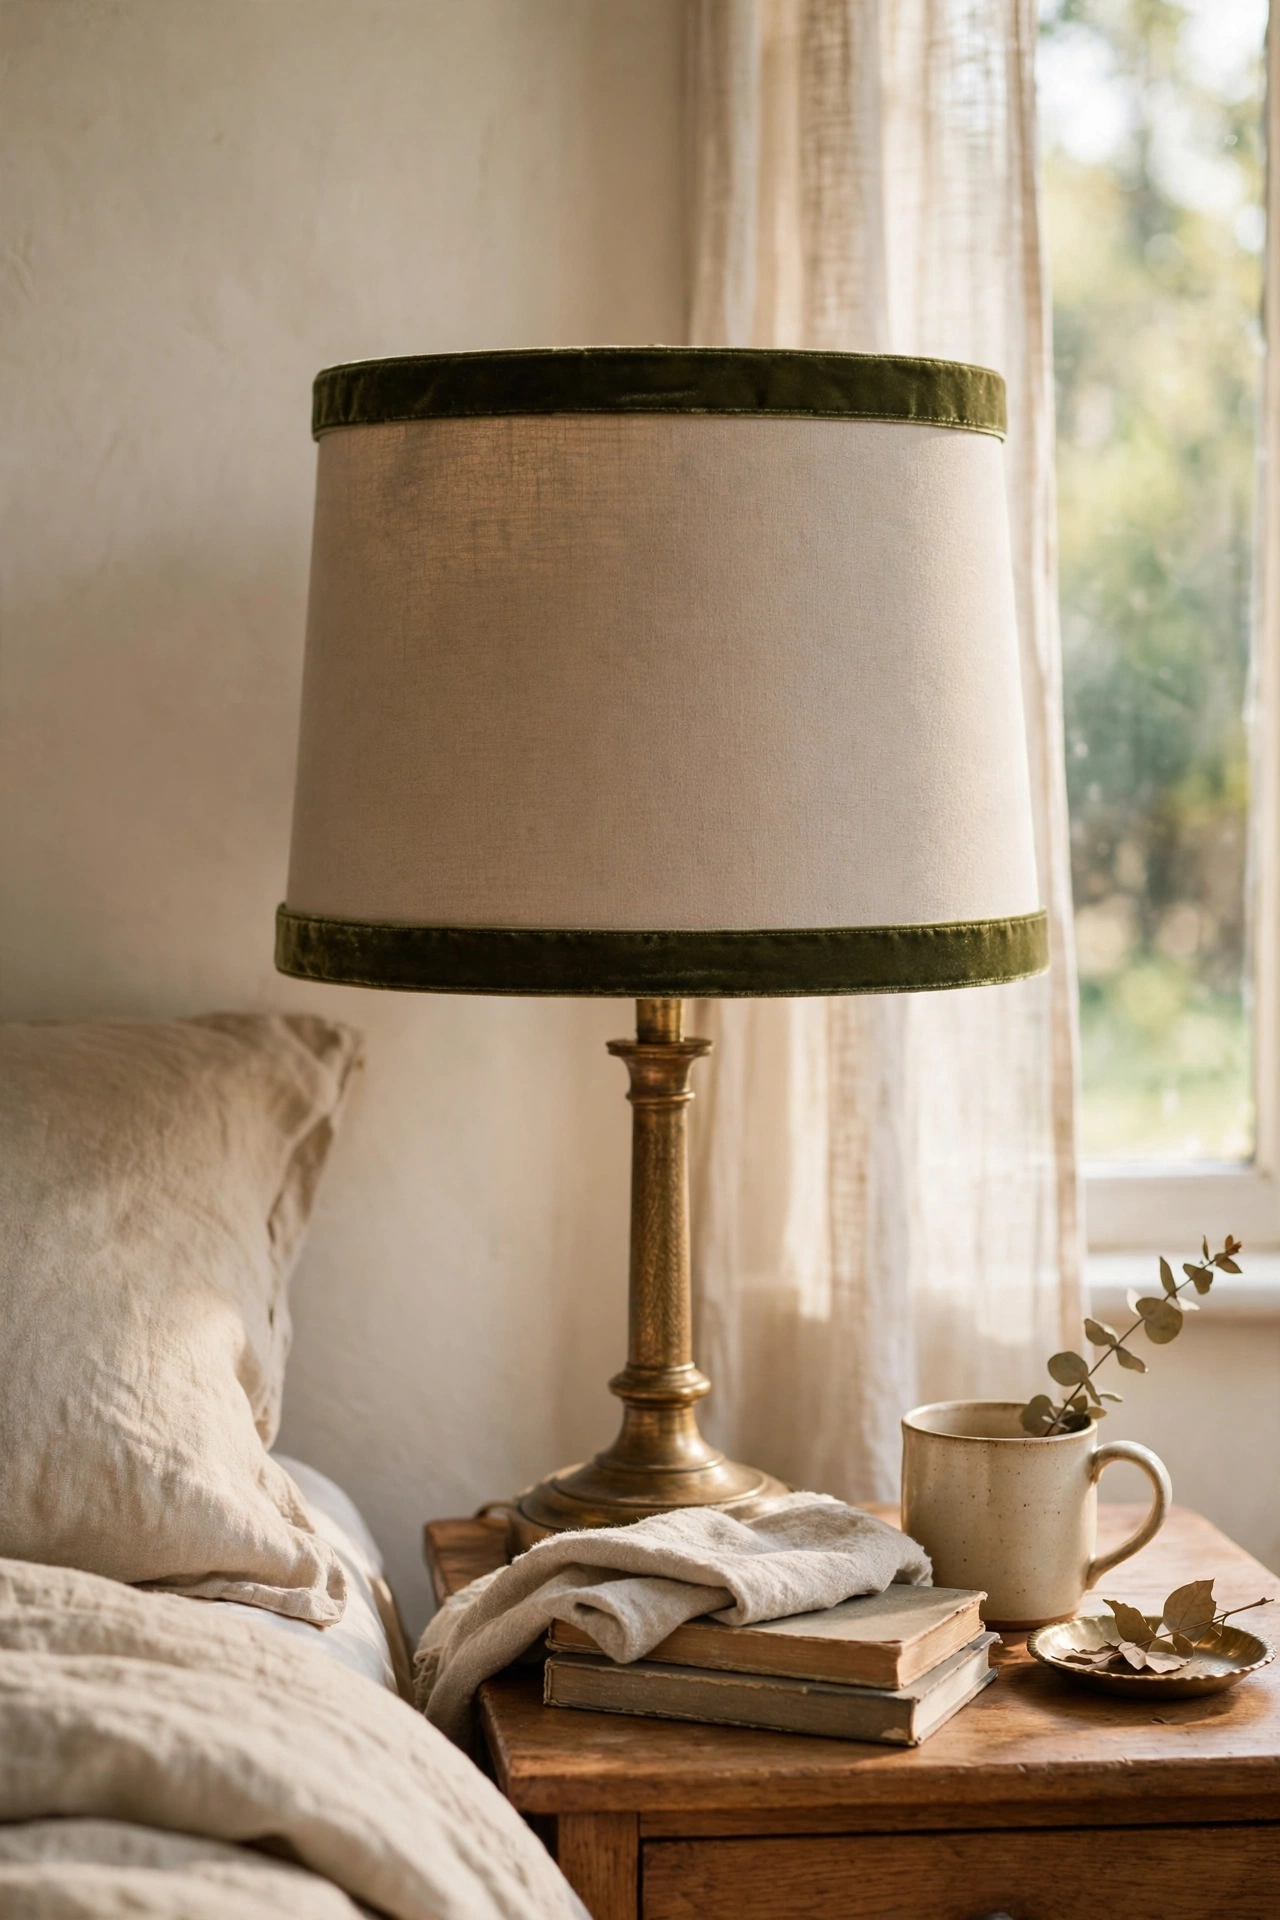
Ribbon trim around a plain lampshade adds a tailored, expensive finish. I glued velvet ribbon around the top and bottom edges of a basic shade, keeping it level with a pencilled guideline. Velvet ribbon looks far richer than satin for this. My first shade had wavy ribbon because I skipped the guideline, so mark it first. The shade now looks custom made. It pairs beautifully with the budget lighting in our (see also: 21-bedroom-decor-ideas-under-25-on-a-tight-budget/) bedroom refresh. A steady hand matters more than speed when gluing the trim.
Materials: plain lampshade, velvet ribbon, fabric glue | Cost: ~$4-7 | Time: 30 minutes
21. Build Glass Hurricane Candle Holders
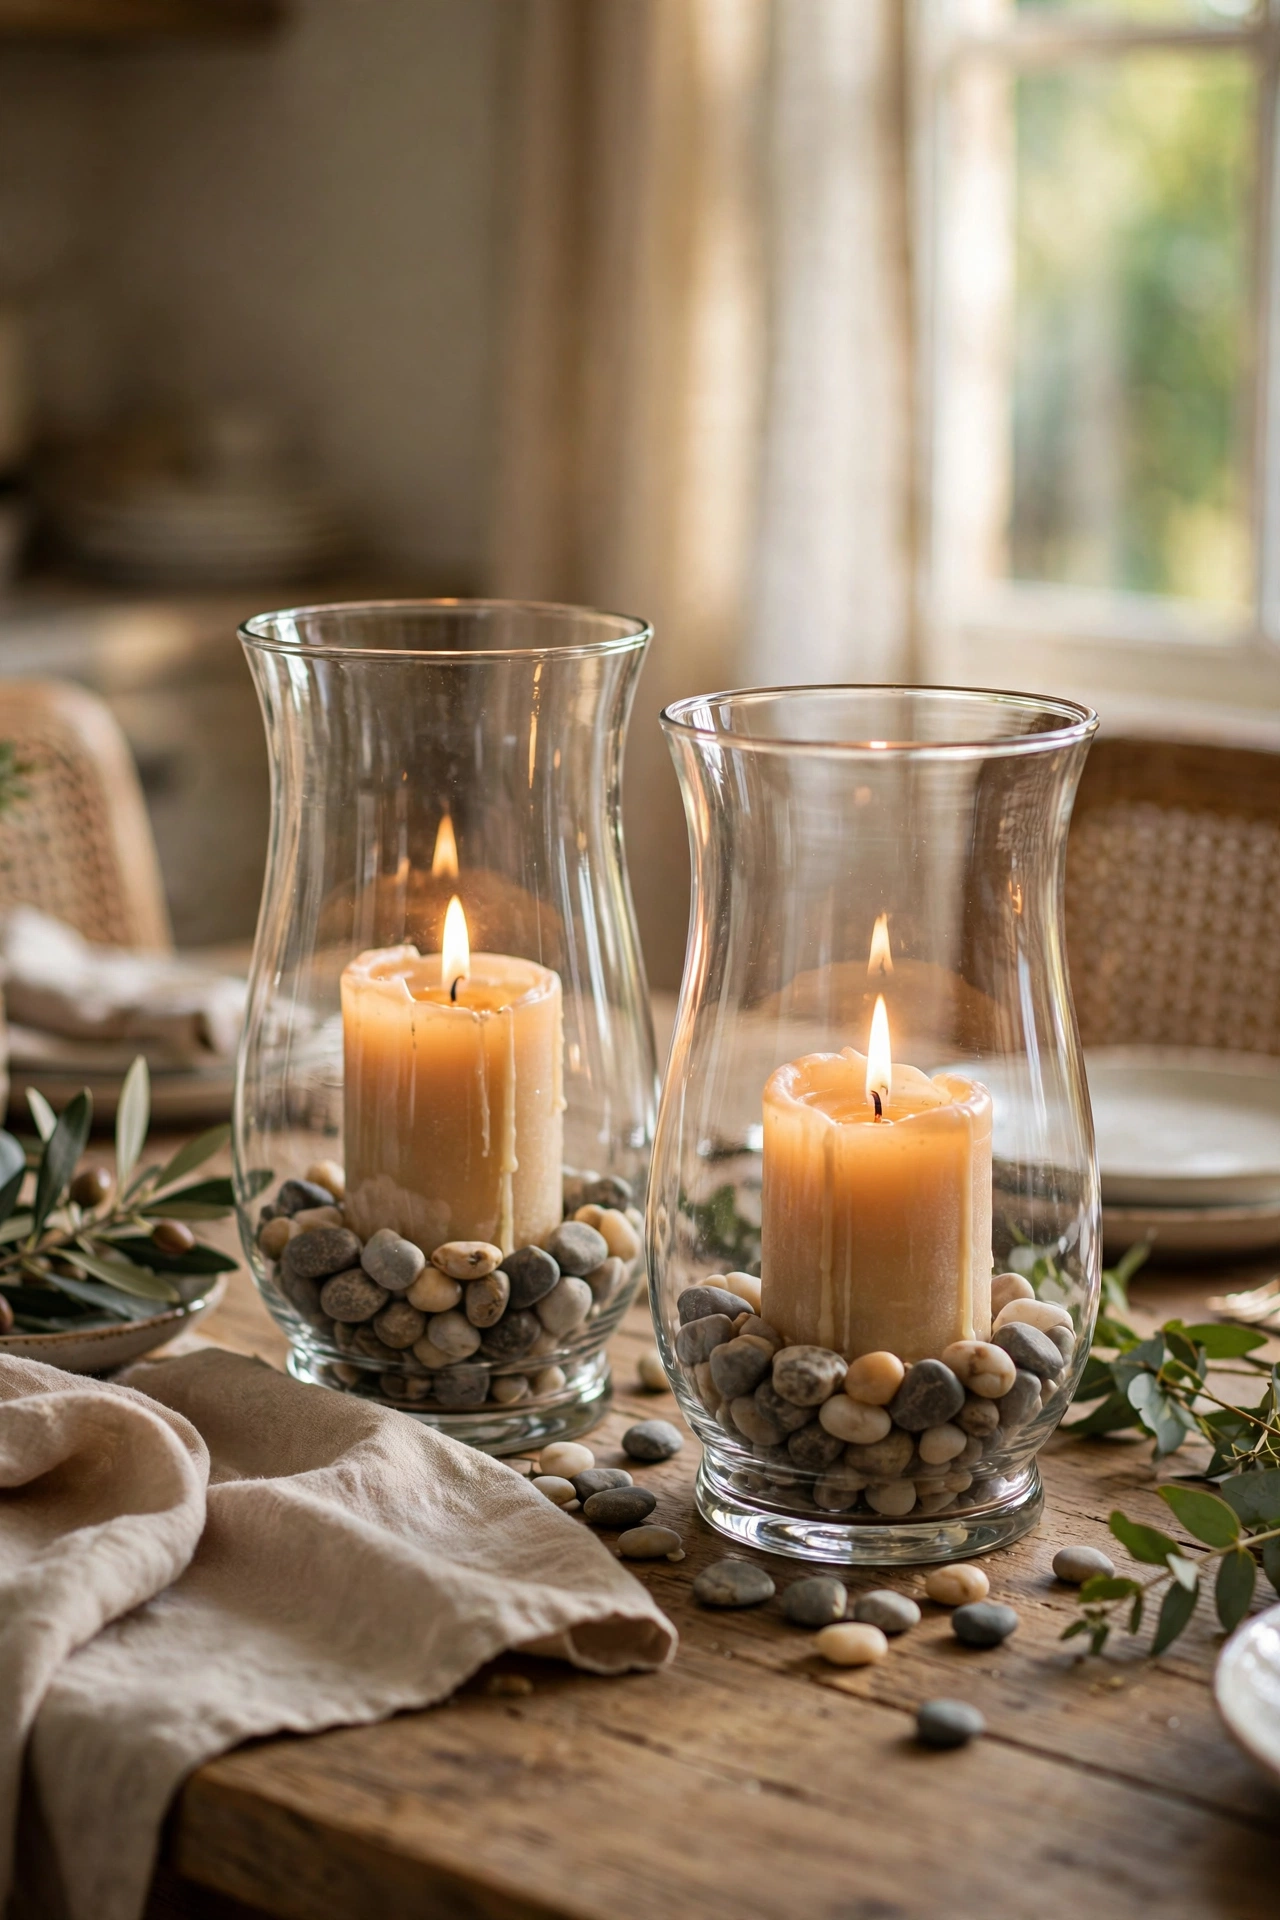
A tall glass vase over a pillar candle on a plate makes an elegant hurricane holder. I centred a candle on a decorative plate, placed the vase over it, and added pebbles around the base. Make sure the vase is taller than the flame for safety. My first one was too short and looked stubby, so go tall. The glass protects the flame and magnifies the glow. A pair of these on the dining table looks like proper entertaining ware.
Materials: tall glass vases, pillar candles, plates, pebbles | Cost: ~$6-10 | Time: 15 minutes
22. Make No-Sew Pillow Covers
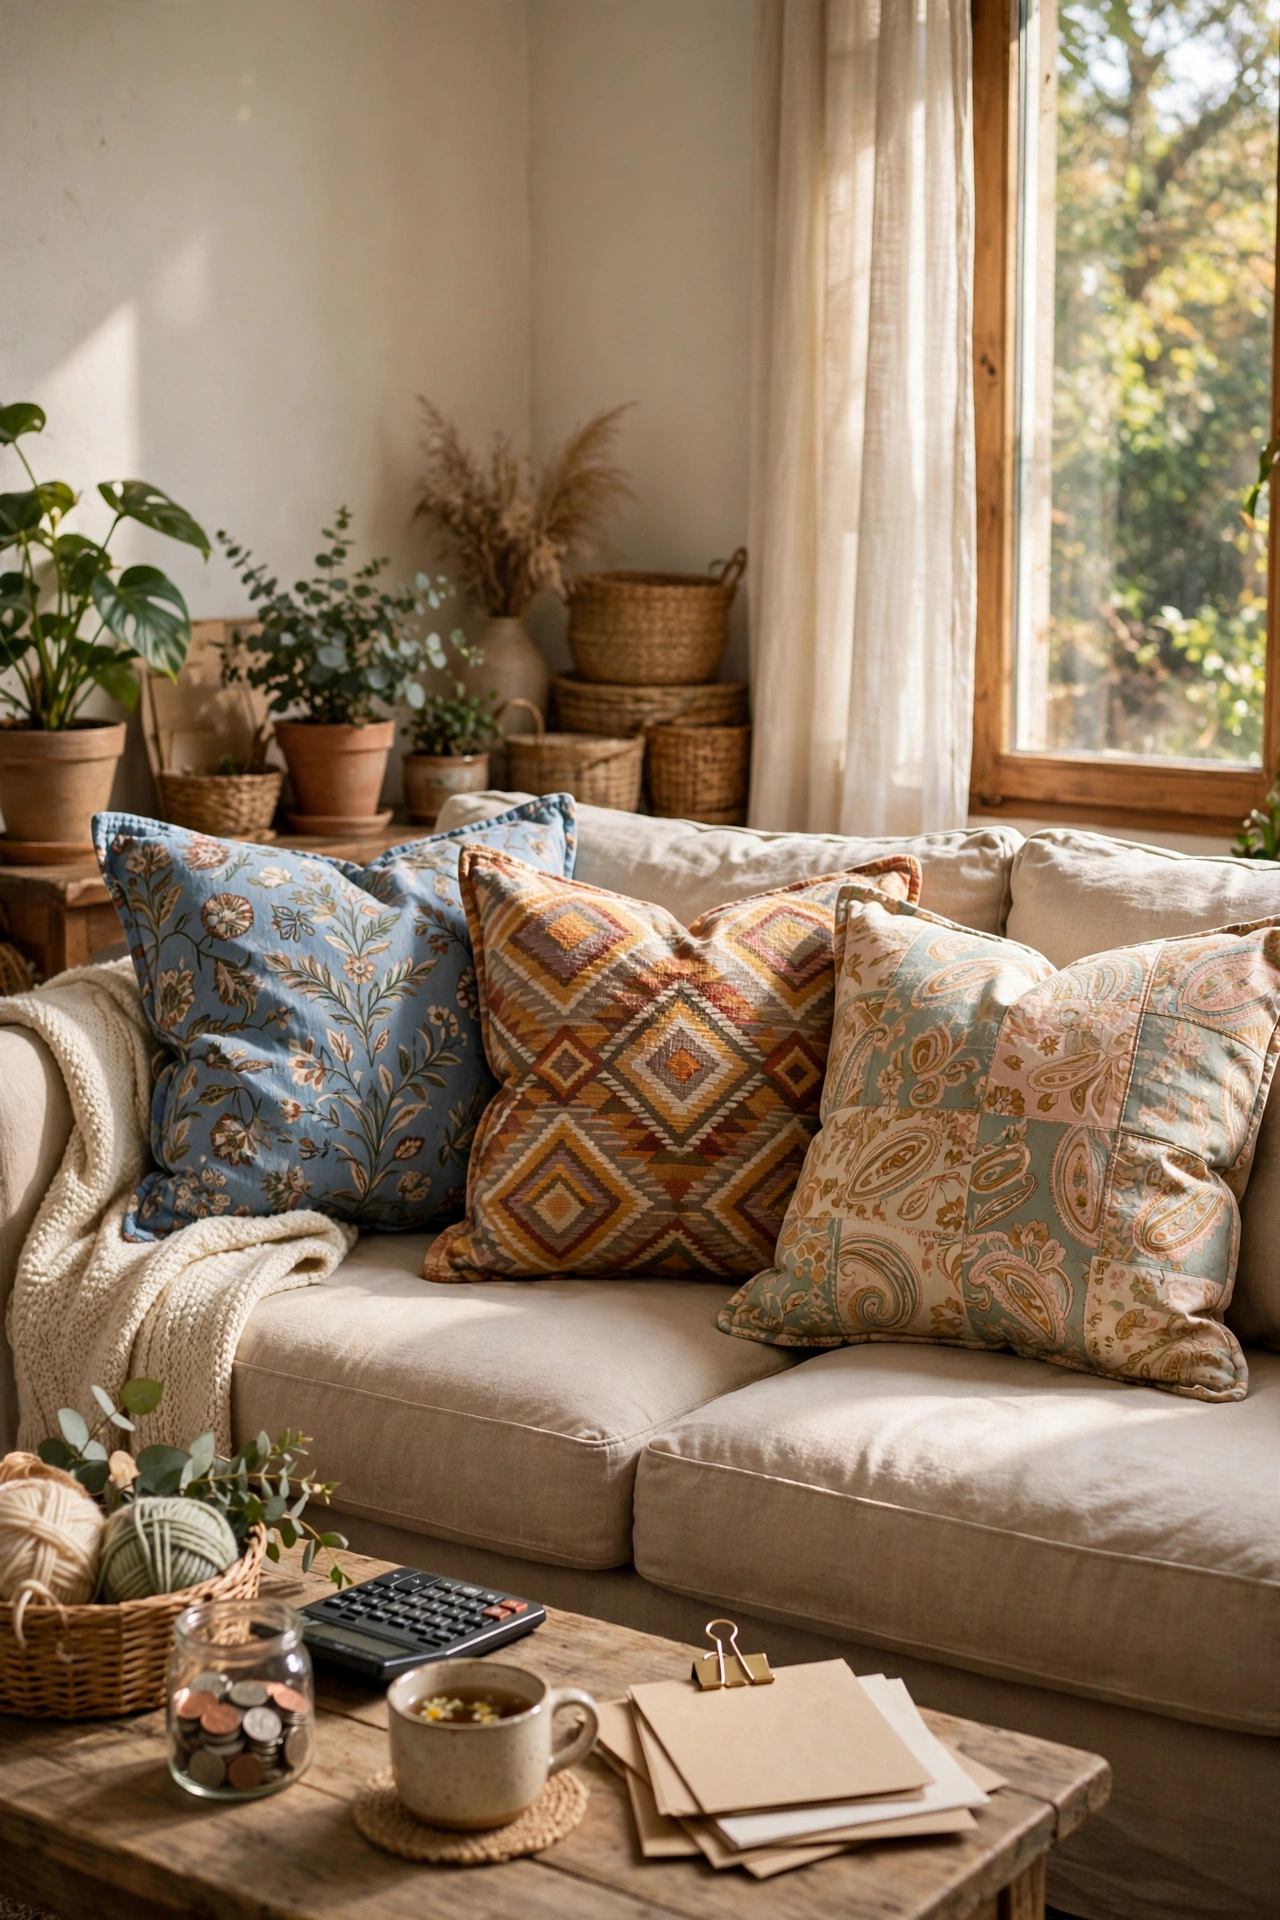
Fabric glue and hemming tape make pillow covers with zero sewing. I cut fabric to wrap a cushion pad, folded it envelope-style, and secured the hems with iron-on tape. Press firmly and let it cool before handling. My first cover pulled apart because I did not press long enough, so give it a good thirty seconds. In a nice fabric they look just like sewn covers. I recovered four cushions for the price of one shop-bought cover, which suits any (see also: 23-bedroom-decor-ideas-under-50-for-a-cozy-retreat/) budget.
Materials: fabric, cushion pads, iron-on hemming tape | Cost: ~$8-14 | Time: 45 minutes
23. Frame Free Botanical Prints
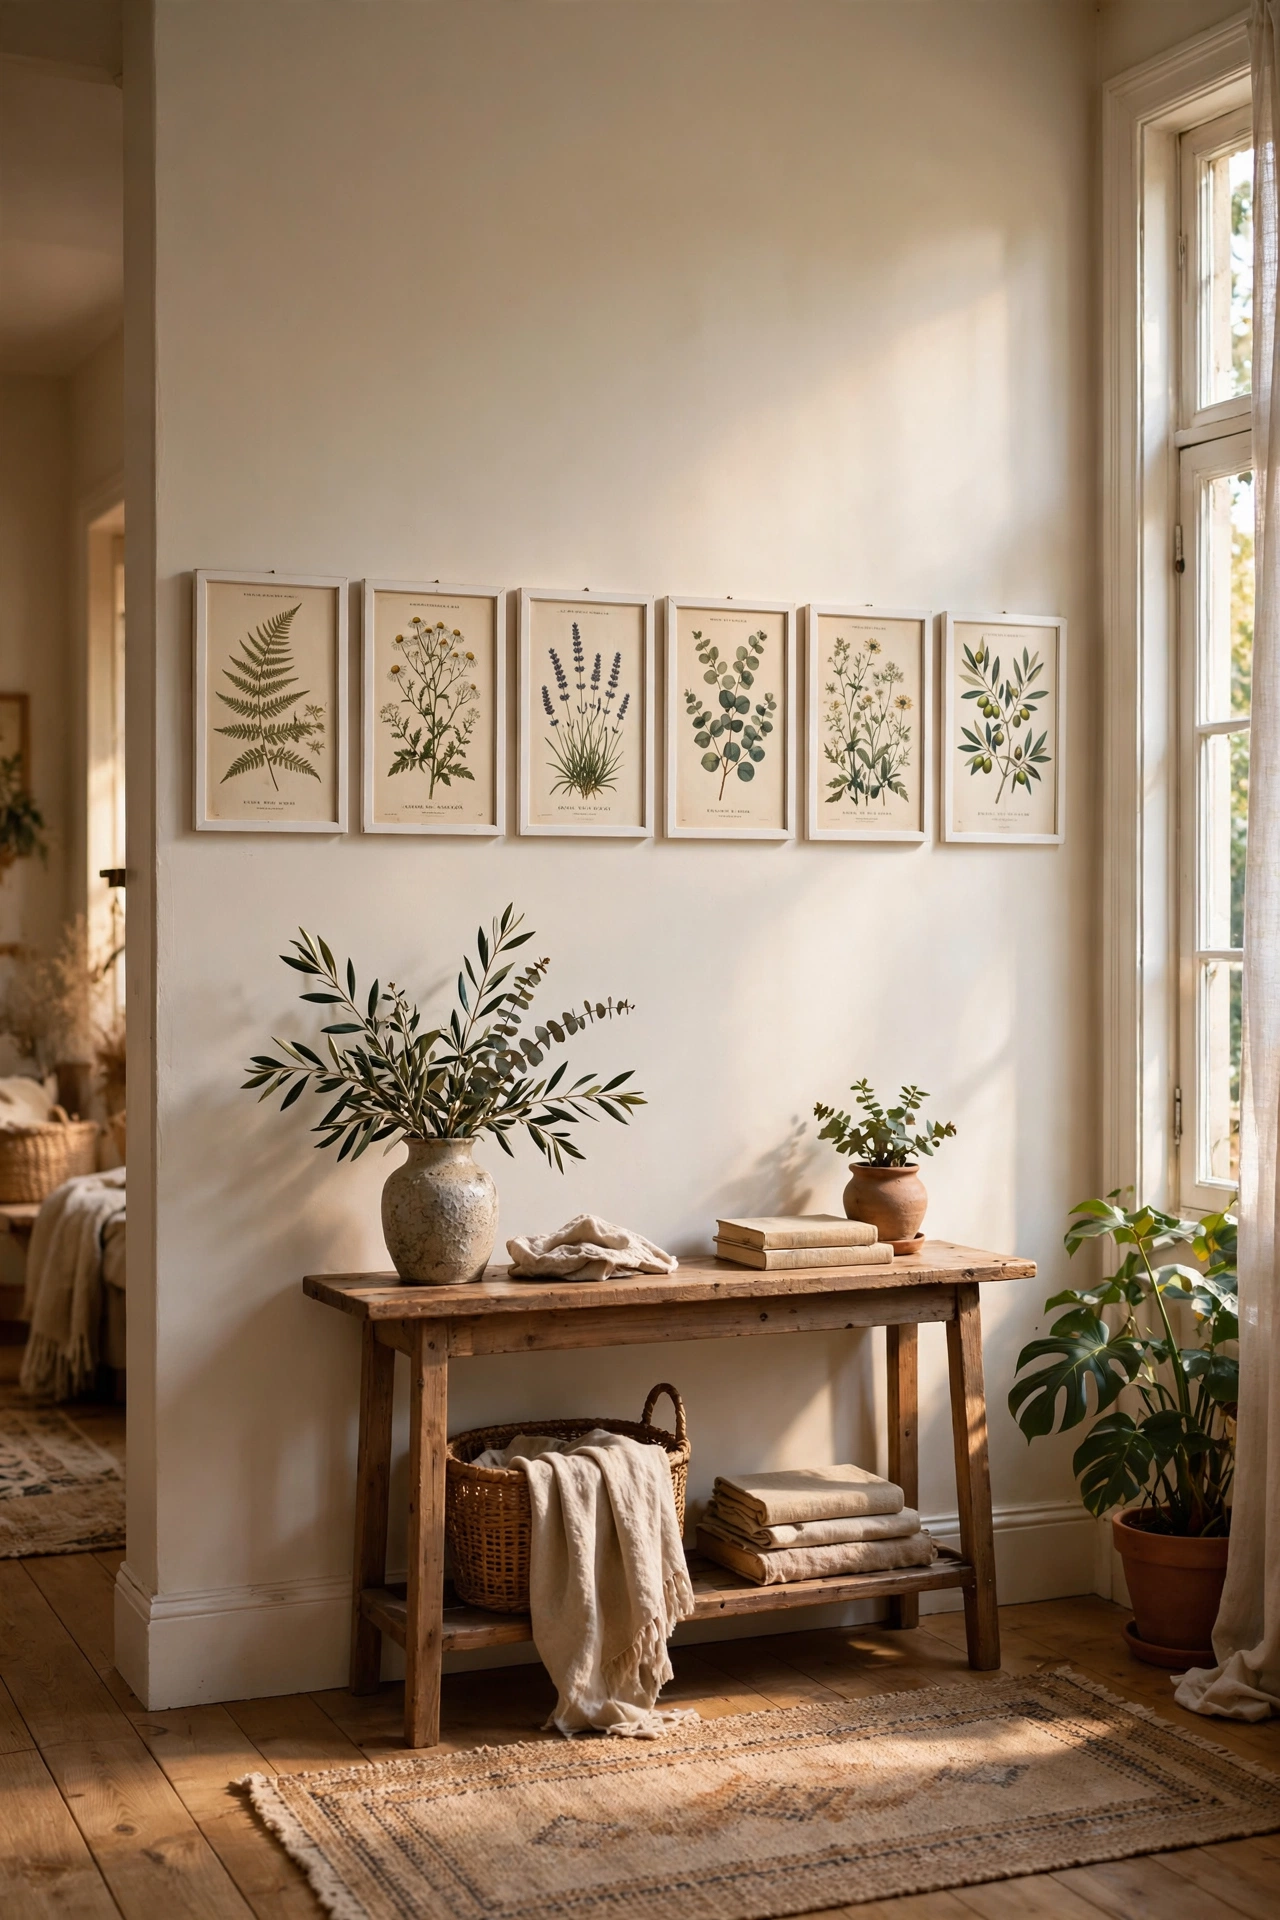
Free printable botanical art in dollar store frames looks like a proper gallery set. I printed vintage botanical illustrations at the library, mounted them in matching white frames, and hung them in a row. Printing on slightly textured paper makes them look far more expensive. My first prints on shiny paper looked cheap, so matte is essential. The whole set cost me almost nothing. It is now the prettiest wall in the hallway. I rotate the prints twice a year to keep the display feeling new.
Materials: matching frames, printed botanical art | Cost: ~$6-12 | Time: 30 minutes
24. Make Faux Candle Sconces with Battery Candles
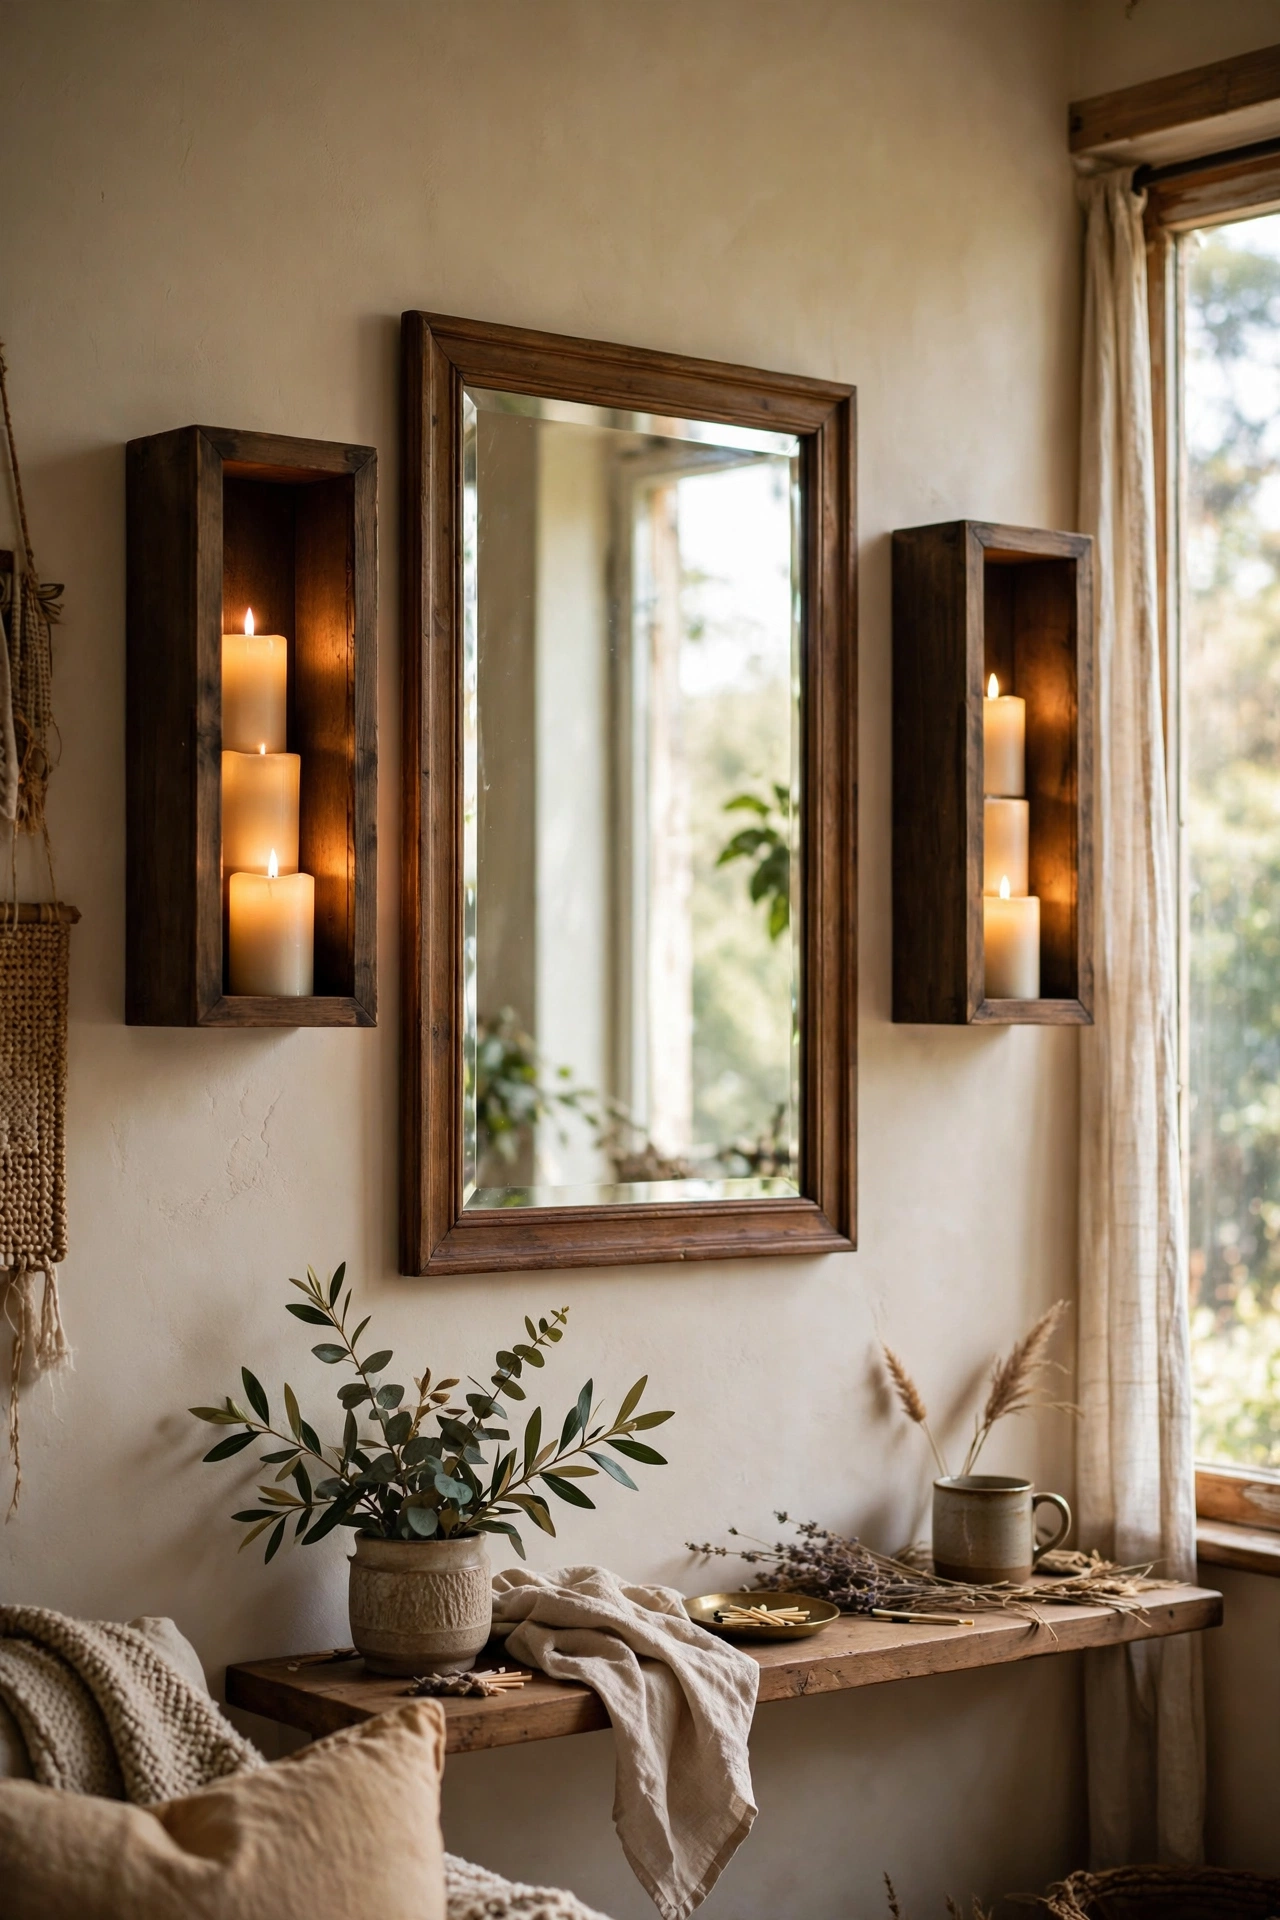
Small frames with battery candles inside become glowing wall sconces. I removed the glass from deep box frames, fixed a battery tealight inside each with adhesive, and hung them in pairs. The flickering LED looks remarkably like real candlelight through the frame. My first attempt used shallow frames and the candle stuck out, so choose deep ones. They add gorgeous ambient light with no wiring. I have them flanking the bedroom mirror. The remote control makes switching them on effortless every evening.
Materials: deep box frames, battery tealights, adhesive | Cost: ~$8-12 | Time: 30 minutes
25. Style a Tiered Tray with Dollar Finds
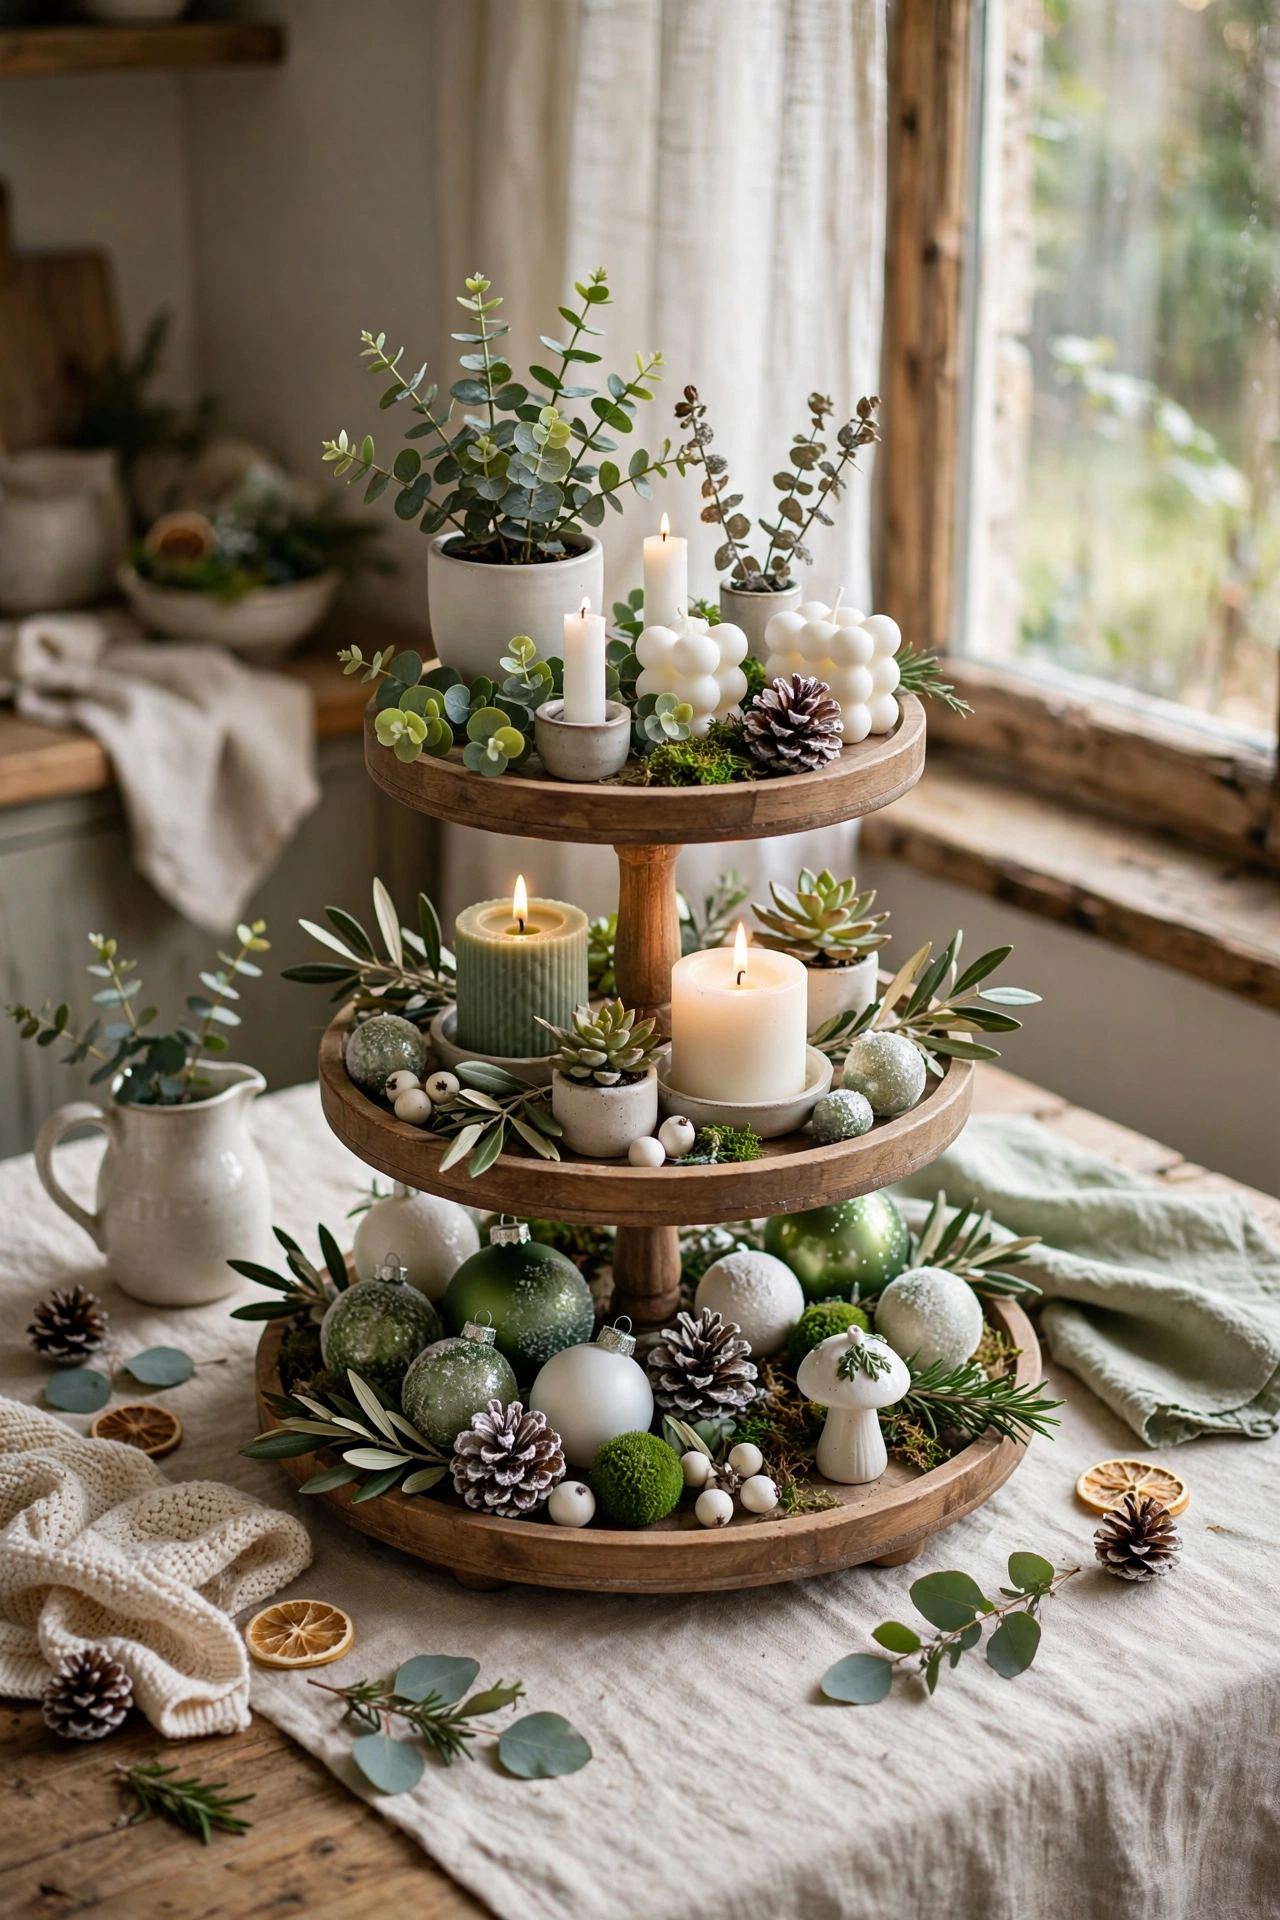
A tiered tray styled with dollar store bits makes a charming seasonal display. I stacked two plates on candlesticks for the tiers, then arranged small plants, candles, and ornaments on each level. Keep a colour theme so it looks curated rather than cluttered. My first tray was a random jumble until I limited it to greens and whites. I restyle mine every season in minutes. It is the hardest-working decoration in my house. Friends always ask where I bought it, which never gets old.
Materials: plates, candlesticks, small decor bits | Cost: ~$8-14 | Time: 45 minutes
Pin this post now so you can save this idea for your next weekend project run!
Ready for more thrifty transformations? Browse our thrifty bedroom guides next.
