25 Weekend DIY Projects That Instantly Refresh Your Home
Every autumn I get the itch to change something in my house, and every autumn my budget says absolutely not. So years ago I started collecting weekend diy home projects that cost almost nothing and finish in a day or two. The rule is simple: if I cannot finish it between Saturday breakfast and Sunday dinner, it goes on a different list. This is the list that survived. Twenty-five projects, all tested in my own home, all under $30 each.
These weekend diy home projects are organised from quickest wins to bigger undertakings. Pick one per weekend and by spring your house will feel like a new place. Every project includes the real cost and the real time it took me, mistakes included.
1. Swap Every Light Switch Plate
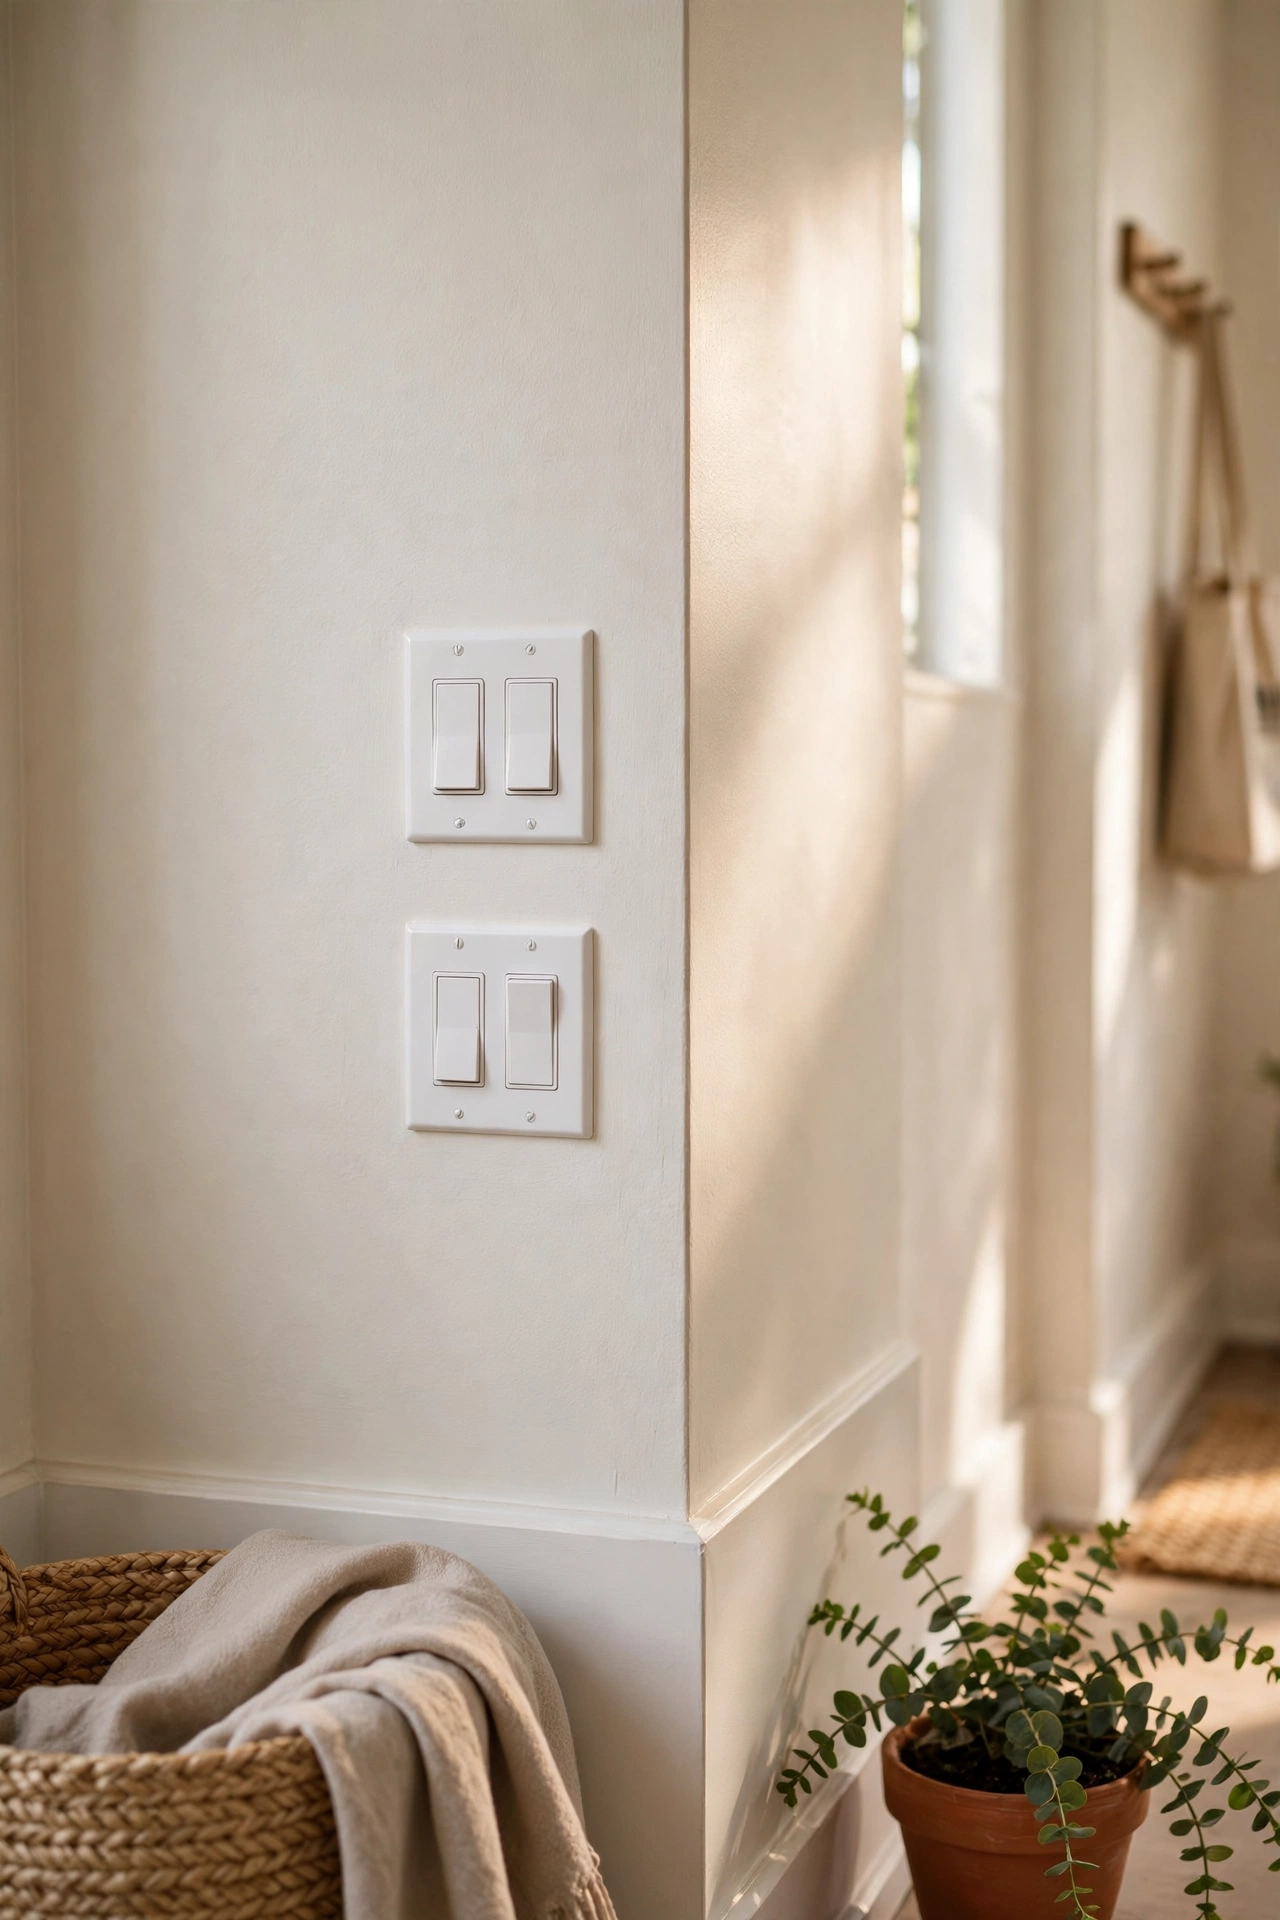
Yellowed plastic switch plates date a room instantly, and replacing them is a twenty-minute job. I bought a bulk pack of clean white plates for $12 and did the whole house in an afternoon. Turn off the breaker first, unscrew the old plate, screw on the new one. That is the entire project. The difference is absurd for the effort involved. My hallway went from 1987 to present day before lunch. Wipe the wall behind the old plate before the new one goes on, because there is always a dusty outline.
Cost: ~$12 for the house | Time: 1 hour
2. Paint Your Front Door
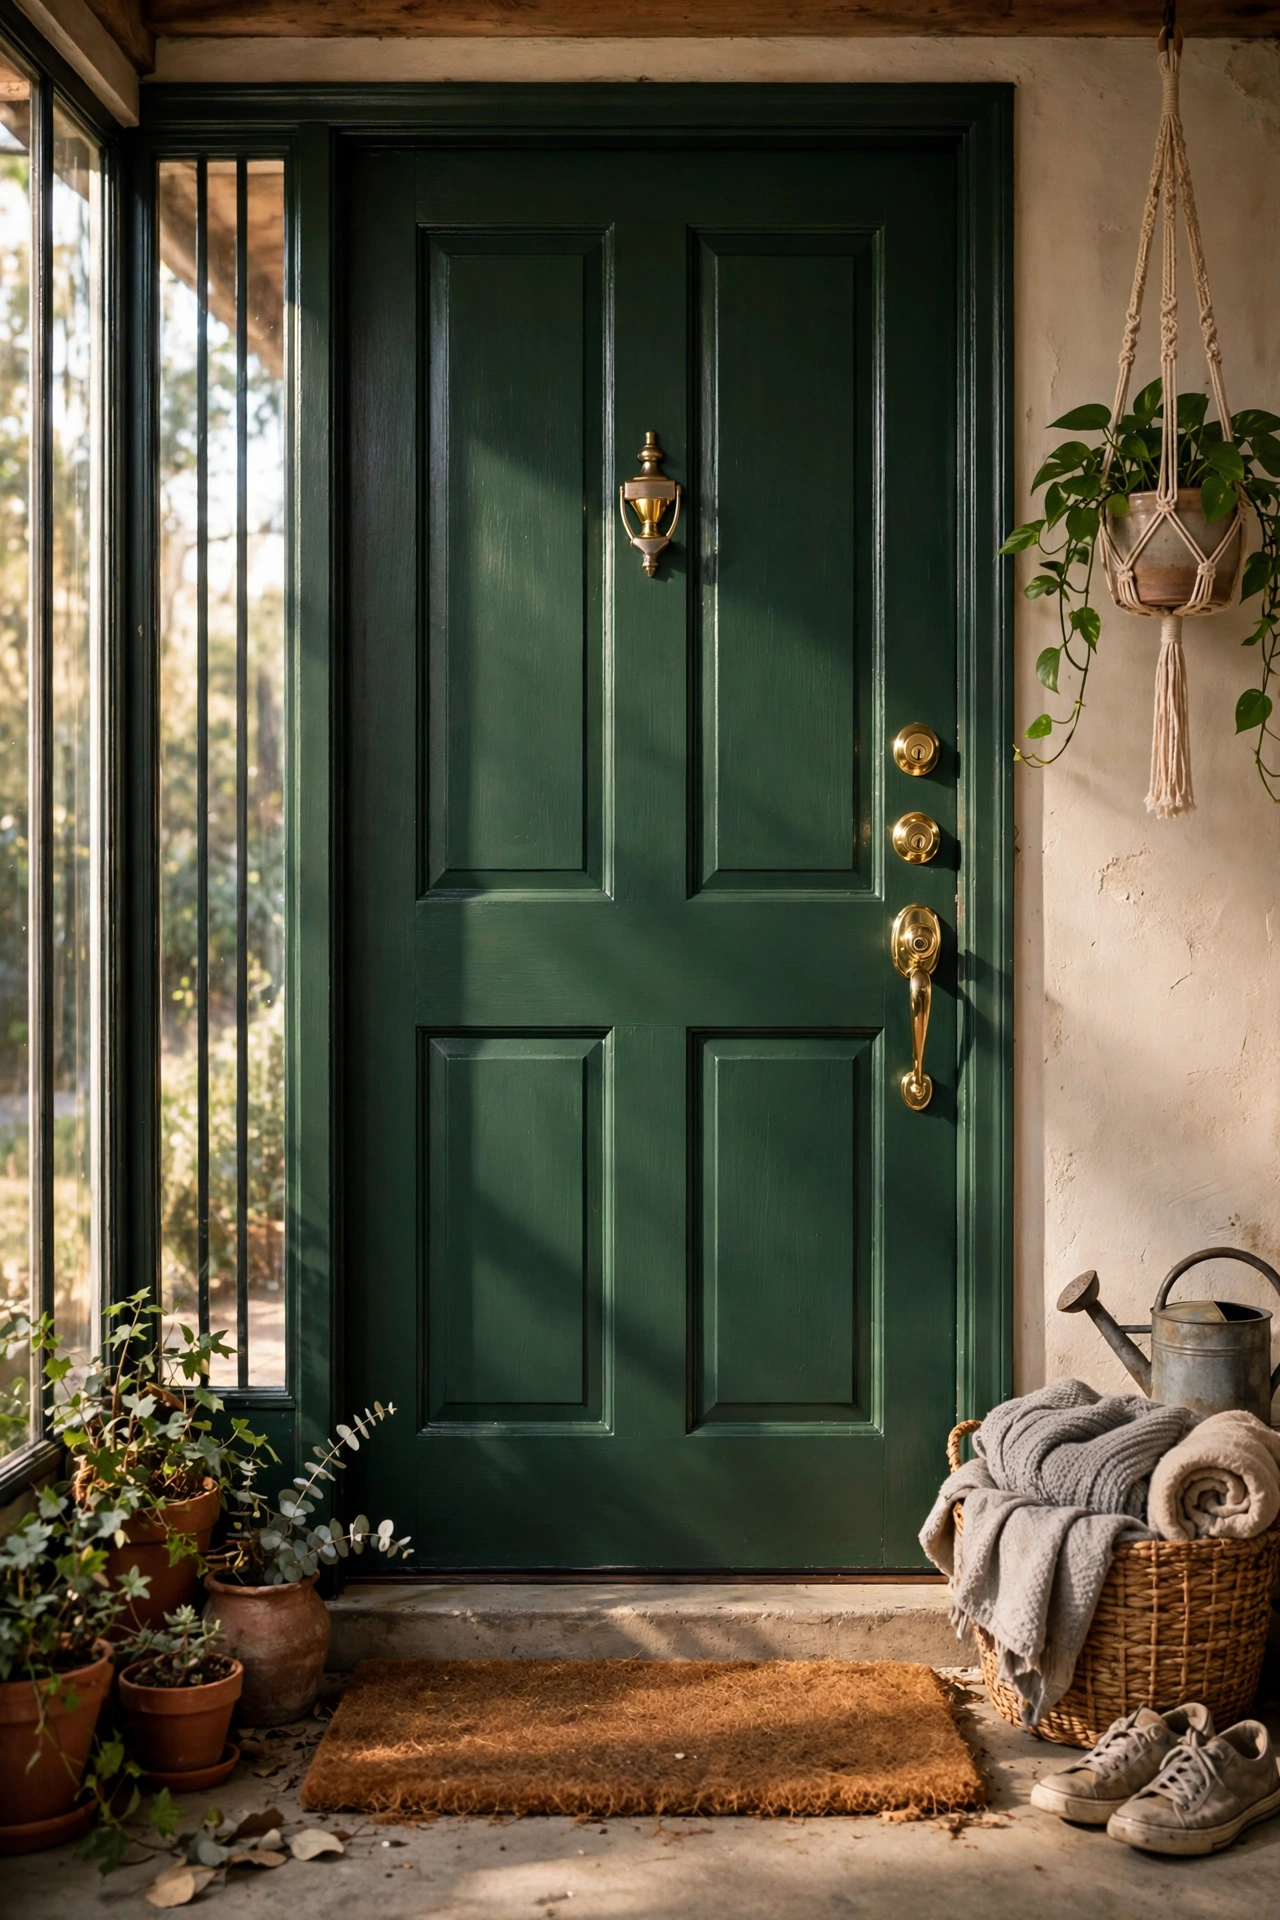
A front door is the handshake of your house, and a fresh colour changes the whole street view. I painted mine deep green with a quart of exterior paint, two coats, no primer needed over the existing paint. Remove the hardware first rather than taping around it, because taped edges always look taped. The door took a Saturday morning including drying between coats. My neighbours noticed before I had finished cleaning the brushes. Choose a colour with confidence, because a bold door is the cheapest curb appeal there is.
Cost: ~$18-25 | Time: 4 hours
3. Install Peel-and-Stick Backsplash Tiles
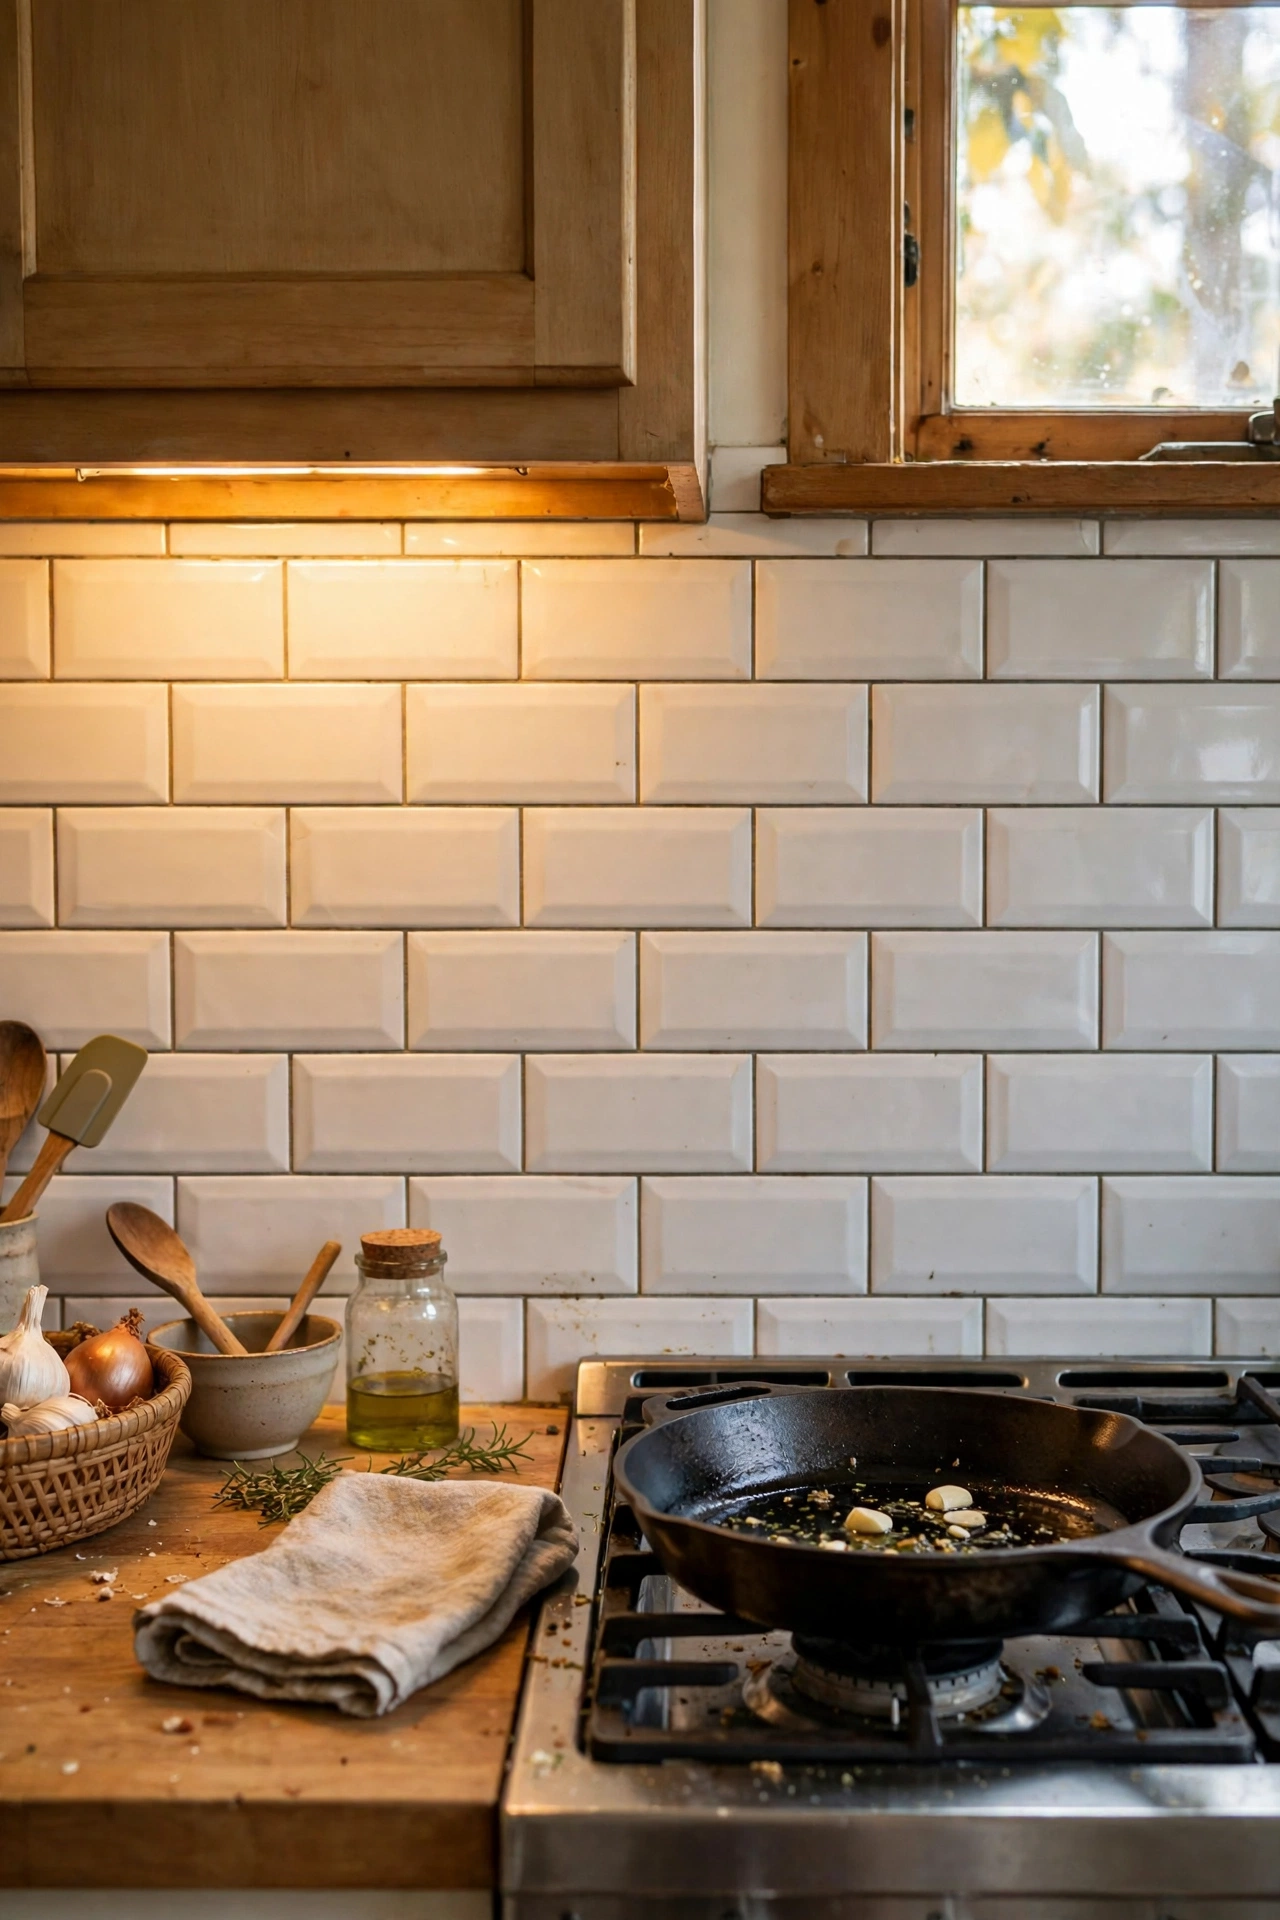
My rental kitchen had the saddest beige backsplash, and peel-and-stick tiles fixed it in one Sunday. The tiles are thick vinyl with real texture, and from two feet away they pass for ceramic. Clean the wall with degreaser first, start from the centre and work outward, and use a craft knife for the outlet cuts. I did the whole stove wall for $28. Overlap the edges slightly rather than butting them, because butted edges show the seam. Two years on, mine still look perfect behind the stove.
Cost: ~$25-30 | Time: 3 hours
4. Add Crown Moulding with Adhesive
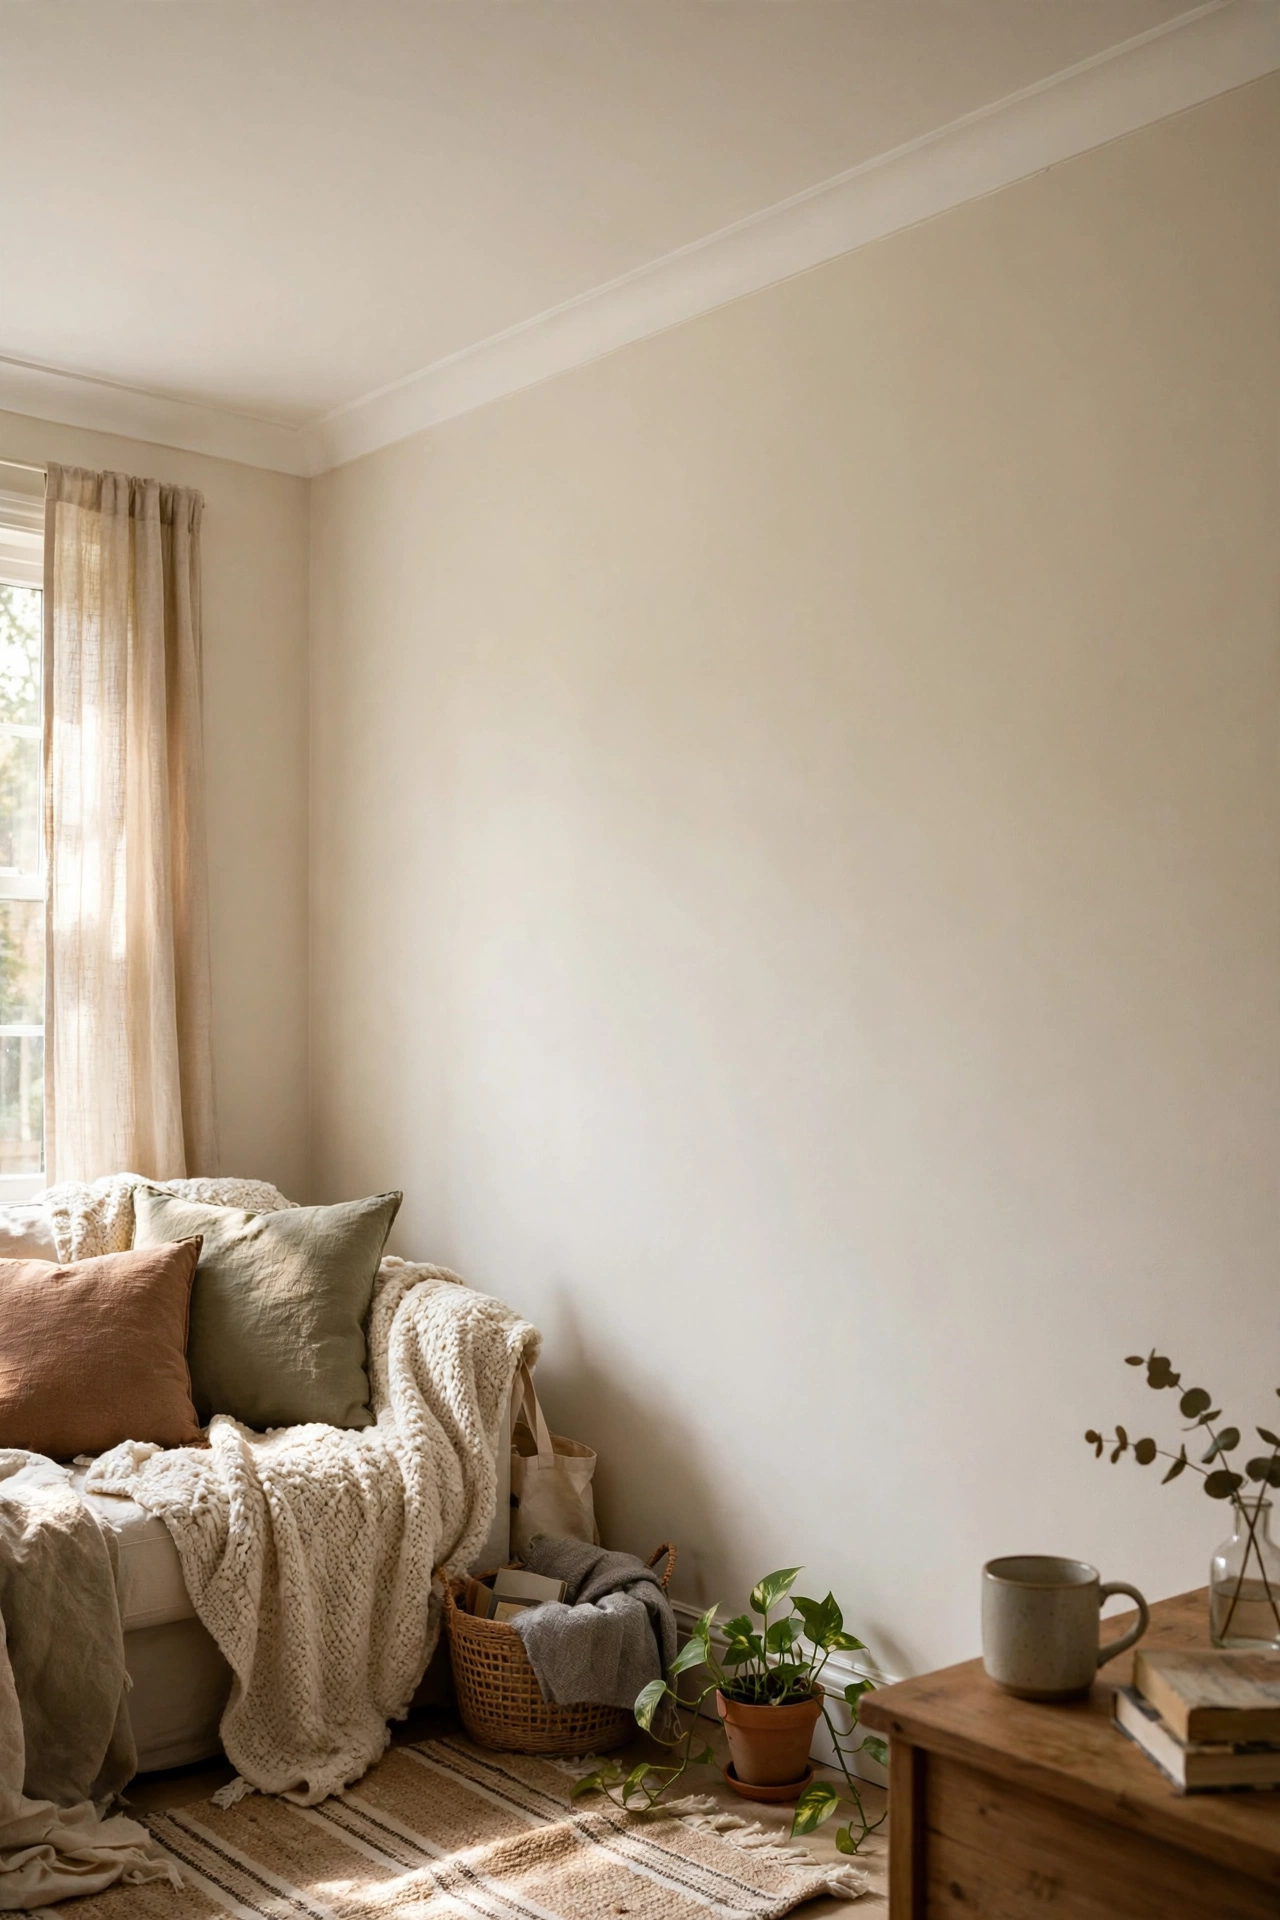
Foam crown moulding that glues up with construction adhesive gives you the finished-room look without a mitre saw. I did my living room ceiling line in one weekend for $40 in materials. Cut the pieces with a simple hand saw and mitre box, which costs $10 and works fine for foam. Paint it after installation so the joints disappear. The trick is caulking every joint before painting, because uncaulked joints are the giveaway. My ceiling suddenly looked finished, like the room had always been meant to look this way.
Cost: ~$30-45 | Time: 6 hours
5. Restyle Every Bookshelf
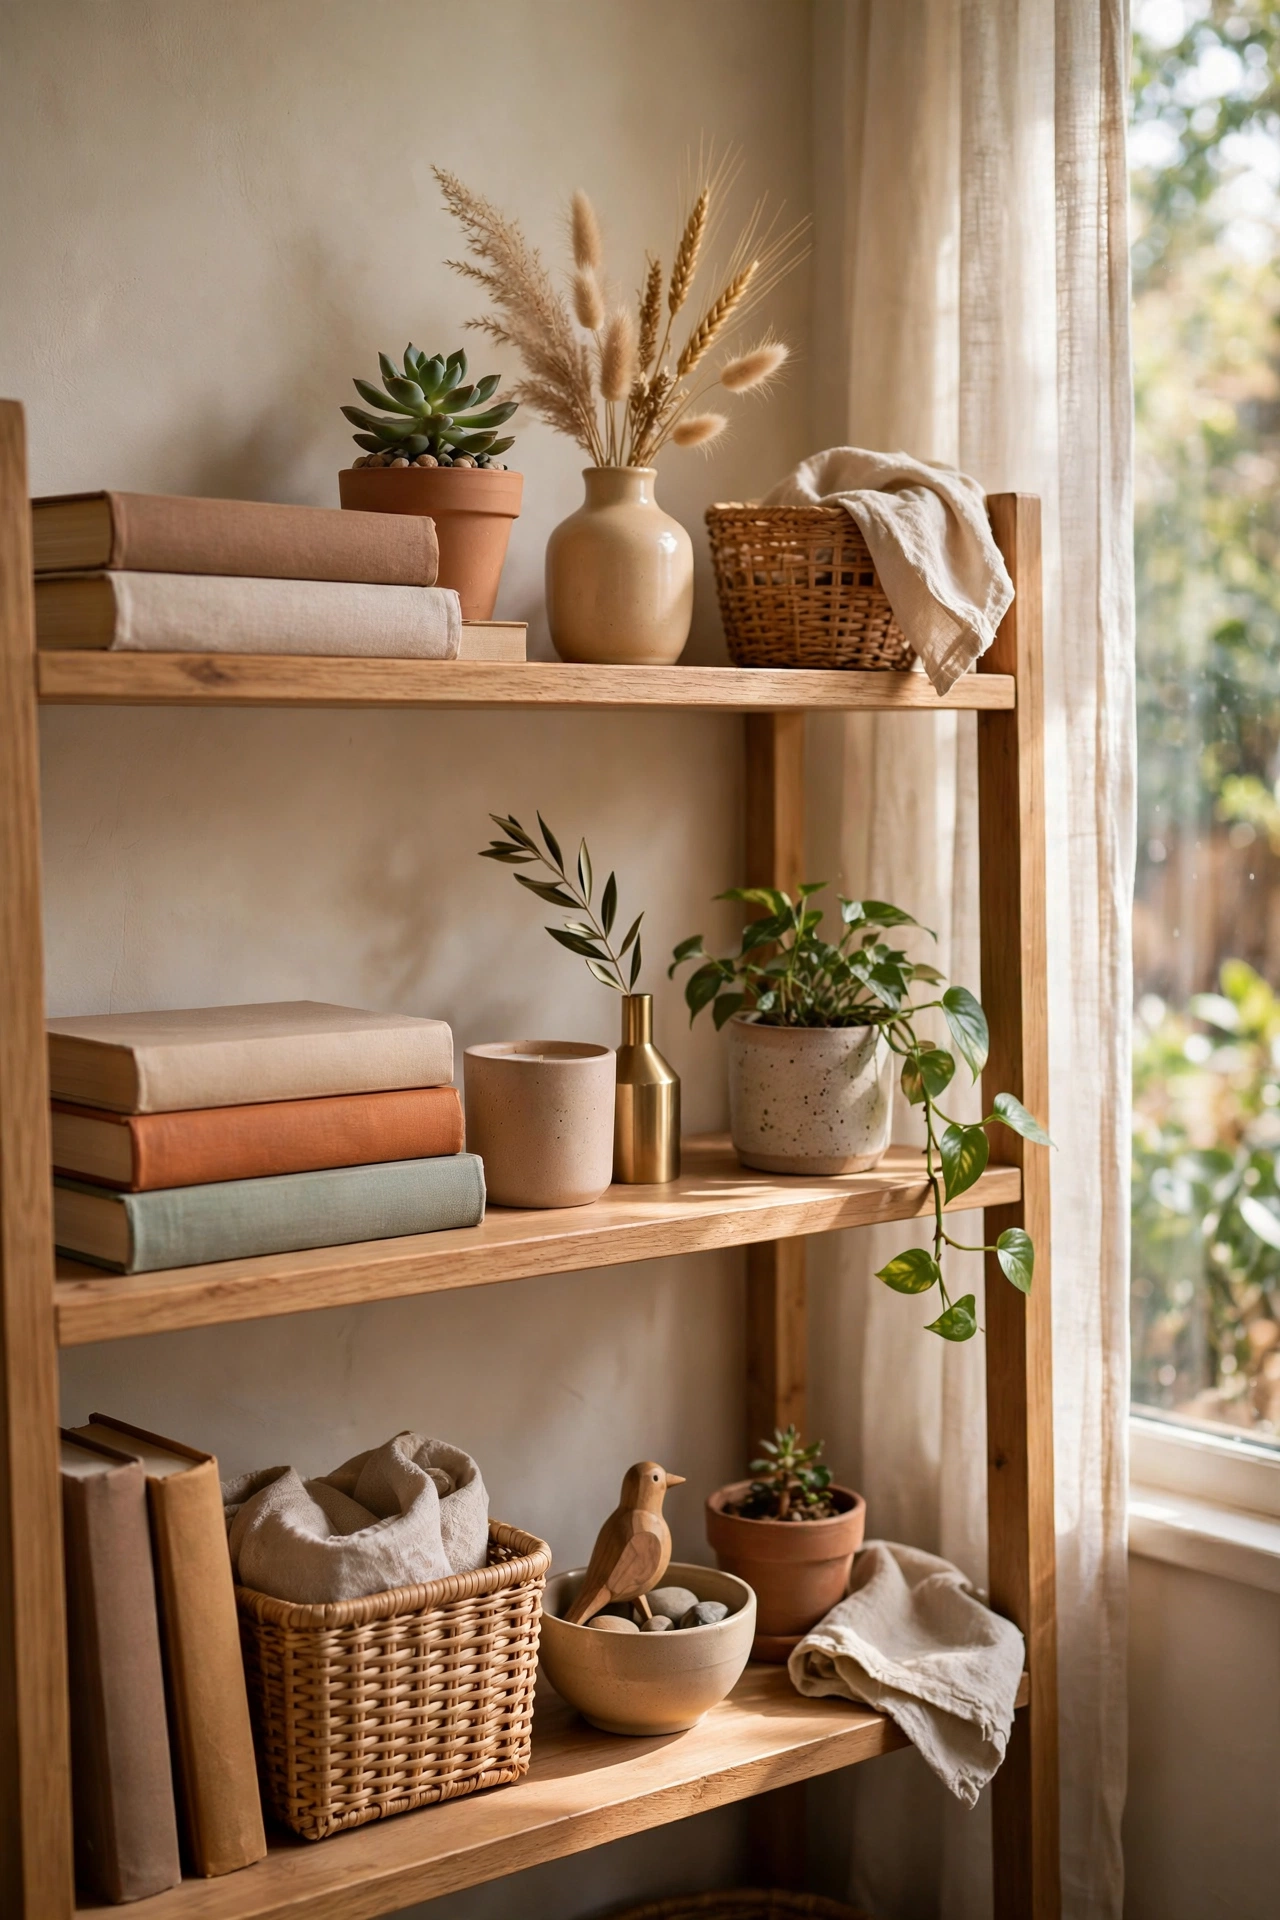
Pull everything off your shelves and put back only what earns its place. I spent a Saturday restyling four bookshelves using the rule of thirds: books stacked horizontally, one decorative object, one plant per shelf, with breathing room between groups. The rooms felt calmer by dinner. Take a photo before you start so you remember where the good pieces were. My shelves had been cluttered for years and the restyle cost me exactly nothing. Less on the shelf, more in the room.
Cost: ~$0 | Time: 3 hours
6. Paint a Room’s Ceiling
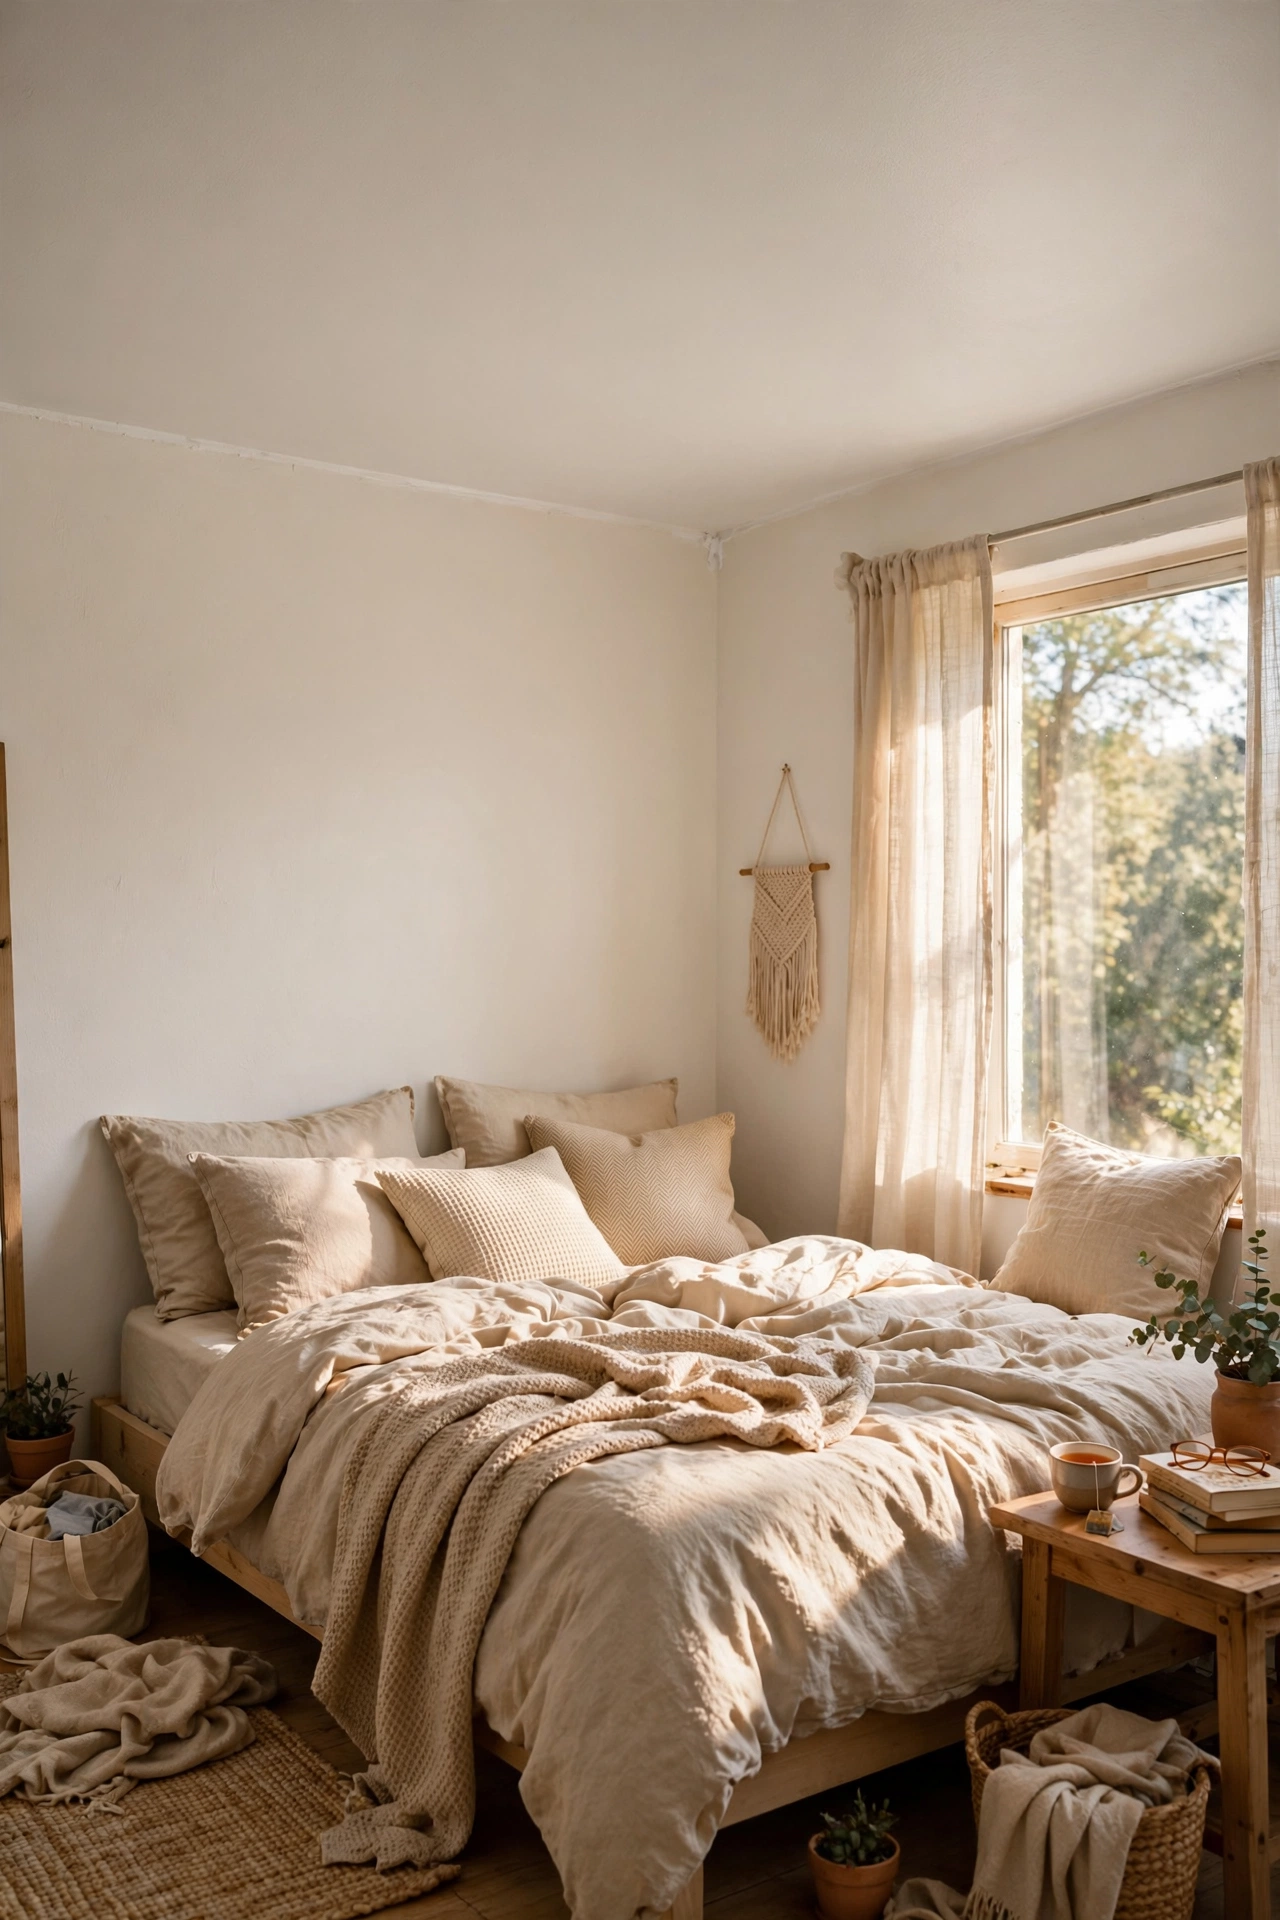
Nobody paints ceilings and everybody should. I painted my bedroom ceiling a soft warm white instead of the stark builder white, and the room felt instantly cosier. Use a roller on an extension pole and keep a wet edge to avoid lap marks. Cover everything, because ceiling paint finds its way onto everything. One room takes a morning. The change is subtle and completely transformative, like the room exhaled.
Cost: ~$20-28 | Time: 3 hours
7. Build a Simple Floating Shelf
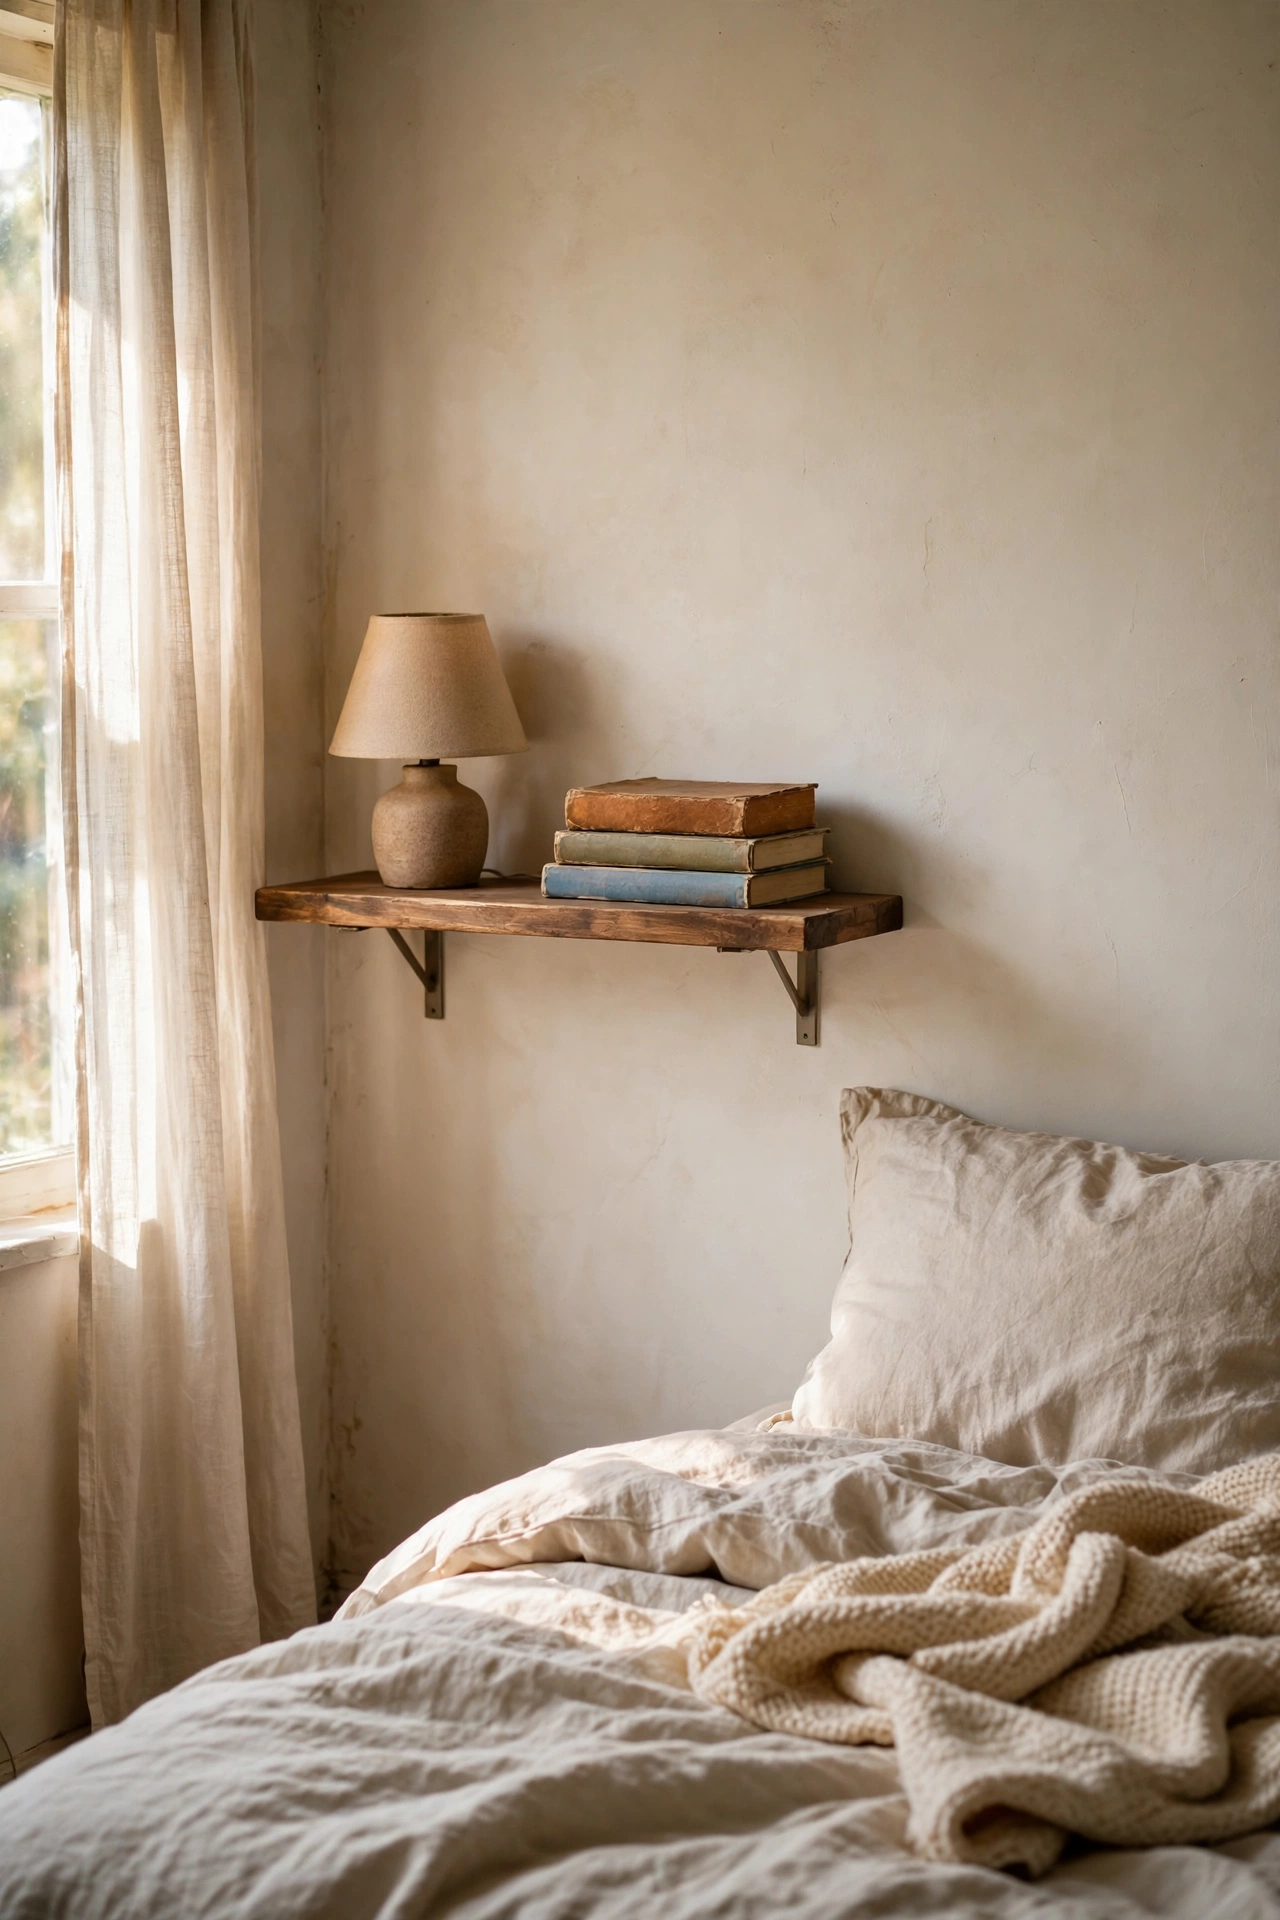
One floating shelf over a desk or beside a bed adds storage and style for the price of a board and two brackets. I cut a pine board to length, stained it walnut, and mounted it with heavy-duty hidden brackets into wall studs. Finding the stud is the whole job, so use a proper stud finder rather than guessing. My shelf holds a lamp, three books, and a plant. It took an hour and looks like it was always there. Sand the board smooth before staining or the finish looks rough.
Cost: ~$12-18 | Time: 1.5 hours
8. Regrout the Bathroom Tiles
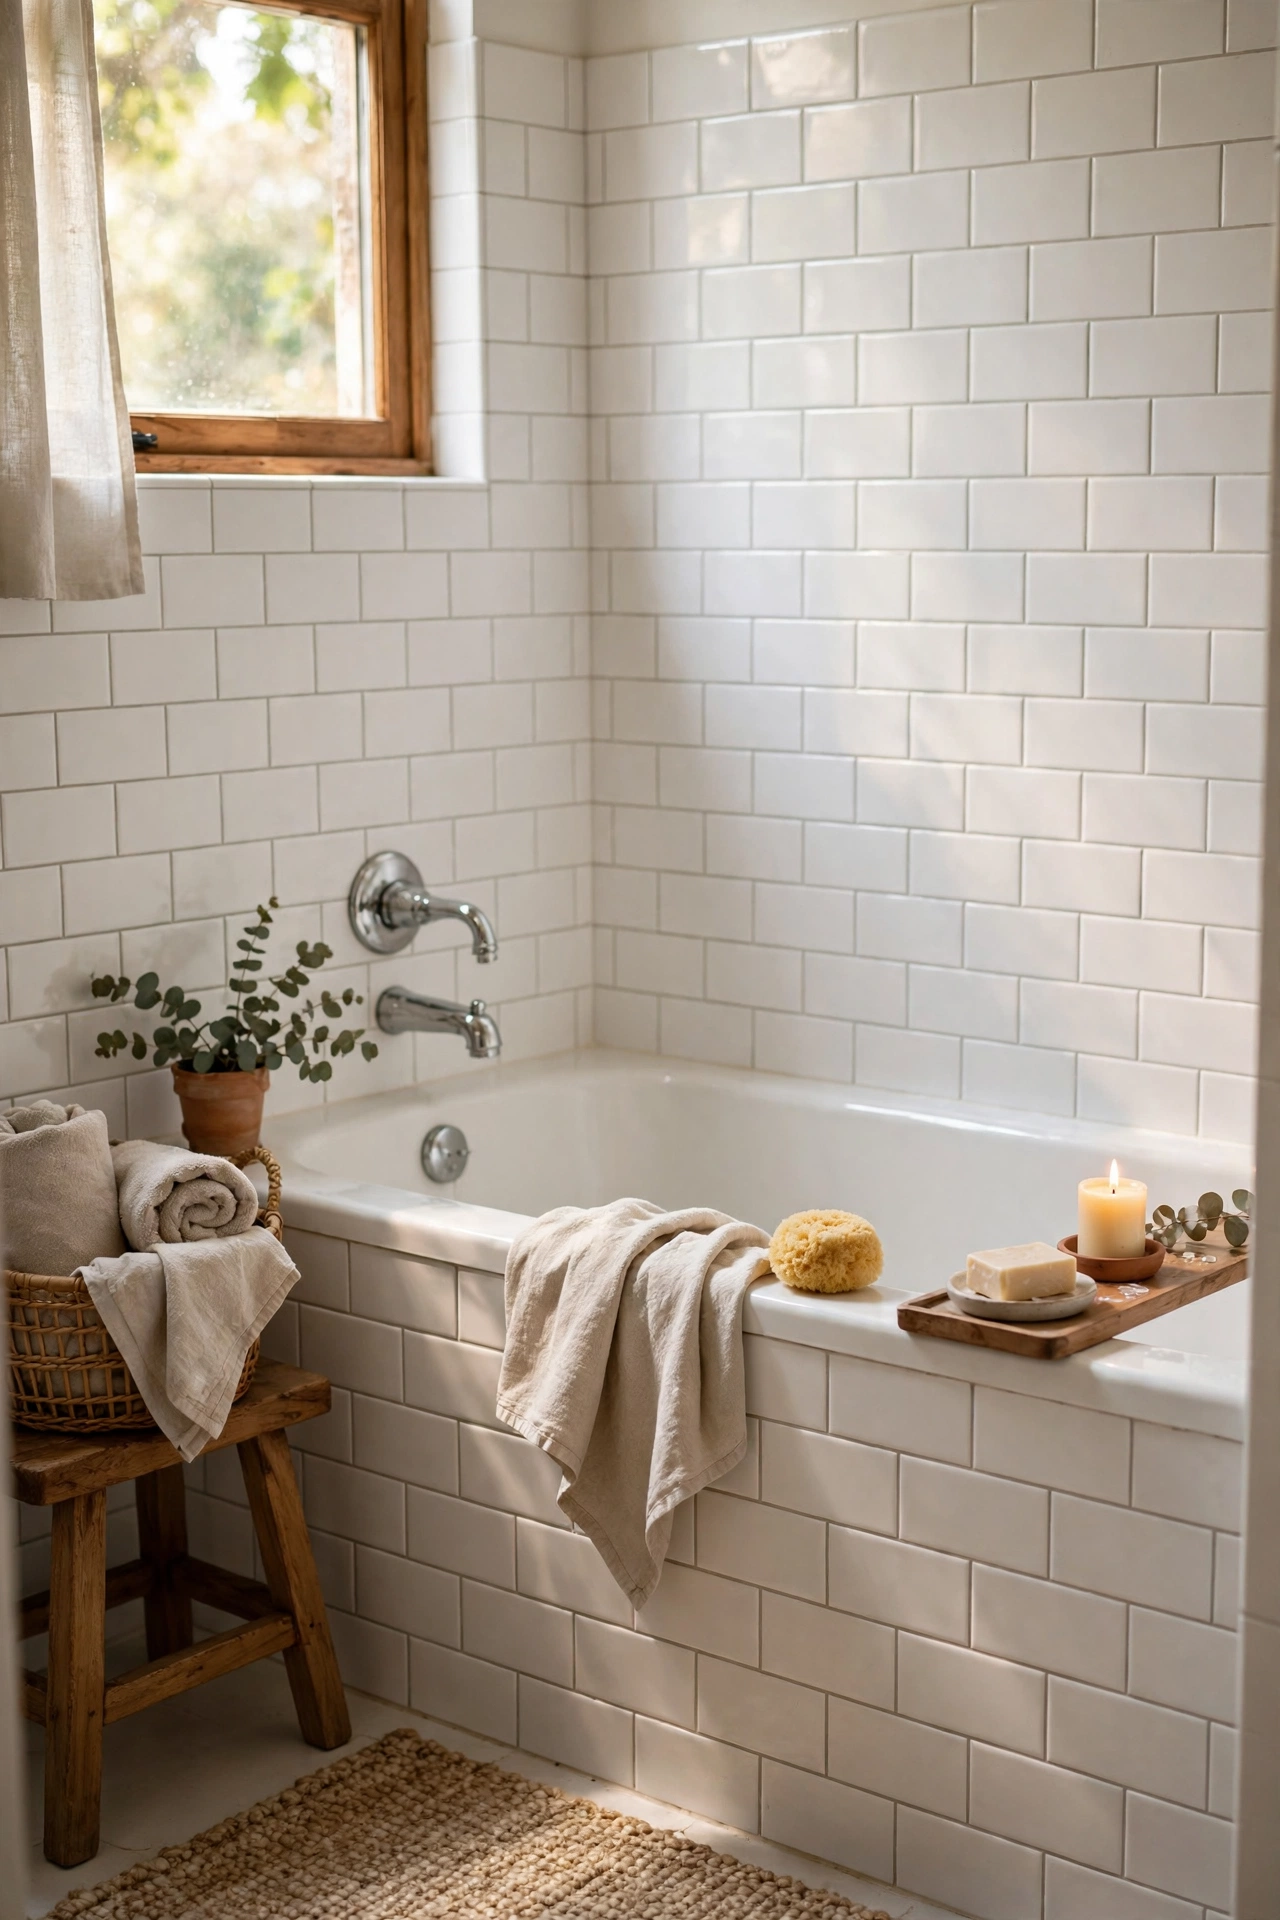
Grey, stained grout makes a bathroom feel dirty no matter how clean it is. I scraped out the worst of my shower grout with a $5 grout rake, applied new white grout, and sealed it. The bathroom looked renovated. Work in small sections and wipe the haze off the tiles before it dries, because dried grout haze is miserable to remove. It is fiddly, honest work, and the before-and-after photos are the most satisfying of any project on this list.
Cost: ~$10-15 | Time: 4 hours
9. Hang Curtains High and Wide
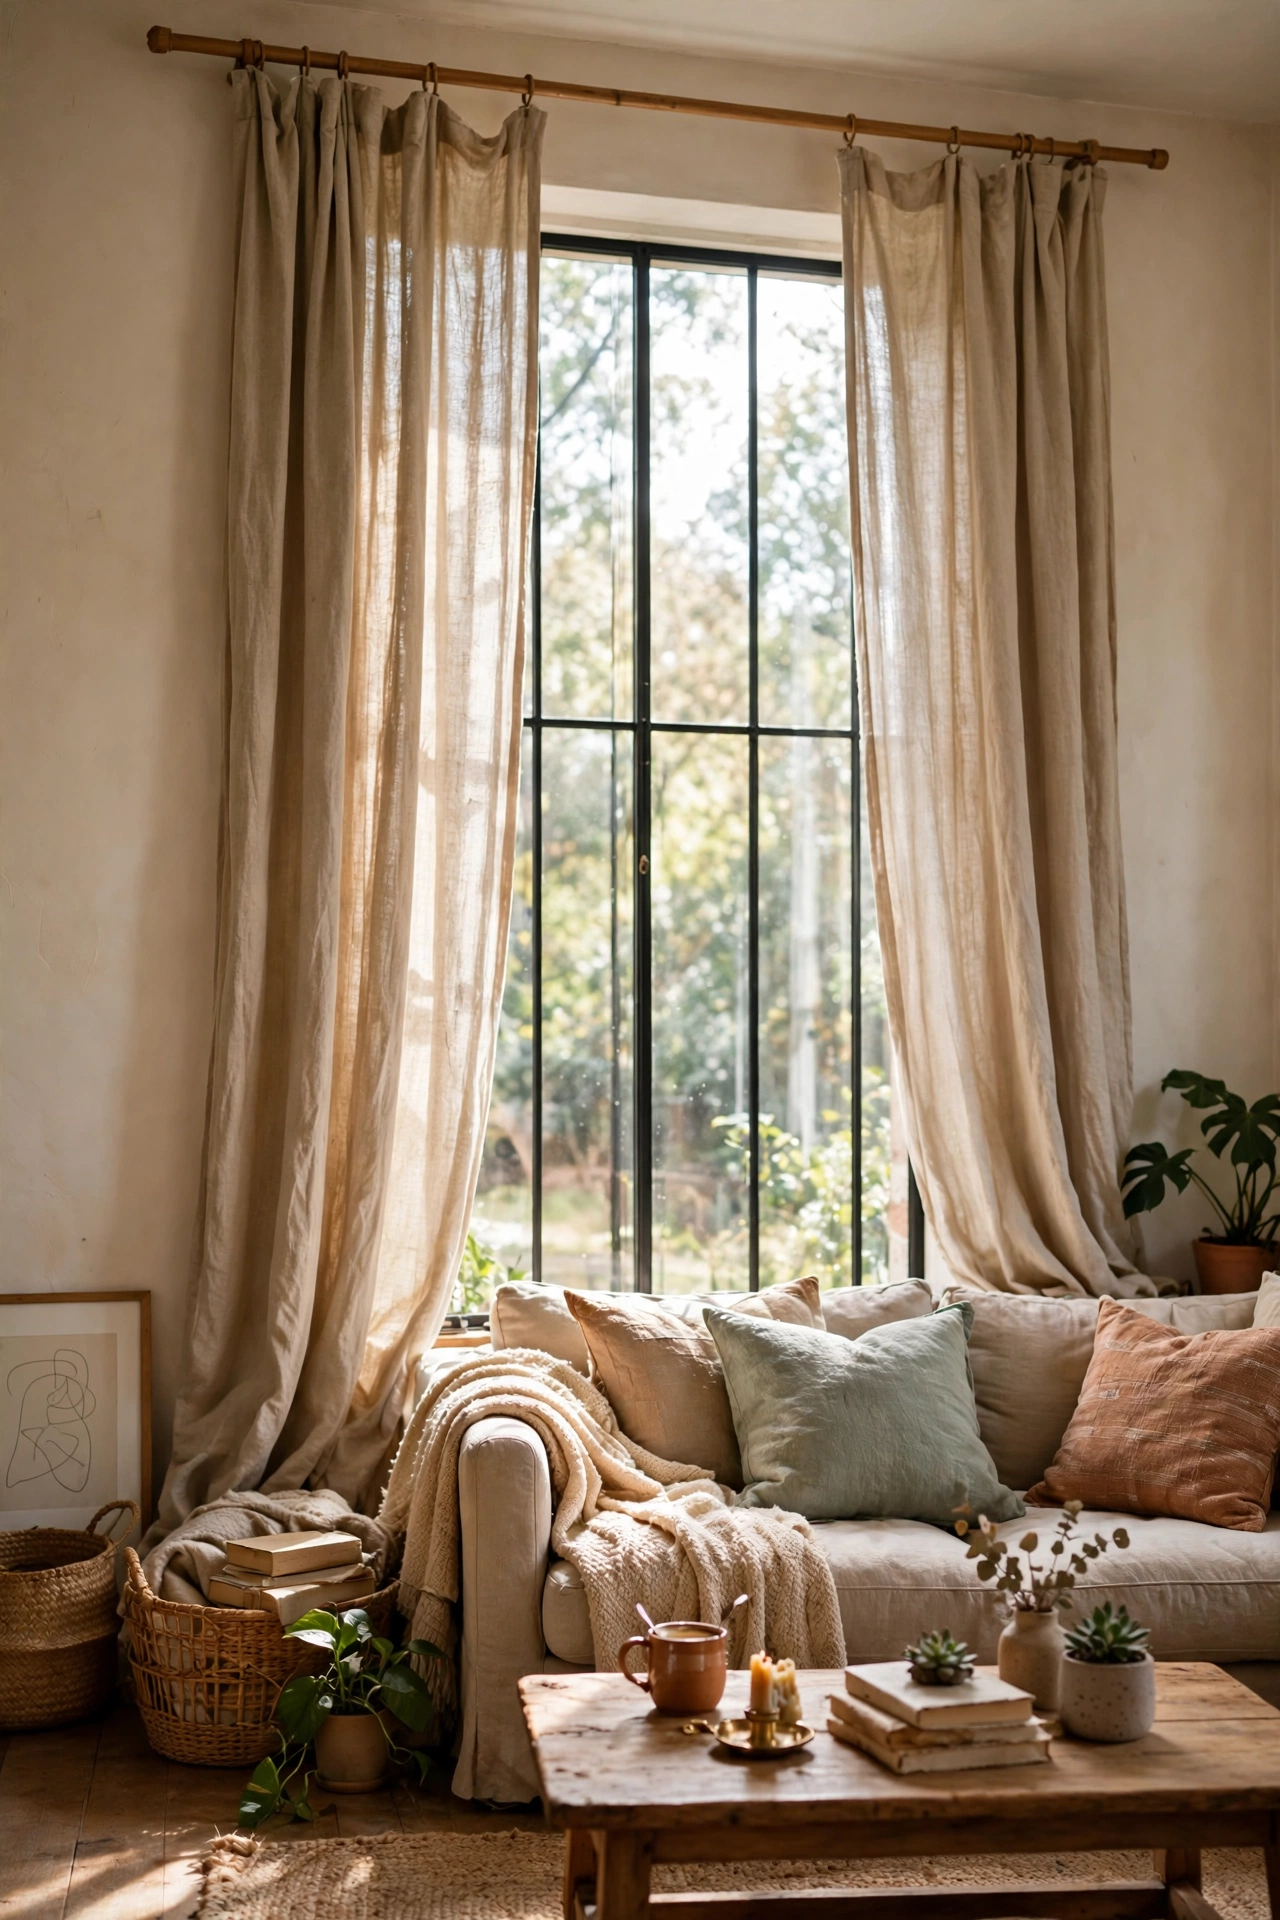
Moving my curtain rods four inches above the window frame and six inches wider on each side made every window in my house look bigger. The curtains were the same ones I already owned, just rehung. The room gains height and the light feels more generous. Use a level, because a crooked rod ruins the effect. This took me one Saturday morning for five windows and cost nothing. It is the highest-impact free project I know.
Cost: ~$0 | Time: 2 hours
10. Spray-Paint Old Picture Frames
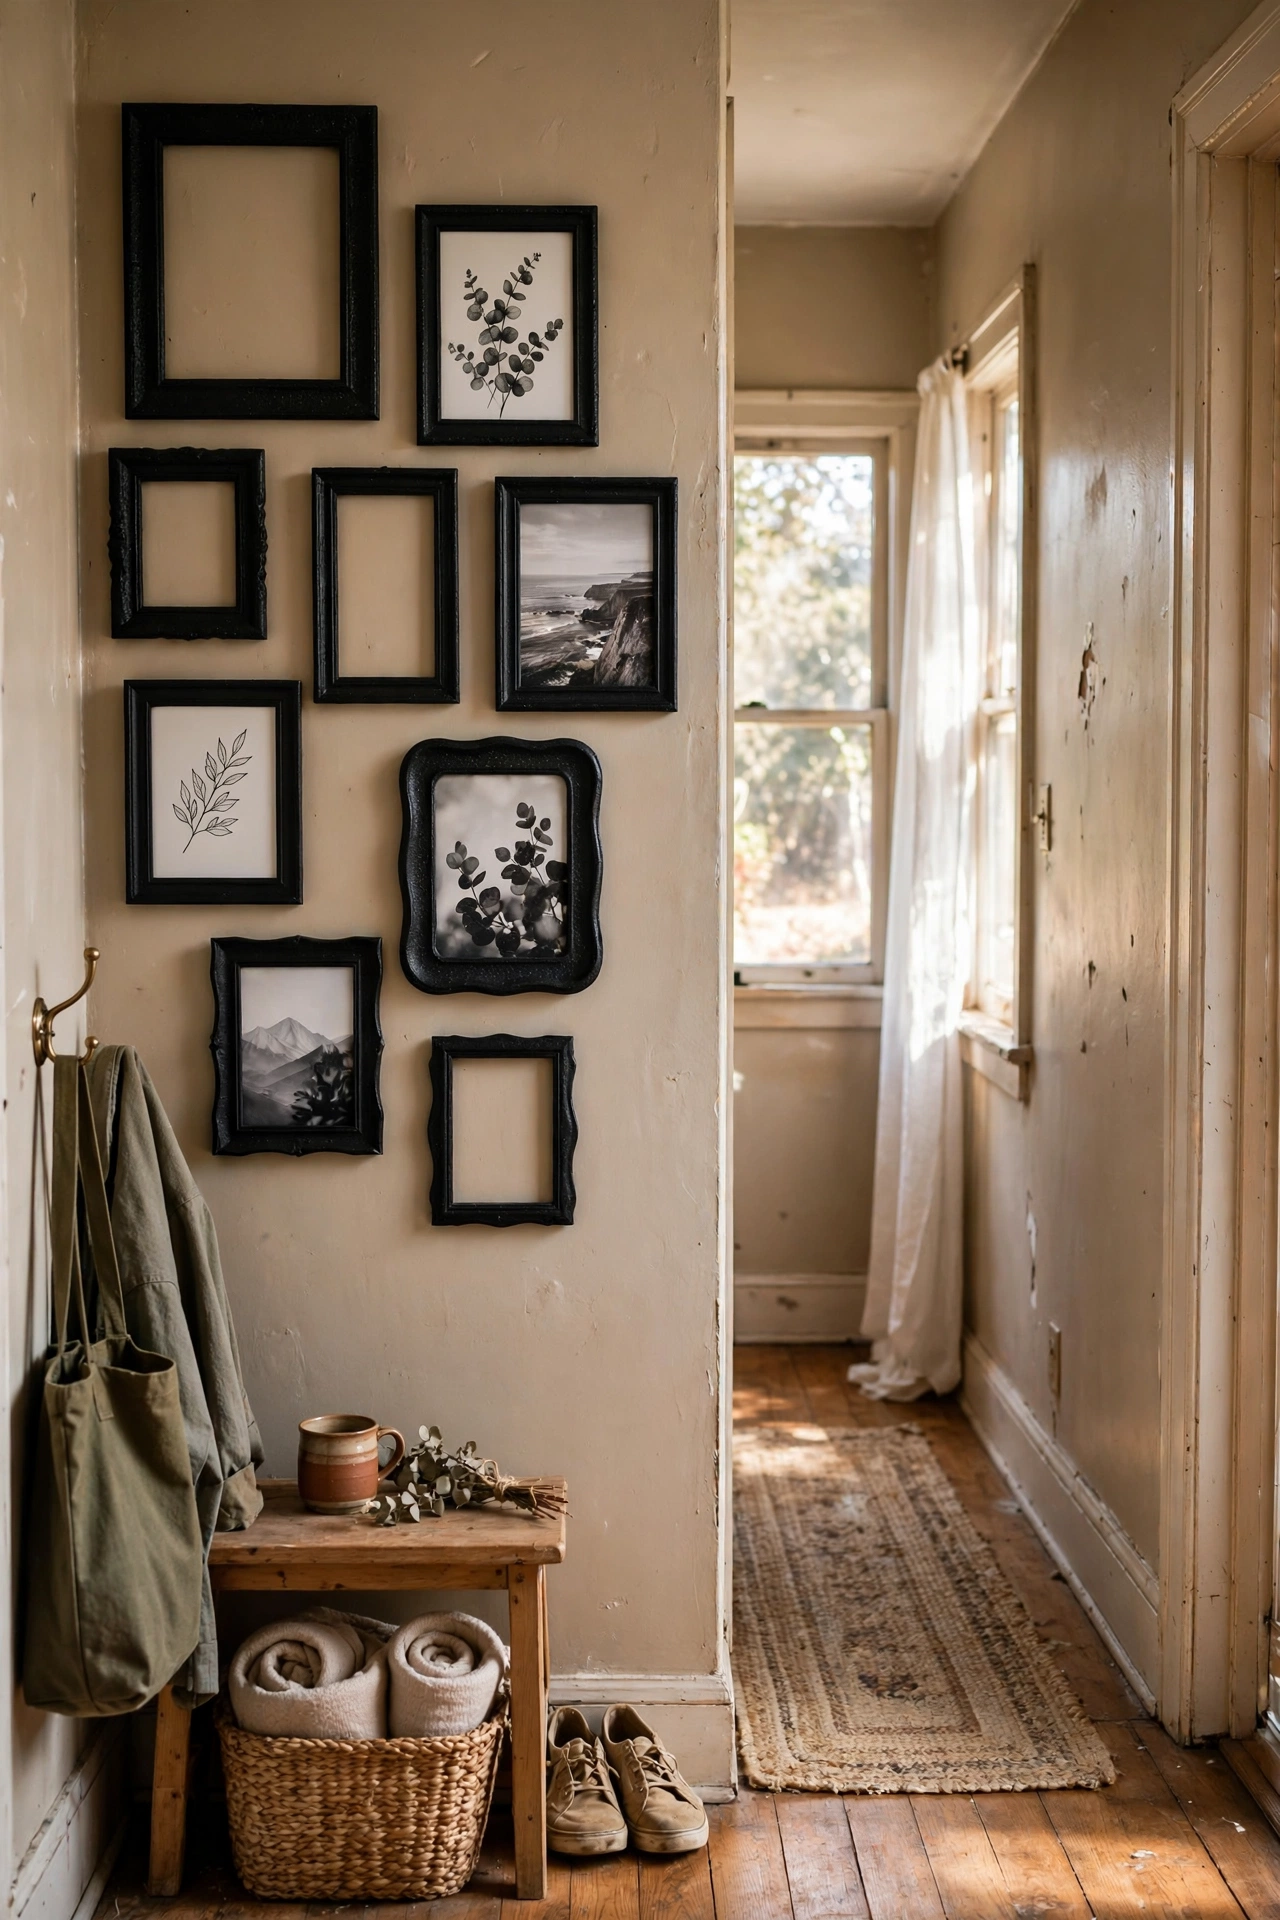
A dozen mismatched frames become a cohesive gallery wall with two cans of spray paint. I gathered every frame in the house, sprayed them all matte black, and hung them as a set. The unified colour makes random art look curated. Light coats, twenty minutes apart, and do not skip the back side. My hallway gallery went from jumble to intentional in one afternoon. Gold is the other colour that unifies everything, if black feels too stark for your space.
Cost: ~$10-14 | Time: 2 hours
11. Deep-Clean the Grout and Caulk Lines
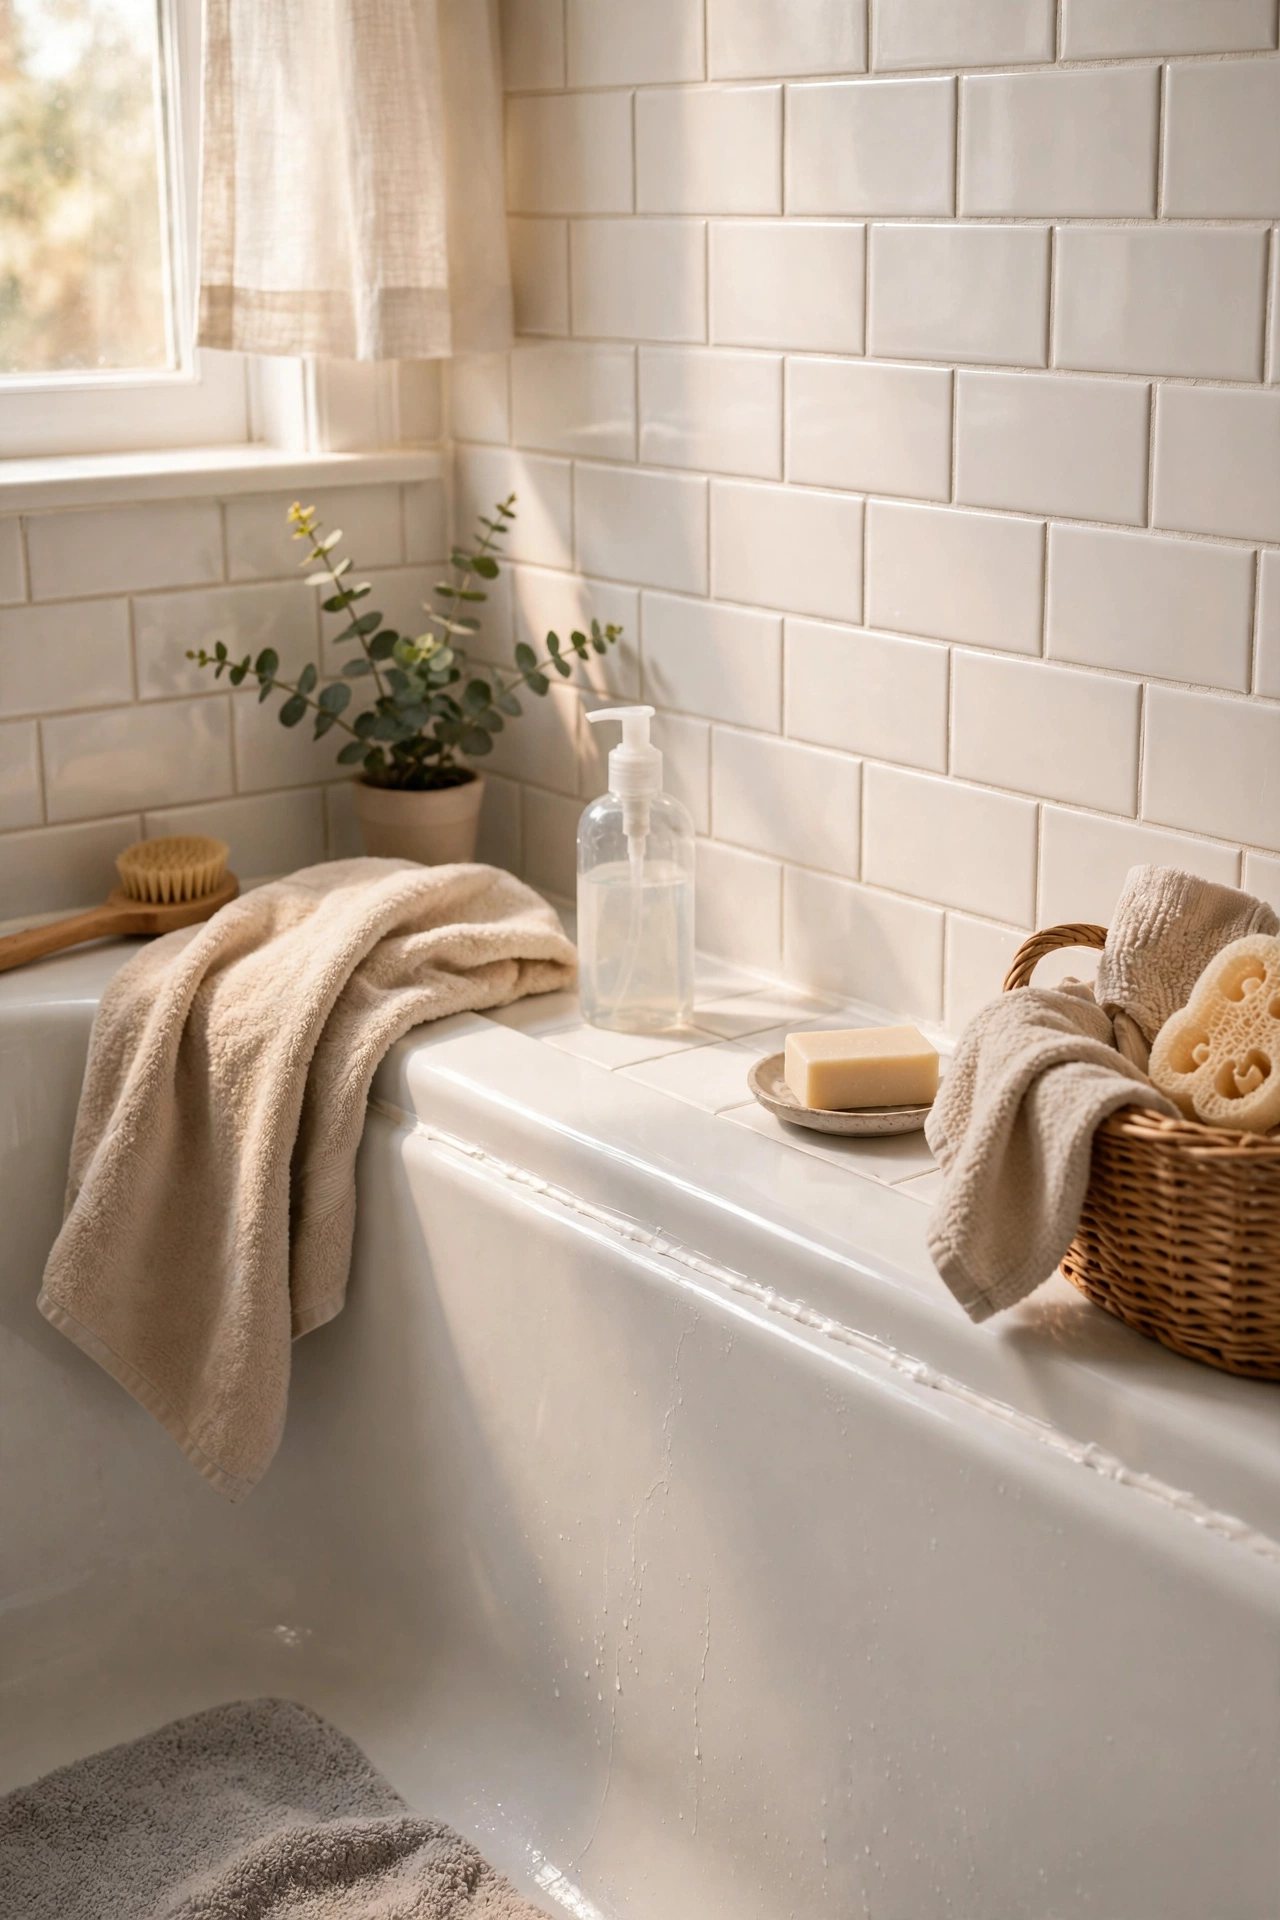
Before you replace anything in a bathroom, try cleaning it properly. I mixed baking soda and hydrogen peroxide into a paste, scrubbed every grout line with an old toothbrush, and replaced the tired caulk around the tub. The bathroom looked five years newer. The caulk replacement is the skill to learn: cut the old bead out cleanly, tape both sides, and smooth the new bead with a wet finger. One tube of caulk and one afternoon.
Cost: ~$8-12 | Time: 3 hours
12. Paint Kitchen Cabinets (One Section)
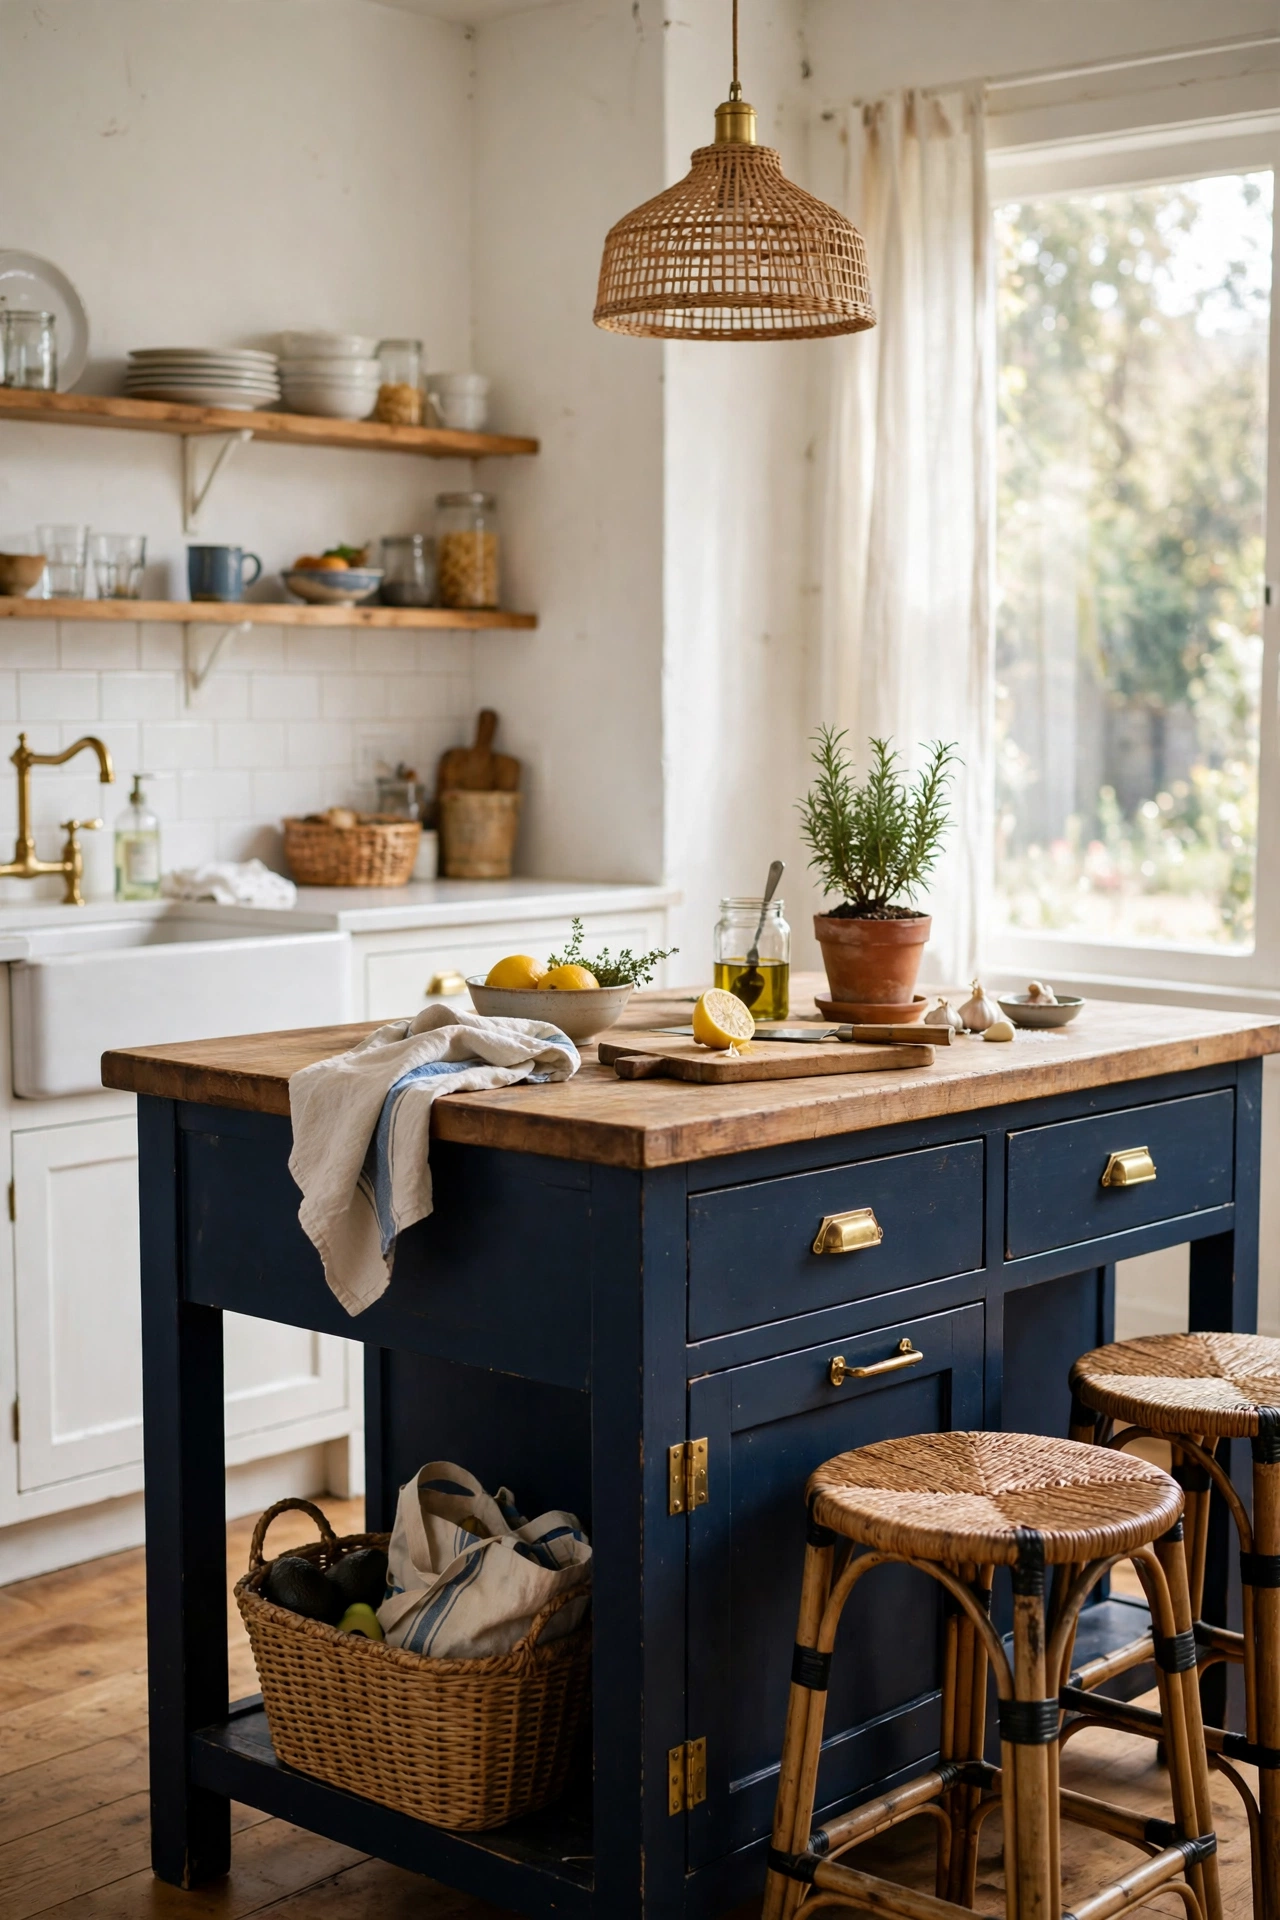
Painting all your cabinets is a month-long project, but painting just the island or the lower cabinets is a weekend. I painted my kitchen island deep navy with cabinet paint, and it anchored the whole room. Degrease thoroughly, sand lightly, and use proper cabinet paint, because wall paint chips on cabinetry within months. Remove the doors and paint them flat on sawhorses. The island took me Saturday and Sunday morning. It looks like a kitchen three times the budget.
Cost: ~$25-35 | Time: 8 hours over two days
13. Install a New Faucet
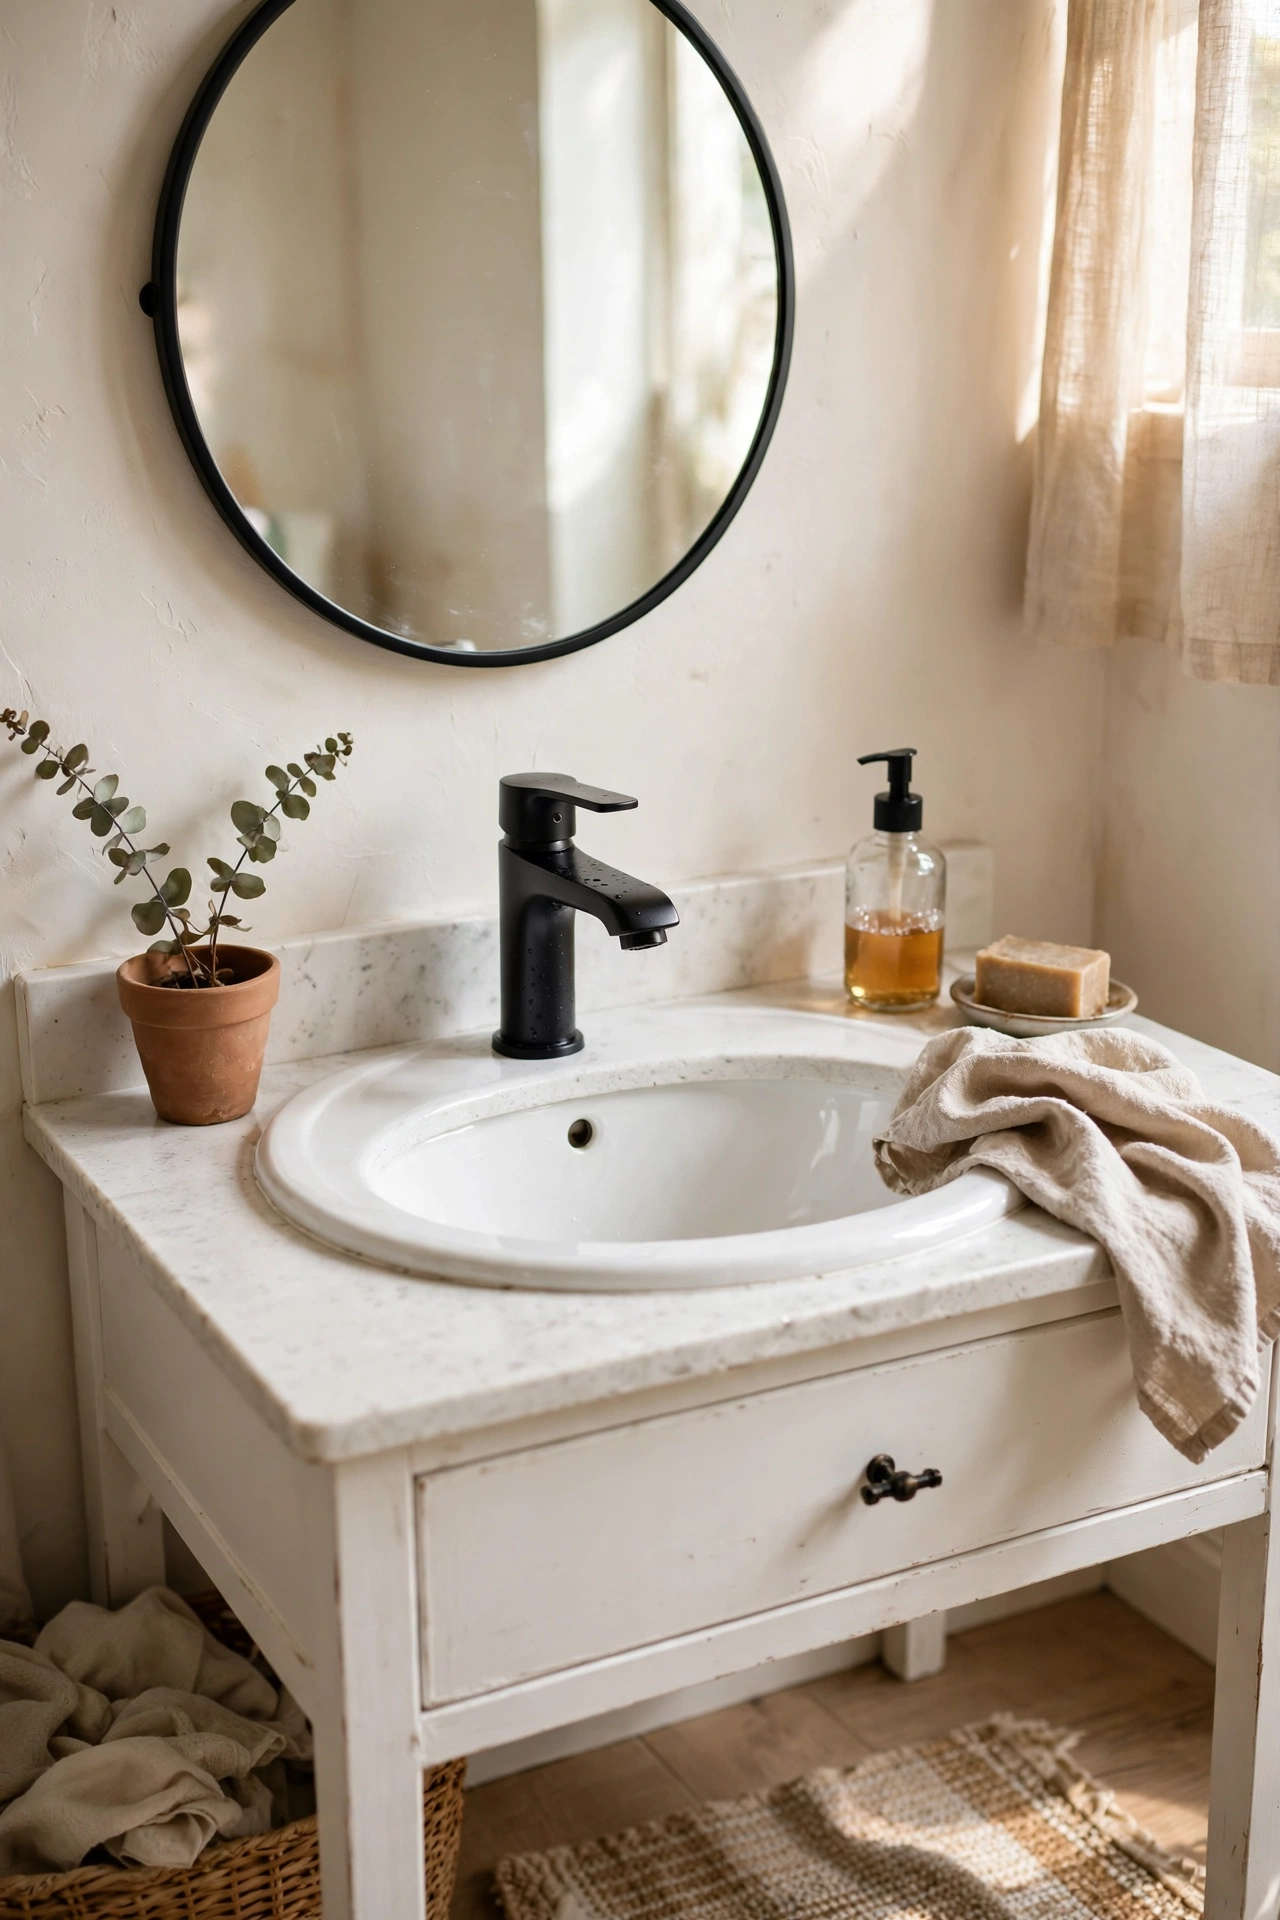
A new bathroom faucet is a two-hour plumbing job that changes the whole sink area. I replaced a crusty chrome tap with a matte black one I found on sale for $45. Turn off the water valves first, take a photo of the existing connections, and keep a bucket under the sink. The photo is the step everyone skips and regrets. My new faucet made the whole vanity look updated. If the valves are seized, stop and call a plumber rather than forcing them.
Cost: ~$30-50 | Time: 2 hours
14. Create a Reading Nook
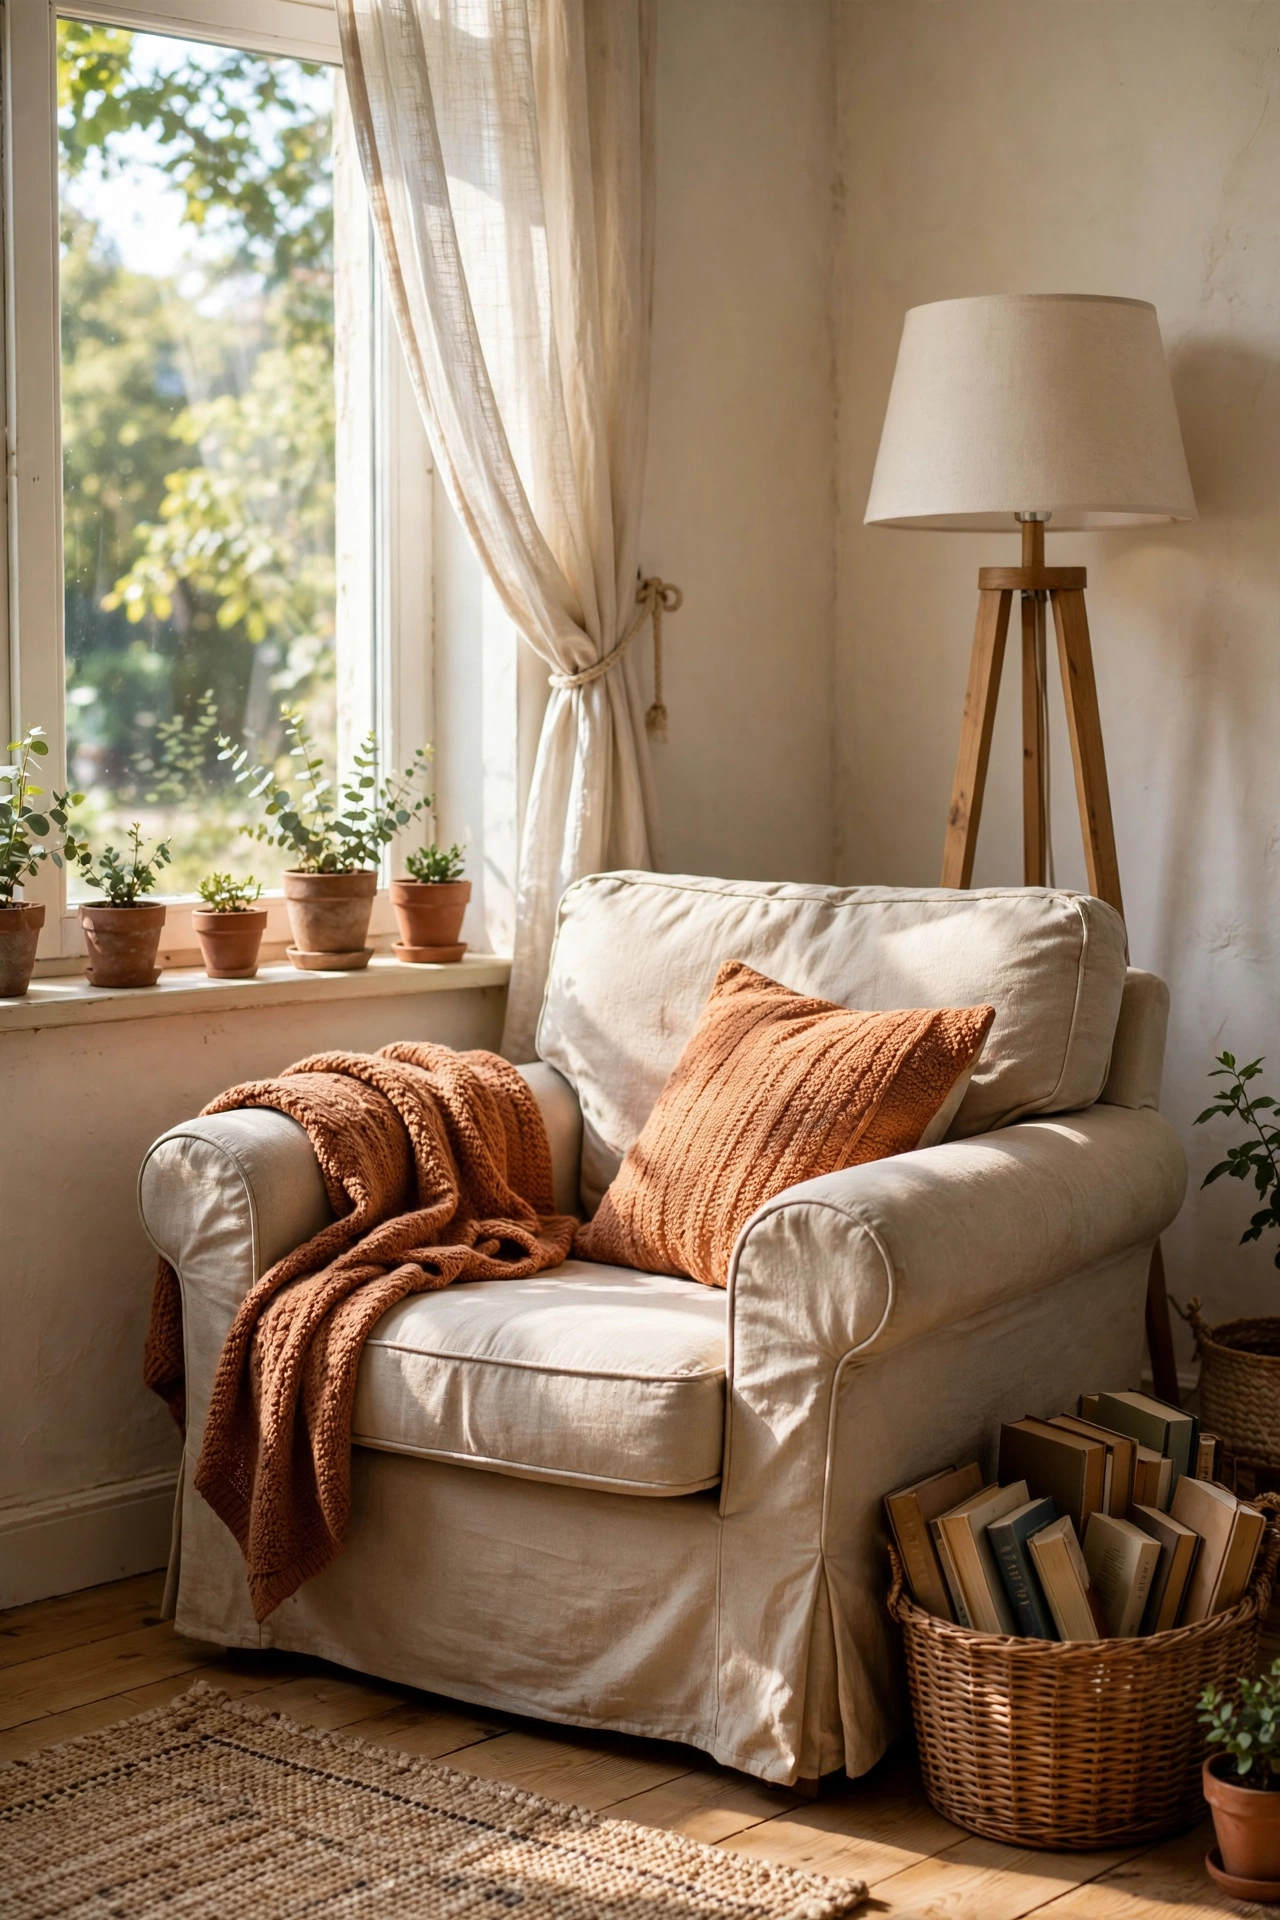
Every house has a dead corner, and a reading nook brings it to life. I put an armchair I already owned in the corner by the window, added a floor lamp from the spare room, a small side table, and a basket for books. Total spend: zero, because everything came from other rooms. The corner that collected clutter now collects me every evening. A nook needs three things: a chair, a light, and a surface. Everything else is decoration.
Cost: ~$0-15 | Time: 1 hour
15. Paint Interior Doors
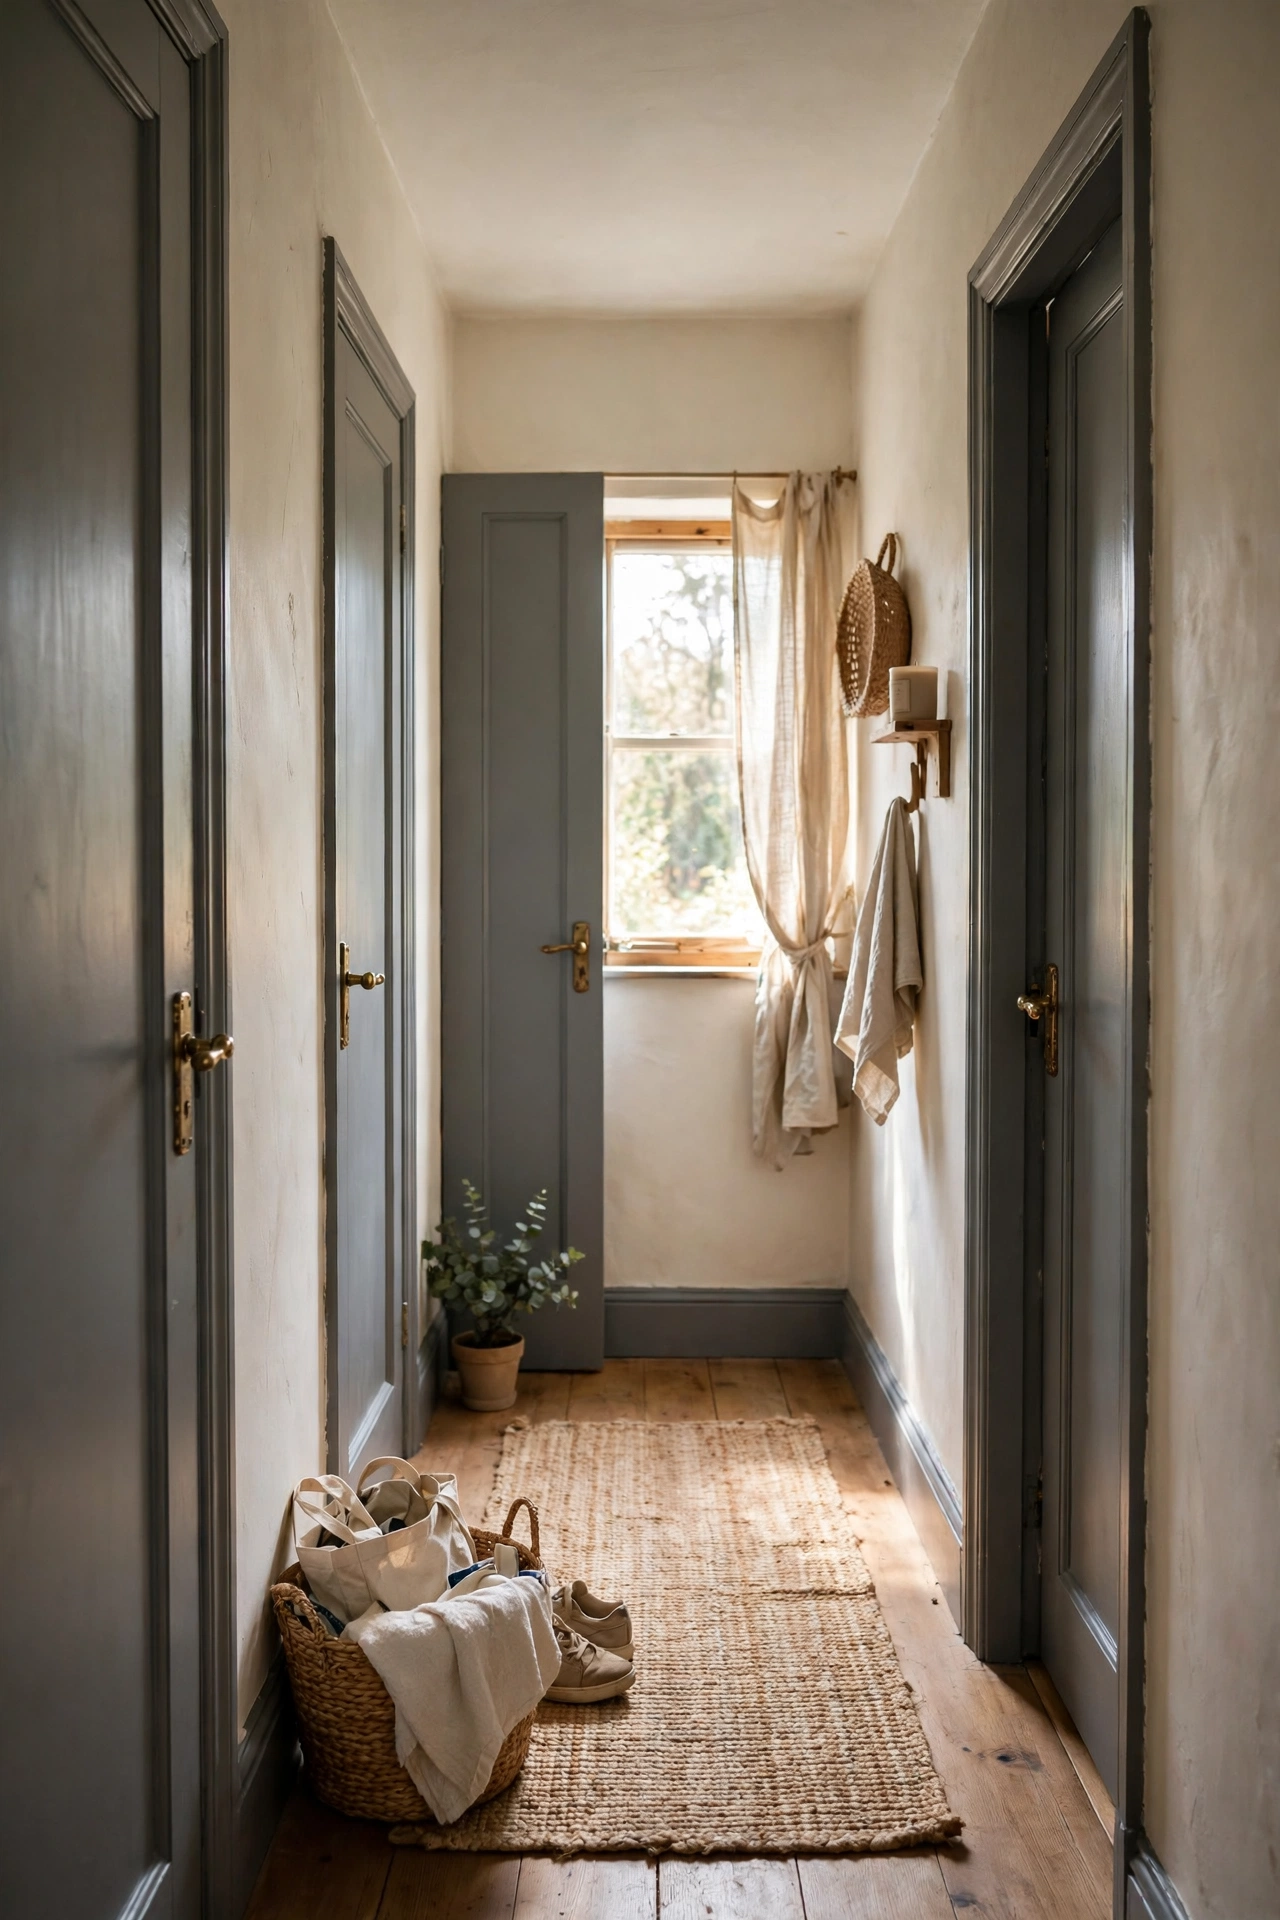
Flat white interior doors disappear, but painted doors become architecture. I painted my hallway doors a soft charcoal, and the corridor went from bland to boutique hotel. Remove the doors and paint them flat on sawhorses for the smoothest finish. Two thin coats beat one thick coat every time. Label the hinges with tape so each door goes back to its own frame. Three doors took me a weekend, and I still catch myself admiring them.
Cost: ~$20-30 | Time: 6 hours
16. Add Under-Cabinet Lighting
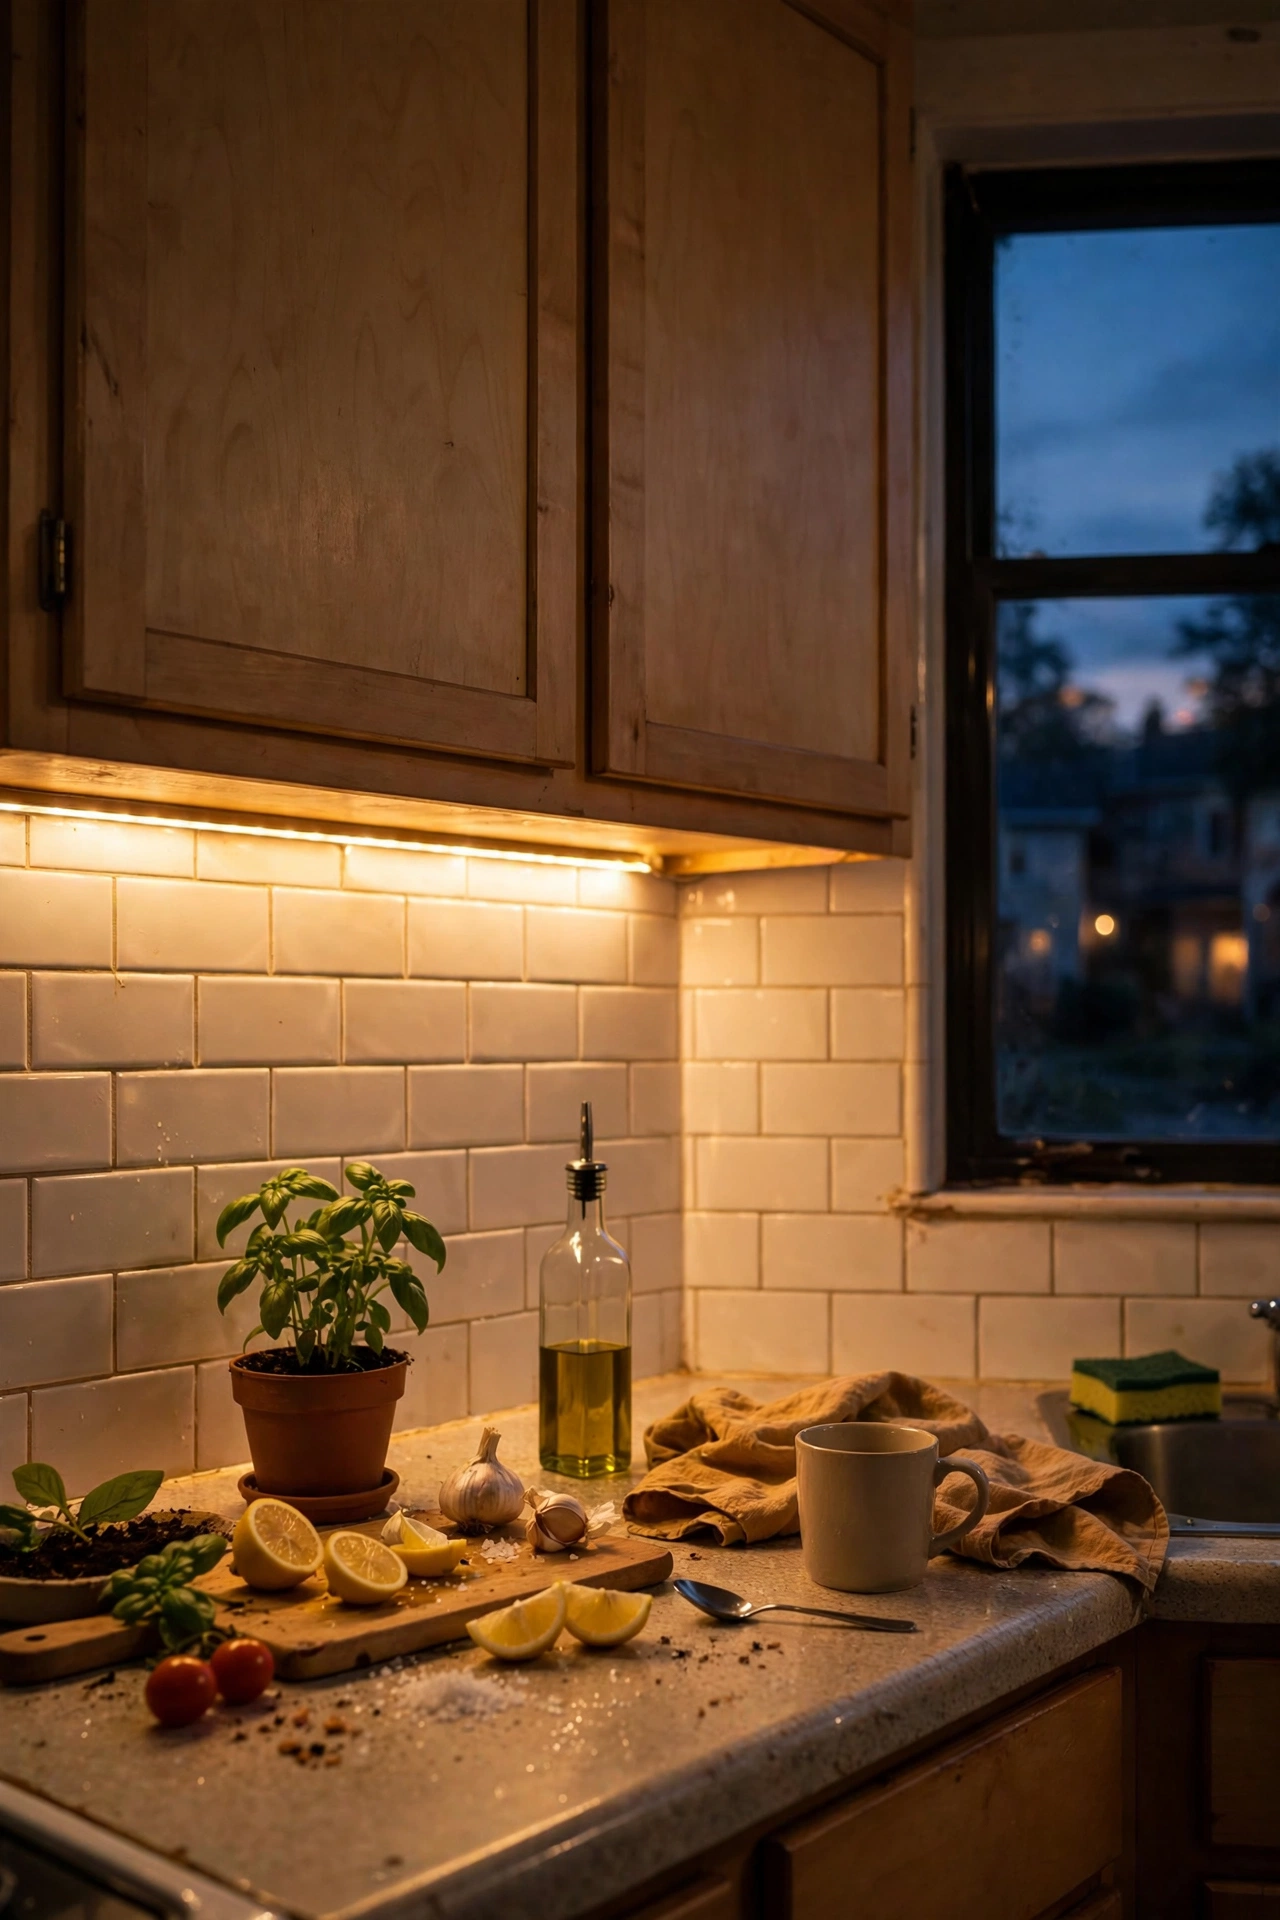
Stick-on LED strips under the kitchen cabinets make the counters glow like a showroom. I used plug-in warm white strips, stuck them to the underside of the wall cabinets, and hid the cord behind the fridge. The kitchen feels twice as expensive at night. Measure twice before you cut the strips, because they only cut at marked points. The adhesive is strong, so position carefully the first time. Fifteen dollars and one hour, and I use them every single evening.
Cost: ~$12-20 | Time: 1 hour
17. Refinish a Thrifted Dresser
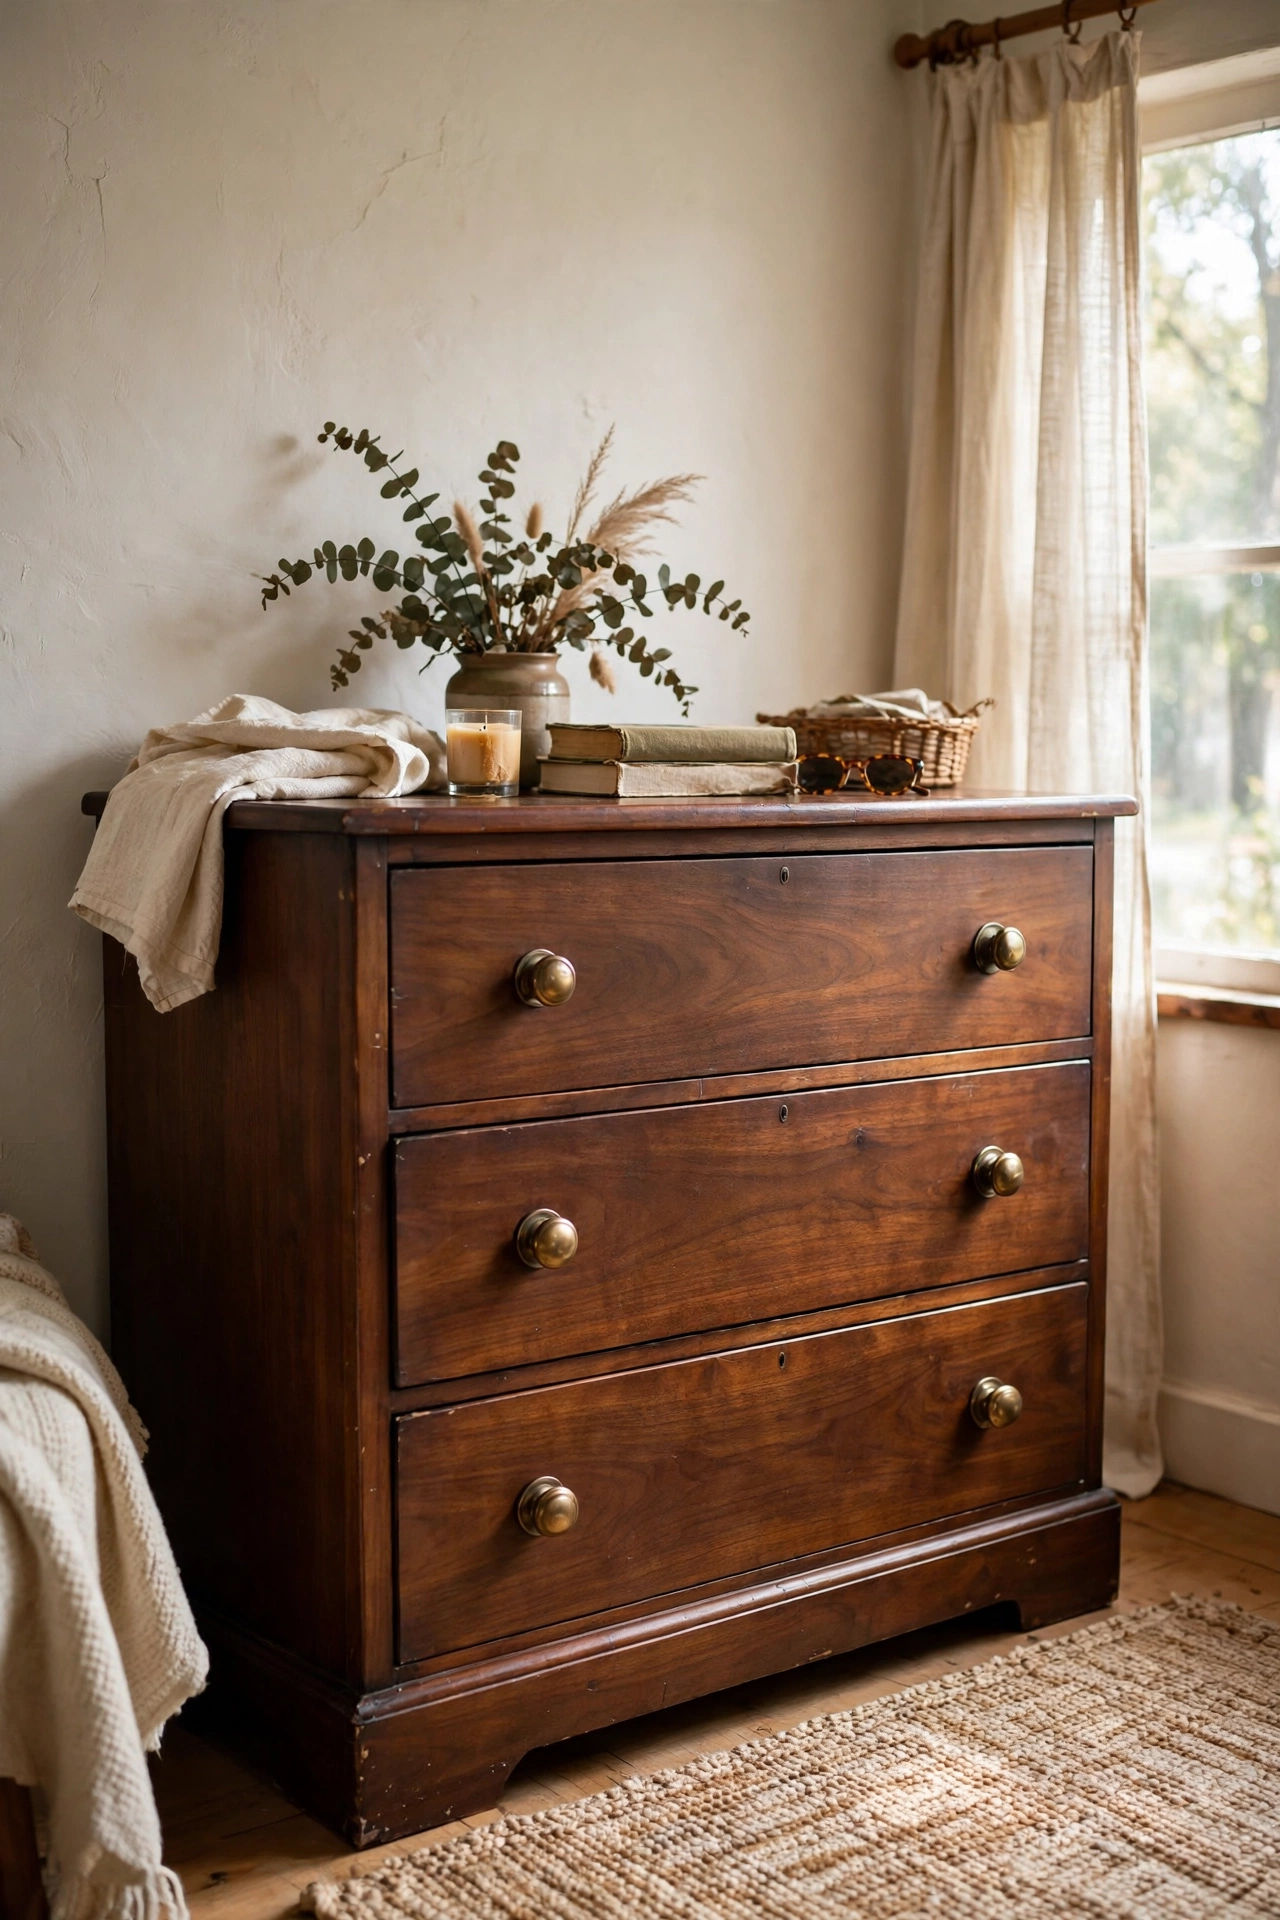
A solid wood dresser from the charity shop is always worth refinishing. I bought one for $25, sanded it back, stained it walnut, and replaced the knobs with $2 brass pulls. It looks like a $400 piece. The sanding is the unglamorous bulk of the work, so borrow or rent a random orbital sander. My dresser took Saturday to sand and stain, Sunday morning for the topcoat. New knobs are the finishing touch that sells the whole transformation.
Cost: ~$30-45 | Time: 8 hours over two days
18. Hang a Statement Mirror
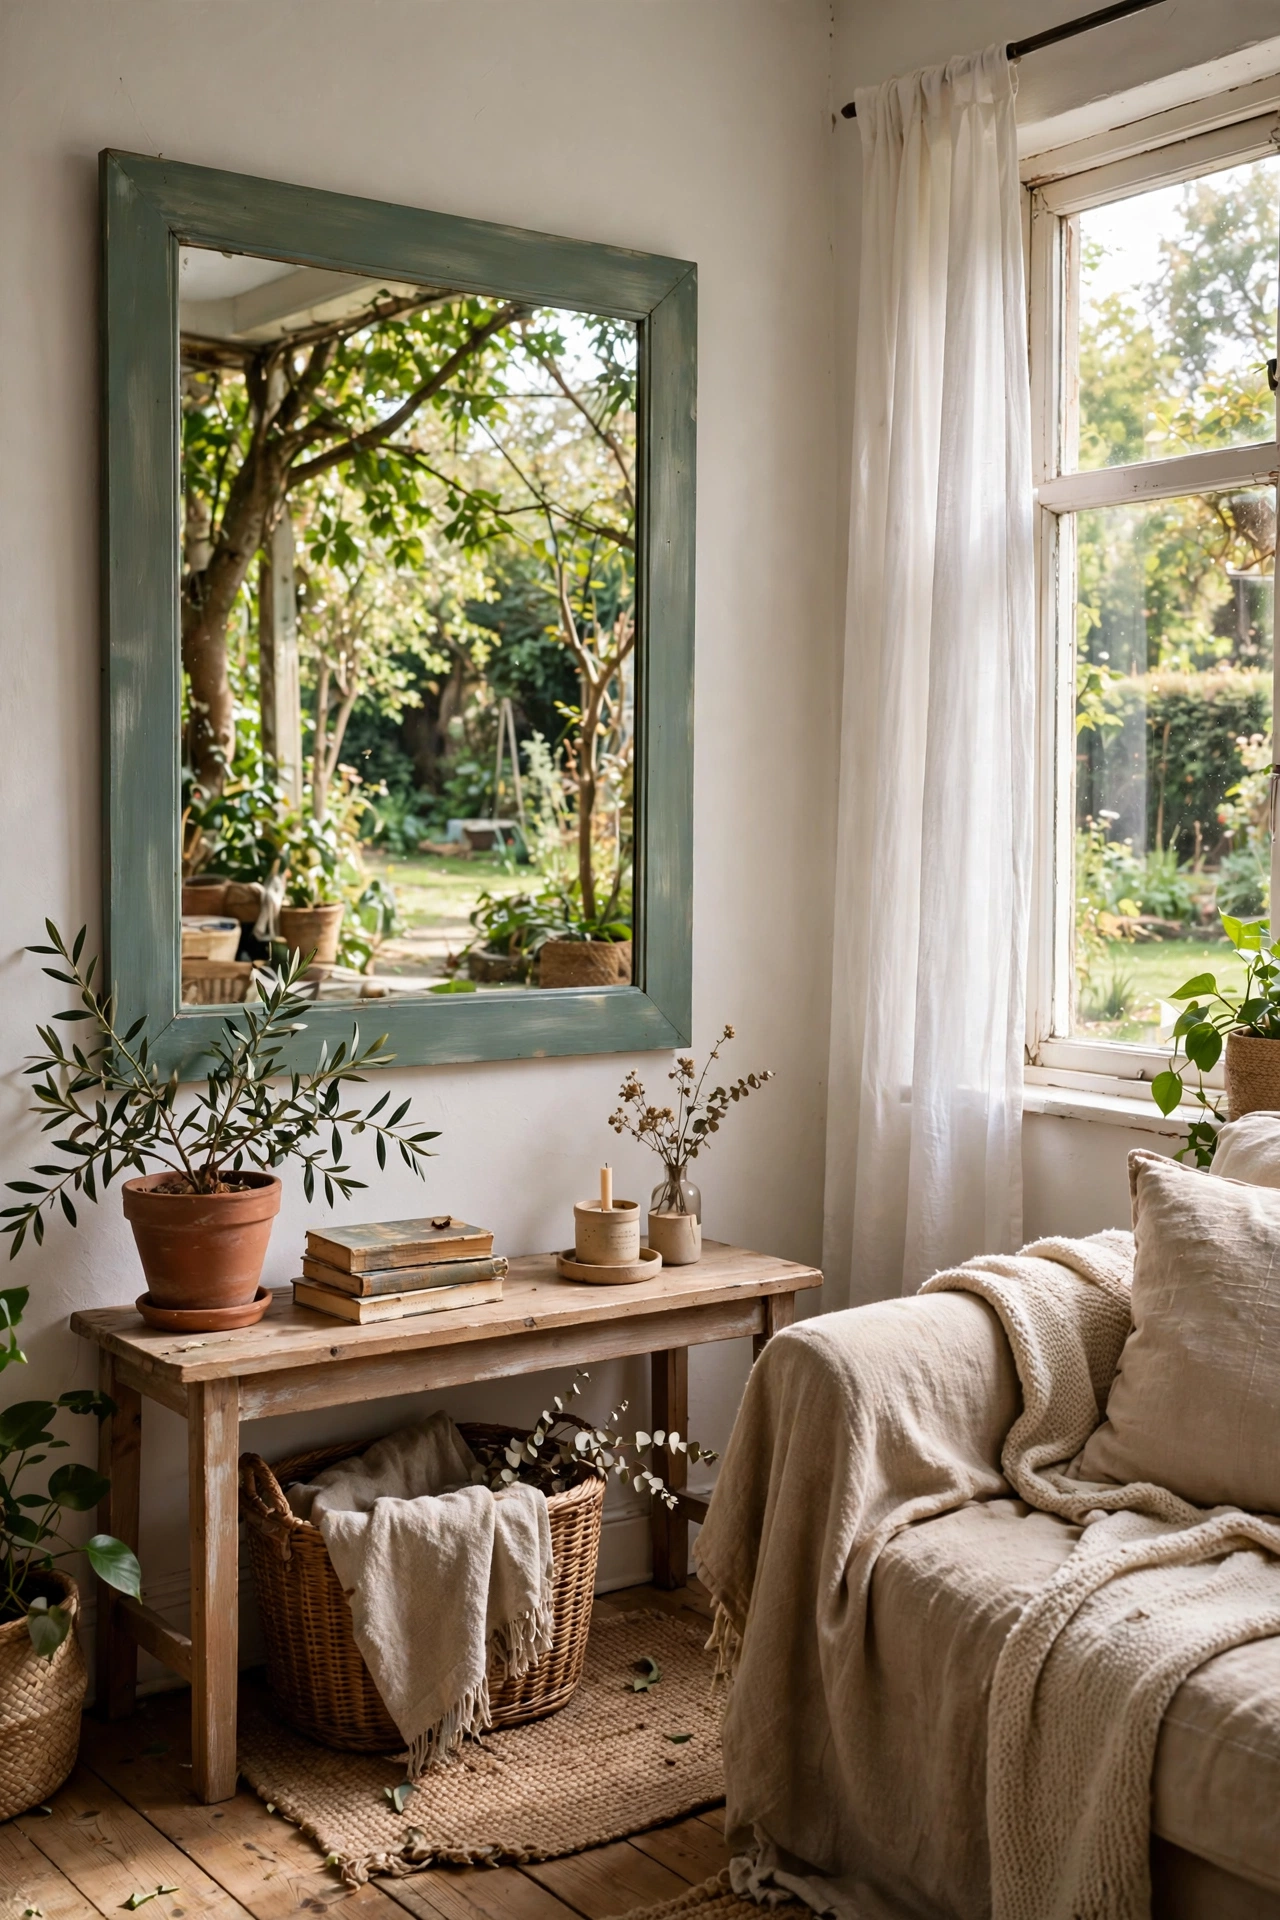
A big mirror opposite a window doubles your light and your view. I hung a $30 thrifted mirror with a painted frame opposite my living room window, and the room gained a whole second window’s worth of brightness. Use proper wall anchors rated for the weight, because mirrors are heavy and drywall is not. Hang it where it reflects something worth seeing: a window, a plant, the garden. Never a blank wall. Mine reflects the garden and I look at it more than the actual window.
Cost: ~$20-35 | Time: 1 hour
19. Build a Window Seat Cushion
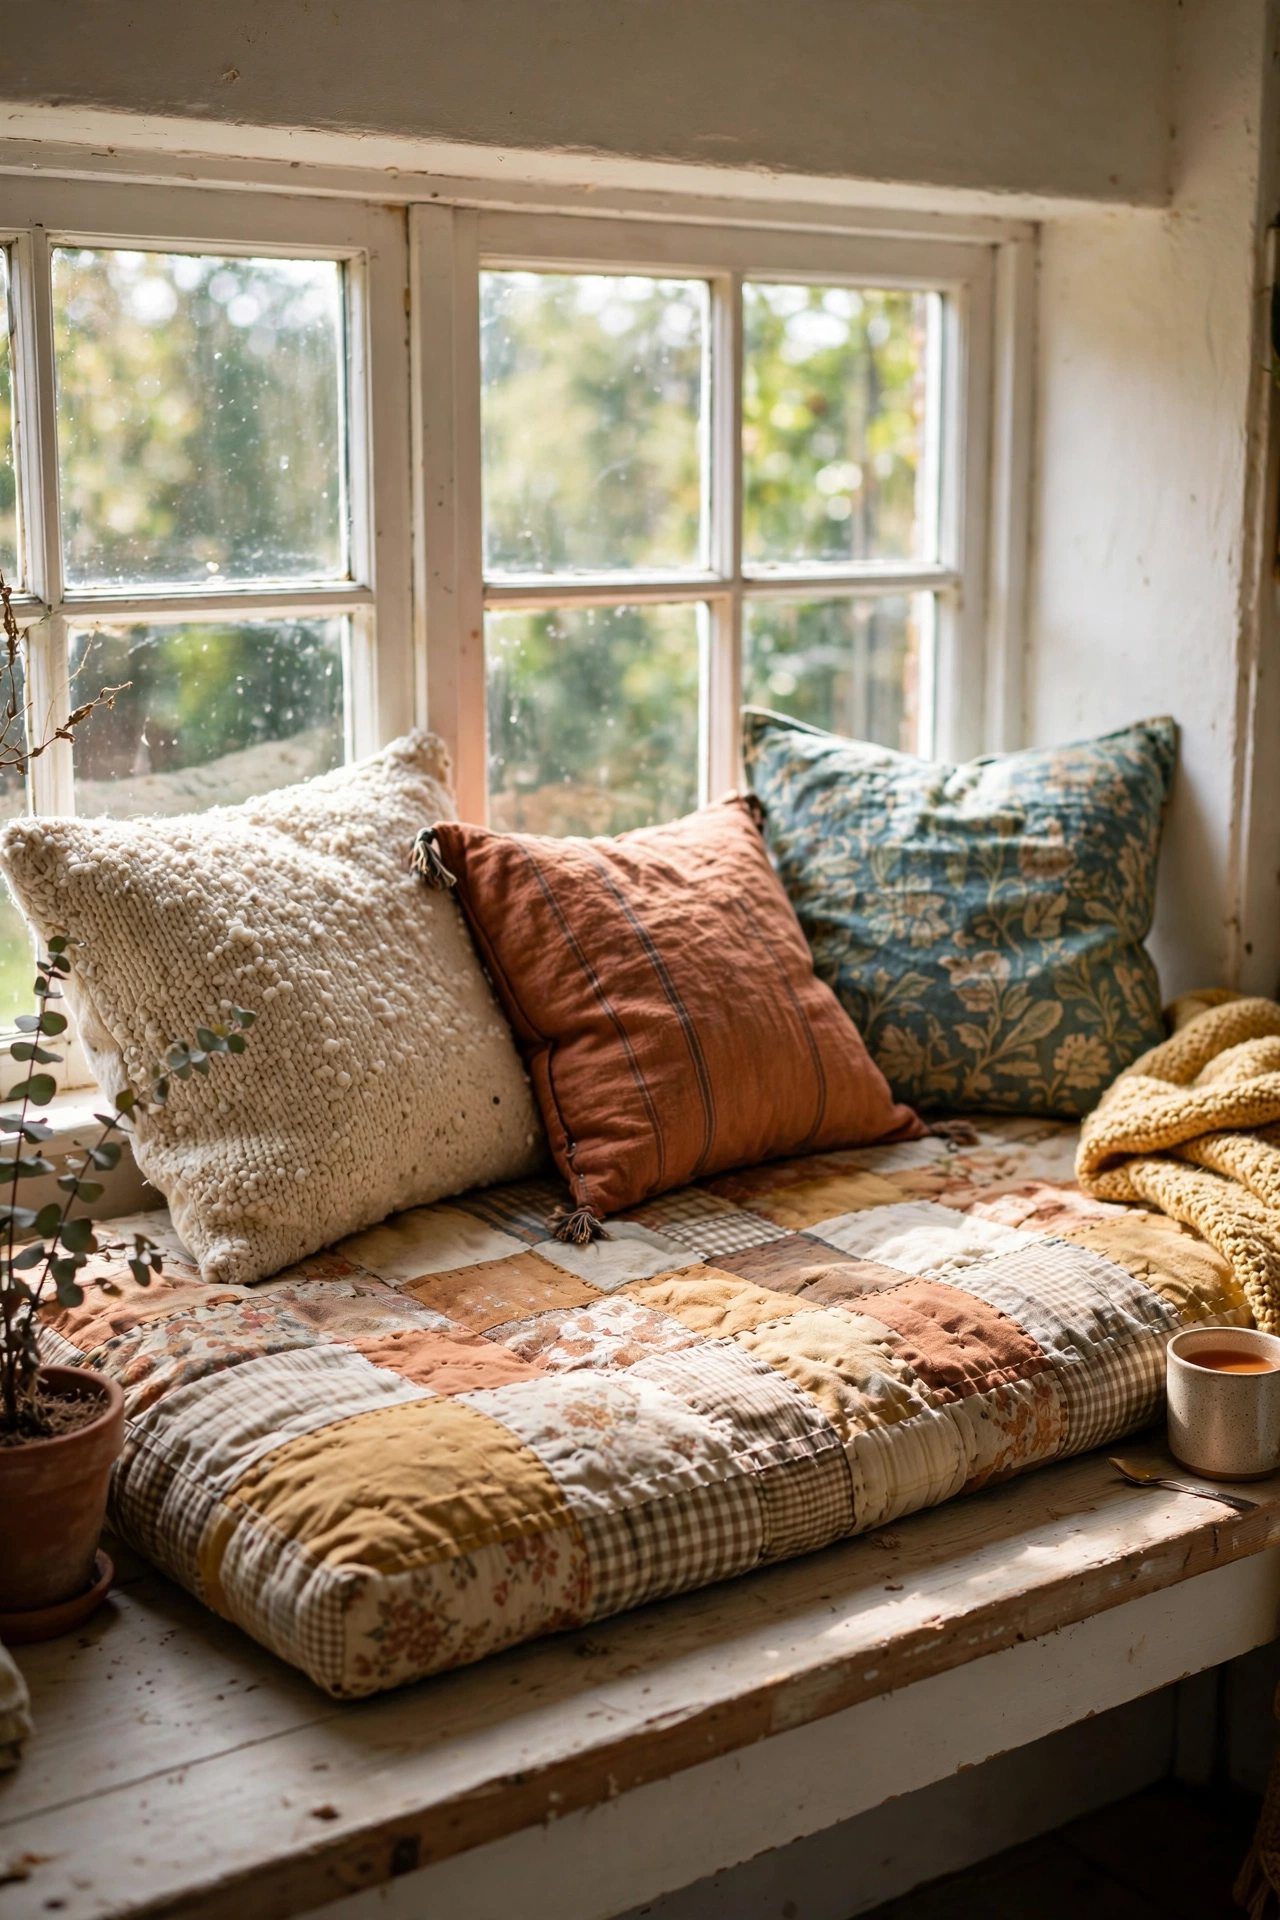
A plywood base, two inches of foam, and a stapled fabric cover turn any wide windowsill into a window seat. I made mine from a $15 foam offcut and a thrifted curtain panel as the cover. Measure the sill three times, because a cushion that does not fit is a cushion that slides. The staples go underneath where nobody sees them. My window seat is now the most fought-over spot in the house. Add two cushions and a throw and it is genuinely comfortable.
Cost: ~$20-30 | Time: 3 hours
20. Paint the Laundry Room
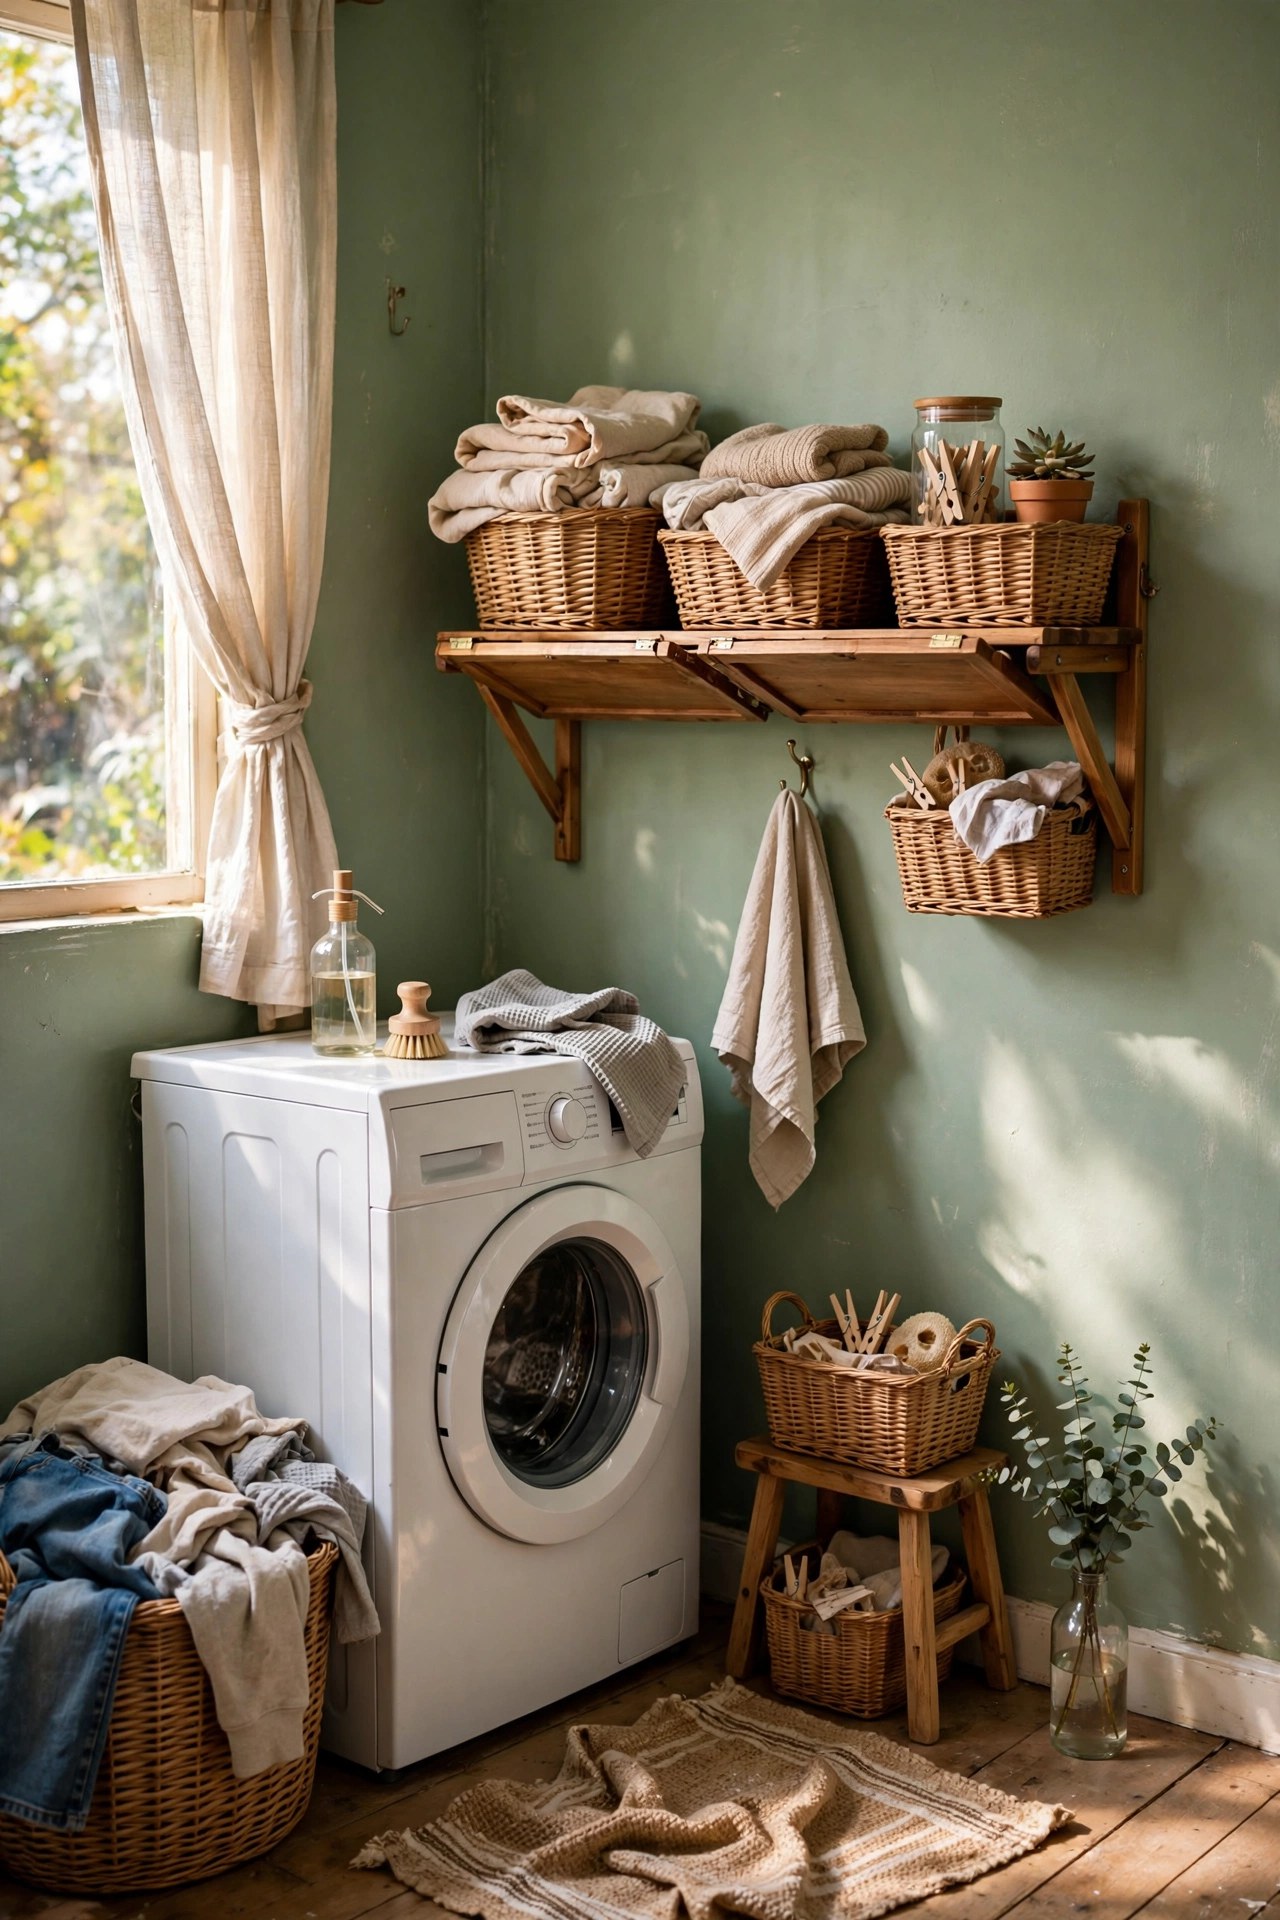
The laundry room is the smallest room in the house, which makes it the fastest paint job and the most fun colour experiment. I painted mine a cheerful sage green, and doing laundry stopped feeling like a chore. Small rooms take bold colours well because you see the whole effect at once. One gallon, one Saturday morning. Add a folding shelf while you are at it and the room earns its keep properly.
Cost: ~$20-28 | Time: 4 hours
21. Install a Simple Backsplash Shelf
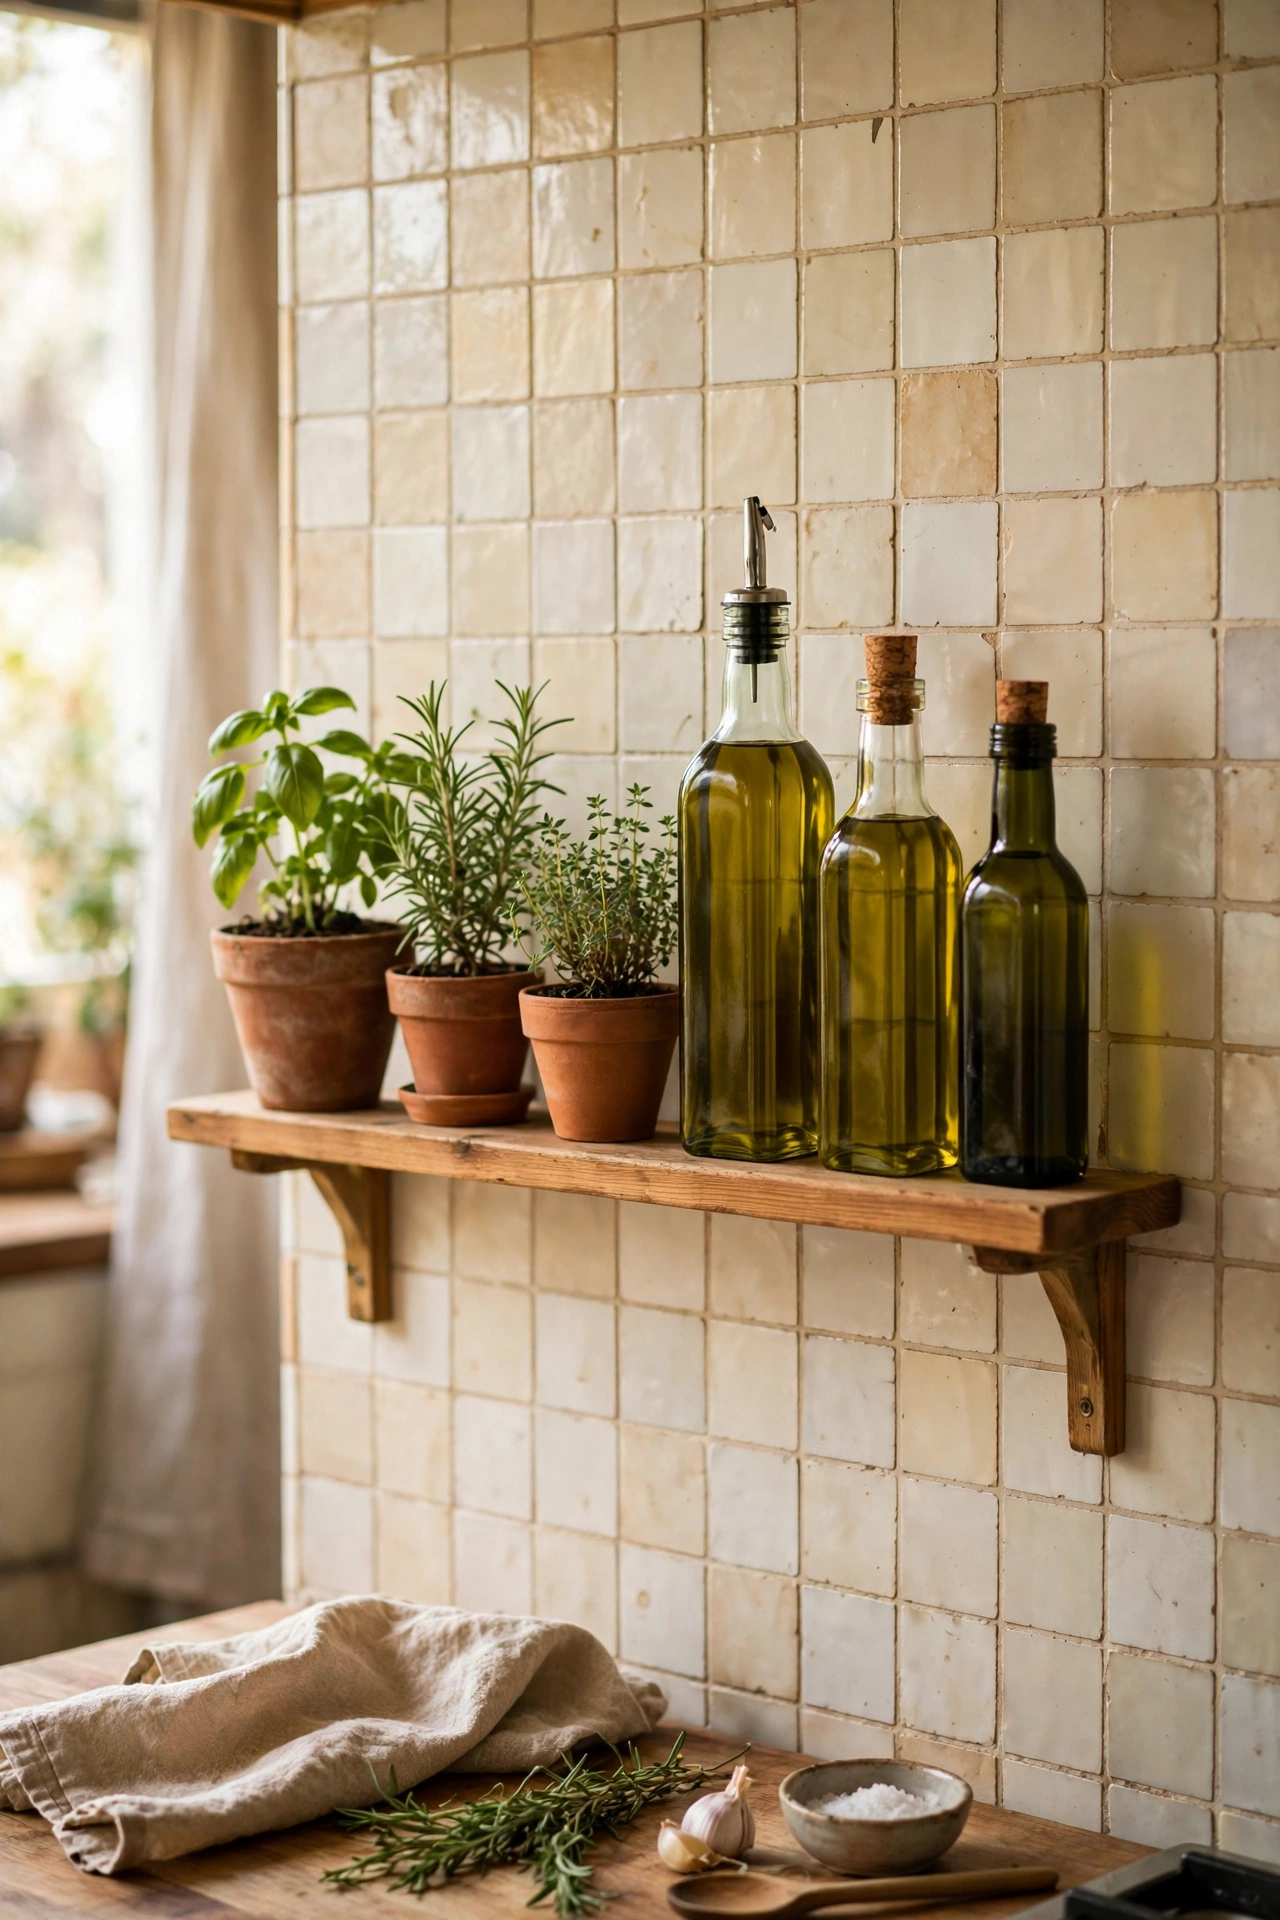
A narrow picture ledge mounted on the kitchen backsplash holds oils, salt, and small plants right where you cook. I mounted a $9 ledge with two screws into a stud and styled it in ten minutes. Keep it narrow, because a deep shelf over a stove collects grease. Mine holds the everyday cooking things and cleared a whole cupboard. It is the kind of small upgrade that makes the kitchen feel designed rather than assembled.
Cost: ~$9-14 | Time: 30 minutes
22. Refresh Drawer and Cabinet Hardware
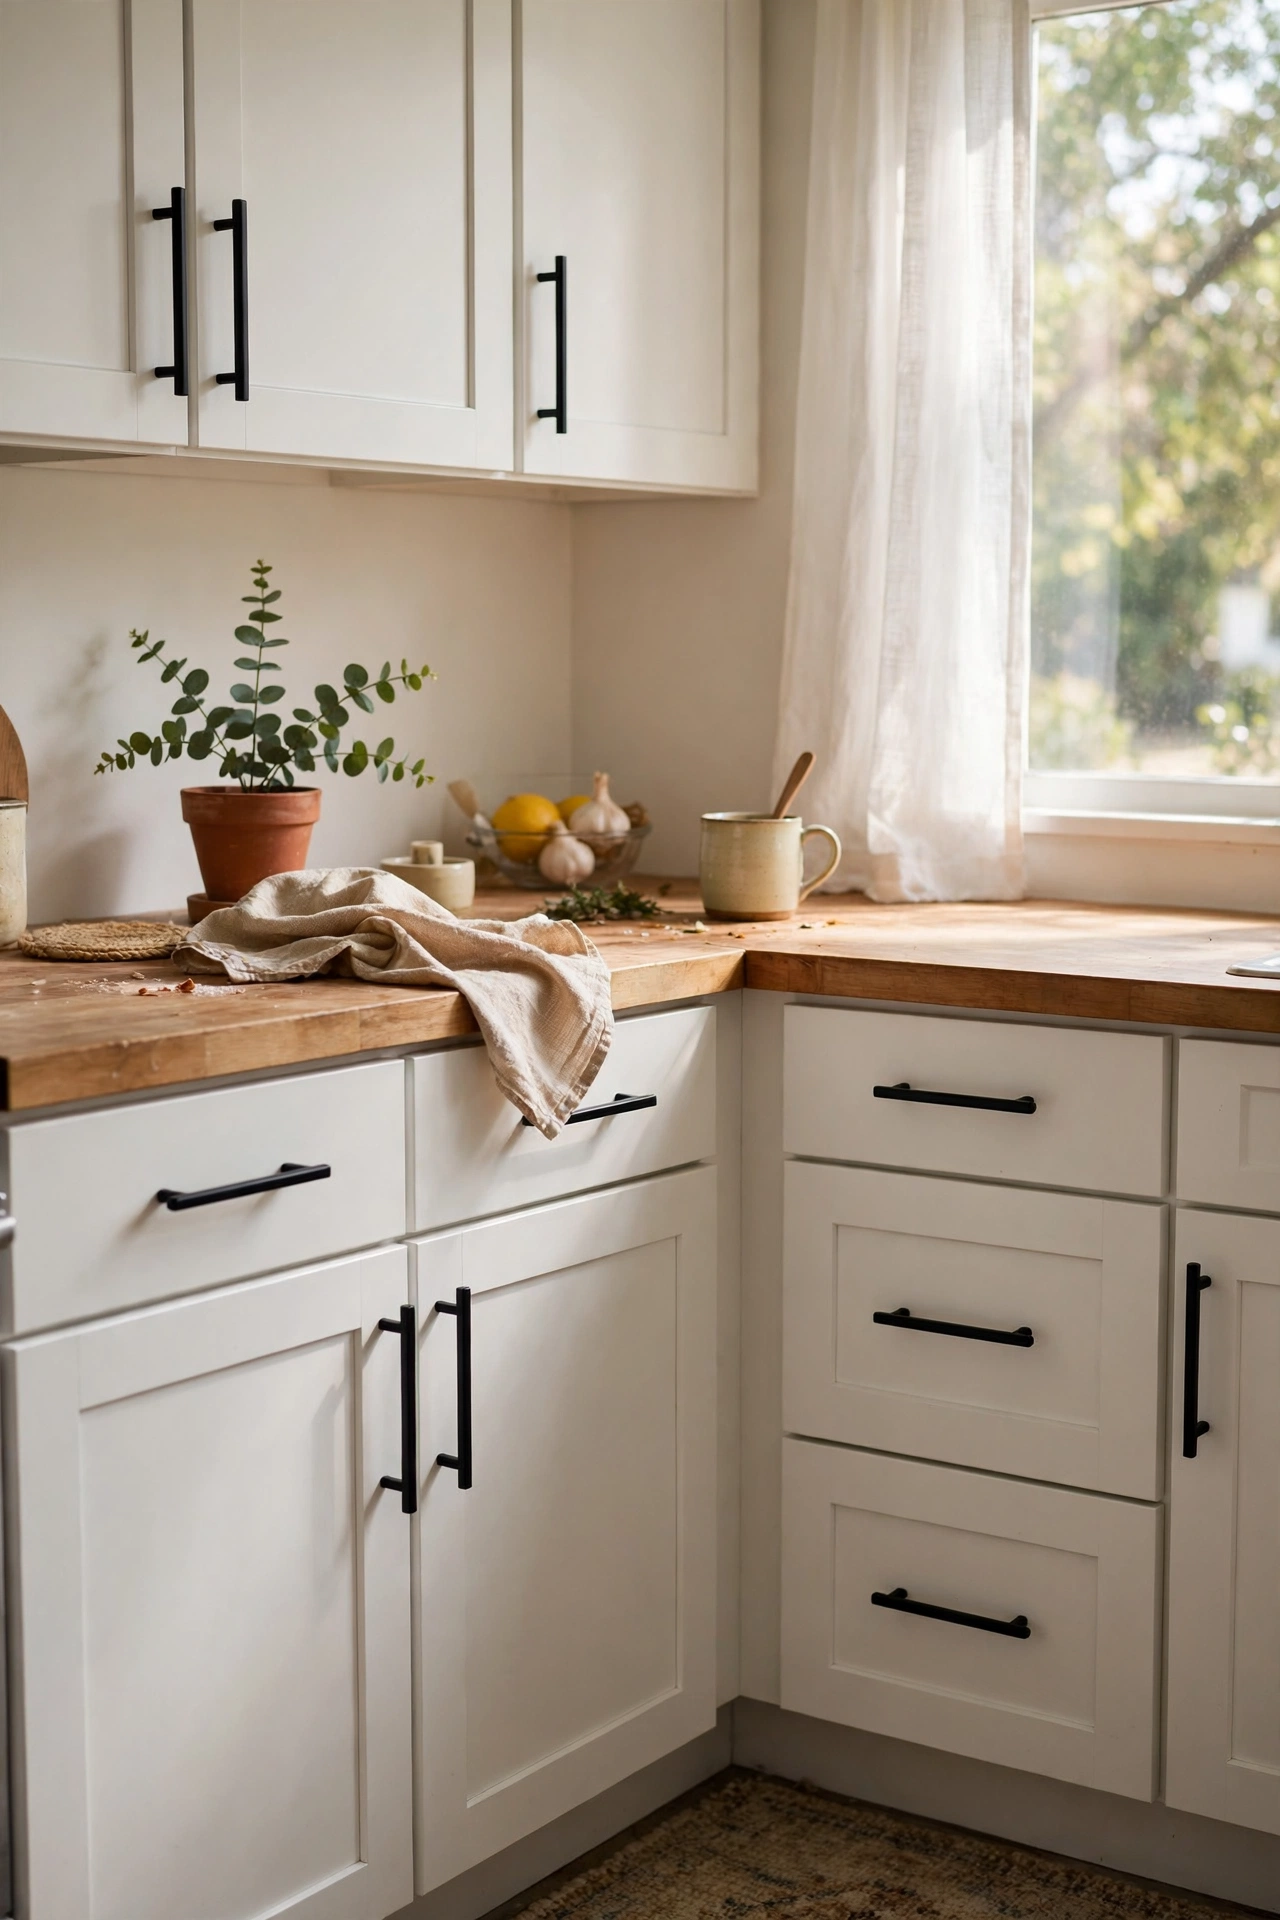
New knobs and pulls are jewellery for your kitchen. I replaced every handle in my kitchen with matte black bar pulls bought in a bulk pack, and the cabinets looked custom. Measure the existing hole spacing before you order, because odd spacings exist and returns are annoying. One screwdriver, one afternoon, the whole kitchen. Keep the old hardware in a bag in case a future buyer wants the originals. This is the project I recommend to everyone first.
Cost: ~$20-35 | Time: 2 hours
23. Create a Mudroom Corner
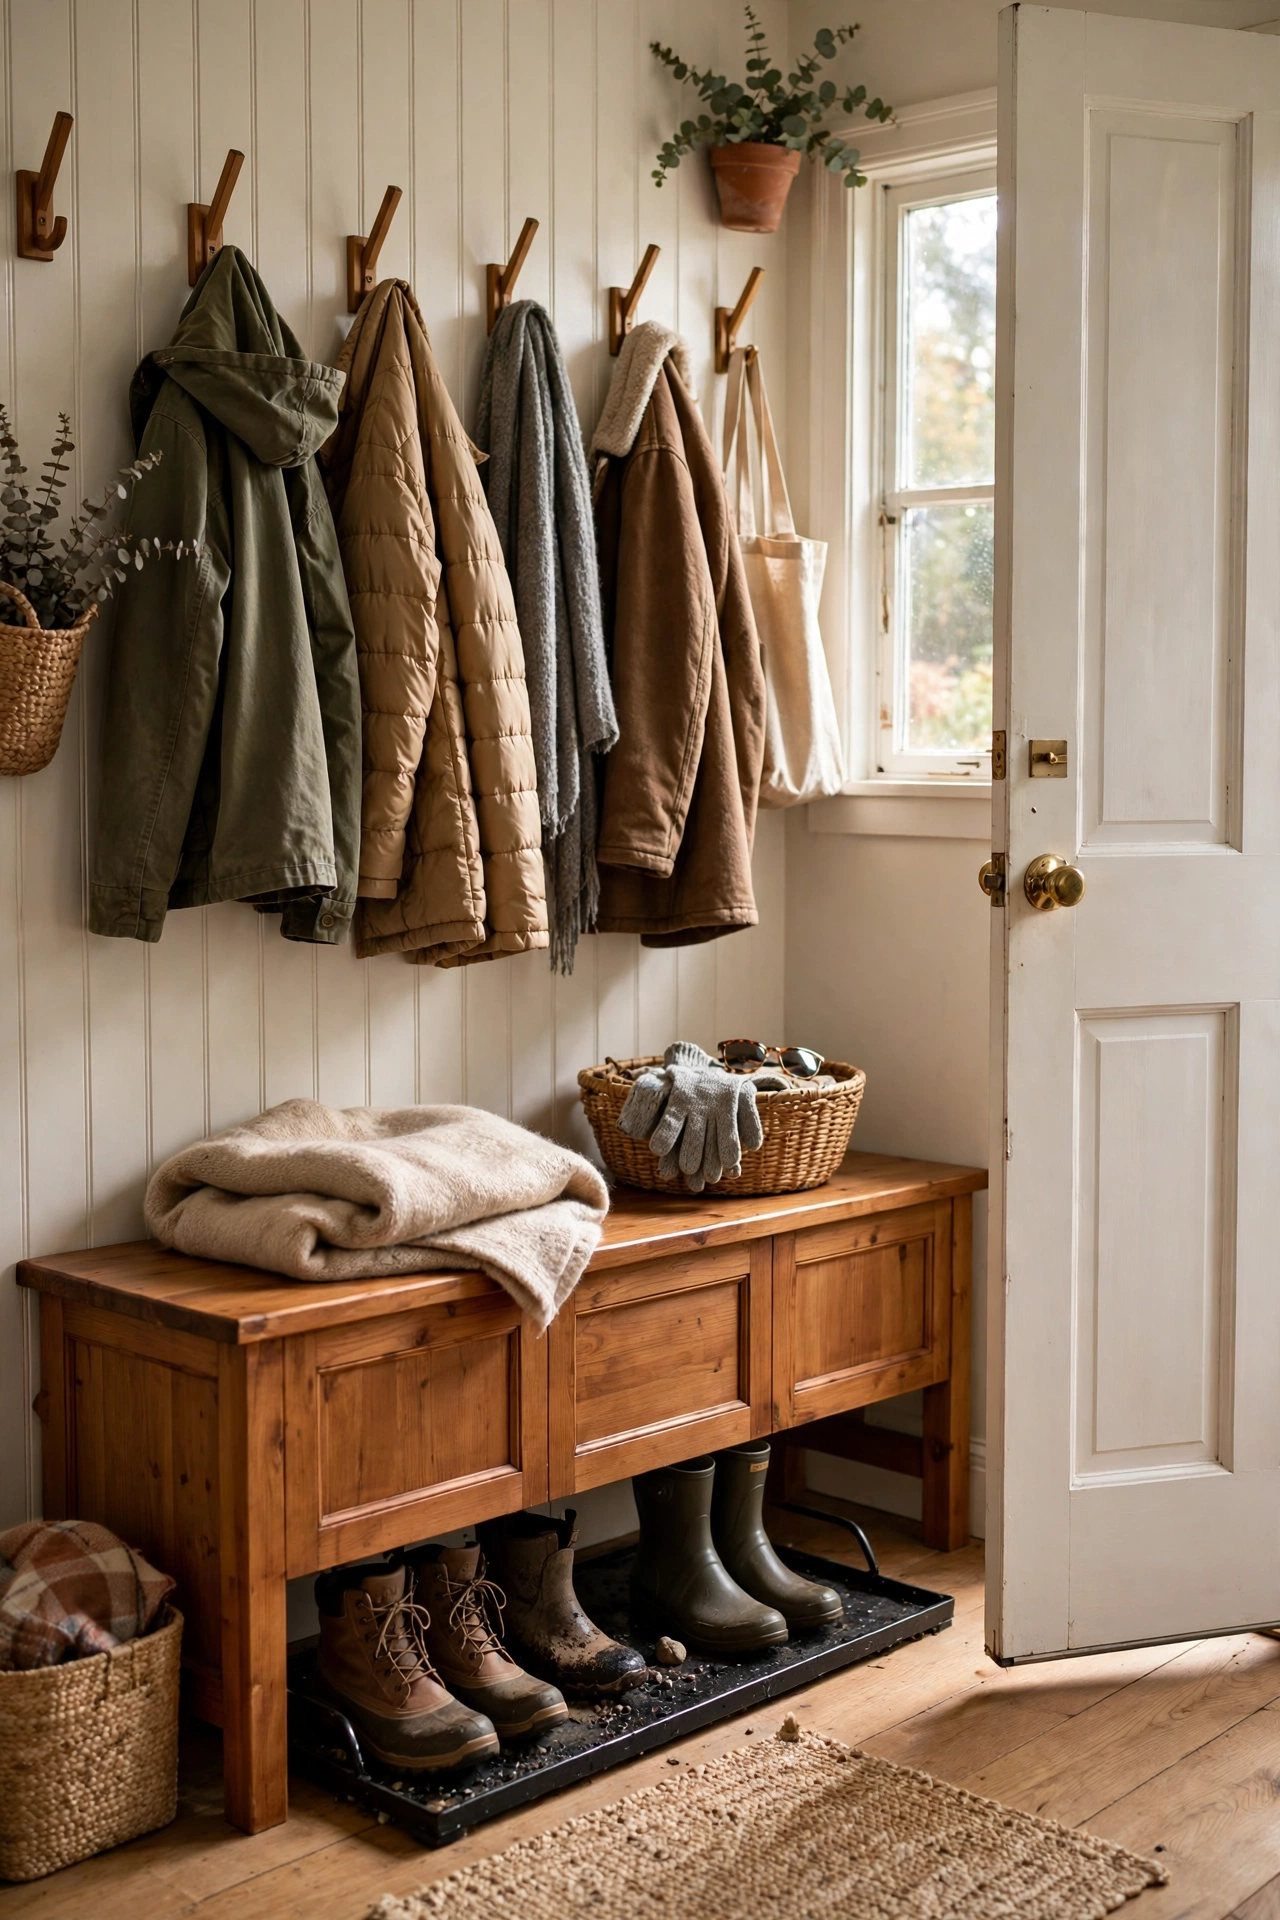
A bench, four hooks, and a boot tray turn an entryway corner into a mudroom. I mounted a row of sturdy hooks at two heights, one for adults and one for kids, set a thrifted bench underneath, and added a $8 boot tray. The hallway stopped being a shoe avalanche. Hooks must go into studs or use heavy-duty anchors, because a row of winter coats is heavy. Label one hook per person and the system maintains itself. Ours has survived three winters of daily use.
Cost: ~$20-35 | Time: 2 hours
24. Paint a Furniture Piece Two-Tone
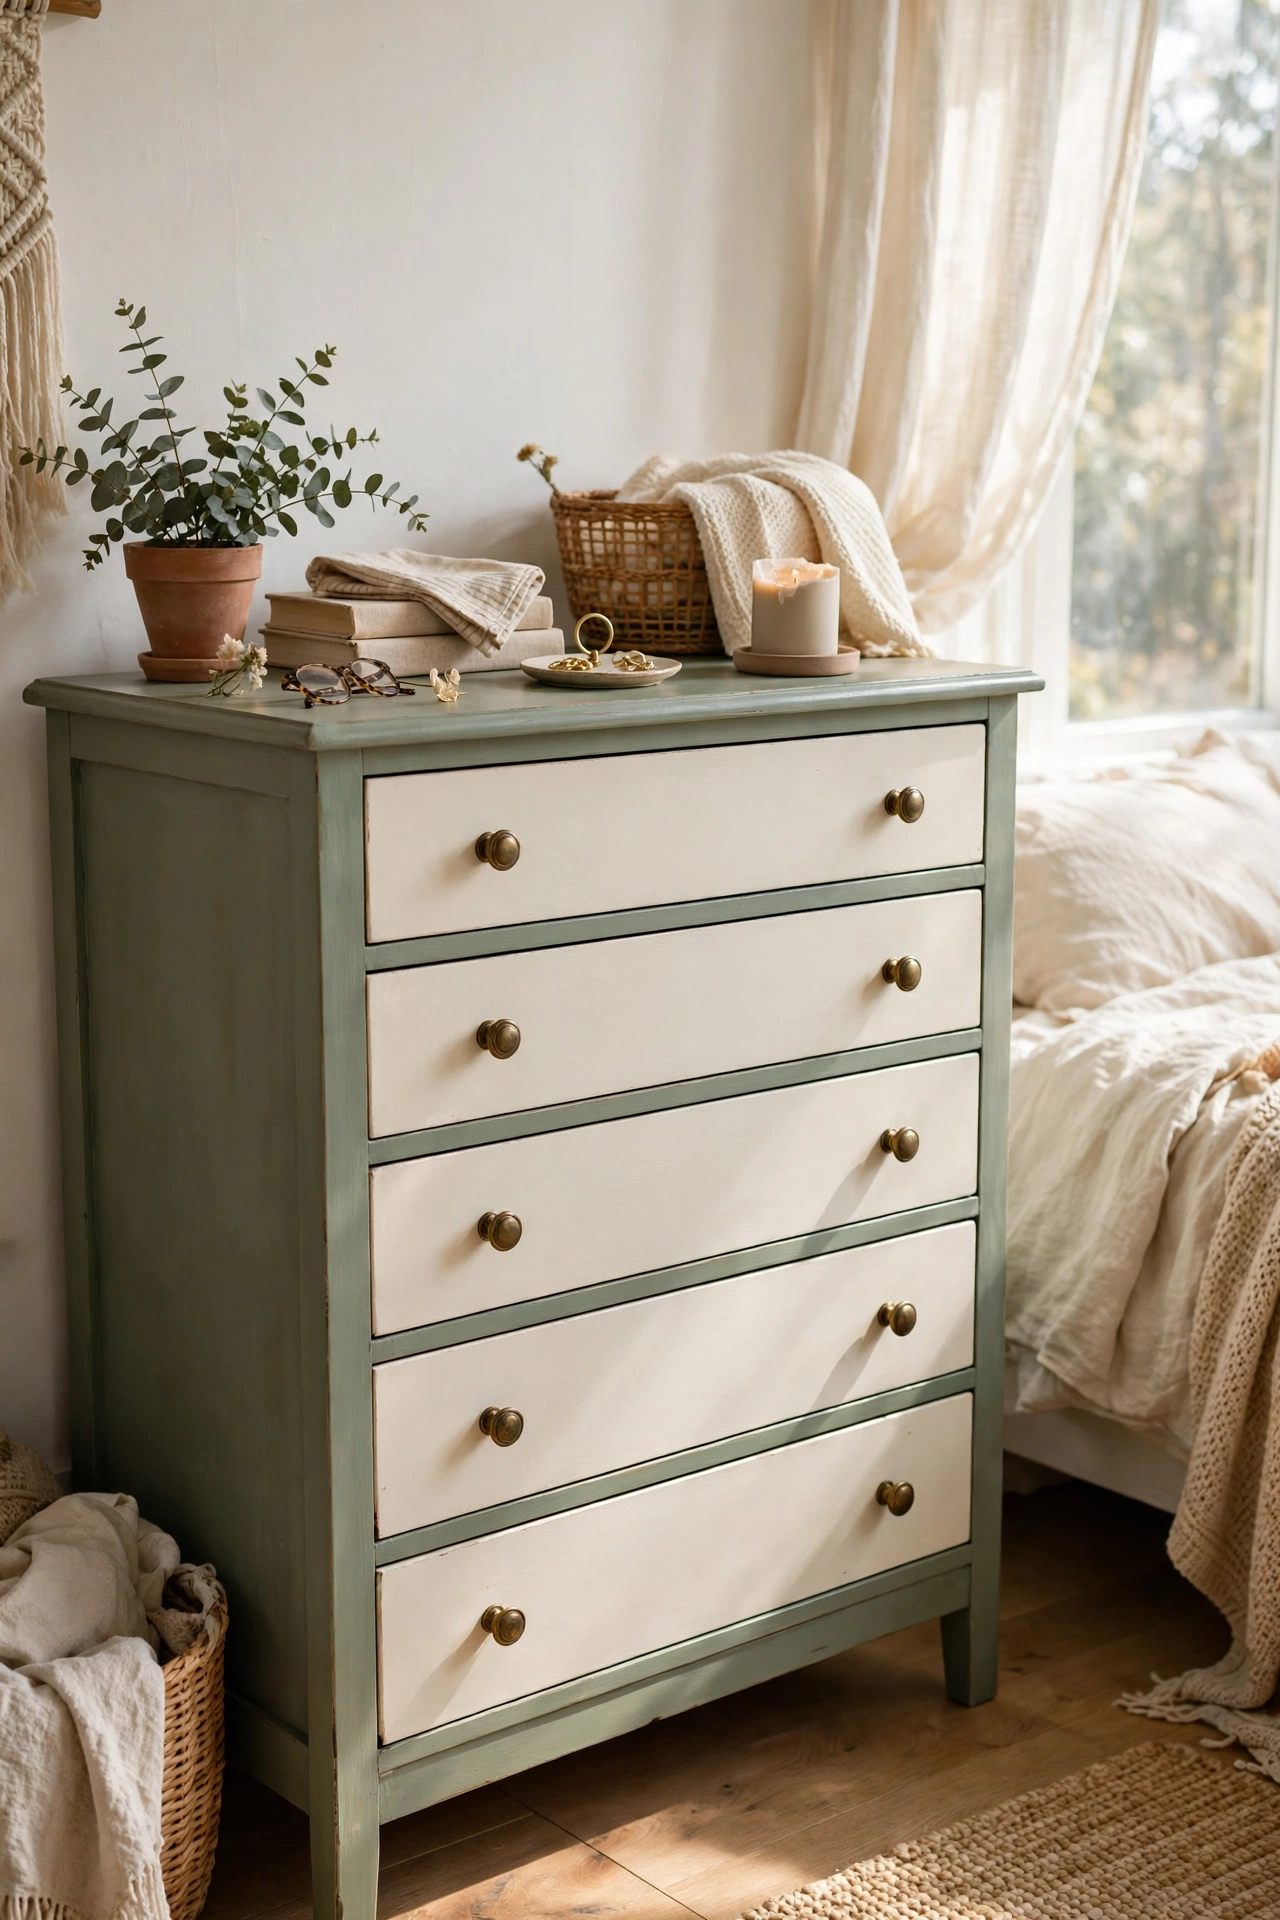
Painting a dresser or sideboard two colours, body one shade and drawers another, gives flat-pack furniture a custom look. I painted a plain white dresser sage green with cream drawers, and it looks like it came from a boutique. Tape the lines crisply and remove the tape while the paint is slightly tacky for the sharpest edge. Two quarts of paint, one weekend. The two-tone trick works on bookcases and nightstands too.
Cost: ~$25-35 | Time: 6 hours
25. Style the Entryway
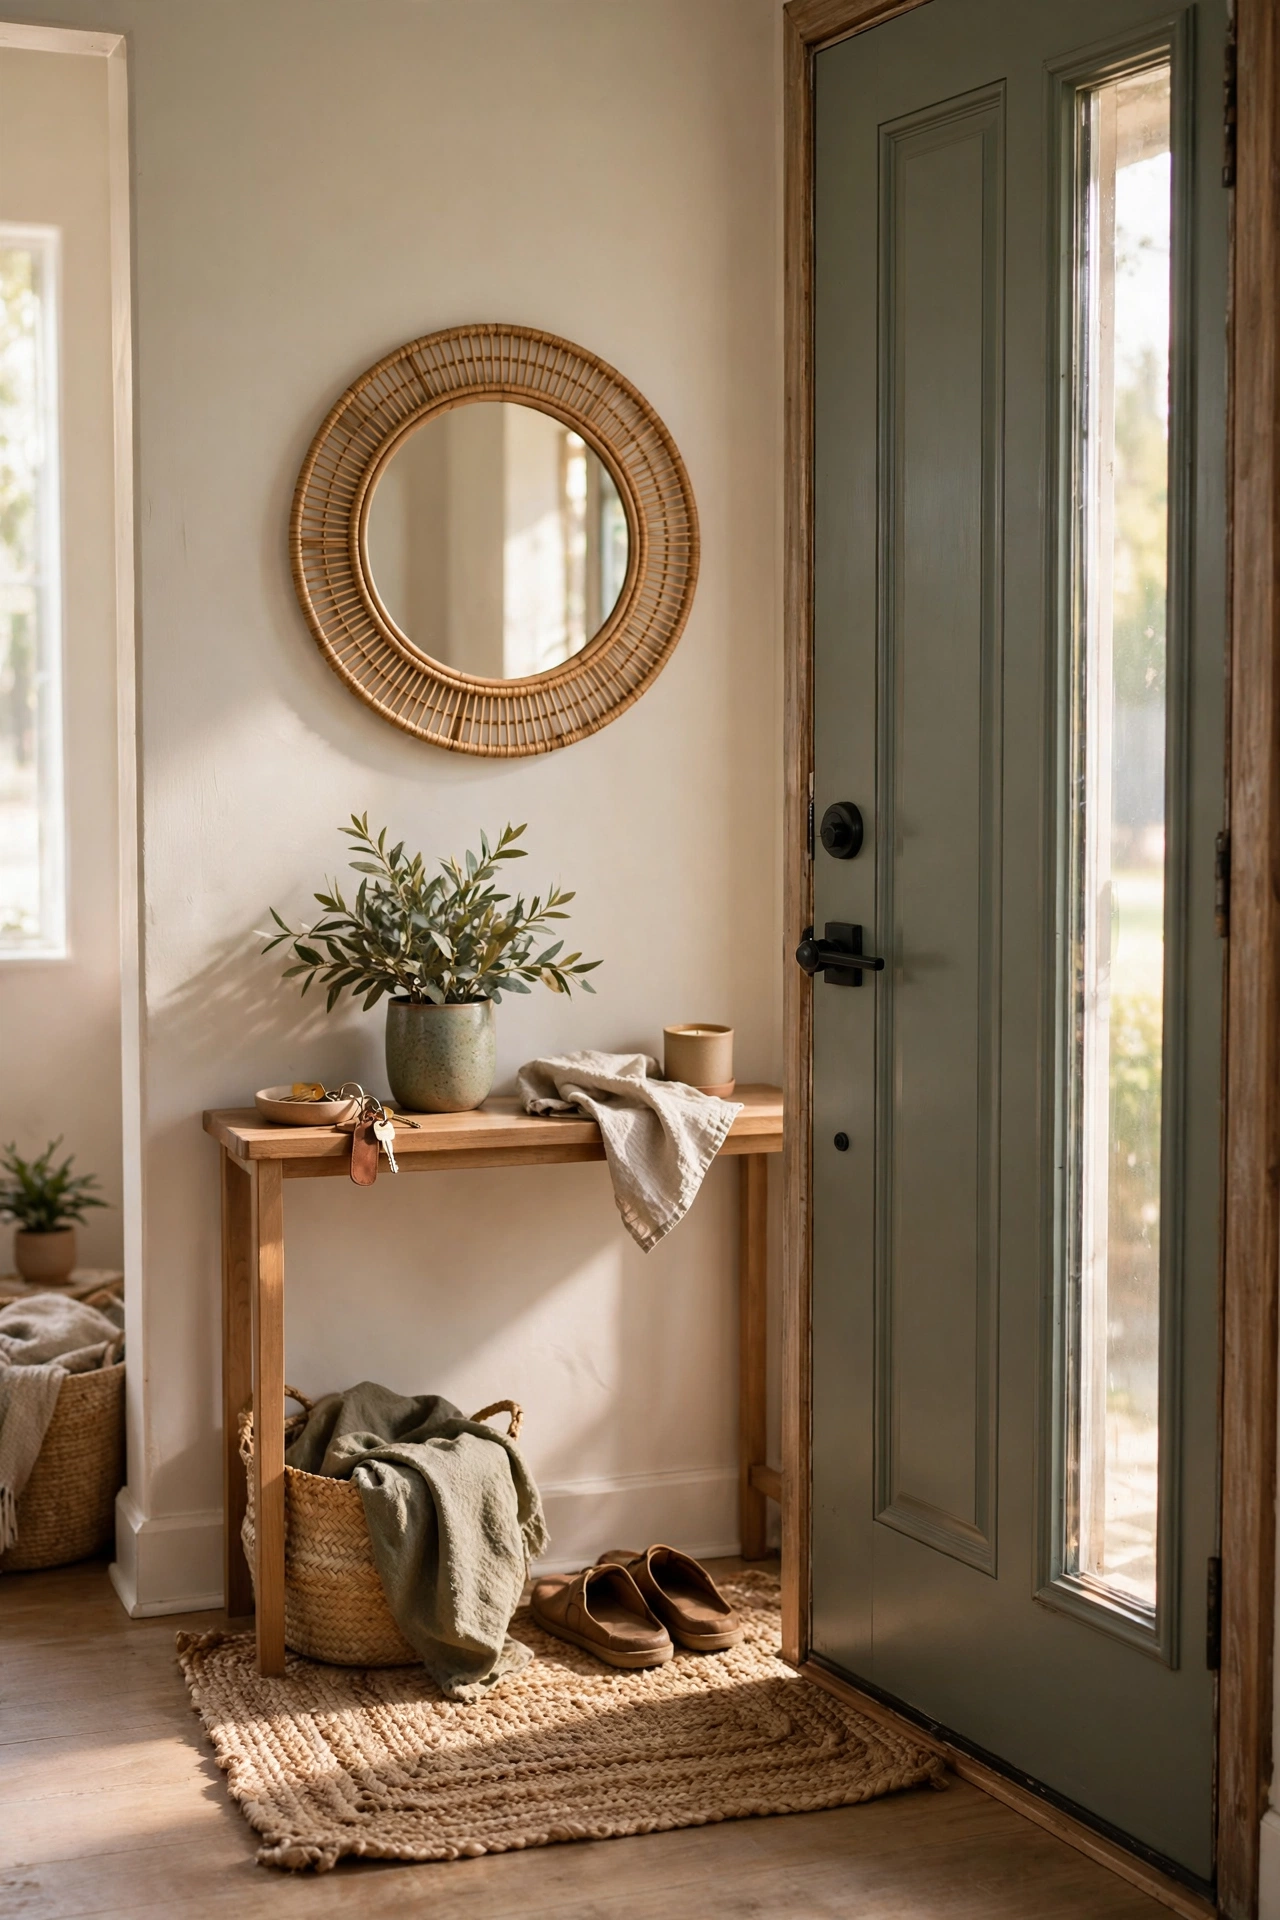
The entryway is the first thing you see coming home, and it deserves ten minutes of intention. I cleared mine completely, then added back only four things: a mirror, a small tray for keys, a plant, and a rug. Everything else found a new home elsewhere. The entryway now feels like an exhale instead of a pile-up. A tray for keys is the habit-changer, because keys always land in the tray instead of vanishing. End your project weekend here, standing in a calm doorway.
Cost: ~$0-15 | Time: 1 hour
Quick questions, answered
Which weekend project gives the biggest impact for the least money?
Rehanging curtains high and wide, and swapping switch plates, both cost nothing to $12 and change how rooms feel within hours. If you can spend $25, painting the front door or refreshing cabinet hardware transforms the most visible parts of your home.
How do I choose which project to do first?
Start with the room you see first when you come home, because that sets your mood daily. Then work through in order of annoyance: the thing that bothers you every day is the project that will pay you back in satisfaction fastest.
Can a total beginner do these projects?
Every project on this list was chosen for beginners. The plumbing and electrical ones have clear safety steps, and nothing here requires a permit or a professional. If a step ever feels beyond you, that is the one to hire out and spend the weekend on the others instead.
📌 Loving these ideas? Pin this post now so you can save this idea for your next free weekend.
More weekend inspiration: (see also: 19-weekend-diy-projects-on-a-budget/) (see also: 15-upcycled-home-decor-ideas-worth-trying-this-weekend/) (see also: 17-one-hour-diy-decor-ideas-for-busy-people/)
