19 DIY Gallery Wall Ideas for Beginners
My first gallery wall was a disaster of crooked frames and eleven nail holes I later had to fill. I had hammered straight into the plaster with no plan, and it showed. DIY gallery wall ideas looked effortless on Pinterest but mine looked like a frame shop explosion. Then a friend showed me the paper-template trick, and everything changed. Now I have hung four gallery walls — in my hallway, above my sofa, up my stairs, and in my daughter’s room — and each one took an afternoon and cost less than a takeaway.
The truth is that gallery walls are 90% planning and 10% hammering. Every idea here is a layout, a technique, or a beginner-friendly approach that removes the guesswork. Most cost under $30 total, because the art can be free printables, family photos, and charity shop finds. Start with idea one — the template trick — because it underpins everything else on this list.
1. The Paper Template Layout Trick
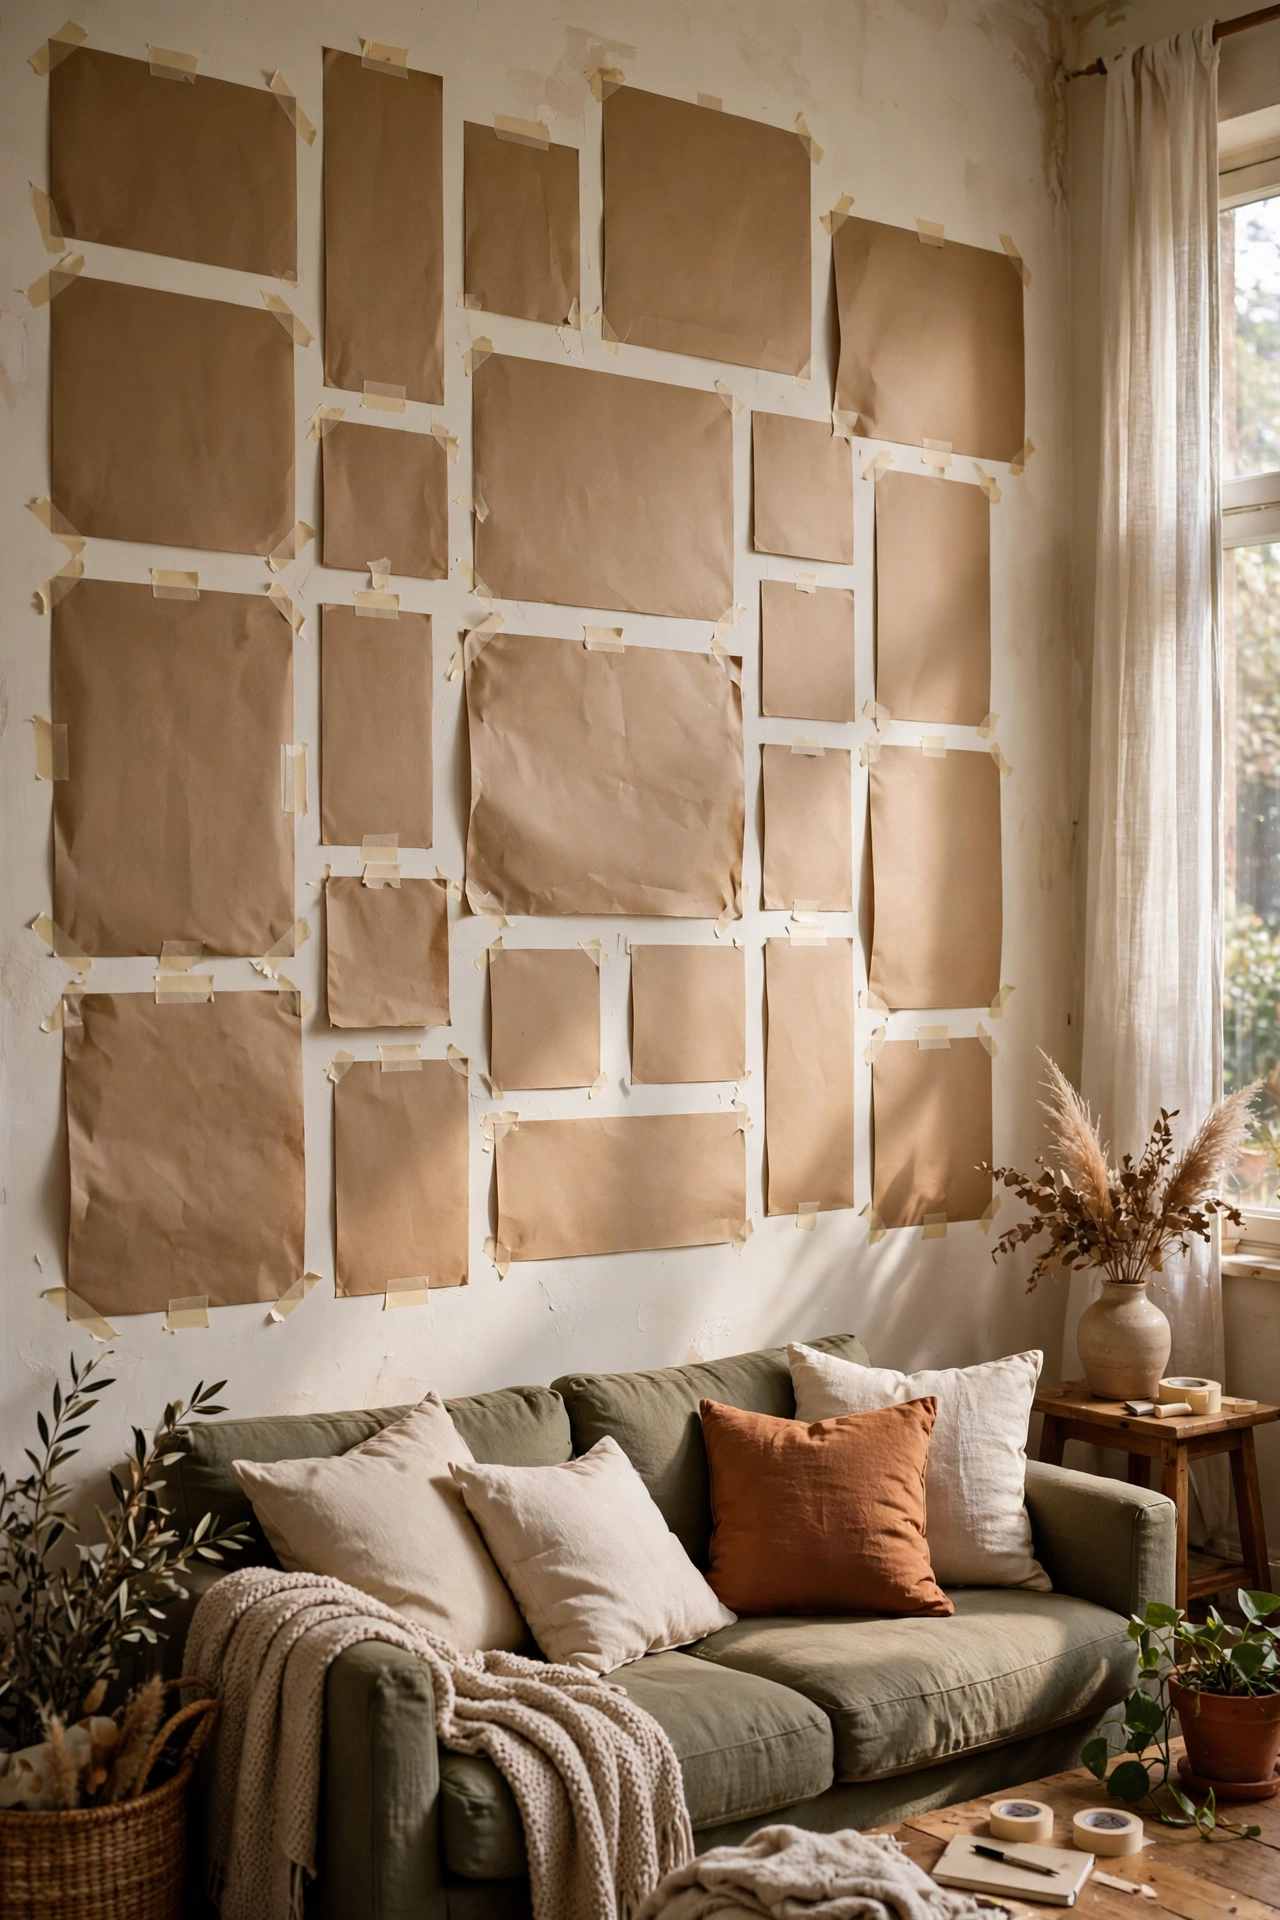
This is the technique that changed everything for me. Trace each frame onto newspaper or kraft paper, cut out the shapes, and tape them to the wall with painter’s tape, moving them around until the arrangement feels right. Mark the nail spot on each template, hammer through the paper, then tear it away. My second gallery wall went up with zero extra holes using this method. Do live with the paper layout for a day before hammering — you will spot problems fresh eyes catch. Don’t skip this step even for small walls; it is the difference between a gallery wall and a mess. Every idea below works better with templates first.
Cost: ~$2-5 | Time: 1 hour
2. Matching Frames, Mixed Art
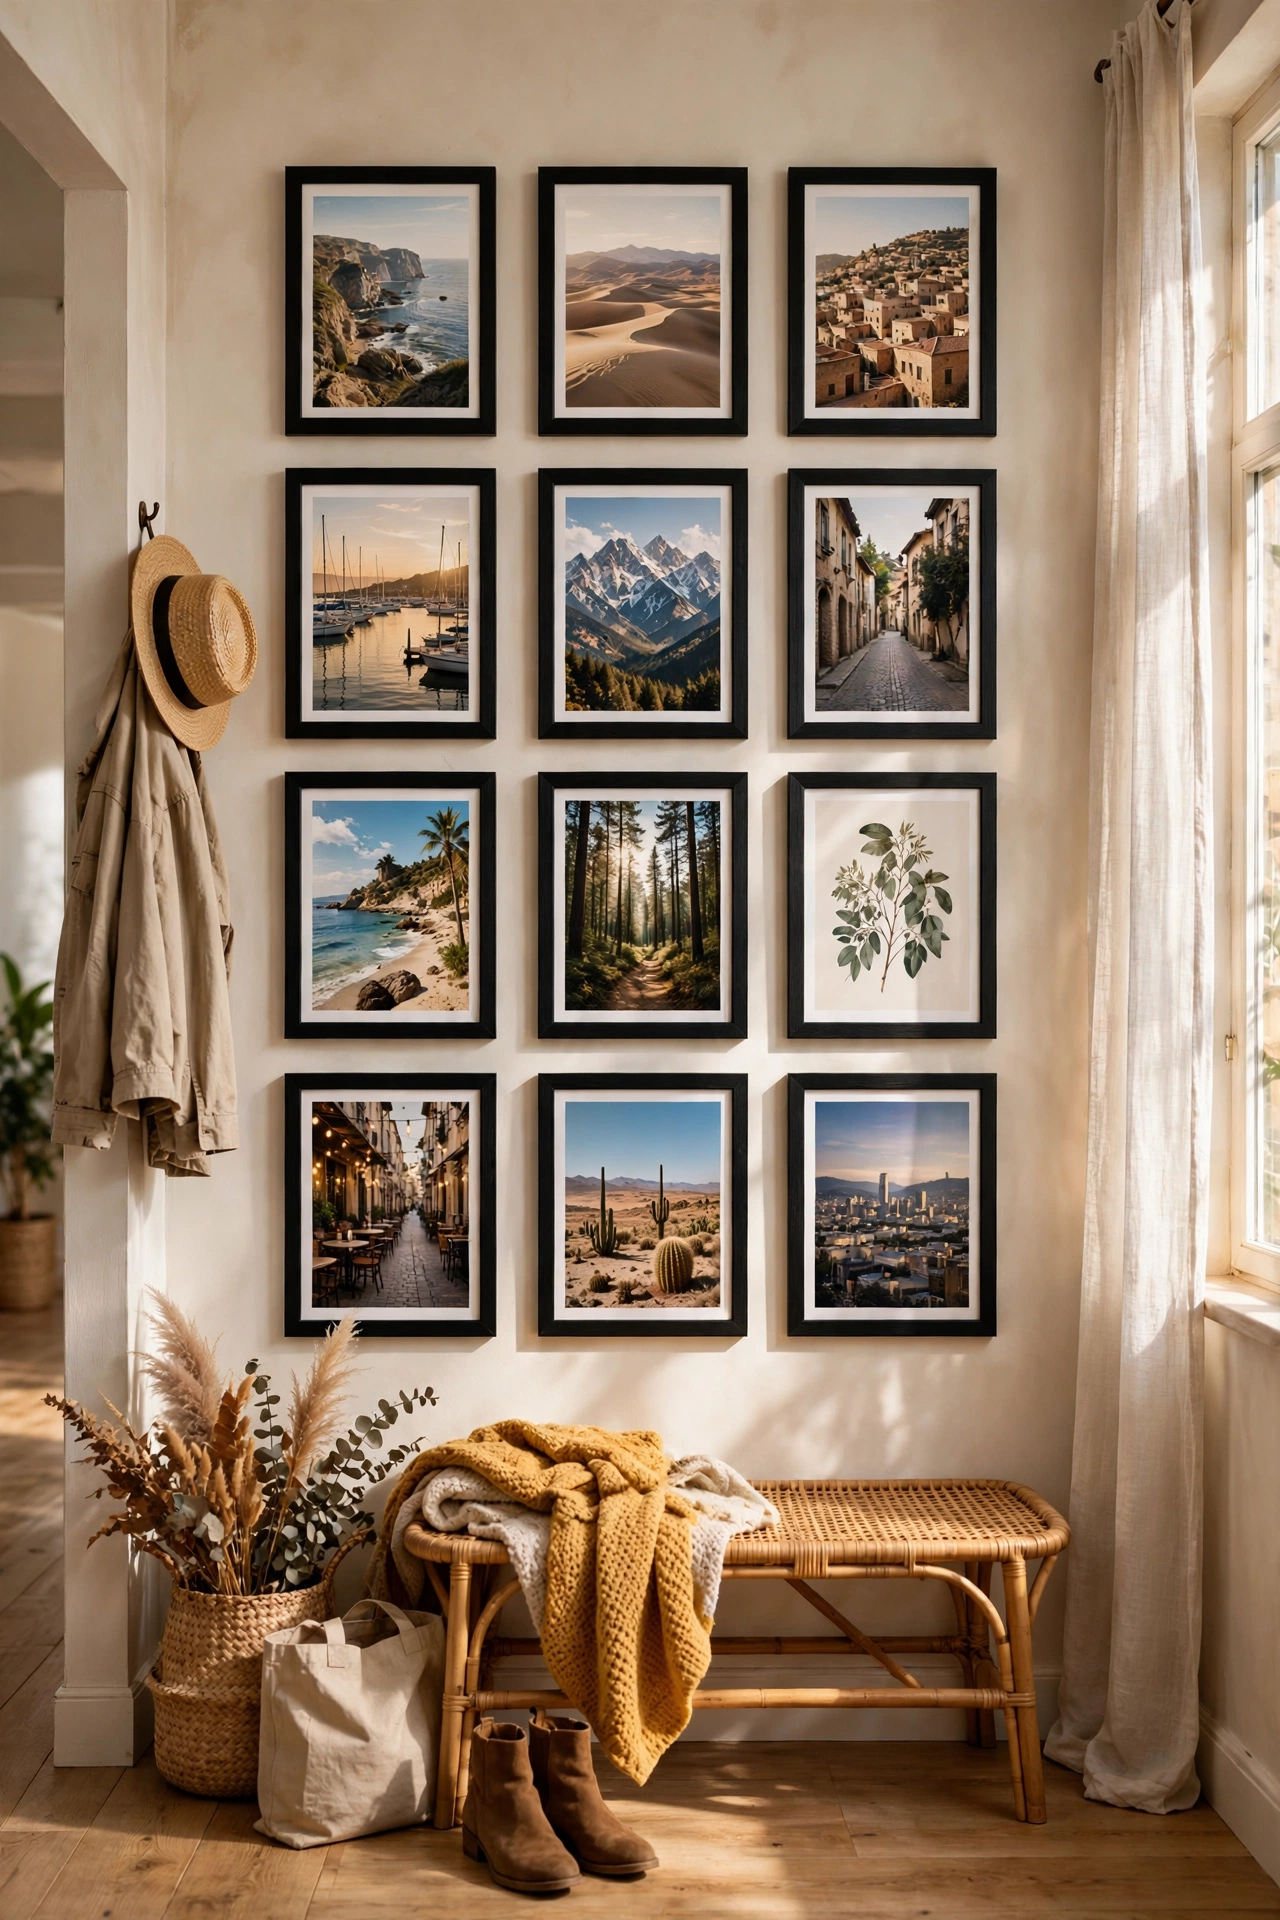
The easiest beginner gallery wall: identical frames, totally different art inside. Buy a multipack of simple black or white frames — six for $15 at discount shops — and fill them with a mix of prints, photos, and postcards. The matching frames unify everything, so the art can be gloriously random. I did this in my hallway with travel photos and free printables and it looks properly curated. Do use the same frame colour and similar mat widths for maximum cohesion. Don’t mix frame sizes too wildly here; keep them within two sizes for a calm grid feel. This is the foolproof first gallery wall.
Cost: ~$15-25 | Time: 1 hour
3. Mixed Frames, One Colour Palette
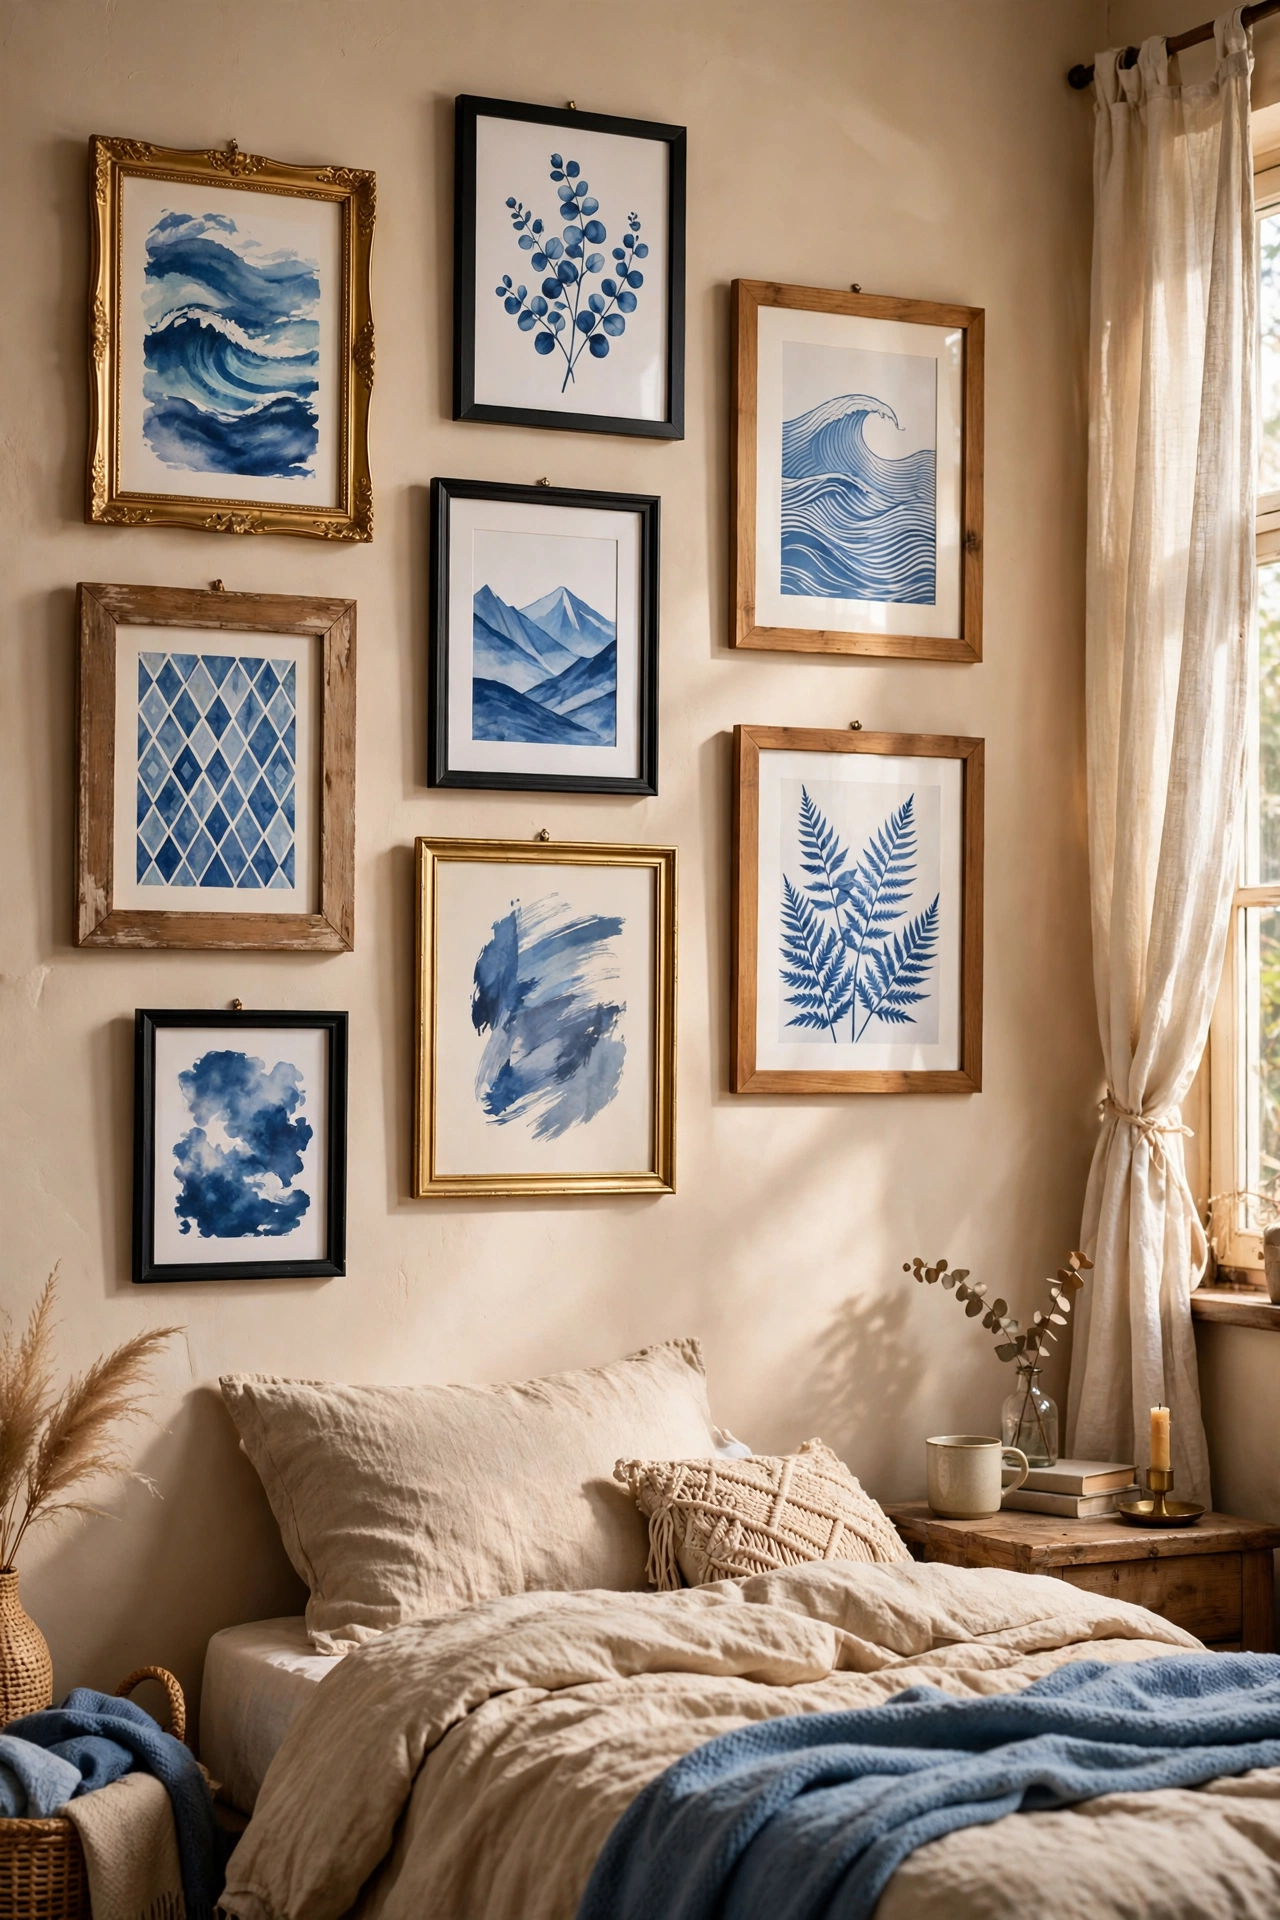
The flip side: totally different frames, but every piece of art in the same colour family. Gather charity shop frames in all shapes — gold, wood, black — and fill them with prints in, say, blues and creams. The palette unifies what the frames do not. My bedroom wall mixes ornate gold and plain oak frames, all holding blue-toned art, and it works because the colour does the coordinating. Do limit yourself to two or three colours in the art. Don’t include one random red print “because you love it” — it will shout from the wall. Palette discipline is everything here.
Cost: ~$12-20 | Time: 1.5 hours
4. The Ledge Shelf Gallery
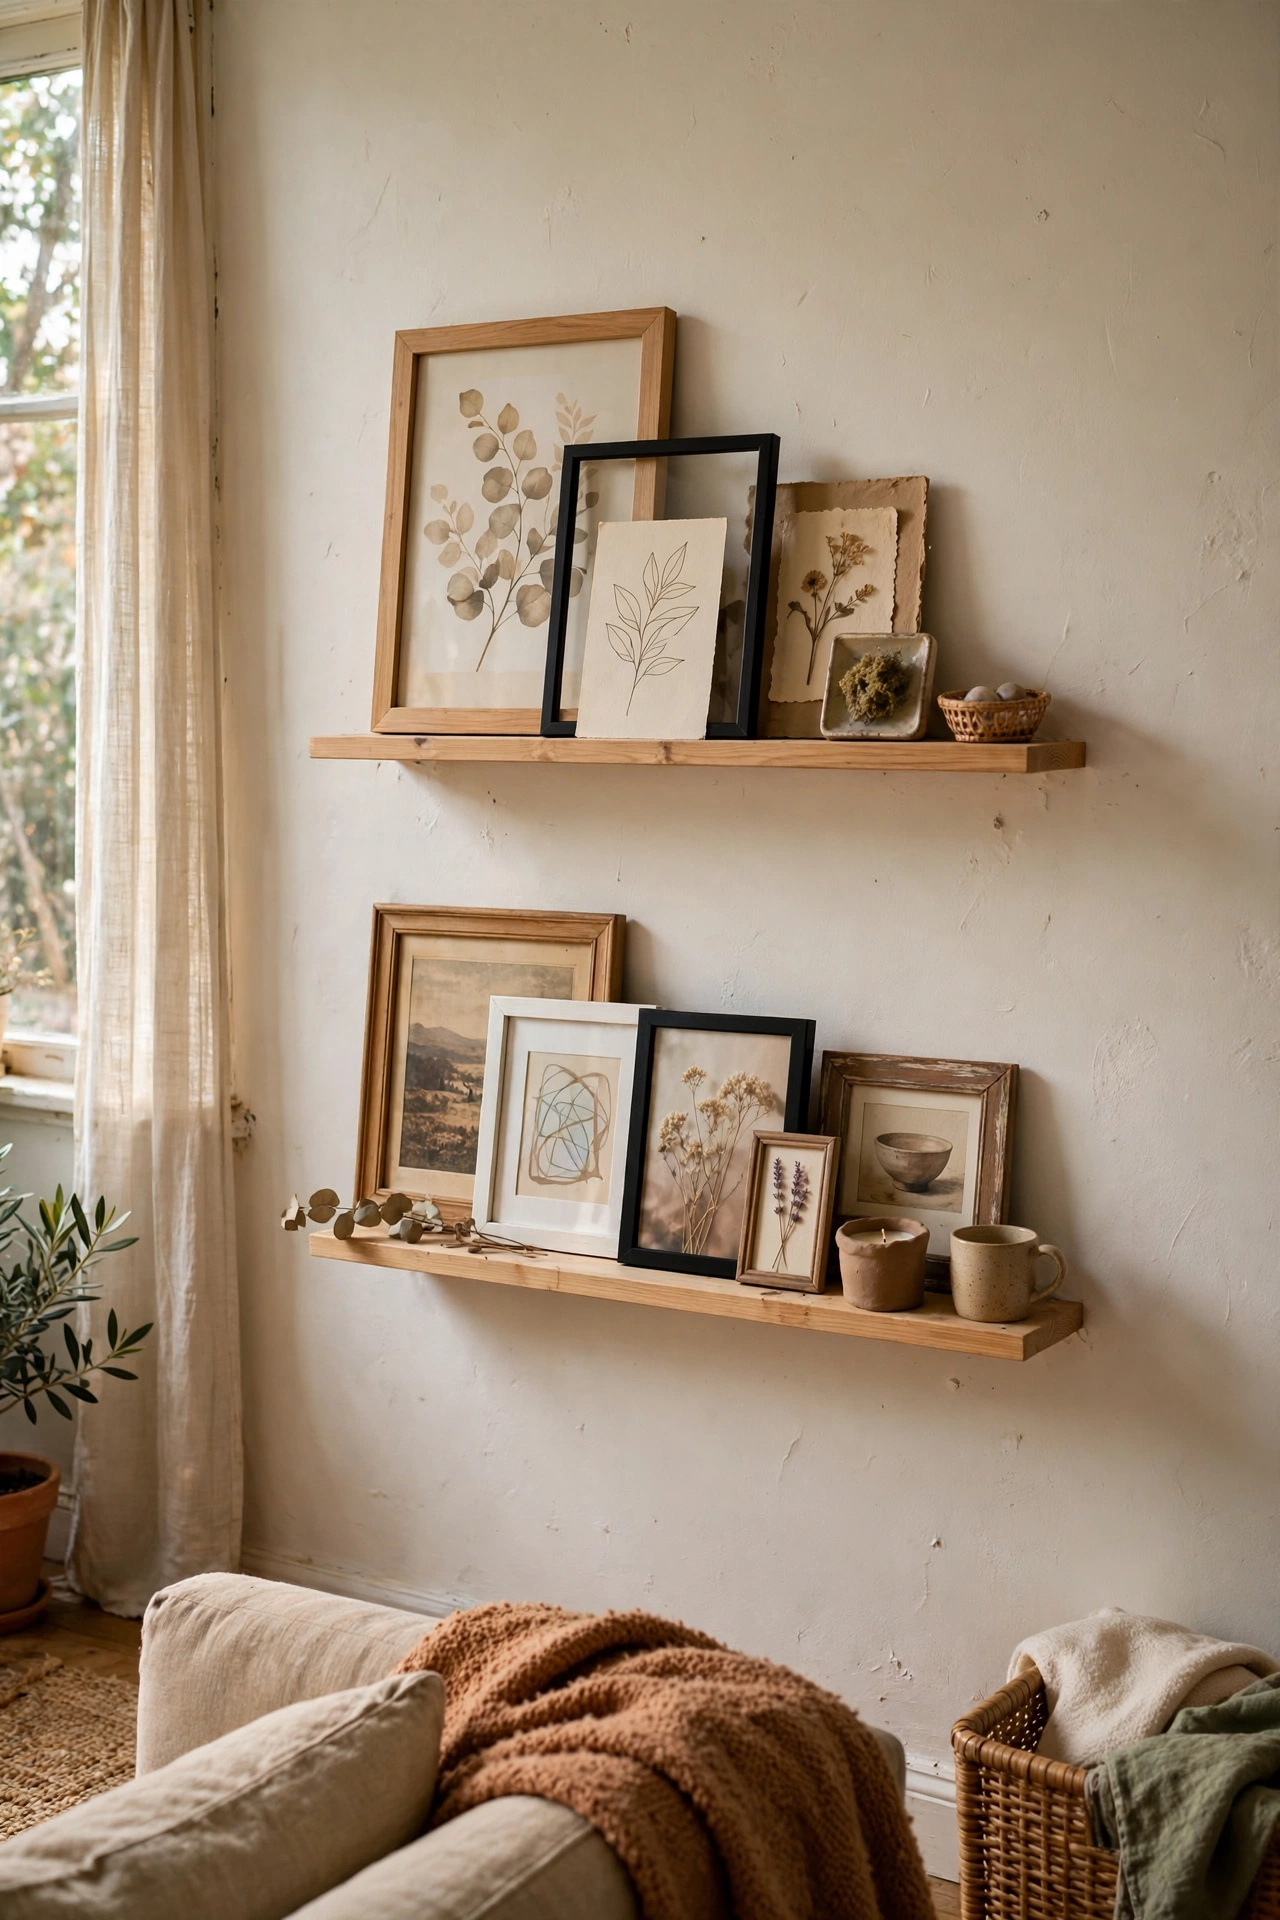
Picture ledges are the commitment-phobe’s gallery wall: no precise measuring, just leaning. Mount two or three narrow ledge shelves and lean framed art along them, layering smaller frames in front of larger ones. I switched my living room to ledges after my toddler phase, because rearranging takes seconds and nothing is nailed at art height. Do overlap frames for that layered, collected look. Don’t line them up in a rigid row — the casual lean is the whole point. Swap the art seasonally without touching a single nail.
Cost: ~$15-30 | Time: 1 hour
5. Symmetry Around a Focal Piece
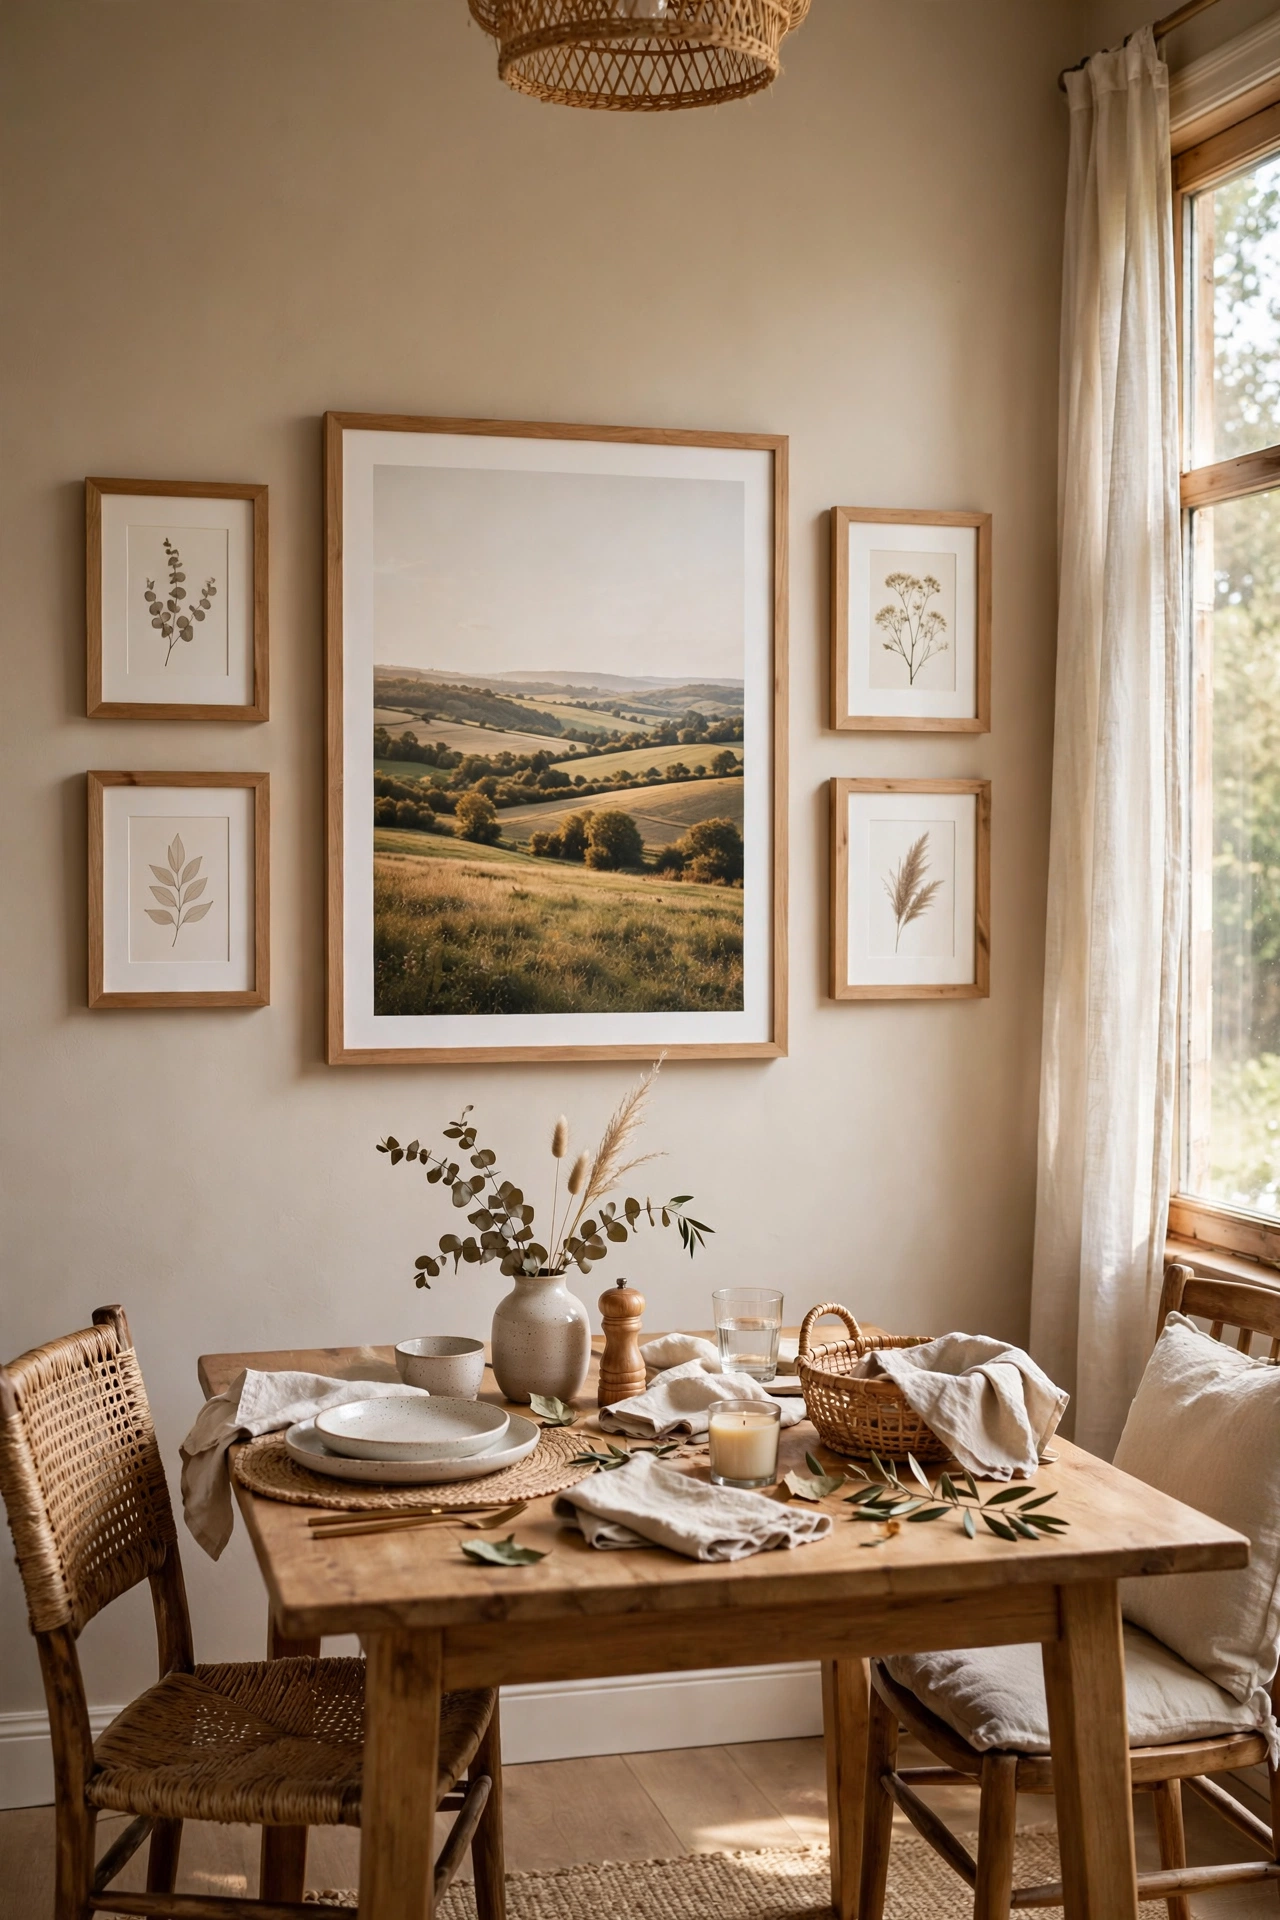
Beginners fear asymmetry, so start with symmetry: one large central piece with identical smaller frames mirrored on each side. Hang the big piece at eye level — centre about 145cm from the floor — then place pairs of smaller frames at equal distances left and right. My dining room wall uses one large landscape print flanked by four matching small frames, and it looks effortlessly formal. Do measure from the centre outward, not from one side. Don’t eyeball symmetry; a tape measure is mandatory here because the eye spots 2cm of difference instantly. Formal rooms love this layout.
Cost: ~$18-30 | Time: 1.5 hours
6. The Grid Gallery (Even Spacing)
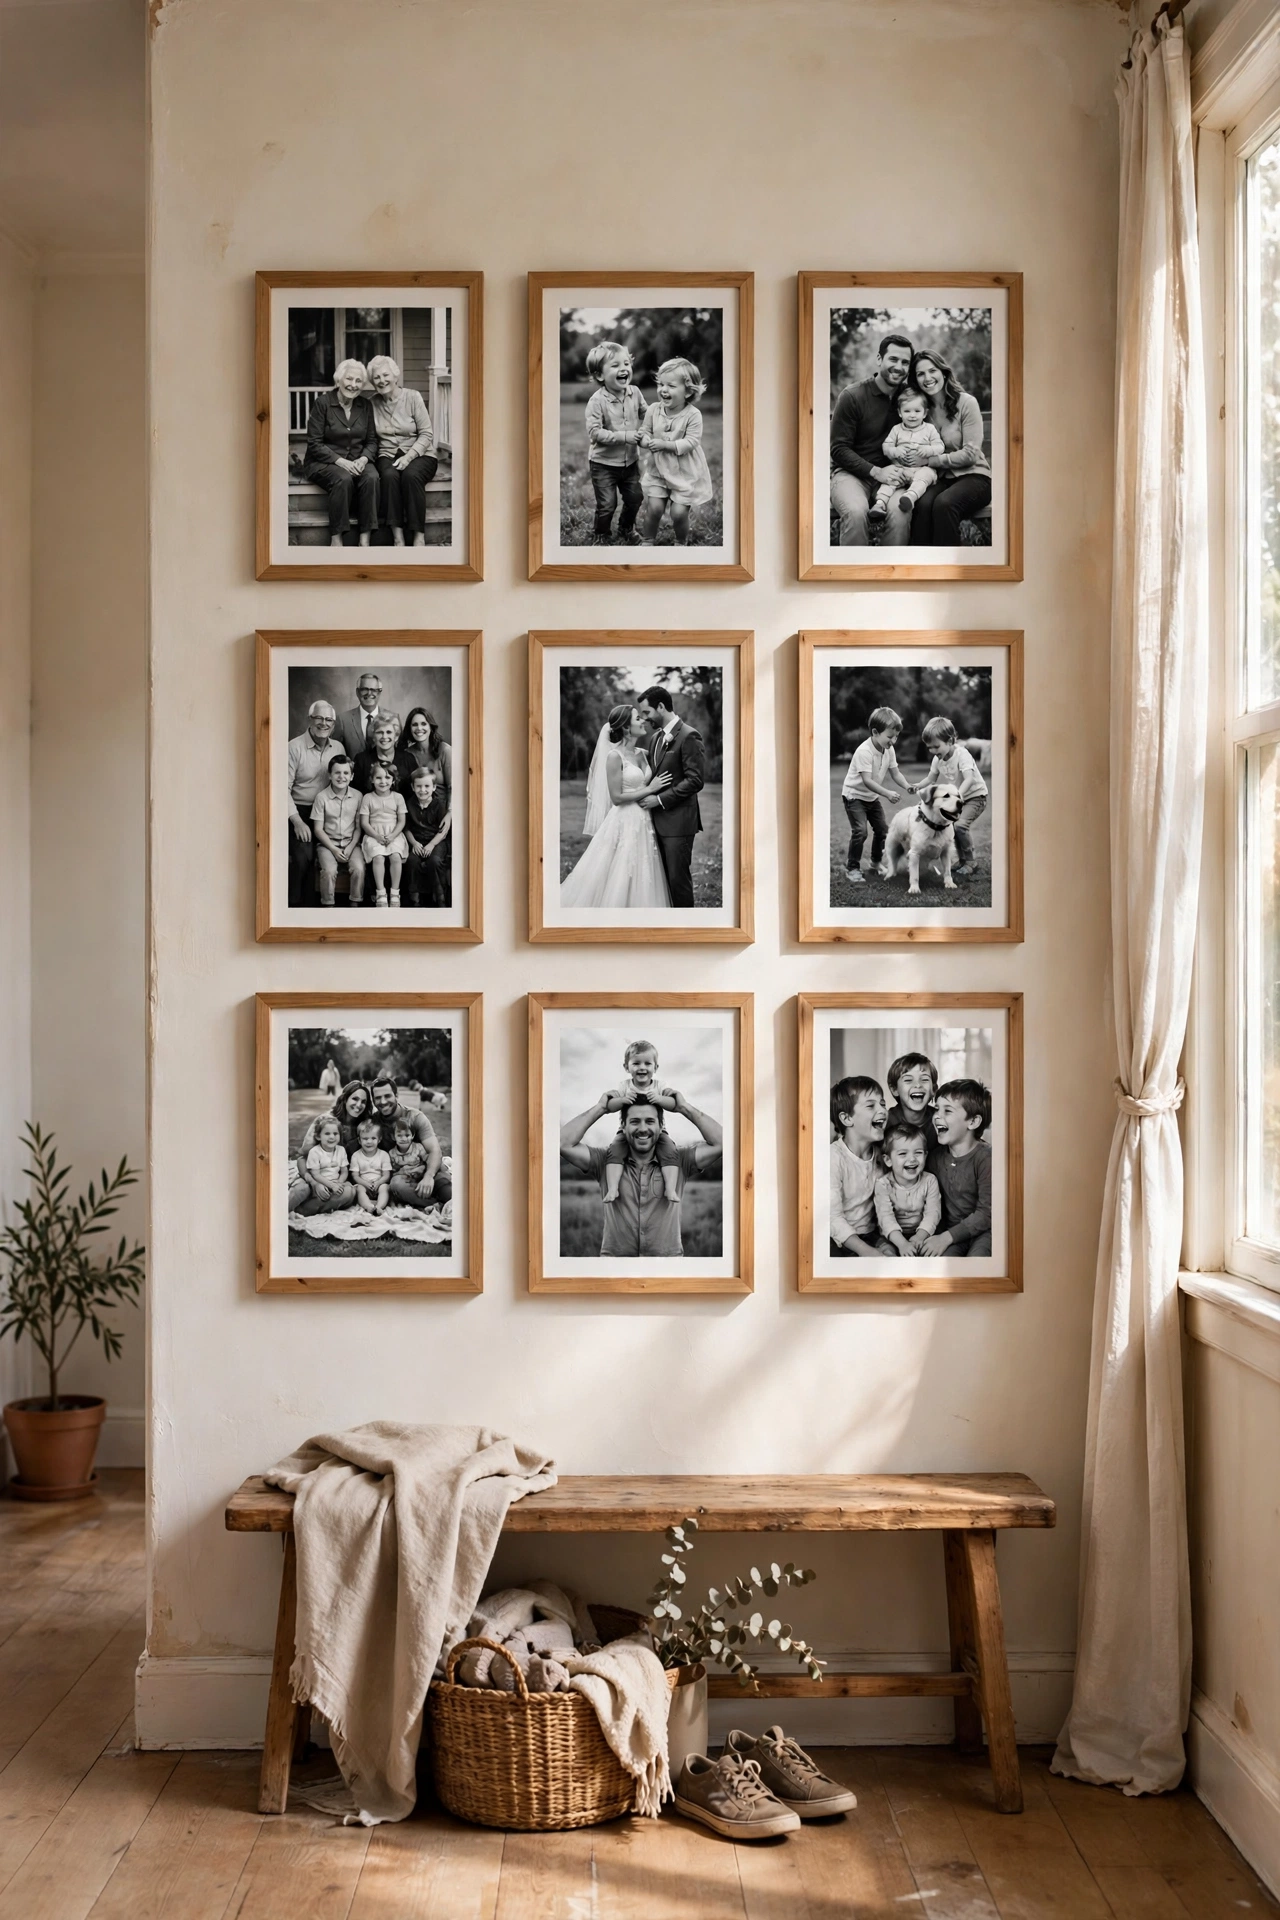
A grid of identical frames with identical spacing looks incredibly sharp and is mathematically simple. Choose 6 or 9 matching frames, hang them with exactly 5cm gaps both ways — use a cardboard spacer so every gap matches. I gridded nine black-and-white family photos in my hallway and visitors assume I hired someone. Do use a level for the first row; everything hangs off that line. Don’t mix orientations in a grid — all portrait or all landscape, never both. The rigidity is the style, so precision matters more here than anywhere else.
Cost: ~$18-28 | Time: 1.5 hours
7. Organic Salon-Style Cluster
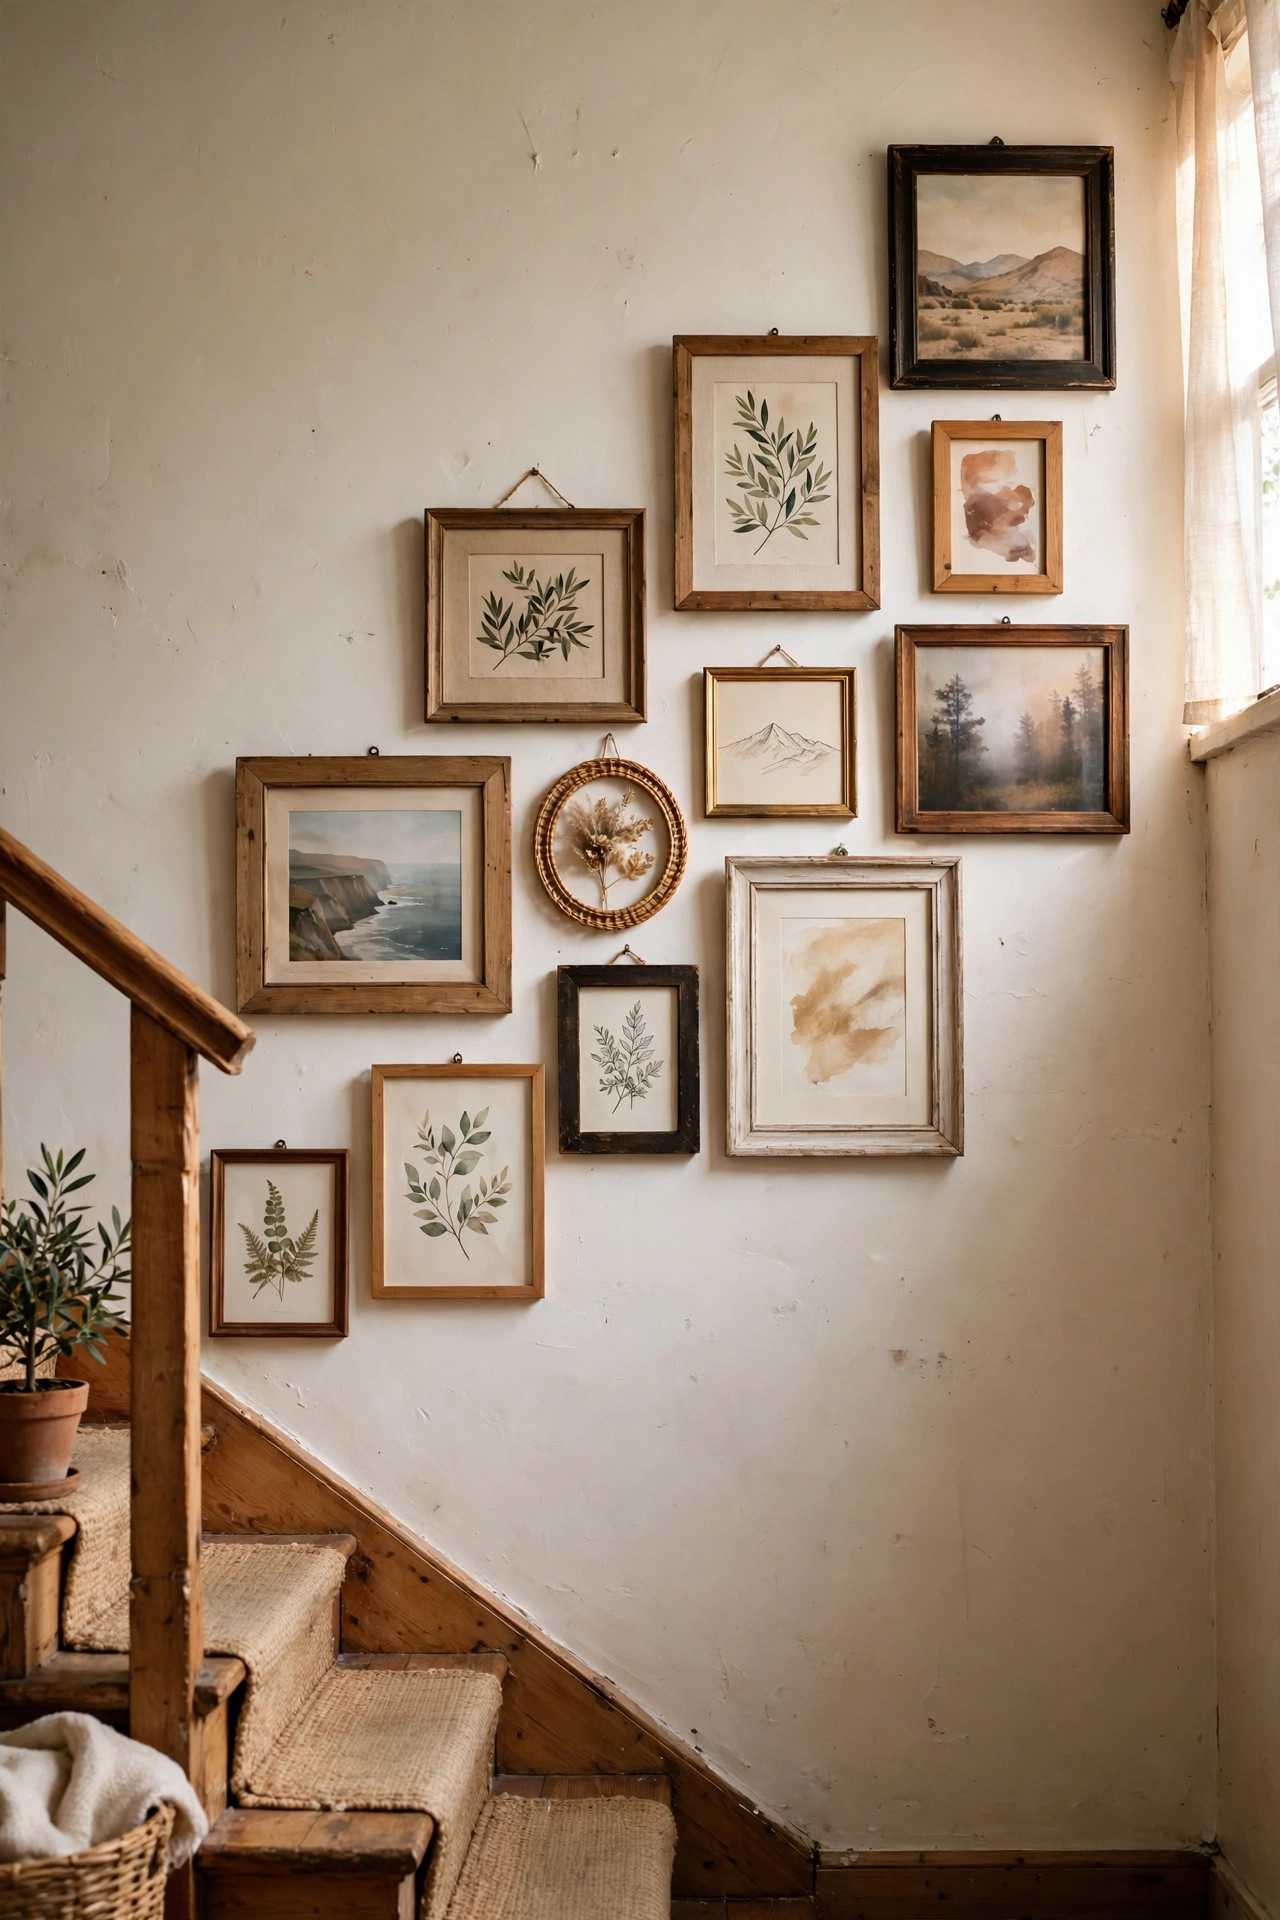
The salon-style cluster — frames of all sizes fitted together like a puzzle — looks casual but needs the most planning. Start with your largest piece slightly off-centre, then build outward, keeping gaps roughly even at 5-8cm. My stairway cluster has eleven frames and took the longest to plan but gets the most compliments. Do start hanging from the centre outward. Don’t leave one giant gap — fill awkward spaces with a small frame or a wall-mounted object like a tiny mirror. Step back after every three frames to check the overall shape.
Cost: ~$15-25 | Time: 2 hours
8. Gallery Wall with Family Photos Only
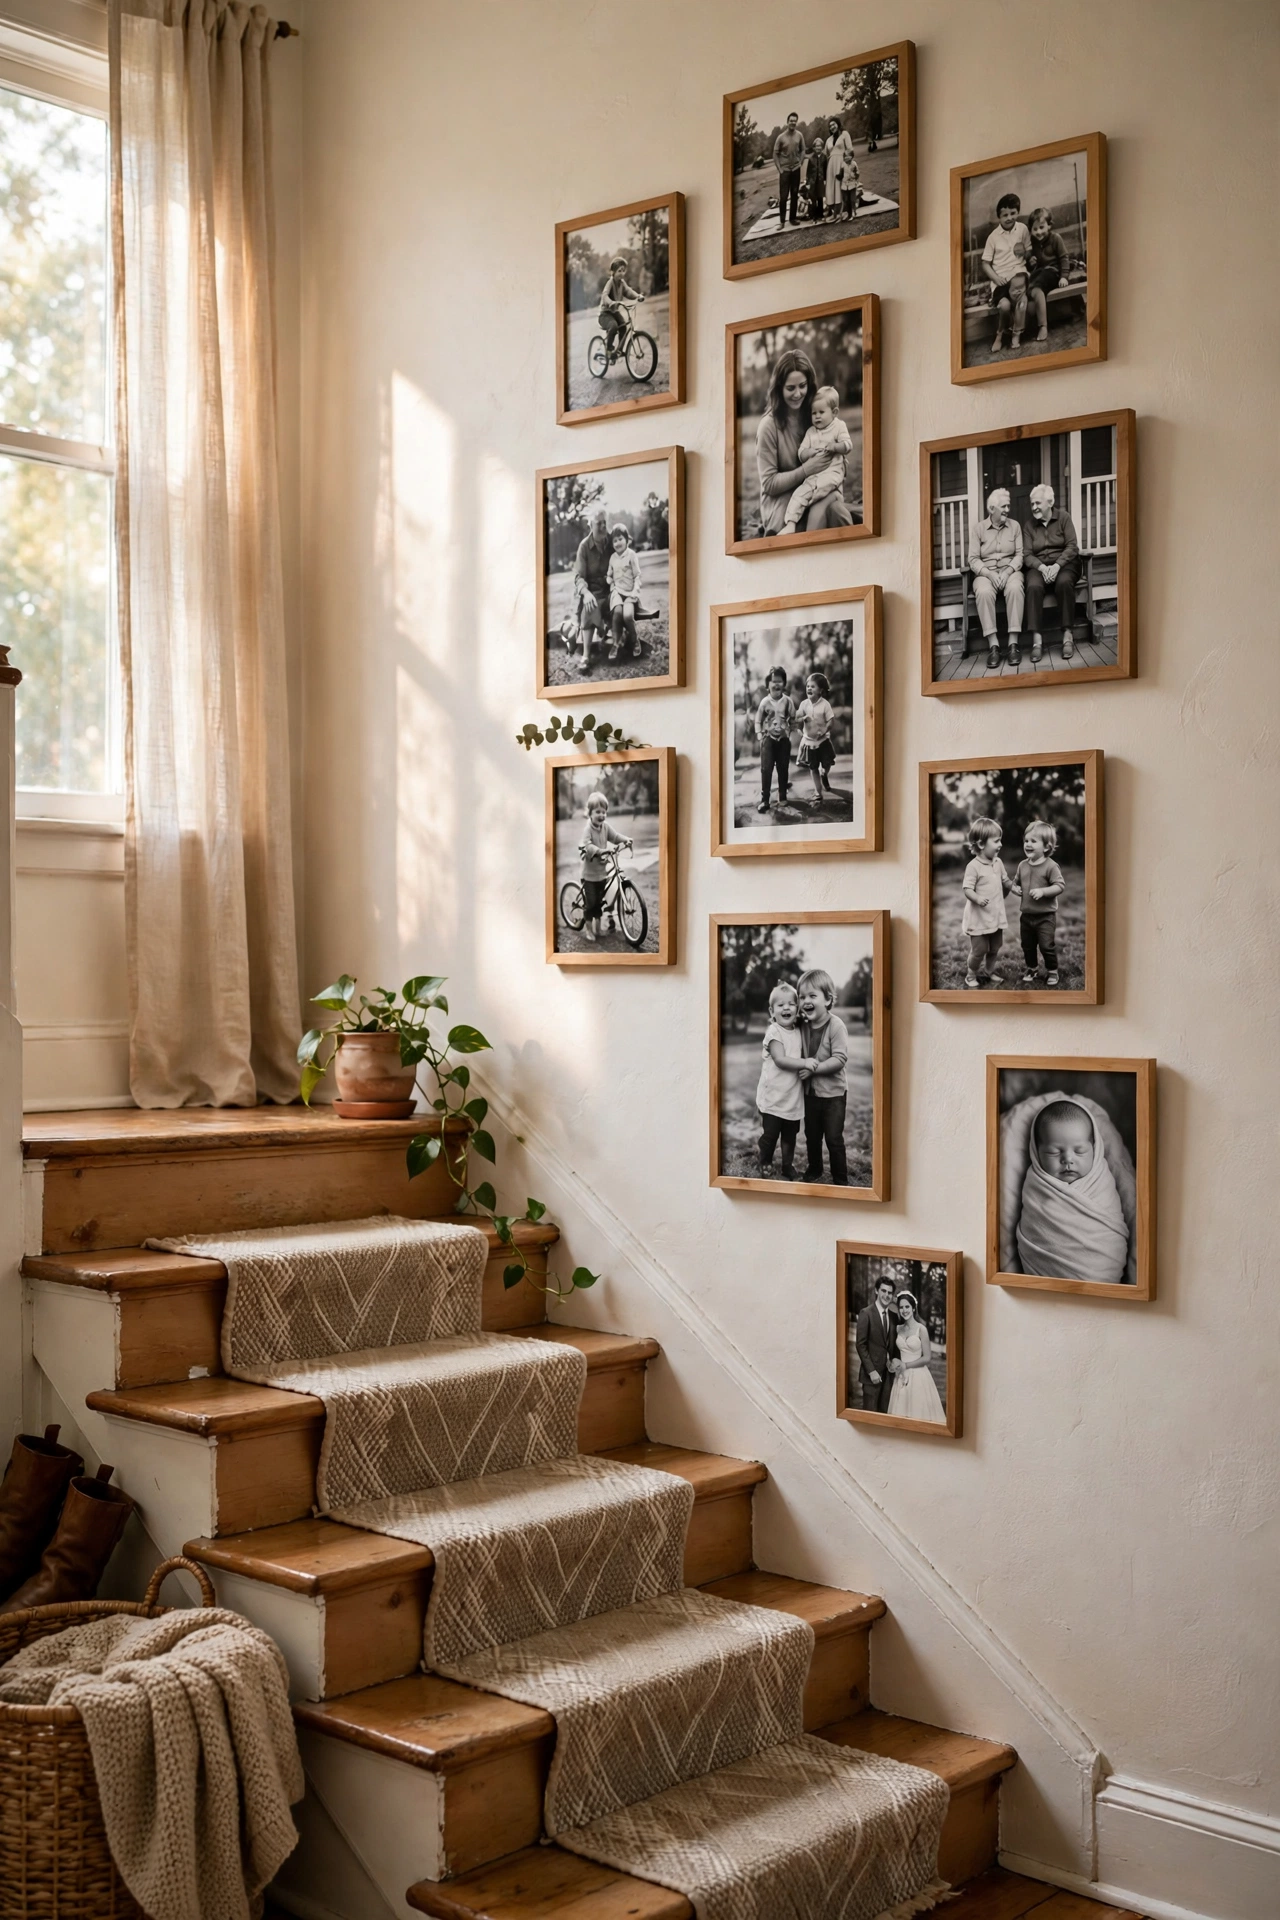
A family-photo gallery wall is deeply personal and costs almost nothing to fill. Print your favourite photos in black and white — unified tone is what makes mixed photos look curated — and frame them simply. I printed twenty 4×6 photos at the chemist for $6 and filled my stairway. Do convert everything to black and white or the same warm tone; colour photos from different eras clash. Don’t use glossy prints; matte prints look far more expensive in frames. Include a mix of old and new photos for a proper family-story feel.
Cost: ~$12-22 | Time: 1.5 hours
9. Art and Mirrors Mixed In
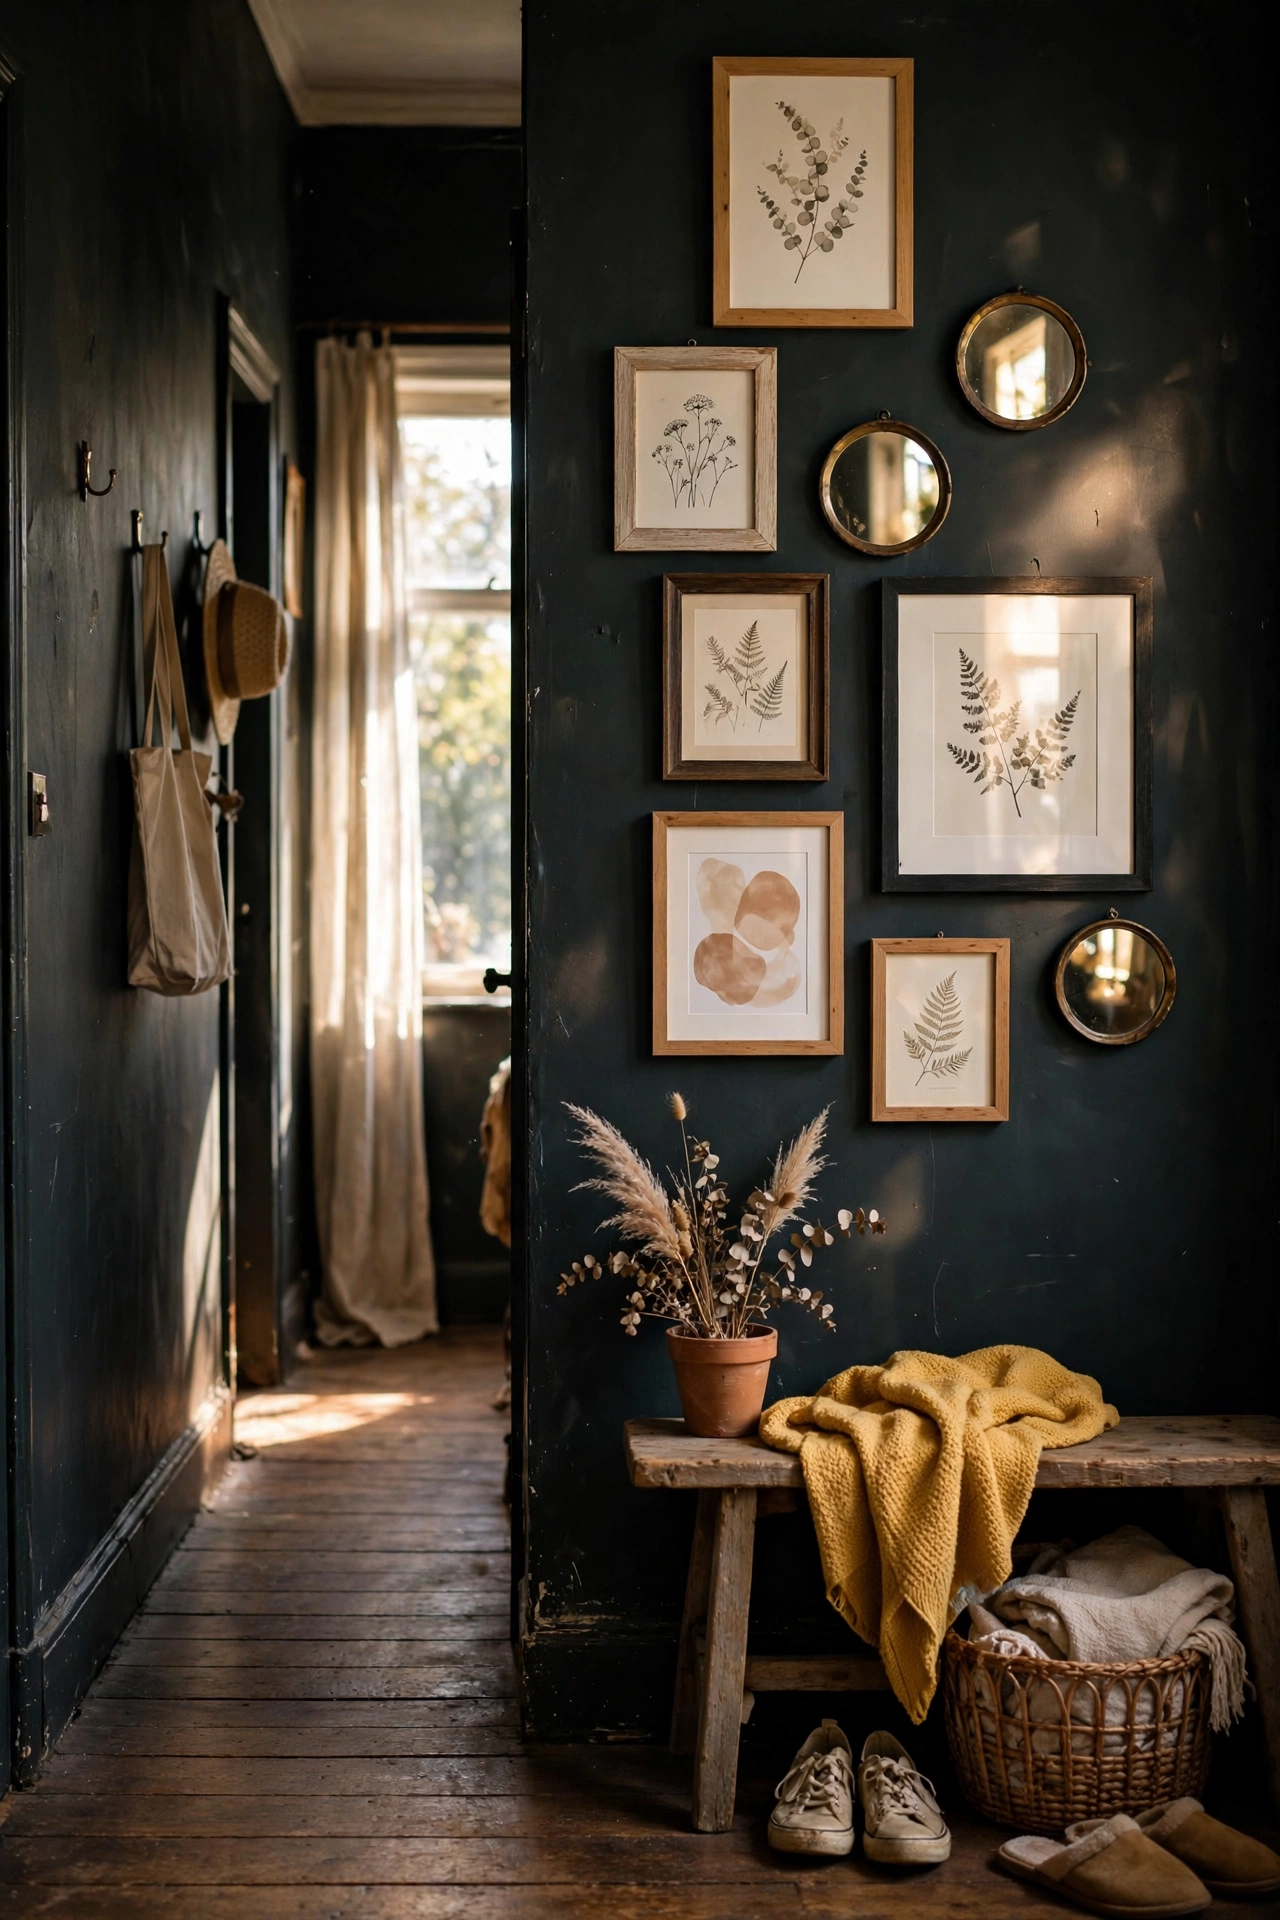
Adding two or three small mirrors to a gallery wall bounces light around and adds depth. Mix round and arched mirrors among your frames, keeping the mirror frames in the same style family as the art frames. My dark hallway wall has three small brass mirrors scattered through it and the whole corridor feels brighter. Do place mirrors where they reflect something pleasant — a window or a plant, never a blank wall. Don’t overdo it; mirrors should be accents, not half the wall. They also make small rooms feel larger.
Cost: ~$15-25 | Time: 1 hour
10. Black and White Print Gallery
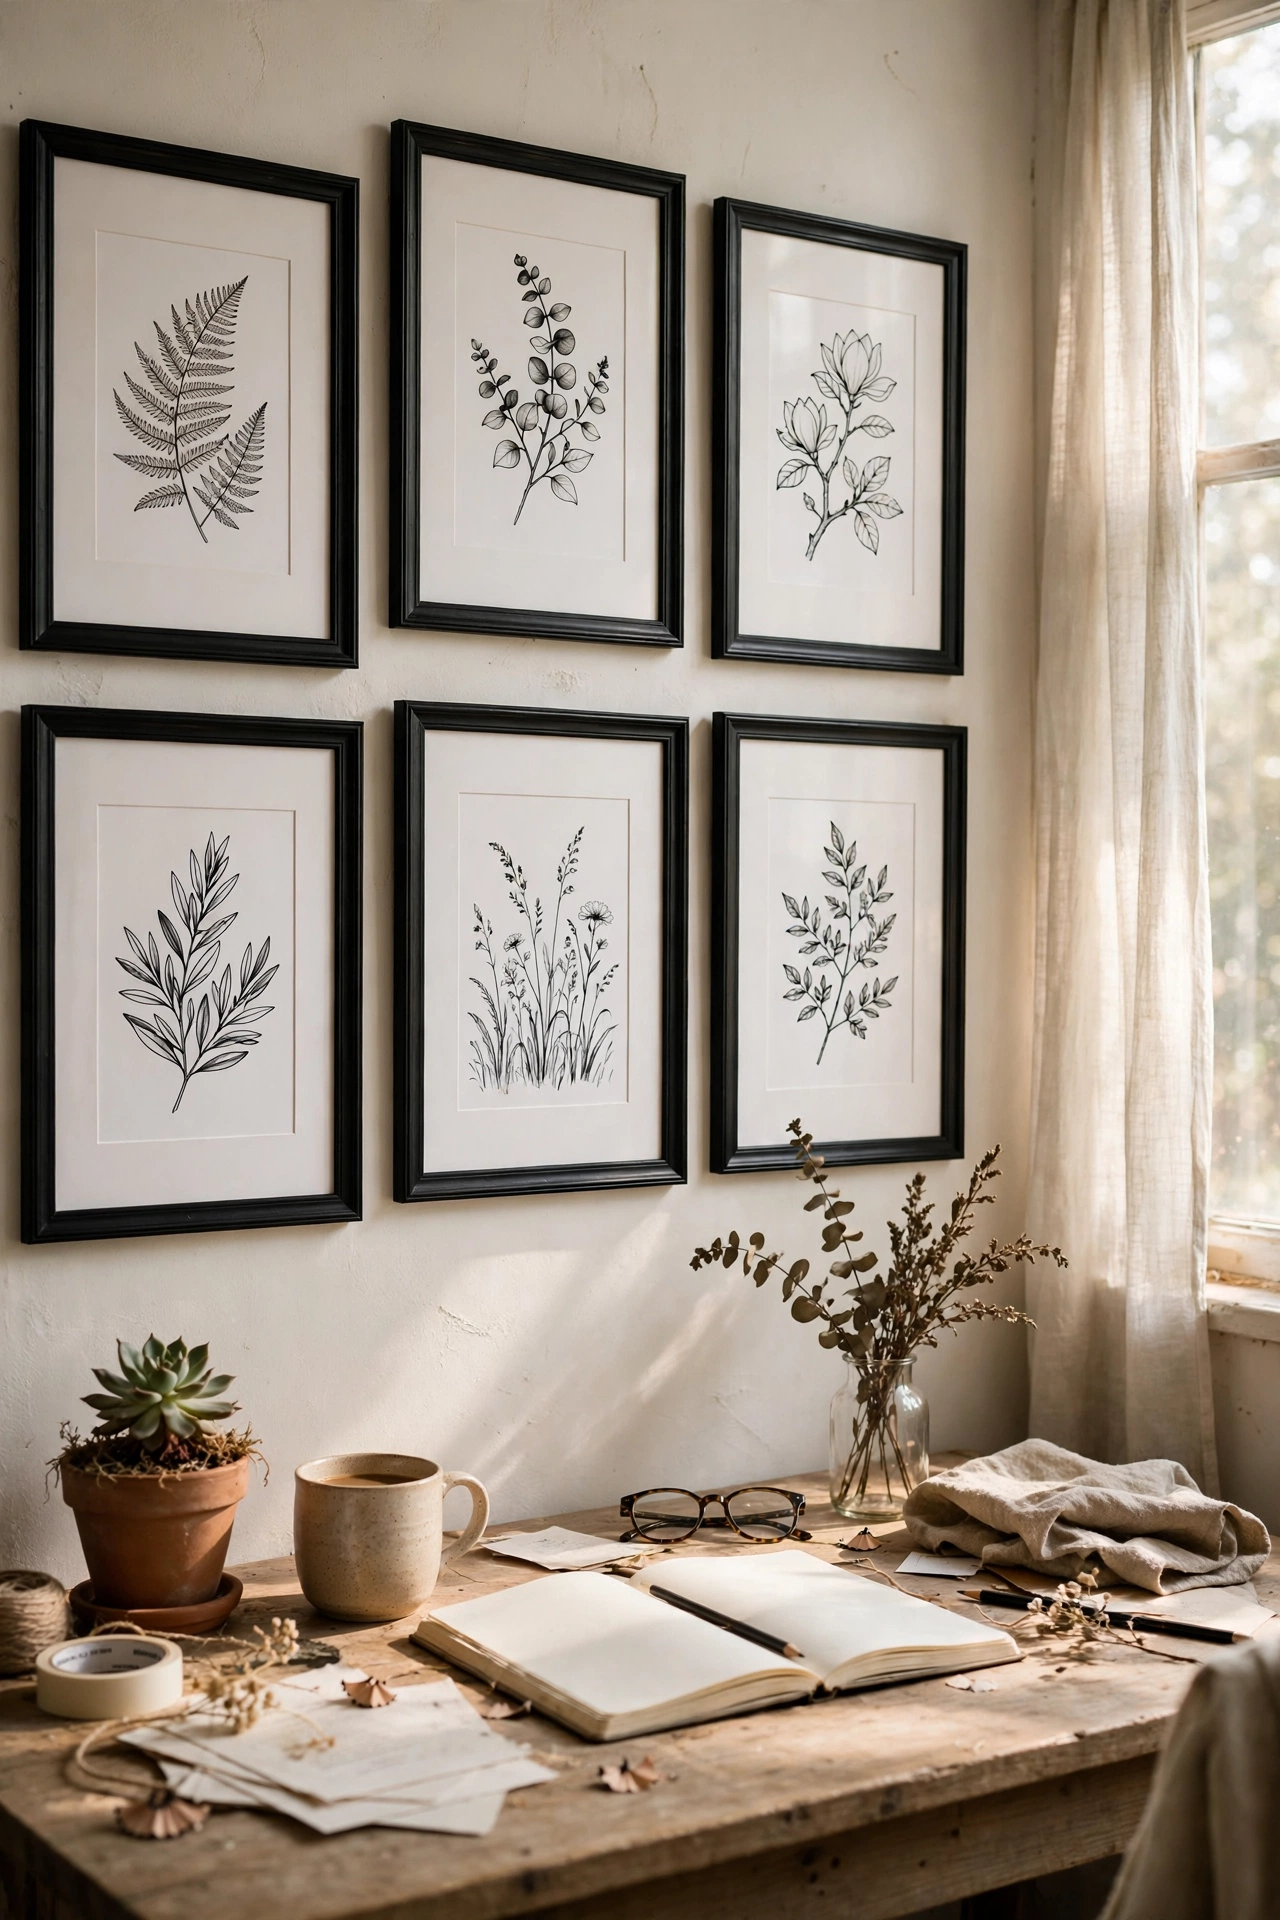
Black and white art in black frames with white mats is the gallery wall that never dates. Download free black-and-white printables — architectural sketches, botanical line drawings, abstract shapes — print them at the library, and frame identically. I did this above my desk for $14 total and it looks like a proper art collection. Do use wide white mats; the breathing room is what makes cheap prints look gallery-grade. Don’t mix in colour pieces, even small ones — the monochrome discipline is the entire aesthetic. This suits modern and minimalist rooms perfectly.
Cost: ~$12-20 | Time: 1 hour
11. Gallery Wall Above the Sofa
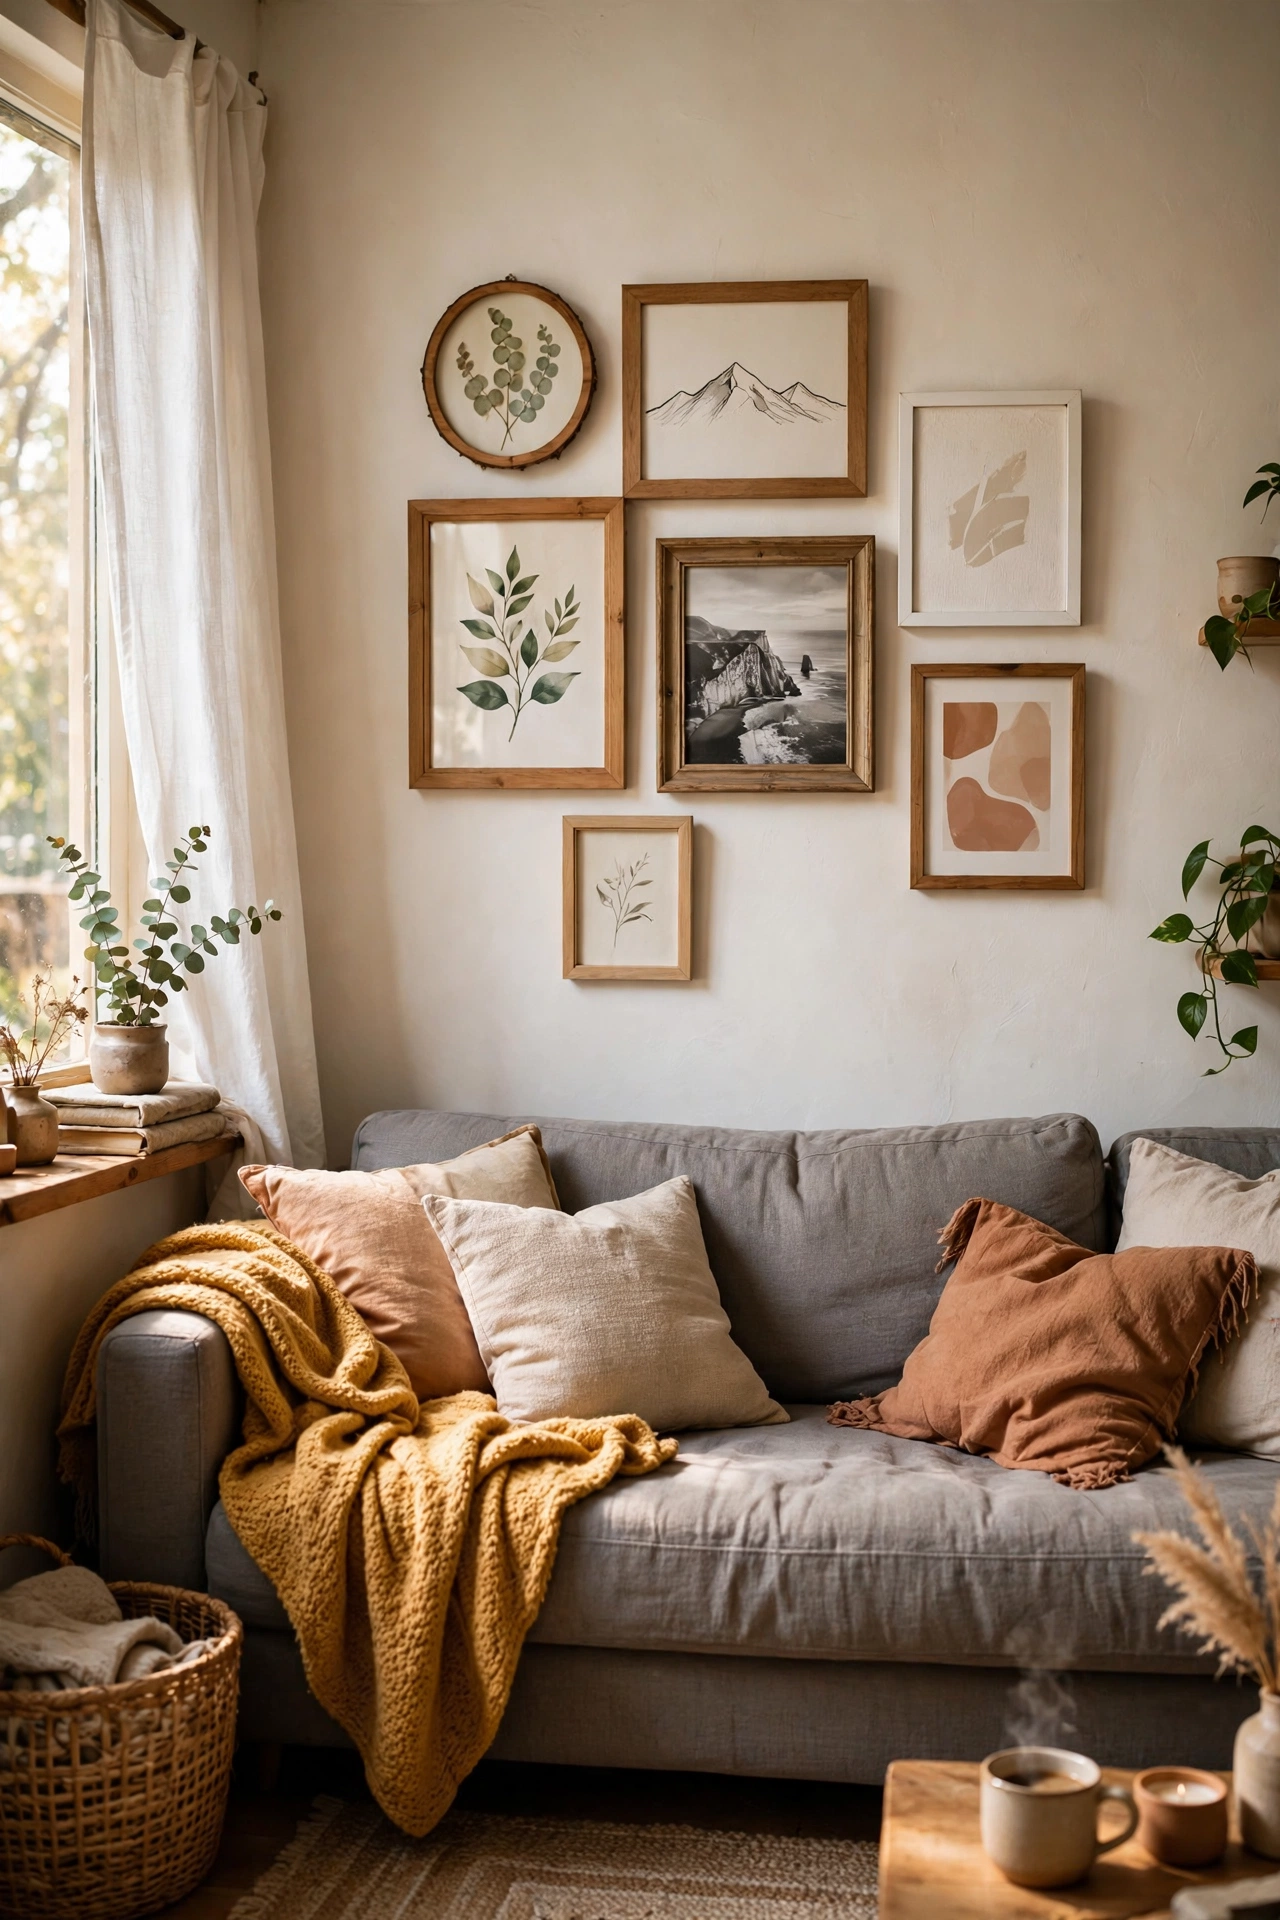
The wall above the sofa is the classic gallery wall spot, and sizing is the trick. Your arrangement should span roughly two-thirds the width of the sofa and hang with its bottom edge 15-20cm above the sofa back. Any higher and it floats disconnected; any wider and it overwhelms. My above-sofa cluster follows these measurements and finally looks anchored instead of lost. Do centre the arrangement on the sofa, not on the wall, if the sofa is off-centre. Don’t hang a single tiny frame above a big sofa — scale is the most common mistake here. When in doubt, go bigger.
Cost: ~$15-28 | Time: 1.5 hours
12. Staircase Gallery Wall
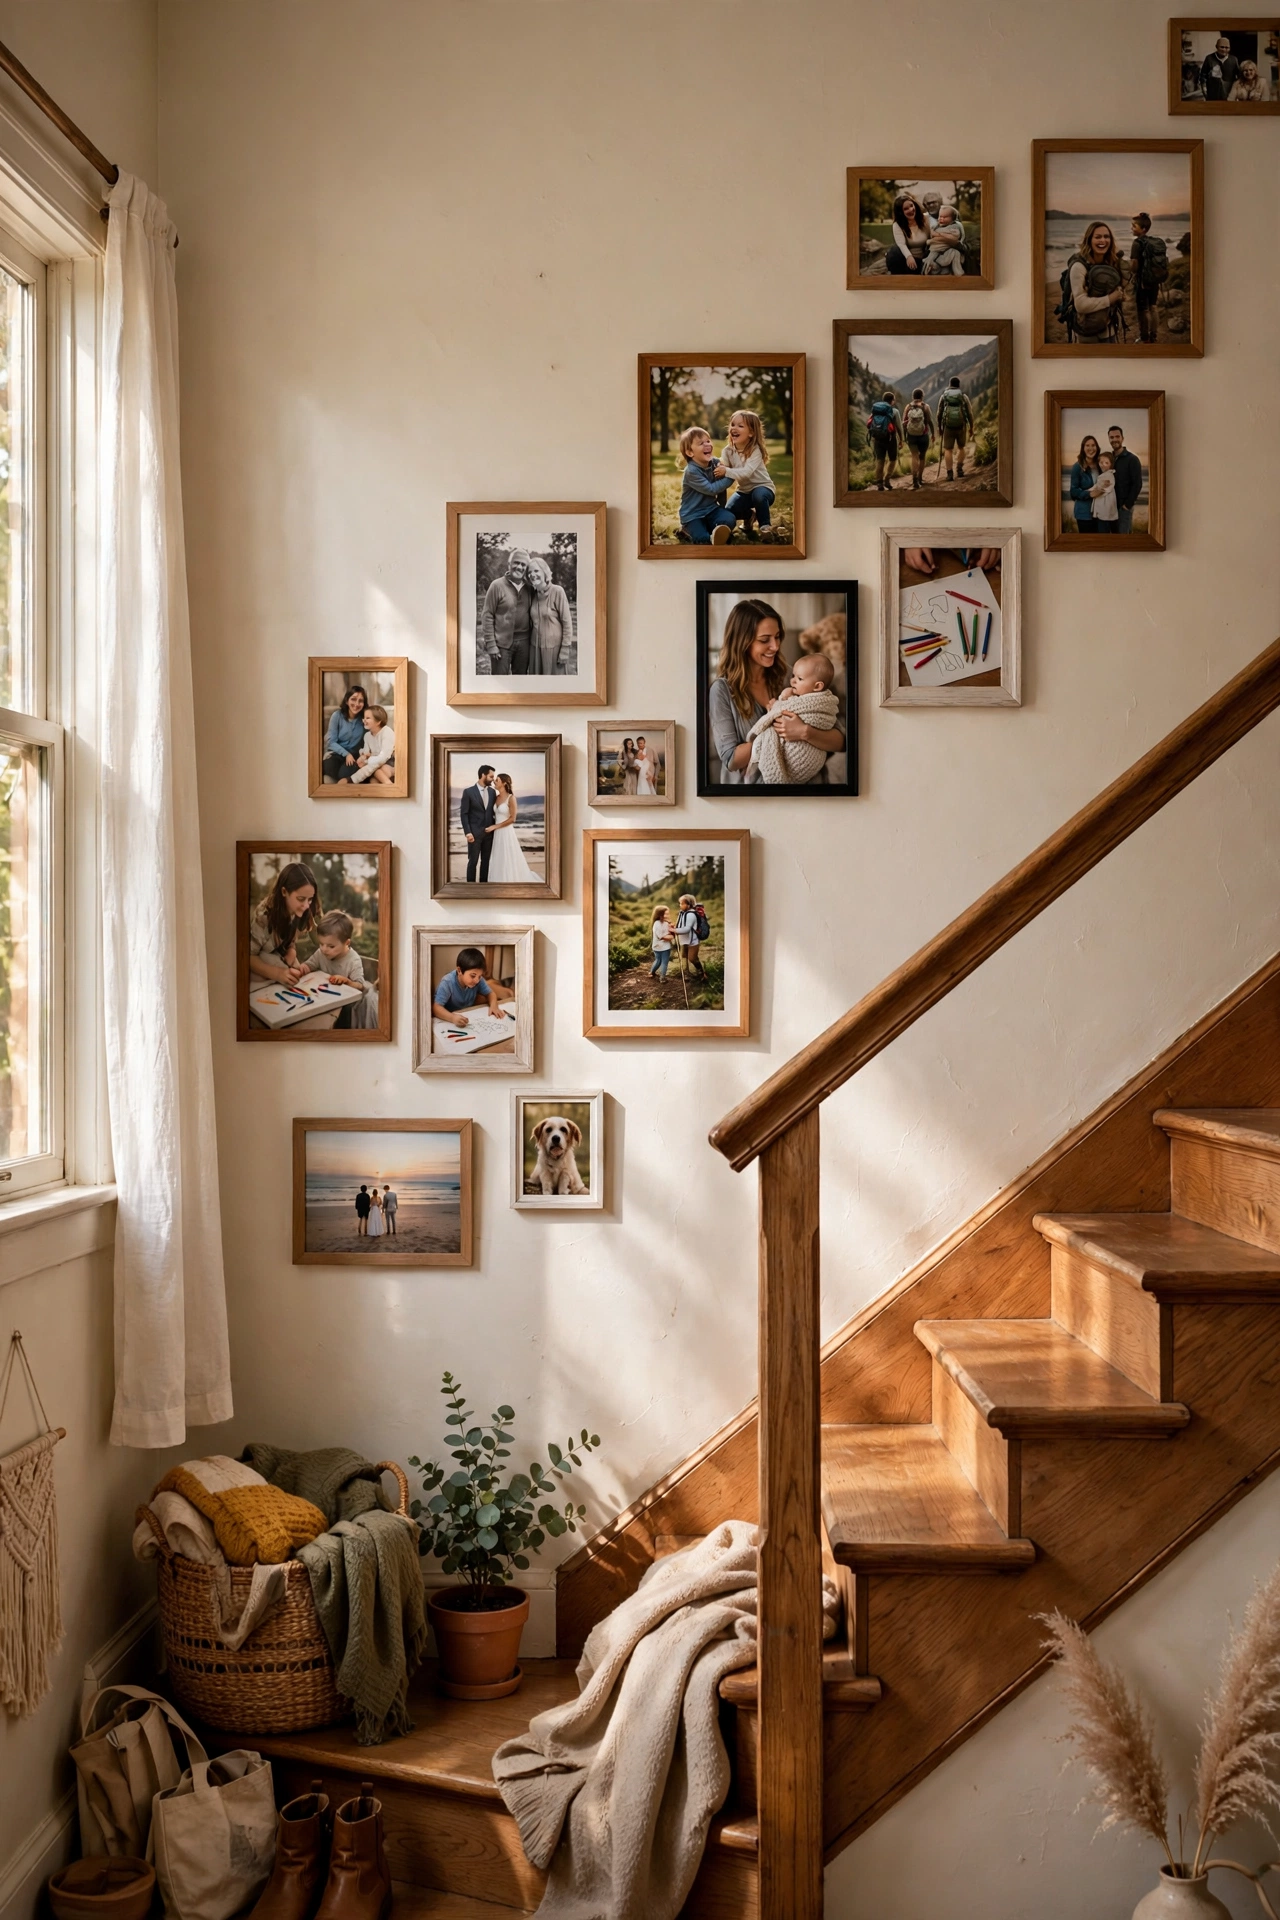
Staircase walls are made for gallery walls — you view them in motion, so imperfections disappear. Follow the stair angle: arrange frames in a diagonal flow that rises with the steps, keeping the centre of the arrangement at eye level from each step. My staircase wall holds our family timeline and guests always stop halfway up to look. Do use paper templates here more than anywhere, because the angle makes measuring tricky. Don’t hang frames level with the stairs’ slope in a rigid line — stagger them for a natural climbing feel. Secure heavier frames with two hooks for safety.
Cost: ~$15-25 | Time: 2 hours
13. Small-Space Mini Gallery
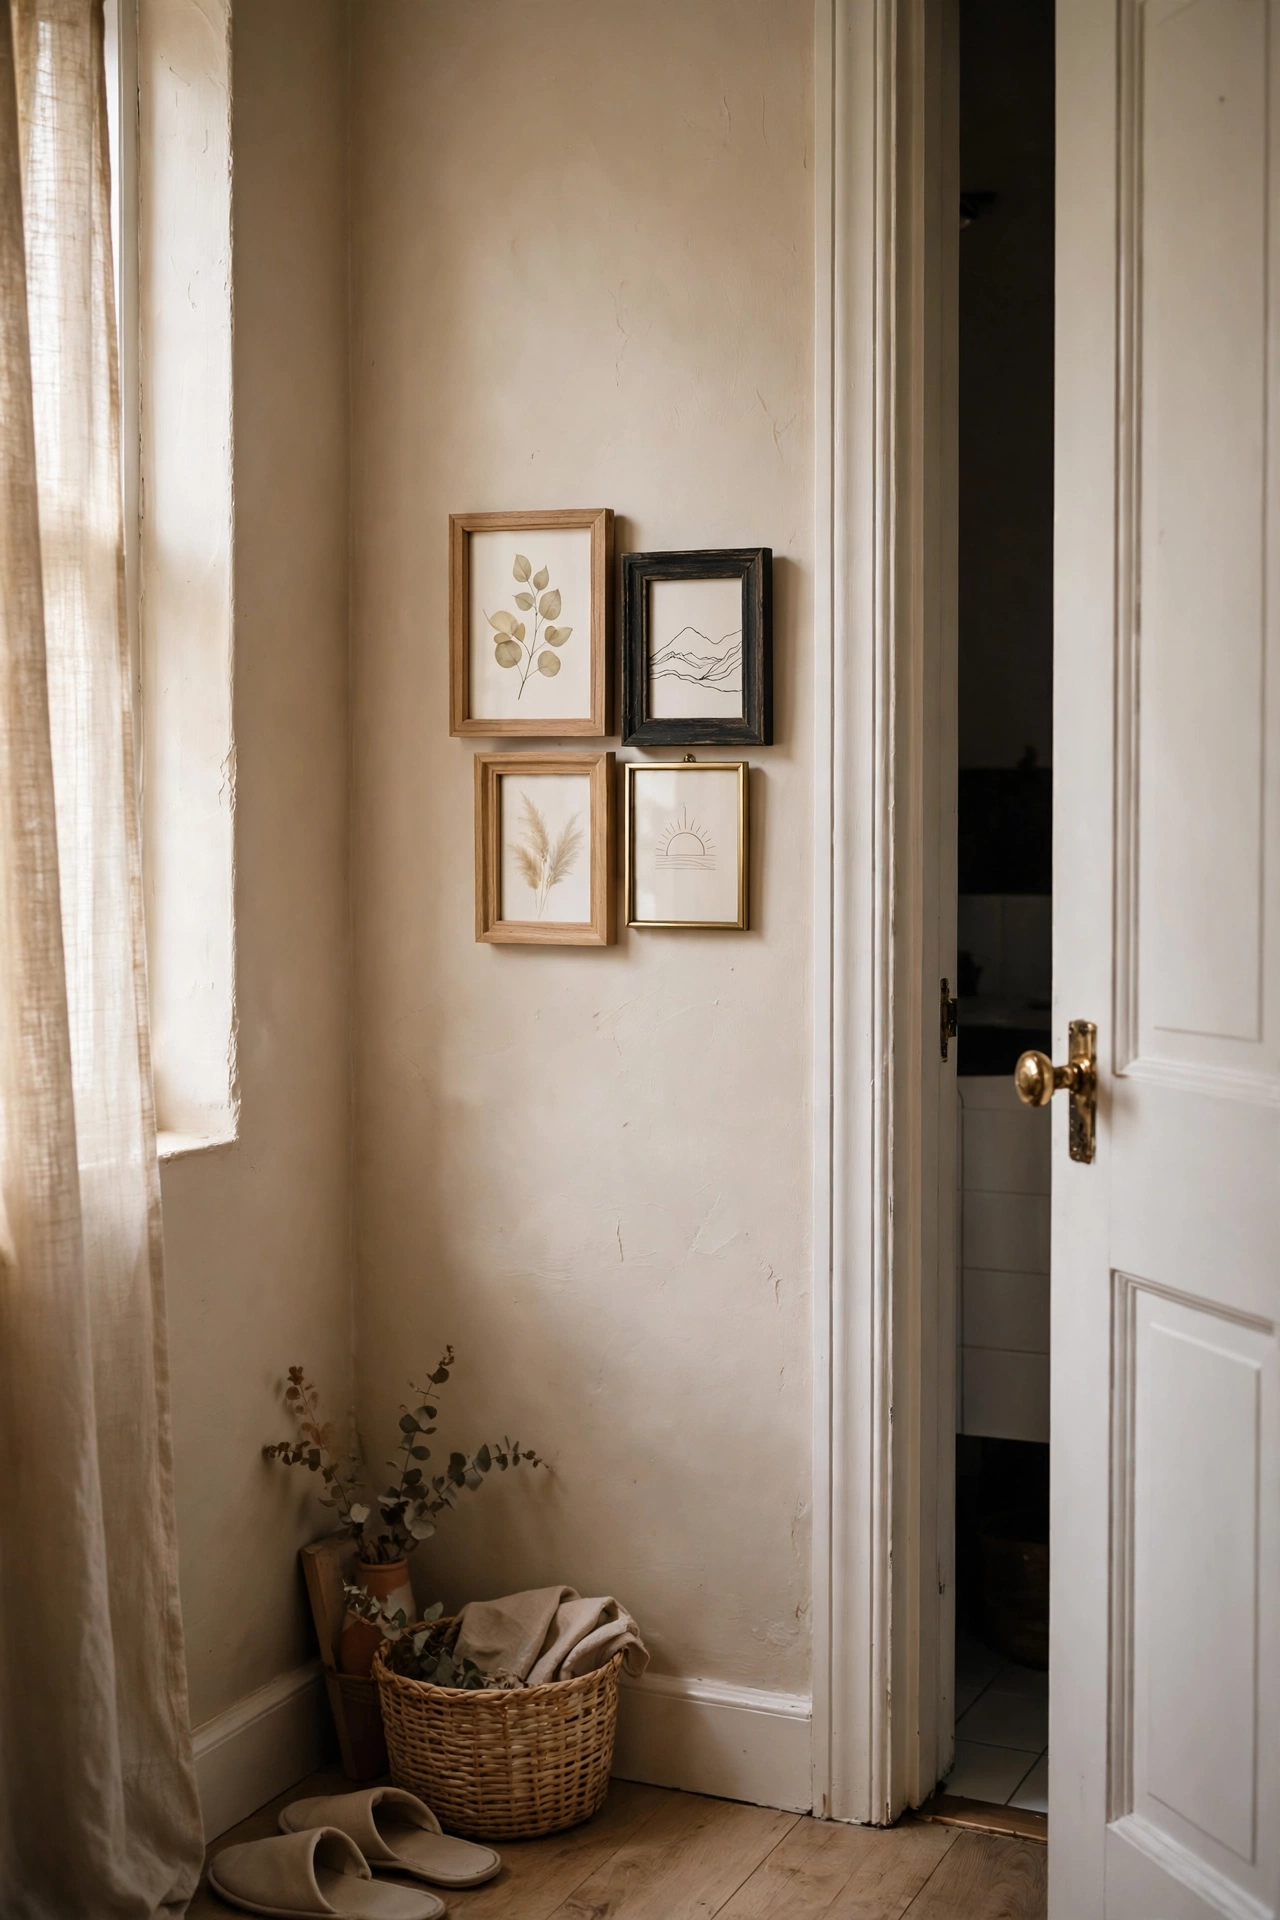
Small walls deserve galleries too — just scale down. Three to five small frames in a tight cluster can transform a tiny hallway or a wall beside a door. I hung four 5×7 frames in the dead space beside my bathroom door and it is now a favourite corner. Do keep gaps small — 3-4cm — so the cluster reads as one unit. Don’t use large frames on a small wall; they crowd the space and look accidental. Mini galleries are also perfect for renters using adhesive strips, since small frames are light.
Cost: ~$10-18 | Time: 45 minutes
14. Printable Art Gallery (Free Downloads)
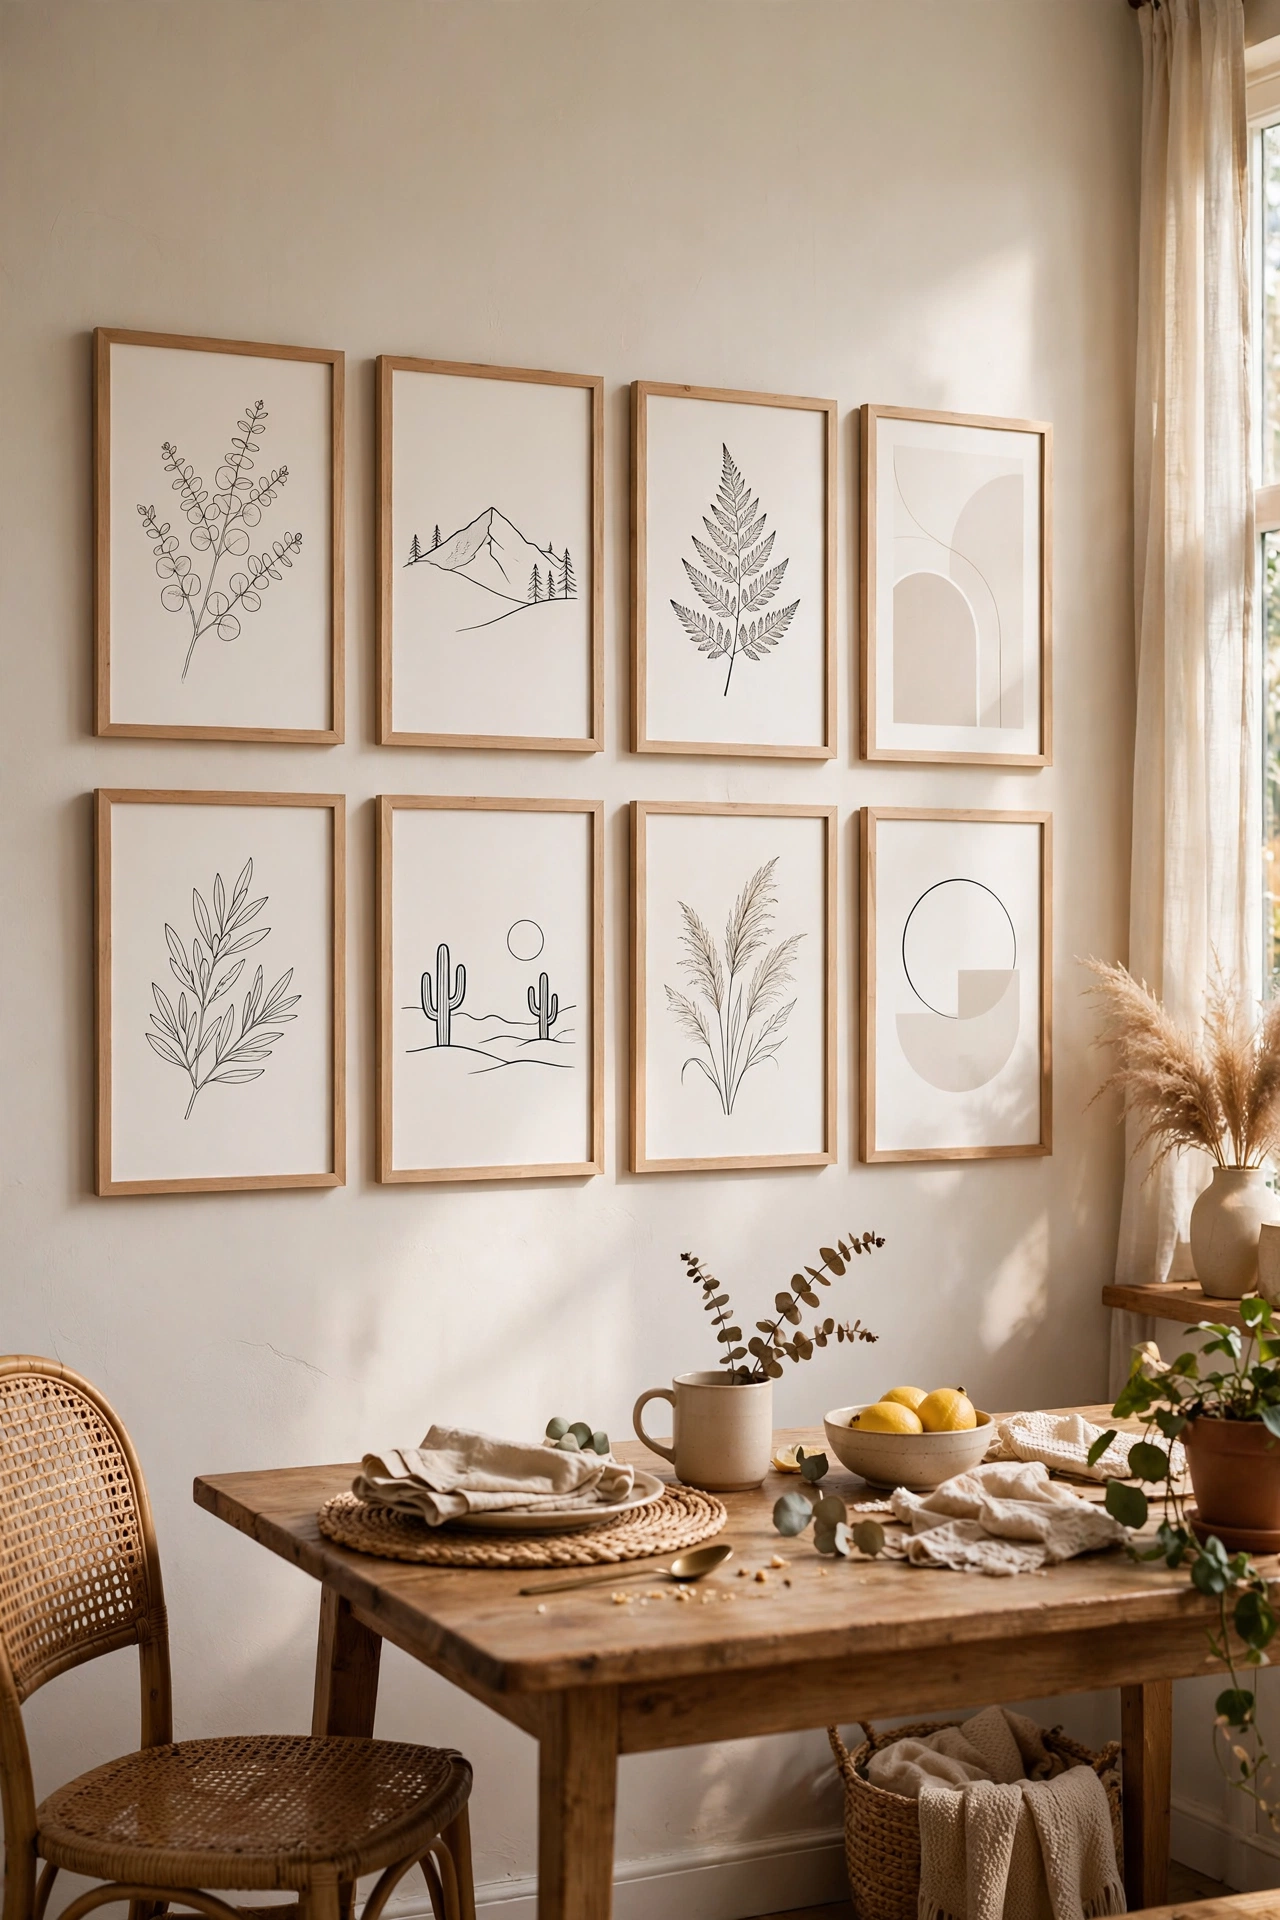
Free printable art is the budget gallery wall’s best friend. Download high-resolution printables from free art sites, print them at a copy shop on matte paper for large sizes, and frame in discount frames. My entire dining room gallery — eight pieces — cost $16, and $12 of that was frames. Do check the file resolution before printing large; low-res files go blurry above A4. Don’t print on home inkjet for large pieces — the colours fade within months. A copy shop print on decent paper lasts years.
Cost: ~$10-20 | Time: 1 hour plus printing
15. Gallery Wall with Shelves and Objects
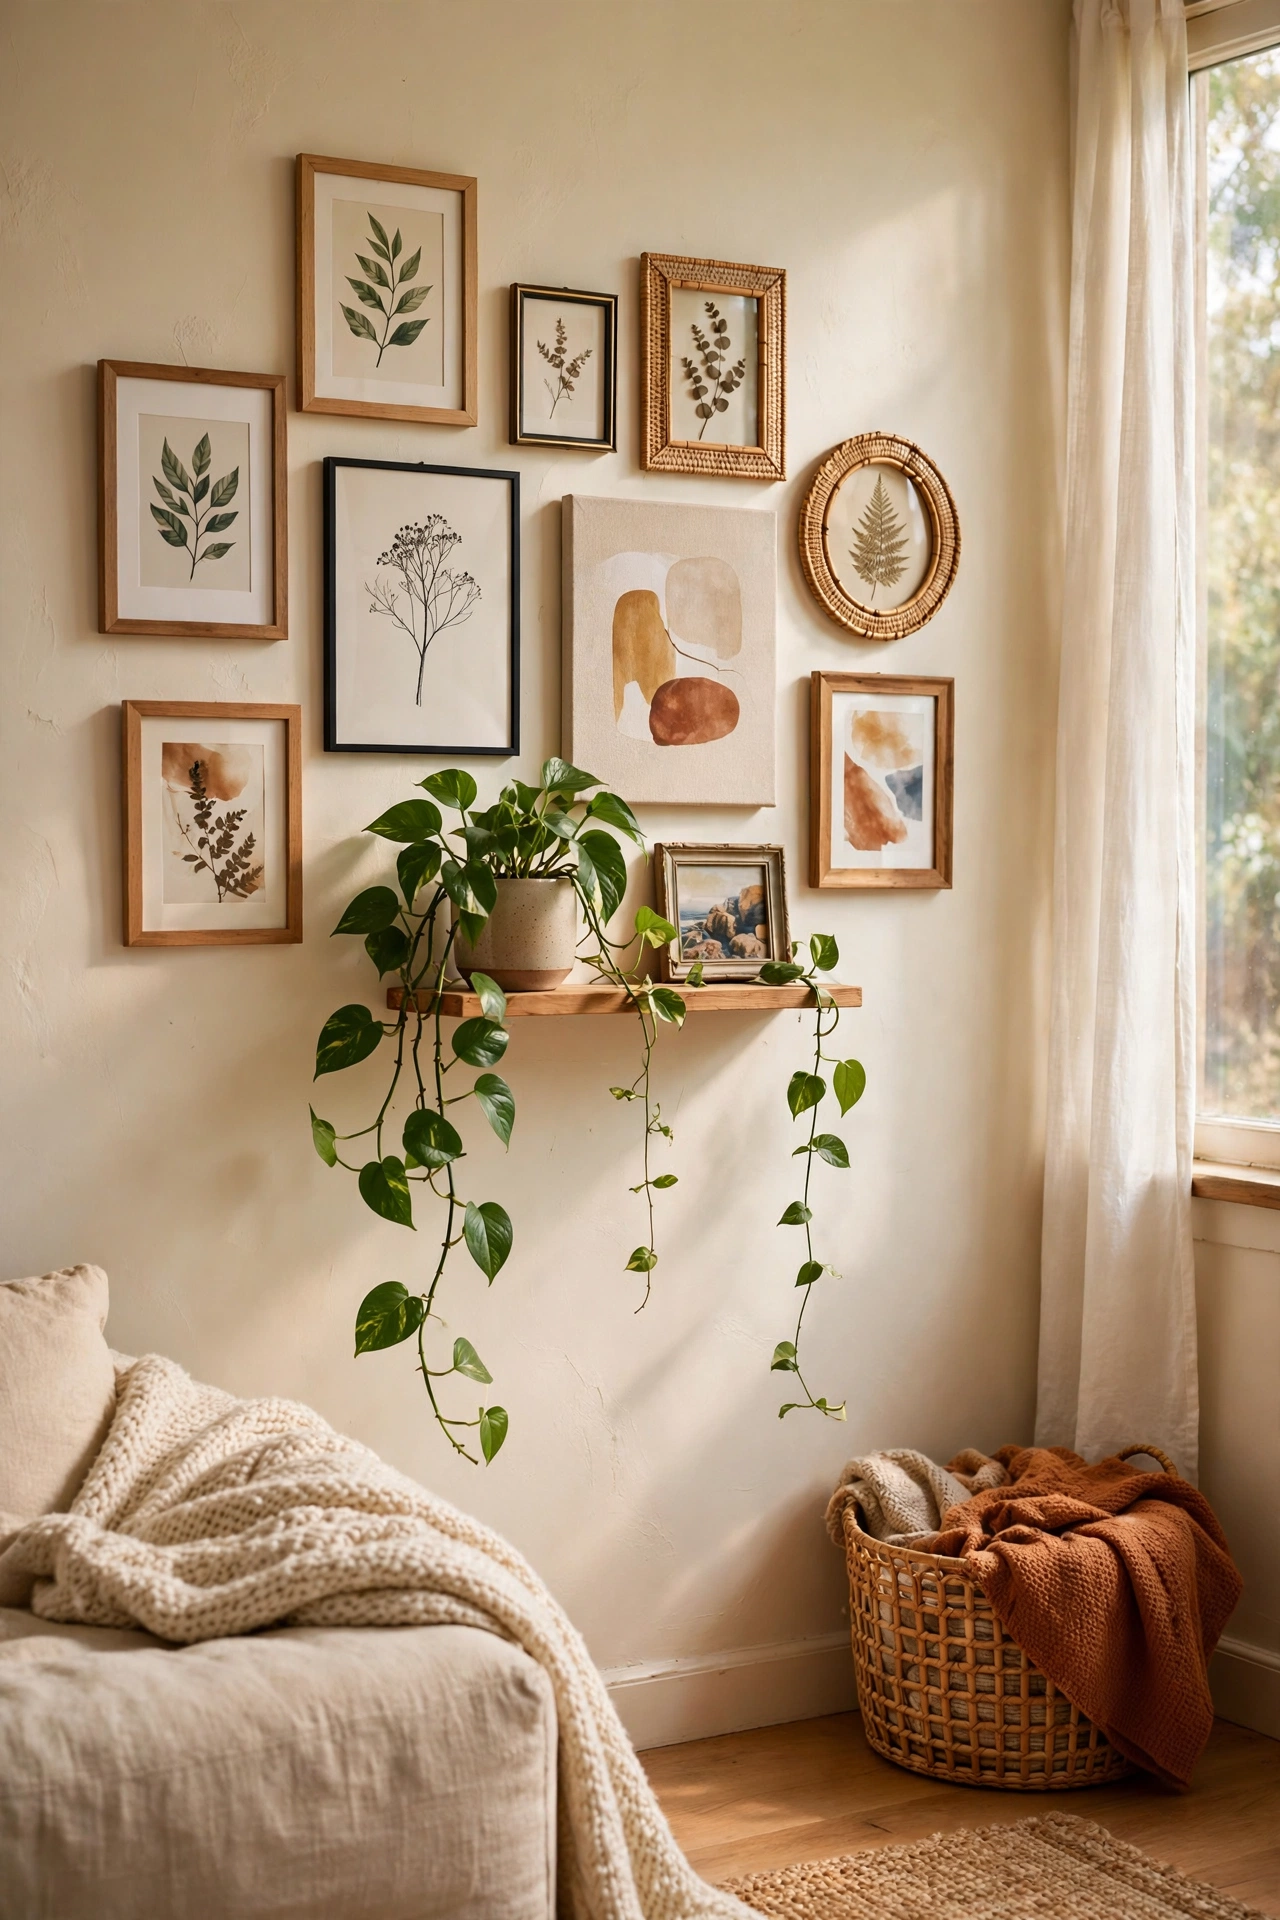
Mixing small shelves and objects into a gallery wall adds dimension that flat frames cannot. Hang your frames, then add one or two tiny floating shelves holding a small plant, a ceramic piece, or stacked books. My living room wall has a little shelf with a trailing pothos breaking up the rectangles, and it softens the whole arrangement. Do keep objects small and light — the wall is still mostly art. Don’t overcrowd; one shelf with two objects is plenty. The 3D elements catch light and shadow beautifully.
Cost: ~$18-30 | Time: 1.5 hours
16. The Tape-Measured Hallway Gallery
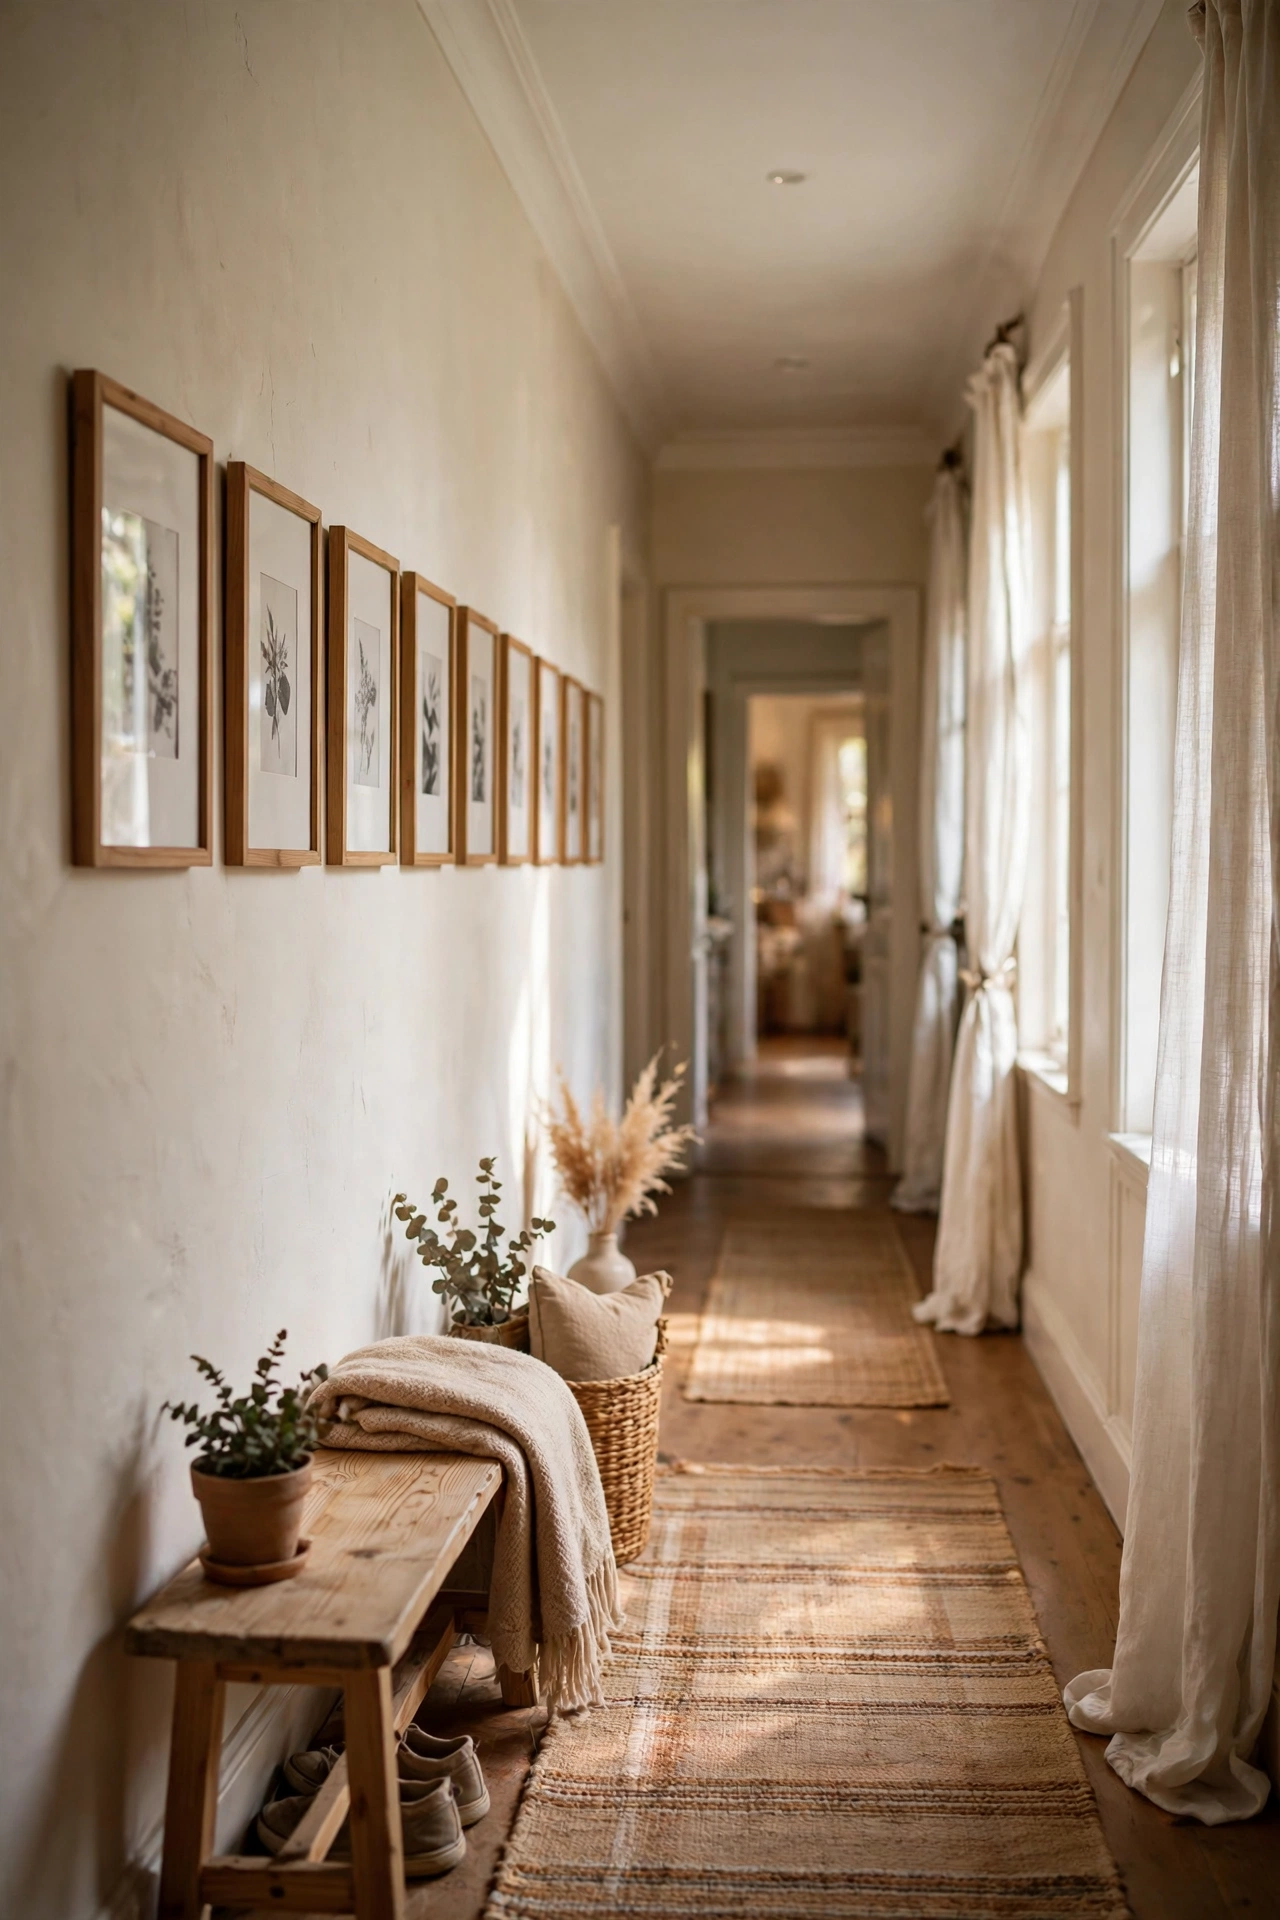
Long hallways suit a single horizontal line of frames at consistent height — simple, elegant, and very beginner-friendly. Hang the centre of each frame at 145cm from the floor, space them evenly, and let the line run the length of the hall. I ran eight matching frames down my hallway and it turned a boring corridor into a proper gallery. Do use a laser level or a chalk line for the long run; small errors compound over distance. Don’t vary the frame sizes here — uniformity down a hallway looks intentional, variety looks messy. Black and white photos work beautifully in this format.
Cost: ~$18-30 | Time: 2 hours
17. Gallery Wall with Woven Baskets
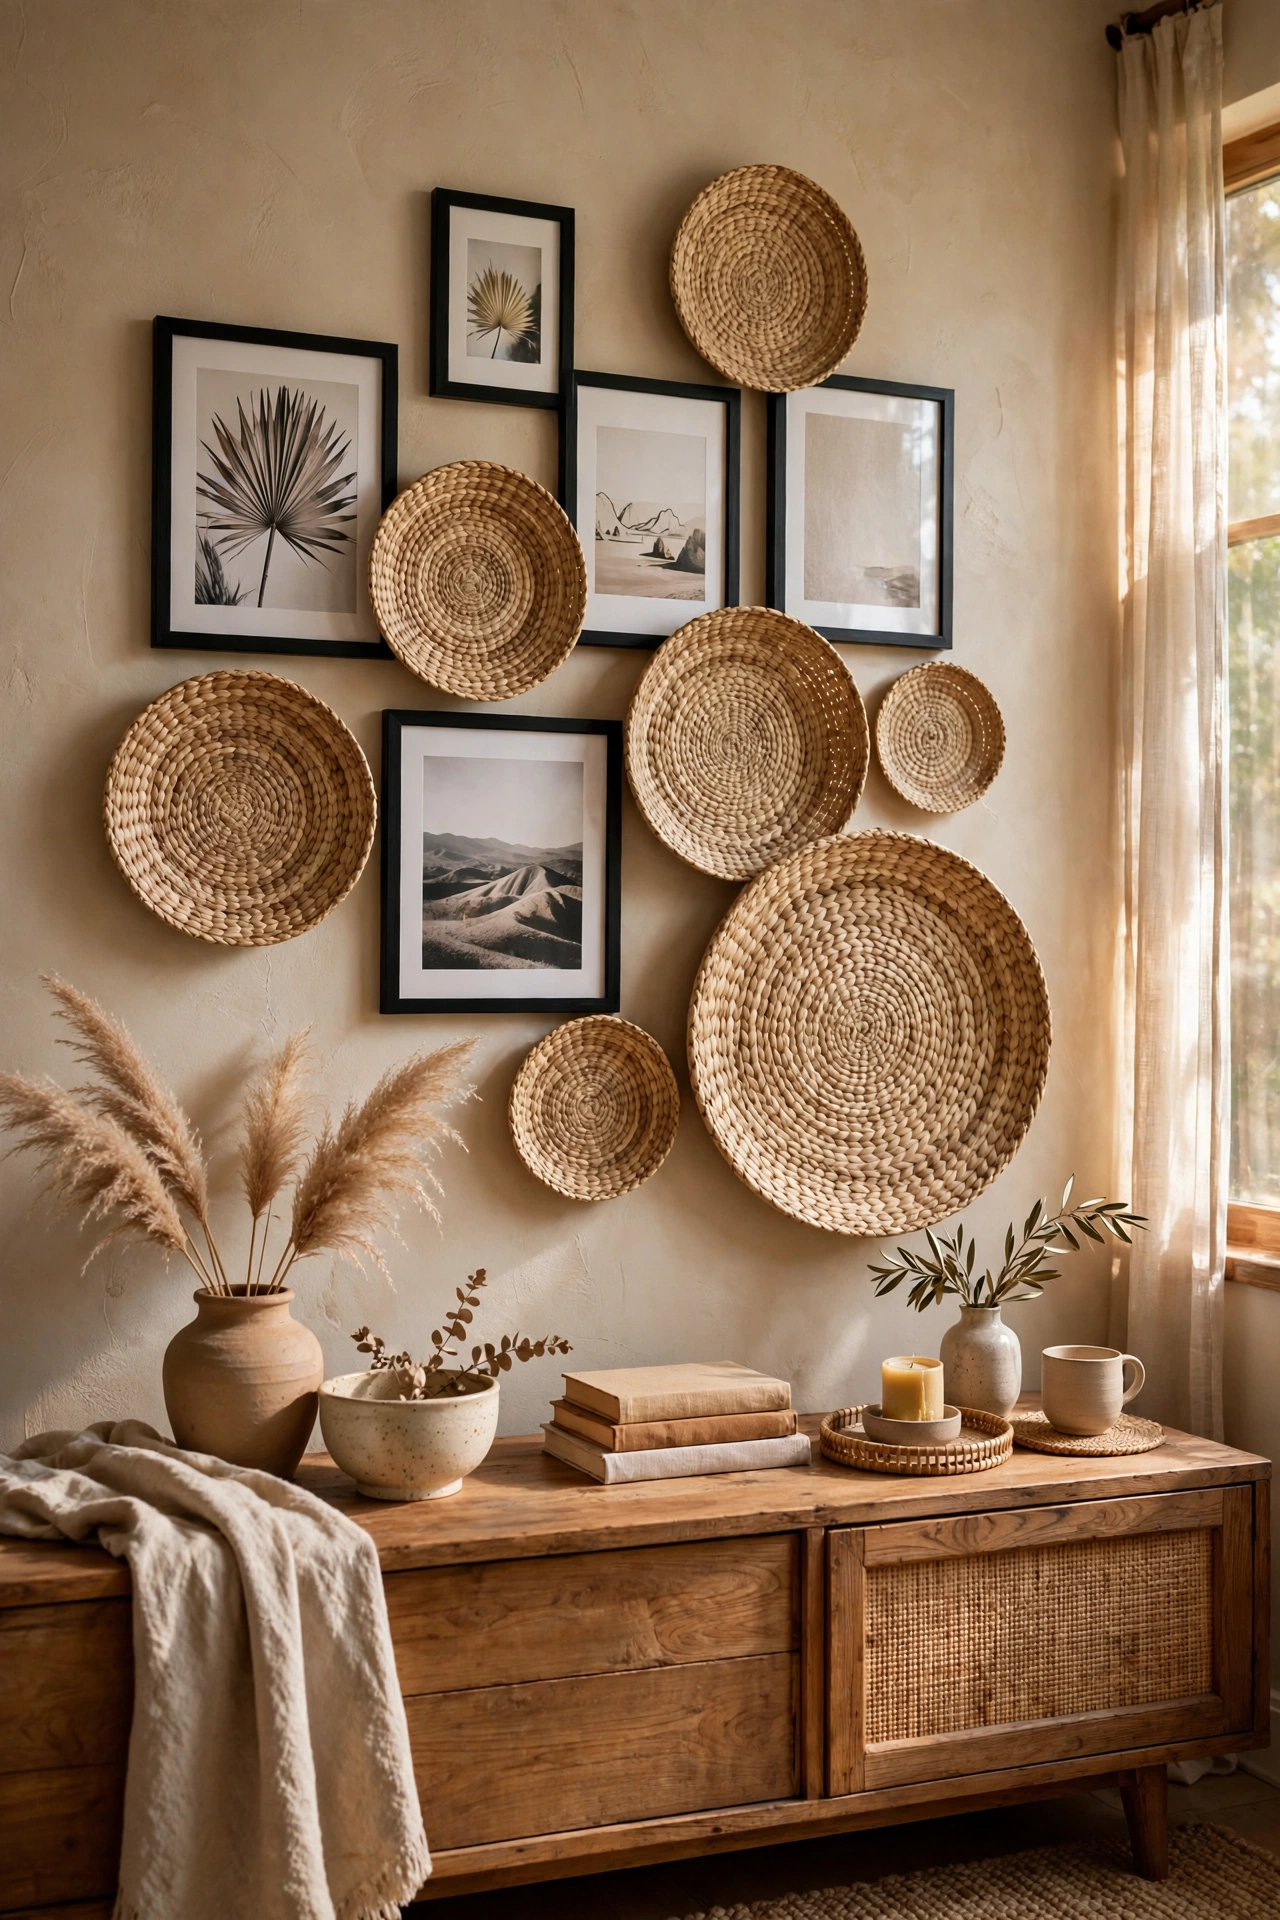
Flat woven baskets hung among frames bring warmth and texture to a gallery wall. Collect shallow baskets in graduated sizes from charity shops, hang the largest as an anchor, and arrange smaller ones with your frames. My basket-and-frame wall above the sideboard mixes seagrass textures with black frames and it is my most-pinned corner. Do keep baskets shallow — deep ones cast odd shadows and collect dust. Don’t hang them with a single nail; two small nails stop them rotating. This suits boho and farmhouse rooms perfectly.
Cost: ~$12-22 | Time: 1 hour
18. Kids’ Art Gallery Wall
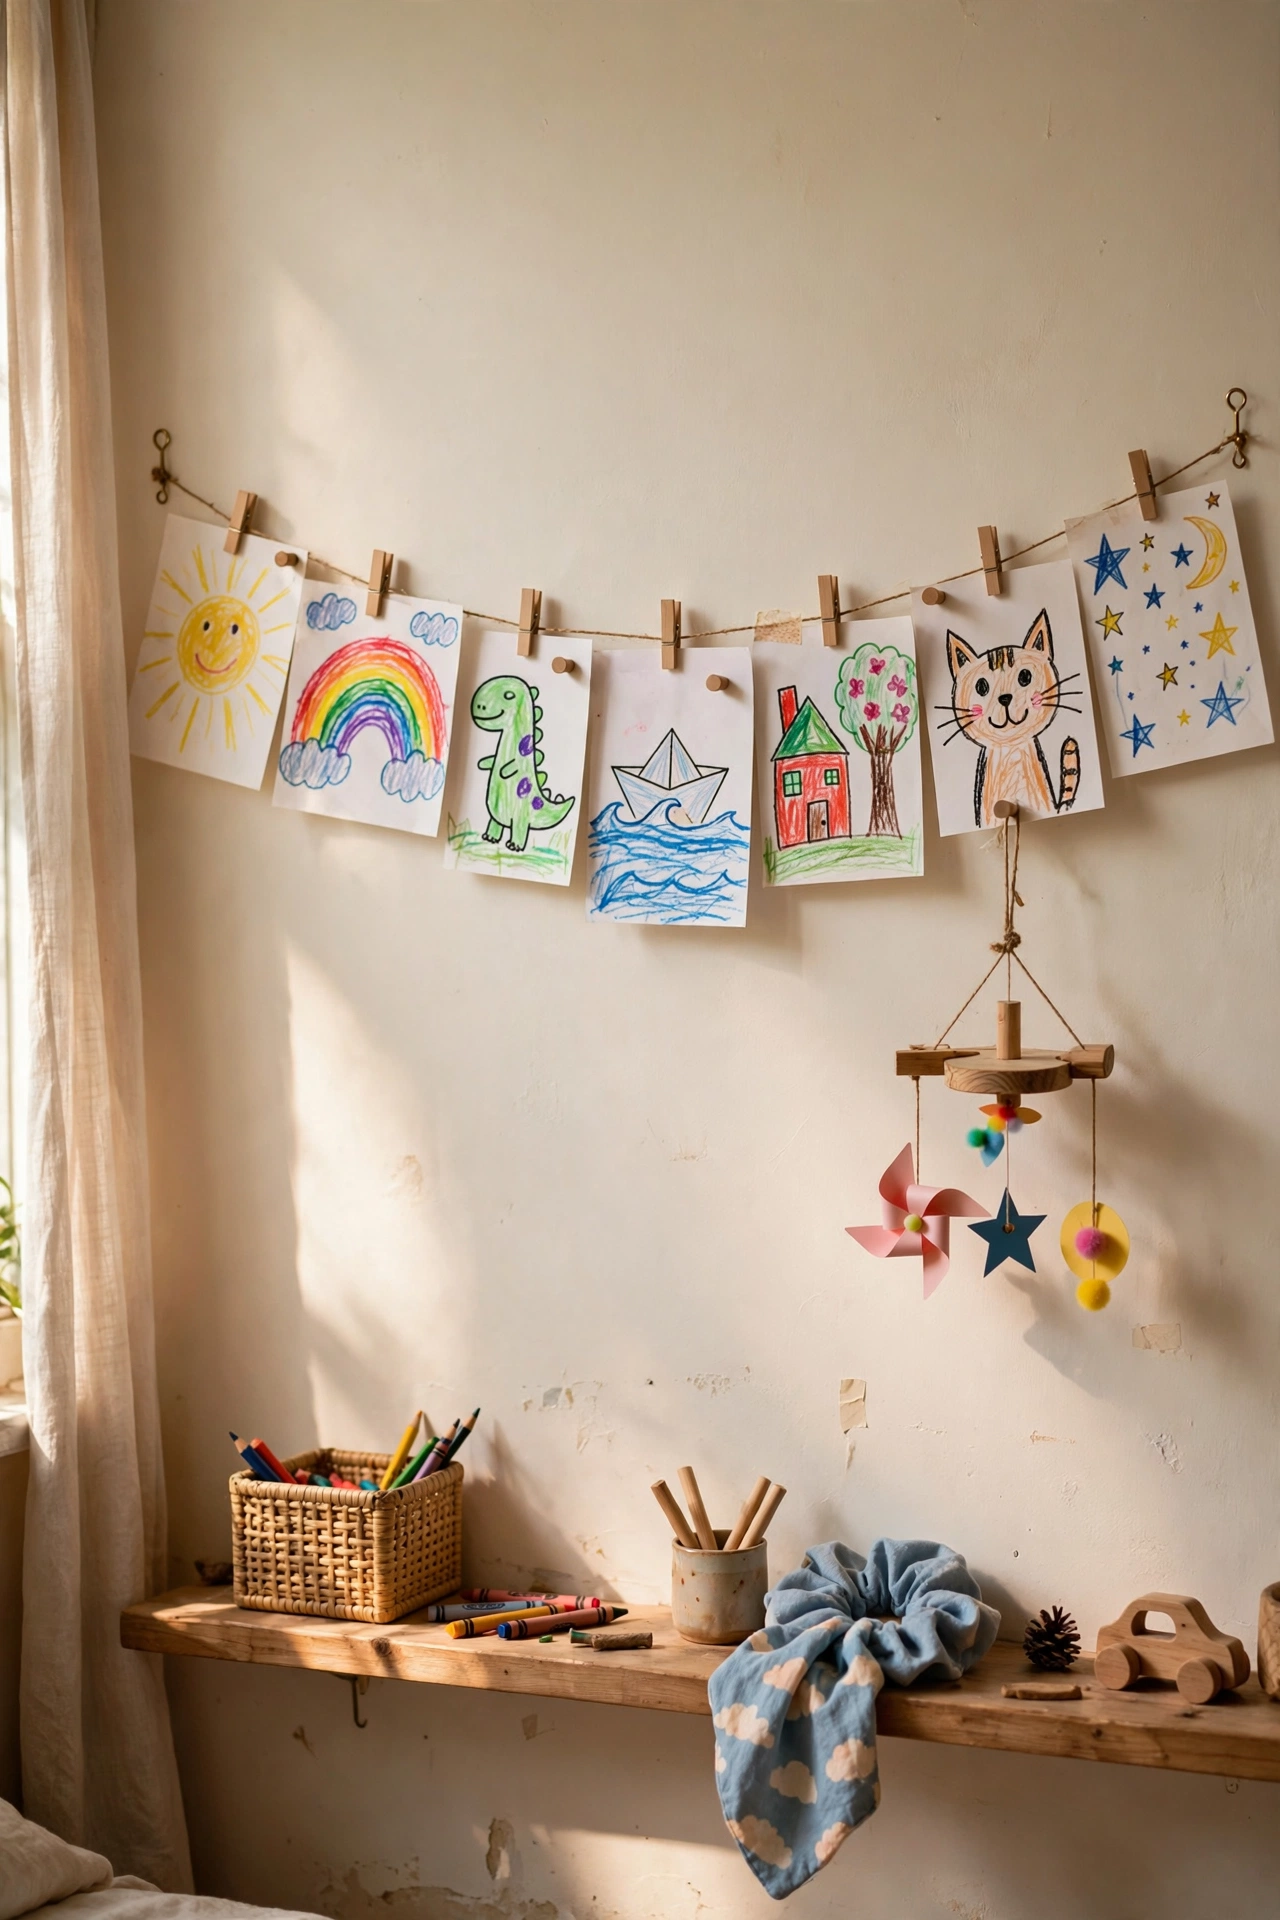
A kids’ art gallery wall turns fridge clutter into a proper display. Use clipboards, wire with mini pegs, or simple frames with the glass removed so art swaps in seconds. I strung a wire across my daughter’s bedroom wall with pegs, and she curates it herself now. Do date the pieces on the back before hanging — you will treasure that later. Don’t frame everything behind glass; kids’ art should rotate freely. This is the one gallery wall where imperfection is mandatory and charm is guaranteed.
Cost: ~$8-15 | Time: 45 minutes
19. Seasonal Swap Gallery Wall
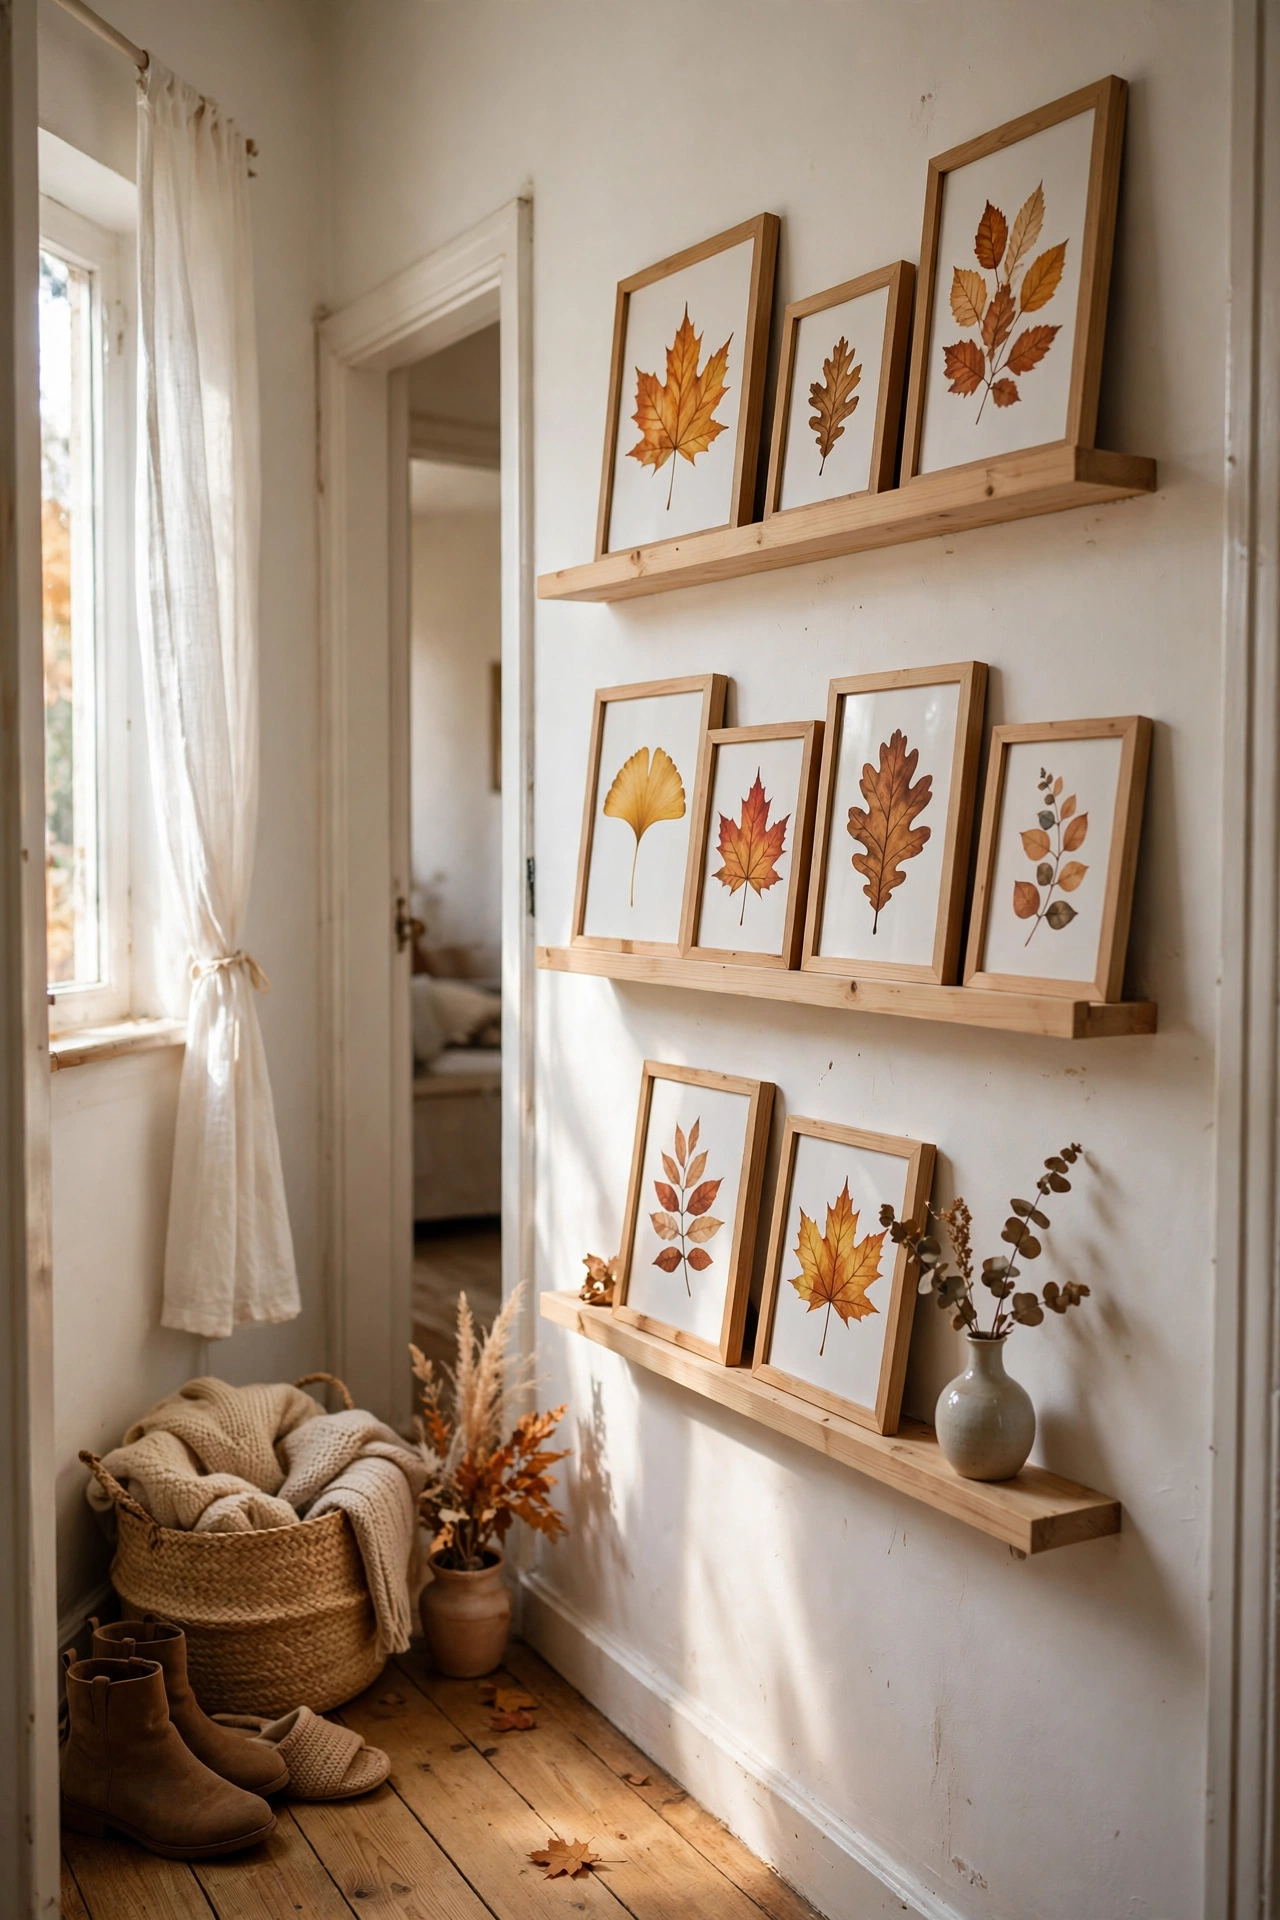
Design one gallery wall for easy seasonal swaps and it feels new four times a year. Use frames with easy-open backs or a ledge system, and keep a small box of seasonal prints — autumn leaves, winter botanicals, spring florals, summer coastlines. I swap my hallway ledge prints each season in twenty minutes and it genuinely refreshes the whole house. Do store off-season prints flat between cardboard so they stay crisp. Don’t rehang the frames themselves — only the art changes. This is the gallery wall that keeps on giving.
Cost: ~$15-25 | Time: 1 hour initial, 20 minutes per swap
Quick questions, answered
How high should I hang a gallery wall?
Centre the overall arrangement at about 145cm from the floor — average eye level. Above furniture, leave 15-20cm between the furniture top and the bottom of the lowest frame. Hanging too high is the single most common gallery wall mistake; when in doubt, hang it lower than feels natural.
How far apart should frames be?
5-8cm for most arrangements, 3-4cm for tight mini clusters. Consistency matters more than the exact number — even spacing is what makes a gallery wall look intentional. Use a cardboard spacer cut to your chosen gap so every space matches.
Can I hang a gallery wall without nails?
Yes, for light frames. Adhesive hanging strips hold small to medium frames well on smooth walls. They are ideal for renters and for mini galleries. For heavy frames, large pieces, or textured walls, proper hooks or nails are still the safe choice.
How do I choose art that goes together?
Pick one unifying rule and stick to it: same frame colour, same art palette, same subject, or same tone (all black and white). One rule is enough — you do not need all four. When a piece breaks your rule, leave it out, however much you love it.
📌 Ready to fill that blank wall? Pin this post now so you can save this idea for your next decorating weekend.
Keep the walls beautiful with these next: (see also: 23-diy-gallery-wall-ideas-on-a-budget) (see also: 15-diy-wall-art-ideas-on-a-budget) (see also: 17-no-paint-diy-wall-decor-ideas-anyone-can-make)
