17 DIY Lamp Ideas on a Budget
Last spring I counted the lamps in my house and realised nearly every one was a hand-me-down with a dingy shade I had been apologising for. Buying new lighting for six rooms would have cost hundreds, so I gave myself a challenge: learn how to build a decent diy Lamp for under $30, and do it in a weekend. By Sunday evening I had rewired two thrifted table lamps, made a pendant from a basket, and sprayed a brass lamp I had always secretly liked. This list is every project that actually worked, with the mistakes included so you can skip them.
All 17 of these diy Lamp ideas cost $30 or less, and most land under $15. You need a basic pendant cord kit or lamp rewire kit (about $10 at any hardware store), and everything else can come from the thrift store, the dollar store, or your garage. Work from the easy ones first and build your confidence.
1. Mason Jar Pendant Light
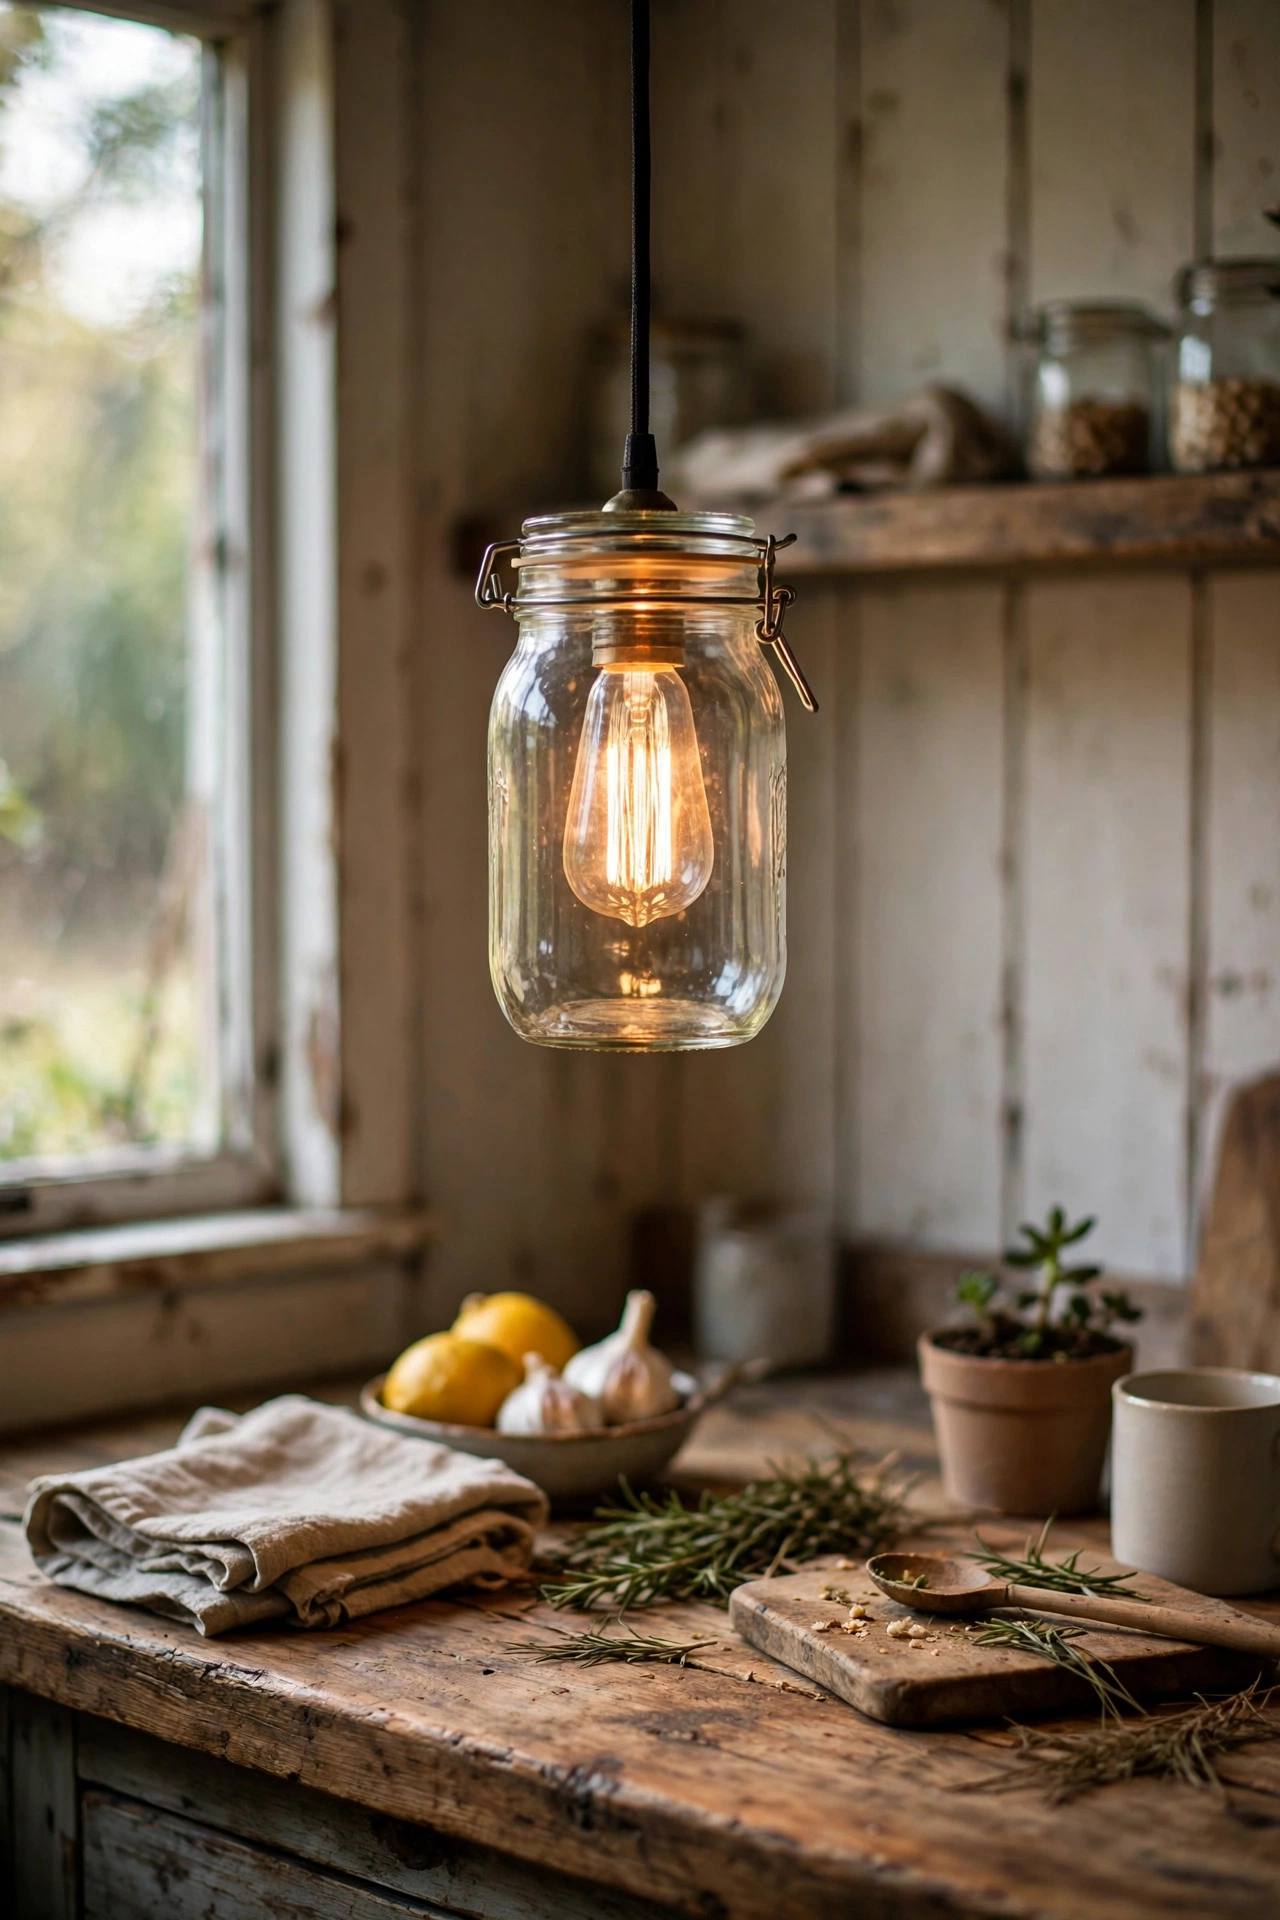
A mason jar pendant is the classic diy Lamp for a reason: it takes twenty minutes and looks right over a kitchen island or a reading nook. Screw a pendant cord kit through a hole drilled in the jar lid, hang it so the jar sits at eye level when you are seated, and use a low-wattage Edison-style LED bulb so it glows warm instead of glaring. I made a row of three over my kitchen counter. The first jar sat crooked because I rushed the lid hole, so clamp the lid and drill slow. Keep the jars clear or faint blue, because coloured glass dims the light too much.
Cost: ~$10-14 | Time: 25 minutes
2. Spray-Painted Thrifted Brass Lamp
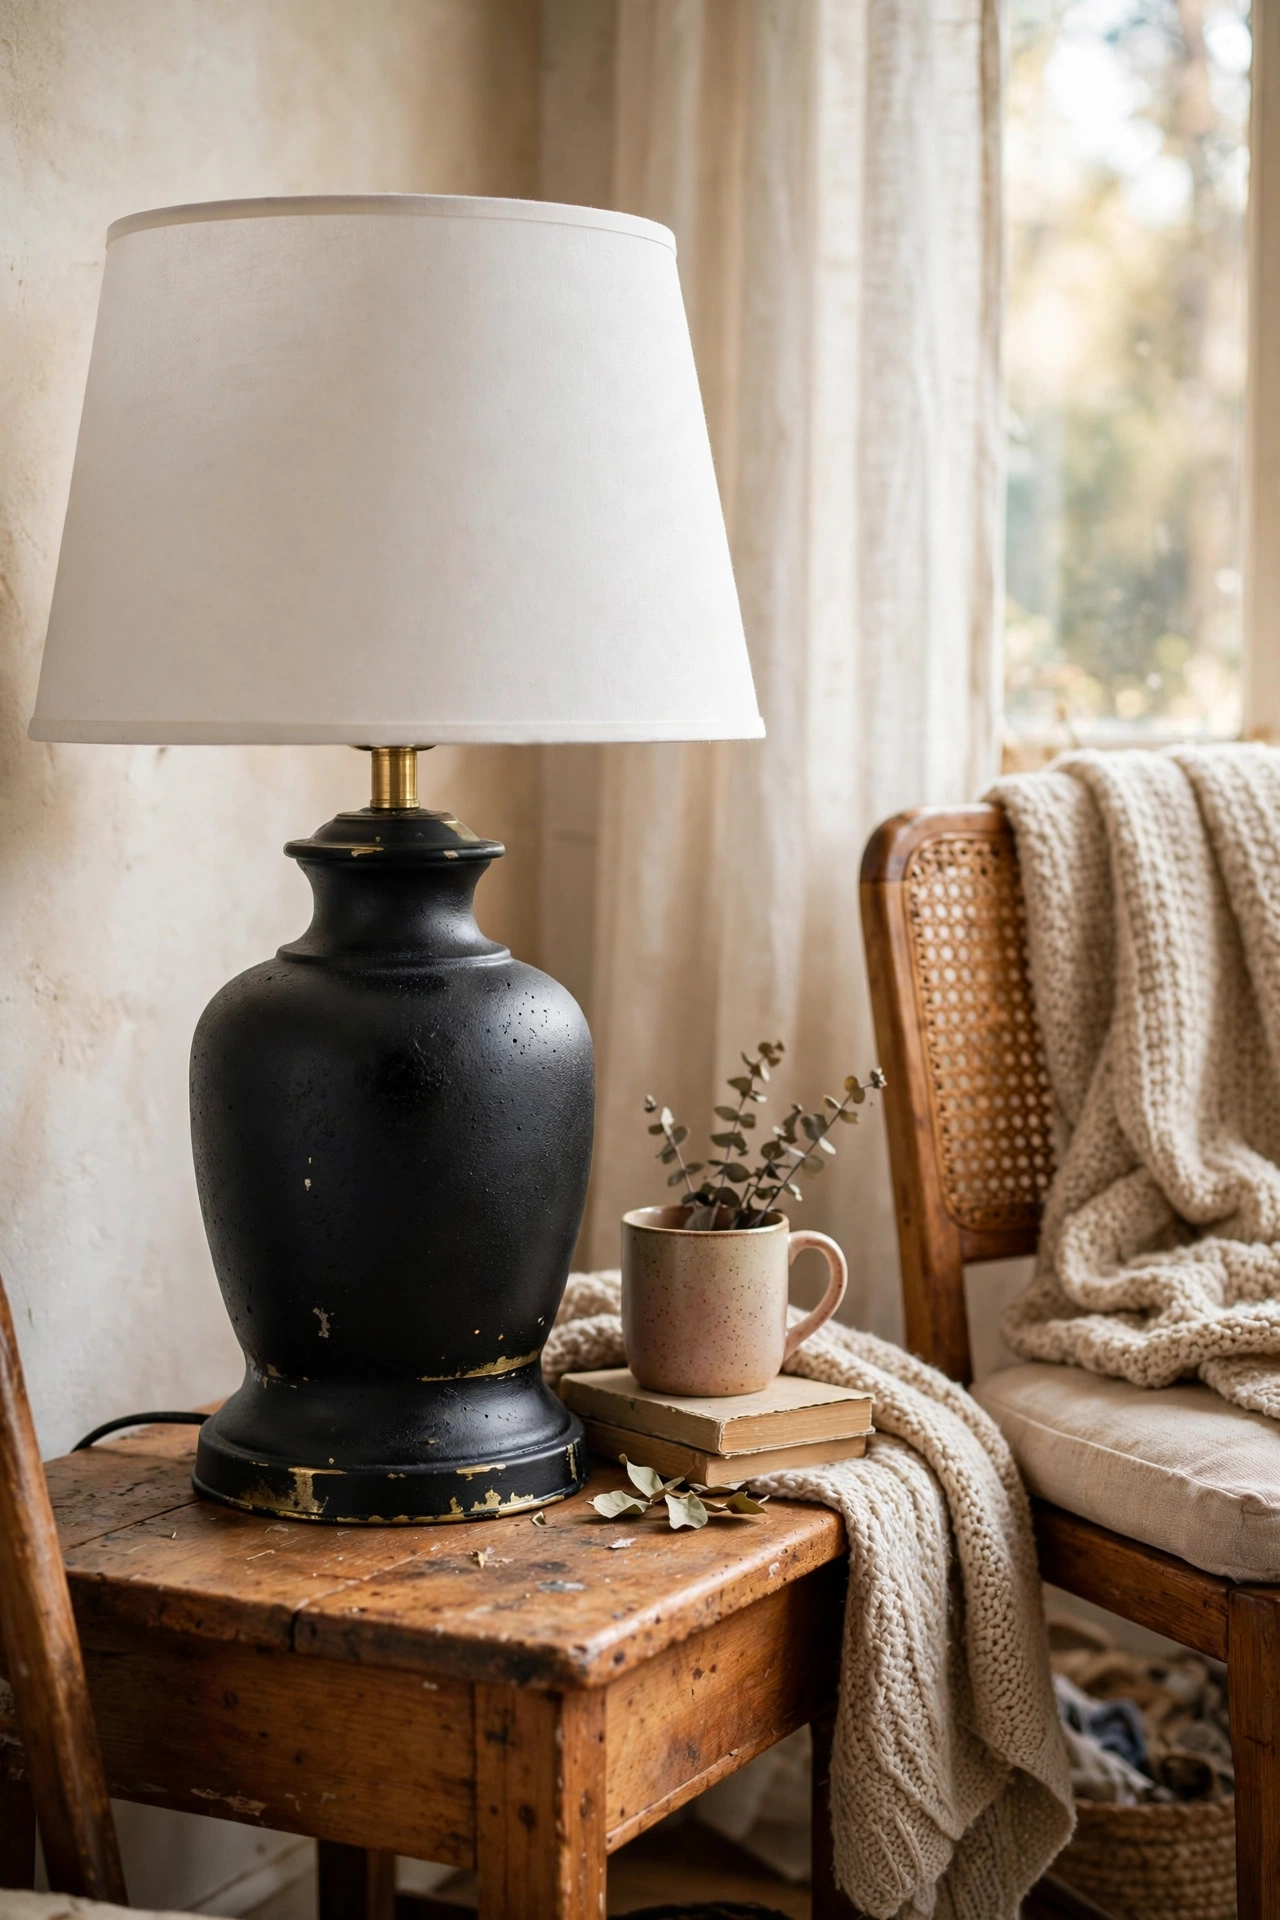
That dated brass lamp at the charity shop is probably a great lamp hiding under thirty years of patina. I bought one for $6, scuffed it with fine sandpaper, sprayed on two light coats of matte black, and put a fresh white drum shade on it. The transformation is honestly startling. Do not skip the primer step, because cheap spray paint on smooth brass pools and peels within months. I learned that the hard way on my first attempt and had to strip the whole base. Light coats, twenty minutes apart, and the finish will last years.
Cost: ~$12-18 | Time: 1 hour plus drying
3. Woven Basket Pendant Shade
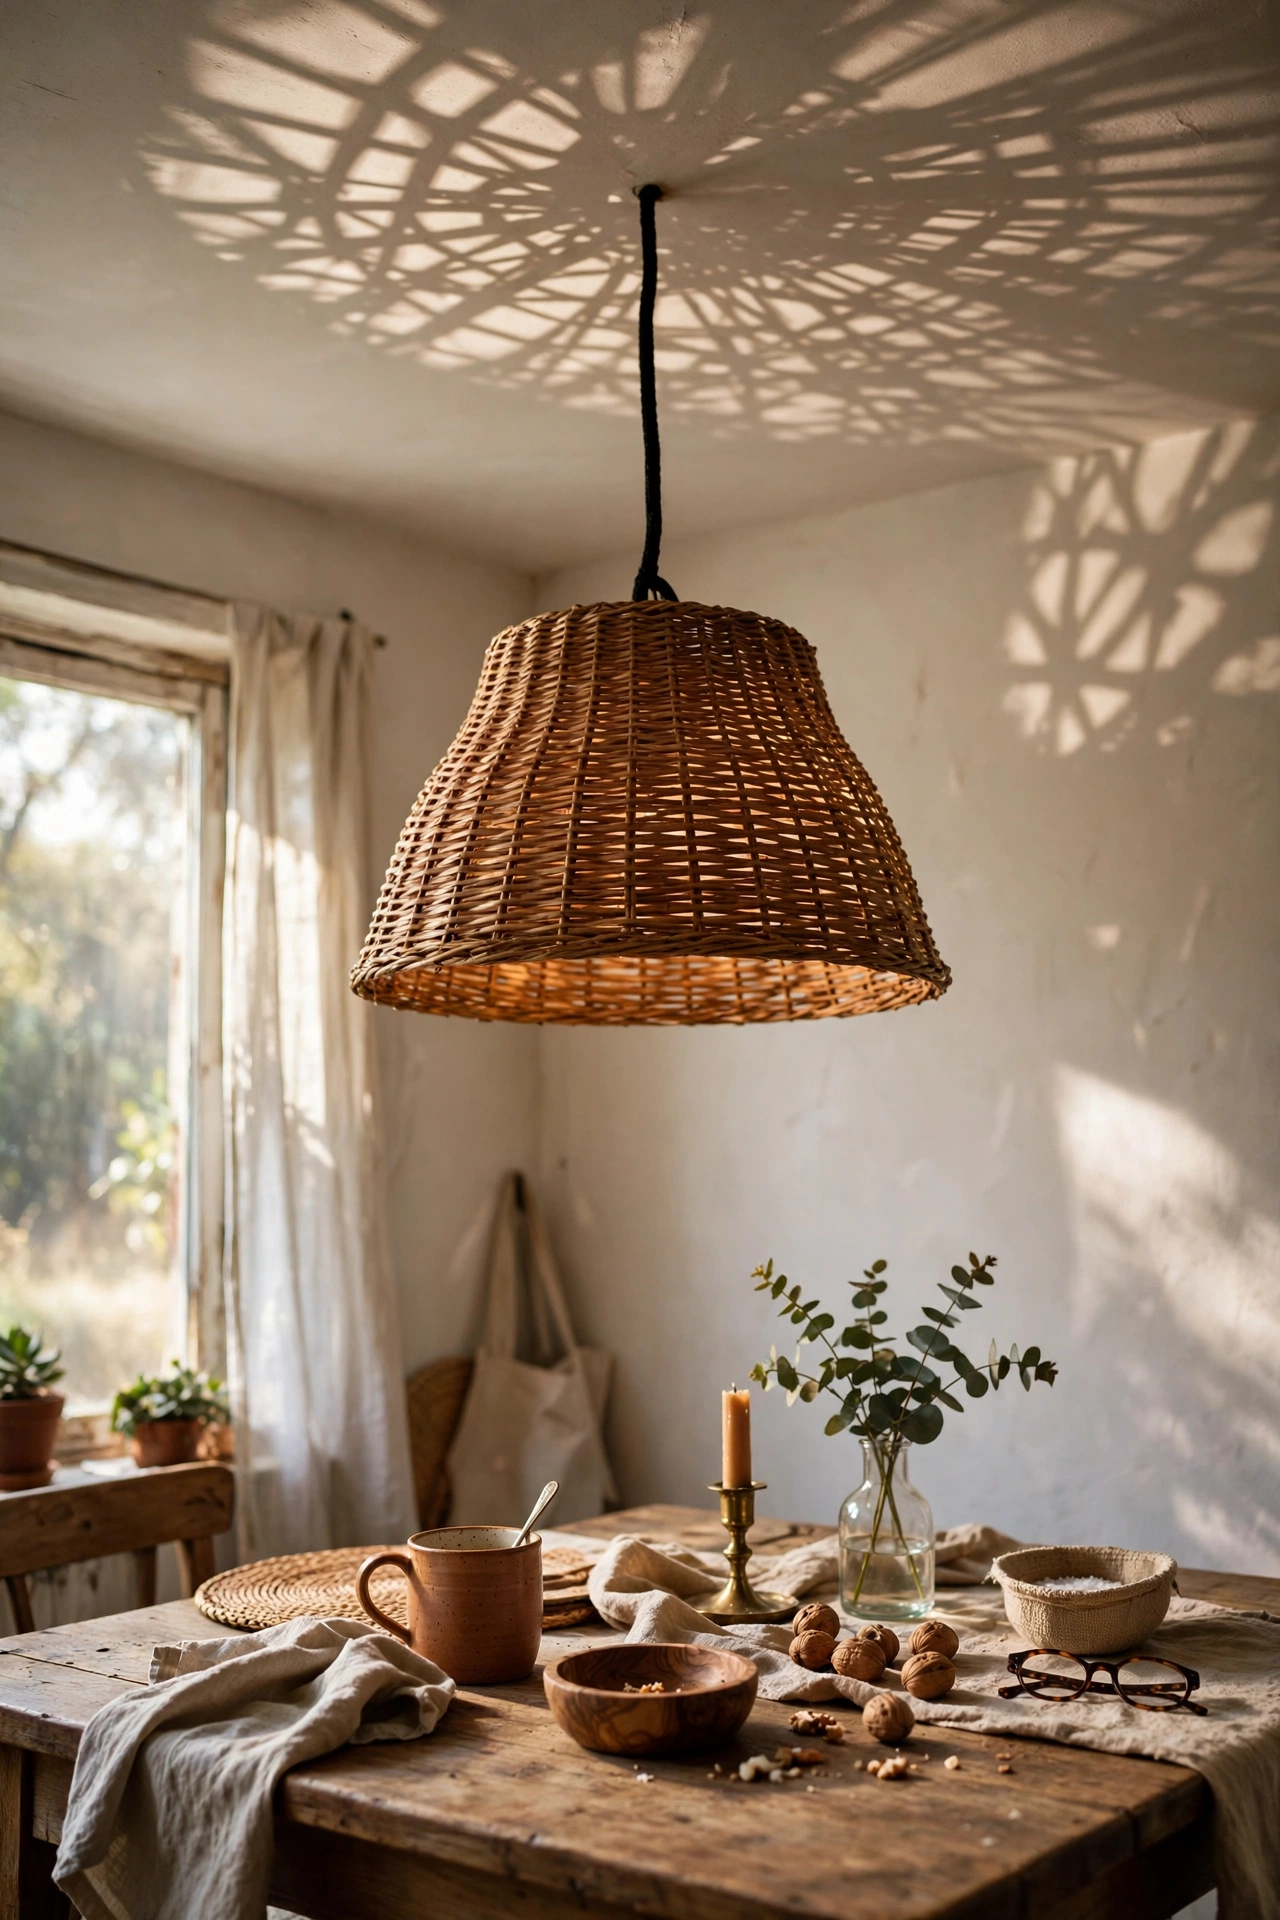
A shallow woven basket flipped upside down makes a beautiful pendant shade that throws patterned light across the ceiling. Cut a hole in the basket bottom for the cord, thread the pendant kit through, and hang it low over a dining table. I found my basket for $4 at a flea market. The open weave means you need a warm bulb on a dimmer, because a bright daylight bulb will scatter light everywhere and feel harsh. Check the weave is open enough for the bulb to peek through but tight enough to read as a shade.
Cost: ~$12-16 | Time: 30 minutes
4. Fabric-Wrapped Drum Shade Refresh
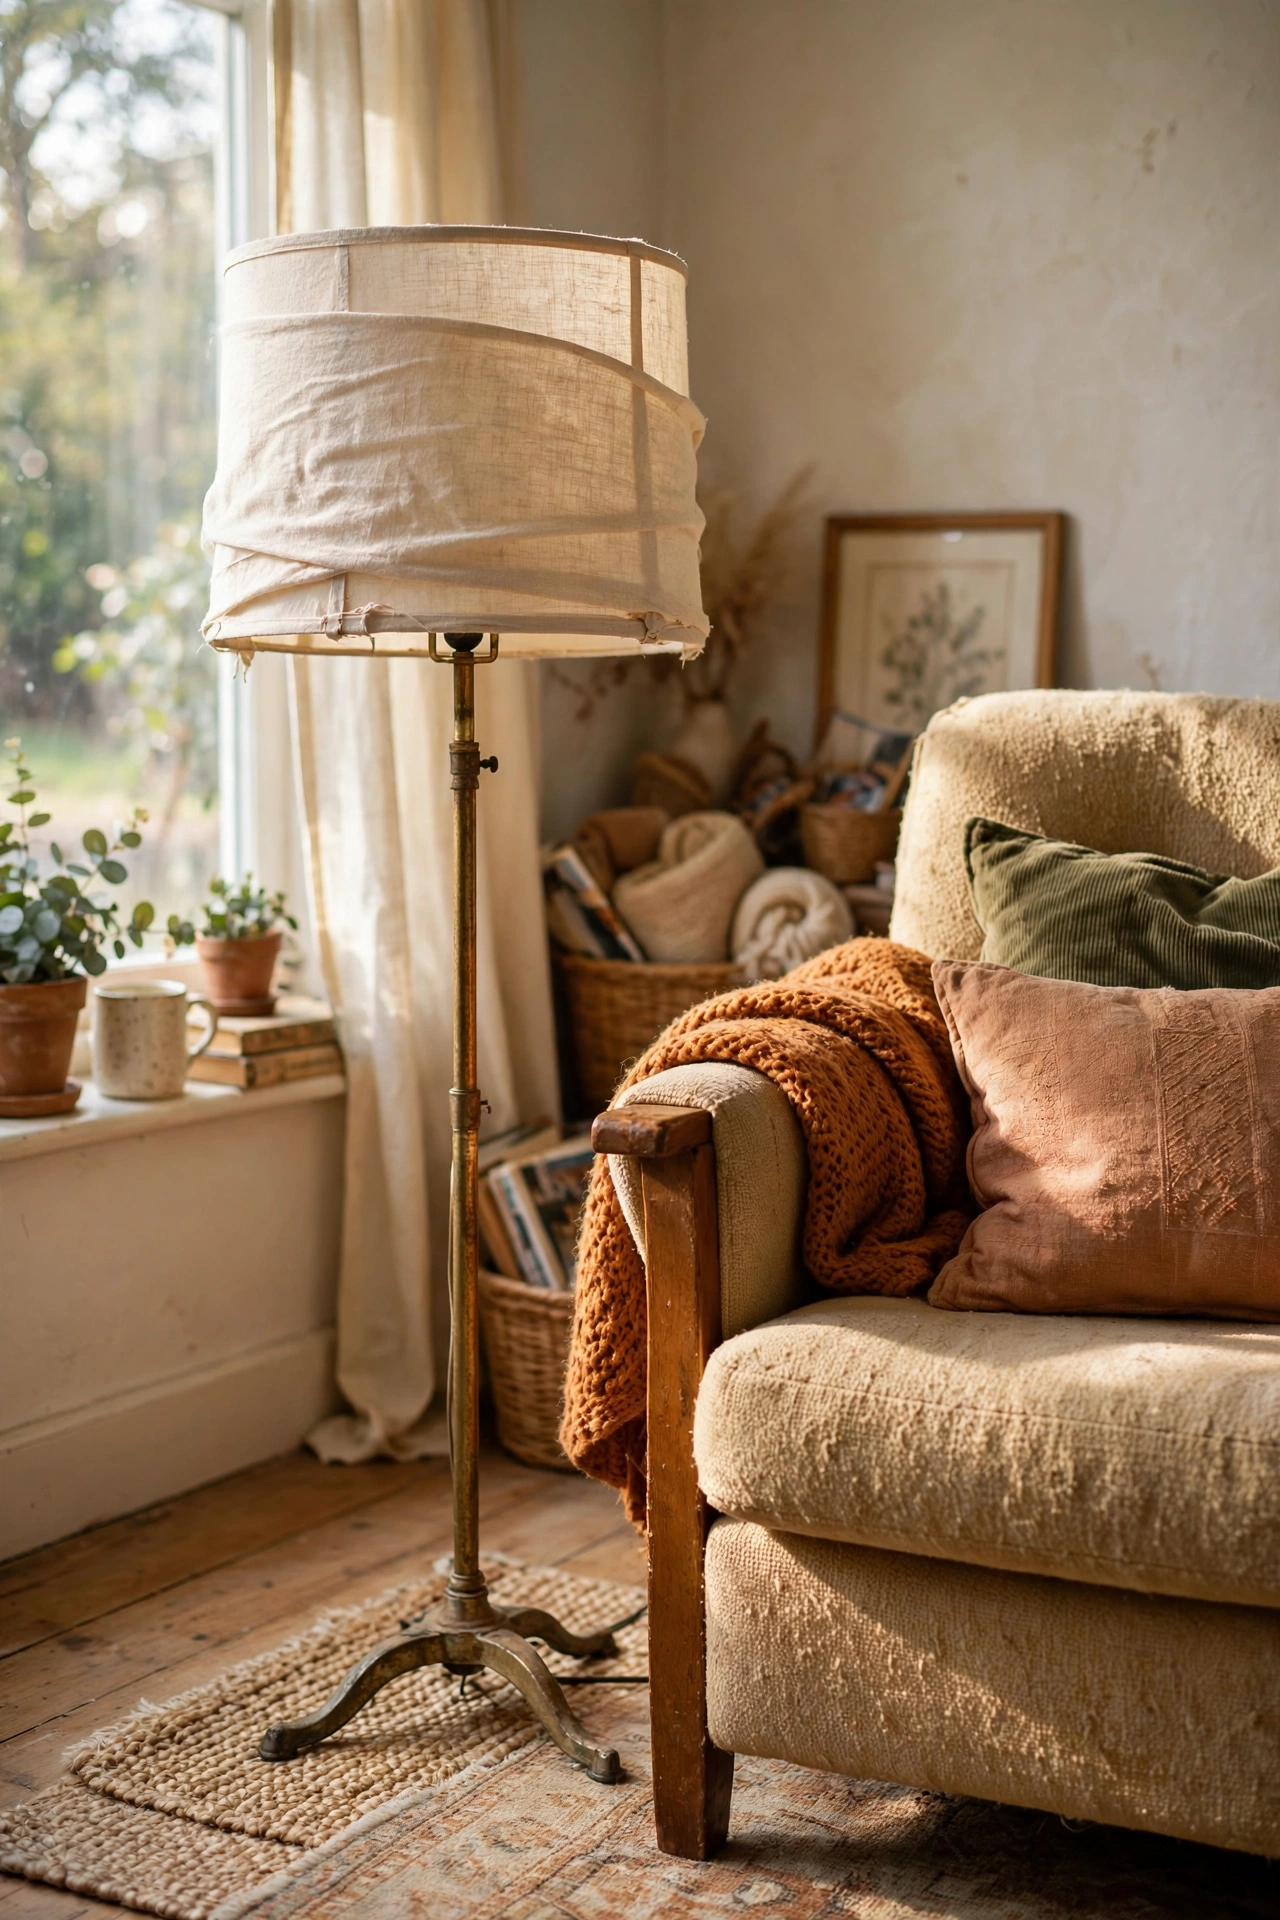
Before you throw out a stained shade, wrap it. I rescued a $3 thrifted floor lamp by wrapping its drum shade in cream linen with spray adhesive, trimming the edges, and gluing grosgrain ribbon over the seam. The lamp looked brand new. Work in small sections and smooth as you go, because spray adhesive grabs fast and wrinkles are permanent. Cut the fabric an inch wider than the shade on every side so you can fold clean edges. Linen, burlap, and even a thrifted cotton tablecloth all work beautifully.
Cost: ~$8-12 | Time: 45 minutes
5. Concrete Cube Table Lamp
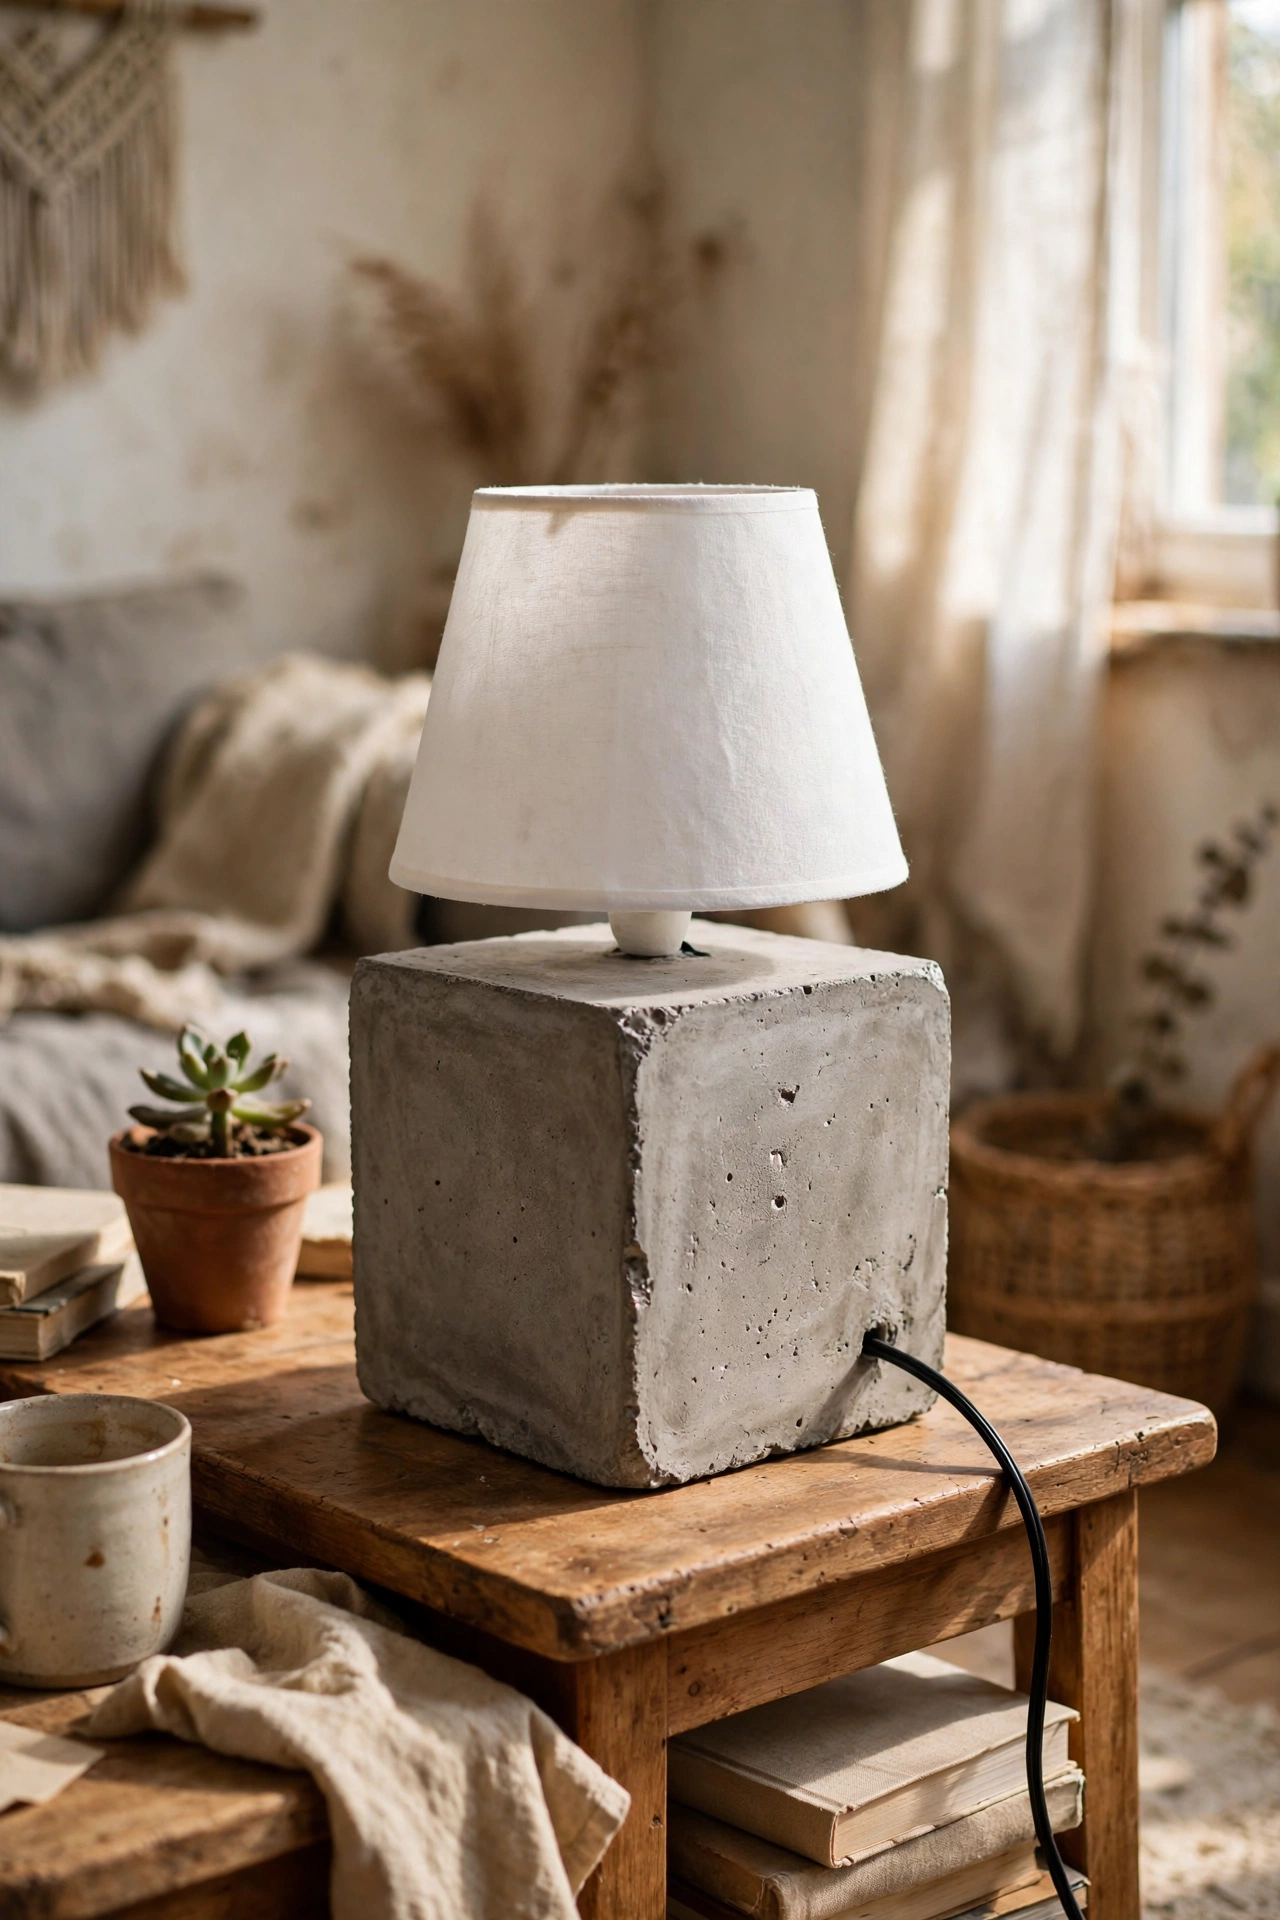
A small concrete cube base gives a diy Lamp a heavy, expensive feel for almost nothing. Mix a bag of quick-set concrete, pour it into a cardboard box mould about six inches square, push a hollow tube through the centre for the cord, and let it cure for two days. I sanded mine smooth and sealed it with matte concrete sealer, then topped it with a small white shade. It weighs a satisfying amount and looks like a designer piece. Grease the mould lightly with cooking spray so the concrete releases cleanly.
Cost: ~$10-15 | Time: 30 minutes active, 2 days curing
6. String Light Glass Bottle Lamp
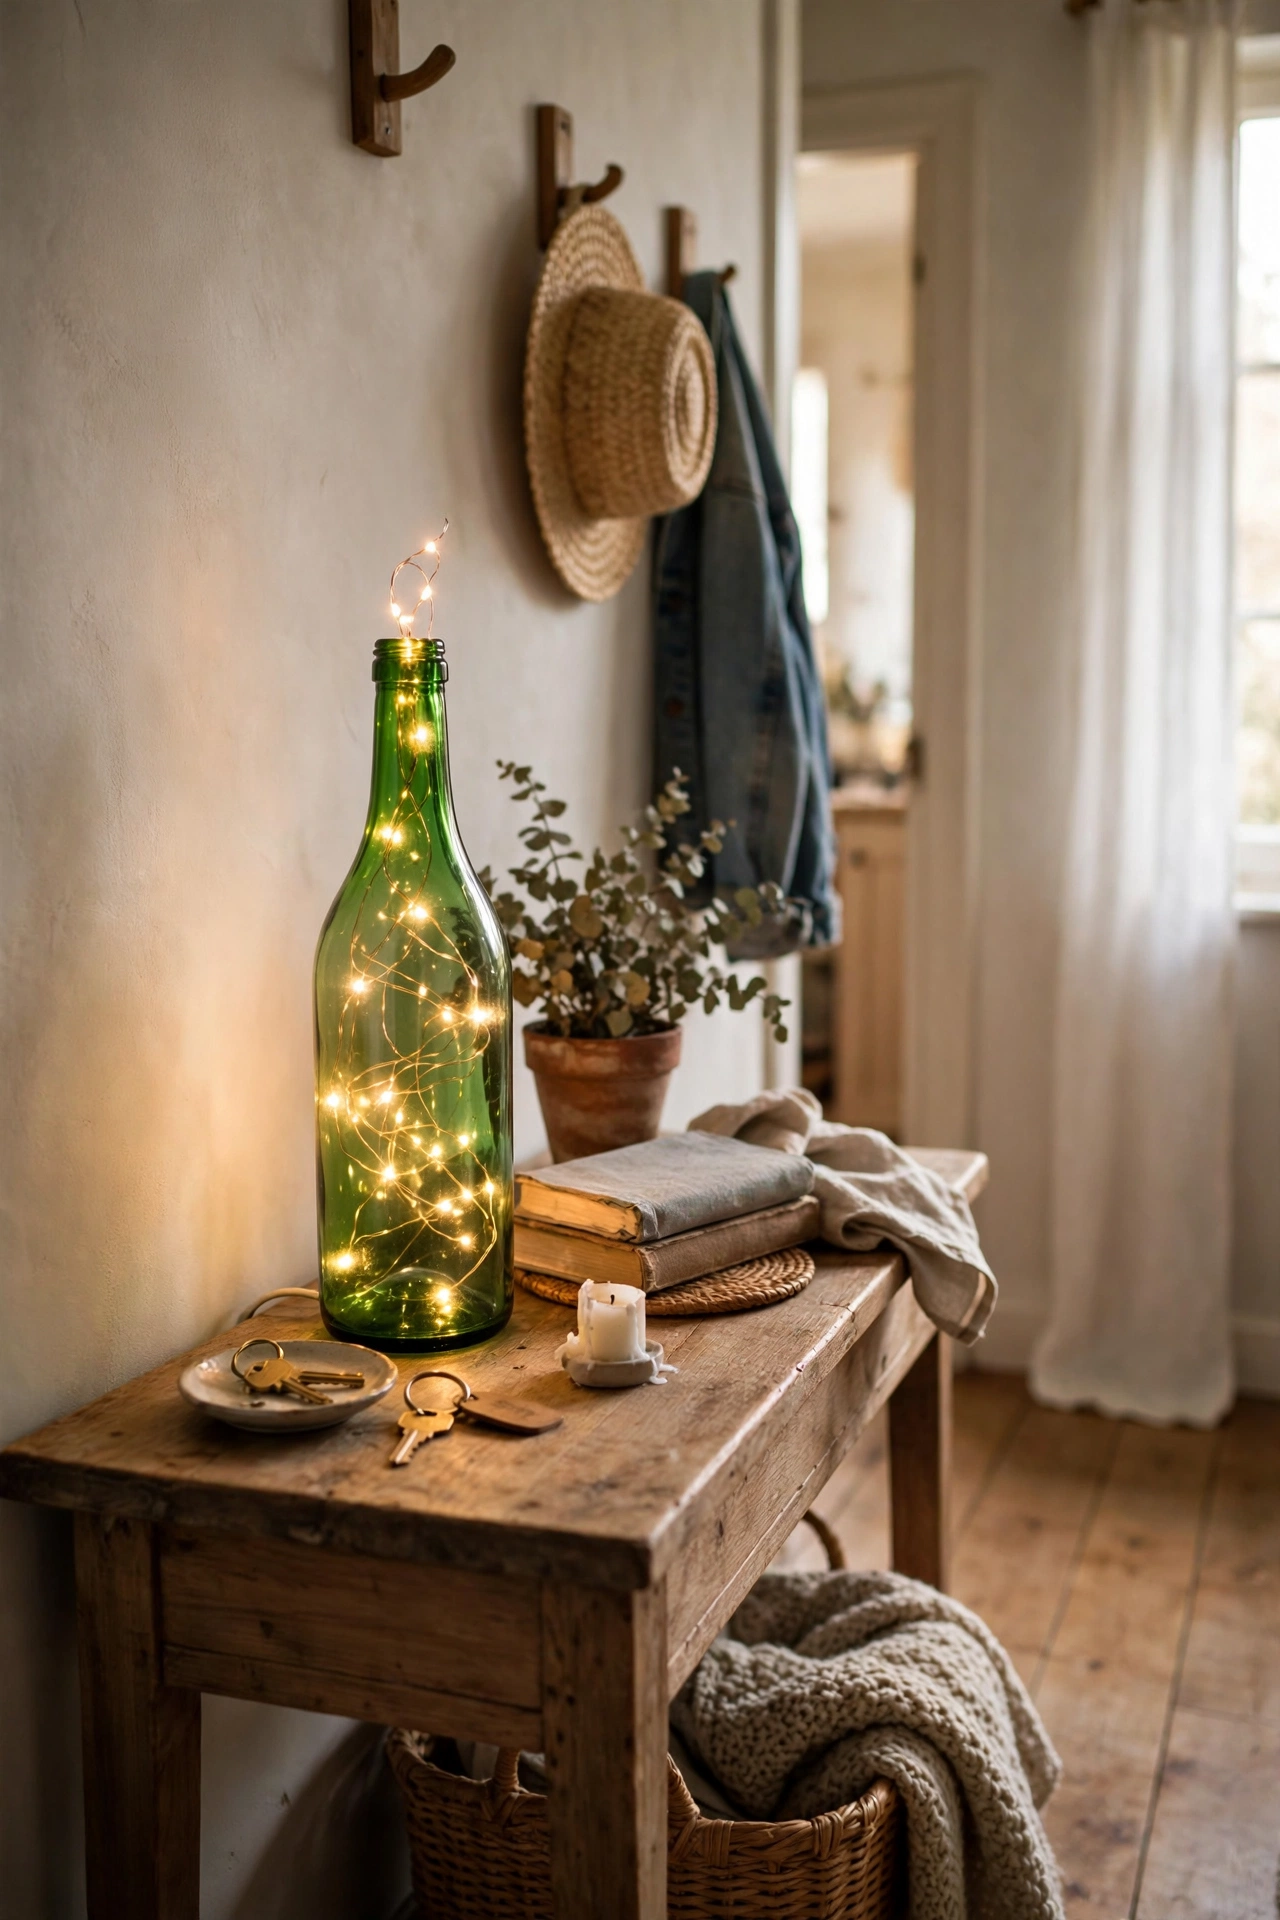
A cork string light tucked inside a coloured glass bottle is the easiest lamp on this list. I keep one on my hallway console made from a green wine bottle I could not bring myself to recycle. Slide battery fairy lights in through the neck, tuck the battery box behind it, and you have soft green-glow ambience. Use the timer function on the battery pack so it turns itself off, because digging the box out to switch it nightly gets old fast. Cobalt blue and amber bottles give the prettiest glow.
Cost: ~$5-8 | Time: 10 minutes
7. Wooden Tripod Floor Lamp
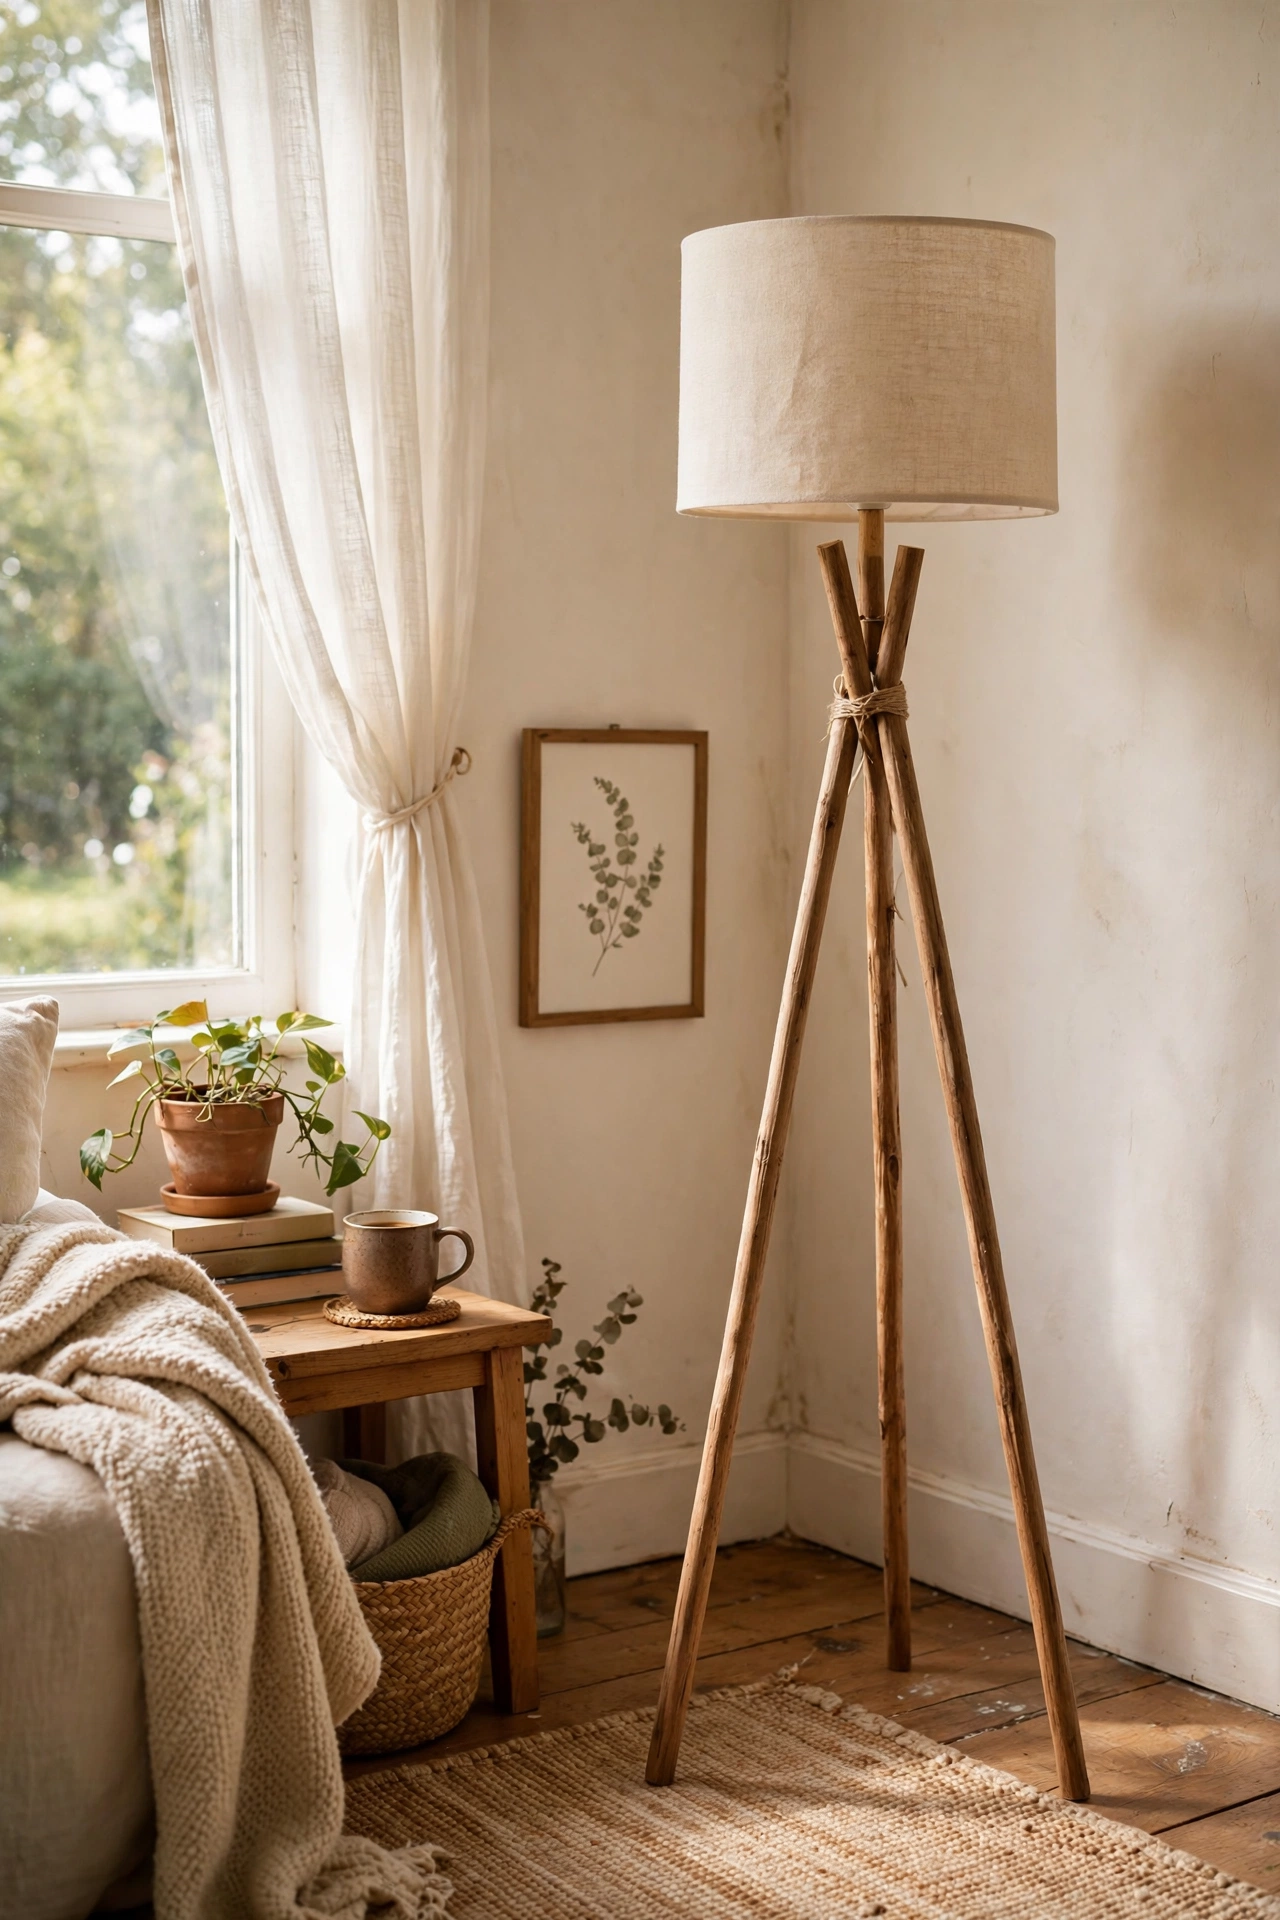
Tripod floor lamps sell for $80 or more, but three dowel rods and a pendant kit get you there for a tenth of that. I cut three 1.5-metre dowels, drilled a hole near the top of each, threaded a leather cord through to hinge them, and hung a simple bulb socket with a fabric shade in the middle. Stain the dowels walnut for a mid-century look or leave them raw for a Scandinavian feel. The hinge cord is the fiddly part, so tie it tight and test the stance before you hang the socket. It stands rock solid once the angles are right.
Cost: ~$18-25 | Time: 2 hours
8. Paper Lantern Cluster Chandelier
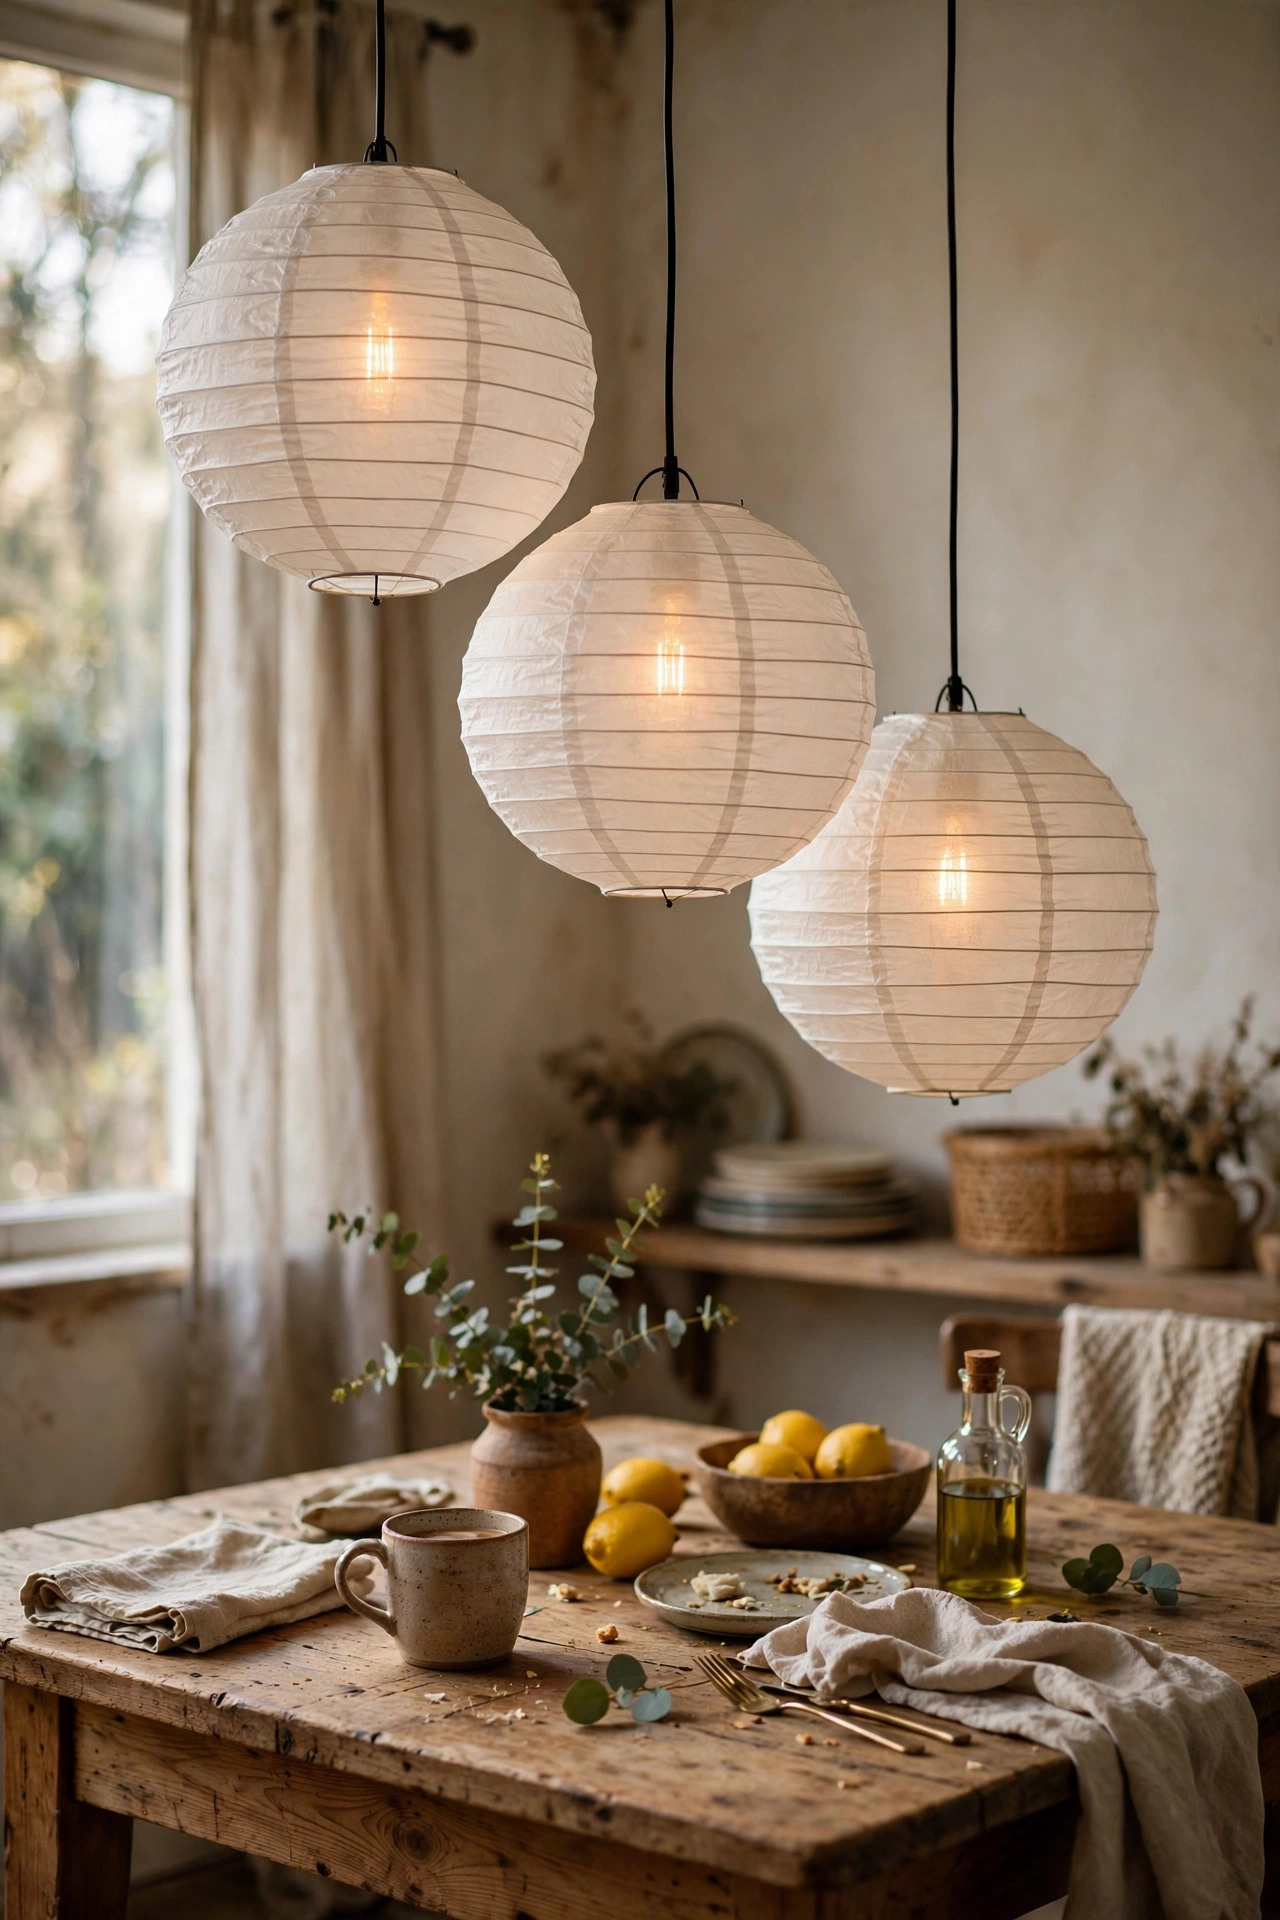
Three paper lanterns hung at different heights over a dining table read as a proper chandelier for the price of a takeaway. I bought three 12-inch white lanterns for $3 each, hung them from a single ceiling hook with varying cord lengths, and put warm LED bulbs inside each. The trick is the height stagger: 10 inches apart looks deliberate, equal heights looks lazy. I used clear fishing line so the cords disappear. Paper lanterns are fragile, so fluff them open gently and never use bulbs that give off heat.
Cost: ~$12-18 | Time: 45 minutes
9. Terracotta Pot Lamp Base
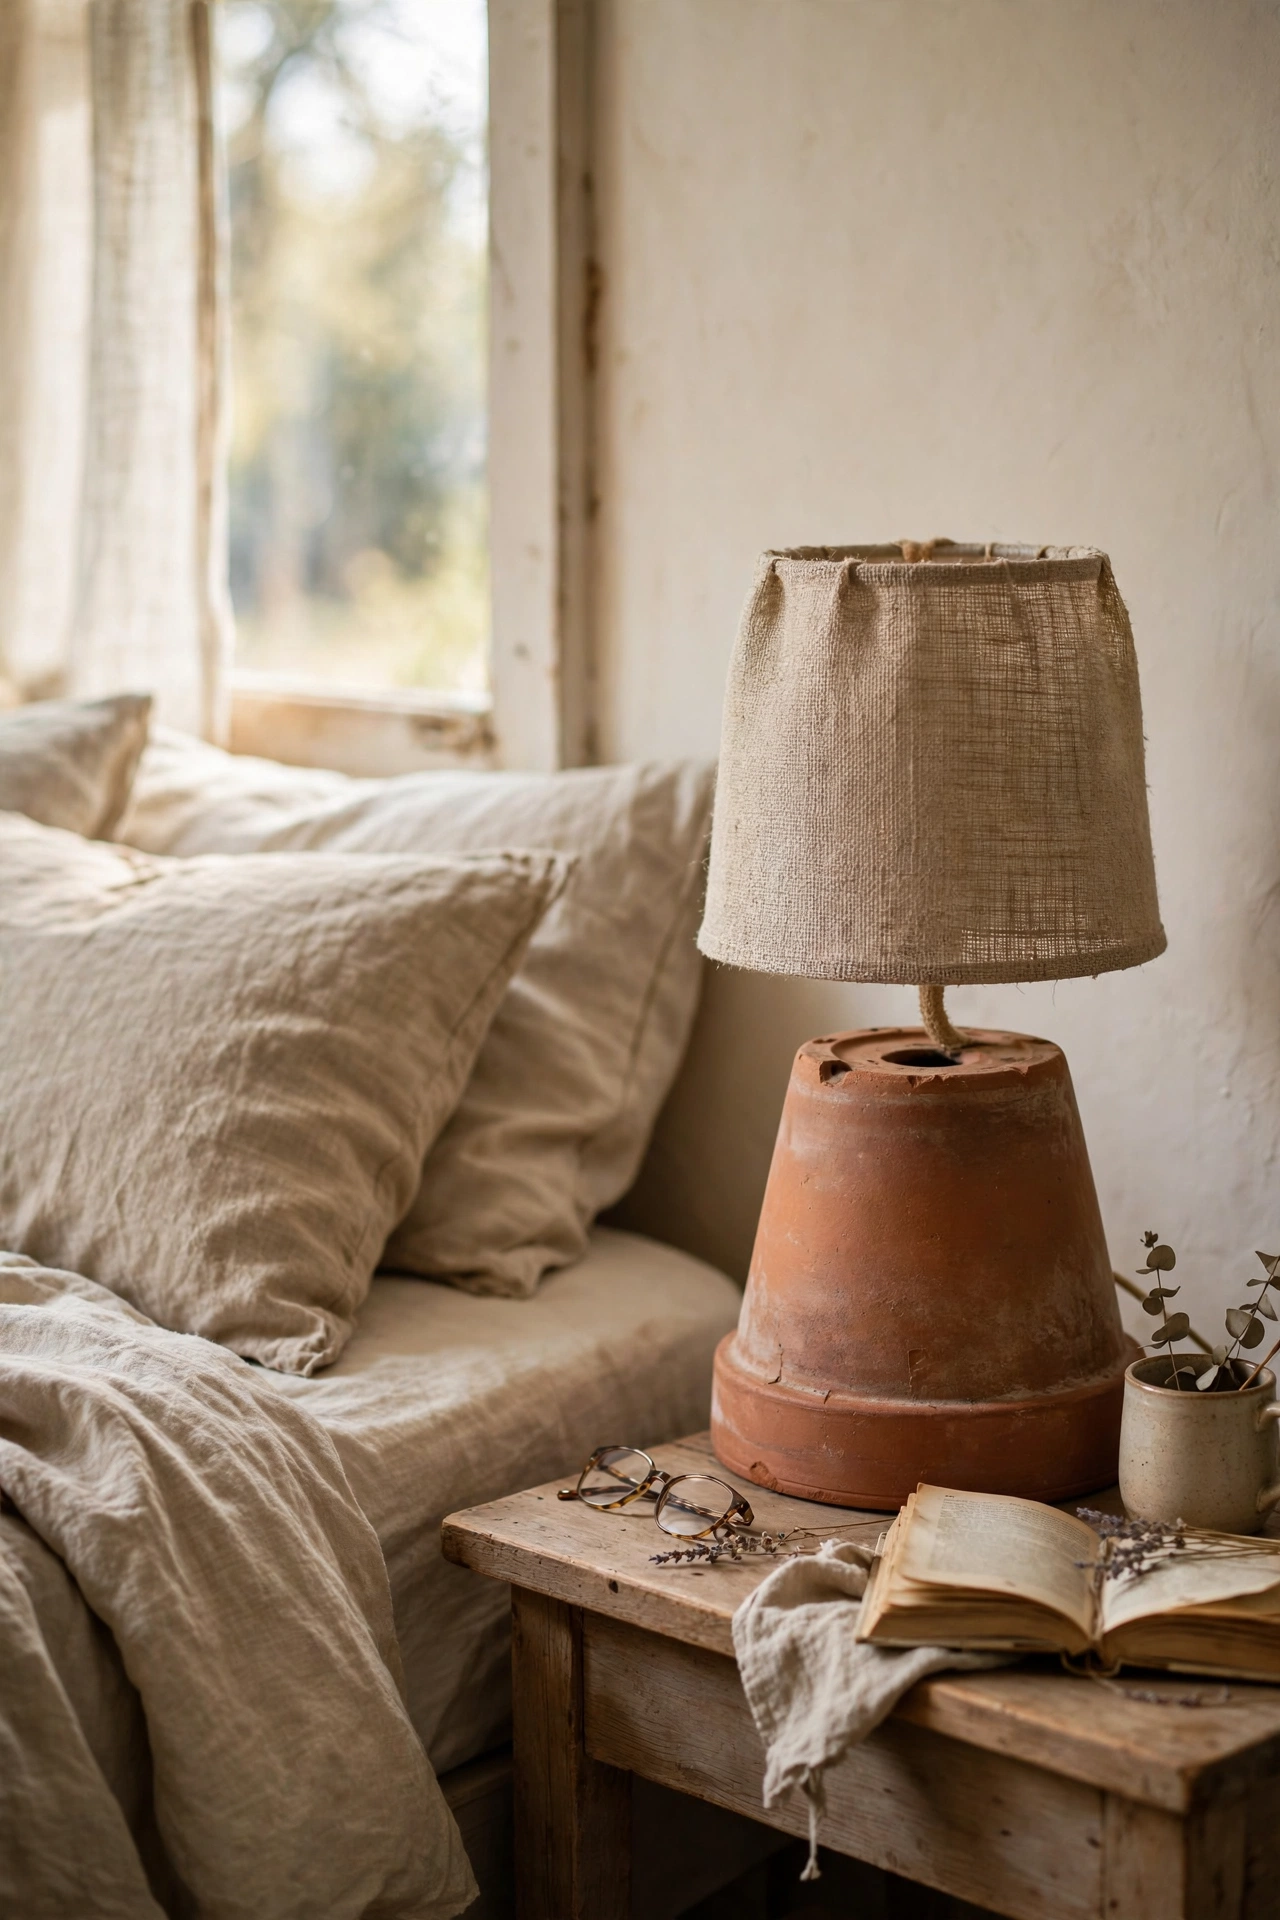
An upside-down terracotta pot is a charming lamp base with real cottage warmth. Drill a hole in the pot base for the cord, run a basic socket up through the middle, and top it with a small burlap shade. I painted mine chalky white and left the rim natural, which looks lovely on a bedside table. Terracotta drills easily but cracks if you force it, so use a masonry bit and go slow with water. The $2 pot I started with was the cheapest part of the whole project.
Cost: ~$8-14 | Time: 1 hour
10. Linen Shade with Ribbon Trim
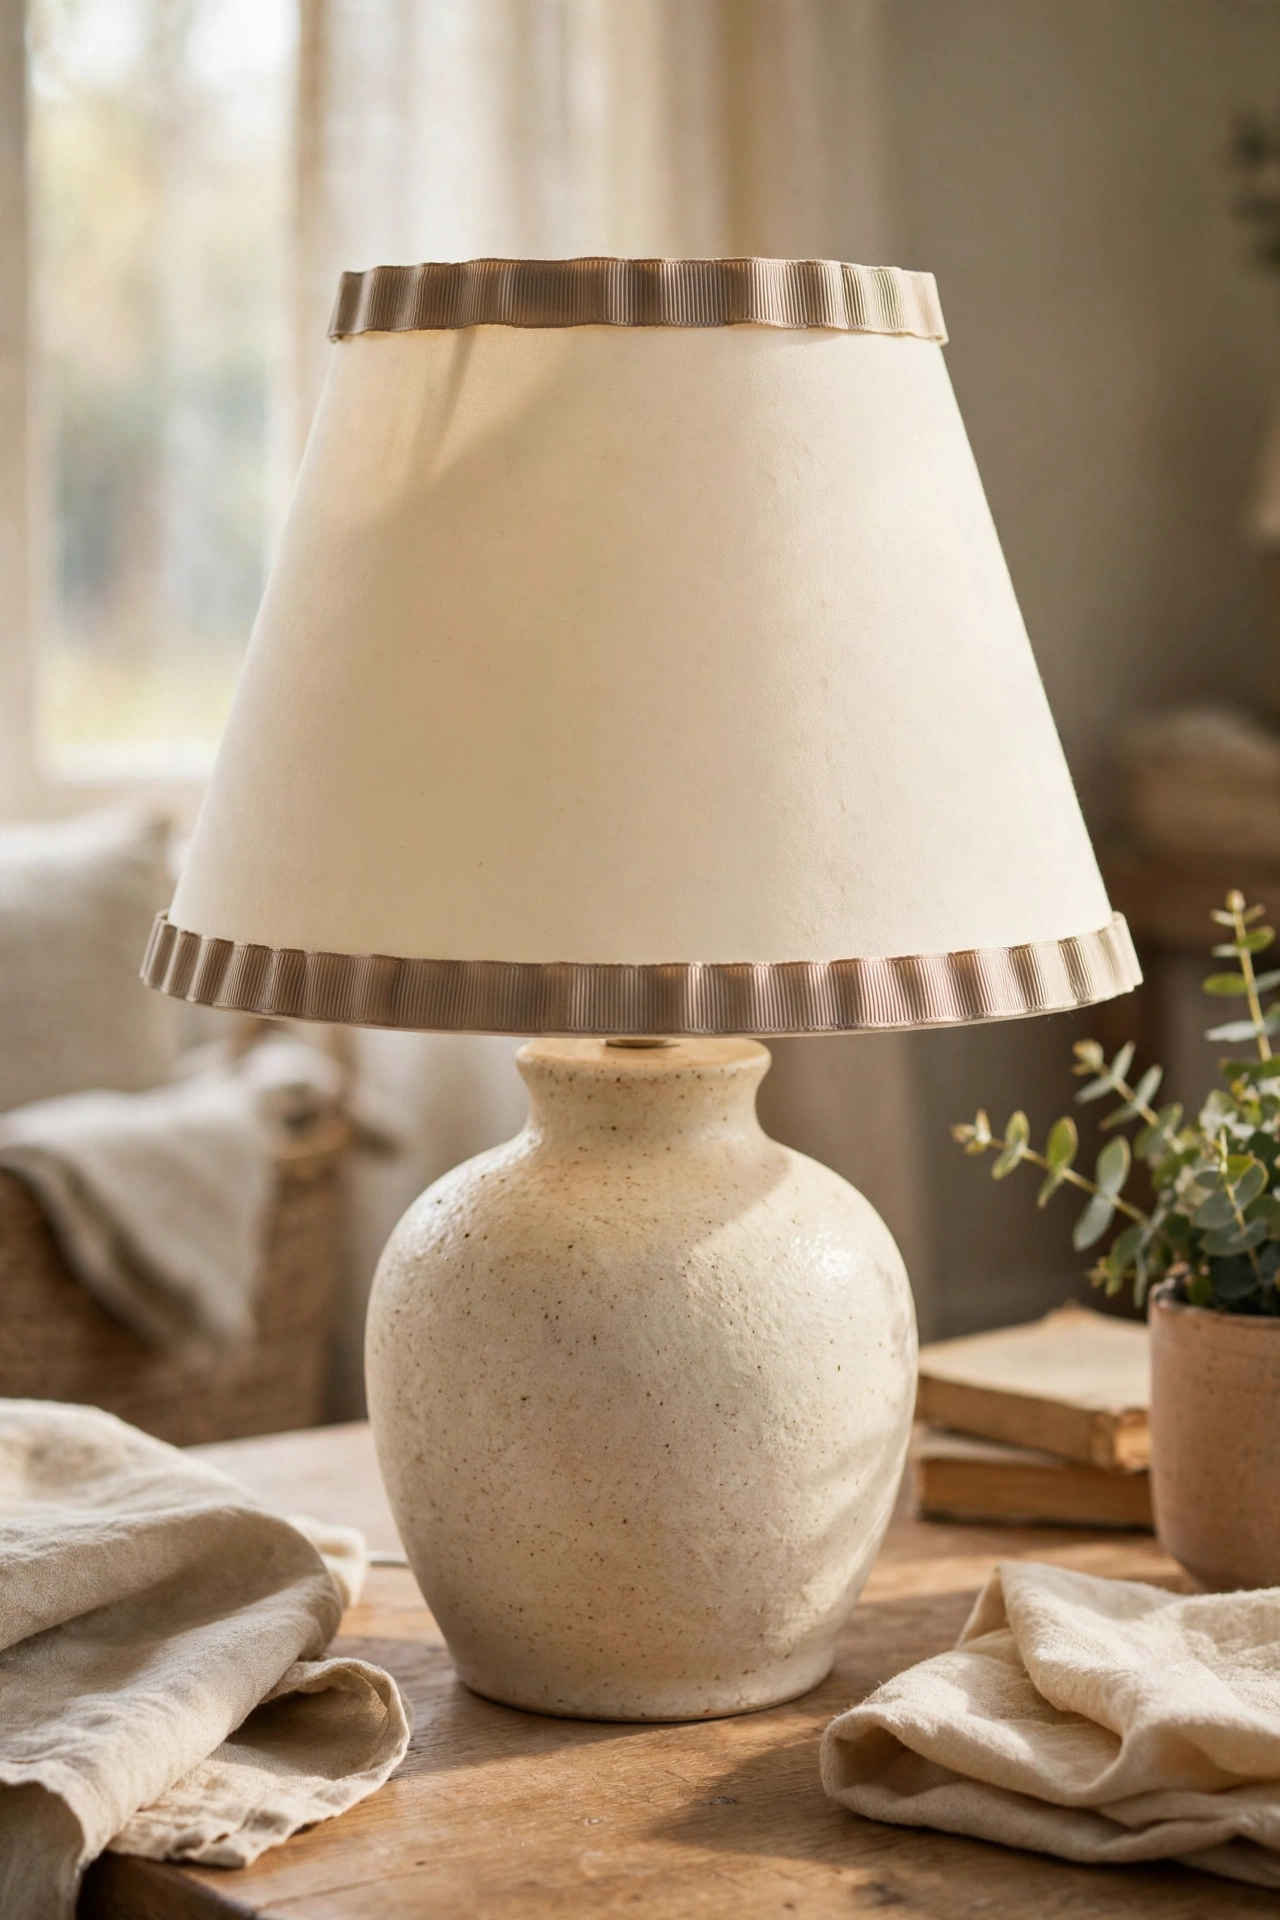
Sometimes the shade just needs better trim to look intentional. I took a plain cream shade, hot-glued a wide grosgrain ribbon around the top and bottom edges, and added a thin gold braid just inside the ribbon line. It went from boring to boutique in half an hour. Measure the circumference and add two inches for overlap before you cut the ribbon, because running short mid-gluing is miserable. Choose ribbon that picks up another colour in the room so the lamp feels designed, not decorated.
Cost: ~$6-10 | Time: 30 minutes
11. Colander Pendant Light
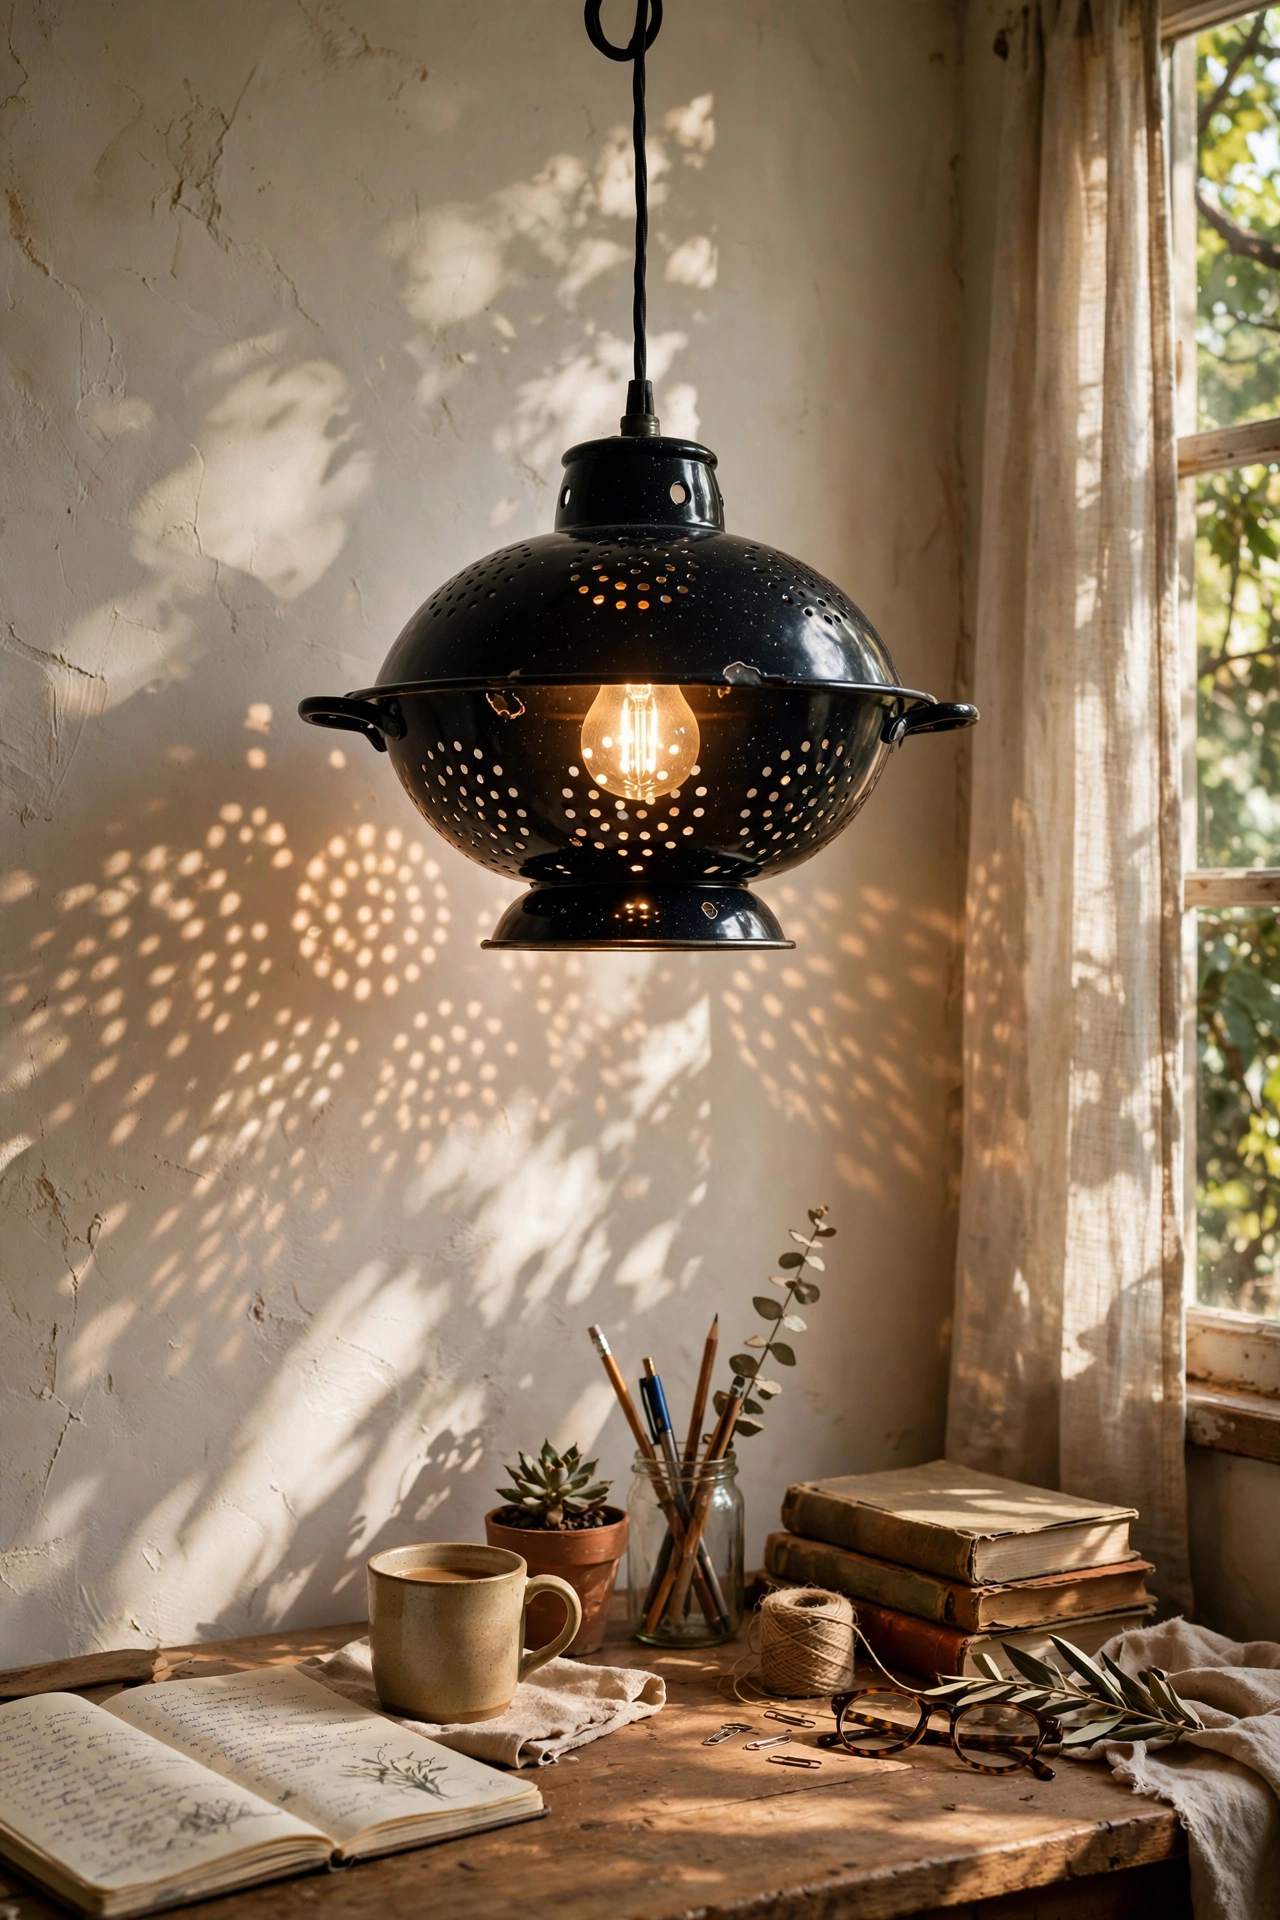
A metal colander hung as a pendant throws the prettiest dappled light through its holes. I sprayed a $3 enamel colander matte black, threaded the cord through the drainage holes, and hung it over my desk. The light pattern it casts on the ceiling is genuinely lovely at night. Enamel colanders work better than aluminium because the colour coat hides better. Pick one with evenly spaced holes for the cleanest pattern, and use a low-wattage bulb so the scattered light stays soft.
Cost: ~$10-14 | Time: 30 minutes
12. Wine Bottle Table Lamp
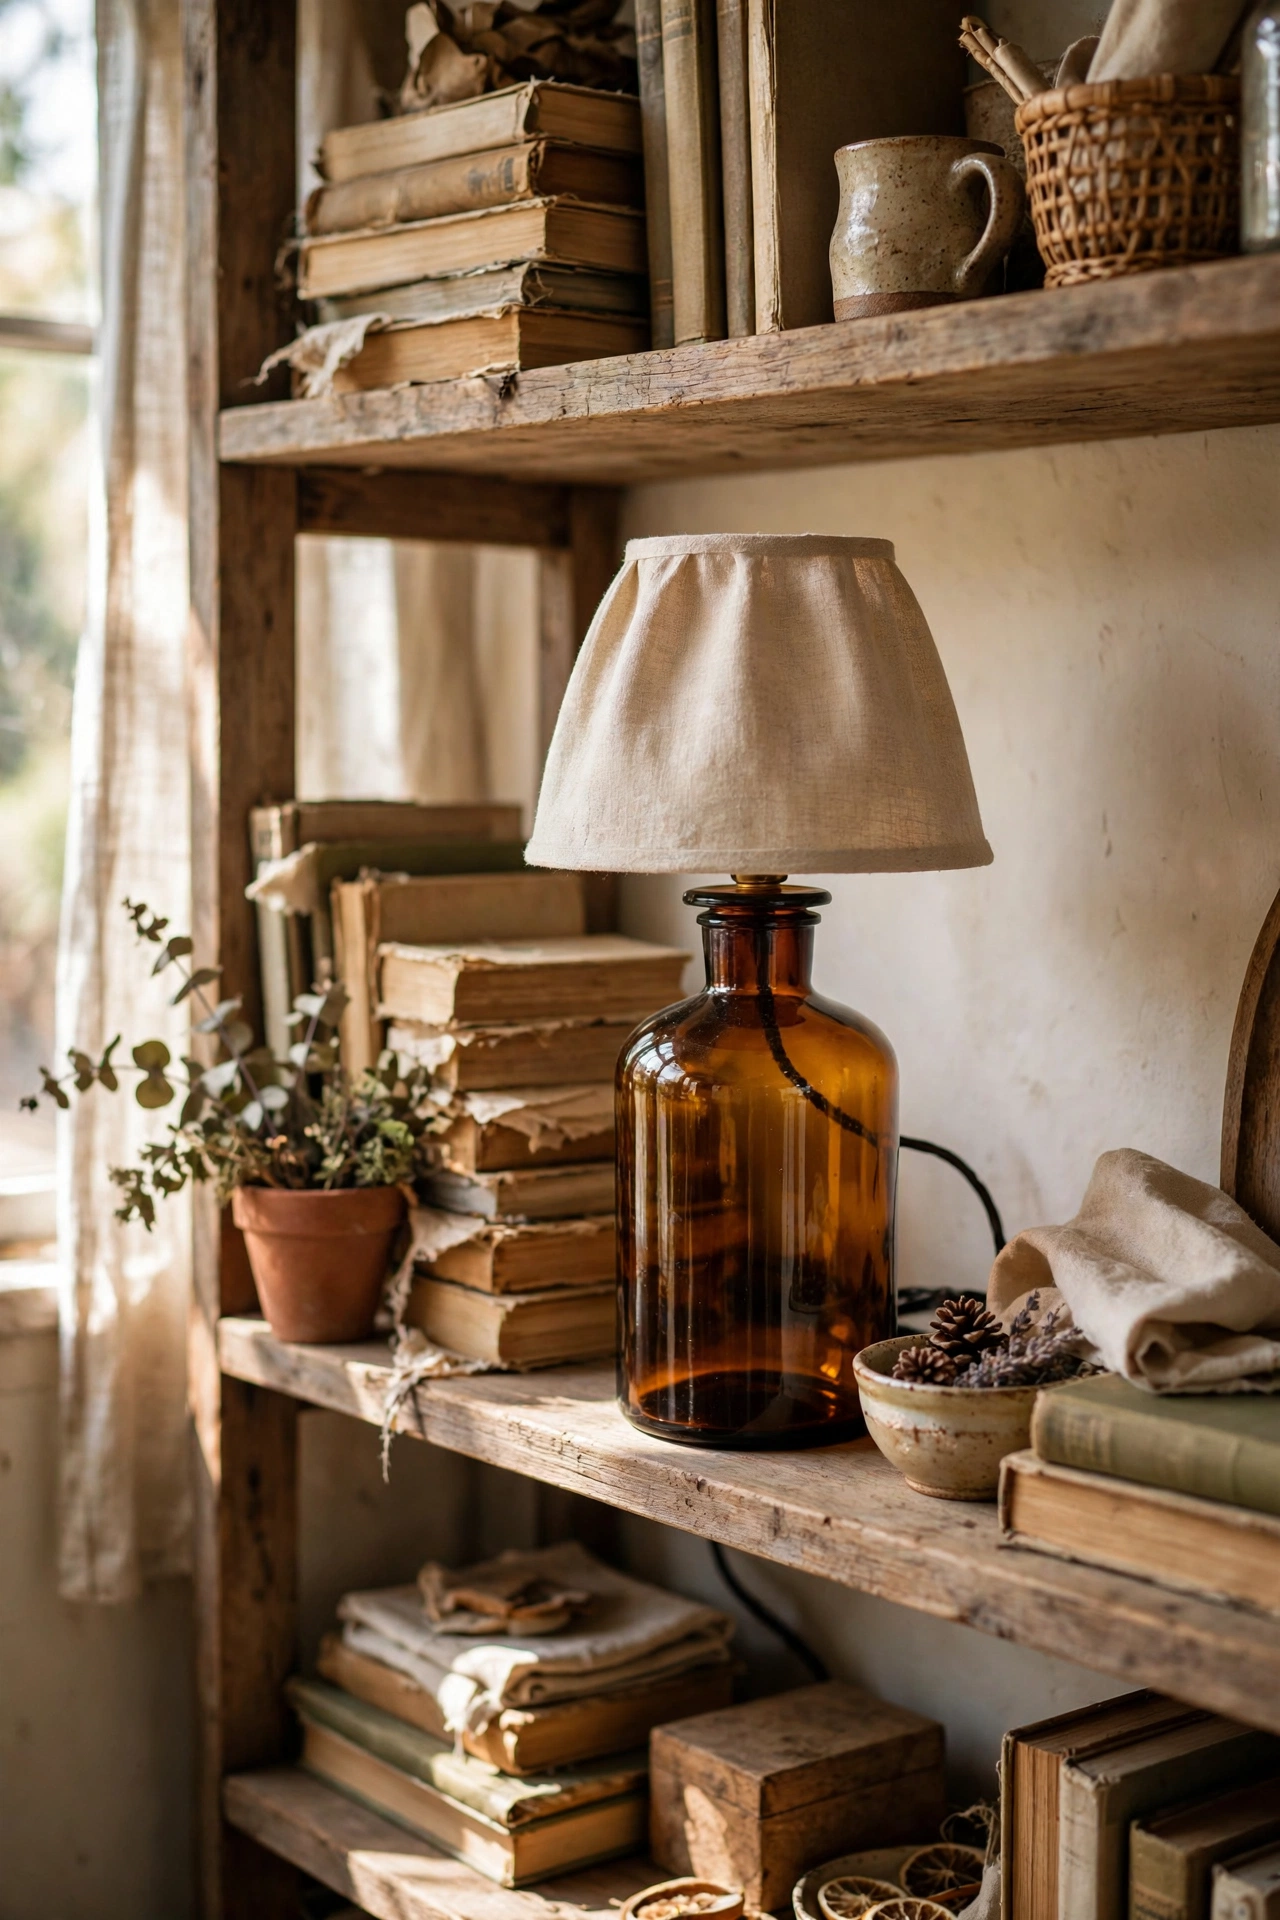
A bottle lamp kit turns any interesting bottle into a table lamp in about fifteen minutes. I used a chunky amber apothecary bottle I found for $5, fitted the kit’s cork socket into the neck, and added a small linen shade. No drilling needed, which is why this is the friendliest bottle lamp for beginners. Fill the bottle with sand or pebbles first for stability, because a top-heavy bottle will wobble. Textured or coloured glass hides the cord inside, which is half the battle won.
Cost: ~$12-18 | Time: 20 minutes
13. Copper Pipe Desk Lamp
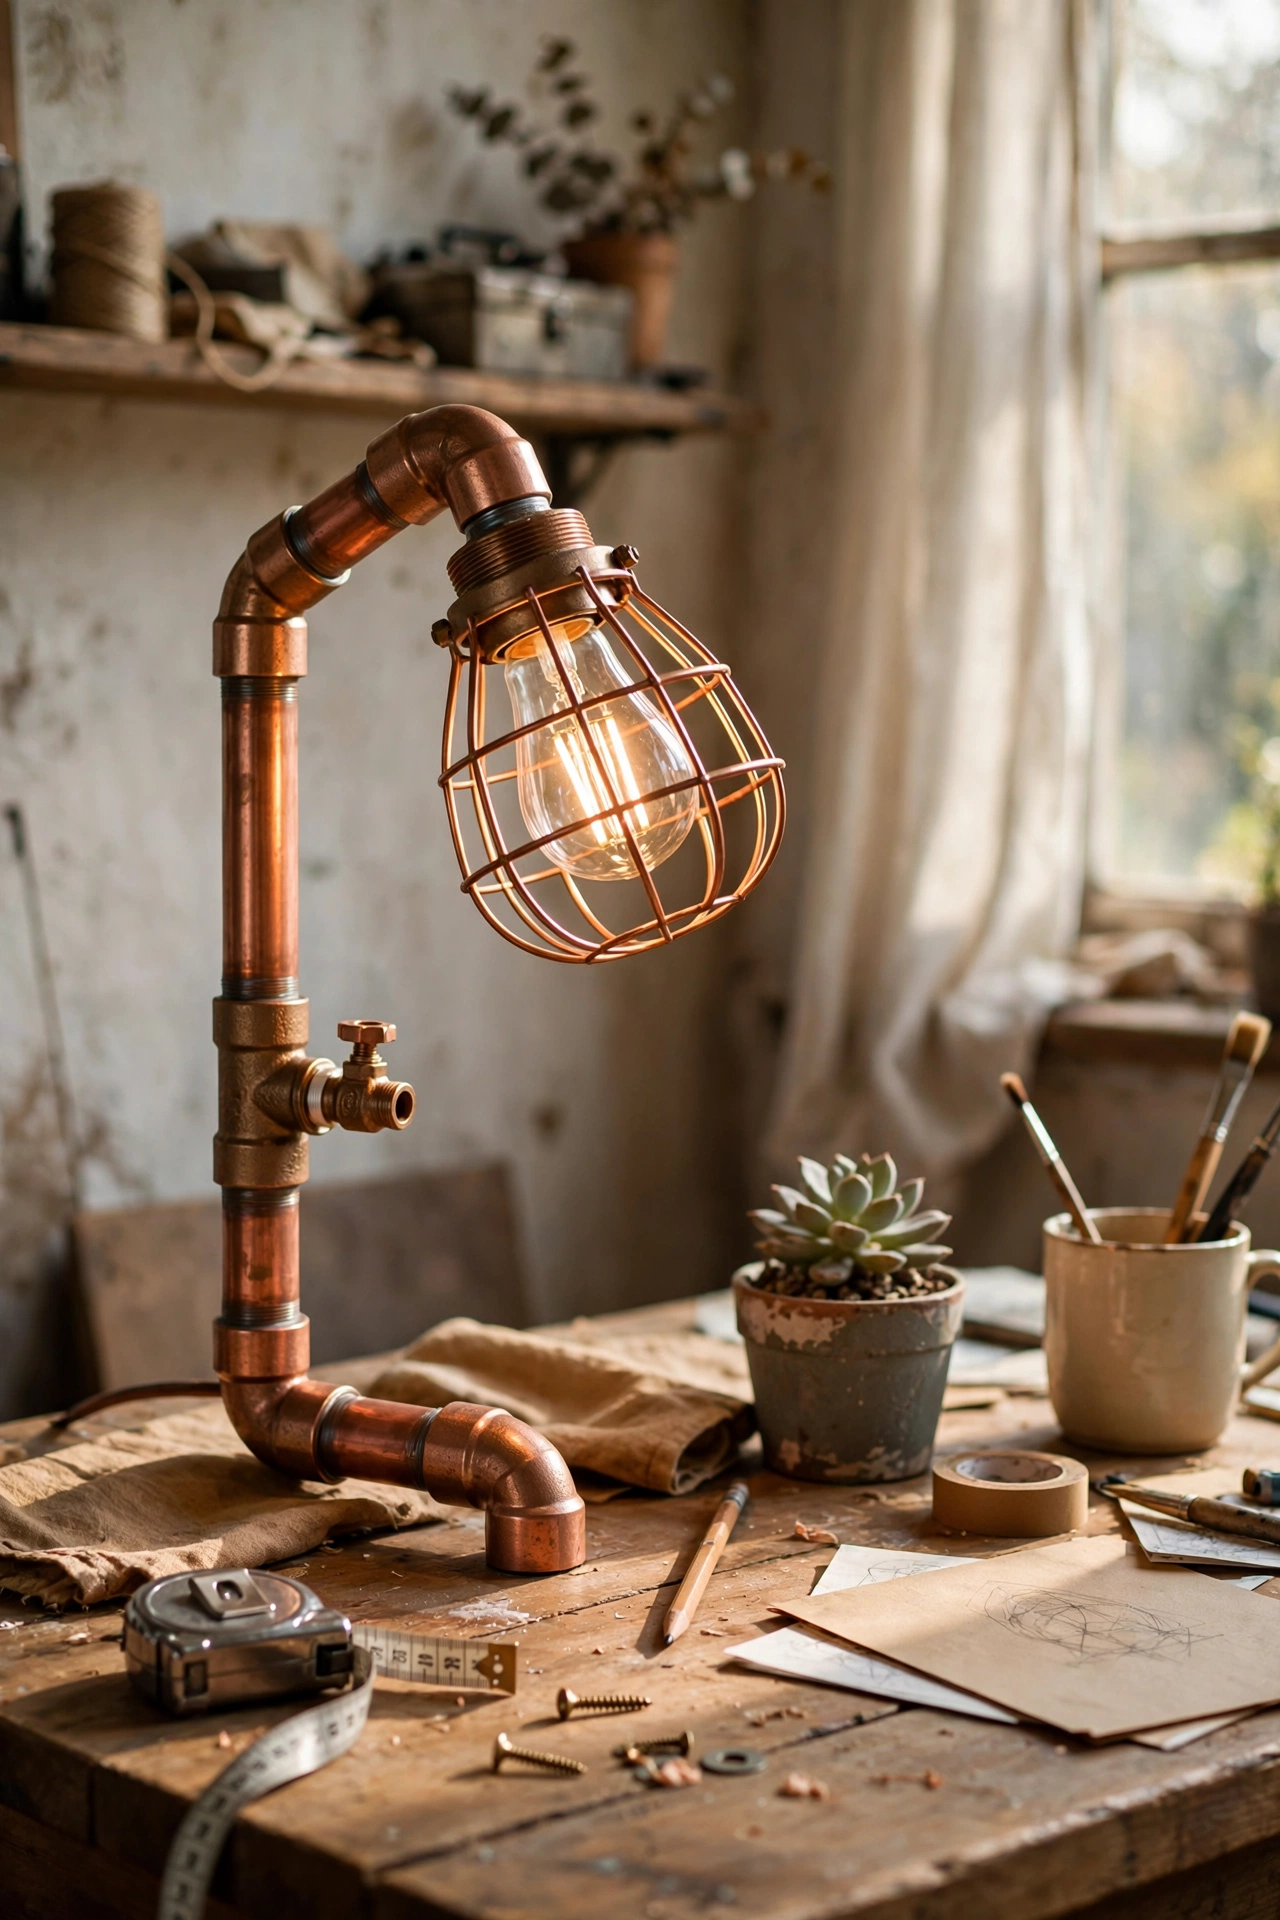
Copper plumbing fittings screwed together make an industrial desk lamp that looks far more expensive than its parts. I built mine from four elbow joints and two straight lengths, dry-fitting the shape first, then wiring a cord through the hollow pipe and fitting a cage bulb cover. The metal cleans up beautifully with vinegar and salt. Do not glue anything until the wiring is threaded, because you cannot fish a cord through a glued joint. The whole lamp cost me less than one restaurant lunch.
Cost: ~$20-28 | Time: 2 hours
14. Rattan-Look Wrapped Shade
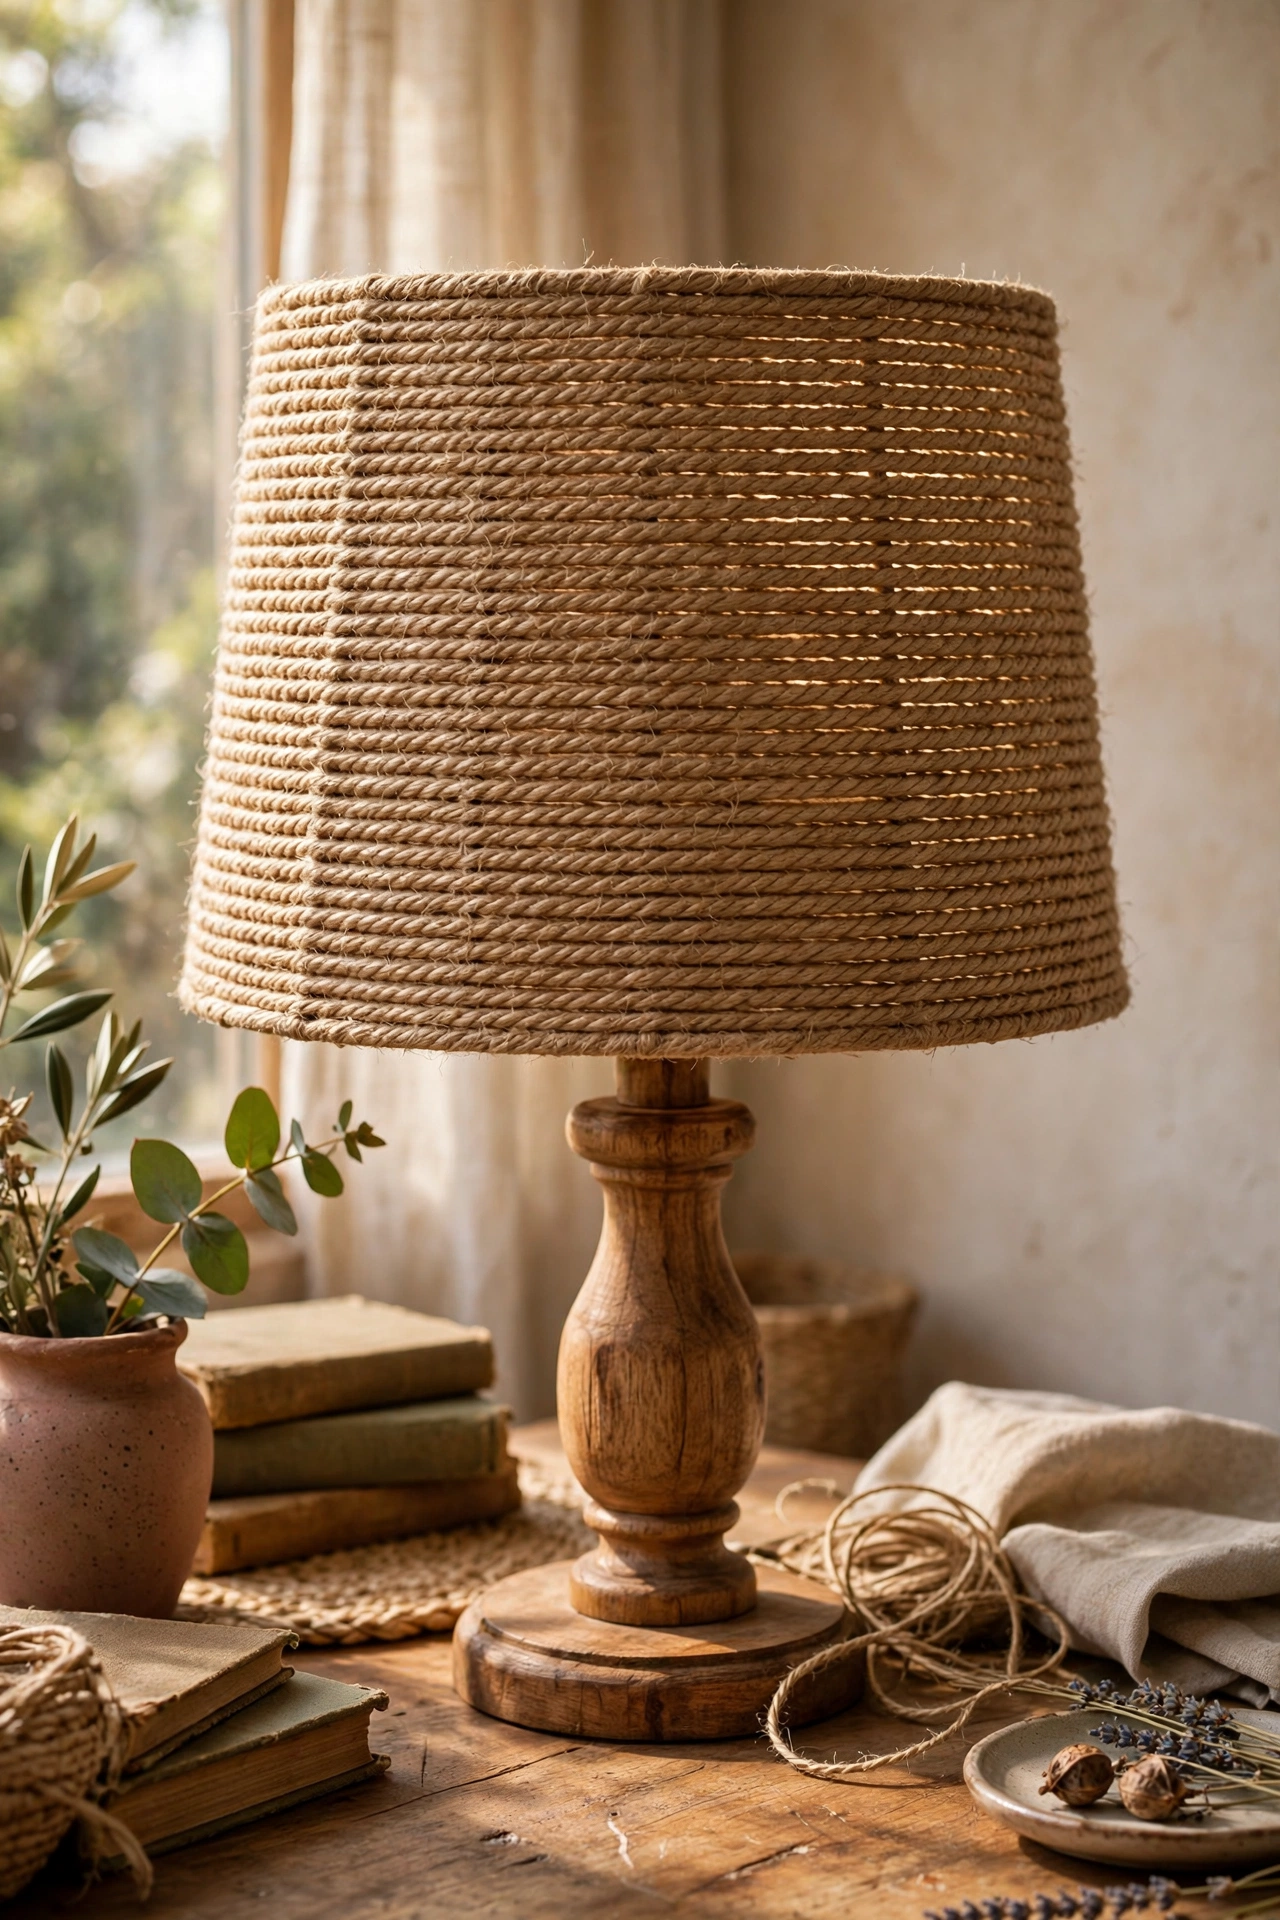
You can fake the rattan pendant look by wrapping a plain shade in jute twine. I took a $4 white drum shade and spiral-wrapped it with jute, hot-gluing each row snug against the last. It took one long evening of television to finish, and the result passes for the real thing at a glance. Keep the rows tight, because gaps show the white shade underneath and ruin the illusion. Starting from the bottom edge and working up gives the cleanest finish.
Cost: ~$10-14 | Time: 3 hours
15. Driftwood Branch Floor Lamp
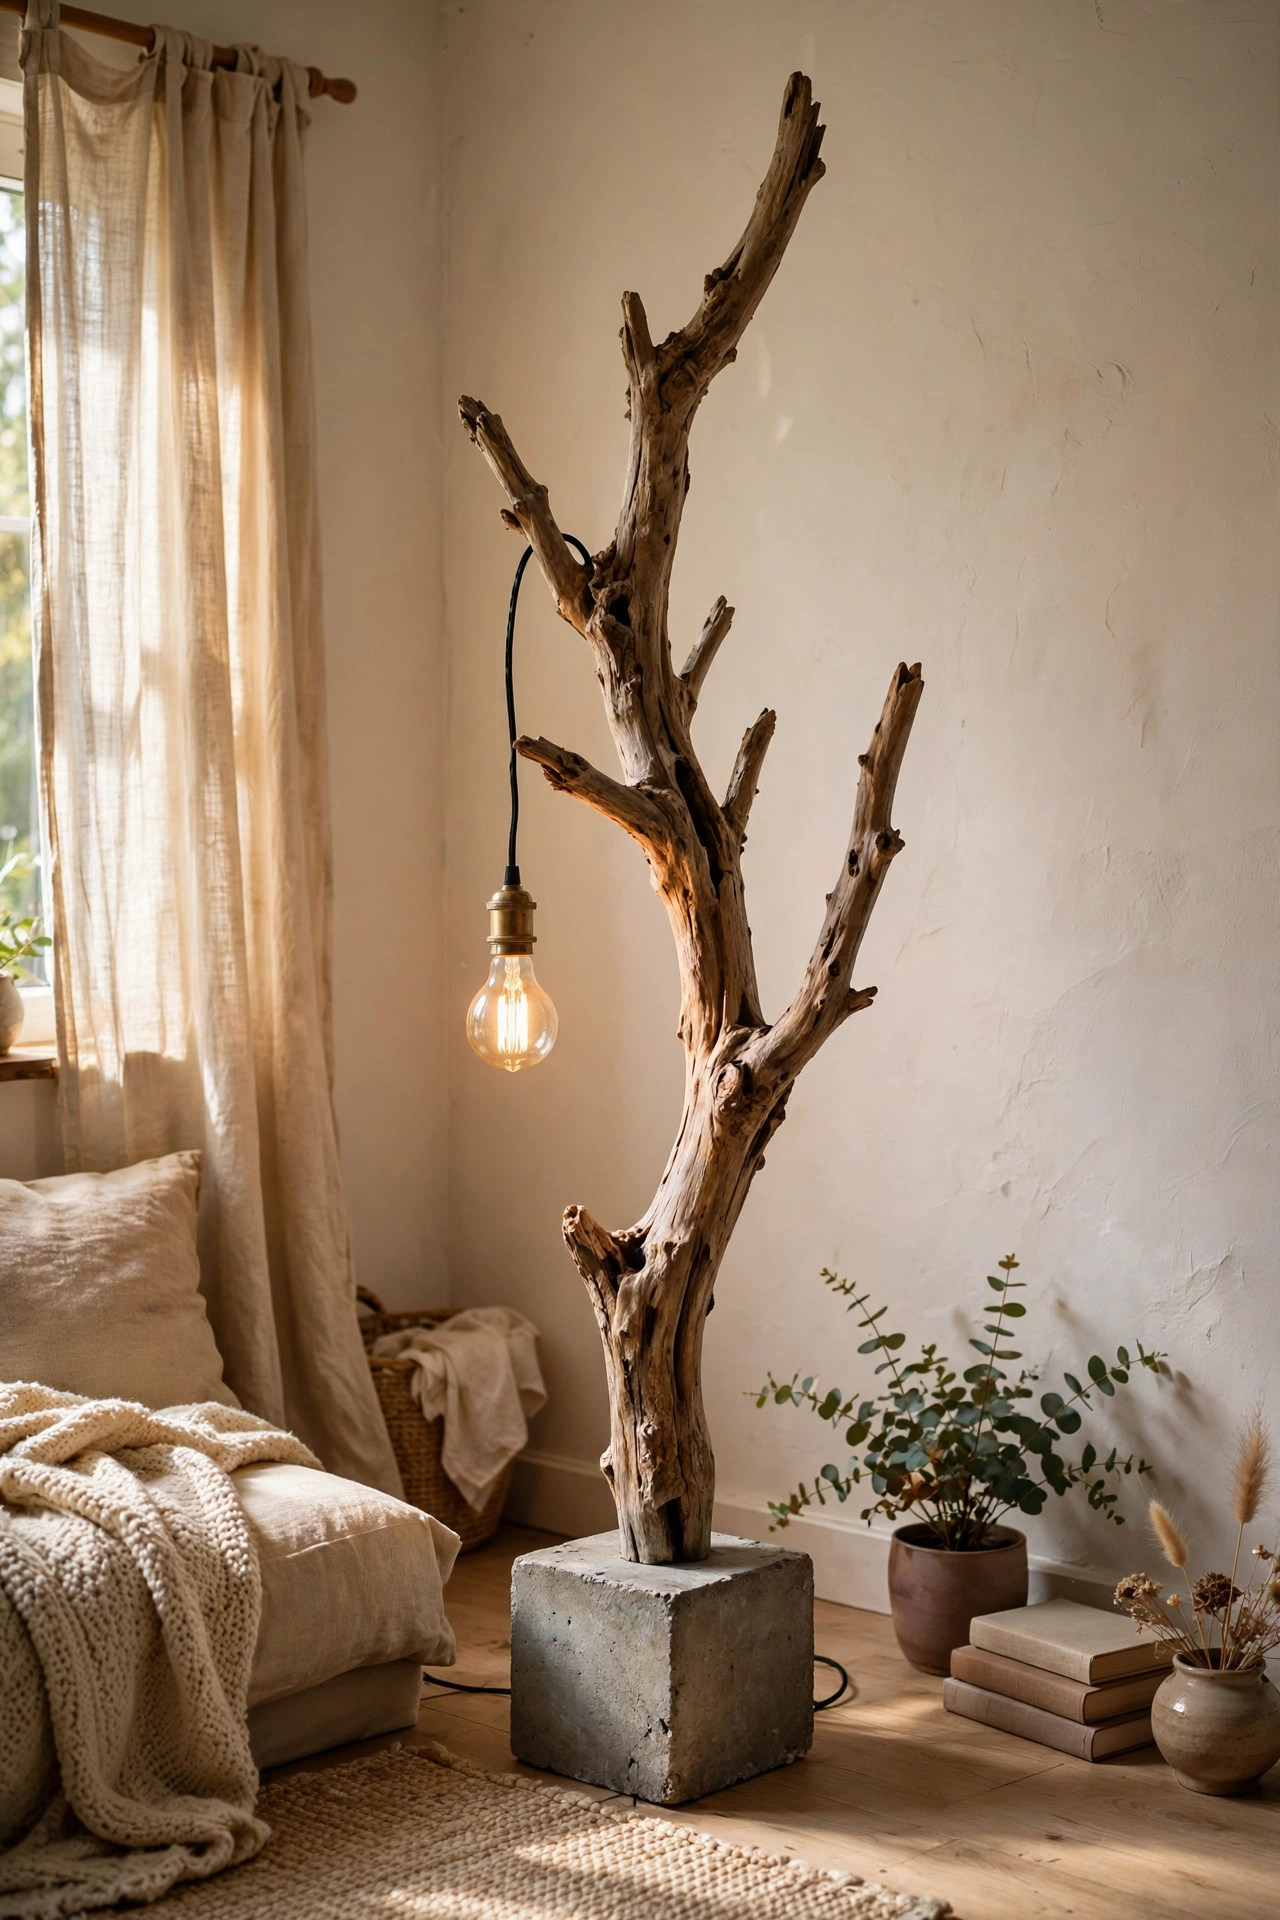
A sturdy branch becomes a sculptural floor lamp with almost no construction. I found a straight, dry branch on a beach trip, scrubbed it, mounted it in a concrete-filled bucket, and zip-tied a pendant cord along its length so the bulb hangs from the top. It looks like something from a gallery and cost me the price of the pendant kit. The branch must be completely dry or it will keep shrinking and loosen the mounts. Let it dry indoors for a month before you build.
Cost: ~$14-20 | Time: 1 hour active
16. Tin Can Punched Lanterns
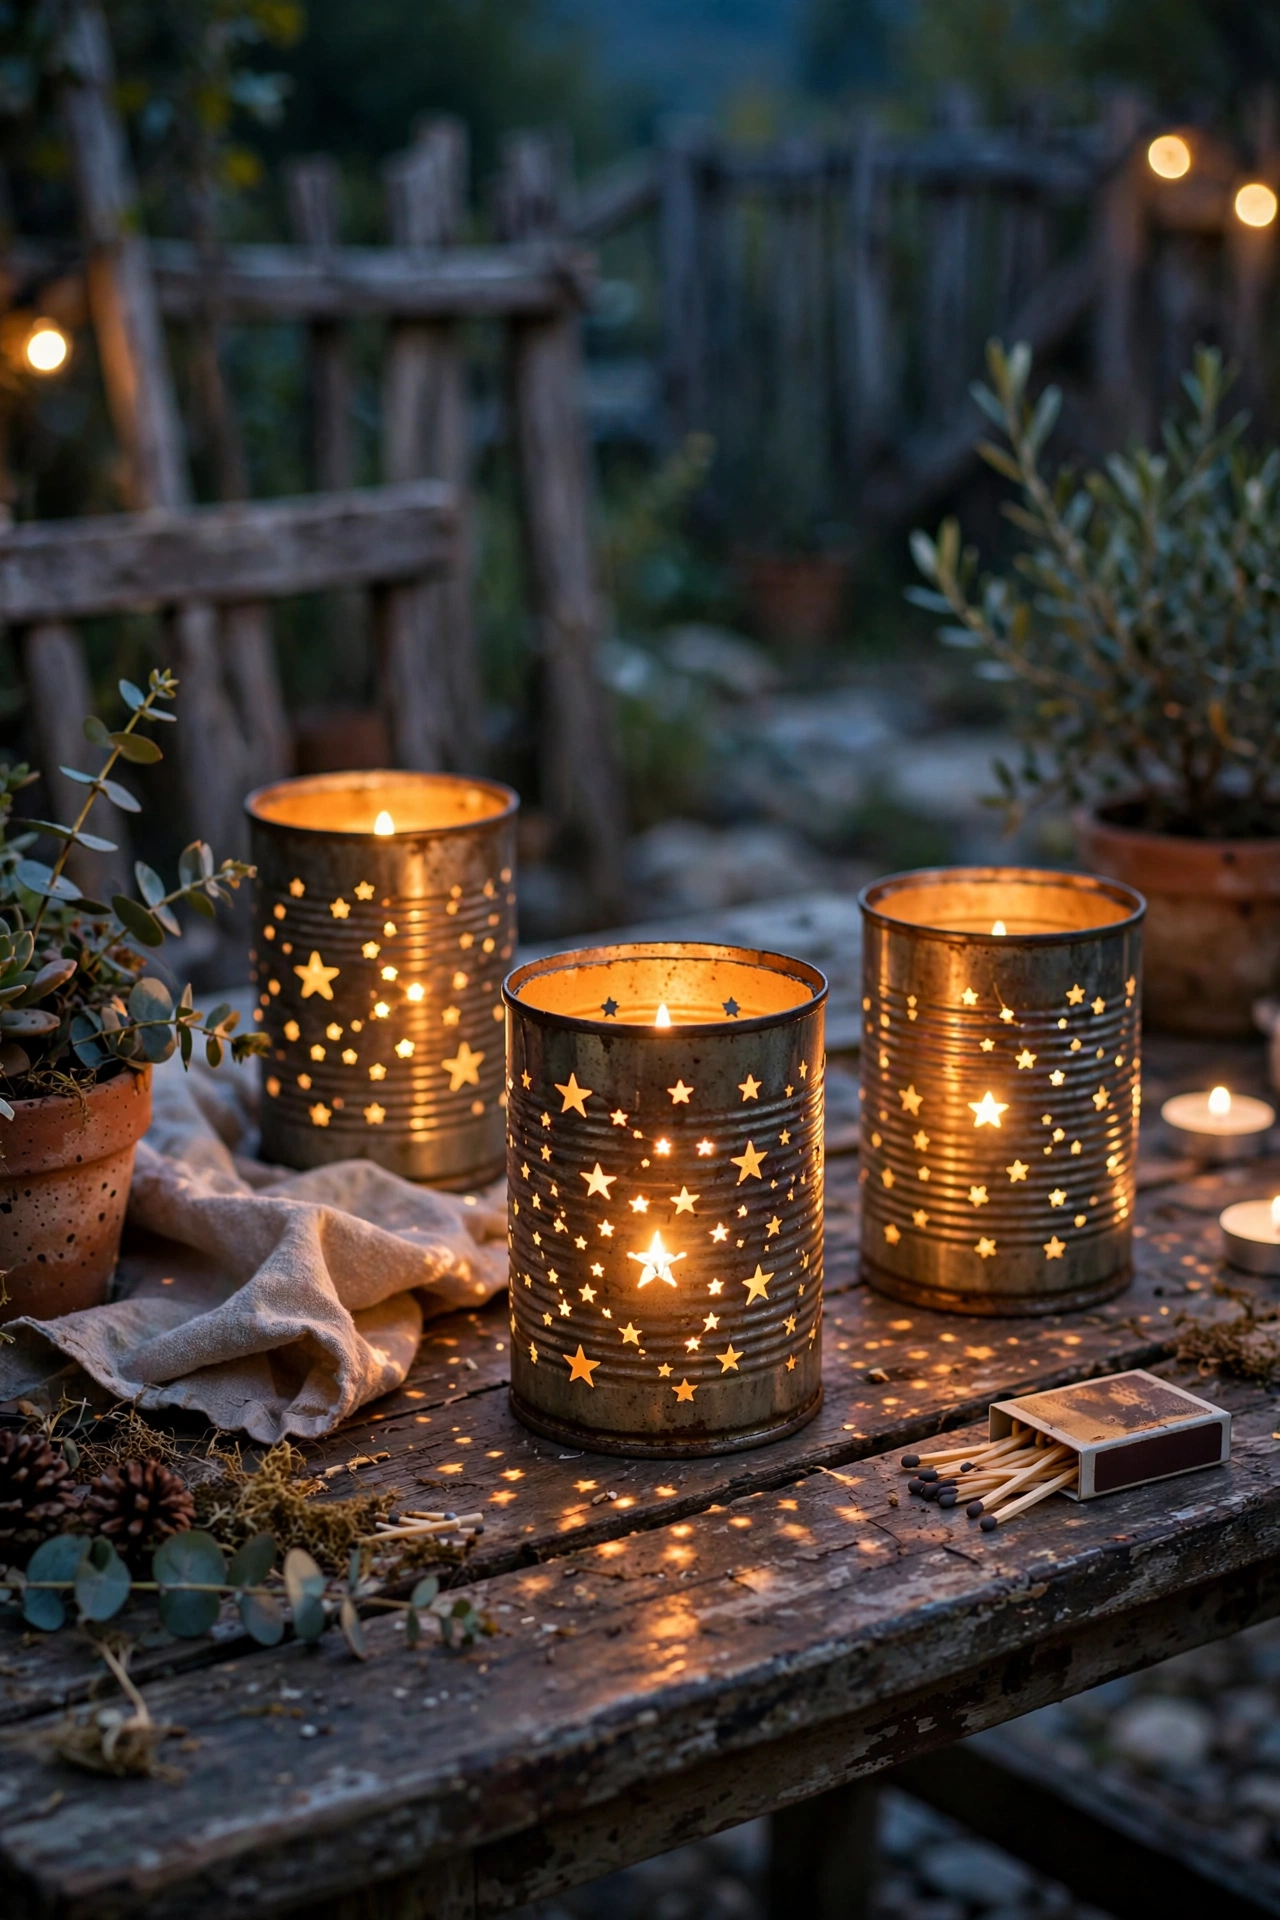
Punched tin cans glowing on a patio are pure summer evening. Fill a can with water and freeze it overnight, then punch patterns with a nail and hammer. The ice supports the metal so it does not dent. I made a set of six for my patio table and they throw the loveliest starlight patterns. Battery tea lights go inside, because real candles in painted cans get too hot. Peel the labels and sand the cans first for a cleaner finish.
Cost: ~$3-6 | Time: 45 minutes for six
17. Painted Dot Paper Globe Lamp
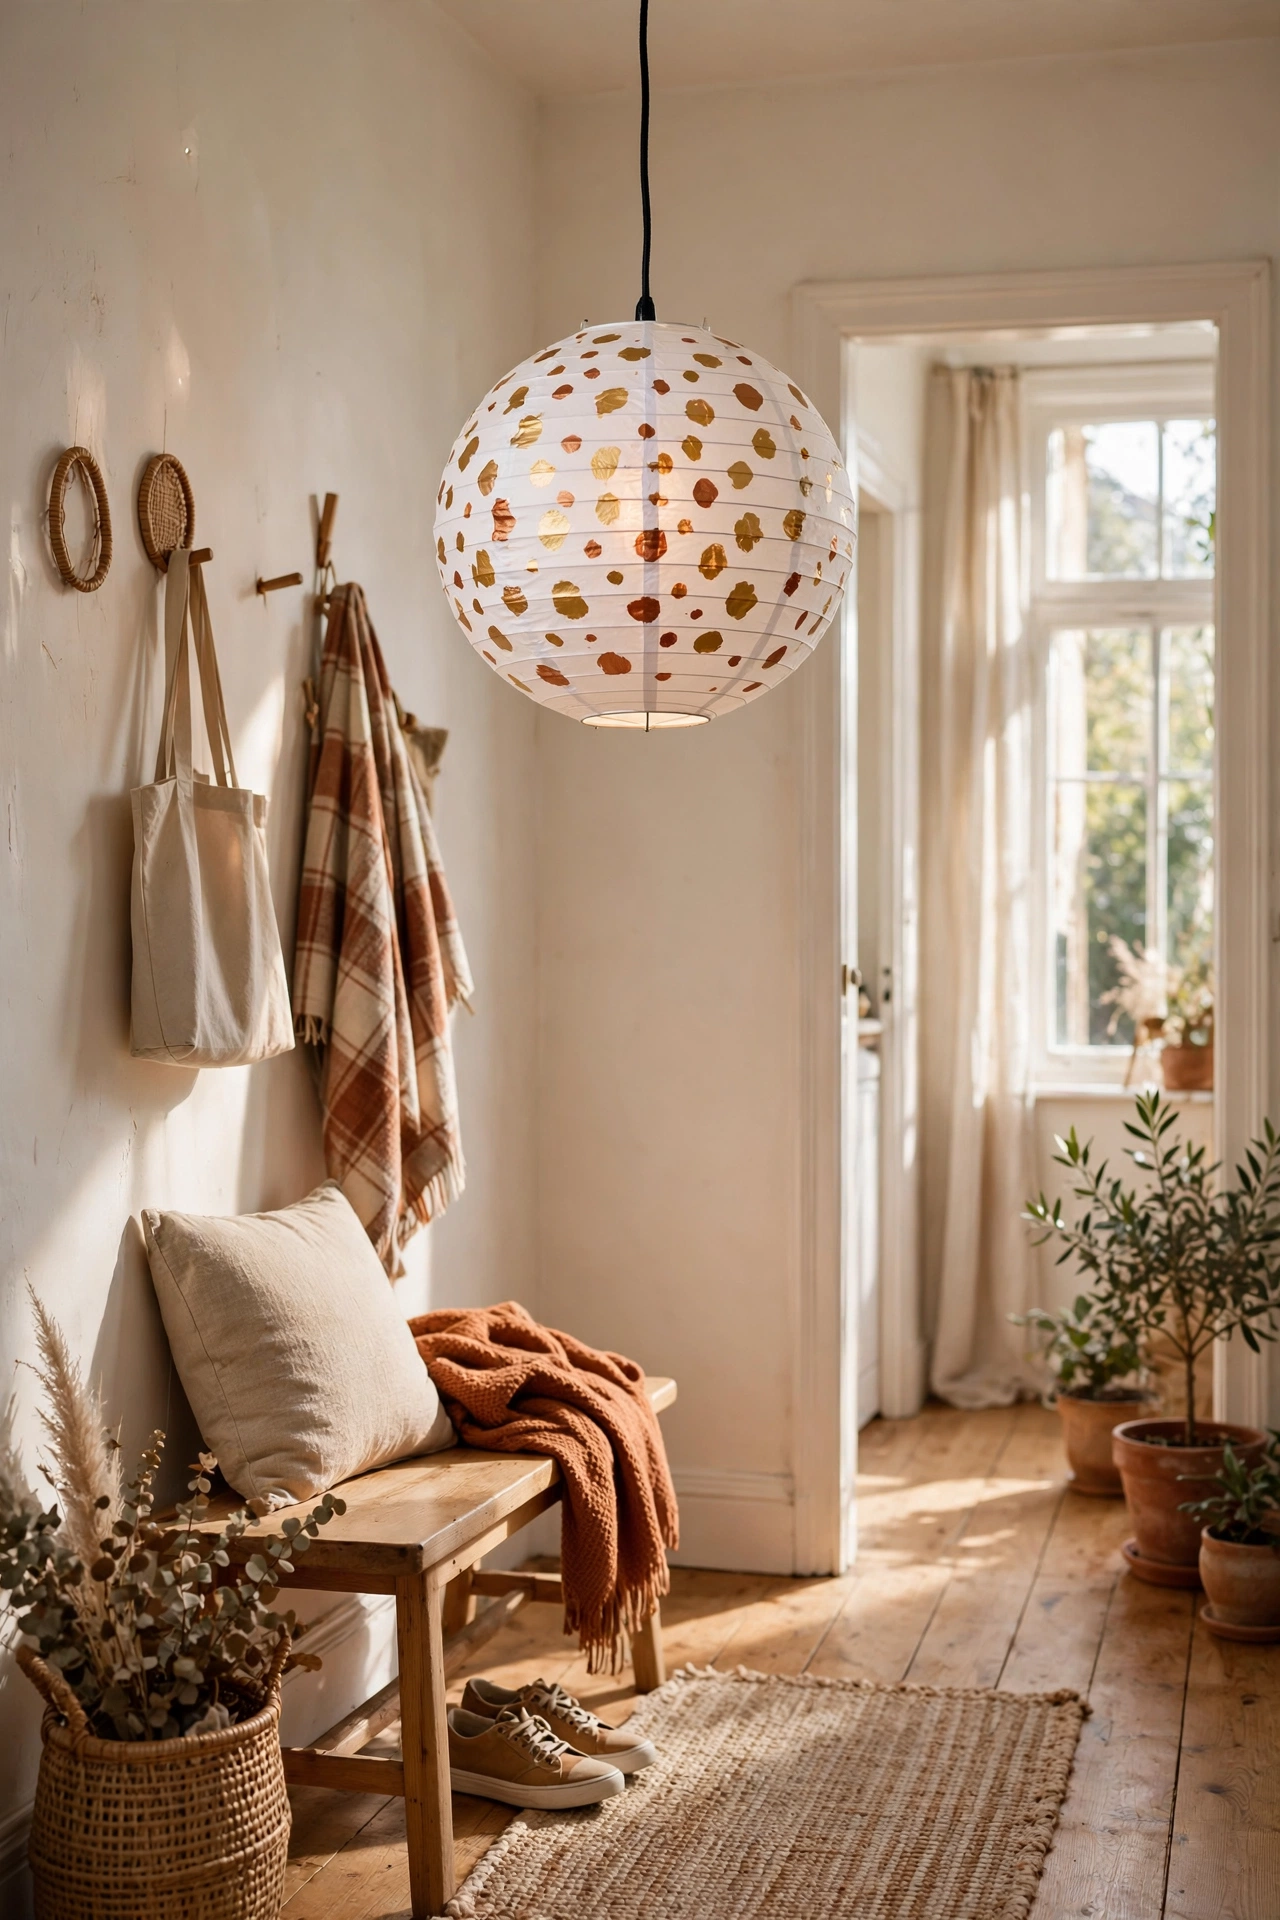
A plain white paper globe gets a designer upgrade from painted dots in warm metallics. I dotted mine with gold and copper craft paint in a loose polka pattern and hung it in my hallway. The paint catches the light when the lamp is on and the dots glow softly through the paper. Use a foam dauber for clean circles, because a brush leaves streaky edges. Let the paint dry fully before you insert the bulb, and keep the bulb low-wattage LED so the paper never gets warm.
Cost: ~$10-14 | Time: 1 hour plus drying
Quick questions, answered
Is it safe to rewire a lamp myself?
A basic rewire kit comes with step-by-step instructions and is genuinely beginner friendly: you are replacing a cord and socket with new parts made for the job. Unplug everything first, match the wires exactly as the kit shows, and if a lamp has a metal body, make sure the kit includes a ground wire. When in doubt, a local lamp repair shop will rewire a table lamp for about $15.
What is the cheapest DIY lamp to make?
The tin can punched lanterns and the string light bottle lamp cost under $8 each. For something that actually lights a room, the mason jar pendant and the spray-painted thrifted lamp give you the most transformation per dollar, both landing around $12.
Can I use any bulb in a DIY lamp shade?
Use LED bulbs only, and check the wattage rating of your kit. LEDs run cool, which matters for paper, fabric, and basket shades. Warm white (2700K) suits living spaces best, while daylight (5000K) works better for a desk lamp where you need to see detail.
📌 Loving these ideas? Pin this post now so you can save this idea for your next weekend project.
Keep the DIY momentum going: (see also: 17-diy-vase-ideas-on-a-budget/) (see also: 21-dollar-store-decor-ideas-that-look-expensive/) (see also: 15-easy-diy-home-decor-projects-for-beginners-under-25/)
