19 Dollar Store DIYs That Look Designer
I used to walk past the dollar store without a second glance. Then a friend showed me her “marble” tray — a dollar-store frame with a printed insert — and I was floored. Since then I’ve become a bit of a dollar-store detective, and I’ve learned that the trick isn’t the store, it’s the finishing: matte paint, good styling, and knowing which items have designer bones. These dollar store diy decor projects are my best finds.
Every project here starts with something from the dollar store — most under $5 — and ends with something guests assume cost ten times more. I’ve made all nineteen, and I’m telling you exactly which shortcuts work and which ones to skip.
1. Mirrored Tray from Picture Frames
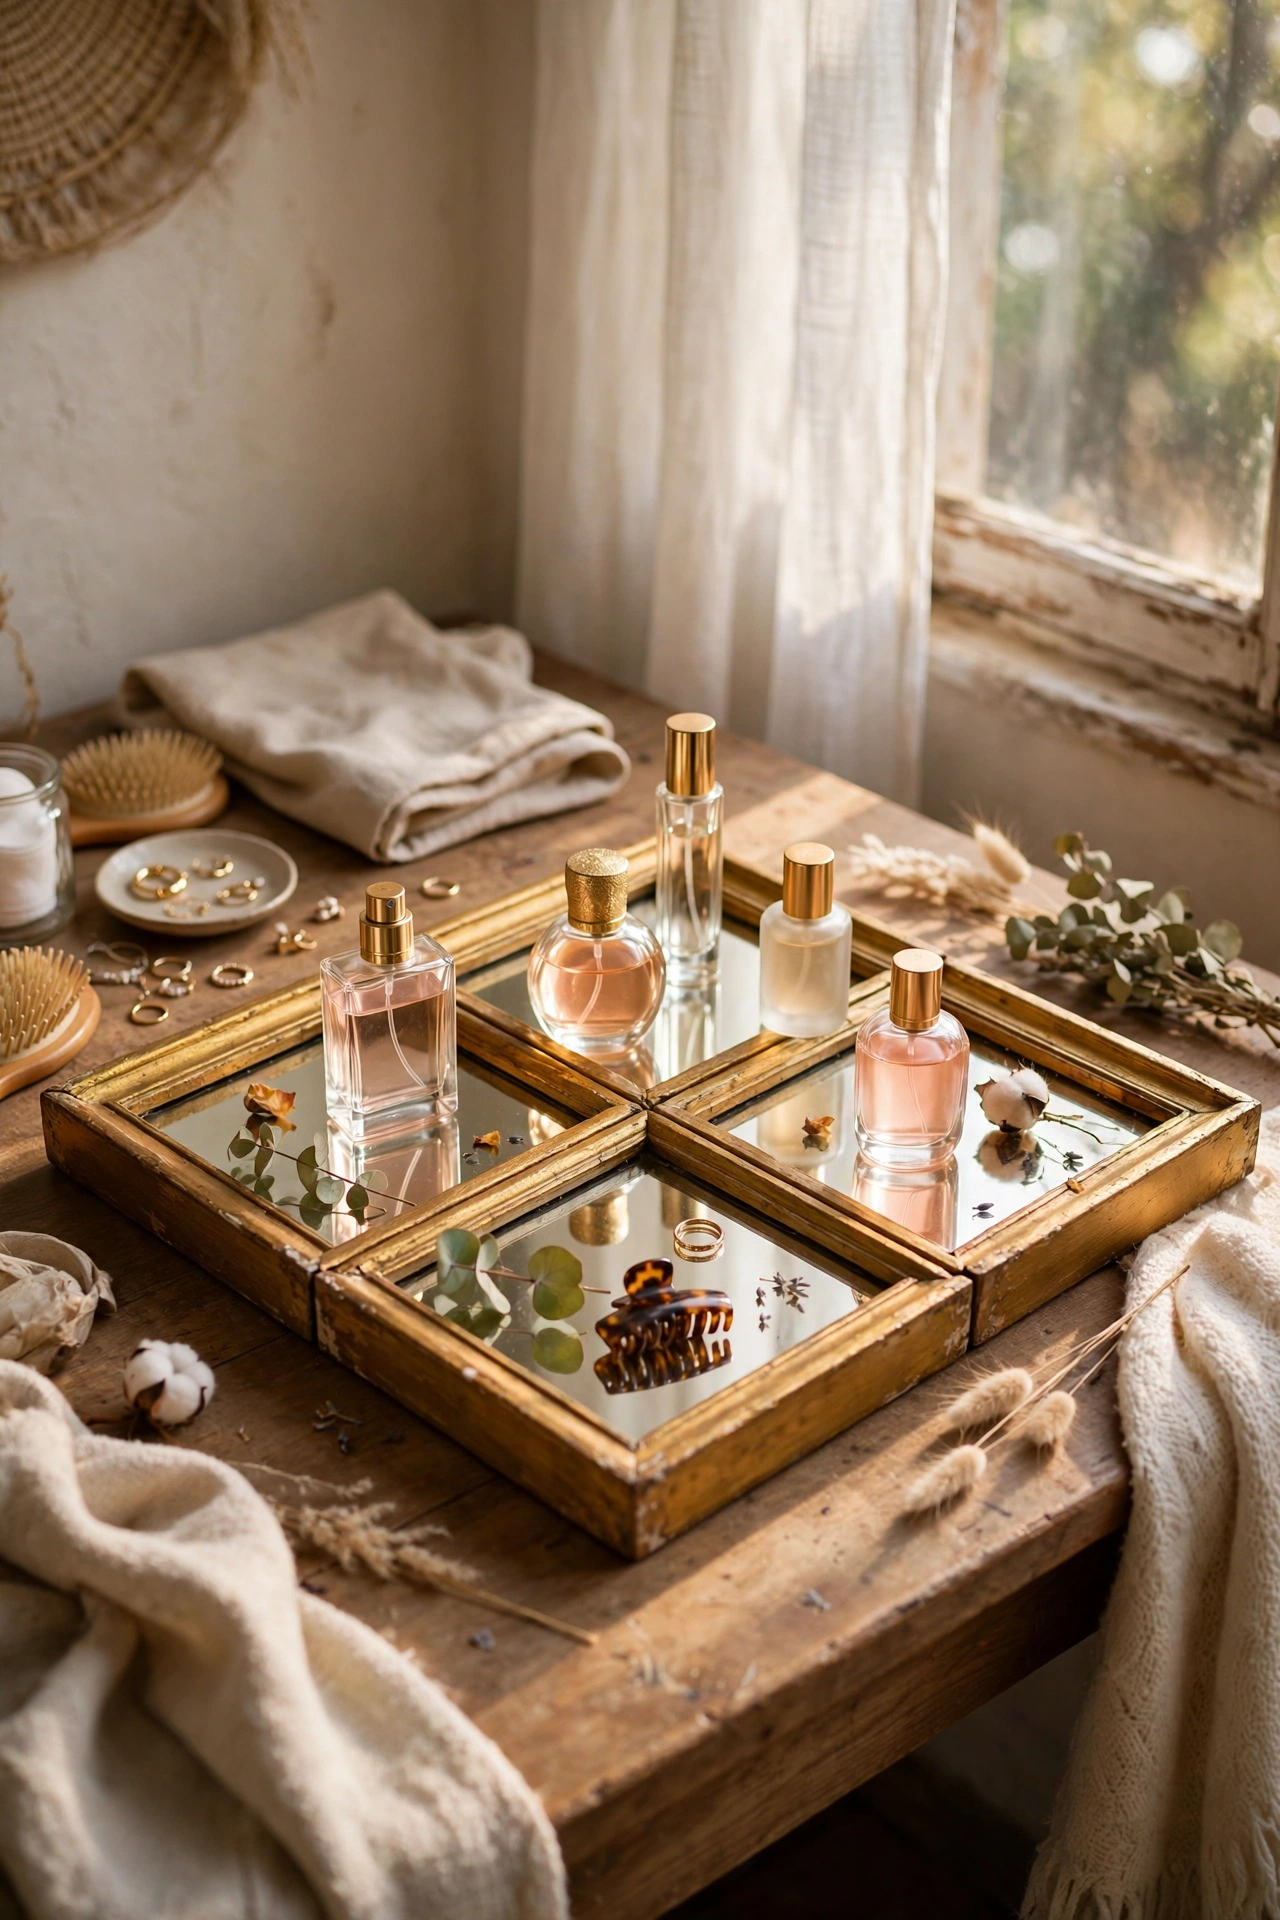
Four small dollar-store frames with the glass left in, joined edge to edge on a piece of foam board, become a mirrored tray. Glue the frames face-down in a grid, add small handles from the hardware aisle, and you’ve got a vanity tray that looks properly luxe. I made one for my dressing table and it catches the light beautifully. Don’t use the flimsy cardboard backing that comes with the frames — replace it with foam board so the tray stays rigid when you lift it.
Pro tip: spray the frame edges with metallic gold paint before assembling for a genuinely gilded look.
Cost: ~$8 | Time: 45 minutes
2. Faux Apothecary Jars
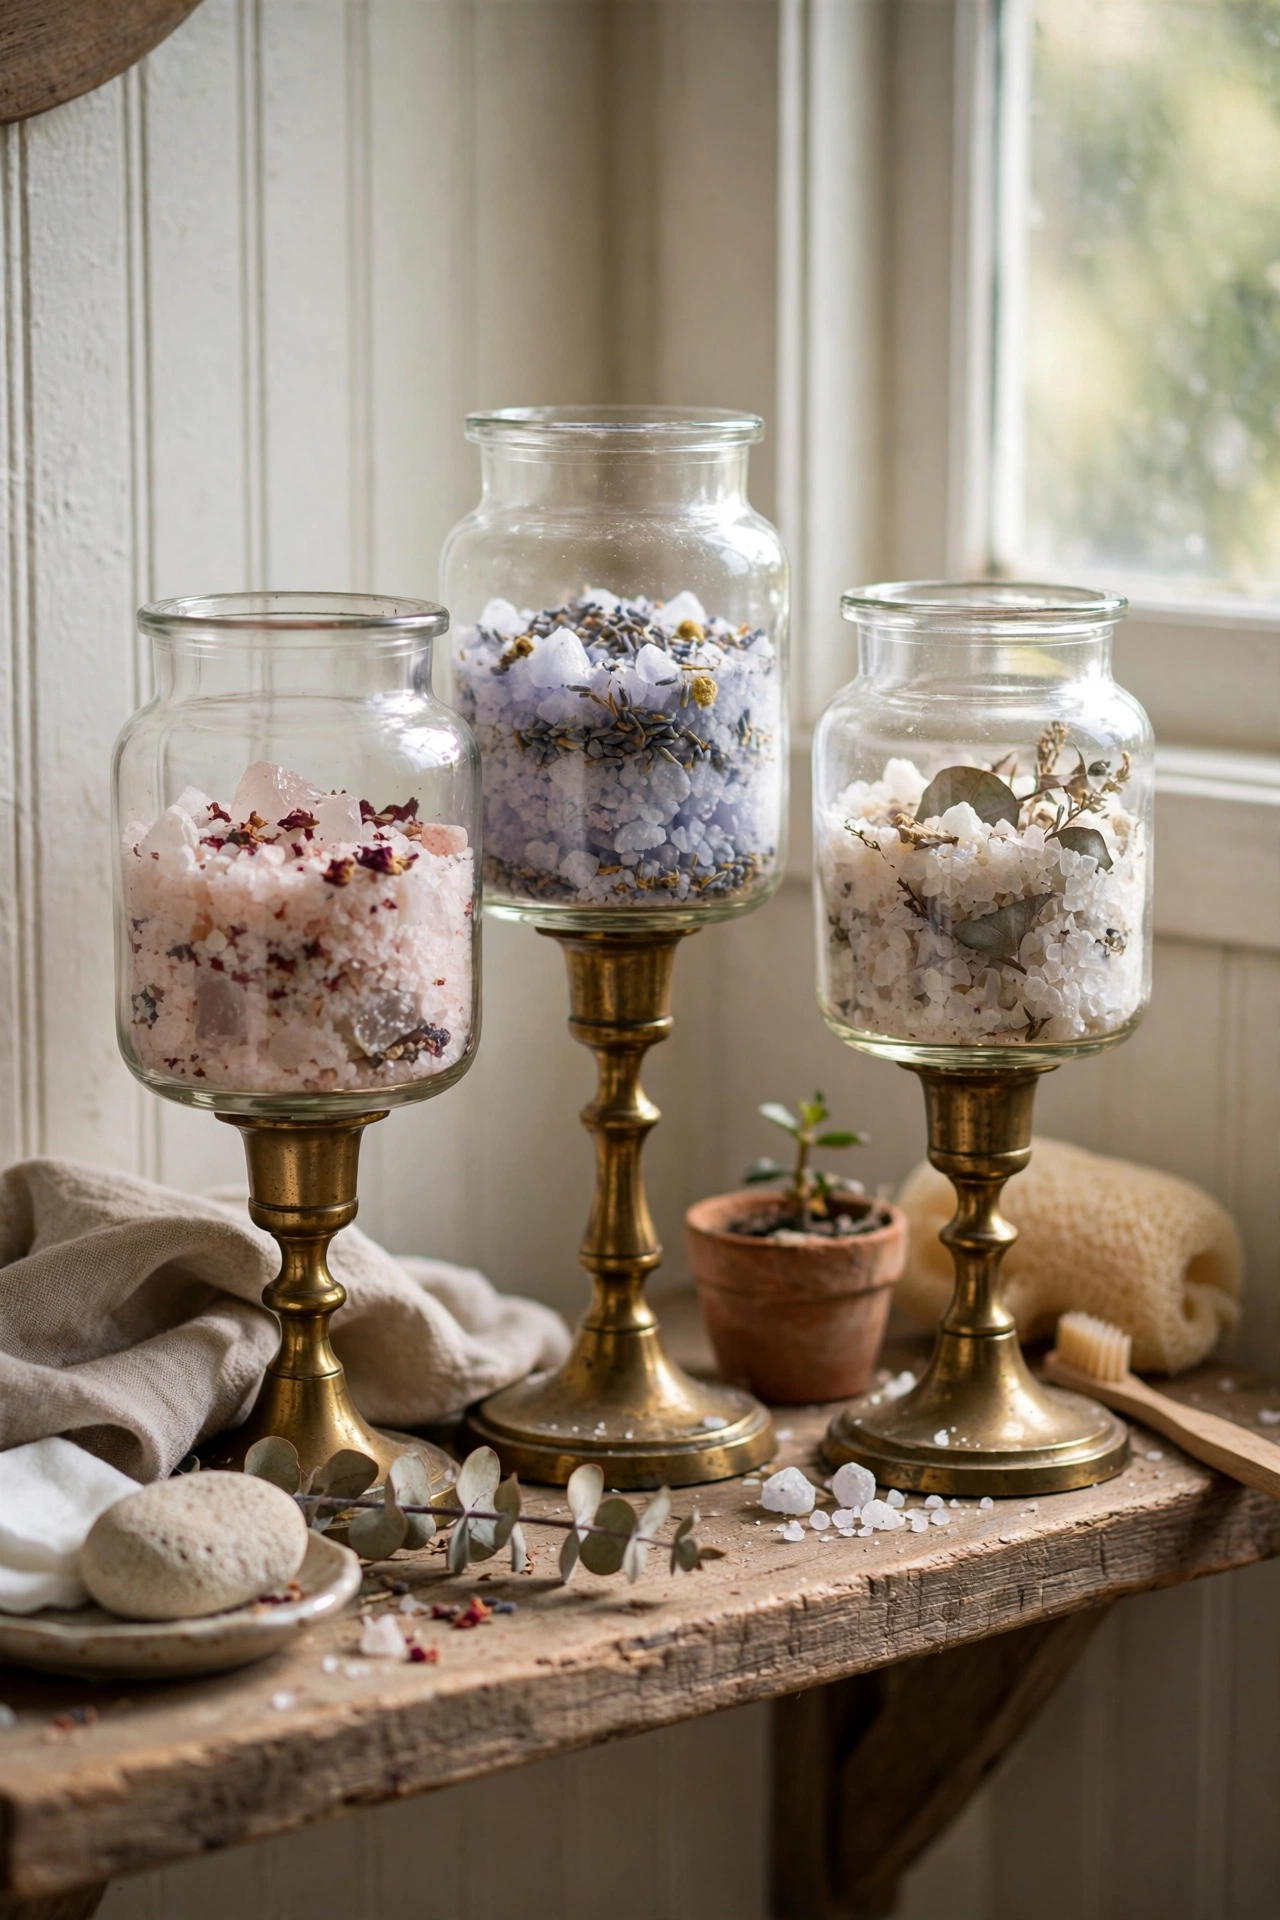
A glass candle holder glued to a candlestick becomes an apothecary jar — the classic dollar-store transformation. Use a strong clear adhesive, let it cure for a full 24 hours, then fill with cotton balls, bath salts, or fairy lights. I made a trio for my bathroom shelf and they look like something from a spa. The mistake I made first time was using hot glue; it held for a week then the top slid off. E6000 or a similar permanent adhesive is non-negotiable here.
Pro tip: fill one with dried lavender buds — it looks beautiful and scents the bathroom.
Cost: ~$6 | Time: 10 minutes plus curing
3. Faux Marble Serving Tray
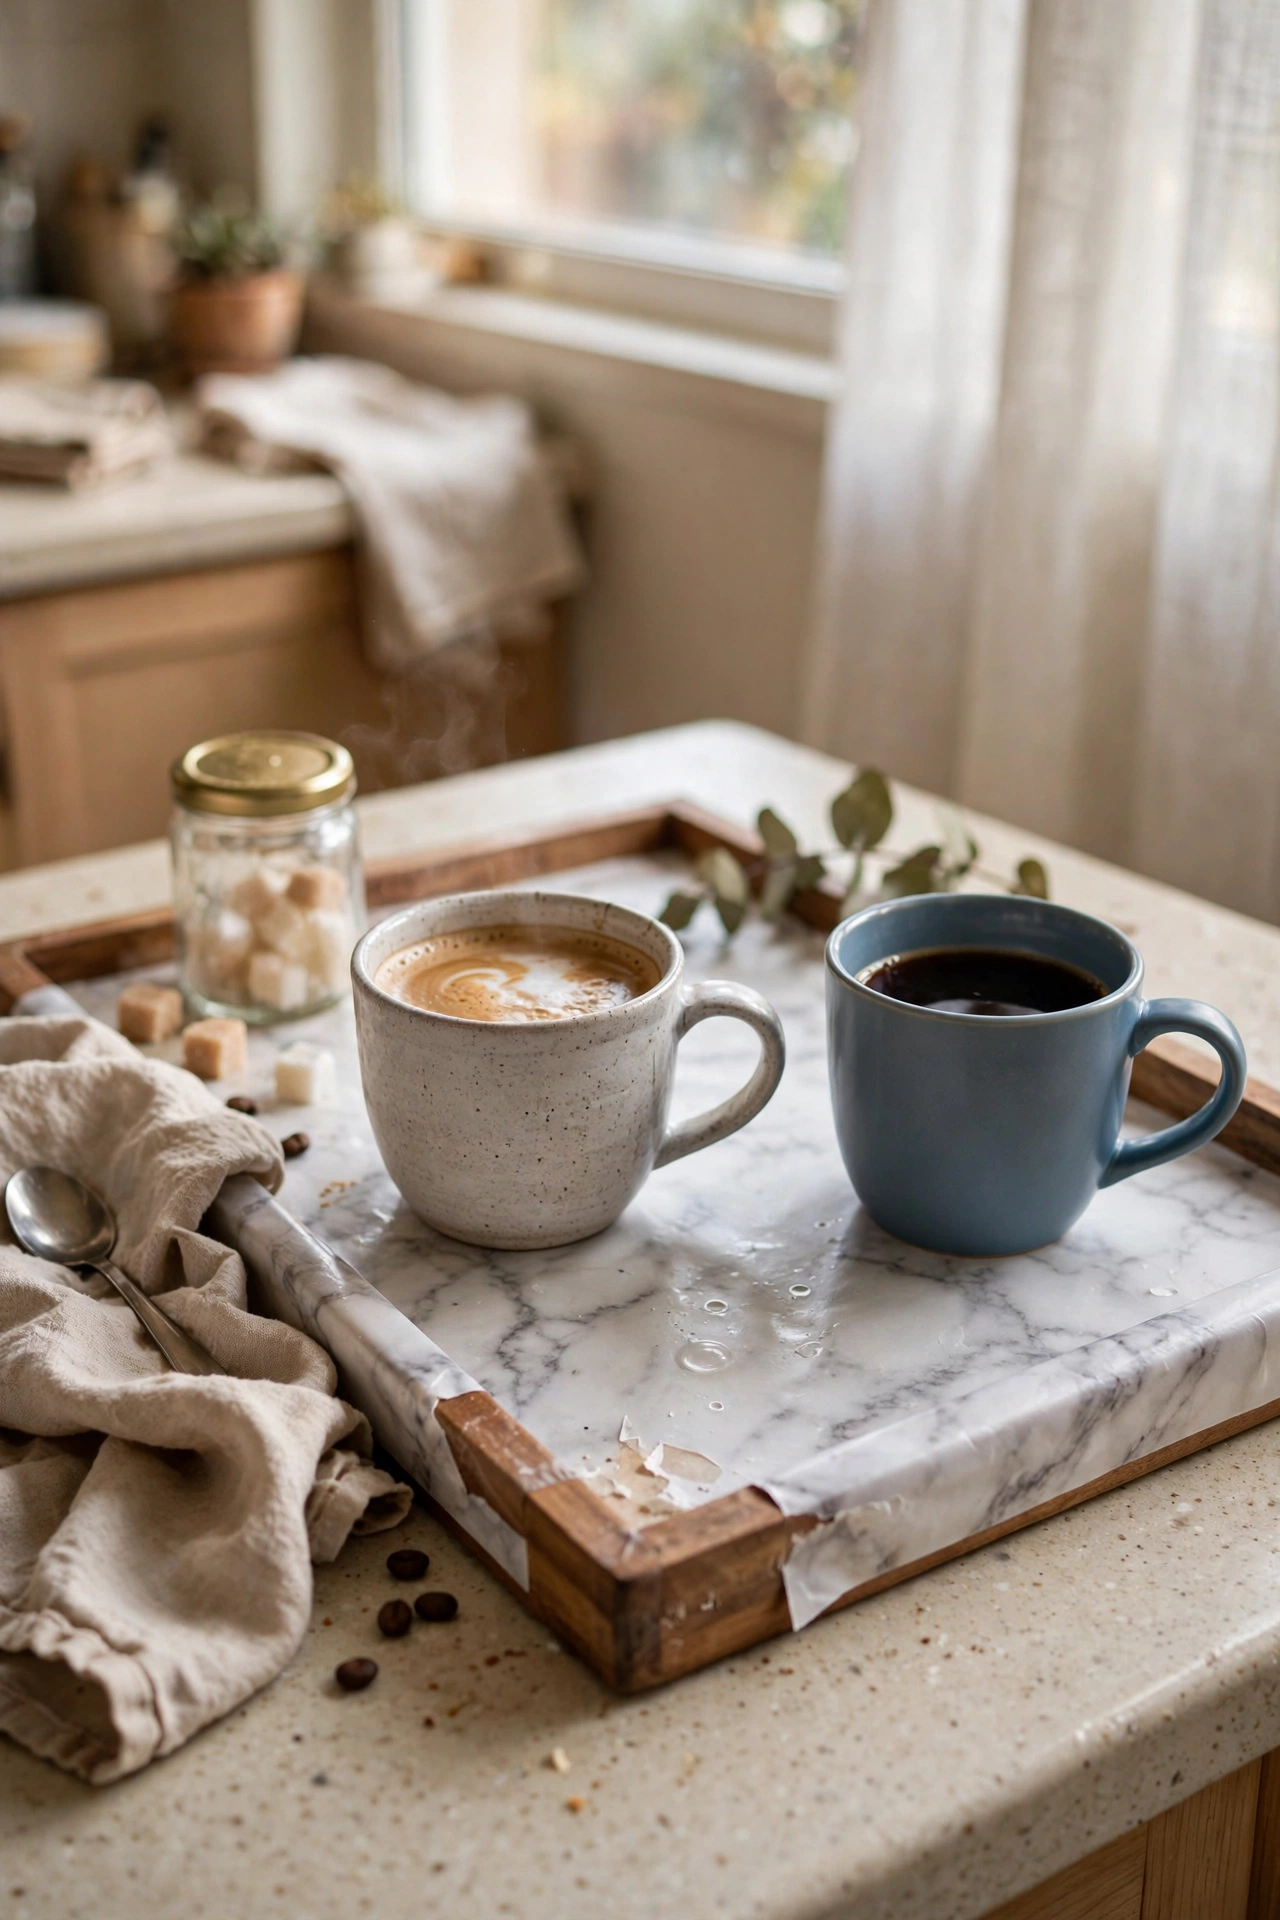
A plain wooden tray plus marble-effect contact paper equals a serving tray that fools everyone. Cover the tray base smoothly with the contact paper, trimming carefully at the edges, and seal with a clear matte varnish so it wipes clean. I use mine for coffee service and guests always ask where it’s from. Smooth the paper from the centre outward with a credit card — air bubbles are the giveaway, so take your time on this step.
Pro tip: choose contact paper with soft grey veining; the harsh black-veined versions look fake.
Cost: ~$7 | Time: 30 minutes
4. Beaded Wooden Garland

Wooden beads from the craft aisle, strung on jute twine with a tassel at the end, make the farmhouse garland you see in every homeware catalogue. String about forty beads, knot the twine at both ends, and add a jute tassel. I drape mine over a stack of books on my coffee table and across my mantel at Christmas. Don’t buy the pre-varnished beads — the raw wood ones take stain or paint better and look more expensive unfinished anyway.
Pro tip: leave the beads natural and the twine undyed; the neutral tones go with everything.
Cost: ~$4 | Time: 20 minutes
5. Velvet-Look Pillow Covers
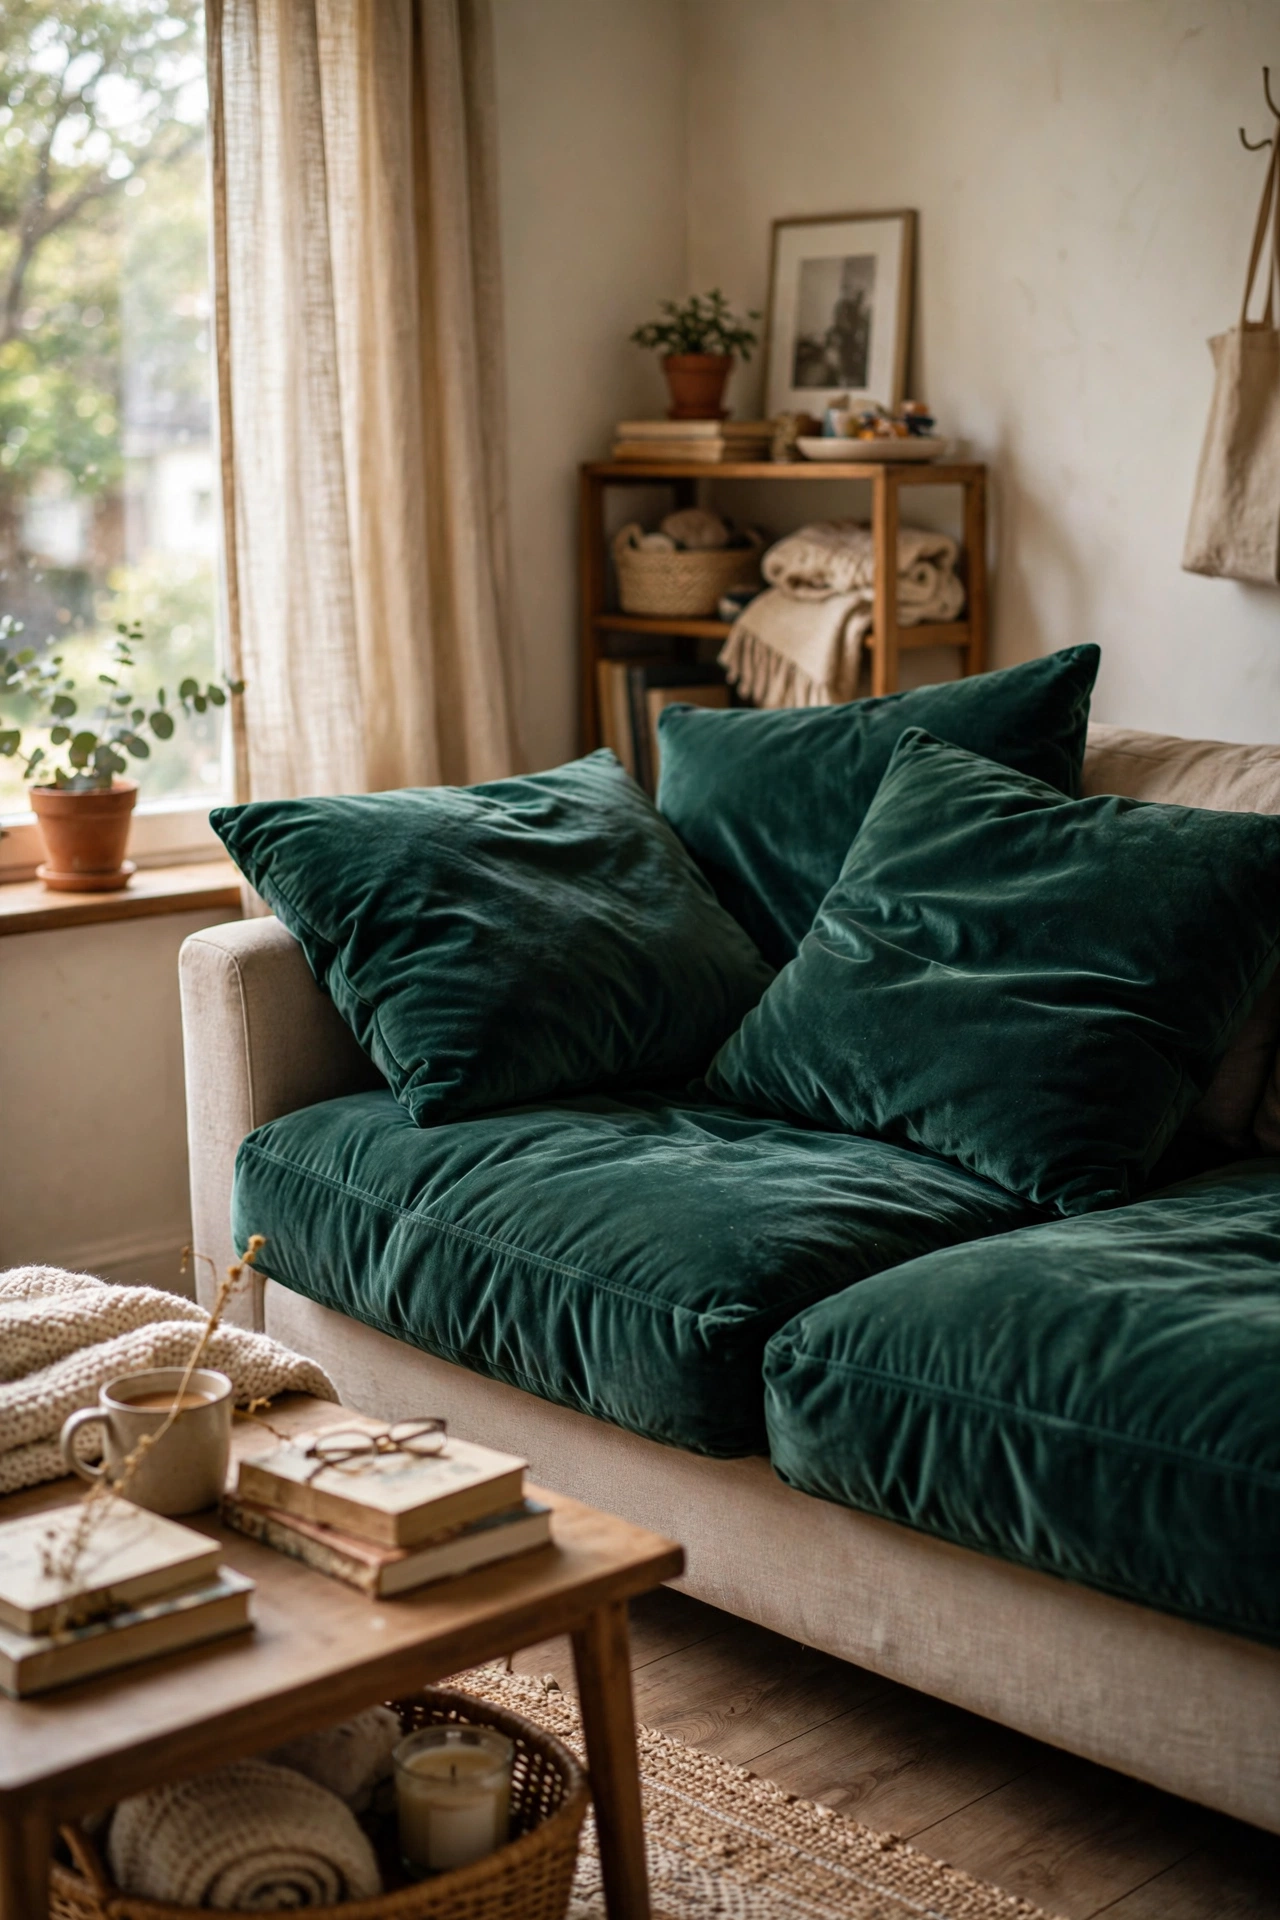
Dollar-store pillow inserts are flat and sad, but wrapped in velvet-look fabric from the remnant bin they become plush and rich. Sew a simple envelope cover in a deep jewel tone — emerald, plum, or ochre — and stuff the insert inside. I recovered four sad cushions for my sofa and the whole room looks more expensive. The secret is overstuffing: use an insert two inches larger than the cover so the pillow looks plump and full.
Pro tip: brush velvet-look fabric with a lint roller before sewing; loose fibres show up in the seams.
Cost: ~$10 | Time: 1 hour
6. Faux Topiary in a Ceramic-Look Pot
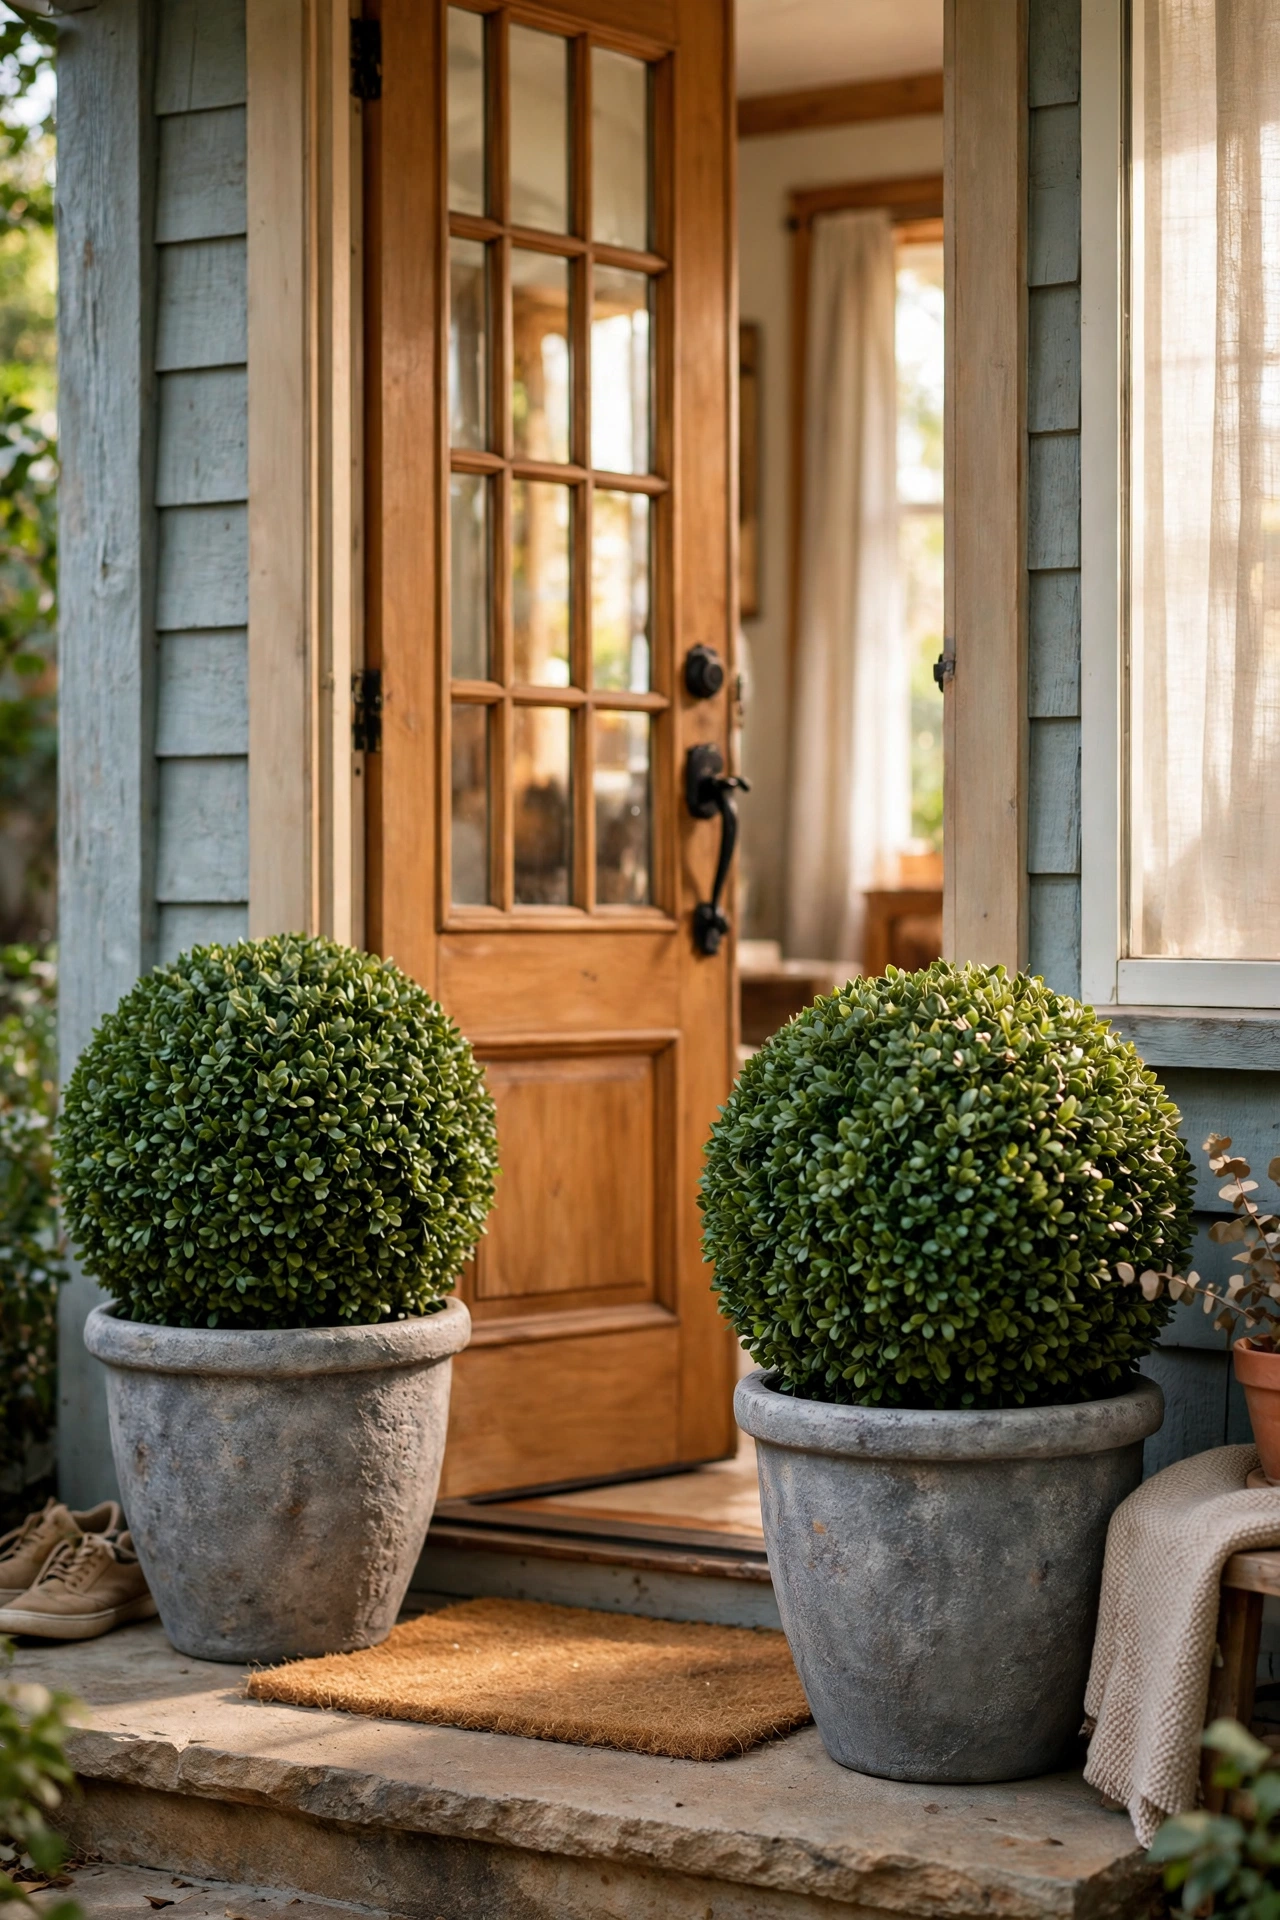
A foam ball on a dowel, stuck into a painted pot and covered in faux boxwood picks, becomes a topiary that needs no watering. Paint a plain plastic pot with stone-effect spray paint, insert the dowel into floral foam, and push in the greenery picks until no foam shows. I flank my front door with a pair and they look freshly clipped year-round. Push the picks in at varying angles — all pointing straight up looks like a toilet brush, not a topiary.
Pro tip: add a layer of real moss over the foam base to hide it completely.
Cost: ~$12 | Time: 45 minutes
7. Glass Hurricane Candle Holders
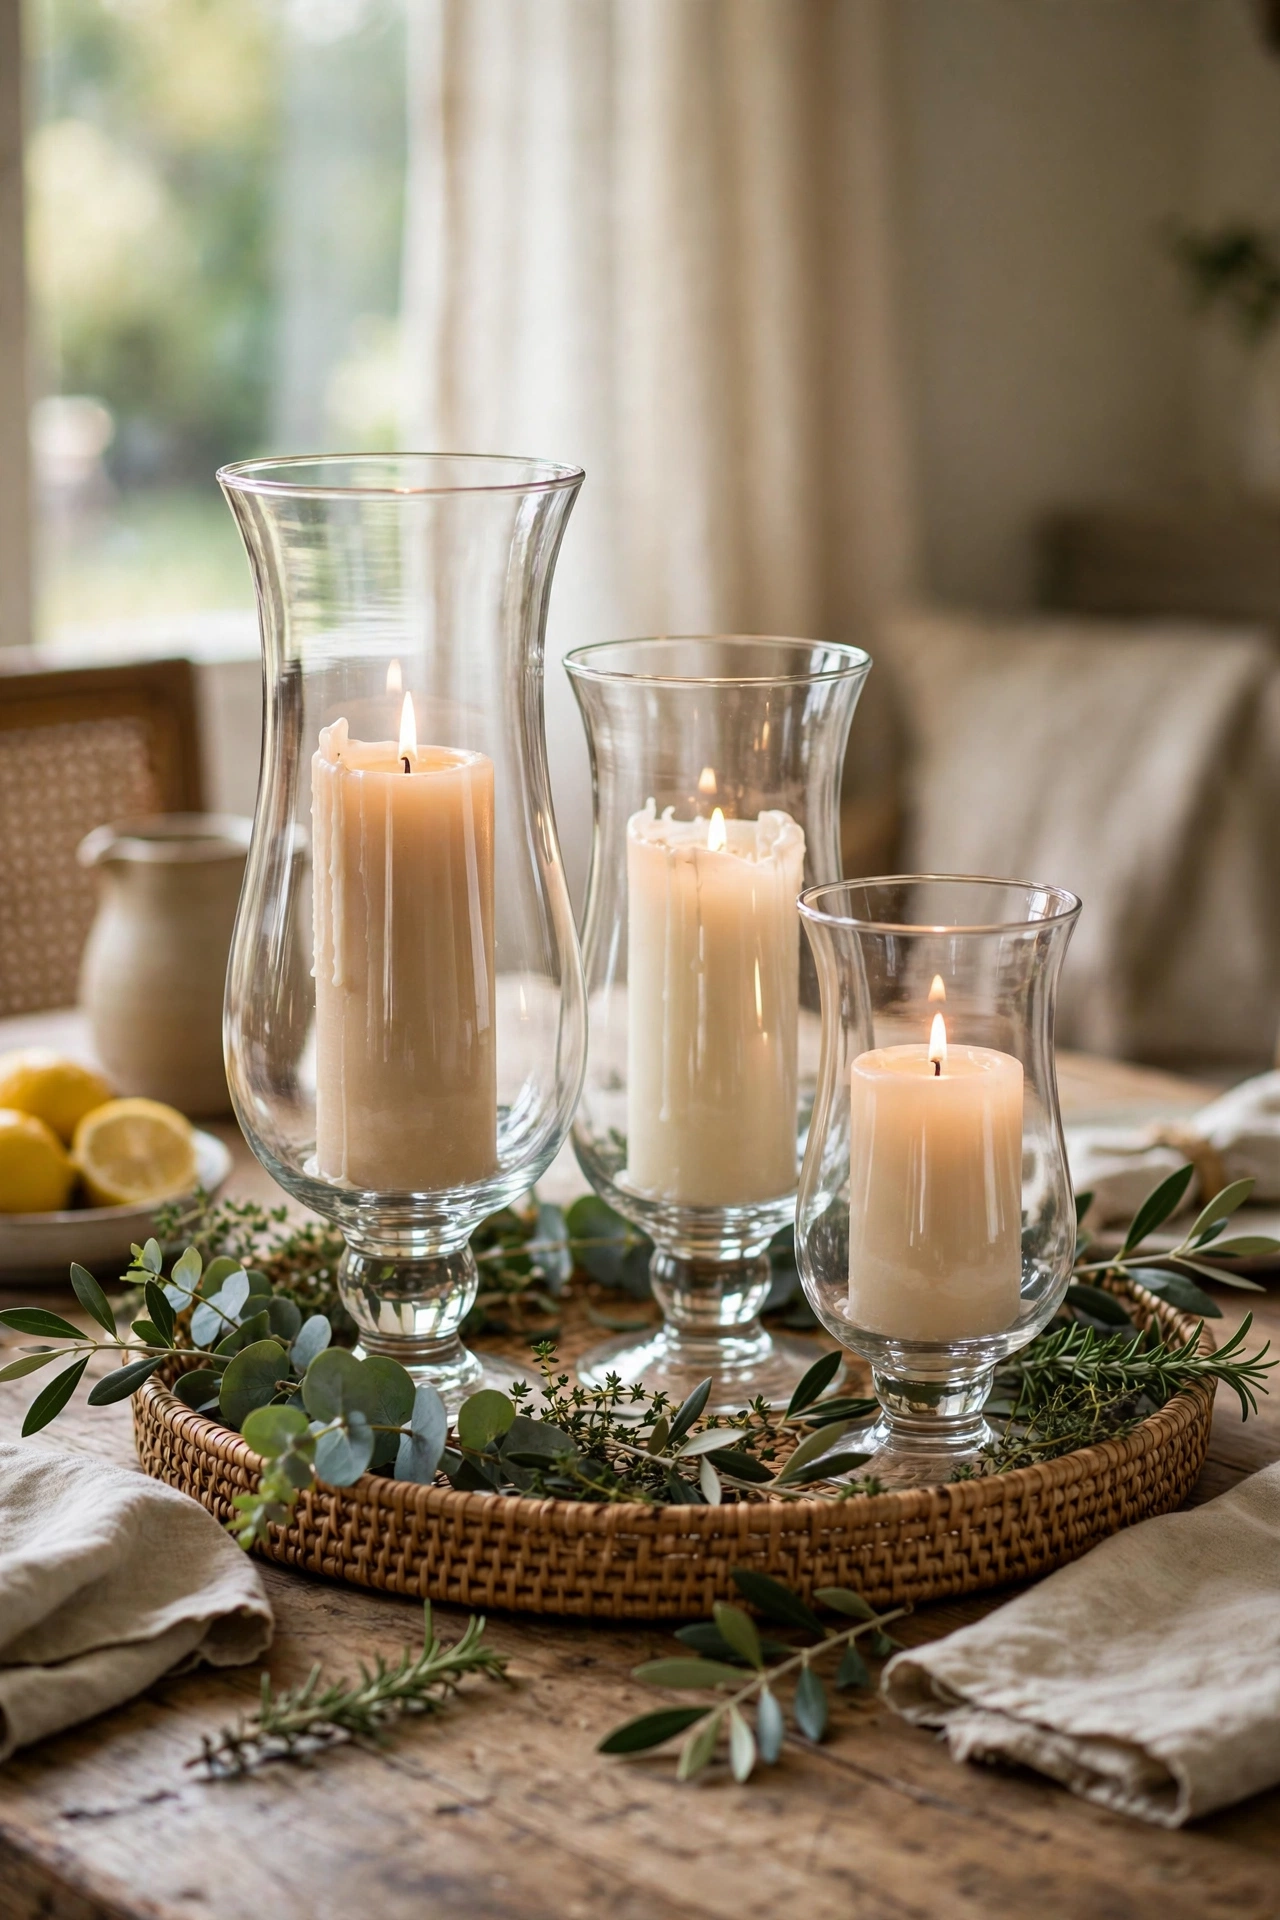
Tall glass vases from the dollar store, with a pillar candle inside, are instant hurricane lanterns. Group three of different heights on a tray with some faux greenery tucked around the bases. I use mine on my dining table through autumn and winter. Don’t use real pillar candles in enclosed vases without checking the flame clears the rim — soot stains the glass. LED pillars give the same glow and I never worry about them.
Pro tip: pour a centimetre of sand or small pebbles in the bottom to anchor the candle.
Cost: ~$9 | Time: 15 minutes
8. Brass-Look Bookends

Heavy dollar-store bookends — the plain resin kind — spray-painted metallic brass look like designer pieces. Clean them well, apply a metal primer, then two light coats of brass spray paint. I did a pair of boring black bookends and they now anchor my bookshelf like little sculptures. Don’t spray too close or the paint runs; several light passes from eight inches away build a smooth, even metallic finish.
Pro tip: seal with a clear matte topcoat so the metallic finish doesn’t scratch off with use.
Cost: ~$10 | Time: 30 minutes plus drying
9. Farmhouse Wooden Sign
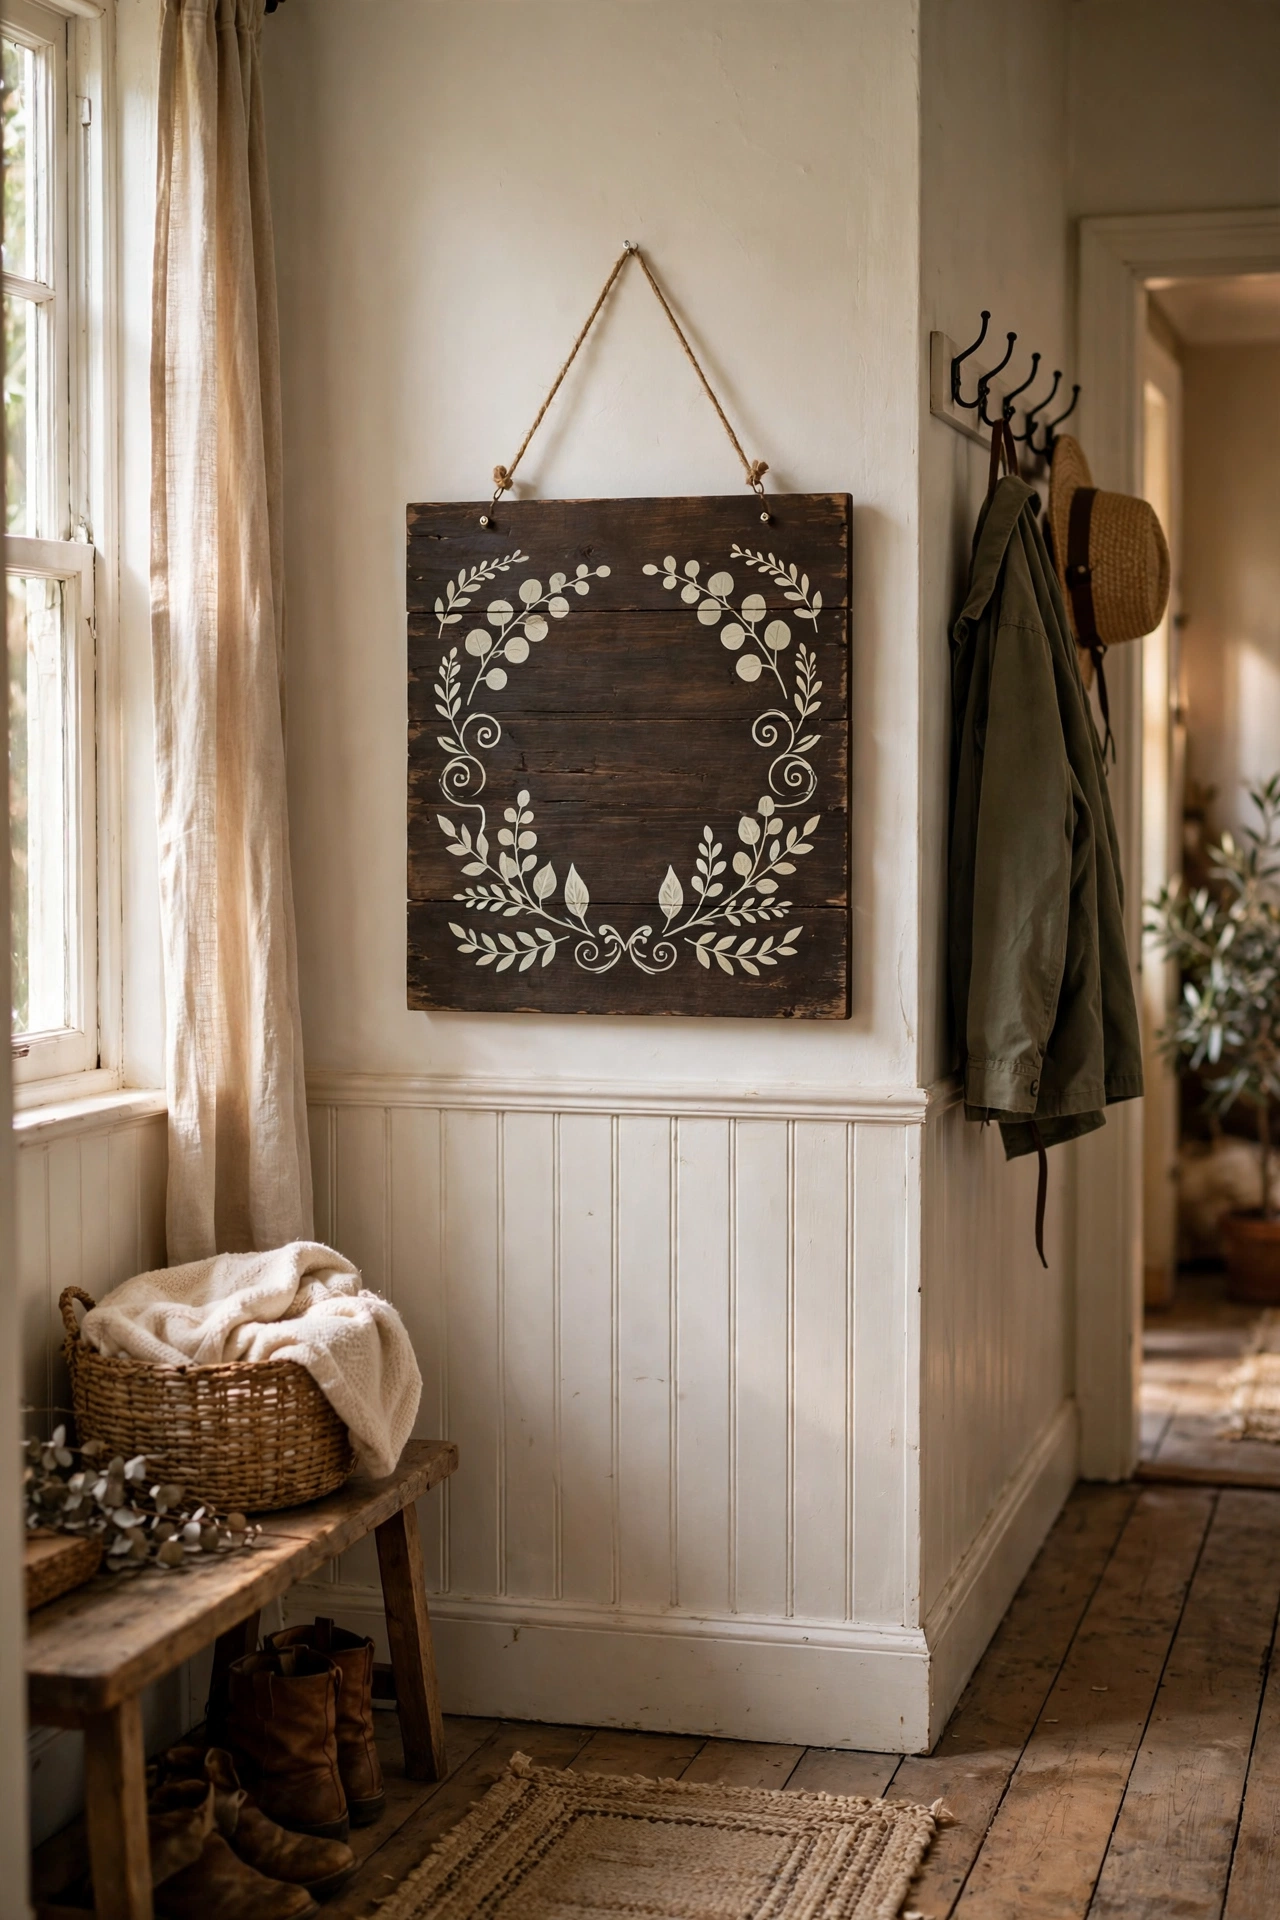
A plain wooden plaque, stained dark and lettered with a paint pen or vinyl stencil, becomes the farmhouse sign every hallway seems to want. Sand the plaque smooth, apply wood stain, then add your word or phrase — “gather”, “home”, or your family name. I made one for my entryway with our surname and the year we moved in. Freehand lettering is risky; a printed stencil taped down gives crisp lines every time.
Pro tip: distress the edges lightly with sandpaper after lettering for an aged, authentic feel.
Cost: ~$6 | Time: 1 hour plus drying
10. Charger Plate Wall Art
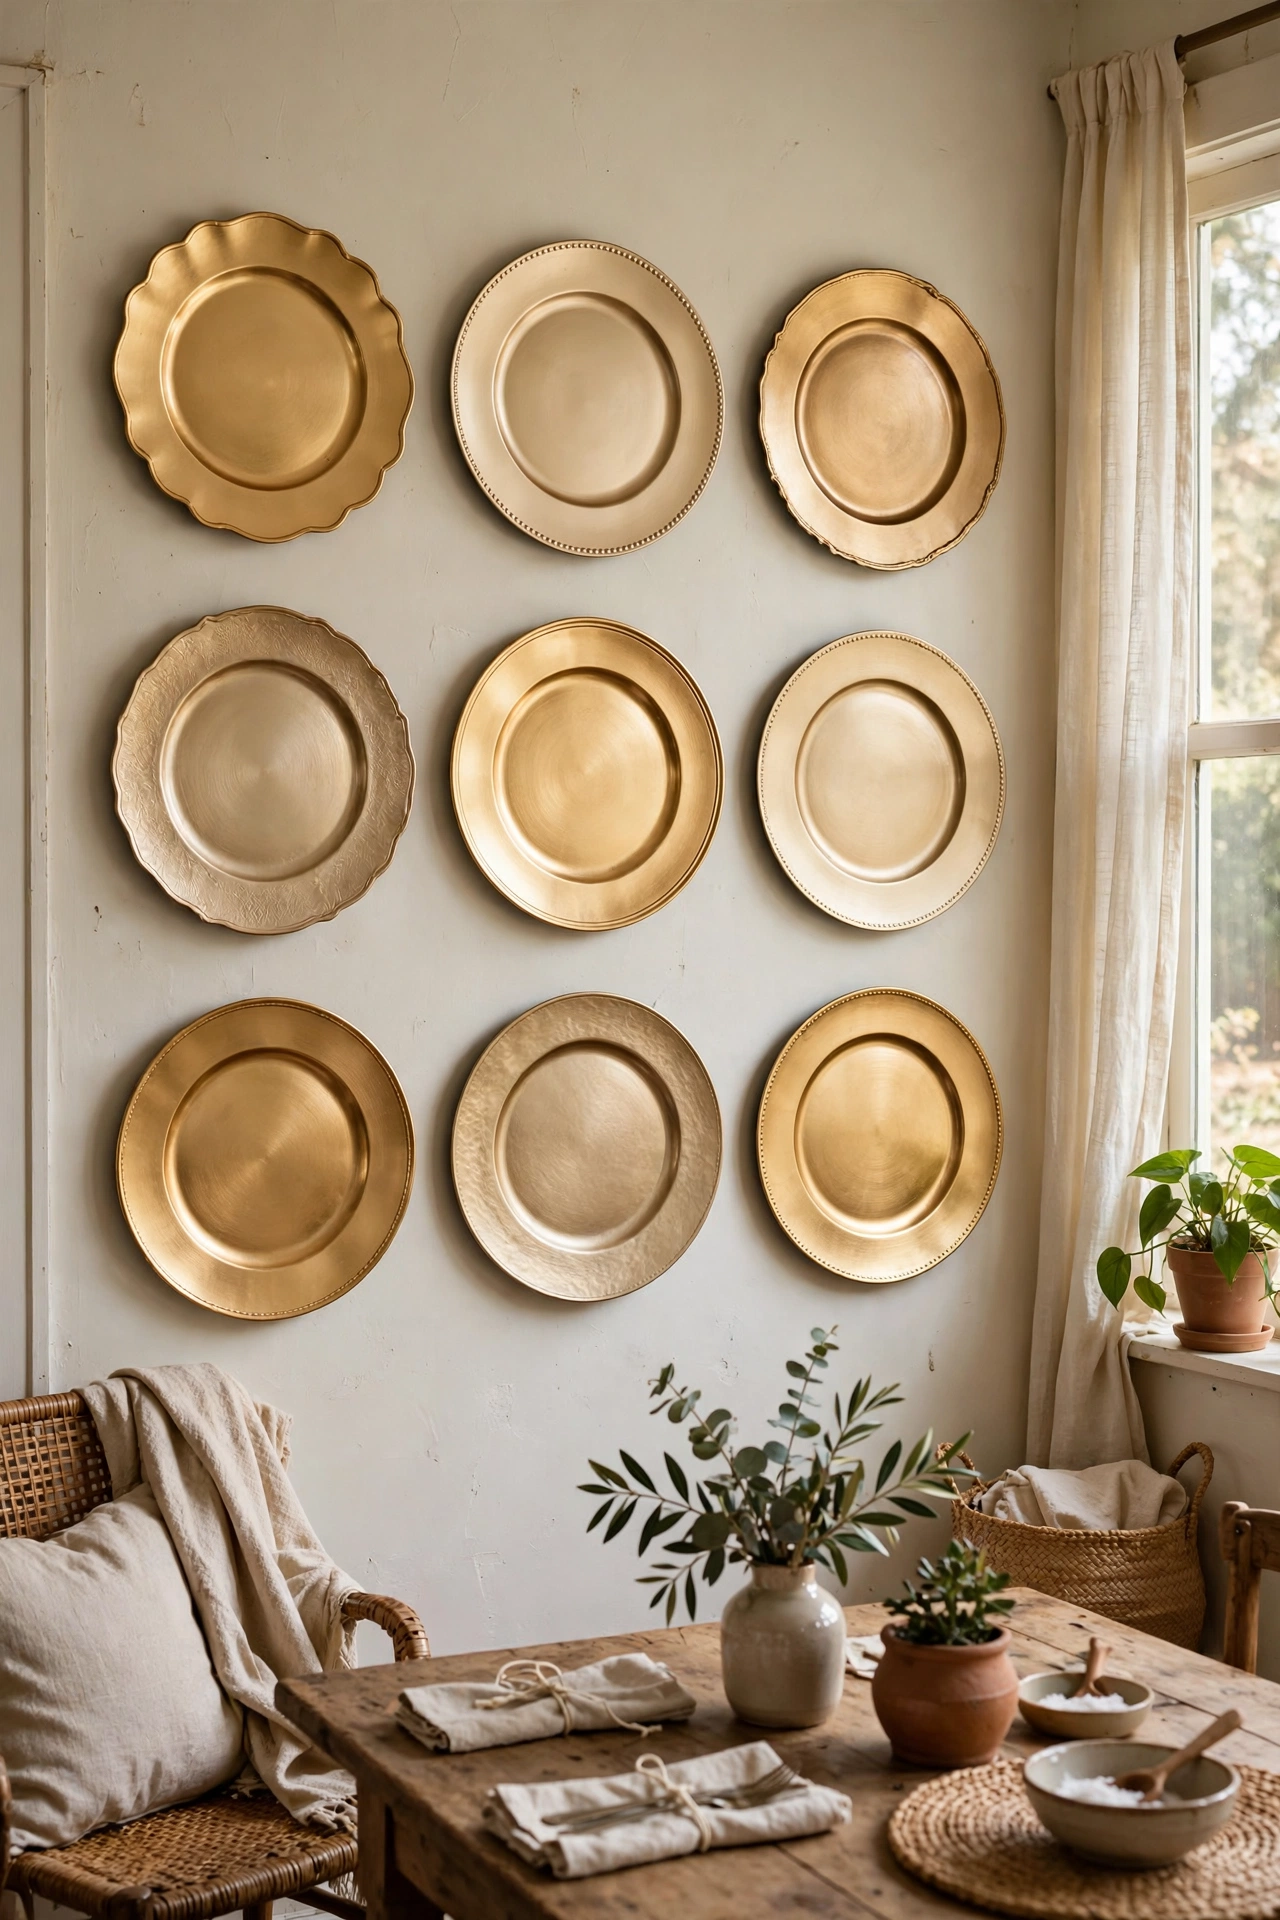
Gold and silver charger plates, hung in a tight grid, make a wall display with serious impact. Use plate hangers or strong adhesive plate discs, and hang nine chargers in a three-by-three grid. I did this in my dining room and it looks like a designer installation. Measure and mark the grid with painter’s tape first — a wonky grid ruins the effect instantly, while a precise one looks intentional and expensive.
Pro tip: mix gold and champagne chargers rather than one flat metallic for depth.
Cost: ~$14 | Time: 1 hour
11. Tiered Tray from Plates and Candle Holders
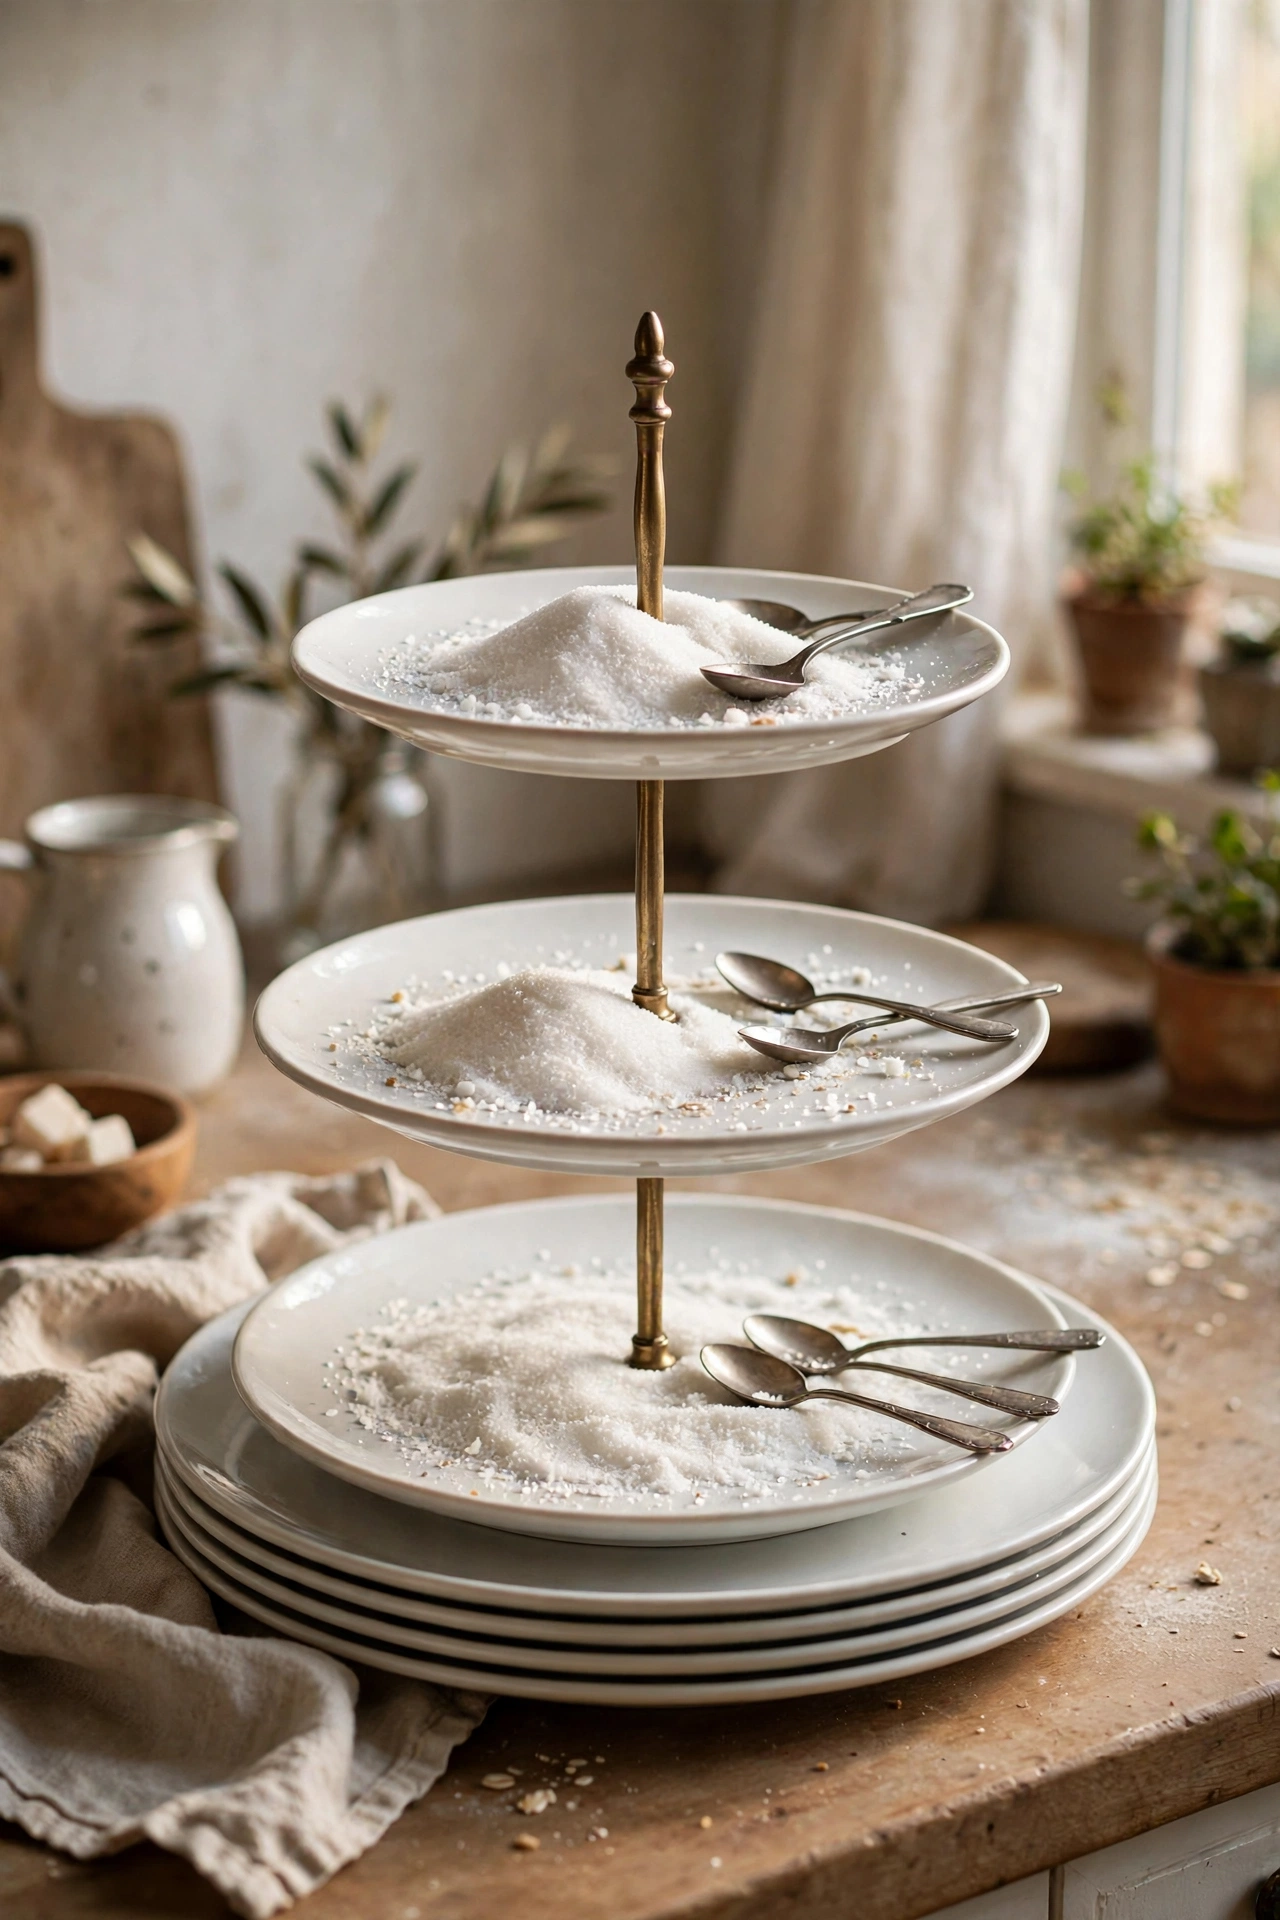
Stack plates of decreasing size with candle holders between them, glued with strong adhesive, and you have a tiered tray. A dinner plate, a salad plate, and a saucer make three tiers — perfect for a coffee station or bathroom display. I made one for my kitchen counter holding sugar, spoons, and napkins. Let each layer cure fully before adding the next; I rushed mine and the whole tower leaned like Pisa.
Pro tip: keep all the plates the same colour — white on white looks classic and expensive.
Cost: ~$7 | Time: 20 minutes plus curing
12. Faux Linen Lampshade Cover
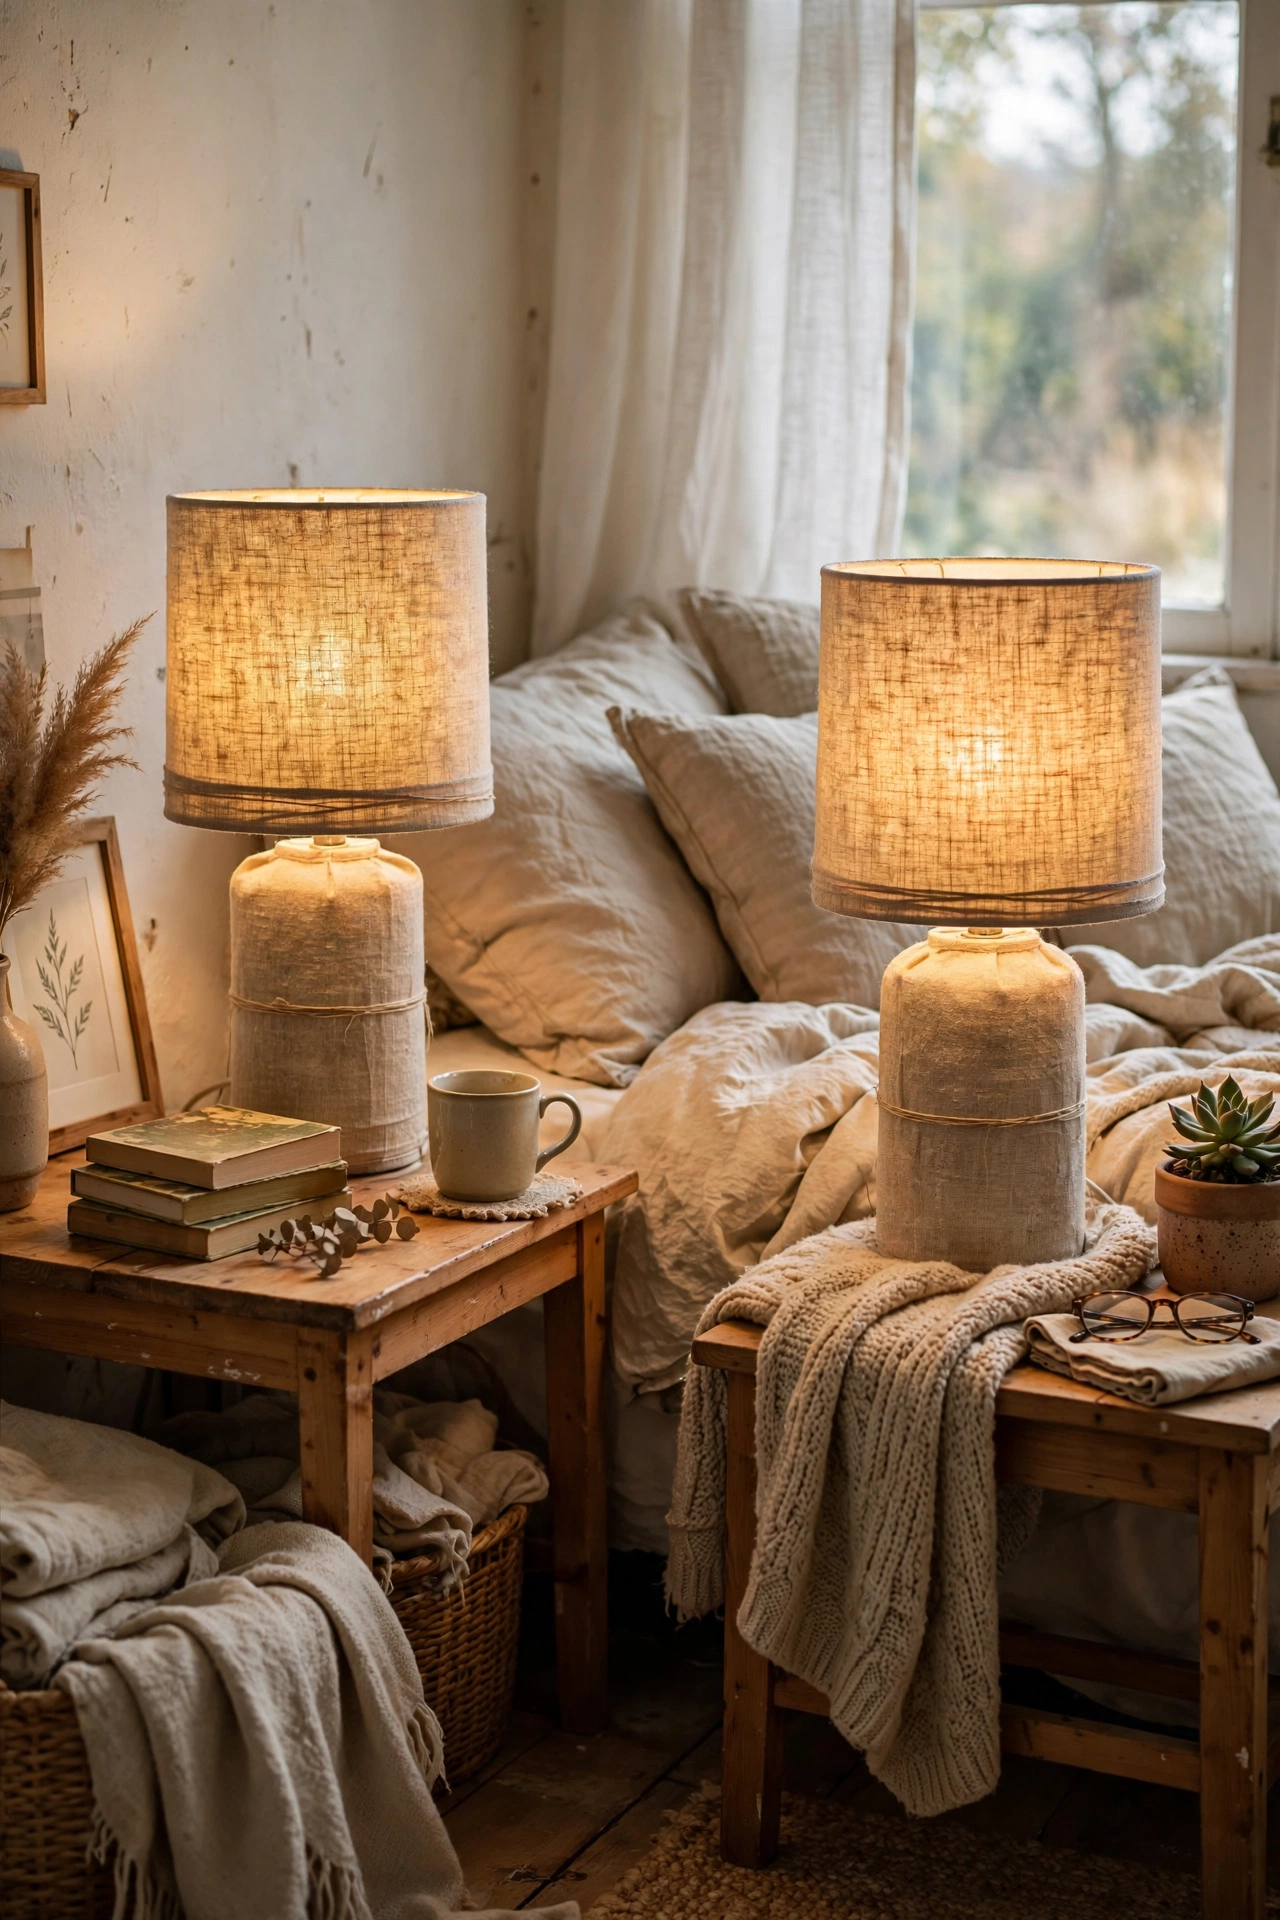
Wrap a dated lampshade in linen-look fabric with spray adhesive and it reads as a proper linen shade. Cut the fabric generously, spray the shade lightly, and roll it on, trimming top and bottom with a neat fold. I updated two matching bedside shades this way for under $10 total. Don’t stretch the fabric as you apply it — stretched fabric puckers when it relaxes, so let it lie naturally on the shade.
Pro tip: choose a natural oatmeal colour; it glows warmly and suits every room.
Cost: ~$10 | Time: 40 minutes
13. Marble-Look Coasters
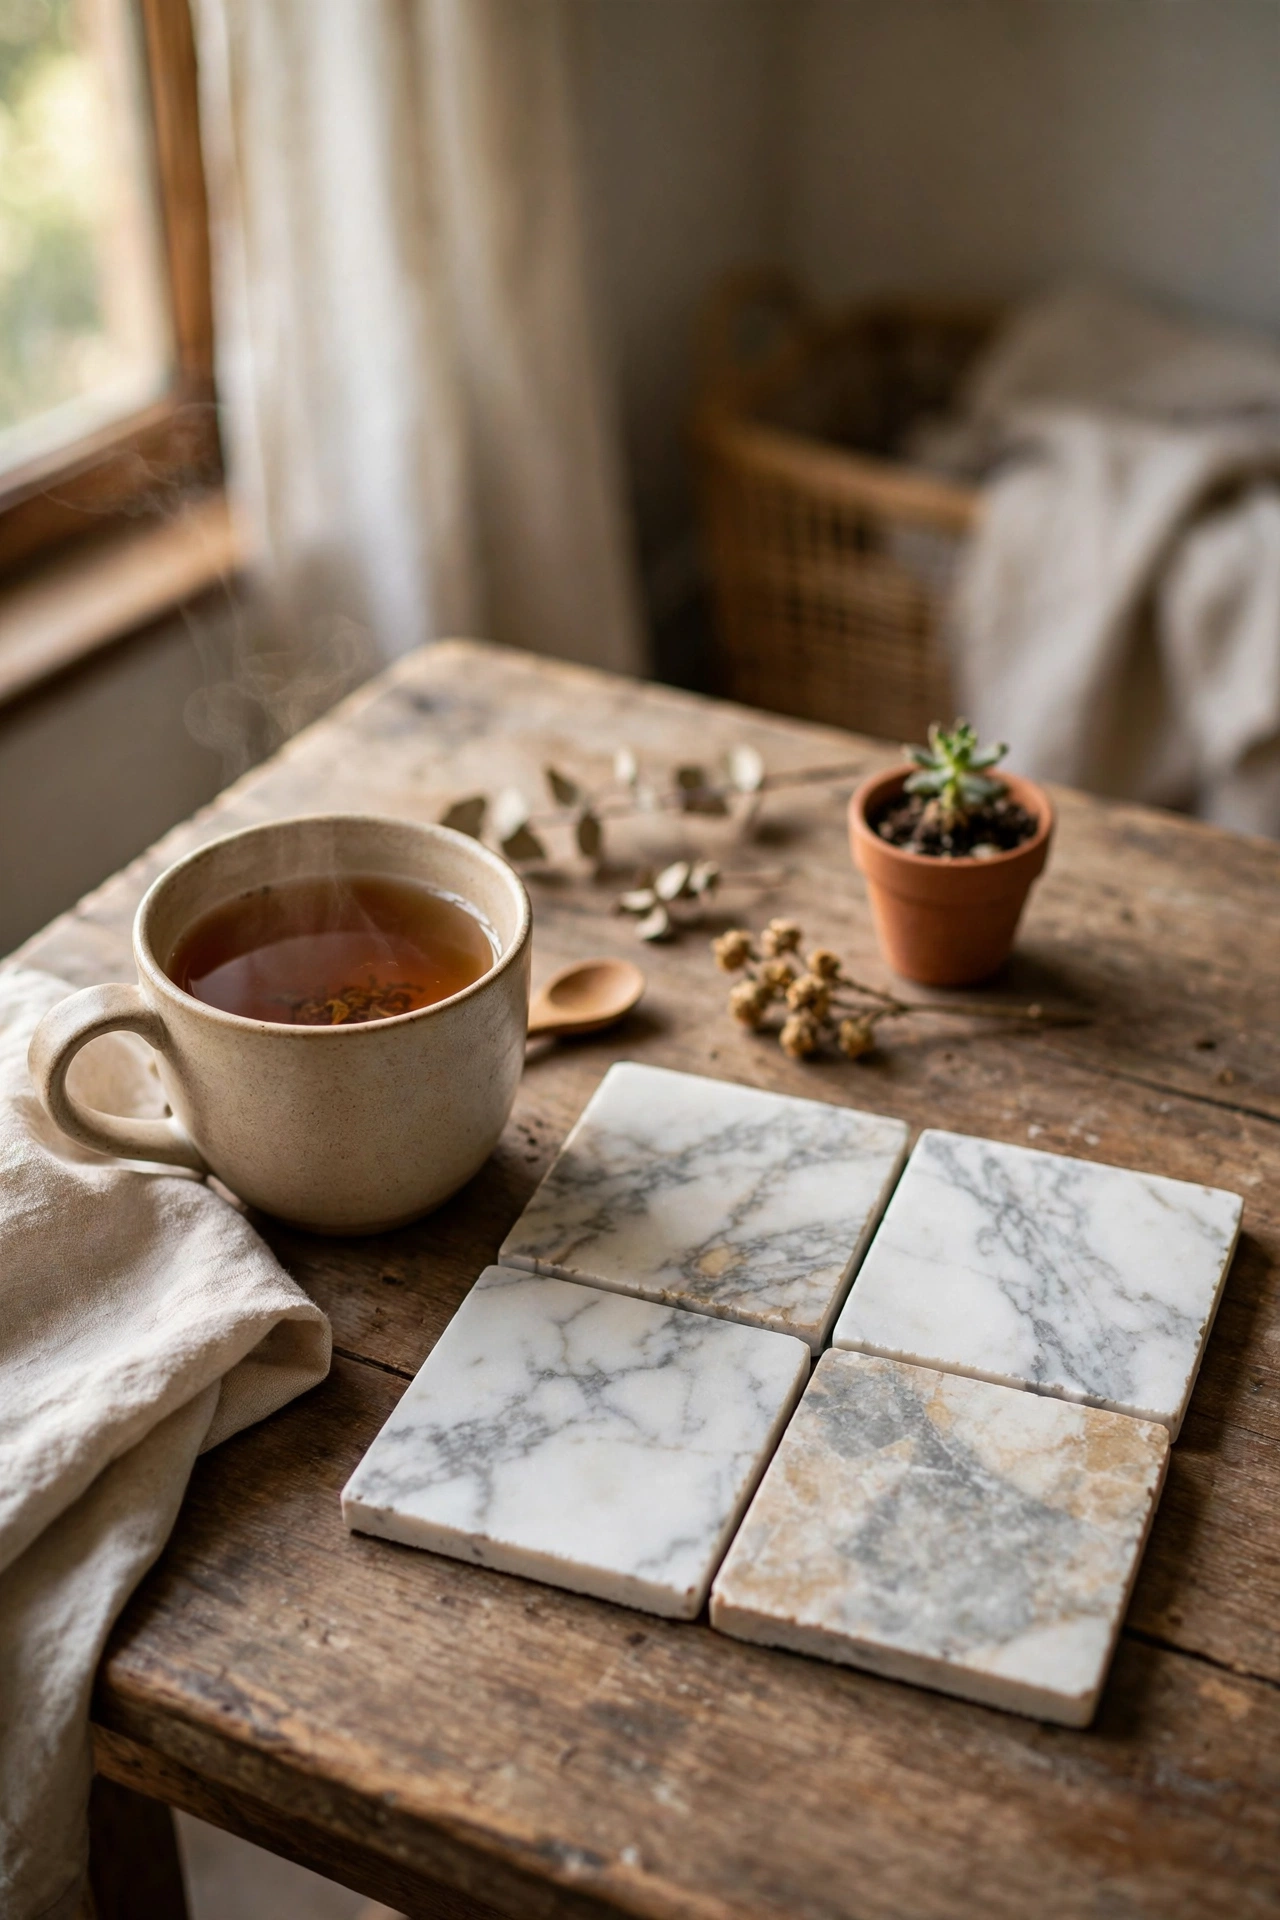
Square ceramic tiles plus marble contact paper become coasters that look straight out of a gift shop. Cover each tile, trim the edges neatly, seal with waterproof varnish, and add felt pads underneath. I made a set of six in an afternoon and use them daily. Seal the edges well — moisture creeps under loose contact paper and lifts it within weeks. Two thin varnish coats, fully dried between, do the job.
Pro tip: round the contact paper corners slightly before applying; square corners peel up first.
Cost: ~$6 | Time: 45 minutes plus drying
14. Woven Basket Planters
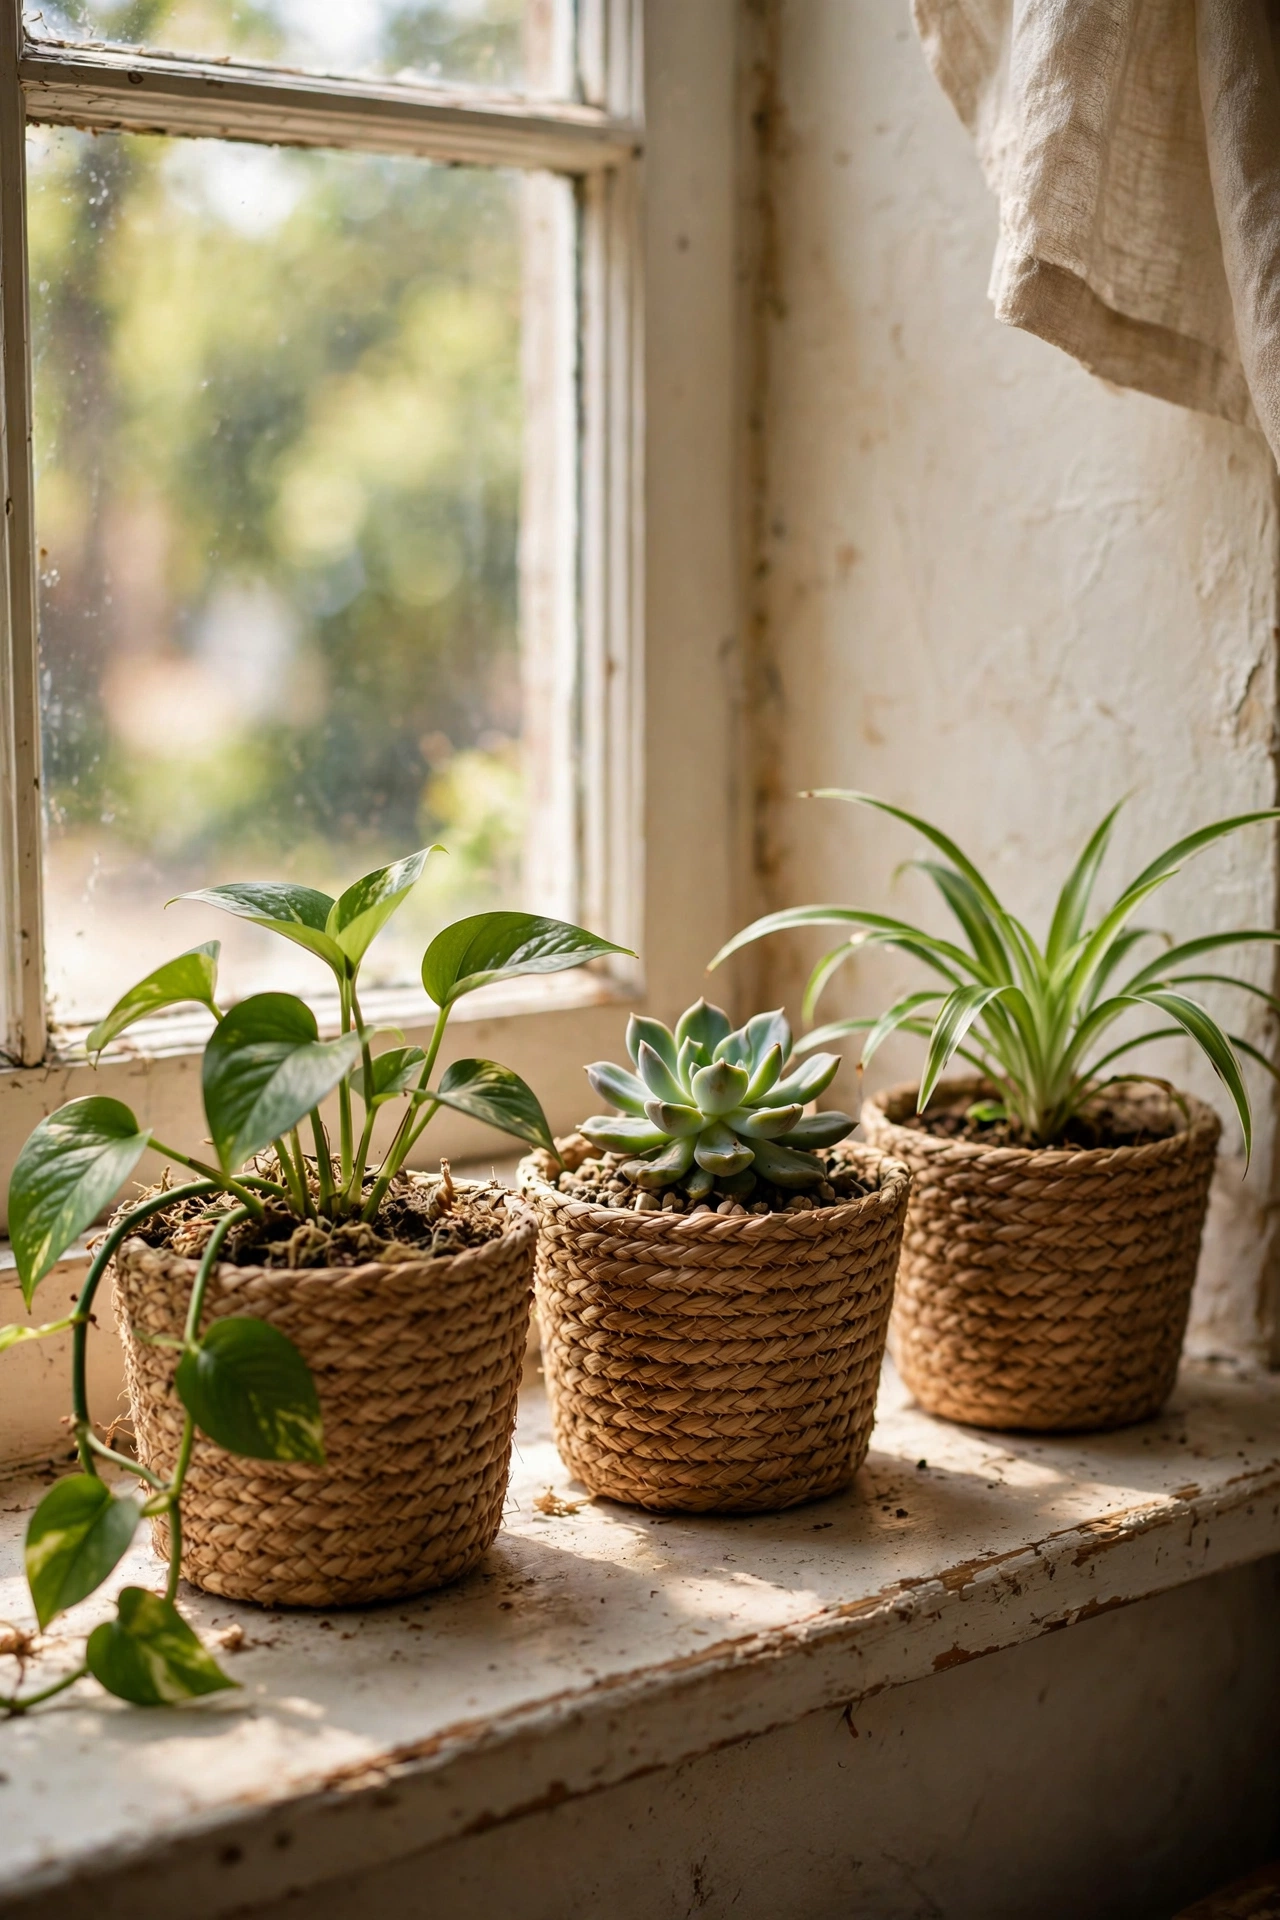
Small seagrass baskets with a plastic liner inside become planters with texture and warmth. Drop a nursery pot inside — no need to repot — and the basket hides the plastic completely. I lined my windowsill with three and the plants look like they belong in a styling shoot. Always use a liner or a saucer inside; watering straight into the basket rots the weave and stains the sill beneath.
Pro tip: choose baskets slightly wider than the pot so the plant slides in and out for watering.
Cost: ~$9 | Time: 10 minutes
15. Velvet Ribbon Napkin Rings
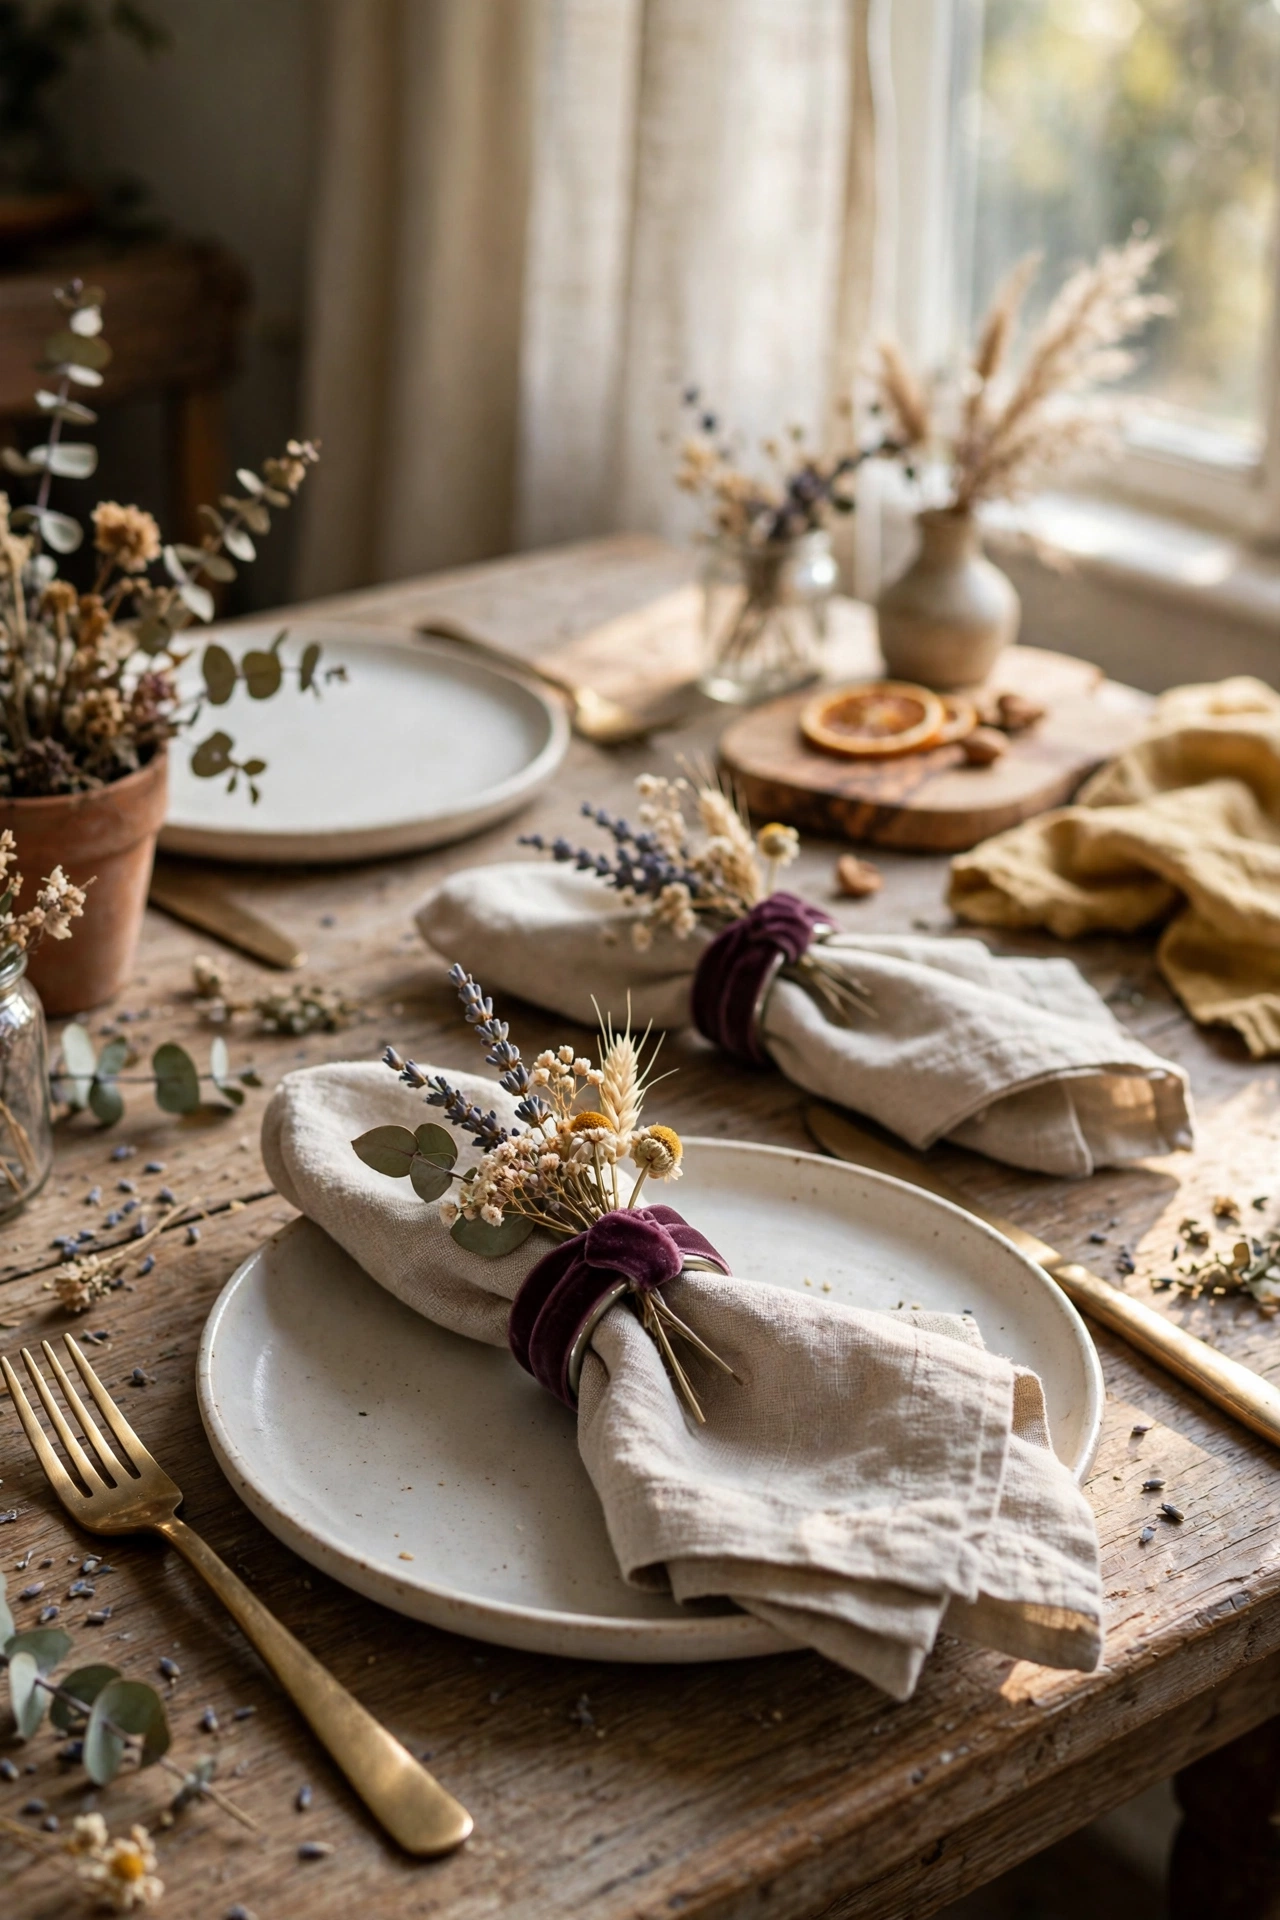
Shower curtain rings wrapped in velvet ribbon become napkin rings that look boutique-bought. Wrap each ring tightly with ribbon, securing the ends with a dab of glue, and add a small sprig of faux greenery or a dried flower. I made a set of eight for a dinner party and guests kept them as favours. Wrap the ribbon at a slight angle so each turn overlaps the last — straight wraps gap and show the ring underneath.
Pro tip: make them in seasonal colours — deep green for Christmas, blush for spring — and reuse the rings.
Cost: ~$5 | Time: 30 minutes
16. Faux-Book Storage Boxes
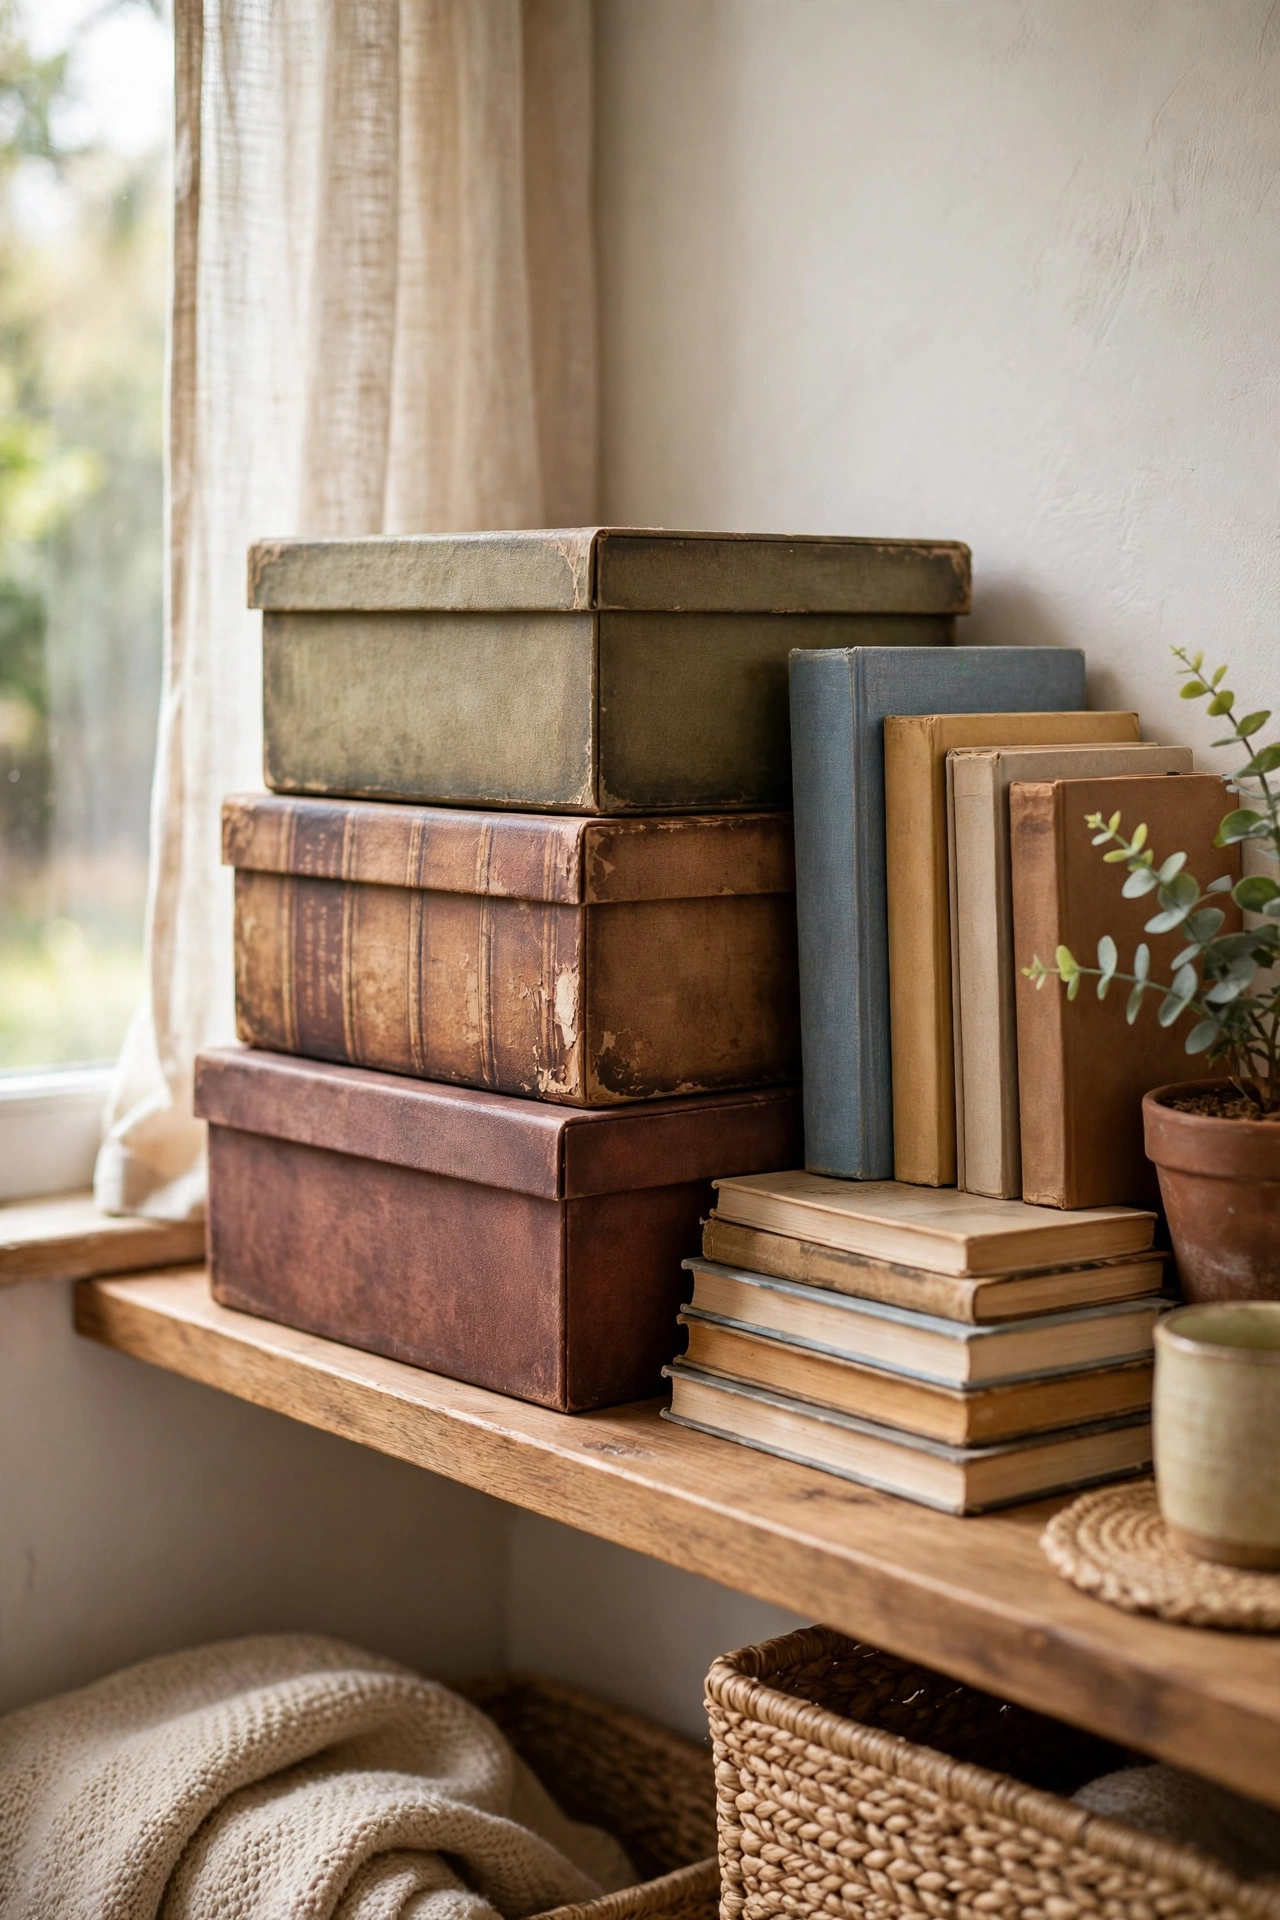
Plain cardboard boxes, covered in book-cover print paper or painted and titled with a paint pen, become faux-book storage. Stack two or three on a shelf and they look like vintage volumes while hiding remotes, chargers, and clutter. I keep mine on the living room shelf and nobody guesses they’re boxes. Score the spine folds before wrapping so the corners stay crisp — rounded, puffy corners are what give the game away.
Pro tip: choose classic-looking titles or Latin phrases for the spines; joke titles cheapen the effect.
Cost: ~$6 | Time: 45 minutes
17. Gallery Frame Ledges
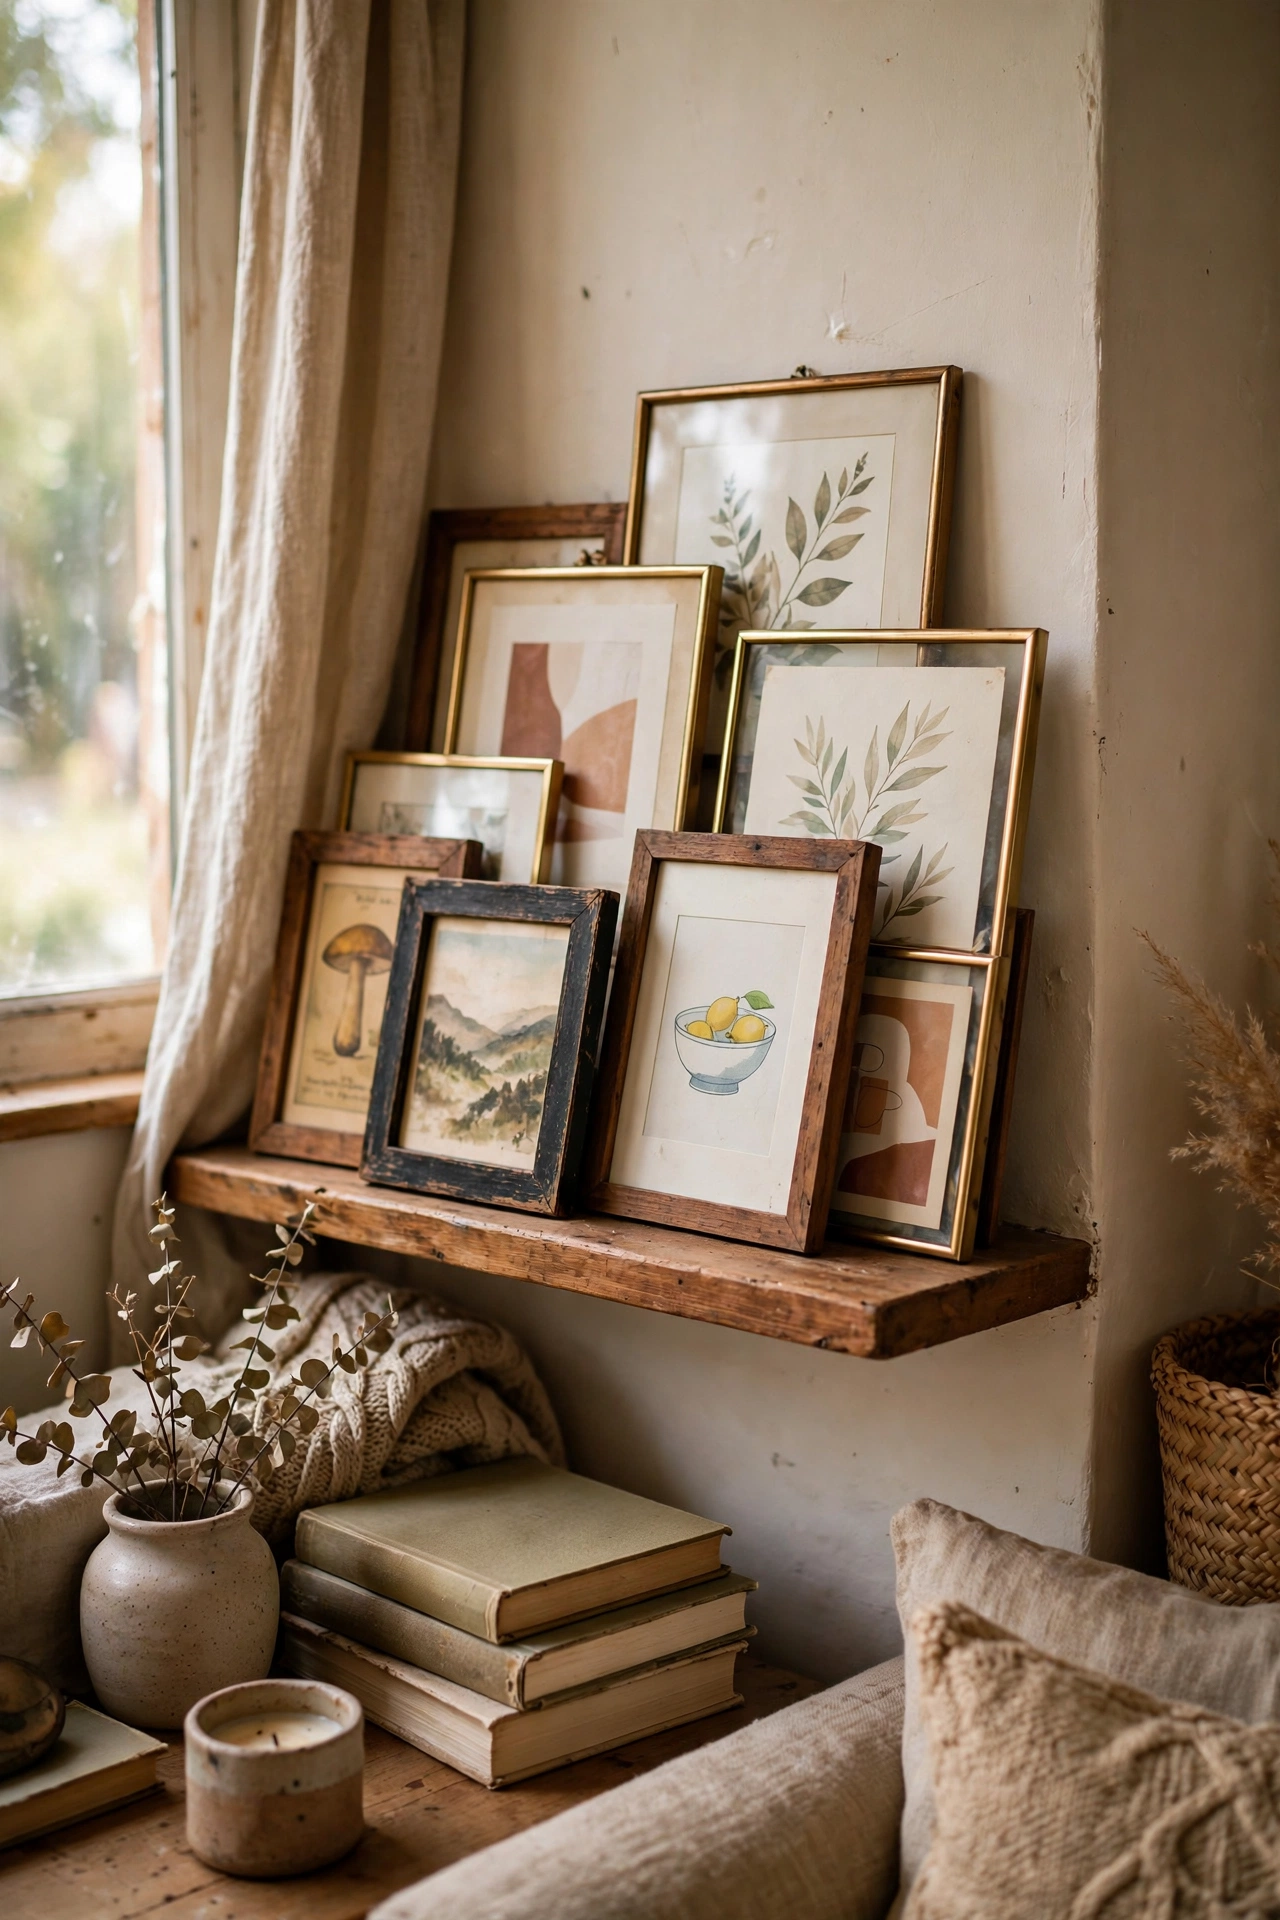
Long, narrow dollar-store frames laid horizontally and mounted with the glass facing out become mini display ledges. Actually simpler: buy the cheap floating shelves, but dress them with framed art leaning in layers. I filled two ledges with thrifted frames and small prints, and the layered look is straight out of a stylist’s portfolio. Overlap the frames and vary the heights — a single neat row looks like a shop display, not a home.
Pro tip: anchor the arrangement with one large piece, then layer smaller frames in front.
Cost: ~$12 | Time: 1 hour
18. Basket Pendant Light Shade
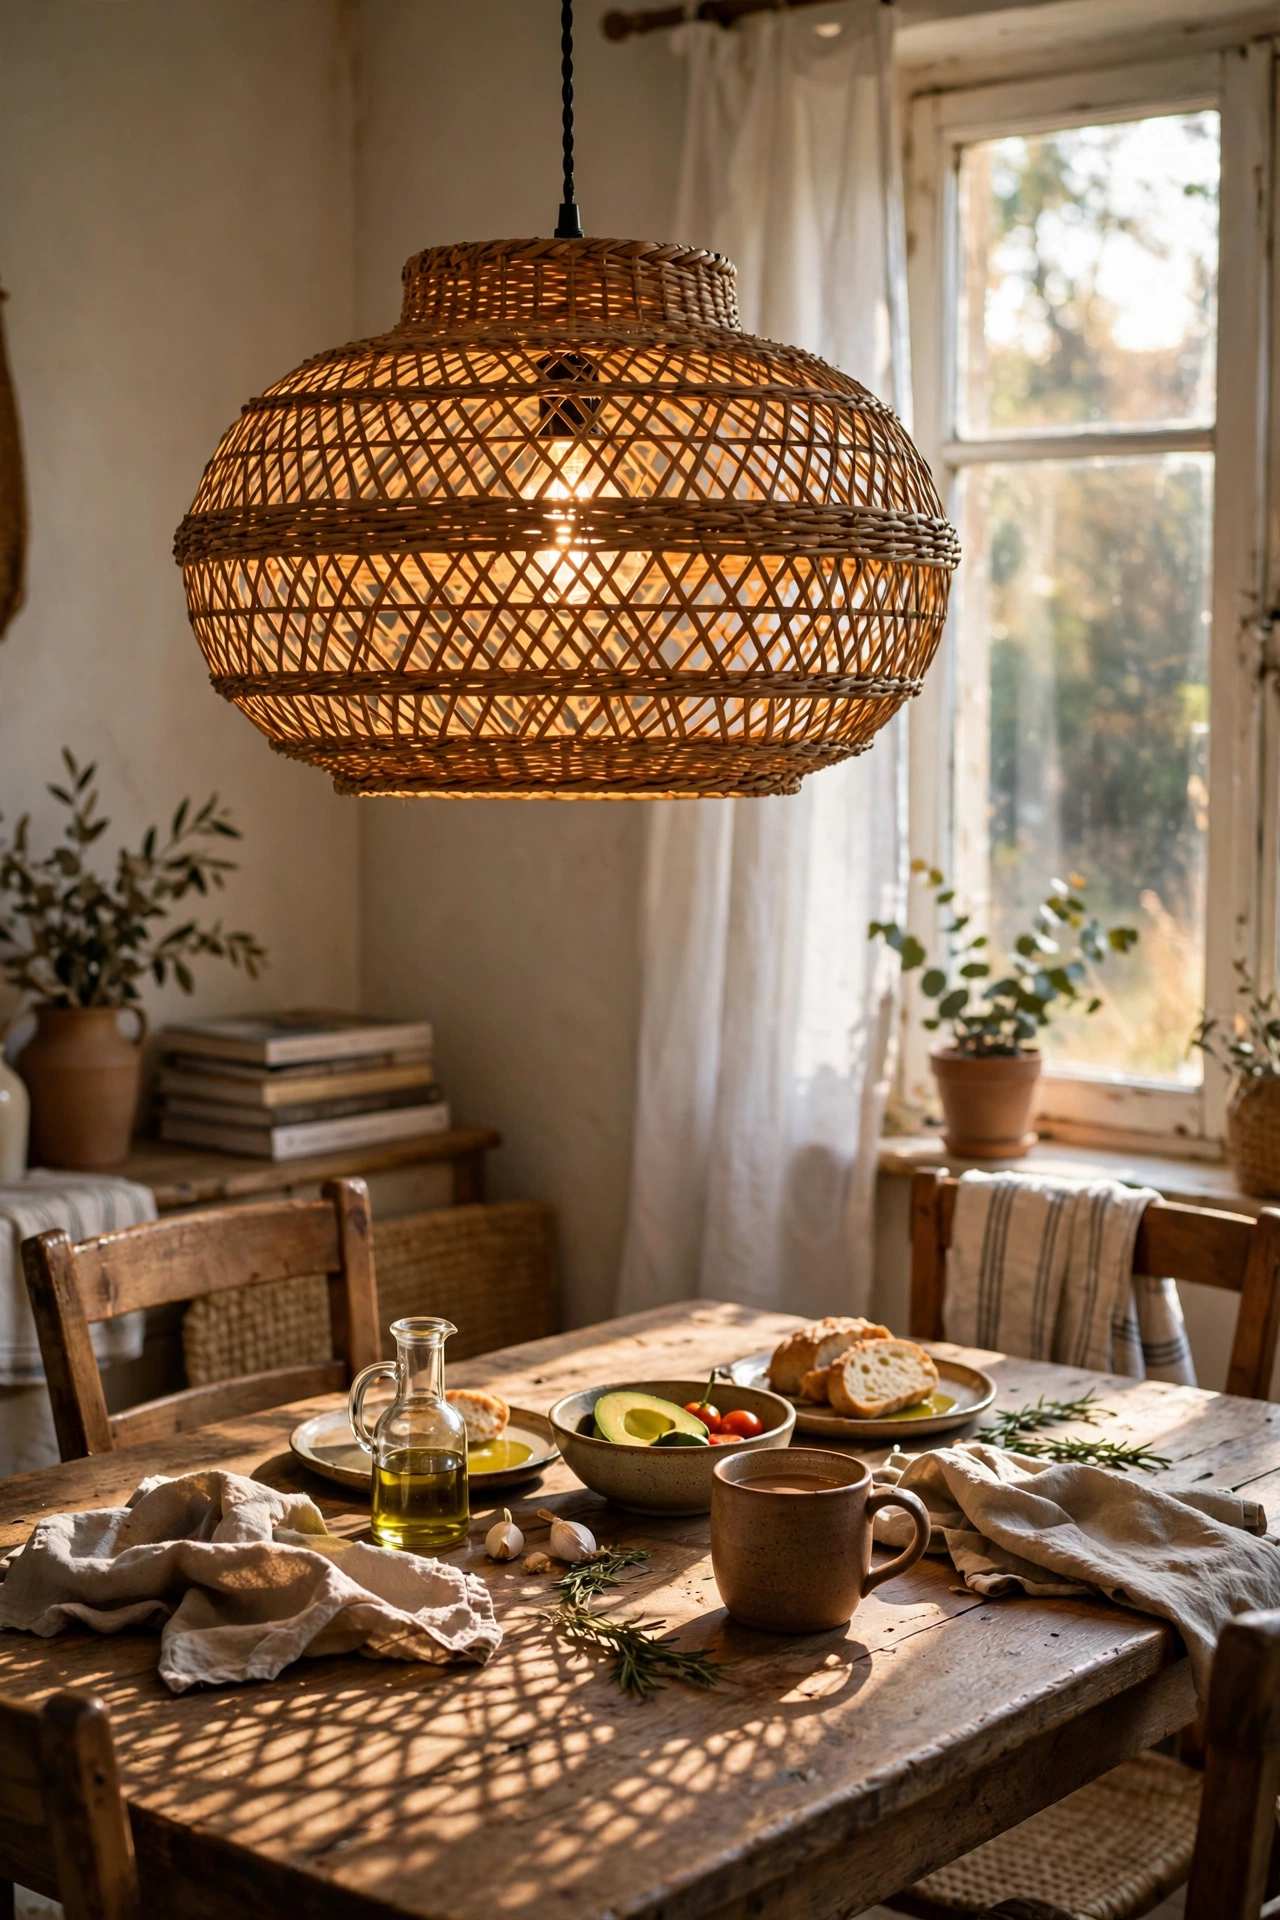
A large round basket with the bottom cut out, hung over a pendant cord, becomes a statement light shade. Cut a neat hole in the base, thread the cord through, and hang it over a dining table or in a hallway. I made one from a $6 laundry basket — the open weave throws gorgeous patterned light. Use a low-wattage LED bulb and keep the bulb centred so no hot spot sits against the weave.
Pro tip: spray the basket with a clear matte sealer first to stop dust settling into the weave.
Cost: ~$14 | Time: 40 minutes
19. Faux-Plant Arrangement in a Stone-Look Pot
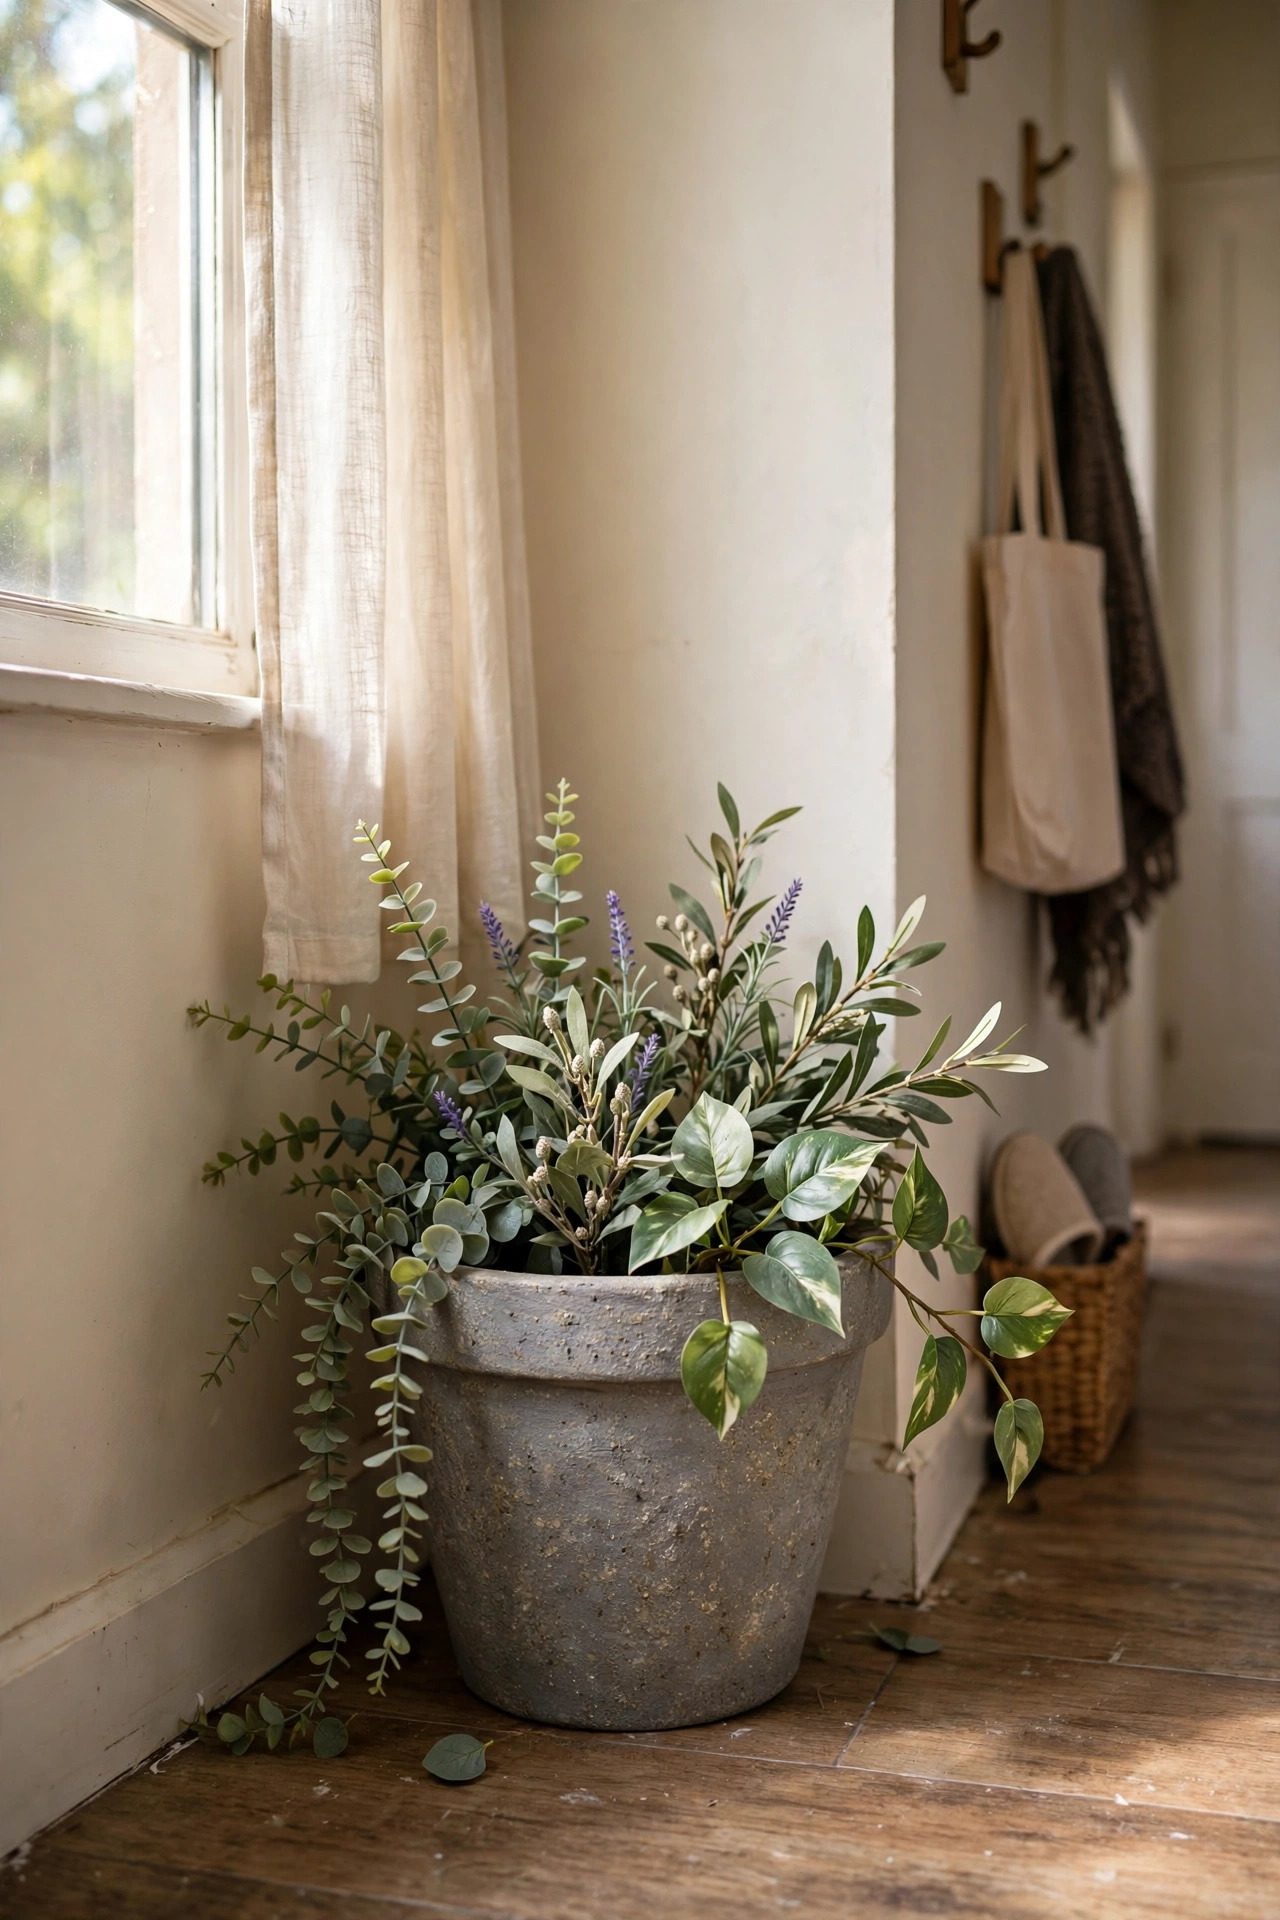
A plastic pot sprayed with stone-effect paint, filled with floral foam and good-quality faux stems, becomes a “plant” that fools everyone. Arrange the stems at varying heights, bend a few naturally, and top the foam with real moss. I keep mine in a dark hallway corner where nothing real would survive, and visitors water it — true story. Spend the money on the stems, not the pot; cheap shiny leaves are the giveaway, so choose matte, realistic-looking greenery.
Pro tip: mix two or three stem varieties rather than one — real plants are never uniform.
Cost: ~$15 | Time: 30 minutes
Quick questions, answered
Do dollar store DIYs actually look good, or cheap?
They look as good as the finishing. Matte paint, neat edges, good styling, and quality-look materials (real wood, glass, metal-look finishes) are what make them read expensive. The projects that look cheap are the ones rushed — glue strings, wobbly paint lines, and shiny plastic left as-is.
What are the best dollar store items for DIY decor?
Glass vases and candle holders, plain wooden plaques and crates, picture frames, baskets, charger plates, and ceramic-look pots. These have good bones and take paint and styling well. I’d skip anything with a strong printed design — it’s harder to disguise.
How do I make spray paint look professional?
Clean the item first, use a primer on plastic or metal, and apply several light coats from about eight inches away rather than one heavy coat. Let each coat dry fully. Patience is the entire secret — rushed spray paint drips, and drips are what scream “DIY”.
📌 Loving this look? Pin this post now so you can save this idea for your next weekend refresh.
Keep the calm going with these next: (see also: 15-diy-wall-art-ideas-on-a-budget/) (see also: 23-no-paint-diy-wall-decor-ideas-on-a-budget/) (see also: 17-one-hour-diy-decor-ideas-for-busy-people/)
The dollar store isn’t a compromise — it’s a starting point. Pick the project that made you smile, grab a basket next time you’re in, and see what a little paint and patience can do.
