23 DIY Christmas Decor Ideas on a Budget
Three years ago, my Christmas decorating budget was thirty pounds and a drawer of leftover craft bits. I had always wanted the full festive house, the kind you see in films, but the shop prices made my eyes water every December. That year I decided to see how far proper diy Christmas decor could stretch, and I ended up covering the whole house for less than the cost of one shop-bought wreath. Nothing looked handmade in a sad way, either. People asked where I had bought things.
The secret is foraging and timing. Half of this list starts with something free: pinecones from the park, twigs from the garden, oranges from the fruit bowl. The other half costs a few pounds at the pound shop or the craft aisle. I made most of these on winter evenings with a hot drink, and several have become yearly traditions now. Start two or three weeks before Christmas and you will never feel rushed.
Every idea below costs under $15, and most come in under $5. I have made all of them myself, so the steps are the ones that actually work, including the mistakes I made first. Here is the full list, in the order I would tackle them.
1. Foraged Pinecone Garland With Fairy Lights
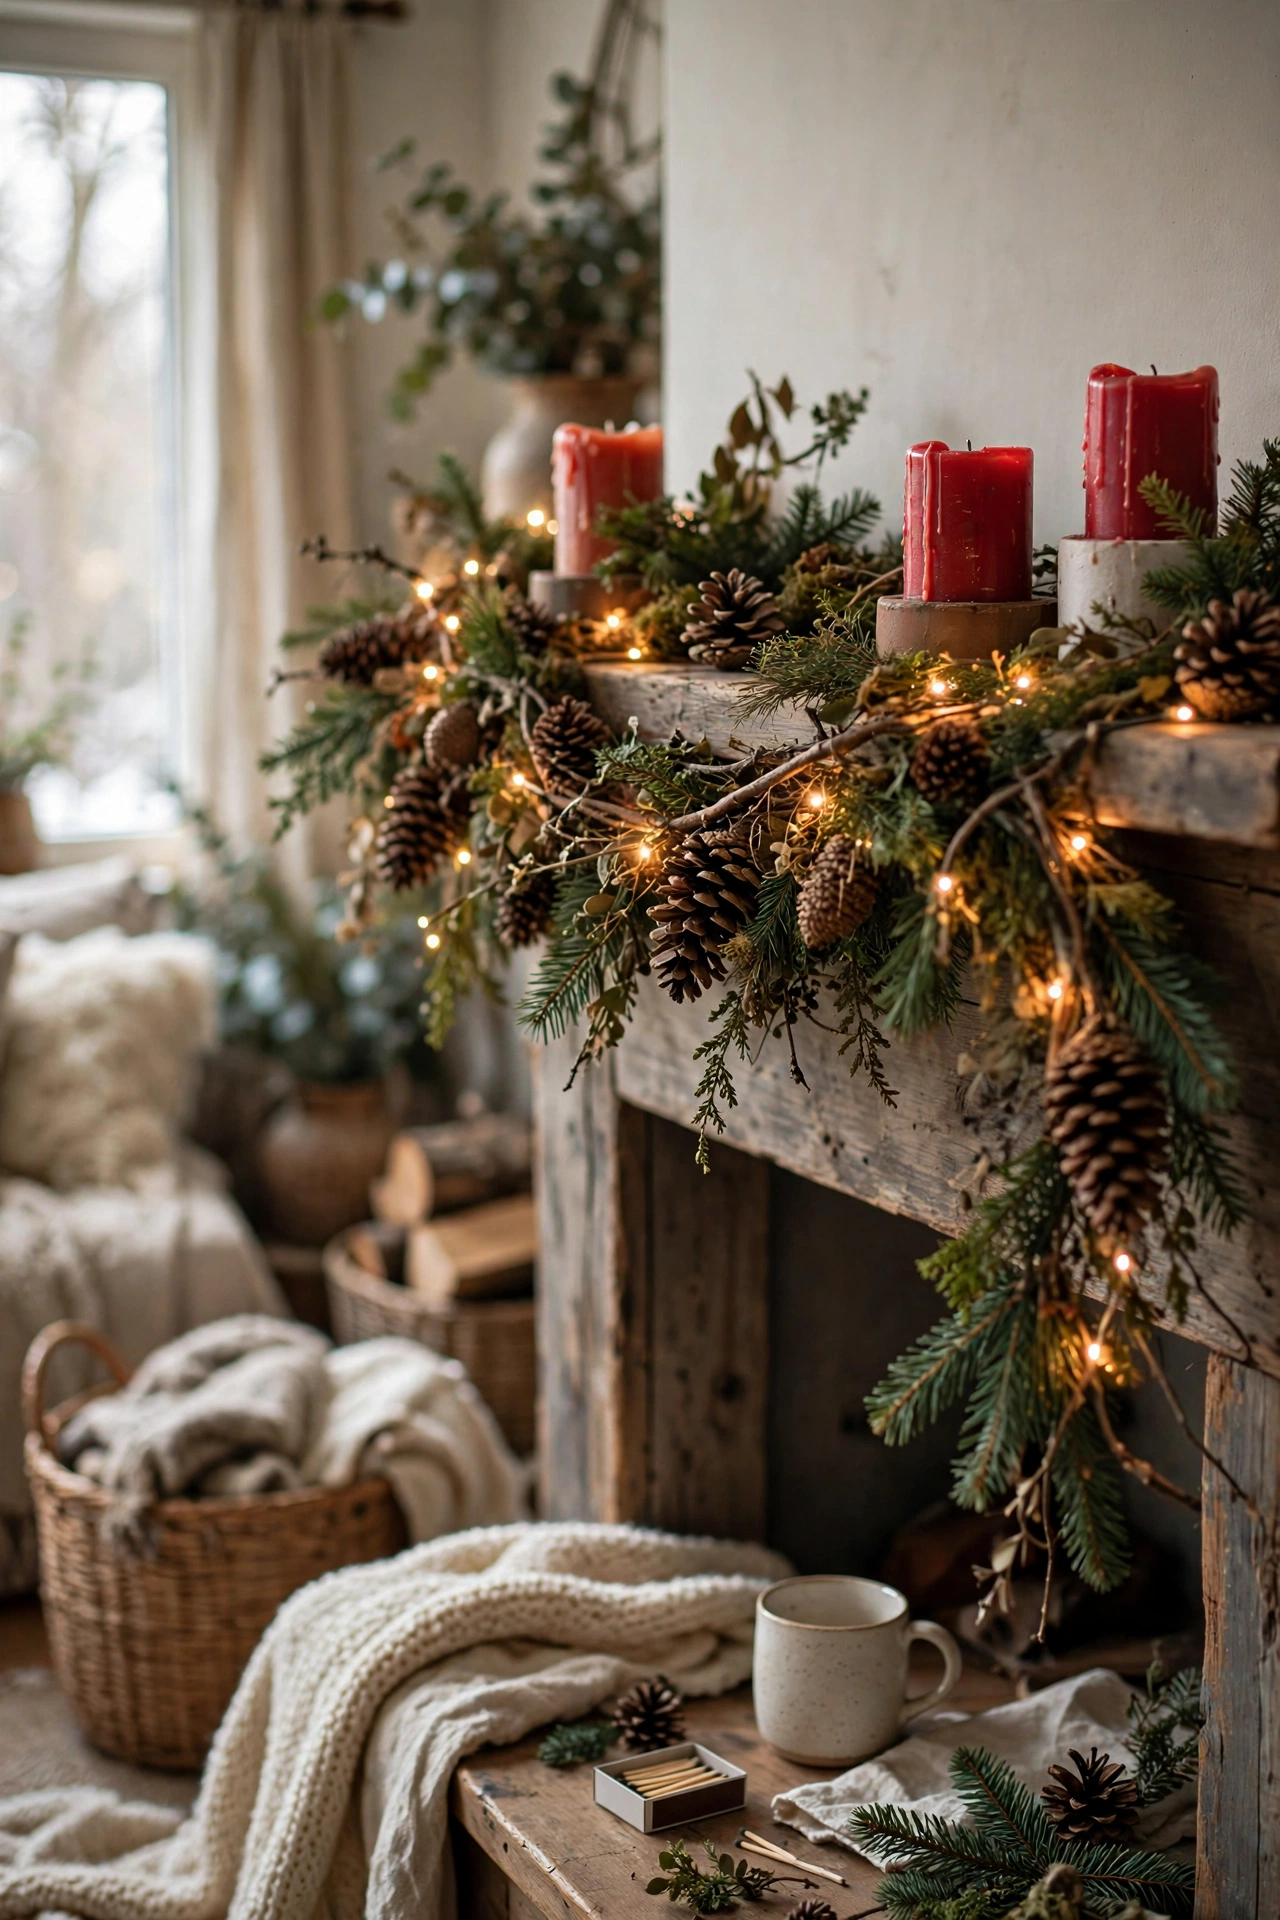
A pinecone garland looks like it came from an expensive farmhouse shop, and it starts with a walk in the park. I collected about forty pinecones, baked them on a low oven for an hour to dry them out and kill any bugs, then wired them onto a length of garden twine with florist wire, alternating directions. I threaded a string of warm fairy lights through the middle and draped it along the mantel. I tried this without baking first one year and woke up to a damp, smelly garland, so do bake them. Do not hang it until the cones are bone dry. The whole thing took an evening and cost me nothing but the wire.
Cost: ~$3-6 | Time: 2 hours plus drying
2. Dried Orange Slice Ornaments

Nothing smells like Christmas quite like dried oranges, and they make the prettiest tree ornaments. I sliced four oranges into thin rounds, about half a centimetre, and dried them in the oven at the lowest setting for four hours, flipping them halfway. Once cool, I threaded twine through a small hole poked with a skewer and tied a cinnamon stick across each one with more twine. I tried this with thick slices the first time and they went brown and sticky, so do slice them thin. Do not rush the drying, because any moisture will make them curl and go spotty. They last for weeks on the tree and smell wonderful near the lights.
Cost: ~$2-4 | Time: 30 minutes plus drying
3. Paper Snowflake Window Display
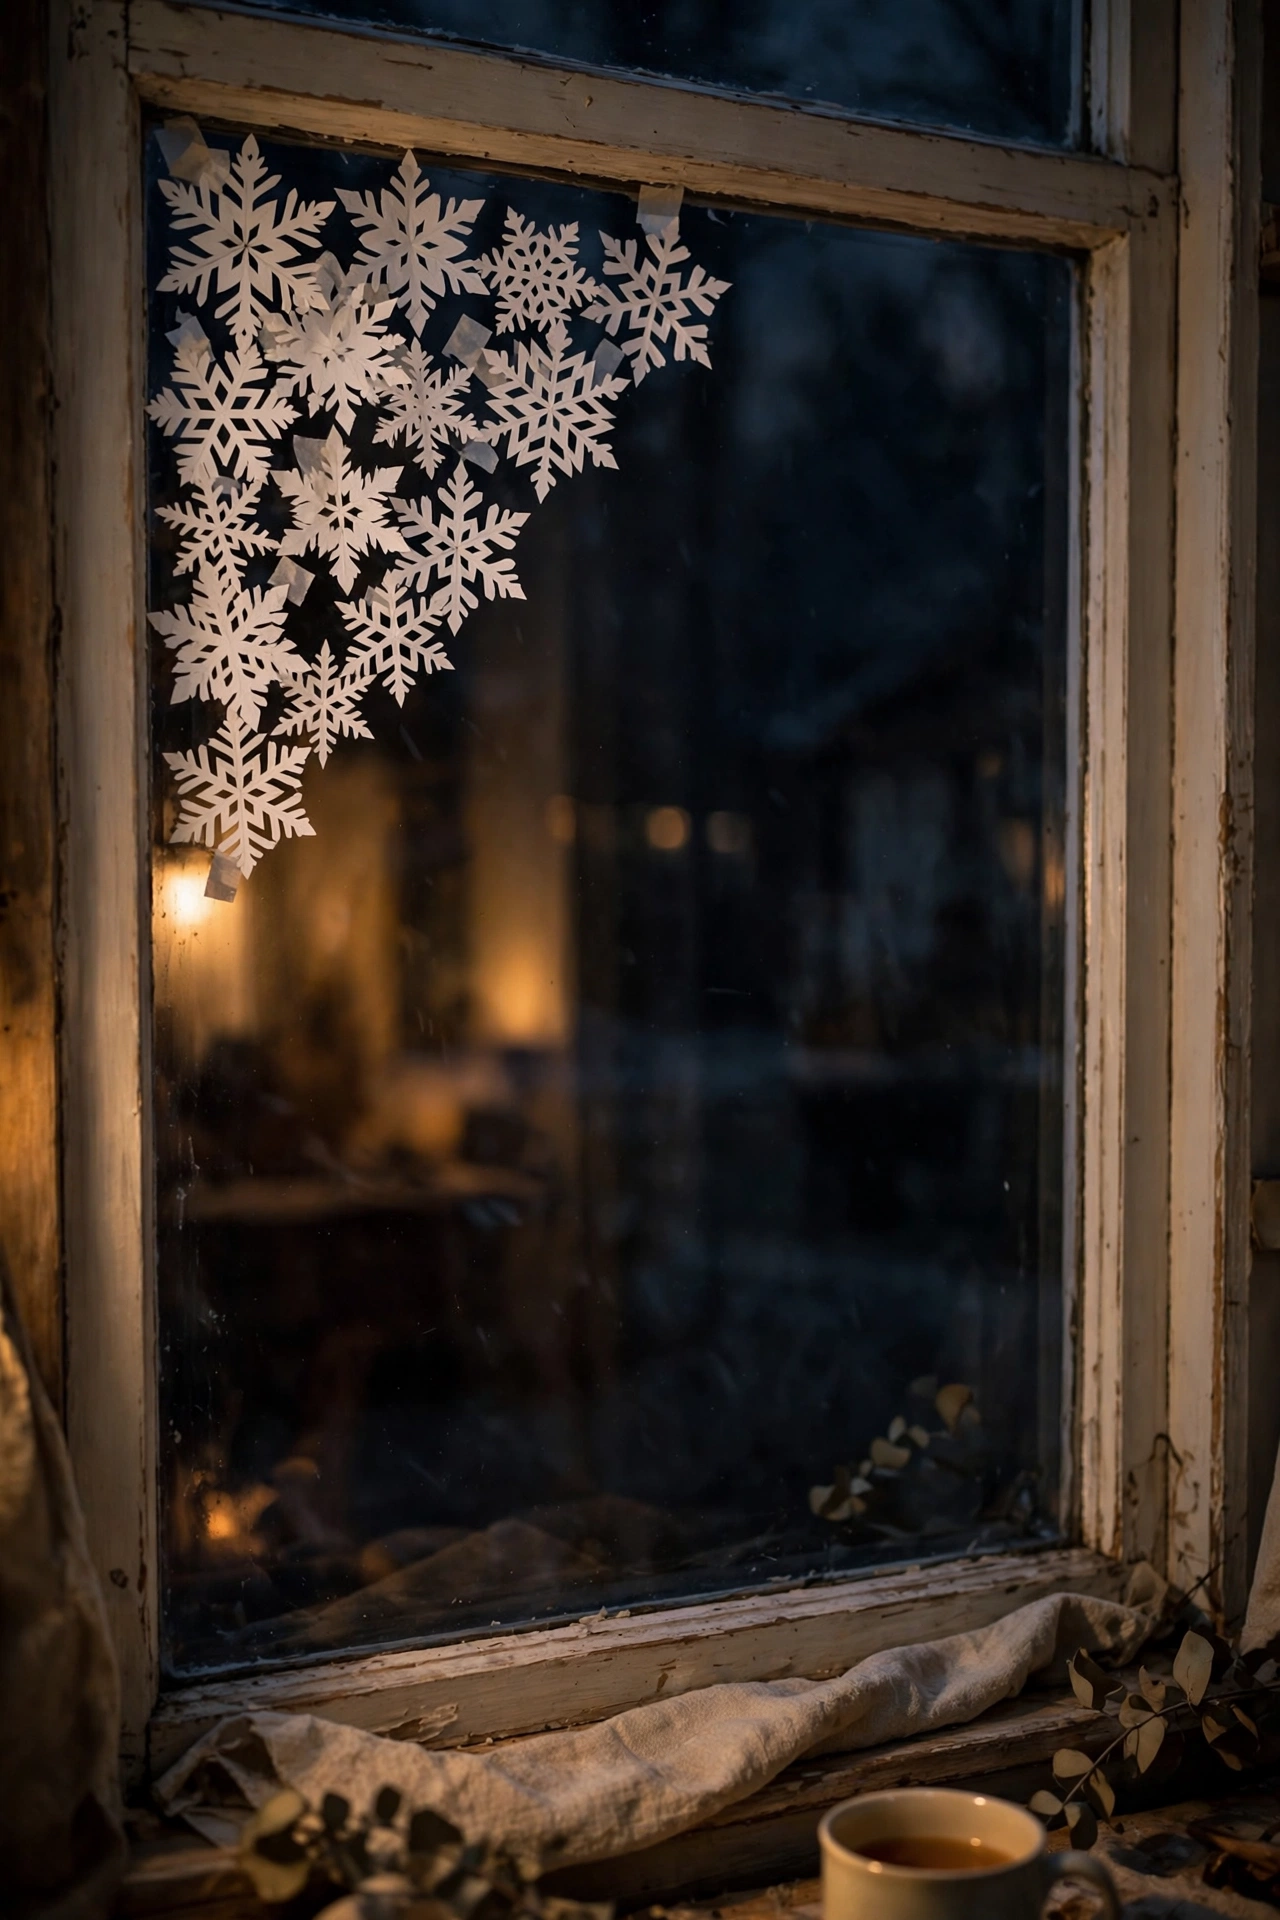
Paper snowflakes are the cheapest Christmas decoration that exists, and they look magical stuck to a dark window. I bought a pack of white coffee filters and folded each one into sixths, then cut simple notches and triangles along the edges with sharp scissors. I stuck them to the living room window with little dots of washable glue, building a loose cluster in the corner. I tried this with printer paper first and the flakes looked stiff and grey, so do use coffee filters or thin tissue, because they catch the light softly. Do not crowd the whole window, because a corner grouping looks far classier than full coverage. The kids can help with this one.
Cost: ~$1-3 | Time: 45 minutes
4. Cinnamon Stick Candle Holders
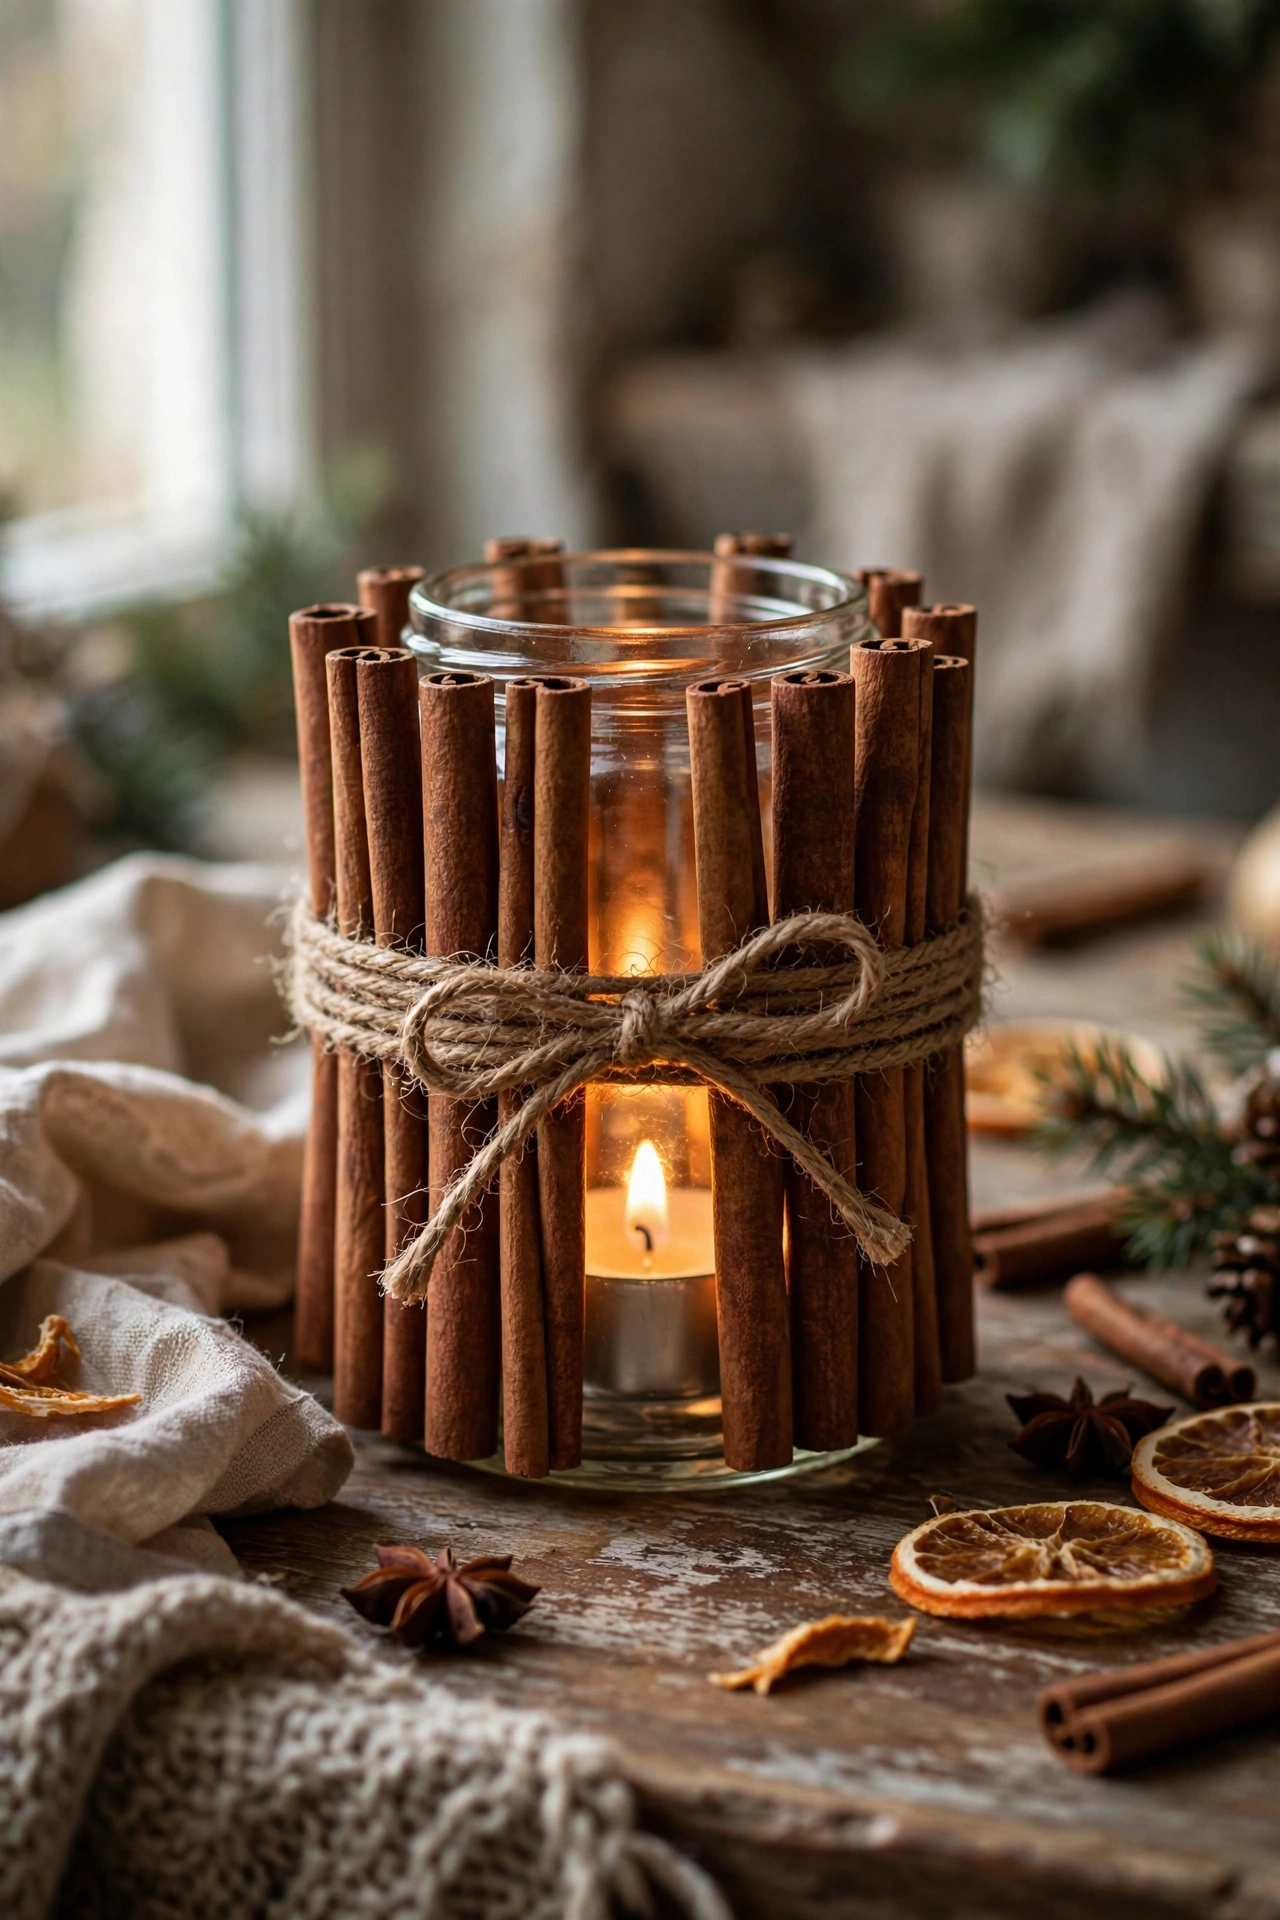
A plain glass jar wrapped in cinnamon sticks looks like a boutique candle, and it smells like one too. I stood a bundle of cinnamon sticks upright around a small glass jar, tied them snugly with jute twine, and dropped a battery tealight inside. The twine hides any uneven stick lengths, so it looks tidy whatever you have. I tried this with real candles the first year and the sticks got scorch marks, so do use battery tealights, because real flames near wood are a fire risk anyway. Do not glue the sticks to the jar, because you will want to reuse them next year. These take ten minutes each and make lovely table settings.
Cost: ~$4-7 | Time: 10 minutes each
5. Pound-Shop Mason Jar Snow Globes

My daughter still has the snow globe I made her two years ago, sitting on her shelf. I took a small mason jar, glued a tiny plastic tree to the inside of the lid with waterproof glue, filled the jar with water, a drop of glycerine, and a spoonful of fake snow, then screwed the lid on and flipped it over. The tree stands in a little blizzard whenever you shake it. I tried this with plain water first and the snow fell too fast, so do add the glycerine, because it slows the fall and looks properly magical. Do not fill the jar right to the brim, because you need air space for the snow to move. One afternoon, four globes, all gifts done.
Cost: ~$2-4 each | Time: 20 minutes each
6. Twig Star Tree Topper
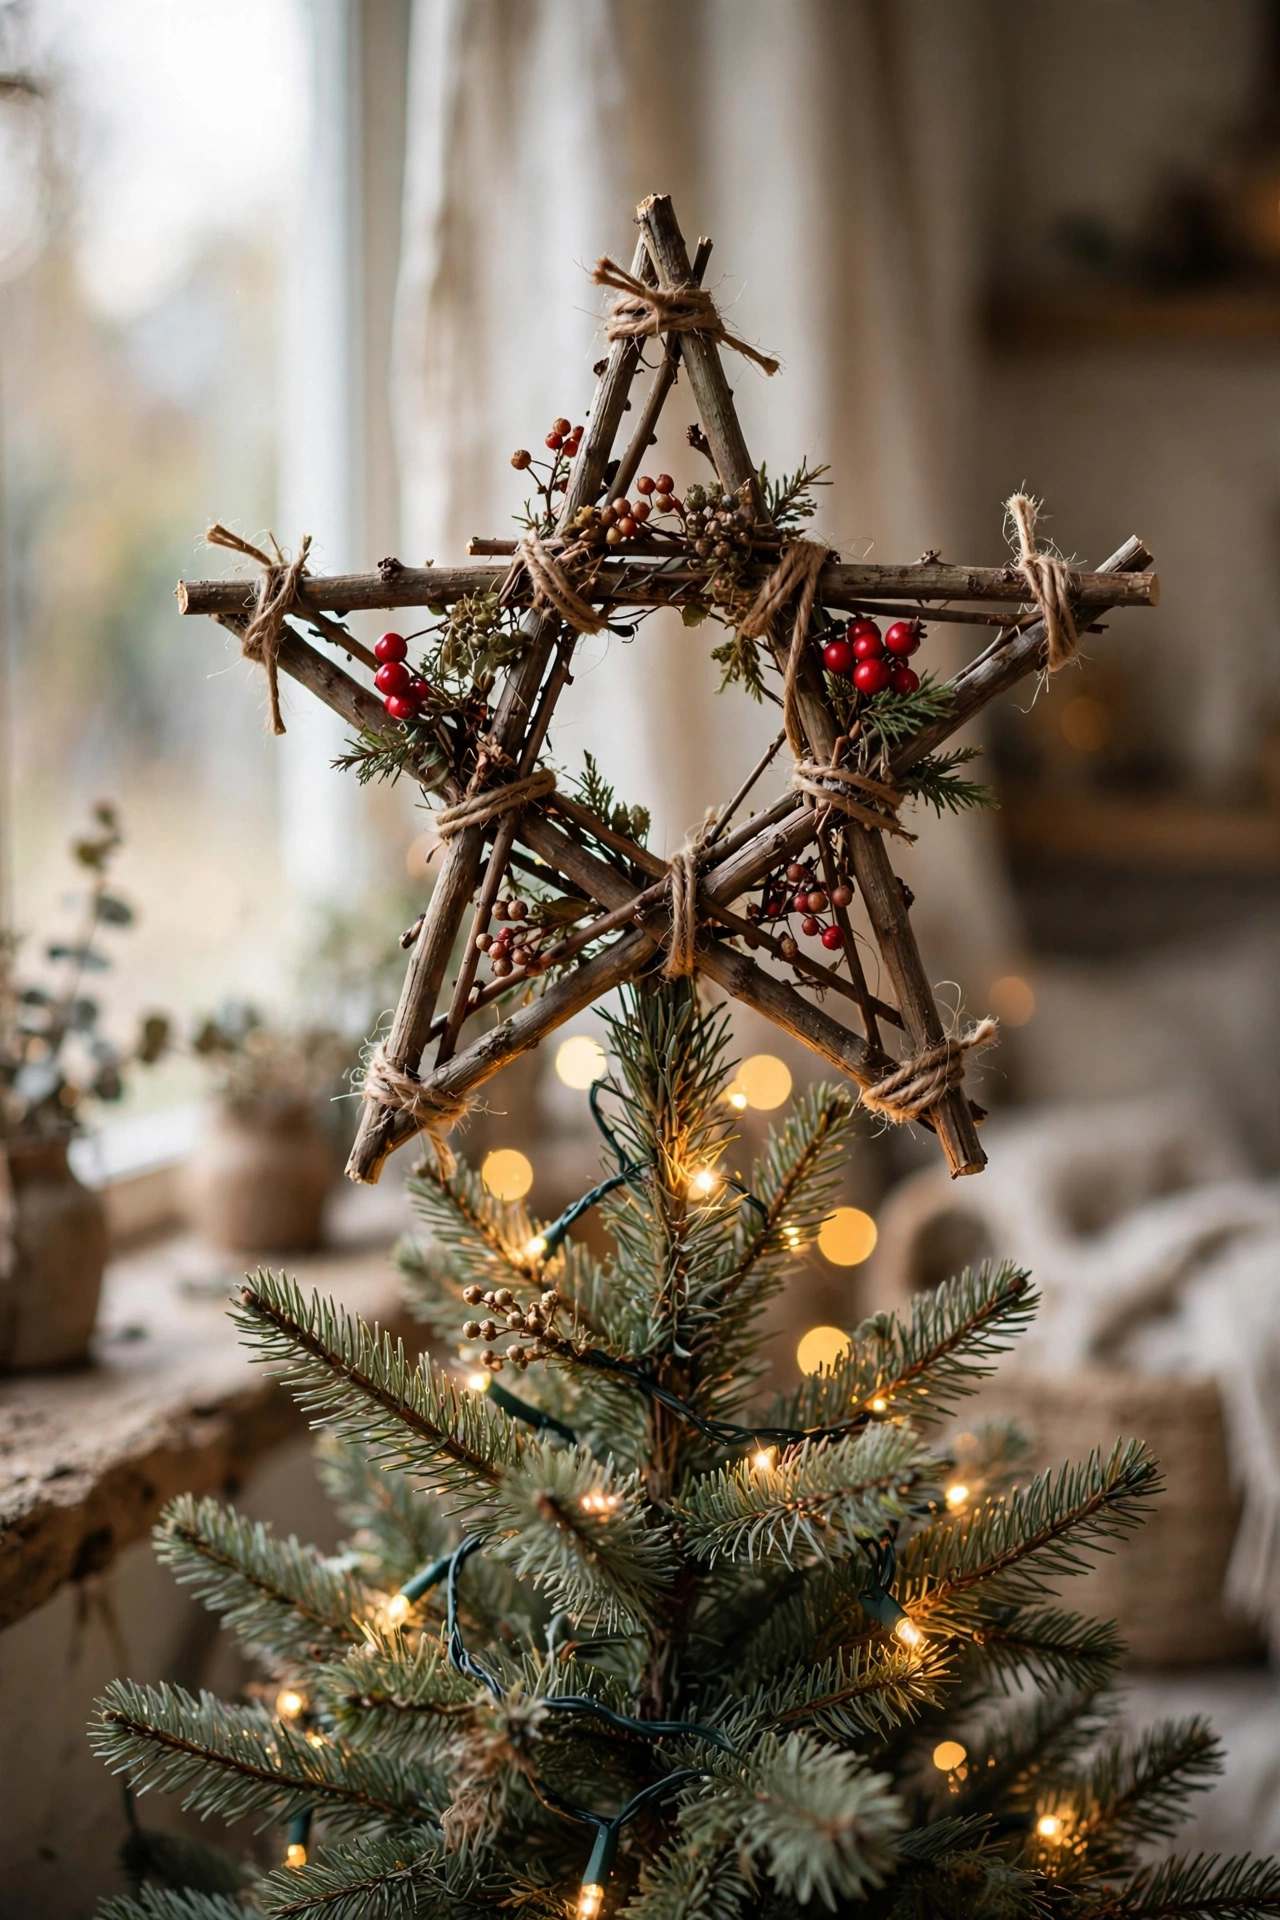
Shop-bought tree toppers are oddly expensive for something that sits out of reach, so I made mine from garden twigs. I gathered five straight sticks of roughly the same thickness, laid them into a five-pointed star on the table, and lashed each joint tightly with garden twine. I wired a few sprigs of berries from the garden to the centre and tied the whole star to the top of the tree with florist wire. I tried this with thin bendy twigs first and the star sagged by Boxing Day, so do use sturdy straight sticks, because they need to hold their shape for a month. Do not make it too heavy, because a light star sits safer on the top branch.
Cost: ~$0-3 | Time: 30 minutes
7. Fabric Scrap Wreath on a Wire Hanger
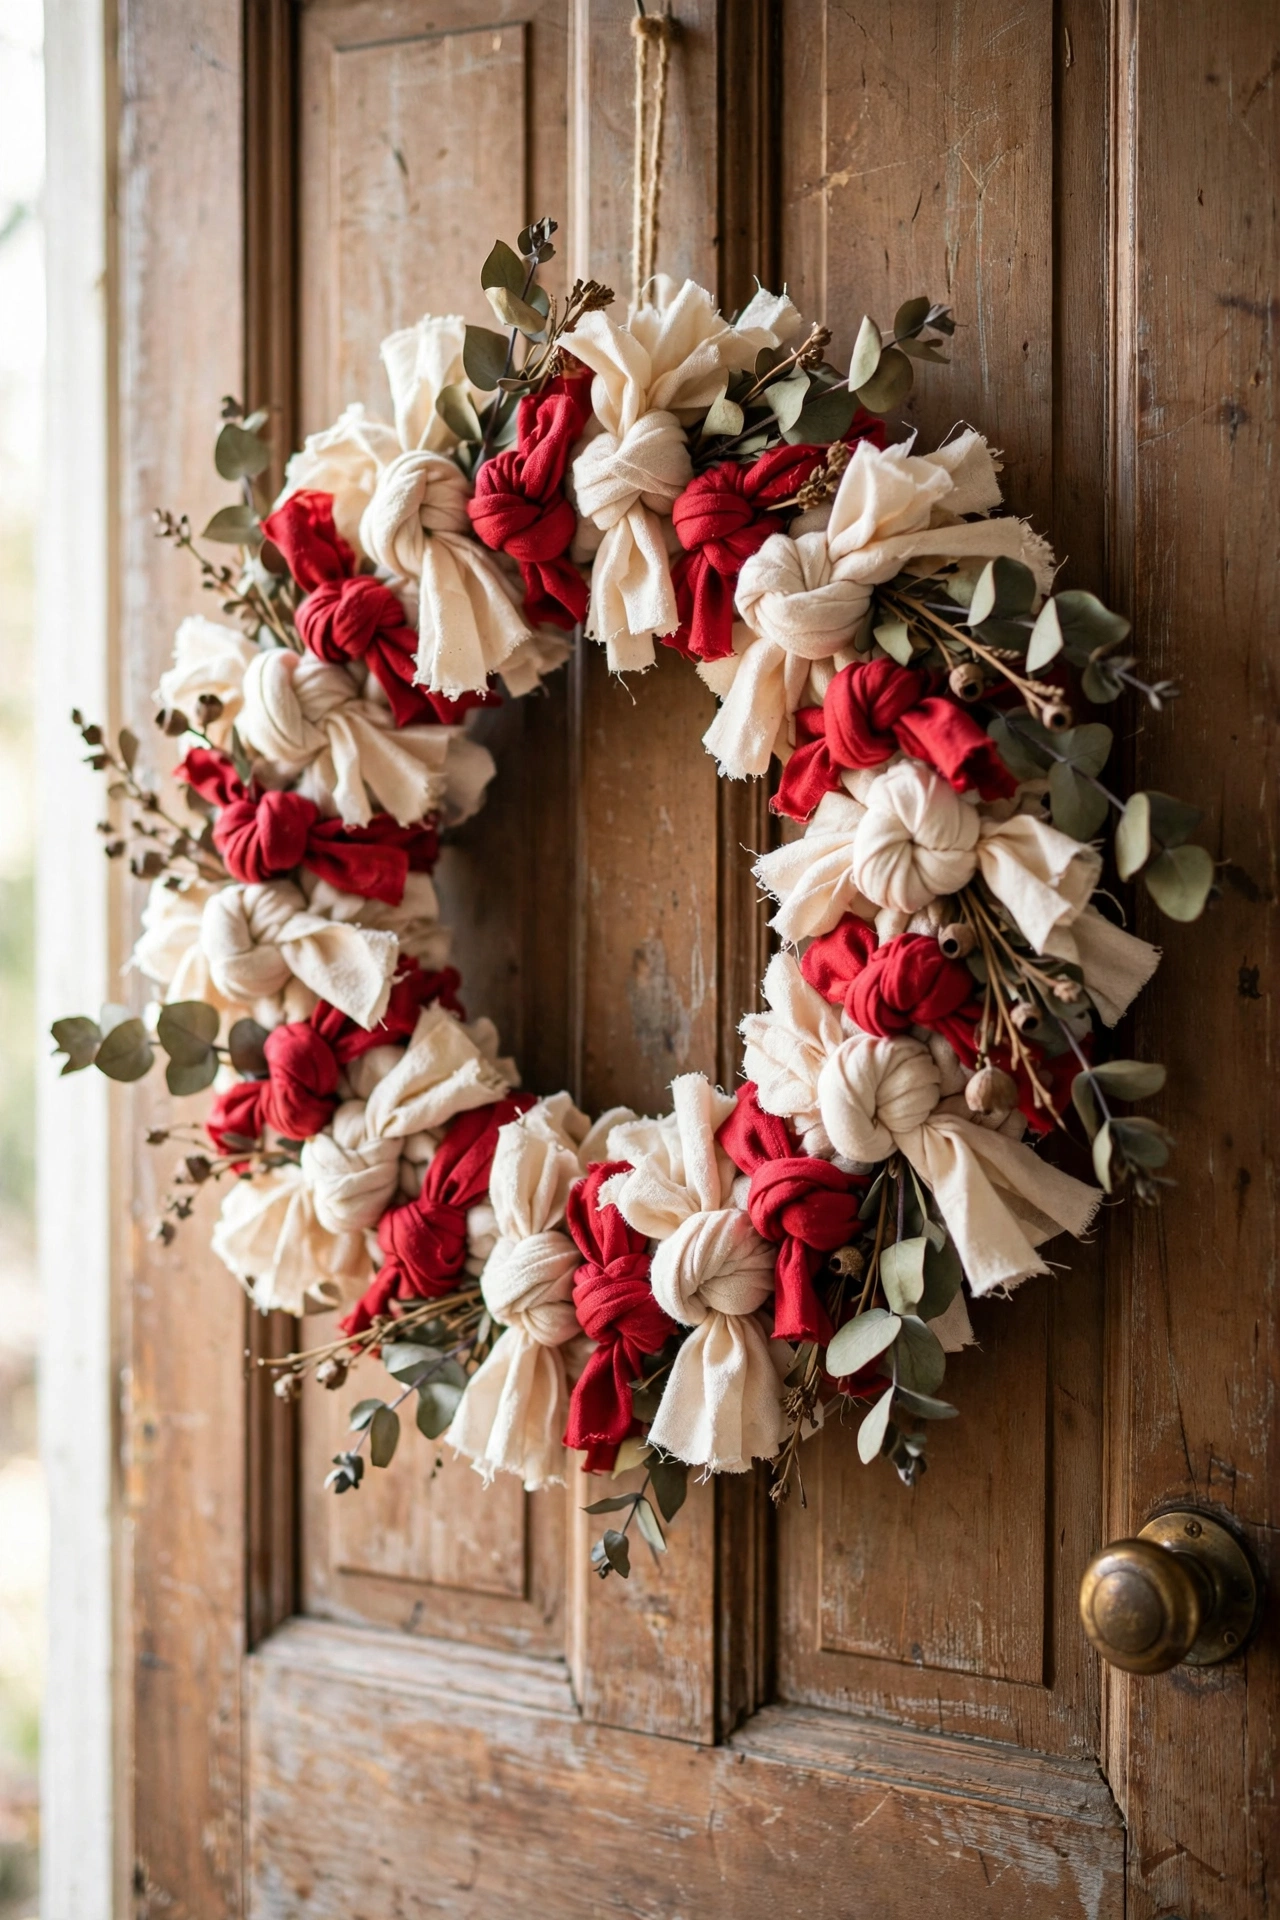
This is the wreath I get compliments on every single year, and it is made from an old wire hanger. I bent the hanger into a rough circle, cut an old flannel shirt into two-inch strips, and tied the strips all around the wire with tight knots, pushing them close together until the wreath looked full and fluffy. A few sprigs of dried eucalyptus tucked in finished it. I tried this with strips that were too short first and the wreath looked thin and patchy, so do cut your strips at least eight inches long, because the longer strips give that lush layered look. Do not worry about the circle being perfect, because the fabric hides every wobble.
Cost: ~$0-5 | Time: 1 hour
8. Hand-Painted Pinecone Baubles
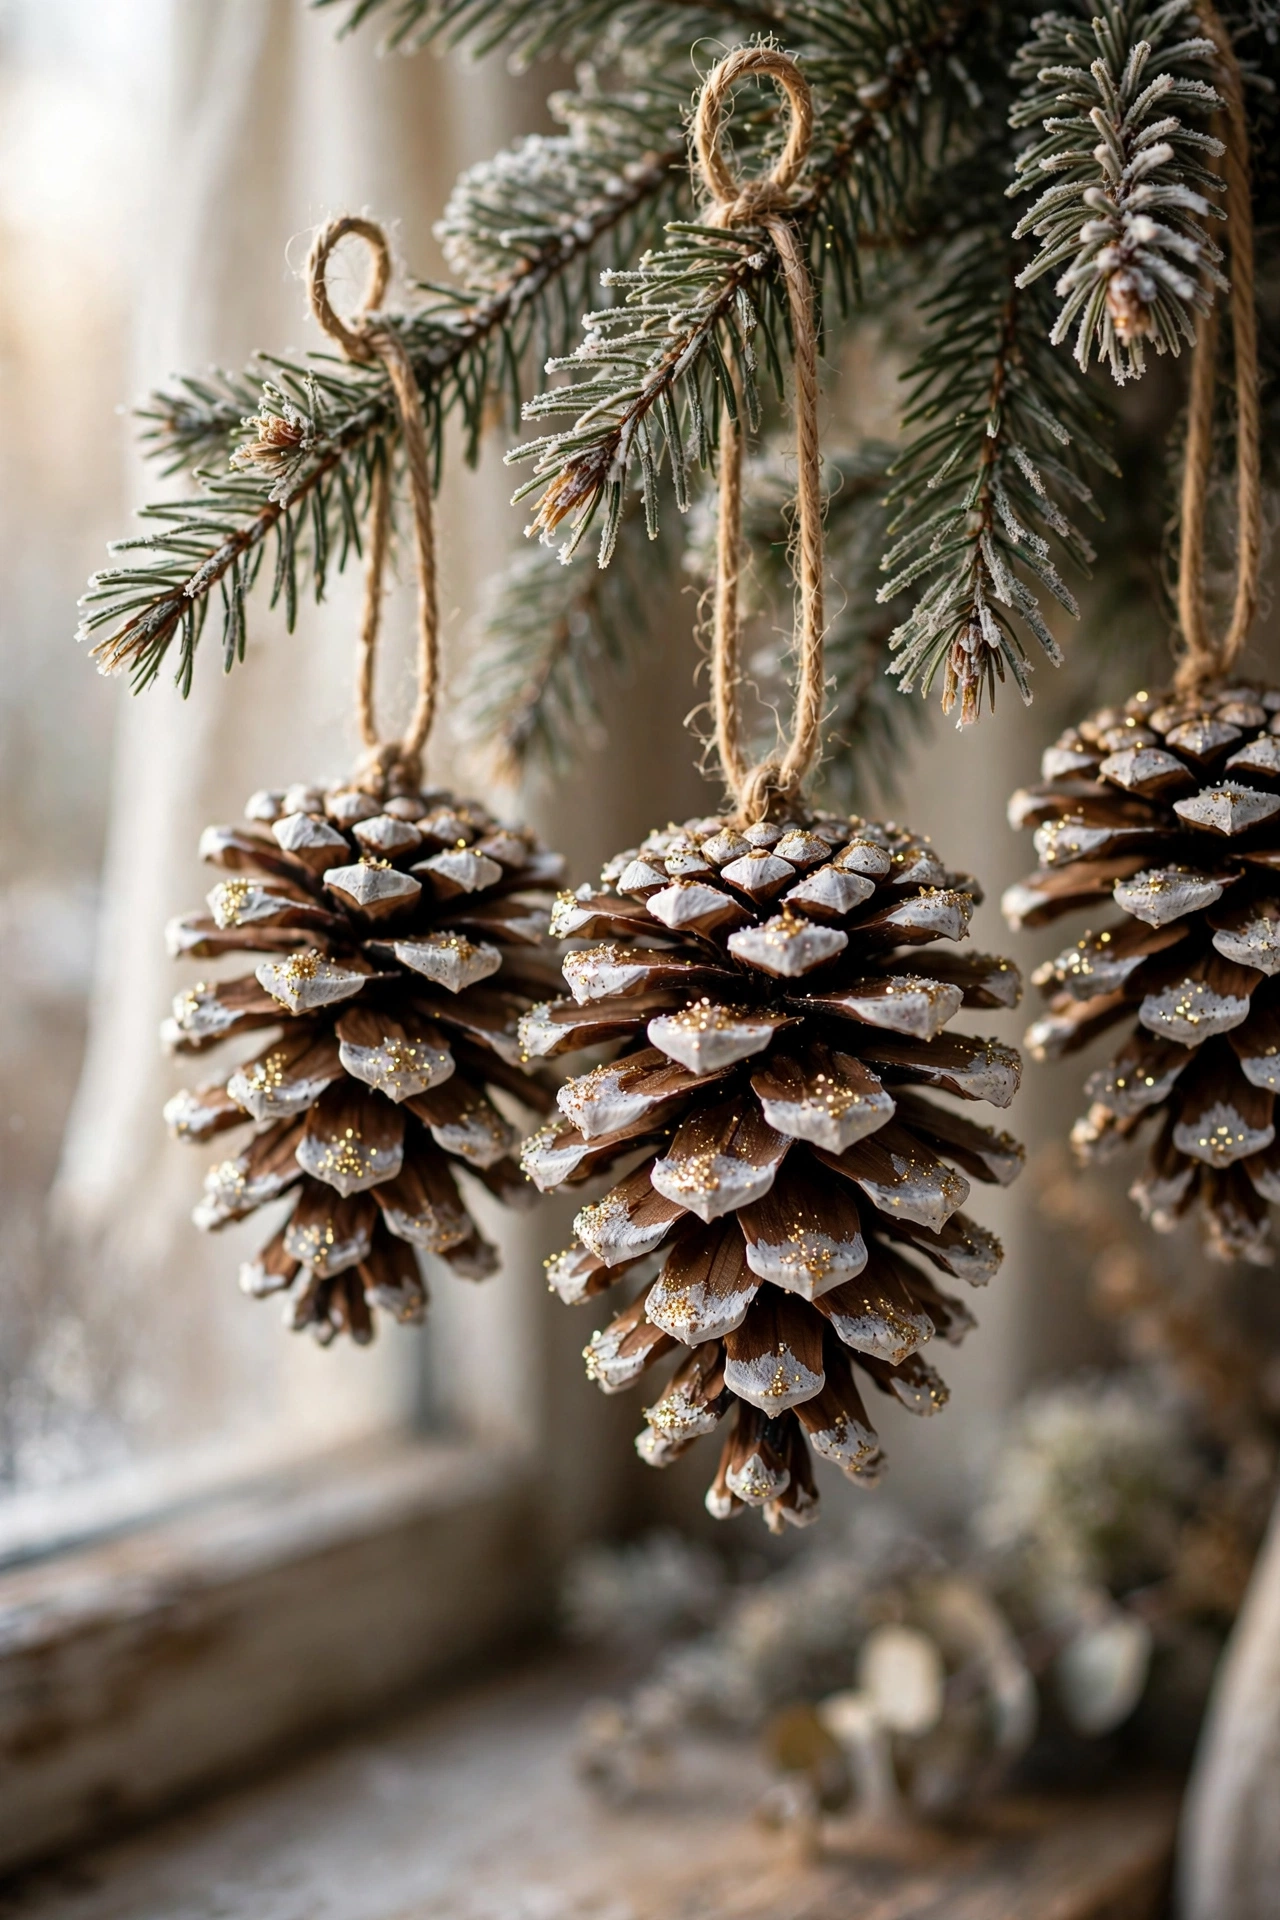
Pinecones painted at the tips look like frosted mini trees when they hang on branches. I picked smaller pinecones, painted just the tips of the scales with white craft paint, and while the paint was still wet, dusted a few with gold glitter for sparkle. Once dry, I glued a small loop of twine to the top of each one. I tried this painting the whole cone first and it looked heavy and artificial, so do paint only the tips, because the hint of frost looks natural. Do not use watery paint, because it will drip into the centre and look muddy. Hang them from branches, the tree, or a garland for a frosted woodland feel.
Cost: ~$3-5 | Time: 1 hour plus drying
9. Fresh Greenery Staircase Garland
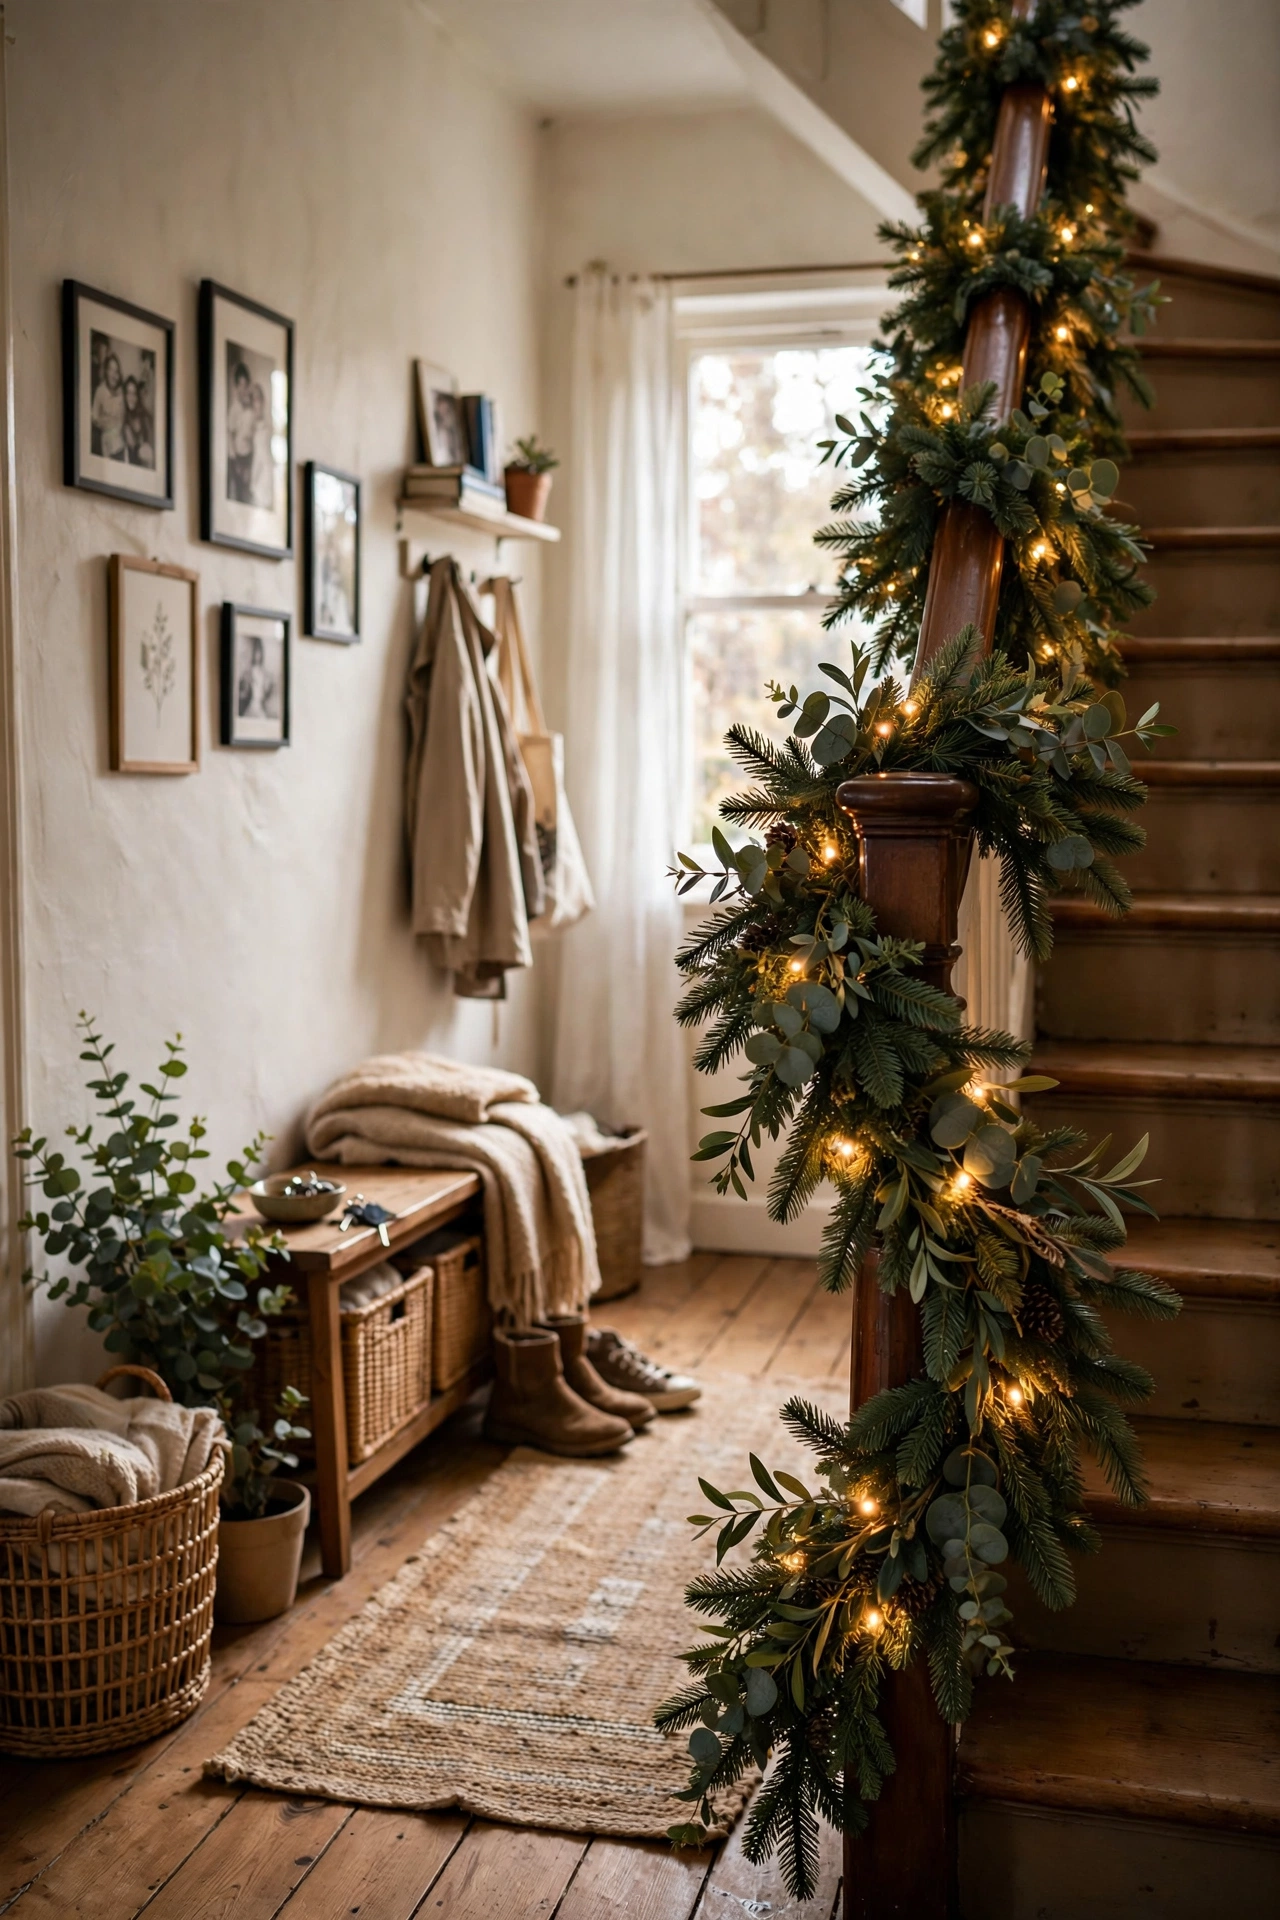
A staircase wrapped in greenery is the one decoration that makes the whole house feel festive, and mixing real and fake keeps it cheap. I bought one cheap faux garland, draped it along the banister, then tucked in real sprigs of fir, holly, and eucalyptus from the garden and the park. The real sprigs give the smell and the texture; the faux base gives the fullness. I tried this with all real greenery first and half of it dried out by week two, so do use the faux garland as the backbone, because it holds up all month. Do not use holly with berries where small children can reach, because the berries are poisonous. Secure everything with twine so it survives excited kids.
Cost: ~$8-14 | Time: 1 hour
10. Potato-Stamped Kraft Paper Gift Wrap

Coordinated wrapping paper costs a fortune, but stamped kraft paper looks better anyway. I cut a potato in half, carved a simple star and a tree shape with a small knife, and stamped the designs all over a roll of brown kraft paper with white and gold craft paint. Once dry, I wrapped every gift in the same paper with plain twine bows. I tried this with too much paint on the stamp first and the shapes went blobby, so do dab the excess paint off first, because a light touch gives crisp prints. Do not stamp the whole roll at once, because you need floor space to let it dry flat. The gifts look like they came from an artisan shop.
Cost: ~$5-8 | Time: 1 hour
11. Evergreen and Candle Table Runner
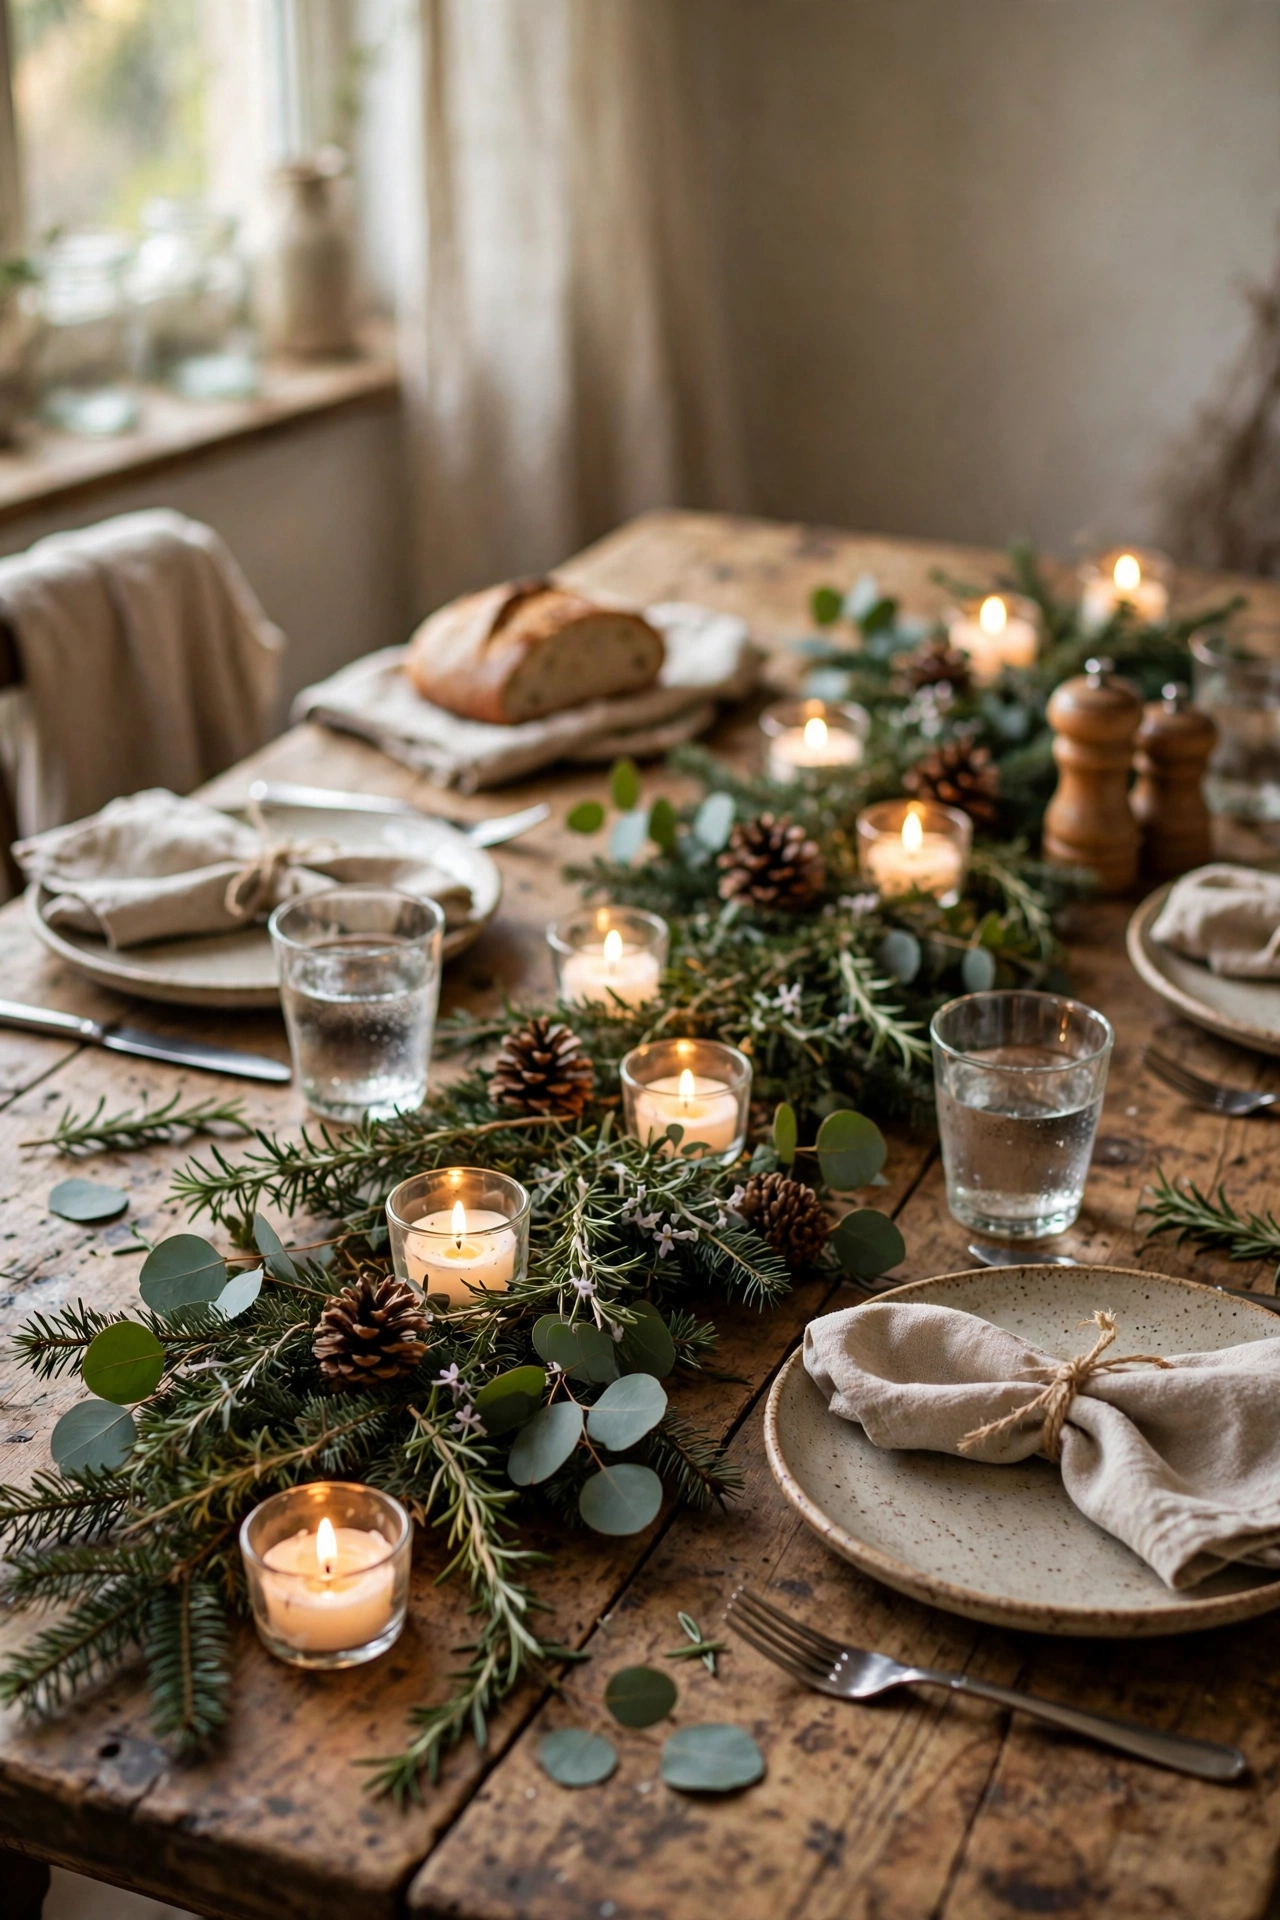
For Christmas dinner, I skip a fabric runner and lay greenery straight down the middle of the table. I trimmed fir, eucalyptus, and rosemary sprigs into short pieces, laid them in a loose overlapping line down the centre of the table, and dotted battery tealights and a few pinecones among them. The rosemary means it smells incredible. I tried this with real candles first and the greenery near the flames made me nervous all evening, so do use battery tealights, because real flames and dry leaves are a bad combination. Do not build it until Christmas morning, because fresh greenery looks tired after a day. It takes fifteen minutes and transforms the table.
Cost: ~$0-5 | Time: 15 minutes
12. Book Page Paper Christmas Trees

An old paperback destined for recycling became three of the cutest little trees on my mantel. I folded each page of the book down to the spine in triangles, working from front to back, until the whole book became a cone shape. I sprayed the folded pages lightly with gold paint and stood the book upright, fanning the covers to make a base. I tried this with a glossy magazine first and the pages would not hold a fold, so do use a proper paperback with thin pages, because they crease cleanly and hold. Do not glue anything, because the folds hold themselves. These look delicate and literary grouped in threes.
Cost: ~$0-4 | Time: 45 minutes
13. Salt Dough Ornaments With Cookie Cutters

Salt dough ornaments are the craft I make with the kids every December without fail. I mixed two cups of flour, one cup of salt, and one cup of water into a dough, rolled it out, and cut stars, trees, and angels with cookie cutters. After baking them low and slow for three hours, we painted them with craft paint and sealed them with clear varnish. I tried this drying them at high heat first and they puffed up and cracked, so do keep the oven low and be patient, because slow drying keeps them flat and smooth. Do not skip the varnish, because unsealed dough softens in damp air. Poke the hanging hole before baking.
Cost: ~$2-5 | Time: 1 hour plus baking
14. Chalkboard Welcome Sign by the Front Door
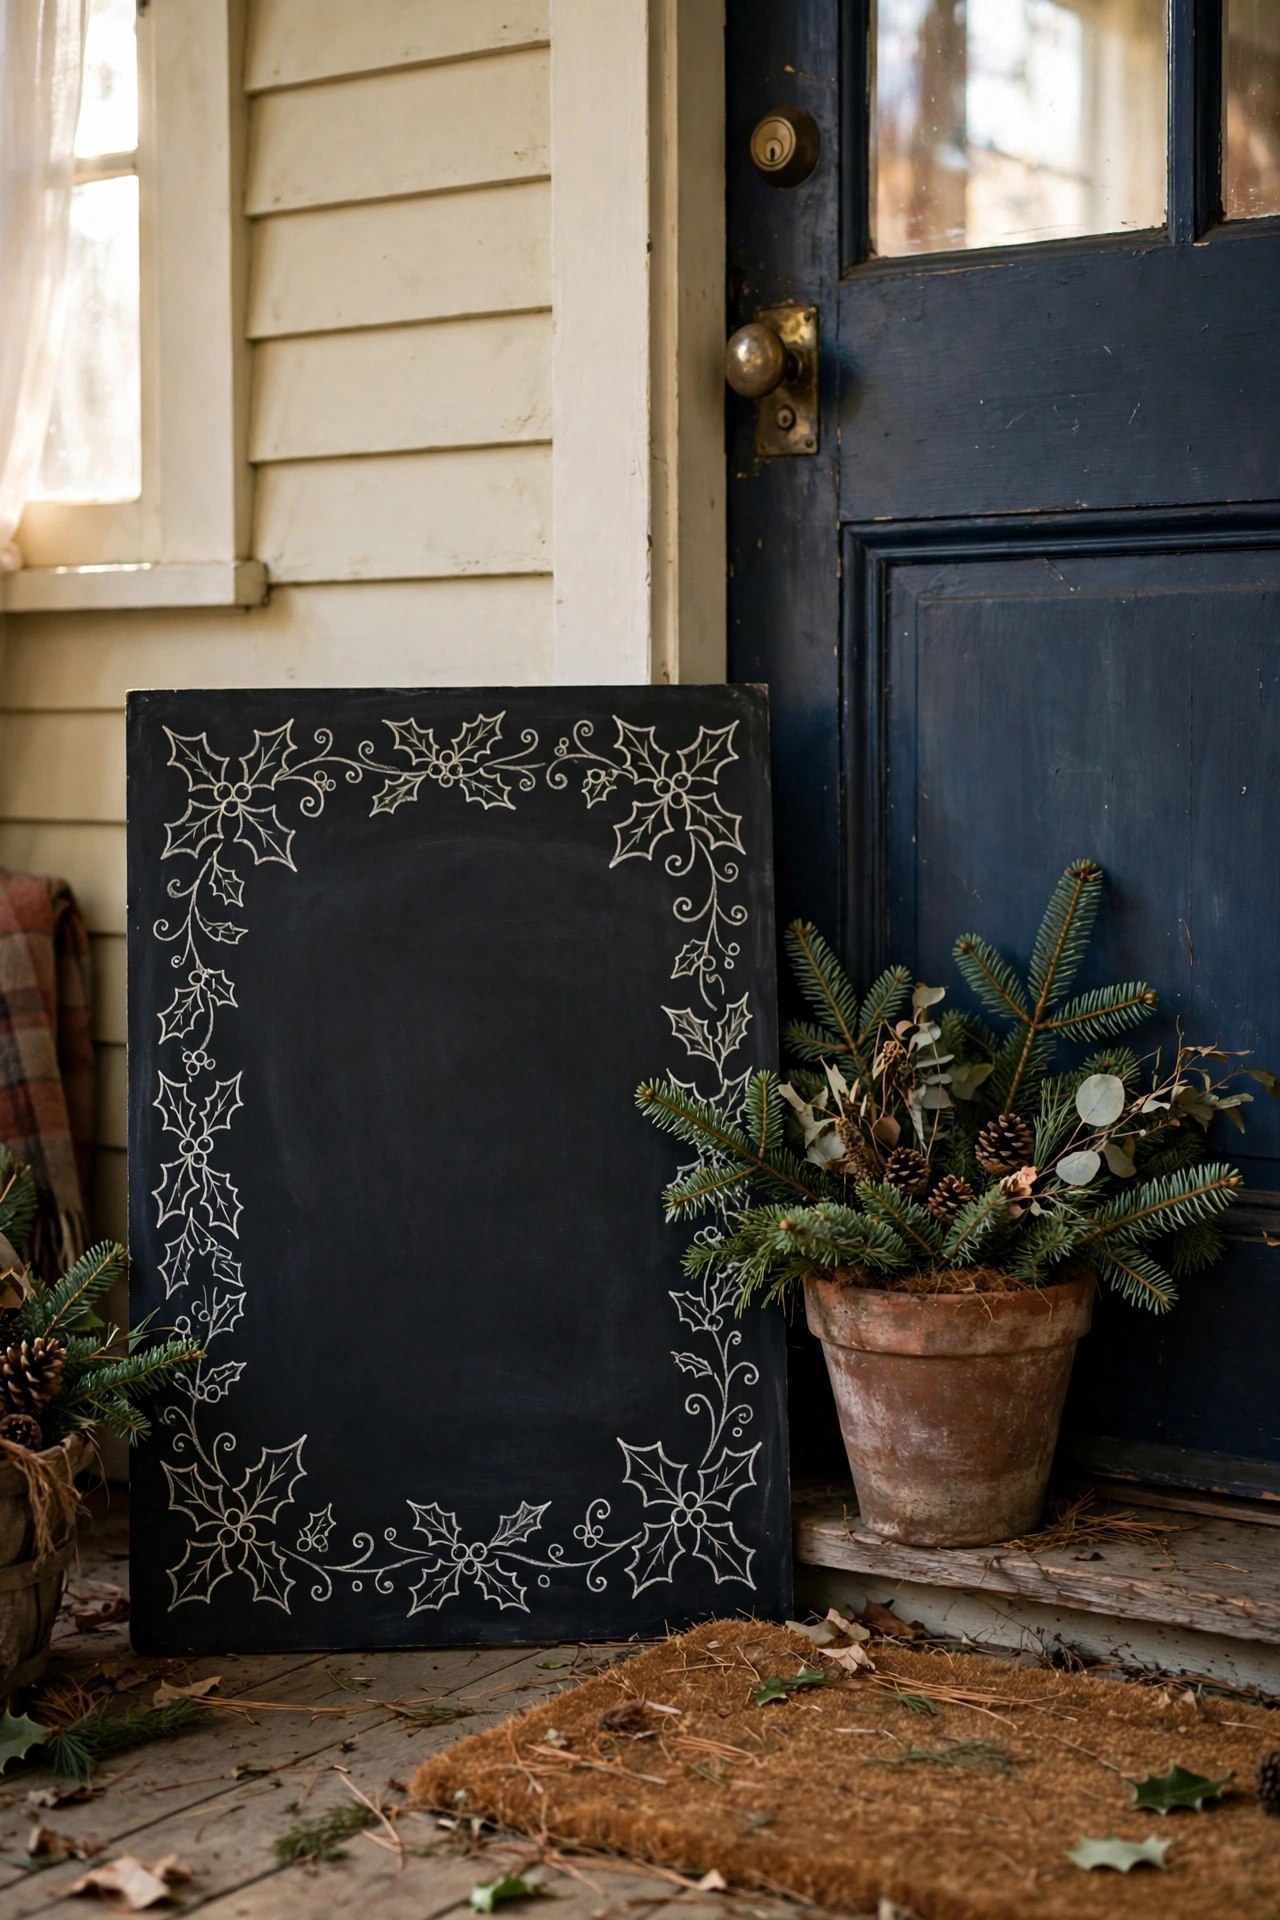
A chalkboard sign by the front door sets the tone before anyone steps inside. I painted an old picture frame’s backing board with two coats of chalkboard paint, chalked a simple “Merry Christmas” message with a little holly border, and propped it in a plant pot by the door with some fir sprigs. I tried this writing freehand in a rush first and it looked wobbly, so do draft the lettering lightly in pencil first, because you can perfect it before the chalk. Do not use permanent chalk markers for a temporary sign, because they defeat the point of a reusable board. I change the message weekly through December.
Cost: ~$5-9 | Time: 30 minutes
15. Pinecone Fire Starters as Gifts
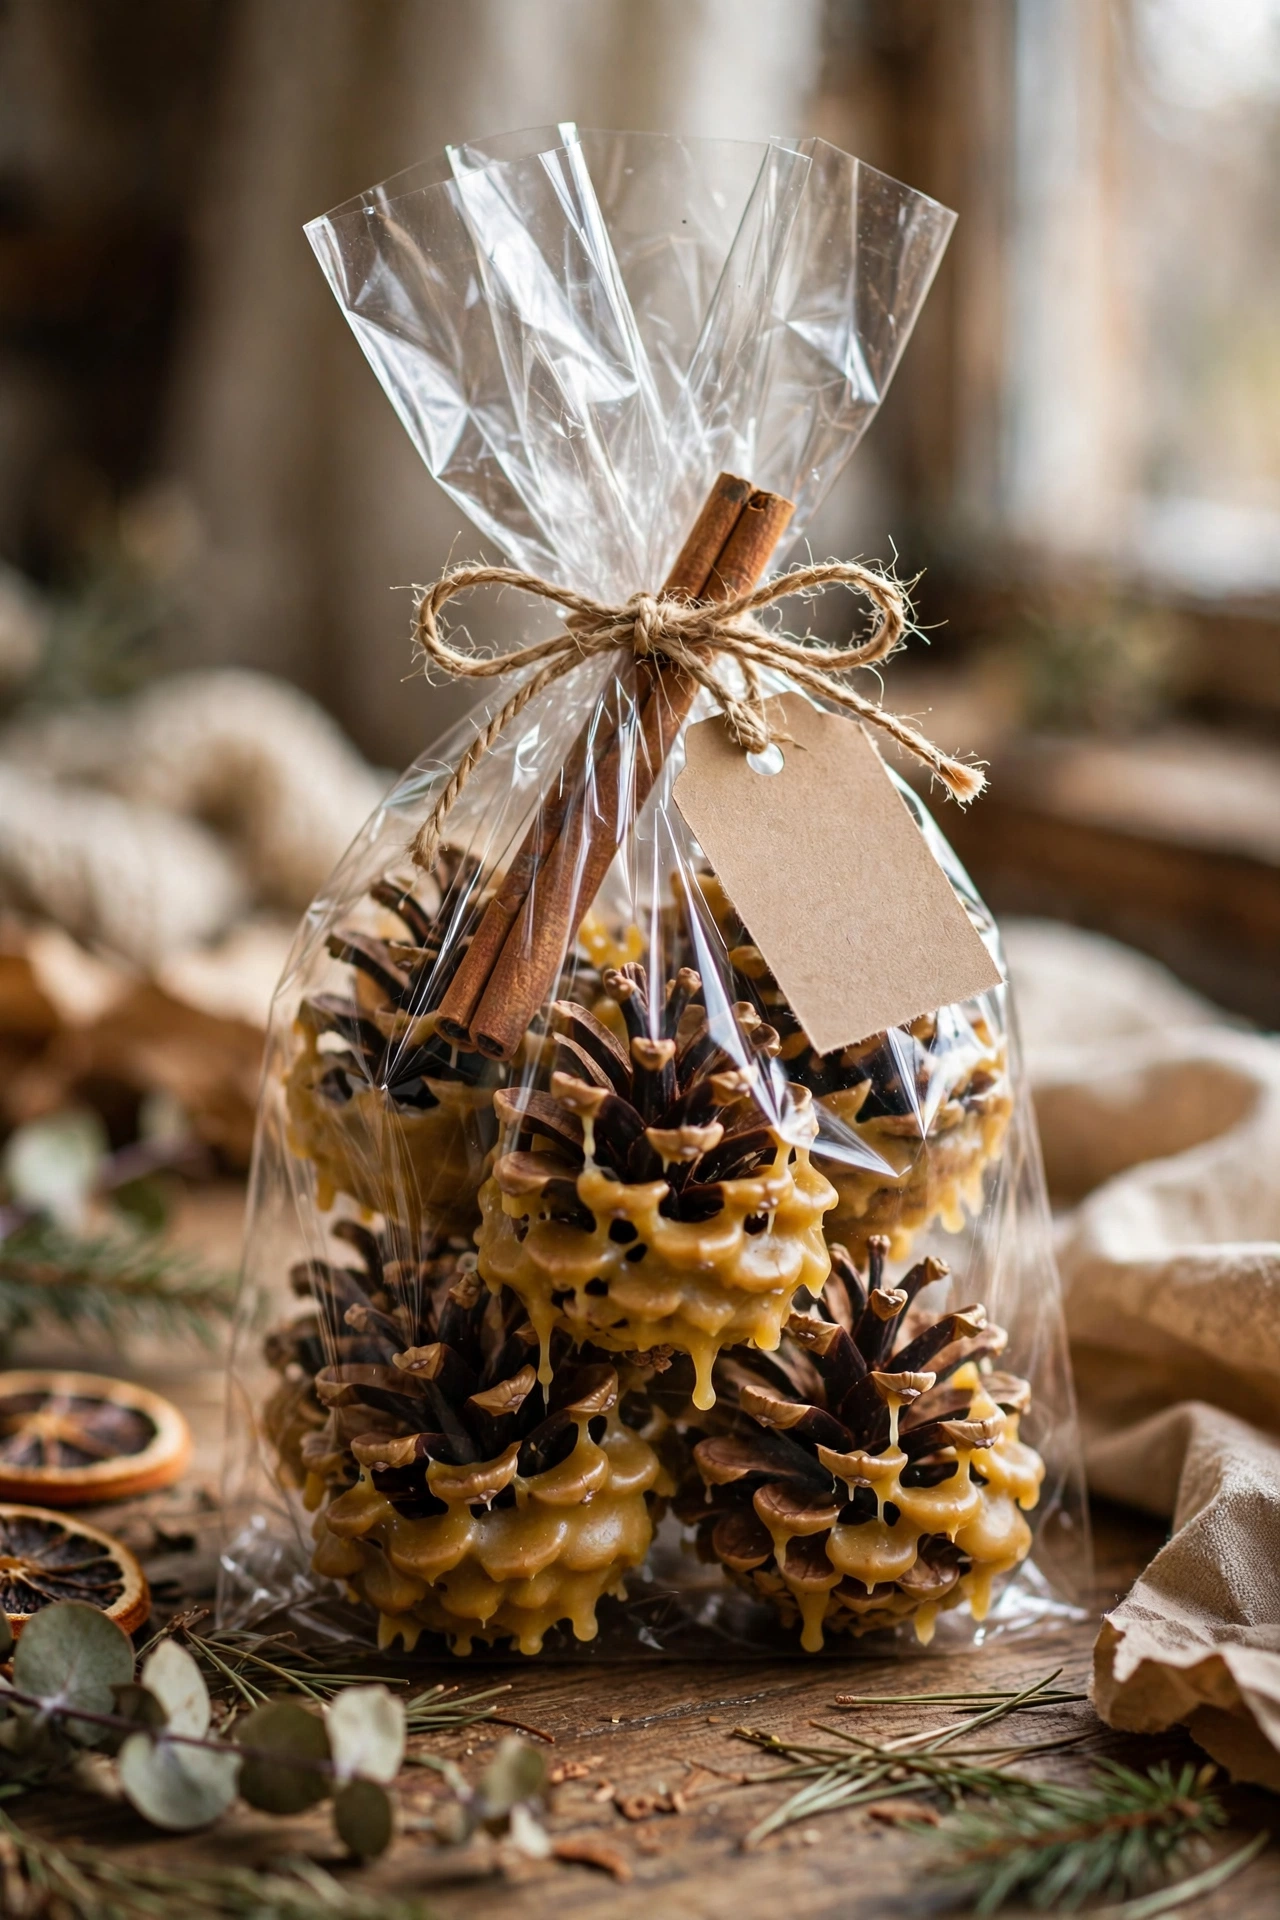
These are my go-to homemade gift for anyone with a fireplace or a fire pit. I melted down old candle stubs in a tin can set in simmering water, dipped each dried pinecone in the wax with tongs, and set them on baking paper to harden. Once set, I bundled five into a cellophane bag with a cinnamon stick and a handwritten tag. I tried this dripping wax with a spoon first and it was a mess, so do dip with tongs, because a full dip coats evenly and quickly. Do not use scented candle wax with clashing fragrances, because the smell when burned can be strange. They light fires beautifully and cost almost nothing.
Cost: ~$3-6 | Time: 1 hour
16. Bauble Wreath From Pound-Shop Ornaments
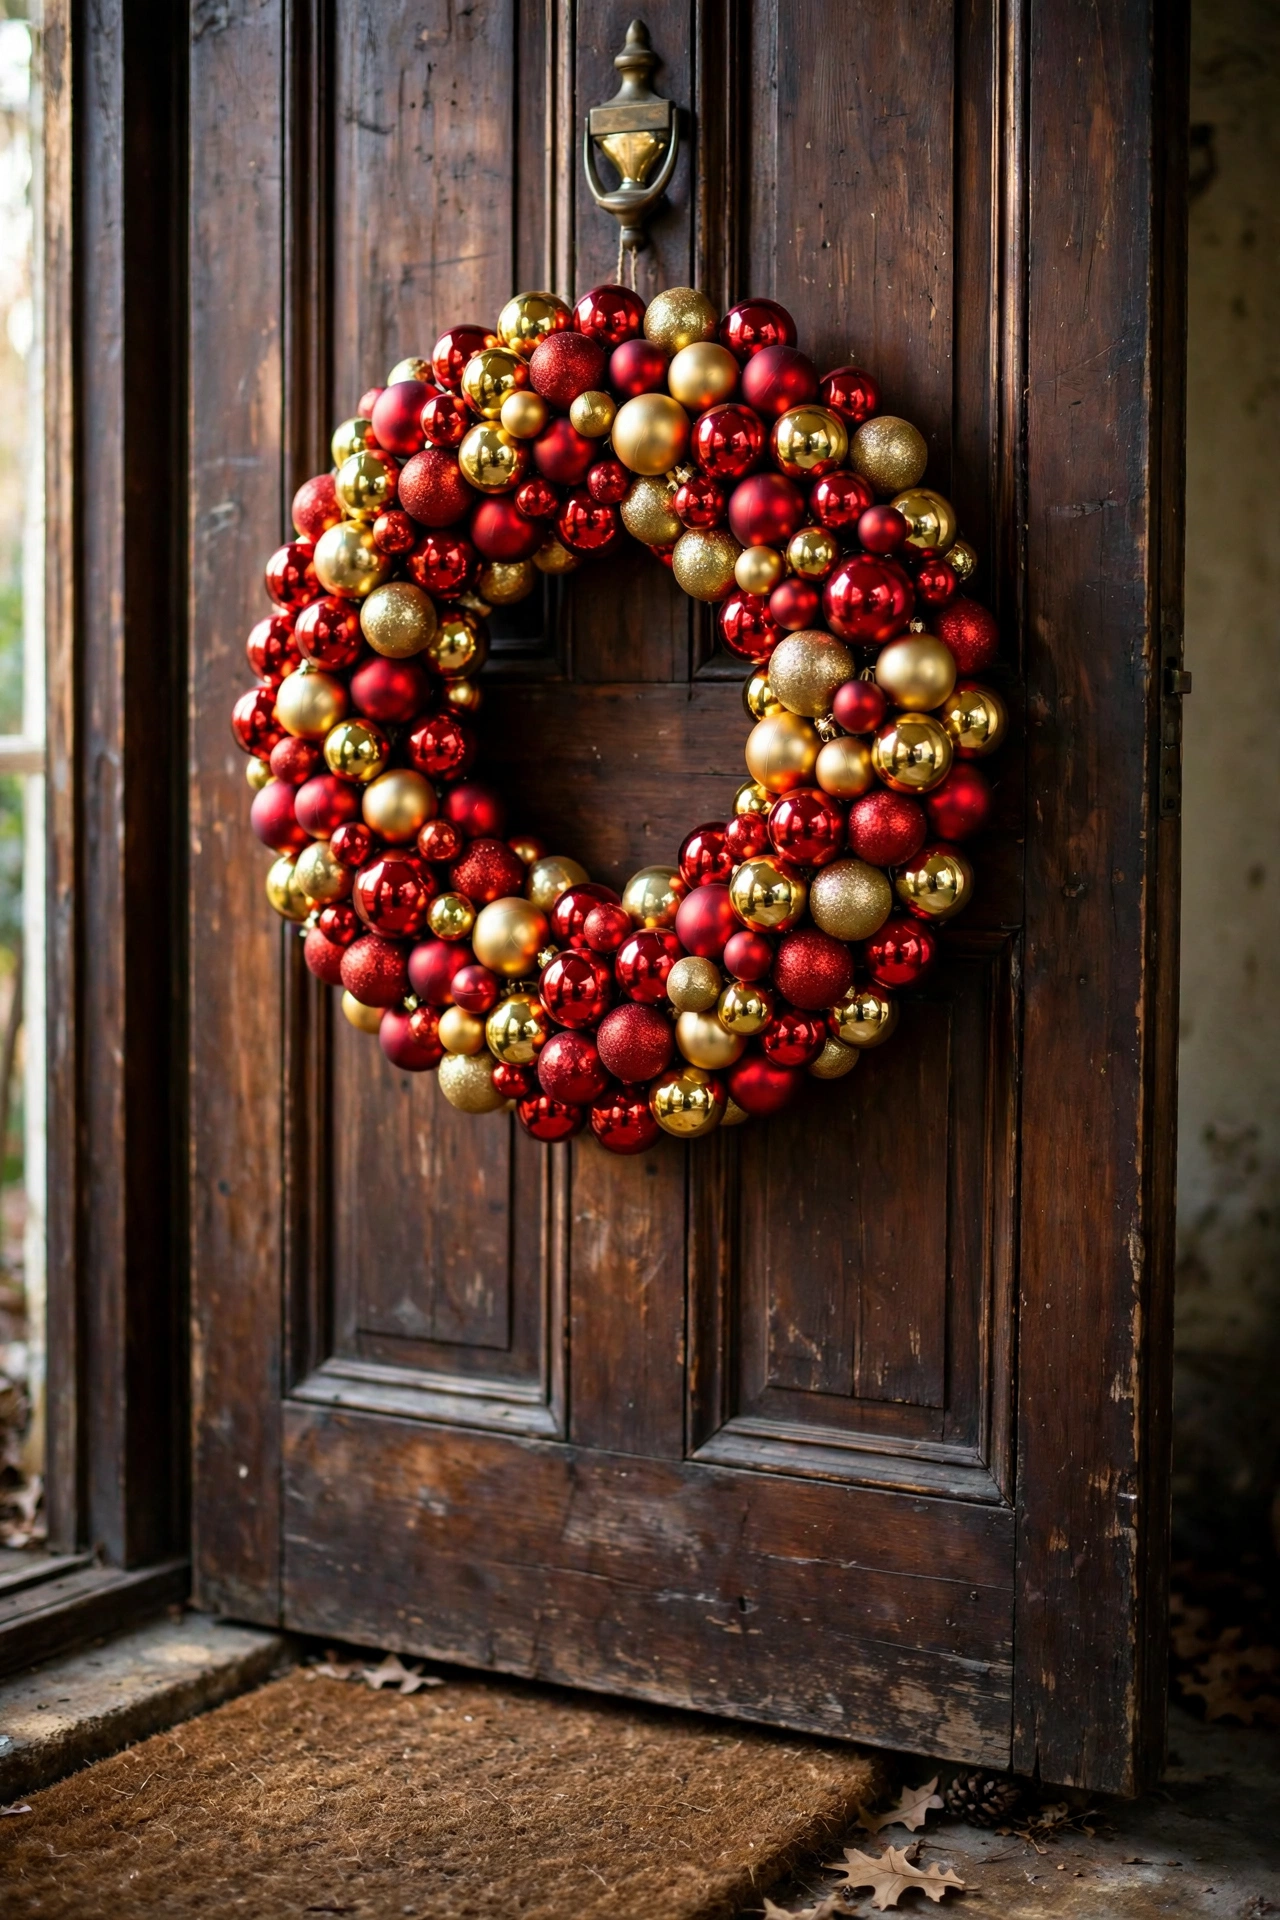
A wreath made entirely of baubles looks rich and full, and pound-shop ornaments are perfect for it. I bent a wire hanger into a circle, threaded the baubles onto the wire one by one through their hanging loops, alternating red and gold, and twisted the ends together to close it. I fluffed the baubles around until none of the wire showed and hung it with a ribbon. I tried this with mismatched bauble sizes first and the wreath looked lumpy, so do use baubles of roughly the same size, because uniformity is what makes this look expensive. Do not force the wire shut if it is overfull, because a twisted joint under tension will spring open. It weighs almost nothing on the door.
Cost: ~$6-10 | Time: 45 minutes
17. Clothespin Reindeer Gift Toppers

These little reindeer make gift wrapping ridiculously cute and cost pennies. I painted two wooden clothespins brown for the legs, glued a small brown pom-pom to a third peg for the head, added googly eyes and a red pom-pom nose, and twisted pipe cleaners into antlers glued behind the head. Then I clipped the finished reindeer onto the ribbon of each wrapped present. I tried this with the antlers facing forward first and they looked odd, so do angle the antlers slightly back, because that is how they sit on a real deer. Do not use wet glue and rush, because the pom-poms slide off before they set. Guests keep these on their desks afterwards.
Cost: ~$3-5 | Time: 20 minutes each
18. Epsom Salt Snow Lanterns
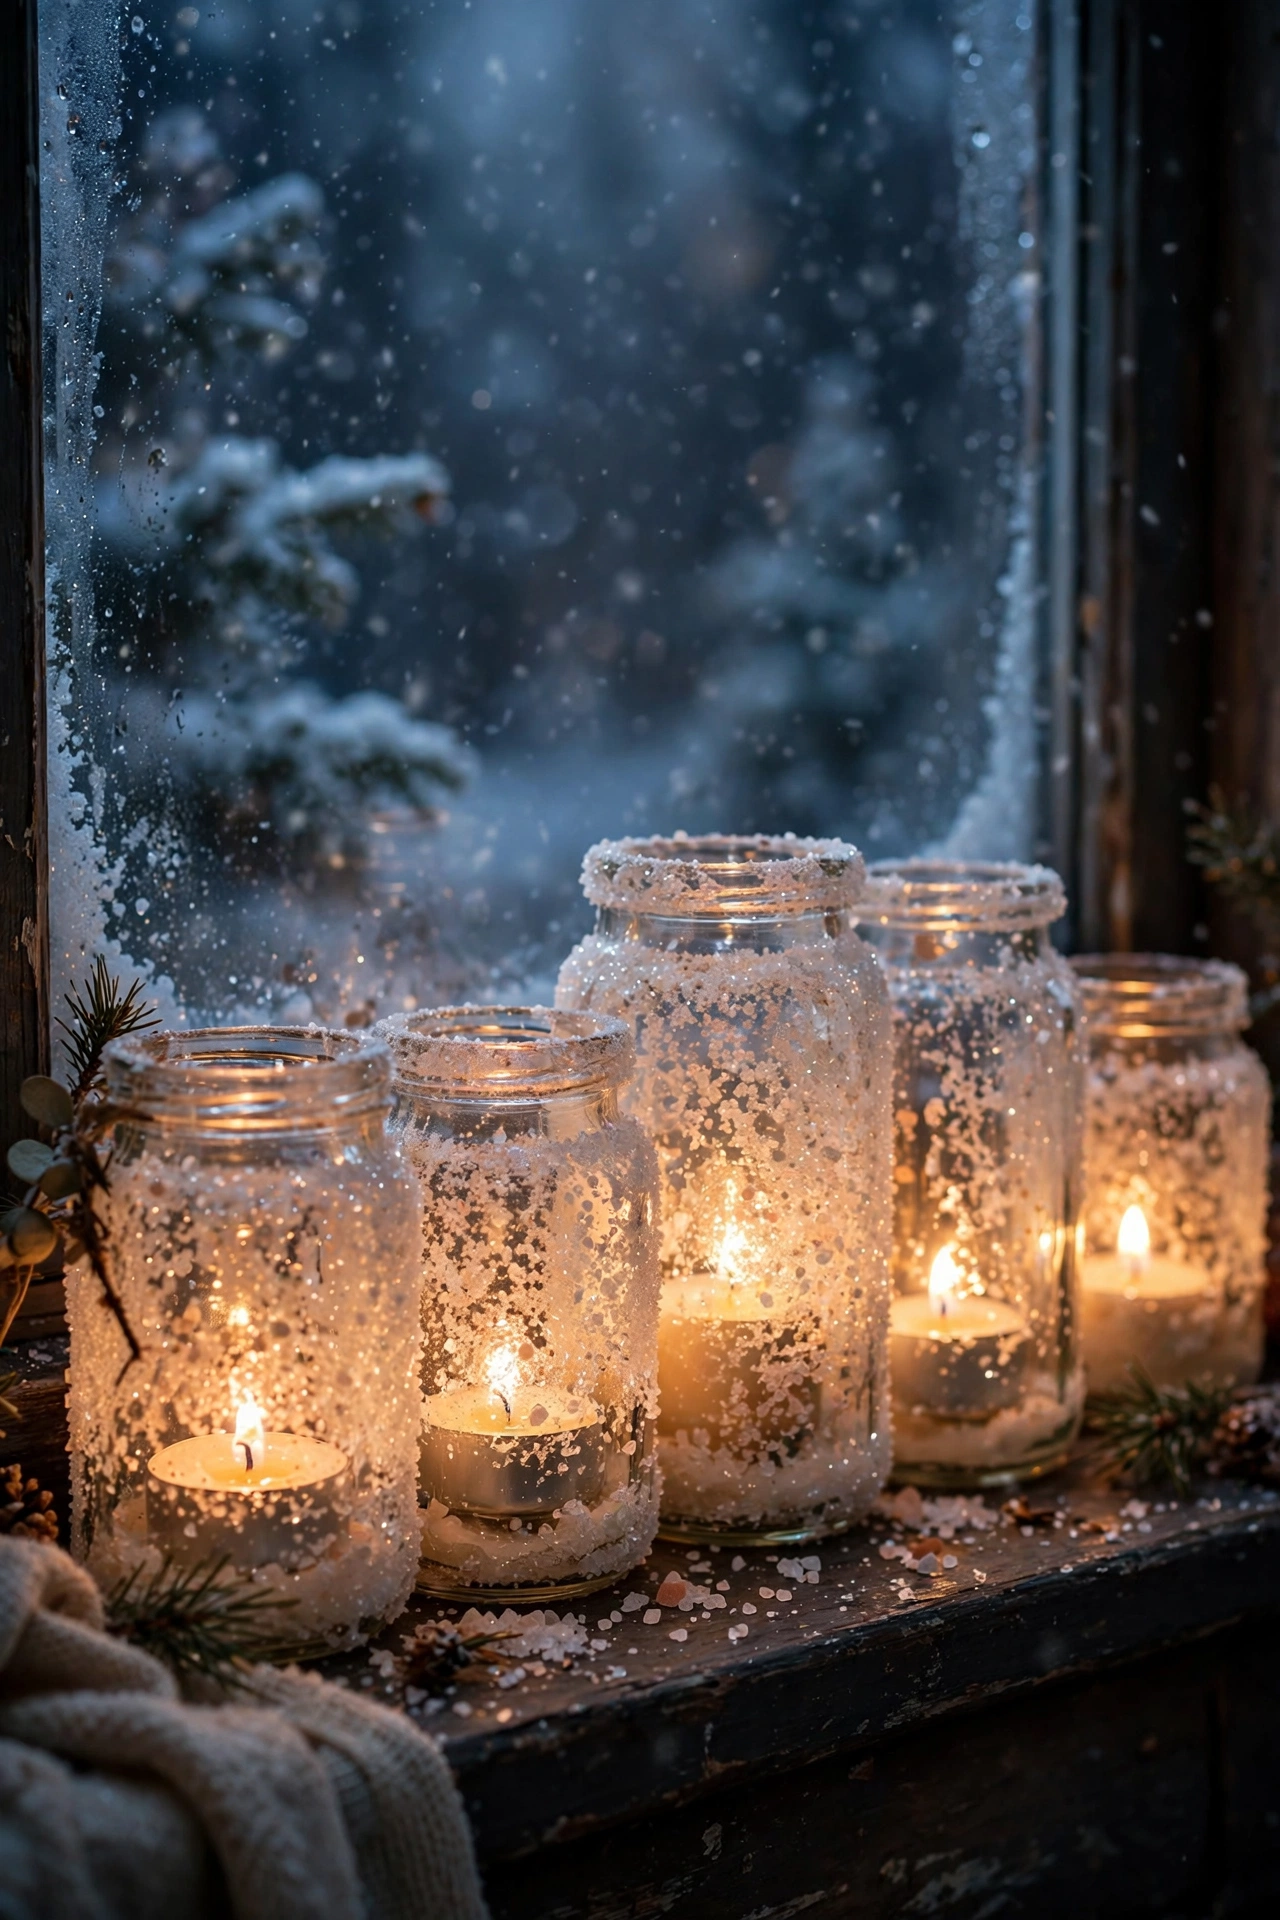
These glowing jars look like they are filled with snow, and they light up a dark corner beautifully. I brushed the outside of a glass jar with craft glue, rolled it in Epsom salt until it was fully coated, and let it dry overnight. Then I dropped a battery tealight inside and tied a piece of twine around the neck with a sprig of fir. I tried this using table salt first and it looked dull and grey, so do use Epsom salt, because the crystals catch the light and genuinely sparkle. Do not put a real candle inside, because the salt coating can flake onto the flame. A row of these along a windowsill is stunning after dark.
Cost: ~$2-4 each | Time: 15 minutes plus drying
19. Paper Bag Advent Calendar on String
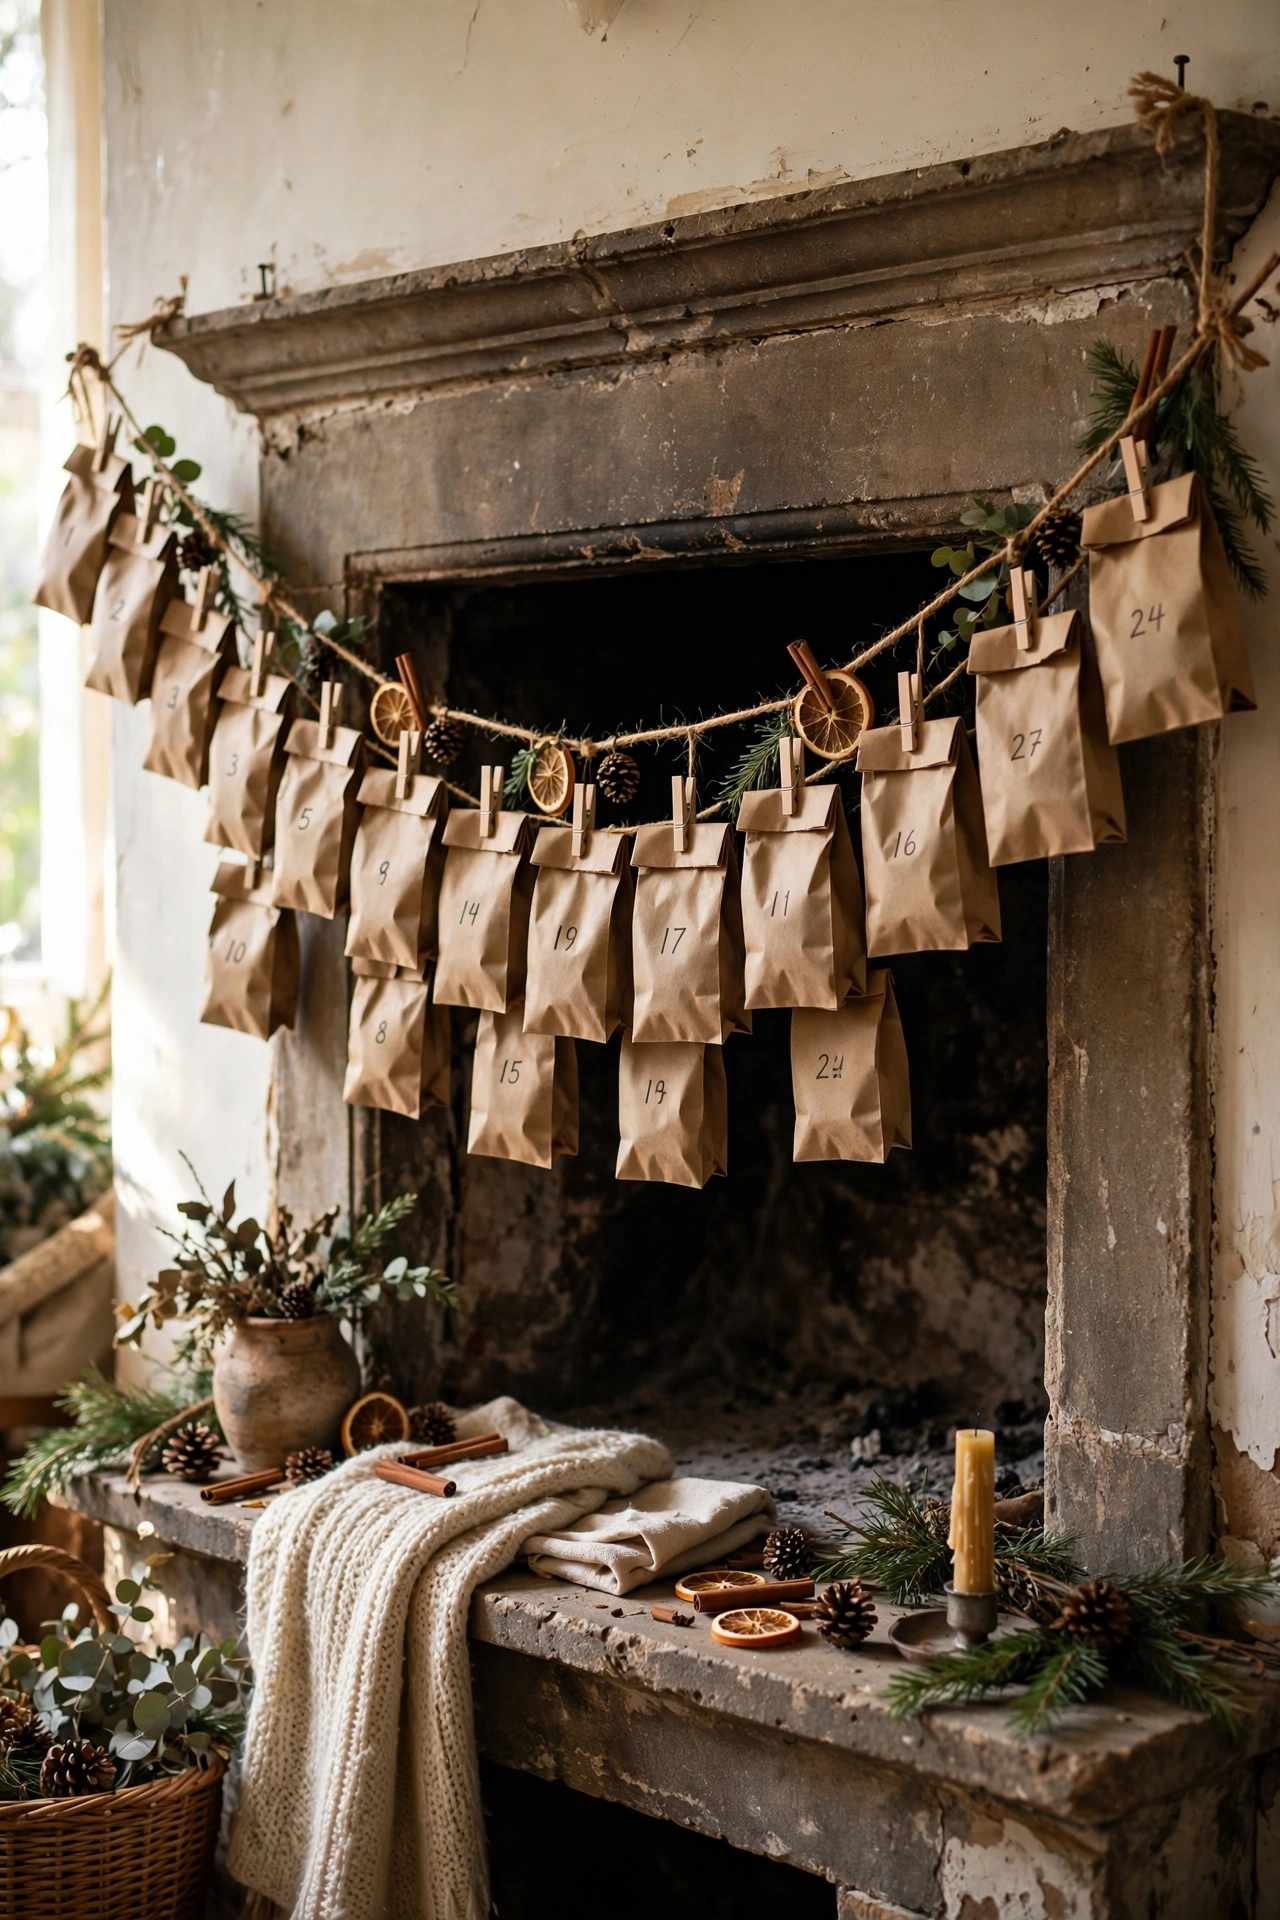
My kids prefer this to any shop-bought calendar now. I numbered twenty-five small brown paper bags with a marker, filled each with a sweet or a small note, folded the tops over, and pegged them along a length of twine strung across the fireplace with mini wooden pegs. The brown bags and pegs look rustic and lovely. I tried this hanging the bags on tacks first and they tore through, so do use proper mini pegs, because they grip without ripping. Do not overload the bags, because heavy bags stretch the twine and it sags. I write a little activity on some of the notes, like a Christmas film night, which the kids love.
Cost: ~$4-8 | Time: 1 hour
20. Twig-and-Twine Wall Christmas Tree
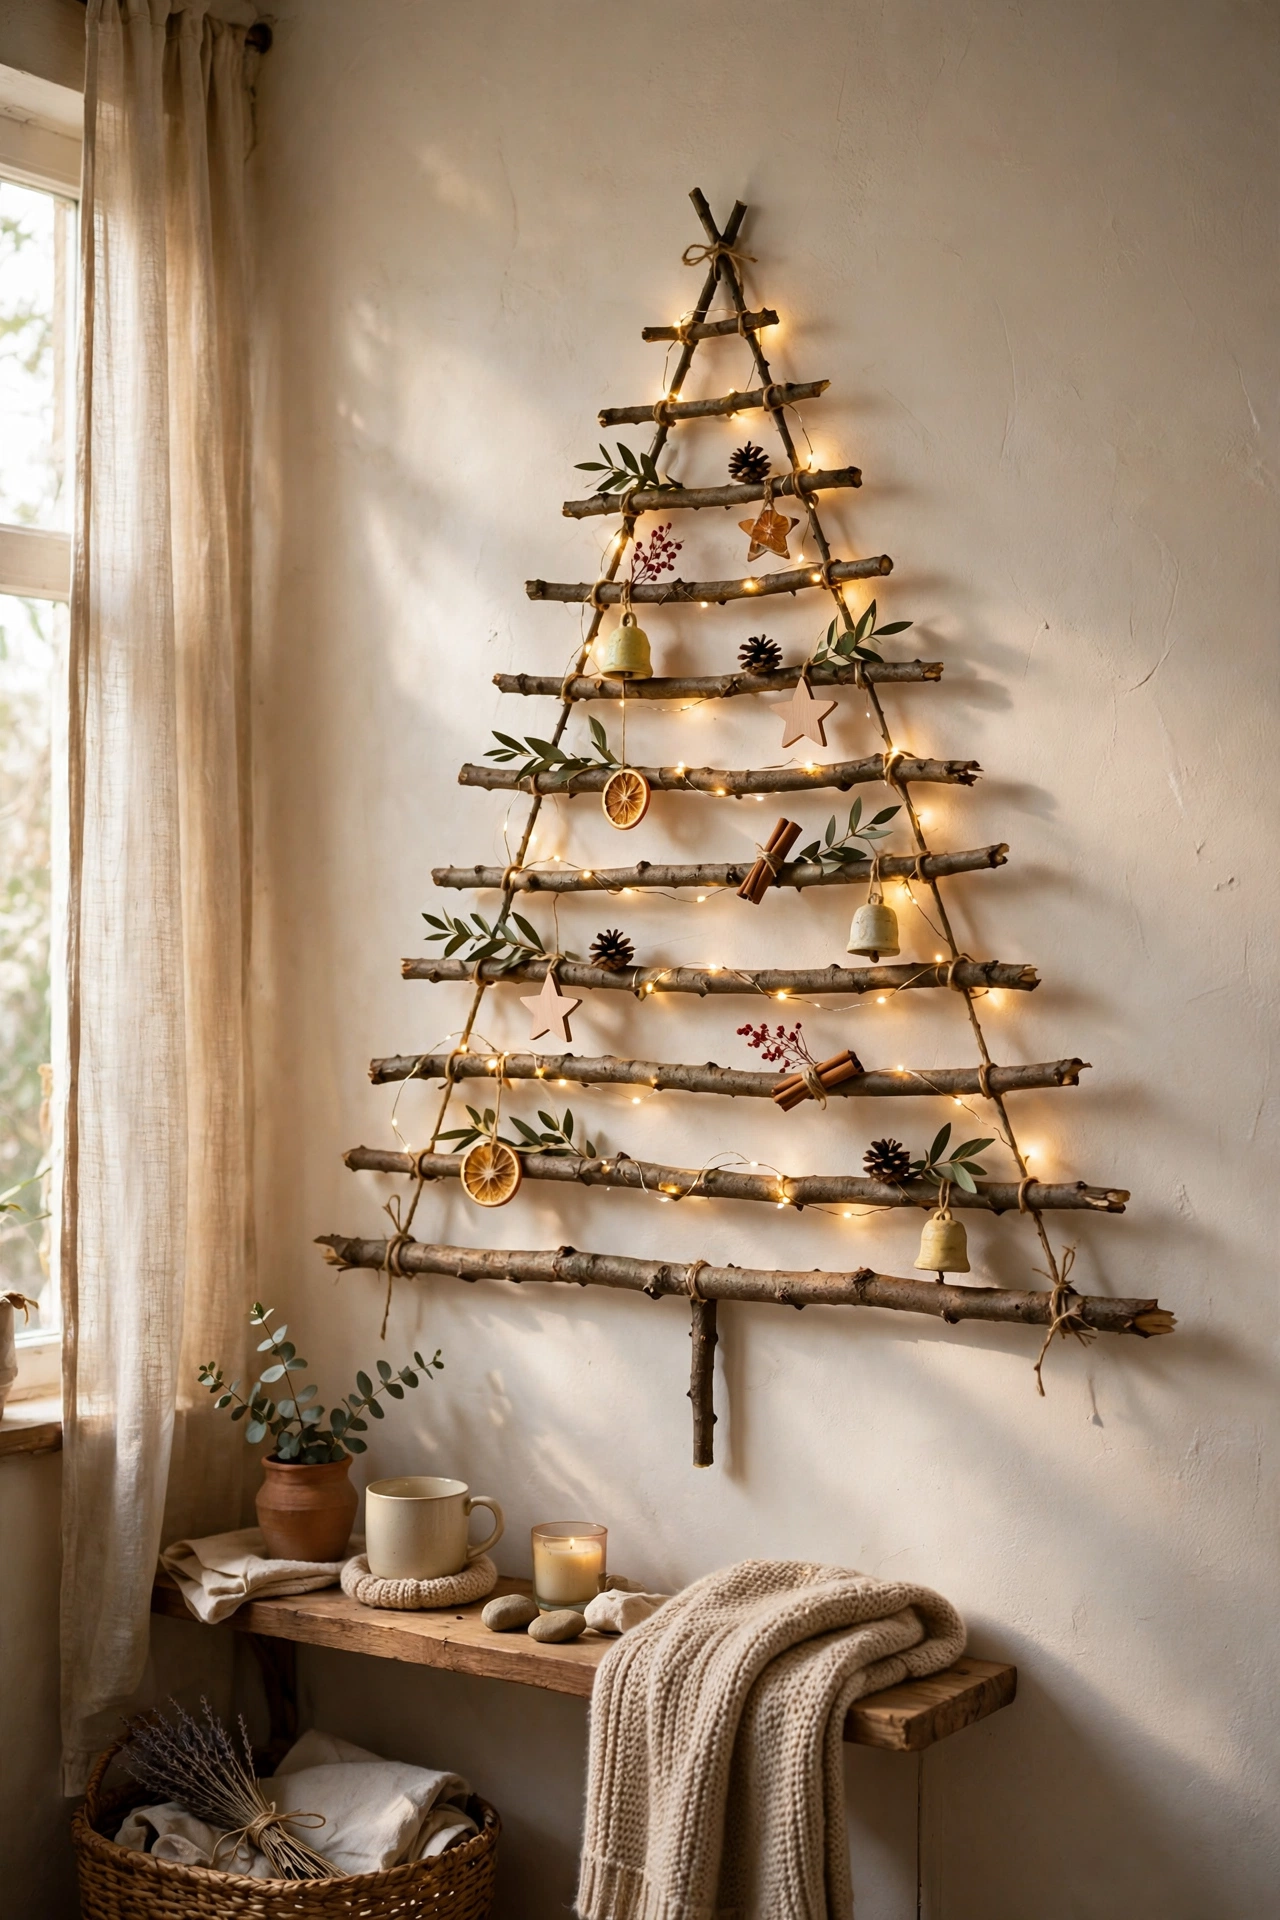
When we were short on space one year, I made the tree on the wall instead. I cut garden twigs into lengths from short to long, and taped them horizontally to the wall with washi tape in a triangle shape, shortest at the top. Then I draped a string of fairy lights across the twigs and hung a few lightweight ornaments from them. I tried this with nails first and regretted the holes in January, so do use washi tape or removable hooks, because they hold fine and leave no marks. Do not use heavy ornaments, because the tape will give way. It looked surprisingly chic and took up zero floor space.
Cost: ~$3-7 | Time: 45 minutes
21. Simmer Pot Gift Jars
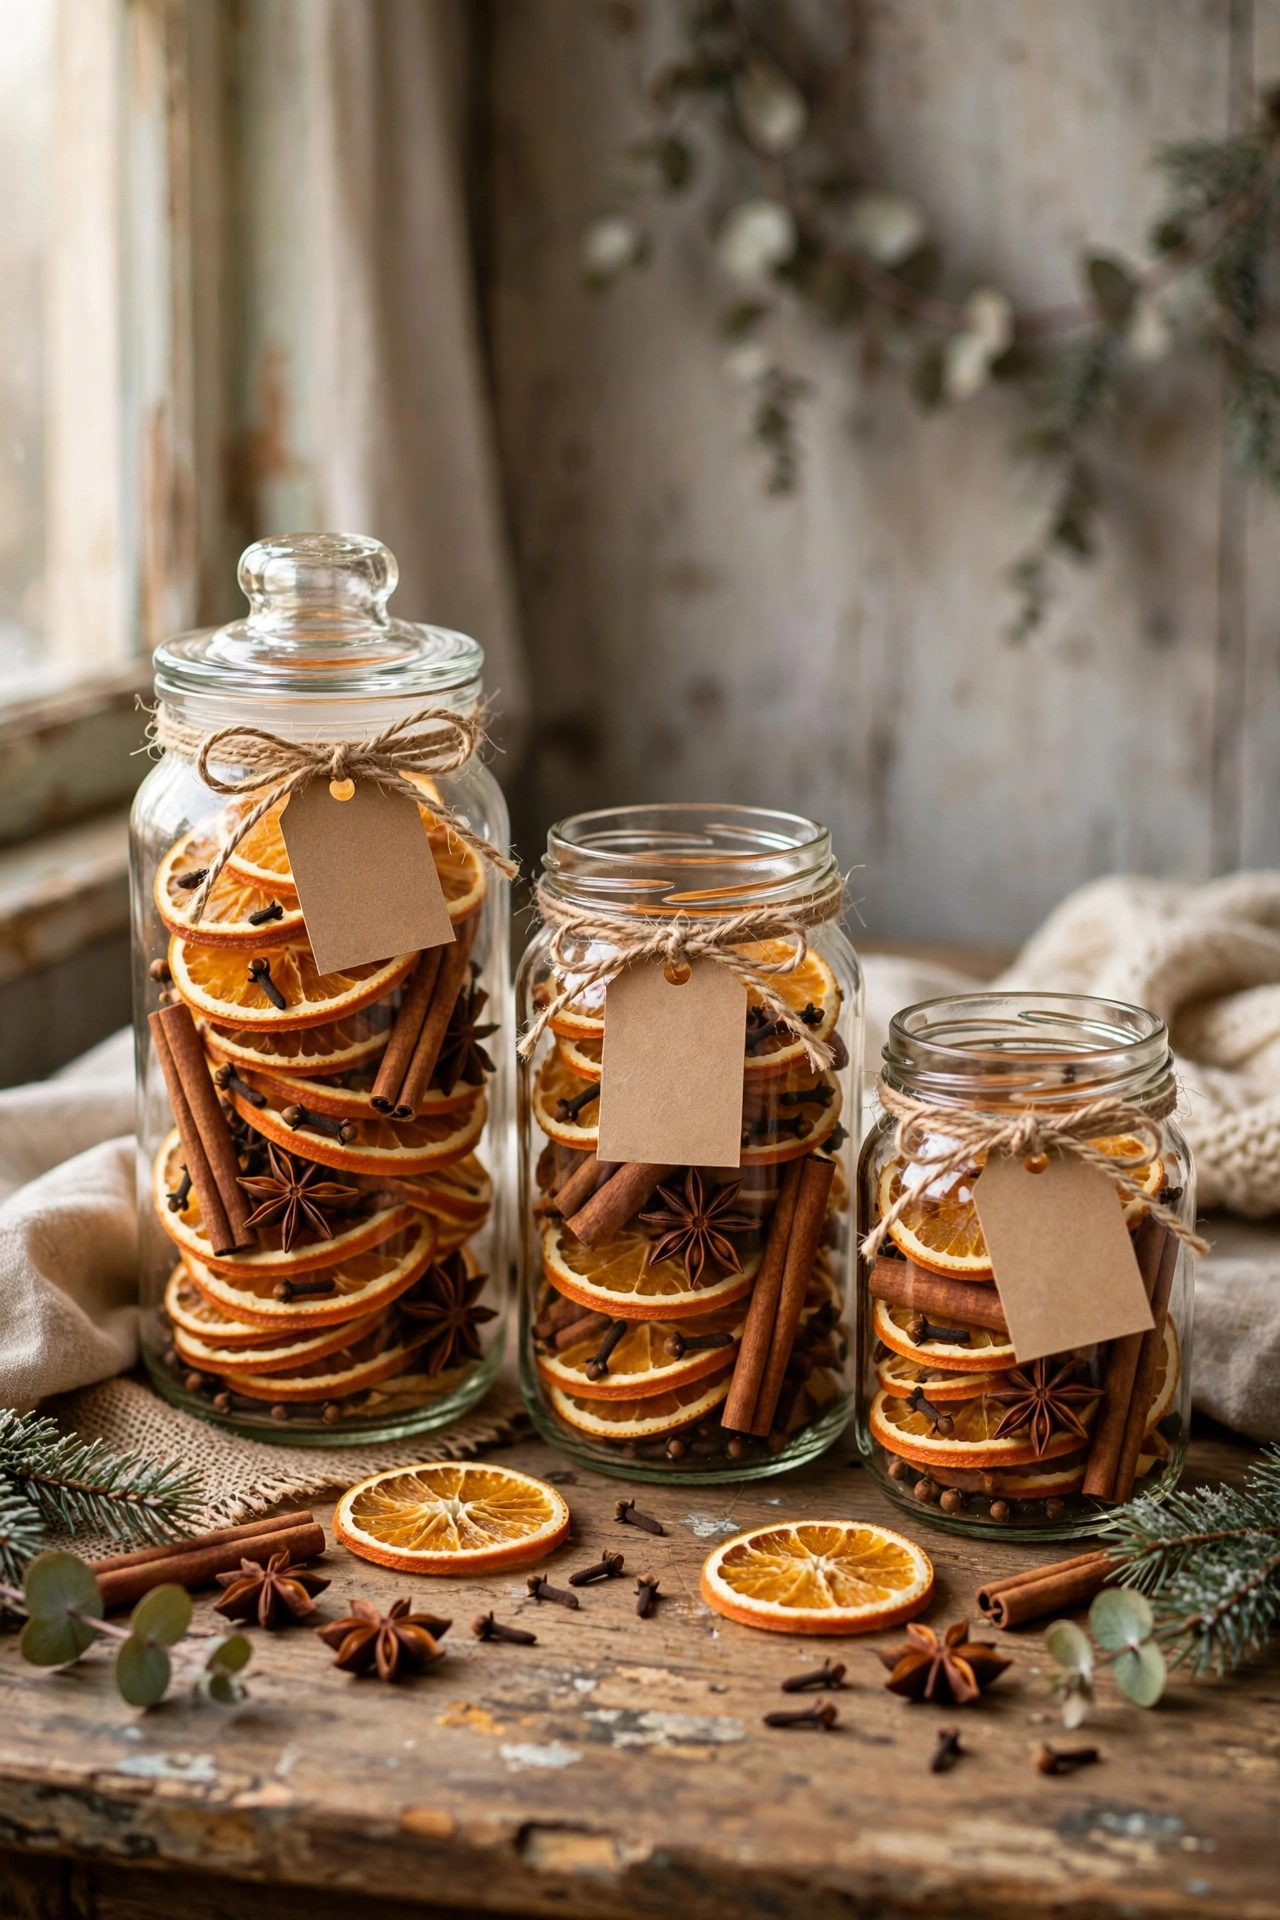
A simmer pot jar is the easiest homemade gift I know, and it makes the recipient’s whole house smell like Christmas. I layered dried orange slices, cinnamon sticks, whole cloves, star anise, and a sprig of rosemary into a jam jar, tied a tag with instructions around the lid, and that was it. The recipient tips it into a saucepan of water and simmers it on low. I tried this packing everything loosely first and the jars looked half empty, so do pack the layers in firmly, because a full jar looks generous. Do not include anything oily or artificial, because it all goes into simmering water. These take five minutes each to assemble.
Cost: ~$3-6 each | Time: 5 minutes each
22. Giant Gift Bow for the Front Door
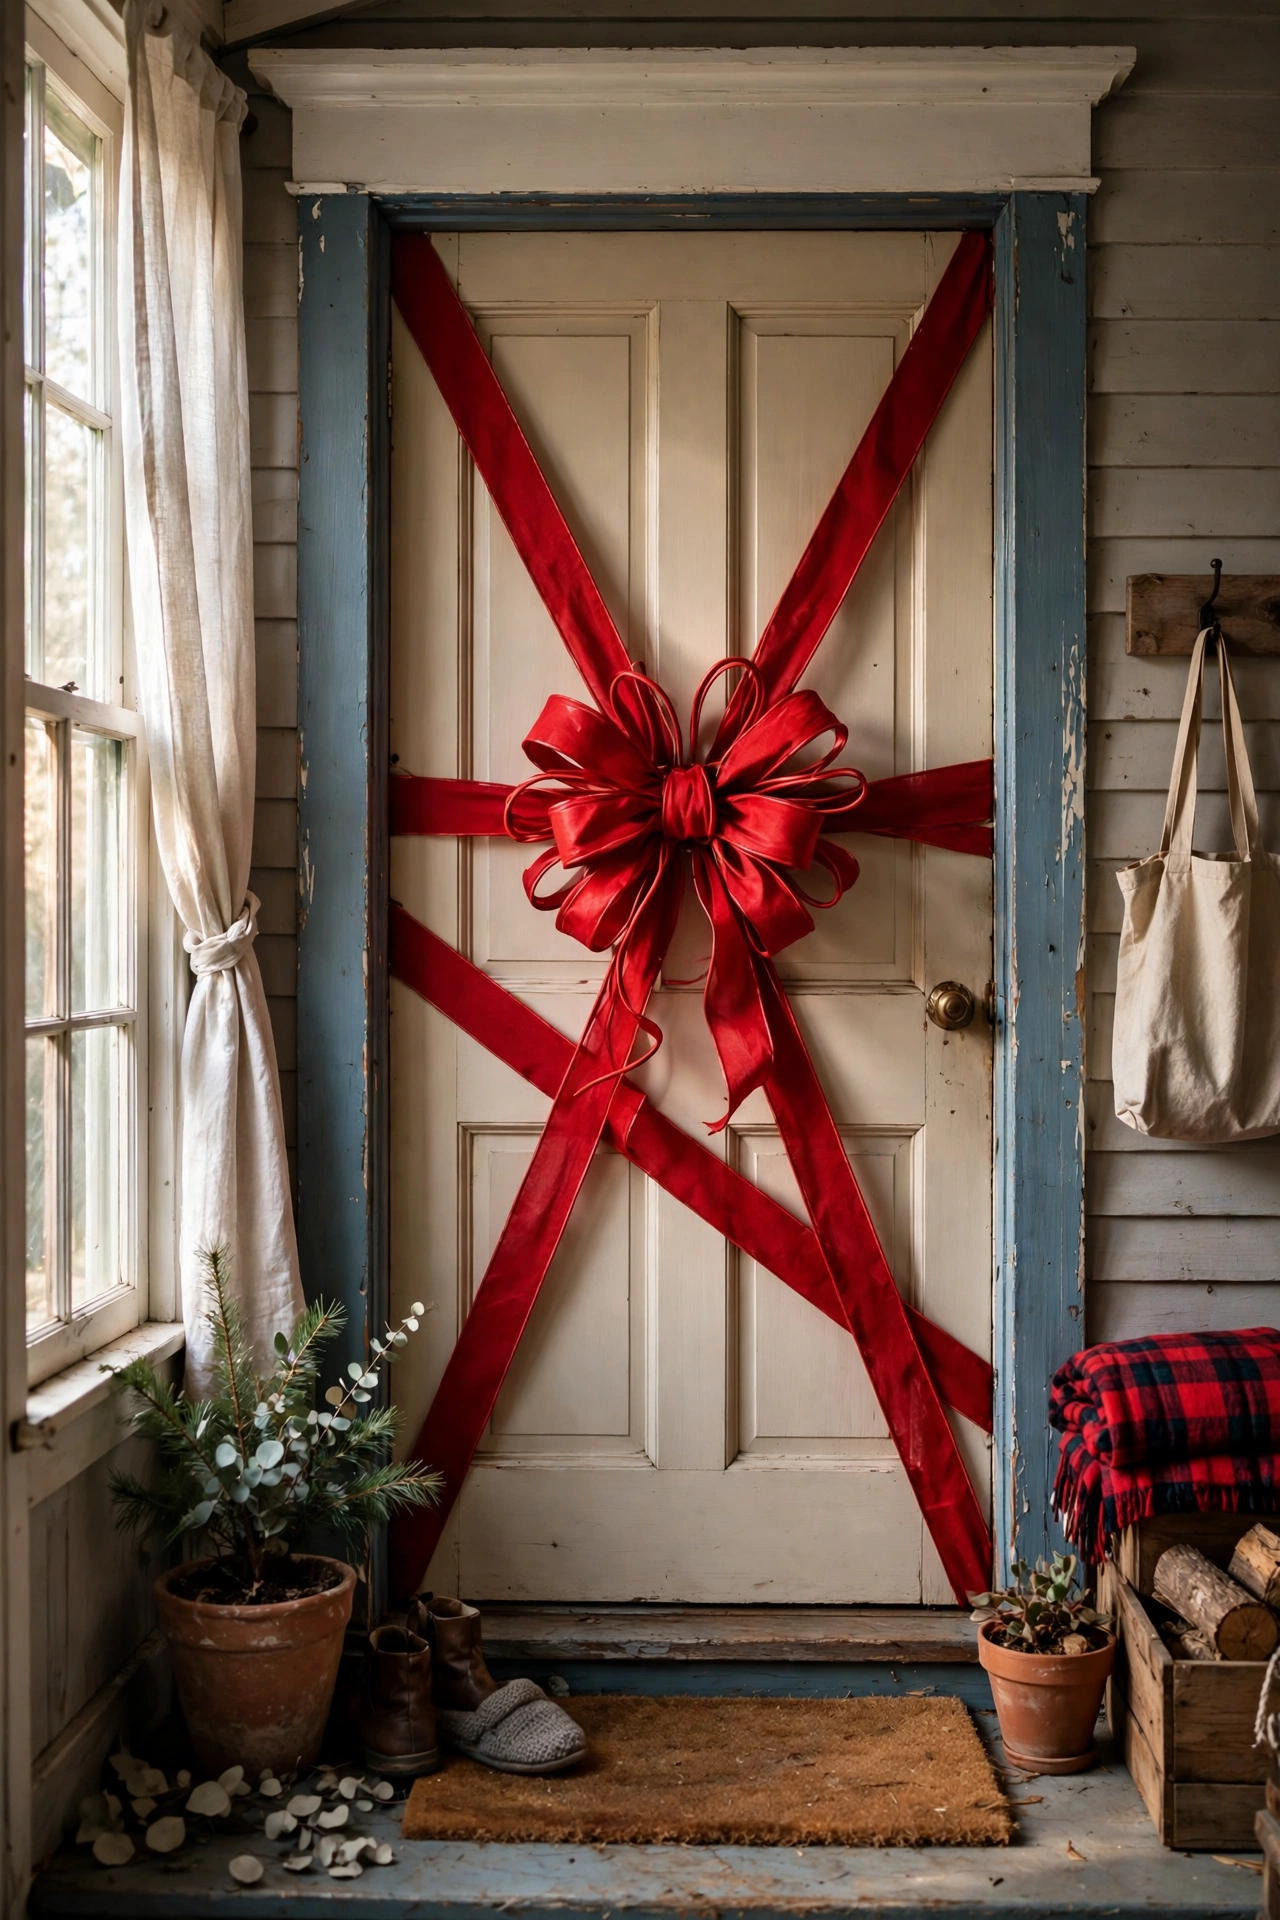
Making your front door look like a wrapped present is the friendliest Christmas decoration on the street. I ran two wide strips of red wired ribbon vertically and horizontally across the door, secured them at the edges with removable adhesive hooks, and tied a big bow from the same ribbon to sit at the crossing point in the middle. I tried this with cheap satin ribbon first and the bow collapsed by evening, so do use wired ribbon, because the wire holds the loops open. Do not stick anything directly to painted doors with strong adhesive, because it can peel the paint. It takes ten minutes and neighbours always comment.
Cost: ~$5-9 | Time: 10 minutes
23. Cosy Stockings From an Old Sweater
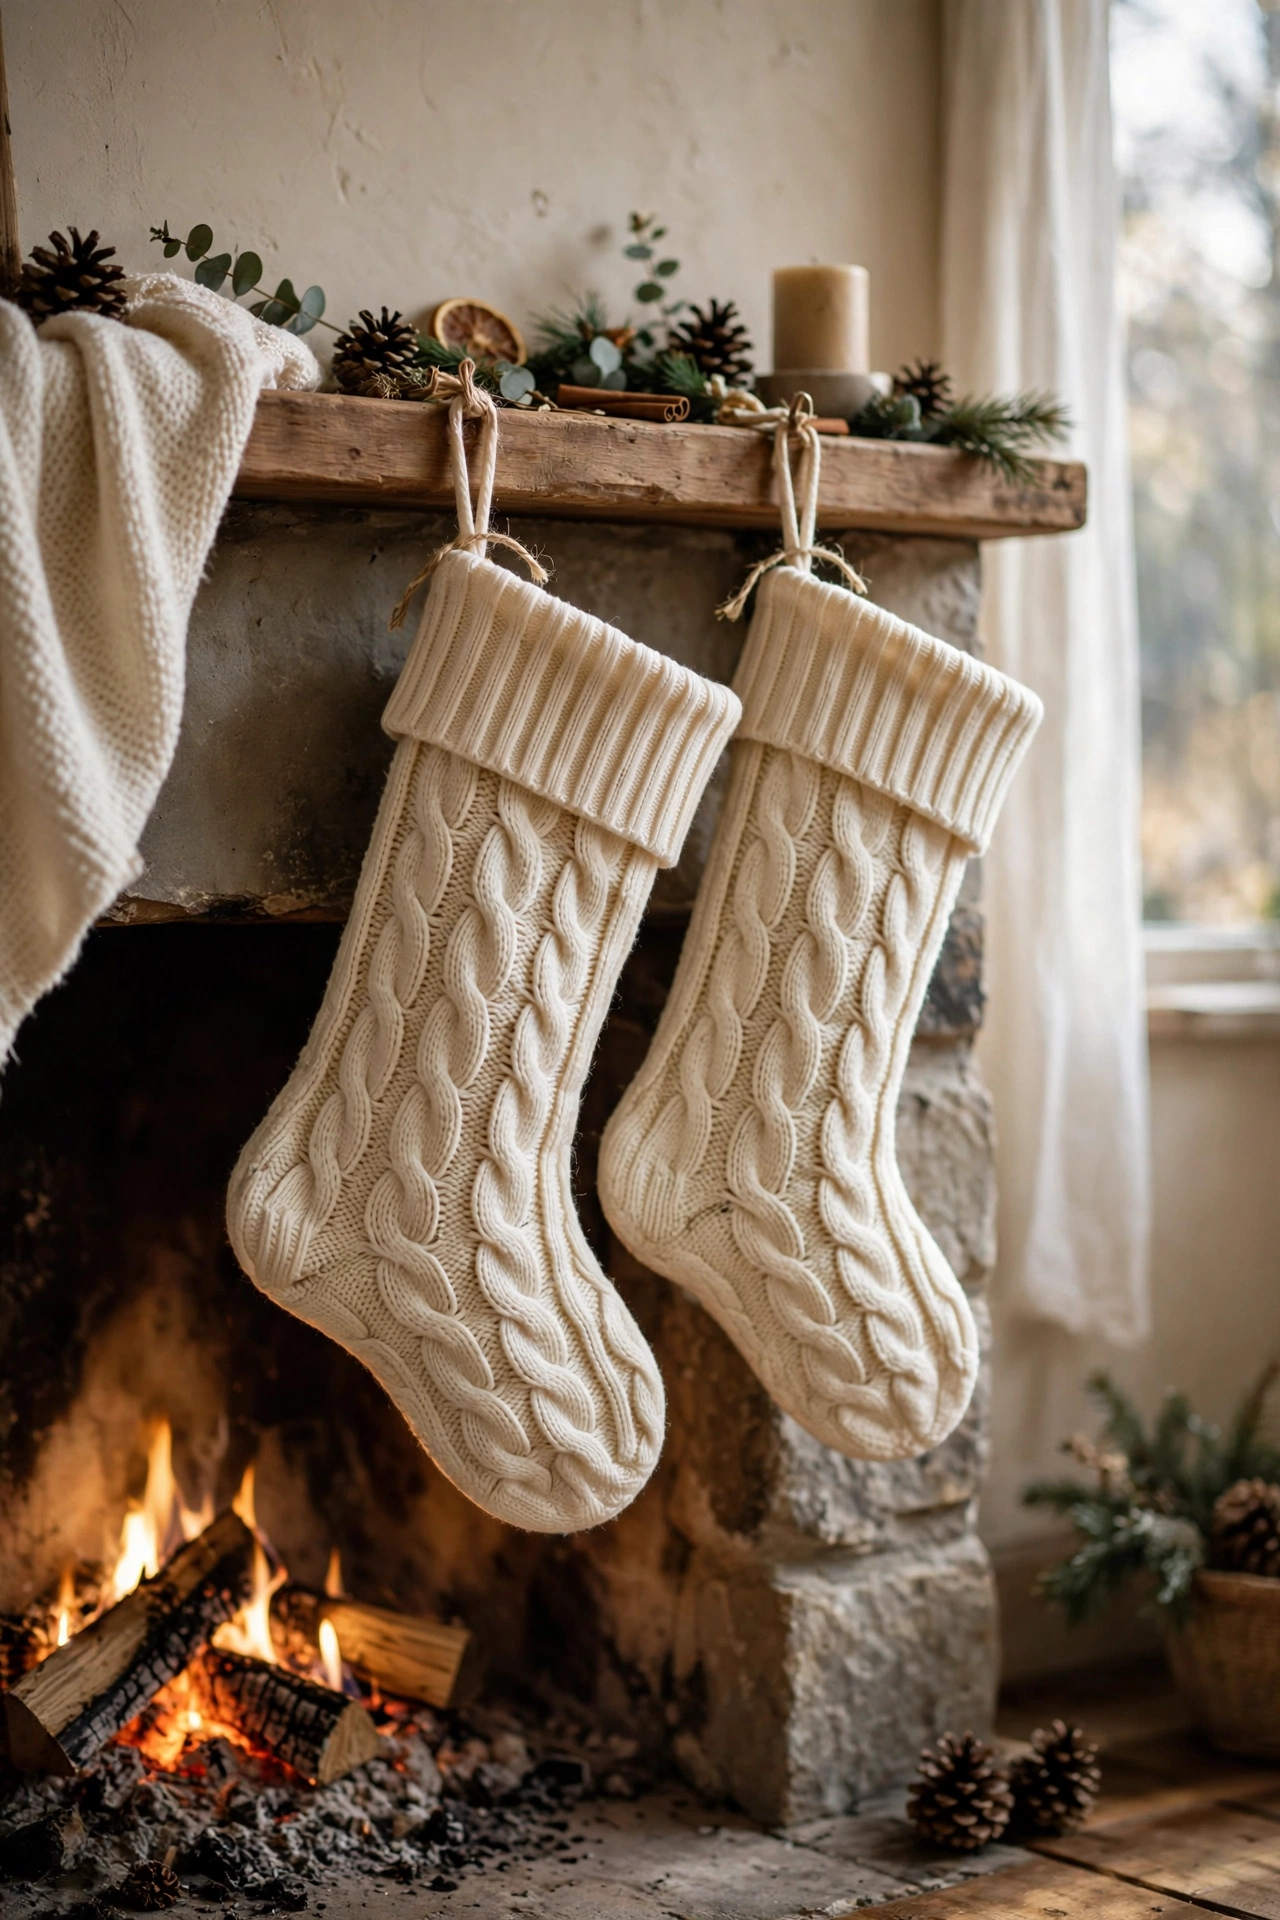
Last year I turned a worn-out cable-knit jumper into the cosiest stockings we have ever owned. I cut a stocking shape from the sweater body, using the ribbed hem as the cuff, stitched the two layers together with a simple running stitch, and turned it right side out. The knit texture looks straight out of a Christmas film. I tried this with a thin t-shirt first and the stocking stretched out of shape, so do use a thick knit, because it holds its shape and looks plush. Do not use fabric glue alone, because it peels under the weight of stocking fillers. A blanket stitch around the edge looks lovely and holds firm.
Cost: ~$0-4 | Time: 45 minutes
Quick questions, answered
How can I decorate for Christmas on a really tight budget?
Start with what is free: pinecones, twigs, greenery from the garden, and oranges from the kitchen. A thirty-pound budget stretches a long way when half your materials are foraged. Buy one or two multipurpose supplies, like fairy lights and kraft paper, and build everything else around them.
When should I start making DIY Christmas decor?
Two to three weeks before Christmas is the sweet spot. Dried oranges and salt dough need a day or two of drying, and starting early means you can work on a couple of projects each evening instead of rushing. Greenery garlands should wait until the week before so they stay fresh.
How do I make cheap Christmas decorations look expensive?
Stick to one or two colours across everything, and repeat the same materials. A house decorated in red, gold, and natural wood looks pulled together even when every piece cost under five pounds. Consistency is what reads as expensive, not price tags.
Is it safe to use real candles with homemade decorations?
Keep real flames well away from anything dry or flammable, which rules out greenery, paper, and fabric crafts. I use battery tealights in every project that sits near combustible materials, and I only burn real candles in sturdy holders on bare surfaces, never left unattended.
📌 Loving this look? Pin this post now so you can save these Christmas crafts for your next festive season.
Keep the festive mood going with these: (see also: 23-diy-easter-decor-ideas-on-a-budget) (see also: 23-diy-christmas-tree-decor-ideas-on-a-budget/) (see also: 25-diy-christmas-gift-wrap-ideas/)
That is the full list, and I hope at least a few of these end up on your tree this year.
