21 DIY Wall Art Ideas That Look Expensive
My living room wall sat blank for months because every piece of art I liked cost more than my grocery budget. I knew how to hang diy Wall Art, but I did not know how to make it look like anything I would actually want to frame. So I spent a winter testing cheap wall art techniques: painting canvases, distressing thrifted prints, framing fabric, and building texture with plaster. The lesson I learned is that expensive-looking art is not about skill. It is about scale, framing, and a limited colour palette.
All 21 of these diy Wall Art ideas cost $25 or less, and several cost almost nothing if you thrift the frames. The tricks that sell the high-end look are the same every time: go bigger than you think, keep your colours to two or three, and frame even the humblest piece properly. A framed five-dollar print beats an unframed fifty-dollar one every time.
Painted Canvas Looks
1. Abstract Acrylic Canvas Pair
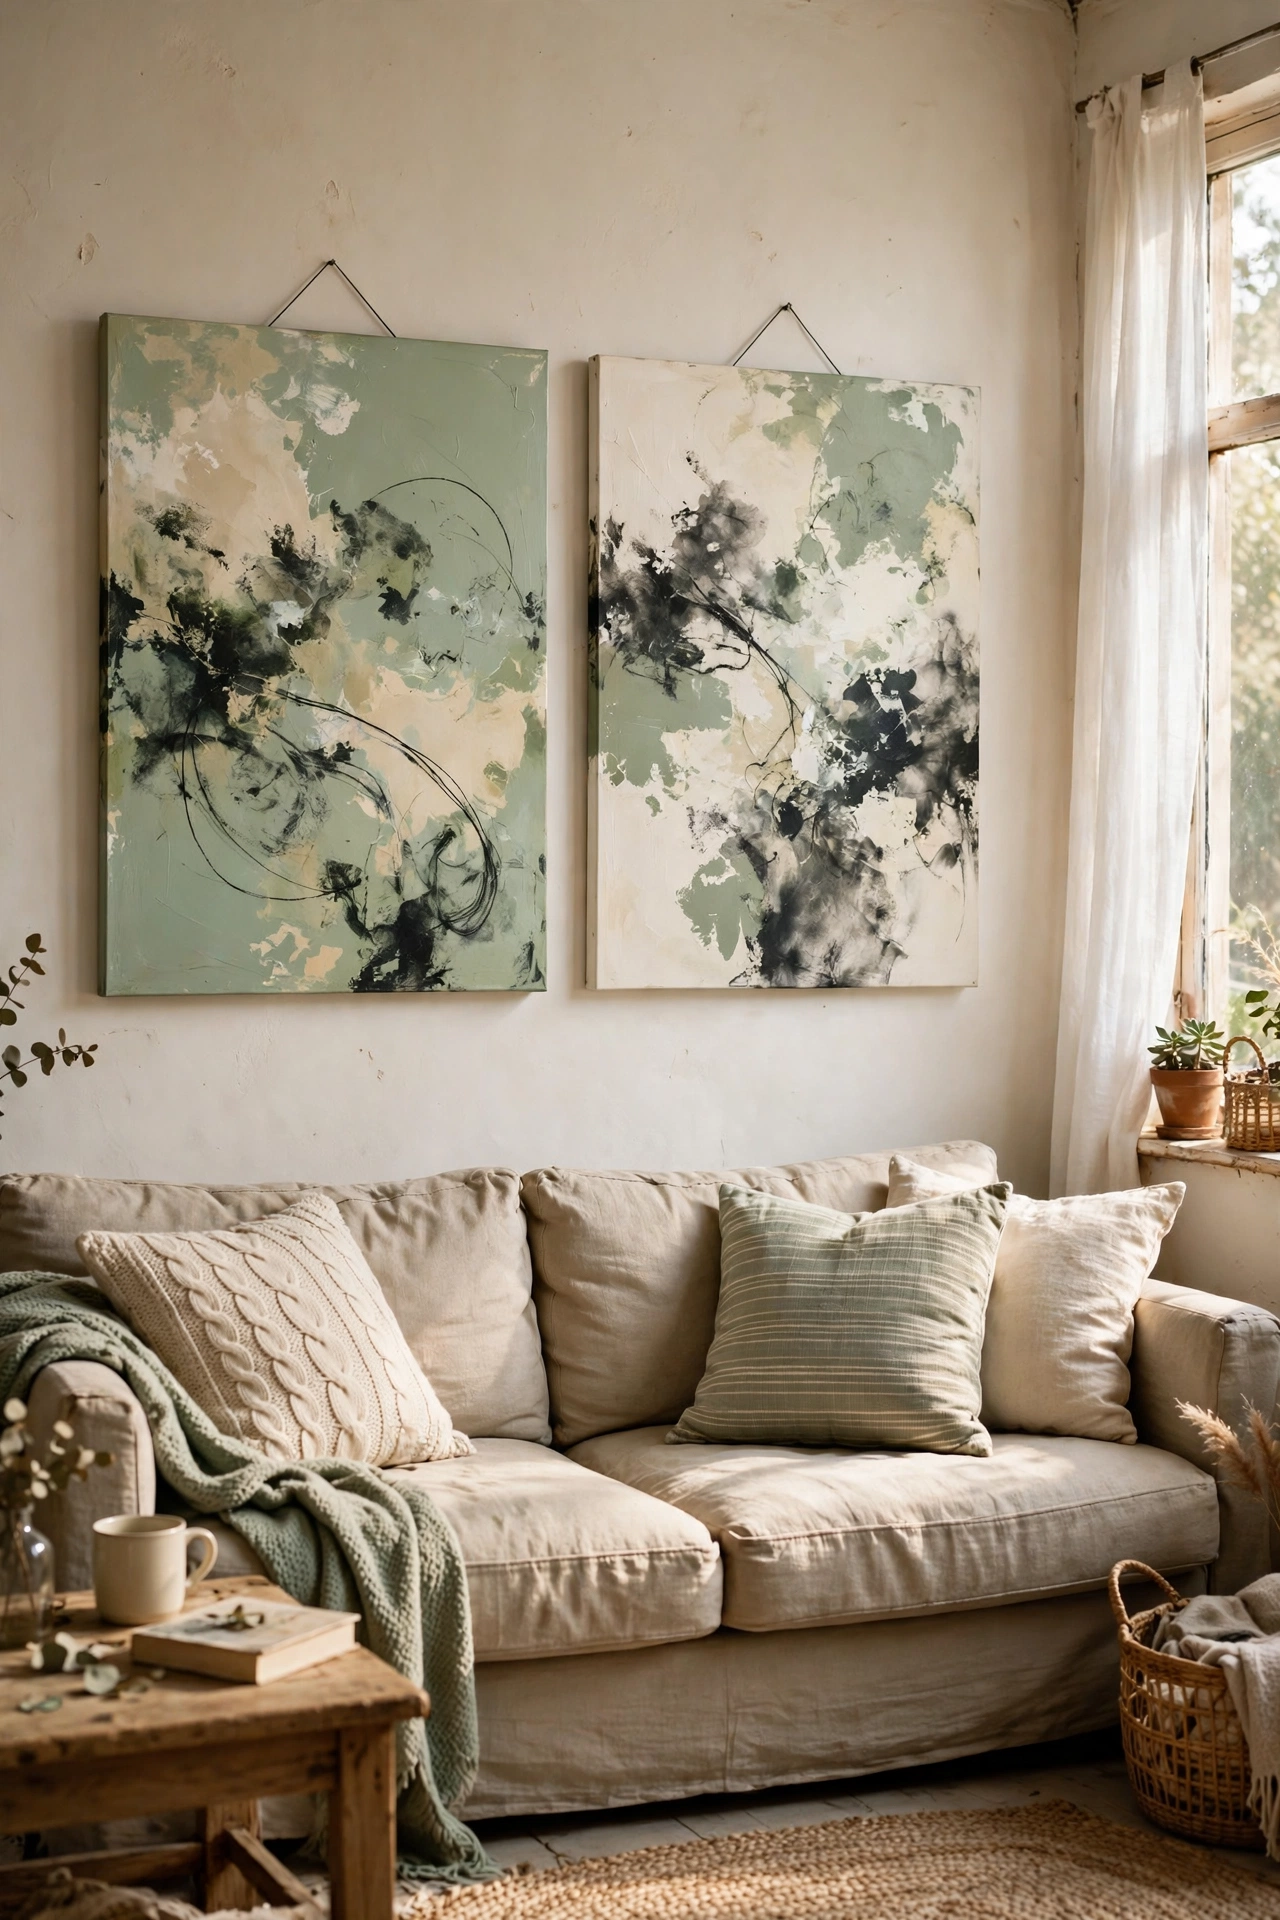
A pair of matching abstract canvases is the easiest way to fake gallery art. Squeeze out three colours that already appear in your room, plus white, and drag them across two canvases with a large dry brush in sweeping strokes. Do not overwork it: stop after five minutes, step back, and hang them side by side. I painted mine in sage, cream, and charcoal and they genuinely pass for the abstract prints shops sell for hundreds. My mistake the first time was using seven colours, which turned the painting muddy. Three colours plus white is the rule.
Cost: ~$10-18 | Time: 45 minutes plus drying
2. Limewash Plaster Art Panels
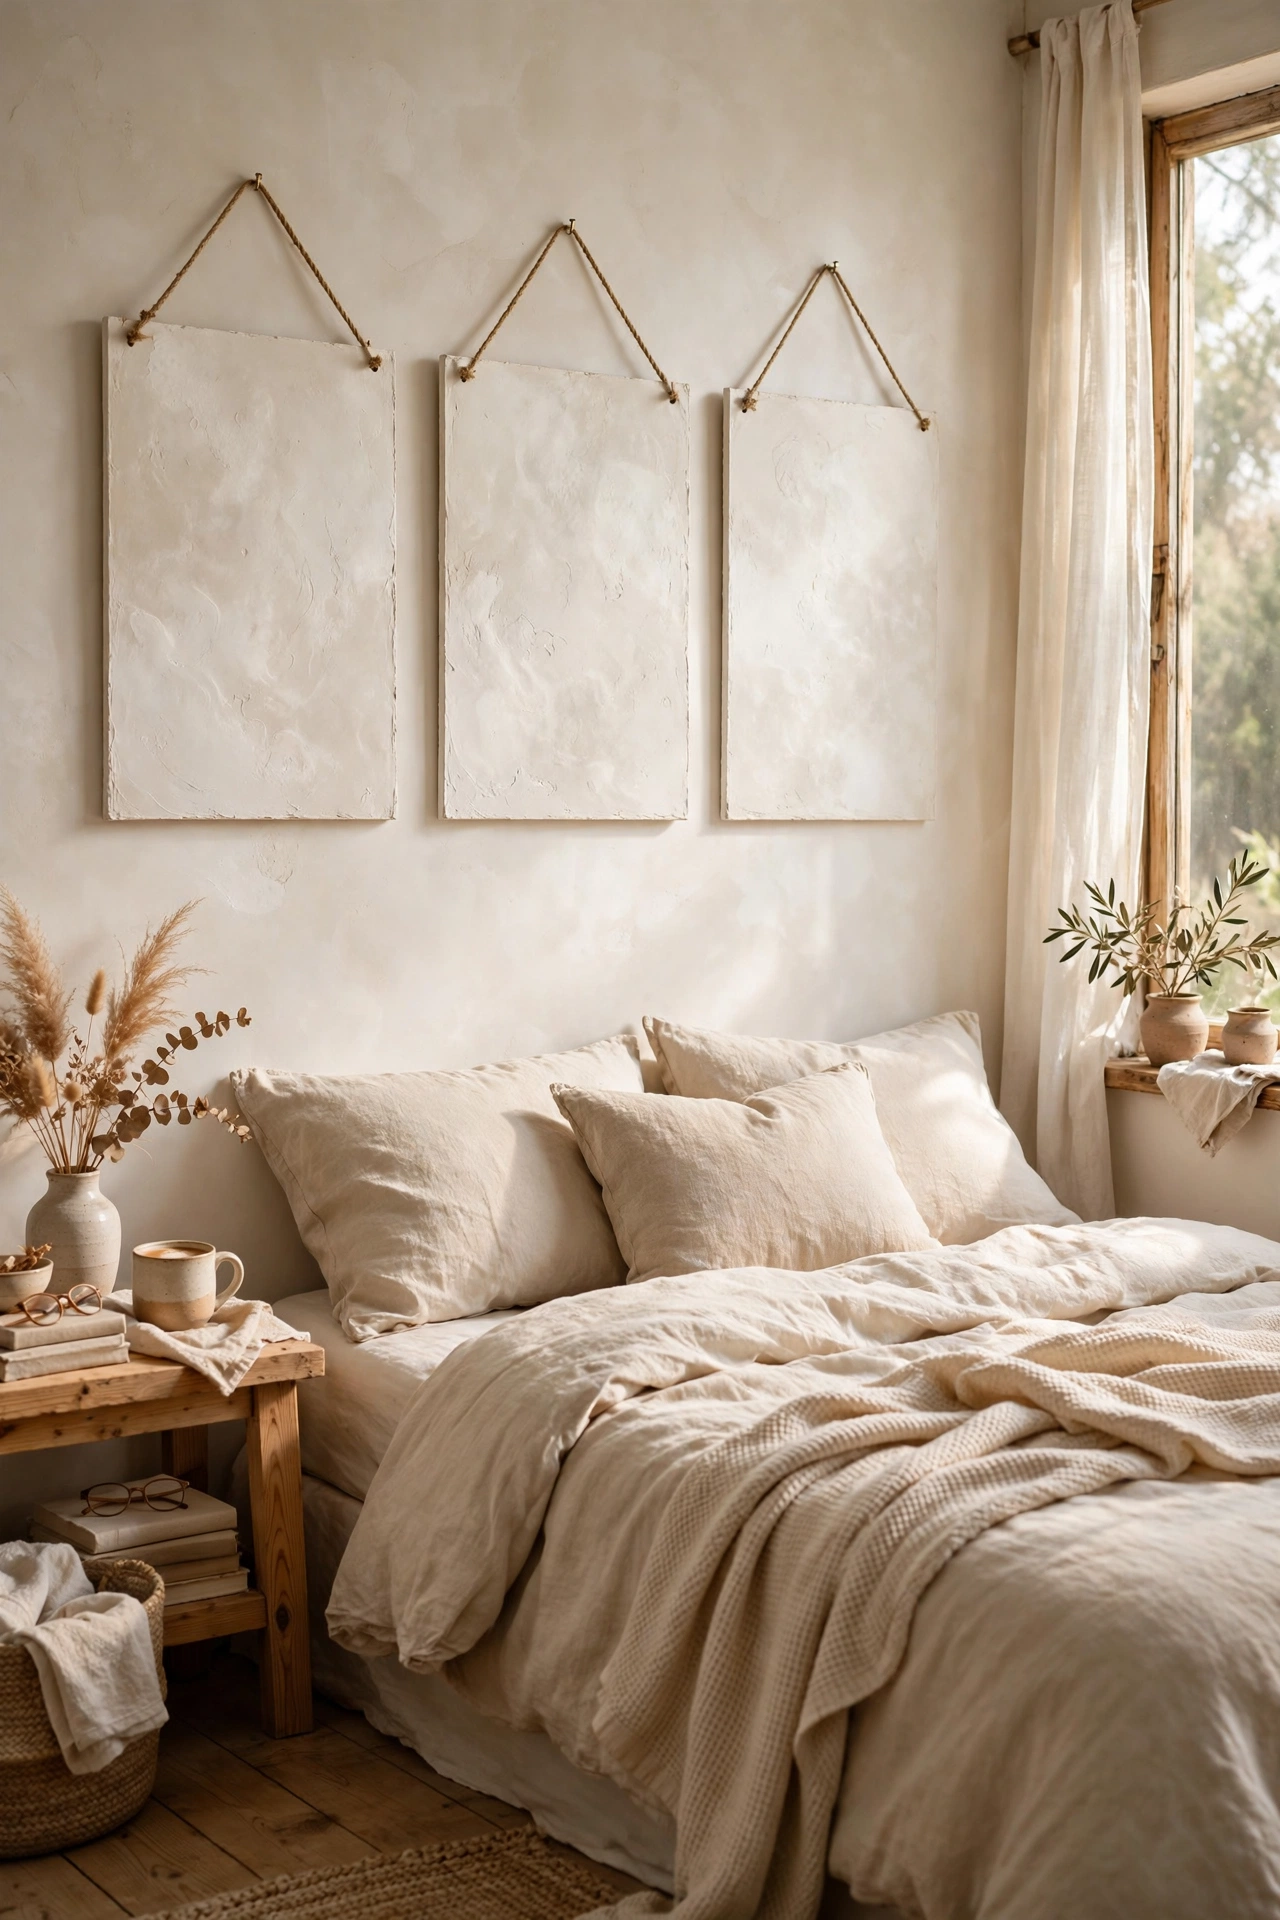
Limewash texture on canvas gives that soft, cloudy finish you see in expensive European-style art. Mix a small bag of plaster or joint compound with a little water to a thick yoghurt consistency, spread it across a canvas with a wide putty knife in random strokes, and brush over it with diluted white paint before it fully dries. The result has depth and movement that flat paint cannot copy. I made two panels for my bedroom in warm white and they look like designer plaster art. Work quickly, because the plaster sets in about twenty minutes.
Cost: ~$12-20 | Time: 1 hour plus drying
3. Thrifted Print to Faux Oil Painting
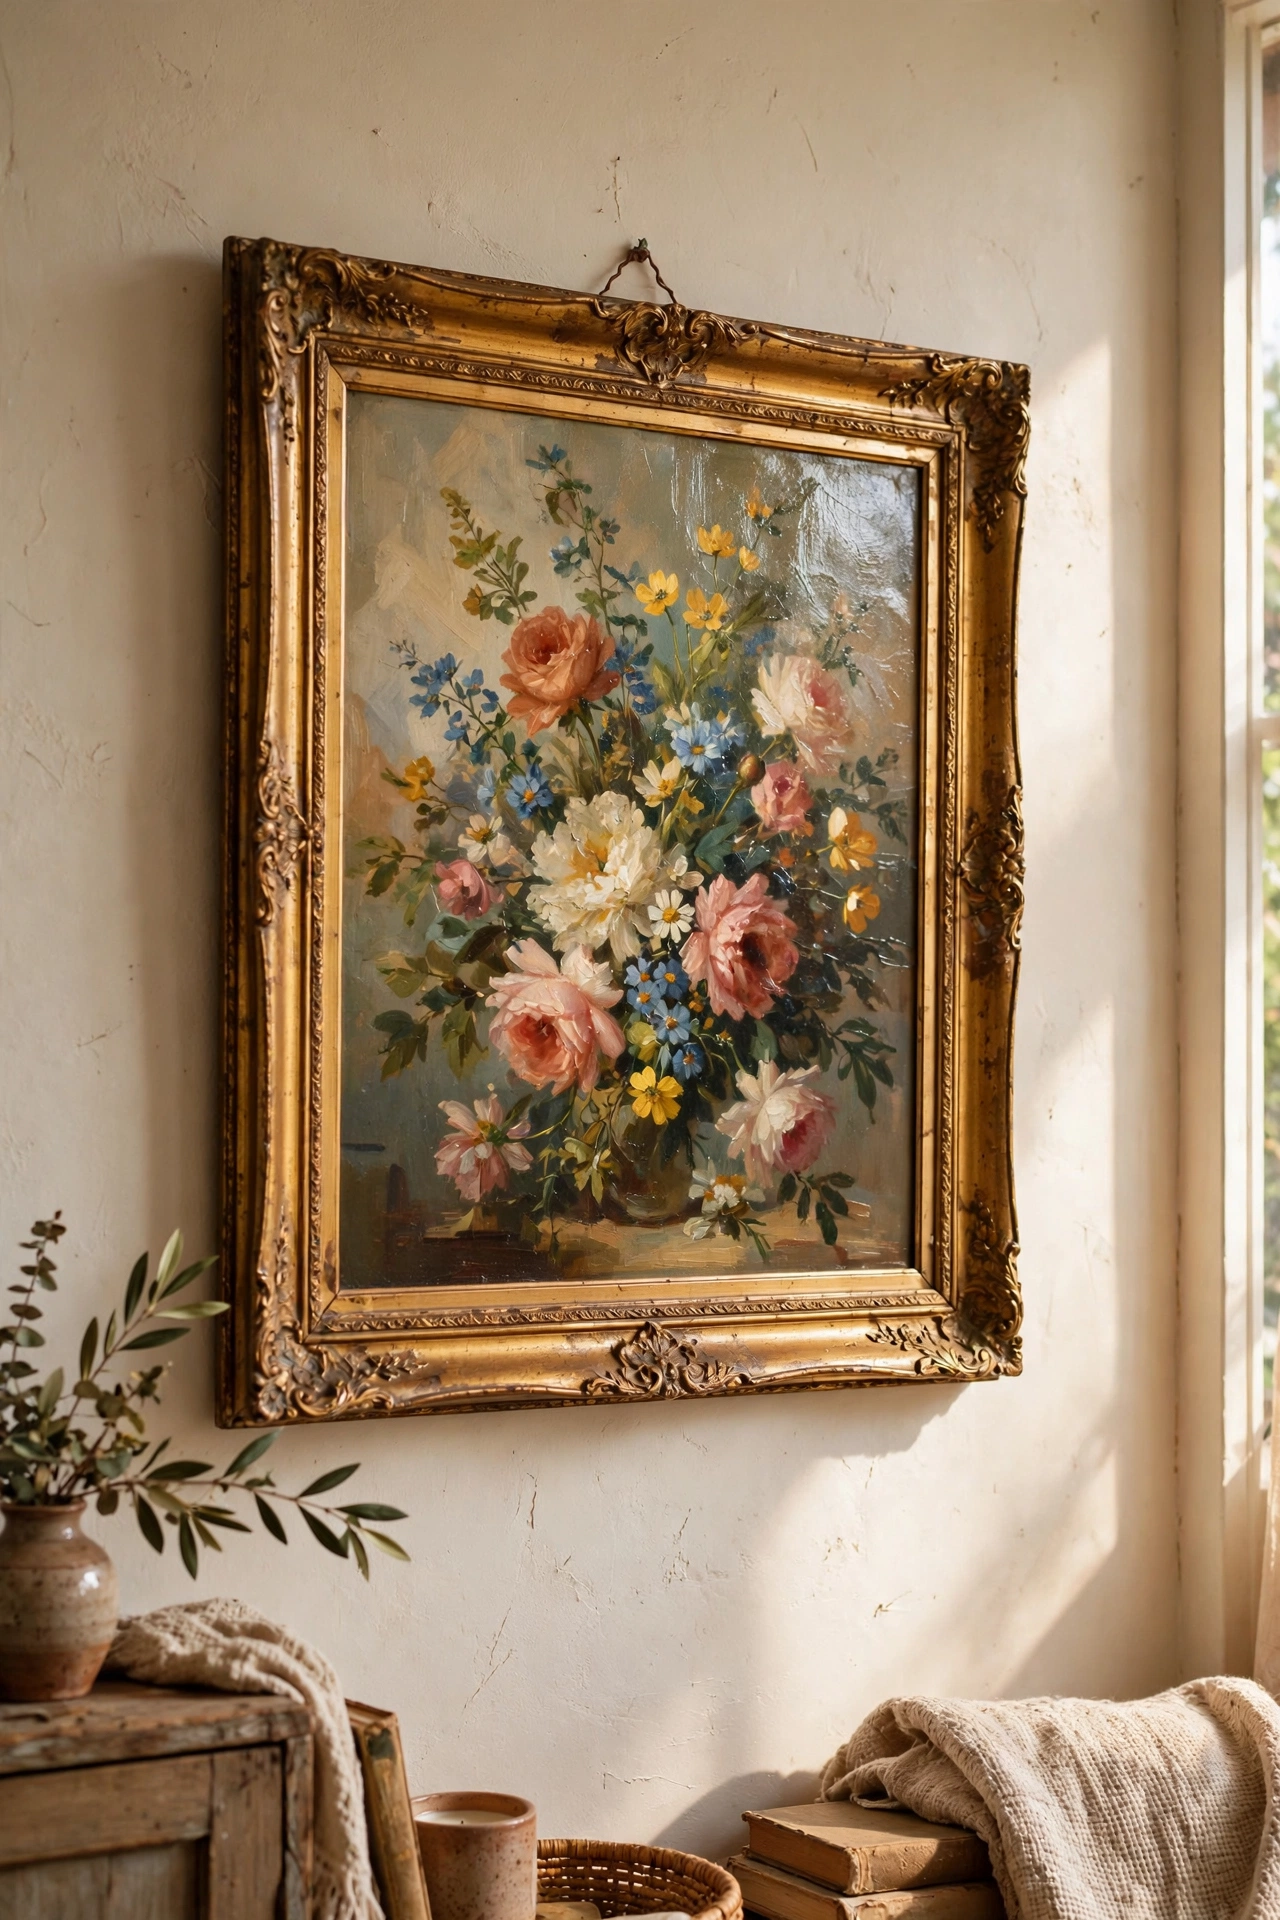
A dull thrifted landscape print can be turned into a convincing oil painting with varnish. Find a print with a decent composition for a dollar or two, clean the glass, then brush a coat of satin varnish over the surface in visible brush strokes that follow the shapes in the image. Once dry, the strokes catch the light like real impasto paint. I bought a faded floral print for one dollar and the varnish trick made it look like an antique oil. Add an ornate frame from (see also: framed-print-diy-guide) and nobody will guess the truth.
Cost: ~$5-12 | Time: 30 minutes plus drying
4. Colour-Blocked Canvas Triptych
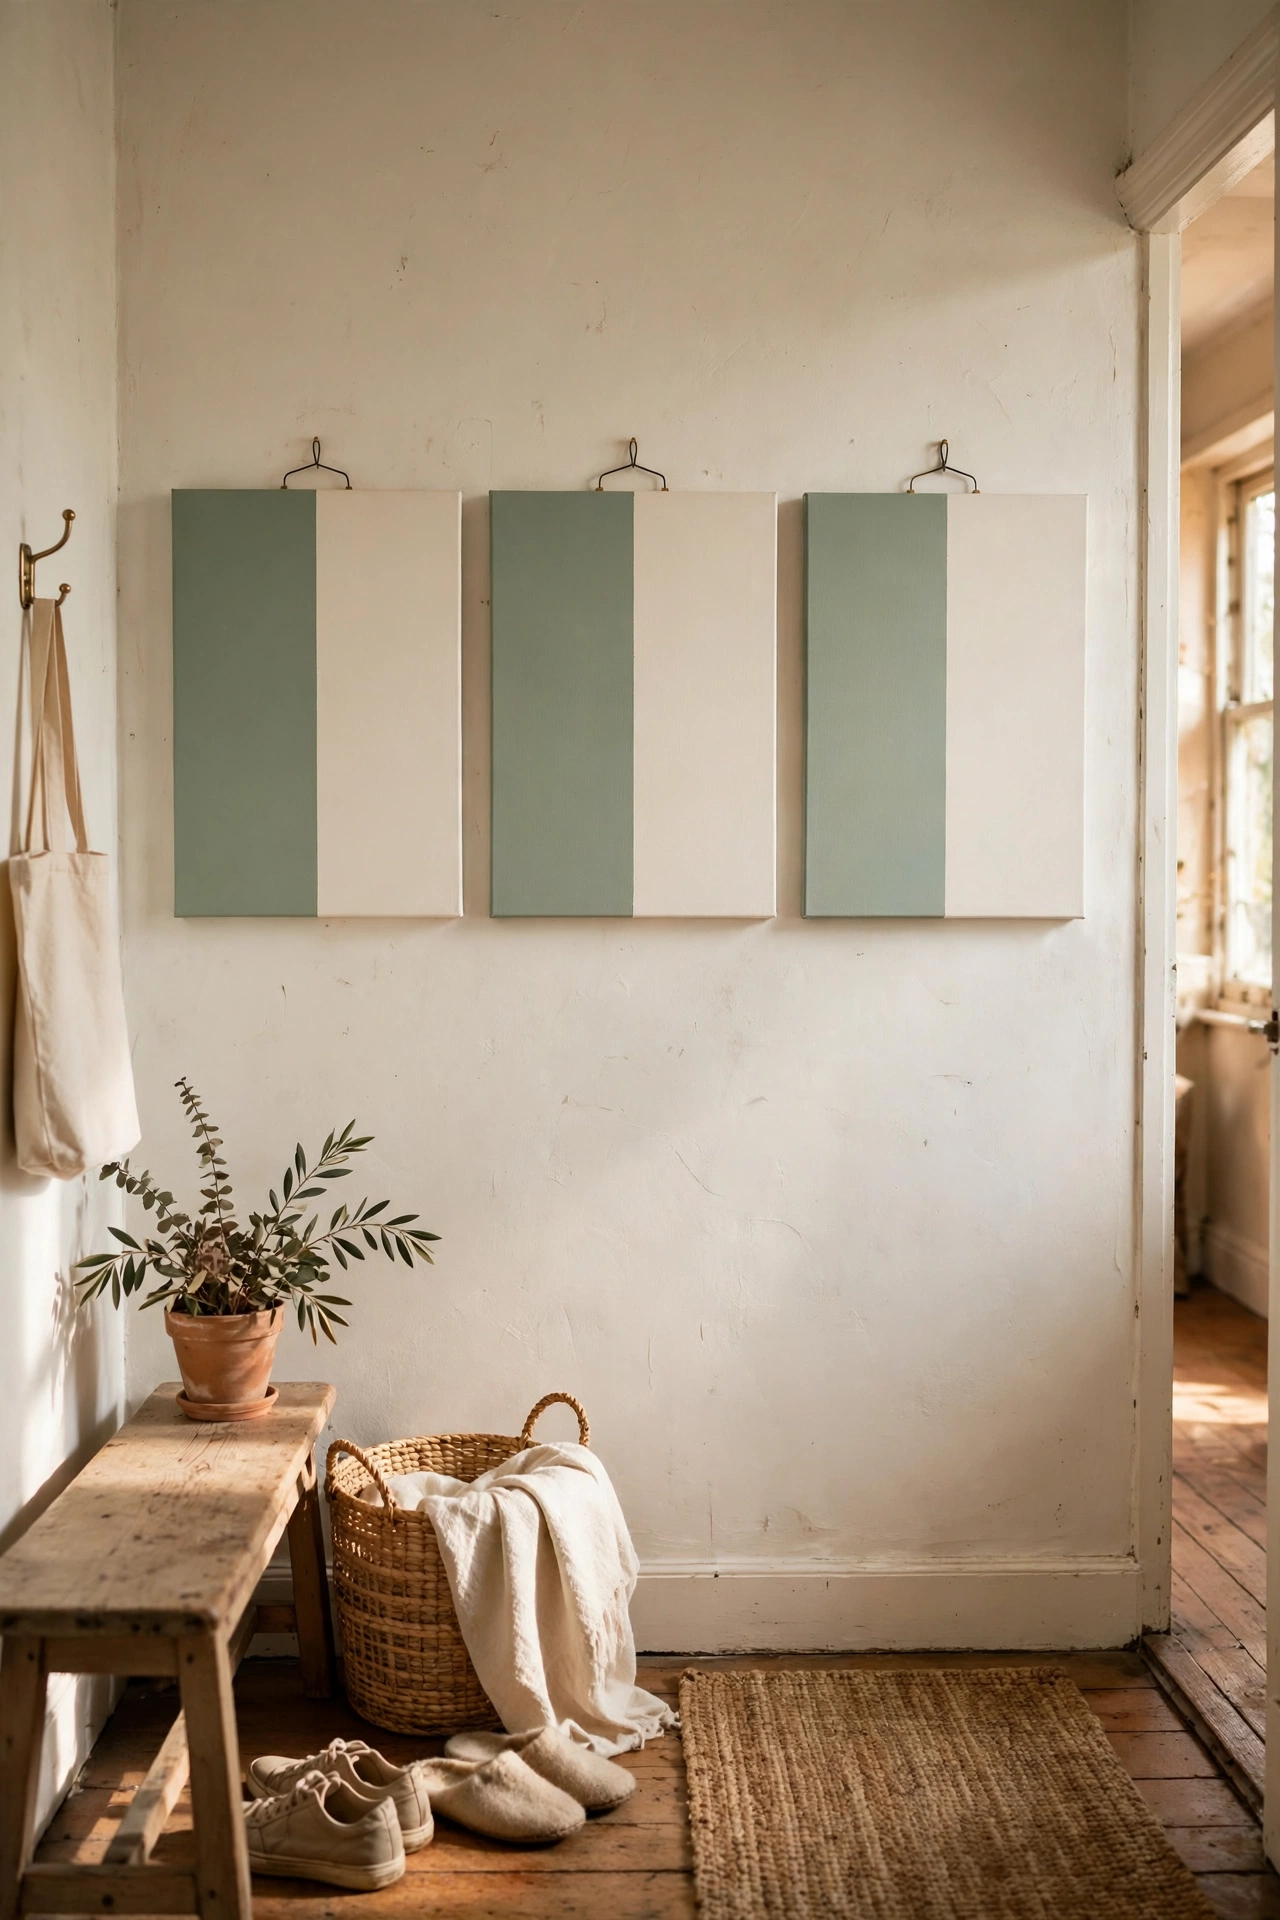
A triptych of colour-blocked canvases reads as one intentional piece of art. Paint three narrow canvases with the same two or three colours in different arrangements: one mostly cream with a sage block, one half and half, one mostly sage with a cream stripe. Hang them with a small gap between them. I used painter’s tape to get crisp edges and peeled it off while the paint was still slightly tacky, which stops the paint from tearing. The matching set looks like a deliberate commission. Save this one before your next gallery-wall refresh.
Cost: ~$12-20 | Time: 1 hour plus drying
5. Sponge-Painted Misty Landscape
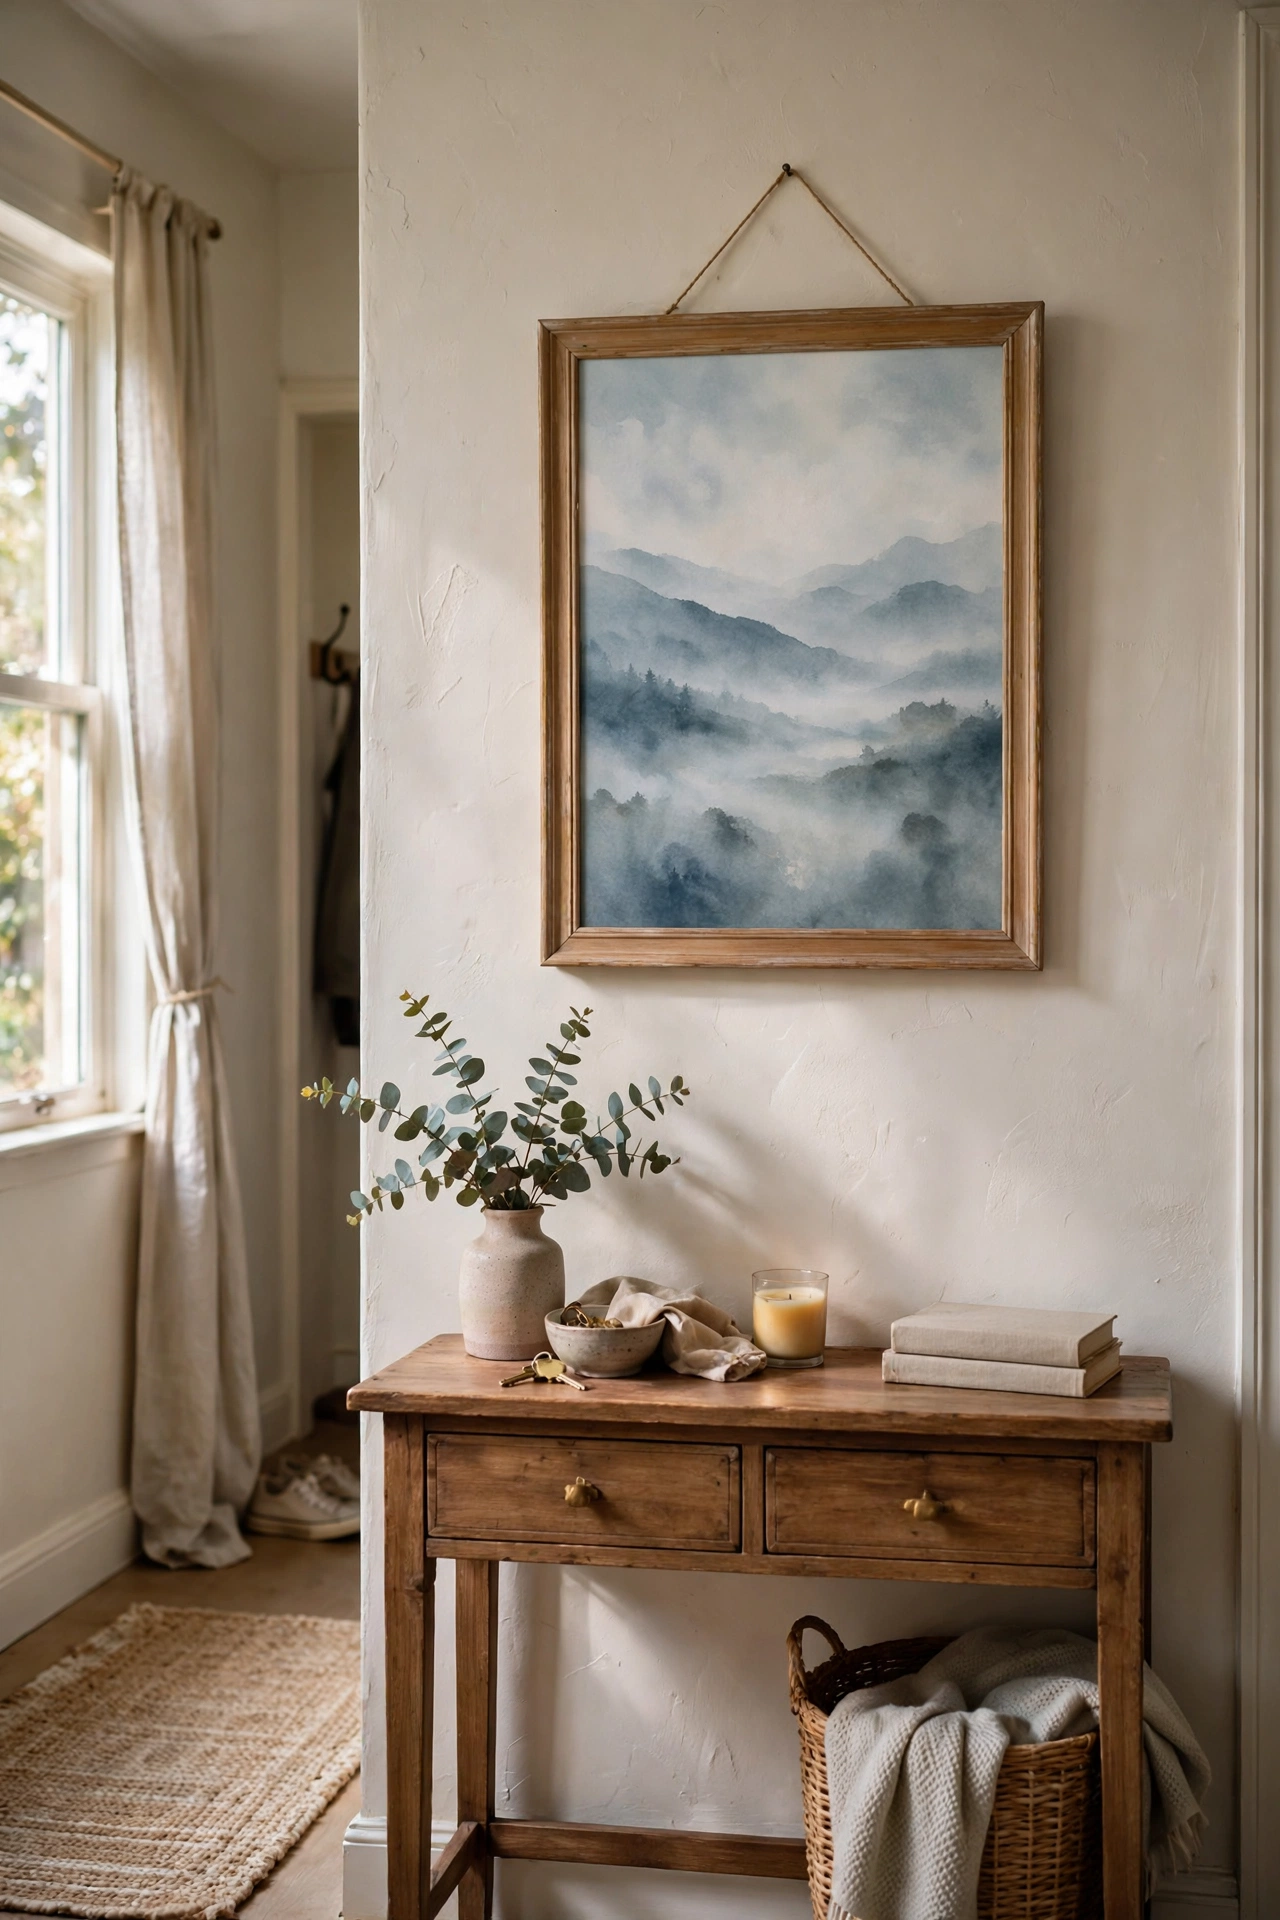
A misty landscape painted with a sponge looks far more accomplished than it is. Paint the canvas a pale blue-grey, then dab white paint with a natural sea sponge in soft horizontal layers to build foggy hills, leaving darker bands for distant treelines. The sponge texture does the blending for you. I painted one for my hallway in an afternoon and visitors assume I bought it. Keep a dry brush handy to soften any hard edges while the paint is wet. Two or three layers of dabbing is enough; more than that turns to mush.
Cost: ~$8-14 | Time: 1 hour plus drying
6. Gold Leaf Abstract Accent Canvas
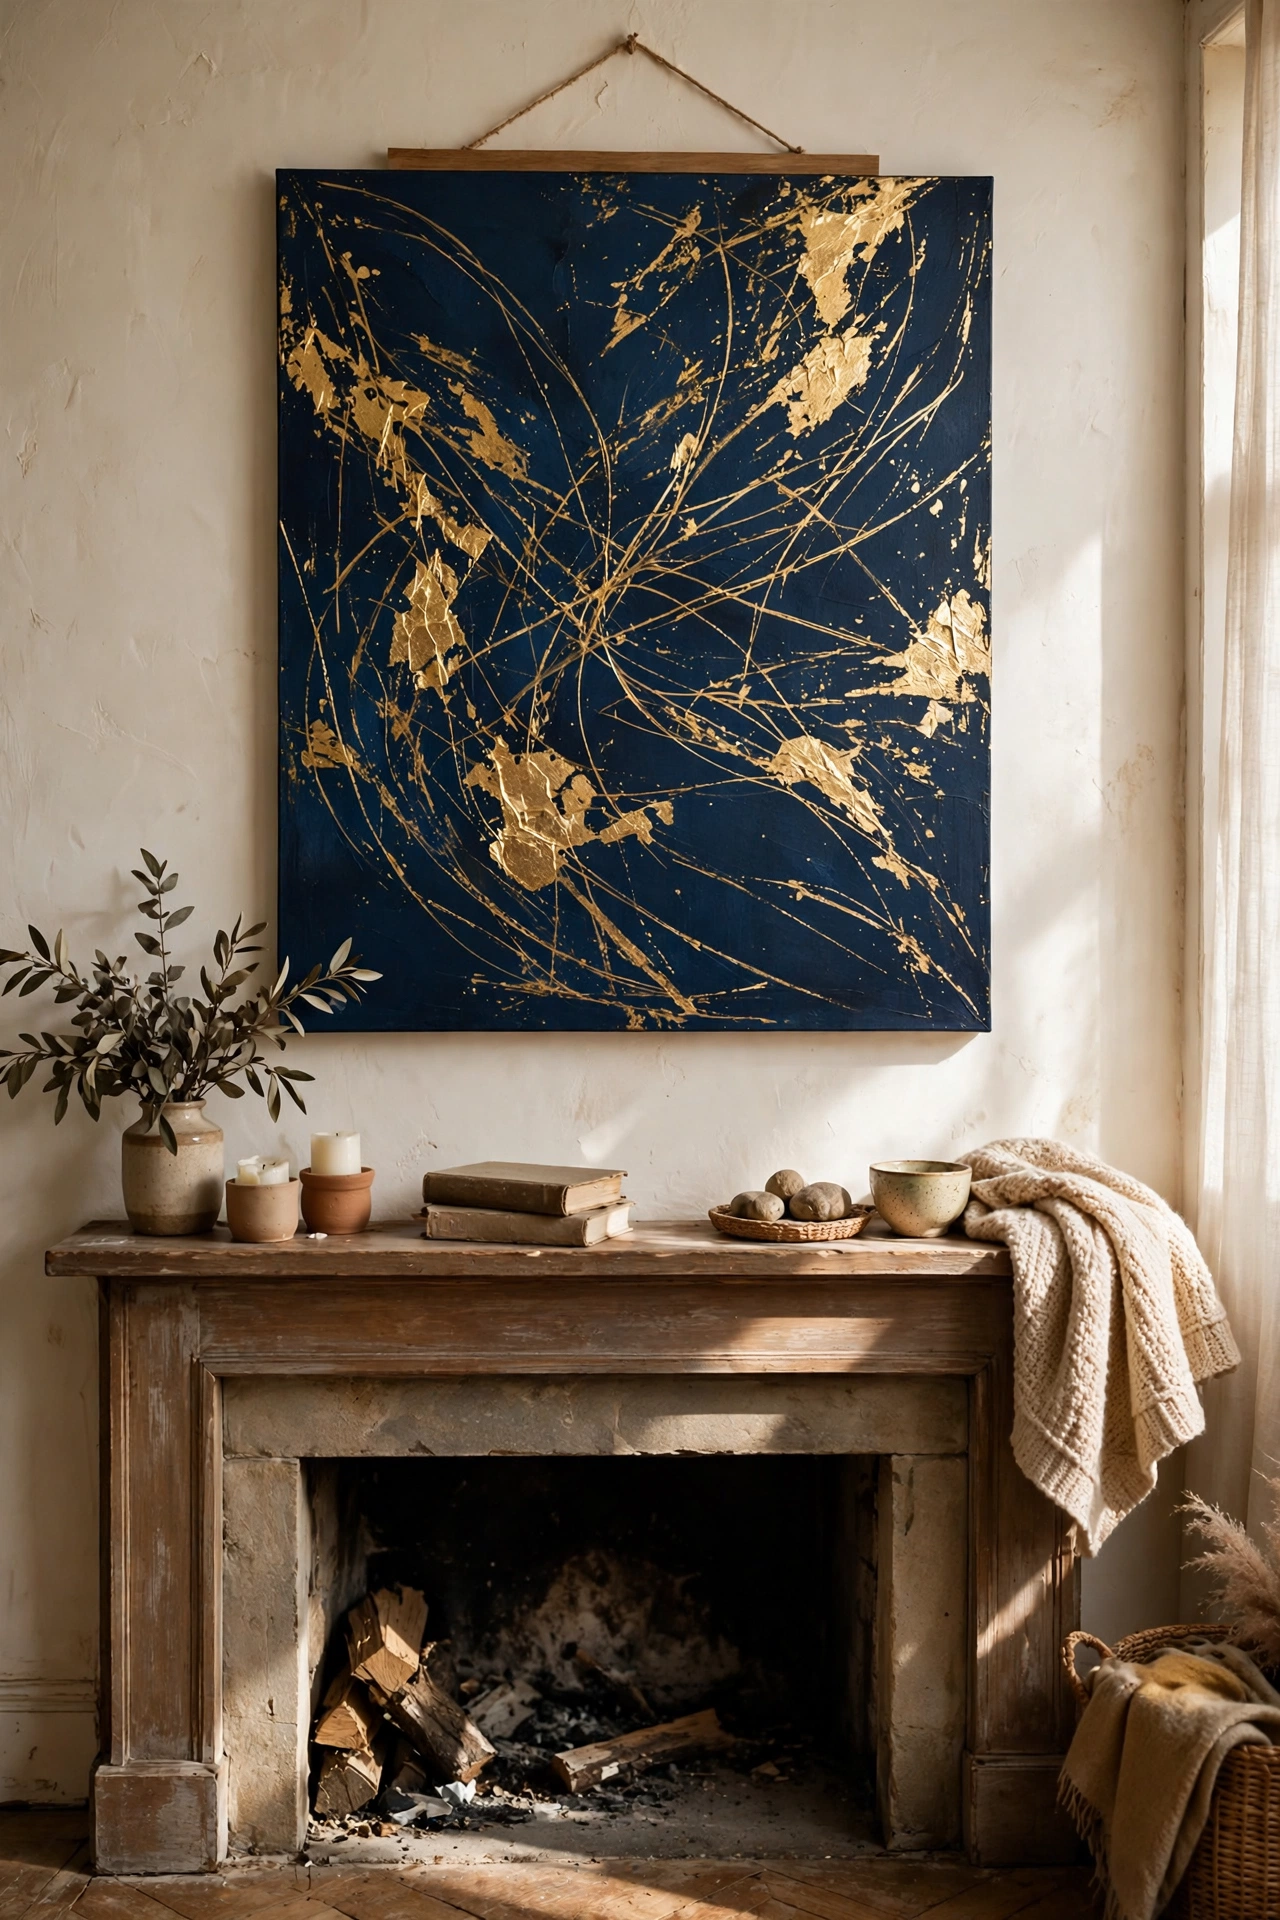
A few sheets of gold leaf turn a plain painted canvas into something that looks gallery-worthy. Paint the canvas in a deep colour like navy or forest green, let it dry, then brush adhesive size in a few random strokes and press on imitation gold leaf with a soft brush. Seal it with a clear coat so the leaf does not flake. I made one for above my fireplace and the gold catches the evening light beautifully. My mistake was using real gold leaf on the first try, which tore constantly. Imitation leaf is cheaper, easier, and looks identical on the wall.
Cost: ~$12-20 | Time: 1 hour plus drying
Framed & Printed Art
7. Oversized Botanical Print in a DIY Frame
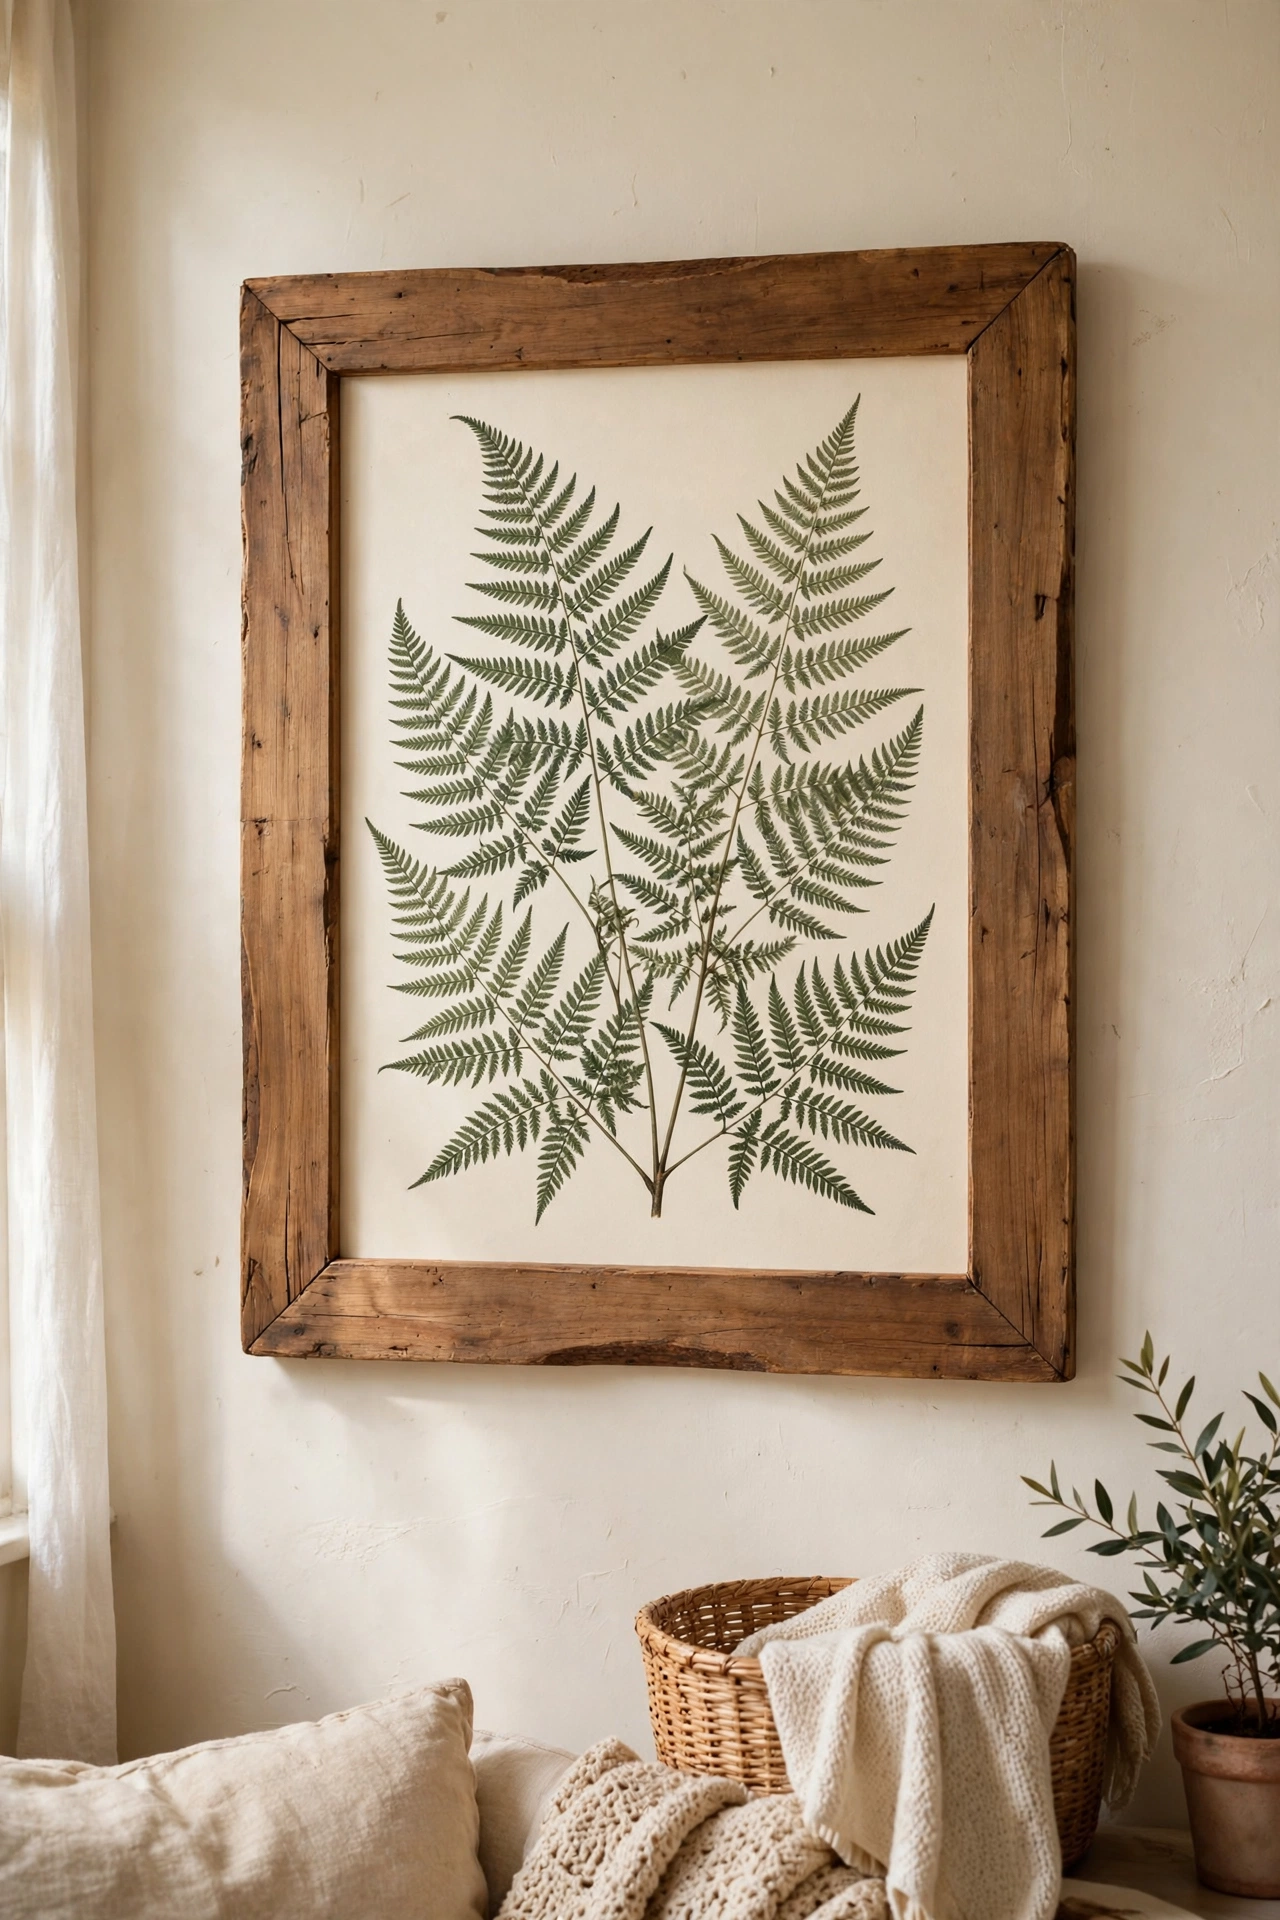
An oversized botanical print in a chunky handmade frame is the definition of expensive-looking wall art. Download a free public-domain botanical illustration, print it large at a copy shop for a few dollars, and build a simple frame from four pieces of pine trim glued and nailed at the corners. I made a frame for a fern print in an afternoon and it looks like something from a homeware catalogue. Sand the trim and stain it walnut for a richer finish. The size is what sells it, so go as large as your wall allows.
Cost: ~$10-18 | Time: 2 hours
8. Framed Fabric Remnant Art
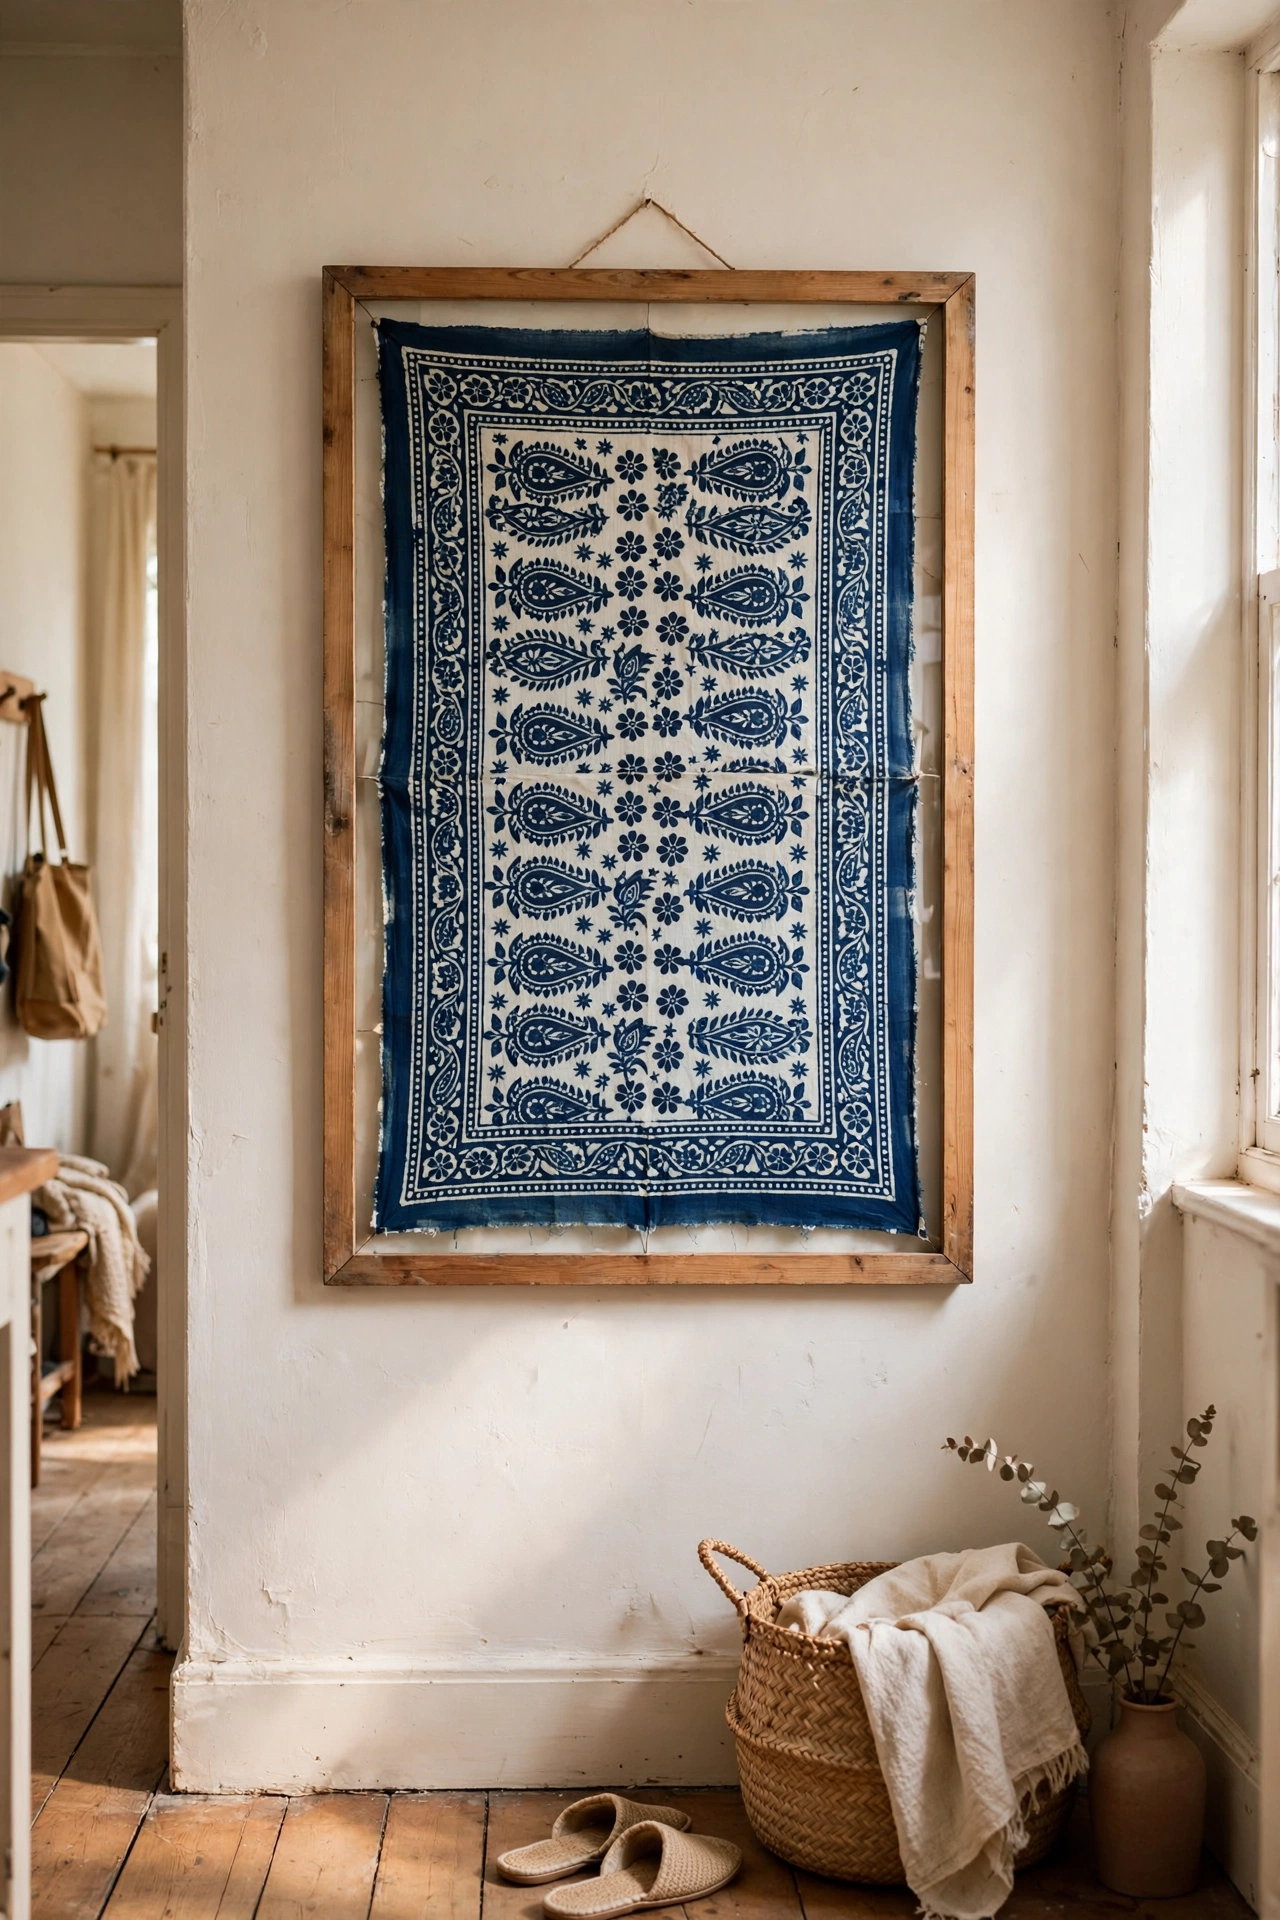
Beautiful fabric stretched in a frame looks like expensive textile art. Buy a remnant of block-print or linen fabric with a pattern you love, stretch it over a piece of foam board, and tape the back neatly. I framed a piece of indigo block-print fabric for my hallway and people ask where I bought the artwork. Iron the fabric first so no creases show. Choose fabrics with a large-scale pattern and plenty of background space, because busy small prints look like a fabric swatch rather than art.
Cost: ~$6-12 | Time: 30 minutes
9. Thrifted Frame Gallery Wall
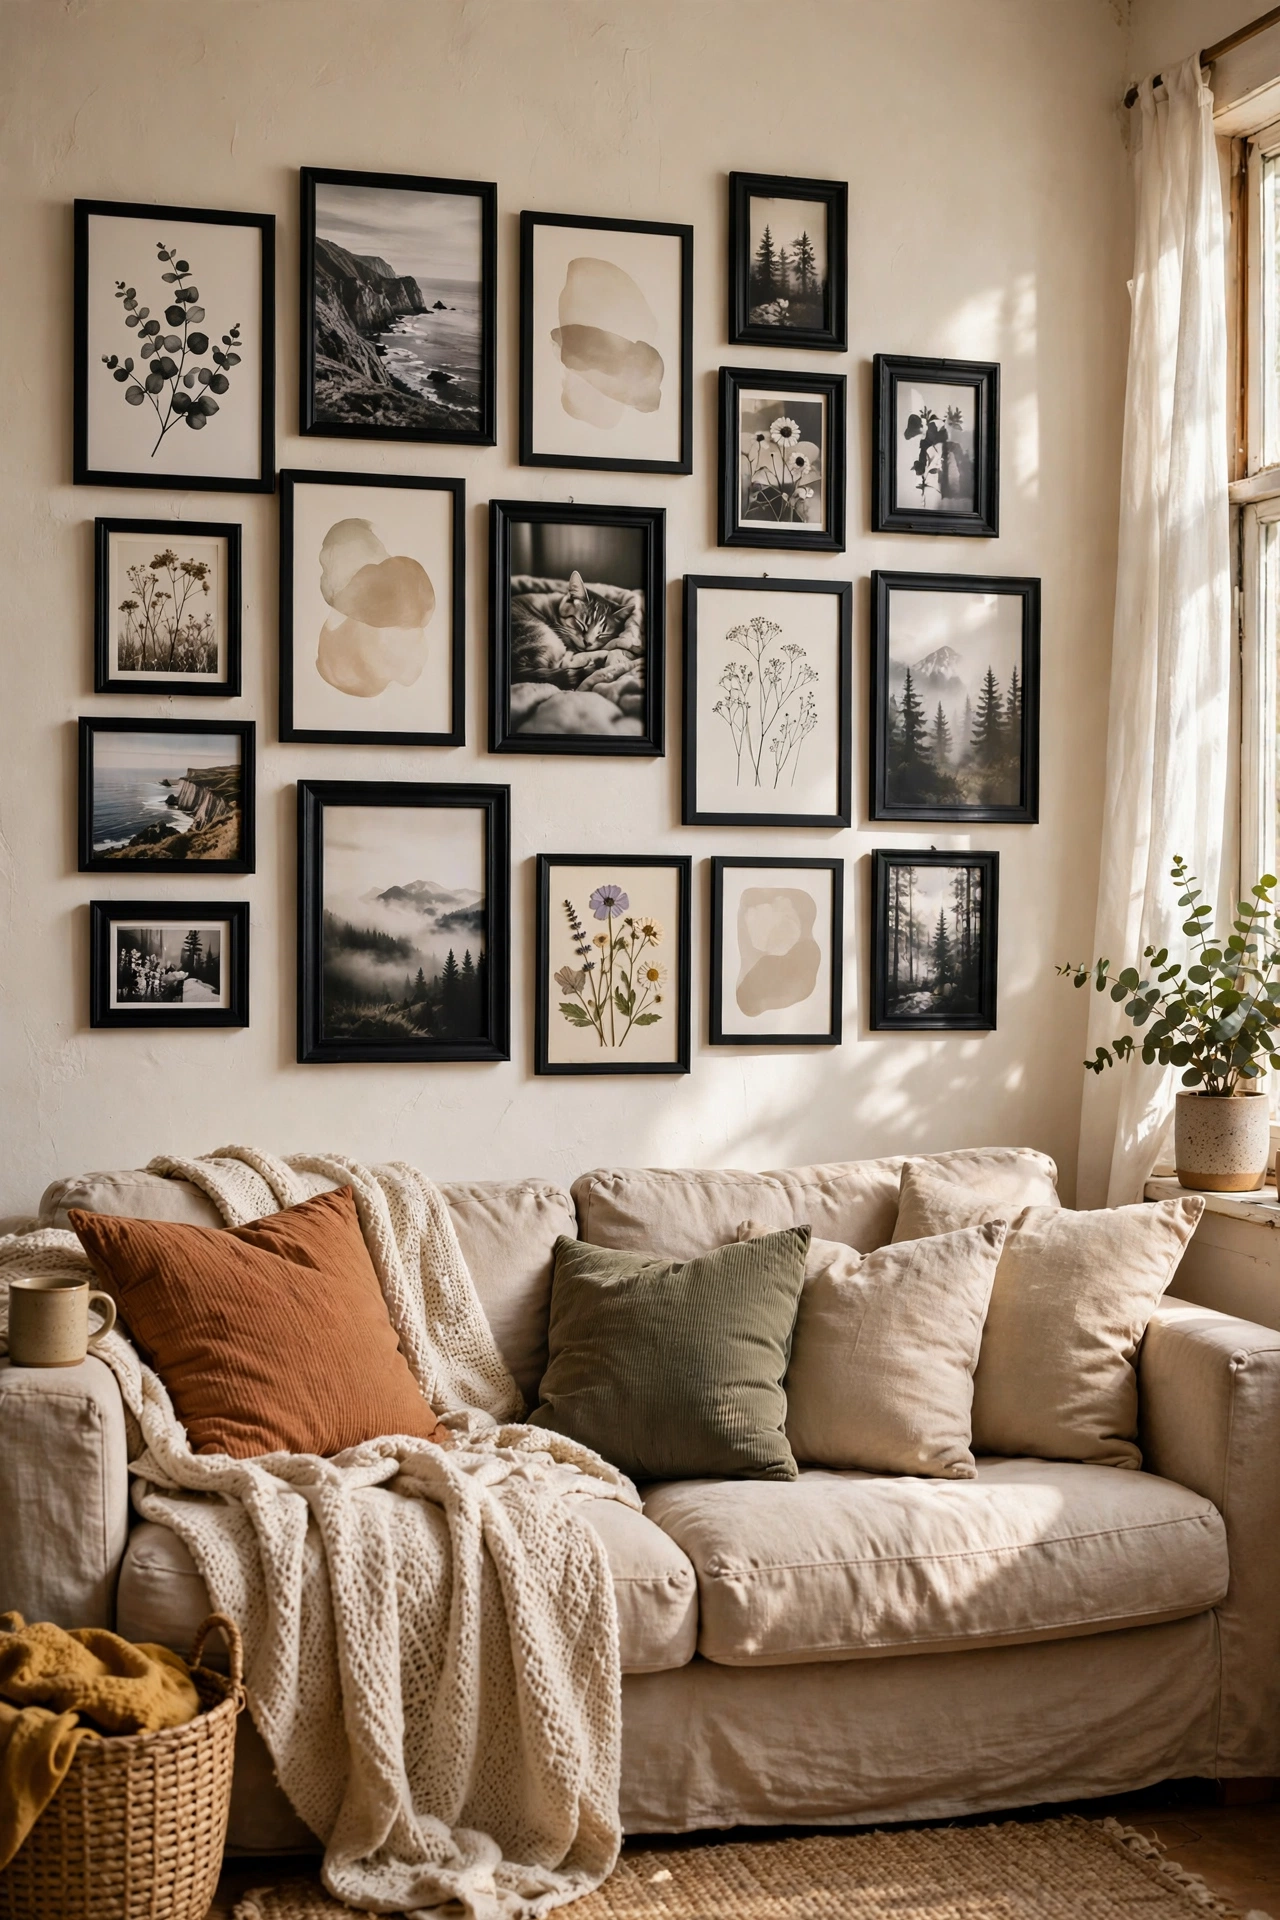
A gallery wall of mismatched thrifted frames painted one colour looks completely intentional. Collect frames in different shapes and sizes over a few weeks, spray them all the same colour like matte black or antique gold, and fill them with free printable art, family photos, and pressed leaves. I built mine with eleven frames that cost me under fifteen dollars total. Lay the arrangement on the floor first and photograph it, because moving frames on the wall is miserable. For beginner tips on layouts, see (see also: gallery-wall-ideas-for-beginners).
Cost: ~$12-25 | Time: 2-3 hours
10. Vintage Map Statement Piece
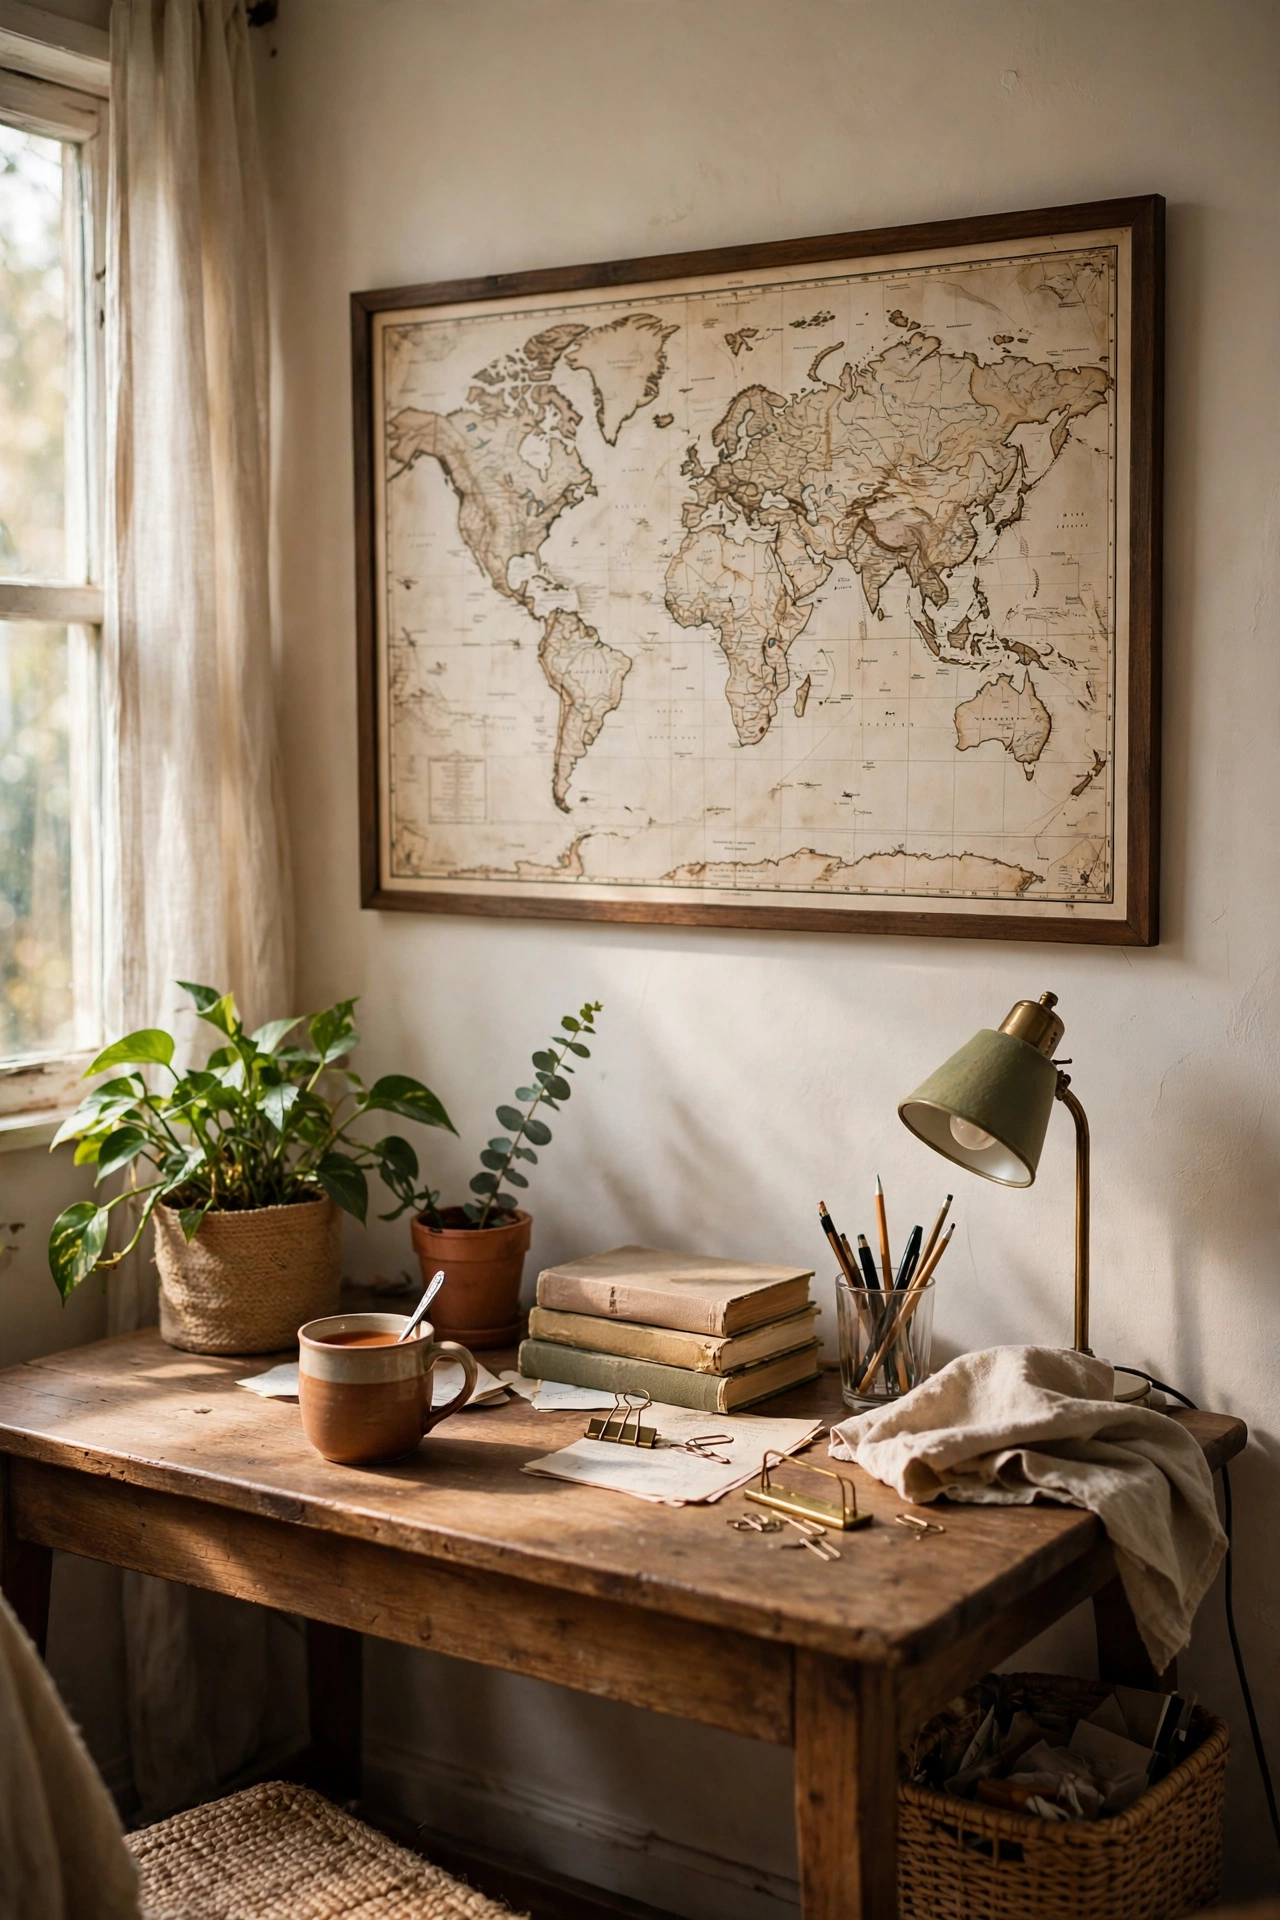
A large vintage map framed simply makes striking, conversation-starting wall art. Pick up a reproduction map of a place that means something to you, mount it on foam board, and frame it in a plain dark frame. I hung a 1950s-style map of my home county in my study and it draws more comments than anything else in the room. Tea-staining a modern print gives it an aged look: soak it briefly in strong cold tea, then dry it flat. Keep the frame simple so the map stays the star.
Cost: ~$8-15 | Time: 45 minutes
11. Linen Mat Board Frame Upgrade
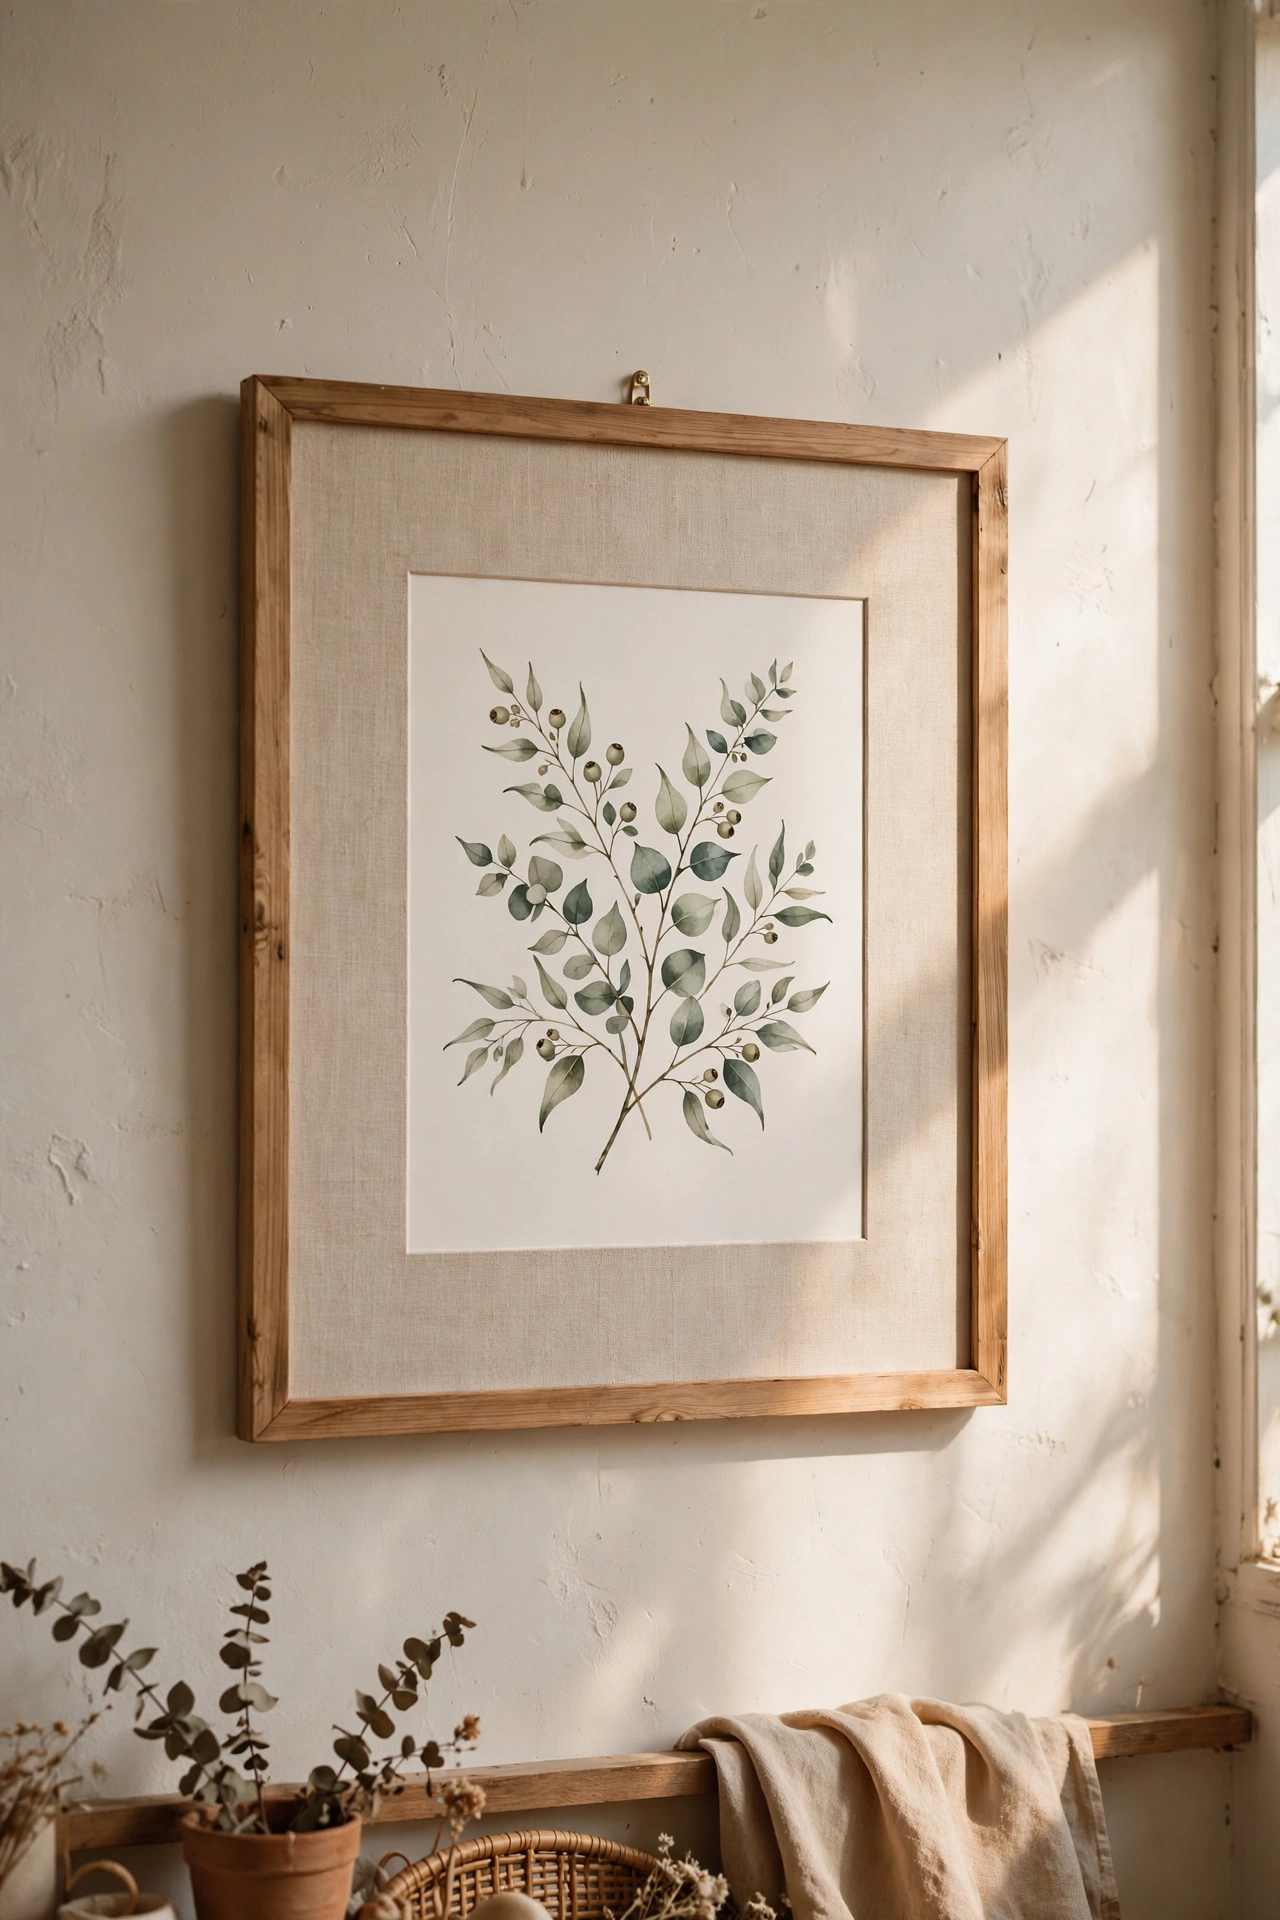
A linen-textured mat board instantly upgrades any print or photo to gallery standard. Cut a mat board with a simple bevel using a craft knife and ruler, wrap it in natural linen with spray adhesive, and drop it into a frame with your print. The texture and the wide border do all the work. I upgraded three cheap prints this way and they look like custom framing that would cost forty dollars each at a shop. Measure twice and cut once, because a crooked mat window ruins the whole effect.
Cost: ~$6-12 | Time: 1 hour
12. Black-and-White Photo Grid
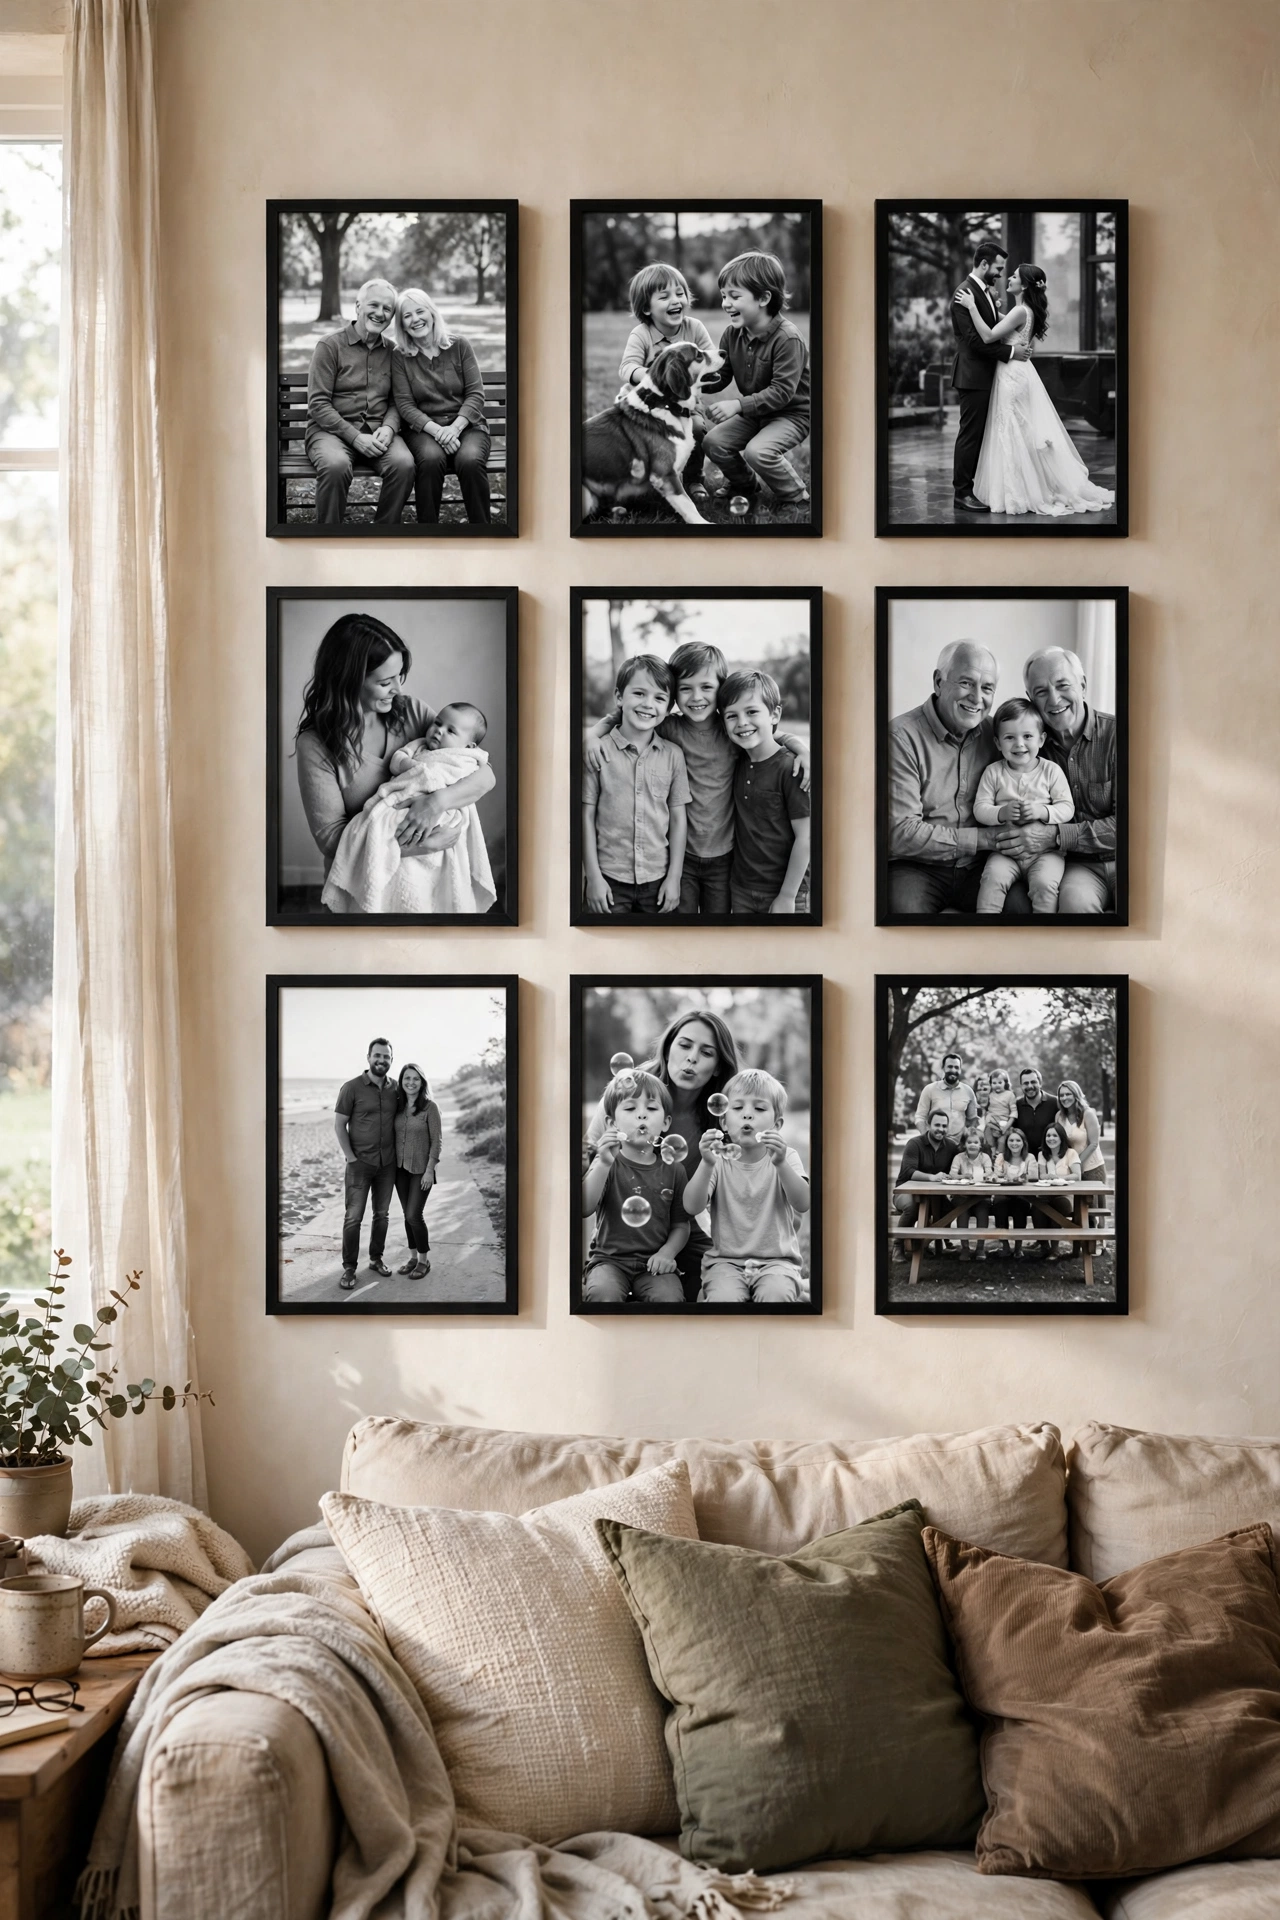
A grid of black-and-white photos in identical frames is a classic designer move. Print your favourite photos in black and white at a copy shop, put them in matching simple frames, and hang them in a tight grid with equal spacing. I used nine family photos above my sofa and the uniformity makes it look like a curated exhibition. The matching frames are the whole trick, so buy them all at once from the same shop. My mistake was mixing frame styles at first, which turned the grid into a jumble.
Cost: ~$15-25 | Time: 1 hour
Textured & 3D Wall Art
13. Plaster Relief Floral Panels
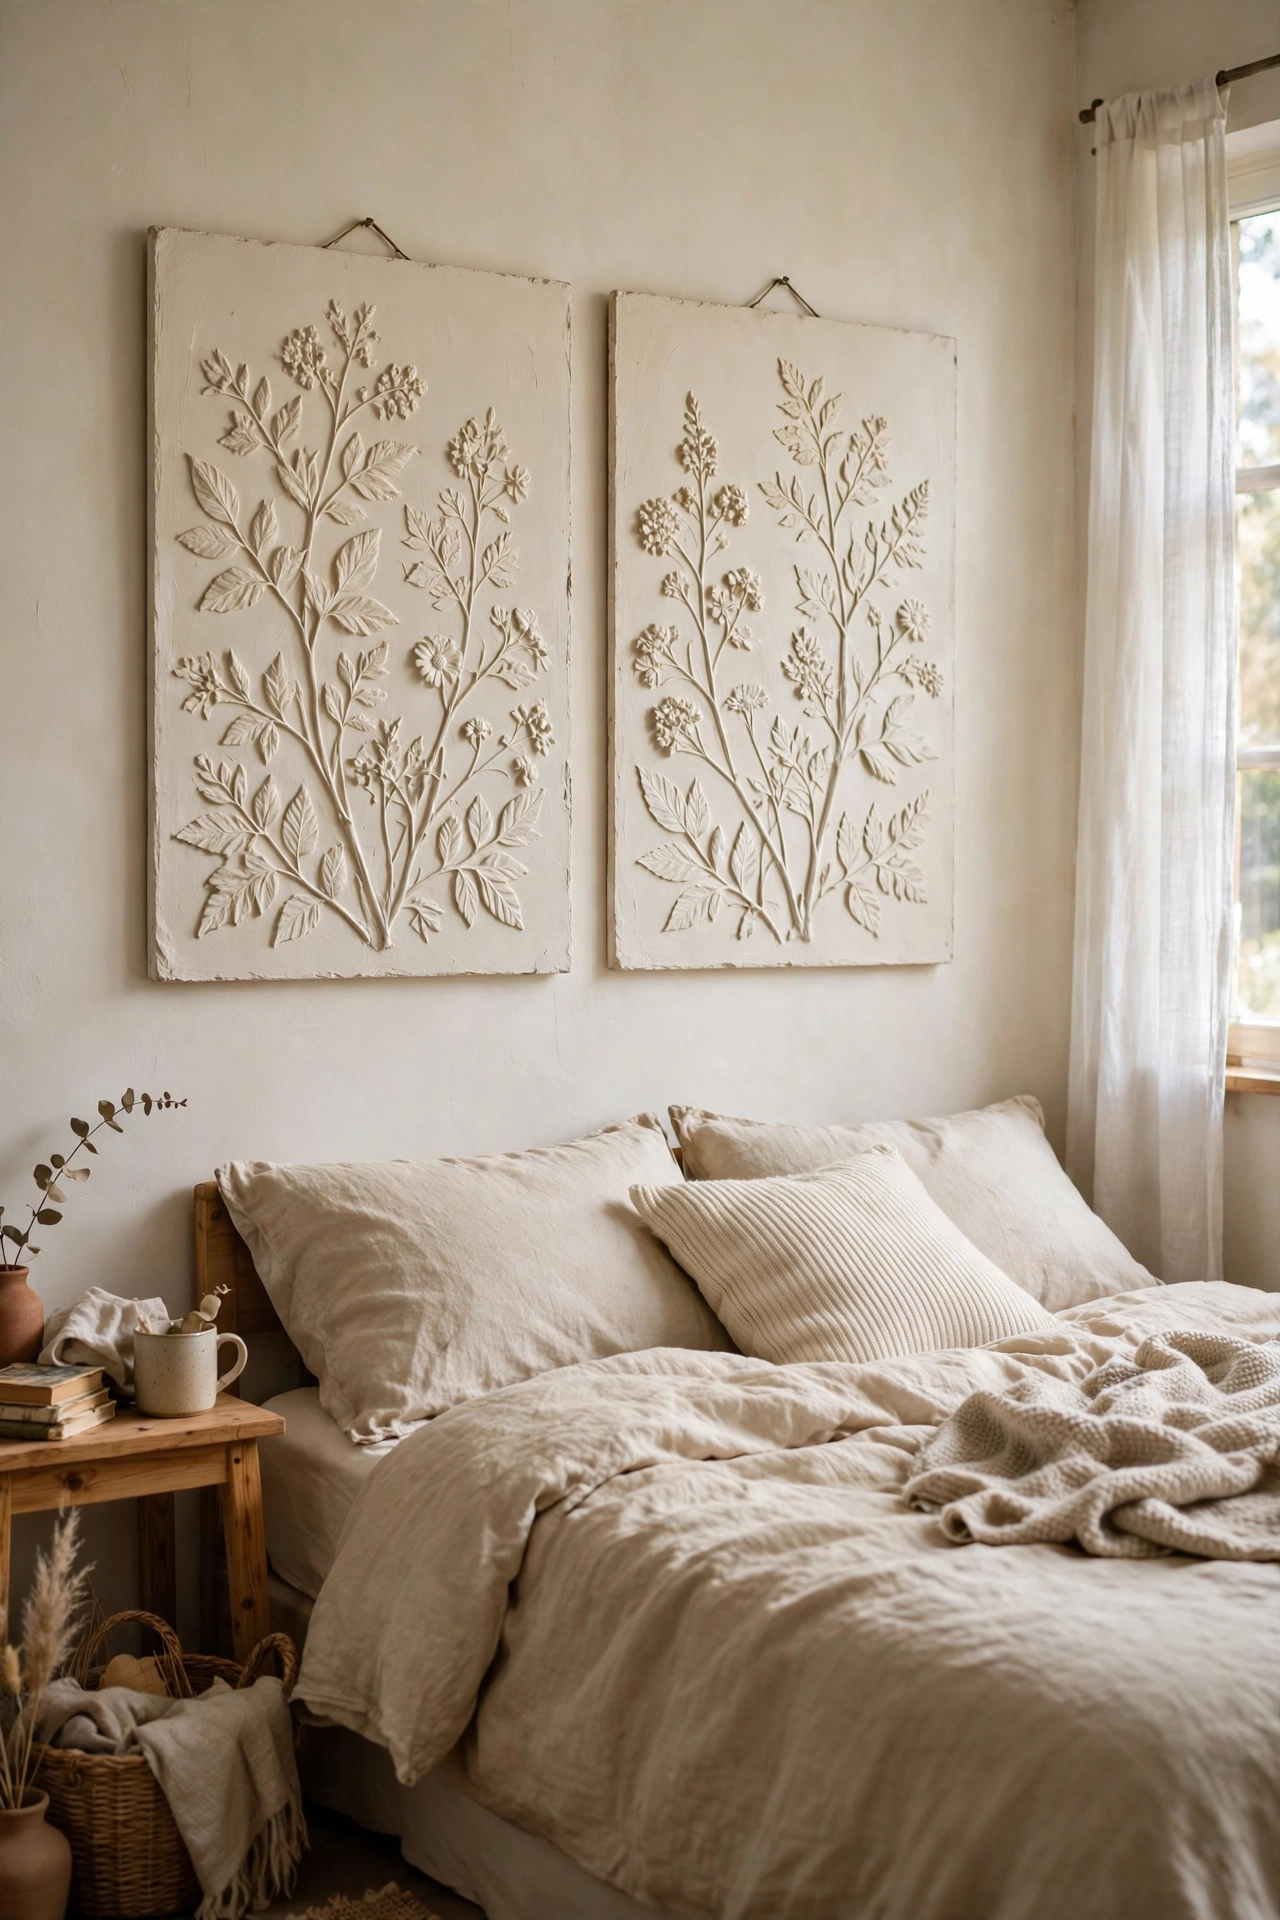
Plaster relief panels with floral shapes look like expensive architectural salvage. Spread joint compound on a wooden panel, press real leaves or silicone floral moulds into the surface, then peel them away to leave the impressions. Paint the whole panel one colour, then dry-brush a lighter shade over the raised areas so the details pop. I made a pair of these for my bedroom and they look like carved stone. Let the plaster cure for a full two days before painting, because wet plaster rejects the paint and goes patchy.
Cost: ~$12-20 | Time: 1 hour active, 2 days curing
14. Branch-Woven Wall Hanging
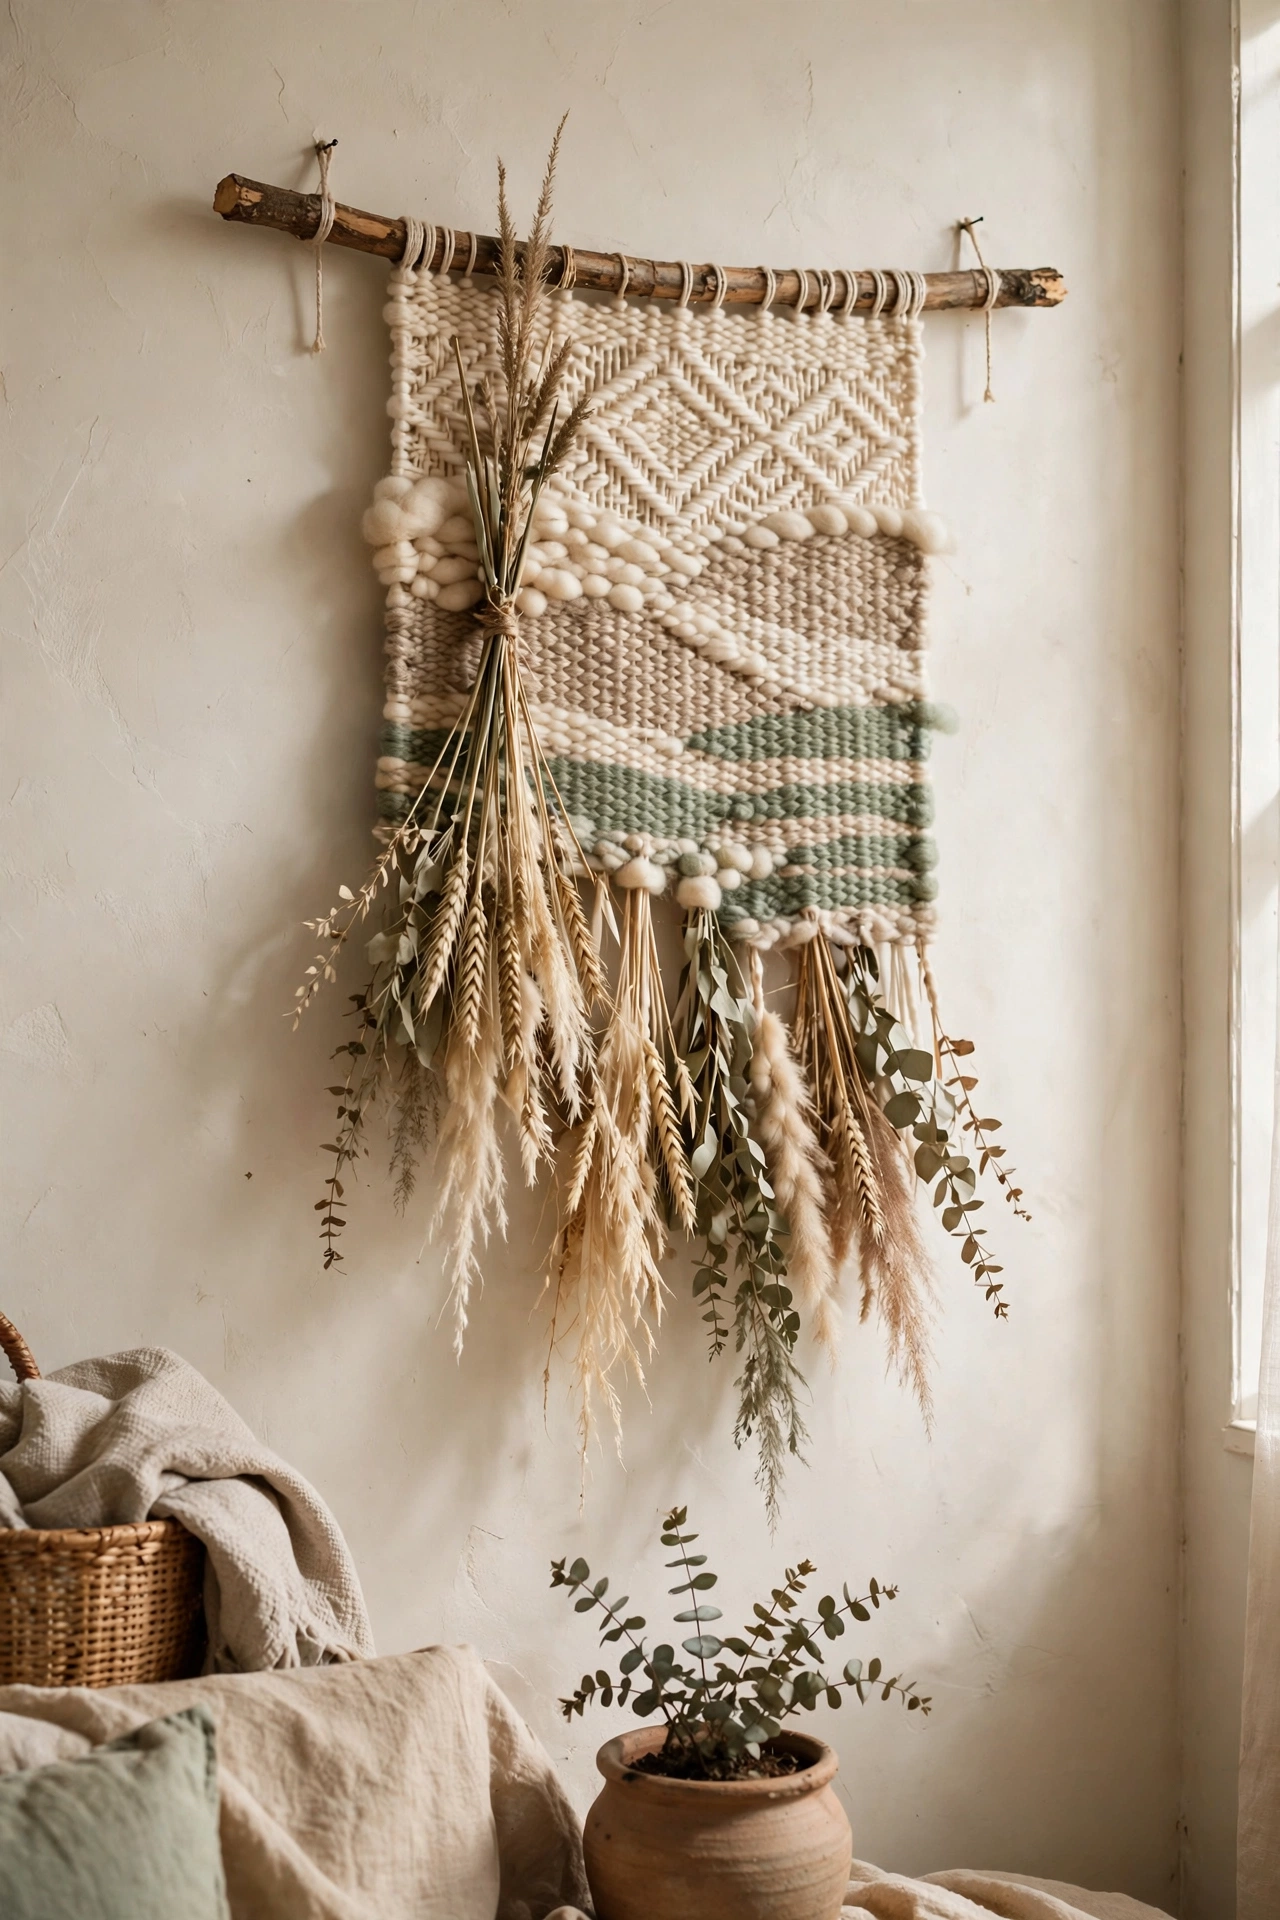
A woven wall hanging on a natural branch adds soft texture that expensive interiors always seem to have. Mount a sturdy branch on the wall, tie on lengths of cotton rope as warp threads, and weave in yarn, fabric strips, and dried grasses with a simple over-under pattern. I made mine in cream, beige, and sage wool from a craft shop sale. The weaving is meditative rather than difficult, and mistakes genuinely do not show. Trim the bottom into a V shape for a finished look.
Cost: ~$10-18 | Time: 3-4 hours
15. Woven Basket Wall Display
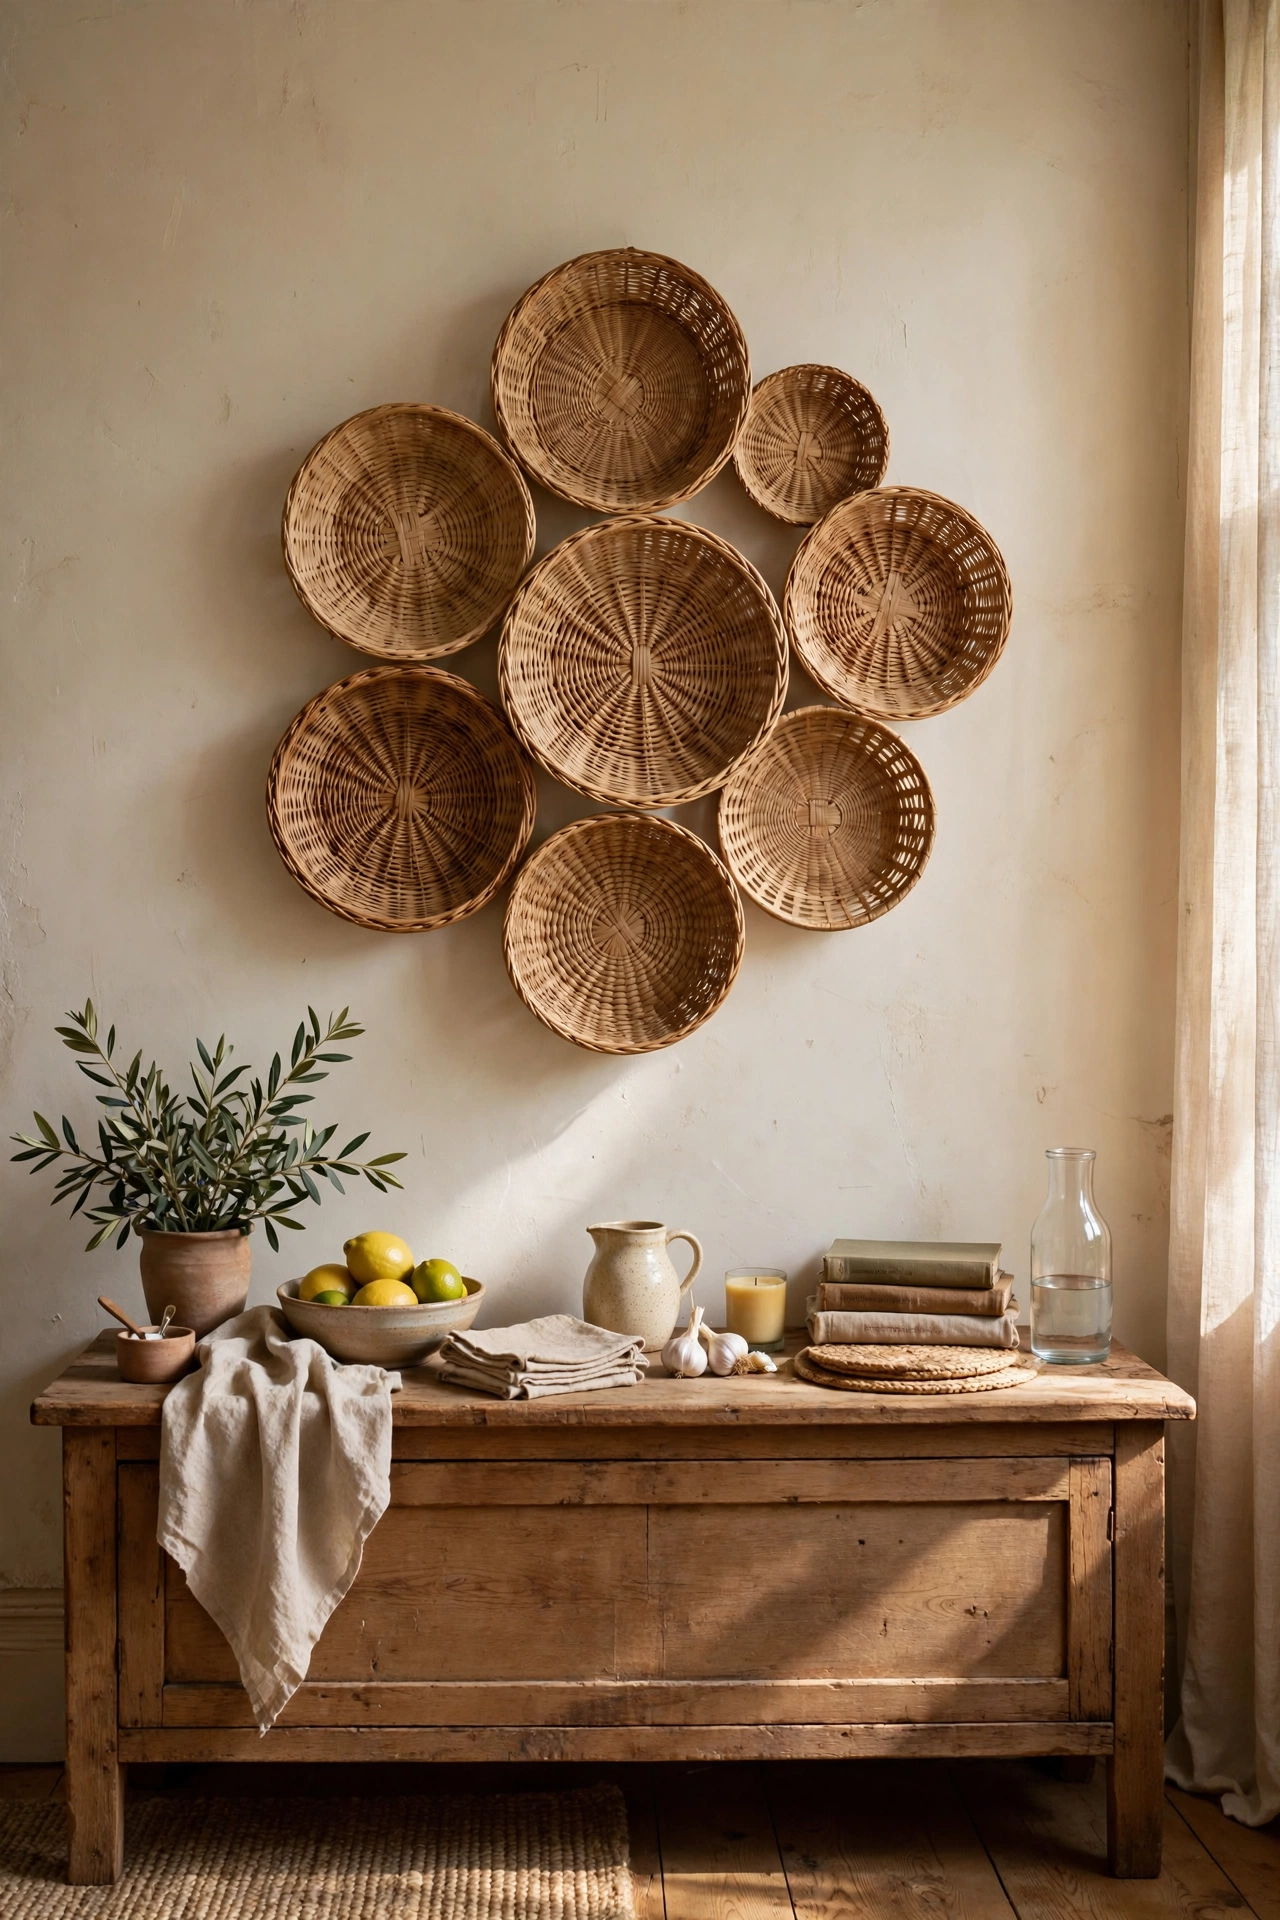
A cluster of flat woven baskets on the wall is a designer look you can build from thrift shops. Collect shallow baskets in similar natural tones, hang them in an organic cluster with the largest in the middle, and secure them with small nails or removable hooks. I gathered seven baskets over a month for about ten dollars total. The mix of weaves and sizes is what makes it interesting, so do not aim for matching. For more beginner-friendly canvas ideas, see (see also: painted-canvas-art-for-beginners).
Cost: ~$8-15 | Time: 45 minutes
16. Layered Paper Botanical Art
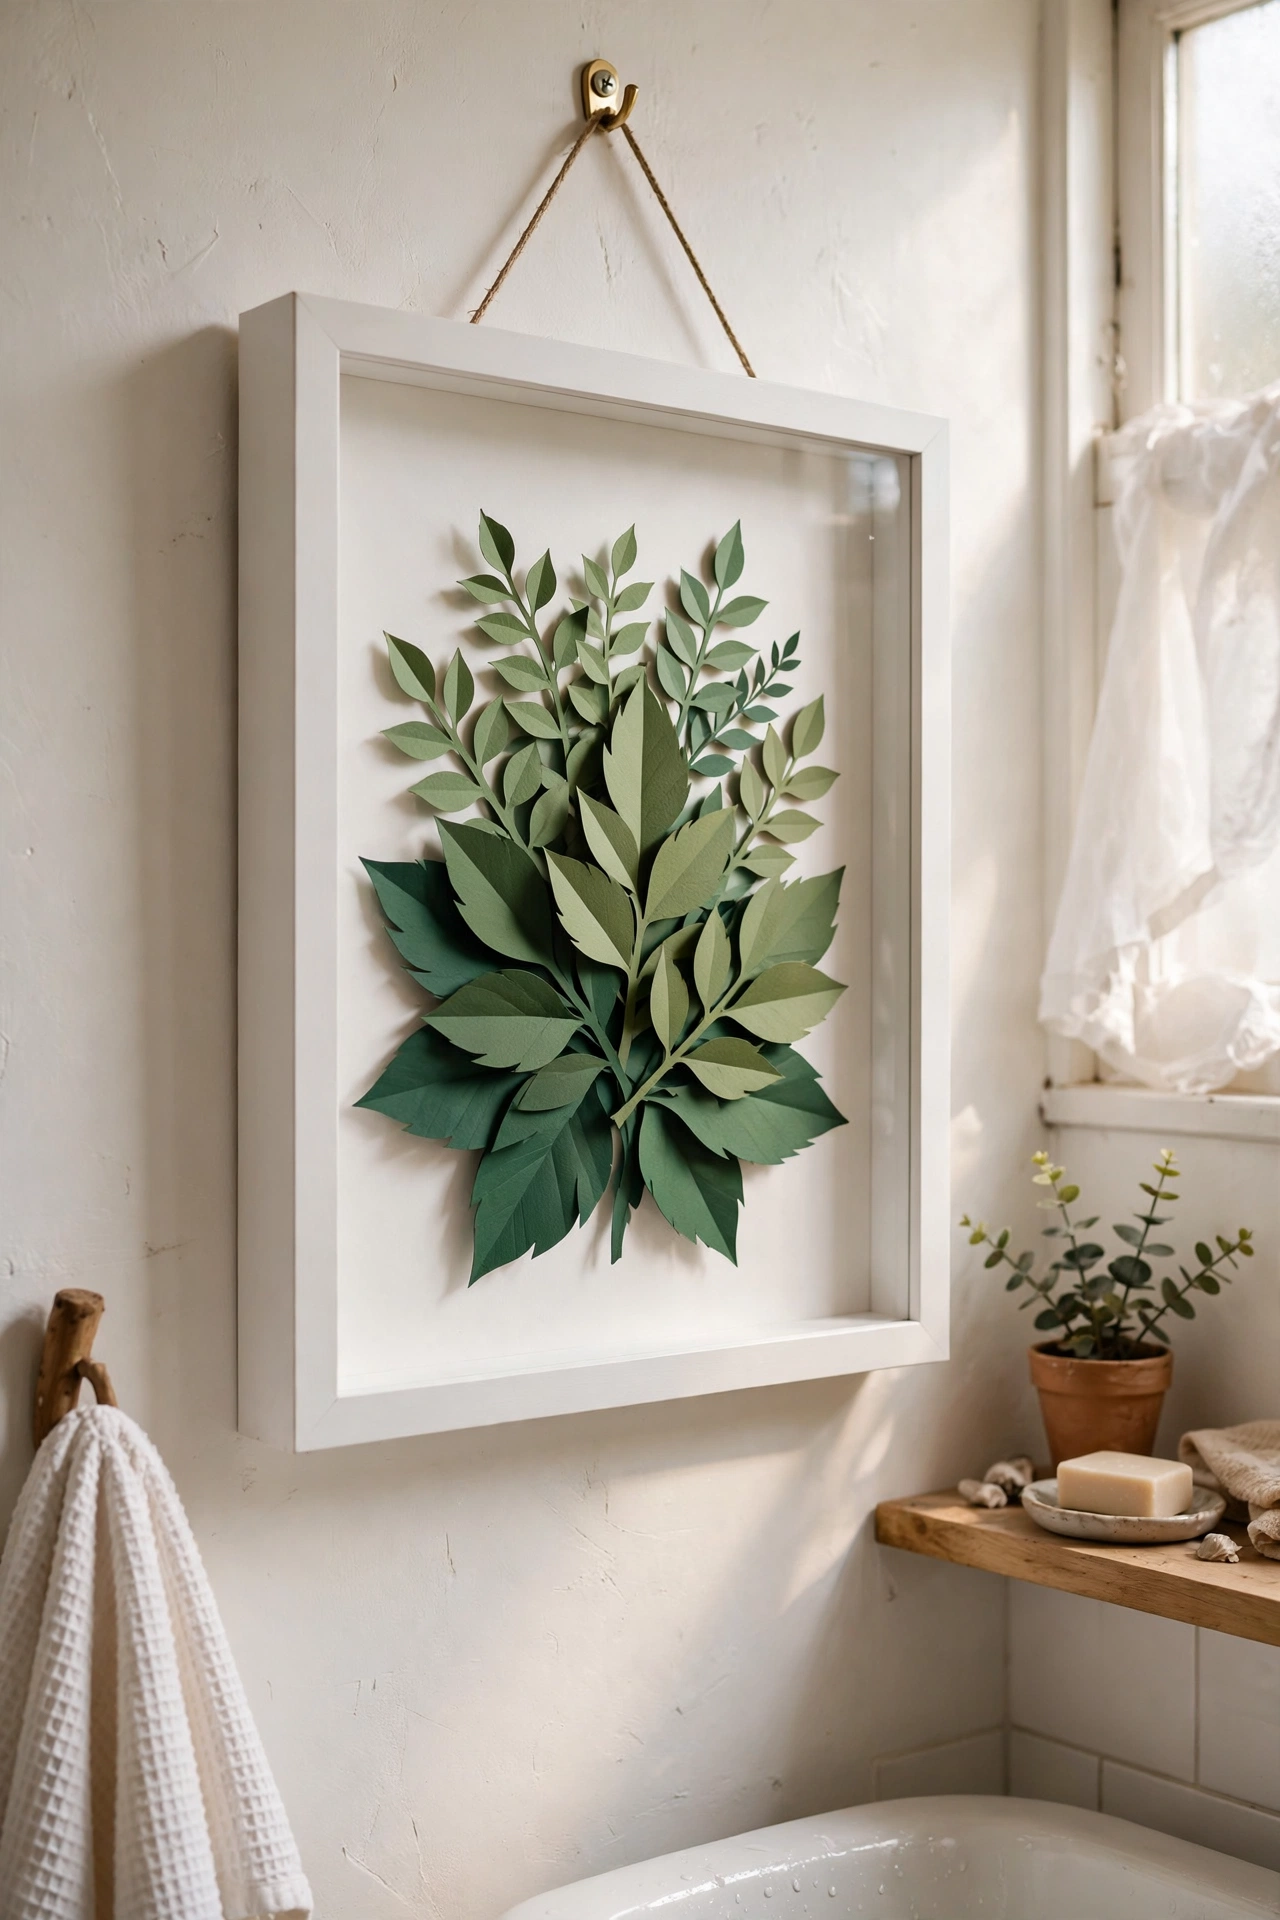
Layered paper leaves in a deep frame create beautiful shadow-box art. Cut leaf shapes from coloured card in three shades of green, glue them in overlapping layers onto a backing board, and frame it in a box frame so the layers have room to cast shadows. I made a eucalyptus-style piece for my bathroom and the depth makes it look like a real botanical specimen. Use a glue stick rather than wet glue, because liquid glue warps the paper. Three layers is plenty; more starts to look cluttered.
Cost: ~$5-10 | Time: 1.5 hours
17. Embroidery Hoop Textile Wall Art
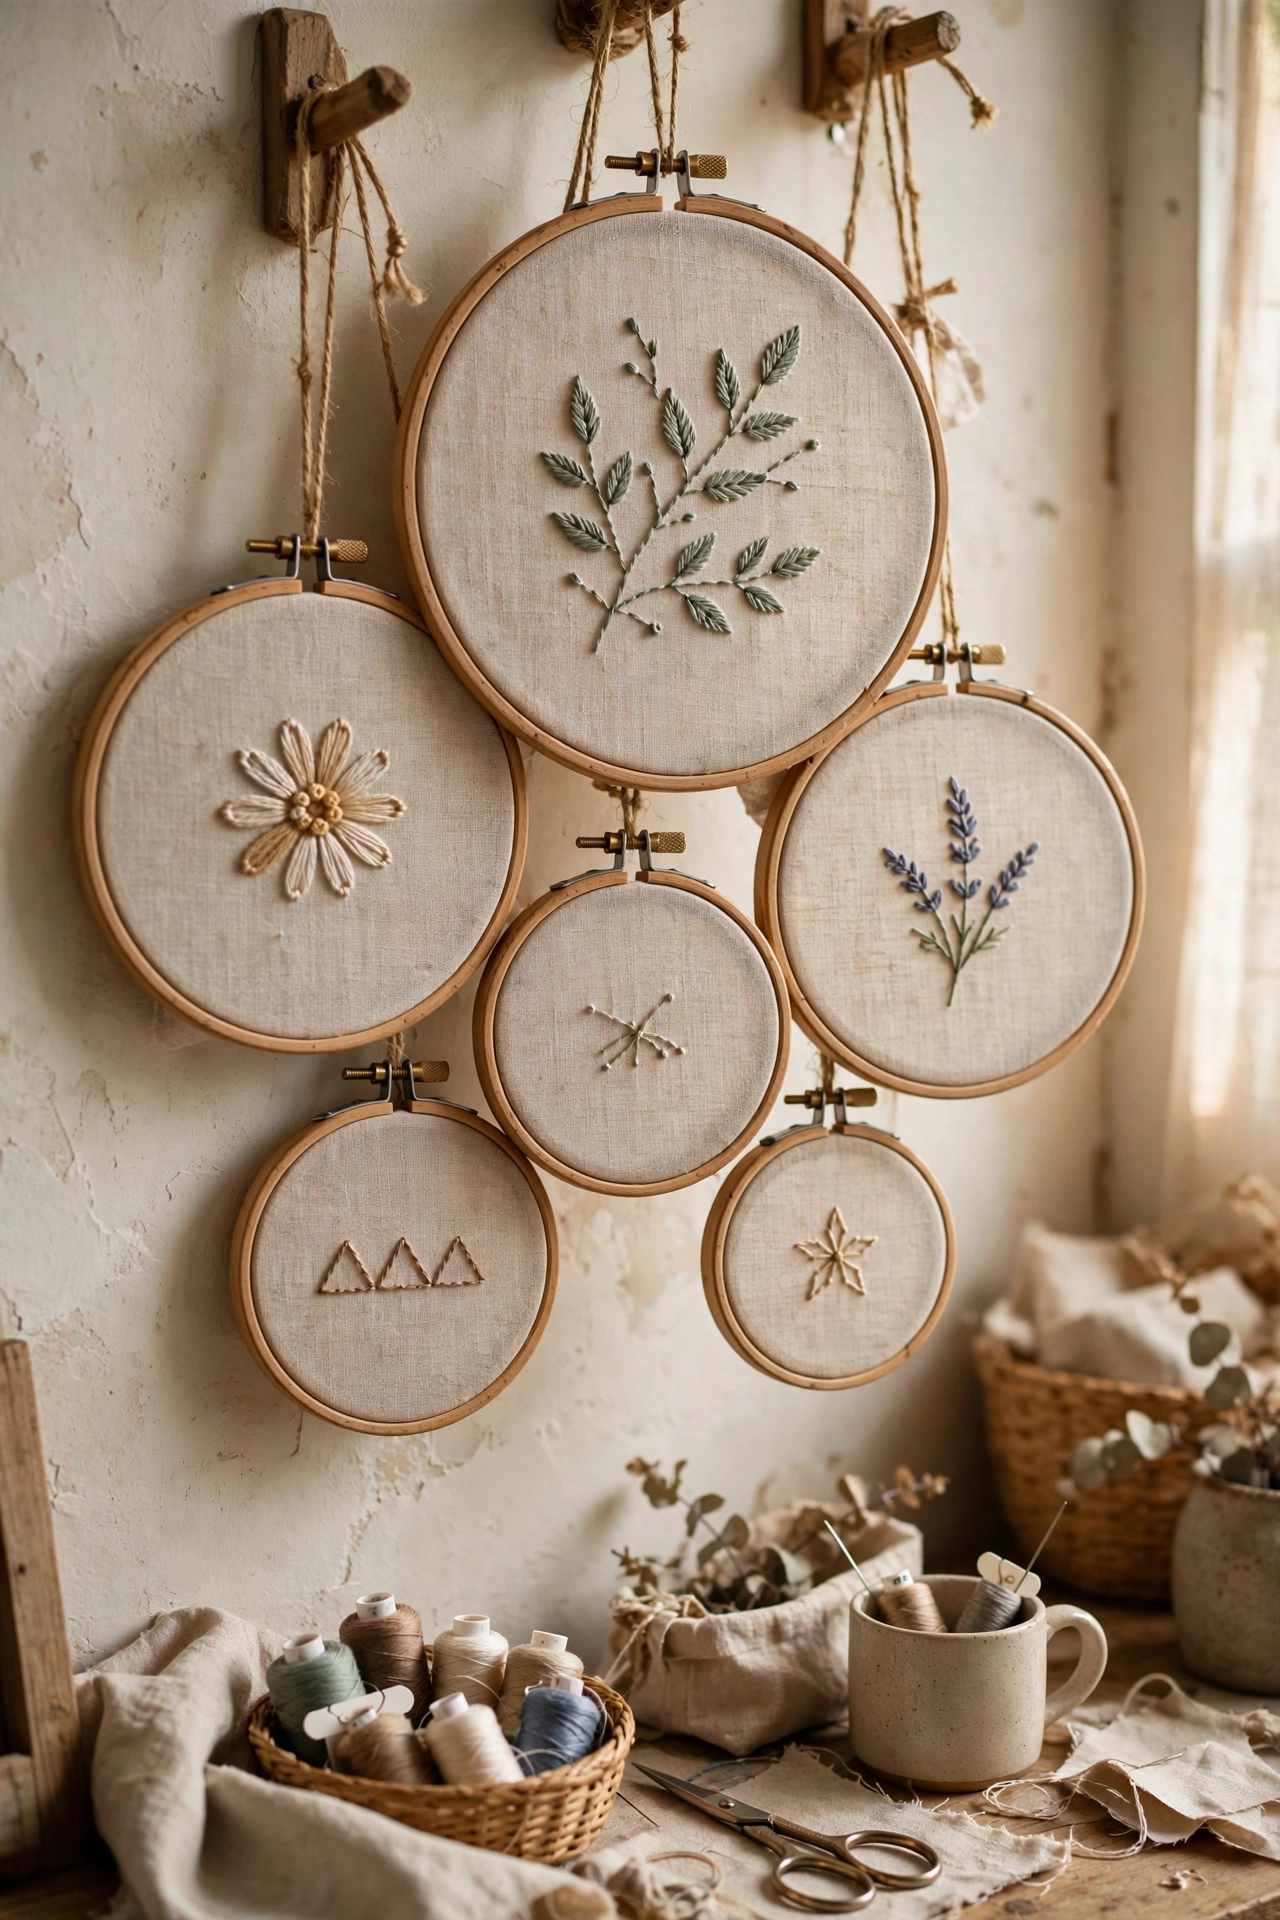
A group of embroidery hoops filled with textured fabric or simple stitching makes charming dimensional art. Fill some hoops with linen in different natural shades, stitch a simple motif on one or two, and hang them in a loose cluster. I used six hoops of different sizes in my craft room and it looks like a textile exhibition. Leave the hoop wood natural or stain it walnut for a richer look. The varying sizes matter more than the contents, so mix your hoop diameters.
Cost: ~$8-15 | Time: 2 hours
Large Statement Pieces
18. Oversized Arch Canvas Art
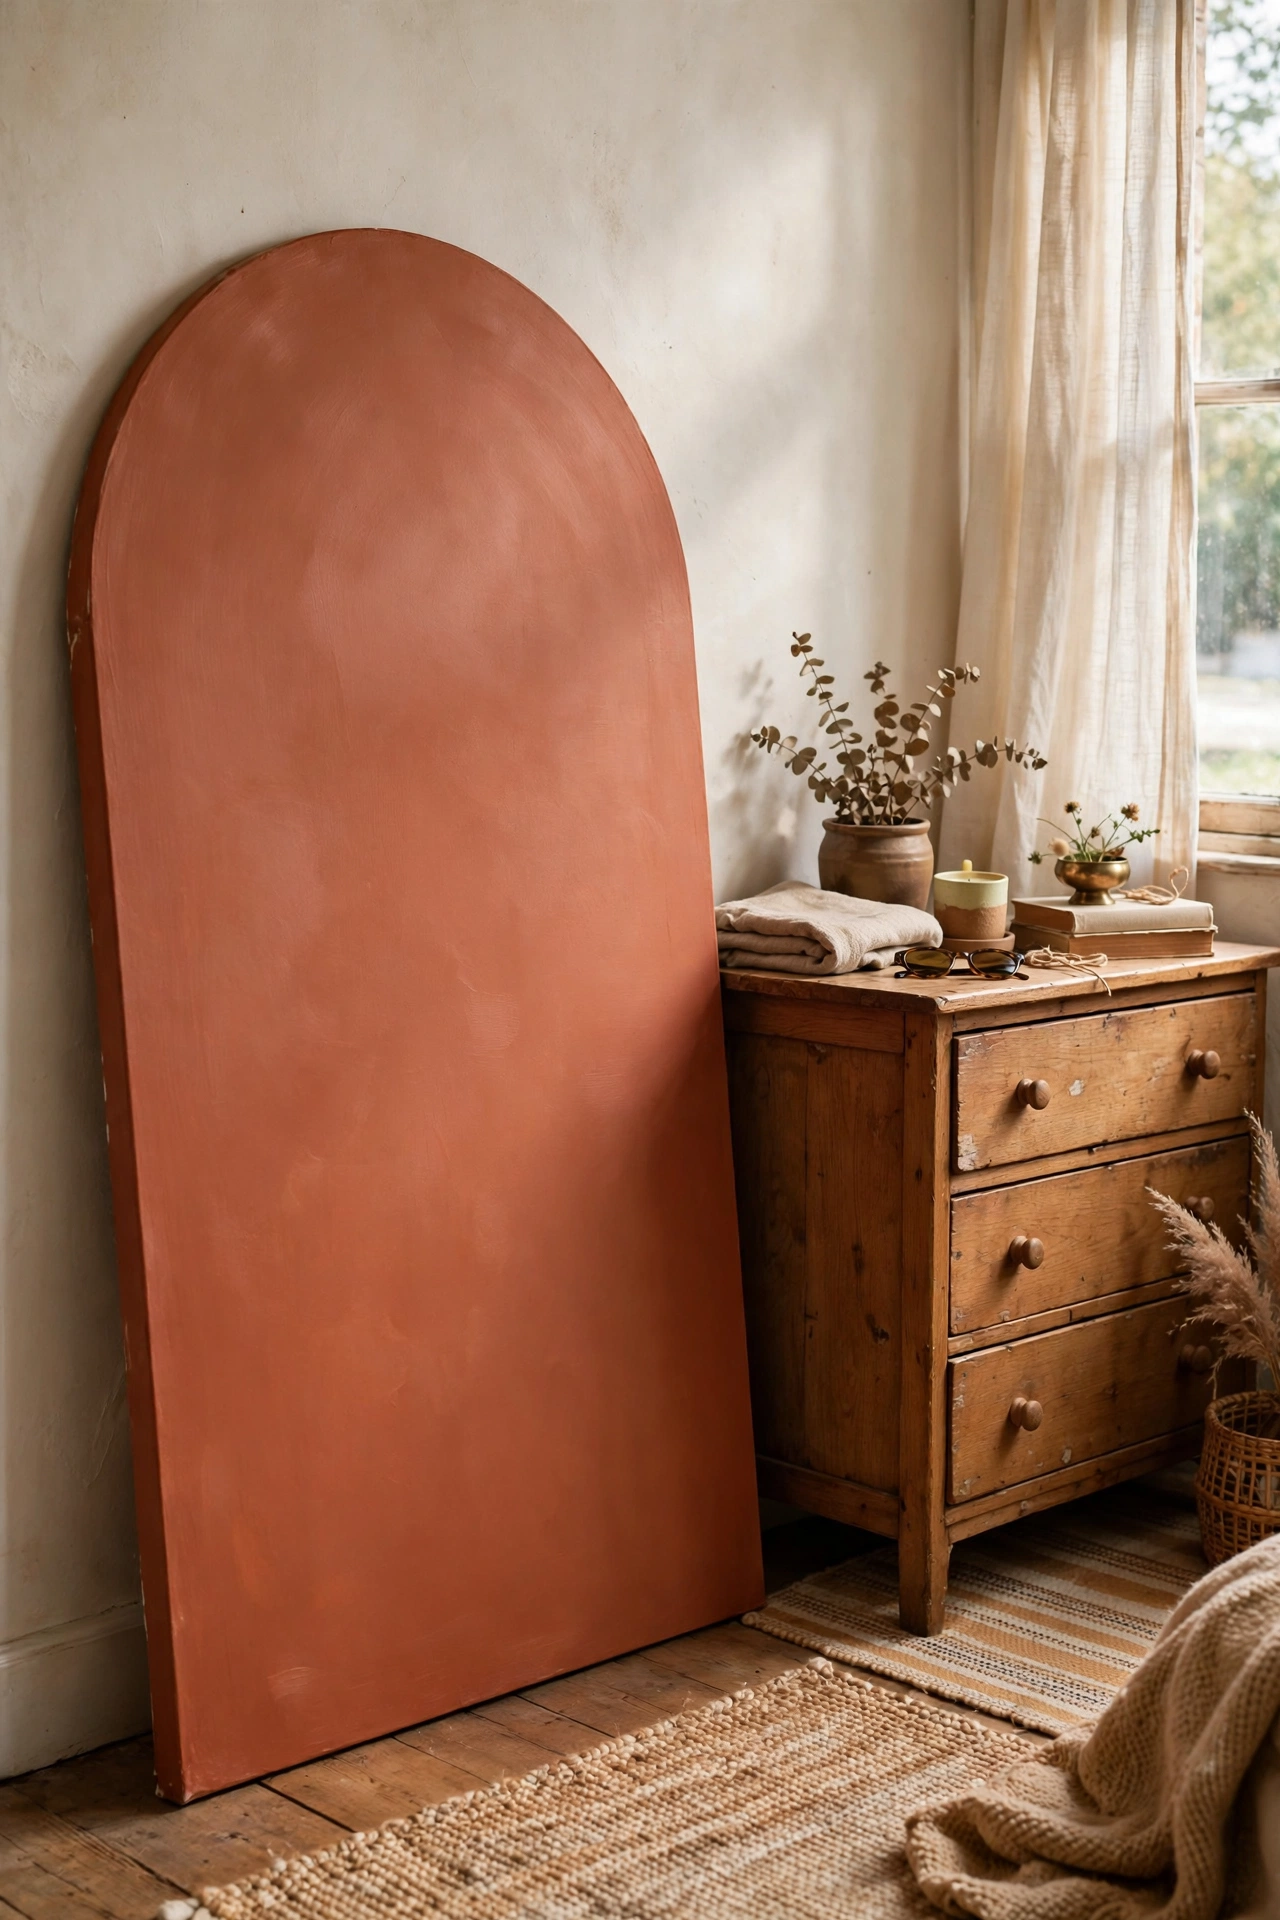
An arched canvas in a solid colour is one of the trendiest expensive-looking pieces right now, and it is just painted fabric on a board. Cut an arch shape from a thin plywood or hardboard panel, cover it with canvas or heavy linen using a staple gun, and paint it in a rich solid colour like terracotta, olive, or deep teal. I made one in warm clay for my bedroom and it anchors the whole wall. Sand the arch edge smooth before covering, because a lumpy edge shows through the fabric.
Cost: ~$15-25 | Time: 2 hours plus drying
19. Faux Wallpaper Panel Art
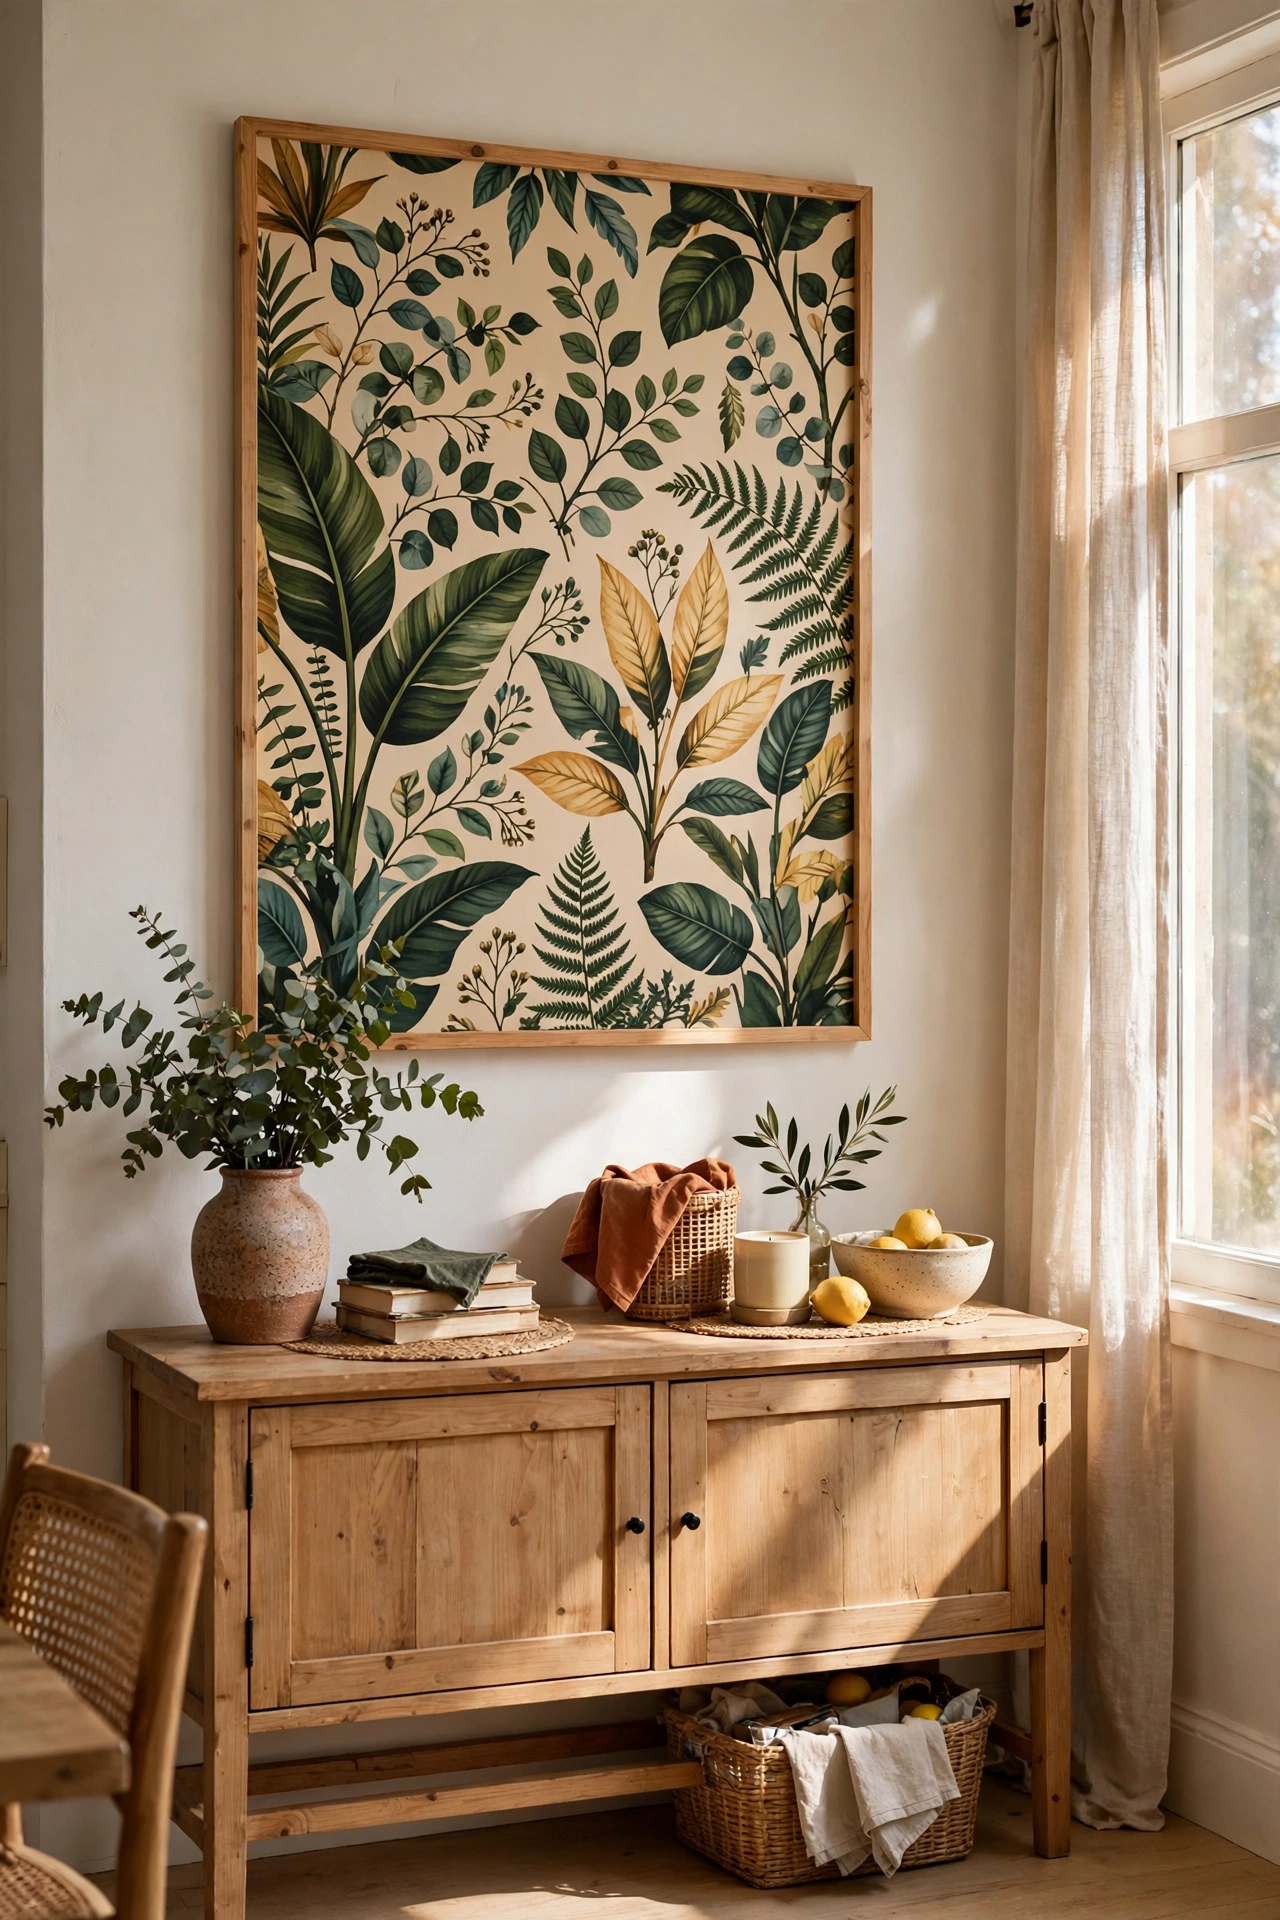
A single panel of bold wallpaper framed like art gives you the statement look without papering a wall. Buy one roll of a patterned wallpaper you love, or a sample if the shop sells them, paste it onto a large foam board, and frame it with simple trim. I did this with a botanical print in my dining room and it reads as a proper mural panel. Choose a large-scale pattern, because small repeats look like a wallpaper sample rather than art. Trim the edges carefully so no foam board peeks out.
Cost: ~$10-20 | Time: 1 hour
20. Painted Wooden Slat Wall Panels
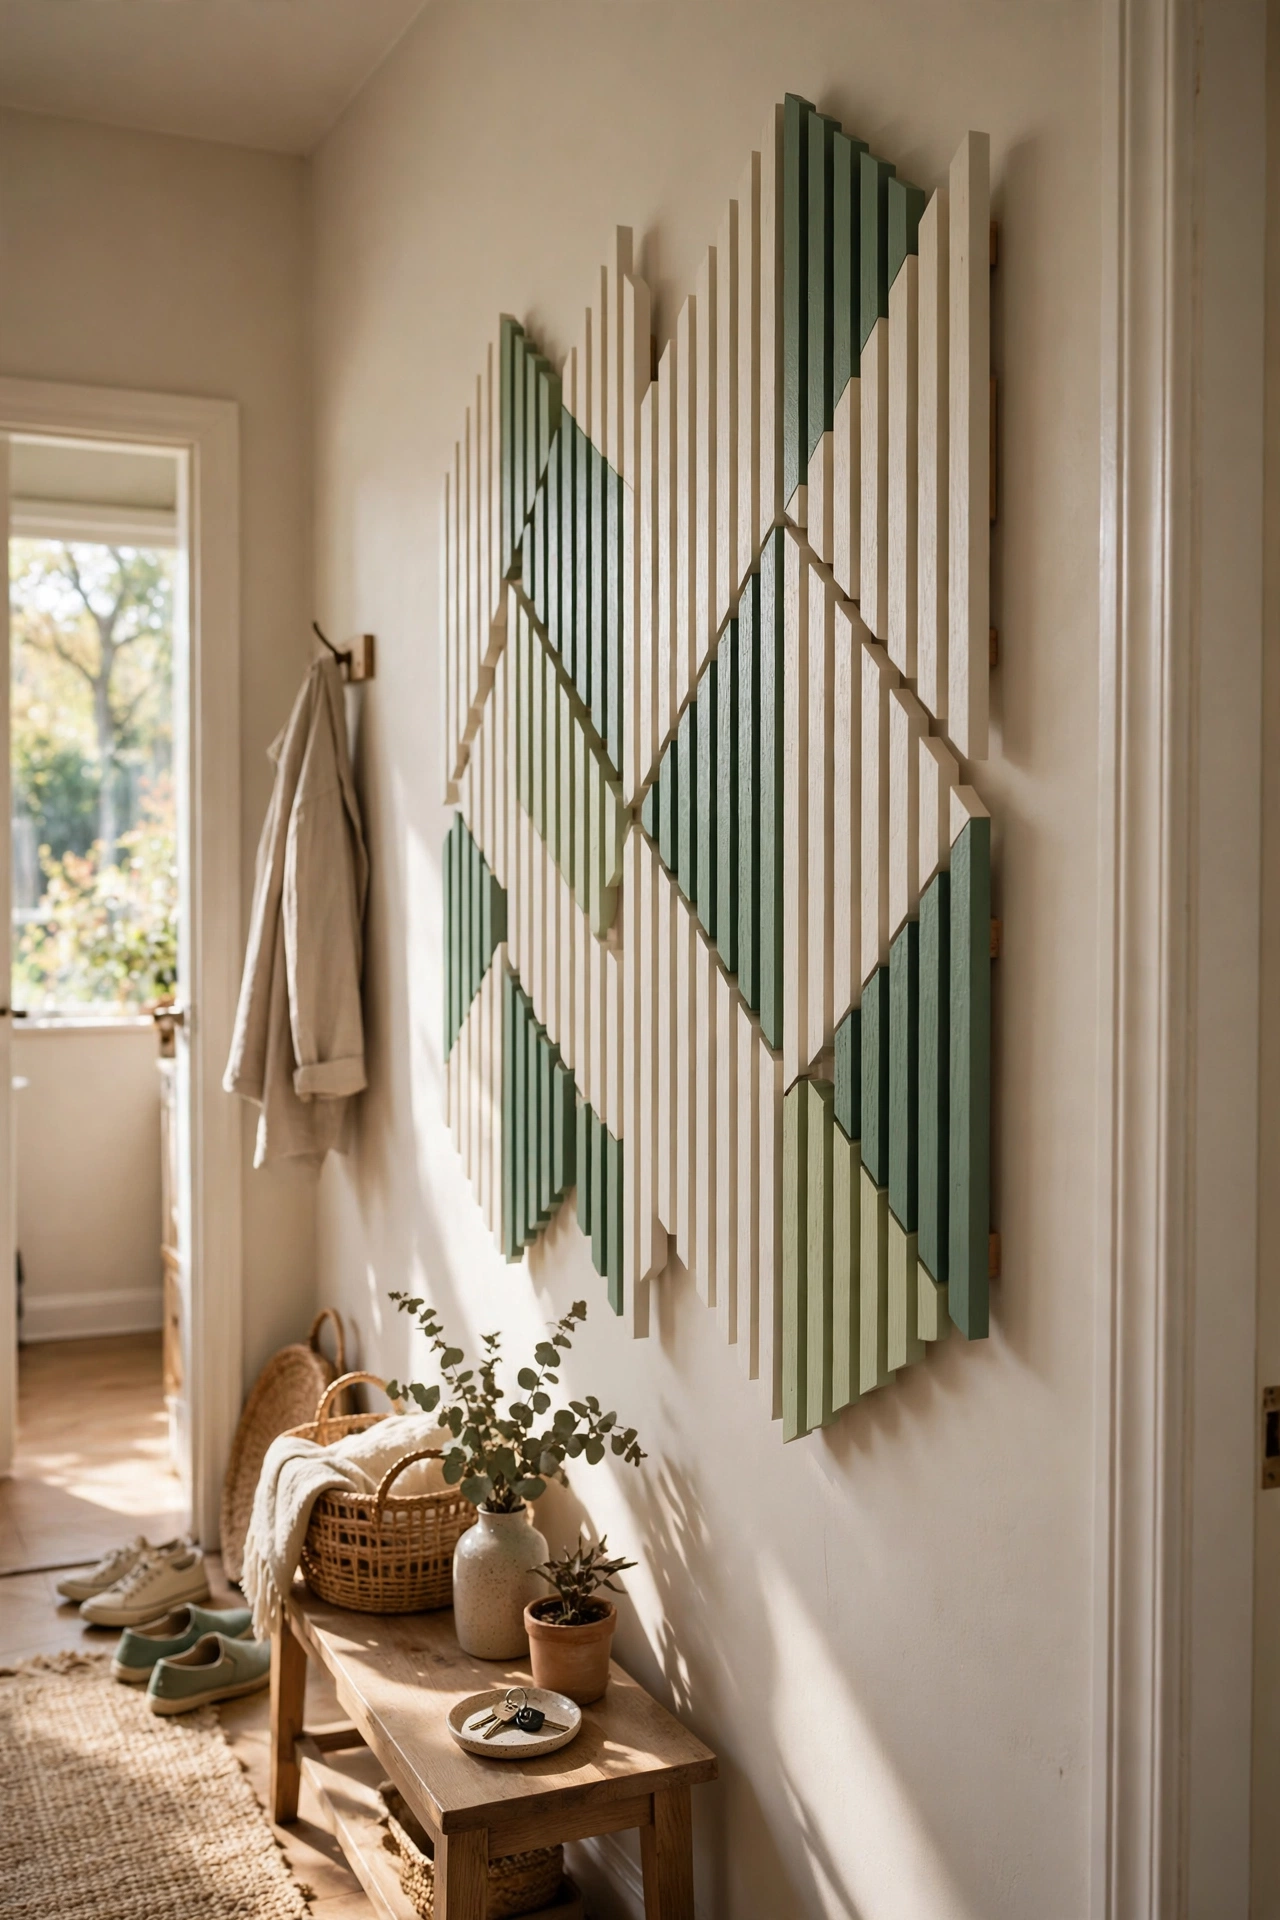
A grid of painted wooden slats makes sculptural 3D art that looks like an expensive installation. Cut thin pine slats to equal lengths, or ask the timber yard to cut them for you, paint them in two or three related colours, and mount them on a backing board in a rhythmic pattern of varying depths. I built mine in cream and two shades of sage for my hallway. My mistake was mounting them perfectly evenly, which looked flat. Varying the depths by just a centimetre or two creates the shadows that make it interesting.
Cost: ~$15-25 | Time: 3 hours
21. Faux Marble Framed Print Set
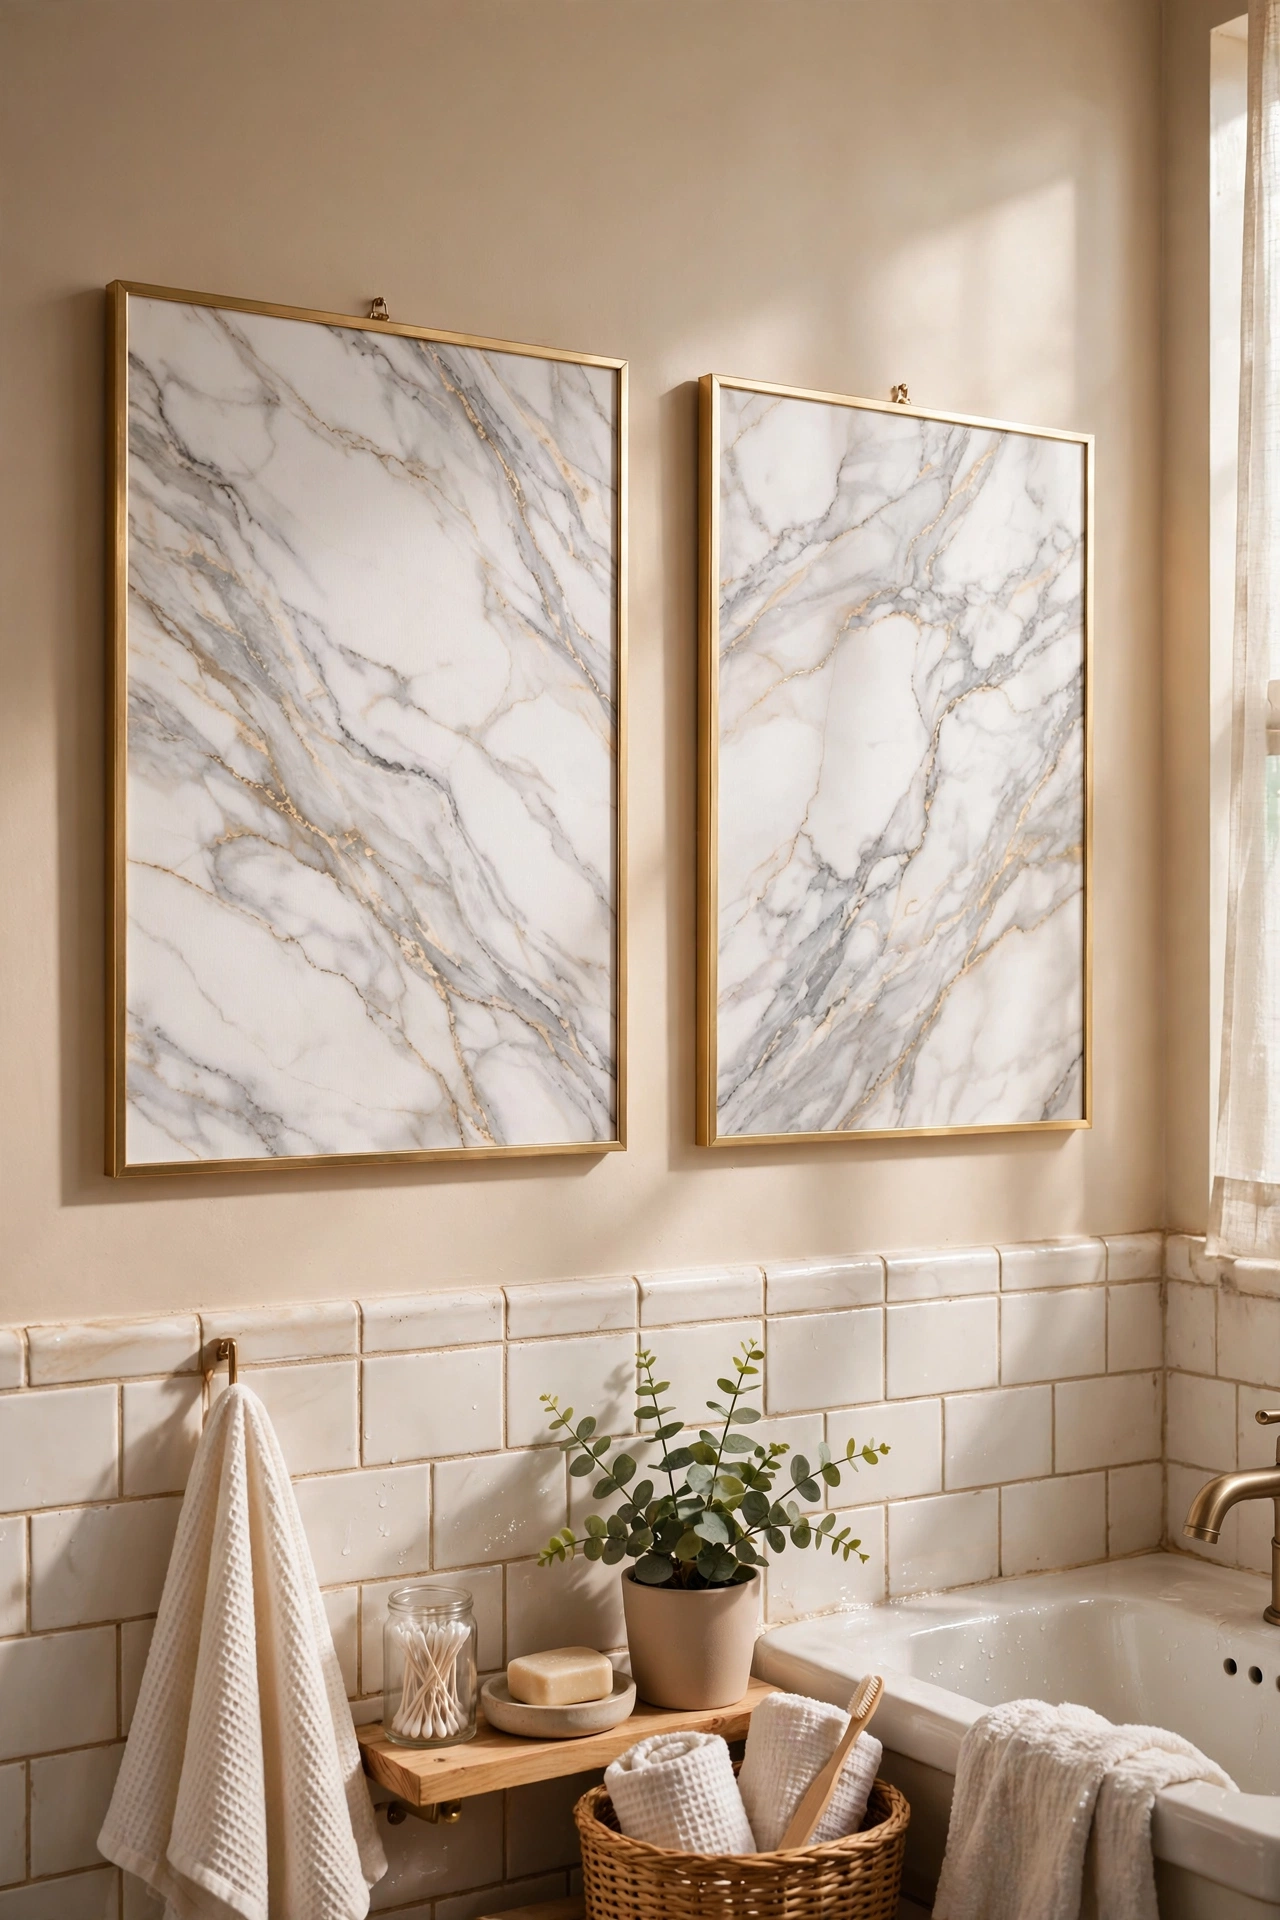
A set of framed prints on faux marble backgrounds looks like luxury stone art. Print close-up photos of marble-patterned wrapping paper or free marble textures at a copy shop, mount them on foam board, and frame them in thin gold or black frames. I made a pair for my bathroom and the marble veining looks genuinely like cut stone. Keep the frames thin and simple so the marble pattern stays the focus. Two or three prints in a row work best; a single one looks like a leftover sample.
Cost: ~$8-15 | Time: 45 minutes
Quick Questions
Q: How do I make DIY wall art look expensive instead of crafty?
A: Three things sell the high-end look: generous scale, a limited palette of two or three colours, and proper framing. A large, well-framed piece in muted tones always looks more expensive than a small unframed one, whatever the technique. Avoid bright rainbow colours and glitter, which read as craft supplies rather than art.
Q: What is the cheapest way to frame large art?
A: Build a simple frame from pine trim and wood glue, which costs a few dollars for even a large piece. Alternatively, mount the art on foam board and add a floating frame made from thin trim. Thrifted frames repainted in one colour are the cheapest option of all, often under two dollars each.
Q: Can I sell DIY wall art legally?
A: Yes, as long as the artwork is your own original creation. Be careful with prints of copyrighted images, brand logos, or recognisable characters, since selling those can breach copyright. Free public-domain images from museum collections are safe to use and sell, and your own paintings and photographs are entirely yours.
