15 DIY Shelf Ideas for Beginners
My first diy Shelf cost me about $12 and one Saturday morning: a pine board from the hardware shop, two L-brackets, and a drill I had borrowed from my neighbour. It held my cookbooks for three years before I replaced it with something prettier, and it taught me that shelving is the friendliest first project a beginner can take on. You need no experience, almost no tools, and the worst that happens is a wobbly board you can fix with a wall plug.
These 15 beginner DIY shelf ideas are ordered from easiest to slightly ambitious, and every one is a real build you can finish in a day or less. Some need no drilling at all. Some need one drill and a level. All of them cost less than a takeaway dinner, and each one adds the kind of storage that makes a room feel sorted.
No-Drill DIY Shelves for Renters and Nervous Beginners
1. Stacked Crate Shelf Tower
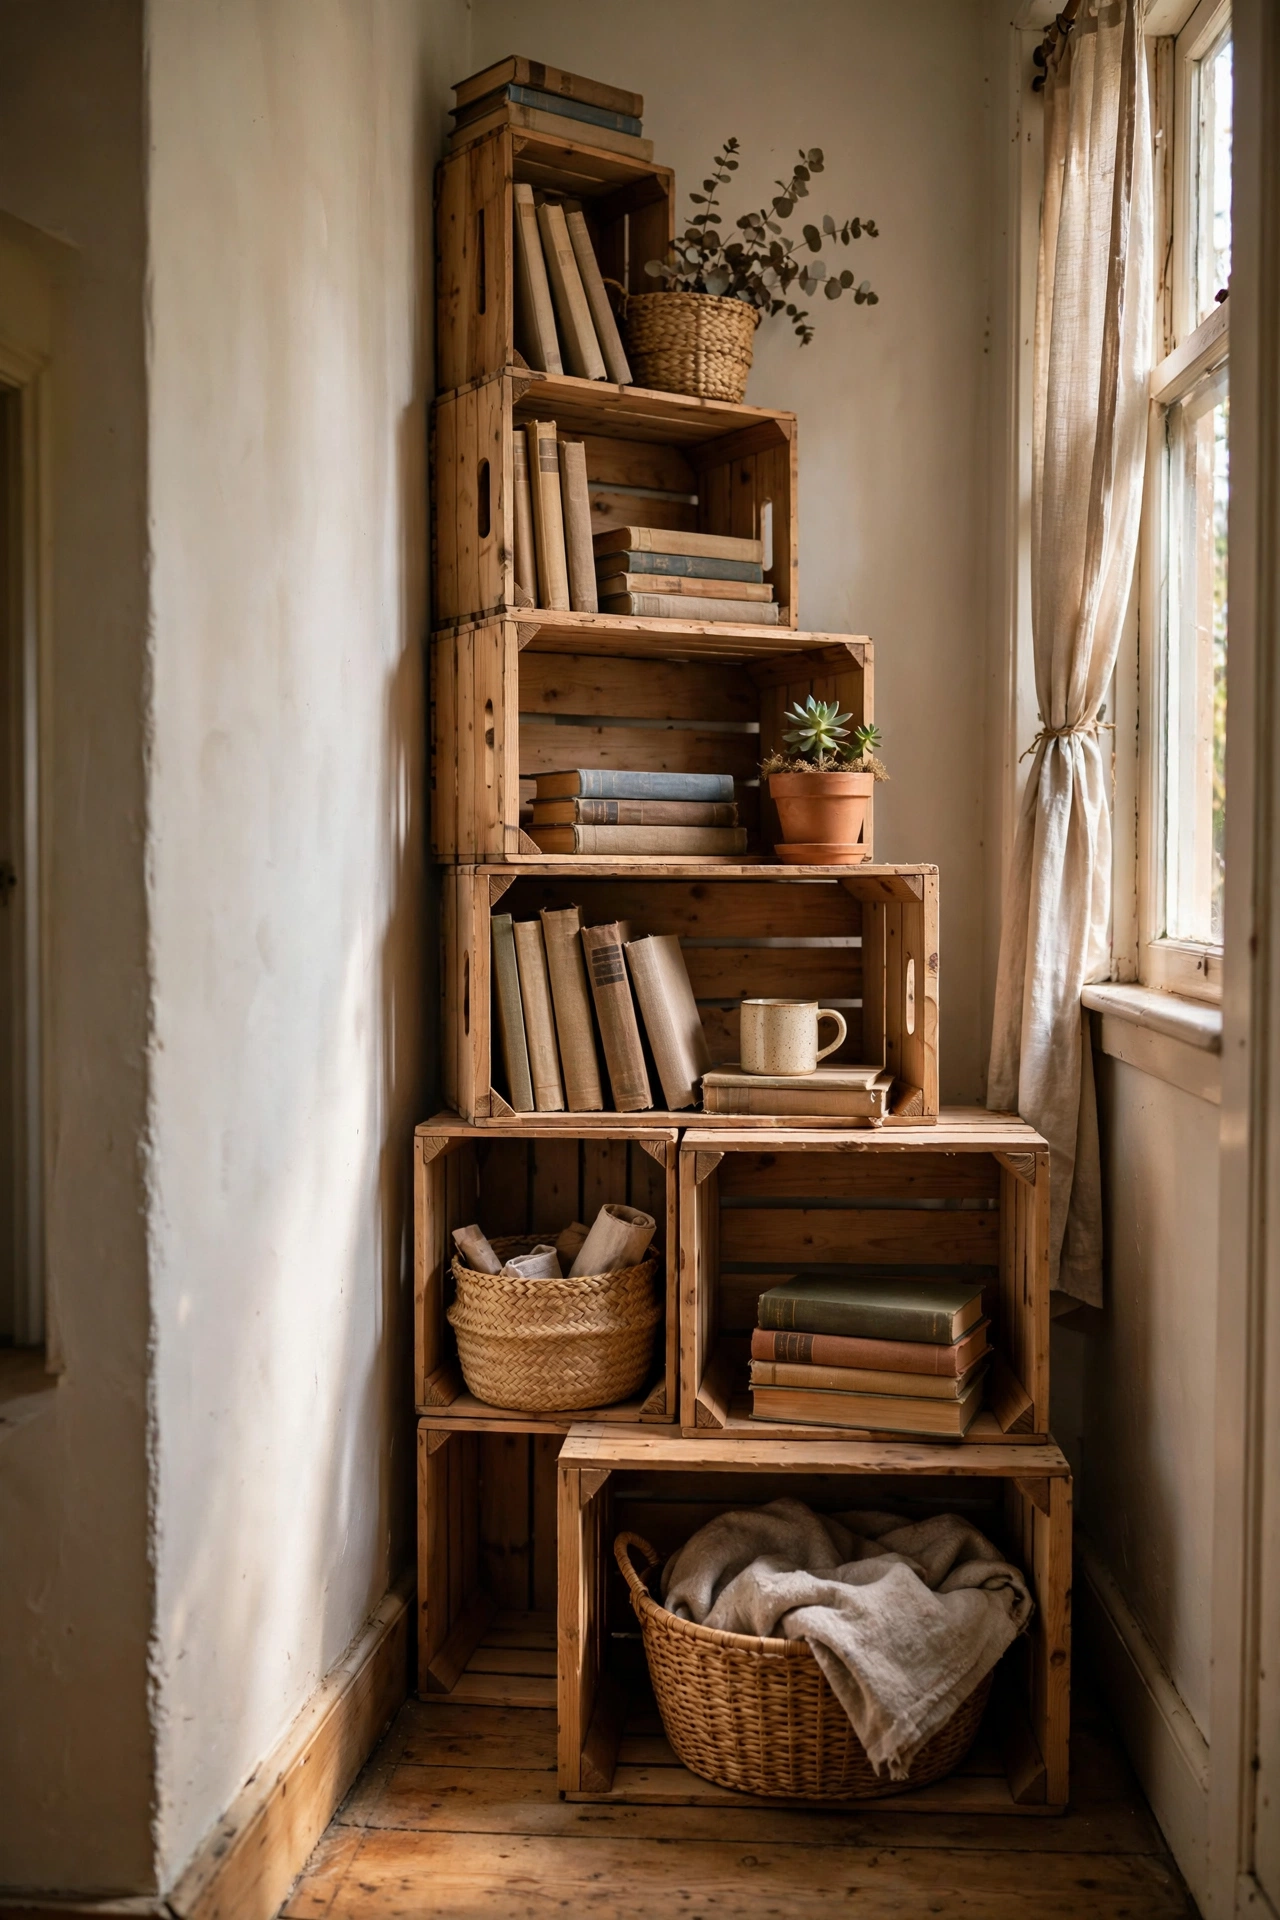
A tower of wooden crates is the shelf I recommend to every beginner, because there is no drilling, no brackets, and no way to ruin your wall. Buy four or five unfinished wooden crates from a craft shop, sand the rough edges, and stack them in a stair-step pattern so each crate sits firmly on the one below. Fix them together with short screws through the sides, or heavy cable ties if you want them removable later. Stain or paint them if you like, or leave them raw for a rustic look. I built one for my hallway in about ninety minutes and it holds shoes, post, and a small plant. Style each cube with books and baskets, and put the heaviest items on the bottom for stability.
Cost: ~$15-30 | Time: 1-2 hours
2. Leaning Ladder Shelf
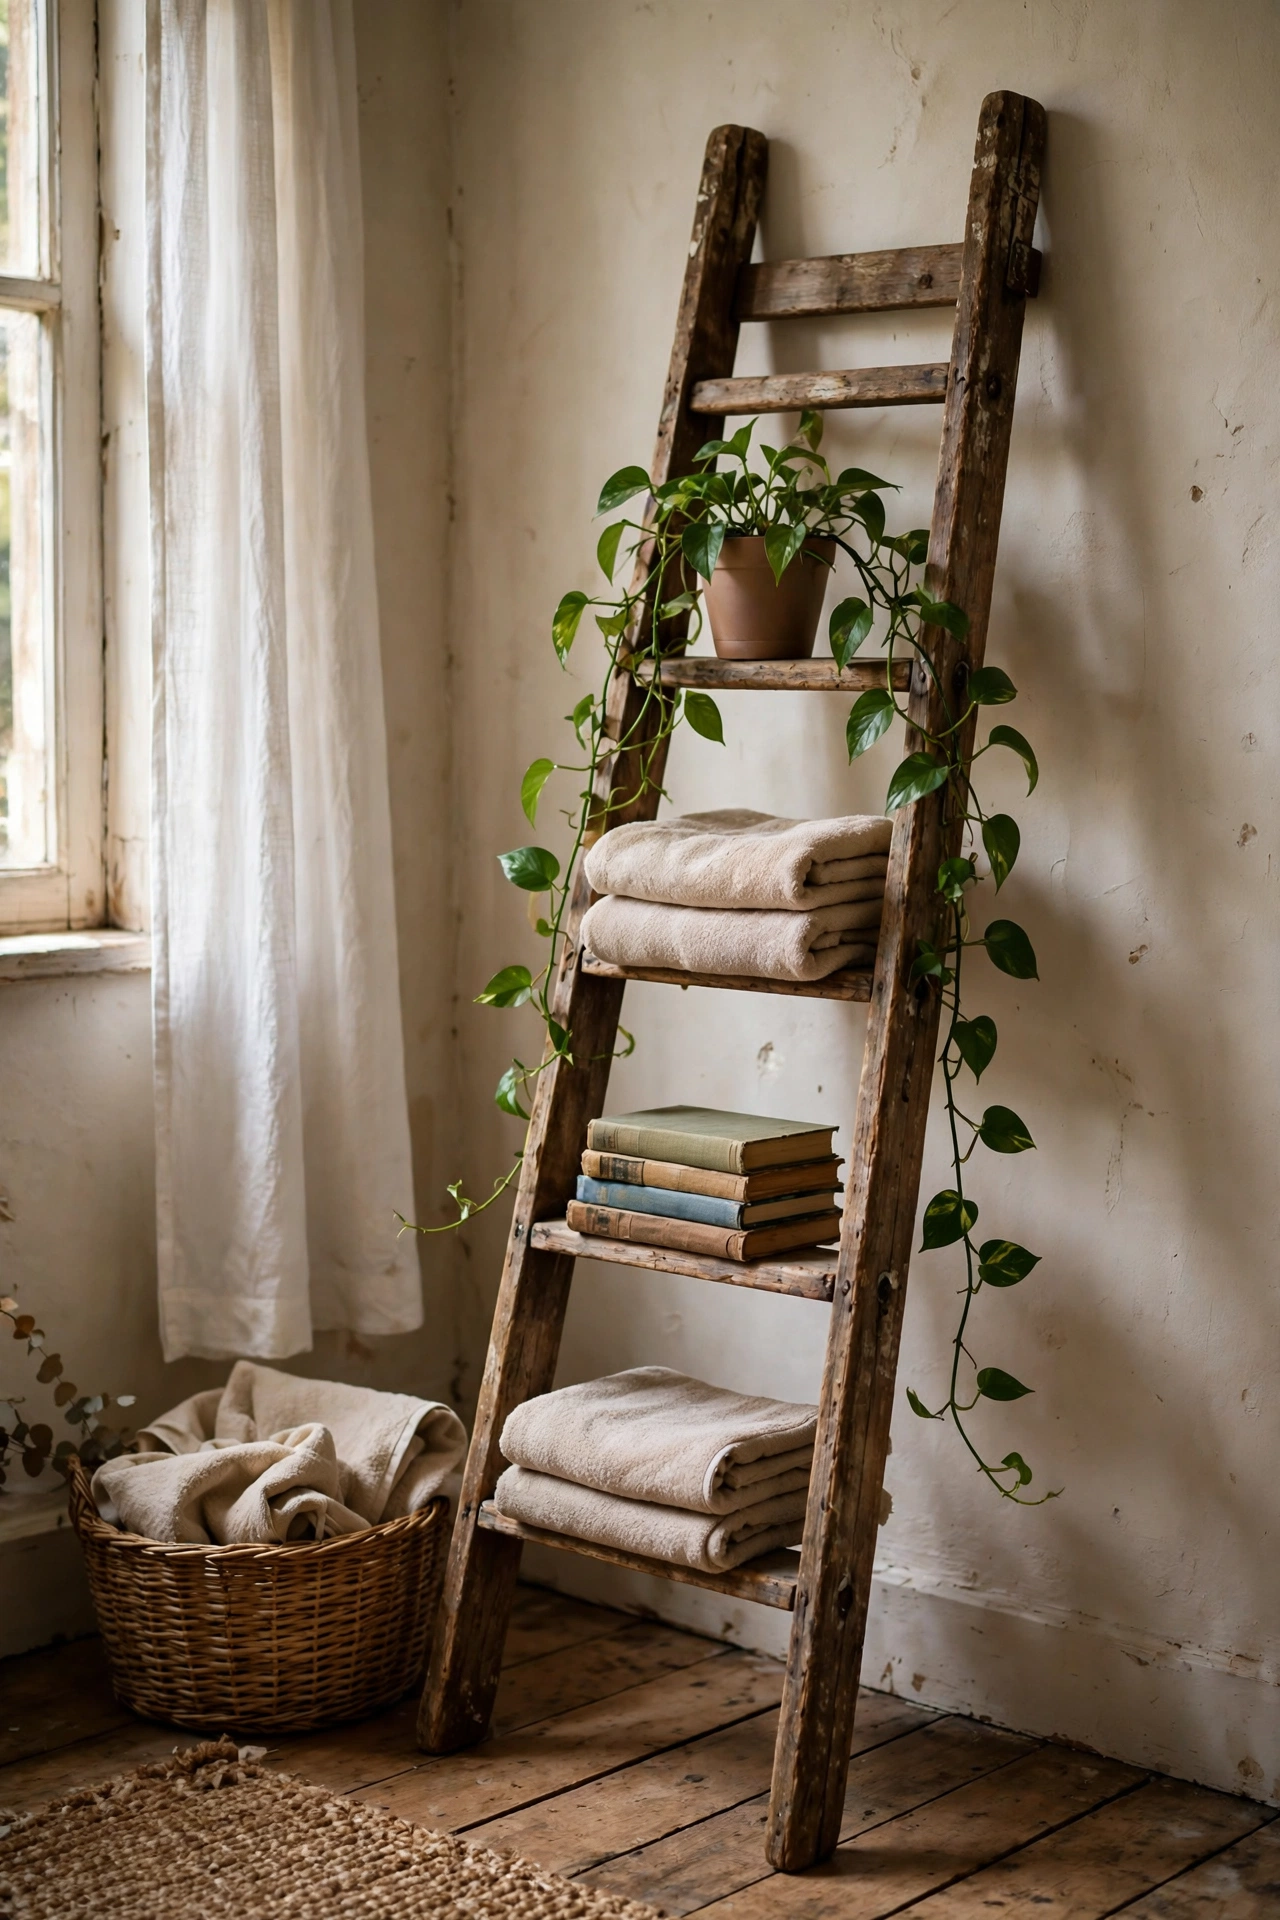
An old wooden ladder becomes a shelf the moment you lean it against a wall, and charity shops are full of them for a few dollars. Sand it smooth, wipe off the dust, and paint it or leave the wood bare. Lean it at a slight angle with the feet about 30 centimetres from the wall, then fix the top rung to the wall with a small L-bracket so it can never slide. That one bracket is the difference between clever and dangerous, so do not skip it. Lay boards across the rungs if the gaps are wide, then style with books and trailing plants. Mine holds bathroom towels and has survived two years of steamy showers.
Cost: ~$10-20 | Time: 1 hour
3. Sticky-Strip Picture Ledge
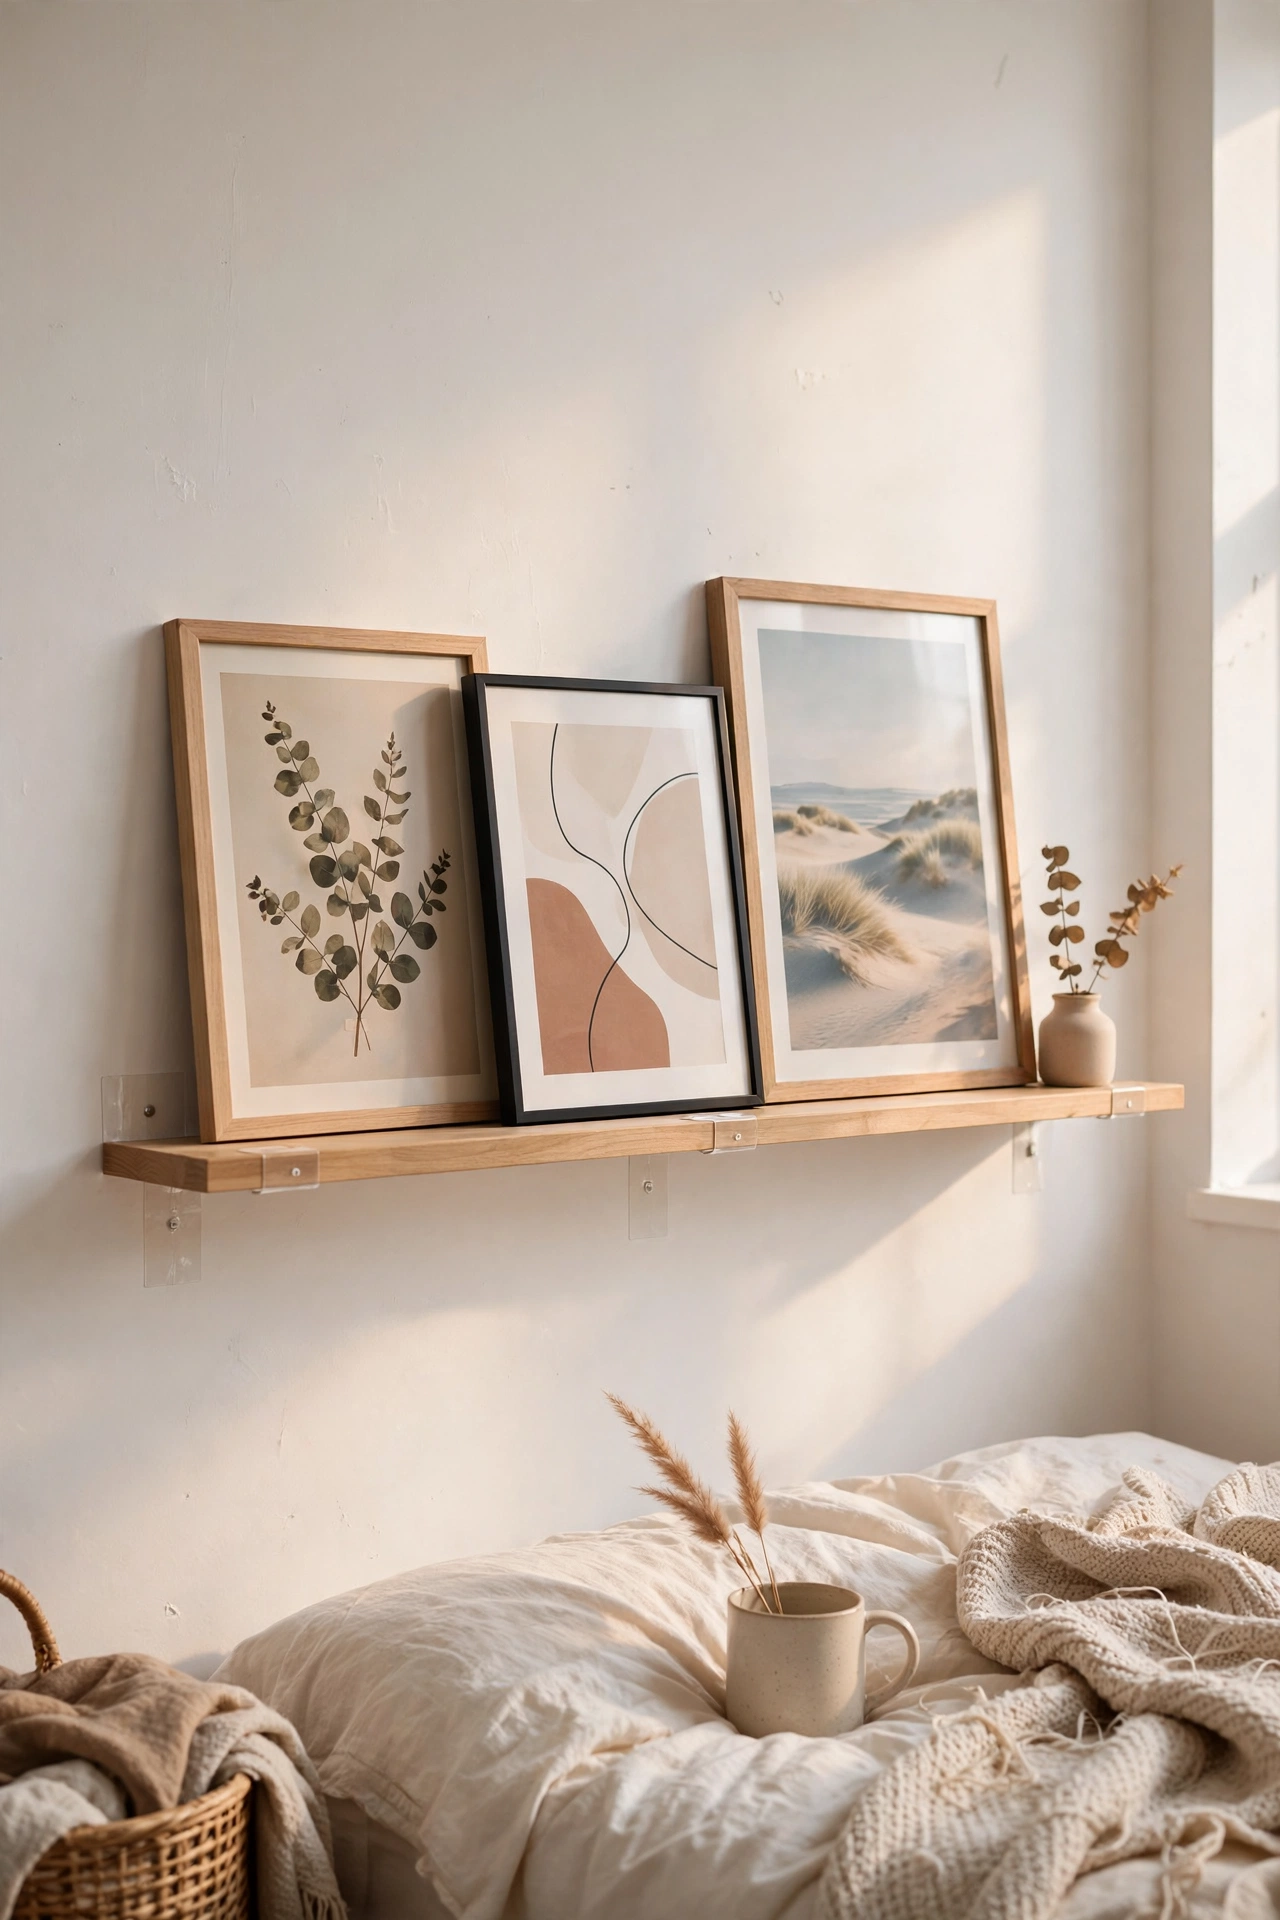
Renters can have shelves too, and this one leaves the wall untouched. Buy a narrow picture ledge board, the kind with a small lip at the front, and mount it with heavy-duty adhesive strips rated for the weight. Clean the wall with rubbing alcohol first, press the strips on for a full minute, and then leave the ledge empty for 24 hours before loading it. That waiting step is what most people skip, and it is why their ledges fall. Keep it to light frames and paperbacks, never heavy books. I hung one in my rental bedroom and it held three framed prints for two years without a mark on the paint.
Cost: ~$12-20 | Time: 30 minutes
4. Countertop Stacking Shelf
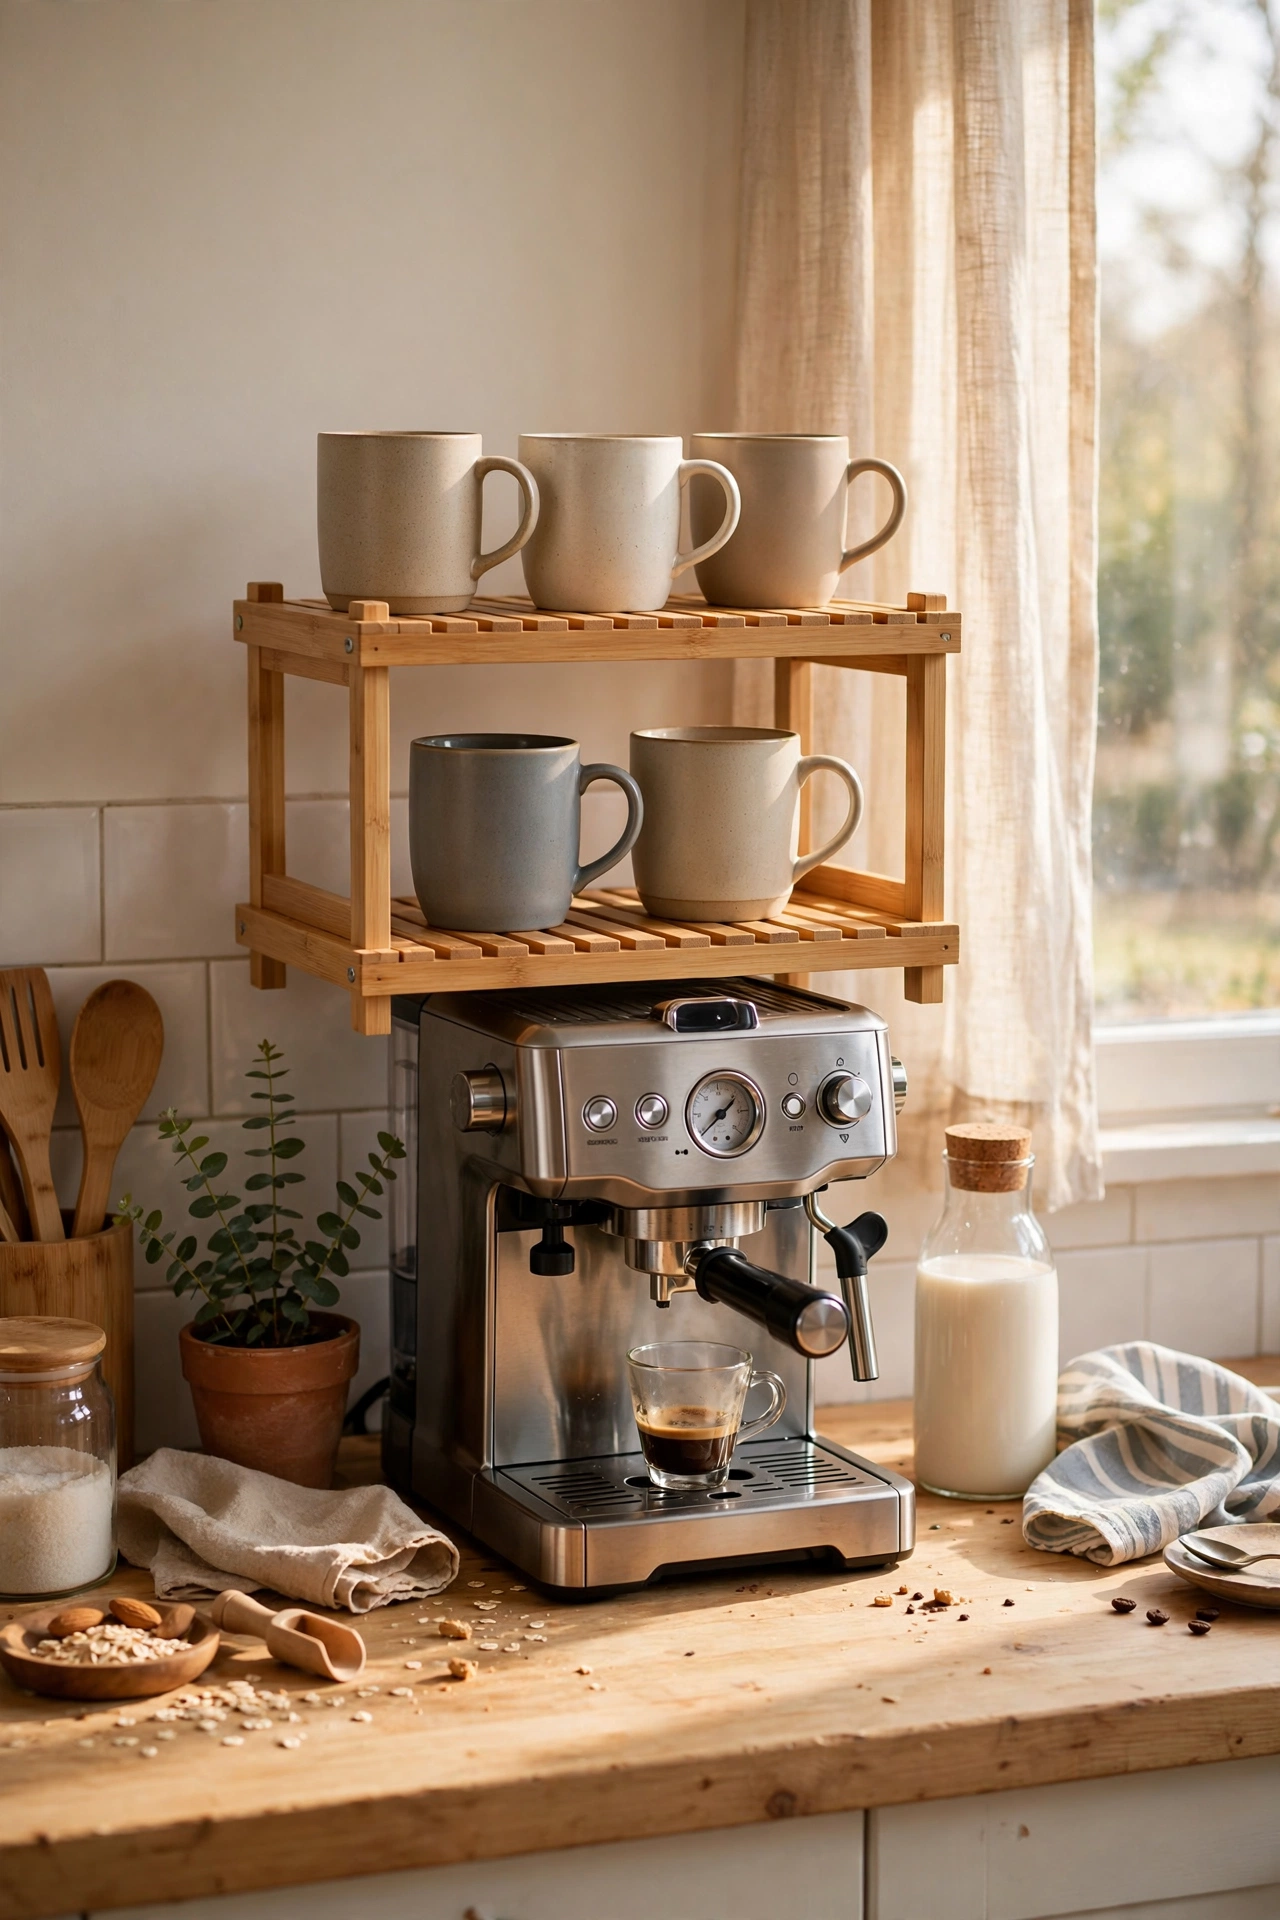
The easiest shelf on this list is one you do not hang at all. A freestanding bamboo or metal stacking shelf sits on your kitchen counter or bathroom vanity and instantly doubles the surface. You just unfold it or slot the pieces together, no tools needed. I put a two-tier bamboo one over my coffee machine and suddenly the mugs had a home and the counter looked tidy. Measure your space before buying, because the tall ones do not fit under low wall cabinets. Wipe bamboo shelves dry after spills so they do not stain. It is the laziest upgrade here, and it works in every rental.
Cost: ~$15-25 | Time: 10 minutes
Classic Bracket DIY Shelves That Always Work
5. Pine Board on Two Brackets
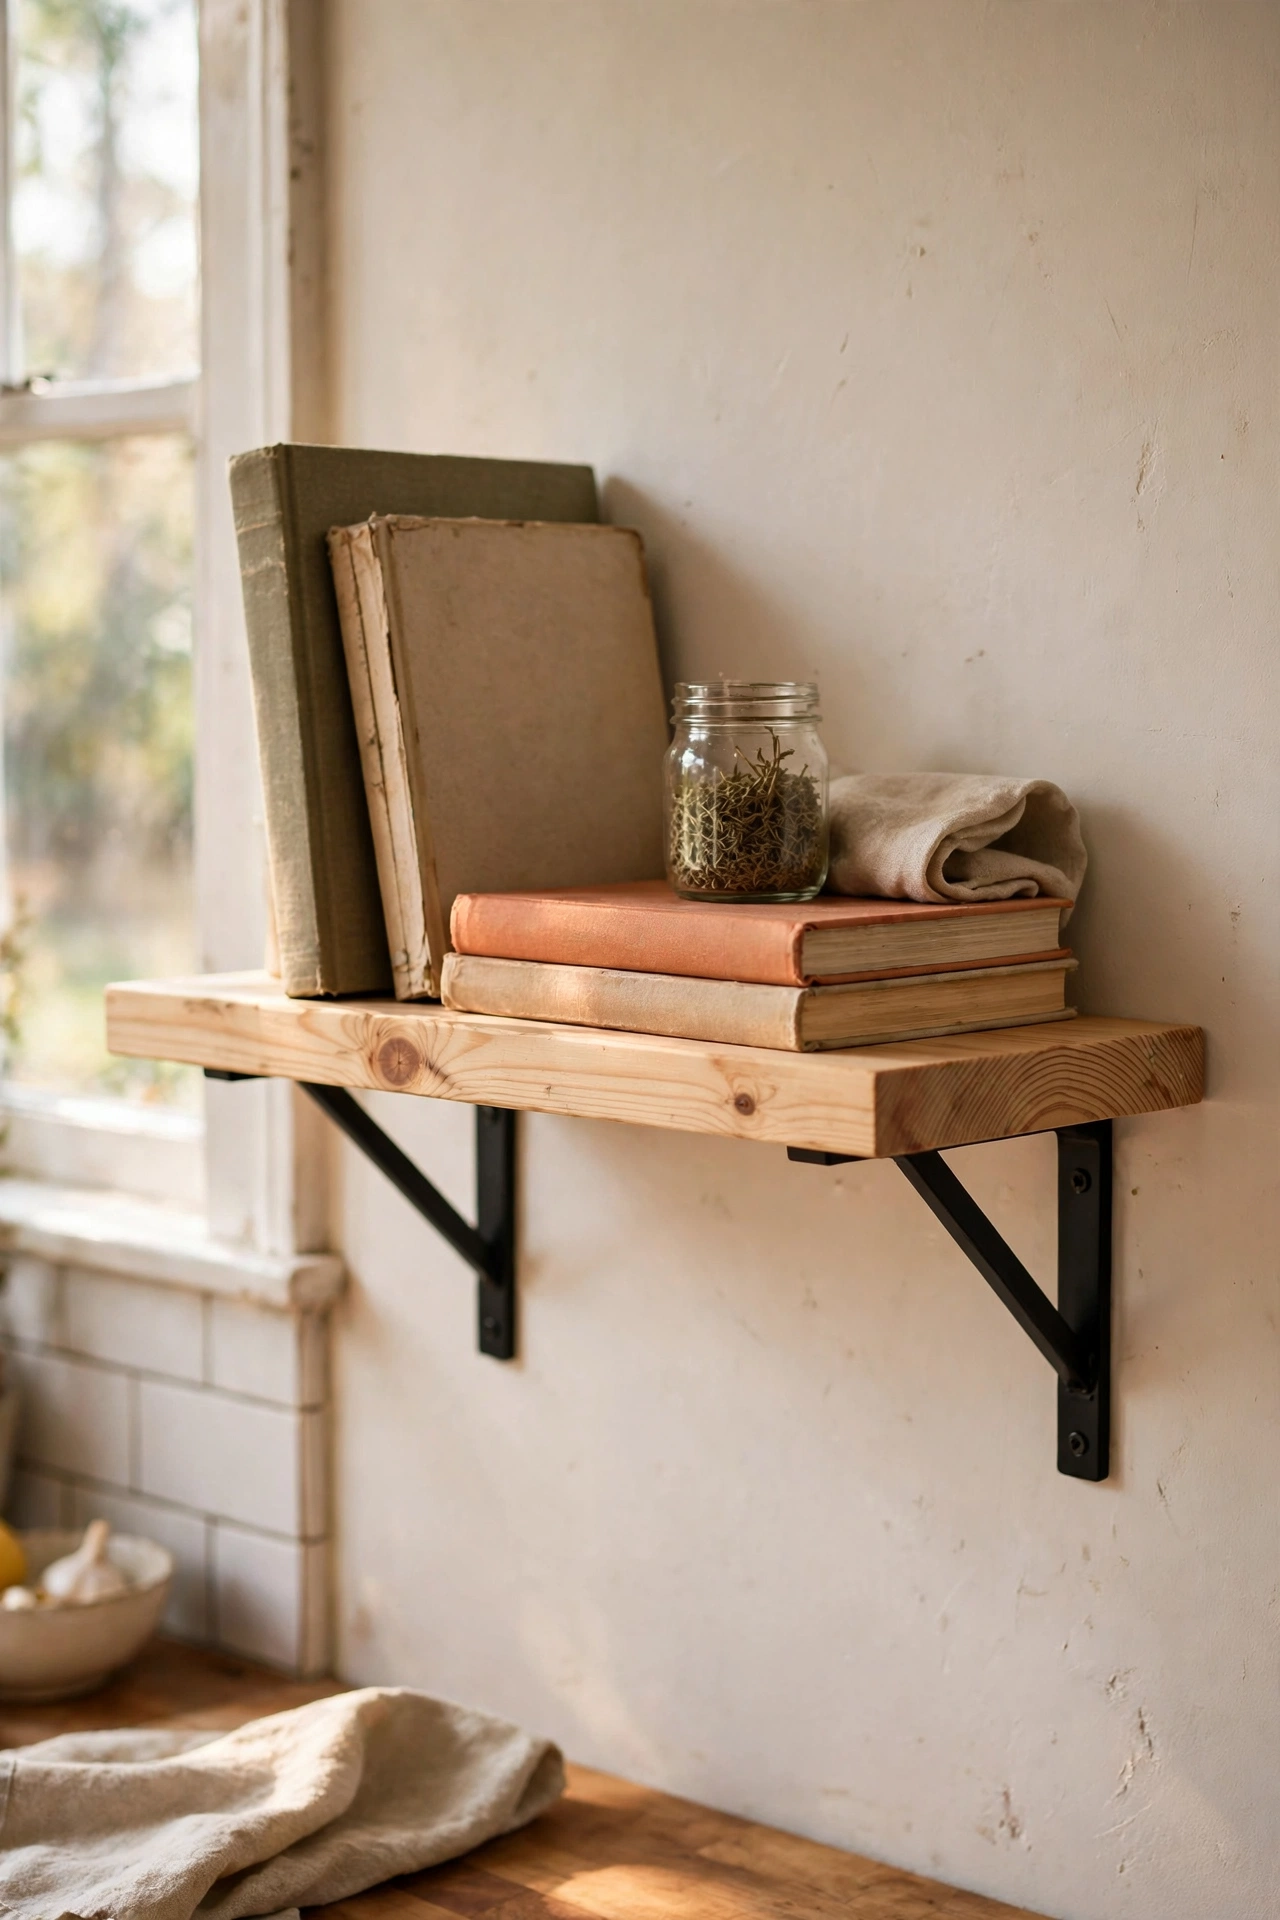
This is the classic beginner shelf, and it is still the best value per dollar in home decor. Mark a level line on the wall where you want the shelf, hold the brackets up, and mark the screw holes. Drill pilot holes, push in wall plugs, and screw the brackets tight, checking with a level as you go. Rest a pine board on top and you are done. My first attempt skipped the wall plugs and the shelf slowly tilted forward over a month until my cookbooks slid off. Learn from me: plugs in plasterboard are not optional. Sand the board and rub in a little furniture wax for a finished look.
Cost: ~$12-18 | Time: 1 hour
6. Painted Floating Shelf on Hidden Brackets
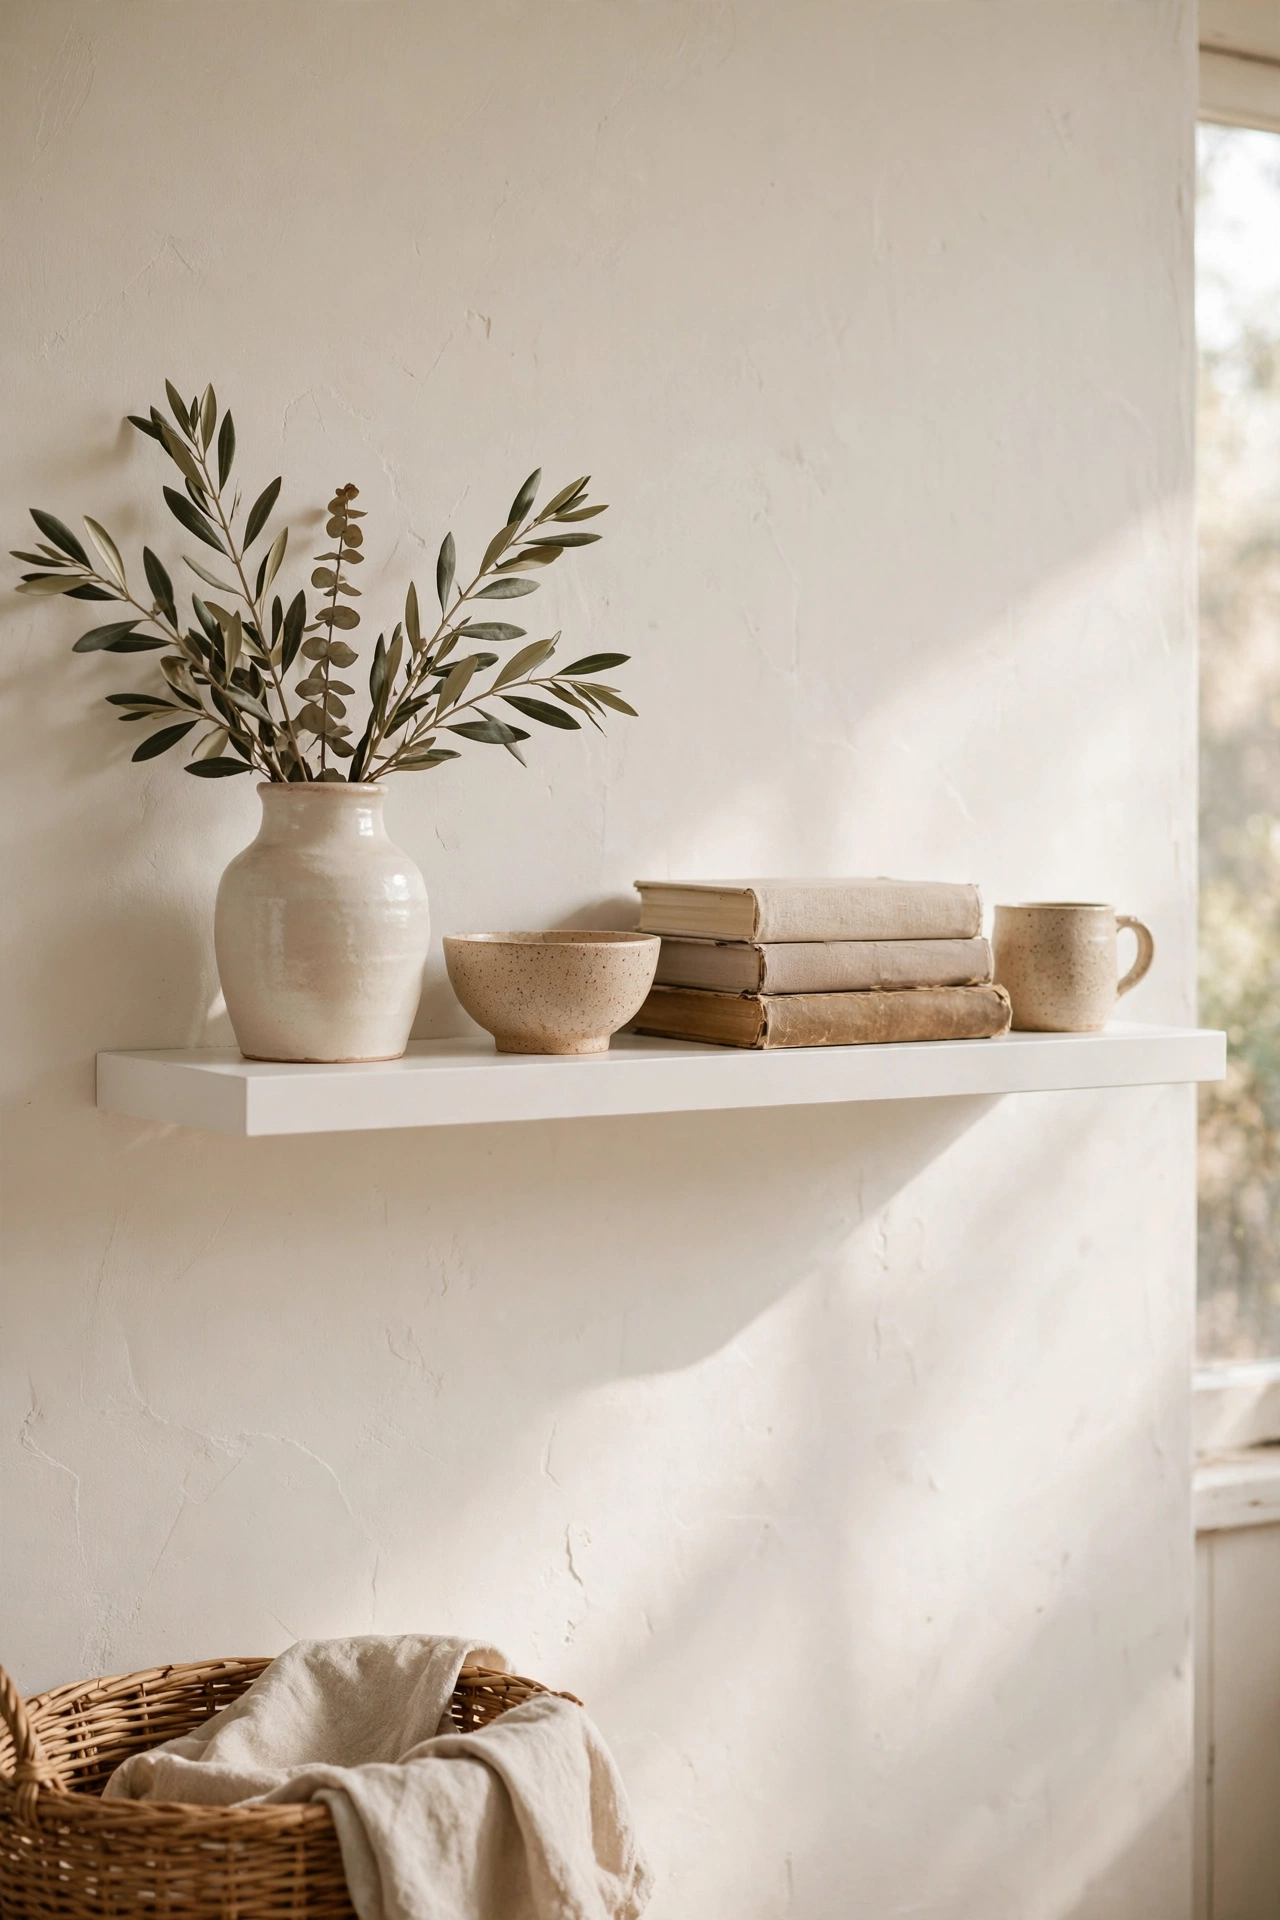
A floating shelf looks expensive, but it is just a board on concealed metal brackets, and it is well within beginner reach. Buy a solid wood board and a hidden-bracket kit, drill the holes in the wall, and slide the board onto the metal rods. Paint the board the same colour as your wall before mounting, and the shelf almost disappears, leaving your books and ceramics floating. I painted mine the exact wall colour and visitors genuinely asked how it was attached. Keep the shelf under 80 centimetres and respect the weight limit on the kit, because hidden brackets forgive nothing. Two shelves flanking a window look brilliant.
Cost: ~$18-28 | Time: 1-2 hours
7. Corner Shelves for Dead Space
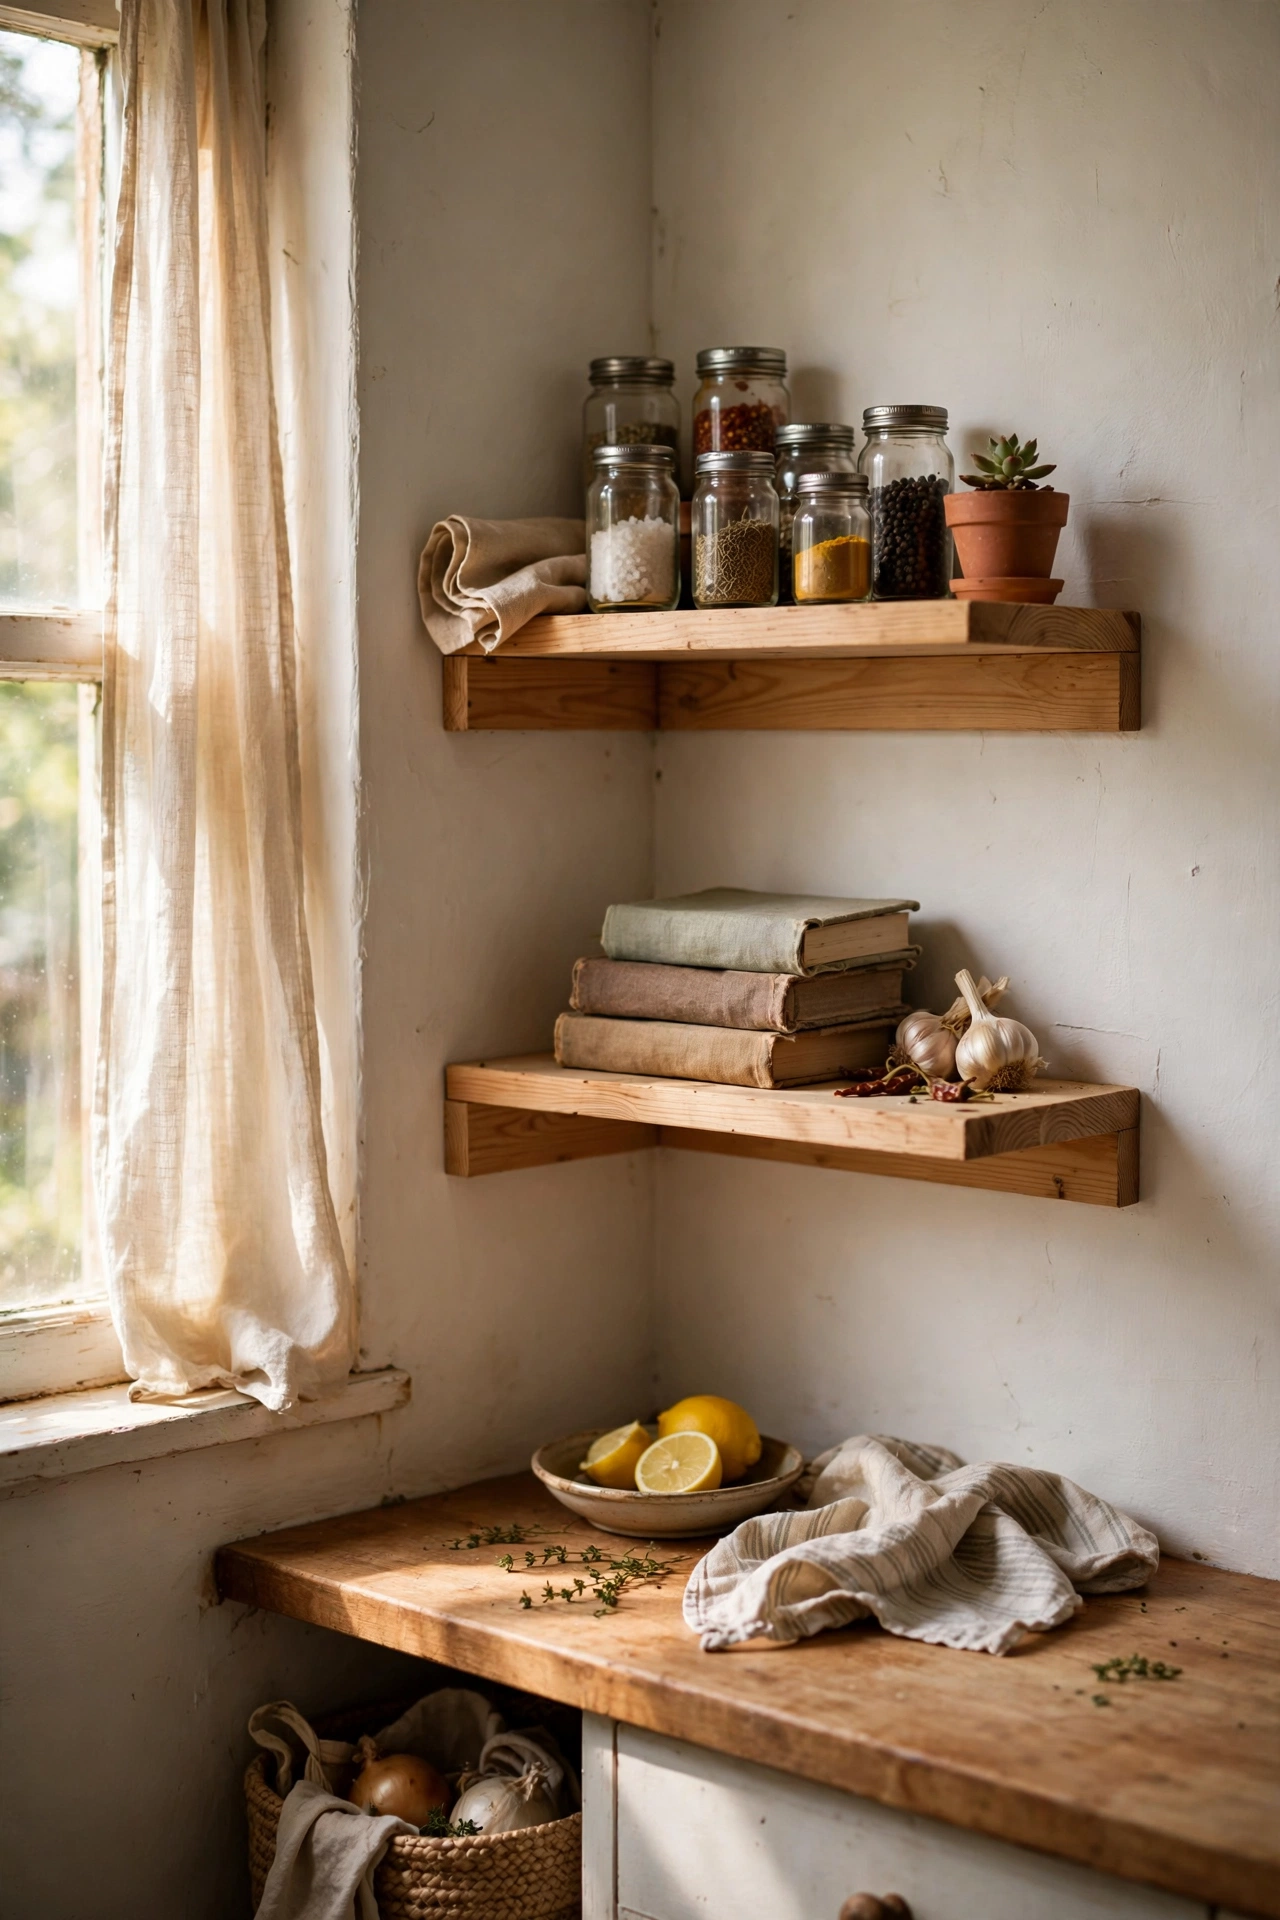
Corners waste more space than any other spot in a home, and two short shelves fix that in an afternoon. Cut or buy two boards about 40 centimetres long, one for each wall, and mount them at the same height so they meet in the corner. A small L-bracket under the meeting point keeps them level with each other. I did this in my kitchen corner and it swallowed the spice jars and cookbooks that had been cluttering the counter for a year. Corners need a level more than anywhere else, because even a slight tilt shows where the boards meet. Style lightly: corners look best with breathing room, not clutter.
Cost: ~$14-22 | Time: 1-2 hours
8. Kitchen Spice Shelf with a Lip
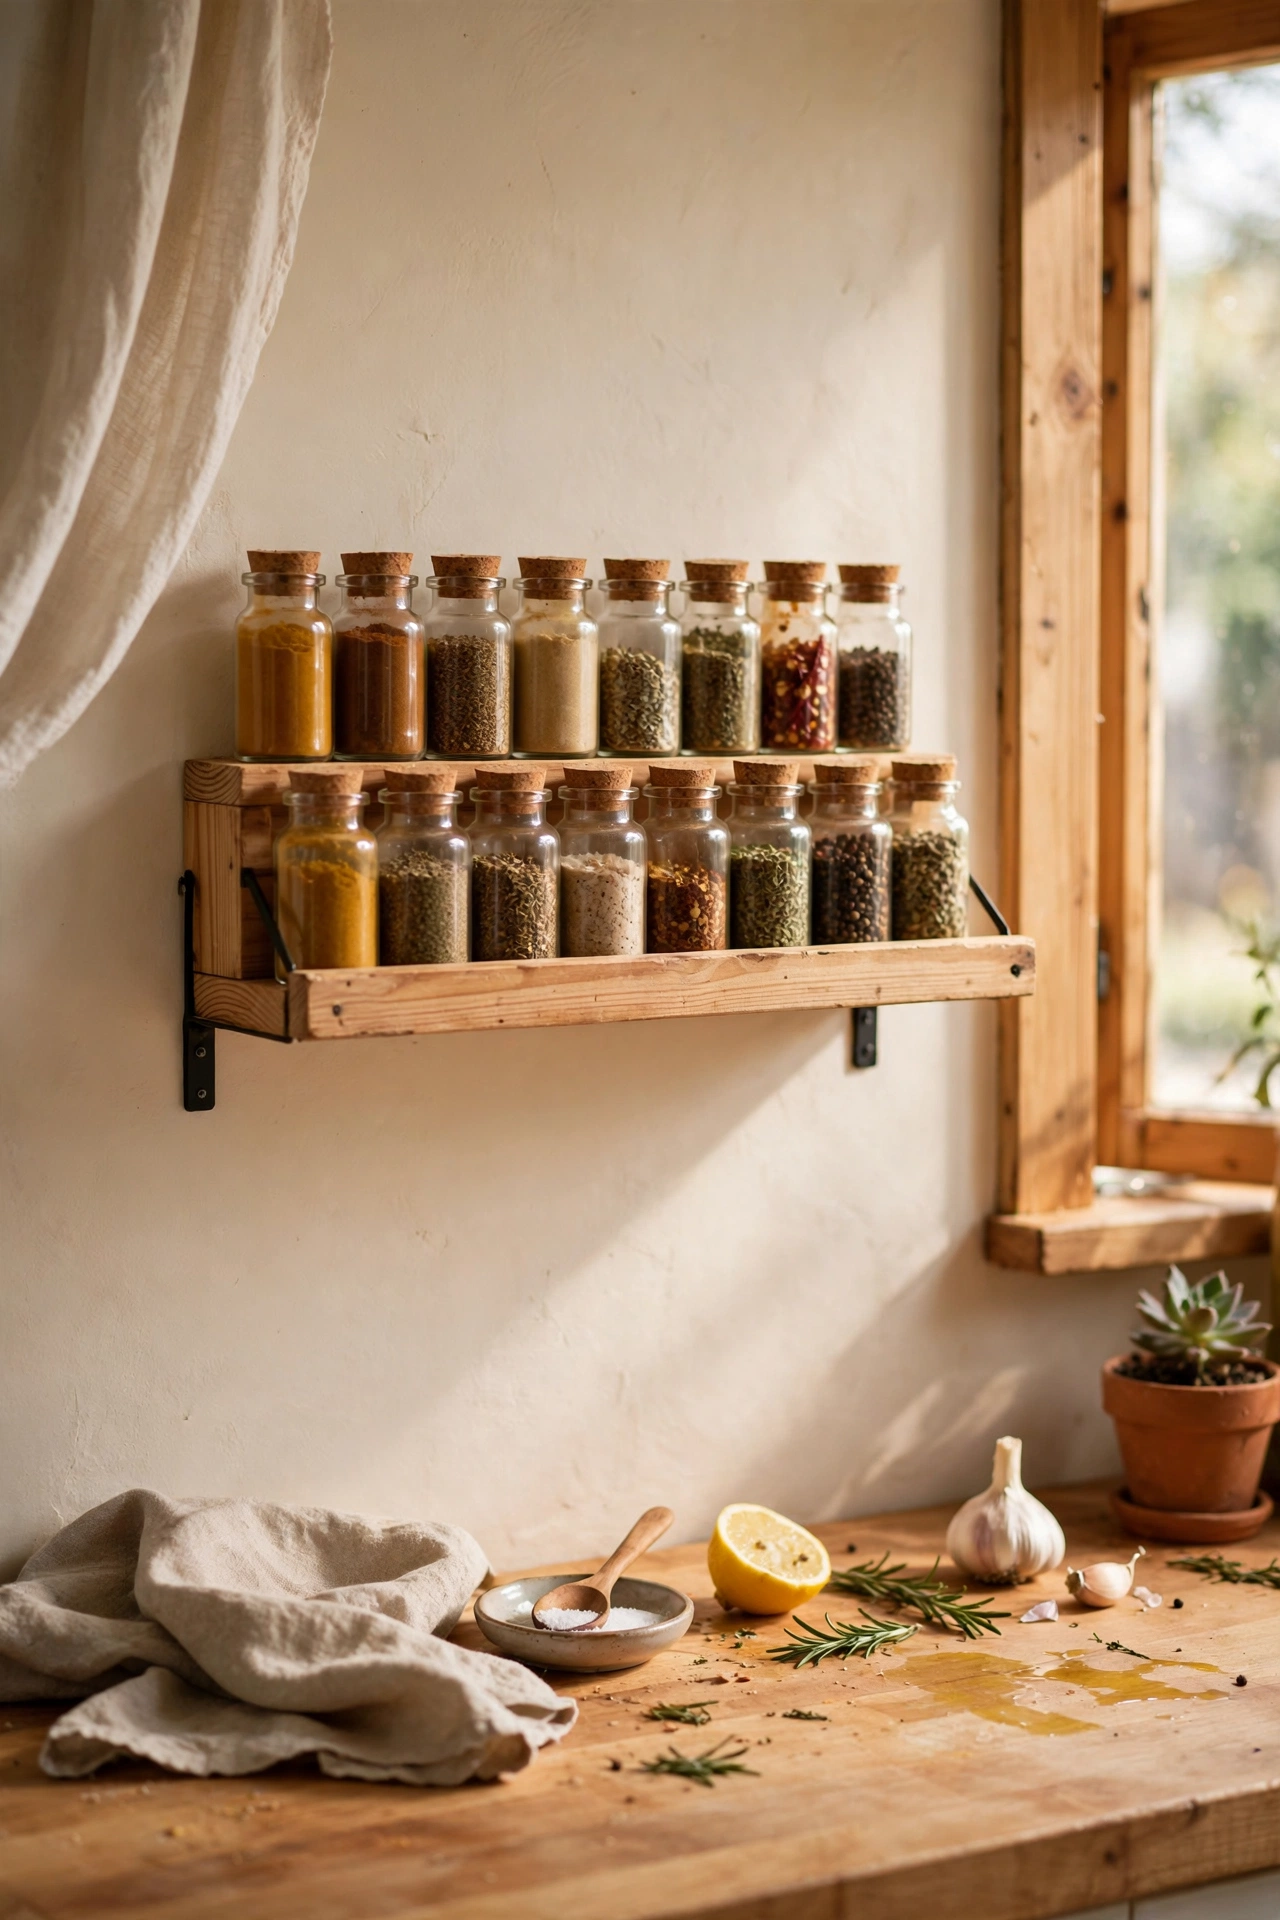
A narrow shelf with a small front lip is the cheapest kitchen upgrade you will ever make. Mount a board about 10 centimetres deep above your worktop, then glue or screw a thin strip of wood along the front edge so jars cannot slide off. Arrange spices with labels facing out, tallest at the back. I built mine for under $10 from an offcut and it cleared an entire cupboard shelf. Mount it low enough that you can read the labels without a step stool, roughly eye level above the counter. Wipe the board monthly, because cooking grease travels further than you think.
Cost: ~$8-12 | Time: 1 hour
Upcycled DIY Shelves That Cost Almost Nothing
9. Reclaimed Pallet Wood Shelf
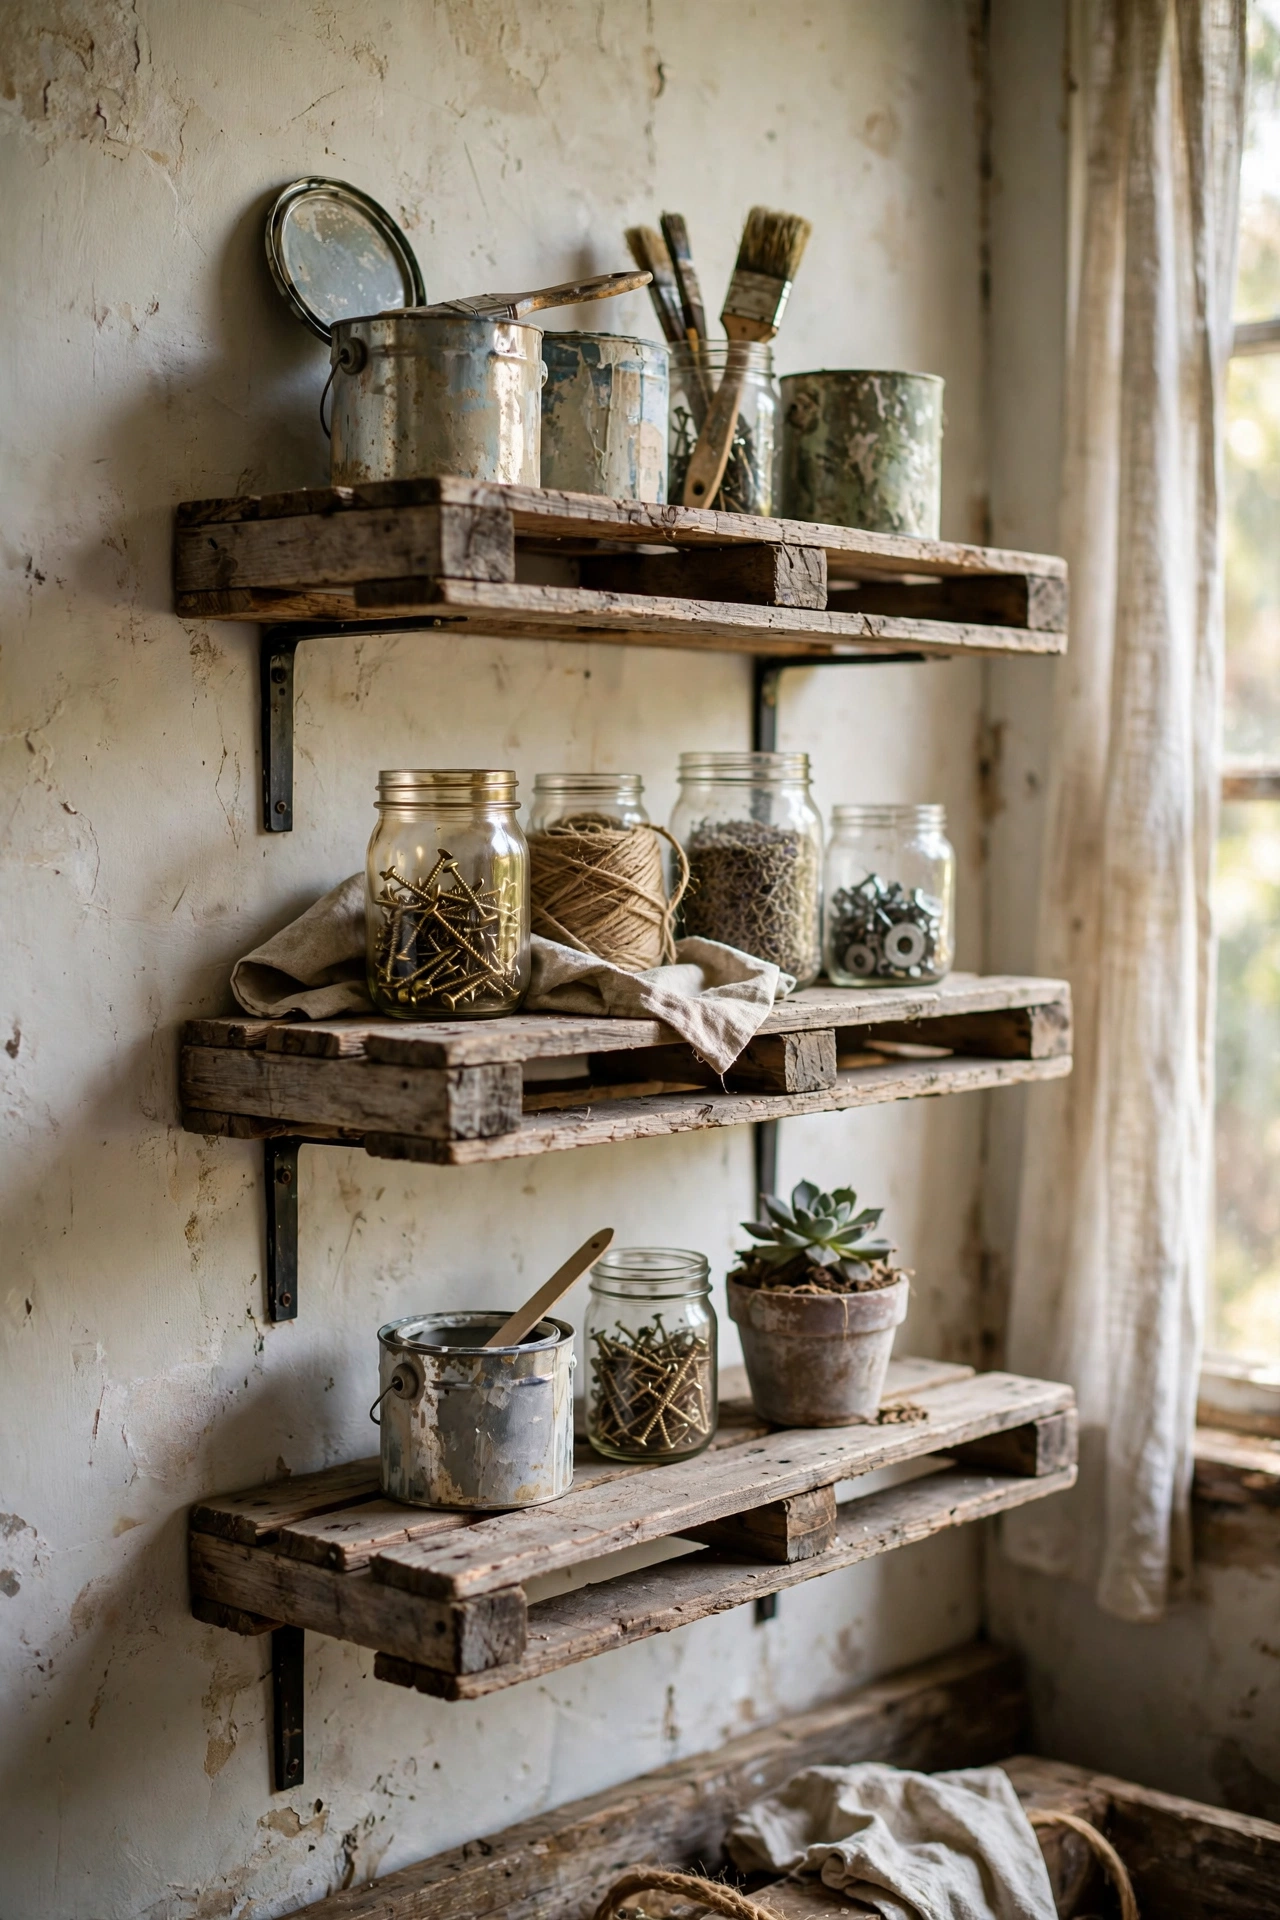
Pallets are free wood if you know where to look, and one pallet makes two or three rustic shelves. Check the stamp on the side and only use pallets marked HT, which means heat-treated and safe for indoor use. Pull the boards apart with a hammer and pry bar, pull every nail, and sand until smooth, because pallet wood is rough enough to give splinters. Mount the best boards on simple brackets. I made a set for my utility room and they hold paint tins without complaint. Seal with a clear matte finish so the wood does not shed dust onto everything below. Free, sturdy, and full of character.
Cost: ~$0-8 | Time: 2-3 hours
10. Old Skateboard Deck Shelf
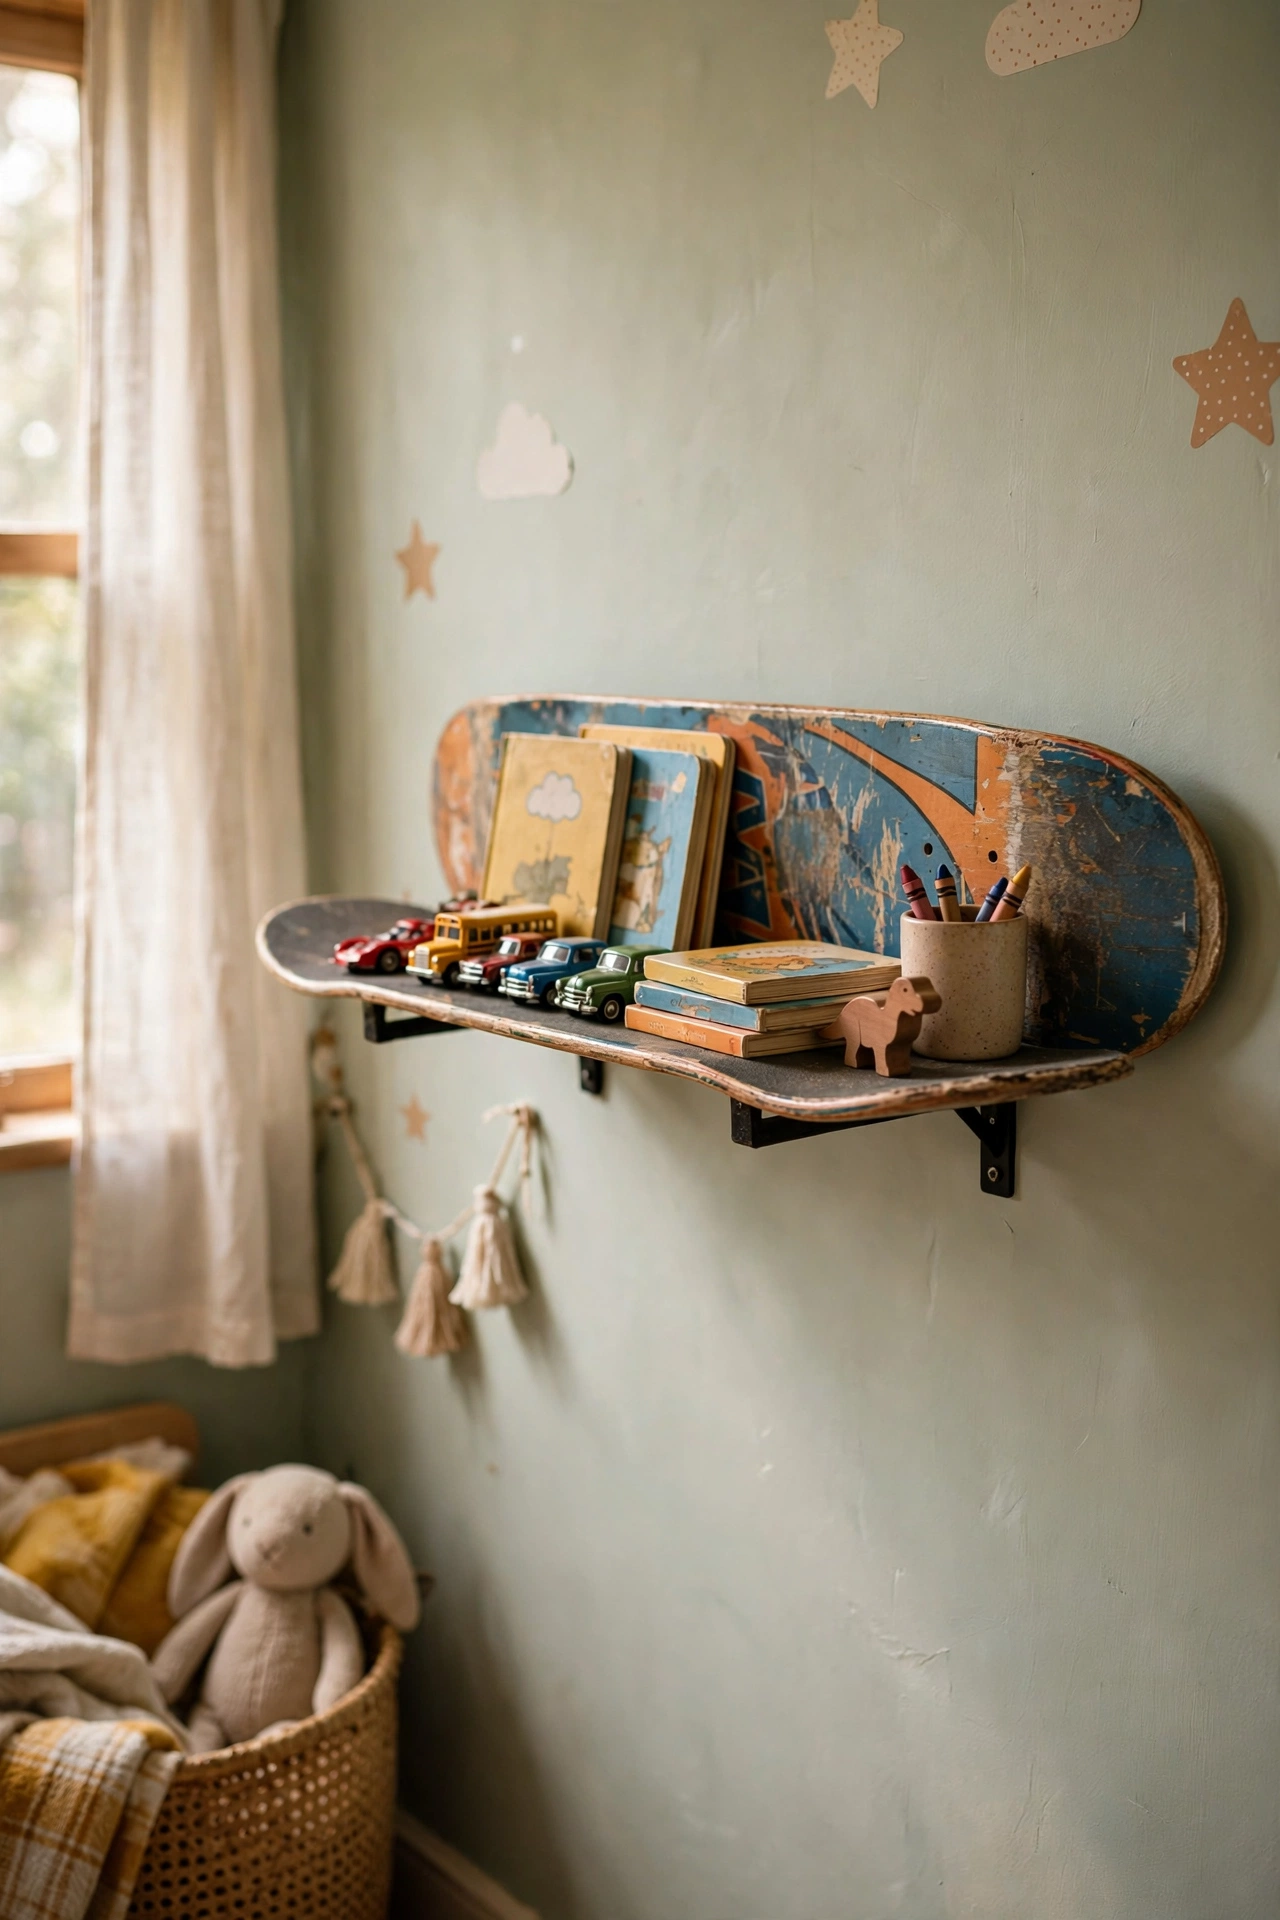
A retired skateboard deck is already shaped, sanded, and strong, which makes it a perfect beginner shelf for a kids room or hallway. Remove the trucks with a spanner, clean the grip tape or peel it off and sand the top smooth. Mount the deck on two small L-brackets, grippy side down, and you have a shelf with instant personality. I made one for my nephew’s room from his first board and he treats it like a trophy case. It is narrow, so it suits small treasures, books, and plants in light pots. Keep heavy items off it, because a deck is only about 20 centimetres wide.
Cost: ~$5-12 | Time: 1 hour
11. Vintage Suitcase Wall Shelf
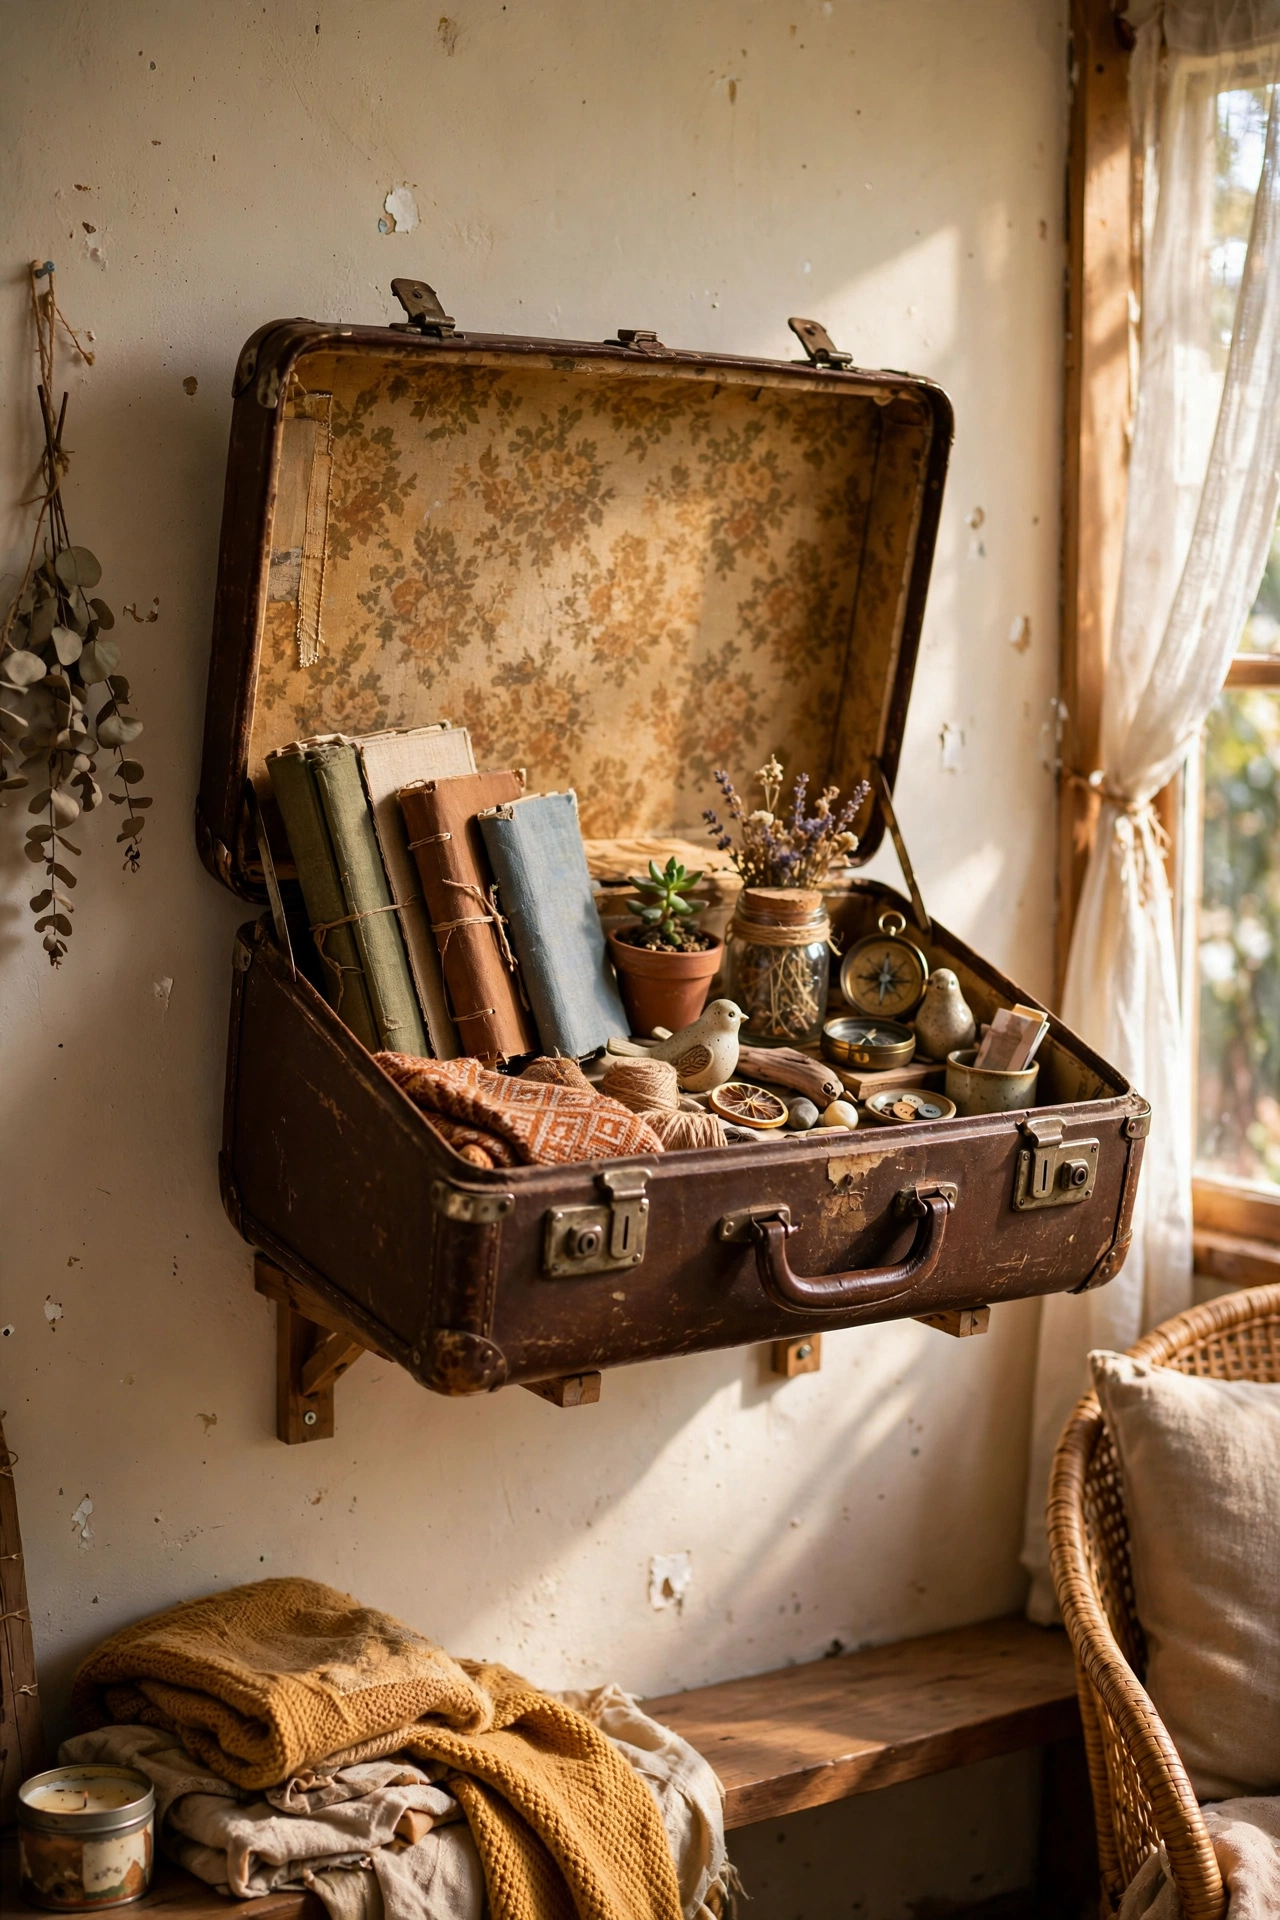
An old hard-shell suitcase mounted on the wall becomes a deep shadow-box shelf that no shop sells. Find one at a car boot sale, clean it thoroughly, and remove the lid or prop it open at a fixed angle. Screw through the back panel into wall plugs on two brackets, and the open case gives you a deep cubby for books and keepsakes. I paid $4 for mine and it holds my travel journals in the guest room. Line the inside with wrapping paper for a finished look. Check the latches are sturdy, because a suitcase that swings shut on your books is a shelf that does not get used.
Cost: ~$4-12 | Time: 1-2 hours
12. Wooden Drawer Box Shelves
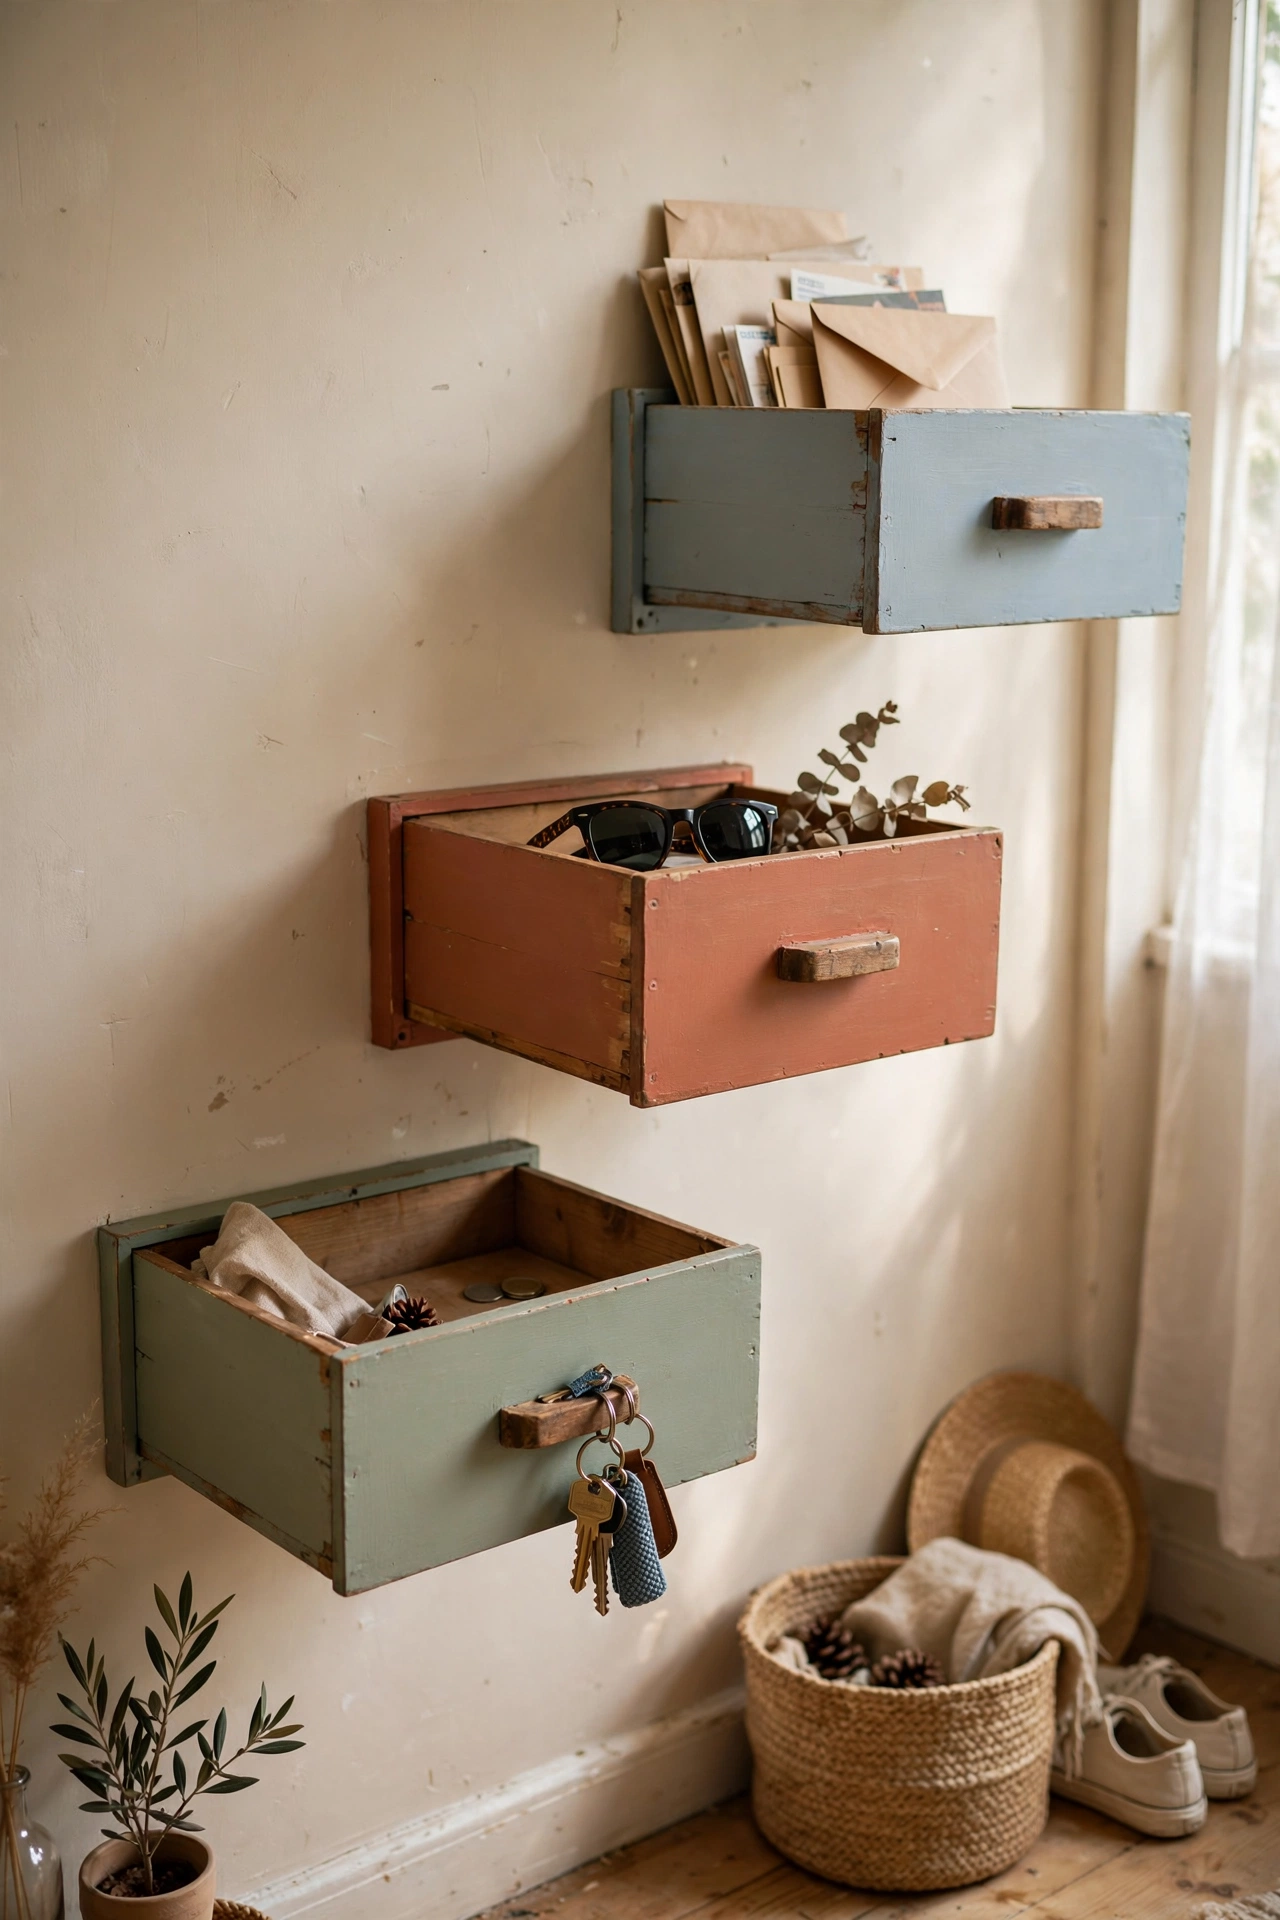
Old drawers are ready-made box shelves, and furniture shops often give them away when dressers break. Take a sturdy wooden drawer, remove the handle, sand it, and paint it inside and out. Mount it on the wall with the open side facing out, using brackets underneath or screws through the back into wall plugs. A set of three at staggered heights looks fantastic in a hallway. I found two pine drawers on the pavement on bin day and they now hold my keys, sunglasses, and post by the front door. Deep drawers suit shoes and bags; shallow ones suit keys and small plants.
Cost: ~$0-10 | Time: 1-2 hours
Small DIY Shelves for Tight Spots
13. Above-the-Door Ledge
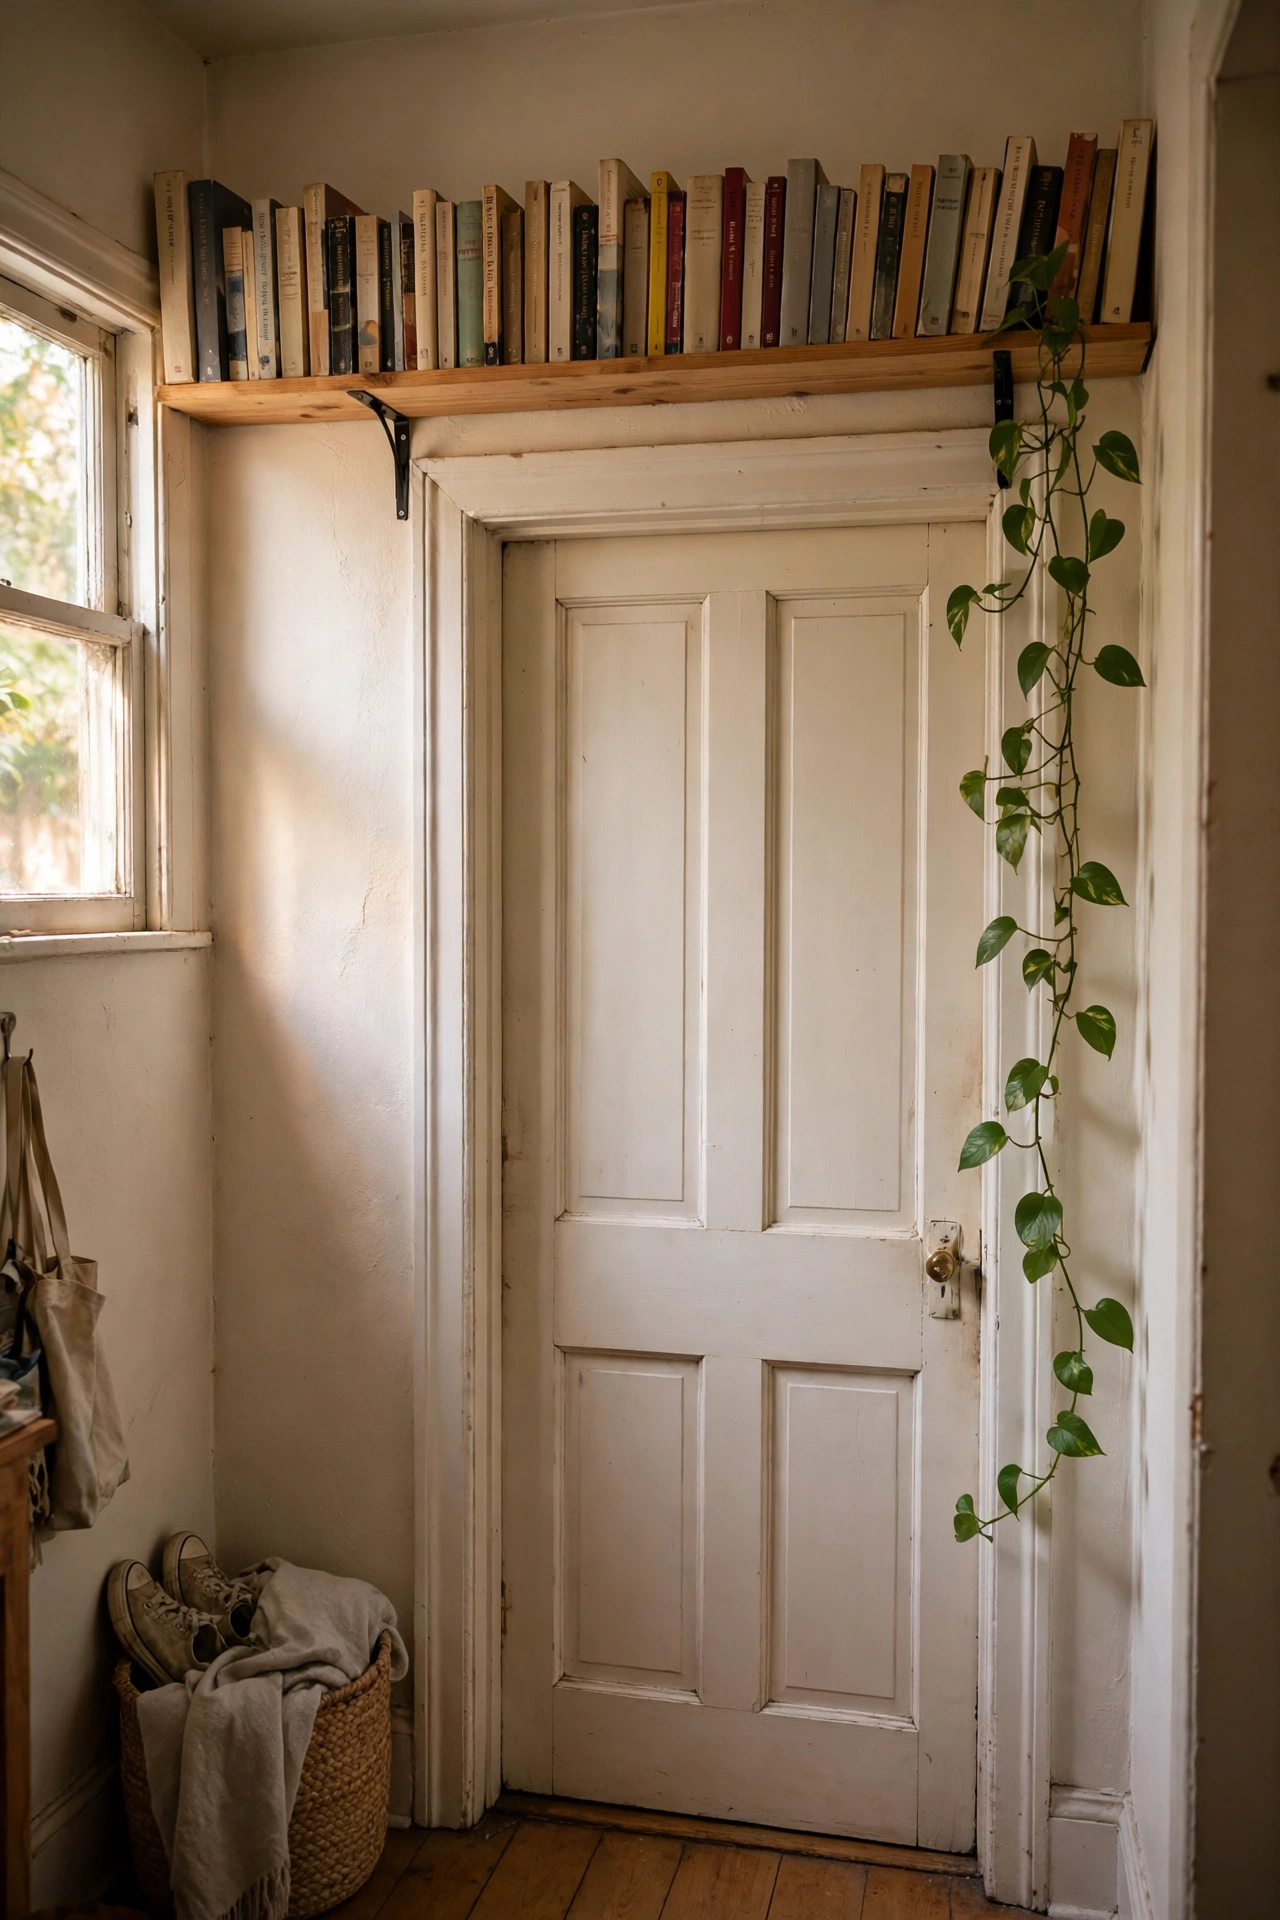
The wall above a door is wasted space in almost every home, and a long narrow shelf turns it into a book display. Mount a board about 15 centimetres deep above the doorframe on three brackets, and line up paperbacks or small plants along it. I did this in my box room and it freed an entire bookcase shelf. You will need a step stool to reach it, so keep everyday items elsewhere and use it for books you have read or plants that like being left alone. Dust it when you clean the top of the doorframe, because that ledge collects dust at exactly the same rate.
Cost: ~$10-16 | Time: 1 hour
14. Bathroom Alcove Mini Shelf
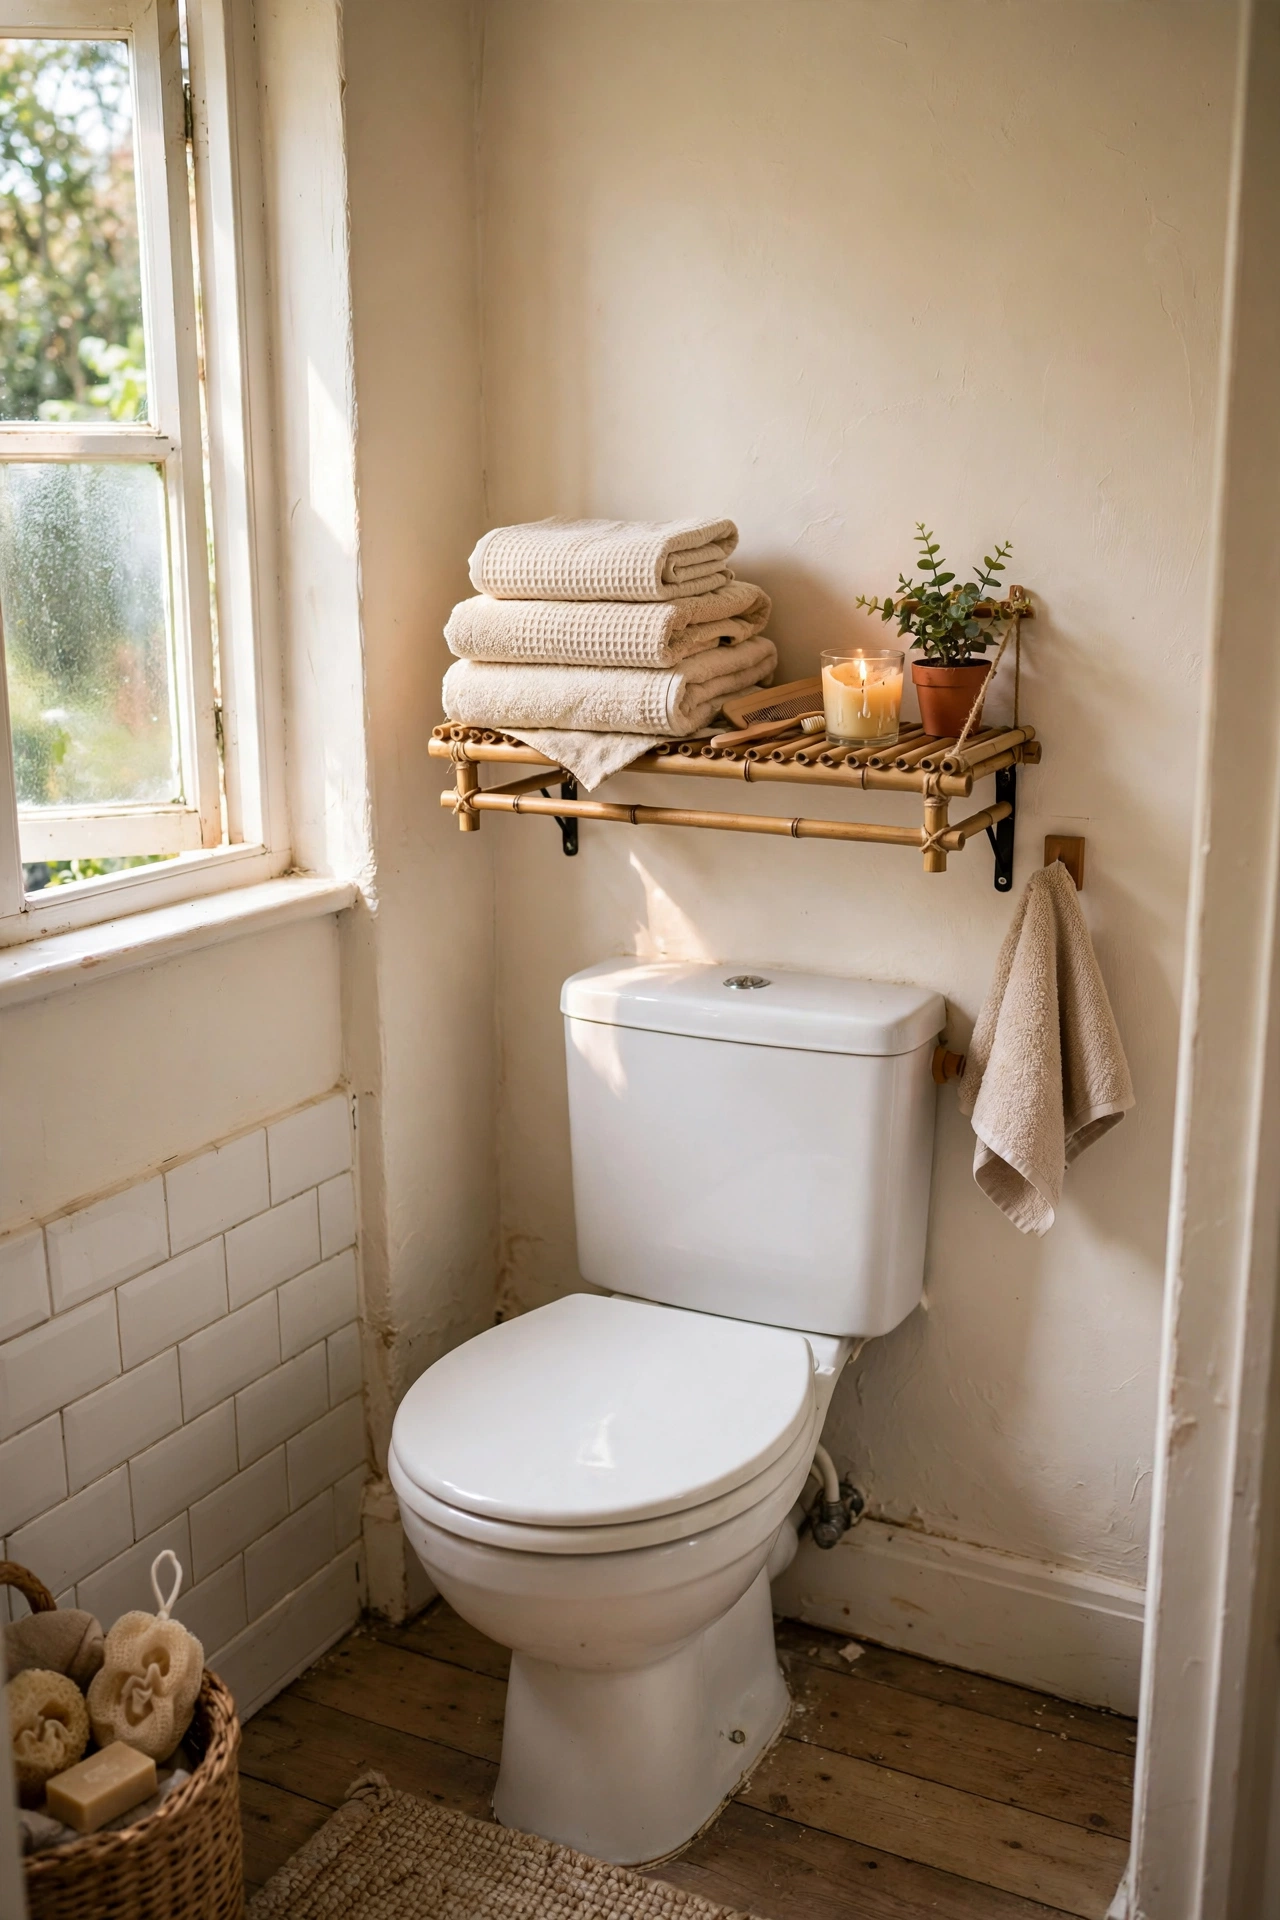
Small bathrooms always need one more surface, and a mini shelf in an alcove or above the loo solves it without crowding the room. Use a board about 30 centimetres long on two small brackets, or a strong adhesive shelf if you rent. I put one above my toilet cistern and it holds a folded towel stack, a candle, and a small plant. Seal the wood with a water-resistant finish or use a bamboo board, because bathroom steam warps raw wood fast. Keep it away from direct shower spray. It takes twenty minutes and it is the shelf you will use every single day.
Cost: ~$8-15 | Time: 30 minutes
15. Hanging Rope Shelf
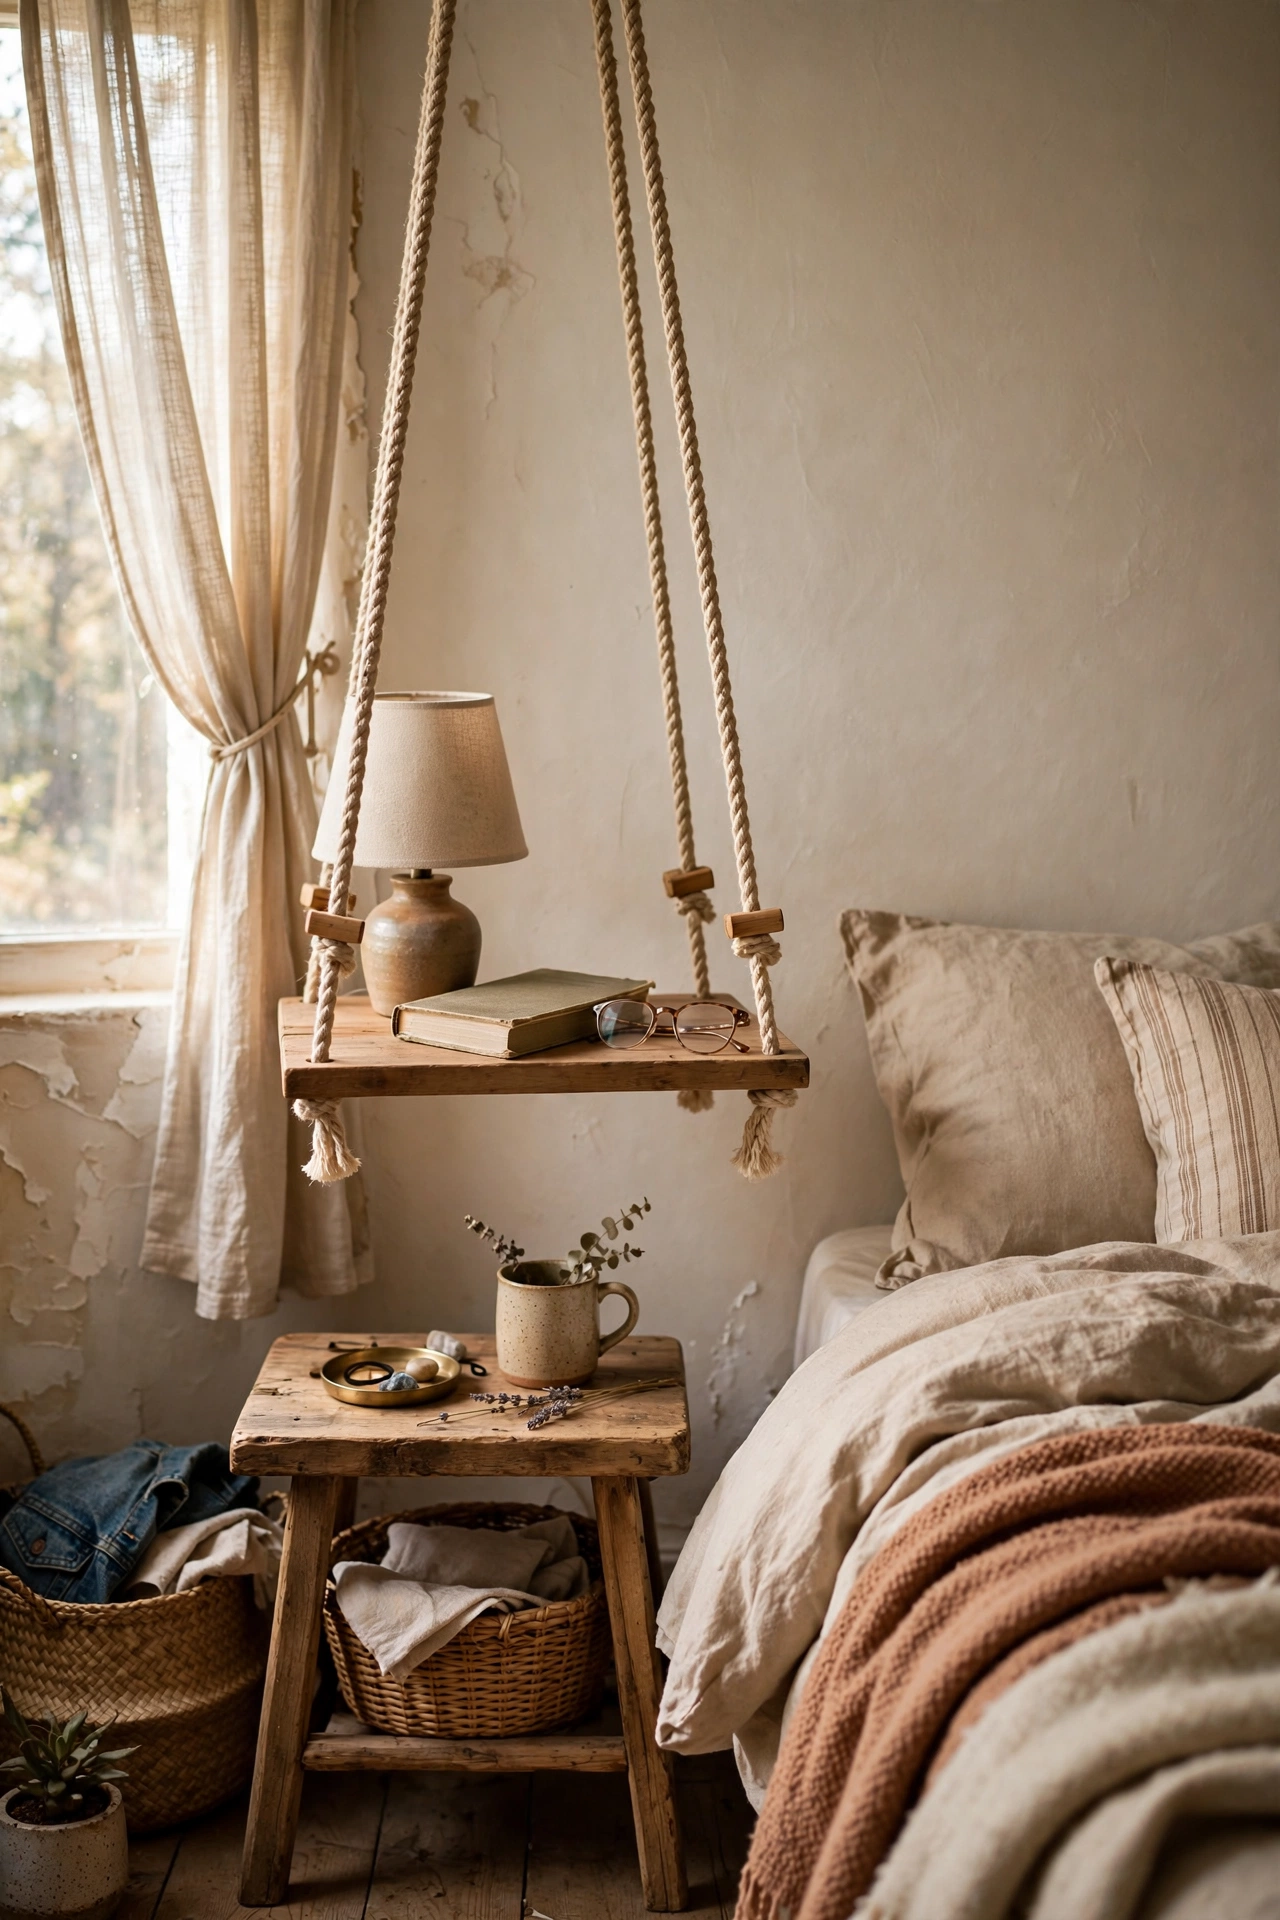
A rope-hung shelf looks far harder than it is, and it is the perfect bedside table for a small bedroom. Drill a hole in each corner of a board, thread thick cotton rope through, knot it underneath, and hang the whole thing from a sturdy ceiling hook screwed into a joist. Use a level and adjust the knots until the board sits flat. I hung one beside my bed and it holds a lamp, a book, and my glasses. Finding the joist matters: a ceiling hook in plain plasterboard will not hold a lamp safely. One shelf is charming; a pair at staggered heights is a feature.
Cost: ~$10-18 | Time: 1 hour
Start with the crate tower or the countertop shelf if you have never drilled a hole in your life, and save the pallet wood for the weekend you feel brave. Every shelf on this list cost its builder under $30, and most of them took less than two hours. Pick one, build it this weekend, and enjoy the small daily pleasure of a thing that finally has a place to live.
📌 Found your first shelf project? Pin this post so you have the steps handy when the drill comes out this weekend.
Keep building on a budget with these next: (see also: 25-diy-shelf-ideas-on-a-budget/) (see also: 15-diy-shelf-ideas-in-a-weekend/) (see also: 15-upcycled-home-decor-ideas-worth-trying-this-weekend/)
