15 Cottagecore-Style DIY Projects That Look Expensive
Last spring I stood in my hallway and realised it looked like a waiting room, not a home. I had forty dollars in my decorating pot and a long list of cottagecore diy decor ideas saved on my phone, the kind with pressed flowers, lace curtains, and vintage teacups that usually cost a fortune at boutique shops. I gave myself one weekend to learn the romantic, garden-gathered look properly. I thrifted, pressed flowers, and repainted junk I almost gave away. Two weeks later my hallway looked like a cottage in the countryside, and I had spent less than one shop-bought wreath.
Every one of these 15 cottagecore diy decor projects costs $25 or less, and most land under $12. The expensive look comes from three things: natural materials like dried flowers, linen, and wood; soft muted colours such as cream, sage, and dusty rose; and the slightly imperfect handmade finish that boutiques charge extra for. You probably own half the supplies already. Start with the projects that use what is in your cupboards, then work your way down the list.
Florals & Garden Finds
1. Pressed Flower Botanical Wall Art
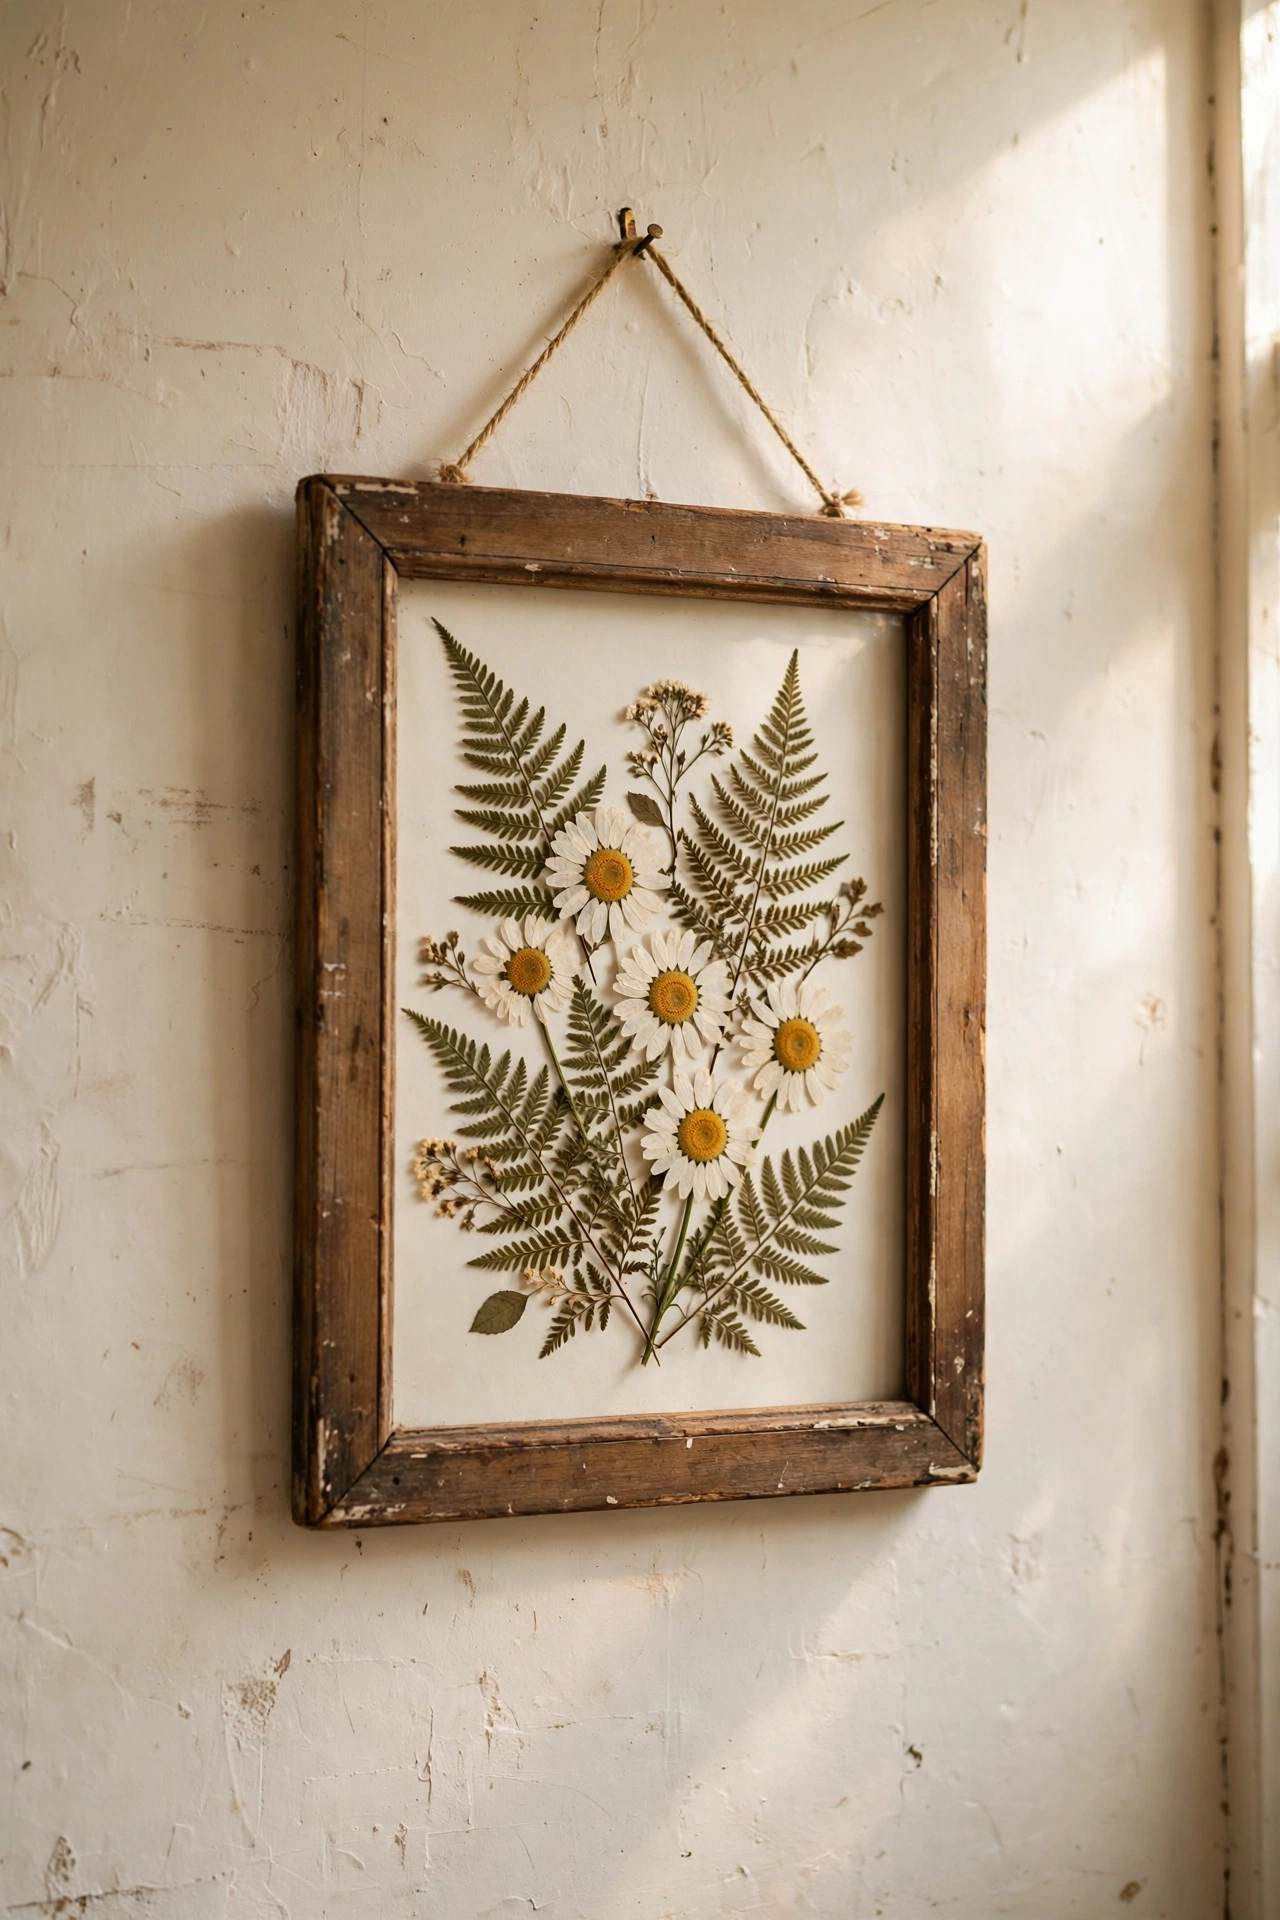
Pressed flower art looks like it came from an expensive stationery boutique, but the flowers are free from your garden or a park walk. Pick flat flowers like daisies, ferns, and lavender sprigs, press them between the pages of a heavy book lined with kitchen paper for two weeks, then arrange them on cream card and slide the card into a thrifted frame. I pressed a whole batch of wildflowers in an old dictionary and used the prettiest ones in a pair of frames for my bedroom. My mistake the first time was pressing the flowers too soon after rain, so they went brown. Wait until the morning dew has dried and the flowers are fully open.
Cost: ~$4-10 | Time: 30 minutes plus 2 weeks pressing
2. Dried Lavender Bundle Wreath
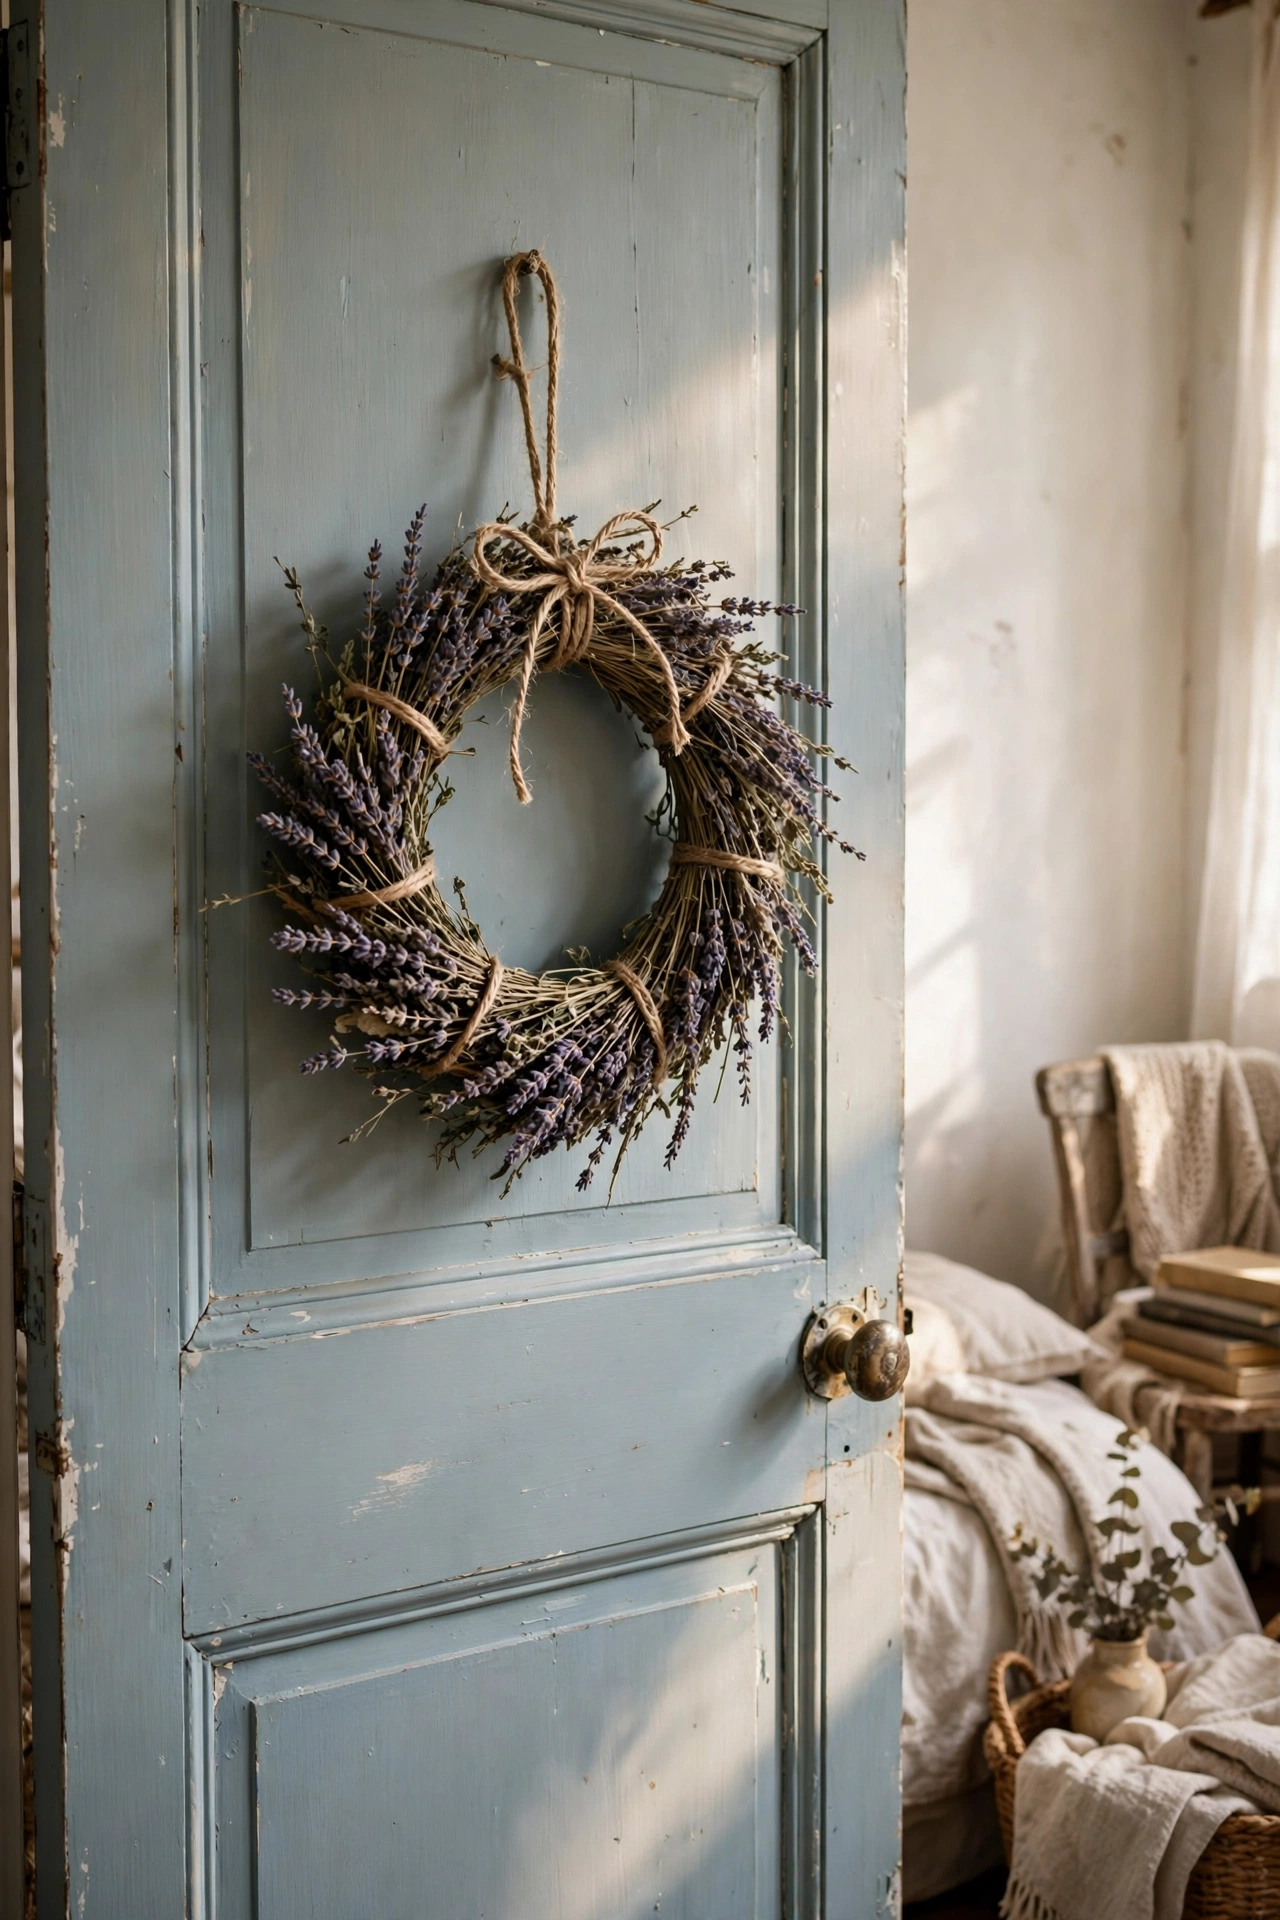
A dried lavender wreath smells wonderful and looks like something from a French farmhouse shop. Buy a cheap bunch of dried lavender, or dry your own by hanging fresh stems upside down in a dark cupboard for two weeks. Tie small bundles of ten stems with jute twine, then wire the bundles onto a grapevine or wire wreath base so the flower heads overlap in one direction. I hung mine on my bedroom door and the whole room smells faintly of lavender. Keep the wreath out of direct sunlight or the colour fades to grey within a month. A light spritz of hairspray helps the buds stay put.
Cost: ~$6-12 | Time: 1 hour
3. Vintage Teacup Soy Candles
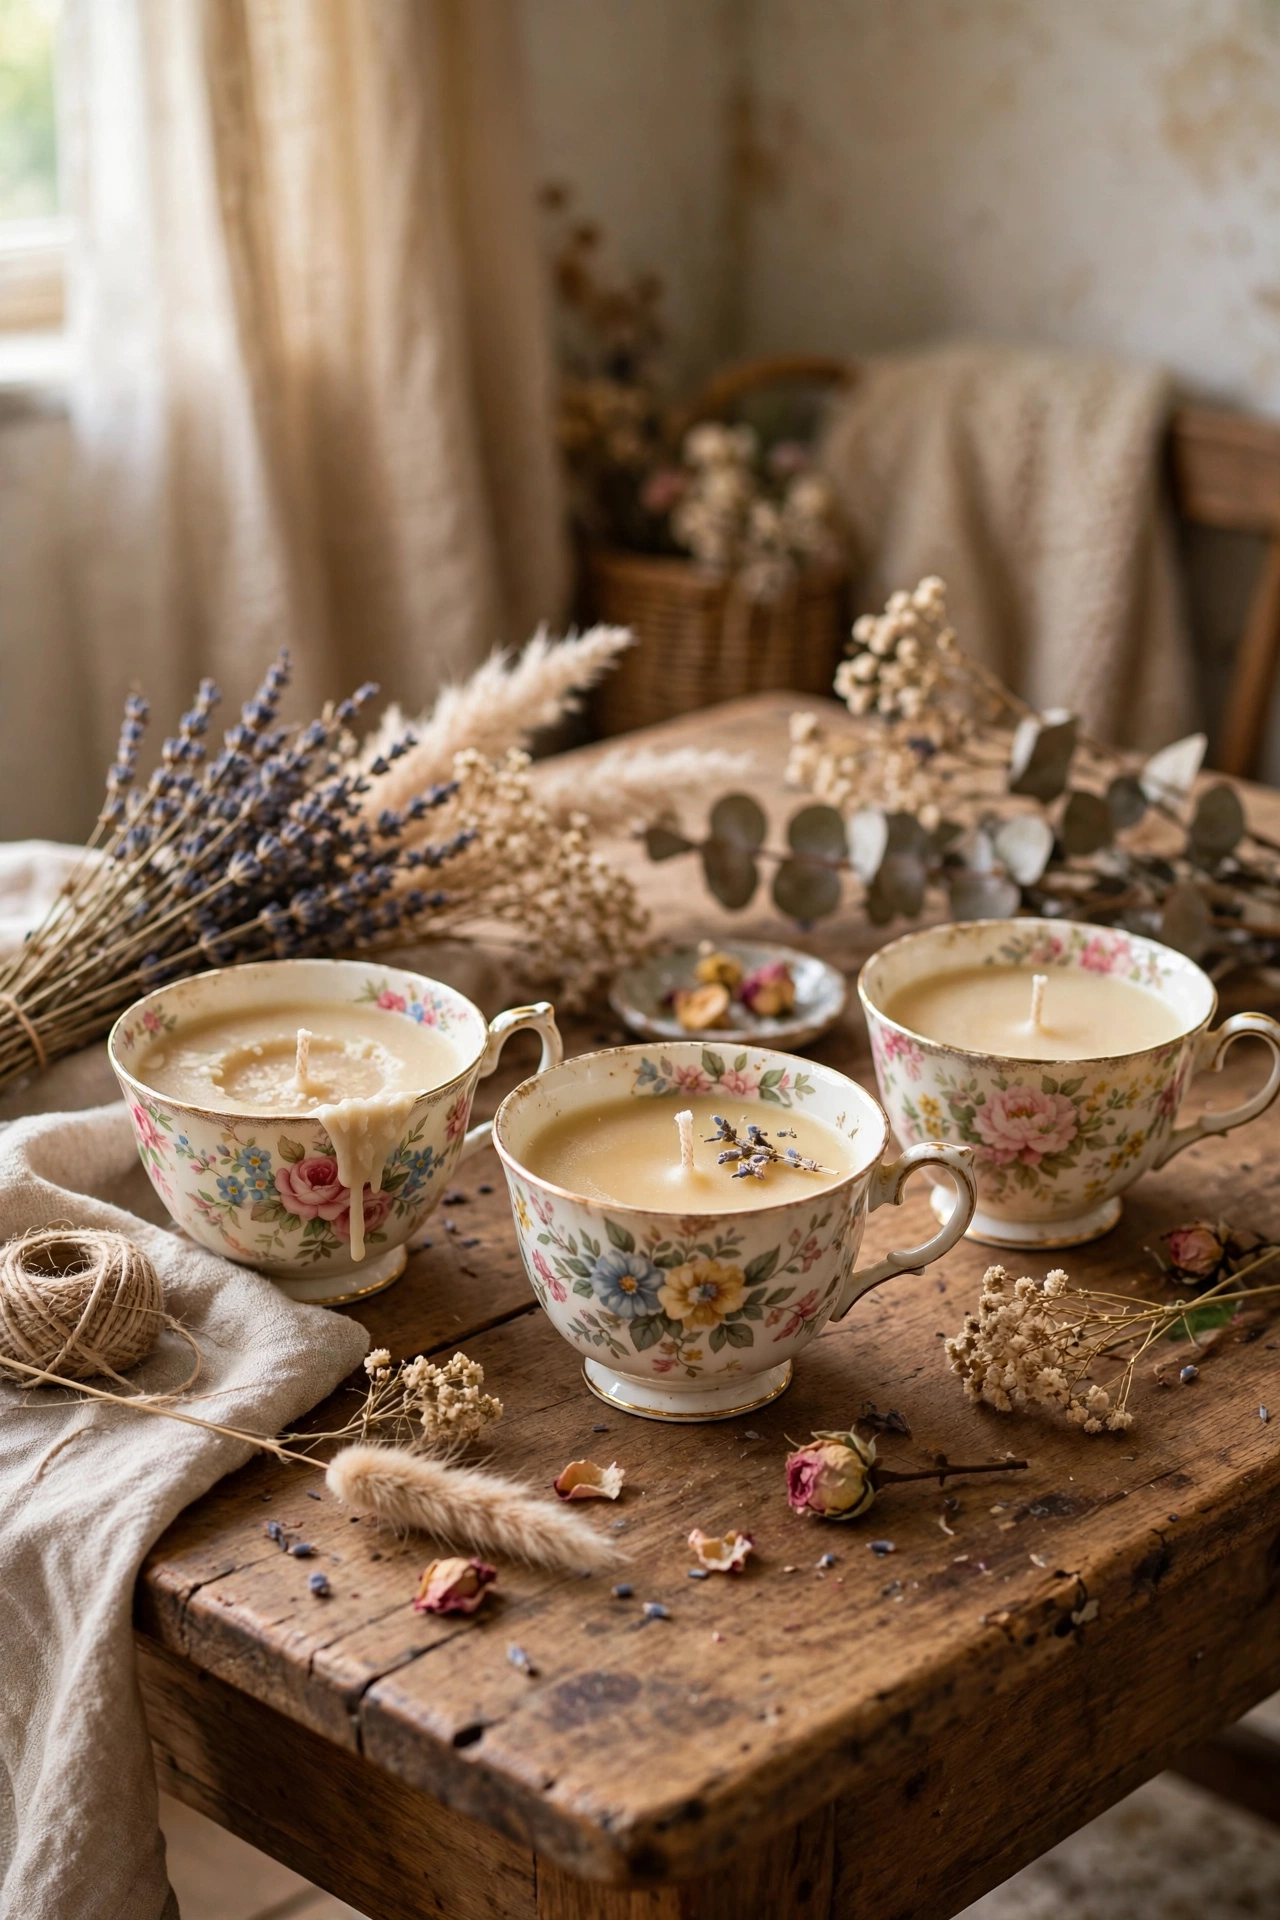
Thrifted teacups filled with soy wax make the prettiest candles, and they look like luxury gifts when you are done. Melt soy wax flakes in a double boiler, stir in a few drops of vanilla or rose fragrance oil, hold a wick centred in the teacup with a peg, and pour the wax in slowly. I bought four mismatched teacups for a dollar each and made a set for my coffee table. The trick is pouring the wax at around 50 degrees Celsius, because hotter wax shrinks away from the cup walls as it cools. Save this one for your weekend project list.
Cost: ~$8-14 | Time: 45 minutes plus cooling
4. Framed Seed Packet Gallery
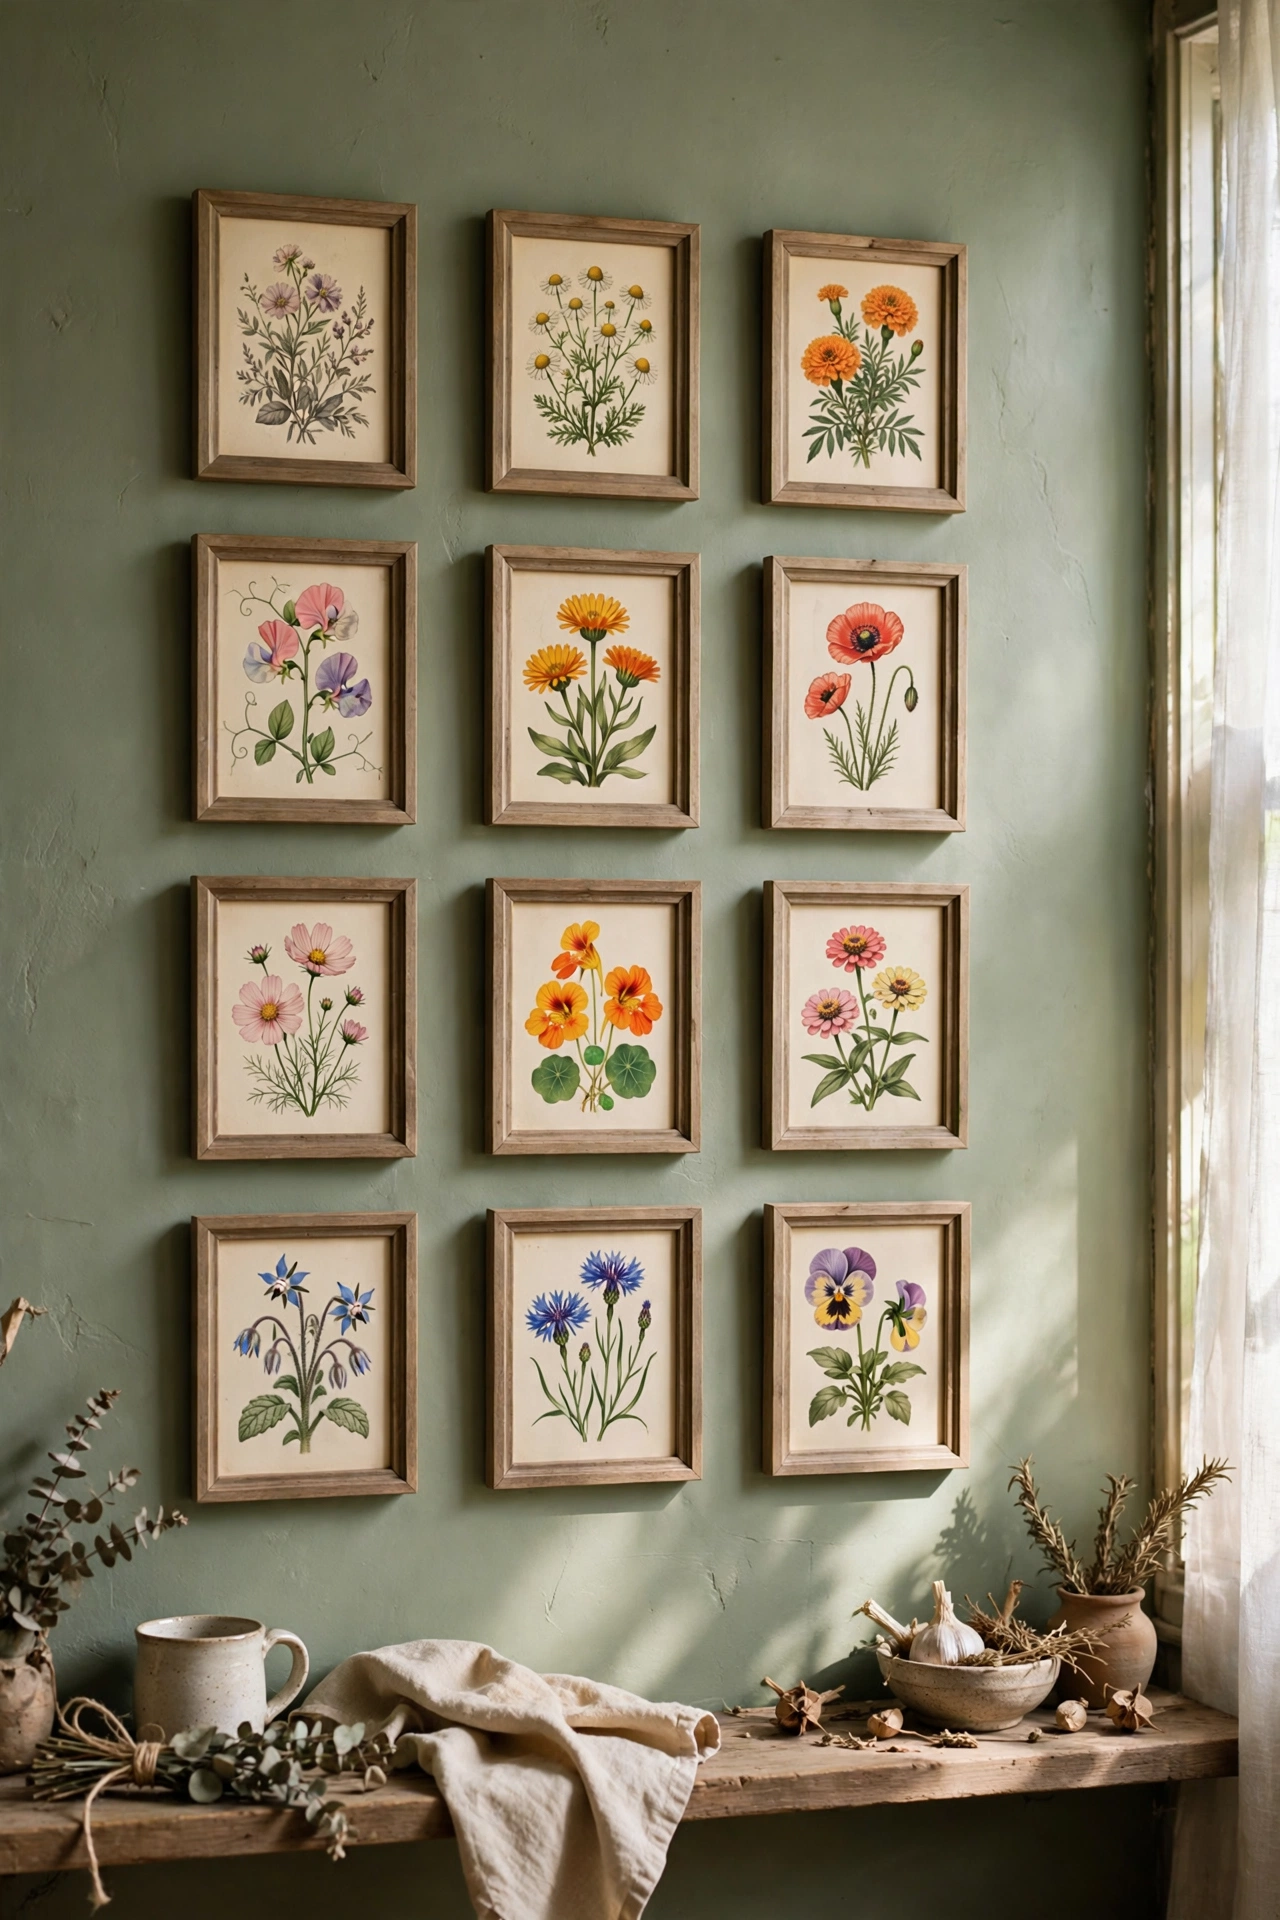
Old-fashioned seed packets have the prettiest vintage artwork, and framing a row of them makes a charming gallery wall for a kitchen or hallway. Collect packets with floral illustrations from a garden centre or online for about a dollar each, trim them to fit small frames, and hang them in a neat grid of four or six. I used mismatched wooden frames painted cream so they matched. The illustrated packets look far more expensive than the price suggests. Try to choose packets with a similar colour palette so the grouping feels designed rather than random.
Cost: ~$6-12 | Time: 30 minutes
Lace, Linen & Pretty Textiles
5. Lace Doily Table Runner
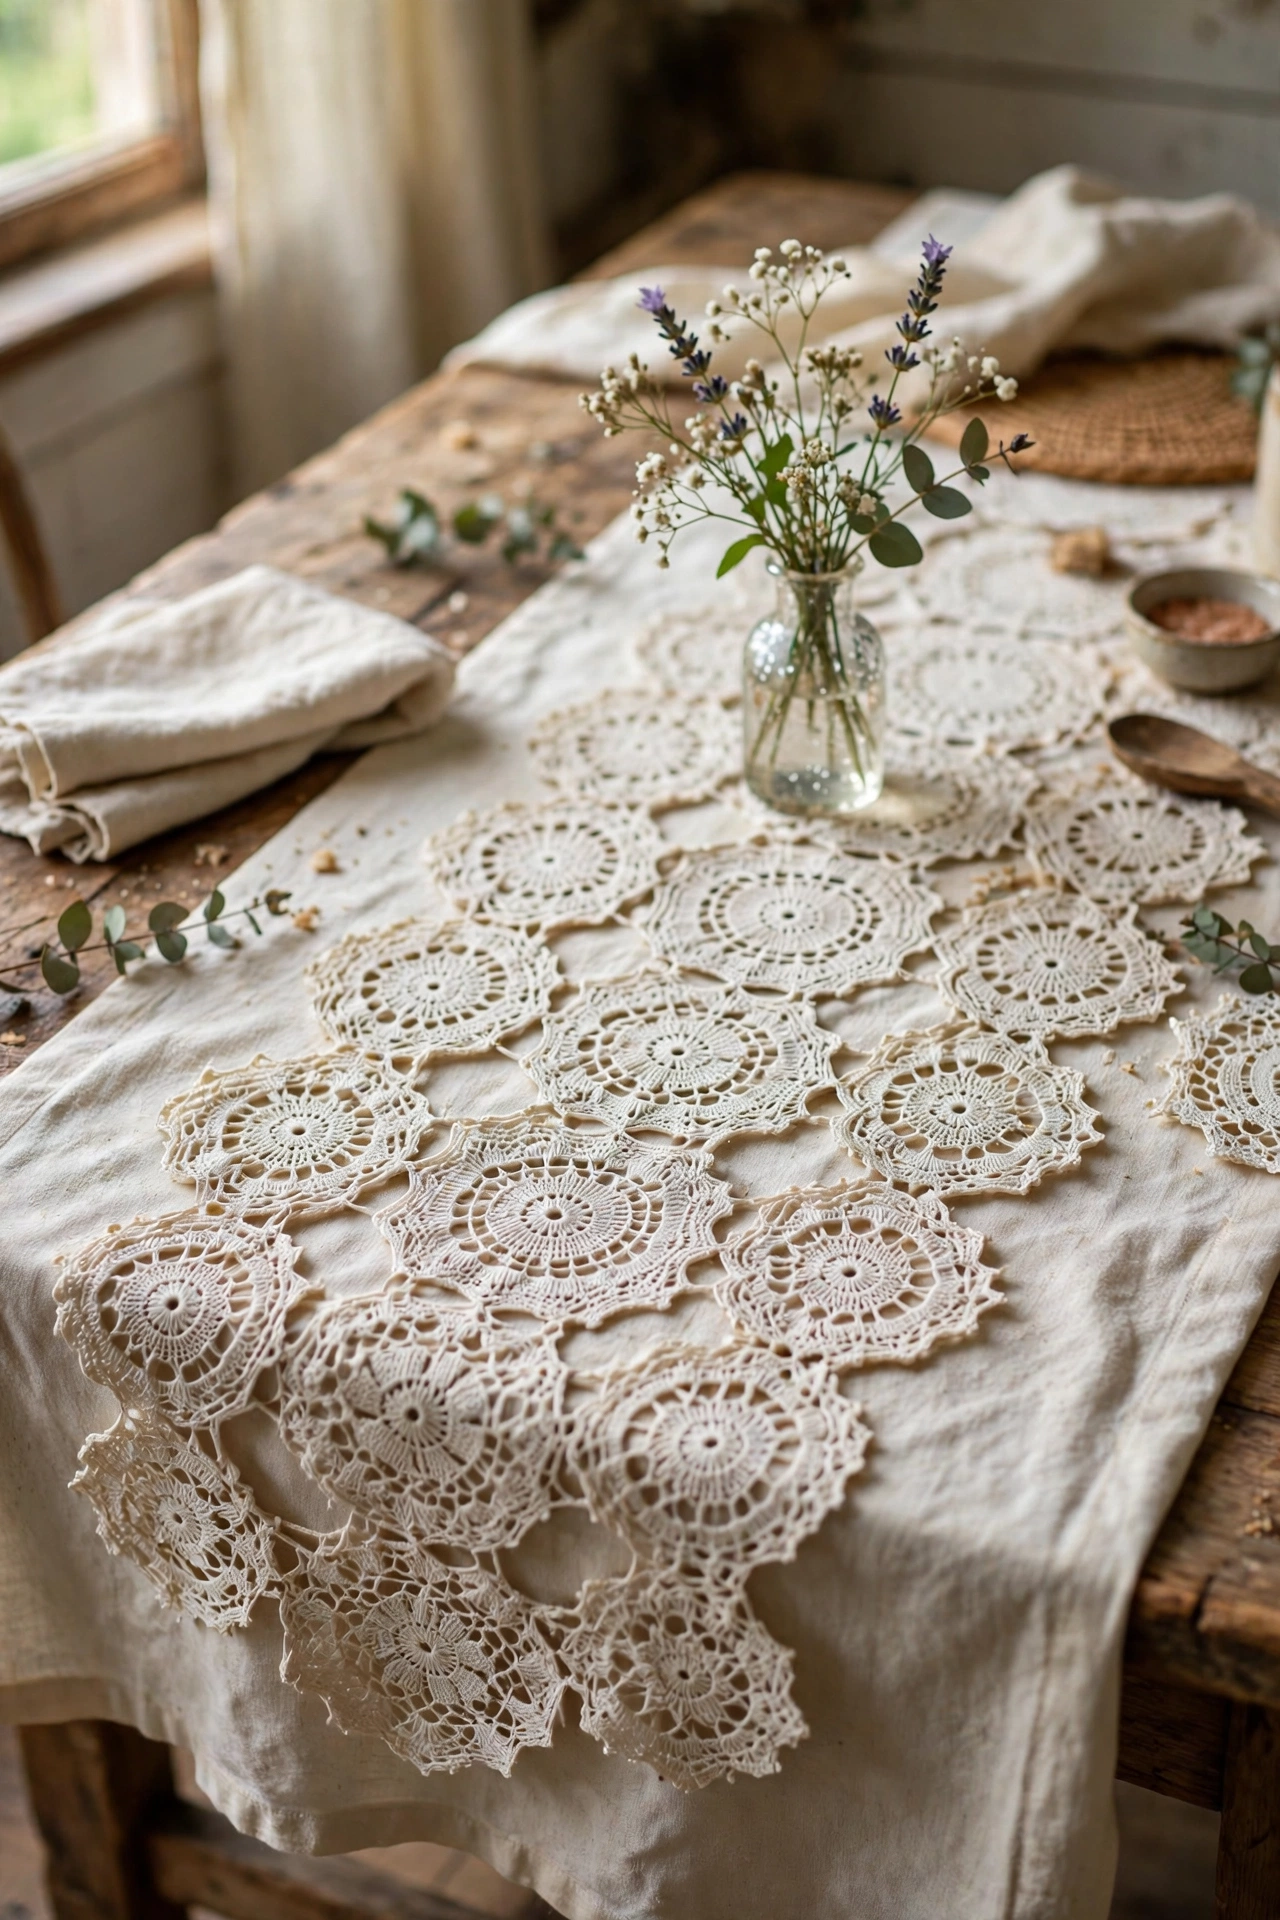
A runner made from joined lace doilies is pure cottagecore romance and costs next to nothing if you thrift the doilies. Wash and iron the doilies first, overlap their edges in a long line, and stitch or hot-glue them together into a runner. I made one for my dining table from nine charity-shop doilies that cost me fifty cents each. Lay it over a plain linen runner in sage or cream so the lace pattern stands out. My mistake was gluing them in a hurry, which left the edges puckered. Stitching takes longer but lies perfectly flat.
Cost: ~$5-9 | Time: 2 hours
6. No-Sew Linen Curtain Tie-Backs
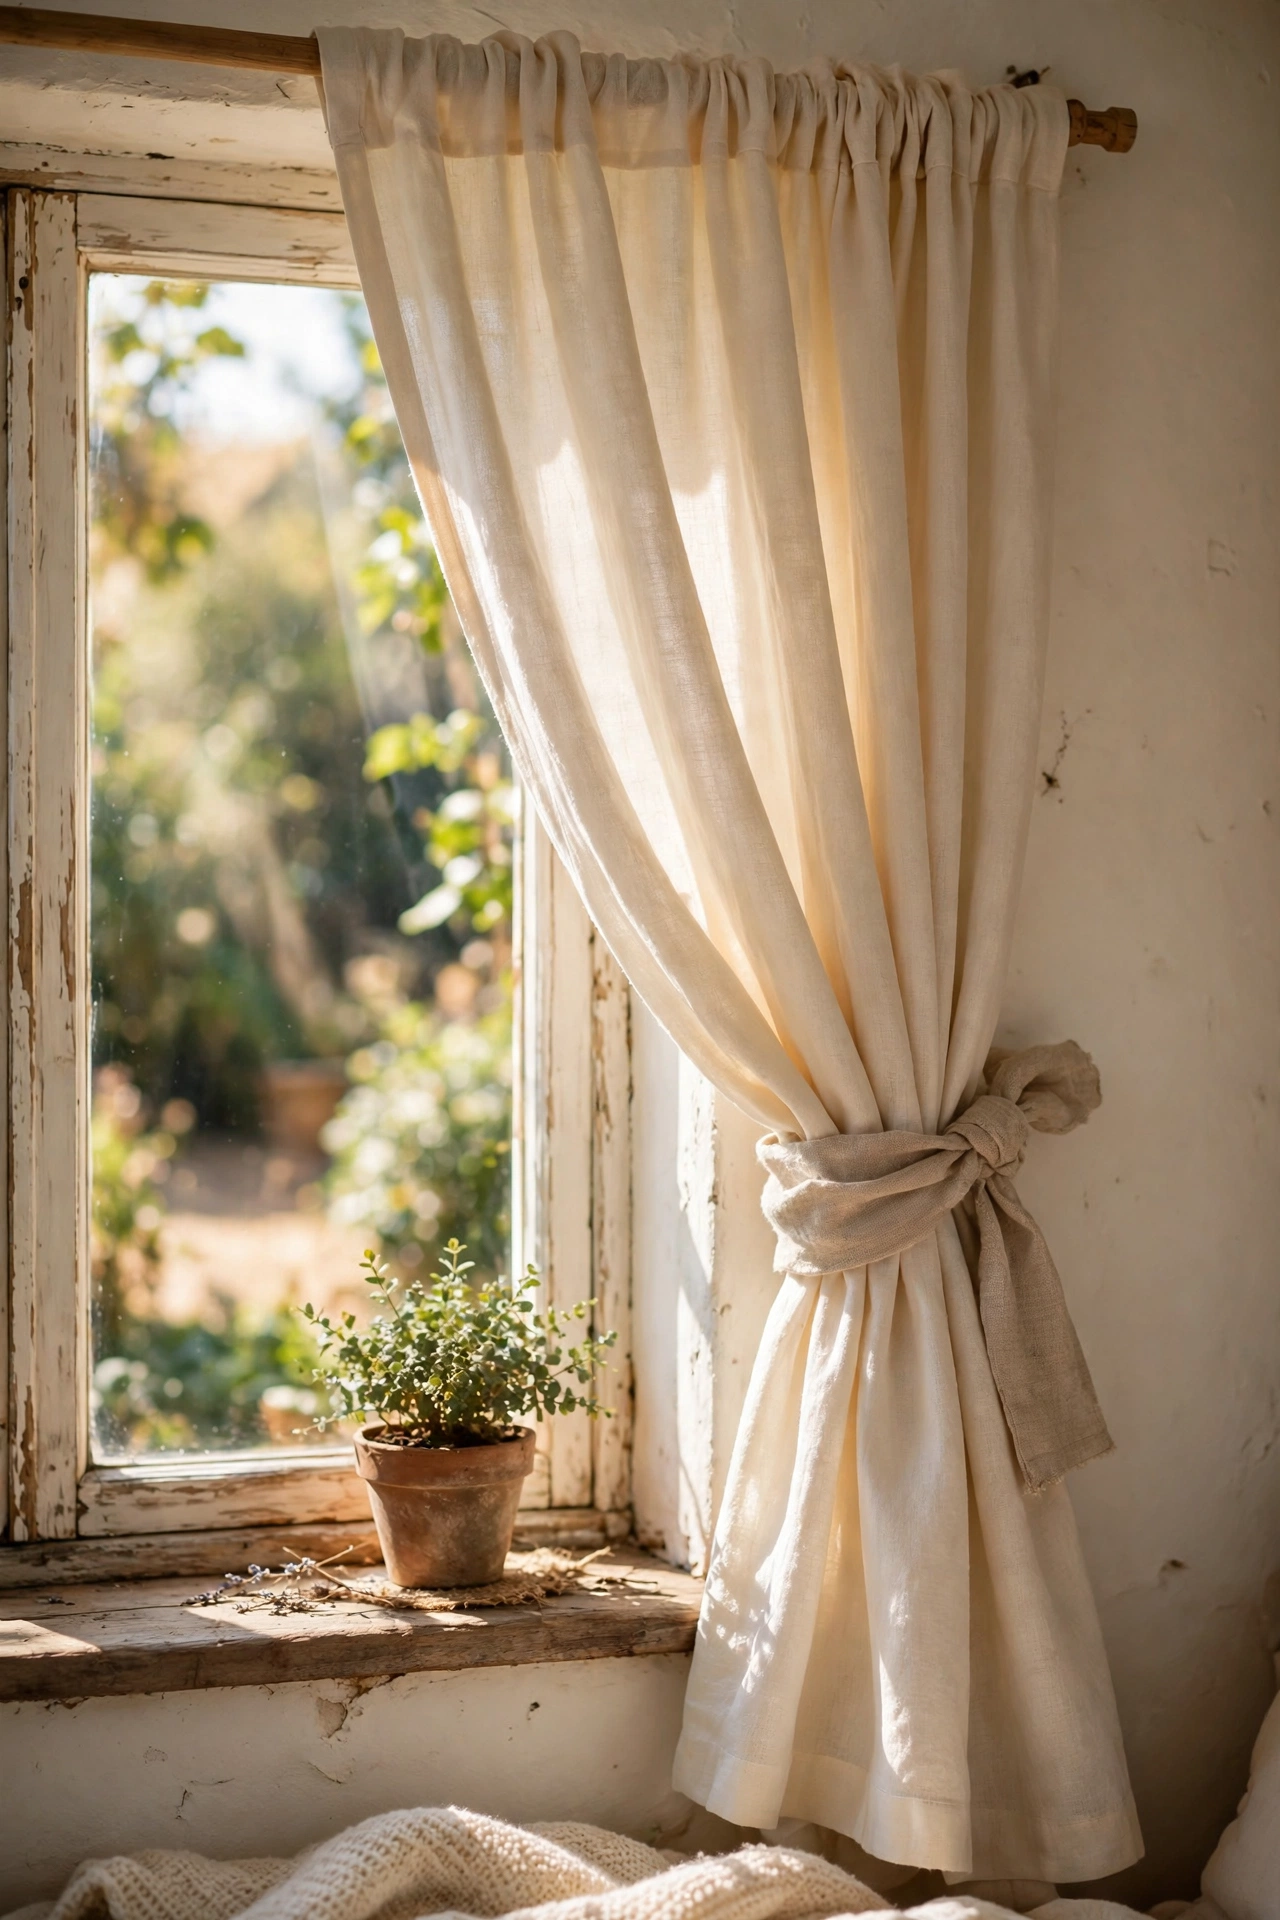
Fabric tie-backs turn plain curtains into romantic gathered drapes in minutes. Cut strips of natural linen or a thrifted linen napkin into long bands, fold them into ties, and finish the ends with a small loop of jute twine. I made mine from an old linen tablecloth I cut up, and they look like the expensive tie-backs sold in fabric shops. Loop them around each curtain and hook them to the wall with a small brass hook. The raw, slightly frayed edge is the whole charm, so do not bother hemming unless you want a neater finish.
Cost: ~$3-8 | Time: 20 minutes
7. Embroidered Floral Hoop Art
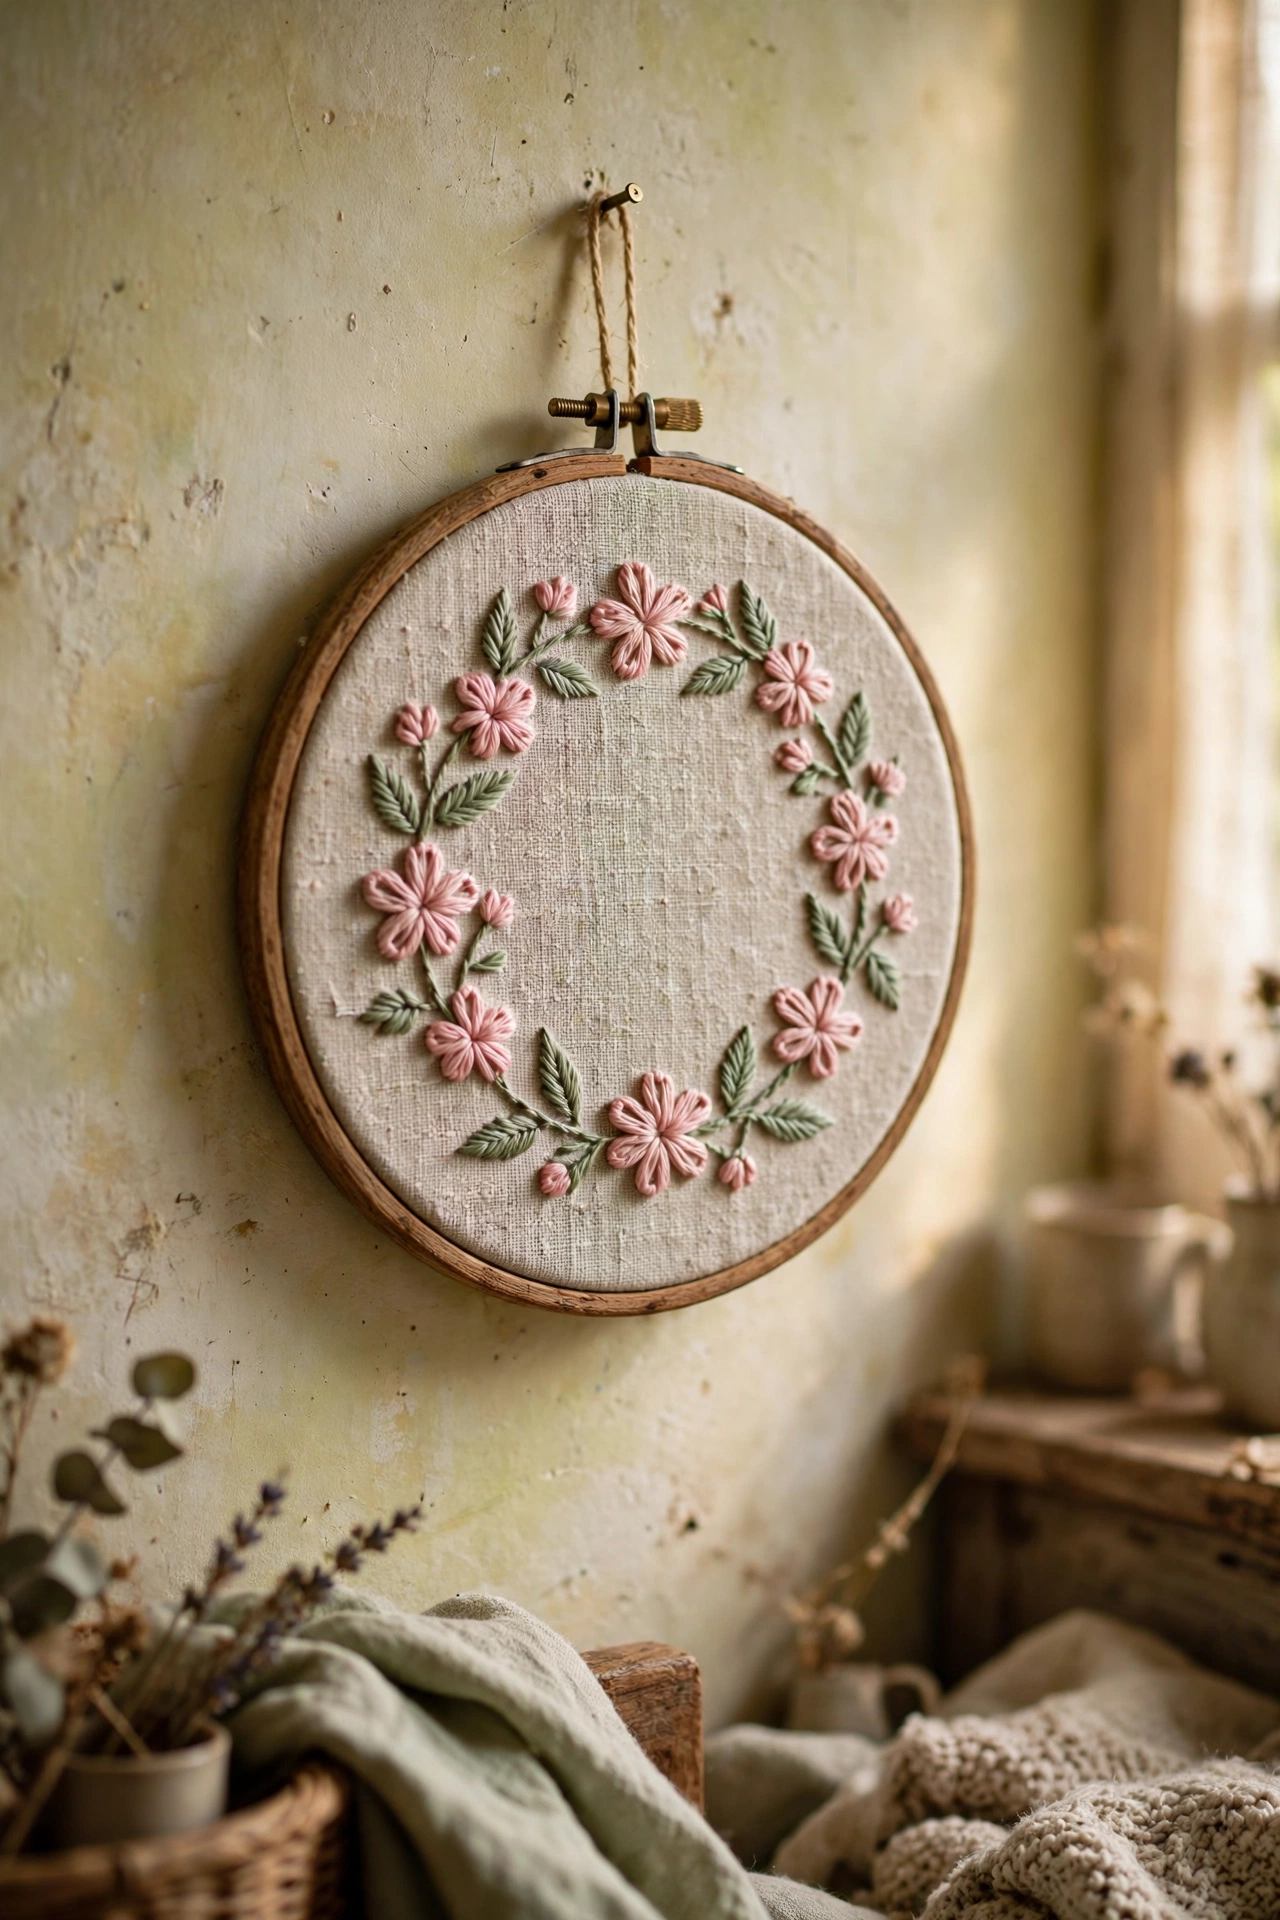
Embroidered hoop art has that handmade-heirloom feeling that expensive cottage decor always seems to have. Stretch a piece of linen or calico in a wooden embroidery hoop, and stitch simple flowers with basic lazy-daisy and French-knot stitches. You do not need to be skilled: I learned from one evening of video tutorials and my third hoop looked lovely. Use muted thread colours like dusty pink, sage, and cream for the authentic look. A set of three small hoops hung together reads as a proper art arrangement. If you want more floral craft ideas, see (see also: pressed-flower-craft-ideas).
Cost: ~$5-10 | Time: 2-3 hours per hoop
8. Vintage Handkerchief Frame Prints
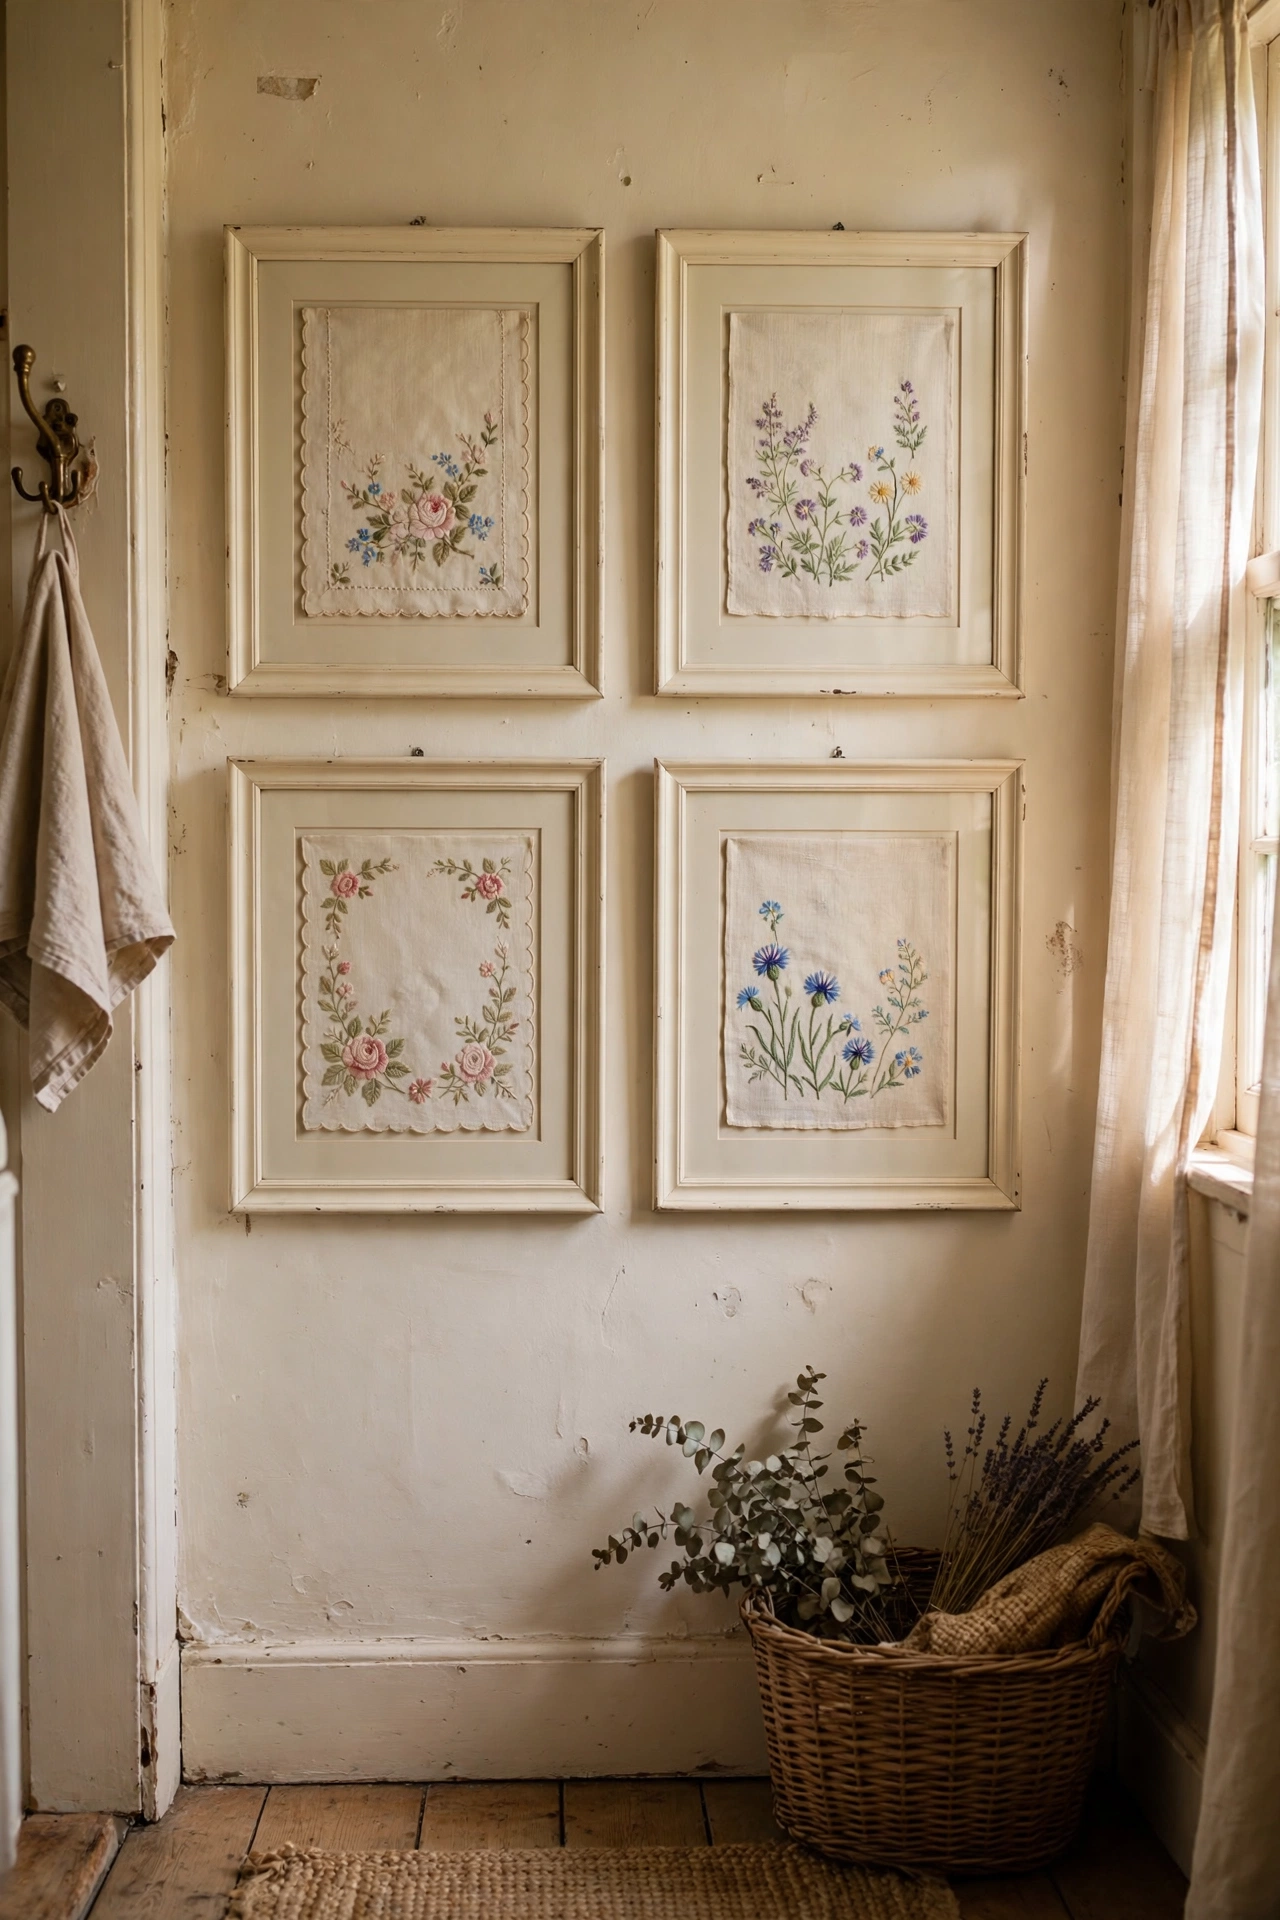
Vintage handkerchiefs with floral prints make gorgeous framed art once they are cleaned up. Wash the handkerchiefs gently, iron them flat, and frame them with a cream mount so the print sits centred. I found a bundle of five embroidered hankies at a flea market for two dollars and framed the two prettiest. The delicate florals and lace edges look like expensive textile art. Choose handkerchiefs with faded, soft colours rather than bright modern prints, because the worn-in look is what sells the vintage feel.
Cost: ~$4-10 | Time: 30 minutes
Thrifted Treasures, Made Over
9. Chalk-Painted Ornate Thrift Frame
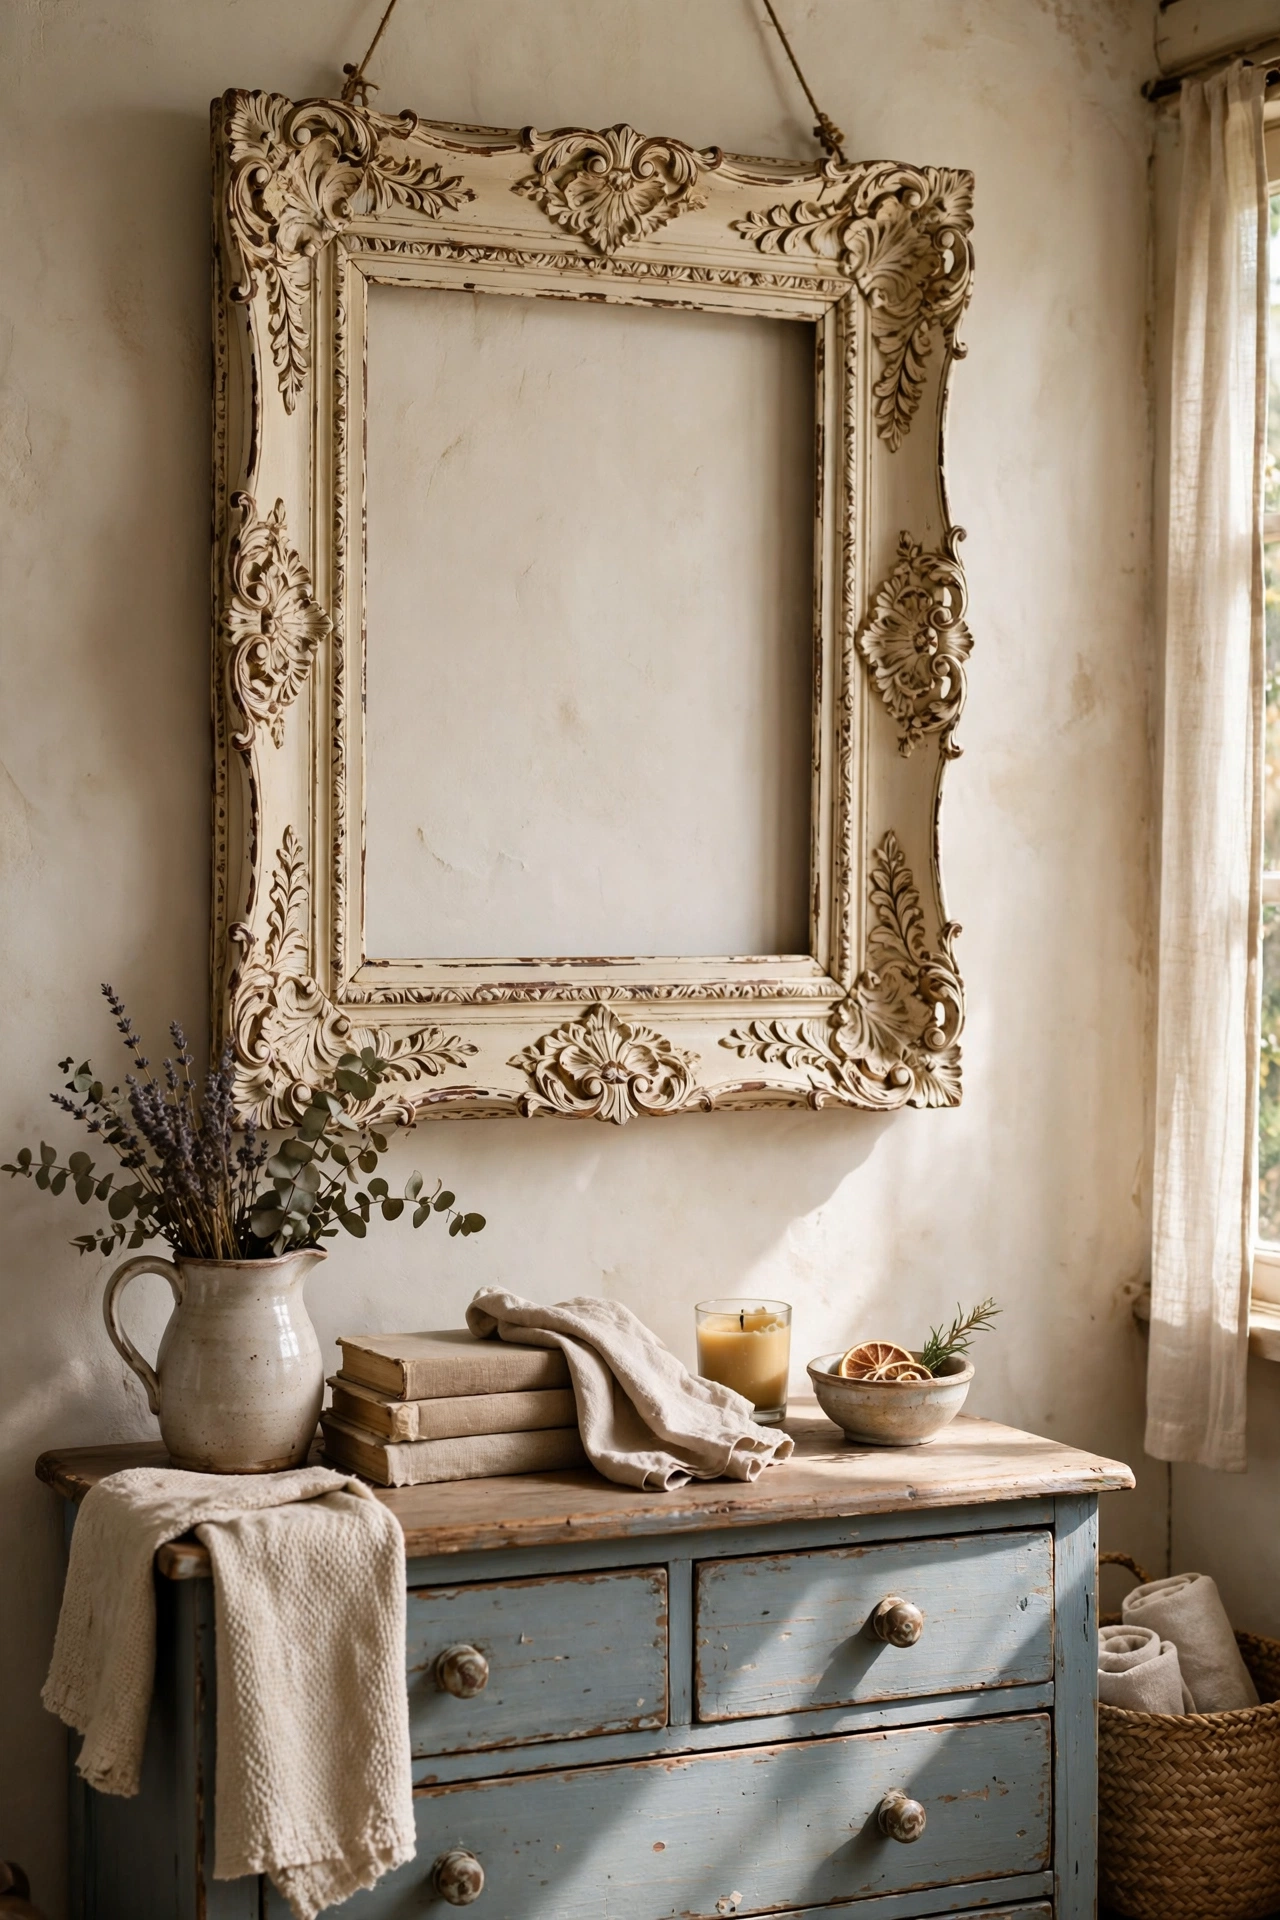
That heavy ornate frame at the charity shop is a cottage treasure waiting for chalk paint. Clean it well, brush on two thin coats of cream or sage chalk paint, then rub a little brown wax into the carved details with a cloth to age it. The wax settling into the crevices is what makes it look antique rather than just painted. I did this with a five-dollar frame and it now holds pride of place in my living room. My mistake was skipping the wax the first time, and the frame looked flat and plastic. The ageing step takes five minutes and makes all the difference.
Cost: ~$8-14 | Time: 1 hour plus drying
10. Distressed Mason Jar Flower Vases
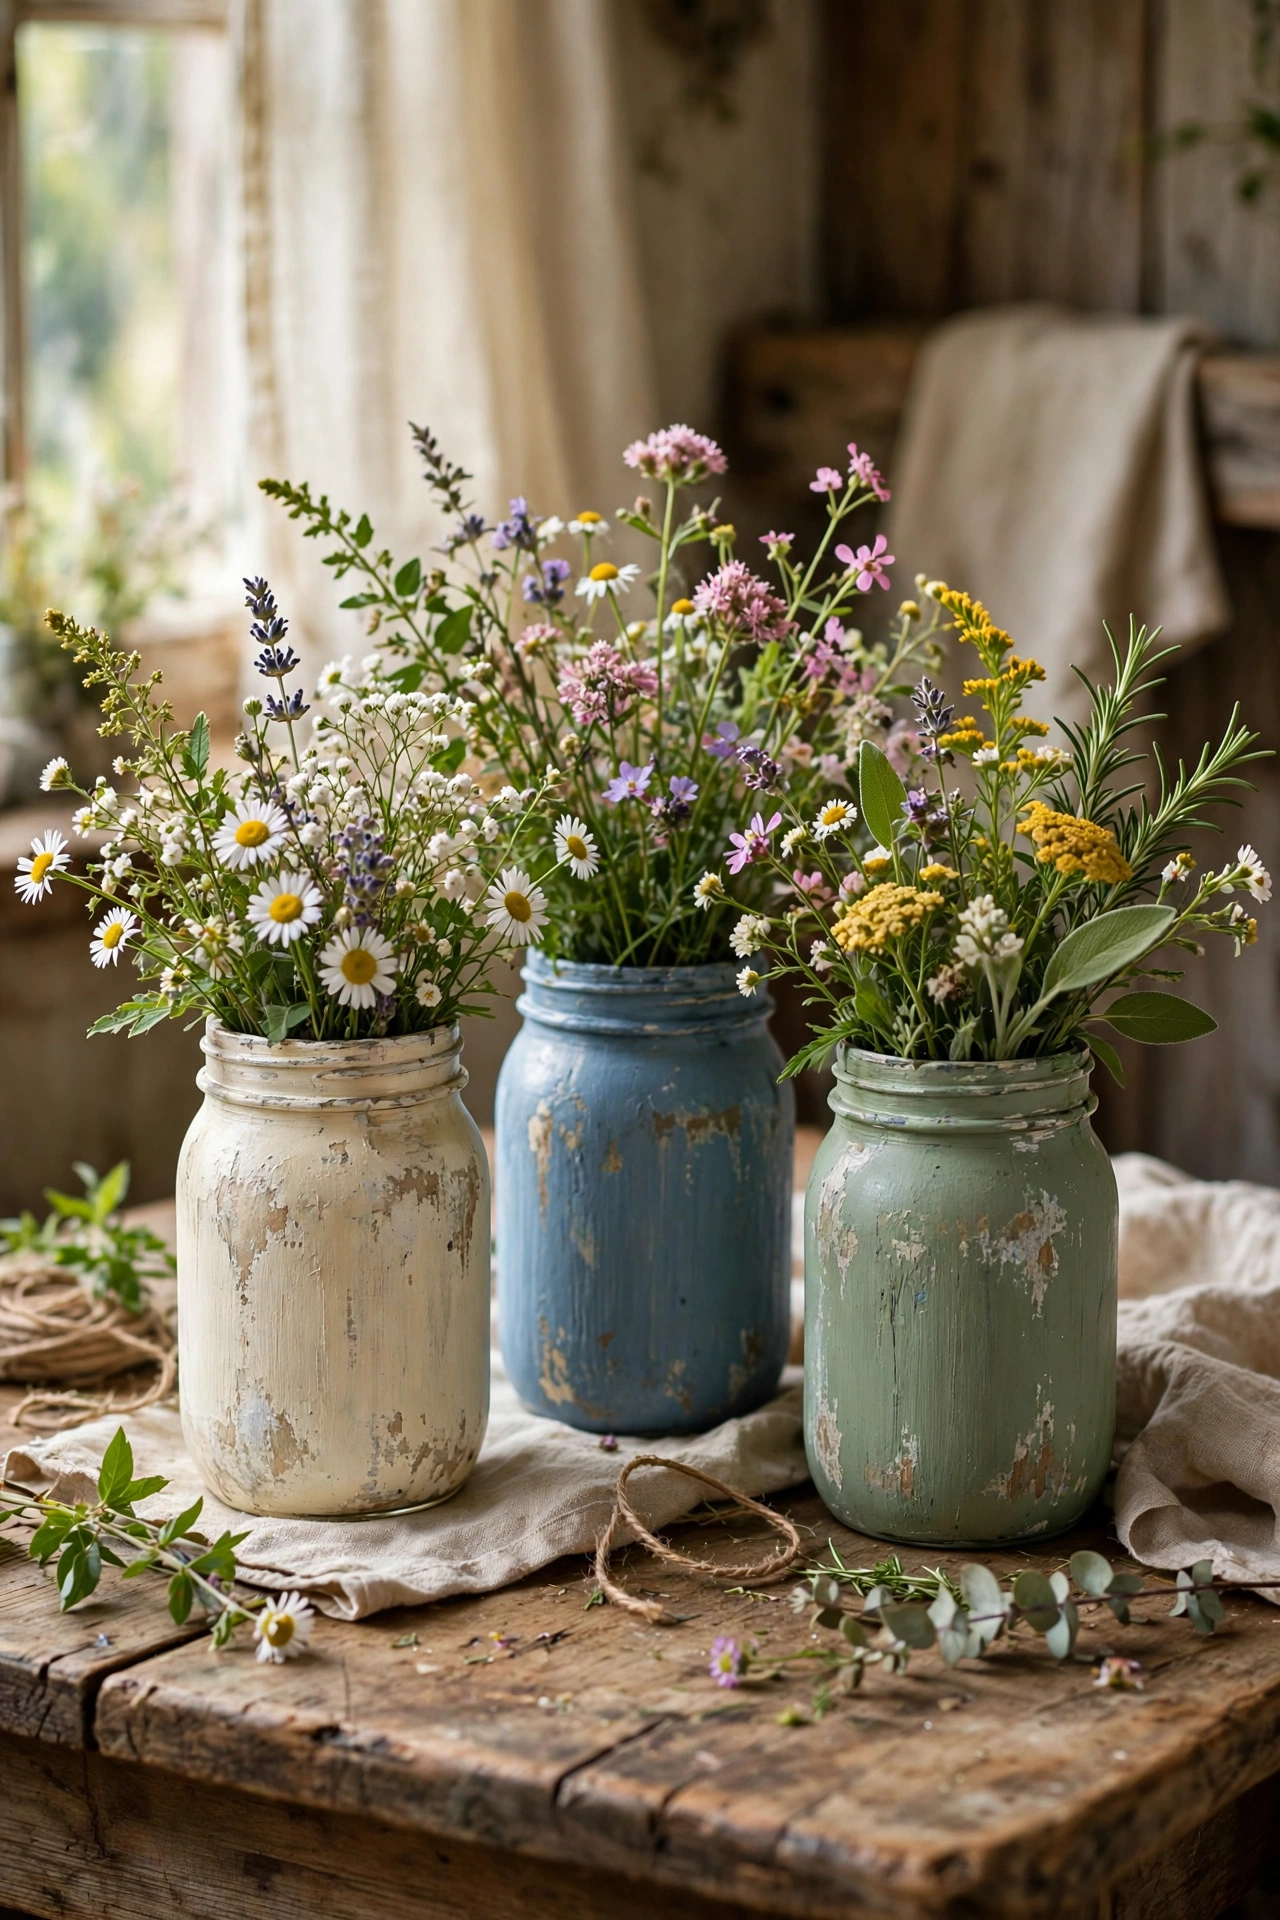
Mason jars painted in chalky pastels and lightly distressed are a cottagecore staple for a reason. Brush on two coats of chalk paint in cream, dusty blue, or sage, let them dry, then sand the raised edges and lettering lightly with fine sandpaper so a hint of glass shows through. I made a set of three for wildflowers and they look like expensive hand-thrown pottery. Tie a bit of jute twine around the neck for the final touch. Let the paint cure for a full day before you add water, because fresh chalk paint softens if it gets wet too soon.
Cost: ~$6-12 | Time: 45 minutes plus drying
11. Antique Book Page Paper Garland
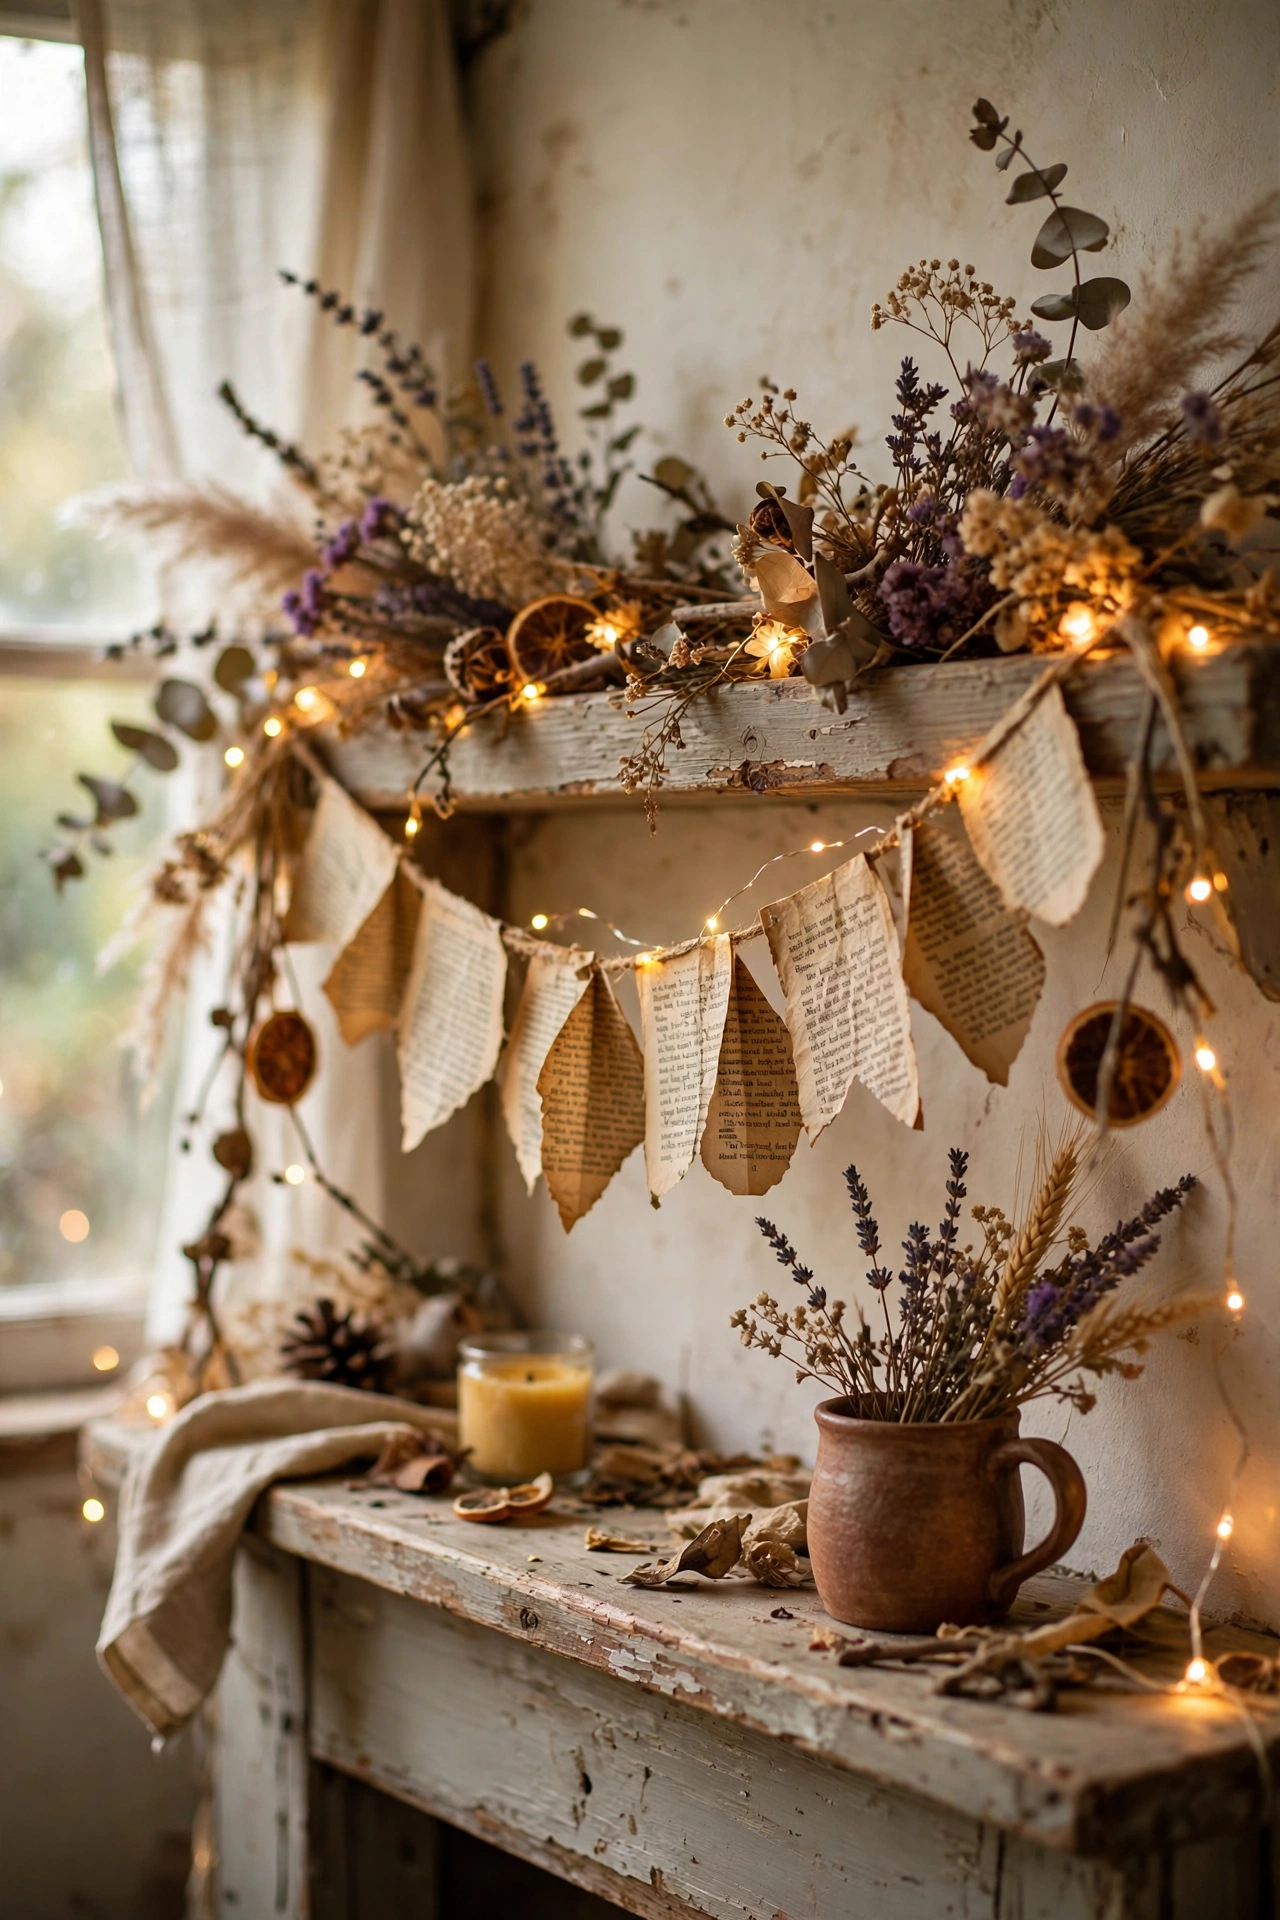
A garland cut from the pages of a damaged old book drapes beautifully over a mantel or doorway. Use books that are already falling apart, never a good one. Cut leaf or bunting shapes from the pages, thread them onto jute twine with a needle, and hang with a gentle swag. I made mine from a broken novel with a foxed, yellowed spine, and the aged pages give it a patina no new paper can copy. Pair it with a string of warm fairy lights for evenings. For more thrift-based projects, see (see also: thrift-store-diy-ideas-for-beginners).
Cost: ~$3-6 | Time: 1 hour
12. Brass Candlestick Patina Refresh
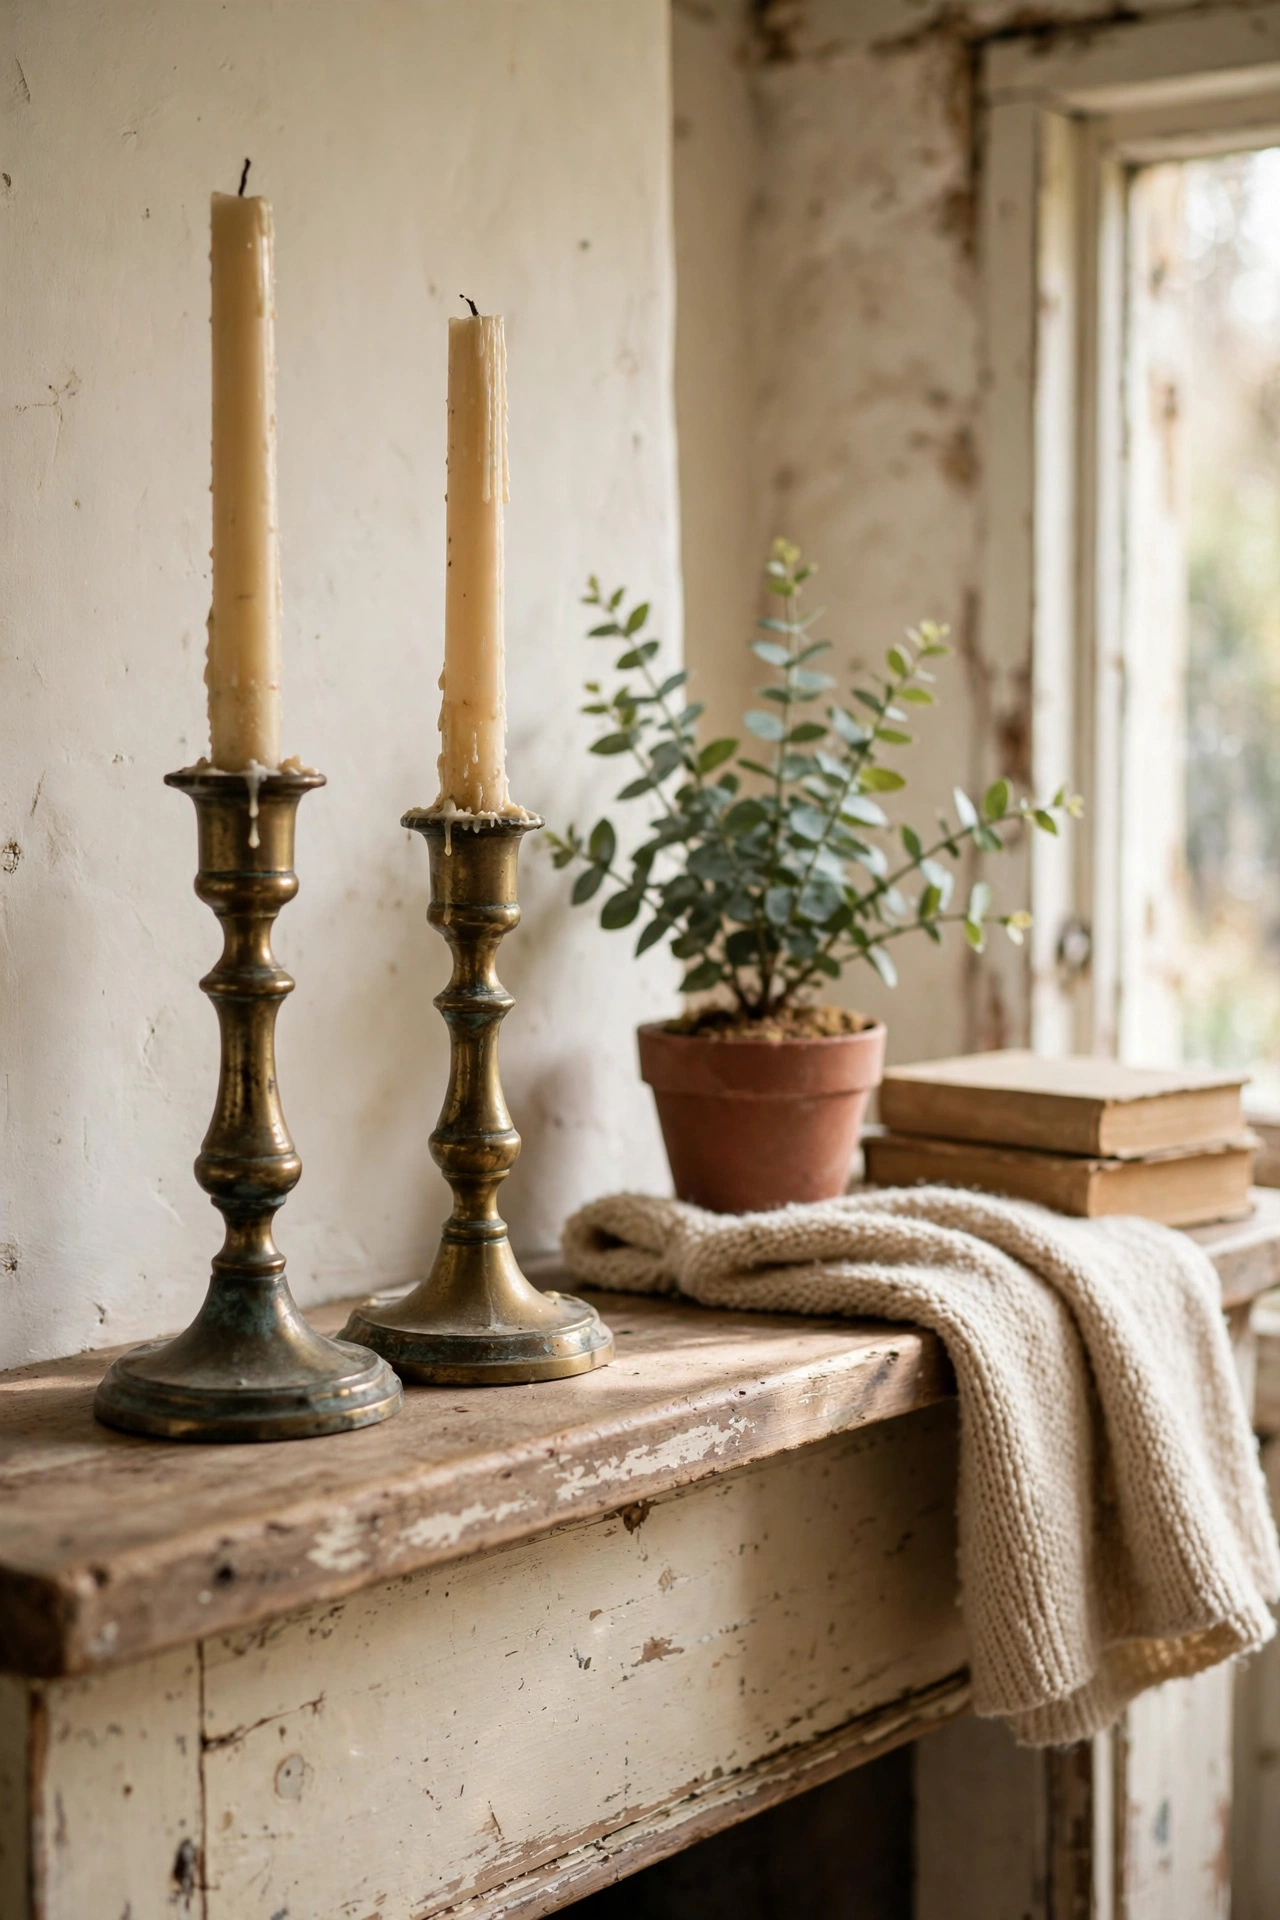
Tarnished brass candlesticks are easy thrift finds, and a gentle clean brings back the warm glow that makes them look expensive. Soak them in a paste of equal parts flour, salt, and white vinegar for an hour, then buff with a soft cloth. Do not polish them to a mirror shine: cottage style wants a soft, aged glow, so stop polishing while the patina still shows in the crevices. I found a pair for three dollars that now sit on my mantel with cream taper candles. They genuinely look like antiques.
Cost: ~$3-8 | Time: 1 hour plus soaking
Cosy Cottage Details
13. Kitchen Herb Jars on a Wooden Rail
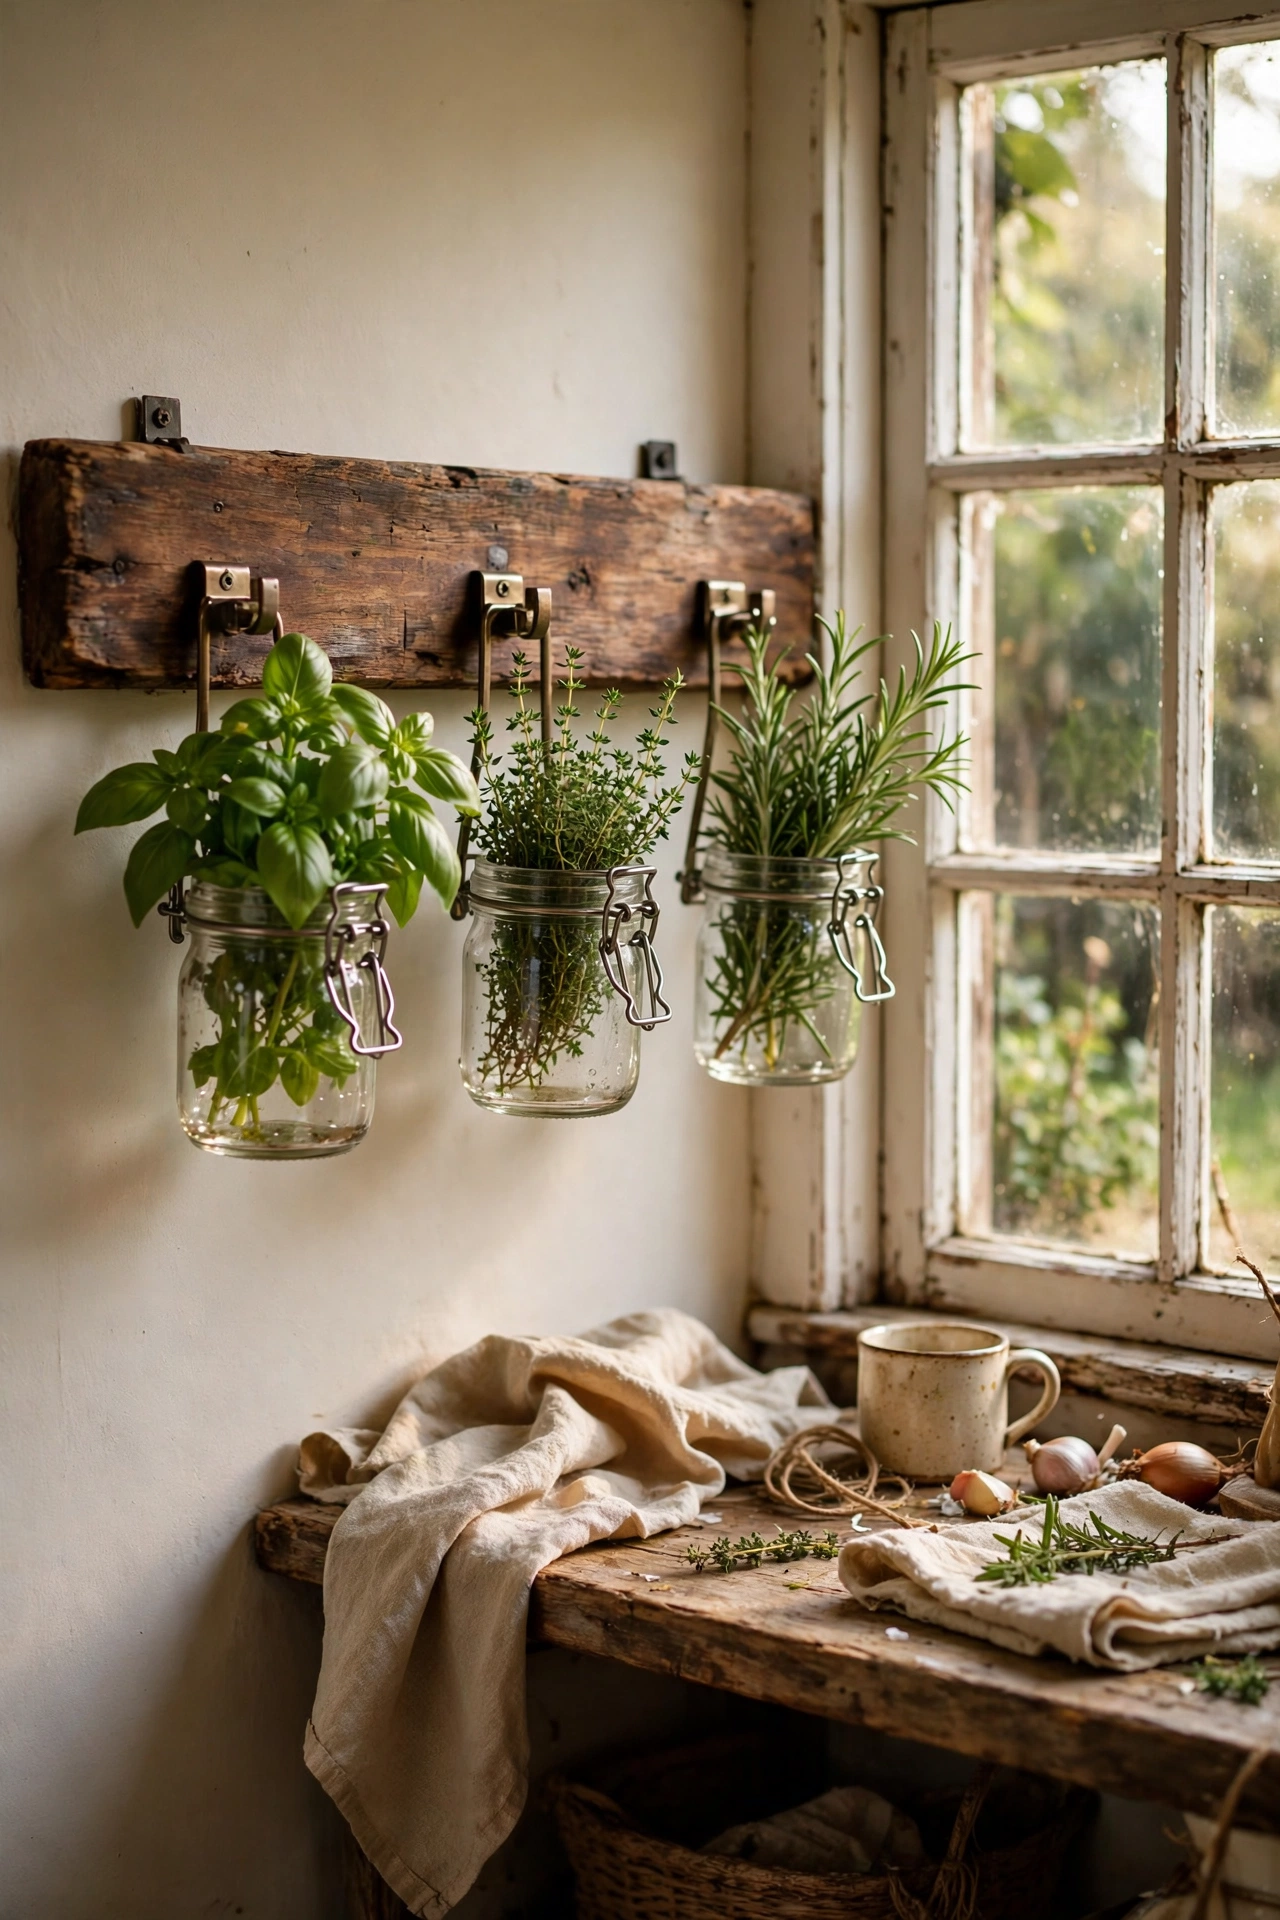
A row of glass jars planted with herbs on a simple wooden rail gives a kitchen instant cottage charm. Screw small metal pipe clips or jute loops onto a stained wooden board, hang it on the wall, and slot in glass jars of basil, thyme, and rosemary. I mounted mine by the kitchen window so the herbs get the light, and it smells lovely when I brush past. Water the jars sparingly and pop them out to water properly at the sink once a week, because herbs rot in standing water. Use small jars so the rail never gets too heavy.
Cost: ~$10-18 | Time: 1 hour
14. Patchwork Cushion Covers from Scrap Fabric
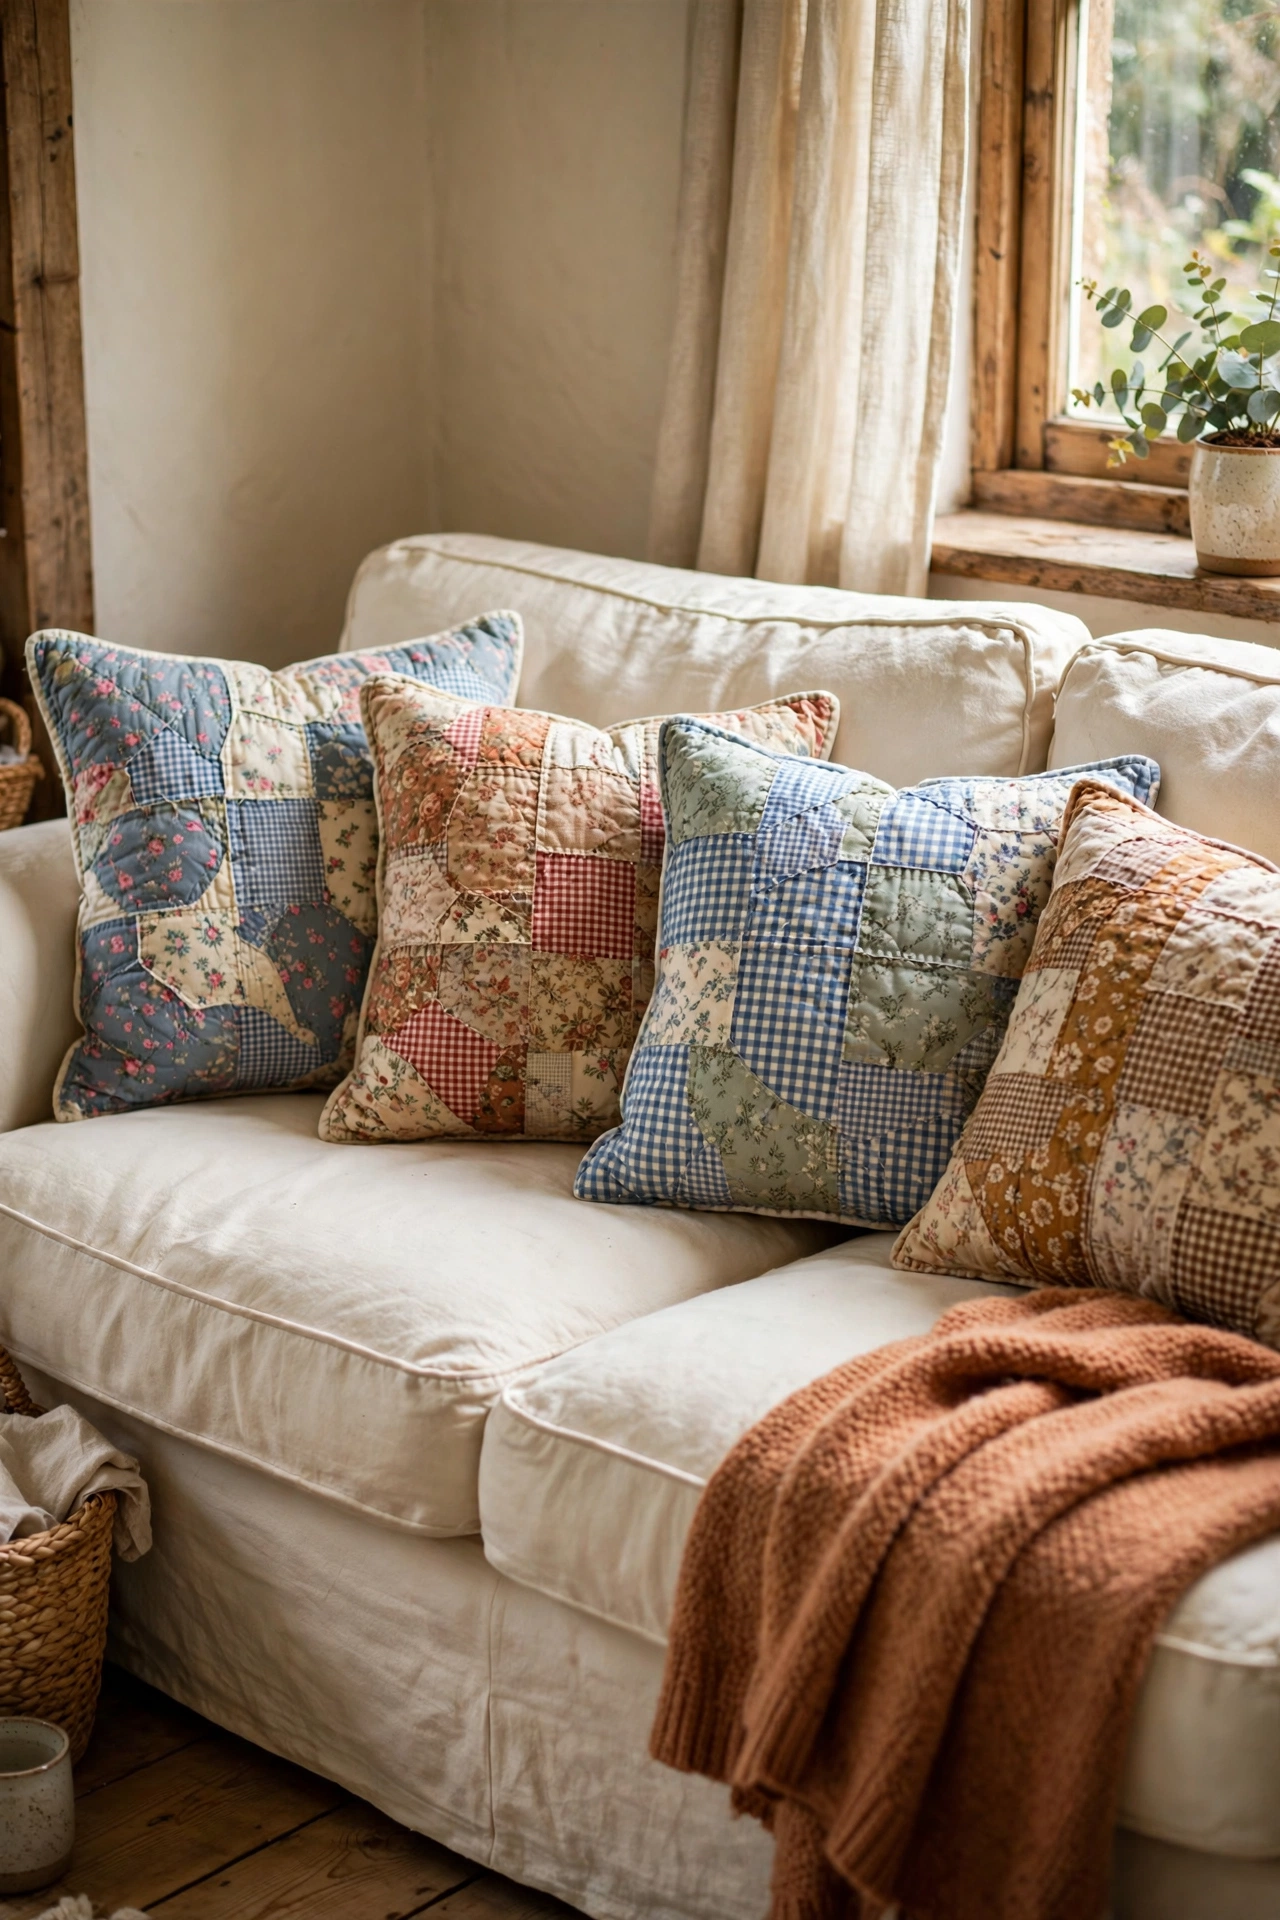
Patchwork cushions are the heart of cottage style, and scraps make them nearly free. Cut fabric leftovers into equal squares, sew them into a patchwork front, and back it with a plain piece of fabric. A simple envelope back means no zips to wrestle with. I used leftover quilting cotton in florals and ginghams, and the cushions look like the expensive ones in farmhouse shops. My mistake was mixing fabrics of very different weights, which made one cushion pucker. Stick to similar-weight cottons and the seams lie flat. See (see also: no-sew-curtain-ideas) for more fabric projects.
Cost: ~$4-10 | Time: 2 hours
15. Foraged Branch Peg Rail
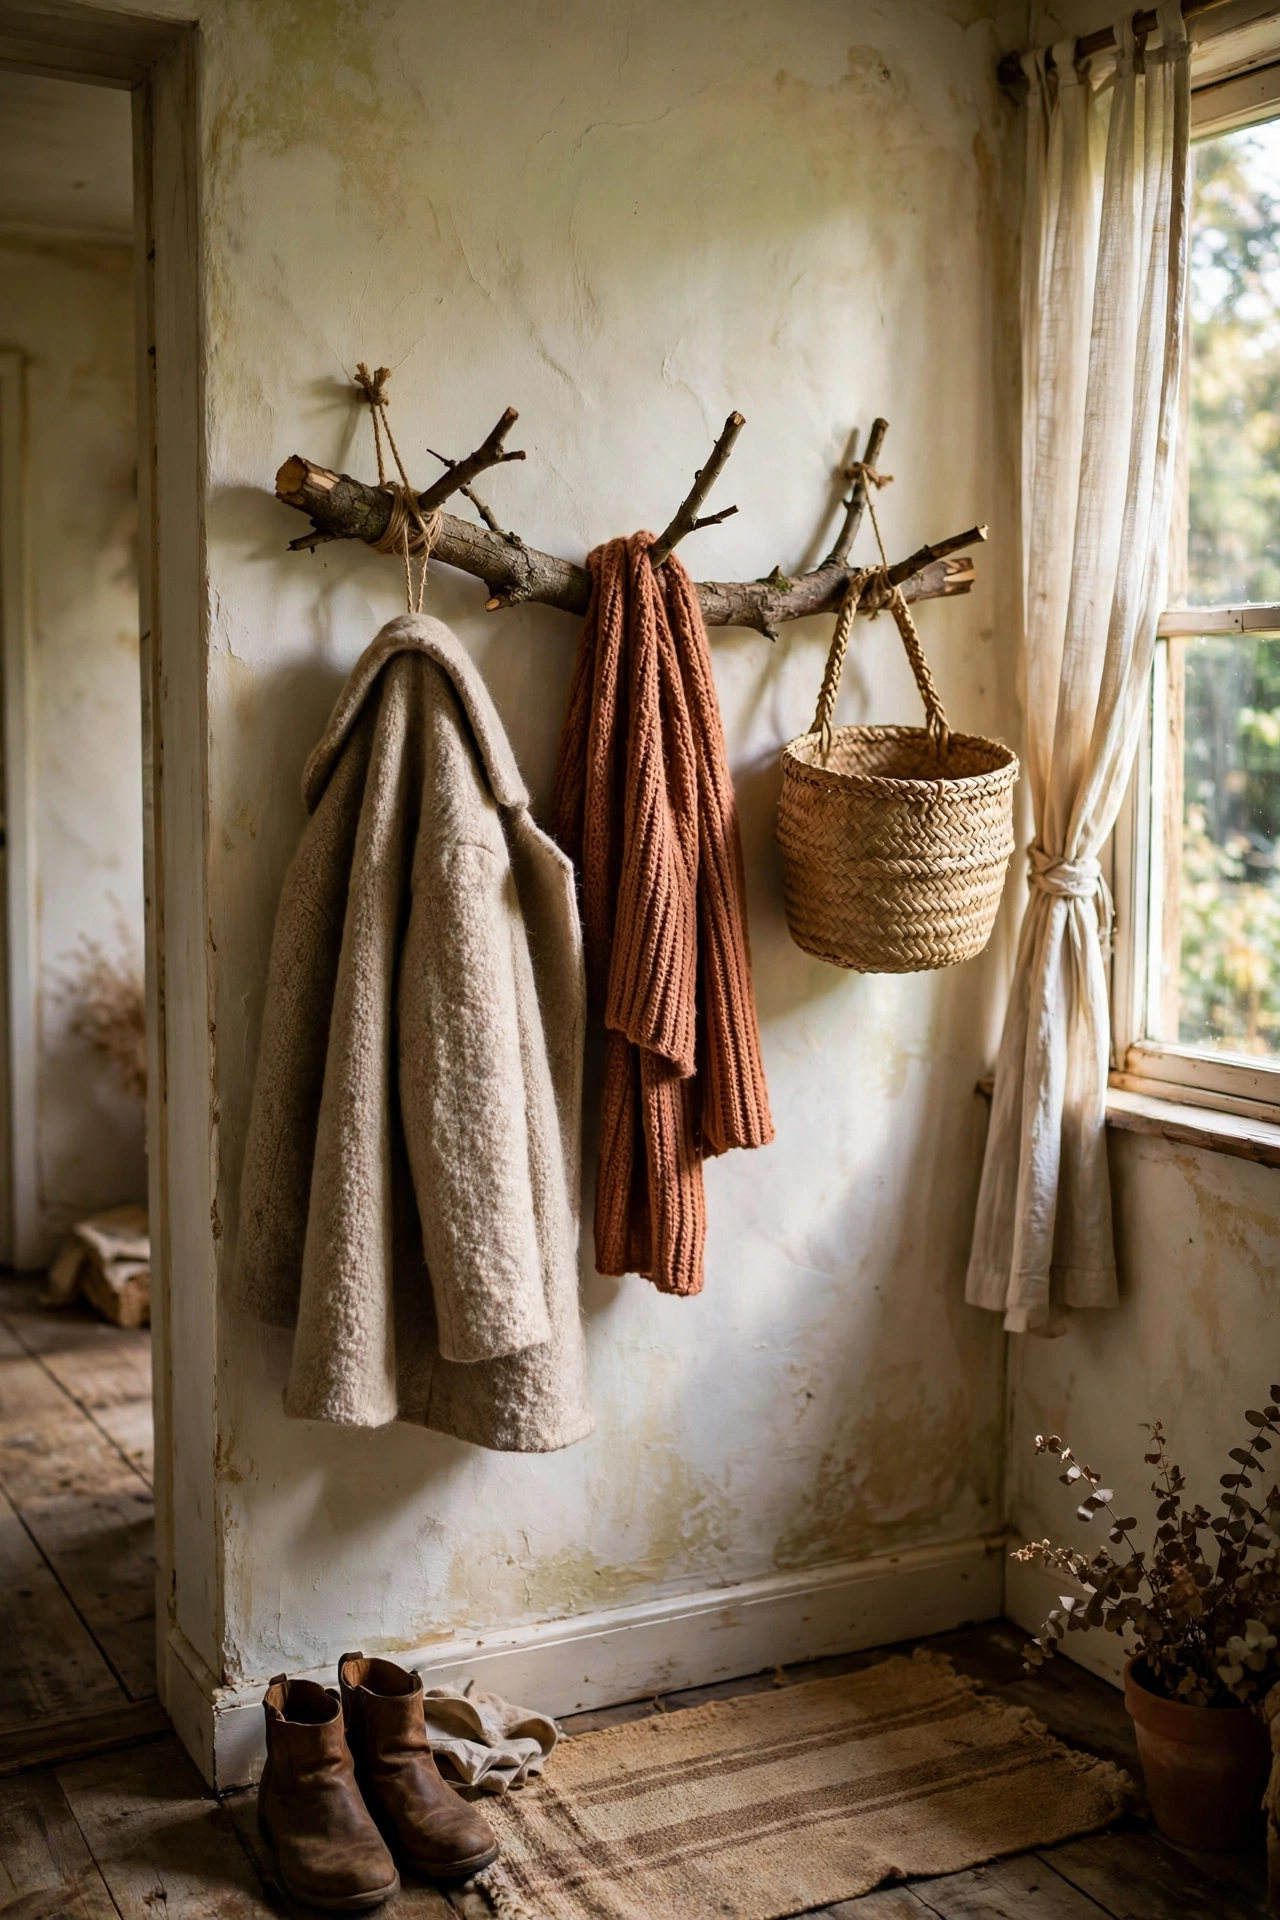
A sturdy branch mounted as a peg rail makes the loveliest hallway hook for coats and baskets. Find a straight, dry branch about four centimetres thick, scrub it clean, and let it dry indoors for a week. Screw wooden pegs or small hooks along its length, then mount it to the wall with two sturdy brackets into studs. I found mine on a woodland walk and stained it with leftover walnut stain. It cost me the price of the brackets and looks like something from a rustic furniture catalogue. Make sure the branch is fully dry or it will shrink and loosen the screws.
Cost: ~$8-15 | Time: 1 hour
Quick Questions
Q: What exactly is cottagecore decor?
A: Cottagecore is a style inspired by romantic rural life: floral prints, lace, linen, dried flowers, vintage furniture, and garden details. The expensive look comes from natural materials, soft muted colours, and handmade finishes. Everything on this list leans into those elements without the boutique price tag.
Q: Where is the cheapest place to find cottagecore supplies?
A: Charity shops and flea markets are the best sources for frames, teacups, lace, and brass, usually for a dollar or two per piece. Your garden, a park walk, or a neighbour’s hedge clipping provides free flowers, branches, and greenery. Craft stores only need to supply paint, wax, and twine.
Q: How do I keep dried flowers from falling apart?
A: Handle dried flowers gently and keep them out of direct sunlight and damp rooms. A very light mist of hairspray from about thirty centimetres away helps the buds stay intact without making them look stiff. Expect dried arrangements to last six to twelve months before they need replacing.
