25 DIY Nightstand Ideas on a Budget
My first diy Nightstand was a plastic crate that wobbled every time I reached for my glasses, and I lived with it far longer than I should have. A bedside table does not need to be fancy, but it does need to be steady, the right height, and big enough for a lamp, a book, and a glass of water. Once I worked that out, I realised almost anything can become a nightstand with a bit of thought.
All 25 of these diy Nightstand ideas cost very little, and most use things you already own or can find second hand. Some are five-minute swaps and others are small weekend builds. Work through the under $10 wins first if you want something tonight, then try the makeovers and builds when you have a free weekend. Pick the one that suits your skill level and your bedroom.
Under $10 Bedside Wins
1. Stacked Vintage Suitcases Nightstand
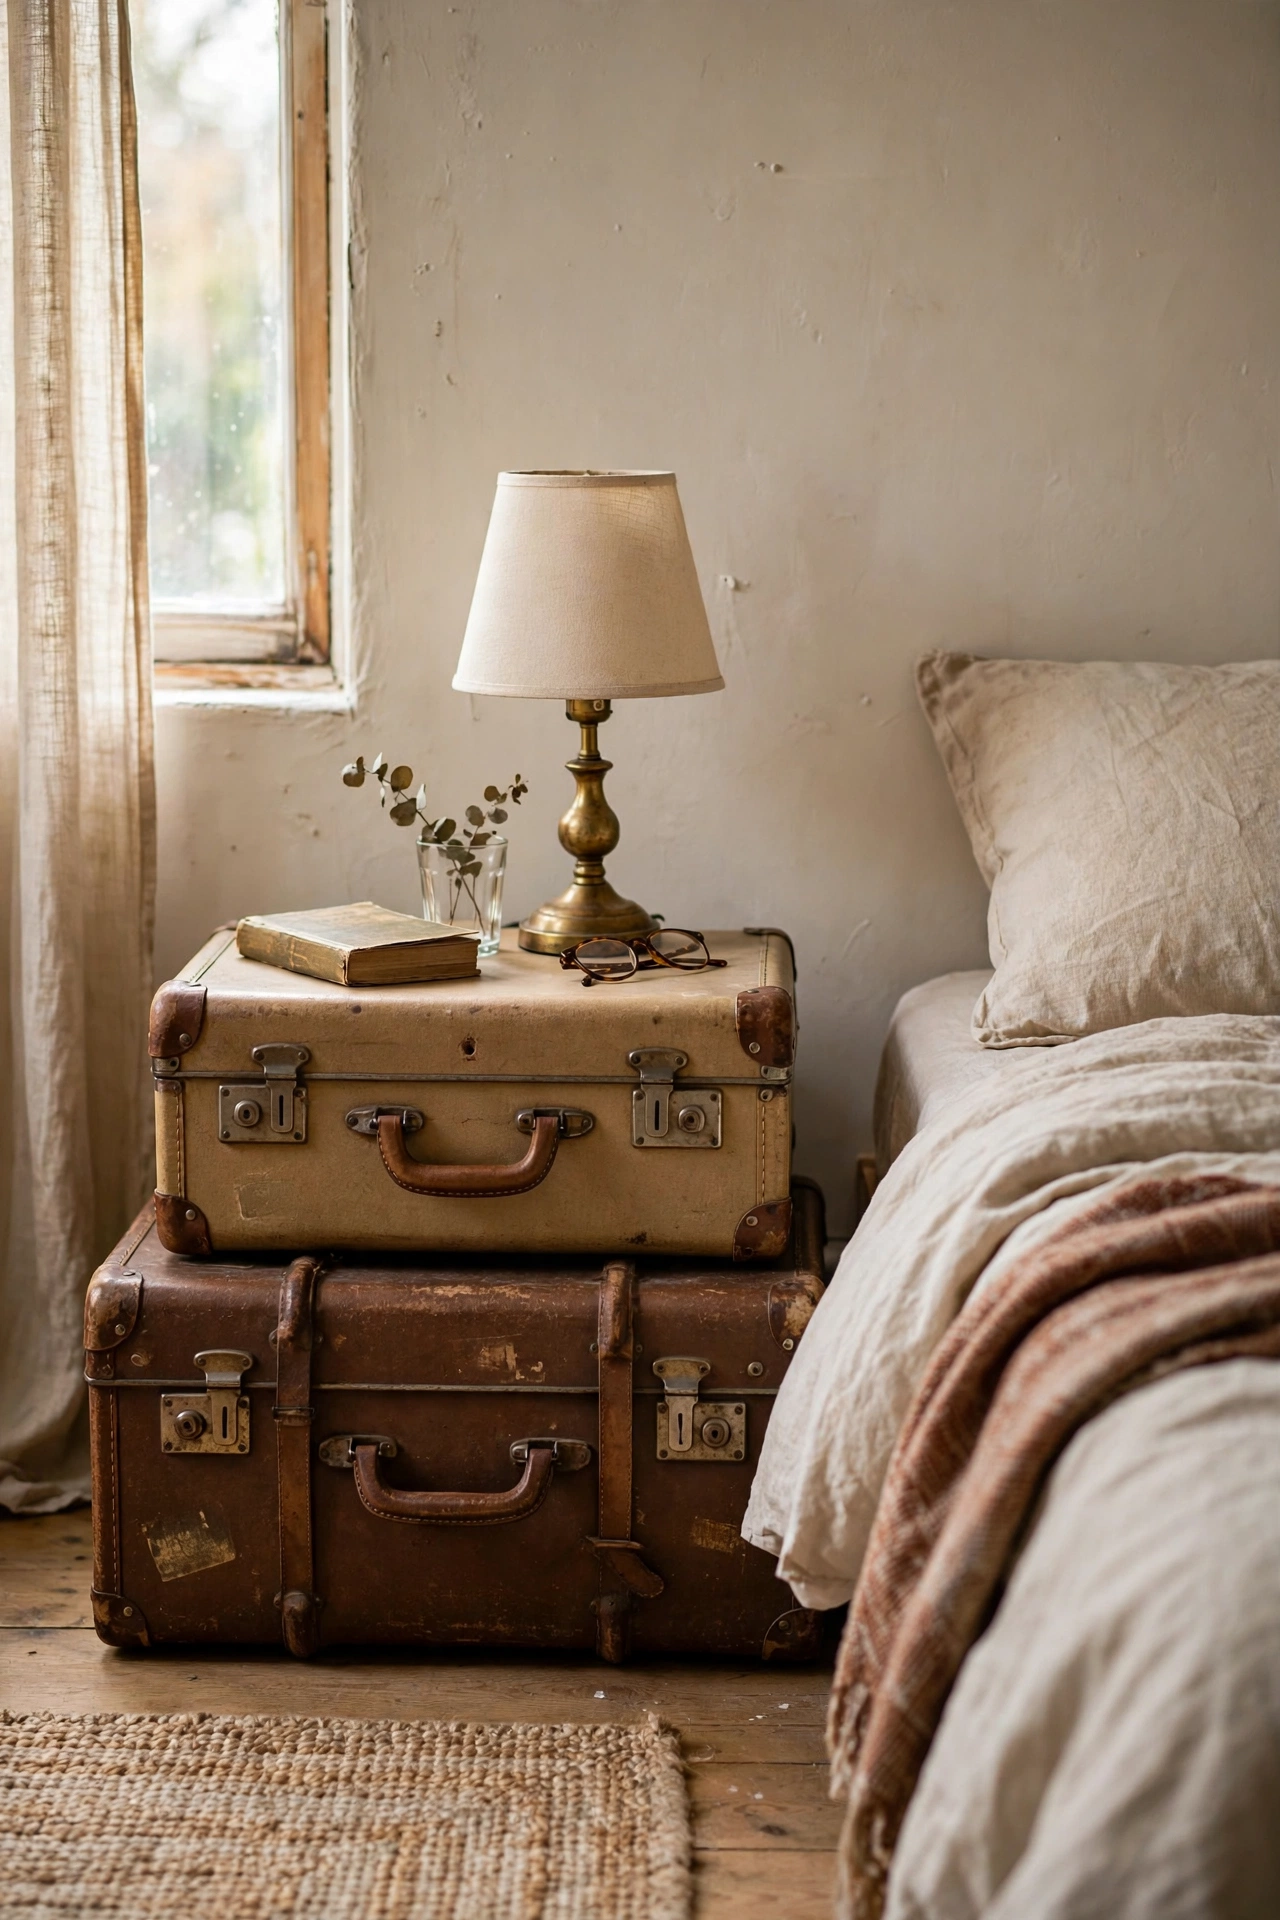
Two or three vintage suitcases stacked largest to smallest make a nightstand with built-in storage and real character. Hunt for hard-sided cases with working latches at thrift stores, usually $3 to $8 each, and stack them so the largest sits at the bottom for stability. The top case needs to be flat enough to hold a lamp, so test it in the store. I built one for my guest room and visitors always ask where it came from. My mistake was stacking them without checking the latches, and the middle case slid open overnight, so fasten every latch or add a strap. Keep the total height within two inches of your mattress top.
Cost: ~$6-16 | Time: 15 minutes
2. Wooden Crate Nightstand
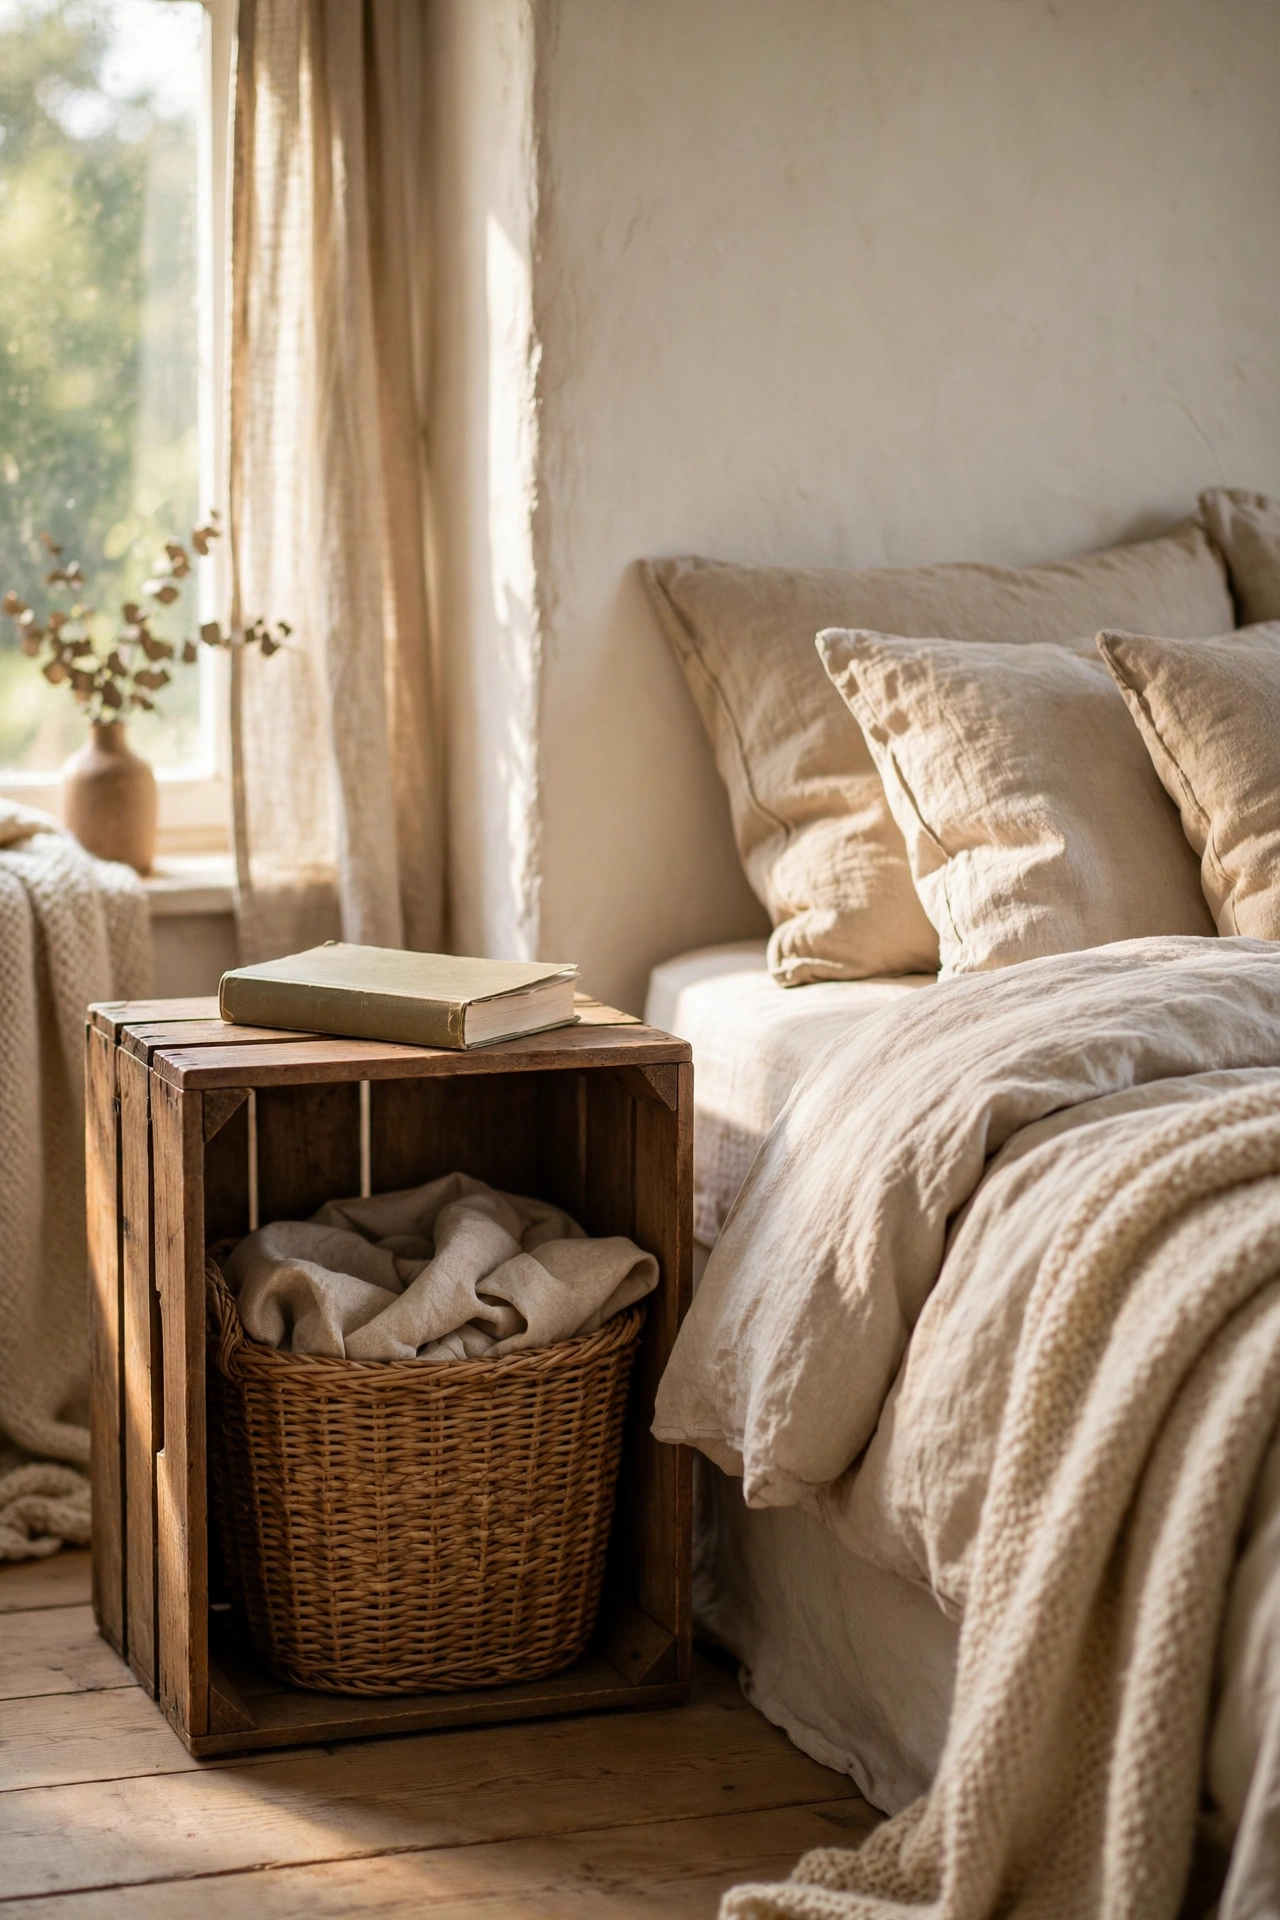
A wooden crate turned on its side is the fastest nightstand on this list. Sand the rough edges smooth, rub in a coat of furniture wax or a light stain, and stand the crate on its side so the opening faces out like a cubby. Slide a small basket or a stack of books inside for storage. I made one in twenty minutes for my son’s room and it has survived years of abuse. My mistake was leaving the splintery edges unsanded, which caught on the bedding, so sand every edge you might brush against in the night. Stack two crates for a taller nightstand if your bed sits high.
Cost: ~$5-12 | Time: 20 minutes
3. Thrifted Wooden Stool Nightstand
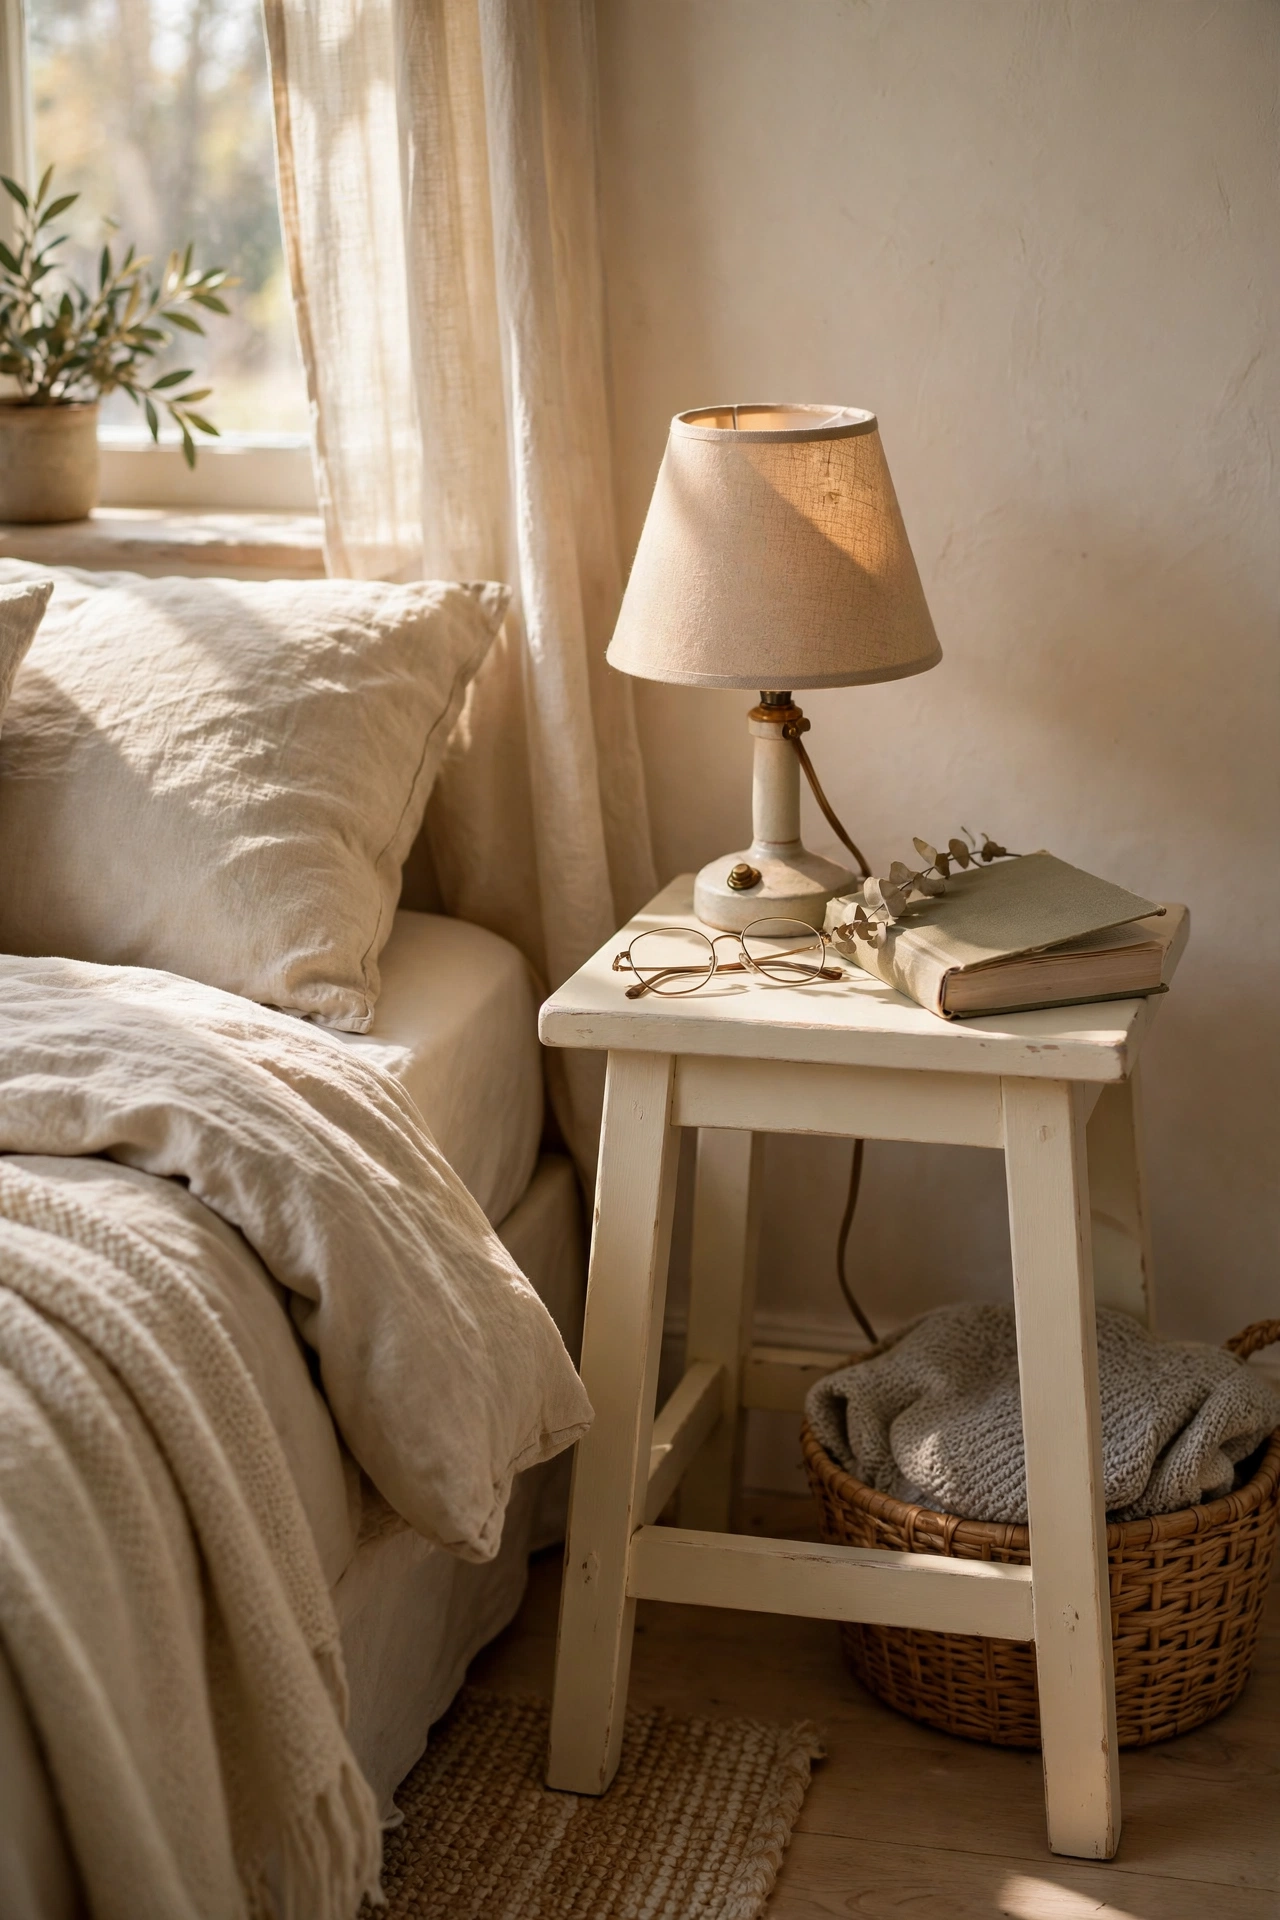
A sturdy wooden stool at the right height works perfectly as a nightstand and costs almost nothing. Look for a solid stool around 55 to 65 centimetres tall, which suits most beds, and check it does not wobble before you buy. Sand it down, paint it to match your bedding, and it will hold a lamp and a book with ease. I found a farmhouse-style stool for $4 and painted it cream. My mistake was choosing a stool with a round top first, and everything slid straight off, so pick a flat square or rectangular seat. The open space underneath keeps a small bedroom feeling airy.
Cost: ~$4-10 | Time: 1 hour
4. Sideways Milk Crate with Fabric Wrap
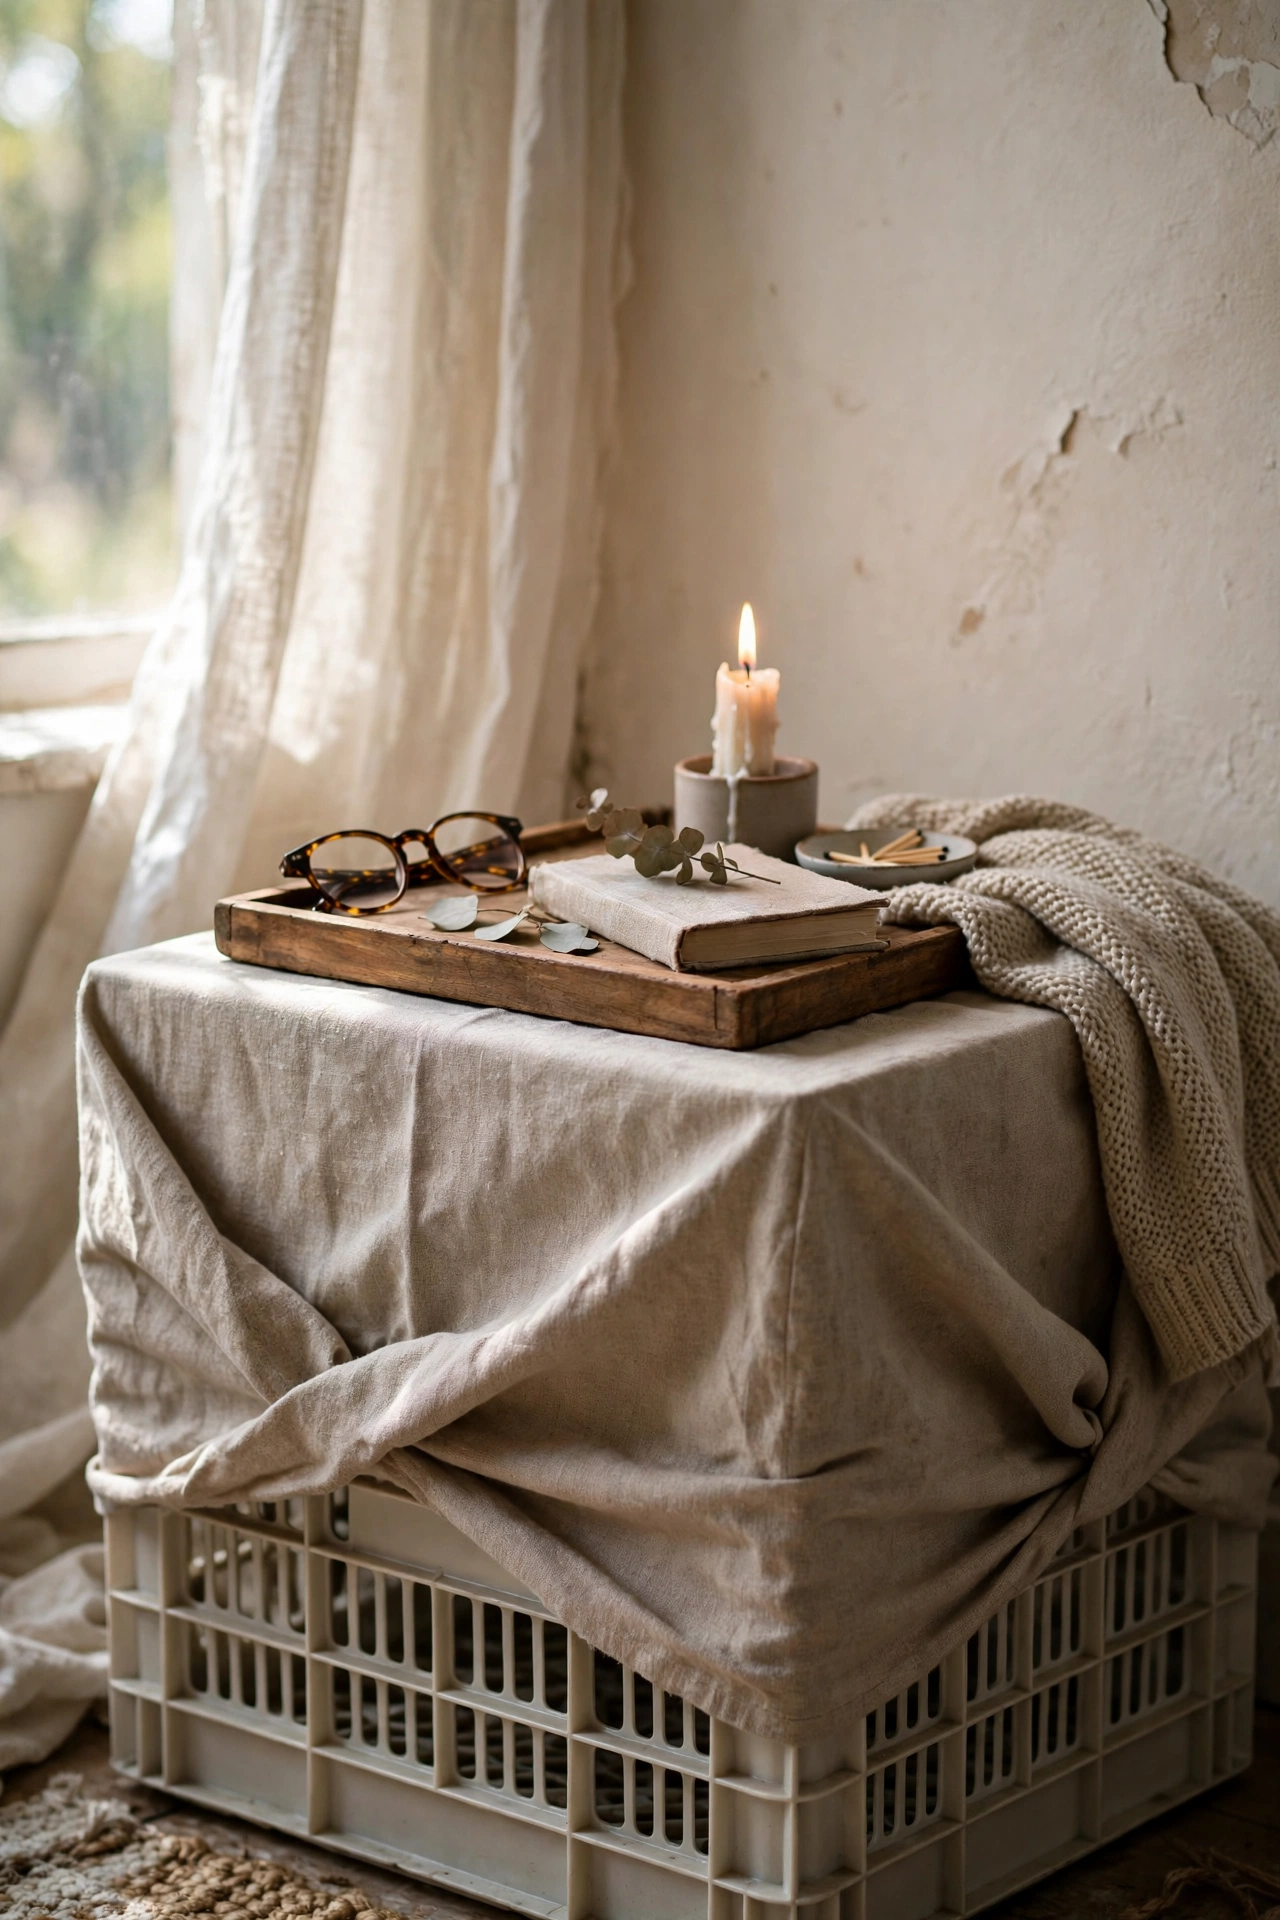
A plastic milk crate becomes a tidy nightstand when wrapped in fabric. Choose a sturdy crate, cut a piece of fabric large enough to wrap all four sides, and secure it with a staple gun or strong double-sided tape, folding neat corners as you go. Place a wooden tray or a square of plywood on top for a stable surface. I made one for a dorm-style room and it hid chargers and clutter completely. My mistake was using thin cotton that showed the crate grid underneath, so use a medium-weight fabric or double the layer. Pick a fabric that matches your bedding for a pulled-together look.
Cost: ~$5-10 | Time: 30 minutes
5. Small Leaning Ladder Shelf
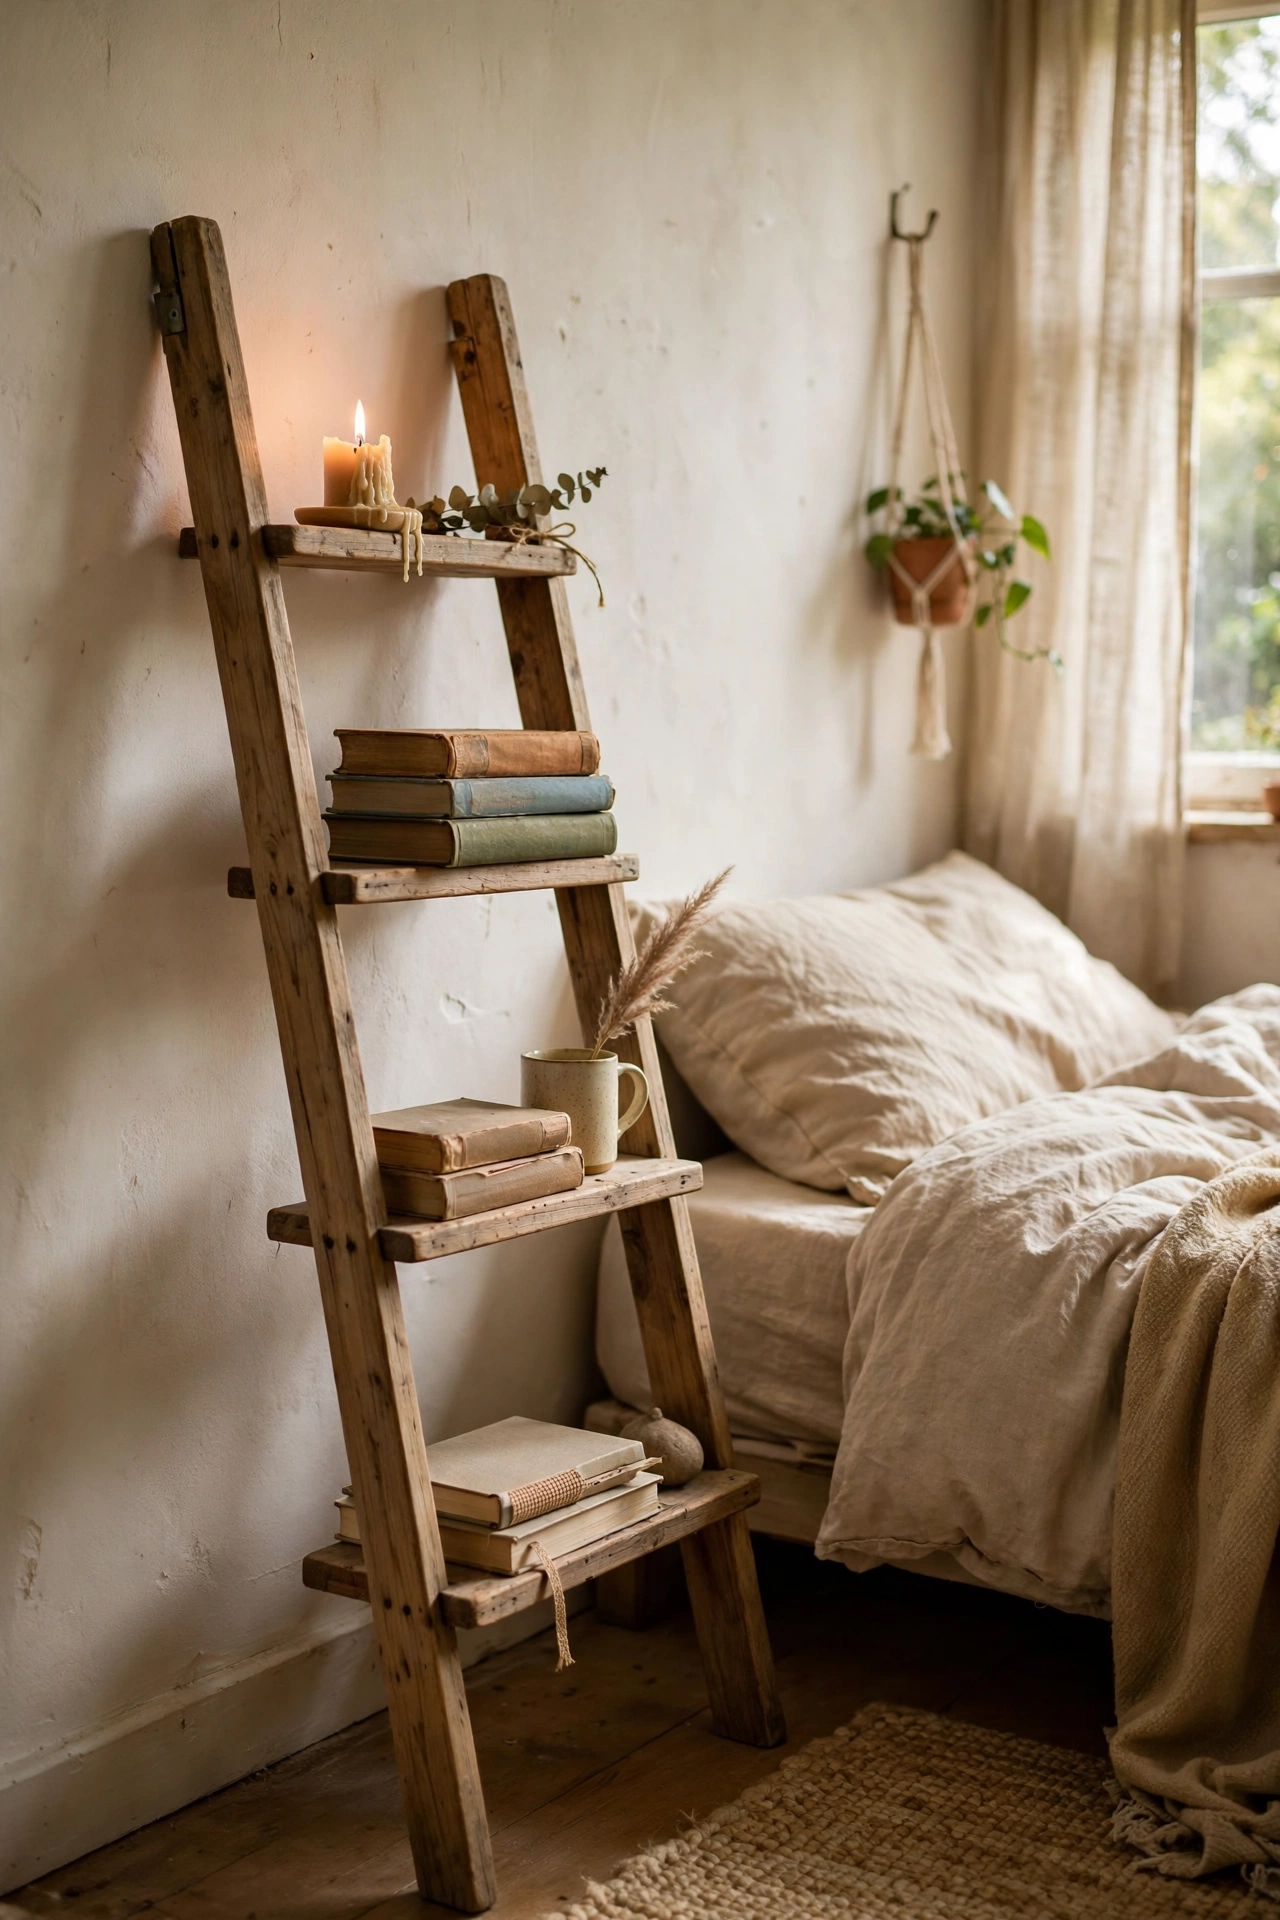
A short wooden ladder leaned against the wall gives you three levels of bedside storage in almost no floor space. Find a small step ladder or decorative ladder at a thrift store, sand it smooth, and lean it at a safe angle with the feet about 30 centimetres from the wall. Lay a board across the rungs if you need a flat surface for a lamp. I use one in my reading nook for books and a candle. My mistake was leaning it too steeply at first and it felt unstable, so test the angle and add felt pads under the feet. Anchor it to the wall if you have young children.
Cost: ~$6-12 | Time: 30 minutes
6. Book Stack Nightstand with Tray

A stack of large hardcover books topped with a tray is the book lover’s nightstand. Gather eight to twelve chunky hardcovers, thrifted for $1 each, and stack them largest at the bottom on a stable base. Top the stack with a flat wooden tray to create a level surface for your lamp and water glass. I built one beside my bed and it sparks conversation every time someone sees it. My mistake was stacking paperbacks, which compressed and leaned within weeks, so use hardcovers only. Keep the stack no taller than your mattress for easy reaching in the dark.
Cost: ~$8-15 | Time: 20 minutes
Thrifted Furniture Makeovers
7. Spray-Painted End Table
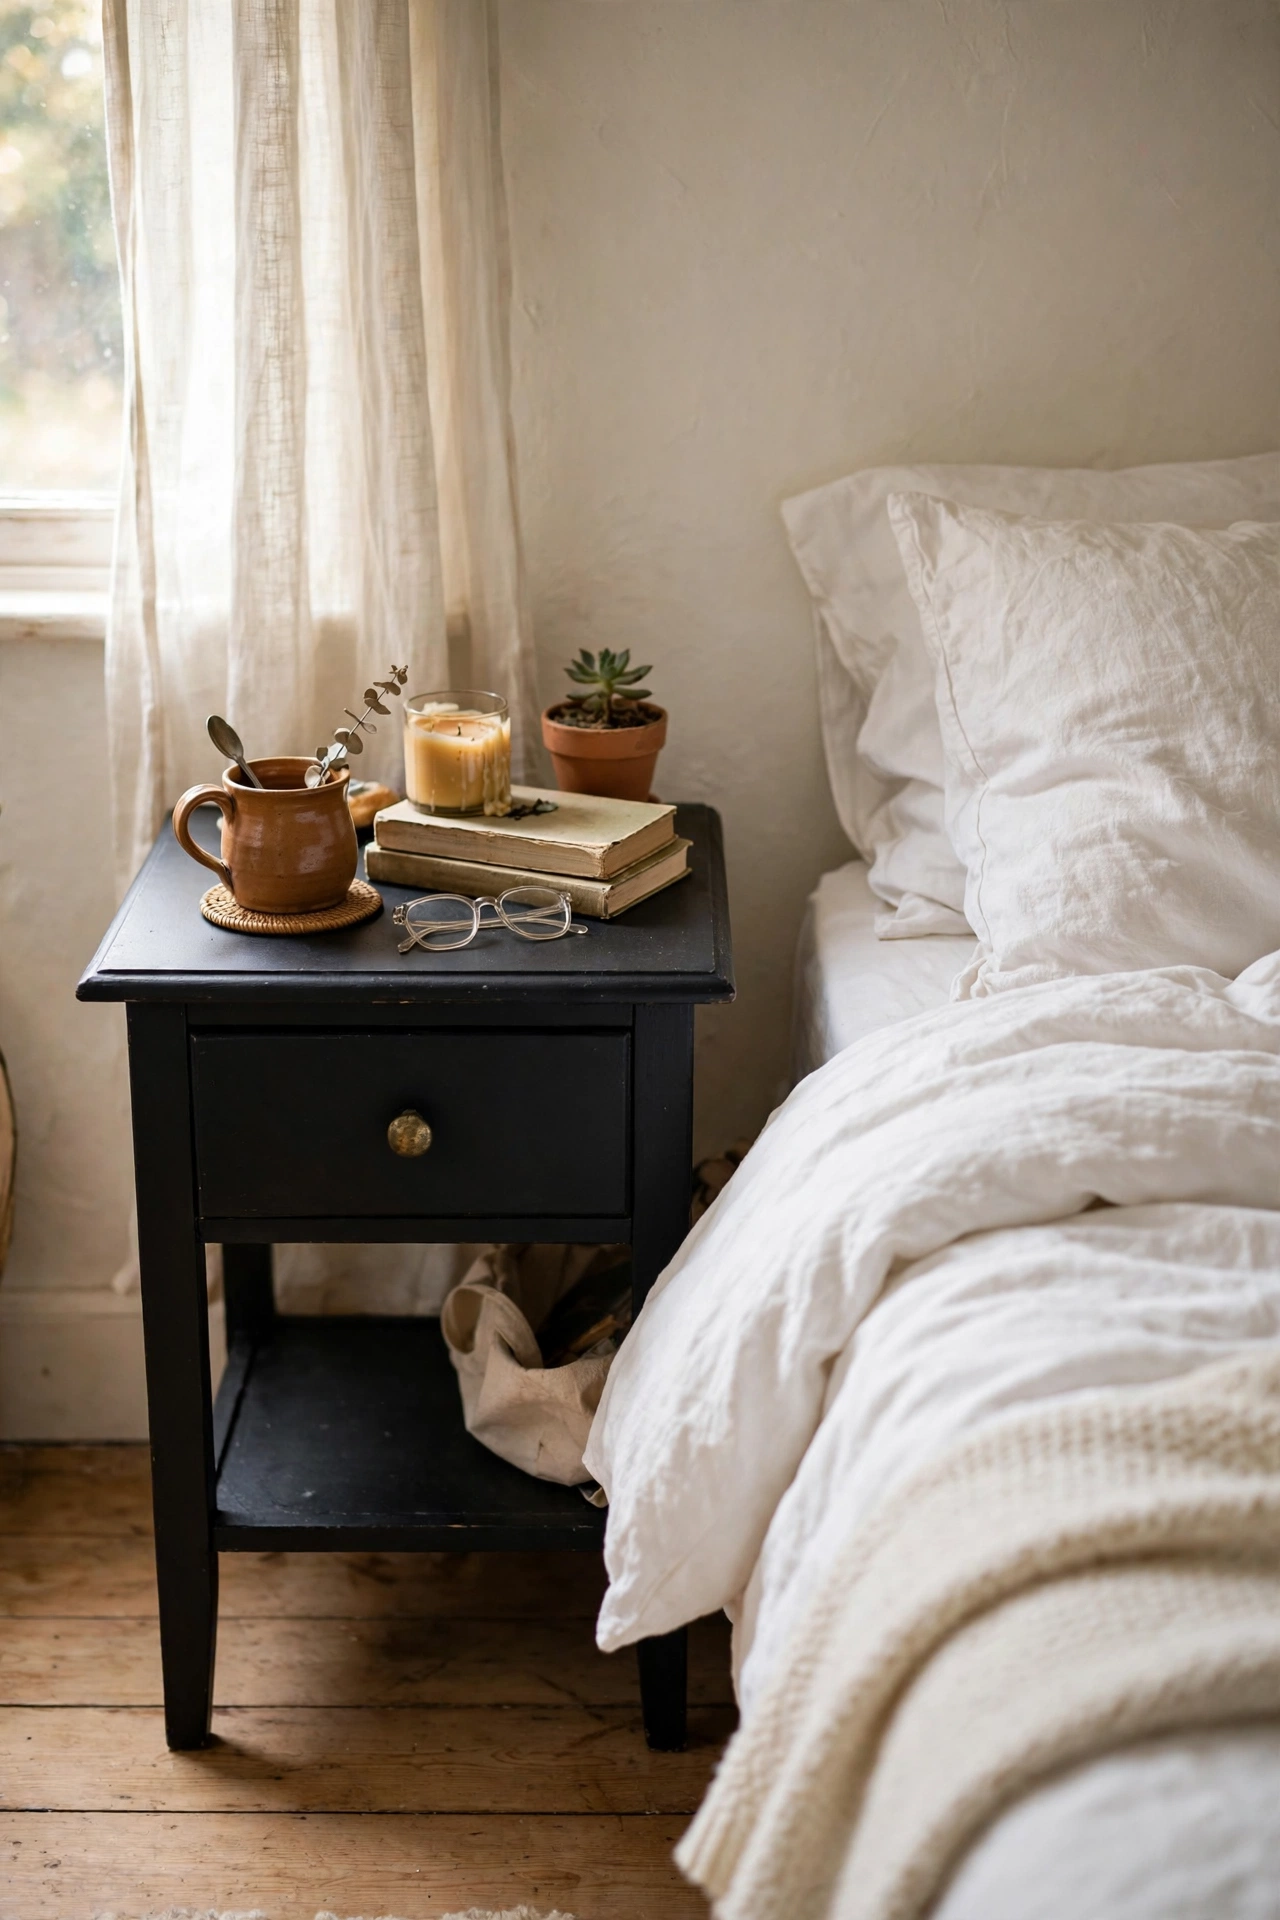
A scratched end table from a thrift store becomes a smart nightstand with spray paint. Remove the hardware, clean every surface with sugar soap, scuff with fine sandpaper, and apply three light coats of spray paint twenty minutes apart, finishing with a clear topcoat. I turned a $7 oak-look table matte black and it looks sharp against white bedding. My mistake was spraying too close on the first coat and getting drips down the legs, so keep the can 25 centimetres away and keep it moving. Light coats are the whole secret to a smooth, professional finish.
Cost: ~$12-18 | Time: 1 hour plus drying
8. Single Dresser Drawer Nightstand
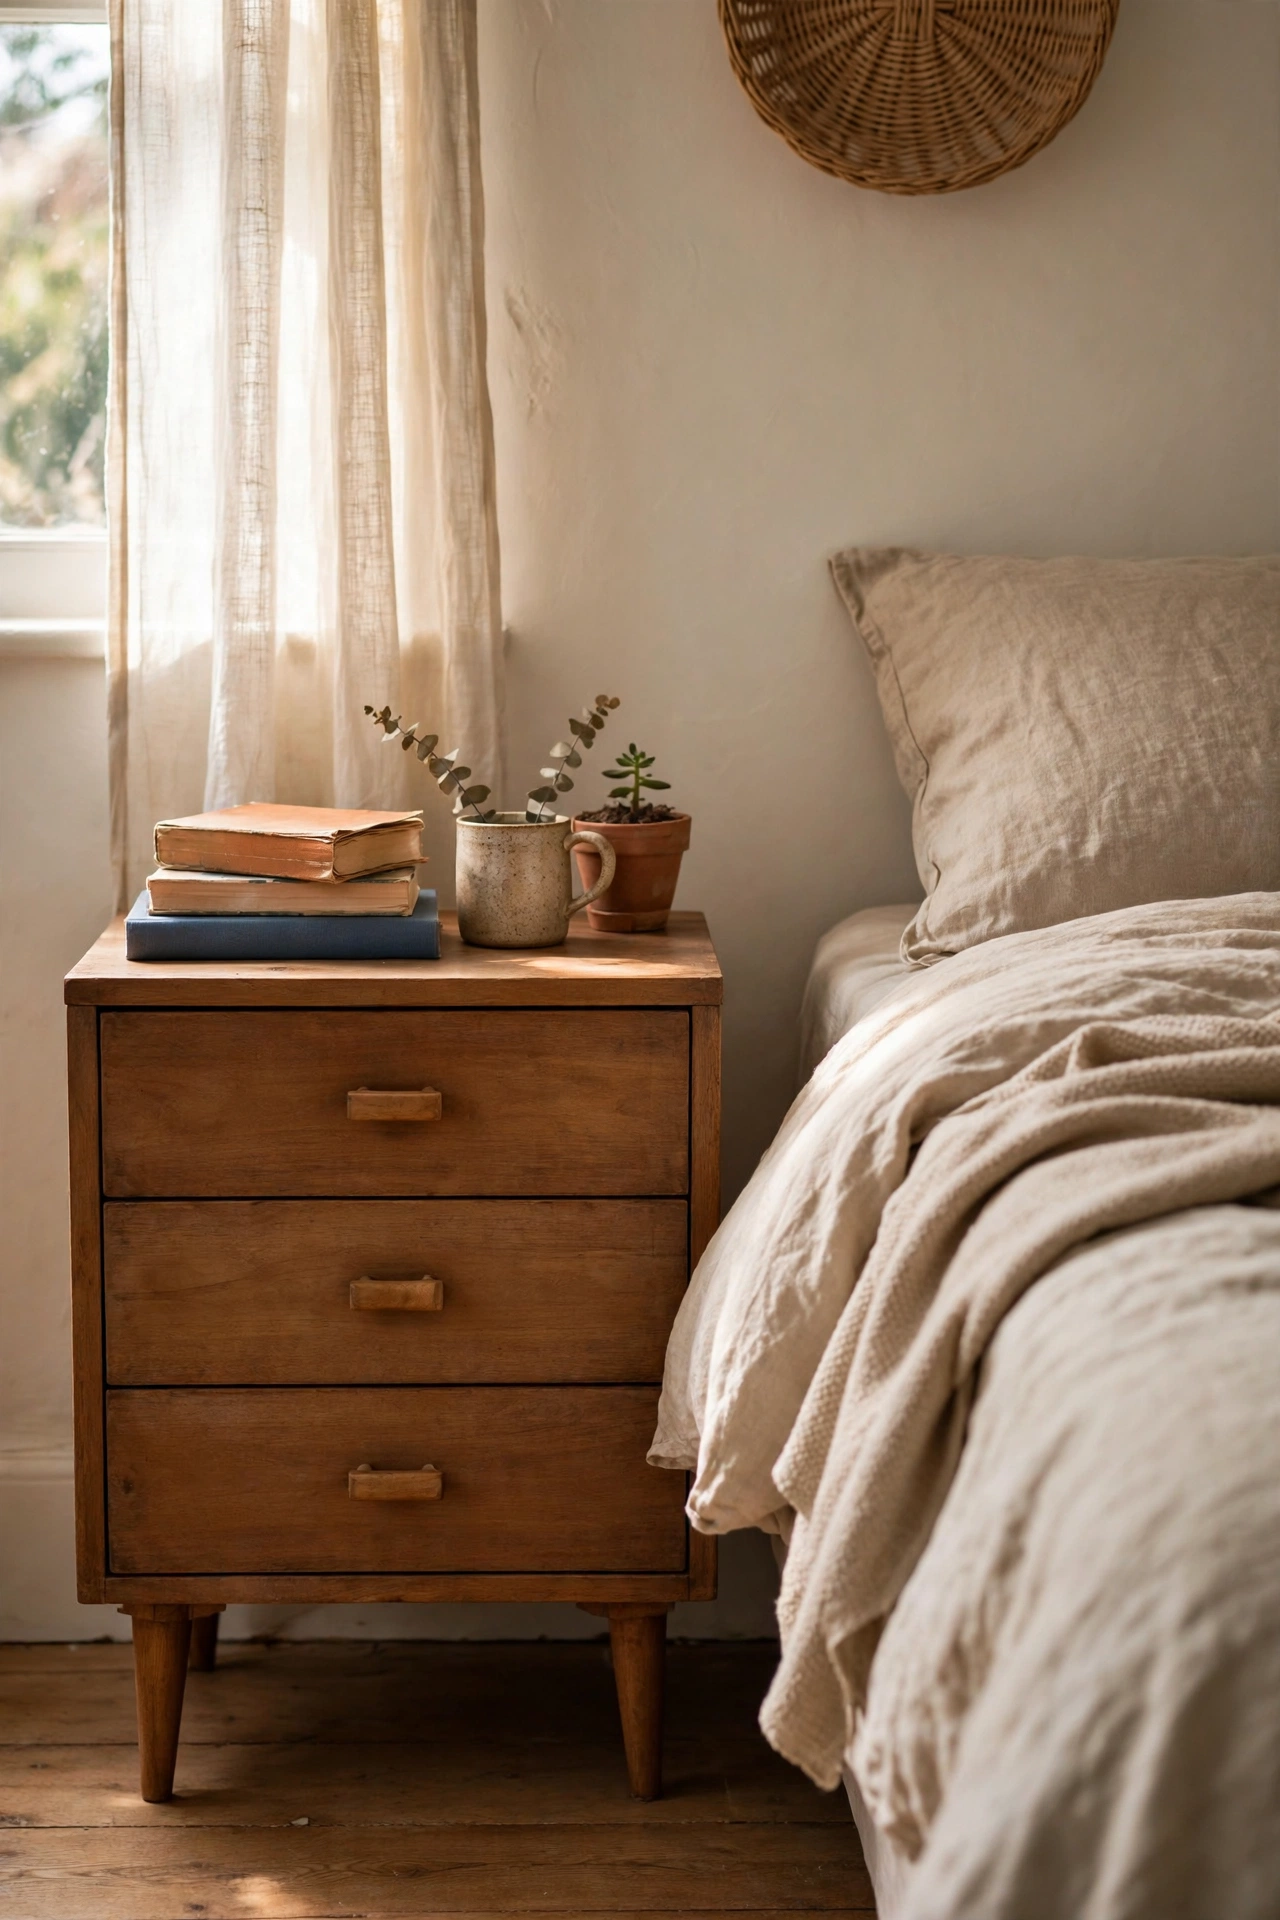
A spare dresser drawer mounted on short legs makes a nightstand with a deep storage cubby. Find a solid wood drawer at a salvage shop or thrift store, attach four short tapered legs to the corners with metal mounting plates, then sand and paint the whole piece. The open front holds books and a basket within easy reach. I made one from a $3 drawer and it is the sturdiest small table I own. My mistake was using legs that were too thin, and it looked spindly next to the bed, so choose legs at least 4 centimetres square. Measure twice before drilling the plates.
Cost: ~$10-18 | Time: 2 hours
9. Chalk-Painted Bedside Table
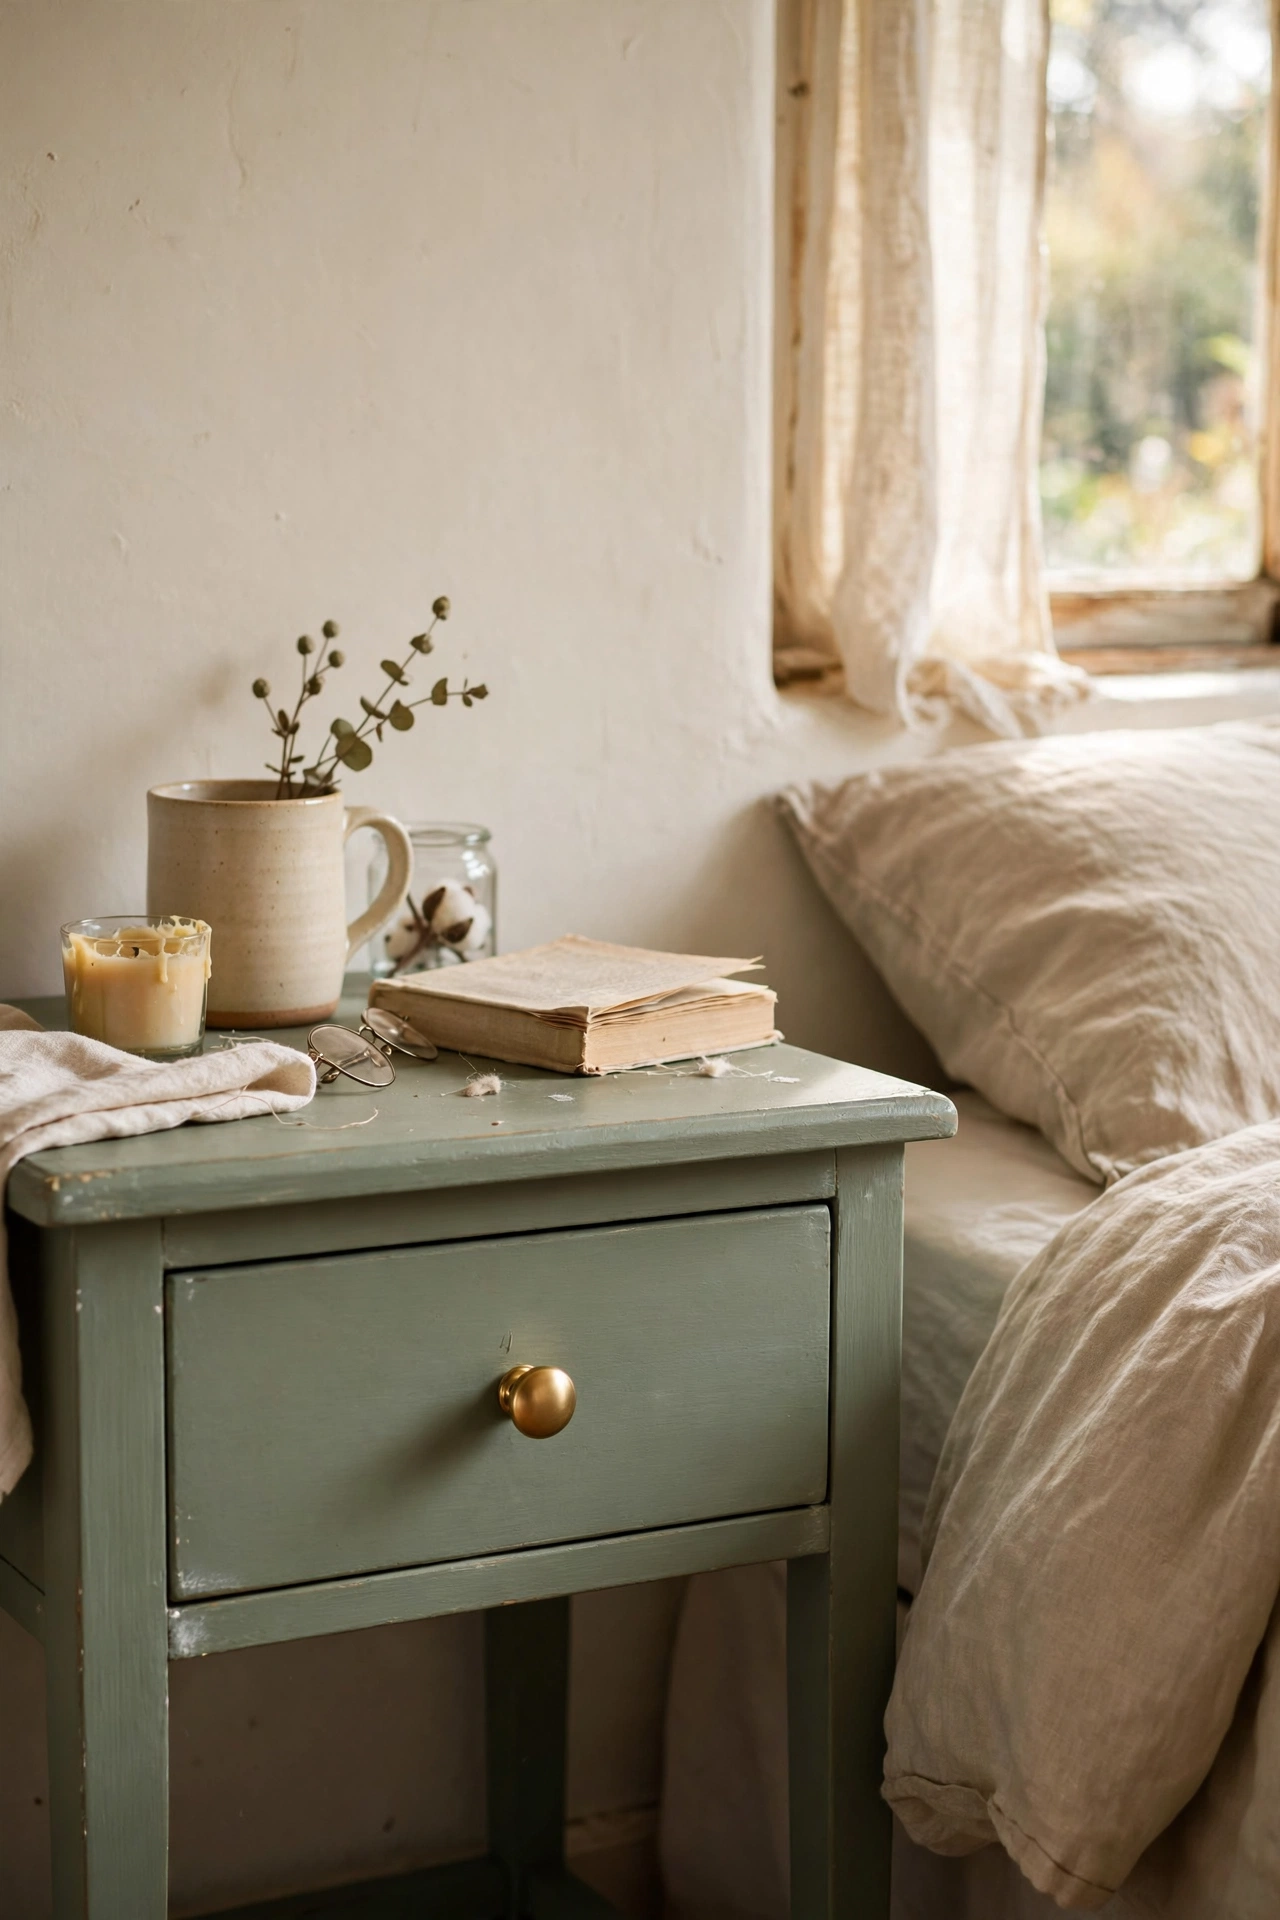
A dated bedside table with good bones is a perfect chalk paint candidate. Clean it thoroughly with sugar soap, brush on two coats of chalk paint in a soft neutral, distress the edges lightly with fine sandpaper if you like the worn look, and seal with clear wax buffed to a soft sheen. I painted a 1980s pine table sage green and swapped the knob for a brass one. My mistake was skipping the wax on my first chalk paint project, and the finish marked at the slightest touch, so always seal it. The matte finish hides a multitude of sins in old wood.
Cost: ~$12-20 | Time: 1 day
10. Vintage Telephone Table Revival
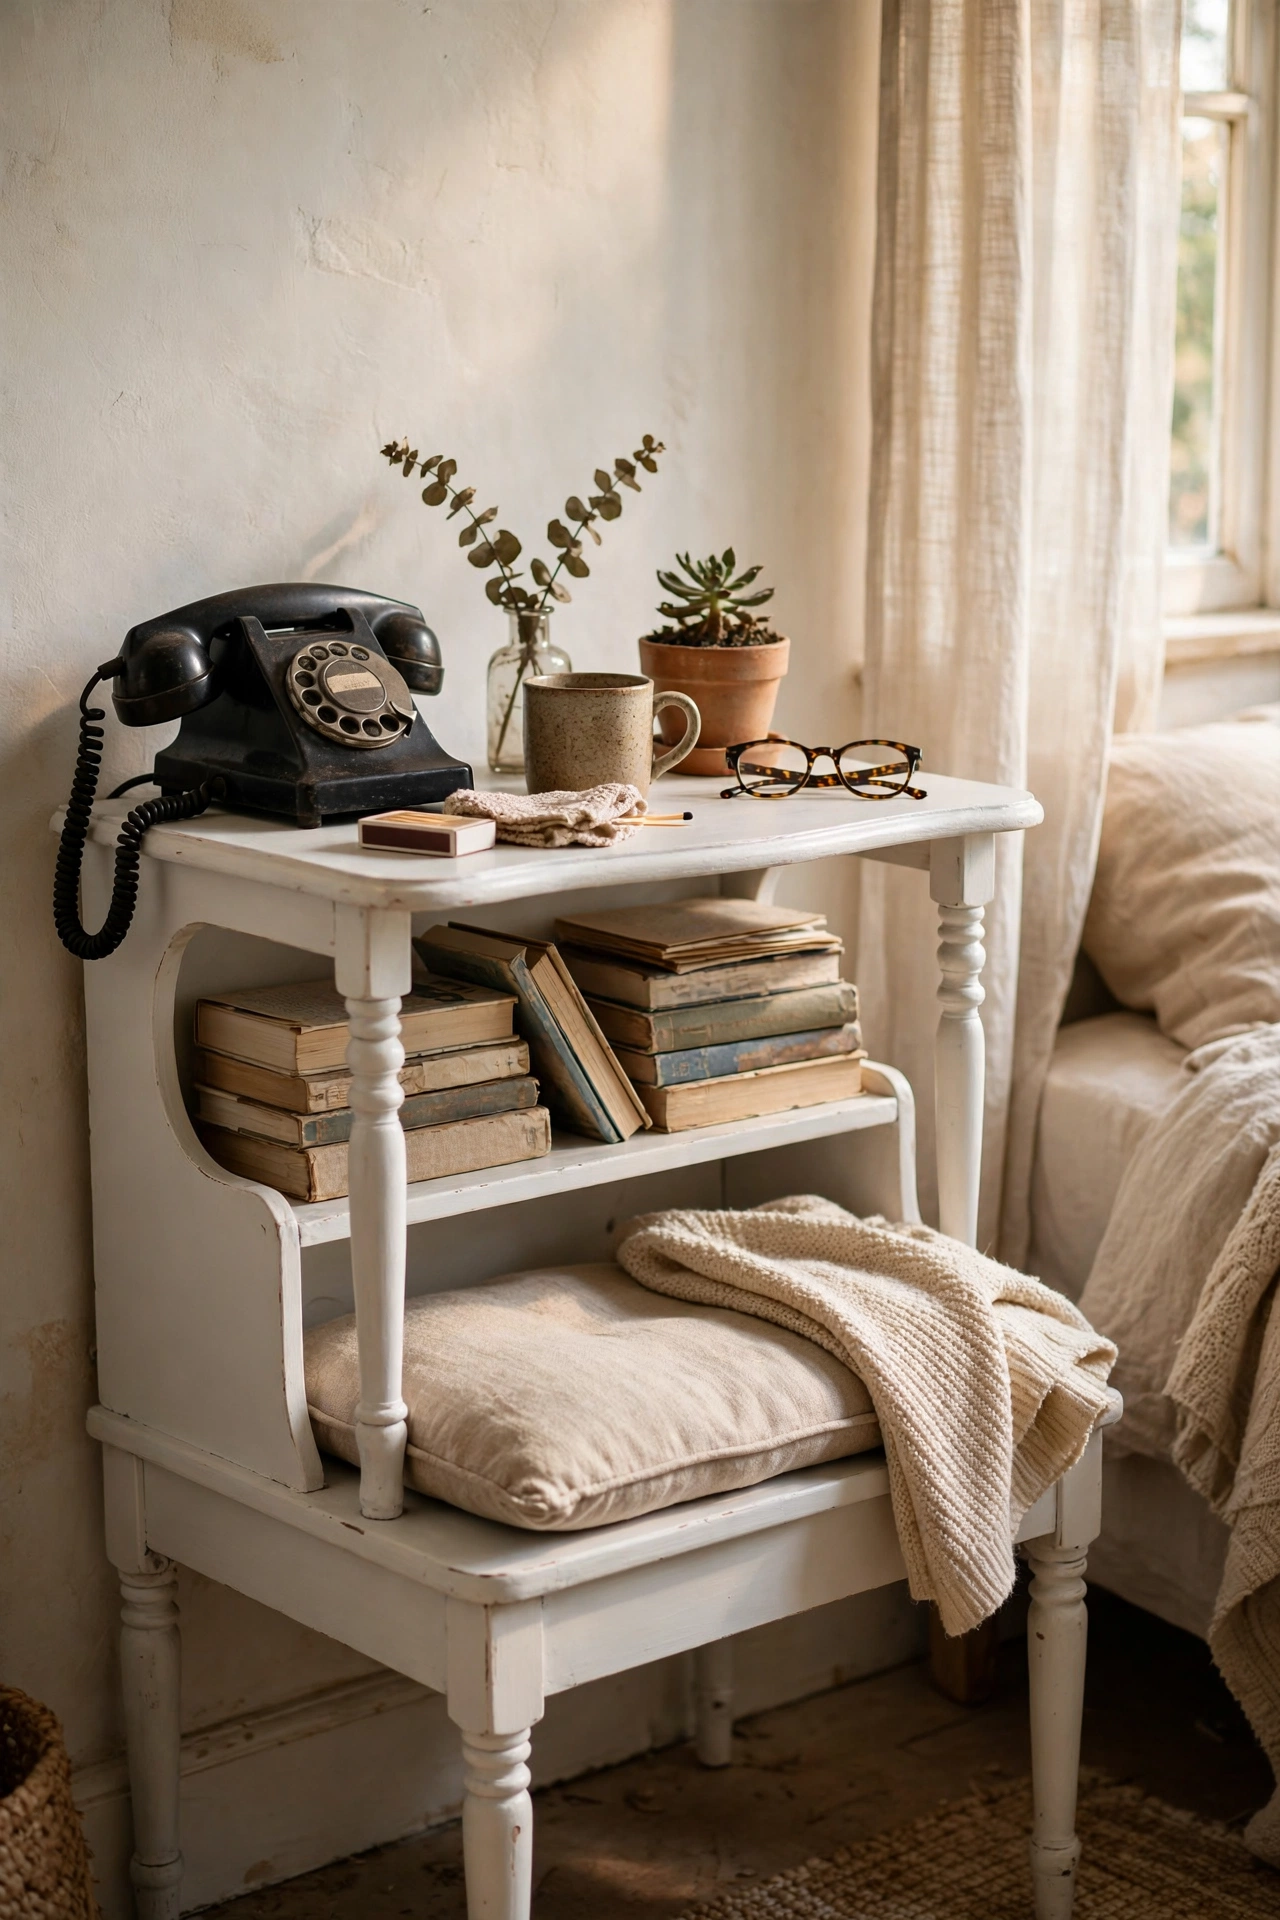
Those small telephone tables with a seat and a shelf are ideal nightstands for compact bedrooms. Keep or remove the seat depending on your space, sand the whole piece, and paint it in a colour that suits your room. The lower shelf holds books and the seat becomes extra surface or a spot for a basket. I revived one for $10 and use the seat for my current reads. My mistake was painting over the original hinges and latch, which looked cheap and stuck, so remove all hardware before painting. Check the joints are solid before you buy, because wobbly legs are hard to fix.
Cost: ~$10-18 | Time: 1 day
11. Sanded and Oiled Oak Nightstand
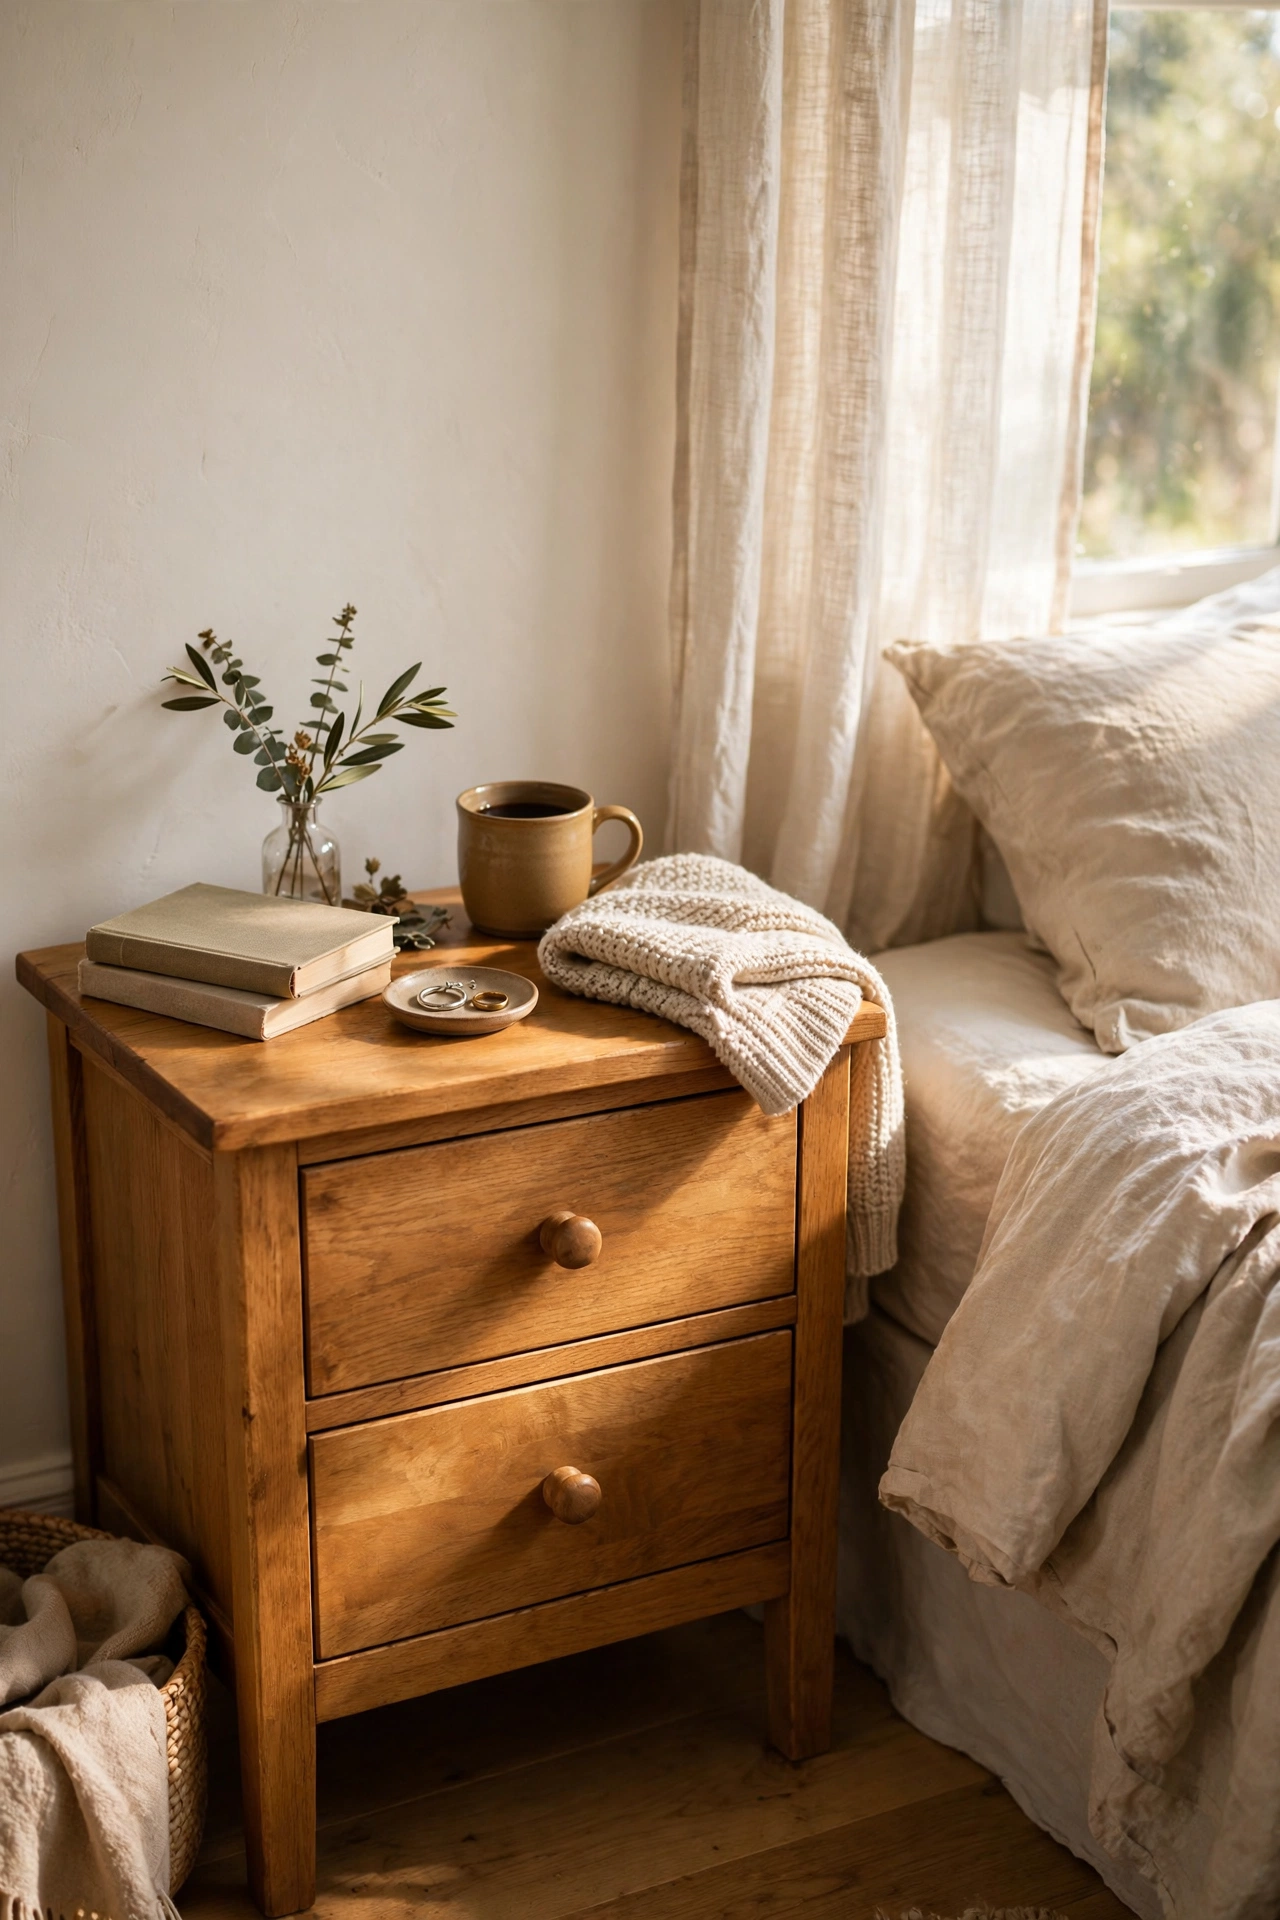
An orange-toned oak nightstand from the 90s hides beautiful wood under its old finish. Sand it back to bare wood through the grits, wipe clean with a tack cloth, and rub in two coats of hardwax oil with a cloth, buffing between coats. The grain comes alive and the colour turns warm honey instead of orange. I did this to a $12 nightstand and it looks handmade. My mistake was sanding against the grain on the drawer front and leaving visible scratches, so always follow the grain direction. Oil is far more forgiving than varnish for beginners, so do not be nervous.
Cost: ~$14-20 | Time: 1 weekend
12. Filing Cabinet Bedside Table
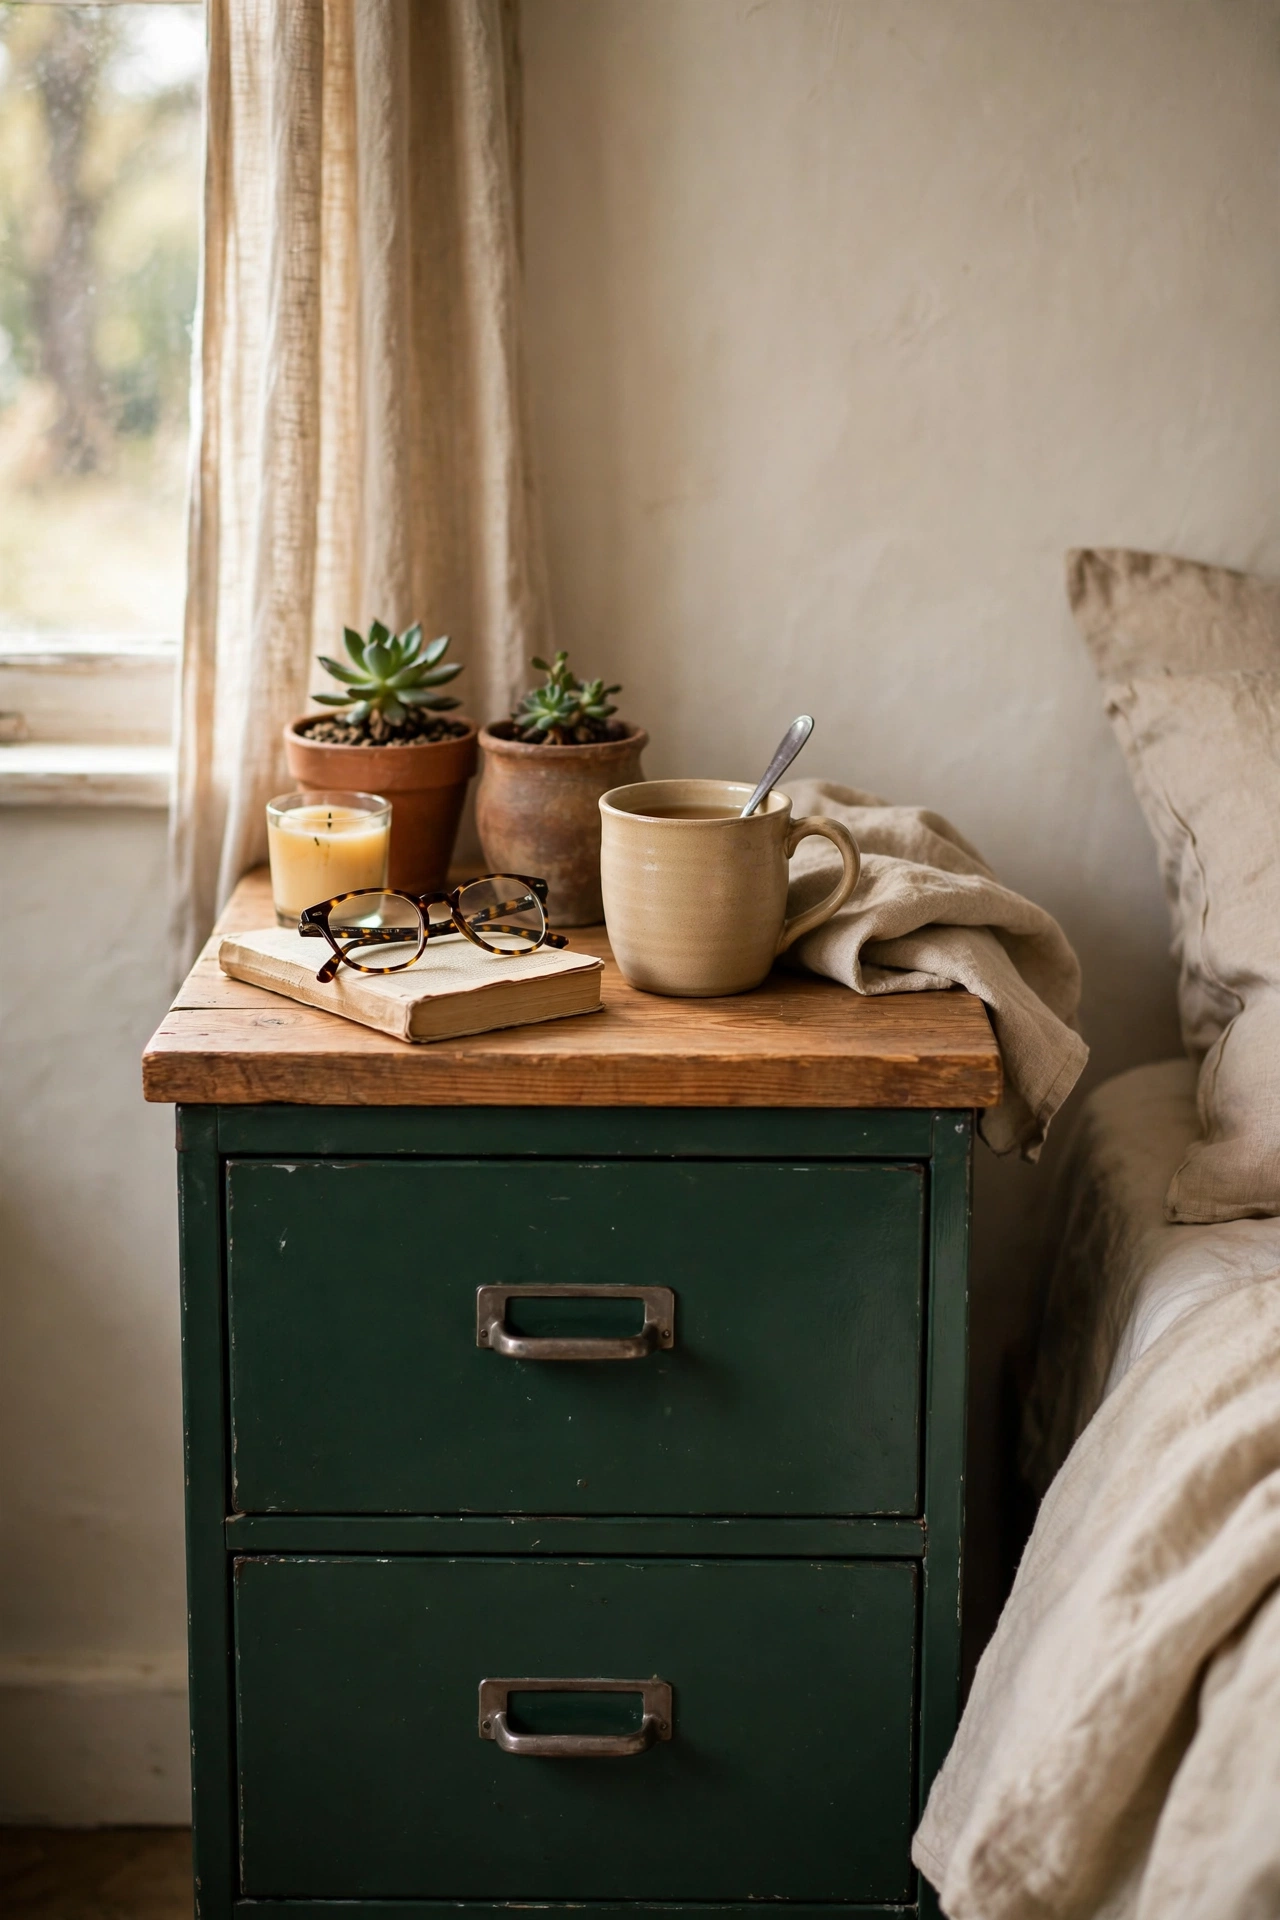
A small two-drawer metal filing cabinet makes a surprisingly good industrial nightstand. Remove the drawers, clean and scuff the metal, spray with metal primer then your chosen colour, and add a wooden board on top for warmth. The deep drawers swallow bedside clutter beautifully. I painted one deep green for my husband’s side of the bed. My mistake was painting with the drawers in place and gluing one shut with paint, so always remove them first and paint them separately. Line the drawers with paper to stop the metal smell transferring to clothes.
Cost: ~$12-20 | Time: 1 day
13. Wicker Plant Stand Nightstand
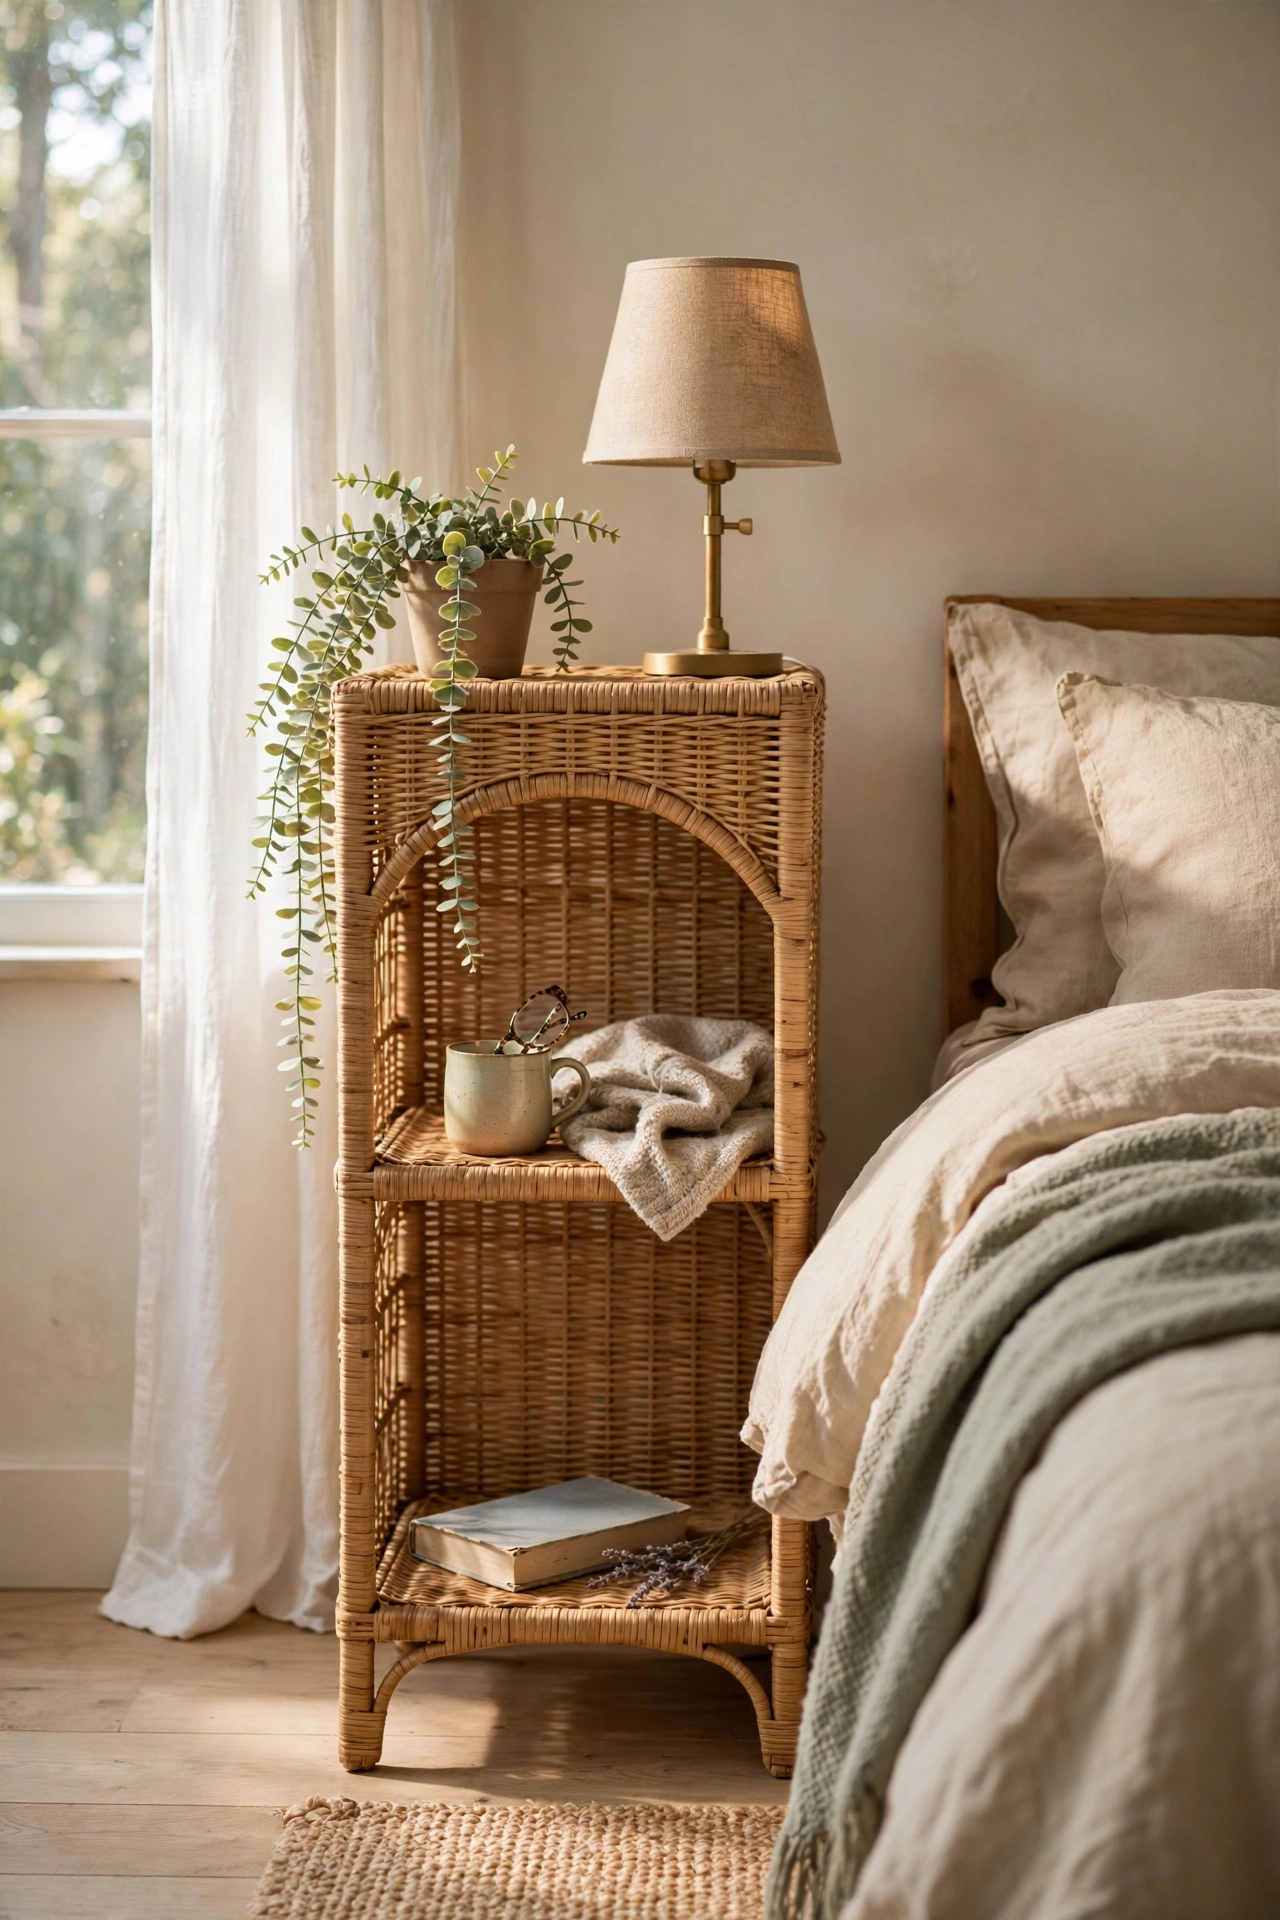
A tall wicker plant stand works as a light, airy nightstand in a small bedroom. Look for one around 60 centimetres tall with a flat top, wipe it down, and spray with a clear sealer if the wicker feels dry. The open weave keeps the room feeling light and the lower shelf holds a basket for extras. I use one in my guest room and it suits the breezy feel perfectly. My mistake was choosing one with a wobbly top ring, so press down firmly in the store to test stability. Keep the styling minimal so the texture of the wicker shines.
Cost: ~$8-15 | Time: 20 minutes
Save this idea for your next bedroom refresh.
Built from Scratch
14. Two-Cube Plywood Nightstand
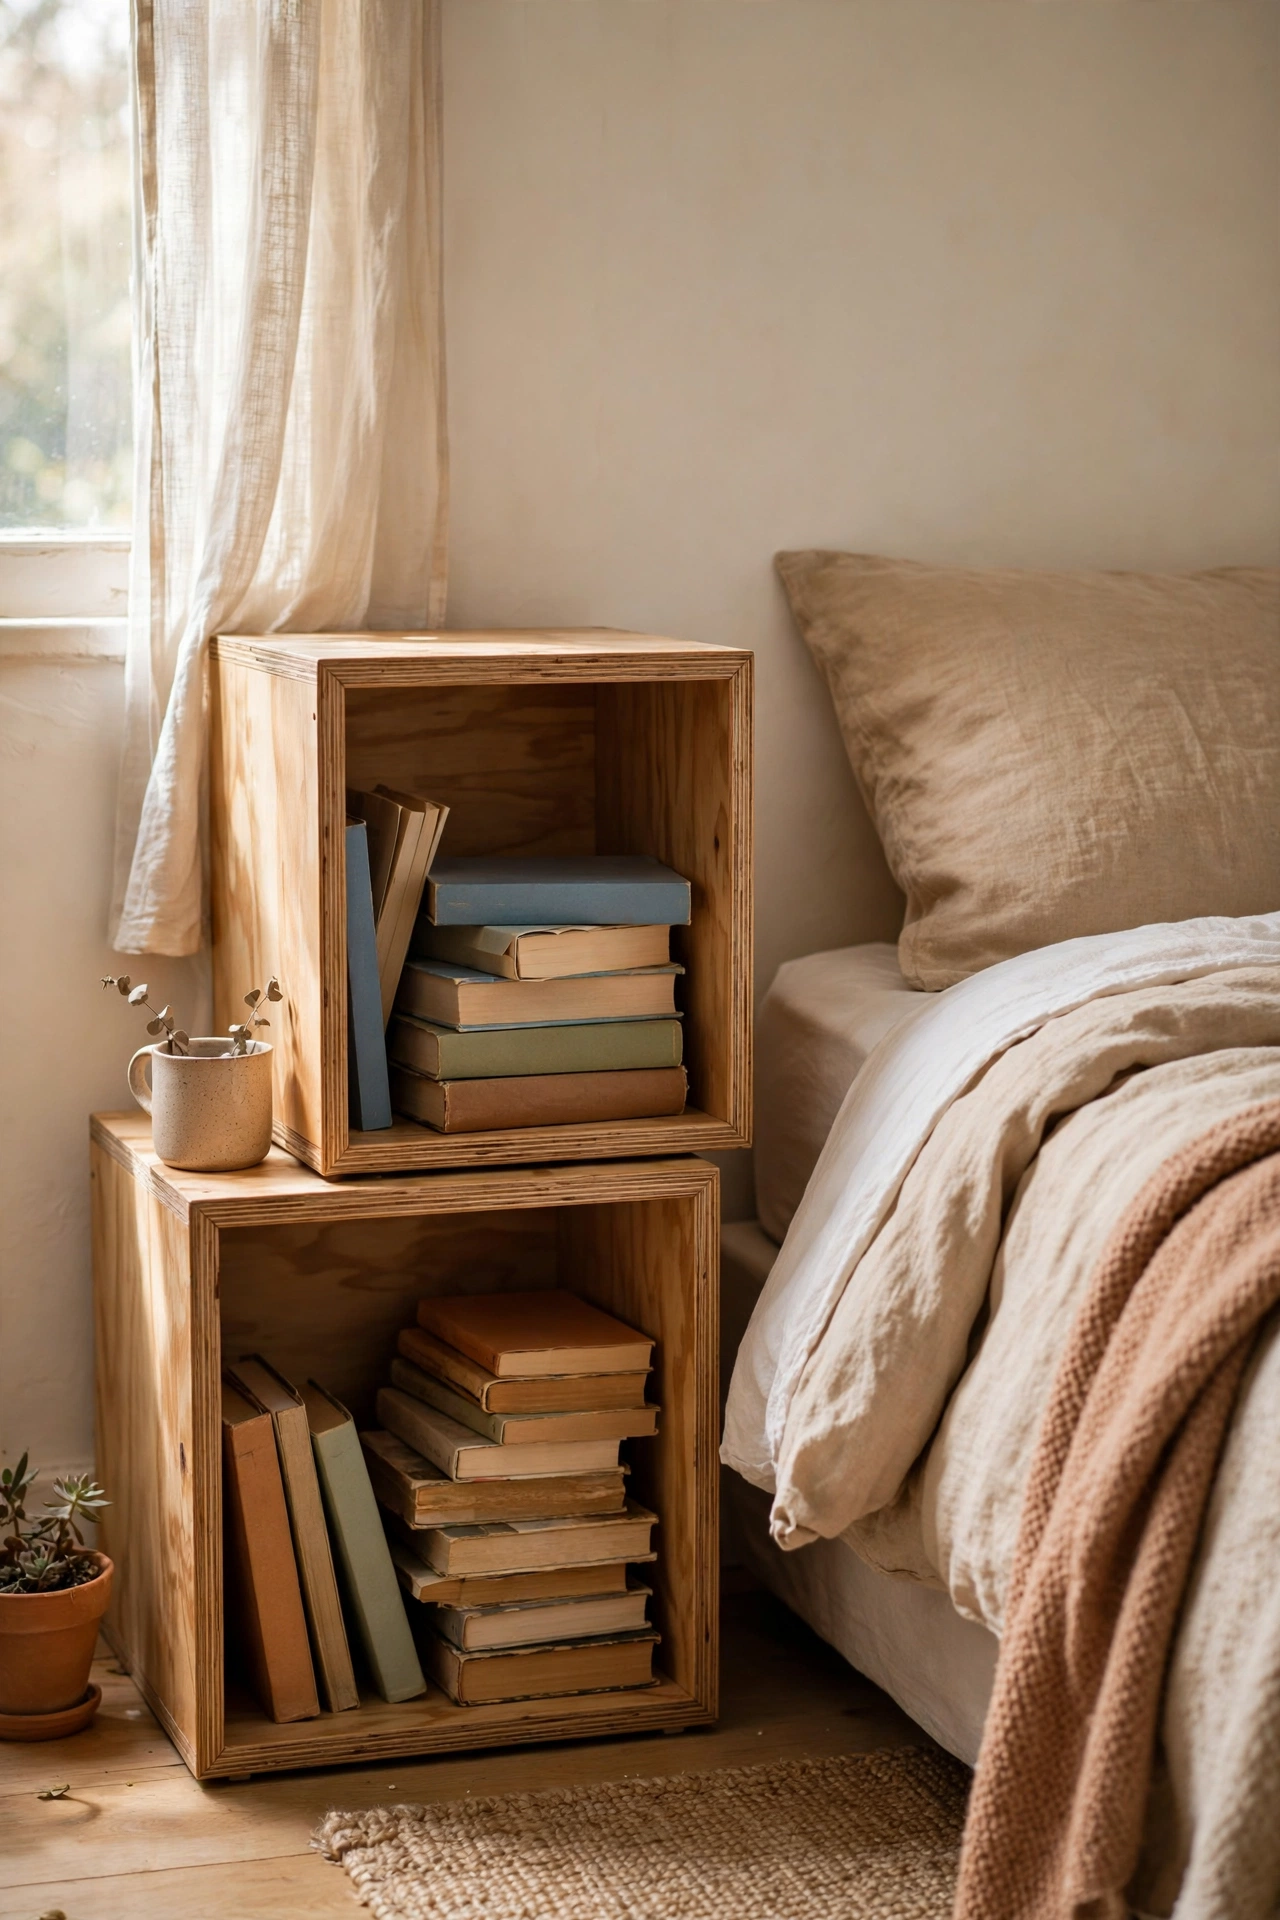
Two plywood cubes stacked make a modern nightstand with open storage. Cut plywood into squares and screw them into two open-front cubes, sand the edges smooth, and stack them with wood glue plus a couple of screws driven through the top of the lower cube. Finish with clear wax or paint to suit your room. I built a pair for $18 in plywood and they look properly modern. My mistake was measuring the two cubes separately and they did not line up, so cut all the pieces from one marked sheet. A hardware store will cut the plywood to size if you bring measurements.
Cost: ~$15-25 | Time: 3 hours
15. Concrete Block and Timber Slab Nightstand
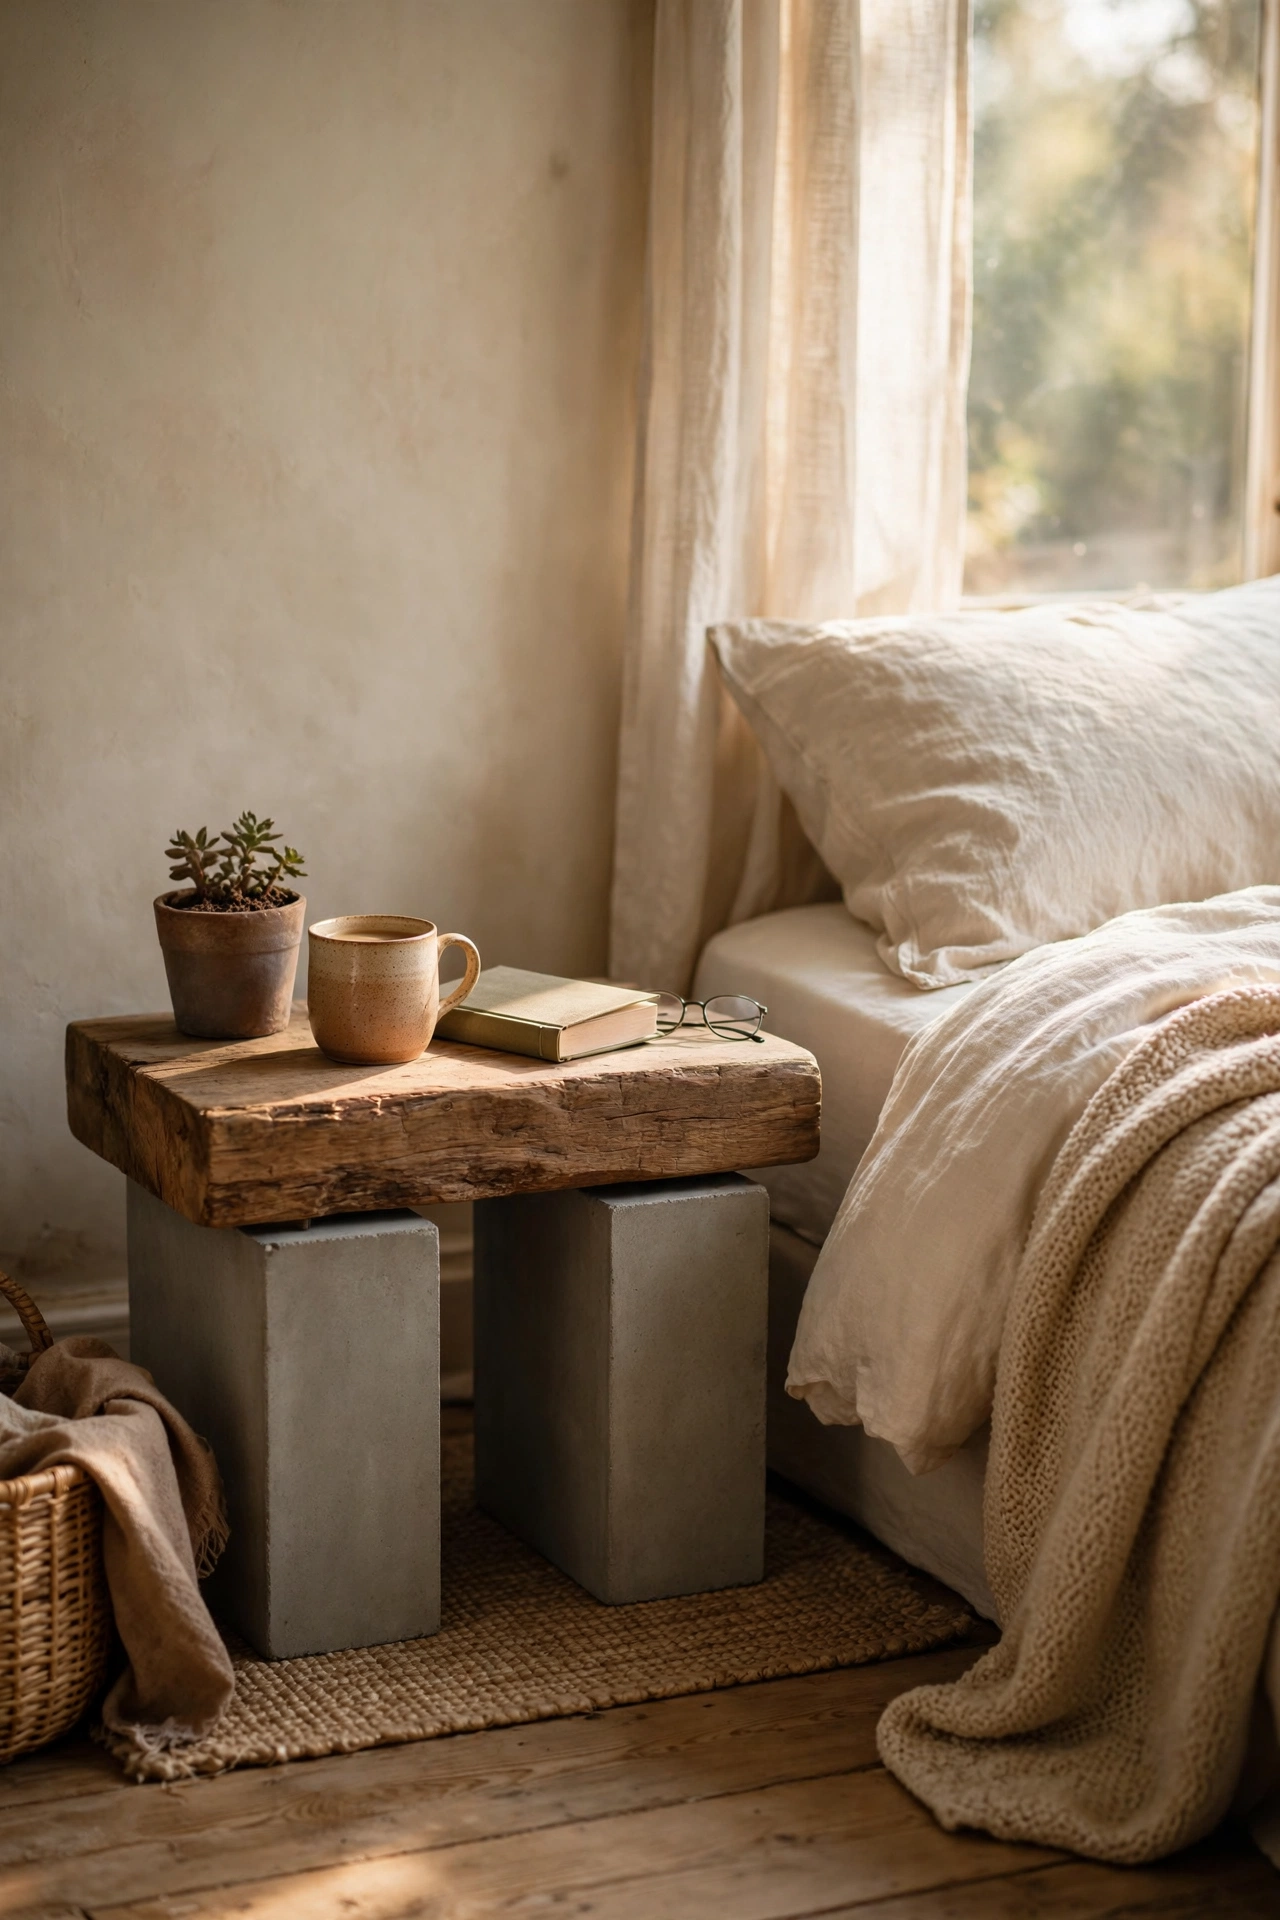
Two concrete blocks with a timber slab across the top make an industrial nightstand in under an hour. Buy two standard blocks and a hardwood offcut, clean the blocks with a stiff brush, and stack them with the holes facing sideways for cubby storage. Lay the slab on top, checking it sits level. I built one for a loft-style room and it cost $14 in total. My mistake was not checking the slab was level and my lamp wobbled alarmingly, so shim with folded card until it sits perfectly flat. Seal the timber with wax to protect it against water rings.
Cost: ~$12-18 | Time: 1 hour
16. Floating Wall-Mounted Nightstand
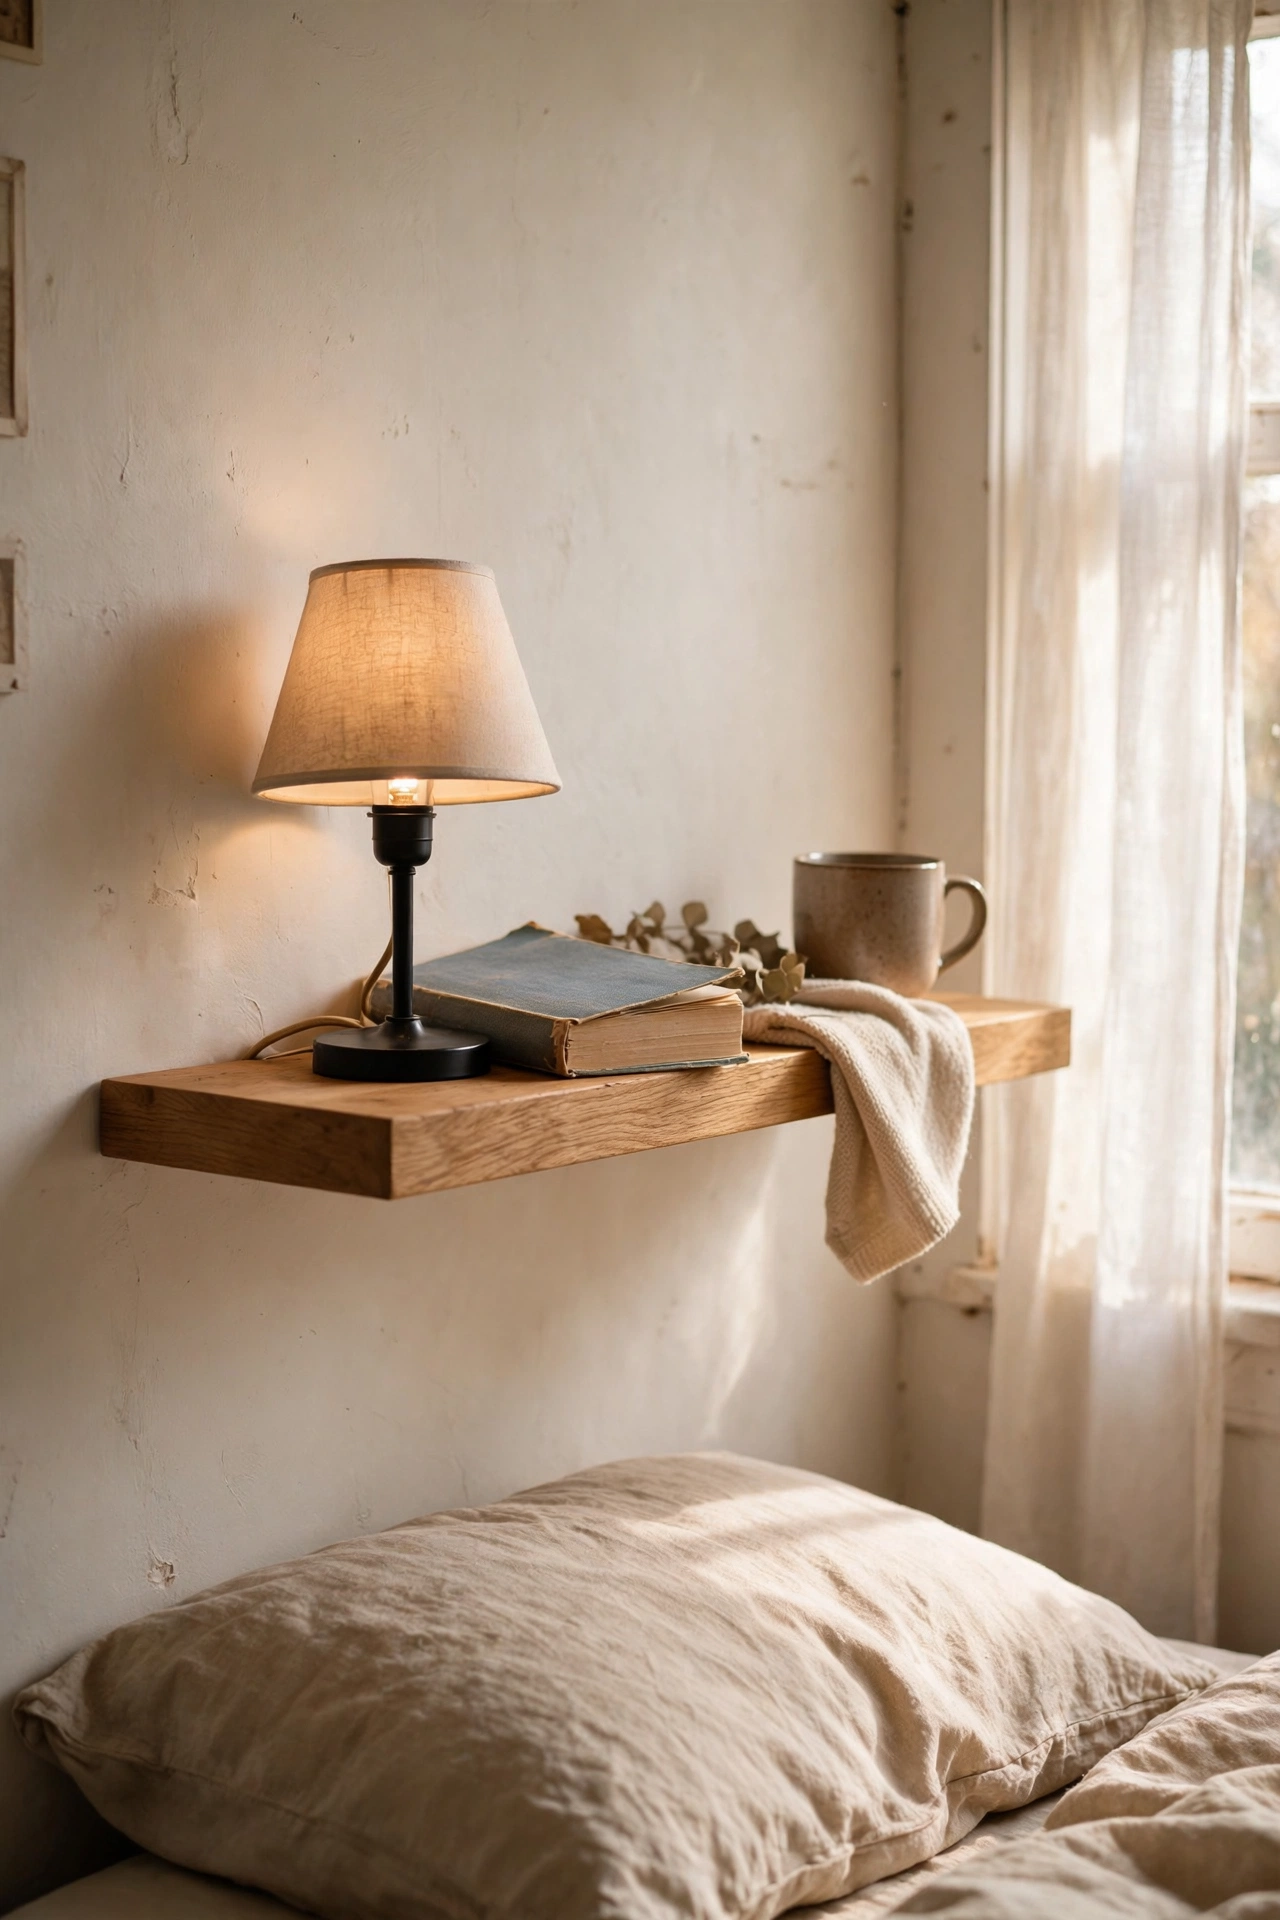
A floating shelf or small wall-mounted drawer frees up floor space completely beside the bed. Fix a sturdy shelf bracket or a small wall cabinet directly into the studs at mattress height, checking with a spirit level as you go. I mounted a 40-centimetre oak shelf beside my bed and the room feels bigger instantly. My mistake was fixing the first one to plasterboard without finding a stud, and it sagged within a month, so locate the studs or use proper heavy-duty wall anchors. Keep the depth under 30 centimetres so it does not crowd the bed.
Cost: ~$10-20 | Time: 1 hour
17. Pallet Wood Bedside Table
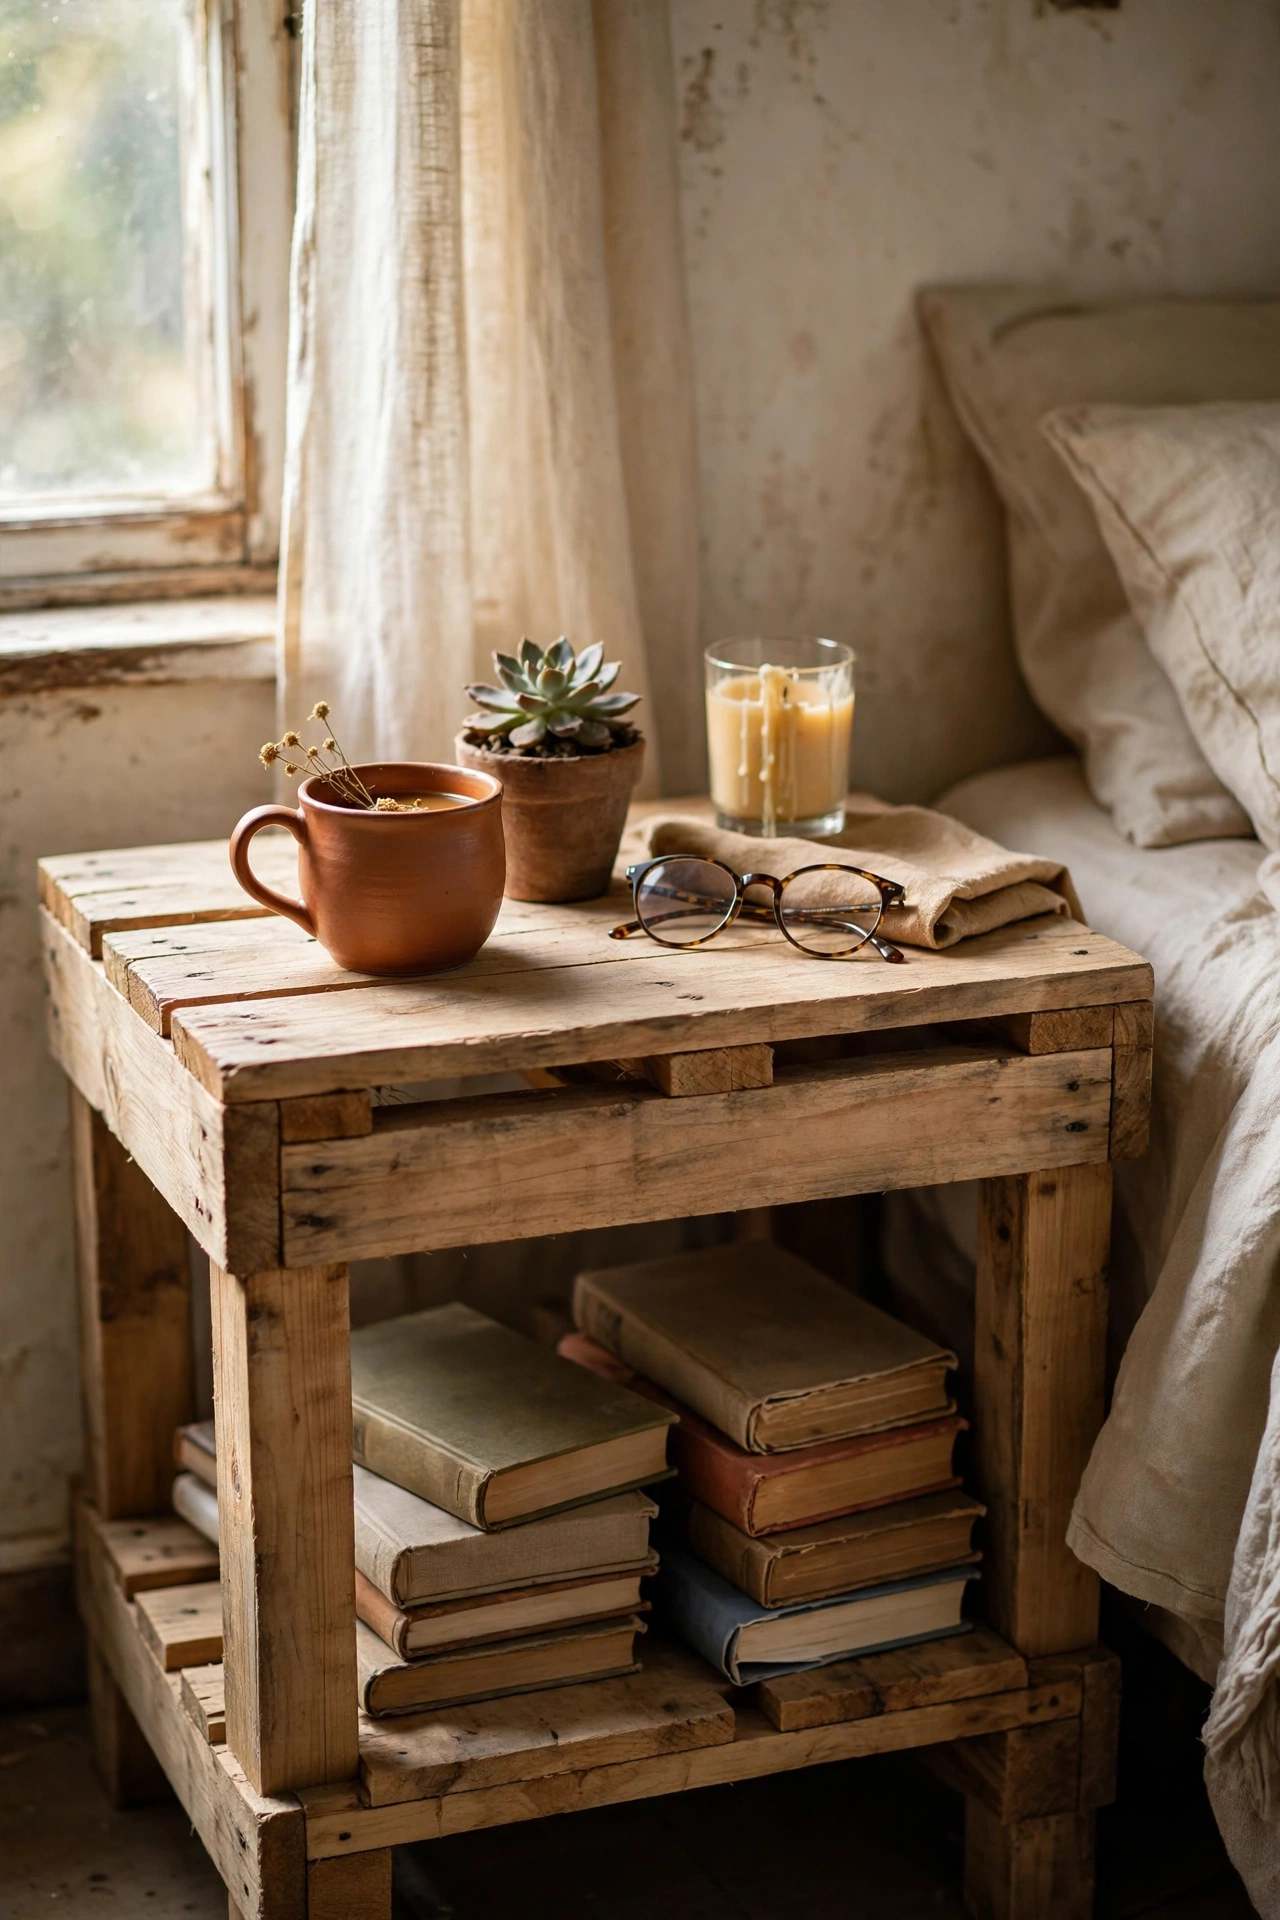
Pallet wood makes a rustic bedside table for the cost of screws. Break down a heat-treated pallet, marked HT on the stamp, sand the boards smooth, and nail them into a simple four-legged box shape with a lower shelf for books. I built one in an afternoon and the weathered wood has real character. My mistake was using a pallet without checking the stamp and later learning it was chemically treated, so only ever use HT-marked pallets indoors. Sand thoroughly, because pallet wood is rough and splintery, and wear gloves while you work.
Cost: ~$5-10 | Time: 1 afternoon
18. Hairpin Leg Plywood Top Nightstand
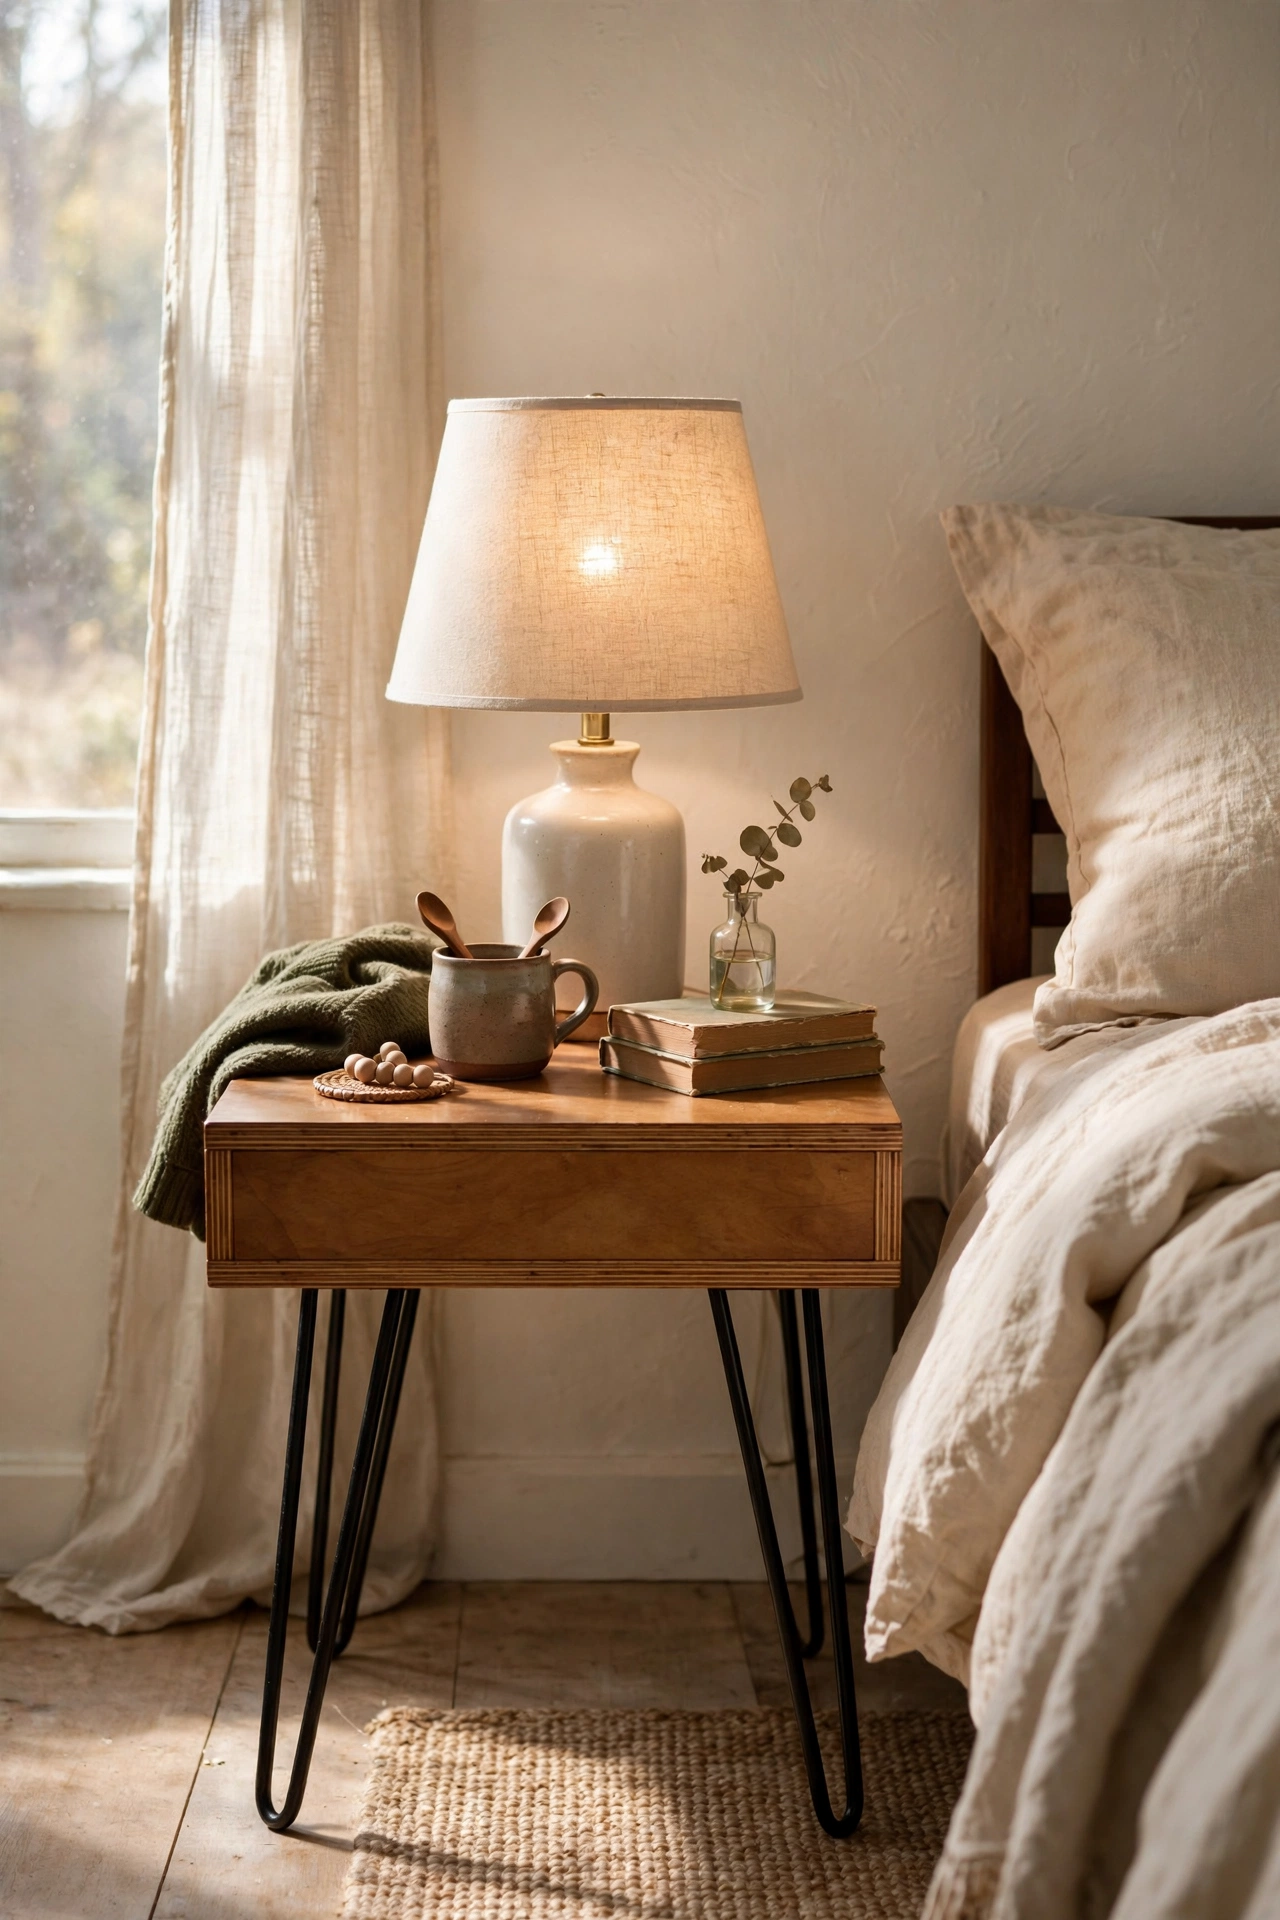
A plywood top on hairpin legs is the simplest mid-century nightstand you can build. Cut or buy a plywood square, sand and finish the edges, and screw on three or four hairpin legs with the supplied mounting plates. I made one in 45 minutes for $22 and it looks far more expensive. My mistake was buying legs too tall for my low bed, so measure from the floor to your mattress top and subtract the top thickness before ordering. Three legs work fine on carpet and wobble less than four on uneven floors.
Cost: ~$20-28 | Time: 1 hour
19. Drawer-Box Stack Nightstand
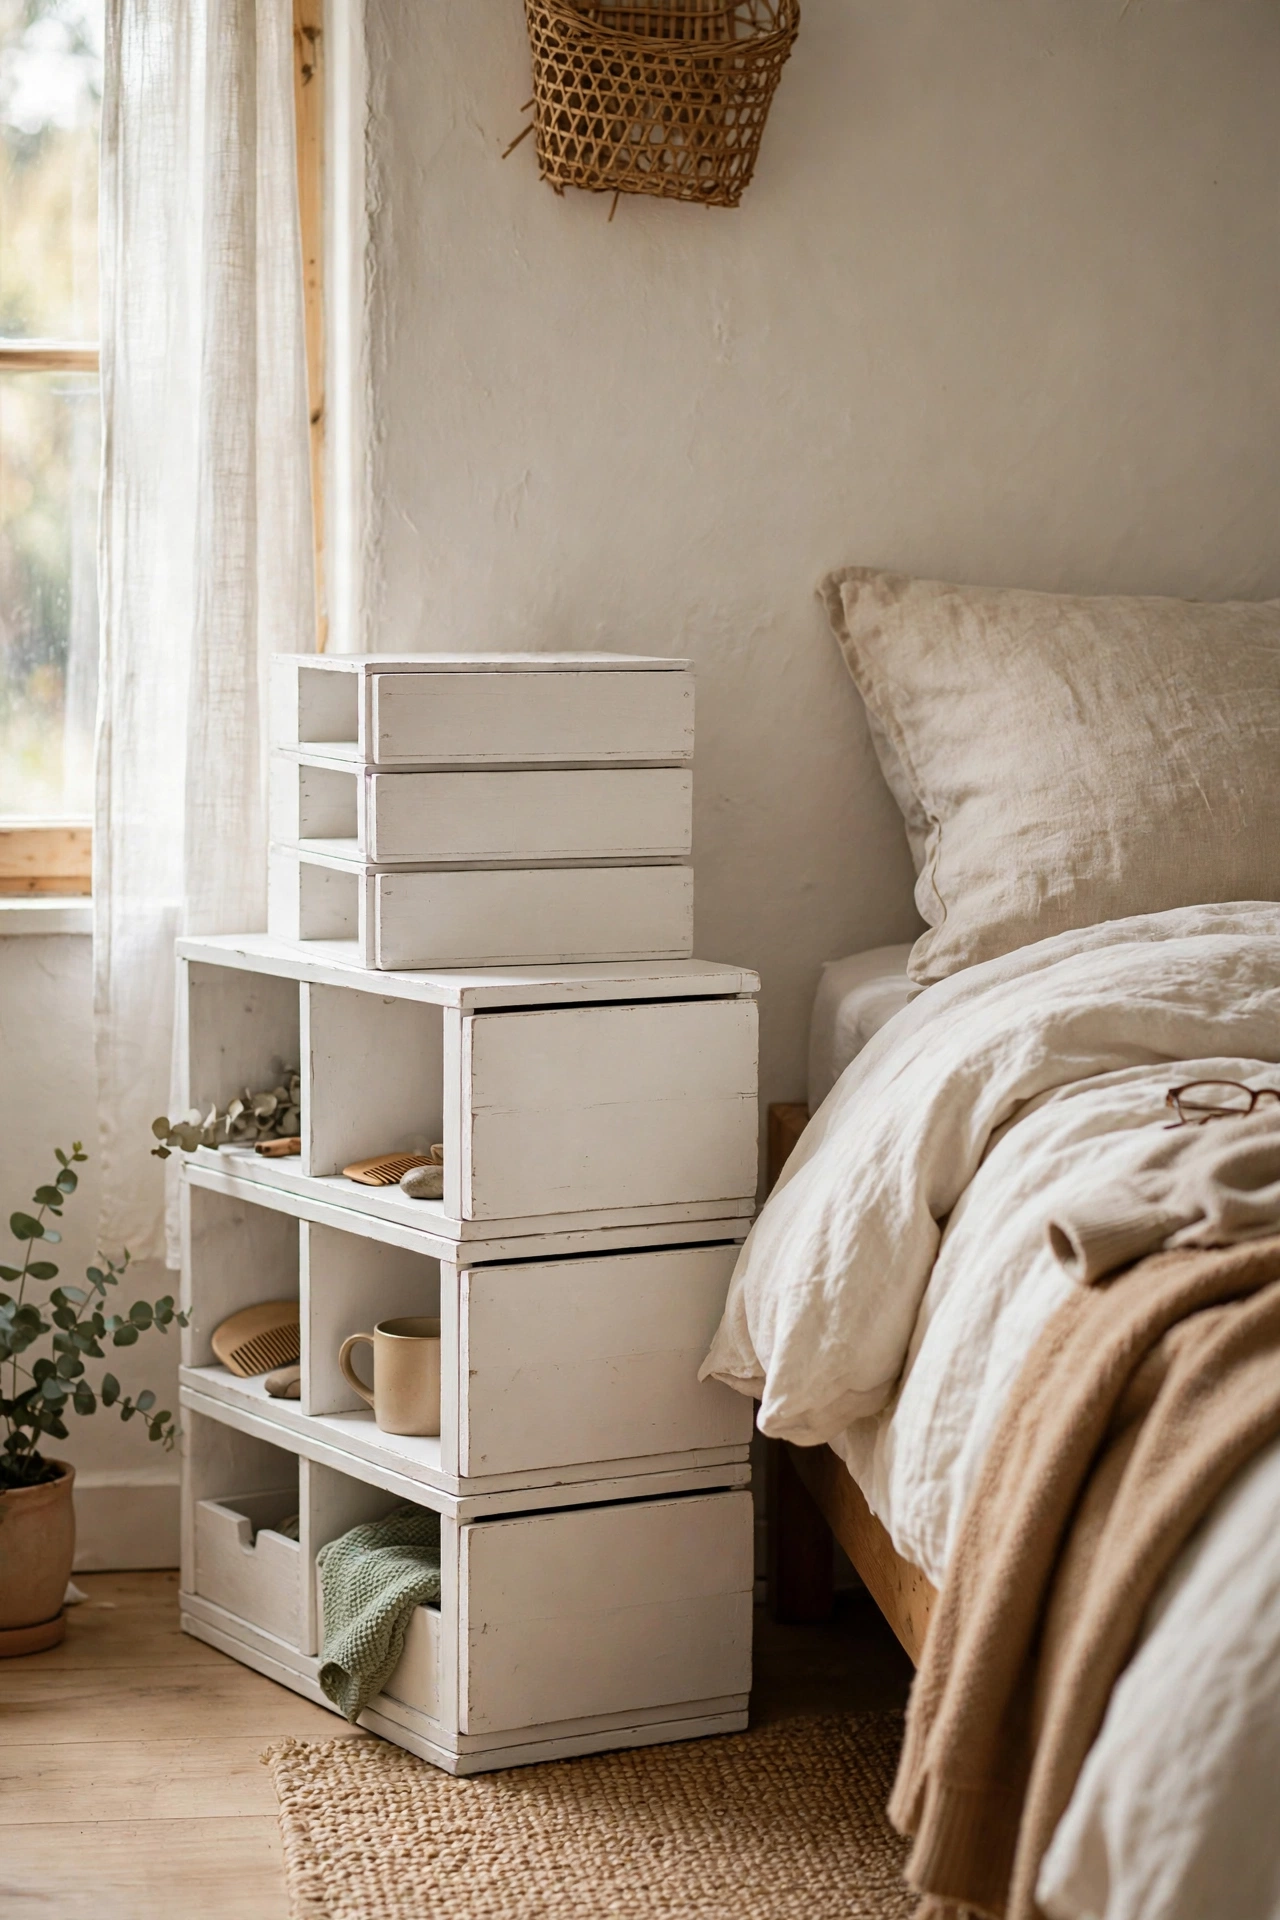
Wooden drawer boxes stacked on their sides create a nightstand with pull-out cubbies. Collect three or four solid wooden drawers or small crates, sand and paint them, then stack and screw them together from the inside so no fixings show. I built one from old desk drawers and each cubby holds different bedside bits. My mistake was stacking them without fixing and the top box slid off in the night, so screw them together properly. Alternate the facing direction of the boxes for a playful look, or keep them uniform for calm.
Cost: ~$8-15 | Time: 2 hours
Style Upgrades and Finishing Touches
20. Peel-and-Stick Wallpaper Drawer Fronts
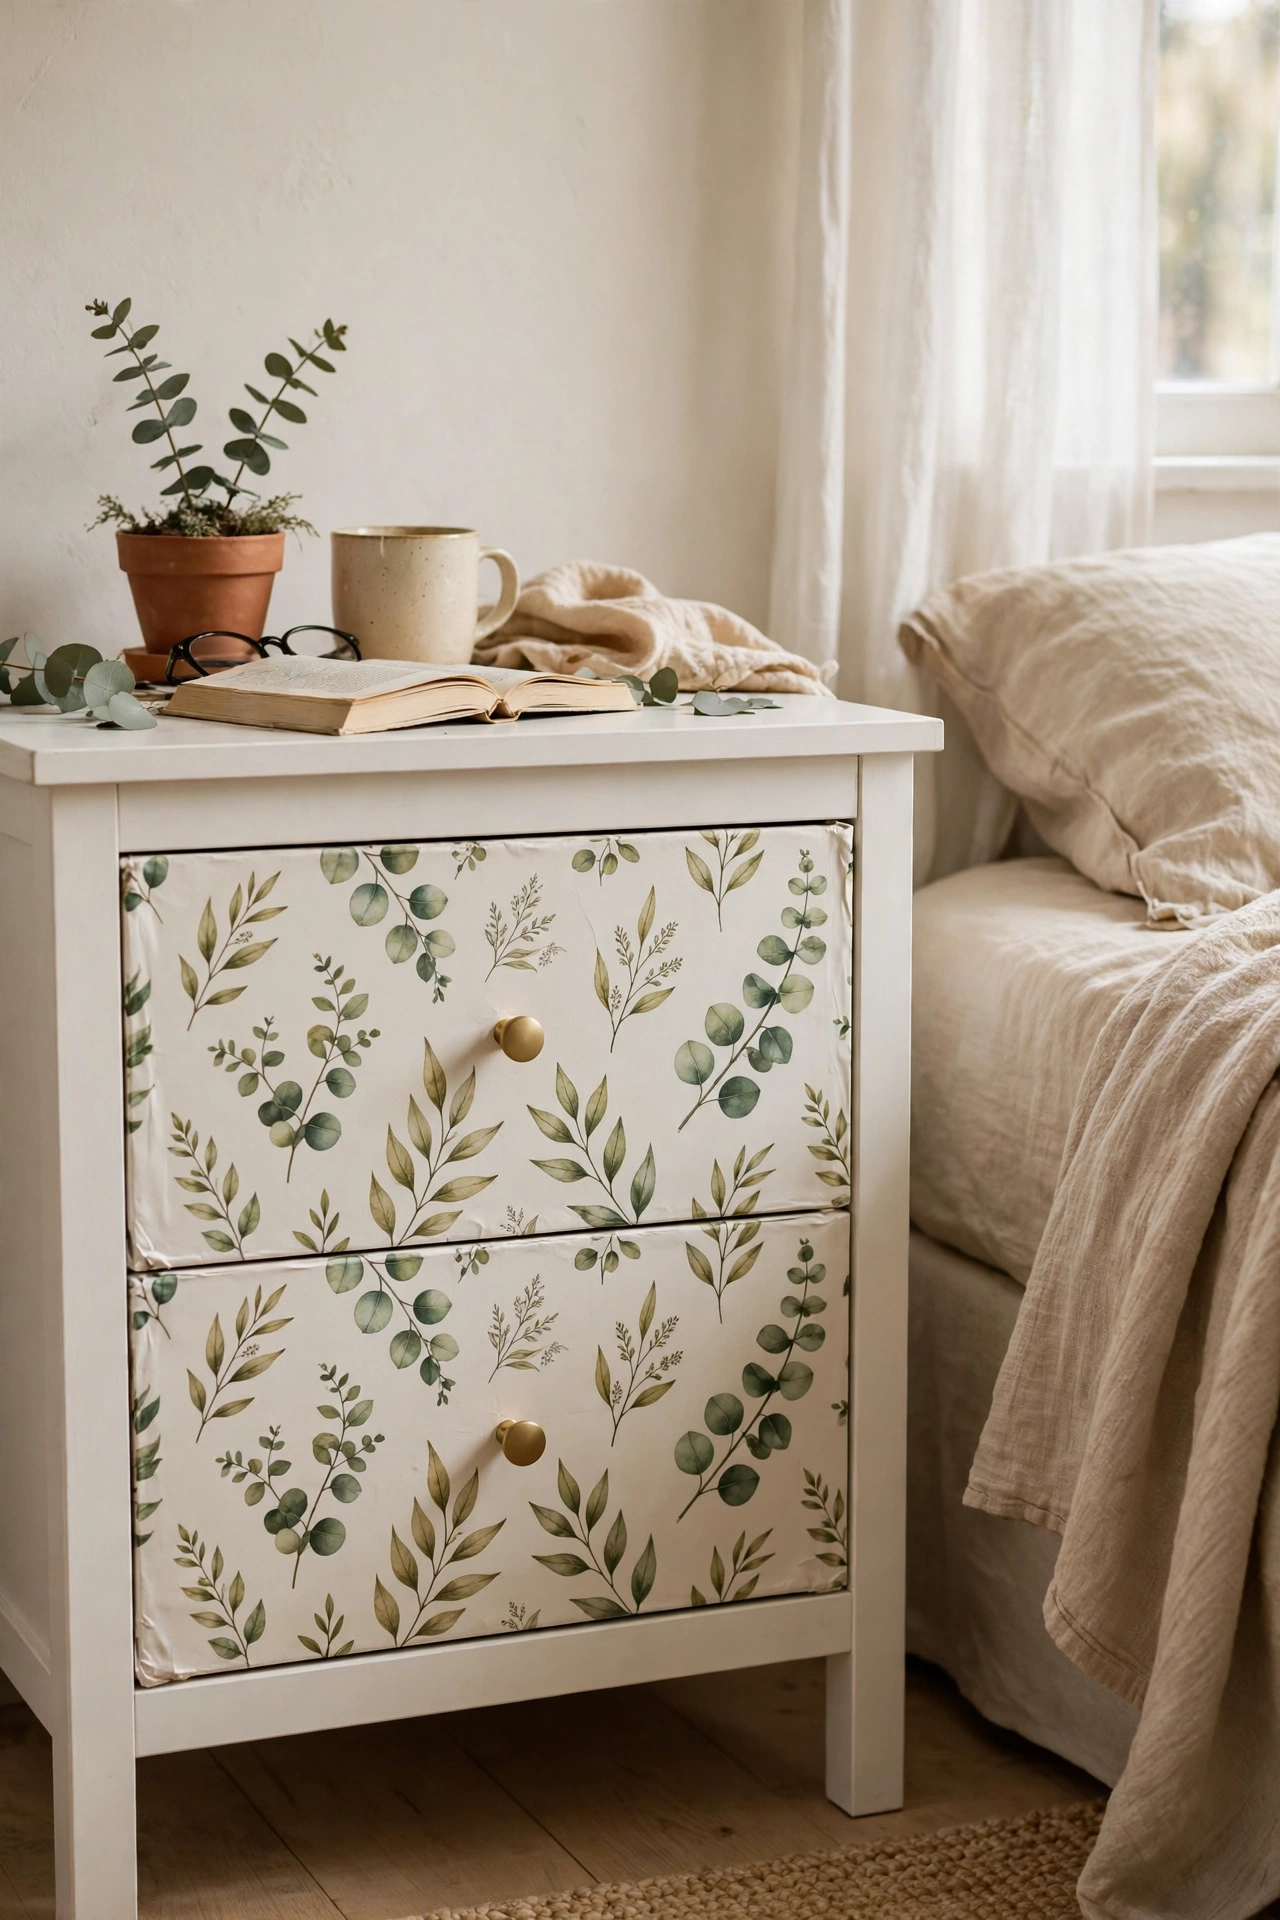
Peel-and-stick wallpaper on drawer fronts upgrades a plain nightstand in minutes. Measure each drawer front, cut the wallpaper with an extra centimetre all round, peel and smooth it on from the centre outward, and trim the excess with a sharp craft knife. I covered the drawers of a plain white nightstand in a subtle botanical print and it looks custom. My mistake was not cleaning the drawer fronts first, and the edges lifted within days, so wipe them with sugar soap and let them dry fully. Choose a pattern that echoes your bedding for a pulled-together look.
Cost: ~$8-14 | Time: 45 minutes
21. New Knobs and Pulls Swap
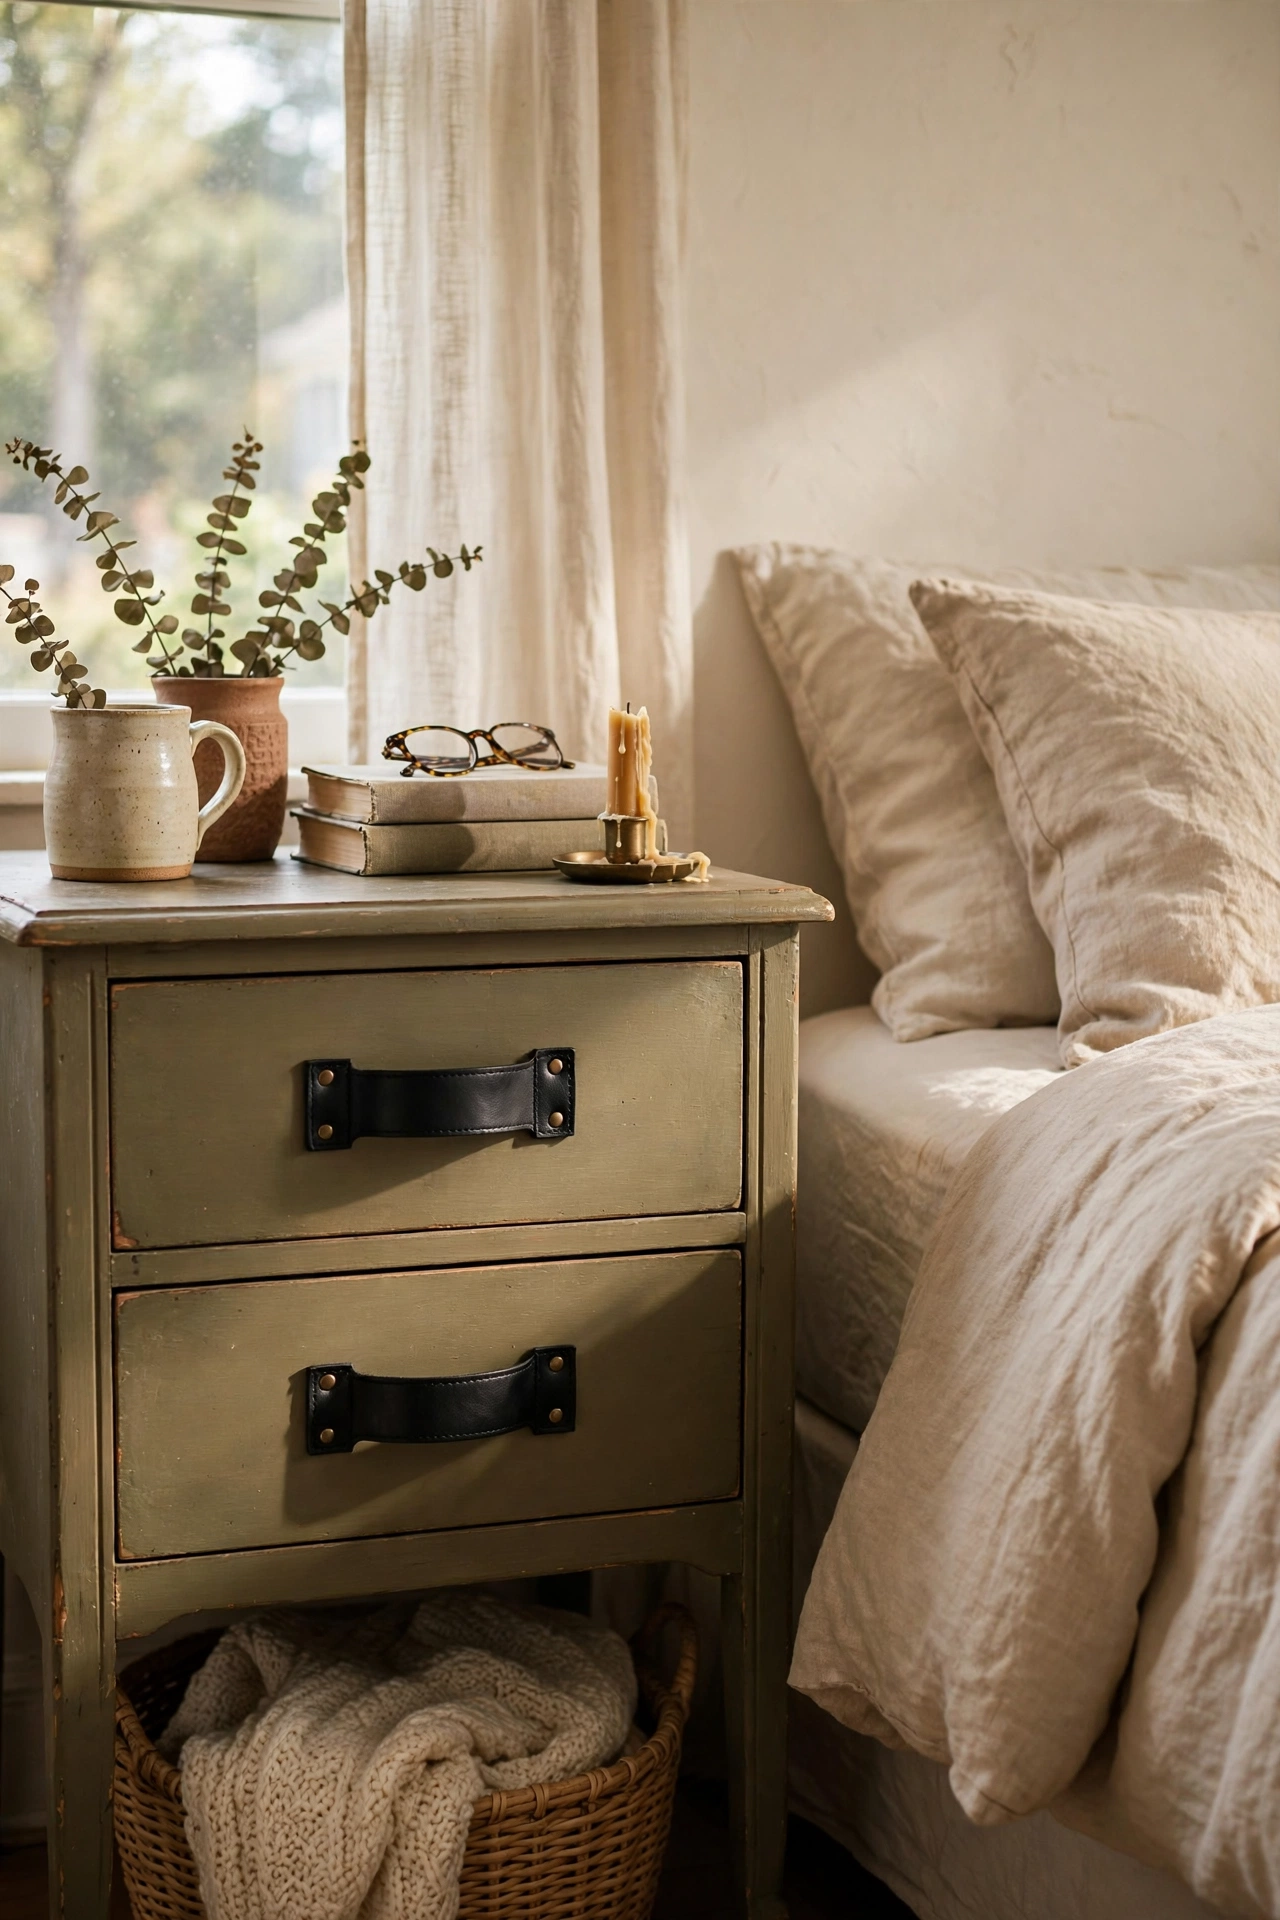
Swapping the knobs is the fastest nightstand upgrade there is. Unscrew the old hardware, fill any mismatched holes with wood filler if the new knobs differ in size, and fit new knobs or leather pulls. I changed tired brass knobs to black leather pulls on a $10 nightstand and it looked like a different piece. My mistake was buying knobs with the wrong screw length and they spun loosely in the drawer, so check the drawer thickness before you buy. Keep the old hardware in a bag in case you ever want to change back.
Cost: ~$6-12 | Time: 20 minutes
22. Two-Tone Paint Dip Nightstand
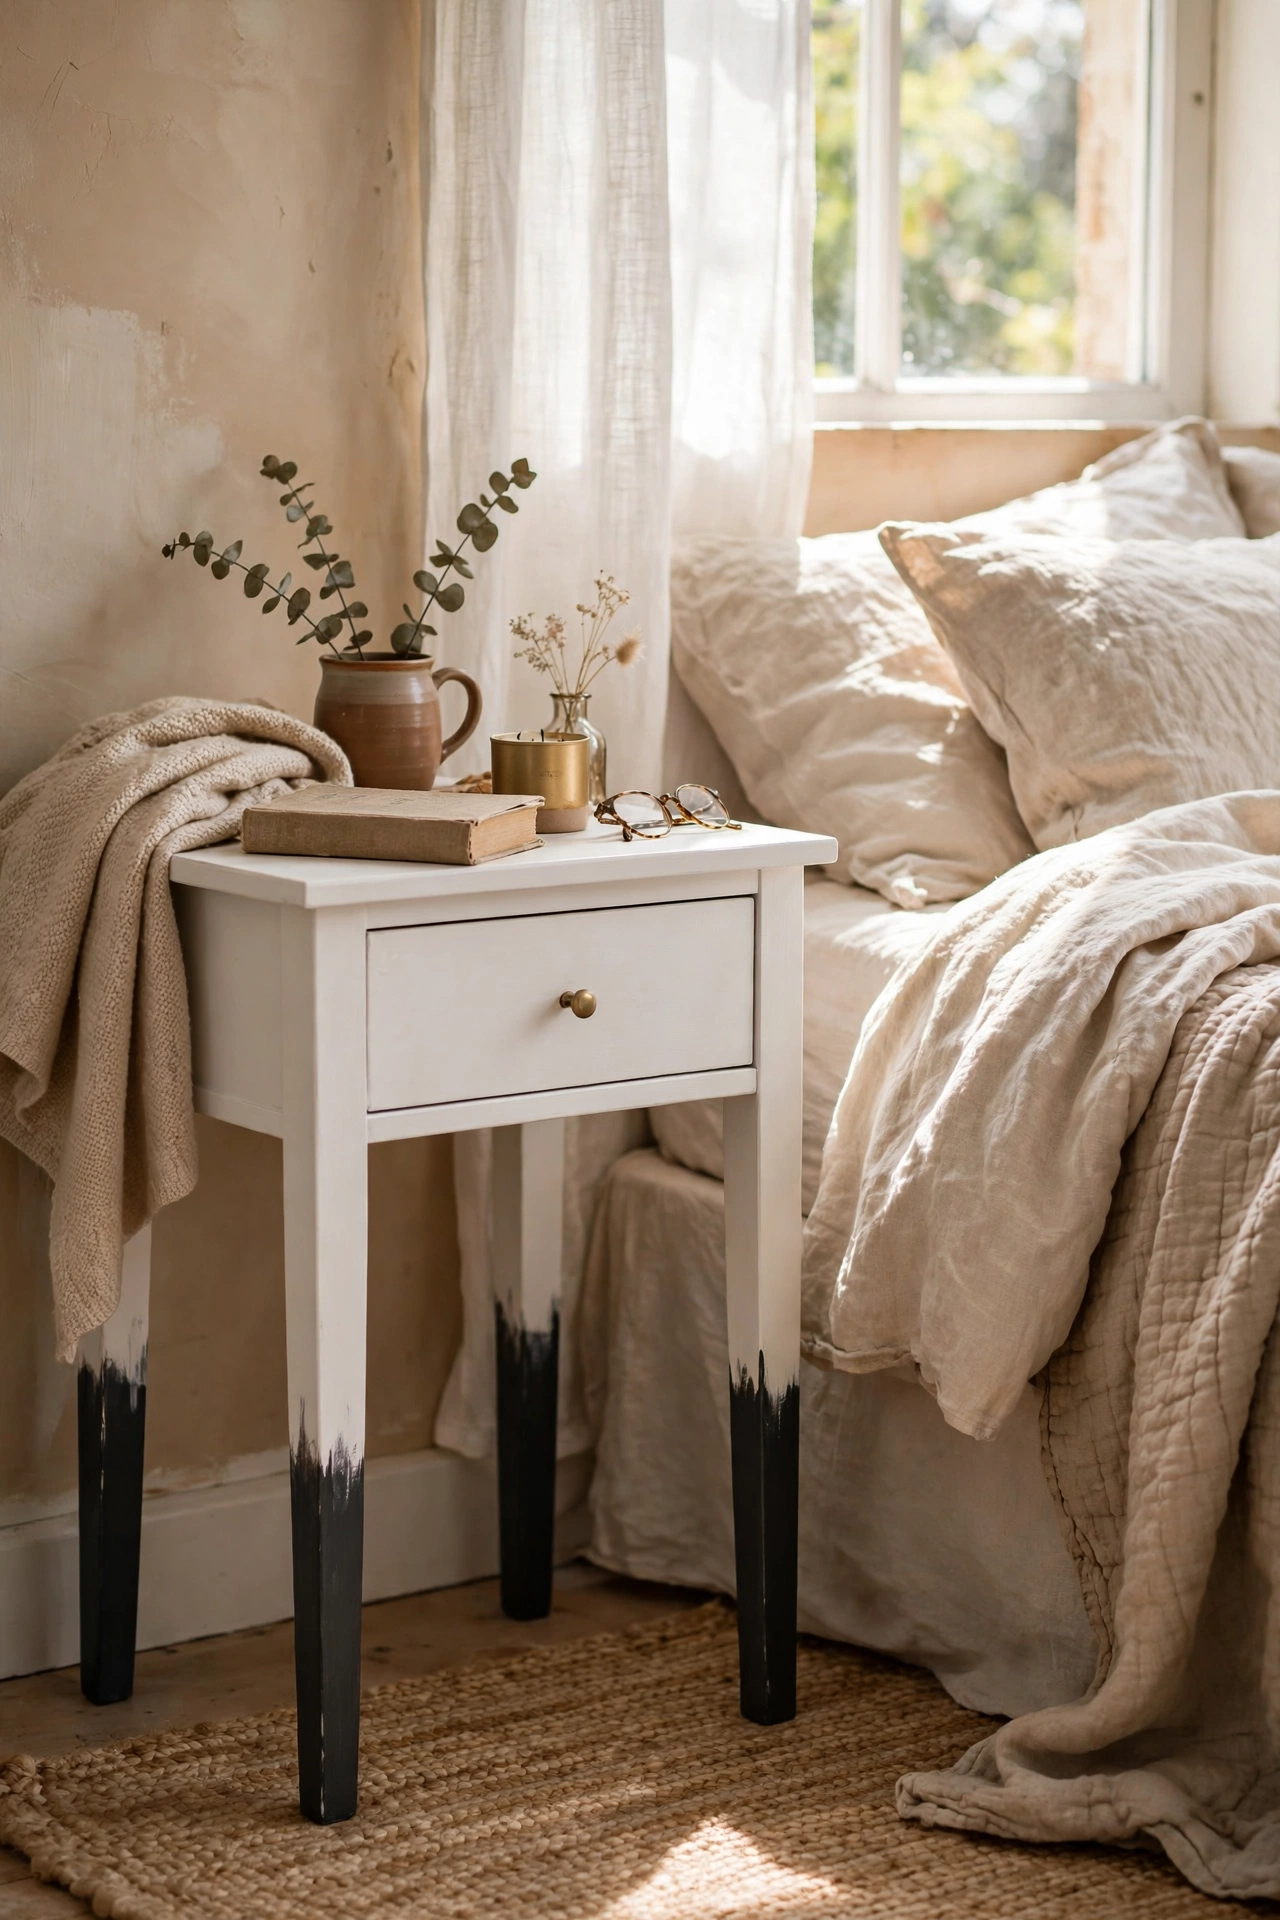
A two-tone dip paint effect makes a plain nightstand look properly designed. Paint the whole piece your base colour, let it dry fully, then tape a straight line around the legs or the bottom third and paint below the line in a contrasting colour. I dipped the legs of a white nightstand in charcoal and it looks far more expensive than it was. My mistake was removing the tape when the paint was fully dry, which pulled paint off with it, so peel the tape when the paint is just touch-dry. Use quality painter’s tape for a crisp line.
Cost: ~$10-16 | Time: 2 hours plus drying
23. Thrifted Lamp Base Bedside Lamp
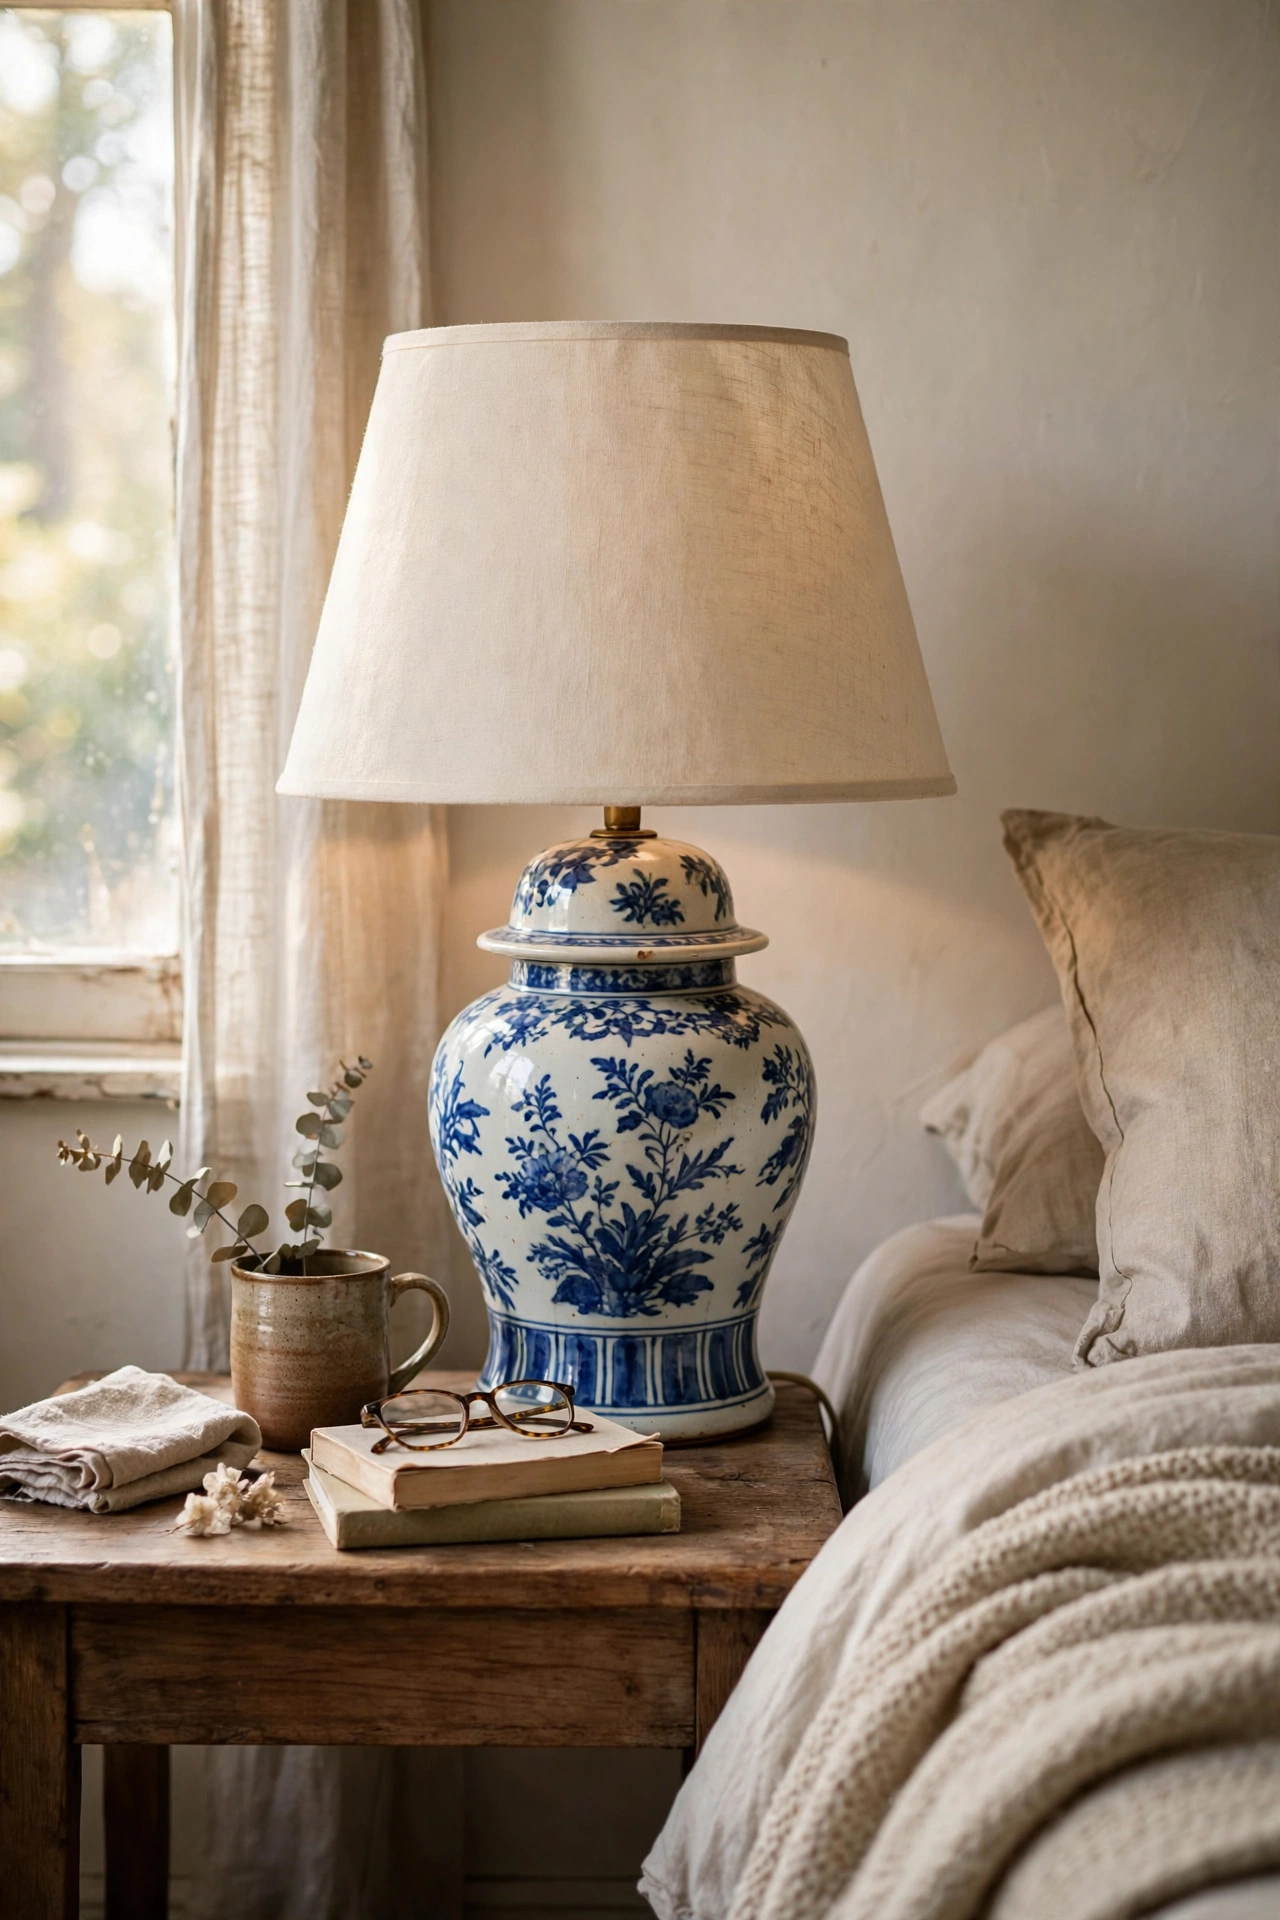
A nightstand is not finished without the right lamp, and thrift stores are full of good bases. Find a base with a shape you love, rewire it with a $10 kit if the cord looks dodgy, and add a new shade in a size that suits the base. I found a ceramic ginger-jar base for $5 and it is the prettiest lamp I own. My mistake was buying a base without checking the socket worked, so test it in the store if there is a plug nearby. The shade should be roughly two thirds the height of the base for the right proportions.
Cost: ~$12-20 | Time: 30 minutes
24. Bedside Tray for Clutter Control
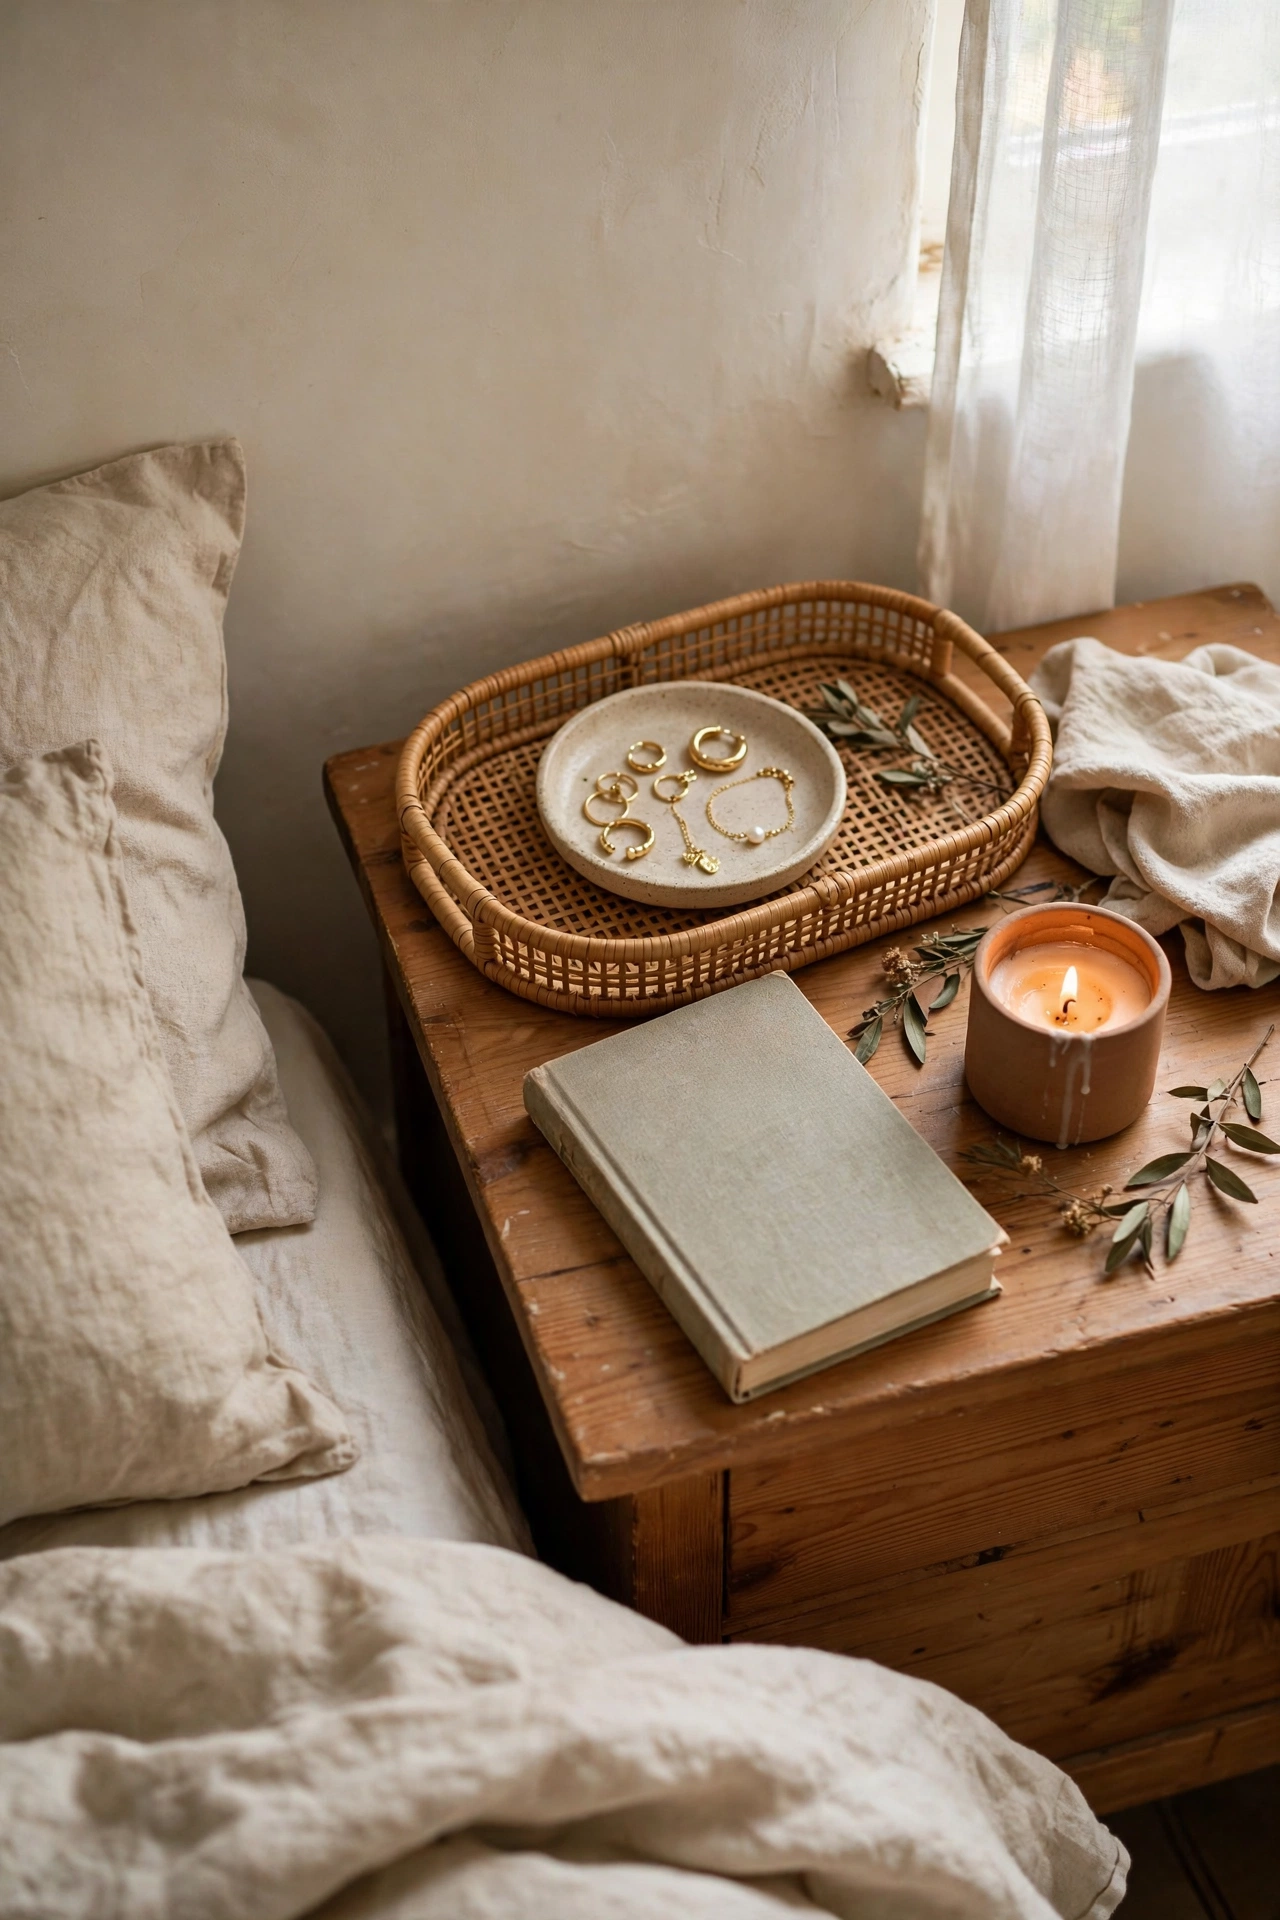
A tray on your nightstand keeps the clutter contained and looks intentional. Choose a tray that fits your table with room to spare, and group your essentials on it: a small dish for jewellery, your current book, and a candle. I added a rattan tray to my nightstand and the surface went from chaotic to calm overnight. My mistake was choosing a tray too big for the table, which left no room for the lamp, so measure first. A tray with a lip stops things sliding off when you reach for your phone in the dark.
Cost: ~$5-12 | Time: 10 minutes
25. Fabric Skirt Around a Crate Table
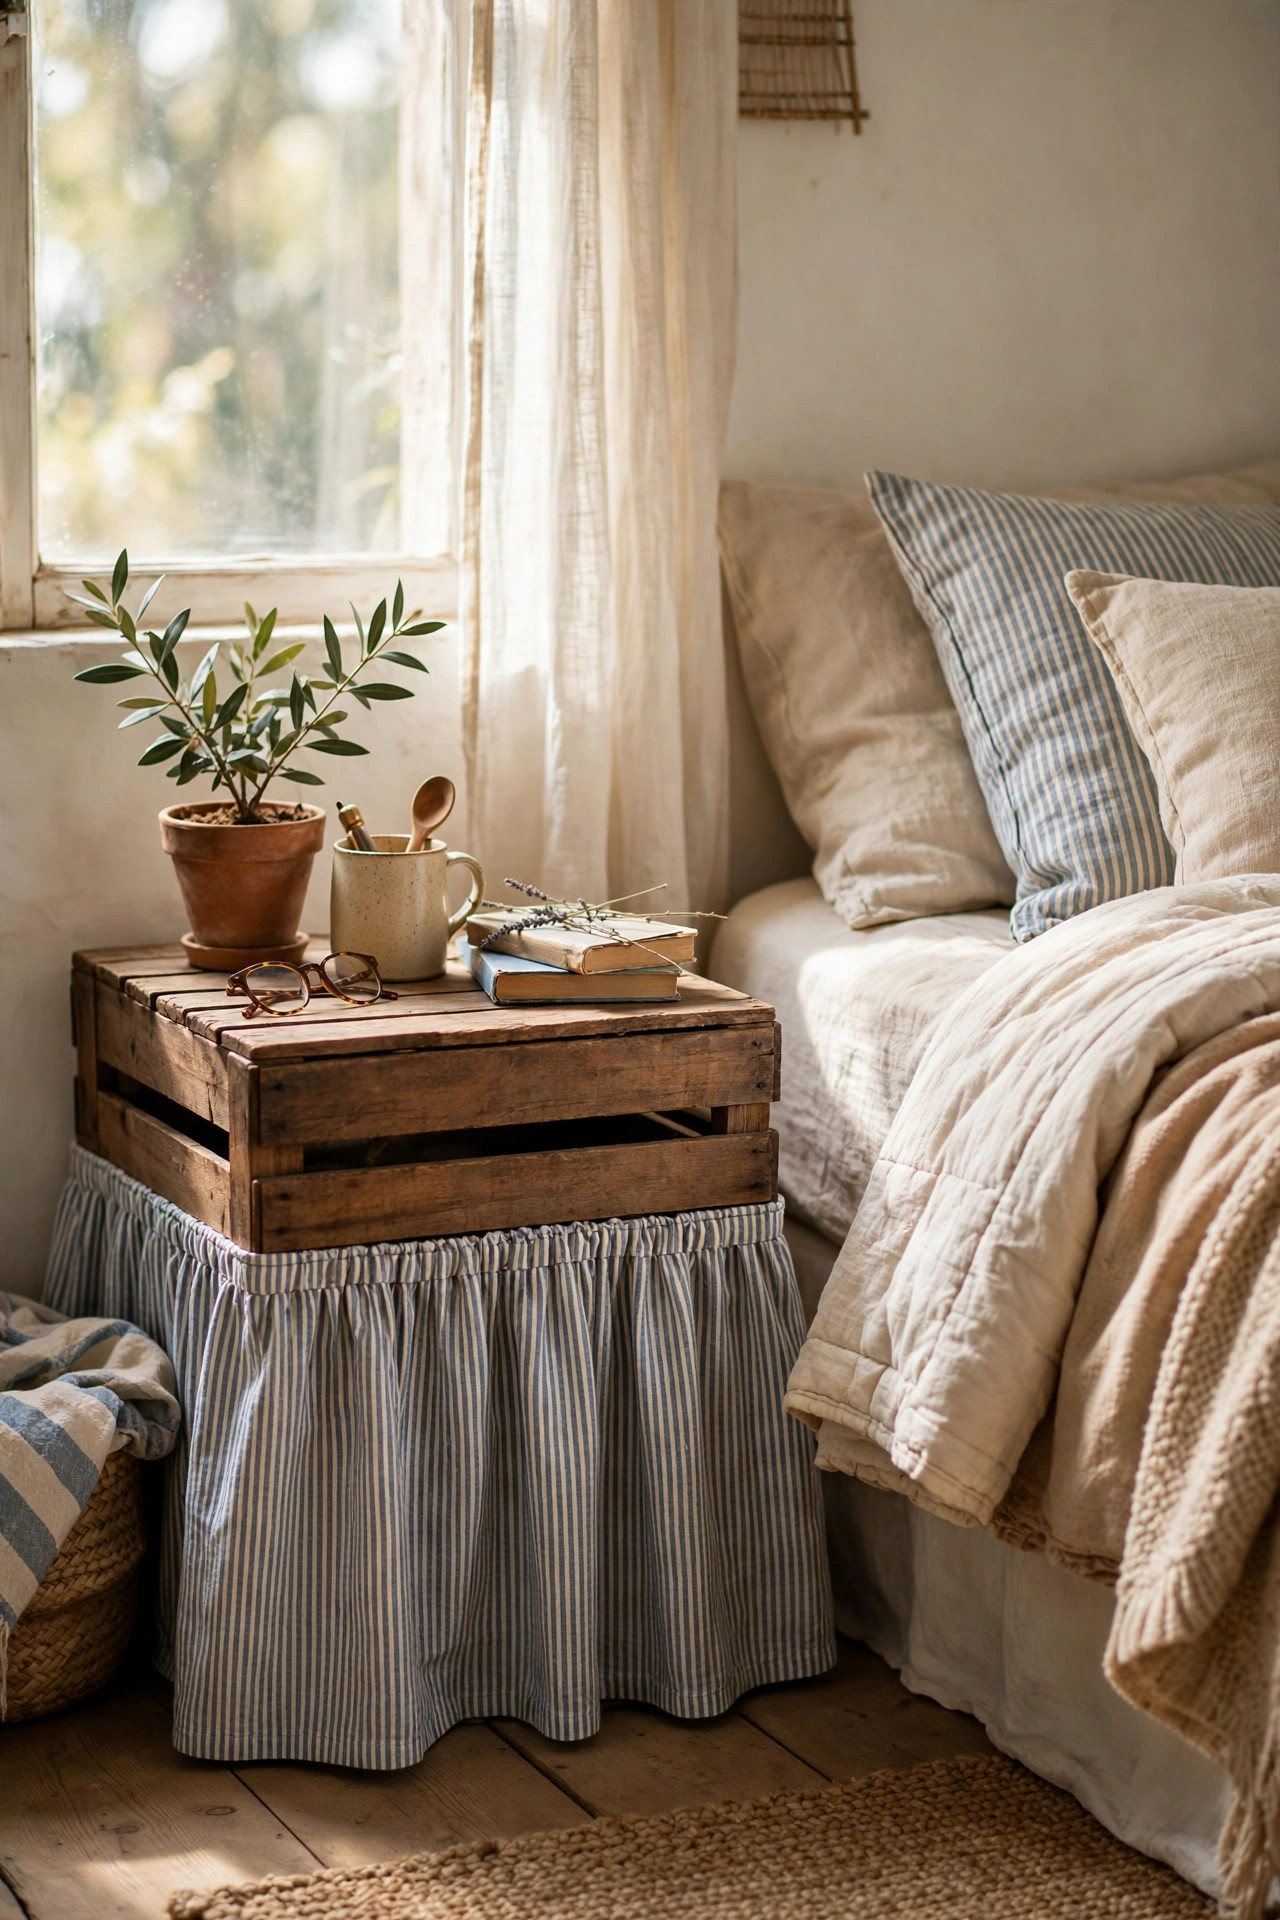
A no-sew fabric skirt turns a crate nightstand into a polished piece with hidden storage. Cut fabric to wrap the crate with a few centimetres of overlap, hem the top edge with iron-on tape, and attach it around the crate with Velcro strips or a staple gun. I skirted a crate table in striped ticking and it now hides chargers and spare bedding. My mistake was cutting the fabric too short and it looked like high-water trousers, so measure to just above the floor. The skirt also softens the boxy look of a plain crate beautifully.
Cost: ~$8-14 | Time: 1 hour
Keep the bedroom going: (see also: 17-diy-nightstand-ideas-for-beginners) (see also: 23-diy-headboard-ideas-that-look-expensive) (see also: 25-dollar-store-bedroom-finds-that-look-expensive)
Quick Questions
Q: What height should a DIY nightstand be?
A: Aim for within 5 centimetres of the top of your mattress, which is usually 55 to 65 centimetres from the floor. Too low and you will be reaching down for your lamp, too high and it crowds the bed. Measure your bed before you buy or build anything, because getting the height right matters more than the style you choose.
Q: How do I make a DIY nightstand sturdy enough for a lamp?
A: Stability comes from a wide base, level feet, and solid joints. Test every thrifted piece by pressing down on the top corners, and tighten or glue any wobble before you style it. For builds, screw joints rather than nailing them, and keep heavy items like lamps centred rather than near the edge.
Q: Can I build a nightstand with no power tools?
A: Yes, most of the ideas on this list need nothing more than a screwdriver, sandpaper, and a staple gun. Ask the hardware store to cut plywood to size, use pre-made legs and brackets, and choose paint and peel-and-stick finishes over anything that needs routing or sawing. A hand saw and a drill are nice to have but rarely essential.
