19 Easy DIY Home Decor Projects for Beginners Under $30
The first time I drilled into a wall I hit a pipe, so I understand why DIY feels intimidating. These easy diy home decor projects need almost no tools, no experience, and not one of them costs more than $30. I picked every project on this list because a complete beginner can finish it in a single afternoon, and each one genuinely changes how a room looks. If you can peel a sticker and wield a paintbrush, you are qualified.
Start with whichever project matches the room that bothers you most, and give yourself permission to be imperfect. Handmade charm beats showroom polish in a real home. By the end of this list you will have the confidence to tackle anything.
No Tools, No Problem
1. Peel-and-Stick Wallpaper Accent Panel
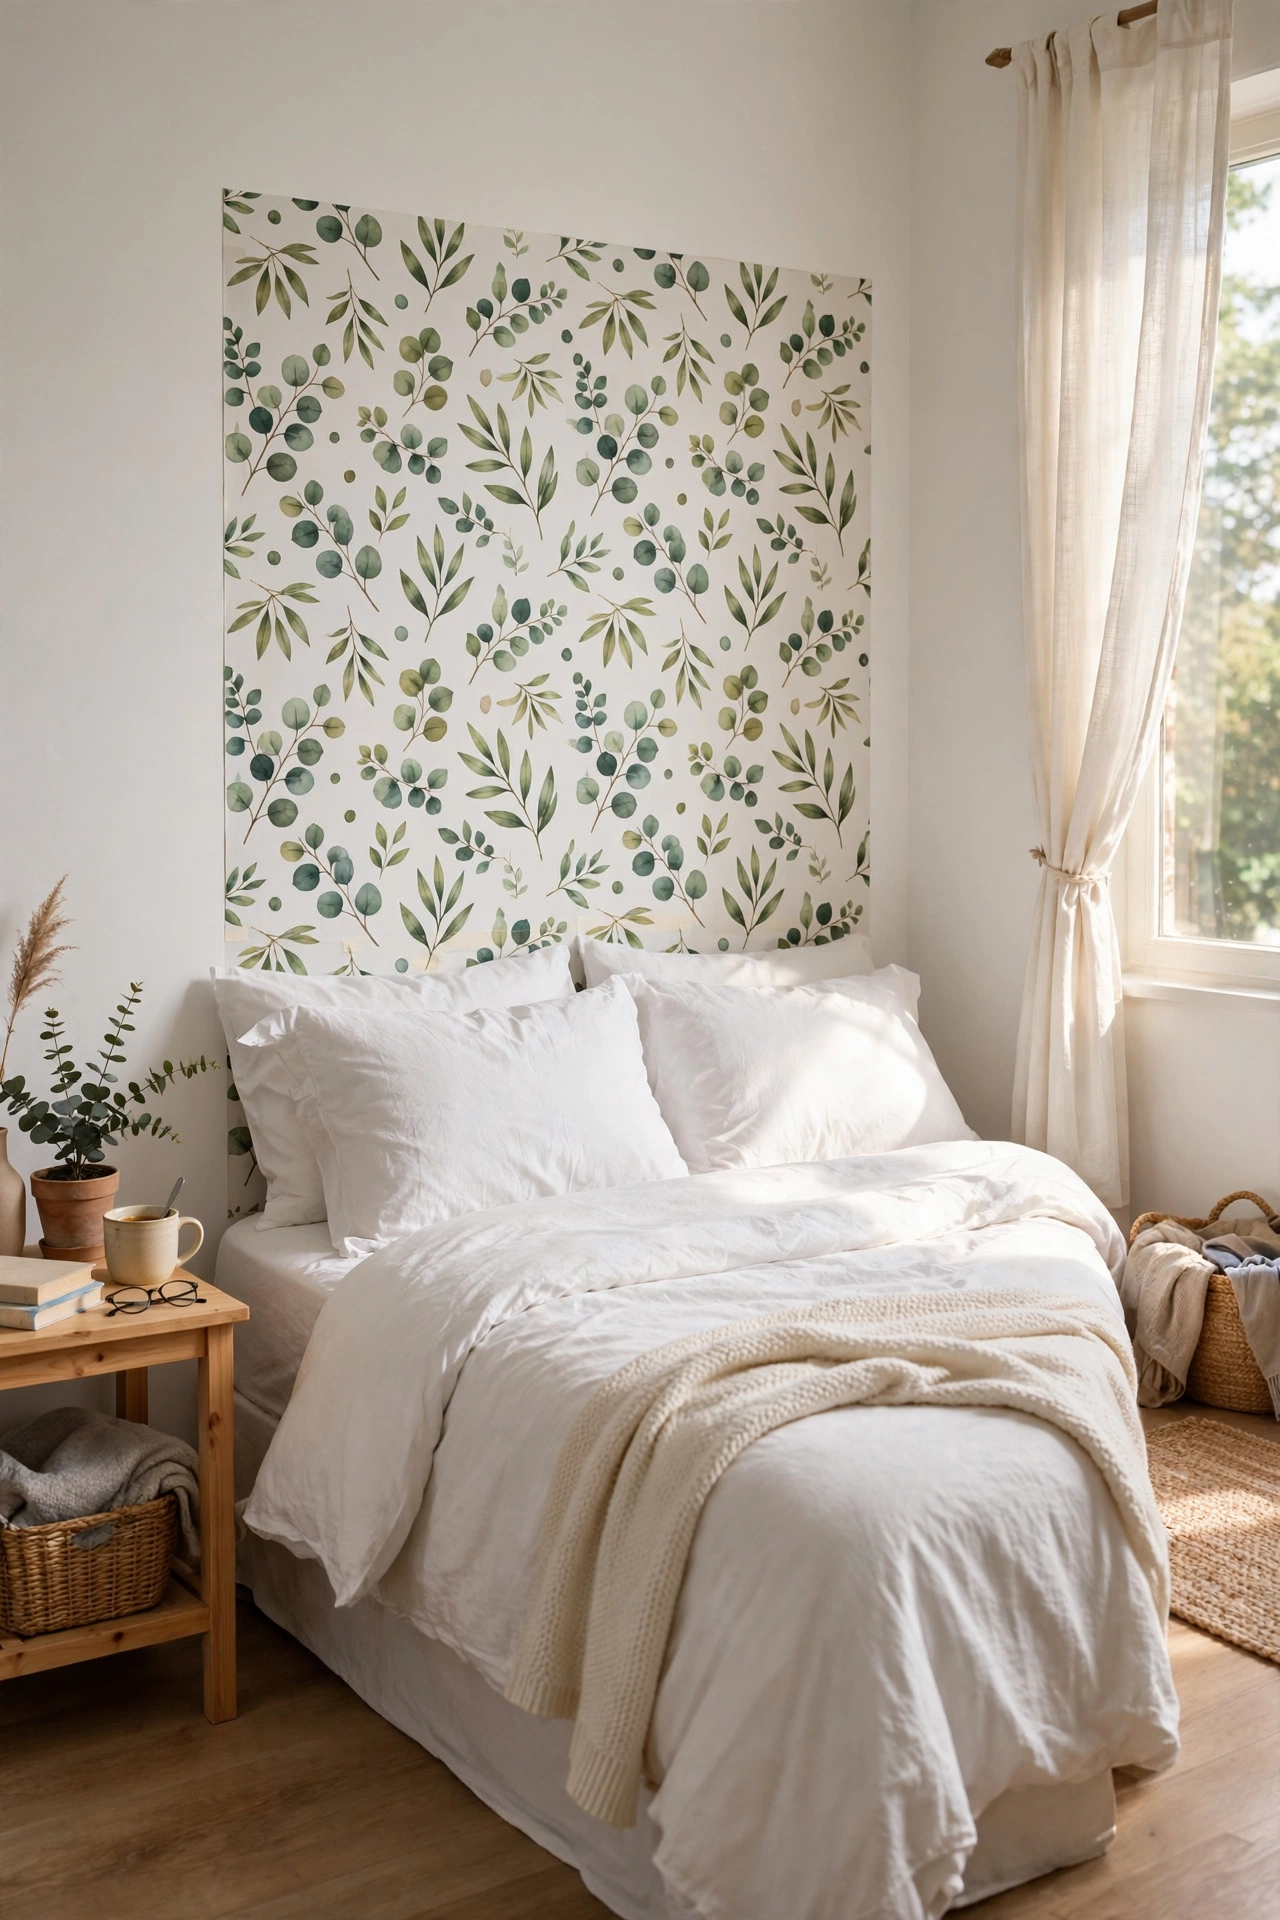
You do not need to paper a whole wall to get the drama of wallpaper. A single panel behind a bed or a desk, cut from one roll of peel-and-stick paper, gives the same impact for a fraction of the cost and effort. Measure the area, cut the paper a centimetre oversize, peel a few inches at a time, and smooth it down with a dry cloth as you go. I did this behind my bed. My mistake was peeling the whole backing off at once, which left me wrestling a flapping sheet; go slowly in sections and it lands perfectly. It peels off clean when you move.
Cost: ~$15-25 | Time: 45 minutes
2. Contact Paper Marble Tray Makeover
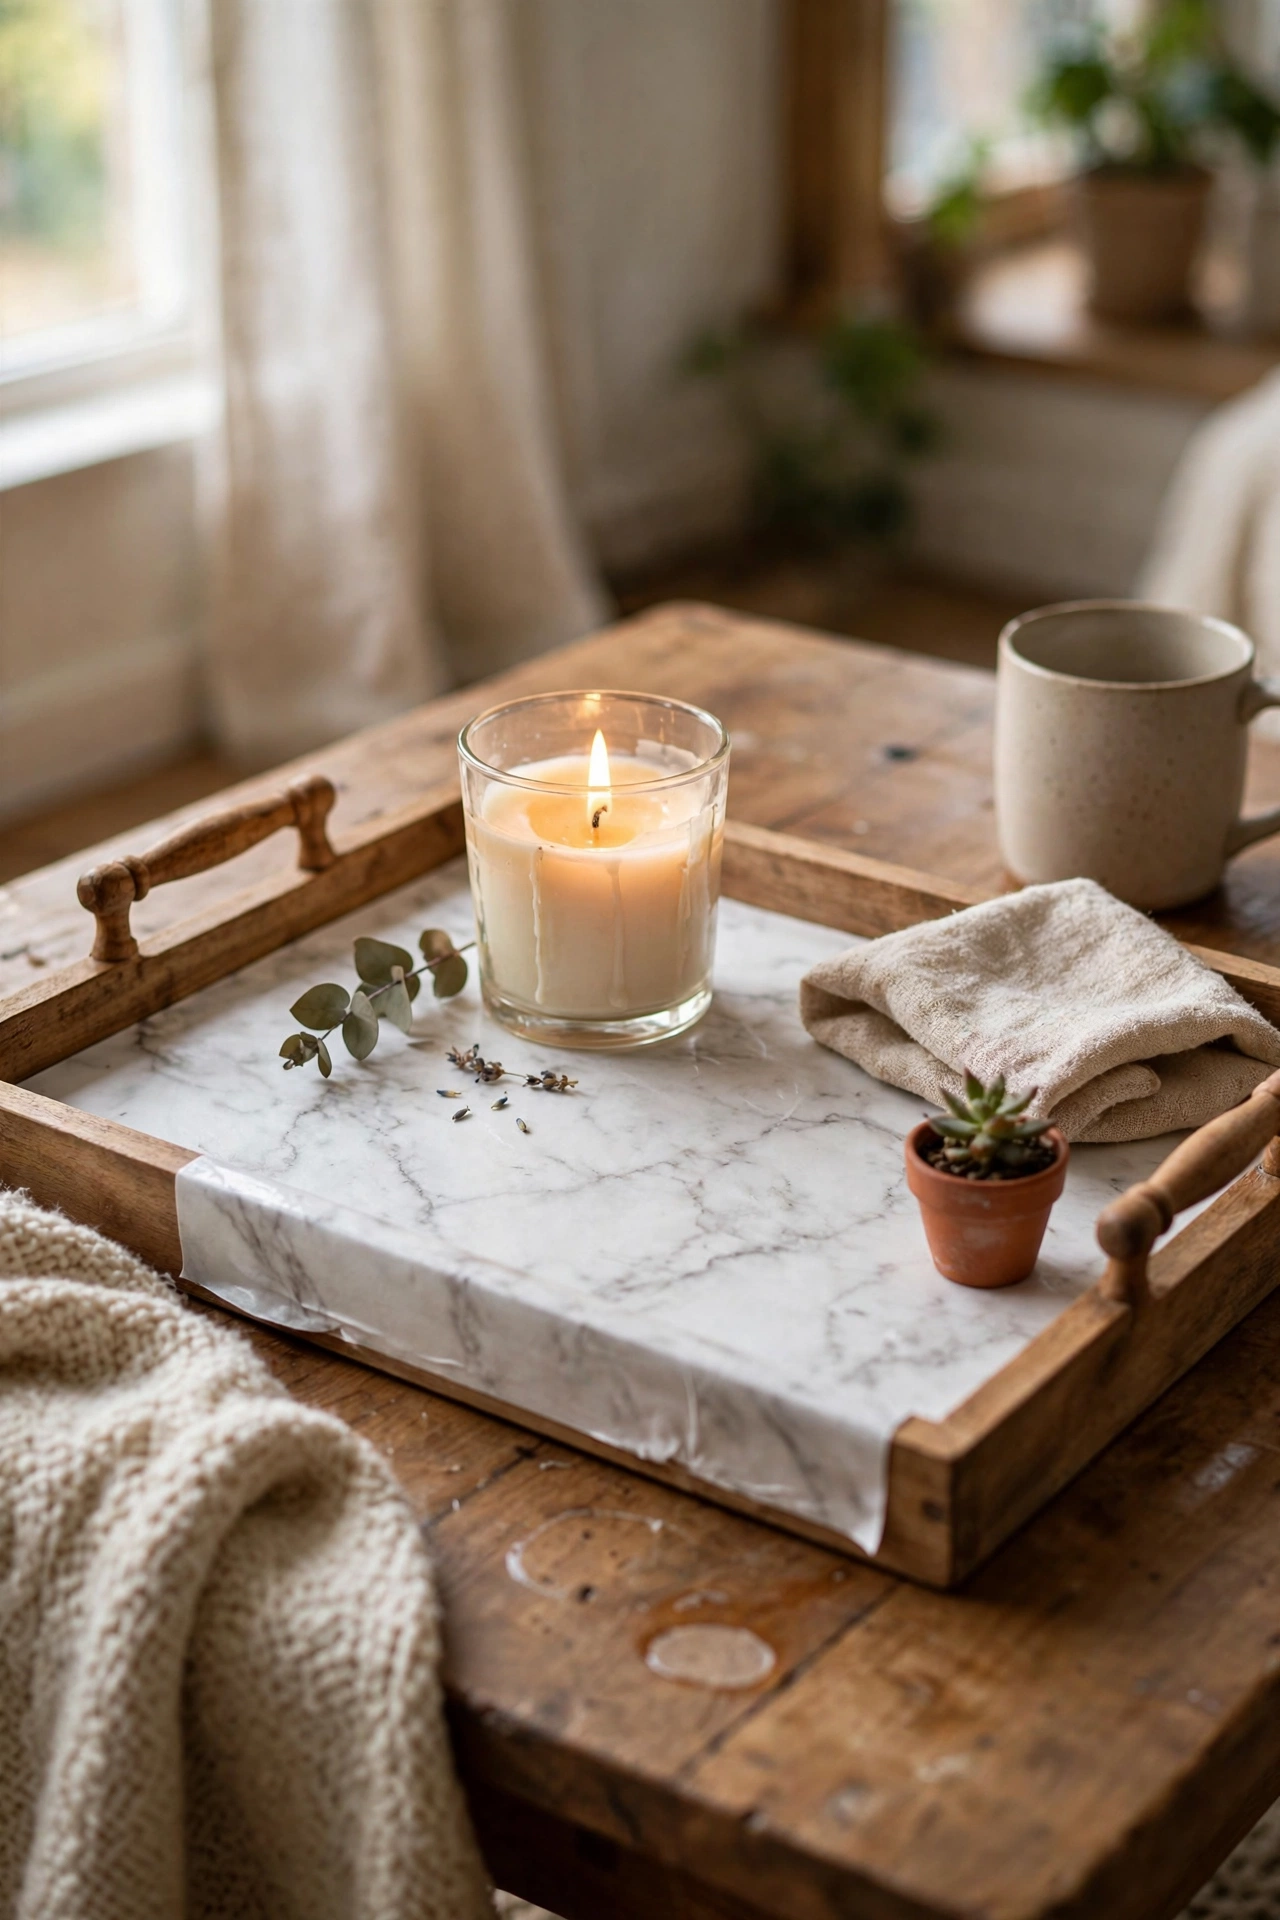
A tired wooden tray becomes a marble-look serving piece with a sheet of adhesive contact paper. Clean the tray, cut the paper slightly oversize, lay it across the base, and trim the edges with a craft knife for a crisp finish. I did this to a charity-shop tray that had seen better decades. My mistake was skipping the cleaning step, and the paper bubbled over old grease; a wipe with warm soapy water first makes it stick like a dream. It wipes clean and fools everyone.
Cost: ~$5-10 | Time: 20 minutes
3. Glass Jar Candle Holders
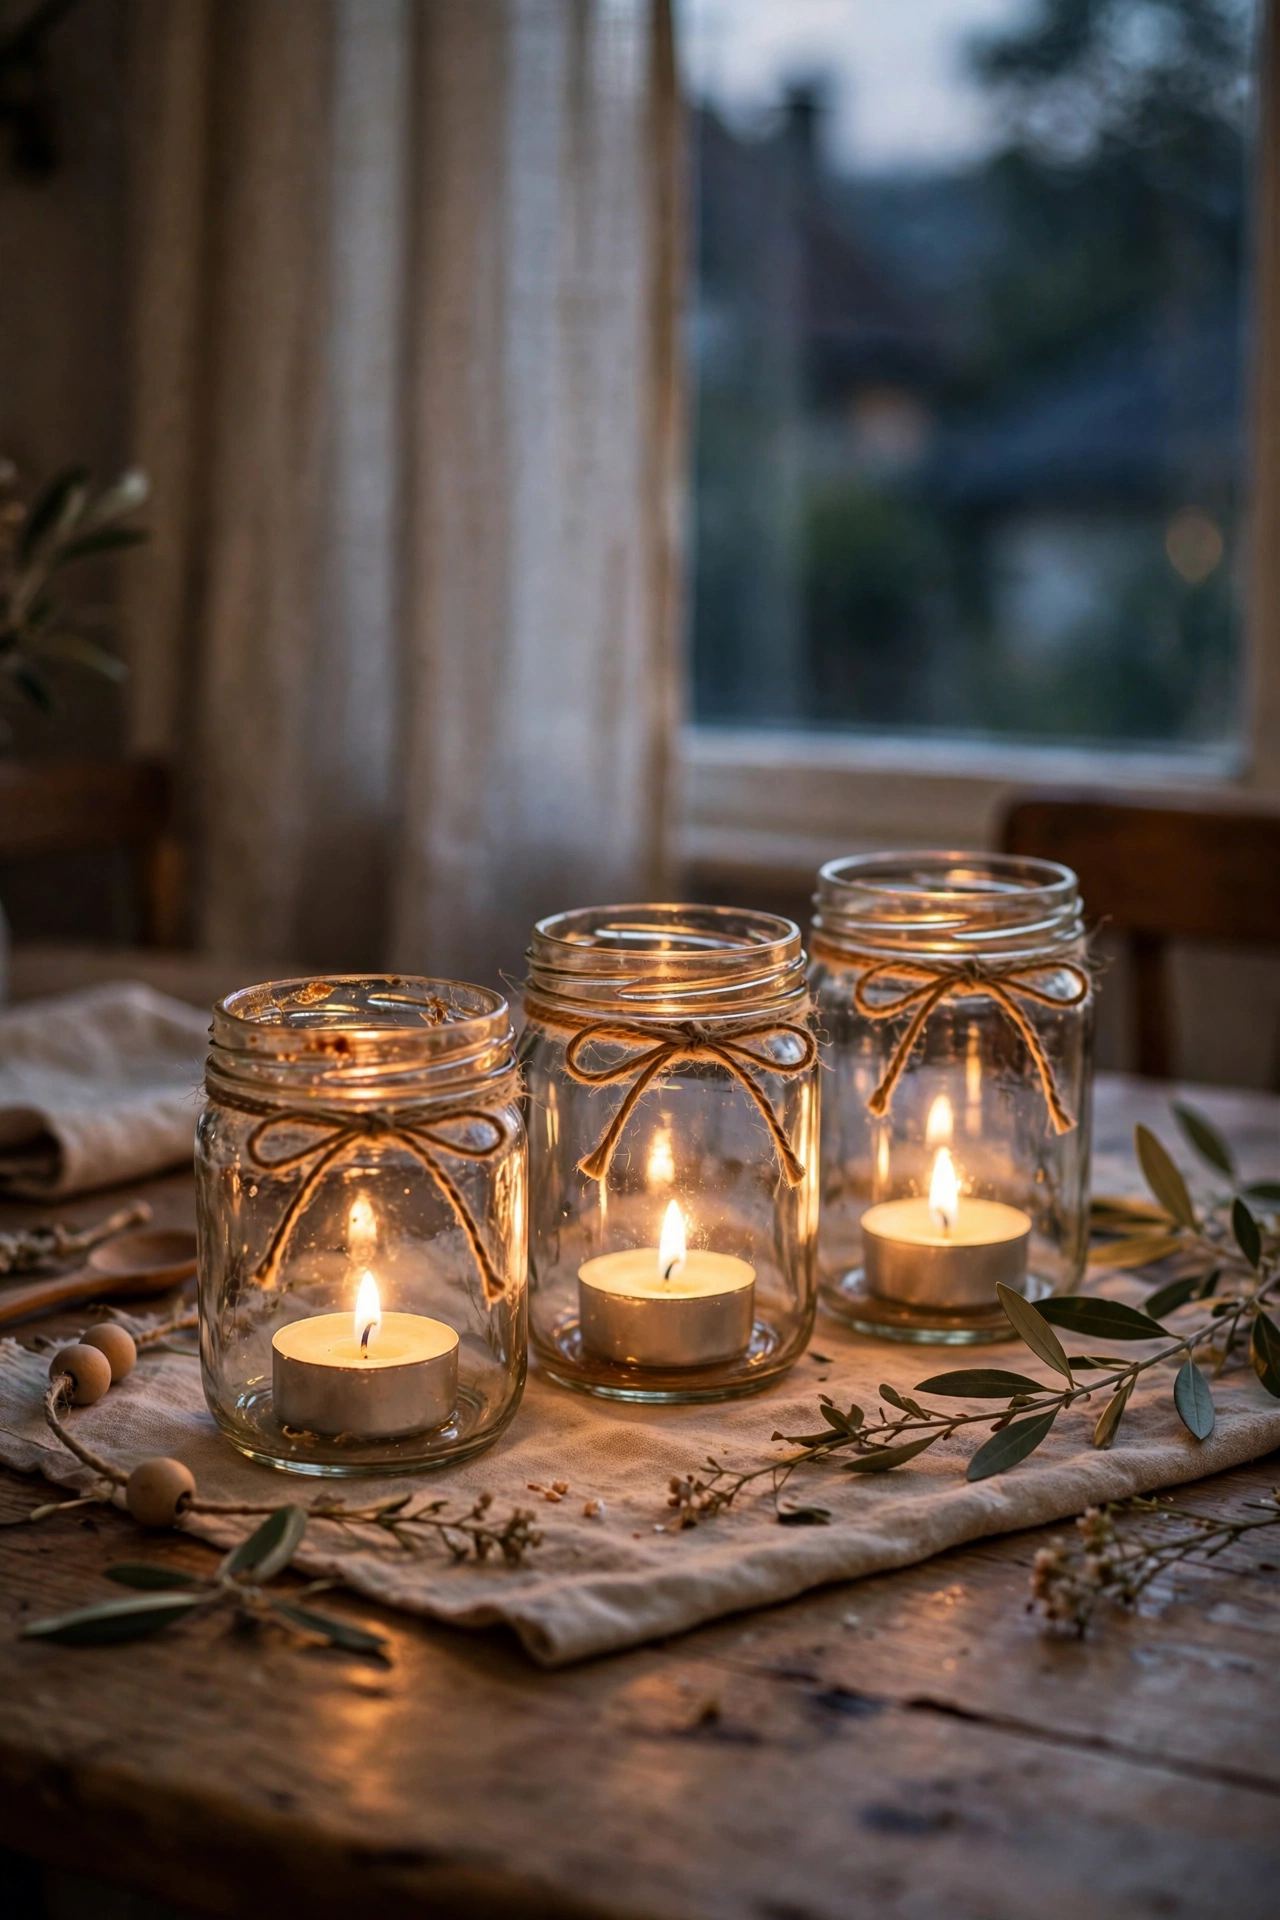
Jam jars are free candle holders waiting to happen. Wash them well, tie twine or ribbon around the neck, drop in a tea light, and group them in threes on a tray or windowsill. I keep a set on my dining table that cost me literally nothing. My mistake was using jars with labels still on for the first batch, which looked scrappy; soak them in hot water for ten minutes and the labels slide right off. At night the flickering group looks far more expensive than it has any right to.
Cost: ~$2-5 | Time: 15 minutes
4. Tension Rod Under-Sink Curtain
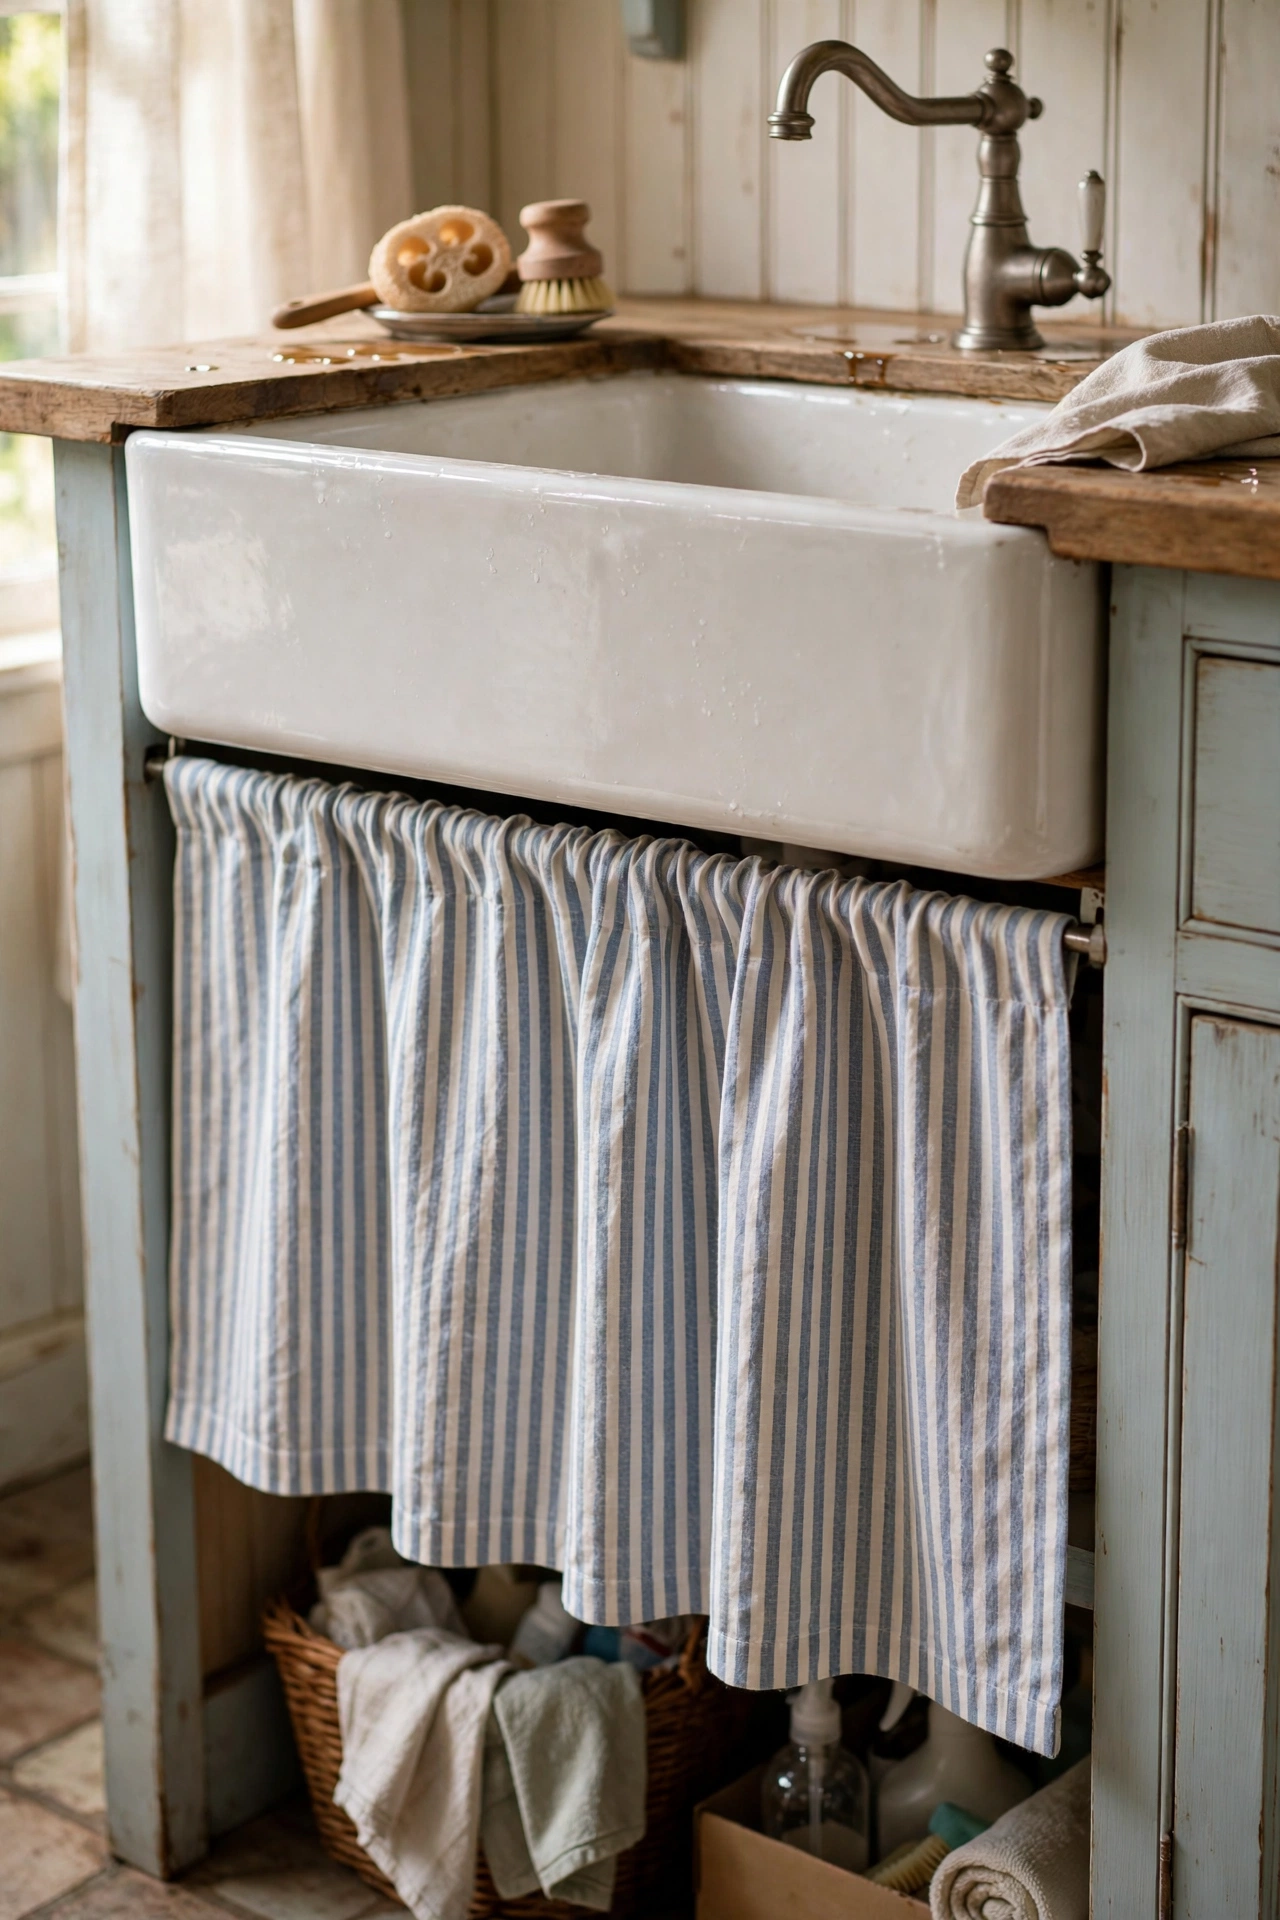
The chaos under the kitchen sink disappears behind a simple fabric curtain on a tension rod. Measure the opening, cut a curtain panel with a hemmed top pocket, and wedge a tension rod inside the cabinet. I used a striped tea towel cut to size. My mistake was buying a rod too long, which bowed and fell down weekly; measure the inside width and buy a rod that fits snugly. It hides the cleaning bottles and adds a cottage charm no cabinet door ever could.
Cost: ~$8-14 | Time: 20 minutes
5. Faux Linen Drawer Liners
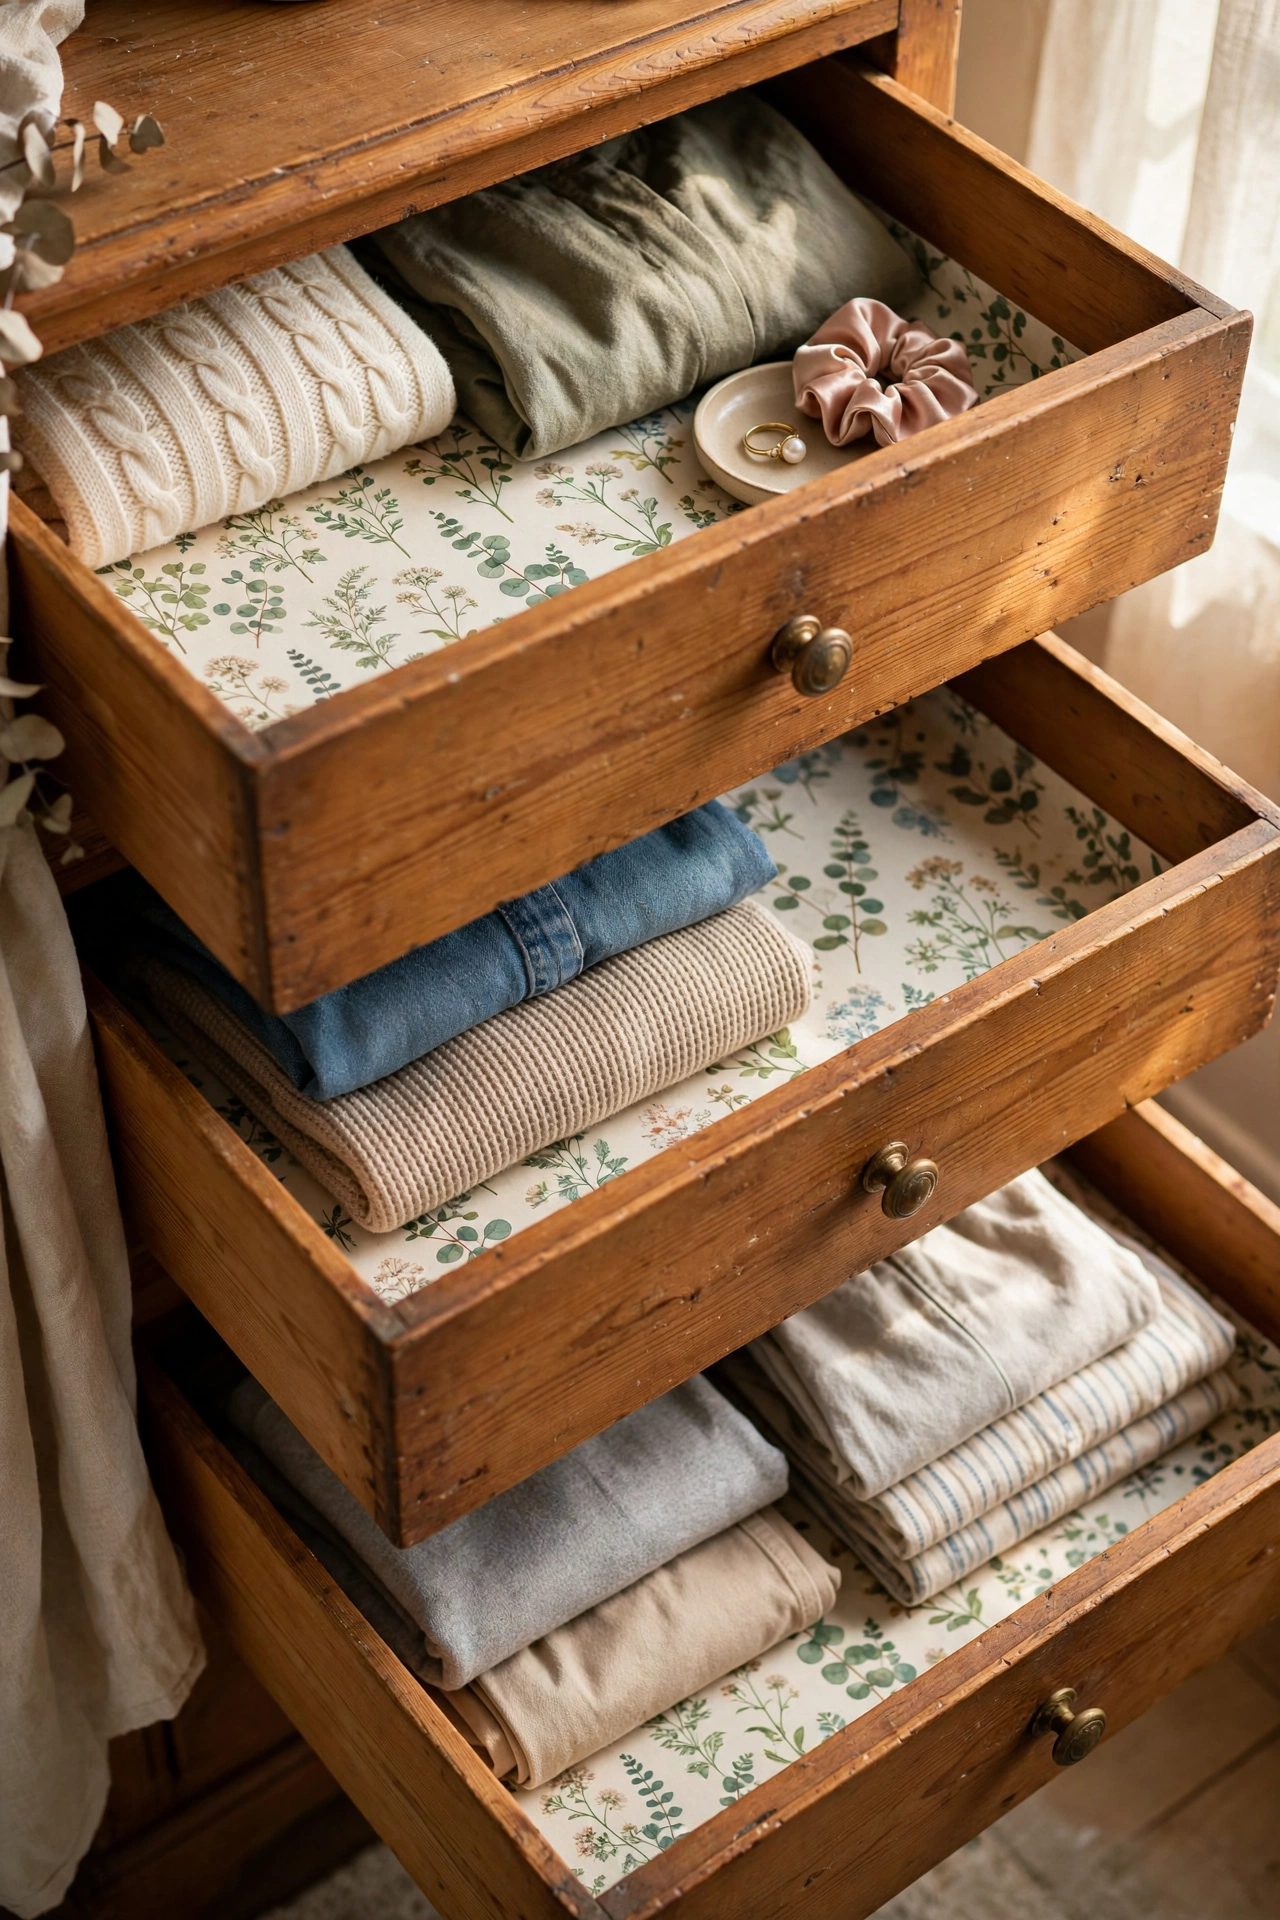
Lining drawers with pretty paper is the kind of small luxury you notice every day. Measure each drawer, cut wrapping paper or wallpaper offcuts to fit, and lay them in without glue so you can swap them later. I lined my bedroom drawers with leftover botanical wallpaper. My mistake was gluing the first sheet down, which made it impossible to change; loose sheets stay flat under your clothes and lift out when you redecorate. It costs almost nothing and makes opening a drawer feel special.
Cost: ~$3-8 | Time: 30 minutes
6. Printable Art in Pound-Shop Frames
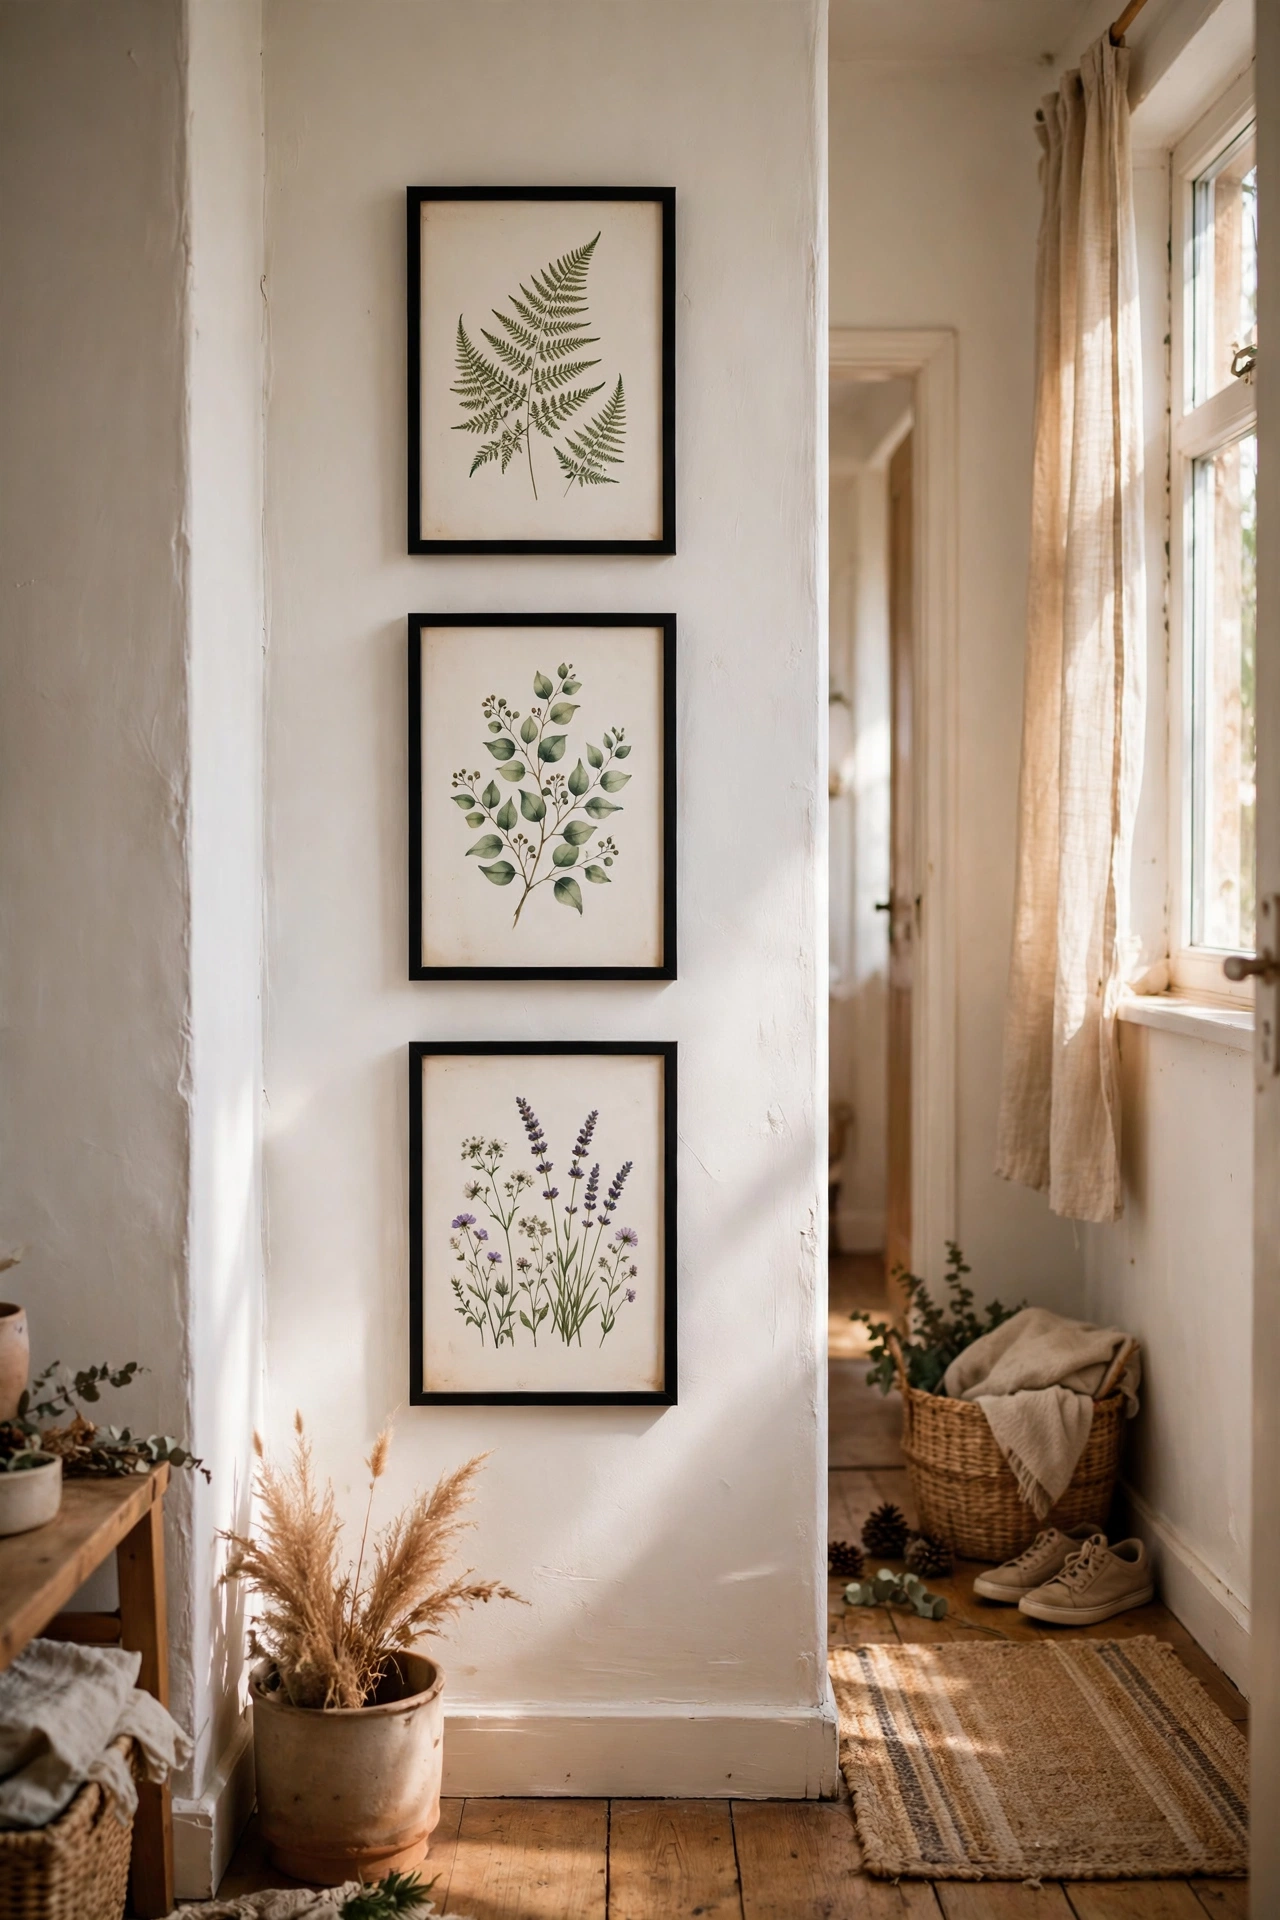
Free printable art plus a cheap frame is the beginner’s gallery wall. Download a public-domain print, print it at the library or at home, and pop it in a simple black frame. I framed three botanical prints for my hallway for under $12 total. Look for botanical sketches, vintage maps, or simple line drawings, because they suit almost any room. My mistake was printing on regular paper, which looked flimsy; matte photo paper or light cardstock makes the same image look twice as good. Swap the prints seasonally and the hallway never gets boring.
Cost: ~$8-15 | Time: 20 minutes
Wall Decor for Total Beginners
7. Gallery Wall with One Nail Each
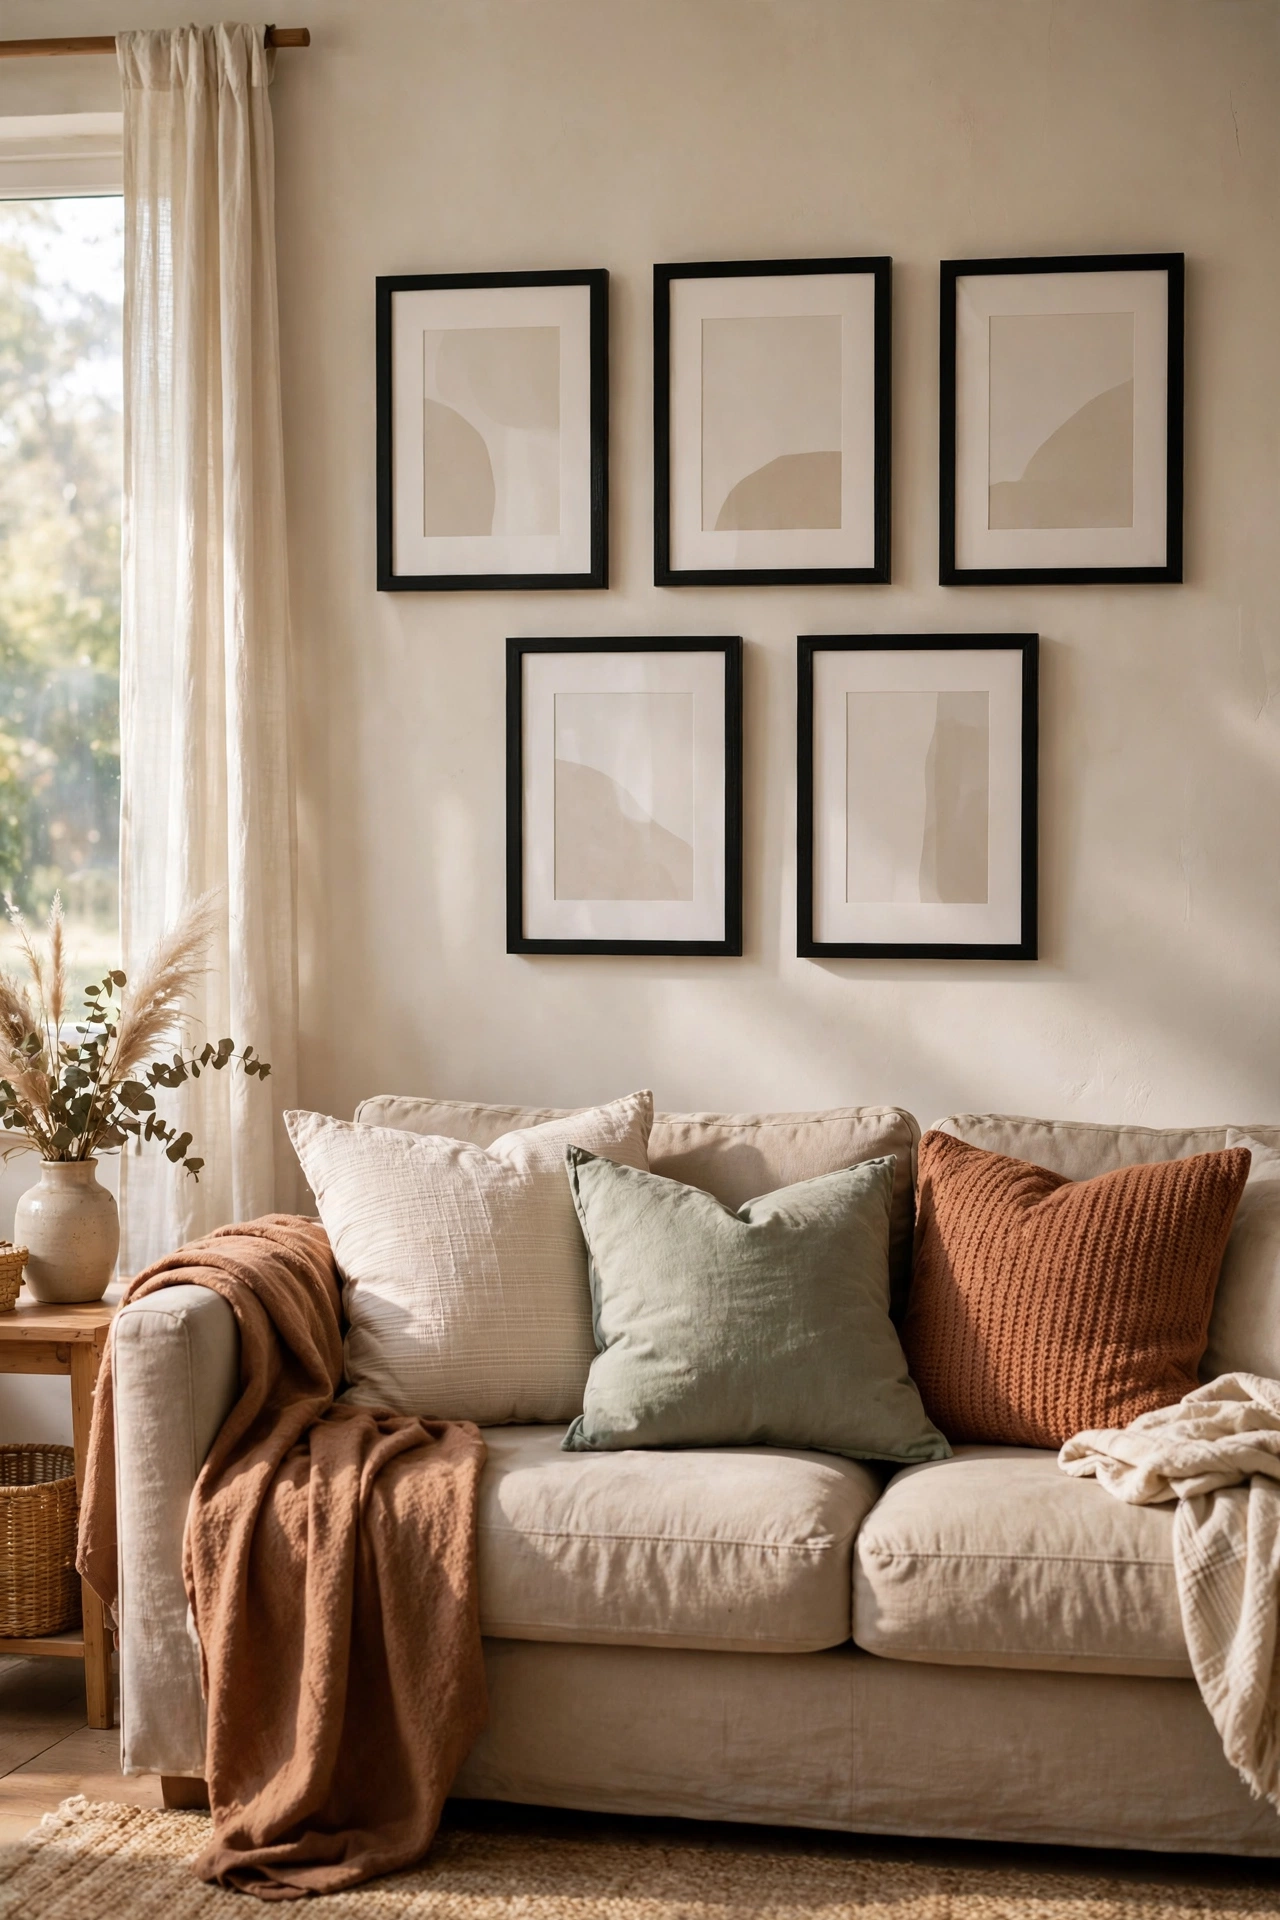
A gallery wall sounds advanced, but the beginner version is just five frames hung in a loose grid. Lay the arrangement on the floor first, photograph it, then hang each frame on a single nail using the photo as your guide. I did this over my sofa in one Saturday morning. My mistake was hanging the first frame before planning, which left me with crooked holes to fill; the floor rehearsal takes ten minutes and saves the wall. Keep the frames matching and the art can be anything you love.
Cost: ~$15-28 | Time: 1 hour
8. Painted Arch Accent Wall
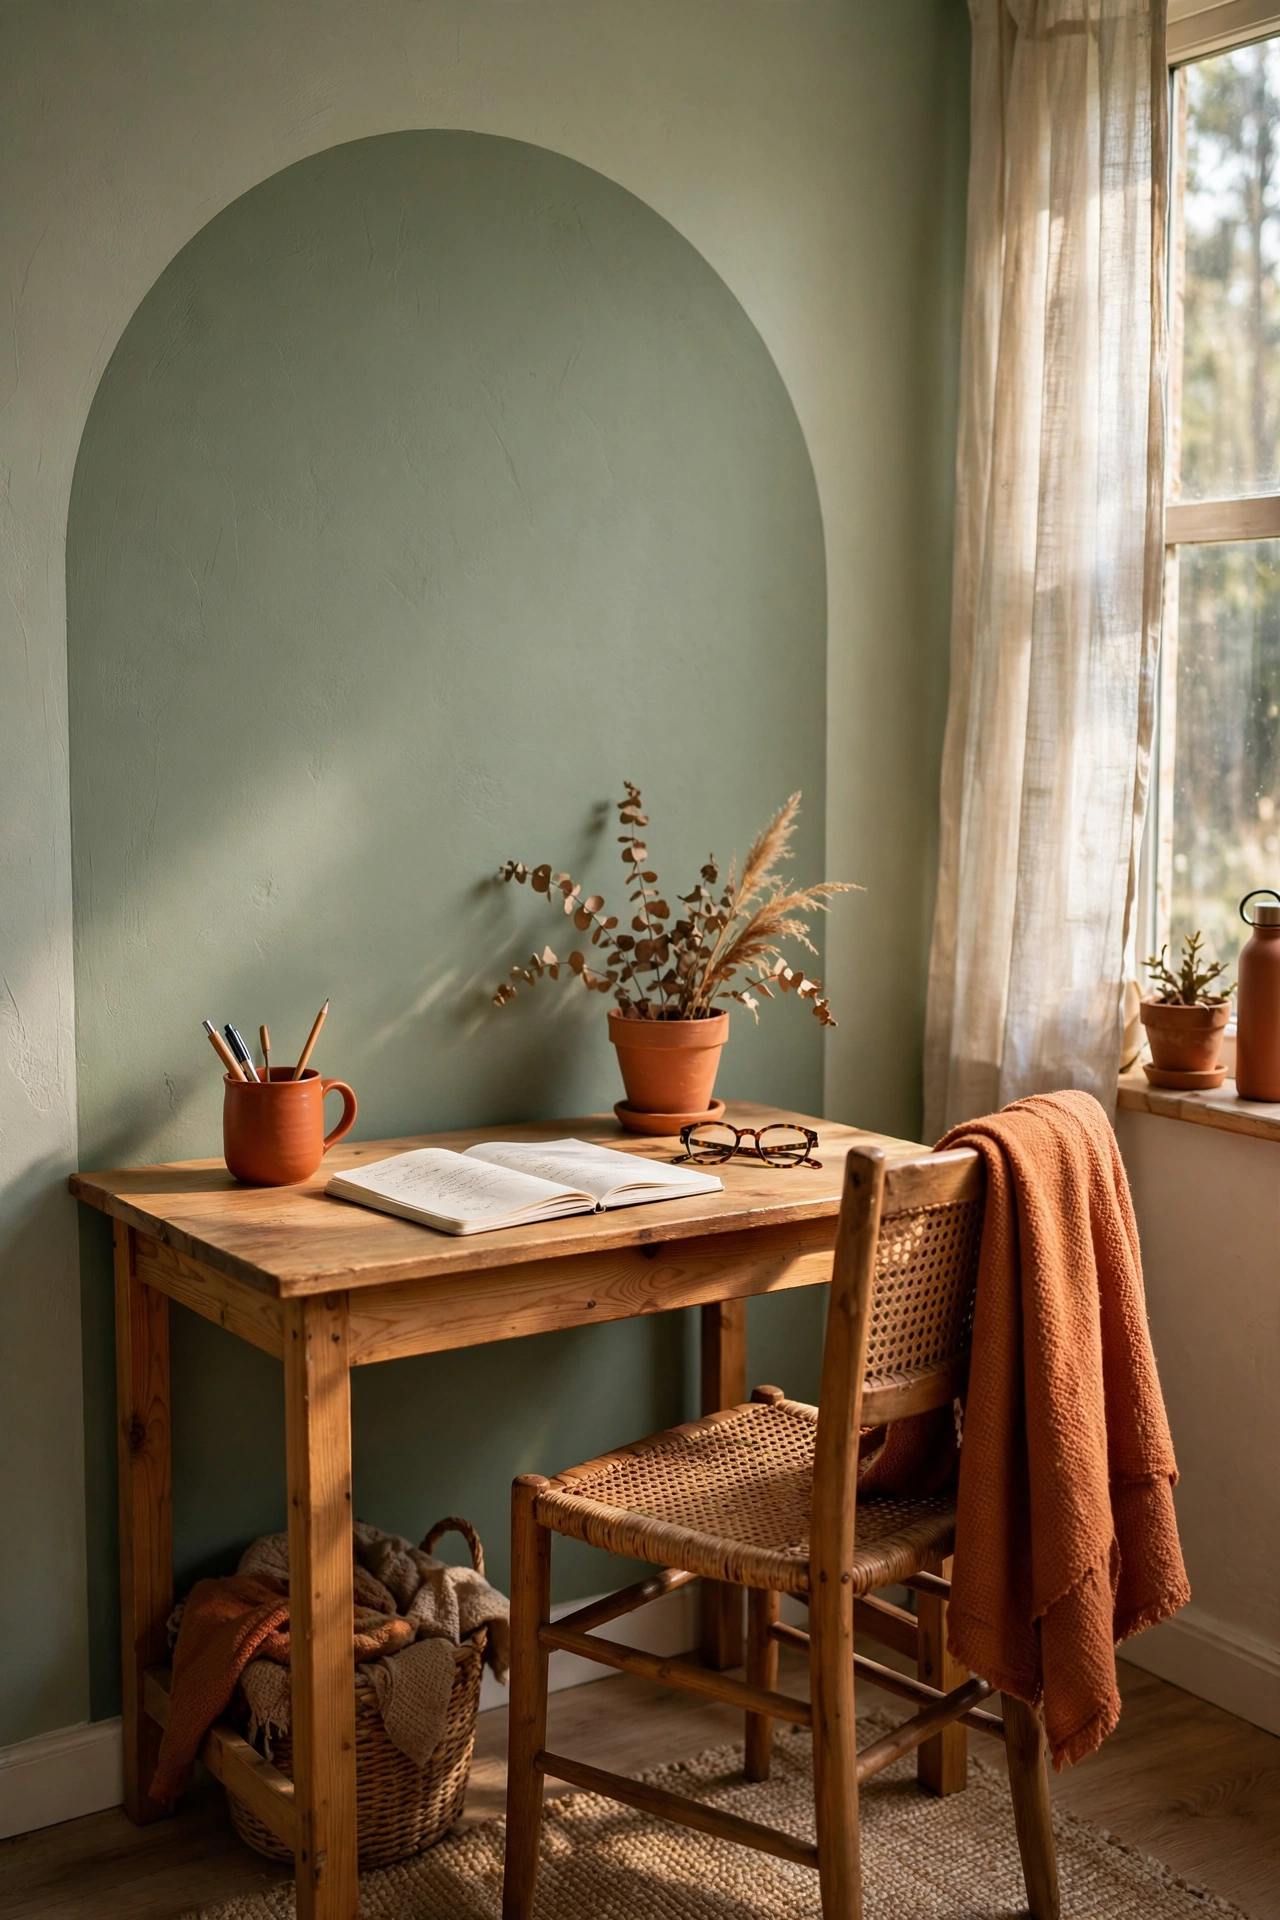
A painted arch is the easiest statement wall a beginner can attempt: one colour, one curve, enormous payoff. Mark the arch with a pencil tied to a string, mask the edge with tape, and roll on two coats of a warm muted colour. I painted one behind my desk in sage green. My mistake was freehanding the curve, which wobbled badly; the string-and-pencil trick gives a perfect arc every time. It frames whatever sits in front of it like a work of art.
Cost: ~$10-18 | Time: 2 hours plus drying
9. String-and-Peg Photo Display
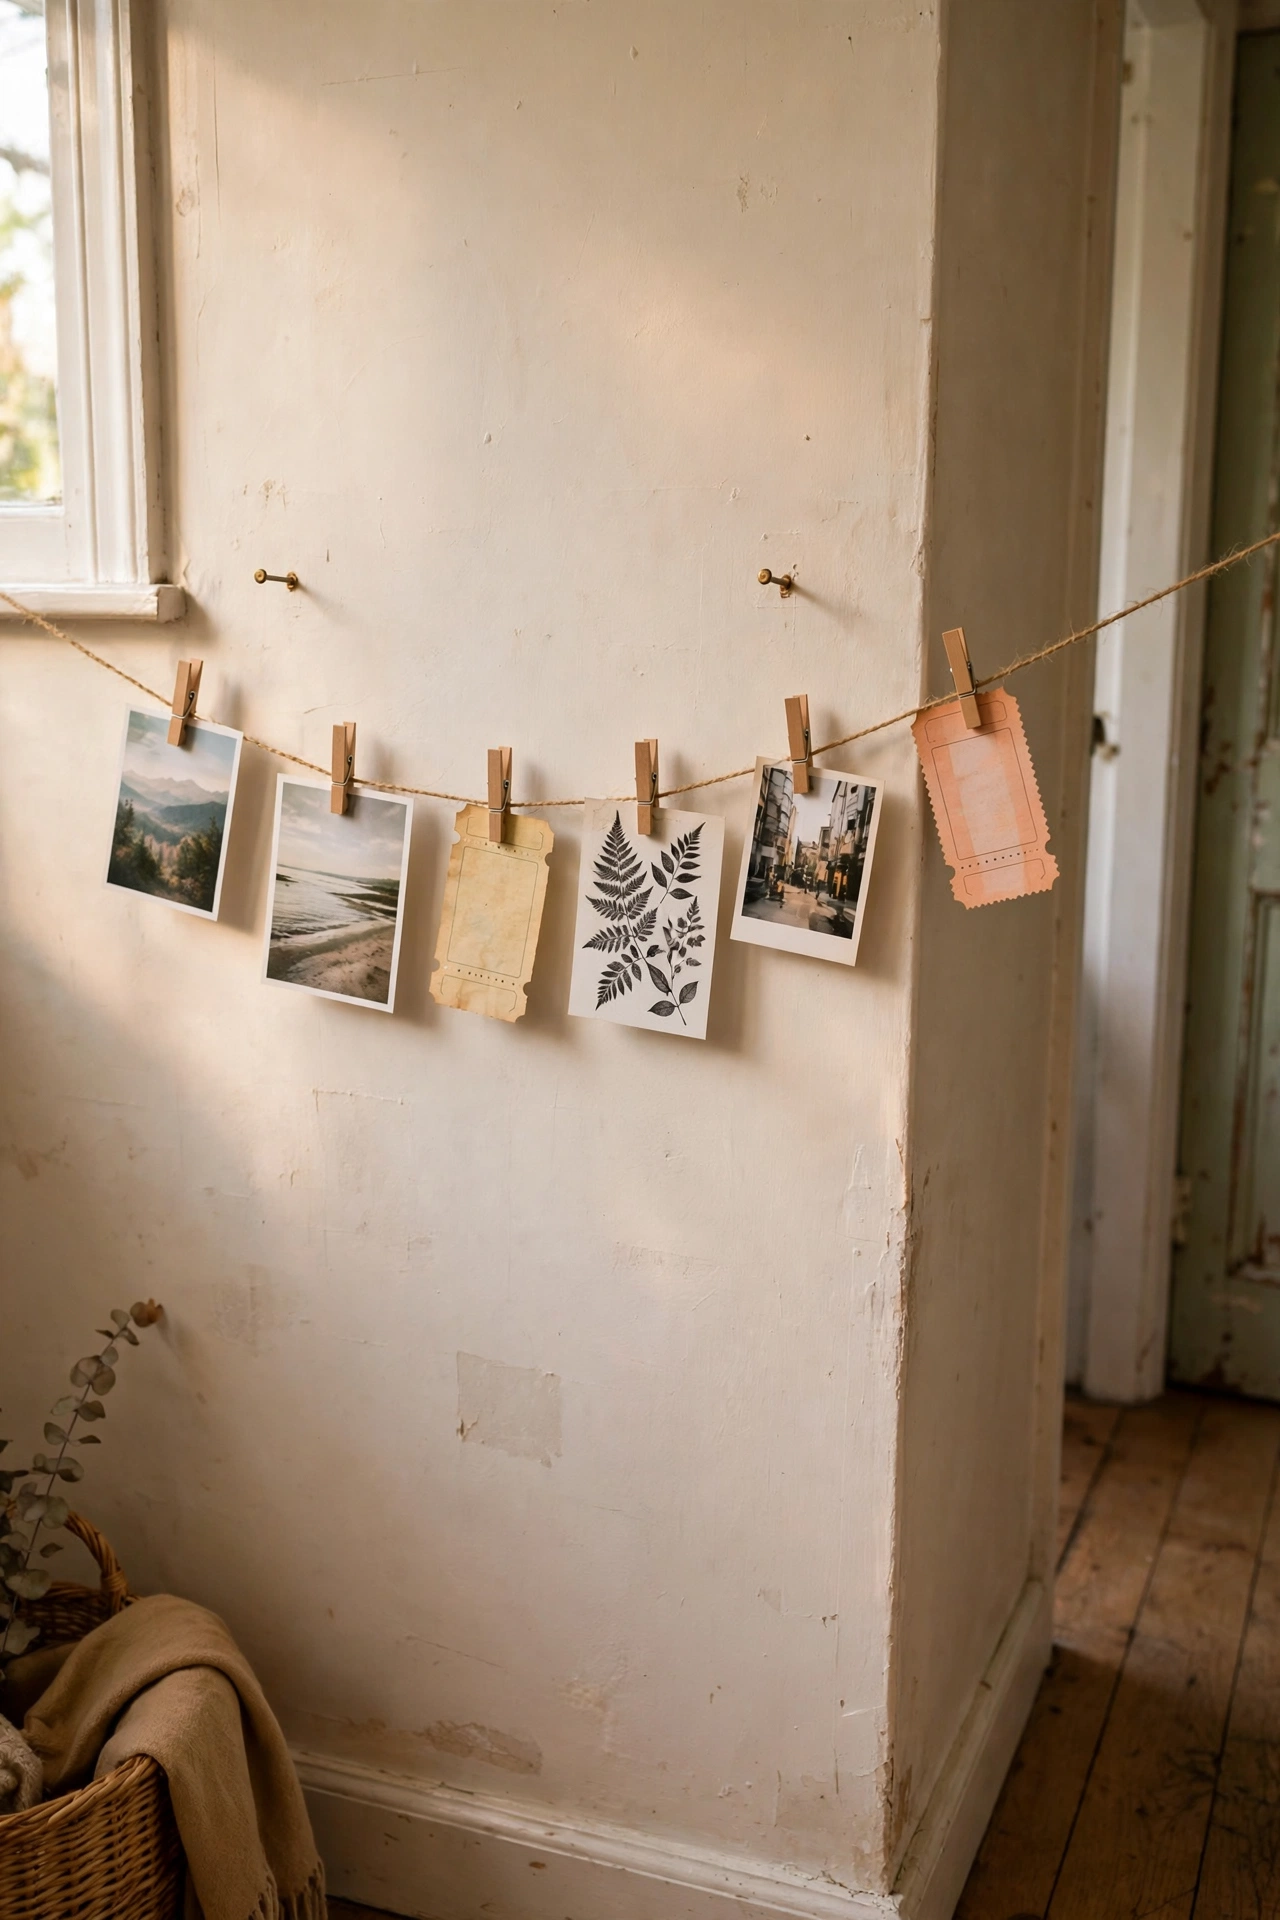
Two nails, a length of twine, and mini pegs make a photo display you can change in minutes. Hammer two small nails into the wall, string the twine between them with a little sag, and peg up prints, postcards, and ticket stubs. I have one in my hallway that I rearrange every season. My mistake was pulling the twine drum-tight, which looked severe; a gentle sag is the whole charm. It costs almost nothing and keeps your favourite memories visible instead of in a drawer.
Cost: ~$4-8 | Time: 20 minutes
10. Fabric Wall Hanging on a Dowel
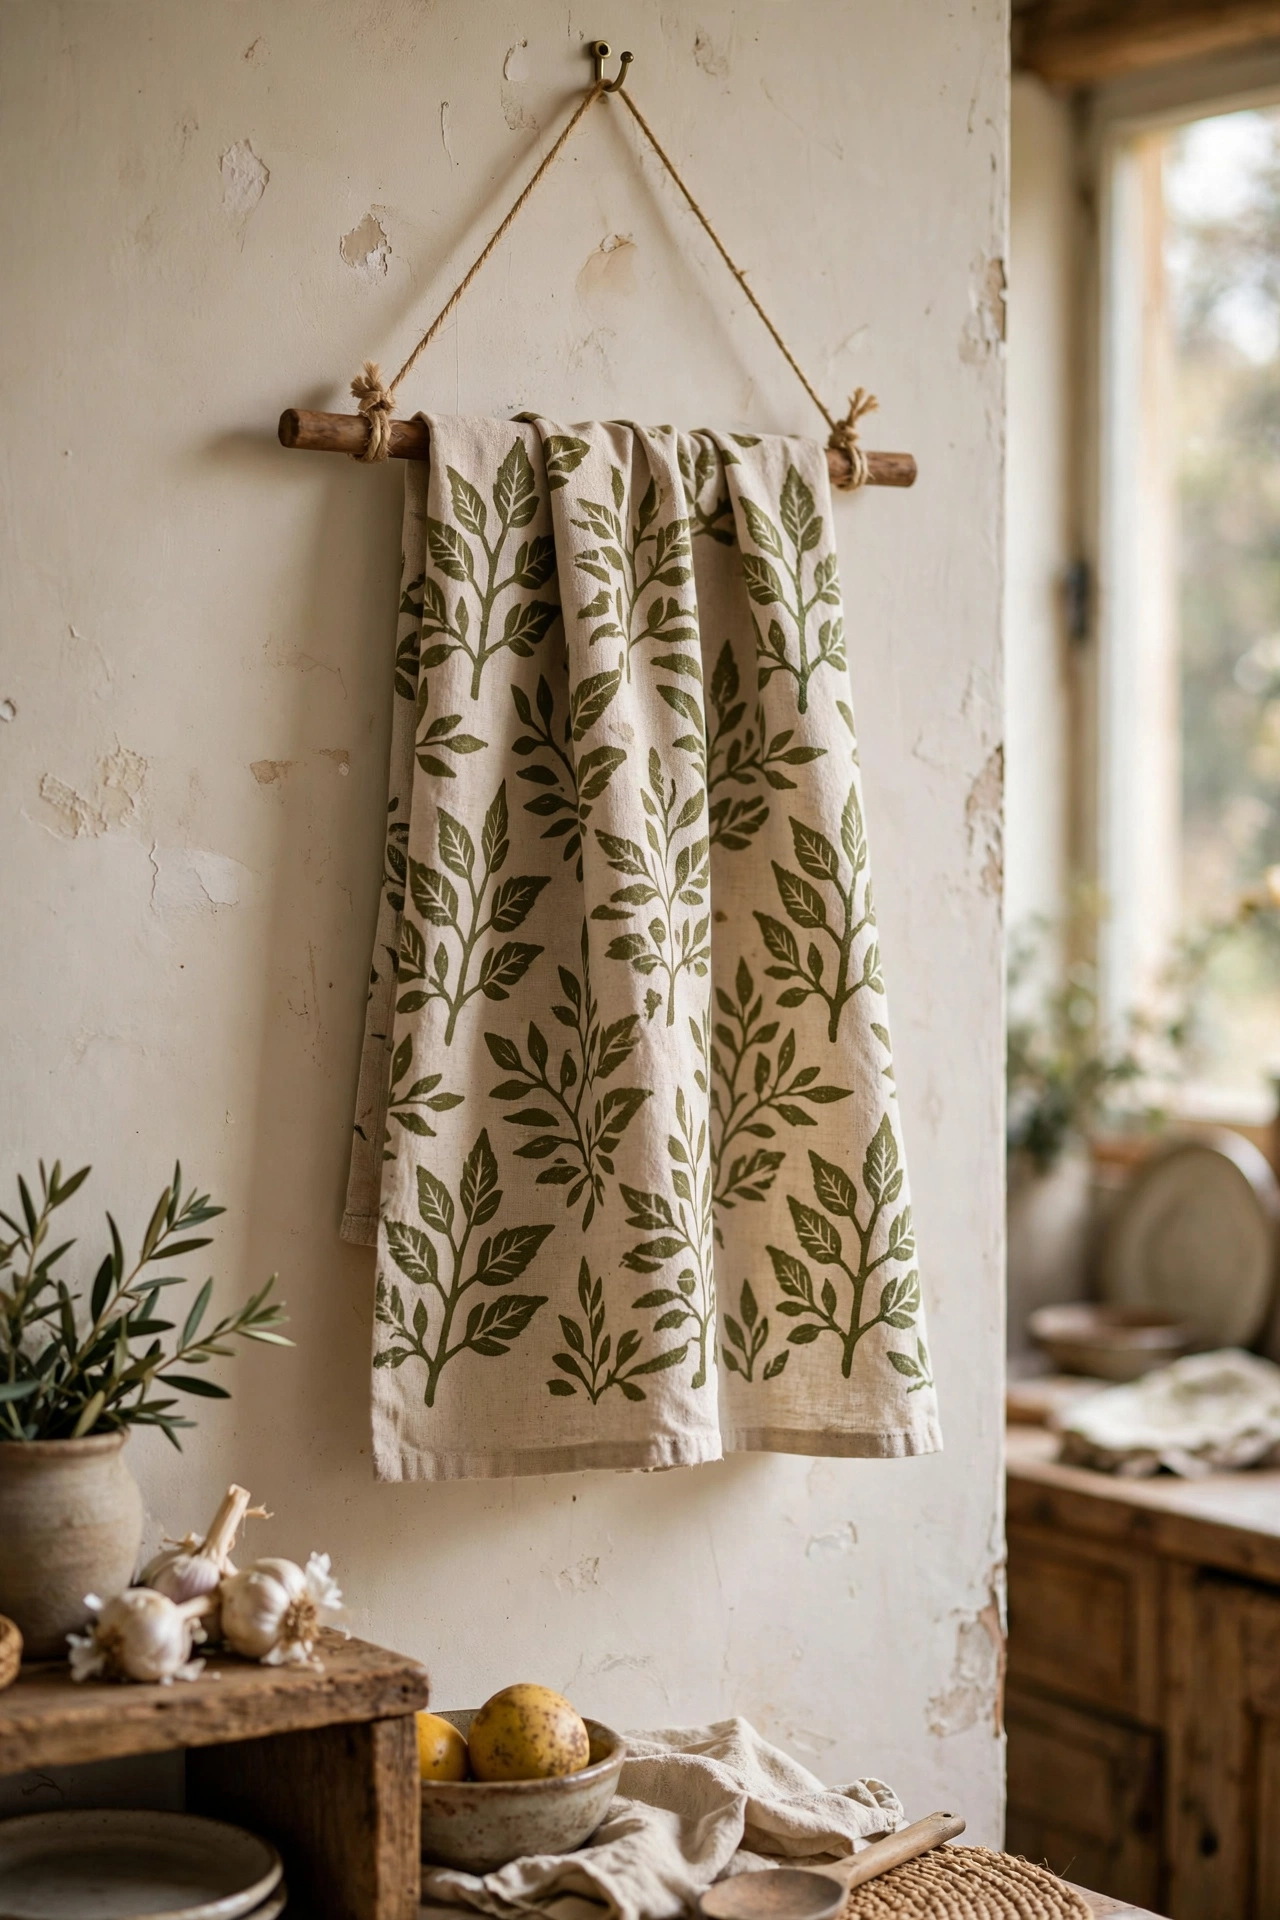
A beautiful tea towel or fabric remnant becomes wall art when it hangs from a wooden dowel. Fold the top edge over the dowel and stitch or glue it into a pocket, tie string to each end, and hang it on a single hook. I hung a hand-printed tea towel in my kitchen this way. My mistake was using a flimsy fabric that curled at the edges; a medium-weight cotton or linen hangs straight. It adds pattern and softness to a wall with zero framing cost.
Cost: ~$6-12 | Time: 25 minutes
11. Chalkboard-Painted Pantry Door
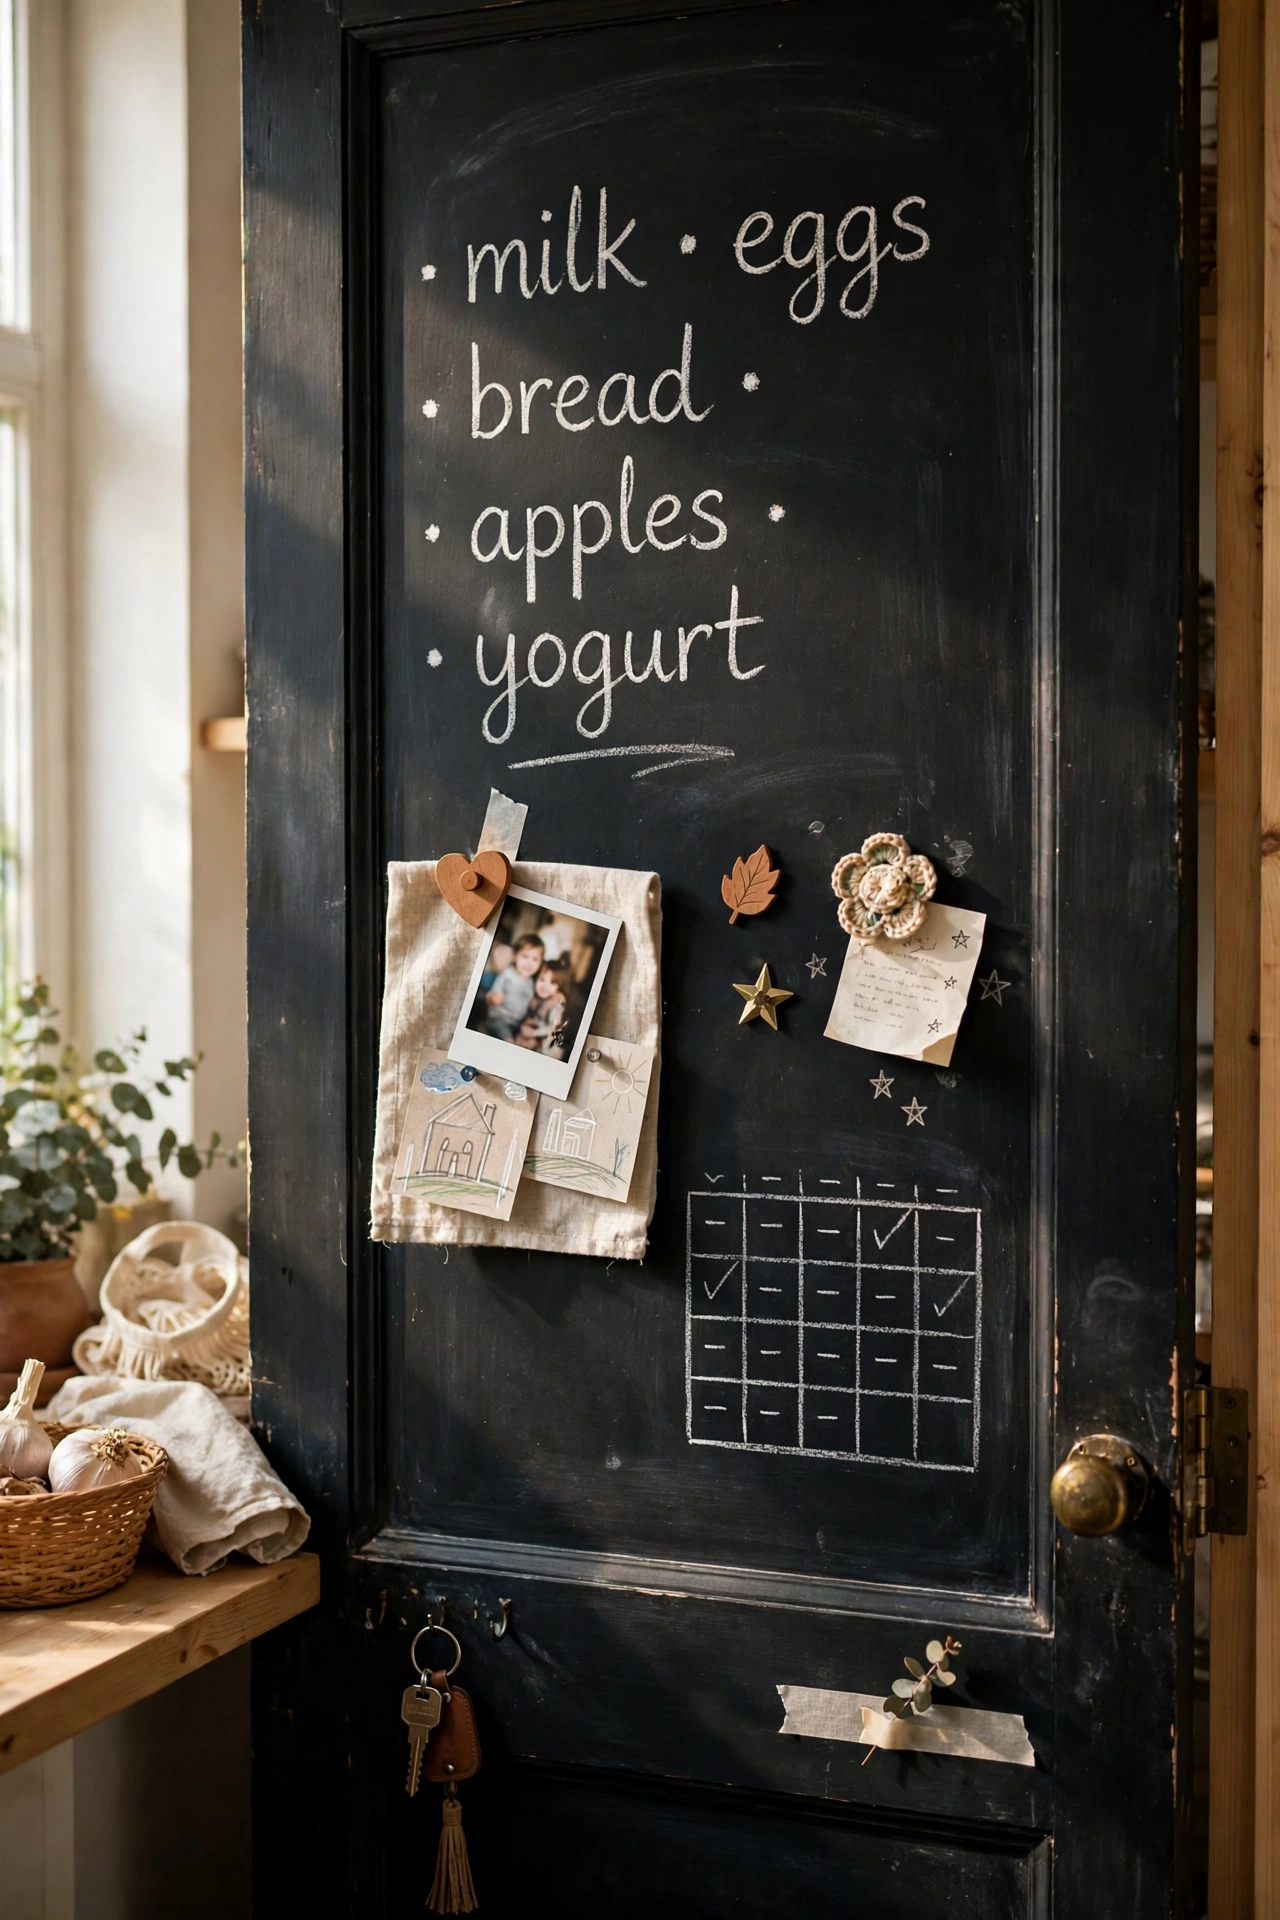
A chalkboard door turns a boring pantry into the family’s message centre. Clean the door, roll on two coats of chalkboard paint, and season the surface by rubbing chalk all over it and wiping it off. I did this on the inside of my kitchen cupboard door. My mistake was writing on it before seasoning, and the first message ghosted permanently; the chalk rubdown prevents that. Shopping lists, menus, and kids’ doodles all have a home now, and it wipes clean in seconds.
Cost: ~$12-20 | Time: 1 hour plus drying
12. Removable Wall Decal Cluster
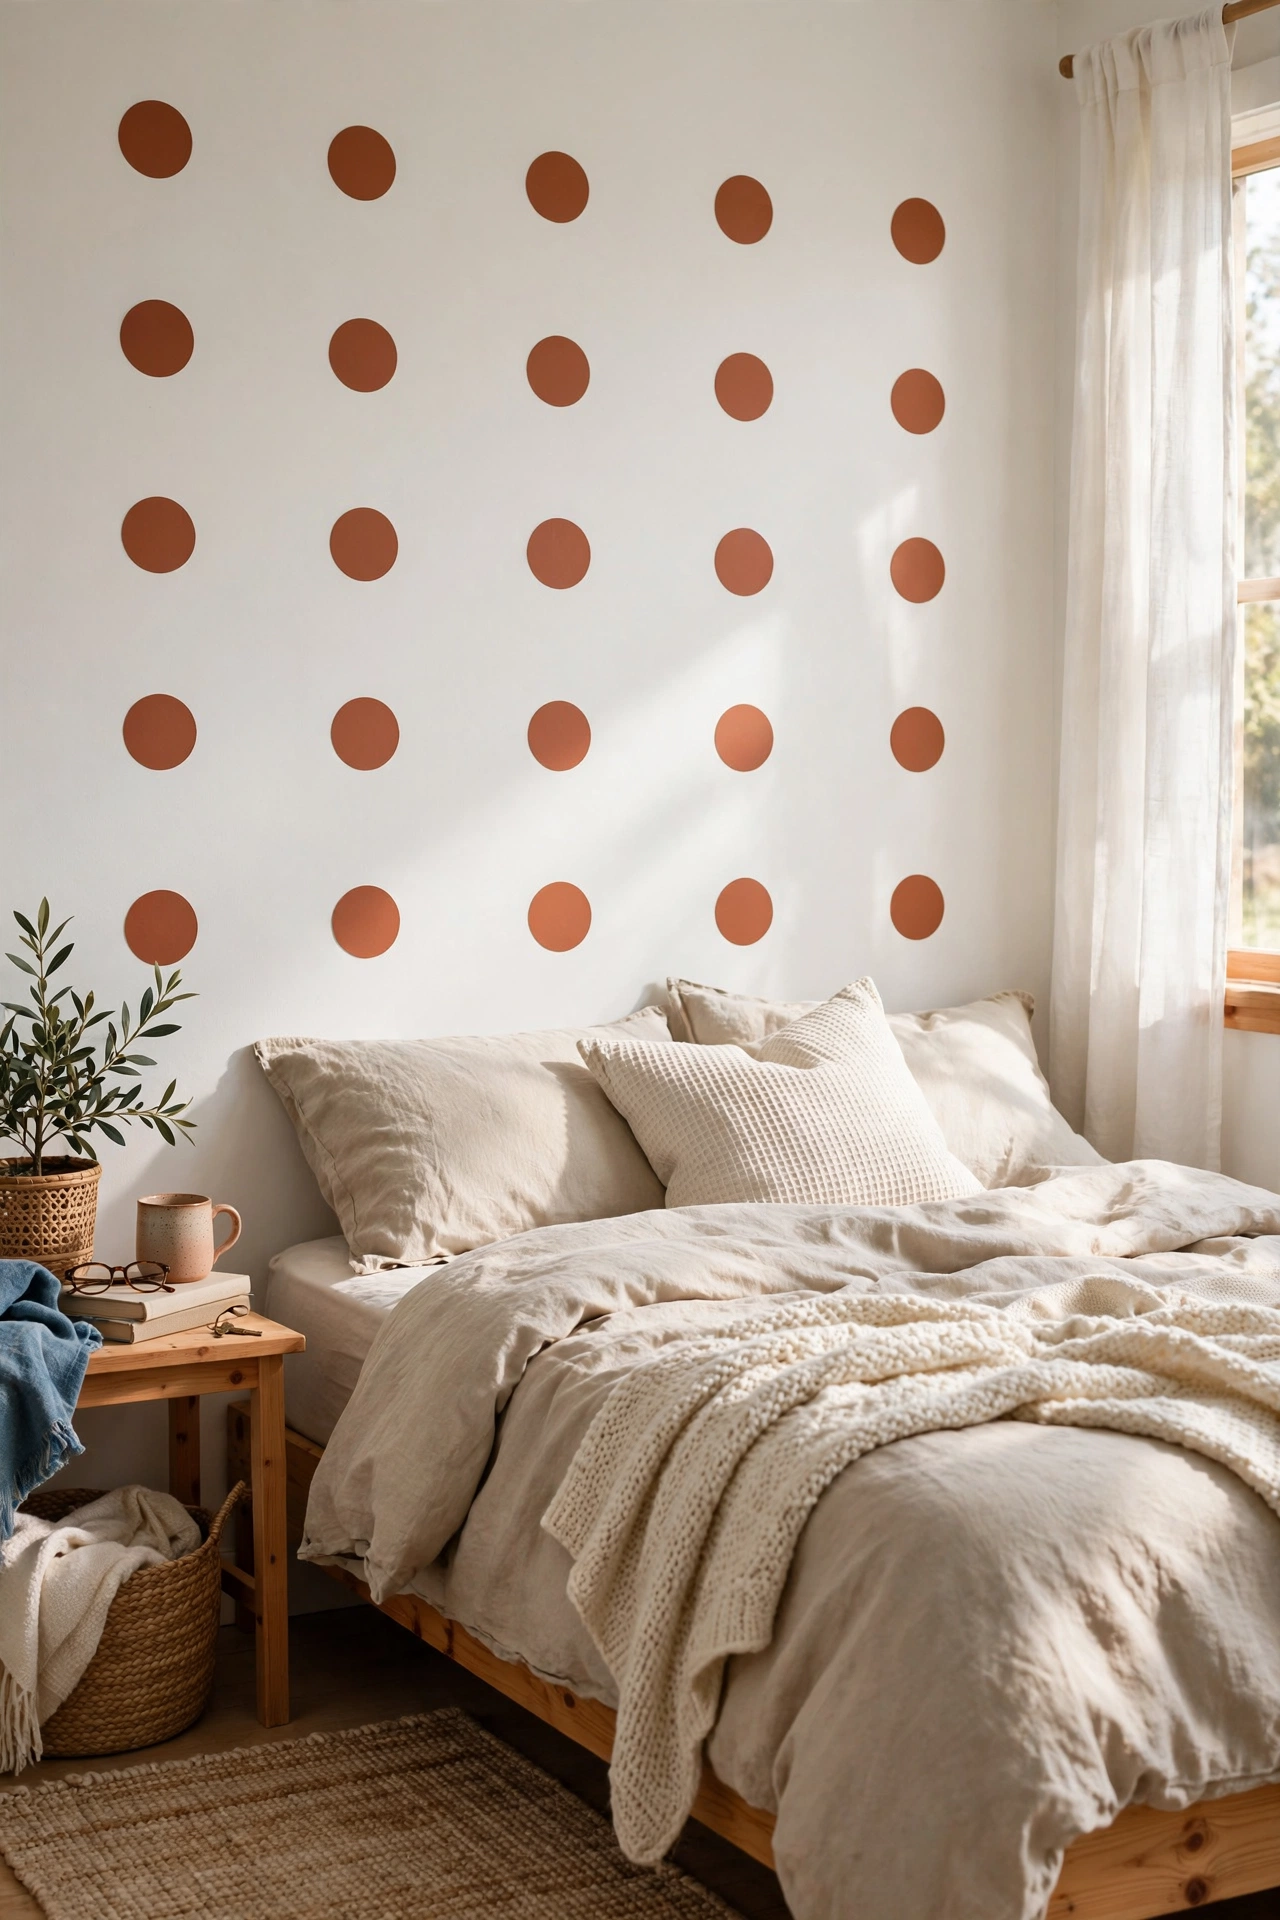
Wall decals are the renter’s best friend: peel, stick, done, and they remove without a trace. Choose a simple motif like dots, arches, or stars, plan the layout with painter’s tape first, then apply each decal smoothing from the centre outward. I put a cluster of terracotta dots behind my bed. My mistake was slapping them up randomly, which looked scattered; a planned loose grid looks deliberate and designed, and stepping back every few decals keeps the balance right. One pack covers a surprising area for very little money.
Cost: ~$8-16 | Time: 30 minutes
Small Furniture Wins Under $30
13. Spray-Painted Bar Stool Set
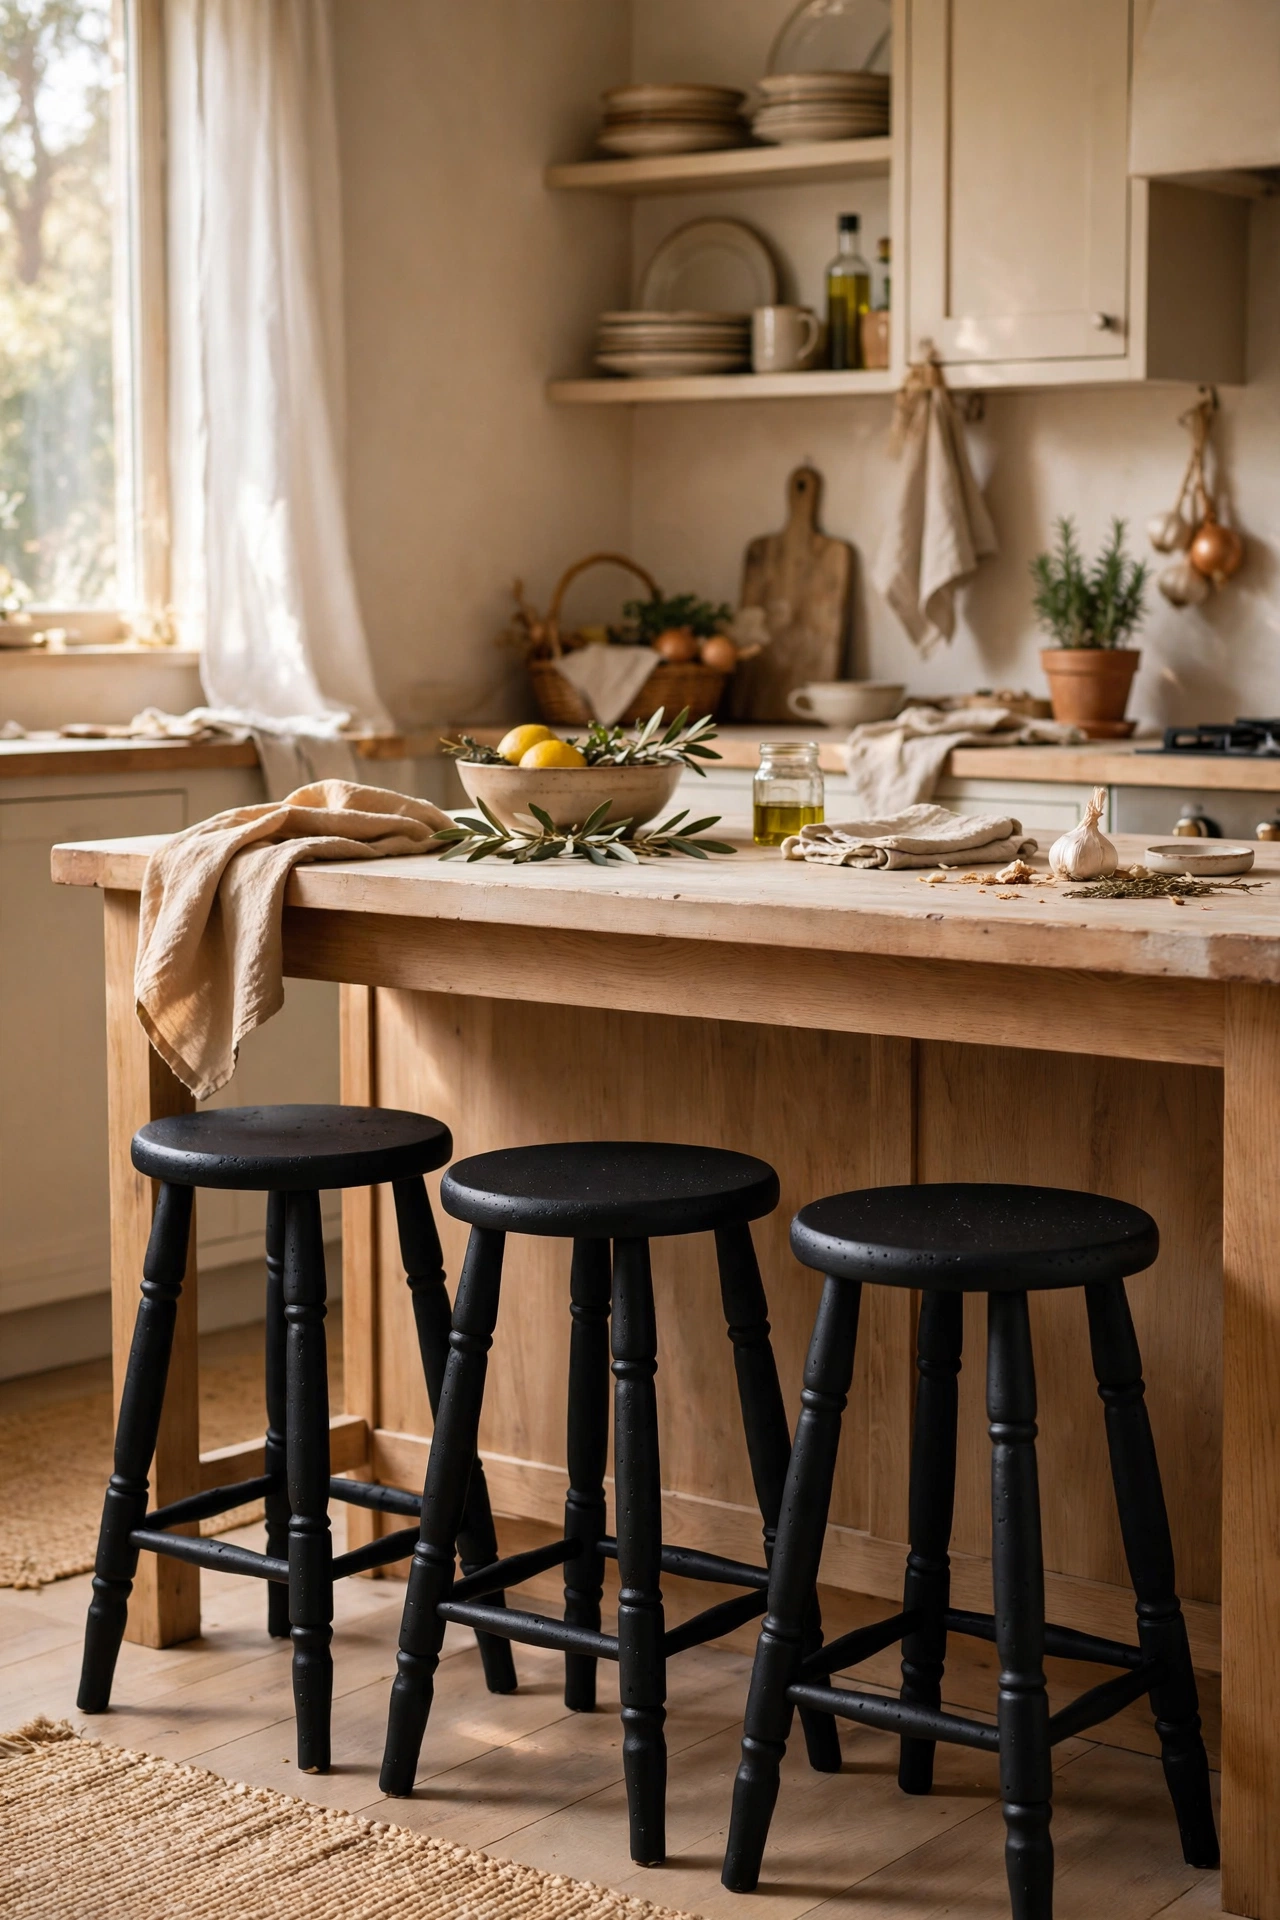
Mismatched charity-shop stools become a matching set with a can of spray paint. Sand them lightly, wipe them clean, and apply two thin coats in a colour that suits your kitchen. I turned three odd stools matte black for under $25 total. My mistake was spraying too thick on the first stool, which dripped and had to be sanded back; light coats twenty minutes apart give a smooth factory finish. They look like a bought set now, and nobody believes the price.
Cost: ~$18-28 | Time: 2 hours plus drying
14. Stencilled Side Table Top
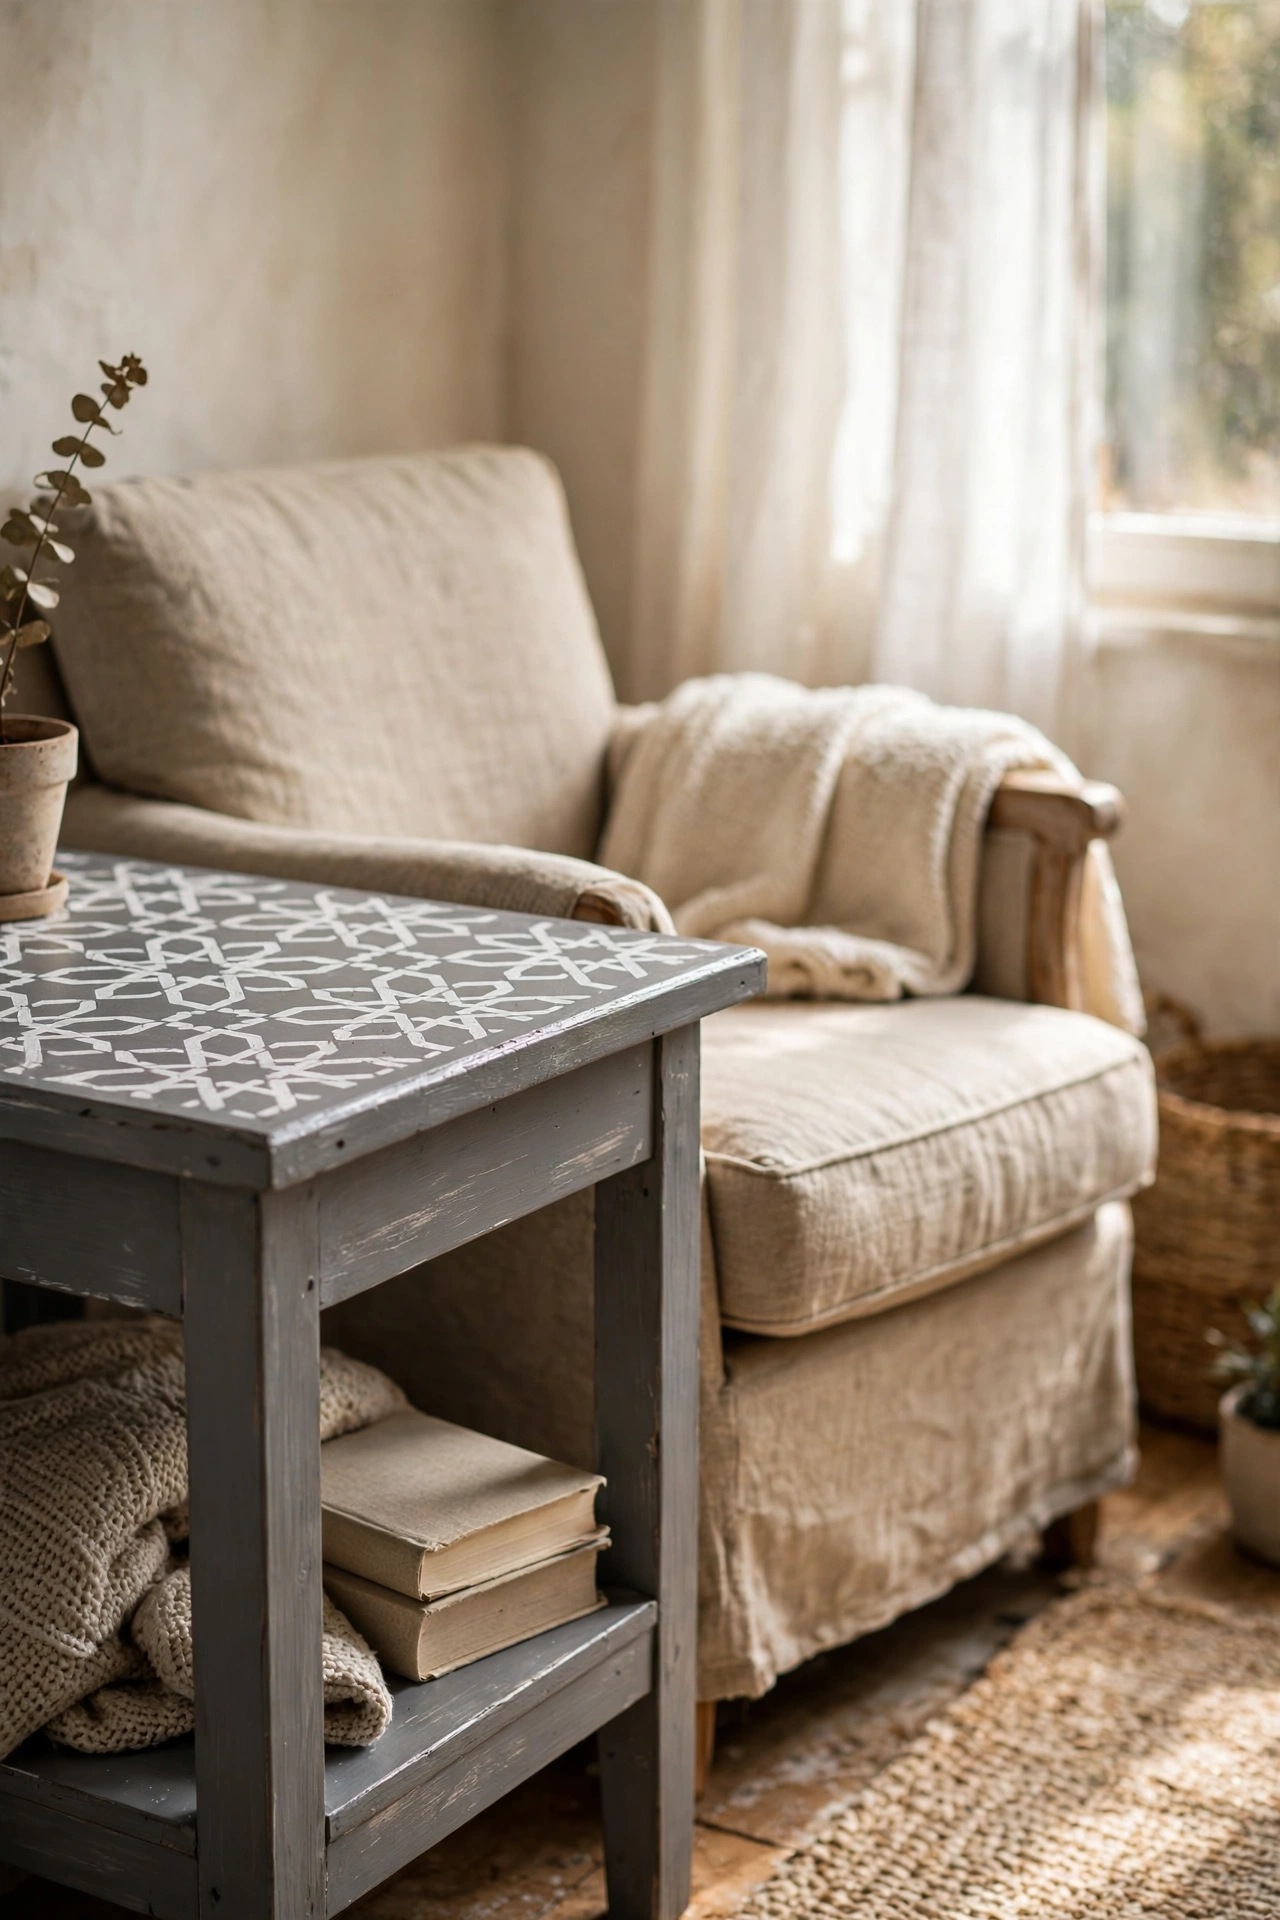
A plain side table gets a designer top with a stencil and two paint colours. Sand the top lightly, tape the stencil in place, and dab paint through with a nearly-dry brush to prevent bleeding. I stencilled a Moroccan tile pattern in white over a grey table. My mistake was loading the brush too wet, which bled under the stencil edge; offload most of the paint on a rag first. Seal it with clear wax or varnish and it stands up to daily use.
Cost: ~$12-20 | Time: 2 hours plus drying
15. Crate Storage Cubes
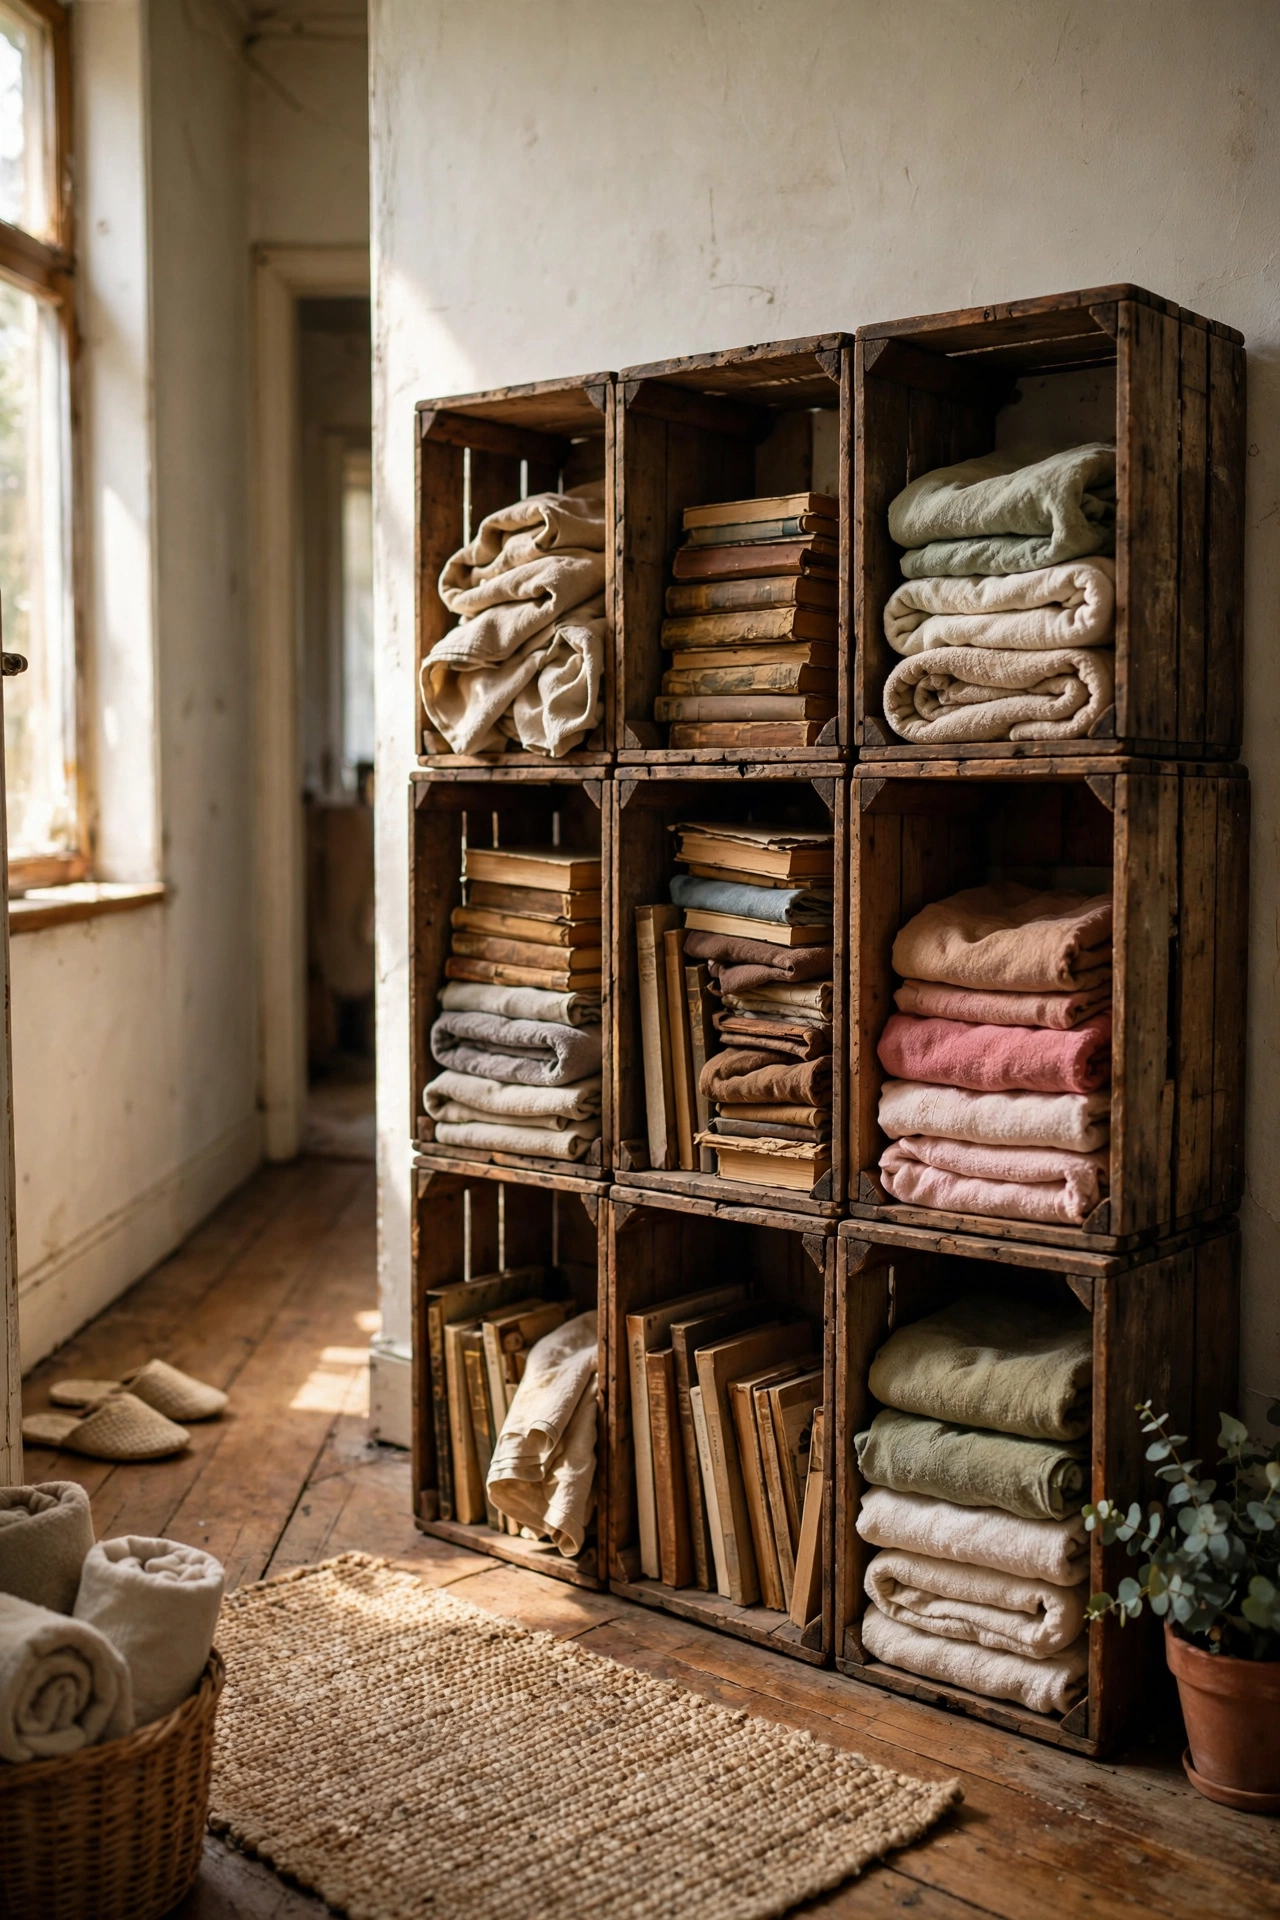
Wooden crates stacked on their sides make charming open storage for books, toys, or towels. Sand any rough edges, stain or paint them to match your room, and stack them in a pyramid or a tower, securing them with a few screws through the sides. I built a four-crate unit for my hallway. My mistake was stacking them unsecured first, and the whole tower wobbled; four short screws per joint made it rock solid. They cost a fraction of cube shelving and look far more characterful.
Cost: ~$16-28 | Time: 1.5 hours
16. Bedside Table from a Step Stool
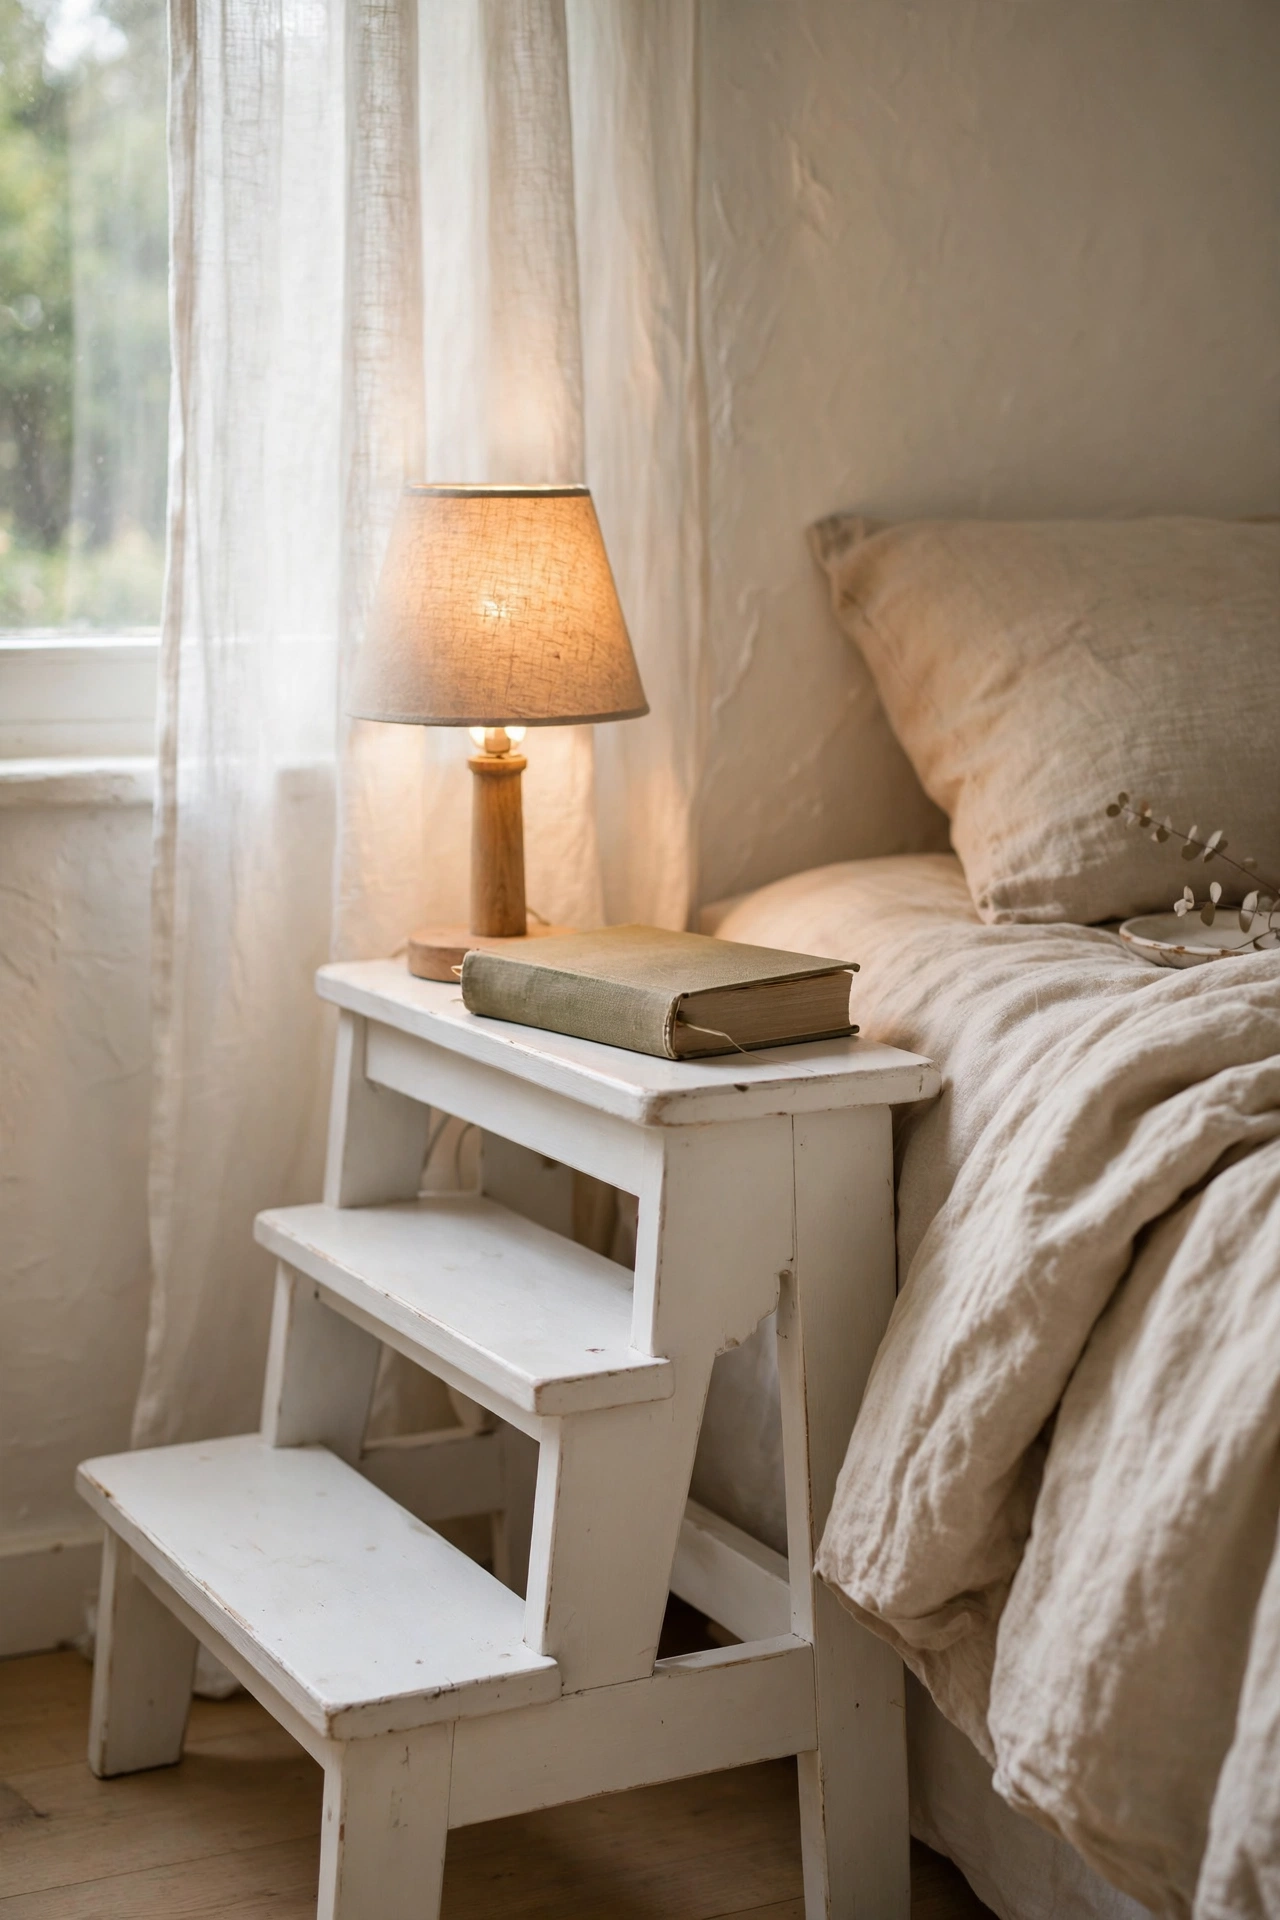
A wooden step stool is exactly the right height for a bedside table, and it costs a tenth of the furniture-store version. Buy a plain wooden step stool, sand it smooth, and paint or stain it to suit your bedroom. I painted mine soft white and it holds a lamp, a book, and a glass of water perfectly. My mistake was choosing a plastic stool first, which looked cheap no matter the paint; solid wood takes paint beautifully and feels sturdy. It even doubles as a step for high shelves.
Cost: ~$12-22 | Time: 1 hour plus drying
Soft Furnishings, Zero Sewing
17. No-Sew Curtain Hem with Hem Tape
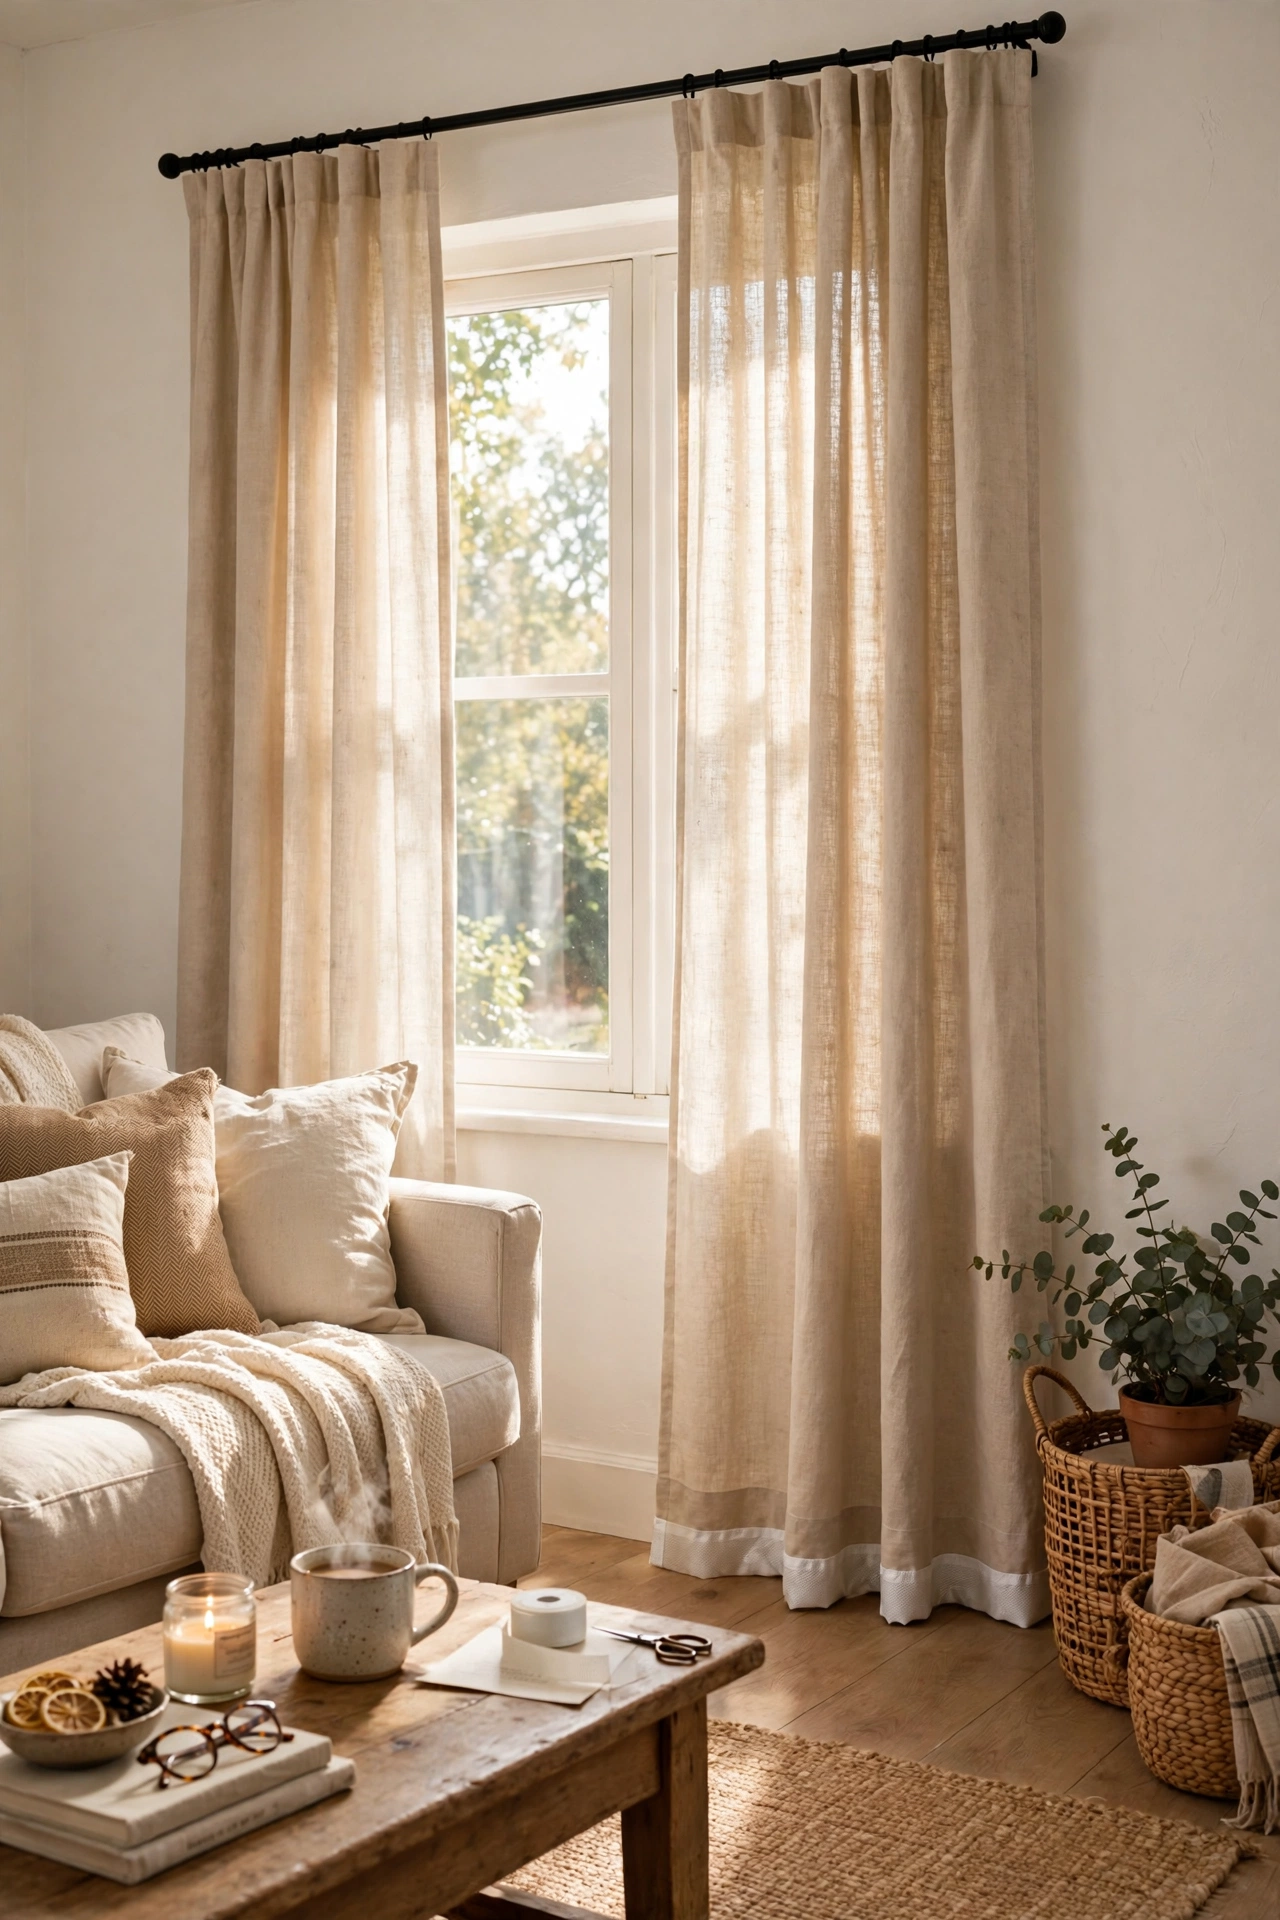
Curtains that are too long look instantly better hemmed to just kiss the floor, and iron-on hem tape does it without a needle. Fold the hem to length, press it flat, slide the tape inside the fold, and iron according to the packet instructions. I fixed every curtain in my flat in one evening. My mistake was guessing the length instead of pinning it while the curtain hung; fabric stretches, so measure in place. A crisp hem makes budget curtains look custom-made.
Cost: ~$5-10 | Time: 30 minutes per curtain
18. T-Shirt Throw Pillow Covers
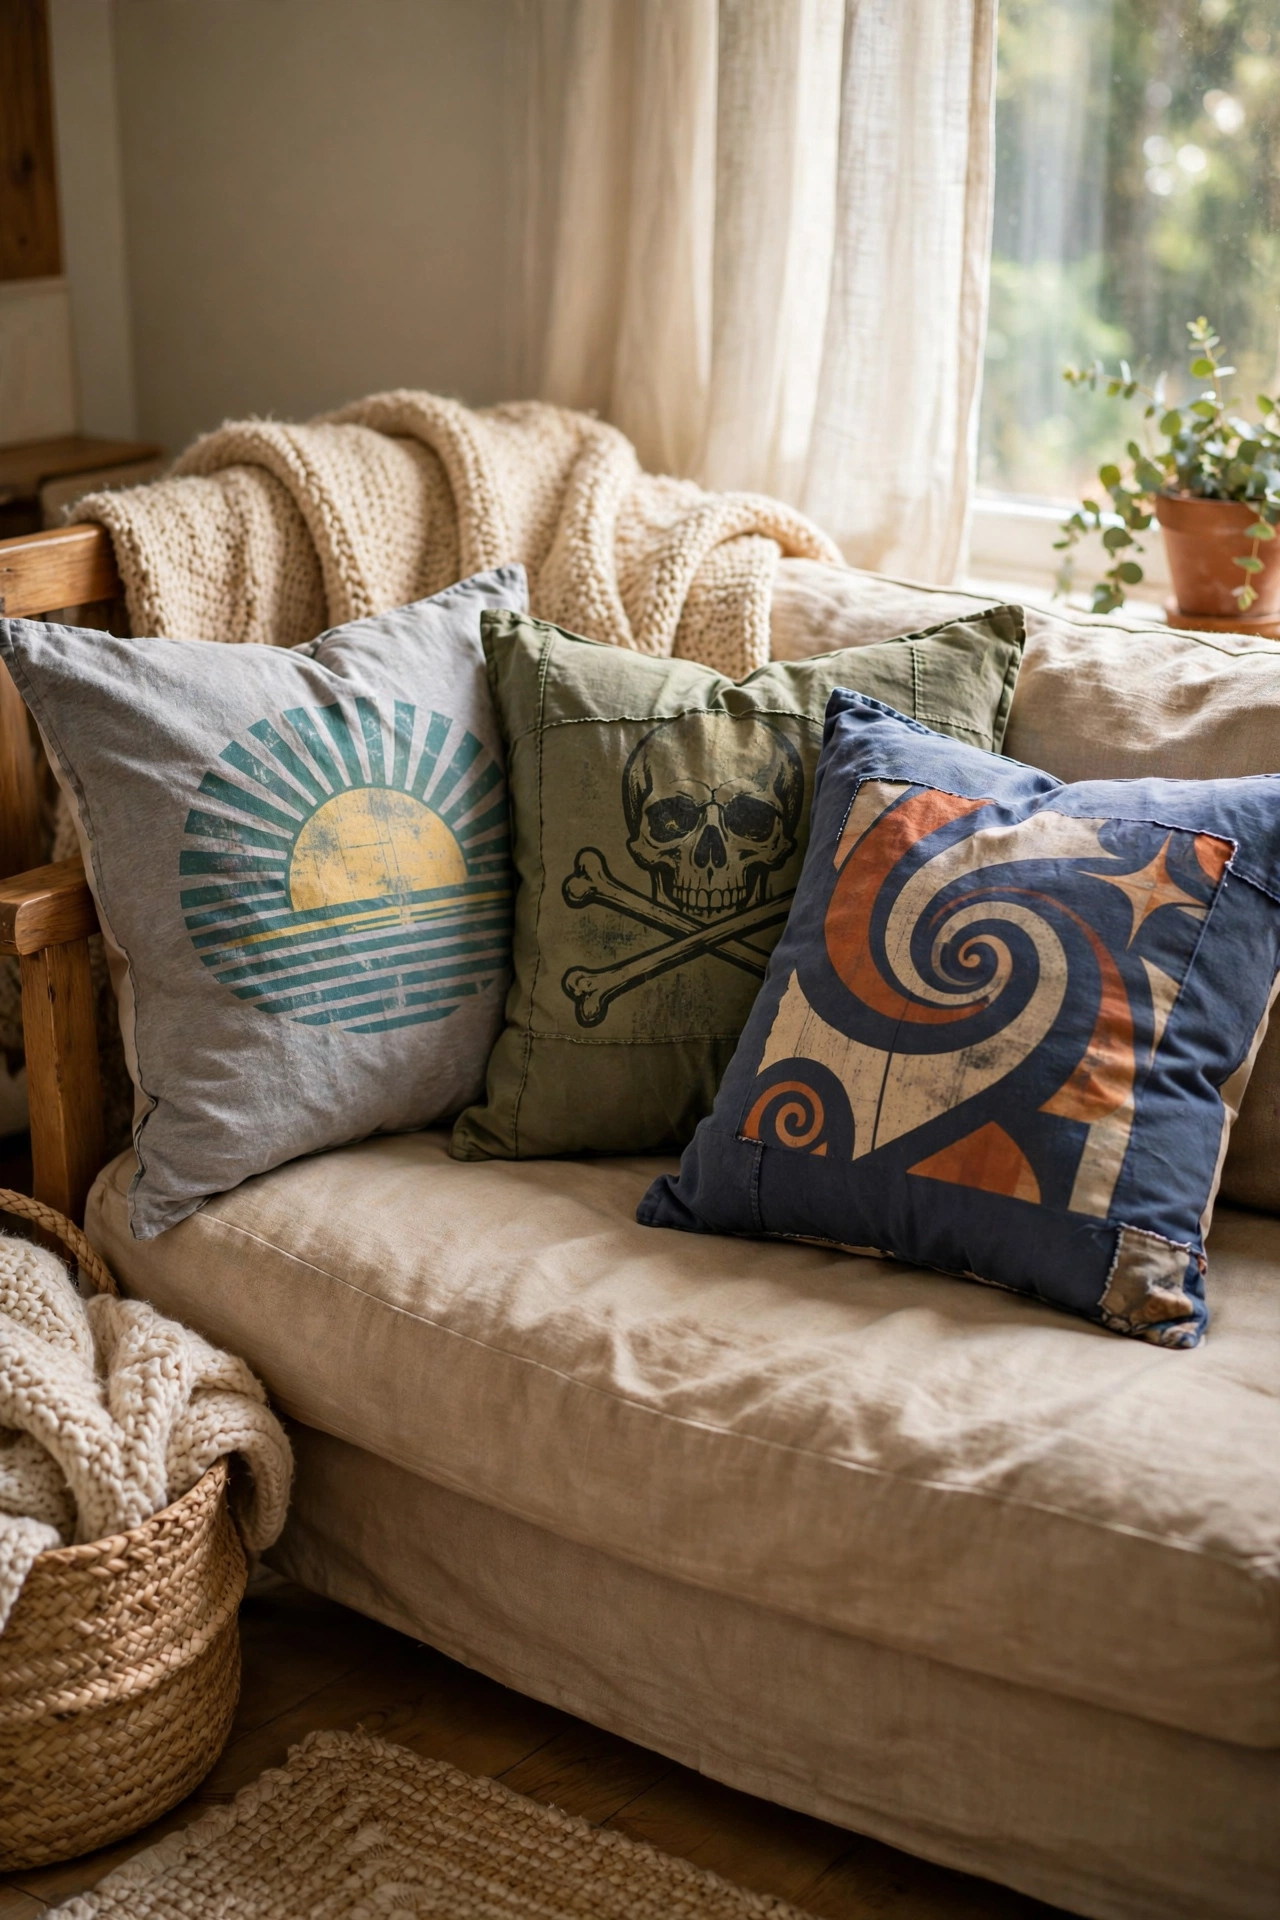
Old t-shirts with great graphics make brilliant cushion covers, and the stretchy fabric needs no hemming. Cut the shirt to wrap around a cushion insert with overlap, and simply fold it envelope-style with the graphic centred. I made two from band tees I could not throw away. My mistake was using a thin worn shirt first, which went baggy within a week; a medium-weight tee holds its shape. It is the easiest recycling project that actually gets used every day.
Cost: ~$3-8 | Time: 20 minutes
19. Knotted Fleece Throw Blanket
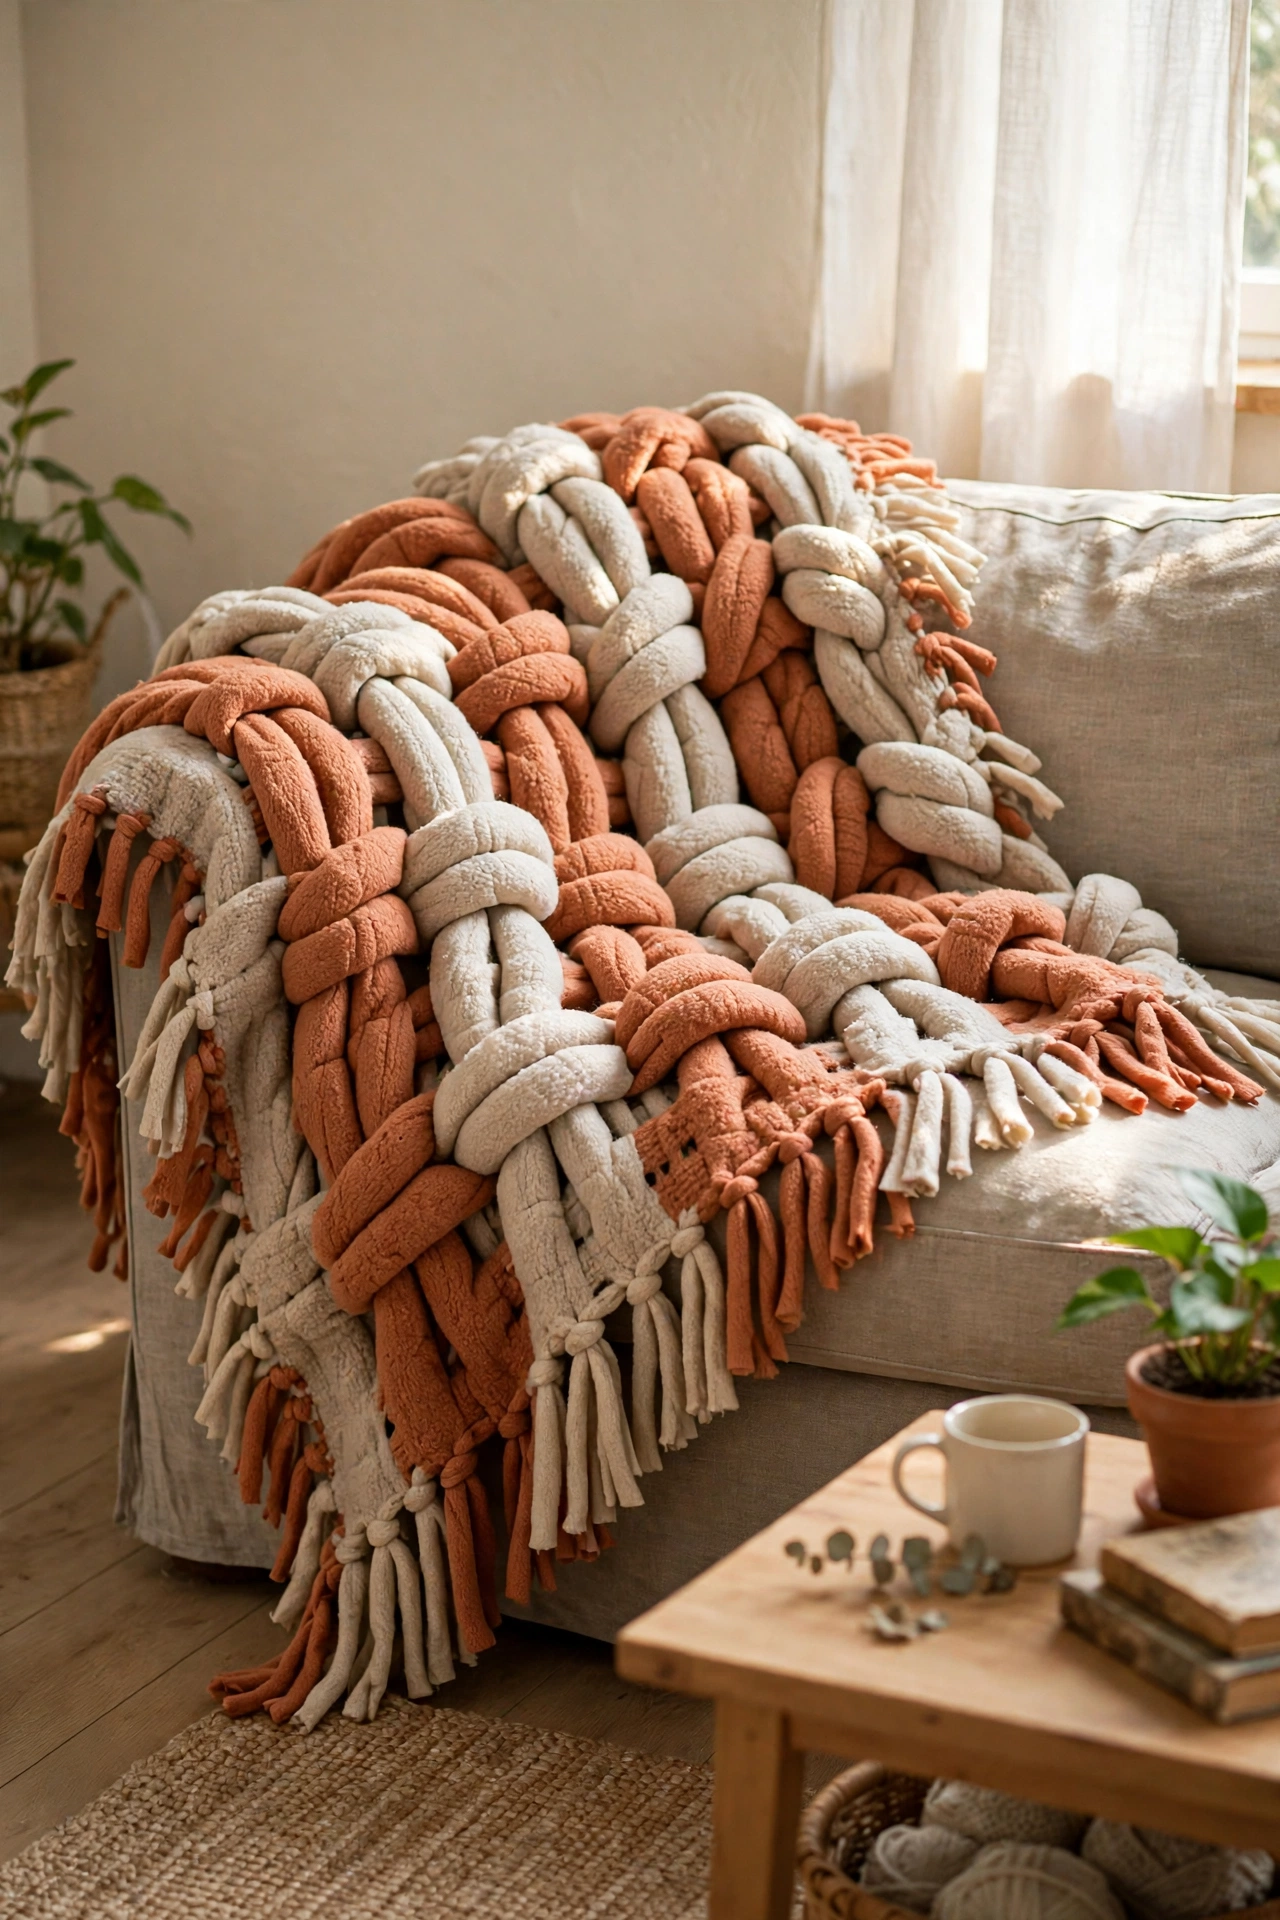
Two pieces of fleece tied together make the cosiest no-sew blanket, and it is the perfect first project. Lay two fleece panels together, cut four-inch fringes all around through both layers, and tie each pair of fringes in a double knot. I made one for my sofa in an evening in front of the television. My mistake was cutting the fringe too short, which made the knots fiddly and tight; four inches gives your fingers room to work. Pick two colours that coordinate and it looks properly made.
Cost: ~$12-20 | Time: 2 hours
Keep the beginner momentum going: (see also: 15-easy-diy-home-decor-projects-for-beginners-under-25) and (see also: 15-dollar-store-diys-worth-every-penny), plus (see also: 25-minimalist-style-diy-projects-that-look-expensive) when you are ready for a calmer look.
Save this one for your weekend project list.
Quick Questions
Q: What tools do I actually need as a beginner?
A: Far fewer than you think. A hammer, a screwdriver set, a tape measure, a craft knife, and a glue gun cover nearly every project on this list. Buy decent versions of those five and add to your kit only when a project genuinely needs something new.
Q: How do I avoid DIY projects looking cheap?
A: Finish is everything. Sand before you paint, use two thin coats instead of one thick one, and keep your colour palette tight. A well-finished budget project always looks better than a rushed expensive one.
Q: What is the easiest first project on this list?
A: The glass jar candle holders take fifteen minutes and cost almost nothing, which makes them the perfect confidence builder. The knotted fleece throw is the best slightly bigger first project, because there is no way to get it wrong.
