15 DIY Wall Art Ideas in a Weekend
I lived with bare walls for an embarrassing three years because every art print I liked cost more than my weekly food shop. Then a friend showed me her hallway gallery, every frame a diy Wall Art project, and I realised the secret: big, simple, and handmade beats small, expensive, and mass-produced. I made my first canvas that weekend with a kitchen sponge and leftover paint.
These 15 projects each take a weekend or less, and none cost more than $20. You need basic supplies: canvases or frames, acrylic paint, and glue. Hang everything at eye level, about 145 centimetres to the centre, and your walls will look curated by Sunday evening.
1. Abstract Sponge-Painted Canvas
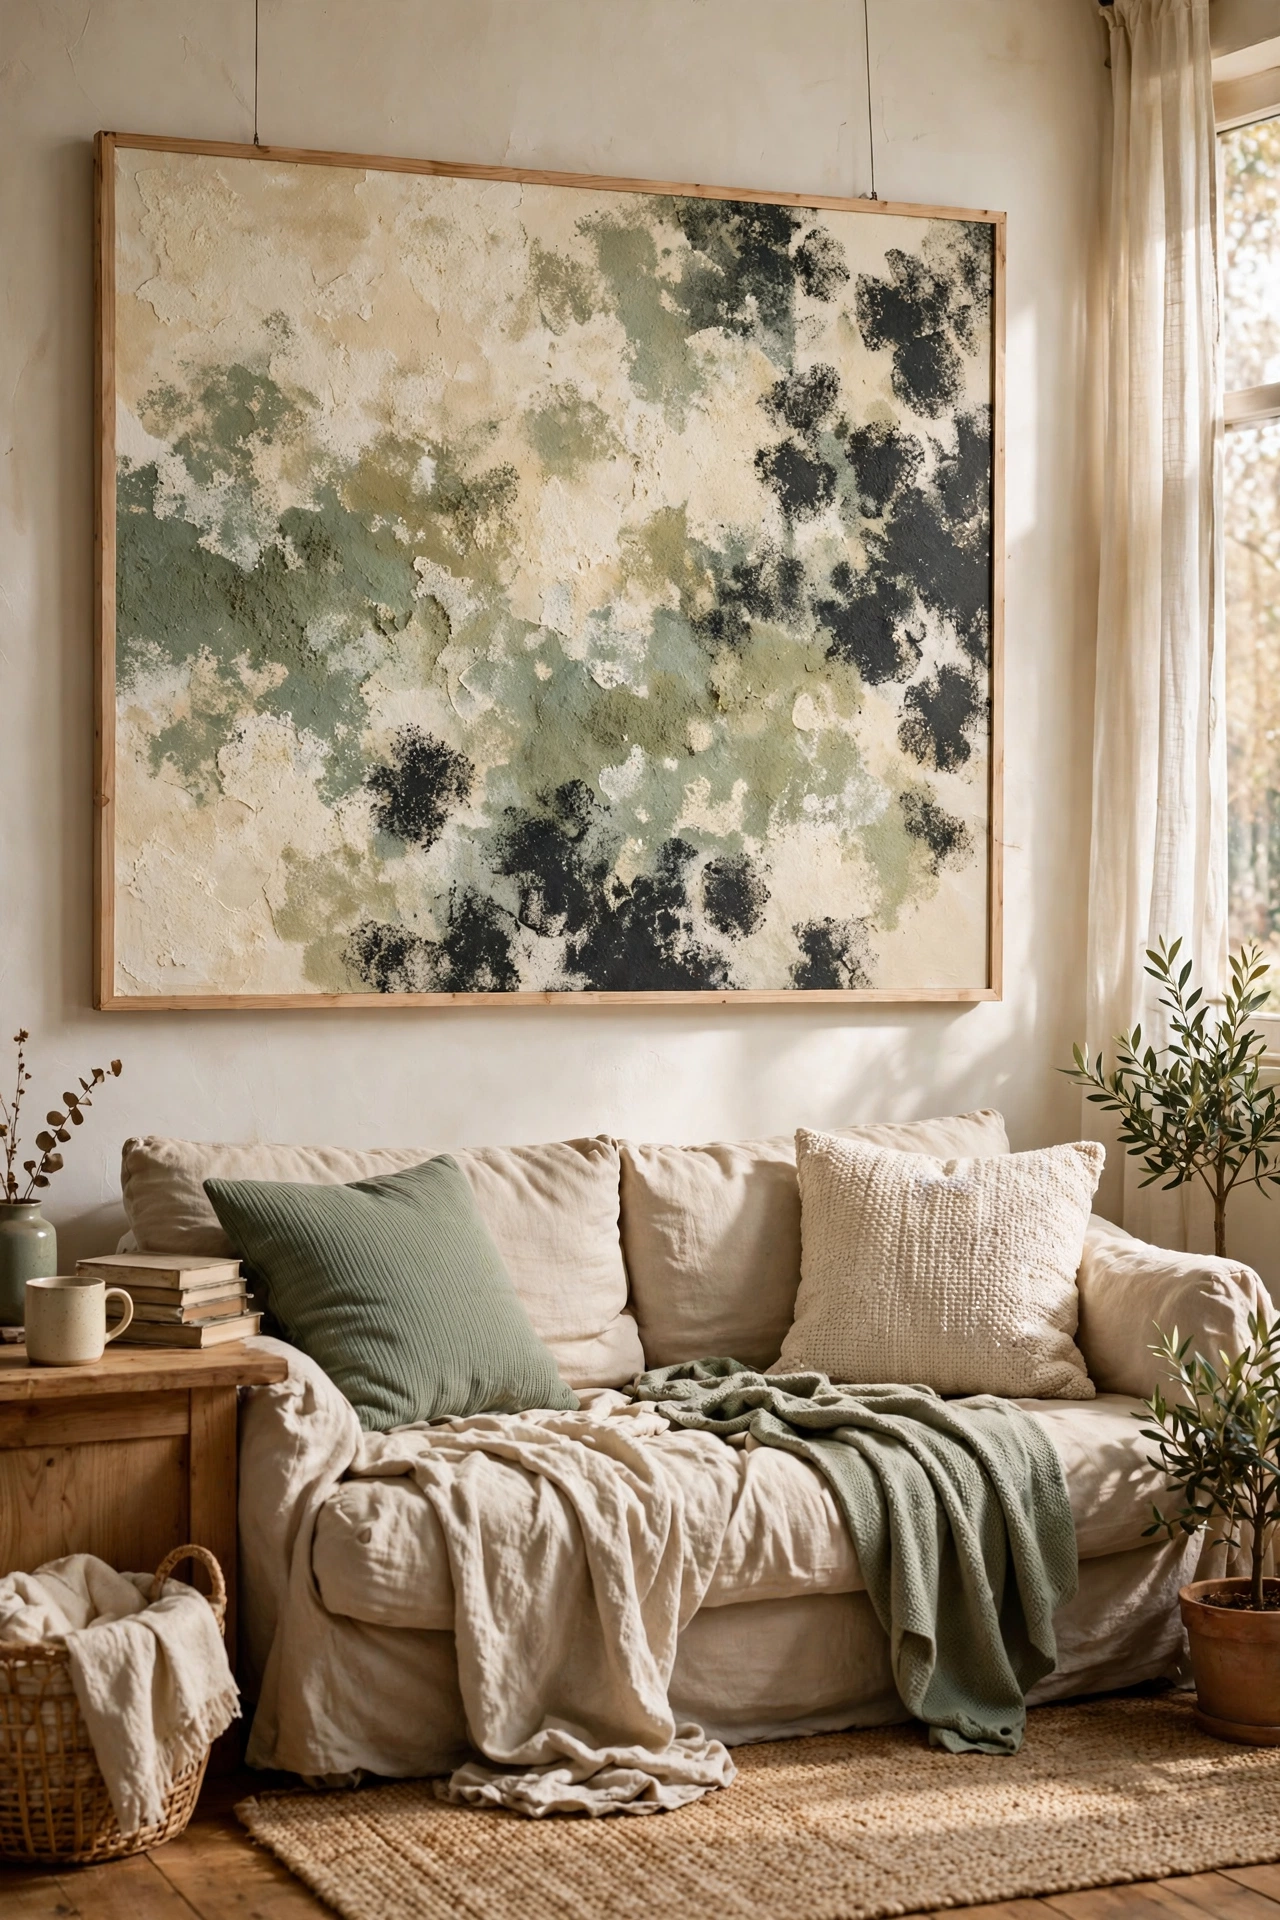
A kitchen sponge and three paint colours make genuinely good abstract art. I dabbed cream, sage, and charcoal acrylic onto a large canvas in overlapping patches, building up layers and letting some of the canvas show through. The sponge texture does the artistic work for you. Step back every few minutes, because abstracts look different from across the room. My first canvas looked muddy up close and wonderful from the sofa. Use a limited palette of three colours maximum: more than that turns to brown.
Cost: ~$10-15 | Time: 2 hours
2. Pressed Botanical Frame Gallery
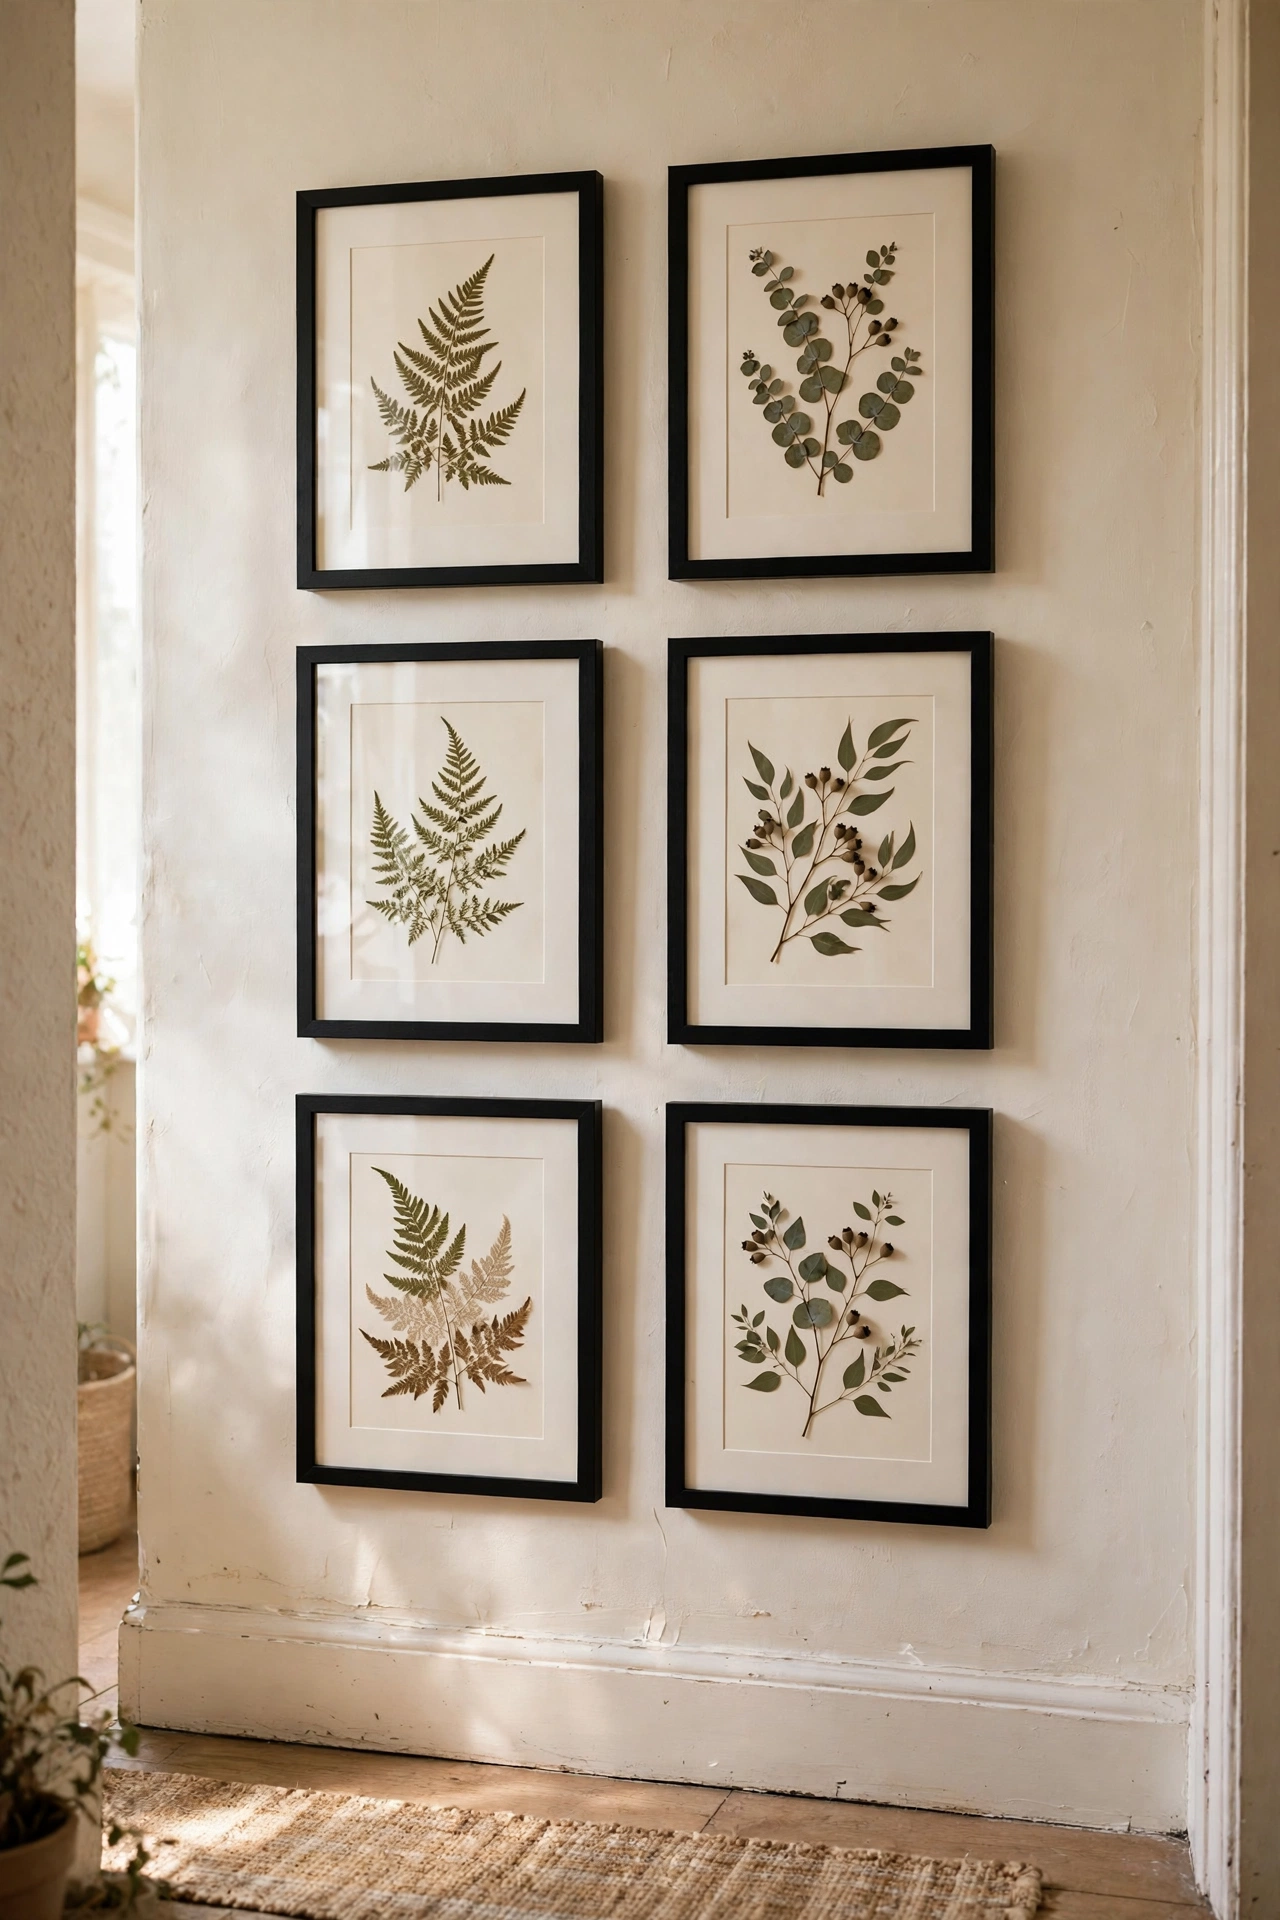
Pressed leaves and flowers in simple frames make a timeless botanical gallery. I pressed ferns and eucalyptus between heavy books for two weeks, then mounted them on cream card in six matching frames. Arrange the frames in a tight grid with 5-centimetre gaps for a curated look. Pick specimens with interesting silhouettes: ferns, grasses, and seed heads press best. My eucalyptus went brown because I pressed it too late in the season, so pick fresh green growth. Float-mounting between two panes of glass looks especially elegant.
Cost: ~$12-18 | Time: 1 hour plus pressing
3. Woven Yarn Wall Hanging
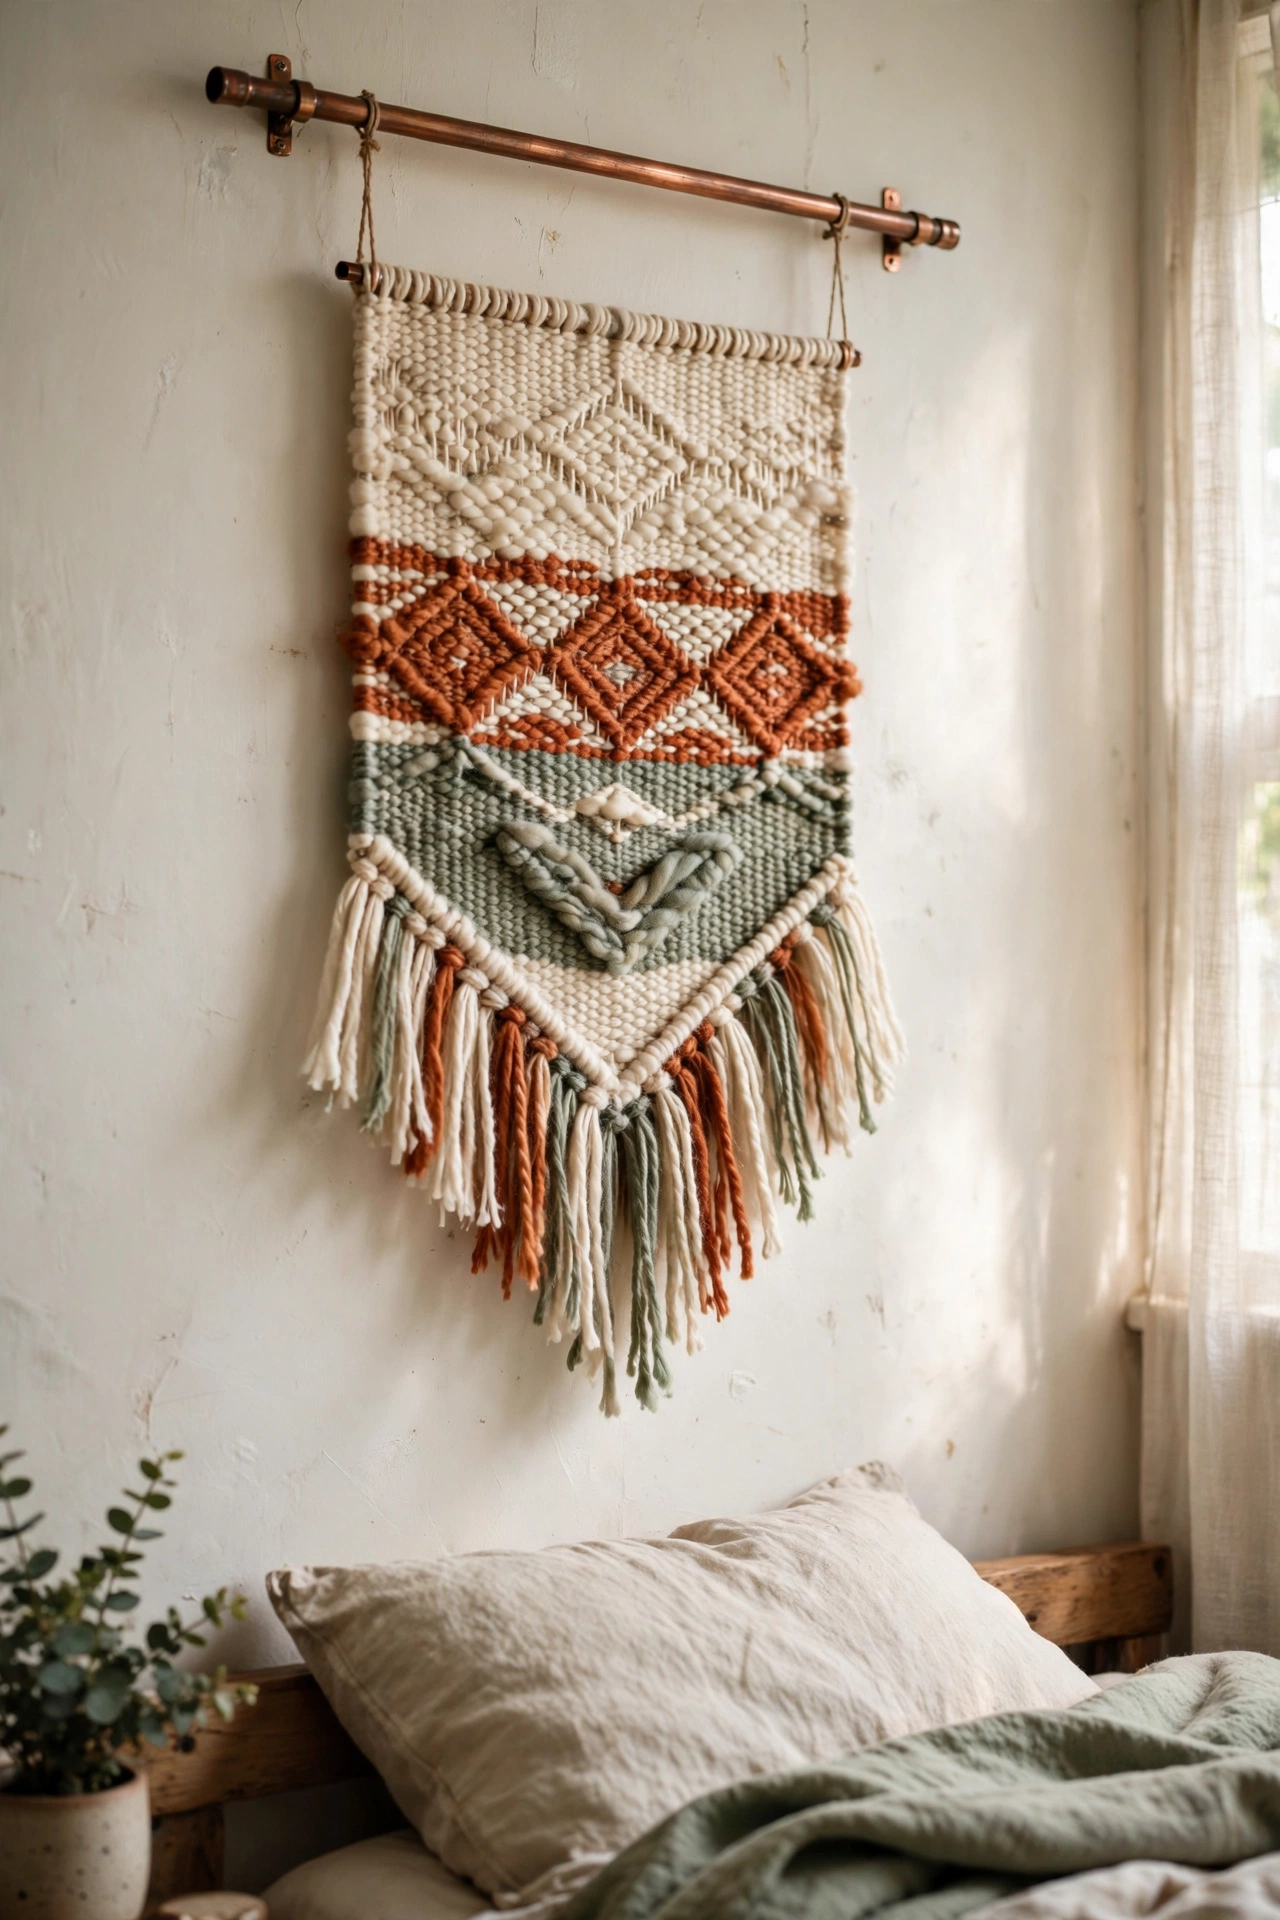
A simple yarn weaving on a copper pipe adds soft texture to a blank wall. I warped natural cotton string around a 60-centimetre copper pipe and wove in rows of wool yarn in cream, rust, and sage using a basic over-under pattern. The pipe costs $4 from the plumbing aisle and looks far more expensive than a wooden dowel. Keep your tension even or the weaving pulls into a trapezoid. I wove mine over two evenings in front of the television. Finish with a V-shaped fringe cut.
Cost: ~$8-12 | Time: 4 hours
Pro tip: Big art has more impact than lots of small art. One 90-centimetre canvas fills a wall better than six small frames, and it costs less to make. When in doubt, go bigger.
4. Framed Fabric Swatch Grid
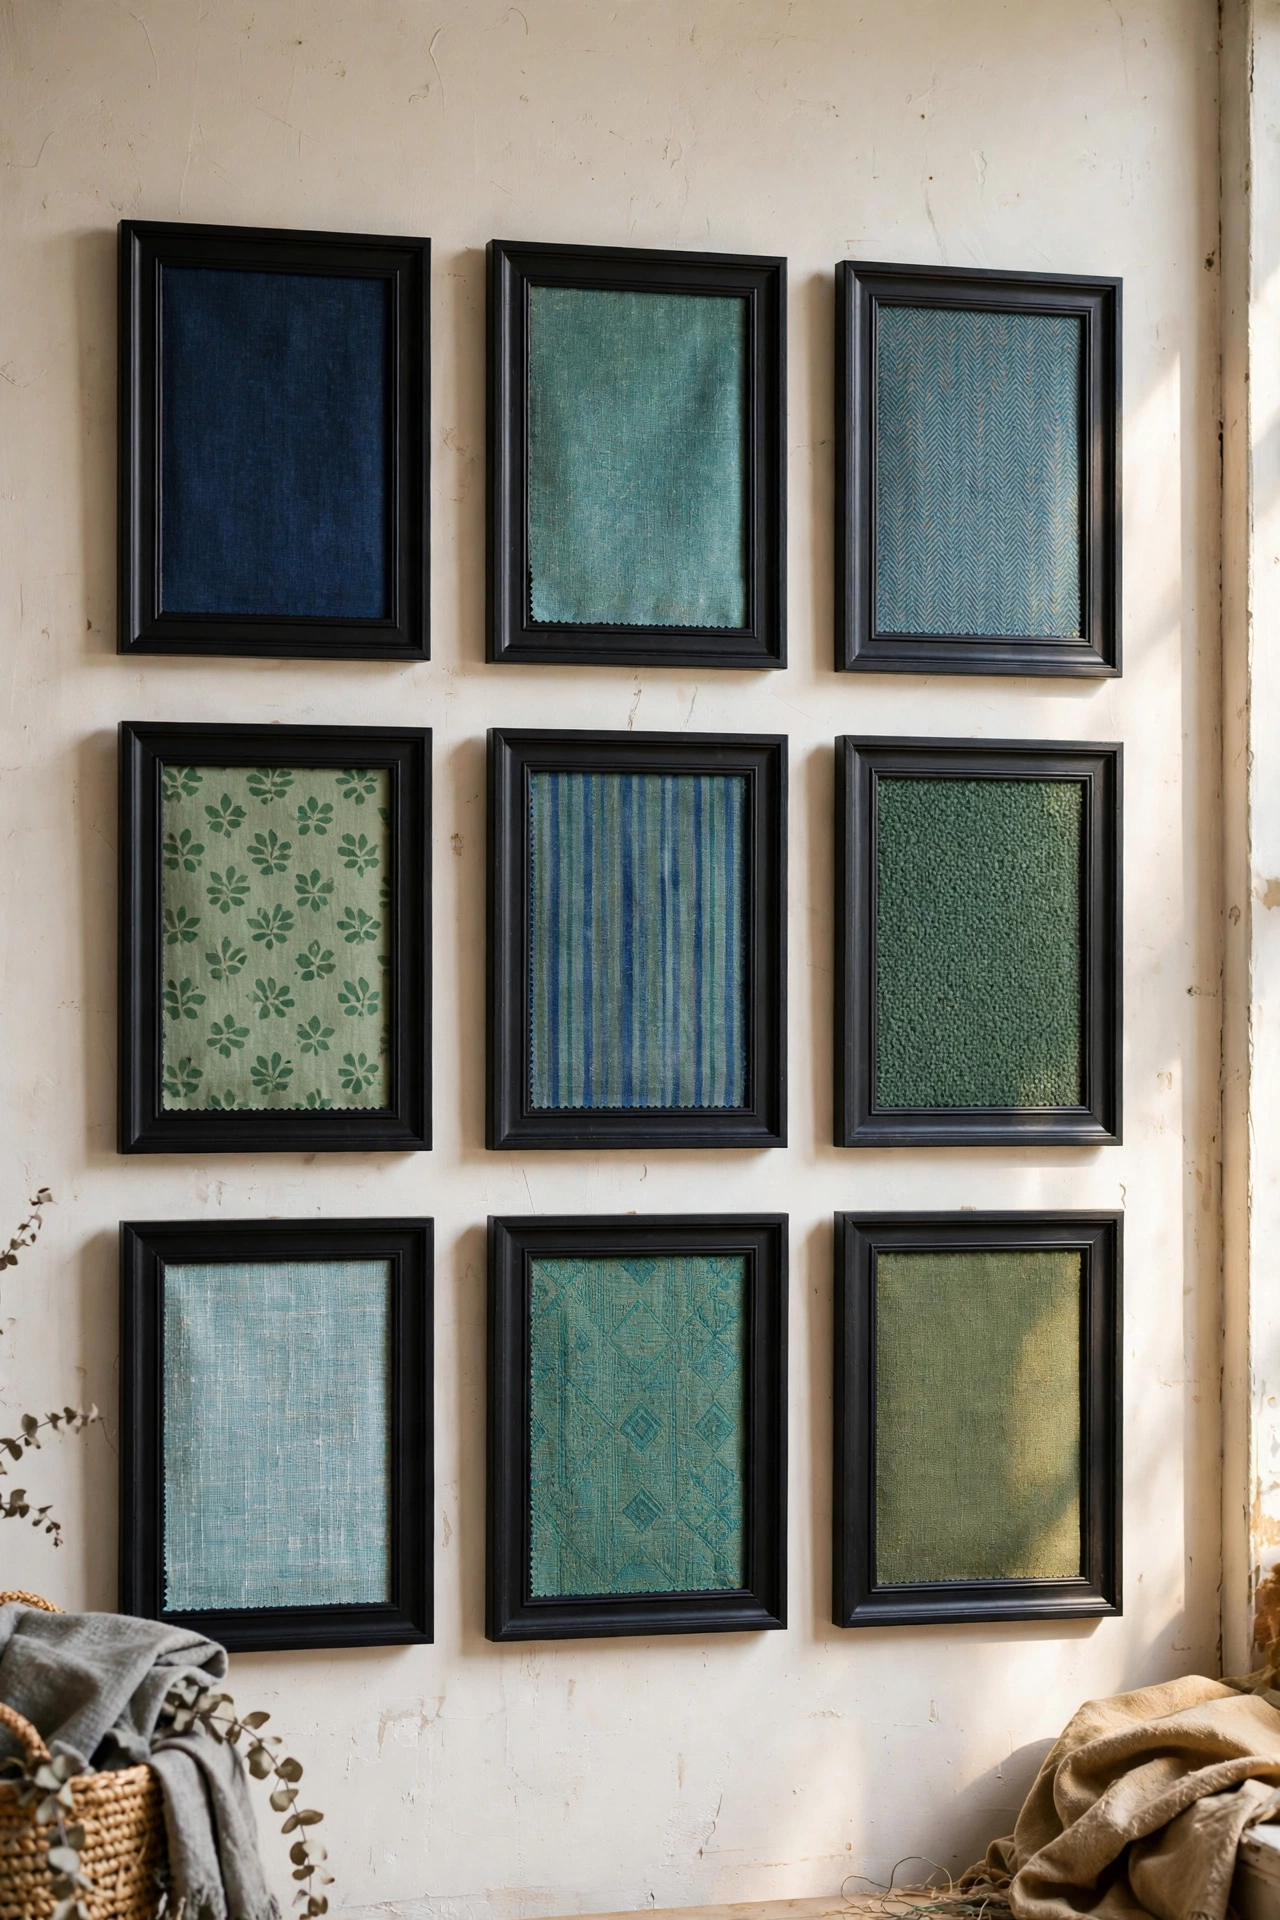
Nine fabric swatches in matching frames make a textile art grid with real presence. I collected upholstery samples in coordinating blues and greens, mounted each on card, and framed them in identical black frames from the pound shop. The grid reads as one deliberate piece. Keep the frames identical and the spacing exact: uniformity is what makes swatches look like art. I laid the whole grid on the floor first to perfect the arrangement. Ask fabric shops for discontinued samples; they often give them away.
Cost: ~$10-15 | Time: 1 hour
5. Painted Arch Mural
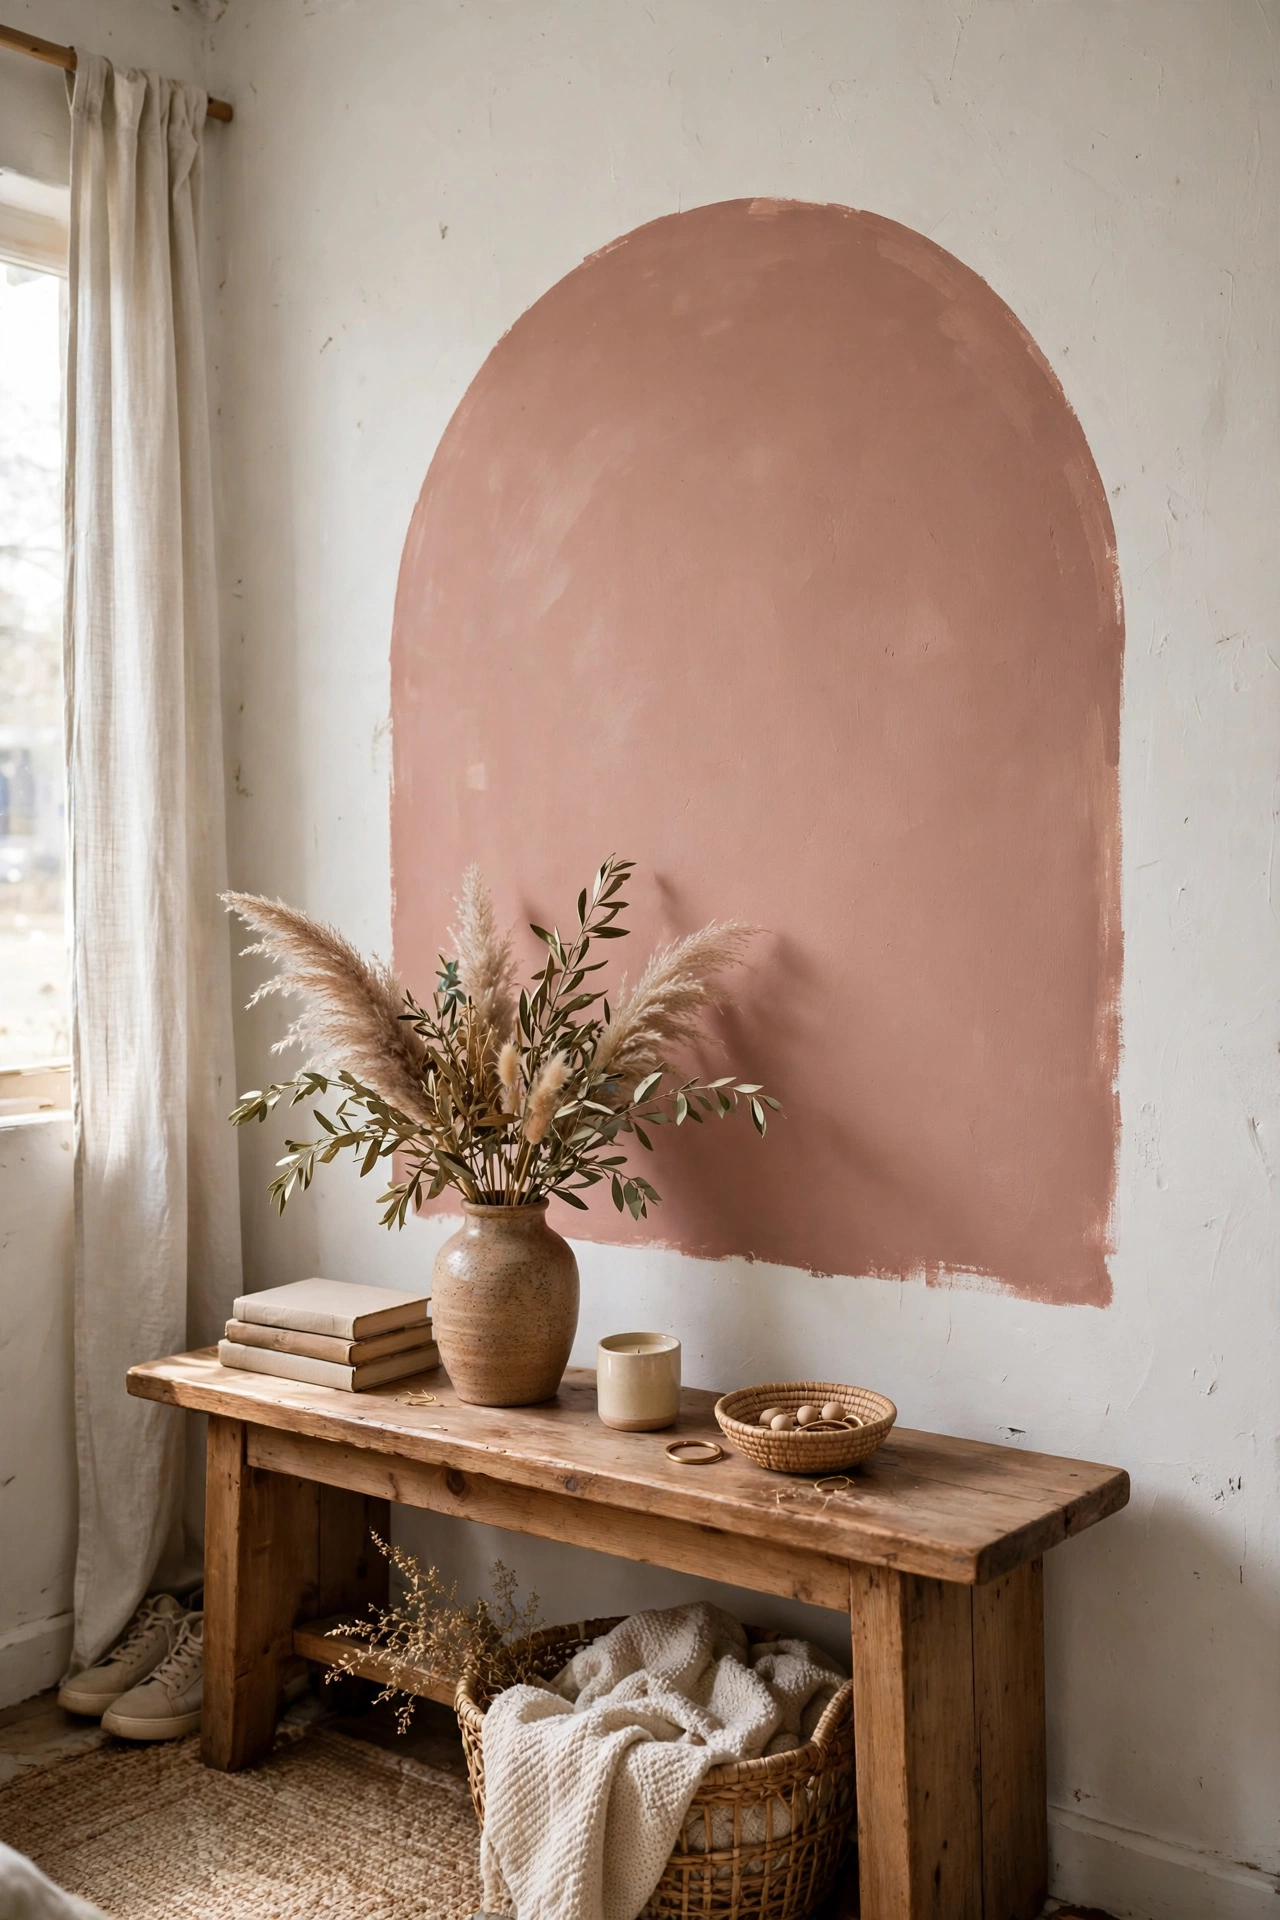
A large painted arch behind a console or bed turns a flat wall into a feature. I traced a 1.5-metre arch with a string compass and painted it in muted clay pink with a small roller. Two coats and one steady hand. The arch grounds furniture beneath it and adds architecture where there is none. I painted mine behind my hallway console and the whole space feels designed. Use painter’s tape on the straight edges and freehand only the curve, touching up wobbles after.
Cost: ~$12-16 | Time: 3 hours
6. Driftwood Mobile Art
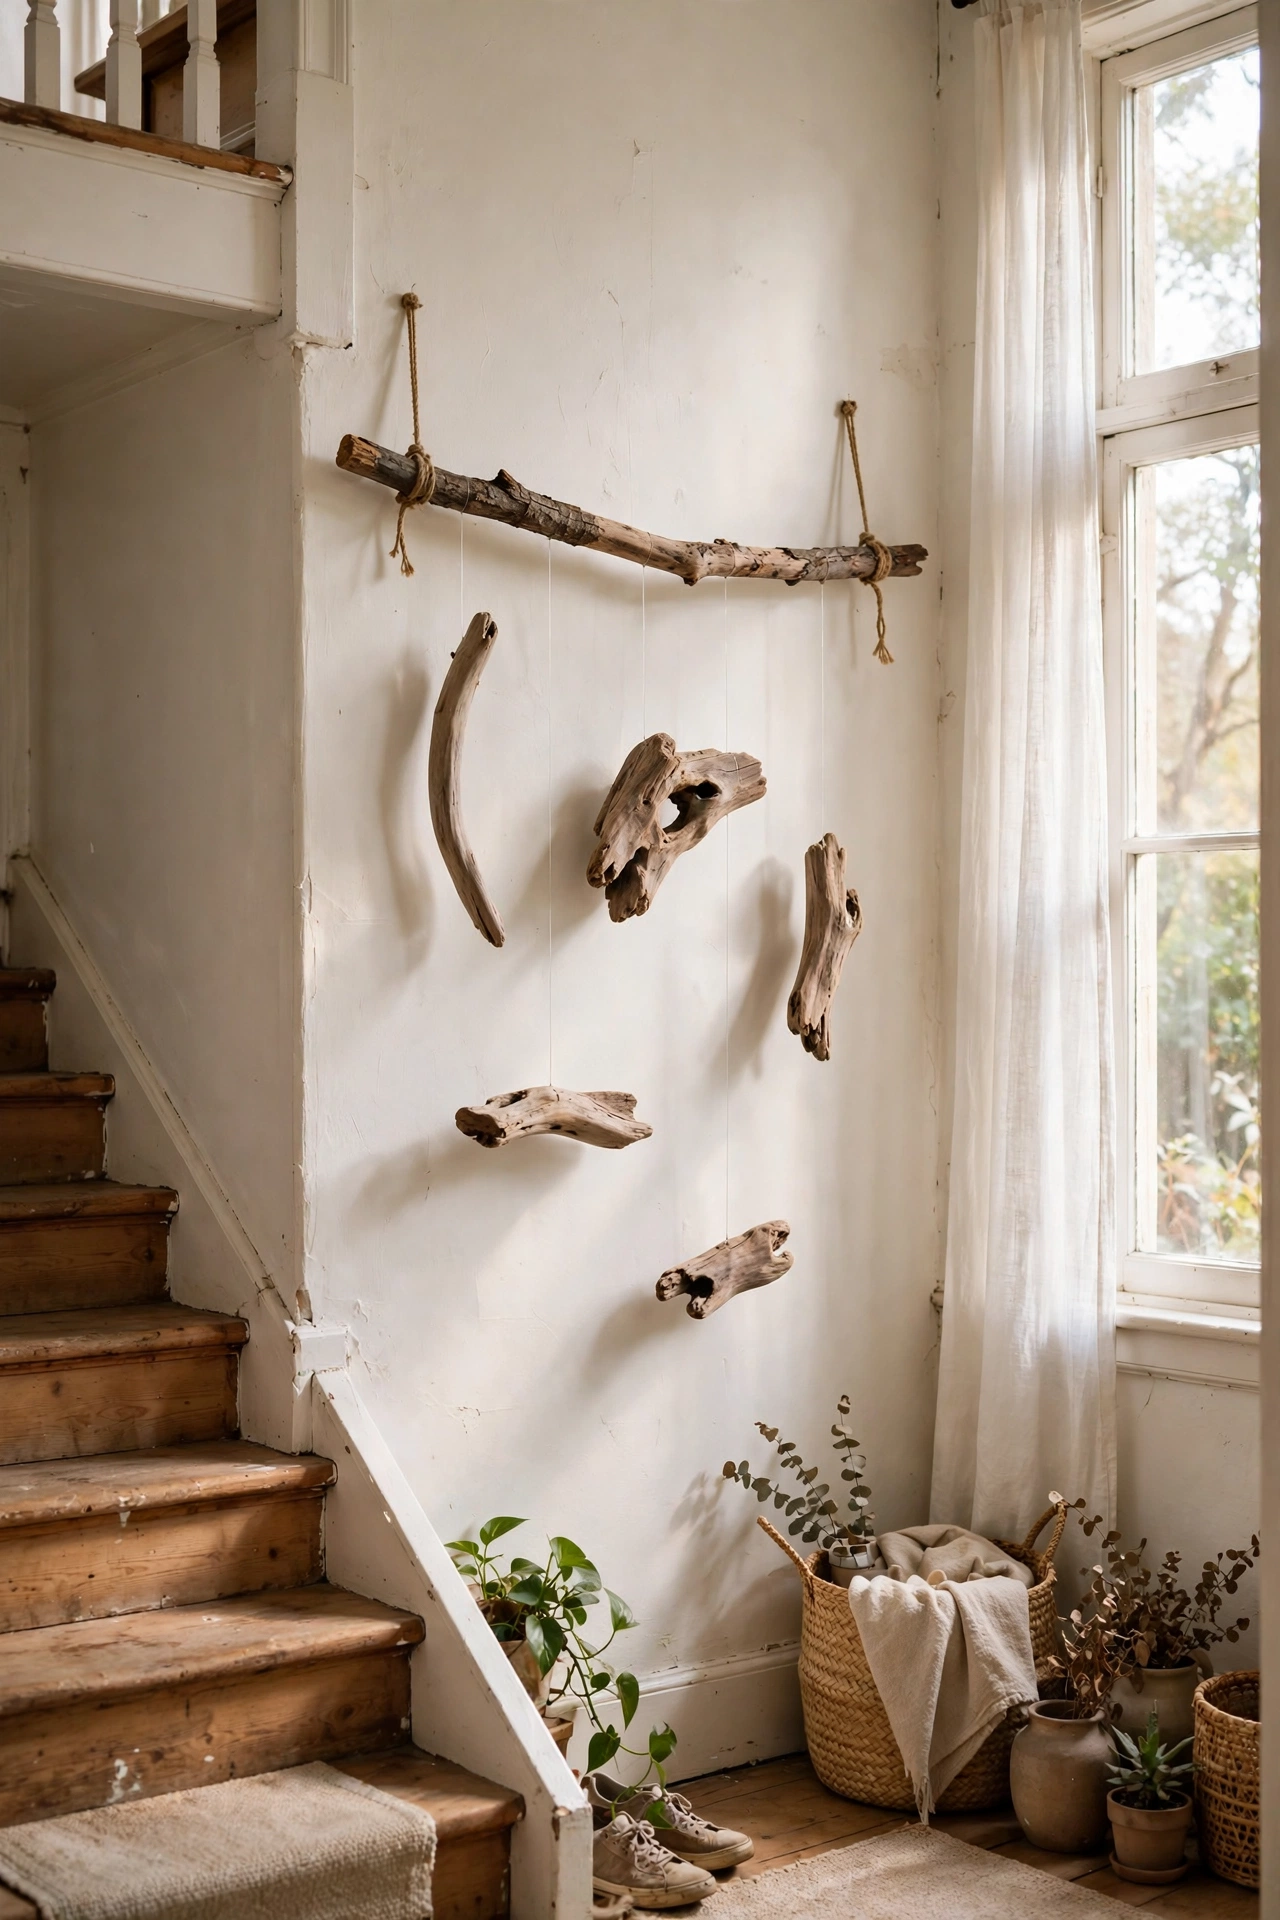
Driftwood pieces hung at different lengths from a branch make gentle kinetic wall art. I collected smooth driftwood on a beach trip, drilled small holes, and hung the pieces from a horizontal branch with fishing line at staggered heights. It moves softly in draughts and casts lovely shadows. Scrub the wood and let it dry fully before drilling, because damp wood splits. I hung mine in a stairwell where the air moves. Balance the pieces so it hangs level: adjust the line lengths until it does.
Cost: ~$5-8 | Time: 2 hours
Pro tip: When hanging a gallery or grid, cut paper templates the size of each frame and tape them to the wall first. Live with the arrangement for a day before you commit to nails. Moving paper is free; filling nail holes is not.
7. Oversized Line Drawing Poster
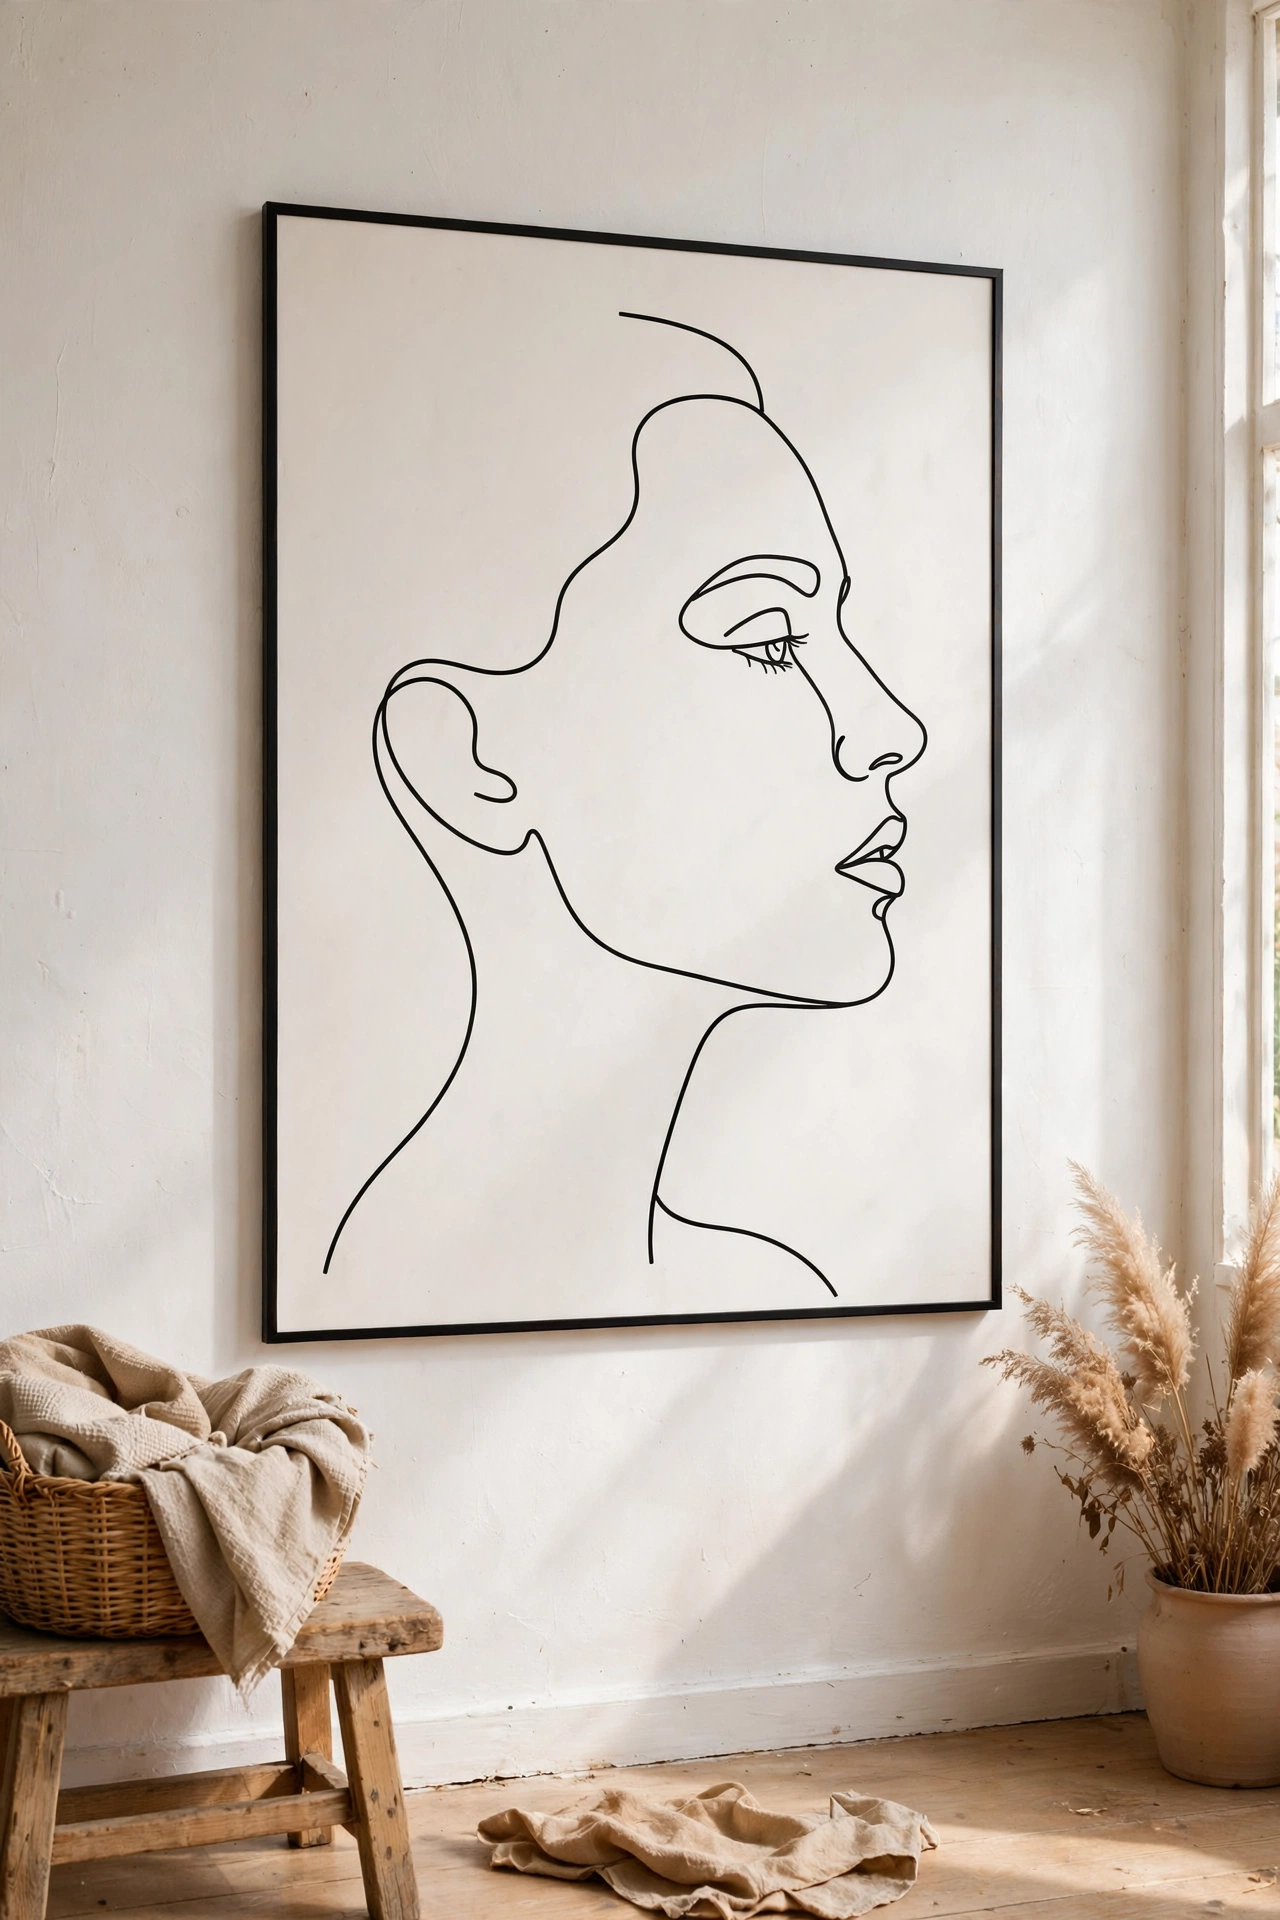
A single continuous line drawing printed large makes striking minimalist art. I drew a one-line face profile on paper, scanned it with my phone, and had it printed at 70 by 100 centimetres for $14 at a copy shop. The bold black line on white has real gallery energy. Draw with confidence in one pass: hesitant lines look scribbled, bold lines look artistic. I framed mine in a thin black frame. Botanical and hand studies work just as well as faces.
Cost: ~$16-22 | Time: 1 hour
8. Textured Plaster Art Canvas
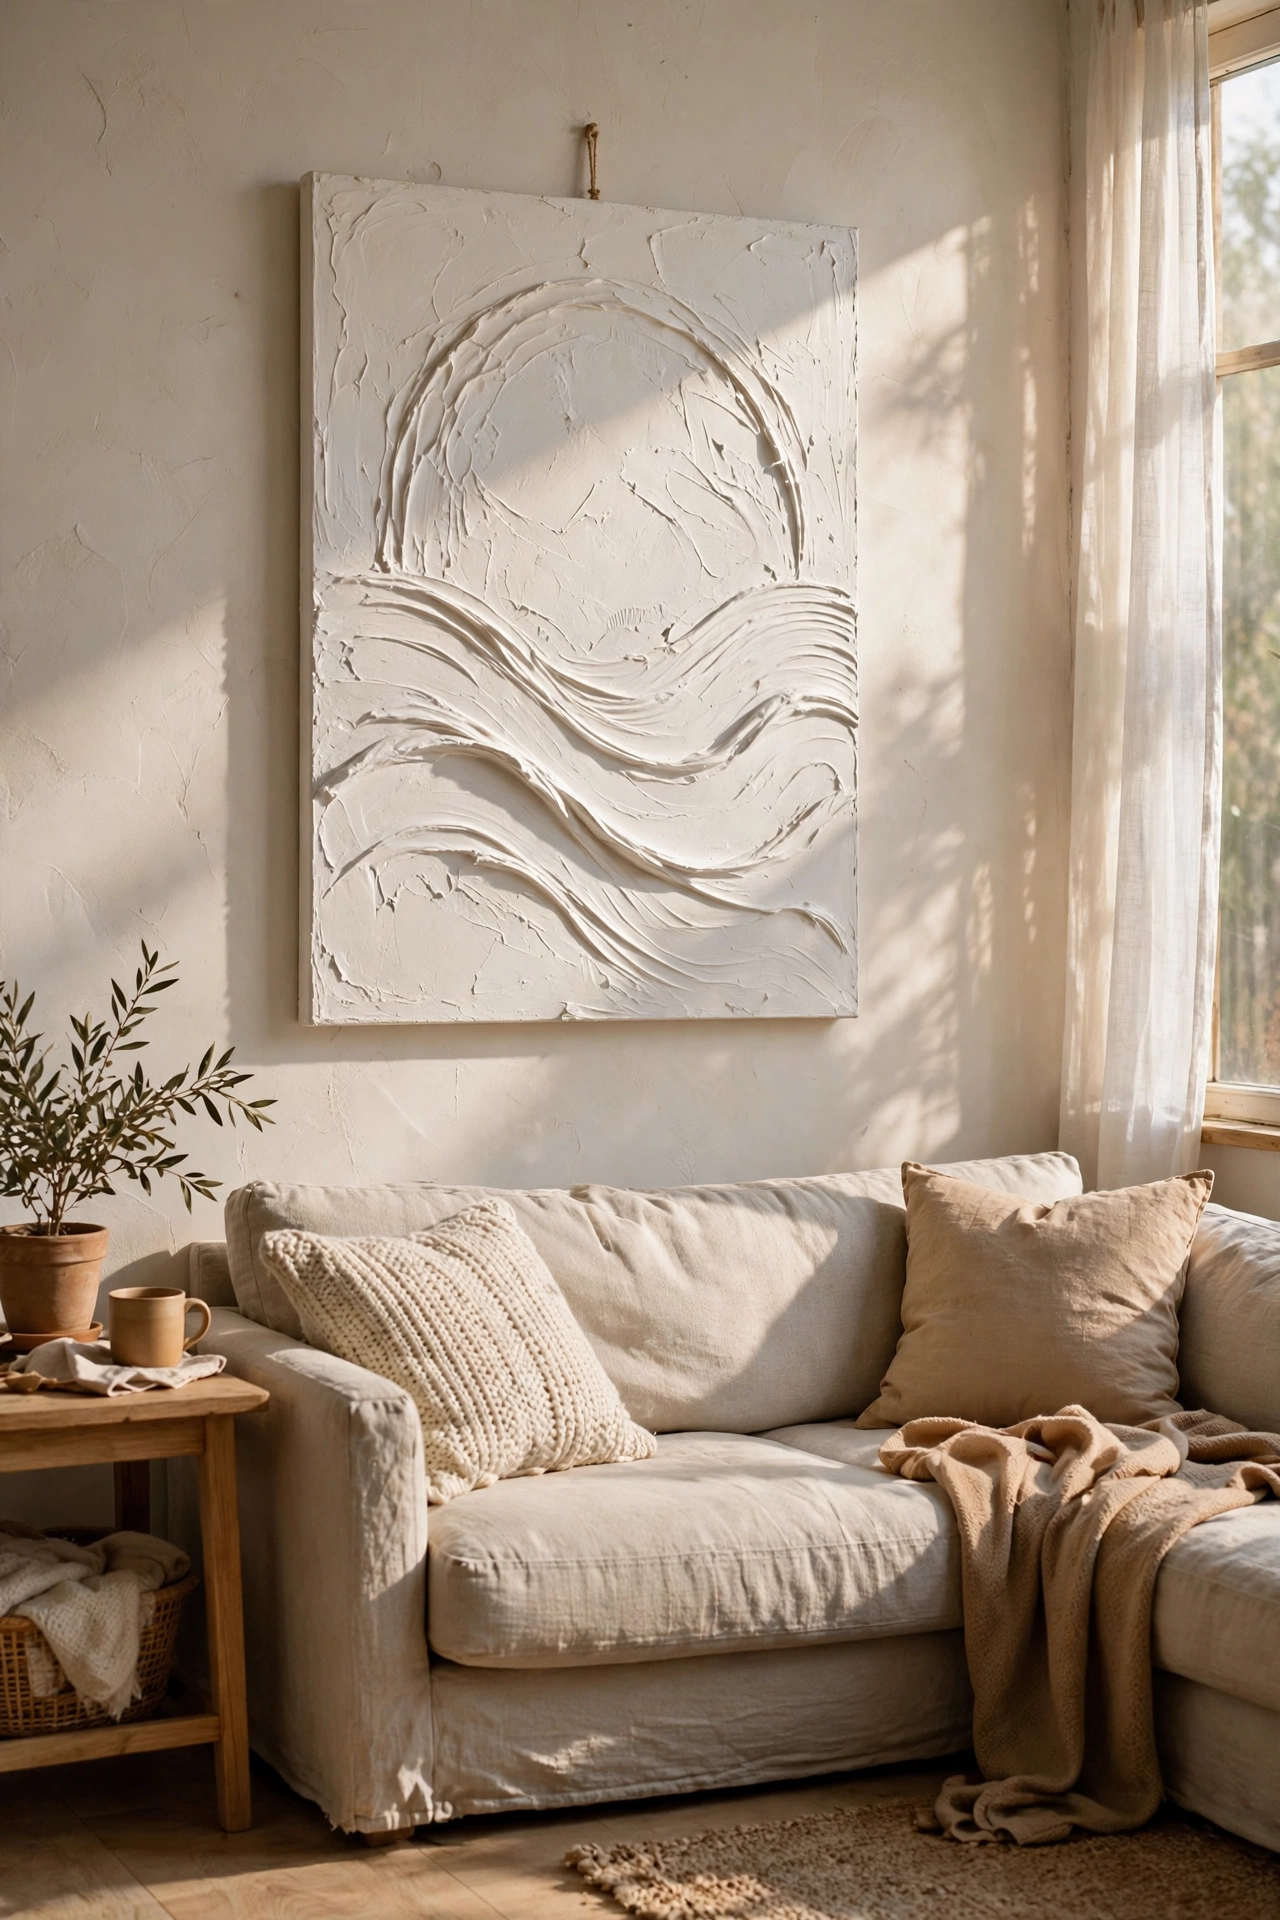
Joint compound troweled onto a canvas makes the textured plaster art selling for hundreds. I spread ready-mixed joint compound onto a canvas with a palette knife, creating arches and waves, and let it dry for 24 hours. Then I painted the whole thing warm white. The shadows in the texture are the art. Work quickly because joint compound skins over in about 20 minutes. My first panel cracked from being applied too thick, so keep layers under 5 millimetres. Seal with matte varnish.
Cost: ~$8-12 | Time: 1 hour plus drying
9. Vintage Map Gallery Wall
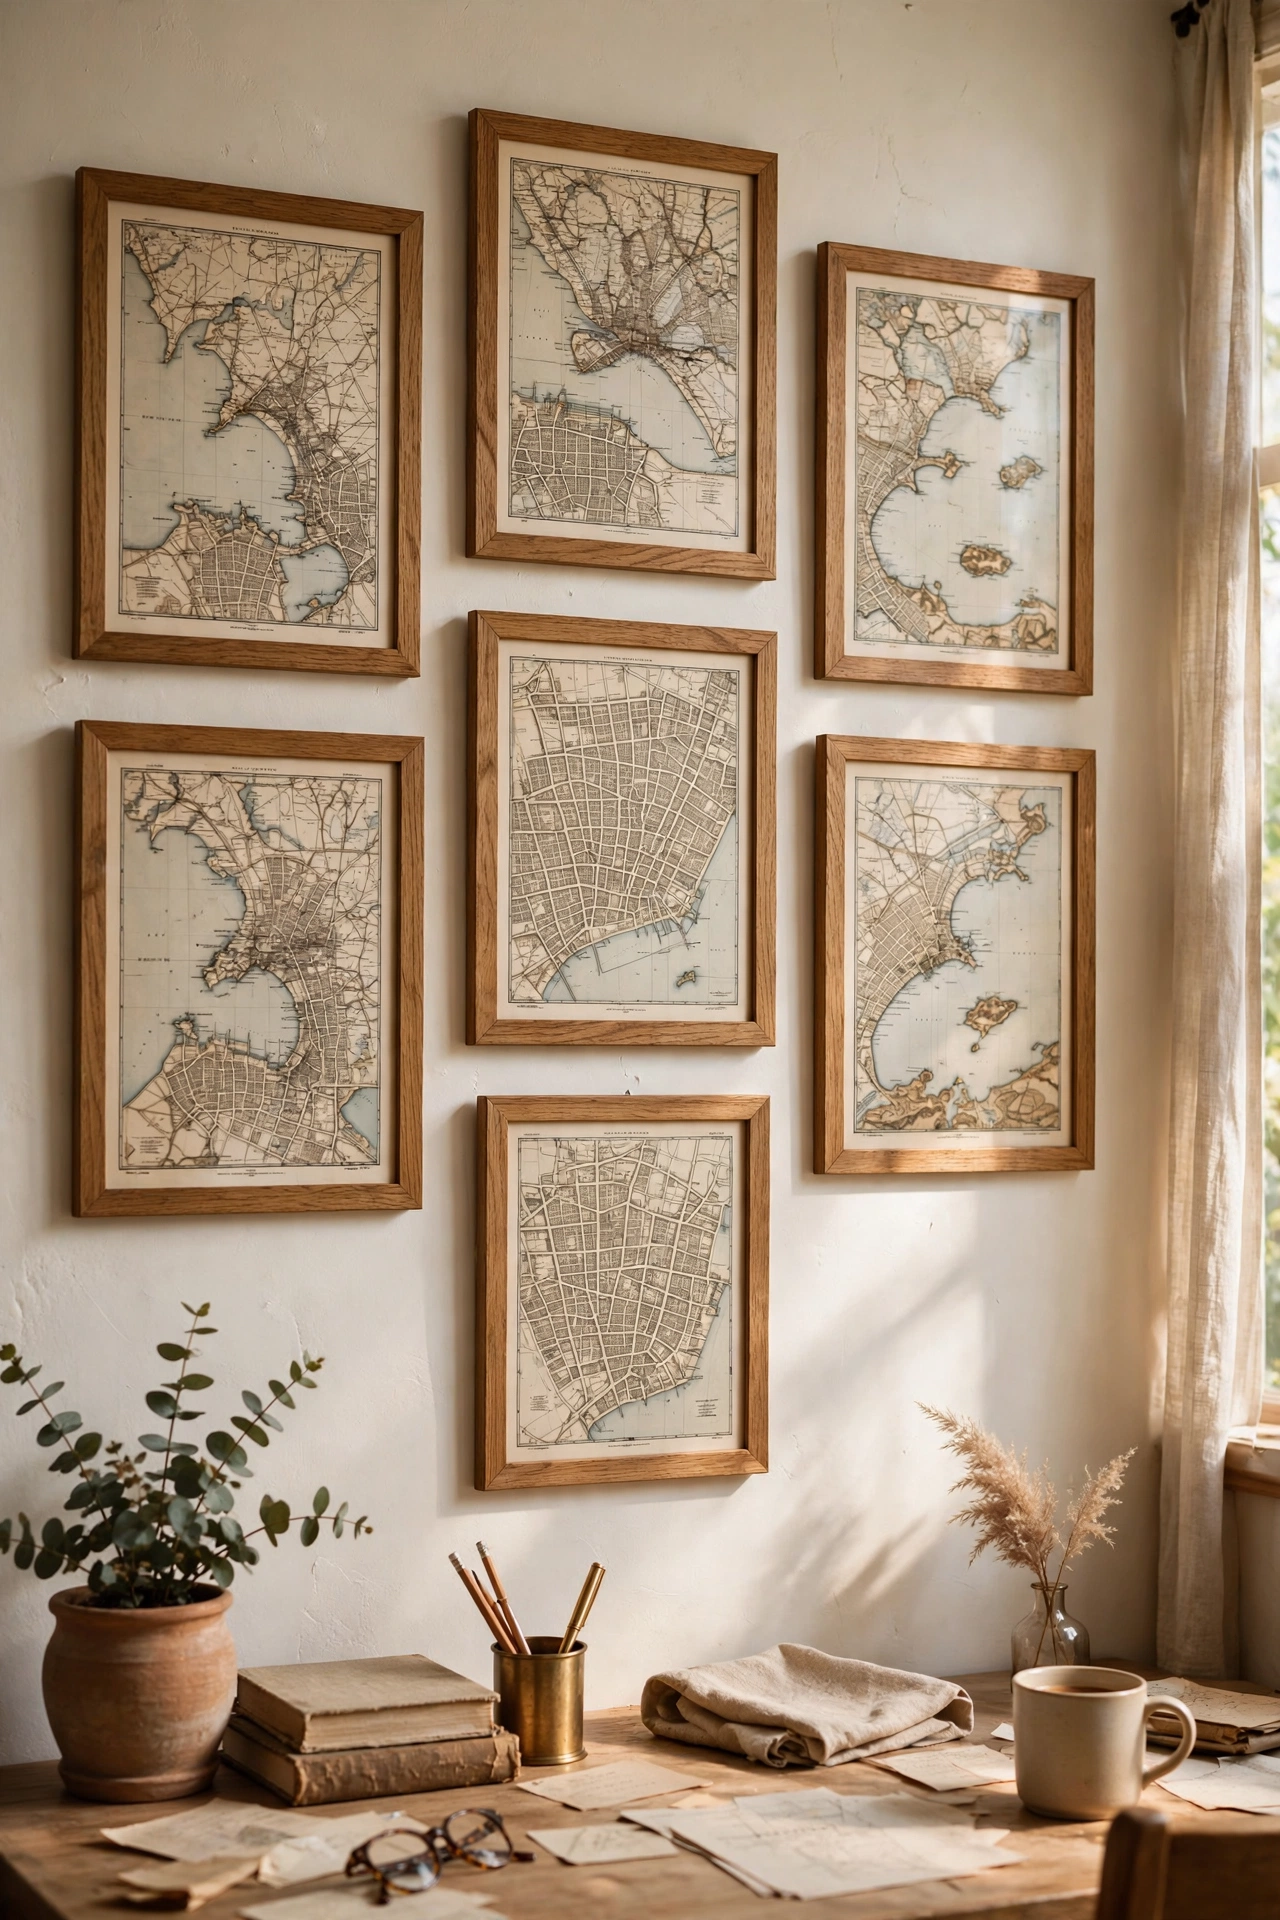
Old maps in matching frames make a gallery wall with built-in meaning. I bought a vintage atlas for $4 at a charity shop, tore out pages of places that matter to me, and framed six in identical oak frames. The aged paper tones coordinate naturally. Choose pages with interesting coastlines or city plans rather than plain ocean. I framed the cities we have lived in, which makes it personal. Trim pages to fit standard frame sizes to avoid custom framing costs. A tight grid or a loose salon hang both work.
Cost: ~$12-18 | Time: 1 hour
Pro tip: Charity-shop atlases and botanical books are art supply goldmines. One $4 book yields a dozen framable pages. Check the paper is thick enough to frame without wrinkling before you buy.
10. Scrap Wood Mosaic Panel
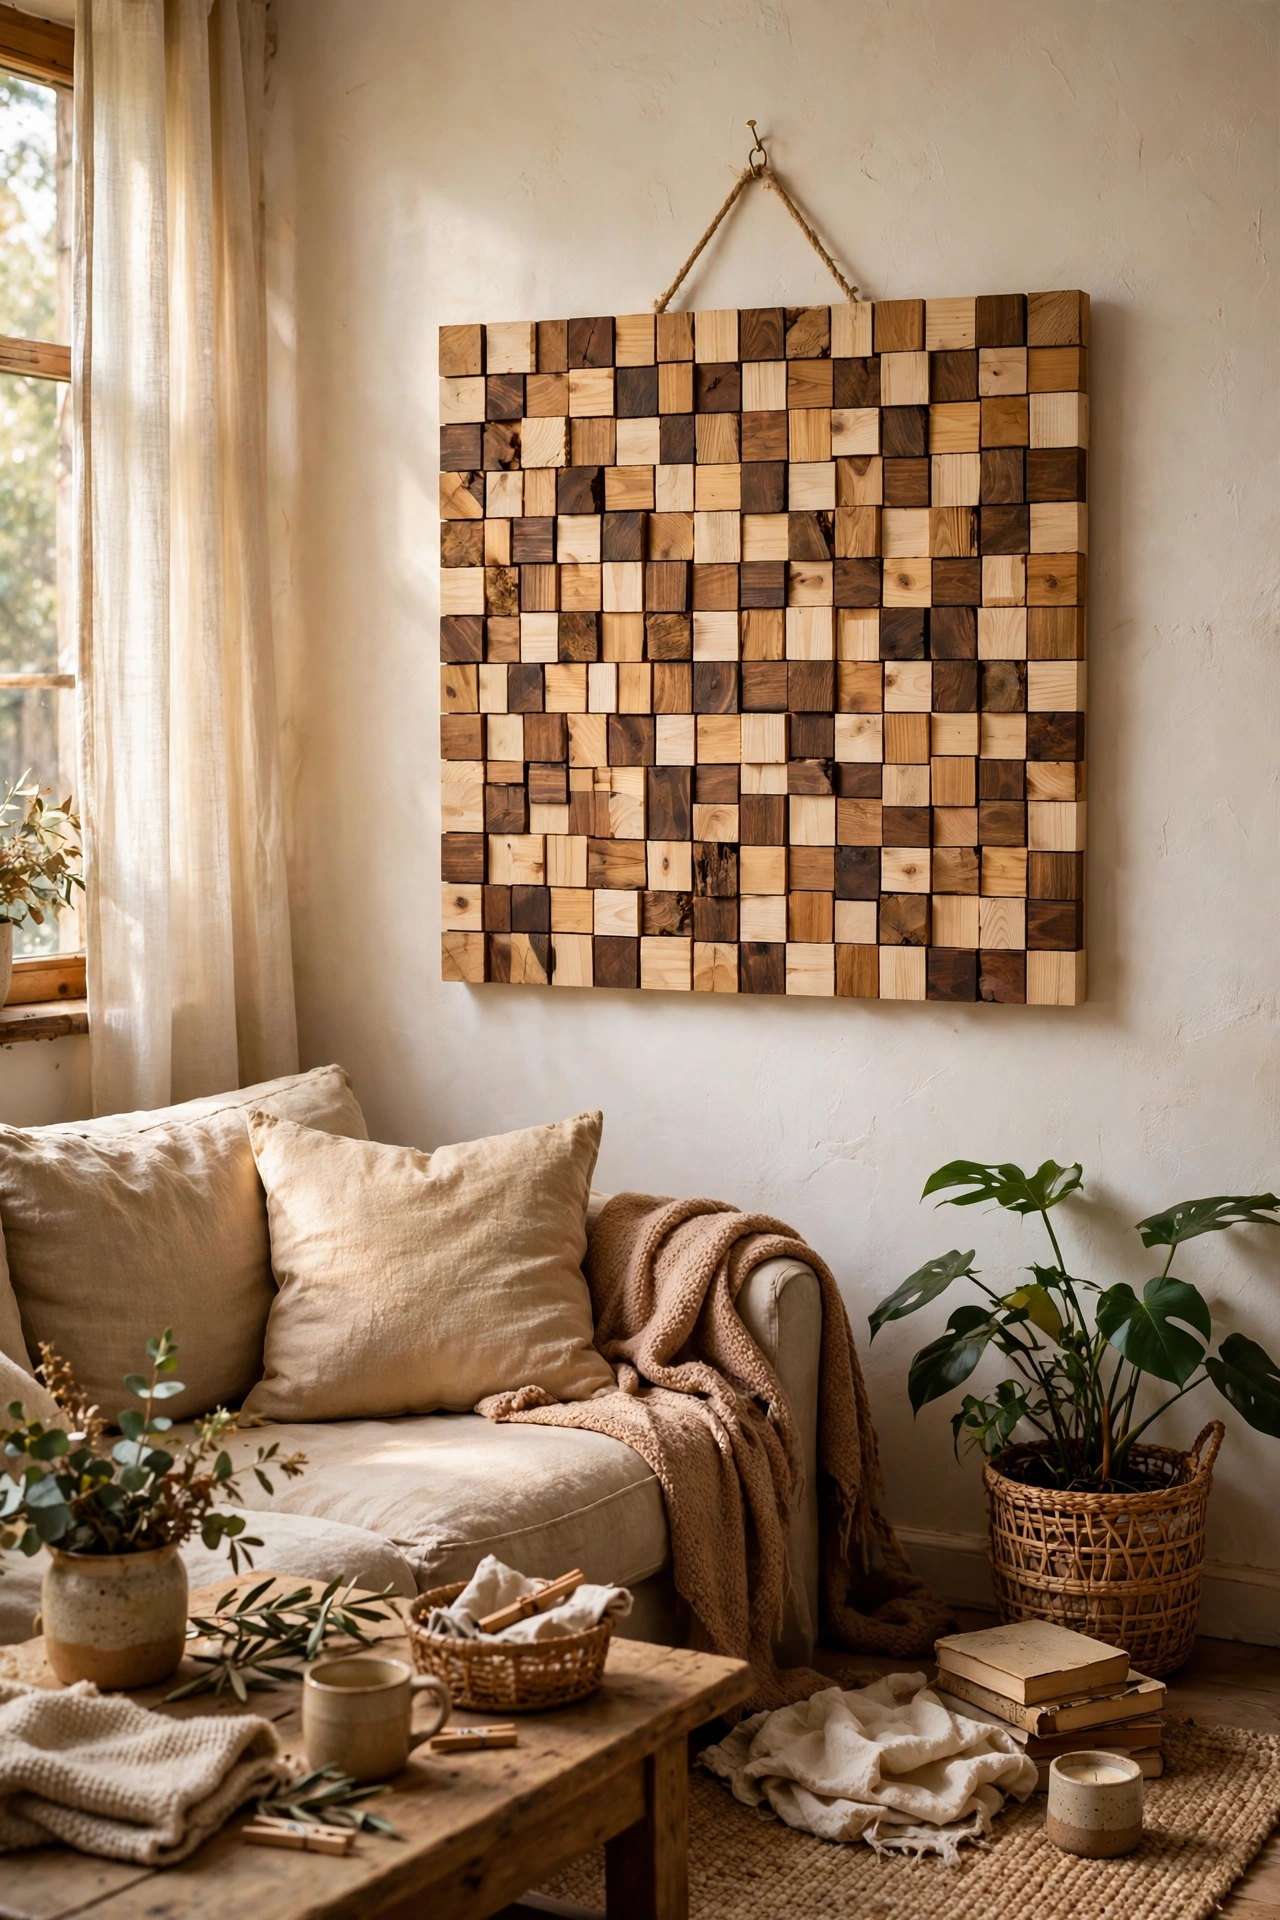
Offcuts of wood in varied stains form a mosaic panel with rich texture. I cut pine offcuts into equal squares, stained them in four tones from natural to walnut, and glued them onto a plywood back in a random pattern. The tonal variation is the whole design. Sand every piece smooth first, because rough offcuts look scrappy rather than crafted. I sealed mine with matte varnish. Keep the pattern random but balanced: step back often to check no one tone clusters.
Cost: ~$10-15 | Time: 4 hours
11. Framed Wallpaper Sample Art
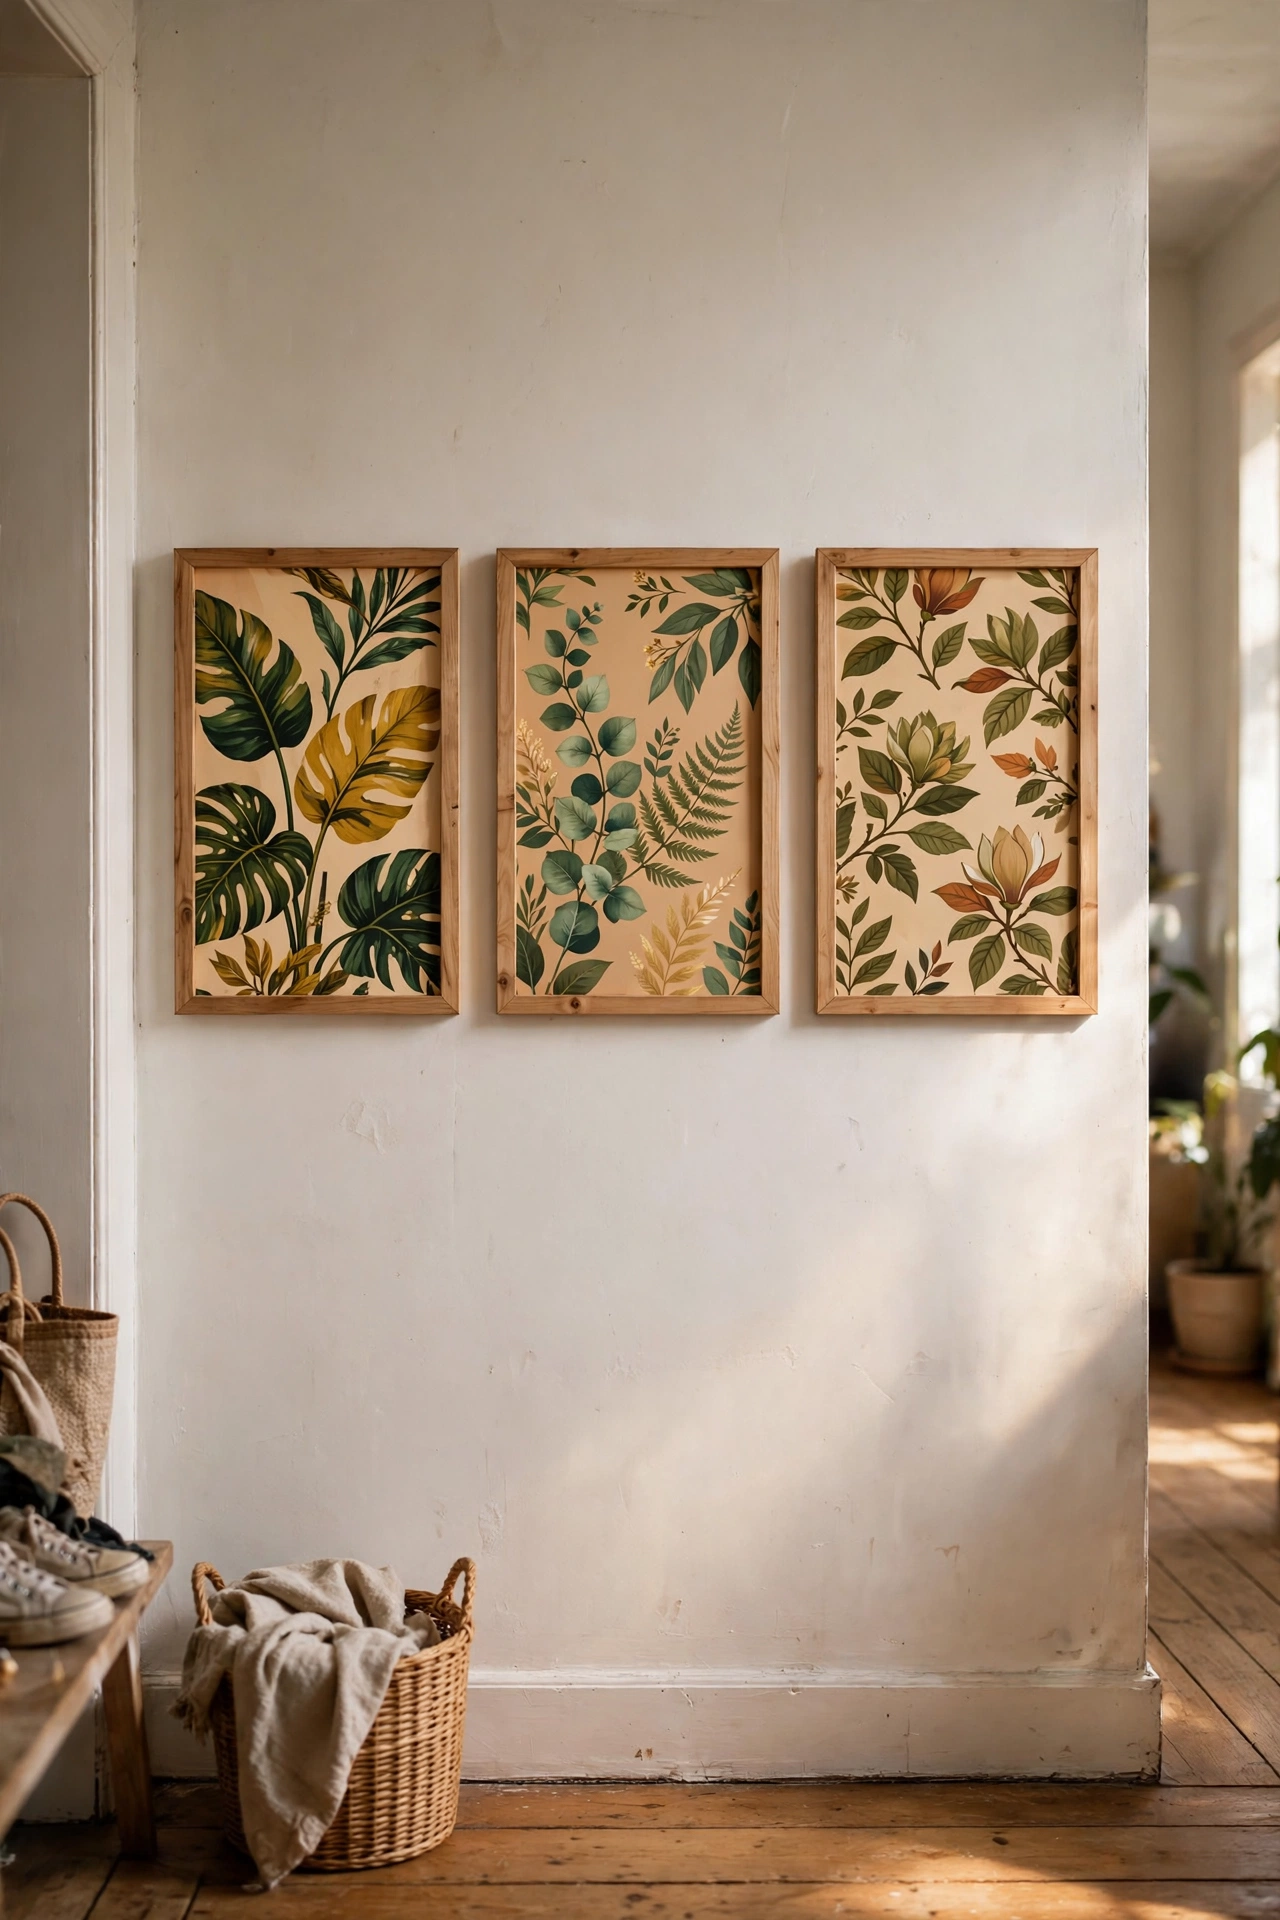
Designer wallpaper samples are free art if you frame the best sections. I collected large samples from a decorating shop, cut out the most beautiful 30-centimetre sections, and framed three in matching frames. Bold botanical and geometric prints work best. Ask nicely at wallpaper counters: they retire sample books regularly and often give away the old ones. I got a whole book for free. Frame the pattern’s focal point, not a random edge, and the result looks like expensive art prints.
Cost: ~$8-12 | Time: 45 minutes
12. String Art Geometric Panel
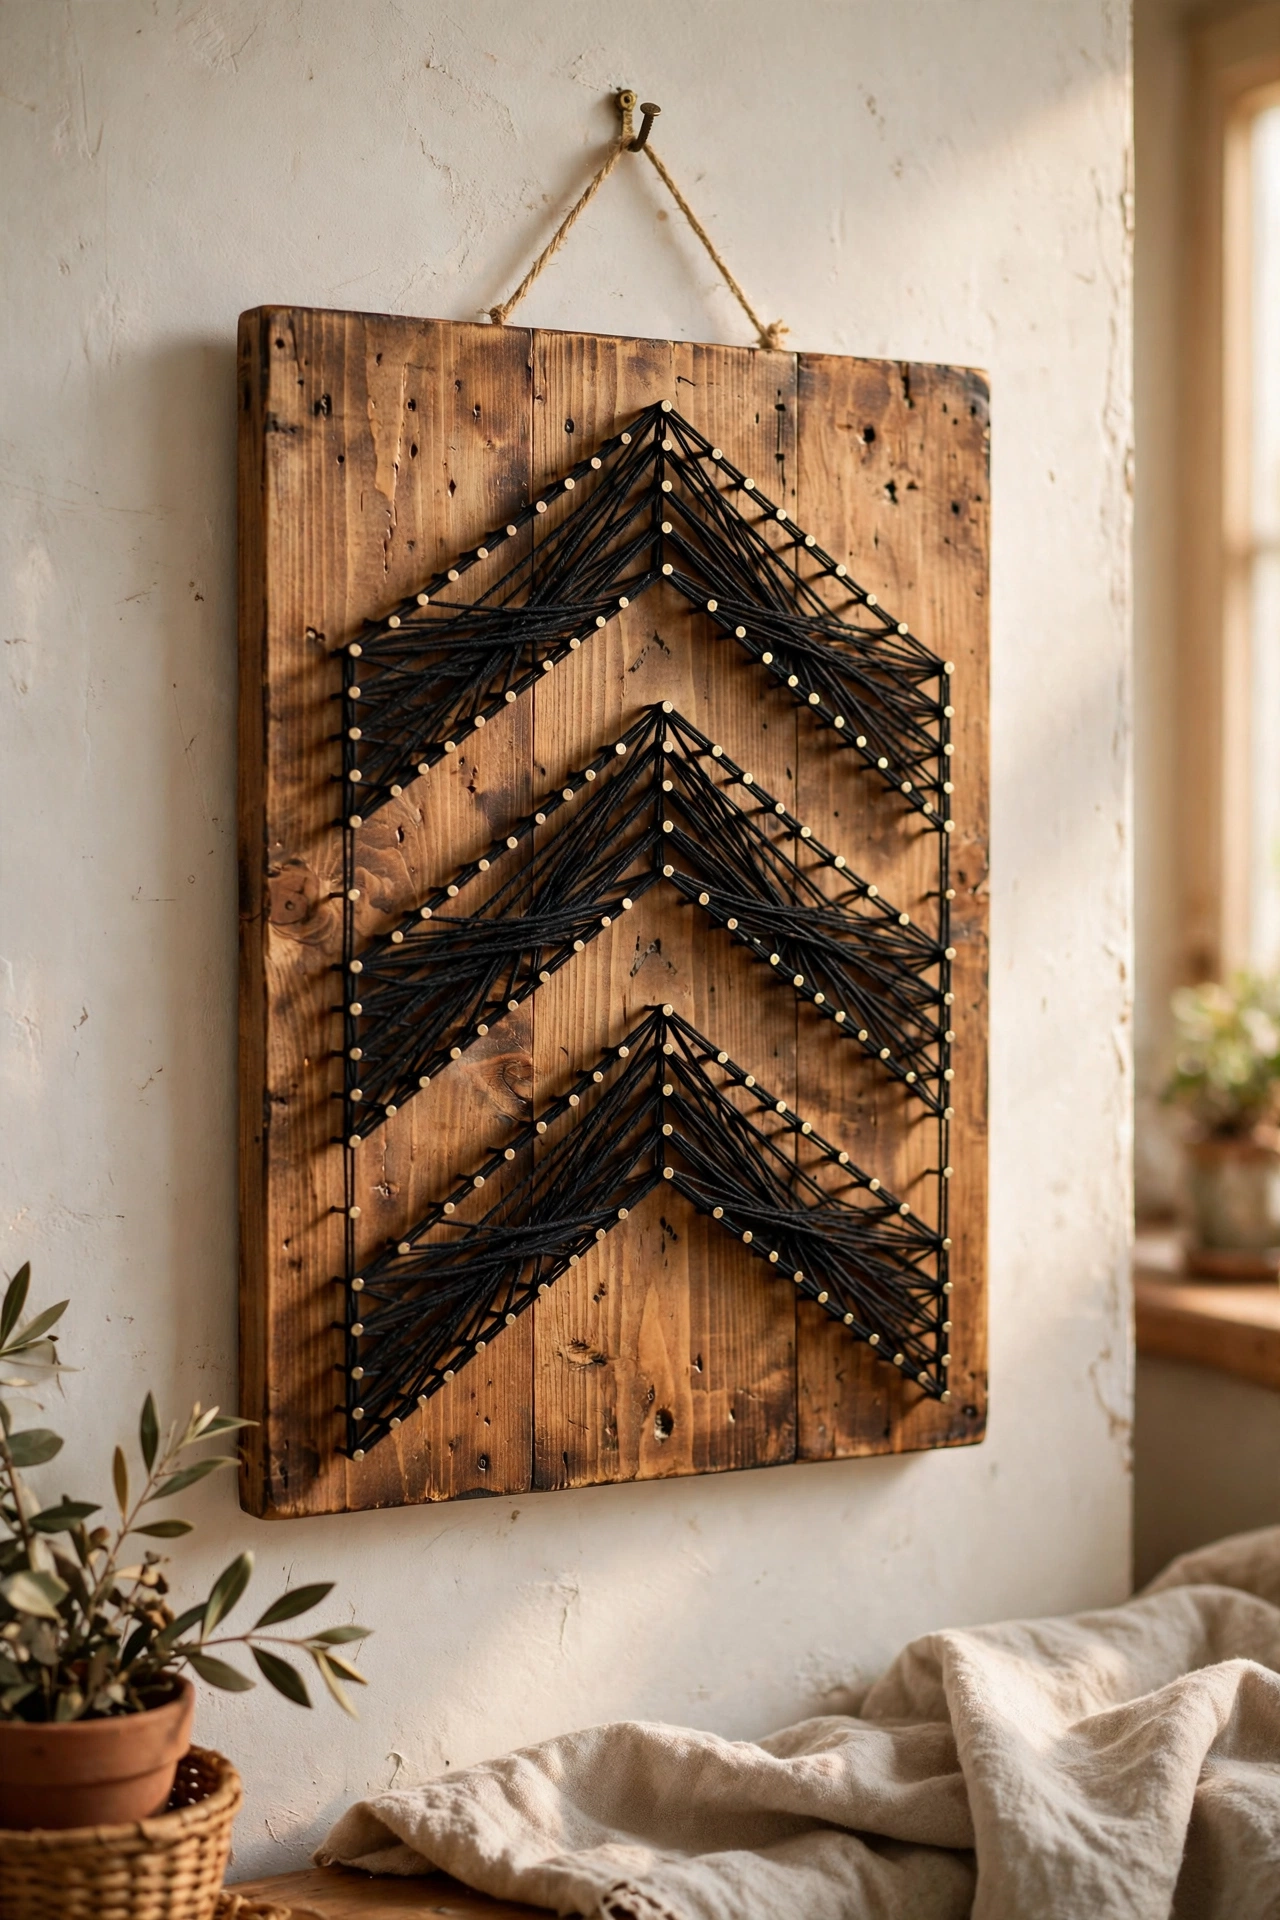
Nails and string form sharp geometric art with real precision. I hammered small nails in a chevron pattern into a stained pine board and wove black string between them in straight lines. The geometry does the work: keep the nail spacing exact with a ruler and template. My first panel drifted because I eyeballed the nails. Wind the string with consistent tension for clean lines. Metallic gold string on dark walnut looks particularly luxurious. This is slow, satisfying work for a quiet weekend.
Cost: ~$8-12 | Time: 3 hours
Pro tip: For string art, hammer every nail to the same depth using a piece of tape on the hammer as a depth marker. Uneven nails make the string sit at different heights and the pattern looks messy.
13. Dried Flower Shadow Box
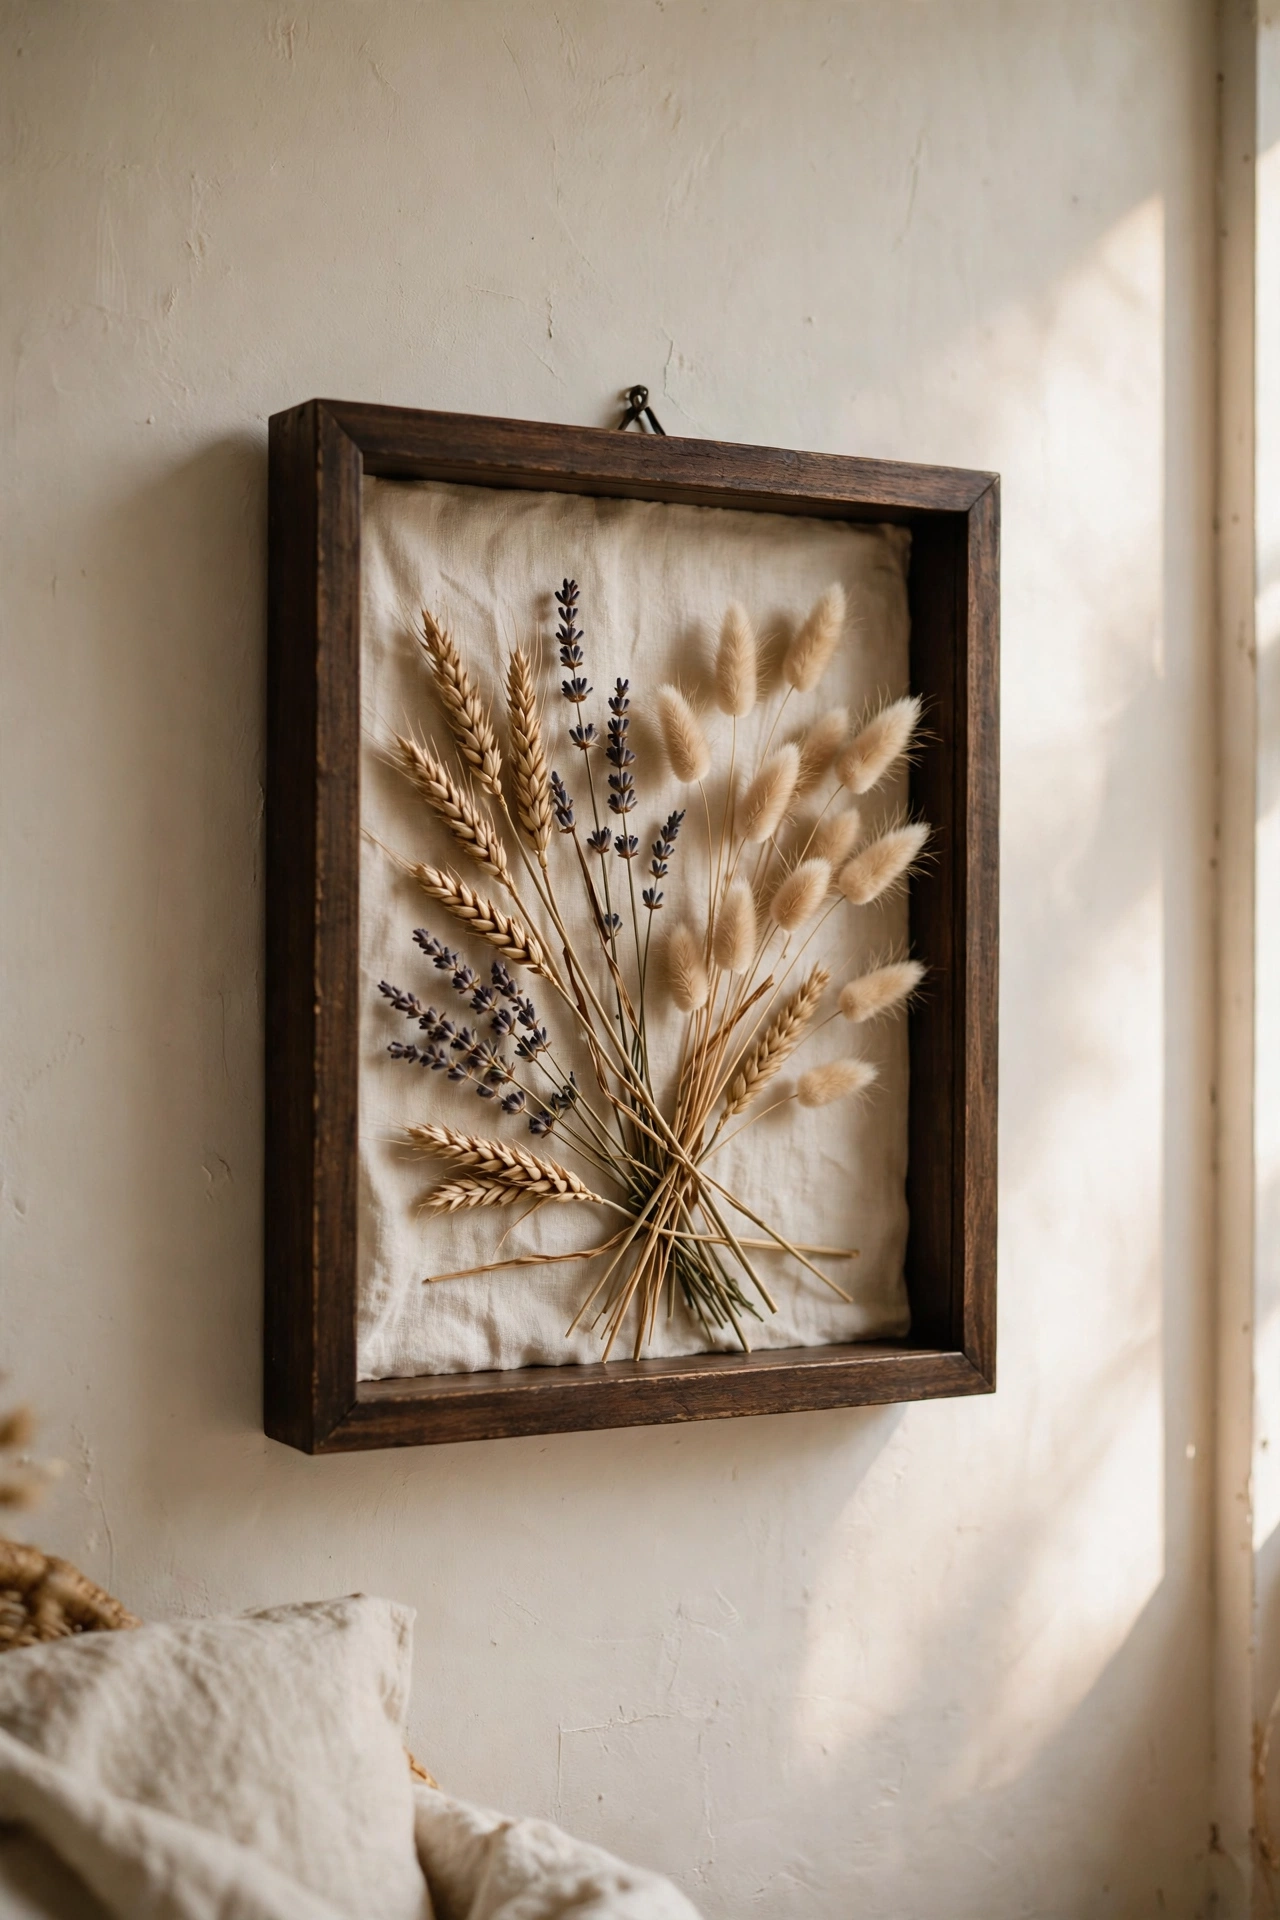
Dried flowers arranged in a deep shadow box make delicate dimensional art. I arranged dried lavender, wheat, and bunny tails on cream linen inside a 5-centimetre-deep box frame, gluing each stem at the base. The depth creates beautiful shadows. Work from the back layer forward, tallest stems first. My arrangement looked flat until I added stems at three different depths. Hang it away from direct sun or the colours fade within months. This suits bedrooms and hallways perfectly. I used a low-temperature glue gun so the stems stayed fixed without any scorched marks on the linen backing.
Cost: ~$10-15 | Time: 1 hour
14. Black-and-White Photo Grid
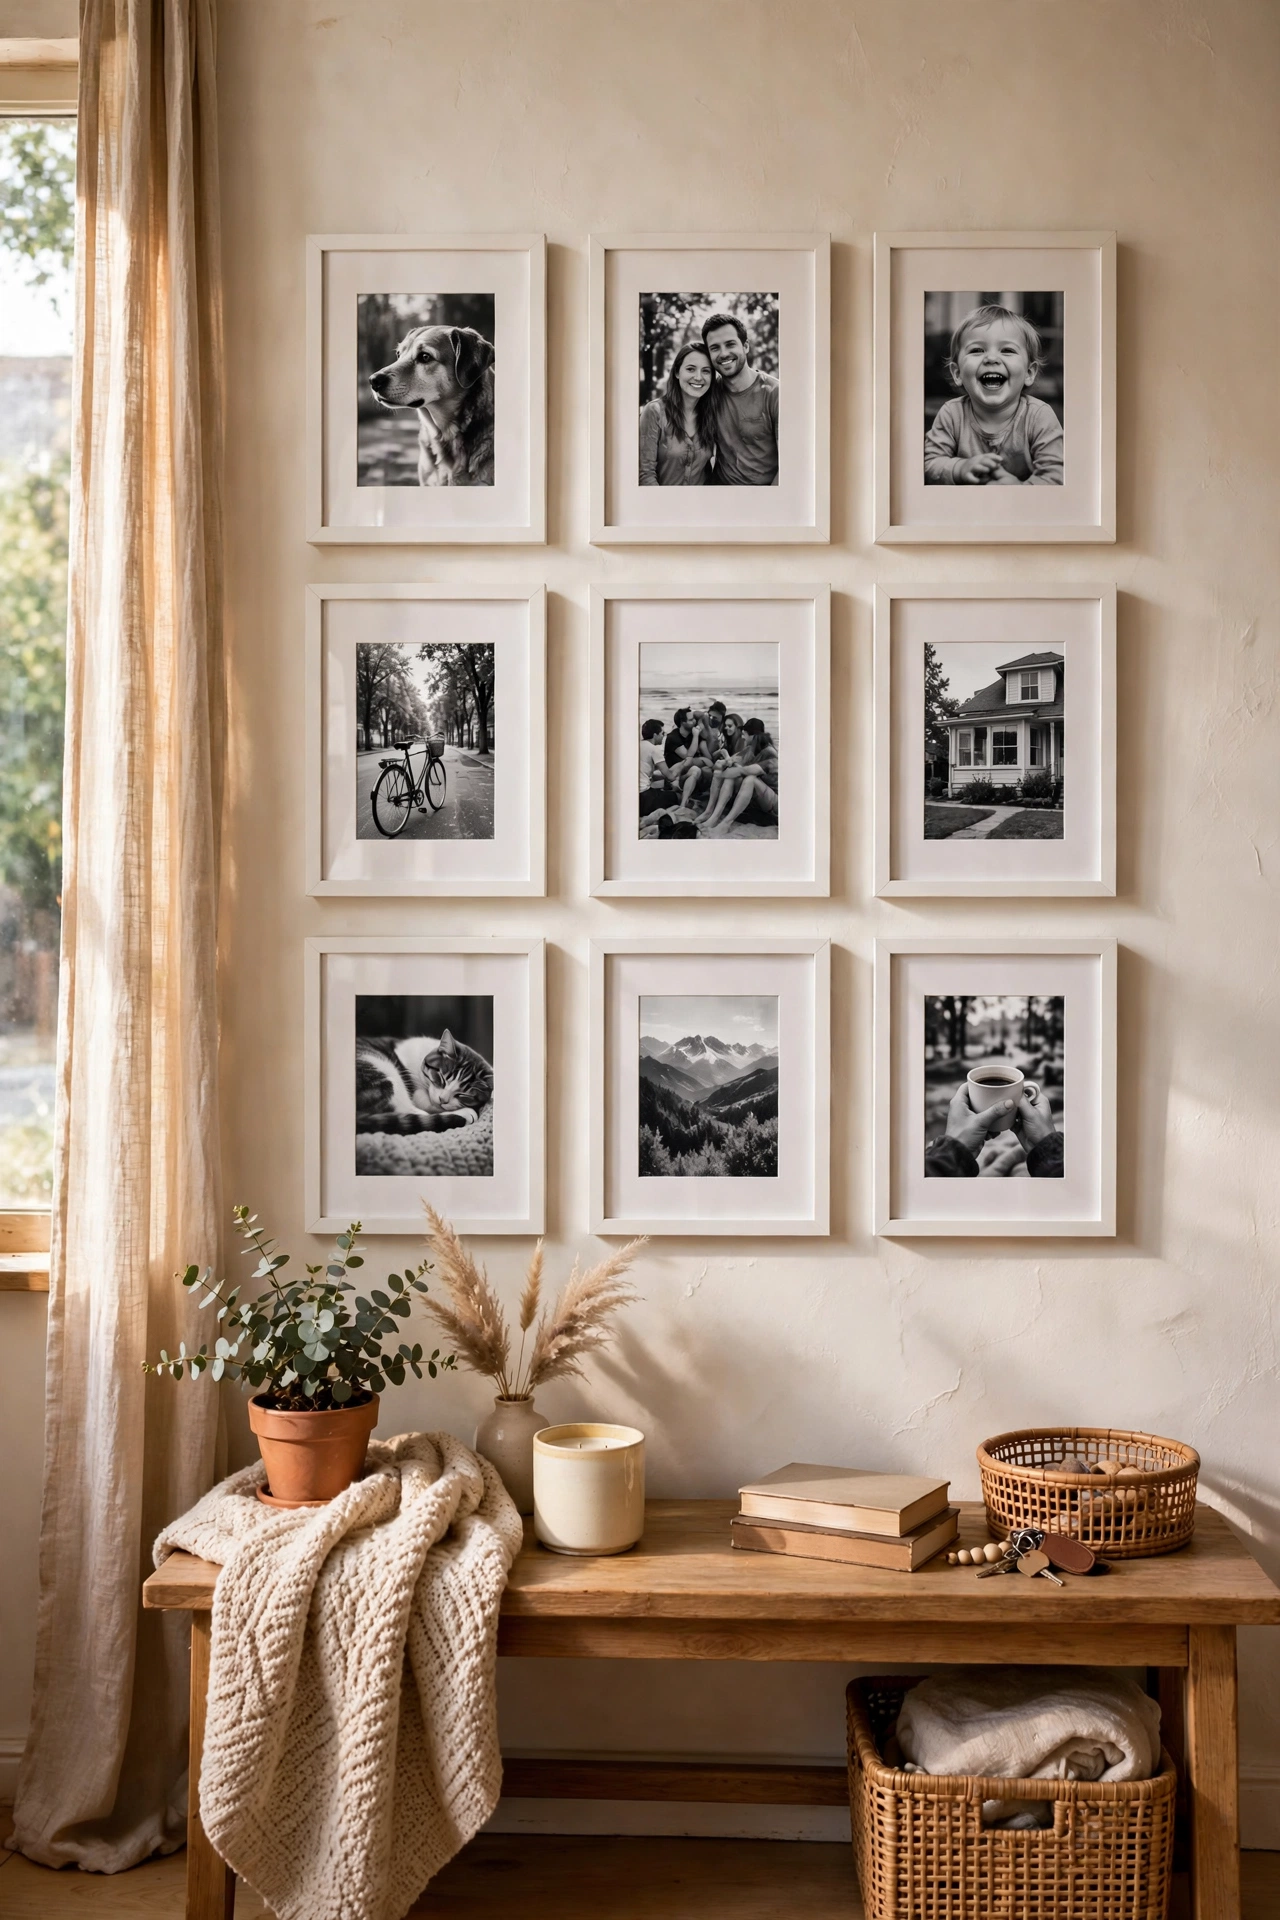
Nine black-and-white photos in a tight grid make the most personal art you can hang. I printed favourite phone photos in monochrome at 15 centimetres square and framed them in identical white frames with 3-centimetre gaps. Converting to black and white unifies mismatched photos instantly: colour photos from different years clash, monochrome ones harmonise. I included landscapes, not just people, for variety. Print at a proper photo lab rather than at home for deeper blacks.
Cost: ~$15-20 | Time: 1 hour
Save this one for your weekend project list.
15. Painted Plywood Rainbow Arch
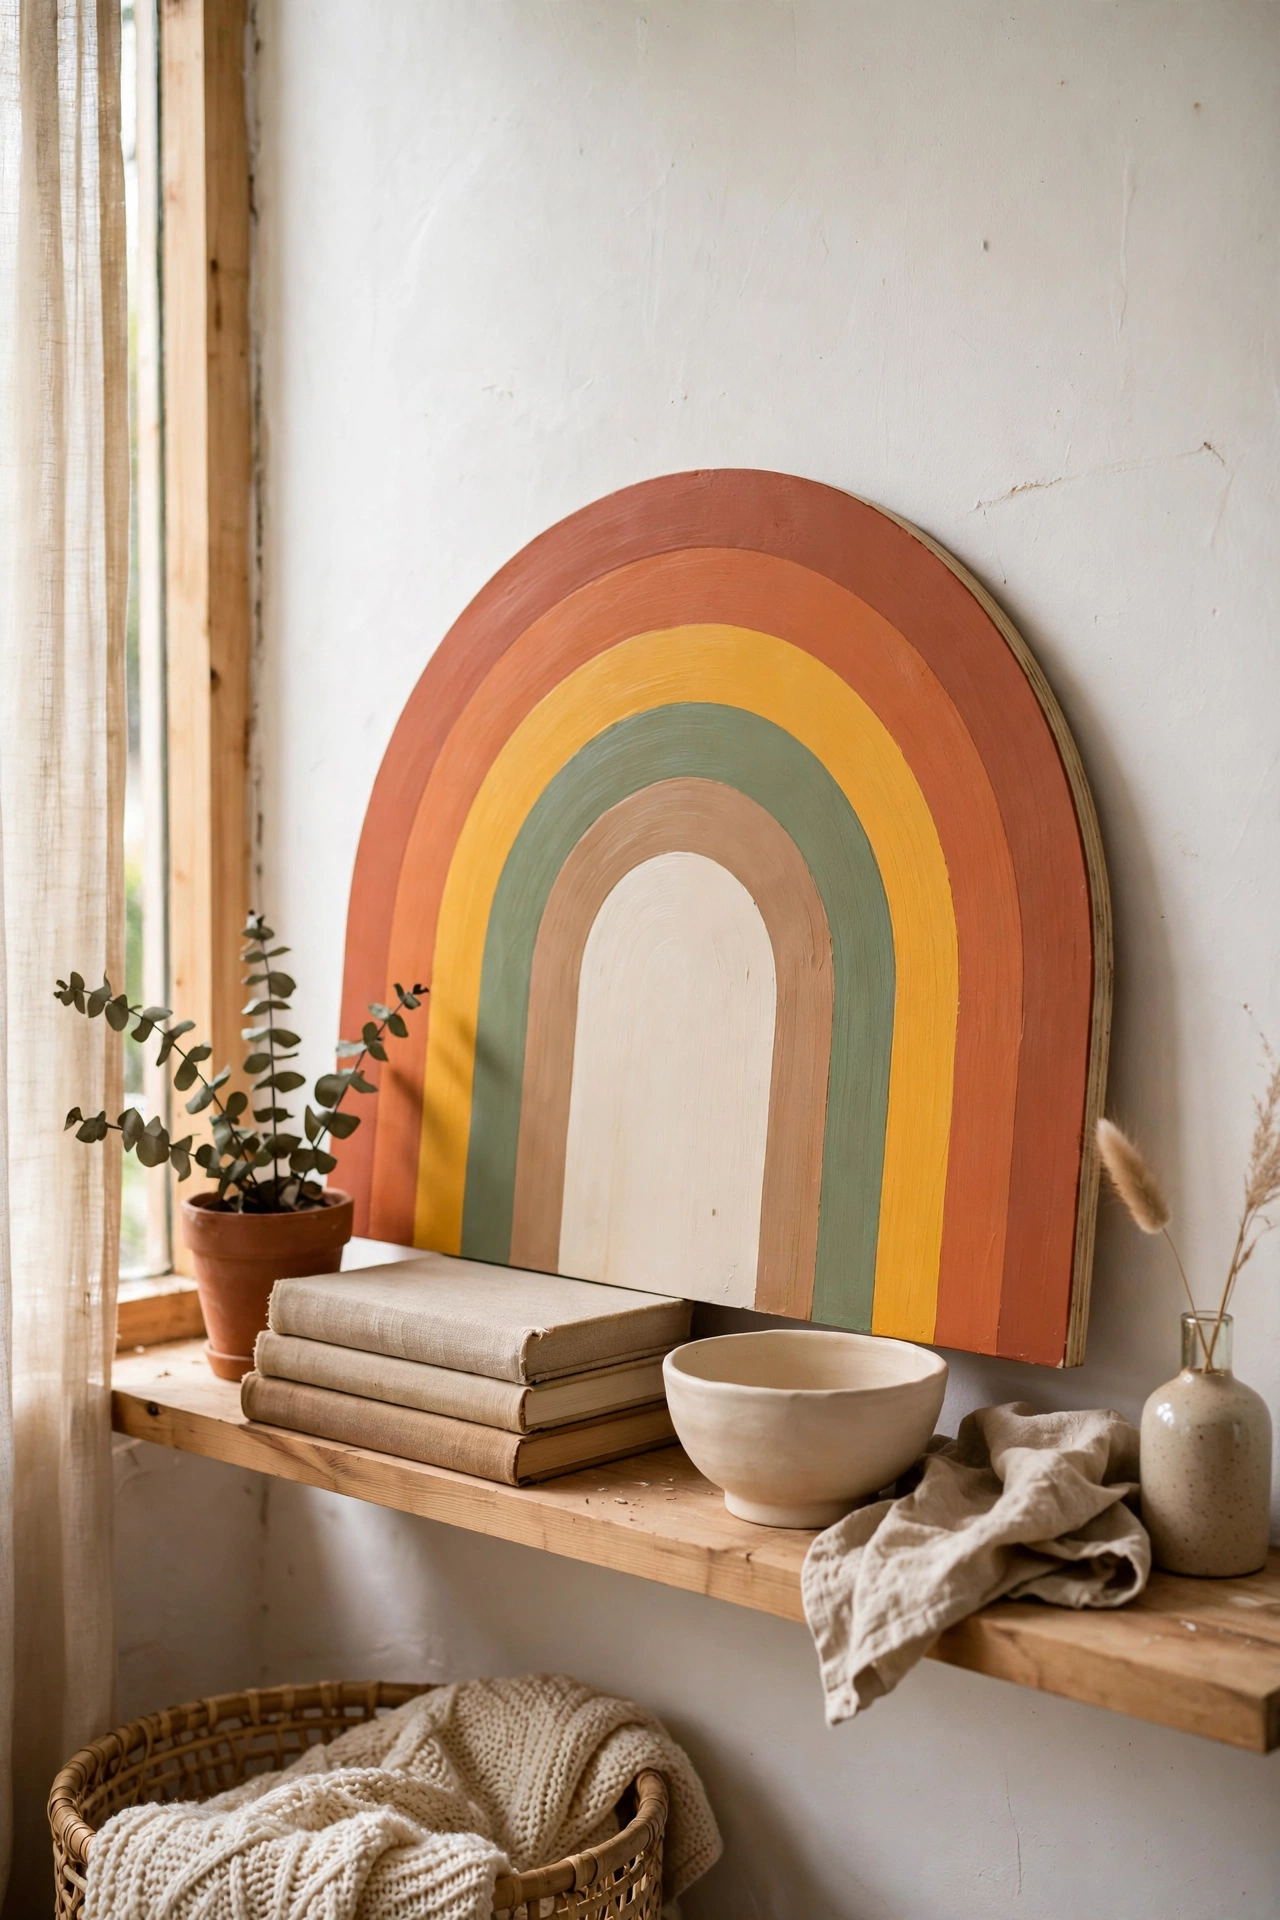
Concentric painted arches on a plywood board make joyful modern art. I cut a 90-centimetre plywood arch shape with a jigsaw, then painted five concentric bands in terracotta, mustard, sage, clay, and cream. The shape plus the colour bands is pure happiness on a wall. Sand the cut edge smooth and paint the bands from the outside in with a steady hand. I used painter’s tape between bands for crisp edges. Lean it on a shelf or hang it: both work.
Cost: ~$12-18 | Time: 3 hours
Pro tip: When painting colour bands, let each band dry fully before taping over it for the next. Taping over tacky paint pulls it straight off, and you will be repainting the band you just finished.
More wall ideas: (see also: 15-diy-wall-art-ideas-on-a-budget/) (see also: 15-no-paint-diy-wall-decor-ideas-for-renters/) (see also: 17-gallery-wall-ideas-for-the-living-room-on-a-dime)
Pick the blankest wall in your home and give it one weekend. You will wonder why you waited three years.
