25 No-Sew DIY Decor Projects for Total Beginners
I do not own a sewing machine, and the one time I borrowed my neighbour’s, I sewed the bobbin cover shut. That was the end of my sewing career. But I still wanted custom curtains, pretty pillows, and all the soft furnishings that make a house feel like a home. So I learned the no-sew way: hem tape, fabric glue, staples, and clever folding. My first no-sew pillow looked great for a week, then the fabric glue bled through the white cotton and left yellow stains. I switched to iron-on hem tape, tested everything on scraps first, and never looked back.
These 25 no-sew DIY decor projects are proof that you never need to thread a needle to have beautiful soft furnishings. Every project uses iron-on tape, fabric glue, staples, or simple folding, and each one is genuinely beginner-friendly. No-sew does not mean cheap-looking. Done right, nobody can tell the difference. I have noted where I went wrong on each one so your first attempt looks like your tenth.
1. No-Sew Pillow Covers with Hem Tape
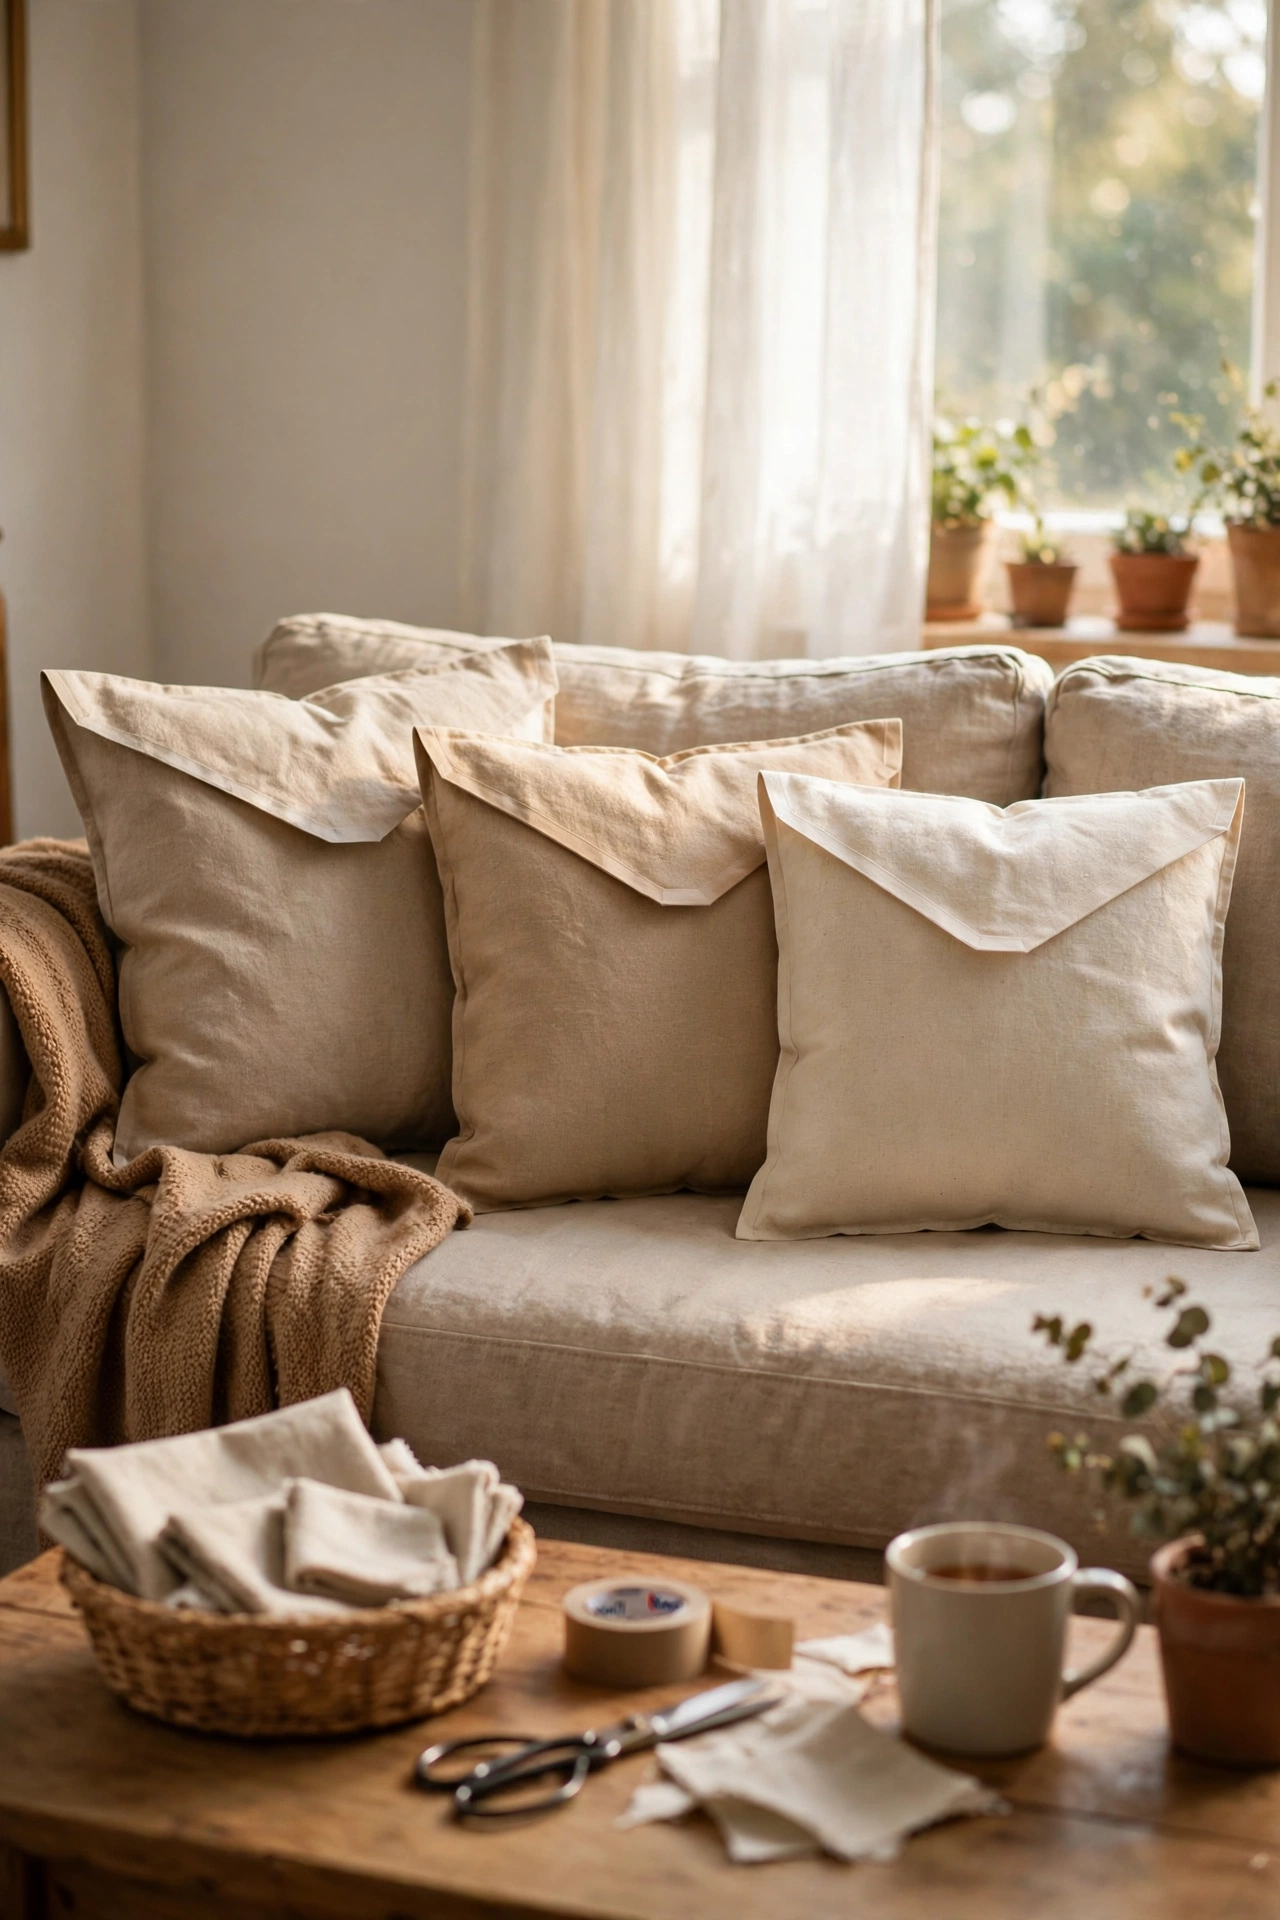
Iron-on hem tape turns any fabric into a pillow cover in twenty minutes. I cut fabric twelve inches wider than my pillow insert, folded it envelope-style, and ironed the hems. The envelope fold means no zipper needed. I press the tape with a hot iron for a full ten seconds per section, because a quick pass peels off in the wash. My glue-stained first attempt taught me to test adhesives on scraps. Hem tape holds through washing if you let it cool completely before stuffing the pillow.
Cost: ~$8-14 per pillow | Time: 30 minutes
2. Hemmed Curtains from Flat Sheets
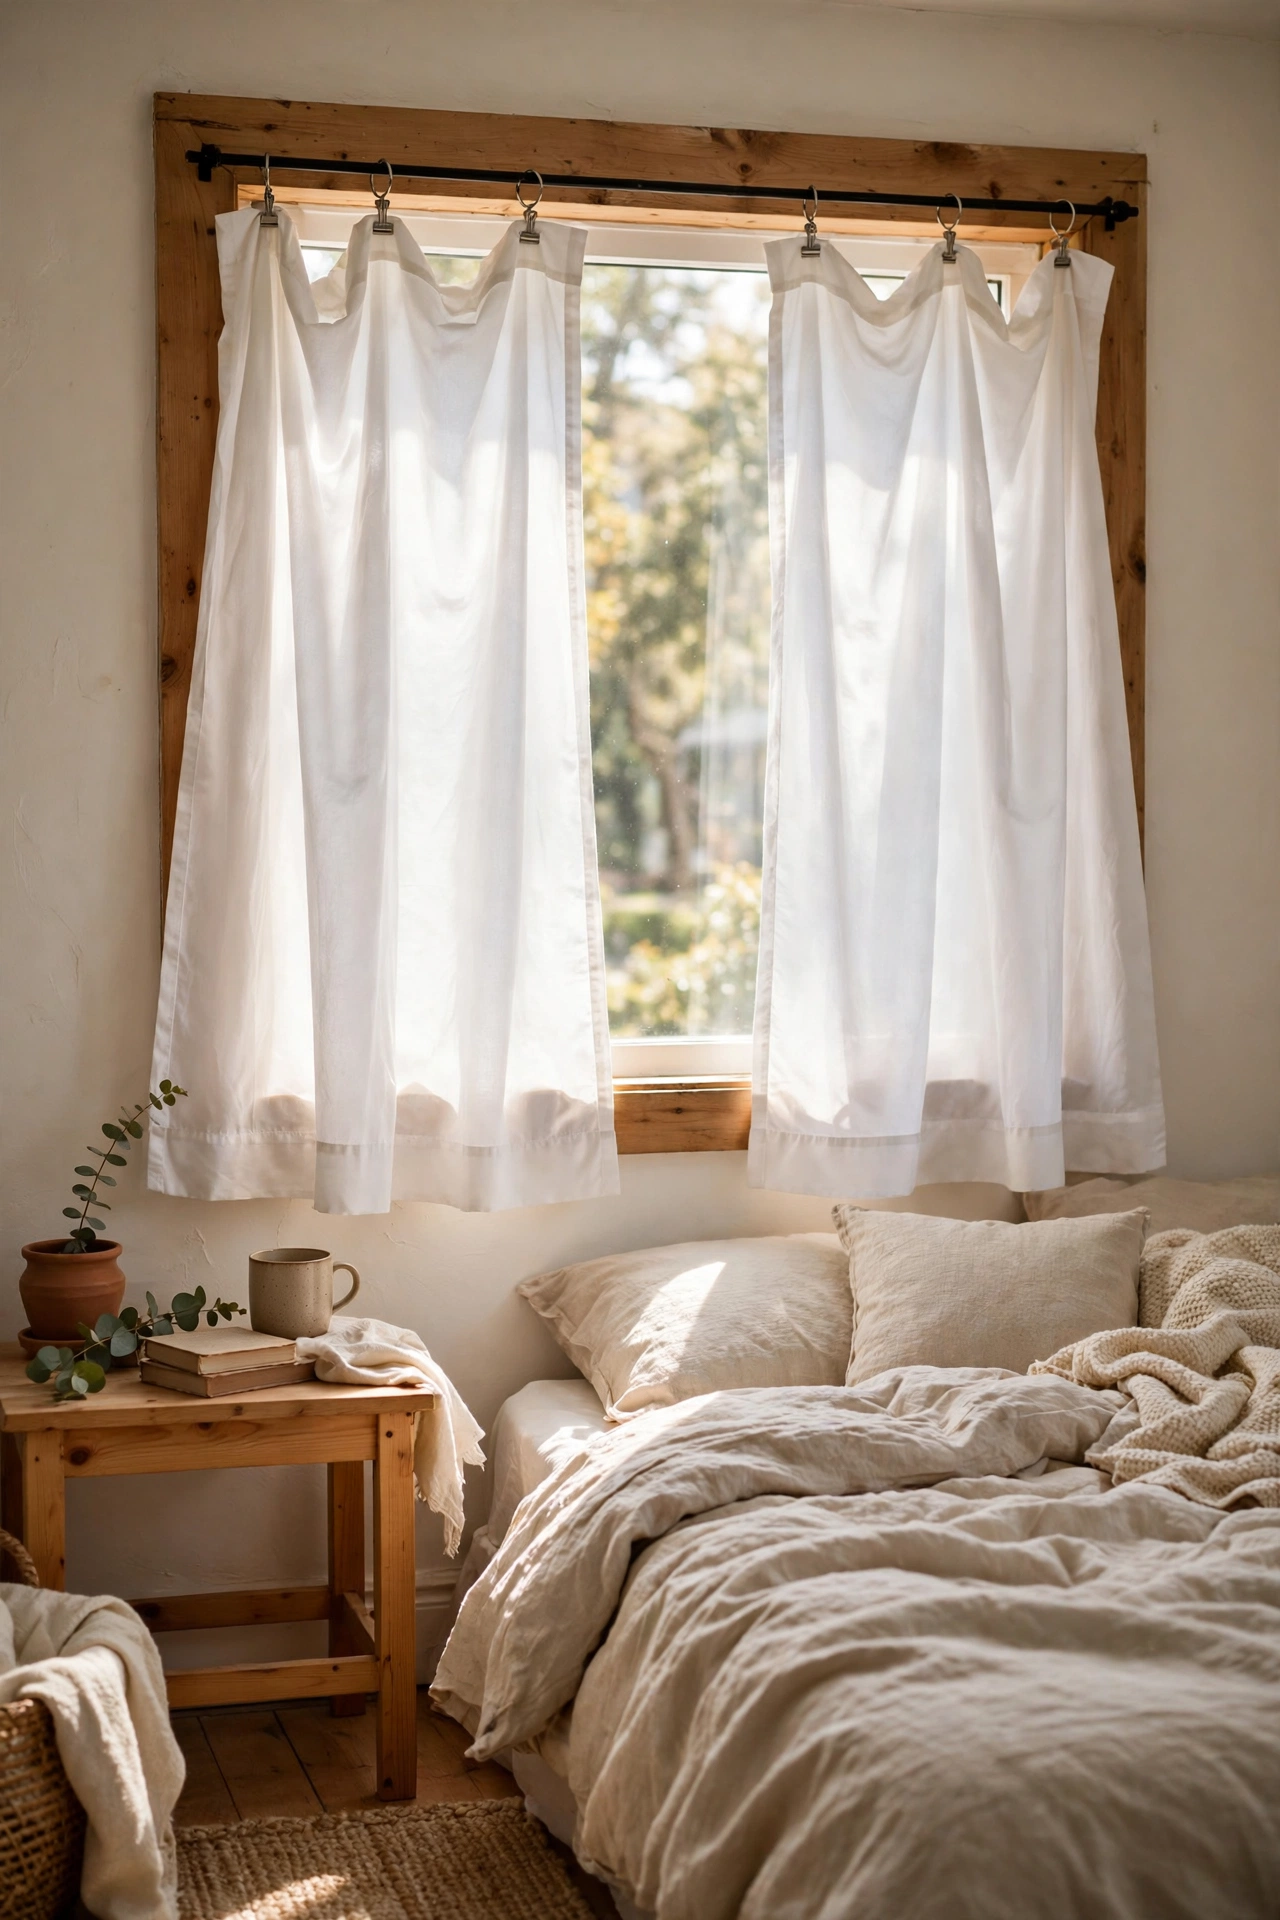
Flat bed sheets make perfect curtains with just a hemmed top and bottom. I bought two white flat sheets for $12 each, ironed a hem top and bottom with hem tape, and hung them with clip rings. The hardest part is cutting straight; I fold the sheet in half and cut along the fold. My first pair I measured once and cut once, and one panel was two inches shorter. Measure twice. The sheets are already hemmed on the sides, so you only finish two edges.
Cost: ~$24-30 for two panels | Time: 1 hour
3. Table Runner from a Fabric Remnant
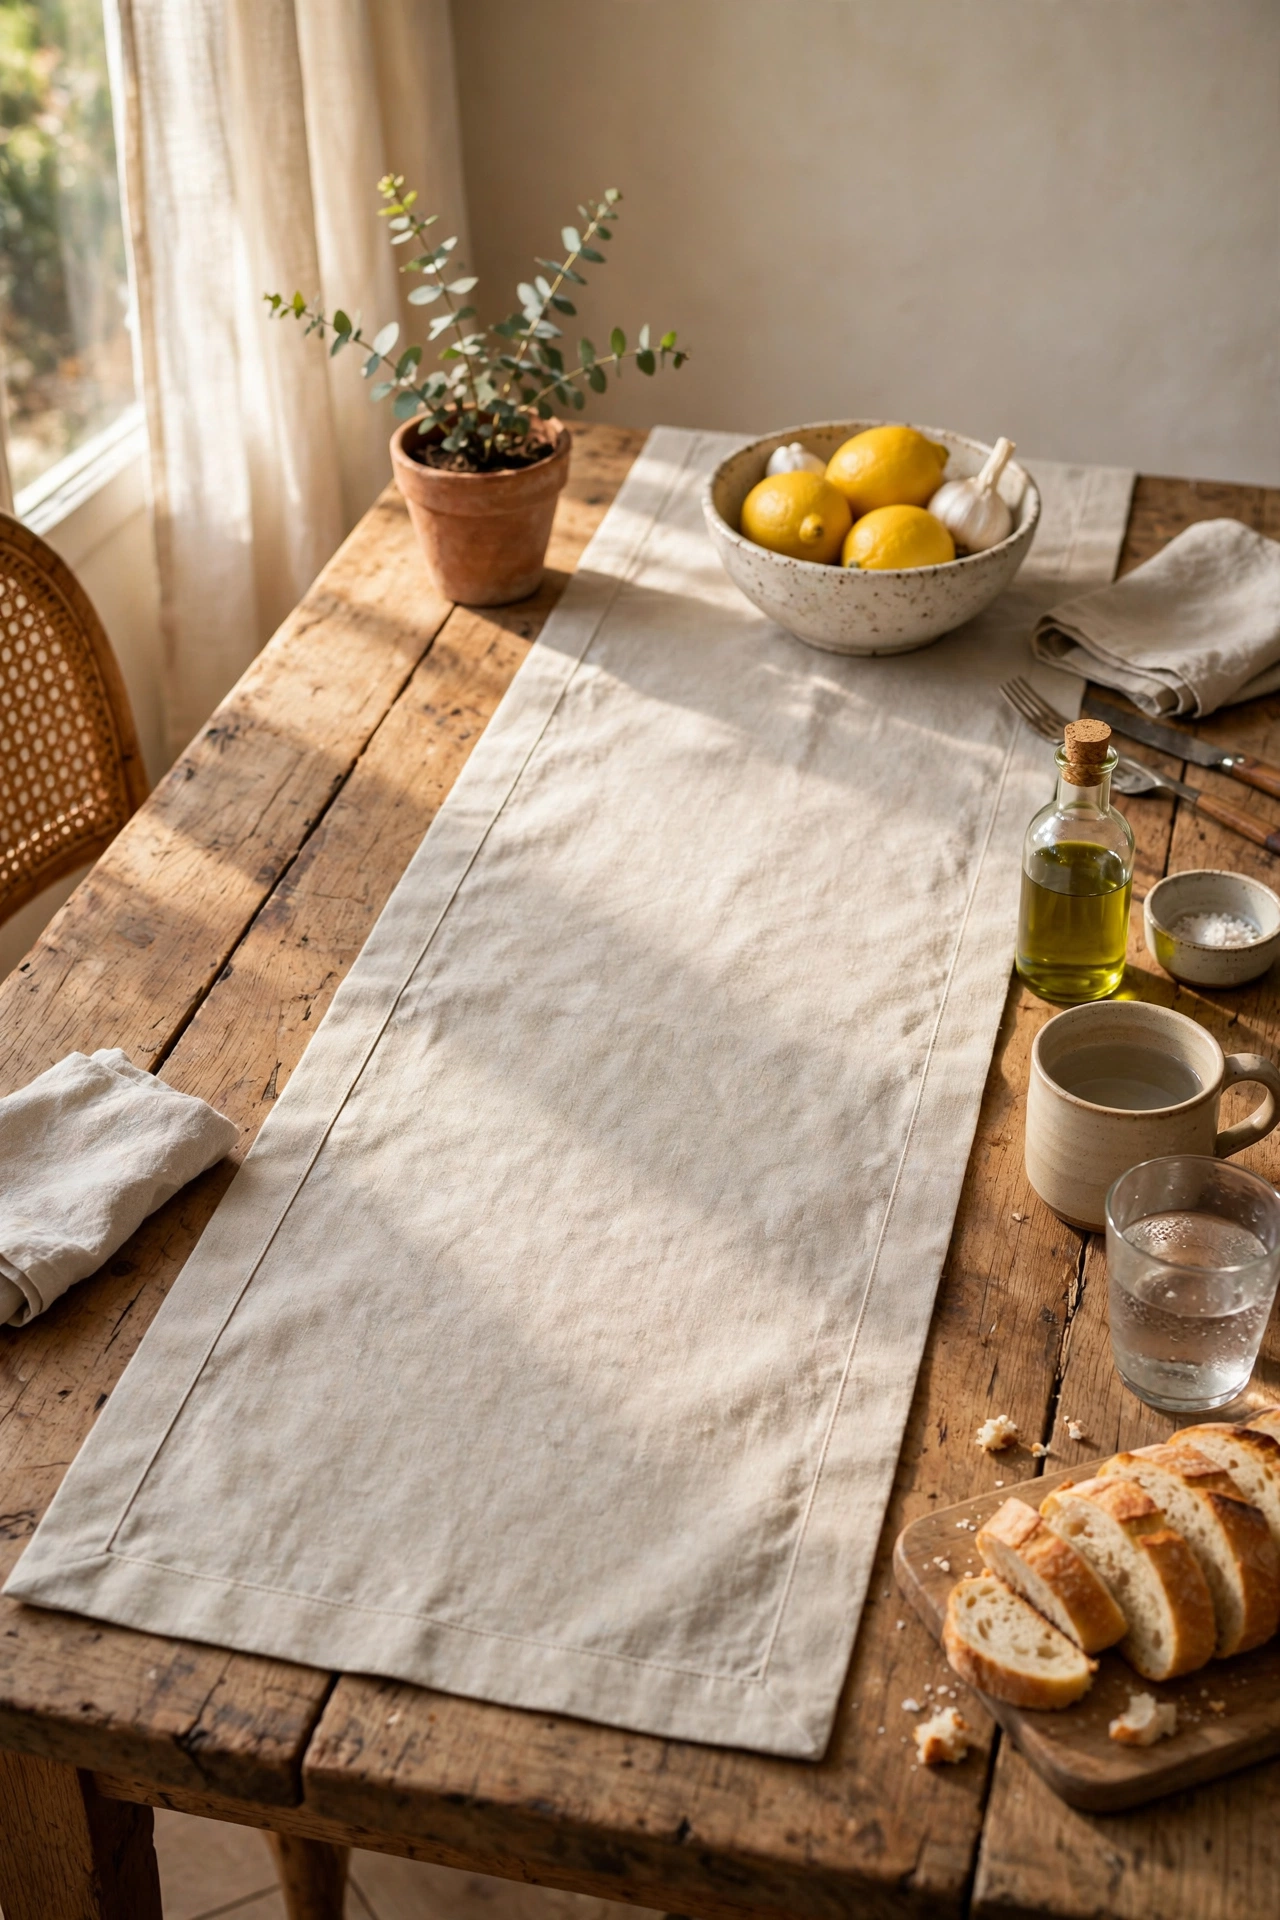
A fabric remnant with ironed hems is a custom table runner. I found a 2-yard linen remnant for $6, ironed all four edges under with hem tape, and it looks like a boutique table linen. The remnant bin is the best source; I never pay full price for runner fabric. I press the hems with steam for a crisp edge. My first runner had wavy hems because I rushed the ironing. Slow, steady pressing gives professional edges. Six dollars, thirty minutes, custom runner.
Cost: ~$6-12 | Time: 30 minutes
4. Wall Hanging with a Wooden Dowel
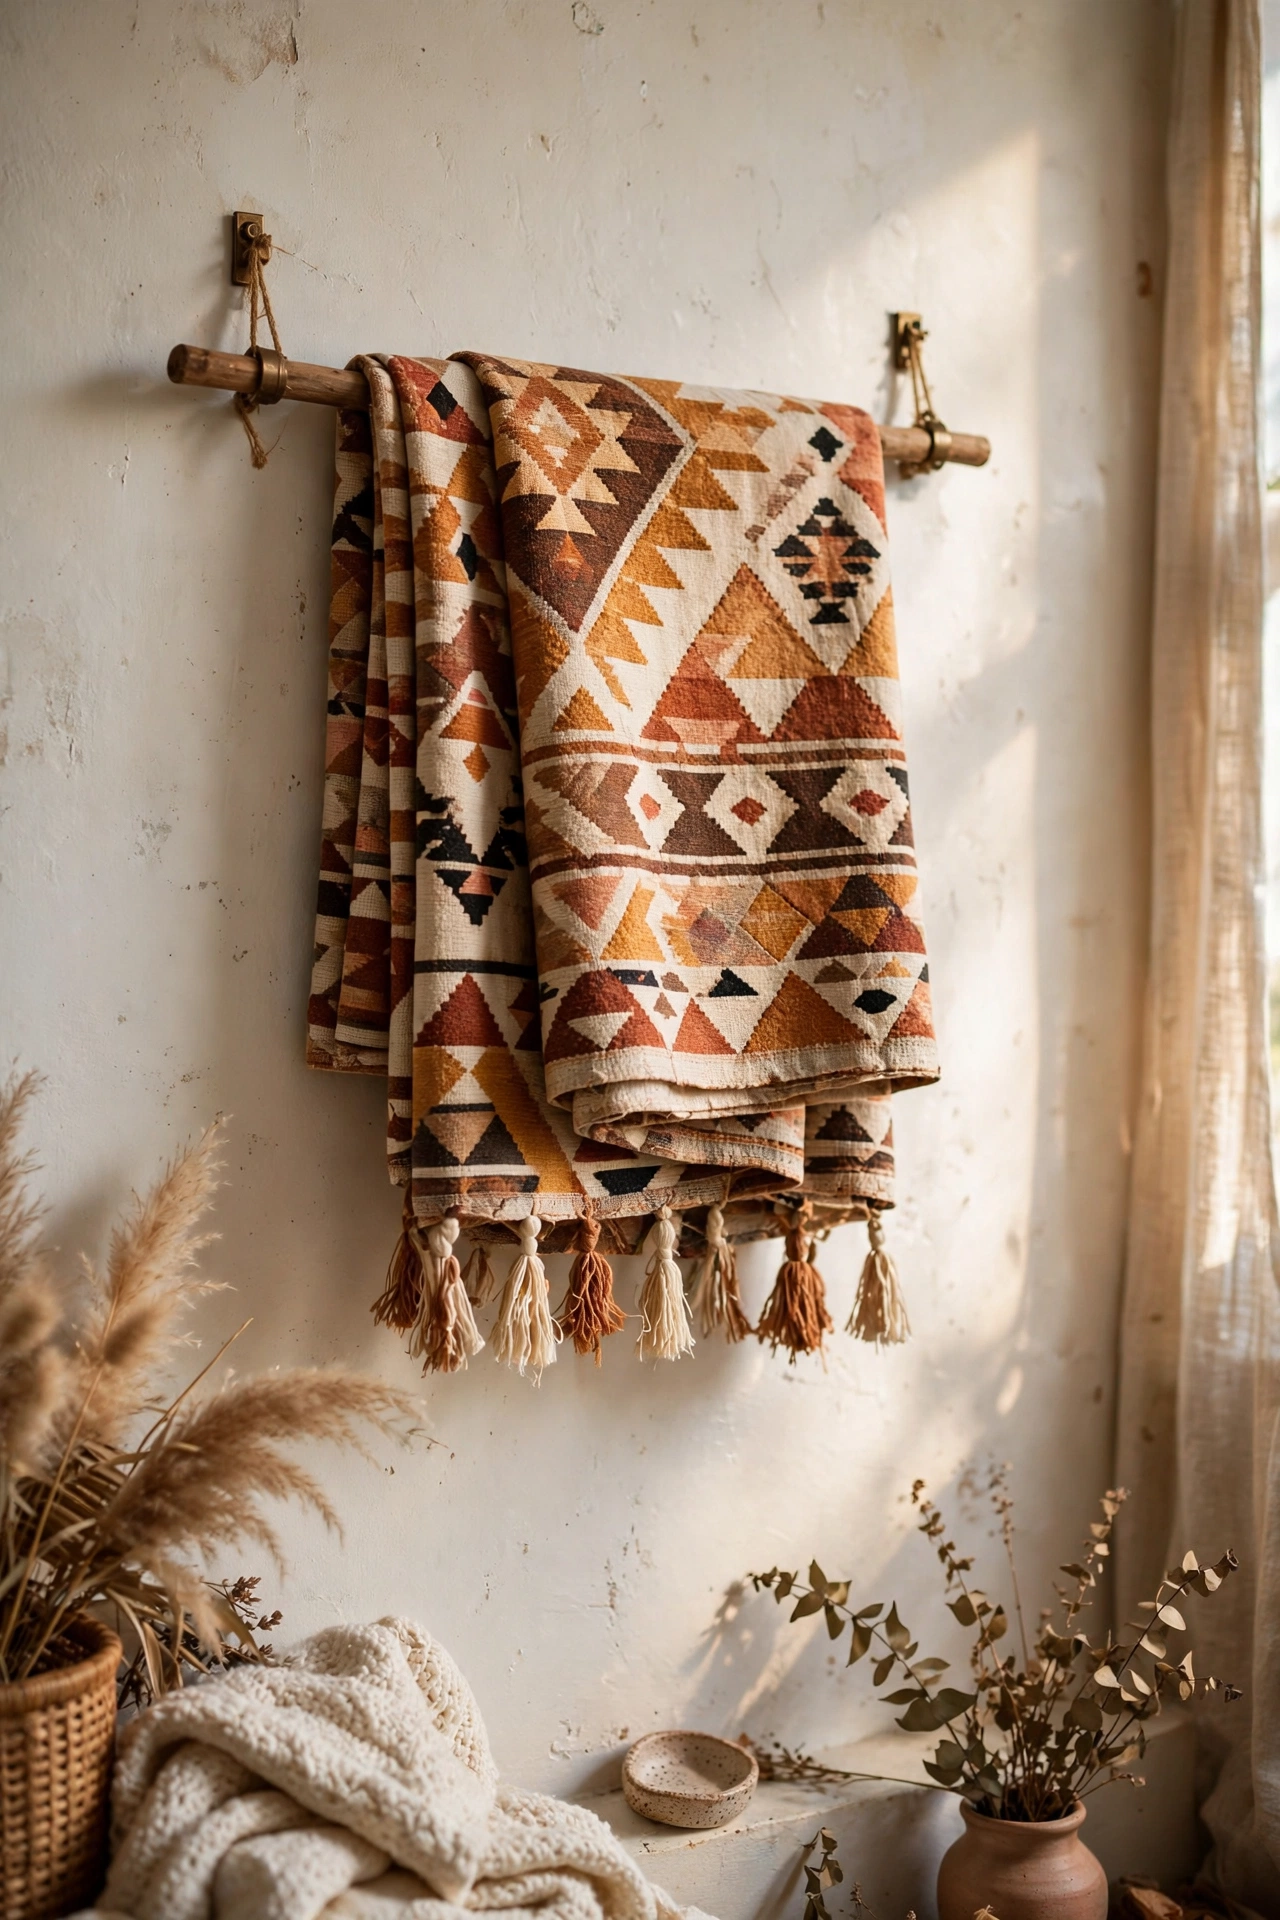
A piece of fabric folded over a dowel becomes boho wall art. I used a $4 tapestry-style throw, folded the top over a wooden dowel, and secured it with hem tape. Hang with string from the dowel ends. The fabric choice does all the work, so pick something with a beautiful pattern. My first hanging used thin fabric that rippled; heavier fabric hangs straighter. I add a second strip of tape six inches down for extra security on heavier pieces.
Cost: ~$8-16 | Time: 30 minutes
5. Fabric-Covered Lampshade
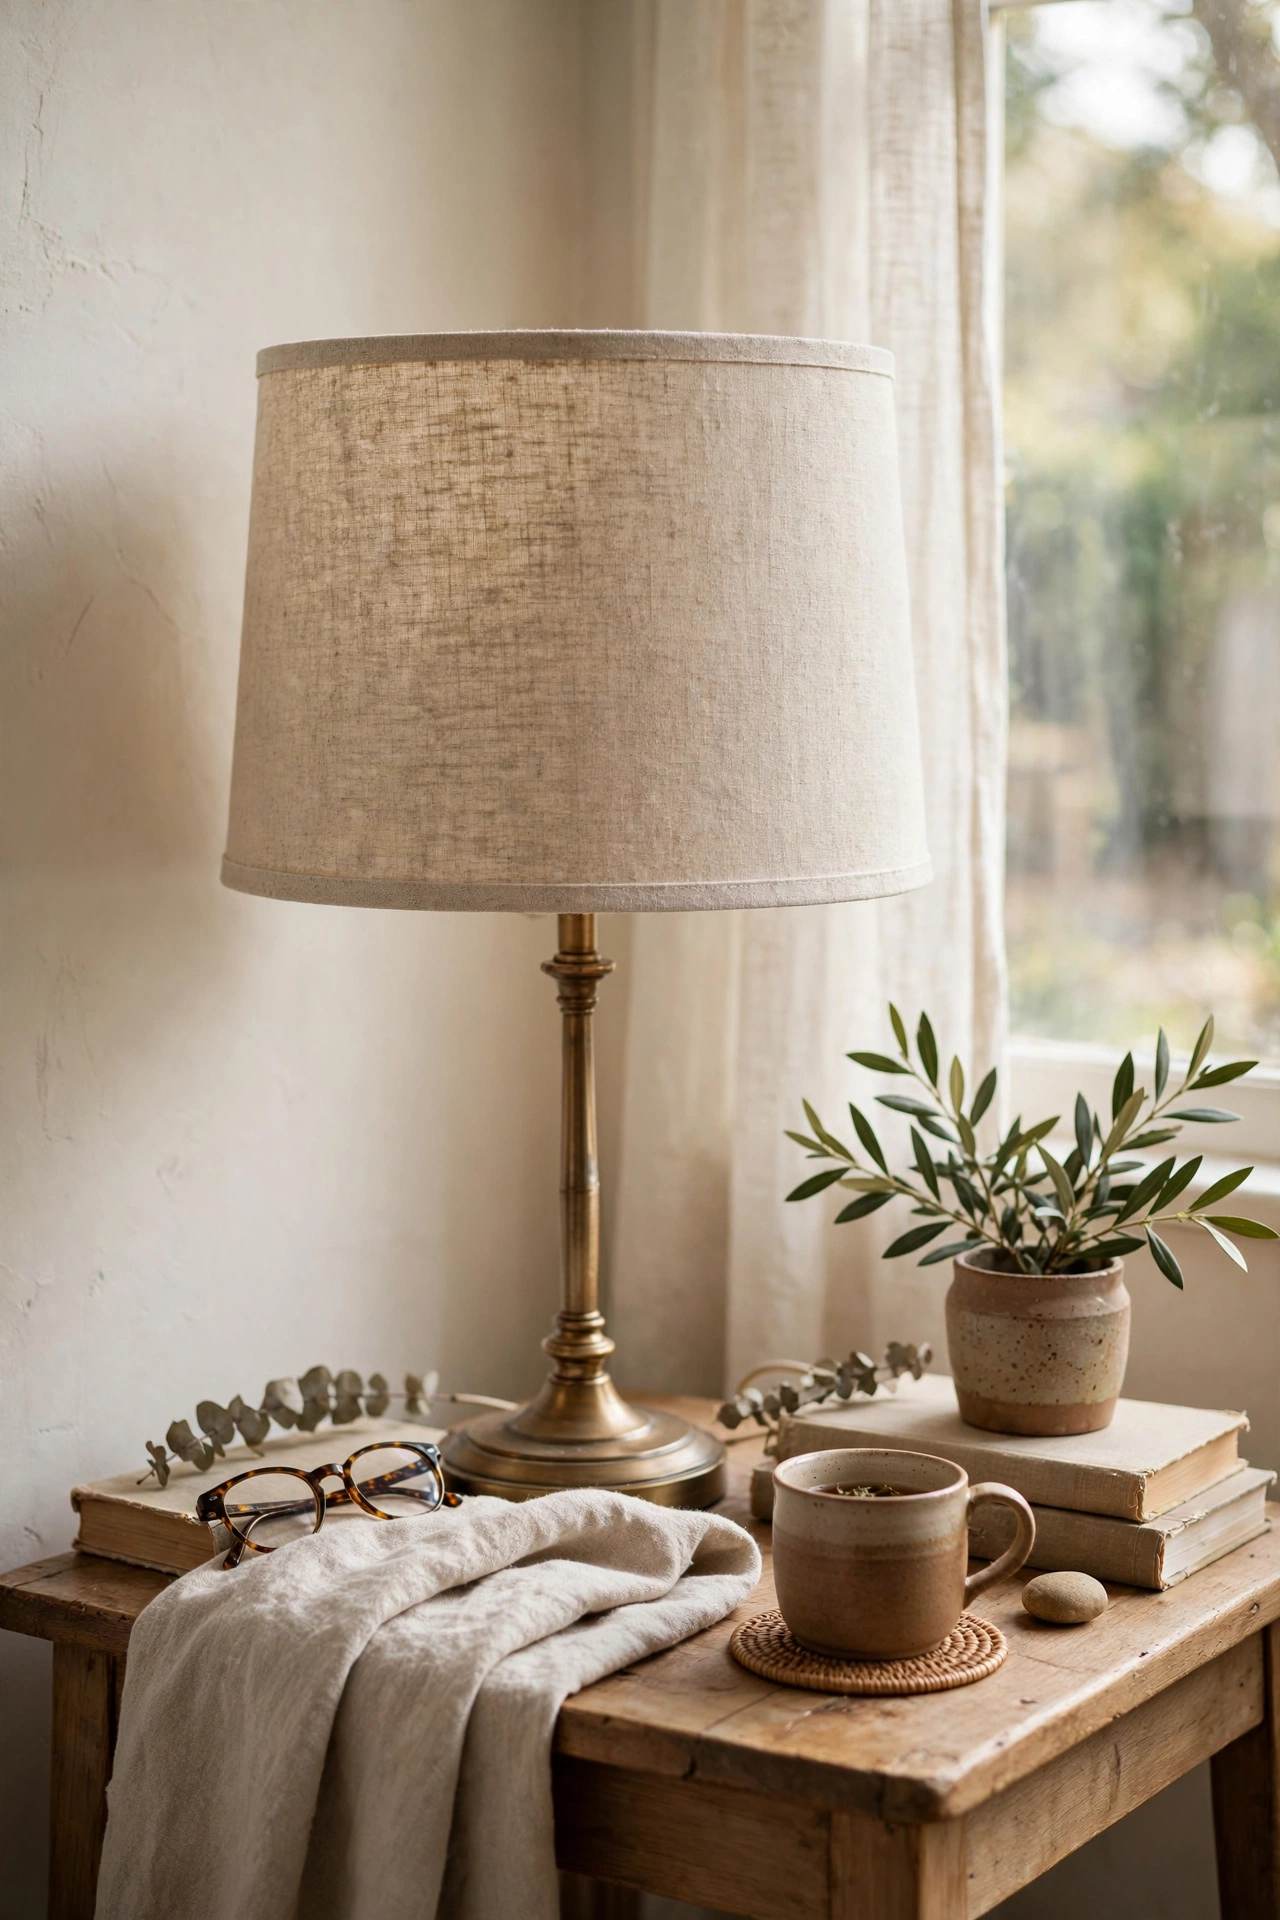
Wrapping a plain lampshade in fabric transforms it completely. I wrapped a $10 drum shade in linen using spray adhesive, trimming the excess and tucking the edges. Spray the shade, not the fabric, for even coverage. My first shade I sprayed the fabric and it went on lumpy. Smooth the fabric from the centre outward as you wrap. The linen shade diffuses light beautifully and looks custom. Ten dollars of shade plus scrap fabric, and the lamp looks new.
Cost: ~$10-18 | Time: 45 minutes
6. Fringed Throw Blanket Edge
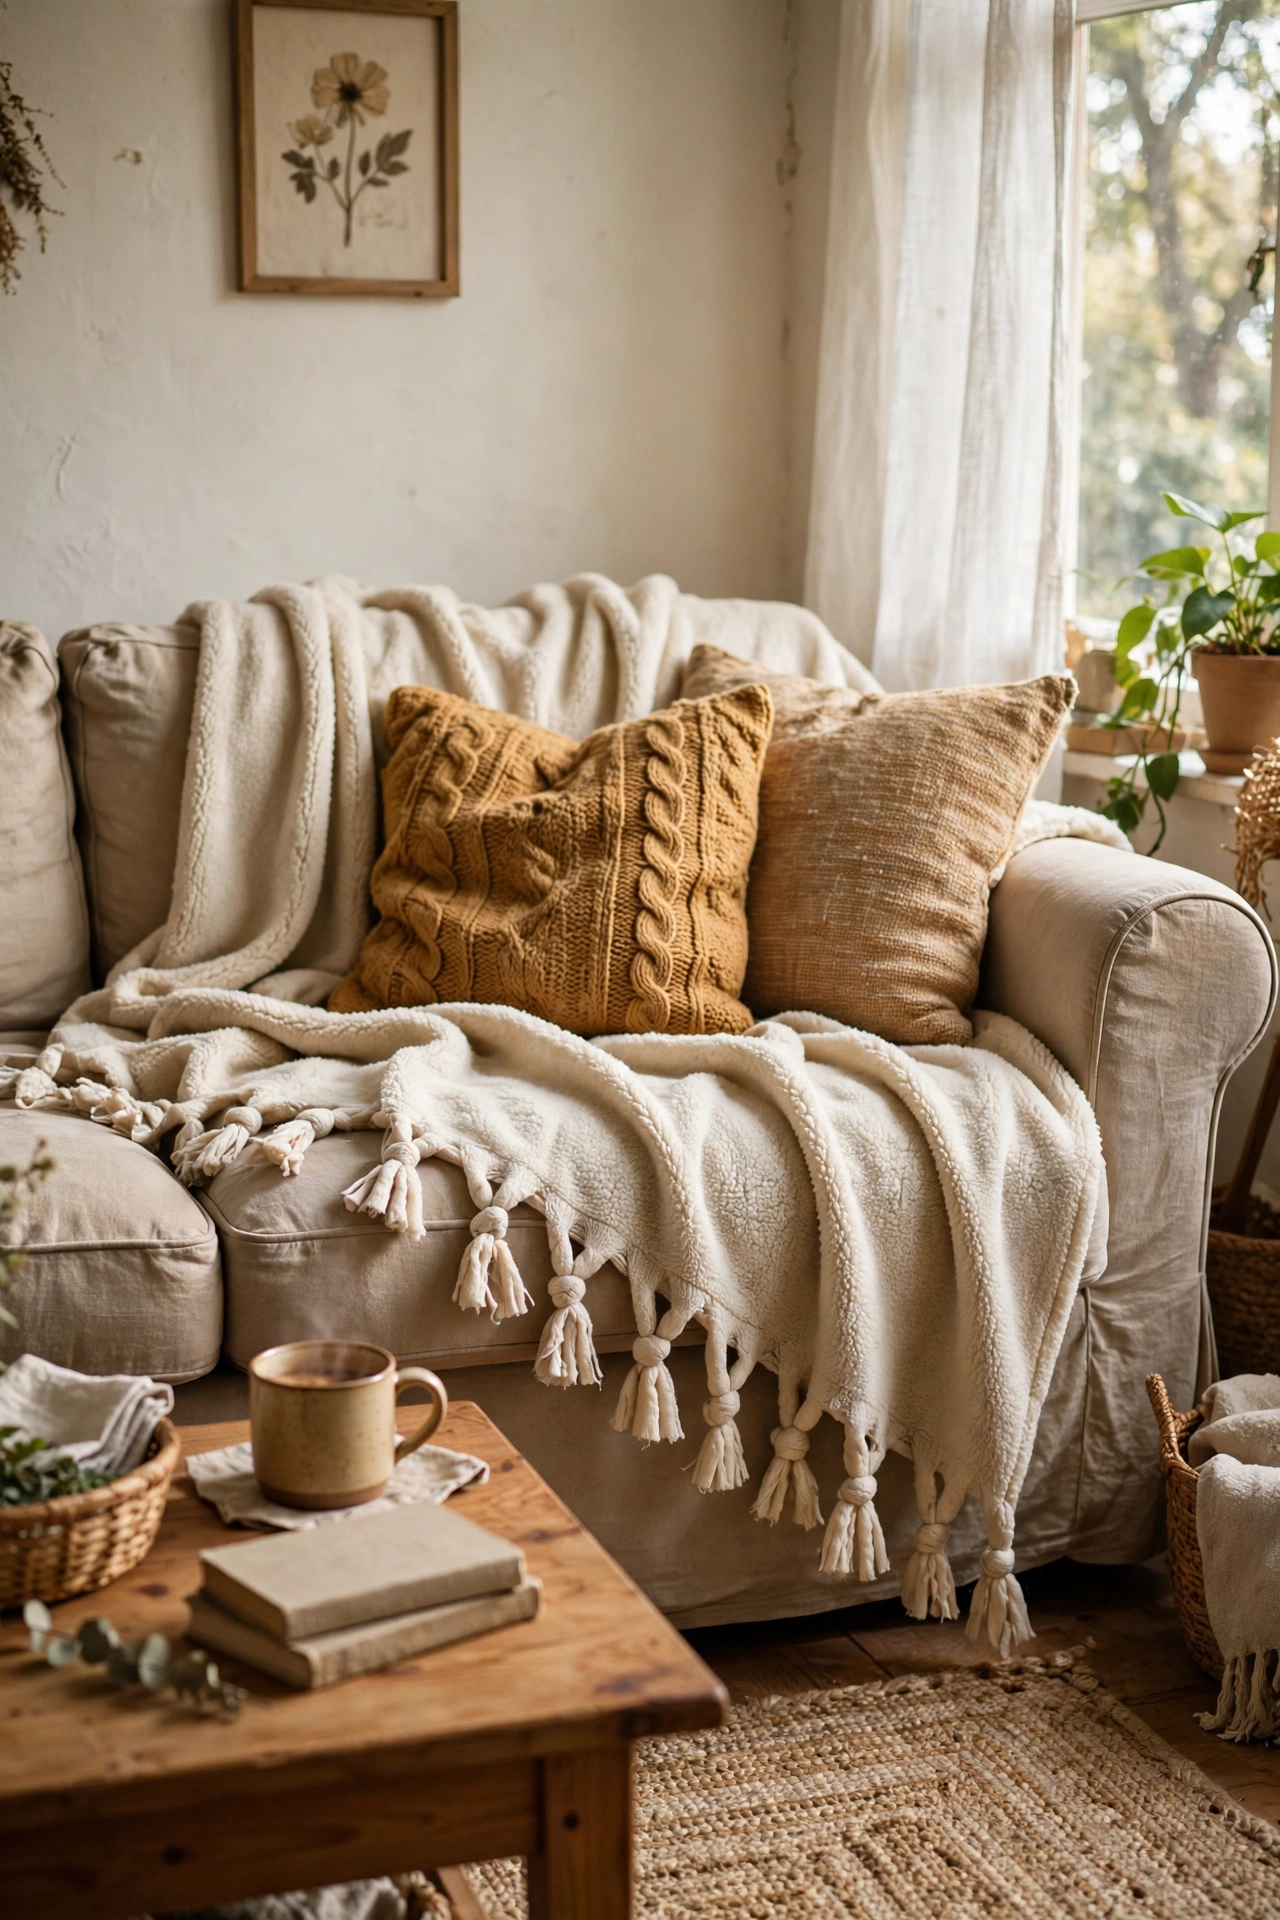
Adding fringe to a plain throw makes it look handmade and expensive. I bought a plain fleece throw for $12 and tied fringe along both ends using strips cut from the same throw. Cut the strips, then tie each in a knot. My fringe was uneven the first time because I eyeballed the cuts; measuring the strips keeps them uniform. The knotted fringe looks like artisan work. It took one evening in front of the television.
Cost: ~$12-18 | Time: 2 hours
7. Fabric-Covered Bulletin Board
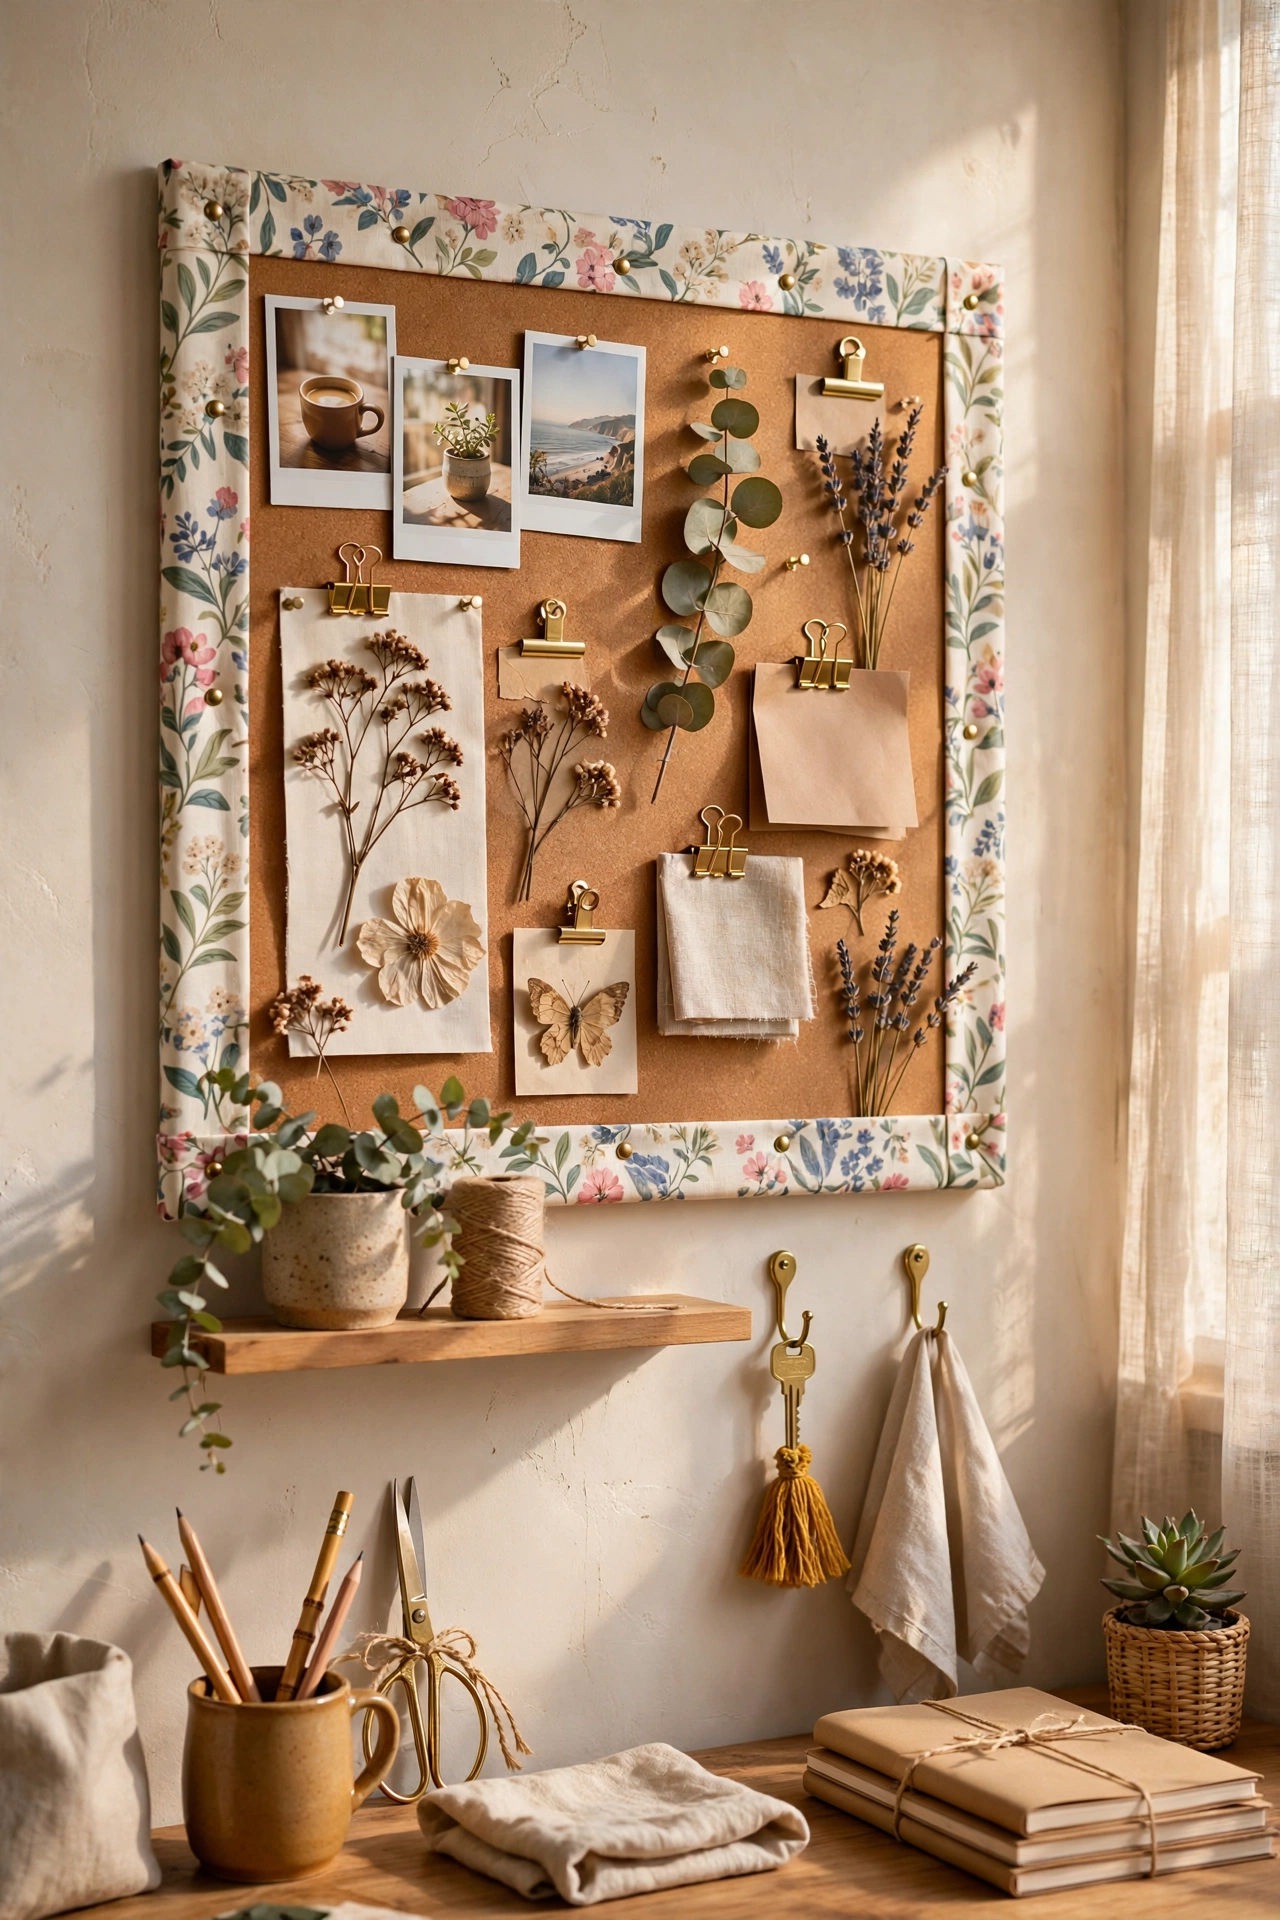
A cork board wrapped in pretty fabric becomes a stylish memo board. I wrapped a $8 cork board in floral fabric, stapling it tight on the back. Pull the fabric drum-tight before stapling, working from the centre outward. My first board sagged because I stapled one side fully first. Opposites, like upholstery. I add ribbon in a crisscross pattern for a French memo board look. It hangs in my office holding notes beautifully.
Cost: ~$12-20 | Time: 45 minutes
8. No-Sew Bench Cushion
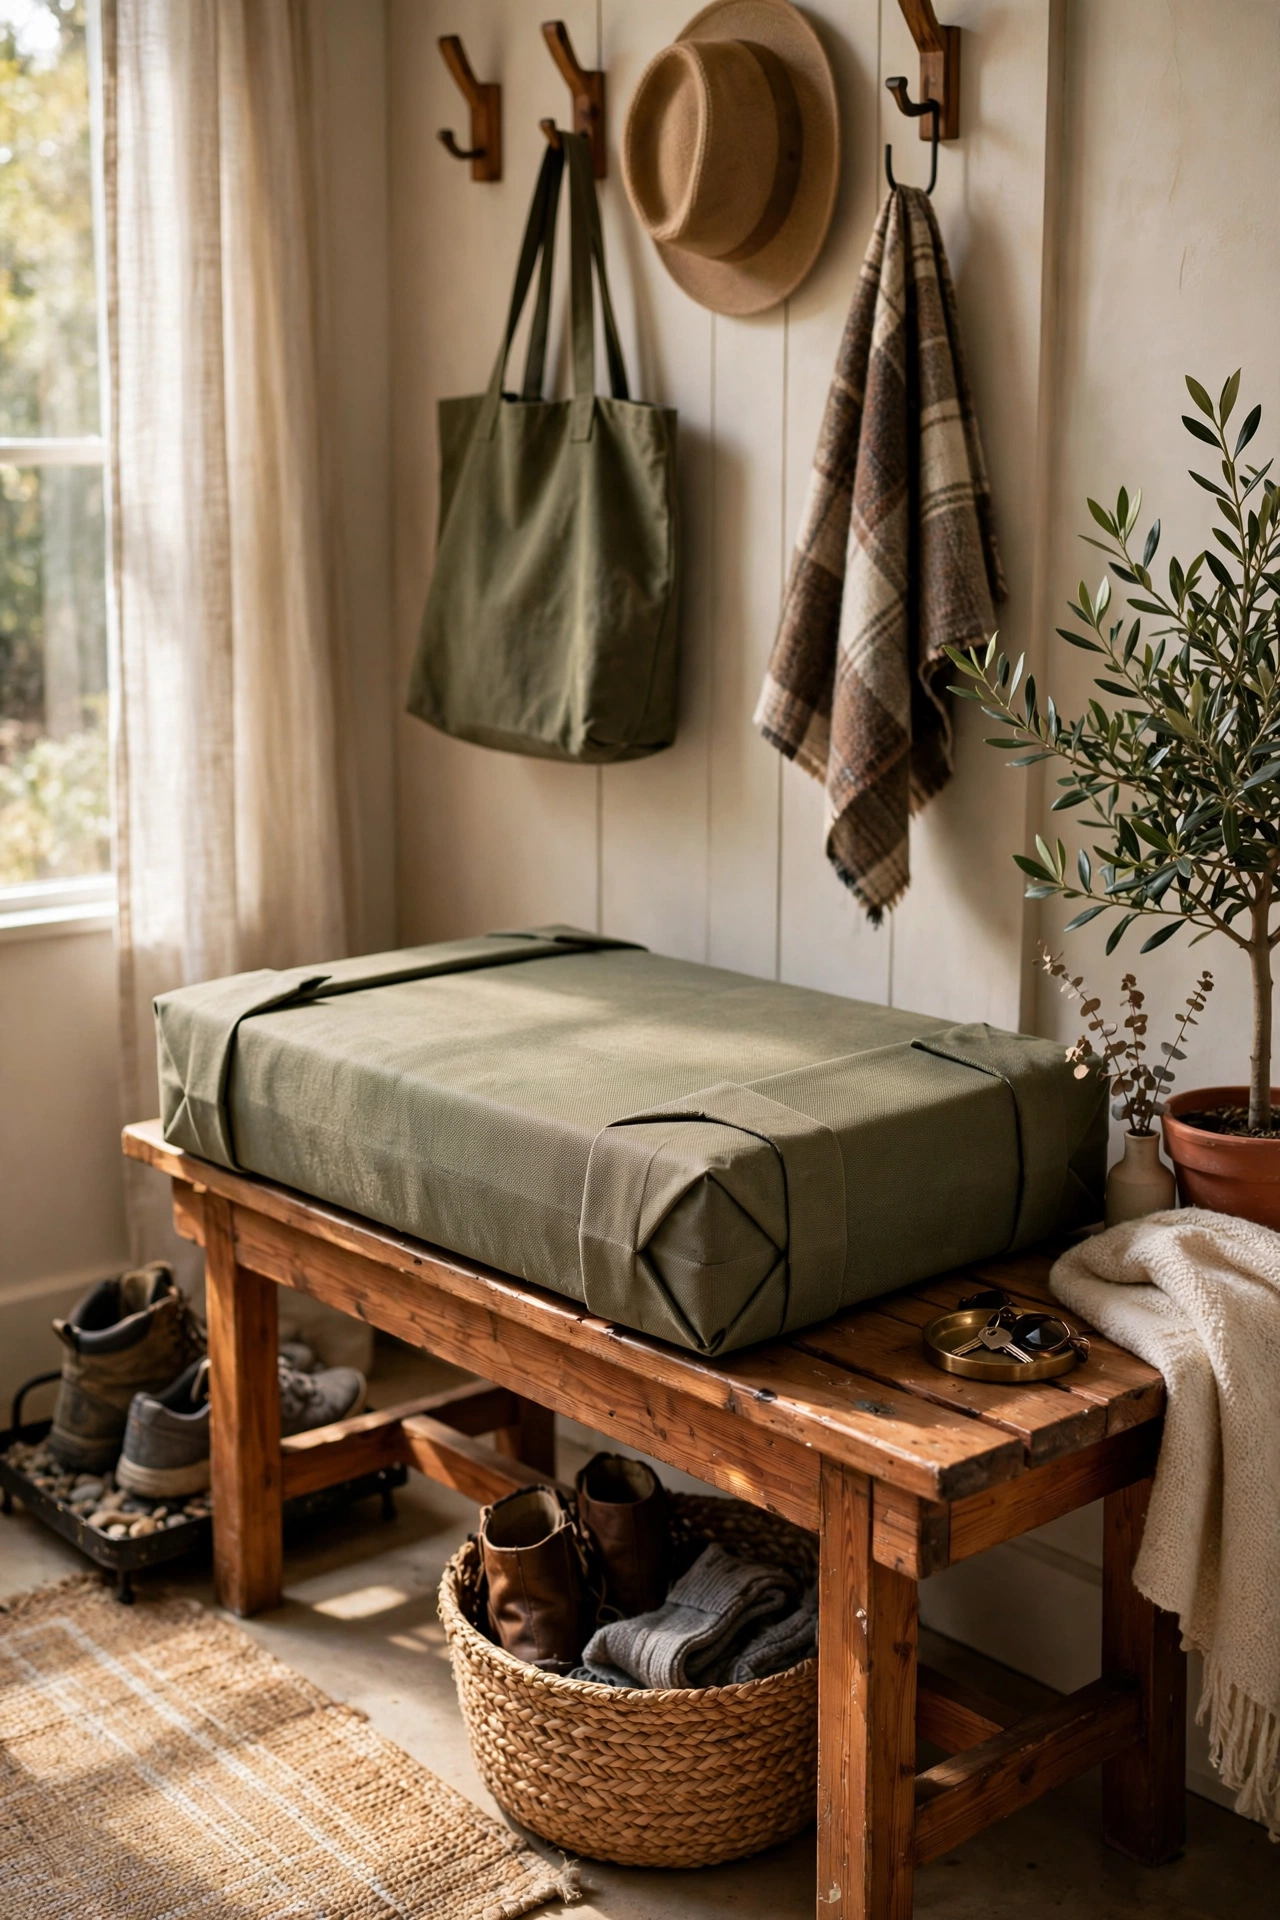
A foam pad wrapped in fabric becomes a custom bench cushion. I bought a 2-inch foam pad for $15, wrapped it in outdoor fabric like a present, and secured the underside with safety pins and hem tape. The present-wrapping method needs no sewing at all. I tuck the corners like gift wrap for clean edges. My first cushion shifted because I skipped the non-slip shelf liner underneath; add that and it stays put. Fifteen dollars versus $80 custom.
Cost: ~$20-30 | Time: 1 hour
9. Fabric Gift-Wrap Wall Art
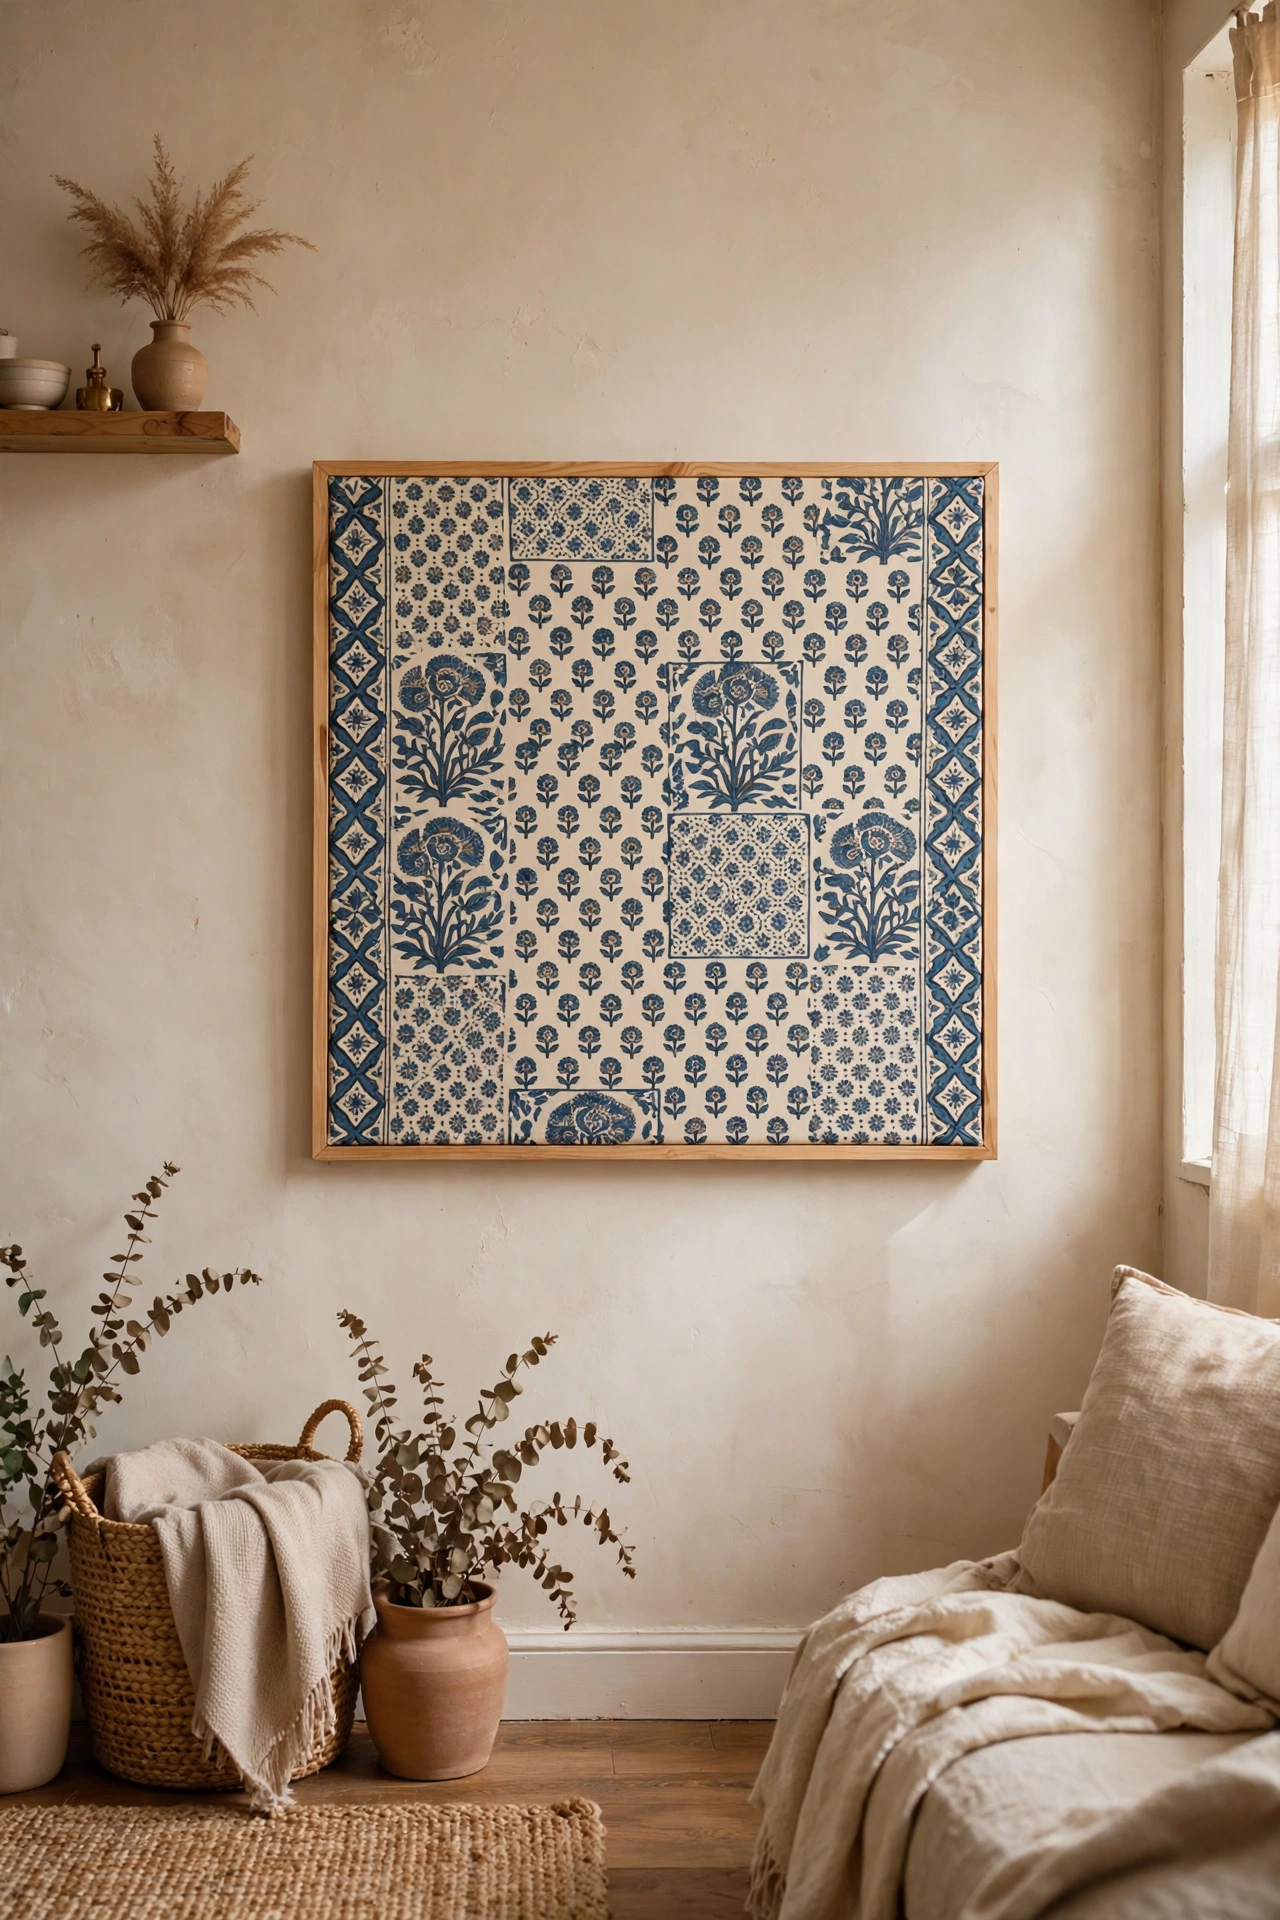
Beautiful fabric stretched over a canvas frame is instant art. I wrapped a $10 canvas in a gorgeous block-print fabric, stapling it on the back. The pattern does everything; choose fabric you love looking at. I pull it tight like a drum for a professional finish. My first one I left loose and it rippled. Tight stretching is the whole technique. It looks like expensive textile art and took twenty minutes.
Cost: ~$14-22 | Time: 30 minutes
10. Slipcovered Headboard with a Flat Sheet
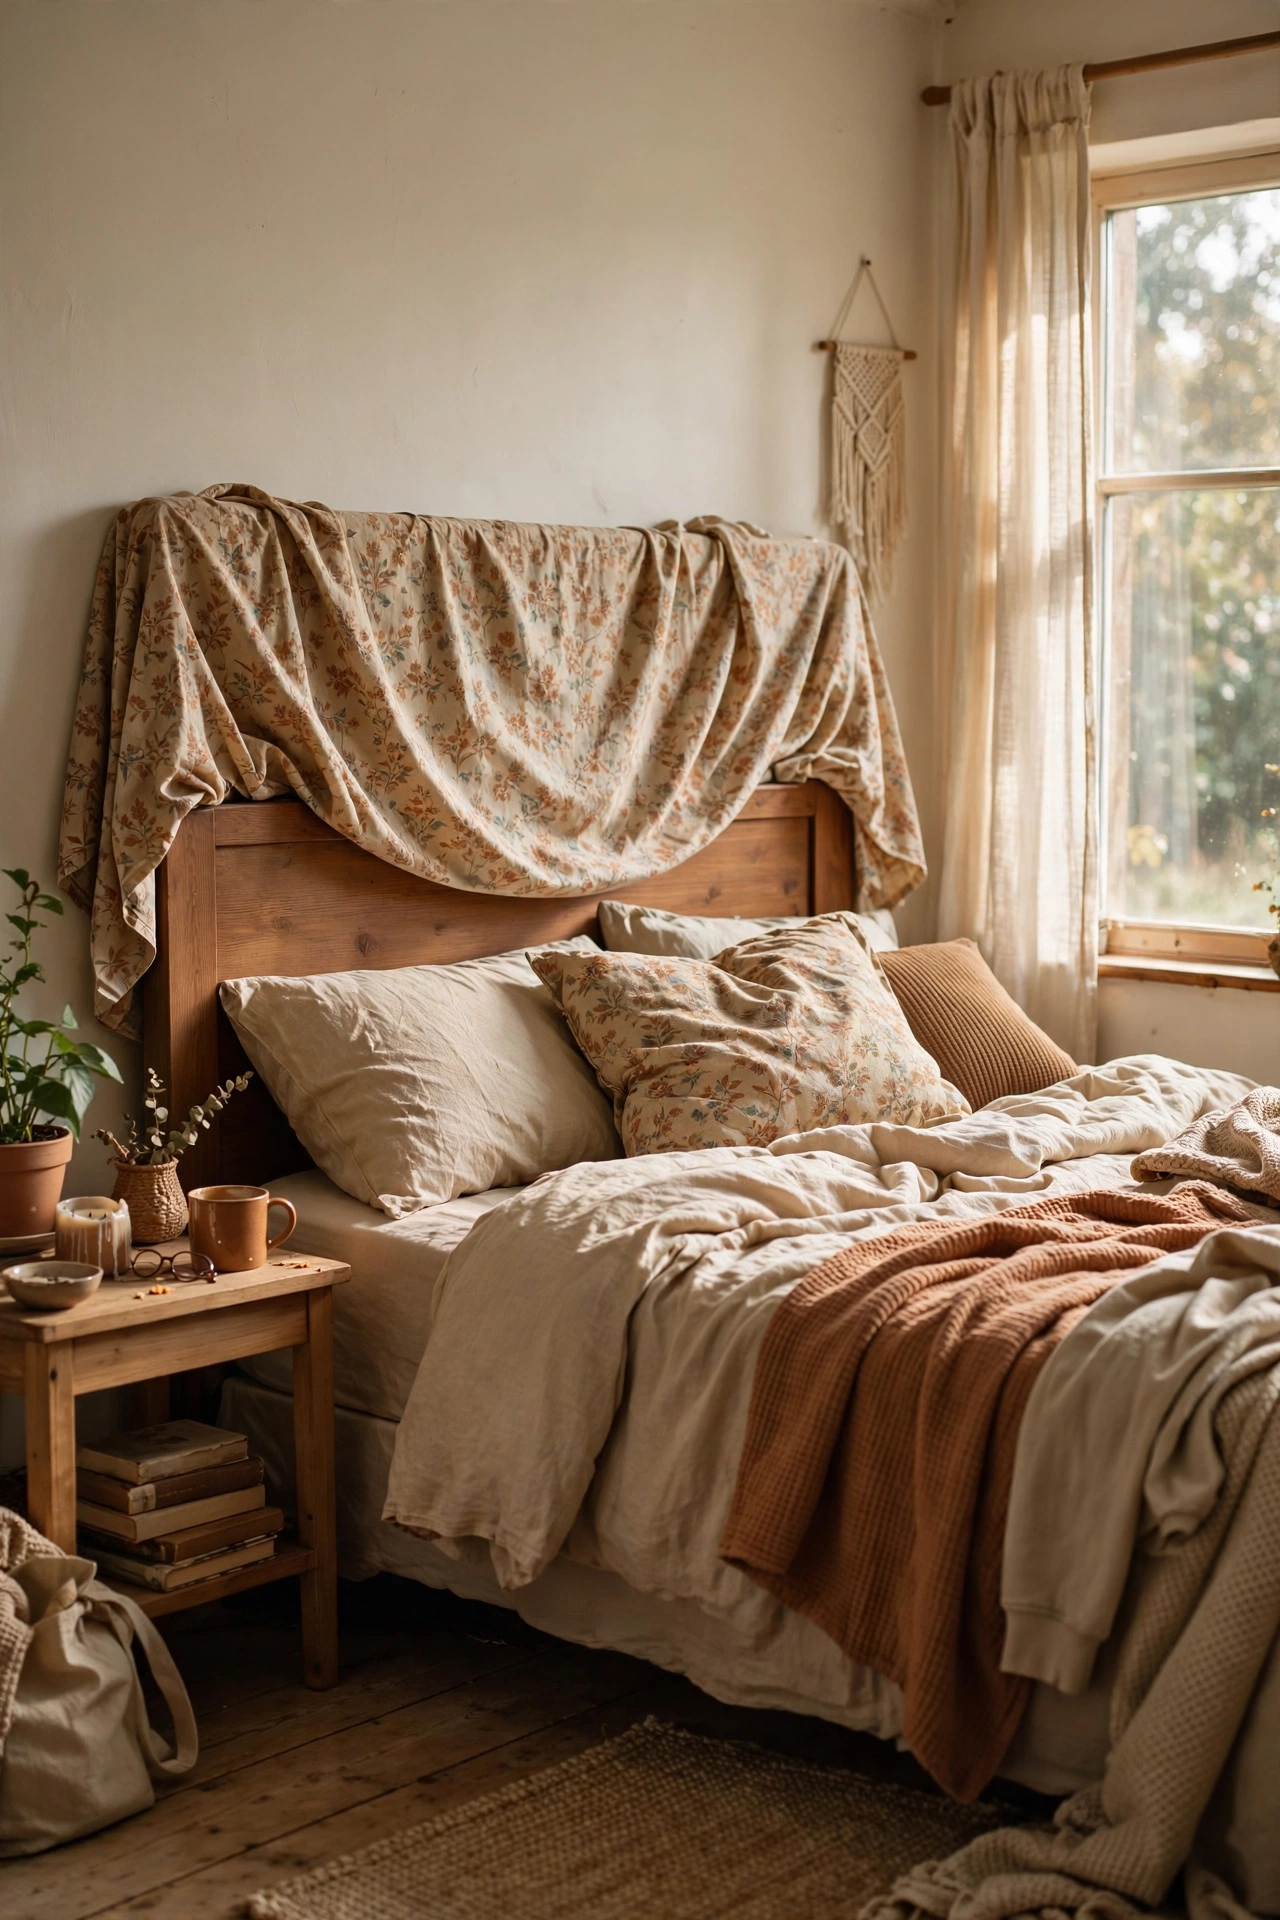
A flat sheet tucked over a headboard gives you an upholstered look for $15. I draped a queen flat sheet over my wooden headboard, tucked the excess behind, and secured it with upholstery pins. The mattress holds the bottom in place. I use a sheet with a subtle pattern so wrinkles read as texture. My solid white sheet showed every wrinkle; a small print hides them. Guests assume it is a new upholstered headboard.
Cost: ~$12-20 | Time: 30 minutes
11. Fabric Drawer Liners
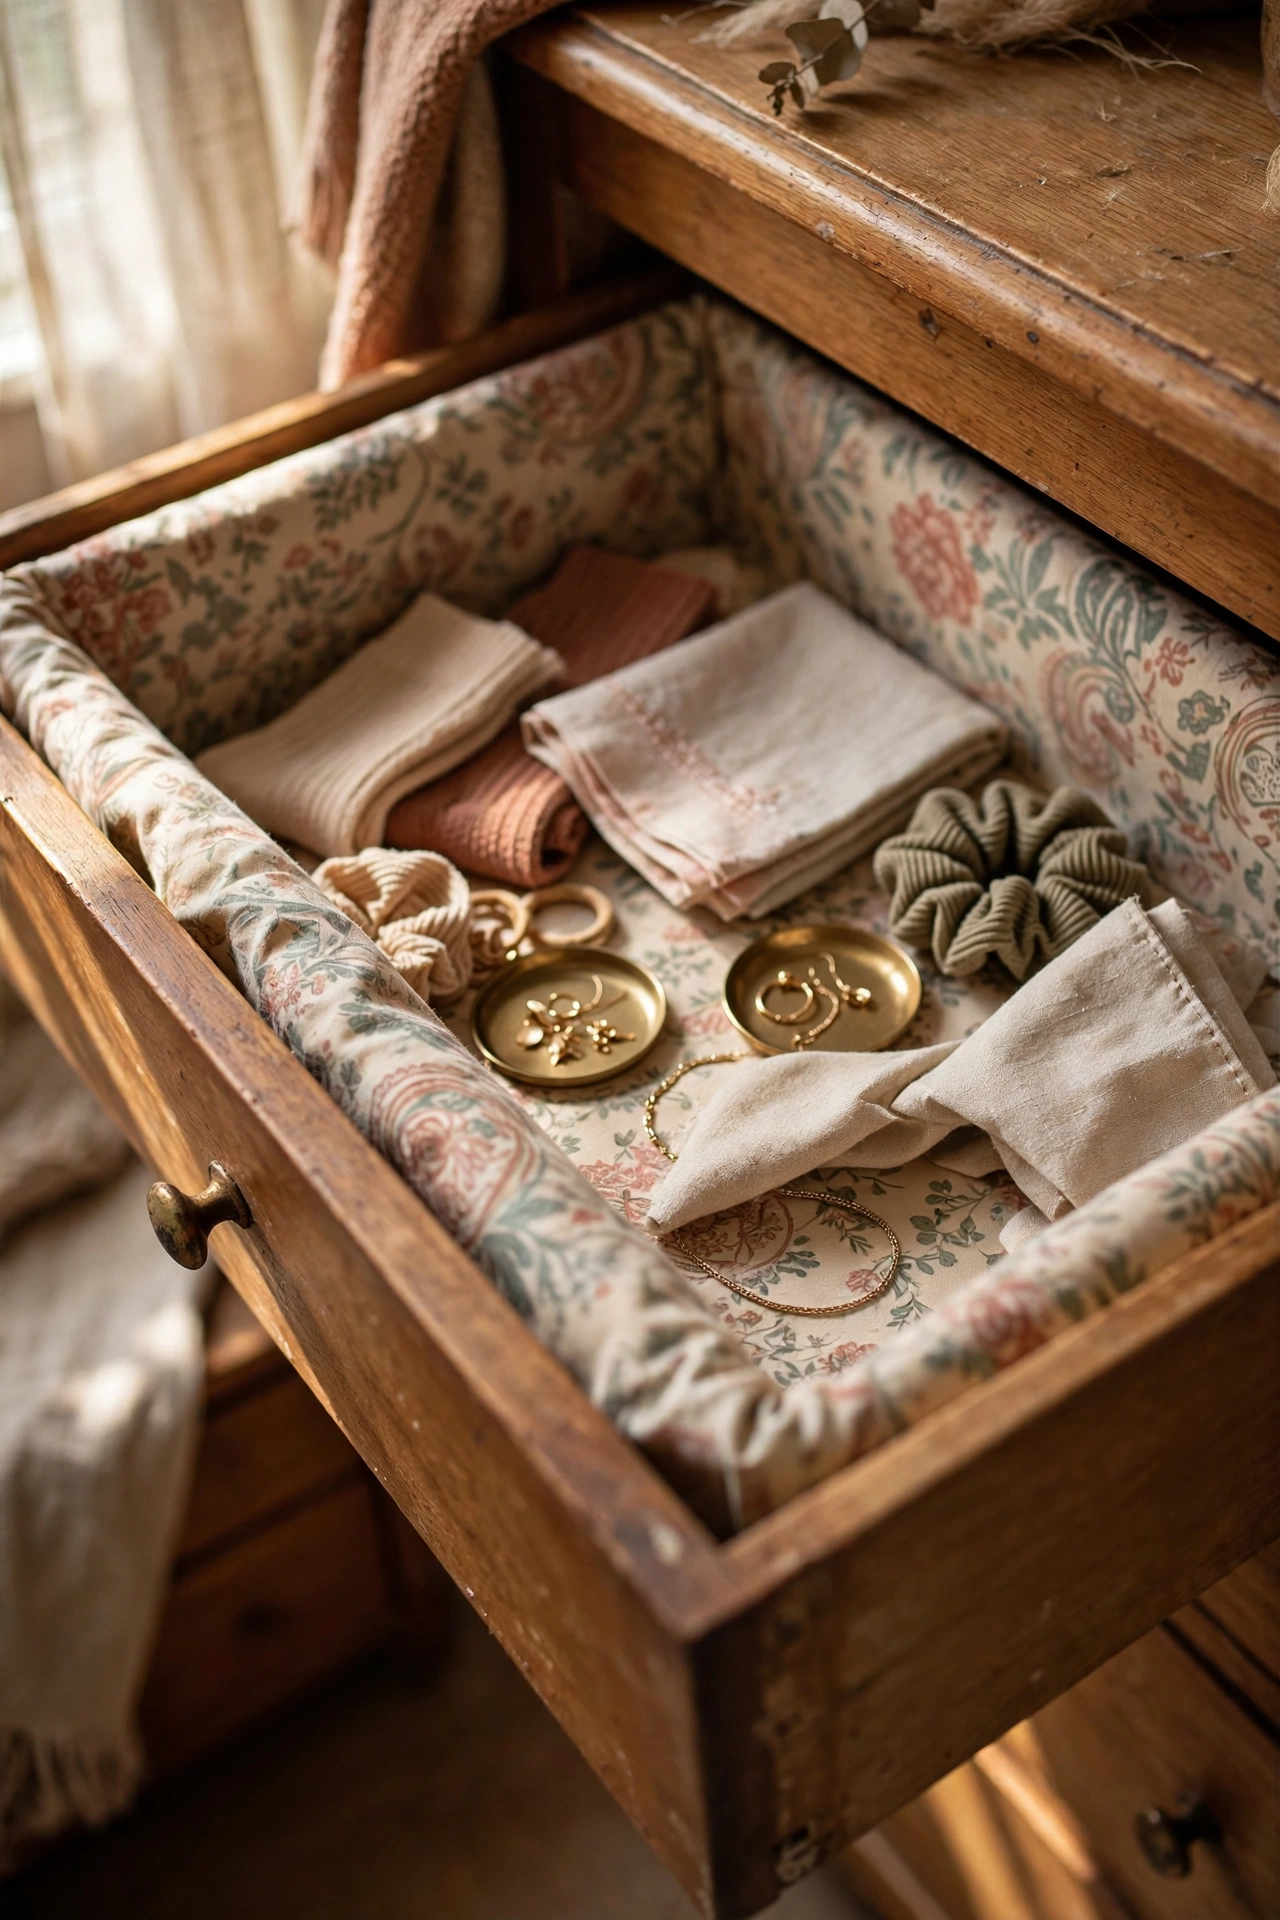
Lining drawers with pretty fabric is a secret luxury. I cut fabric to fit my dresser drawers and secured it with double-sided tape. Every time I open a drawer, it looks beautiful. I use washable cotton so I can refresh them yearly. My first liners I glued down permanently and regretted it when the fabric faded. Tape means easy swapping. It is a five-minute project per drawer that makes getting dressed nicer.
Cost: ~$5-10 | Time: 30 minutes
12. Photo Garland with Clips
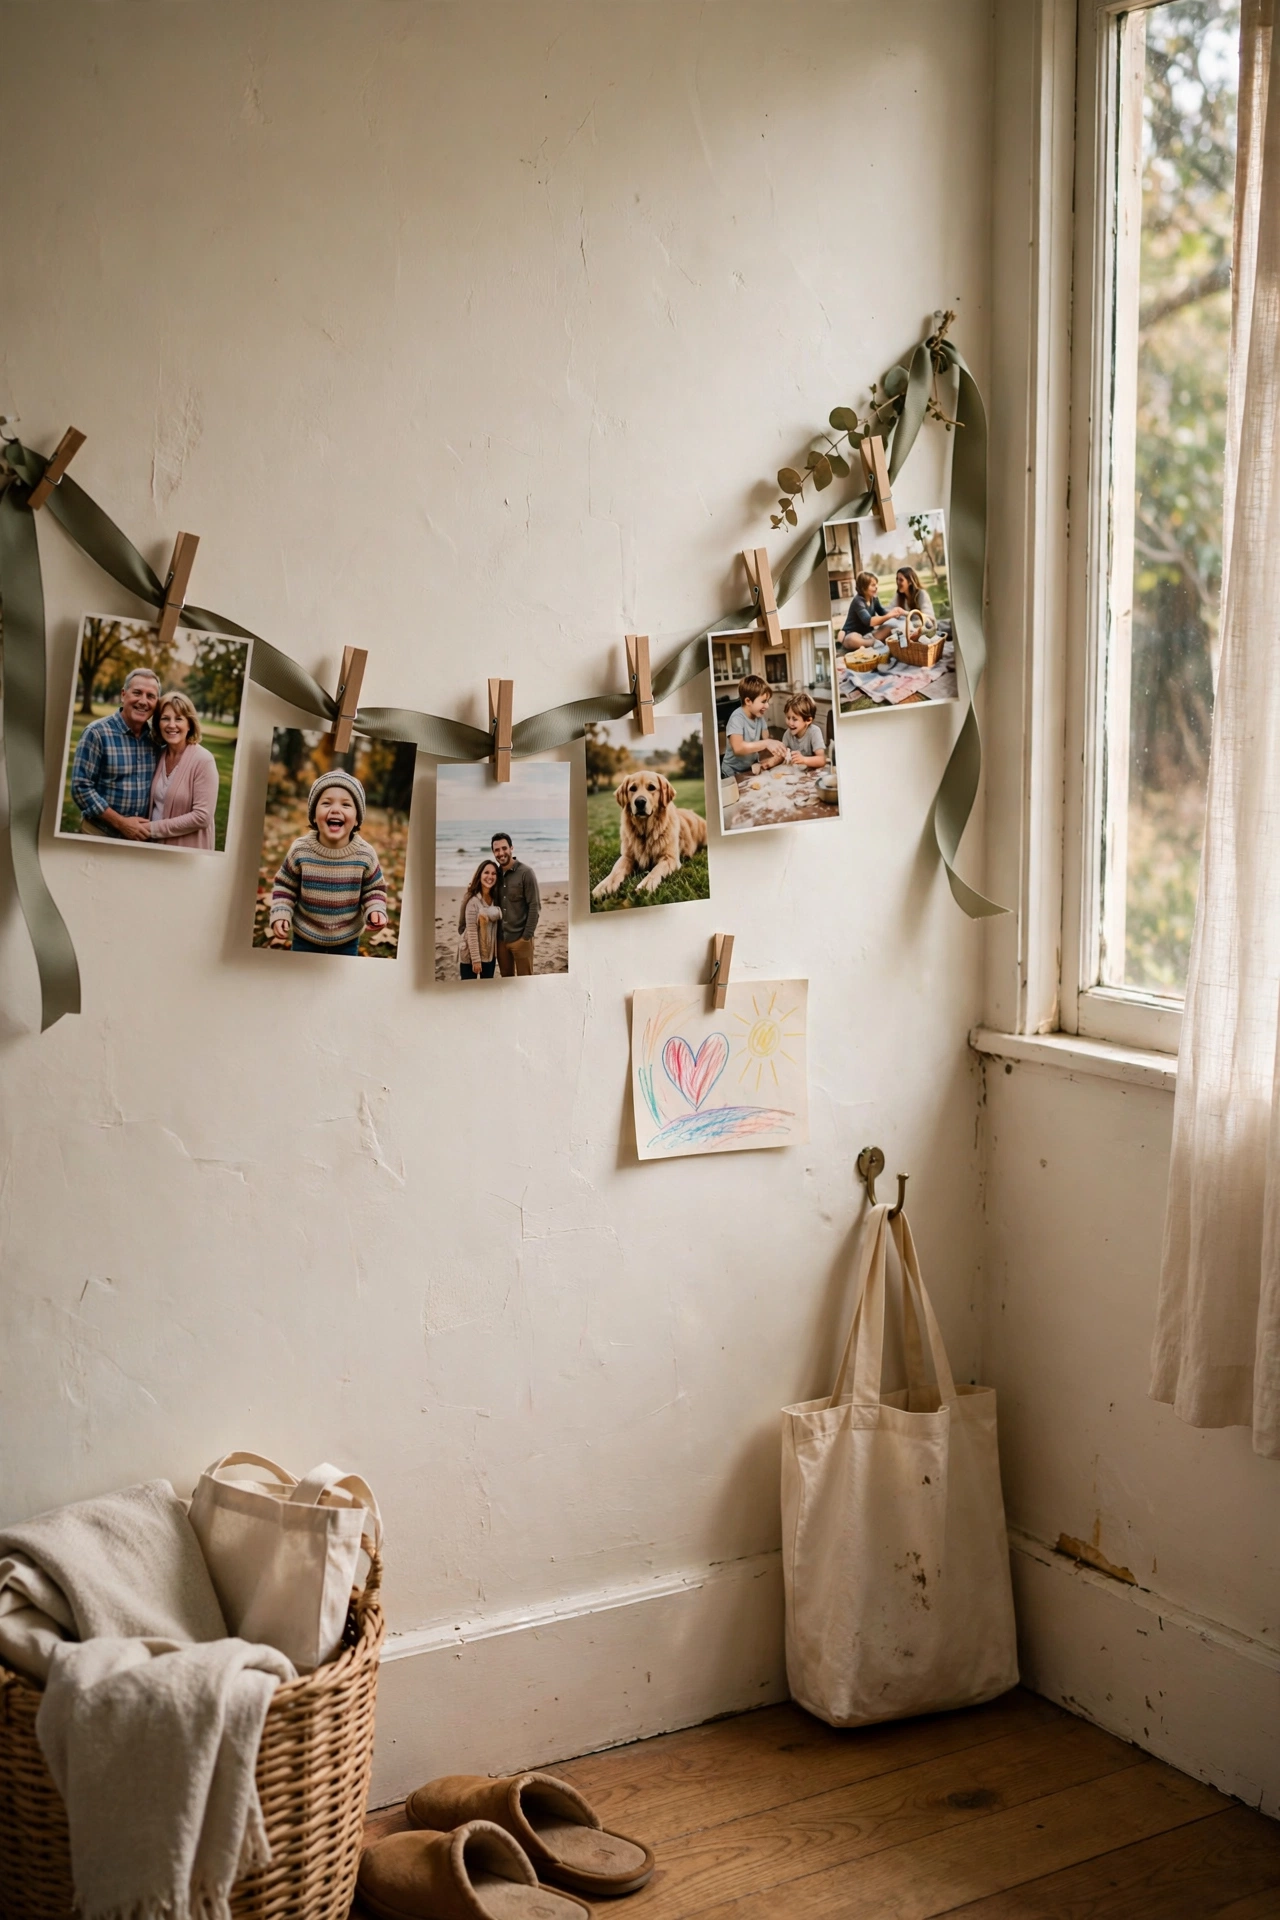
Photos clipped to a ribbon garland make personal wall decor. I strung grosgrain ribbon across my hallway and clipped printed photos with tiny wooden clothespins. The ribbon needs to be taut or it sags; I anchor both ends with small nails. My first garland drooped in the middle until I added a centre anchor. I swap photos seasonally, so the wall always feels fresh. It is the most personal art in my home.
Cost: ~$8-14 | Time: 45 minutes
13. Fabric-Covered Storage Boxes
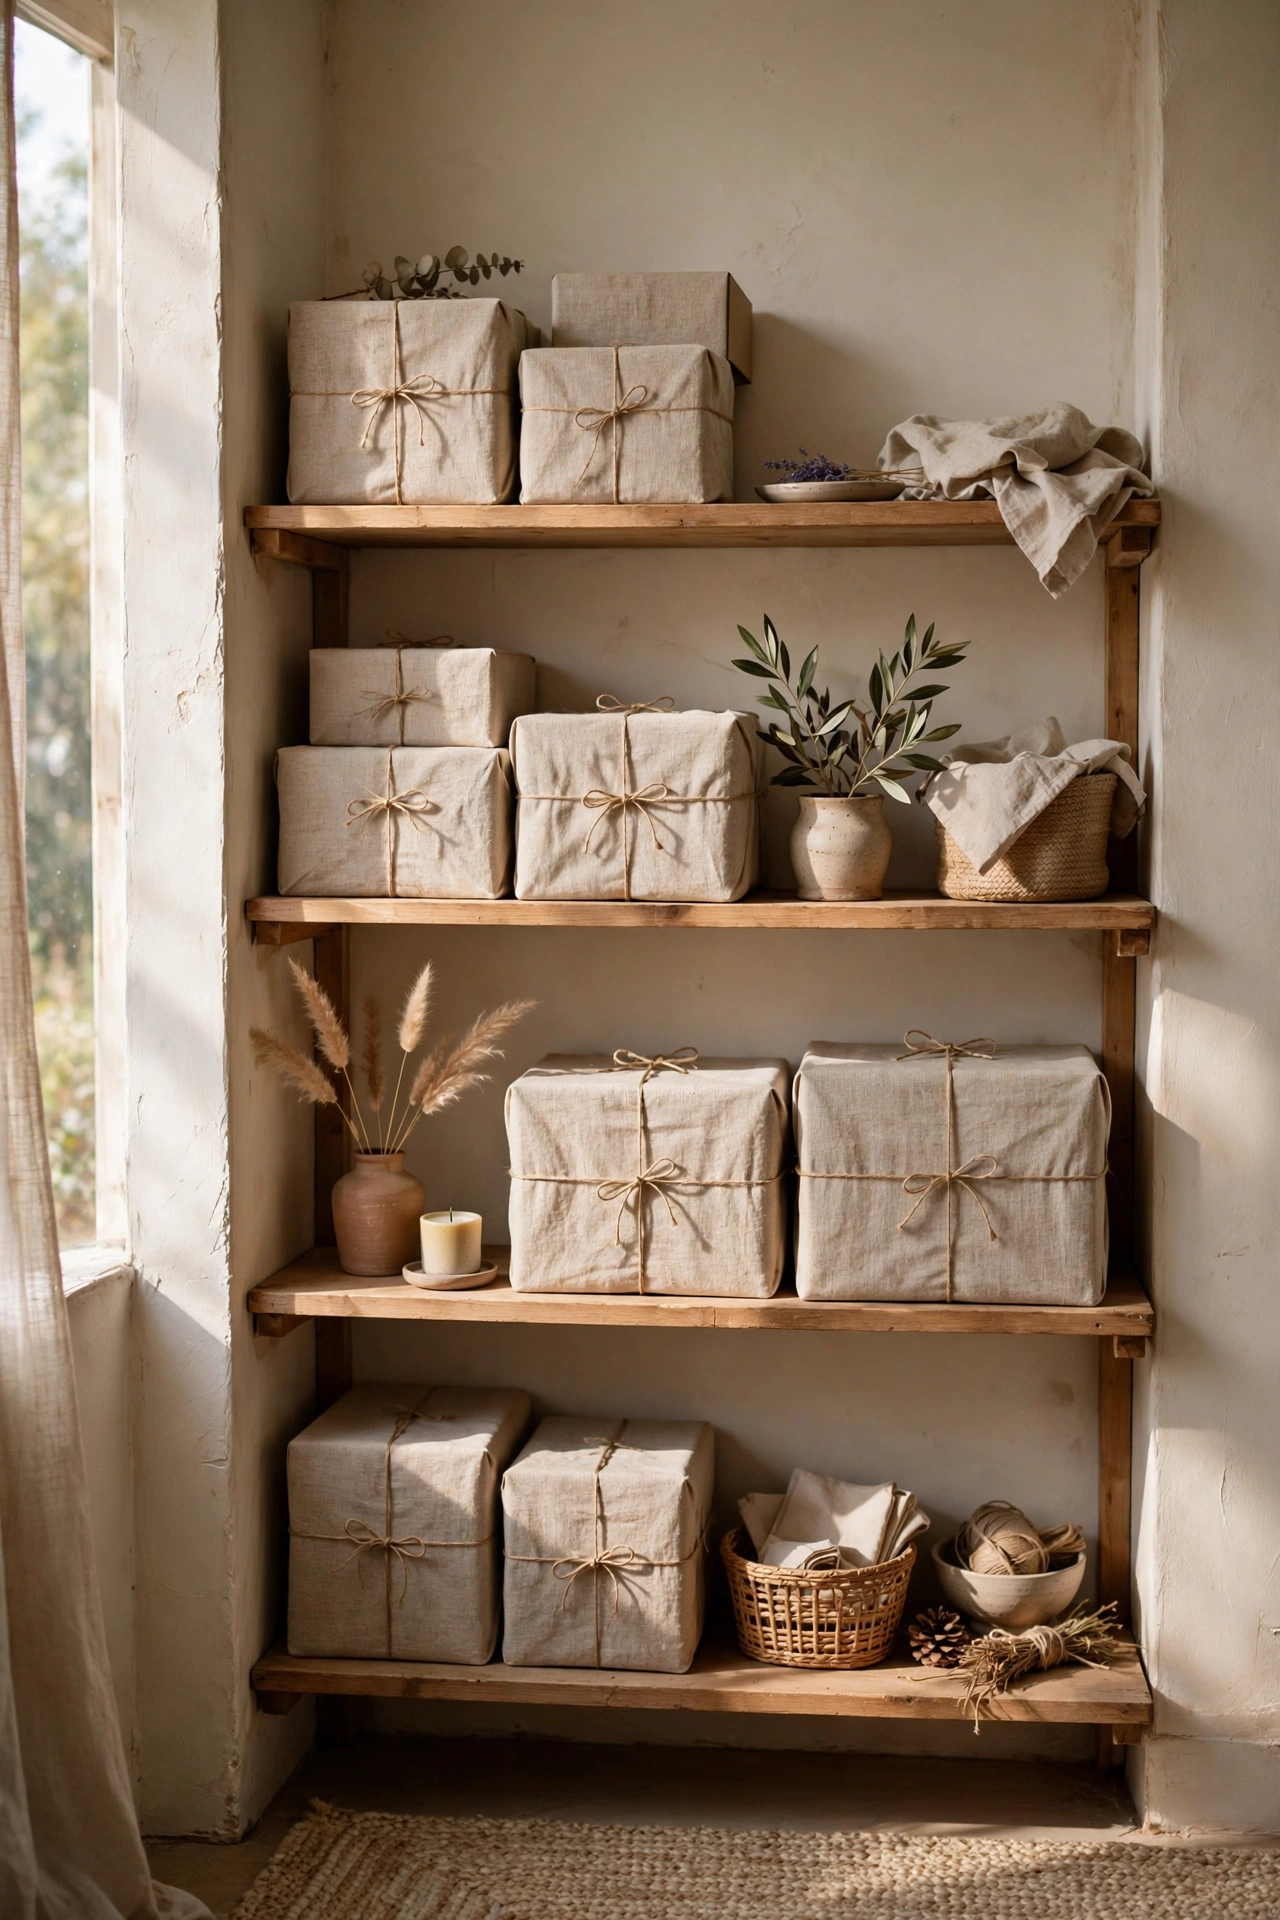
Plain cardboard boxes wrapped in fabric become pretty storage. I wrapped three file boxes in linen using spray adhesive, and they look like boutique organisers. Spray the box, wrap the fabric smooth, and trim the excess. My first box had bubbles because I did not smooth as I went. Work slowly from one edge. They sit on my open shelves holding supplies, and nobody guesses they are cardboard.
Cost: ~$10-16 | Time: 1 hour
14. No-Sew Ottoman Cover
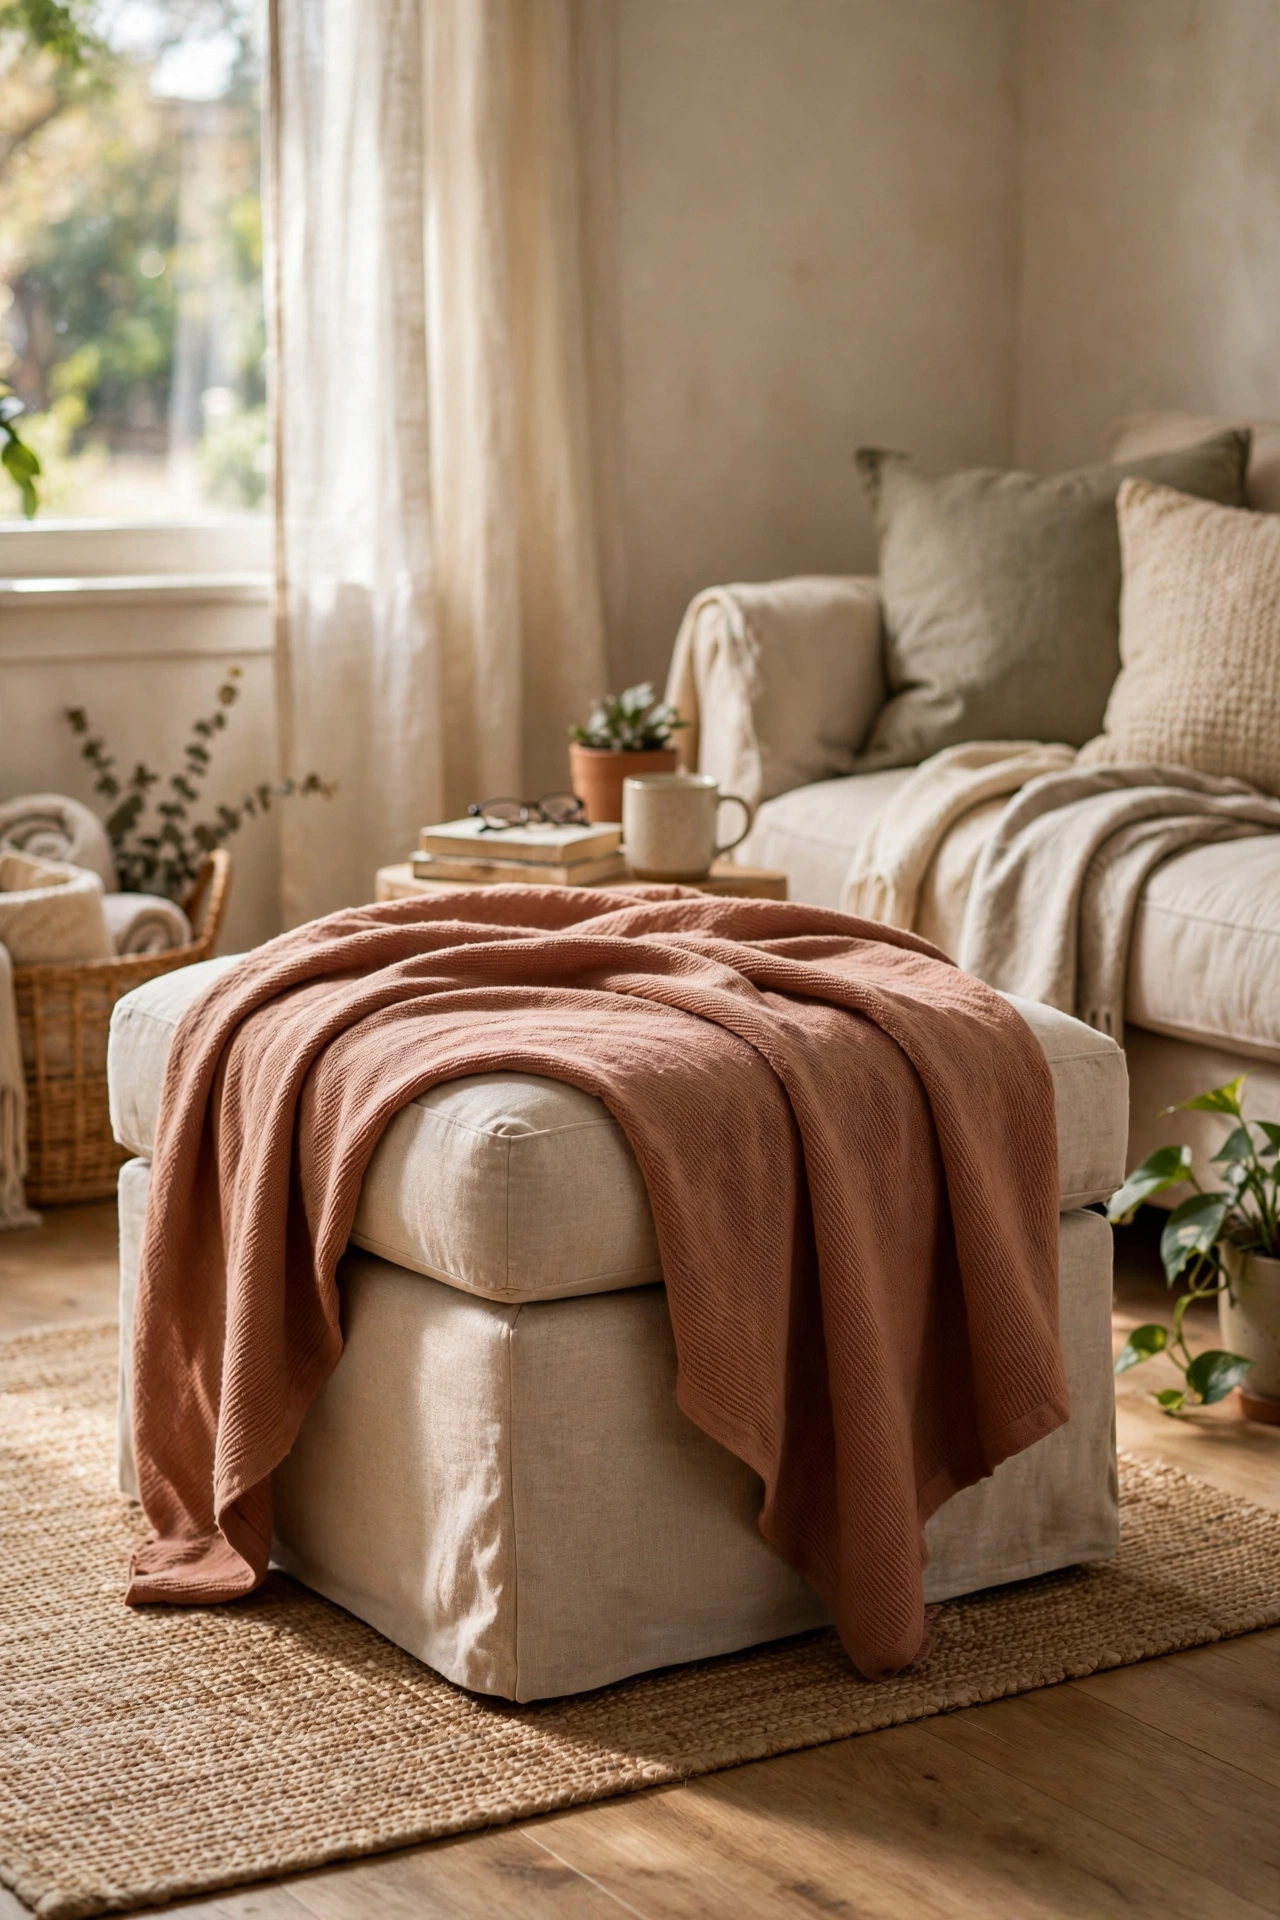
A large piece of fabric tucked around an ottoman refreshes it instantly. I draped a $14 throw over my ottoman, tucked the edges underneath, and secured them with upholstery pins. The pins hide in the tucking. I chose a washable throw so I can launder it. My first cover was a dry-clean-only fabric, which was impractical for a footrest. Washable is the rule for anything feet touch. Fourteen dollars, ten minutes, new ottoman.
Cost: ~$12-20 | Time: 20 minutes
15. Bunting Banner for Any Occasion
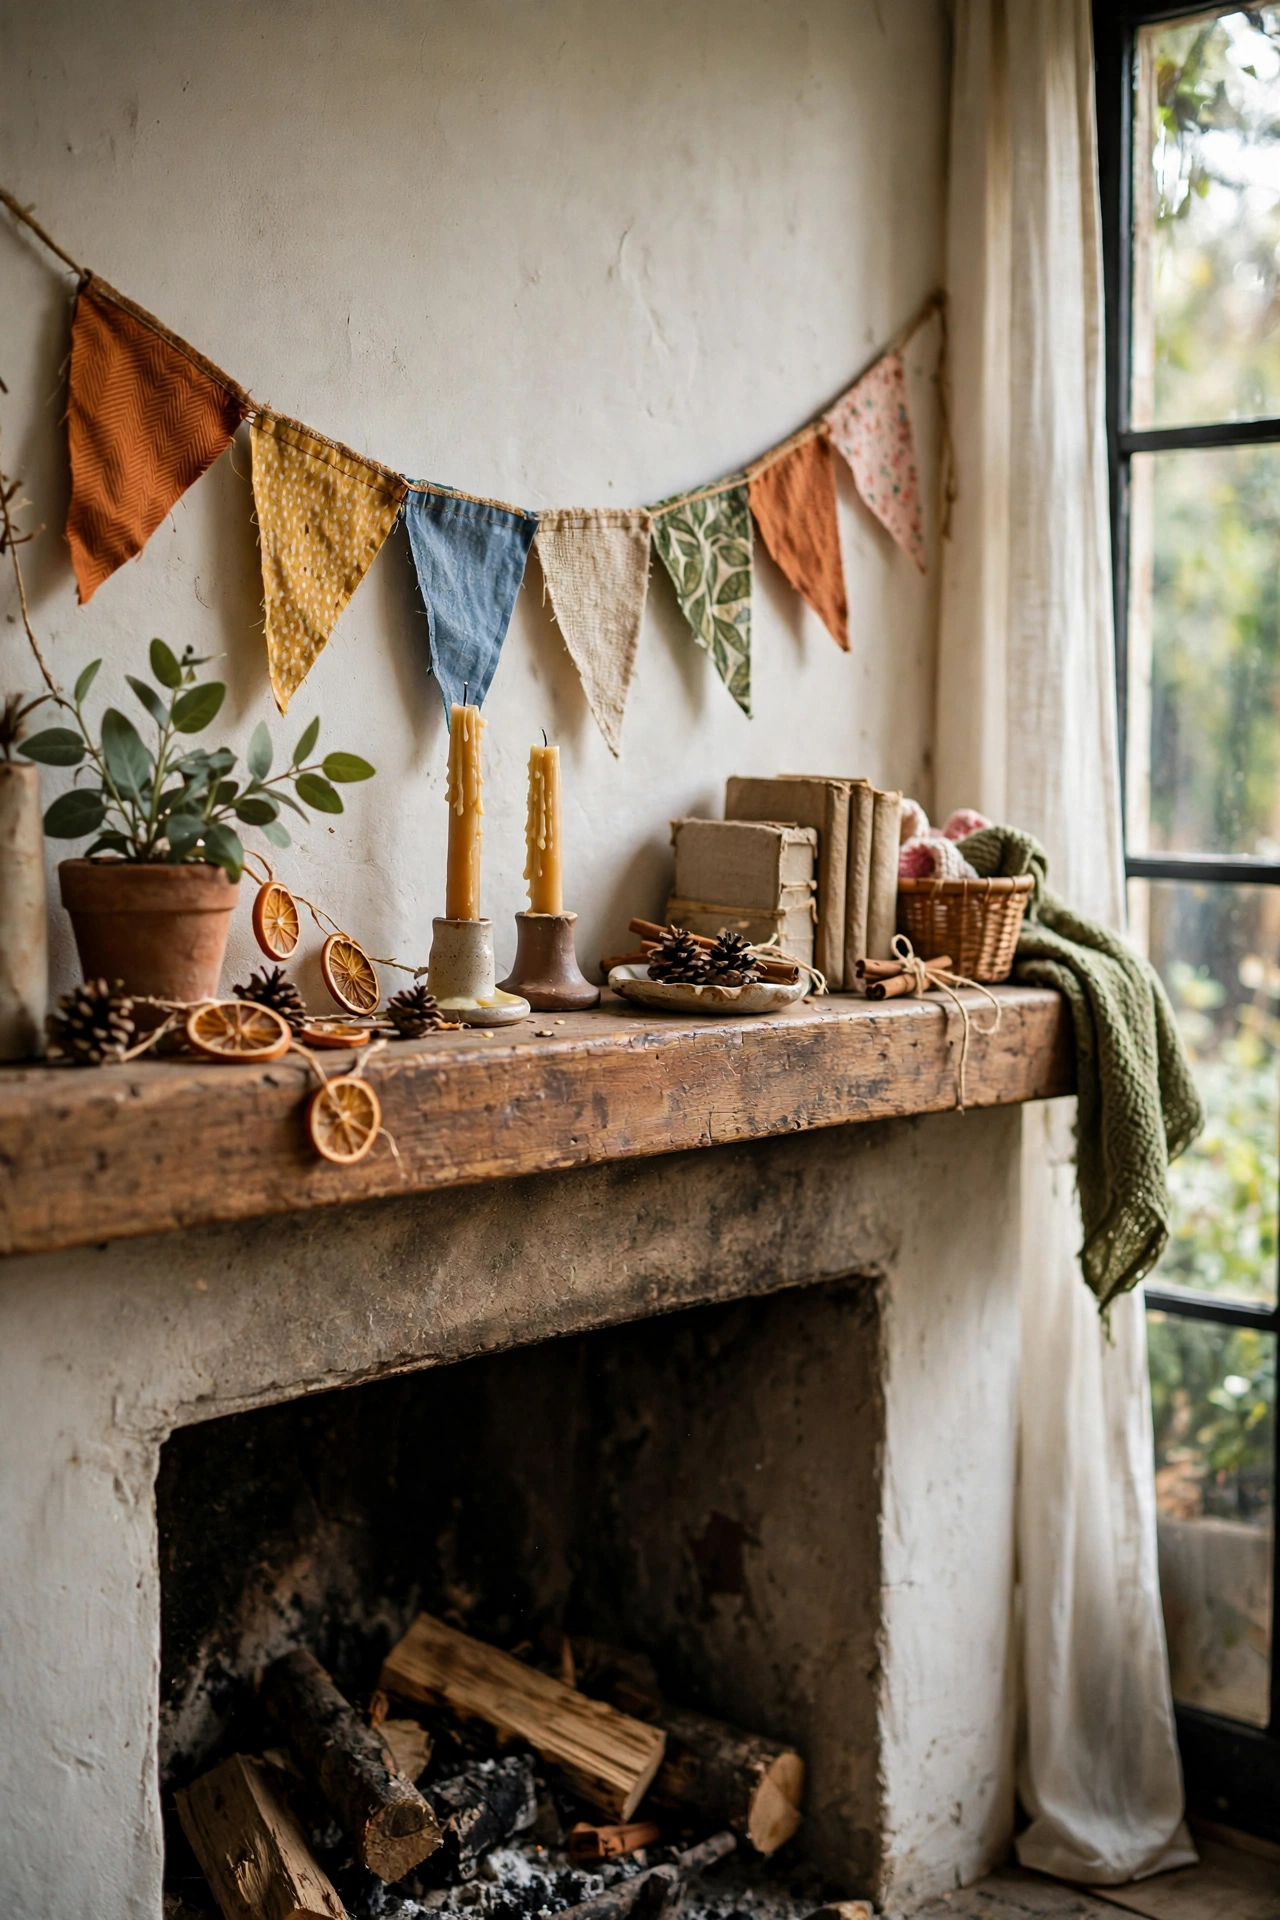
Triangle bunting from fabric scraps dresses up any room. I cut triangles from scrap fabric, folded the tops over twine, and secured with hem tape. No sewing, endless uses. I make them in seasonal fabrics and swap them through the year. My triangles were different sizes the first time because I freehanded them; a cardboard template keeps them uniform. A whole banner costs nothing if you use scraps.
Cost: ~$0-8 | Time: 1 hour
16. Fabric-Wrapped Vases
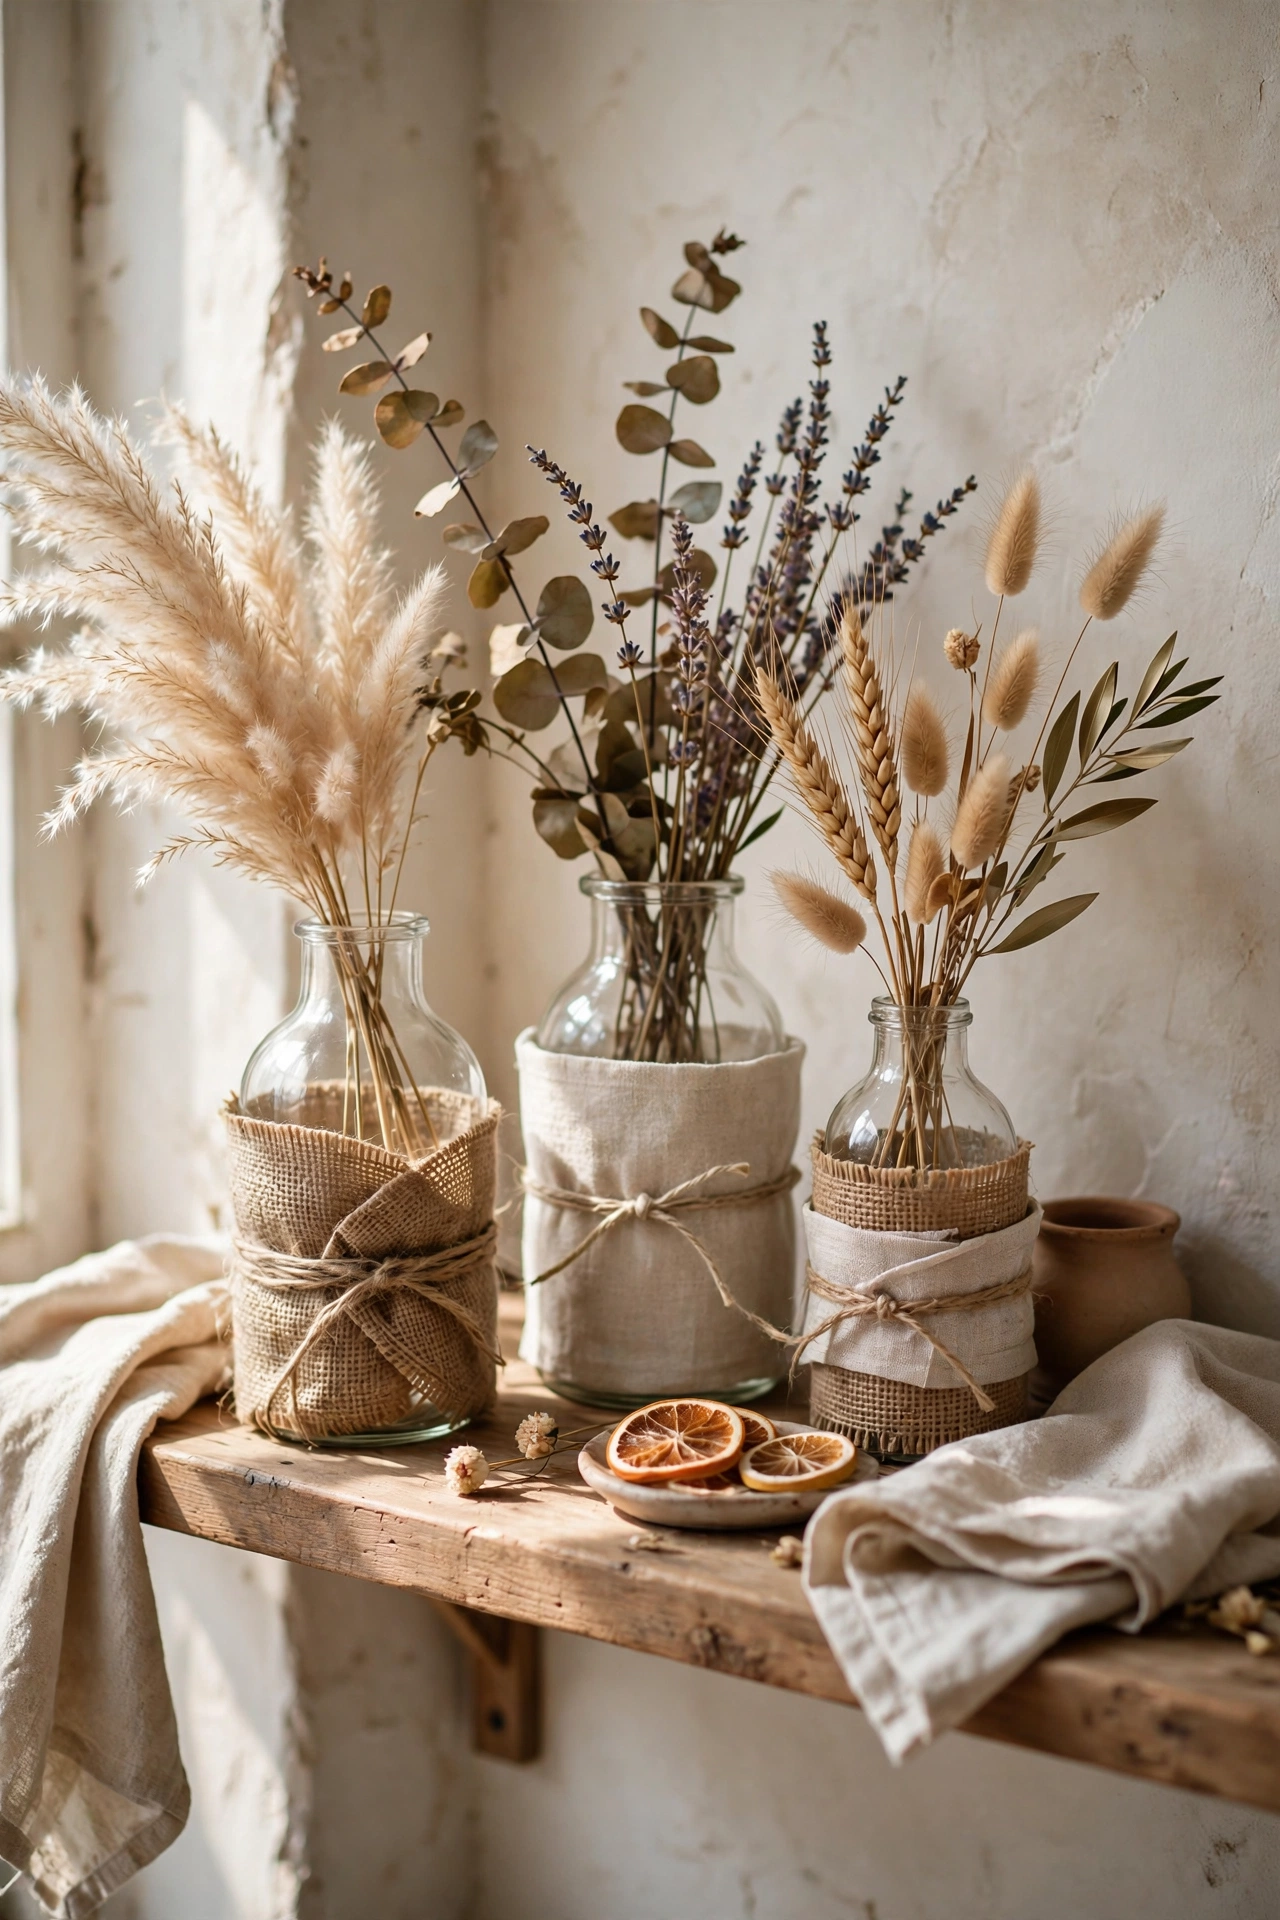
Wrapping plain vases in fabric gives them a soft, custom look. I wrapped three glass vases in burlap and linen, securing with twine. The texture contrast against the glass is beautiful. I wrap only the middle, leaving the top and bottom glass showing. My fully wrapped first vase looked like a mummy. Partial wrapping is more elegant. They hold dried flowers beautifully and cost almost nothing.
Cost: ~$5-10 | Time: 30 minutes
17. No-Sew Curtain Tie-Backs
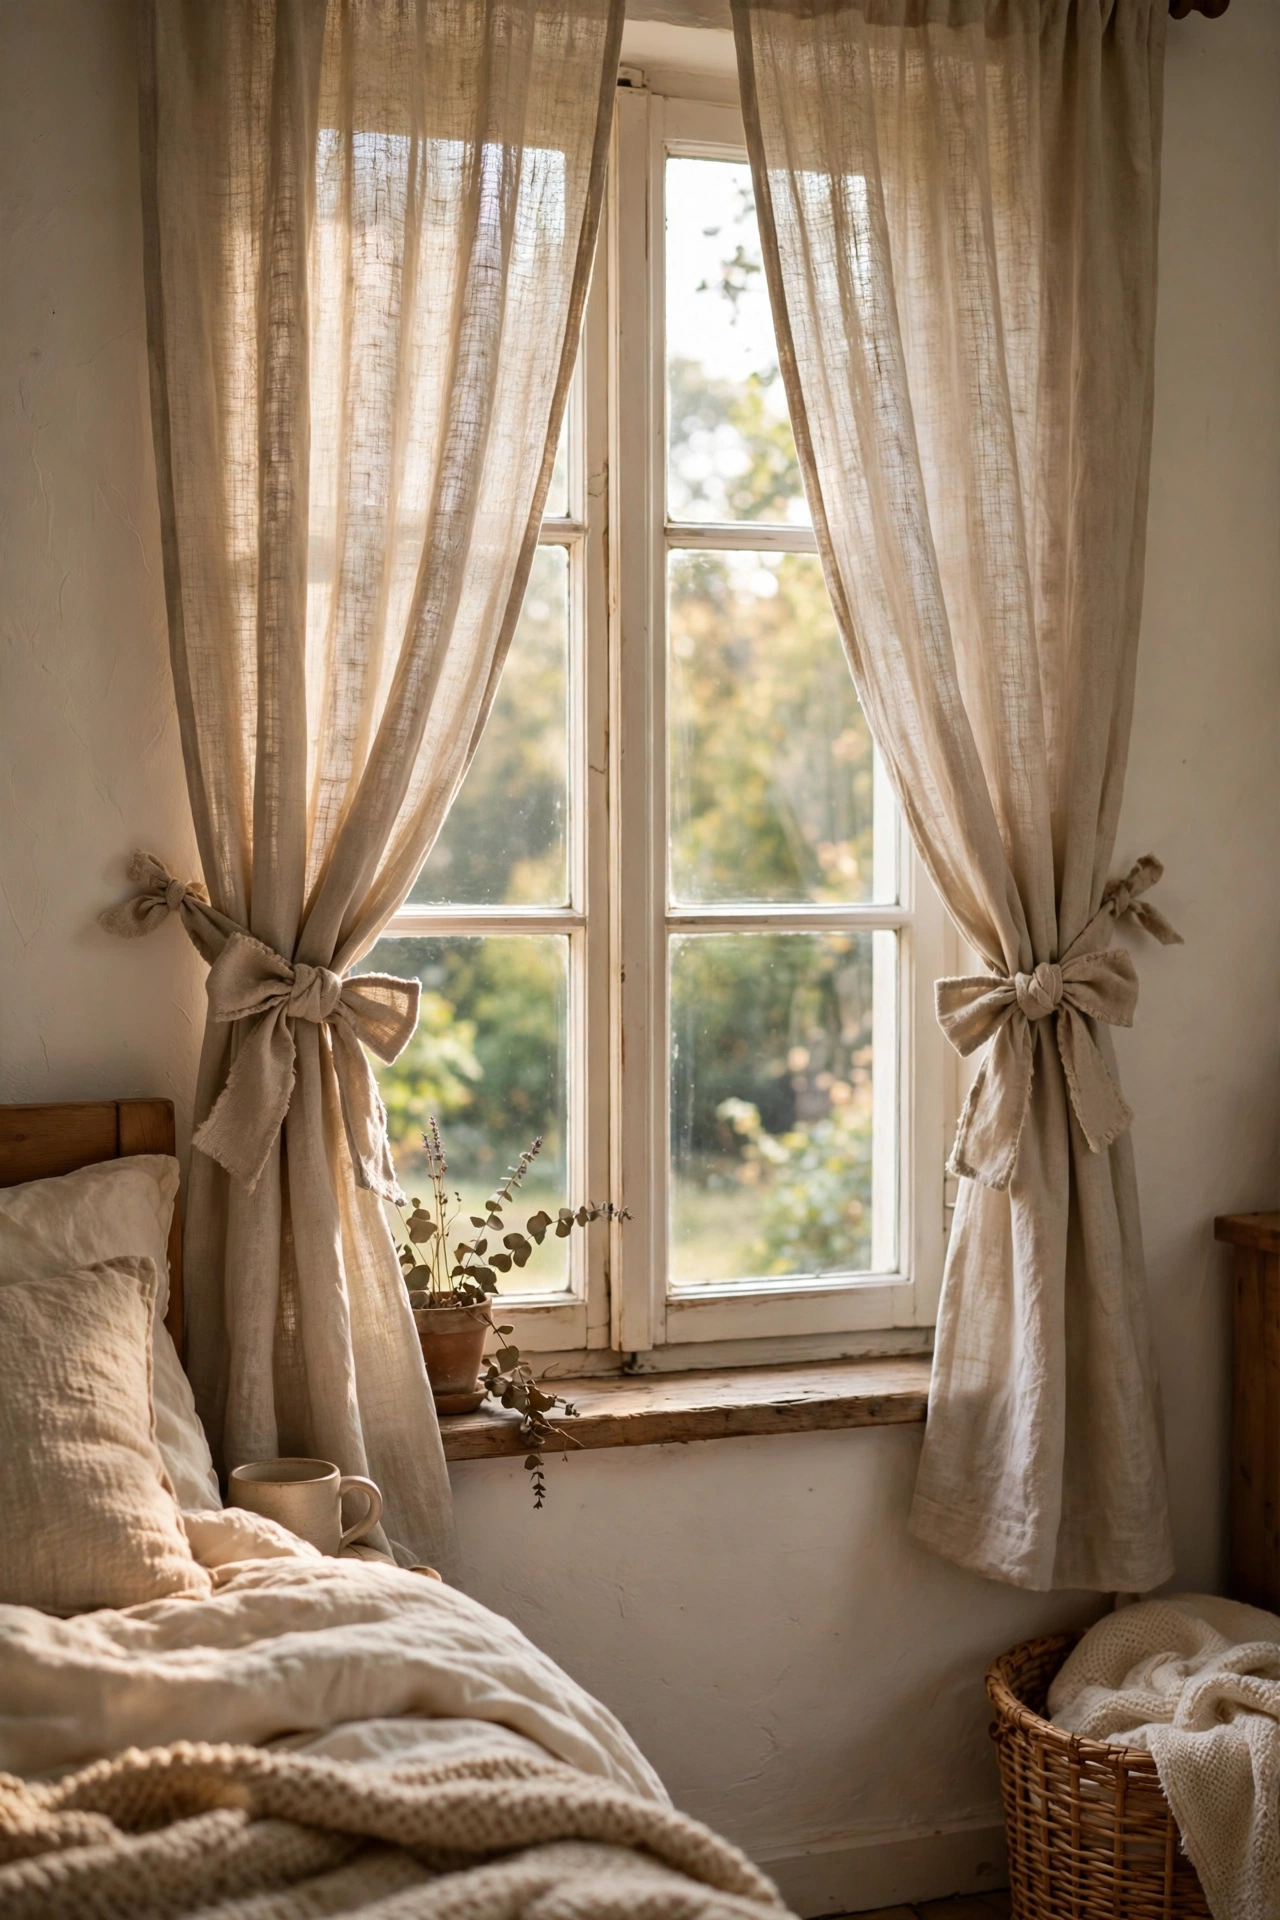
Fabric strips tied around curtains make simple tie-backs. I cut wide strips from a remnant, folded them lengthwise with hem tape, and tied them in bows around my curtains. The bows add a soft, romantic touch. I make them long enough to tie loosely; tight tie-backs crush the curtain folds. My first pair was too short and looked pinched. Generous length drapes beautifully. They match my runner fabric for a coordinated look.
Cost: ~$5-10 | Time: 30 minutes
18. Chair Pad Covers with Ties
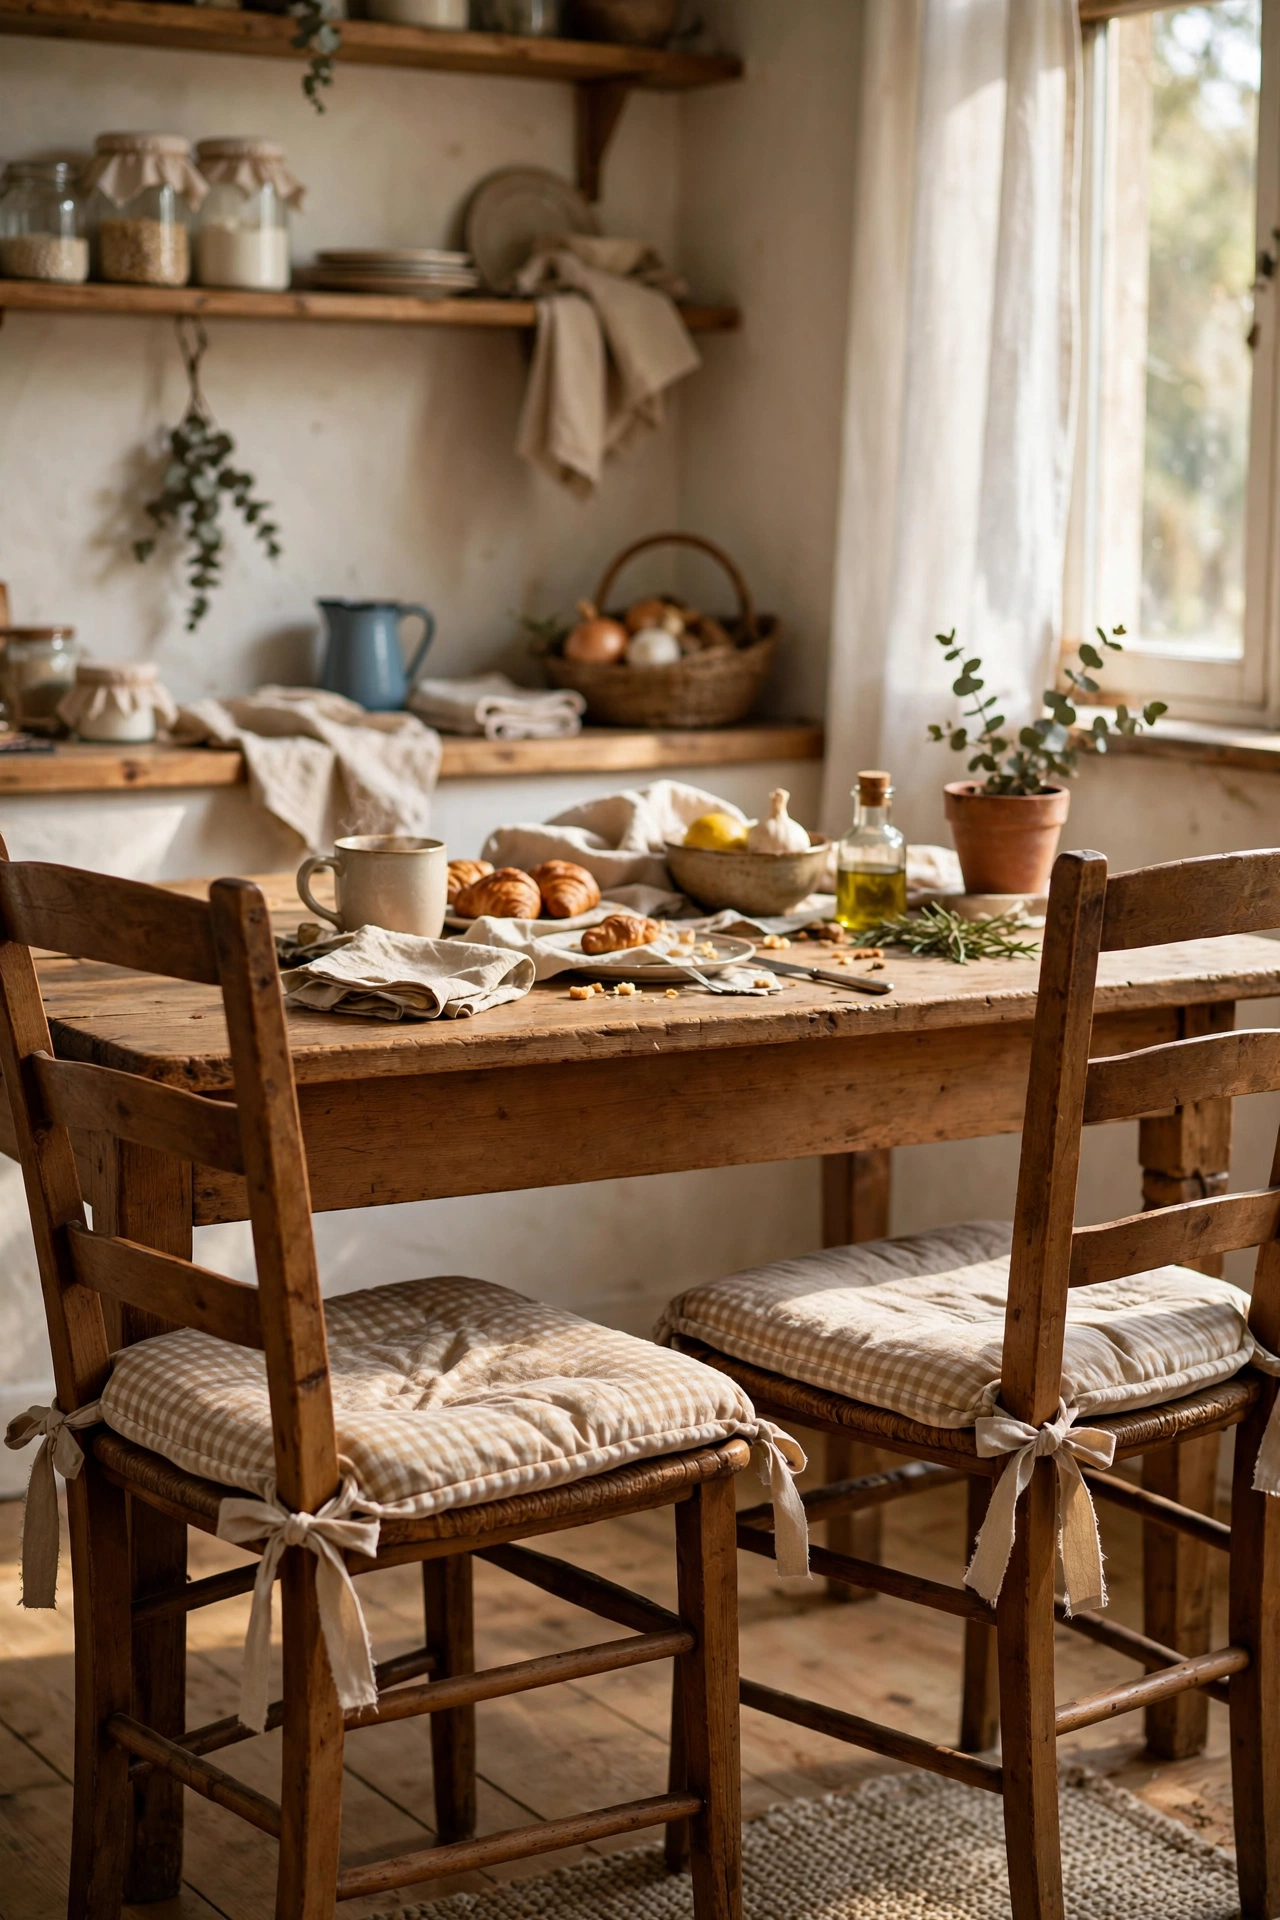
Flat chair pads get custom covers with fabric and ties. I wrapped foam pads in fabric, secured the underside with hem tape, and added ribbon ties at the corners. The ties keep the pads from sliding. I tie them to the chair spindles snugly. My first pads had no ties and migrated across the kitchen. Ties are the difference between pretty and practical. Four chairs, one afternoon, custom seating.
Cost: ~$20-30 | Time: 2 hours
19. Fabric Wall Panels
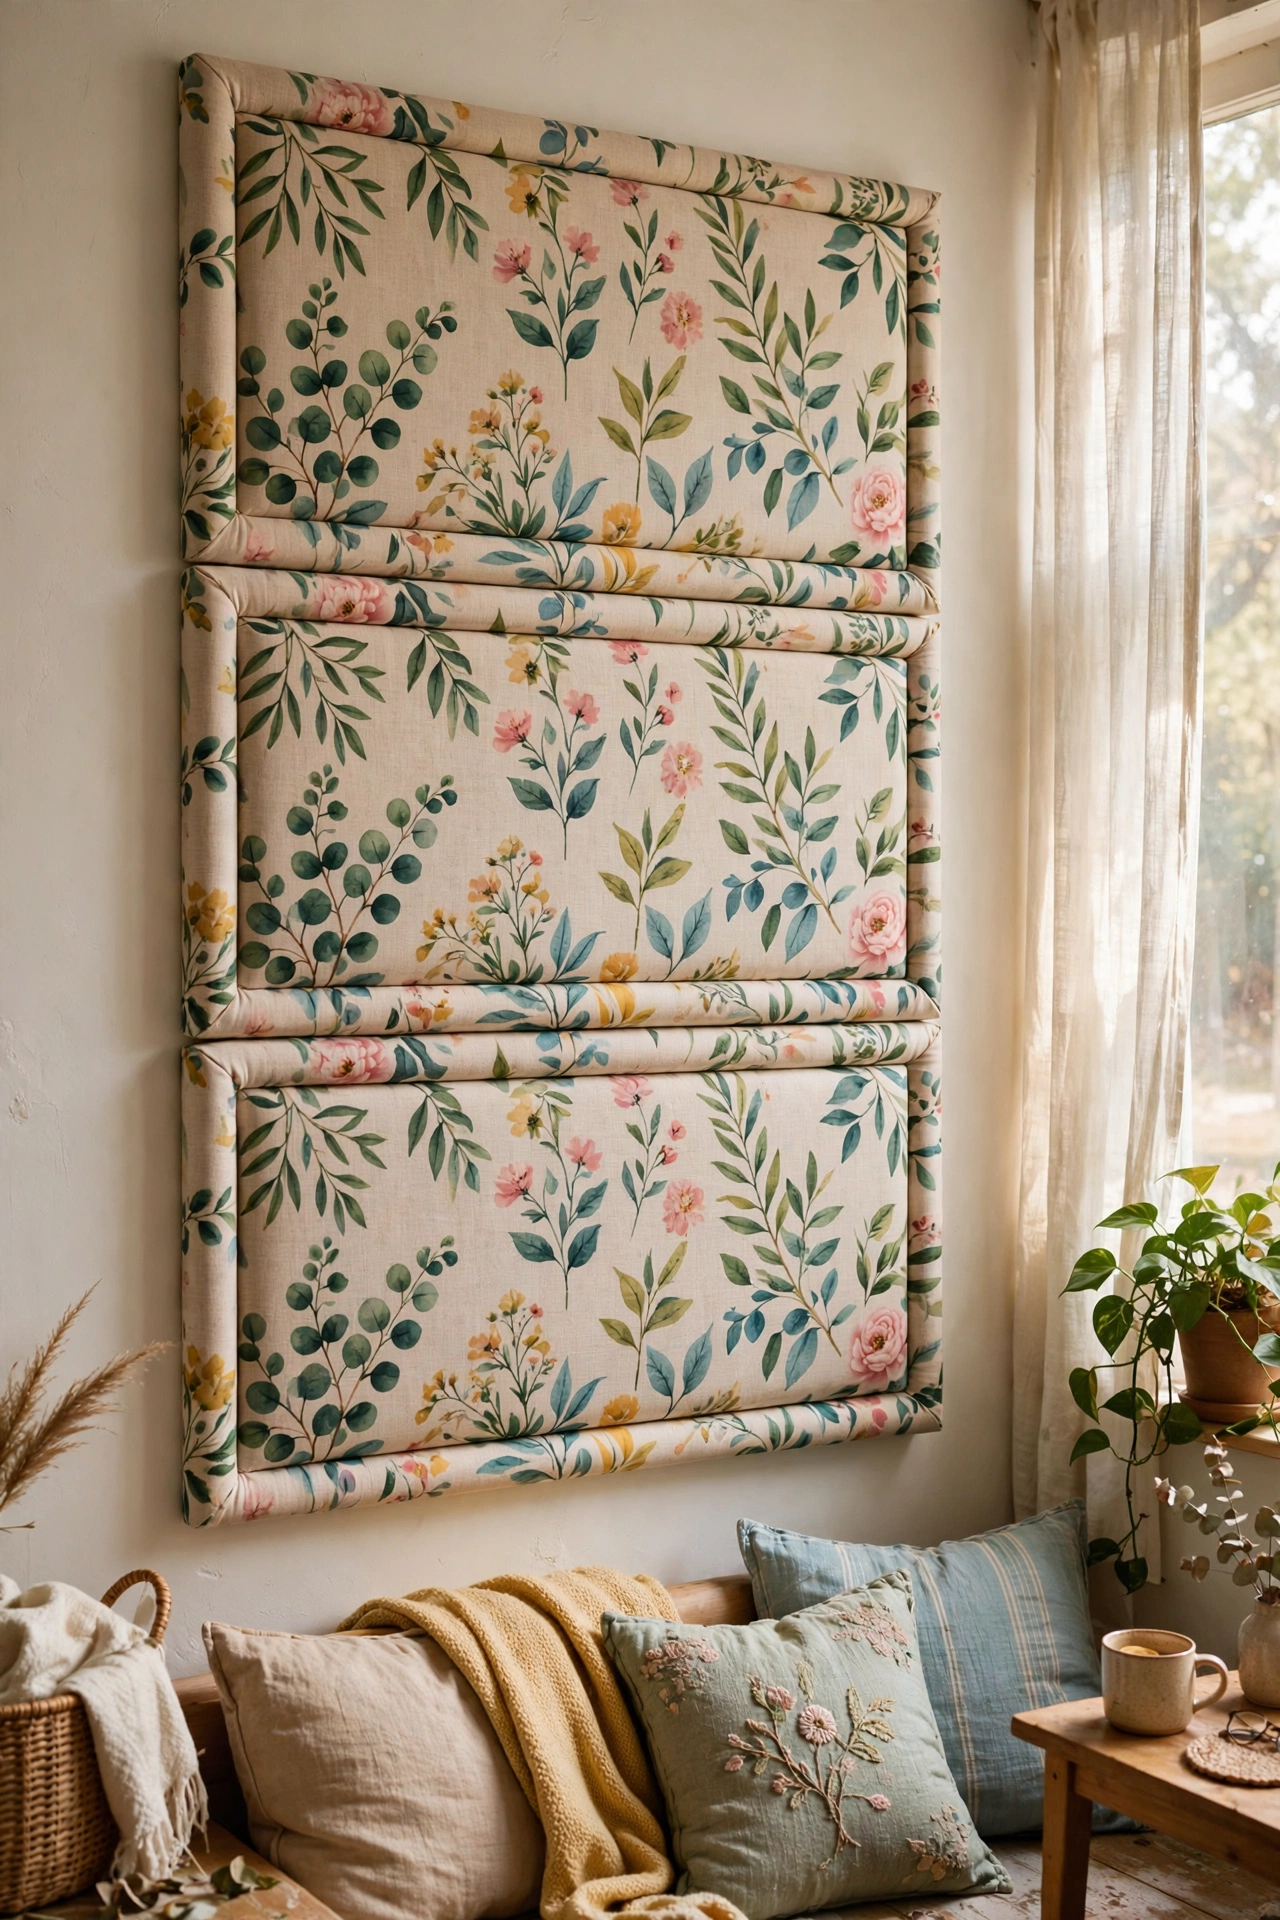
Large fabric panels on the wall add colour and softness. I wrapped two 2×4 foam boards in bold fabric and hung them with removable strips. They look like upholstered wall panels. The foam boards are light enough for damage-free hanging, which renters love. My panels are in a botanical print that ties my whole living room together. They also dampen echo in my hard-floored room, which was an unexpected bonus.
Cost: ~$20-30 | Time: 1 hour
20. Tucked Slipcover for a Chair
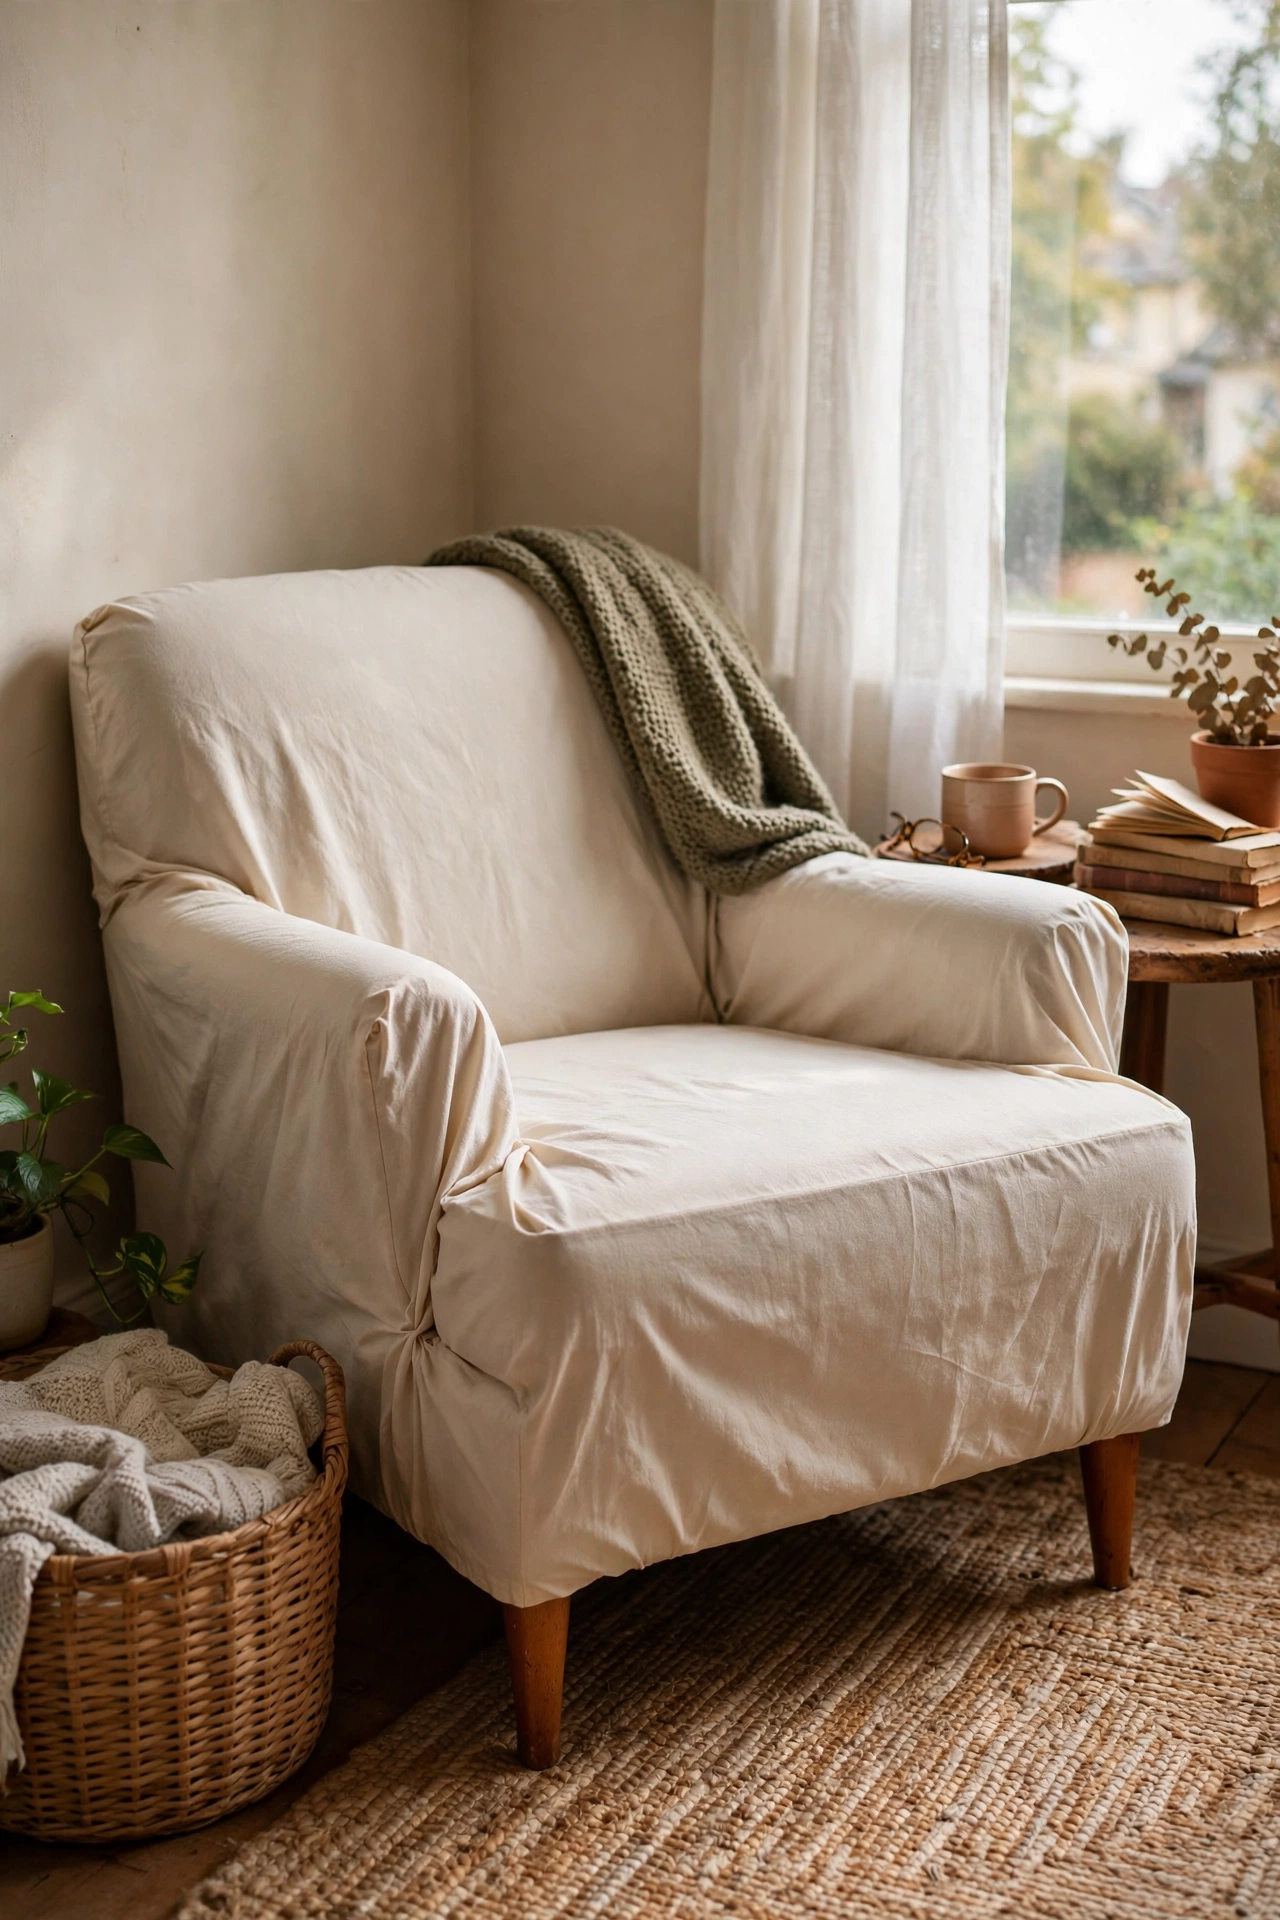
A large flat sheet tucked and pinned over an armchair is a no-sew slipcover. I used a king flat sheet on my armchair, tucking deeply into every crevice and securing with upholstery pins. The tucking is the technique; deep tucks look tailored. My first attempt was loosely draped and looked like a ghost costume. Tight tucking transforms it. A $16 sheet versus a $200 slipcover, and it is washable.
Cost: ~$14-22 | Time: 1 hour
21. Drop Cloth Tablecloth
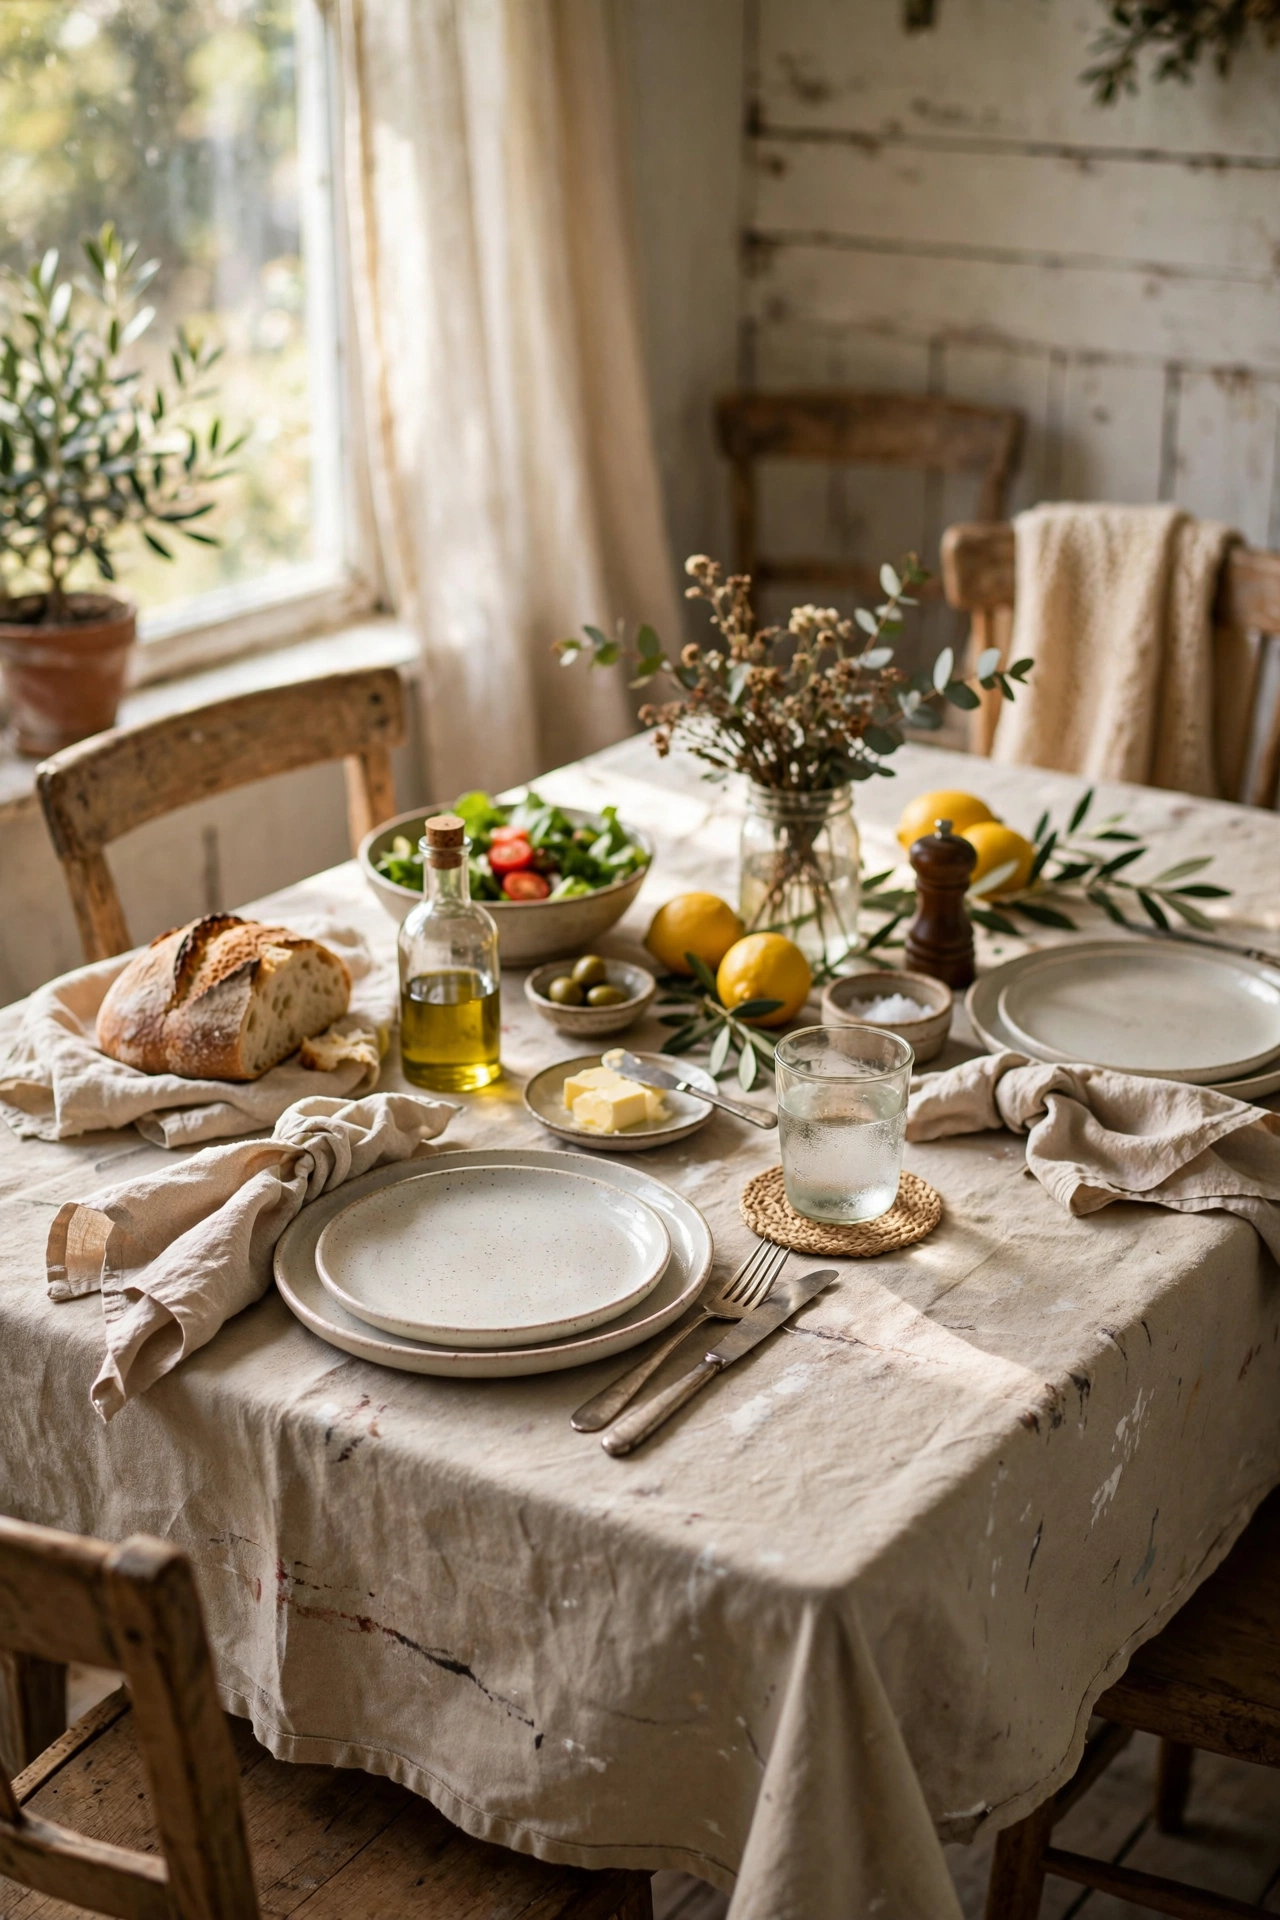
A canvas drop cloth makes a perfect rustic tablecloth. I bought a 6×9 drop cloth for $18, washed it twice for softness, and hemmed the edges with hem tape. The natural canvas suits farmhouse and casual tables. I wash mine after every use and it gets softer each time. My first one I did not pre-wash and it smelled like a hardware store through dinner. Wash twice, then hem. Eighteen dollars for a tablecloth that looks like linen.
Cost: ~$16-24 | Time: 1 hour
22. Fabric Scrap Coasters
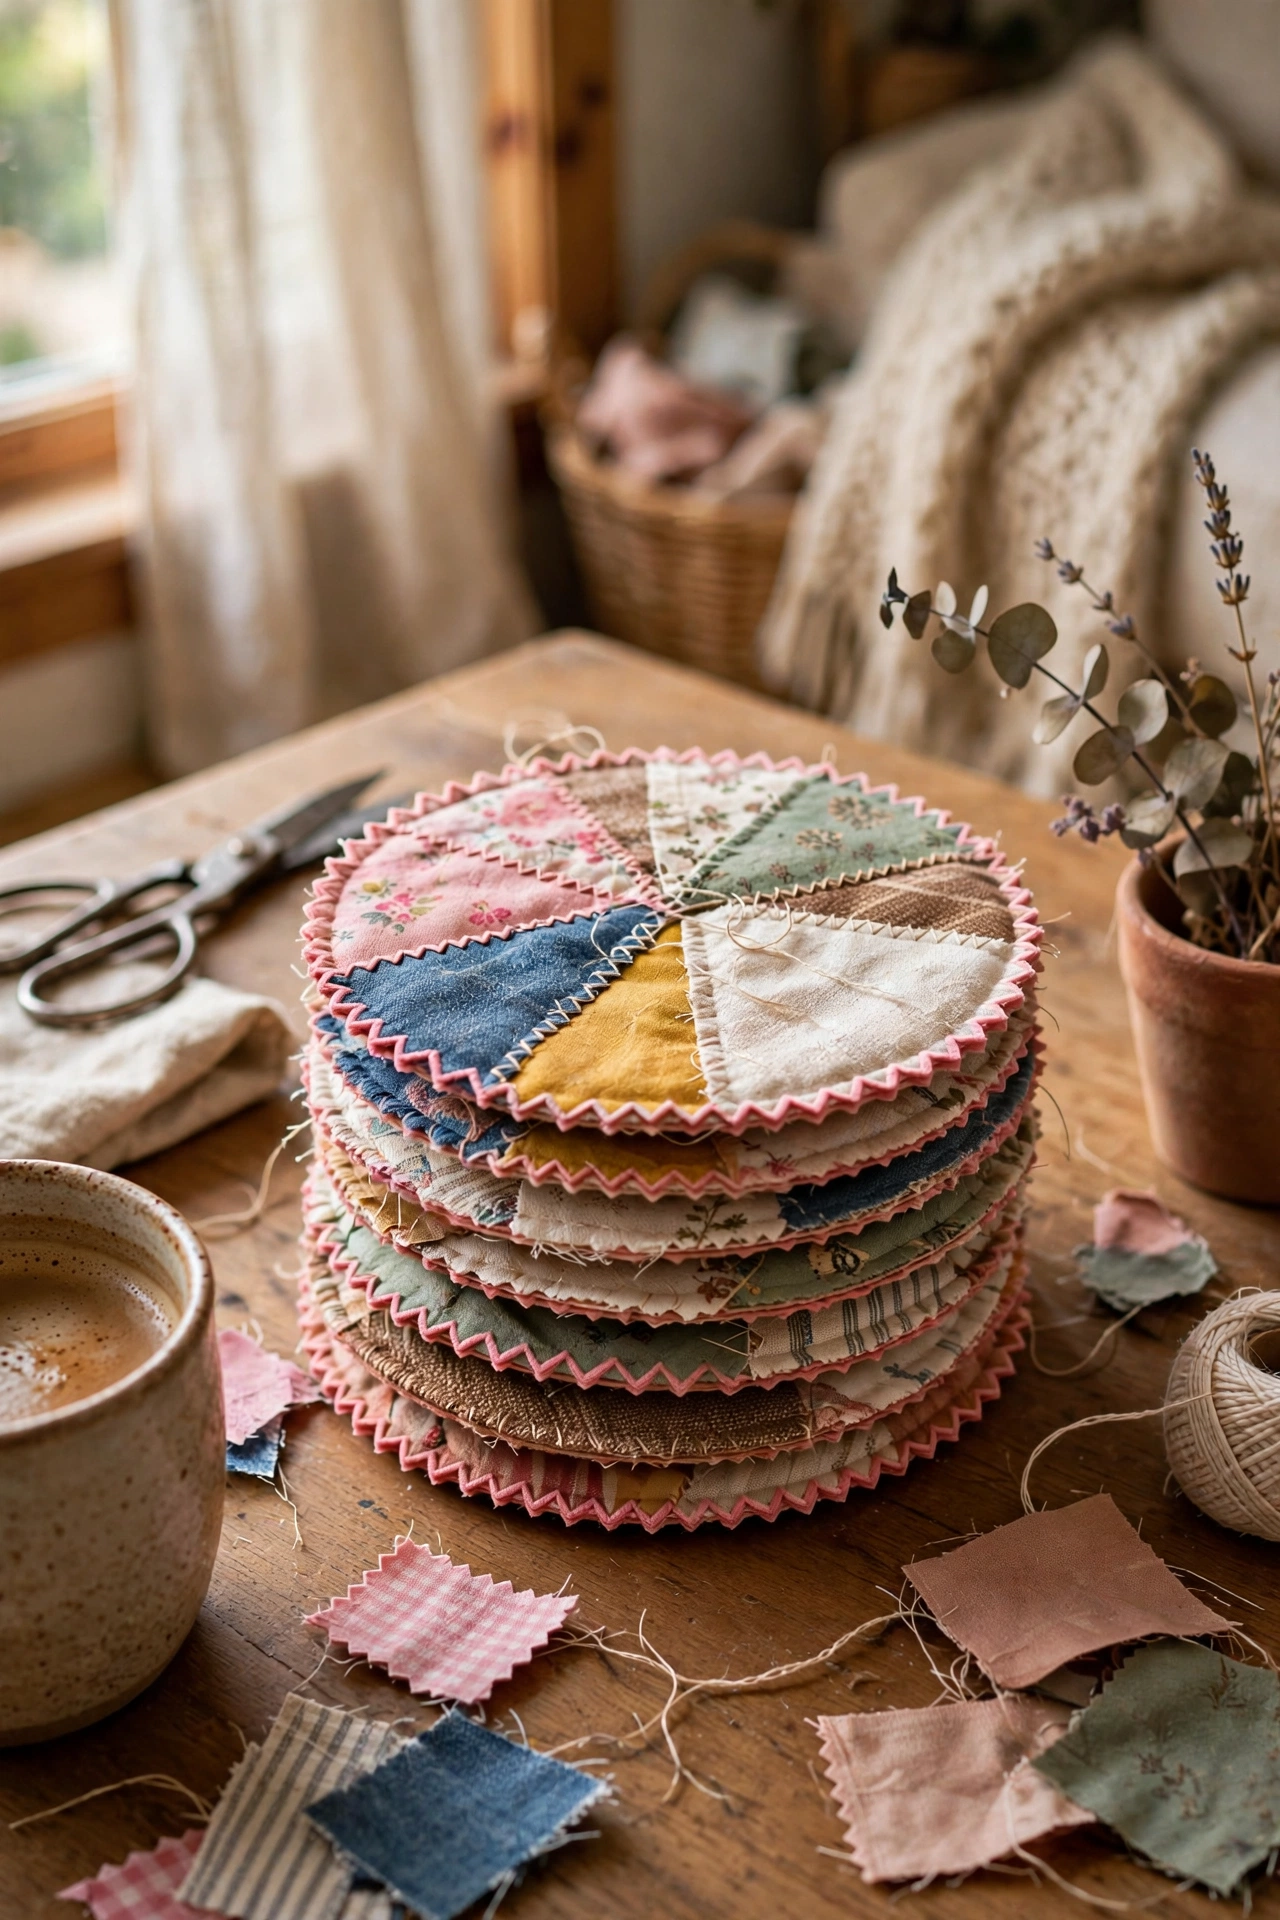
Layered fabric scraps become pretty coasters with no sewing. I cut squares of fabric and felt, stacked them, and secured the edges with pinking shears and fabric glue. The pinking shears stop fraying and look decorative. My first coasters I cut with regular scissors and they frayed within weeks. Pinking shears are a $8 tool that pays for itself. A stack of coasters from scraps costs nothing and looks handmade.
Cost: ~$0-8 | Time: 45 minutes
23. Headboard Fabric Panels
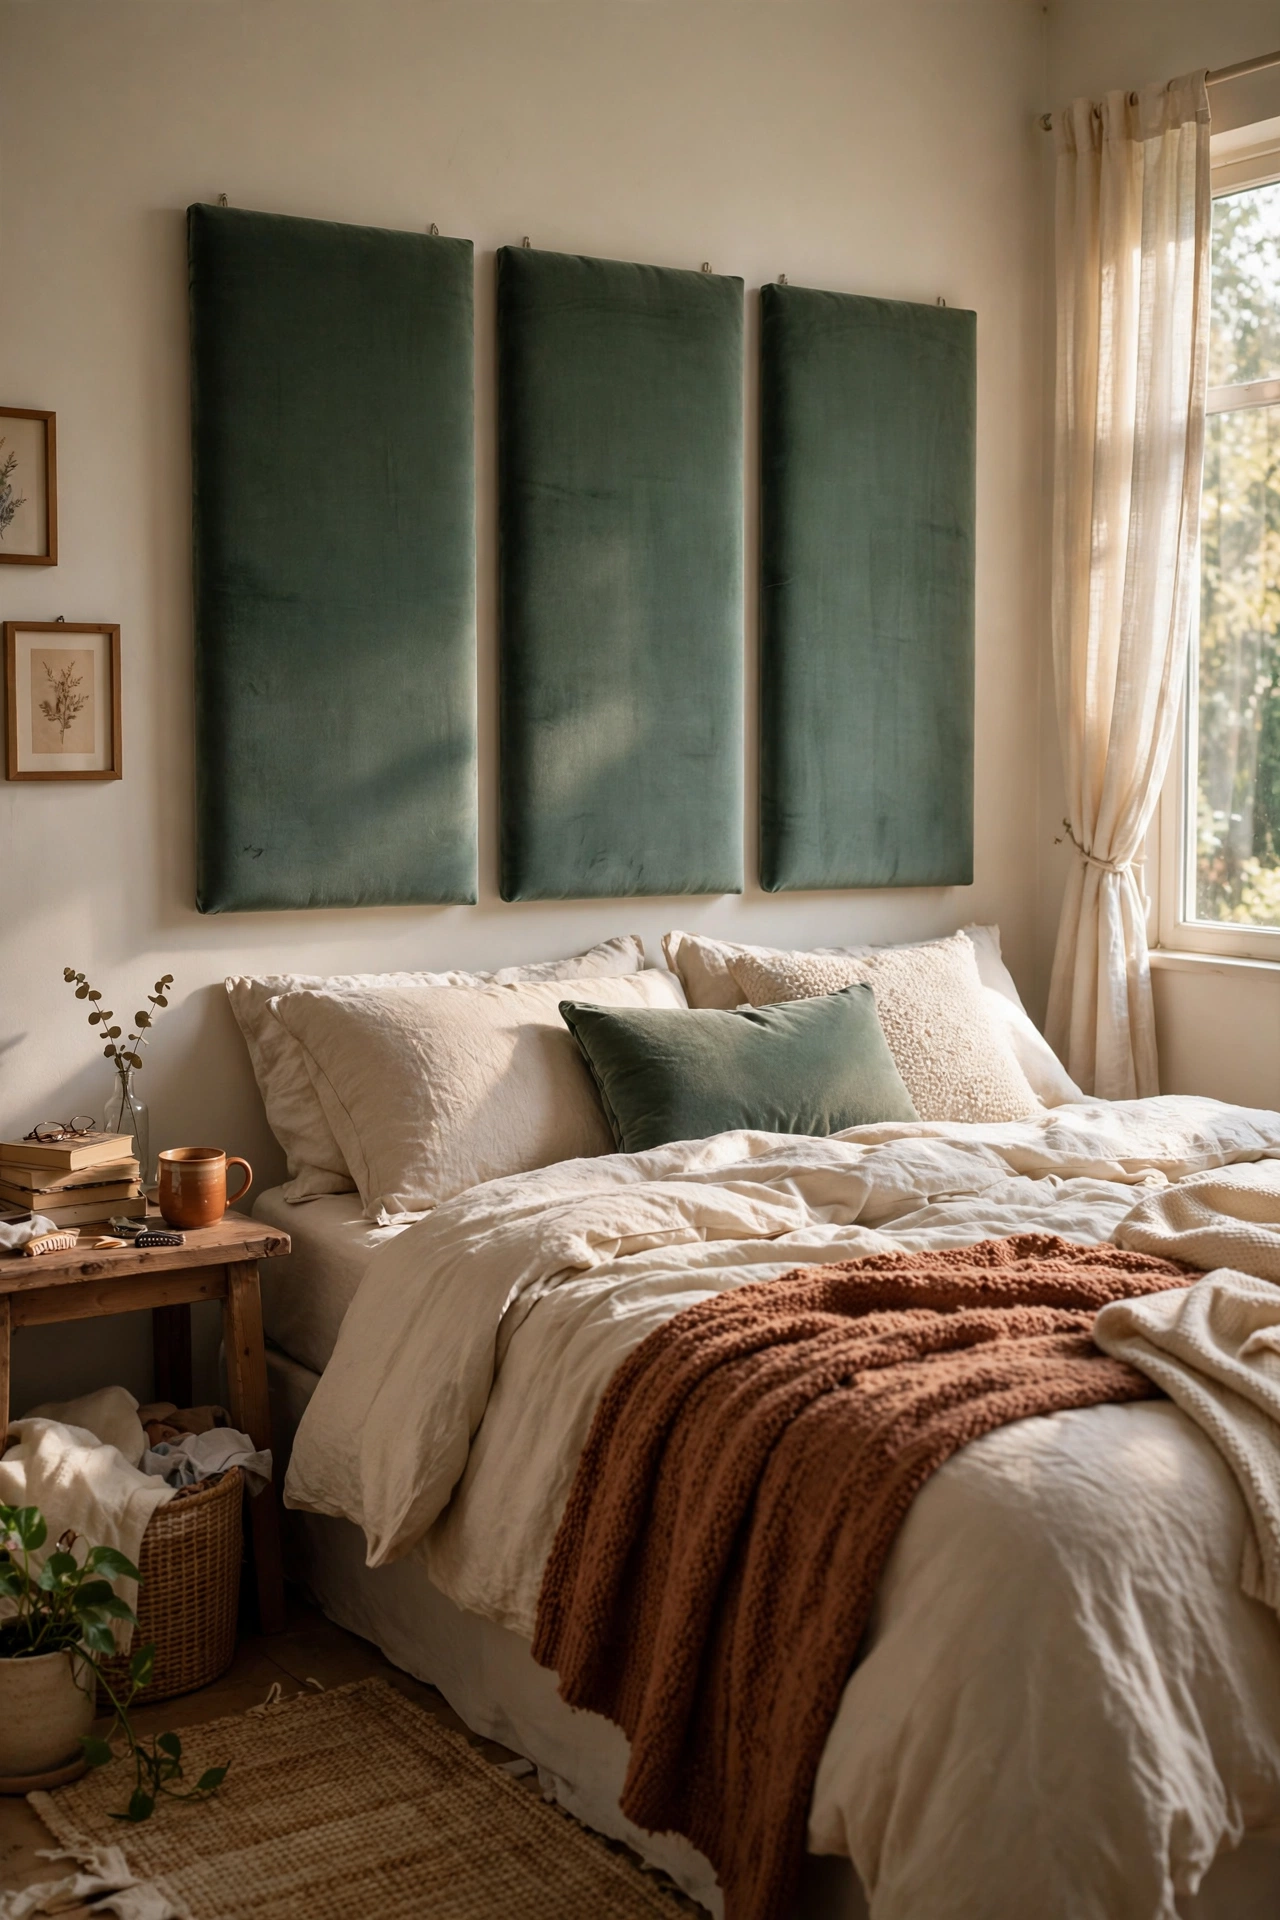
Foam boards wrapped in fabric create an upholstered headboard look. I wrapped three 2×4 boards in velvet, hung them side by side with removable strips, and they read as a custom upholstered headboard. Velvet is the luxury choice; the nap catches light beautifully. I hang them half an inch apart for a panelled look. My bedroom looks like it has a $500 headboard. It cost $35 and took one afternoon.
Cost: ~$30-40 | Time: 2 hours
24. Quilted-Look Throw from Layered Fabric
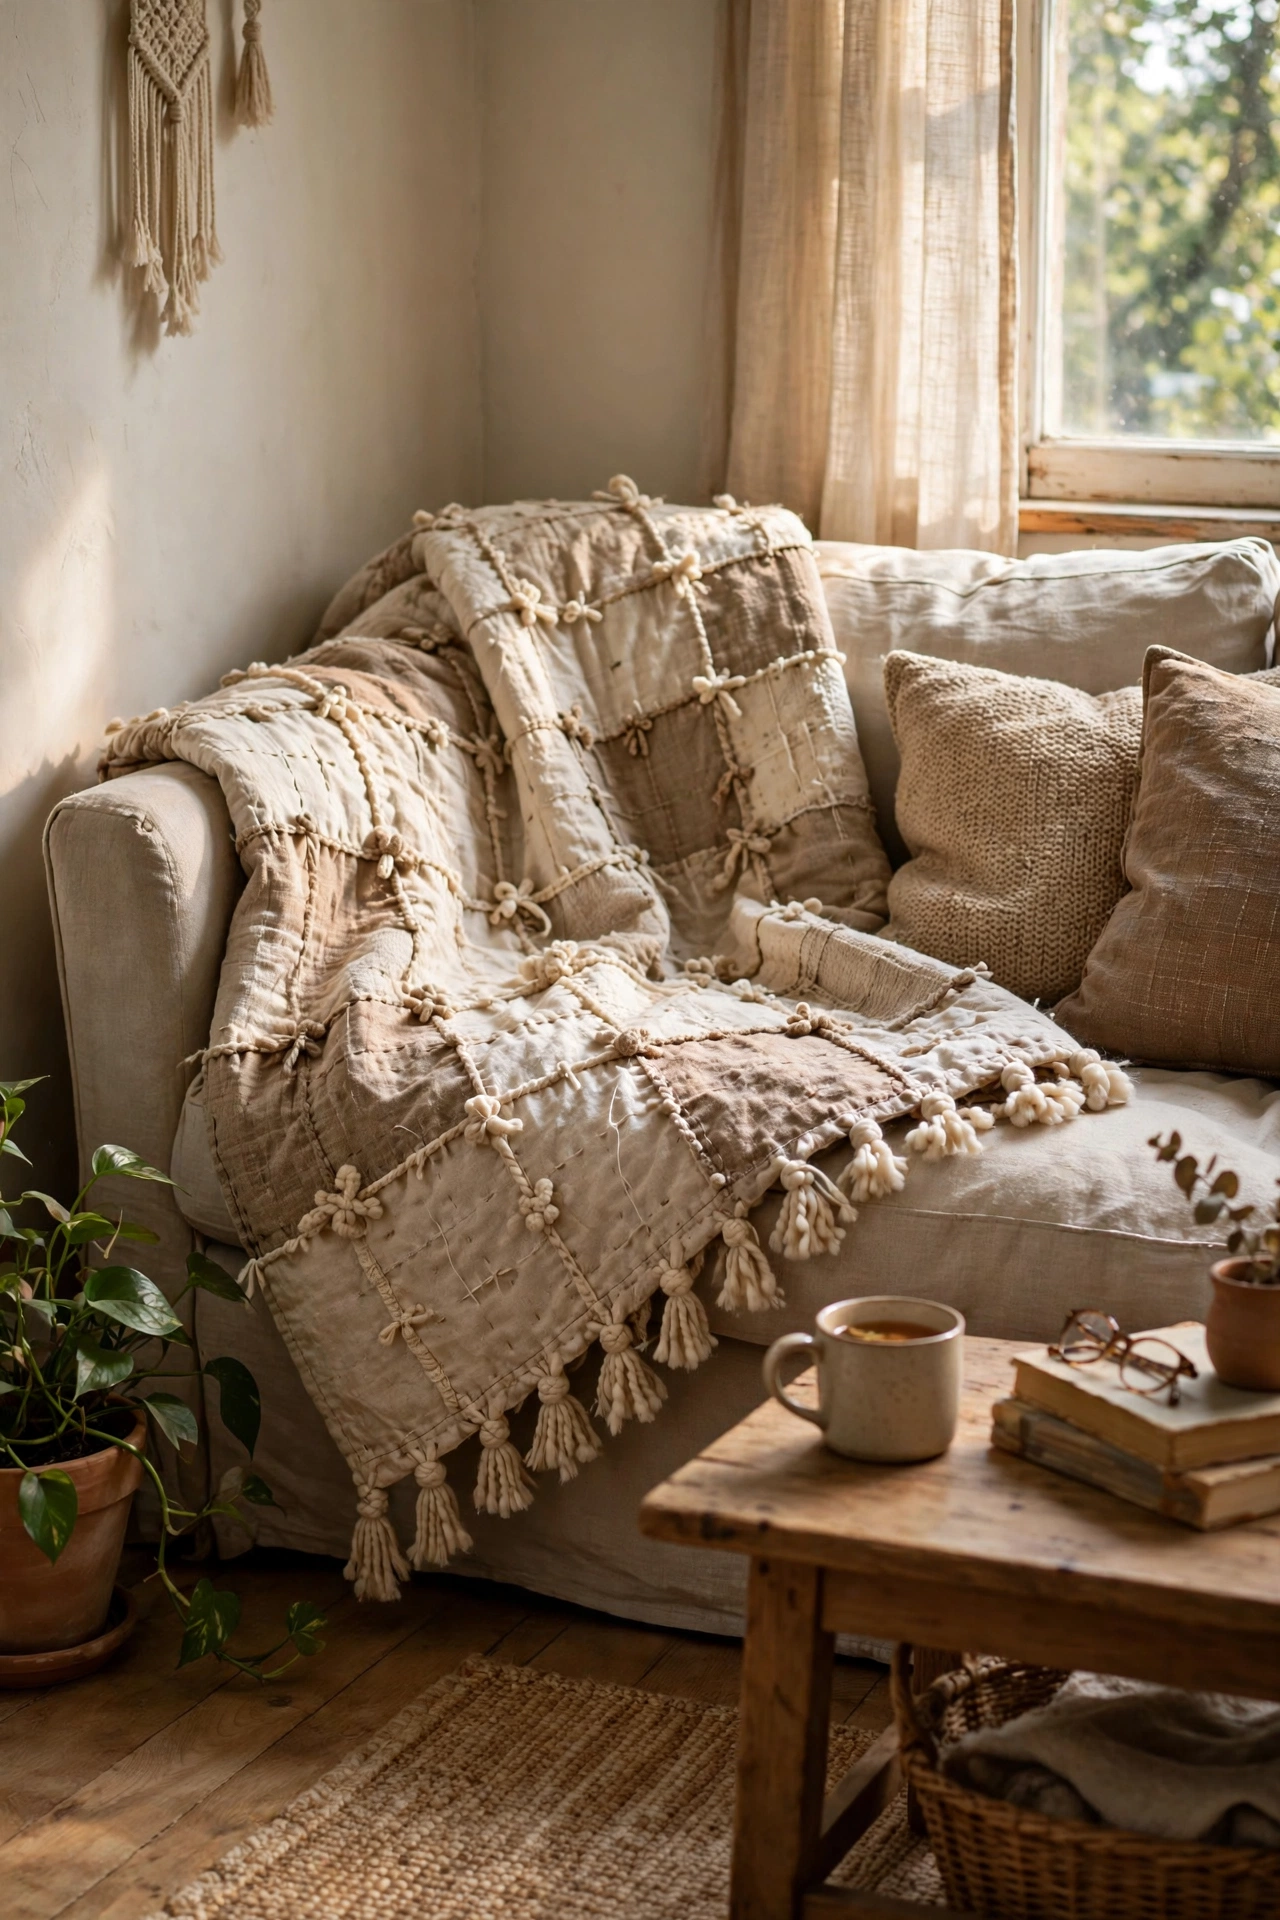
Layering batting between two fabrics with tied knots mimics a quilt. I layered a pretty top fabric, batting, and a backing, then tied yarn knots every six inches through all layers. The tied knots hold everything together with no stitching. I space the knots evenly using a ruler; random spacing looks messy. My tied throw looks like a real quilt and took one evening. It is the cosiest no-sew project on this list.
Cost: ~$25-35 | Time: 3 hours
25. Seasonal Pillow Swap System
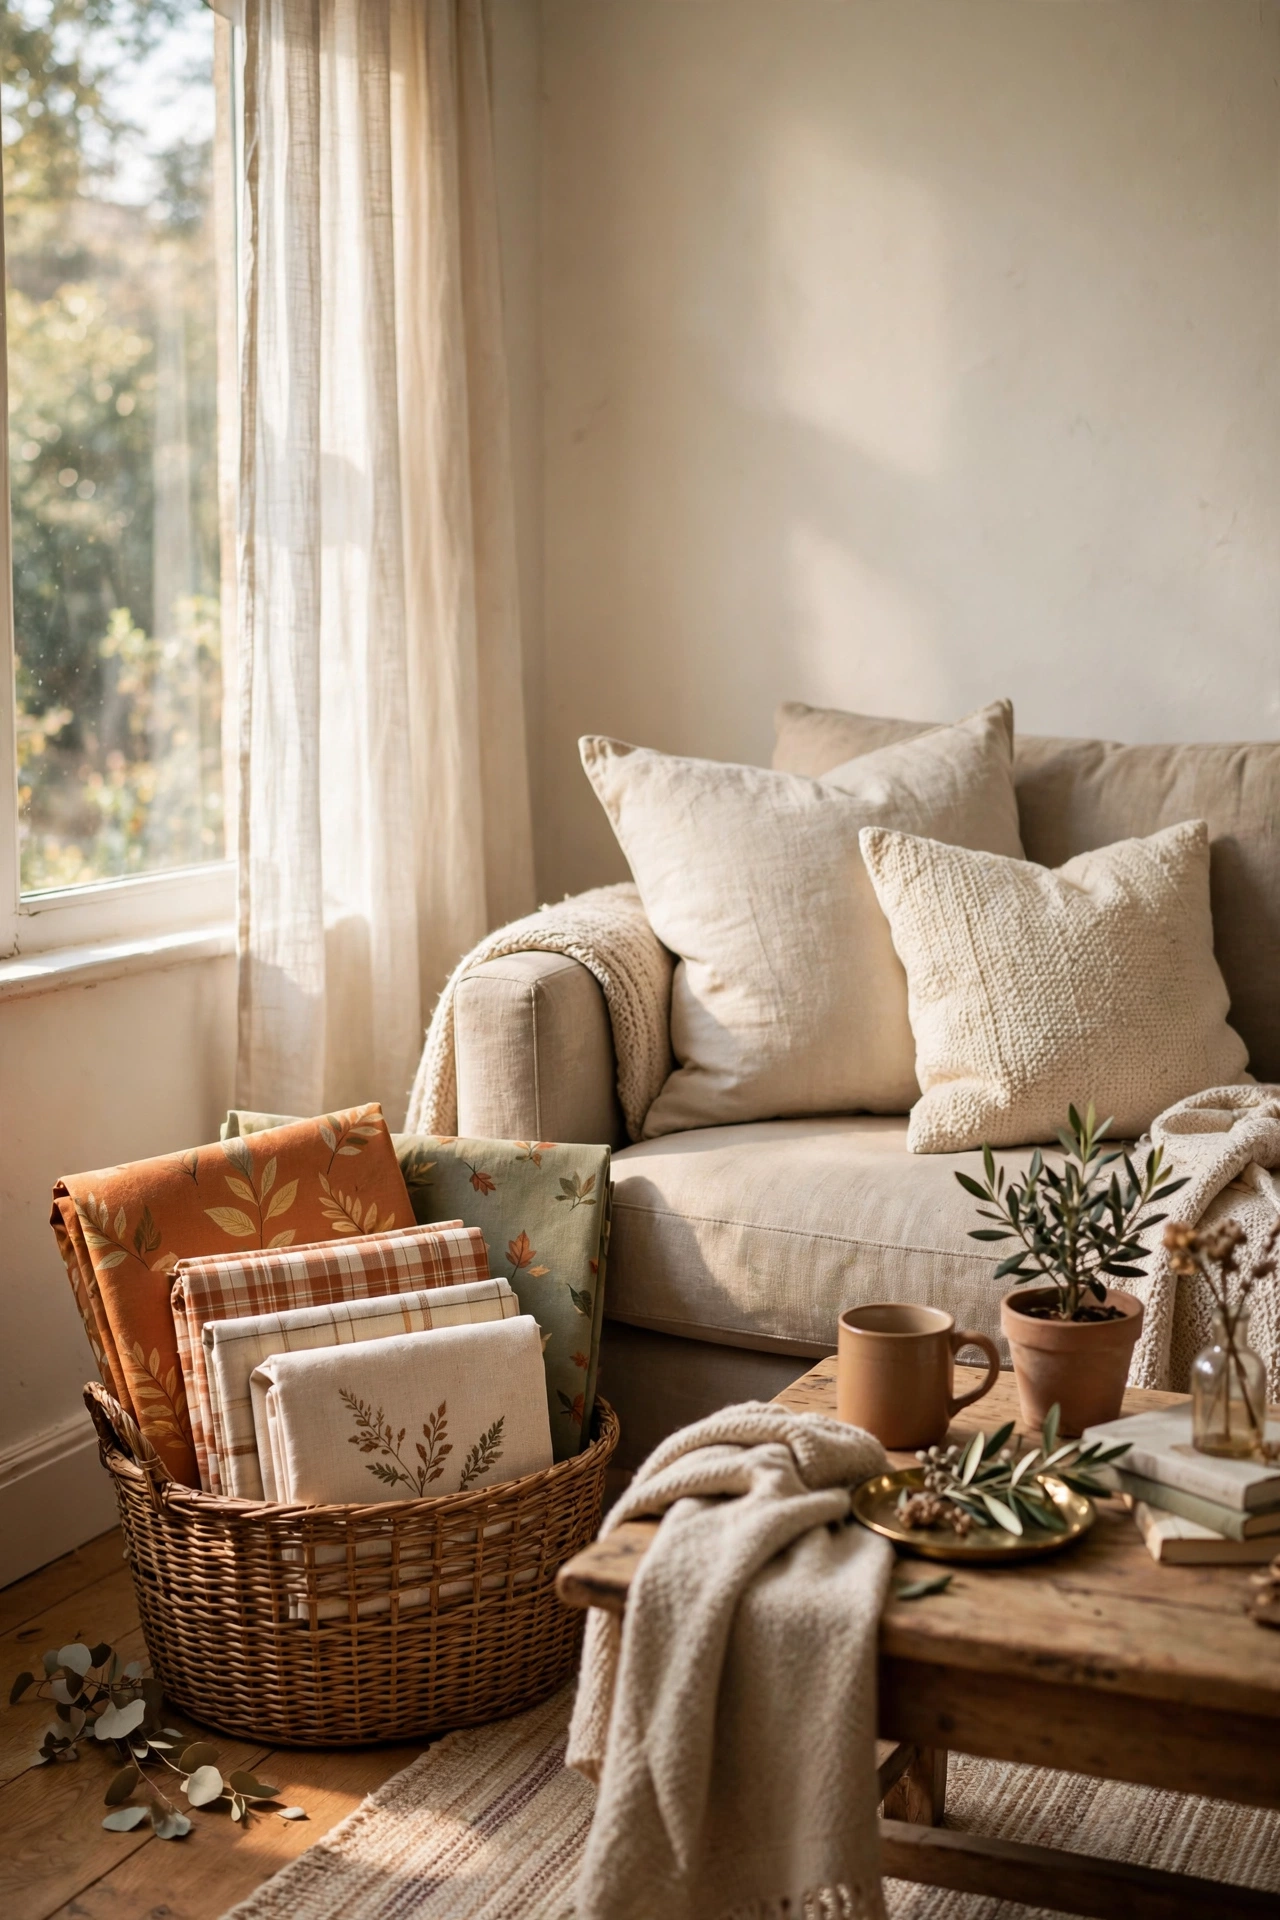
Envelope pillow covers make seasonal swaps effortless. I made a set of neutral base pillows, then a collection of seasonal envelope covers that slip on in seconds. The envelope style needs no zippers, so covers take twenty minutes each. I store off-season covers flat in a basket. My living room changes with the seasons for the cost of fabric remnants. Once you have the base pillows, each new look costs under $10.
Cost: ~$8-12 per cover | Time: 30 minutes per cover
Quick questions, answered
Does iron-on hem tape really hold up?
Yes, if you apply it correctly. Use a hot iron, press for a full ten seconds per section, and let it cool completely before handling. My hem-taped curtains have survived three years and dozens of washes. The failures come from rushing the pressing, not from the tape itself.
What is the best no-sew adhesive for fabric?
Iron-on hem tape for anything washable, because it bonds into the fibres. Fabric glue works for decor items that will not be washed, but test it on a scrap first. My glue bled through white cotton and stained it, which is why I always test now.
Can no-sew projects really look professional?
Absolutely. The secret is pressing, measuring, and tight wrapping. Nobody has ever guessed my pillow covers have no zippers or that my headboard is foam boards. Neatness reads as professional; the construction method is invisible.
📌 Never touching a sewing machine? Pin this post now so you can save this idea for your next project.
More beginner-friendly projects: (see also: 15-easy-diy-home-decor-projects-for-beginners-under-25) (see also: 17-easy-diy-home-decor-projects-for-beginners-under-50) (see also: 25-diy-shelf-ideas-on-a-budget)
