17 Thrifted Frame DIY Ideas That Look Custom
I found the ugliest frame of my life at a charity shop last spring. Scratched gold plastic, a faded print of someone else’s wedding still inside, priced at 50p, and I nearly walked straight past it. But thrifted frame DIY is exactly this game, spotting good bones under the ugly and knowing a tin of spray paint erases every bad decision a previous owner made. I bought it, carried it home like a rescue dog, and by Sunday evening it was hanging in my hallway looking like something from a boutique. That one small win started a full obsession.
Since then I have transformed more than thirty secondhand frames, and I have made every mistake in the book so you do not have to. Some of these projects cost less than a takeaway coffee. Others take a patient afternoon and a steady hand. Every single one looks custom, which is the entire point. Here are the seventeen frame projects I would genuinely do again, ordered by how impressed my visitors were.
1. Spray-Painted Metallic Gallery Frames
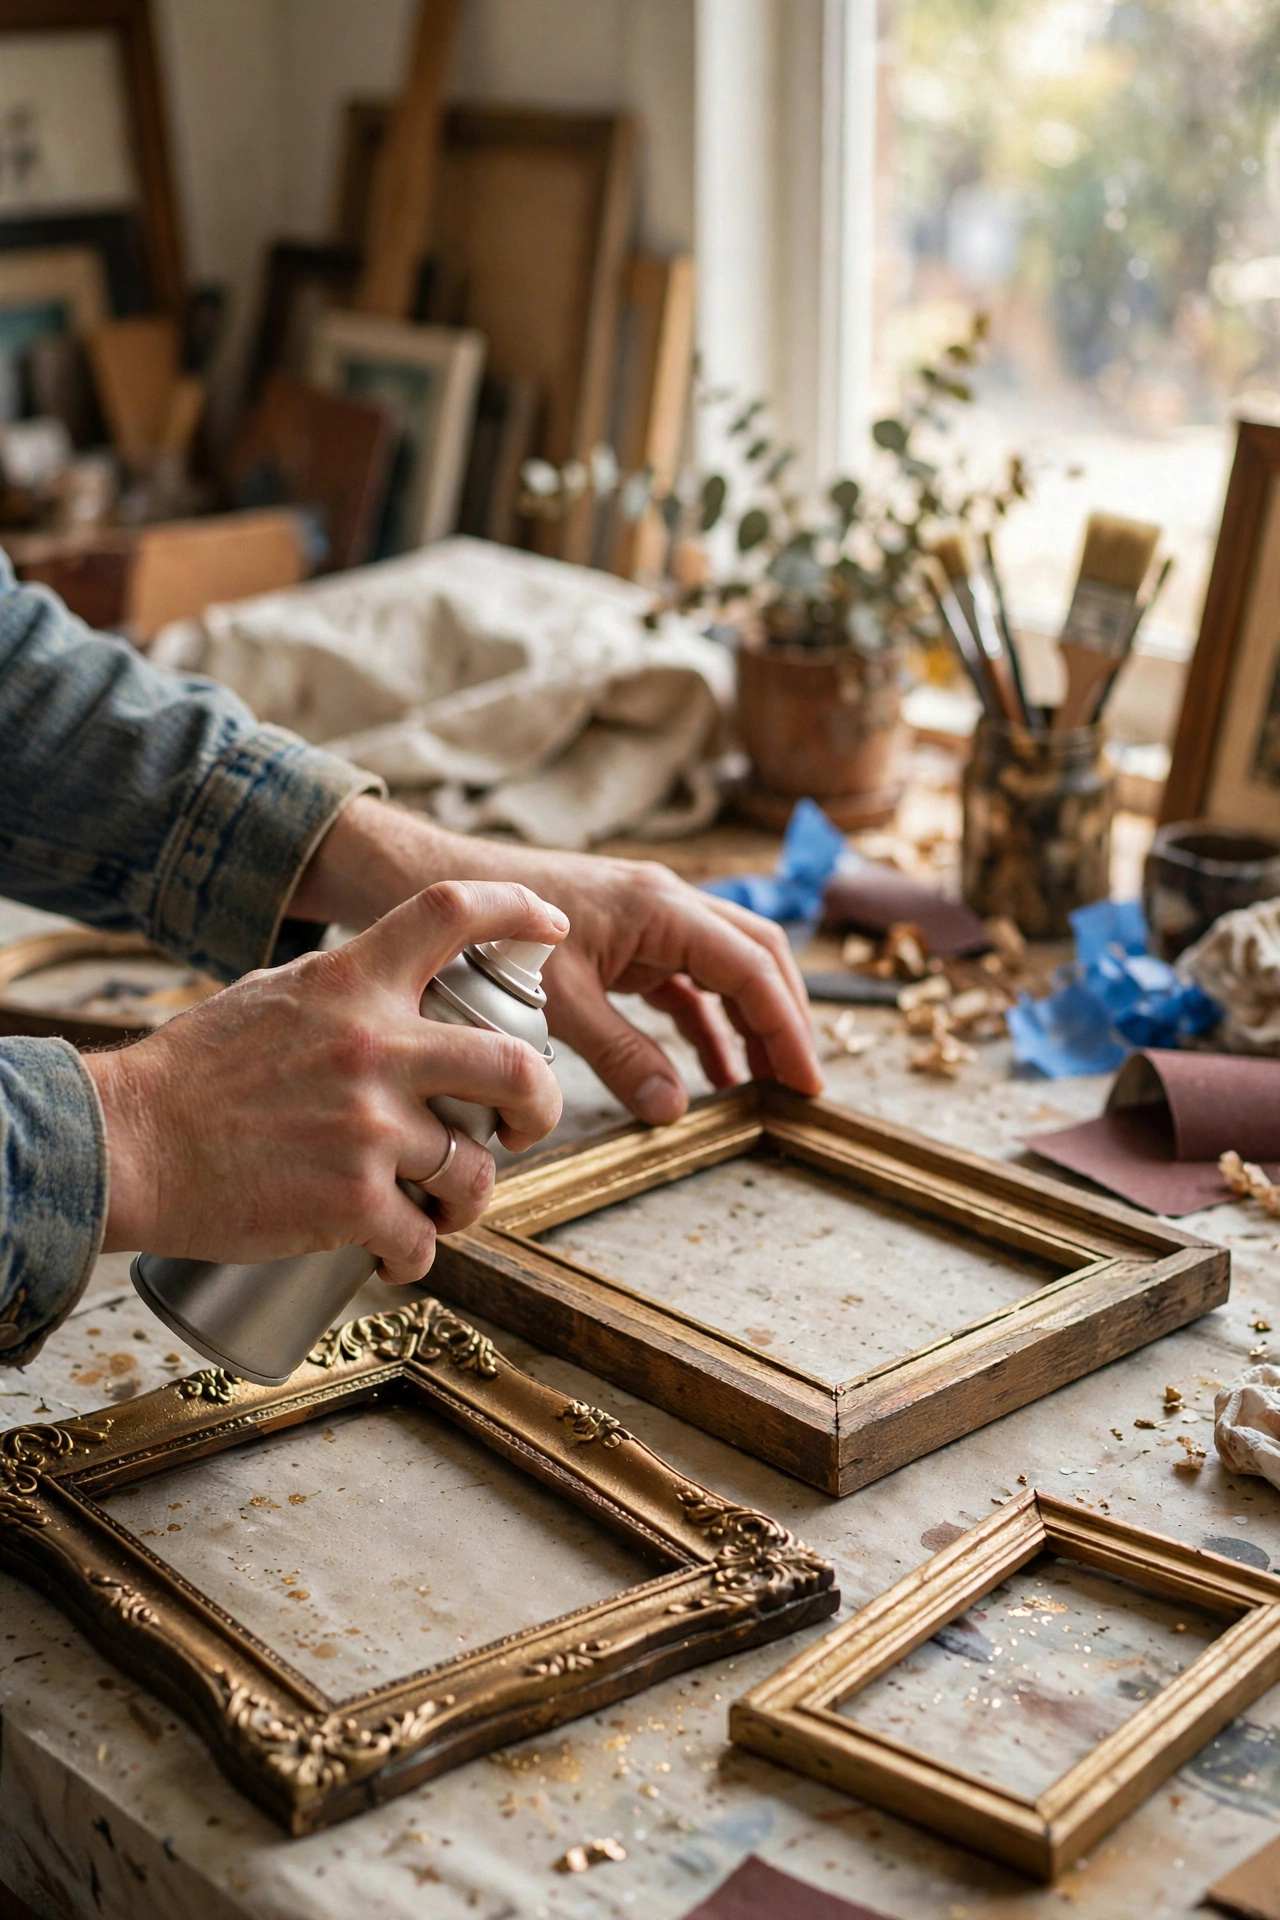
A matching set of metallic frames is the fastest way to fake a designer gallery wall, and charity shops are full of the raw material. Pick up any frames with decent moulding, no matter how clashing the finishes, then unify them with spray paint. I clean each frame with sugar soap, give it a light sand so the paint grips, then apply two thin coats of brushed-brass spray, waiting twenty minutes between coats. My first attempt taught me the golden rule: hold the can about 20cm away and keep it moving, because I sprayed one corner too close and spent an hour sanding out drips. Hang them in a tight grid above the bed, and if you need layout help, (see also: 23-above-bed-decor-ideas-that-cost-almost-nothing/) has brilliant placement ideas, and nobody will guess the frames cost less than the prints inside them.
Materials: Assorted secondhand frames, sugar soap, fine sandpaper, metallic spray paint | Cost: ~$3-8 | Time: 1-2 hours plus drying
2. Woven Seagrass Mounts for a Coastal Feel
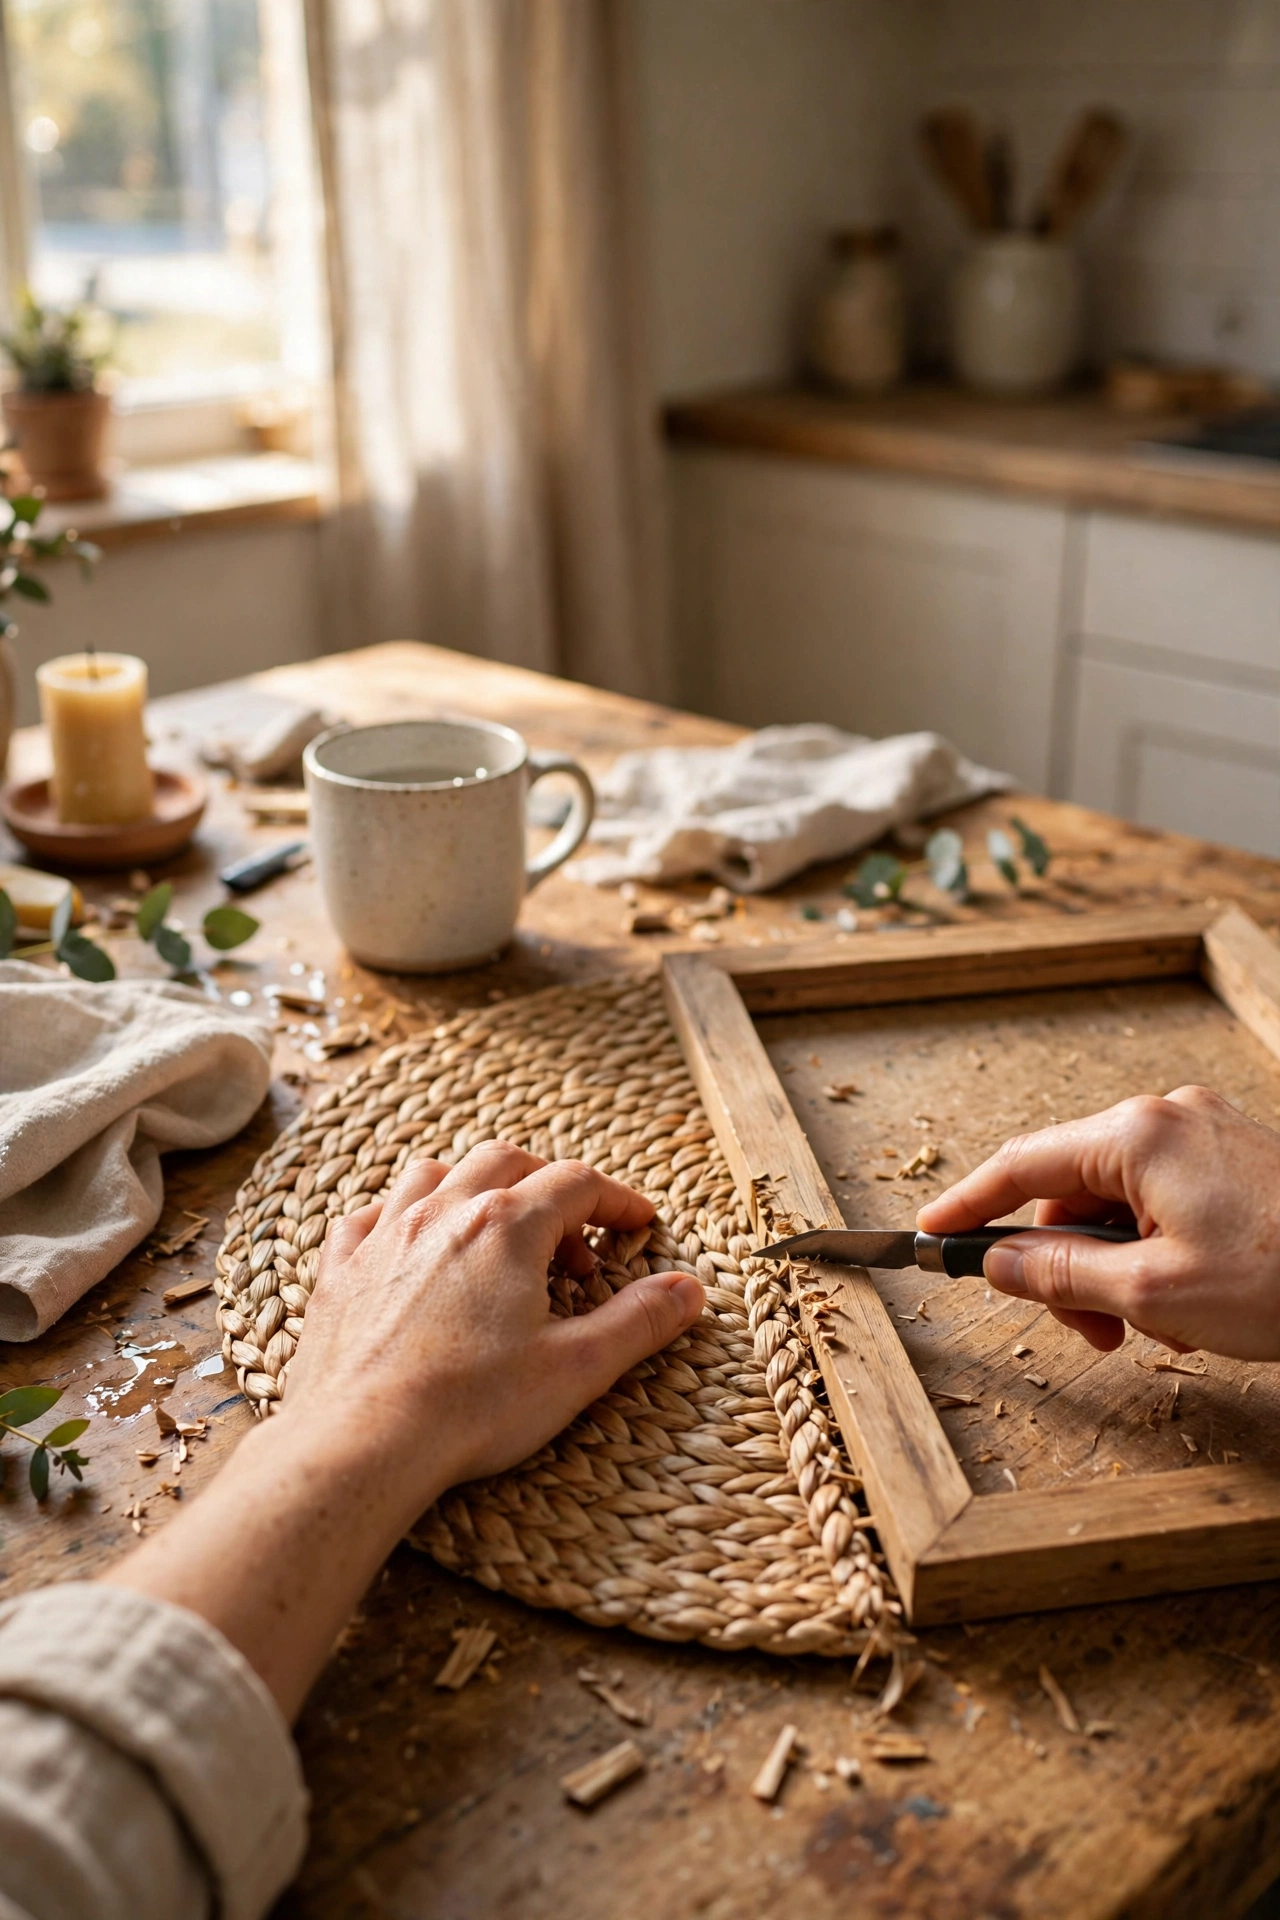
Paper mounts look fine, but woven texture looks expensive, and seagrass placemats from the charity shop cost pennies. Measure the inside opening of your frame, then cut a placemat to fit with a craft knife and a metal ruler. Cut a smaller window in the centre for your print, keeping the opening about 5mm smaller than the artwork on each side so nothing slips through. Glue the print behind the mount with acid-free tape, sandwich it all back into the frame, and the seagrass weave does the rest. My first cut wandered off the ruler line and looked homemade in the worst way, so now I score lightly first and cut in two passes. These look brilliant grouped in threes above a console table.
Materials: Secondhand frame, seagrass placemat, craft knife, metal ruler, acid-free tape | Cost: ~$2-5 | Time: 30-45 minutes
3. Chalkboard Paint Backing Boards
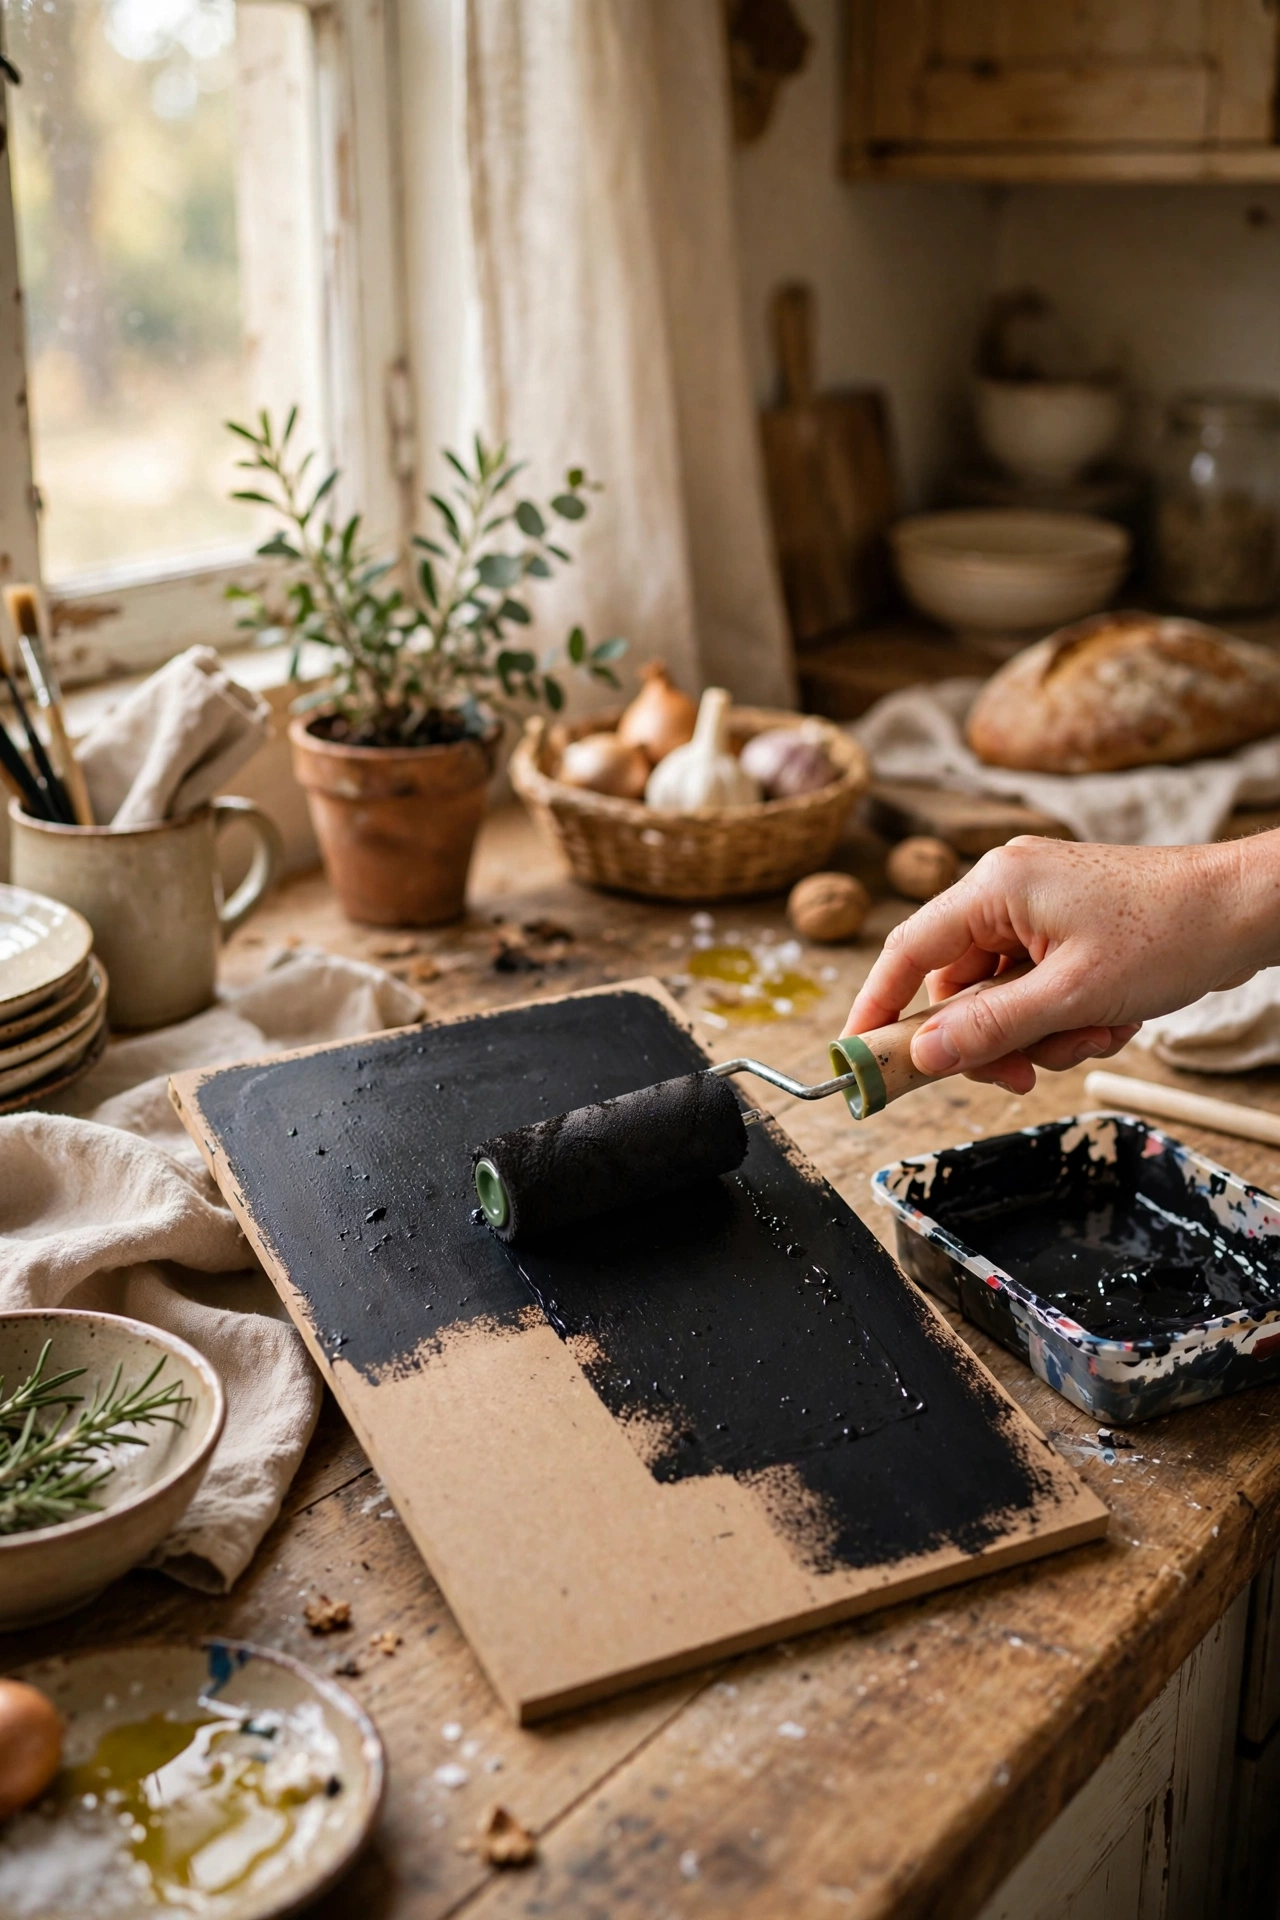
Turn any frame into a reusable message board by painting the backing instead of framing art. Pop the backing board out, give it two or three thin coats of chalkboard paint, and let each coat dry fully, which matters more than you think. Once cured, season the surface by rubbing chalk all over it and wiping it off, or your first message will ghost permanently. I skipped this step on my first board and the word “milk” haunted it for months. Slide the board back in behind the glass, or leave the glass out for a matte look, and you have a kitchen memo board or a kids’ doodle frame that wipes clean. Write the week’s menu on it and watch it actually get used.
Materials: Frame with backing board, chalkboard paint, small roller, chalk | Cost: ~$4-9 | Time: 1 hour plus drying
4. Fabric-Wrapped Frame Rails
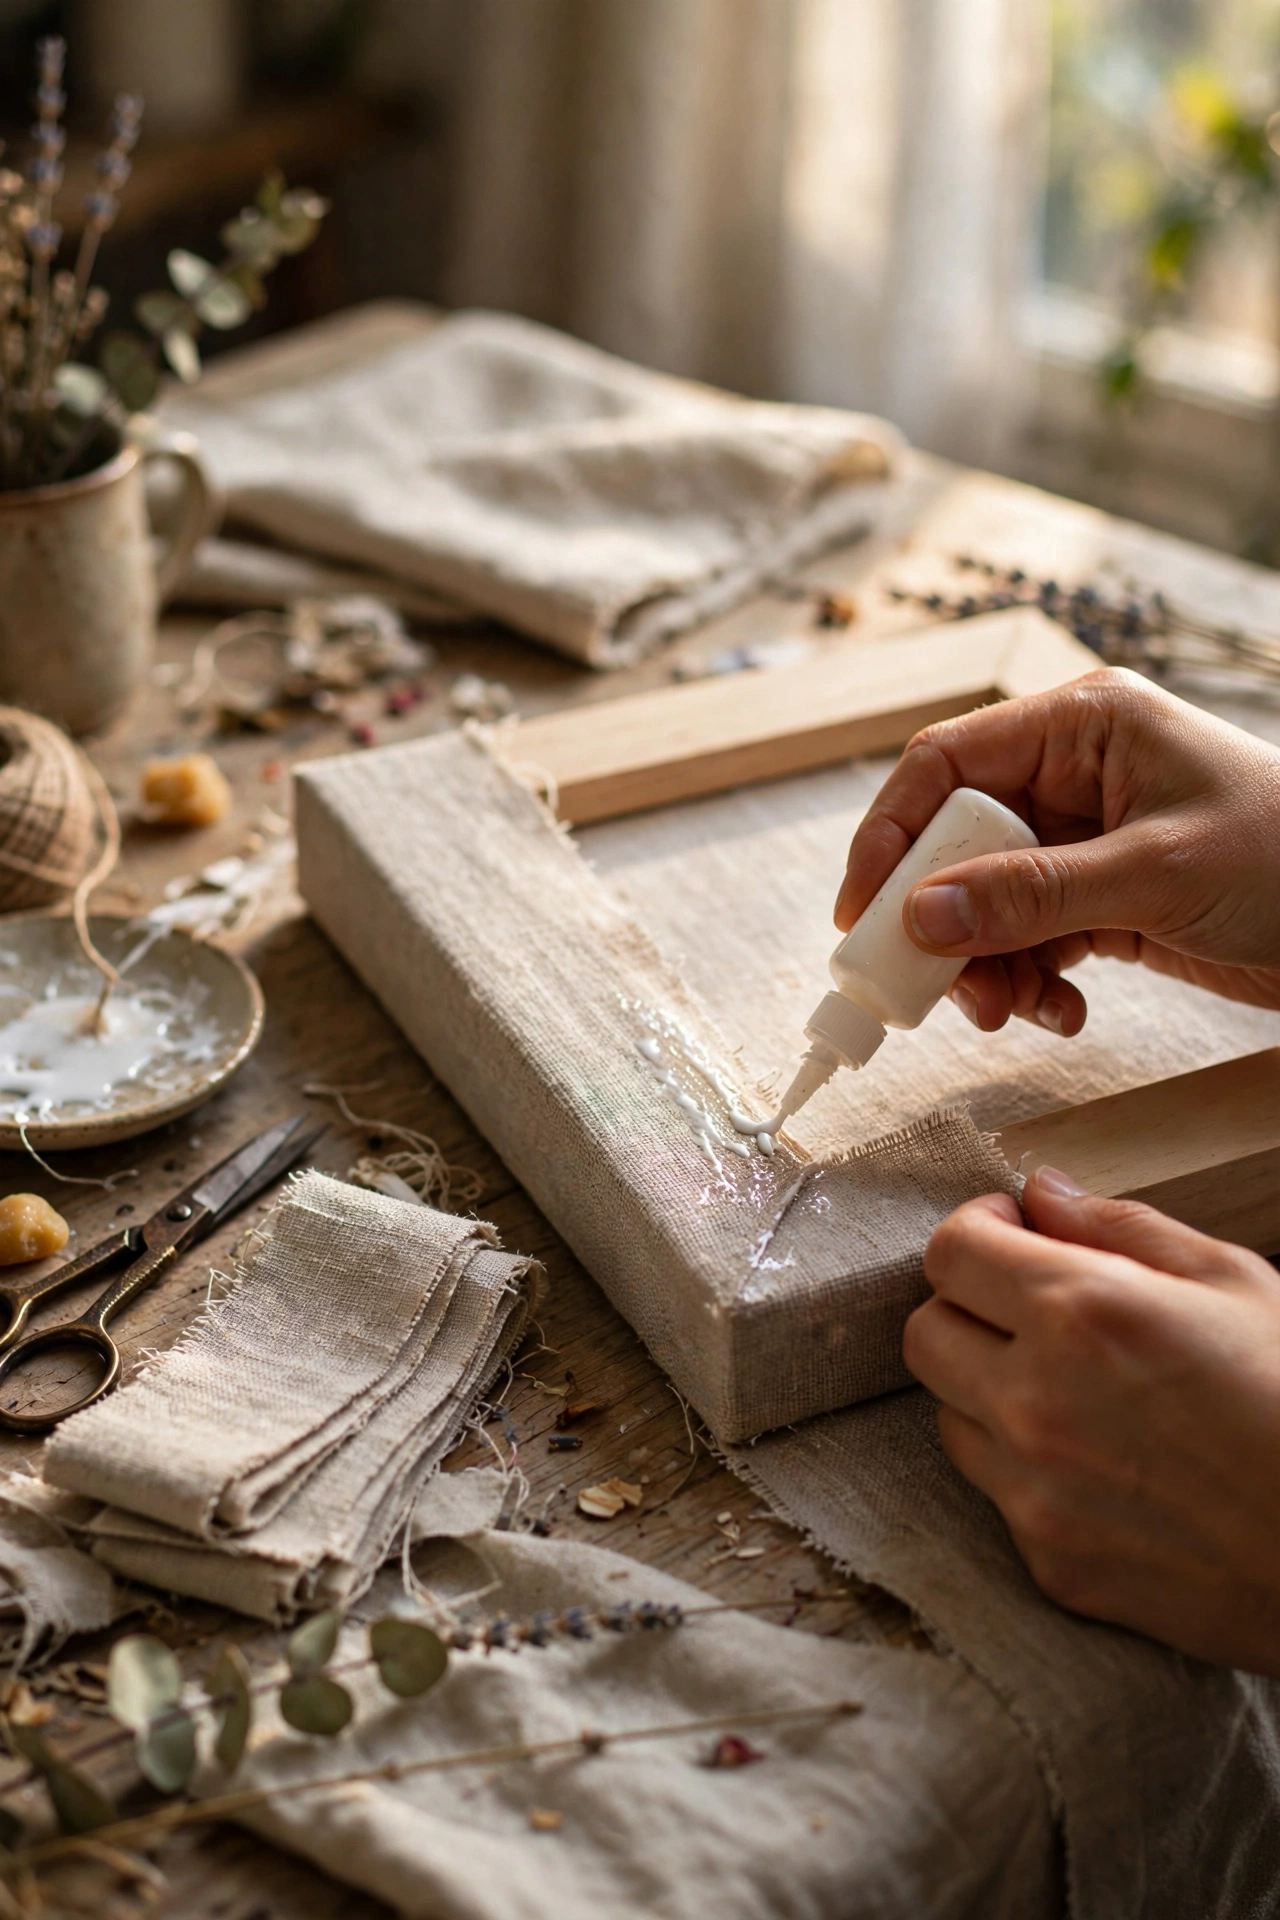
Linen-wrapped frames sell for silly money in homeware shops, but wrapping one yourself takes twenty minutes. Cut your fabric into strips about 5cm wide, brush PVA glue along a section of the frame rail, and wind the strip around at a slight angle, overlapping as you go. Fold the raw edges under as you wrap so nothing frays, and tuck the final end underneath with a dab of glue. I used a remnant of oatmeal linen and my first corner bunched horribly until I learned to clip tiny notches into the fabric at the turn. The result reads as soft, tailored, and far more expensive than it is. Try it on a plain pine frame first before attempting anything with fiddly carved detail.
Materials: Plain frame, linen or cotton remnant, PVA glue, scissors | Cost: ~$2-6 | Time: 20-40 minutes
5. Mirror Tile Mosaic Frames
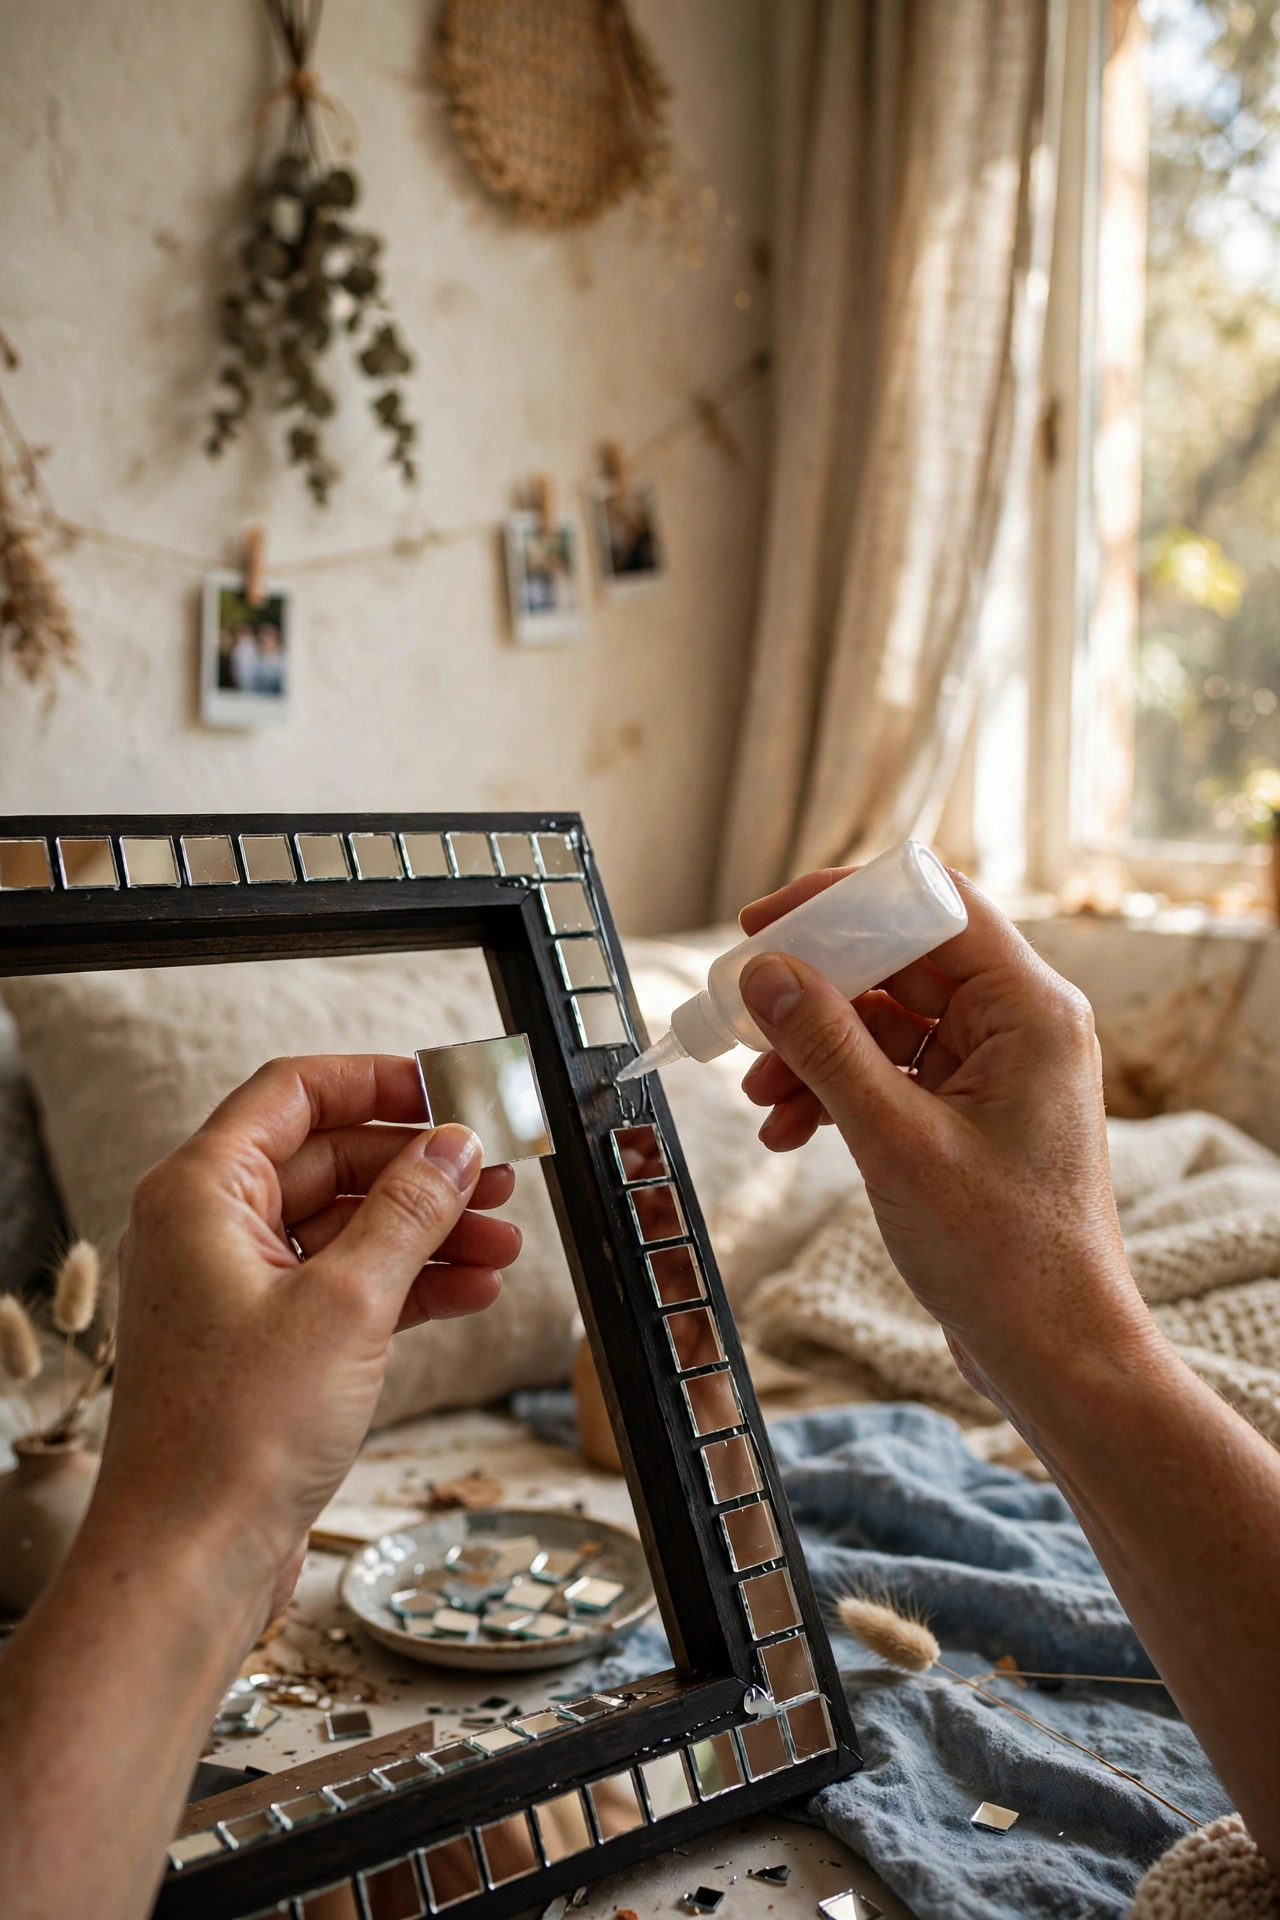
For pure glamour on a budget, nothing beats a frame covered in mirror tiles. Buy a bag of small square mirror tiles from a craft shop and dry-lay your pattern on a wide, flat secondhand frame before gluing anything. I fix mine with a strong clear adhesive, working from the centre outward, and I paint the frame dark first so any tiny gaps read as intentional shadow lines. Wear gloves, because I sliced my thumb on a tile edge during my first attempt and bled on the worktop, which is not the look. Skip actual grout entirely. Hung in a bedroom, the finished frame throws light around the room and pairs beautifully with other (see also: 17-thrifted-bedroom-decor-that-look-expensive/) finds.
Materials: Wide flat frame, mirror tiles, strong clear adhesive, dark paint, gloves | Cost: ~$6-12 | Time: 2-3 hours
6. Driftwood Frames for Coastal Prints
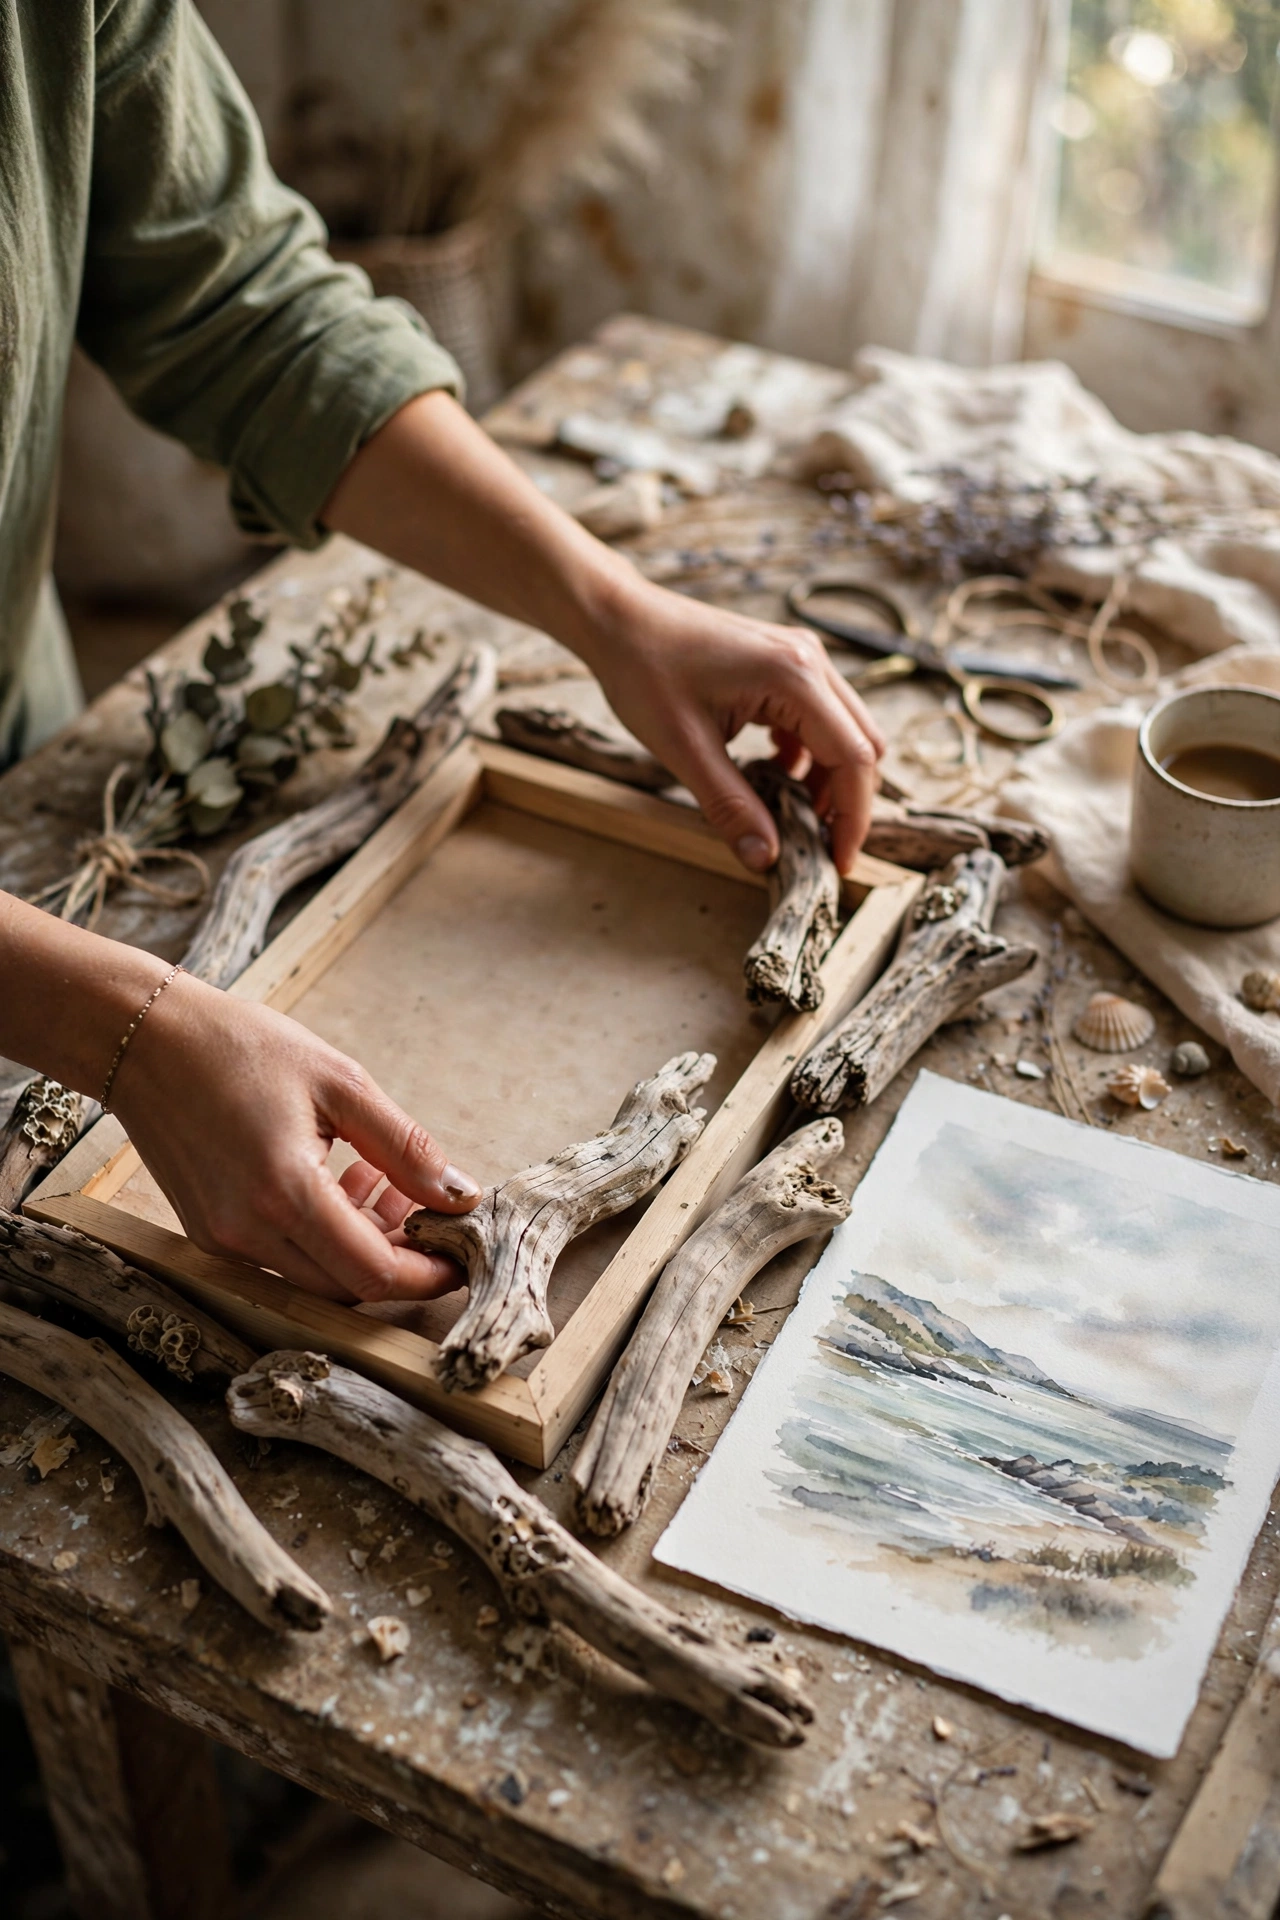
If you walk beaches, you already own the raw material for this one. Collect straightish pieces of driftwood, scrub them clean, and let them dry fully indoors for a week, or trapped moisture will warp your glue joints. Arrange the pieces around a simple flat frame until the composition pleases you, then fix them with wood glue and small clamps rather than hot glue. I learned this the hard way when a heavy piece popped off a hot-glued frame at 2am and woke the whole house. Seal the finished frame with matte varnish to stop shedding. It is the perfect home for a coastal print or a black and white seascape photograph.
Materials: Flat frame, driftwood, wood glue, clamps, matte varnish | Cost: ~$2-7 | Time: 1-2 hours plus drying
7. Dark Wood Stain Over Cheap Pine
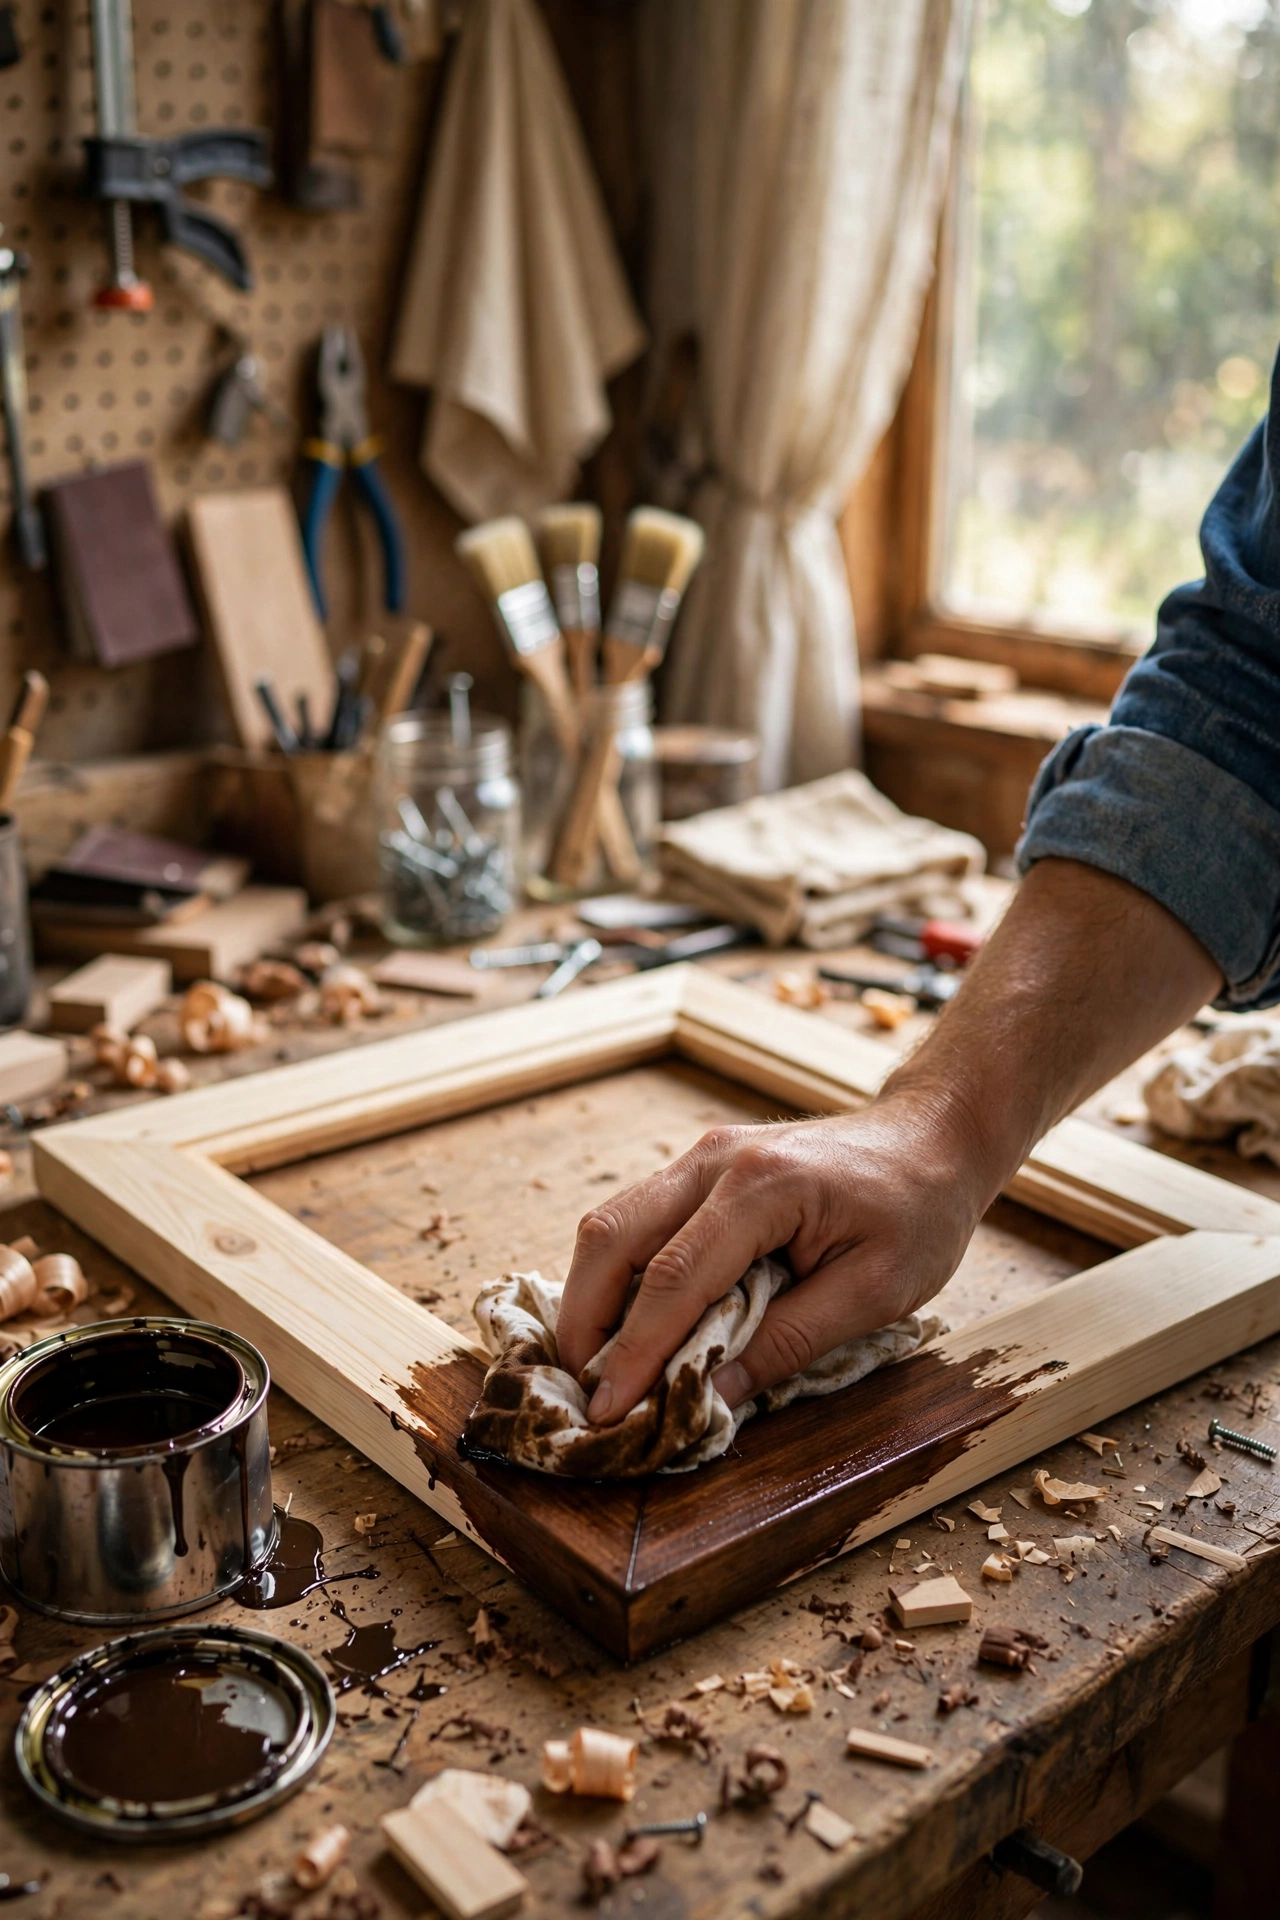
Orange pine is the charity shop frame’s natural state, and a dark walnut stain transforms it completely. Sand the frame back to bare wood, wipe off every speck of dust, and apply a pre-stain conditioner, which is the step everyone skips and regrets. Brush on gel stain, let it sit a few minutes, then wipe with the grain using a clean rag. I skipped conditioner on my first frame and ended up with a blotchy mess that looked worse than the orange pine. Finish with a coat of clear polyurethane for a furniture-grade sheen. The result genuinely passes as solid walnut at a glance, especially in a dim hallway.
Materials: Pine frame, sandpaper, pre-stain conditioner, gel stain, polyurethane | Cost: ~$5-10 | Time: 2 hours plus drying
8. Embroidery Hoop Art in Deep Box Frames
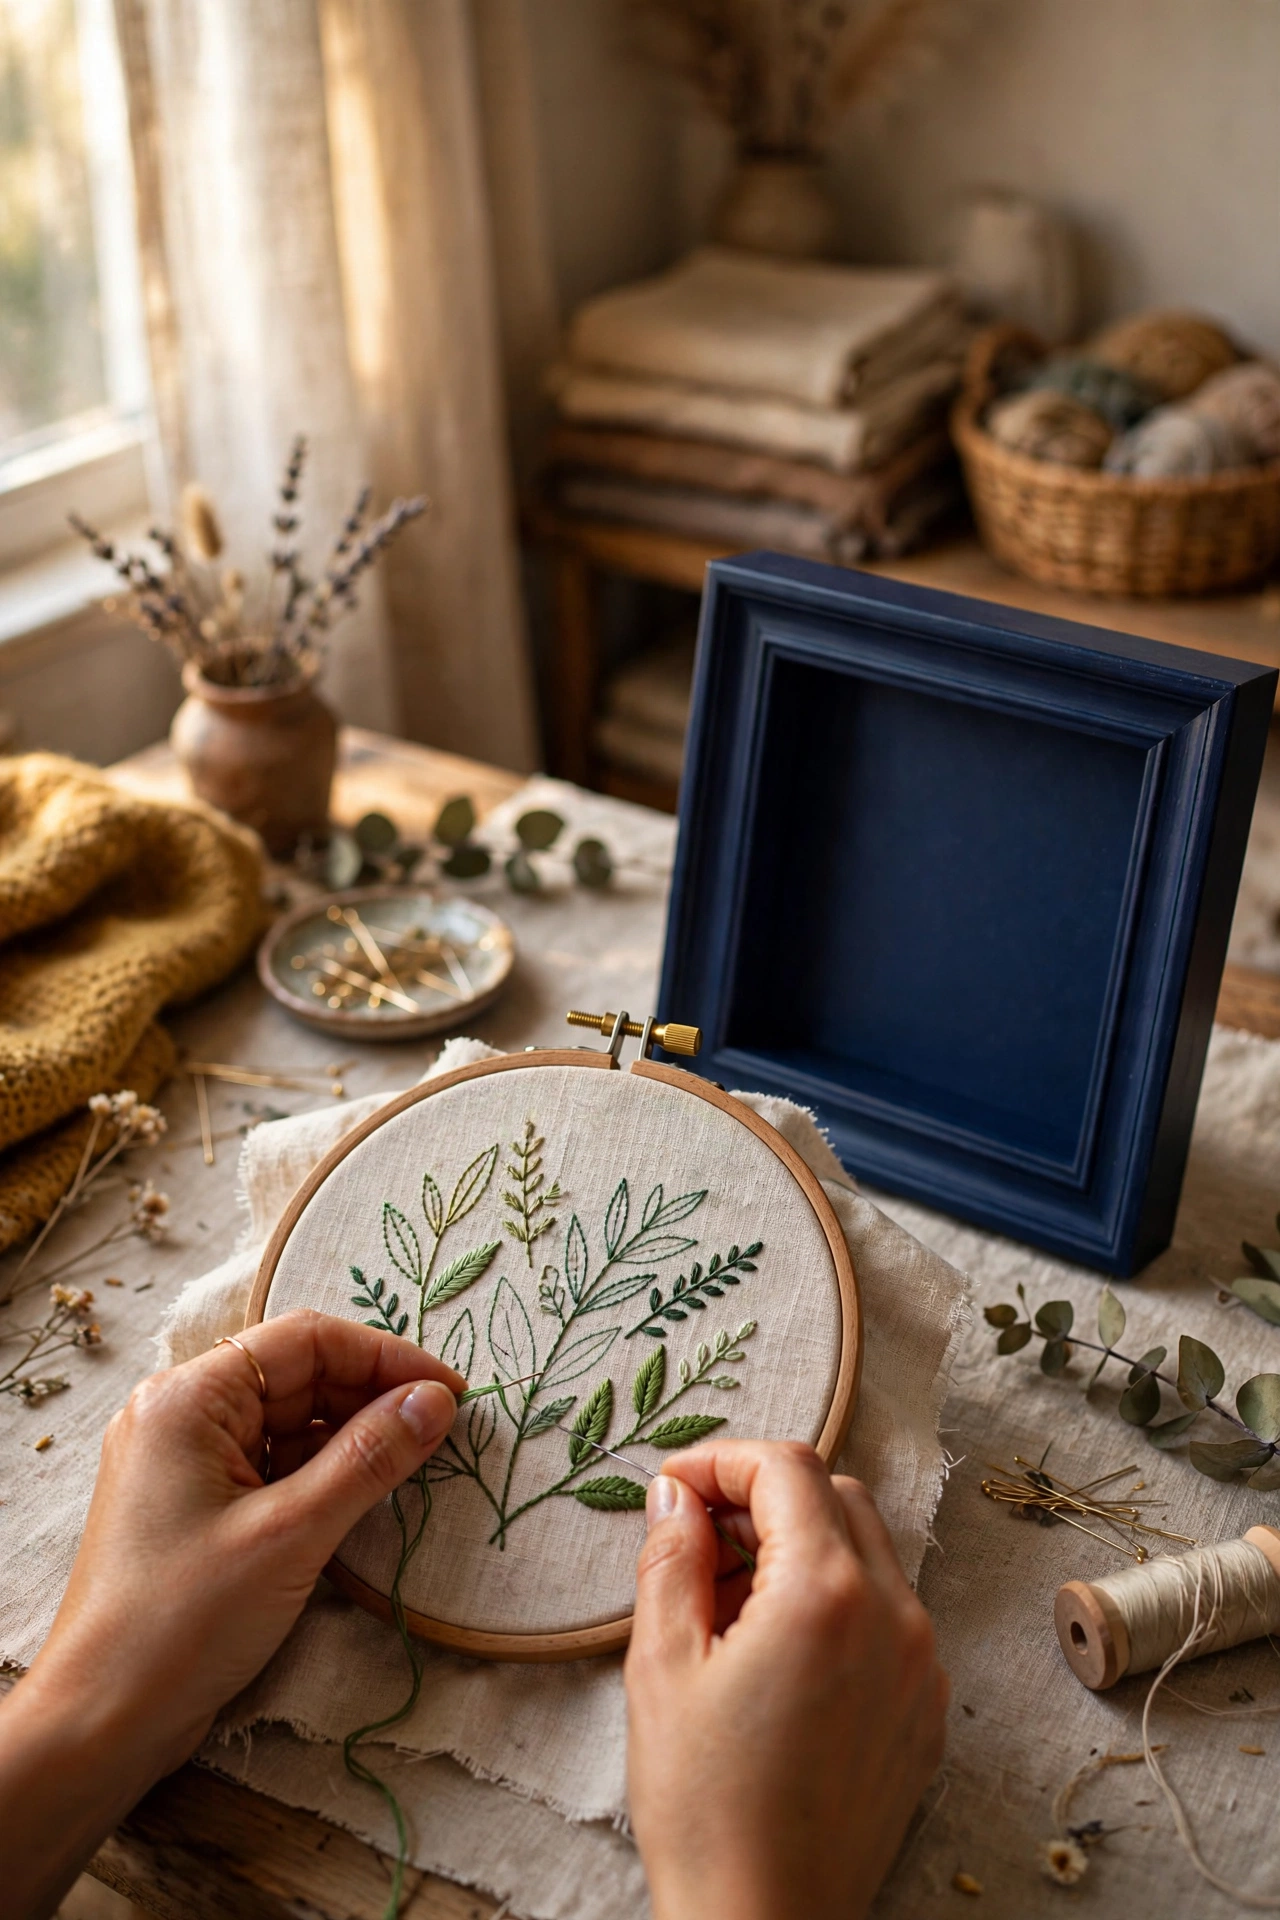
Float a small embroidery hoop inside a deep box frame and you get instant gallery texture. Stitch something simple, a sprig, a house number, a single word, in running stitch on plain calico, because fussy designs fight the frame. Trim the fabric, mount the hoop on a piece of foam board cut to the frame’s interior, and fix it with strong tape. My stitching is genuinely wonky, but a simple motif looks intentional rather than amateurish, which took me three hoops to believe. Paint the box frame a deep colour like forest green or navy and the hoop seems to hover inside. These make brilliant personalised gifts.
Materials: Deep box frame, embroidery hoop, calico, embroidery thread, foam board | Cost: ~$4-9 | Time: 1-2 hours
9. Pressed Botanicals in Floating Frames
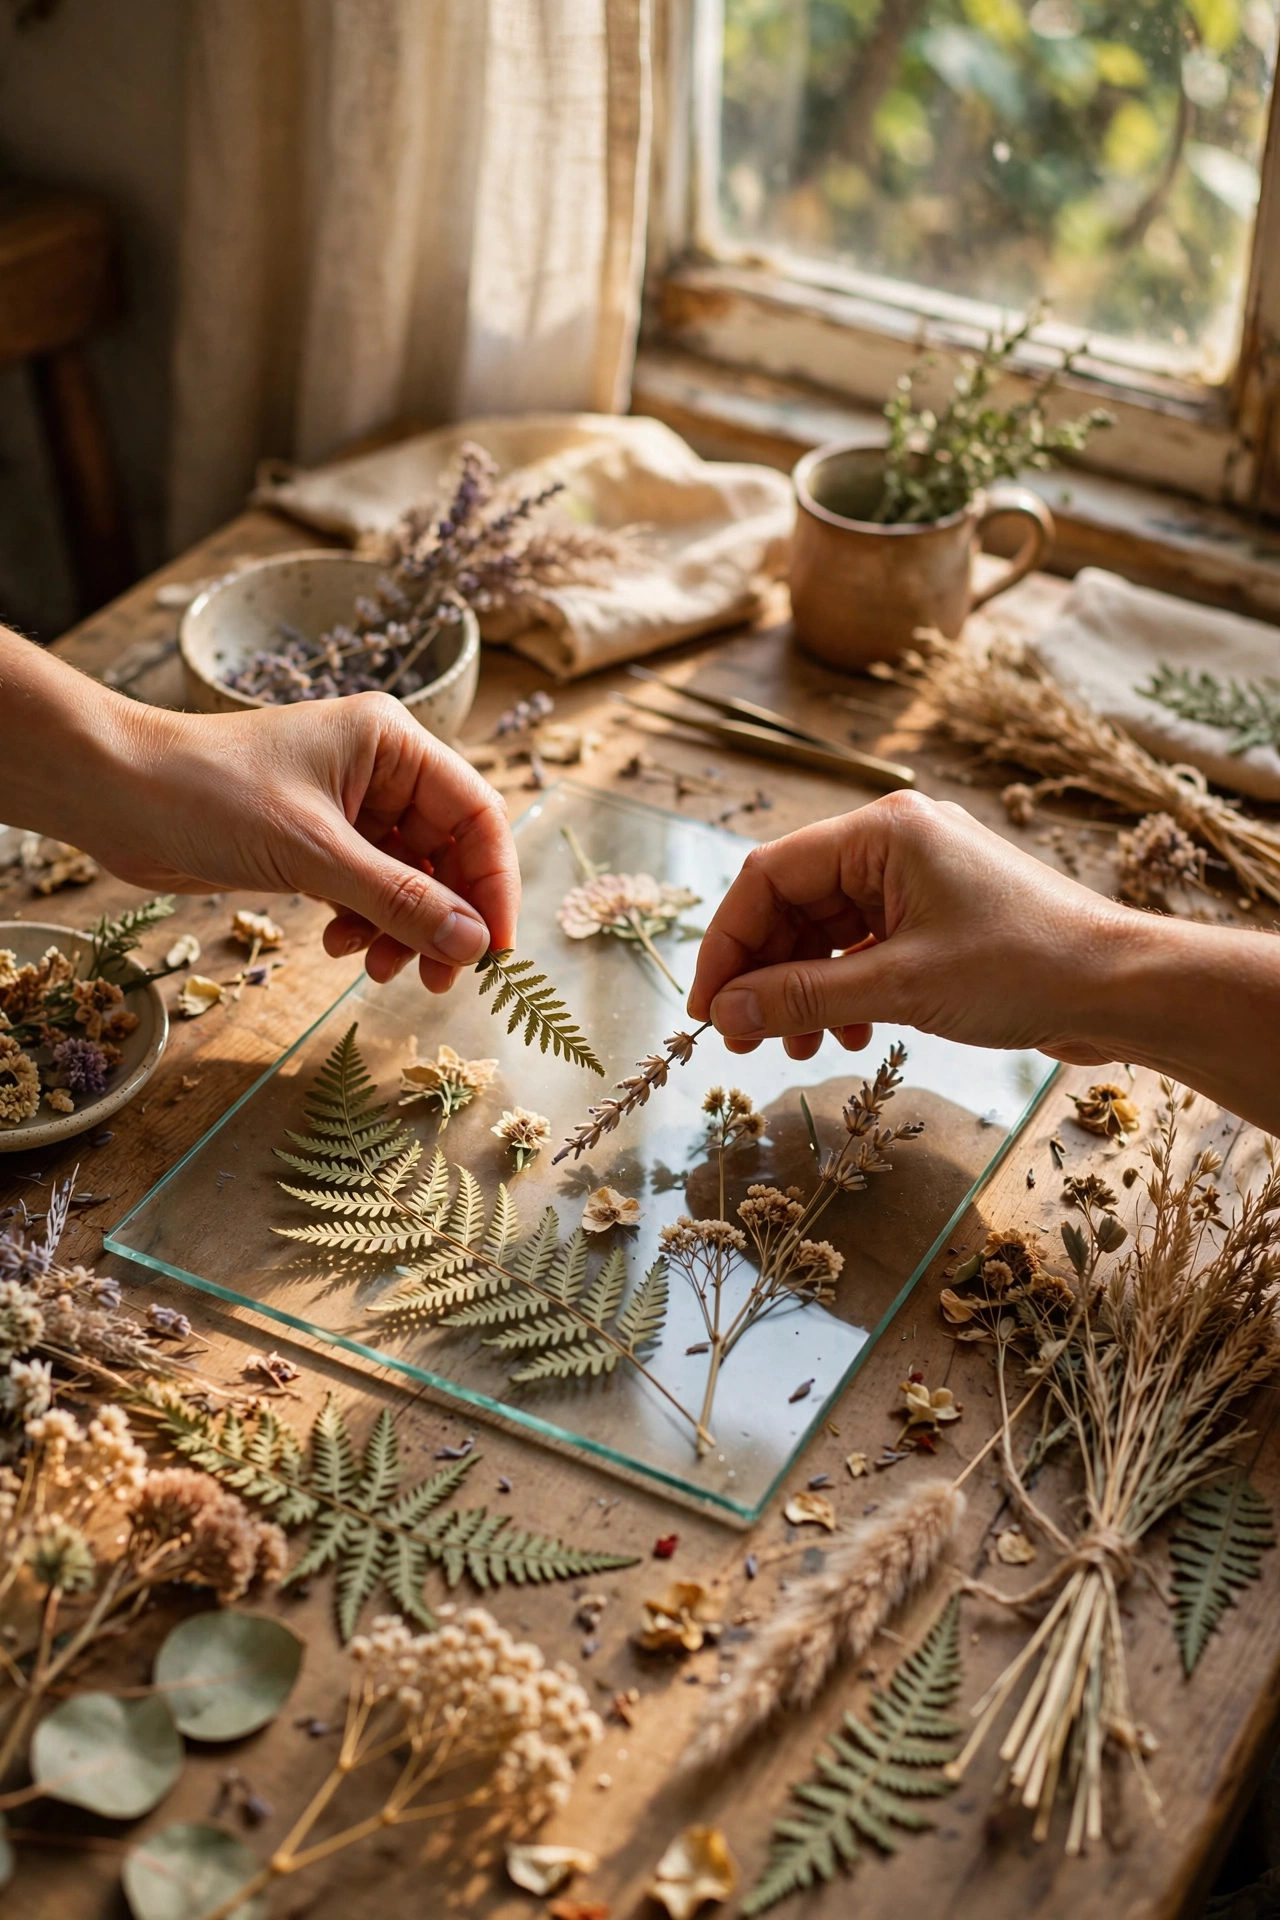
Pressed flowers sandwiched between two panes of glass look like specimens from a botanical museum. Press your flowers and leaves between heavy books for at least two weeks, because any remaining moisture will rot them inside the frame. I know this because my first attempt used barely-dry lavender and turned into a science experiment. Arrange the fully dry specimens on one pane, lay the second pane on top, and secure the sandwich with the frame’s clips or a neat border of washi tape. Hang where they catch daylight but not direct sun, which bleaches the colours within months. Ferns and grasses press best and keep their shape beautifully.
Materials: Floating frame, fresh flowers or leaves, heavy books, washi tape | Cost: ~$3-8 | Time: 30 minutes plus pressing time
10. Leather Strap Corner Accents
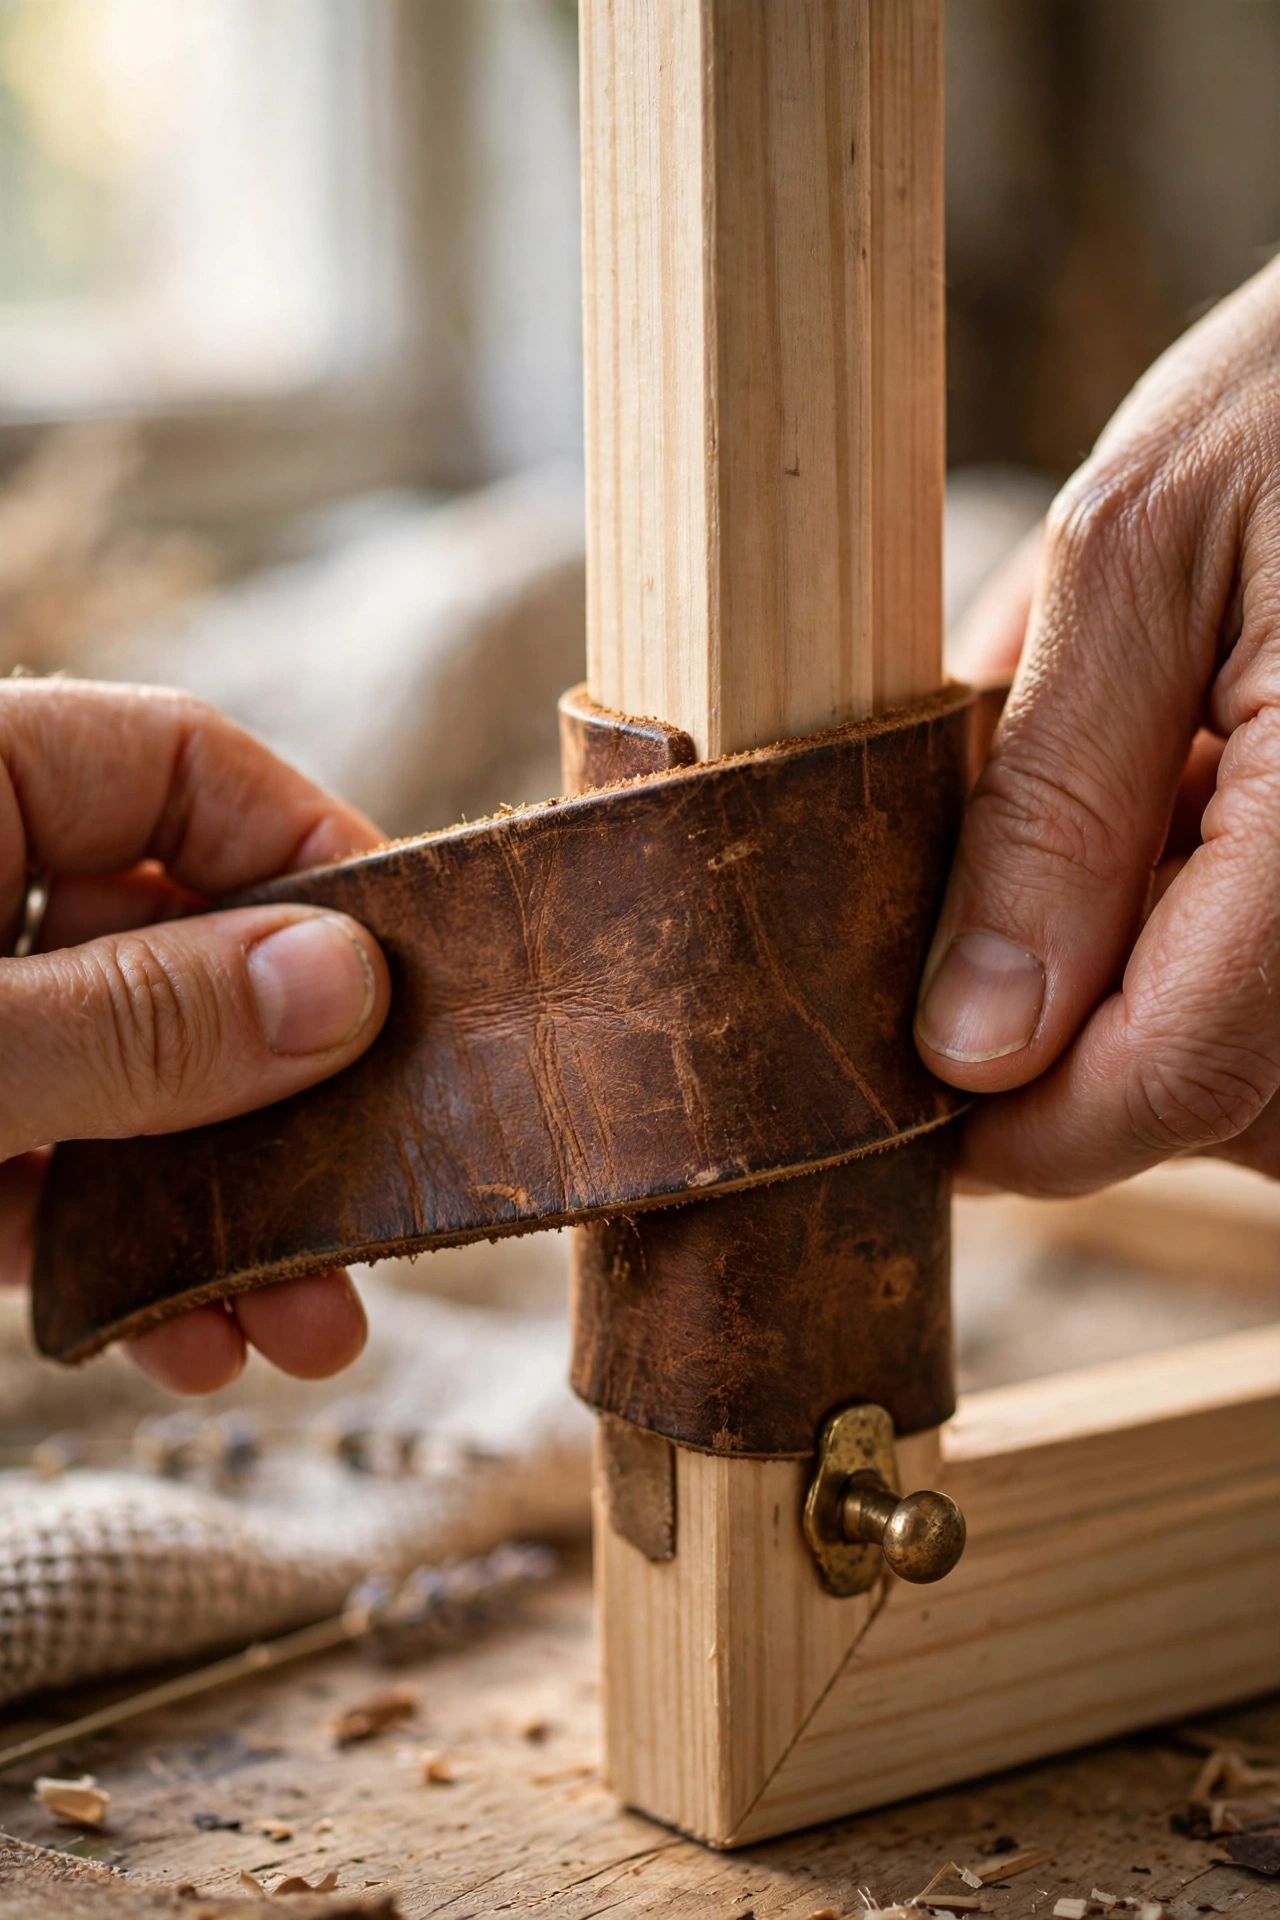
Four small leather corners turn a plain frame into something that looks designed rather than decorated. Cut an old belt or leather offcut into short strips, punch a hole near each end, and wrap them diagonally around the frame’s corners, fixing each with a small brass tack. The leather softens the geometry and adds a crafted, almost equestrian feel. I made my first set from a belt I had not worn in years, and the worn patina looked better than new leather ever could. This detail suits calm, pared-back rooms particularly well, and if your taste runs that way, (see also: 17-minimalist-bedroom-ideas-on-a-budget/) has more ideas in the same spirit. Keep the frame itself a quiet colour so the corners do the talking.
Materials: Plain frame, old leather belt or offcuts, hole punch, brass tacks, hammer | Cost: ~$2-6 | Time: 30 minutes
11. Decoupaged Map and Sheet Music Frames
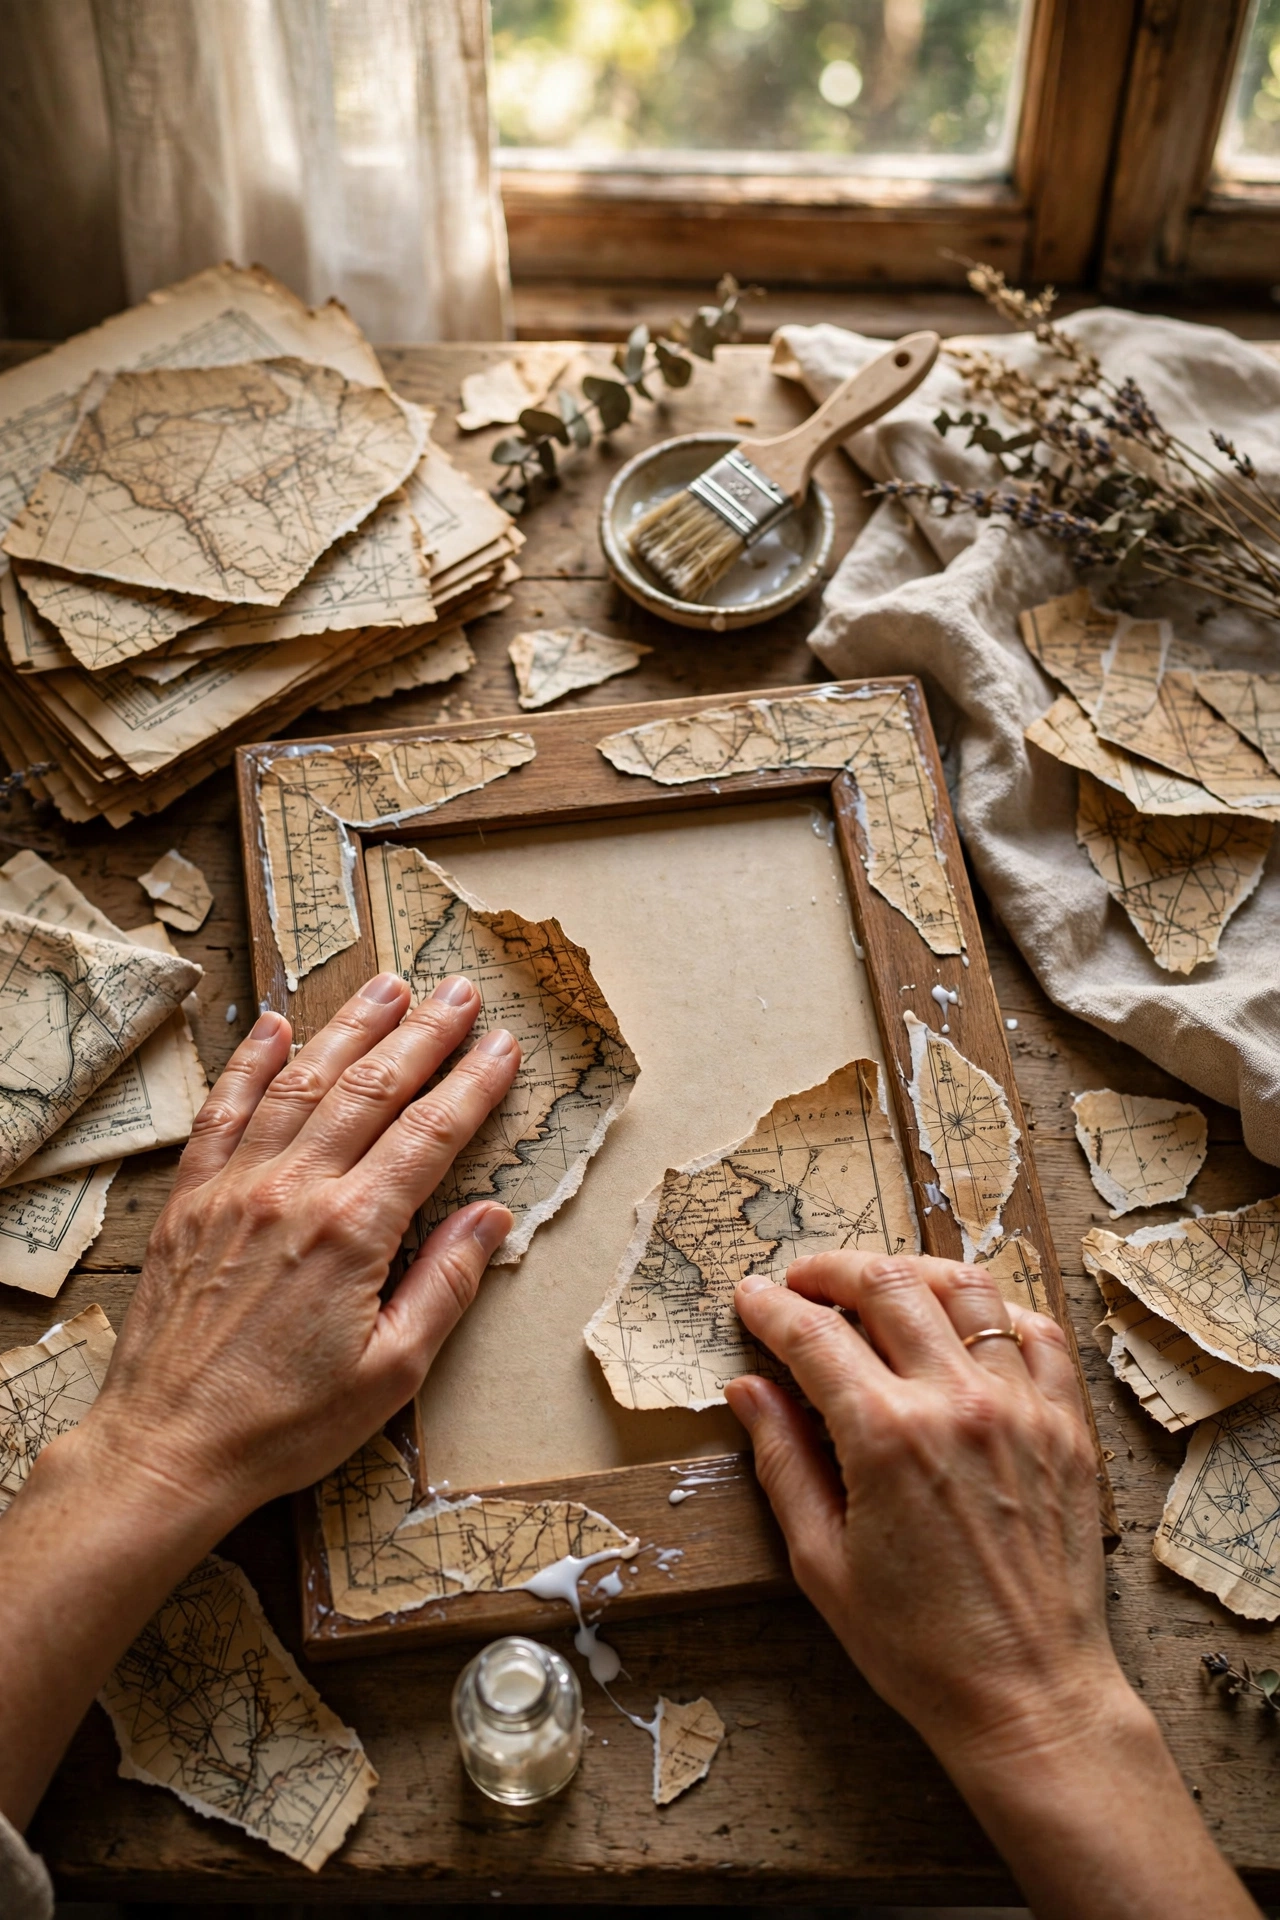
Vintage maps and old sheet music make the prettiest frame coverings, and decoupage is forgiving for beginners. Tear the paper into rough pieces rather than cutting, because torn edges disappear under varnish while cut edges show. Brush PVA glue onto the frame, lay each piece down, and smooth from the centre outward with an old credit card to chase out bubbles. I trapped a whole constellation of bubbles on my first frame by working too fast. Seal with two thin topcoats of varnish, sanding very lightly between them. The finished frame looks like bespoke printed stock and costs almost nothing if you raid old atlases and music books.
Materials: Plain frame, old maps or sheet music, PVA glue, varnish, fine sandpaper | Cost: ~$2-7 | Time: 1-2 hours plus drying
12. Beaded Trim Edges
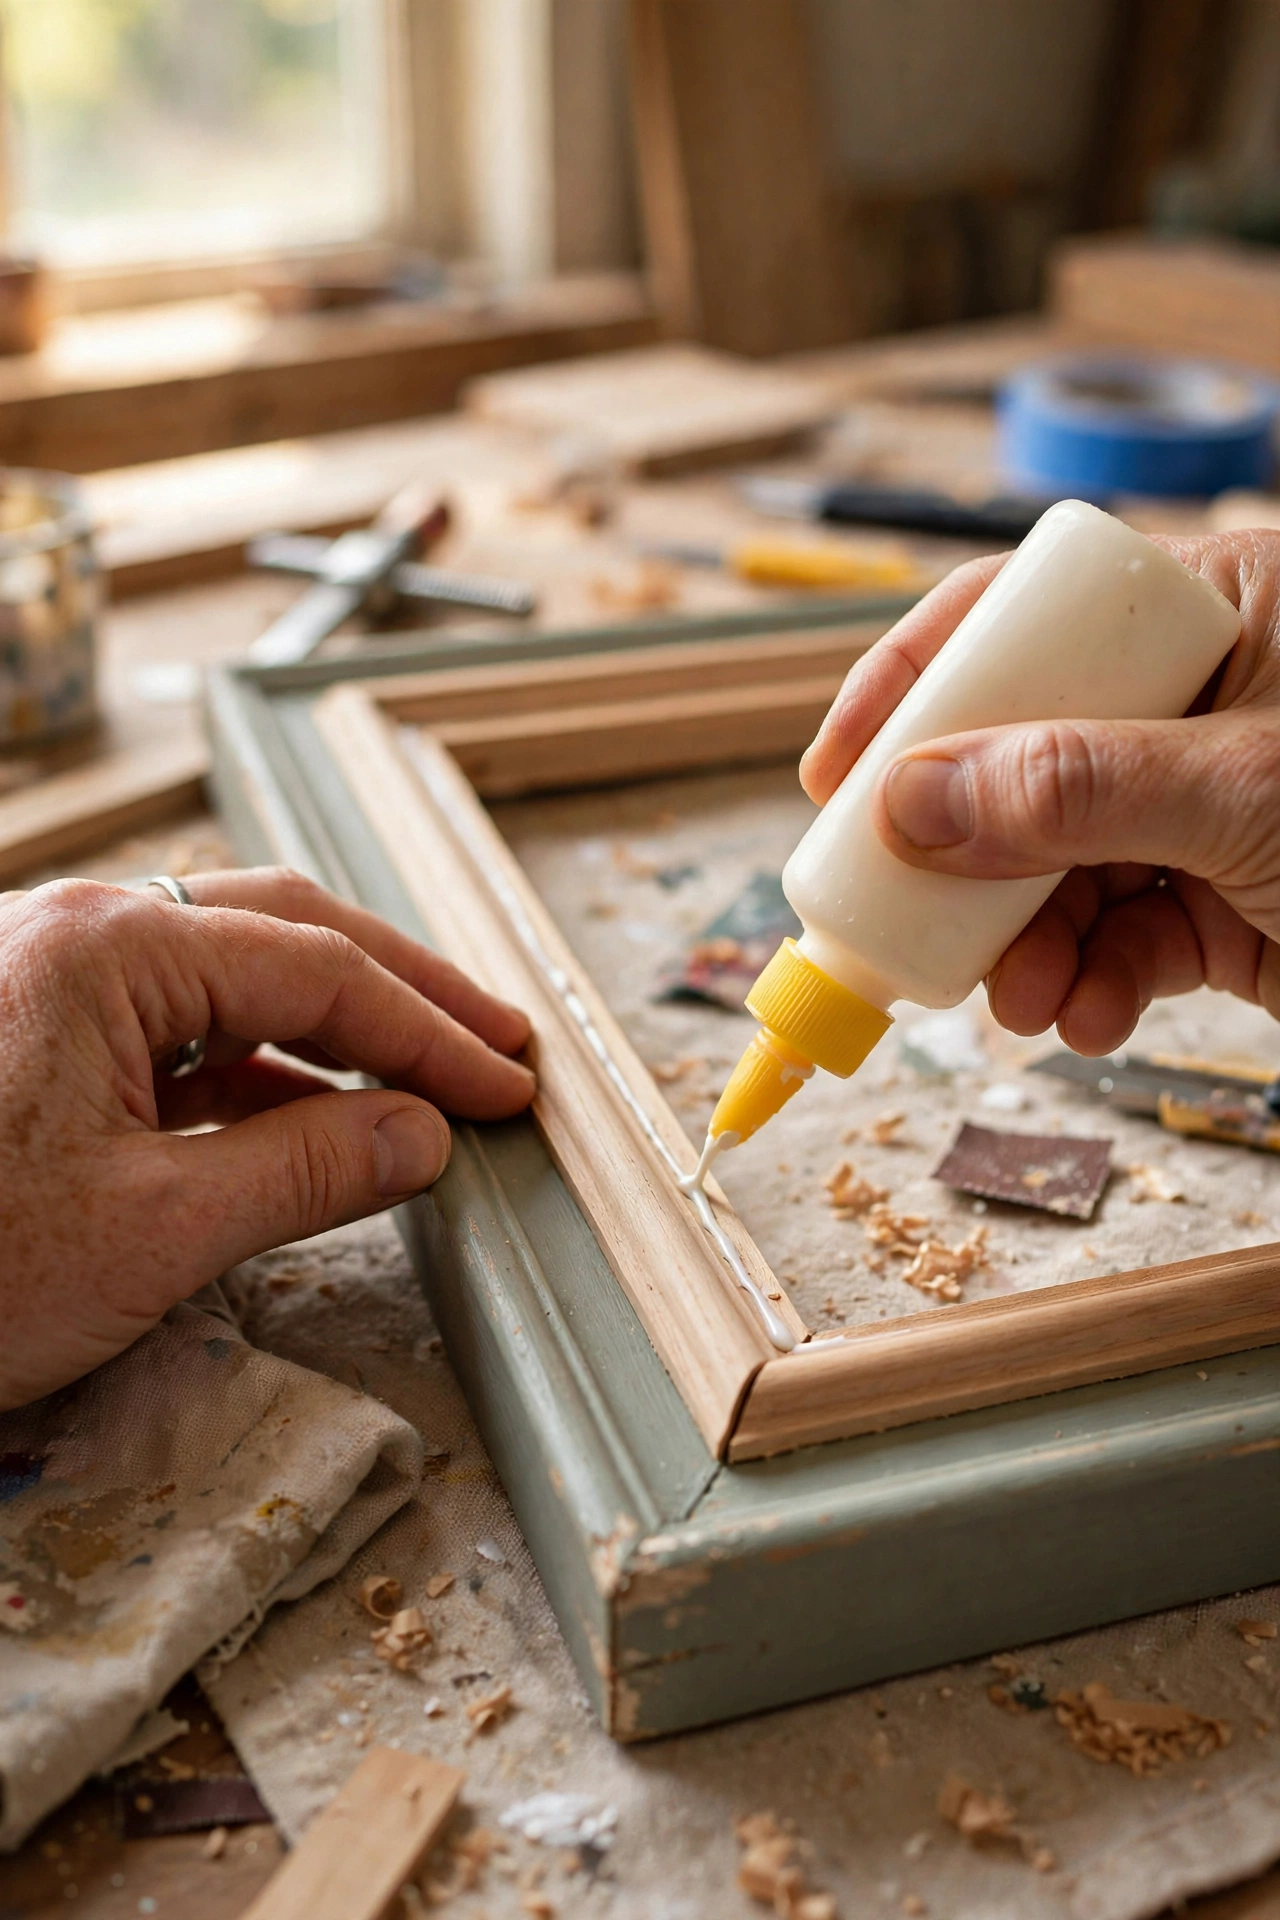
Wooden bead trim, the half-round beading sold in every DIY shop, glued around a frame’s inner edge reads as proper joinery. Measure each side, mitre the corners at 45 degrees with a craft knife, and fix the trim with wood glue, holding each piece with masking tape until it sets. My mitres gapped on the first frame, and a smear of wood filler saved the whole project, so keep some to hand. Paint the frame and trim one single colour afterwards and the join becomes invisible. This trick turns the cheapest flat-pack frames into something that looks genuinely made to measure.
Materials: Flat frame, half-round bead trim, wood glue, wood filler, paint | Cost: ~$4-9 | Time: 1-2 hours
13. Oversized Mounts for Tiny Prints
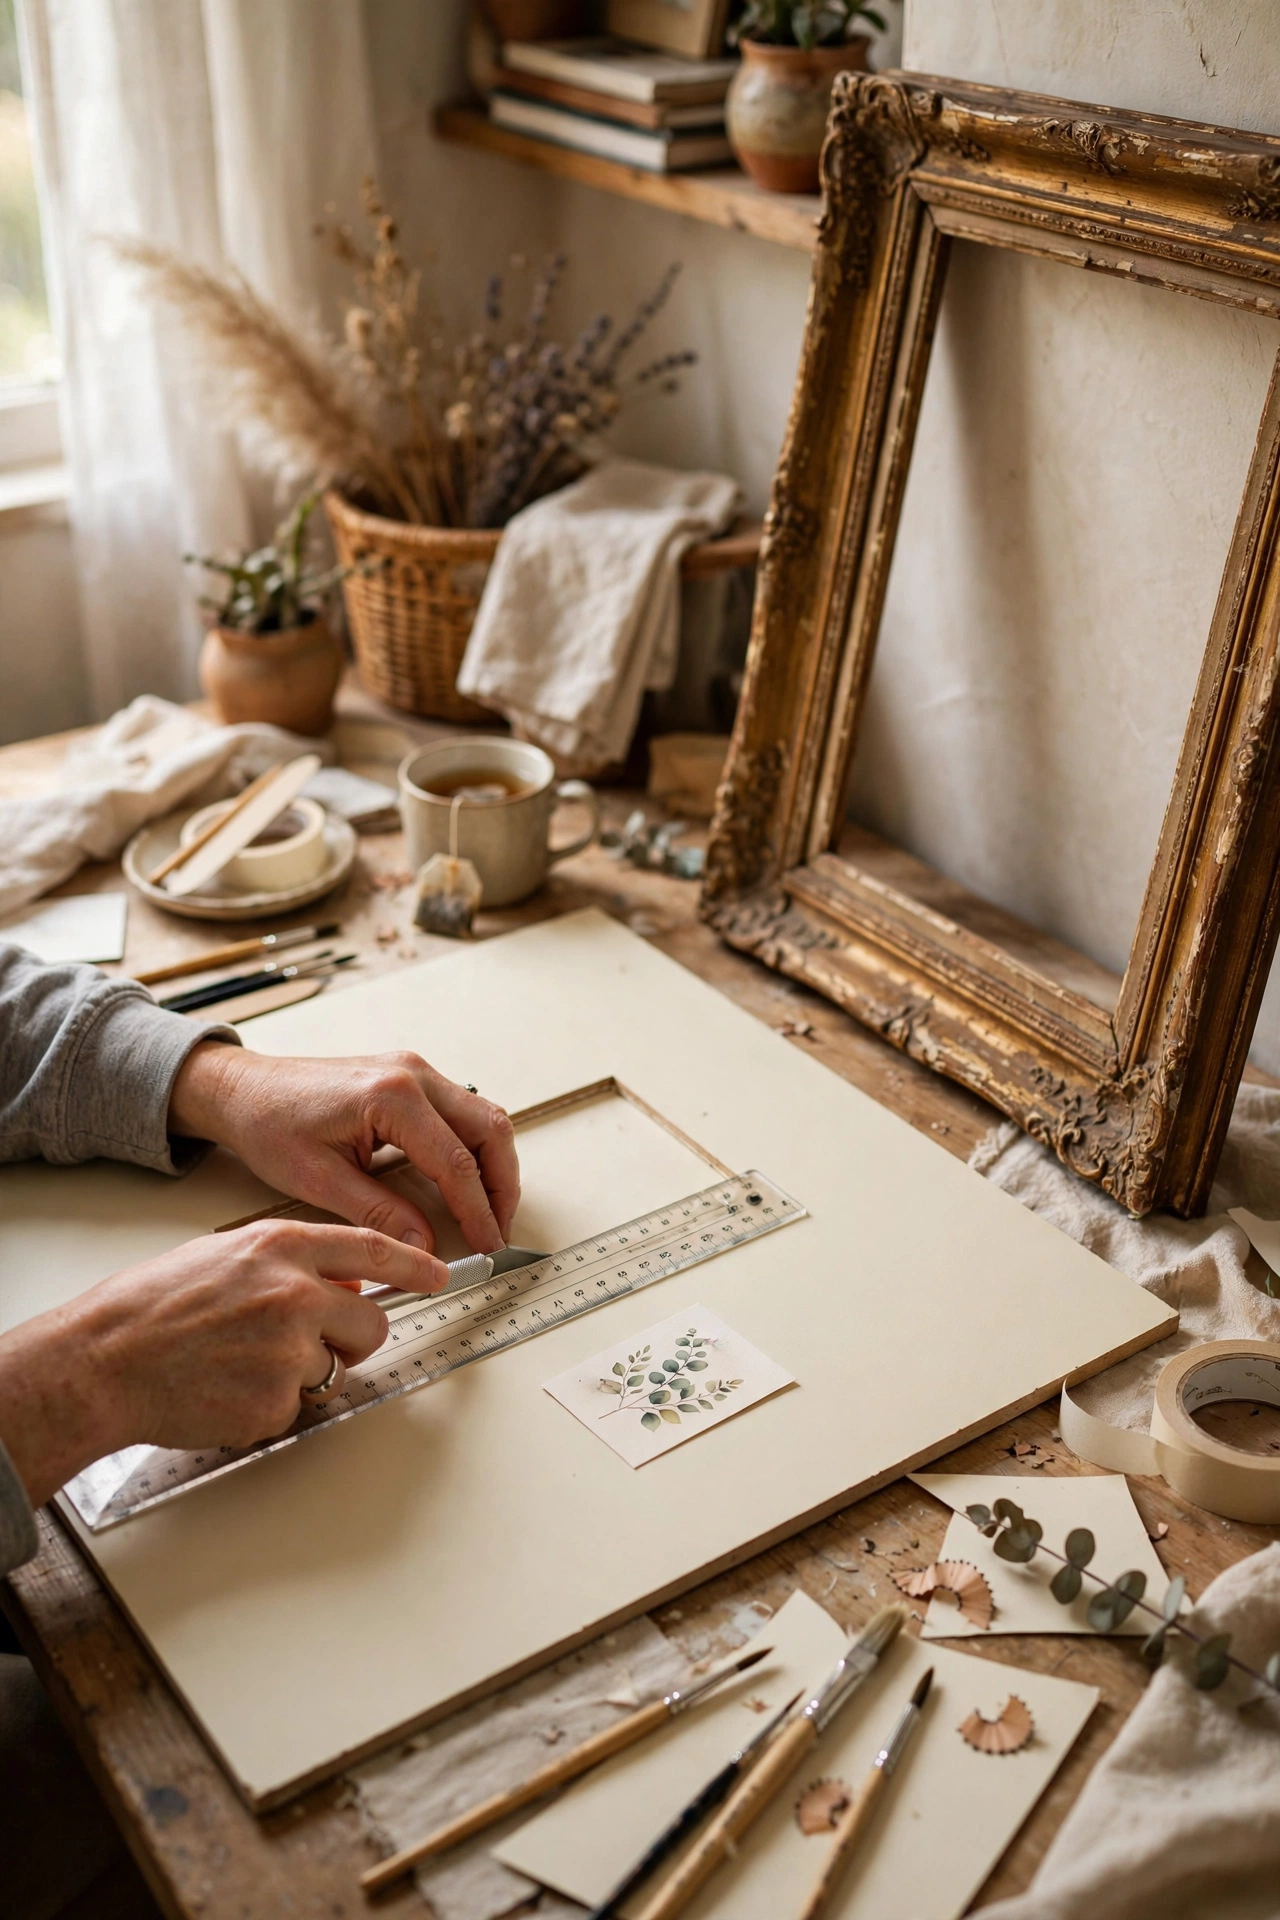
The oldest gallery trick in the book is a huge mount around a tiny print, and it works because white space signals confidence. Buy a sheet of mount board, cut it to fit a large charity-shop frame, then cut a small centred window for your artwork. Measure the frame’s opening rather than the glass, because I measured the glass twice and cut two mounts too small before learning this. The generous border makes even a postcard look like a considered piece. Buy your mount board in cream or soft white rather than brilliant white, which can look cheap next to warm wall colours.
Materials: Large frame, mount board, craft knife, metal ruler | Cost: ~$3-7 | Time: 30 minutes
14. Multi-Photo Grid from One Big Frame
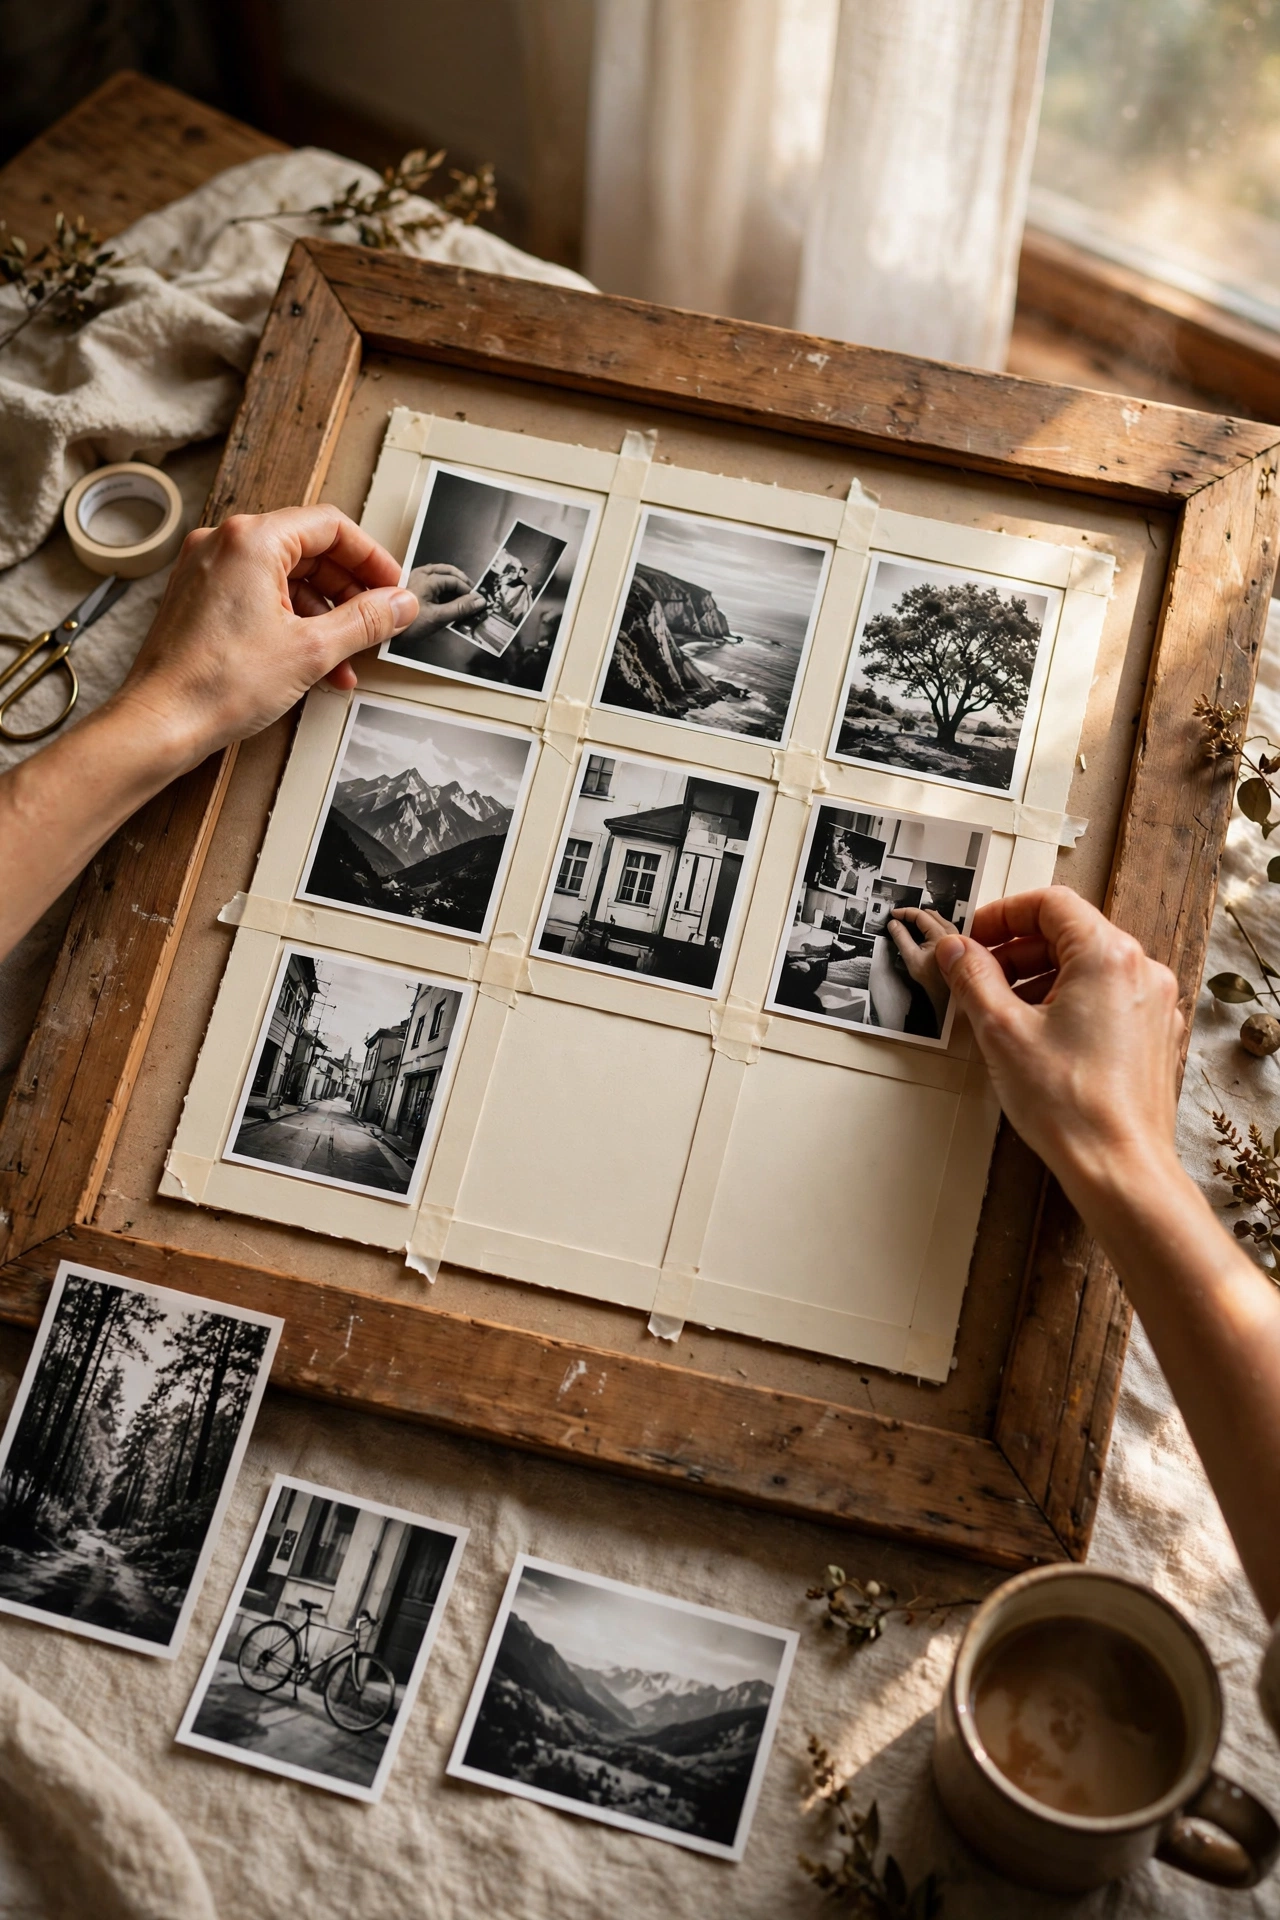
One large frame can hold a whole photo grid if you build the dividers yourself. Cut mount board into a grid of windows, tape your photos behind each opening with photo corners so they stay put, and mount the whole sheet in the frame. I used plain masking tape on my first grid and spent a miserable evening re-sticking photos that had slid overnight, so use proper photo corners. Keep the spacing even and the photos a consistent tone, all black and white or all warm colour, for a cohesive look. It costs a fraction of a shop-bought multi-aperture frame and you control the layout completely.
Materials: Large frame, mount board, photos, photo corners | Cost: ~$4-8 | Time: 1 hour
15. Two-Tone Paint-Dipped Frames
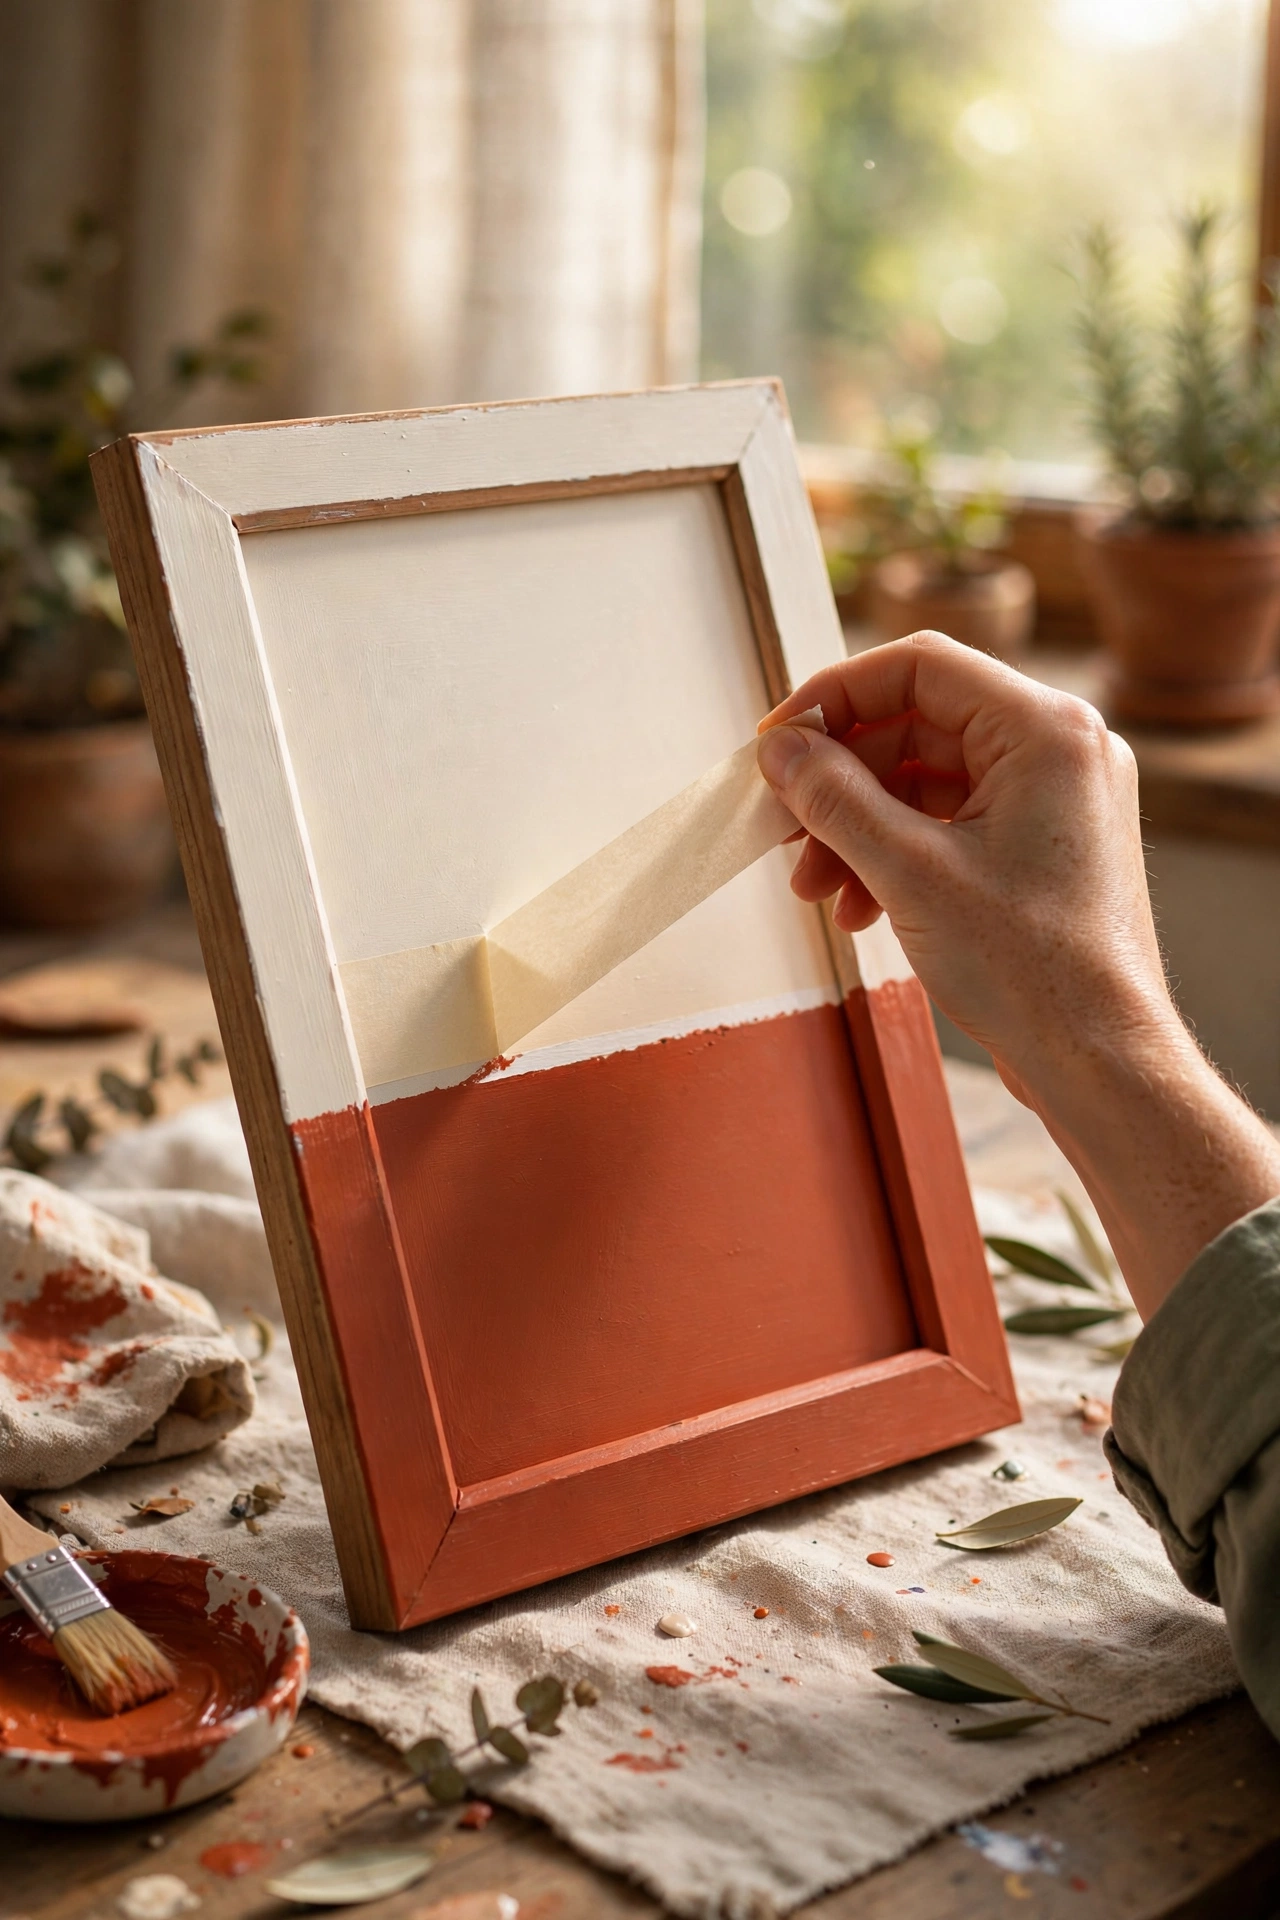
The dipped-paint look is everywhere in interiors right now, and it is almost embarrassingly easy. Paint your frame a base colour and let it dry fully, then tape a crisp horizontal line about a third of the way up. Seal the tape edge by brushing a thin line of the base colour over it and letting it dry, which stops the second colour bleeding underneath. Paint the lower section, then peel the tape while the paint is still slightly tacky for the sharpest line. I skipped the sealing step first and got a wobbly, bleeding edge that ruined the effect. Use two colours with real contrast, like cream over terracotta, for maximum impact.
Materials: Frame, two paint colours, painter’s tape, brush | Cost: ~$3-7 | Time: 1 hour plus drying
16. Deep Frames for Vintage Plate Displays
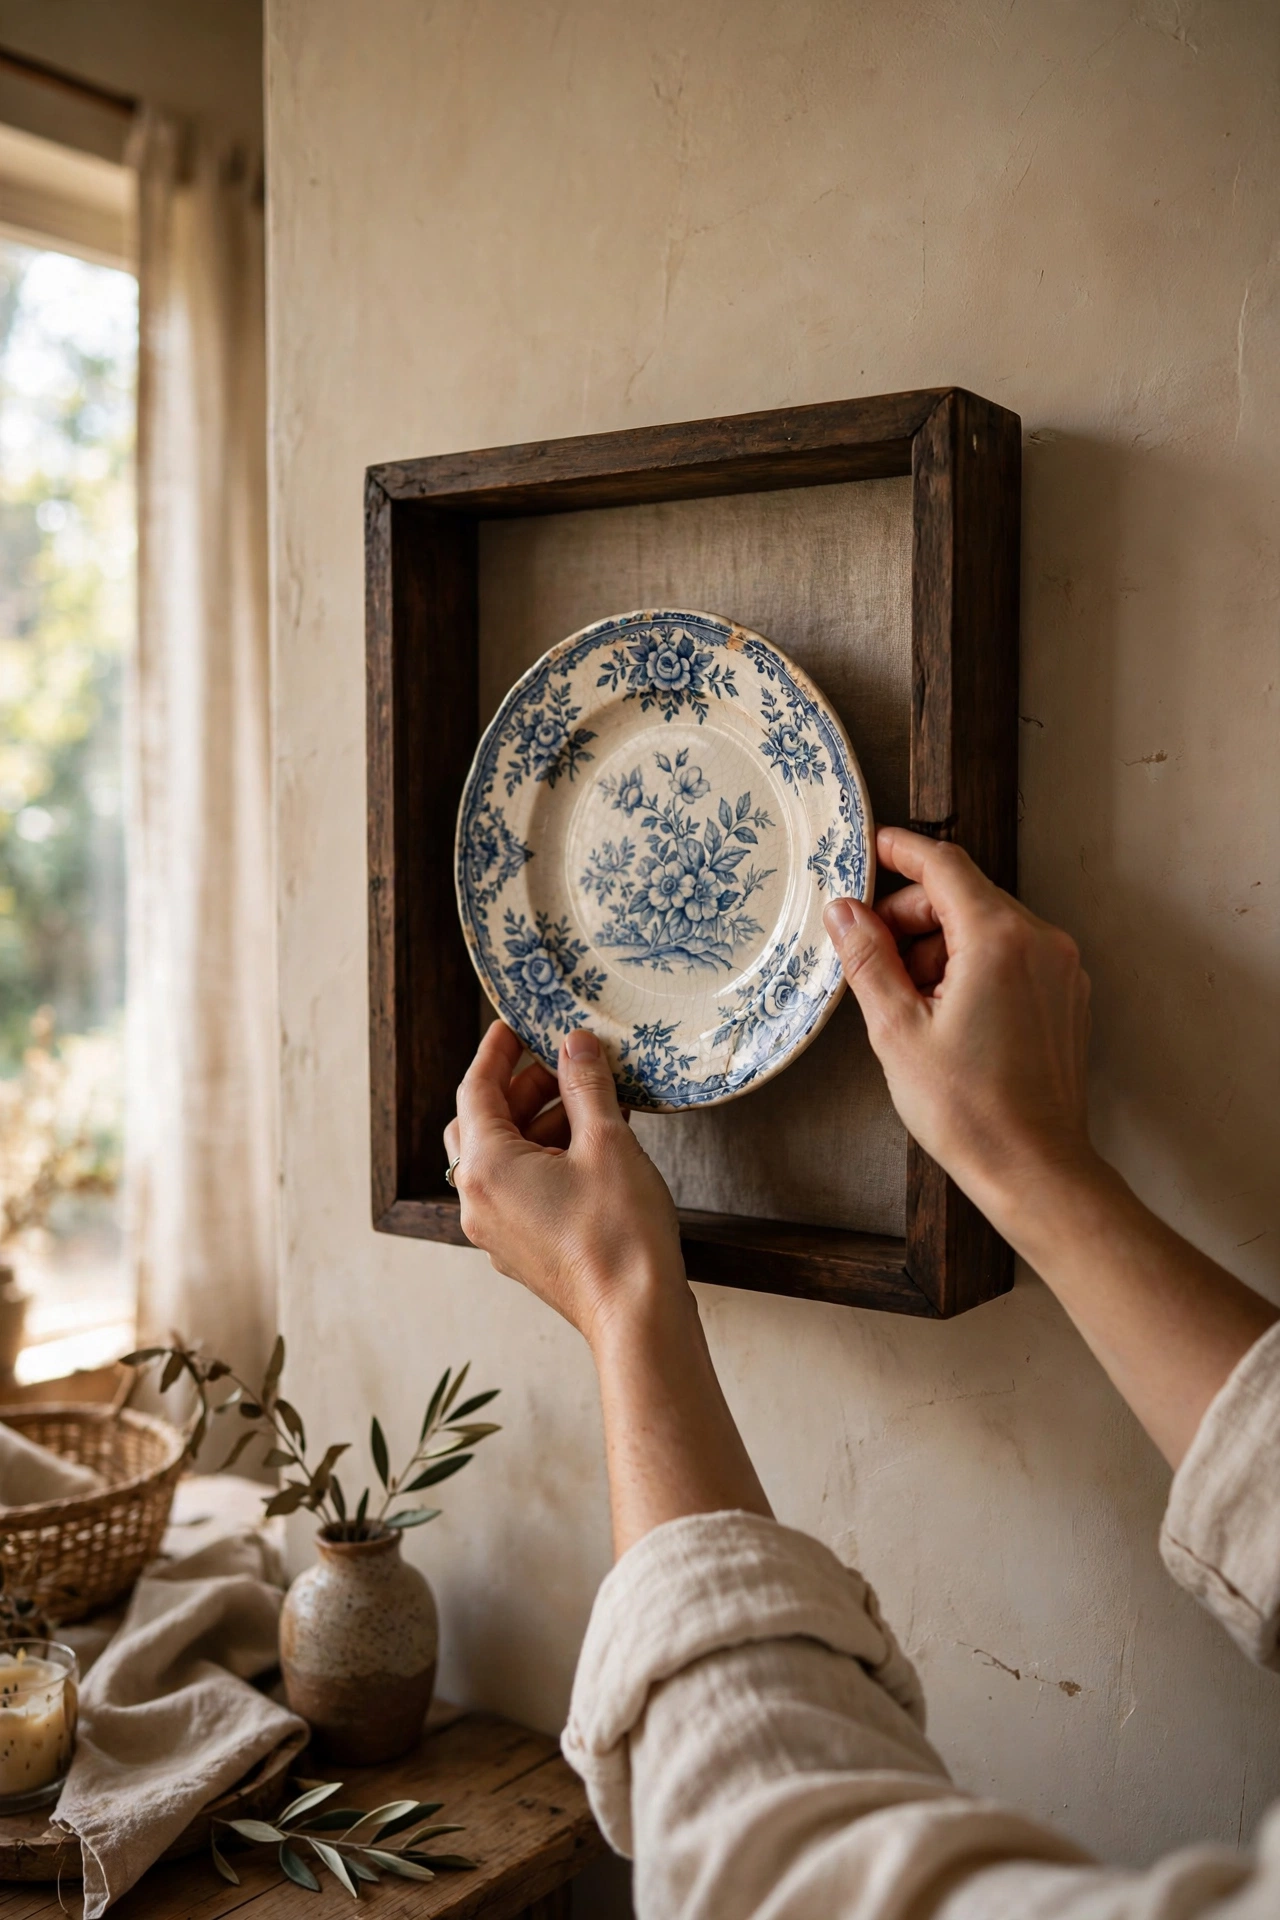
Those decorative plates gathering dust in a cabinet deserve better, and deep box frames turn them into wall art. Find a frame deep enough to clear the plate’s curve, fix proper plate disc hangers to the backing board, and check the weight rating before you hang anything. My first plate display used weak adhesive hangers and one plate slid down inside the frame within a week, which was pure luck it did not smash. Arrange plates in odd numbers and keep a consistent colour story. This looks wonderful in dining rooms and kitchens, where the plates feel at home rather than stored away.
Materials: Deep box frame, decorative plates, plate disc hangers | Cost: ~$5-12 | Time: 45 minutes
17. Faux Floating Canvas from a Thrift Frame
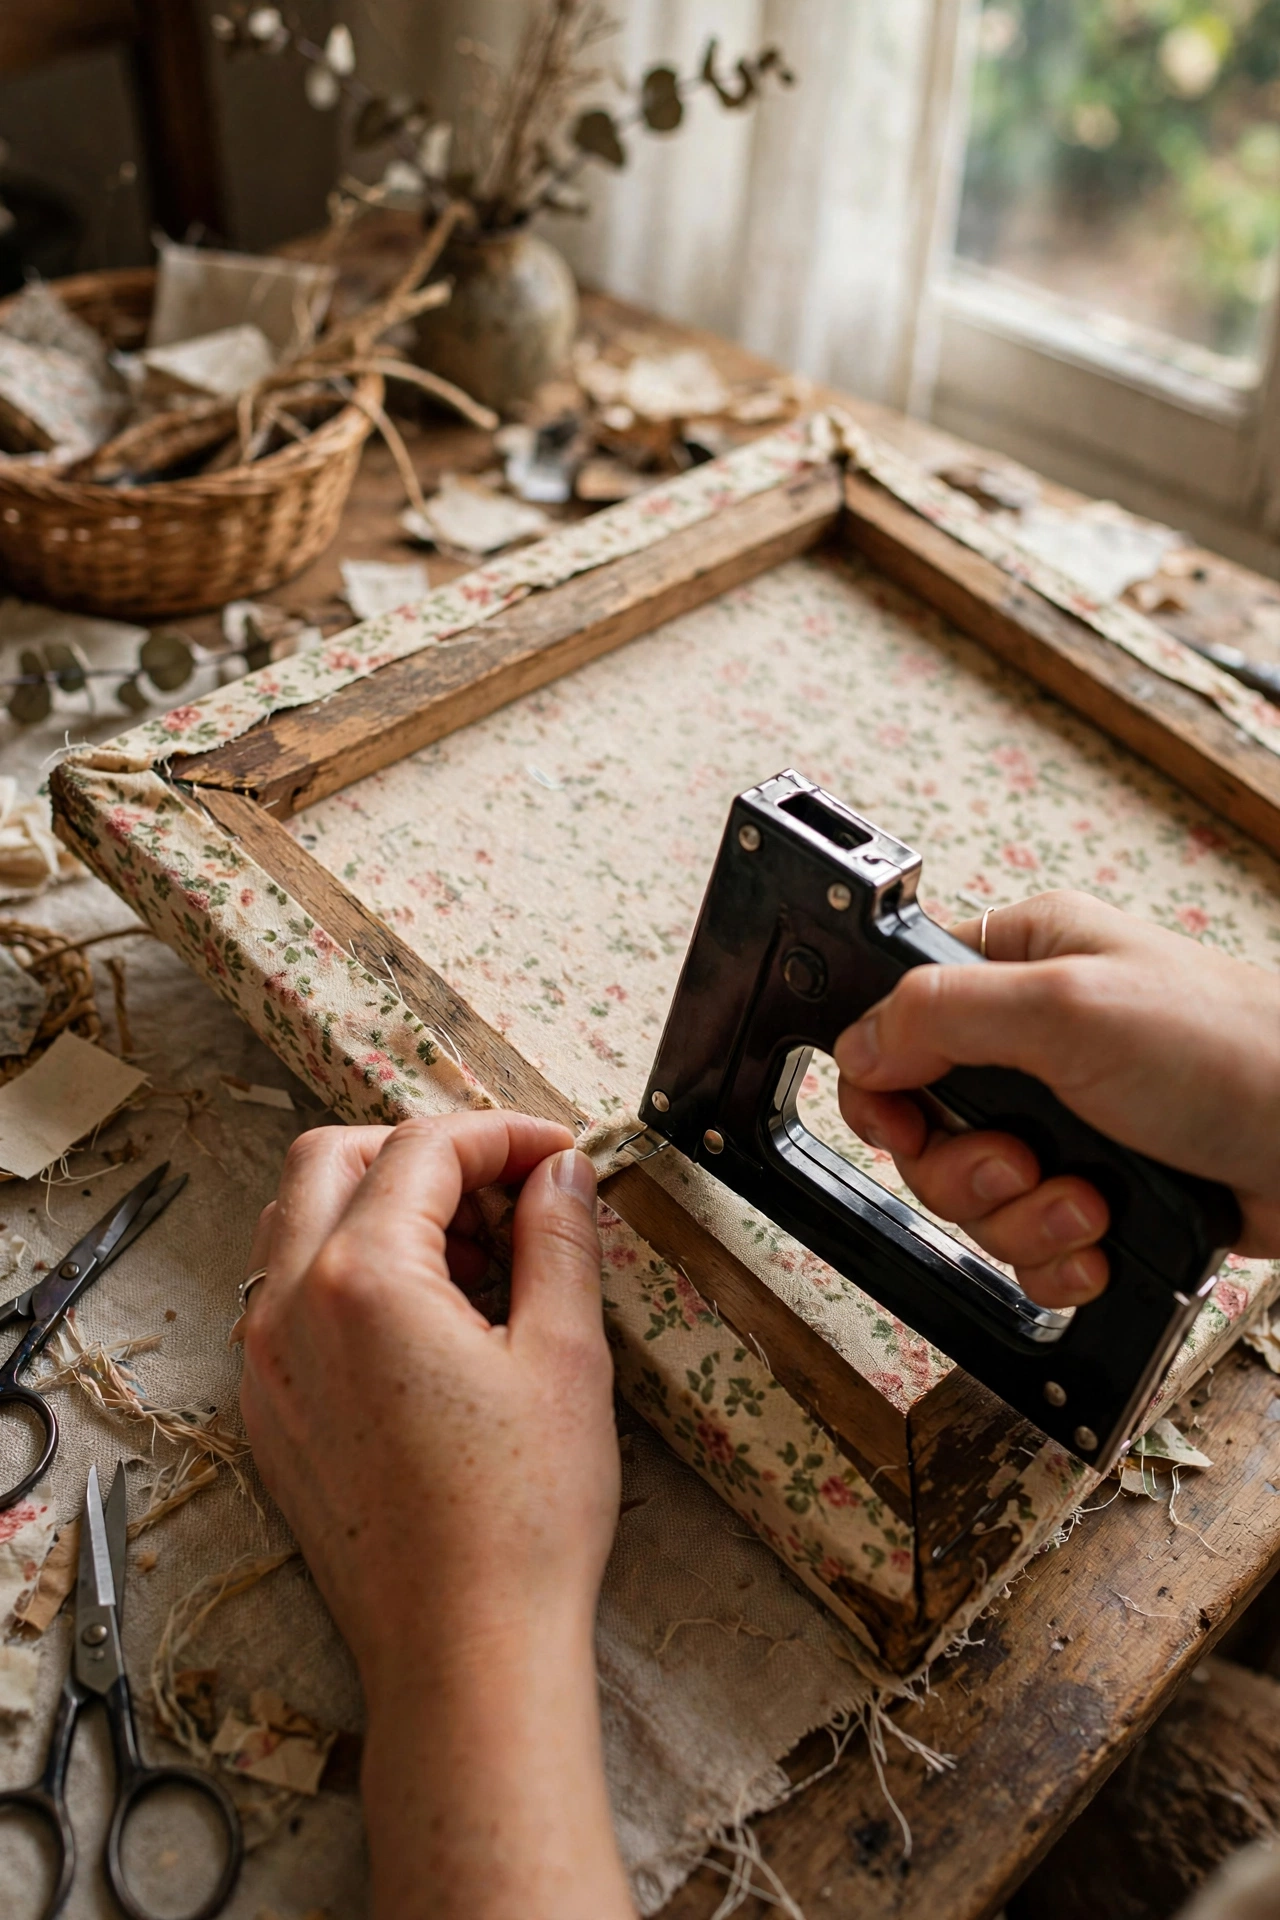
You can fake an expensive gallery-wrapped canvas with a charity-shop frame and some calico. Remove the glass and backing, stretch the fabric tightly over the back of the frame, and staple it along the rear edges, folding the corners neatly like hospital corners on a bedsheet. My first corners looked like sad dumplings until I watched how upholsterers fold theirs. Paint the stretched fabric with acrylics or leave it raw for a natural linen look. From the front it reads as a proper canvas, deep edges and all, and the frame’s moulding becomes the finished side profile. Nobody has ever guessed mine cost under five dollars to make.
Materials: Sturdy frame, calico or canvas, staple gun, acrylic paint (optional) | Cost: ~$4-9 | Time: 1 hour
Pin this post now so you can save this idea for your next weekend project run! Then grab the ugliest frame in the charity shop and start with the spray paint, because the first transformation is the one that hooks you.
