25 Moody-Style DIY Projects That Look Expensive
For years my living room was beige on beige, and every evening it just felt flat. I started pinning dark, candlelit rooms, forest green walls, brass winking in low light, and realised the look I wanted had a name. Moody diy decor turned out to be the cheapest style to fake well, because darkness hides a multitude of sins and a tin of dark paint costs less than one new cushion. This list is every project that made my rooms feel richer, warmer, and a little bit mysterious.
All 25 projects cost $40 or less, most under $20. The golden rule of moody styling: layer dark colours with warm light and one metallic, and everything reads expensive. Test paint samples on the wall and live with them for two days before committing, because dark colours shift dramatically between morning and lamplight. More dark-room inspiration: (see also: dark-accent-wall-ideas).
1. Charcoal Accent Wall in a Reading Nook
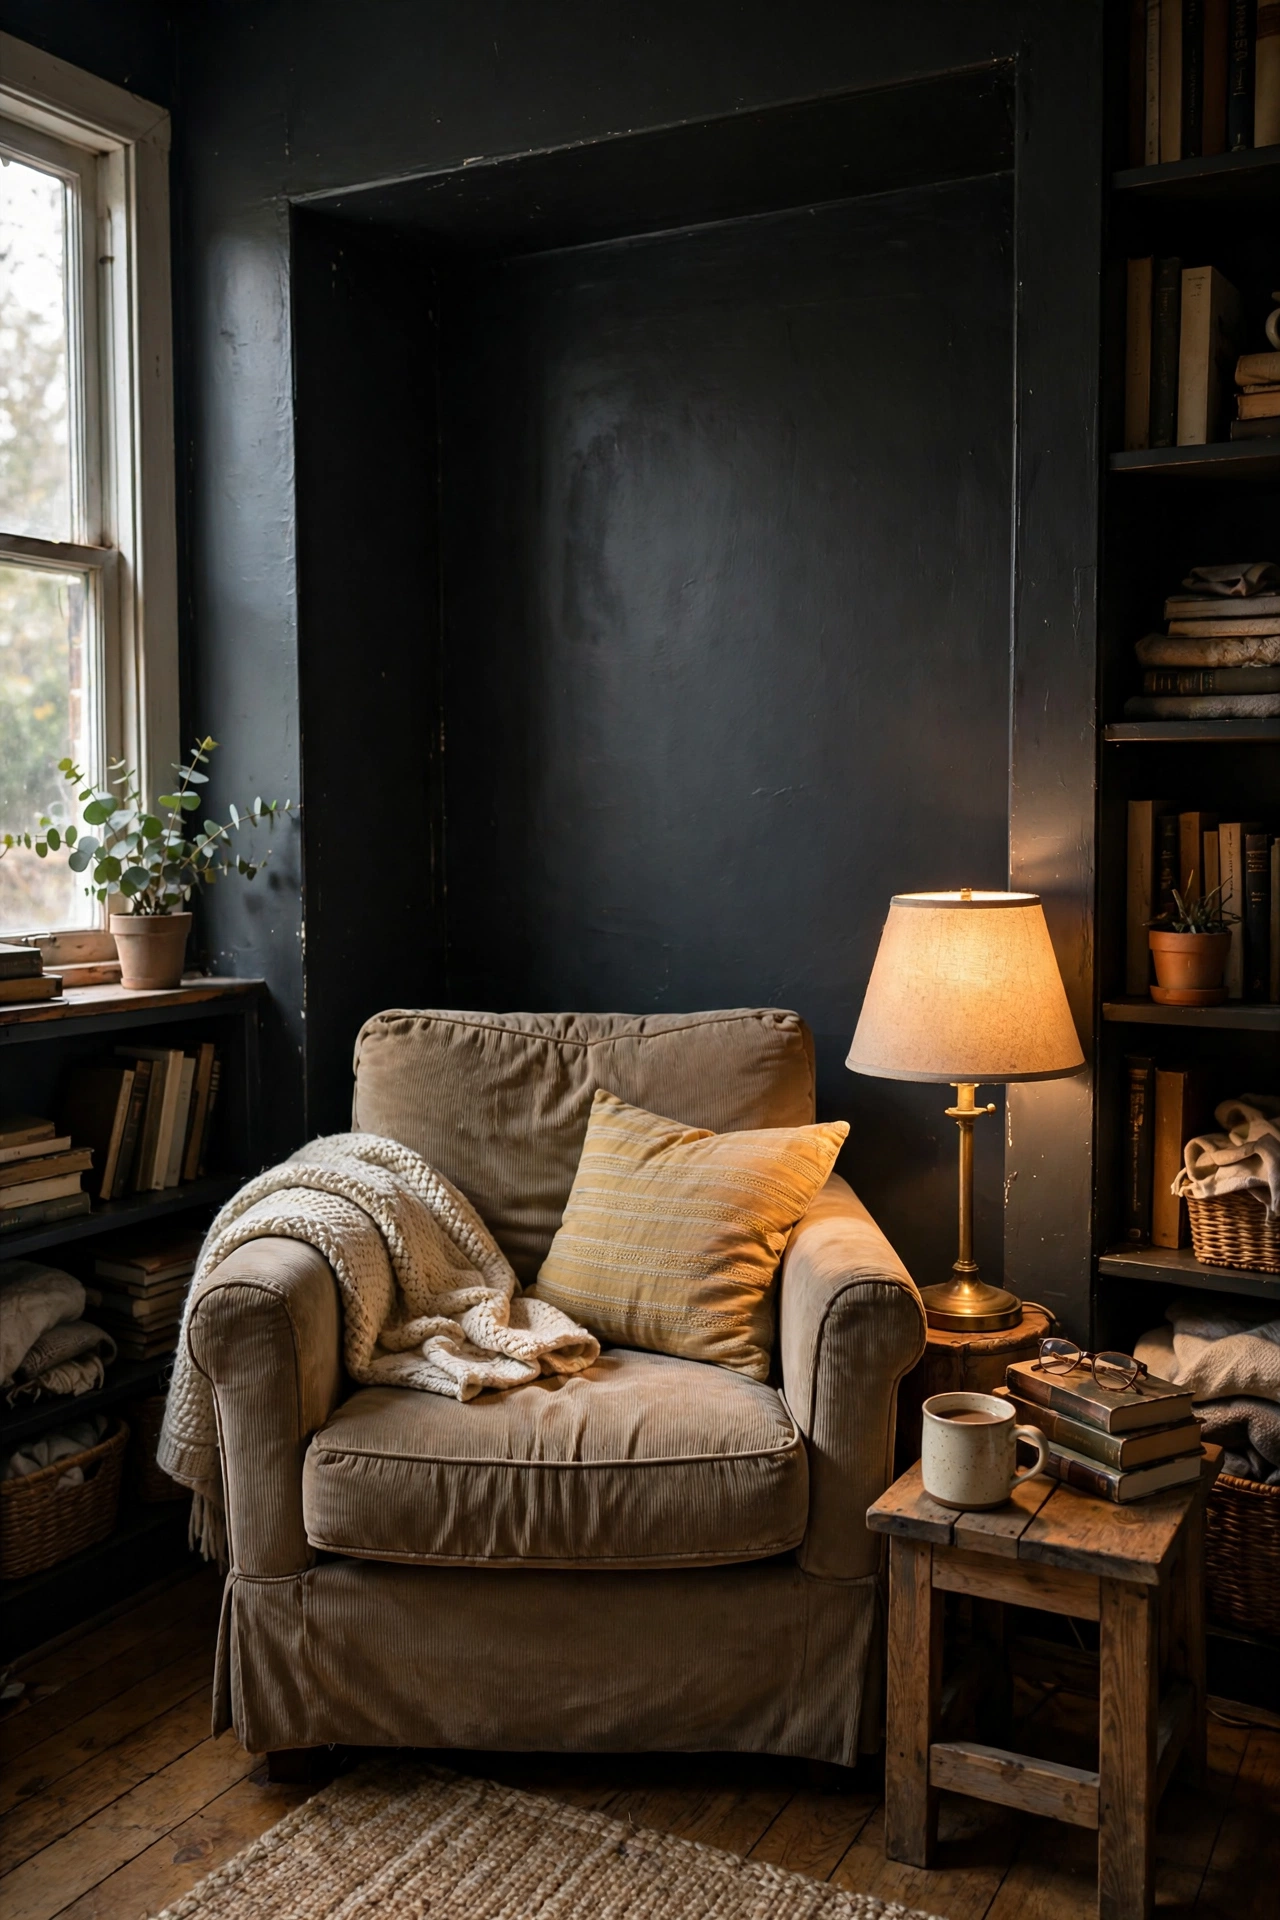
One wall of deep charcoal paint gives a reading corner instant depth. I painted the alcove behind my armchair, cutting in carefully with a good angled brush and rolling two full coats. The wall recedes and the chair suddenly looks like it belongs in a library. My mistake was painting at night under yellow bulbs, which made the colour read brown until morning. Paint in daylight, and swap the bulb for warm white 2700K so the finished wall glows rather than glares.
Cost: ~$25-35 | Time: 3 hours plus drying
2. Black-and-Gold Thrifted Gallery Wall
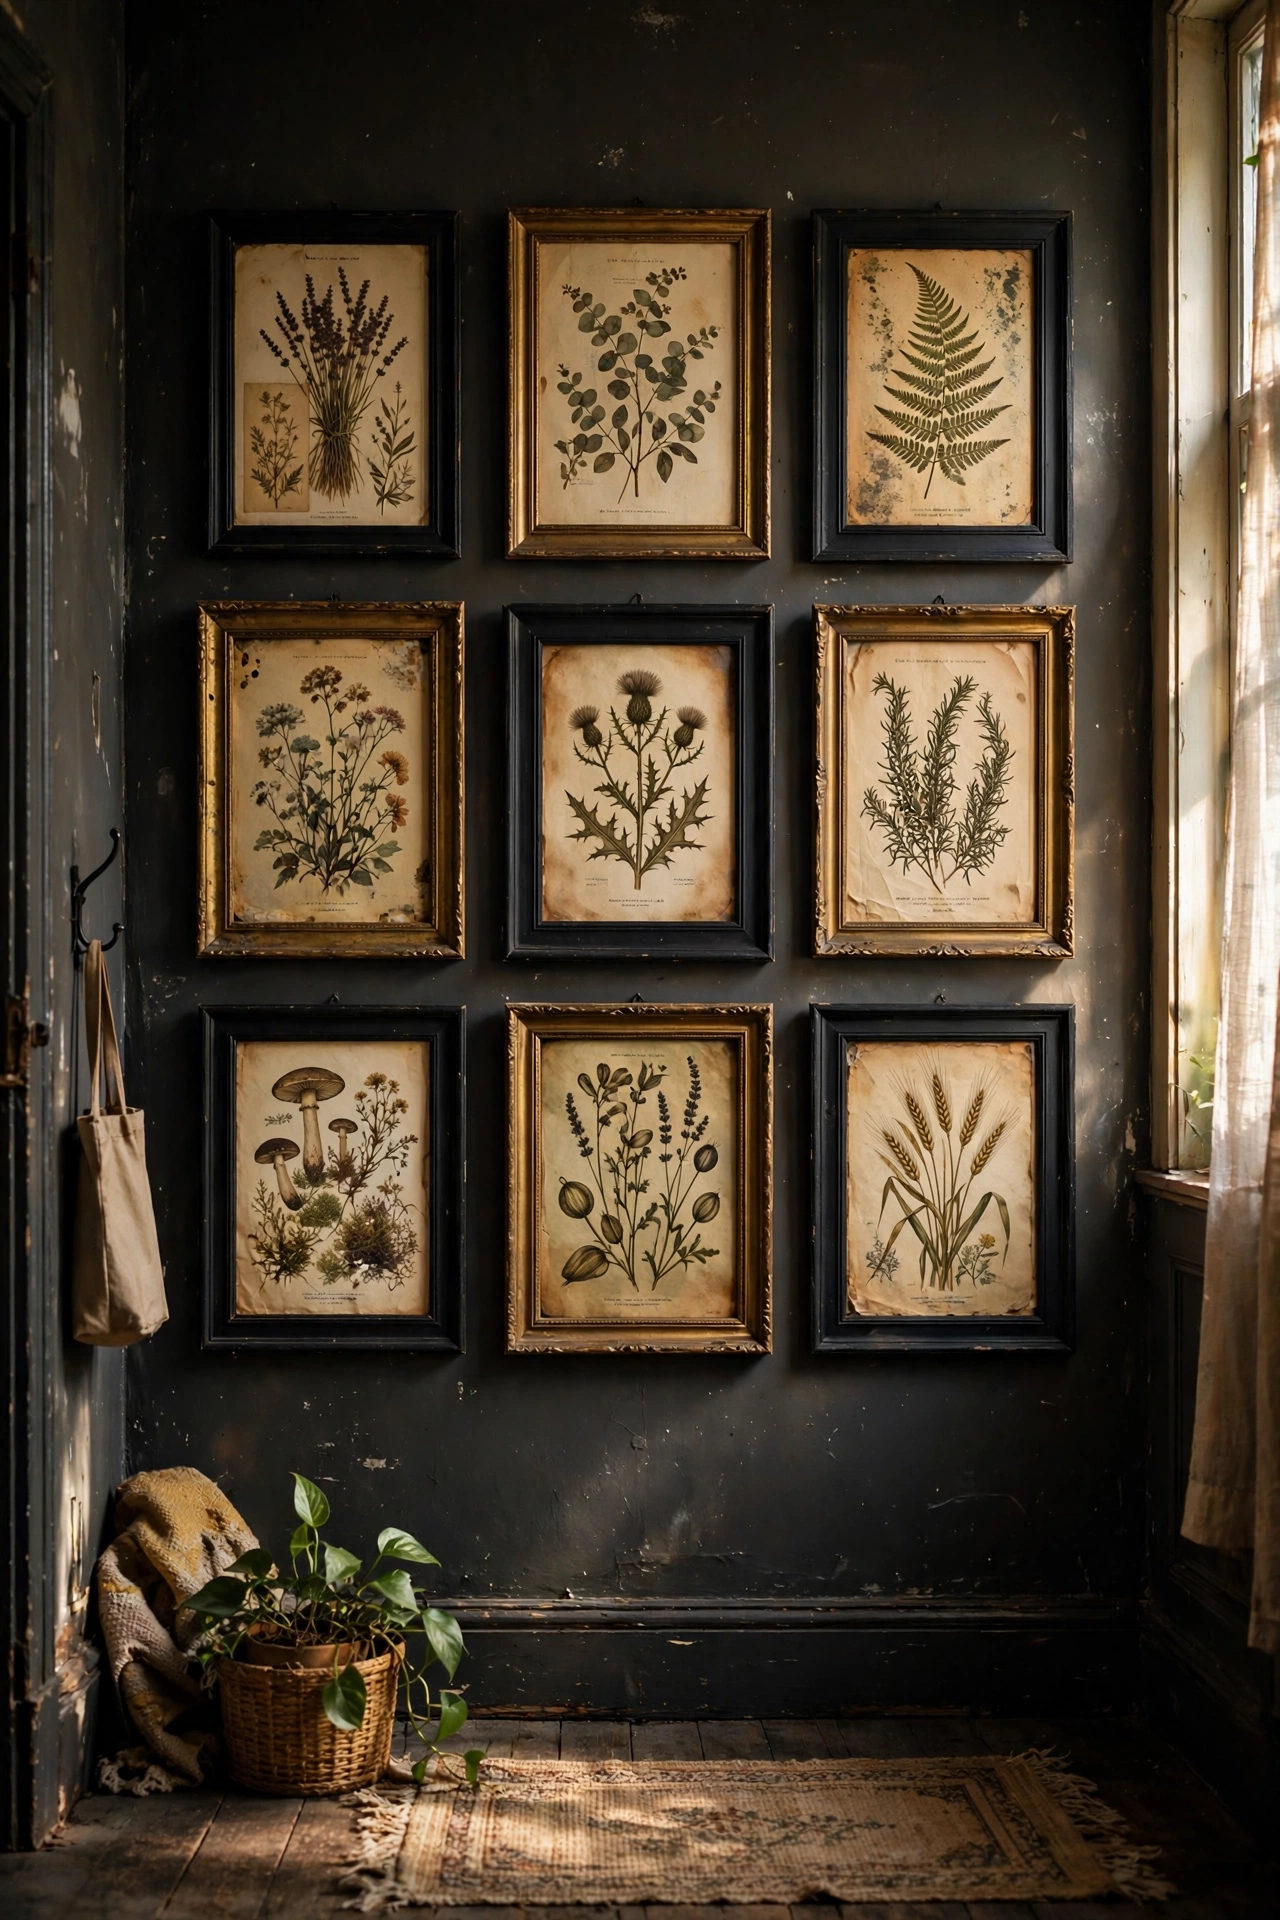
Mismatched charity-shop frames sprayed black and gold become a gallery wall with real drama. I collected nine frames over a month, sprayed half matte black and half antique gold, and filled them with free vintage botanical prints I tea-stained for age. Lay the arrangement on the floor first and photograph it, because moving frames on the wall is miserable. Mine hangs in the hallway and every visitor stops to look. Leave one frame empty on purpose — an empty frame amid the art reads deliberate and gives the eye a breather.
Cost: ~$15-25 | Time: 2 hours plus drying
3. Deep Green Painted Bookcase Backs
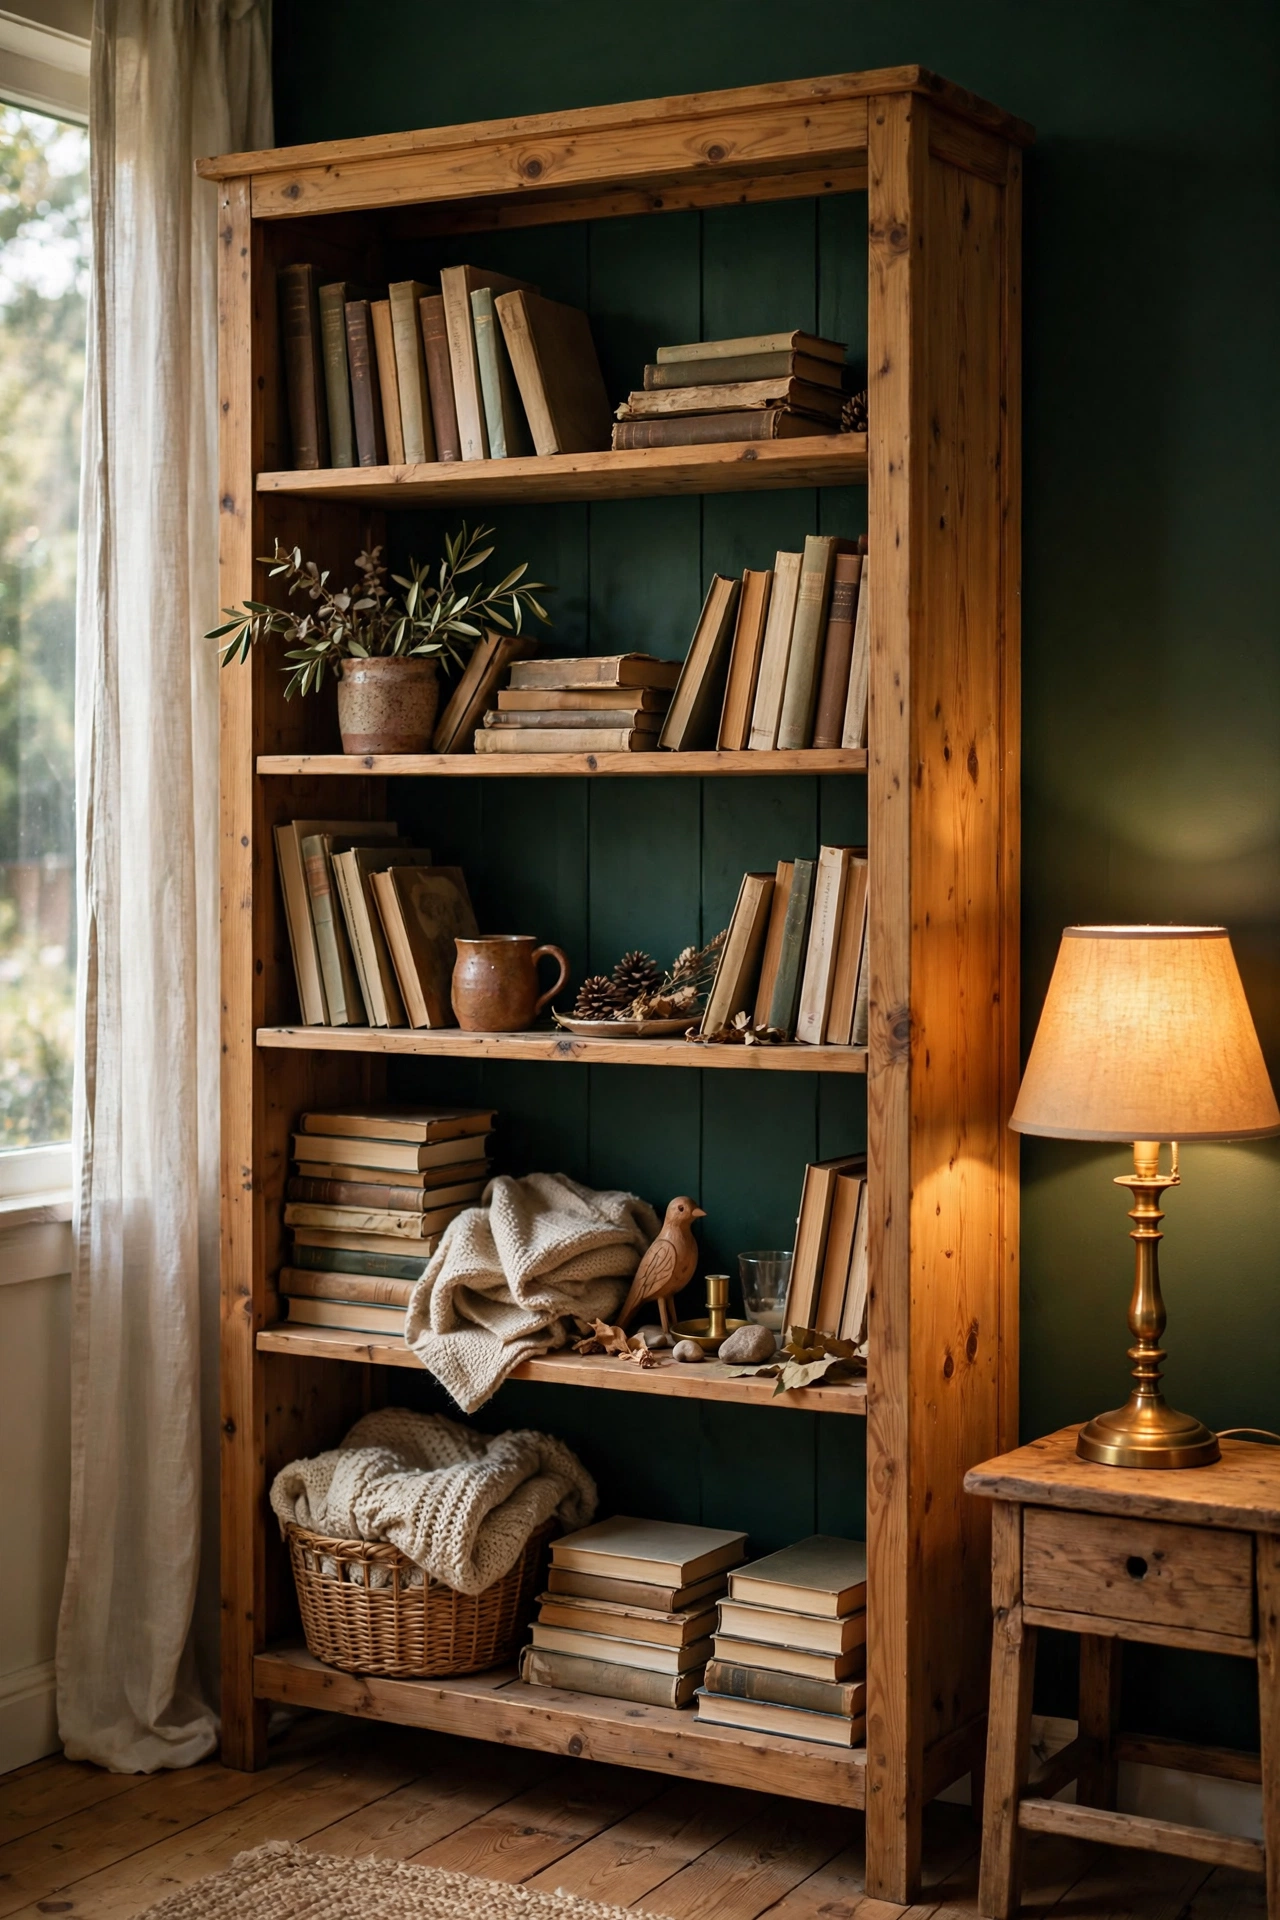
Painting just the back panel of a bookcase deep green makes every book and object pop. I used leftover paint from another project, removed the shelves, and rolled two coats on the back boards. The whole bookcase looks custom-built now. Take the shelves out rather than cutting round them, because the paint line will show. Forest green, ink navy, and aubergine all work beautifully against wood shelves. I painted the inner edges too, so no bare pine shows from the side — the detail nobody sees is the one that sells it.
Cost: ~$0-10 | Time: 2 hours
Pro tip: When painting bookcase backs, remove the back panel entirely if you can. It is far easier to paint flat on a dust sheet than crouched inside the case.
4. Clustered Candle Centrepiece
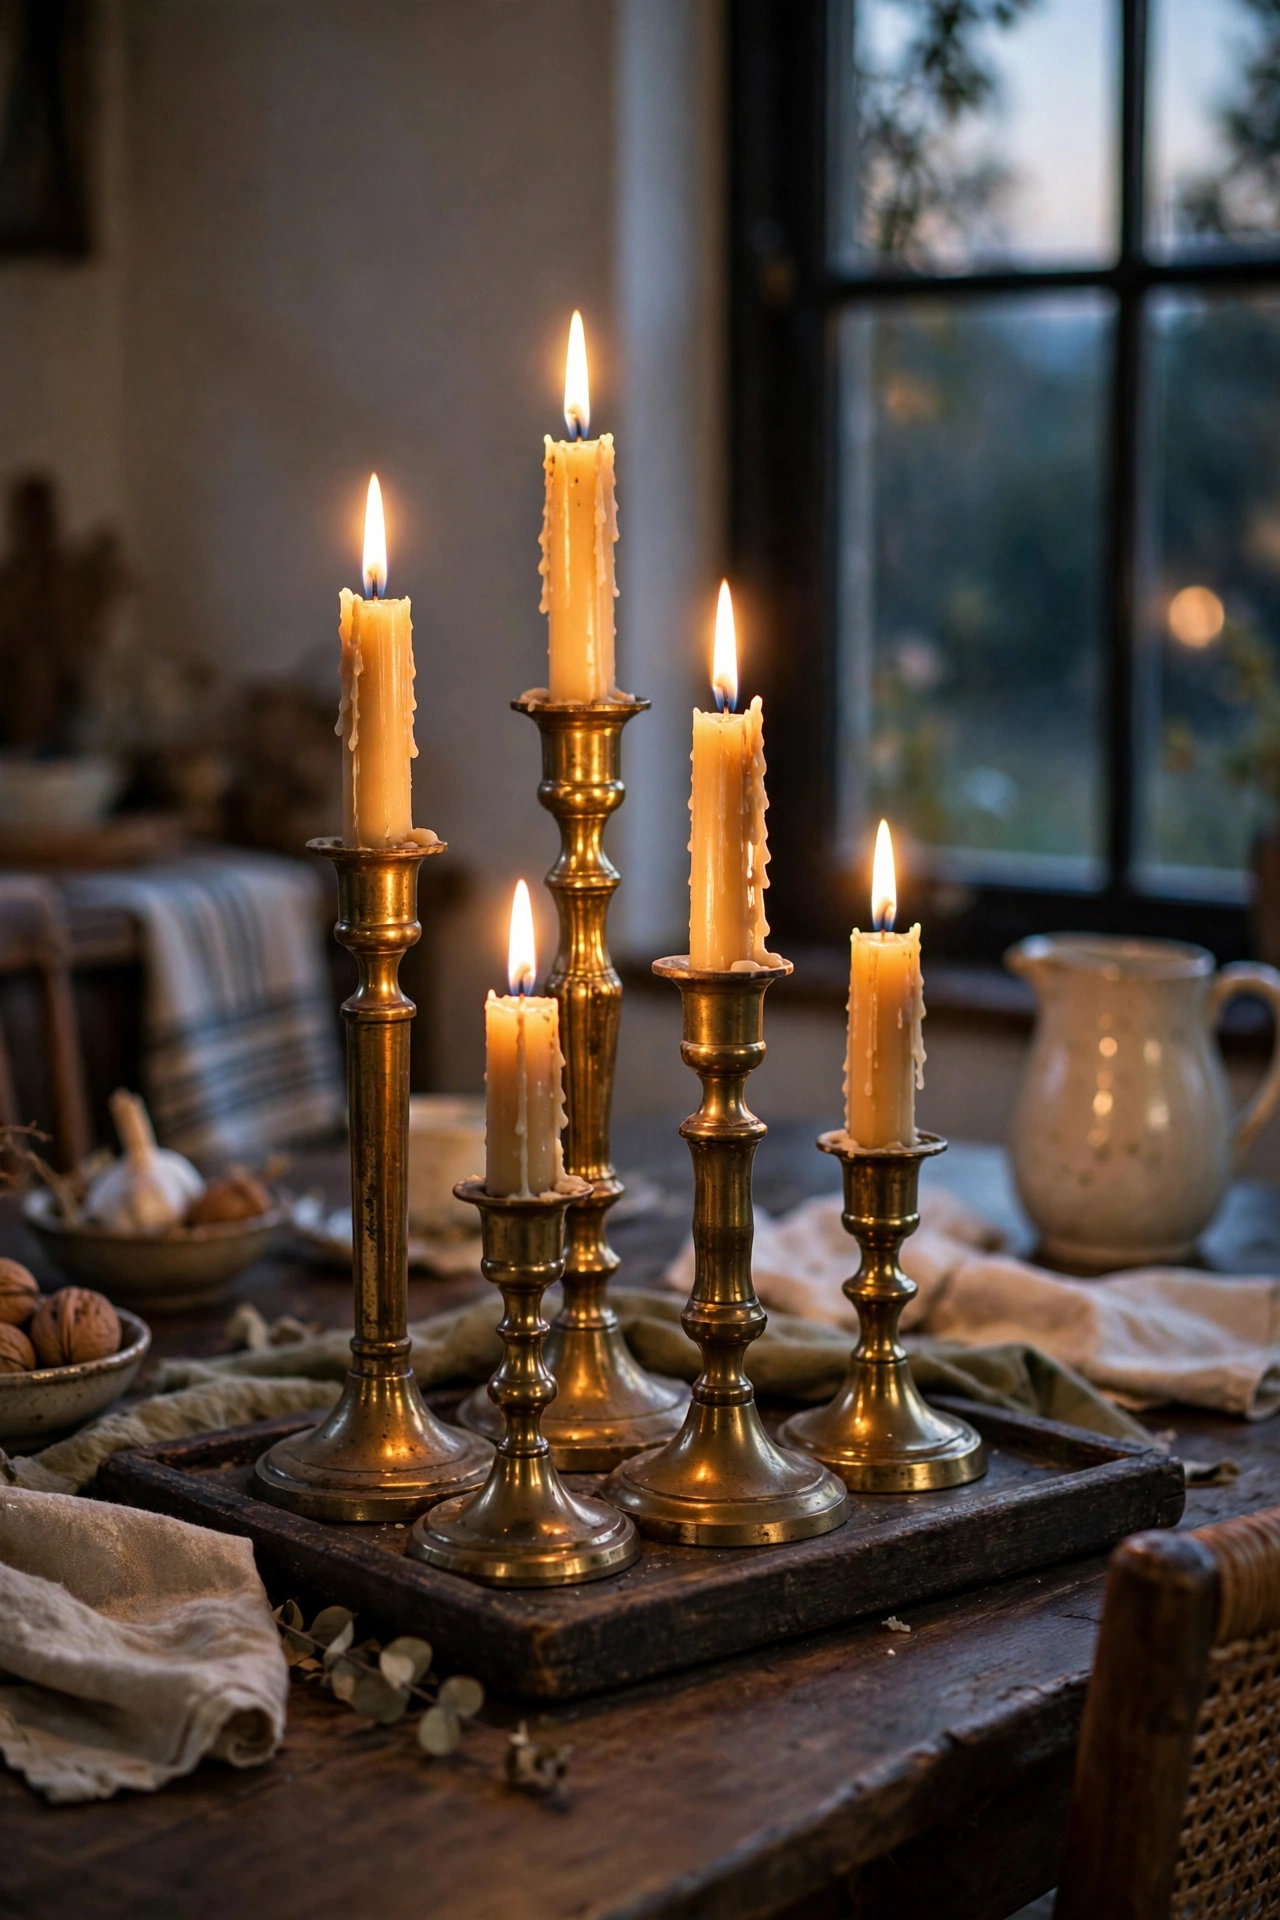
A cluster of thrifted brass candlesticks at varying heights is the fastest moody upgrade I know. I gathered five over a few weeks, polished them lightly so they kept some patina, and grouped them on a dark wooden tray down the middle of the dining table. Lit at dinner, the whole room changes. Use LED pillar candles if you have kids or cats, because real flames at table height make me nervous. Odd numbers always look better than even. Five minutes of match-striking every evening — the cheapest ritual I own.
Cost: ~$10-18 | Time: 30 minutes
5. Dark Linen No-Sew Roman Shade
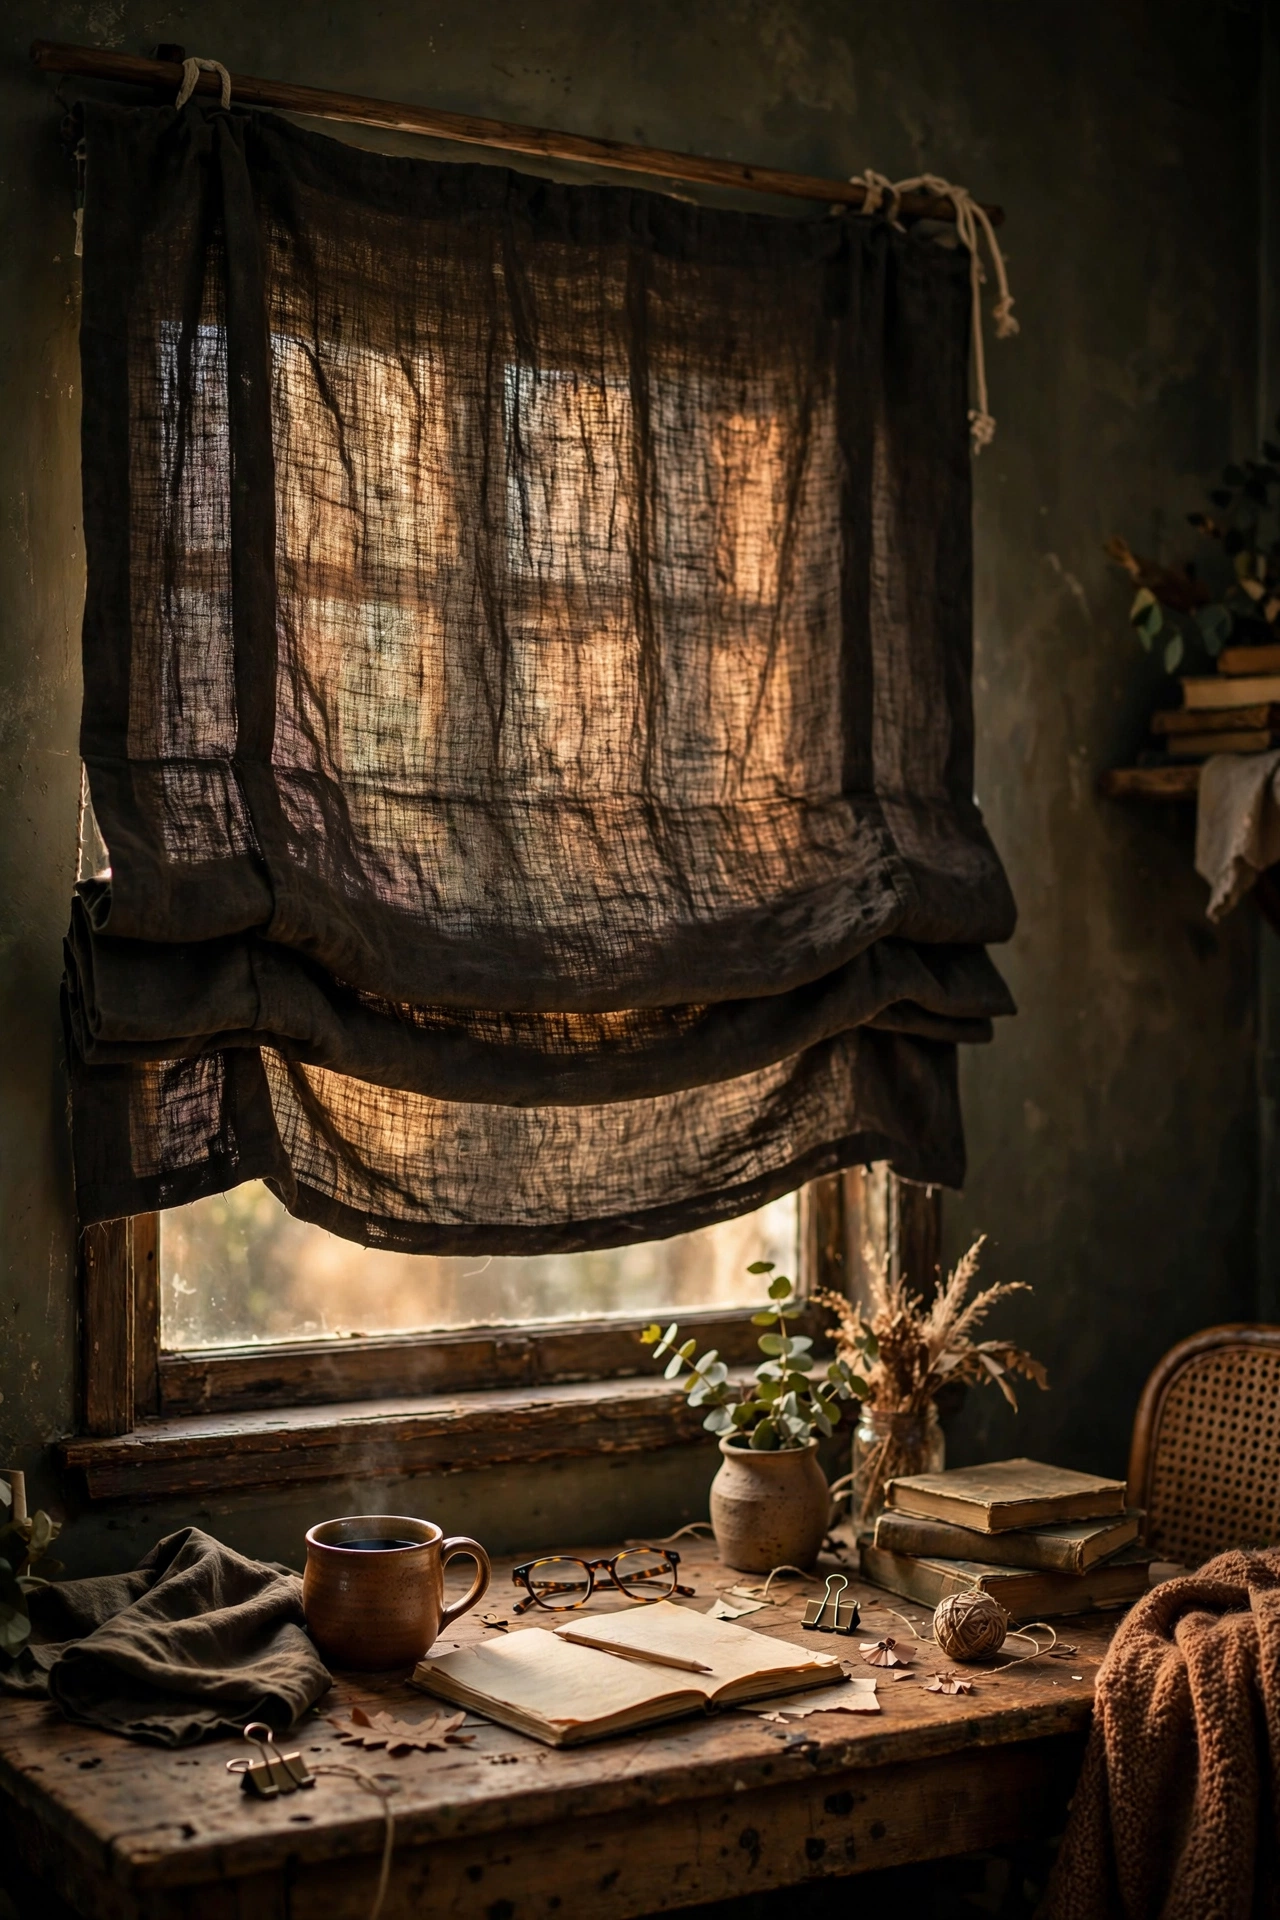
A roman shade in dark linen filters light into something cinematic. I made a no-sew version with hem tape, cutting the fabric to the window size plus hems, folding and ironing the tape lines, and threading cord through small rings glued in rows. It took an afternoon and cost a tenth of a made-to-measure shade. Measure the window twice, because linen has no forgiveness. Charcoal, espresso, and deep olive all keep the moody palette. Test the cord route on the floor first, because restringing a hung shade had me swearing at midnight.
Cost: ~$18-28 | Time: 3 hours
6. Dark-Stained Floating Shelves
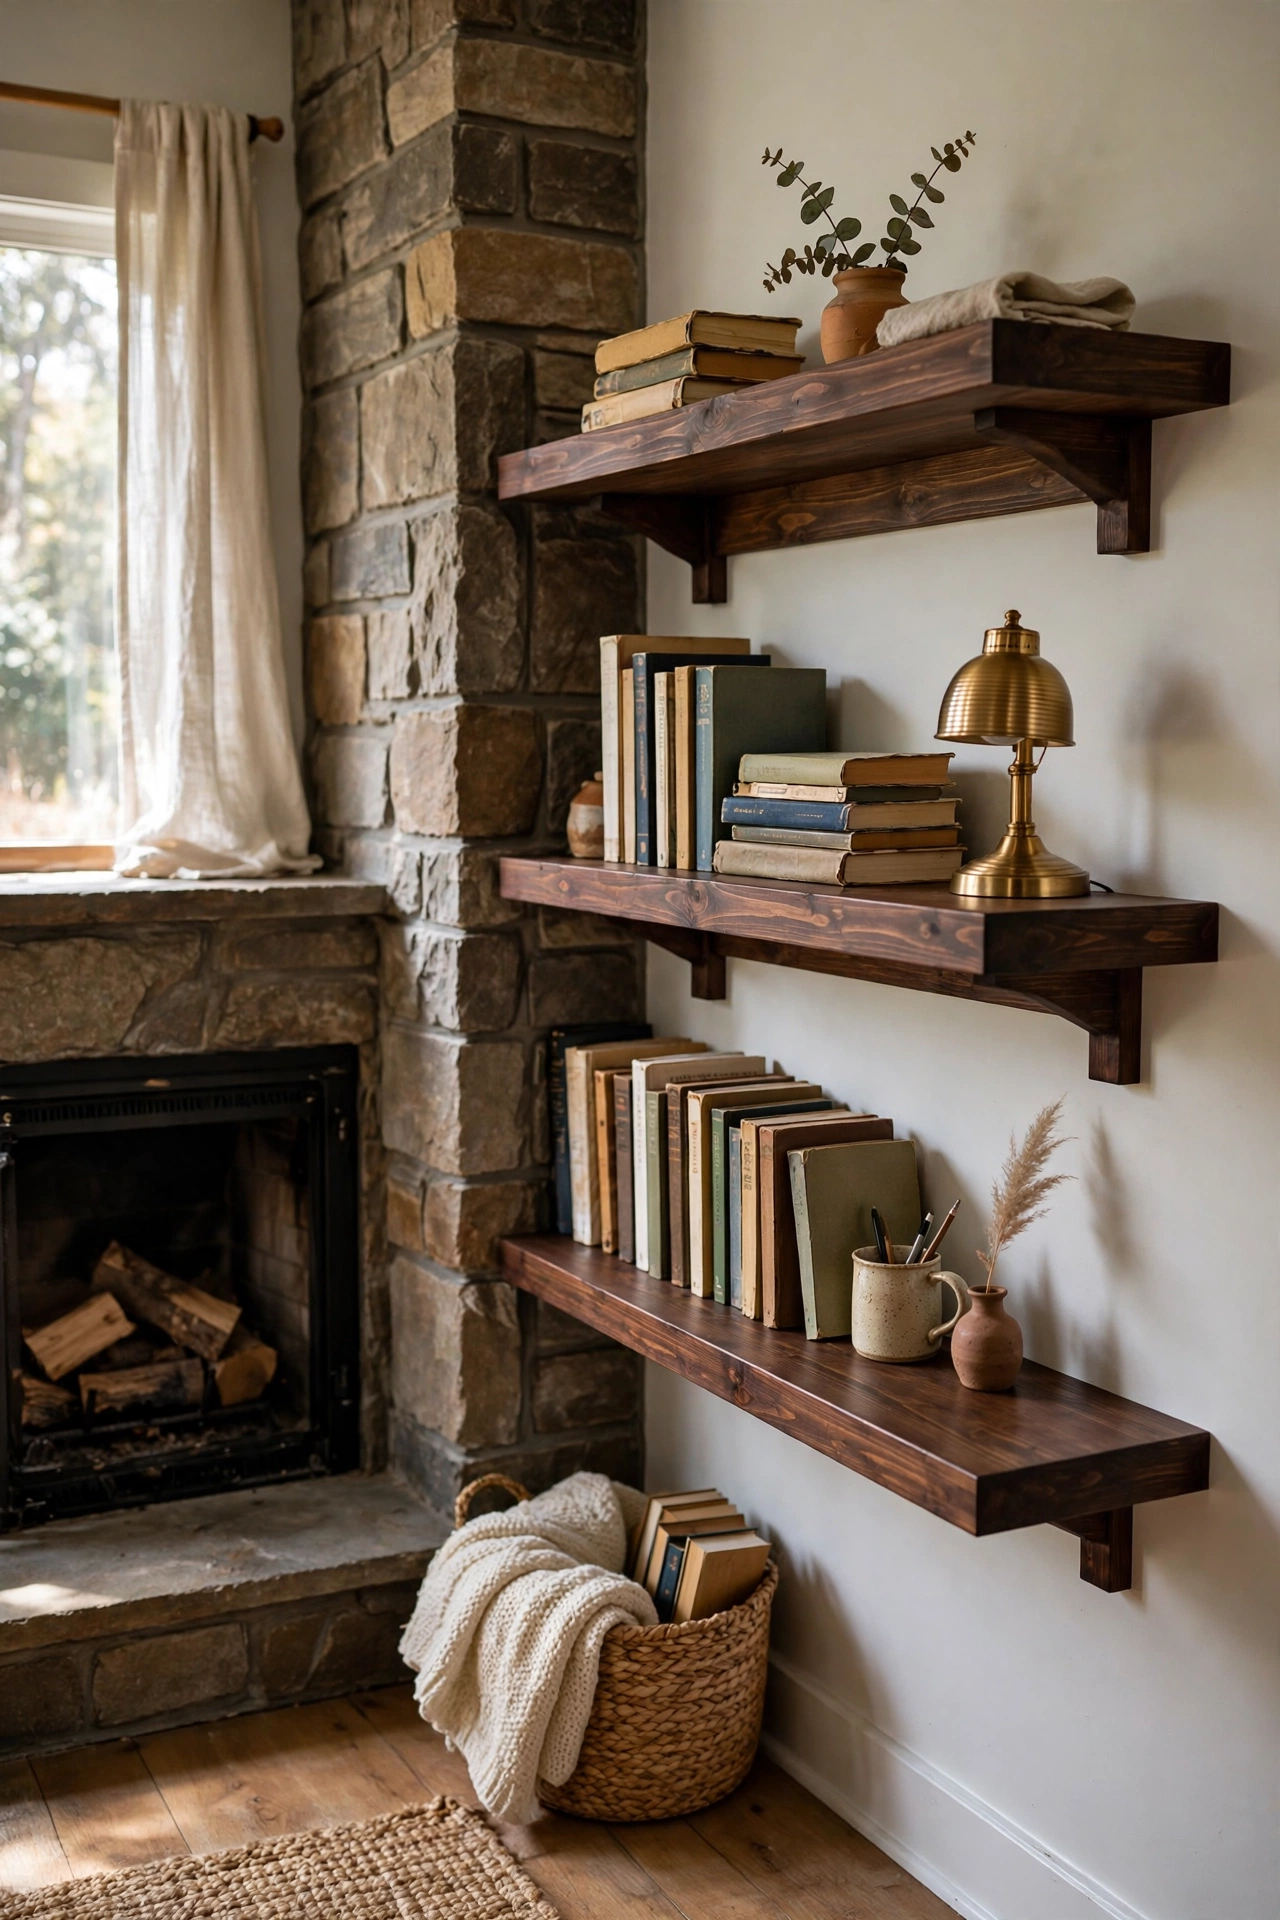
Pine boards stained dark walnut on hidden brackets look like they cost a fortune. I sanded two-metre boards smooth, applied two coats of walnut stain with a rag, and sealed with matte polyurethane. Mounted with concealed brackets, they float beside my fireplace holding books and a brass lamp. Sand between coats or the finish feels rough. My first shelf skipped the sealer and ring marks appeared within a month, so seal them. I stagger the two shelves rather than centring them — asymmetry suits the moody look and holds taller books.
Cost: ~$20-30 | Time: 2 hours plus drying
Pro tip: Wipe stain on with a rag rather than brushing it. Rags give a far more even colour on pine, which blotches badly under a brush.
7. Matte Black Painted Radiator
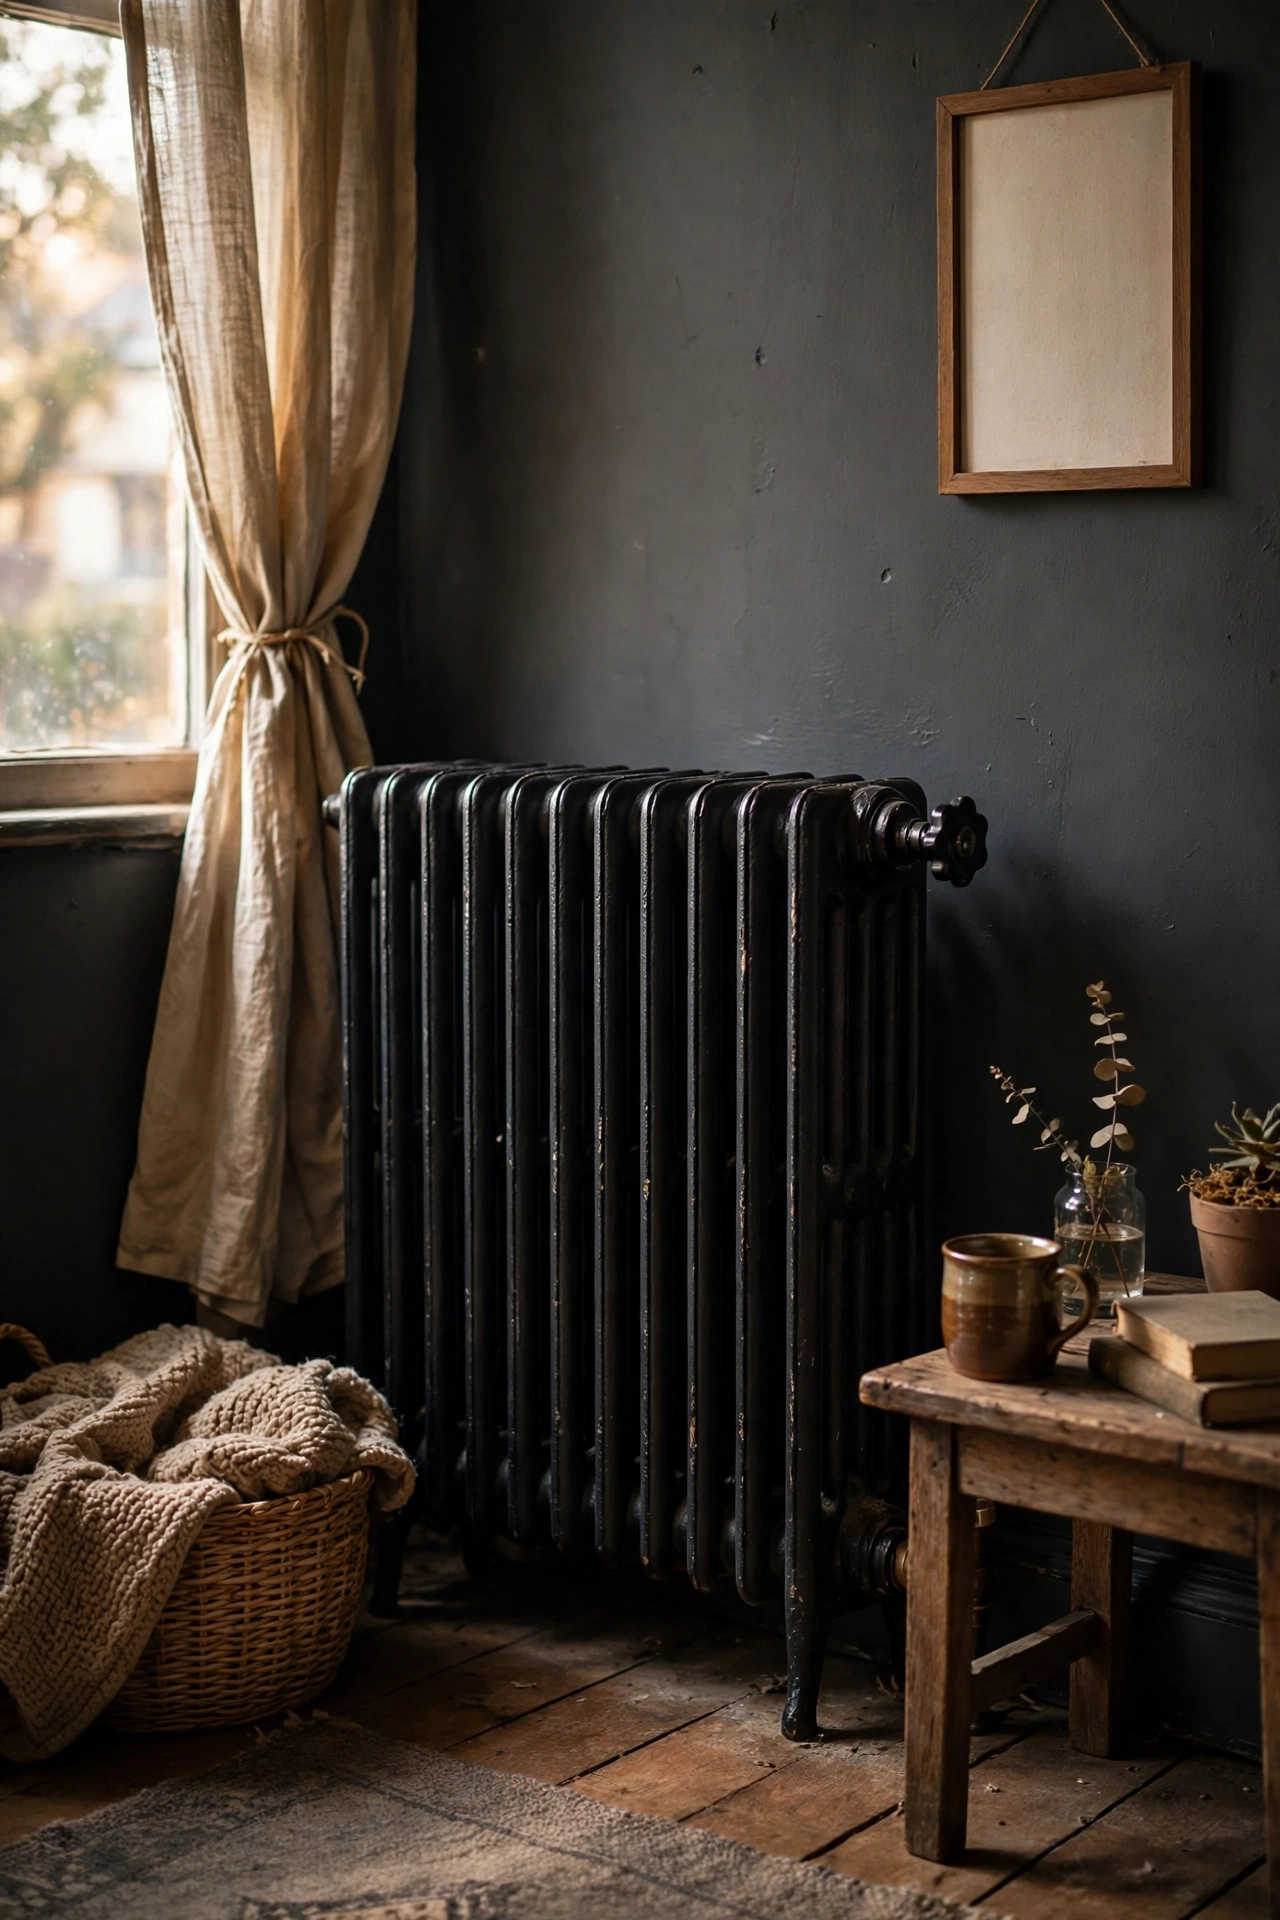
A radiator painted matte black stops being an eyesore and starts being a feature. I used proper heat-resistant radiator paint, masked the wall behind with newspaper, and brushed on two thin coats. The whole job took an afternoon and the living room finally feels finished. Do not use wall paint, because it yellows and flakes with the heat cycles. My black radiator against the charcoal wall looks completely intentional now. Let each coat cure a full day before the heating goes on, or the finish bubbles where the pipes feed in.
Cost: ~$12-18 | Time: 2 hours plus drying
8. Leather Strap Magazine Holder
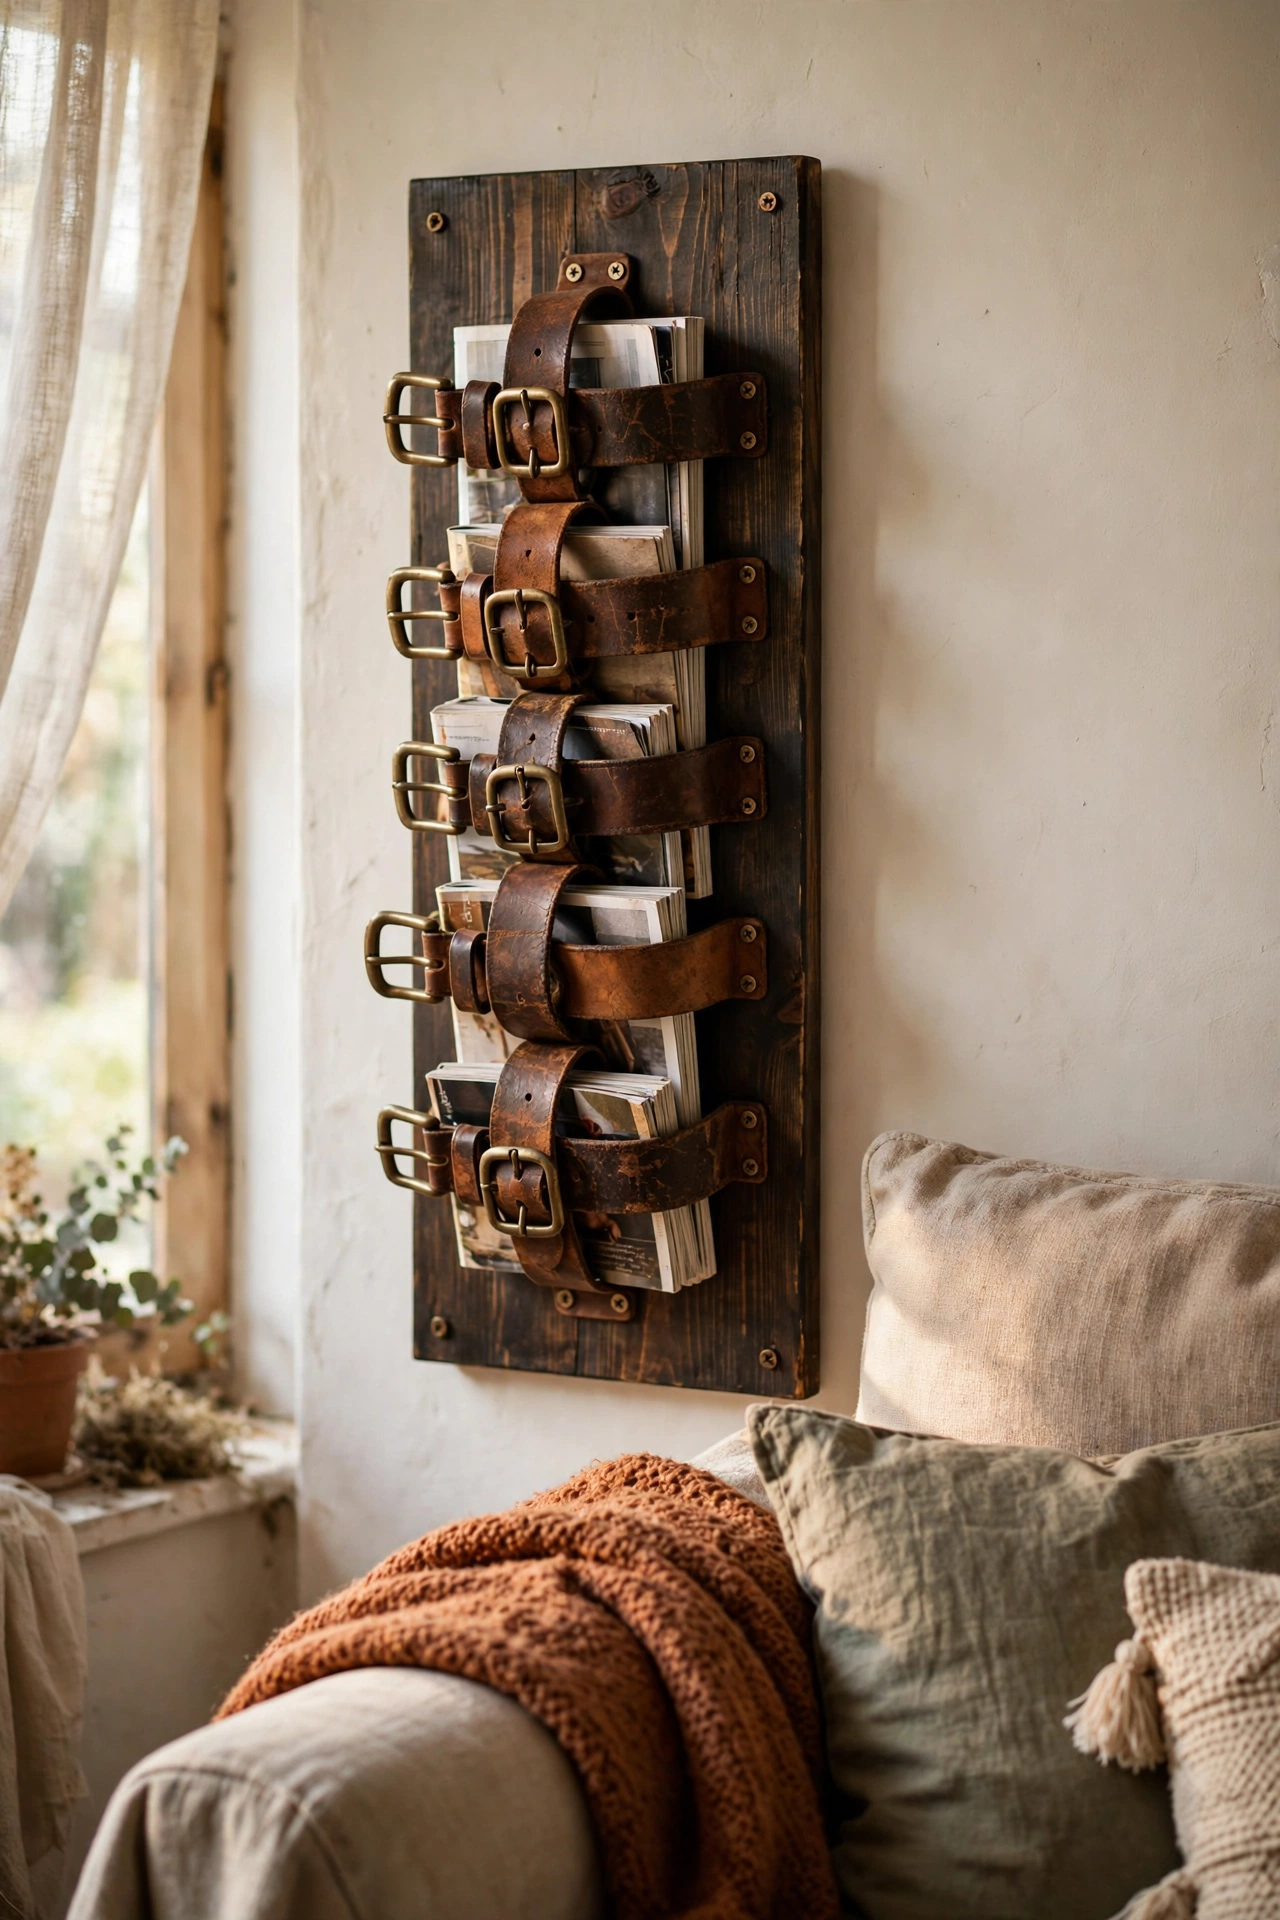
Old leather belts screwed to a stained board make a magazine holder with real character. I cut two belts to equal lengths, screwed them into a dark-stained pine board in loops, and hung it beside the sofa. Magazines slide through the loops and the leather ages beautifully. Charity shops sell belts for almost nothing, so pick ones with good buckles. Space the loops evenly or the magazines tilt. I screwed the board into a stud, because a full loop of magazines weighs more than you’d guess.
Cost: ~$8-12 | Time: 1 hour
9. Tea-Stained Botanical Prints
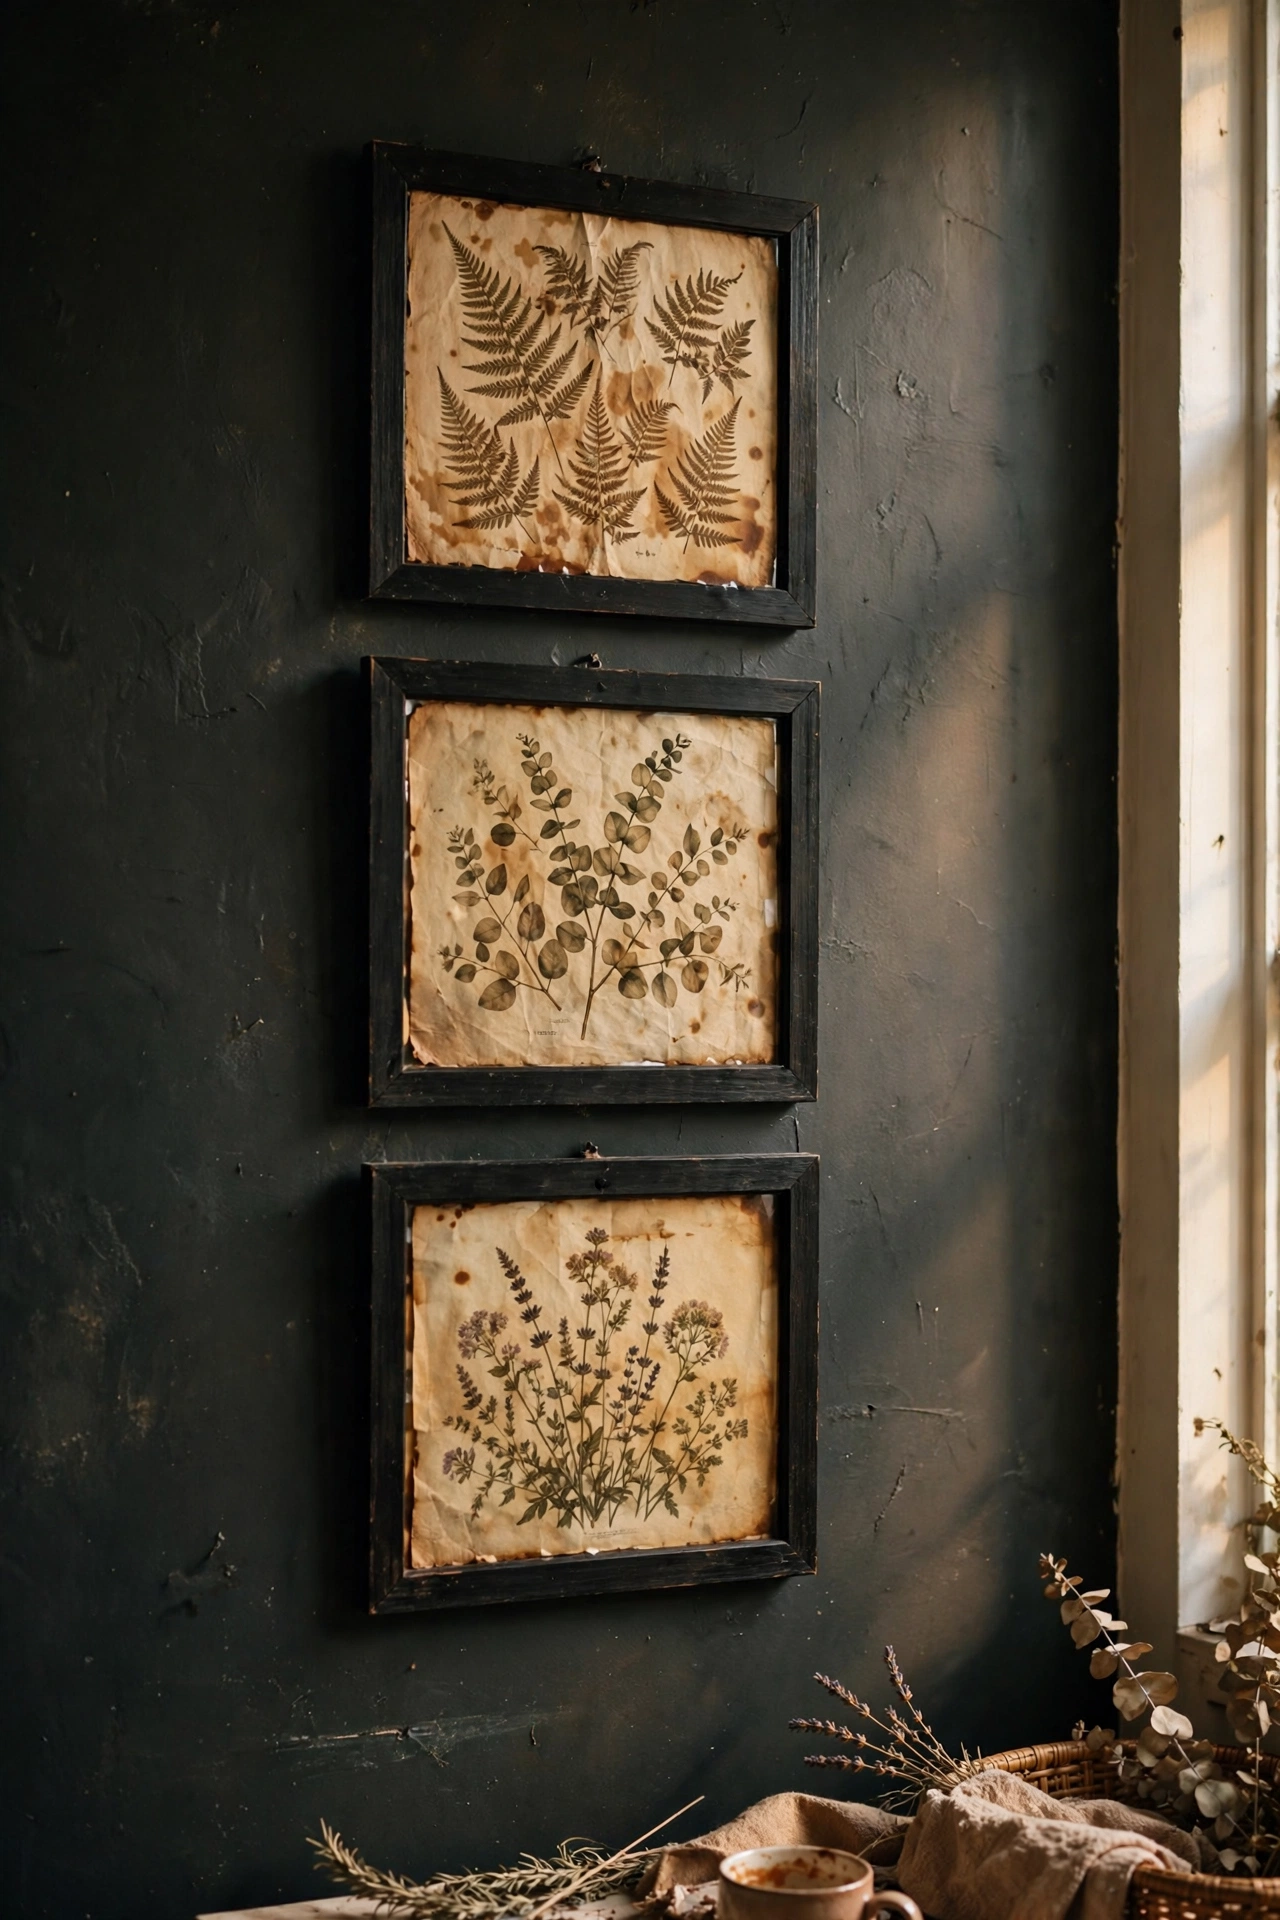
Free vintage botanical prints soaked in strong tea look a century old. I print public-domain illustrations on matte paper, soak them in cold tea for ten minutes, and dry them flat under books. Framed in the black-and-gold frames from idea two, they are indistinguishable from expensive antique prints. Iron them on low when dry, because tea-soaked paper cockles. This is my favourite almost-free art trick. Strong builder’s tea gives the deepest tone — my first batch with weak breakfast tea barely took at all.
Cost: ~$3-8 | Time: 1 hour plus drying
Pro tip: Print botanicals slightly larger than your frames and trim after staining. Wet paper stretches, and prints cut to size first always end up too small.
10. Dark Velvet Cushion Covers
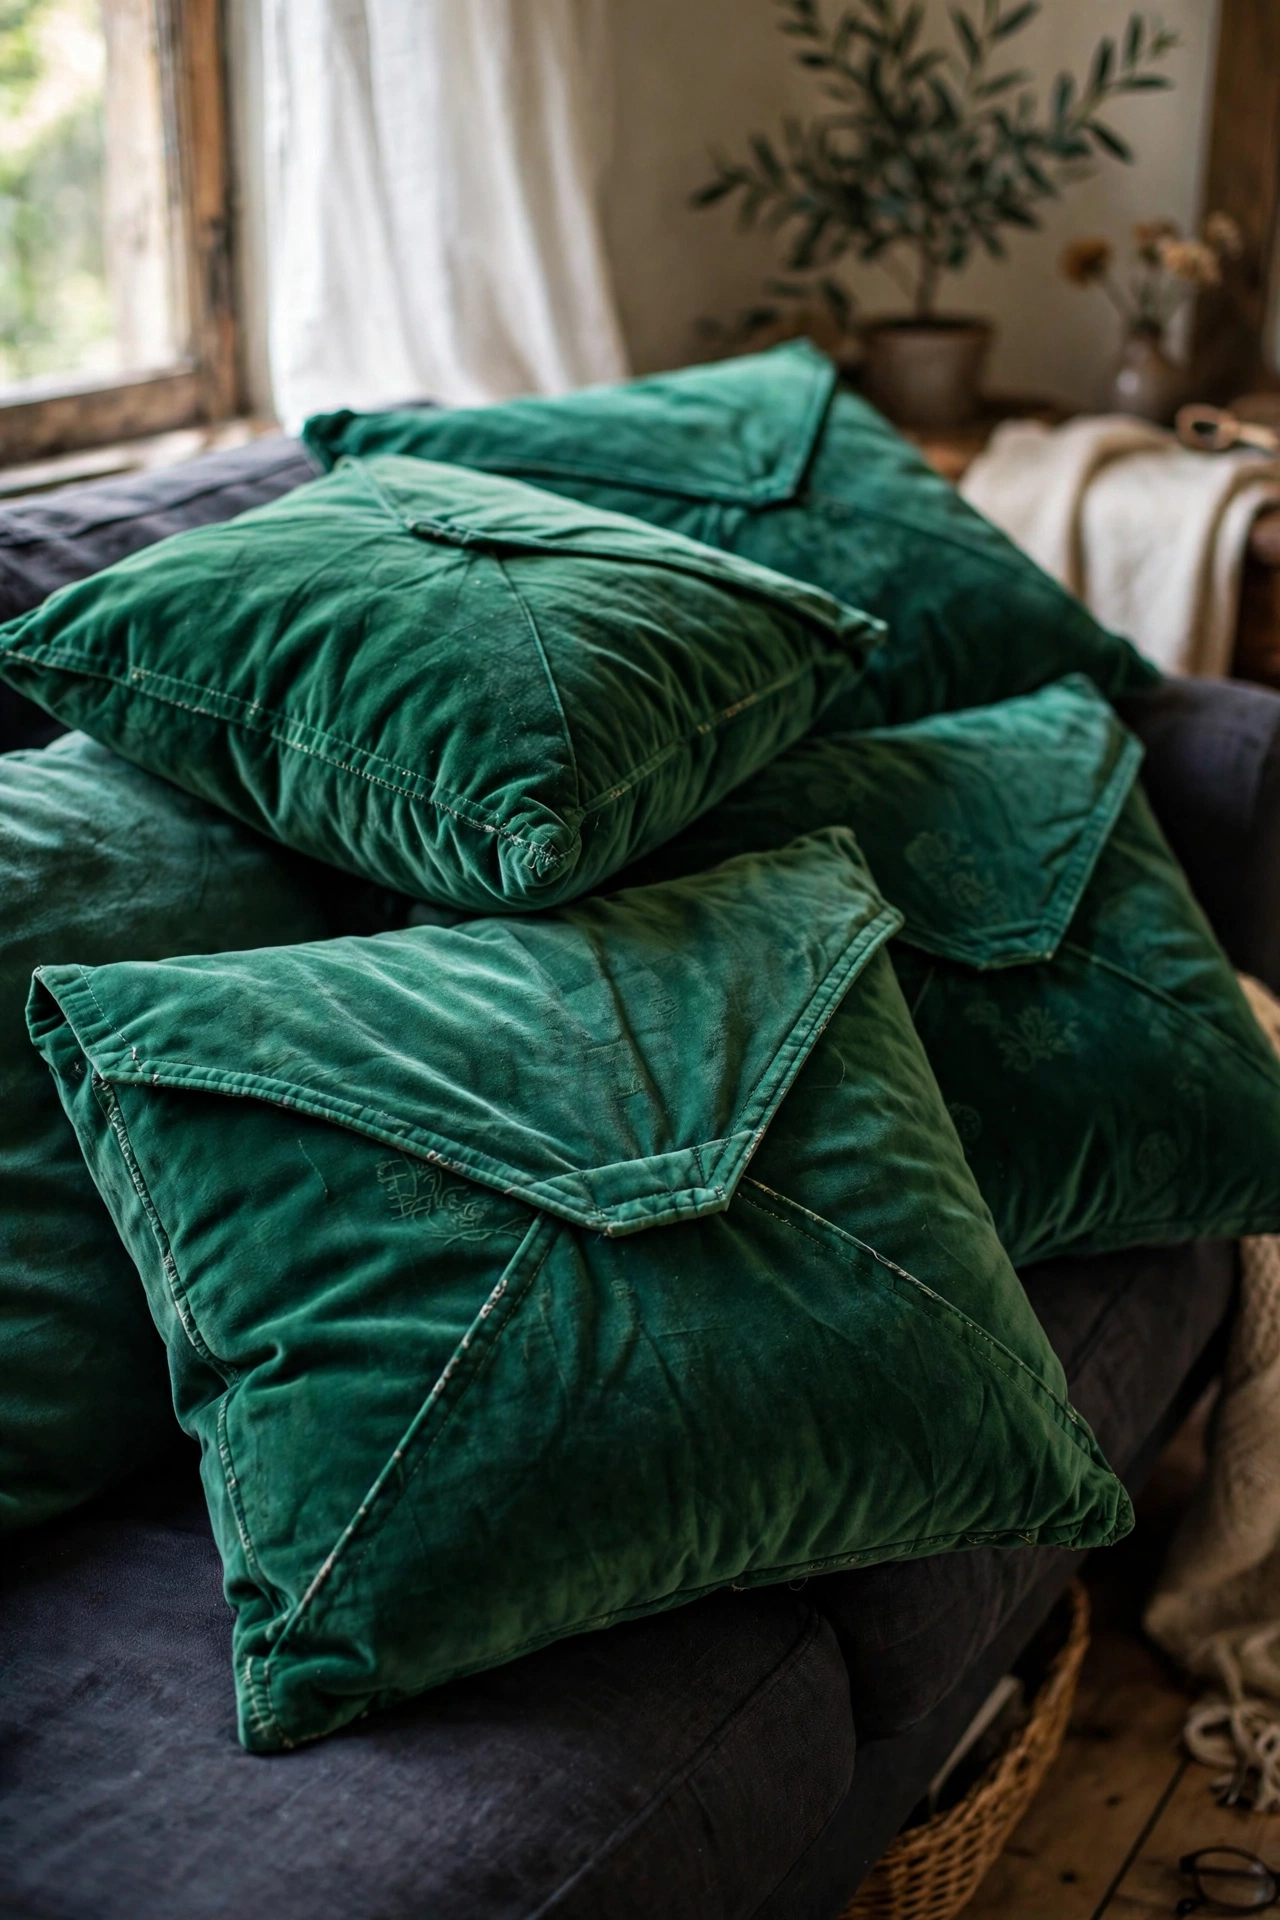
Thrifted velvet curtains sewn into cushion covers add instant moody luxury. I found heavy emerald curtains for a few pounds, cut them into squares, and sewed simple envelope closures, no zips needed. Four covers took one evening. Velvet reads expensive in any light, and the envelope back means you can swap them seasonally. Wash the curtains first, because thrifted fabric always carries a smell. Back the velvet with a layer of calico if the curtains are thin — it stops the covers looking limp and sews easier.
Cost: ~$10-16 | Time: 3 hours
11. Black Painted Picture Ledges
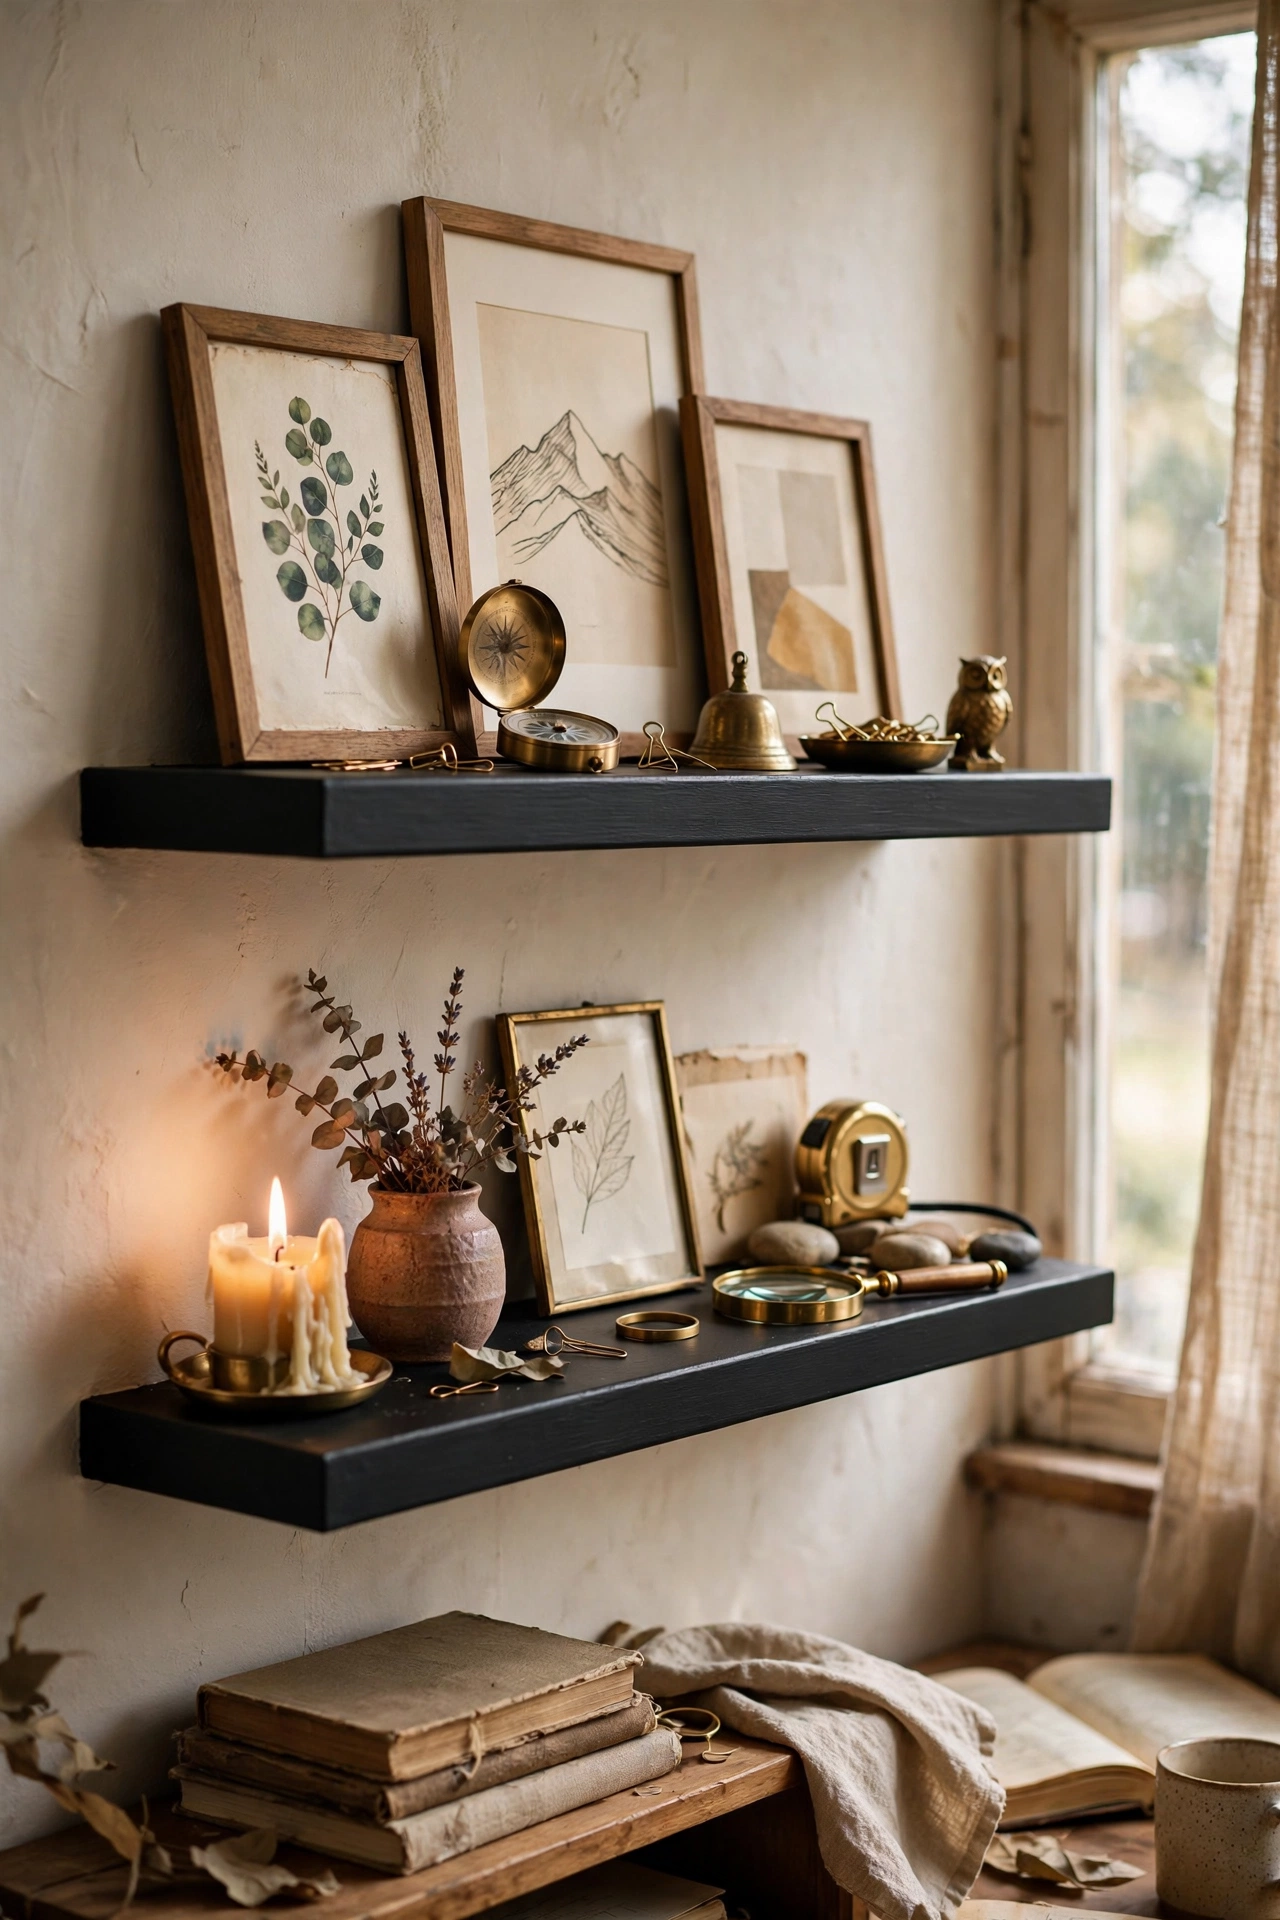
Plain pine picture ledges painted matte black become a proper moody display shelf. I sanded two ledges, sprayed them black, and mounted them in the study layered with art, small brass objects, and a candle. Layering frames in front of each other looks collected rather than arranged. My mistake was mounting them too high the first time; keep the lowest ledge at eye level. They hold the tea-stained prints beautifully. Sand the ledges back lightly after painting and rub dark wax into the edges for an aged black finish.
Cost: ~$12-20 | Time: 1.5 hours plus drying
12. Moody Bedside Table Styling
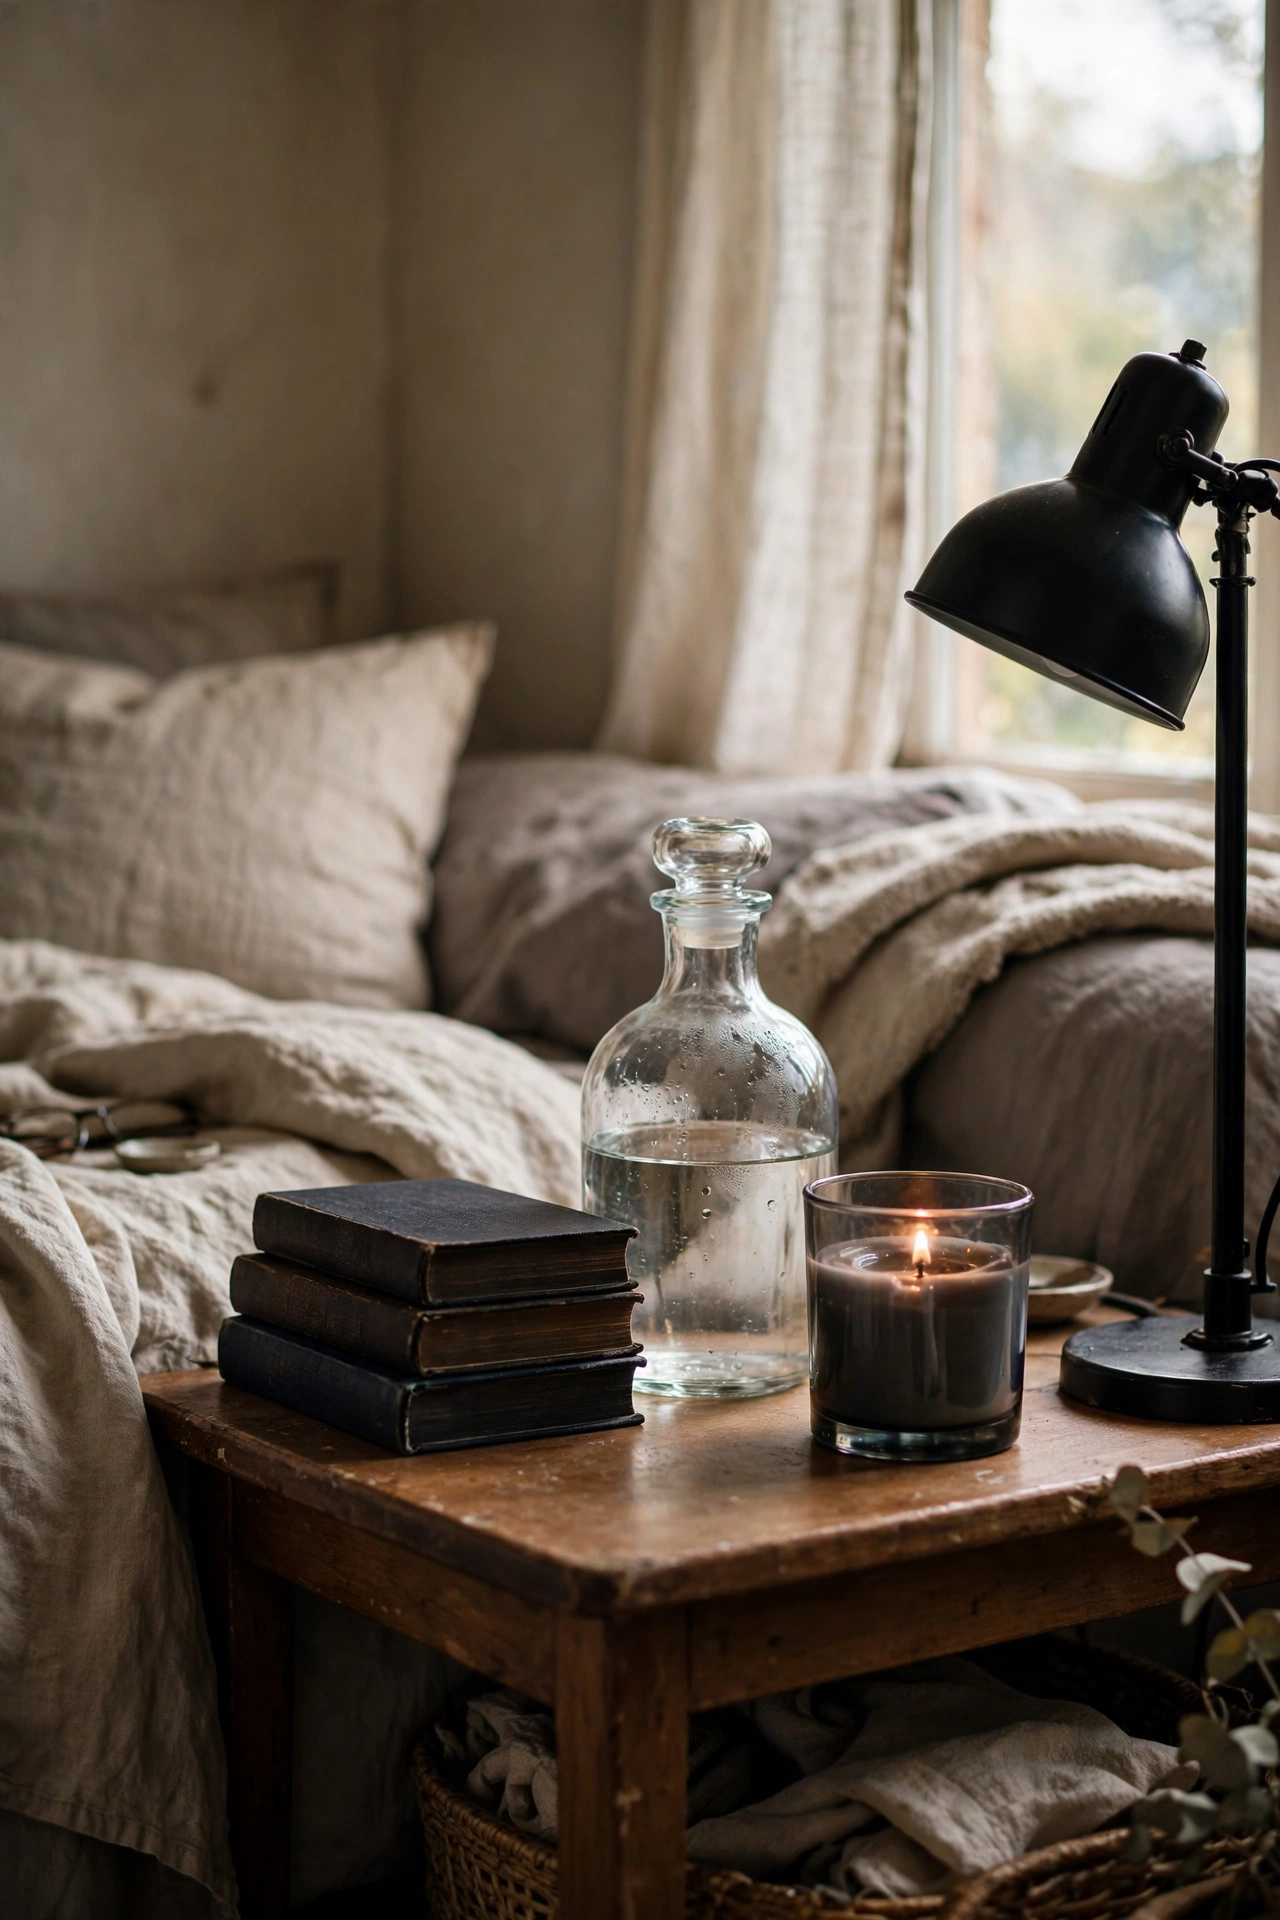
A bedside table styled in threes feels like a boutique hotel. I cleared mine completely, then added back a stack of two dark-spined books, a small carafe of water, and a candle in a smoked glass holder. That is it. The restraint is the whole trick, because moody styling is about shadow as much as objects. I swapped my white lamp for a black one and the corner finally matches the rest of the room. Save this one for your weekend project list.
Cost: ~$8-15 | Time: 20 minutes
Pro tip: Style bedside tables in odd numbers and varying heights. Two objects look sparse, four look cluttered, three looks deliberate.
13. Vinegar-Aged Mirror
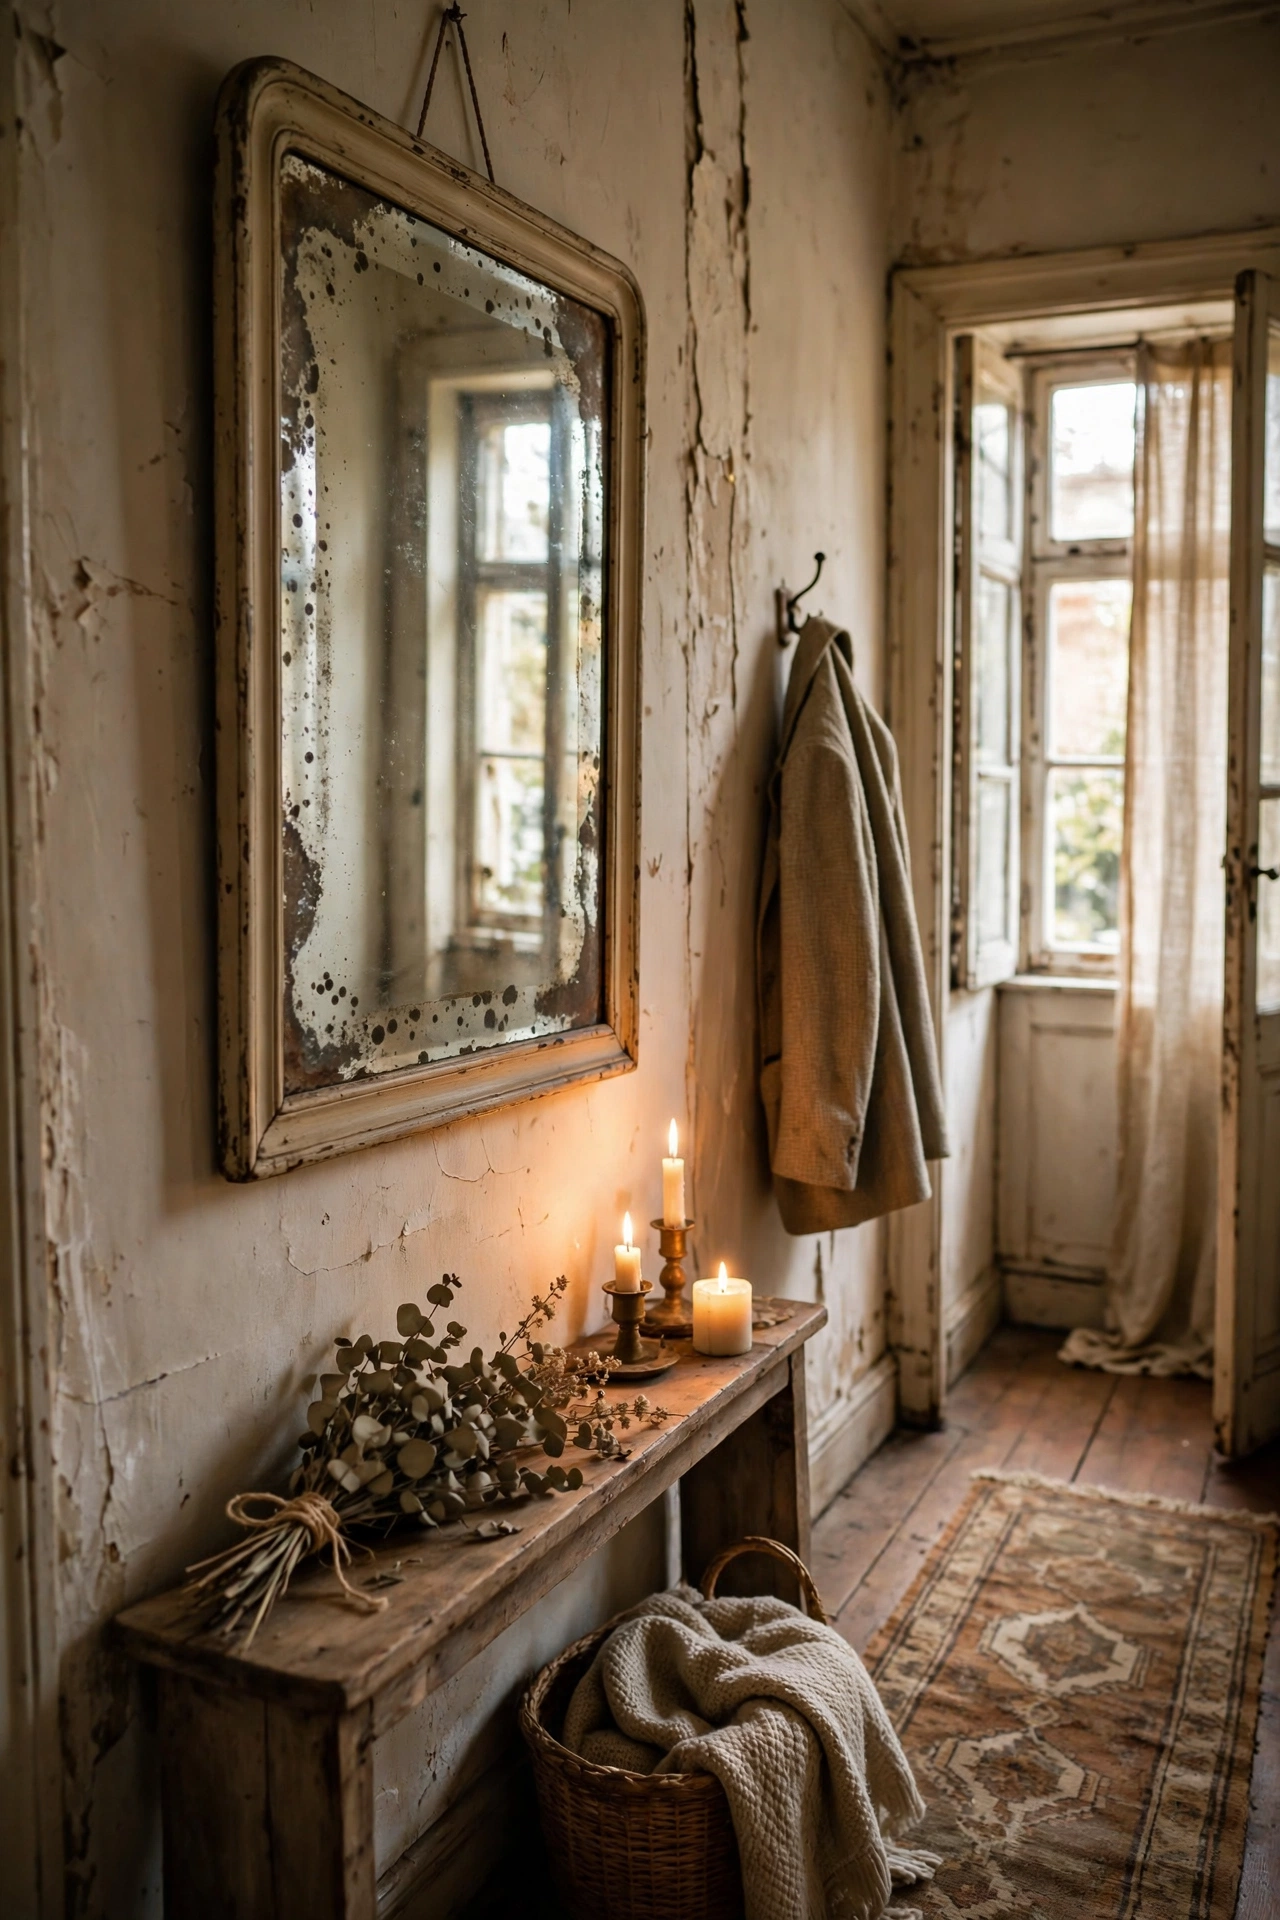
A cheap mirror gets an antique foxed look with a vinegar treatment on its edges. I masked the centre of a thrifted mirror, then dabbed the exposed edges with a vinegar and water mix and left it to mottle overnight. The result is that cloudy, aged-mirror effect you see in expensive interiors. Go gently, because you can always add more mottling but you cannot undo it. Mine hangs in the hallway catching candlelight beautifully. Mottle mostly at the corners and let the middle stay clearer — real foxing starts where moisture sat.
Cost: ~$5-10 | Time: 30 minutes plus overnight
14. Dark-Stained Wooden Serving Tray
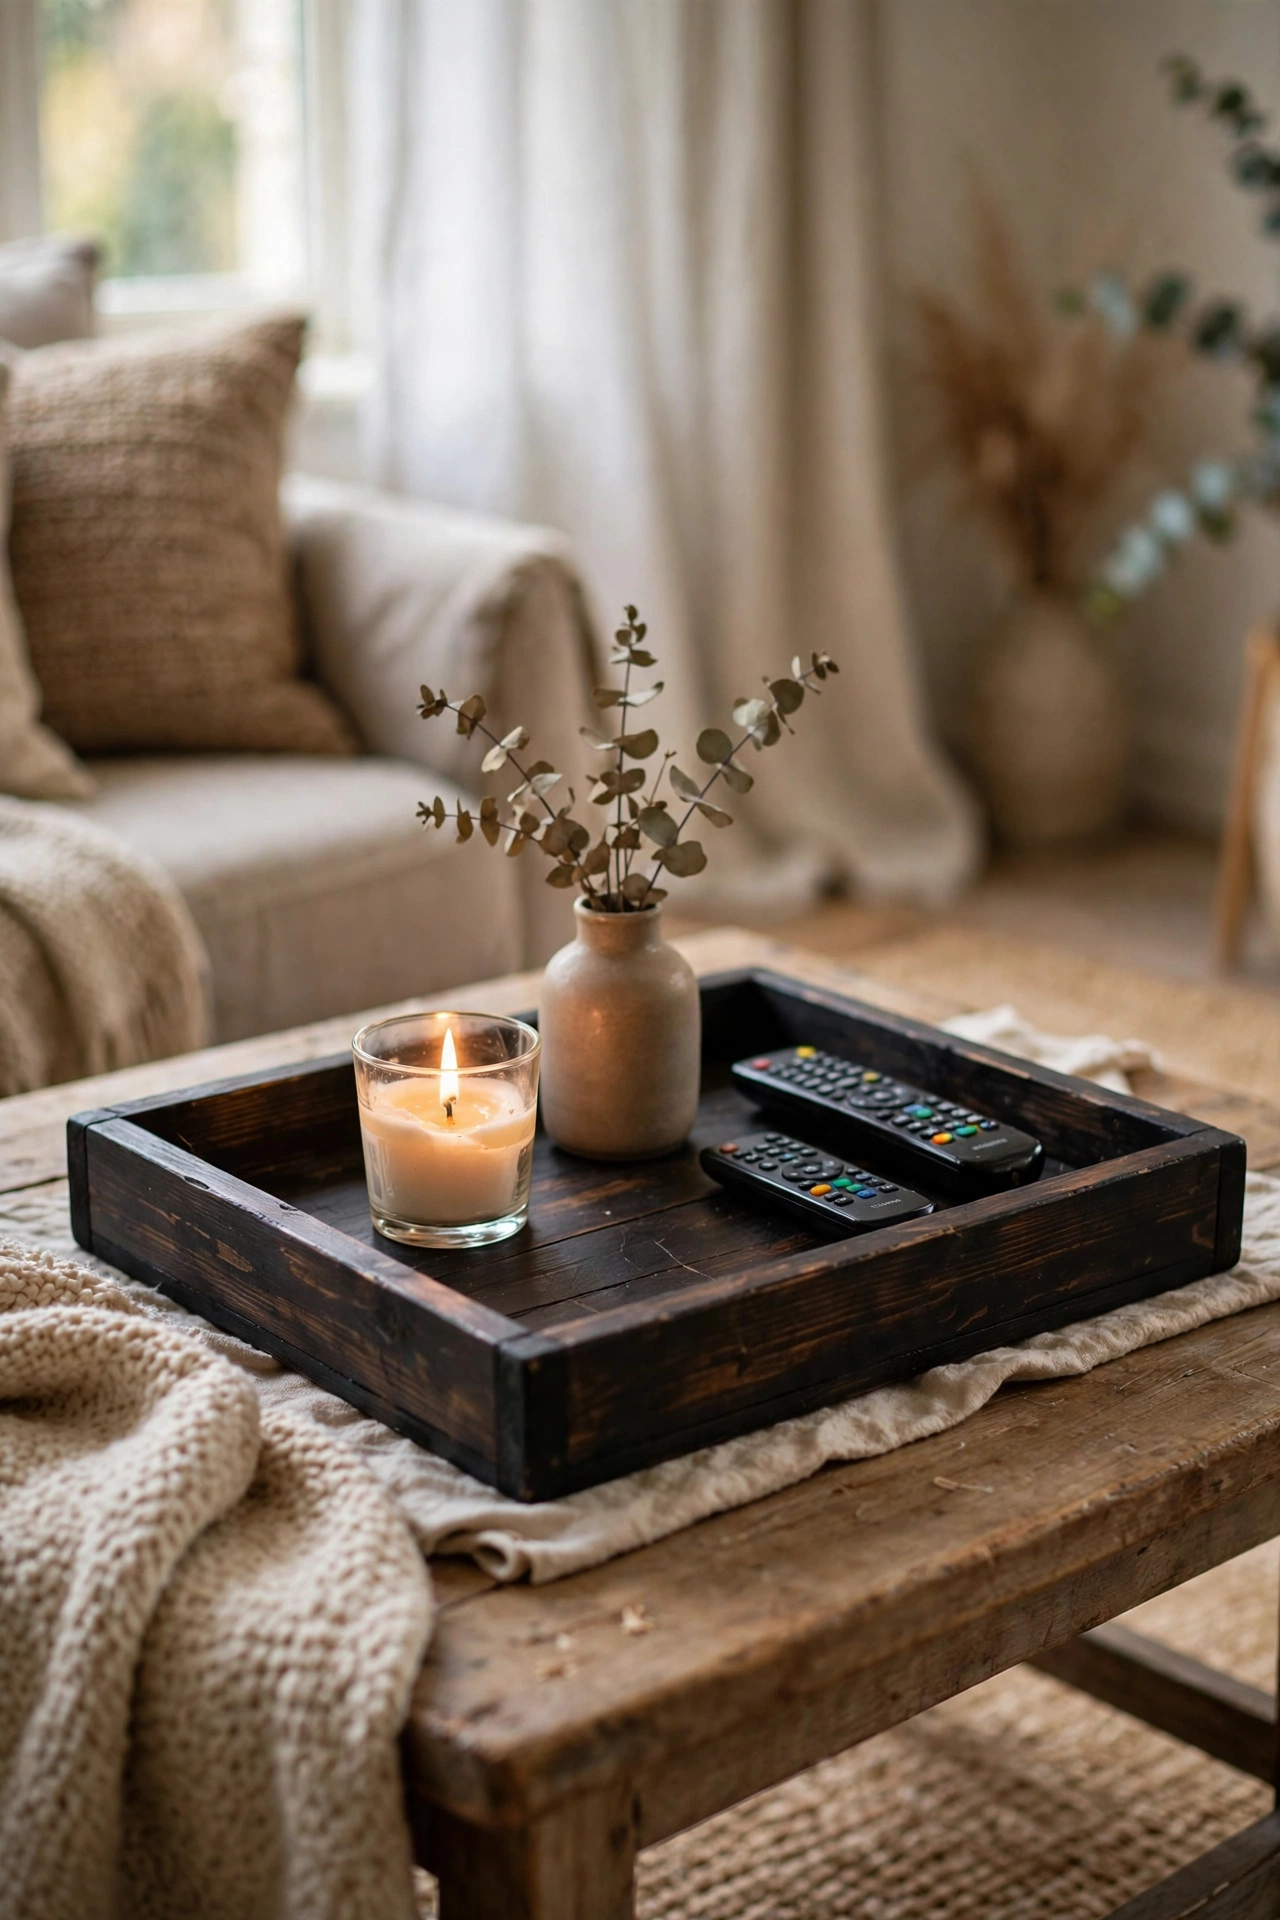
A wooden tray stained nearly black corrals candles and clutter into something elegant. I found a pine tray at a car boot sale, sanded it, and applied dark walnut stain followed by matte sealer. It lives on my coffee table holding a candle, a small vase, and the remote controls. Containing the clutter is what makes it look styled. Wipe up wax drips while warm, because cold wax bonds to the sealer. Felt pads under the tray saved my coffee table — dark stain hides scratches, but it doesn’t stop them.
Cost: ~$8-14 | Time: 1.5 hours plus drying
15. Moody Fireplace Mantel Styling
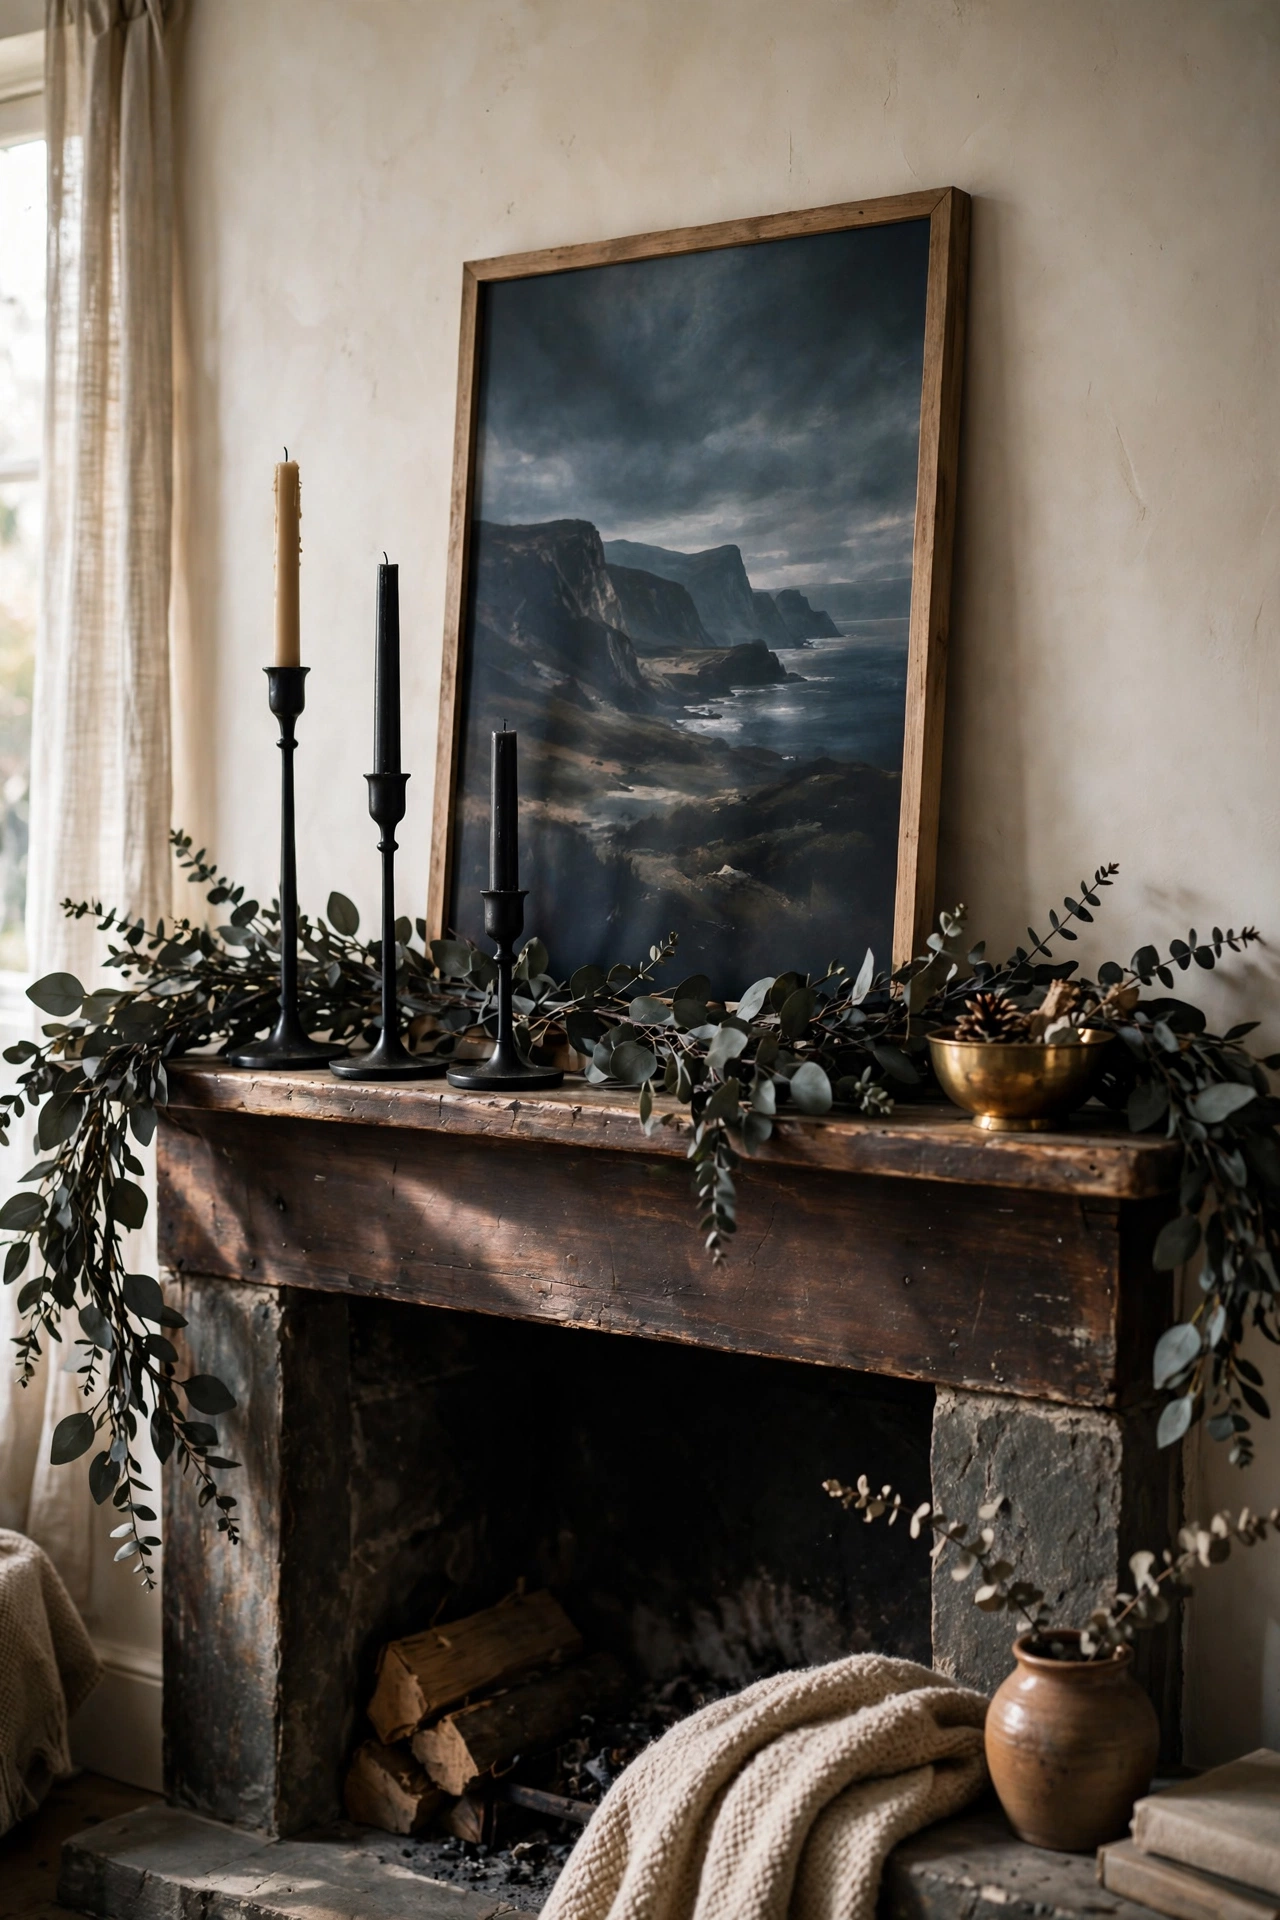
A mantel styled dark for autumn and winter changes the whole room. I layer a dark eucalyptus garland along the mantel, add black candlesticks at different heights, and lean one large moody art print in the centre. Nothing matches exactly, and that is the point. I restyle mine every October and it takes twenty minutes. Keep one metallic in the mix, brass or aged gold, so the darkness has something to catch the light. I light the candlesticks before guests arrive and let the room go dim — candlelight does the rest of the styling.
Cost: ~$15-25 | Time: 30 minutes
Pro tip: Lean art rather than hanging it on a mantel. It looks more relaxed, and you can swap pieces seasonally without new holes in the wall.
16. Ink-Black Painted Interior Door
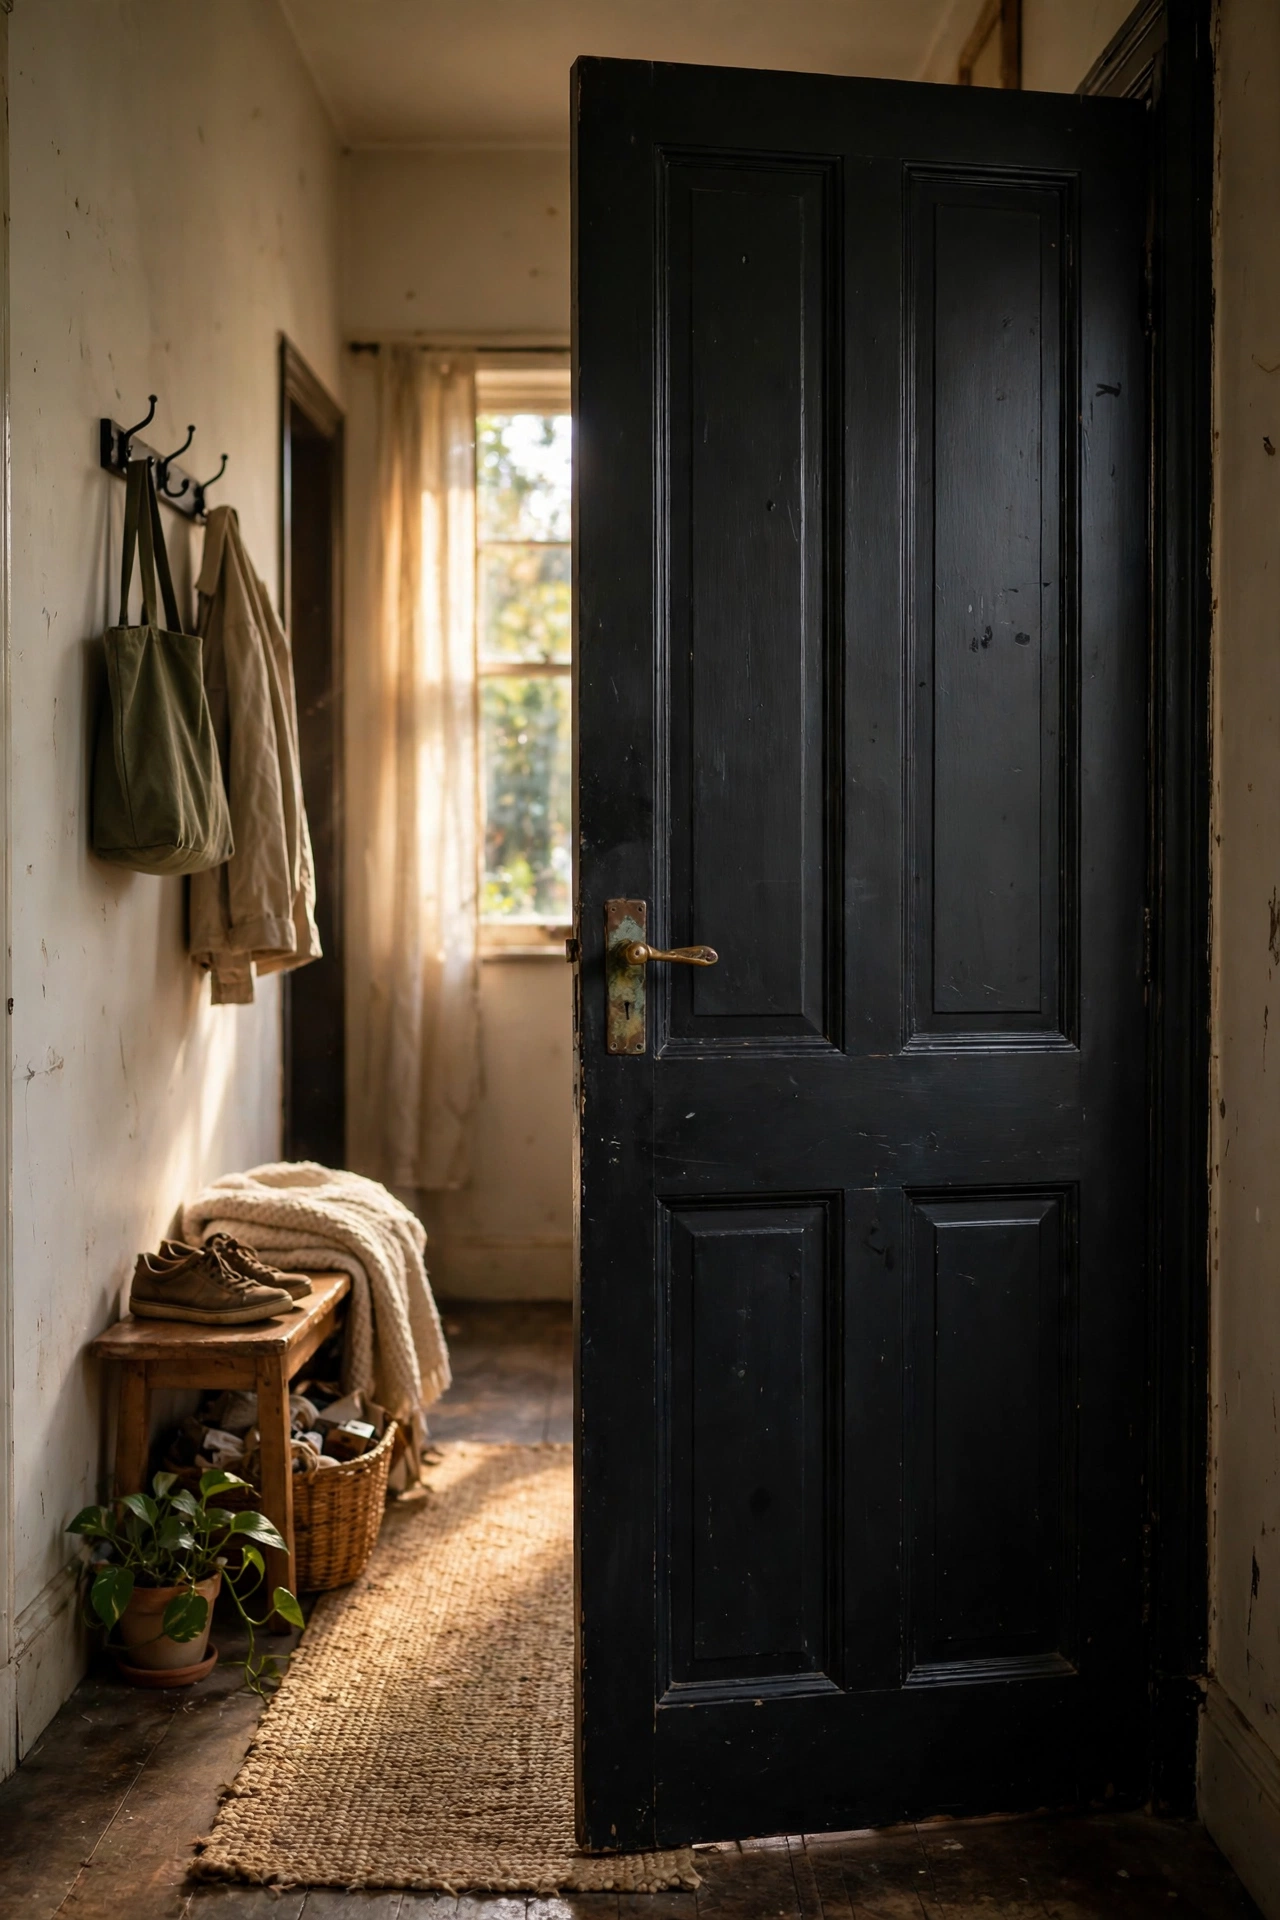
Painting one interior door ink black is the boldest cheap move on this list. I painted my study door in satin black, swapped the handle for aged brass, and the whole hallway feels designed now. Remove the door and paint it flat on sawhorses for the cleanest finish. Satin, not matte, because doors get touched constantly and matte shows every fingerprint. It took me a day and it is still my favourite change. Paint the frame too, or the black slab looks like a mistake — the whole doorway needs to commit.
Cost: ~$20-30 | Time: 4 hours plus drying
17. Thrifted Wall Sconce Candle Holders
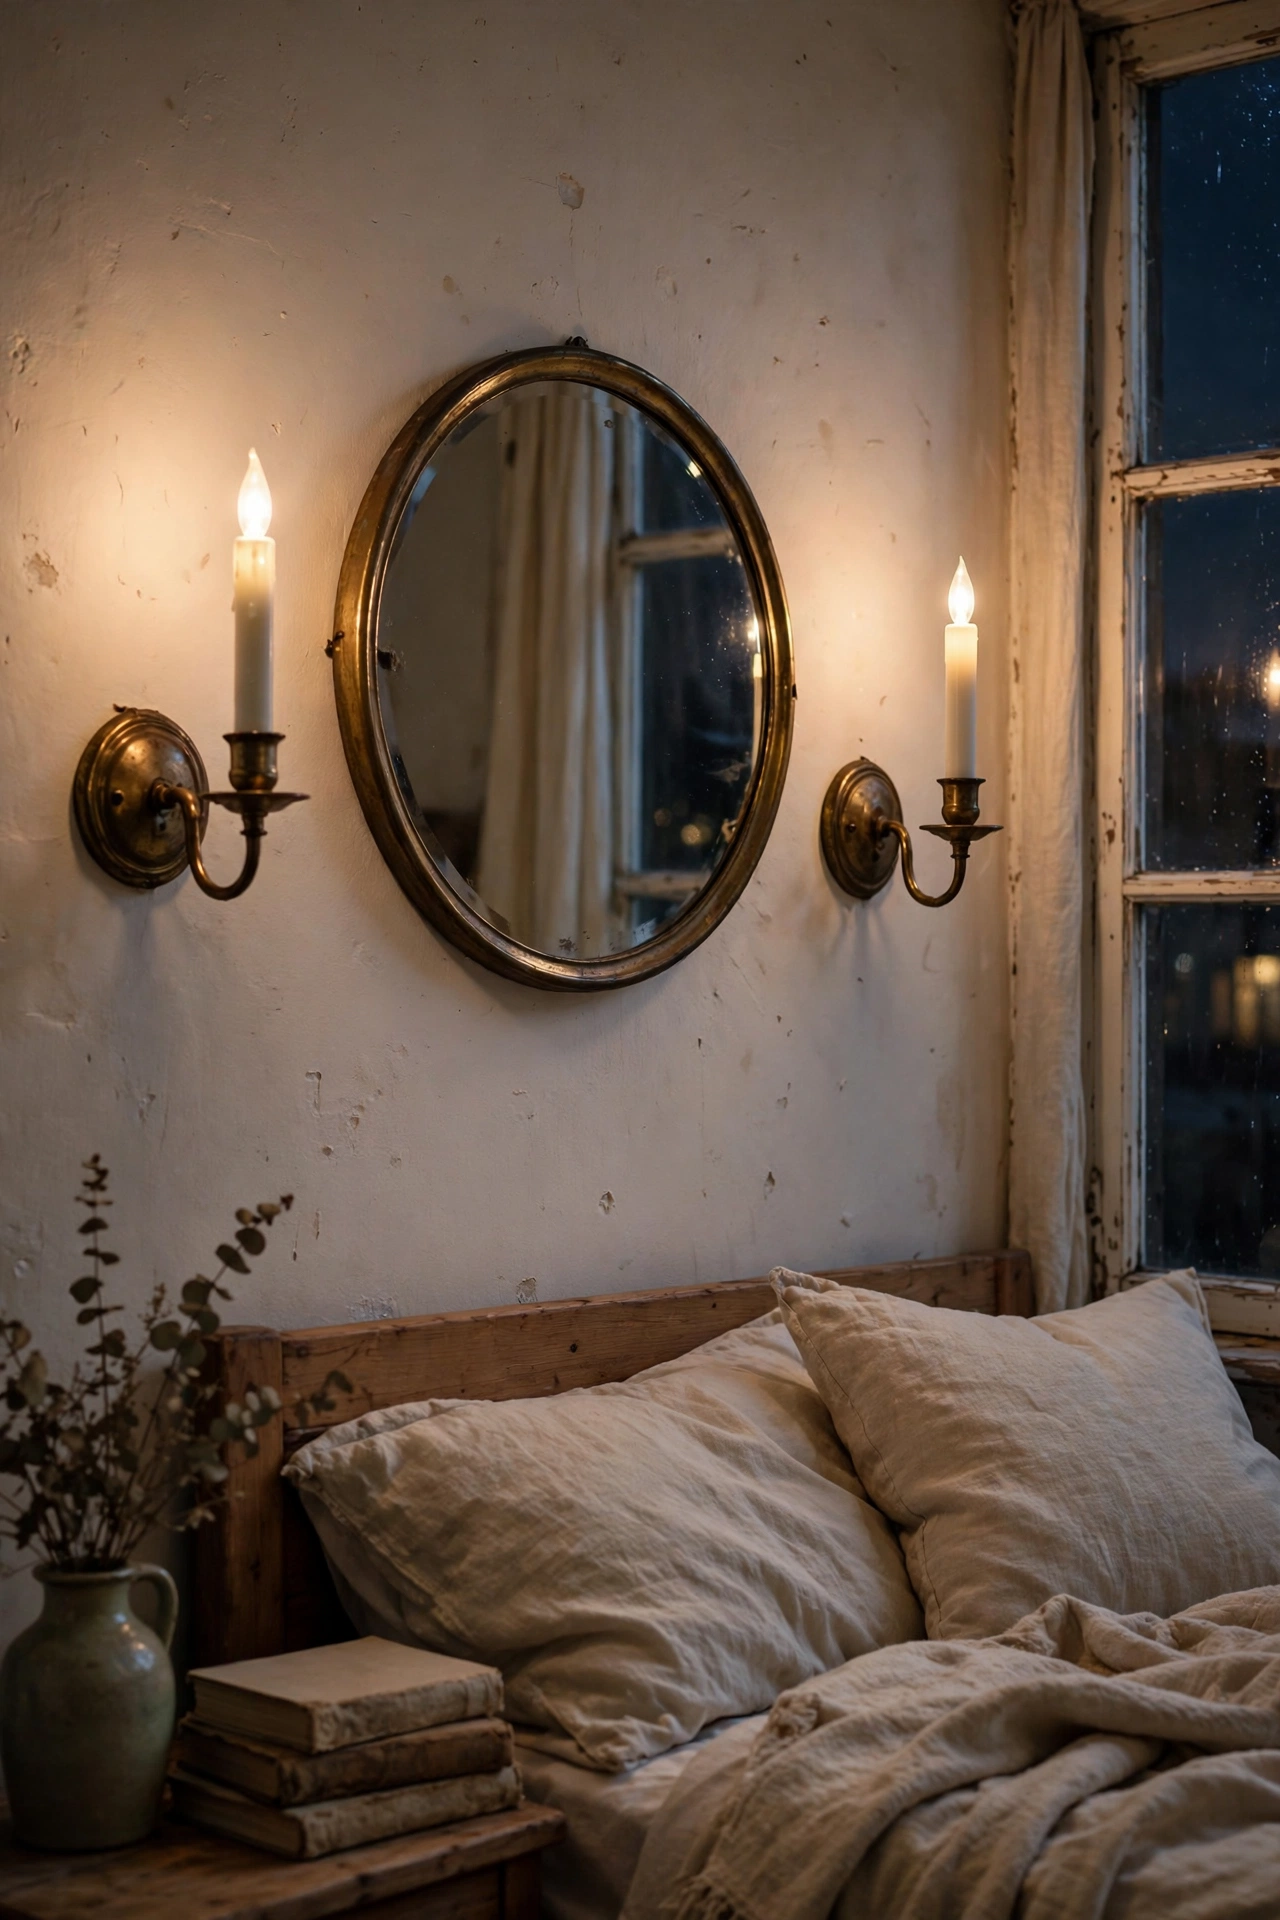
Wall-mounted candle holders from the thrift store bring real candlelight to the walls. I found a pair of brass sconces, cleaned them up, and mounted them either side of the bedroom mirror with LED taper candles inside. Real candles on a wall make me nervous, so LED it is. Mount them into studs or proper plasterboard fixings, because a falling sconce is no joke. The flicker at night is worth every penny. Warm-white LED tapers read as candlelight; cool white ones give the whole thing away.
Cost: ~$10-16 | Time: 1 hour
18. Layered Charcoal Bedding
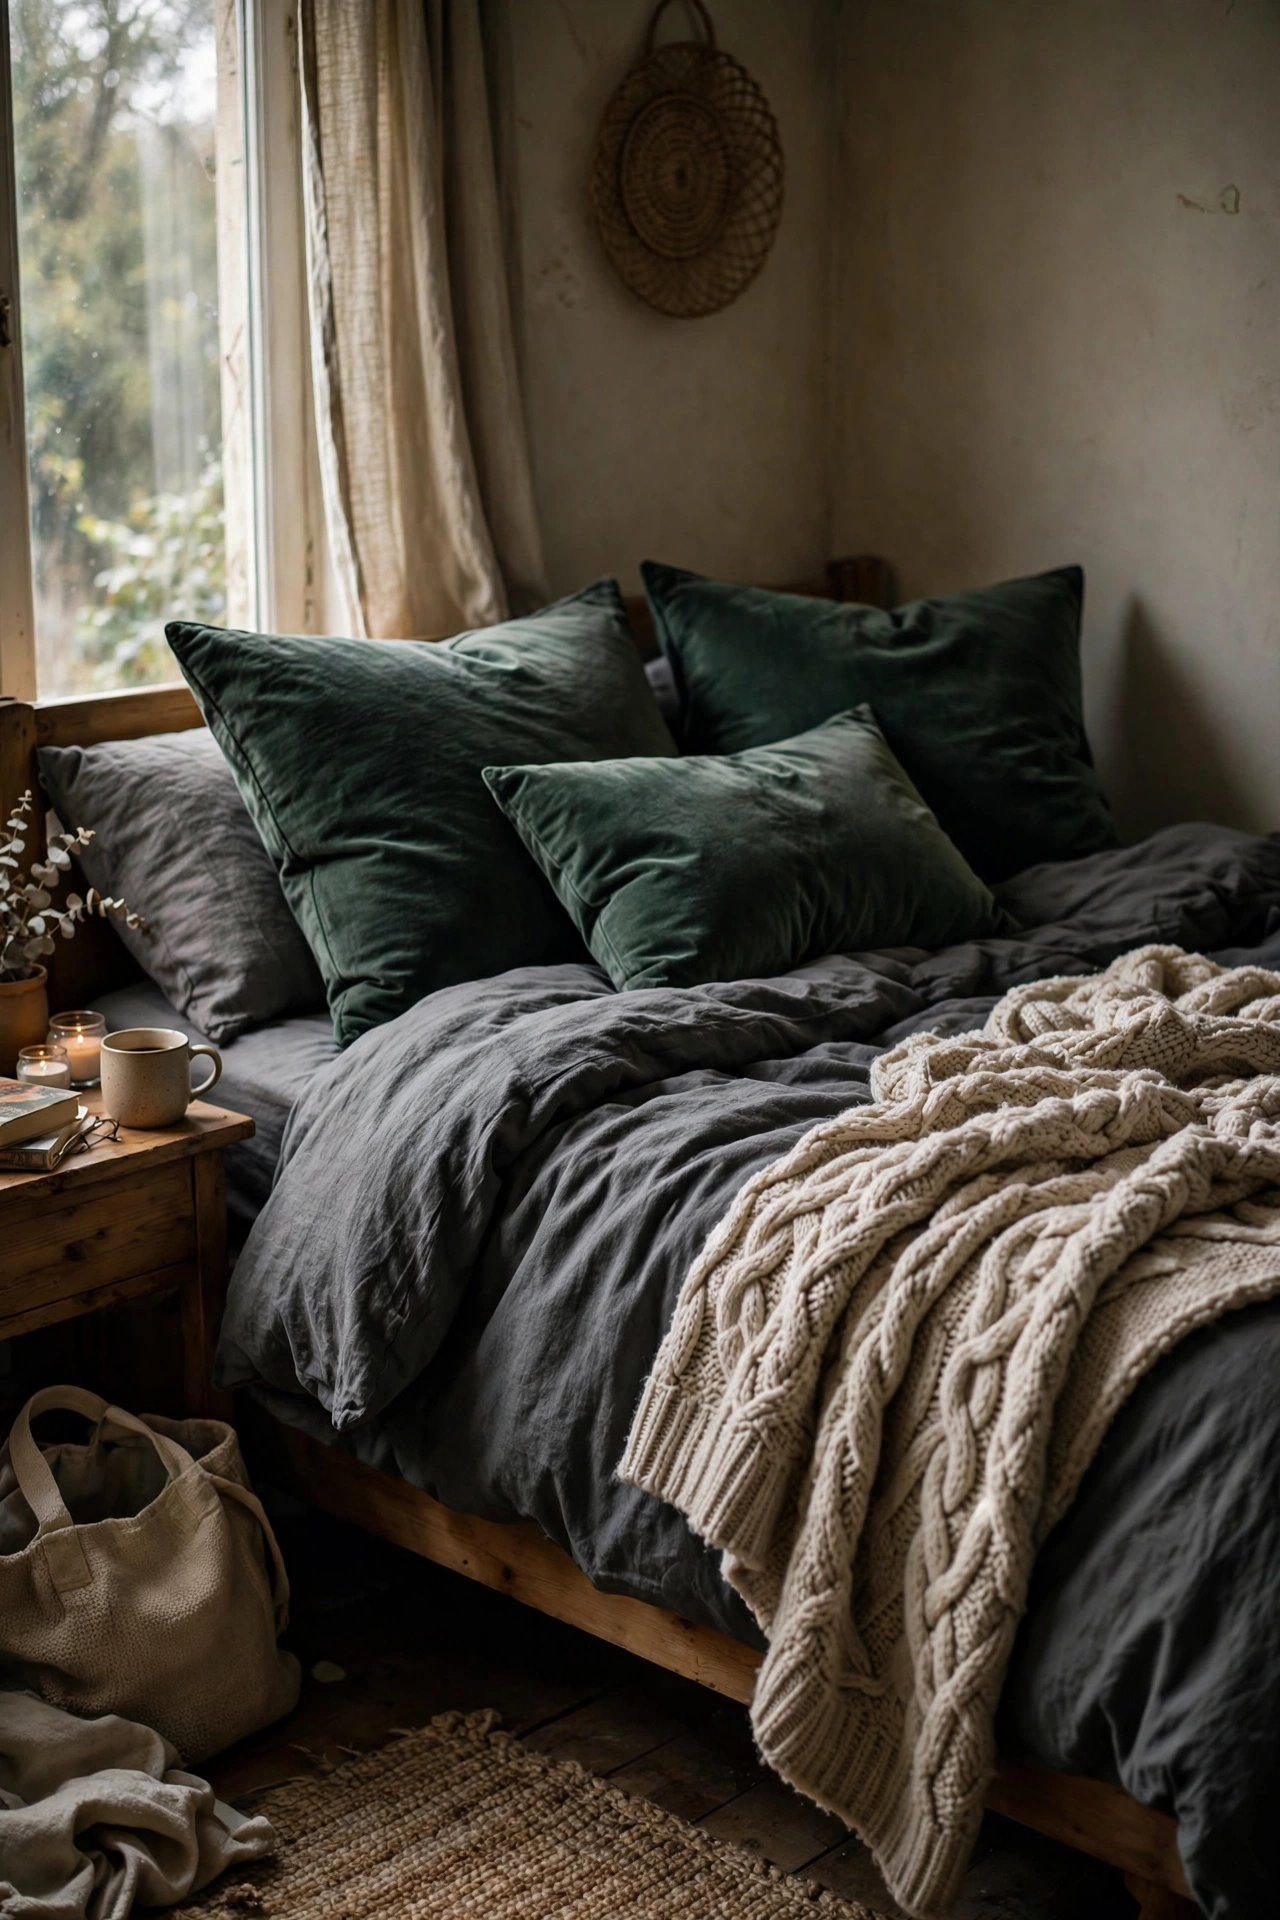
Charcoal bedding layered with texture looks like a hotel suite. I started with a charcoal duvet set, then added a chunky knit throw in oatmeal and two velvet cushions in forest green. The contrast of dark and texture is what sells it. I bought the duvet set new and everything else thrifted. Wash dark bedding separately the first few times, because the dye runs. More bedroom ideas: (see also: cosy-bedroom-ideas-on-a-budget). The oatmeal throw rotates to the living room in spring, which keeps the charcoal set feeling seasonal without rebuying.
Cost: ~$30-40 | Time: 30 minutes
Pro tip: Layer bedding in this order: fitted sheet, duvet, flat throw folded across the foot, then cushions largest at the back. It photographs well and feels properly plush.
19. Moody Bathroom Shelf with Amber Bottles
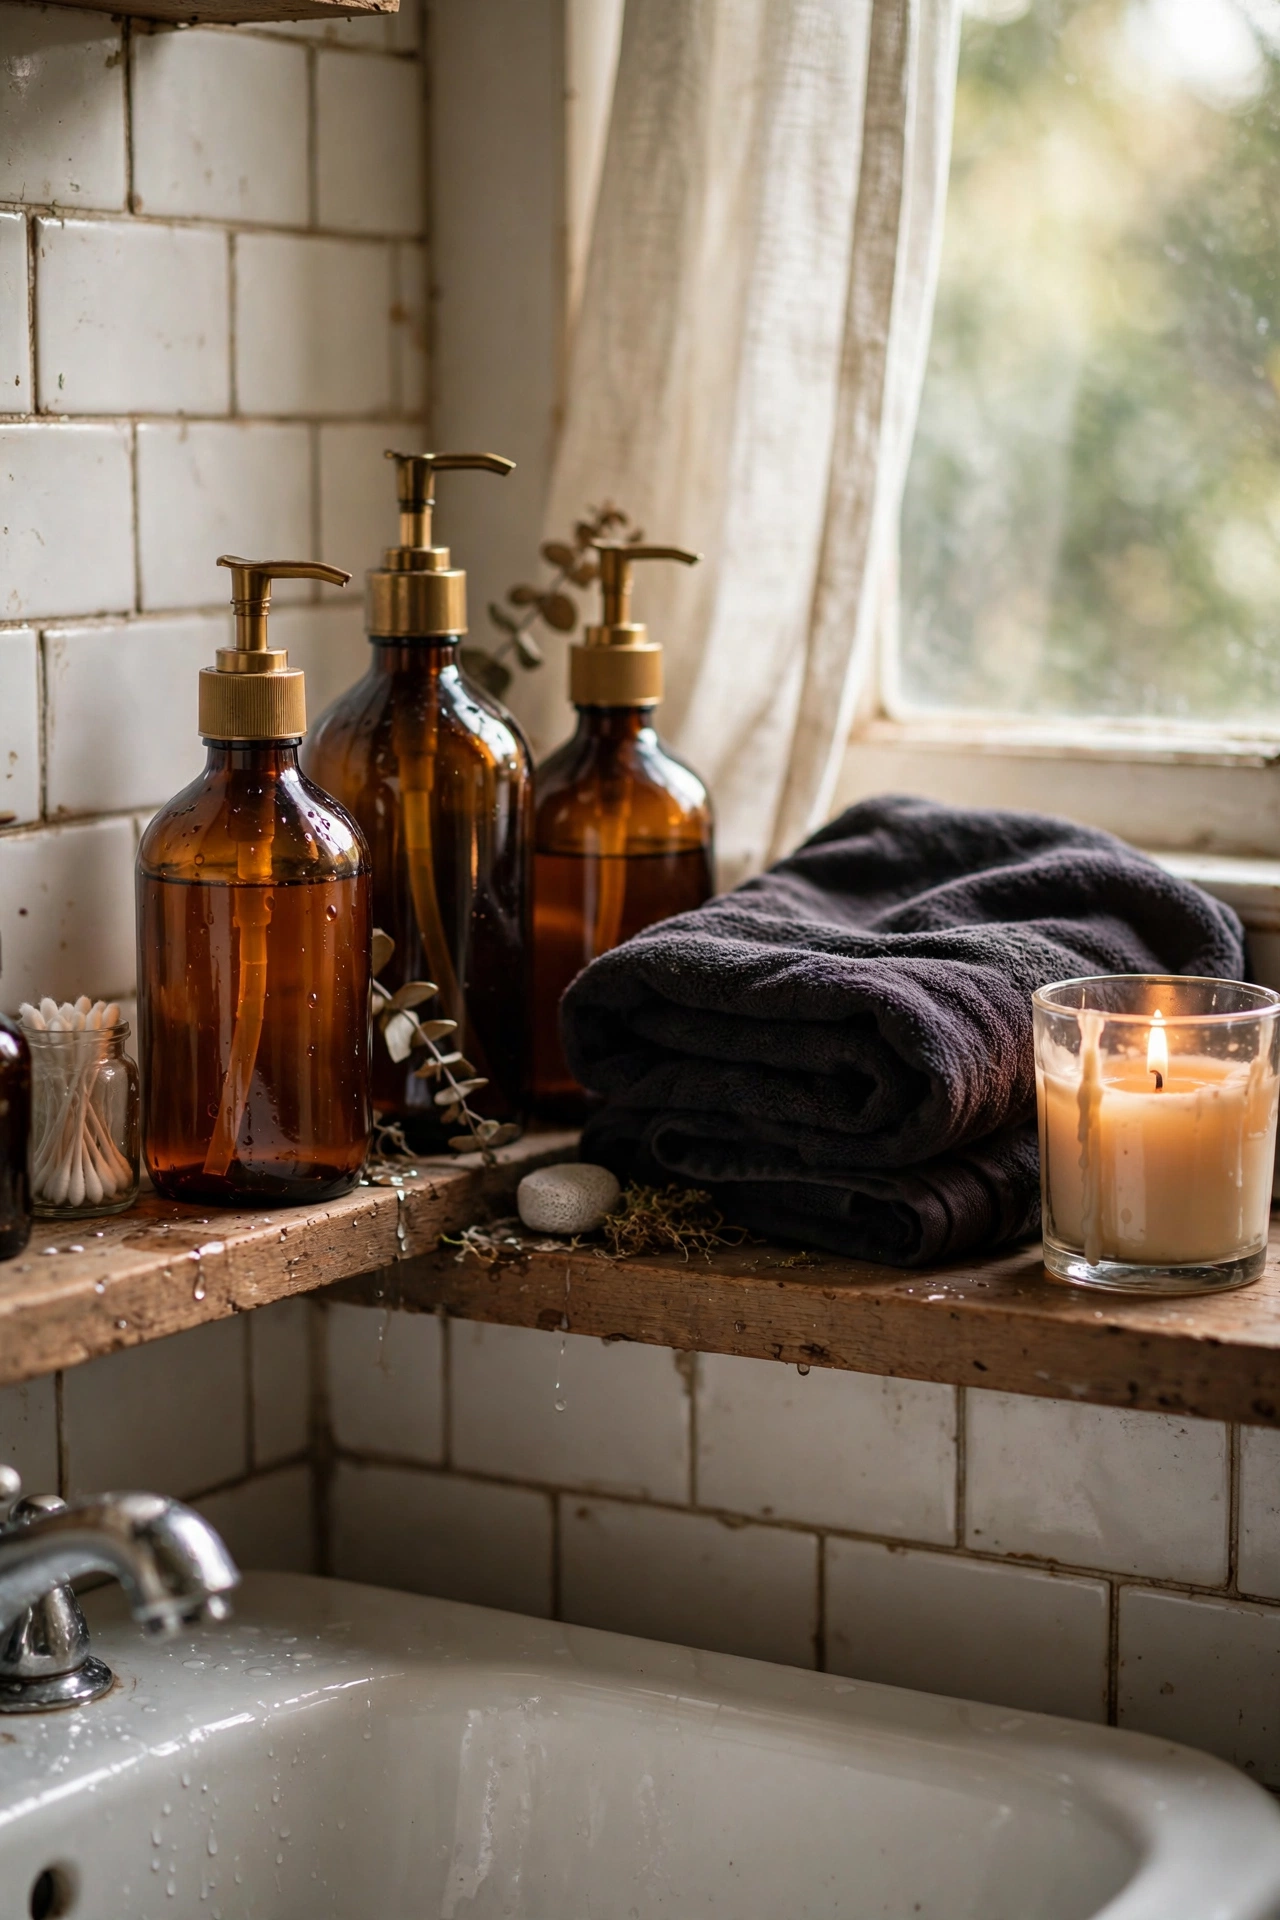
Decanting toiletries into amber glass bottles makes even a small bathroom feel apothecary-moody. I bought a set of amber pump bottles, decanted shampoo and hand wash, and added a dark folded towel and a candle on the shelf above the sink. The plastic bottles went in the recycling and the shelf looks intentional. Label the bottles, because amber glass makes everything look identical. This five-minute change gets more comments than it deserves. I added one dark green plant to the shelf and it stopped the amber looking like a chemistry set.
Cost: ~$12-18 | Time: 20 minutes
20. Warm Grey Linen Lampshade Wrap
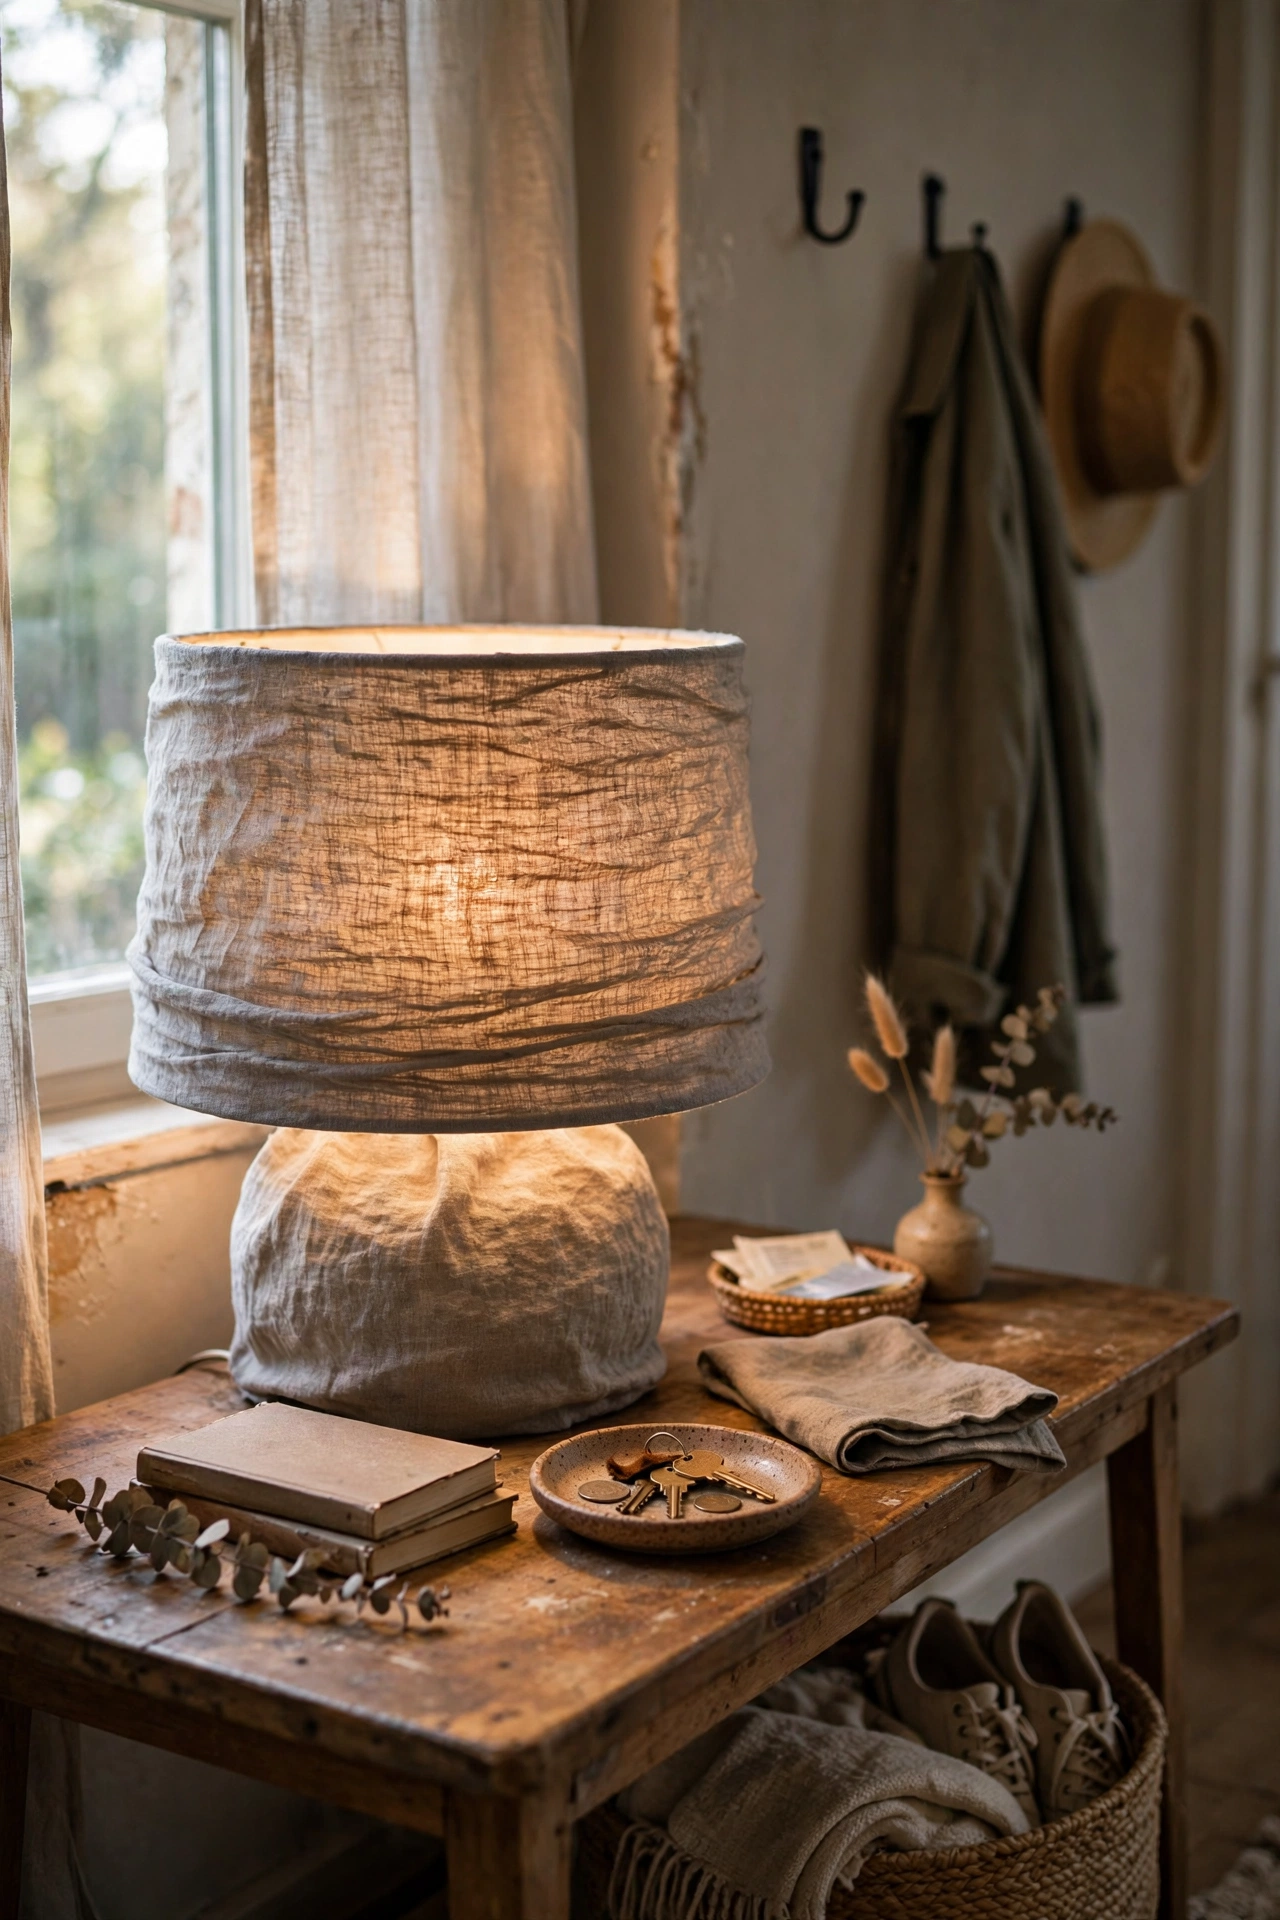
Wrapping a plain shade in warm grey linen softens the light beautifully. I cut linen to size with an inch of overlap, wrapped it round a drum shade with spray adhesive, and folded clean edges top and bottom. The light through linen is warm and diffused, perfect for moody rooms. Work in small sections because spray adhesive grabs fast. My hallway lamp went from stark white to softly glowing in under an hour. Matching shades in two rooms tie the whole floor together — I wrapped a second linen shade for the bedroom.
Cost: ~$10-14 | Time: 45 minutes
21. Dark Wax Finish on a Wooden Side Table
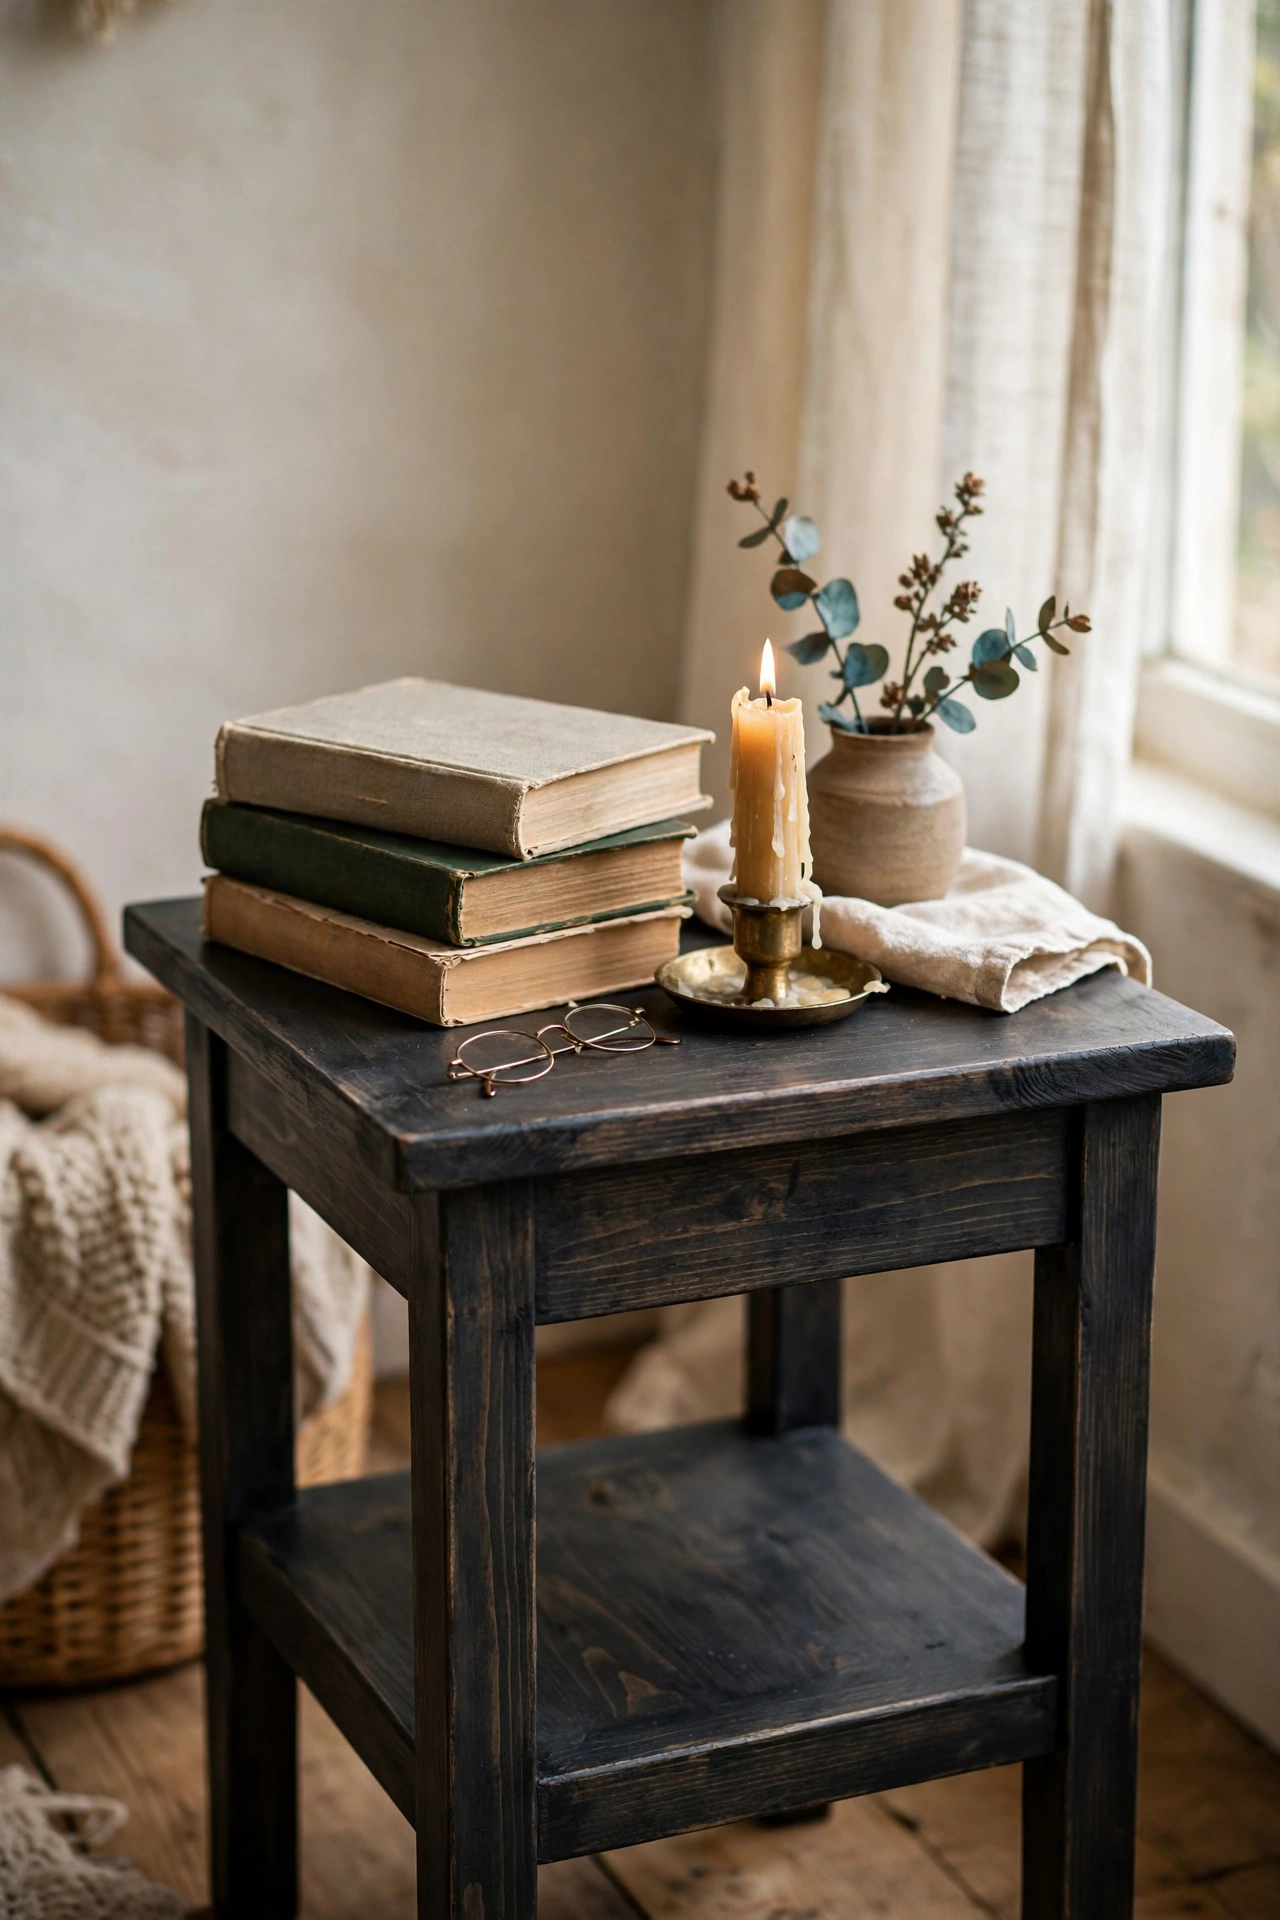
A tired side table gets a moody second life with chalk paint and dark wax. I painted a pine side table in charcoal chalk paint, then rubbed dark antiquing wax into every corner and edge with a rag. The wax settles into the grain and gives that aged, expensive depth. Buff it after an hour or it stays tacky. My table looks like it came from an antiques shop, and it cost me a Sunday afternoon. Buff in small circles until the tackiness disappears — your arm aches, but the sheen is worth it.
Cost: ~$15-22 | Time: 3 hours plus drying
Pro tip: Apply dark wax sparingly with a rag, not a brush. You can always add a second pass for more depth, but too much wax at once looks muddy.
22. Stained Entryway Hook Board
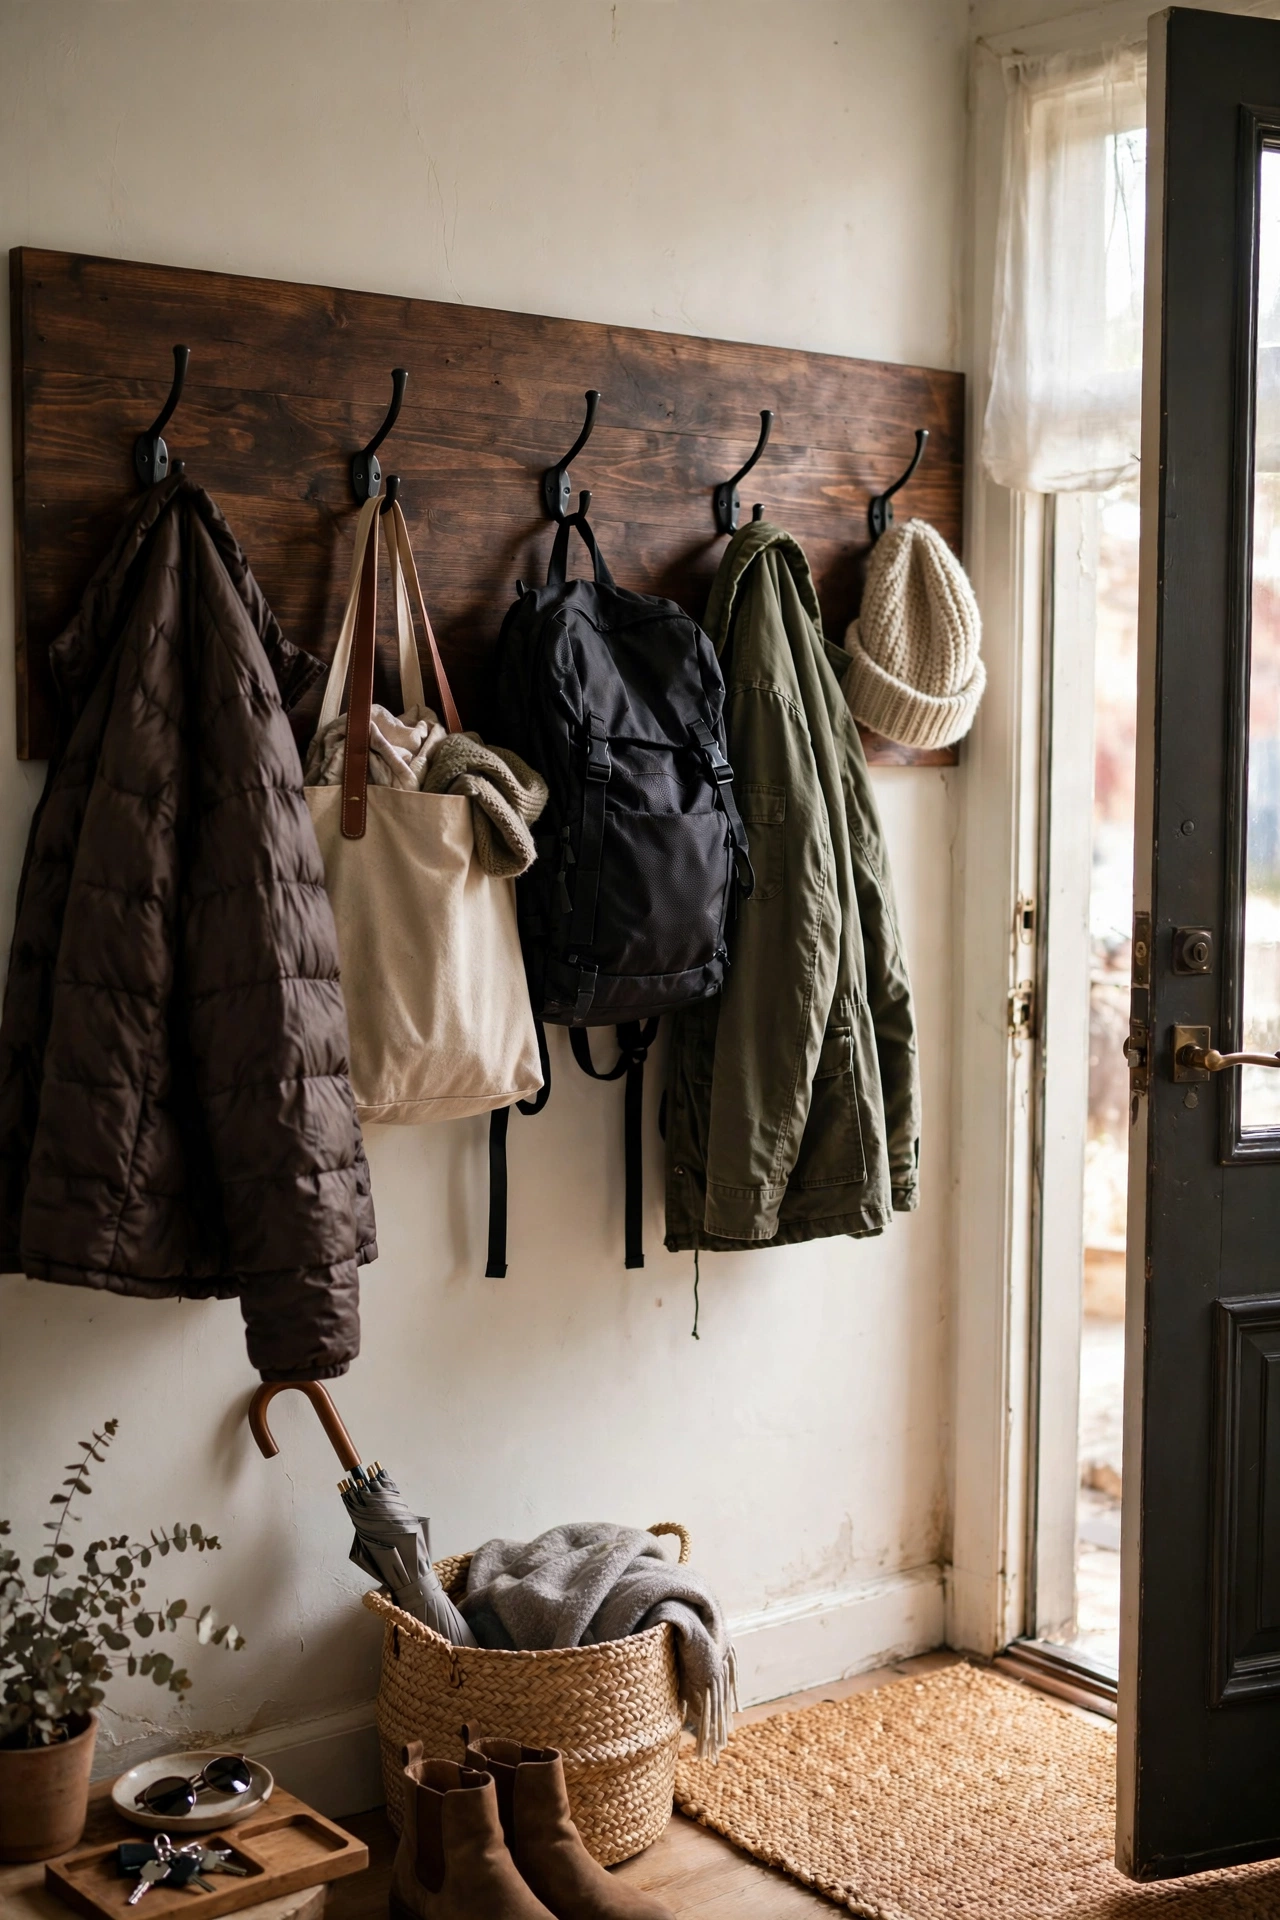
A board stained dark walnut with black metal hooks organises the hallway in style. I stained a pine board, screwed on five matte black hooks, and mounted it by the front door with proper fixings. Coats, bags, and keys finally have a home that looks deliberate. Mount it into a stud, because five hooks of coats get heavy. Mine has survived two winters of heavy jackets without budging. I left a gap between hooks for umbrellas — the board earned its keep the first rainy week.
Cost: ~$14-20 | Time: 2 hours plus drying
23. Tea-Dyed Curtain Panels
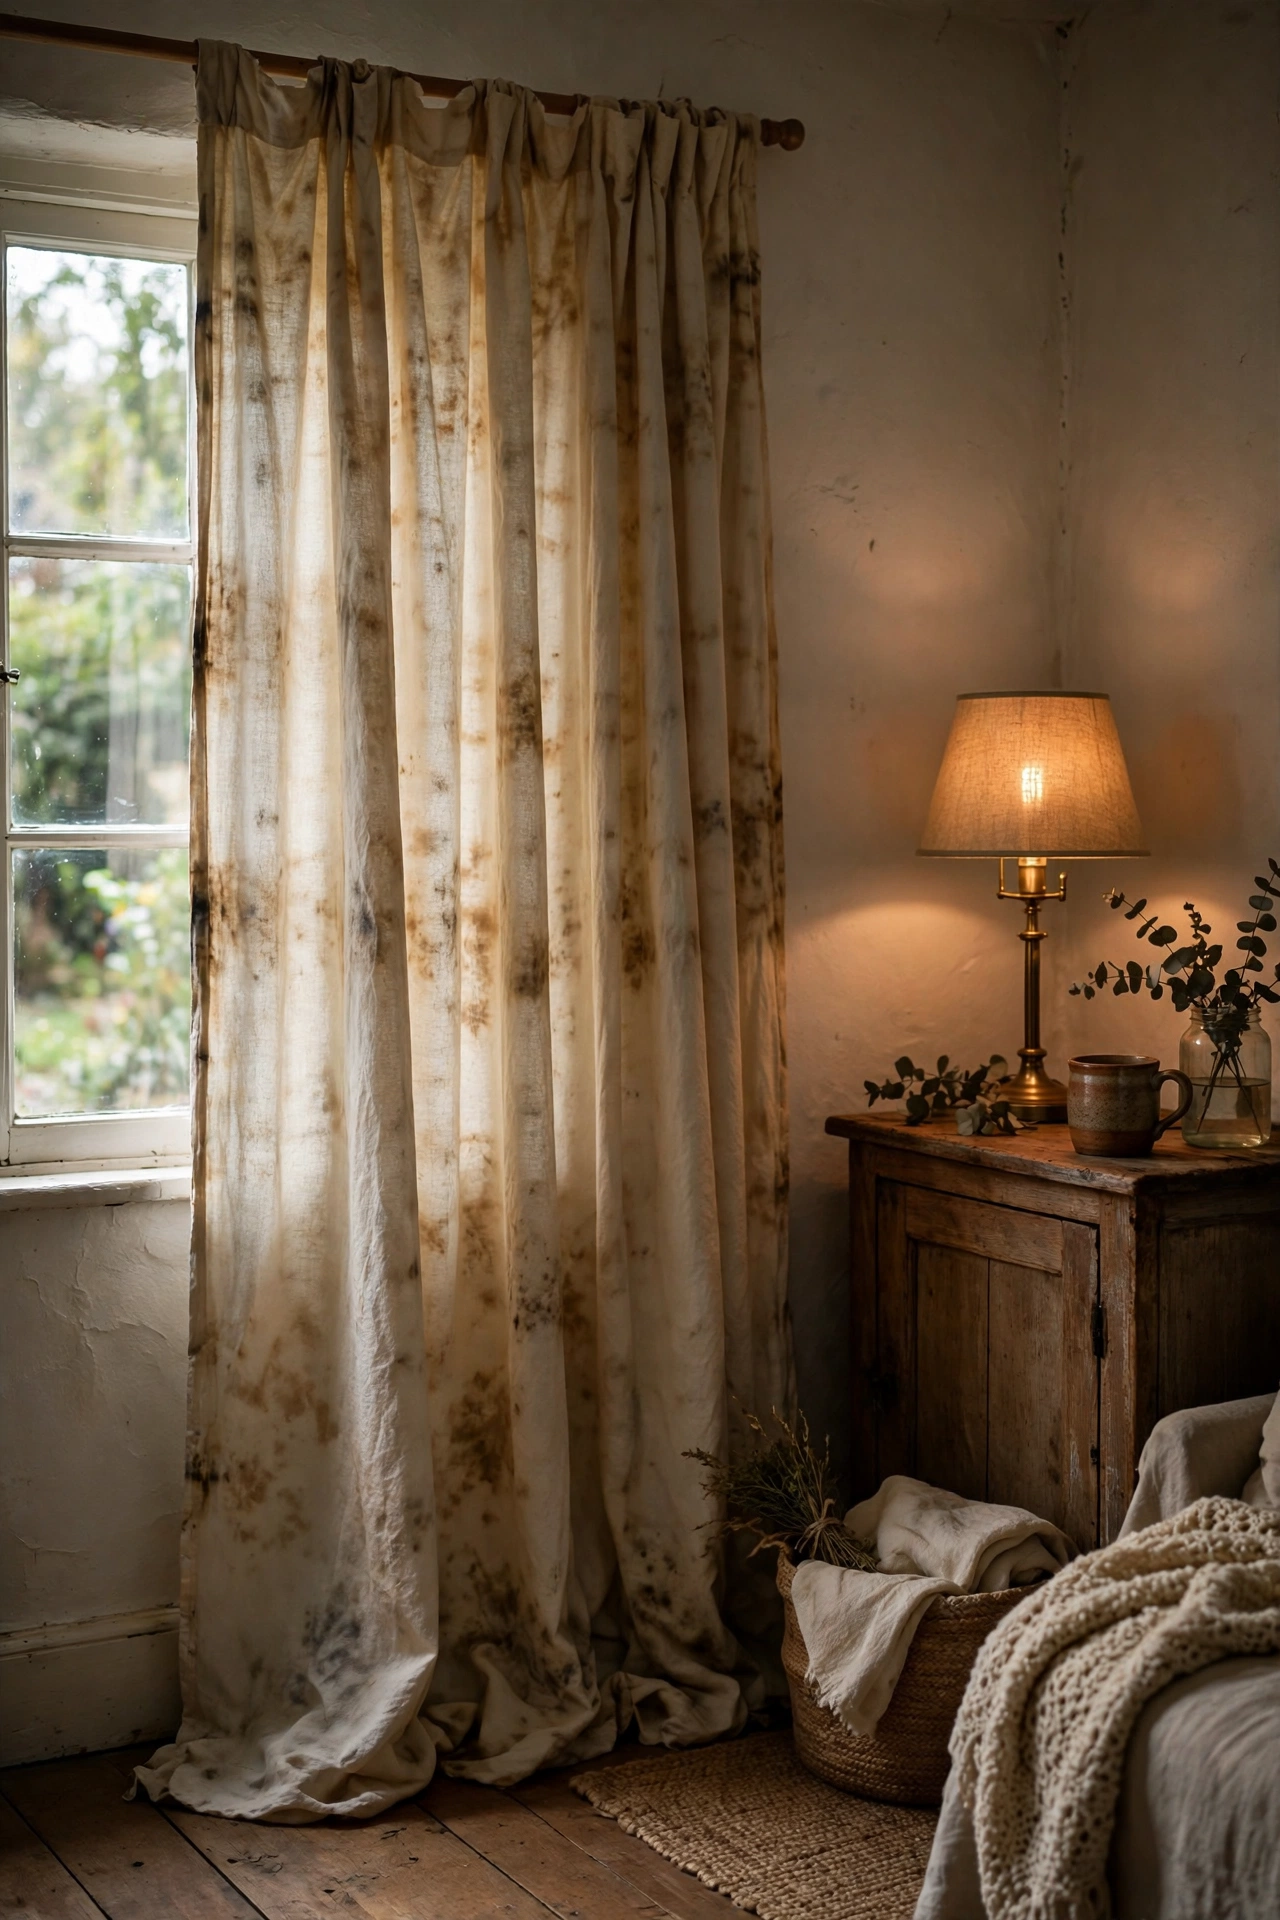
White curtains dyed in strong tea turn a warm, aged ivory that suits moody rooms perfectly. I soaked two white cotton panels in a bath of strong black tea for an hour, rinsed lightly, and dried them. The result is soft and vintage, not dingy. Stir the fabric regularly so the dye takes evenly, because still spots dye darker. My living room curtains finally match the warm lamplight instead of fighting it. Both panels went into the same tea bath back-to-back, so the tone matches — separate baths never quite agree.
Cost: ~$8-15 | Time: 2 hours
24. Moody Reading Corner Build
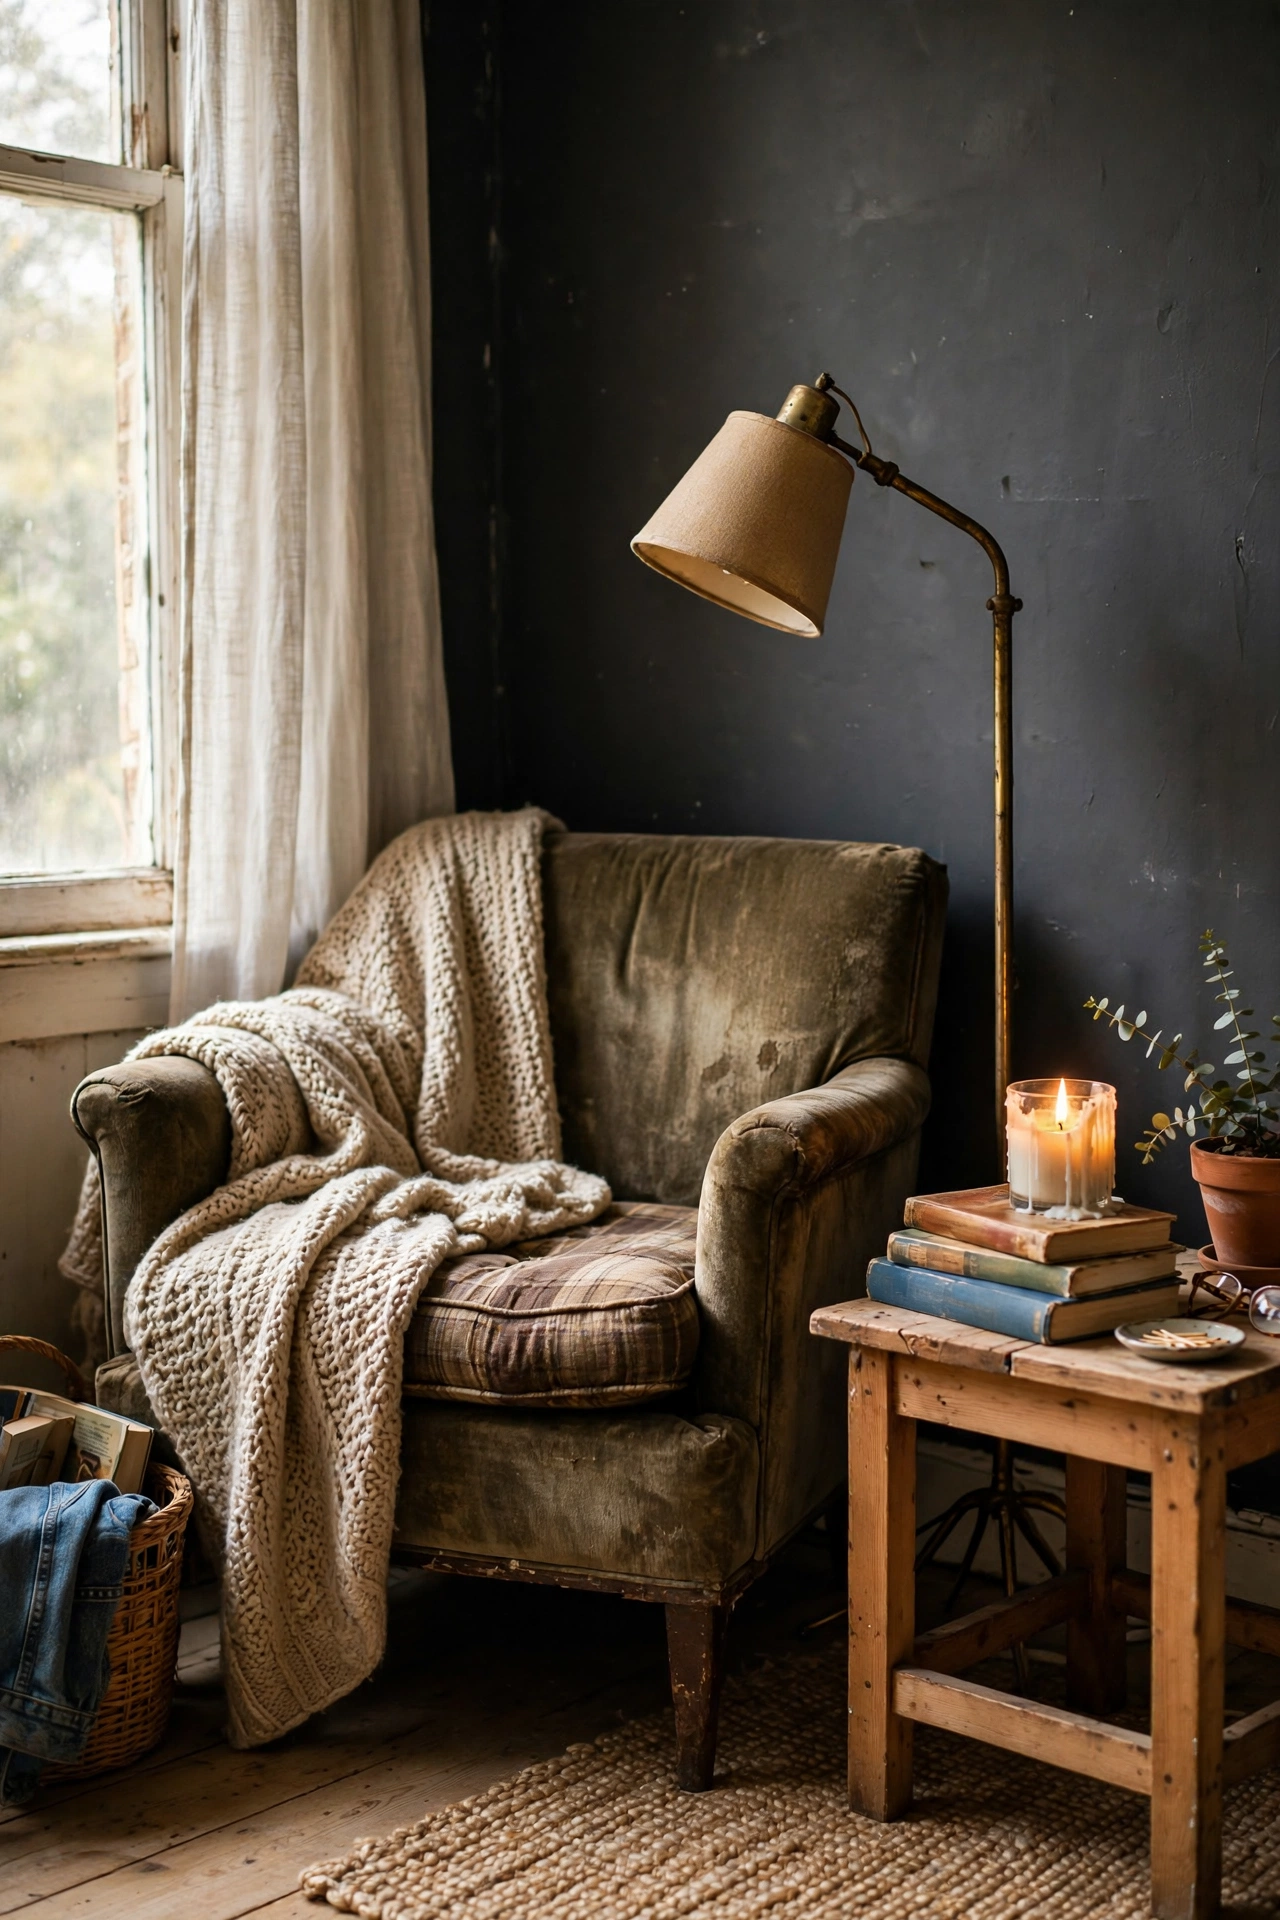
A proper reading corner needs only four things: a comfortable chair, a warm floor lamp, a small side table, and a throw. I pulled my old armchair into the study alcove with the charcoal wall, added a brass floor lamp from the thrift store, and styled the side table with books and a candle. It is now the most-used spot in the house. Angle the lamp over your shoulder, not behind you, for the best reading light. A basket of books beside the chair keeps the corner honest — mine never looks staged because it isn’t.
Cost: ~$25-40 | Time: 1 hour
Pro tip: Put reading corners near a window if you can. Daylight by day and lamplight by night makes one corner work twice as hard.
25. Black Painted Window Trim
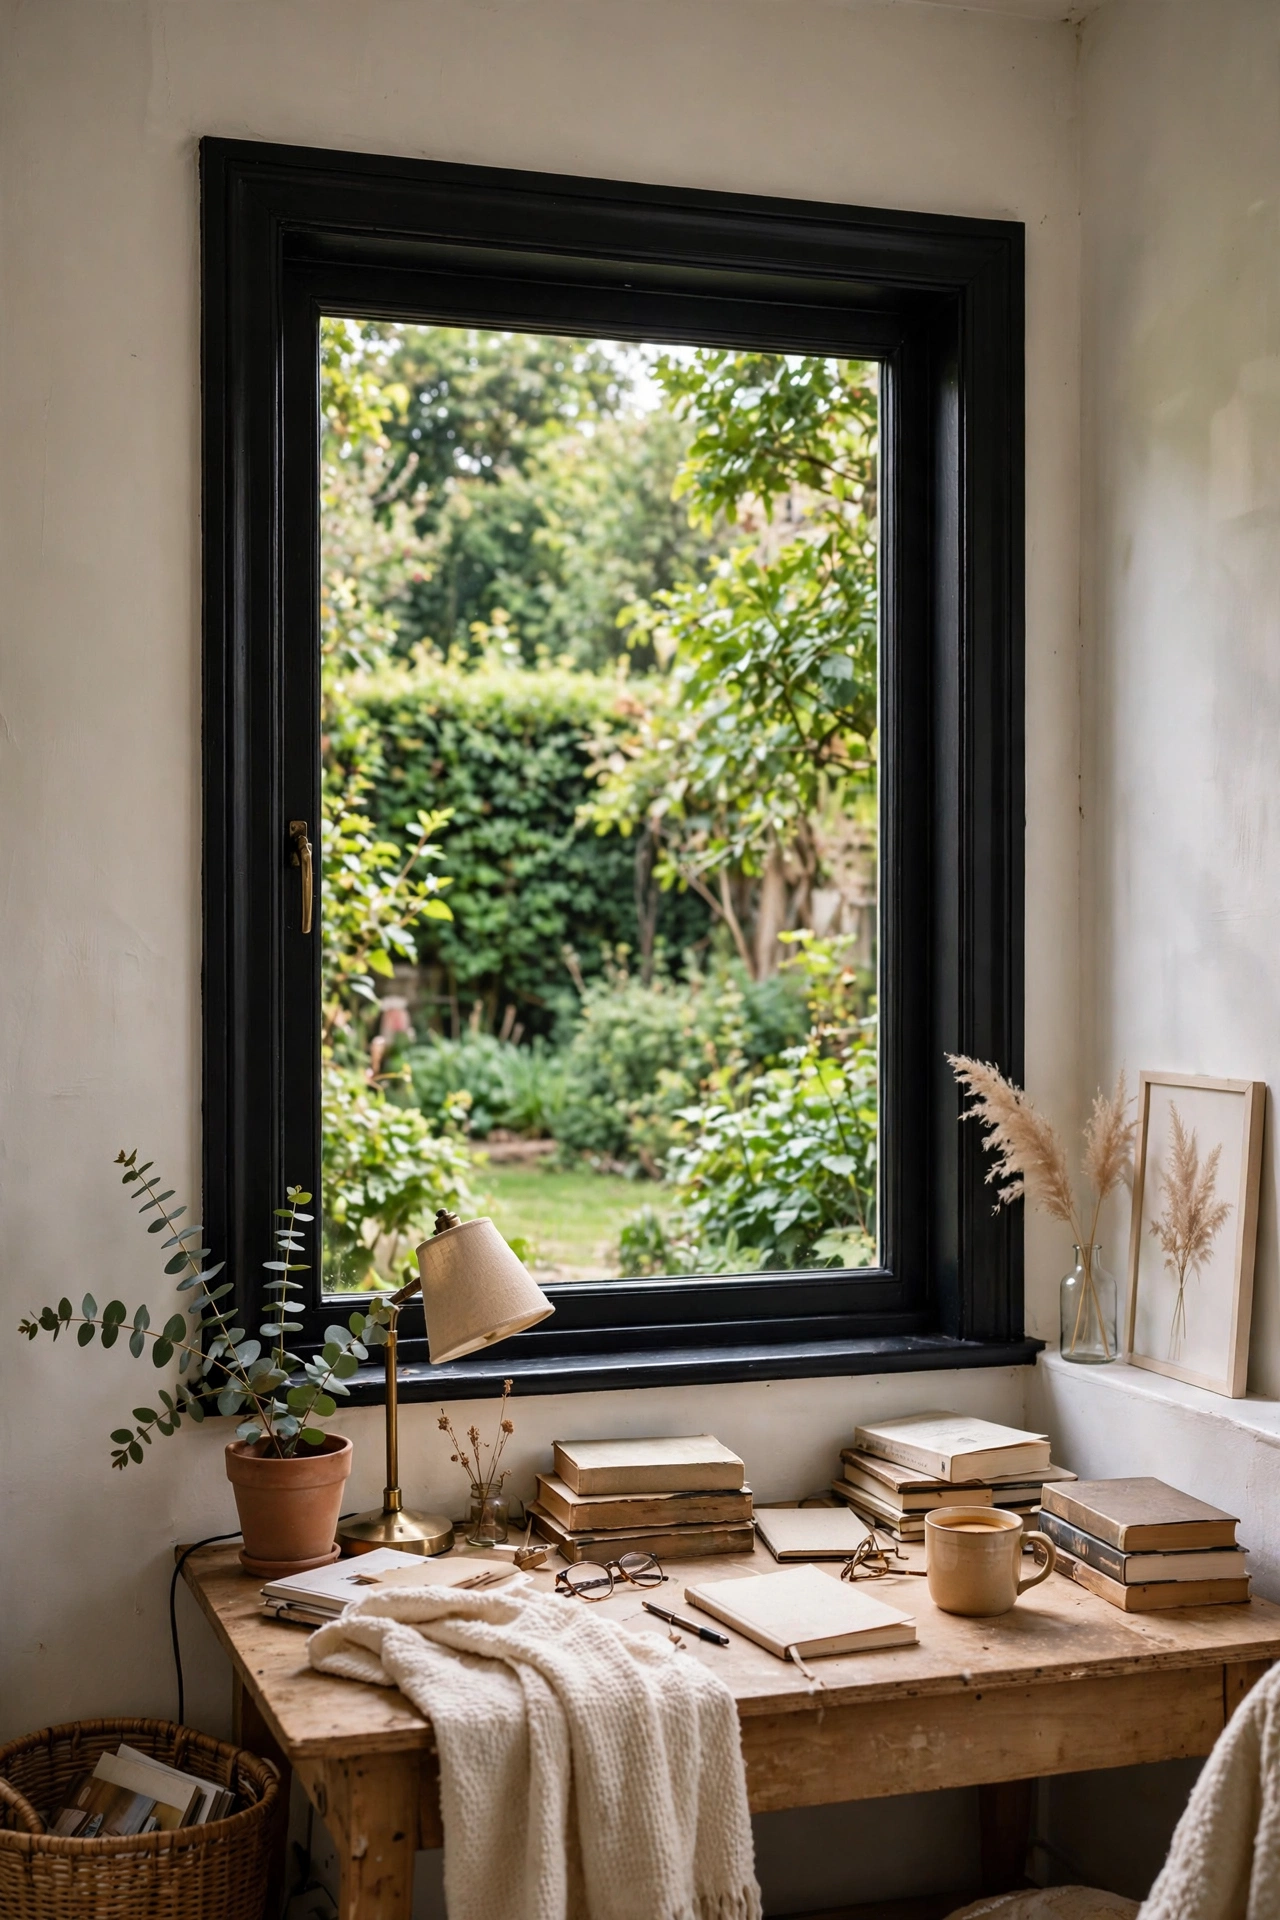
Painting interior window trim black frames the view like art. I taped carefully, sanded the old gloss, and brushed two coats of black satin on the study window frames. Against the pale walls the windows suddenly look architectural. The taping is the whole job, so do not rush it. My draughty old windows now look like a deliberate design choice, and the garden beyond pops against the dark frames.
Cost: ~$15-22 | Time: 3 hours plus drying
Twenty-five projects, and not one of them needed a big budget. Start with the paint tin and the candles, and let the mood build from there.
