15 DIY Planter Ideas on a Budget
My plant habit started with one gifted pothos and, within a year, I had cuttings rooting in every glass I owned. The plants were free but the pots were not: a decent ceramic planter costs a fortune when you need a dozen. So I learned how to make a diy Planter from whatever was lying around, and honestly some of my homemade ones get more compliments than the shop-bought ones. This list is the fifteen that held up, drained properly, and still look good a year later.
Every planter here costs under $15 to make, and most are under $8. Whatever you build, drainage comes first: drill holes or add a thick layer of pebbles, because a drowned plant rots no matter how pretty the pot. Start with the painted terracotta pots if you are new, they are nearly impossible to mess up. More container ideas: (see also: small-balcony-garden-ideas).
1. Two-Tone Dipped Terracotta Pots
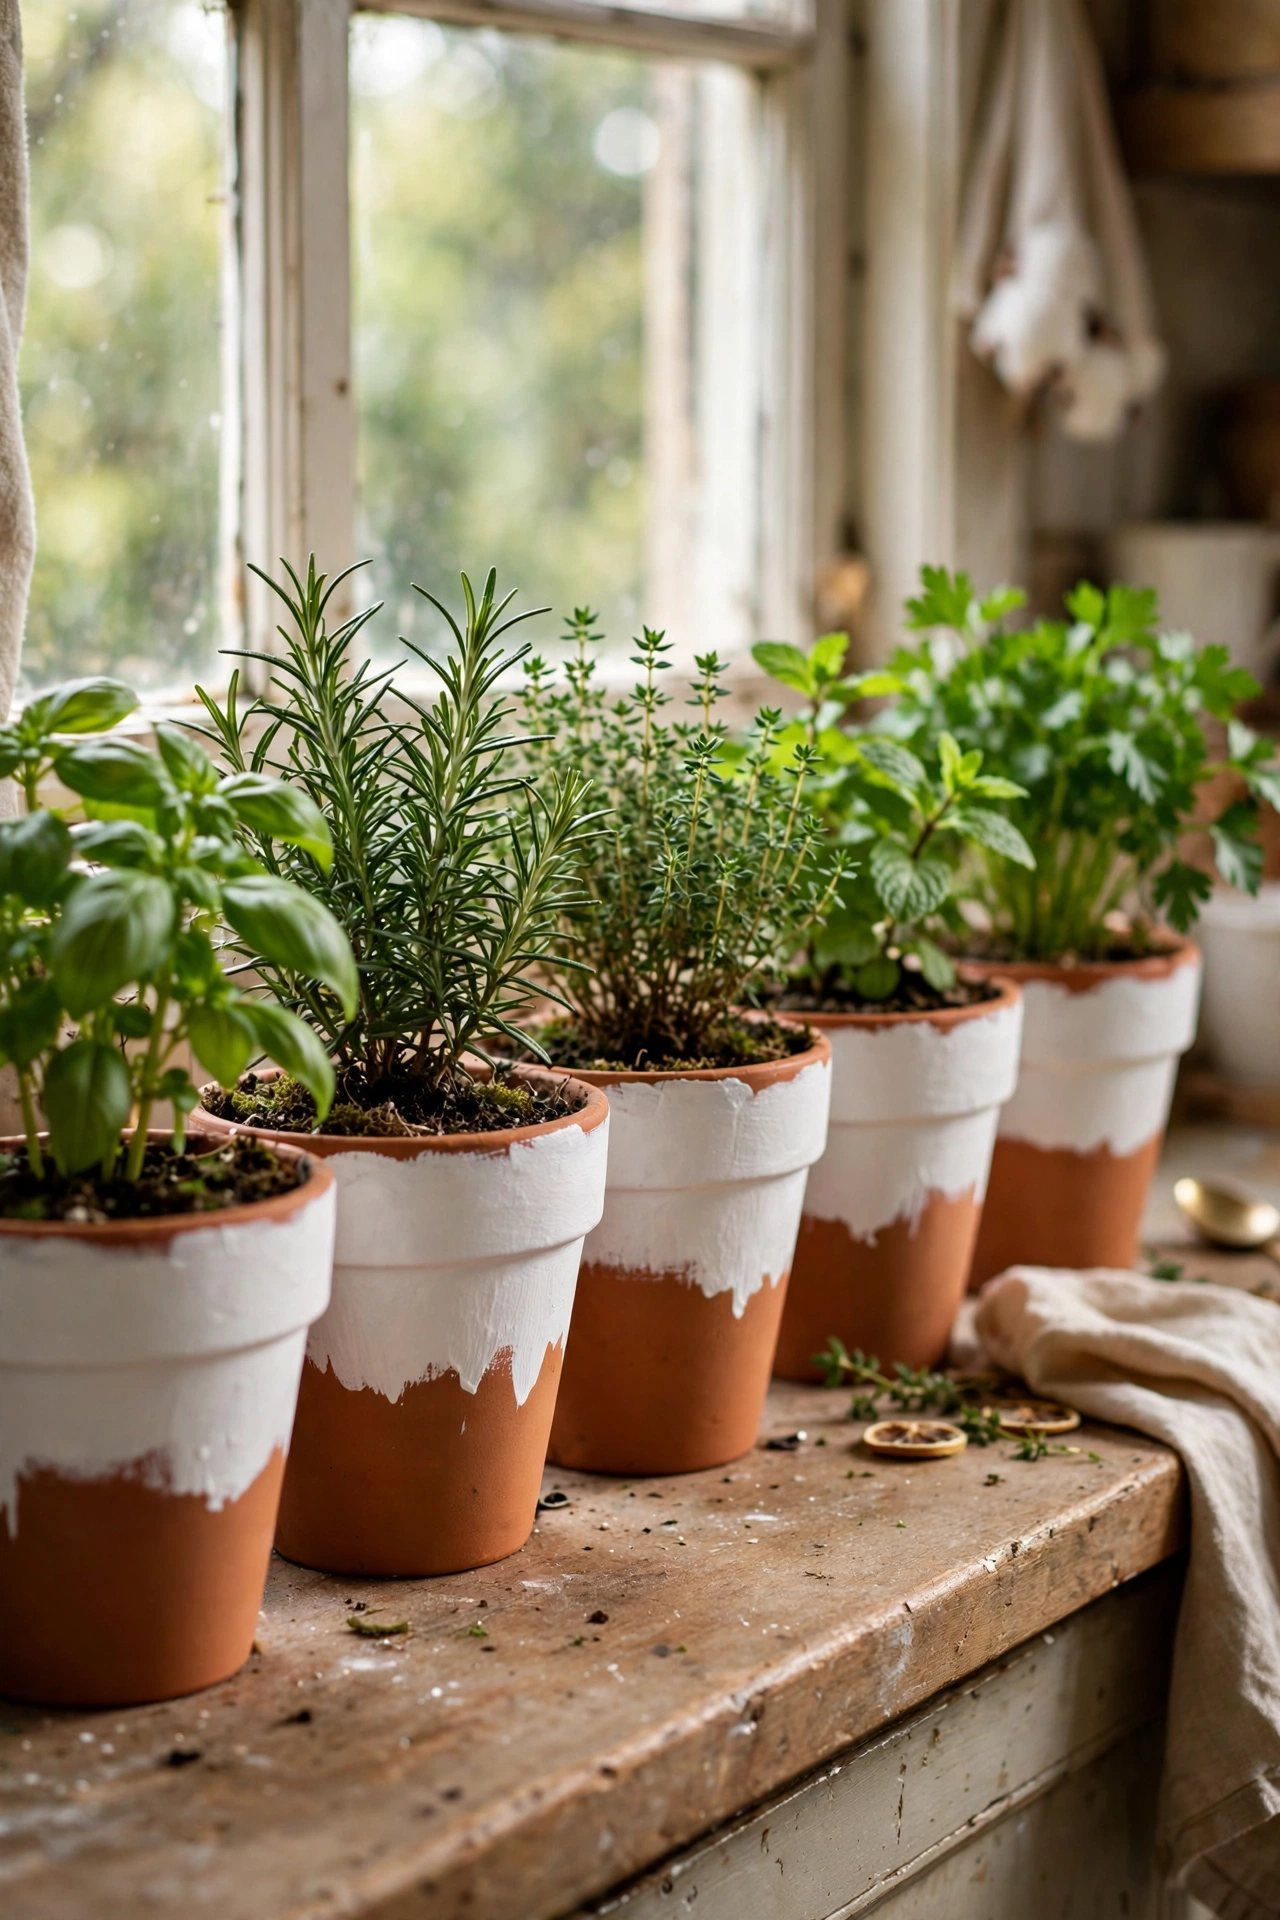
Plain terracotta pots look instantly designed with a two-tone dip. I soak the pots in water first so the paint does not bubble, then dip the top third in white exterior paint and let the excess drip off on a rack. The water soak is the step everyone skips and it matters: dry terracotta drinks the paint unevenly and leaves blotches. I made a set of six in an afternoon and they line my kitchen windowsill holding herbs. Sand the rim lightly first for a cleaner paint line, and use exterior paint if they live outside.
Cost: ~$8-12 for six | Time: 1 hour plus drying
2. Tin Can Herb Planters
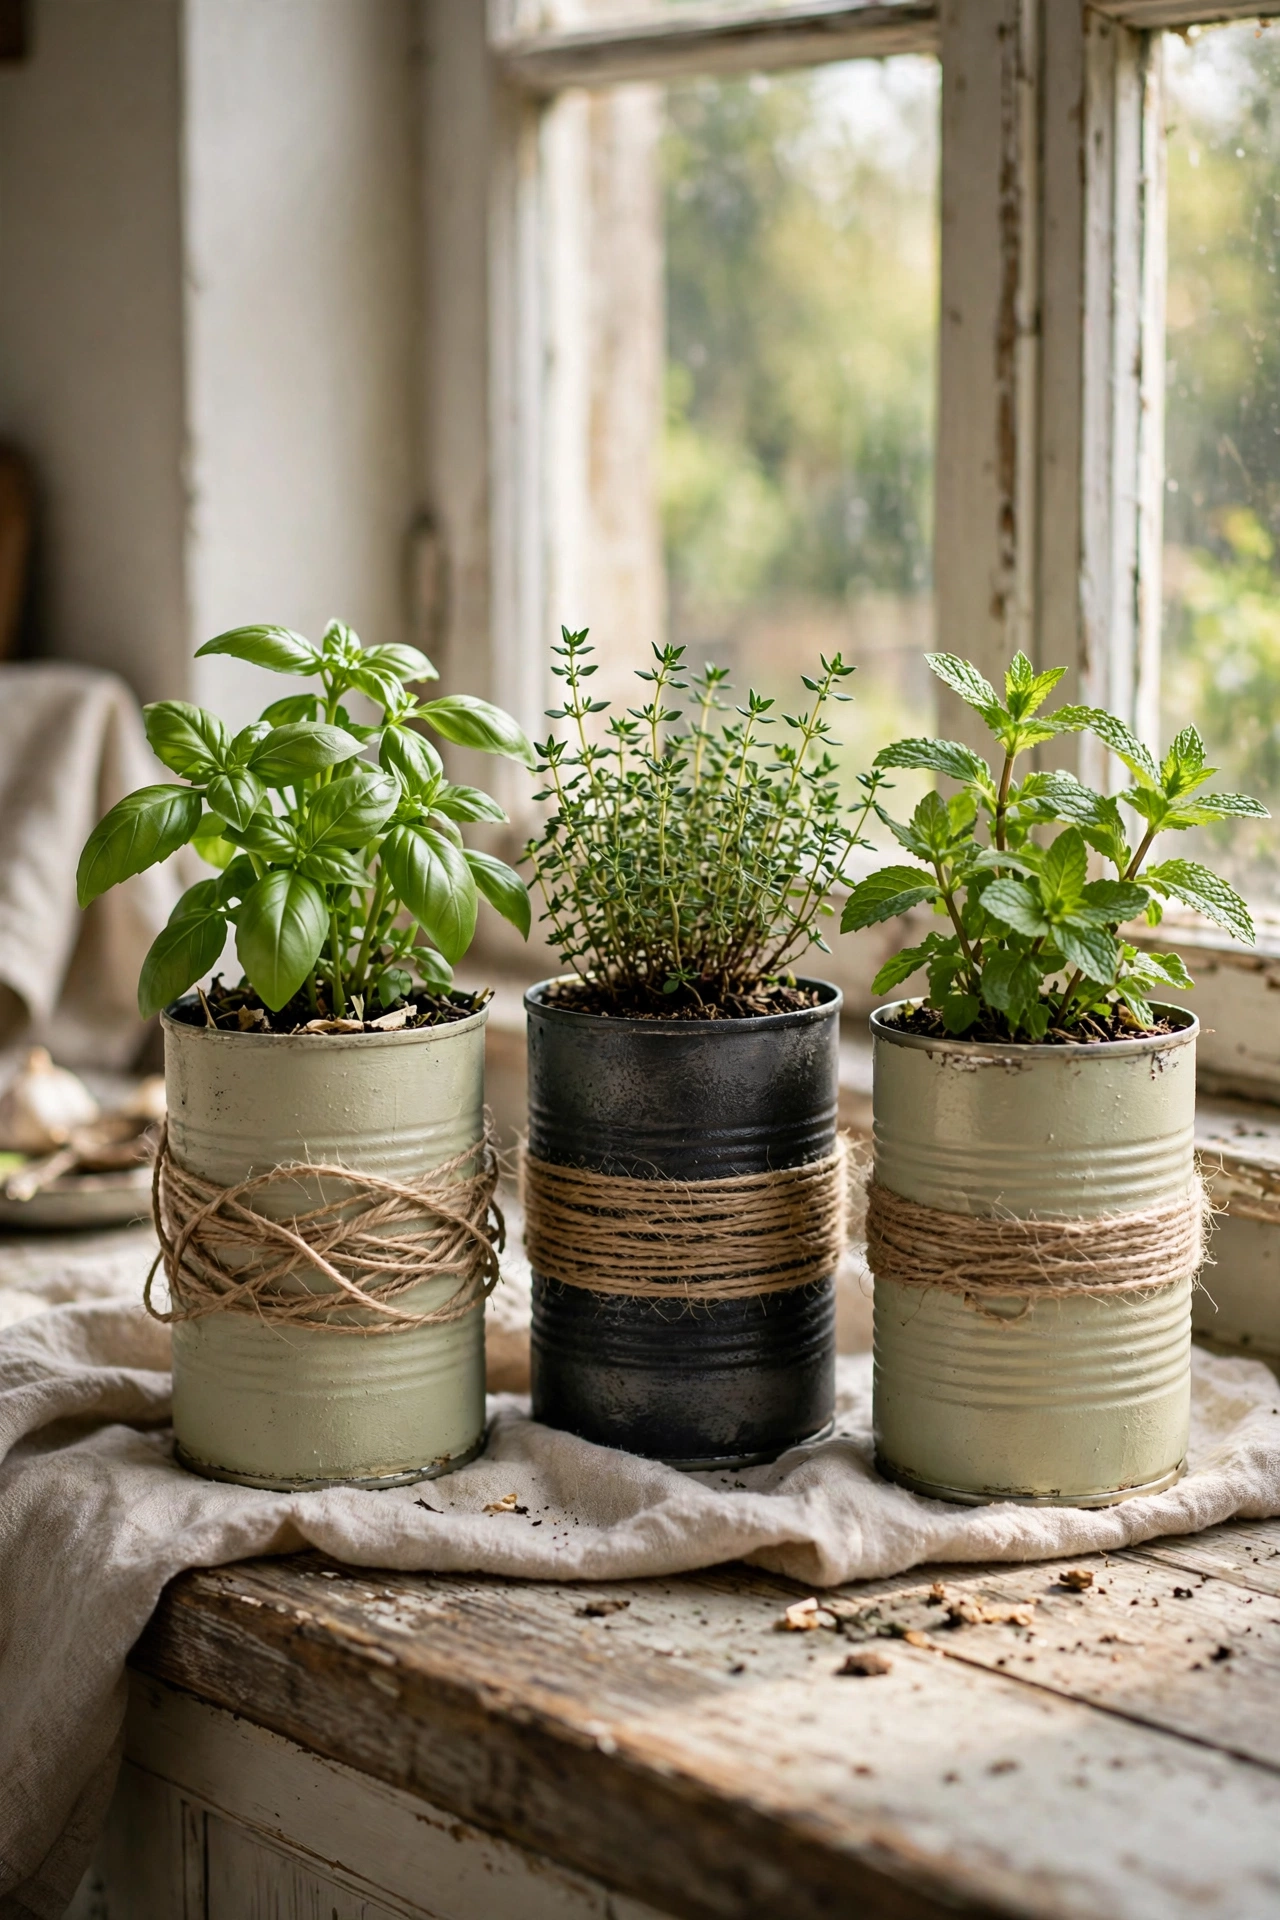
Tin cans are the perfect size for a kitchen herb garden and they cost nothing. I peel the labels, punch drainage holes in the bottom with a nail, and spray the cans in matte colours, cream, sage, and charcoal on my sill. Then comes potting mix and a basil, thyme, and mint seedling each. My mistake the first time was forgetting drainage holes, and the basil drowned within a week. Wrap a bit of twine round each can and they look like they came from a boutique garden shop.
Cost: ~$3-6 | Time: 45 minutes
3. Wooden Crate Wall Planter
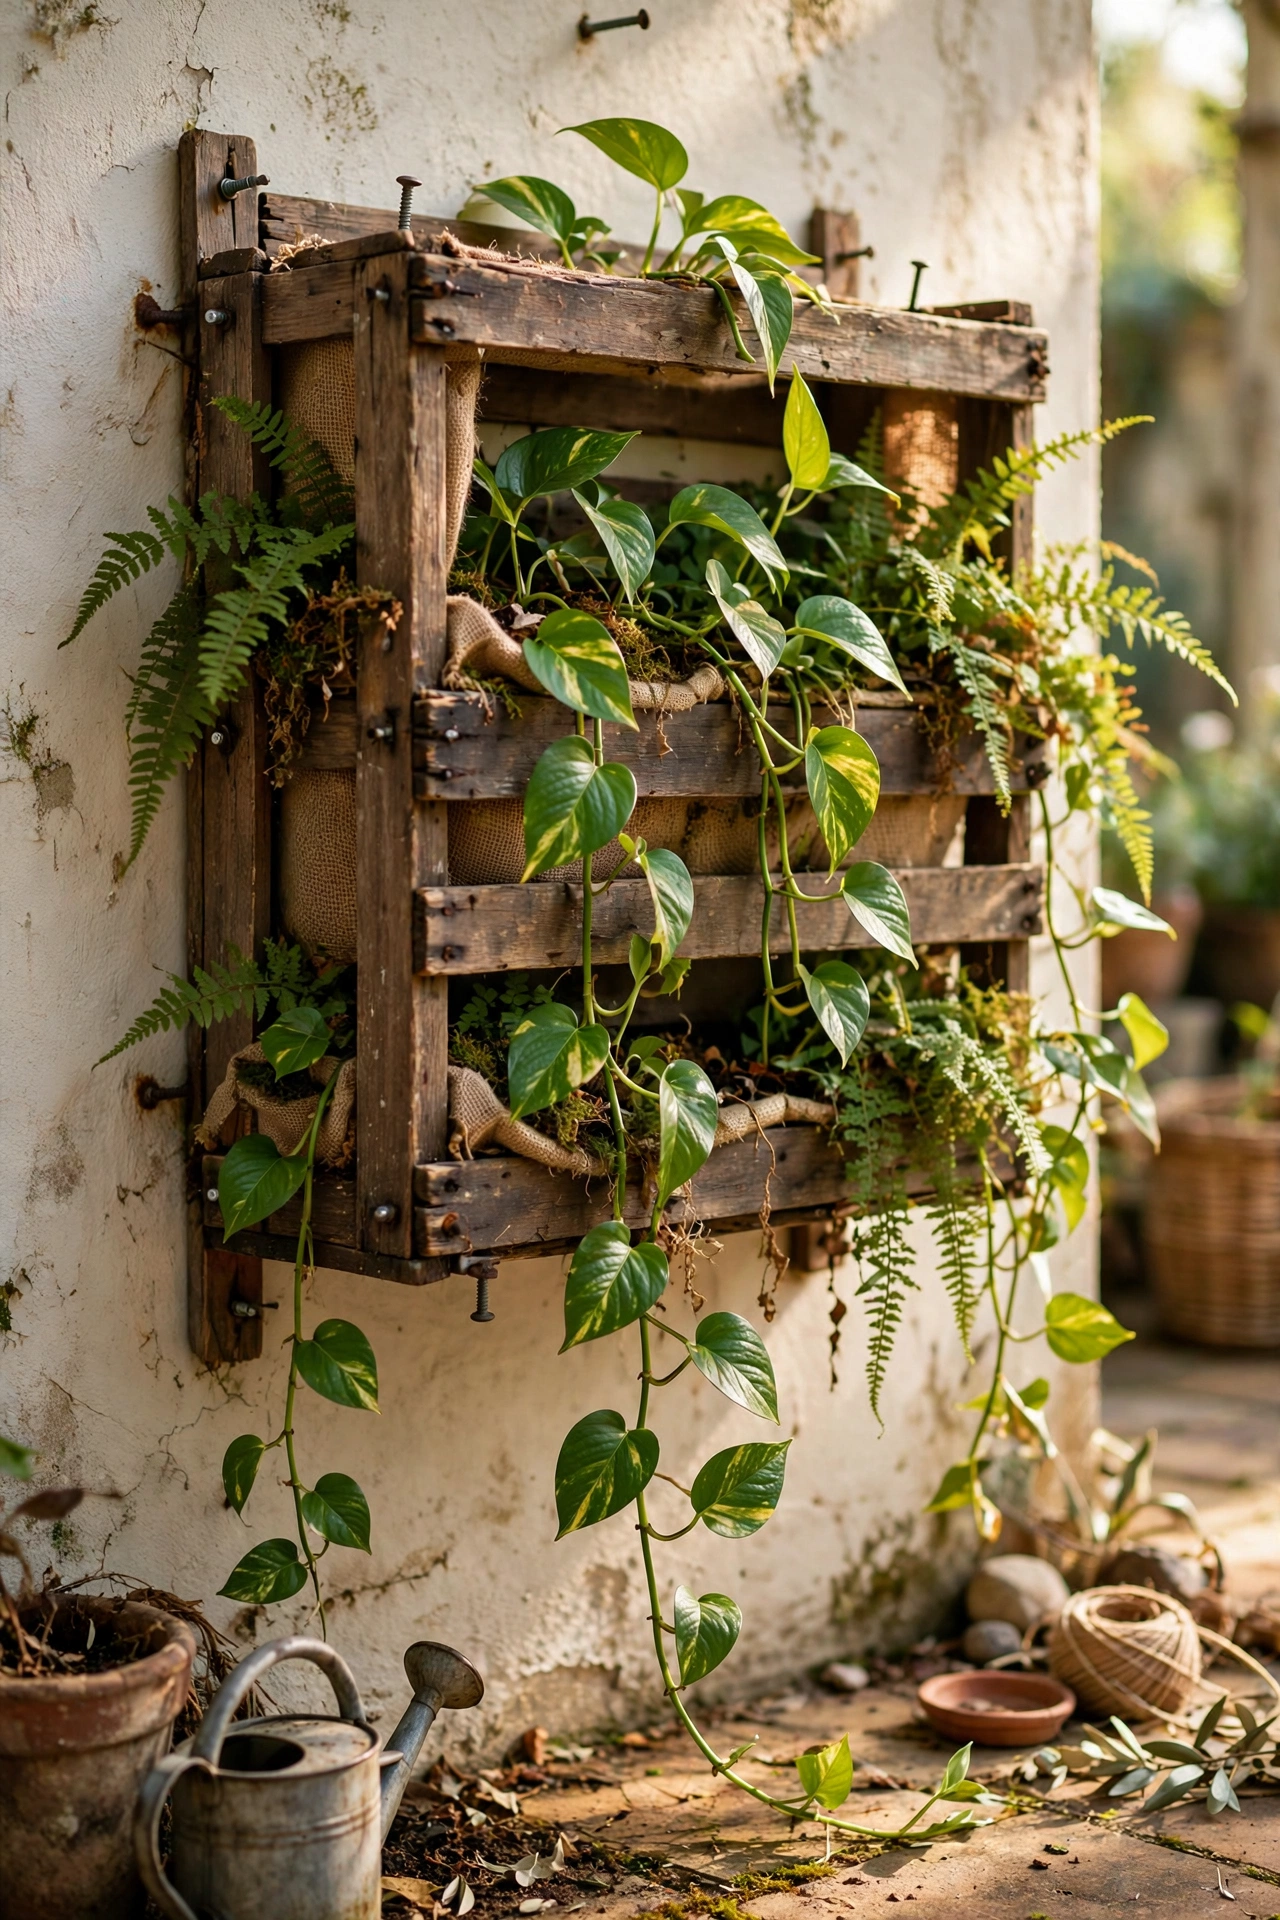
An old wooden crate screwed to the wall becomes a rustic planter box with real presence. I line mine with landscape fabric, fill it with potting mix, and plant trailing pothos and ferns so they spill over the front slats. Mount it with proper wall plugs because wet soil is heavy: my first crate pulled its screws straight out of plasterboard. A coat of outdoor wood sealer on the crate buys you years. It now holds the ferns on my shaded patio wall.
Cost: ~$8-12 | Time: 1.5 hours
Pro tip: Line any wooden planter with landscape fabric rather than plastic. Fabric lets excess water weep through slowly while plastic traps it and rots the wood.
4. Simple Rope Macrame Plant Hanger
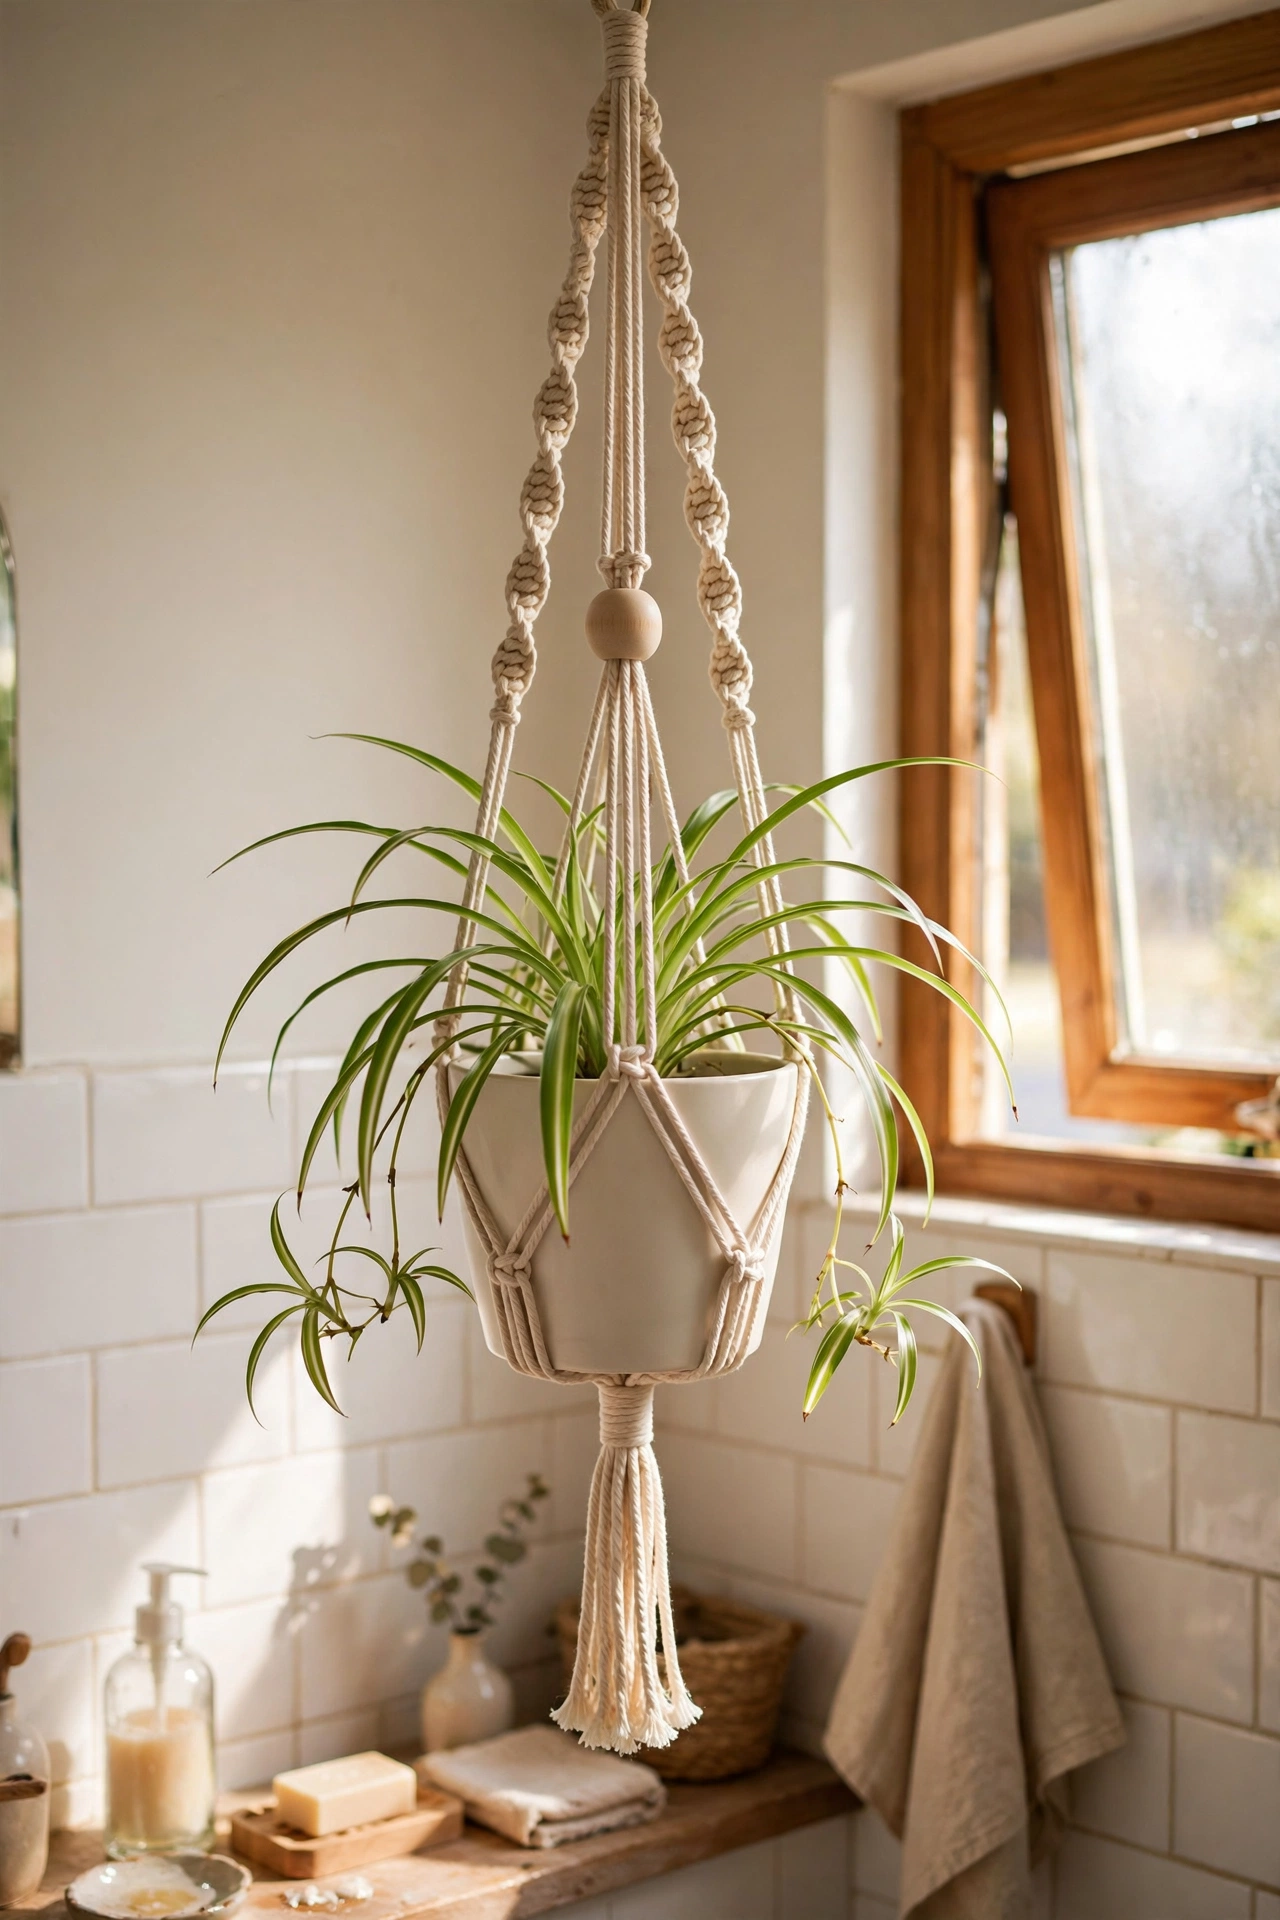
You do not need to learn macrame knots to hang a plant beautifully. I cut four equal lengths of cotton rope, tie them together under a wooden bead, and knot them at intervals around a plain pot to make a simple net hanger. It took me twenty minutes with a video paused beside me. Hang it from a ceiling hook rated for the weight, because a watered plant is heavier than you think. Mine holds a spider plant in the bathroom where it loves the steam.
Cost: ~$5-8 | Time: 30 minutes
5. Concrete Planter from a Plastic Tub
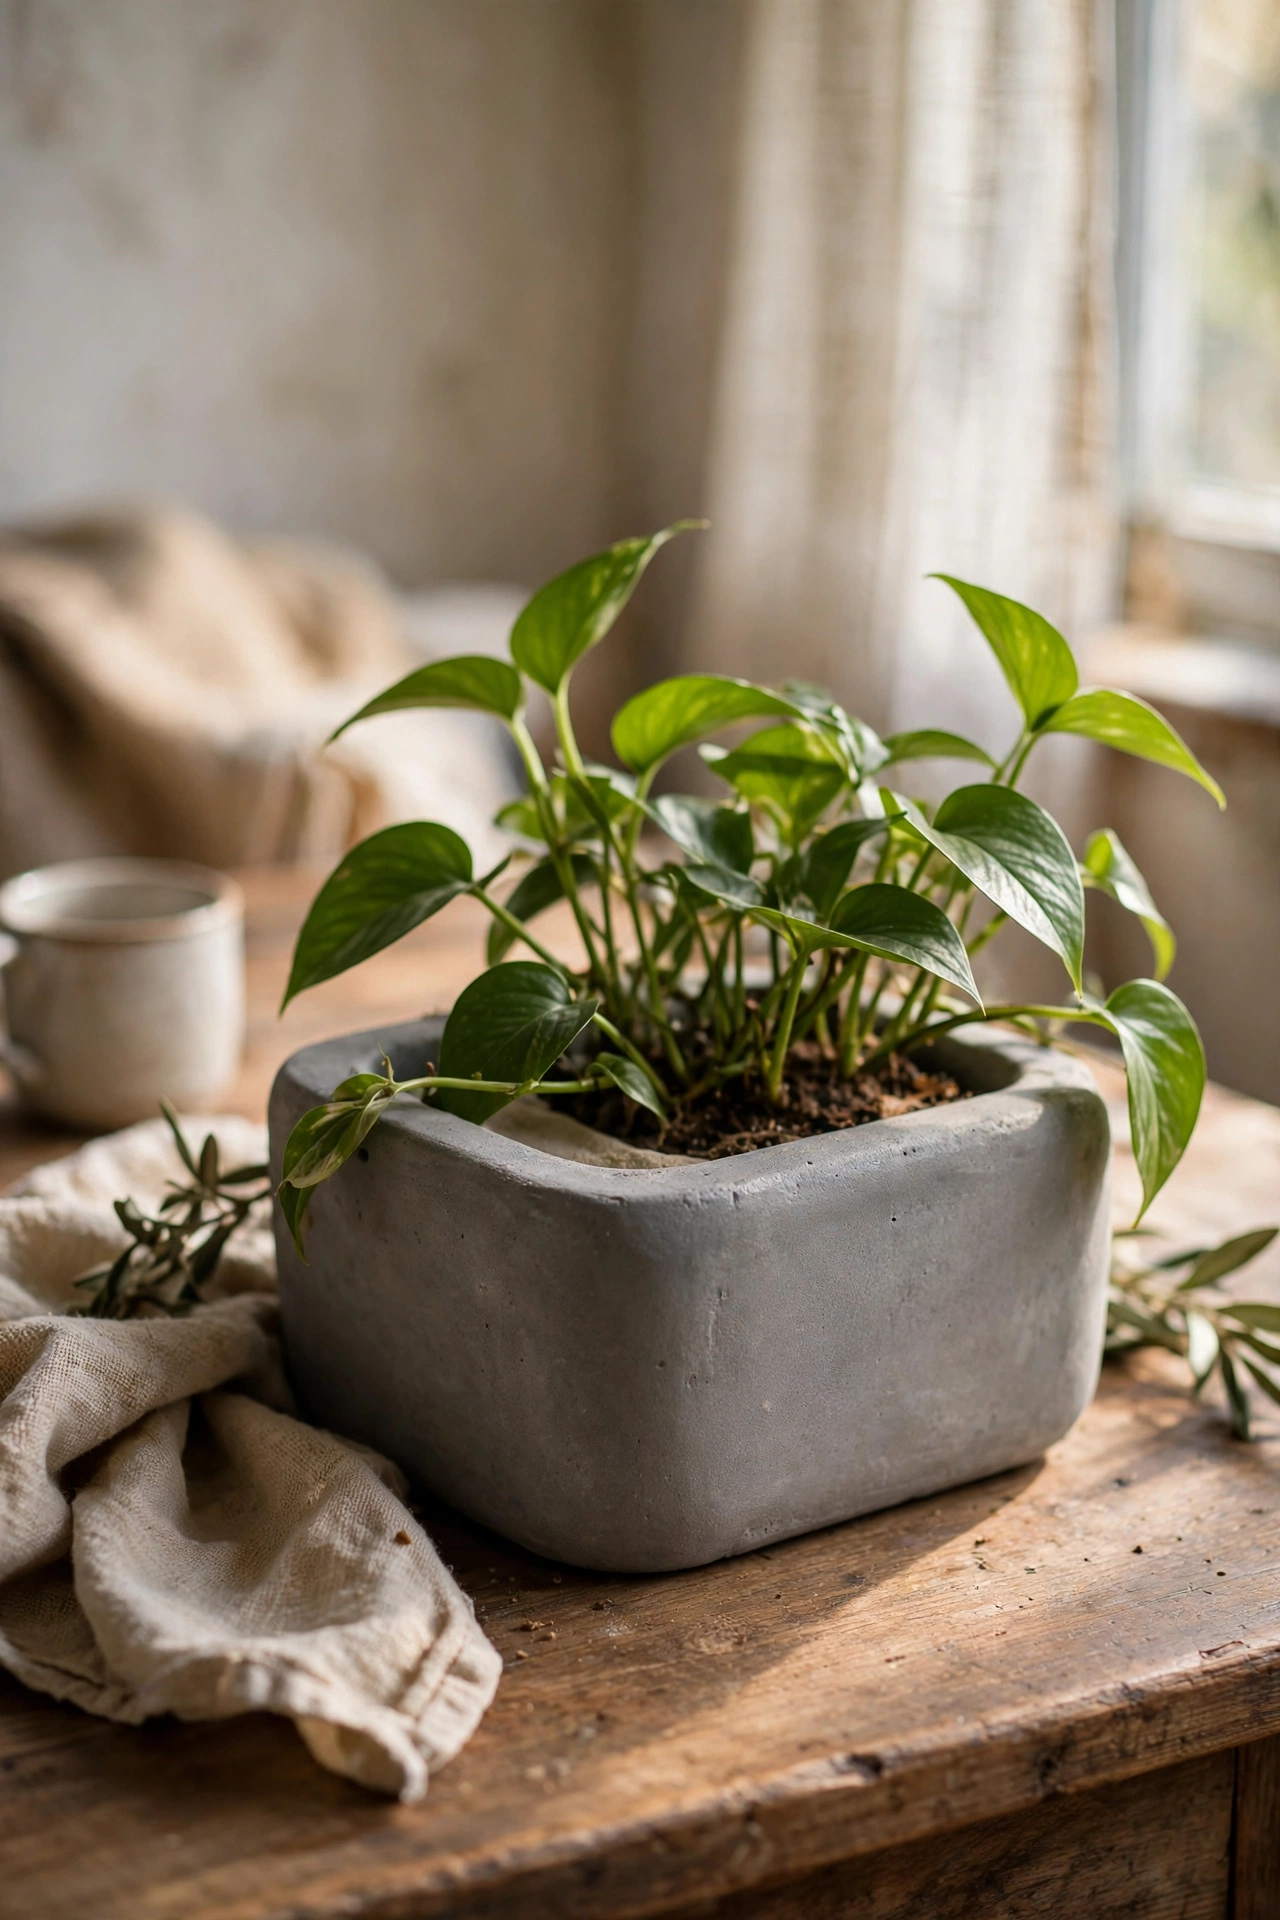
A bag of quick-set concrete and two nesting plastic tubs make a planter that looks straight out of a design store. I grease the tubs with cooking spray, pour concrete between them, and let it cure for two days before popping the moulds off. Sand the edges smooth and it genuinely passes for stone. My first attempt stuck because I skipped the cooking spray, and I had to smash the tub to free it. These are heavy, so decide their final spot before you plant.
Cost: ~$10-14 | Time: 30 minutes active, 2 days curing
6. Wicker Basket Planter with Liner
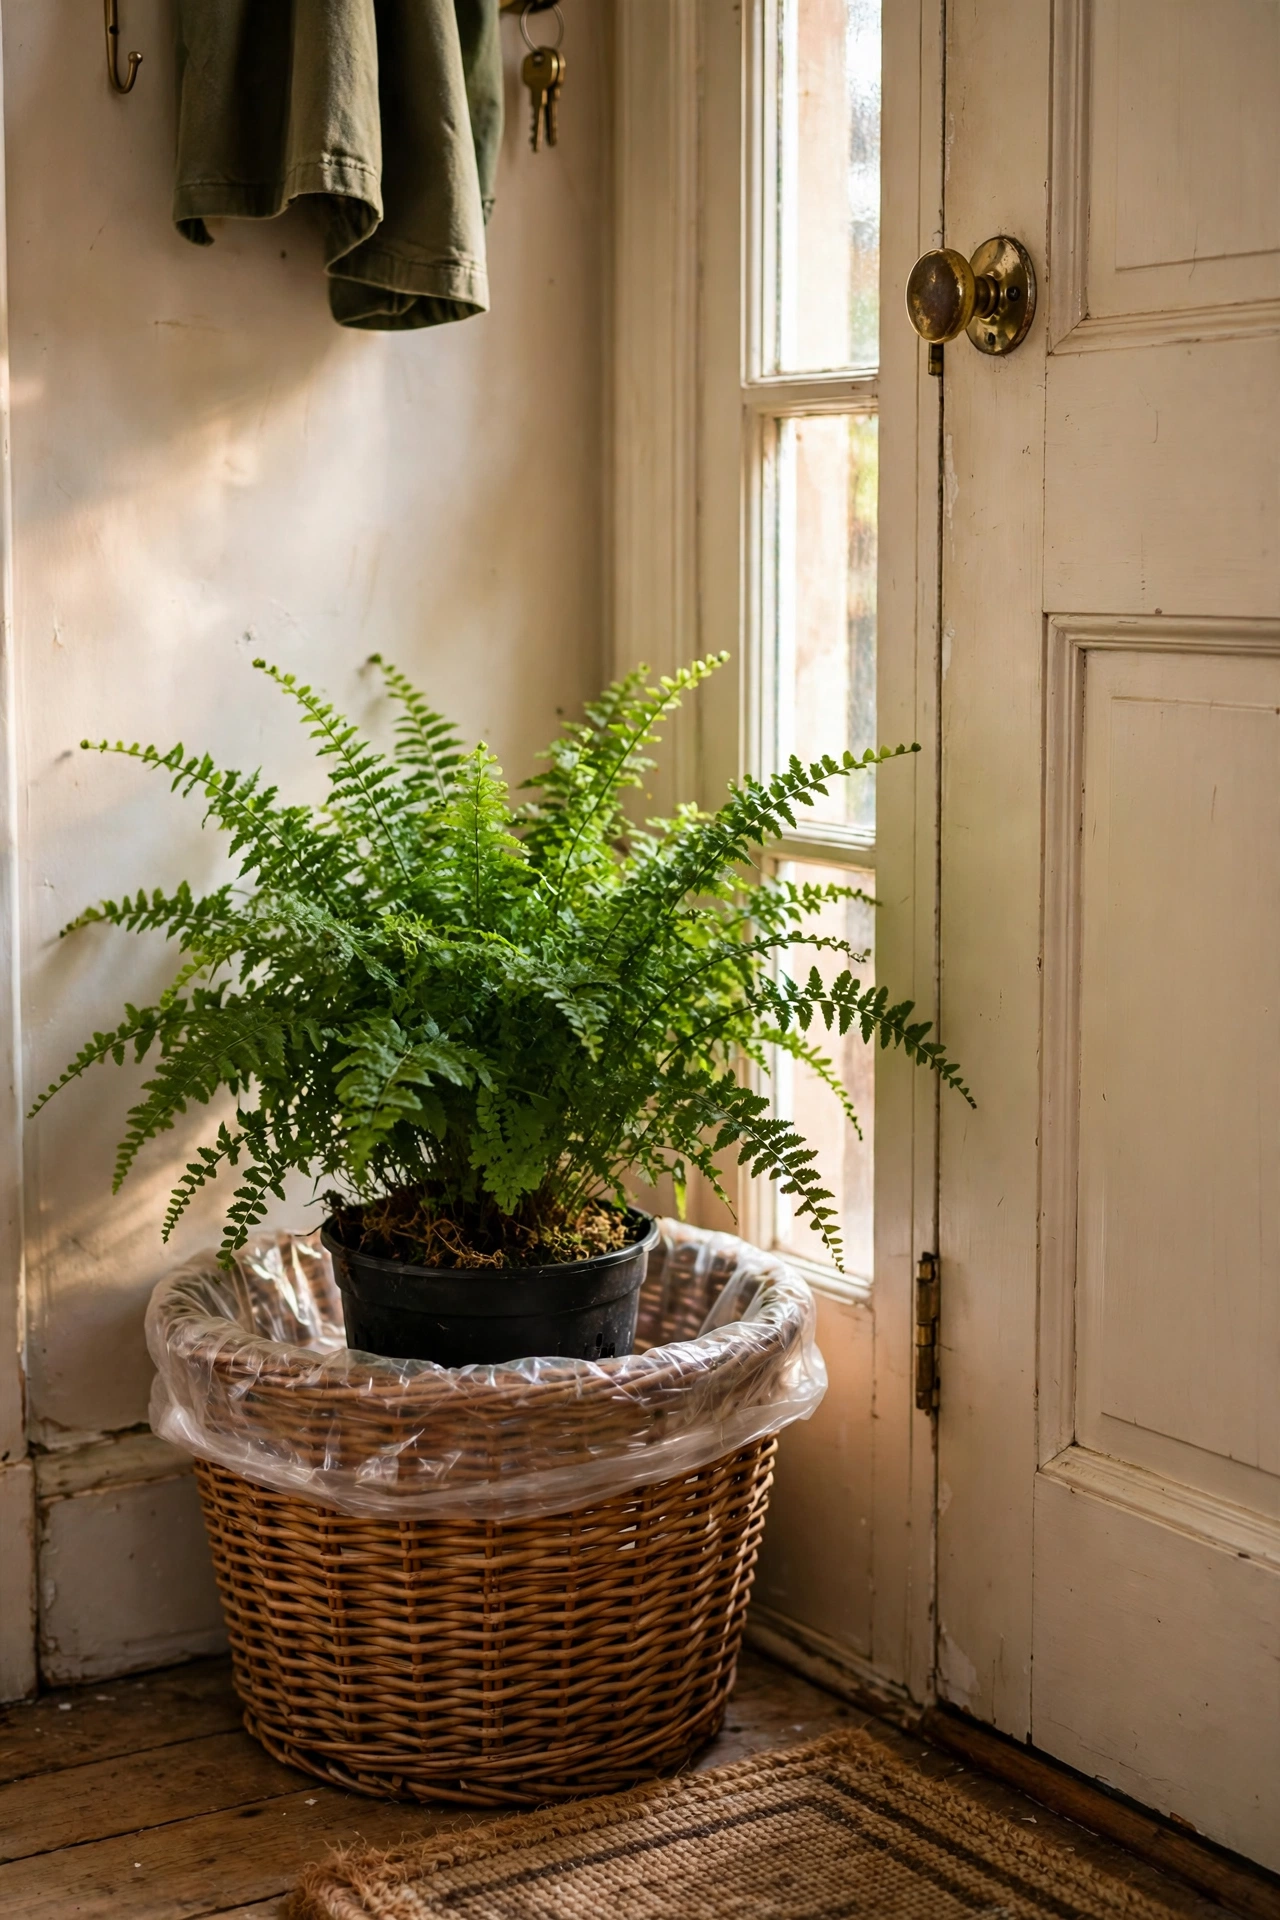
A thrifted wicker basket makes a soft, textured planter in minutes. I line mine with a plastic plant saucer or a cut-up compost bag so water never touches the wicker, then drop a nursery pot straight inside. No repotting needed and the basket stays dry. I keep a big fern in one by the front door and visitors always ask where it is from. Replace the liner yearly, because even plastic breaks down eventually. I pick baskets with a tight weave so soil crumbs cannot slip through if the liner shifts.
Cost: ~$4-8 | Time: 15 minutes
Pro tip: Charity shops are full of wicker baskets for a pound or two. Check the weave is tight and the base is flat so it sits level on your floor.
7. Chalkboard Label Herb Pots
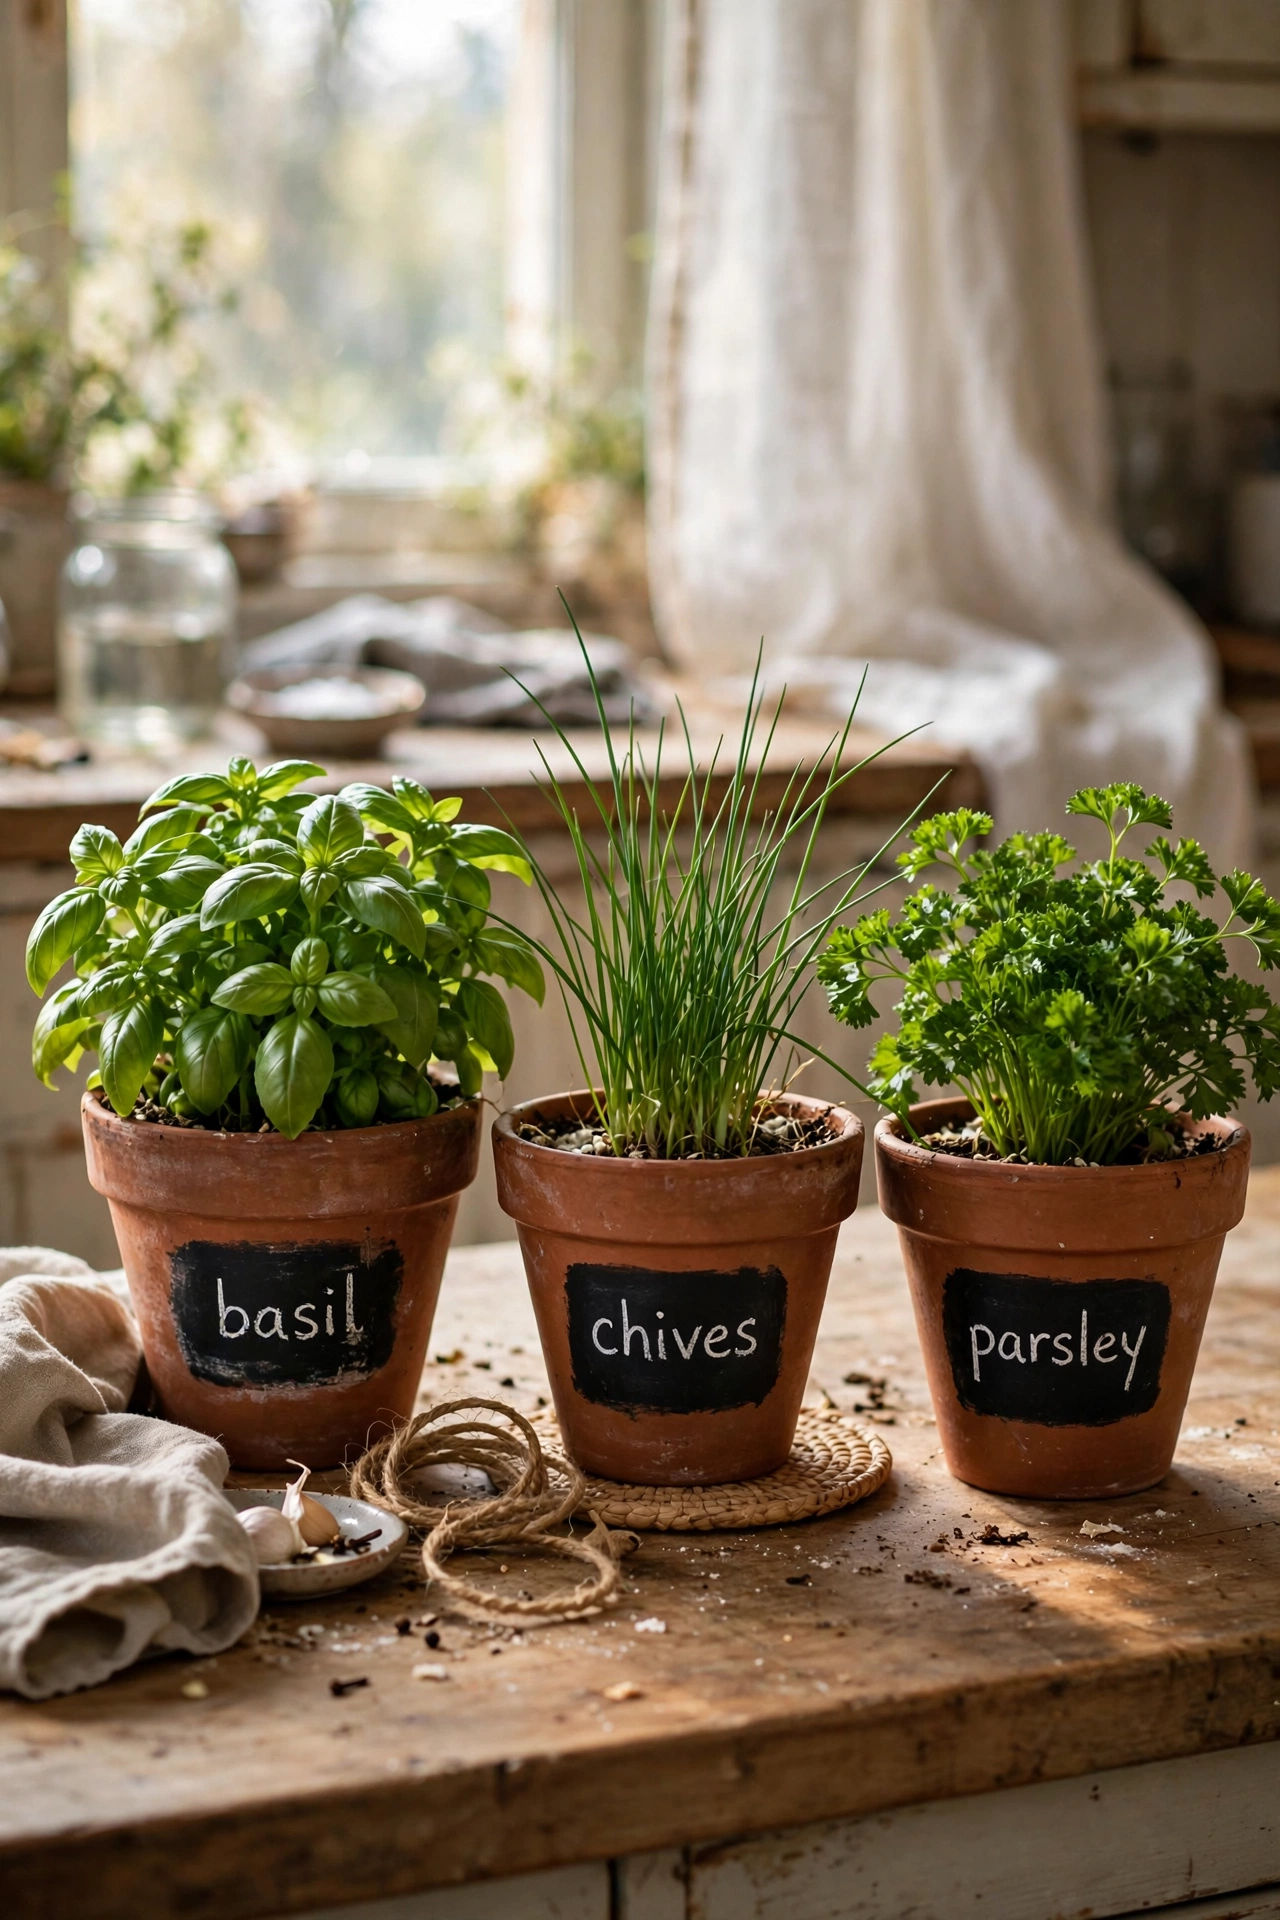
A band of chalkboard paint turns any pot into a labelled, organised planter. I paint a rectangle on the front of each terracotta pot with two coats of chalkboard paint, let it cure for three days, then label with chalk markers: basil, chives, parsley. The curing wait matters, because writing too early smears permanently. I redo the labels each spring when I replant. It is the simplest way to stop pulling up seedlings wondering what you planted. I seal the chalkboard band with a clear matte spray so one watering does not blur the labels.
Cost: ~$6-10 | Time: 30 minutes plus curing
8. Enamel Colander Hanging Planter
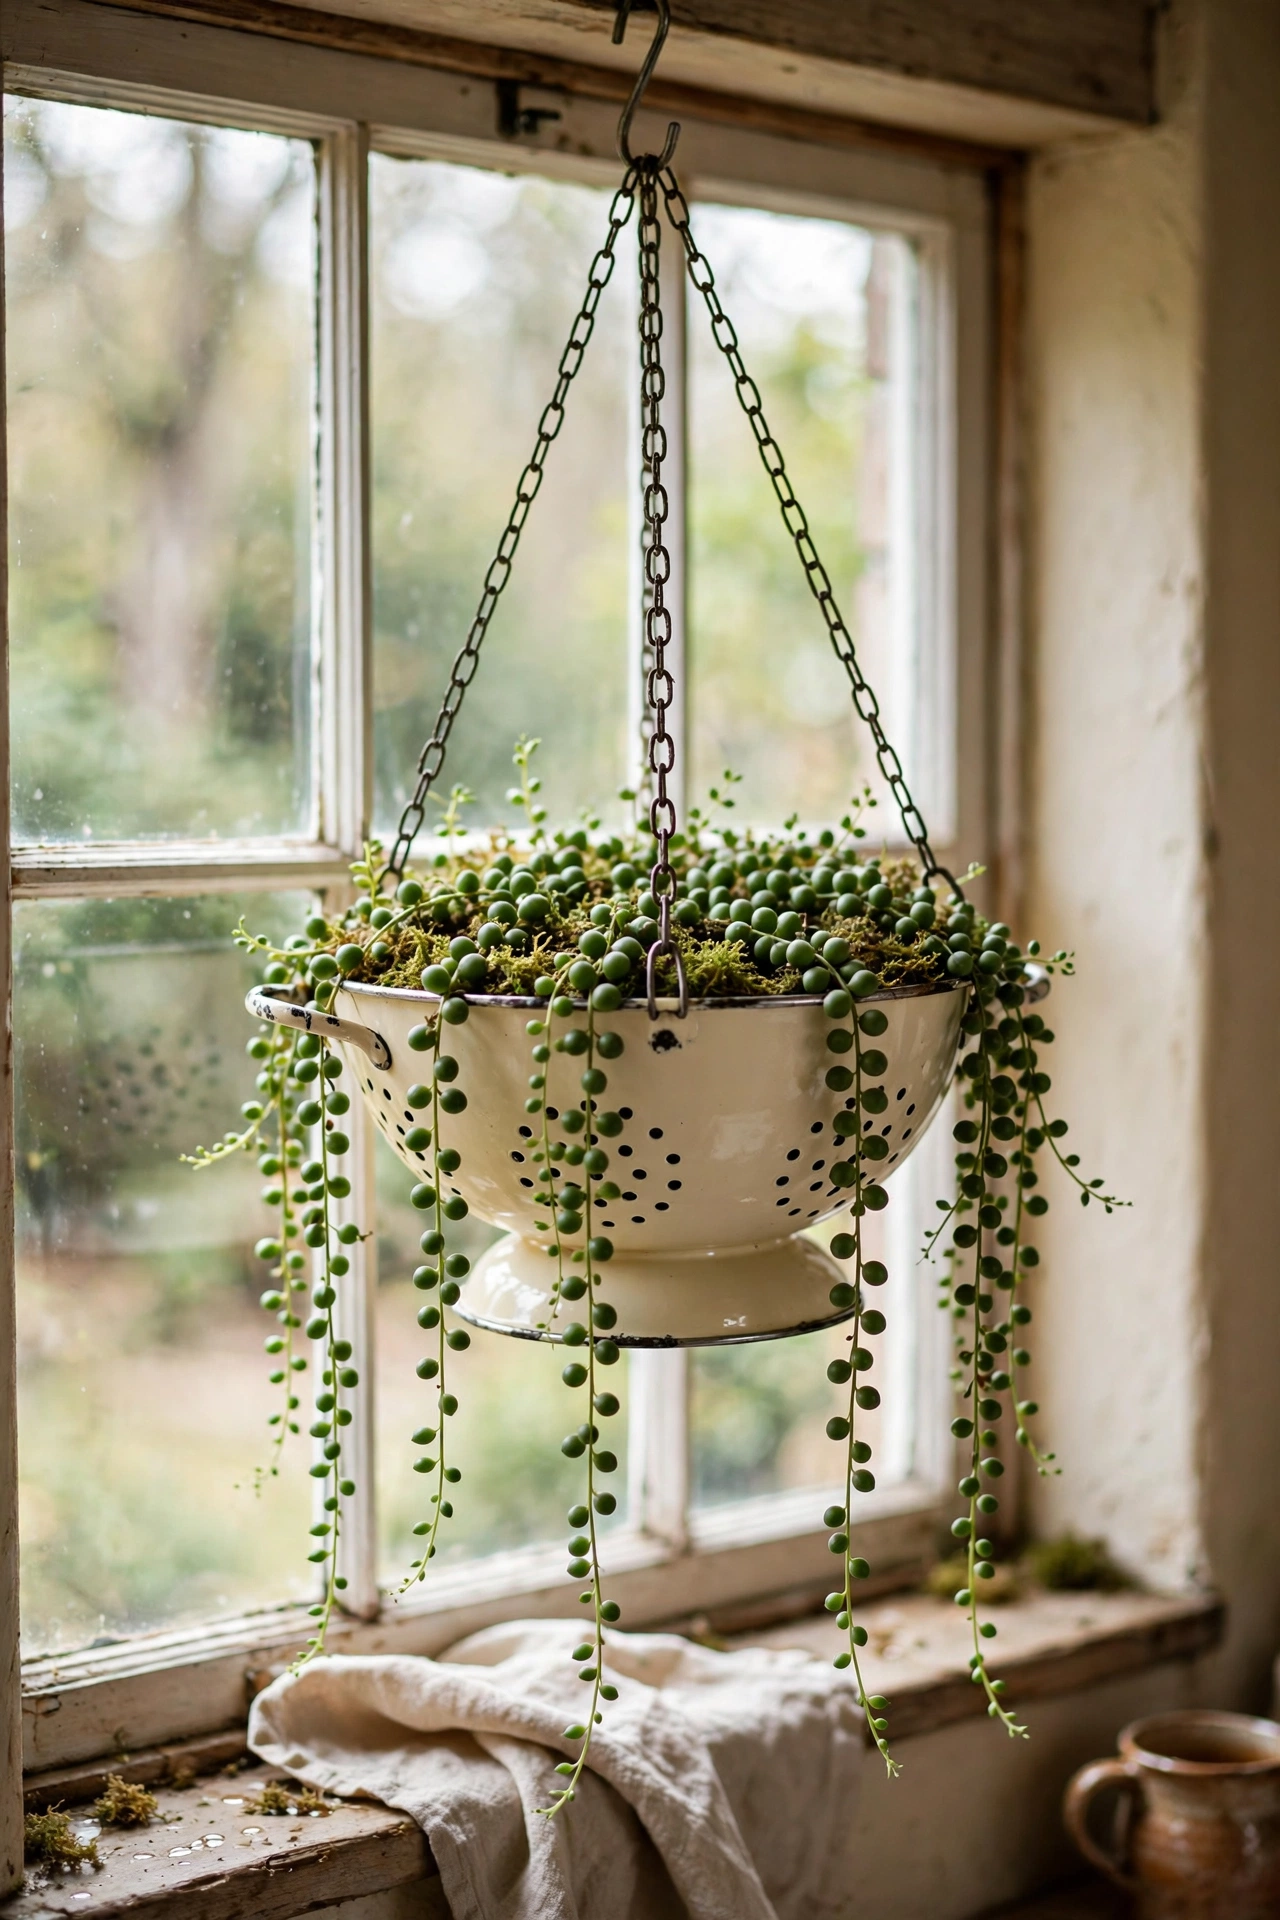
An old enamel colander already has drainage holes, which makes it a born hanging planter. I thread three chains through the rim holes, join them to a hook, and fill it with trailing plants like string of pearls or ivy. Mine hangs in the kitchen window and drips greenery beautifully. Line it with a bit of moss first so the soil does not wash through the big holes. Enamel colanders in cream or red look best. I hang mine from a ceiling hook with a small S-link, which lets me lift the whole planter down for watering.
Cost: ~$5-9 | Time: 30 minutes
9. Teacup Succulent Planters
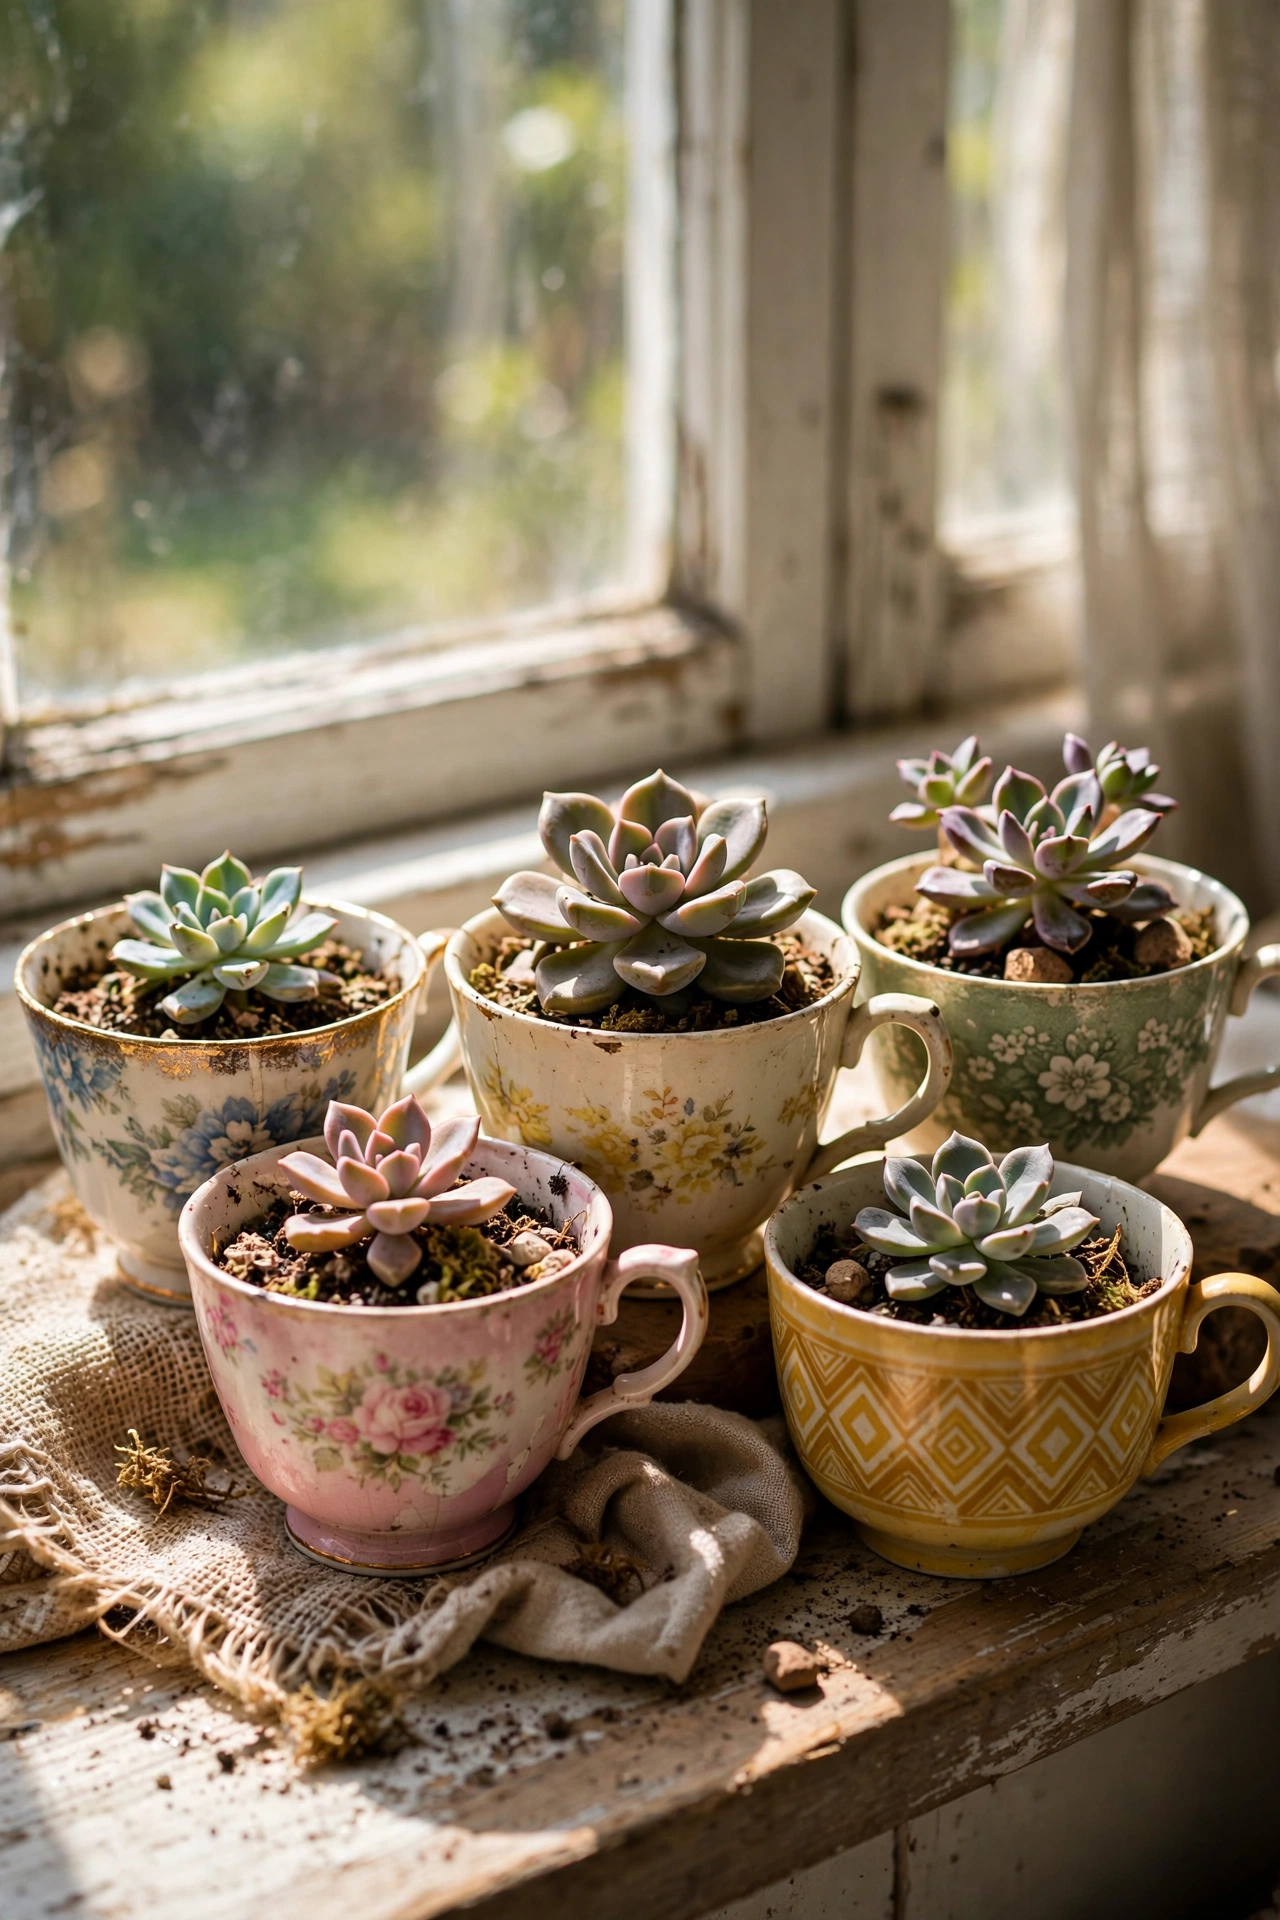
Mismatched charity-shop teacups are made for succulents. I drill a small drainage hole in each cup with a ceramic bit, add a spoonful of gritty cactus mix, and nestle in a small echeveria. A whole windowsill of them costs less than one shop planter. My first cup cracked because I pressed too hard with the drill, so go slow with a little water on the bit. Group odd numbers together for the prettiest display. I add a teaspoon of coarse sand at the bottom of each cup so the roots never sit in water.
Cost: ~$4-8 | Time: 1 hour
Pro tip: Succulents in tiny cups dry out fast. Water sparingly but check them twice a week, because a thimble of soil holds almost no reserve.
10. Pallet Wood Vertical Planter
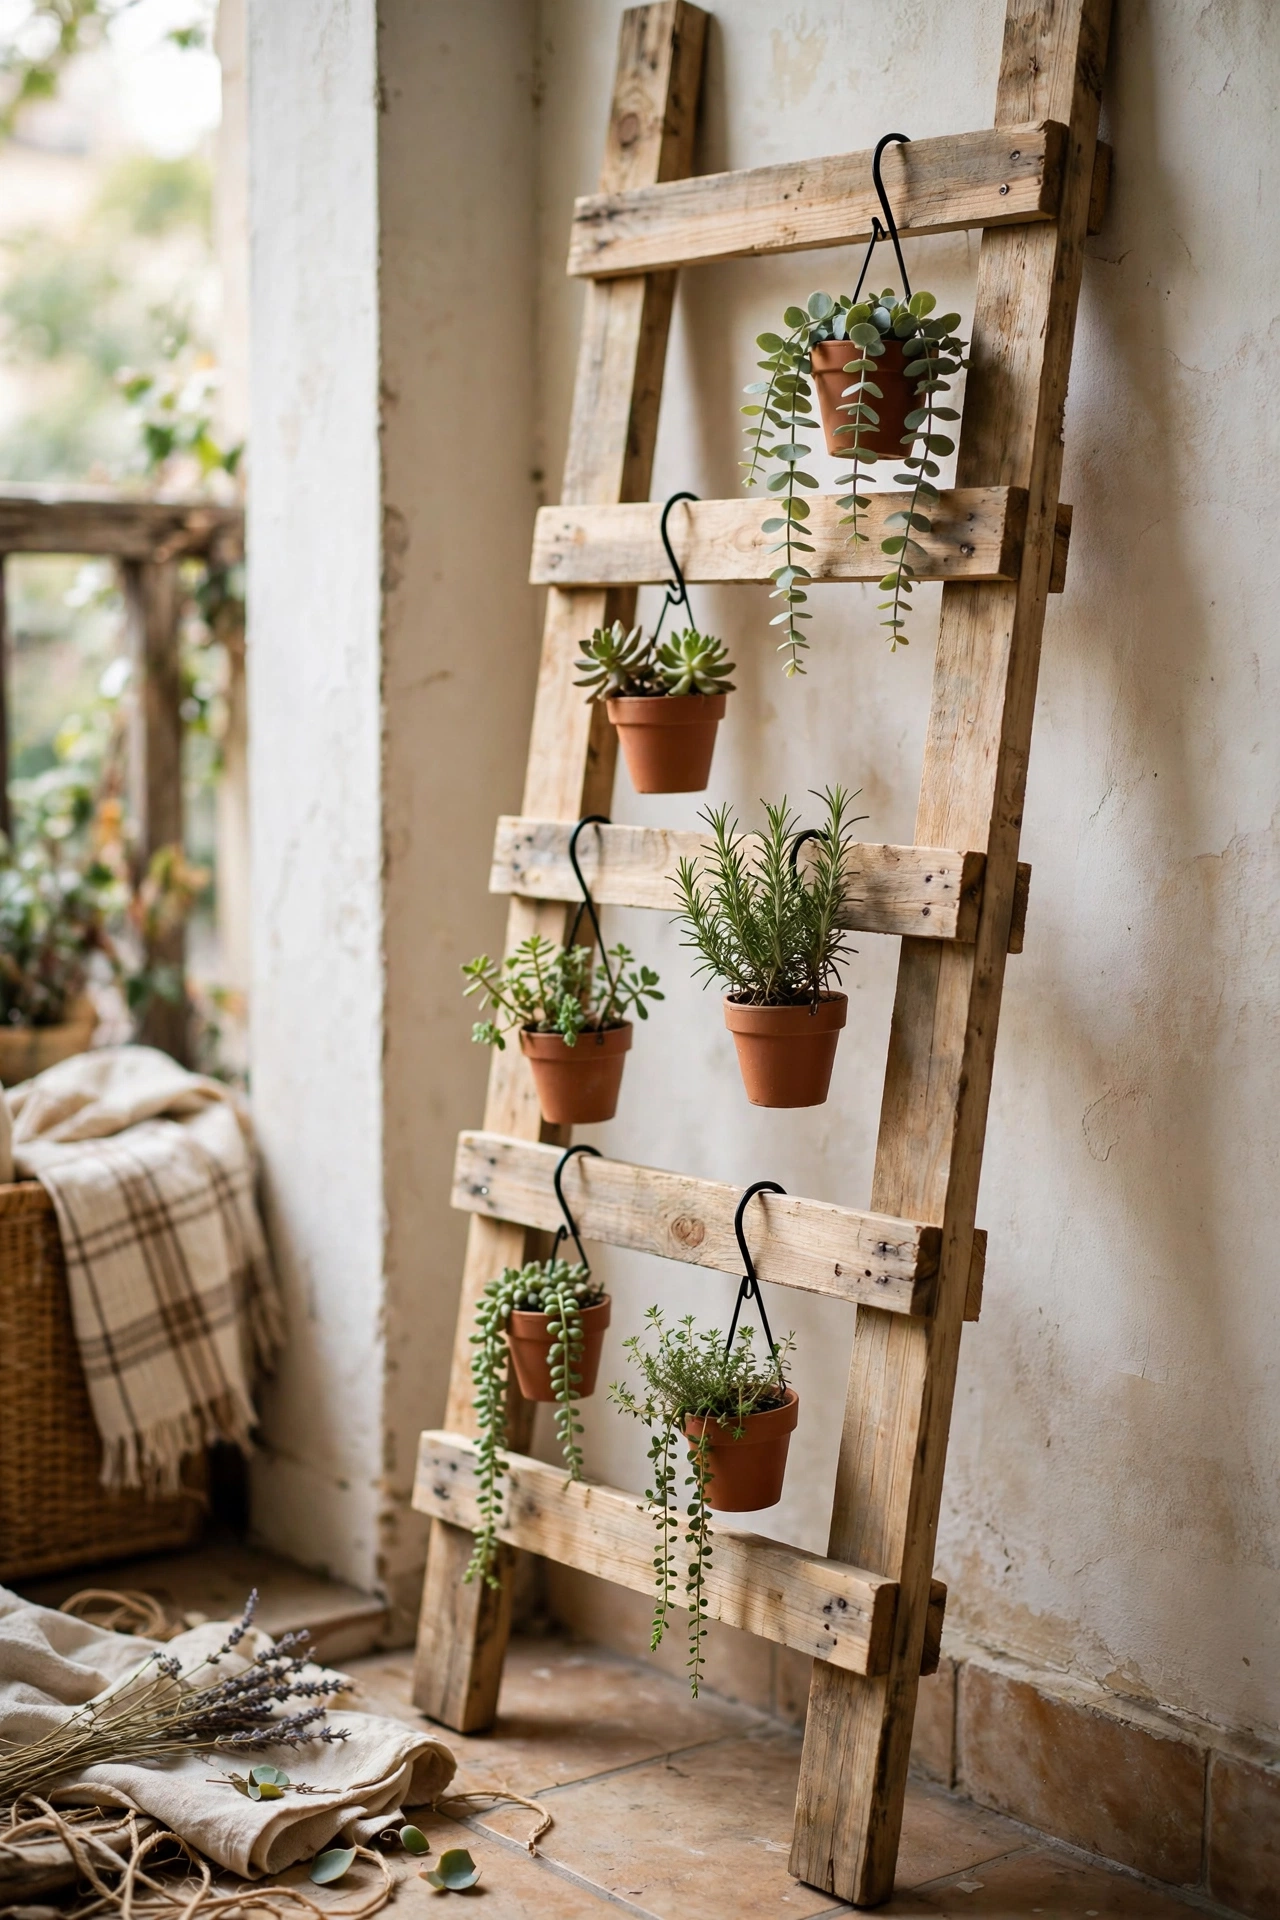
One pallet dismantled gives you enough slats for a vertical planter that holds a dozen small pots. I screw the slats into a simple ladder frame, lean it against a sunny wall, and hang small pots from S-hooks on each rung. It turned my narrow balcony into a proper little garden. Sand the wood well because pallet timber is rough, and check for the heat-treated stamp so you know it is safe. A coat of linseed oil weatherproofs it. I add a small batten across the bottom of each rung so the pots cannot slide off in the wind.
Cost: ~$8-12 | Time: 3 hours
11. Glass Jar Propagation Station
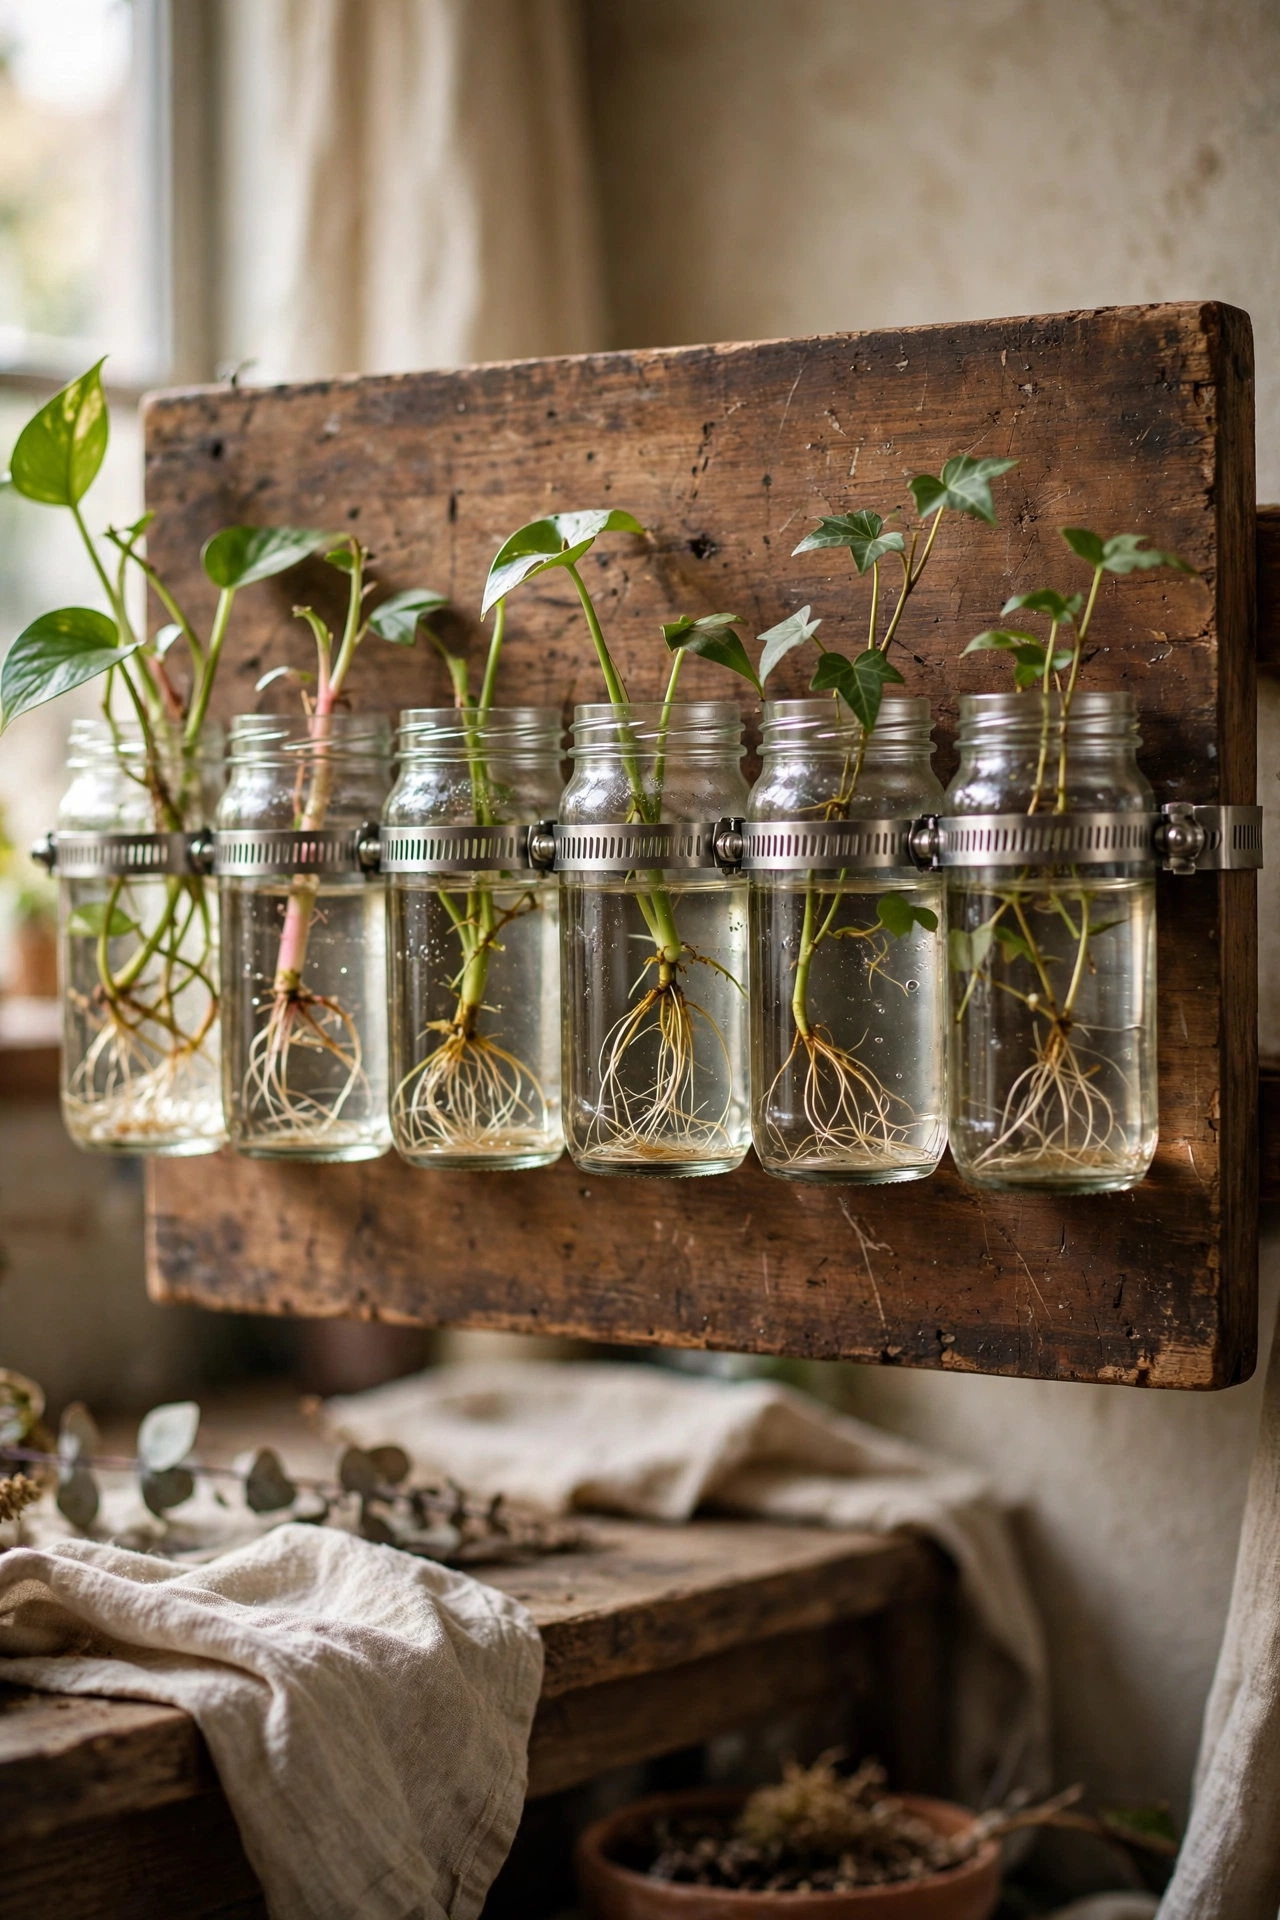
Before a cutting needs a planter, it needs water, and a row of glass jars on a wooden board is the prettiest propagation station going. I screw metal hose clamps to a stained board, slide in jam jars, and fill them with water and cuttings. Watching roots grow is half the joy of houseplants. Change the water weekly or it goes slimy, a lesson my first murky jars taught me. Once roots reach two inches, pot them up. I keep mine on the kitchen sill where I see it every morning, which means the weekly water change never gets forgotten.
Cost: ~$6-10 | Time: 1 hour
12. Jute-Wrapped Plastic Pot Cover
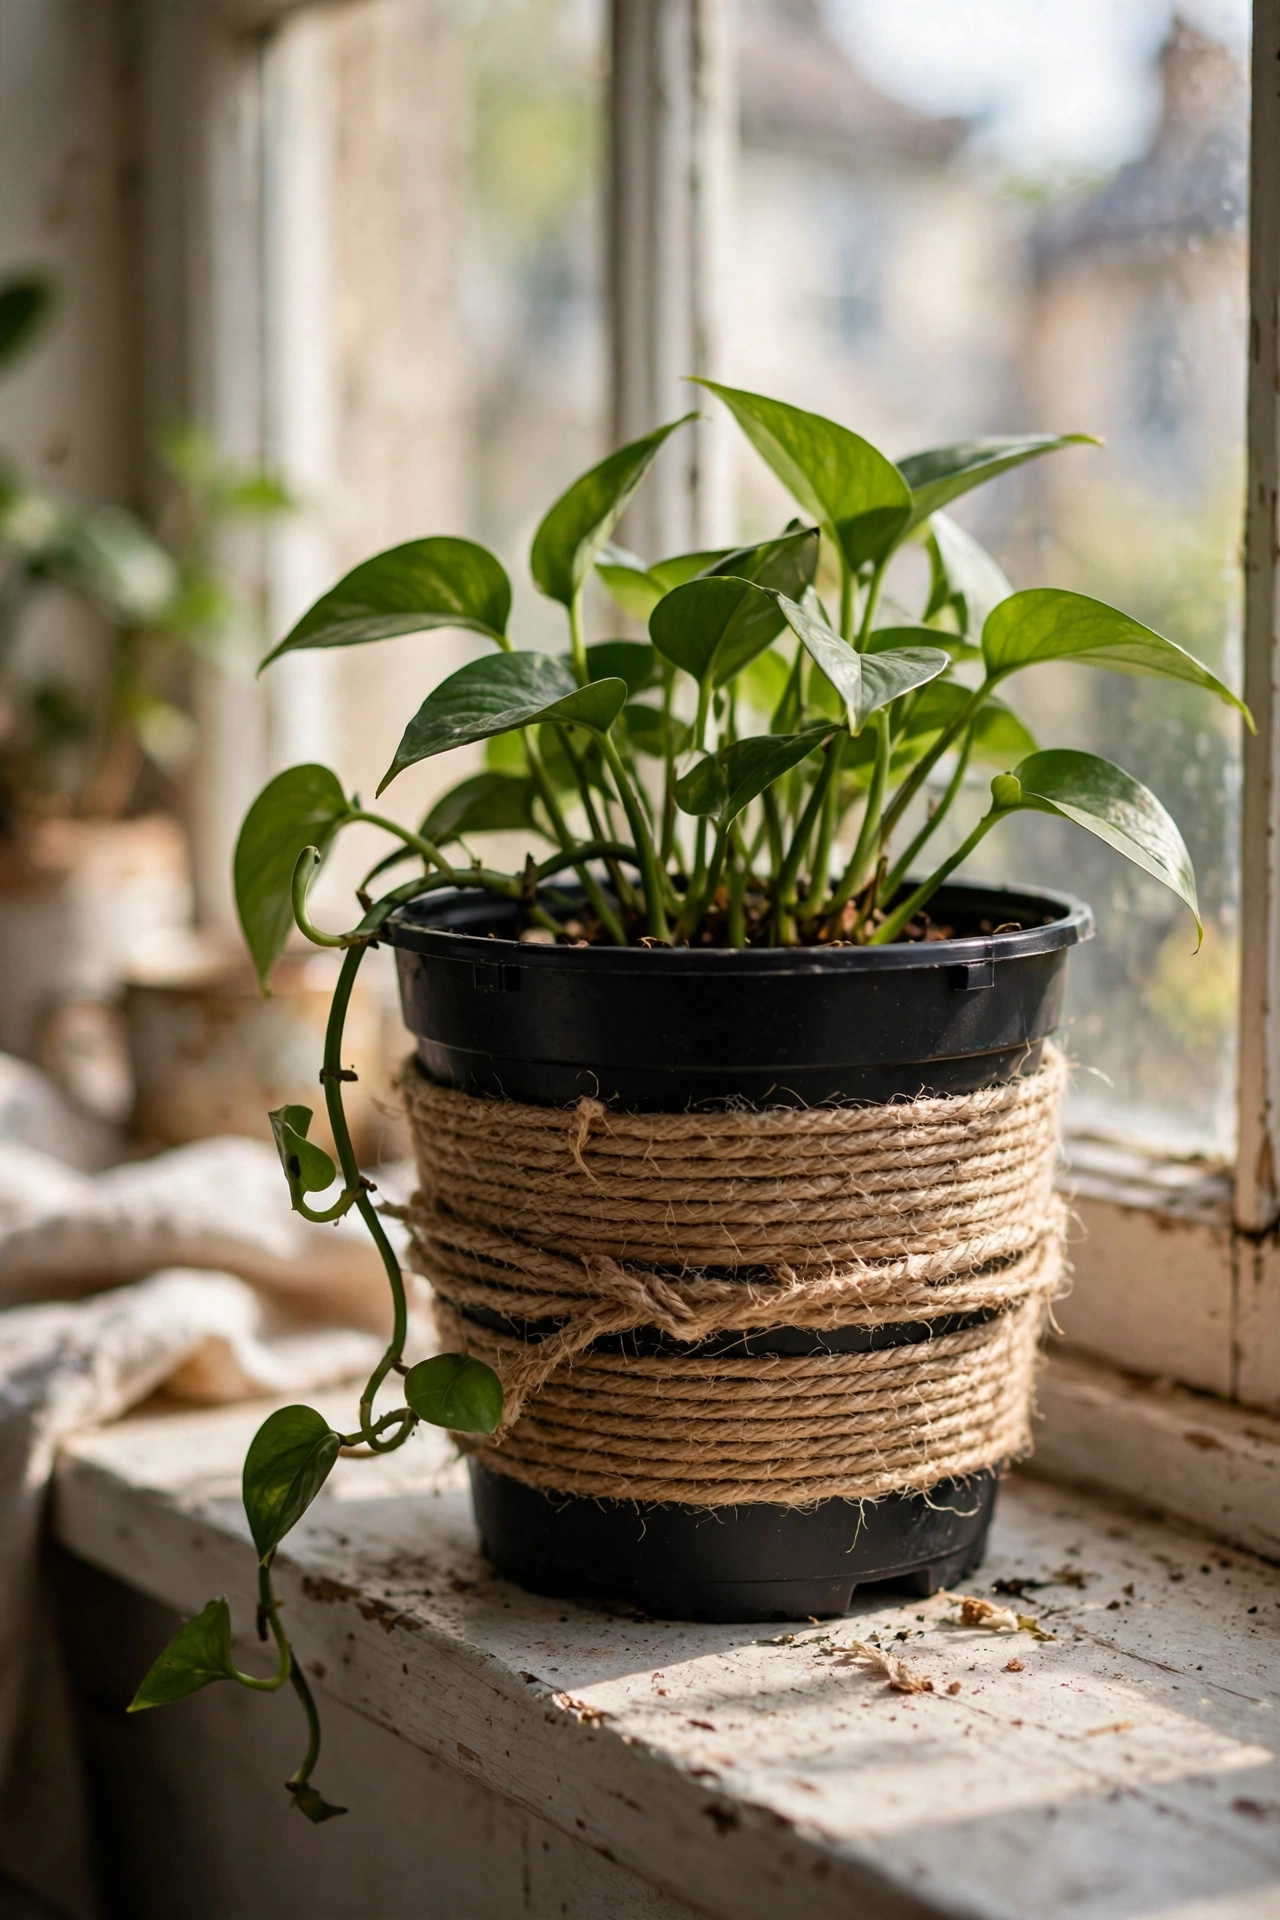
Ugly black nursery pots disappear under a wrap of jute twine. I hot-glue the twine end at the base and spiral upward, keeping each row snug against the last, then finish with a dab of glue tucked under the rim. It takes one episode of television per pot. My windowsill went from plastic eyesore to textured and natural in an evening. Keep rows tight, because gaps show the black plastic and spoil the effect. More fibre craft ideas: (see also: jute-craft-ideas-for-home). I burn the twine end quickly with a lighter so it does not fray, then glue it down flat.
Cost: ~$4-7 | Time: 1 hour per pot
Pro tip: Wrap from the bottom up, not the top down. Gravity works with you that way and the rows sit tighter with less glue.
13. Broken Tile Mosaic Planter
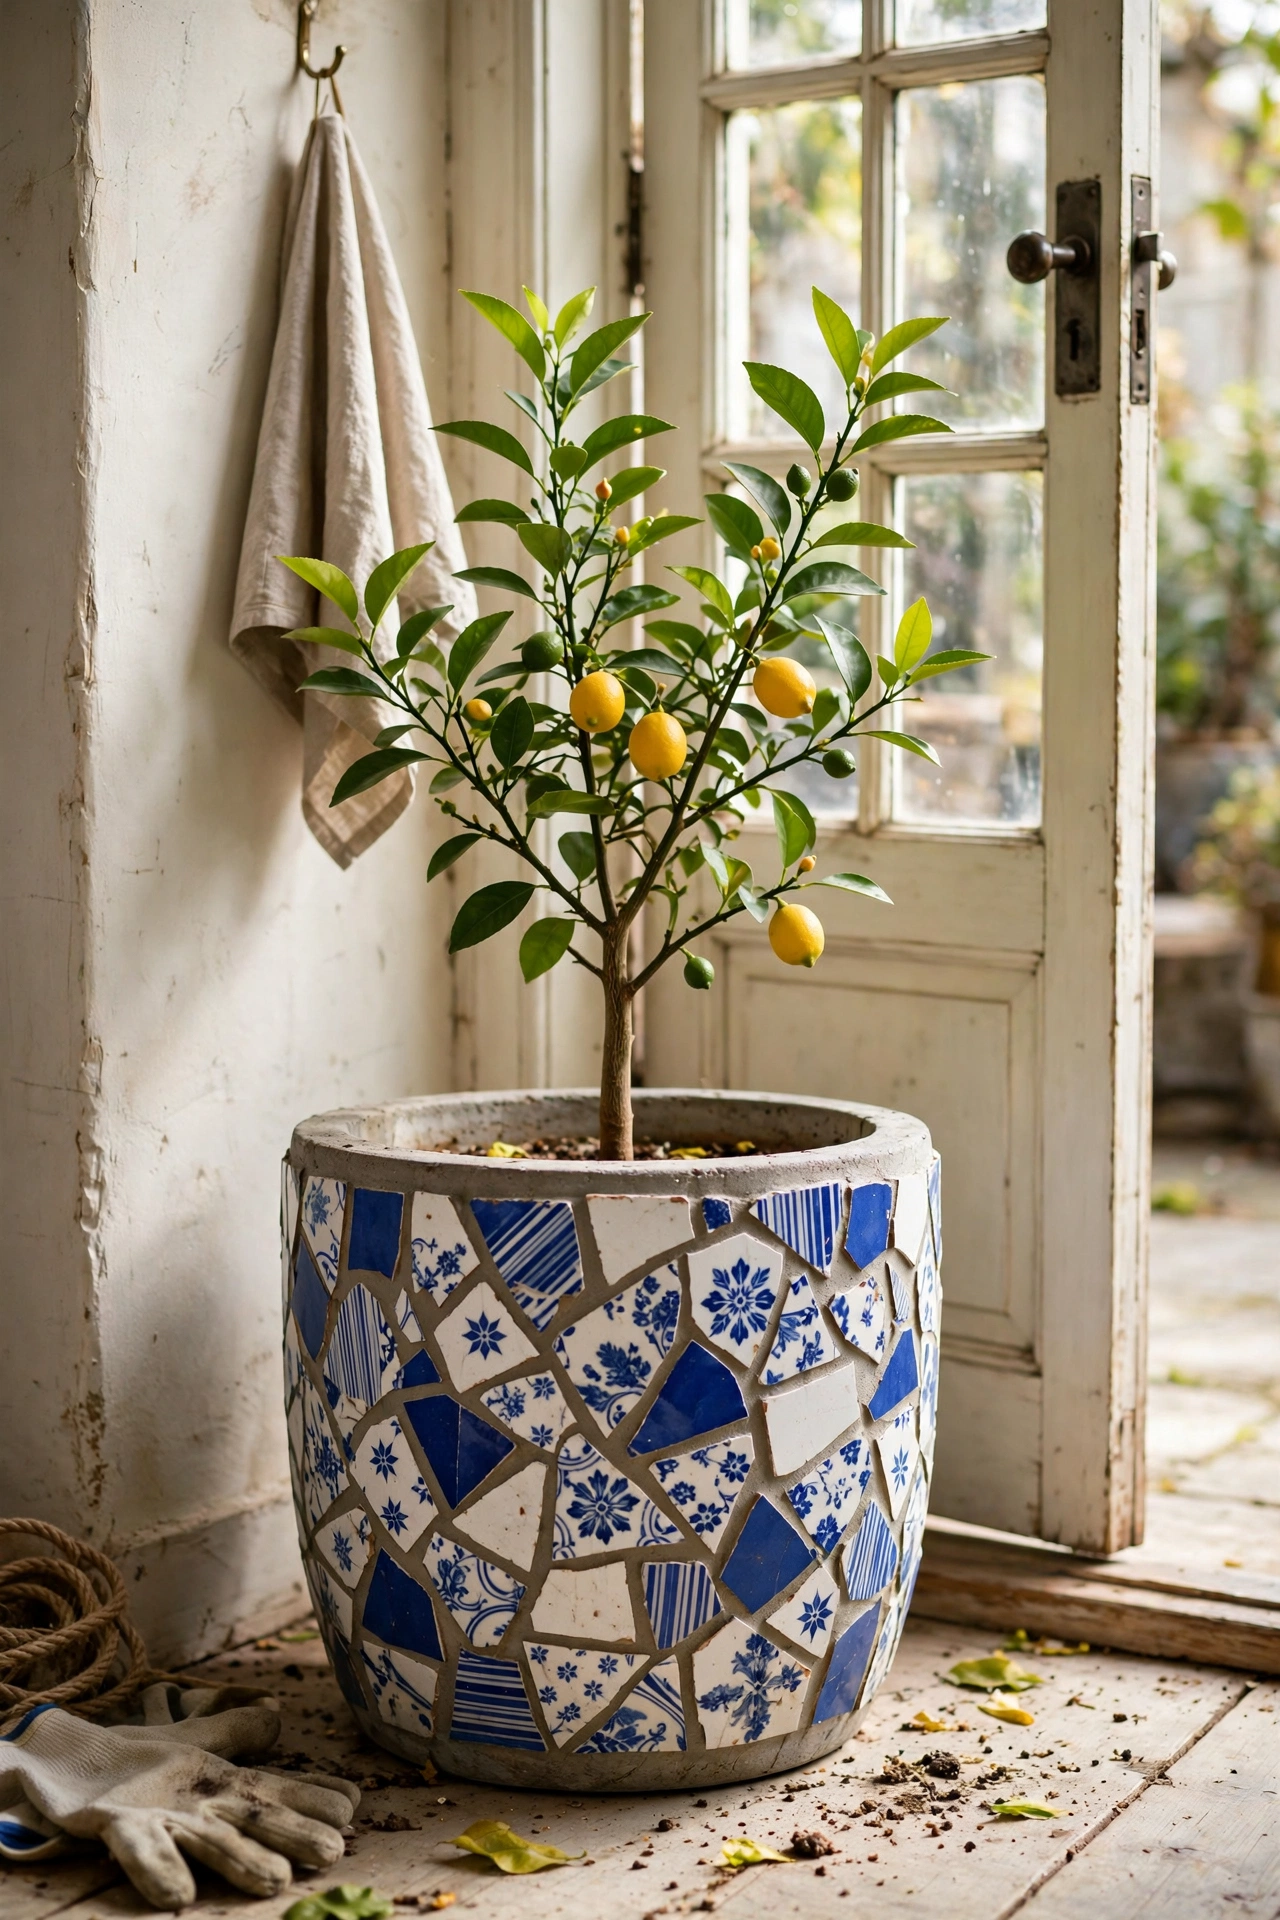
Smash leftover bathroom tiles and you have a mosaic planter that looks far harder than it is. I butter the back of each shard with tile adhesive, press them onto a plain concrete pot in a random pattern, and grout the gaps after a day. Wear gloves and safety glasses when smashing, because tile shards are vicious. My blue-and-white mosaic pot holds a lemon tree by the back door and gets more compliments than anything else in the garden. Save this one for your weekend project list.
Cost: ~$8-12 | Time: 2 hours plus grouting day
14. Hanging Shoe Organiser Herb Garden
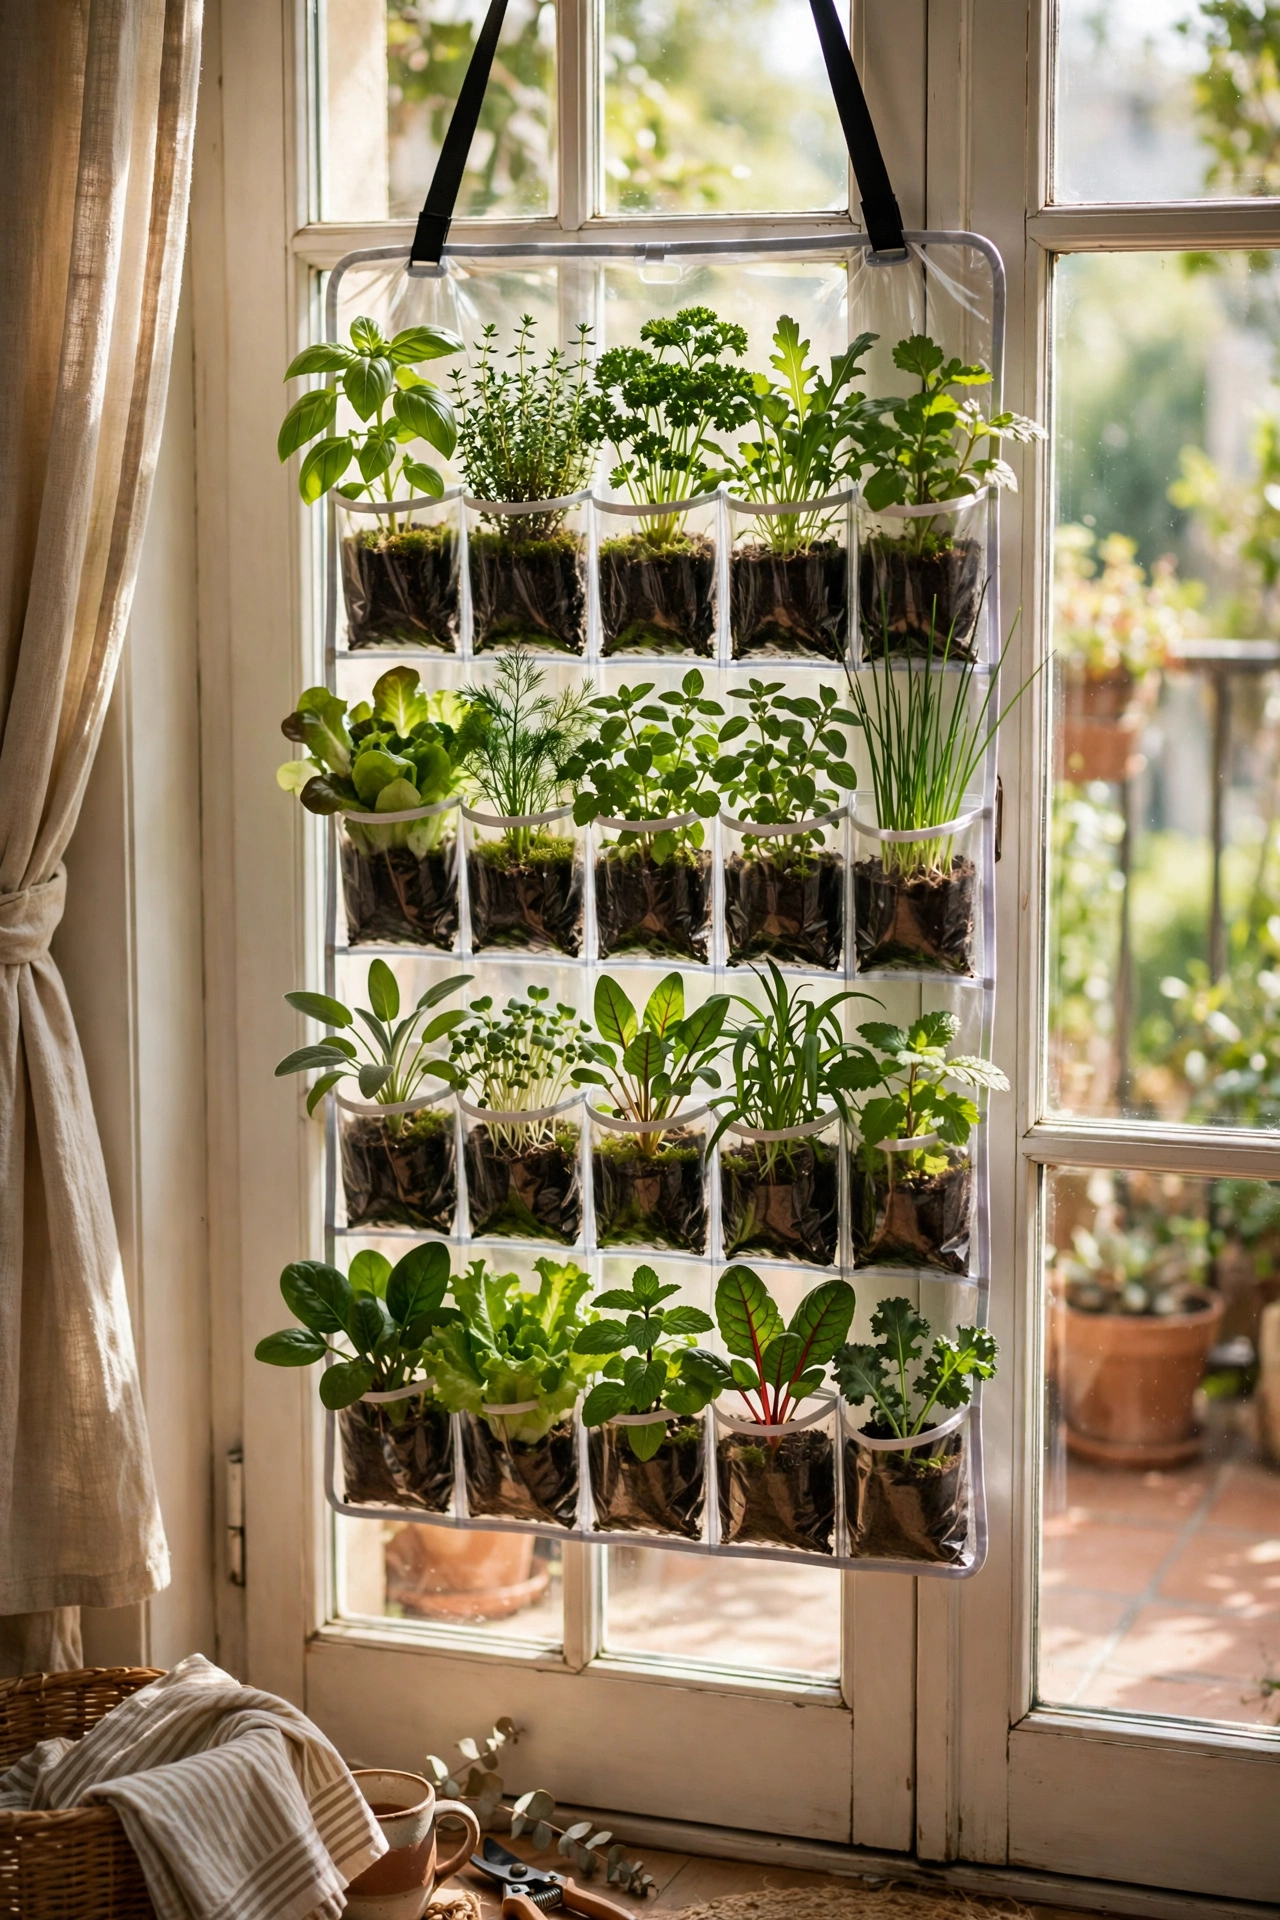
A clear over-the-door shoe organiser is secretly a brilliant vertical herb garden for renters. I fill each pocket with potting mix, poke drainage slits in the bottom of each one, and plant herbs and salad leaves pocket by pocket. It hangs on my balcony door and I snip parsley straight into dinner. Water gently, because the pockets drain fast and flood the ones below. This is the highest-yield planter on the list for the money. I snip only the outer leaves so each pocket keeps growing, and the whole thing lasted me a full summer.
Cost: ~$6-10 | Time: 1 hour
15. Painted Bucket Statement Planter
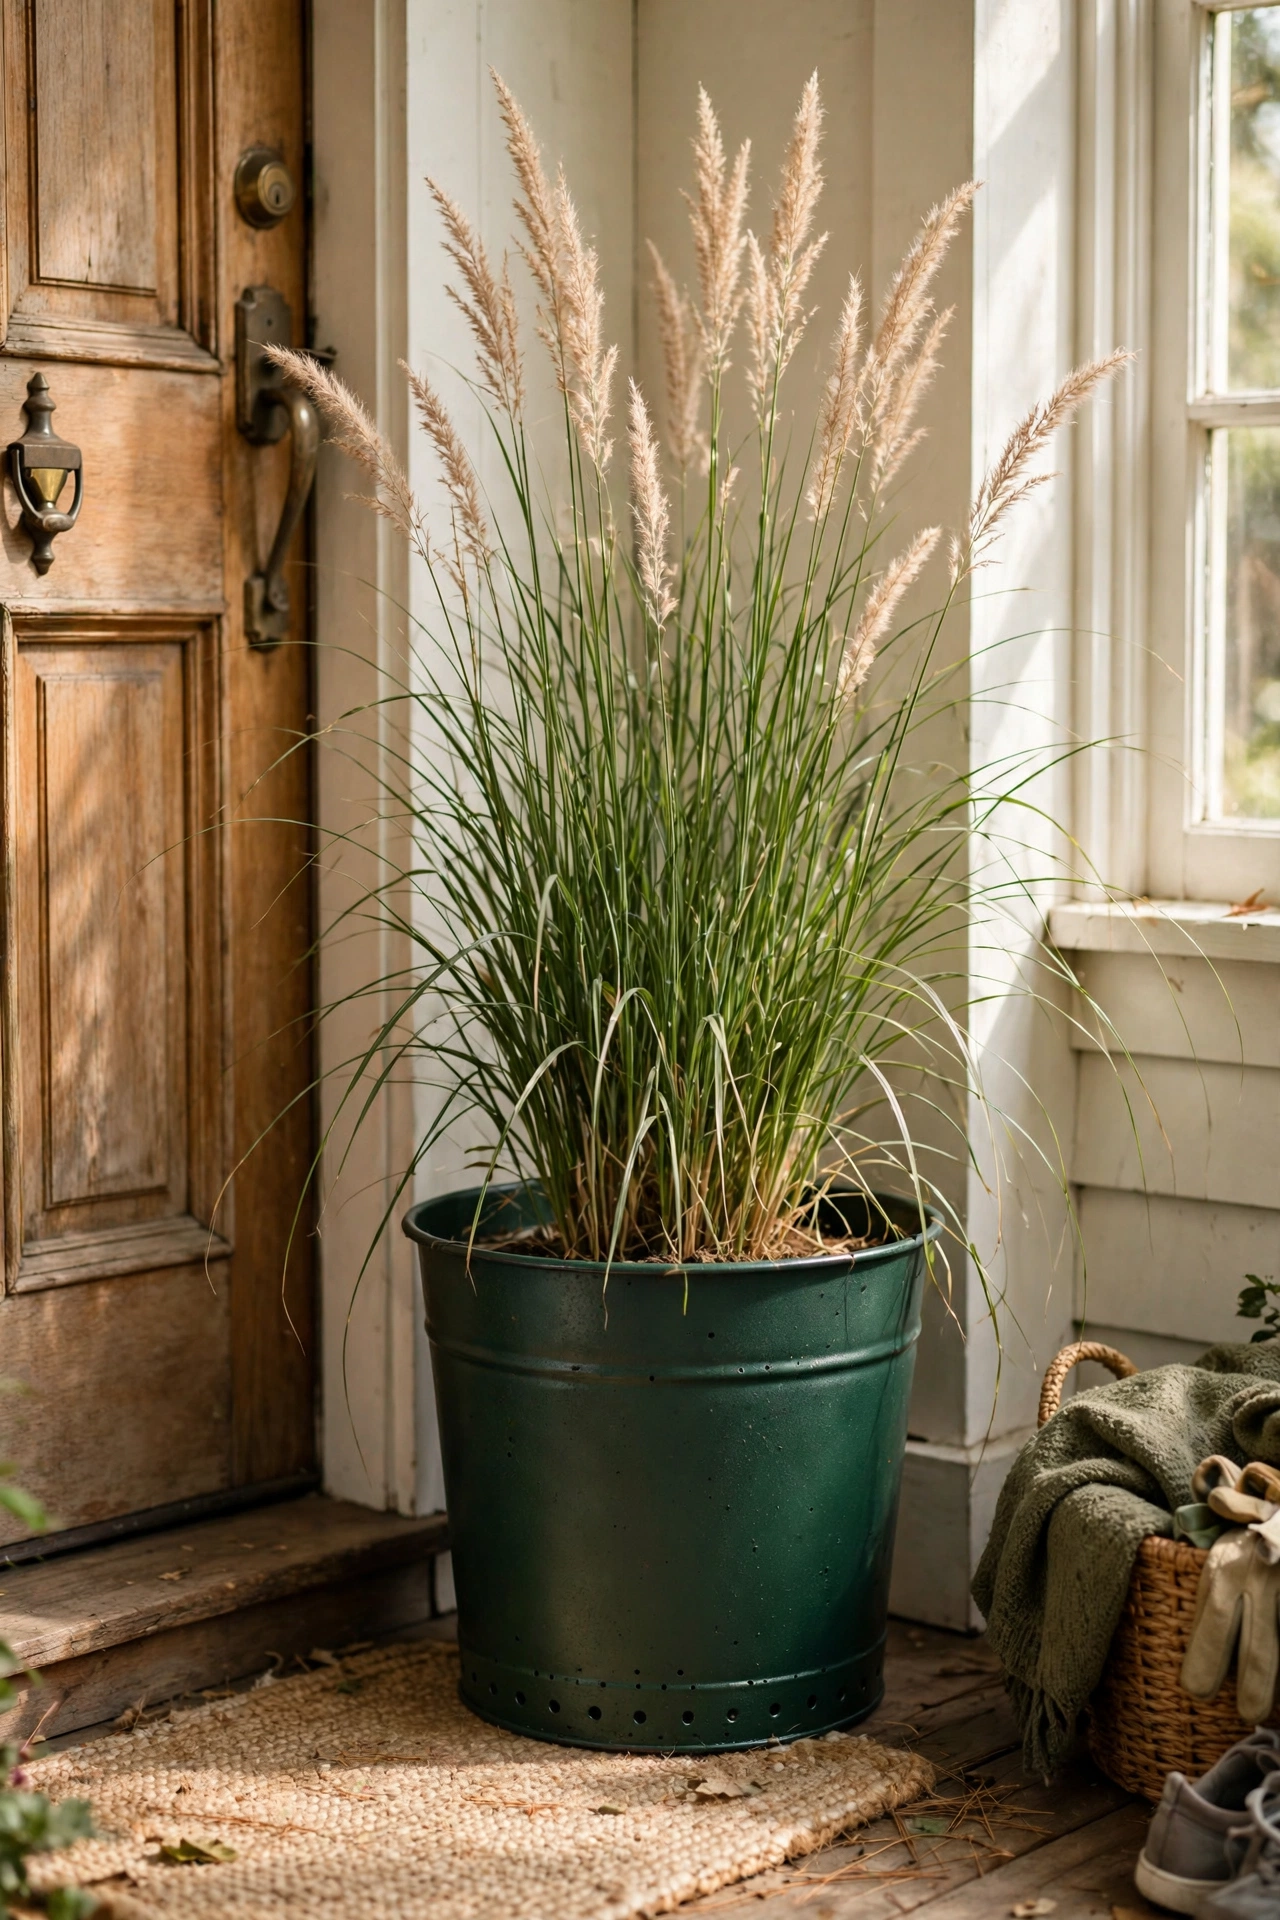
A metal bucket painted in a bold colour makes a planter with real confidence. I drill drainage holes, spray mine in deep forest green, and plant it with something dramatic like tall grasses. It sits by my front door and looks like it cost forty pounds. Rough the metal with sandpaper first so the paint grips, and add a clear sealer on top. Rust spots add character, so do not stress about a perfect finish.
Cost: ~$6-10 | Time: 1 hour plus drying
Pro tip: Metal buckets heat up fast in direct sun and cook roots. Keep painted buckets in partial shade or line them with a nursery pot for insulation.
That is fifteen planters, and my windowsills have never looked better. Start with the terracotta dips this weekend and see how quickly the collection grows.
