15 Cottagecore-Style DIY Projects for Beginners
My cottagecore obsession started with a $3 teacup at a church rummage sale. I brought it home, and suddenly my sleek grey living room looked like it belonged to someone else — someone who wanted pressed flowers, gingham, and wooden things with history. Cottagecore DIY decor hooked me because it rewards exactly the skills beginners already have: gathering, arranging, and making do. No power tools, no perfect technique, just a love of pretty, simple things. These are the projects from my first year that actually worked and still sit in my home.
Every project here costs under $25, and most use things you already own or can find at a thrift shop for a few dollars. I have ordered them from easiest to slightly-more-involved, so start at the top if you have never made anything before. Each one takes an afternoon at most. By the end of the weekend, your home will feel gathered, soft, and personal instead of just decorated.
1. Pressed Flower Wall Art in Thrifted Frames
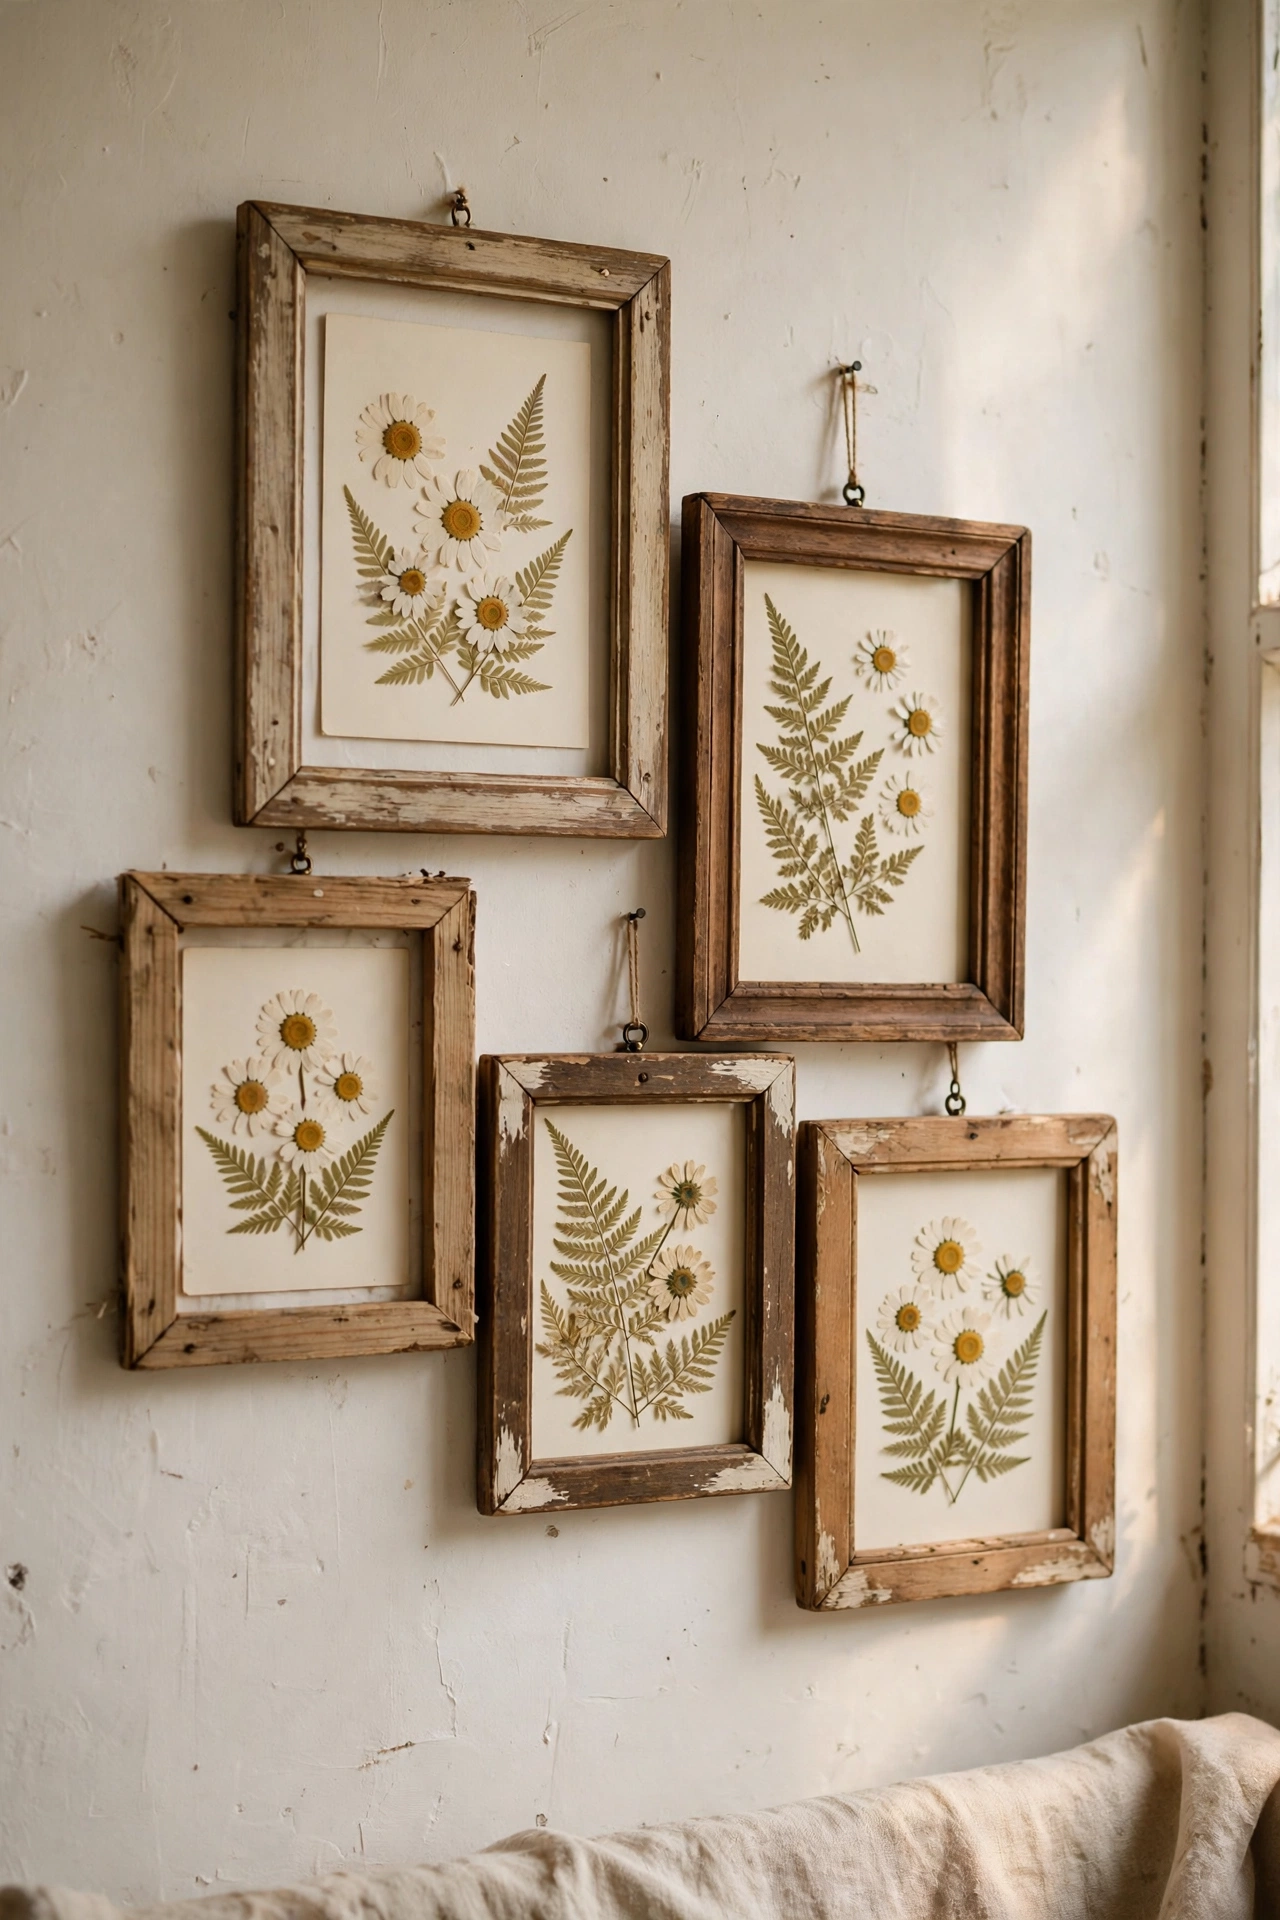
Pressed flowers are the cottagecore starting point, and they cost almost nothing. Pick flat flowers like daisies, pansies, or fern fronds, press them between the pages of a heavy book lined with parchment paper, and forget about them for two to three weeks. Arrange the dried blooms on cream cardstock with tweezers, glue the tiniest dot behind each stem, and frame them in mismatched thrifted wooden frames. My first batch I pressed inside a cookbook and forgot for a month — they came out better than the ones I checked weekly. Do handle the petals as little as possible, because skin oil stains them. Don’t use glossy paper for pressing, as it traps moisture. Hang the frames in a loose cluster above a dresser.
Cost: ~$6-10 | Time: 30 minutes plus pressing time
2. Painted Mason Jar Vase Collection
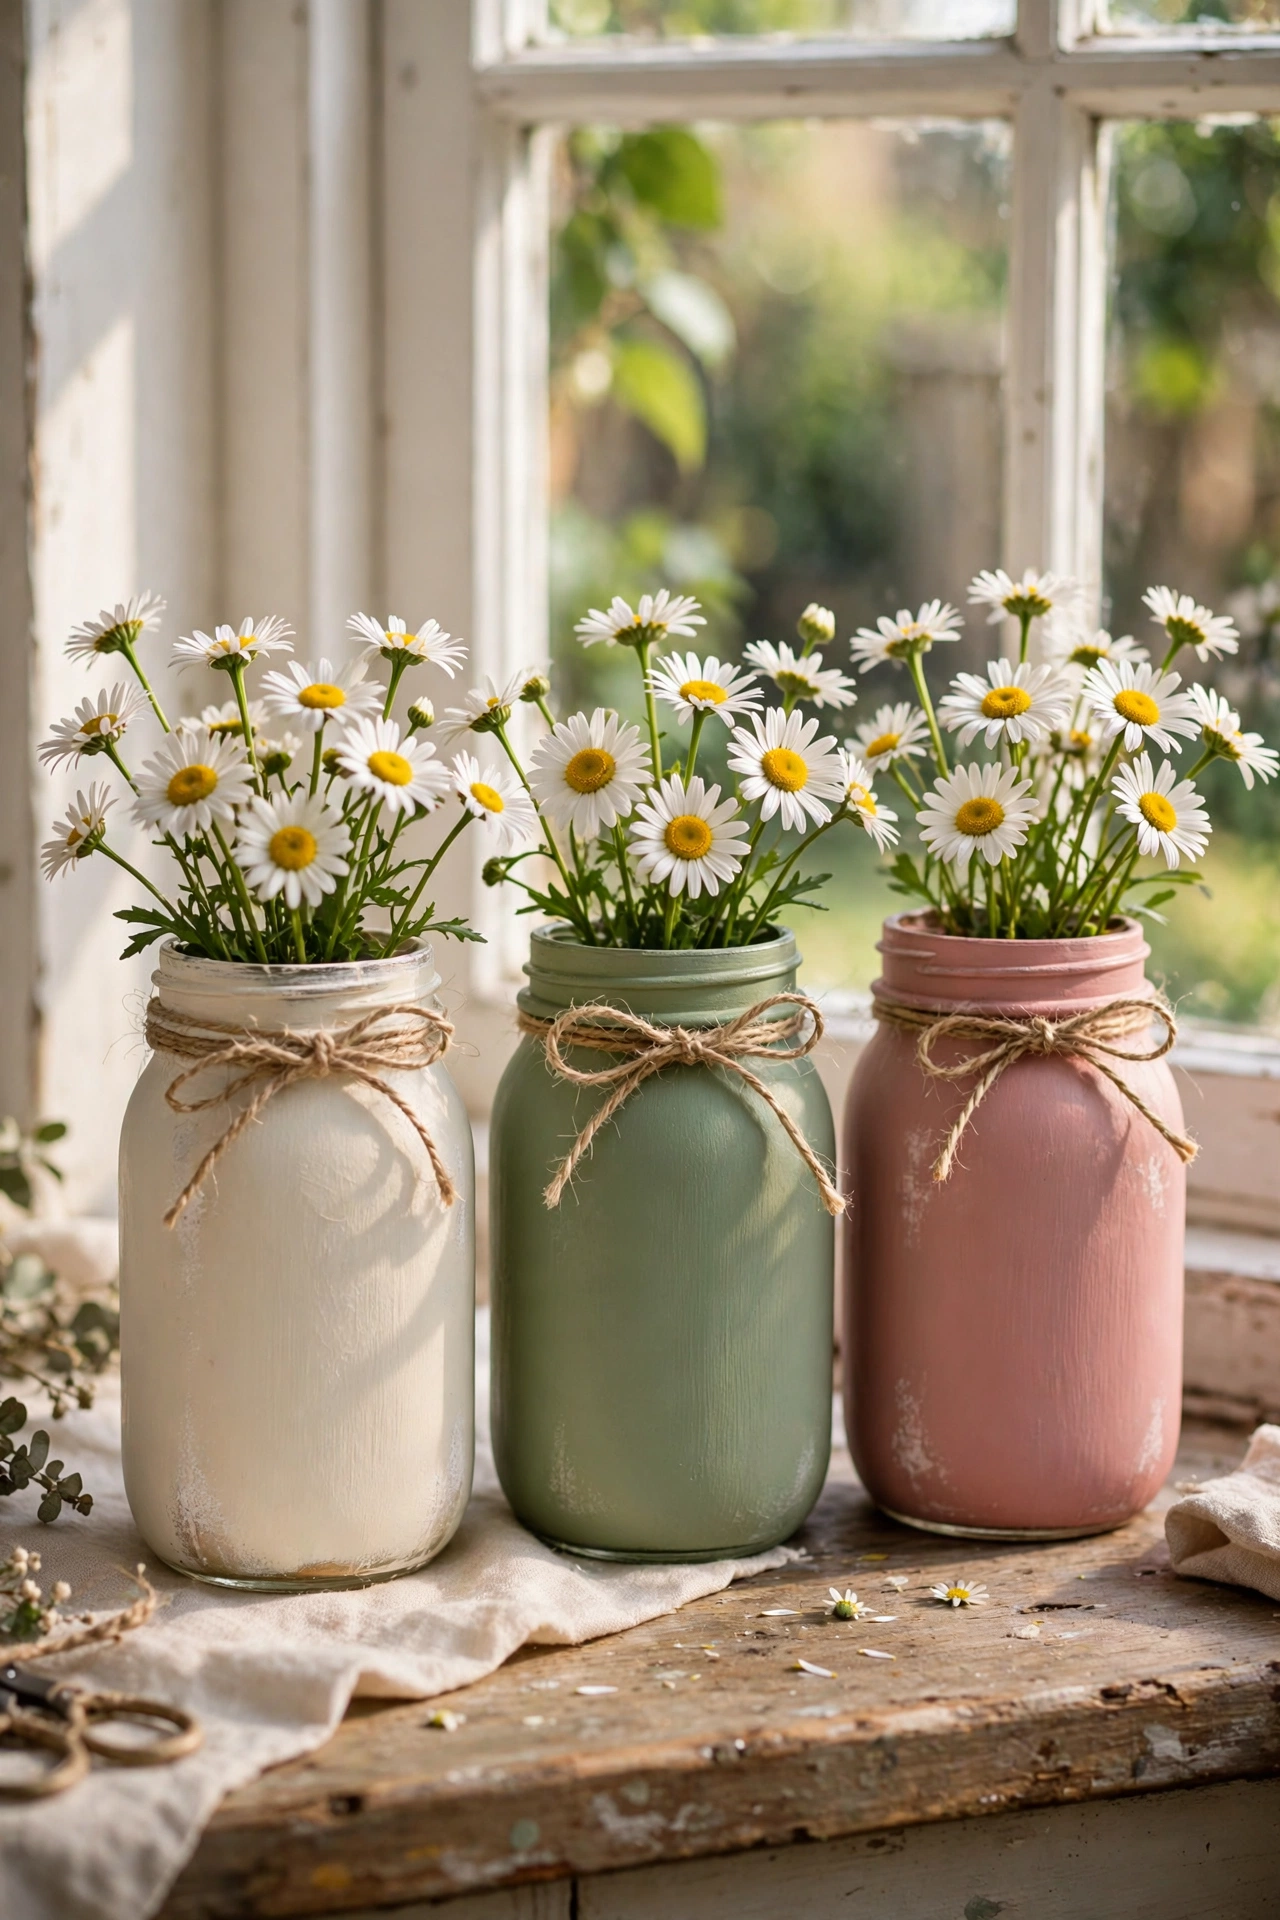
A row of painted mason jars on a windowsill is peak cottagecore for about $8. Wash and dry three jars, then paint the outsides with chalk paint in cream, sage, and dusty rose, using two thin coats so the brush marks stay soft. Leave the rims unpainted for contrast, and tie a bit of twine around each neck. I tried regular acrylic first and it scratched off within a week. Chalk paint grips glass properly and the matte finish looks like old milk glass. Do fill them with simple garden stems — daisies, lavender, even long grass — because elaborate flowers fight the homemade charm. Don’t put them in the dishwasher; a quick hand rinse keeps the paint intact. Cluster them in odd numbers for the best look.
Cost: ~$6-12 | Time: 45 minutes plus drying
3. Gingham Curtain Tie-Backs from Fabric Scraps
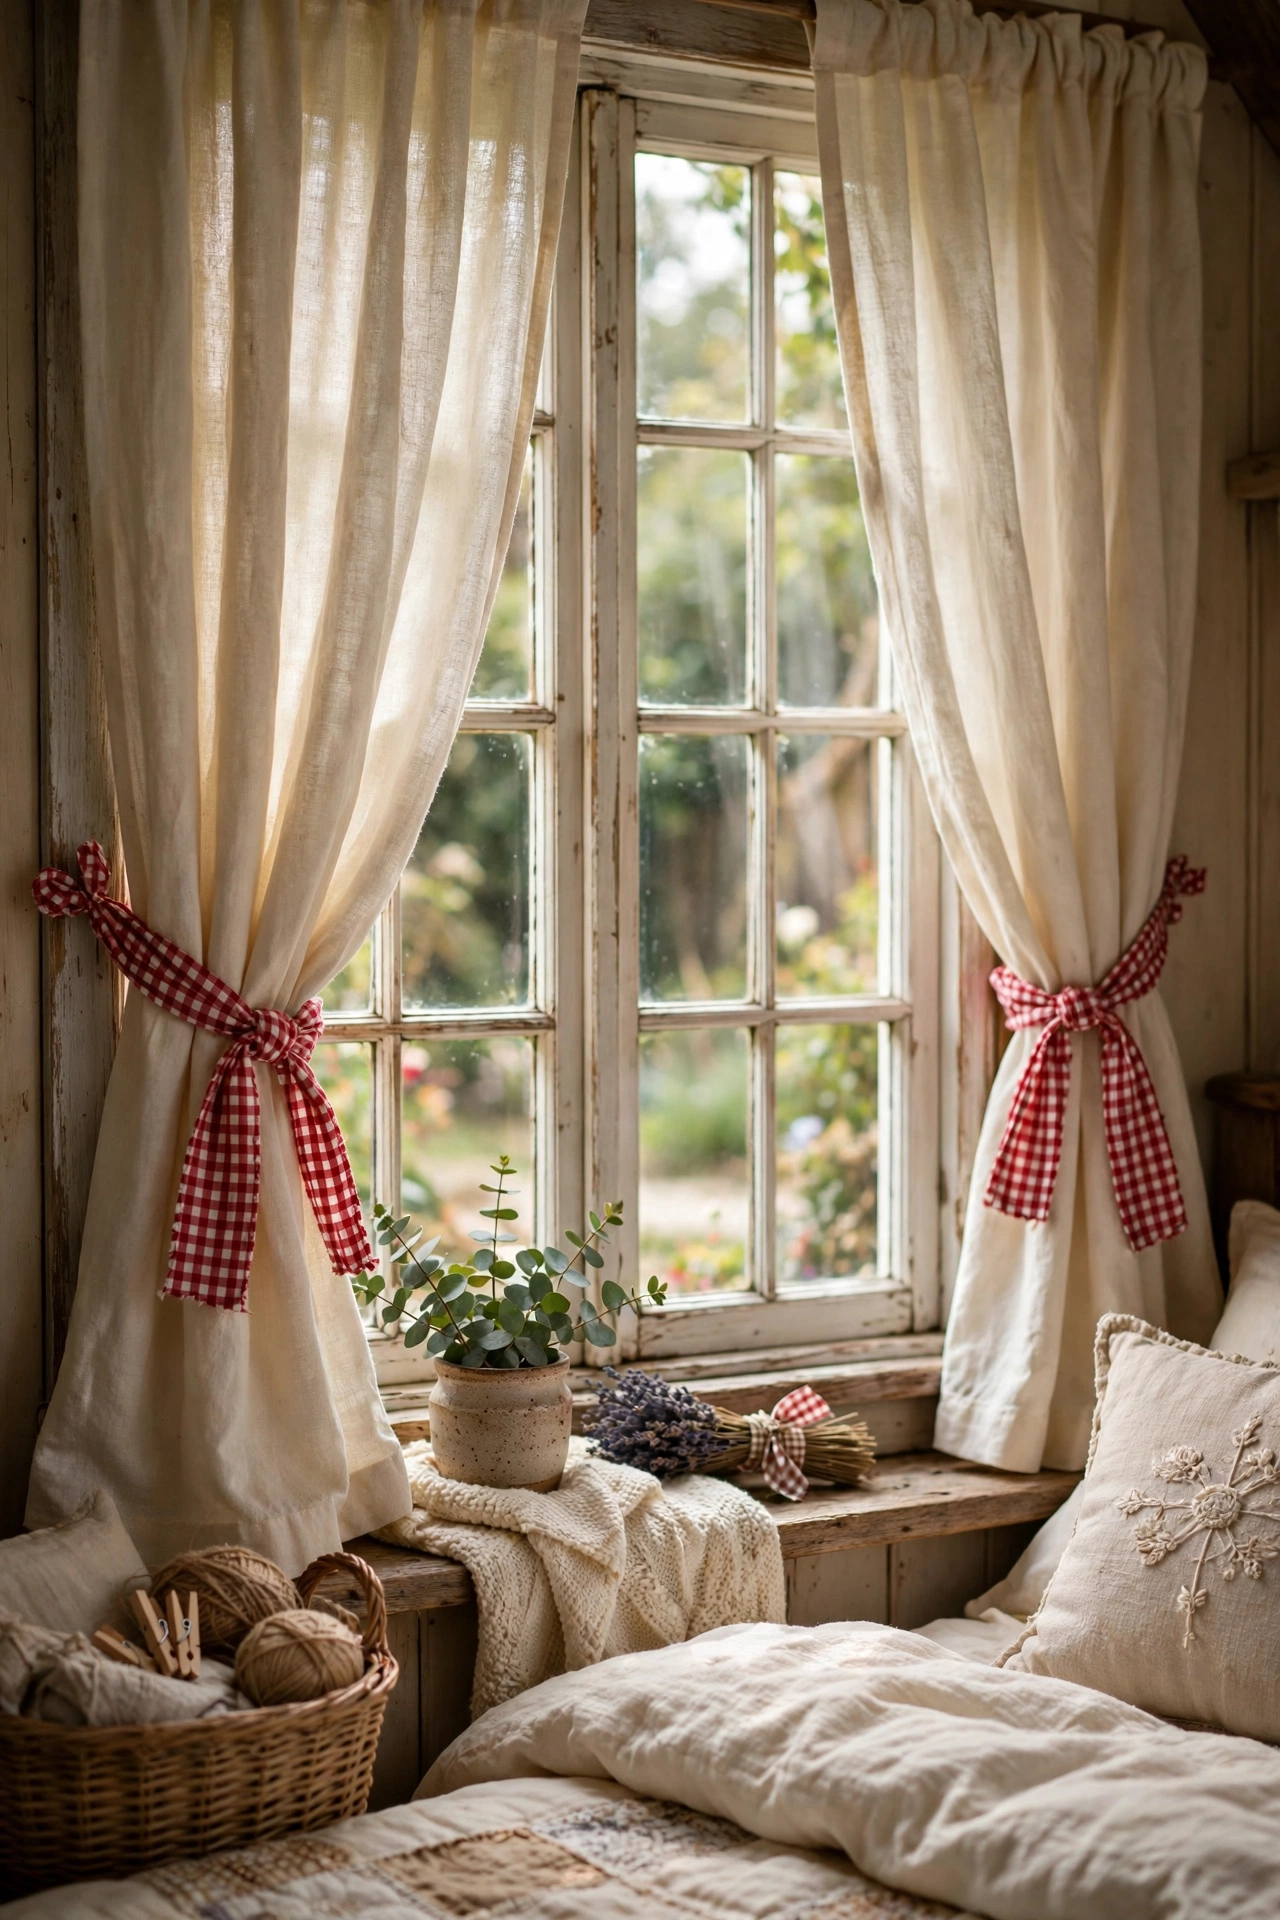
Gingham tie-backs are the fastest way to cottagecore a plain window. Cut two strips of gingham fabric about 4 inches wide and 24 inches long, fold each in half lengthwise, and sew or glue the long edge to make a tube. Turn them right-side out, press flat, and sew a small loop of elastic at each end to hook over a wall knob or nail. I made mine from an old tablecloth that cost 50p at a car boot sale, and they changed the whole room. Do cut the strips on the straight grain so they hang neatly. Don’t use heavyweight fabric, as it looks stiff instead of soft and gathered. If you cannot sew, fabric glue holds fine for tie-backs that take no strain.
Cost: ~$2-6 | Time: 30 minutes
4. Dried Lavender Bundle by the Door
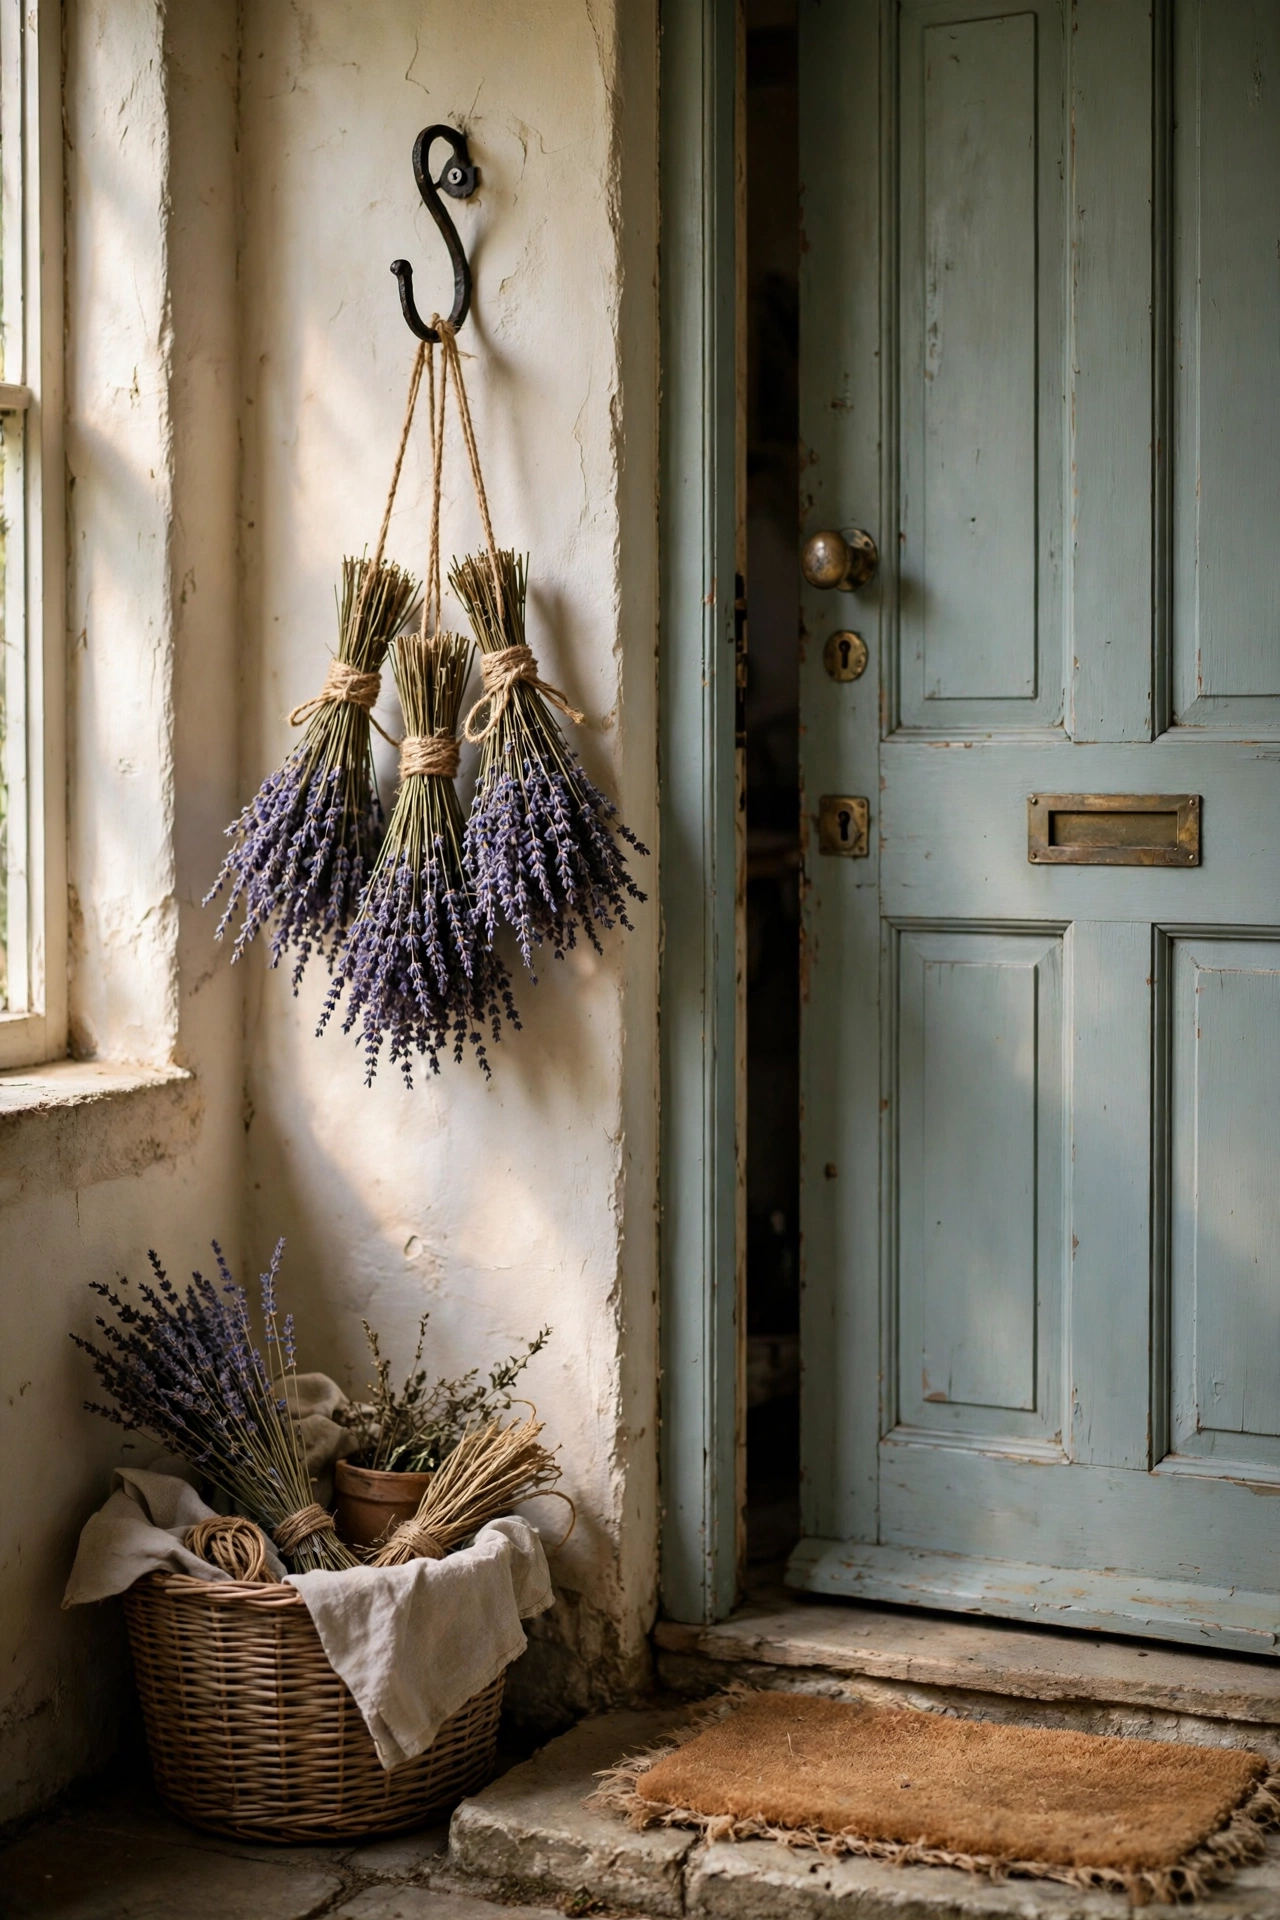
A bundle of dried lavender hanging by the front door smells wonderful and looks straight out of a country cottage. Buy one bunch of dried lavender — about $6 at craft shops or market stalls — split it into three smaller bundles, tie each tightly with twine, and hang them from a wall hook or the door handle with the flower heads pointing down. Mine has hung by my door for eight months and still smells faintly when I brush past it. Do hang it out of direct sun so the purple colour holds. Don’t tie the twine loosely, because dried stems shrink and a loose bundle falls apart. If lavender is pricey near you, dried wheat or baby’s breath works the same way for half the price.
Cost: ~$4-8 | Time: 10 minutes
5. Hand-Painted Wooden Welcome Sign
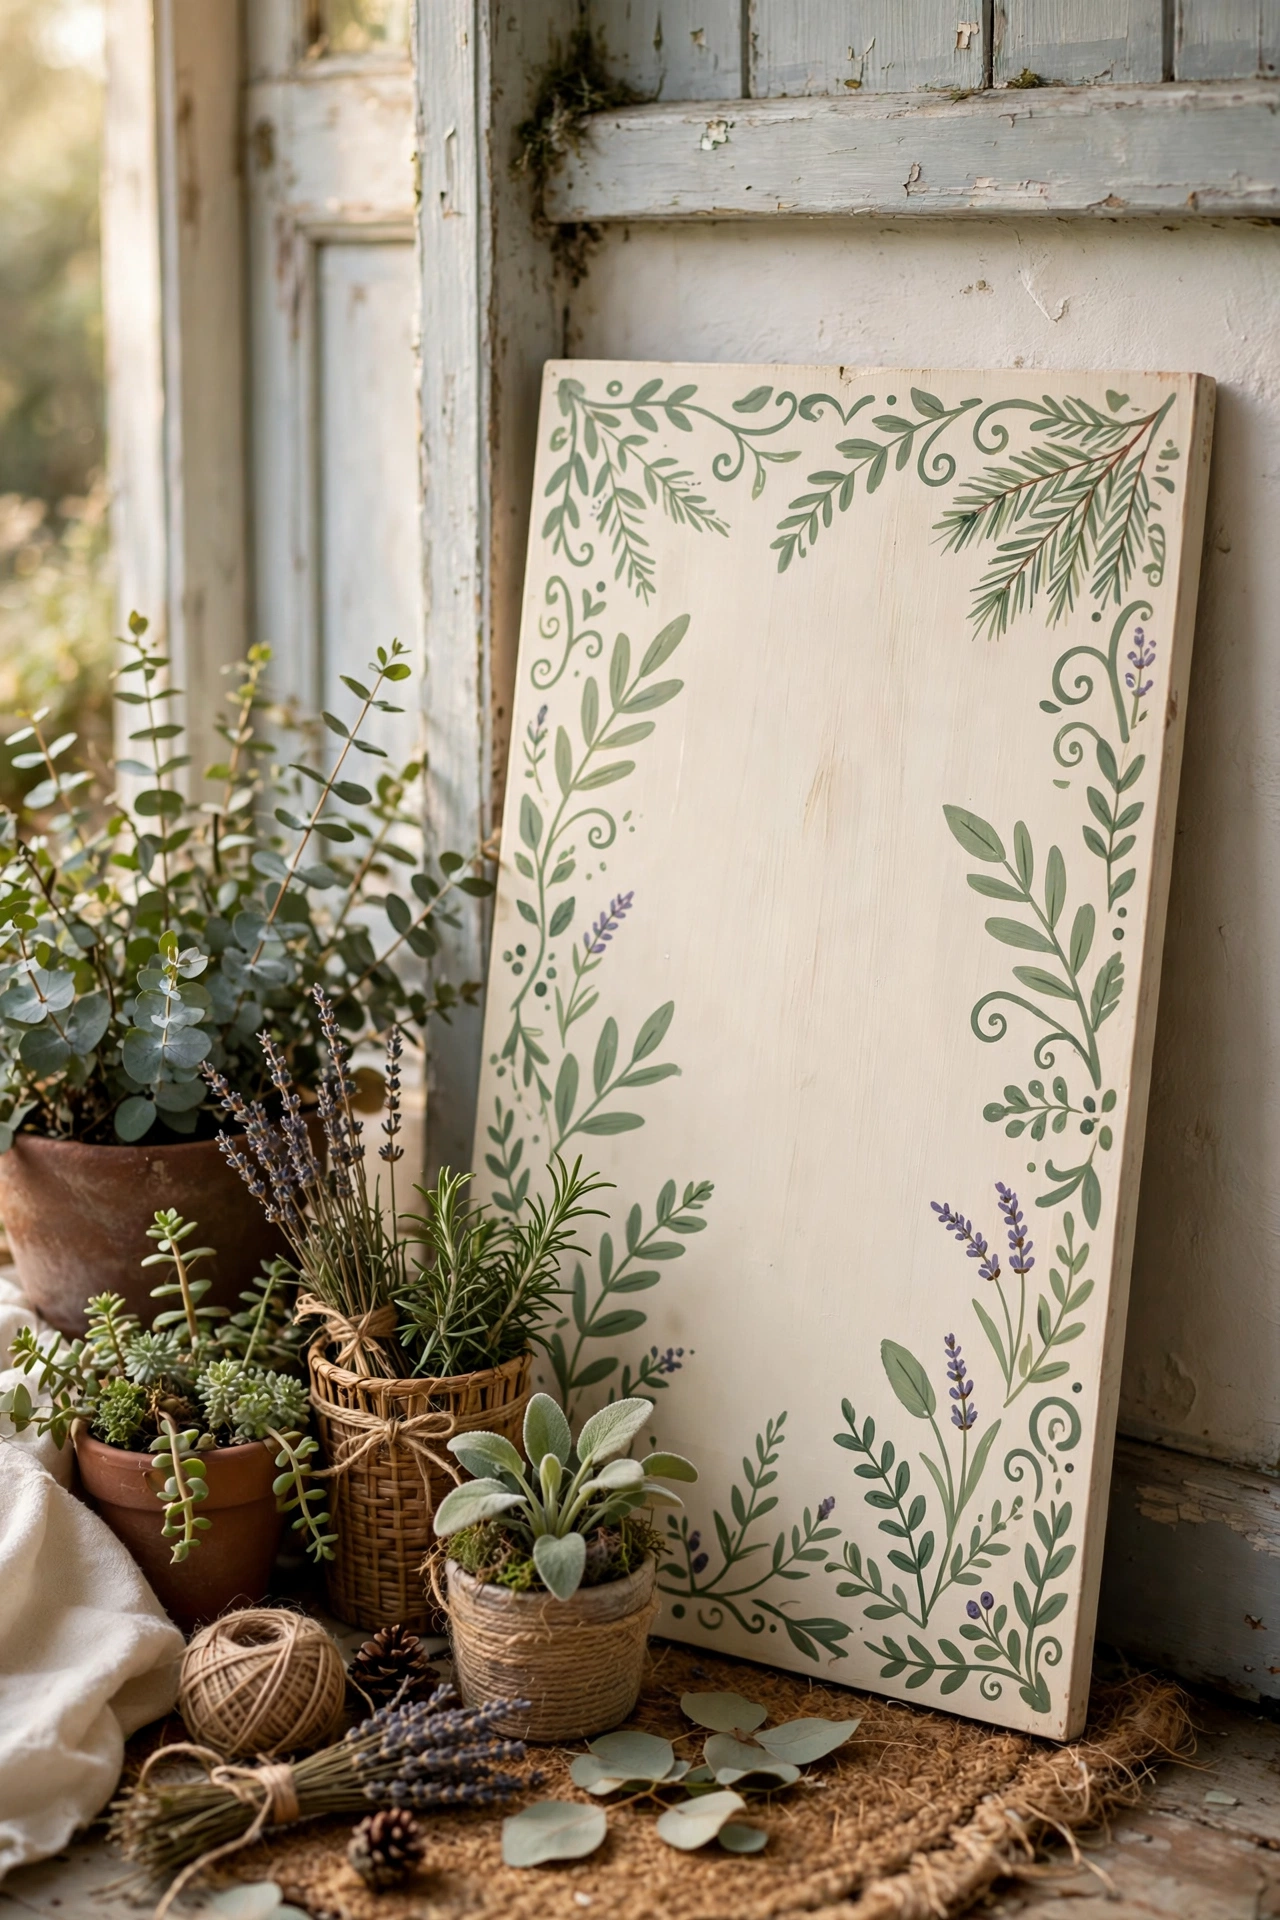
A hand-painted welcome sign is the friendliest cottagecore project, and shaky lettering is part of the charm. Find a pine board at least 30cm long — offcuts from a timber yard cost pennies — sand it smooth, and paint a cream base coat. Pencil your word lightly first, then paint over it with a small brush in sage green or dusty blue. I free-handed “welcome” and it wobbles in three places, and I love it more than any perfect sign I could buy. Do use a foam brush for the base coat to avoid streaks. Don’t try to make the lettering perfect; trace lightly in pencil and embrace the wobble. Screw a sawtooth hanger on the back and it is ready for the porch.
Cost: ~$5-10 | Time: 1 hour plus drying
6. Teacup Candle Trio
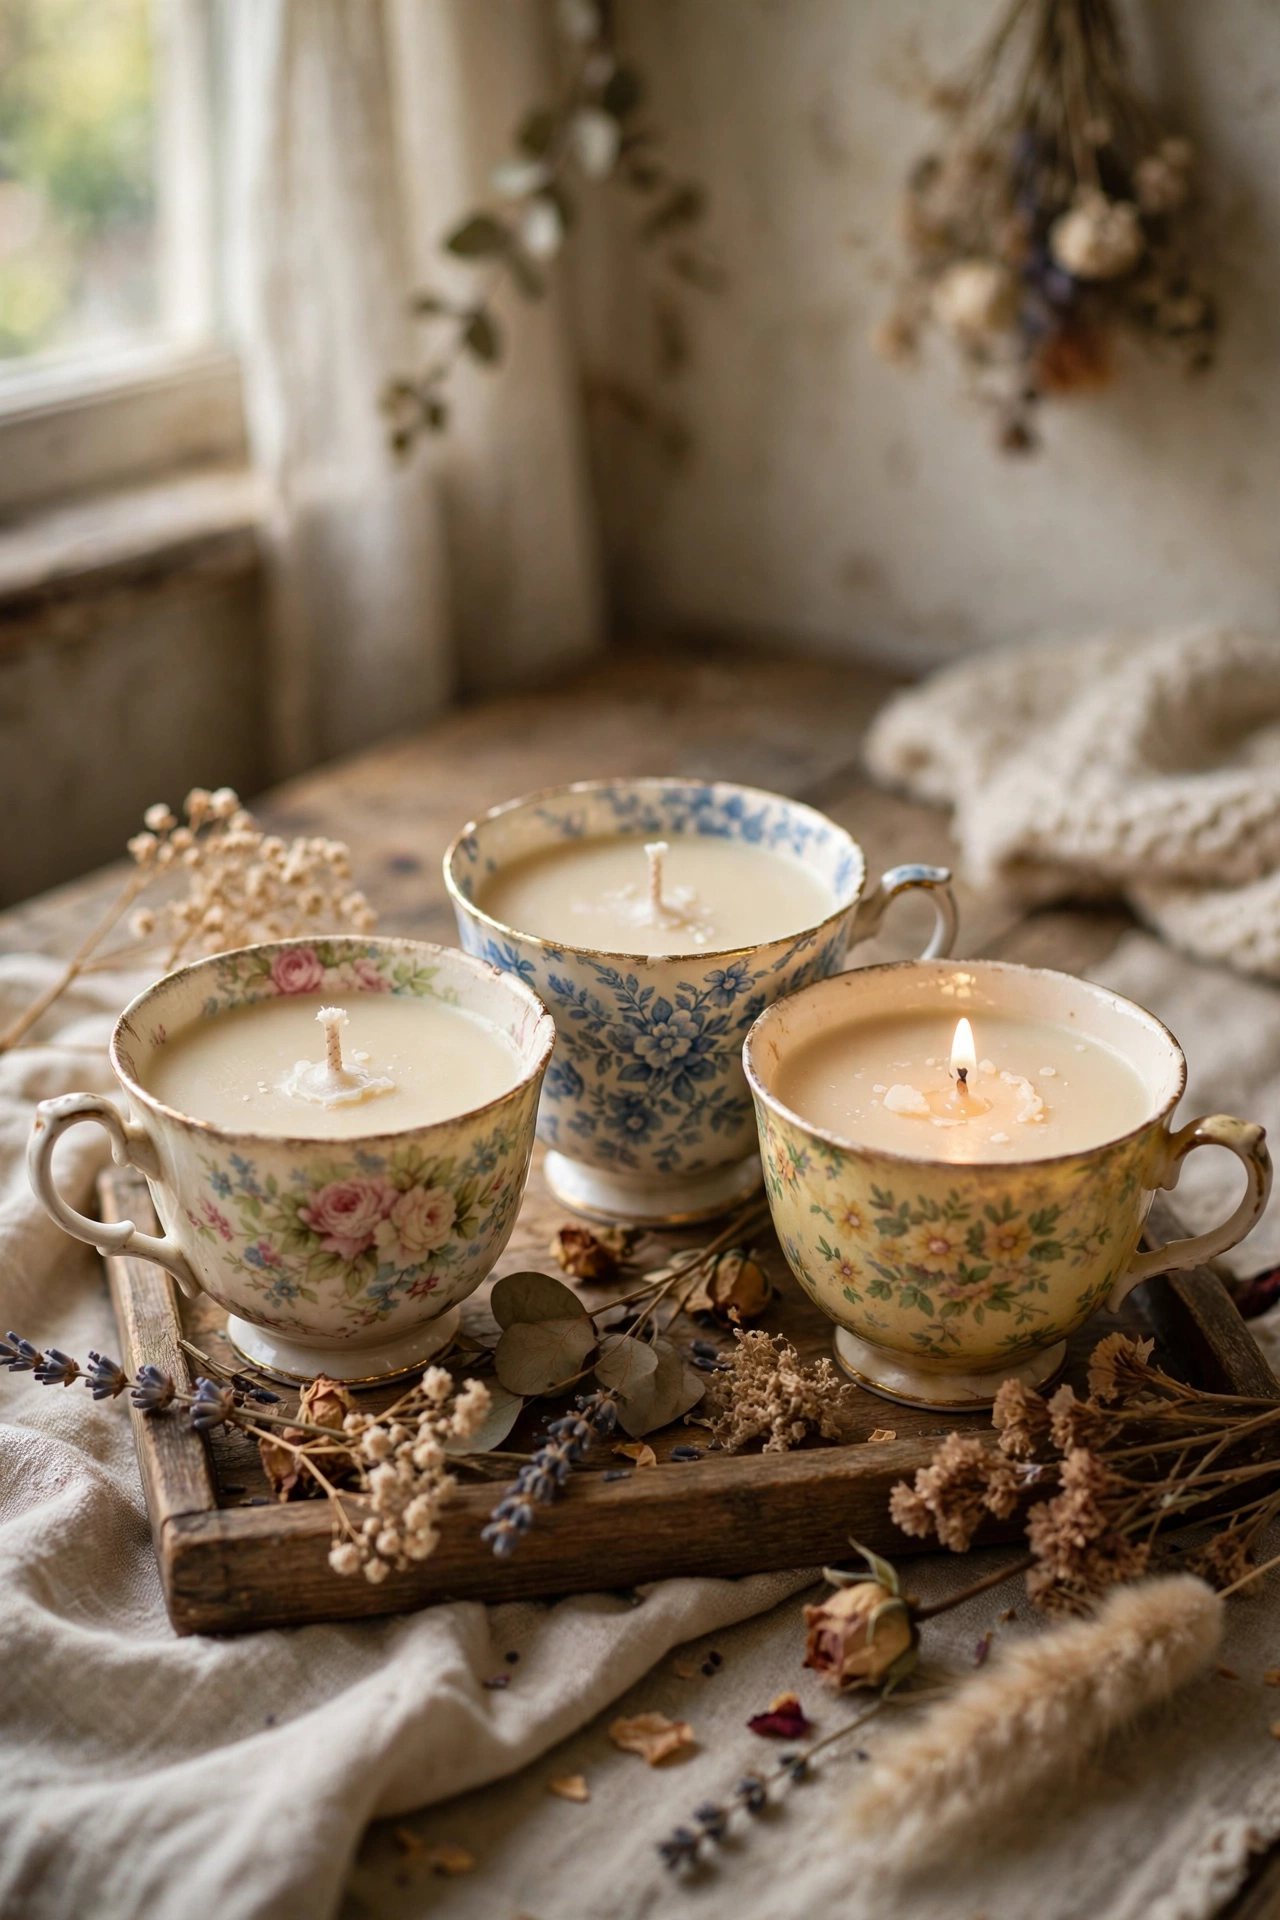
Teacup candles turn thrifted china into the sweetest cottagecore shelf styling. Pick three mismatched teacups — the prettier the better, and charity shops sell them for $1-2 each. Melt soy wax flakes in a double boiler, add a few drops of vanilla or lavender oil, place a wick centred with a peg holding it upright, and pour carefully. I poured my first one too hot and the cup cracked; let the wax cool to about 50°C before pouring and warm the cup with hot water first. Do trim the wick to 5mm before lighting. Don’t use paraffin wax in thin china, as it burns hotter. Group the trio on a wooden tray with a sprig of dried flowers.
Cost: ~$8-14 | Time: 45 minutes plus setting
7. Lace-Trimmed Throw Pillow Covers
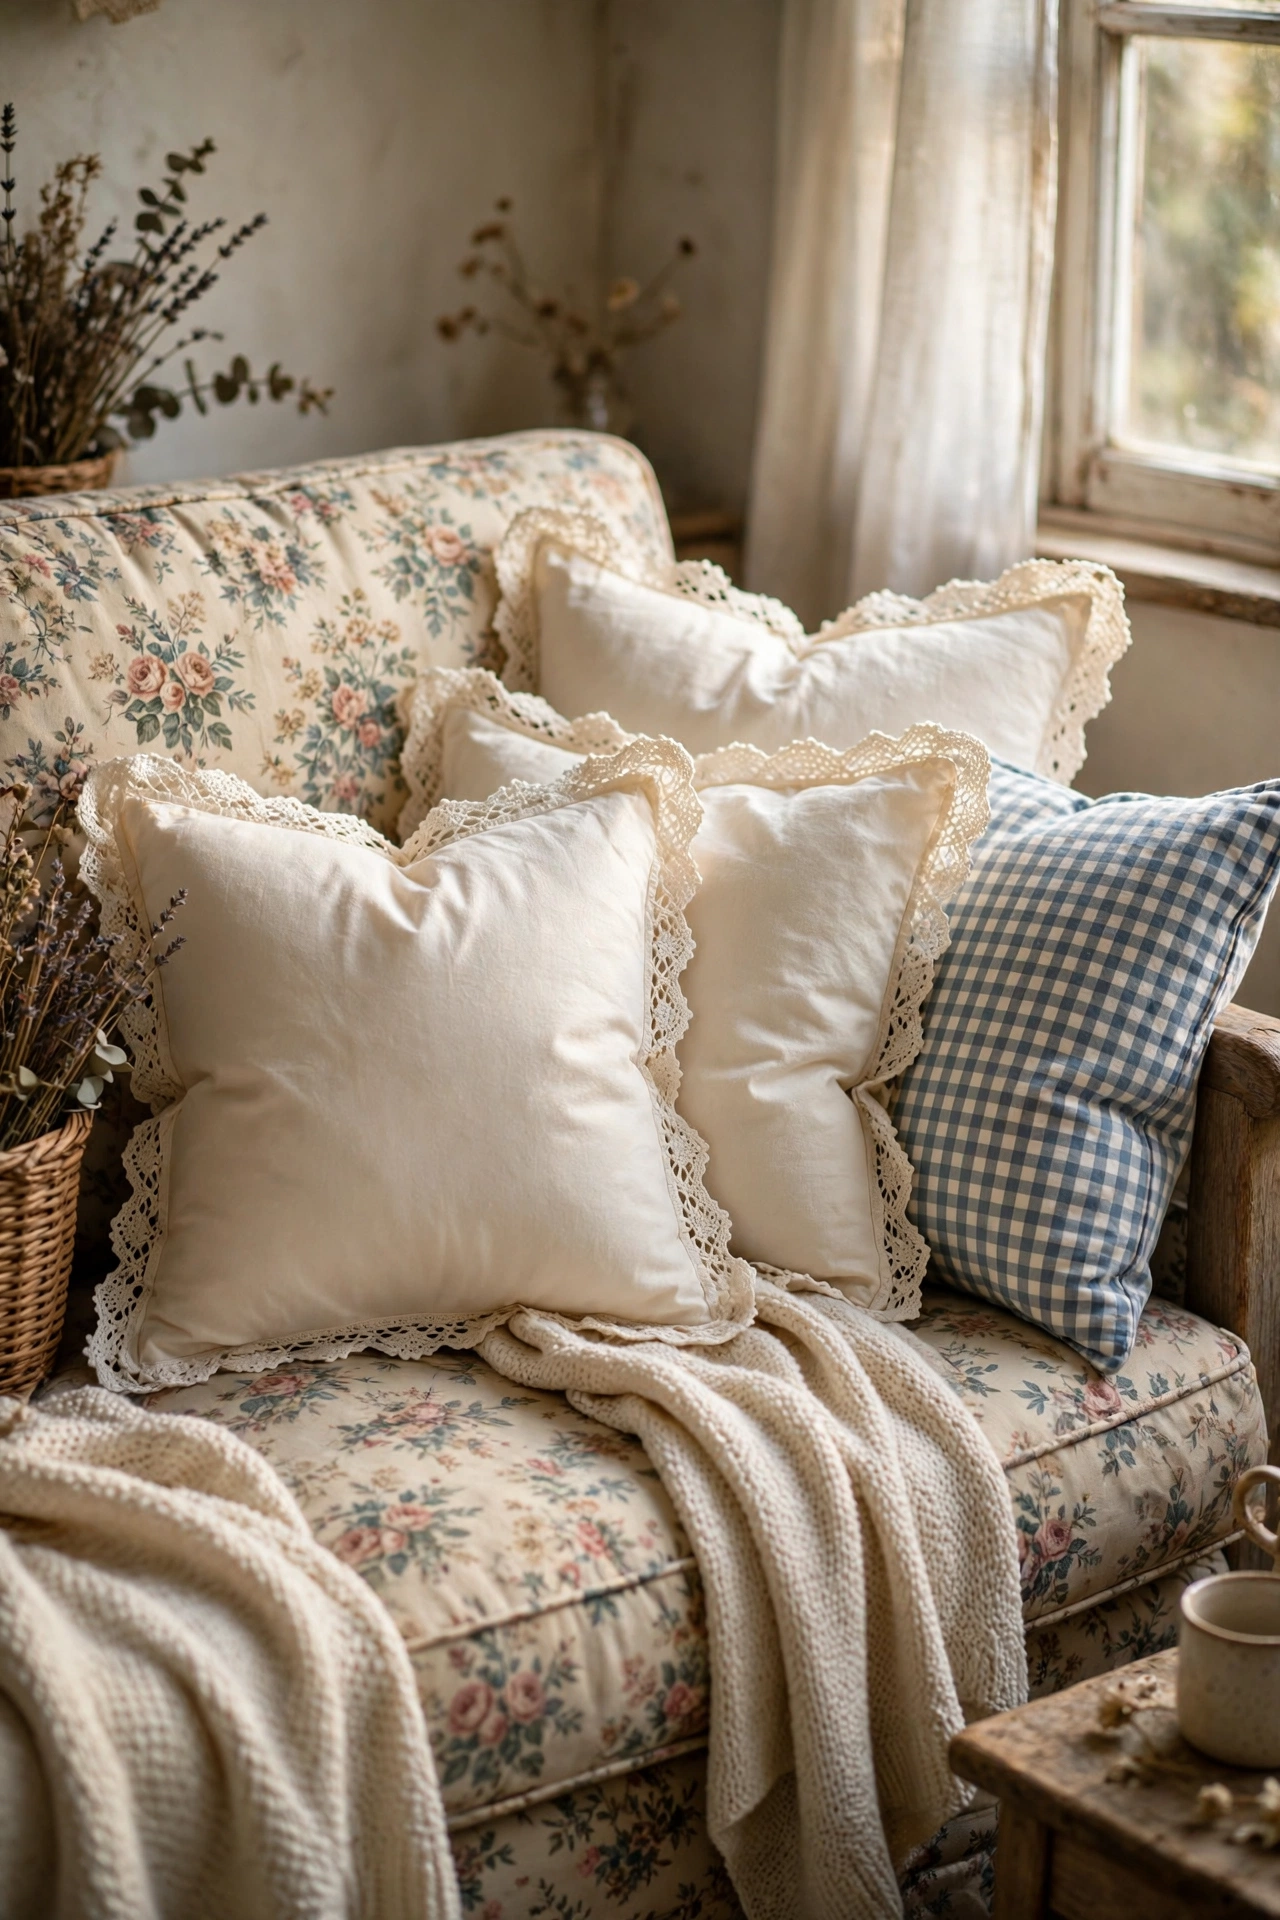
Sewing lace trim onto plain pillow covers is a ten-minute cottagecore upgrade with a big payoff. Buy two plain cream pillow covers, pin cotton lace trim around all four edges of the front panel, and sew or glue it down, mitring the corners for a neat finish. I glued my first set with fabric glue and they survived two years of use. Do pre-wash the lace so it does not shrink and pucker after the first wash. Don’t use stiff synthetic lace — soft cotton lace lies flat and looks vintage instead of bridal. Pair them with a gingham or floral cushion and your sofa reads cottage instantly. This is the project I recommend to anyone who says they cannot sew.
Cost: ~$8-14 | Time: 20 minutes
8. Foraged Branch Wall Hanging
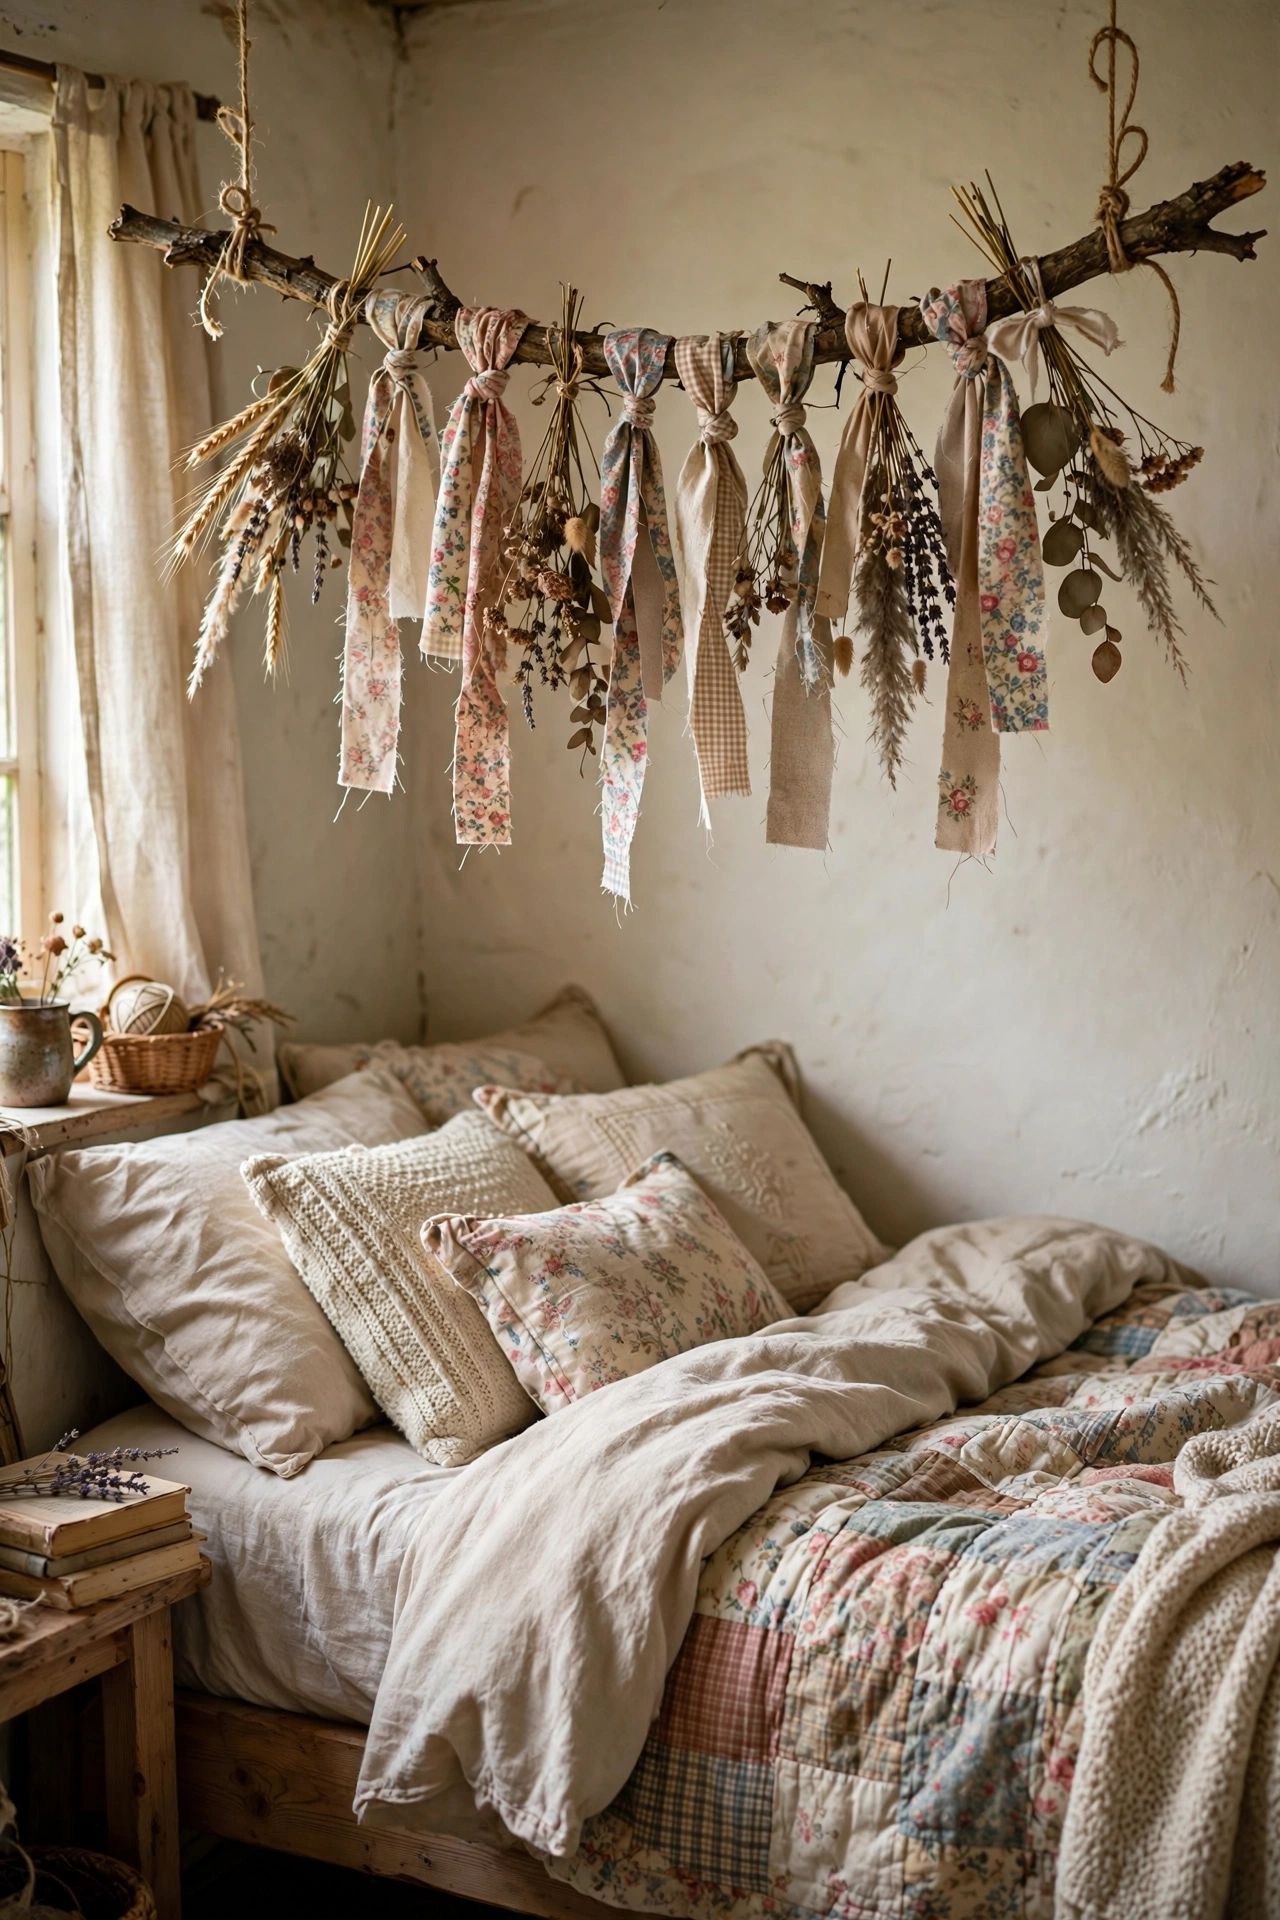
A foraged branch wall hanging is free decor with serious cottagecore credentials. Find a sturdy fallen branch about a metre long, strip the bark lightly with a wire brush, and hang it horizontally from two nails with twine. Tie dried flowers, feathers, or strips of fabric along its length at uneven intervals. I wired on dried grasses from a field walk and tied on three fabric strips from an old dress. Do let the branch dry indoors for a week before decorating, so it does not warp. Don’t pick a branch with soft or rotting wood — tap it and listen for a solid sound. Hang it above a bed or a console table where it gets noticed.
Cost: ~$0-5 | Time: 40 minutes
9. Chalk-Painted Frame Gallery Wall
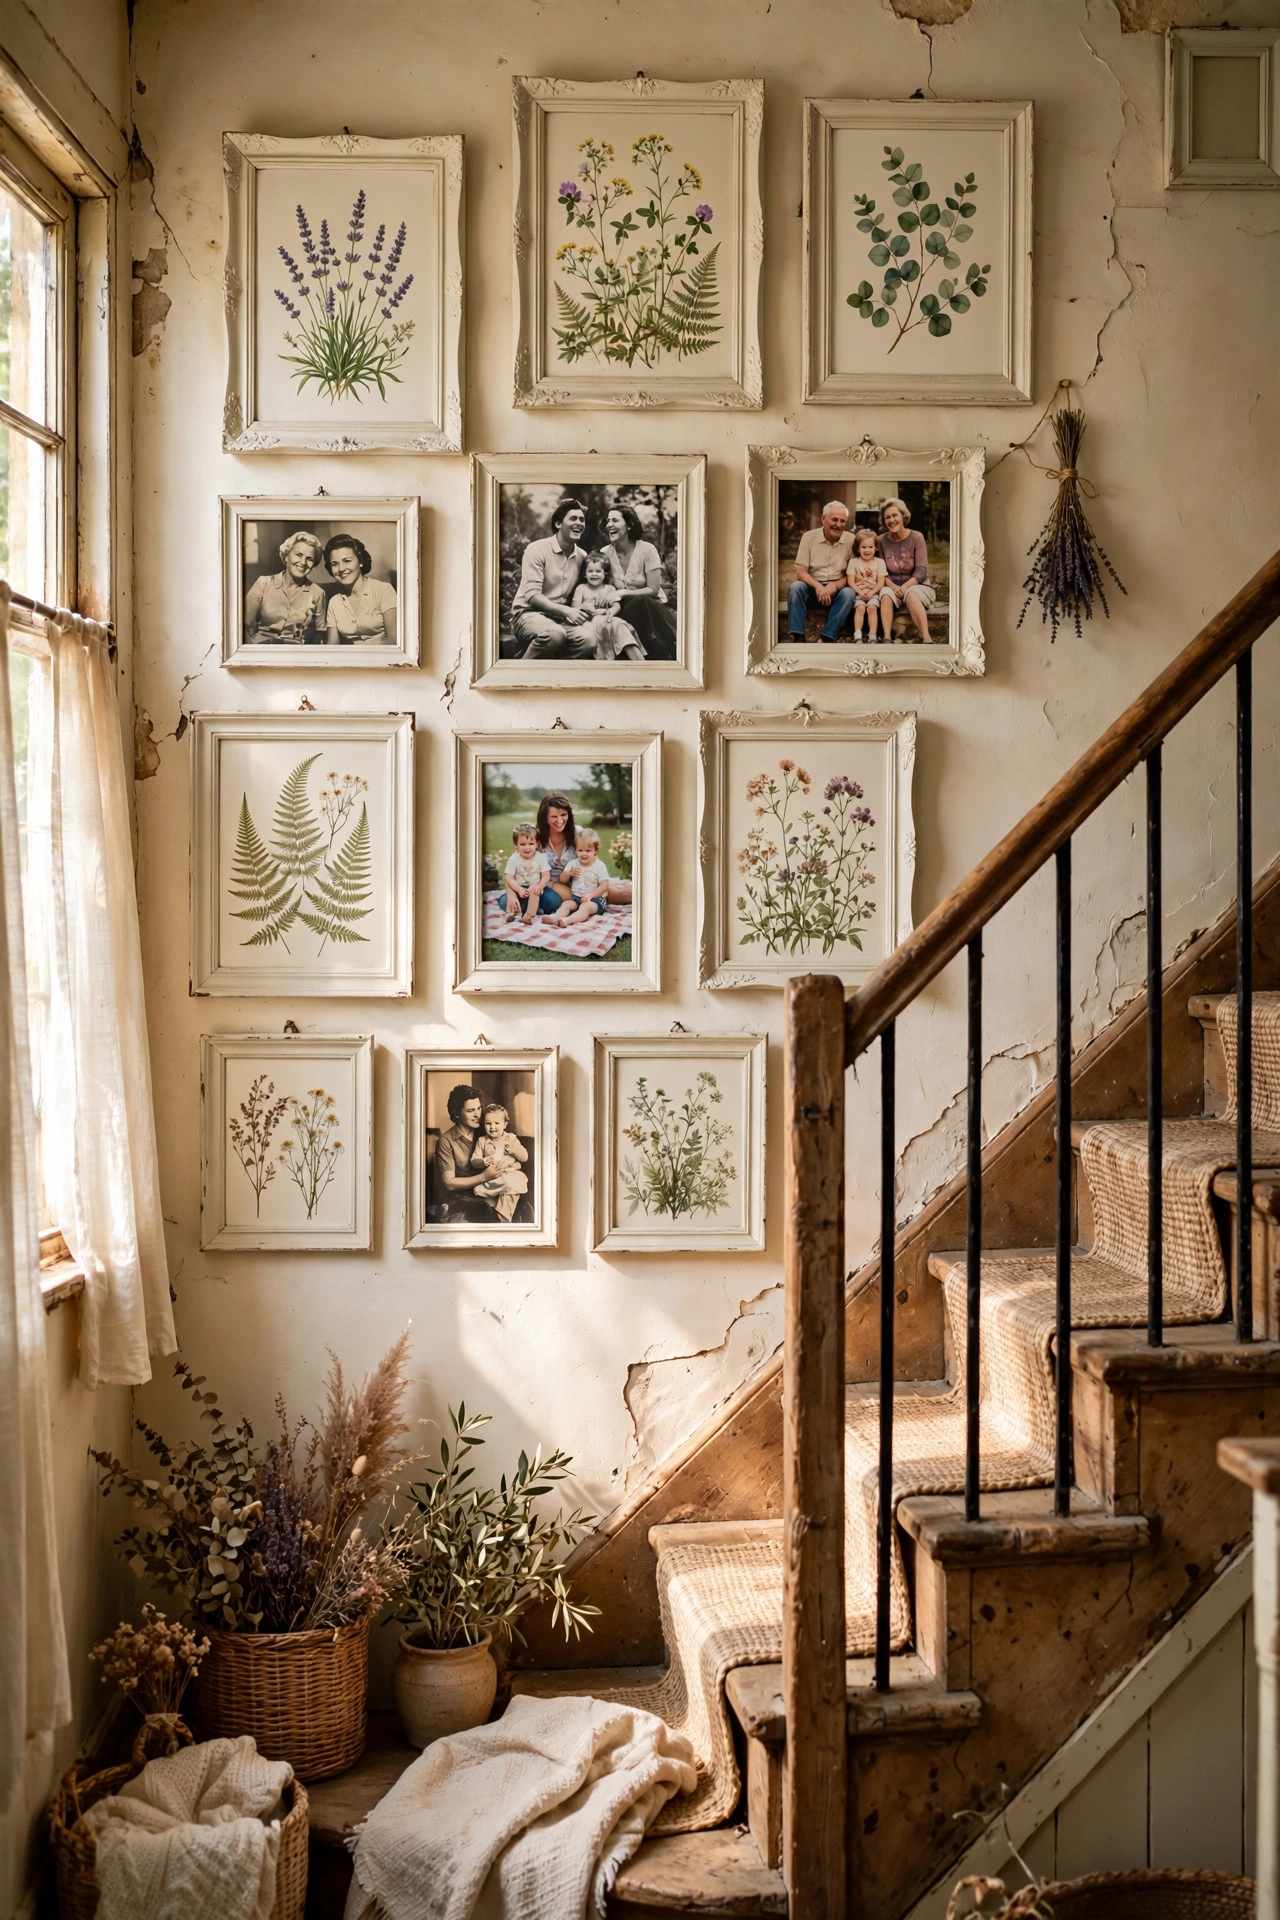
Mismatched frames look deliberate once they share a paint colour, and chalk paint makes it effortless. Collect five to seven frames in different sizes from charity shops — gold, brown, black, it does not matter. Clean them, give each two thin coats of the same cream chalk paint, and distress the edges lightly with sandpaper for a vintage feel. I did mine in an afternoon and the gallery wall above my stairs finally looked planned instead of accidental. Do remove the glass before painting so you do not have to scrape it later. Don’t paint over ornate details too thickly, or you lose the lovely texture that makes old frames special. Fill them with botanical prints and family photos.
Cost: ~$10-18 | Time: 2 hours plus drying
10. Herb Garden in Vintage Tins
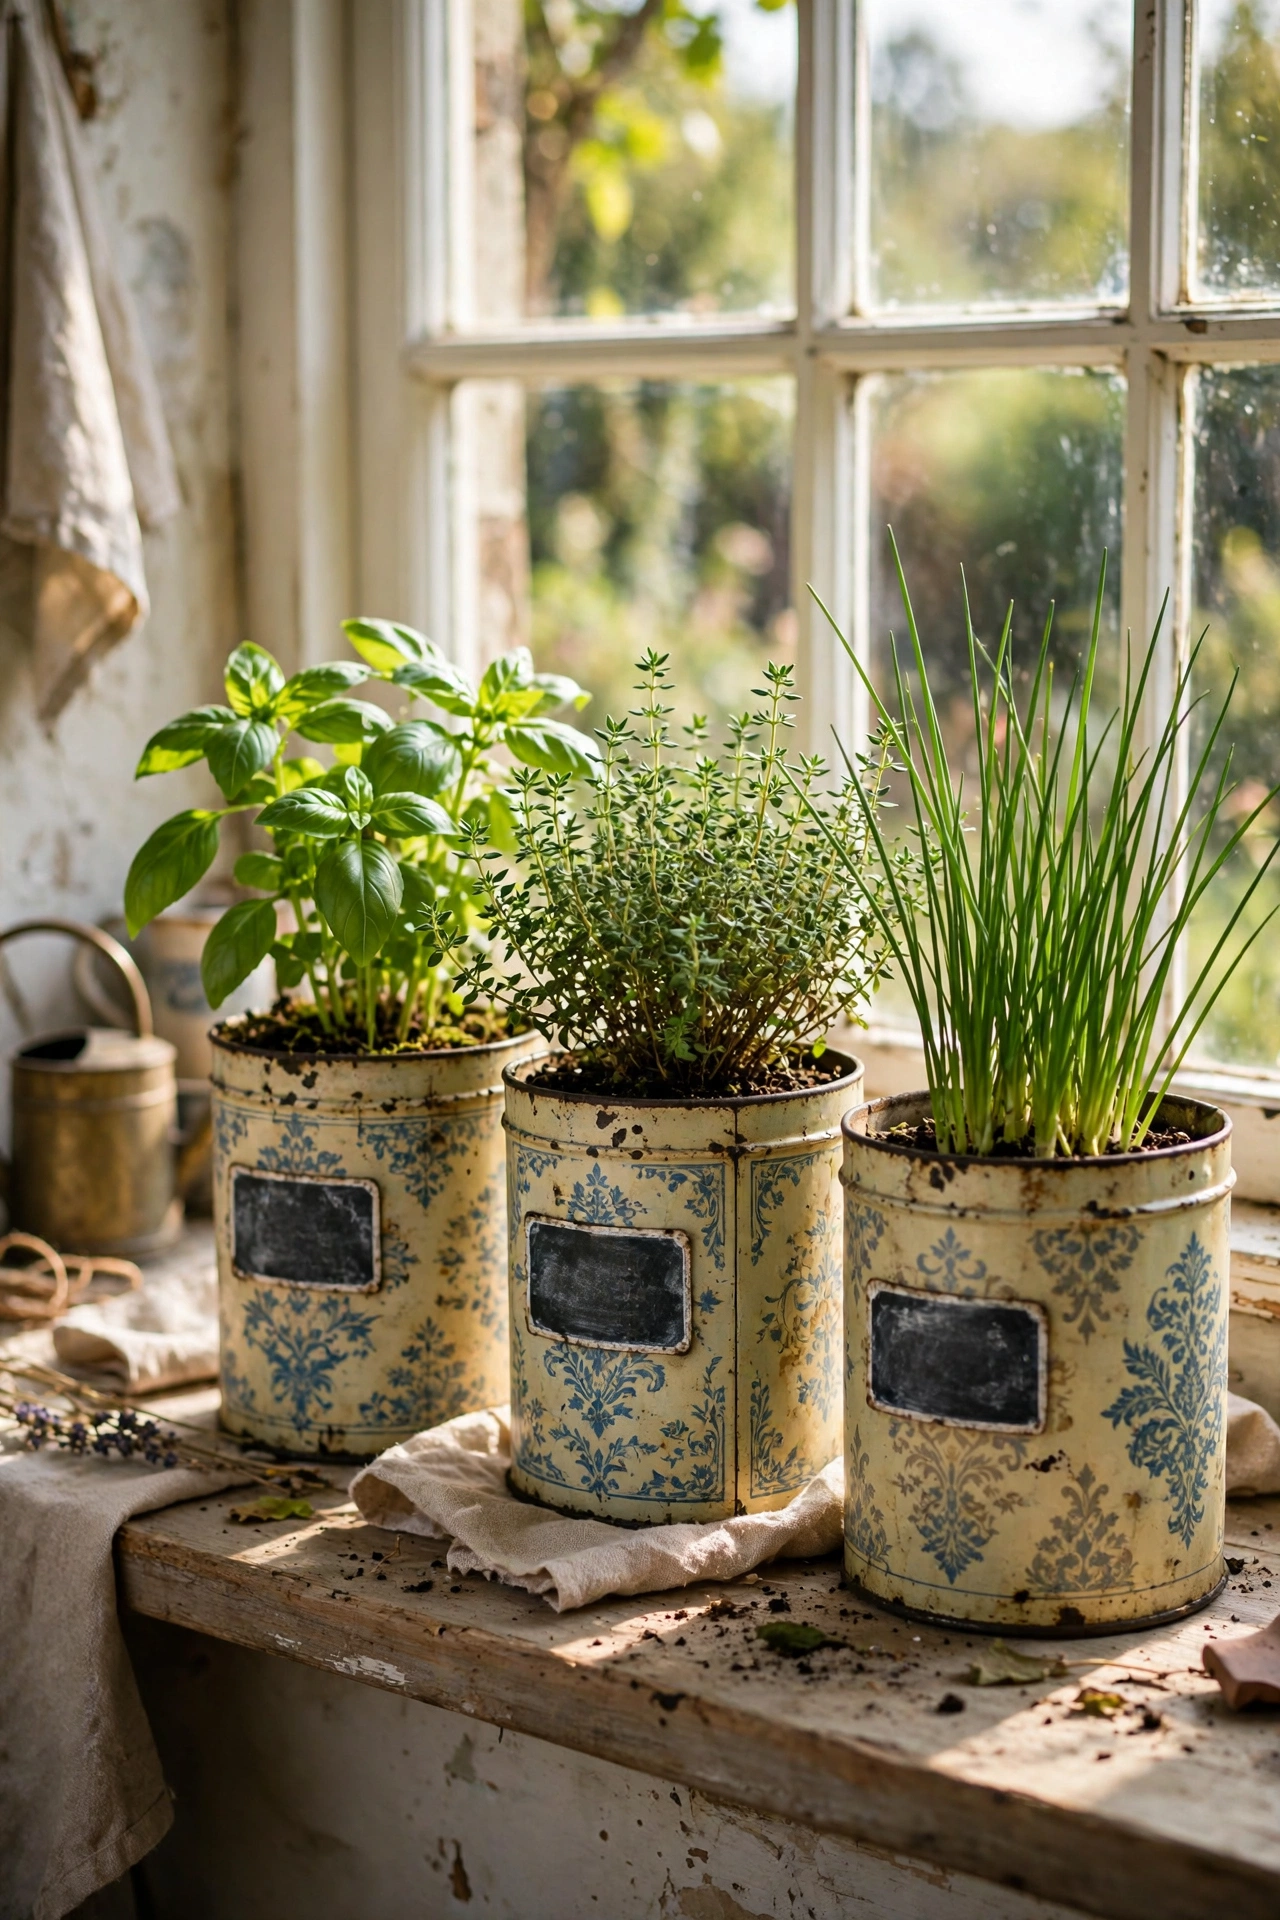
Vintage tins make the prettiest herb pots, and a kitchen windowsill herb garden is cottagecore that you can eat. Collect old biscuit tins or tea tins — charity shops have them for $1-3 — punch drainage holes in the bottom with a nail, add a layer of gravel, then compost and a small herb plant each. Basil, thyme, and chives are the easiest starters. I killed my first basil by overwatering; tins have no drainage like proper pots, so water only when the top inch of soil is dry. Do label each tin with a chalk pen for the full cottage look. Don’t use tins with rust inside for edible herbs — line them with a plastic bag first.
Cost: ~$8-15 | Time: 30 minutes
11. Fabric Scrap Garland for the Mantel
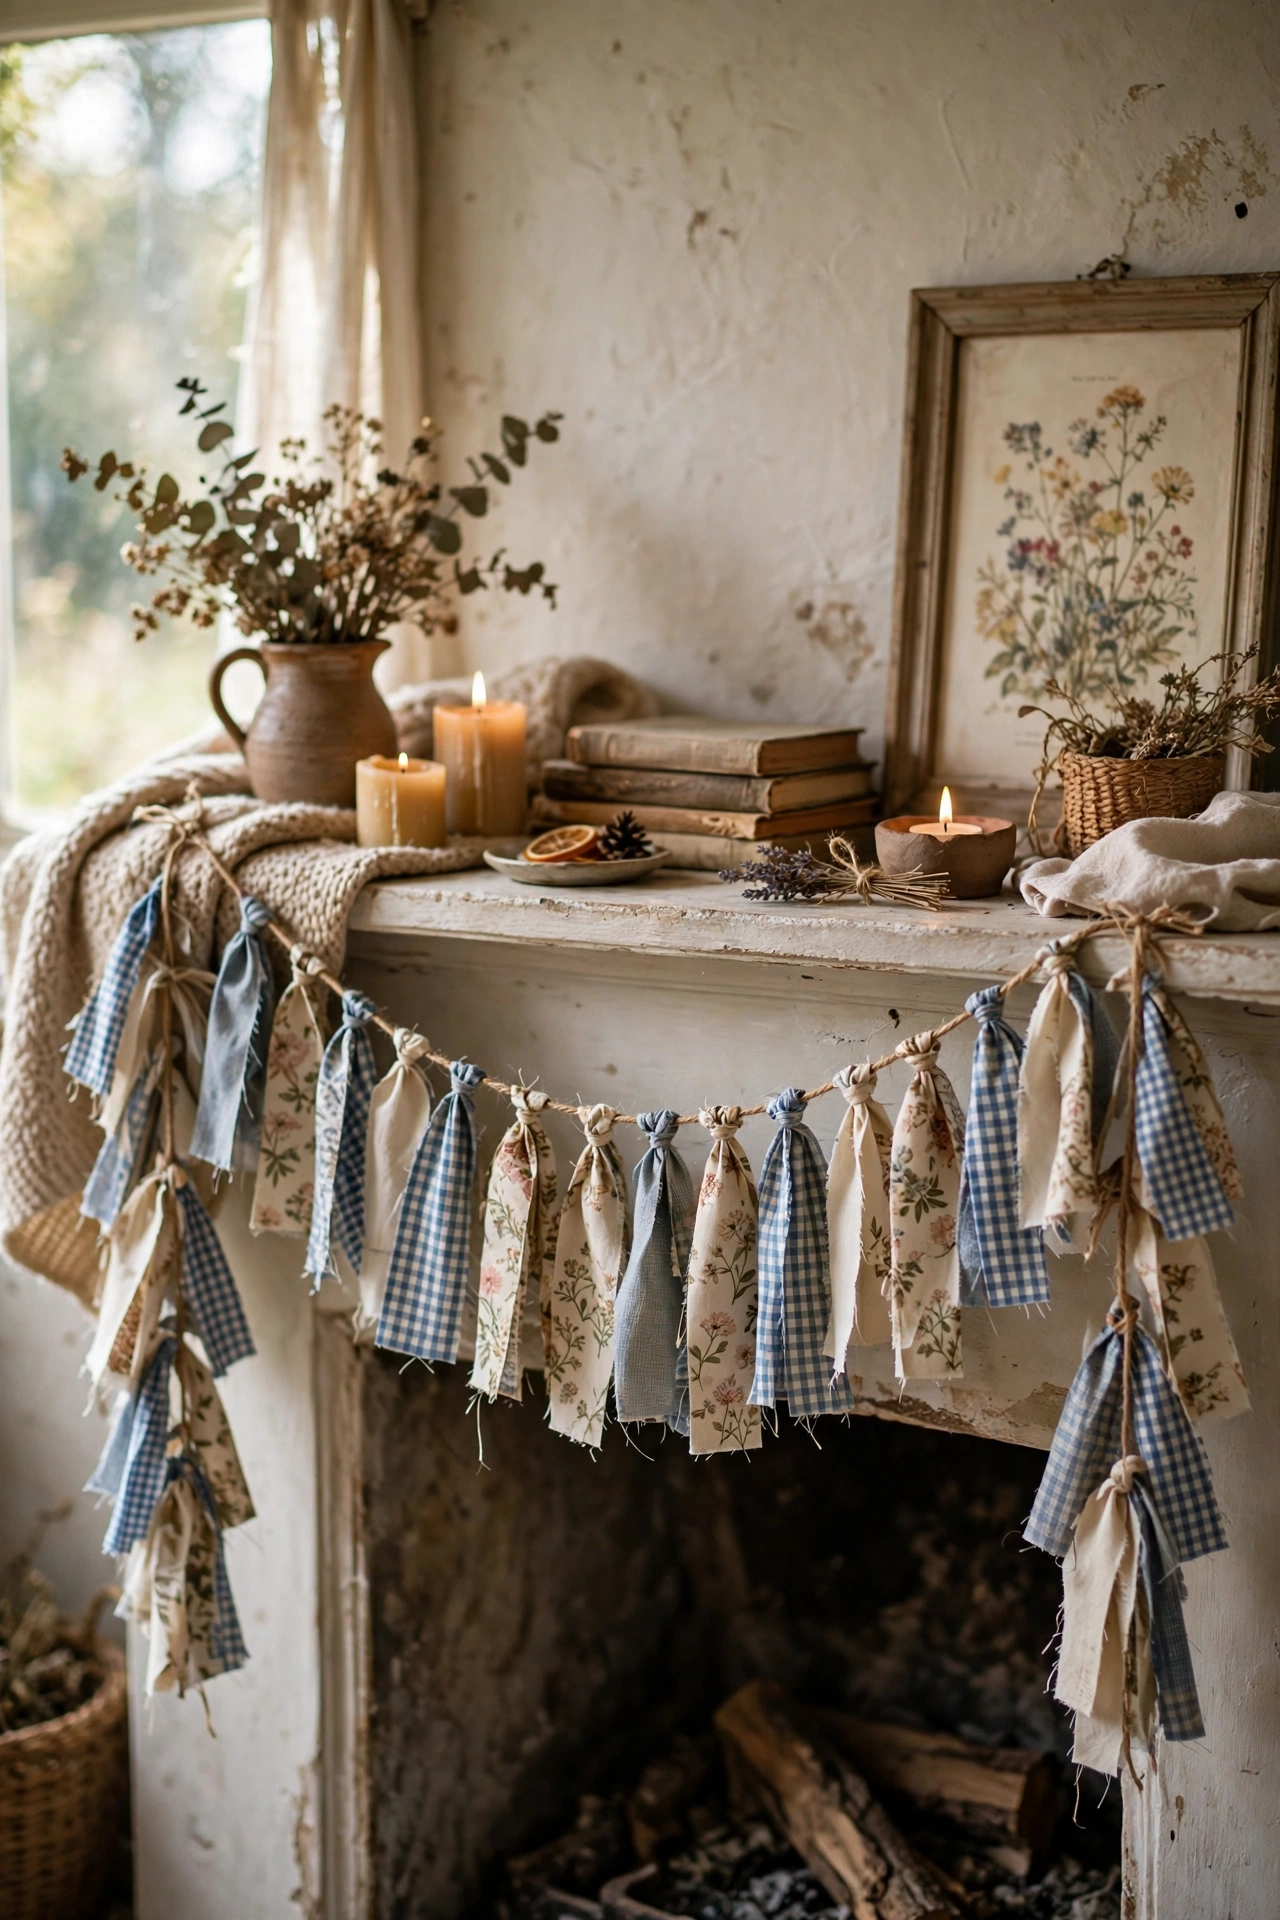
A fabric scrap garland is the cosiest mantel dressing, and it uses up every leftover piece in your sewing box. Cut fabric strips about 2 inches wide and 12 inches long from floral, gingham, and plain cotton scraps. Tie them one by one along a length of twine, pushing them snugly together. I made mine from my grandmother’s old curtains and a worn-out dress, so it is genuinely sentimental. Do mix patterns freely — cottagecore thrives on the mix. Don’t cut the strips too short, or the garland looks sparse; longer strips fluff up better. Drape it across the mantel and let the ends hang down each side.
Cost: ~$0-5 | Time: 1 hour
12. Stencilled Doormat with a Floral Border
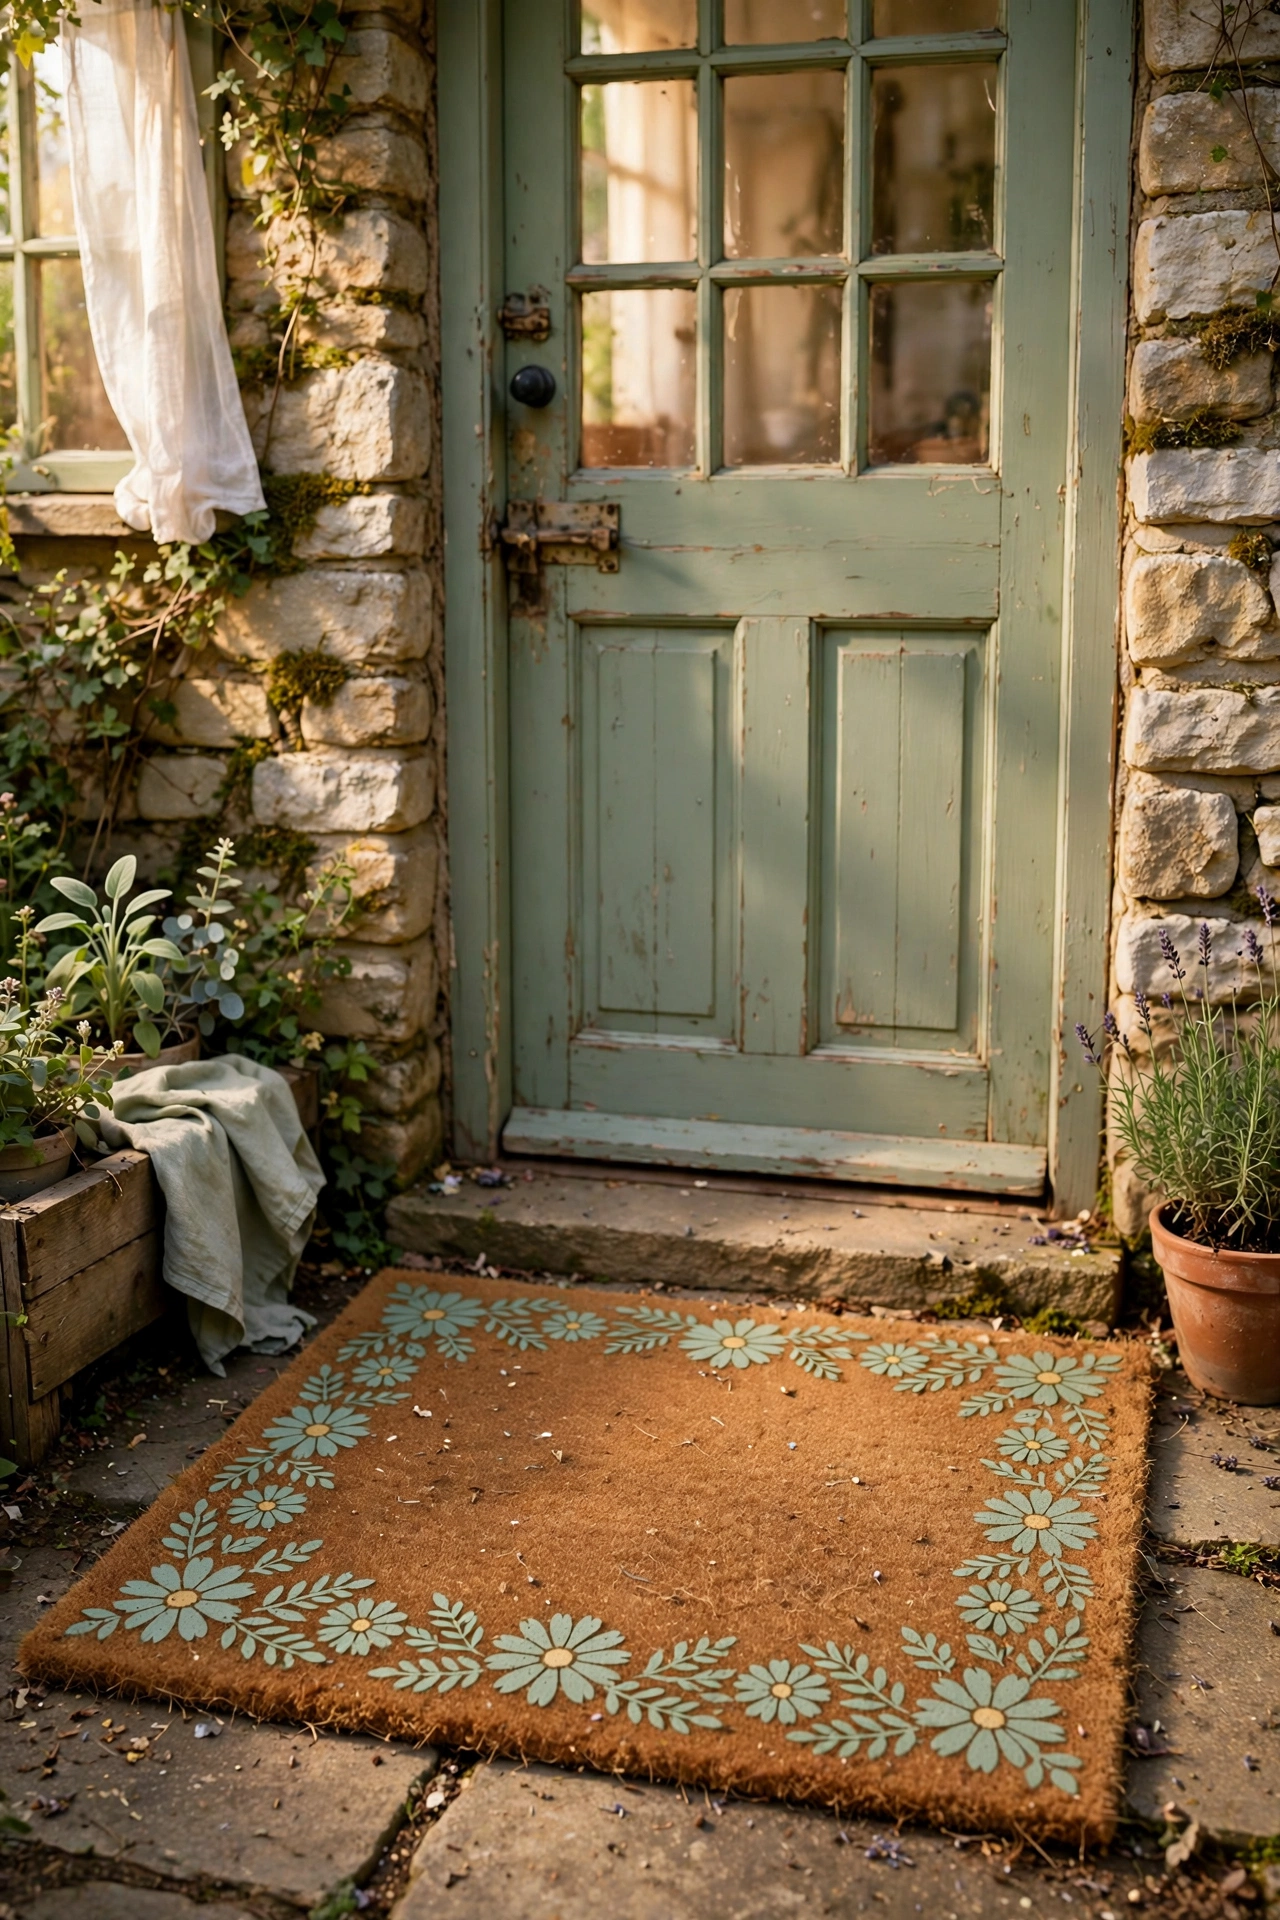
A stencilled doormat gives your front door cottagecore charm for under $10. Buy a plain coir doormat, cut a simple flower or leaf stencil from cardstock, and dab outdoor acrylic paint through it with a nearly-dry stencil brush — the dry-brush technique stops paint bleeding under the stencil. I stencilled a border of small daisies around mine in sage green and it gets compliments constantly. Do tape the stencil firmly at the corners, because coir is bumpy and the stencil shifts easily. Don’t overload the brush; two light coats beat one heavy one. Seal it with a clear outdoor spray so it survives the weather.
Cost: ~$7-12 | Time: 1 hour plus drying
13. Decoupaged Storage Boxes with Botanical Prints
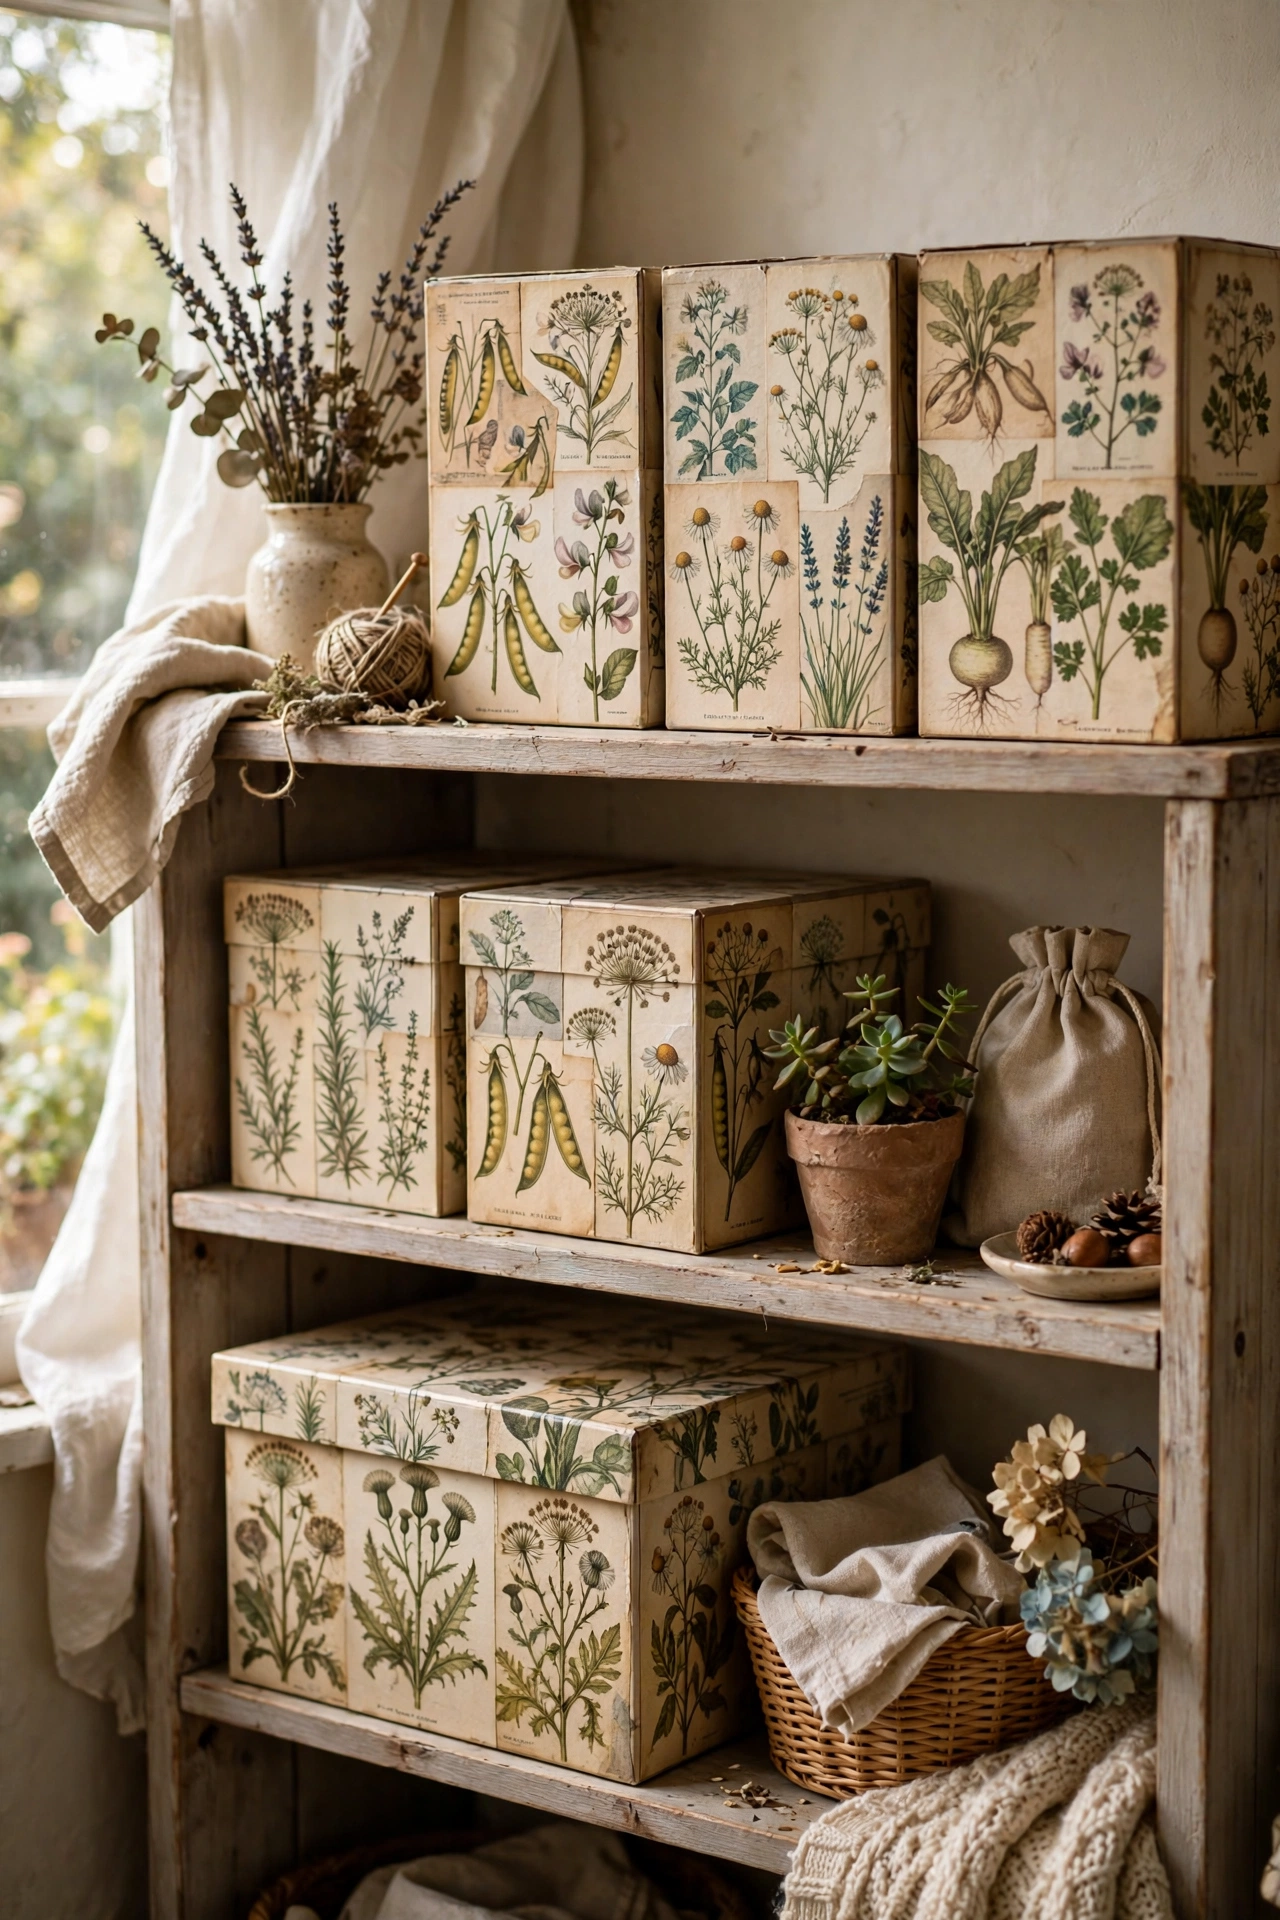
Decoupage turns ugly storage boxes into cottagecore display pieces. Take plain cardboard or wooden boxes, cut botanical prints from old books or free printable sheets, and glue them on with decoupage medium, smoothing out bubbles with your fingers. Seal with two coats of the same medium for a wipeable finish. I decoupaged three shoe boxes with seed catalogue pages and they now hold my craft supplies on an open shelf. Do tear the paper edges instead of cutting for a softer, blended look. Don’t skip the sealing coats — unsealed decoupage peels within months. These look genuinely expensive on a bookshelf.
Cost: ~$5-10 | Time: 1 hour plus drying
14. Twine-Wrapped Bottles as Bud Vases
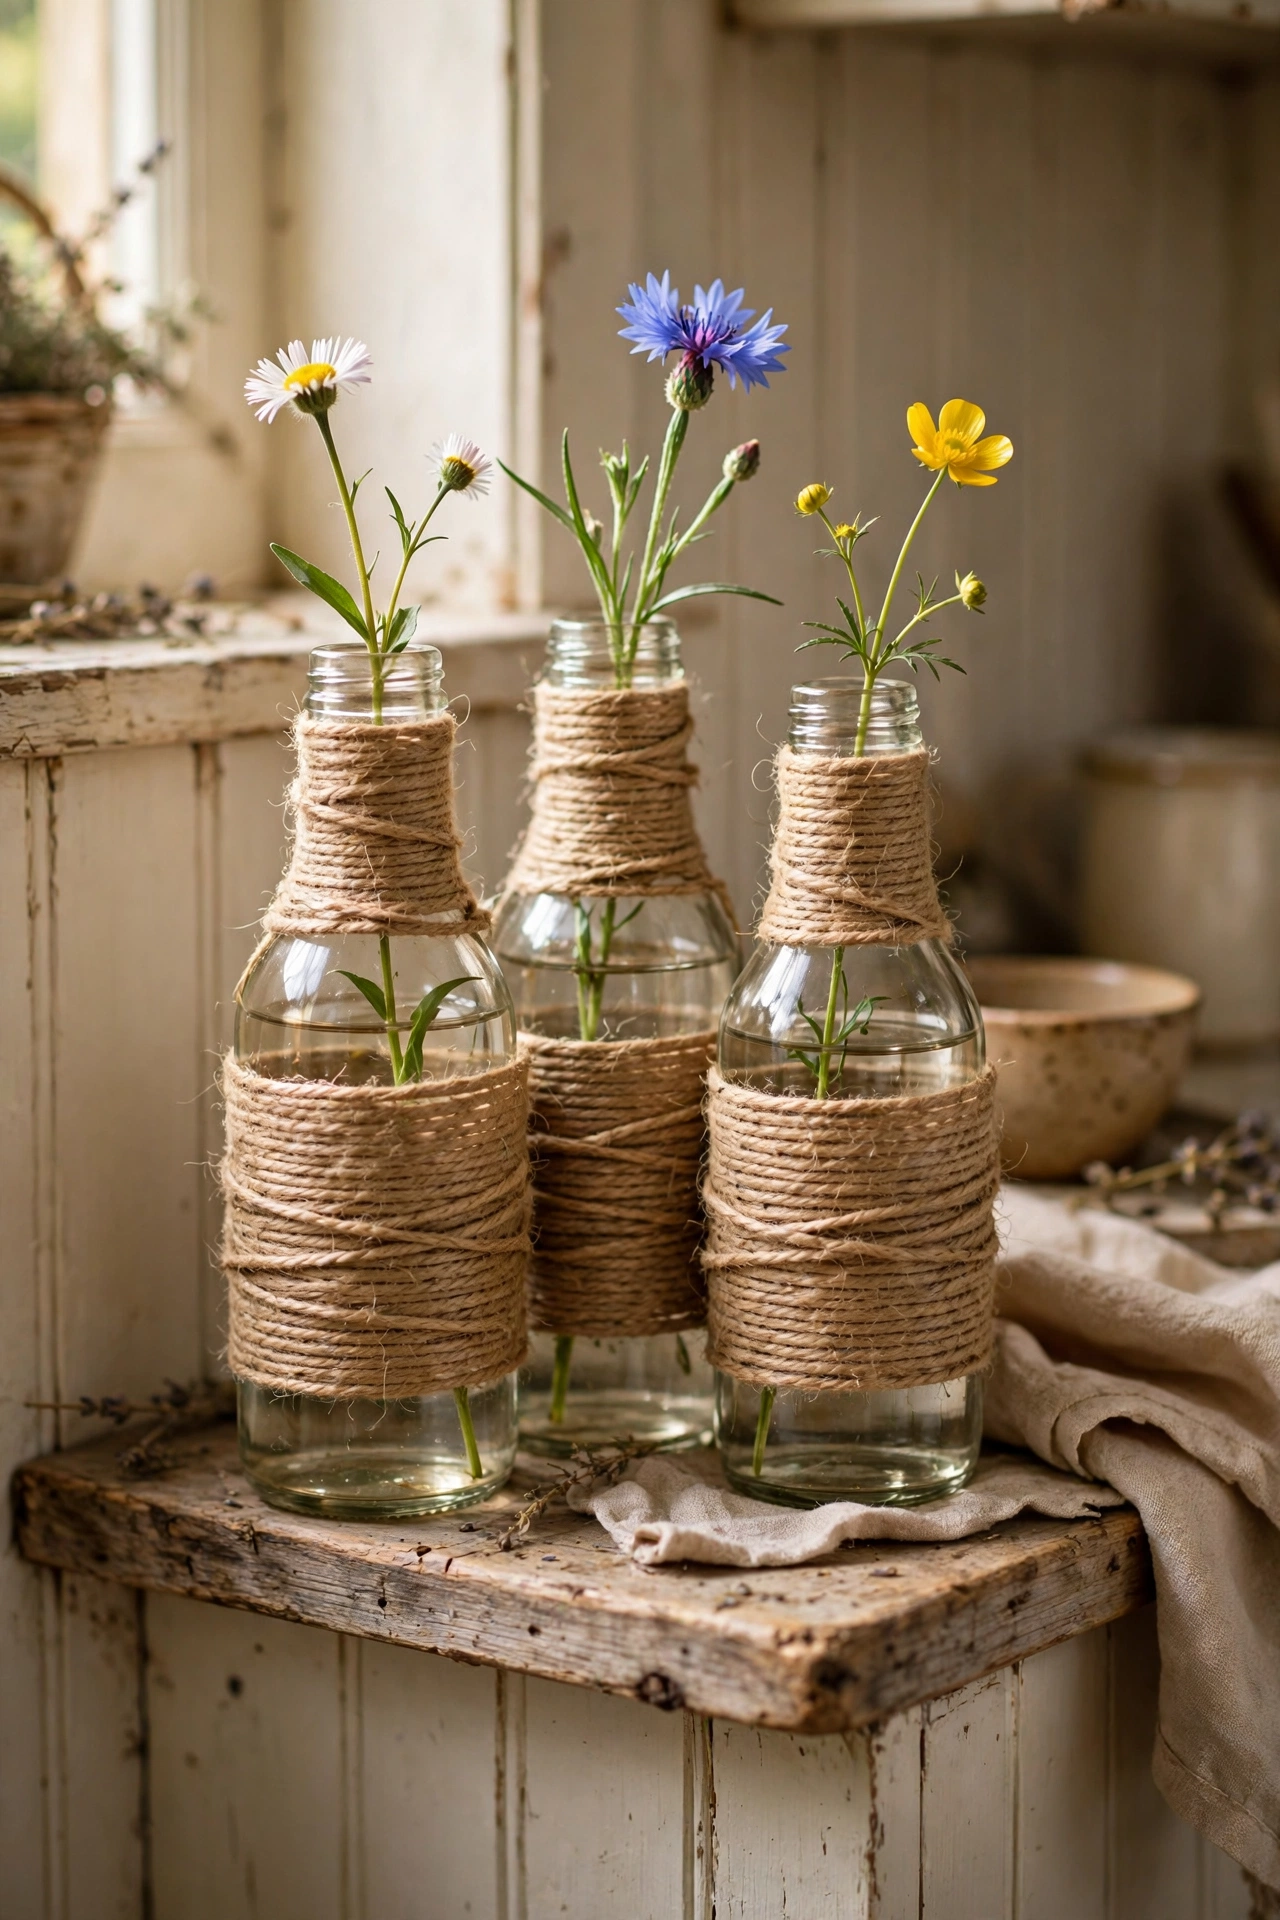
Twine-wrapped bottles are the easiest cottagecore vases you will ever make. Save glass bottles — olive oil bottles and old milk bottles have the best shapes — and wrap them tightly with jute twine from the base up, fixing the start and end with a dab of hot glue. I wrapped six bottles in one evening while watching television, and they now line my kitchen shelf with single stems in each. Do keep the twine rows tight and touching, because gaps show the glass underneath. Don’t wrap the very top of the neck, or the bottle looks top-heavy; stop about 2cm below the rim. Group them in threes at different heights.
Cost: ~$3-6 | Time: 20 minutes each
15. Embroidered Hoop Wall Display
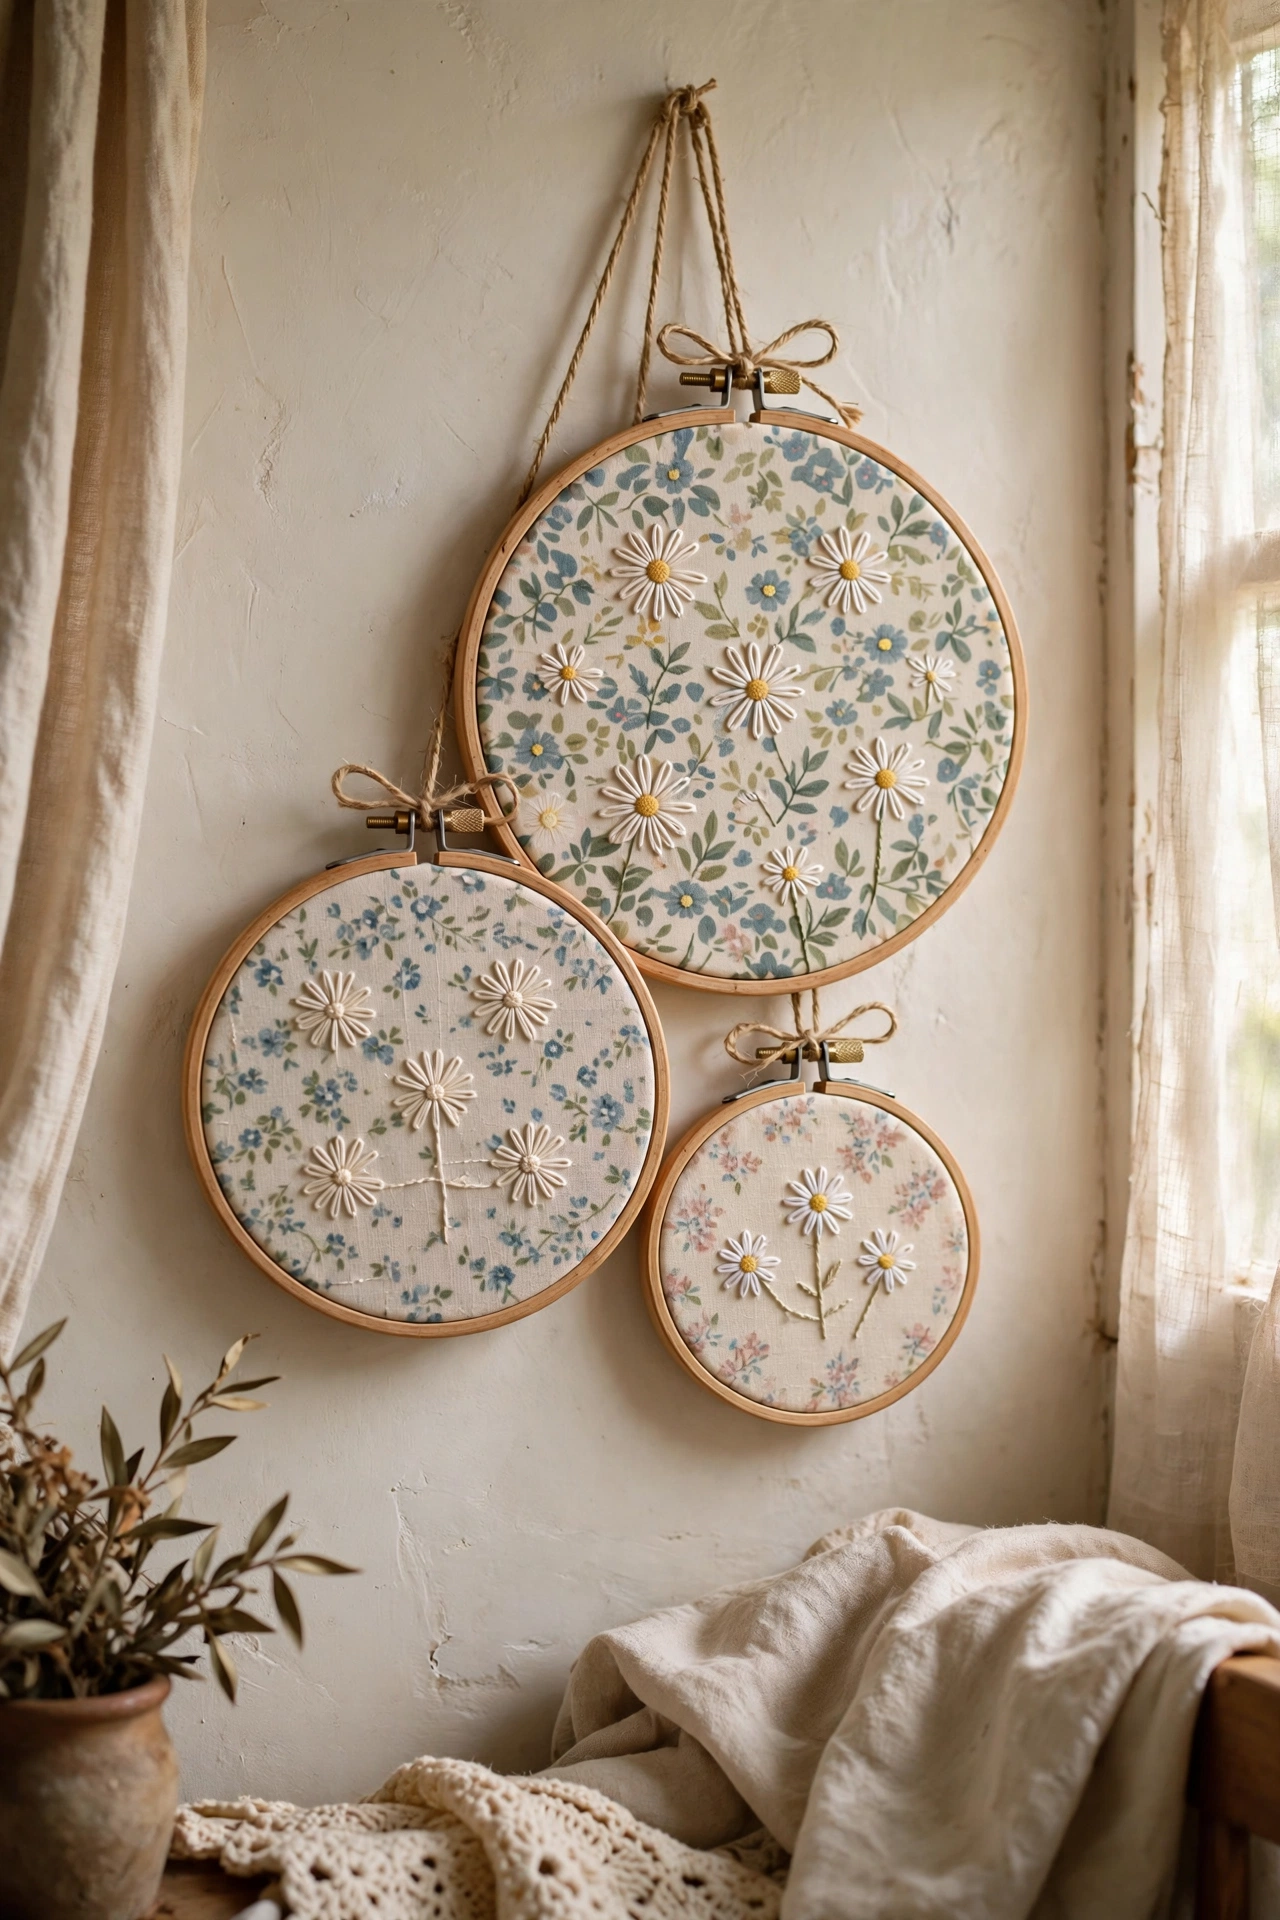
Embroidered hoops are cottagecore wall art that anyone can make, even with zero sewing experience. Stretch floral fabric — or plain linen with a simple stitched flower — into wooden embroidery hoops in three sizes, trim the excess fabric at the back, and hang them in a cluster. I stitched a simple lazy-daisy flower on my first one following a free online tutorial, and it took one evening. Do keep your first designs simple: three stitches are enough. Don’t pull the fabric drum-tight, as it warps the hoop; snug is perfect. The wooden hoops themselves are the frames, so the whole thing costs pennies.
Cost: ~$4-9 | Time: 1-2 hours
Quick questions, answered
What is cottagecore decor, exactly?
It is a decorating style inspired by a romanticised country life: floral fabrics, vintage finds, handmade touches, natural materials, and a soft, gathered feel. Think pressed flowers and gingham rather than chrome and minimalism. It suits renters and beginners because it values imperfection and thrifted pieces.
Do I need to sew for cottagecore DIY projects?
Not at all. Most projects on this list use glue, tying, or arranging rather than sewing. Where sewing appears, I have included a no-sew alternative. Fabric glue and a hot glue gun will carry you through almost everything cottagecore.
Where do I find cheap materials for cottagecore projects?
Charity shops, car boot sales, and church rummage sales are goldmines for frames, tins, teacups, and fabric. Forage branches and dried grasses yourself. Craft shops sell the small extras like twine, lace trim, and dried lavender for a few dollars.
How do I stop cottagecore from looking cluttered?
Group items in odd numbers with breathing room between groups, and stick to a tight colour palette of creams, sages, and dusty pinks. Cottagecore is layered, not cluttered — every surface should have one clear focal arrangement, not five competing ones.
📌 Found a project you love? Pin this post now so you can save this idea for your next crafty weekend.
Keep the handmade going with these next: (see also: 19-cottagecore-style-diy-projects-on-a-budget) (see also: 15-easy-diy-home-decor-projects-for-beginners-under-25) (see also: 17-diy-planter-ideas-for-beginners)
