17 DIY Lamp Ideas That Look Expensive
My living room used to look flat and a bit depressing every evening, and I blamed the furniture for months. Then I swapped one sad overhead light for a warm table lamp I made myself, and the whole room transformed overnight. That before-and-after moment taught me that a DIY lamp changes a space more than almost any other project, because light is what makes everything else look good.
I have built every lamp below with my own hands, and each one looks far more expensive than it was to make. Some are simple shade swaps, others are full builds, but all of them cast the warm, flattering light that makes a room feel finished. Here are the seventeen that earned a permanent place in my home.
1. Recover a Drum Shade in Natural Linen
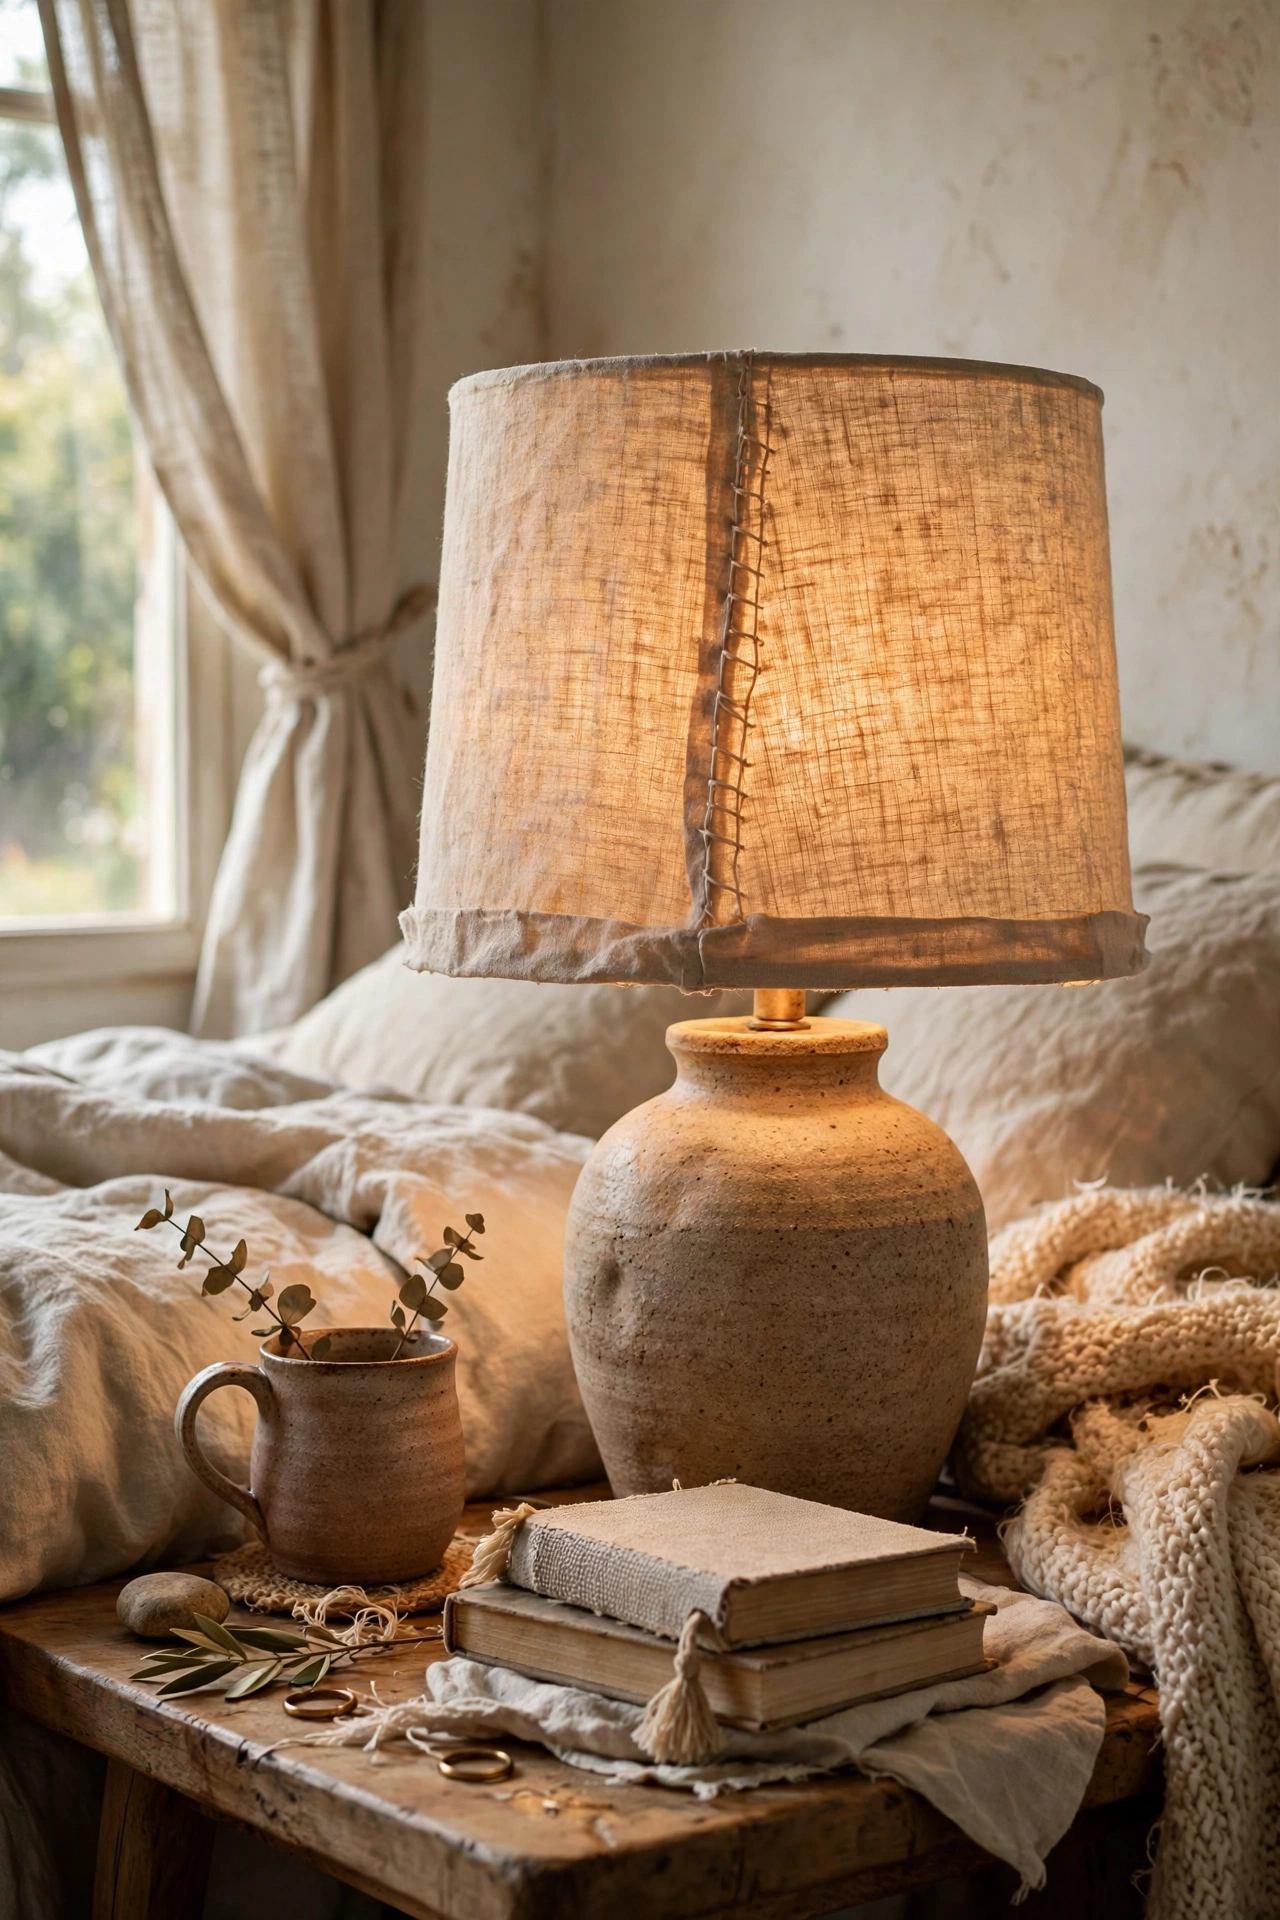
A dated patterned shade becomes instantly modern wrapped in natural linen. I removed the old fabric from a drum shade frame, cut linen to size with overlap, and glued it with fabric glue, folding the raw edges inside. Keep the fabric taut as you work around the frame or it ripples. My first shade rippled badly because I rushed, and redoing it slowly fixed everything. The linen diffuses light beautifully and looks like a designer shade. It sits on a plain base in my bedroom and glows softly every evening, which suits our (see also: 15-bedroom-lighting-ideas-on-a-budget/) setup perfectly.
Materials: old drum shade, natural linen fabric, fabric glue | Cost: ~$8-14 | Time: 1 hour
2. Give a Lamp Base a Baking Soda Texture Finish
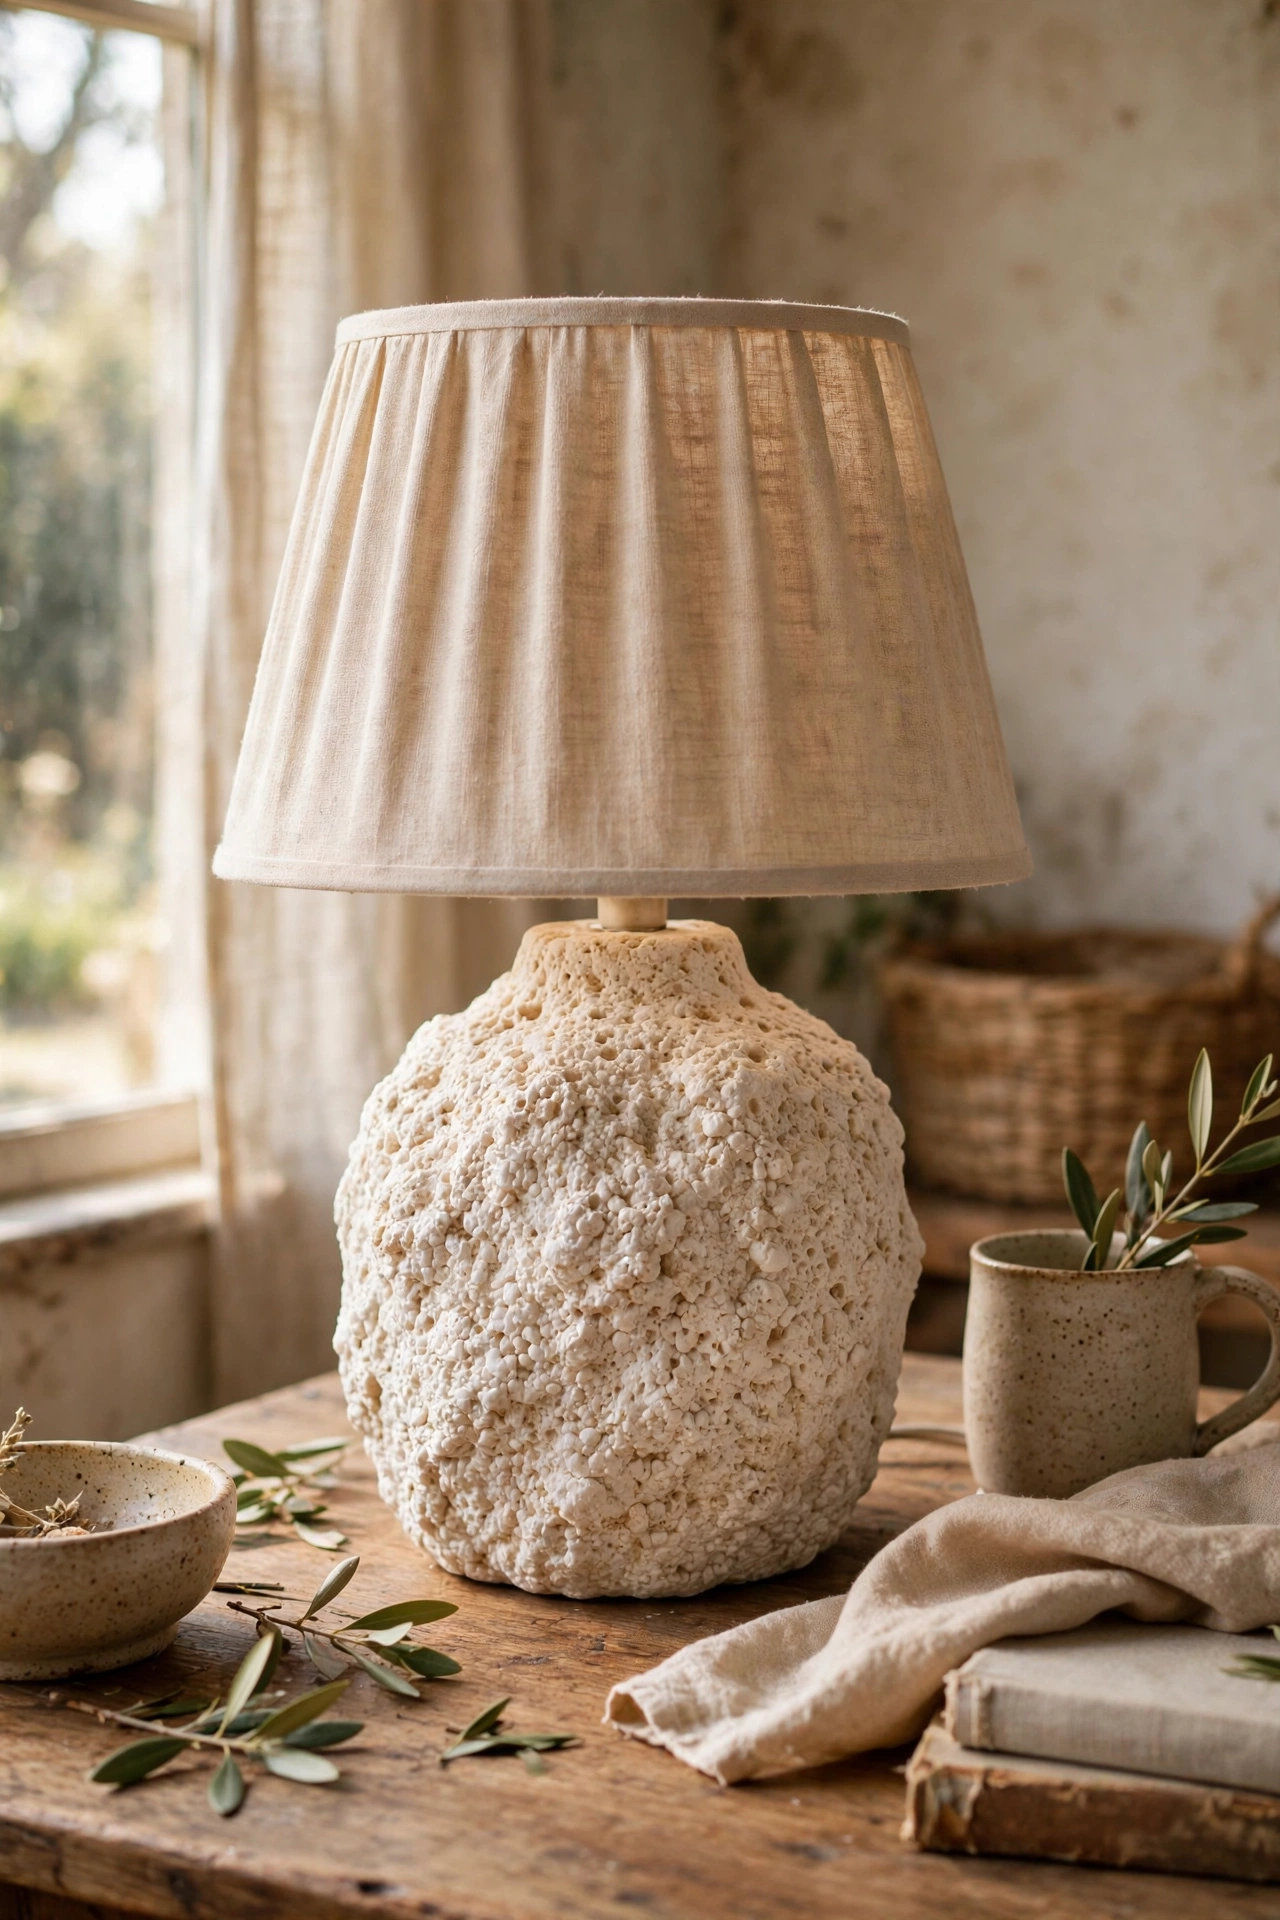
The baking soda paint trick works wonders on shiny lamp bases. I mixed matte paint with baking soda, brushed two thin coats onto a glossy ceramic base, and it came out looking like handmade stoneware. Unplug and remove the shade and bulb first, and tape off the socket and cord. My first coat went on too thick and cracked as it dried, so thin coats are essential. In warm white it looks like an artisan piece. Mine fools everyone, and it started life as a ten-dollar thrift find.
Materials: lamp base, matte paint, baking soda, brush, tape | Cost: ~$5-10 | Time: 1 hour plus drying
3. Spray Paint a Thrifted Lamp in Brushed Brass
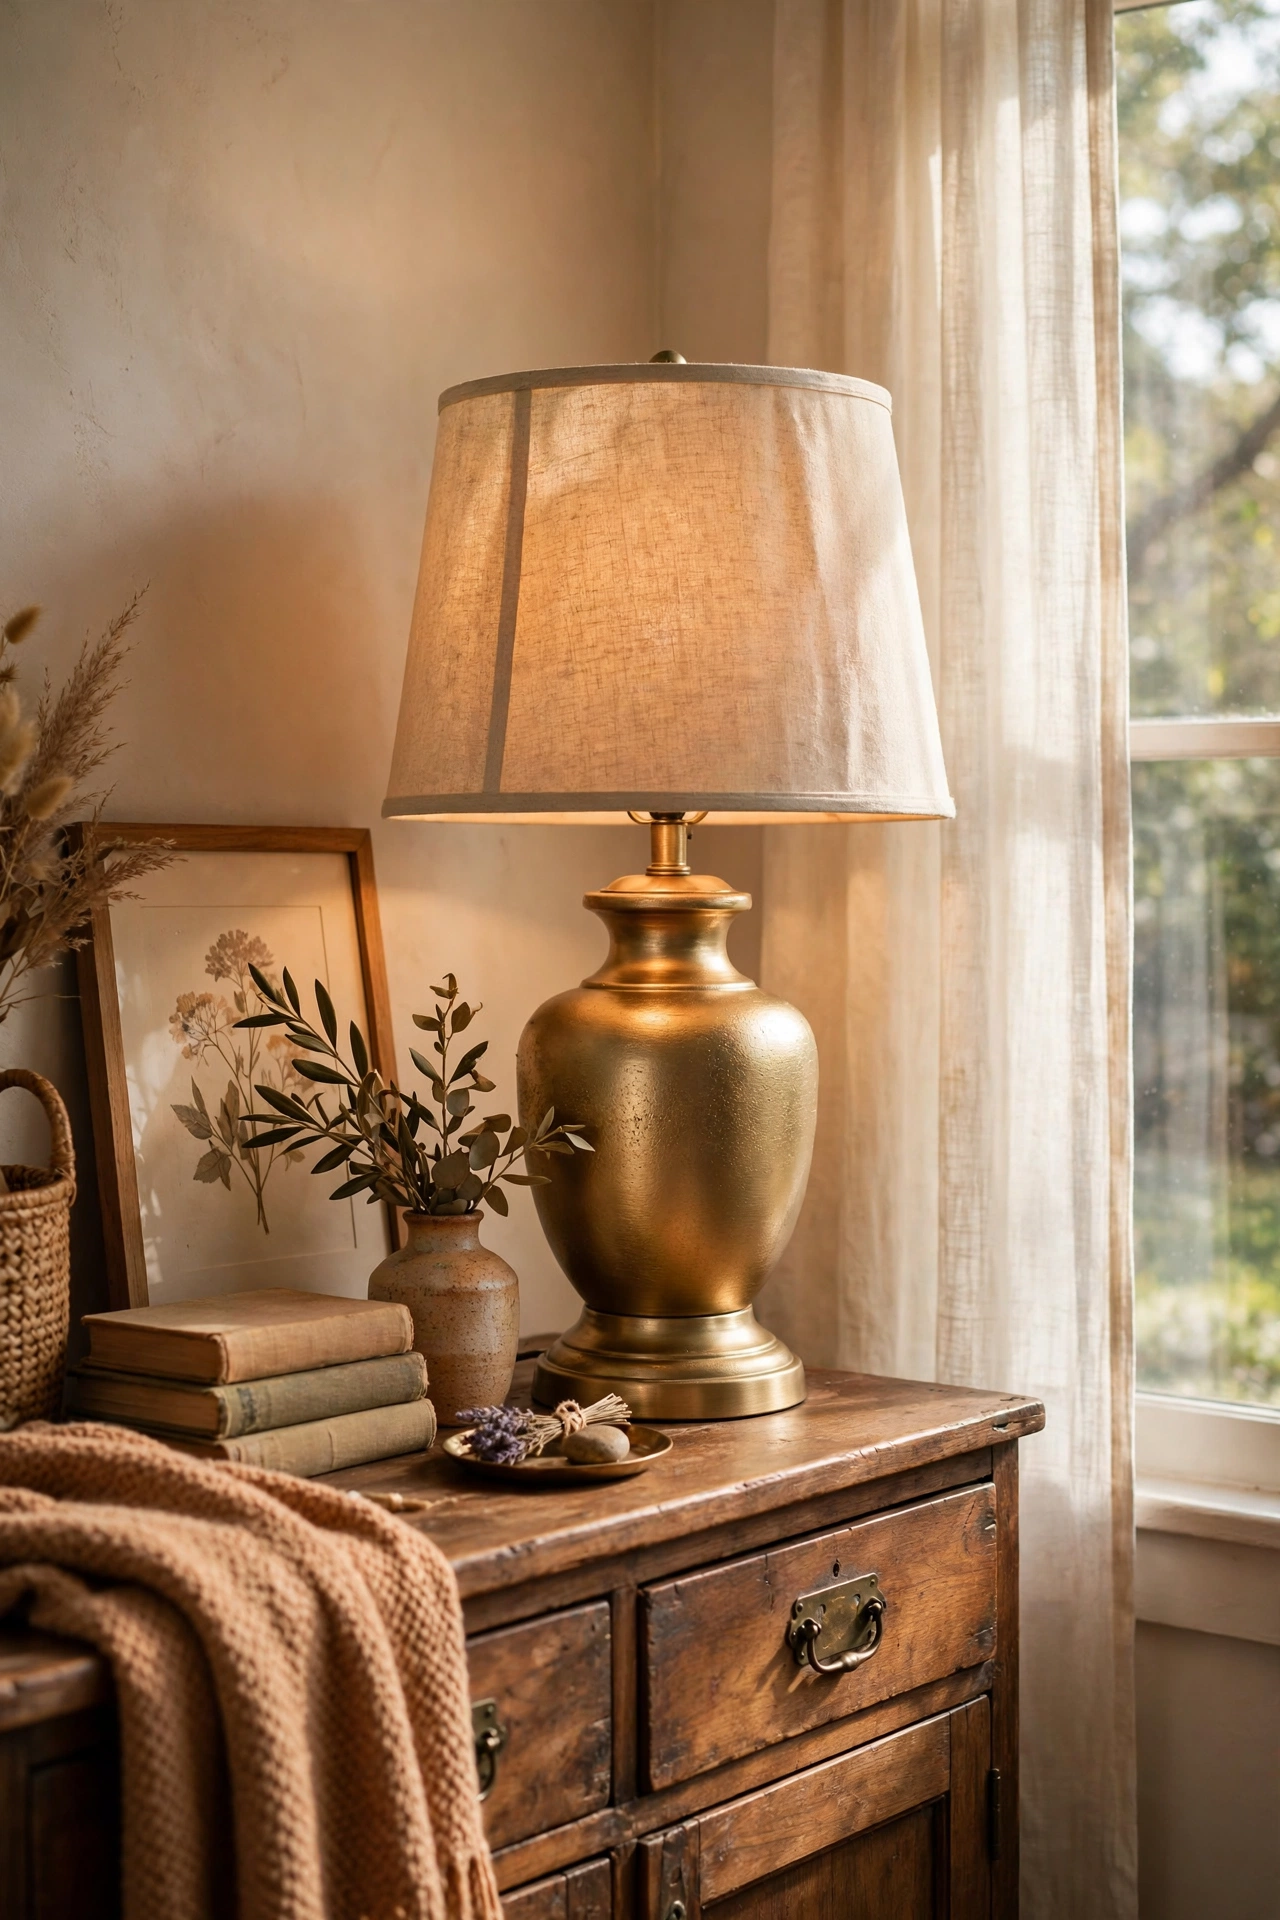
Brass-look spray paint turns the ugliest thrifted lamp into something that looks boutique. I found a clunky brown lamp for three dollars, cleaned it, and applied light coats of metallic brass spray, letting each coat dry fully. Tape off the socket, switch, and cord carefully. My first attempt dripped because I sprayed too close, so keep the can moving at arm’s length. The finished lamp looks genuinely expensive on my sideboard. Metallic paint is the fastest luxury upgrade I know.
Materials: thrifted lamp, metallic brass spray paint, tape | Cost: ~$8-12 | Time: 45 minutes plus drying
4. Cluster Paper Lanterns as a Pendant
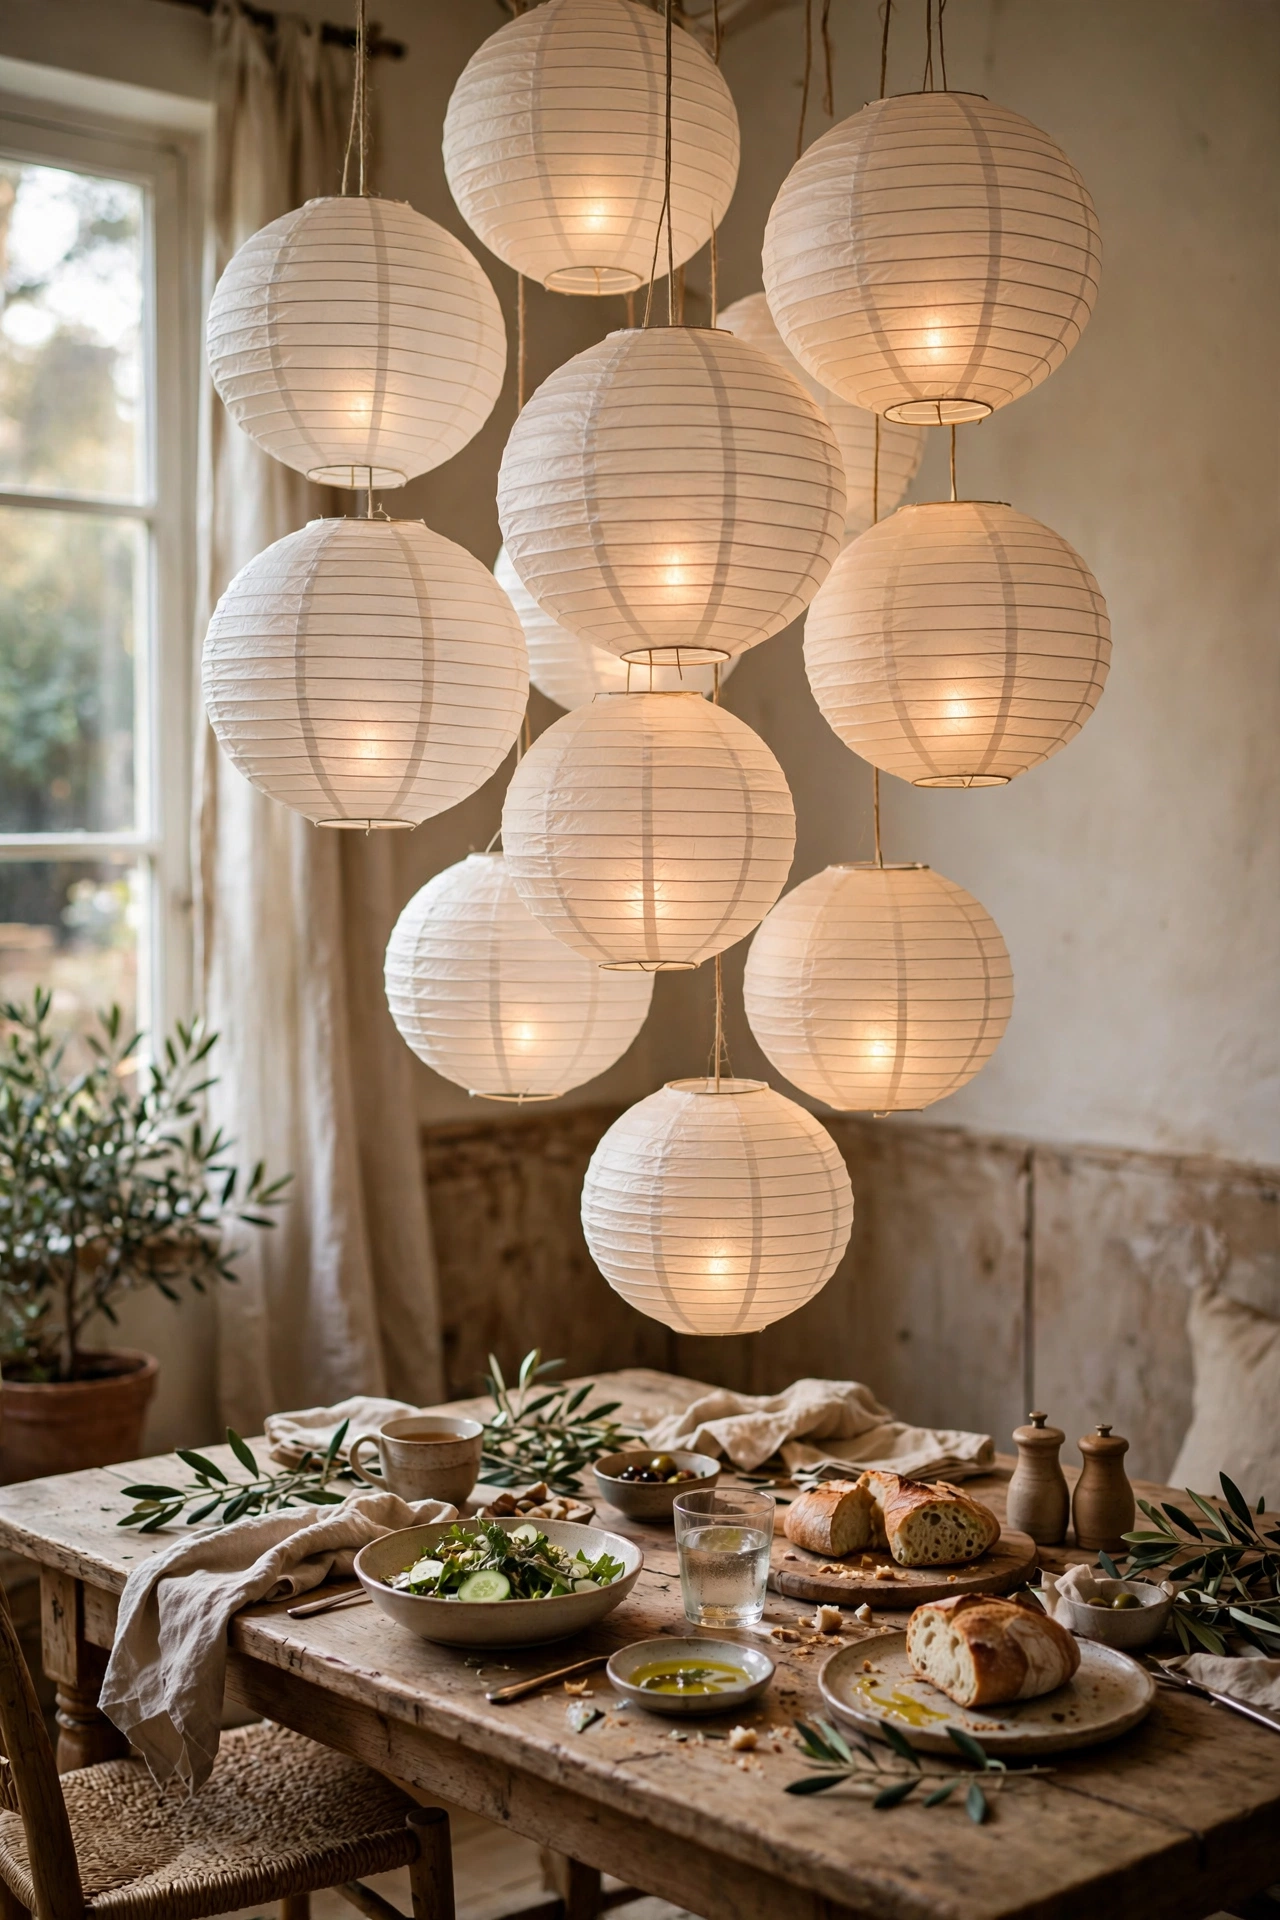
A cluster of paper lanterns at different heights makes a stunning pendant for almost nothing. I hung five white lanterns from a single ceiling point using clear cord, varying the drops so they cascade. Use LED bulbs only, because paper and heat do not mix. My first arrangement looked messy until I kept the lanterns close together in a tight group. The soft glow is perfect over a dining table. It looks like a designer installation and costs less than one restaurant main course.
Materials: paper lanterns, clear cord, ceiling hook, LED bulbs | Cost: ~$15-25 | Time: 1 hour
5. Wrap a Lamp Base in Jute Twine
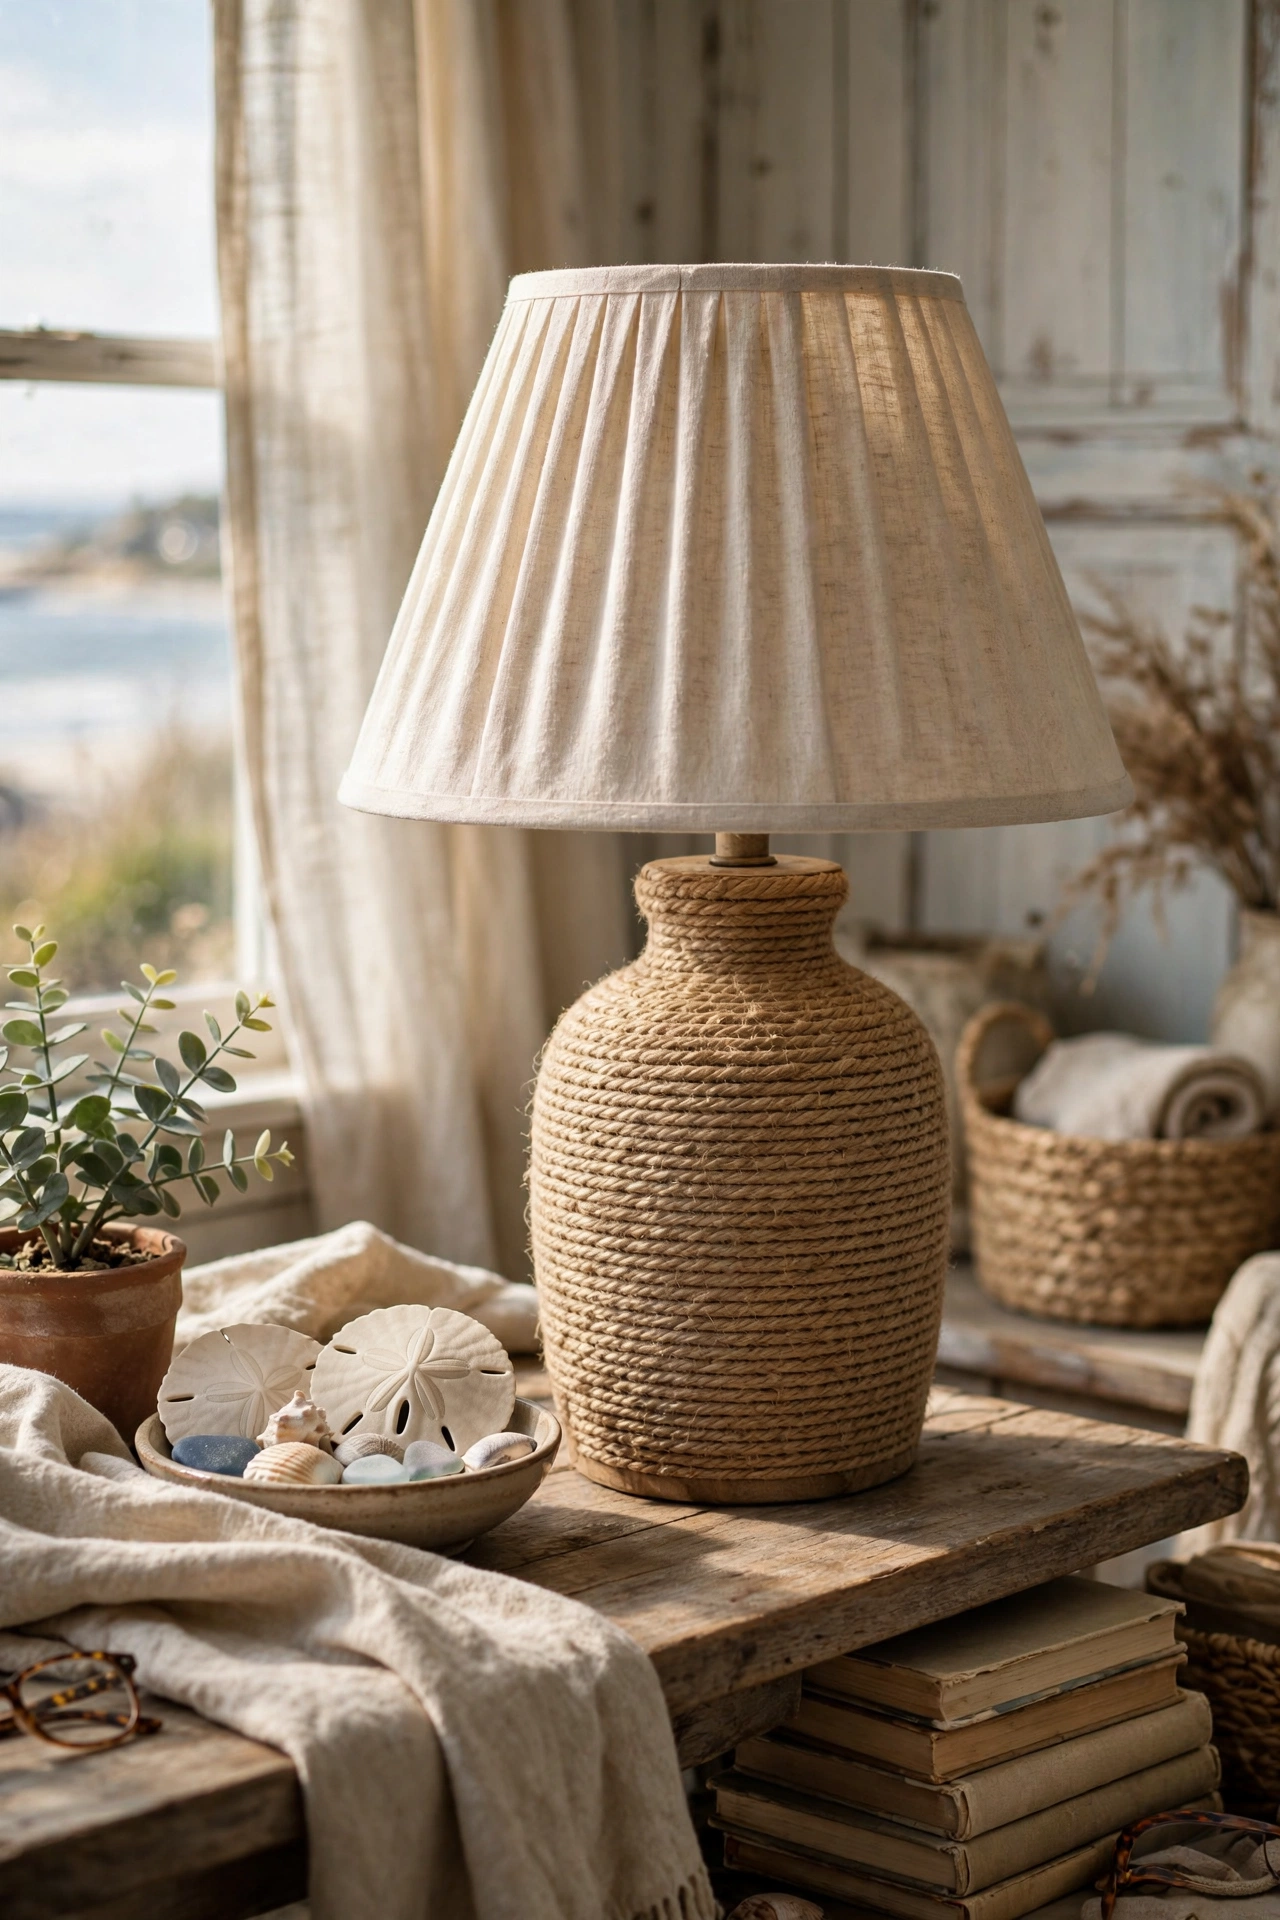
Wrapping a plain lamp base in jute twine gives it a relaxed, coastal texture. I started at the bottom with a dab of hot glue, wound the twine tightly upward in neat rows, and glued the end at the top. Keep the rows touching with no gaps or the base peeks through. My first few rows were loose and slid around, so pull firmly as you wind. The finished base looks like something from a seaside boutique. It brings lovely warmth to my neutral living room corner.
Materials: plain lamp base, jute twine, hot glue gun | Cost: ~$6-10 | Time: 1 hour
6. Turn a Vase into a Lamp with a Kit
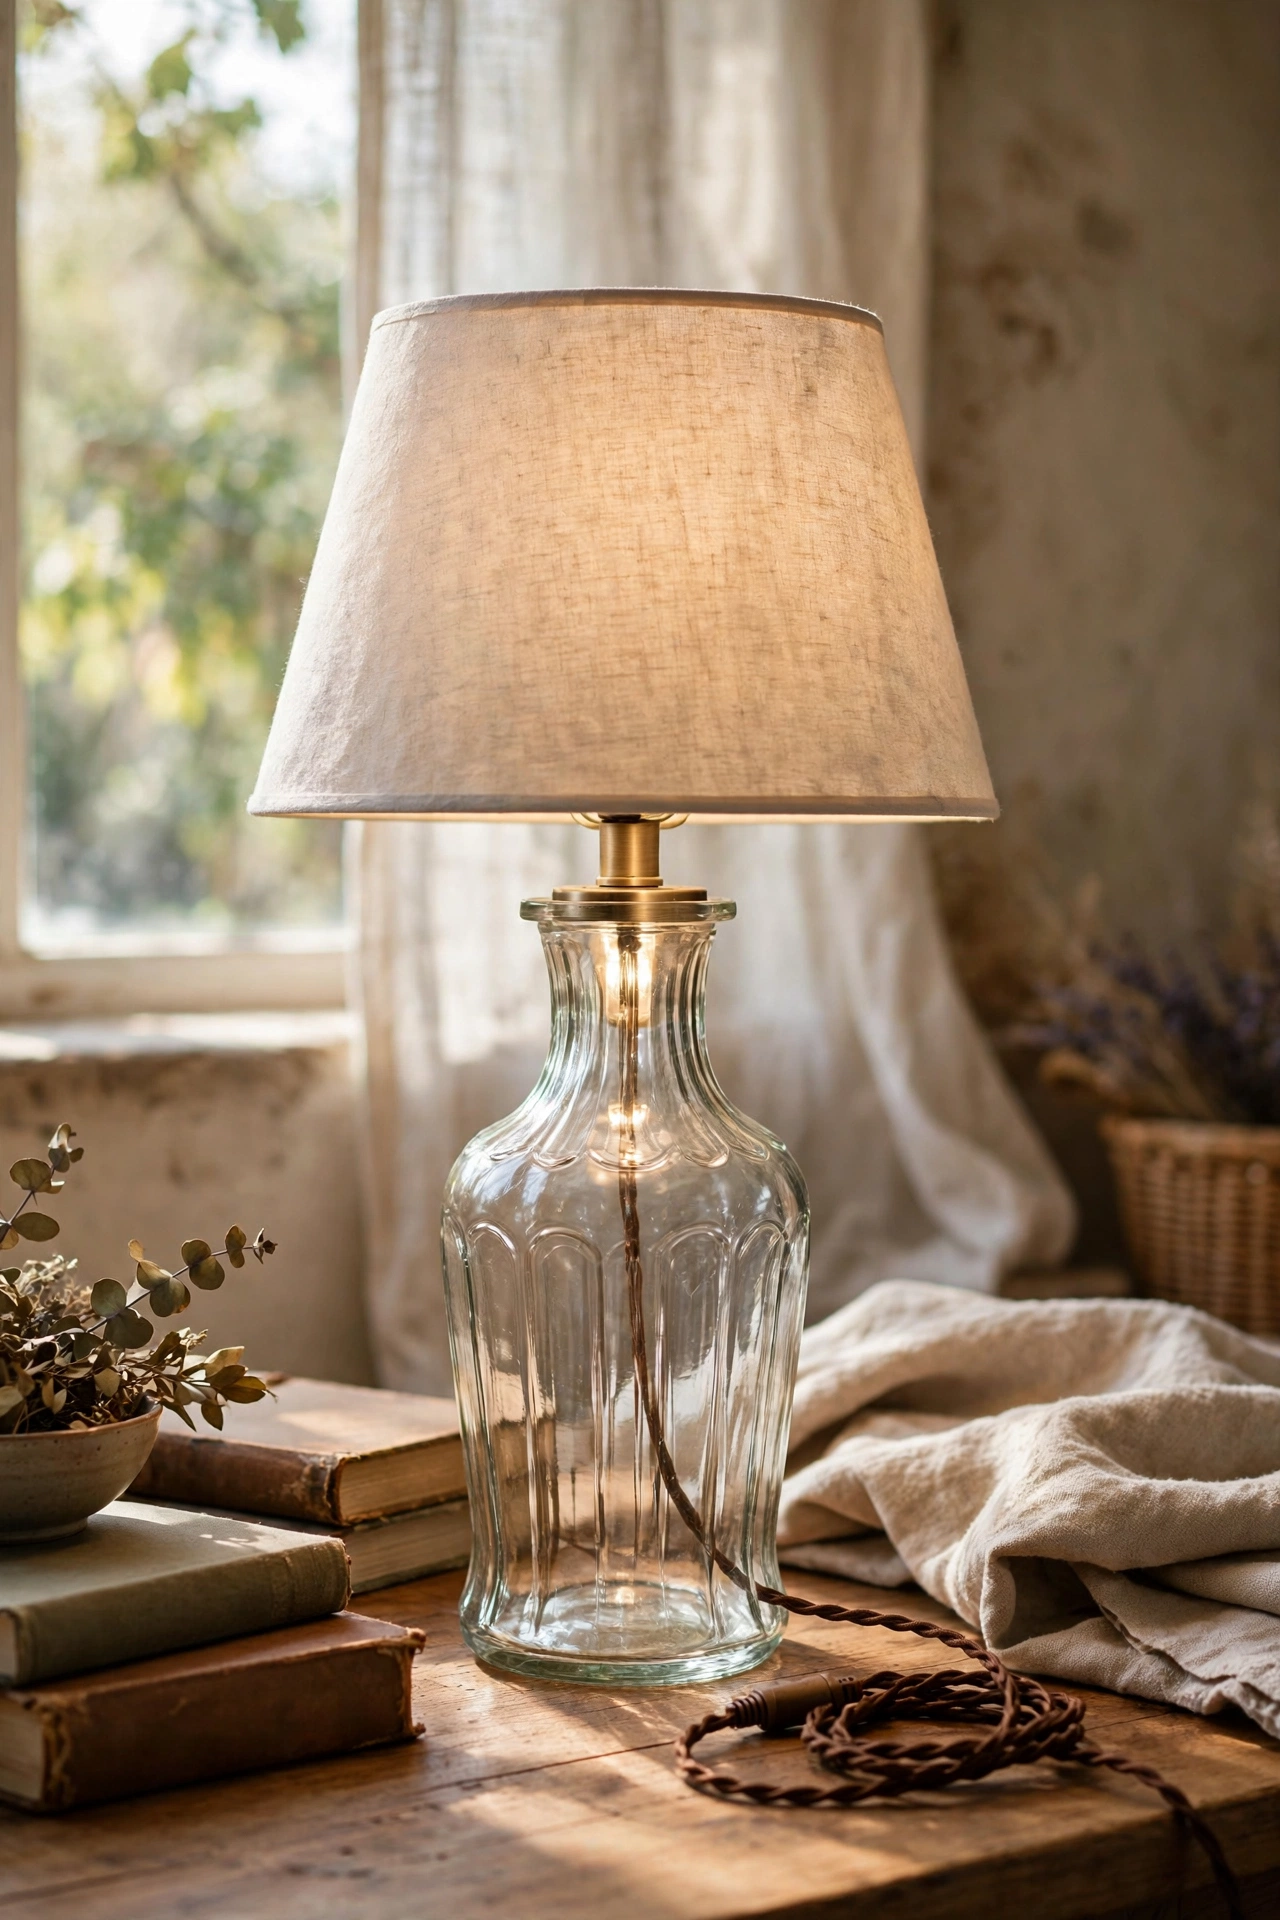
A bottle lamp kit converts any vase into a working lamp in minutes. I drilled a small hole near the base of a charity-shop vase for the cord, following the kit instructions carefully, then threaded the parts through. Drill slowly with water to cool the bit, because rushing cracks glass. My first vase survived because I let the drill do the work. Topped with a simple shade, it looks completely bespoke. This is how I got a lamp in the exact colour I wanted without paying custom prices.
Materials: sturdy vase, bottle lamp kit, drill with glass bit | Cost: ~$12-20 | Time: 1 hour
7. Build a Minimalist Dowel Lamp
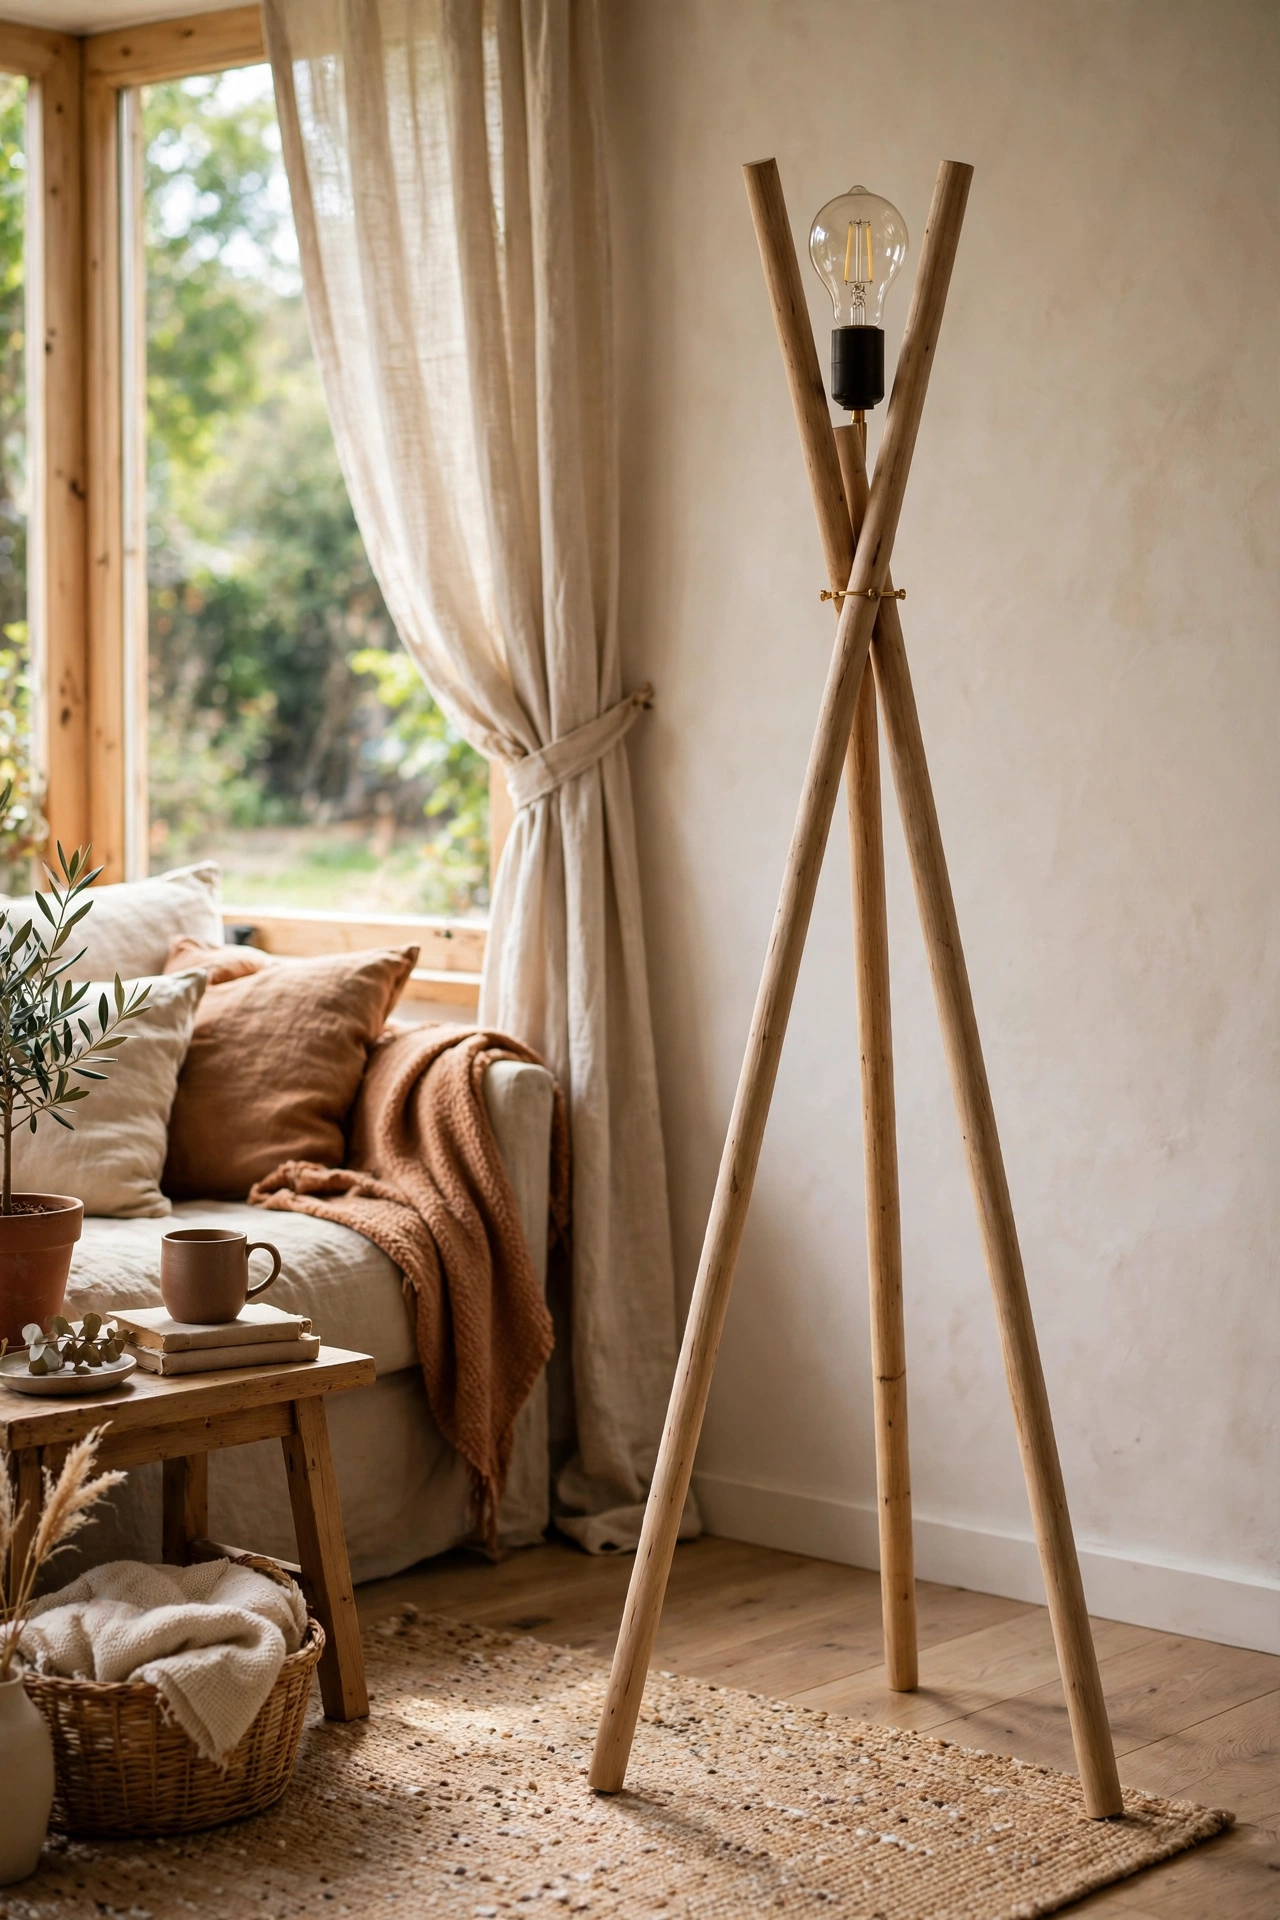
Three dowels lashed into a tripod with a bulb hanging in the middle makes a striking minimalist lamp. I cut the dowels to equal length, lashed them near the top with cord, spread the legs, and hung a pendant cord with an Edison-style LED bulb. Make sure the tripod stands stable before wiring anything. My first one wobbled until I evened up the leg lengths. The exposed bulb glow looks incredibly stylish. It cost very little and gets more comments than anything else I own.
Materials: 3 wooden dowels, cord, pendant light cord kit, LED Edison bulb | Cost: ~$15-22 | Time: 1 hour
8. Make a Frosted Glass Jar Lamp
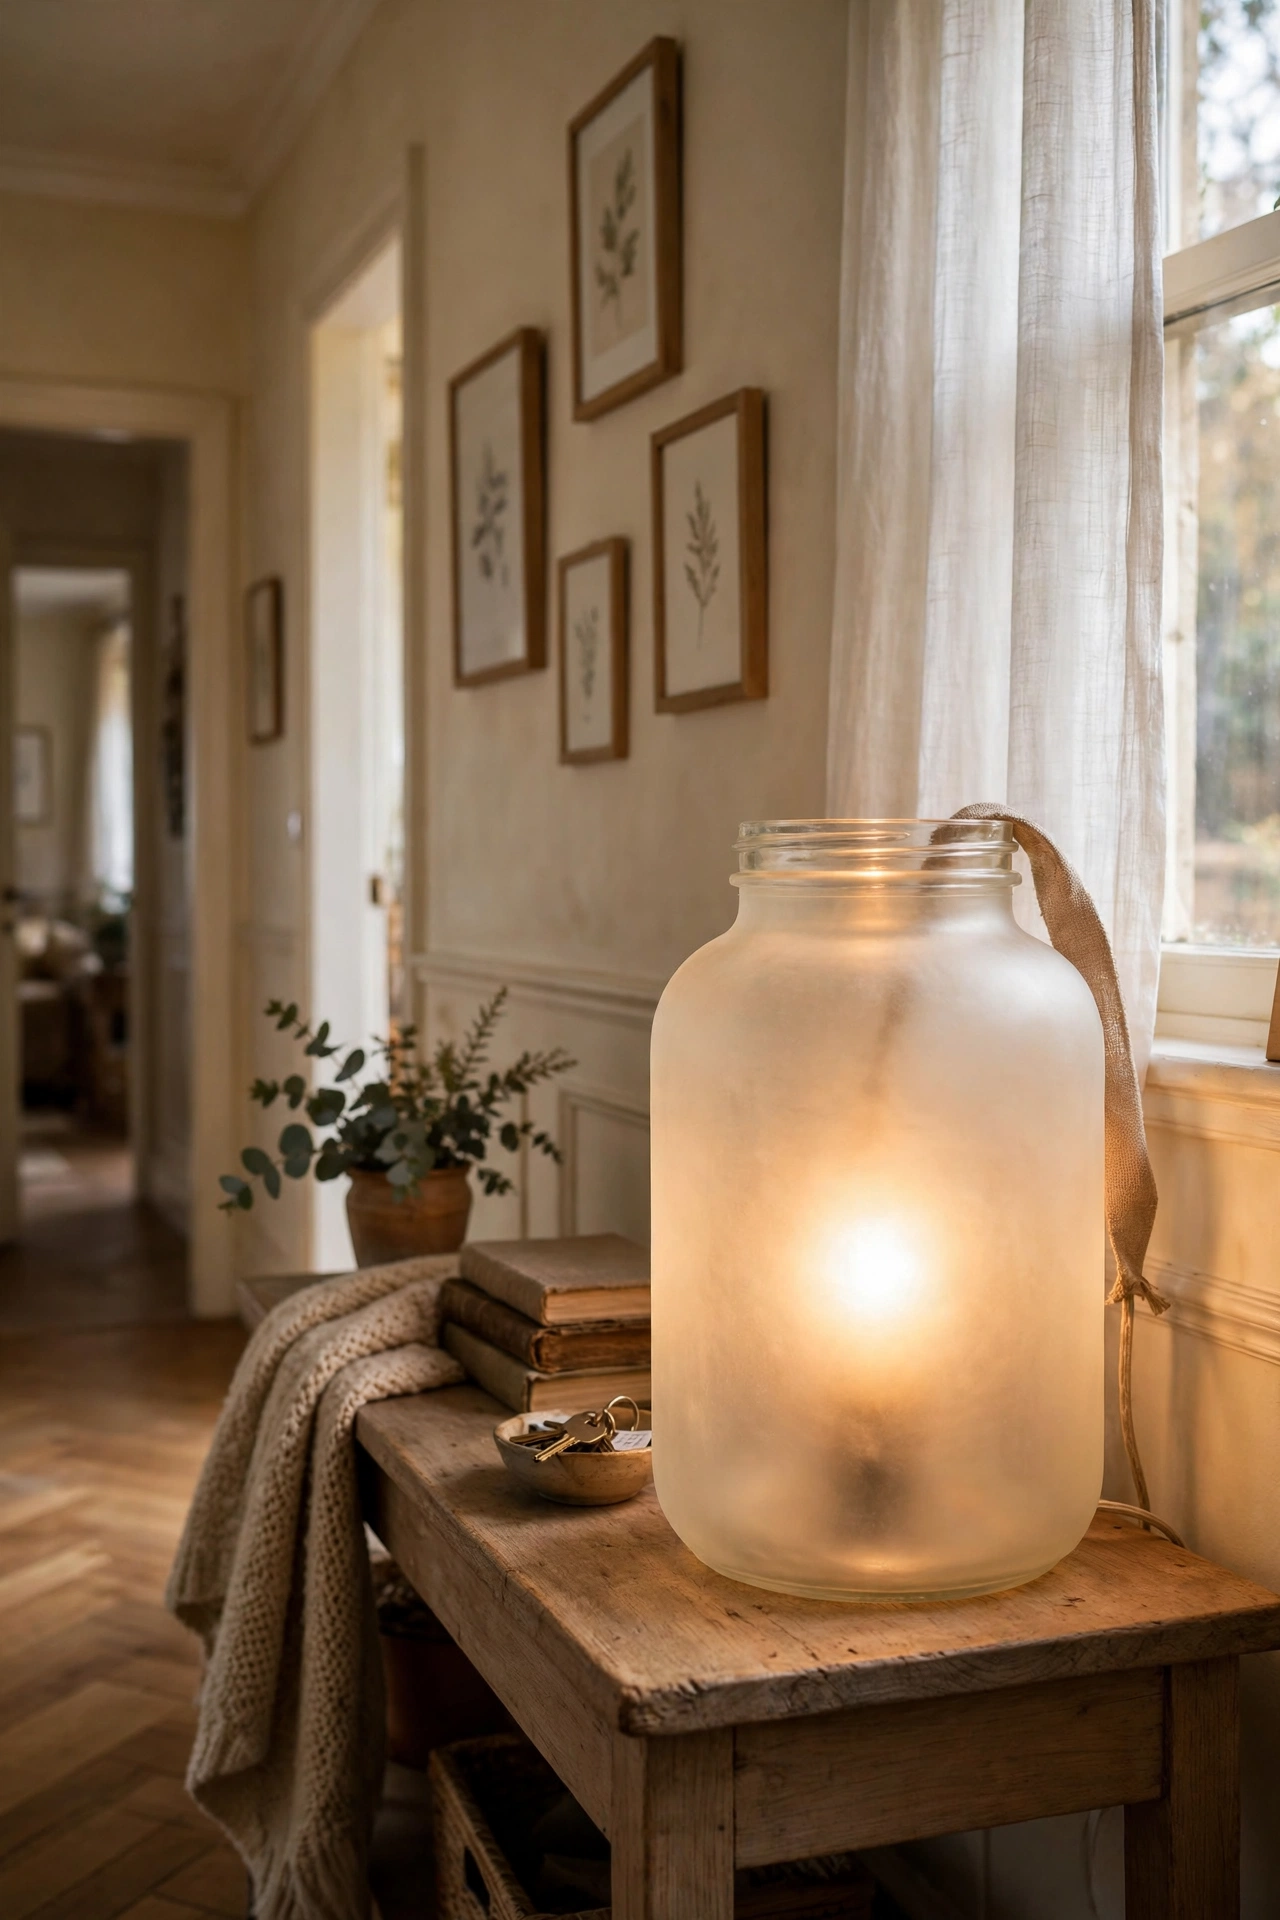
A large glass jar with frosted spray becomes a softly glowing lamp. I sprayed the outside of a big jar with frosted glass spray in light coats, fitted a bottle lamp kit through the lid, and added a low-wattage LED bulb. The frosting diffuses the light into a gentle glow. My first jar looked streaky because I sprayed too heavily in one pass, so build it up gradually. It works beautifully as a nightlight-style lamp. Mine sits on the hallway console and makes the whole space feel welcoming.
Materials: large glass jar, frosted glass spray, bottle lamp kit, LED bulb | Cost: ~$14-20 | Time: 1 hour plus drying
9. Sew a Pleated Fabric Shade
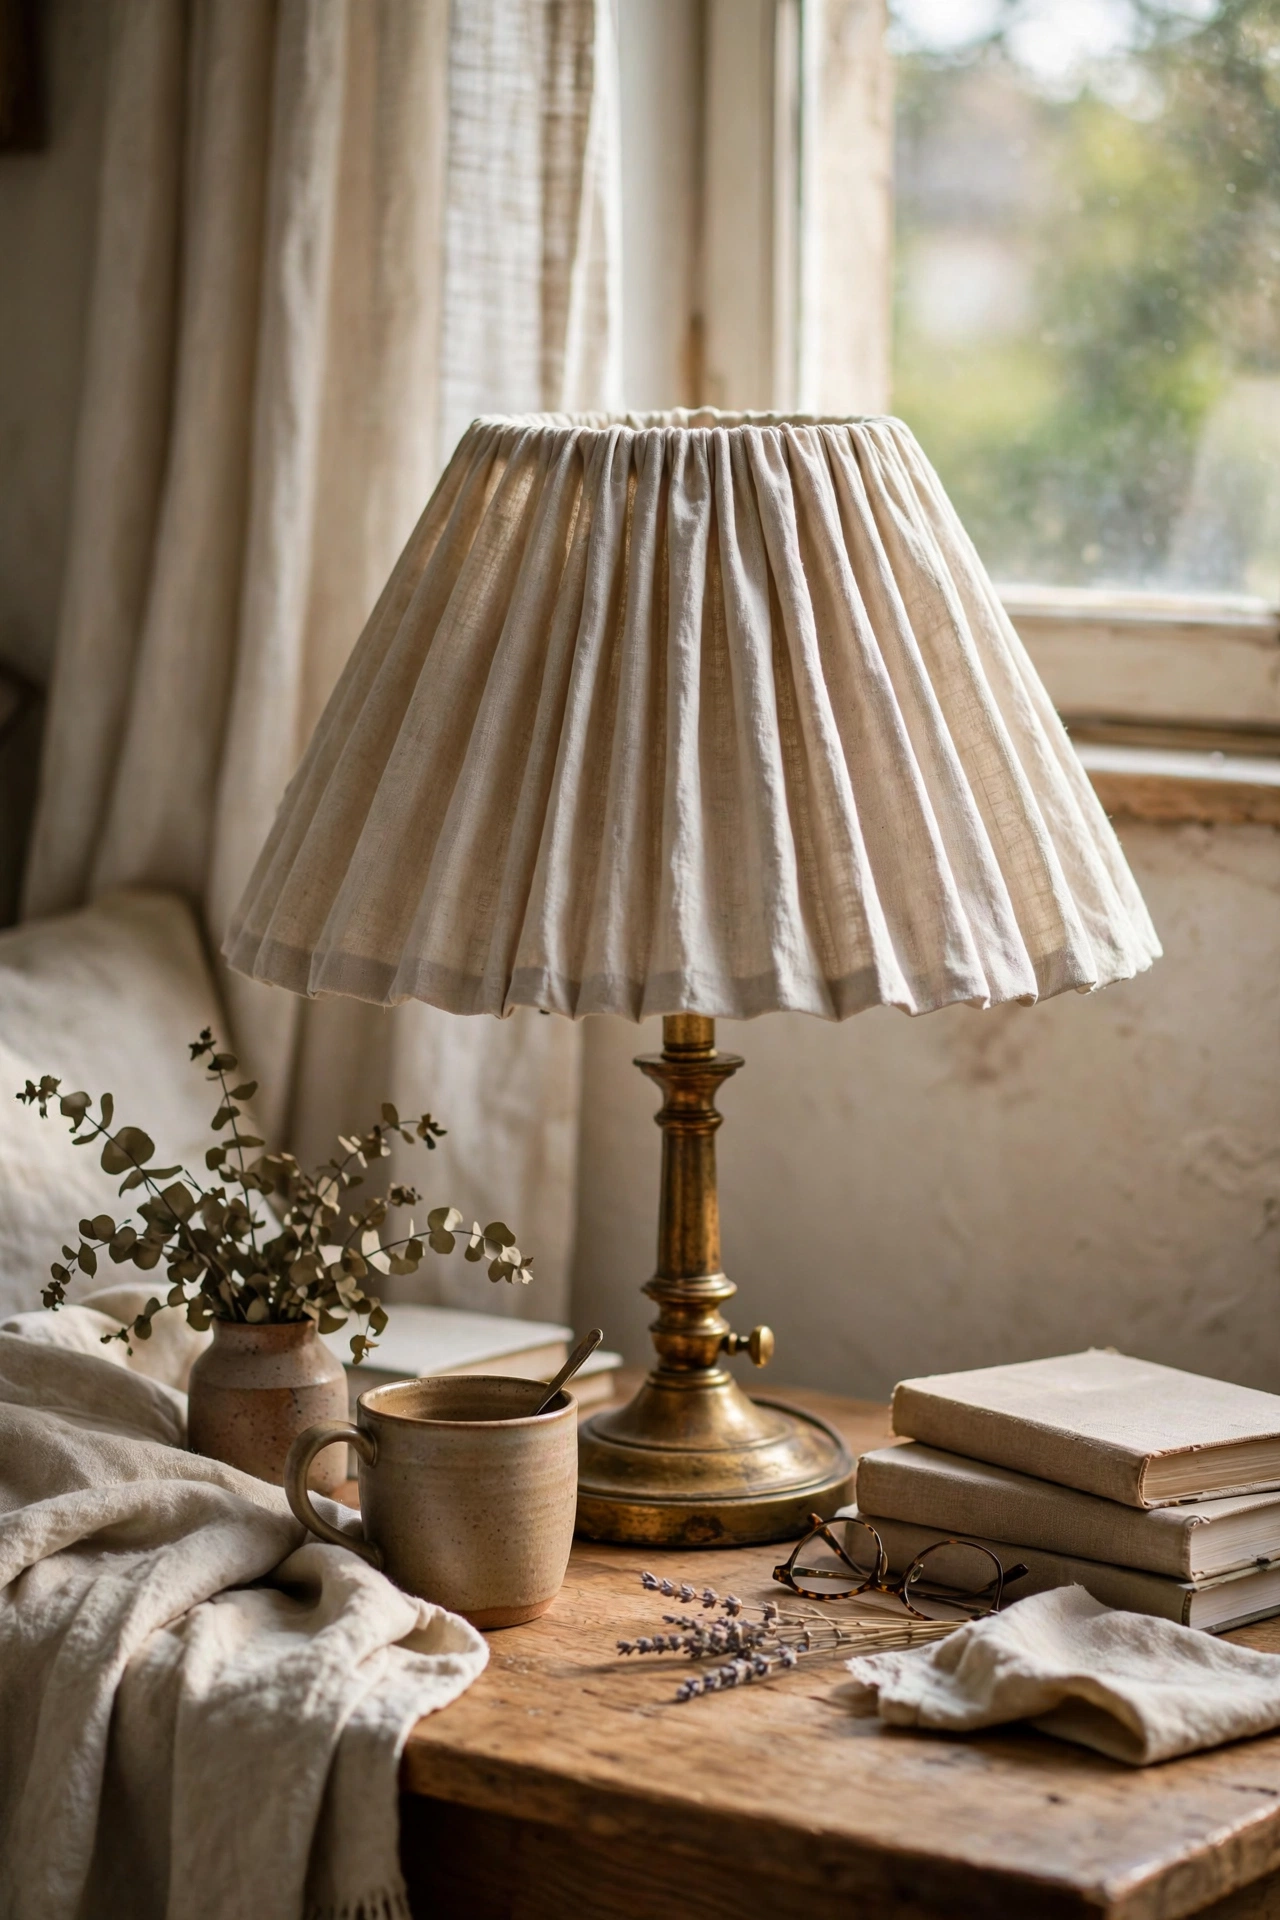
Pleated shades look tailored and expensive, and they are just fabric folded over a frame. I cut fabric into a tapered panel, pressed even pleats along its length, and glued it to a plain shade frame, securing top and bottom rings. Press every pleat crisply before gluing, because soft pleats look messy. My first shade had uneven pleats and I had to redo half of it. The finished shade casts lovely patterned light. In a soft neutral it looks like it came from a proper lighting shop.
Materials: plain shade frame, cotton fabric, fabric glue, iron | Cost: ~$10-16 | Time: 1.5 hours
10. Swap to a Dark Shade for Evening Mood
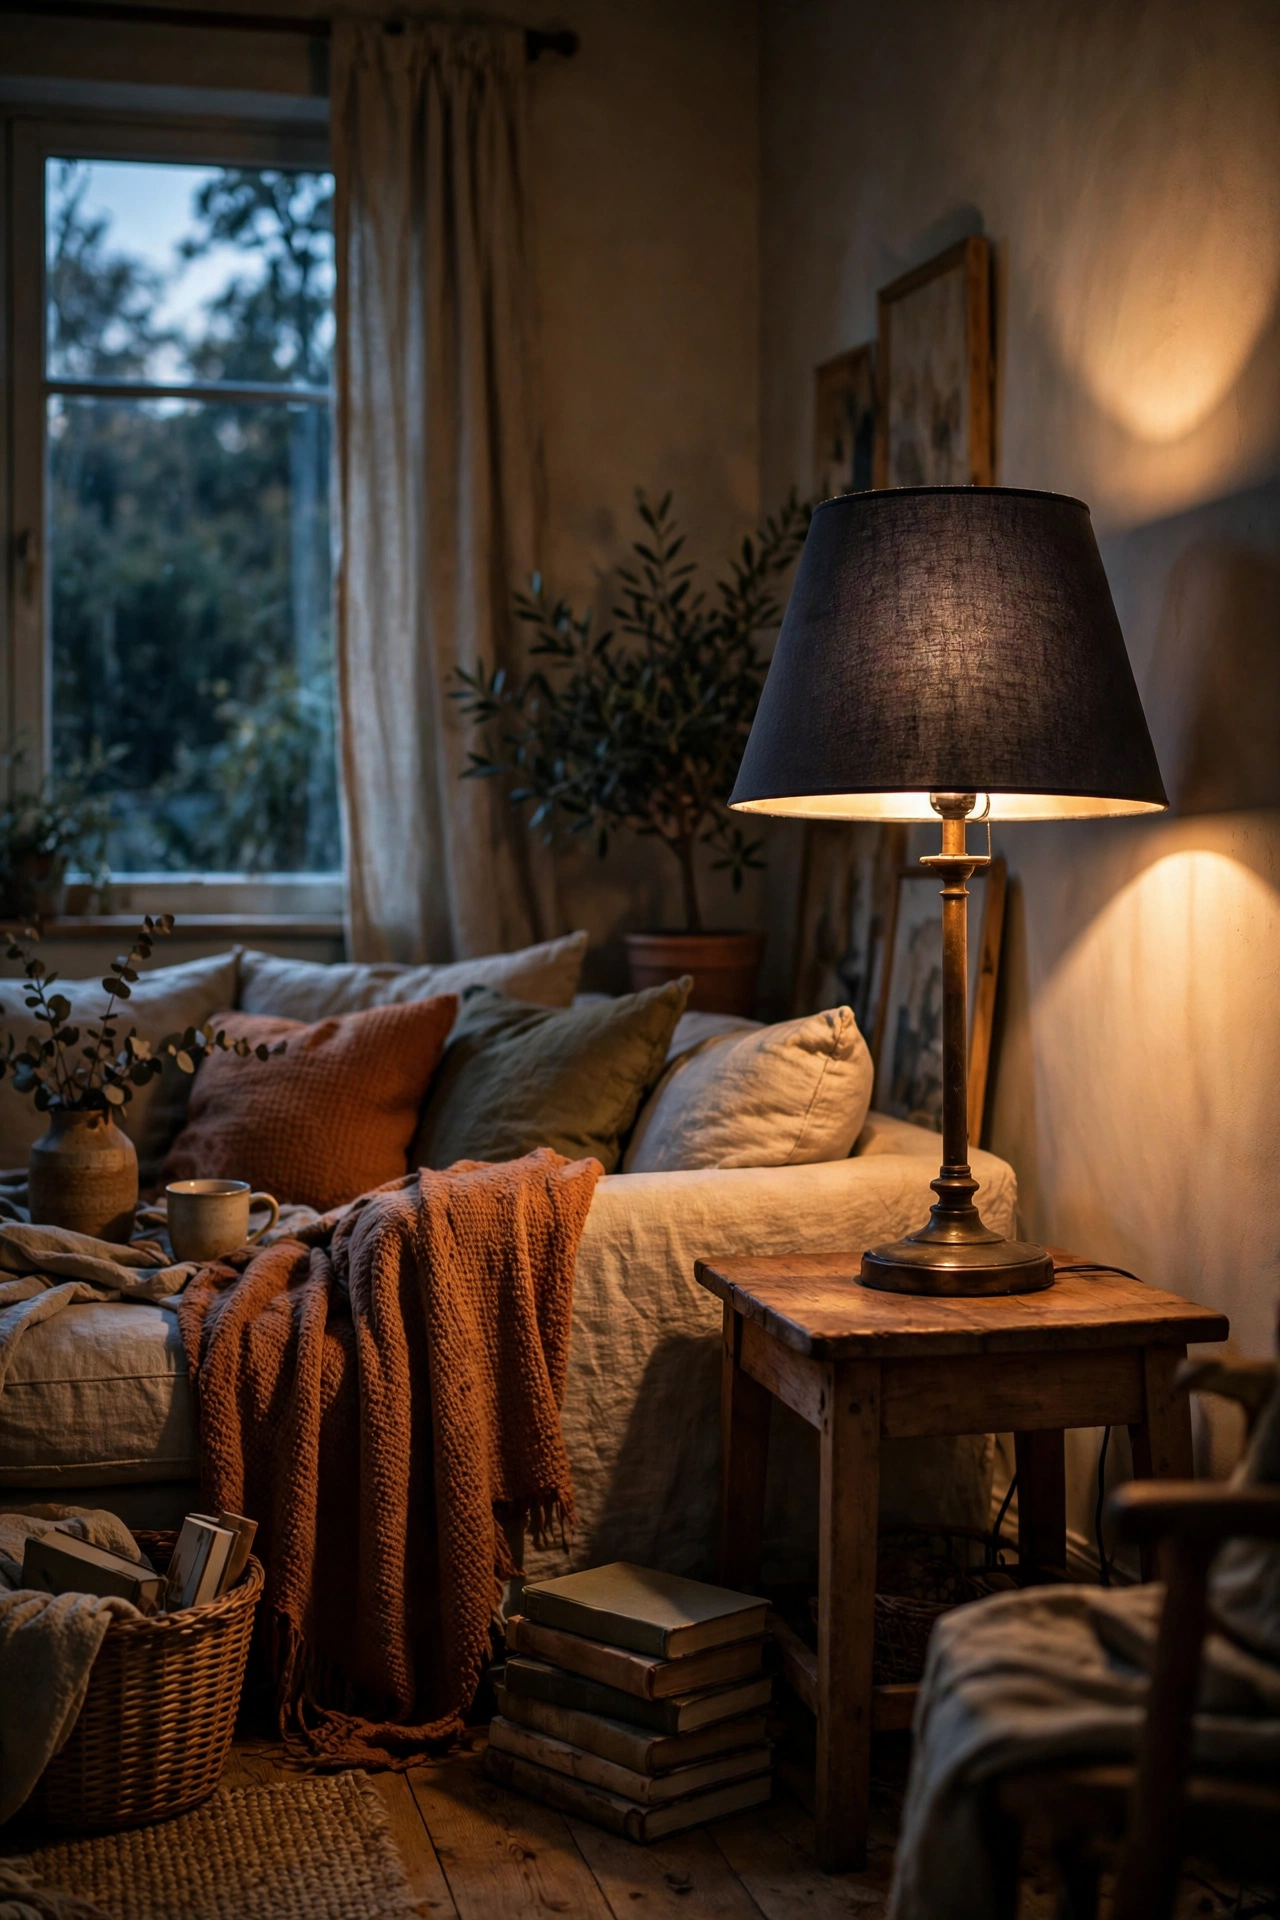
Simply swapping a white shade for a dark one completely changes a room after sunset. I replaced a plain white drum with a deep charcoal one, and the lamp went from daytime bright to evening moody. Dark shades push light up and down rather than out, which creates cosy pools of light. My living room finally feels like an evening room now. Keep the bulb warm white for the best effect. It is the easiest transformation on this list, and I wish I had done it years ago.
Materials: dark fabric drum shade | Cost: ~$12-20 | Time: 5 minutes
11. Paint a Base to Look Like Honed Concrete
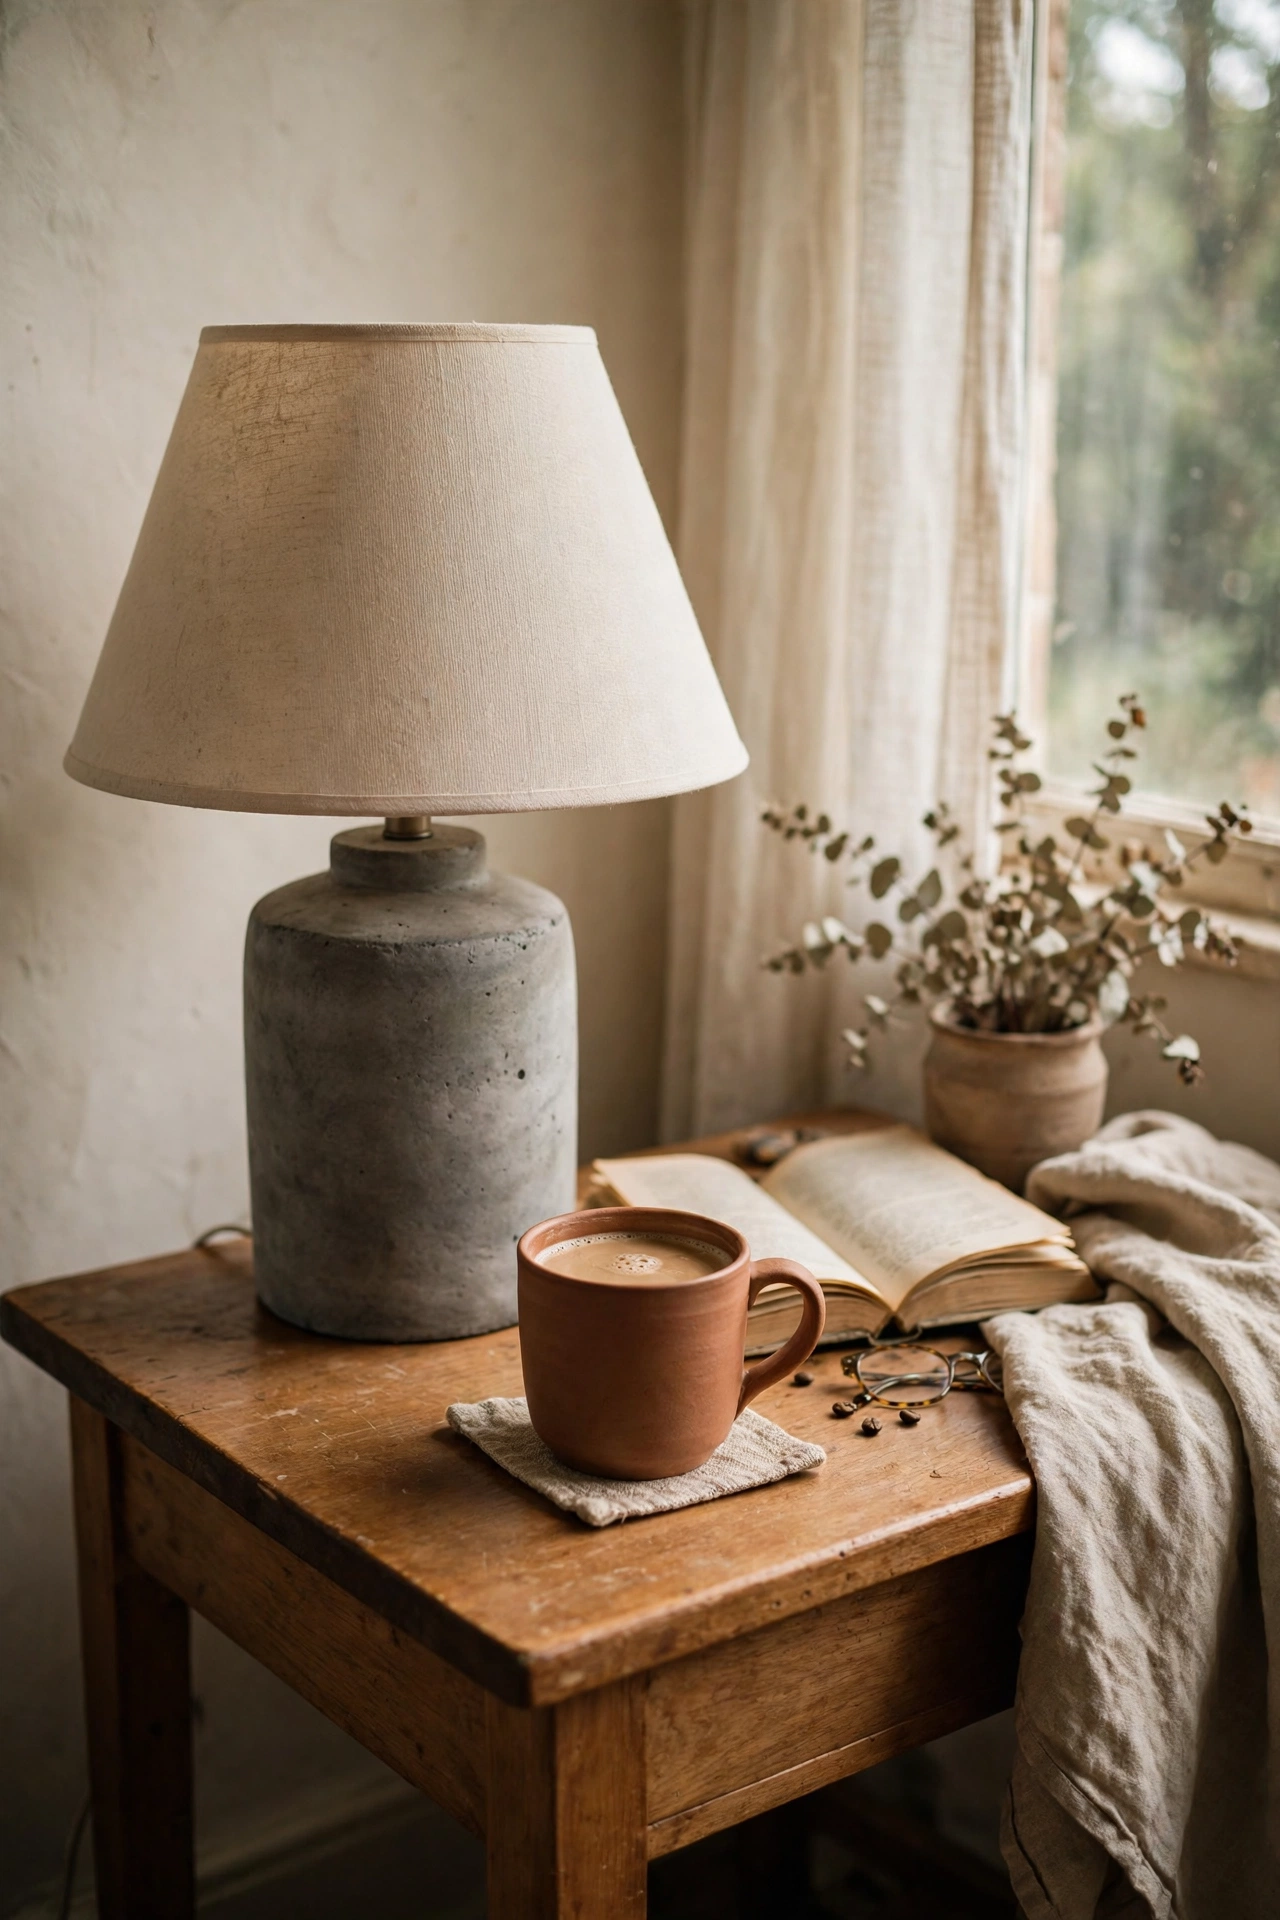
Grey paint dabbed with a sponge gives a lamp base a convincing honed-concrete finish. I primed a dated ceramic base, applied matte grey, then dabbed the wet second coat with a natural sponge for subtle mottling. The sponge texture is what sells it, so do not skip that step. My first attempt looked flat until I added the dabbing. Sealed with matte varnish, it looks like a heavy designer piece but weighs almost nothing. It anchors my side table beautifully.
Materials: lamp base, primer, matte grey paint, sponge, matte varnish | Cost: ~$8-13 | Time: 1 hour plus drying
12. Use a Woven Basket as a Pendant Shade
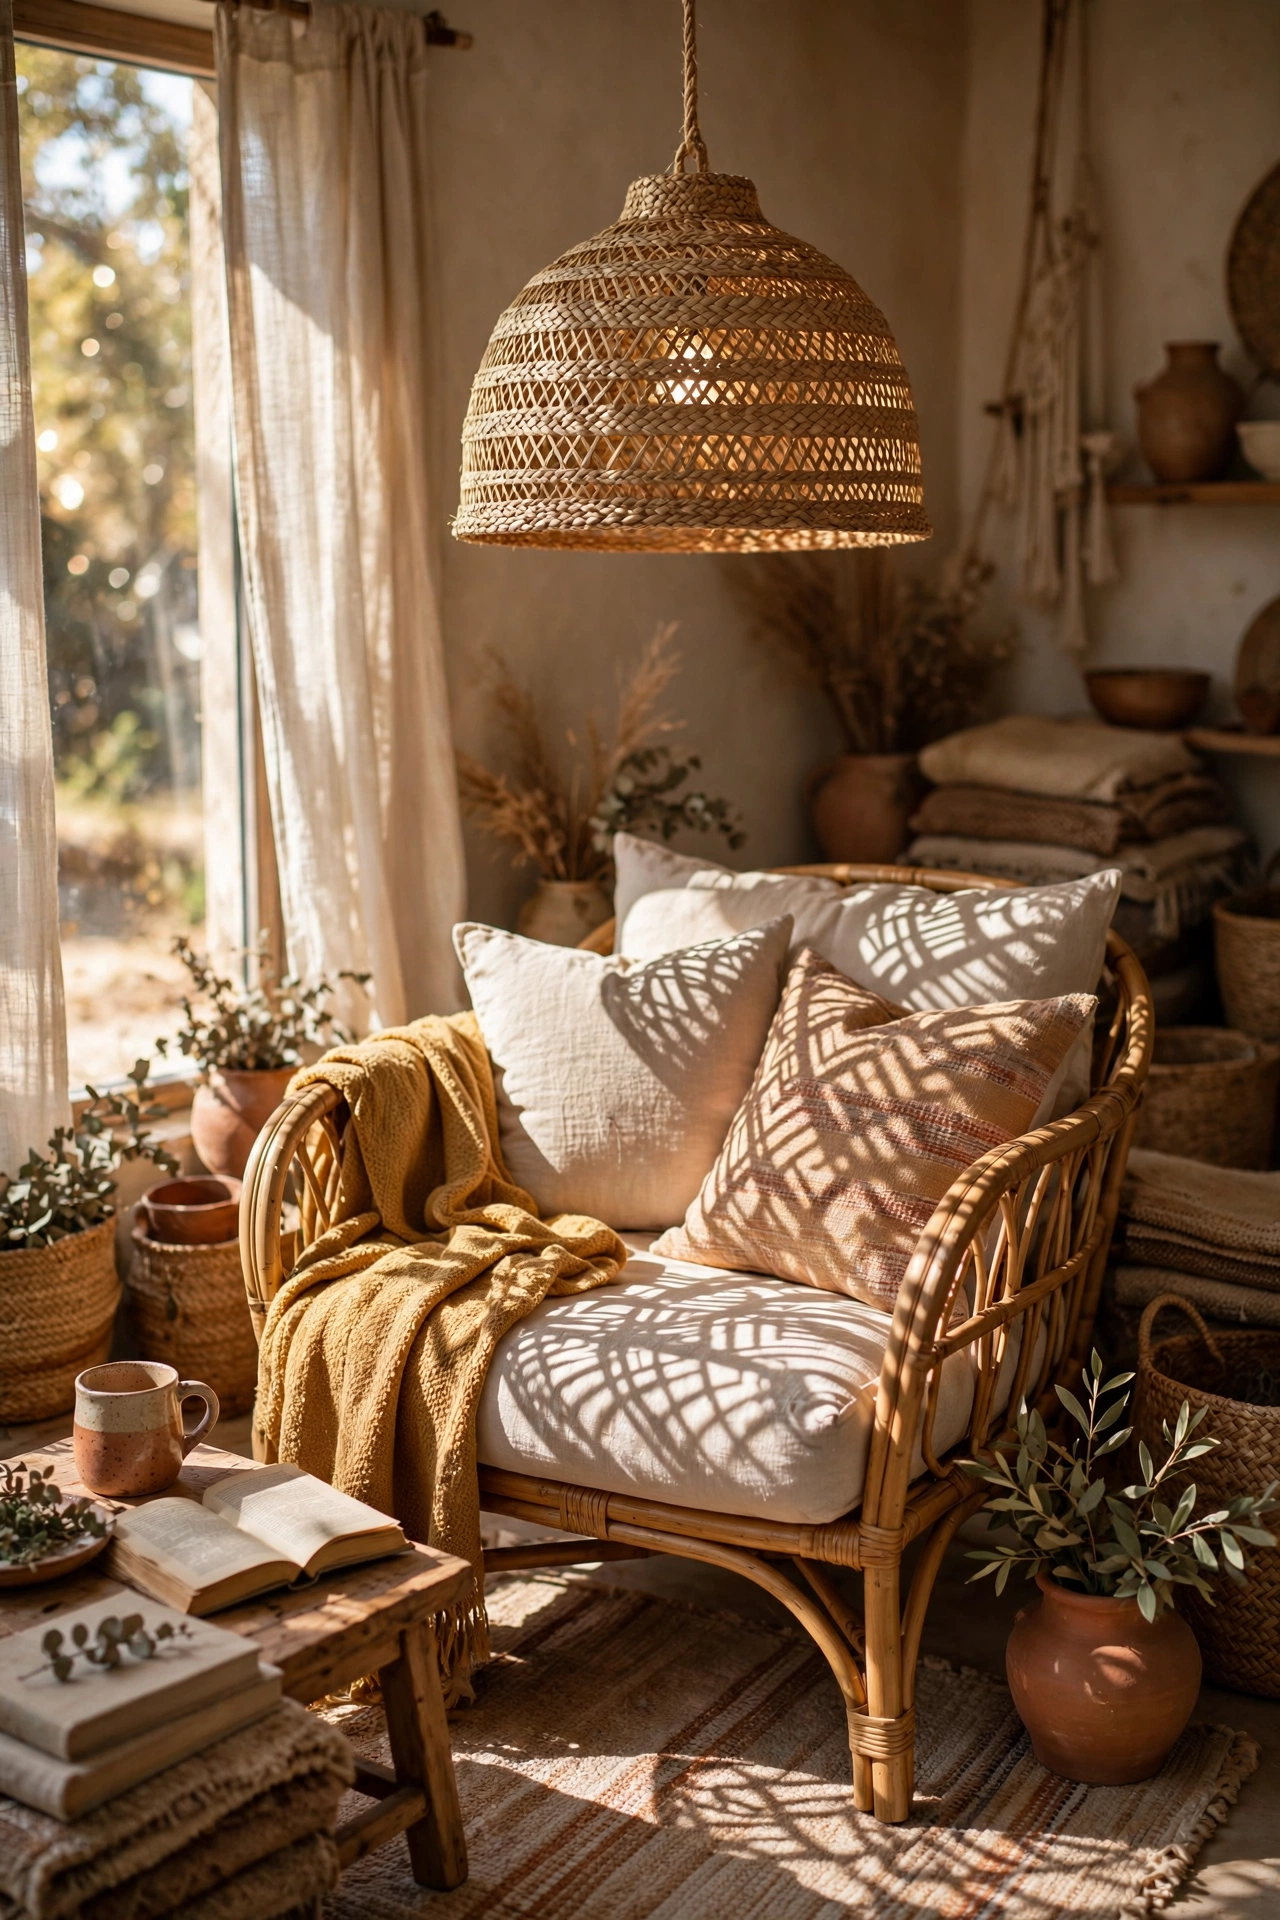
A woven seagrass basket flipped upside down makes a gorgeous pendant shade. I cut a small hole in the base for the cord, threaded a pendant kit through, and hung it over the reading chair. Use a basket with an open weave so light filters through the gaps. My first basket was too tightly woven and blocked too much light, so hold it up to a bulb before committing. The patterned shadows it throws are stunning. It looks like a holiday boutique find.
Materials: seagrass basket, pendant cord kit, LED bulb | Cost: ~$12-20 | Time: 45 minutes
13. Add Tassel Trim to a Plain Shade
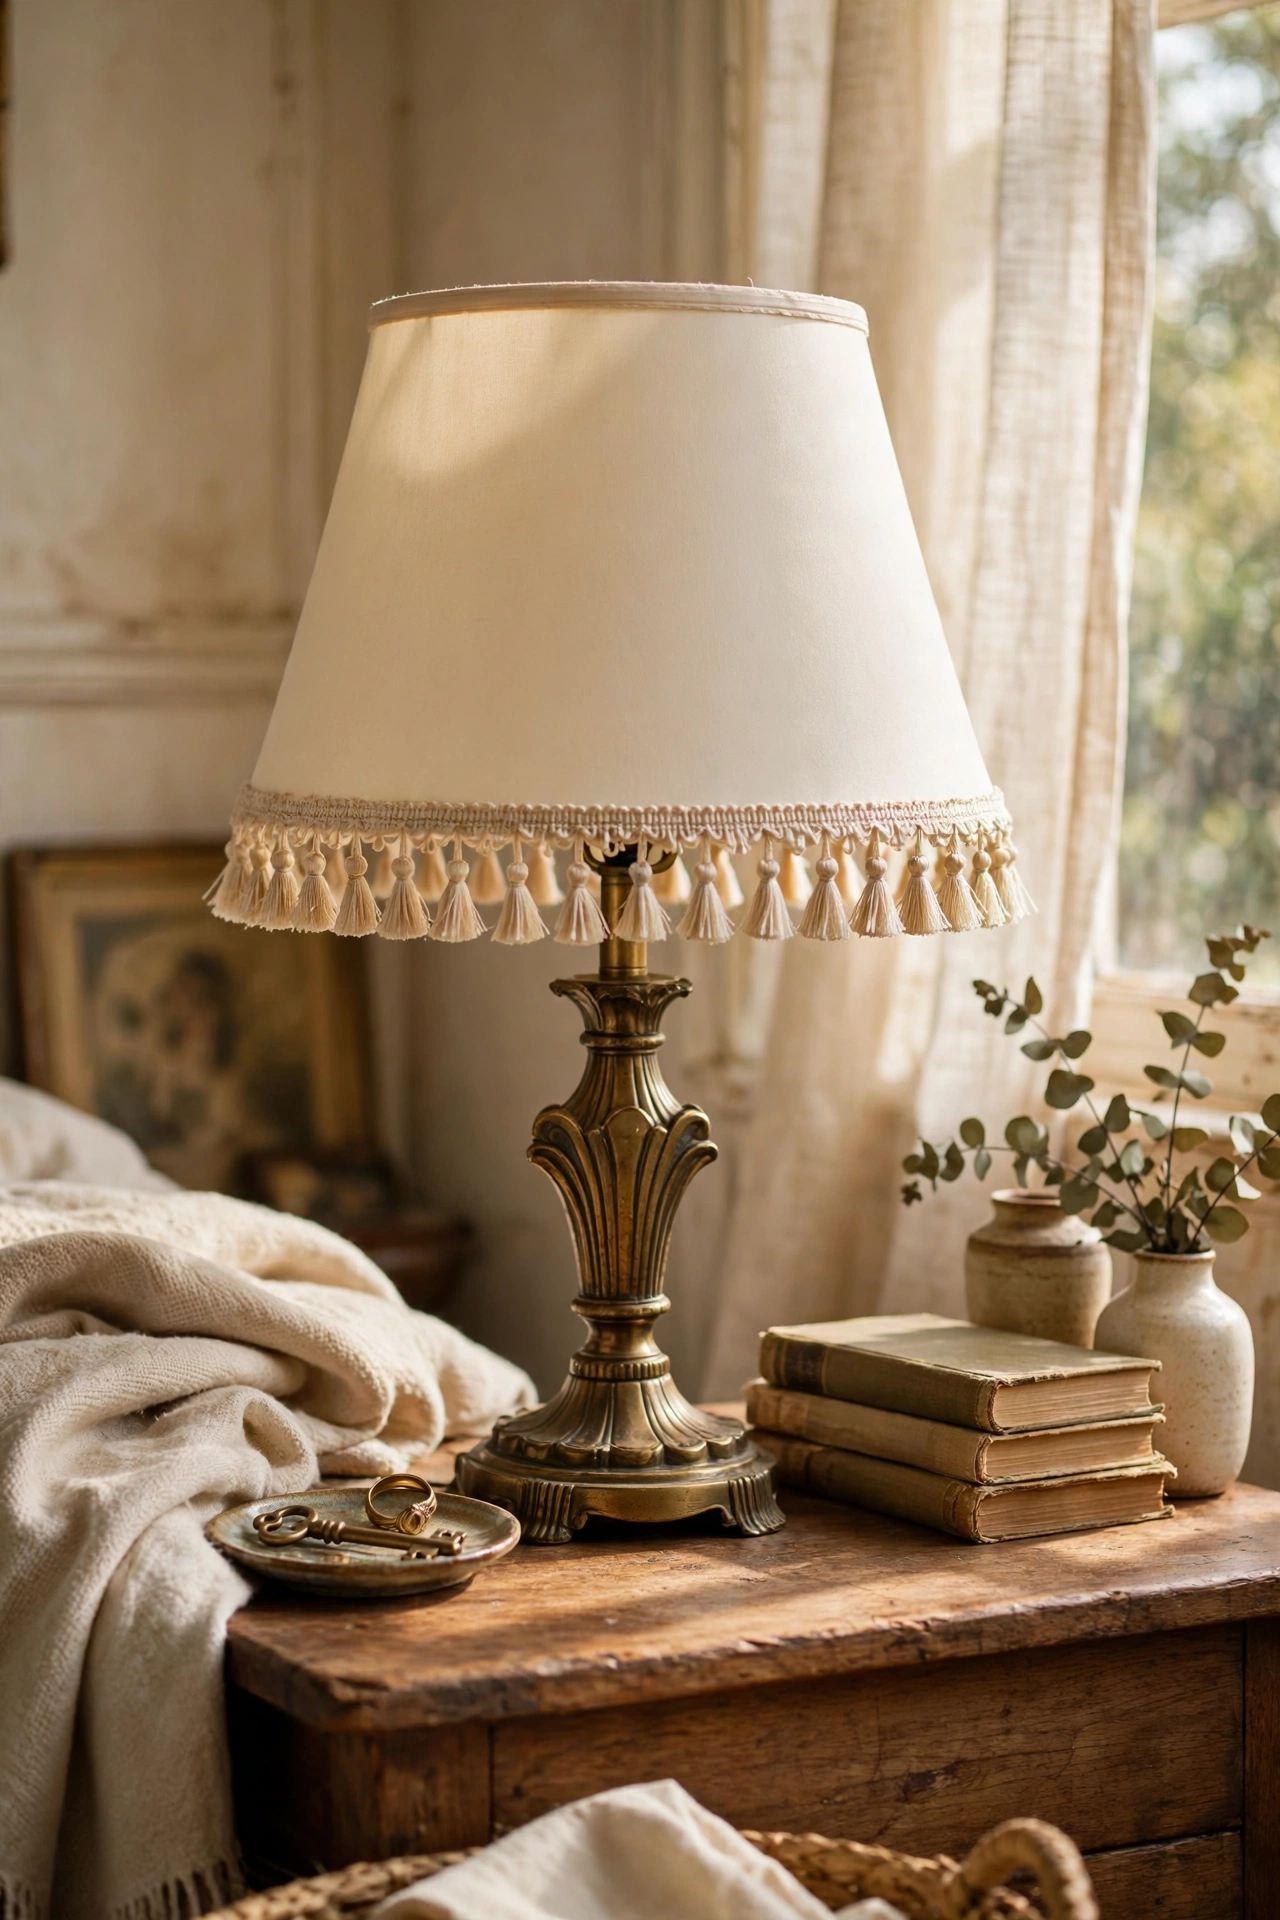
Tassel trim glued around the bottom edge of a plain shade adds instant vintage glamour. I bought a length of small tassel fringe and glued it around the lower rim with fabric glue, keeping it level all the way round. Mark a guideline lightly in pencil first so the trim does not wander. My first attempt drifted upward and looked drunk until I redid it with the guideline. The tassels sway gently and catch the light. It turned a boring cream shade into something with real personality.
Materials: plain shade, tassel trim, fabric glue | Cost: ~$7-12 | Time: 30 minutes
14. Make a Bottle Lamp from a Glass Decanter
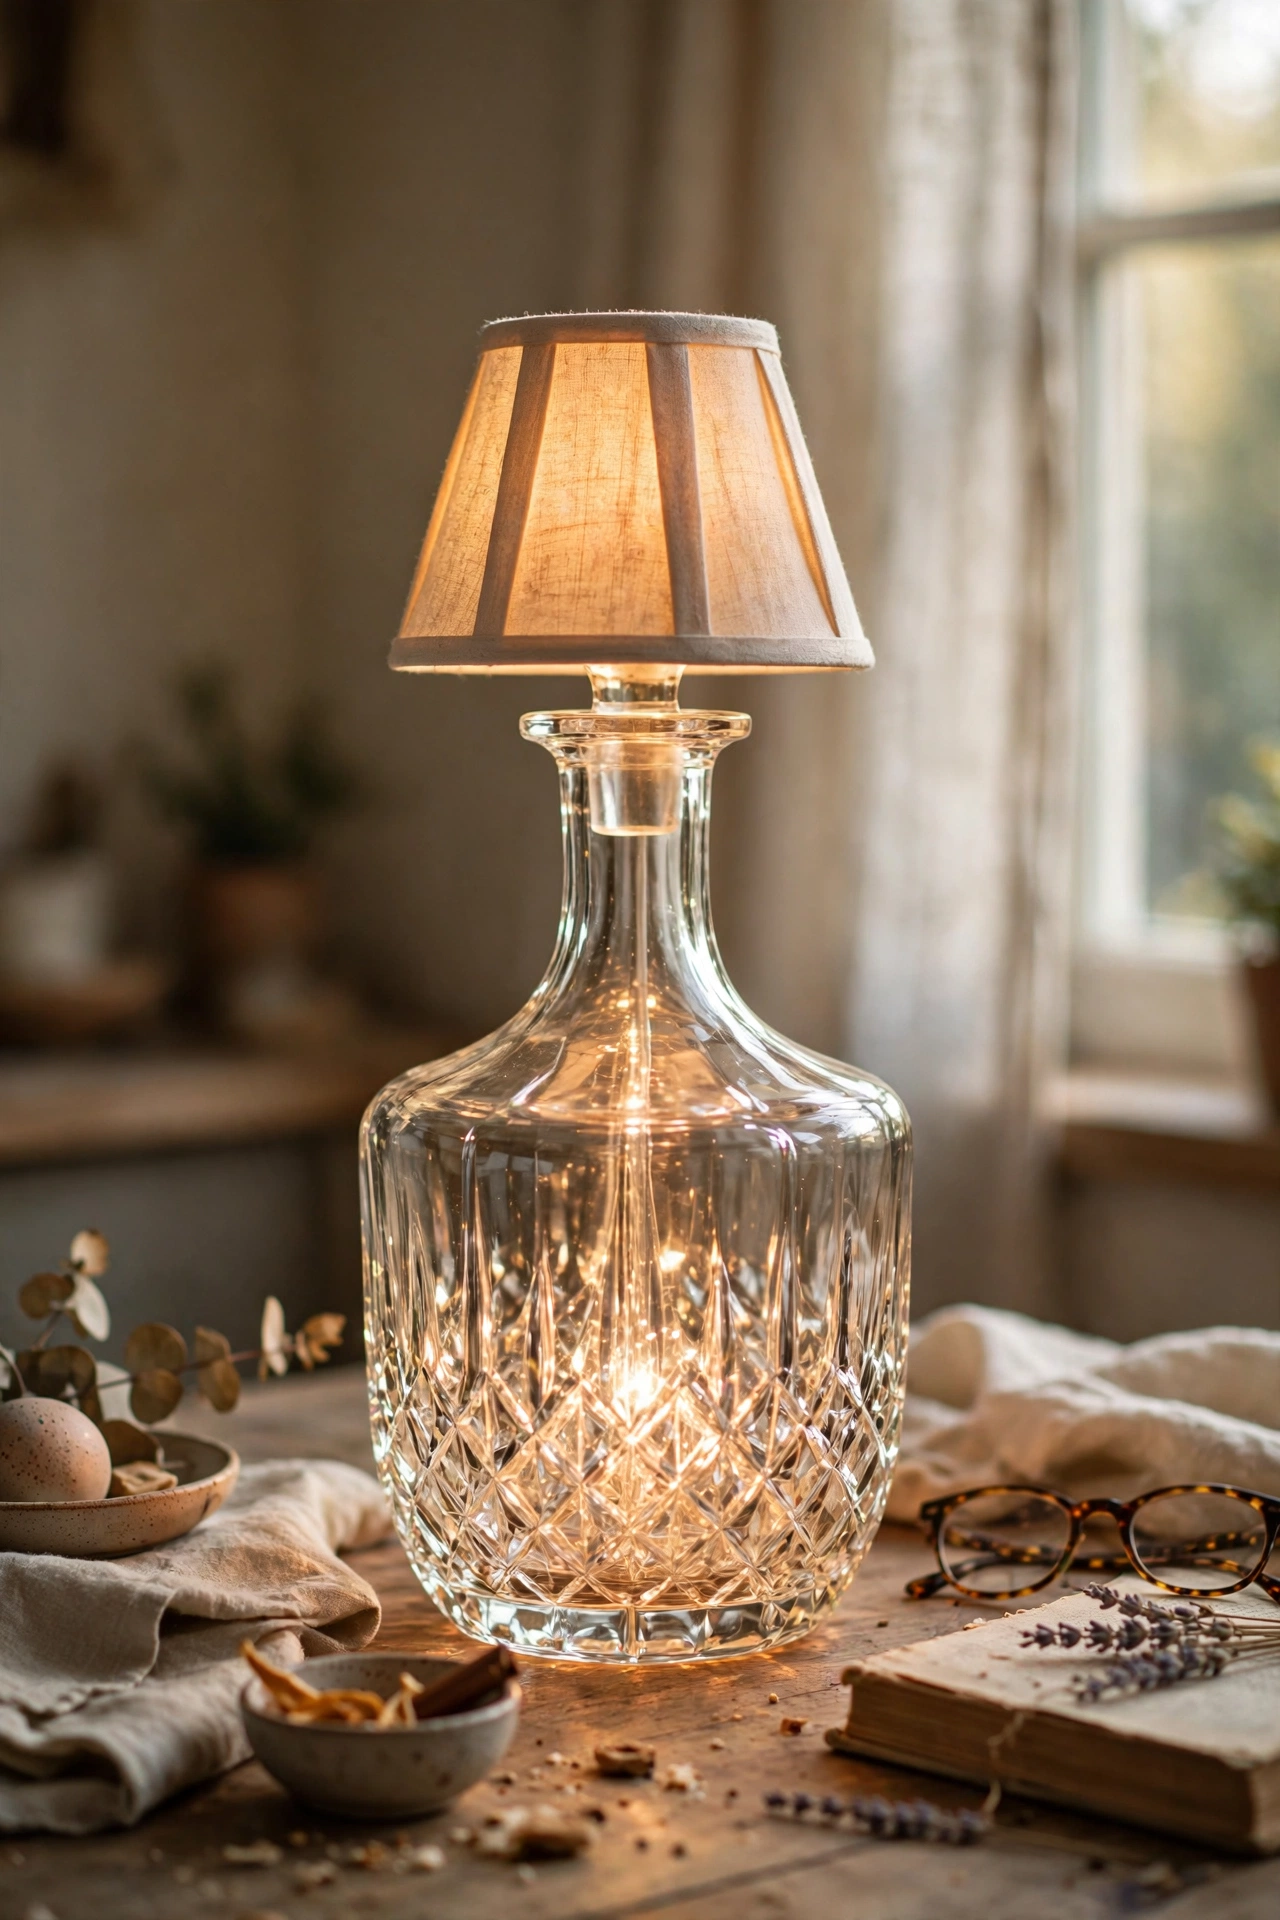
A heavy glass decanter makes an elegant lamp base with wonderful light refraction. I fitted a bottle lamp kit through the neck of a charity-shop decanter, added a small shade, and the glass glows subtly when lit. Choose a decanter with some weight so it sits steadily. Mine was two dollars and looks like cut crystal in lamplight. Keep the shade small so the beautiful base stays visible. It is now the smartest-looking lamp in my house. I keep mine on the drinks trolley, where it looks completely at home among the glasses.
Materials: glass decanter, bottle lamp kit, small shade, LED bulb | Cost: ~$12-18 | Time: 30 minutes
15. Build an Industrial Pipe Lamp
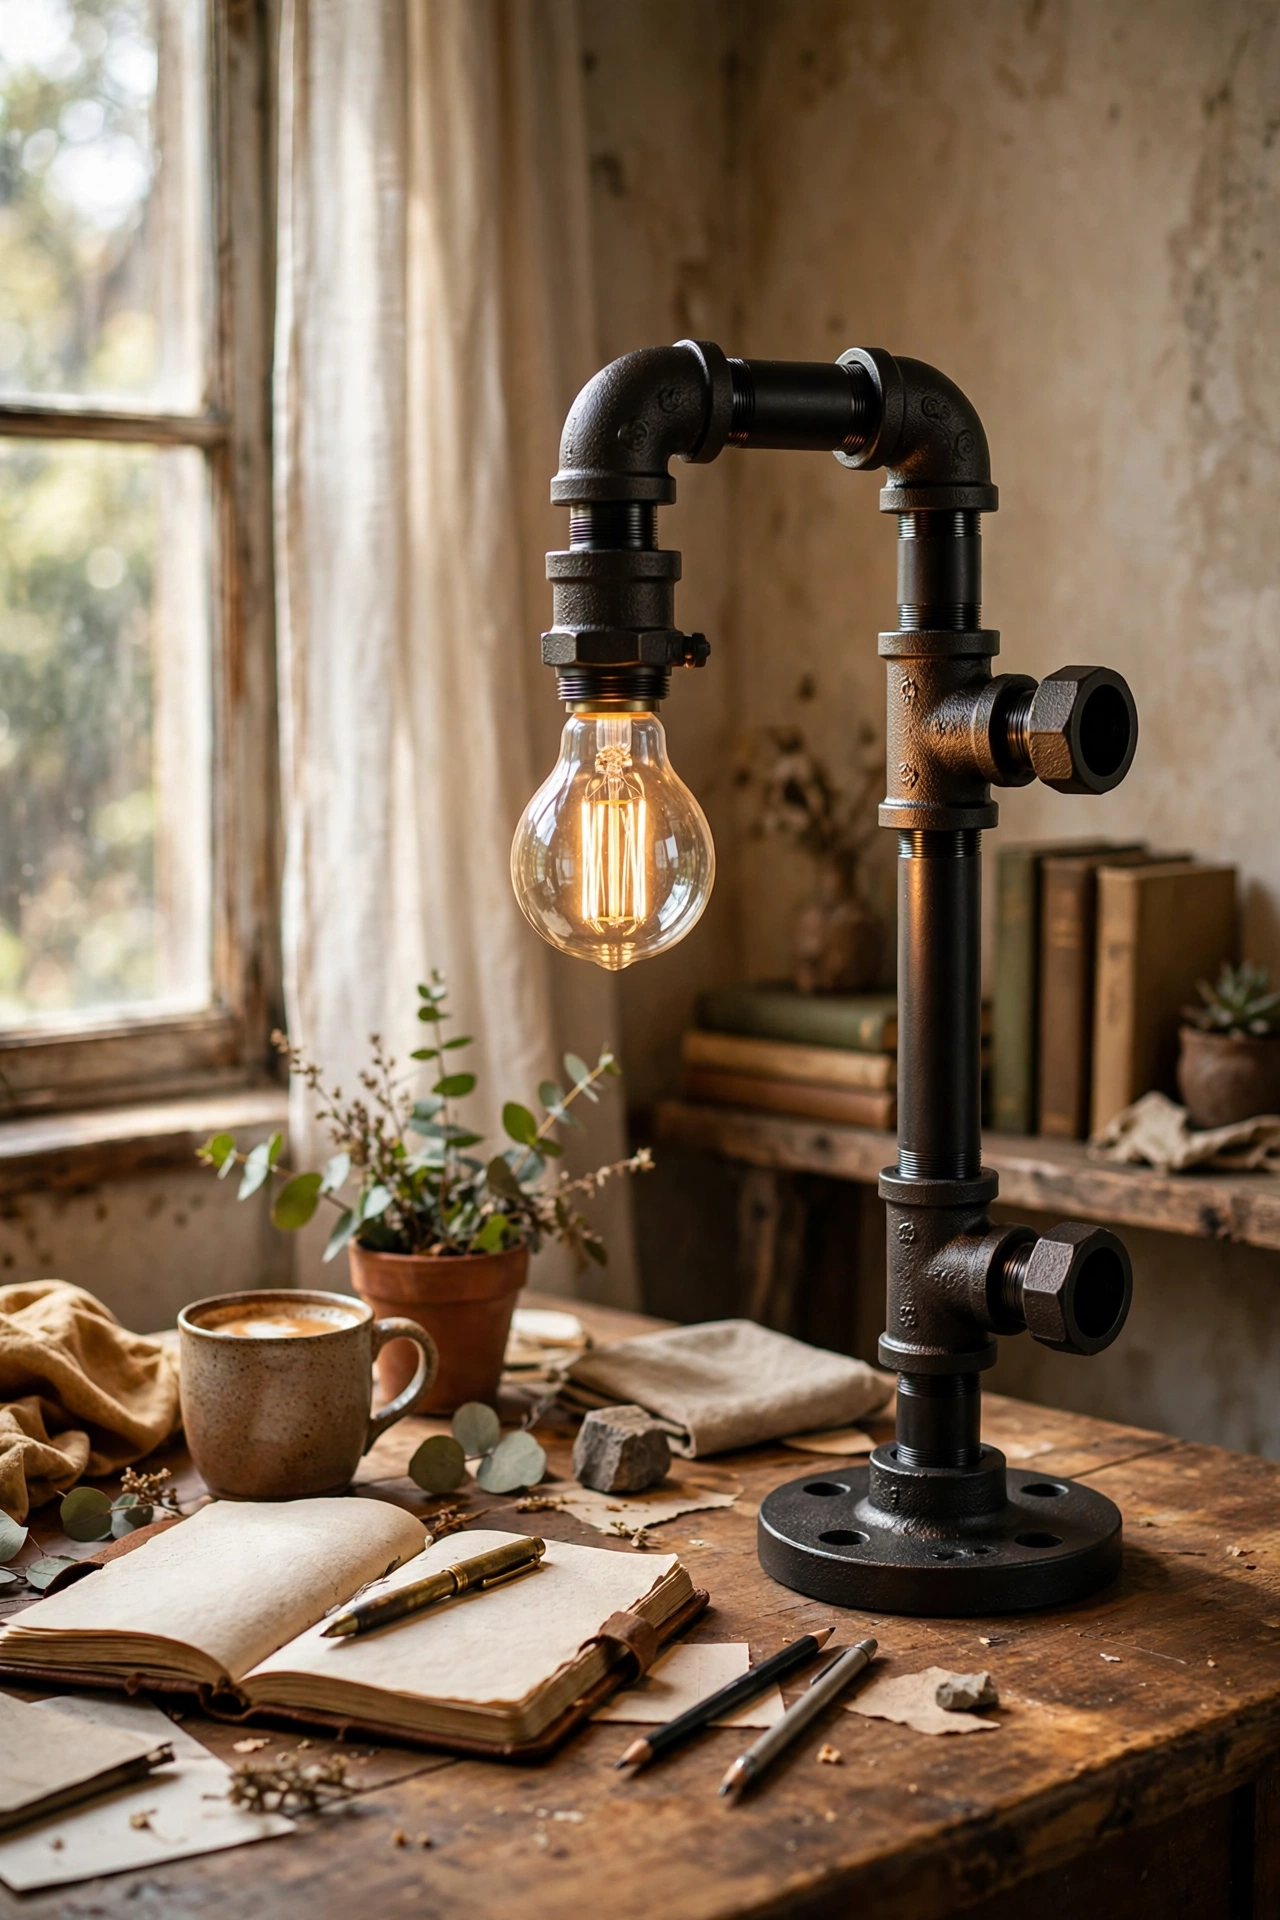
Plumbing pipe fittings screw together into a cool industrial lamp. I assembled elbows and flanges into an L shape for the base and arm, threaded the cord through, and fitted a socket and Edison bulb. Buy all fittings in the same size or nothing threads together. My first trip to the hardware store ended with mismatched parts, so check sizes carefully. Sprayed matte black, it looks like a proper industrial design piece. It suits a desk or side table perfectly.
Materials: pipe fittings and flanges, lamp cord kit, Edison LED bulb, matte black spray | Cost: ~$18-28 | Time: 1.5 hours
16. Fold an Origami Paper Star Pendant
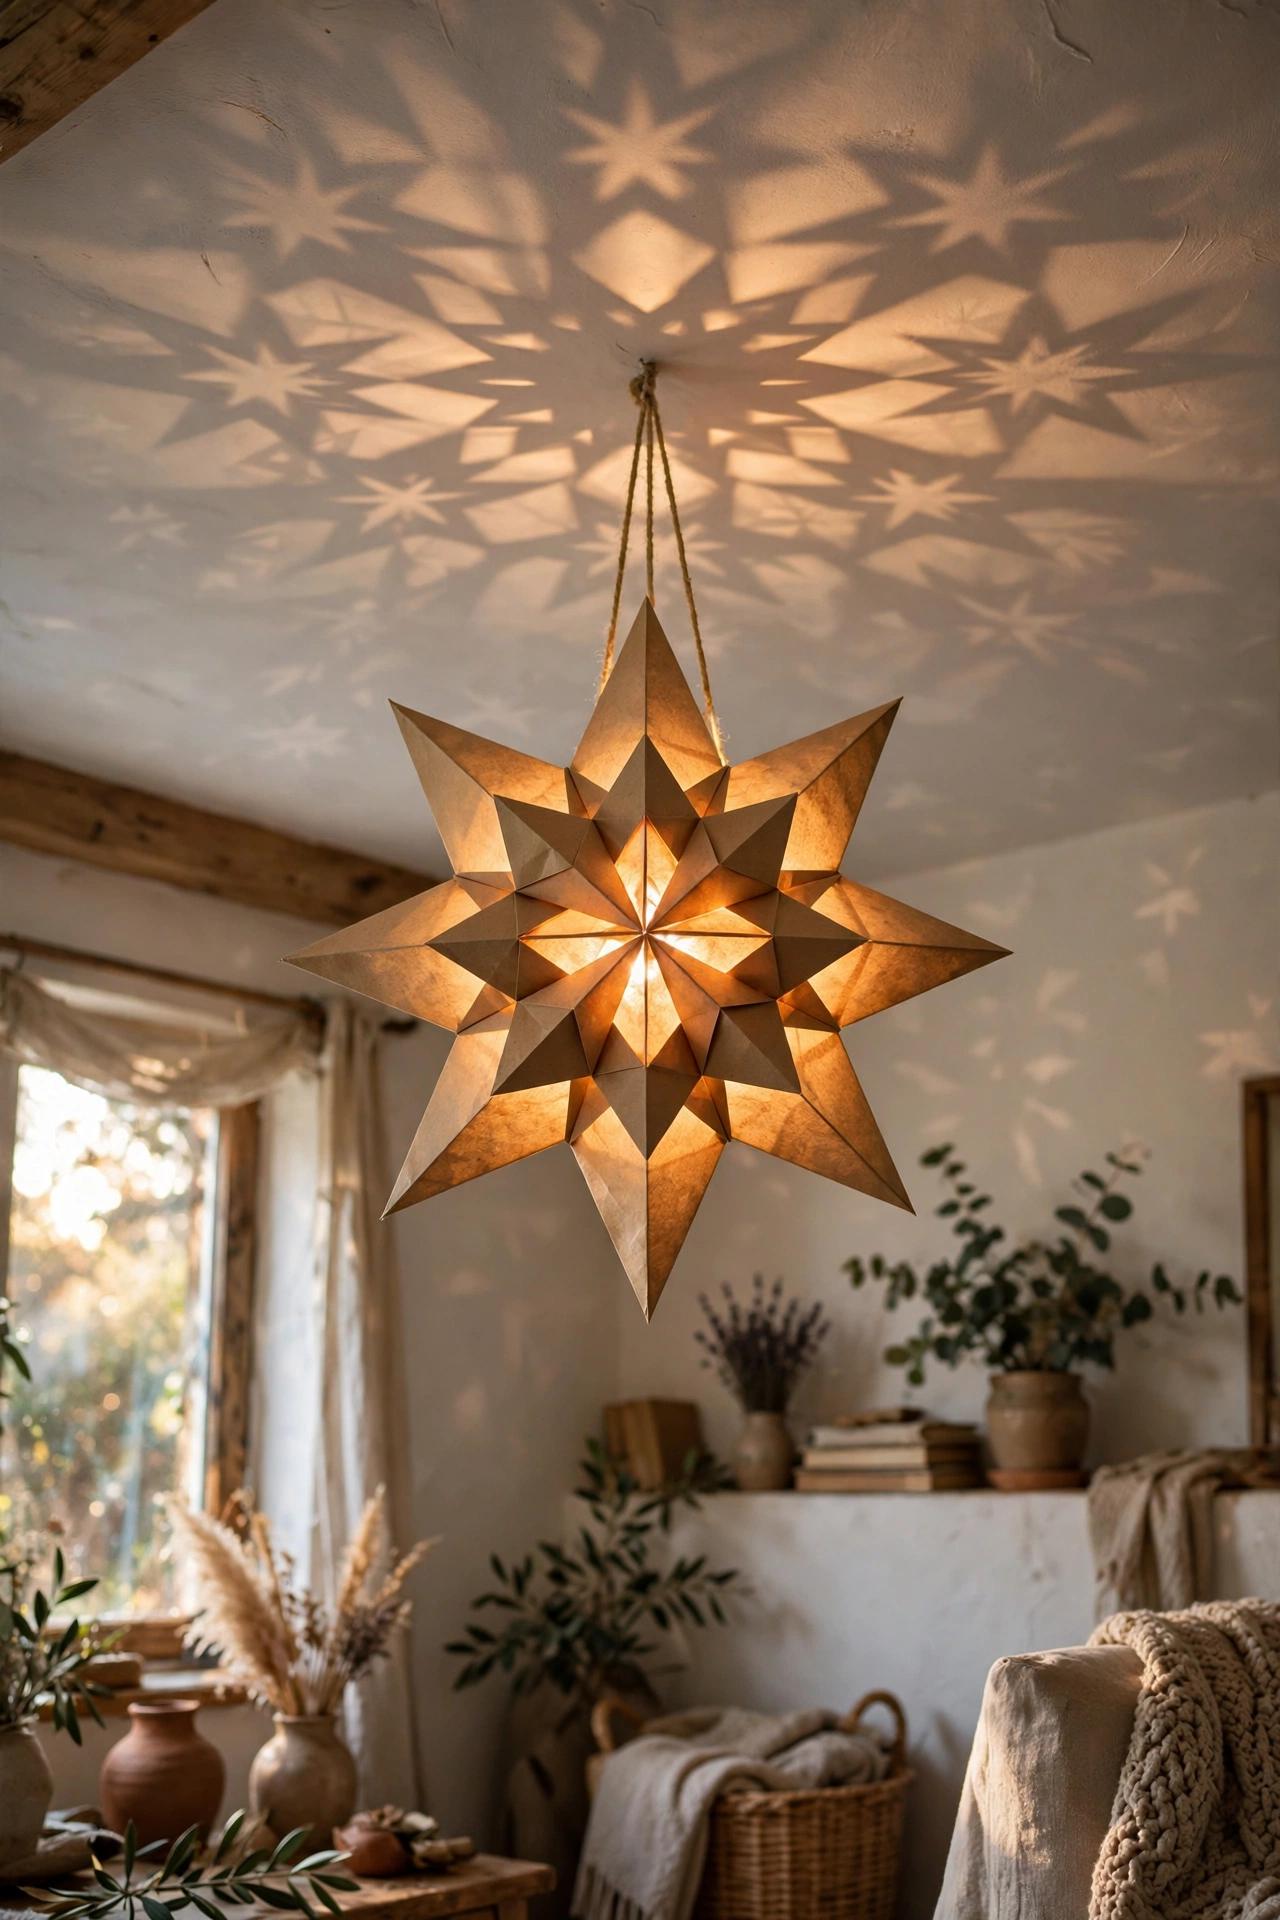
A large origami paper star hung as a pendant throws magical patterned light. I folded mine from sturdy kraft paper following a simple star lantern tutorial, then hung it from a pendant cord with an LED bulb inside. Use LED only and keep the bulb small so it never touches the paper. My first star collapsed because the paper was too thin, so use proper craft paper. The shadows it casts on the ceiling are extraordinary. Guests always assume it is a designer piece.
Materials: sturdy craft paper, pendant cord kit, small LED bulb | Cost: ~$8-14 | Time: 1.5 hours
17. Trim a Drum Shade with Grosgrain Ribbon
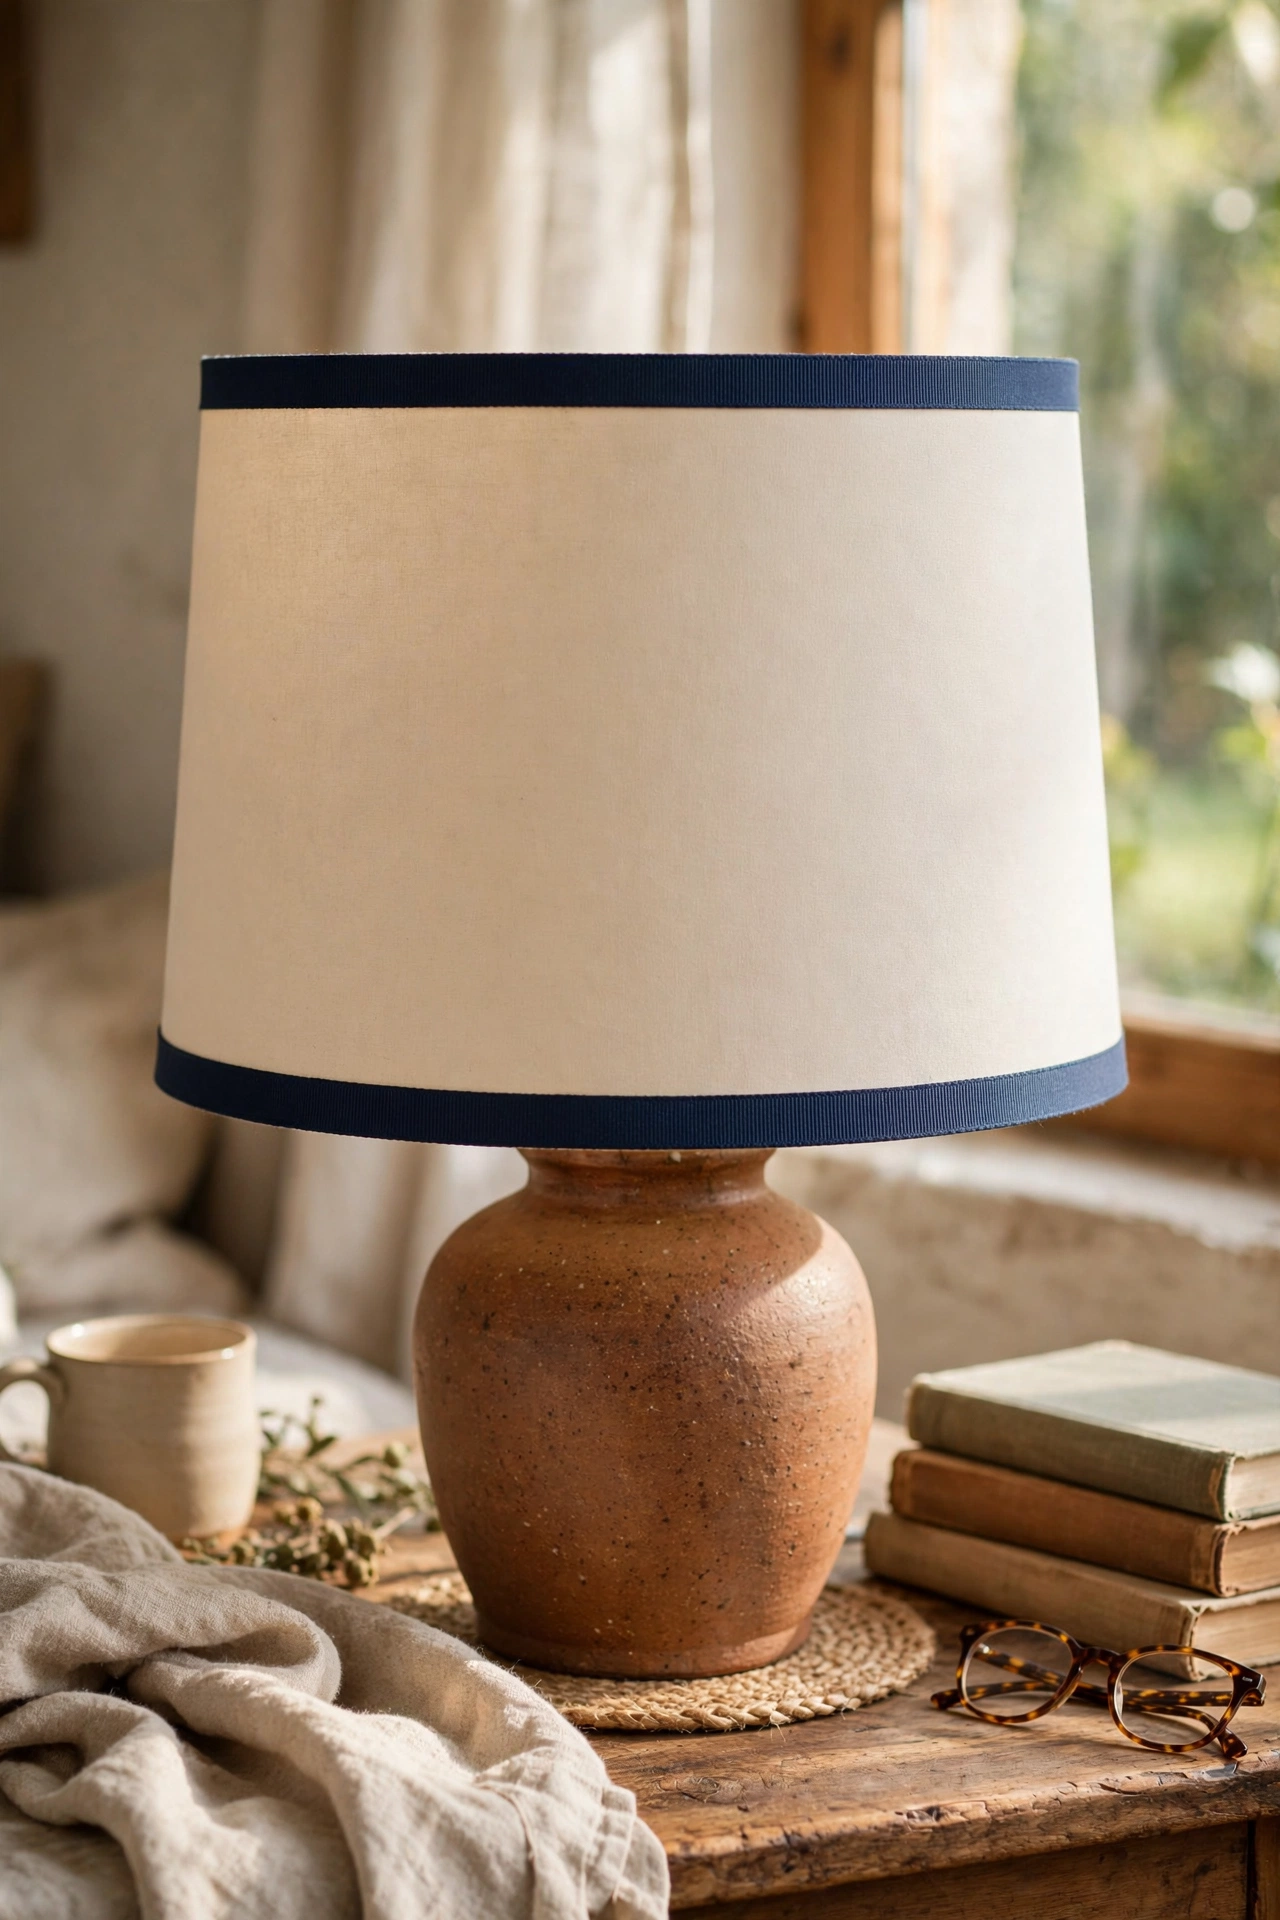
Two bands of grosgrain ribbon around a plain drum shade look crisp and tailored. I glued one wide band near the top and one near the bottom in a contrasting colour, keeping both perfectly level. Measure and mark the placement before gluing, because crooked ribbon ruins the effect. My first band wandered and I had to peel it off and start again. In navy on cream it looks preppy and expensive. It is the simplest finish on this list and works on any plain shade.
Materials: plain drum shade, grosgrain ribbon, fabric glue | Cost: ~$6-10 | Time: 30 minutes
Pin this post now so you can save this idea for your next weekend project run!
Once your lighting is sorted, give the rest of the room the same budget treatment with our (see also: 17-bedroom-decor-ideas-under-100-for-a-cozy-retreat/) guide next.
