17 DIY Mirror Ideas on a Budget
A mirror is the cheapest way to make a room feel bigger and brighter, and making one yourself costs a fraction of the shop price. My first diy Mirror project was a pound-shop round mirror wrapped in jute rope, and it still hangs in my hallway five years later. Since then I have framed, hung, and upcycled mirrors in every room of the house, and the total spend across all of them would barely buy one designer piece.
The trick is starting with cheap base mirrors: pound-shop rounds, charity-shop framed finds, and stick-on tiles. Everything below uses one of those as its starting point. I have grouped the ideas by technique, so pick the style that suits your room, and every project costs under $20.
Pound-Shop Mirror Frames That Look Far Pricier
1. Jute Rope-Wrapped Round Mirror
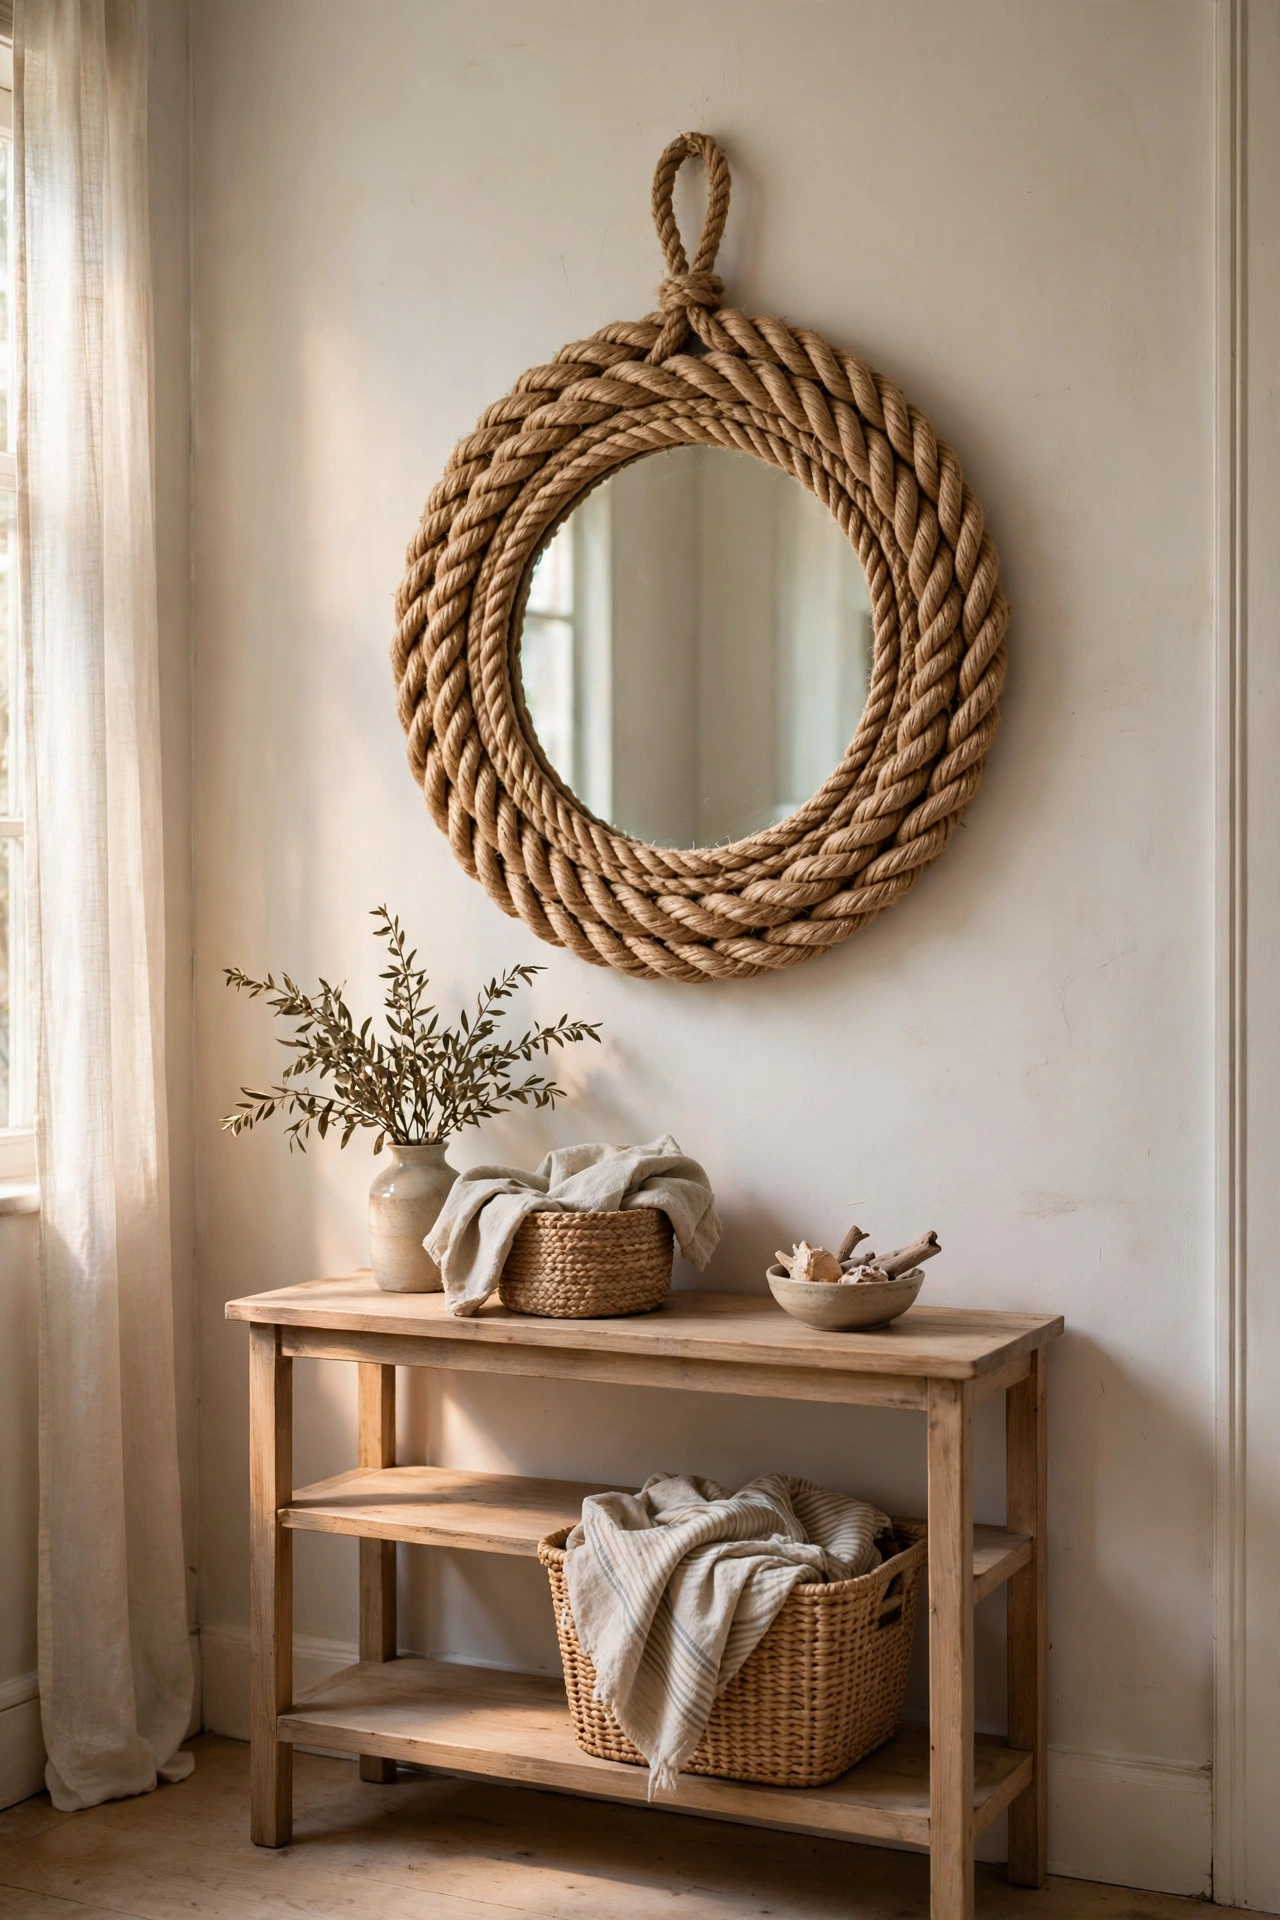
This is the mirror that started it all for me, and it is still my favourite five-minute upgrade. I took a plain pound-shop round mirror, glued one end of a ball of jute rope to the back edge with hot glue, and wound the rope tightly around the rim in neat rows until the whole edge was covered. I finished the back with a blob of glue and hung it with a simple sawtooth hanger. I tried this spacing the rope loosely first and the plastic rim showed through, so do wind it tightly with no gaps, because full coverage is what makes it look like a proper coastal mirror. Do not use thin twine, because thick jute gives the chunky texture that sells the look. It hangs in my hallway and guests always touch it.
Cost: ~$3-6 | Time: 30 minutes
2. Faux-Rattan Dowel Frame
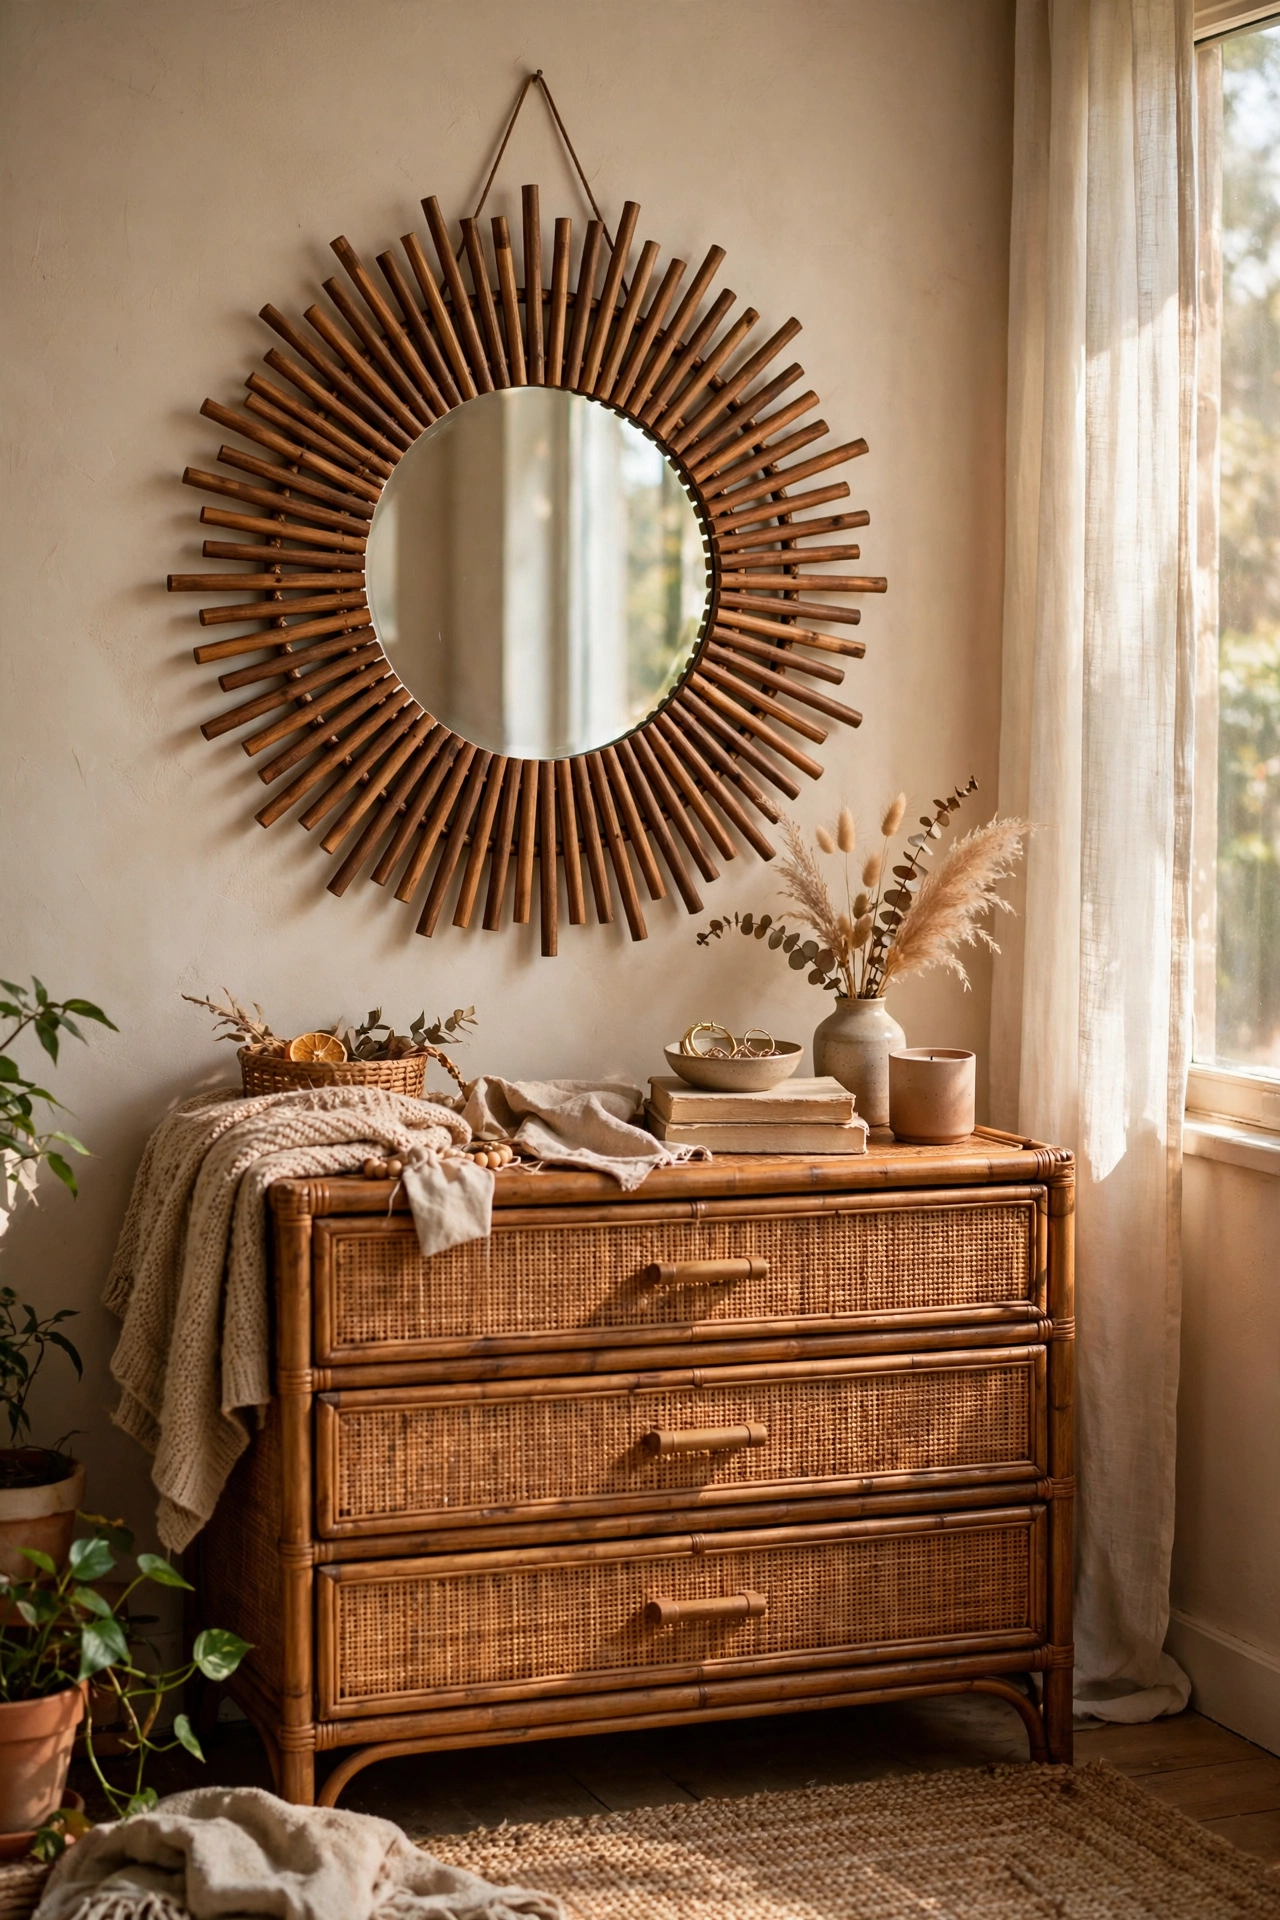
Short wooden dowels glued around a mirror rim mimic the look of expensive rattan sunburst mirrors. I cut dowels into six-inch lengths, glued them radially around the back of a round mirror with wood glue, alternating two lengths for a layered sunburst effect, then stained them all with a coat of light oak wood stain. I tried this with superglue first and half the dowels fell off overnight, so do use proper wood glue and let it cure for a full day, because the bond is what keeps the rays straight. Do not skip the stain, because raw dowels look pale and crafty. It looks like a boutique rattan piece above my dresser.
Cost: ~$6-10 | Time: 1 hour plus drying
3. Charity-Shop Frame With a Fresh Paint Job
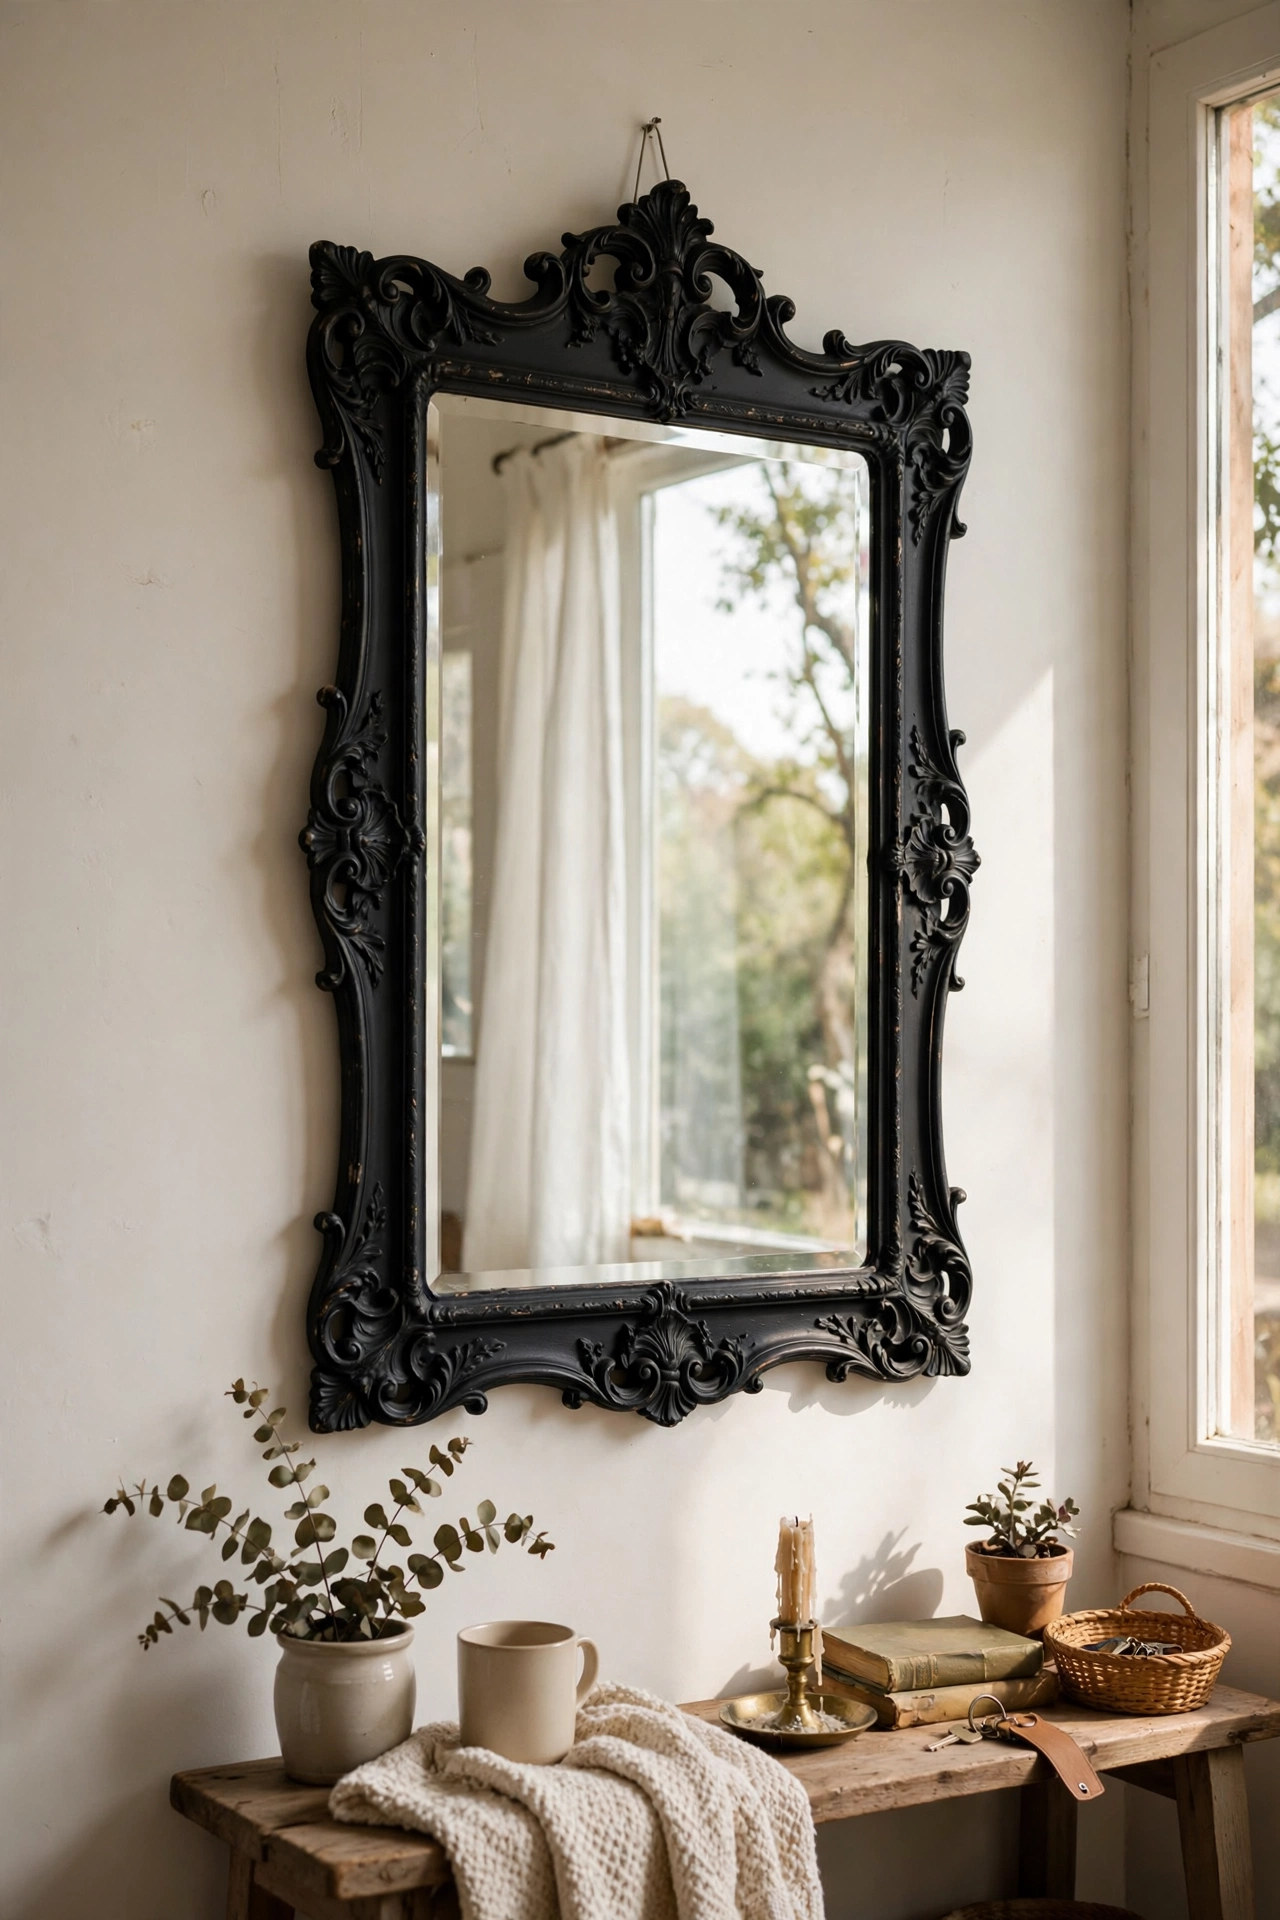
Charity shops are full of ugly framed mirrors waiting for a coat of paint. I found a heavy gilt-framed mirror for four pounds, cleaned it, and painted the frame with two coats of matte black chalk paint, sanding lightly between coats. The black frame against the glass looks modern and sharp. I tried this painting over the glass without masking first and spent an hour scraping, so do mask the mirror with painter’s tape right up to the frame edge, because clean glass is the whole point. Do not use glossy paint, because matte or chalk paint hides the old finish better. It looks like a designer black-frame mirror now.
Cost: ~$6-12 | Time: 1 hour plus drying
4. Macramé Fringe Frame From Cotton Cord
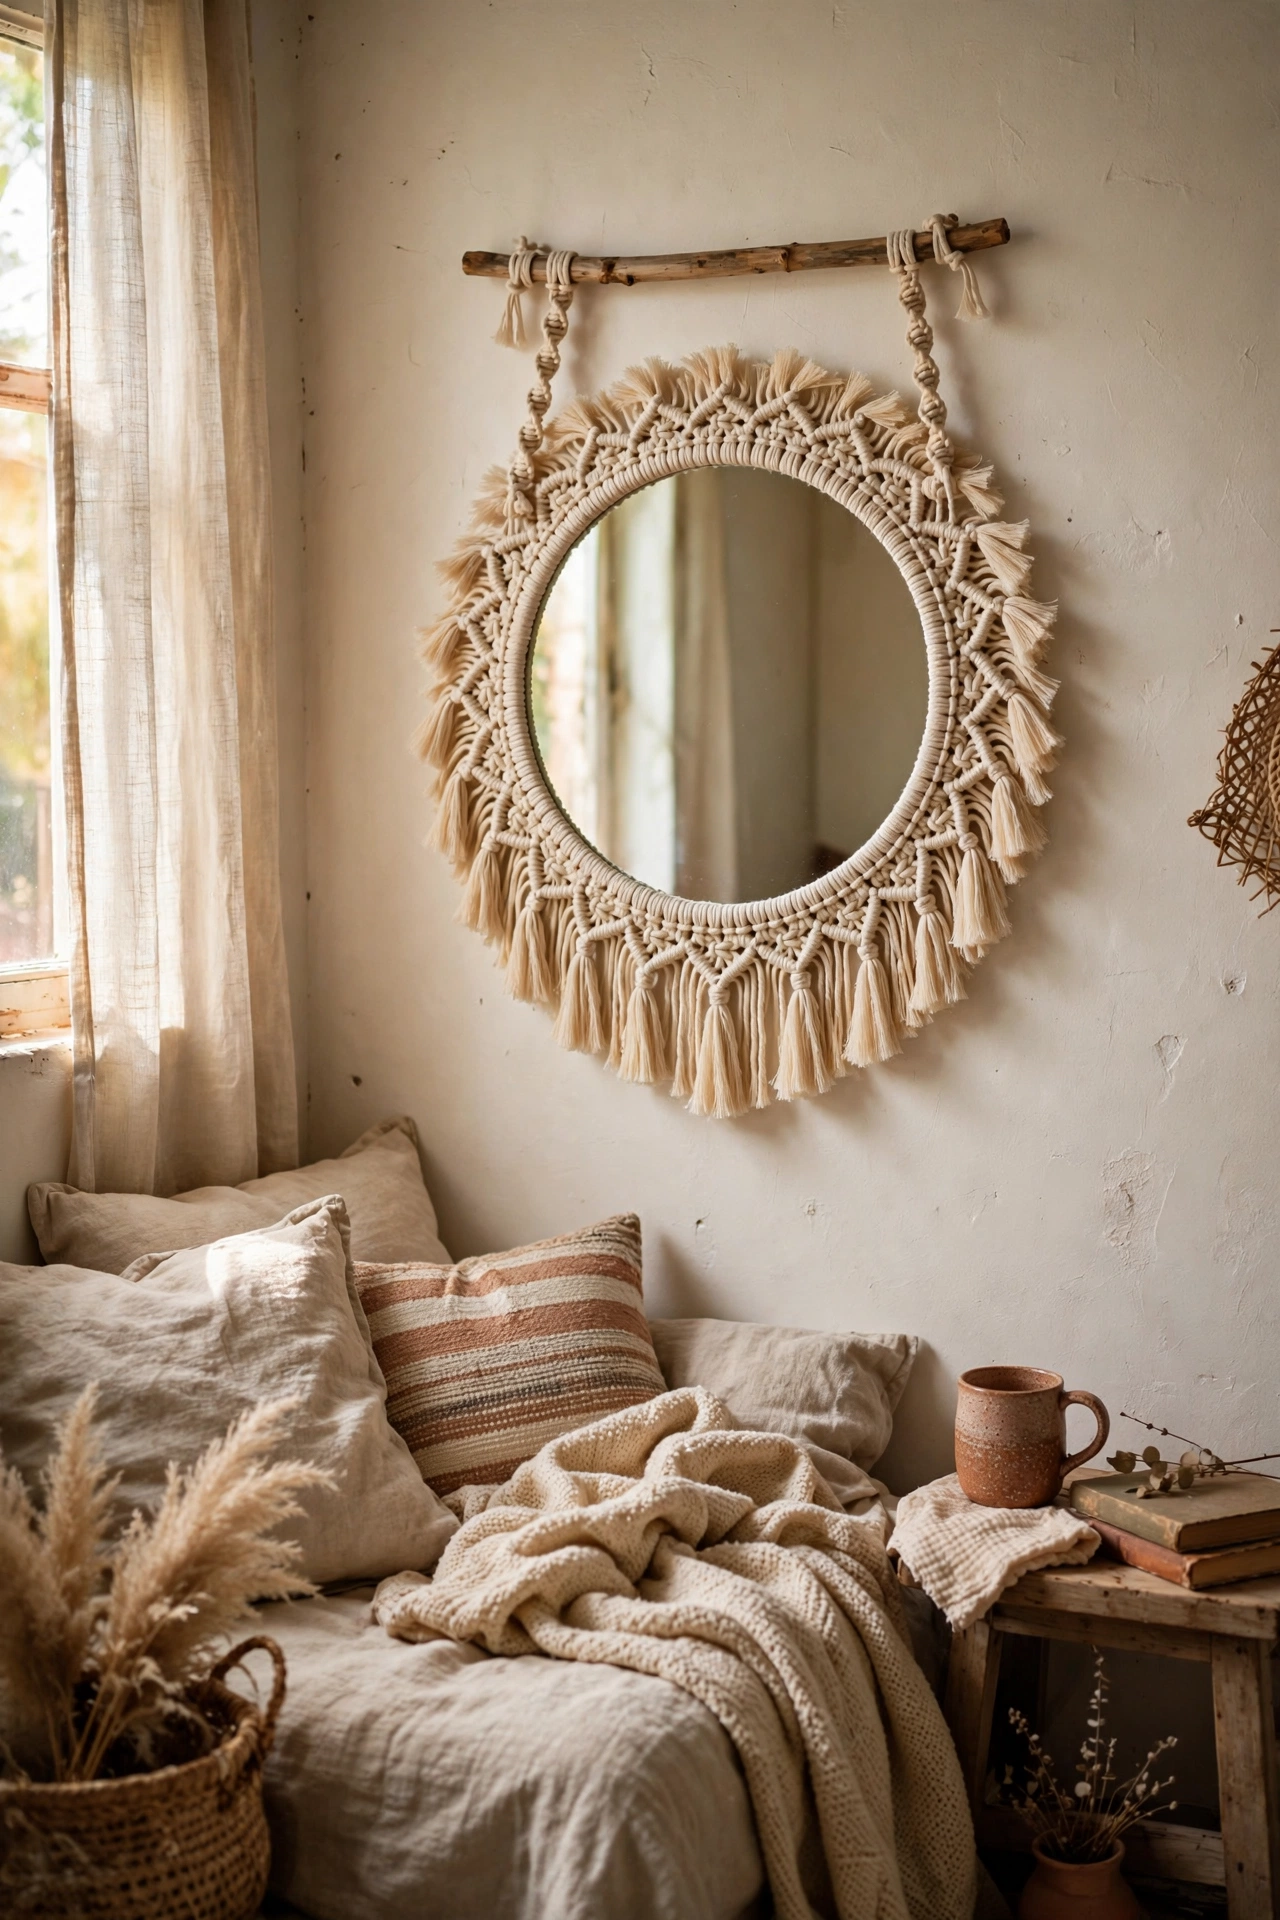
A macramé fringe turns a boring mirror into a boho statement piece. I cut forty strands of cotton cord, looped them around the rim of a round mirror with lark’s head knots, and trimmed the fringe into a neat V shape at the bottom. Hanging it from a wooden dowel with two longer cords finished the look. I tried this with uneven strand lengths first and the trim looked ragged, so do measure your strands carefully before knotting, because even lengths are what make the fringe look intentional. Do not pull the knots too tight, because over-tightened knots warp the mirror’s edge. It hangs in my bedroom and softens the whole corner.
Cost: ~$5-9 | Time: 1.5 hours
5. Mosaic Frame From Free Tile Samples
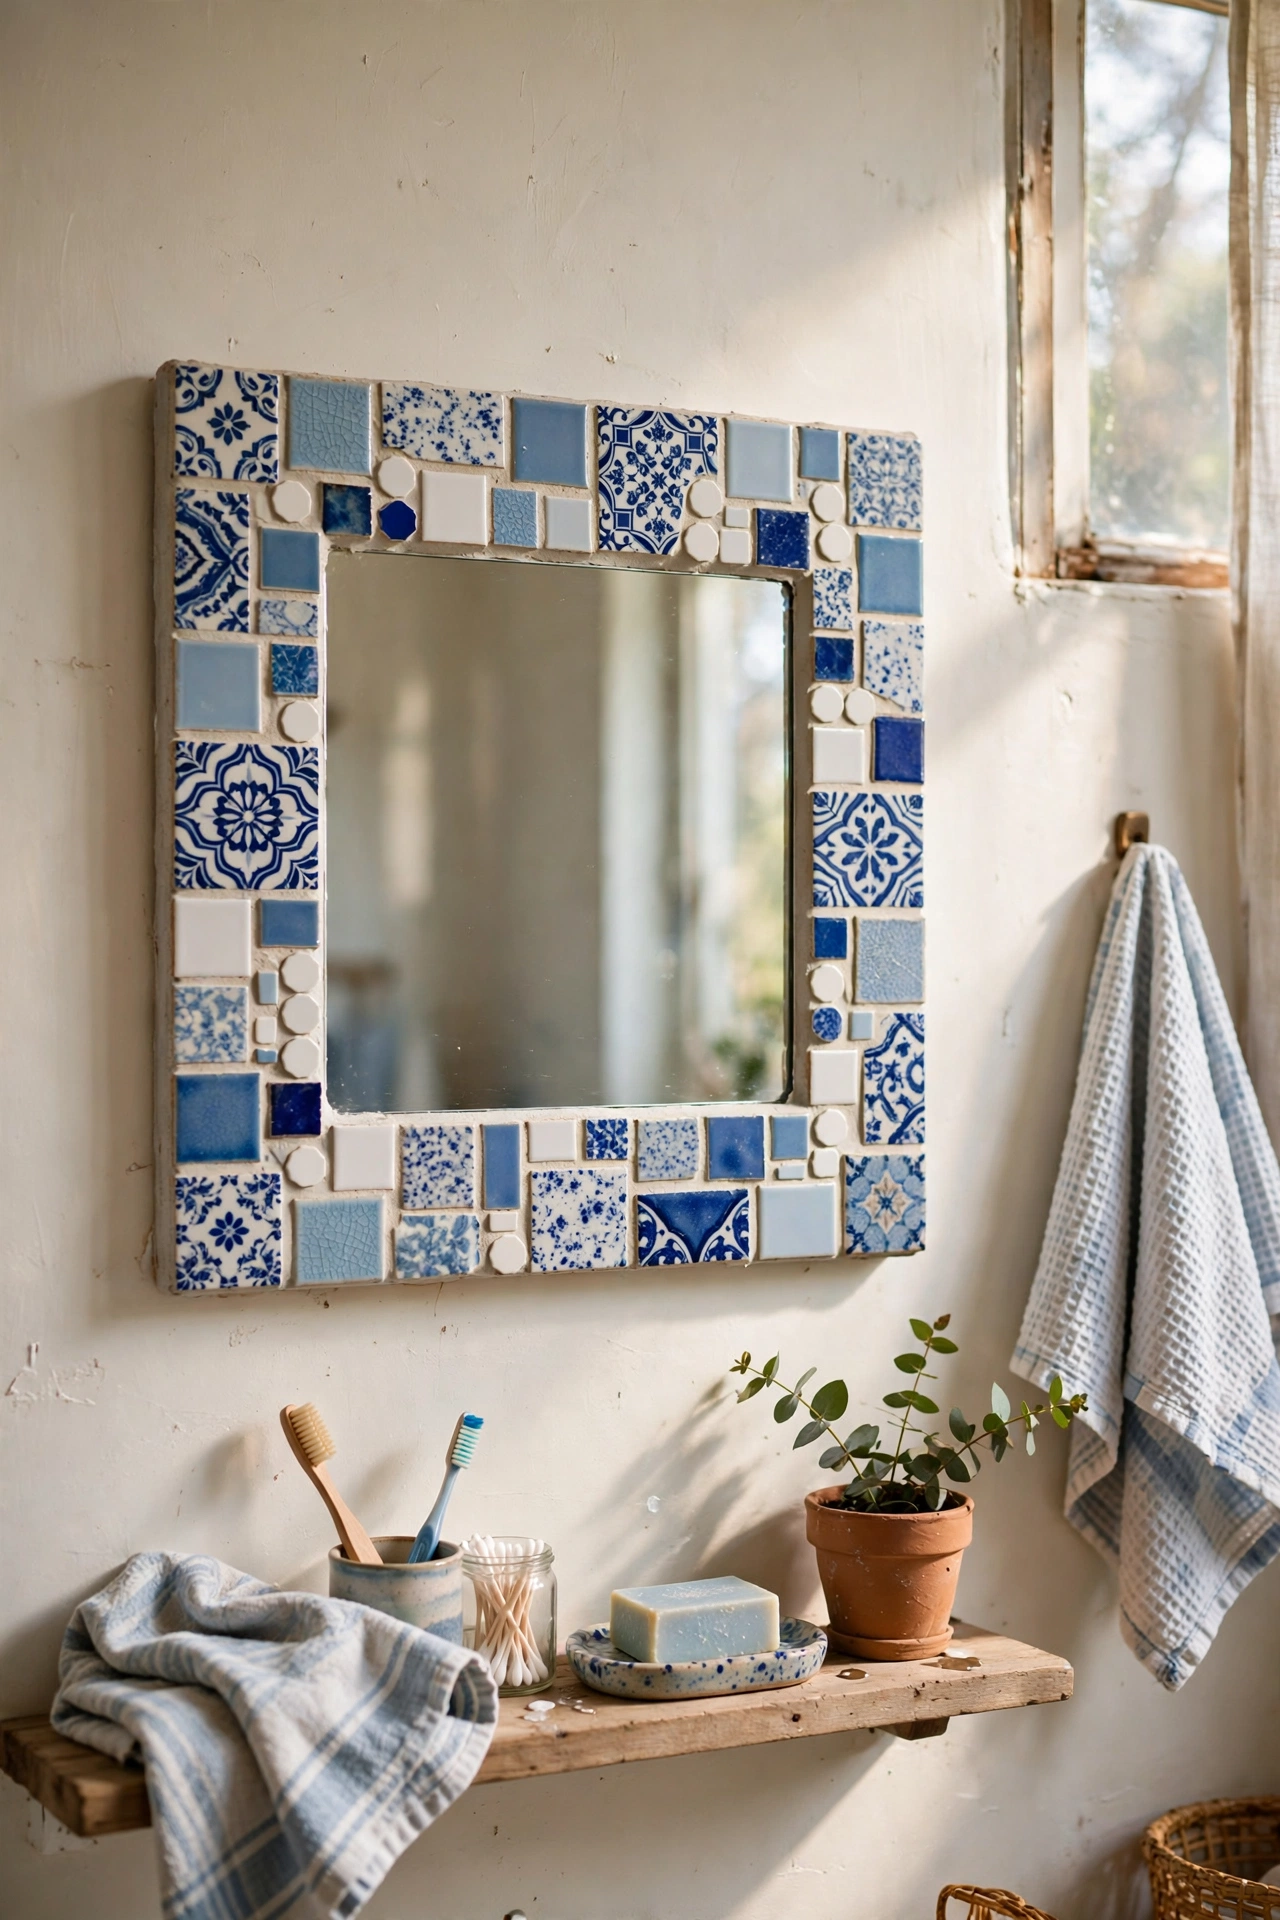
Tile shops give away small sample tiles, and they make a gorgeous mosaic mirror frame. I collected a bag of mixed sample tiles, glued them around a square mirror on a plywood backing board with tile adhesive, leaving small gaps, and grouted the gaps with white grout once set. A quick wipe with a damp sponge cleaned the tile faces. I tried this gluing tiles straight to the mirror first and the edges looked messy, so do mount the mirror on a plywood board first, because the board gives you a proper border to mosaic. Do not use dark grout with light tiles, because the contrast overwhelms the mirror. It looks like a handcrafted artisan piece.
Cost: ~$5-10 | Time: 2 hours plus drying
Mirror Tricks That Bounce Light Around Small Rooms
6. Thrifted Mirror Gallery Wall
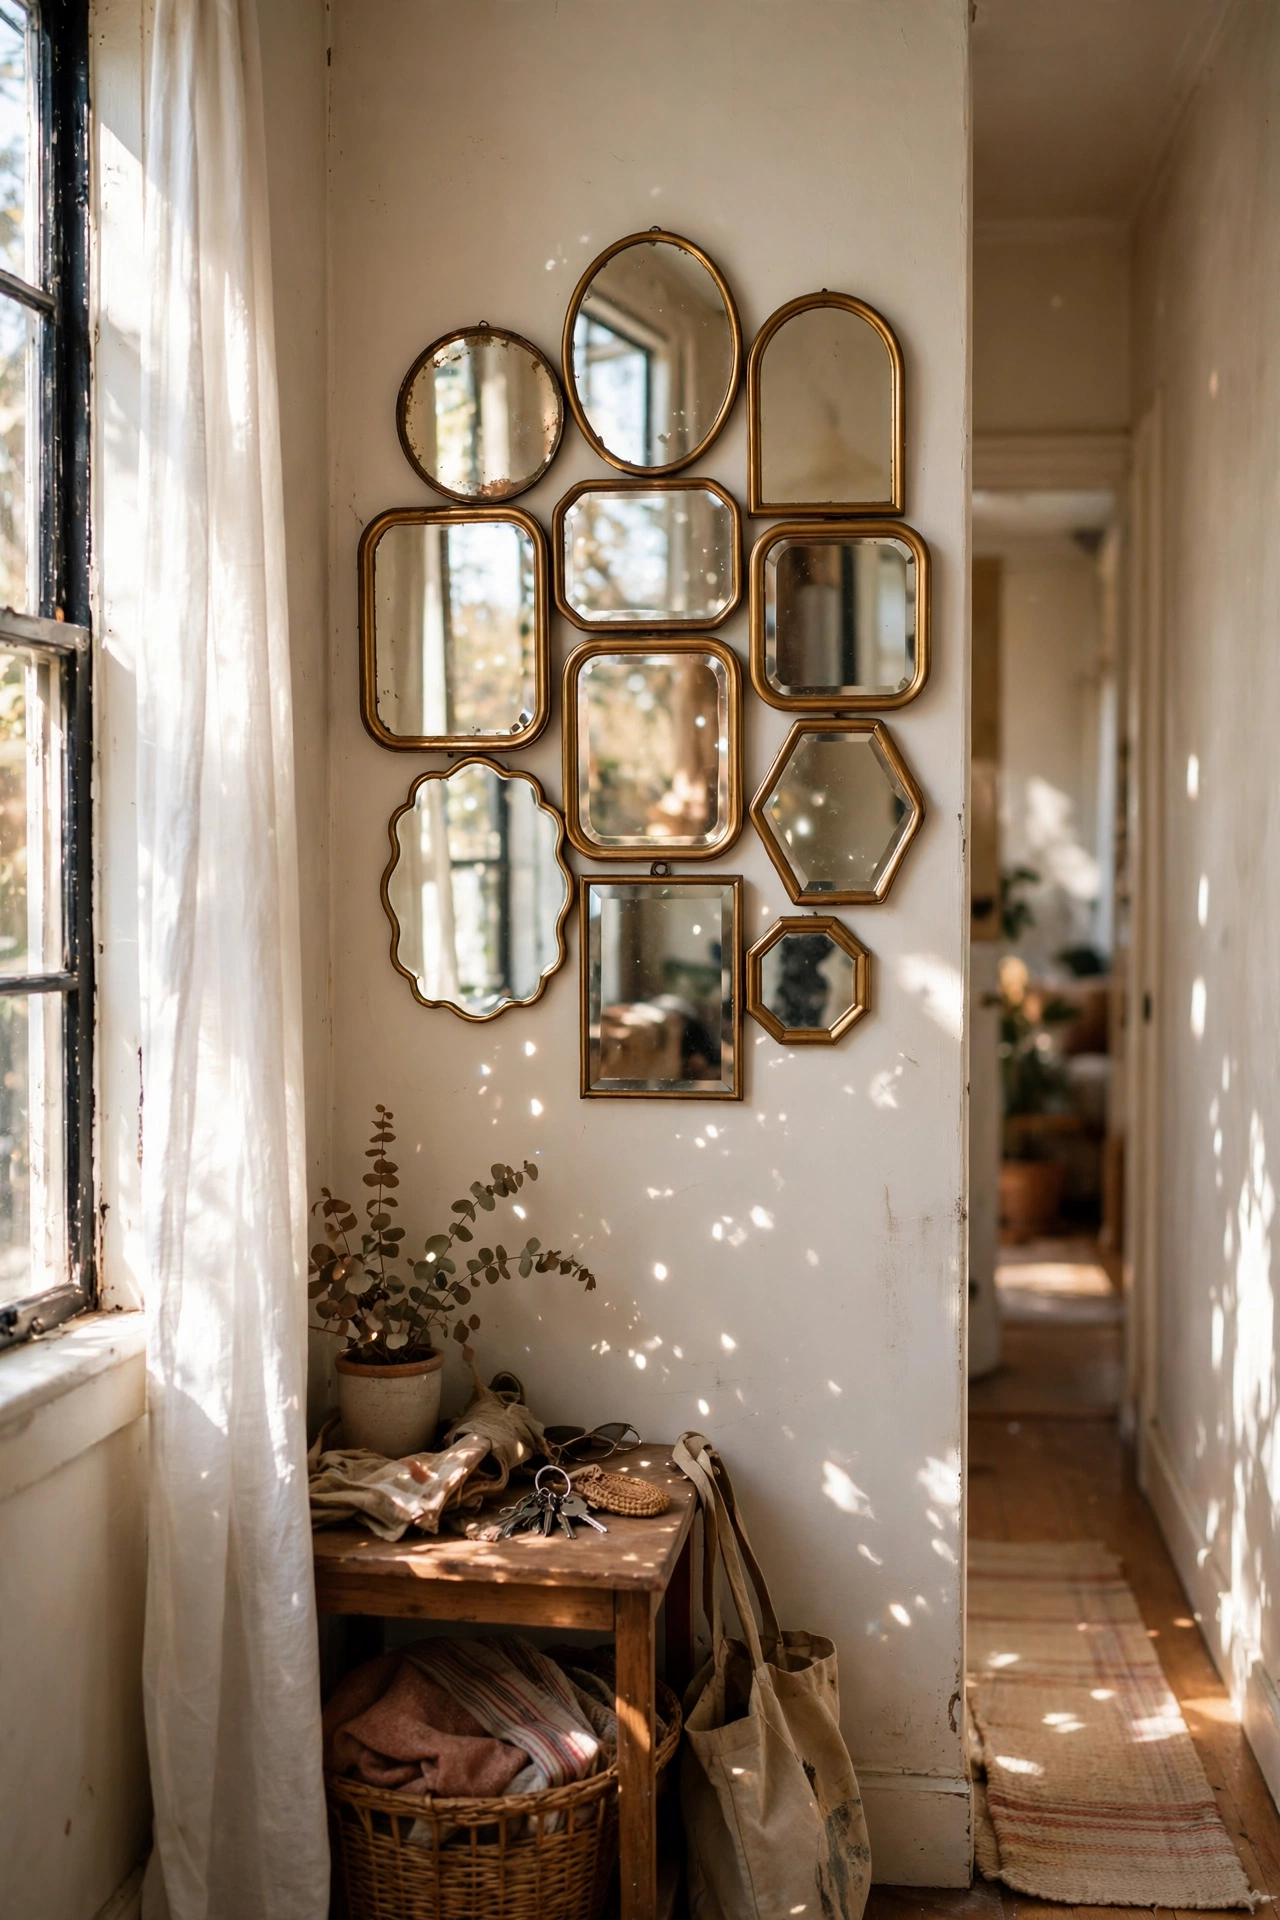
A cluster of small mismatched mirrors does for a dark hallway what one big mirror cannot. I collected seven small mirrors from charity shops over a month, all different shapes, sprayed the frames in one unifying colour, and hung them in a loose cluster on the hallway wall. The mixed reflections bounce light in every direction. I tried this hanging them in a perfect grid first and it looked stiff, so do arrange them in an organic cluster, because the casual arrangement is what makes it feel collected rather than installed. Do not hang them where they face each other, because infinite reflections look odd. My dark hallway feels twice as bright now.
Cost: ~$10-18 | Time: 1 hour
7. Leaning Full-Length Floor Mirror
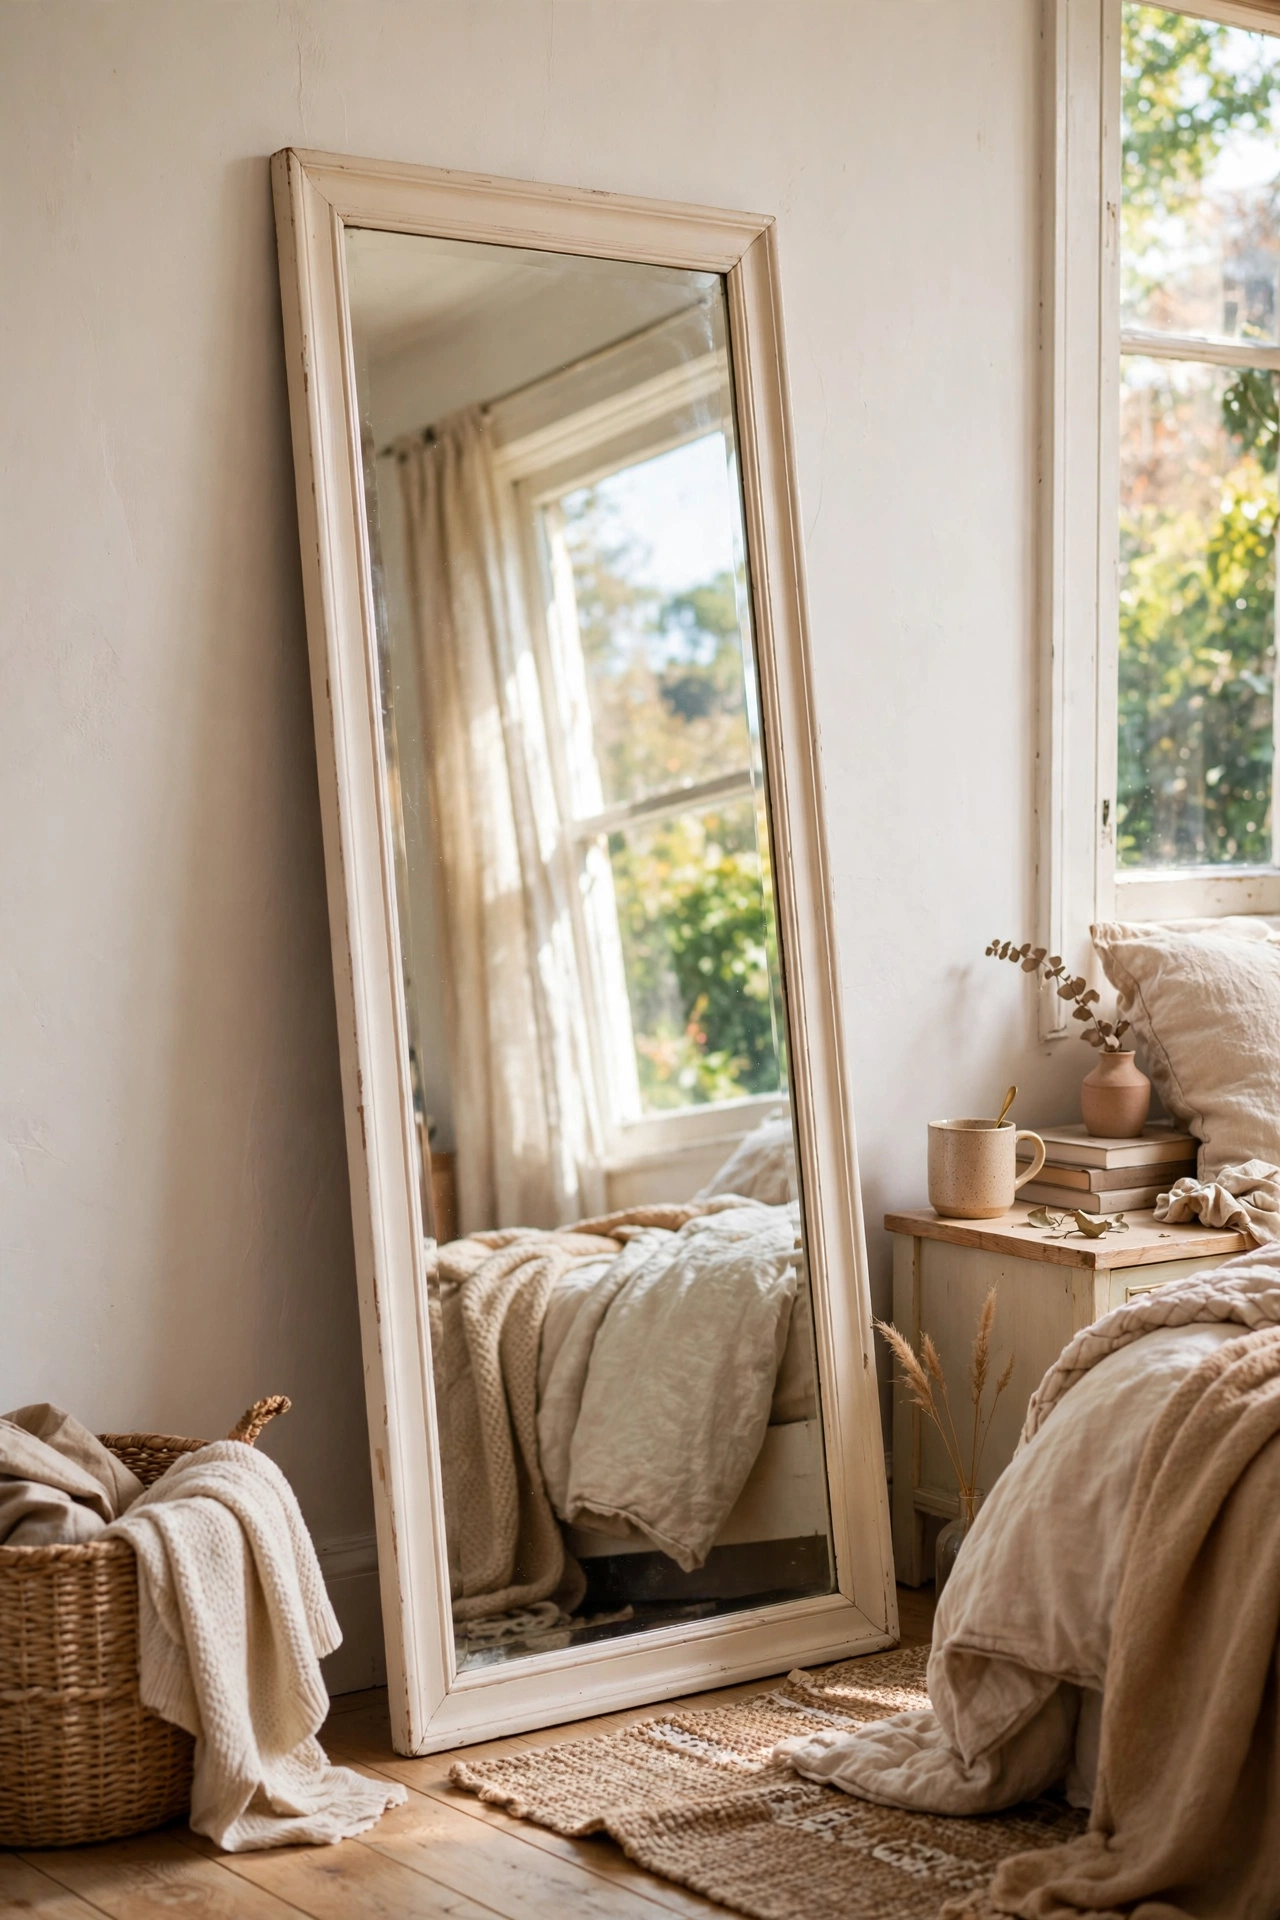
A full-length mirror leaning against the wall looks effortless and costs very little secondhand. I found a tall framed mirror at a car boot sale for eight pounds, sanded the frame, painted it warm white, and leaned it against the bedroom wall at a slight angle with rubber pads behind the top corners. I tried this hanging it flat first and the room felt formal, so do lean it slightly, because the casual angle is what makes it look styled. Do not skip the wall anchor if you have kids or pets, because a leaning mirror is a tipping risk. It reflects the window light straight across the room.
Cost: ~$10-16 | Time: 45 minutes
8. Stick-On Mirror Tile Backsplash Panel
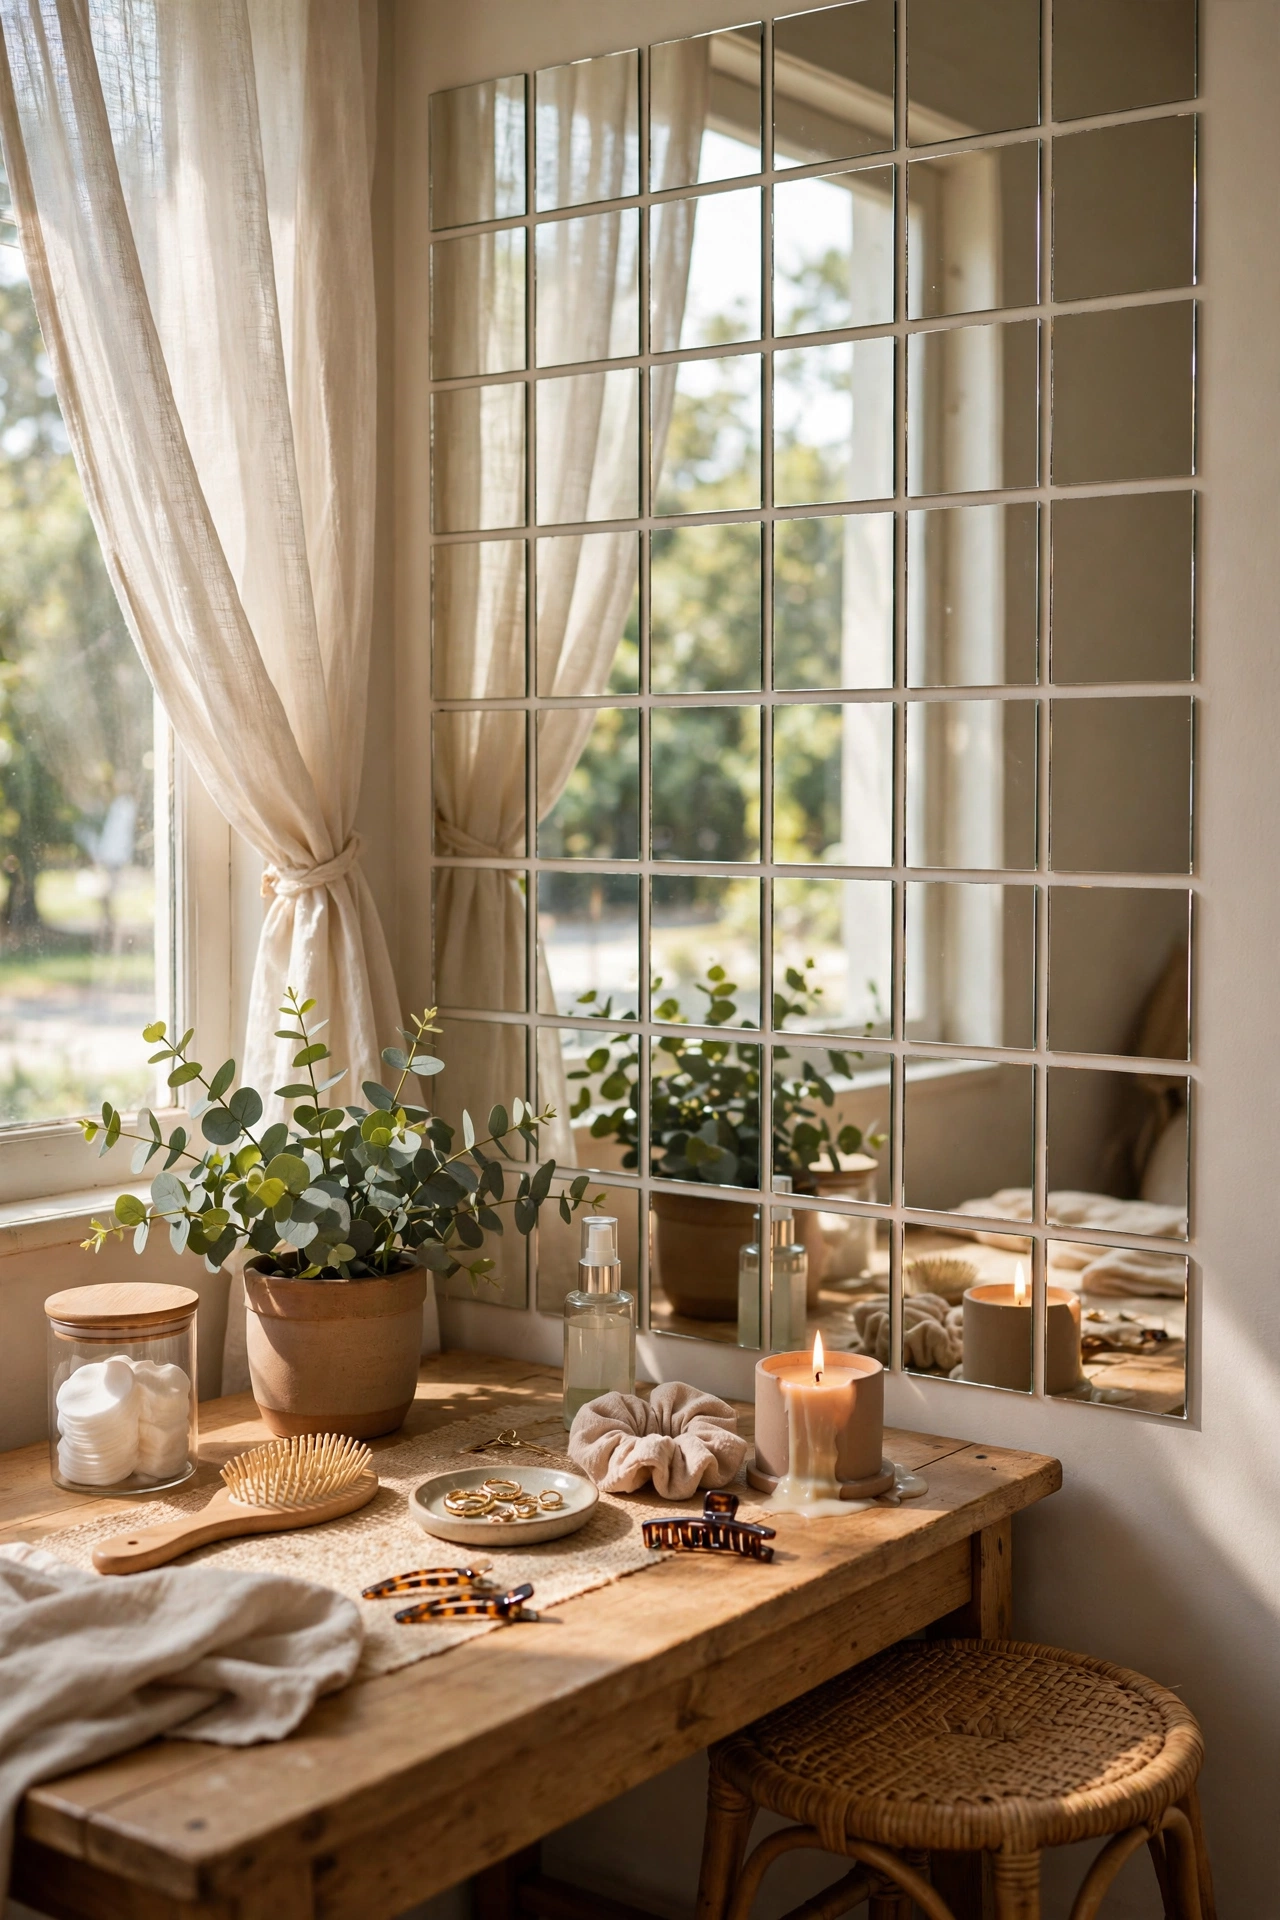
Self-adhesive mirror tiles turn any flat wall into a light-bouncing feature. I stuck twelve mirror tiles in a grid on the wall behind my dressing table, pressing each one firmly and checking alignment with a spirit level as I went. The panel reflects the window and doubles the daylight at my mirror. I tried this eyeballing the grid first and the tiles drifted visibly, so do use a spirit level and pencil guidelines, because even a slight drift shows on reflective tiles. Do not place them where they catch direct harsh sunlight, because the glare will blind you. It reads as one big expensive mirror from across the room.
Cost: ~$12-18 | Time: 45 minutes
9. Mirrored Tray for Candlelight
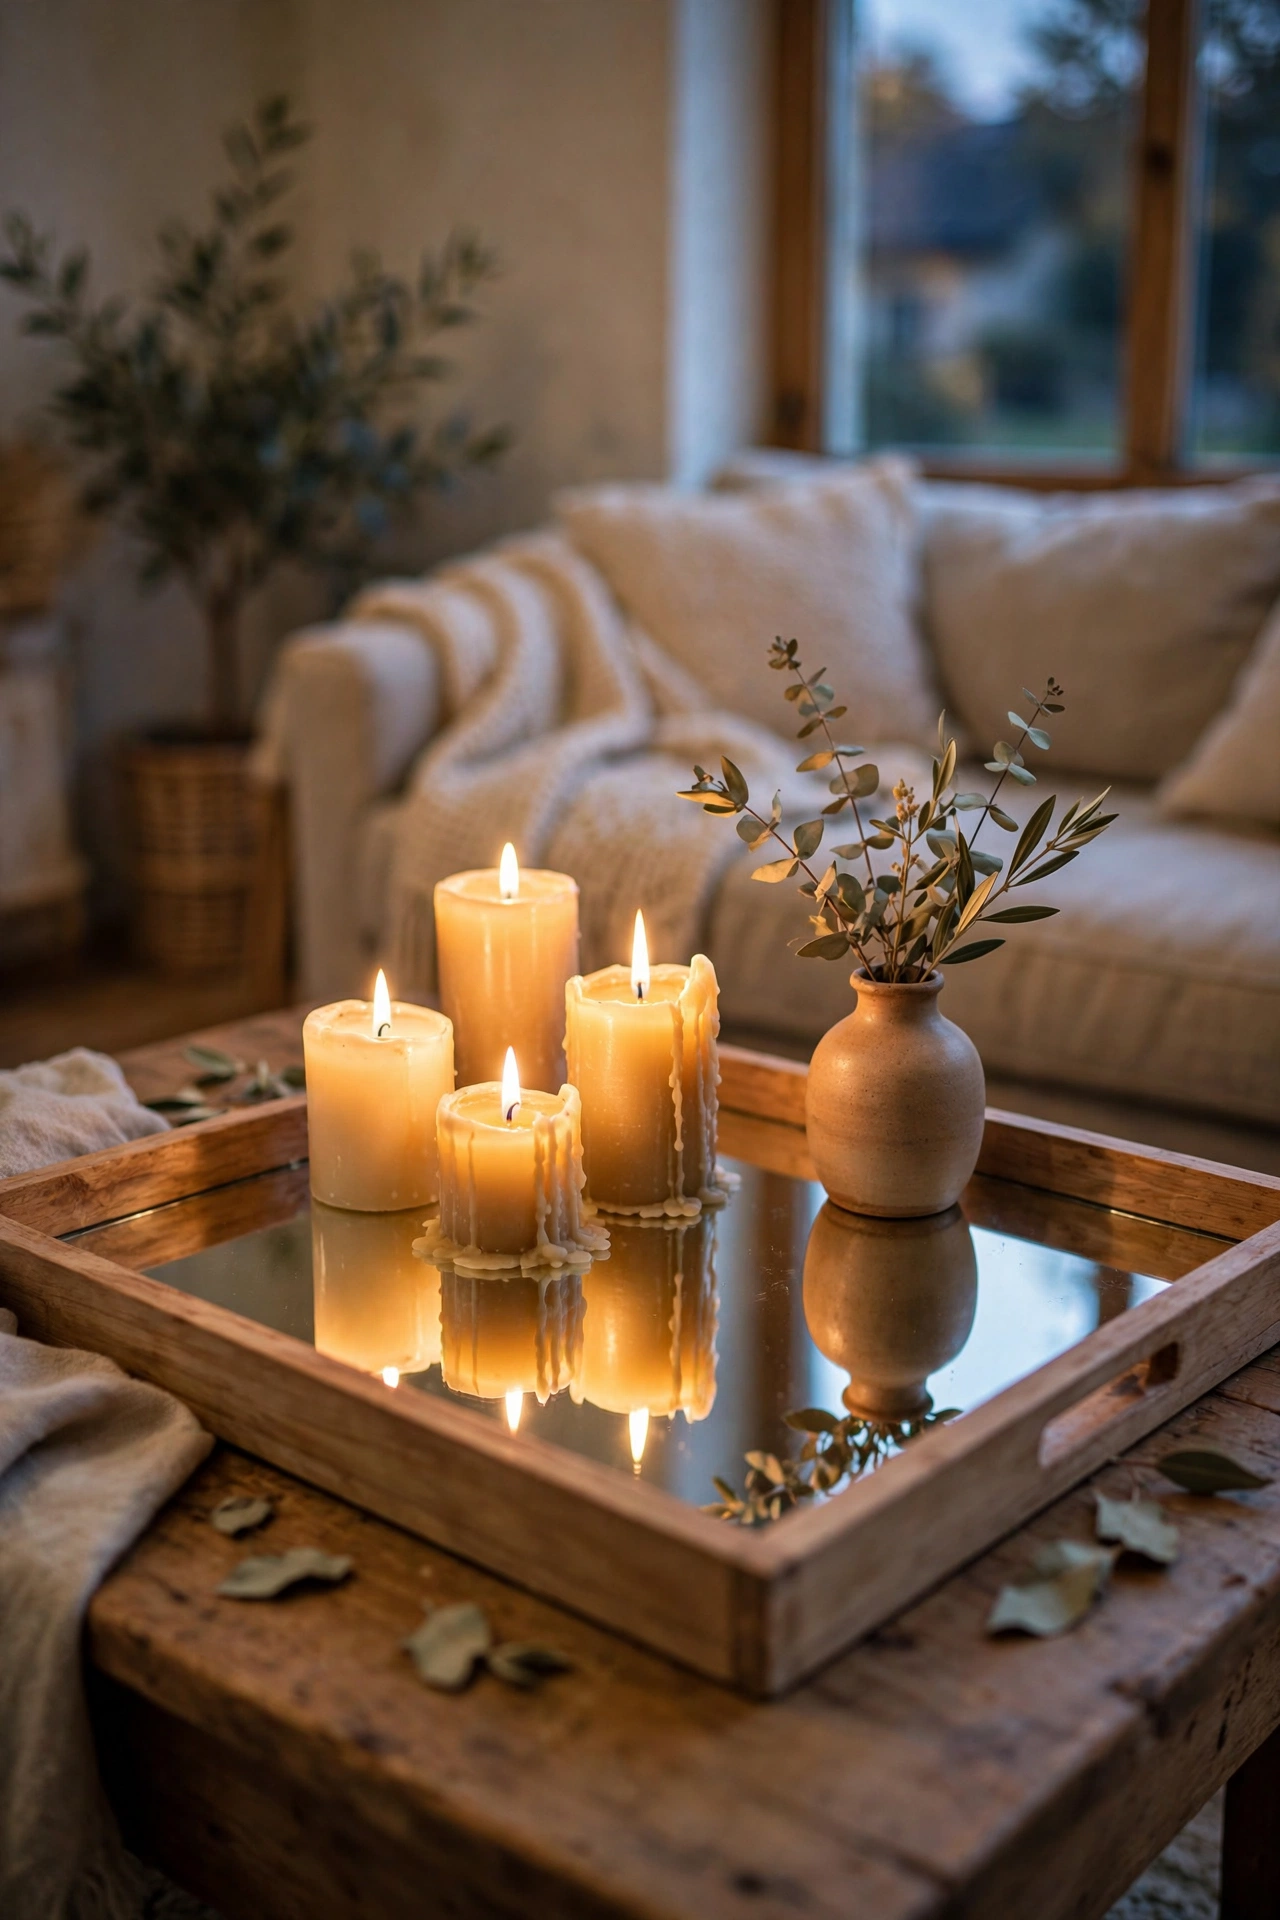
A mirrored tray under candles multiplies their glow beautifully. I took a shallow wooden tray from the pound shop, measured the base, had a piece of mirror cut to size at the glass shop for a few pounds, and glued it into the base with mirror adhesive. Candles, a small vase, and a stack of coasters sit on it now. I tried this with ordinary glue first and it reacted with the mirror backing, so do use proper mirror adhesive, because standard glues can damage the silvering. Do not overload the tray, because the mirror base shows every smudge. At night the doubled candlelight is genuinely lovely.
Cost: ~$8-14 | Time: 20 minutes
Upcycled Mirrors From Old Furniture and Fixtures
10. Old Window-Frame Mirror
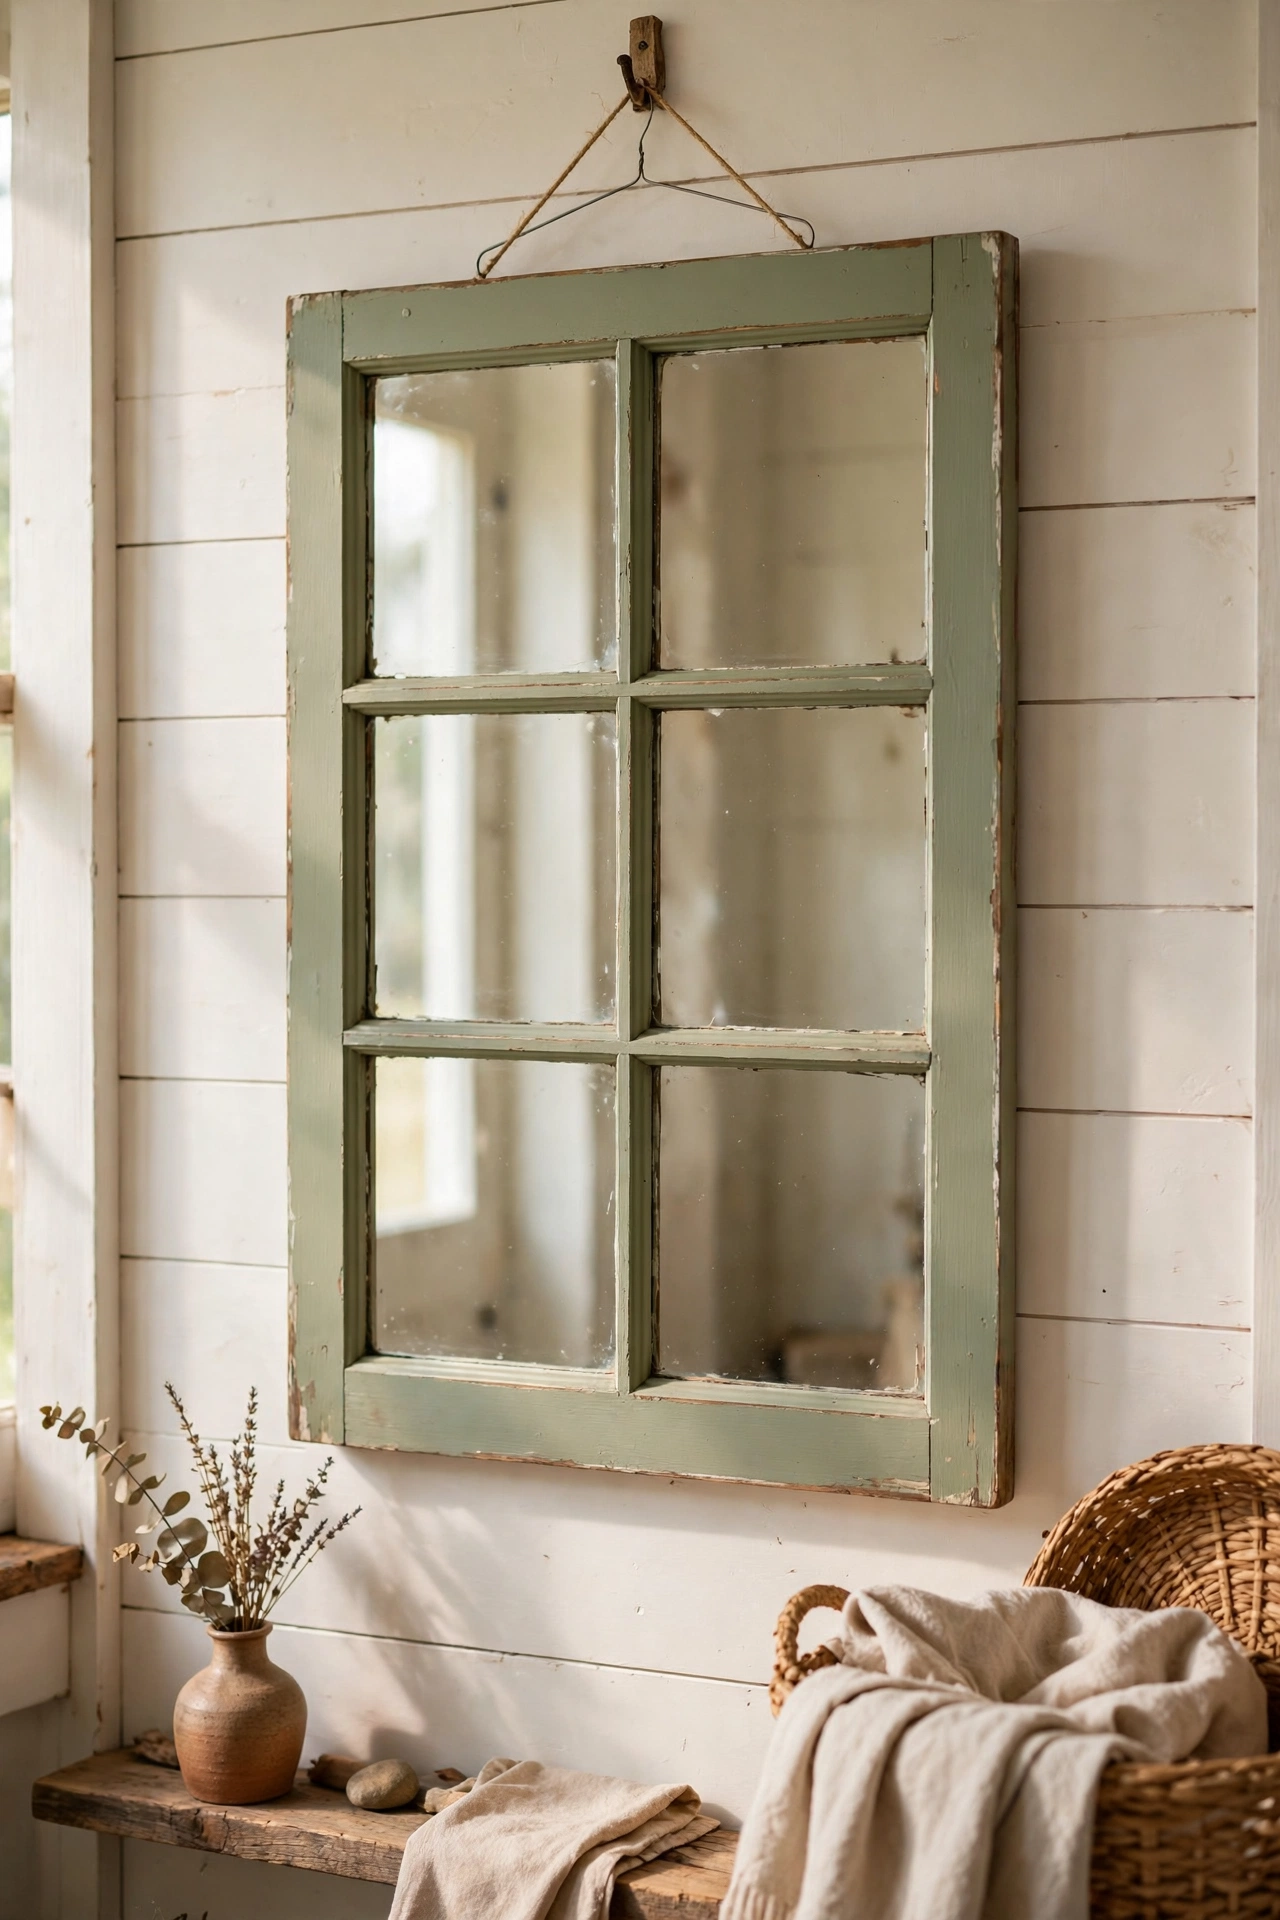
A salvaged window frame with mirror behind it is the classic farmhouse look for very little money. I found an old six-pane window at a salvage yard, cleaned it up, painted the frame sage green, and had a mirror cut to fit the whole back, fixed in place with glazing points and putty. The panes divide the reflection into sections, which looks far more interesting than one flat sheet. I tried this using a cracked window first and the frame was too fragile, so do check the joints are solid before you start, because a heavy mirror stresses weak wood. Do not hang it on a single hook, because the weight needs two solid fixings. It anchors my living room wall.
Cost: ~$12-20 | Time: 2 hours
11. Drawer-Front Mirror With Hooks
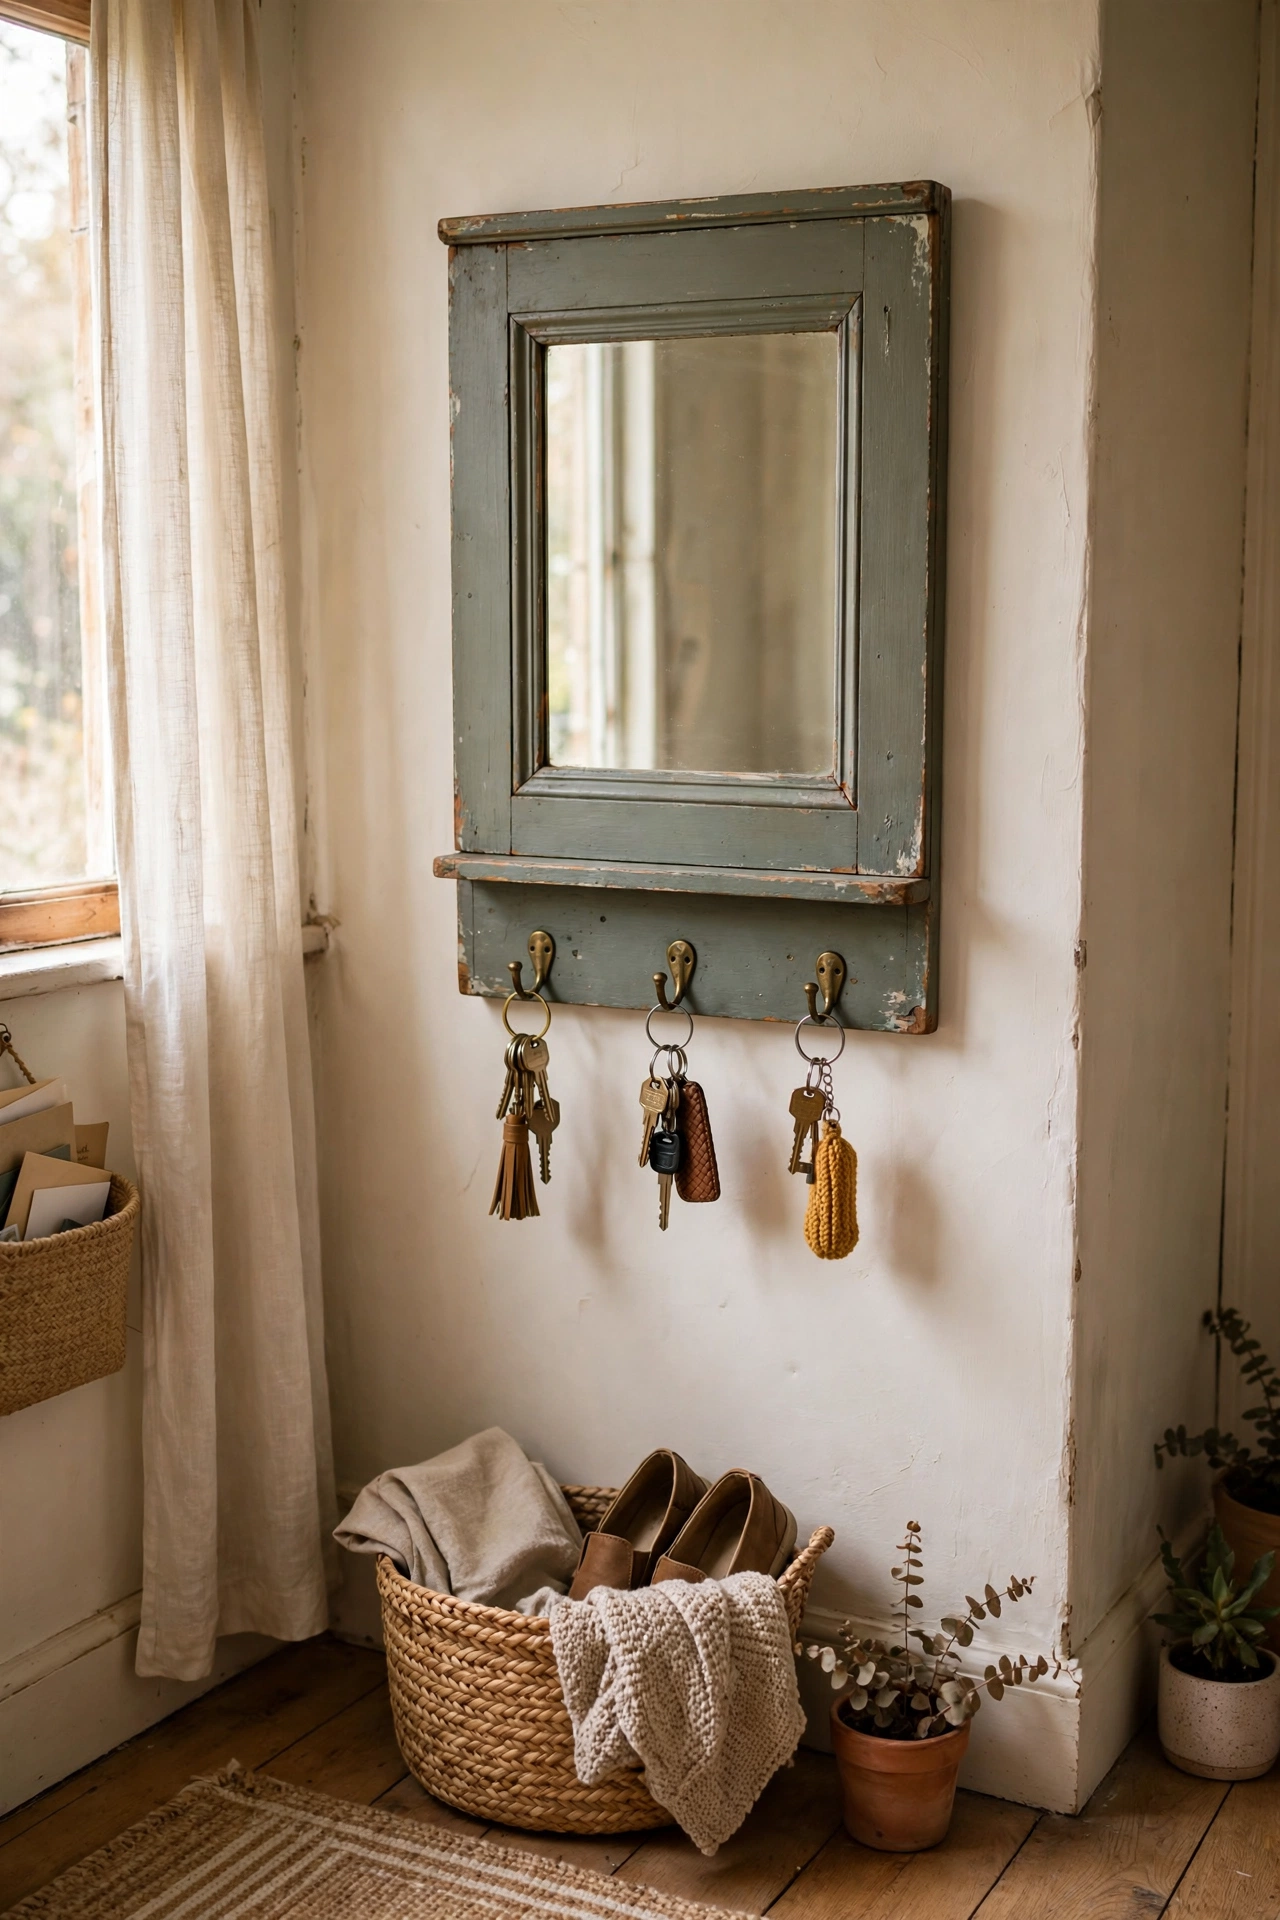
A shallow drawer front makes a brilliant hallway mirror with built-in storage hooks. I took the front off an old chest of drawers, fitted a mirror inside the recessed panel with mirror adhesive, and screwed three brass hooks along the bottom rail. It hangs in my hallway holding keys and the dog lead, with the mirror above for last-minute checks. I tried this with the drawer still deep first and it stuck out too far, so do use just the drawer front, because the slim profile sits flush to the wall. Do not use heavy hooks on thin drawer wood, because they pull out under weight. It is the most-used mirror in my house.
Cost: ~$6-12 | Time: 1 hour
12. Cupboard-Door Shaving Mirror
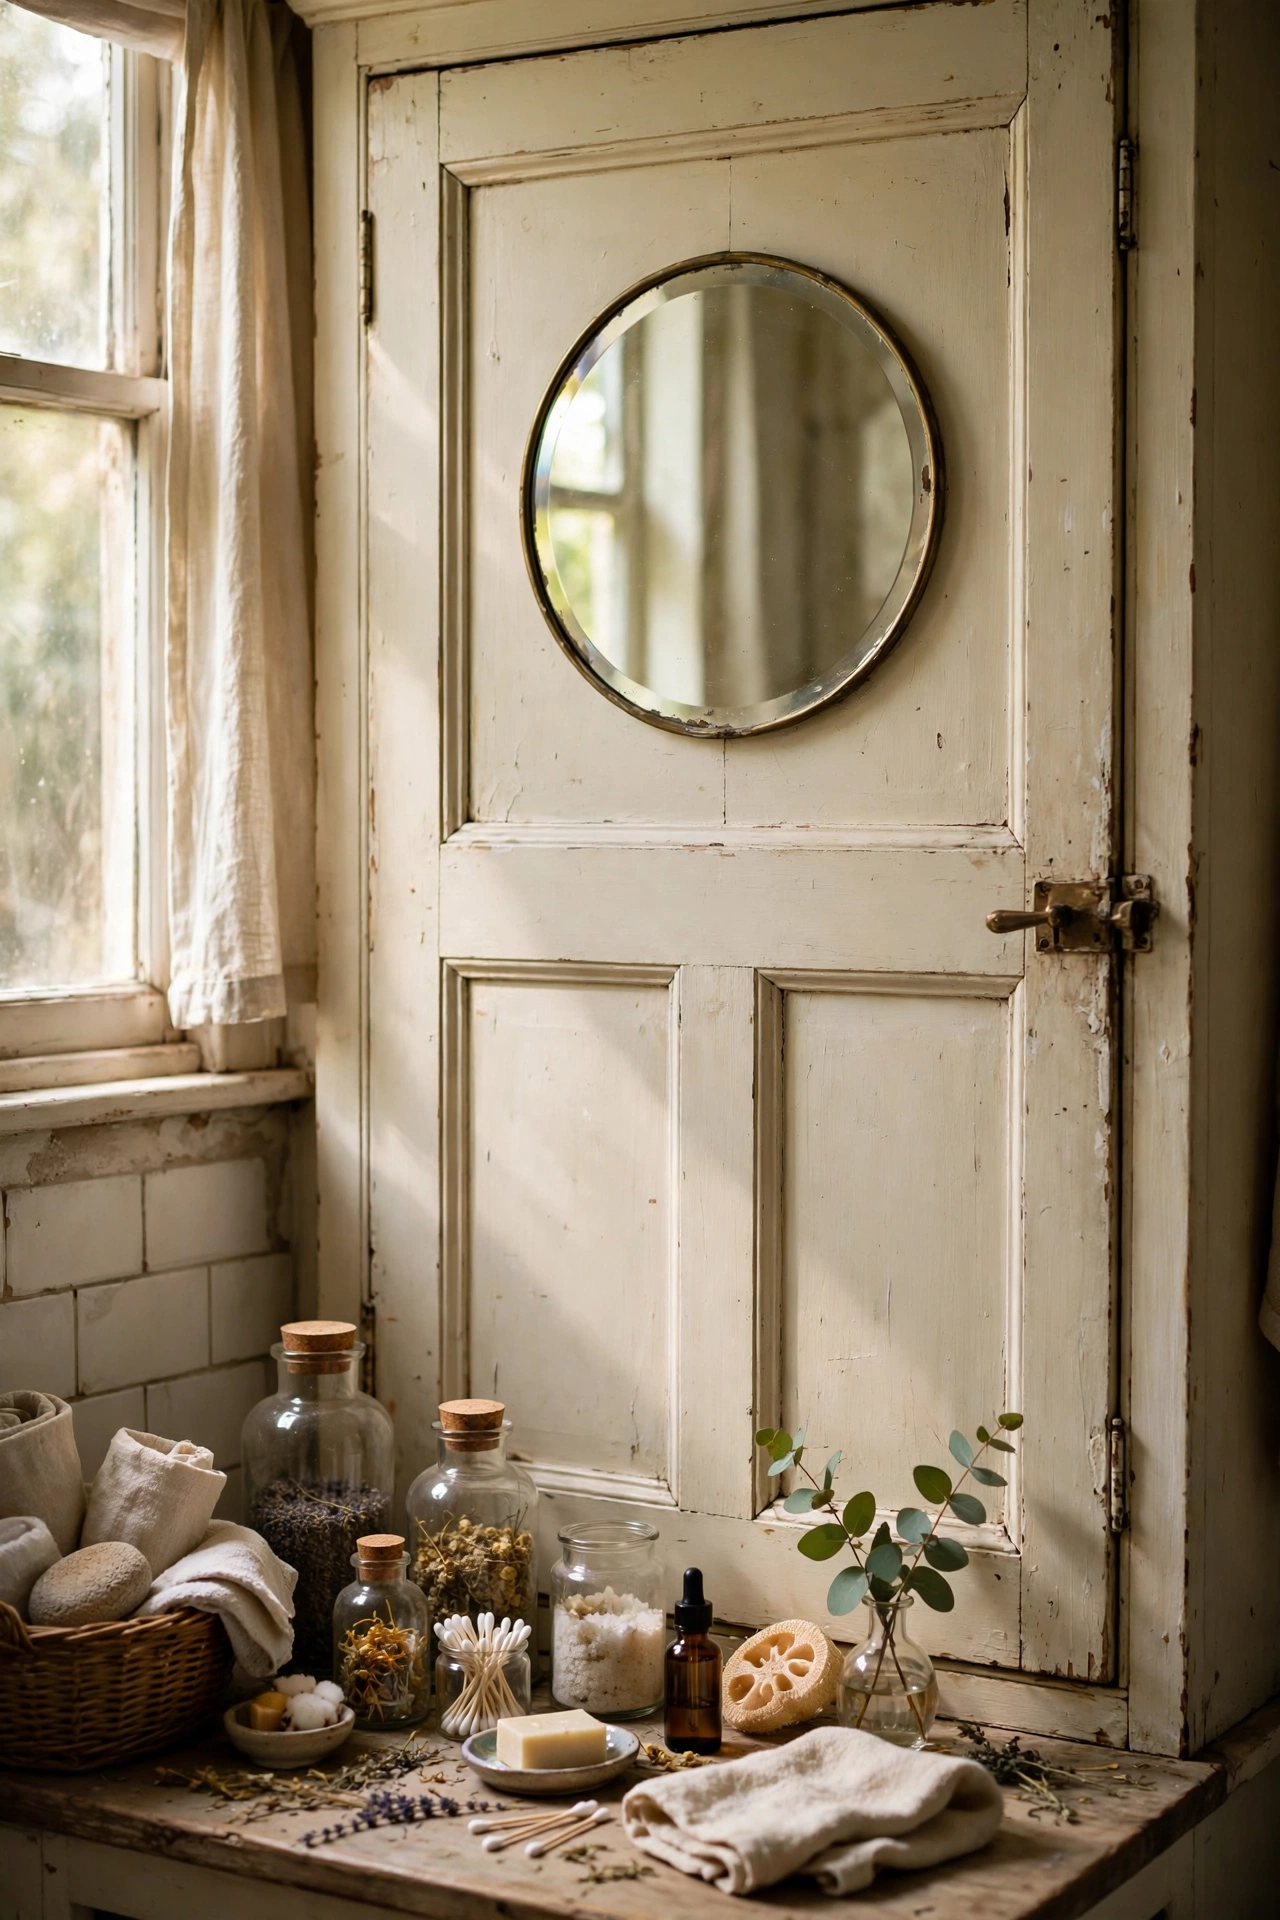
An old cupboard door with a round mirror set into it has a lovely vintage apothecary feel. I salvaged a small panelled cupboard door, cut a circular opening in the upper panel with a jigsaw, and set a round mirror into it from behind with mirror adhesive and wooden beading. A coat of cream paint unified the whole thing. I tried this cutting the hole freehand first and it was visibly wobbly, so do trace the mirror onto the door and cut just inside the line, because a snug fit hides every imperfection. Do not rush the jigsaw, because splintered edges show around the glass. It hangs in my bathroom and gets used daily.
Cost: ~$8-15 | Time: 2 hours
13. Shutter Panels With Mirror Insets
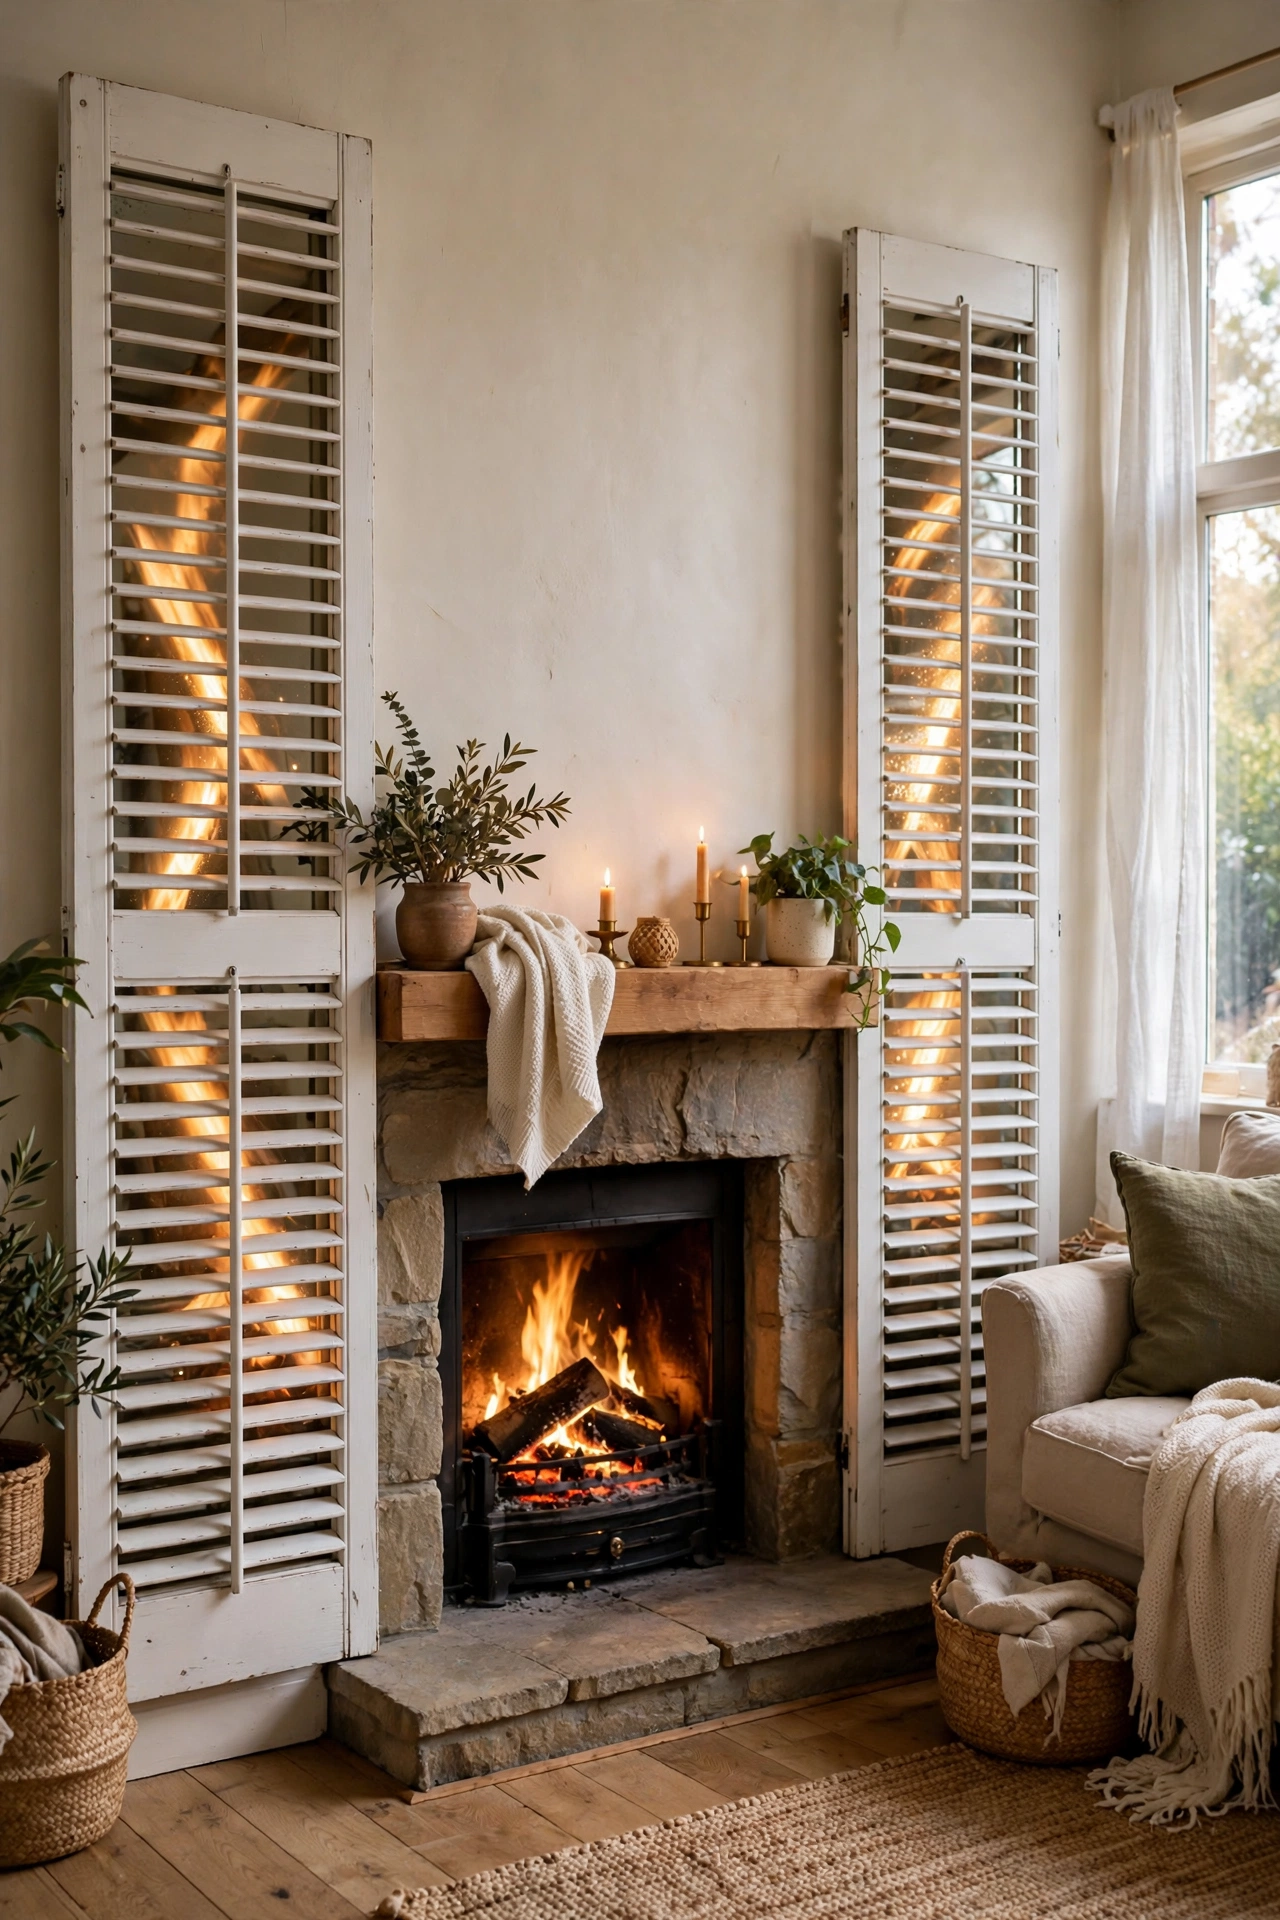
Old louvre shutters with mirror behind the slats catch the light in the prettiest way. I found a pair of wooden shutters at a reclamation yard, painted them white, and fixed mirror panels behind each shutter with small wooden battens. Hung as a pair flanking my fireplace, they reflect the firelight through the slats. I tried this with the slats fully open first and the effect was lost, so do set the slats at a slight angle, because the angled slats break the reflection into ribbons of light. Do not use warped shutters, because the mirror will not sit flat behind them. They look like they cost hundreds.
Cost: ~$14-20 | Time: 2 hours
Statement Sunburst and Scrap-Wood Mirrors
14. Pound-Shop Spoon Sunburst Mirror
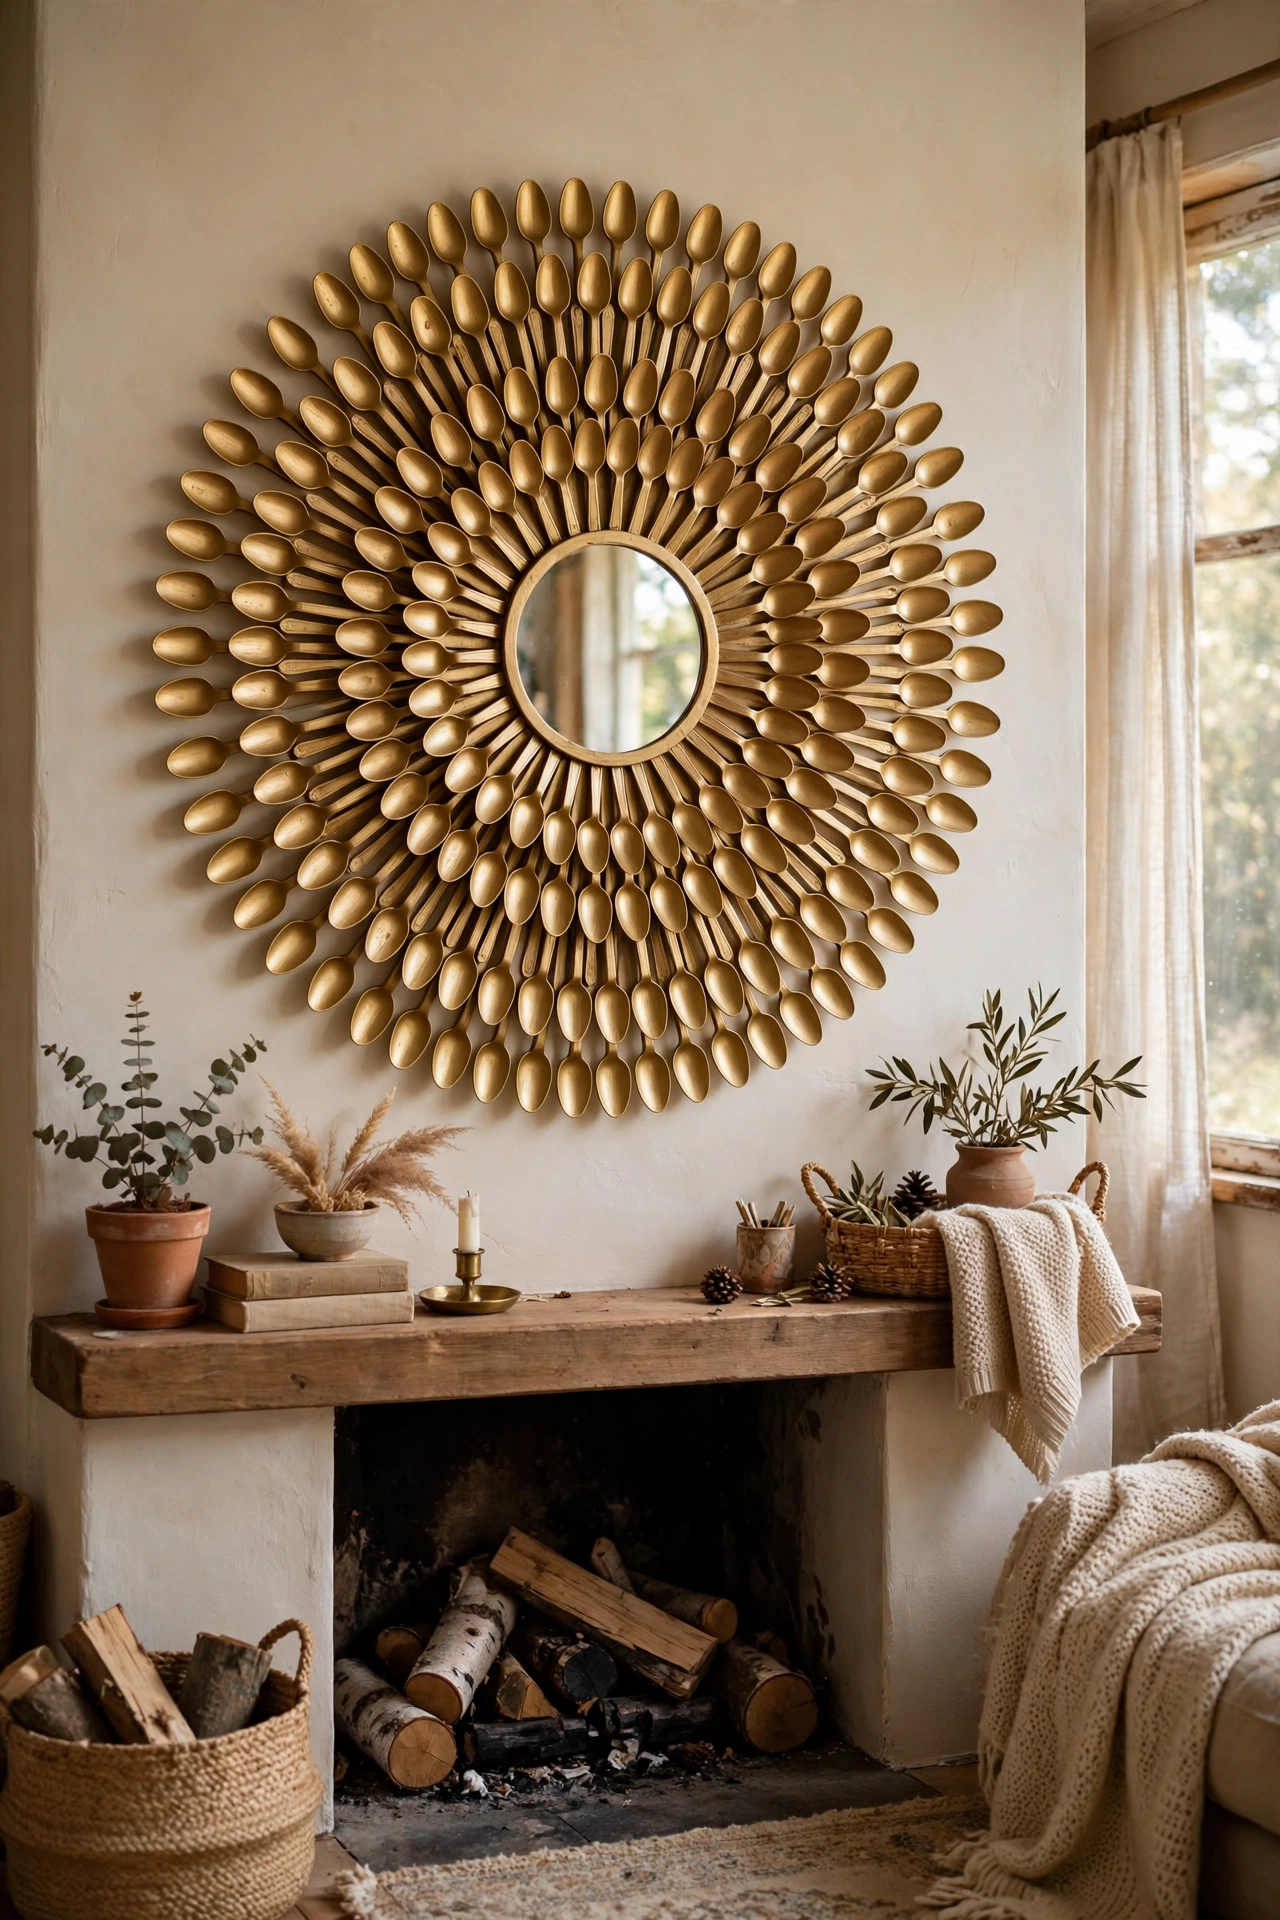
This is the project everyone asks about, and it starts with plastic spoons. I snapped the handles off two hundred plastic spoons, glued the spoon bowls in concentric rings around a small round mirror on a cardboard backing, and sprayed the whole thing metallic gold. The overlapping spoons look like petals or sun rays. I tried this gluing the spoons randomly first and it looked chaotic, so do work in neat concentric rings from the outside in, because the orderly overlap is what reads as a sunburst. Do not skimp on the spray paint, because unpainted plastic ruins the illusion. It hangs above my mantel and looks like a designer piece.
Cost: ~$6-10 | Time: 2 hours plus drying
15. Wood-Slice Mosaic Frame
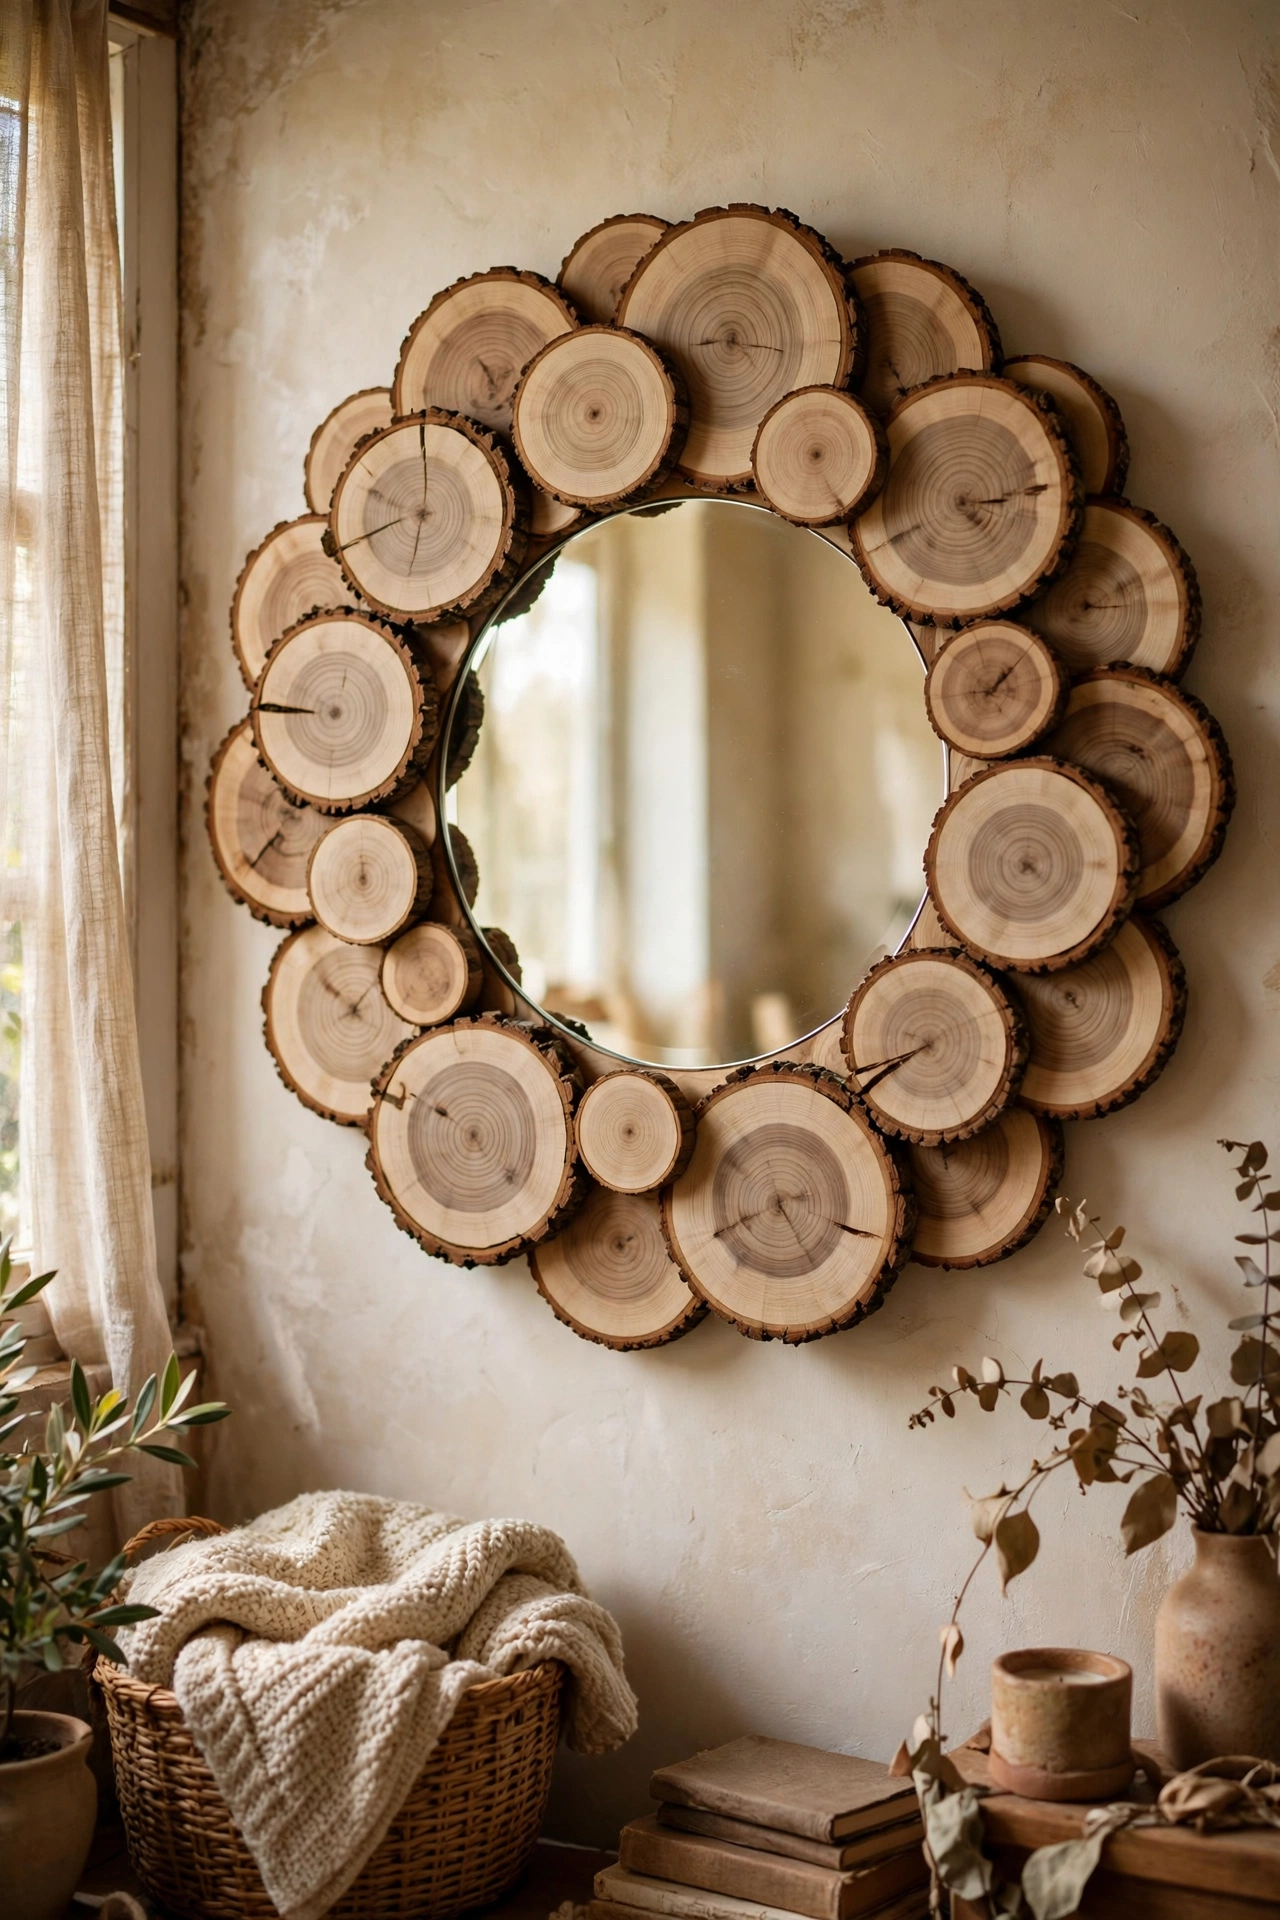
Branches sliced into discs make a wonderfully textured mirror frame. I cut a fallen branch into half-inch slices with a saw, dried them in the oven on low, and glued them in overlapping rows around a round mirror on a plywood backing. A coat of clear matte varnish sealed the bark. I tried this with green wood first and the slices cracked as they dried, so do dry the slices fully before gluing, because shrinking wood pops off the backing. Do not use slices with loose bark, because it sheds everywhere. The natural rings and bark edges give it a rustic, expensive feel.
Cost: ~$4-8 | Time: 2 hours plus drying
16. Driftwood and Twig Frame
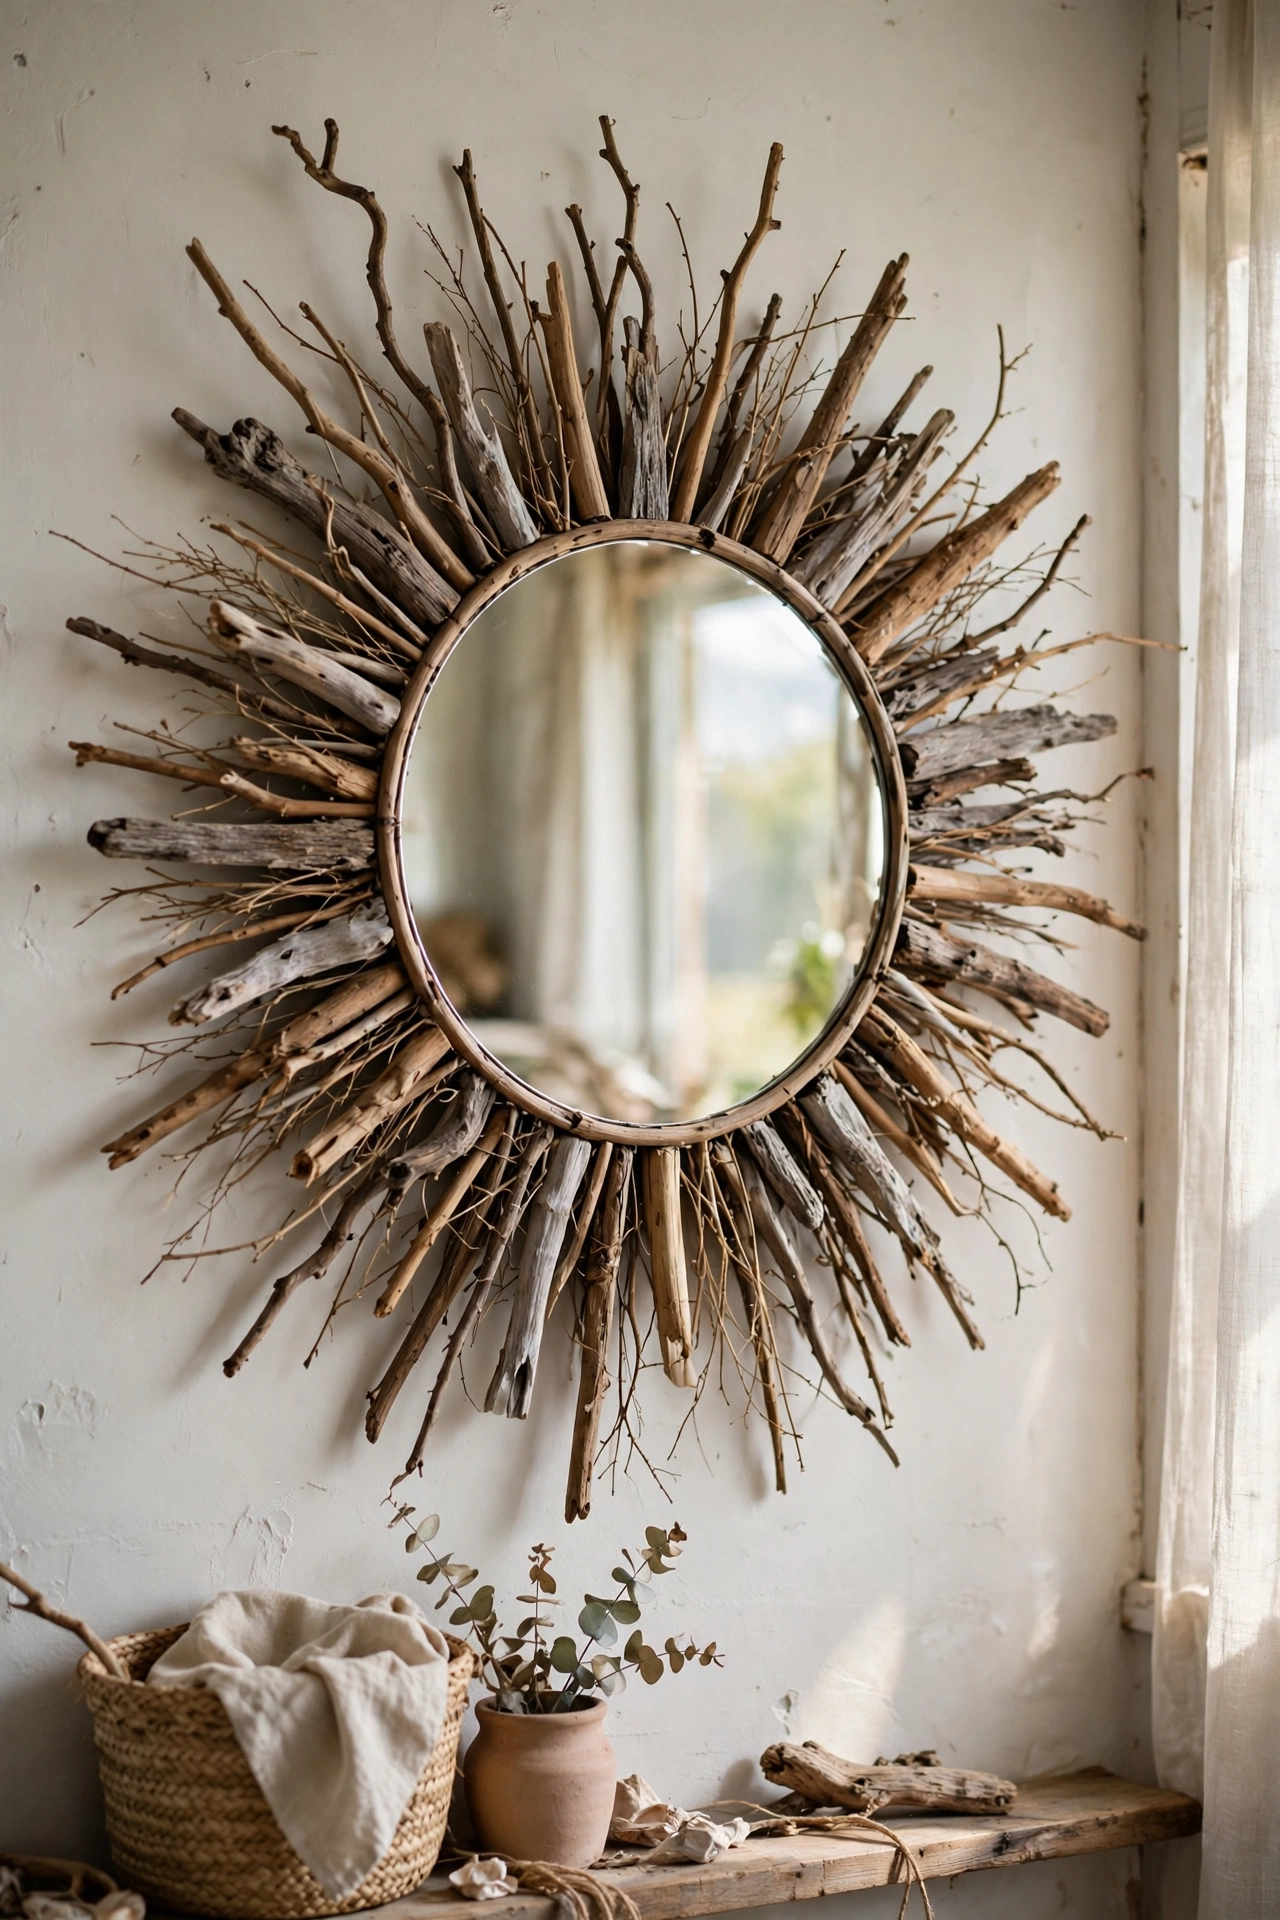
Twigs gathered on a walk become a beautiful organic frame for a round mirror. I collected straightish twigs of similar thickness, trimmed them to graduated lengths, and glued them in a radiating pattern around a mirror on a plywood disc, layering two rows for fullness. A dab of hot glue at each joint holds everything. I tried this with damp twigs first and they warped as they dried, so do let your twigs dry indoors for a week, because dry wood stays straight and glued. Do not use twigs with thorns or flaky bark, because you will handle this mirror more than you think. It suits a coastal or cabin-style room perfectly.
Cost: ~$3-7 | Time: 1.5 hours
17. Arched Plywood Mirror
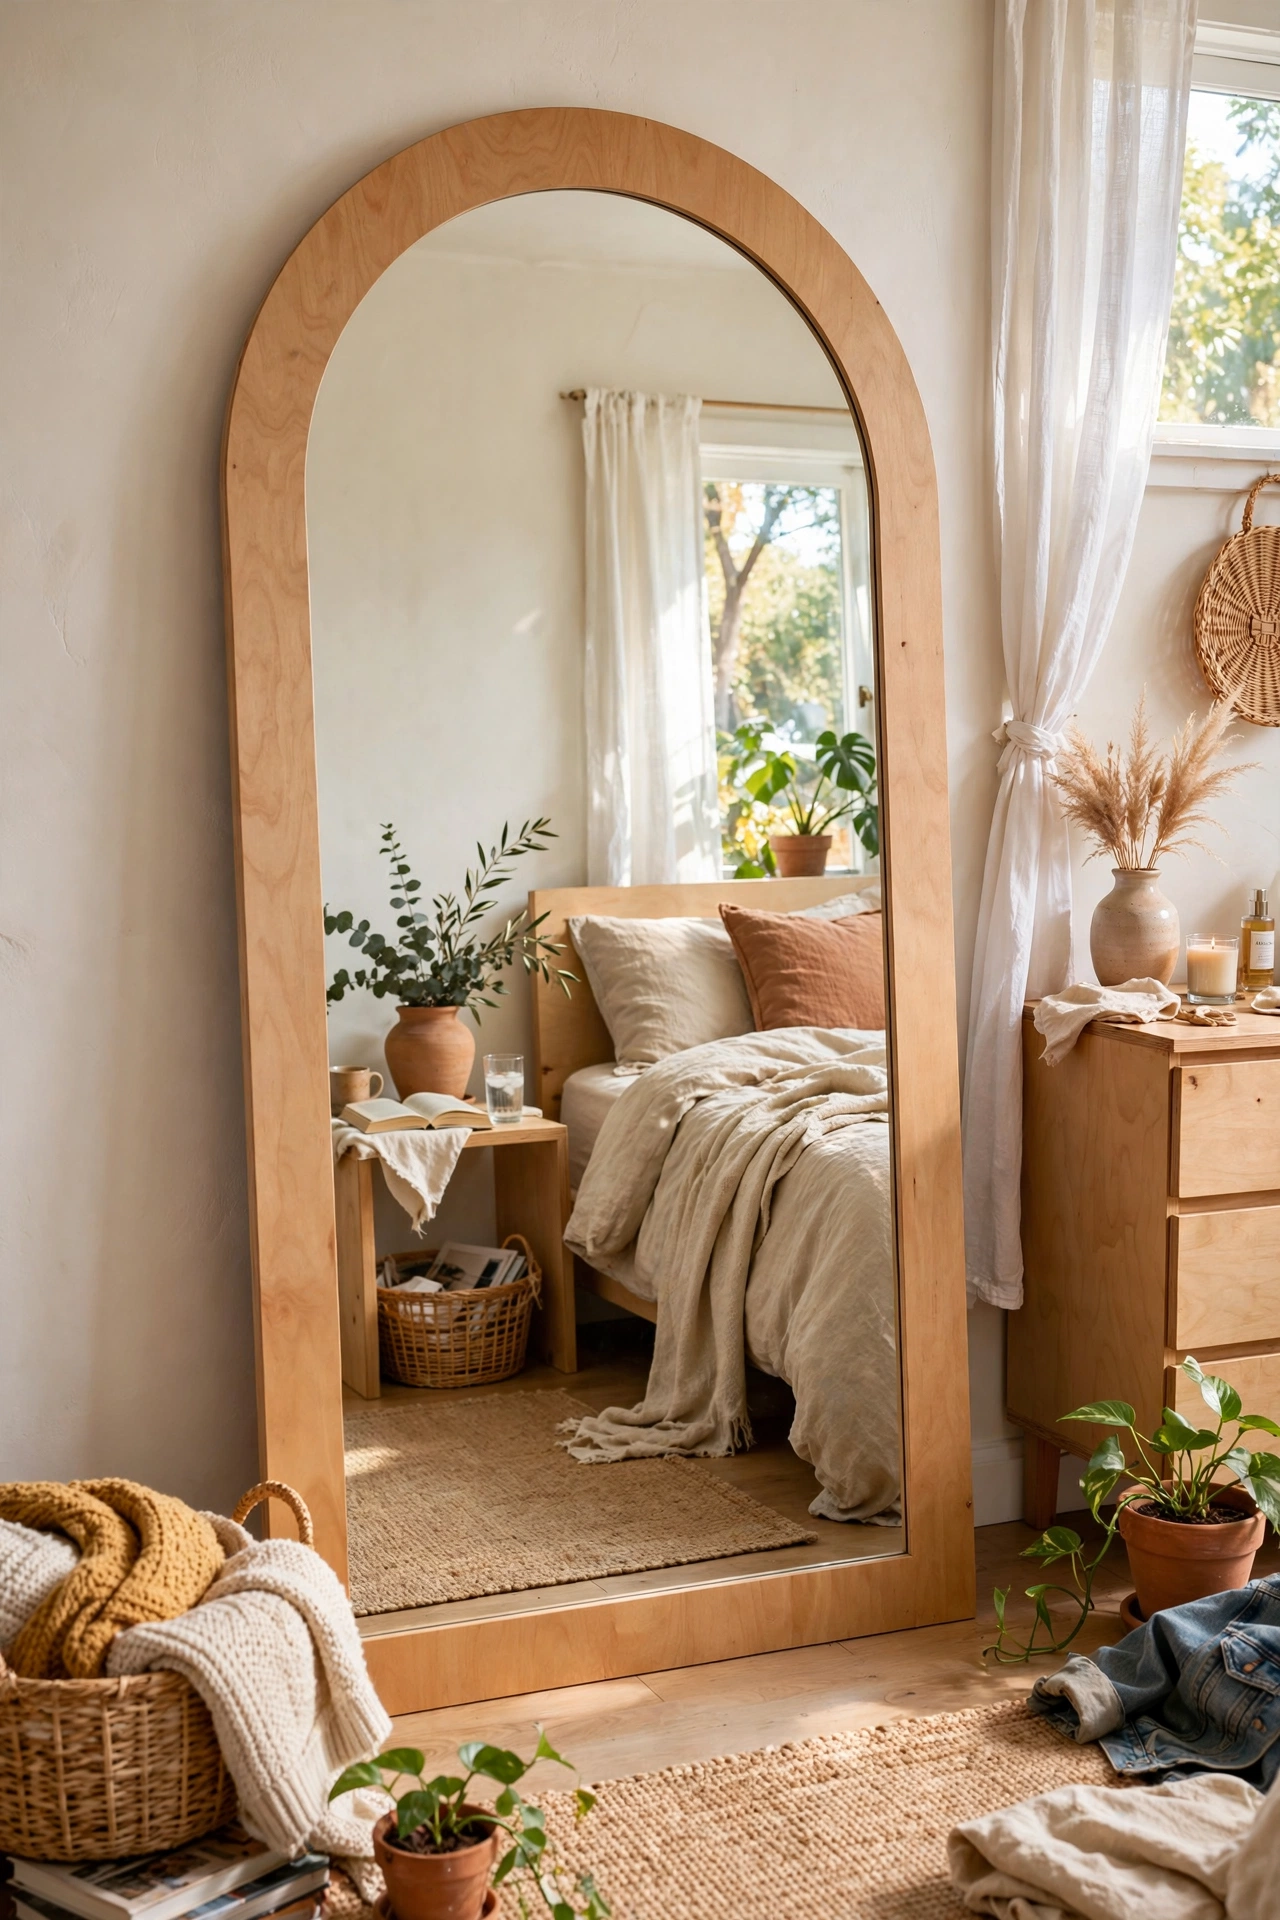
The arched mirror is everywhere right now, and plywood makes it affordable. I drew an arch shape on a sheet of thin plywood, cut it with a jigsaw, sanded the edges smooth, and had an arch mirror cut to match at the glass shop. I glued the mirror to the plywood with mirror adhesive, leaving a two-inch plywood border, and painted the border warm white. I tried this cutting the arch freehand first and it was lopsided, so do use a string-and-pencil compass for the curve, because a smooth arch is what makes this look right. Do not hang it without solid wall plugs, because plywood and mirror together are heavy. It looks like the arch mirrors selling for ten times the price.
Cost: ~$15-20 | Time: 2.5 hours
📌 Loving these ideas? Pin this post now so your favourite mirror project is saved for your next free afternoon.
More mirrors and wall ideas this way: (see also: 25-diy-mirror-ideas-in-a-weekend) (see also: 23-diy-mirror-ideas-that-look-expensive/) (see also: 25-diy-mirror-decor-ideas-on-a-budget/)
That is the full set, and I would love to know which one ends up on your wall.
