17 DIY Planter Ideas for Beginners
I killed my first three houseplants in plastic nursery pots and told myself I had no green thumb. It turned out the problem was not my thumb at all: ugly pots made me ignore the plants, and ignored plants die. So I spent one rainy weekend building a proper diy Planter collection for the cost of a single store-bought pot, and suddenly I noticed every plant on the shelf. Nine months later they are all alive, which tells you the pots matter more than we think.
Every diy Planter idea below is beginner-friendly, costs $15 or less, and needs no special tools beyond what is in a basic toolbox. Start with two or three that suit your space, and always add drainage holes wherever water collects.
1. Painted Terracotta Pot Set
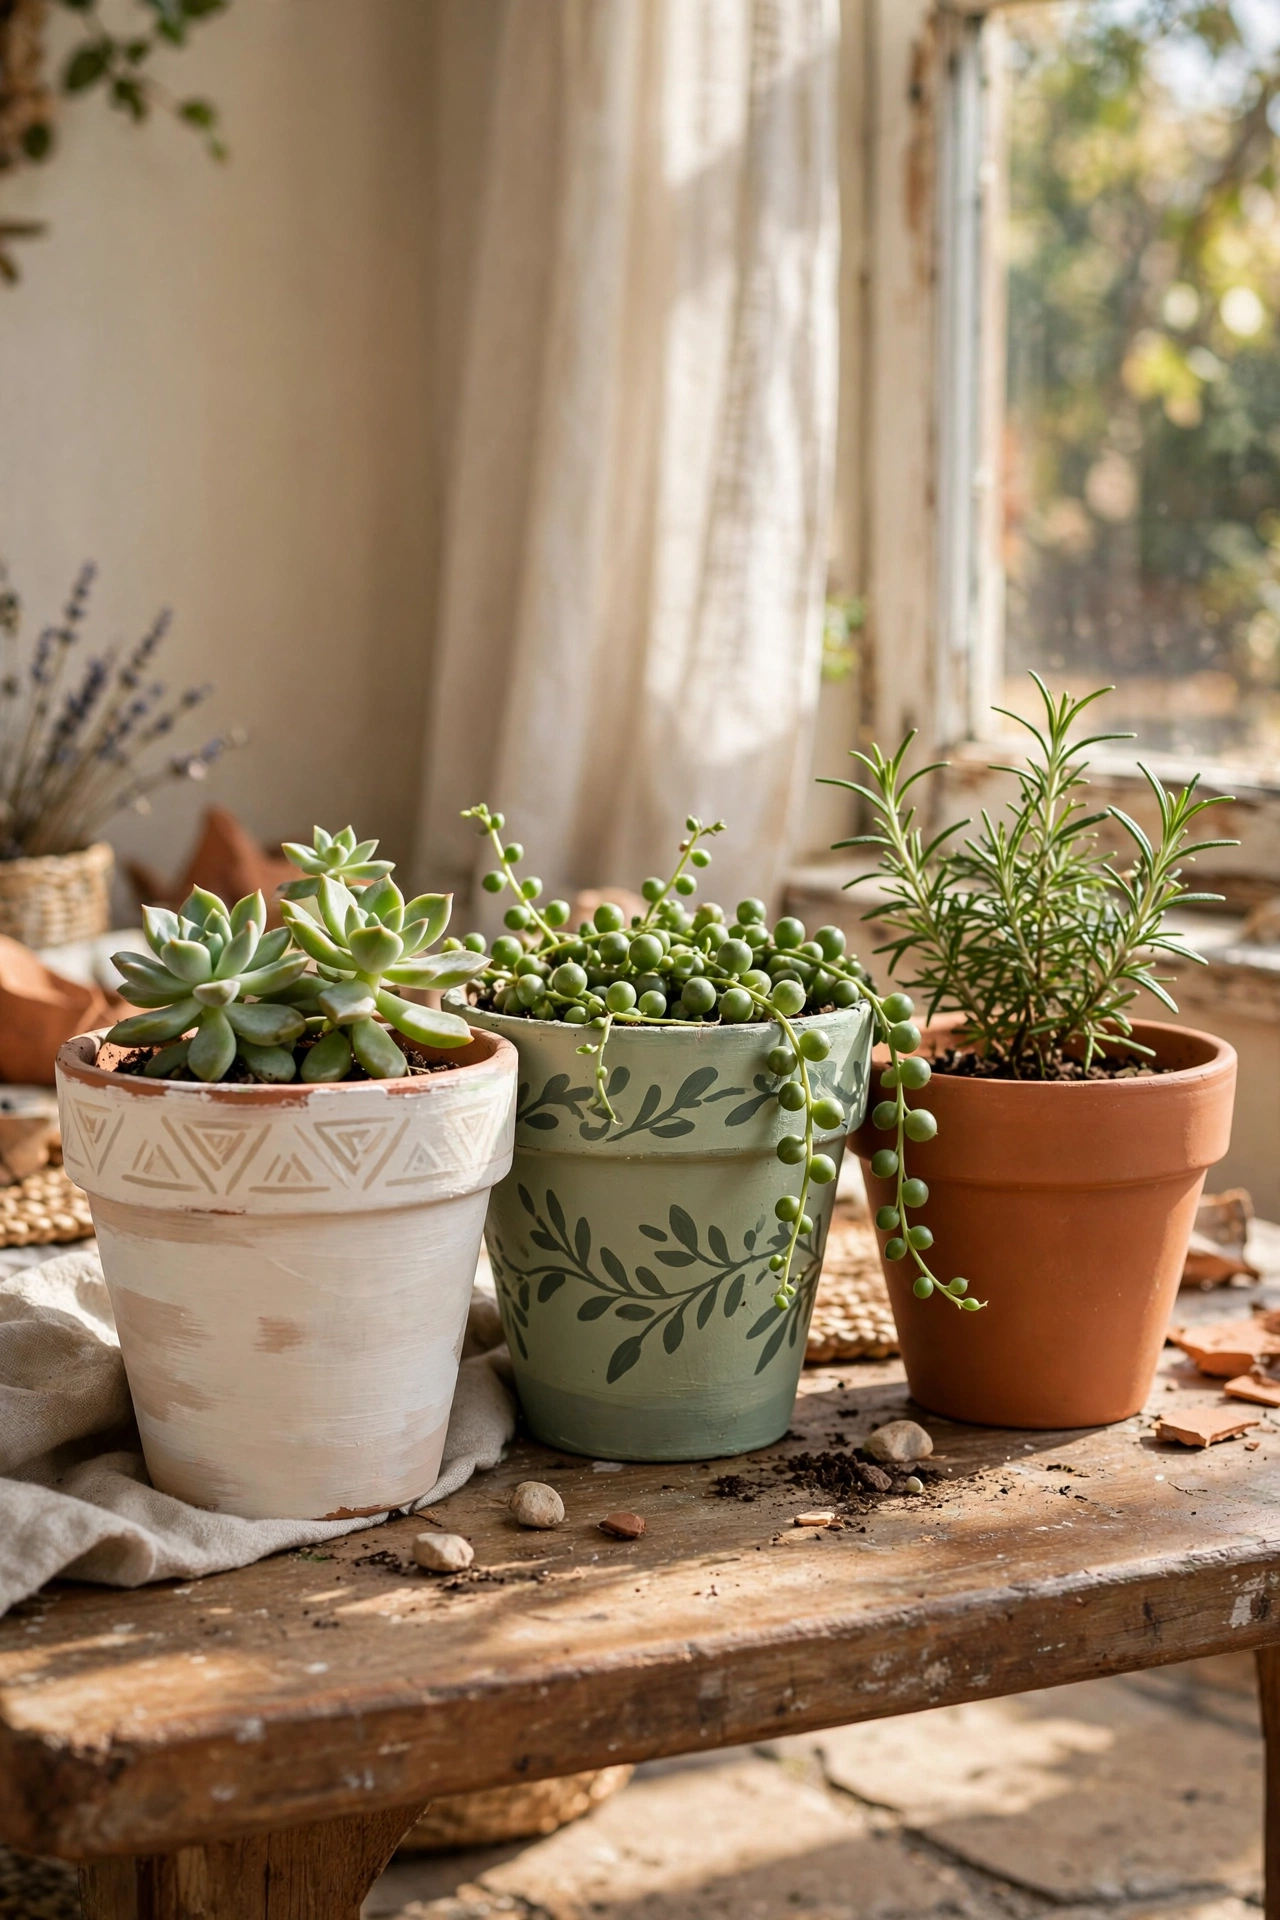
Plain terracotta is the cheapest planter on earth, and a coat of paint makes it look chosen rather than default. I painted a set of three in warm white, sage, and clay with exterior acrylic paint so they survive the patio. Rough the surface with sandpaper first so the paint grips, and leave the inside unpainted so the clay can still breathe. My first set peeled within weeks because I skipped the sanding step. Group odd numbers together, because three painted pots always look better than two.
Cost: ~$6-10 for three | Time: 1 hour plus drying
2. Wooden Crate Herb Planter
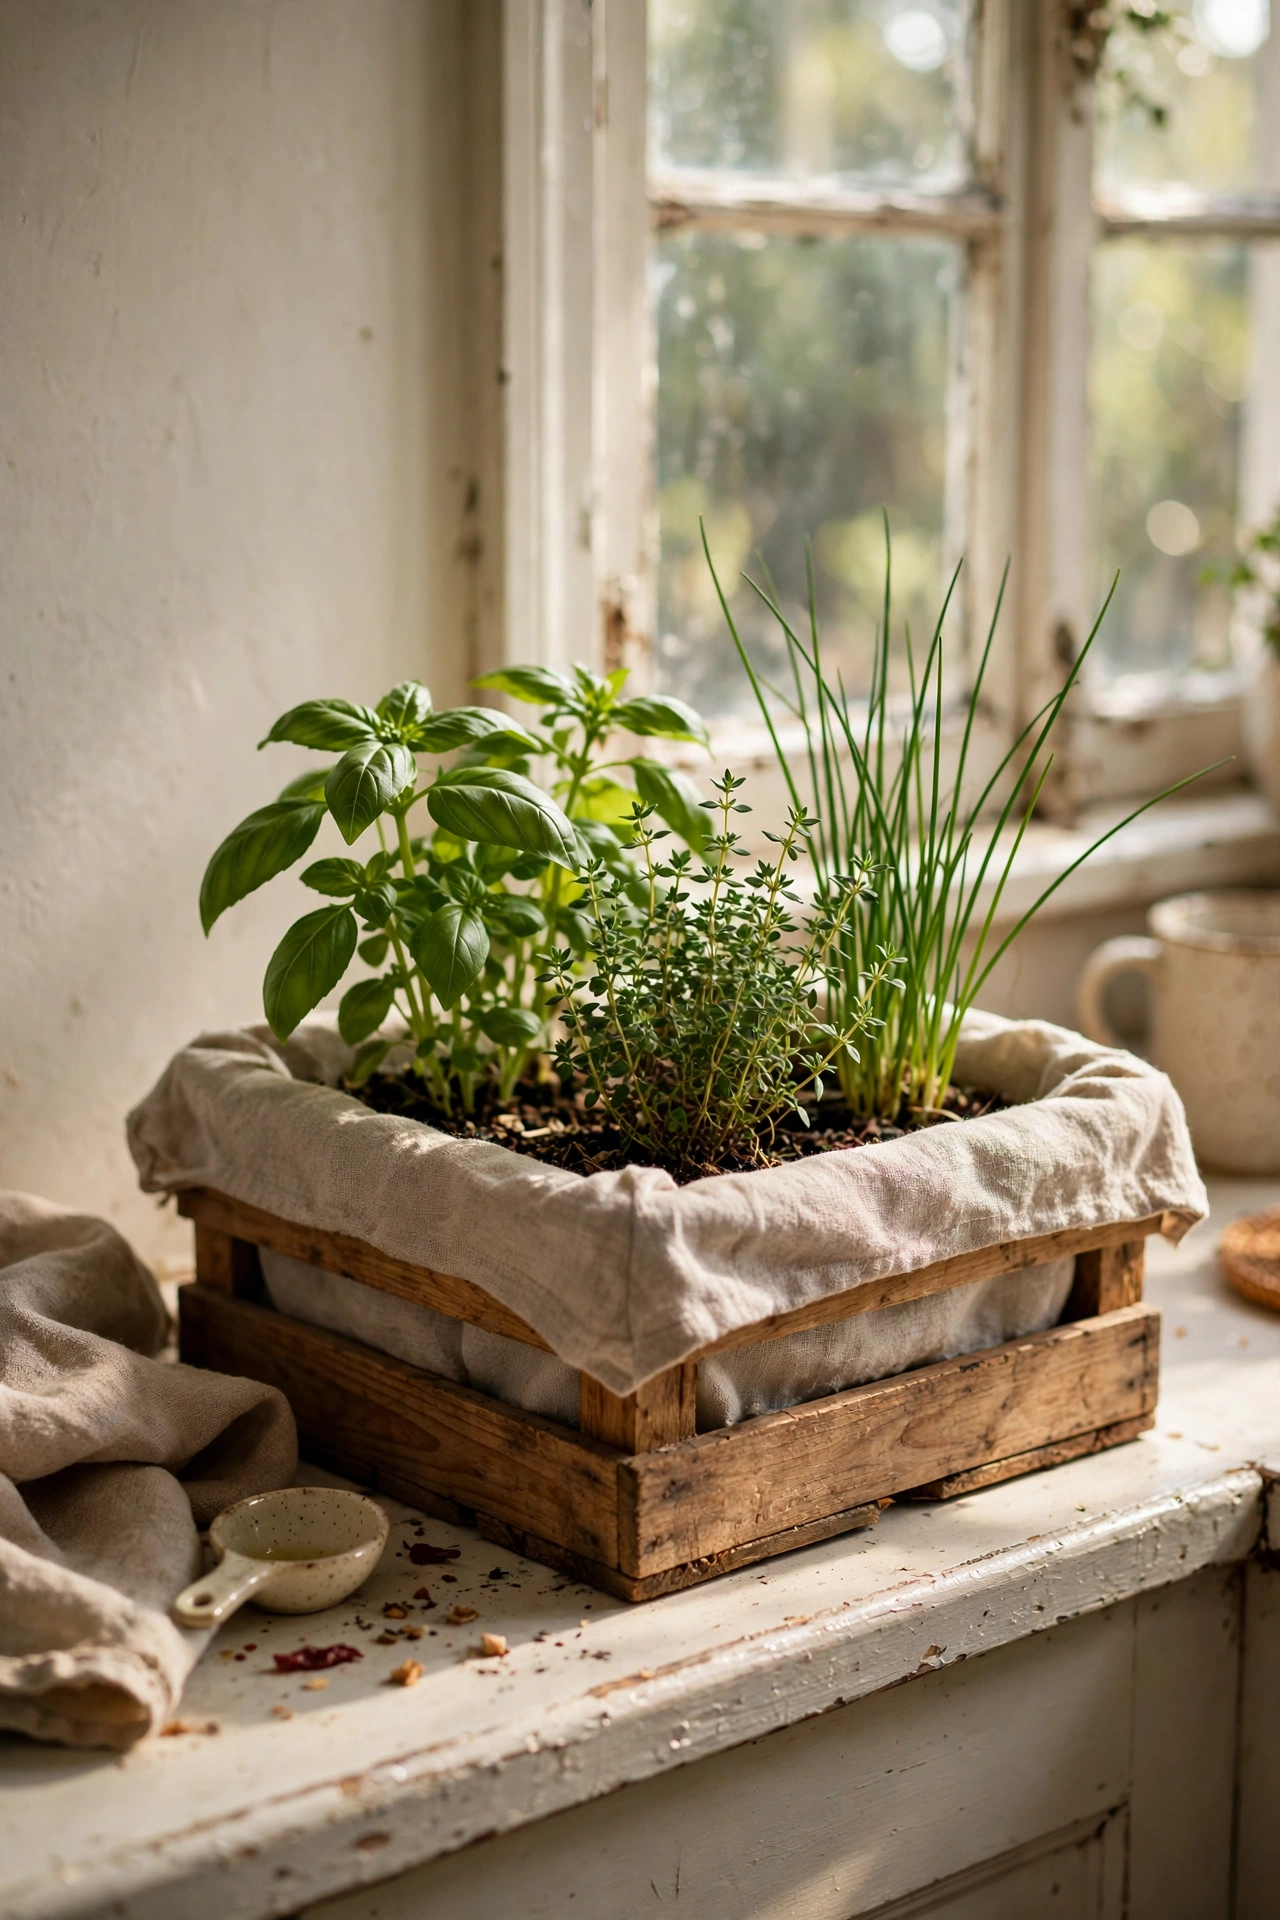
A small wooden crate lined with landscape fabric becomes a perfect herb planter for a kitchen windowsill. I found a crate for $3 at a flea market, stapled fabric inside as a liner, drilled drainage holes in the bottom, and planted basil, thyme, and chives. The fabric keeps the soil in while letting water drain, which is the whole trick. Herbs in a crate sit at the right height for snipping while you cook. Mine lives right by the stove and the basil has never been happier.
Cost: ~$8-12 | Time: 45 minutes
3. Hanging Macrame Plant Holder
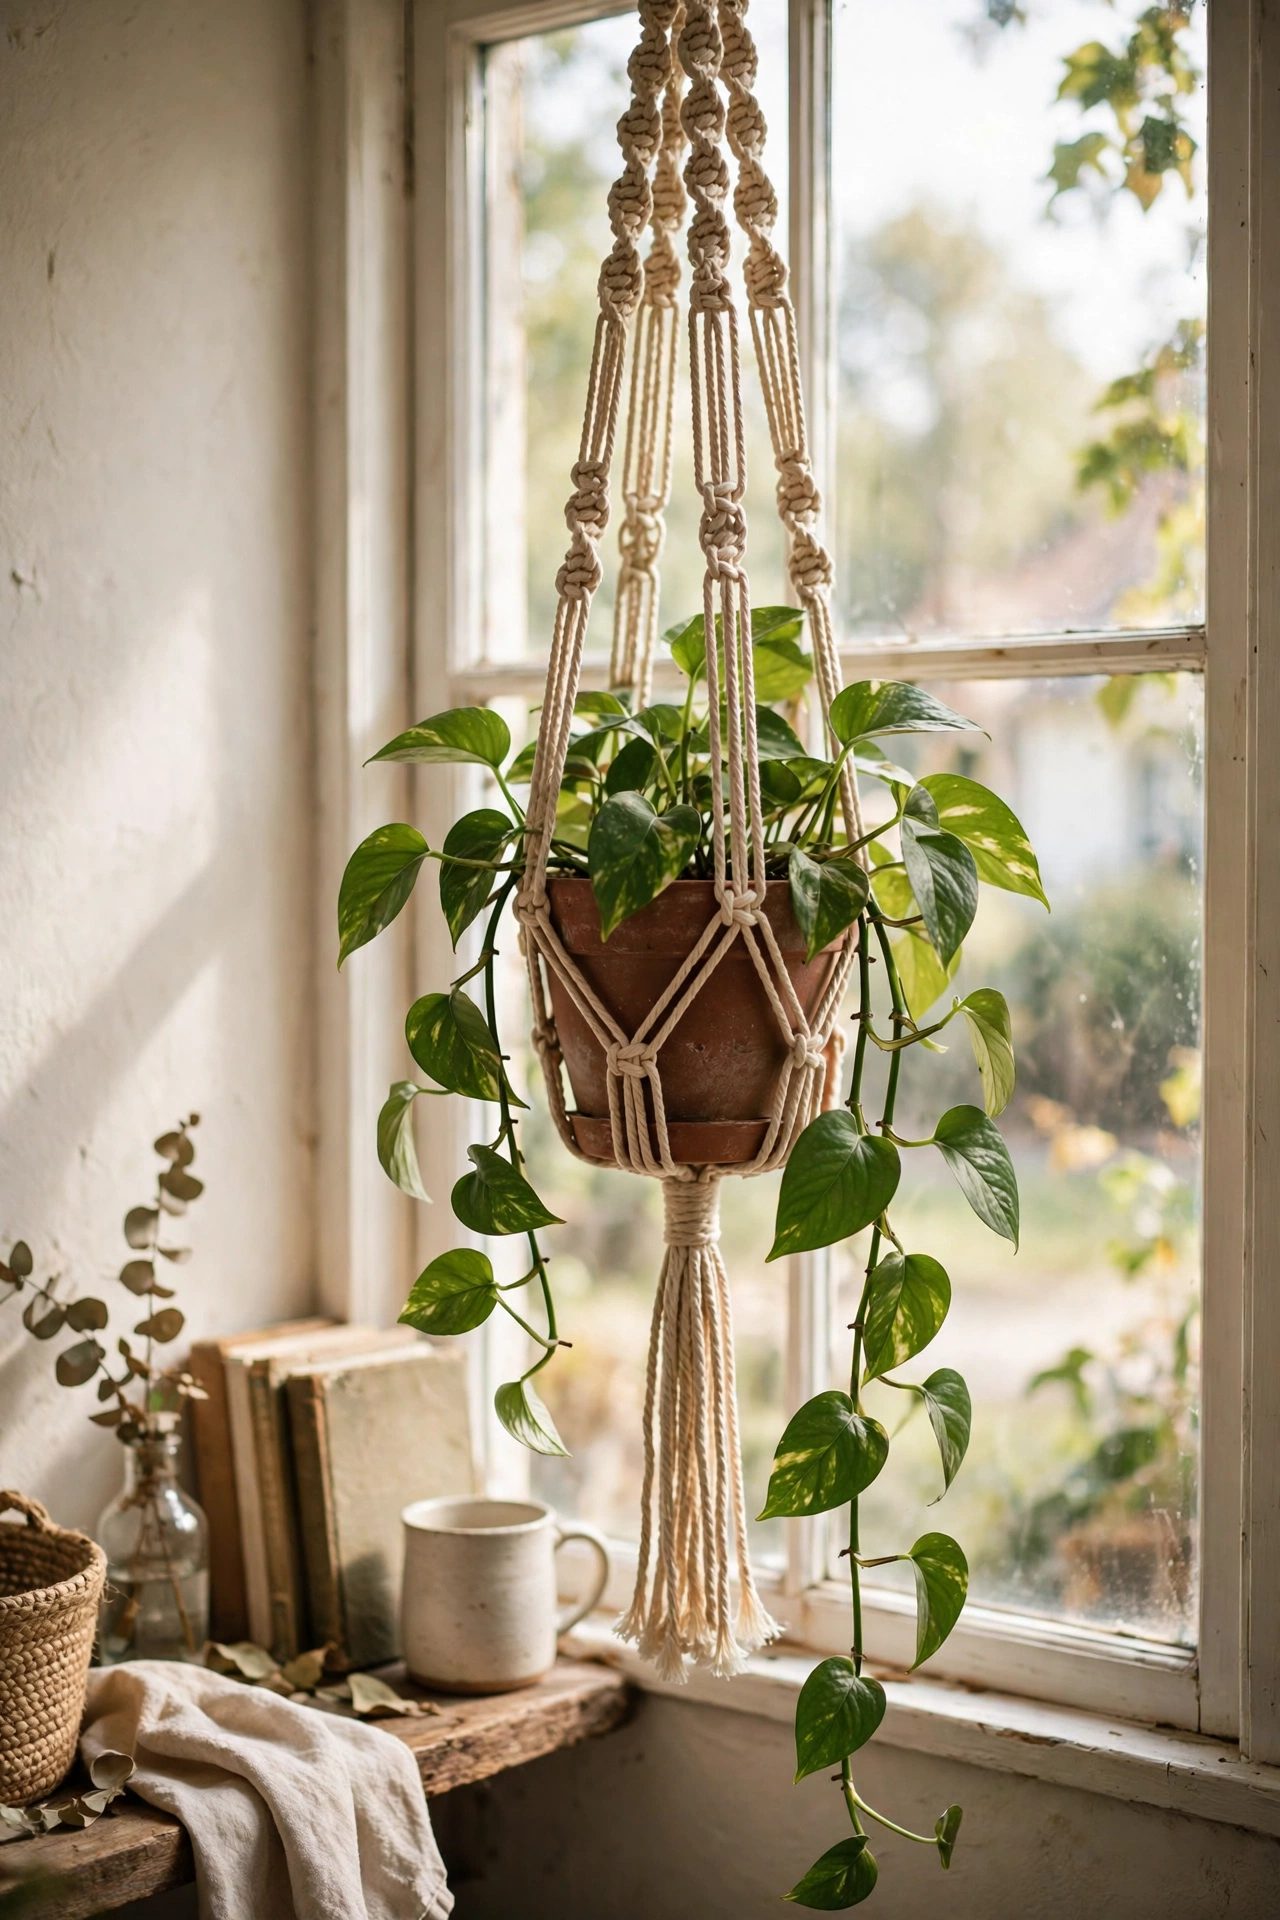
A simple macrame holder lifts a plain pot into something decorative and frees up shelf space. I learned the basic square-knot pattern from a ten-minute video, used cotton cord from the craft store, and hung my trailing pothos by the window. The plant grows toward the light and trails down through the knots, which looks wonderful after a few months. Keep the knots even and pull them snug, because loose knots stretch and the pot will tilt. One holder takes an evening and costs almost nothing.
Cost: ~$5-8 | Time: 1.5 hours
4. Tin Can Herb Pots
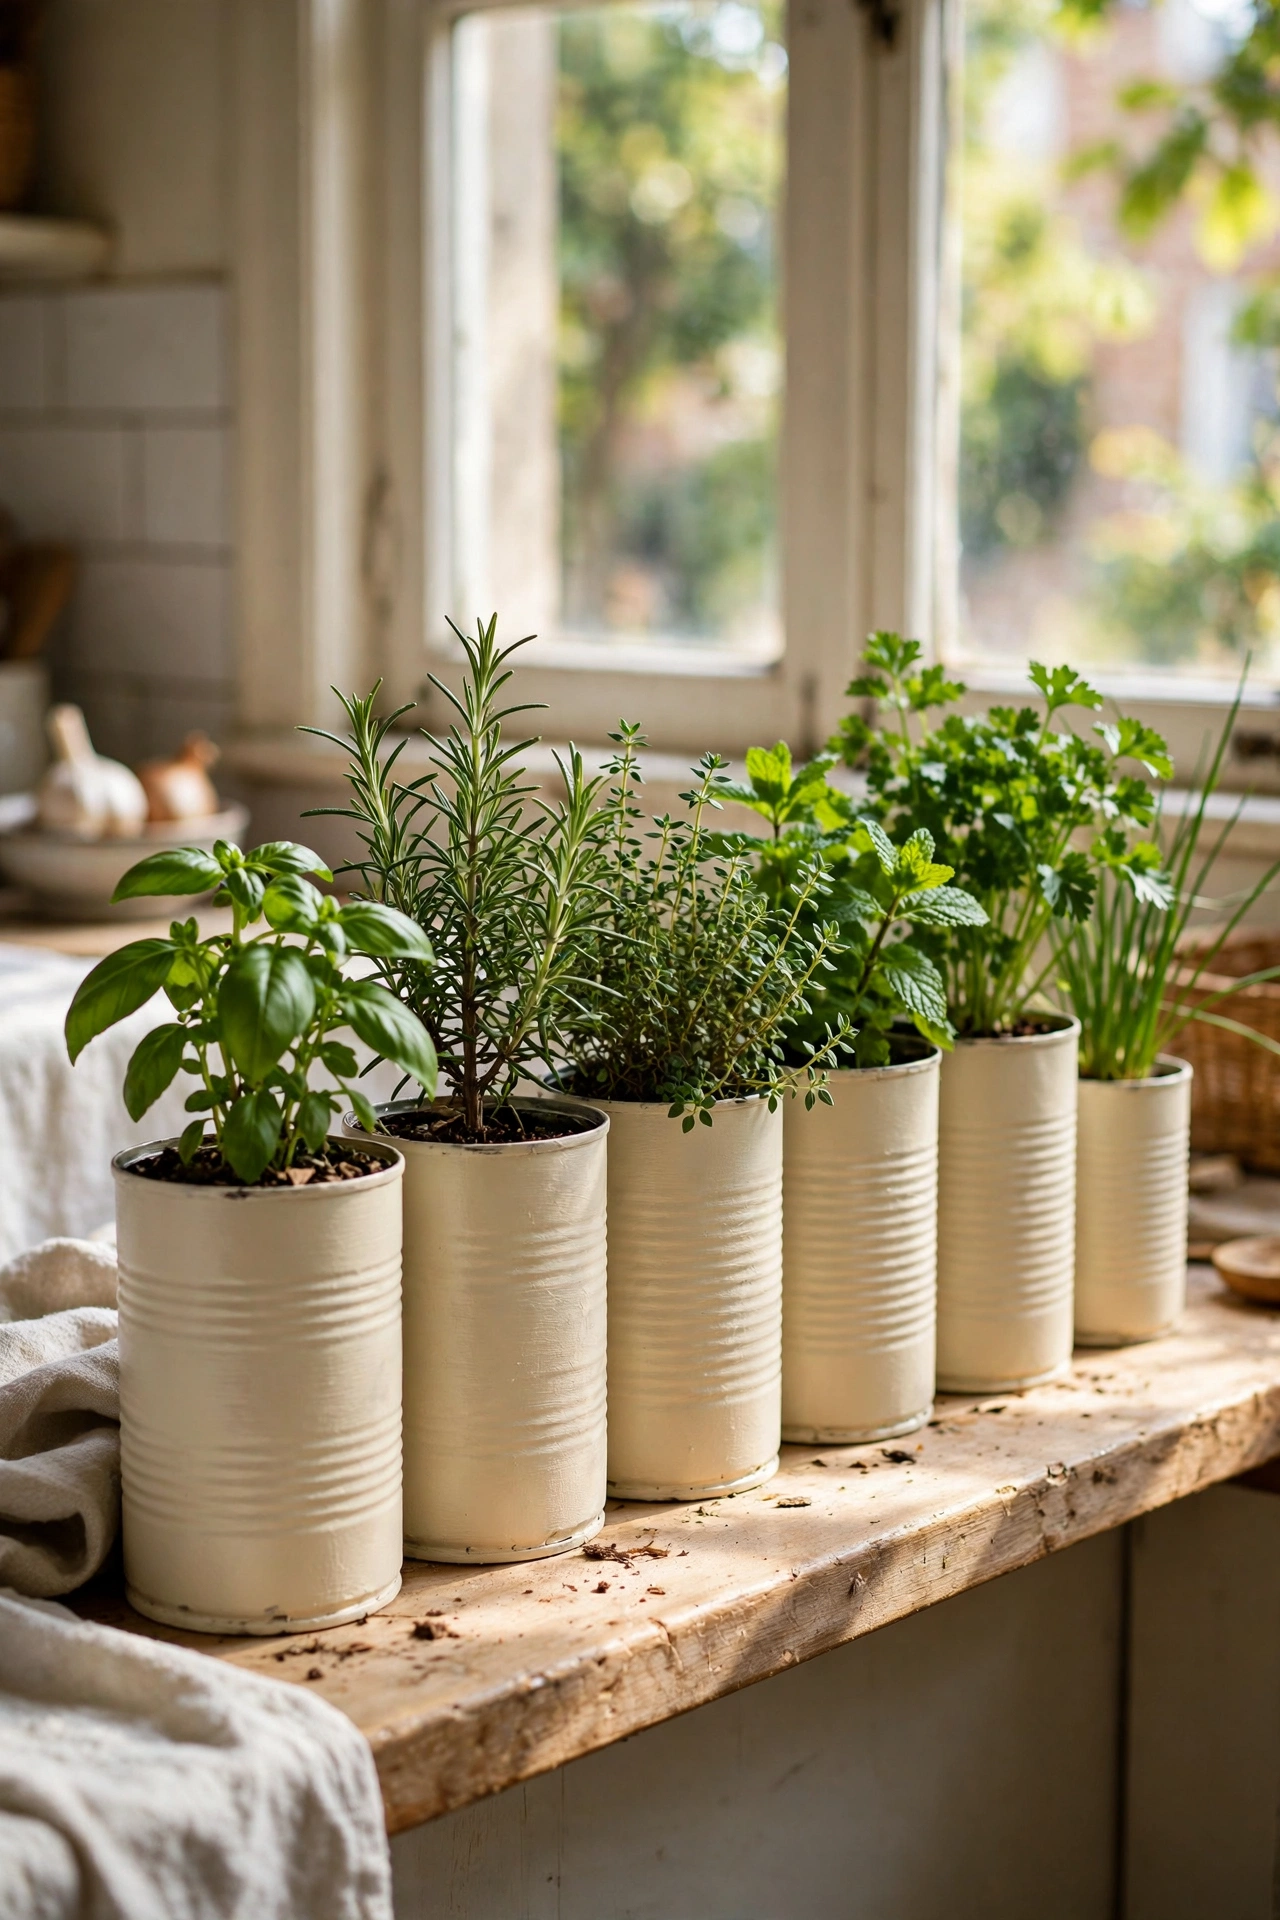
Large tin cans with punched drainage holes are free planters hiding in your recycling bin. I cleaned a set of coffee cans, punched holes with a nail and hammer, and sprayed the outsides matte cream. They now hold a little herb garden on my windowsill and look deliberately styled. The metal heats up in direct sun, so keep these slightly back from south-facing glass. Line up four or five in a row for a proper display. My guests always ask where I bought them.
Cost: ~$2-4 | Time: 30 minutes
5. Concrete Bowl Planter
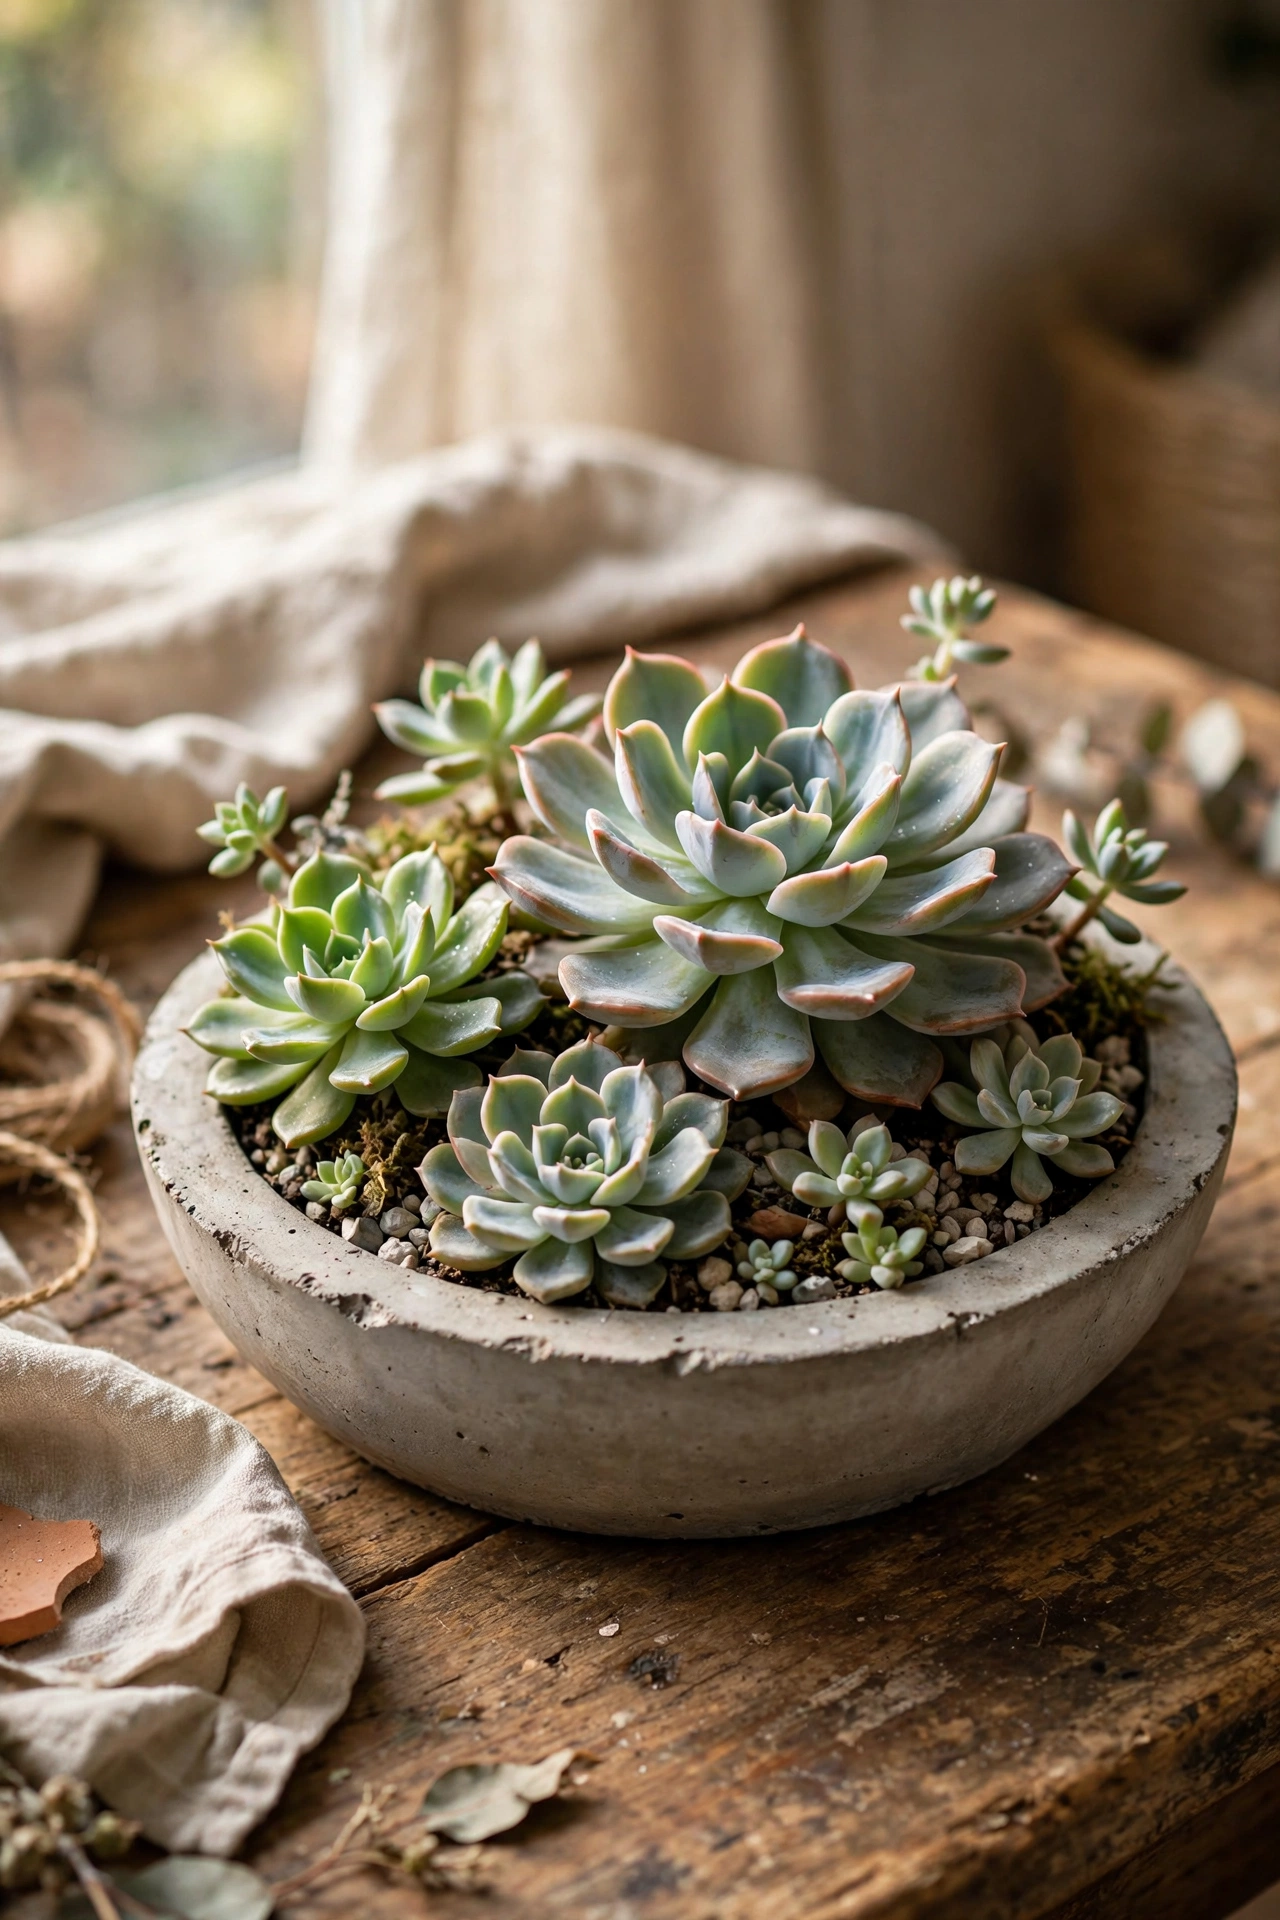
A shallow concrete bowl suits succulents and looks far more expensive than it is. Mix quick-set concrete, press it into a greased plastic bowl, and let it cure for two days before popping it out. I made mine about eight inches wide and planted it with a mix of echeveria. The concrete wicks moisture away from the roots, which succulents love. Do not rush the curing, because green concrete crumbles. Seal the outside with matte sealer and it will last for years outdoors.
Cost: ~$8-12 | Time: 20 minutes active, 2 days curing
6. Woven Basket Planter with Liner
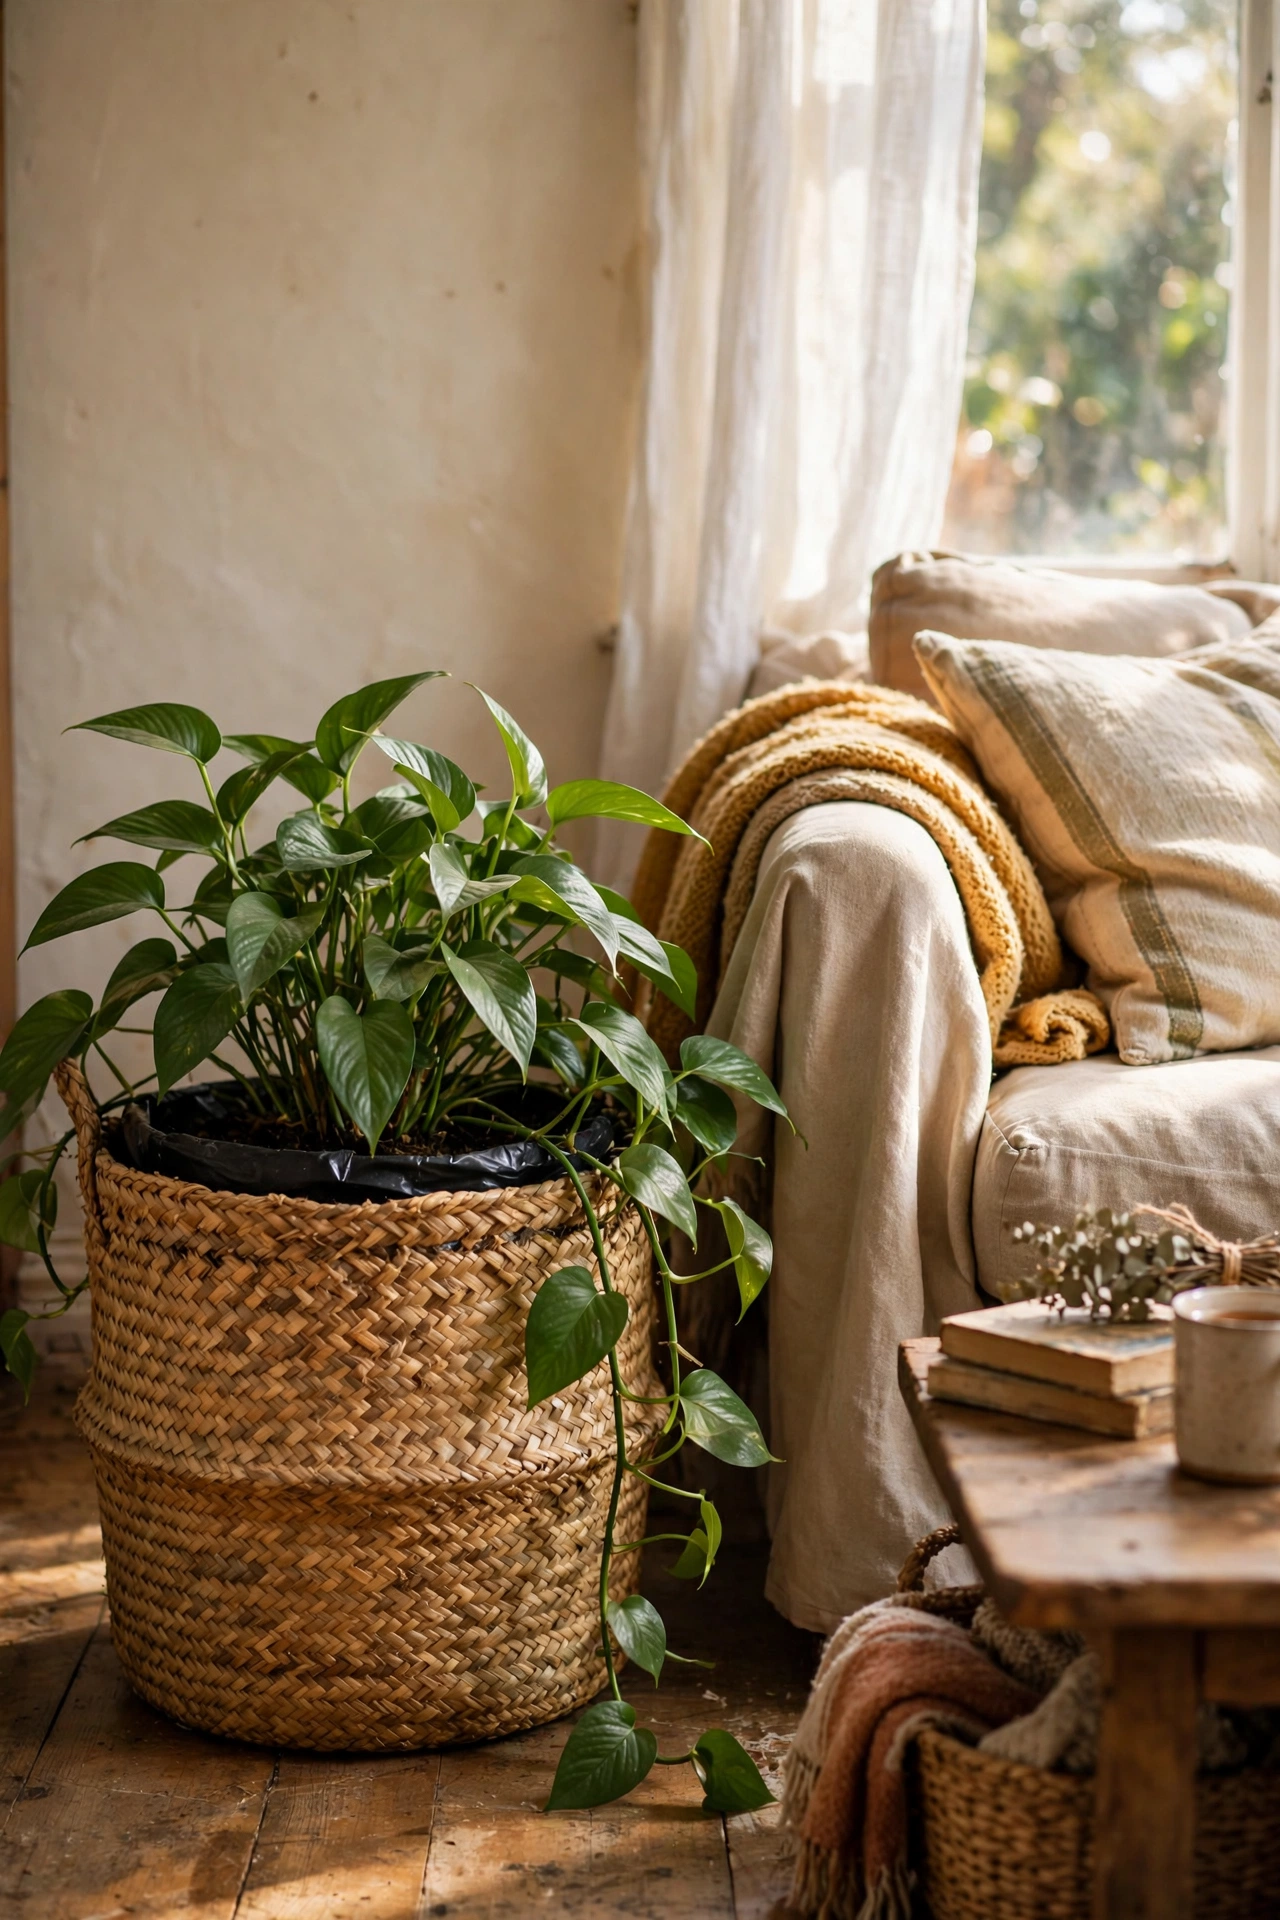
A thrifted basket becomes a soft, textured planter with nothing more than a plastic liner. I drop the nursery pot straight into a $4 seagrass basket and use a saucer underneath to catch water. The plant lifts out for watering, which means the basket never rots. This is the fastest way to make any ugly plastic pot look intentional. Keep an eye on the liner, because a torn one will let water reach the fibres. Mine have lasted two years with zero maintenance.
Cost: ~$5-8 | Time: 5 minutes
7. Pallet Wood Vertical Planter
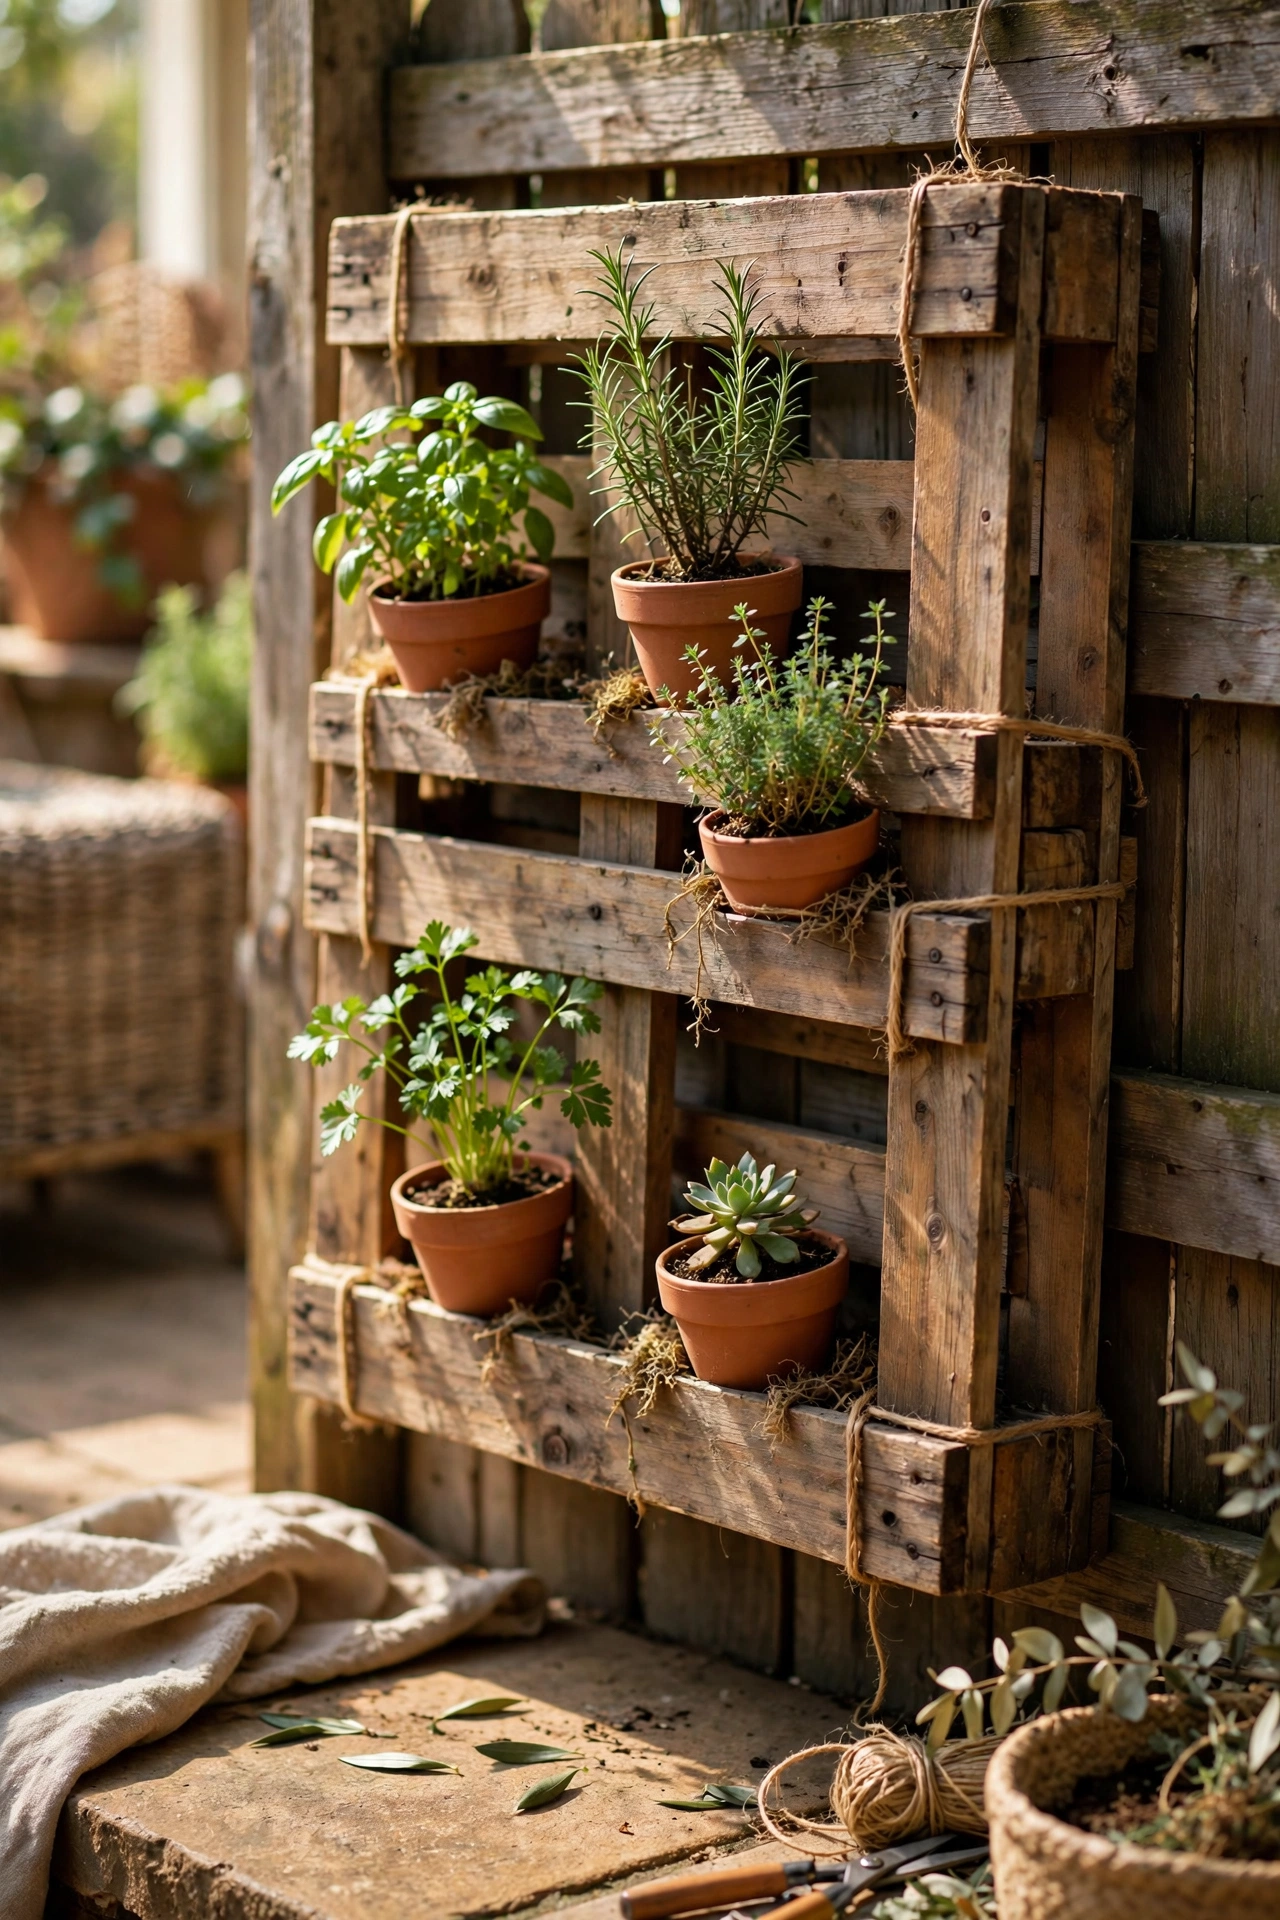
A pallet stood upright against a wall with small pots slotted between the slats is a whole herb wall for free. I sanded one pallet, screwed it to the fence, and wedged terracotta pots into the gaps. It holds twelve small pots in the footprint of one. Anchor it properly, because a pallet full of wet soil is heavy. Line the pot gaps with a little landscape fabric so soil does not wash through. My patio herbs went from a crowded windowsill to this and doubled in size.
Cost: ~$5-10 | Time: 2 hours
8. Teacup Succulent Planters
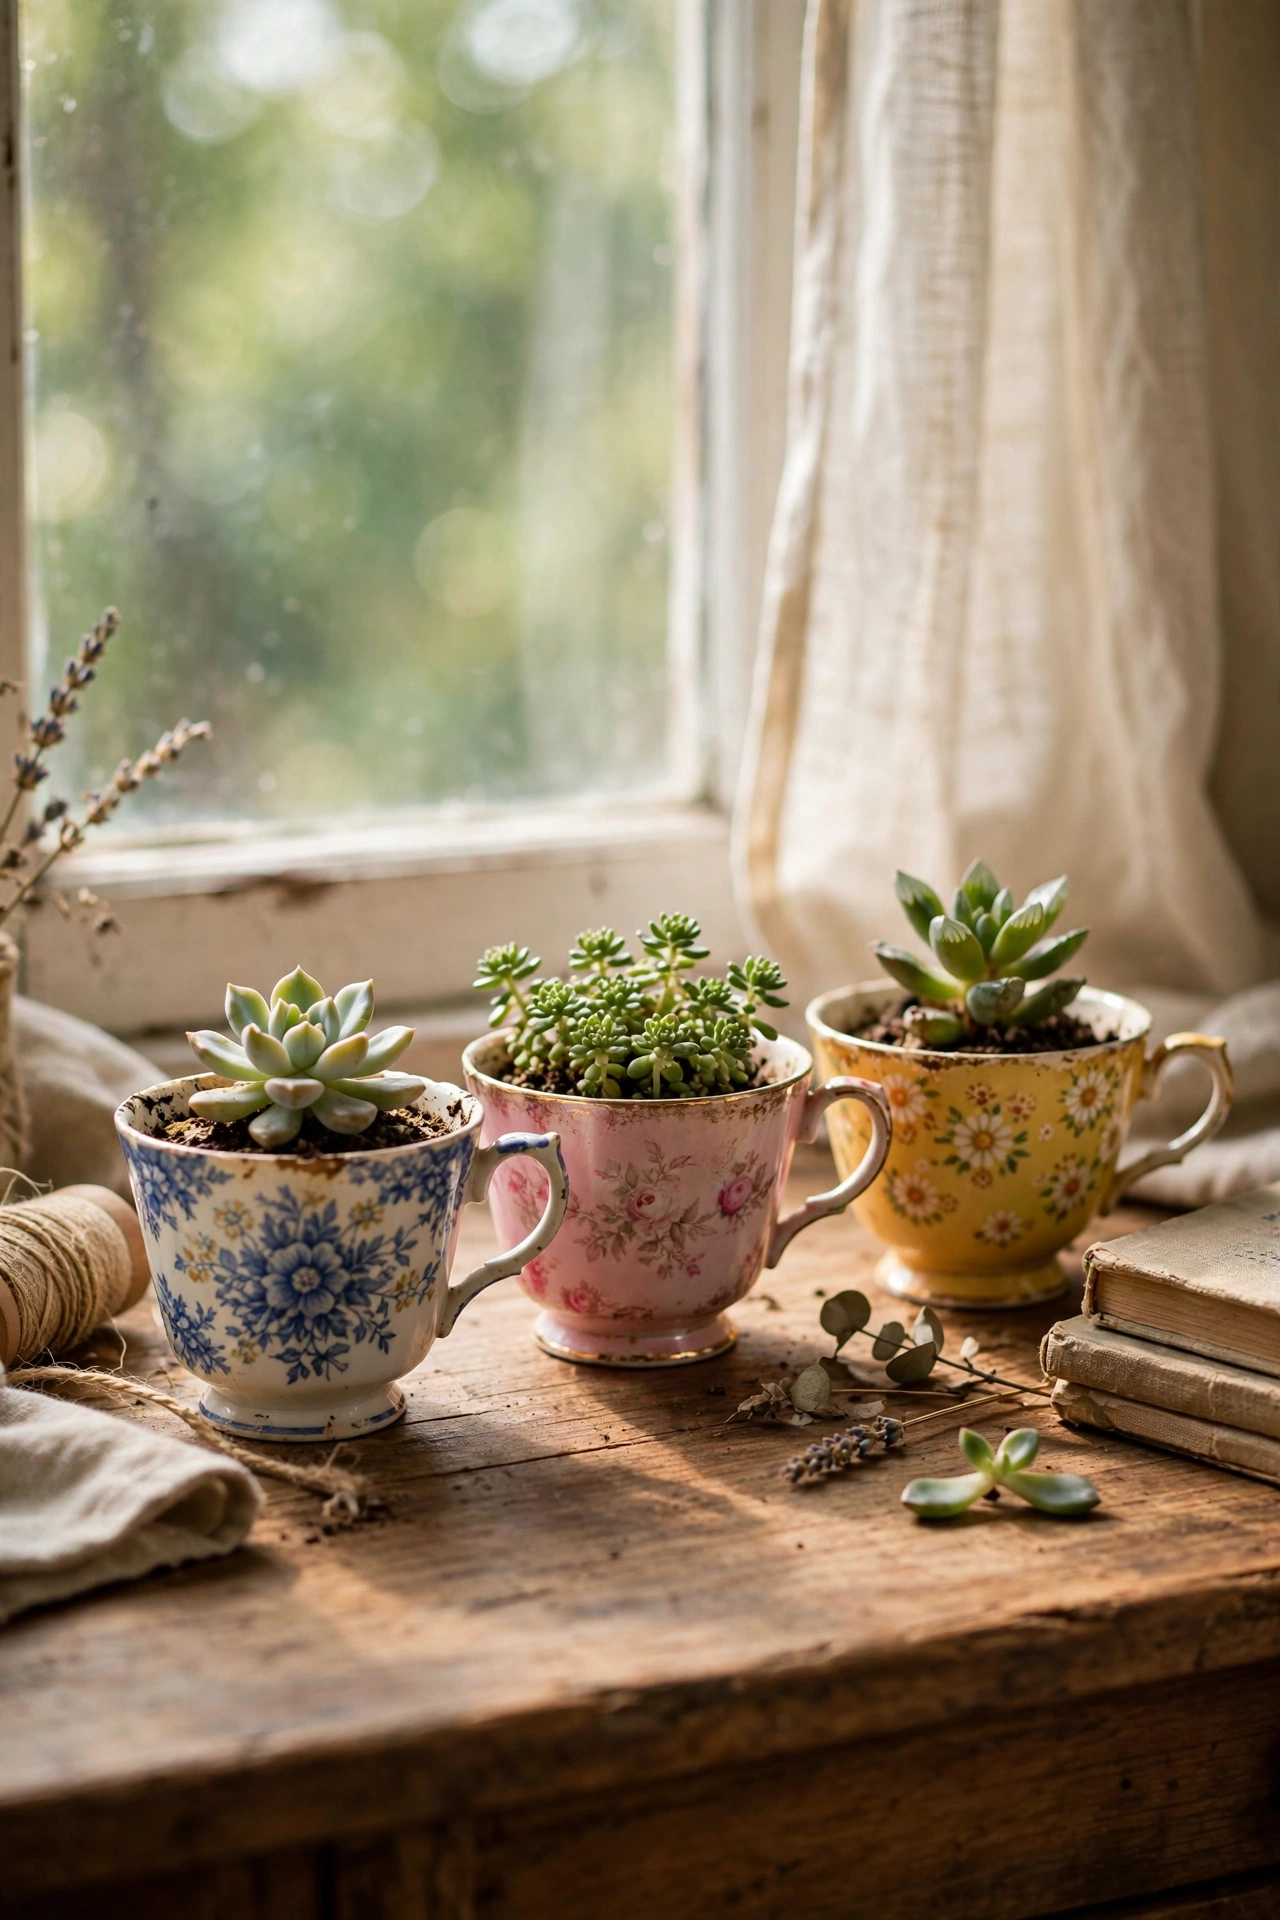
Mismatched teacups from the charity shop are the sweetest tiny planters for succulents. I drill a drainage hole with a diamond bit, fill with cactus soil, and tuck in a small succulent. The cup handles make them easy to move for watering. Succulents are the right plant here because the tiny soil volume dries fast, which they prefer. A row of three on a desk is genuinely charming. I tried regular plants first and they sulked; succulents in teacups are the combination that works.
Cost: ~$4-7 for three | Time: 30 minutes
9. Fabric Grow Bag Planters
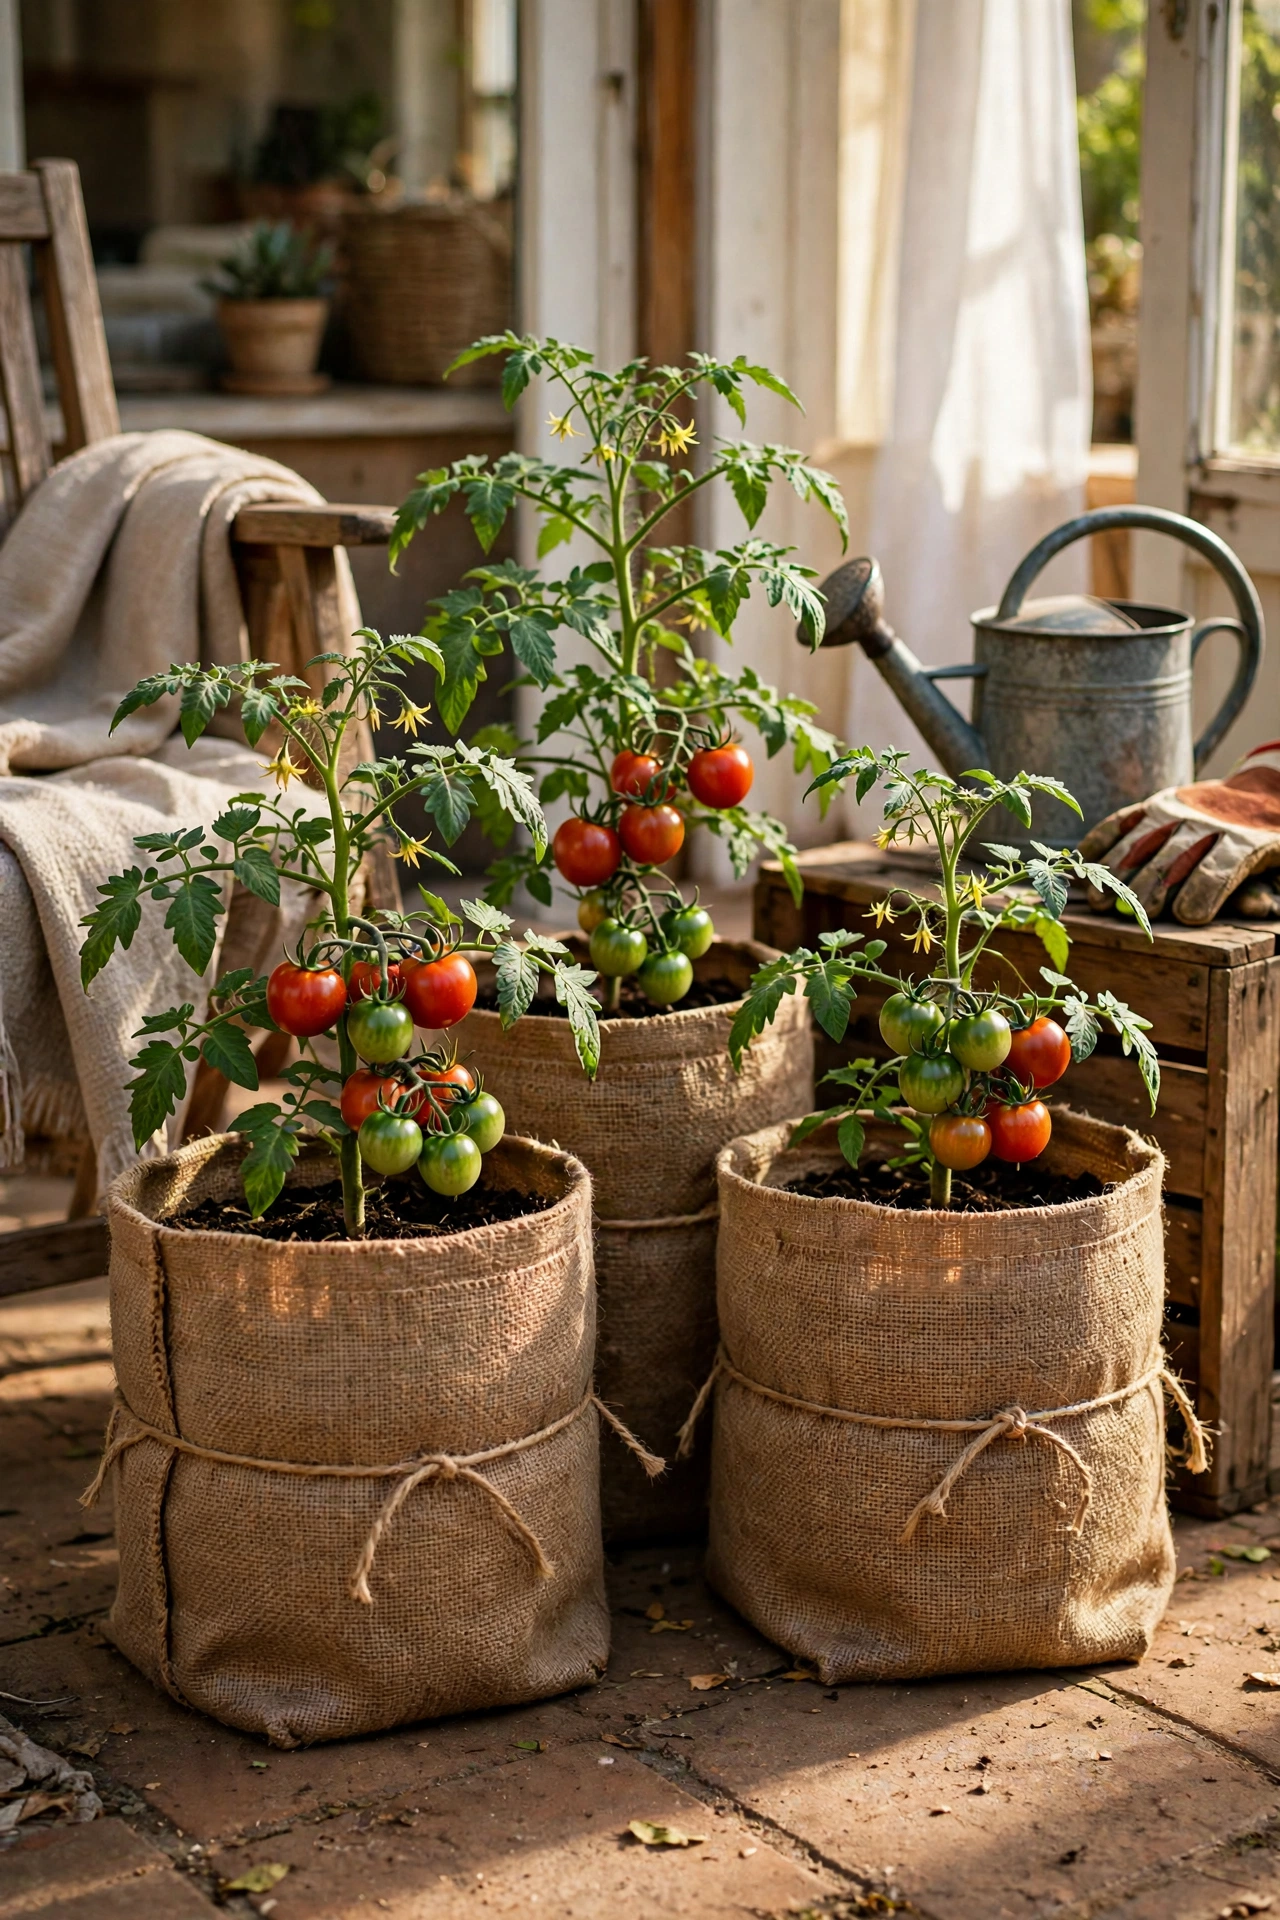
Fabric grow bags are what serious gardeners use, and they cost a couple of dollars each. I grow tomatoes and peppers in five-gallon bags on my patio because the fabric air-prunes the roots, which makes bushier plants than plastic pots. They are ugly, so I slip each bag inside a slightly larger decorative pot or wrap it in burlap tied with twine. The handles make moving heavy plants easy. Fold the rim down to the soil level for a tidier look.
Cost: ~$8-12 for four | Time: 15 minutes
10. Rope-Wrapped Plastic Pot
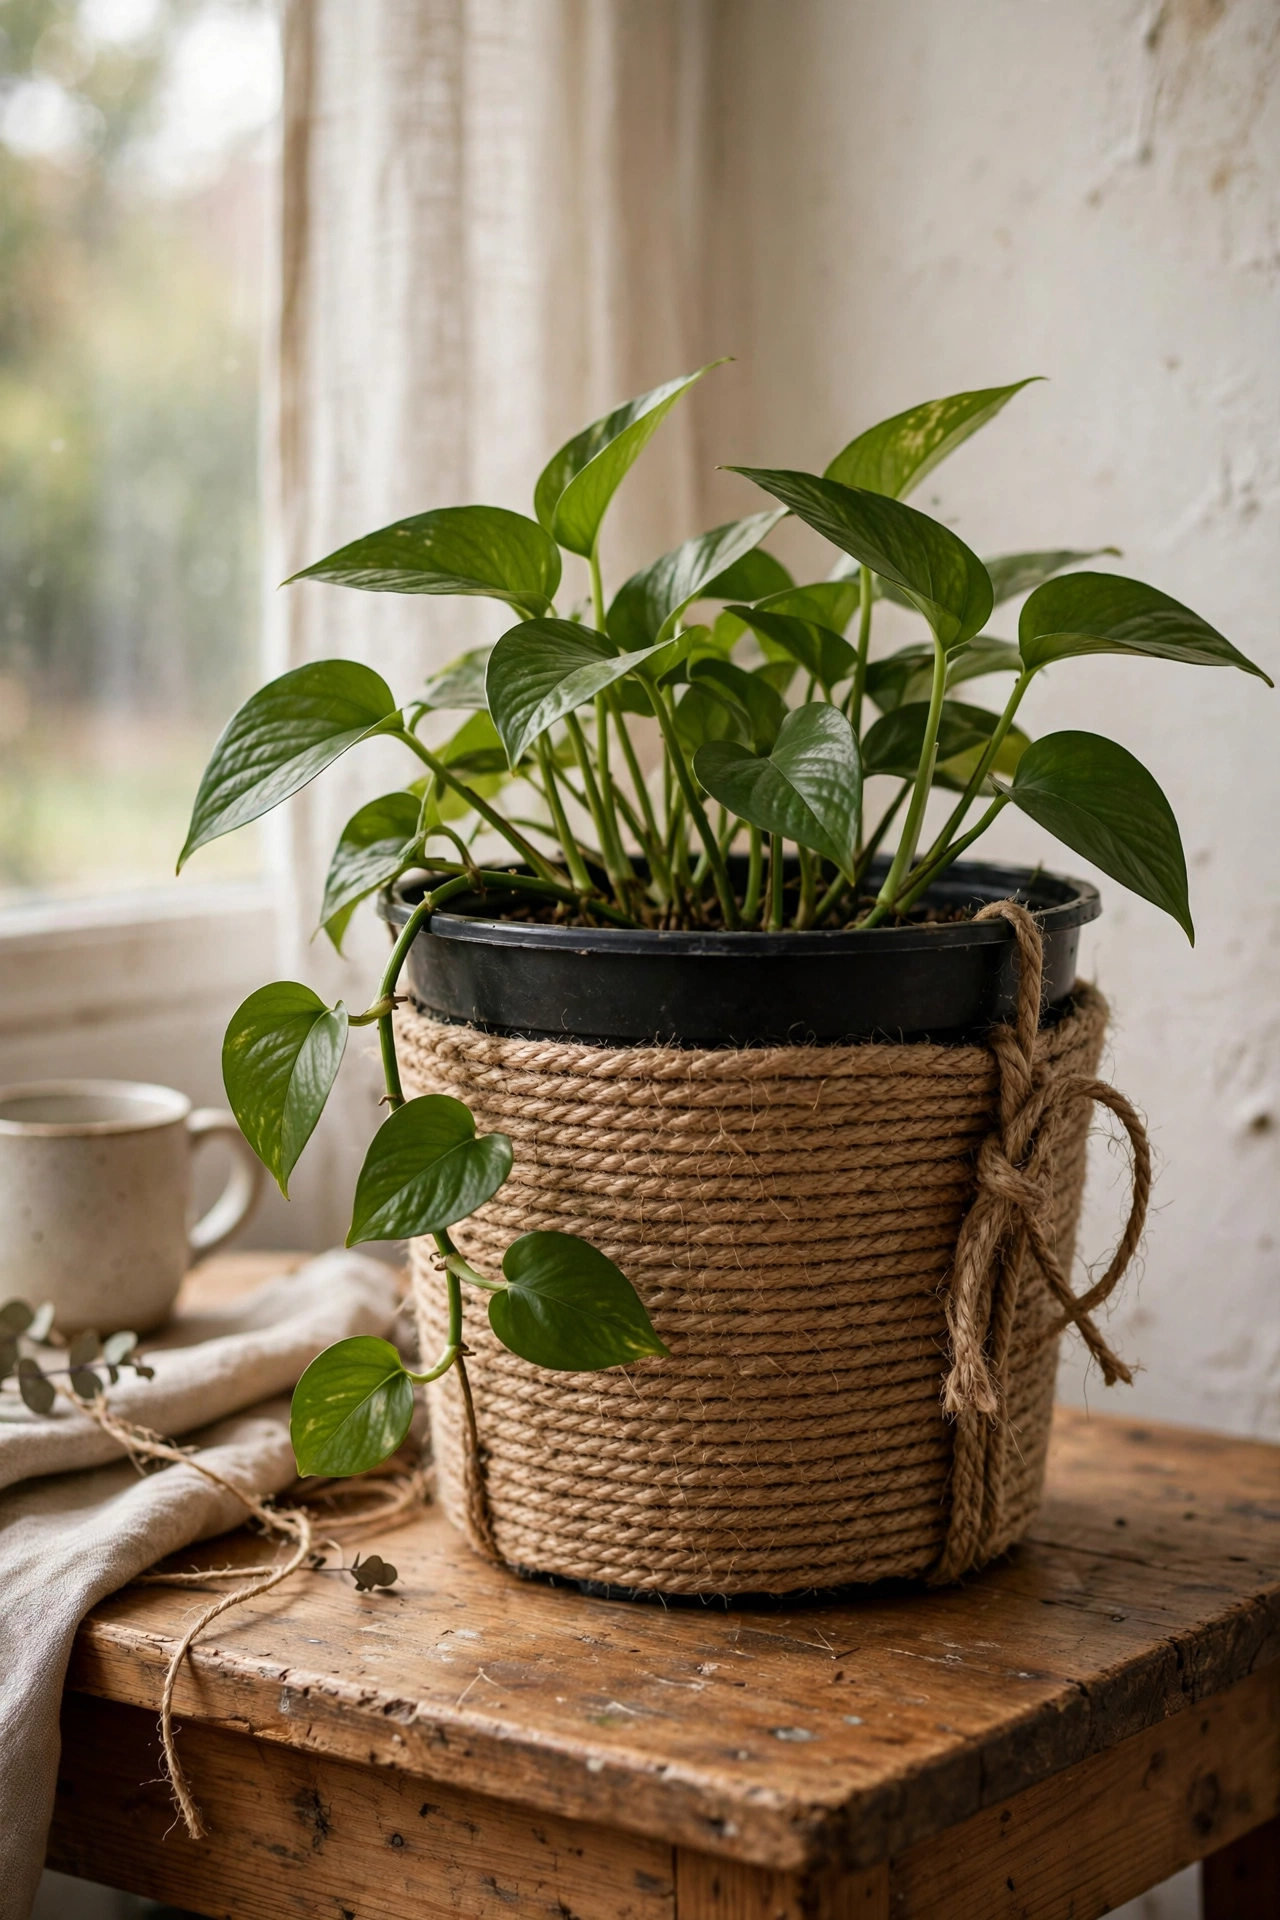
Jute rope wrapped around a plain plastic nursery pot hides the plastic completely. I hot-glued rows of rope around a $1 pot, working from the bottom up, and it now passes for a handmade fibre planter. Keep the rows tight together, because gaps show the plastic and break the illusion. Cut the rope at an angle where rows meet so the join sits flat. This is a great evening project in front of the television. One pot takes about forty minutes of steady wrapping.
Cost: ~$4-6 | Time: 45 minutes
11. Ladder Shelf Plant Display
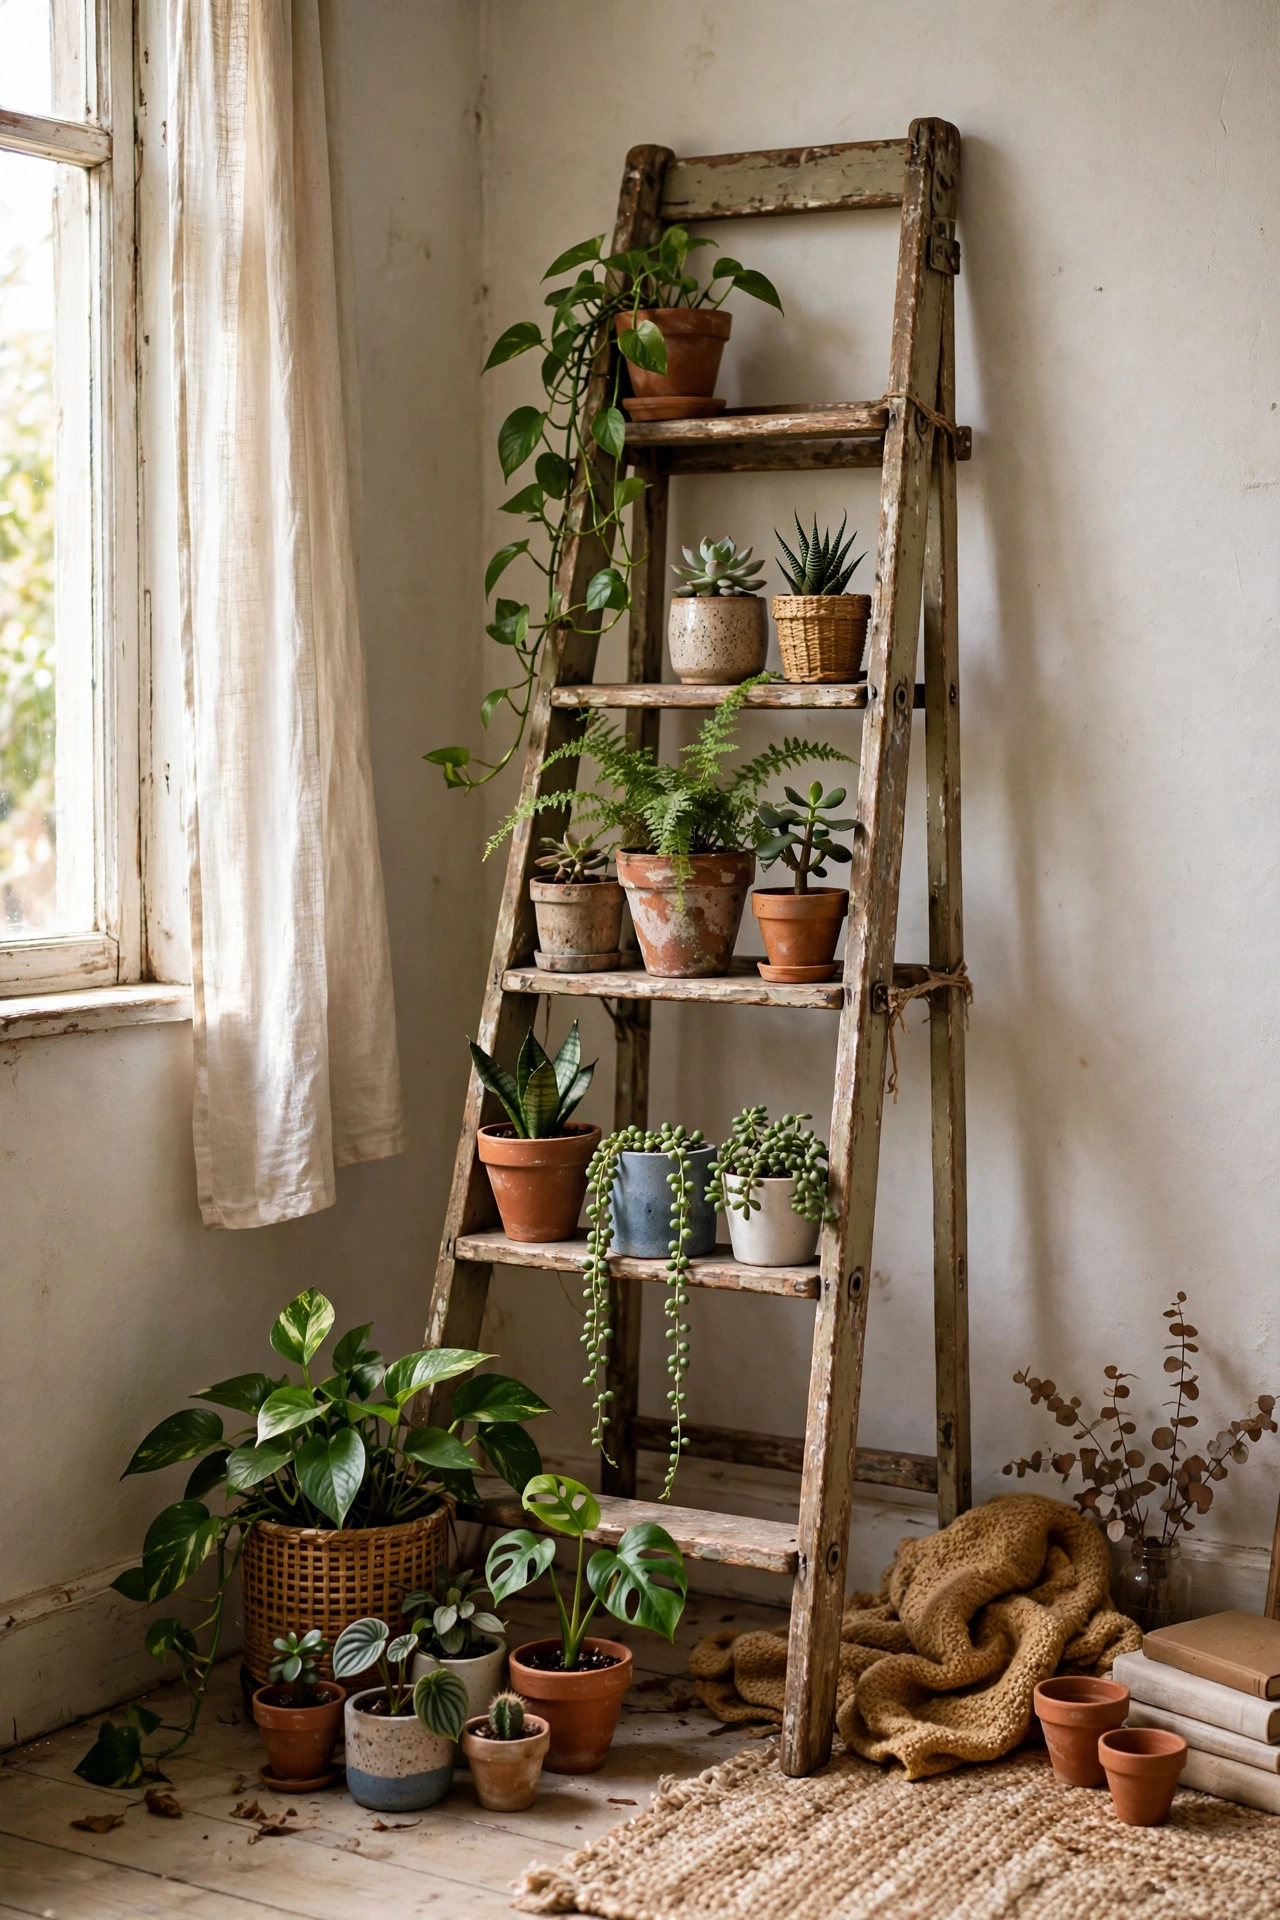
An old wooden ladder leaned against a wall becomes a tiered plant stand in minutes. I sanded a $10 flea market ladder, laid small boards across the rungs, and arranged trailing plants on the top with sun-lovers at the bottom. The height difference gives every plant its light level. Check the ladder is stable before loading it, because wet soil adds weight. My ladder holds fourteen plants in the space of one floor pot. It is the best small-space plant solution I own.
Cost: ~$10-15 | Time: 1 hour
12. Painted Concrete Block Planter
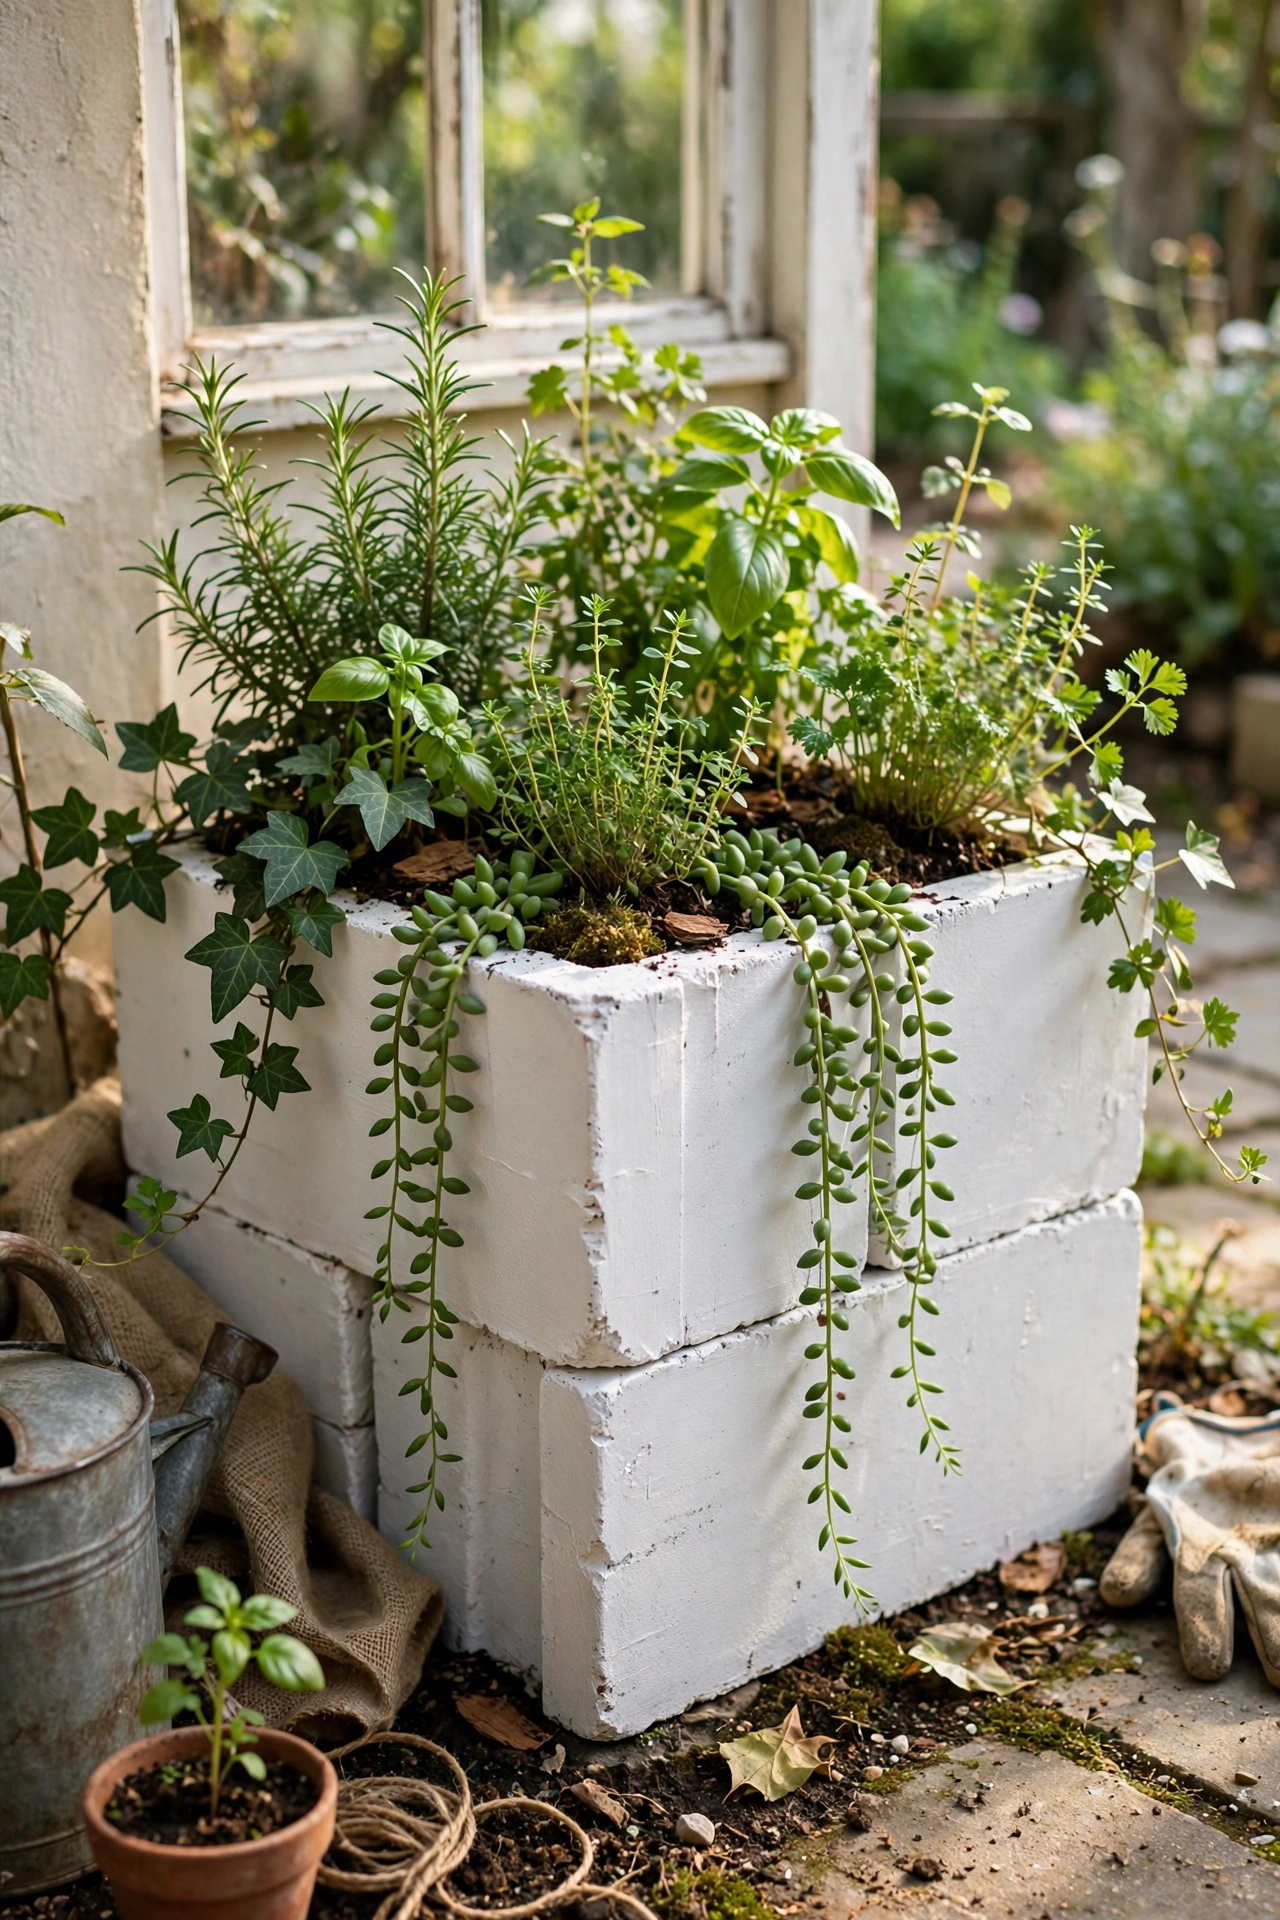
Cinder blocks stacked two high with soil in the holes make a sturdy modern planter. I painted mine warm white, stacked them in a staggered pattern, and filled the holes with trailing plants and herbs. The blocks are under $2 each, so a six-block planter costs less than a sandwich. They are heavy, so build it where it will live. The hollow cores drain perfectly, which means fewer root-rot worries for beginners.
Cost: ~$8-14 | Time: 1.5 hours
13. Boot Planter for the Porch
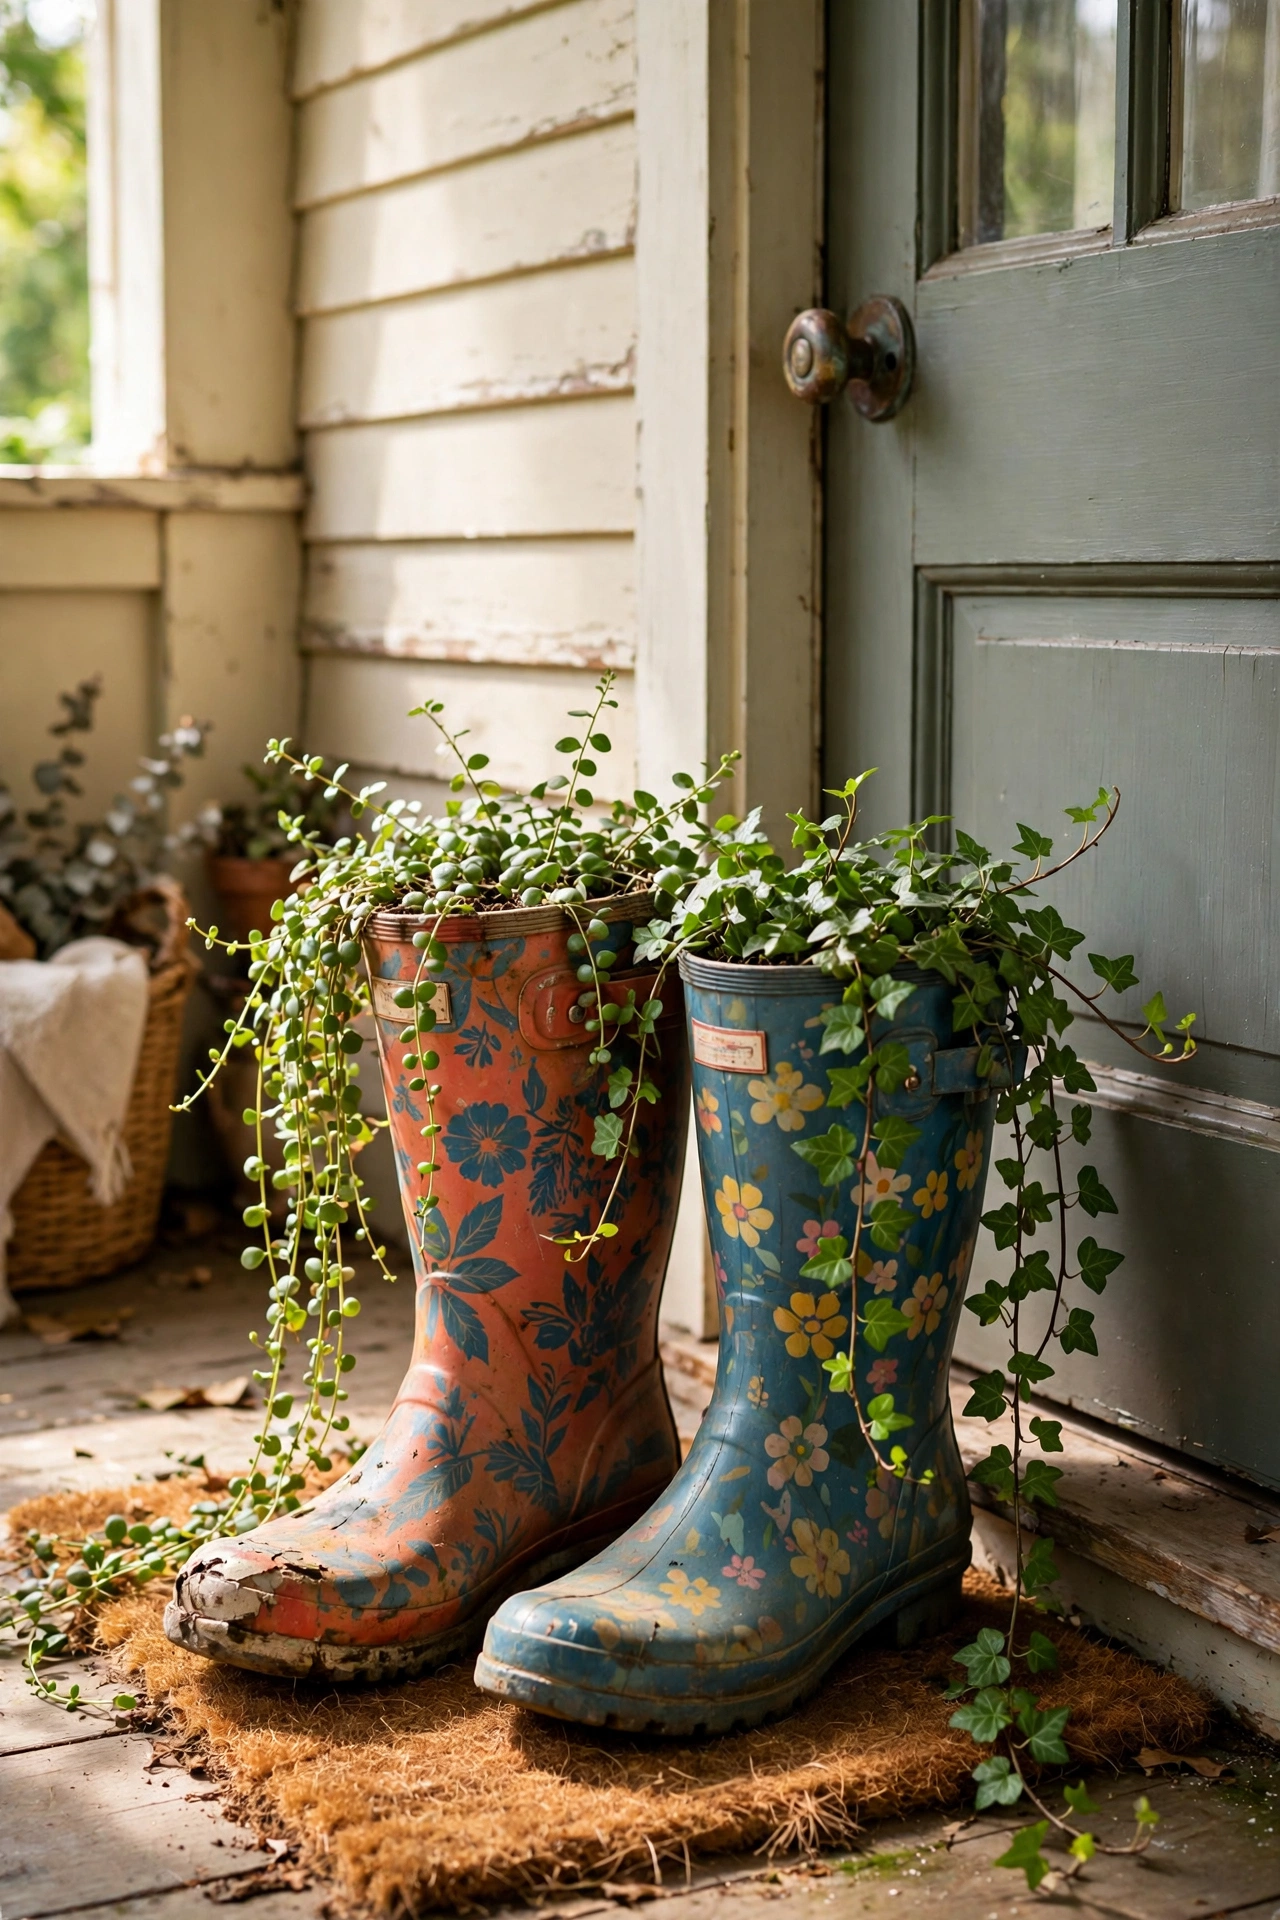
An old pair of rain boots stuffed with trailing plants is pure porch charm. I punched drainage holes in the soles of my son’s outgrown boots, filled them with potting soil, and planted creeping jenny. The plants spill over the tops exactly like they should. Wellies work best because the rubber never rots. Set them by the front door where they get noticed. Mine get more comments than any plant I own.
Cost: ~$3-6 | Time: 20 minutes
14. Hanging Gutter Planter
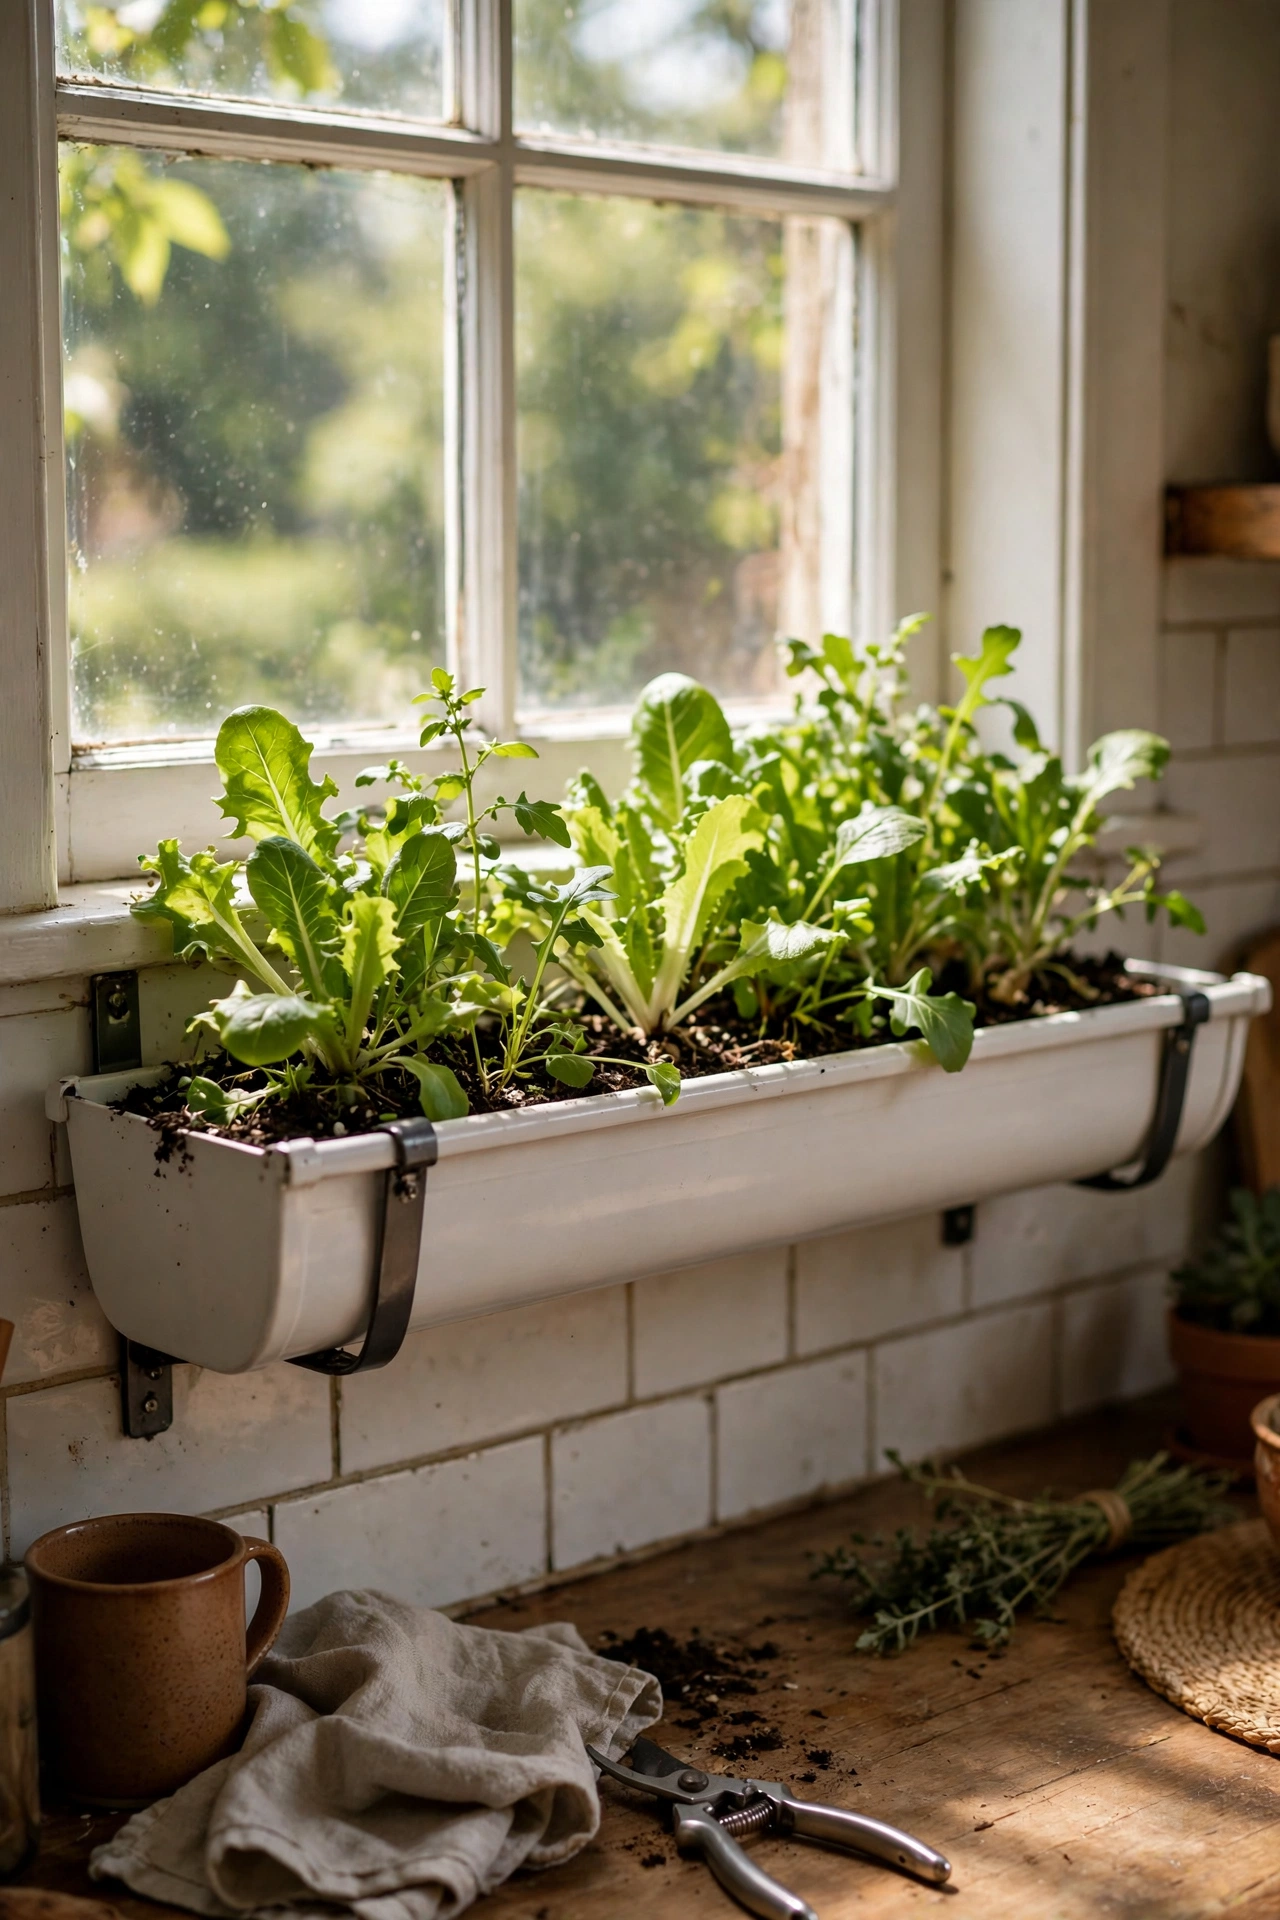
A length of vinyl gutter hung under a window becomes a shallow planter for lettuce and herbs. I capped the ends, drilled drainage holes, hung it on brackets, and filled it with salad greens. The shallow depth suits leafy plants perfectly. Water carefully, because there is not much soil to buffer mistakes. My kitchen window gutter gives us salad leaves all summer for the price of one seed packet.
Cost: ~$10-15 | Time: 1.5 hours
15. Mosaic Broken-Tile Pot
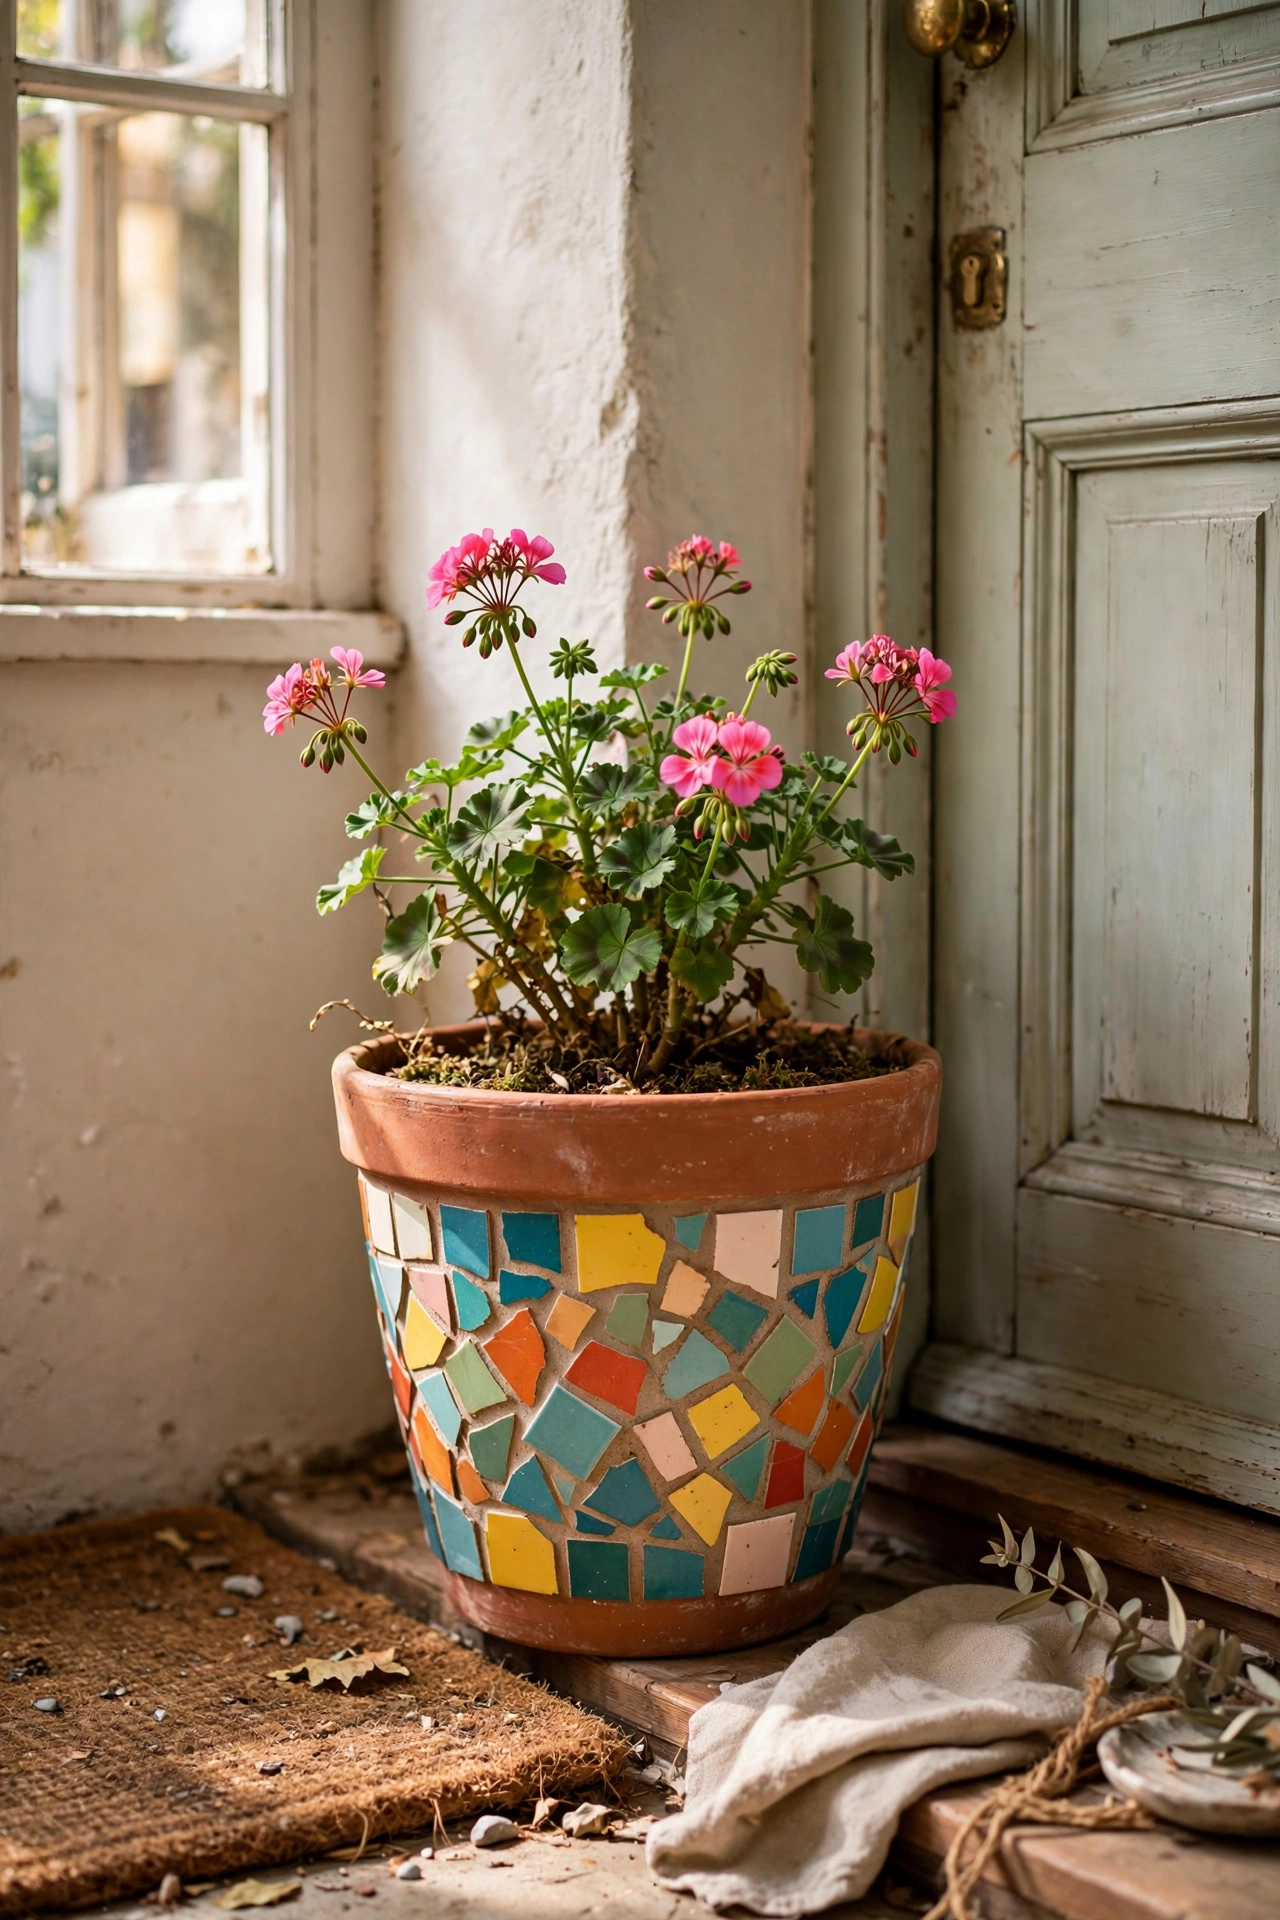
Smashed tiles set in grout turn a plain pot into a mosaic showpiece. I broke old bathroom tiles with a hammer inside a towel, glued the pieces around a terracotta pot with tile adhesive, and grouted the gaps. The randomness is the point, so do not plan the pattern. Wear gloves, because tile edges are sharp. My mosaic pot sits by the front door and looks like something from a craft market. One pot takes an afternoon but it is genuinely fun work.
Cost: ~$8-12 | Time: 3 hours plus drying
16. Colander Hanging Planter
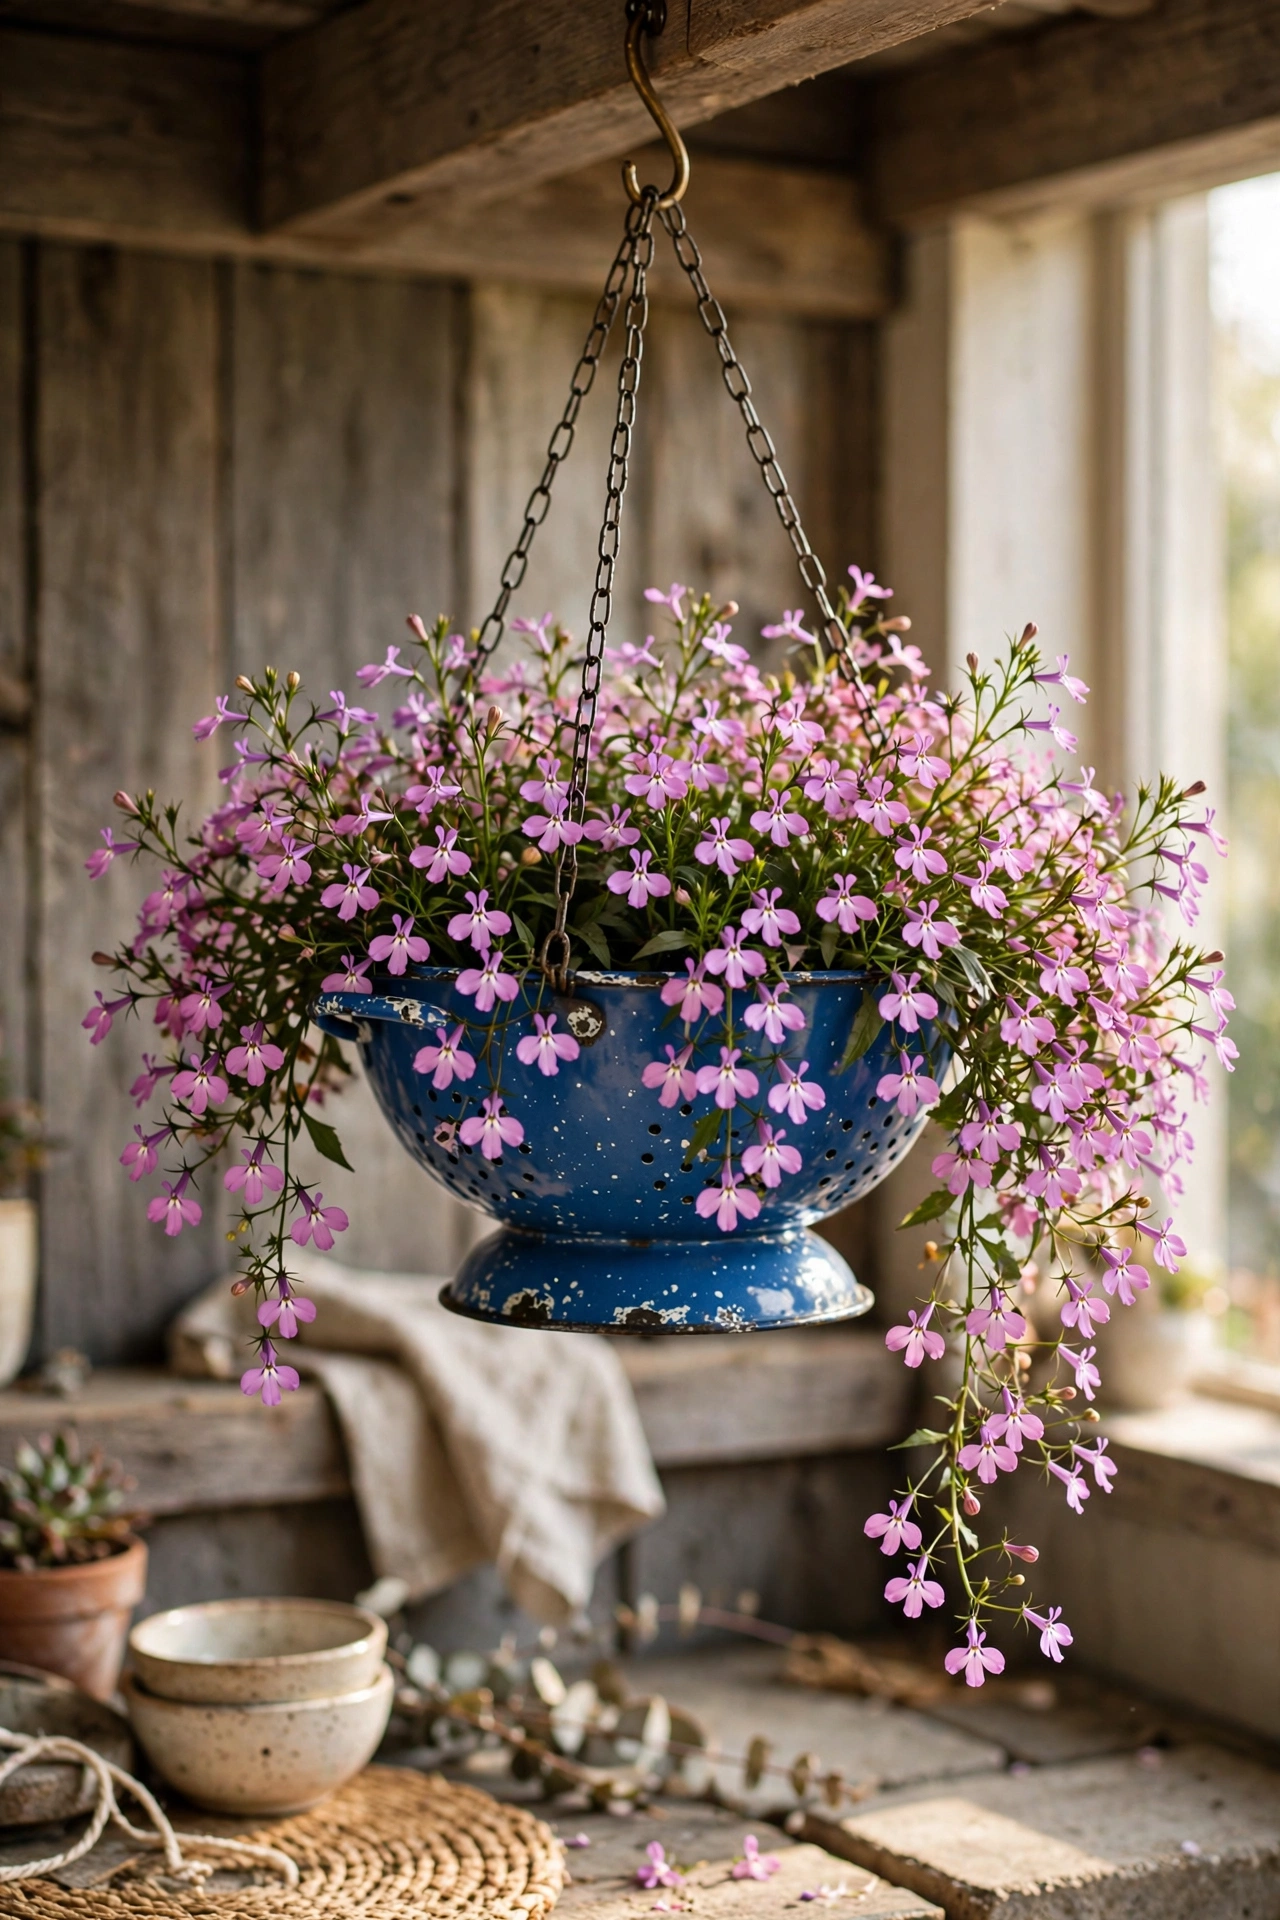
A metal colander hung by chains is a planter with built-in drainage. I threaded chain through the handles of a $2 enamel colander, lined it with coconut fibre, and planted it with trailing lobelia. The holes drain perfectly and the coconut liner keeps the soil in. Hang it where it gets morning sun. Mine drips after watering, so I hang it over the patio, not the deck furniture. Refill the coconut liner each spring.
Cost: ~$6-10 | Time: 30 minutes
17. Wine Crate Window Box
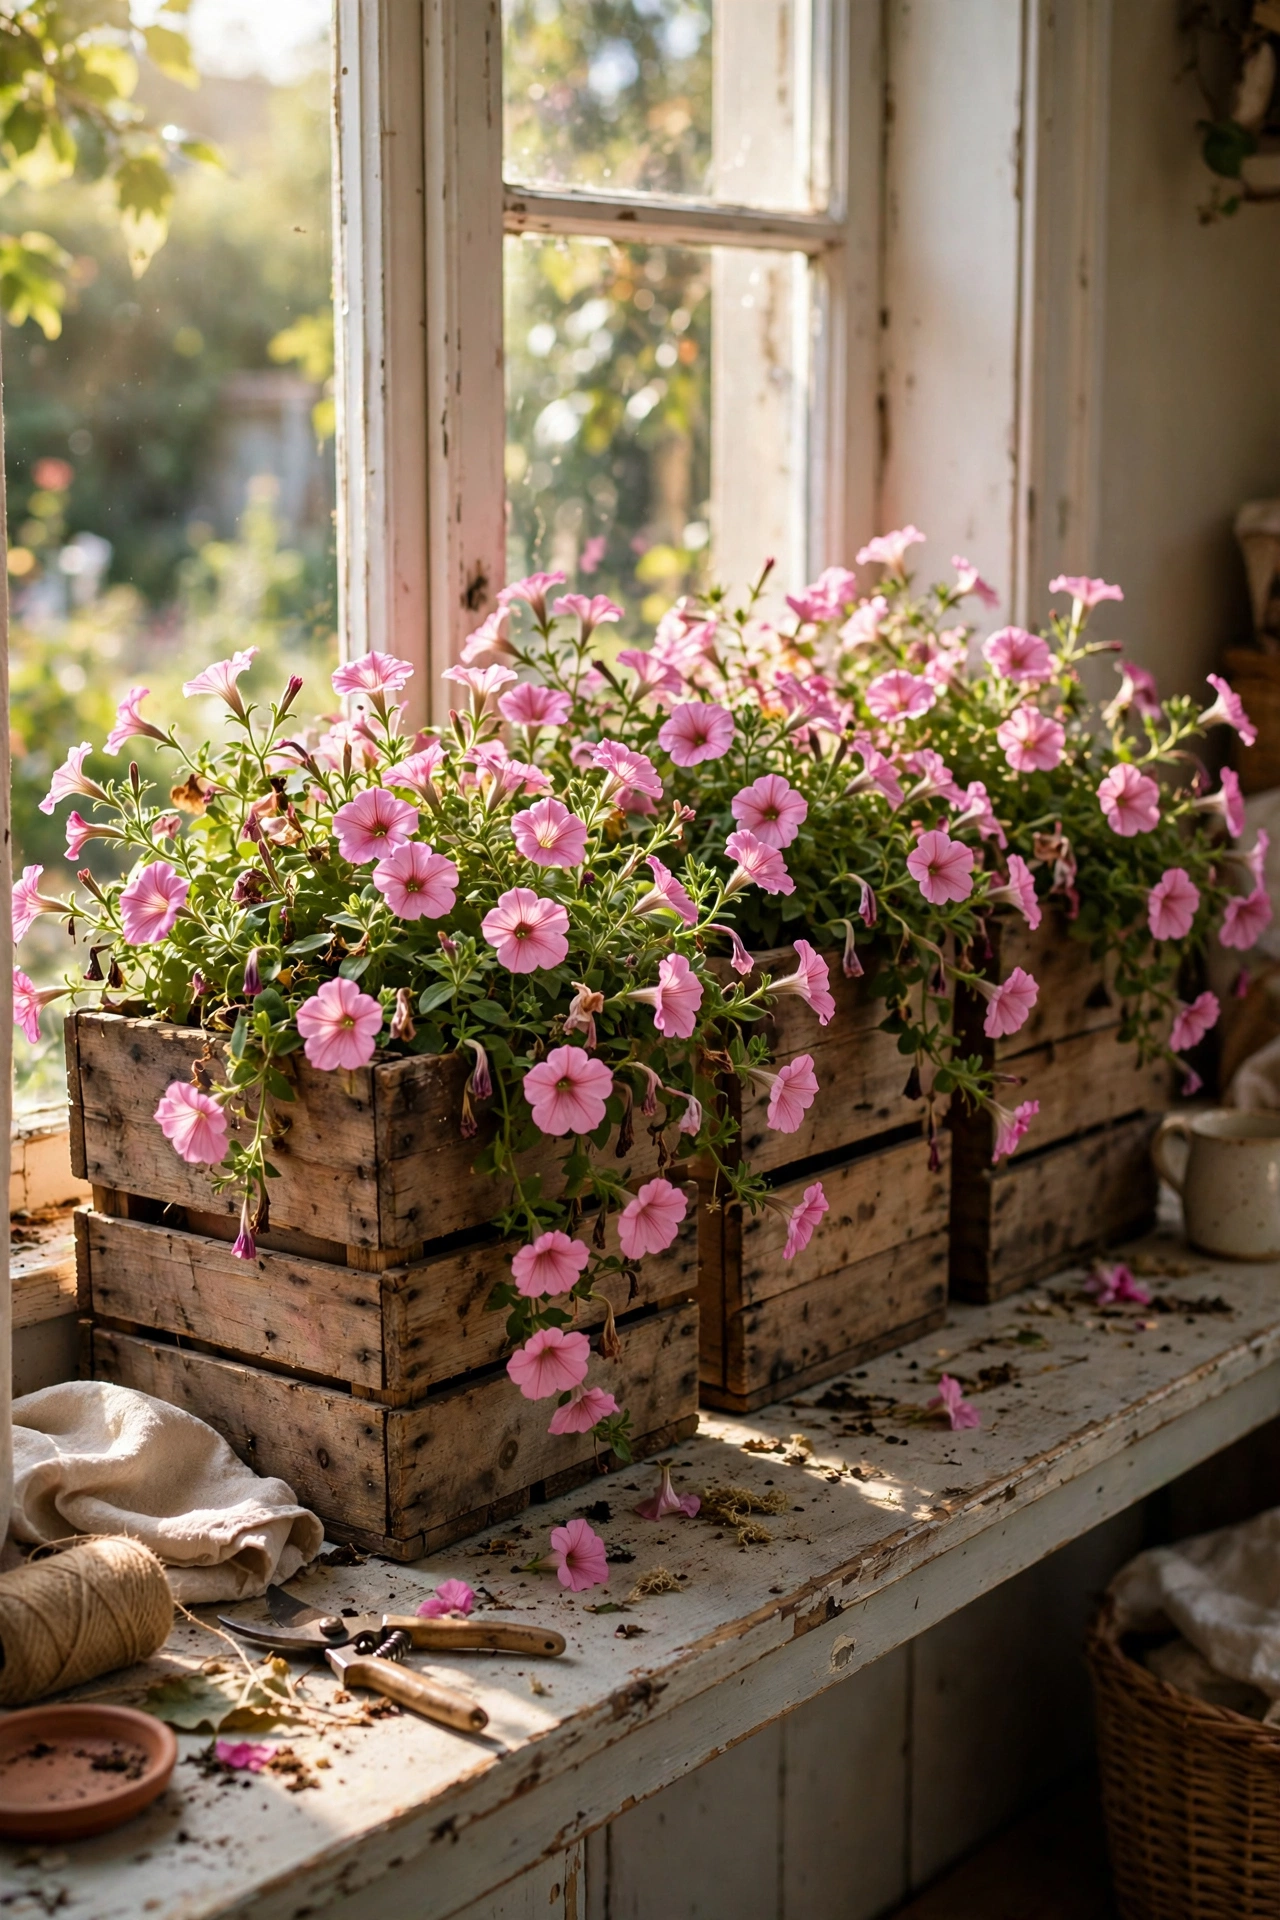
Wooden wine crates from the liquor store make handsome window boxes for almost nothing. I asked nicely and got two free, lined them with landscape fabric, drilled drainage, and planted them with trailing petunias. The slatted sides look rustic and the size fits a standard windowsill. Stain the wood for a finished look or leave it raw for farmhouse style. Mine have survived three summers with a fresh coat of sealer each spring.
Cost: ~$5-10 | Time: 1 hour
Quick questions, answered
Do all DIY planters need drainage holes?
Nearly all of them. Water sitting at the bottom of a pot rots roots faster than any other beginner mistake. If a container cannot be drilled, like a teacup you are afraid to crack, use it as a cache pot instead: keep the plant in its nursery pot with drainage and lift it out for watering.
What is the easiest planter for a total beginner?
The basket with a liner, because there is nothing to build and nothing to drill. Drop in a pothos or snake plant, both nearly indestructible, and you have a styled plant in five minutes. The painted terracotta set is the next step up and teaches you the sanding habit.
How do I keep DIY planters from rotting outside?
Seal wood and concrete with an exterior sealer, drill generous drainage, and lift wooden planters off the ground on small feet or bricks so air circulates underneath. Bring fabric and untreated pieces inside for winter if your climate gets hard frosts.
📌 Loving these ideas? Pin this post now so you can save this idea for your next plant shopping trip.
More beginner-friendly projects: (see also: 15-easy-diy-home-decor-projects-for-beginners-under-25/) (see also: 17-easy-diy-home-decor-projects-for-beginners-under-50/) (see also: 21-thrift-store-diy-ideas-that-look-expensive/)
