25 Minimalist-Style DIY Projects for Beginners
This one cost me $4. A plain wooden tray from the craft store, a bit of sandpaper I already owned, and suddenly my cluttered coffee table looked like a minimalist styling photo. That tiny project is what pulled me into minimalist DIY decor, because it proved that simple, calm, beautiful things are often the easiest things to make.
I have built every project below as a complete beginner, most of them in a single afternoon with basic tools. Each one follows the minimalist rulebook: clean lines, neutral colours, and nothing fussy. Here are the twenty-five that turned out so well they are still in my home today.
1. Build a Simple White Floating Shelf
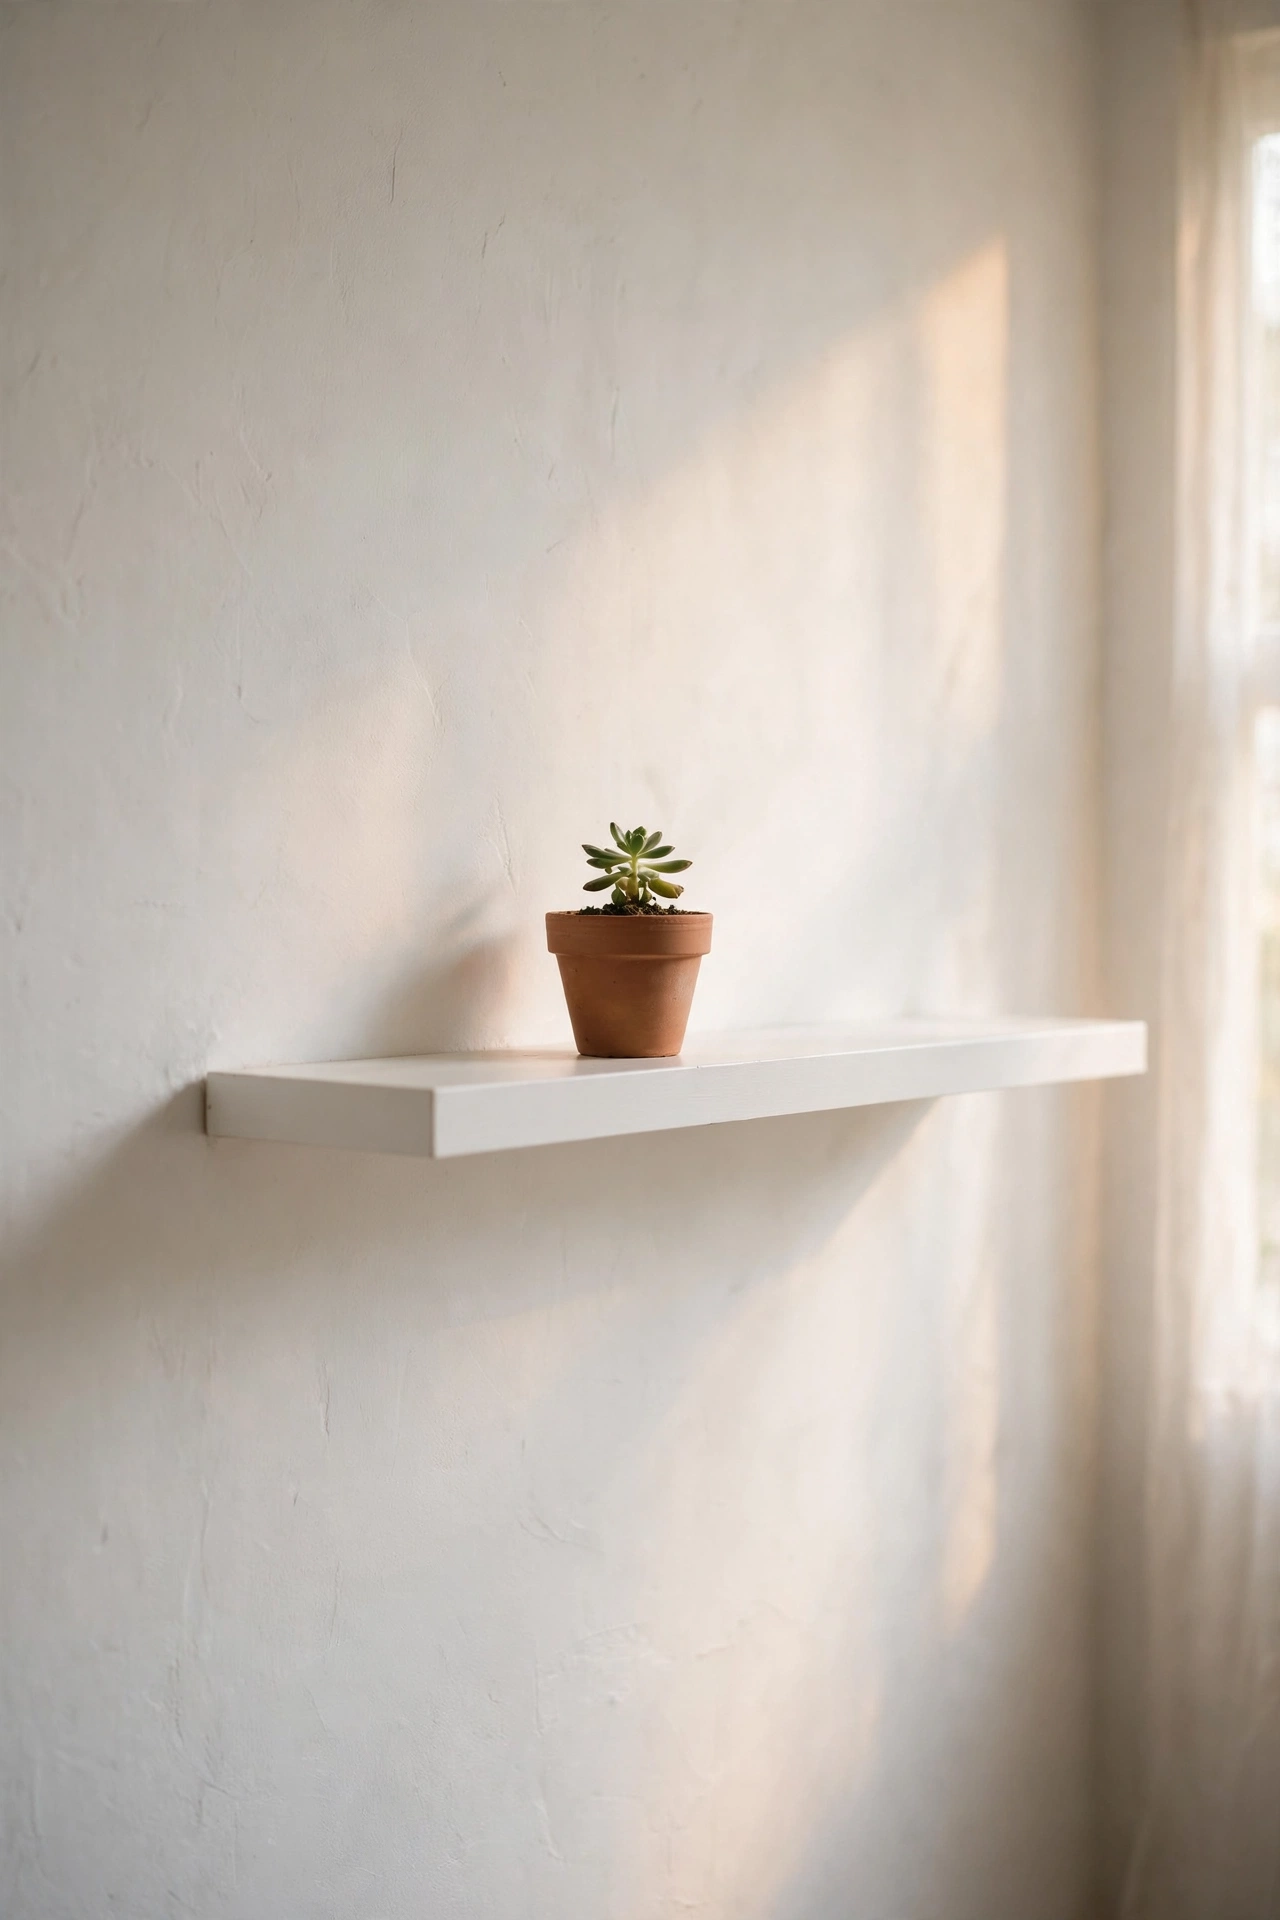
A single floating shelf with nothing but a small plant on it is peak minimalism. I cut a pine board to length, sanded it smooth, and painted it the same white as my wall so it almost disappears. Mount it with concealed brackets, checking level twice before drilling. My first shelf went up crooked because I rushed the measuring, so now I mark everything with painter’s tape first. Style it with one object only, because restraint is the whole point. It holds my favourite candle and makes the whole wall feel calmer.
Materials: pine board, white paint, concealed brackets, screws | Cost: ~$10-15 | Time: 1 hour
2. Hem Plain Curtain Panels to the Perfect Length
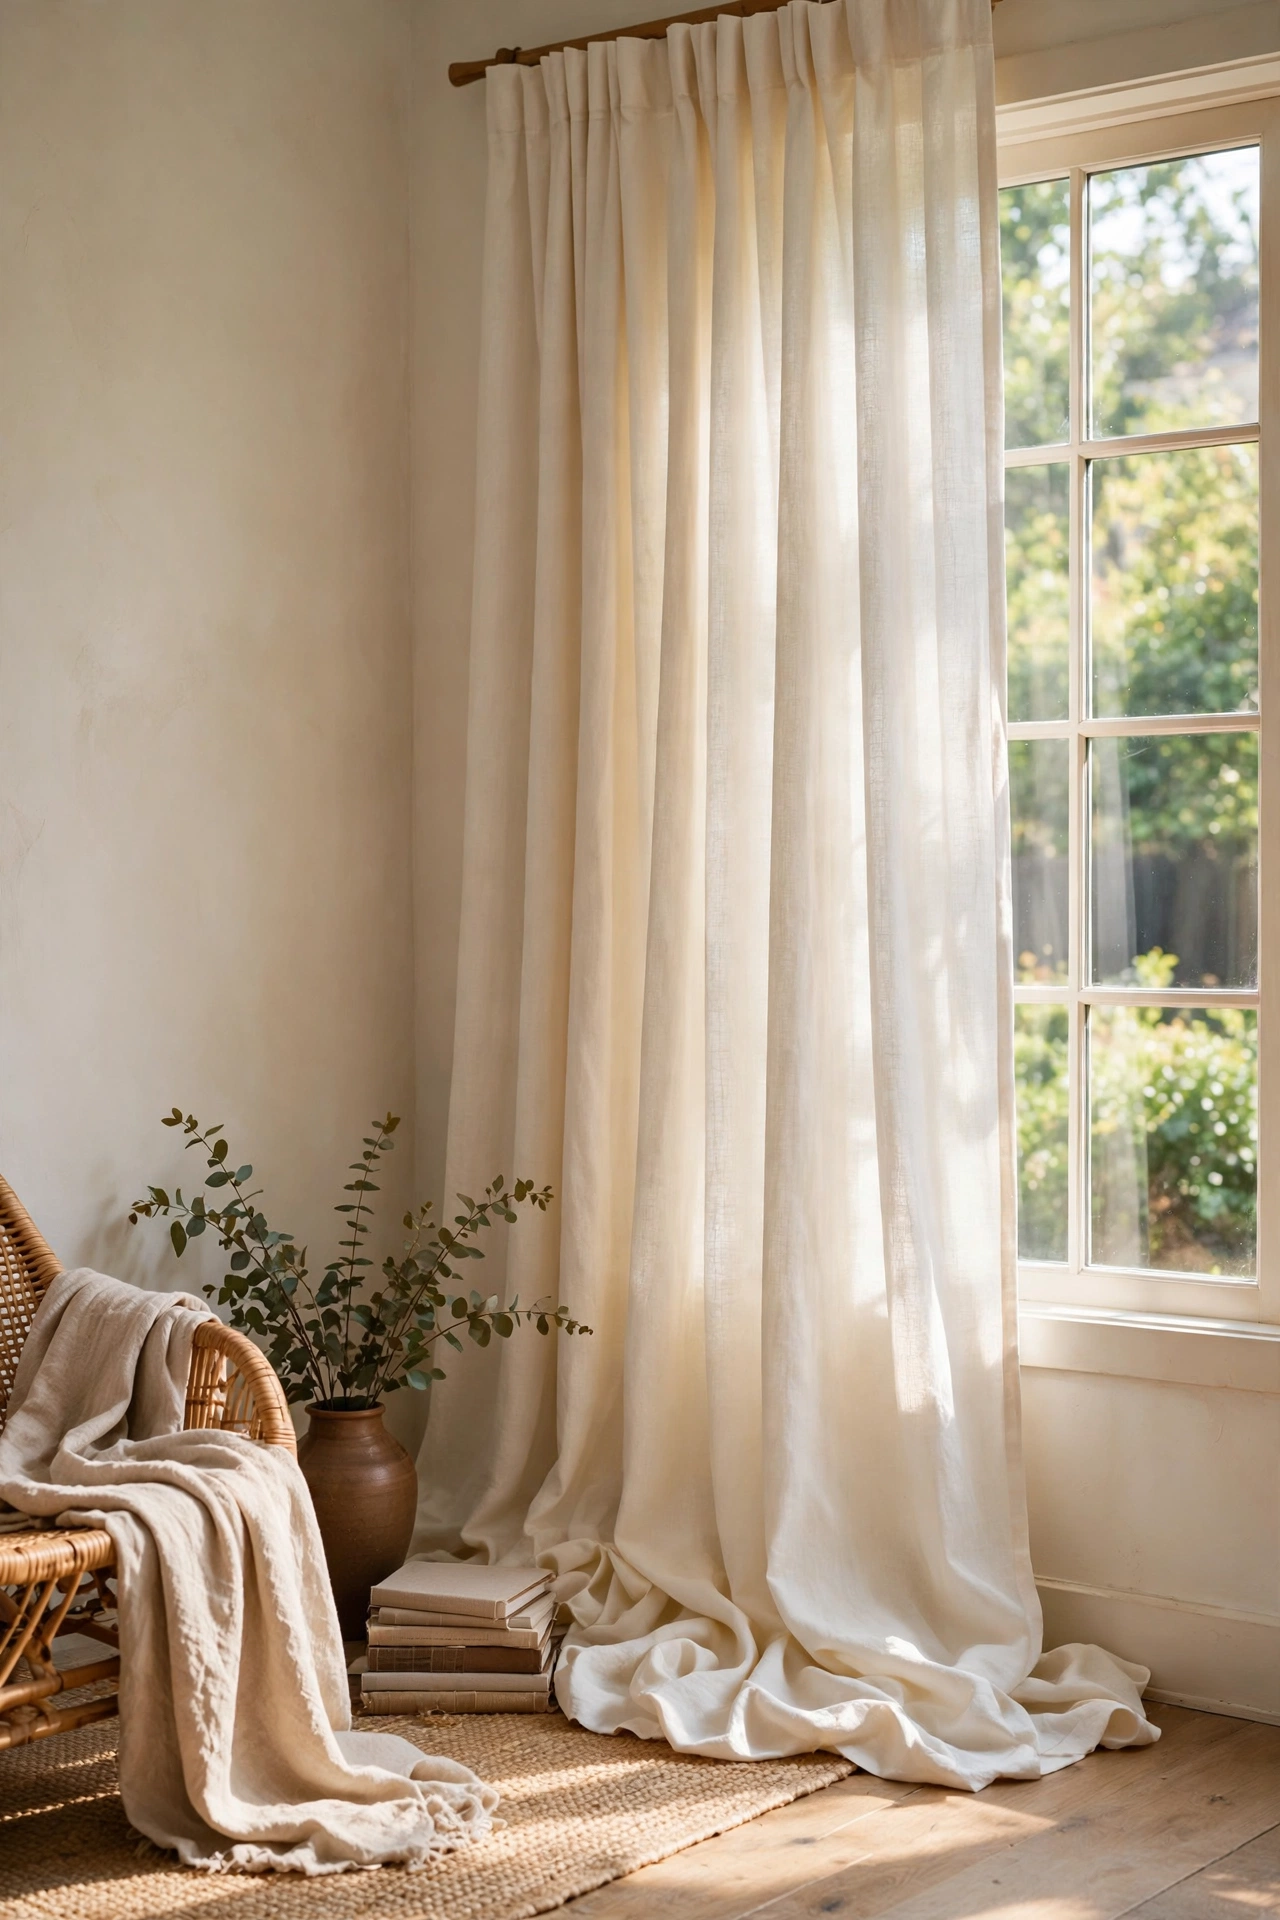
Curtains that pool slightly on the floor look custom made, while too-short ones look cheap. I bought plain ivory panels that were too long and hemmed them with iron-on hem tape, no sewing needed. Measure from the rod to the floor, add two centimetres for the pool, and press the tape firmly. My first panel ended up uneven because I measured from the floor up instead of the rod down, so always start at the rod. The finished curtains hang beautifully and look far more expensive than they were.
Materials: plain curtain panels, iron-on hem tape, iron | Cost: ~$15-25 | Time: 45 minutes
3. Style a Single-Stem Vase Trio
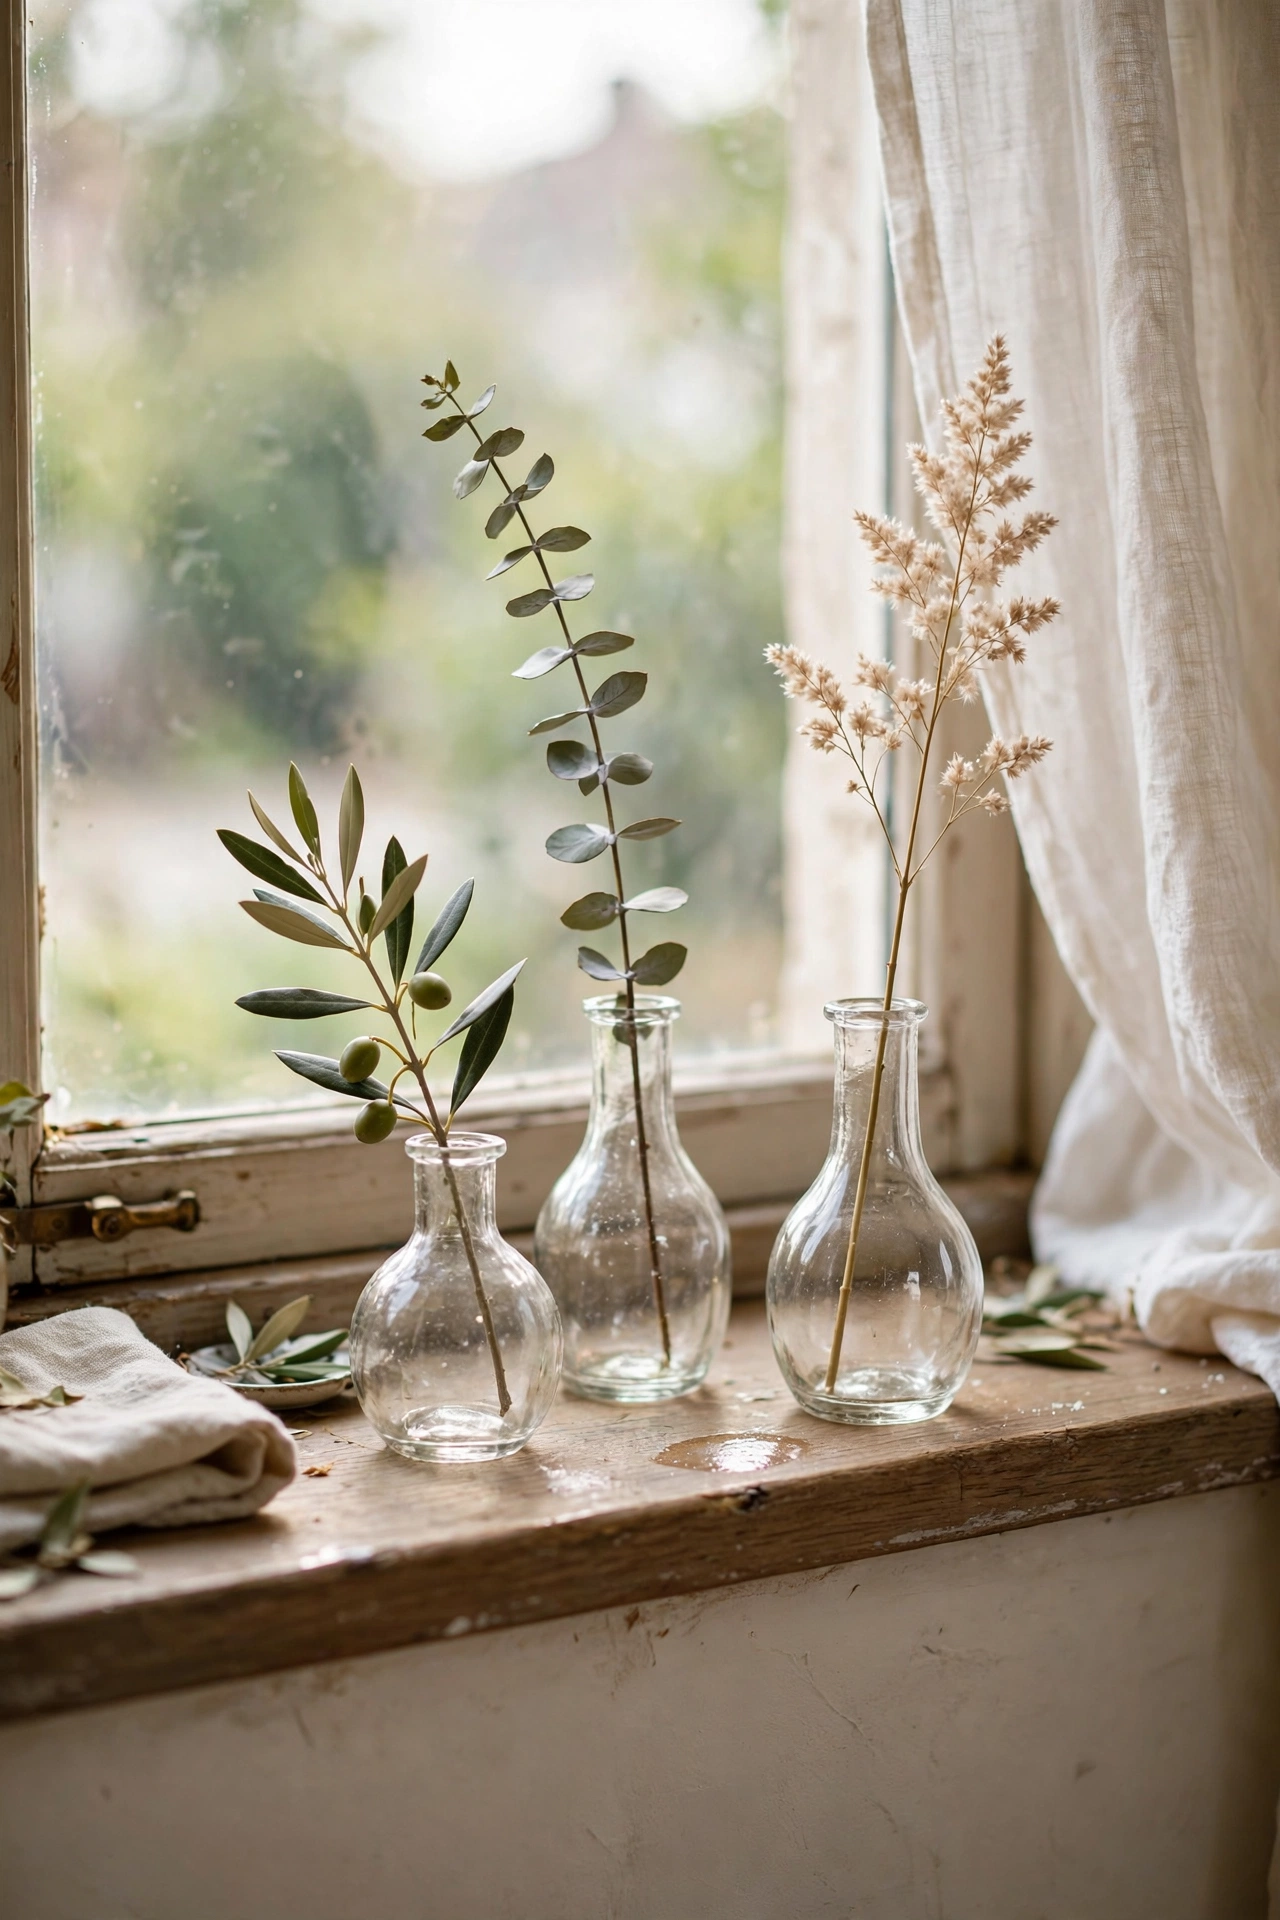
Three matching bud vases with one stem each look more deliberate than a big mixed bouquet. I bought three identical small glass vases and filled them with single eucalyptus stems, dried grasses, and one white flower. The trick is keeping every stem at a different height for a natural rhythm. I tried matching heights first and it looked stiff. This costs almost nothing if you snip stems from the garden. Mine sit on the windowsill and need changing only every few weeks, which suits my low-maintenance style perfectly.
Materials: 3 small glass vases, single stems or dried grasses | Cost: ~$6-10 | Time: 10 minutes
4. Sew Envelope Cushion Covers in Neutral Linen
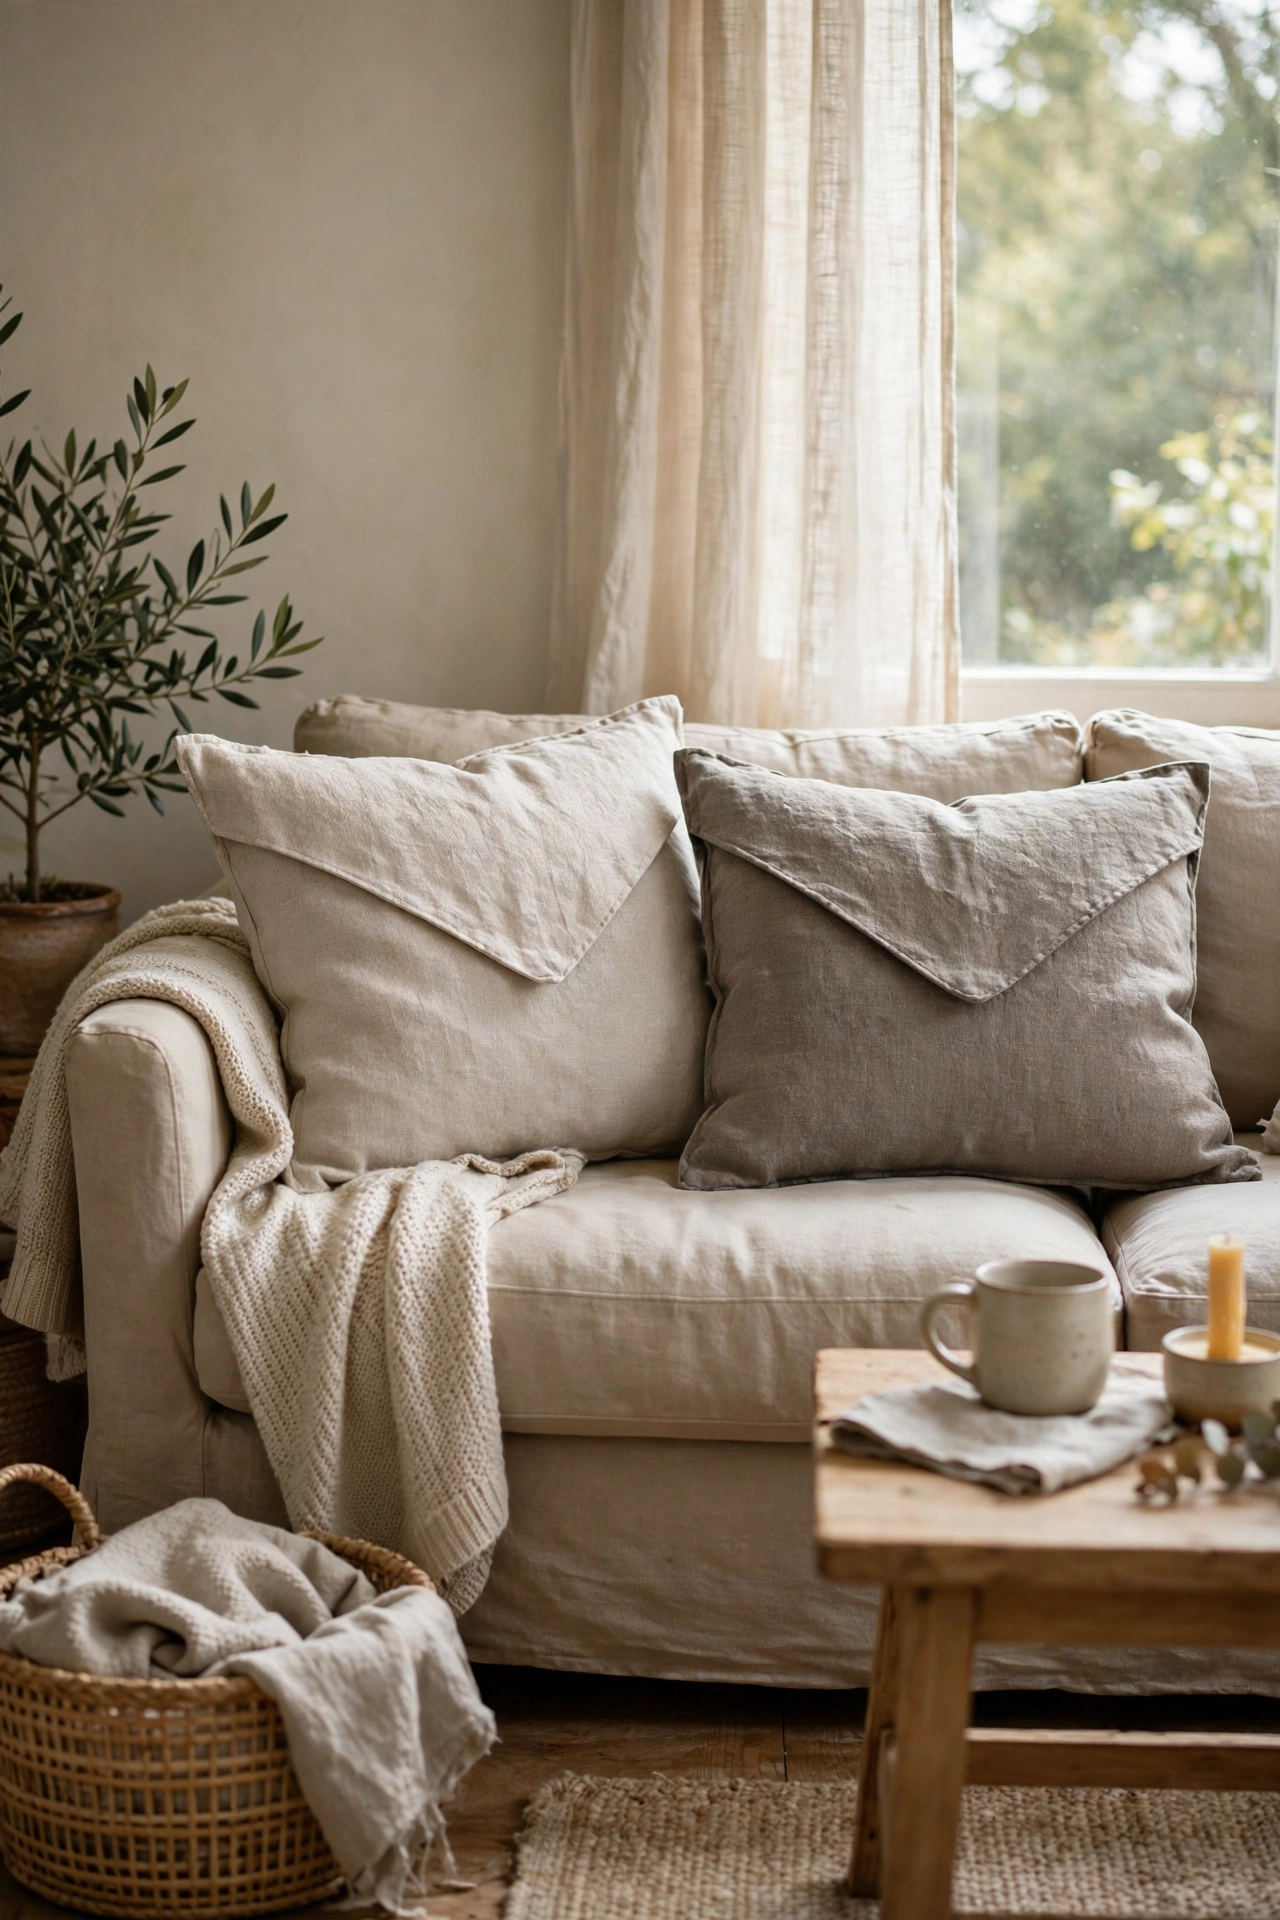
Envelope cushion covers are the easiest sewing project that exists, just one rectangle of fabric folded over itself. I cut linen-look cotton to size, hemmed the two short ends, folded it envelope-style, and sewed the sides shut. No zips, no buttons, nothing fiddly. My first one was lopsided because I skipped pinning, so pin everything before you sew. In oatmeal, stone, and ivory they look far more expensive than shop-bought. I made six in an afternoon and recovered every cushion in the living room.
Materials: linen-look cotton fabric, cushion pads, thread | Cost: ~$12-20 | Time: 2 hours
5. Make a Wooden Catch-All Tray from Scrap
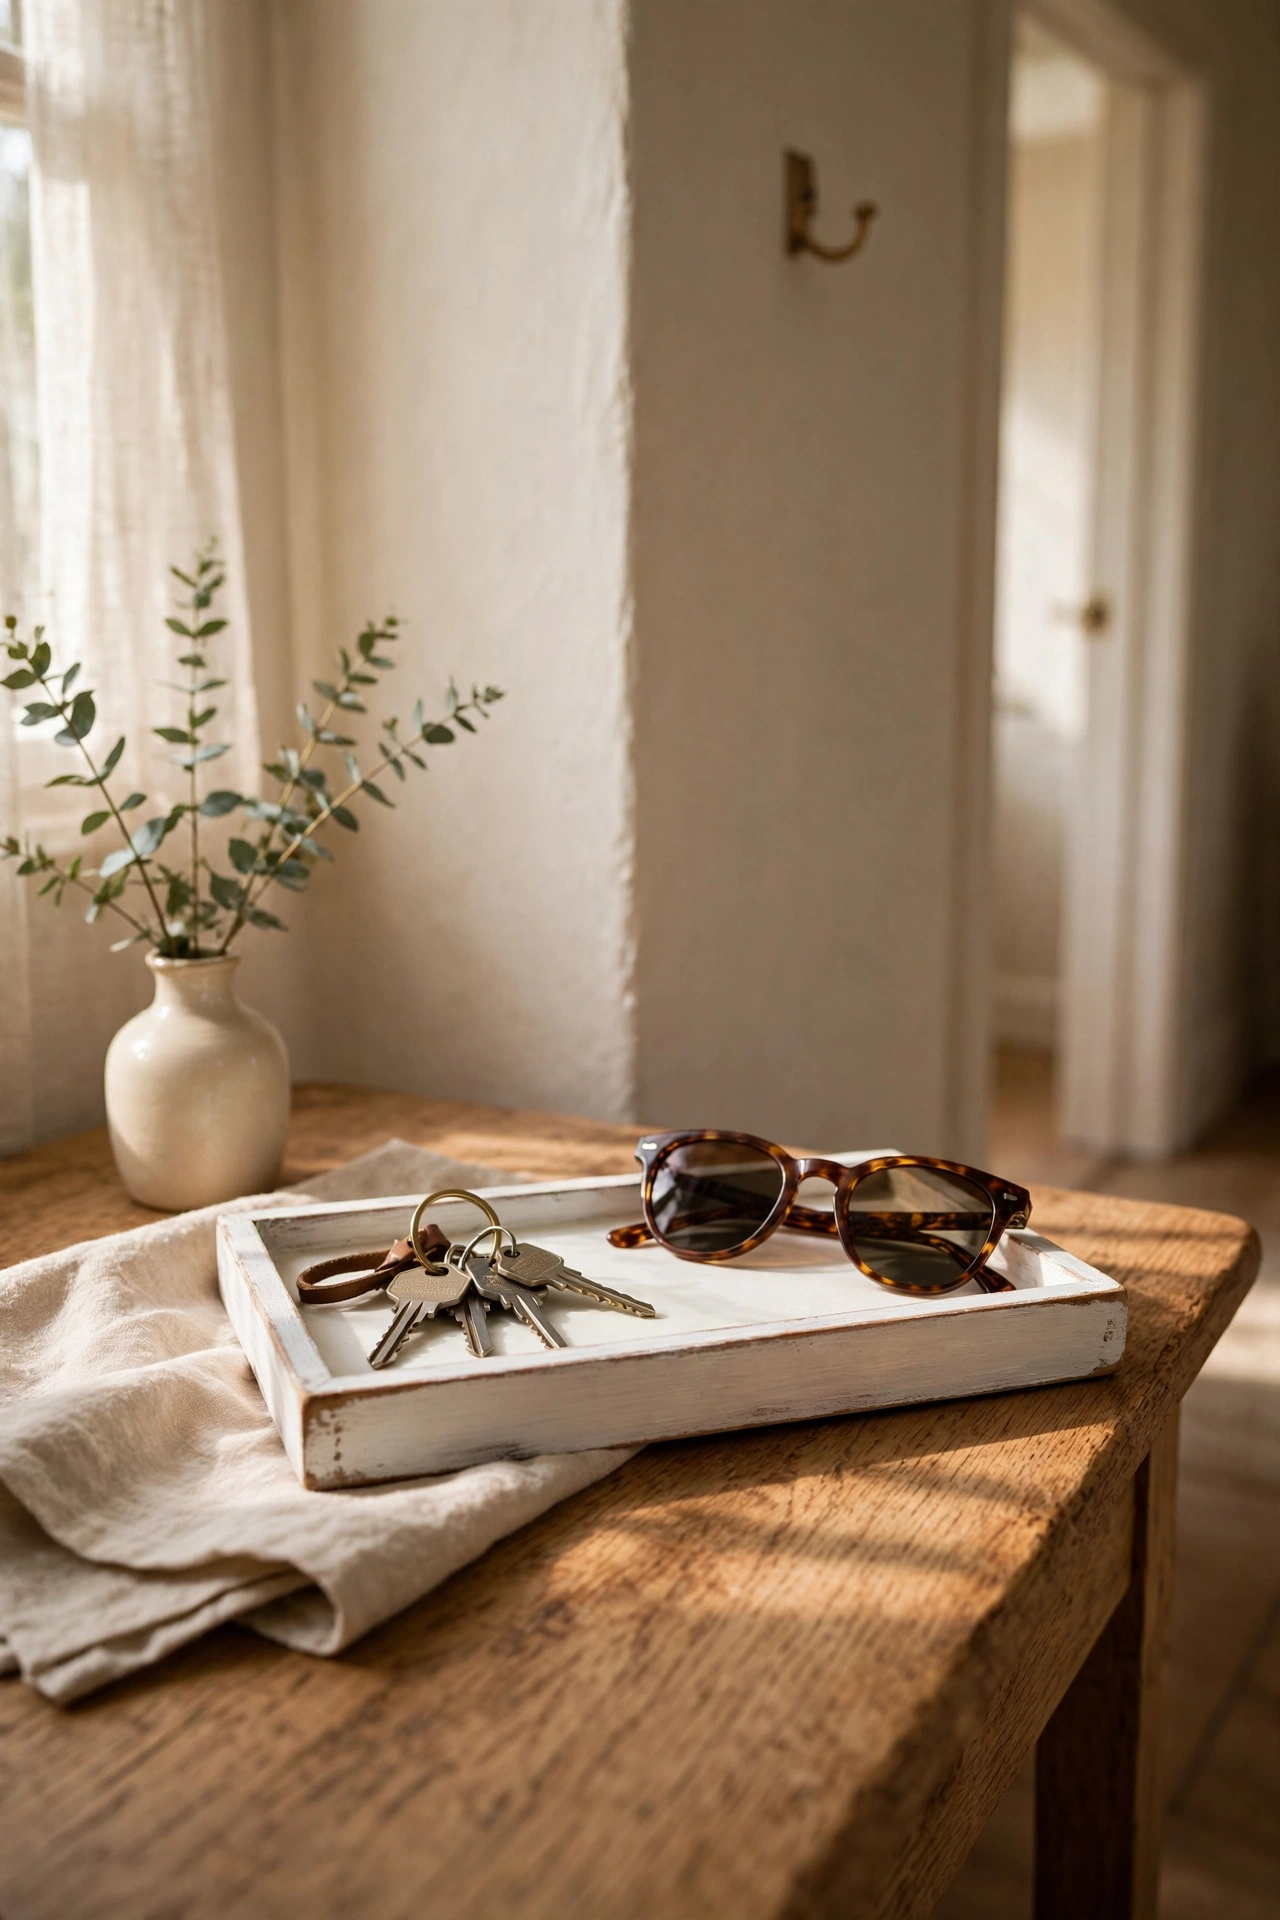
This is the $4 project that started everything. I took a plain unfinished wooden tray, sanded it smooth with fine sandpaper, and rubbed in a coat of white wax. It went from craft-store plain to something that looks Scandinavian and considered. Sand with the grain and wipe off the dust before waxing, or the finish goes gritty. Mine corrals keys, sunglasses, and lip balm by the front door. One small tray tamed the messiest corner of my house, which is the minimalist dream in action.
Materials: unfinished wooden tray, sandpaper, white wax | Cost: ~$4-8 | Time: 30 minutes
6. Fold Paper Bag Storage Bins
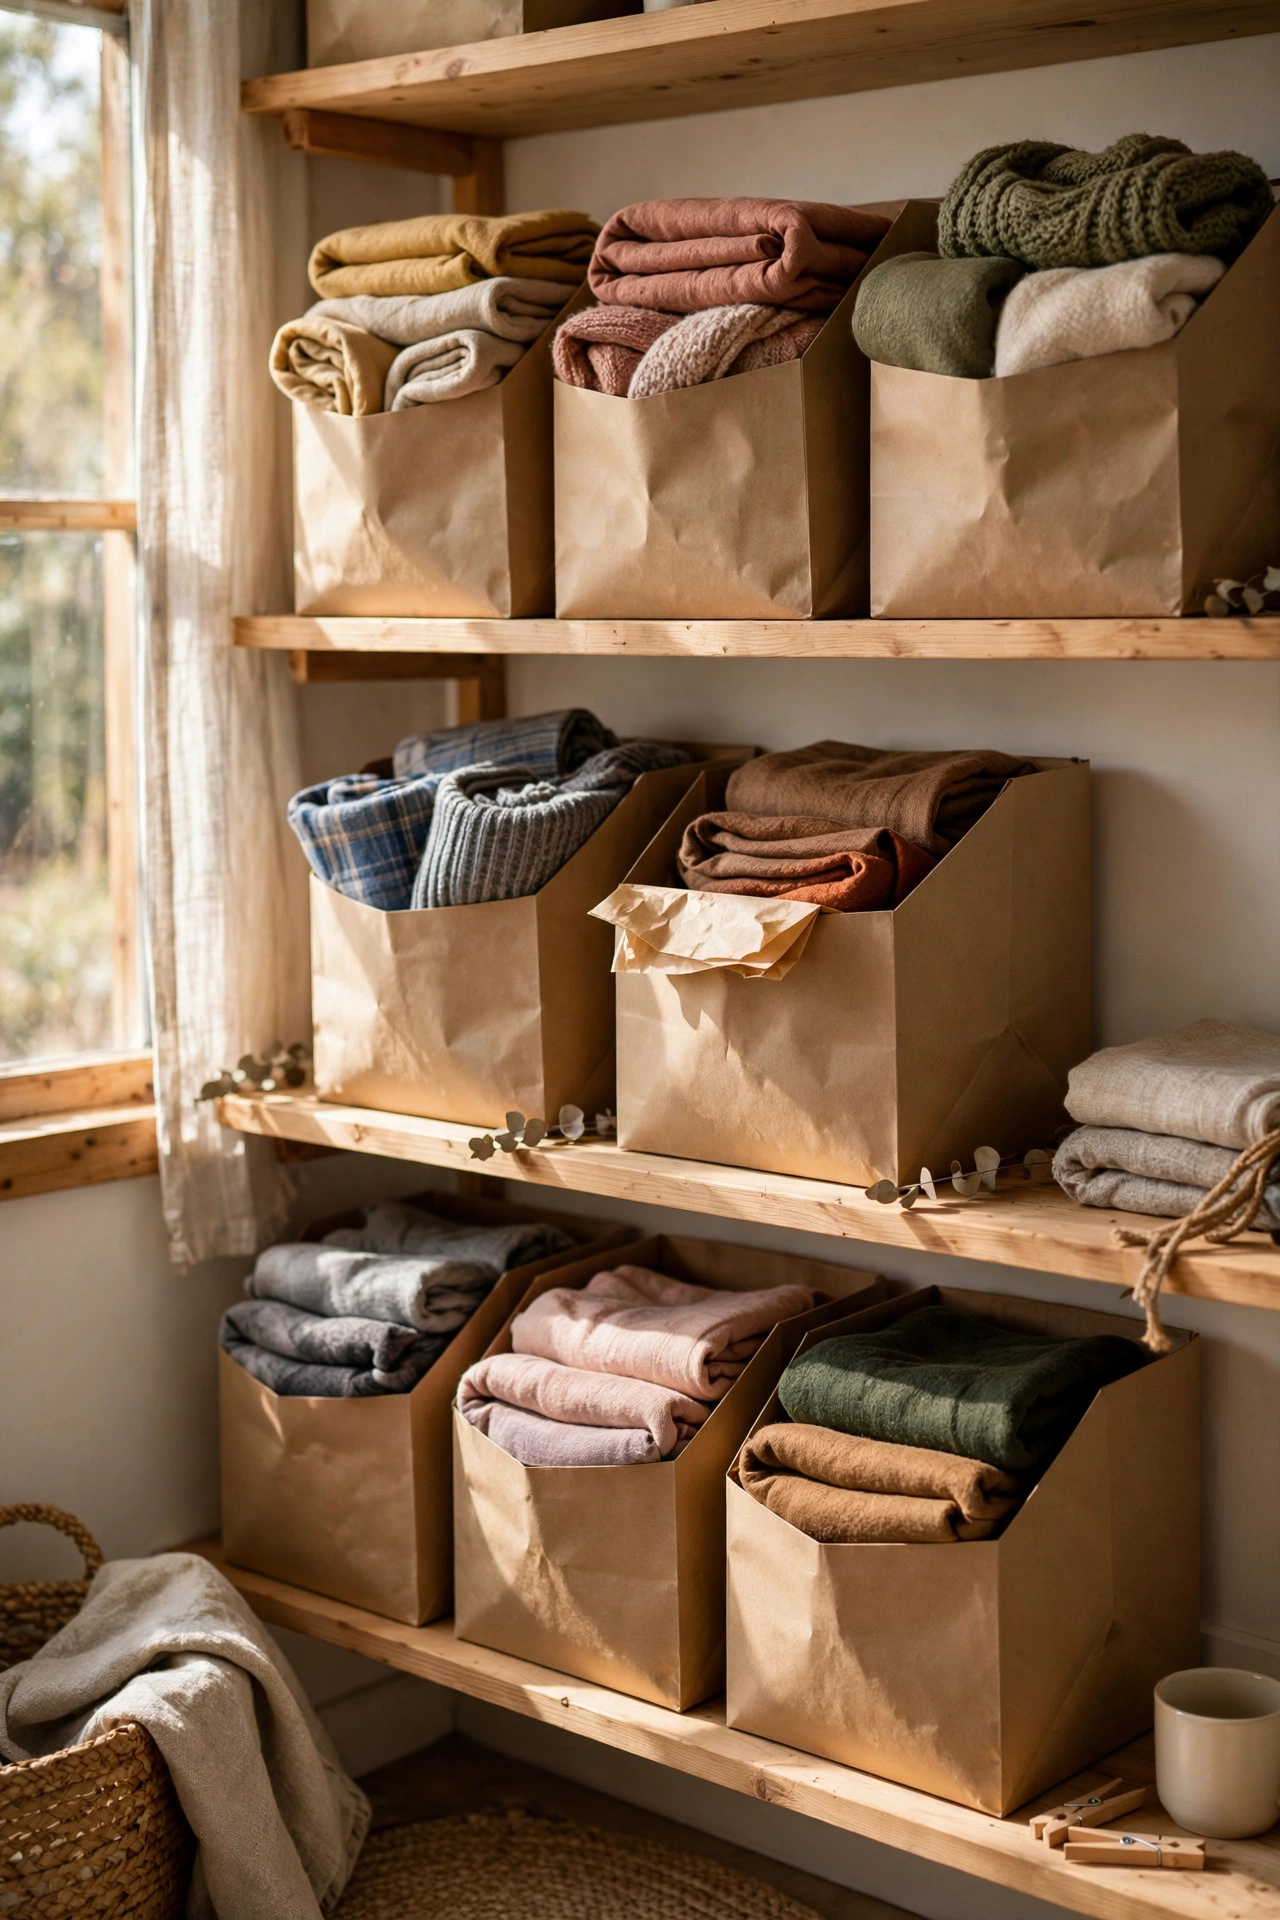
Large paper grocery bags folded down into cuffs make surprisingly chic storage bins. I fold the top edge down twice to make a sturdy rim, then fold the whole bag to the height I want. They hold scarves, chargers, and bathroom bits beautifully. The kraft paper colour is naturally minimalist and looks intentional on open shelves. Mine lasted months before wearing out, and replacing one costs nothing. I tried the plastic-coated bags first and they would not hold a fold, so stick to plain paper ones.
Materials: large paper grocery bags | Cost: ~$0 | Time: 10 minutes
7. Paint a Vase with the Baking Soda Texture Trick
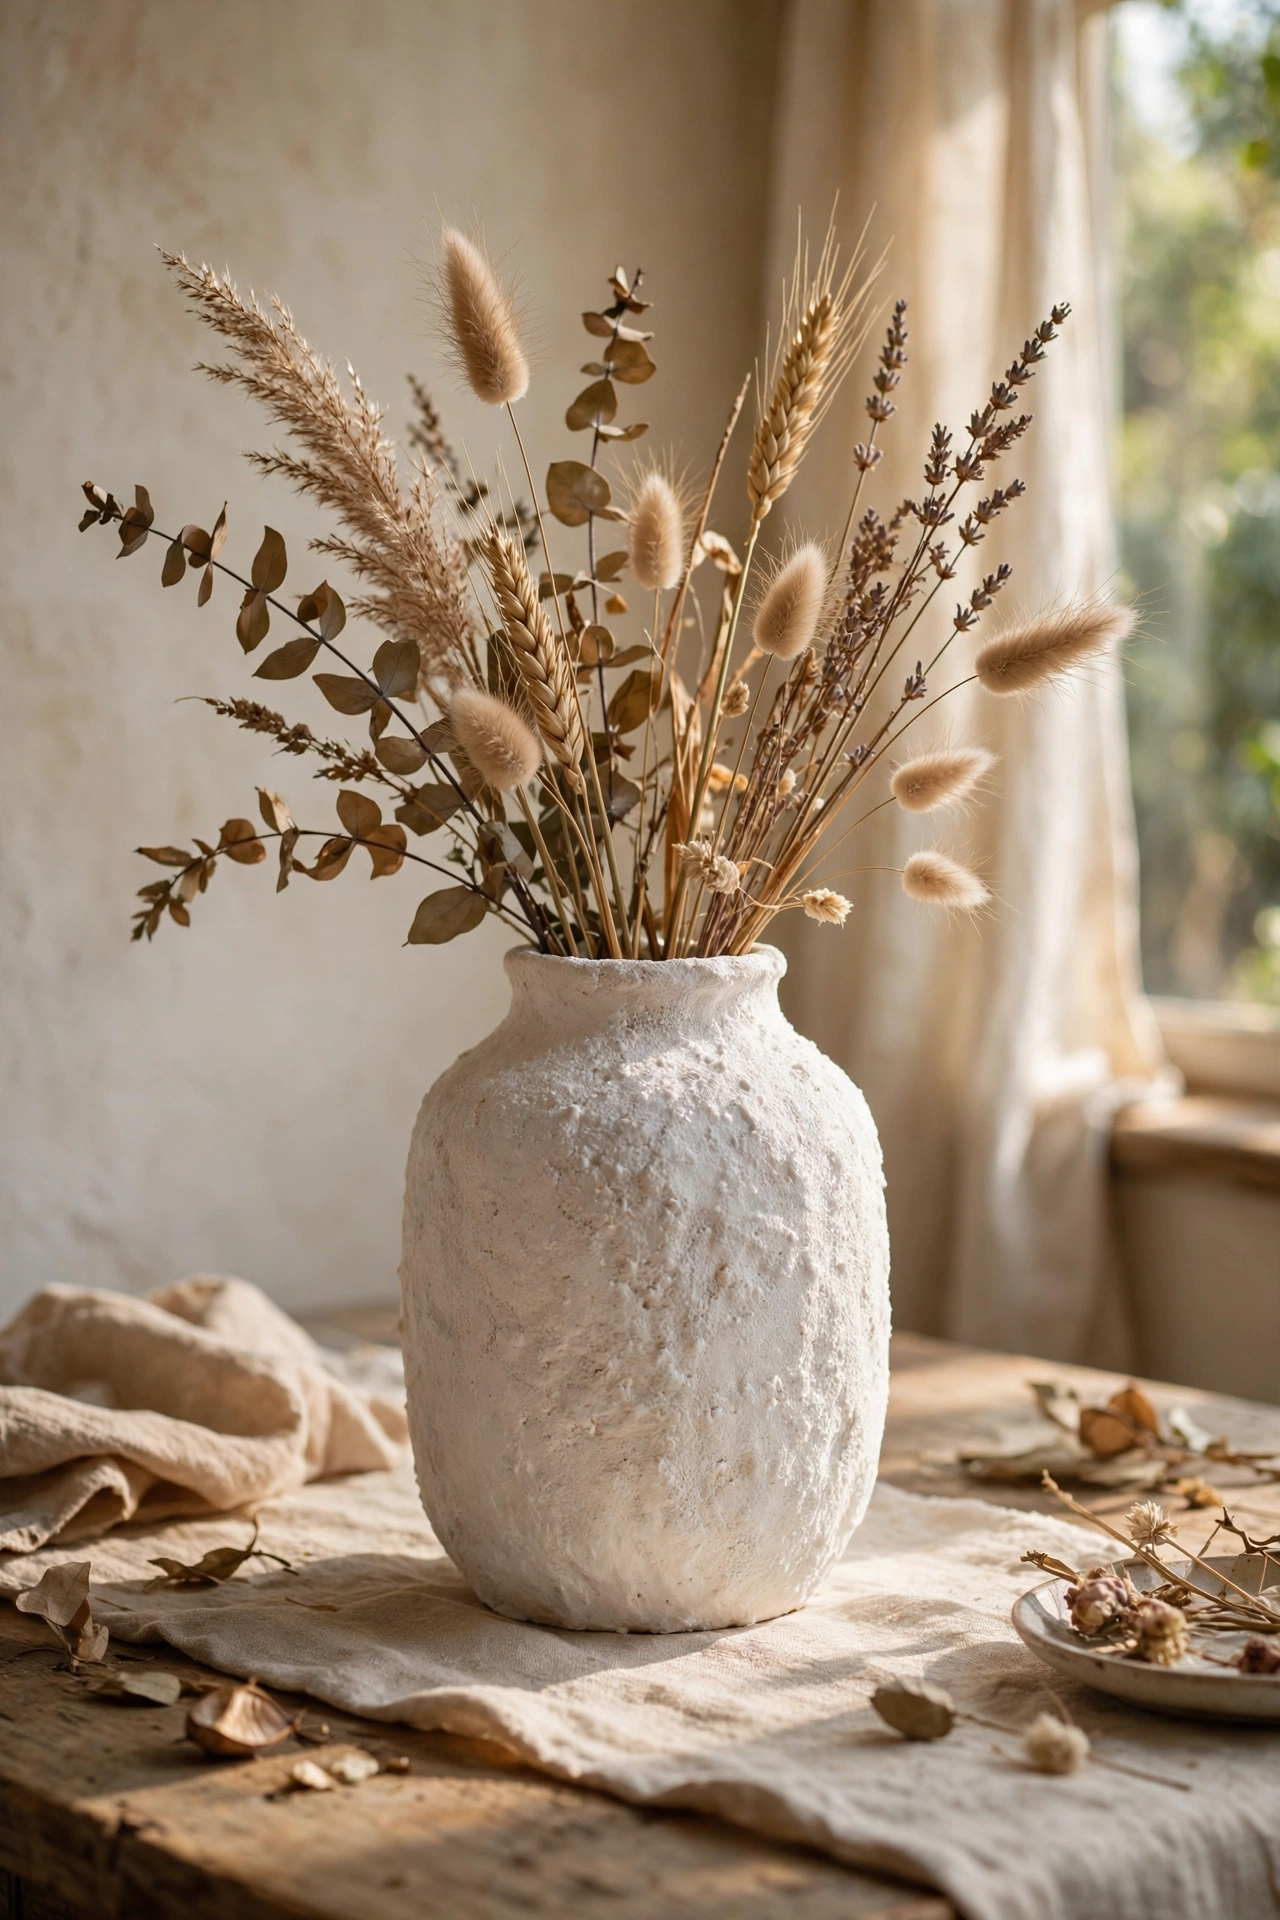
Mixing baking soda into matte paint creates a gritty, stone-like texture that turns a shiny charity-shop vase into something that looks handmade. I used a one-to-one ratio of paint to baking soda, brushed it on in thin coats, and let each coat dry fully. Two coats gave the perfect aged finish. My first attempt went on too thick and cracked, so thin layers are essential. In warm white or clay tones these vases look like expensive artisan pottery. I have made five now and given three away as gifts.
Materials: glass vase, matte paint, baking soda, brush | Cost: ~$5-9 | Time: 1 hour plus drying
8. Install a Row of Minimalist Wall Hooks
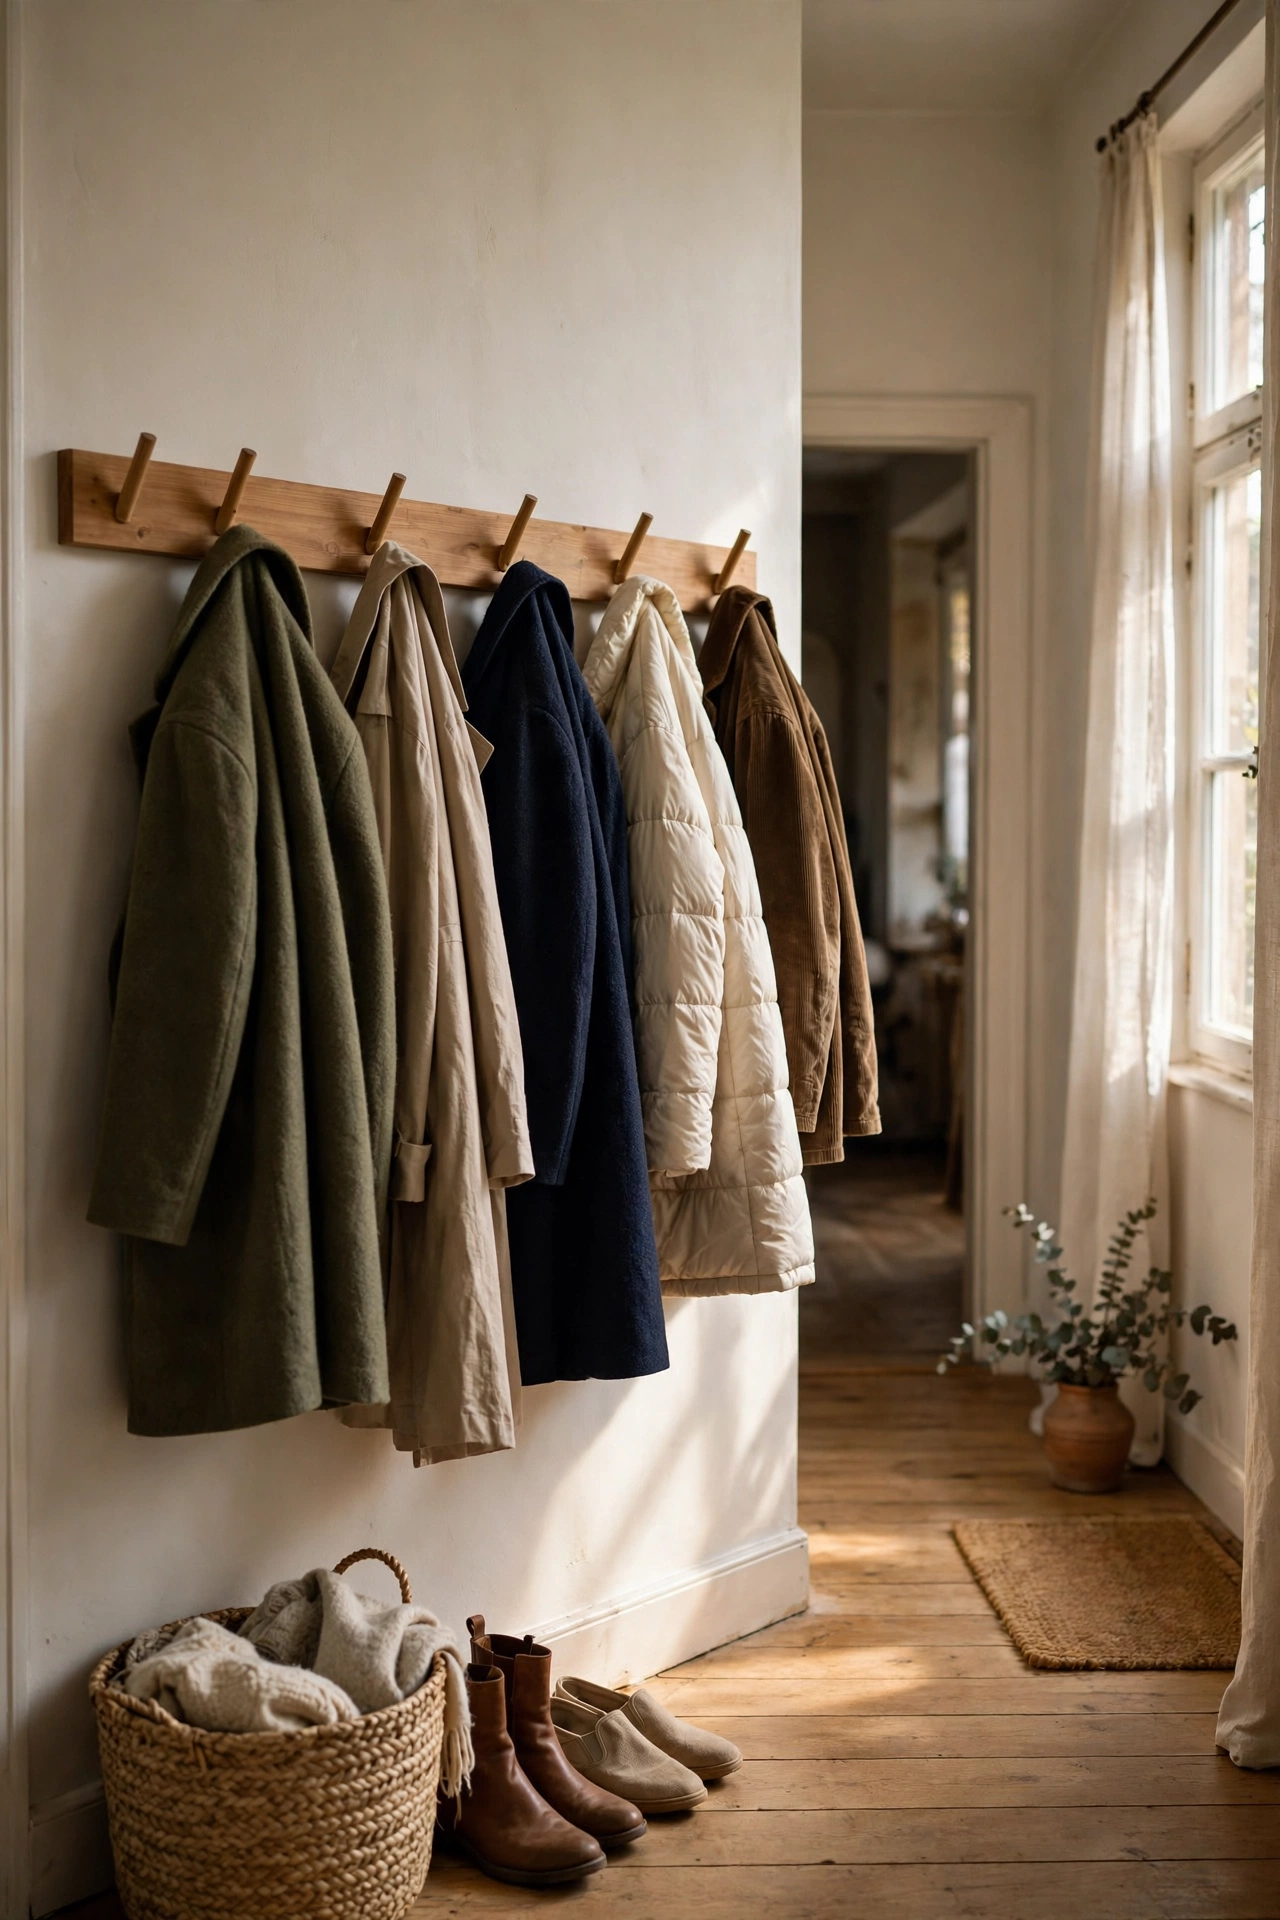
A row of simple wooden peg hooks keeps coats and bags off the floor and looks beautifully spare. I mounted five beech pegs on a plain pine batten, spacing them evenly with a ruler, then fixed the batten to the wall. Paint the batten the wall colour so only the pegs show. My first row sagged because I skipped the wall plugs, so always anchor properly. It holds our daily coats by the door and the hallway finally looks calm instead of chaotic.
Materials: wooden peg hooks, pine batten, screws, wall plugs | Cost: ~$12-18 | Time: 1 hour
9. Weave a Cotton Rope Basket
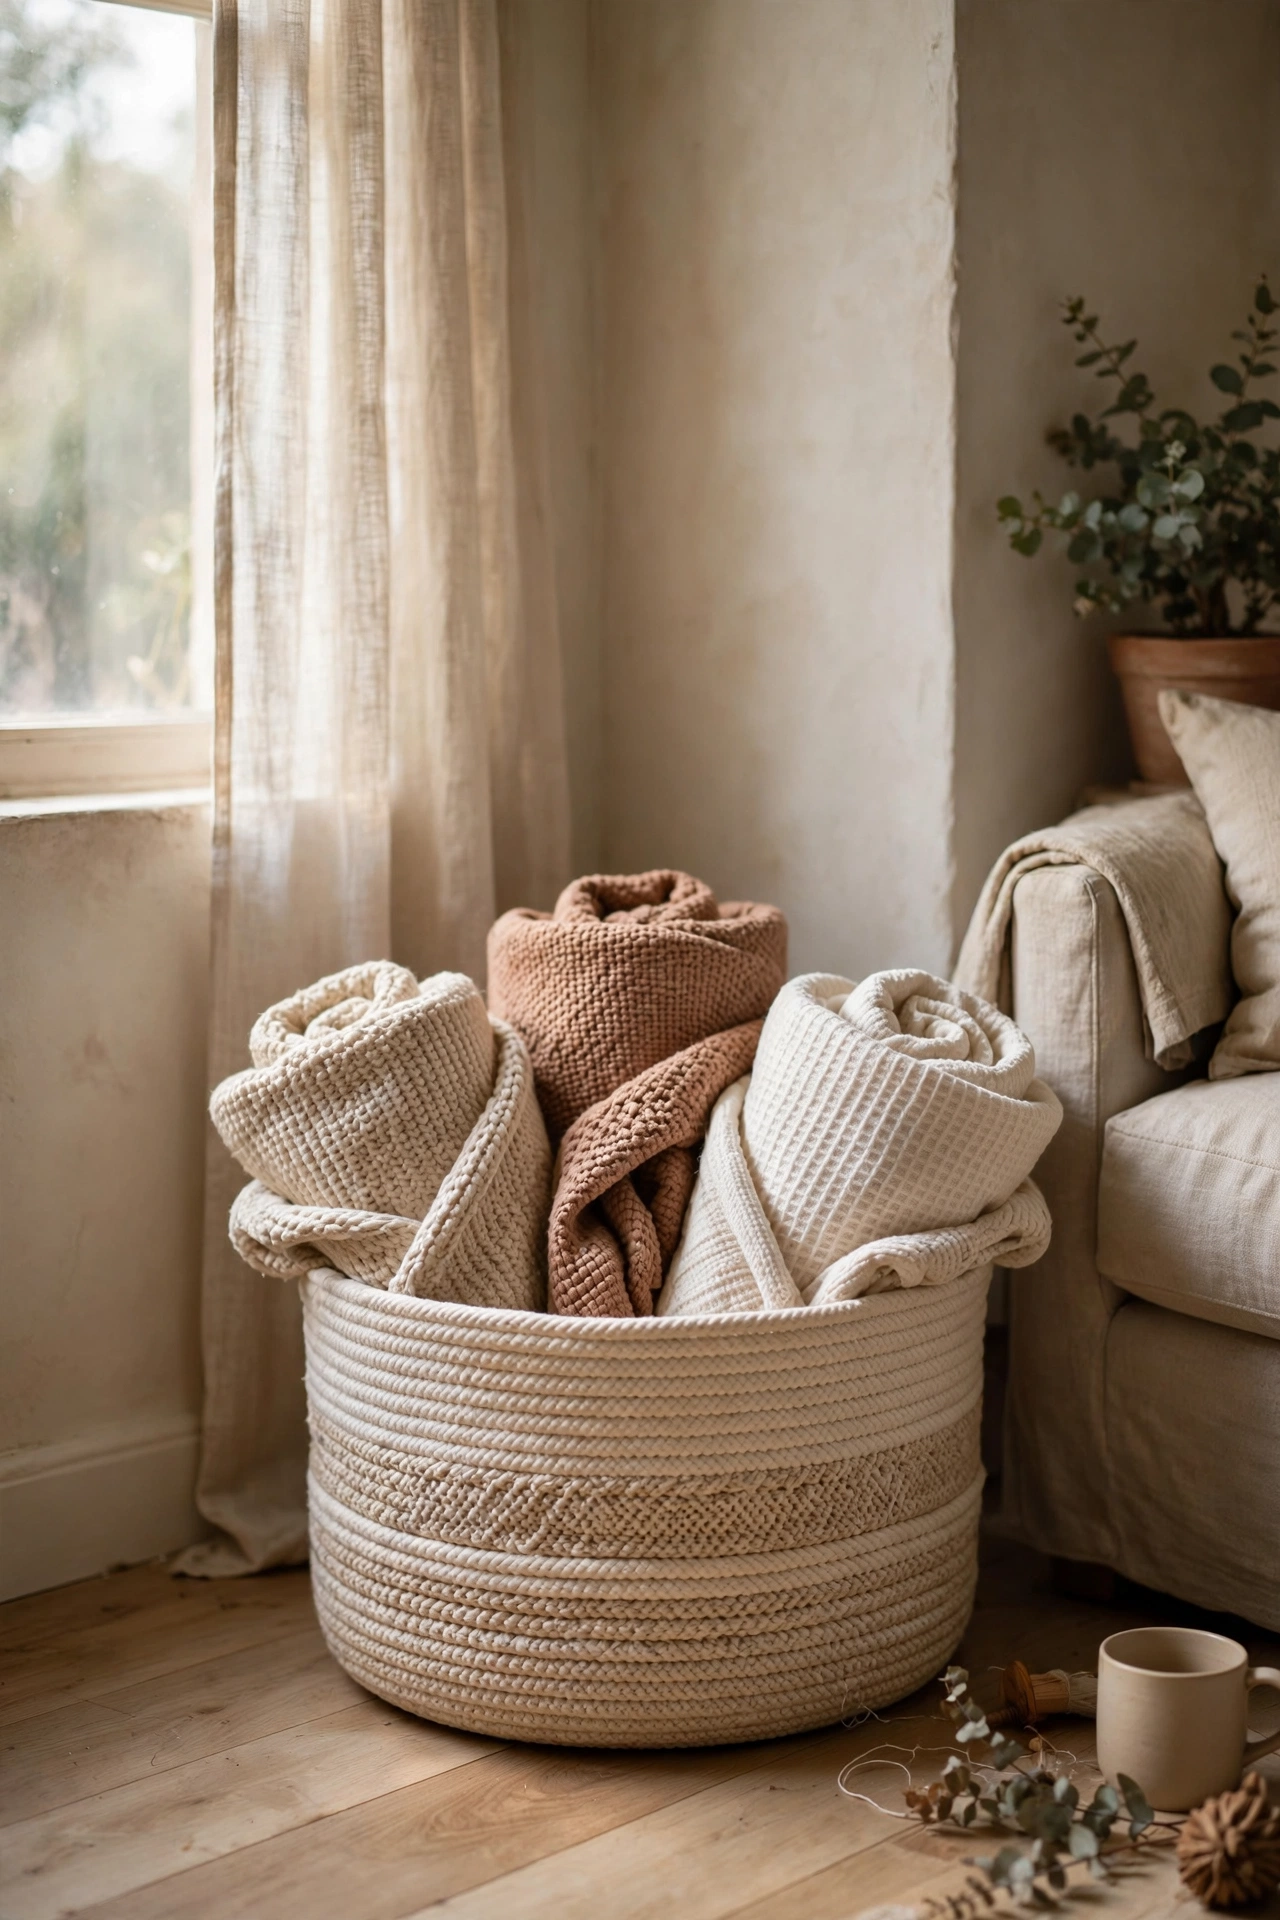
Coiling cotton rope with a glue gun makes a soft, neutral basket that looks straight out of a boutique. I coiled the rope in a flat spiral for the base, then built up the sides round by round, gluing as I went. Keep the tension even or the sides lean. My first basket leaned badly because I rushed the base, so go slowly for the first few rounds. It now holds rolled throws in the living room and cost a fraction of the shop version. The natural cotton colour fits any minimalist scheme.
Materials: cotton rope, hot glue gun, glue sticks | Cost: ~$8-12 | Time: 1.5 hours
10. Frame a Linen Swatch as Wall Art
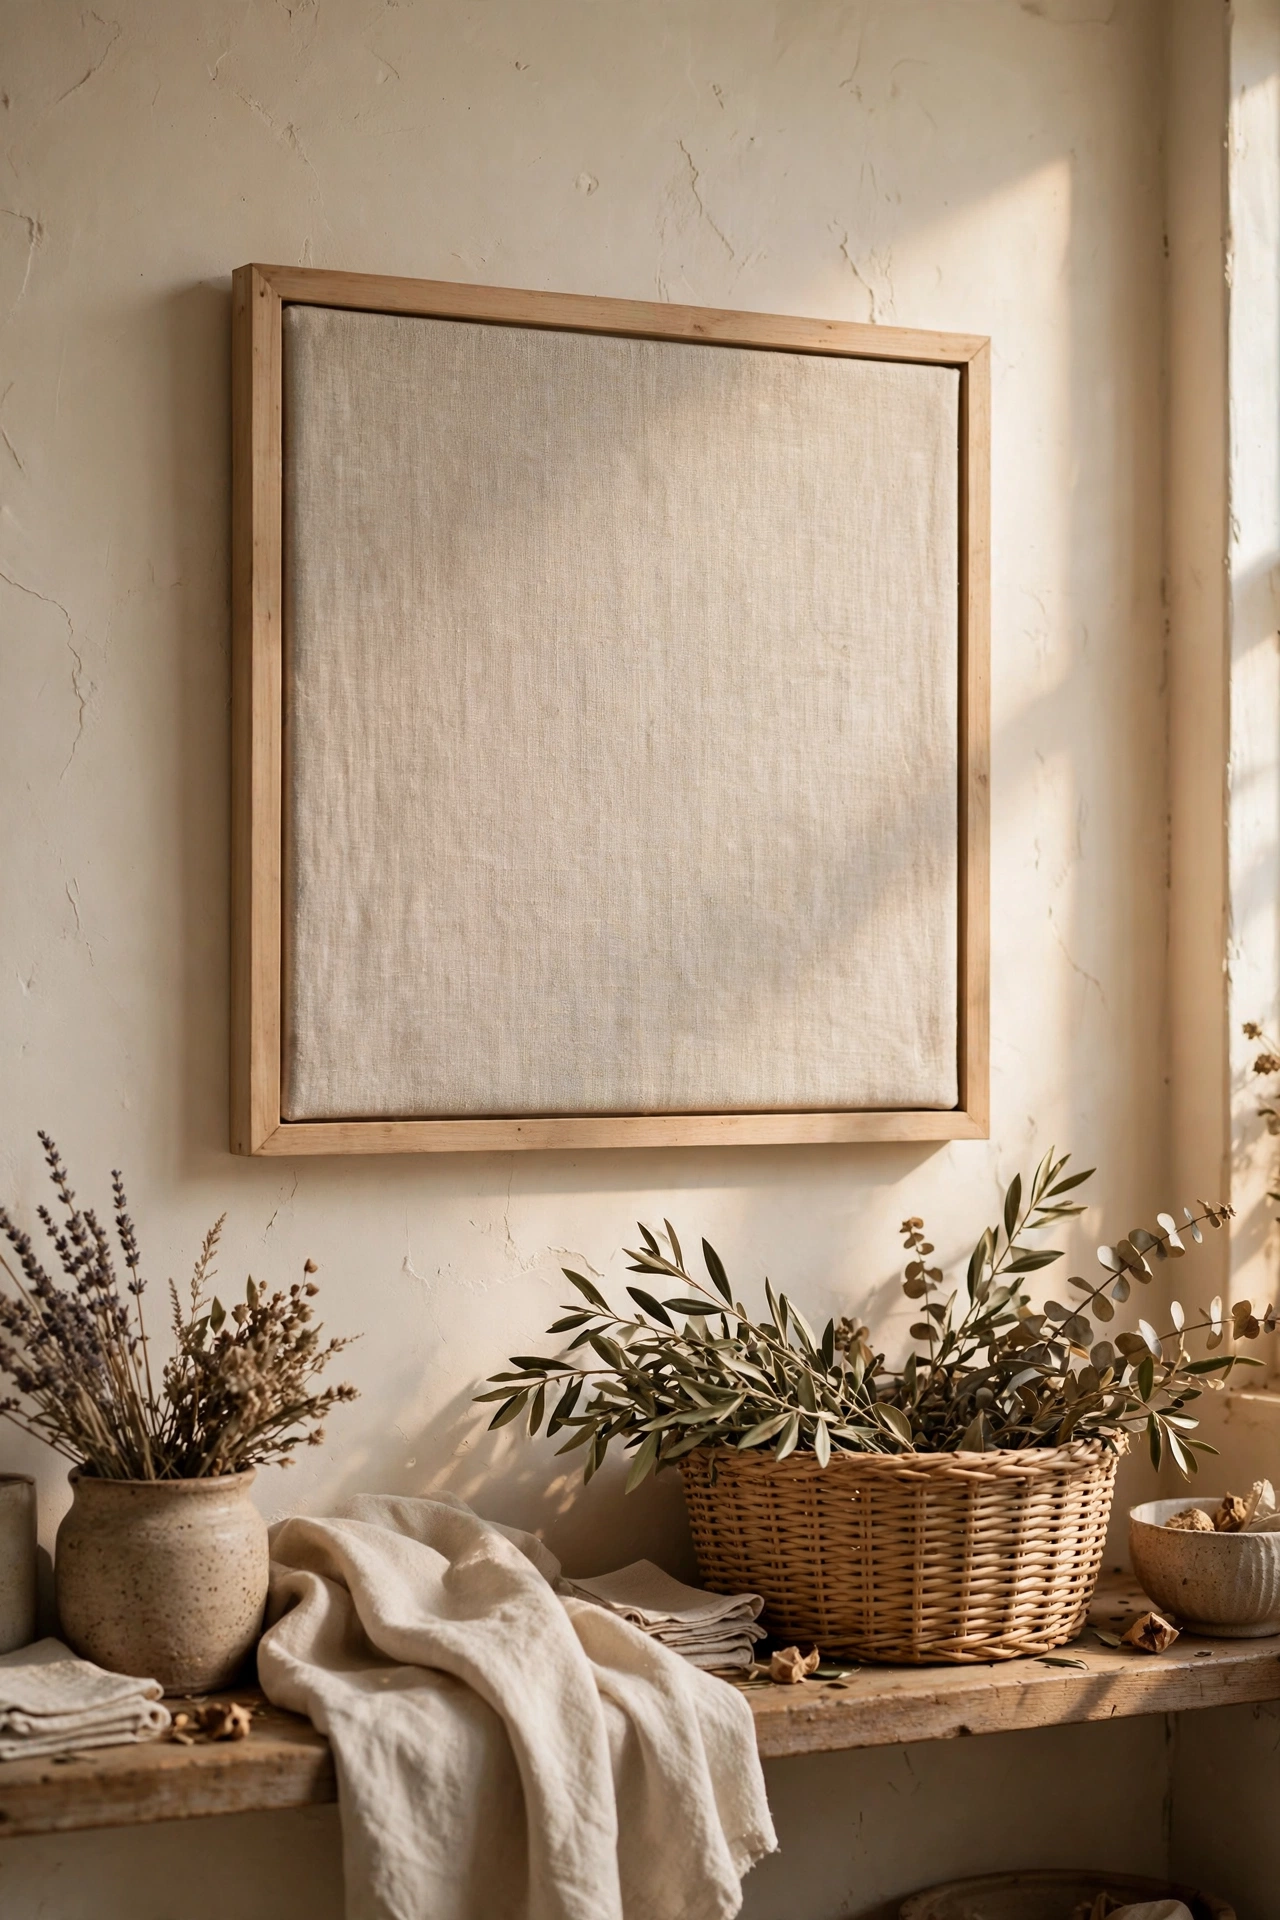
A square of natural linen in a simple frame looks like abstract textile art. I cut a piece of oatmeal linen slightly larger than the frame opening, ironed it flat, and mounted it behind the glass with the weave perfectly straight. The texture becomes the artwork. I hung three in a row in slightly different neutrals and guests always ask where I bought them. My first attempt had a crooked weave which drove me mad, so take time lining it up. It is the cheapest art on this list and one of the most effective.
Materials: linen fabric offcut, simple frame | Cost: ~$5-10 | Time: 20 minutes
11. Build a Simple Wooden Side Stool
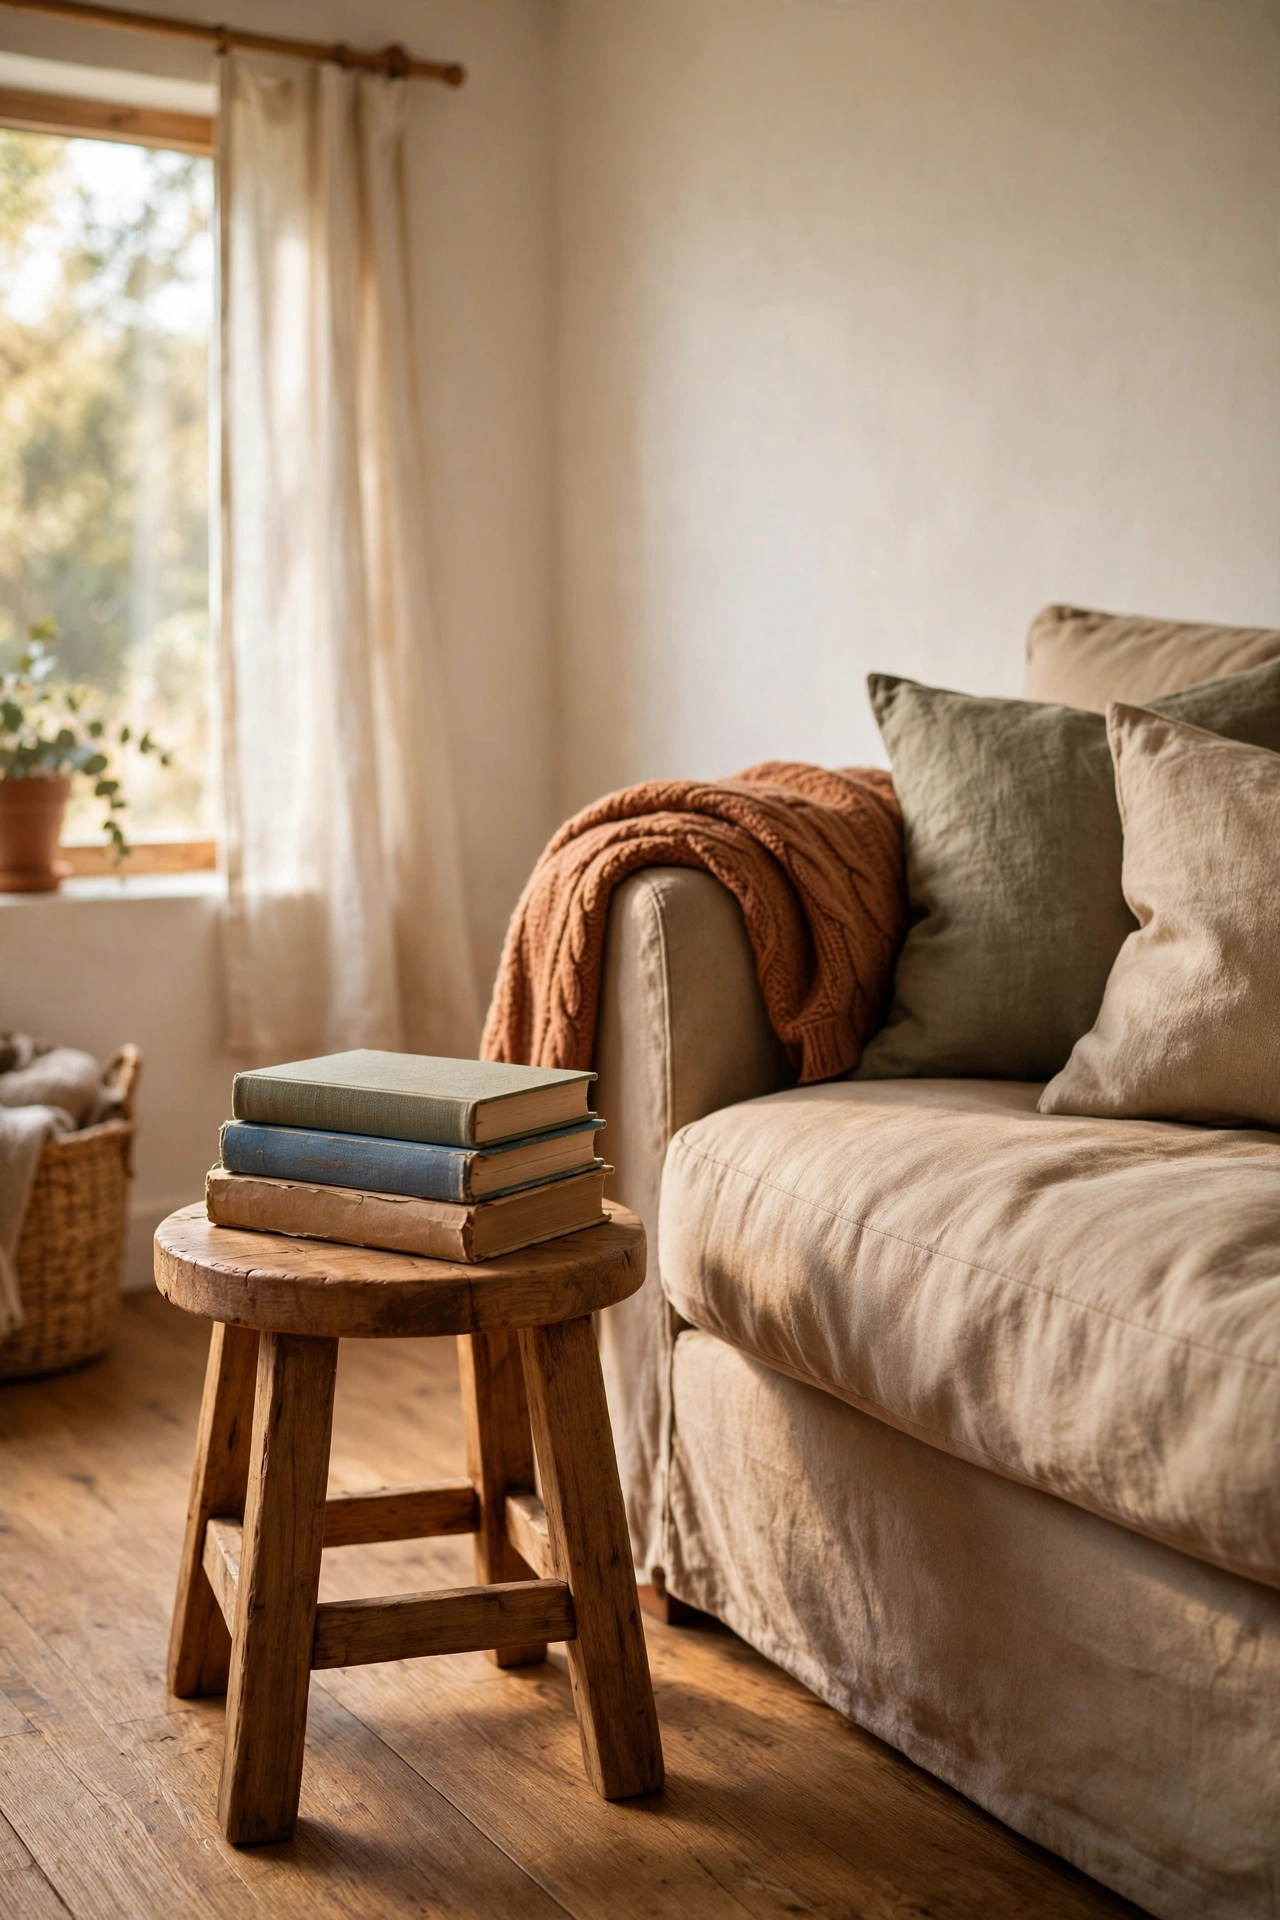
Four legs and a round top is all a minimalist stool needs. I cut a pine round for the seat and four tapered legs, attached them with angled brackets, and finished everything with clear matte varnish. Pre-drill every hole to stop the wood splitting, which is the mistake that ruined my first attempt. It works as a side table, a plant stand, and extra seating. The clean silhouette suits any room. Mine sits beside the sofa holding a stack of books and a small lamp.
Materials: pine round, 4 wooden legs, brackets, screws, matte varnish | Cost: ~$18-28 | Time: 2 hours
12. Knot a Beginner Macramé Wall Hanging
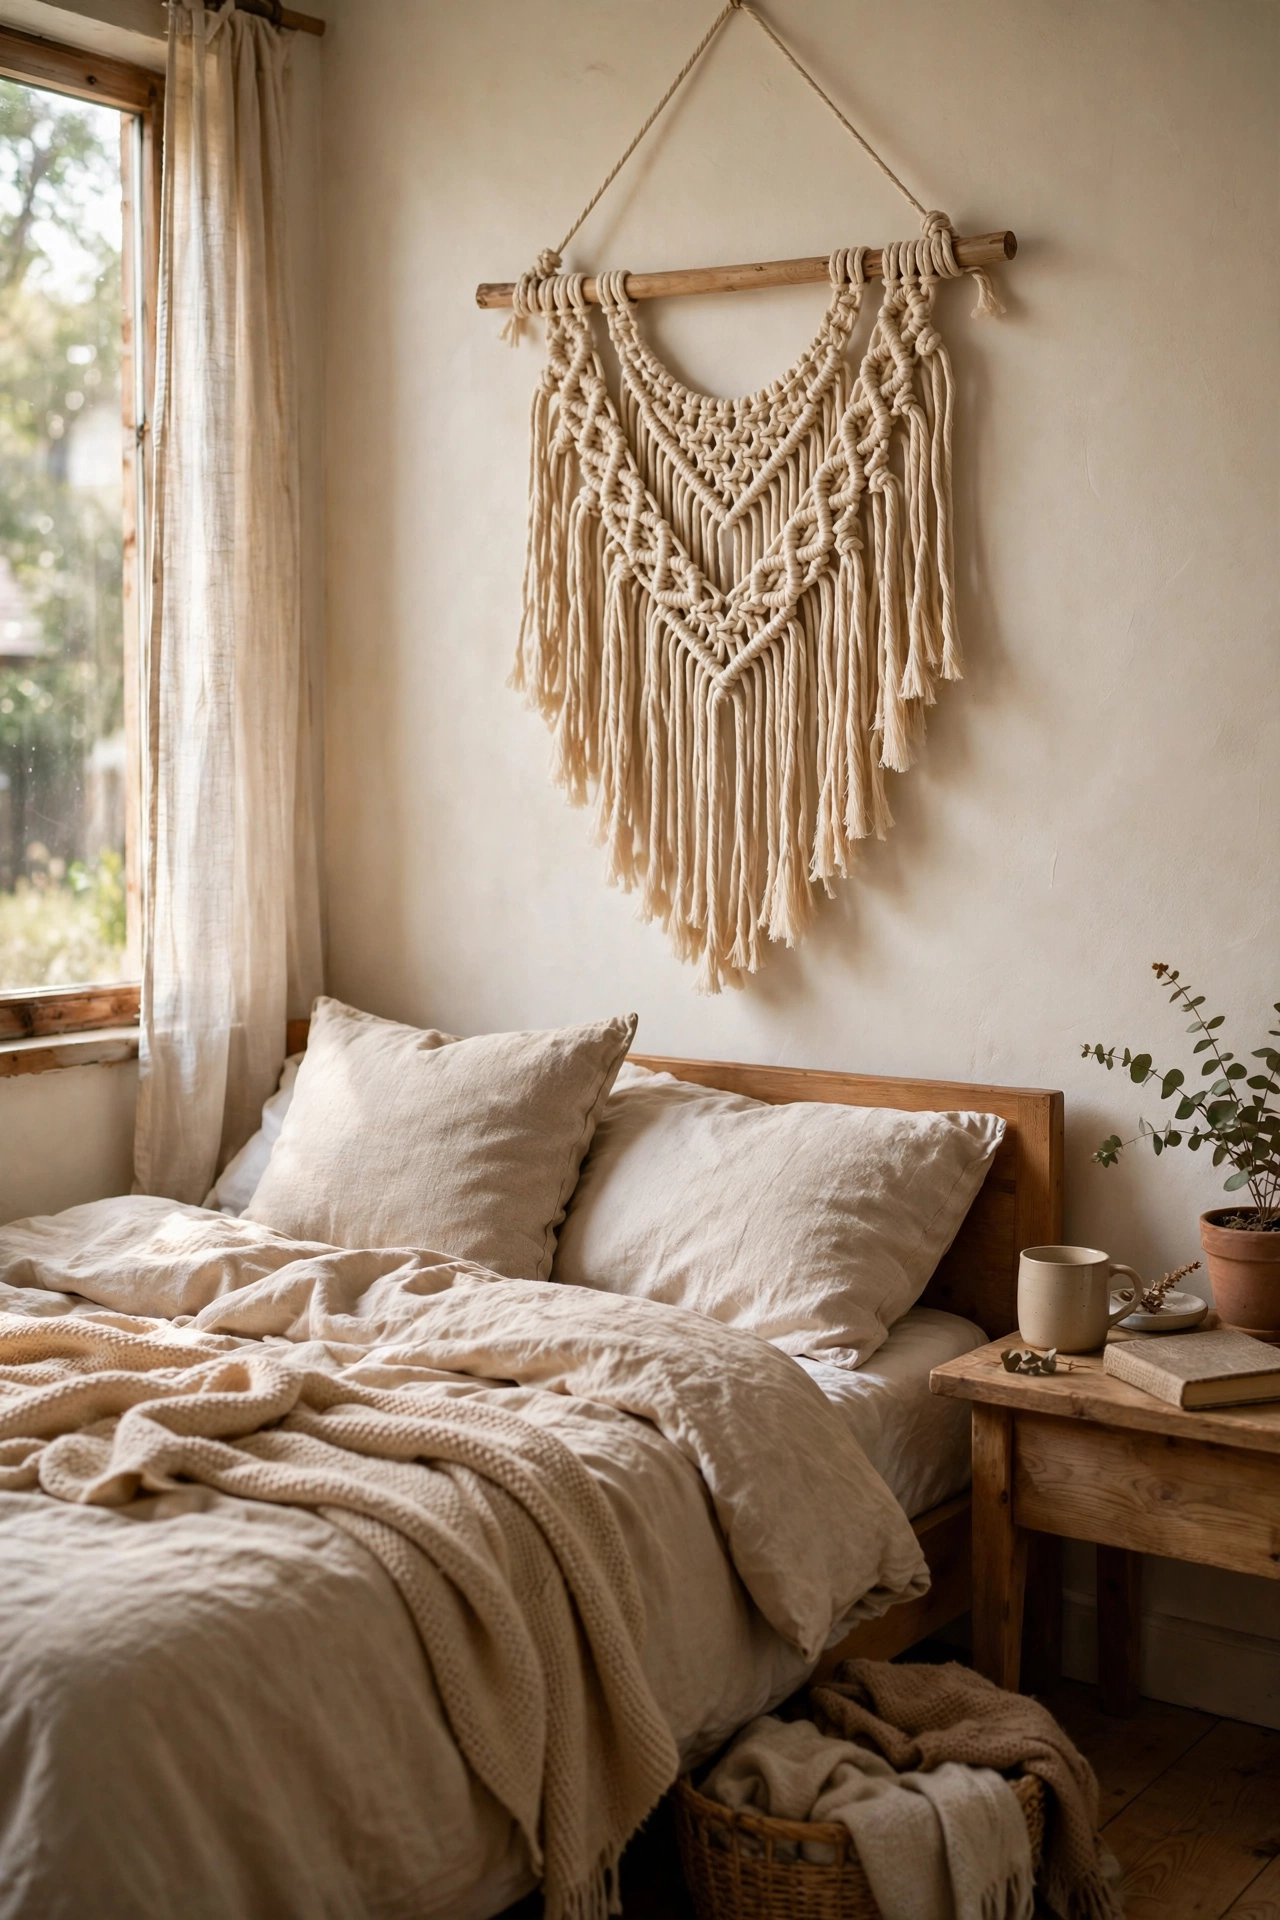
Macramé looks complicated but a simple wall hanging only needs one knot repeated. I learned the square knot from a short video, then knotted rows of cotton cord onto a wooden dowel in a simple V pattern. Keep your tension consistent or the pattern waves. My first hanging was wonky because I pulled some knots tighter than others, so check your work every few rows. In natural cotton it adds soft texture without any visual clutter. Mine hangs above the bed and suits a calm (see also: 17-minimalist-bedroom-ideas-on-a-budget/) scheme perfectly.
Materials: cotton cord, wooden dowel | Cost: ~$8-12 | Time: 2 hours
13. Turn Glass Jars into Candle Holders
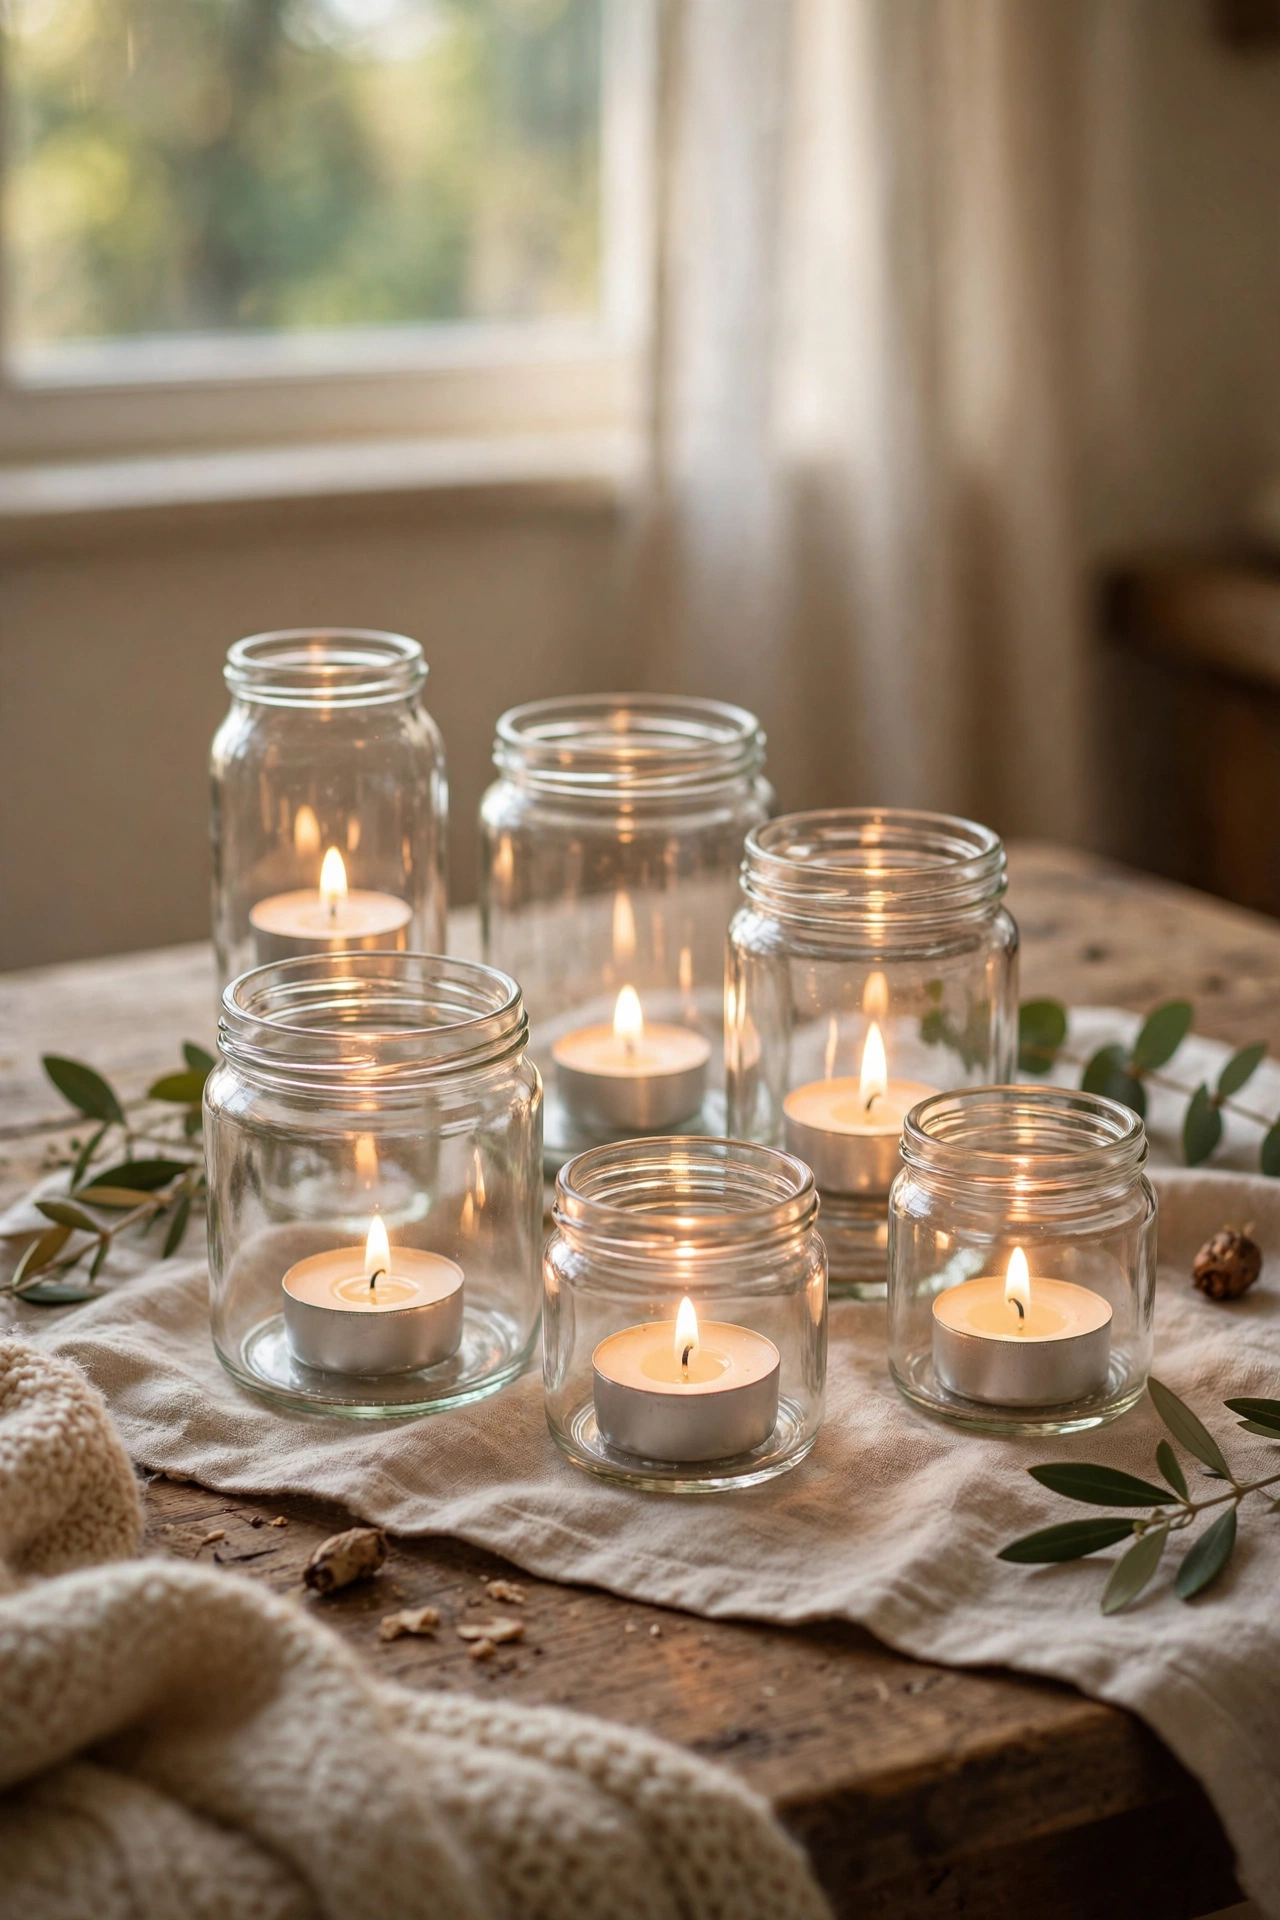
Plain glass jars become elegant candle holders with nothing but a tealight inside. I cleaned old jam jars, removed the labels with hot soapy water, and dropped in tealights. Grouping three of different heights looks intentional and pretty. For a frosted effect, I brushed one jar with a thin coat of white glue thinned with water, which diffuses the flame beautifully. My first frosted jar went on too thick and looked cloudy, so keep the coat sheer. They cost nothing and make winter evenings feel special.
Materials: glass jars, tealights, white glue (optional) | Cost: ~$0-3 | Time: 15 minutes
14. Whitewash Old Picture Frames
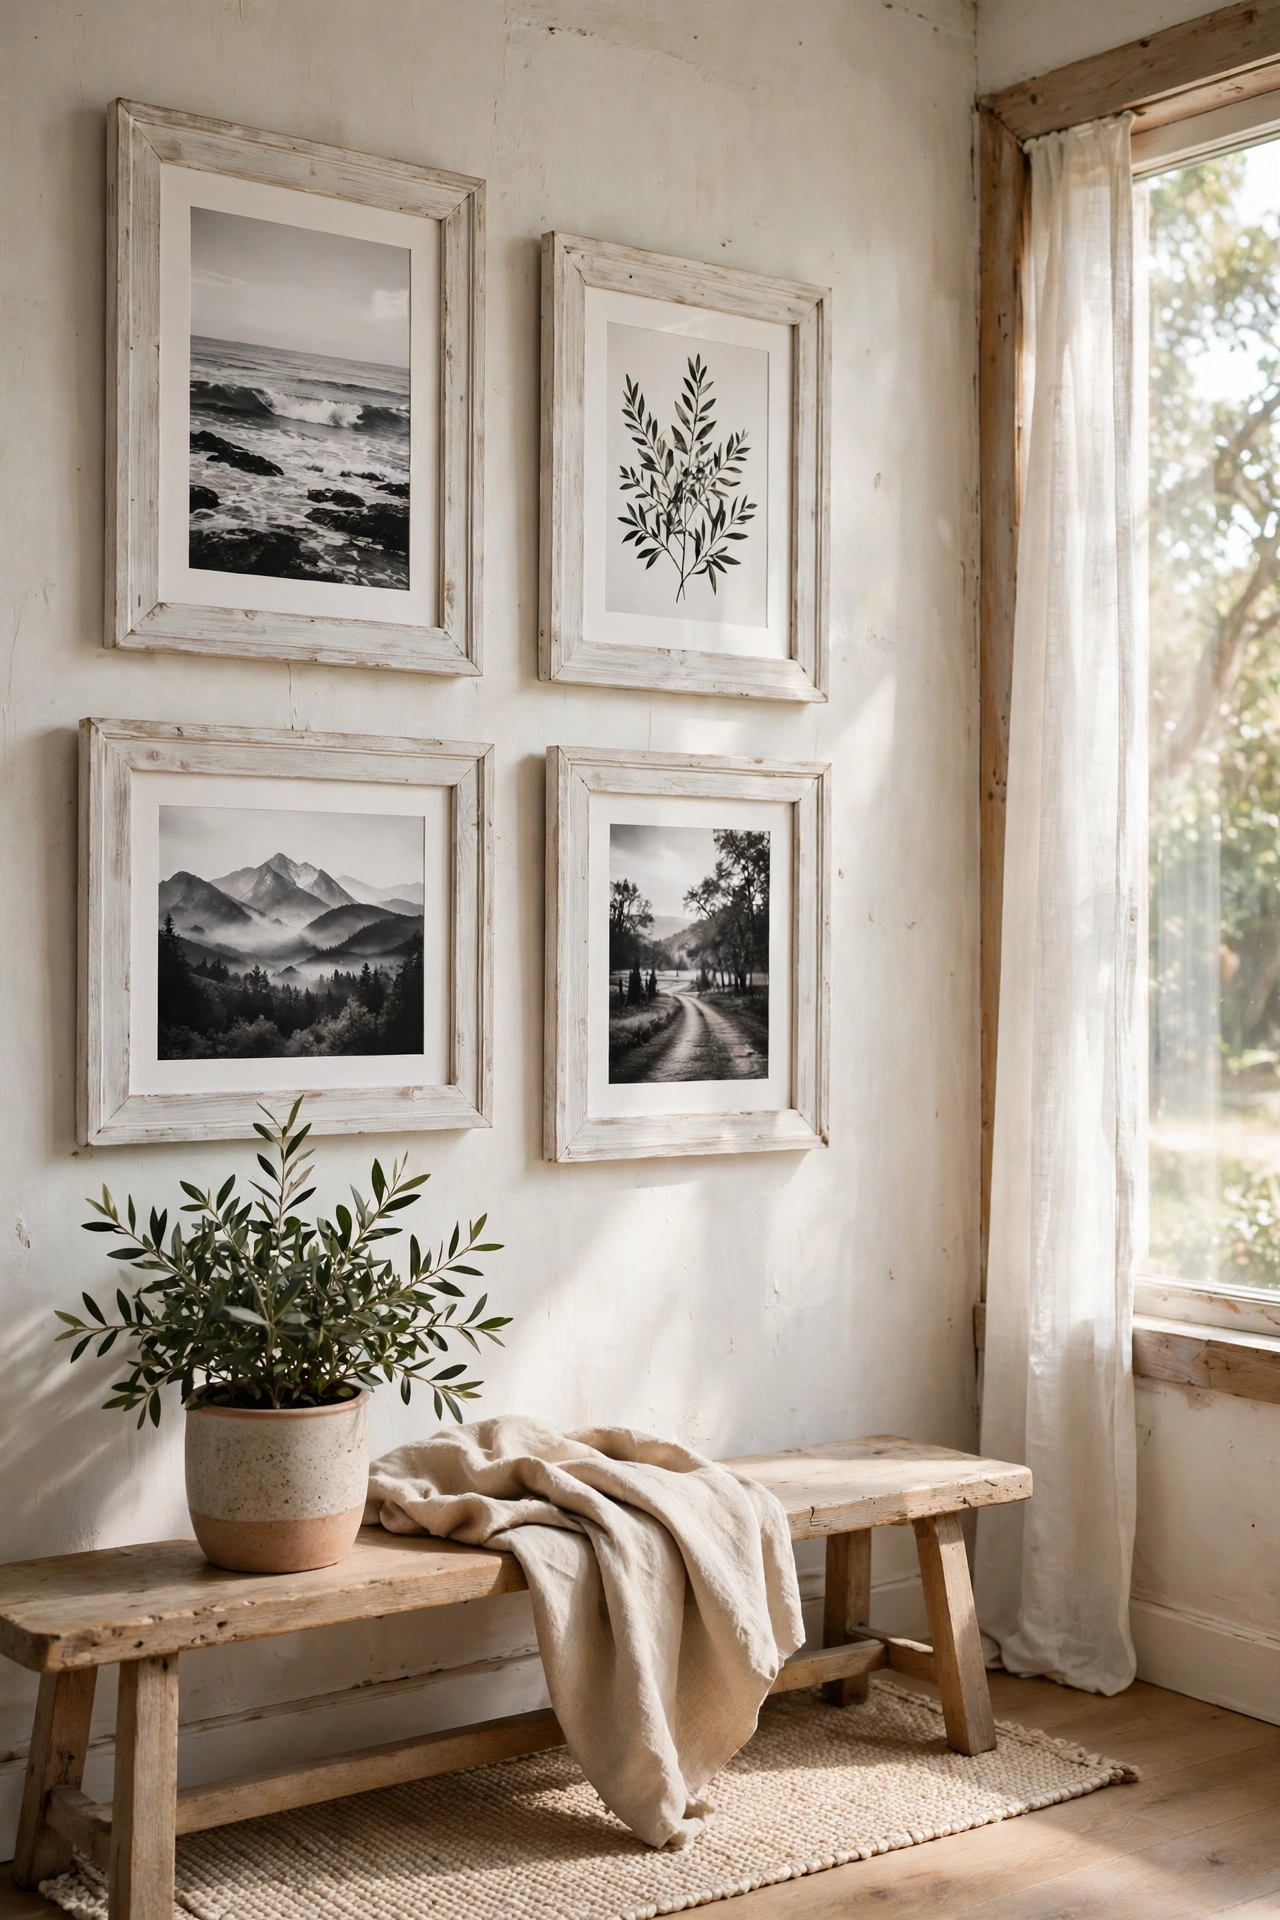
Dark or dated frames become fresh and minimalist with a whitewash. I mixed white paint half and half with water, brushed it over the frames, and wiped back the excess with a cloth so the wood grain shows through. Work in small sections before the paint dries. My first frame looked streaky because I skipped the wipe-back step, which is what creates the soft effect. They now hold black and white prints and look like a coordinated gallery set. This saved four frames from the charity shop pile.
Materials: old frames, white paint, water, cloth | Cost: ~$3-6 | Time: 45 minutes
15. Paint a Plant Pot to Look Like Concrete
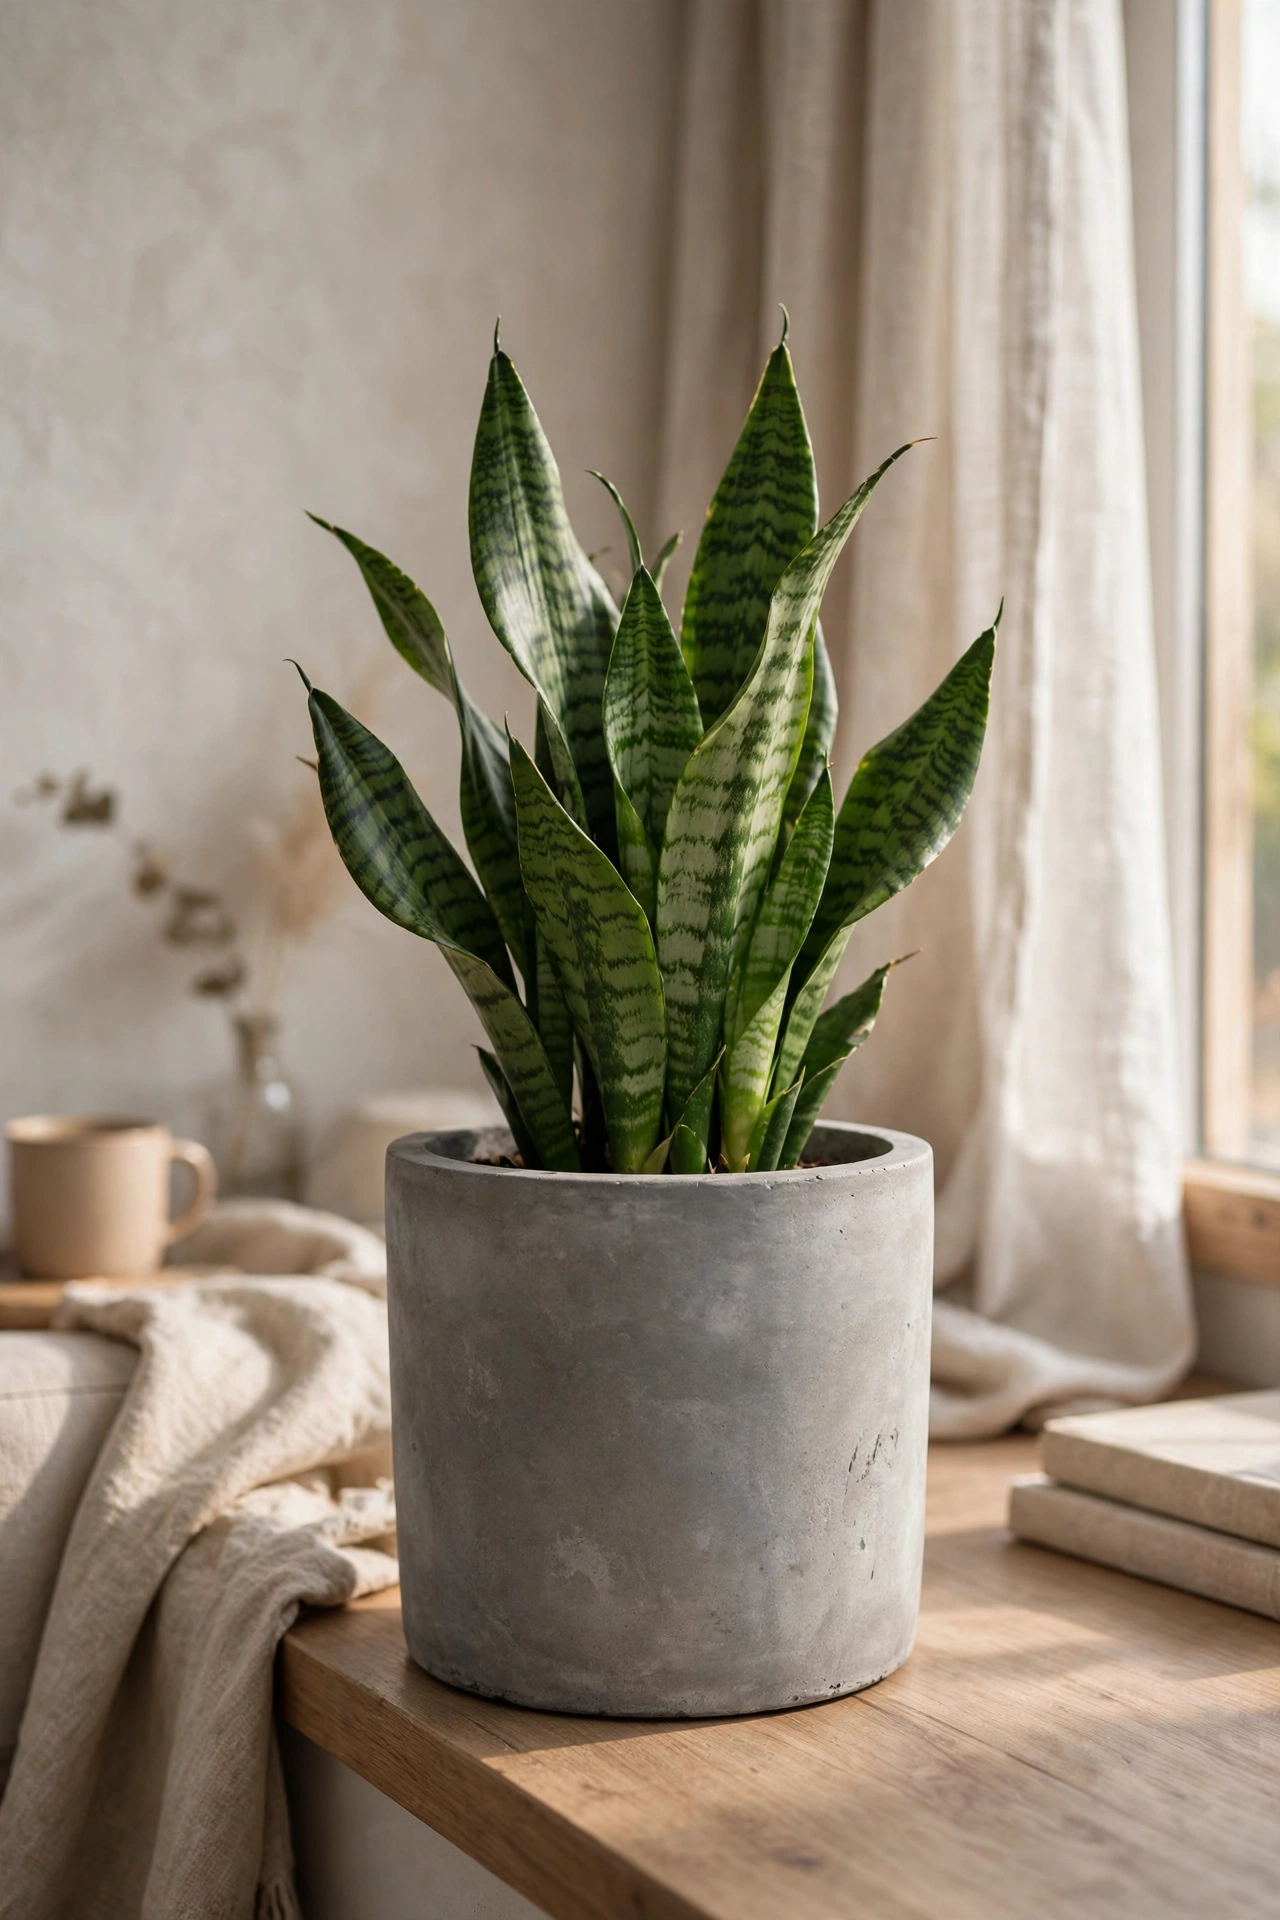
Grey paint with a matte finish turns a cheap plastic pot into something that looks like cast concrete. I cleaned the pot, applied primer, then two coats of matte grey, dabbing the second coat with a sponge for subtle texture. The sponge step is what sells the concrete look, so do not skip it. My first pot looked flat grey until I added the dabbing. Paired with a sculptural plant like a snake plant, it looks genuinely high end. I have converted every plastic pot in the house now.
Materials: plastic plant pot, primer, matte grey paint, sponge | Cost: ~$6-10 | Time: 1 hour plus drying
16. Make a No-Sew Linen Table Runner
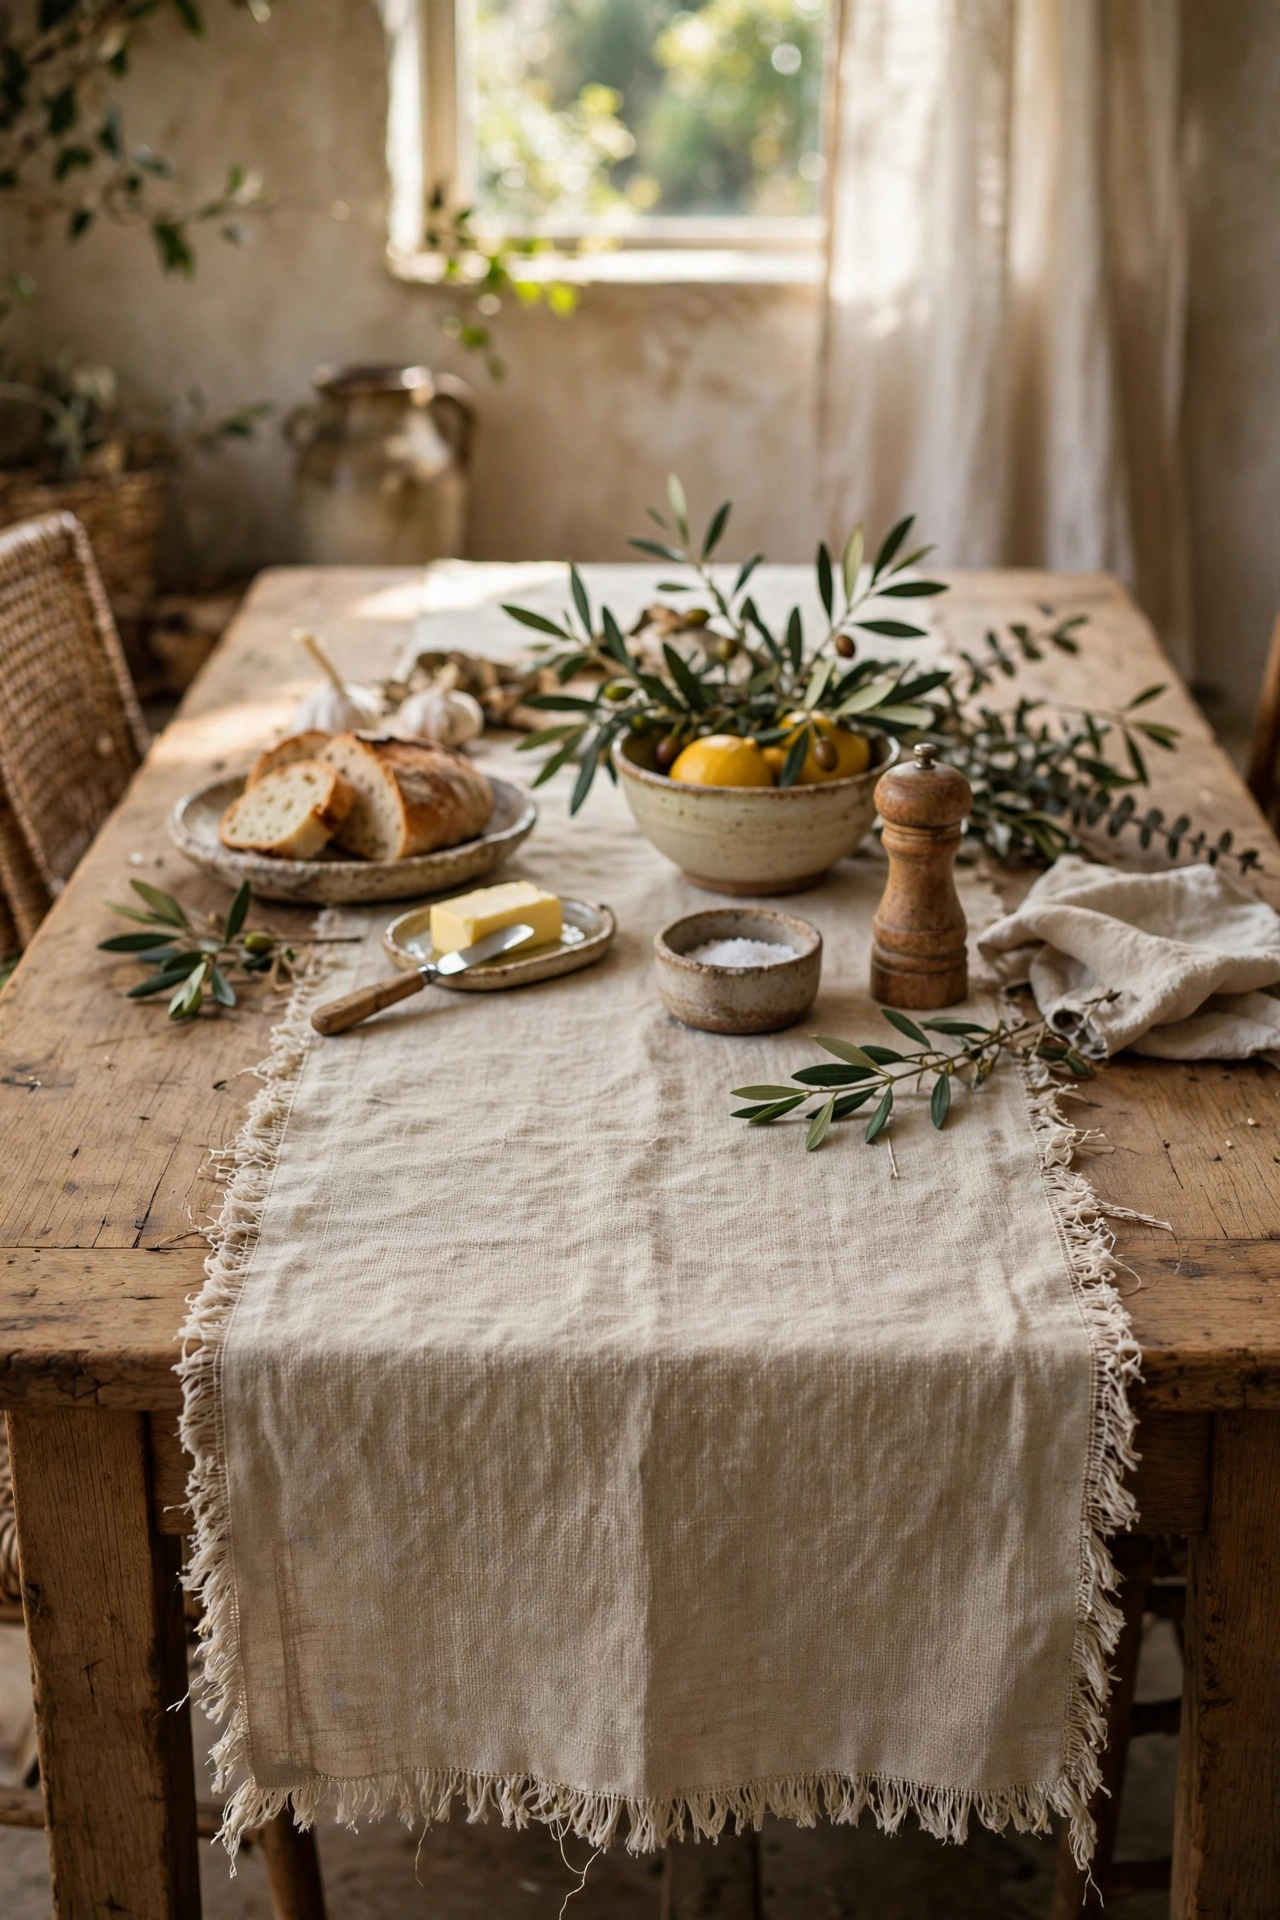
A strip of natural linen down the middle of the table is instant minimalist styling. I cut linen-look fabric to length, frayed the short ends by pulling threads for a relaxed edge, and pressed it flat. No sewing at all. The frayed edge is what makes it look artisanal rather than unfinished, so pull the threads evenly. Mine cost very little and gets compliments at every dinner. I made a second one in charcoal for winter. It rolls up for storage and never needs ironing if you embrace the wrinkles.
Materials: linen-look fabric | Cost: ~$6-10 | Time: 20 minutes
17. Build a Dowel Coat Rack
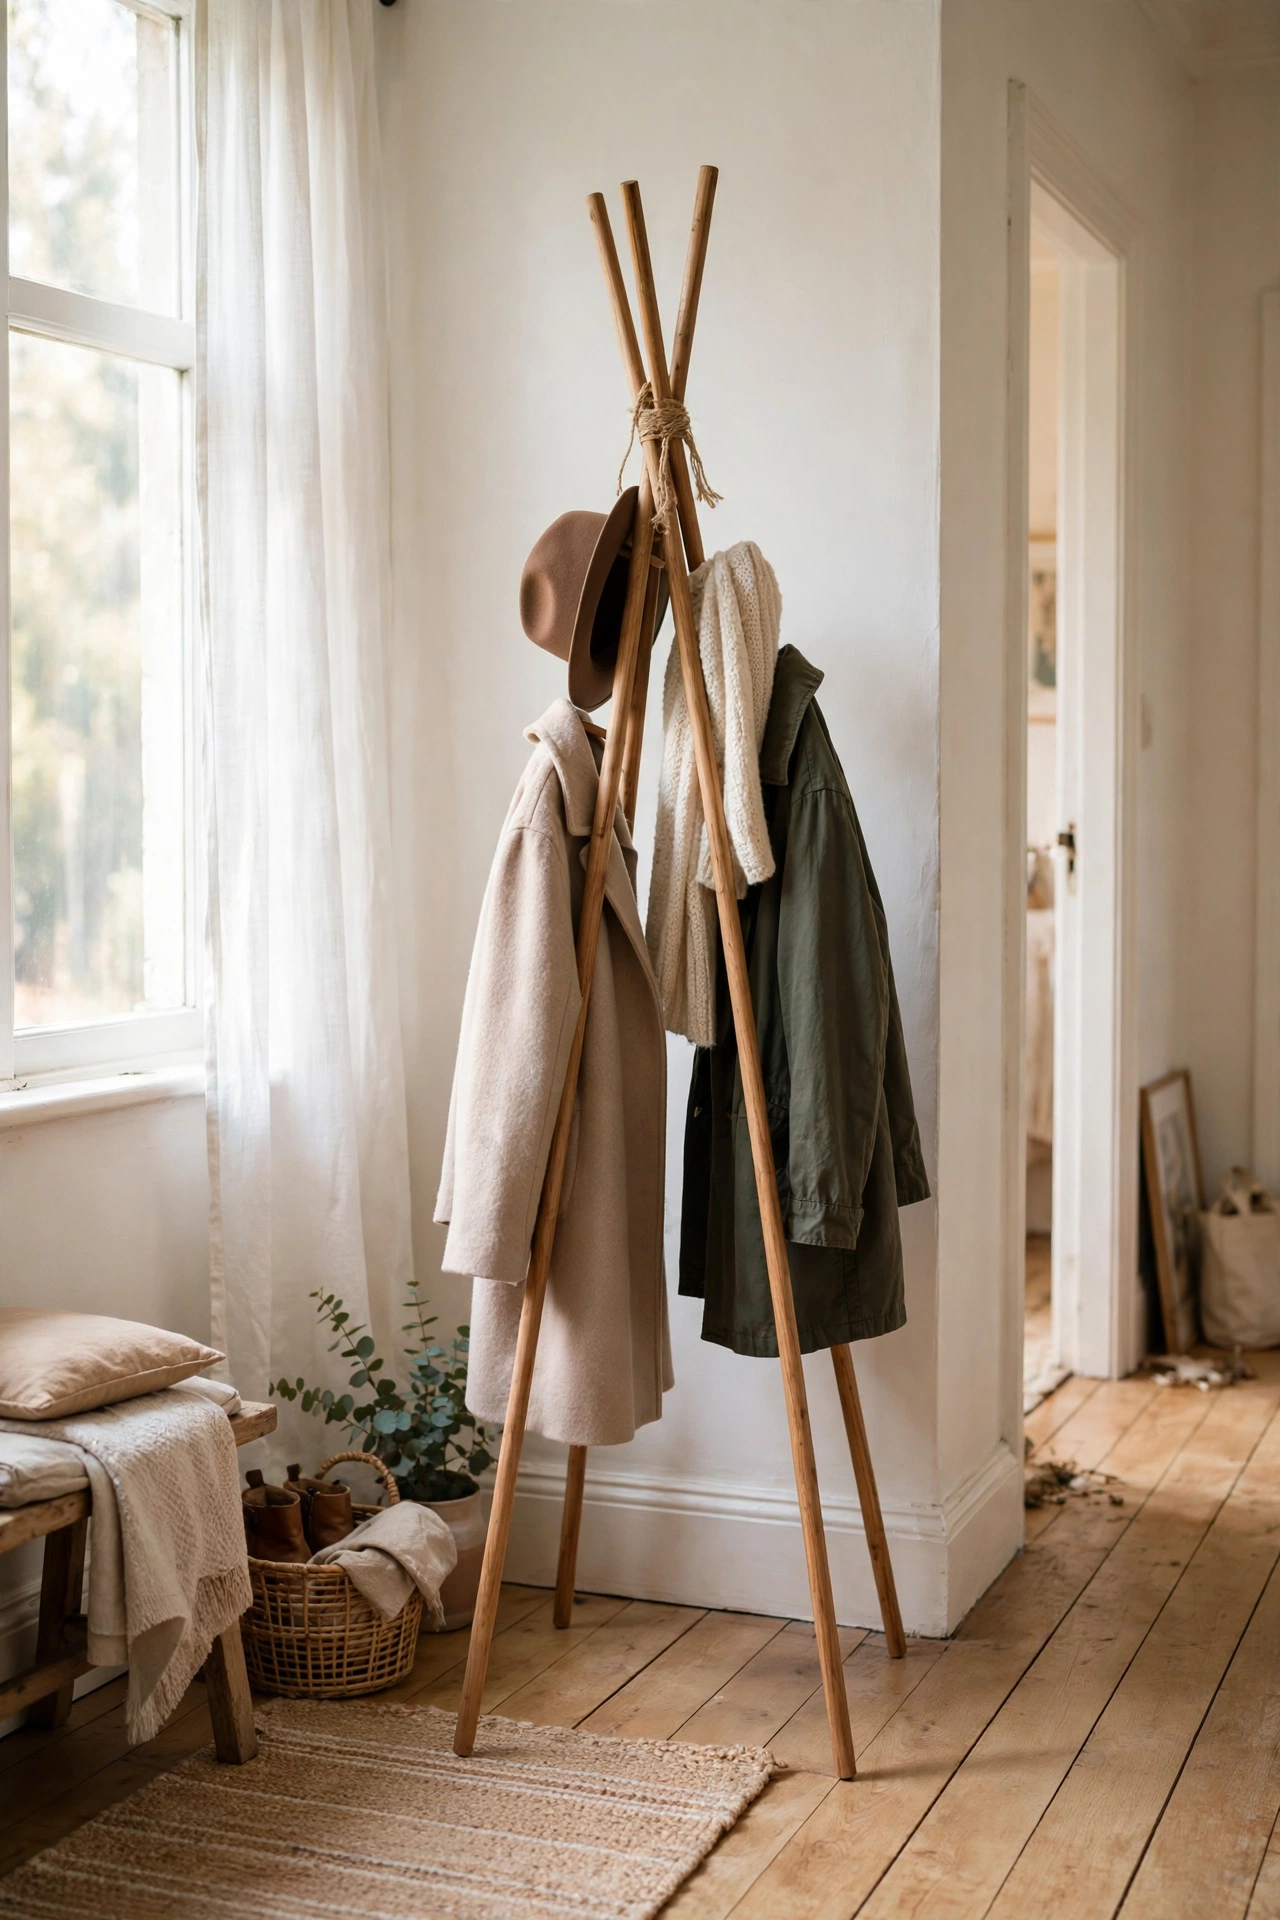
A freestanding coat rack from dowels looks like designer furniture. I cut five long dowels for legs and rungs, lashed the top together with cotton cord, and spread the legs into a teepee shape. The lashing is the structural part, so wrap the cord tightly and knot it well. My first rack wobbled because the lashing was loose, and retying it firmly fixed everything. It holds coats and hats in the hallway and folds flat if I need it gone. The pale wood keeps it light and airy.
Materials: wooden dowels, cotton cord | Cost: ~$10-14 | Time: 1 hour
18. Cut Natural Stone Coasters
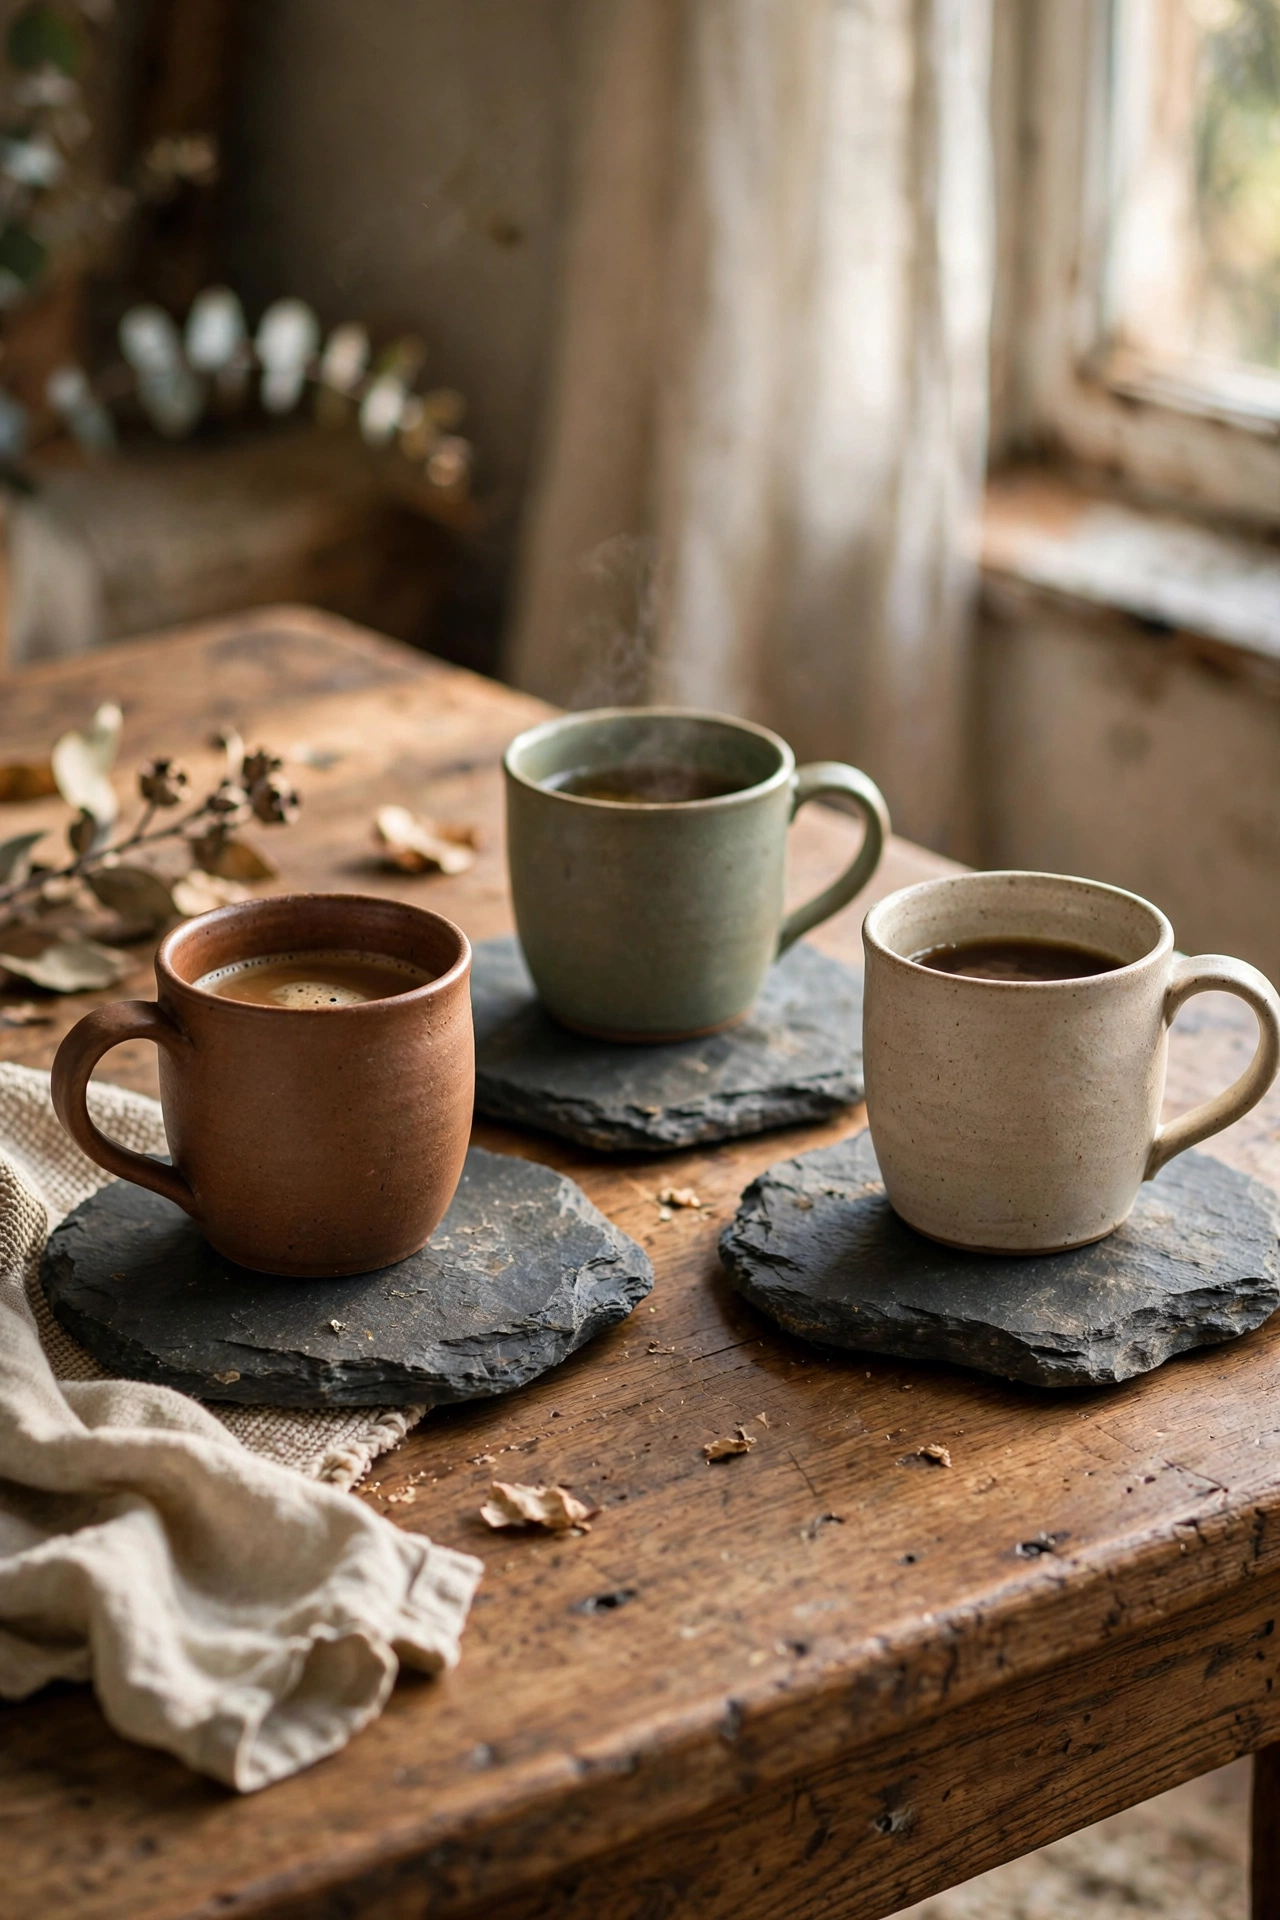
Slate tiles from the hardware store make beautiful minimalist coasters. I bought one large slate tile and had the store cut it into squares, then sanded the edges smooth and sealed them with food-safe oil. The natural variation in the stone looks far more interesting than shop-bought sets. Wear a mask when sanding stone, because the dust is unpleasant. My set of six cost less than one designer coaster. They feel weighty and solid under a mug, which is a small daily pleasure I did not expect.
Materials: slate tile, sandpaper, food-safe oil | Cost: ~$6-10 | Time: 45 minutes
19. Style a Simple Bedside Tray
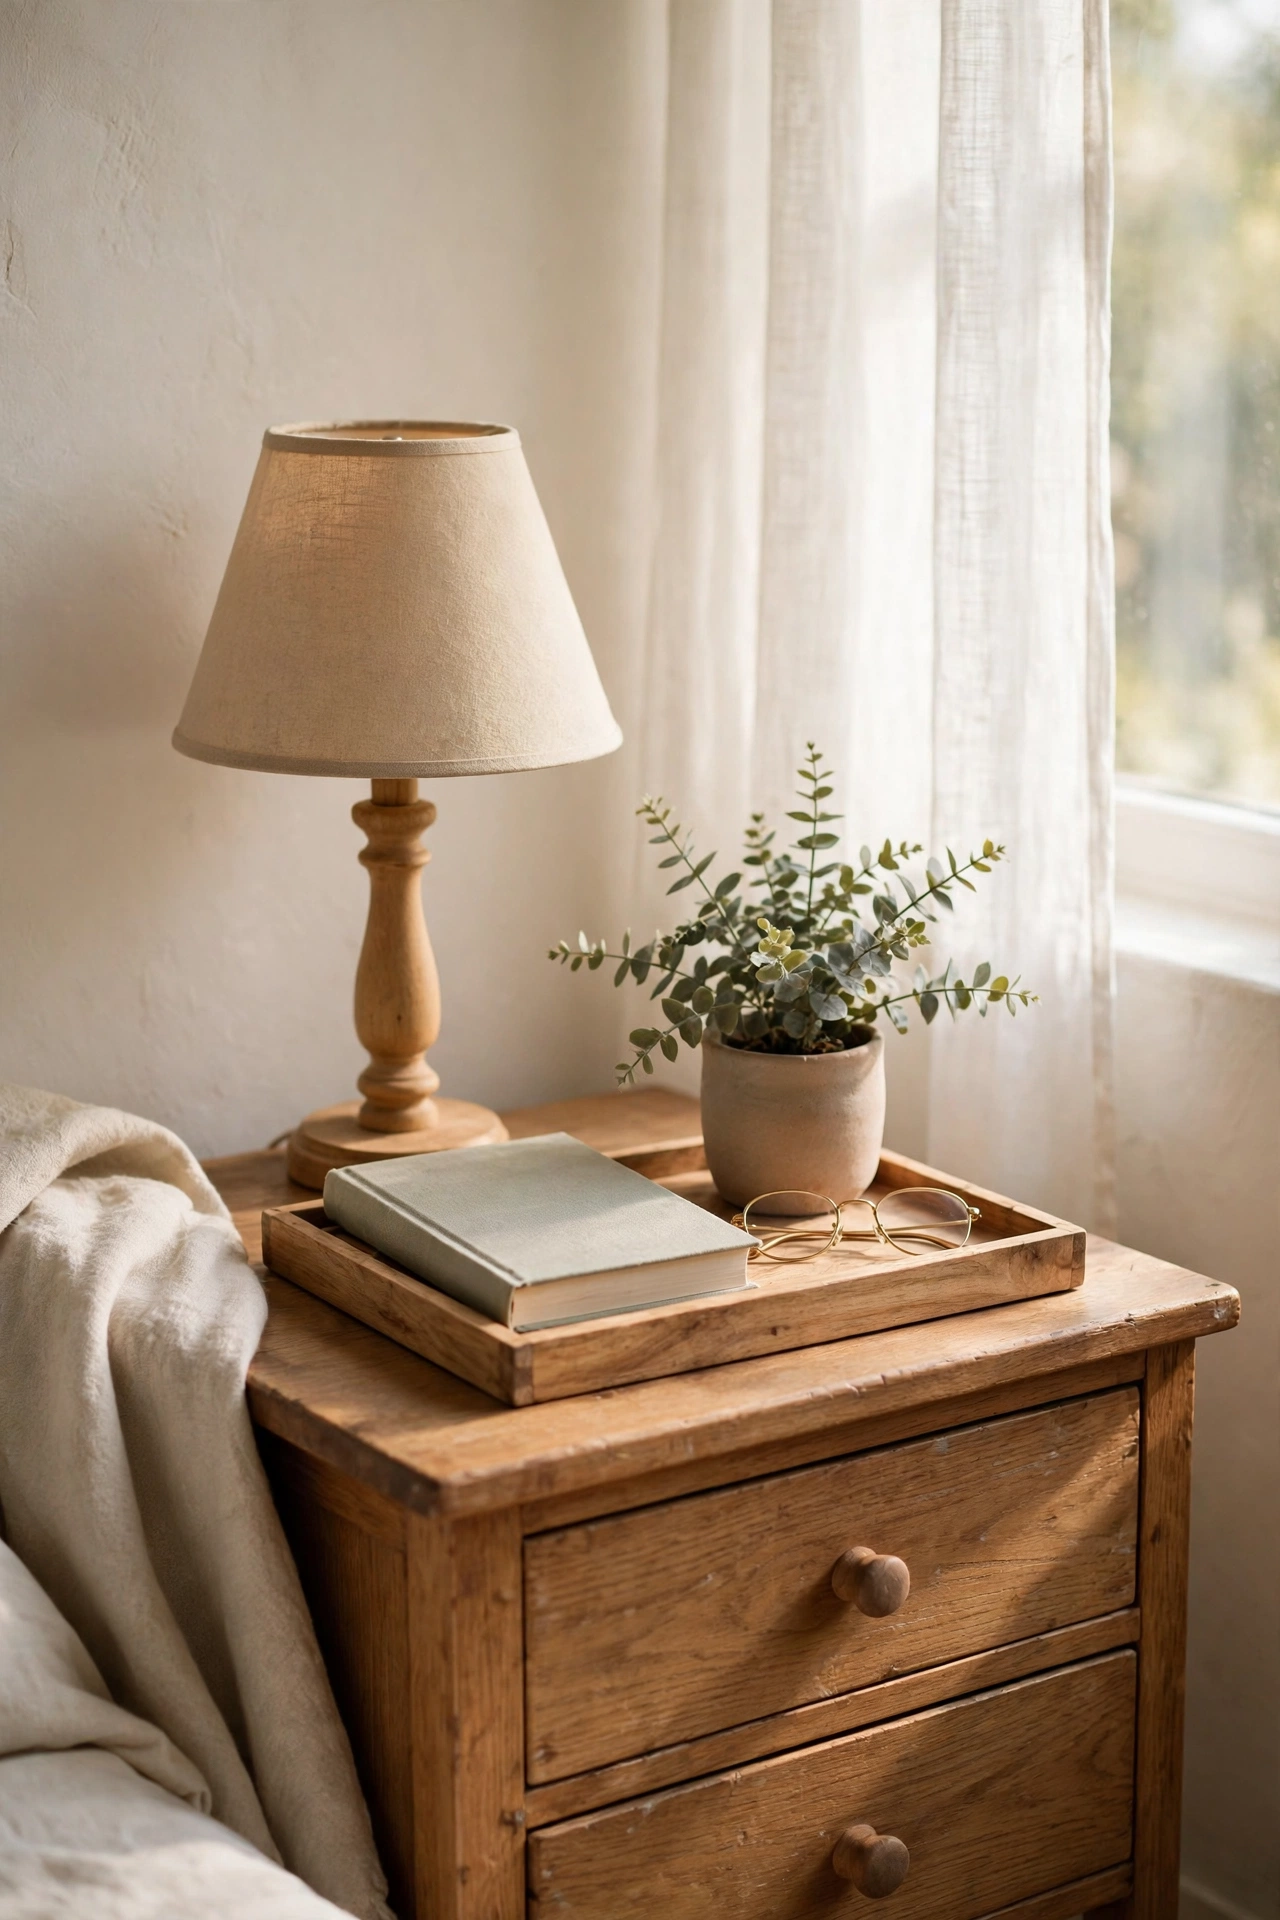
A small tray on the nightstand turns clutter into a considered vignette. I used a plain wooden tray and limited it to three items: a lamp, a small plant, and a book. The rule of three keeps it minimalist, because a fourth item always tips it into clutter. My nightstand used to collect random objects, and the tray created a boundary that stopped the spread. It takes two minutes to arrange and makes the whole bedroom feel calmer. This tiny change had an outsized effect on how restful the room feels.
Materials: small wooden tray | Cost: ~$5-8 | Time: 10 minutes
20. Make Fabric-Covered Drawer Organisers
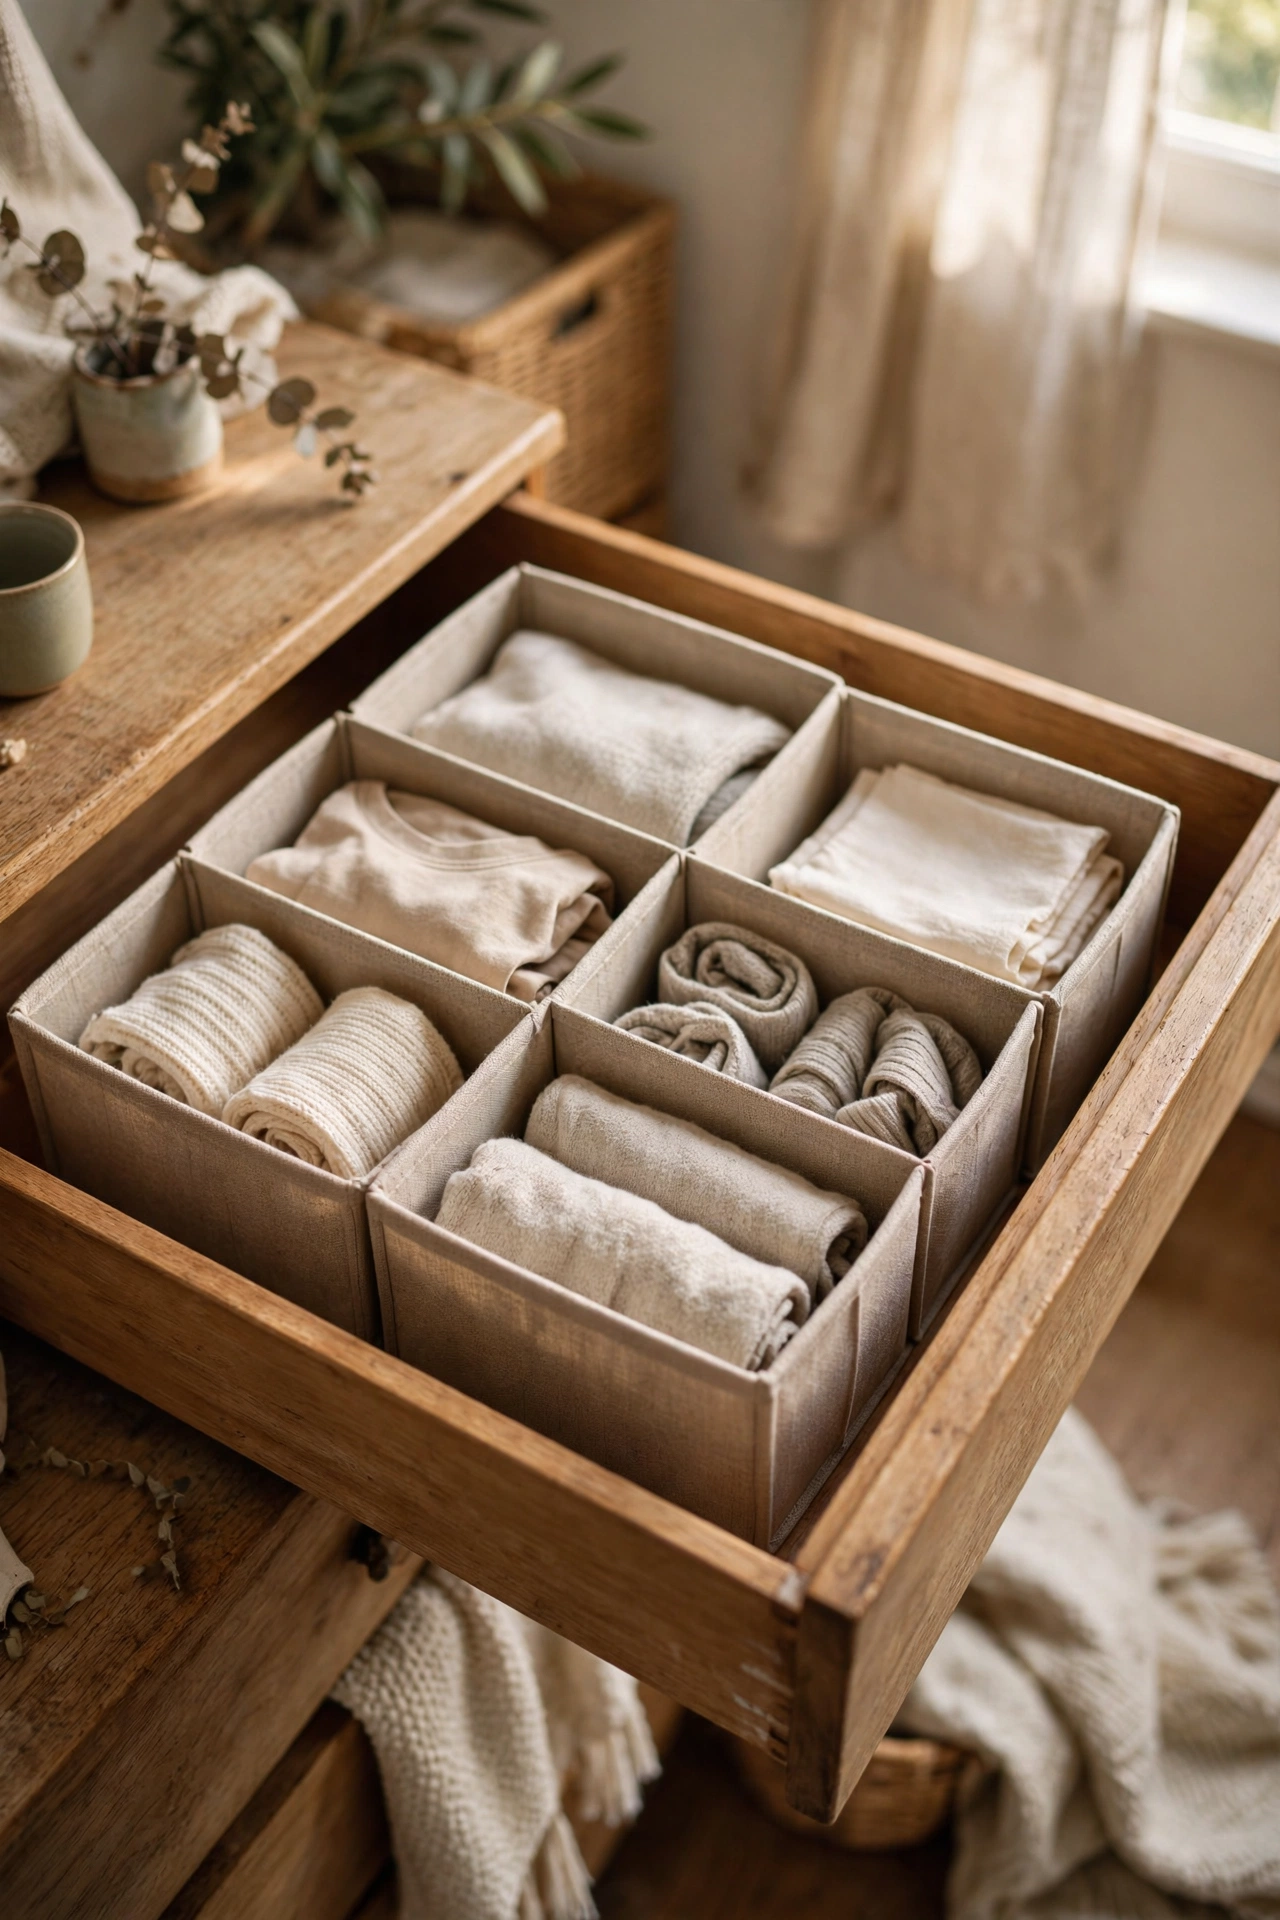
Cardboard boxes wrapped in neutral fabric make drawer organisers that look custom. I cut cereal boxes to drawer height, wrapped them in oatmeal cotton with glue, and slotted them into the drawer. Measure the drawer first and plan the layout on paper, because guessing wastes boxes. My first set did not fit because I forgot to account for the drawer sides. The finished organisers make every drawer look calm and intentional. I did the kitchen junk drawer next, and opening it no longer stresses me out.
Materials: cardboard boxes, cotton fabric, glue | Cost: ~$4-8 | Time: 1 hour
21. Hang a Branch Shelf with Rope
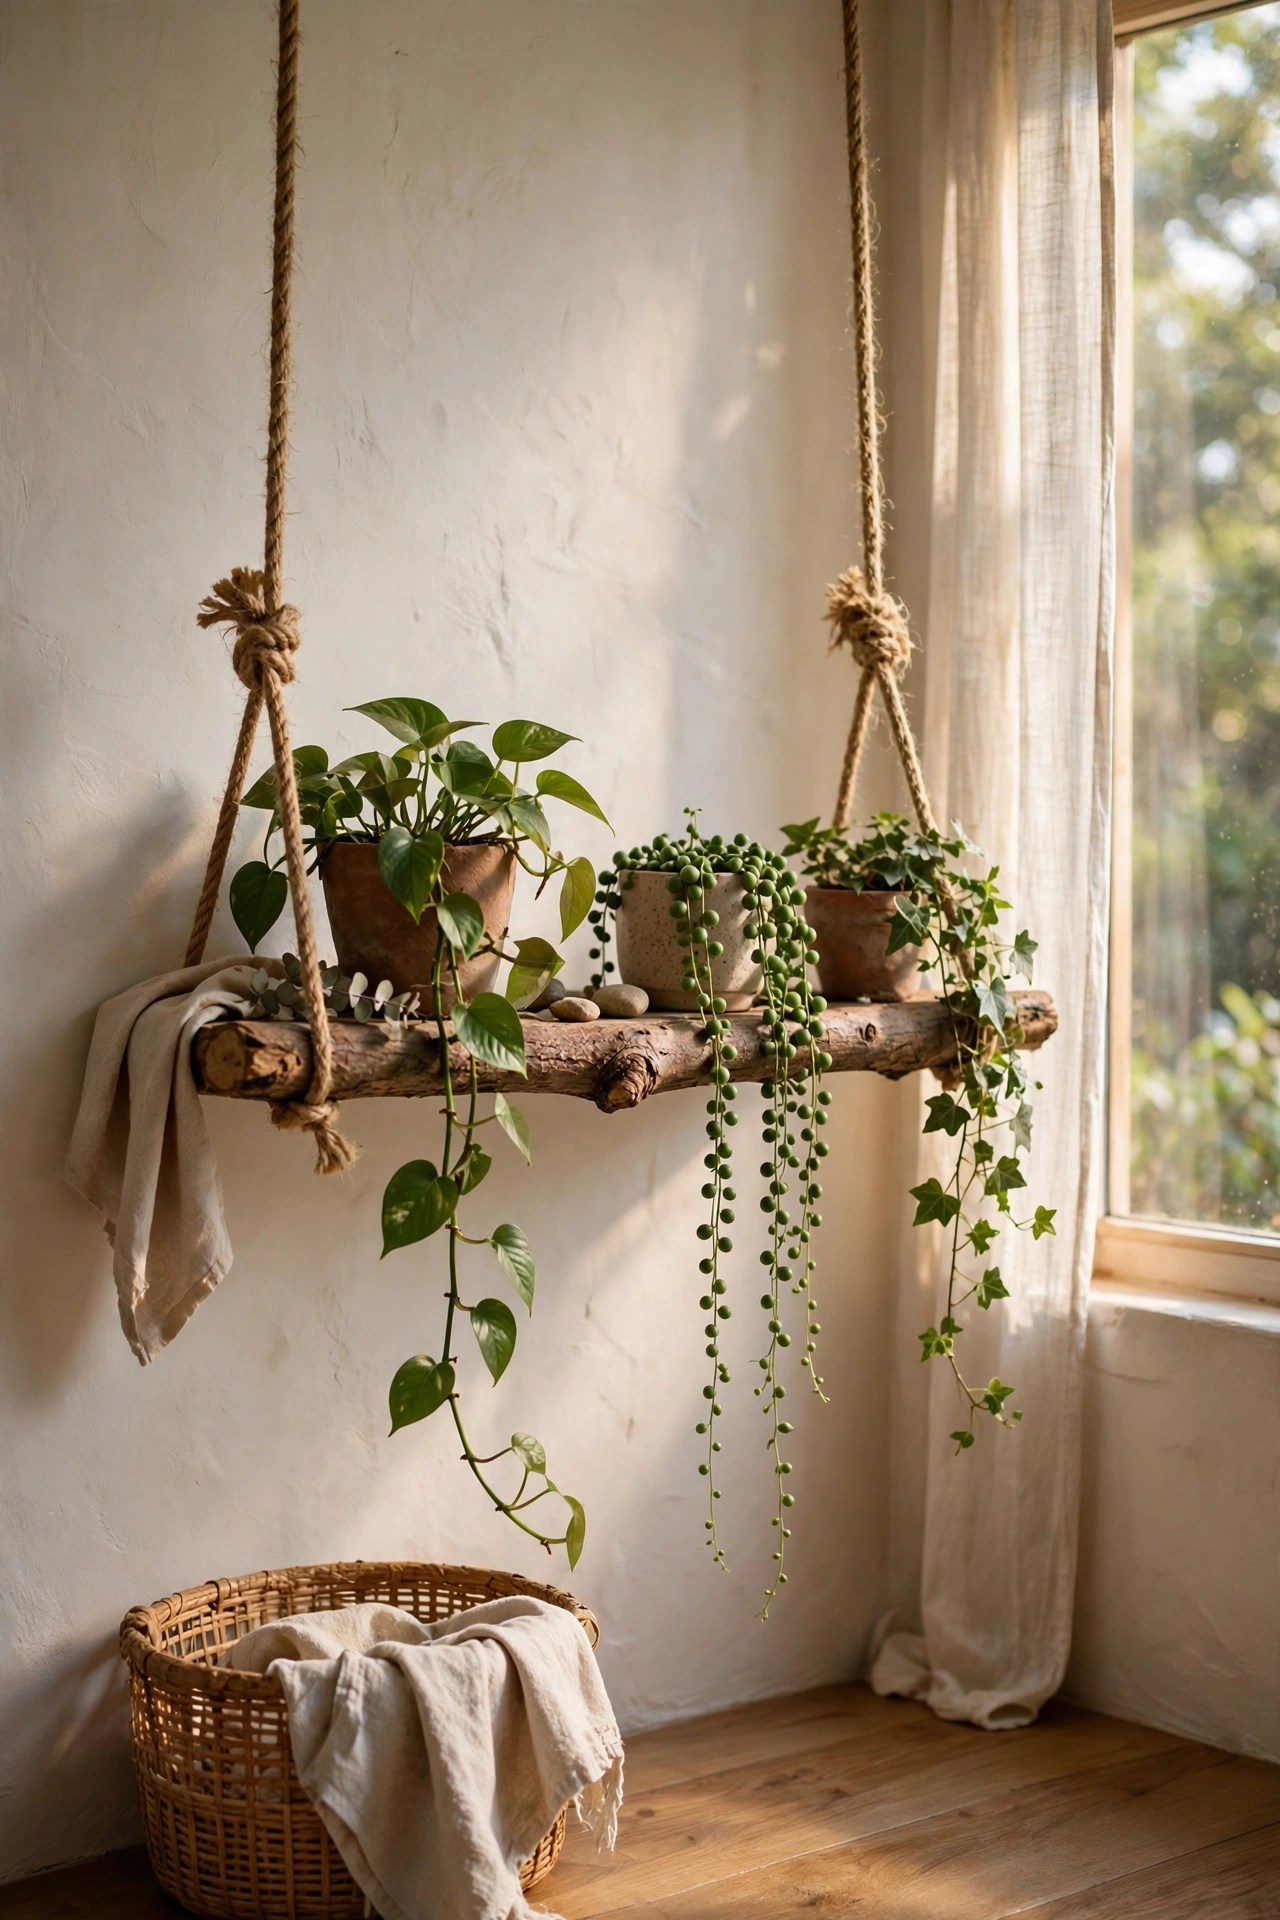
A sturdy fallen branch hung with rope makes a shelf with real character. I found a straight thick branch, sanded and sealed it, then hung it from ceiling hooks with natural jute rope. Check the branch is fully dry and solid before hanging anything from it. Mine holds lightweight trailing plants and looks beautifully organic. My first attempt used a branch that was too thin and it bowed, so choose one at least as thick as your wrist. It brings nature indoors in the most minimalist way possible.
Materials: sturdy branch, jute rope, ceiling hooks, sealant | Cost: ~$5-10 | Time: 1 hour
22. Shape an Air-Dry Clay Bowl
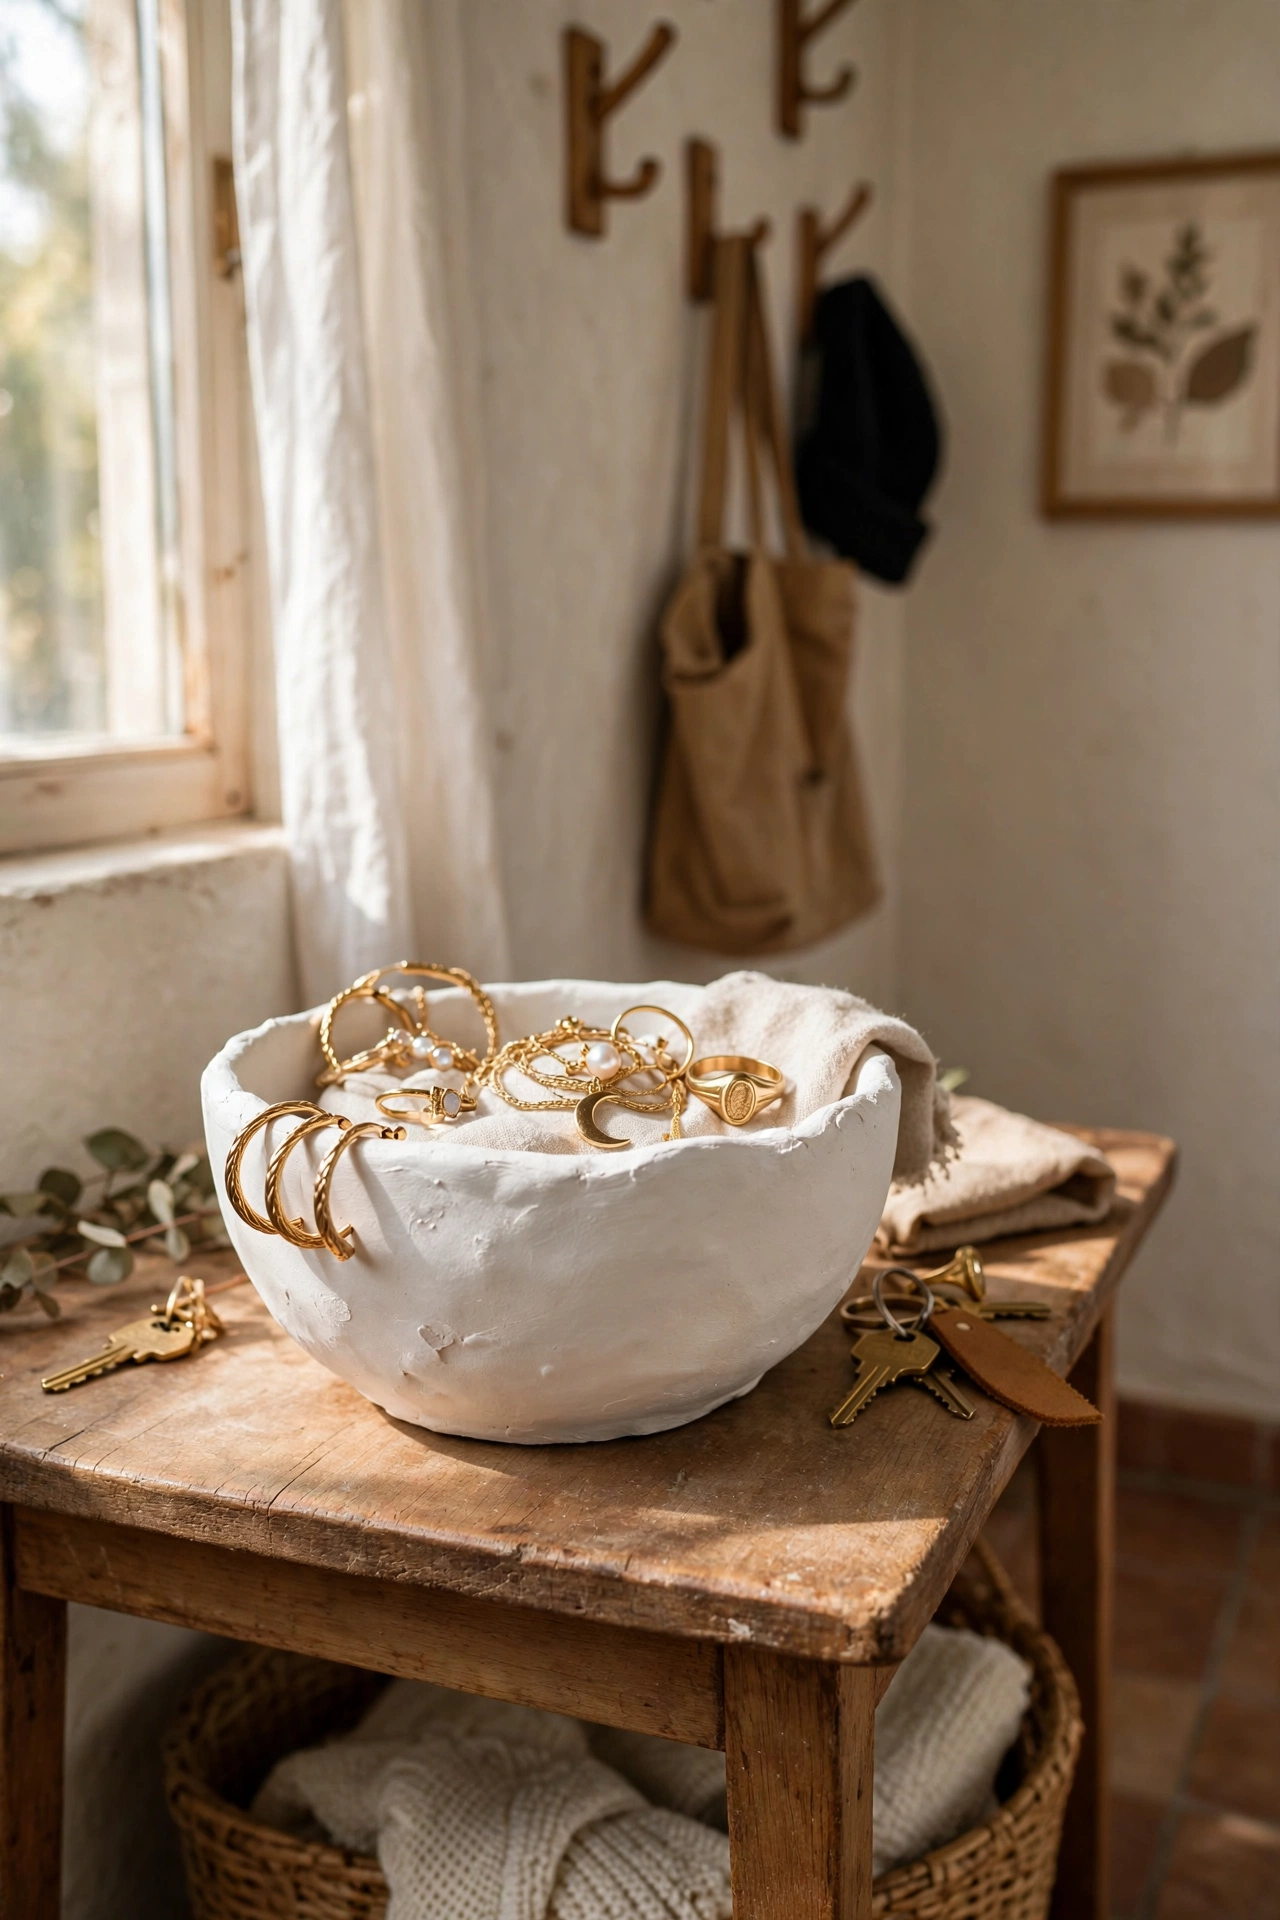
Air-dry clay shaped over an upturned bowl makes a perfect little dish for jewellery or keys. I rolled the clay evenly, draped it over a bowl, trimmed the edge, and let it dry for two days. Sand it smooth when dry and paint it matte white. My first bowl cracked because I rolled it too thin, so keep it at least half a centimetre thick. The handmade wobble is part of the charm. Mine sits on the hallway tray from project five and the two look made for each other.
Materials: air-dry clay, bowl as mould, sandpaper, matte paint | Cost: ~$7-11 | Time: 30 minutes plus drying
23. Create a Monochrome Photo Grid
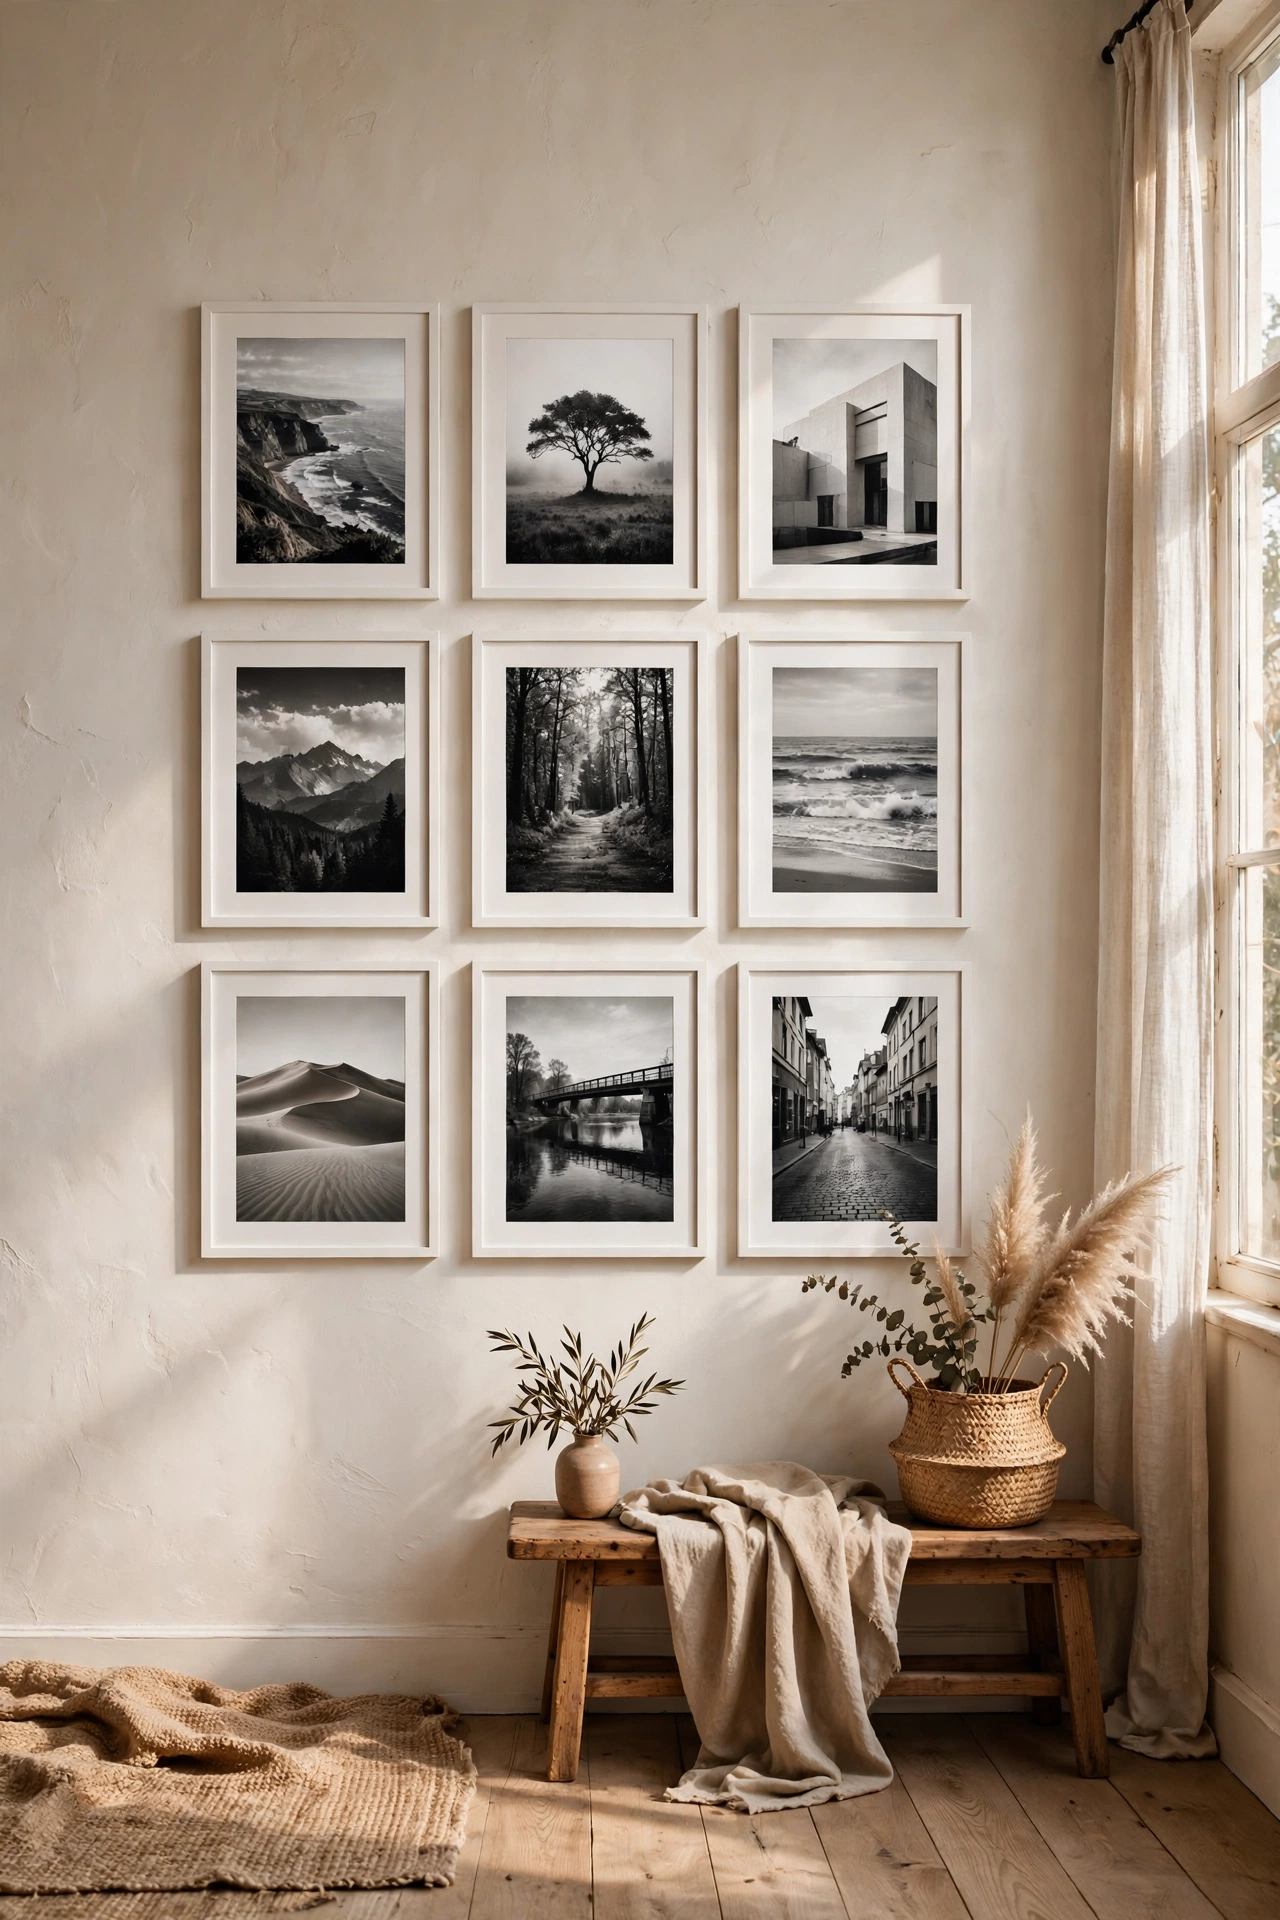
Nine black and white photos in identical frames make a striking minimalist gallery wall. I printed favourite photos in black and white at the library, mounted them in matching white frames, and hung them in a strict three-by-three grid. Use a paper template on the wall first to get the spacing perfect. My first grid drifted because I eyeballed it, and the template fixed everything. Keeping every photo monochrome is what makes mismatched subjects look cohesive. It is now the favourite wall in my house.
Materials: 9 matching frames, black and white prints | Cost: ~$20-35 | Time: 1.5 hours
24. Turn a Wooden Crate into a Storage Bench
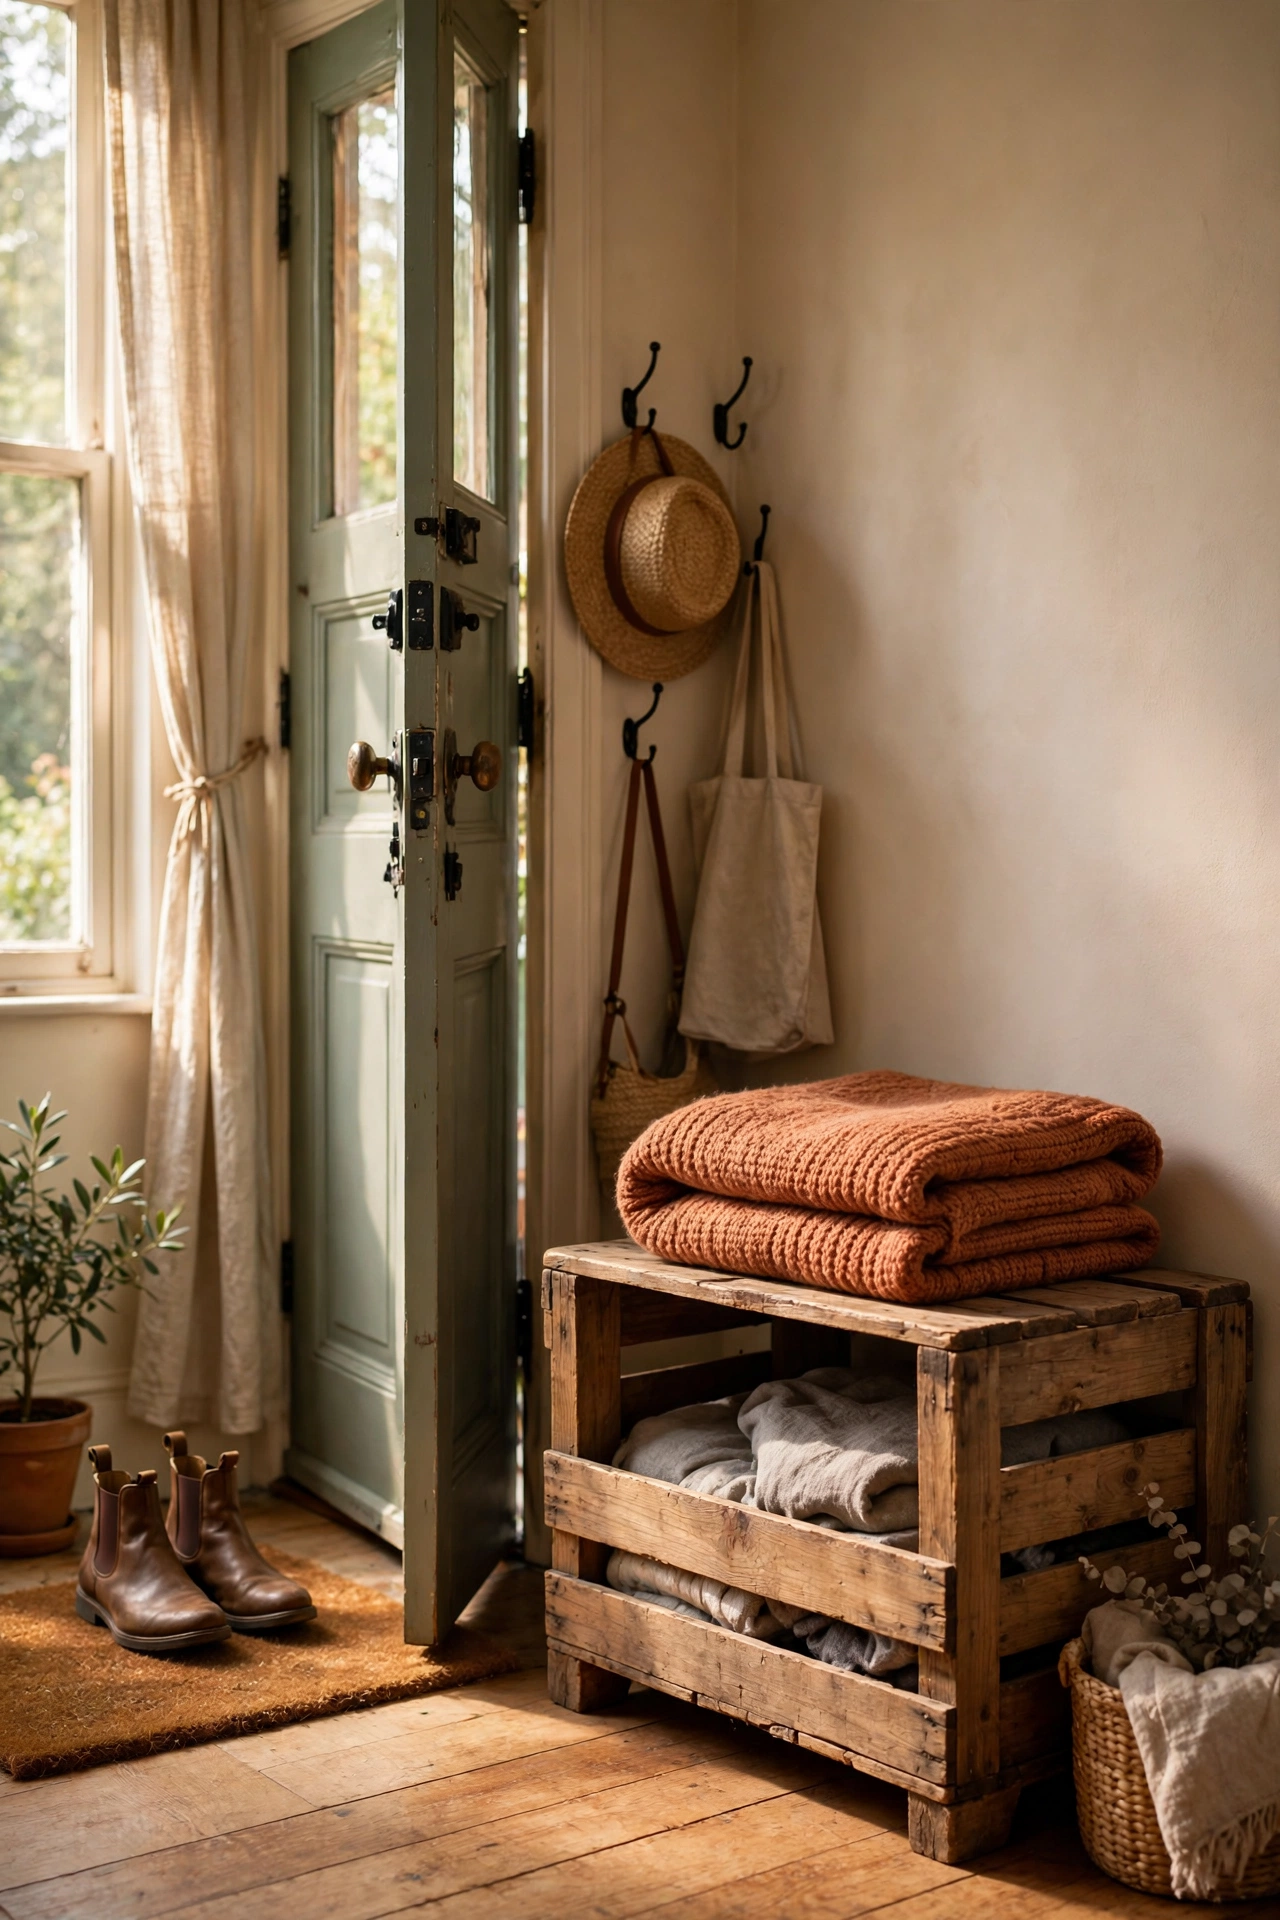
A large wooden crate on its side becomes a bench with hidden storage. I sanded a sturdy crate, added small legs to lift it off the floor, and placed a folded throw on top as a cushion. Check the crate is solid enough to sit on before committing. Mine holds shoes by the front door and gives us somewhere to perch while putting them on. A coat of white paint would make it even more minimalist, but I loved the raw wood. It is the most useful thing I have ever built.
Materials: large wooden crate, 4 short legs, screws, throw | Cost: ~$15-25 | Time: 1.5 hours
25. Mix a Minimalist Reed Diffuser
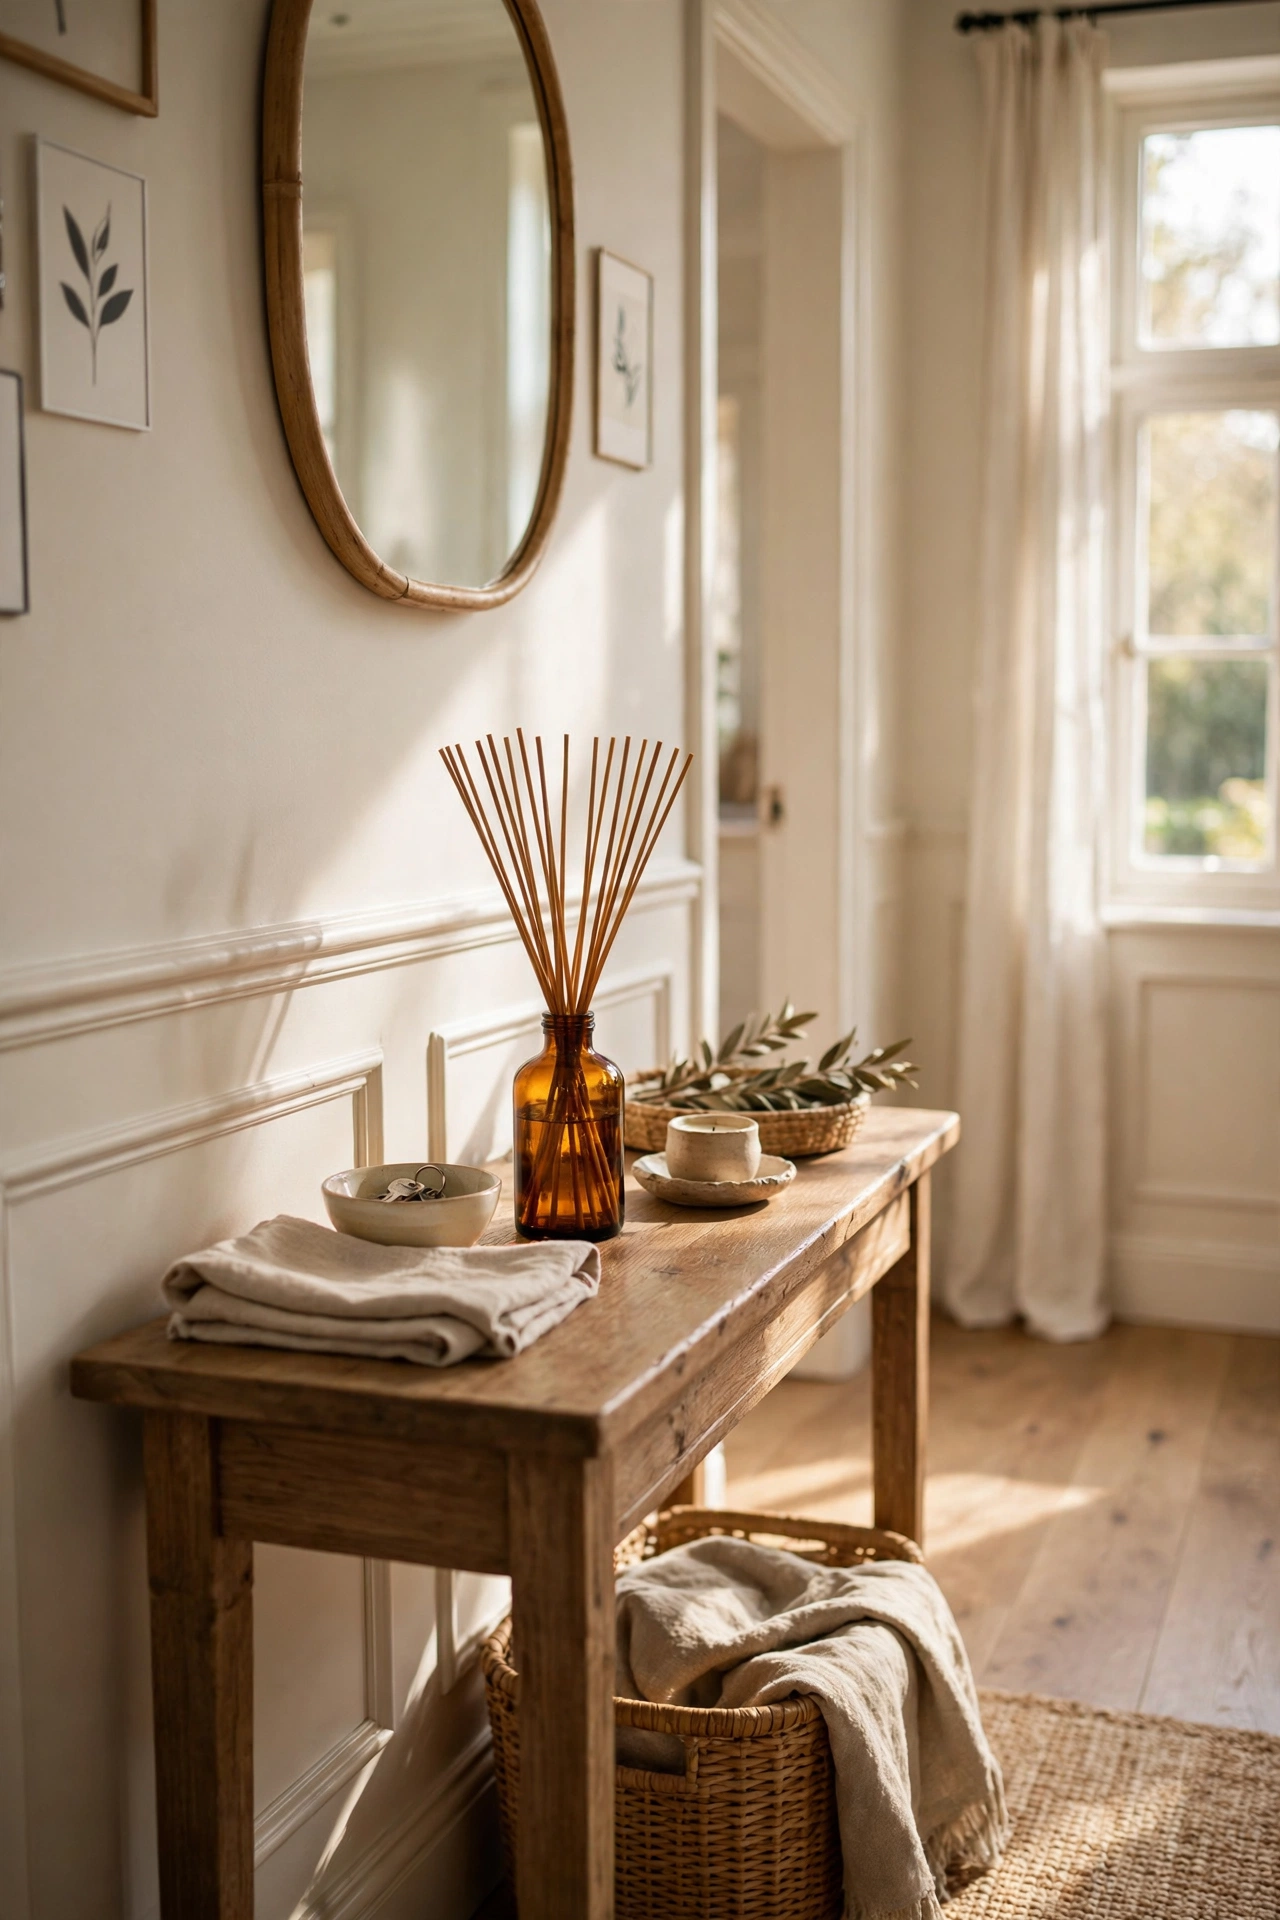
A simple glass bottle with reeds and scented oil looks elegant and costs a fraction of shop diffusers. I filled a small amber bottle with carrier oil and essential oil, added rattan reeds, and flipped them weekly. Eucalyptus and cedarwood keep it fresh and unisex. My first mix was too weak because I skimped on the essential oil, so be generous with it. It scents the hallway gently without any visual clutter. I made three as gifts and everyone assumed they were expensive.
Materials: small glass bottle, rattan reeds, carrier oil, essential oil | Cost: ~$8-12 | Time: 15 minutes
Pin this post now so you can save this idea for your next weekend project run!
If you loved the calm bedroom touches here, continue with our (see also: 17-minimalist-bedroom-ideas-on-a-budget/) guide and our (see also: 23-small-bedroom-ideas-that-maximize-every-corner/) ideas next.
