15 Upcycled Home Decor Ideas Worth Trying This Weekend
The best upcycled home decor ideas start with things you were about to throw away. I furnished half of my hallway from a skip, a car boot sale, and my own recycling bin, and most visitors assume it cost far more than it did. Upcycling is not just thrifty, it is the fastest route to a home that looks like you rather than a catalogue.
Every project on this list can genuinely be finished this weekend, because I have timed them all. Nothing needs specialist tools beyond a drill, a staple gun, and basic hand tools. Pick one, start with the steps I give you, and avoid the mistakes I already made so you do not have to.
Glass and Tin Upcycles
1. Tin Can Pendant Lights
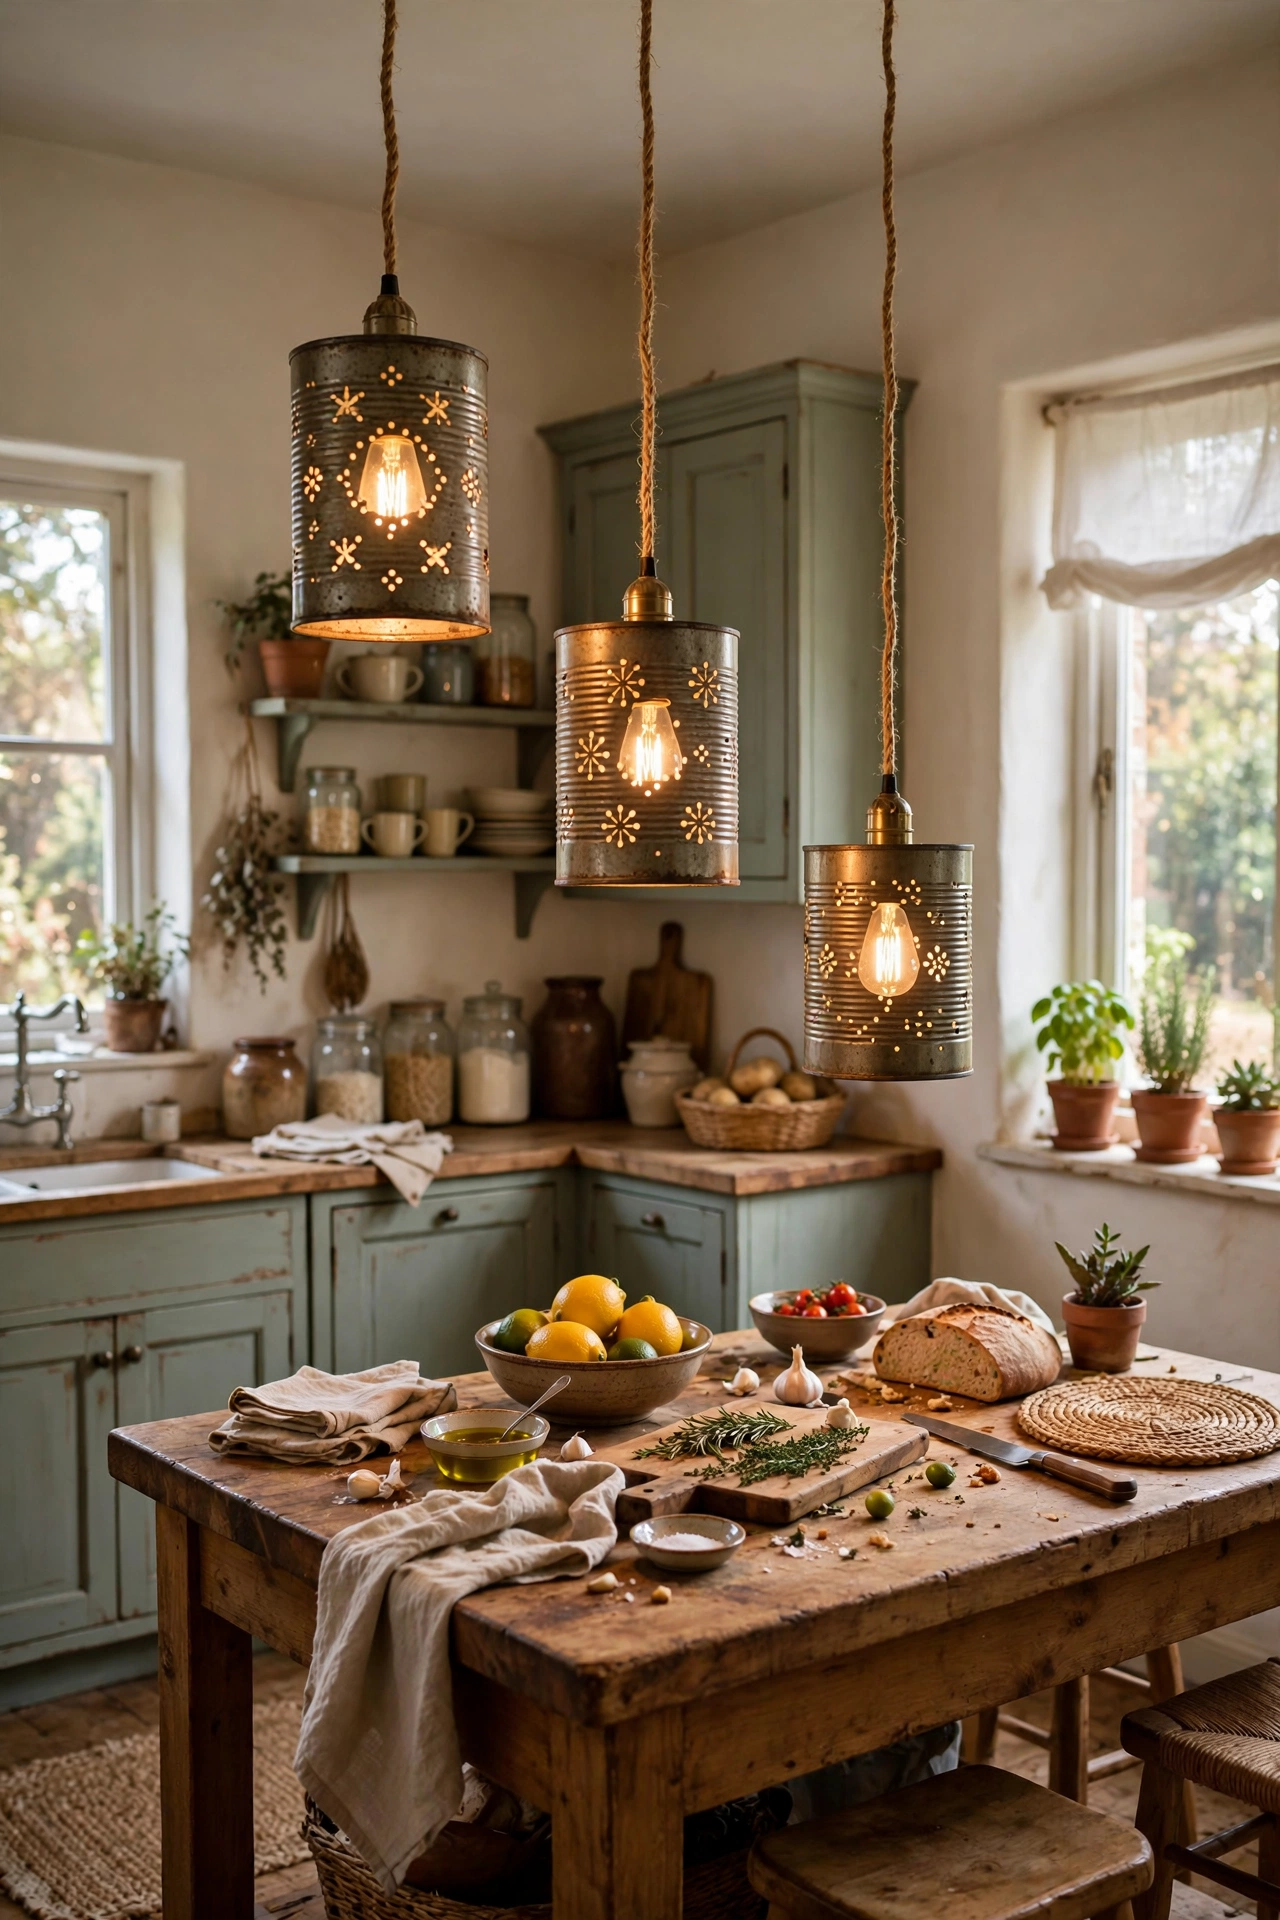
Tin cans become industrial pendant lights with a punch tool and a cheap pendant kit. I made three for my kitchen from large tomato tins. First, fill each can with water, freeze it overnight, then punch your pattern with a nail and hammer while the ice supports the metal. Second, thaw, dry, and spray the cans matt black inside and out. Third, wire each to a pendant light kit with an LED bulb and hang them at staggered heights. I tried punching without the ice first and every can crumpled like a crisp packet, so do not do that. The frozen water is the whole trick. The patterned holes throw gorgeous shadows at night and the whole trio cost me under $25.
Cost: ~$15-25 | Time: 2 hours
2. Mason Jar Wall Sconces
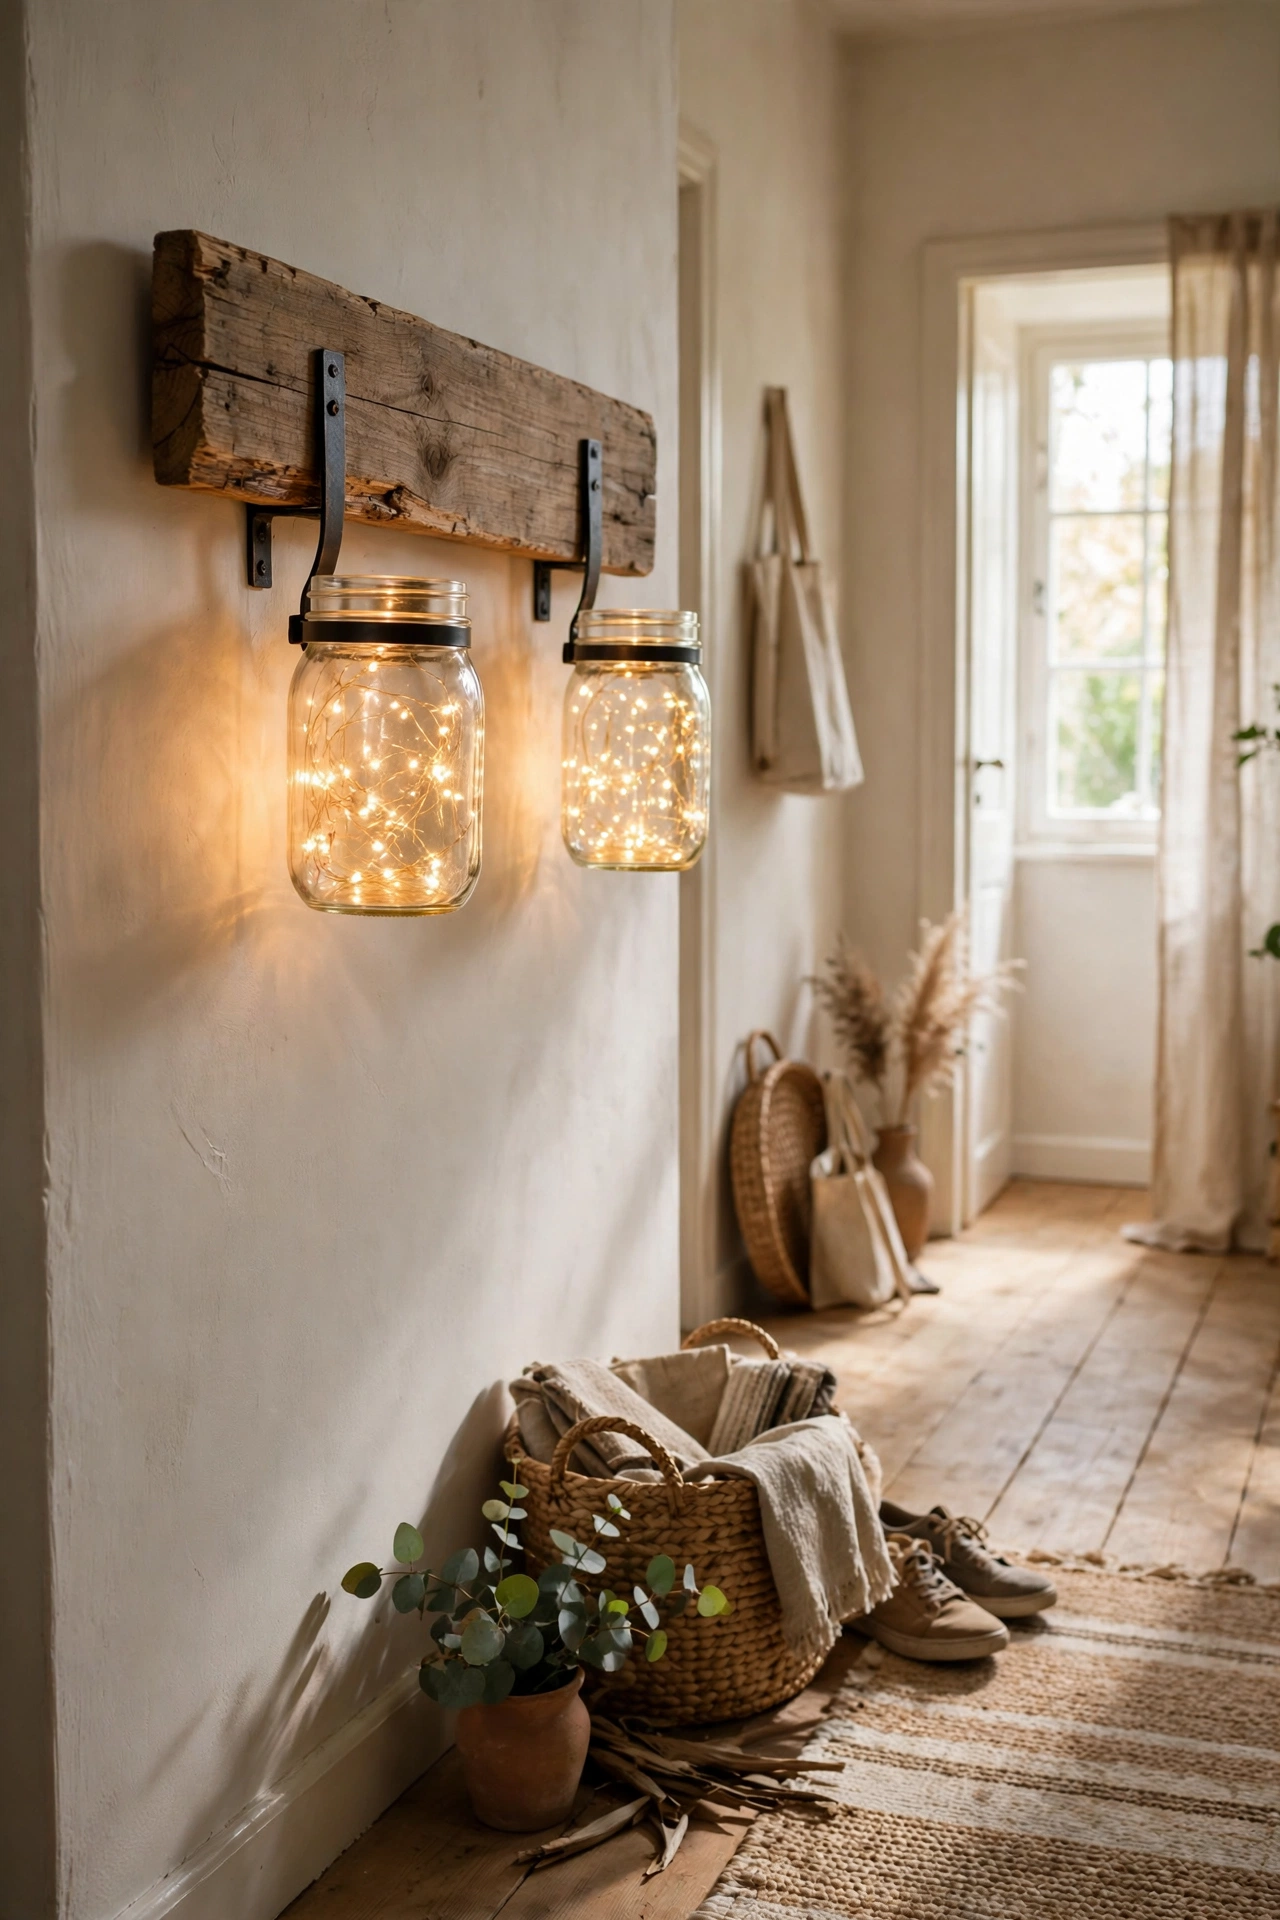
Old jam jars and a plank of scrap wood make wall sconces that look straight out of a country pub. I built a pair for my hallway from jars I had been hoarding. First, cut or find a timber offcut about 60cm long and screw two hose clamps or metal brackets to it. Second, slide a clean jar into each clamp and tighten just enough to grip, not crack. Third, fix the plank to the wall with rawl plugs and drop a battery fairy light or LED tealight into each jar. I tried real candles first and the soot blackened the glass within a week, so do not do that. LED fairy lights give the same warm glow with none of the grime. Sand and wax the wood for a finished look.
Cost: ~$10-18 | Time: 1 hour
3. Wine Bottle Table Lamp
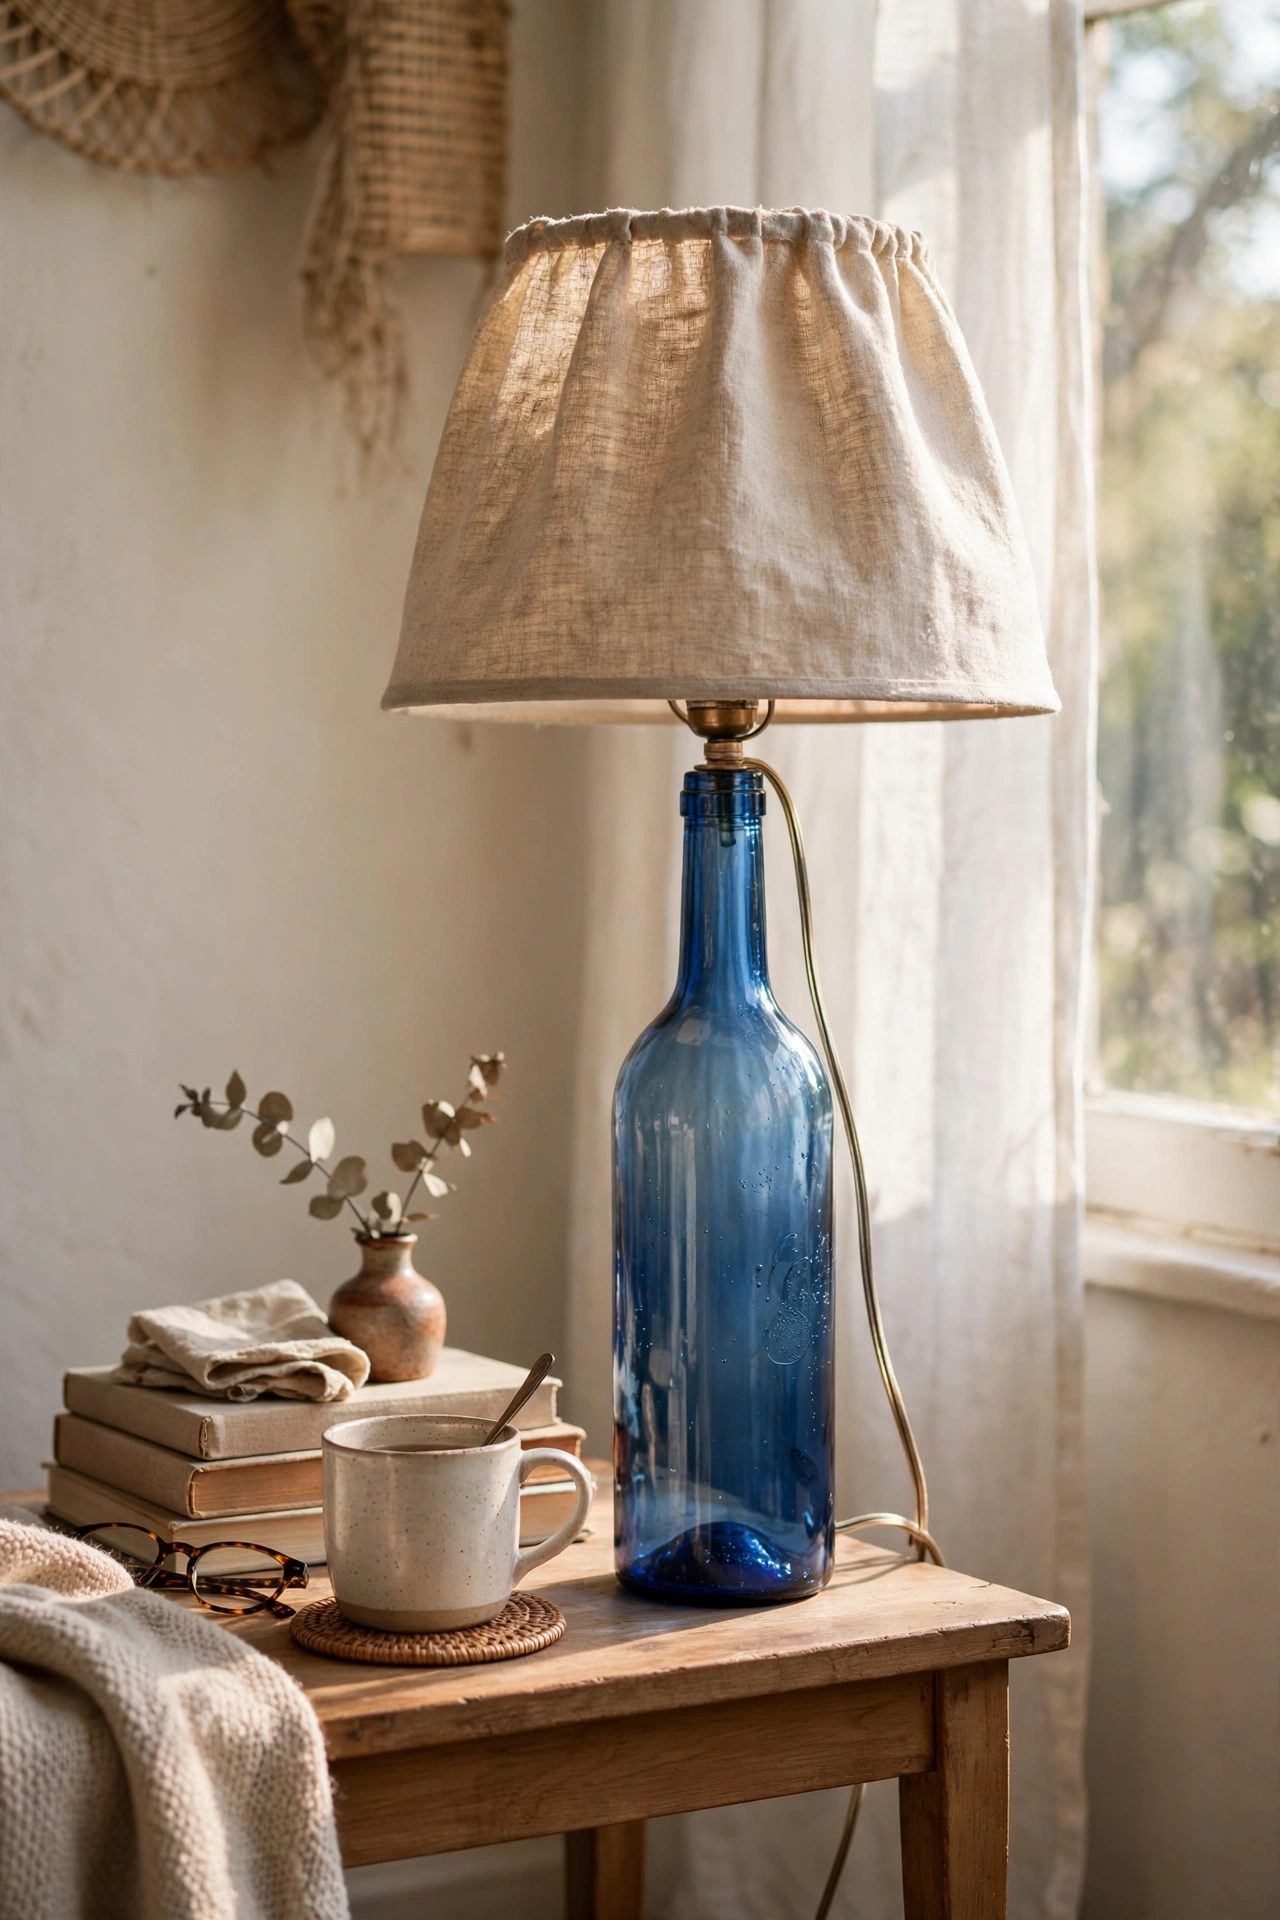
A beautiful wine bottle makes a table lamp base that costs less than a shop-bought one and looks far more interesting. I used a tall blue glass bottle from a memorable dinner. First, drill a hole near the base with a diamond-tipped glass bit, keeping the bottle wet and going slowly with no pressure. Second, thread a lamp cord kit through the hole and up through the neck, adding a rubber grommet so the glass cannot chafe the wire. Third, fit a bottle adapter and your chosen shade on top. I tried drilling dry on my first bottle and it cracked straight down the middle, so do not do that. Water, patience, and light hands are the rule. Use an LED bulb so the glass never heats up.
Cost: ~$15-25 | Time: 1.5 hours
4. Bud Vase Set from Old Bottles
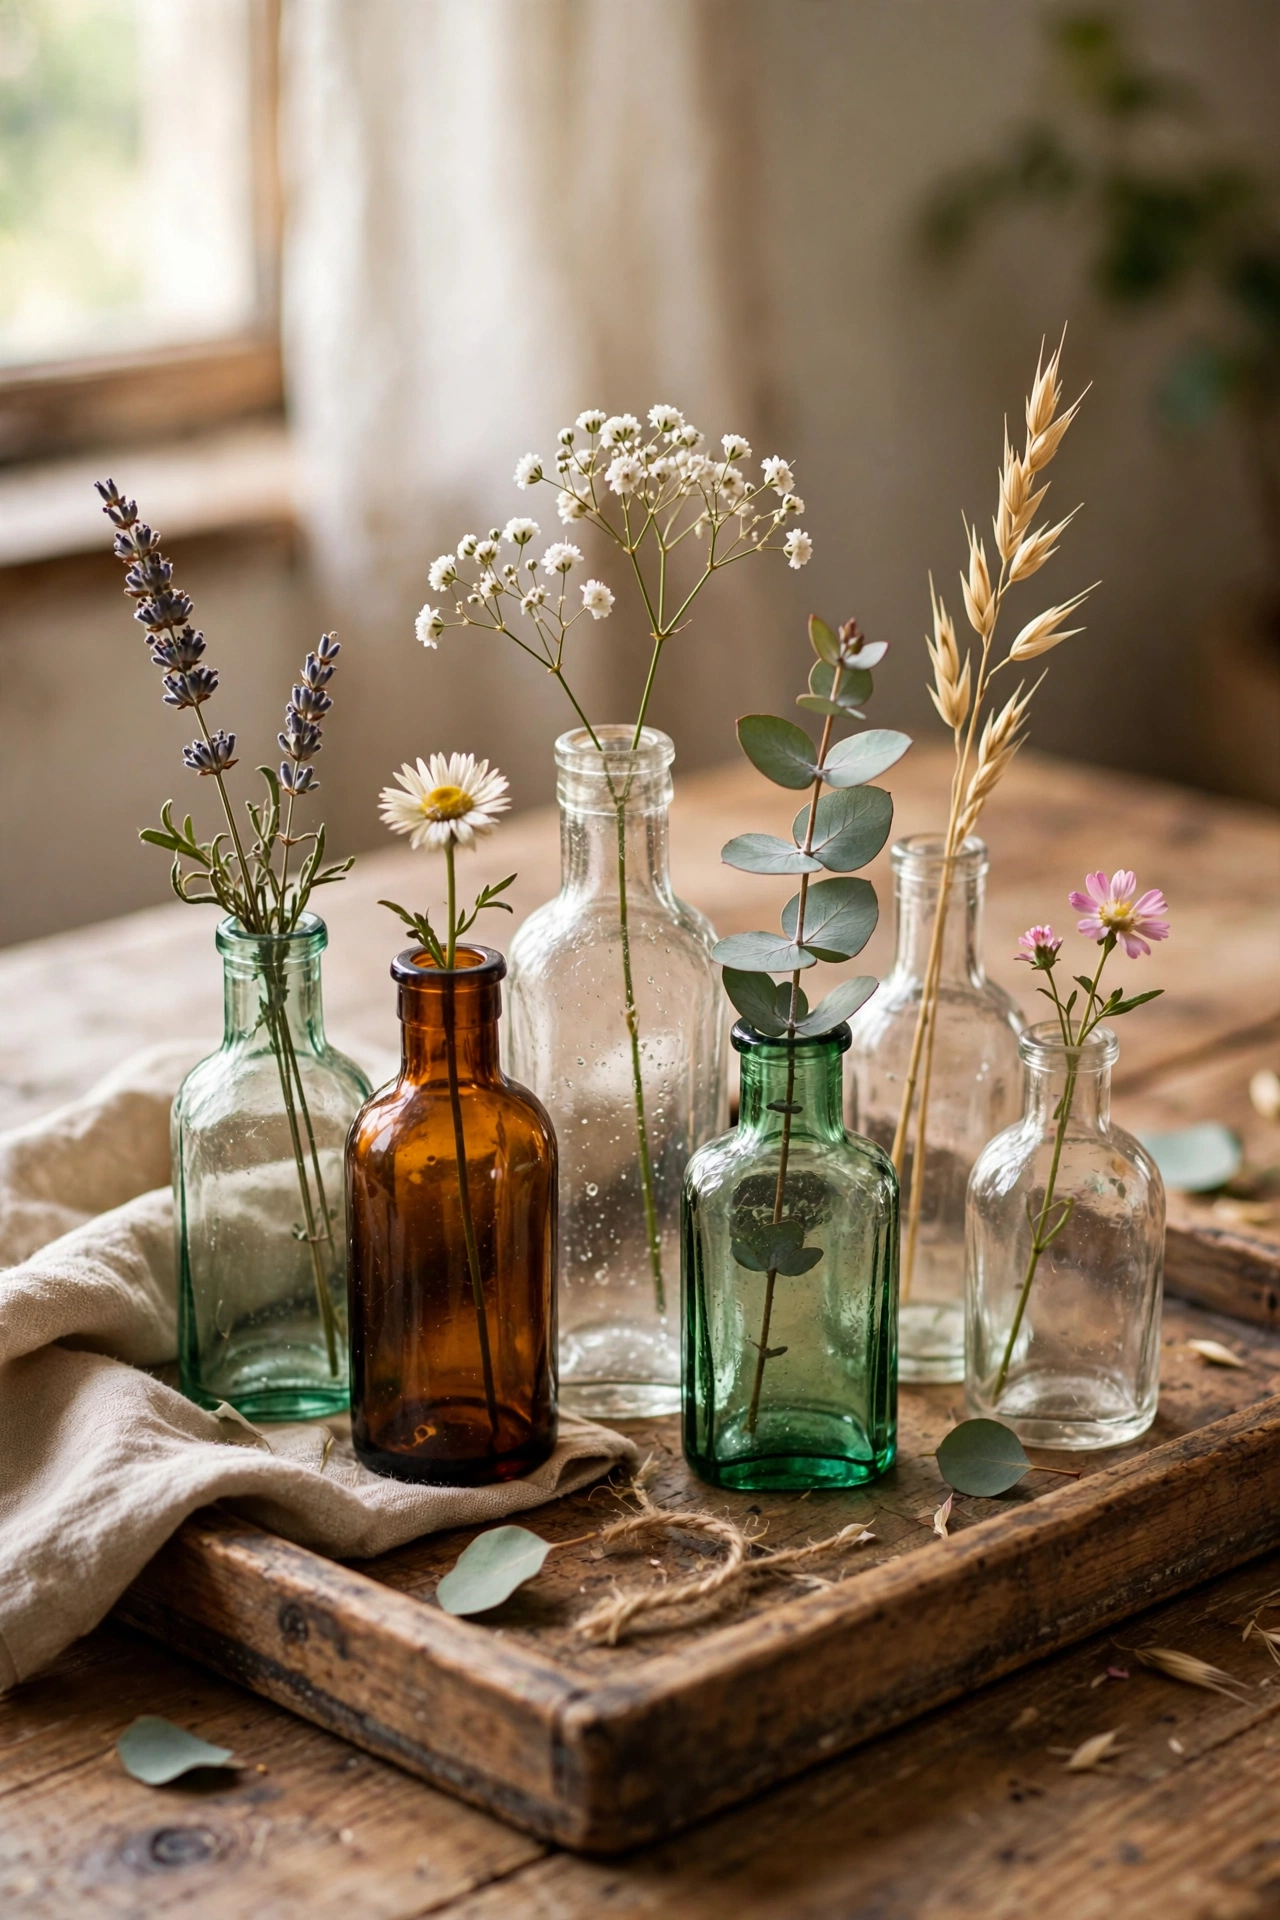
A mismatched set of old bottles grouped as bud vases is one of the easiest upcycled home decor ideas there is. I collected sauce bottles, small tonic bottles, and one amber medicine bottle from my recycling. First, soak the labels off in hot soapy water with a splash of vinegar, then scrub off the glue residue. Second, spray any scratched bottles with frosted glass spray for a sea-glass effect. Third, group them in threes and fives on a tray with a single stem in each. I tried displaying them singly around the room first and they just looked like clutter I had forgotten to recycle, so do not do that. Grouped tightly, they read as a deliberate collection. Eucalyptus stems last for weeks.
Cost: ~$0-8 | Time: 45 minutes
Furniture Finds, Reborn
5. Wooden Ladder Blanket Rack
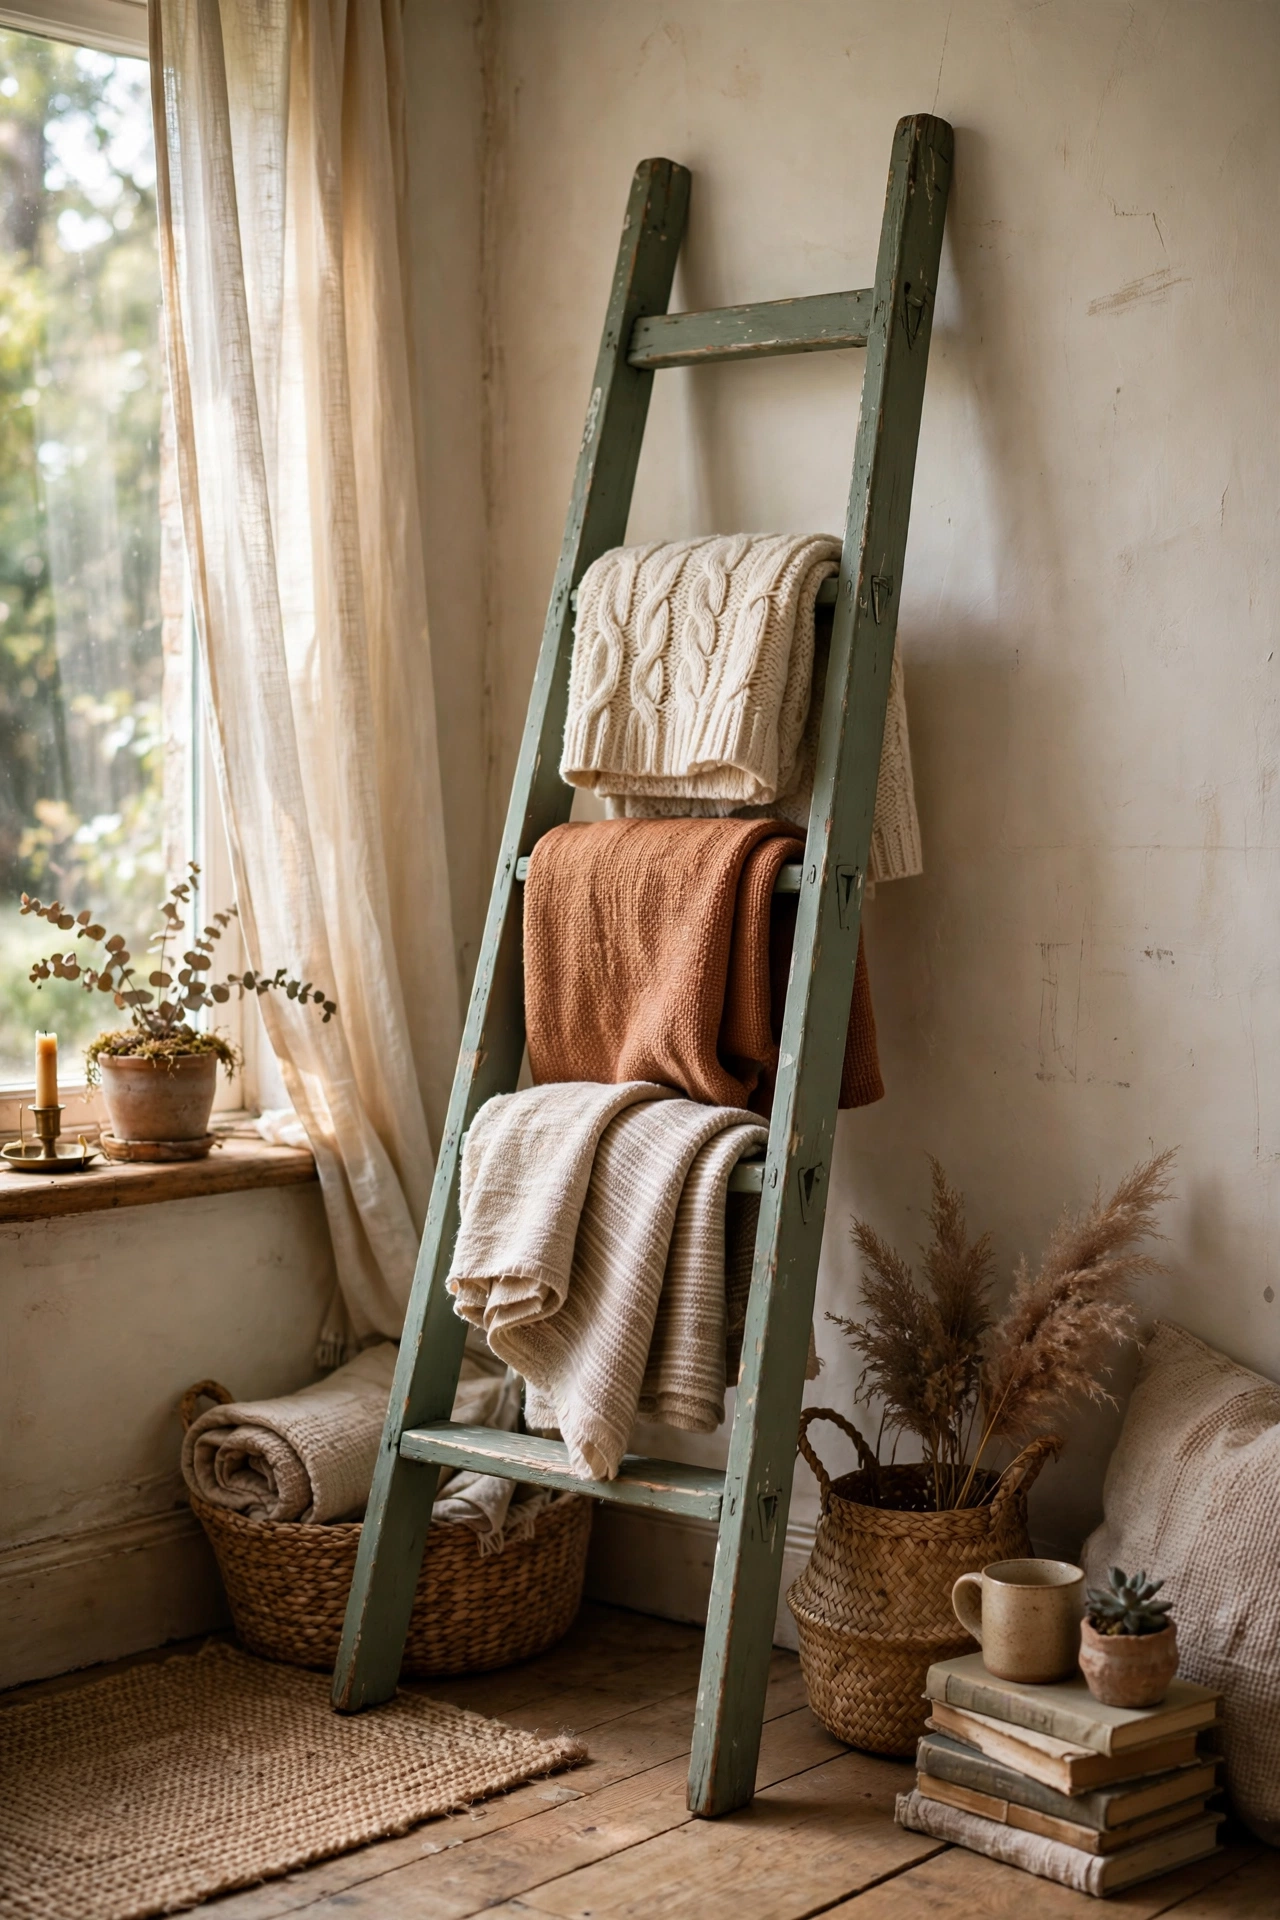
An old wooden ladder leaning against the wall is the prettiest blanket storage you will ever own. I rescued a paint-splattered step ladder from a neighbour’s clear-out. First, sand it thoroughly to remove loose paint and rough edges, and check the hinges and rungs are solid. Second, paint or wax it in a colour that suits your room, I used a soft sage. Third, lean it at a slight angle and drape throws over the rungs, heaviest at the bottom. I tried hanging heavy quilts on a wobbly ladder first and it slid sideways overnight, so do not do that. Only use ladders with a solid A-frame or anchor the top to the wall. It holds five throws in the footprint of a floor lamp.
Cost: ~$10-20 | Time: 2 hours plus drying
6. Dresser Drawer Wall Shelves
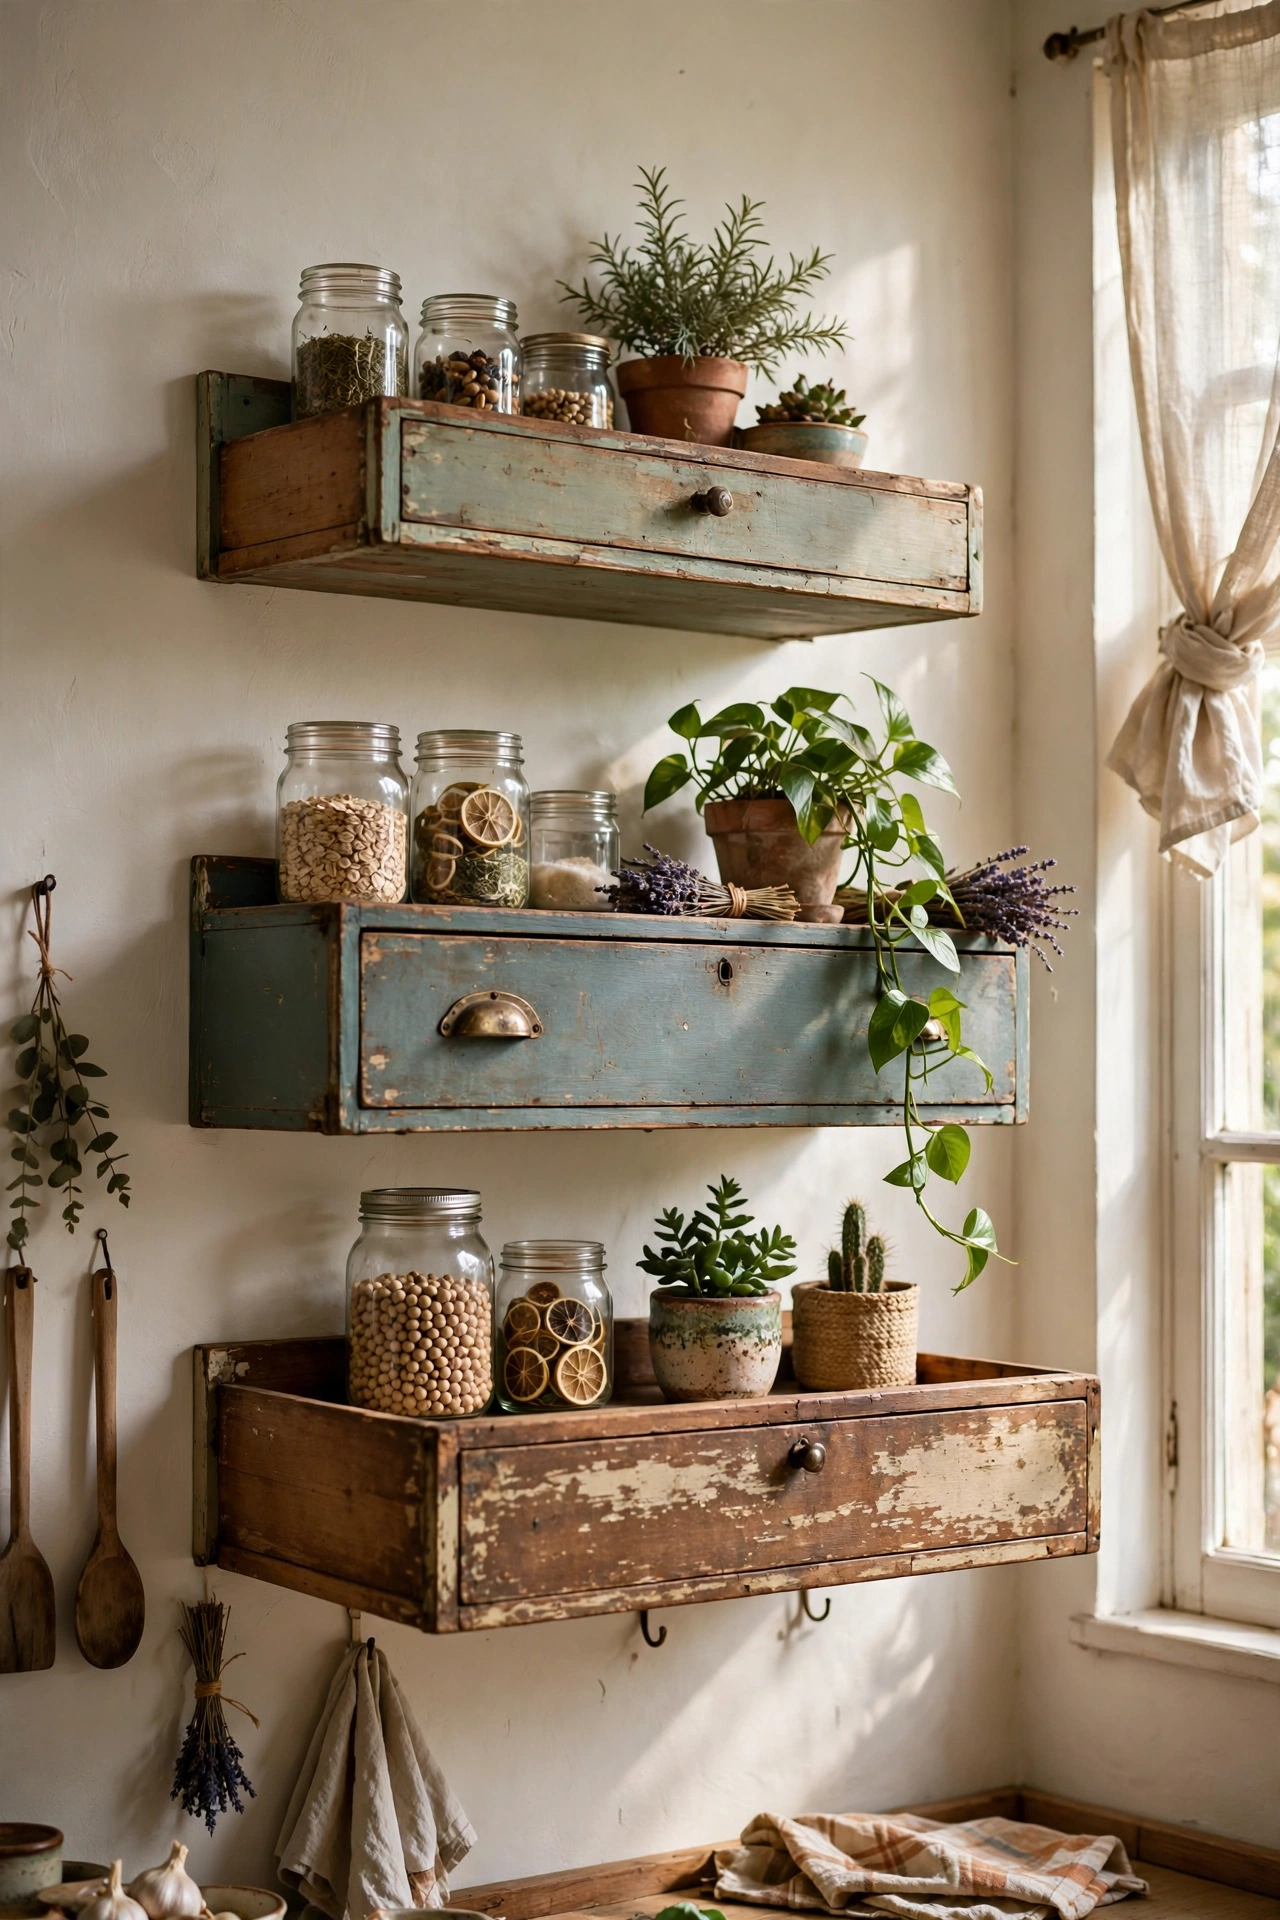
When a dresser dies, its drawers live on as deep shadow-box shelves. I salvaged three drawers from a broken chest of drawers left on my street. First, pull out the drawer runners and sand the drawers inside and out. Second, paint the outsides and line the insides with leftover wallpaper or wrapping paper for a surprise pattern. Third, hang each drawer on the wall with two strong L-brackets, open side facing out. I tried hanging one with picture hooks first and it pulled straight out of the plaster under the weight of my books, so do not do that. Brackets into a stud or solid wall are essential. They are perfect for spices, small plants, and bathroom bottles.
Cost: ~$8-15 | Time: 1.5 hours
7. Old Chair Turned Plant Stand
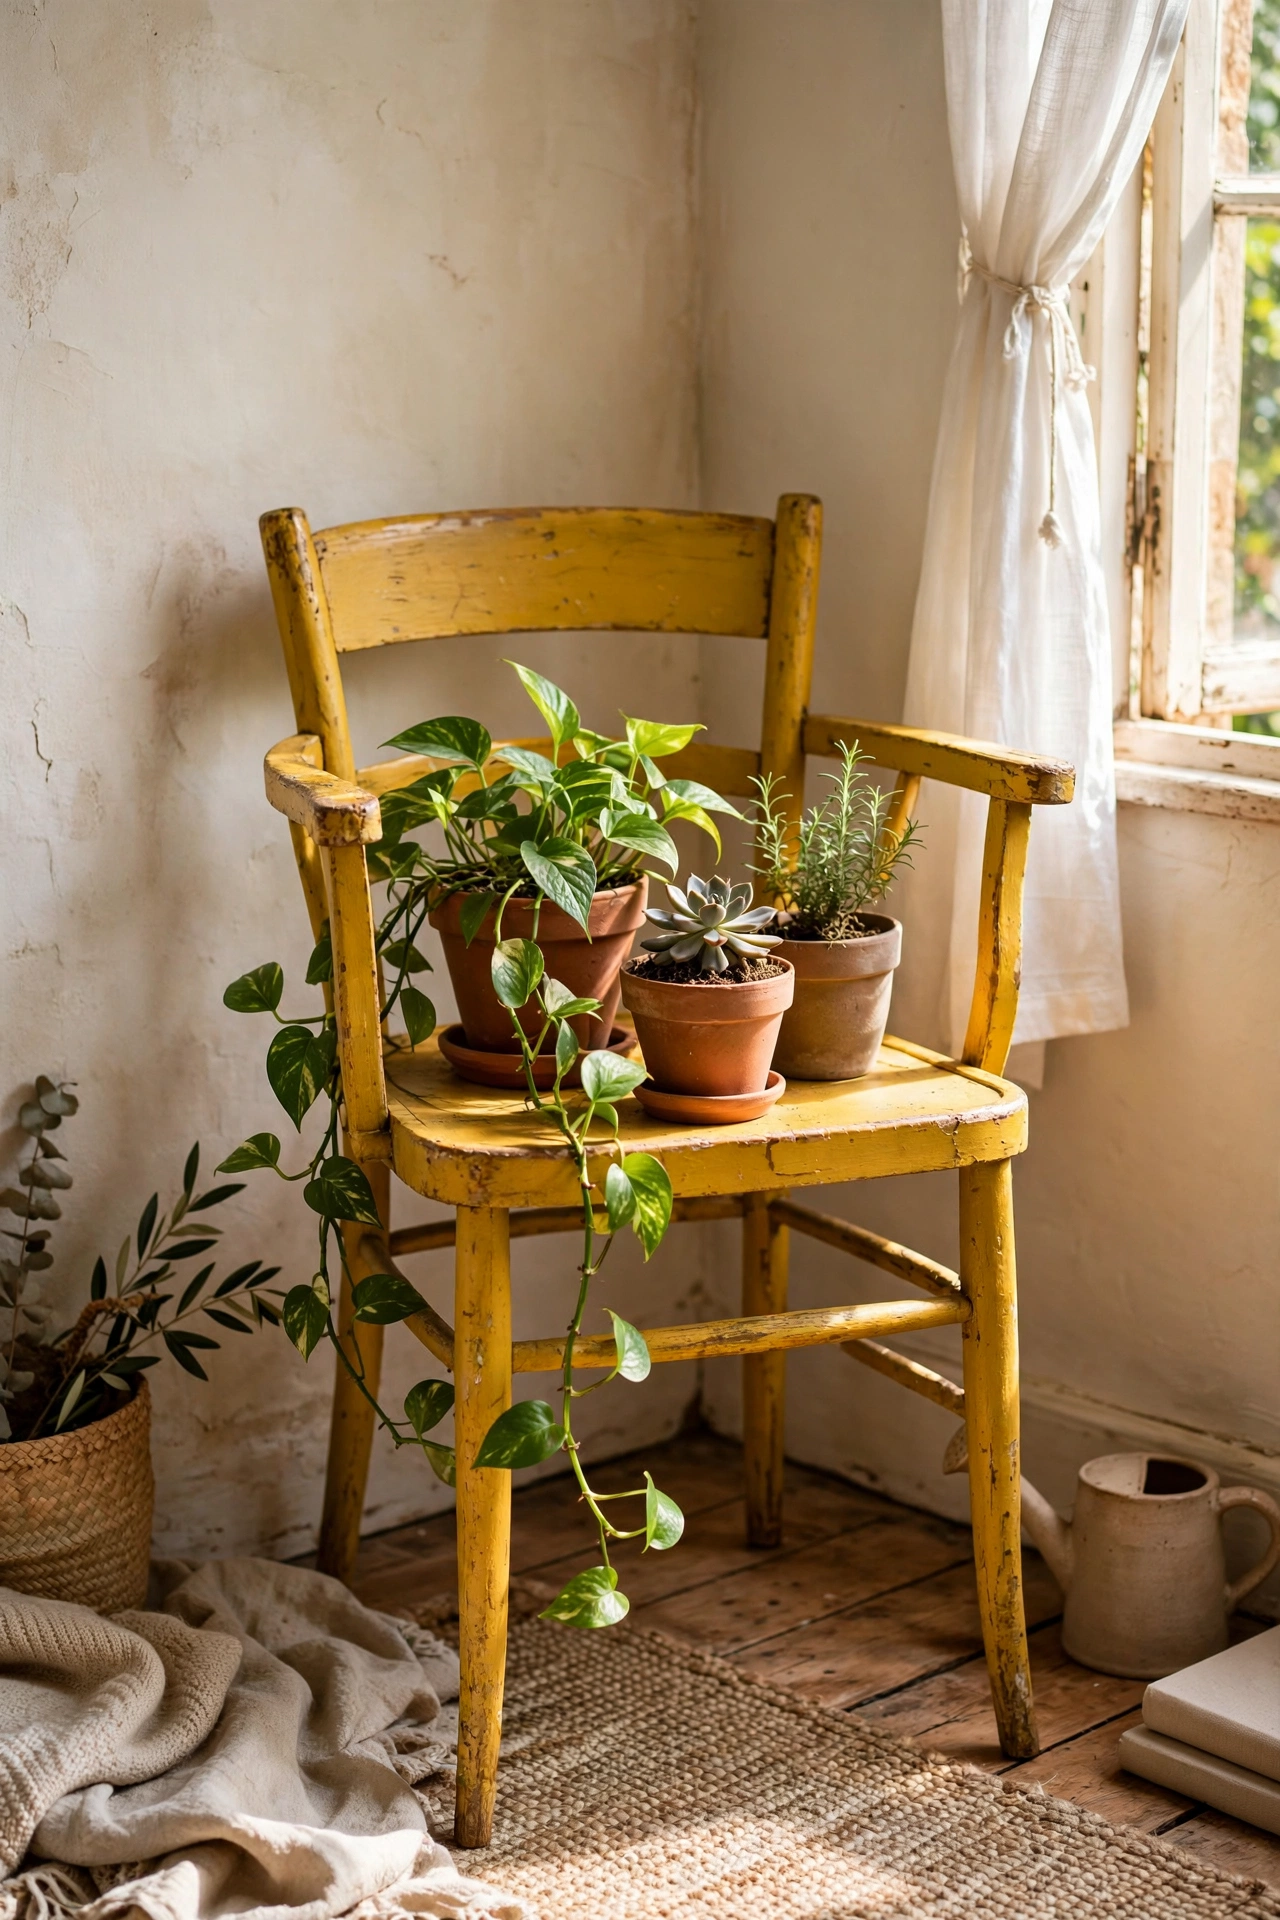
A chair with a broken seat but sound legs is a plant stand waiting to happen. I found a wobbly-seated oak chair for $5 at a car boot sale. First, remove the broken seat panel entirely and tighten every joint with wood glue and screws. Second, cut a piece of plywood or an old chopping board to sit in the seat frame as a solid platform. Third, paint the whole chair in one bold colour, I chose mustard, and seal it for wipe-clean durability. I tried leaving the cane seat partially intact and a heavy pot crashed through it within a month, so do not do that. A solid platform is non-negotiable. Top it with a trailing pothos and it becomes a living sculpture.
Cost: ~$12-22 | Time: 2 hours plus drying
8. Vintage Suitcase Side Table
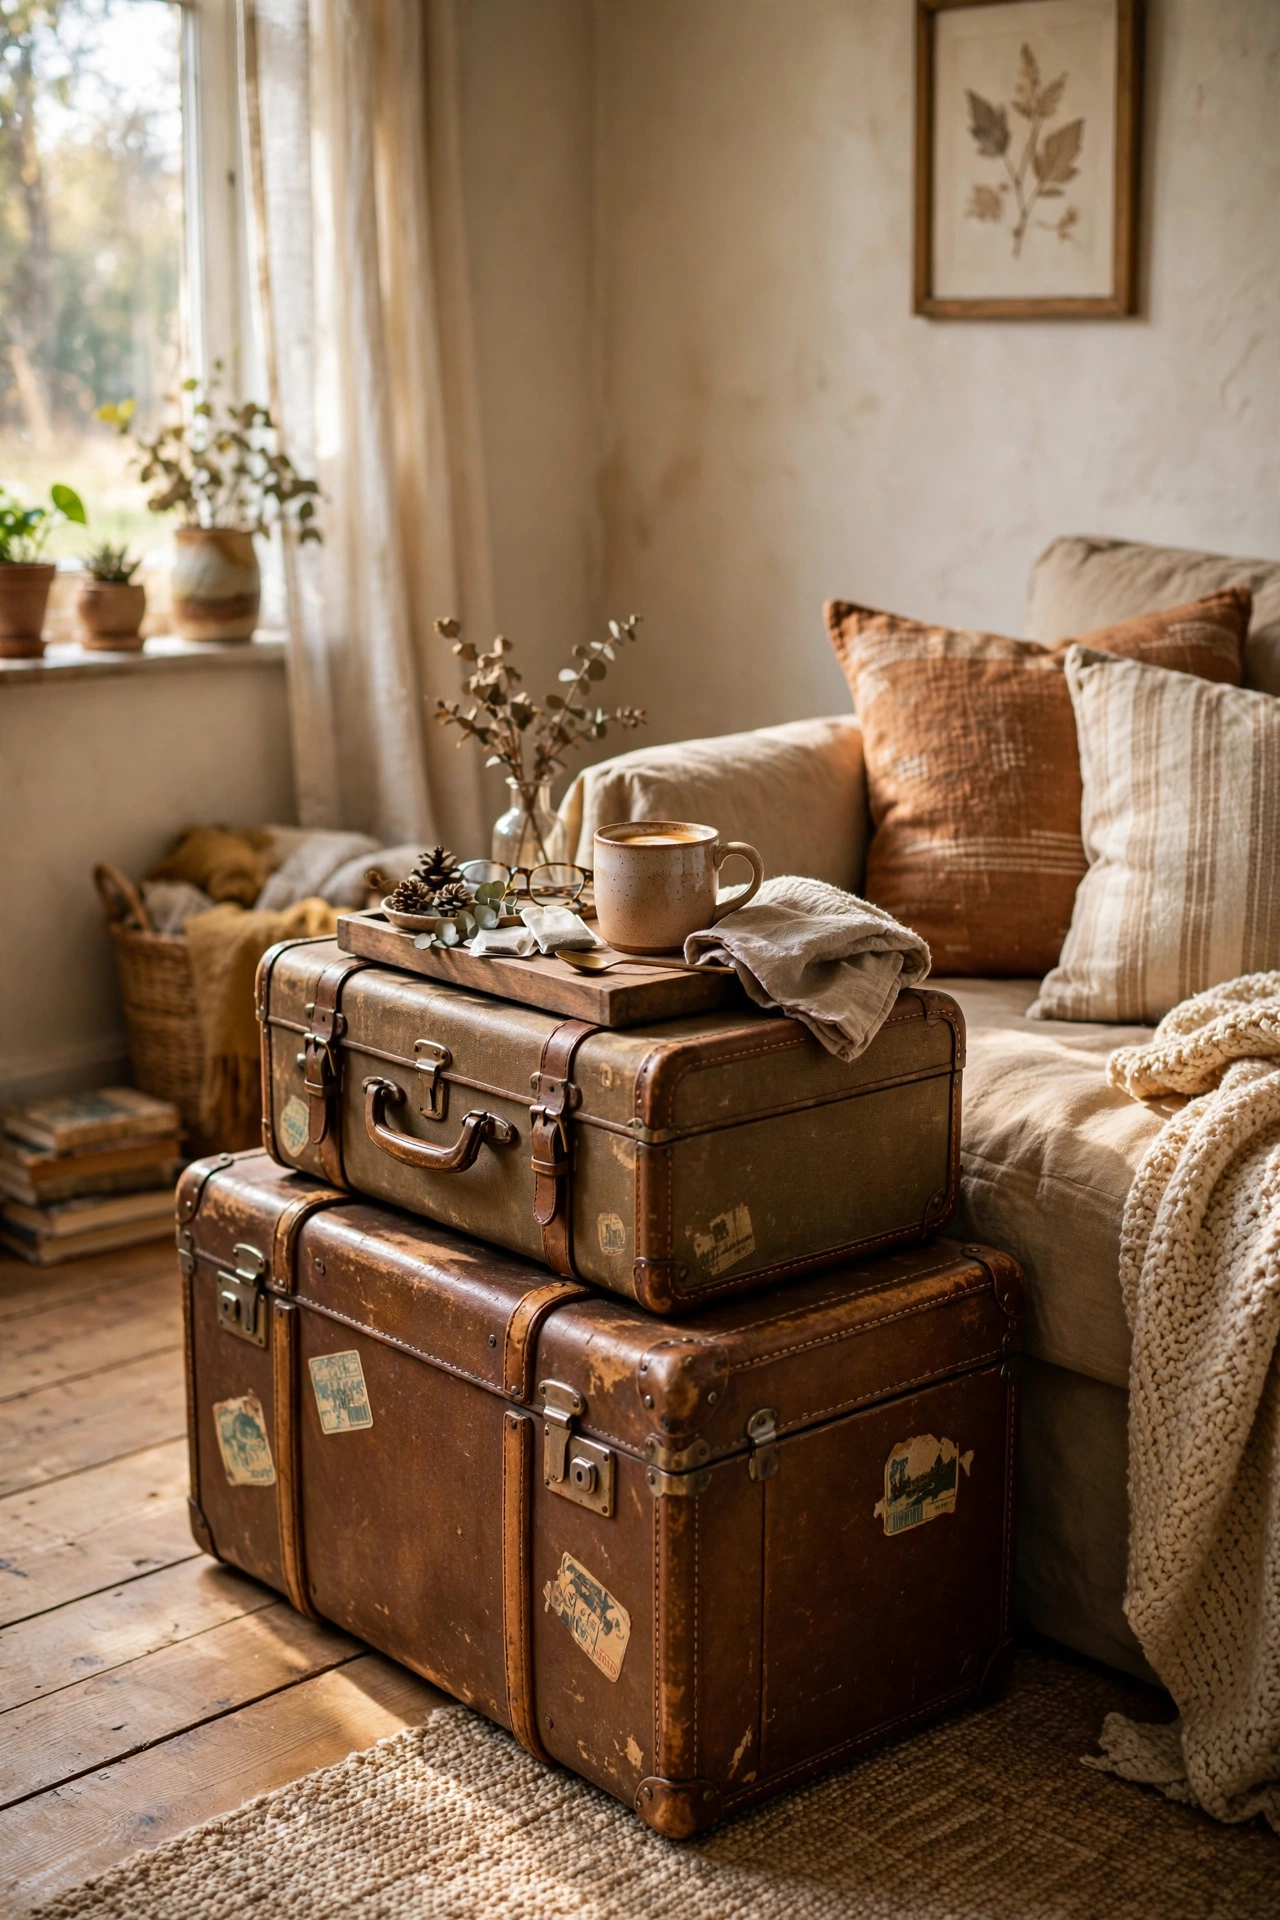
A stack of vintage suitcases makes a side table with built-in storage and serious charm. I found two battered leather-look cases for $8 each. First, clean the cases inside and out and check the latches still close. Second, stack the larger beneath the smaller on the floor beside your sofa or bed, checking they sit steady. Third, place a tray or a piece of glass on top as a level surface for drinks. I tried stacking three tall and narrow and the whole tower wobbled every time I reached for my tea, so do not do that. Two cases wide and low is the stable formula. Use the interiors for photo albums or winter scarves.
Cost: ~$15-25 | Time: 30 minutes
Fabric and Paper Revamps
9. Braided Rag Rug from Old Sheets
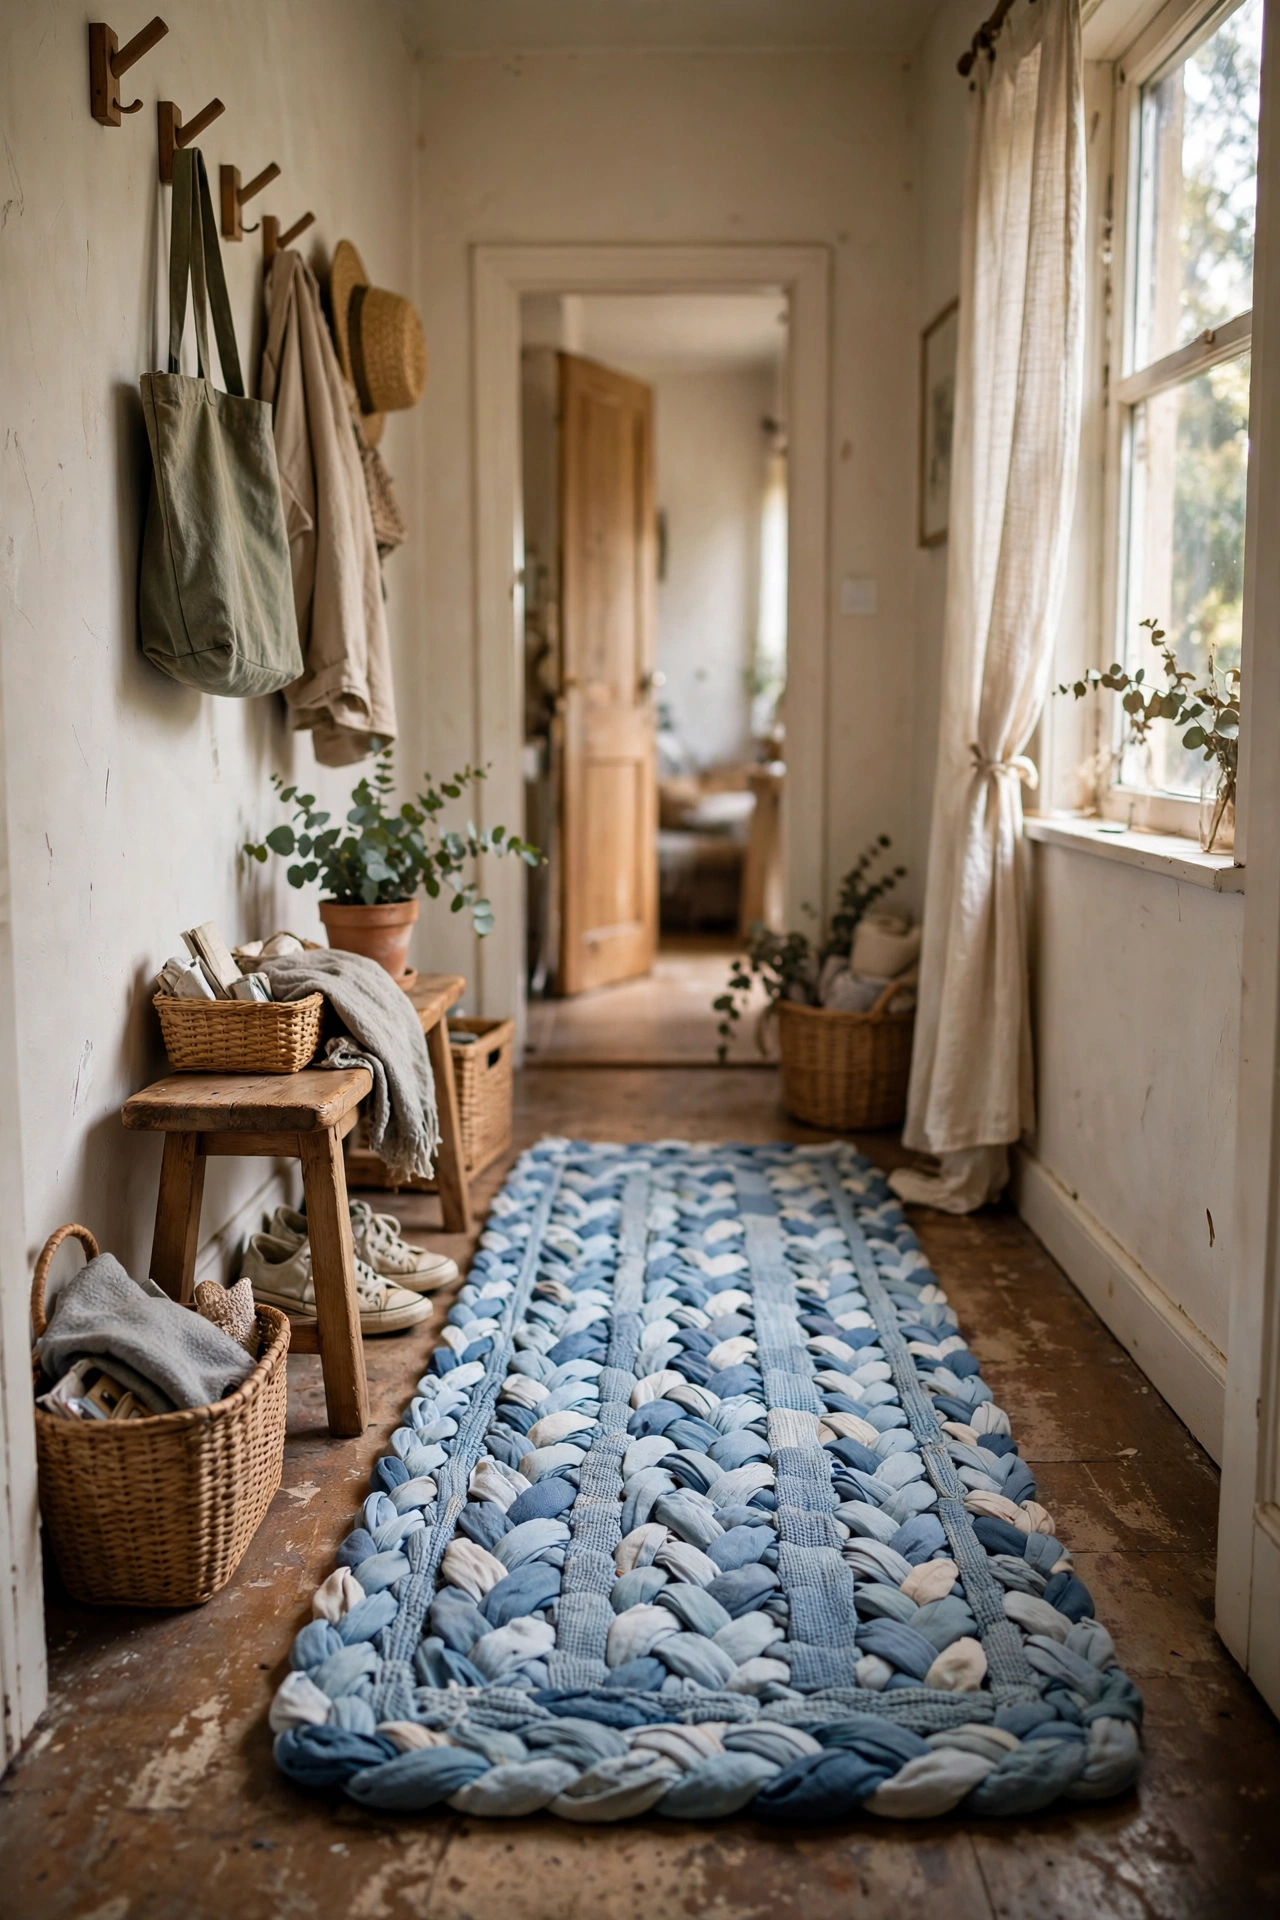
Worn-out sheets become a soft braided rug that costs nothing and washes like a dream. I tore three tired duvet covers into strips for a hallway runner. First, cut or tear your fabric into strips about 5cm wide and sew the ends together into three long strands. Second, braid the strands tightly and coil the braid into a flat spiral, stitching each round to the last with strong thread as you go. Third, press it flat with a hot iron through a damp cloth. I tried glueing the rounds first and the rug fell apart at the first wash, so do not do that. Stitching takes longer but survives the machine. Mix patterns within one colour family for a pulled-together look.
Cost: ~$0-5 | Time: 4 hours
10. Book Page Wreath
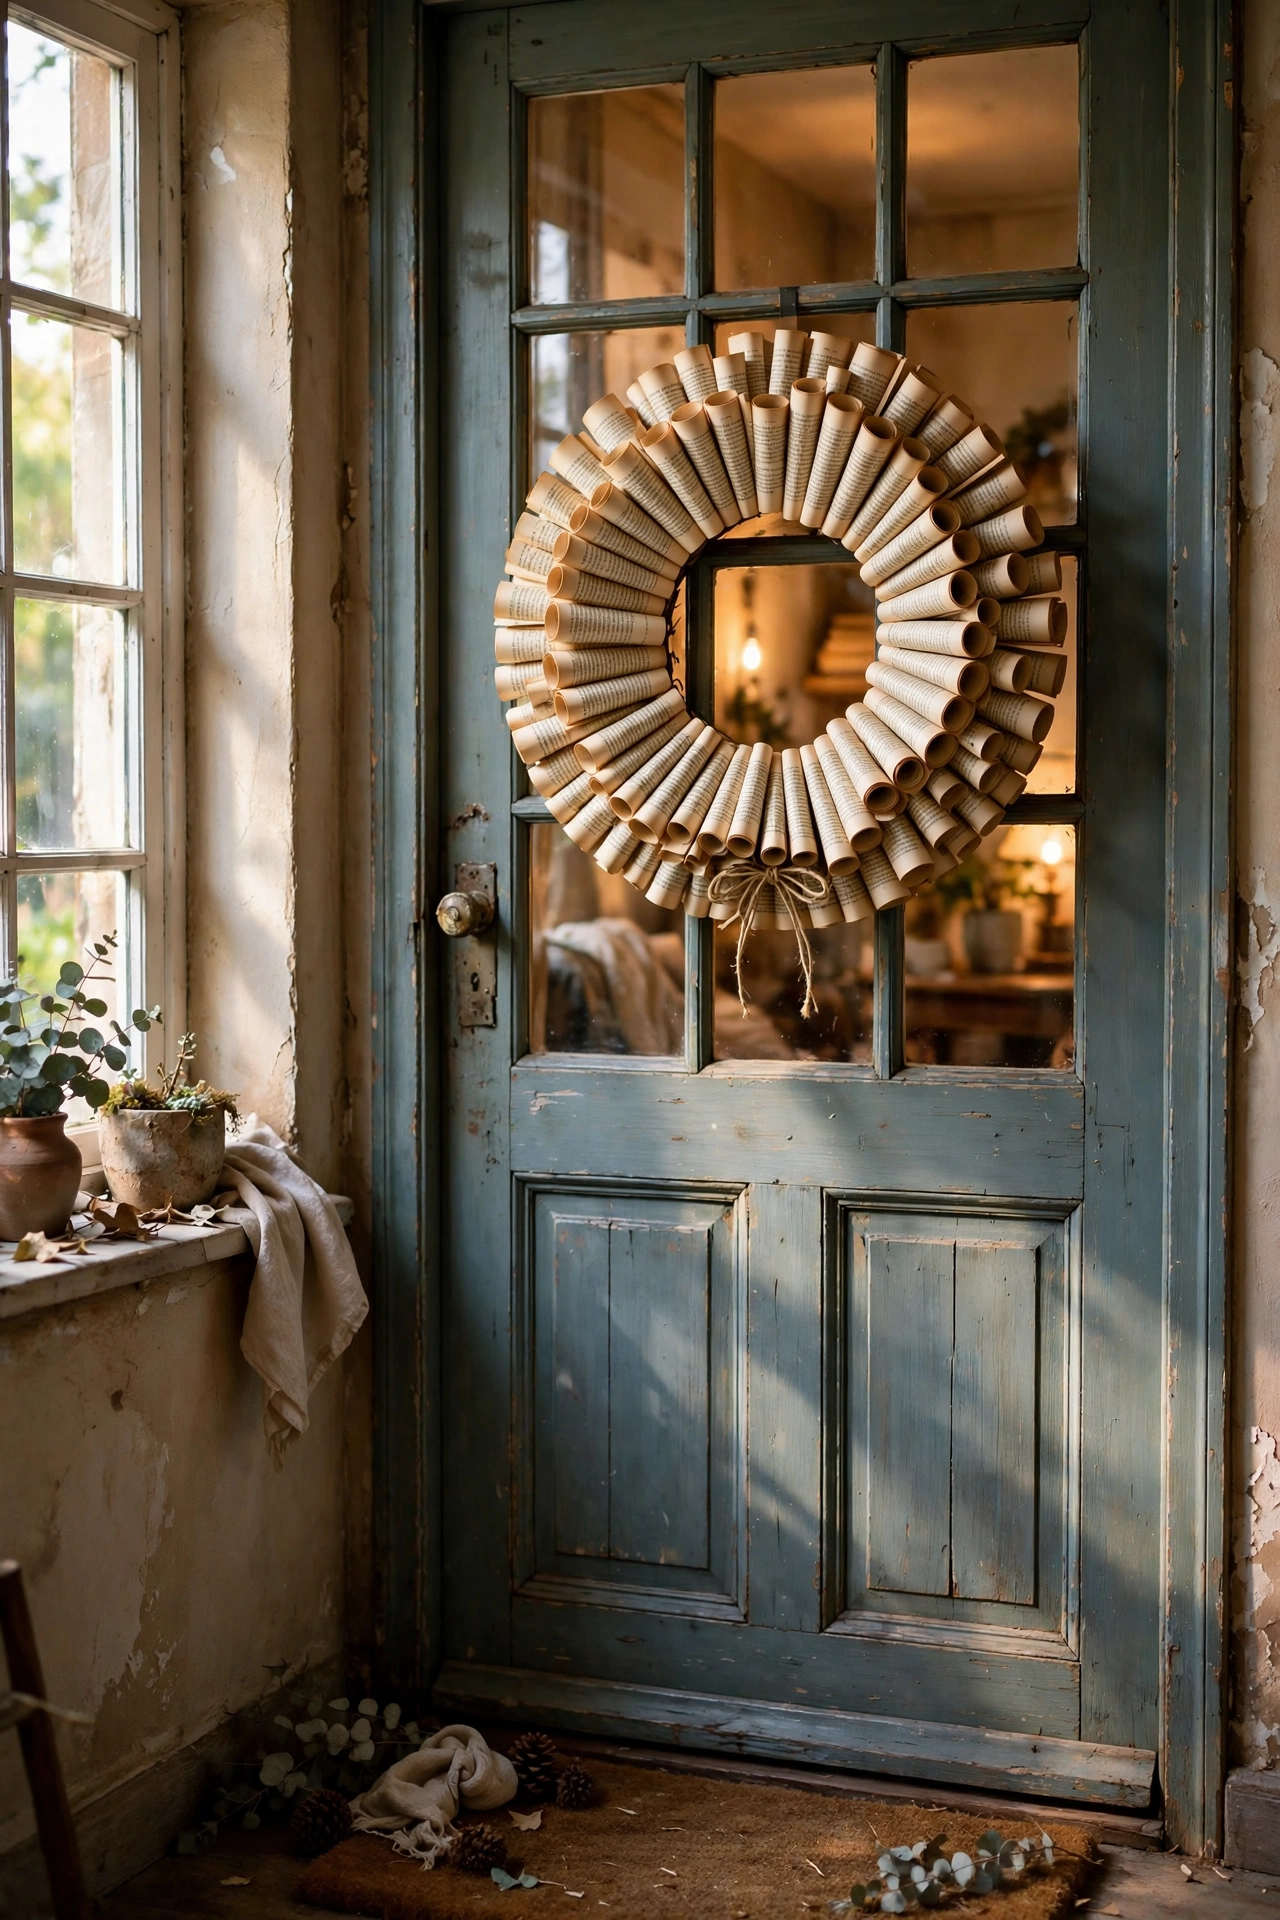
A damaged book with beautiful pages becomes a wreath that looks far dearer than its ingredients. I used a falling-apart poetry collection from a charity shop. First, cut or tear about a hundred pages into rough squares and roll each into a cone, securing with a dot of hot glue. Second, glue the cones point-first around a foam or cardboard wreath ring, working in tight rows and varying the angles slightly. Third, fluff the outer cones outward and hang with a ribbon. I tried gluing the cones flat-side down first and the wreath looked limp and sparse, so do not do that. Cones point-in, pages out, is what gives it fullness. Never cut up a book worth keeping.
Cost: ~$5-12 | Time: 3 hours
11. Denim Pocket Wall Organiser
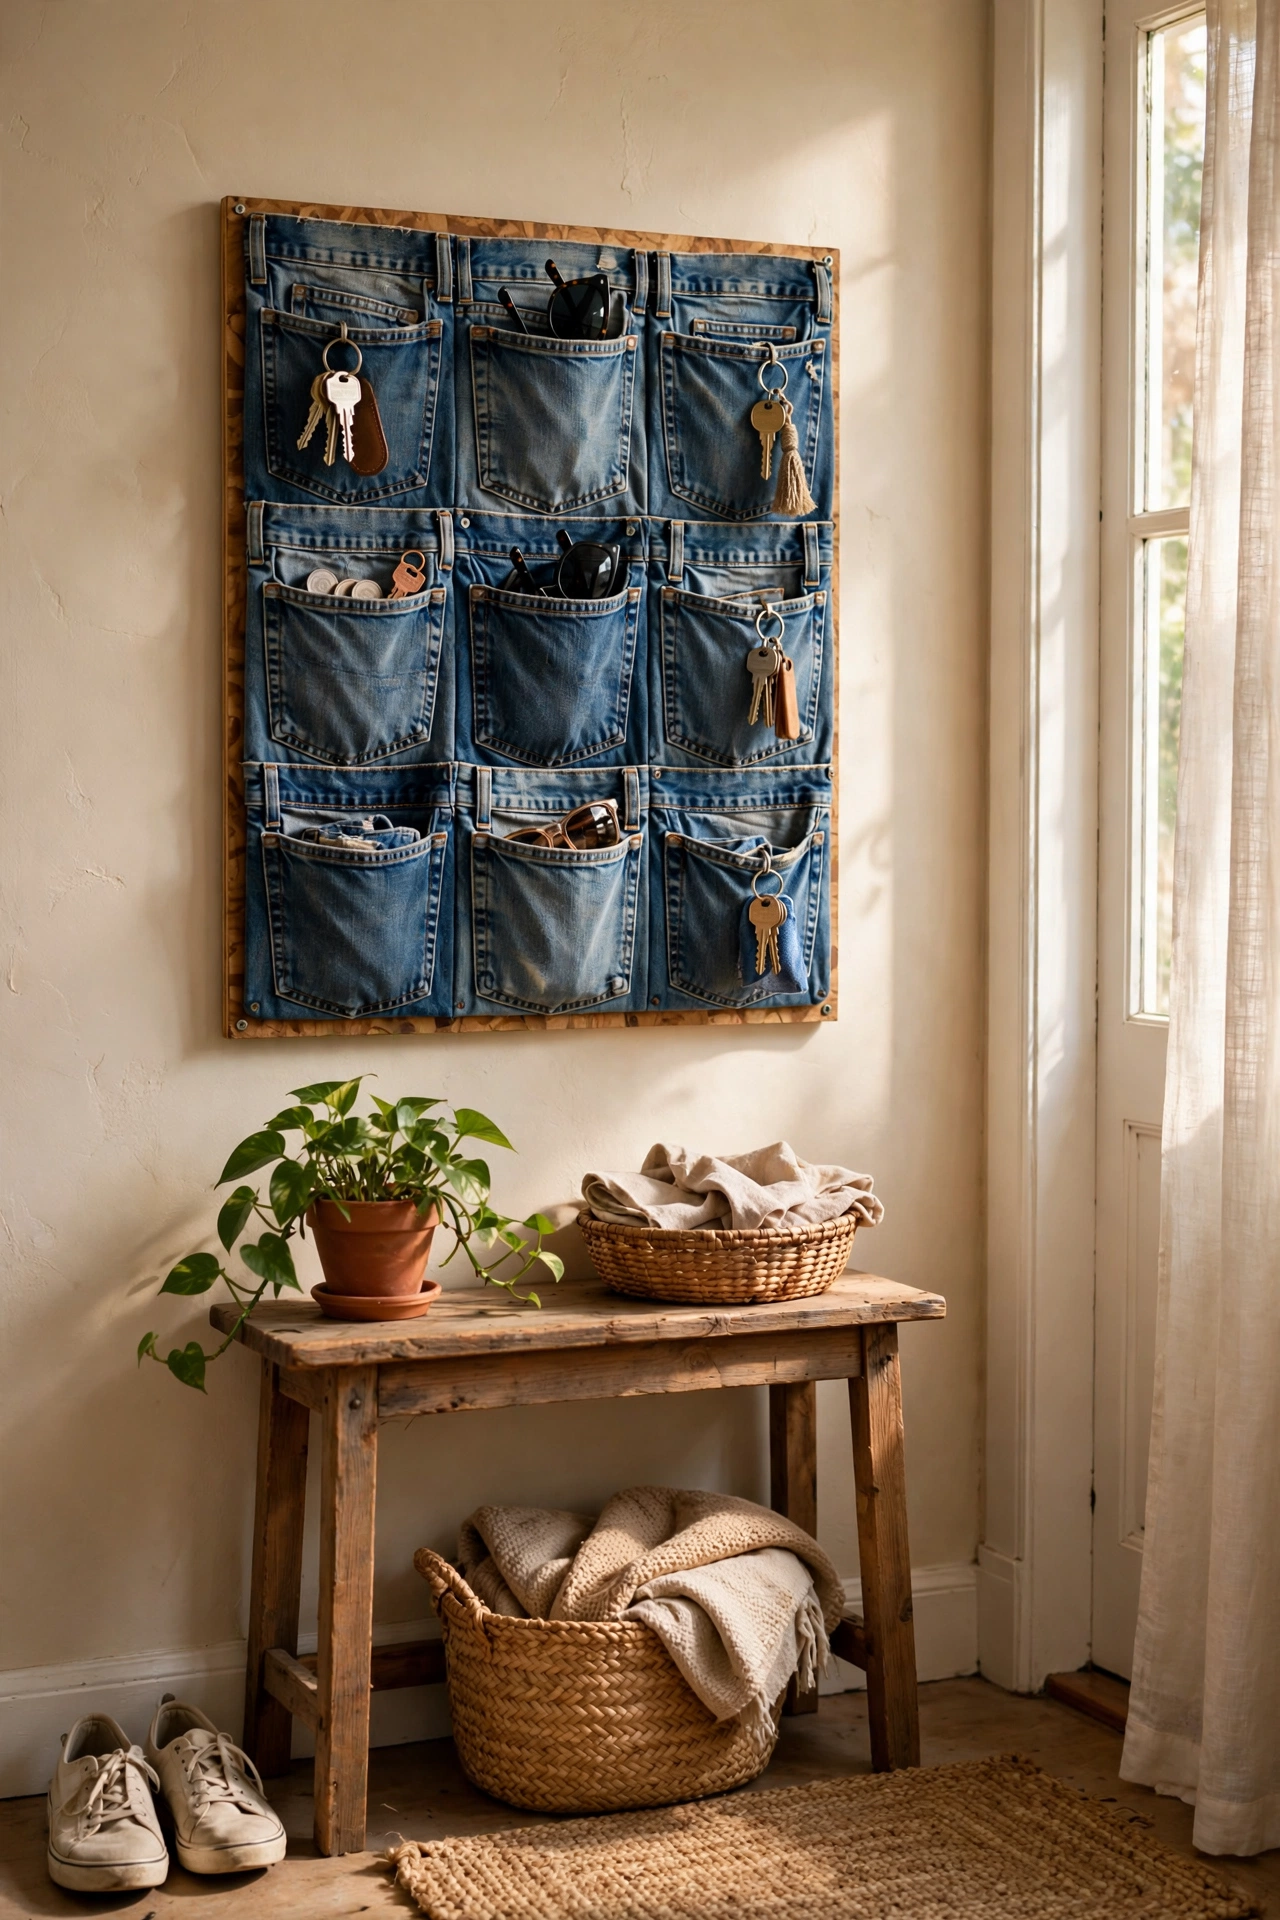
The back pockets of worn-out jeans are ready-made wall storage for keys, post, and sunglasses. I cut pockets from three pairs my family had outgrown. First, cut each pocket out with a generous 2cm margin of denim around it. Second, arrange them on a backing board of plywood or thick cardboard and staple or glue each pocket along its sides and bottom, leaving the top open. Third, cover the board edges with folded denim strips and hang it by the door. I tried glueing pockets to bare plasterboard first and the whole thing peeled off within days, so do not do that. A rigid backing board is what makes it last. Label each pocket with chalk tags for a tidy hallway.
Cost: ~$5-10 | Time: 1.5 hours
Crates and Timber Projects
12. Wooden Crate Coffee Table
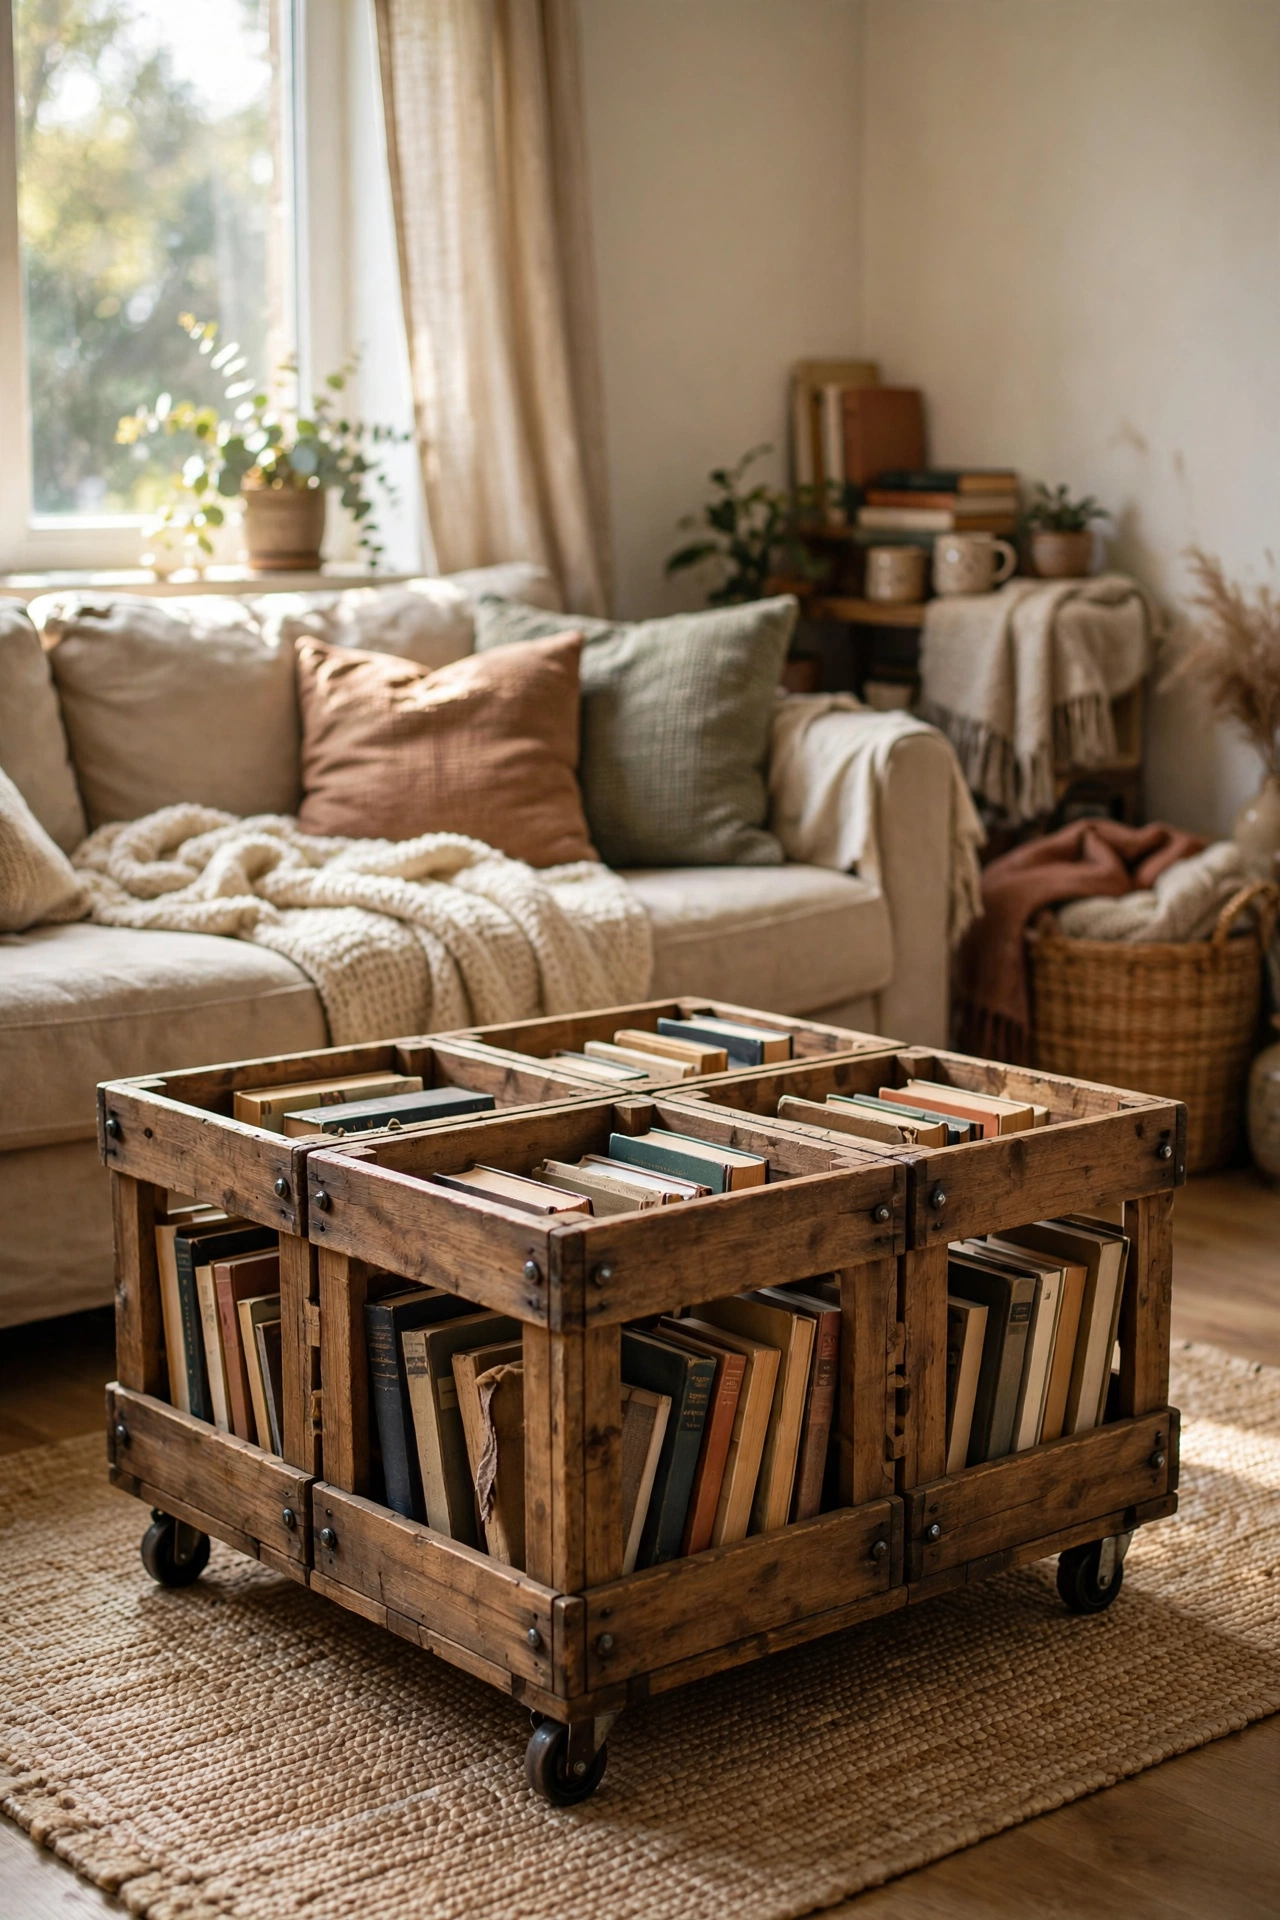
Four wooden crates bolted together make a coffee table with storage in every direction. I bought four pine crates for $7 each from the craft shop. First, sand all the crates and seal with matt varnish so the surfaces are smooth and cleanable. Second, arrange them in a two-by-two square with the openings facing outward, and bolt them together through the touching faces. Third, add four small castor wheels underneath so the whole table rolls. I tried leaving it without wheels first and dragging it across the rug to clean underneath scratched the floor, so do not do that. Lockable castors are worth the extra few dollars. Top it with a tray for drinks and remotes.
Cost: ~$35-50 | Time: 2 hours
13. Pallet Wood Entryway Shelf
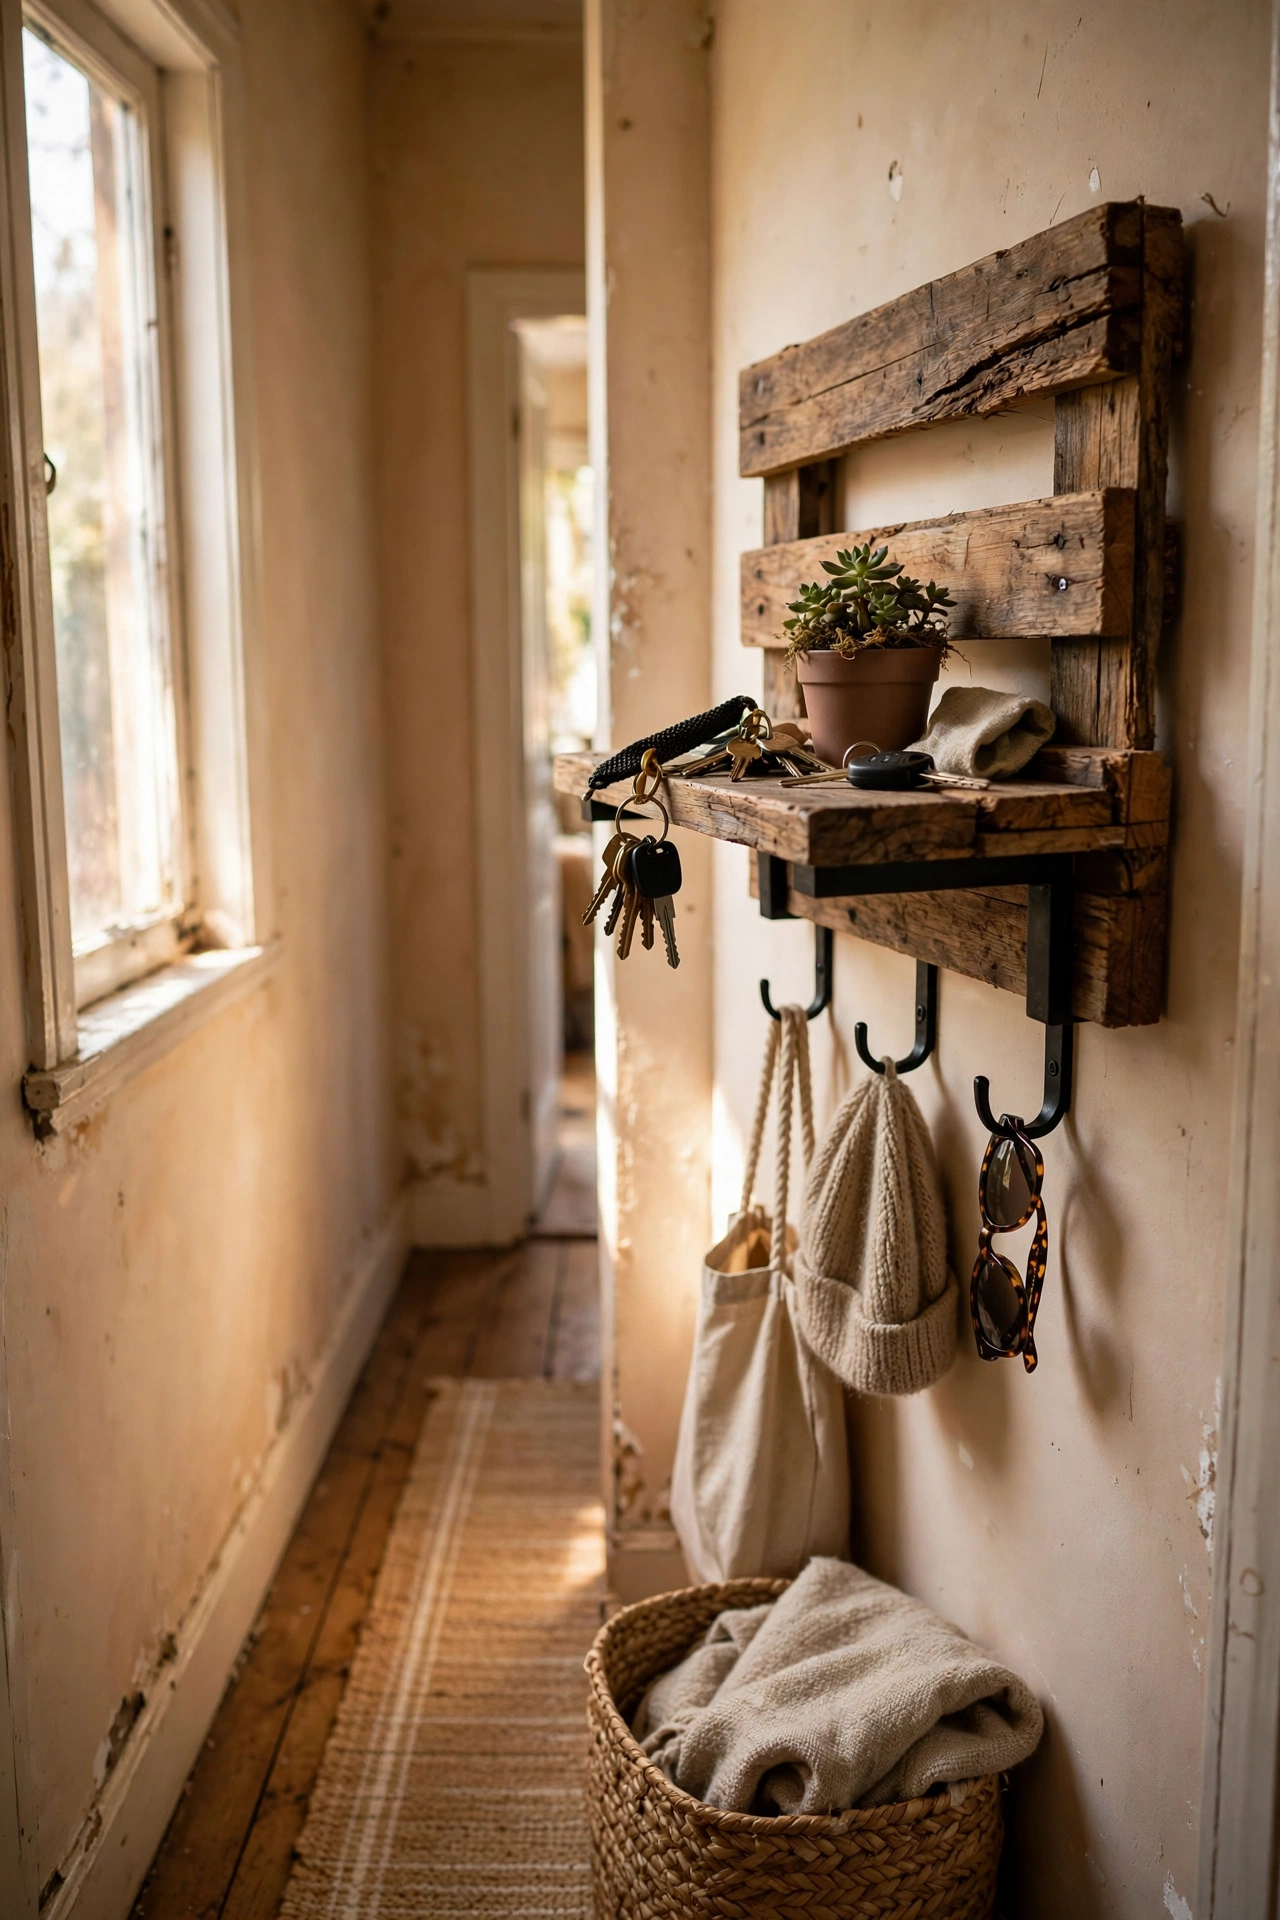
A single pallet plank plus two brackets becomes the hallway shelf every small home needs. I made mine from one good board pulled from a broken pallet. First, choose the straightest plank, sand it smooth, and cut it to about 80cm. Second, seal it with wax or matt varnish on all faces so keys and bags do not snag. Third, fix two sturdy shelf brackets to the wall into studs or solid fixings, and screw the plank down from underneath. I tried adhesive strips first and the shelf, keys, and post all landed on the floor at midnight, so do not do that. Real screws into solid wall are the only safe option. Add hooks underneath for dog leads and lanyards.
Cost: ~$8-15 | Time: 1 hour
14. Log Stump Side Table
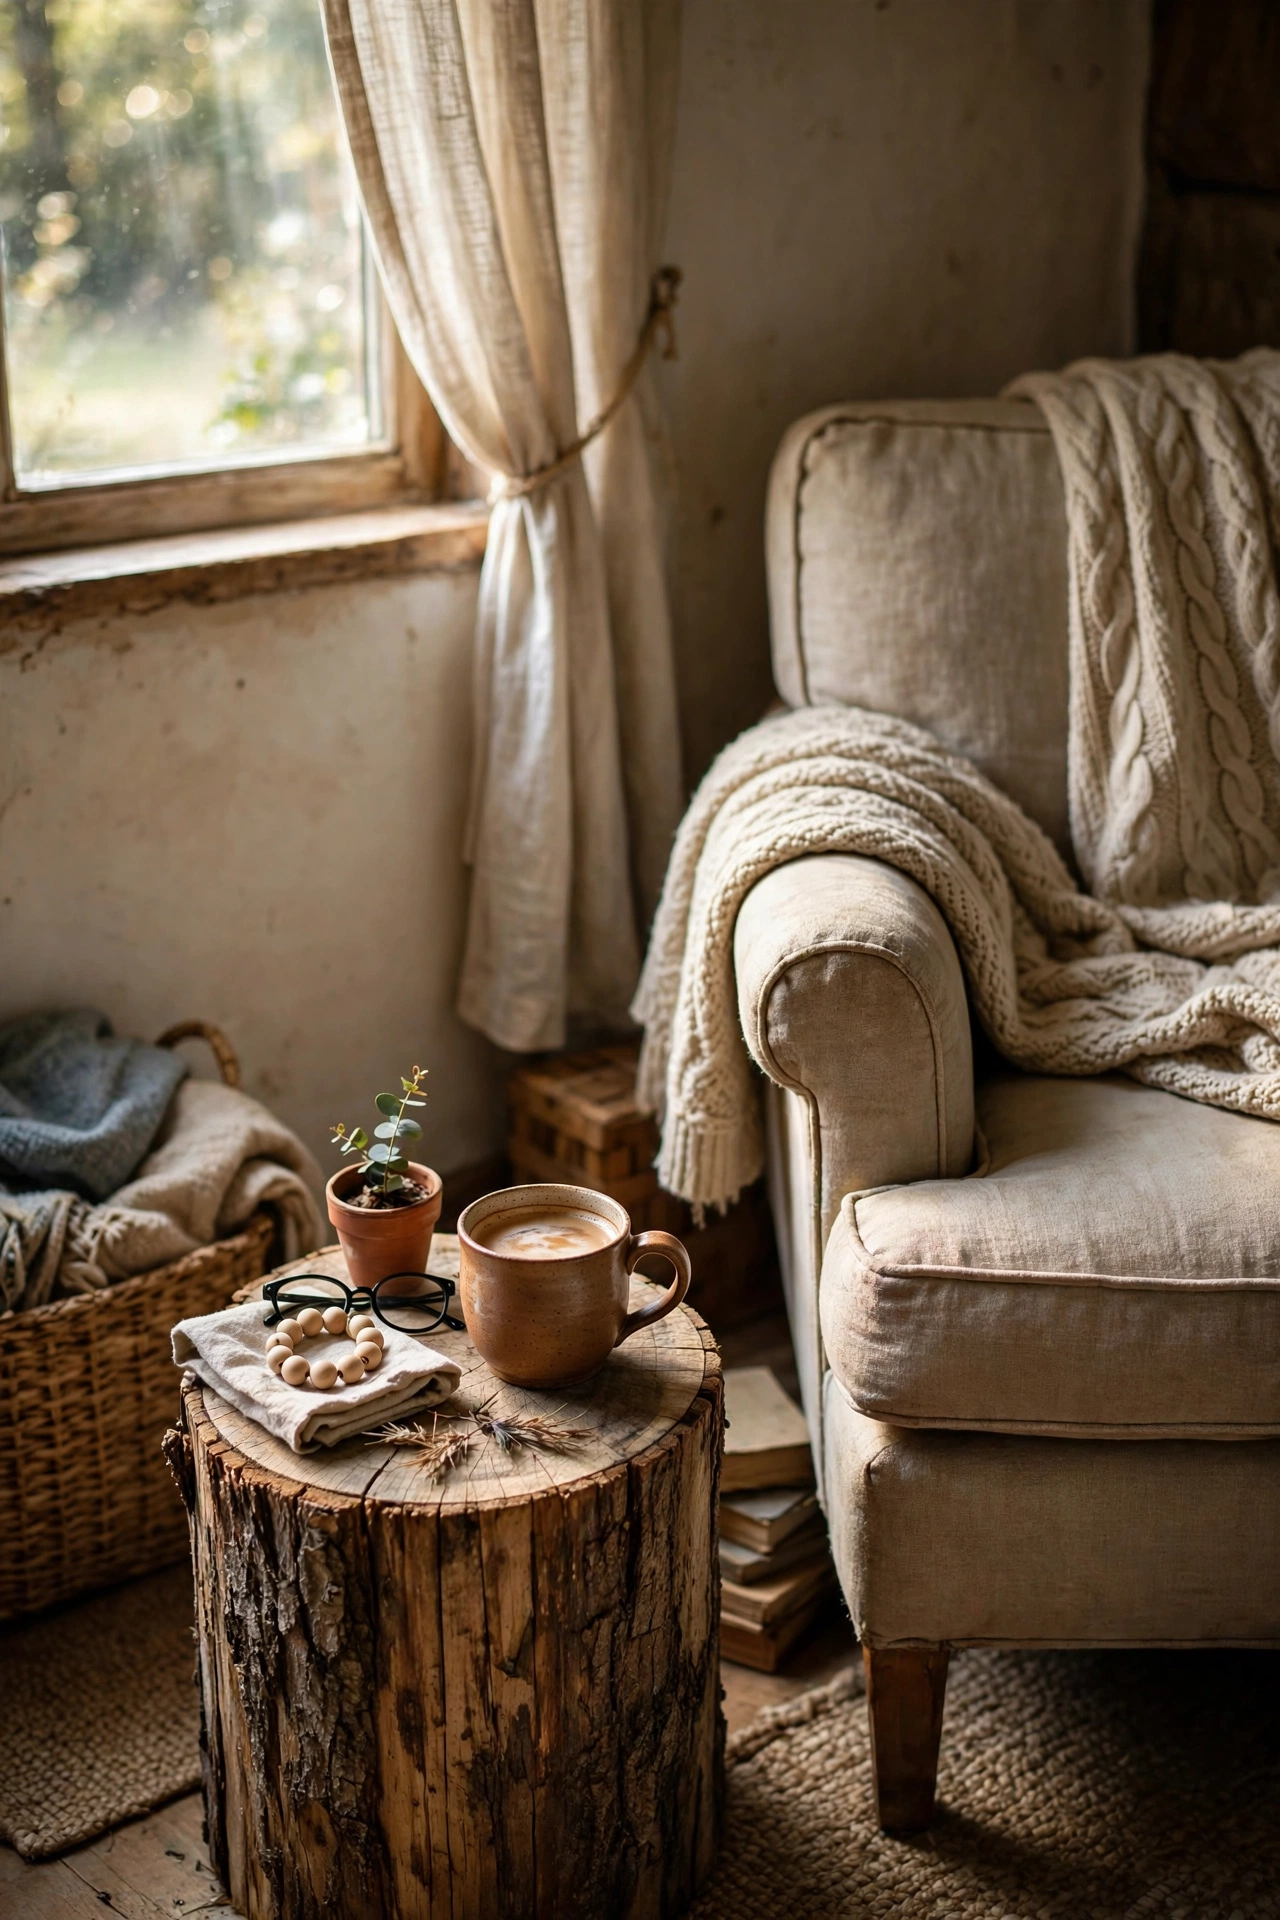
A tree stump is a side table nature already designed for you. I asked a tree surgeon for an offcut and got a perfect 45cm round for free. First, let the stump dry somewhere airy for a few weeks if it is freshly cut, checking for cracks. Second, sand the top flat and smooth, and scrub the bark or strip it entirely depending on the look you want. Third, seal every surface with hard-wearing varnish and add felt pads underneath. I tried sealing a damp stump first and the varnish bubbled and peeled within a month, so do not do that. Bone dry before sealing, no exceptions. It is the heaviest piece you will ever move, so choose its spot carefully.
Cost: ~$5-12 | Time: 2 hours plus drying
15. Crate Nightstand on Hairpin Legs
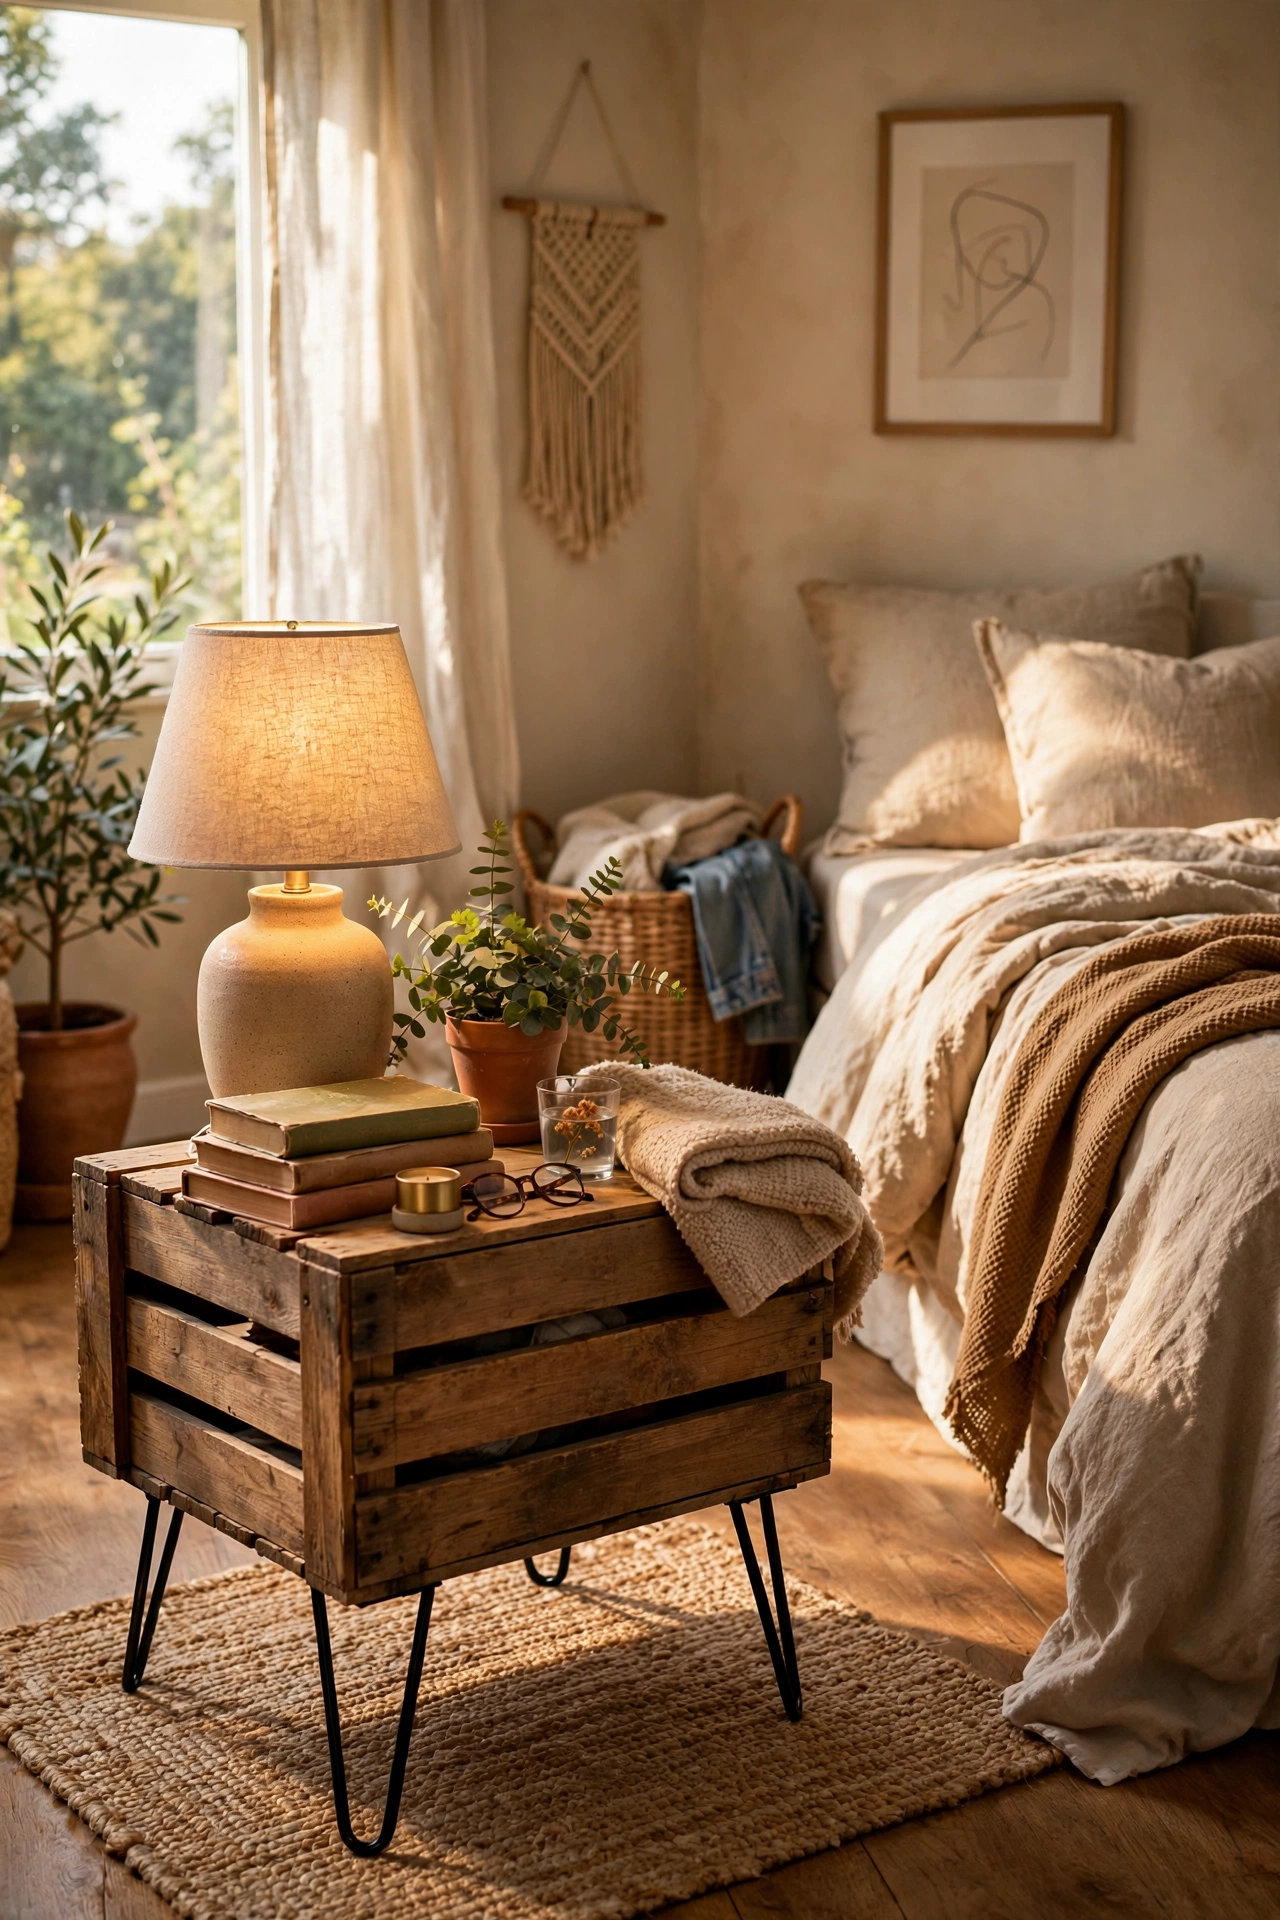
A wooden crate on hairpin legs is a nightstand with mid-century style at a fraction of the price. I used a solid apple crate and a set of 40cm hairpin legs for $22. First, sand the crate inside and out and paint or stain it to match your room. Second, screw the four legs to the crate base, one in each corner, checking they sit level on a flat floor. Third, turn it over and style the open front with a book stack and a small lamp. I tried fixing the legs with tiny screws first and the table rocked alarmingly, so do not do that. Use chunky screws and add a plywood base plate if the crate bottom is thin. It holds a lamp, a book, and a glass of water perfectly.
Cost: ~$30-45 | Time: 1.5 hours
📌 Tried one of these this weekend? Pin this post now so your next upcycle is ready when inspiration strikes.
More weekend projects to try next: (see also: 25-weekend-diy-projects-that-instantly-refresh-your-home) (see also: 17-diy-lamp-ideas-on-a-budget) (see also: 12-crate-coffee-table-ideas-on-a-budget)
