23 DIY Gallery Wall Ideas on a Budget
My first gallery wall was a disaster. I hammered twenty nails into the living room wall in a fit of enthusiasm, hung everything slightly crooked, and lived with it for a year because I could not face the patching. Then I learned the actual method: plan on the floor, use paper templates, and hang once. These diy gallery wall ideas are everything I know now, grouped so you can find your style fast.
Every wall below costs under $30 in materials. The frames are the budget, so thrift them, spray them one colour, and let the arrangement do the talking.
Classic and Timeless Gallery Walls
1. The Symmetrical Grid
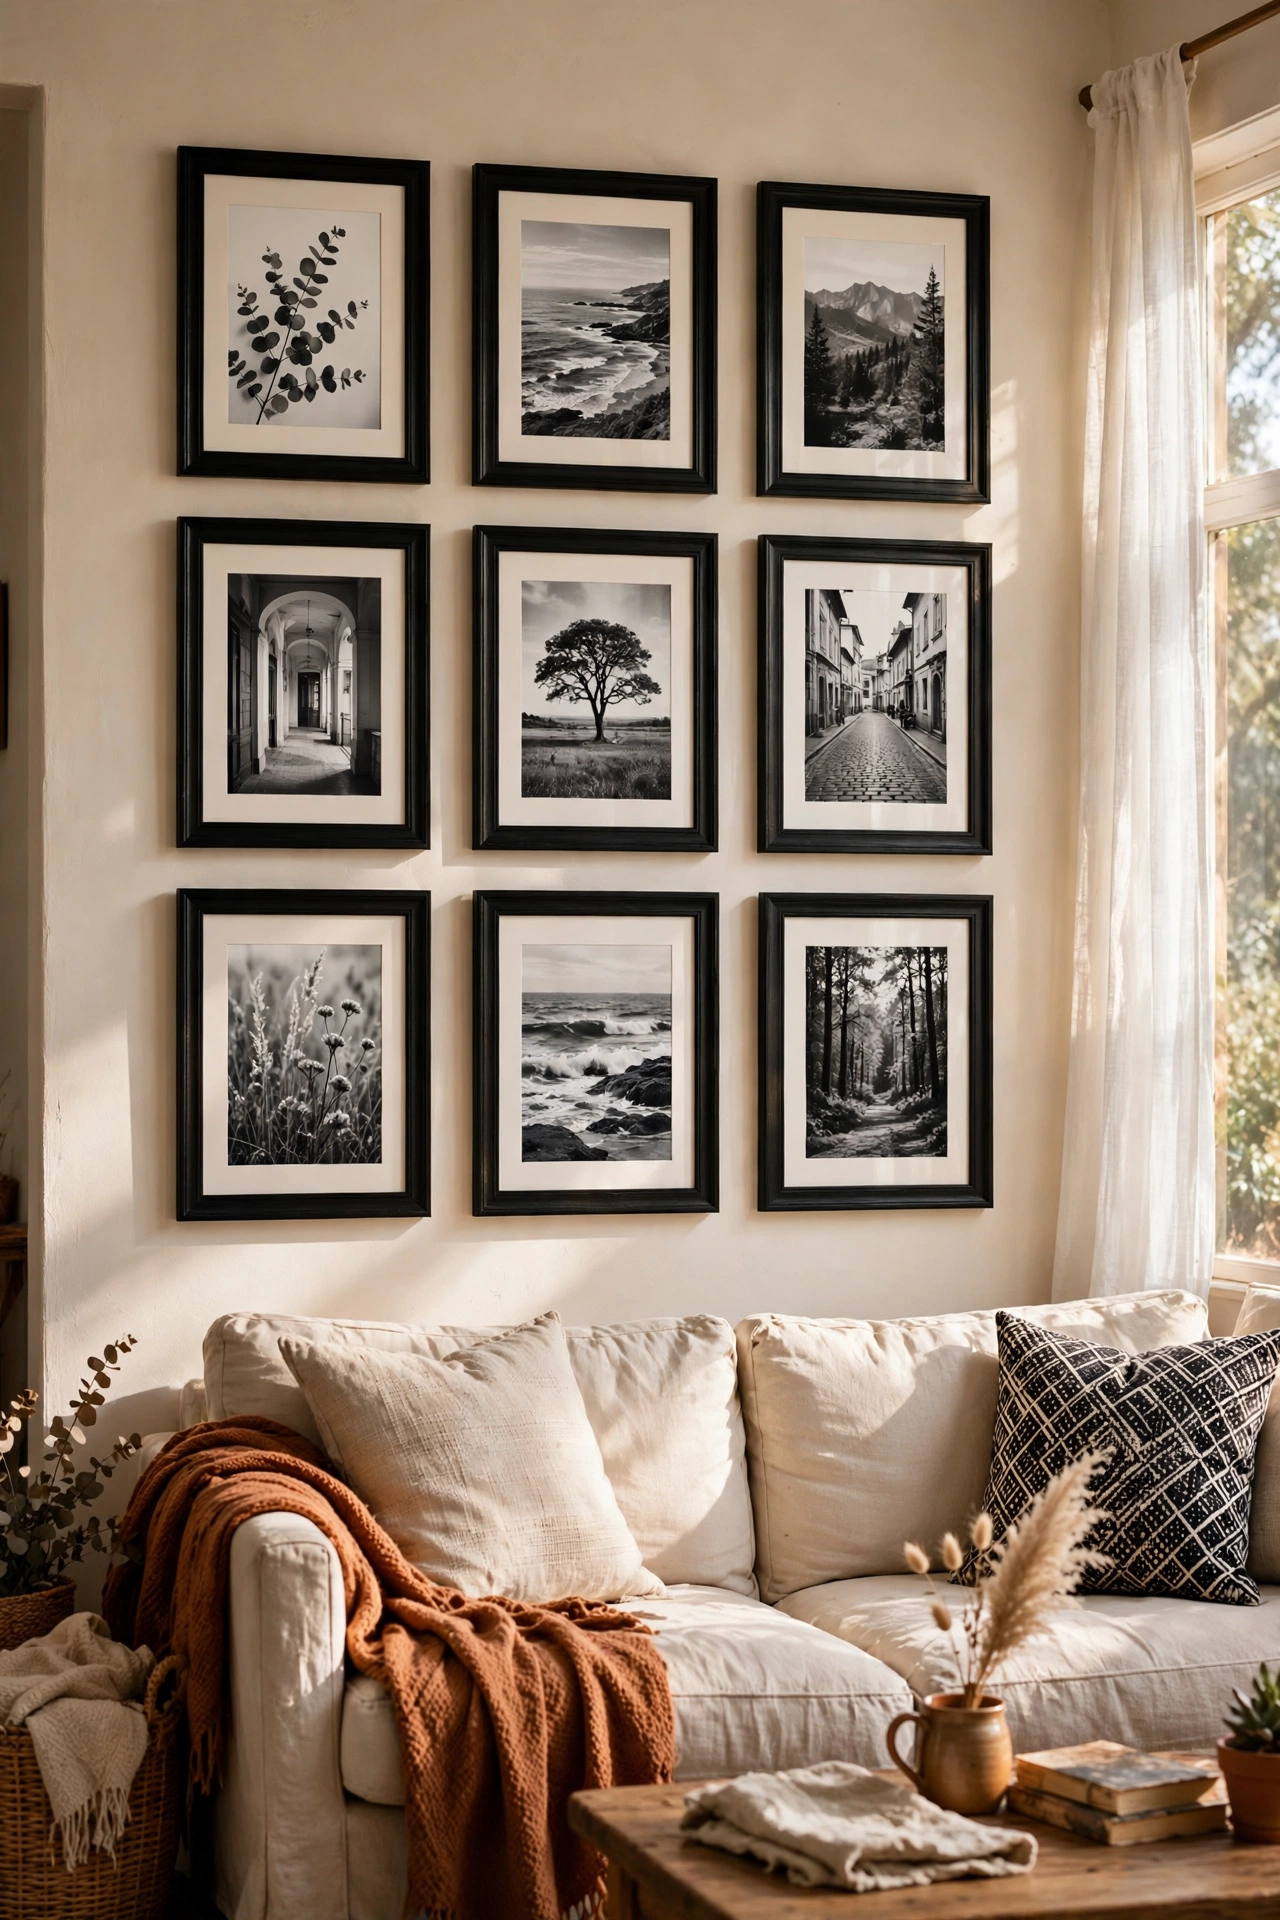
Nine identical frames in a perfect three-by-three grid never fails. I used $2 frames from the discount store, all sprayed matte black, with black-and-white family photos inside. The symmetry does the styling work for you. Measure the gaps with a ruler, because a grid lives or dies on even spacing. Mine hangs over the sofa and looks like it was professionally planned. It was planned, just by me, on a Saturday, with a tape measure and strong coffee.
Cost: ~$20-28 | Time: 2 hours
2. Black and White Photo Story
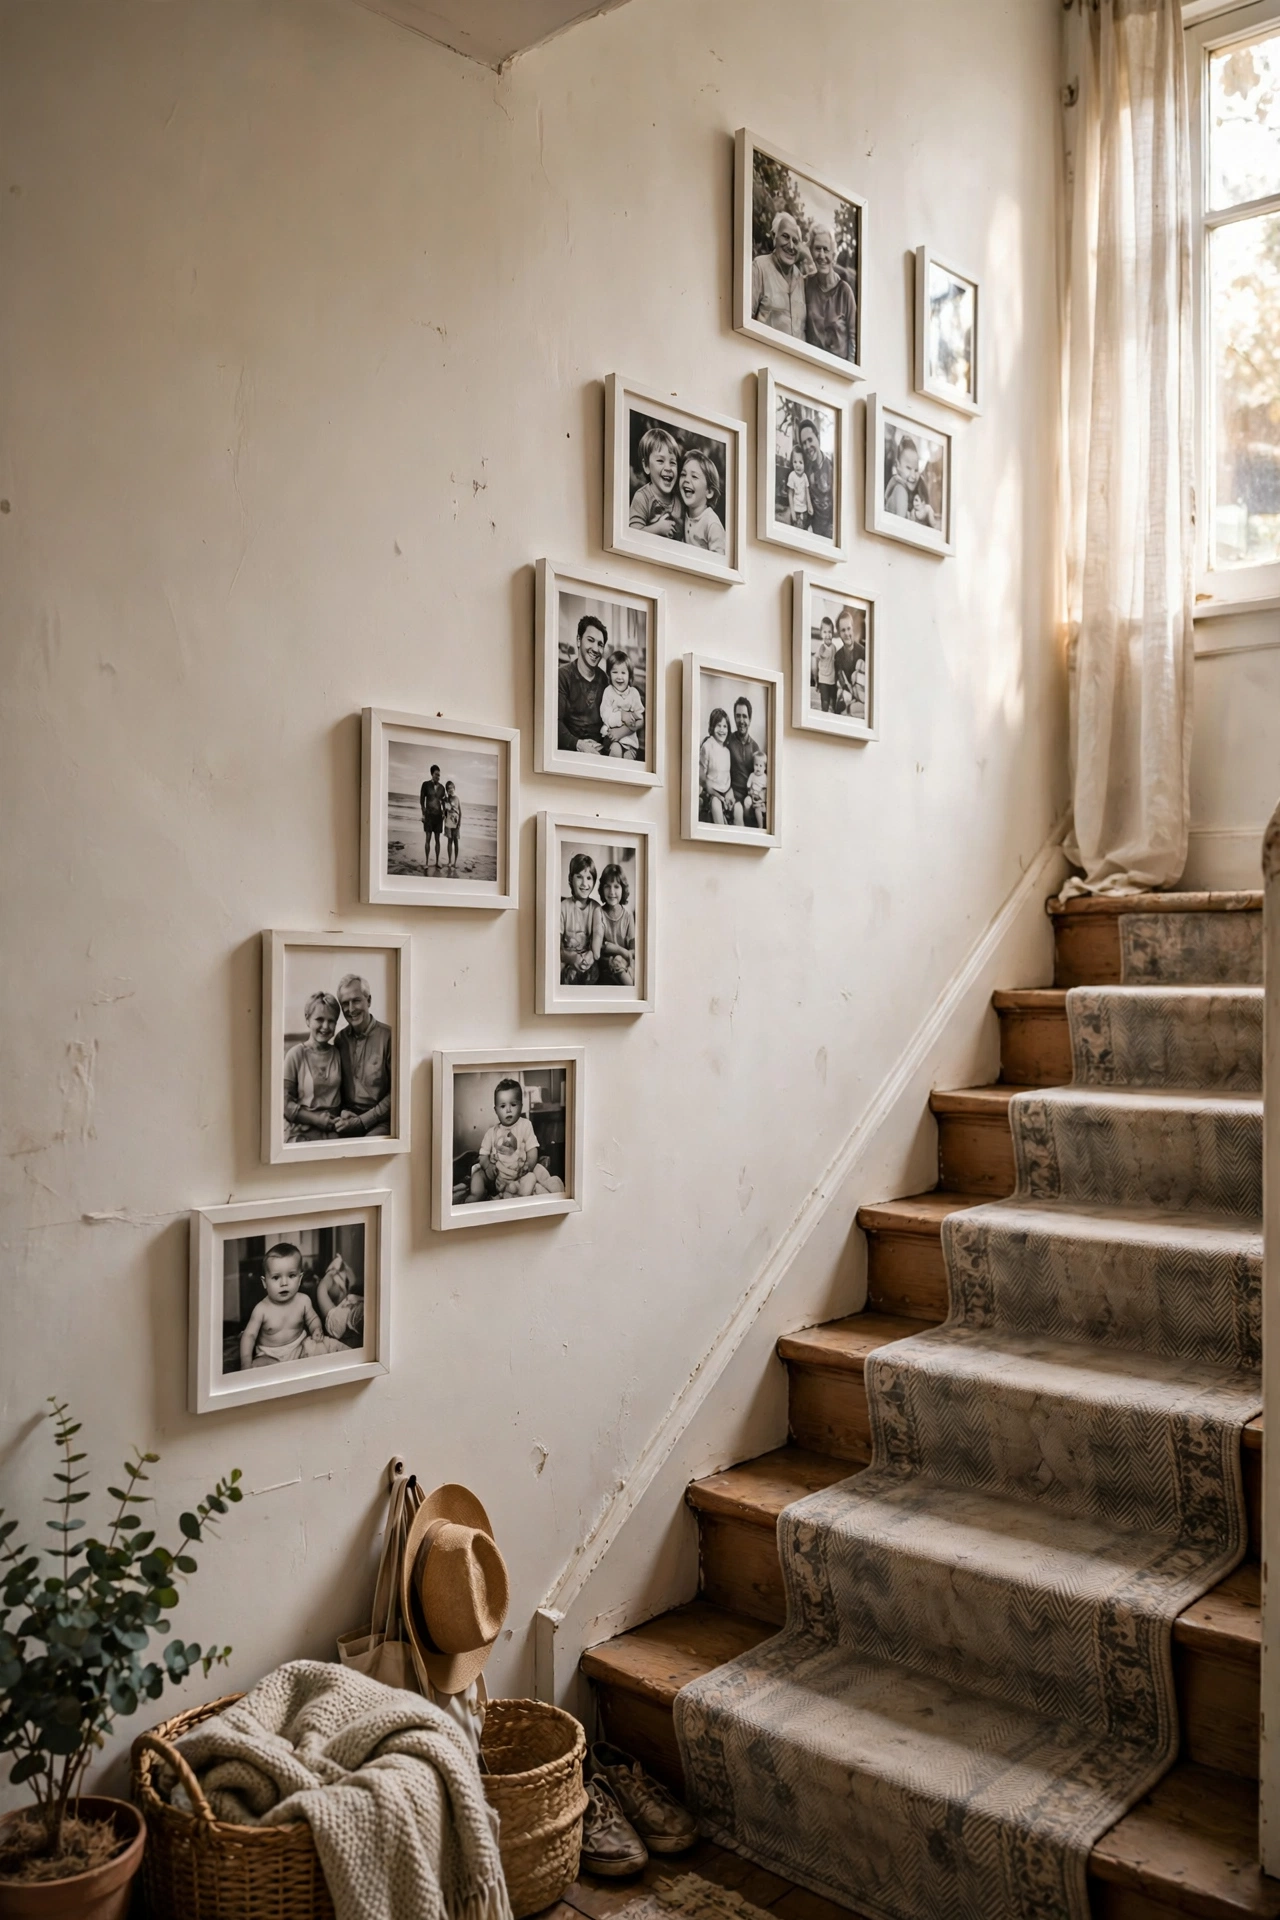
Converting all your photos to black and white unifies mismatched images instantly. I printed a decade of family photos in monochrome, mixed the sizes in matching white frames, and hung them salon-style up my staircase. The colour unity makes random moments feel like a curated exhibition. Print at home or at the library for pennies. My stairwell went from blank to beloved, and guests always stop to look.
Cost: ~$15-25 | Time: 2 hours
3. Vintage Botanical Prints
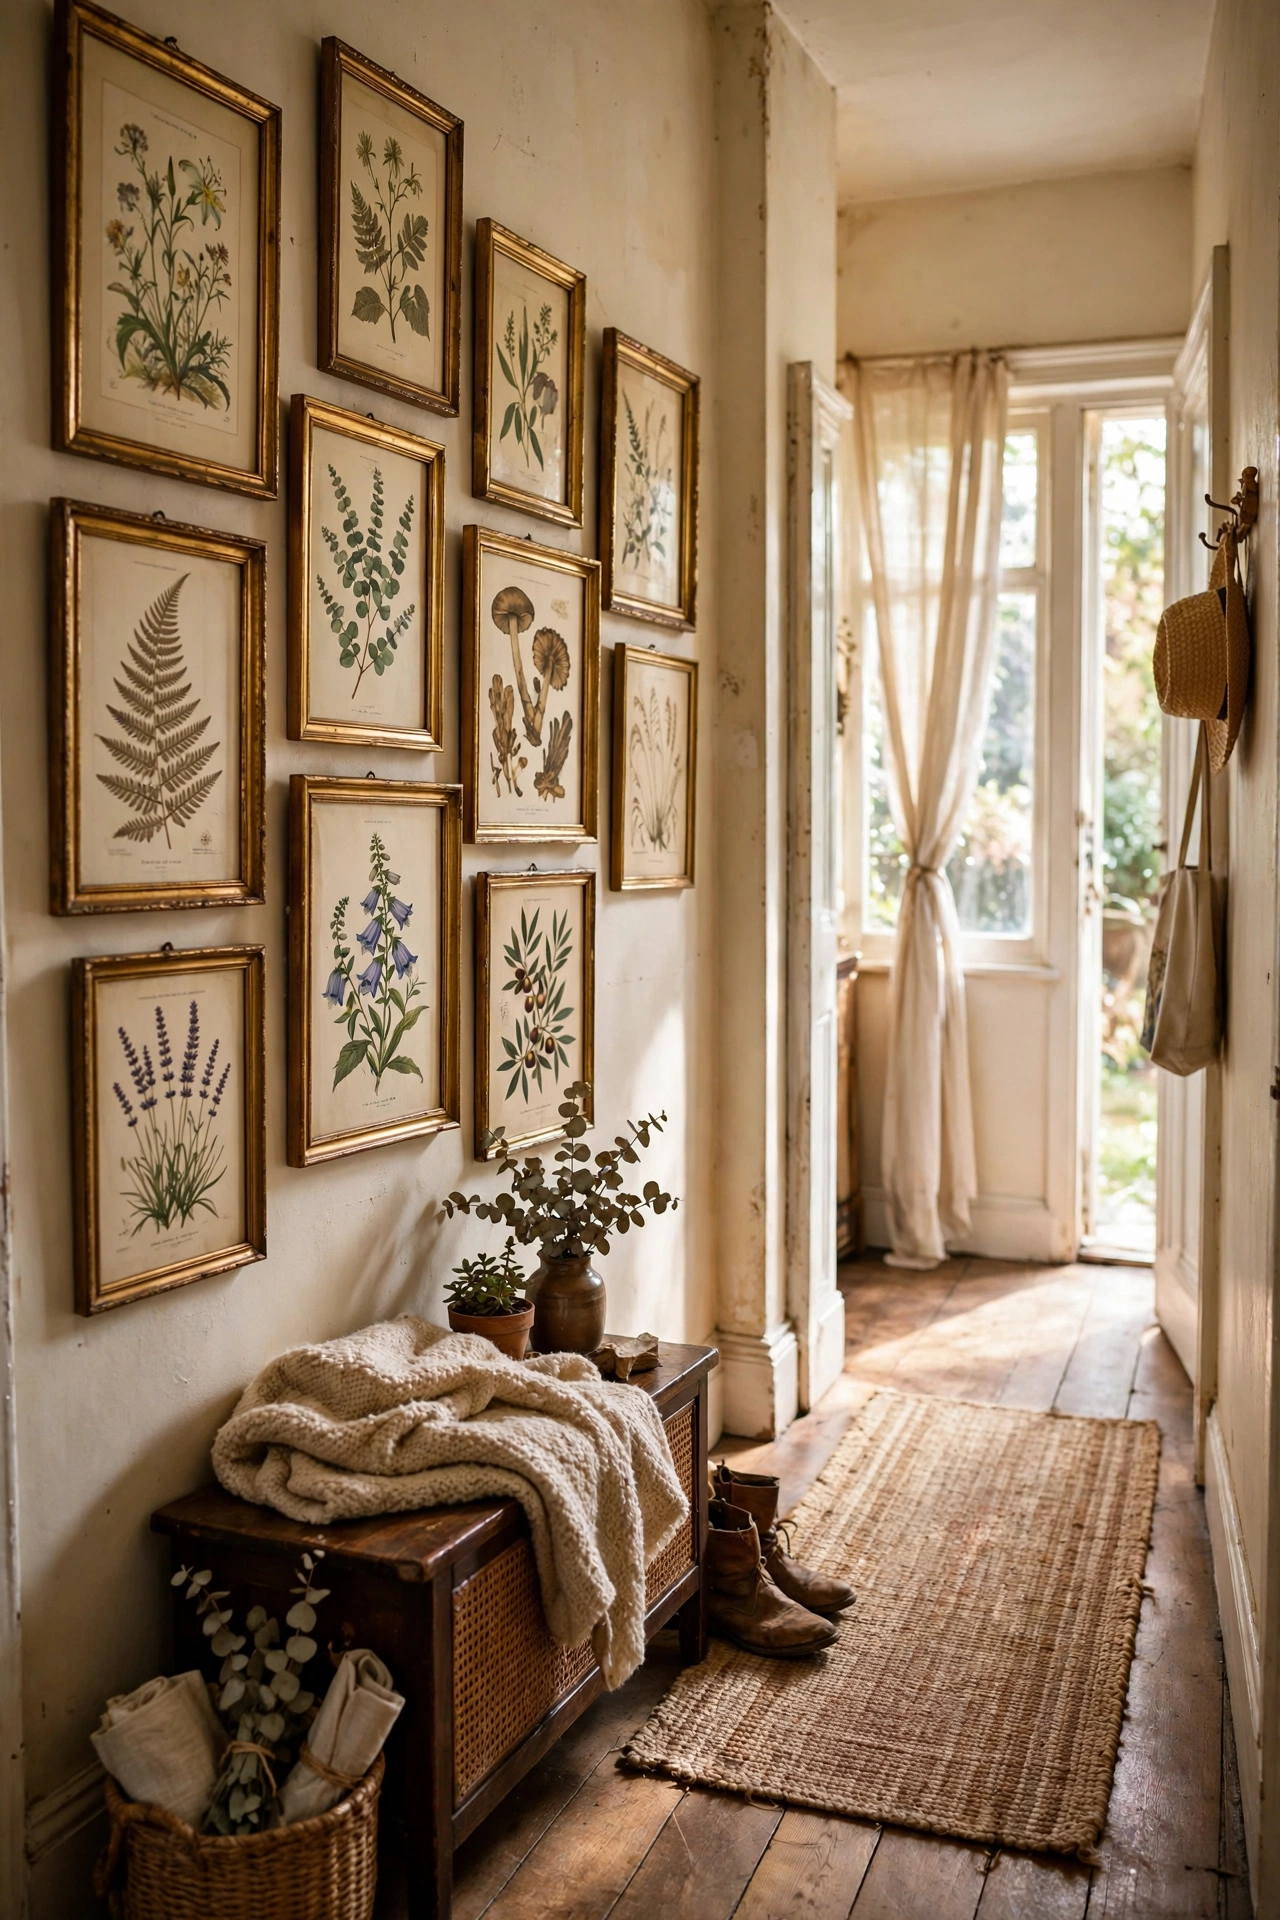
Free vintage botanical prints from public domain archives look expensive in simple frames. I downloaded twelve, printed them at the library, and hung them in thrifted gold frames in my hallway. The aged paper tones and Latin plant names give the wall a collected-over-time feel. Keep the frames consistent so the prints stay the star. Mine cost $14 total and fool everyone.
Cost: ~$12-18 | Time: 1.5 hours
4. The Single-Colour Frame Trick
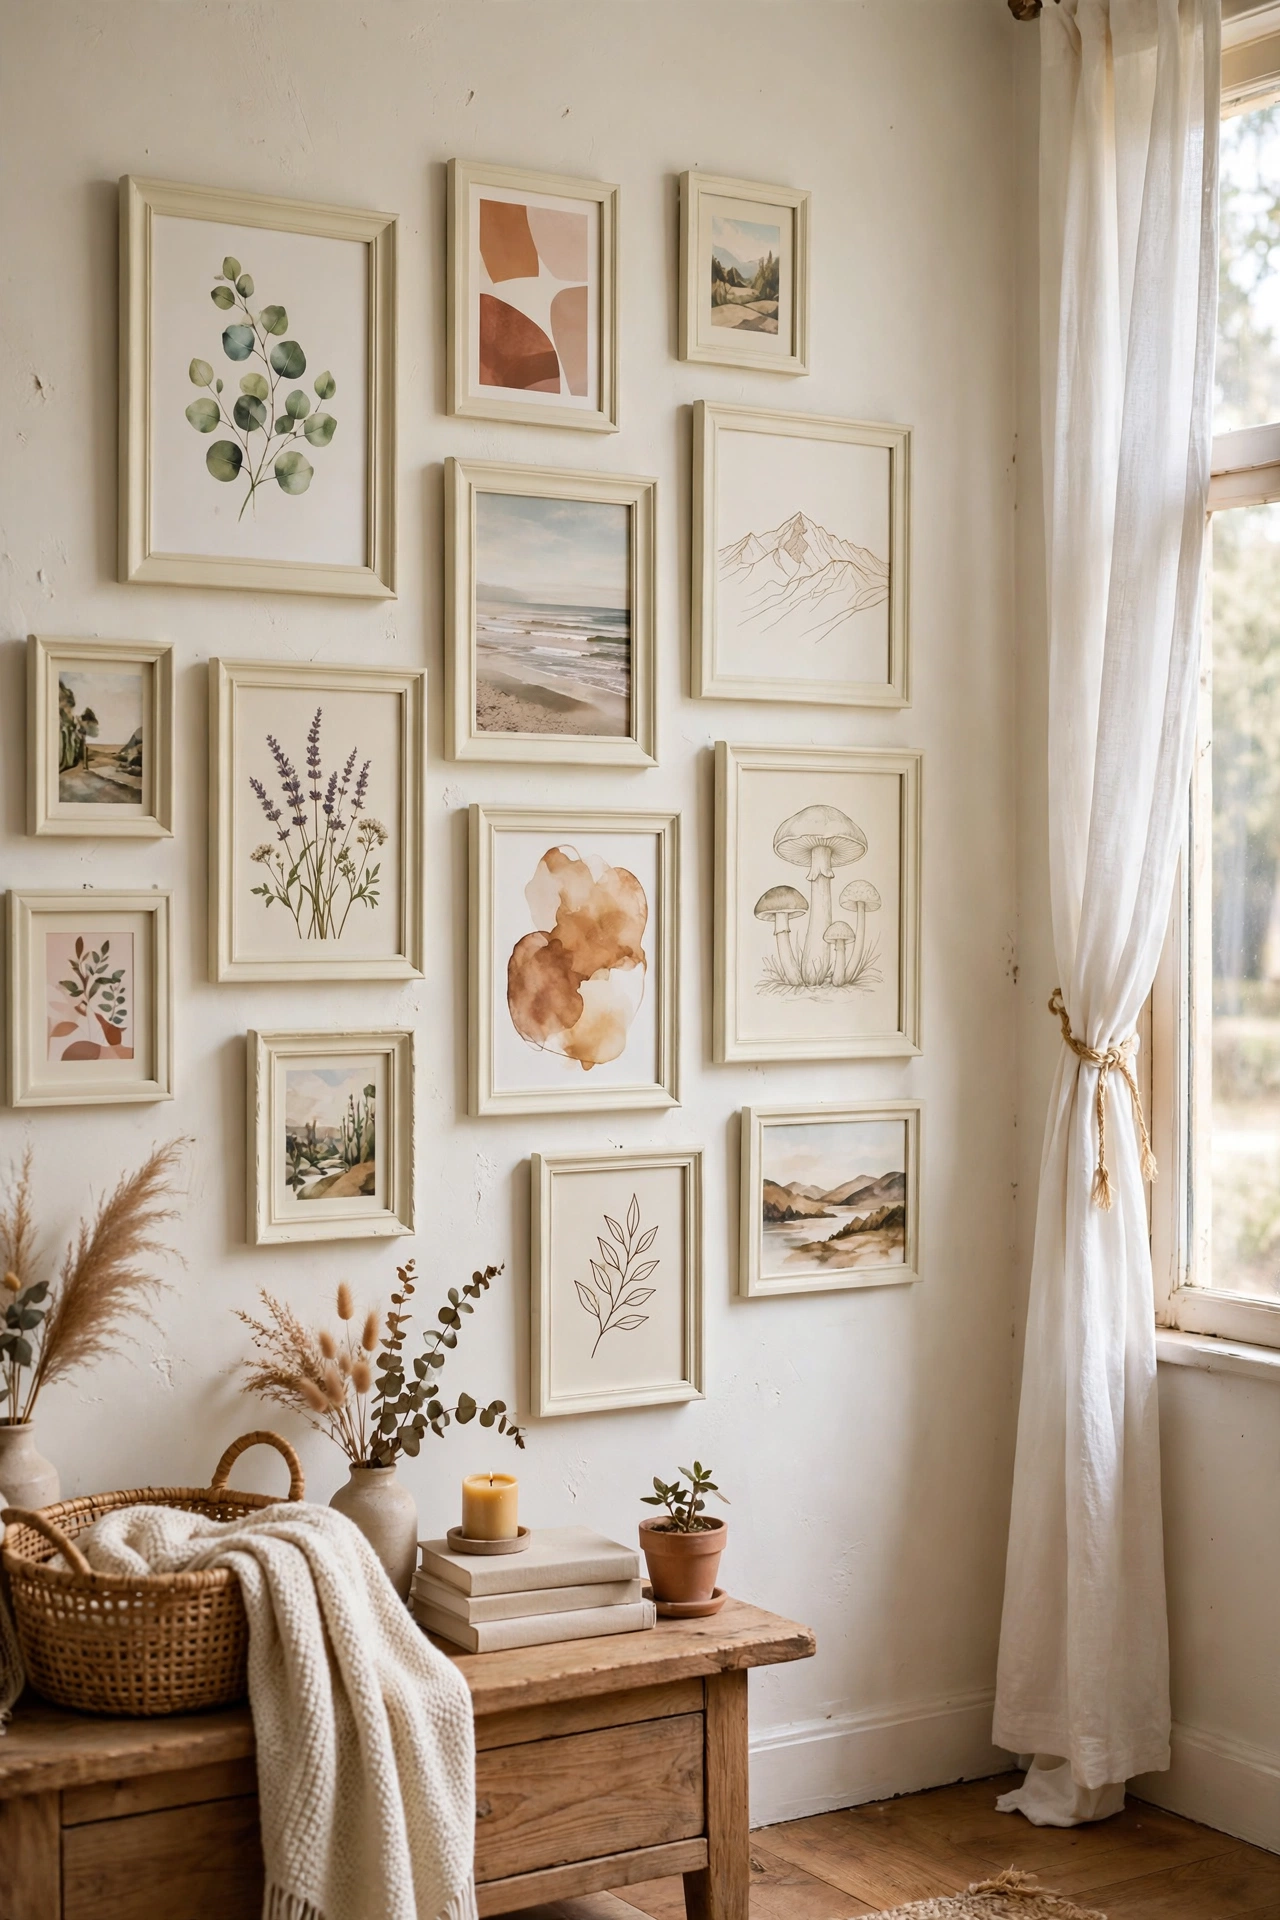
Spray every mismatched frame you own one colour and suddenly you have a collection. I gathered fourteen frames from around the house, sprayed them all cream, and hung them with a mix of art and photos. The unified colour is the entire trick. It works with black, white, gold, or any single shade. My wall went from jumble to gallery in one afternoon of spraying and one morning of hanging.
Cost: ~$8-14 | Time: 3 hours
5. Antique Mirror Mix
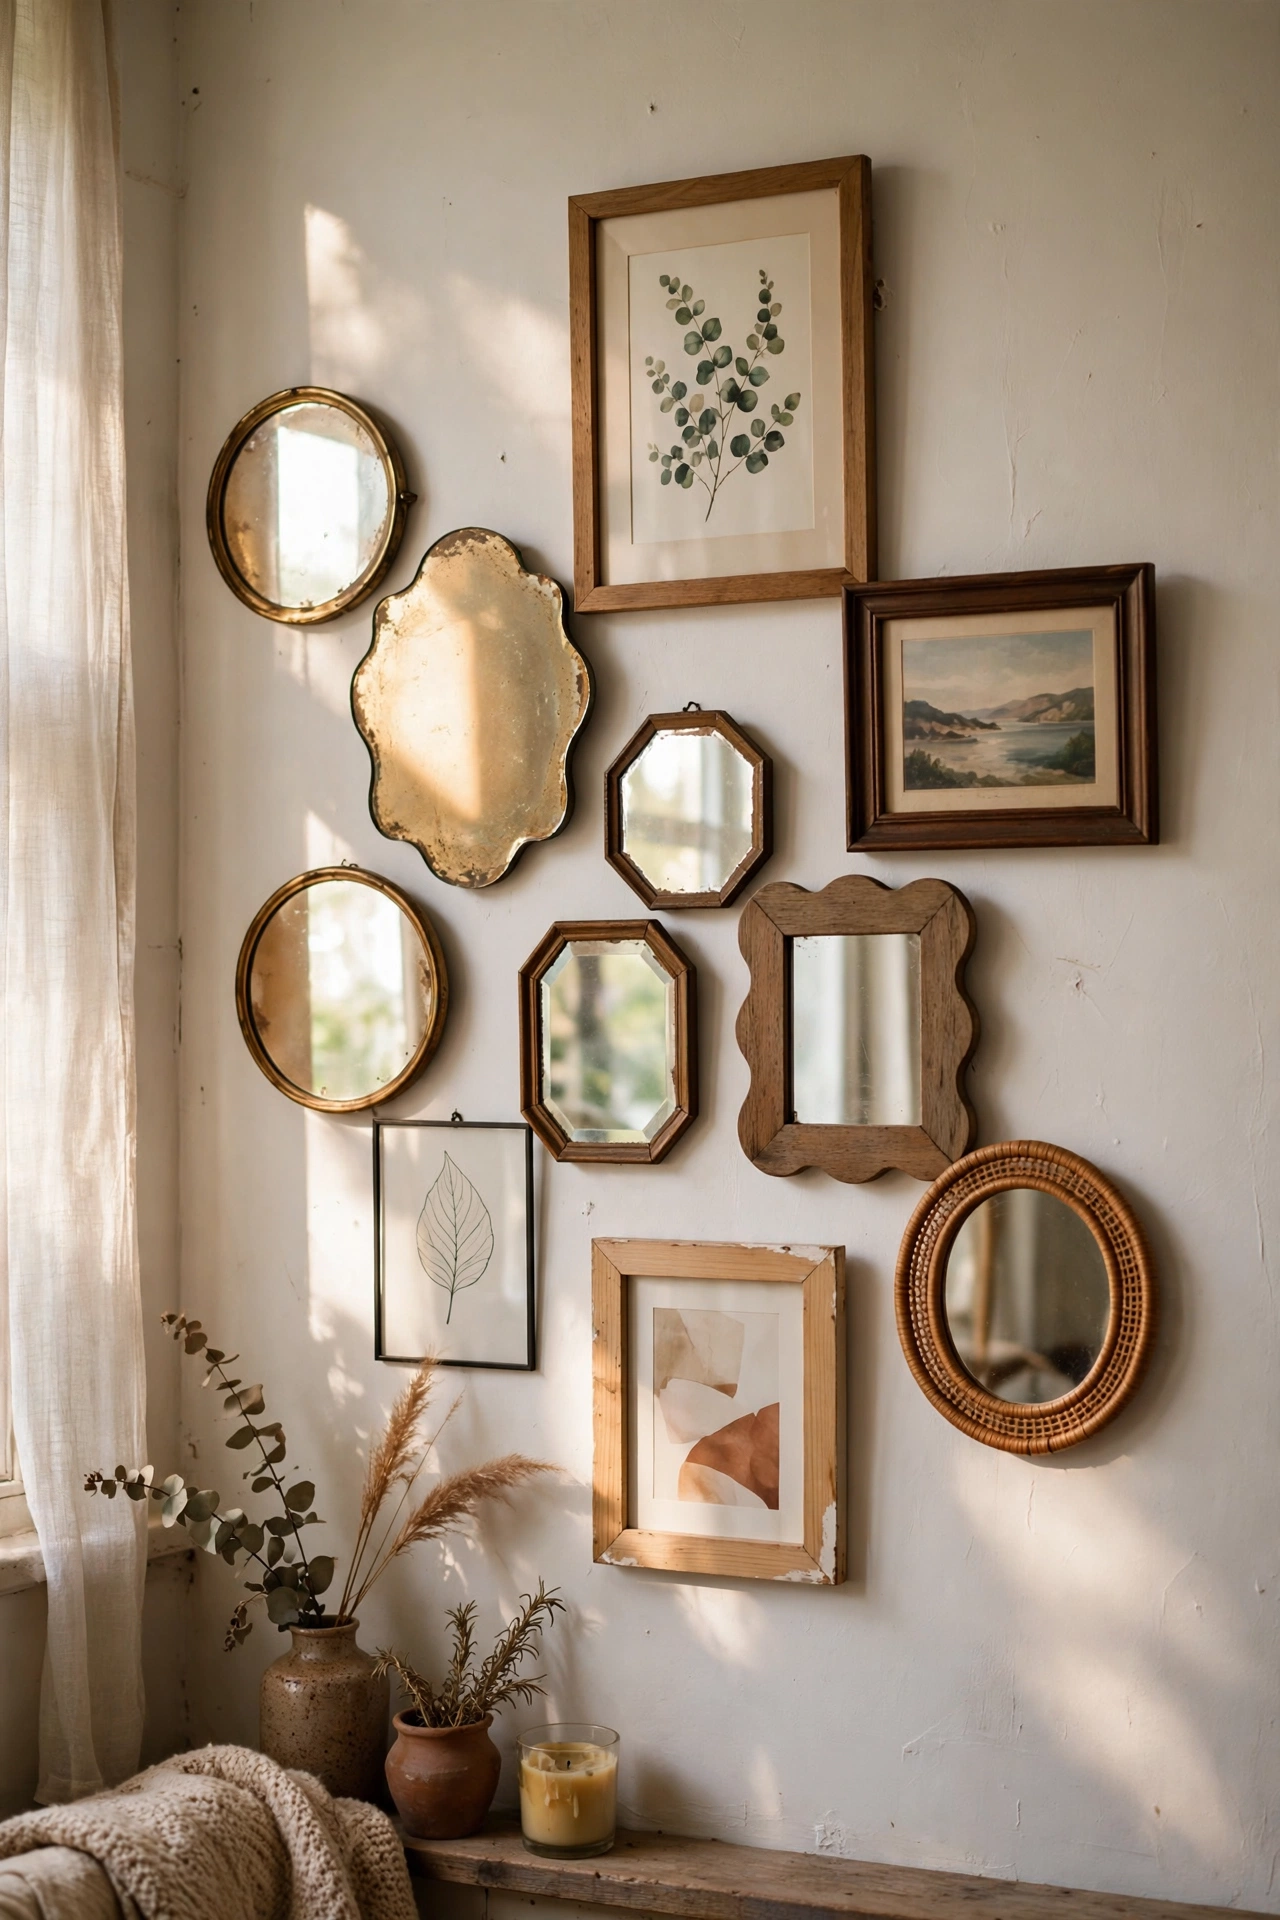
Small mirrors mixed into a gallery wall bounce light around the room. I added four thrifted mirrors among my framed prints, and the wall gained a sparkle that flat art cannot give. Vary the mirror shapes, because round and oval mirrors soften all the rectangles. Keep the mirrors small so they read as accents, not competitors. Mine reflect the window and brighten the whole corner.
Cost: ~$12-20 | Time: 1.5 hours
Bold and Colourful Gallery Walls
6. The Rainbow Book Spine Wall
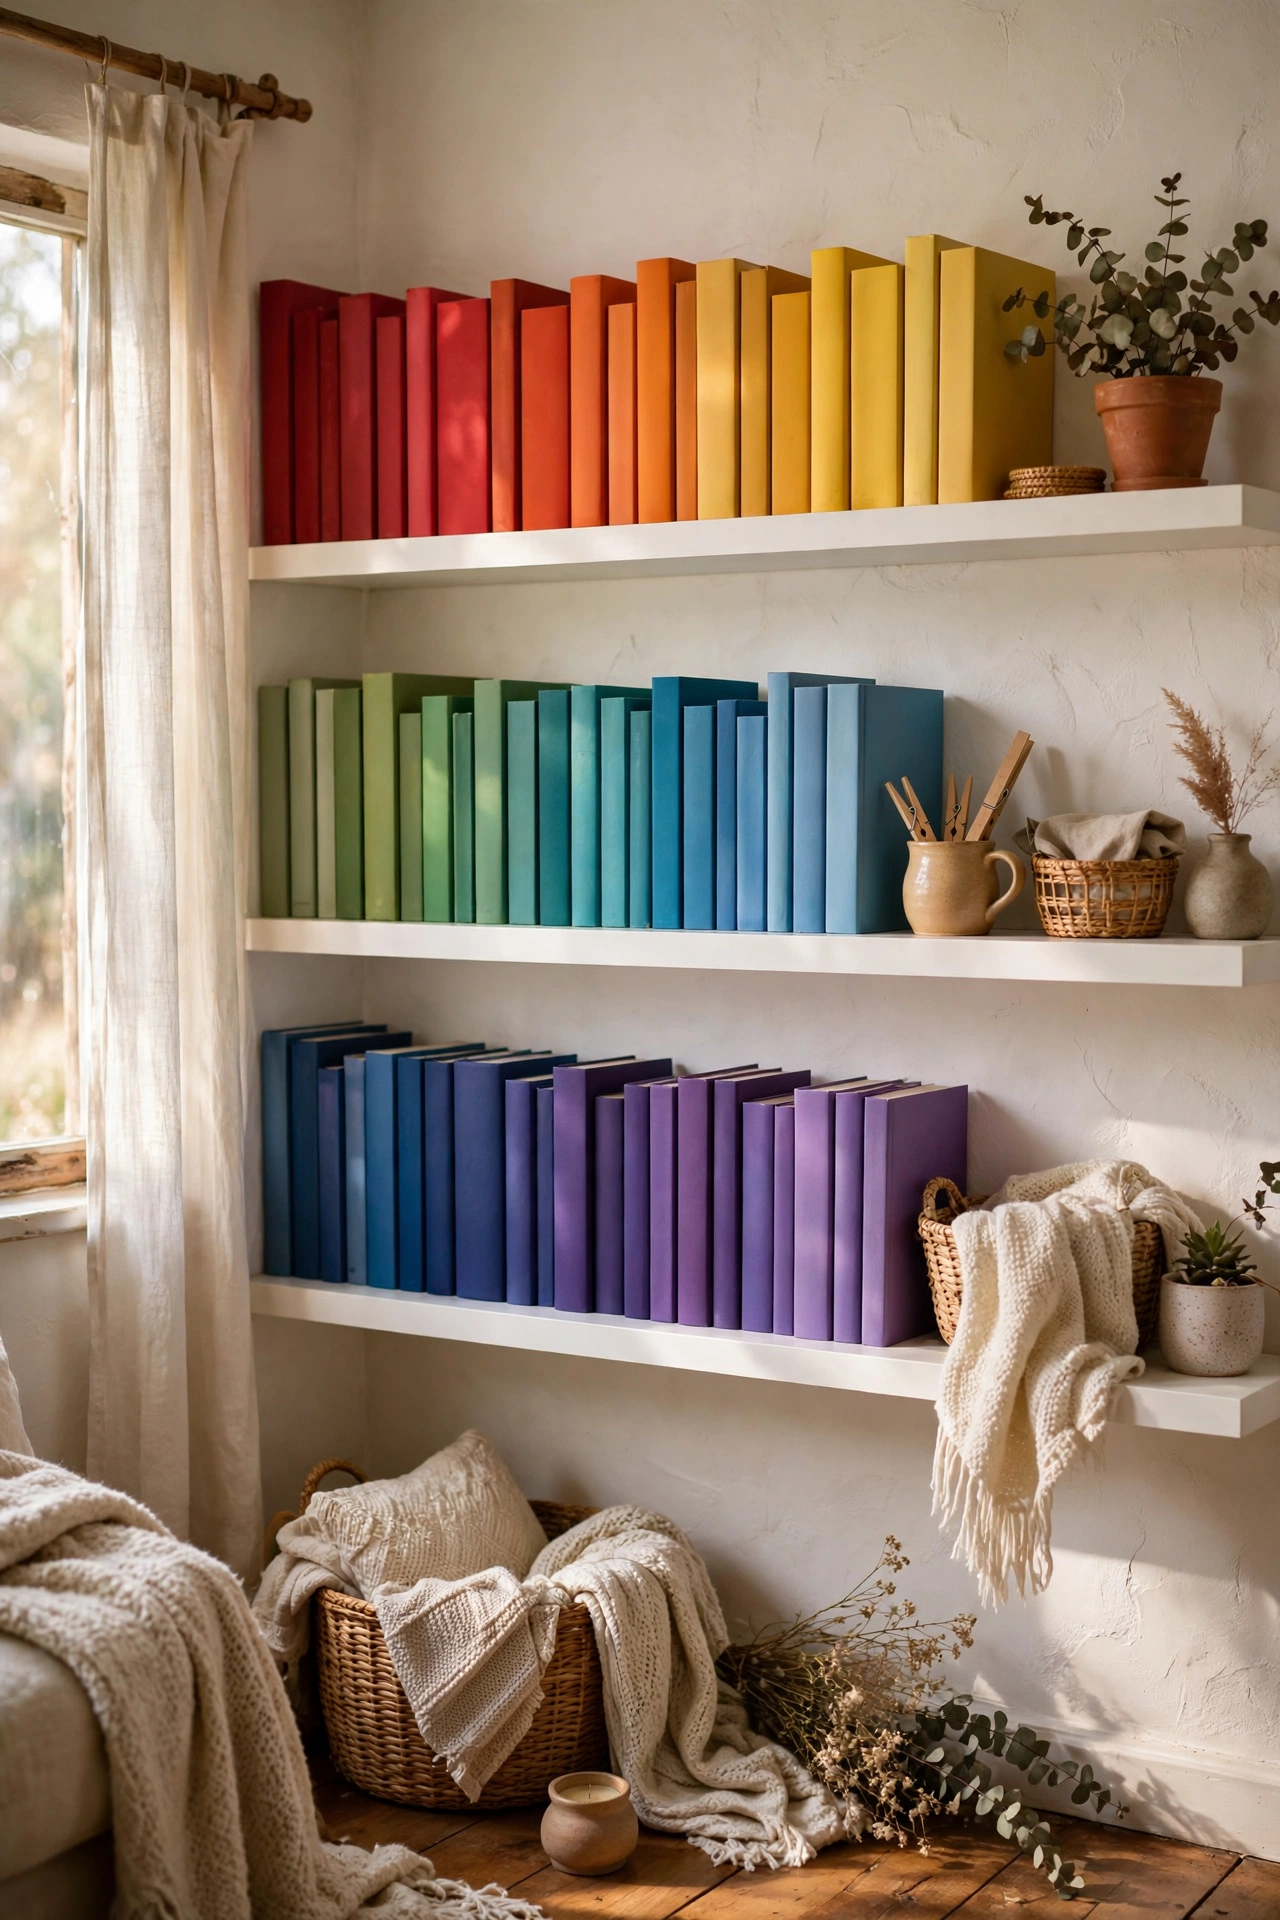
Books arranged spine-out in rainbow order on floating shelves make a gallery wall of pure colour. I did this in my daughter’s room with three ledges, and it is the happiest wall in the house. You need enough books for the gradient to read, so raid every room. The shelves cost $9 each and the books were already ours. It doubles as storage, which is the best kind of decor.
Cost: ~$20-30 | Time: 2 hours
7. Oversized Colour-Block Canvases
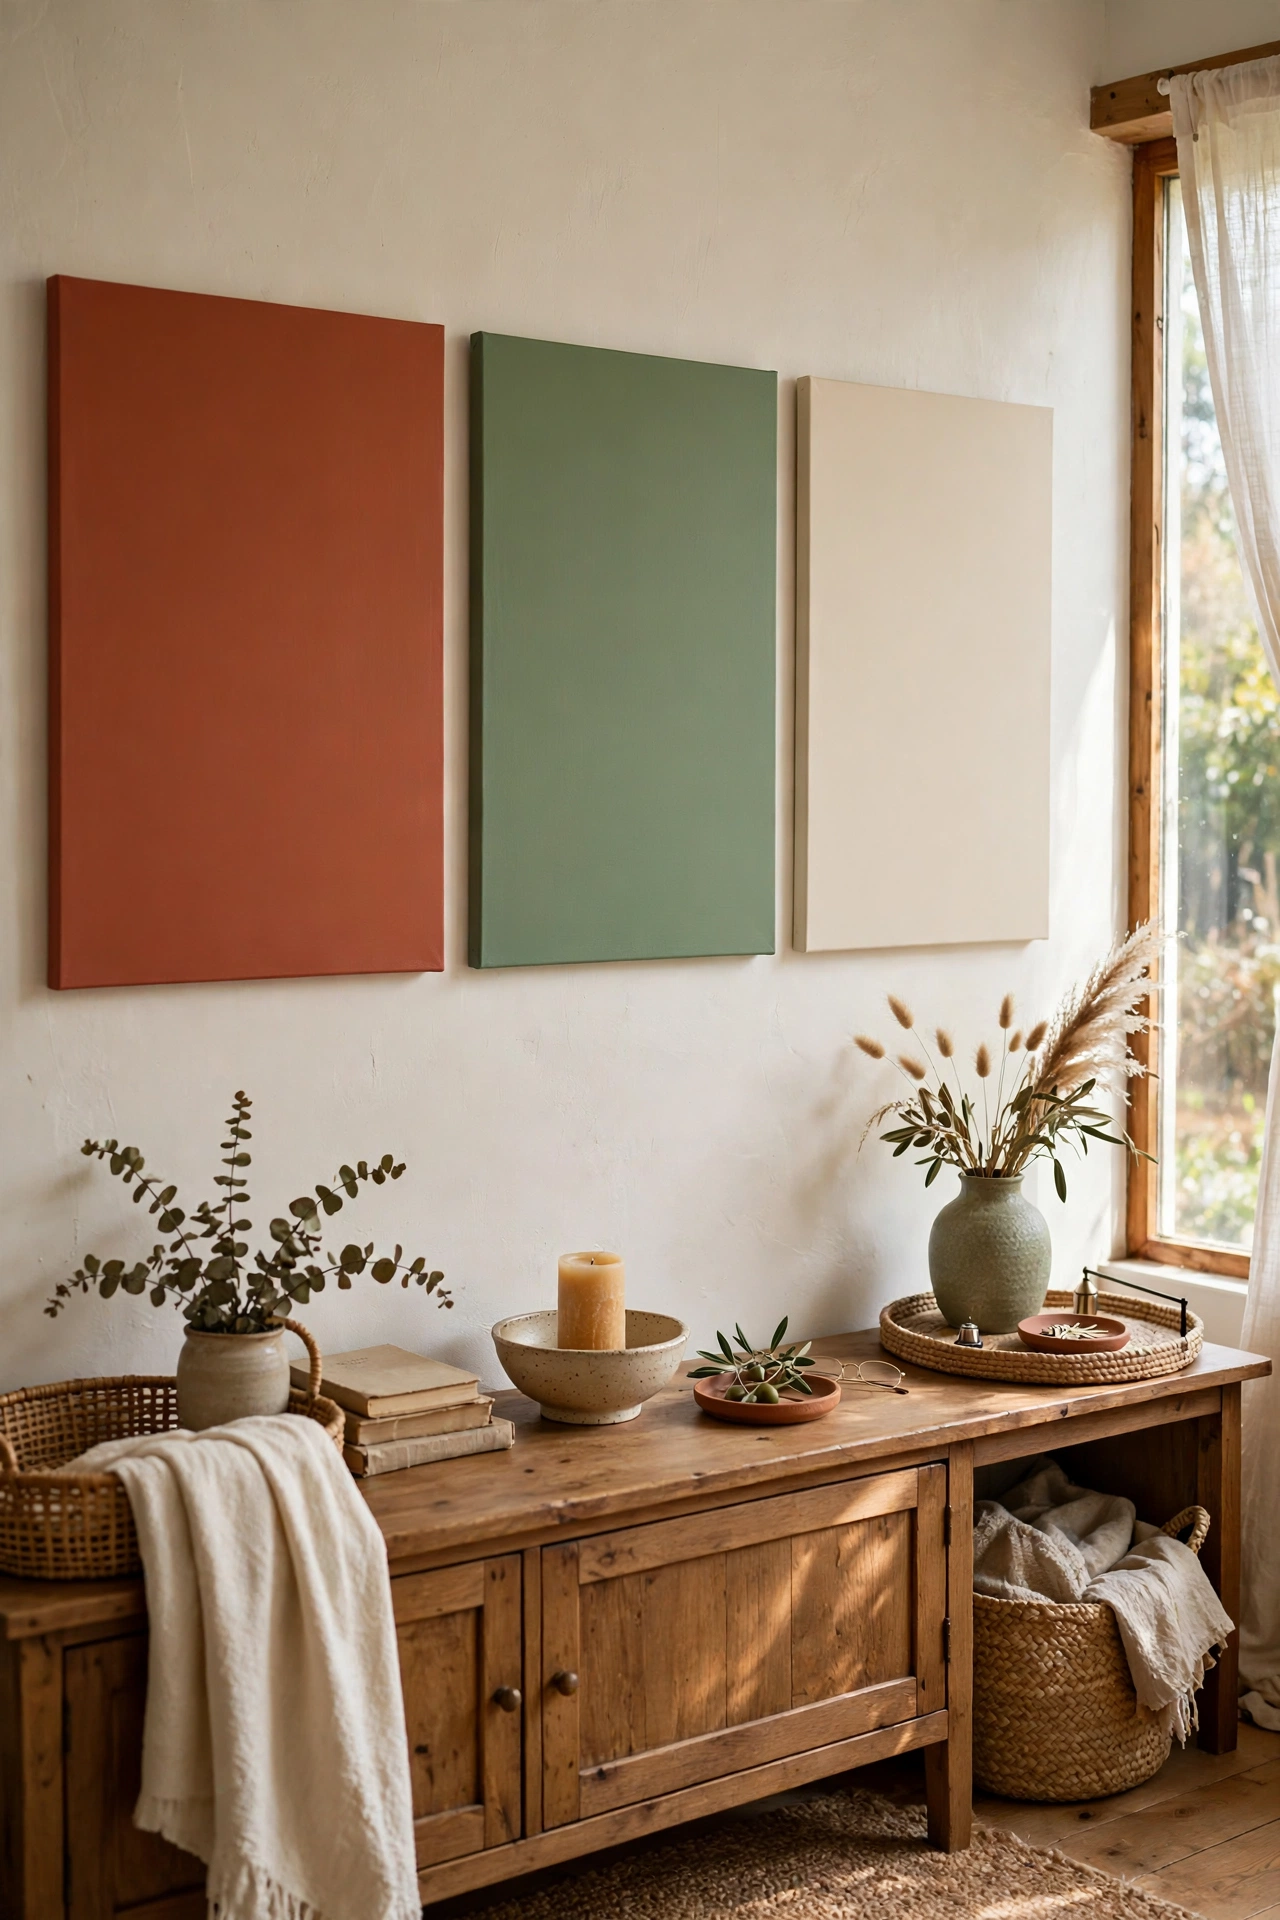
Three large canvases painted in solid blocks of your room’s accent colours make modern art for the price of the canvases. I painted mine in terracotta, sage, and cream with $3 craft paint, and they look like something from a gallery shop. Use painter’s tape for crisp edges and two coats for full coverage. Mine hang over the sideboard and tie the whole room’s palette together. Abstract colour is forgiving, so do not overthink it.
Cost: ~$15-25 | Time: 2 hours
8. Kids’ Art in Colour Order
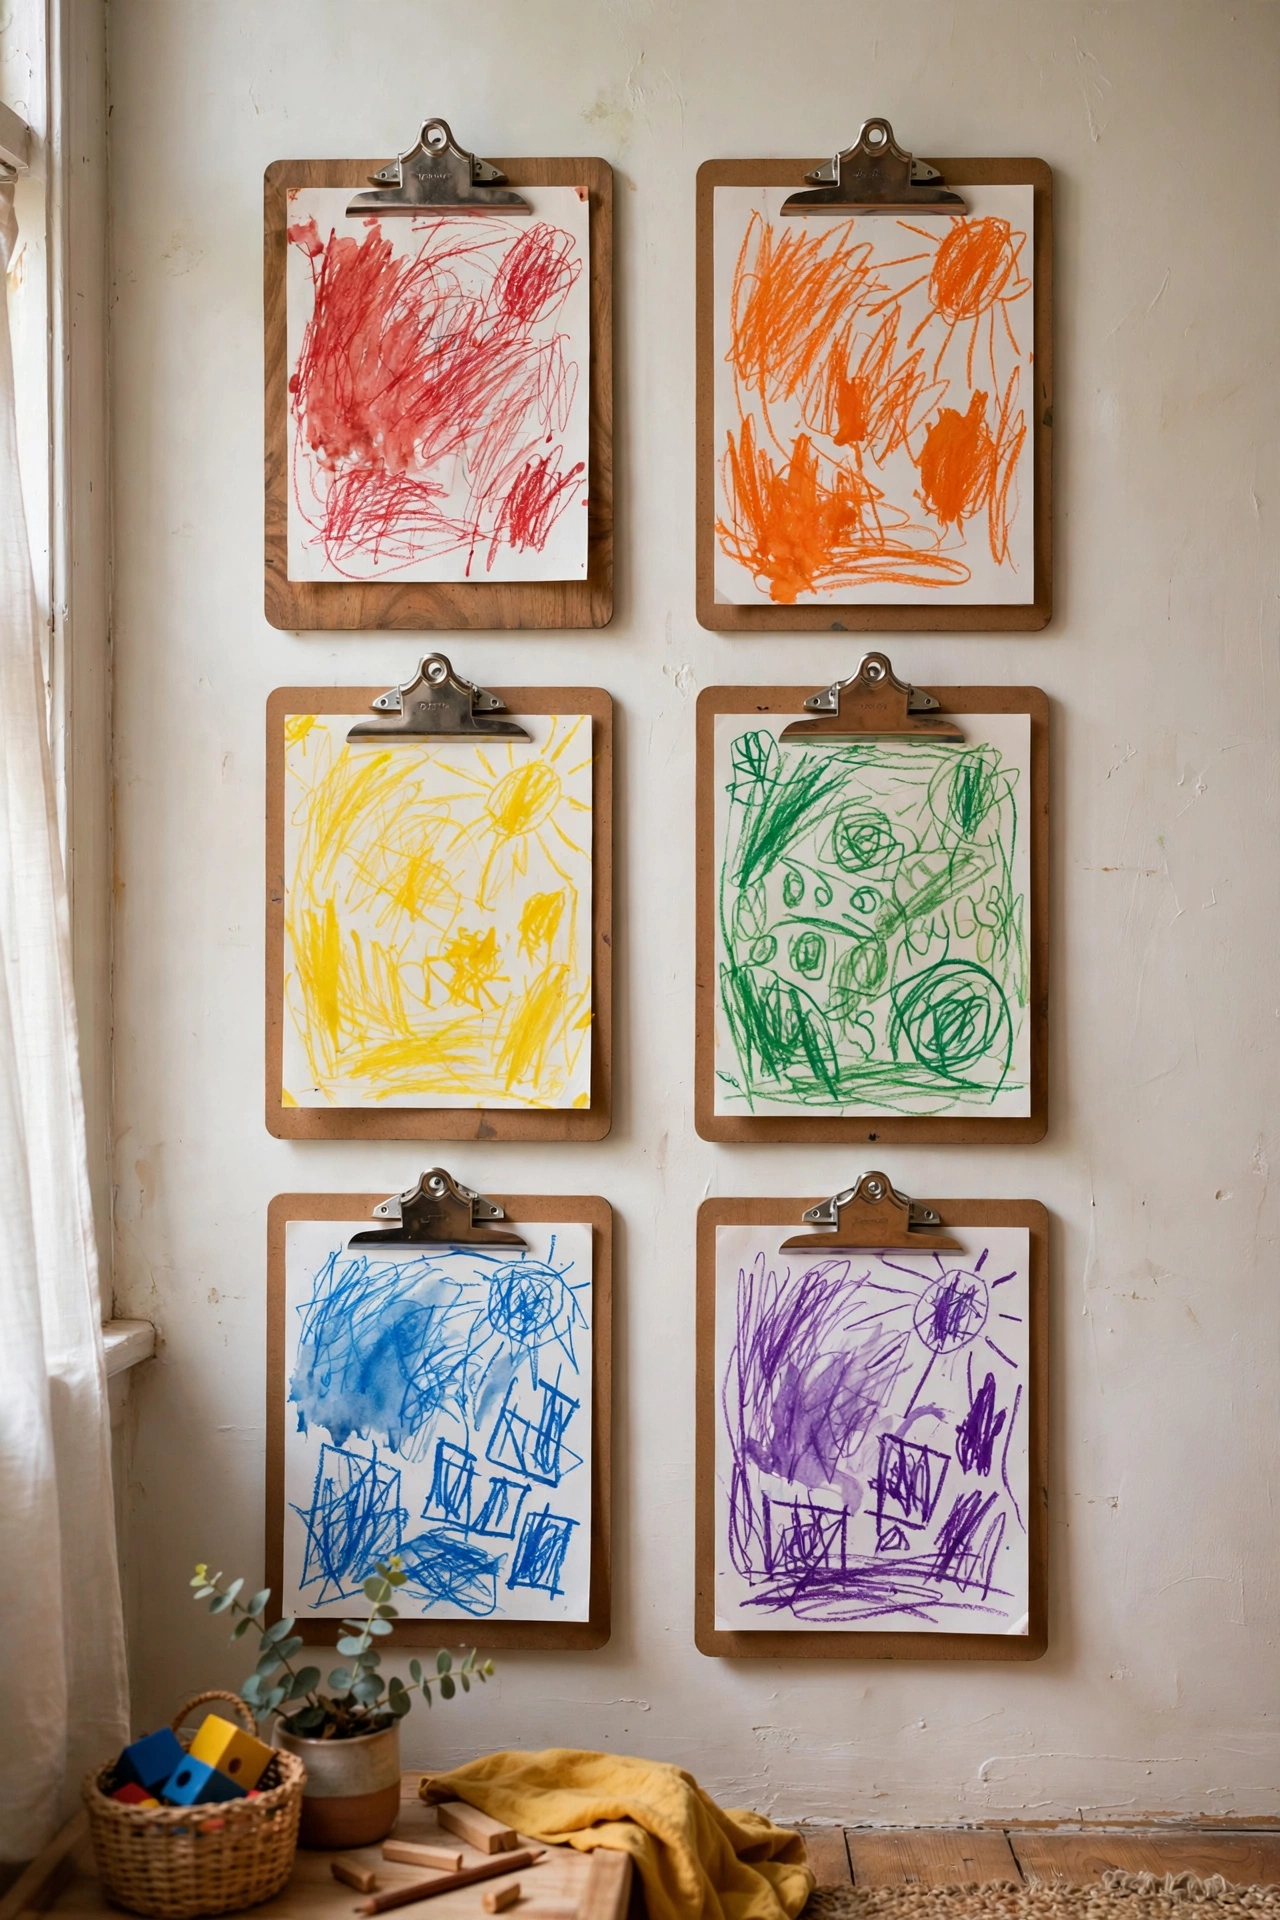
My daughter’s paintings arranged in colour order across the playroom wall look like a real exhibition. I used clipboards instead of frames, which cost $1 each and let me swap the art in seconds. The clipboards themselves become part of the look. Rotate the display monthly, because the artist produces constantly. It is the most joyful wall in our house and it cost $8.
Cost: ~$6-10 | Time: 45 minutes
9. Fabric Swatch Grid
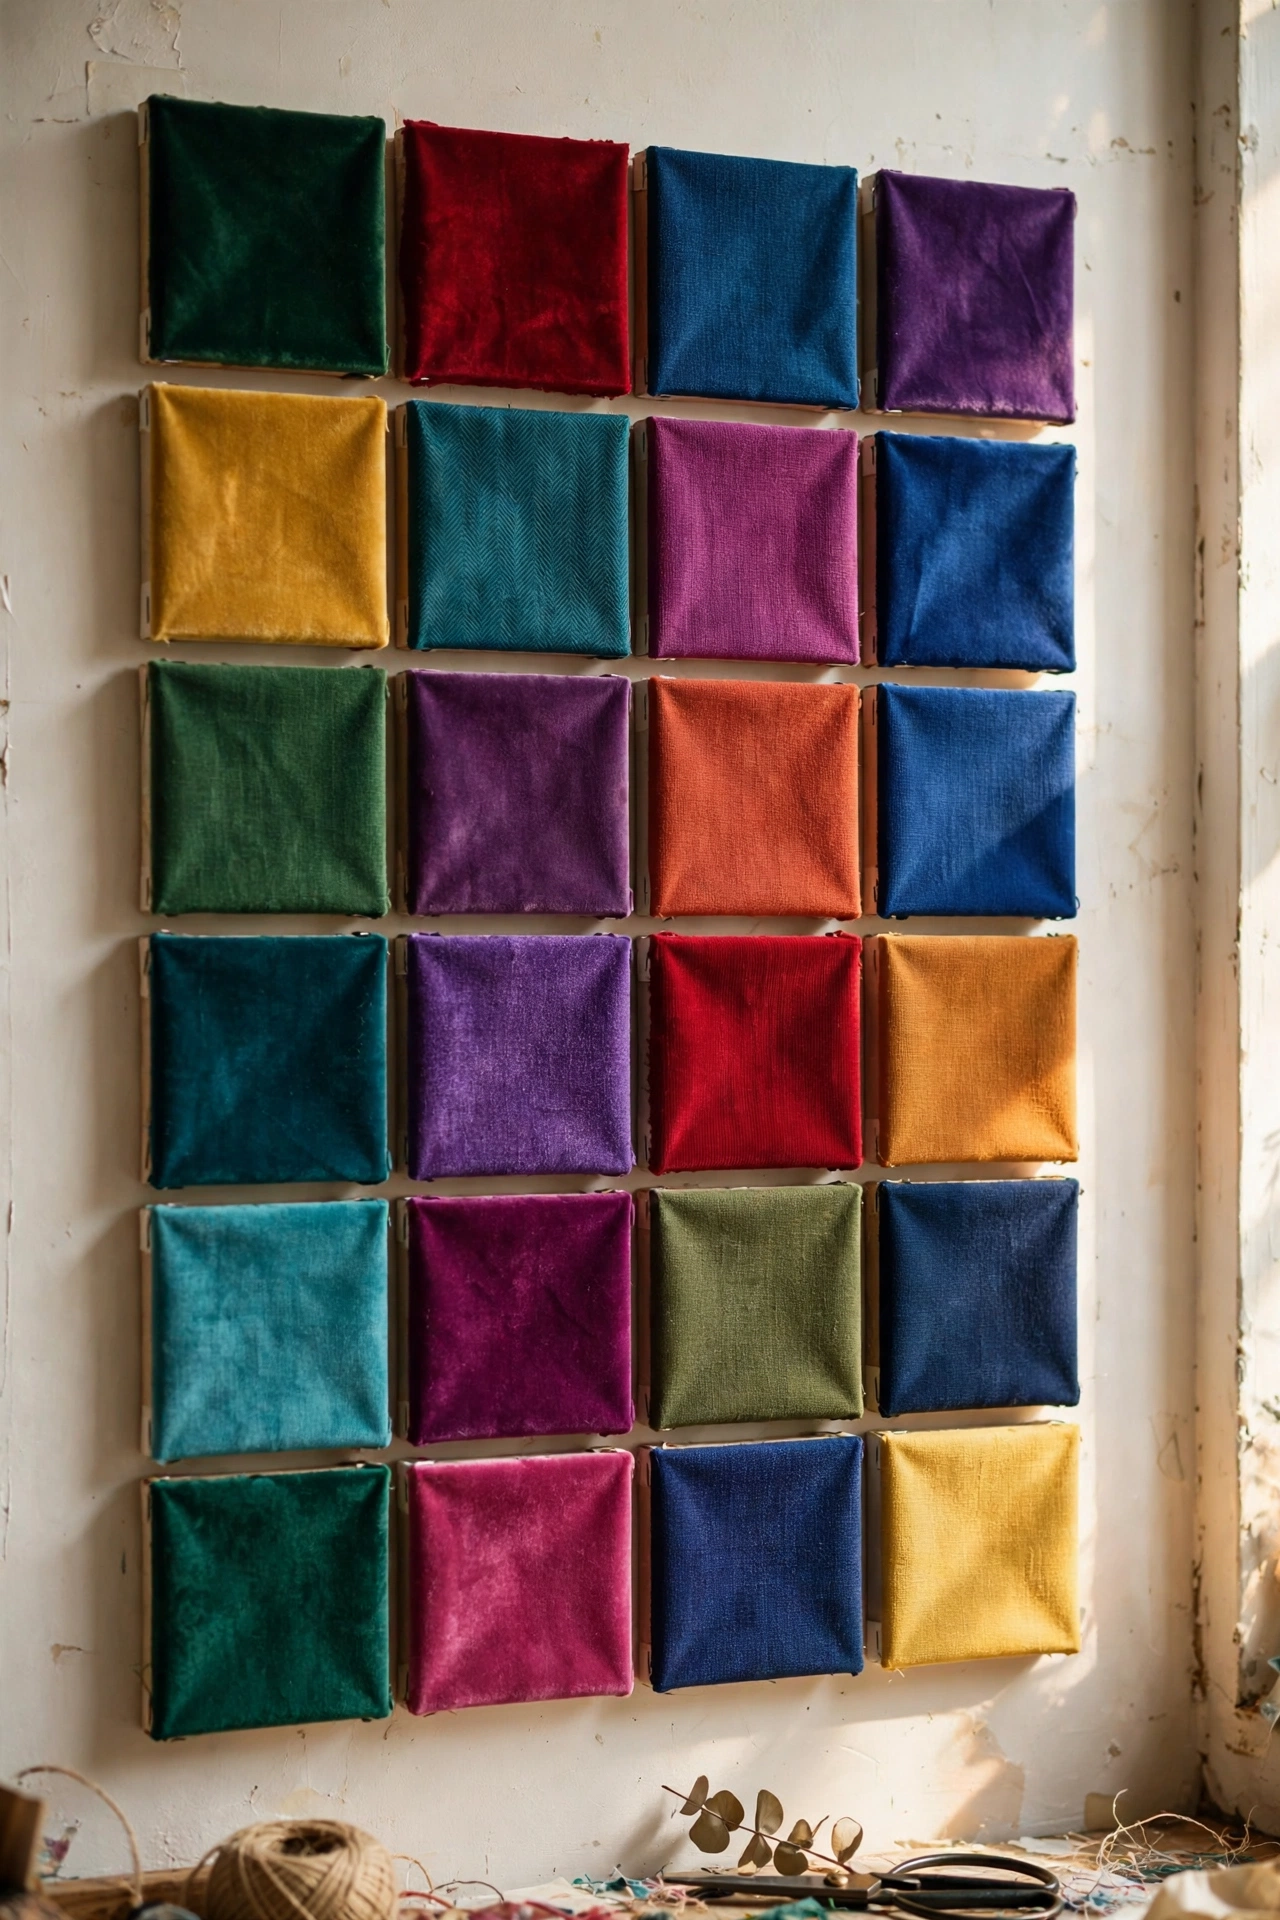
Bold fabric swatches in a grid bring pattern and colour without a single frame of art. I stretched twelve fabric remnants over small canvas boards in jewel tones and hung them in a tight grid. The texture of fabric reads richer than paper prints. Pull each piece drum-tight and staple on the back. Mine cost $10 and look like textile art from a market abroad.
Cost: ~$8-14 | Time: 1.5 hours
10. The Neon Sign Accent
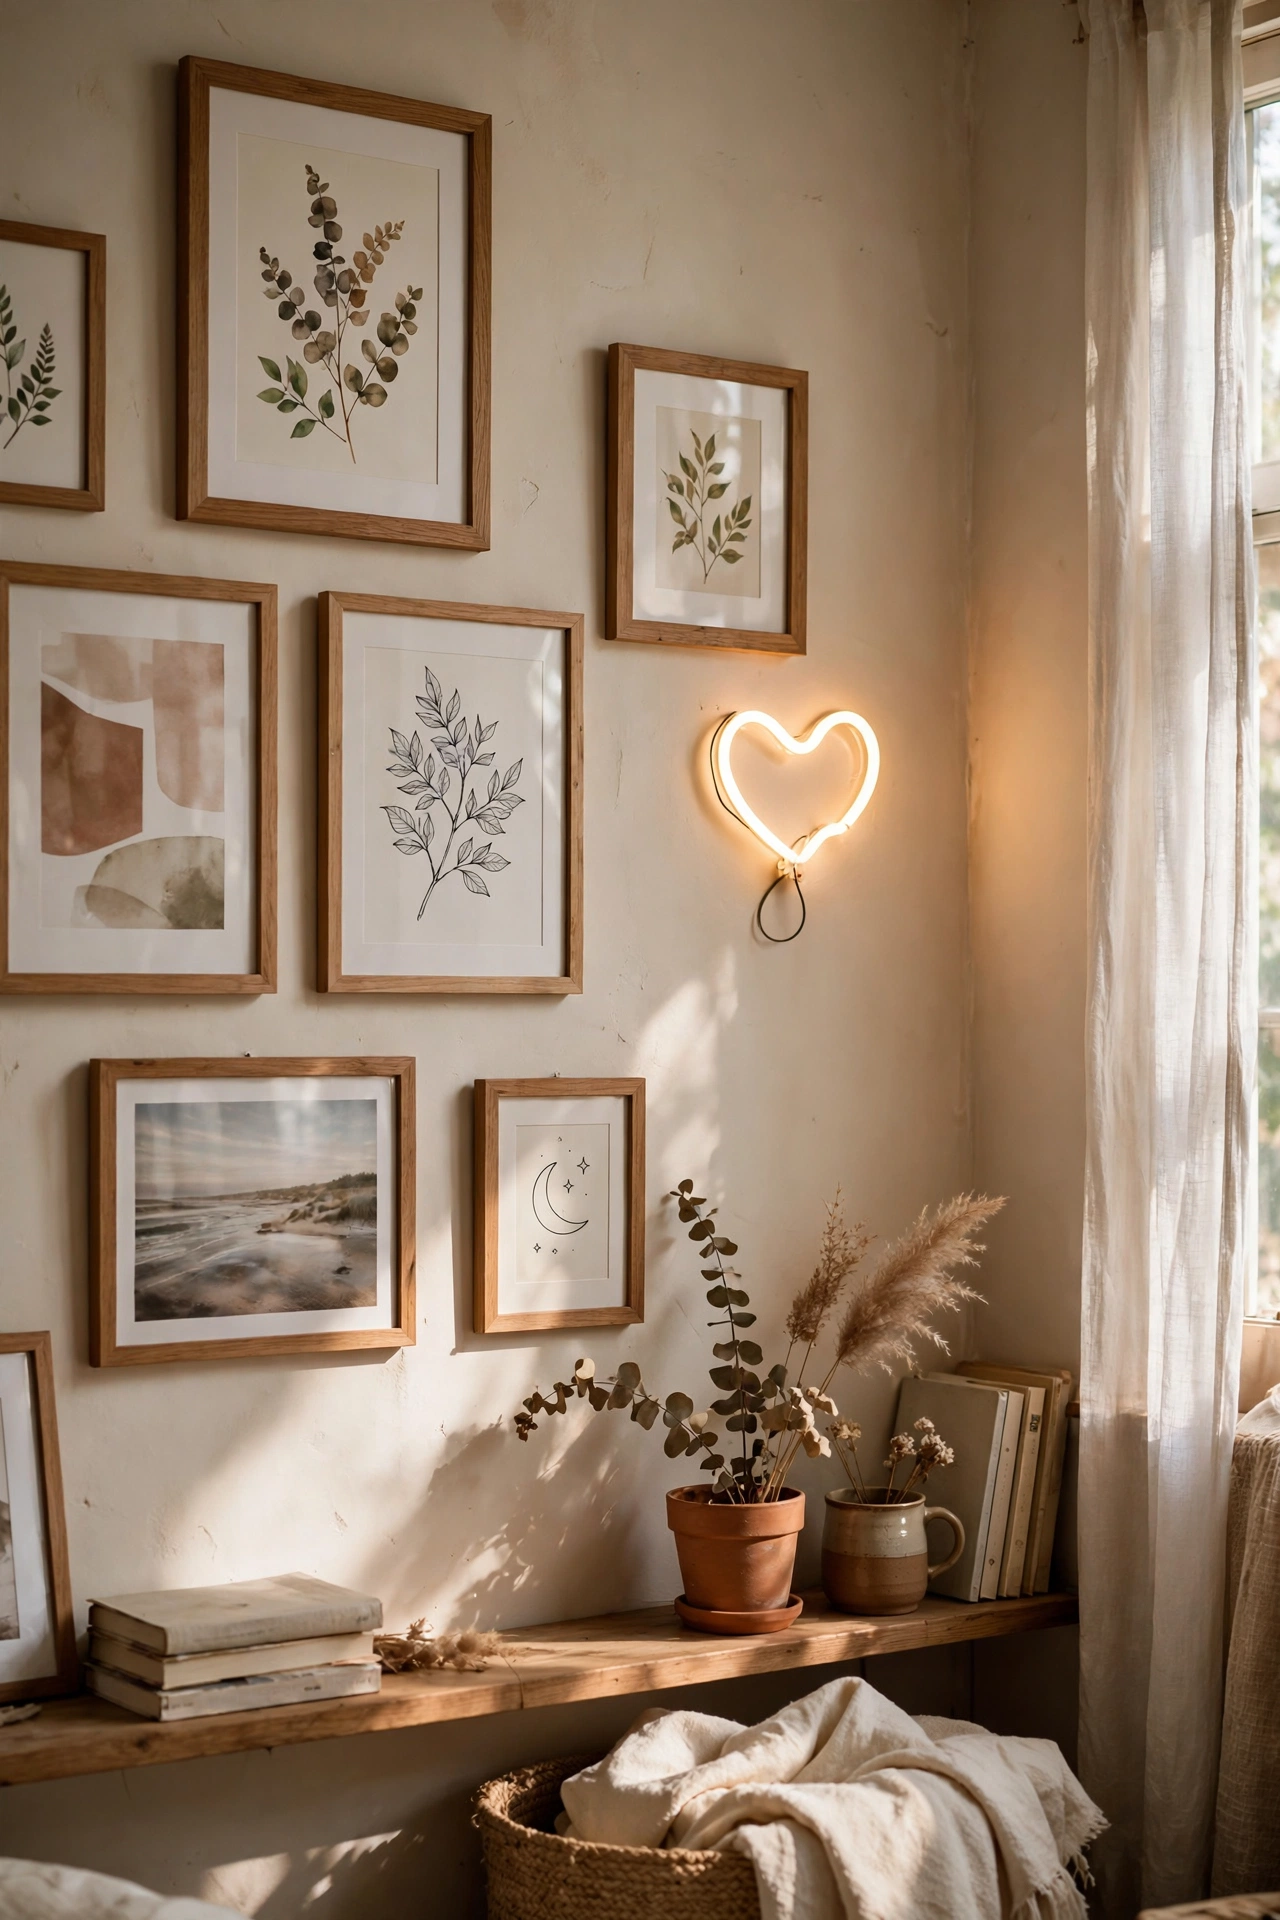
One small LED neon-style sign among framed prints gives a gallery wall a modern focal point. I added a $12 warm-white script sign to my bedroom wall, and it anchors the whole arrangement. Keep it small and warm-toned, because big coloured neon overwhelms a home wall. Mine says nothing profound, just a word I like, and it makes me smile. It plugs into a nearby outlet with a nearly invisible cord.
Cost: ~$12-18 | Time: 1 hour
Renter-Friendly Gallery Walls
11. The Ledge Gallery
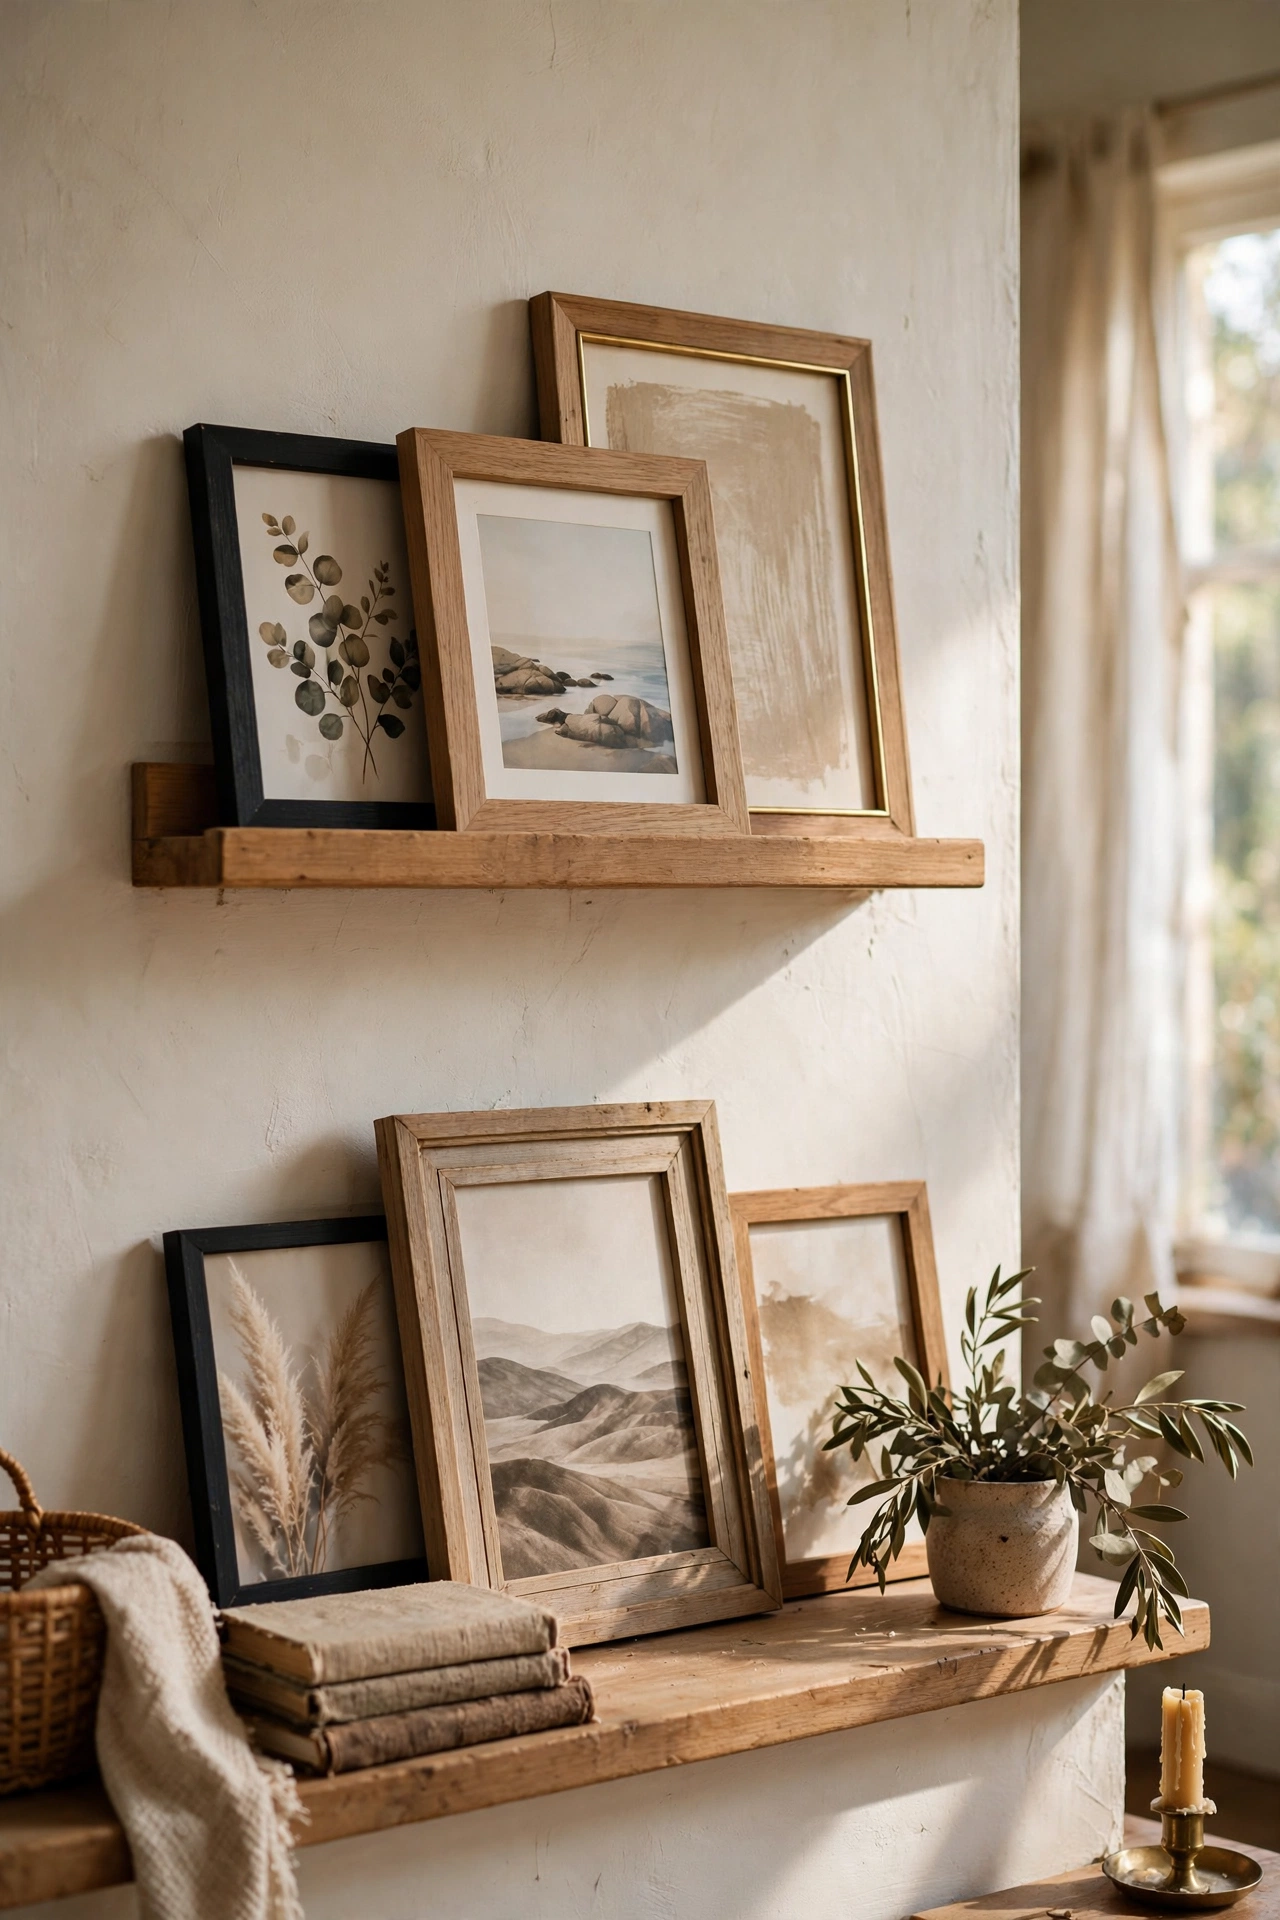
Picture ledges hold a layered gallery with zero wall damage beyond the ledge mounts. I mounted two ledges with heavy-duty adhesive strips and layered frames at different depths. The layering looks more relaxed than a hung grid, and I rearrange it whenever I feel like it. Front pieces overlap back pieces, which hides the smaller frames’ edges. Mine changes with the seasons and has never marked the wall.
Cost: ~$18-28 | Time: 1 hour
12. Washi Tape Frame Borders
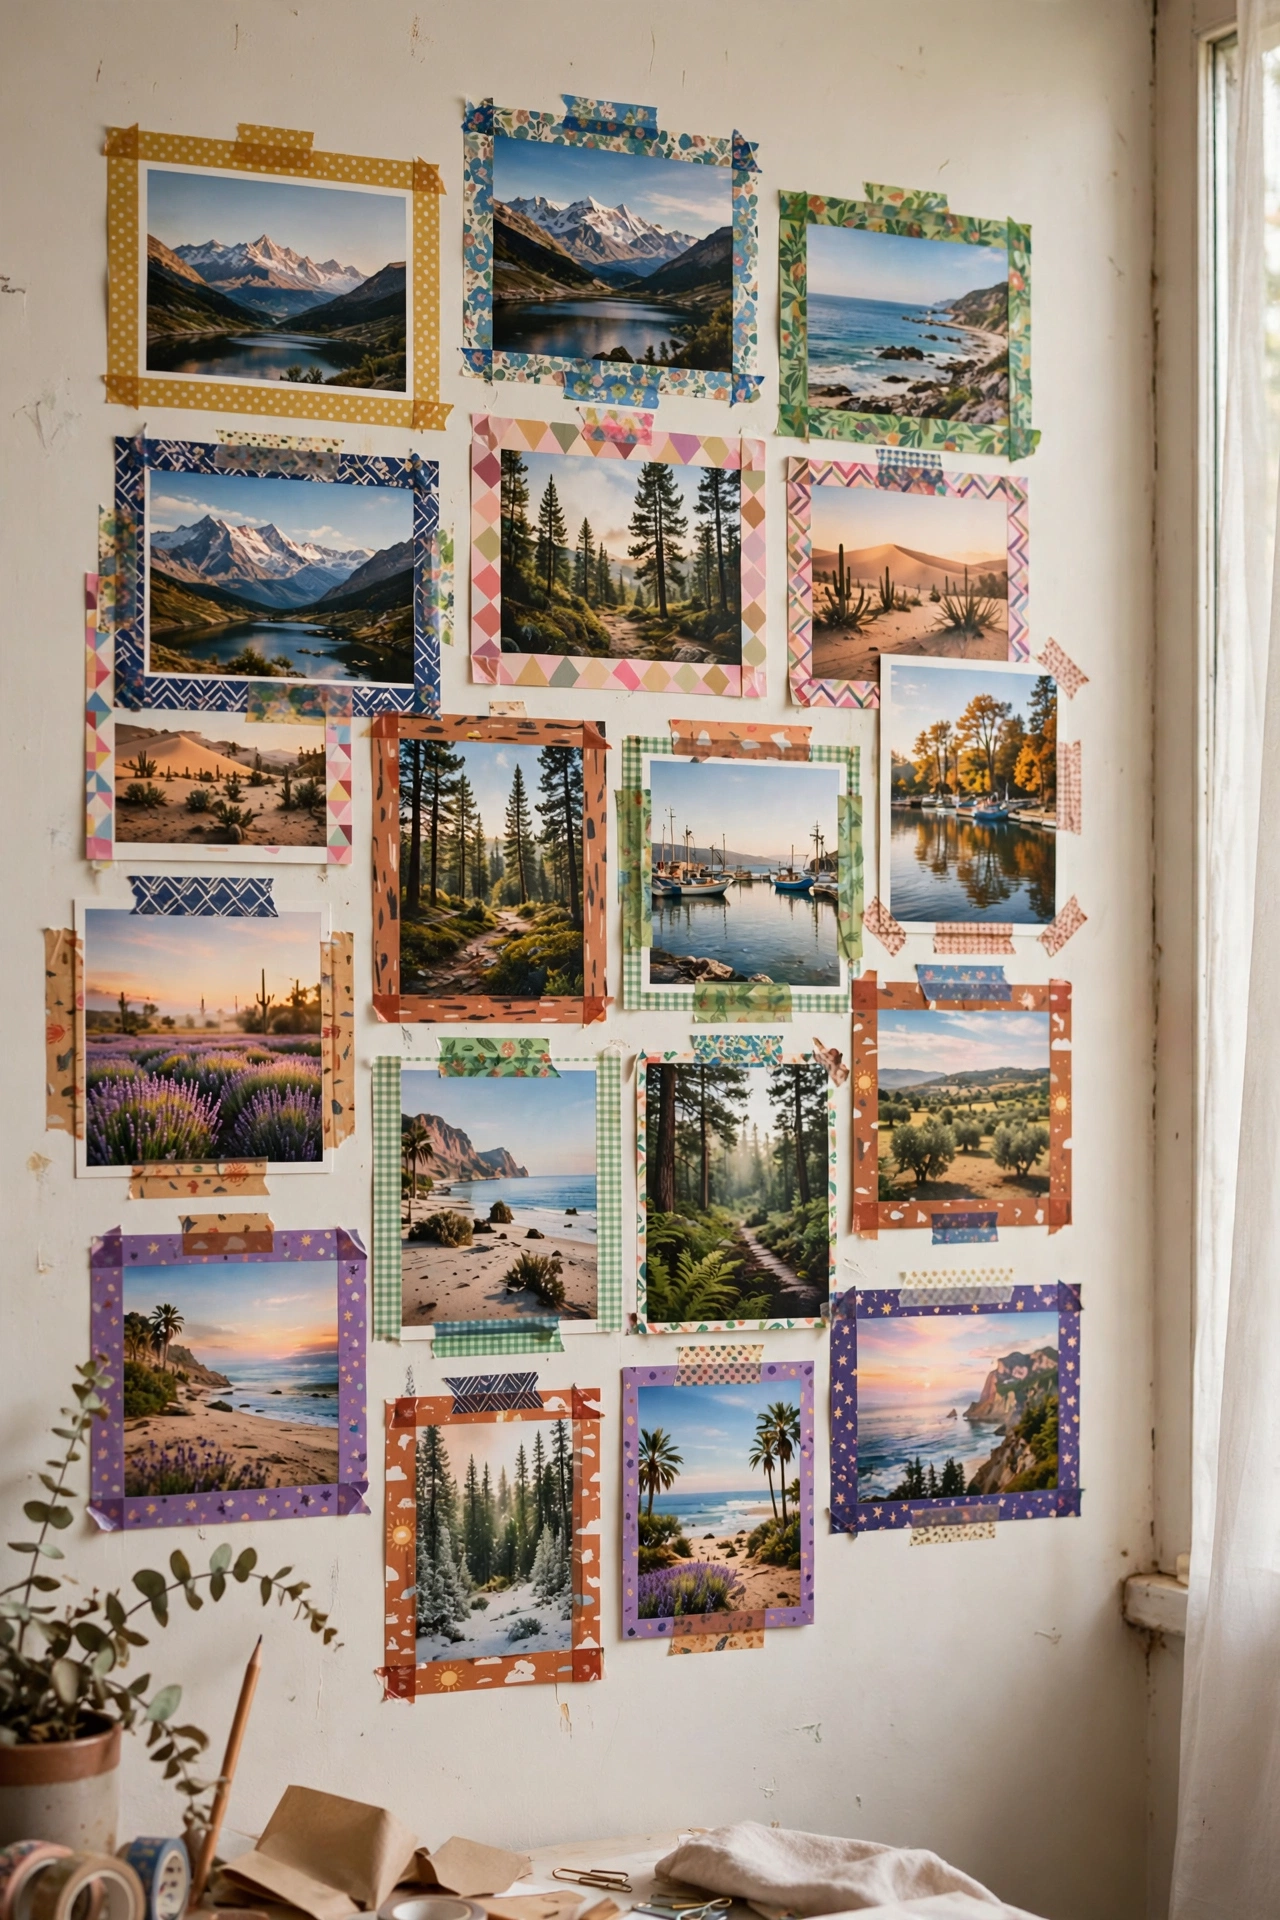
Washi tape borders turn unframed prints into finished pieces. I taped twelve postcards to my office wall with patterned tape borders, and the tape becomes the frame. It peels off cleanly whenever I want a change. Keep the tape pattern consistent across the wall for a designed look. Mine cost $7 total and took an hour. It is the fastest gallery wall on this list.
Cost: ~$5-10 | Time: 1 hour
13. The Clip String Gallery
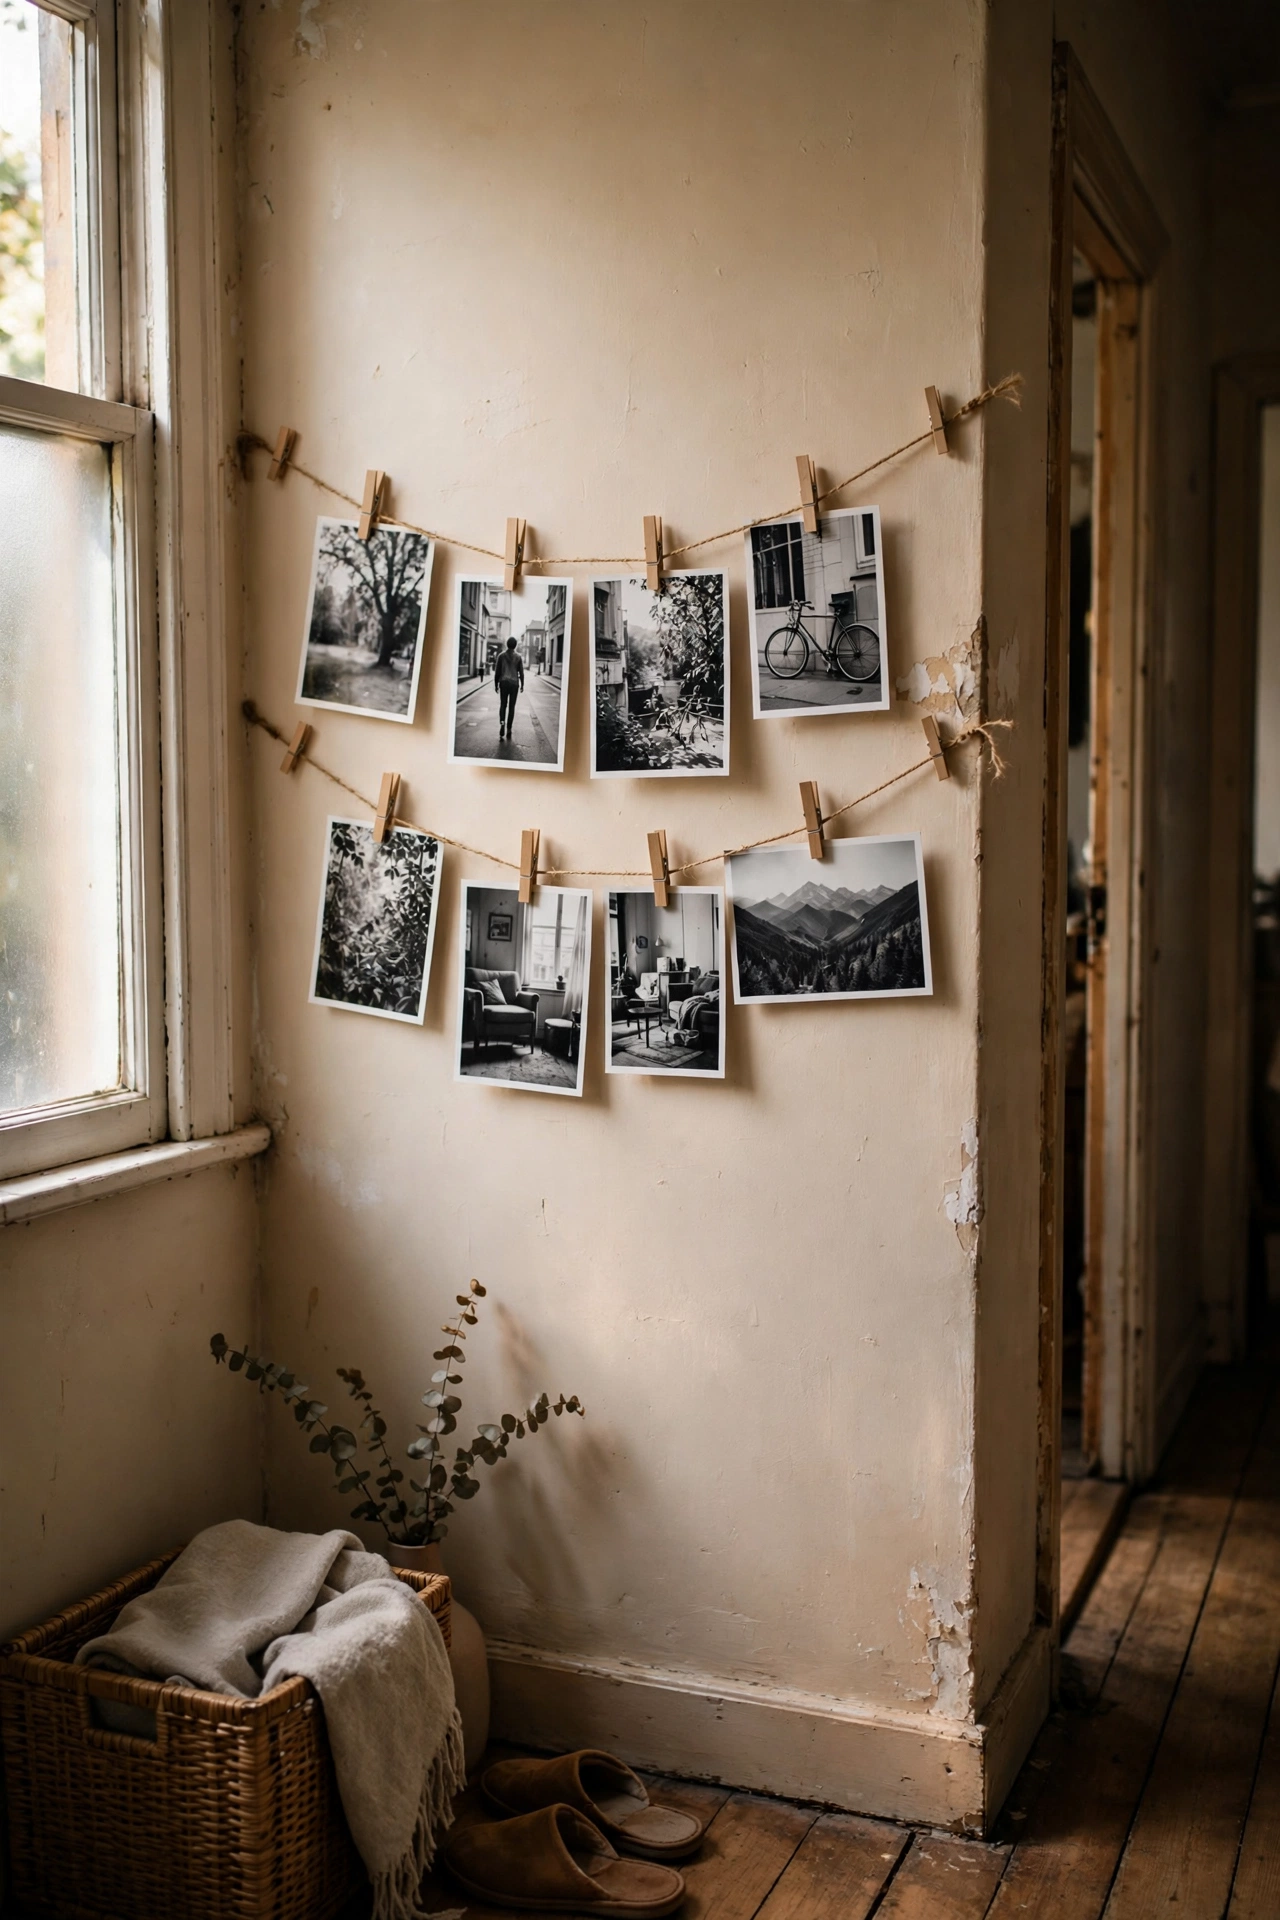
Twine strung between two nails holds photos clipped along its length in a casual, changeable display. I ran three strands across my hallway wall and clipped prints with tiny wooden pegs. New photos go up in seconds and old ones come down just as fast. Print in black and white for cohesion. Mine holds our year in photos and cost $6. It is the gallery wall for people who hate commitment.
Cost: ~$4-8 | Time: 30 minutes
14. Leaning Frame Layers
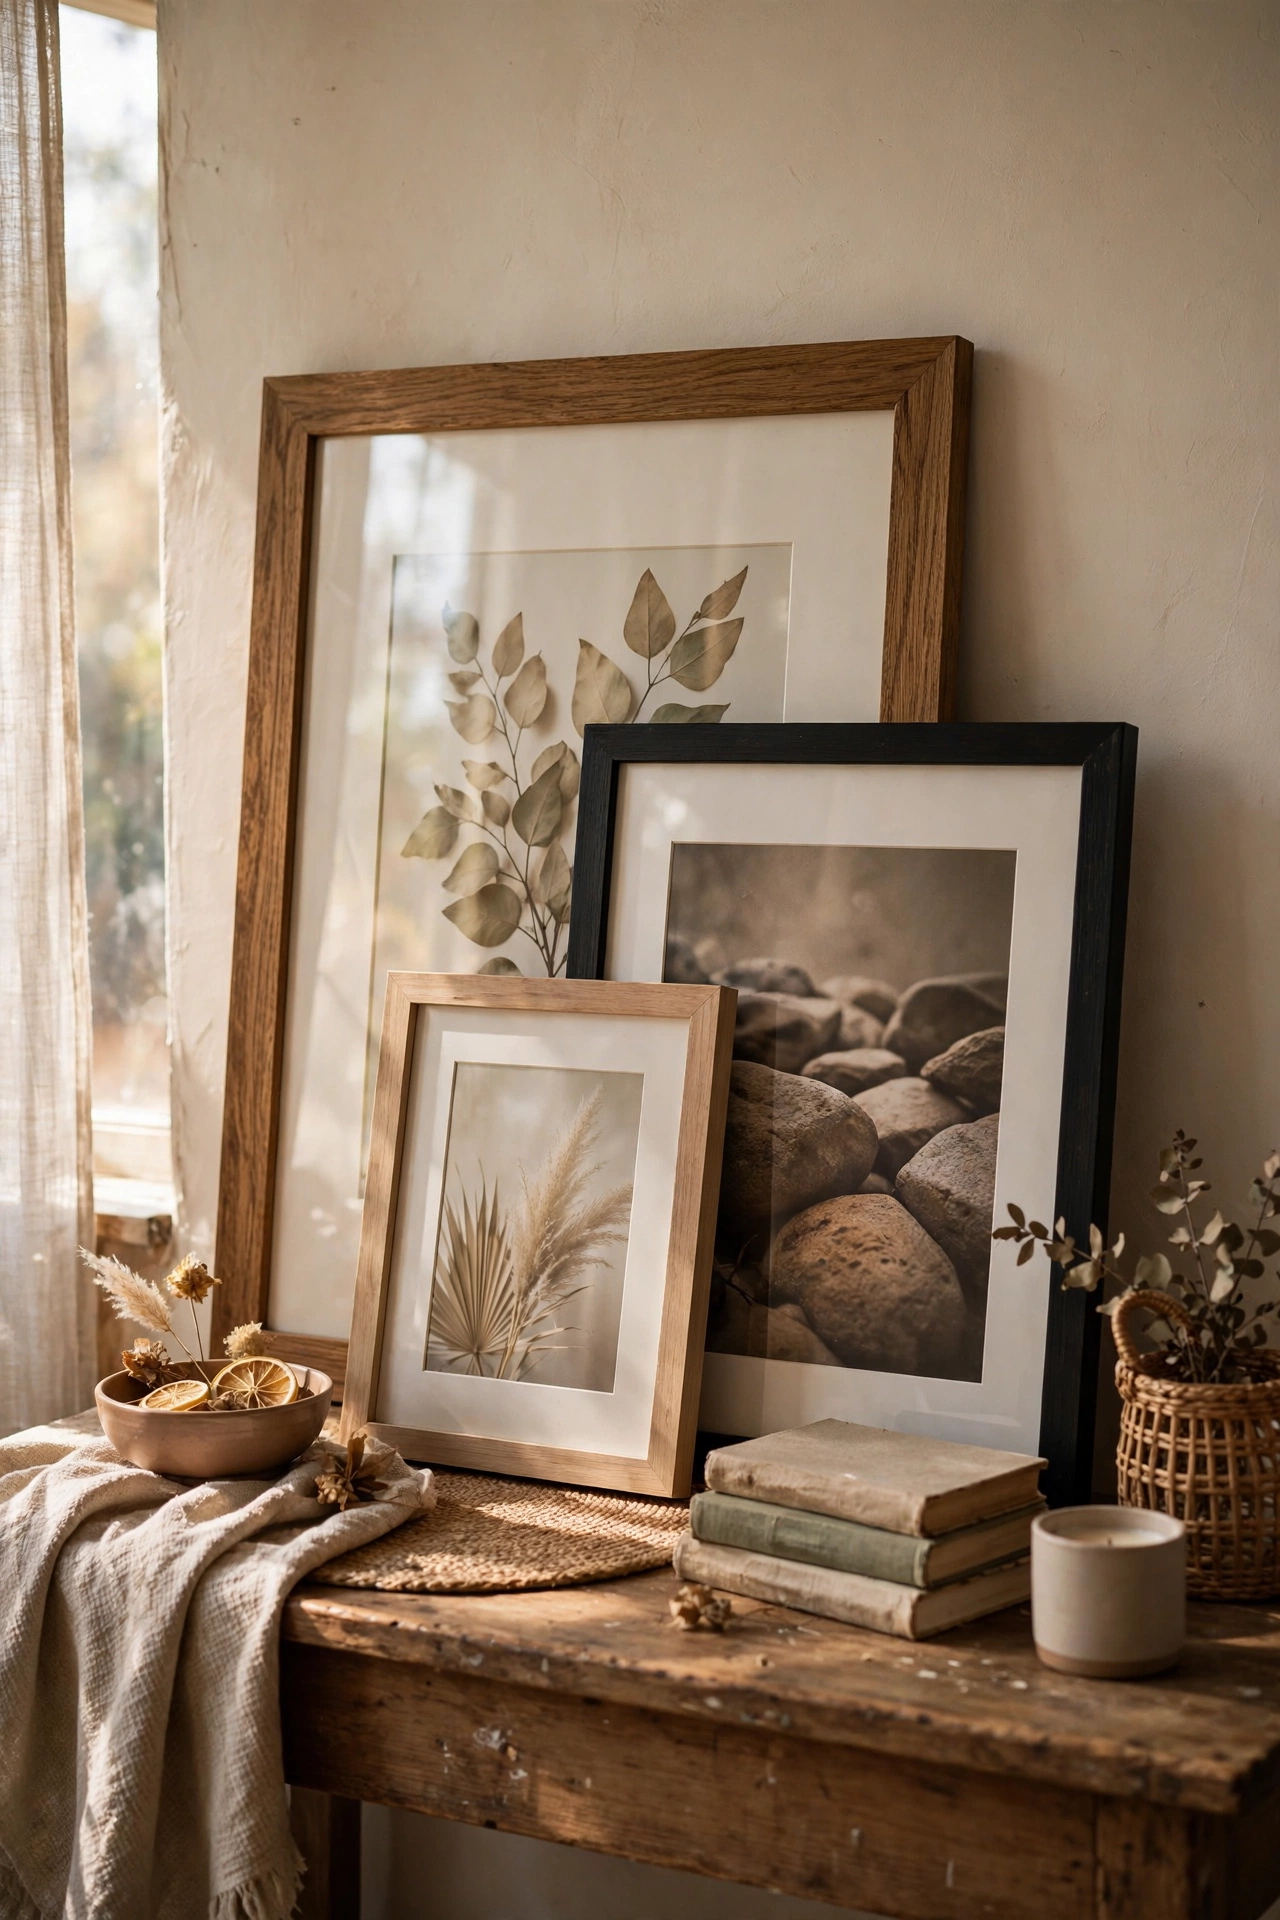
Large frames leaned against the wall on a console table need no nails at all. I layered three big frames on my sideboard, largest at the back, and the wall above stays bare. The layering looks intentional and styled. Overlap the frames so they read as one composition. Mine get dusted when I dust the table, which is the only maintenance. Zero holes, full impact.
Cost: ~$10-20 | Time: 15 minutes
Small-Space Gallery Walls
15. The Staircase Climb
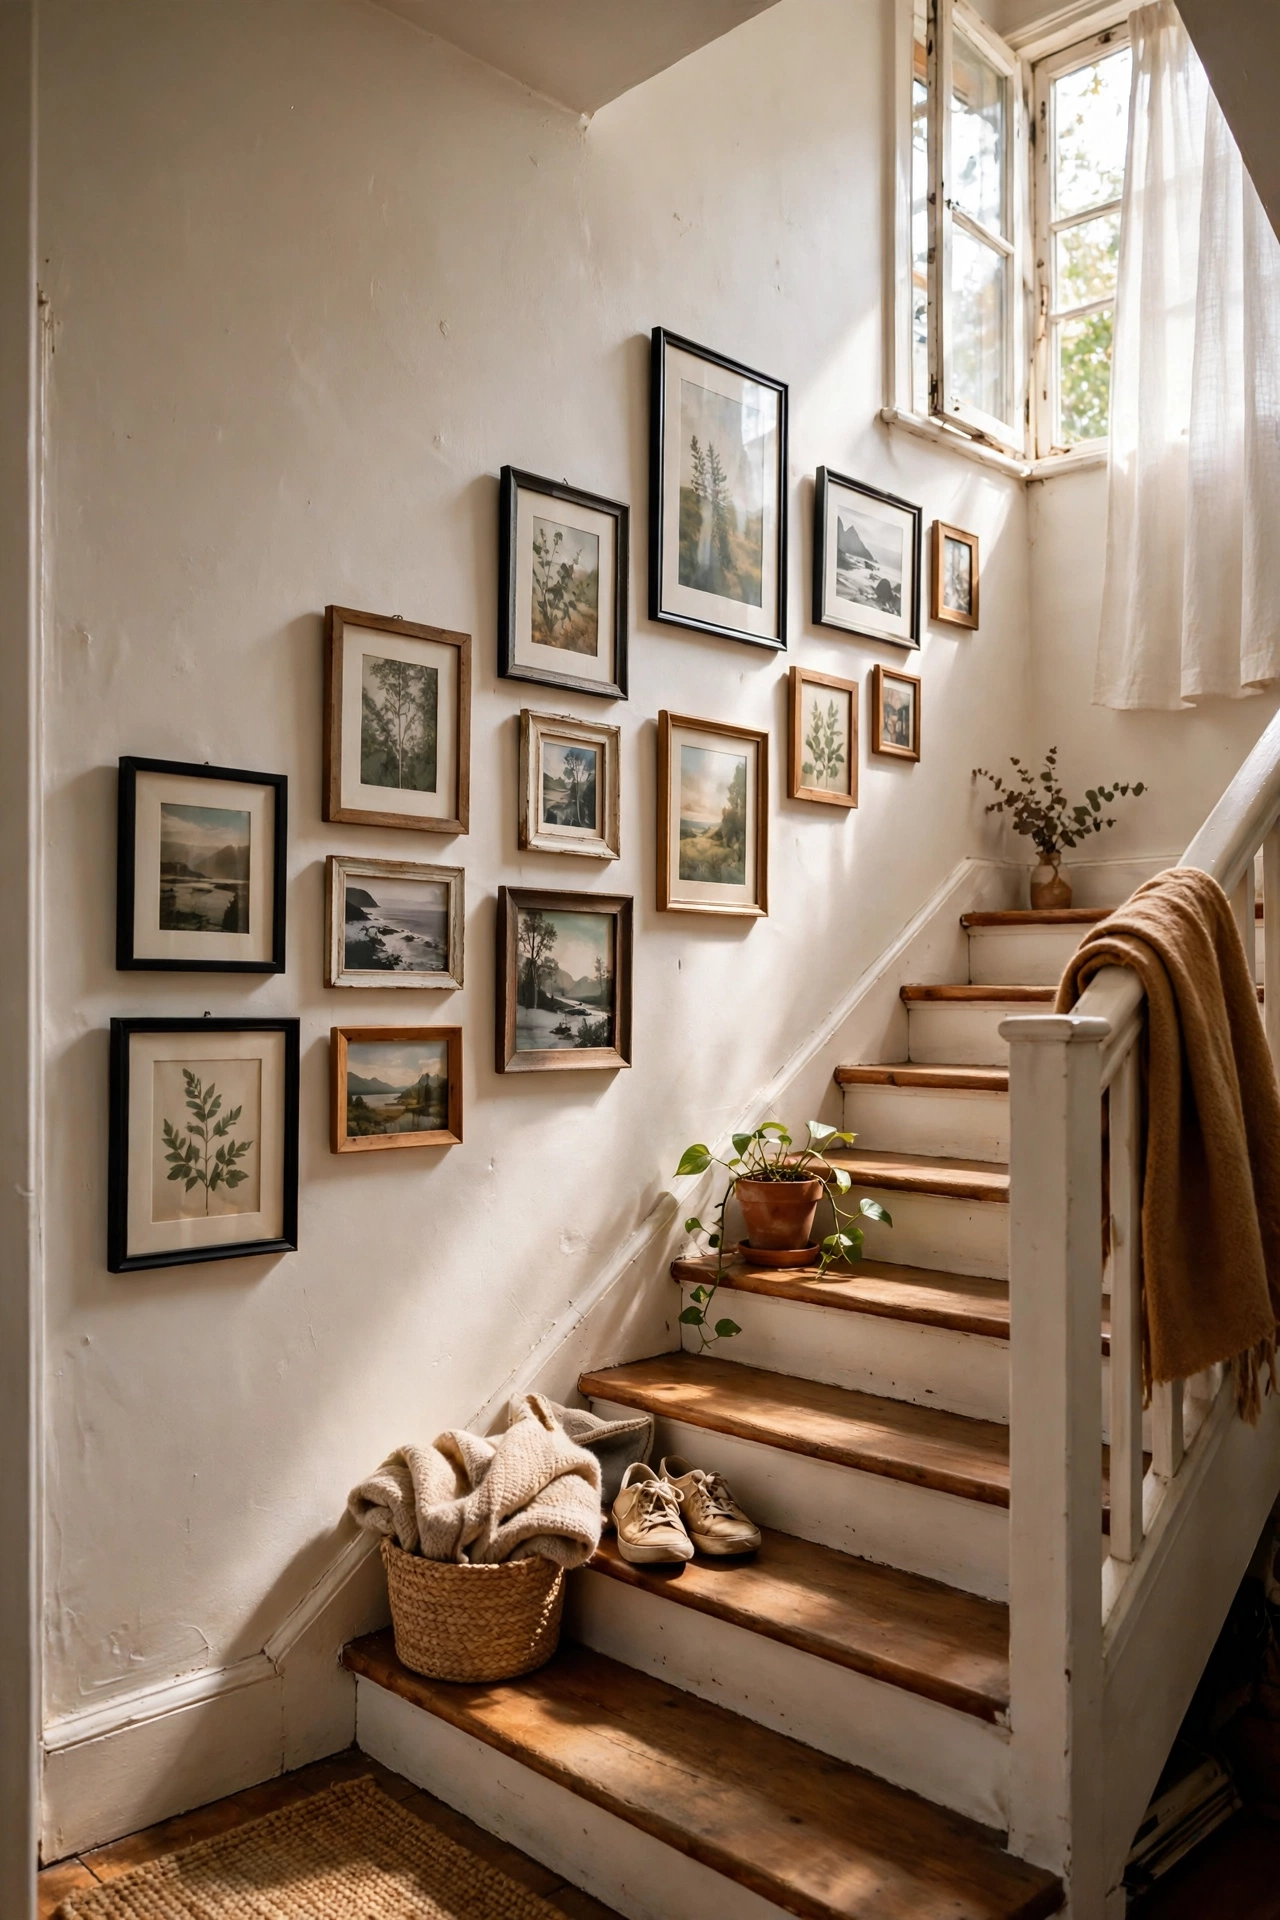
Staircase walls are gallery space most people ignore. I hung frames following the stair angle, keeping the centre of each frame about 60 inches from its step. The rising line draws the eye up and makes the stairwell feel grand. Use paper templates taped to the wall first, because the angle makes measuring tricky. Mine holds fourteen frames and turned a dark stairwell into my favourite walk in the house.
Cost: ~$15-25 | Time: 3 hours
16. The Narrow Hallway Row
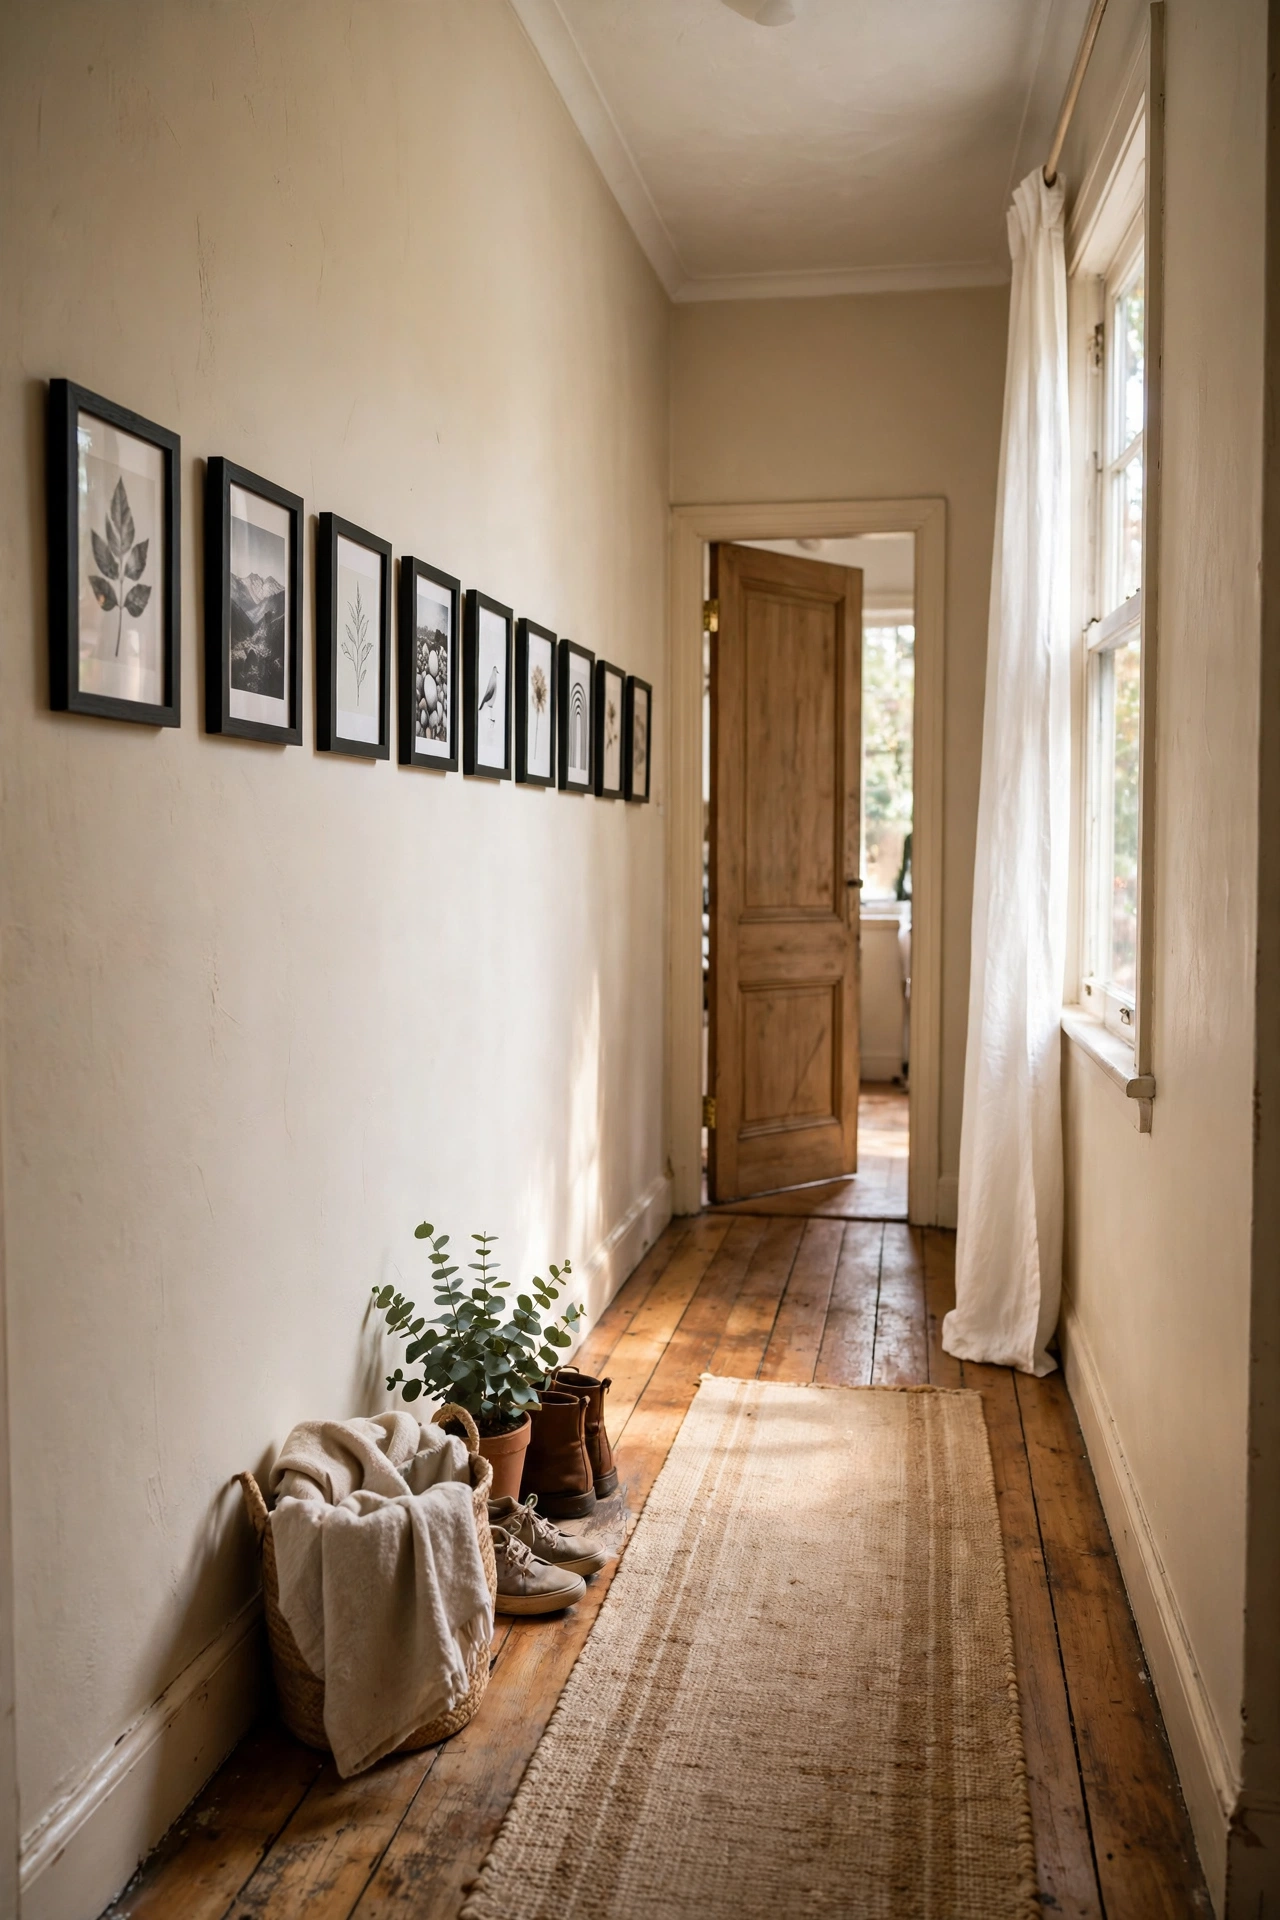
A single horizontal row of small frames suits narrow hallways where a big arrangement would overwhelm. I hung eight 5×7 frames in one straight line at eye level down my corridor. The line pulls you through the space and makes it feel longer. A laser level is worth borrowing for this, because a wavy line ruins the effect. Mine cost $12 in frames and transformed the most boring walk in the house.
Cost: ~$10-16 | Time: 1.5 hours
17. The Bathroom Mini Gallery
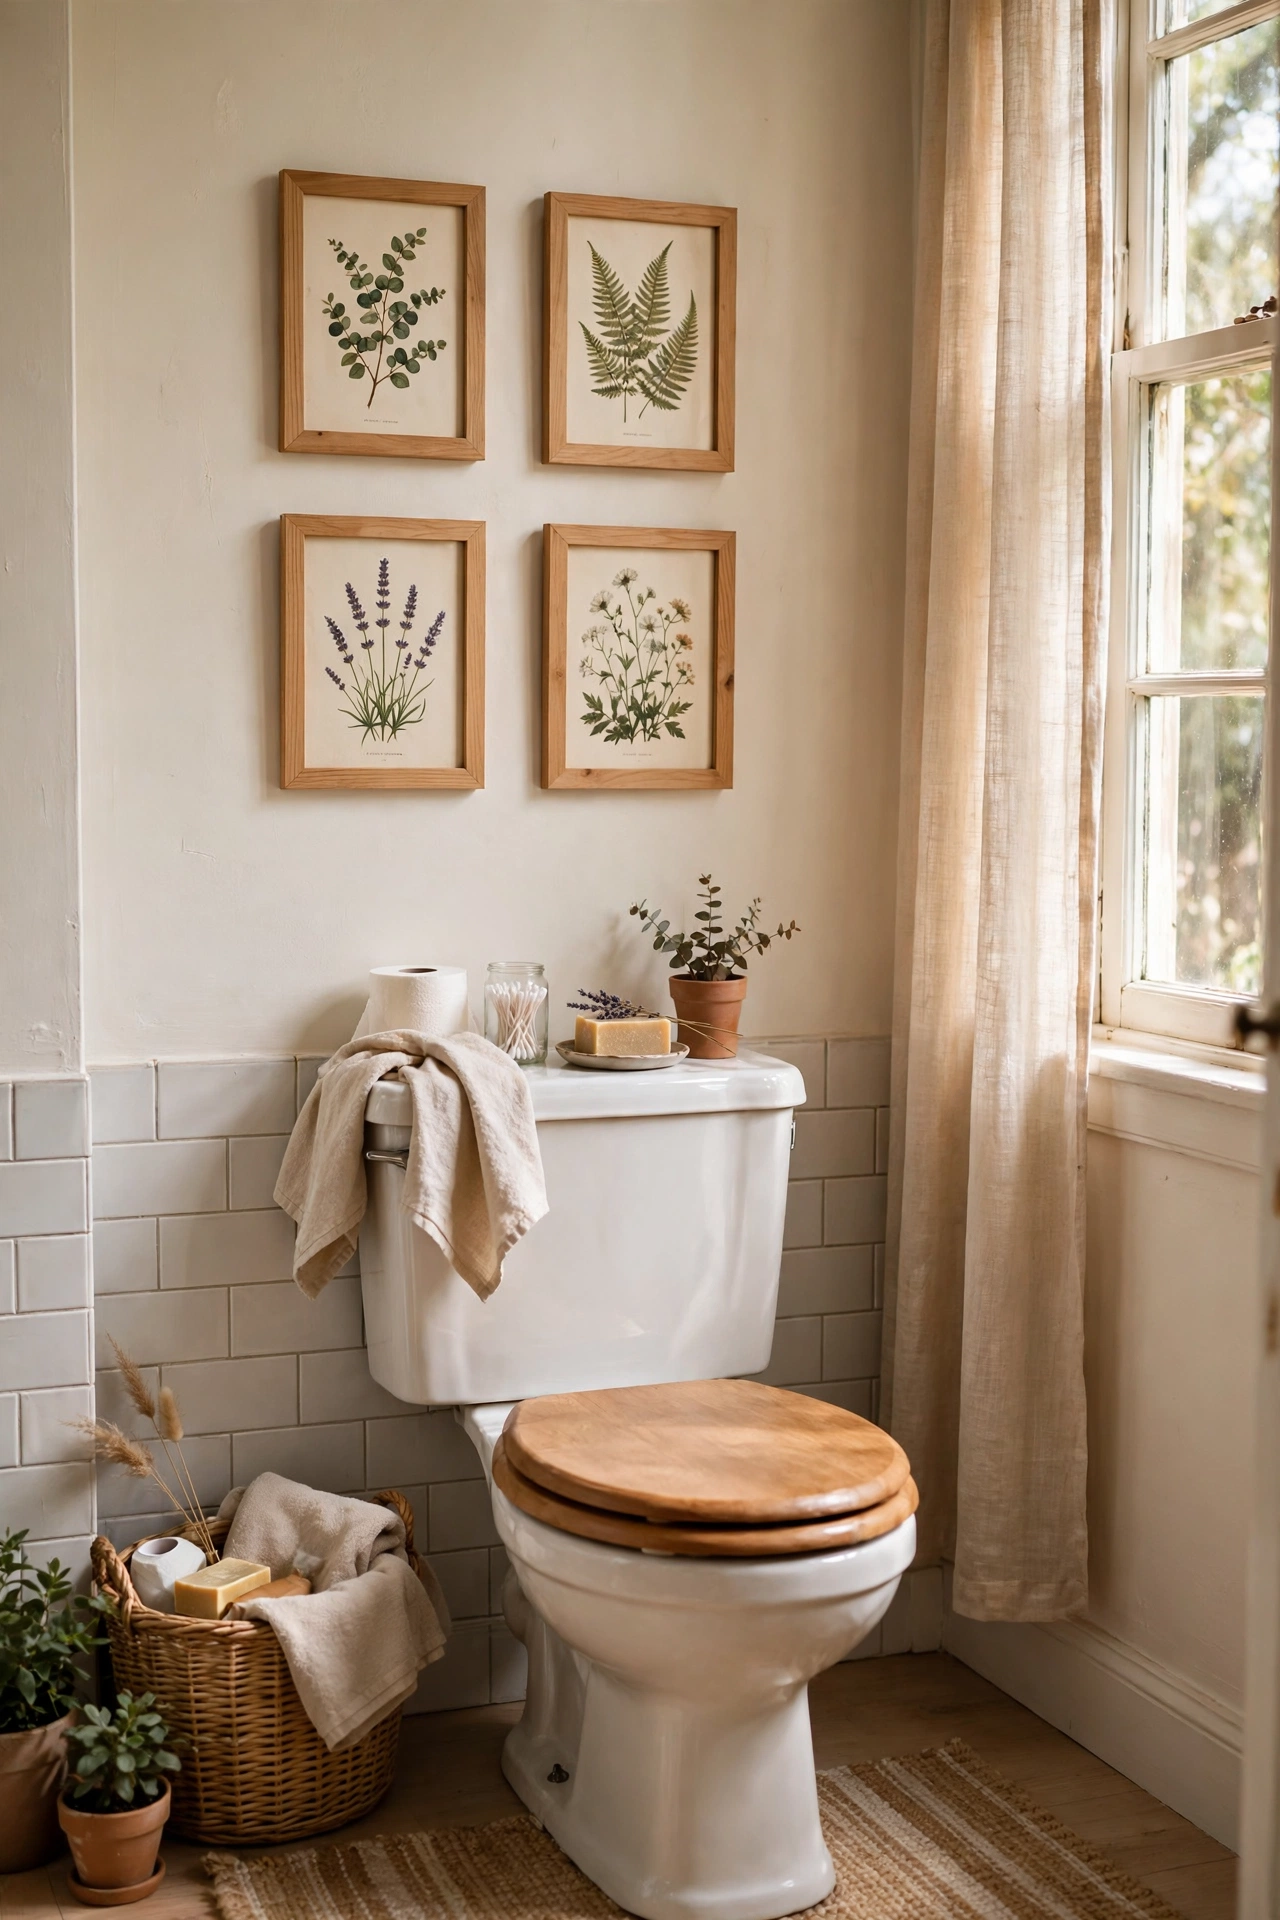
Small funny prints in the bathroom make guests smile. I hung four small framed botanical prints above my toilet tank, and the tiny room gained personality. Keep frames small and the art light-hearted, because bathrooms suit humour. Seal the frame backs against steam with a quick spray of sealer. Mine cost $8 and get more comments than the art in my living room.
Cost: ~$6-12 | Time: 45 minutes
18. The Corner Wrap
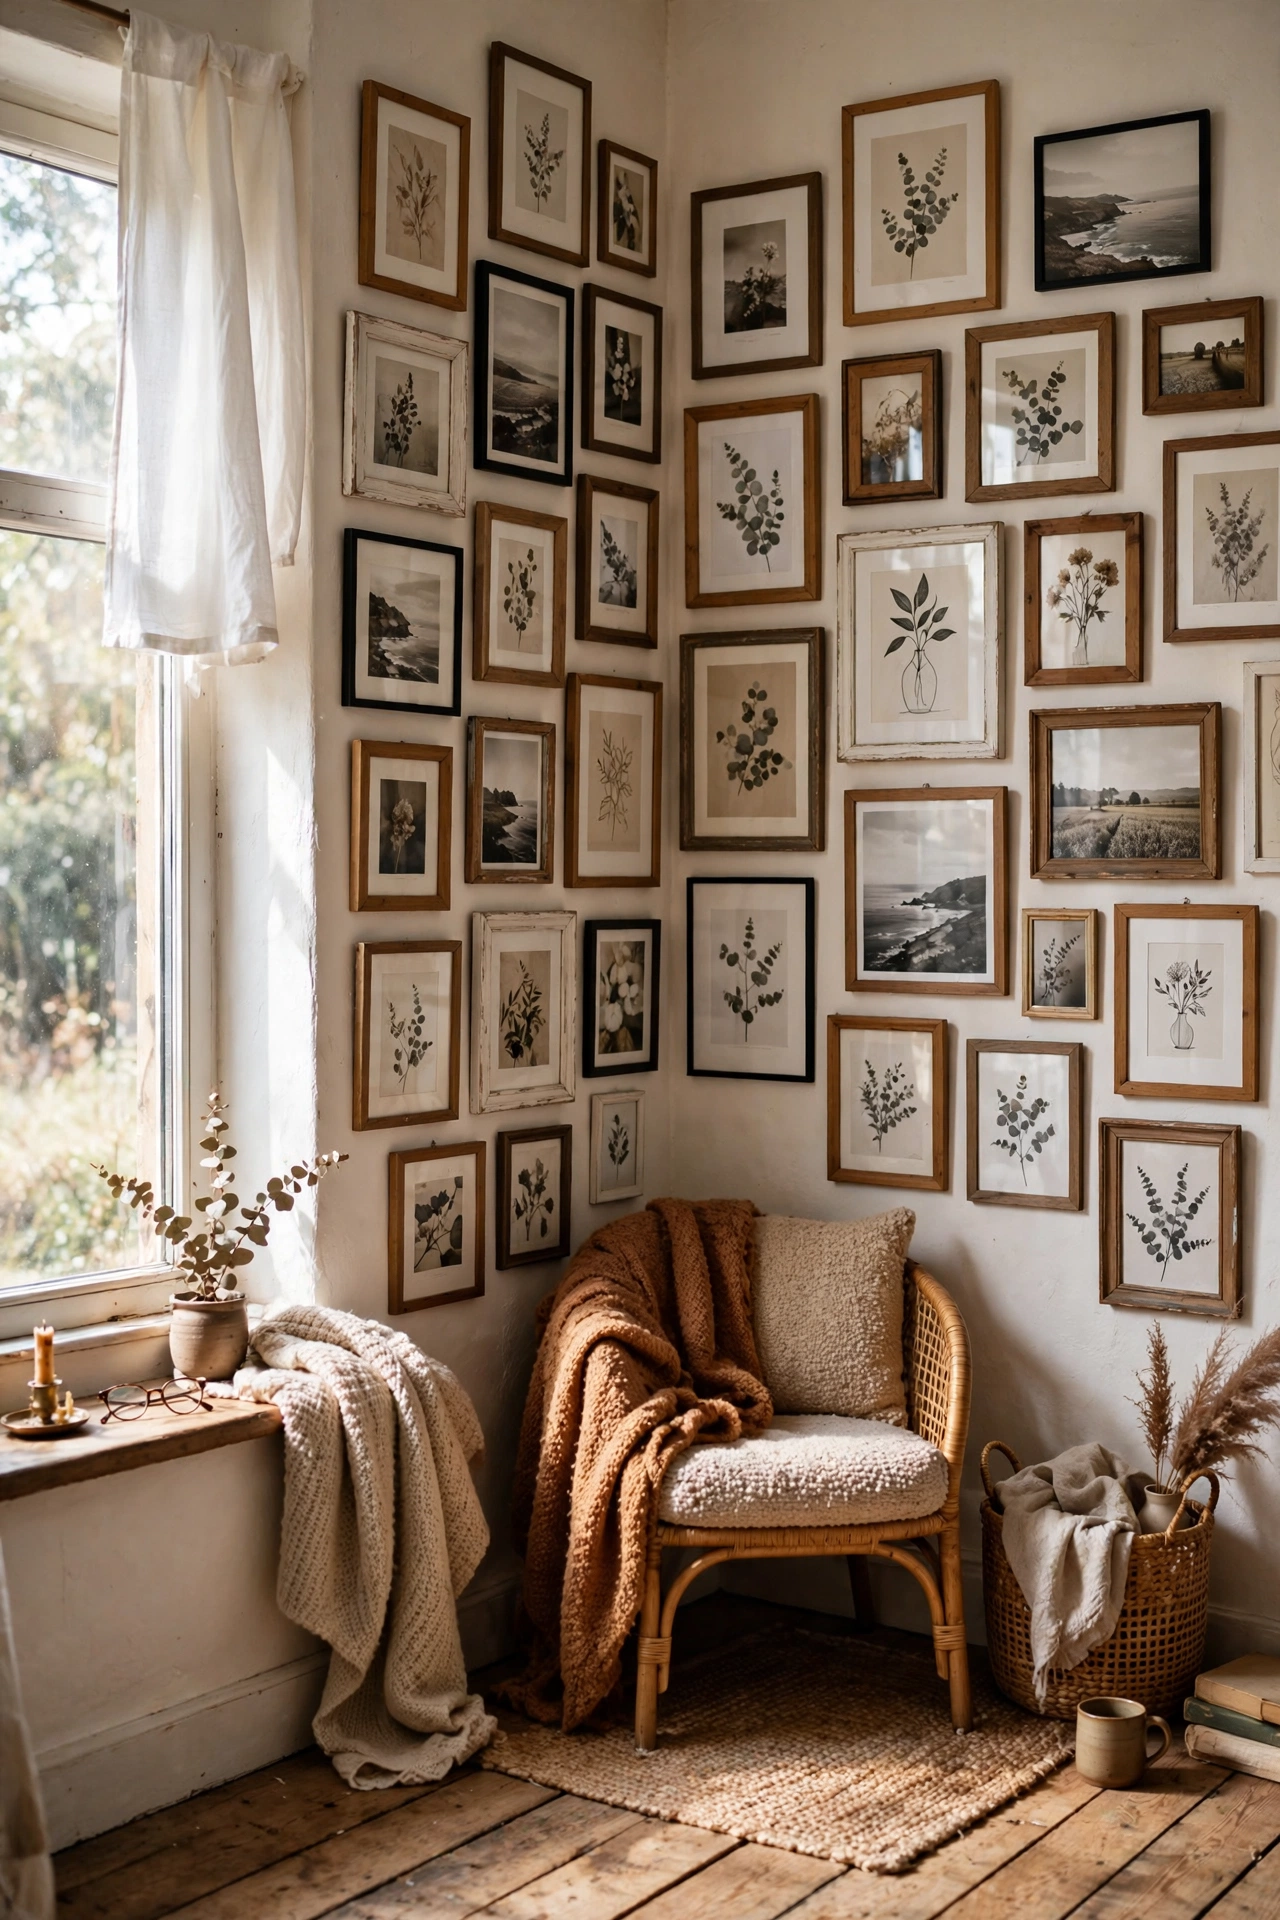
Wrapping a gallery around a corner uses dead space beautifully. I ran my frame arrangement across two walls meeting at a corner, and the wrap makes the small room feel curated from every angle. Keep the spacing consistent across the corner, because the eye follows the line around. Mine holds eleven frames in a corner that used to hold nothing. It is the cleverest use of space on this list.
Cost: ~$14-22 | Time: 2 hours
Budget Showstoppers
19. The Floor-to-Ceiling Salon Wall
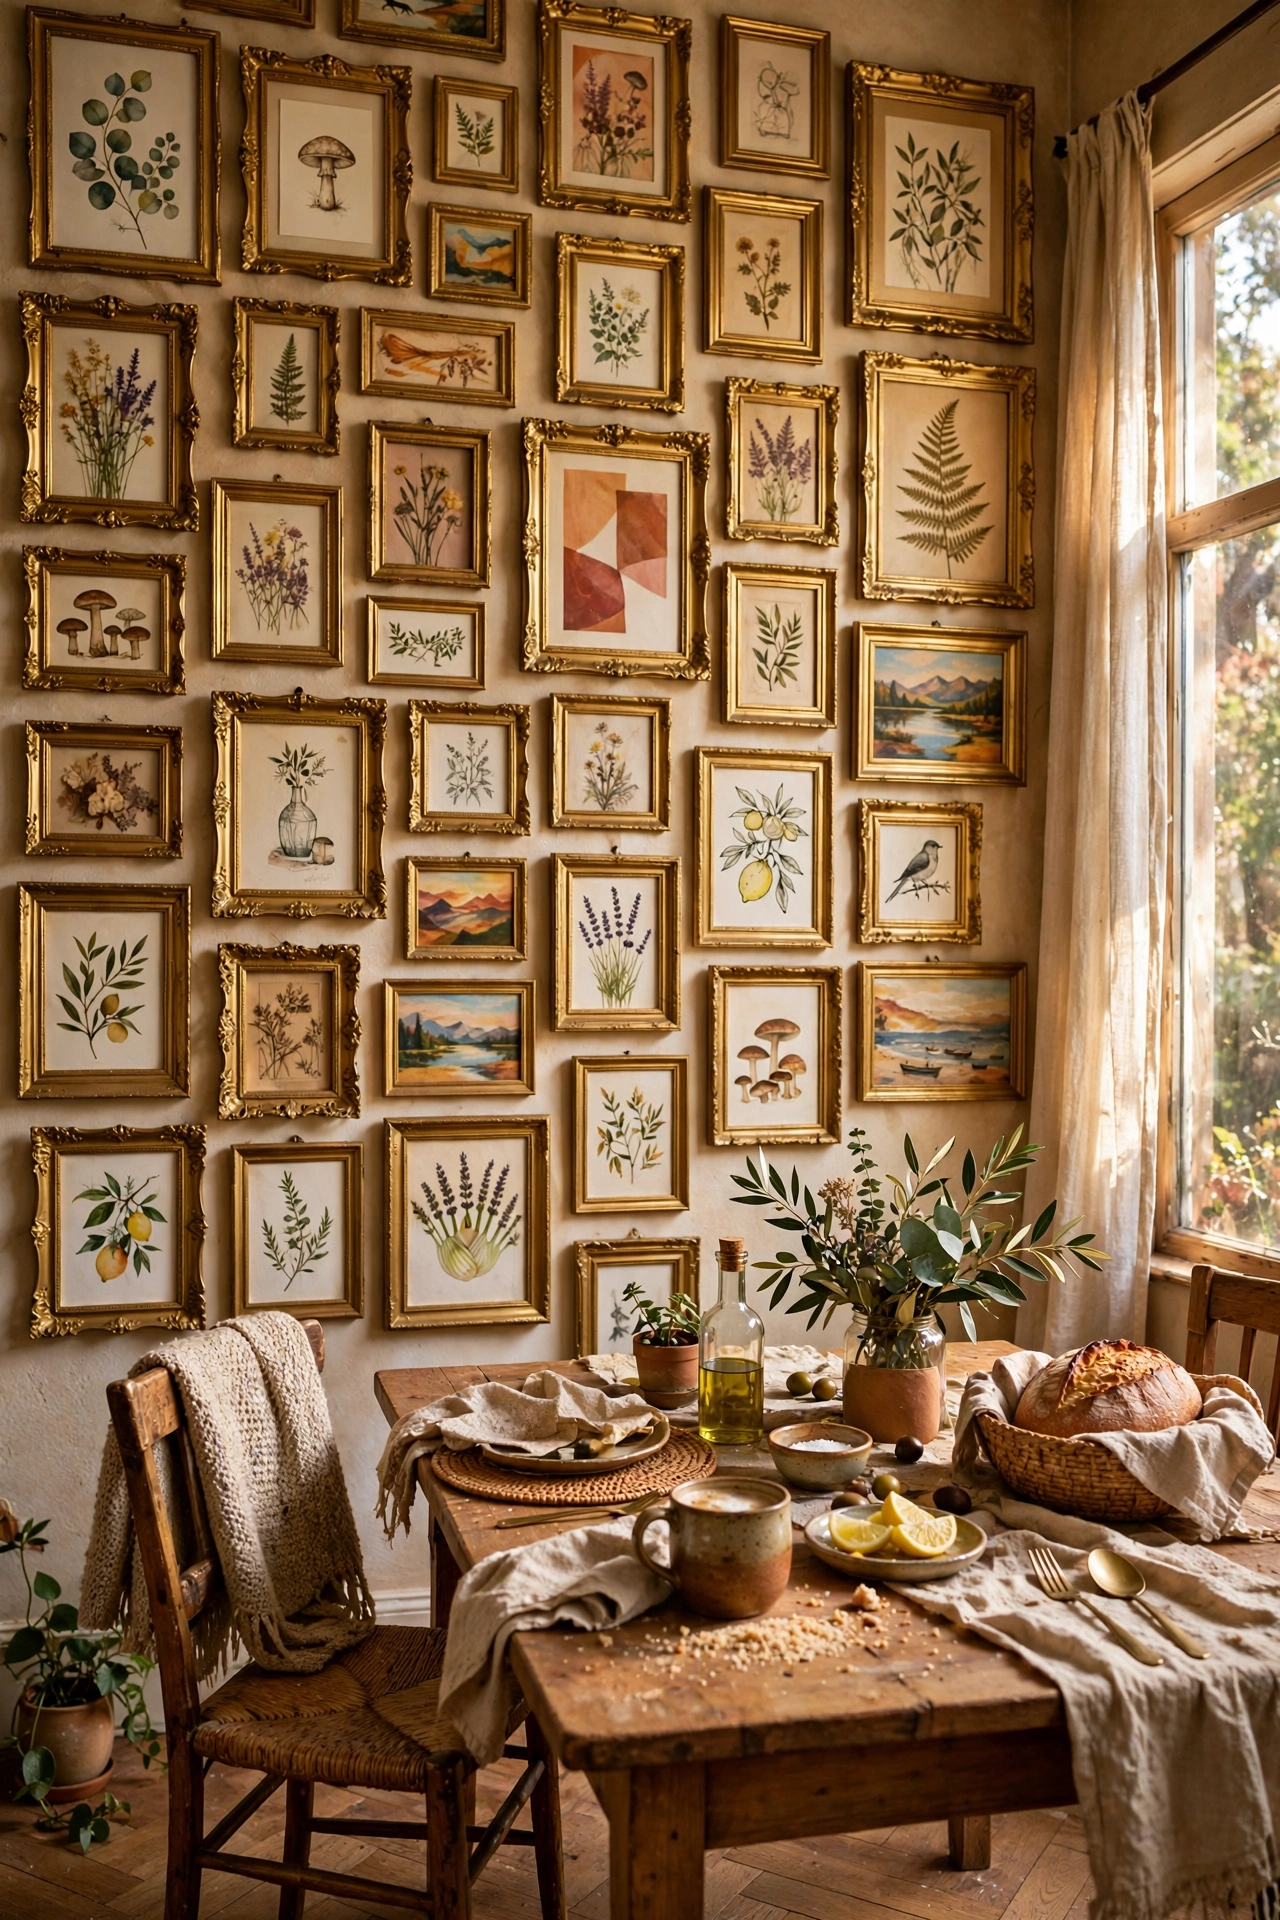
A floor-to-ceiling salon wall of thrifted frames is maximum drama for minimum money. I covered one dining room wall with thirty frames, all sprayed gold, mixing art, photos, and mirrors. Start hanging from the centre outward, because the middle anchors everything. Mine cost $28 total and looks like a restaurant wall. Guests photograph it. It is proof that quantity, arranged well, beats expensive pieces.
Cost: ~$20-30 | Time: 4 hours
20. The Giant Single Print
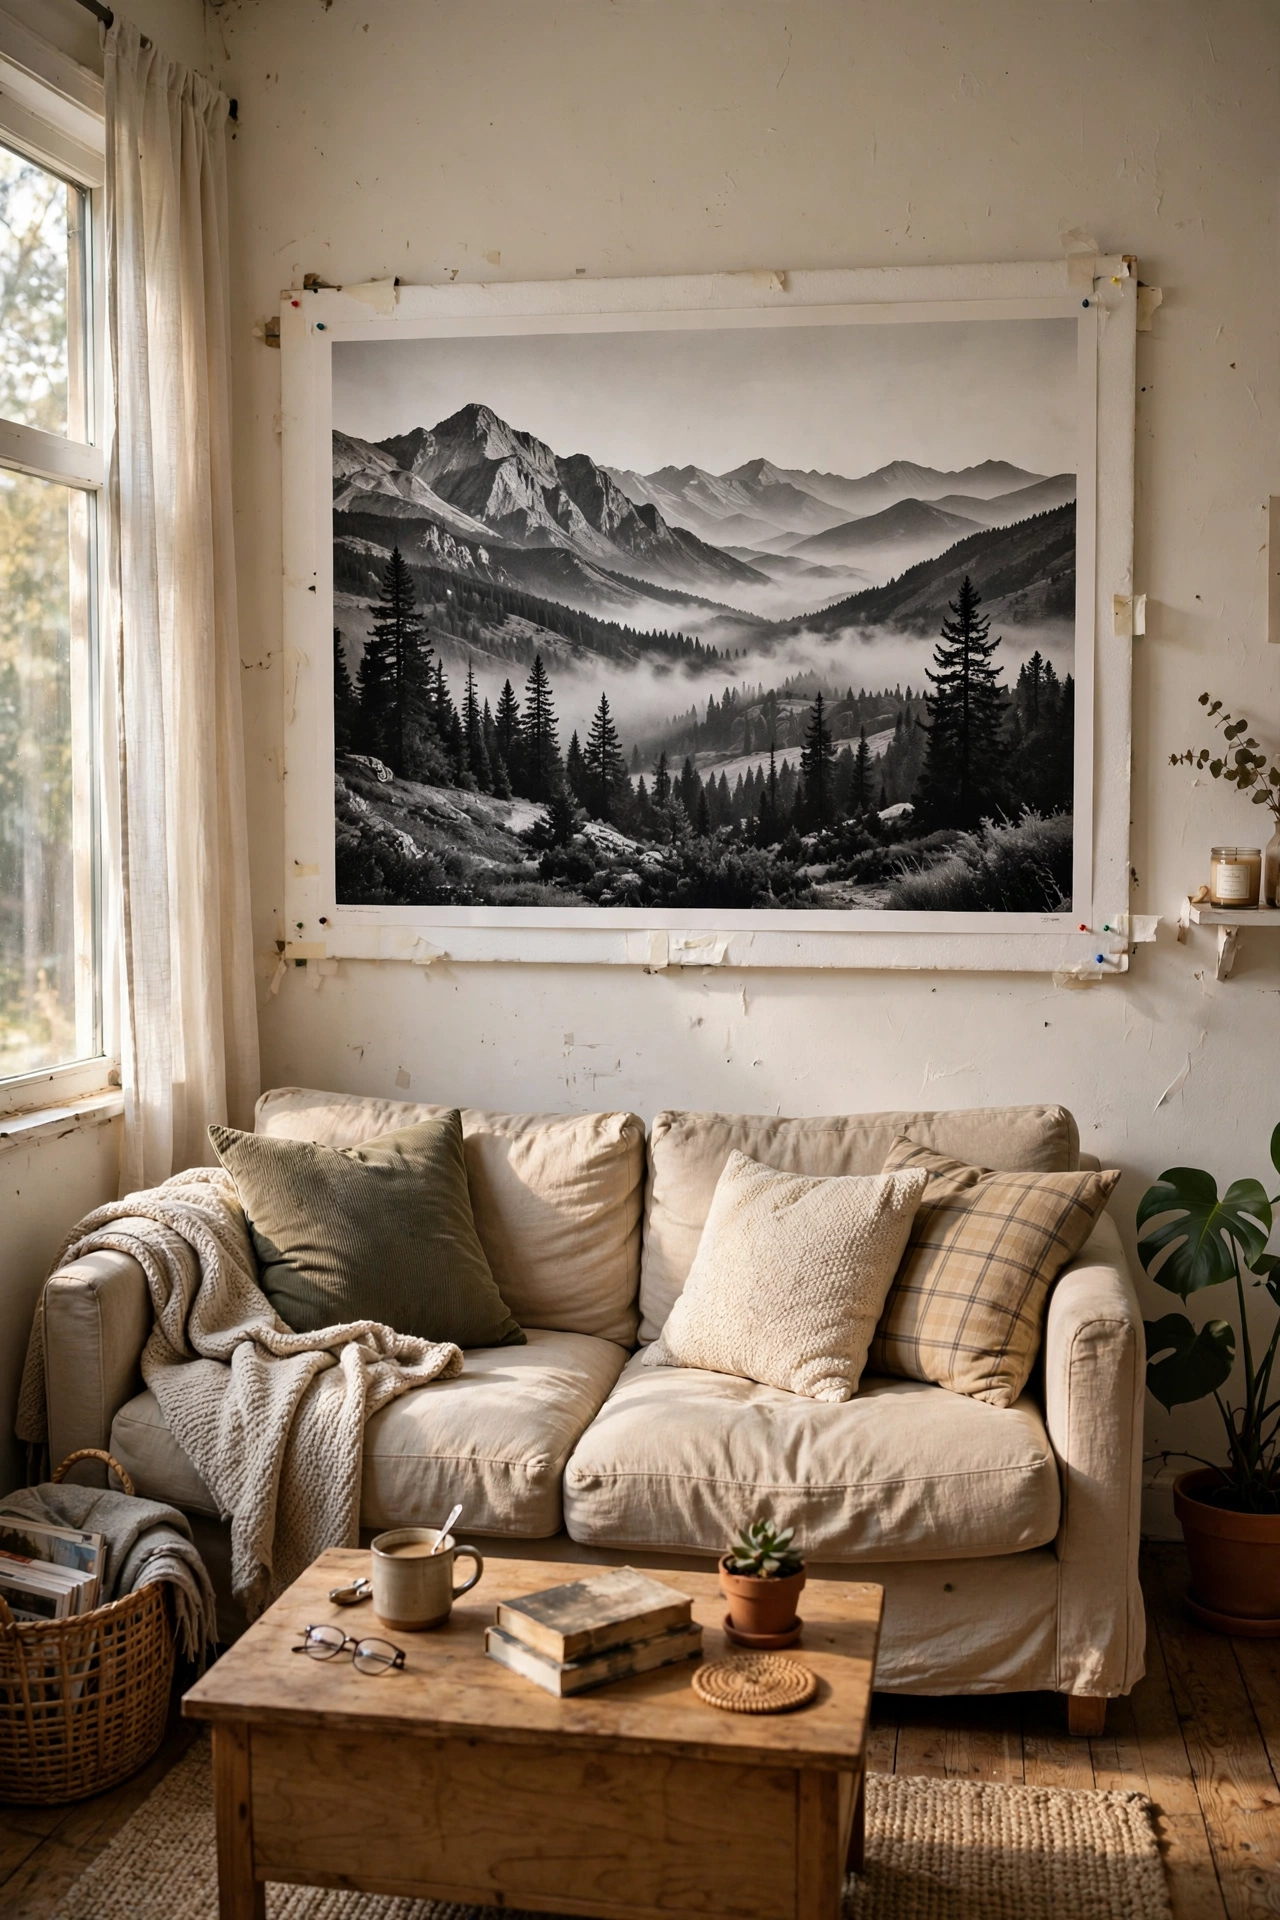
One enormous print has more impact than twenty small ones. I had a favourite landscape photo printed as a 24×36 engineering print for $7 at the copy shop, mounted it on foam board, and hung it over the sofa. Engineering prints are black and white and cheap, which is the whole trick. The scale makes the room feel designed. Mine cost $11 total and anchors the entire living room.
Cost: ~$8-14 | Time: 30 minutes
21. The Plate and Print Mix
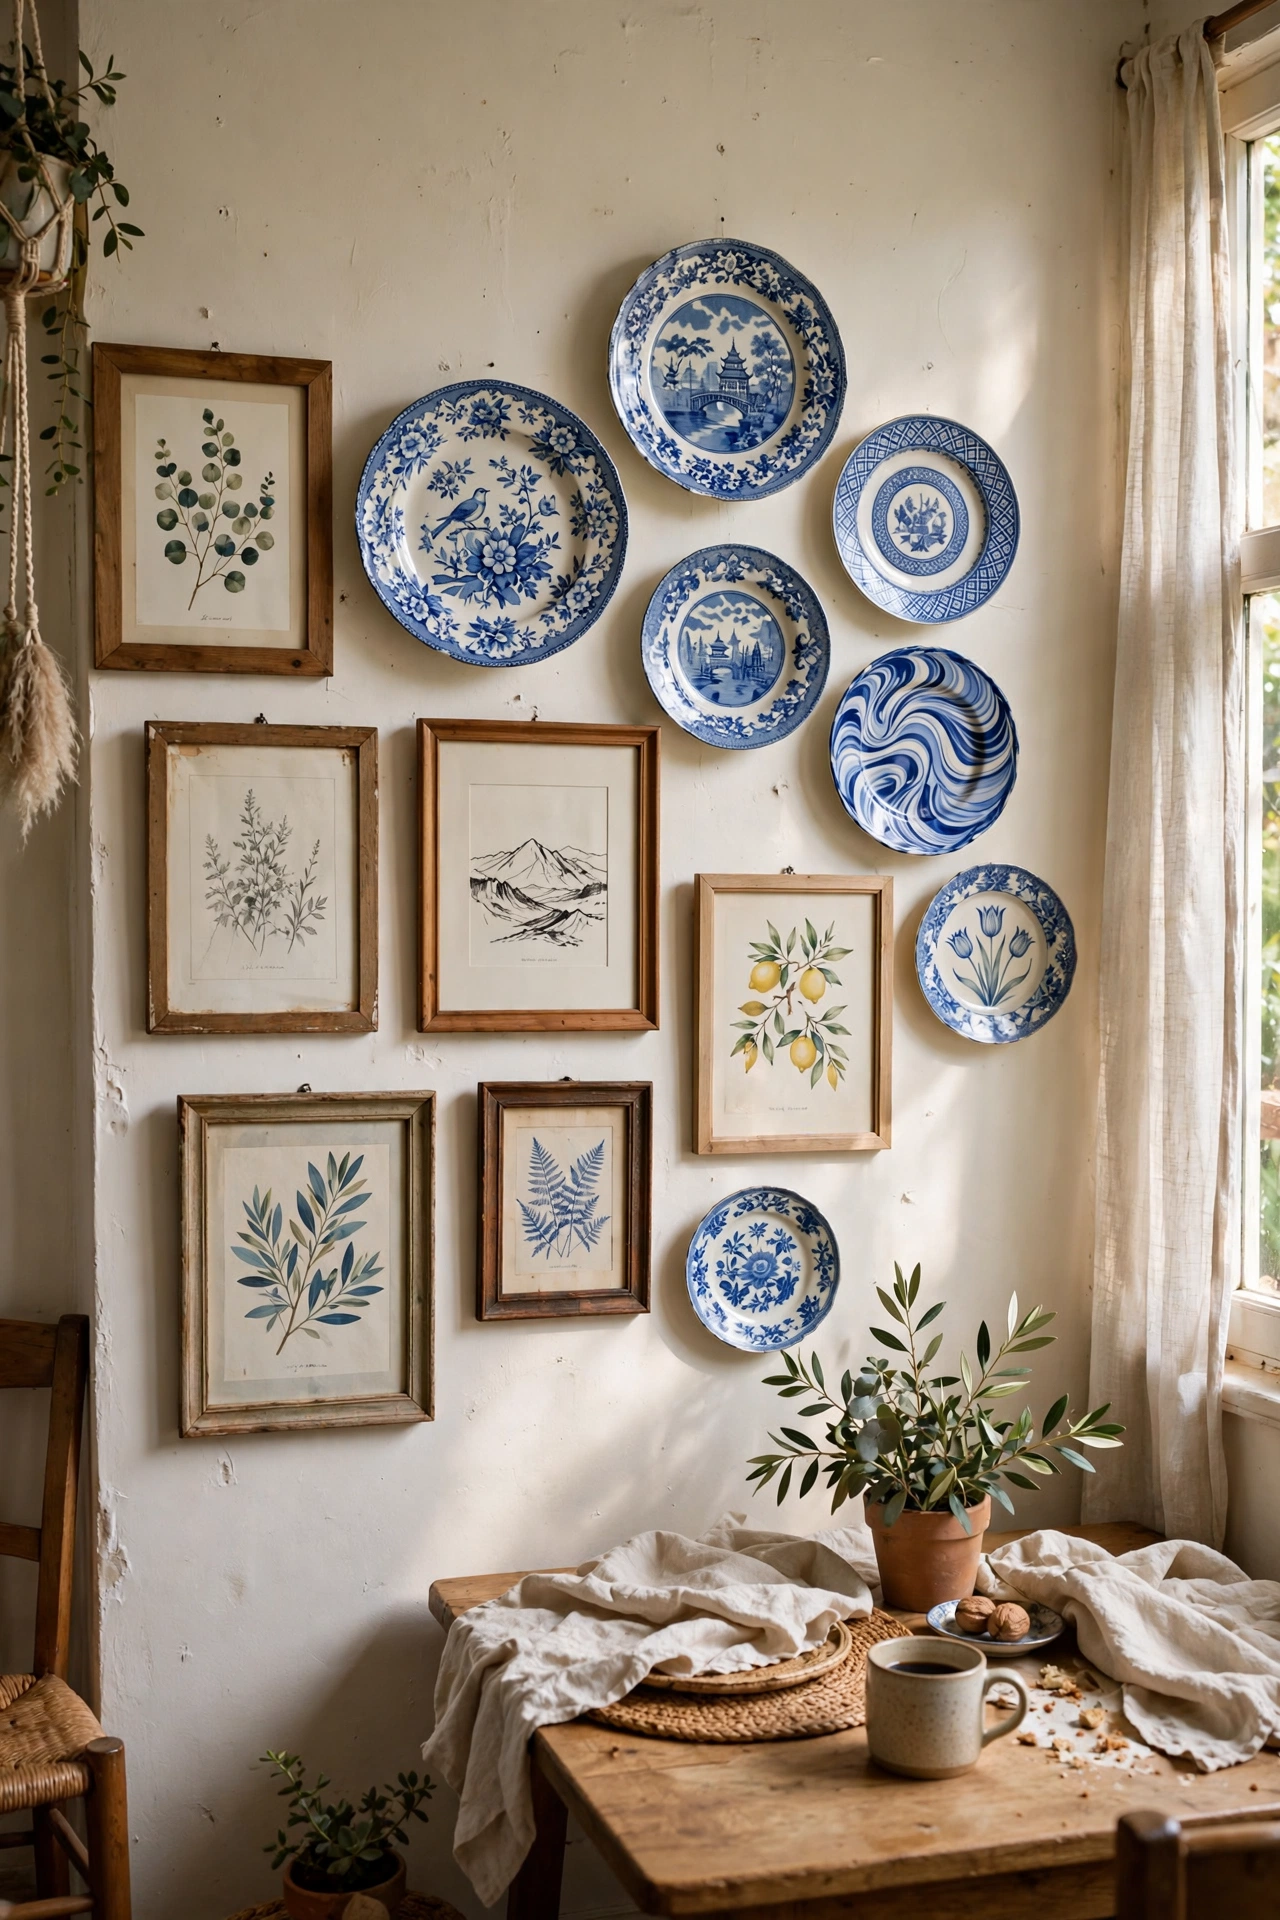
Mixing decorative plates with framed prints breaks the flatness of a standard gallery wall. I hung six blue-and-white plates among my prints using adhesive disc hangers, and the wall gained dimension and charm. The plates catch light differently than glass frames, which keeps the eye moving. Keep the colour palette tight so the mix feels intentional. Mine cost $10 in plates and transformed a wall I had stopped seeing.
Cost: ~$8-16 | Time: 1.5 hours
22. The Shadow Box Collection
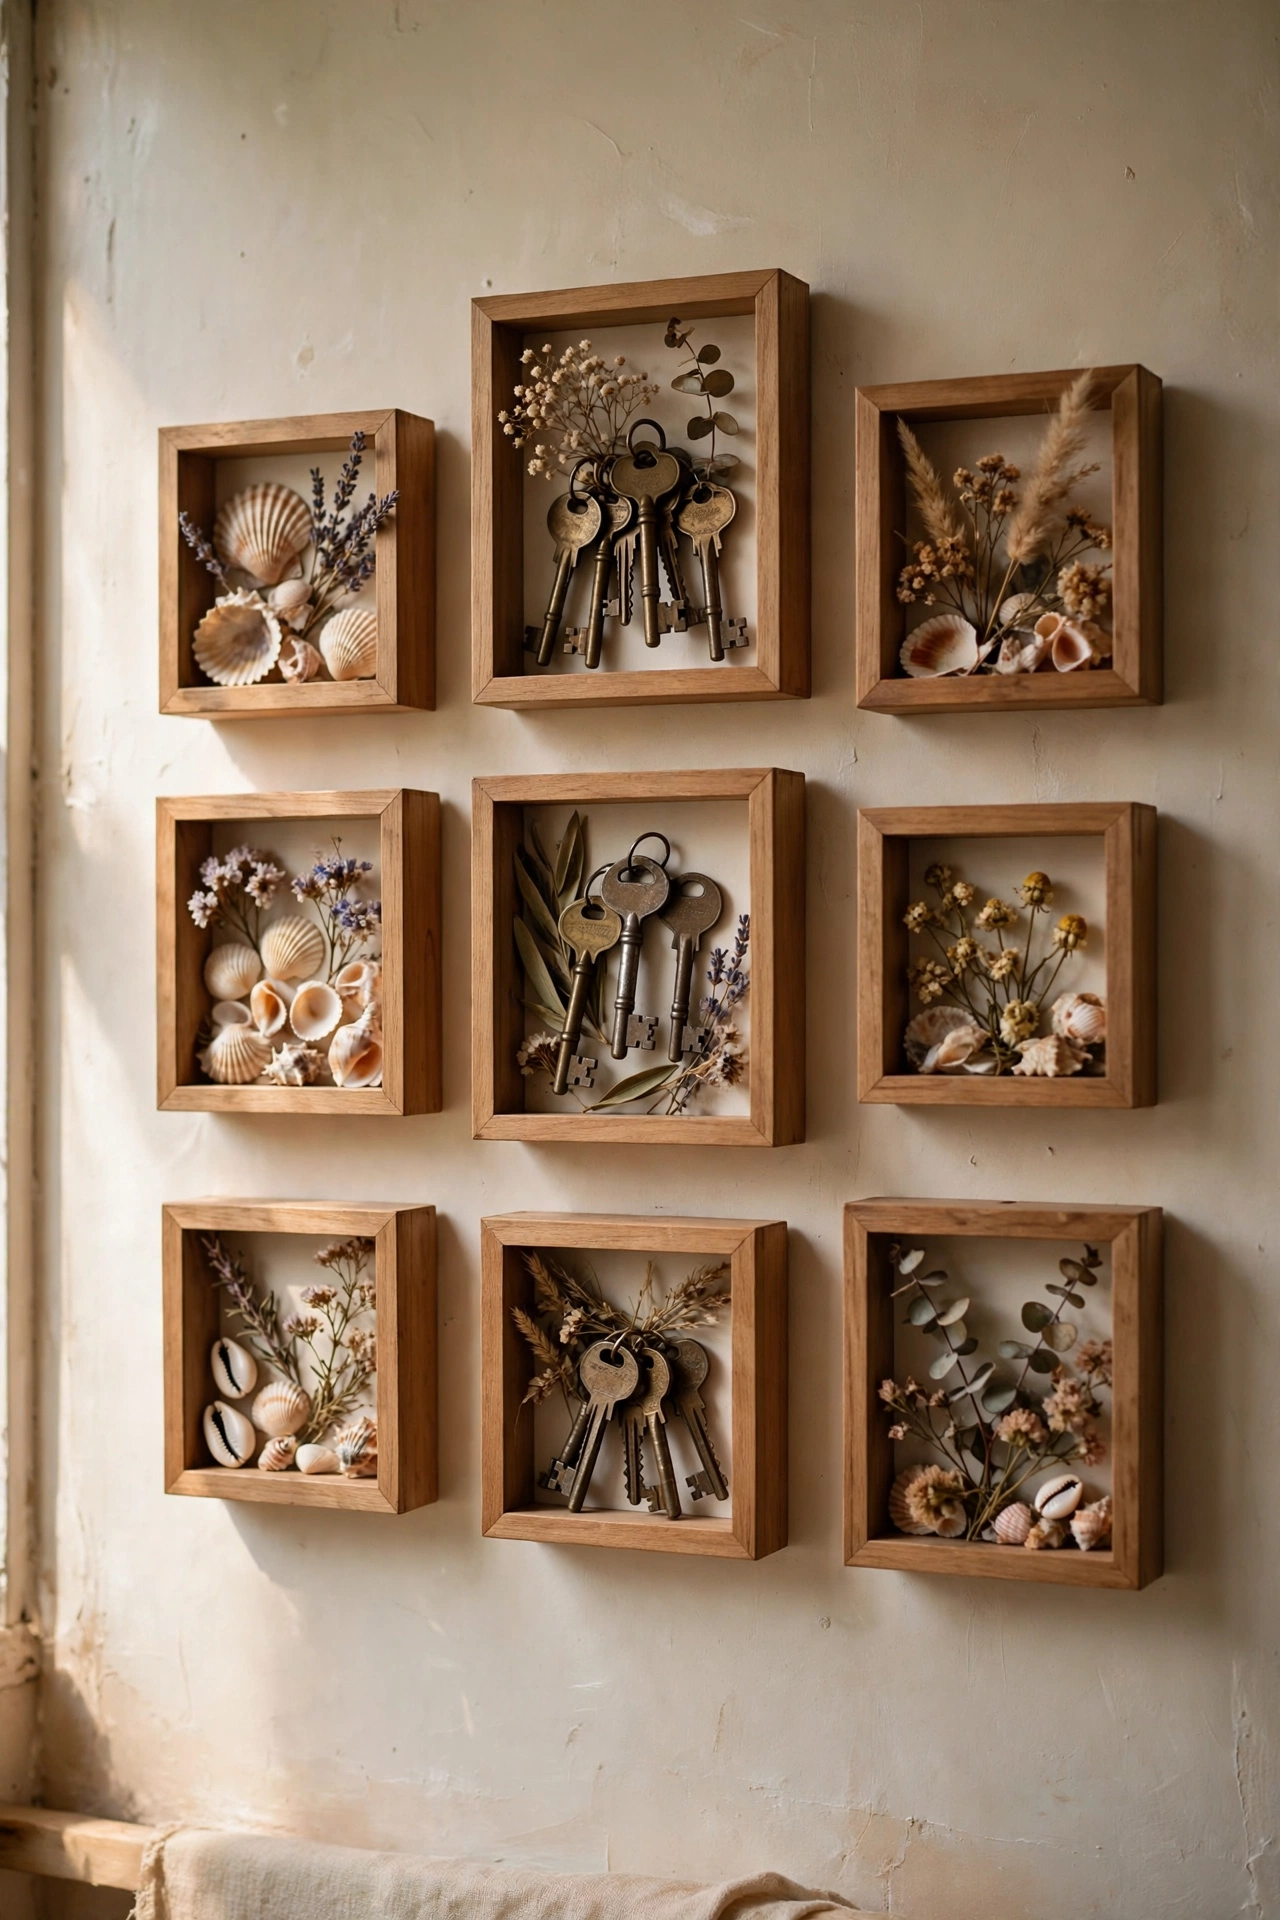
Shadow boxes holding small objects, shells, keys, dried flowers, turn a gallery wall three-dimensional. I hung five $3 shadow boxes with collected treasures from holidays, and the wall tells our story. Arrange the objects simply, because clutter inside a box reads as mess. Mine are the first thing guests ask about. It is a gallery wall and a memory shelf in one.
Cost: ~$12-20 | Time: 1.5 hours
23. The Arch Paint Alternative
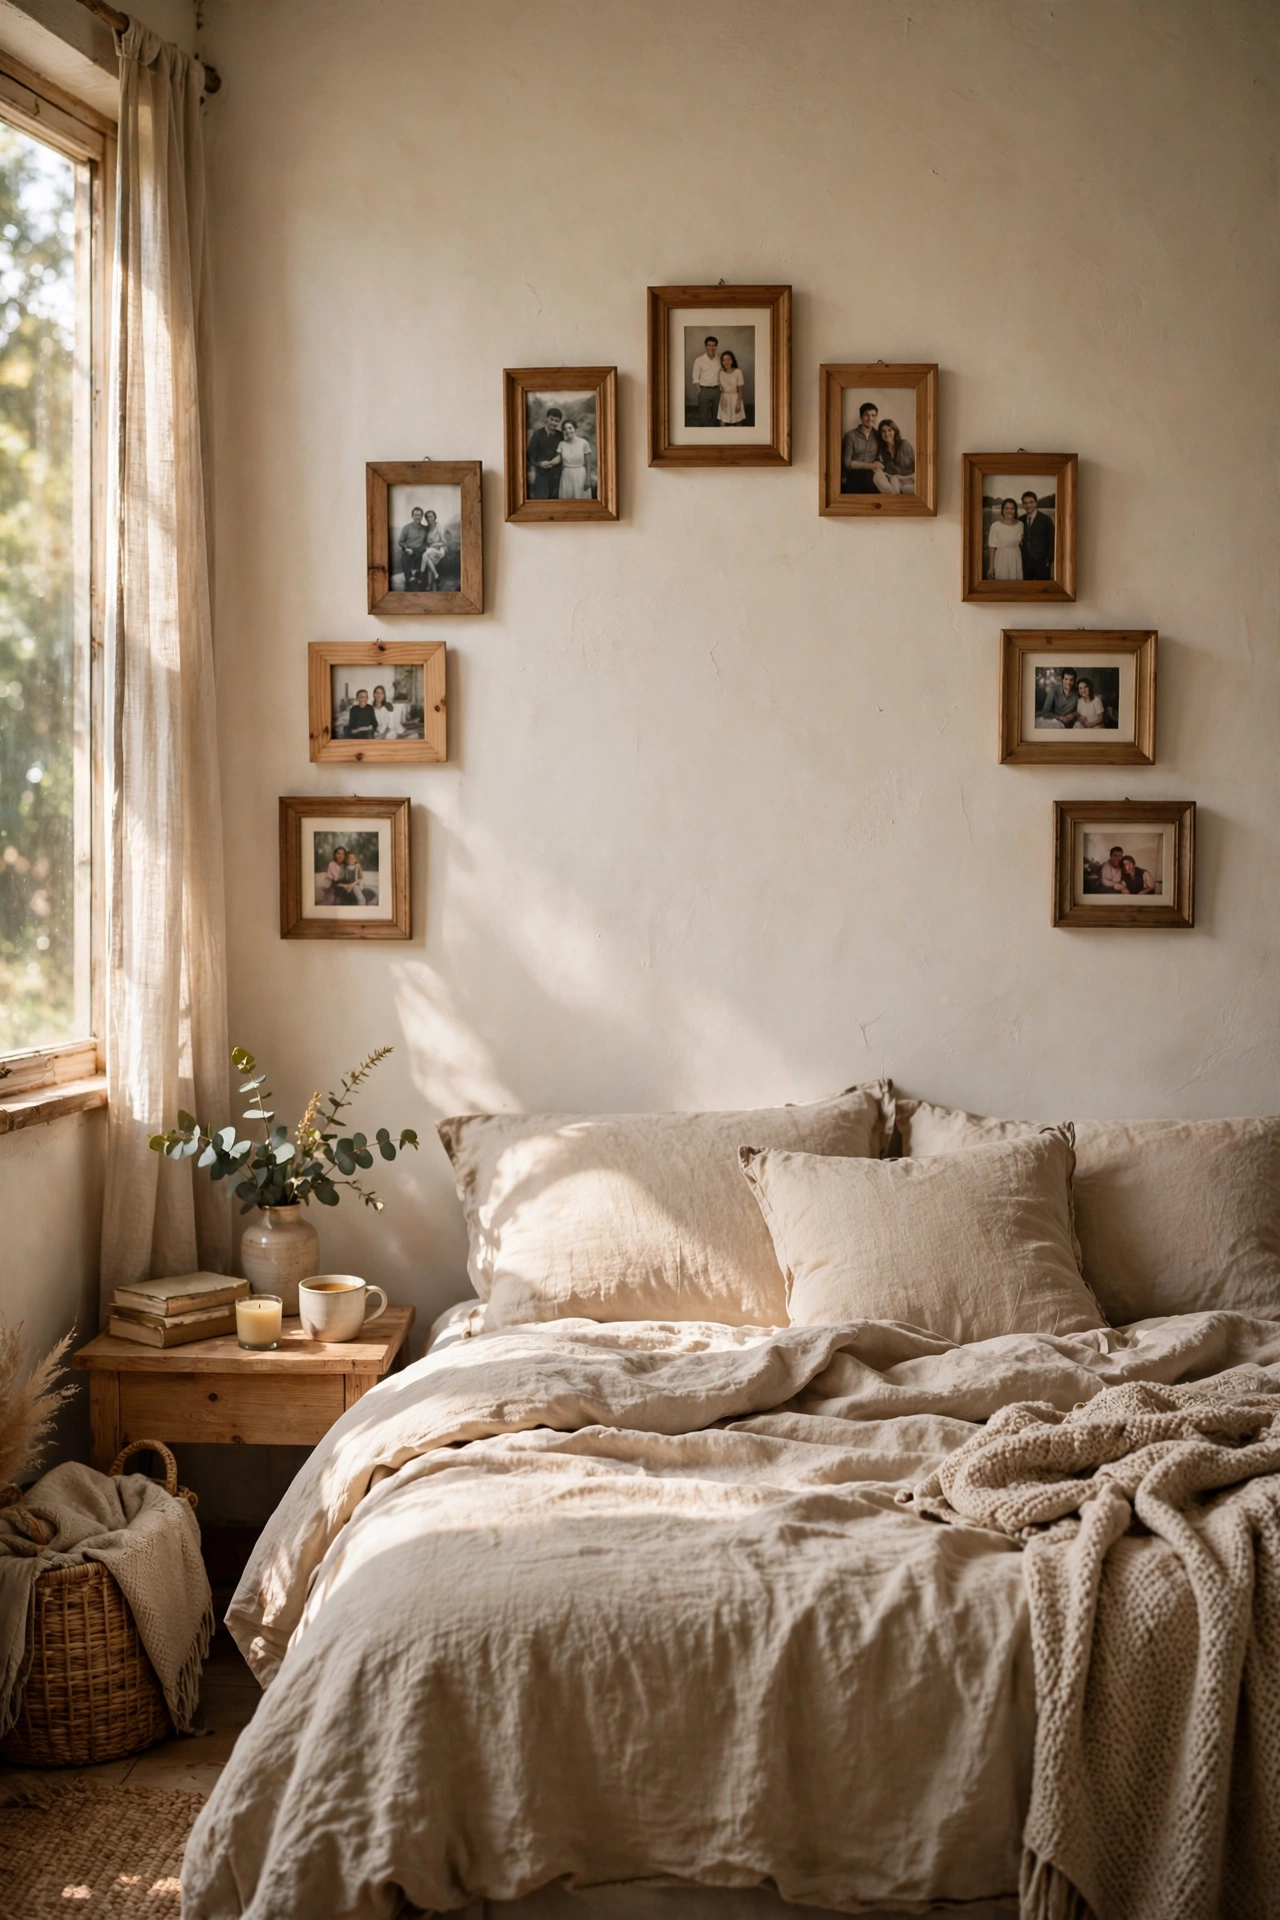
An arch of frames following a curved line mimics the painted arch trend with zero paint. I hung nine frames in an arch shape over my bed, largest in the middle, smallest at the edges. Trace the arch on paper first and tape it to the wall as a guide. The curve softens the whole wall and feels modern. Mine cost $16 in thrifted frames and gets mistaken for a much more expensive design choice.
Cost: ~$12-20 | Time: 2 hours
Quick questions, answered
How do I plan a gallery wall layout?
Cut paper templates the size of each frame, tape them to the wall, and live with the arrangement for a day before hammering a single nail. Start hanging from the centre or the largest piece outward. Photograph the templates so you can recreate the layout if anything shifts.
How high should I hang gallery wall frames?
The centre of the arrangement should sit at eye level, about 57 to 60 inches from the floor. Over furniture, leave 6 to 8 inches between the furniture top and the bottom of the lowest frame. Staircase walls are the exception: follow the stair angle instead.
How do I mix frame styles without it looking messy?
Unify with one element: same frame colour, same mat colour, or same art style. One unifying thread lets everything else vary. My rule is two out of three must match: if the frames differ, keep the mats and the art tones consistent.
📌 Loving these ideas? Pin this post now so you can save this idea for your next blank wall.
More wall inspiration: (see also: 23-no-paint-diy-wall-decor-ideas-on-a-budget/) (see also: 15-diy-wall-art-ideas-on-a-budget/) (see also: 25-diy-accent-wall-ideas-without-paint-or-wallpaper/)
