23 Small Kitchen Ideas That Maximize Every Corner
My first flat had a kitchen you could touch both walls of at once, and I used to apologise for it every time someone came over. Small kitchen ideas that maximise every corner were not decoration goals for me — they were survival. Then I started treating the walls, the doors, and even the ceiling as storage, and the same cramped room suddenly cooked like a bigger one. Every idea below has been tested in that tiny kitchen, costs less than a takeaway feast, and wins you back centimetres you did not know you had.
Wall & Door Space
Pro tip: before buying anything, stand in your kitchen and photograph every wall and door. The blank spots you spot in photos are the ones your eyes skip over every day — that is where your storage is hiding.
1. Magnetic Knife Strip on the Wall
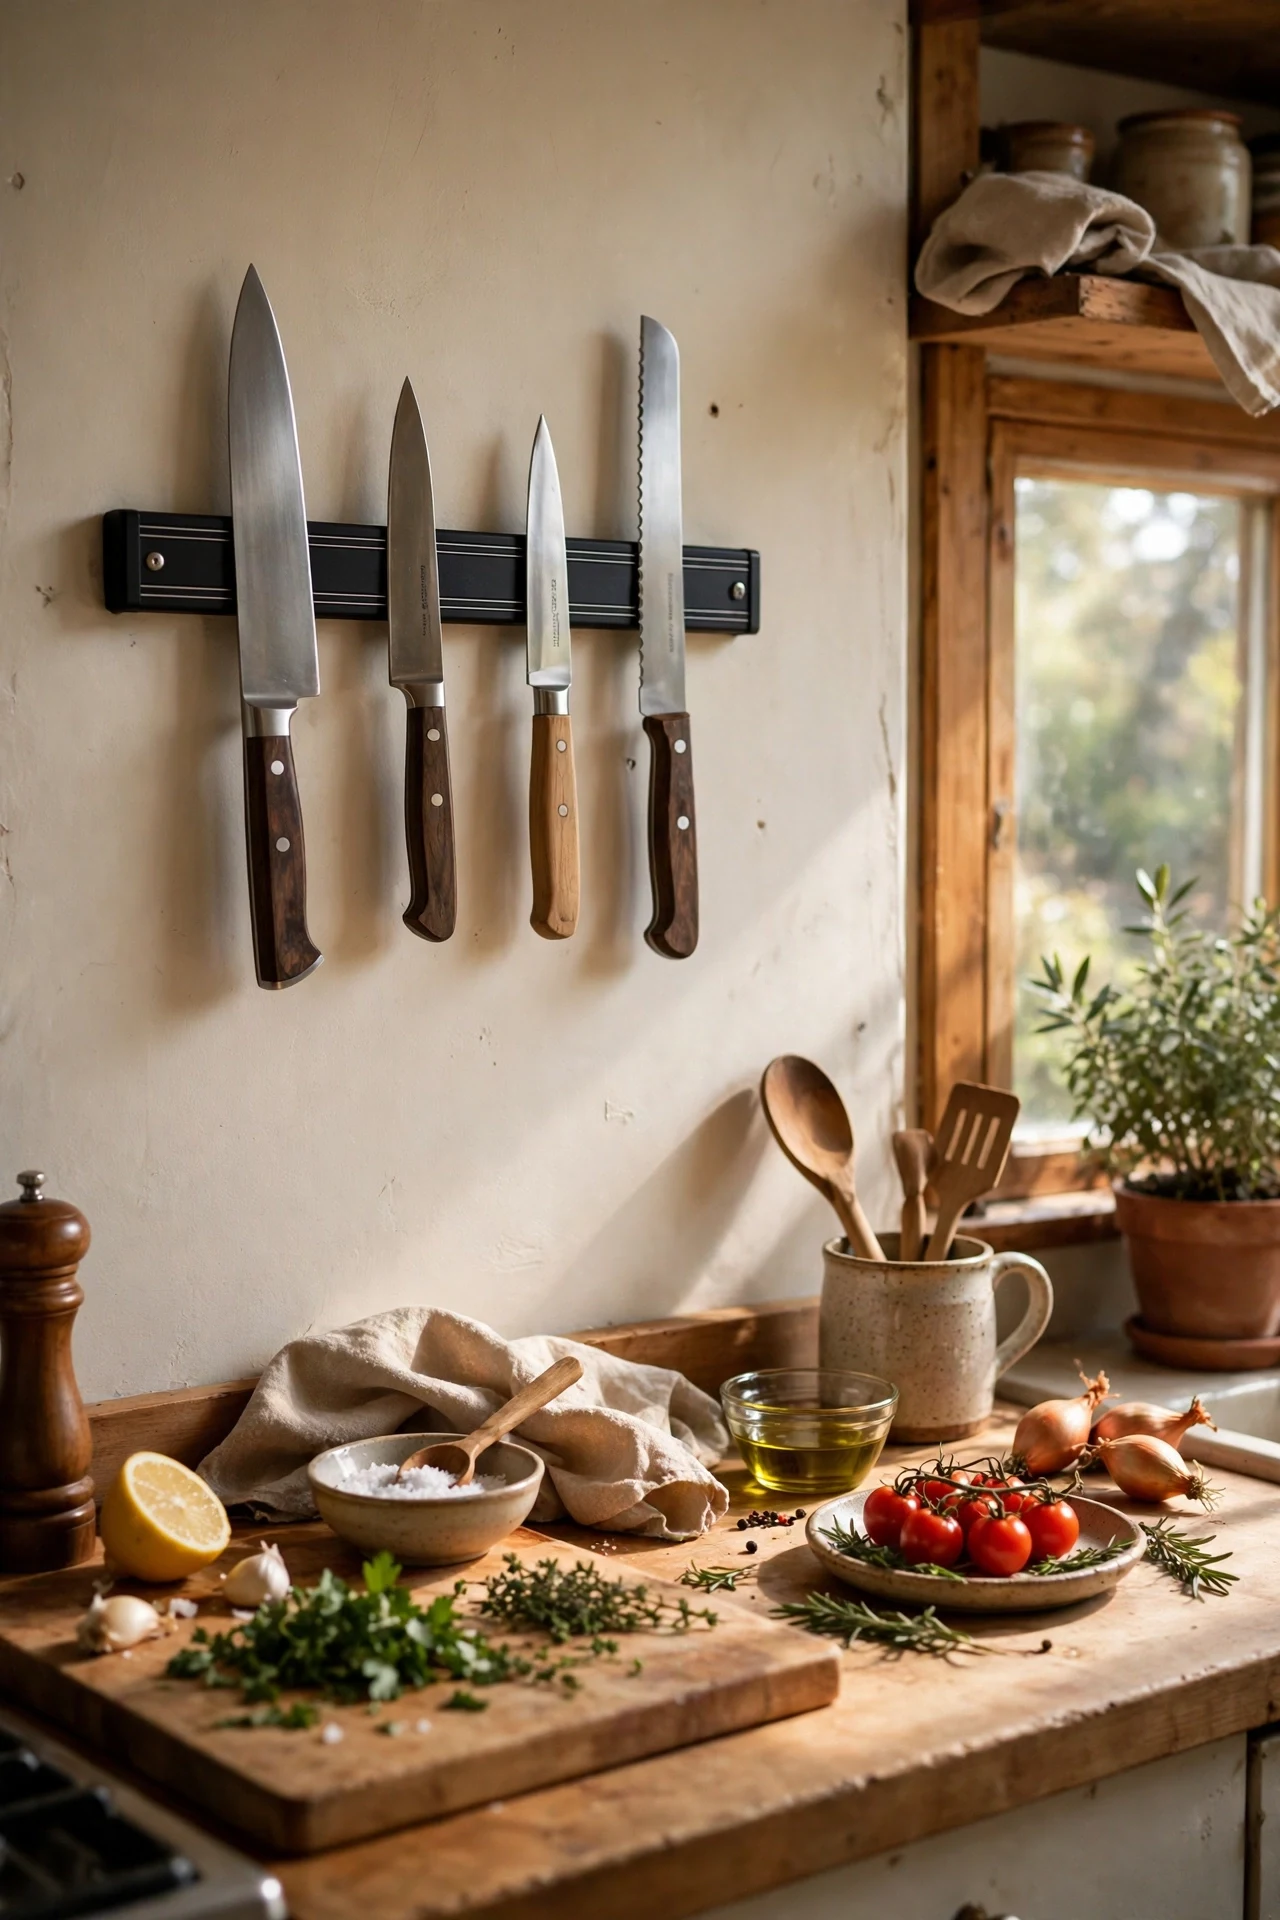
A magnetic knife strip on the wall frees an entire drawer and keeps your best blades within arm’s reach. Mount it at shoulder height near your main prep zone, and keep the strip level so knives sit neatly in a row. I tried this after years of a dangerous knife drawer, and chopping instantly felt calmer and more professional. The mistake to avoid is mounting it where swinging doors or passing elbows can knock a blade loose. It is a renter-friendly fix if you use a strong adhesive rail, and it looks impressively sharp for a few pounds.
2. Over-the-Door Pantry Rack
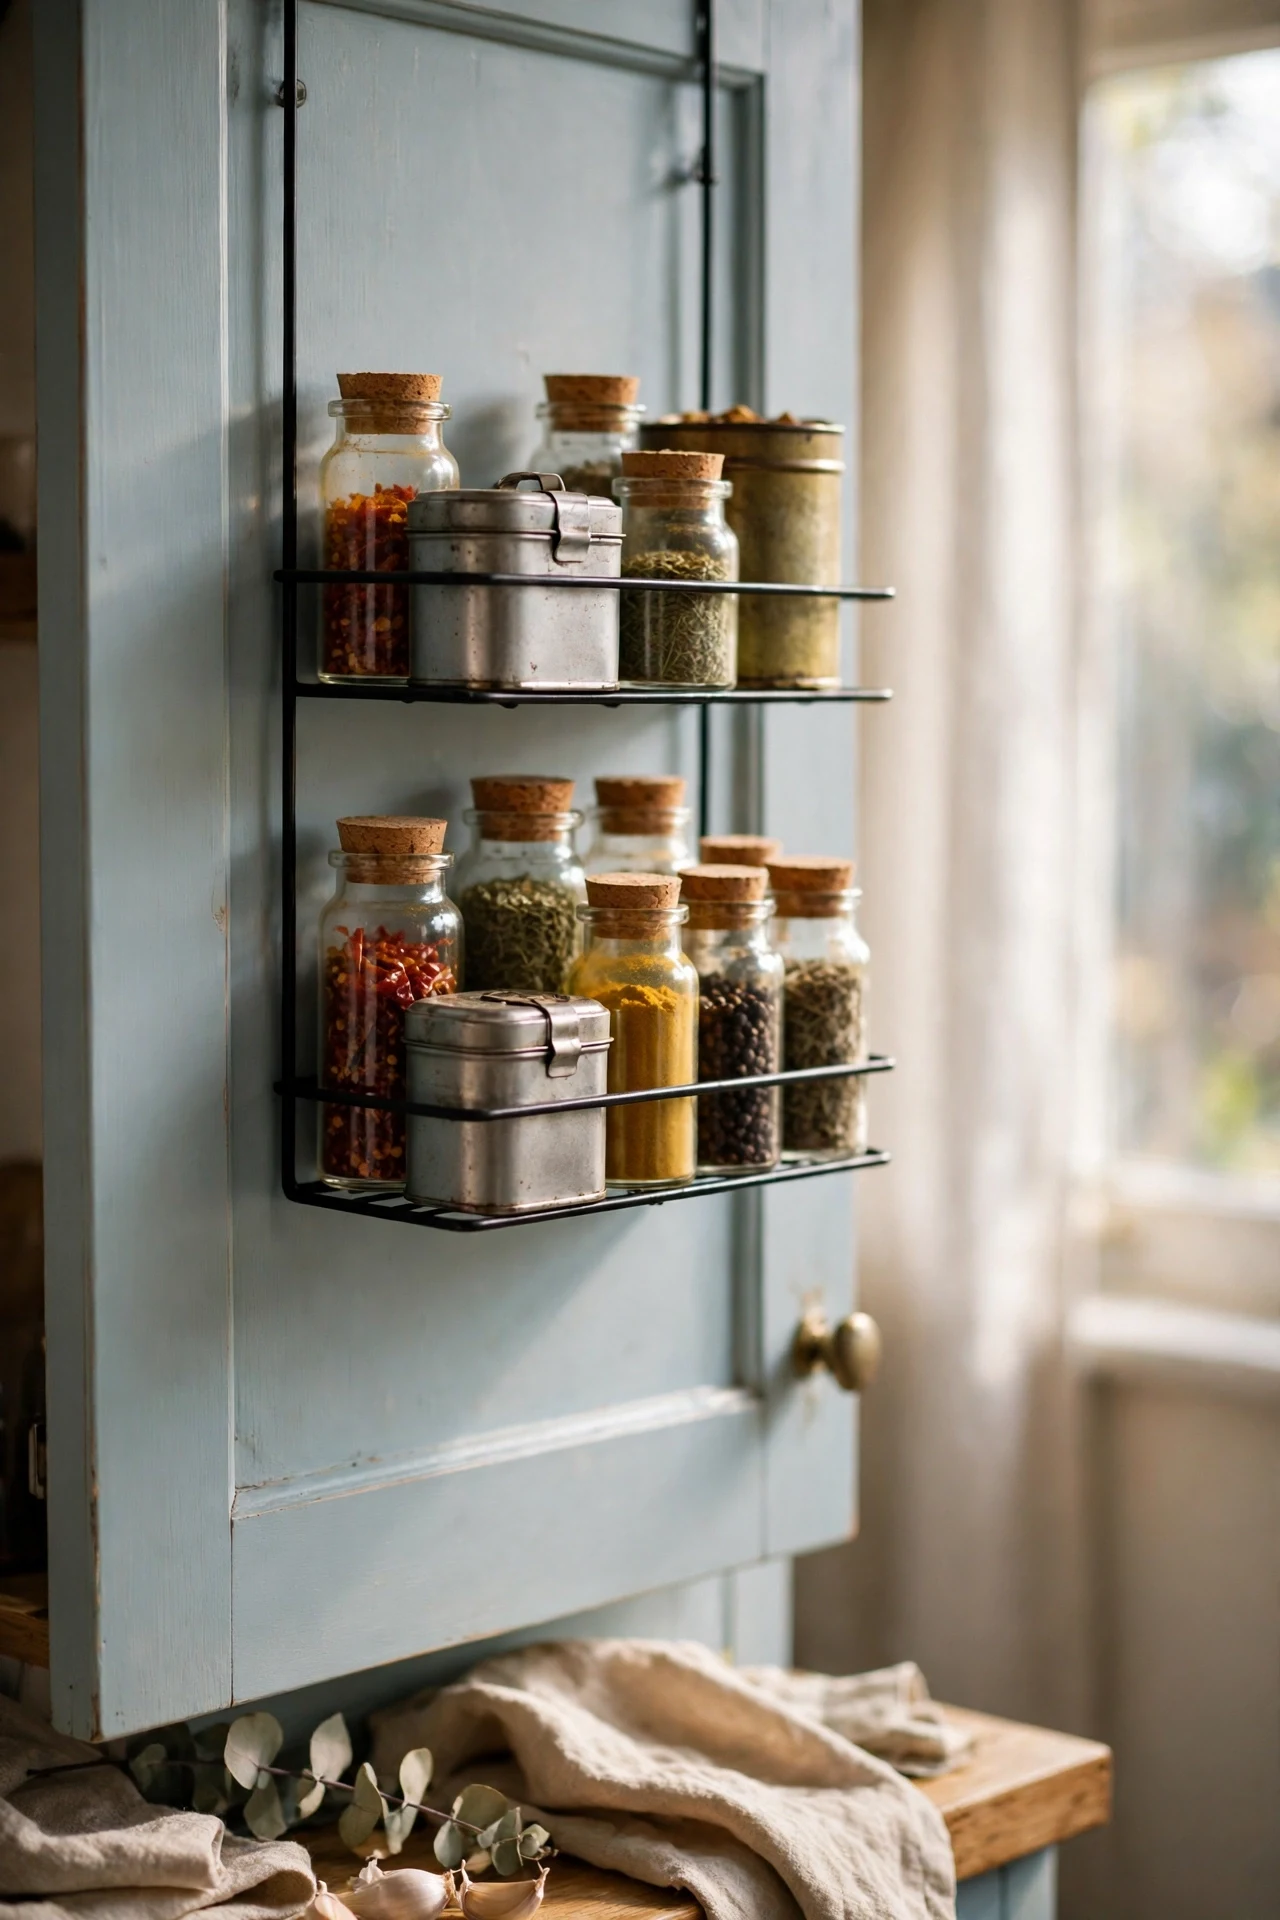
An over-the-door rack turns the back of a pantry or cupboard door into a whole extra shelf of storage. Choose one with slim baskets so the door still closes, and load it with spices, tins, and packets. I tried a three-tier rack on my cupboard door, and it swallowed every condiment I owned without complaint. The mistake to avoid is overloading the bottom basket; heavy jars strain the hinges over time. Check your door clearance first, and this budget win works in rented flats too. For pantry inspiration, see (see also: pantry-organization-ideas-for-small-pantries).
3. Pegboard for Utensils and Pans
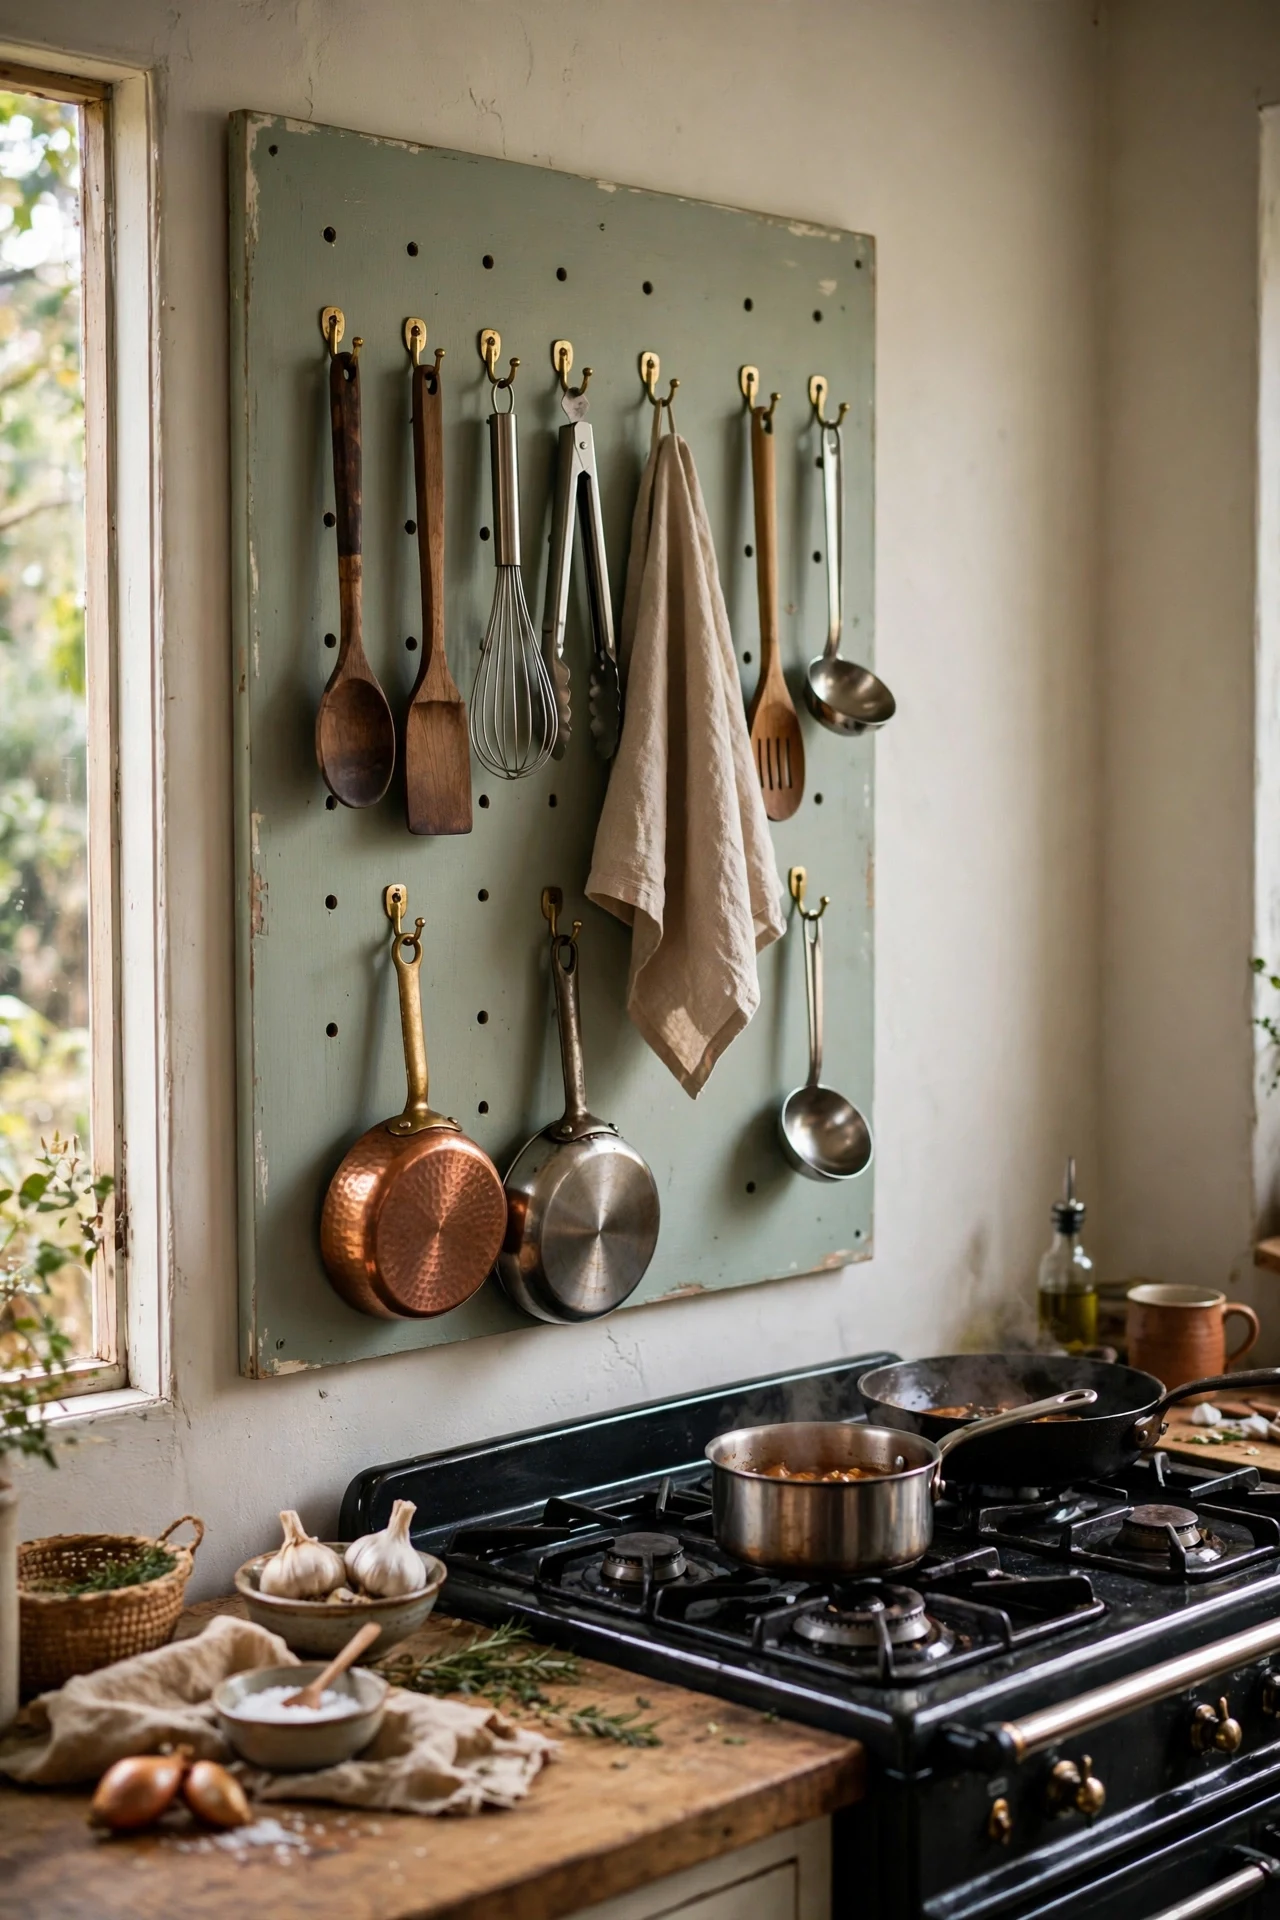
A pegboard on a bare wall holds everything from spatulas to small pans, and the hooks move whenever your needs change. Paint the board to match the wall so it reads as design rather than hardware, and arrange items by how often you grab them. I tried a painted pegboard beside my cooker, and it became both storage and a sort of kitchen art. The mistake to avoid is hanging heavy cast iron without proper wall anchors; drywall alone will not hold it. Light items and proper fixings make this one endlessly flexible.
4. Floating Corner Shelves
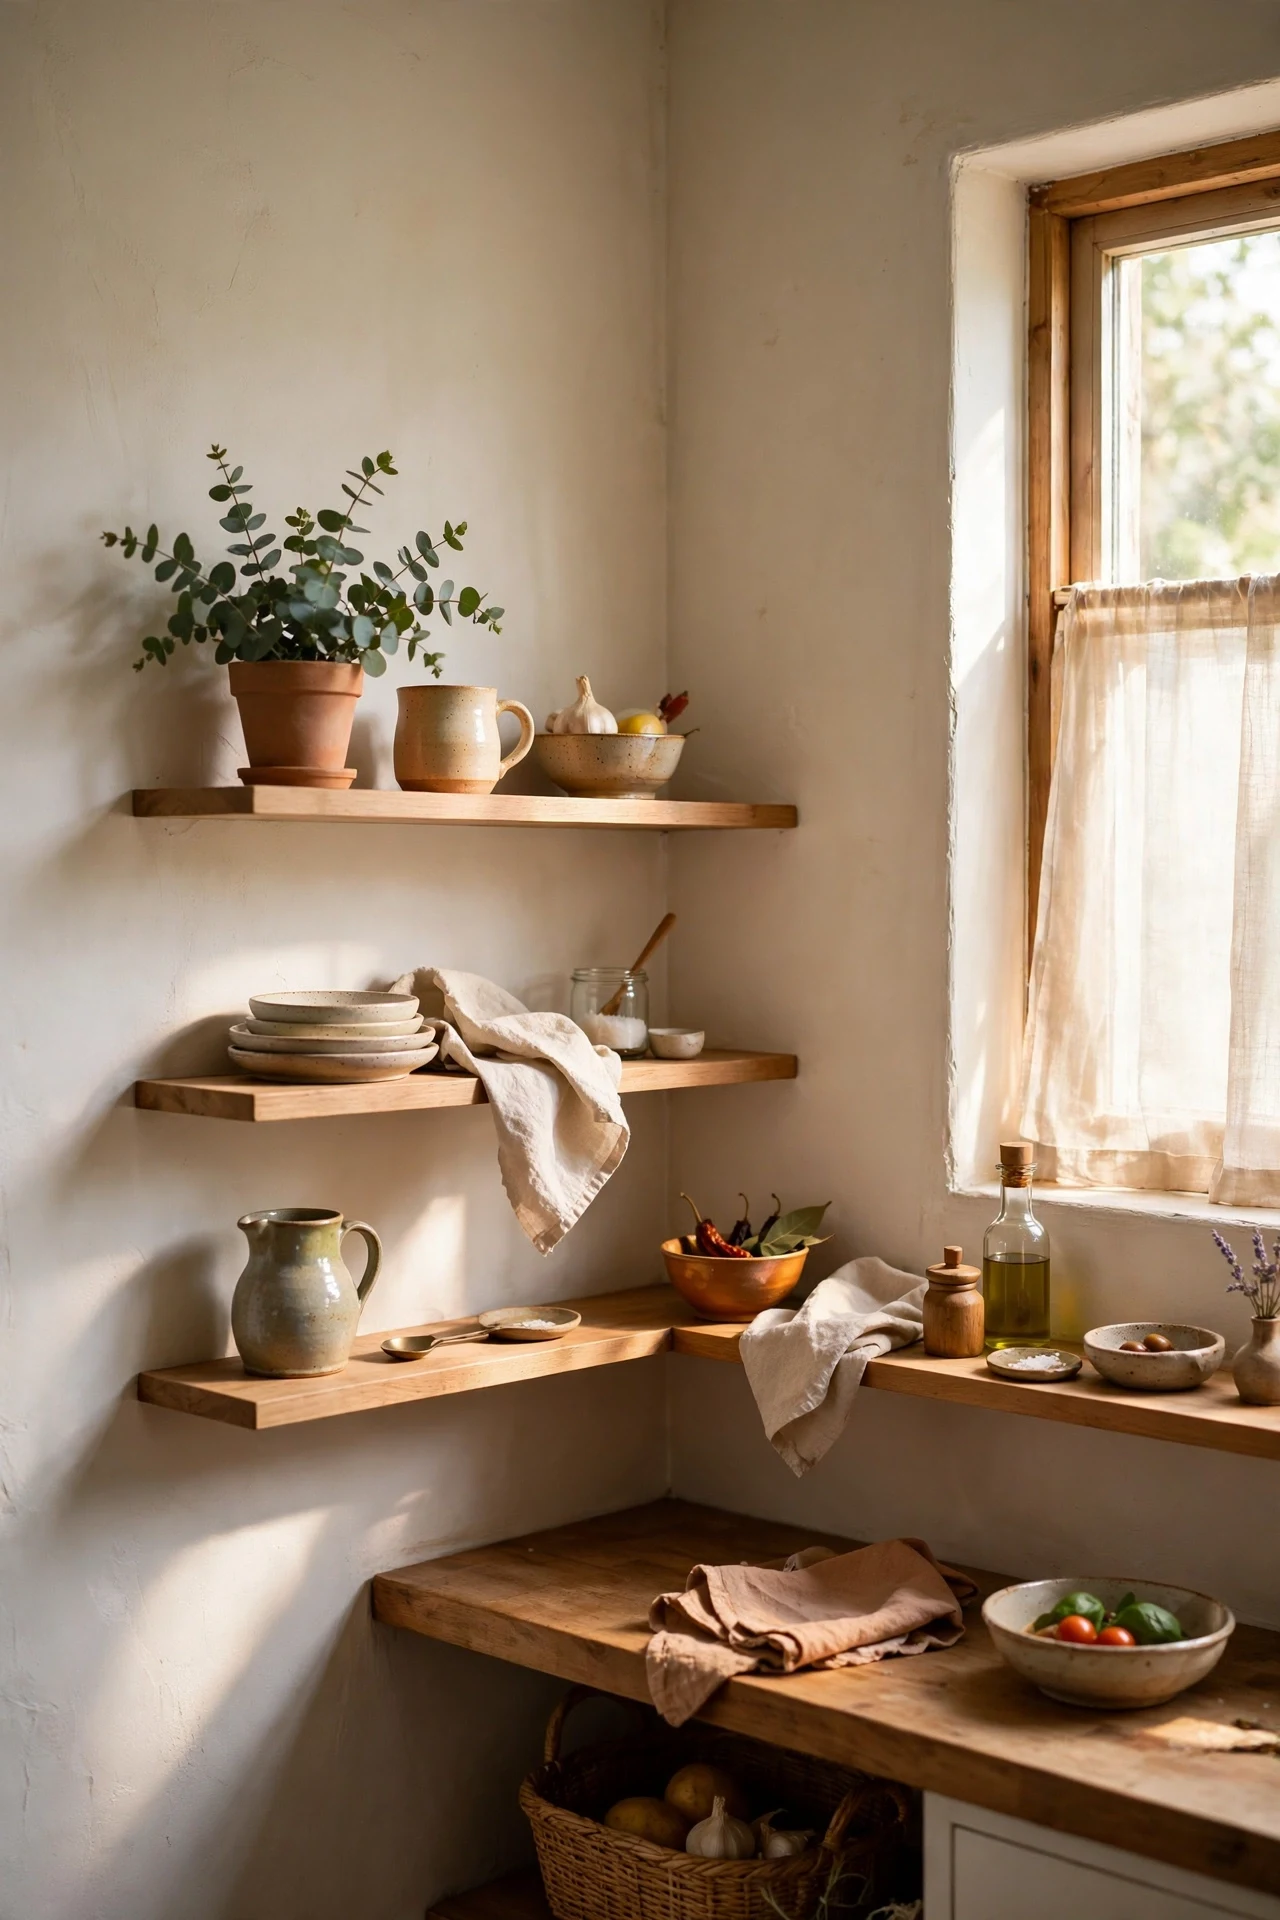
Corners are the most wasted square inches in a small kitchen, and floating corner shelves reclaim them beautifully. Mount two or three small L-shaped shelves where two walls meet, and style them with your prettiest daily-use items. I tried this in the dead corner beside my window, and it became my favourite display spot. The mistake to avoid is making them too deep; shallow corner shelves look delicate and hold plenty. They take an afternoon and a handful of brackets, but they look like custom joinery.
5. Hang a Rail for Pots and Pans
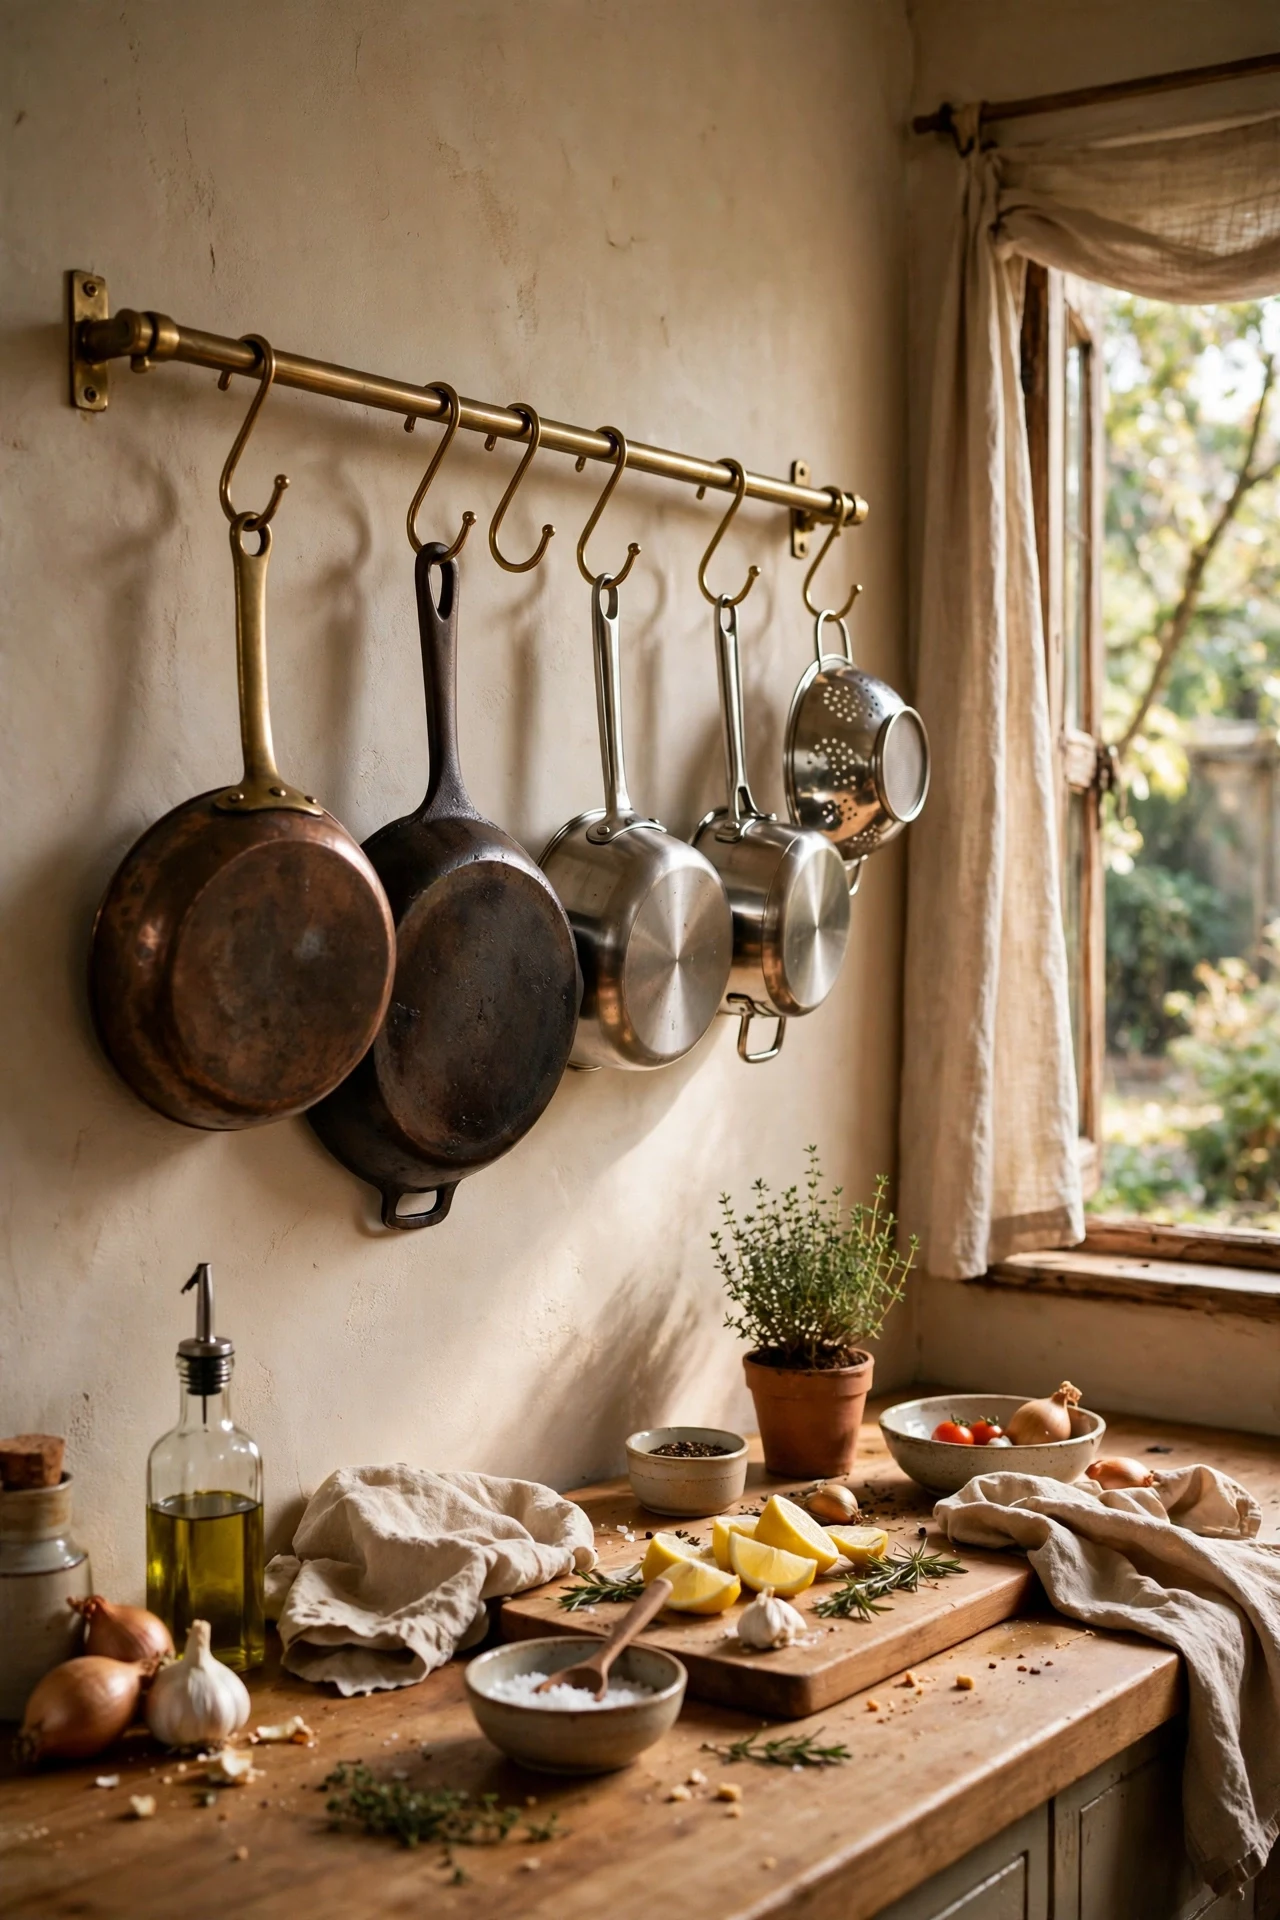
A sturdy wall-mounted rail with S-hooks gets your pots and pans out of the cupboards and onto the wall where they are easy to grab. Mount it into studs or use heavy-duty anchors, and hang your most-used pieces where they do not bonk anyone’s head. I tried this above my prep counter, and cooking started to feel like a proper studio kitchen. The mistake to avoid is hanging everything you own; curate down to your daily workhorses. It frees a whole cupboard and looks genuinely professional.
6. Spice Racks Inside Cabinet Doors
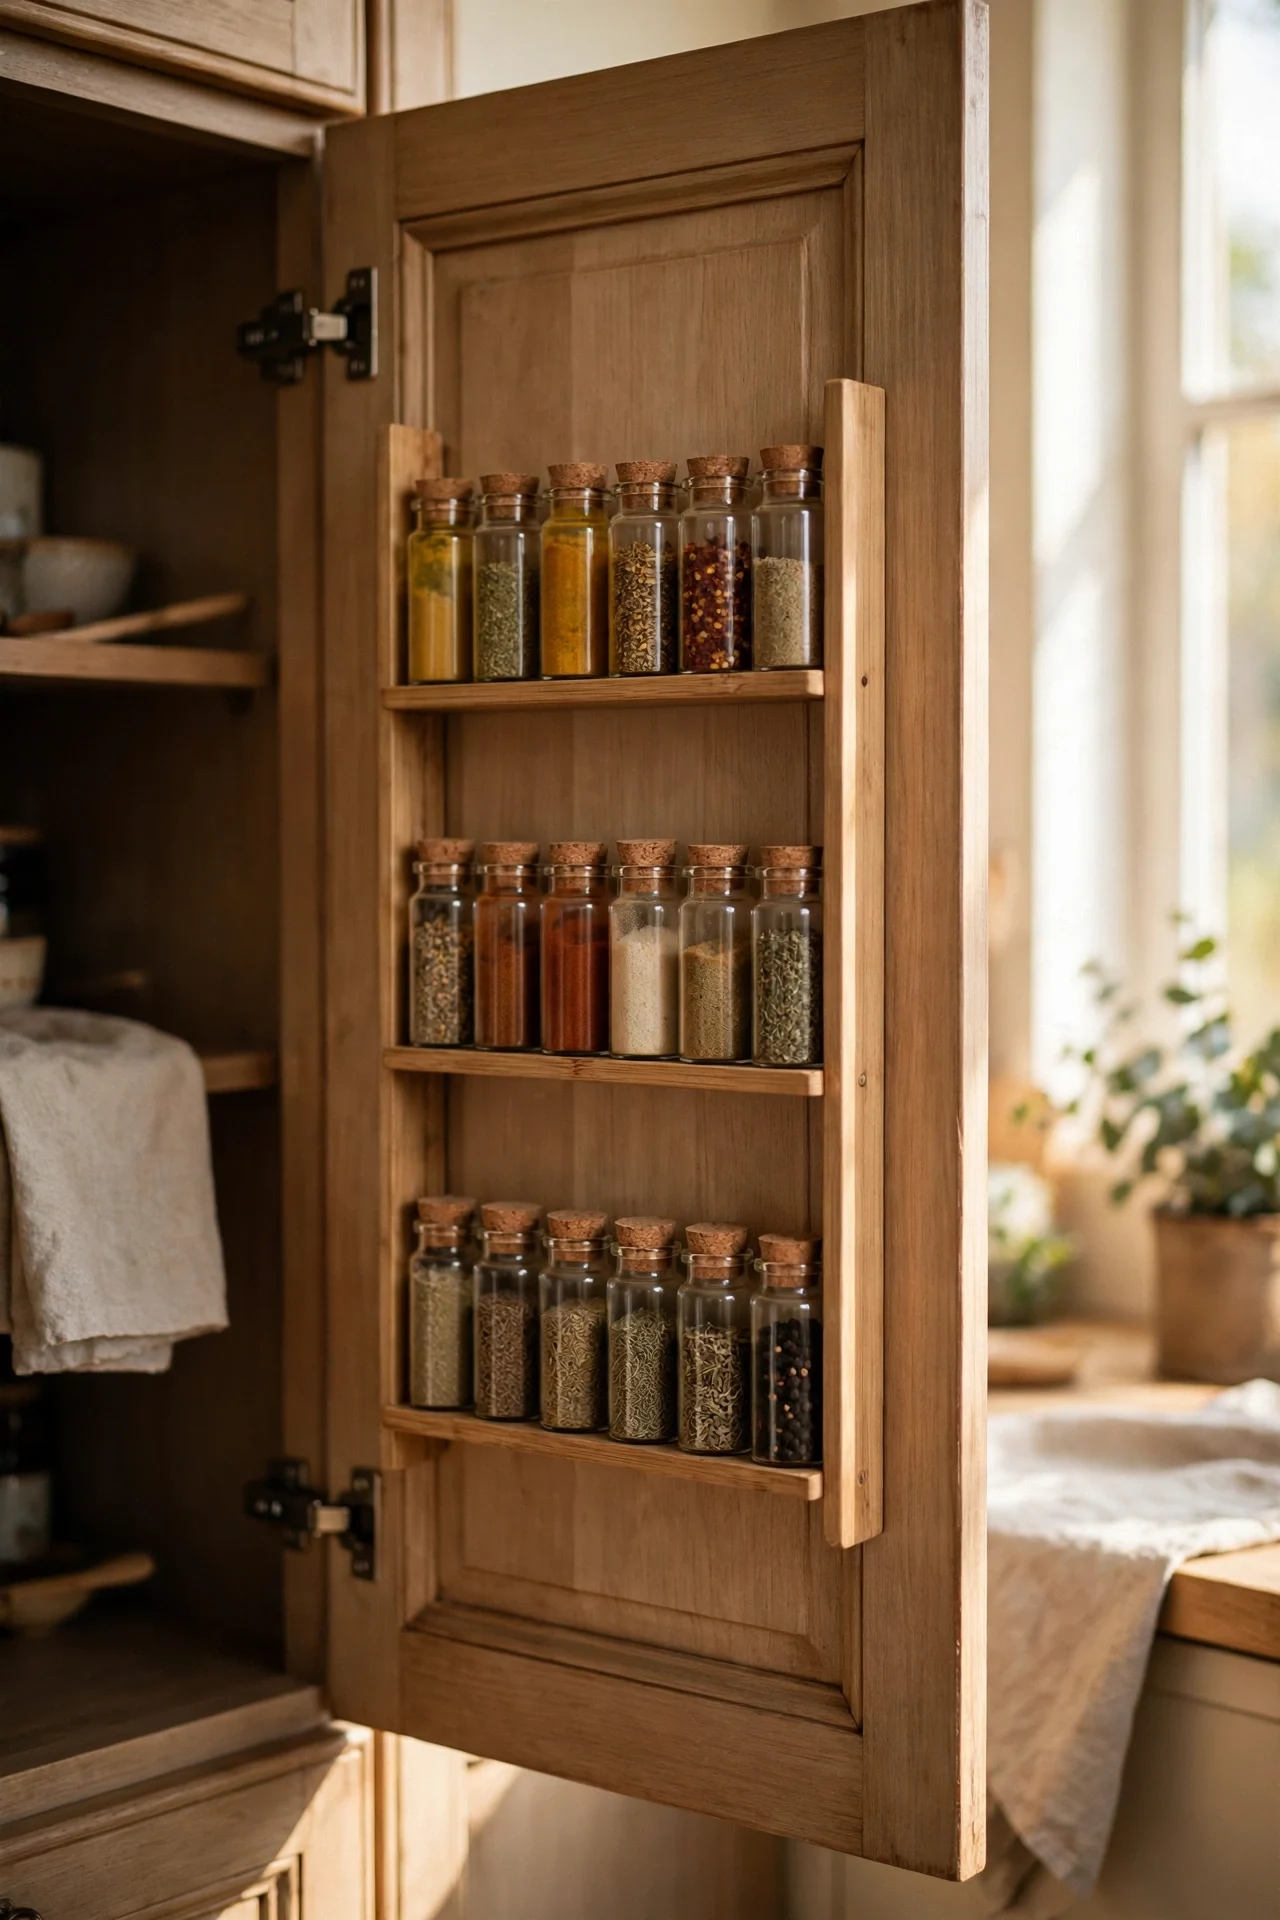
Stick slim spice racks to the inside of your cabinet doors and you win back an entire shelf without changing the kitchen at all. Adhesive-backed racks hold the jars securely, and everything stays visible the moment you open the door. I tried this inside my sink cabinet door, and my spice chaos became a little library overnight. The mistake to avoid is buying racks deeper than your door clearance; measure the gap with the door closed first. It is invisible storage that costs less than a bottle of olive oil.
Tiny Counter Wins
Pro tip: clear everything off your counter, then only put back what you used in the last week. Most tiny counters are not short on space — they are long on things that do not belong there.
7. Nesting Bowls and Measuring Cups
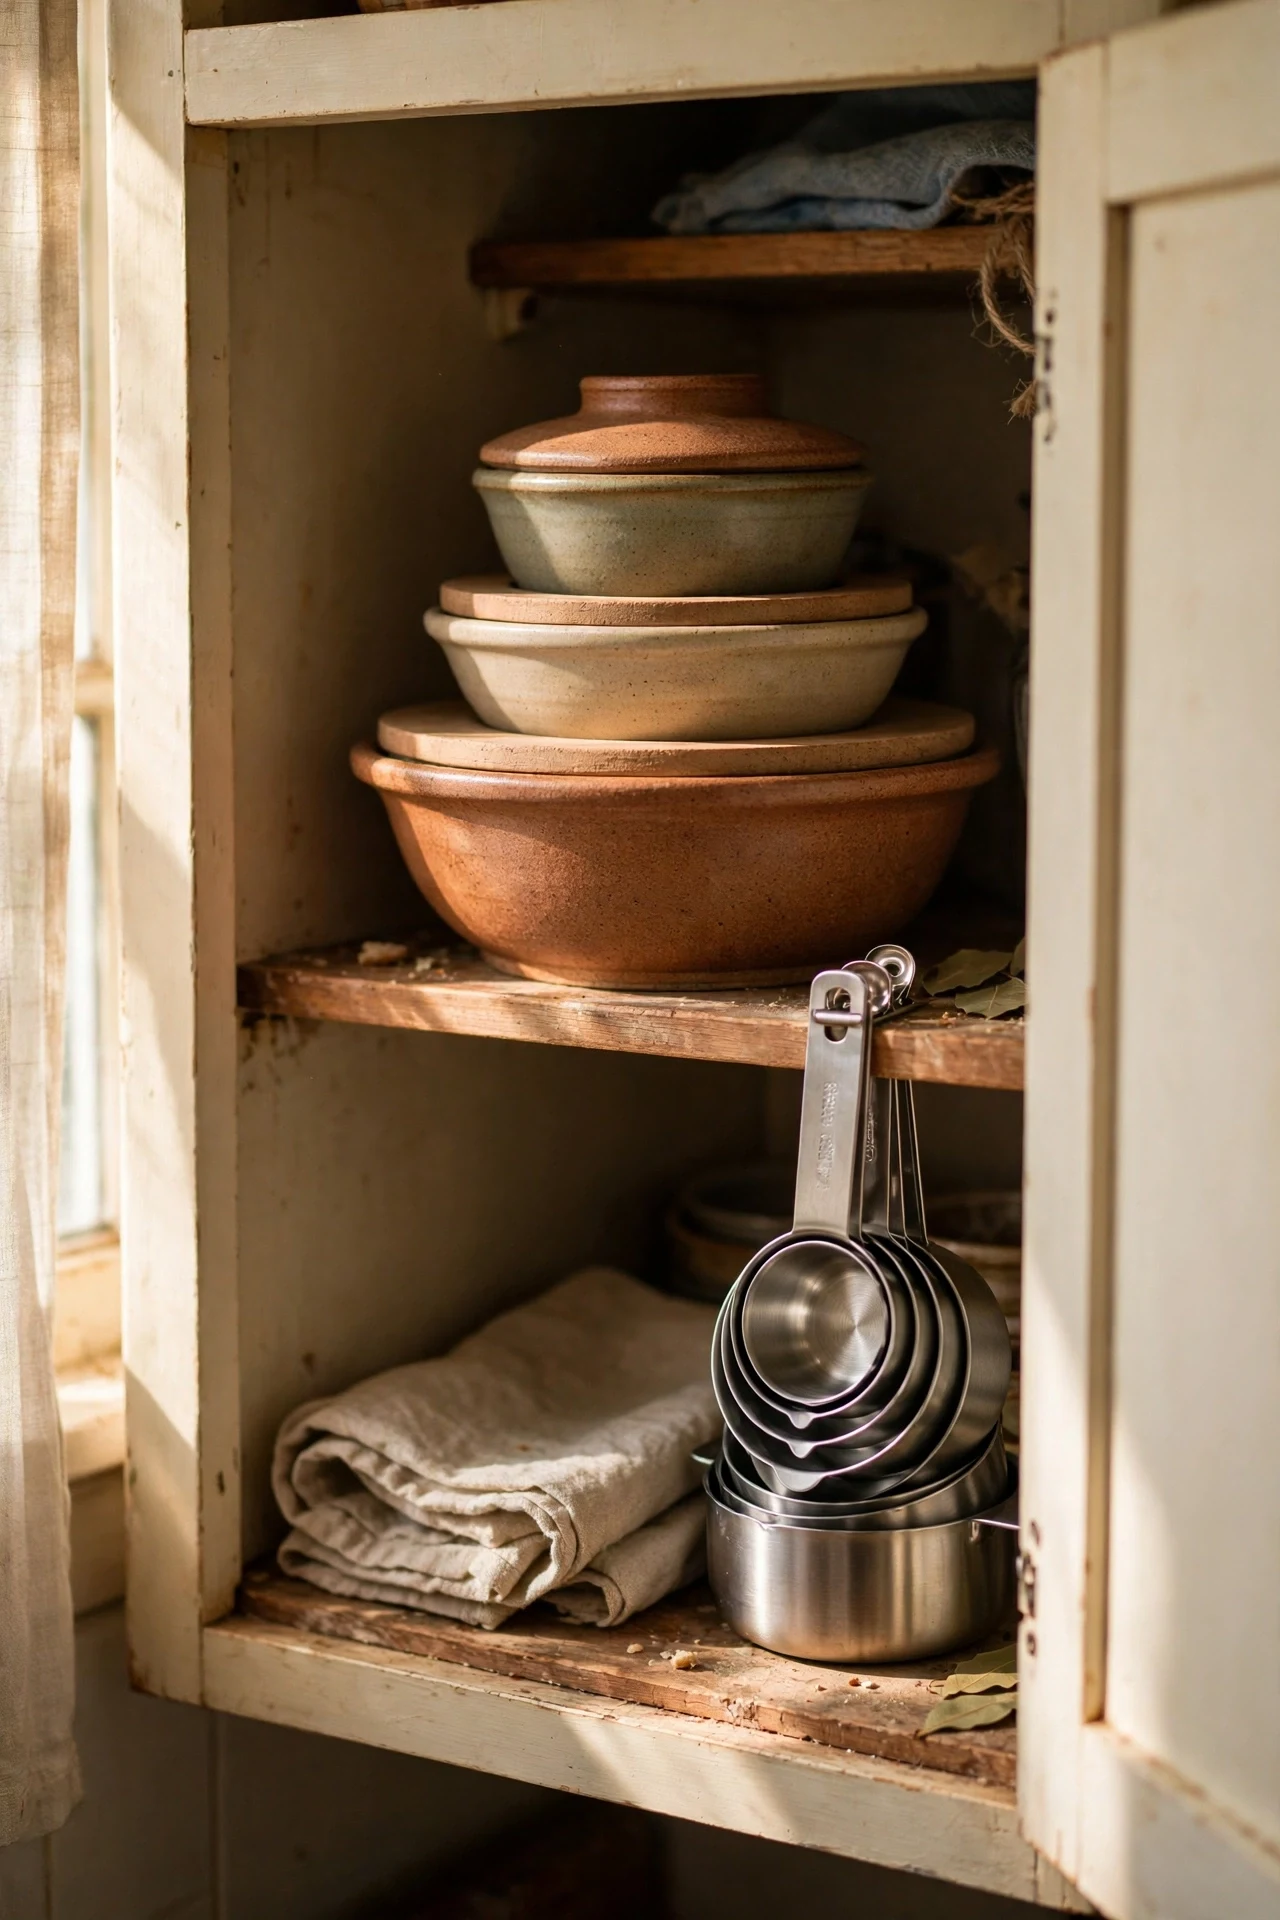
Nesting bowl sets collapse a whole stack of prep ware into the footprint of one, which is pure gold in a small kitchen. Choose a set with lids so the bowls double as storage, and keep the measuring cups clipped together on top. I tried swapping my mismatched bowls for one nesting set, and half a shelf appeared out of nowhere. The mistake to avoid is buying the giant 12-piece sets; most small kitchens need three bowls, not twelve. It is one purchase that quietly deletes clutter.
8. A Folding Kitchen Cart
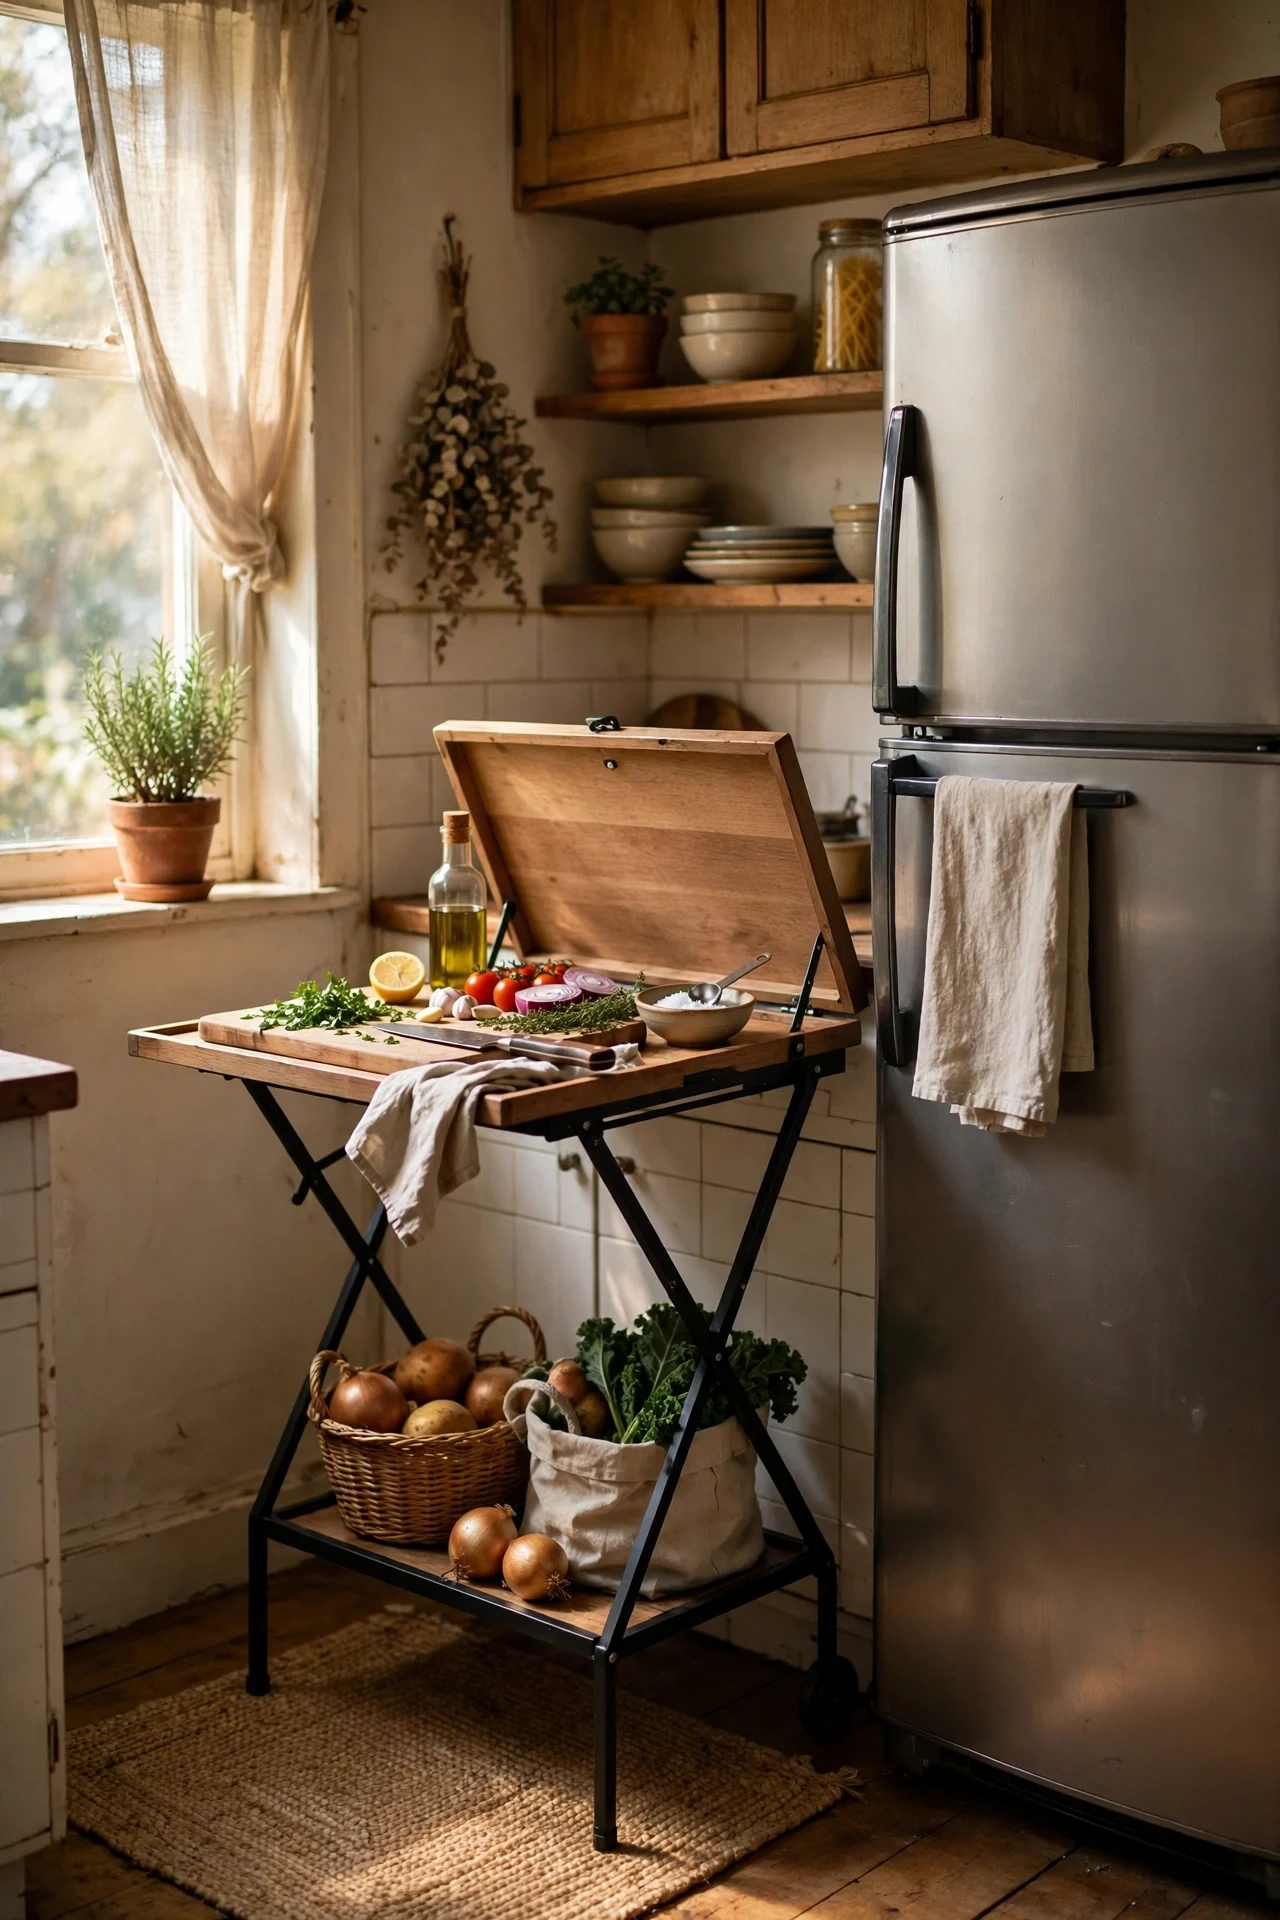
A folding kitchen cart gives you an extra work surface when you need it and folds flat against the wall when you do not. Use it as a chopping station, a serving trolley, or a coffee bar, then fold it away for floor space. I tried a slim folding cart beside my fridge, and dinner prep finally had room to breathe. The mistake to avoid is leaving it open all the time; the whole point is that it disappears. Lock the castors when it is up so it does not wander mid-chop.
9. Stackable Shelf Risers
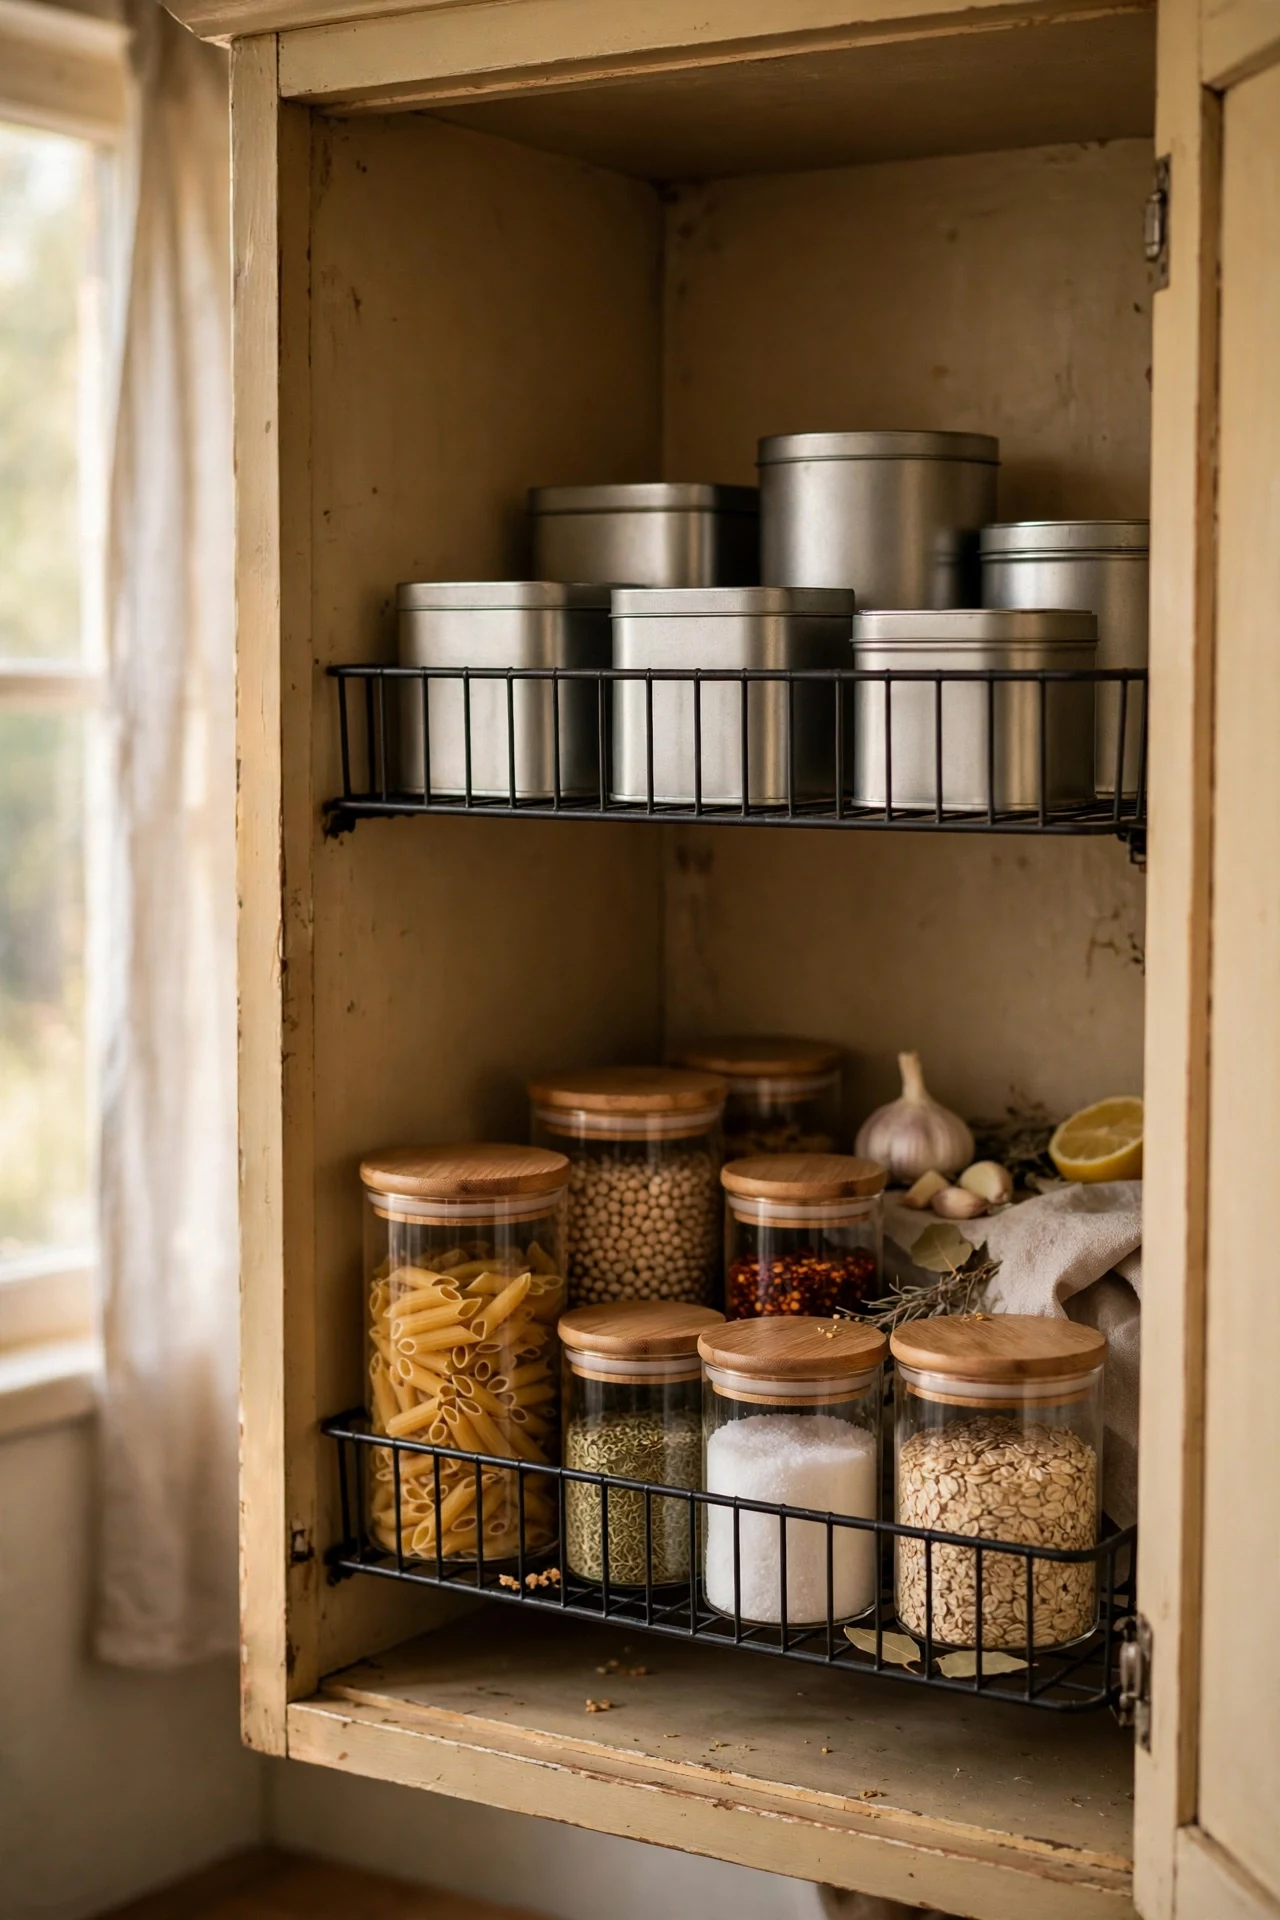
Shelf risers stack one layer of tins and jars above another inside your cupboards, doubling usable space instantly. Buy sturdy wire or bamboo risers that fit your shelf depth, and group items so you can see everything. I tried two risers in my deepest cupboard, and the layer that used to hide at the back became reachable. The mistake to avoid is choosing risers taller than your shelf gap; measure before you buy. It is the cheapest way to add a second storey to any shelf — more countertop ideas at (see also: kitchen-counter-decor-ideas-that-look-styled-not-cluttered).
10. Wall-Mounted Drop-Leaf Table
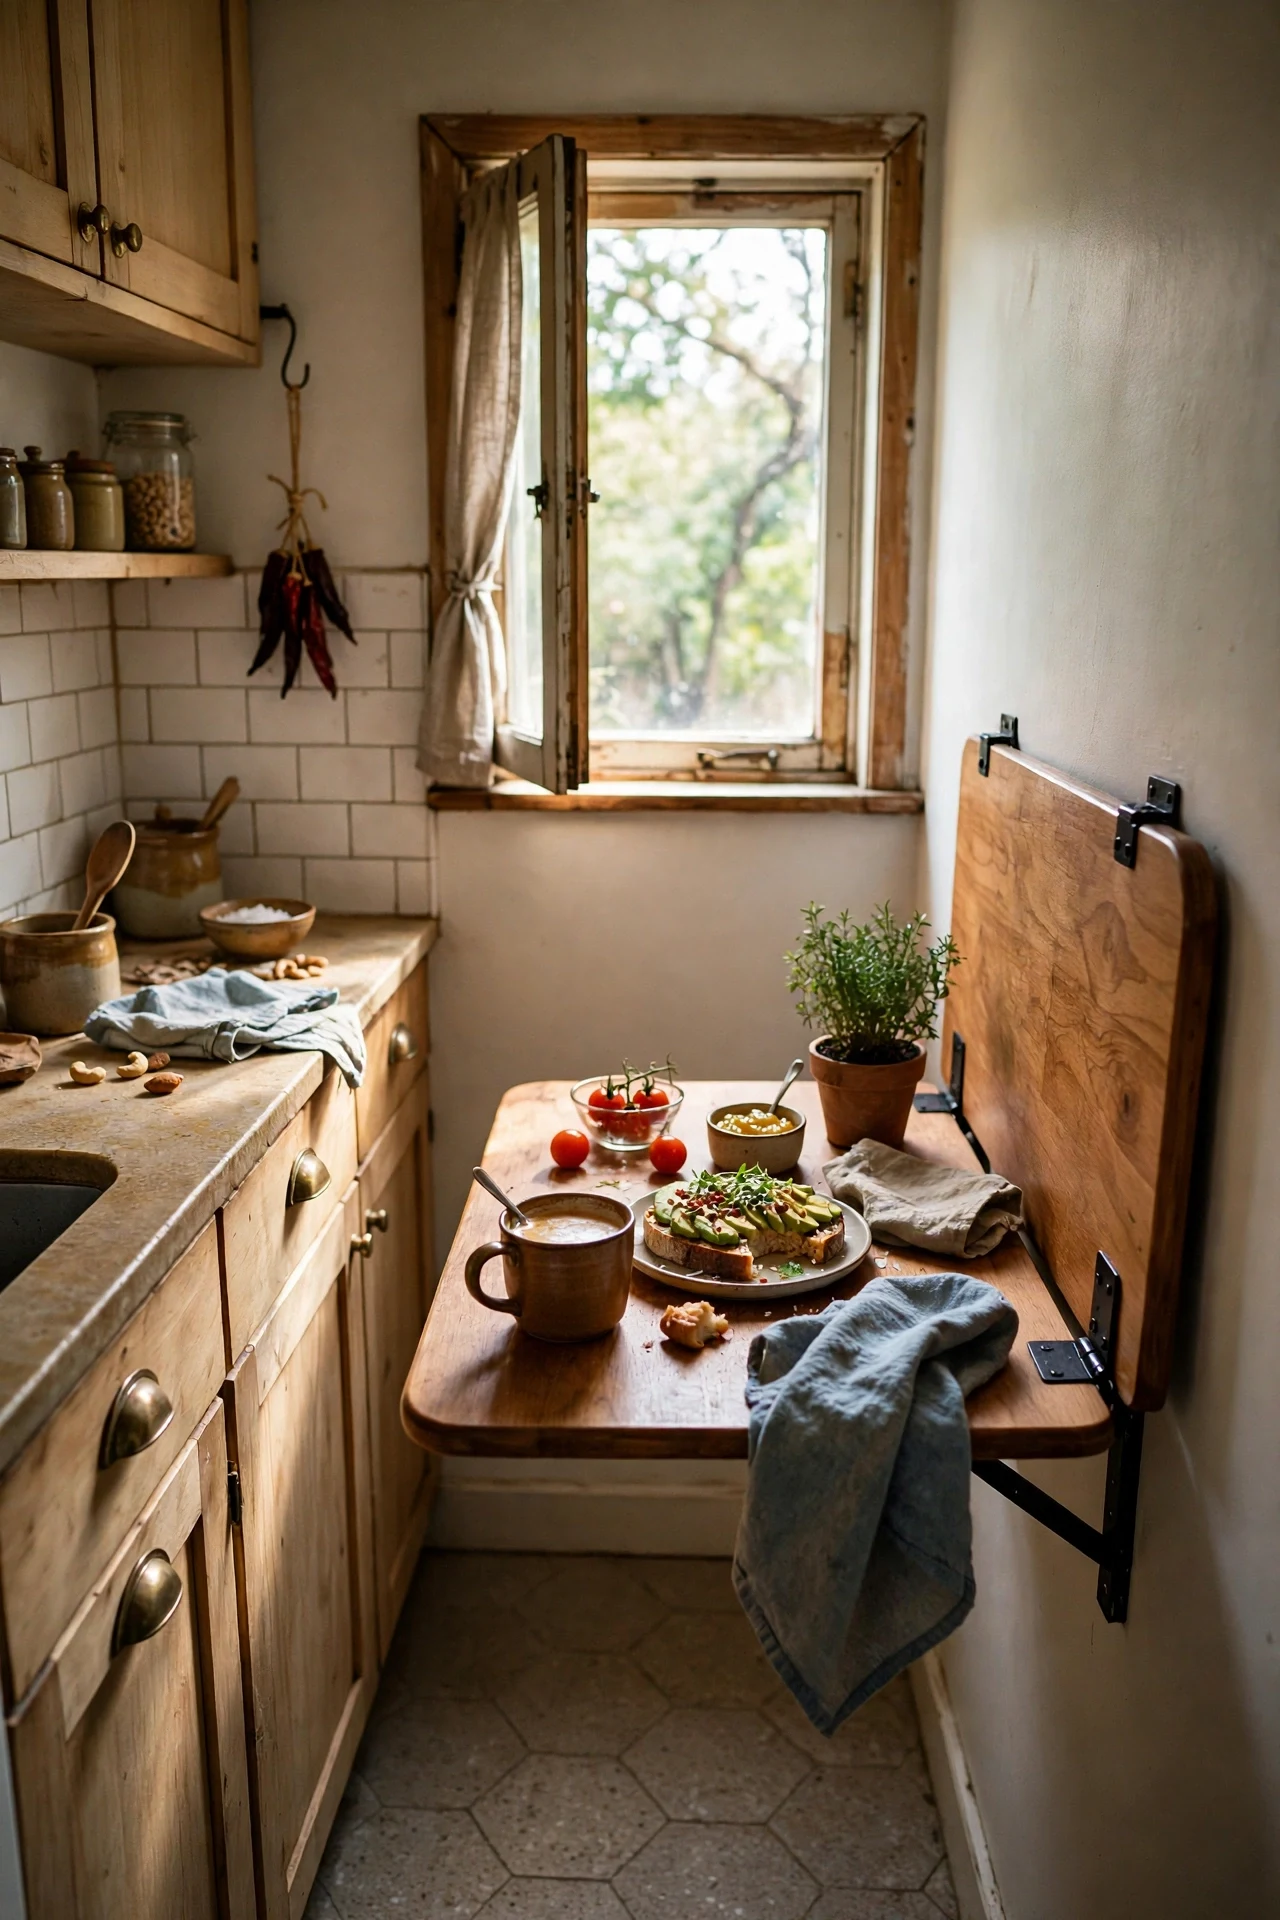
A drop-leaf table on the wall serves as a breakfast bar or extra prep space, then folds down to nothing when you are done. Mount it at counter height with solid hinges, and add a small shelf underneath for stools or the folded leaf hardware. I tried one in my galley kitchen, and it became my favourite reading spot as well as my prep zone. The mistake to avoid is mounting it too high or low; counter height is the only height that works. It is a dining table that only exists when you want it.
11. Tiered Fruit and Veg Stand
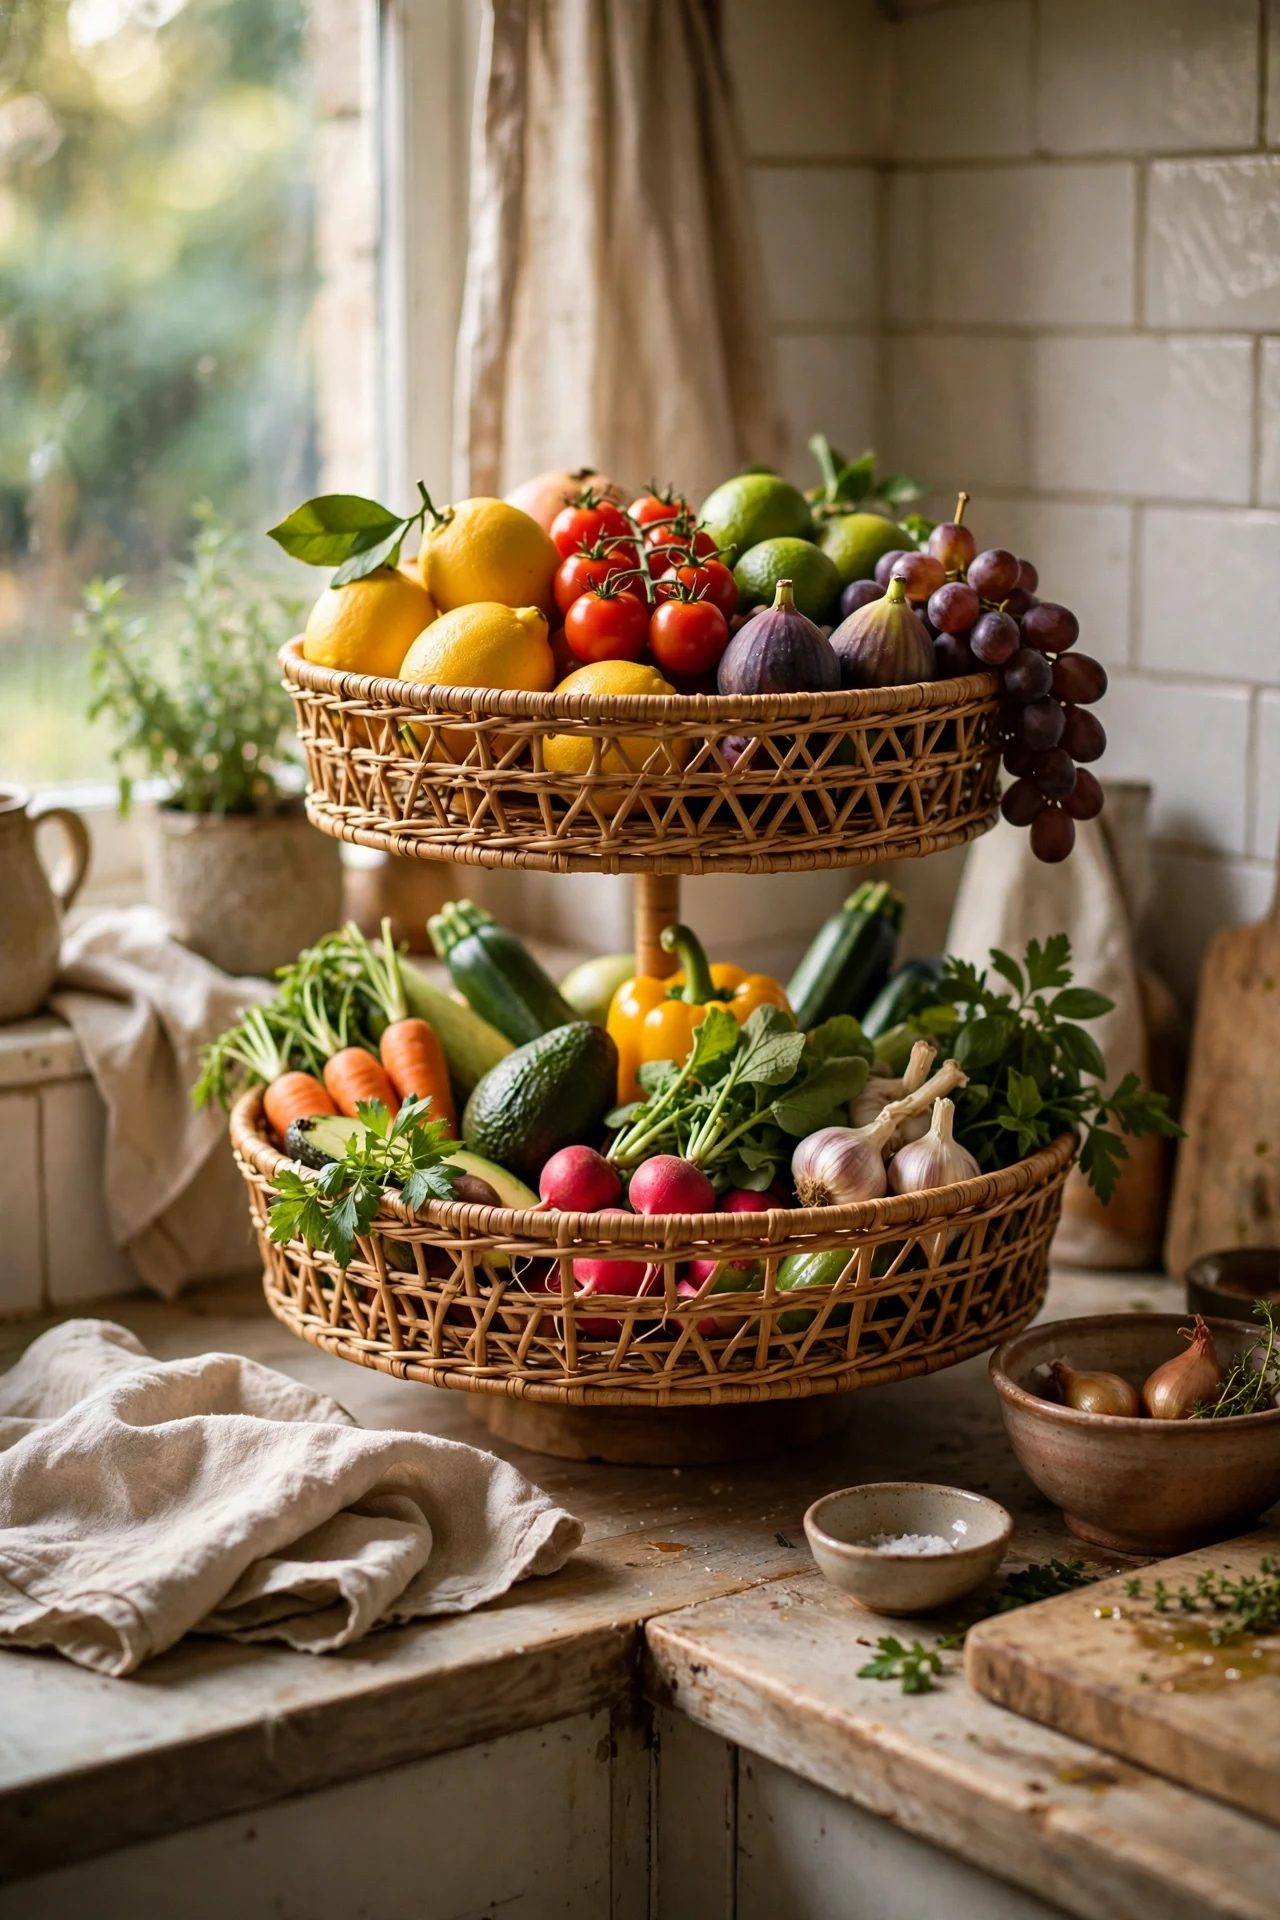
A two- or three-tiered stand moves your fruit and vegetables off the counter into a vertical footprint the size of a dinner plate. Keep it near the prep area so produce is always in reach, and let the colours do the decorating. I tried a wicker two-tier stand, and my counter suddenly had room for the chopping board. The mistake to avoid is piling it so high the bottom layer bruises; rotate produce regularly. It turns groceries into a display and keeps them visible so nothing rots forgotten.
12. Hang Mugs Under the Cabinets
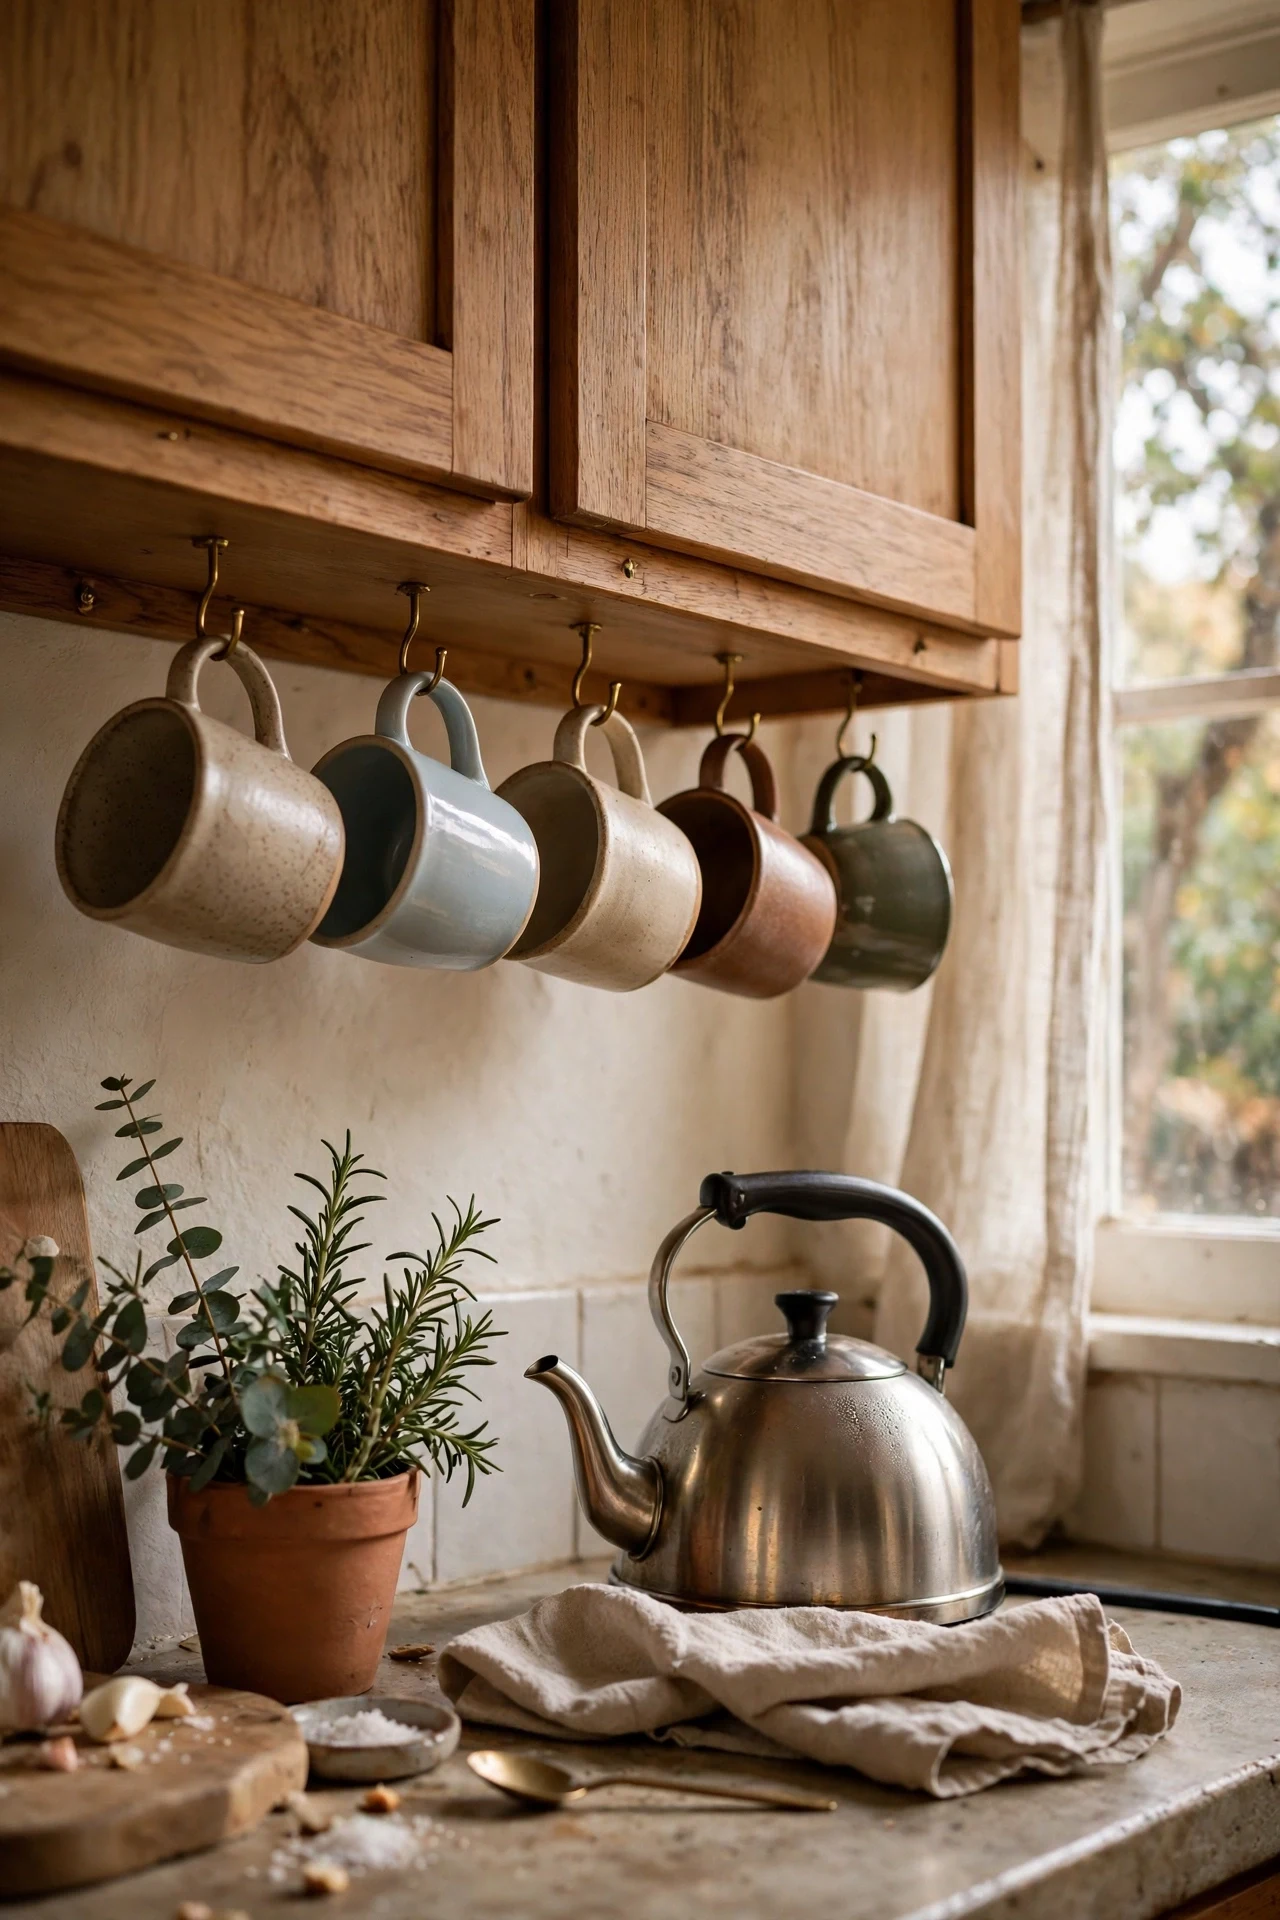
Screw small hooks under your wall cabinets and hang your mugs below, freeing a full shelf while keeping cups exactly where you need them. Space the hooks so mugs do not clink, and keep it to your prettiest six or eight. I tried this under the cabinet by my kettle, and my morning tea routine got faster and prettier. The mistake to avoid is using hooks that are too short; mugs need enough clearance to lift off easily. It is five minutes of work that deletes a whole clutter zone.
Vertical Storage Tricks
Pro tip: in a small kitchen, think in storeys, not square feet. Every wall has a top half that usually holds nothing but air — shelves, rails, and hooks up high are free real estate.
13. Shelf Above the Door Frame
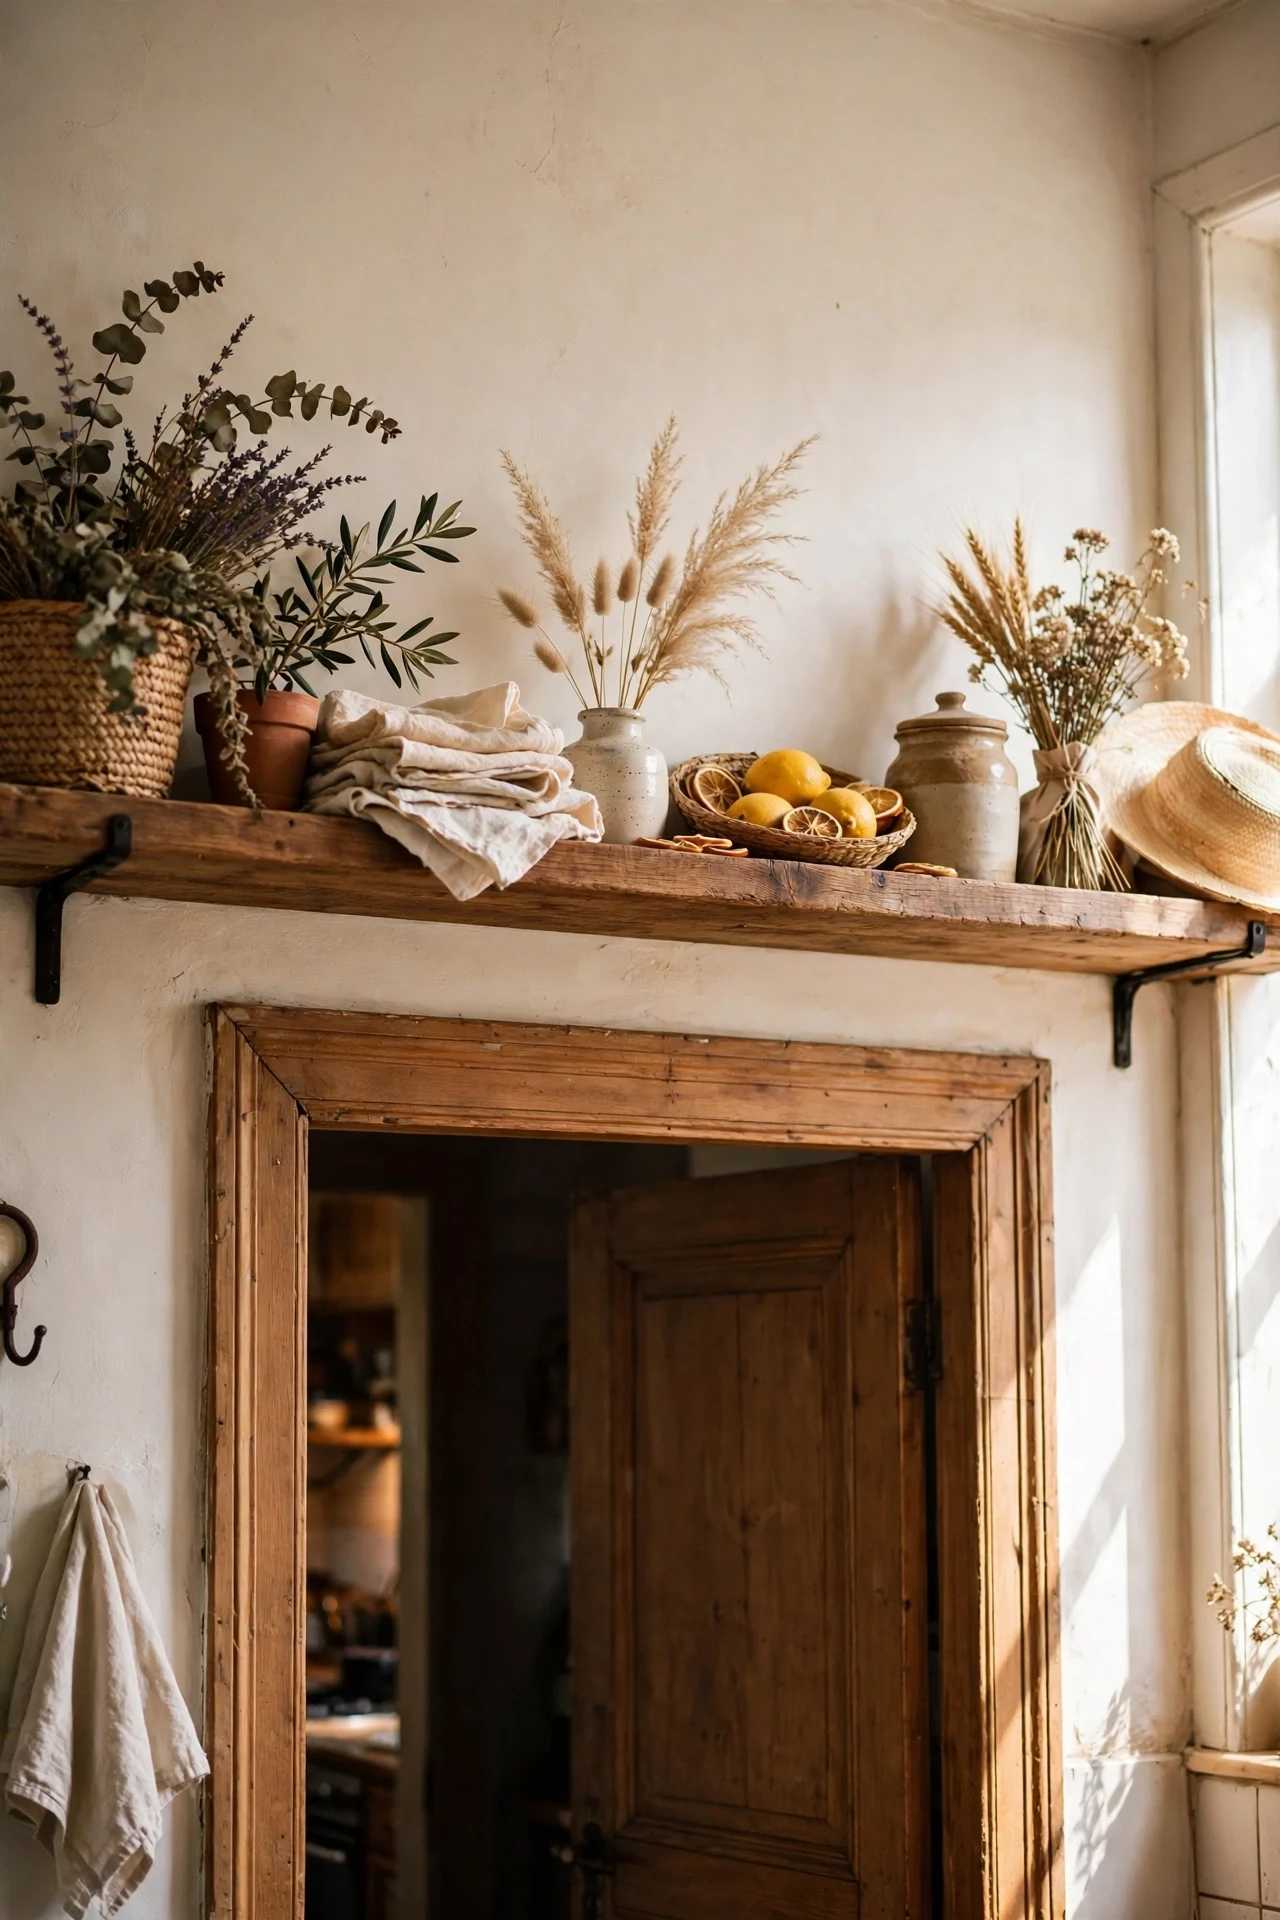
The wall above the door frame is dead space in almost every kitchen, and one long shelf there holds the things you rarely need but cannot throw out. Mount a sturdy board up high for holiday platters, picnic sets, and rarely-used gadgets. I tried this above my kitchen door, and a whole shelf of seasonal clutter moved out of the daily cupboards. The mistake to avoid is storing anything heavy or daily-use up there; step stools and heavy loads are a bad combination. Keep it light, keep it rare, and it is free storage.
14. Ceiling-Mounted Pot Rack
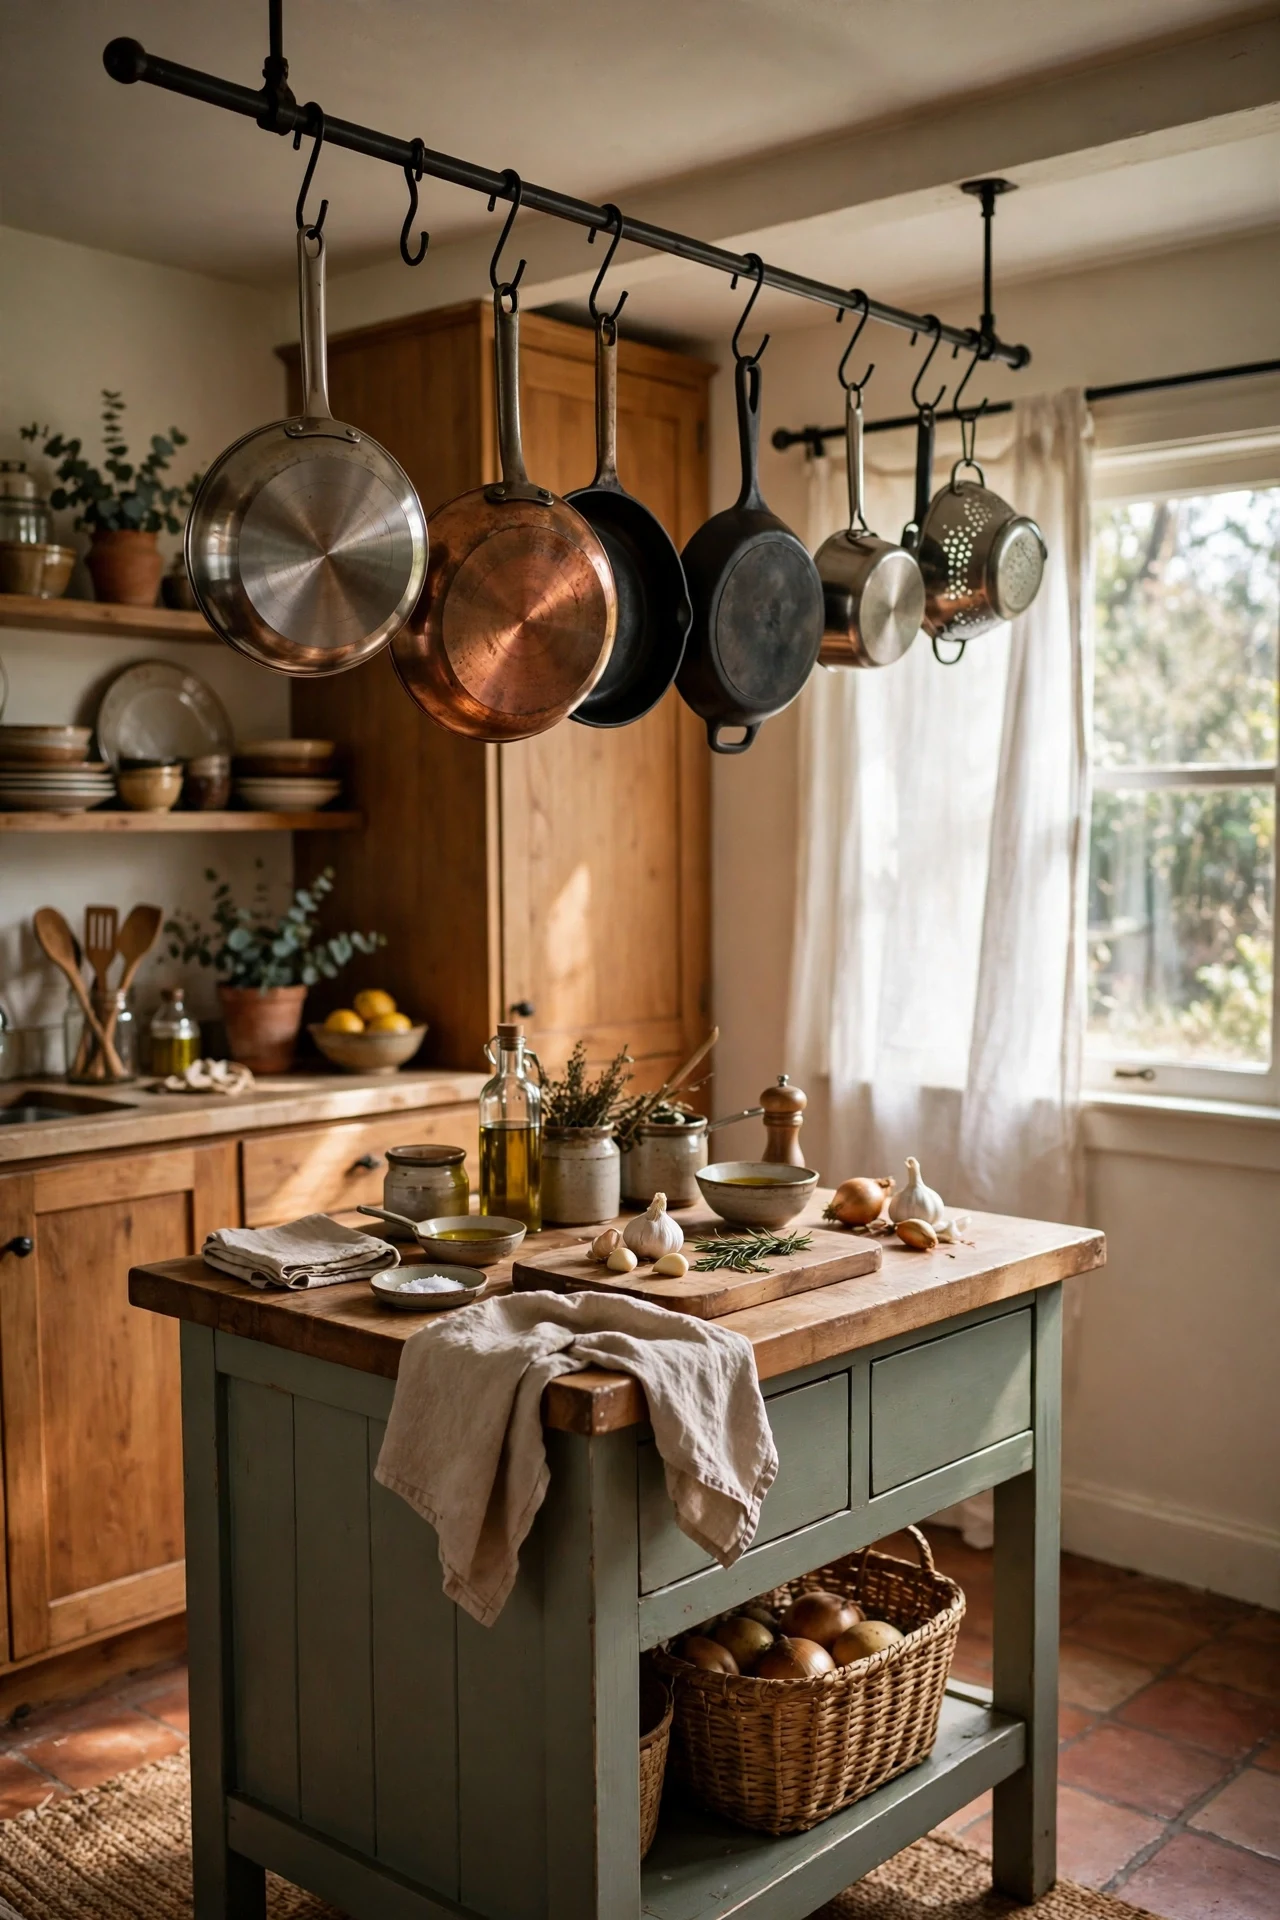
A ceiling-mounted pot rack hangs your cookware overhead, freeing an entire cupboard and putting everything within grab-and-go reach. Hang it over an island or along a walkway-free stretch, and check the ceiling fixing can take the weight. I tried a simple oval rail with S-hooks, and my pans finally stopped living in a precarious stack. The mistake to avoid is hanging it where tall people bump it; height matters more than looks here. It makes a tiny kitchen feel like a chef’s workspace.
15. Tall Narrow Pull-Out Shelves
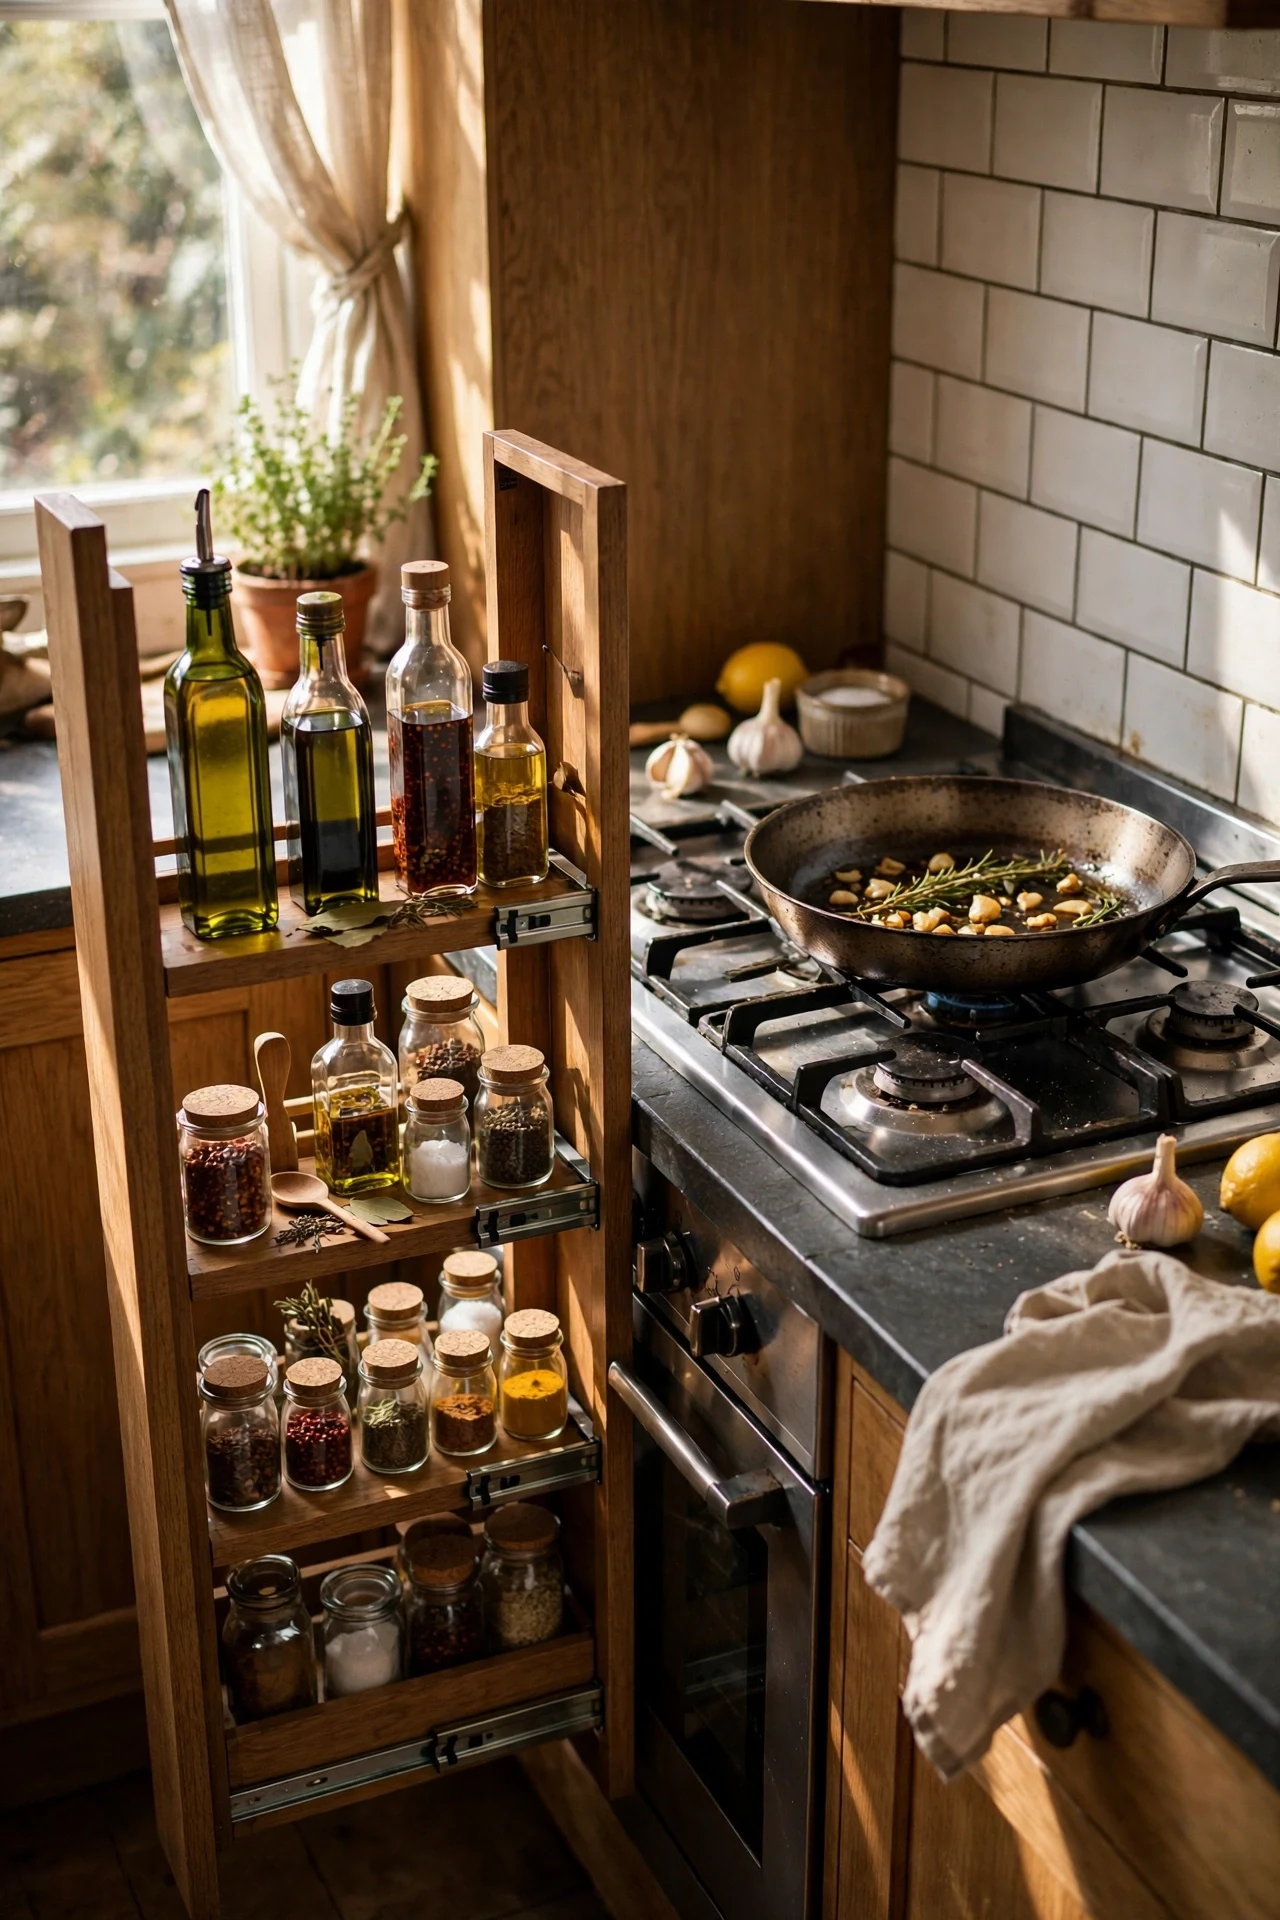
A slim pull-out unit squeezed into a gap — even 15 centimetres — creates a full vertical pantry for oils, spices, and tins. Slide it into the crack beside the fridge or between cabinets, and everything glides out on runners. I tried one in the gap beside my cooker, and it swallowed every bottle I owned. The mistake to avoid is leaving it unanchored; pull-outs need fixing so they do not tip when loaded. Measure your gap twice, because odd gaps are exactly what these units are made for.
16. Stack Cabinets to the Ceiling
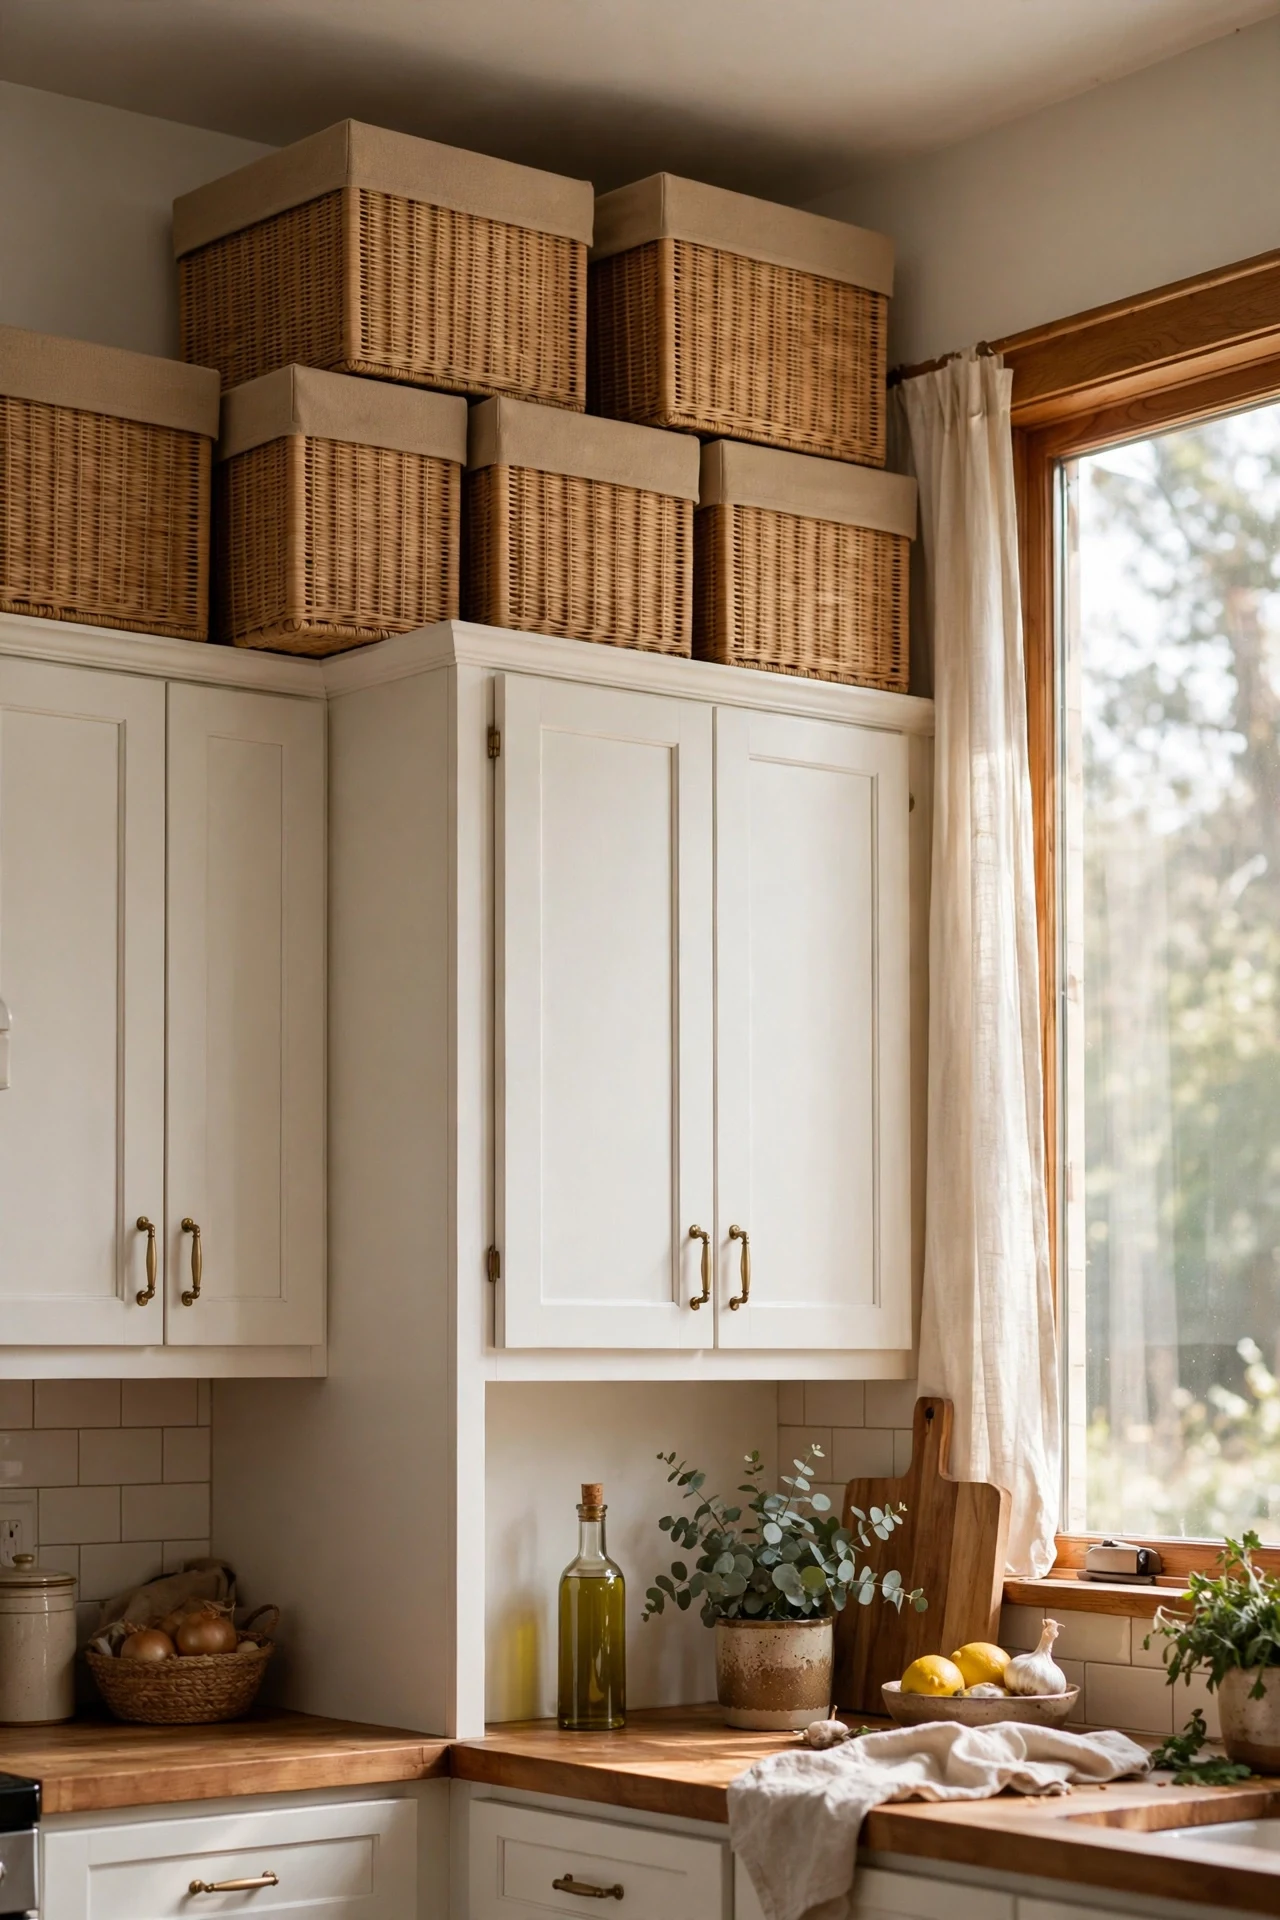
If your wall cabinets stop short of the ceiling, add a row of small cabinets or boxes on top to claim that forgotten band of space. Use it for the rarely-needed things, and keep a folding step stool nearby. I tried stacking storage boxes painted to match my cabinets, and the kitchen looked taller as well as more generous. The mistake to avoid is filling them with daily items; the faff of fetching defeats the purpose. Floor-to-ceiling lines also make the whole room feel bigger.
17. Window Shelf for Herbs
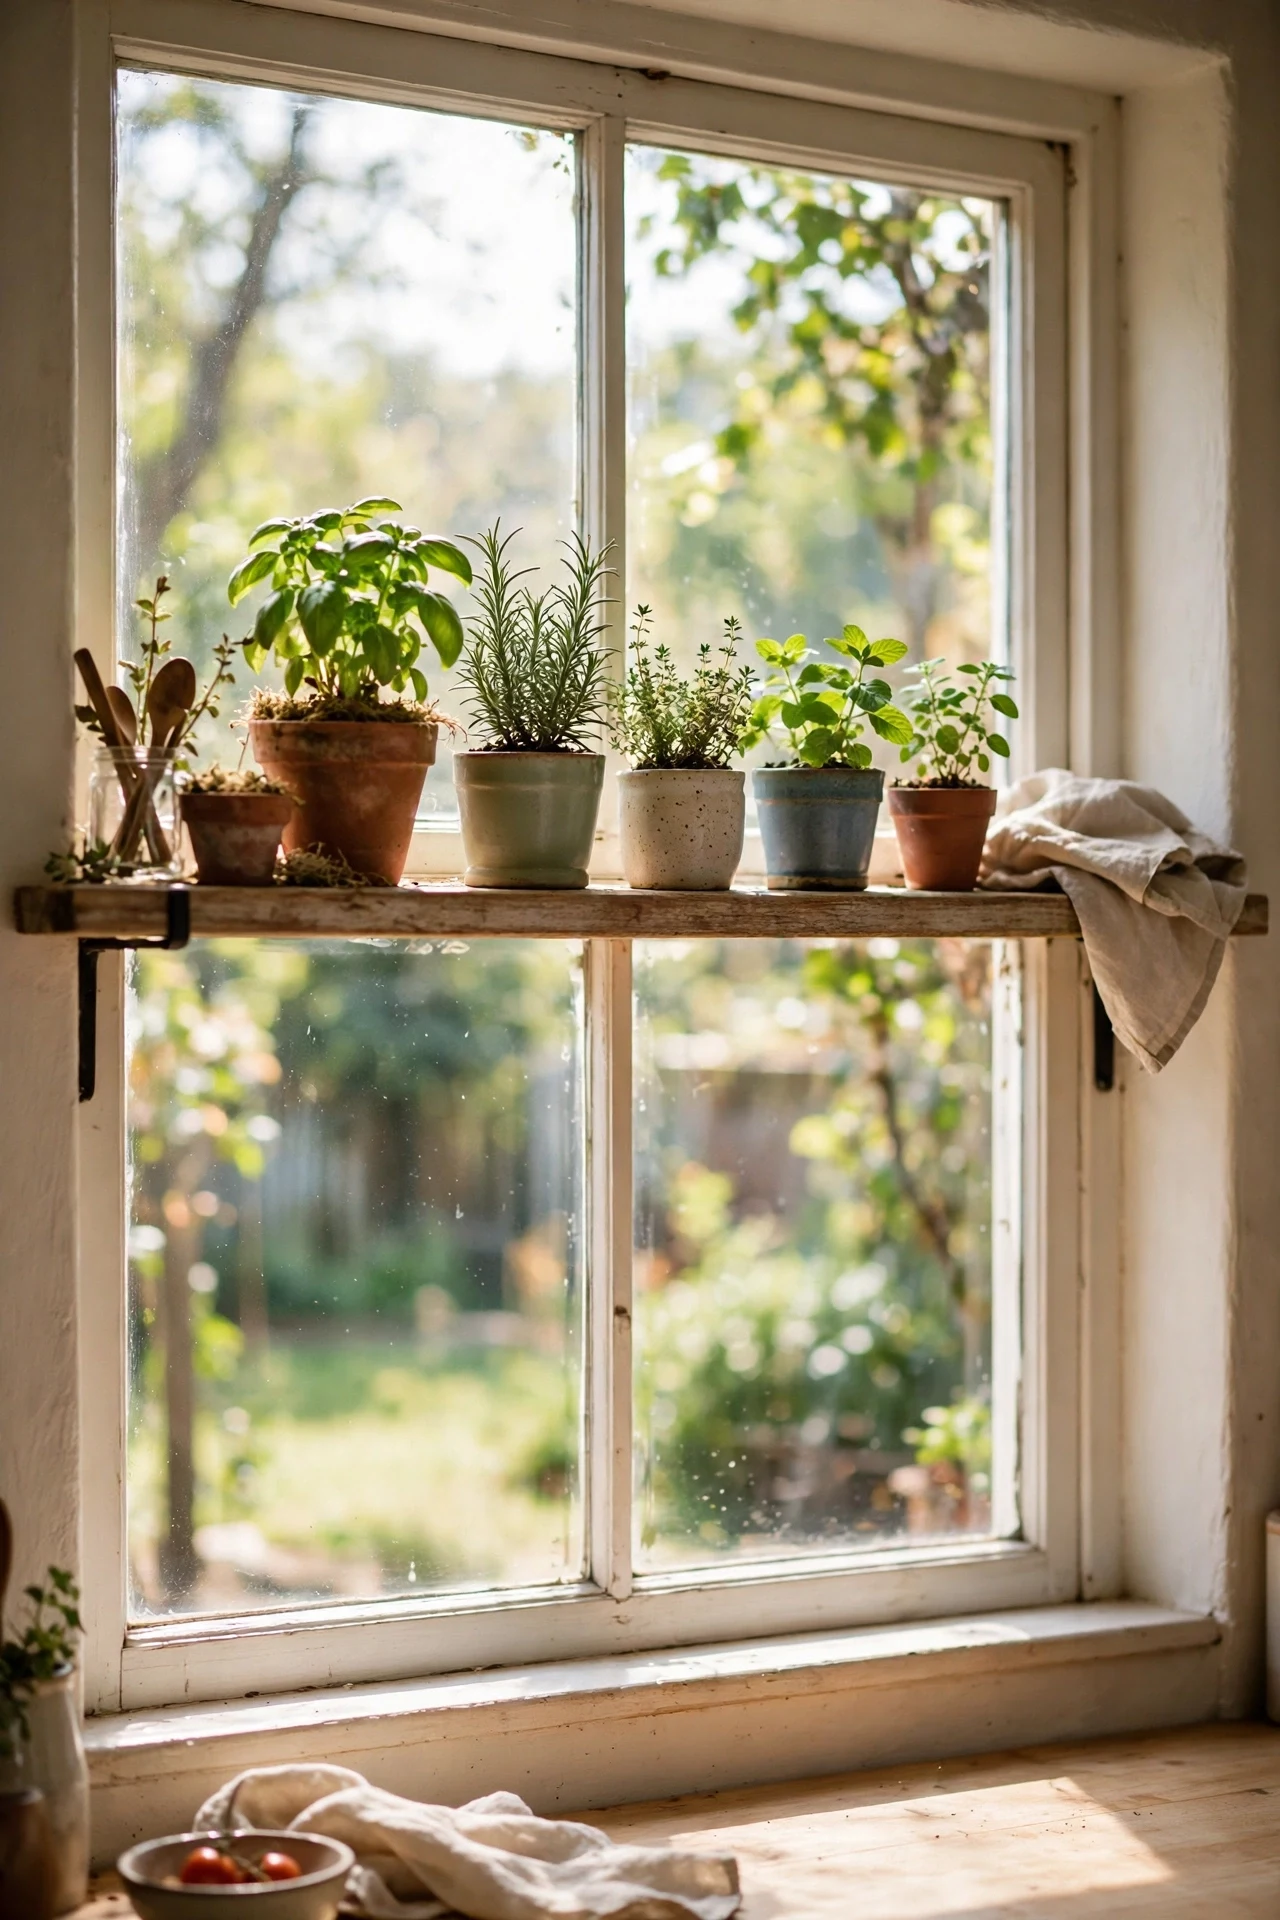
A narrow shelf across the kitchen window holds your herb pots in the light without taking a scrap of counter space. Mount it at sill height or hang it from the frame with brackets, and keep pots small so they do not block the view. I tried a tension-mounted window shelf, and fresh basil moved within snipping distance of the chopping board. The mistake to avoid is overcrowding it; herbs need air and light, not a crowd. It is a garden, a decoration, and storage all in one window.
18. Baskets on Top of Cabinets
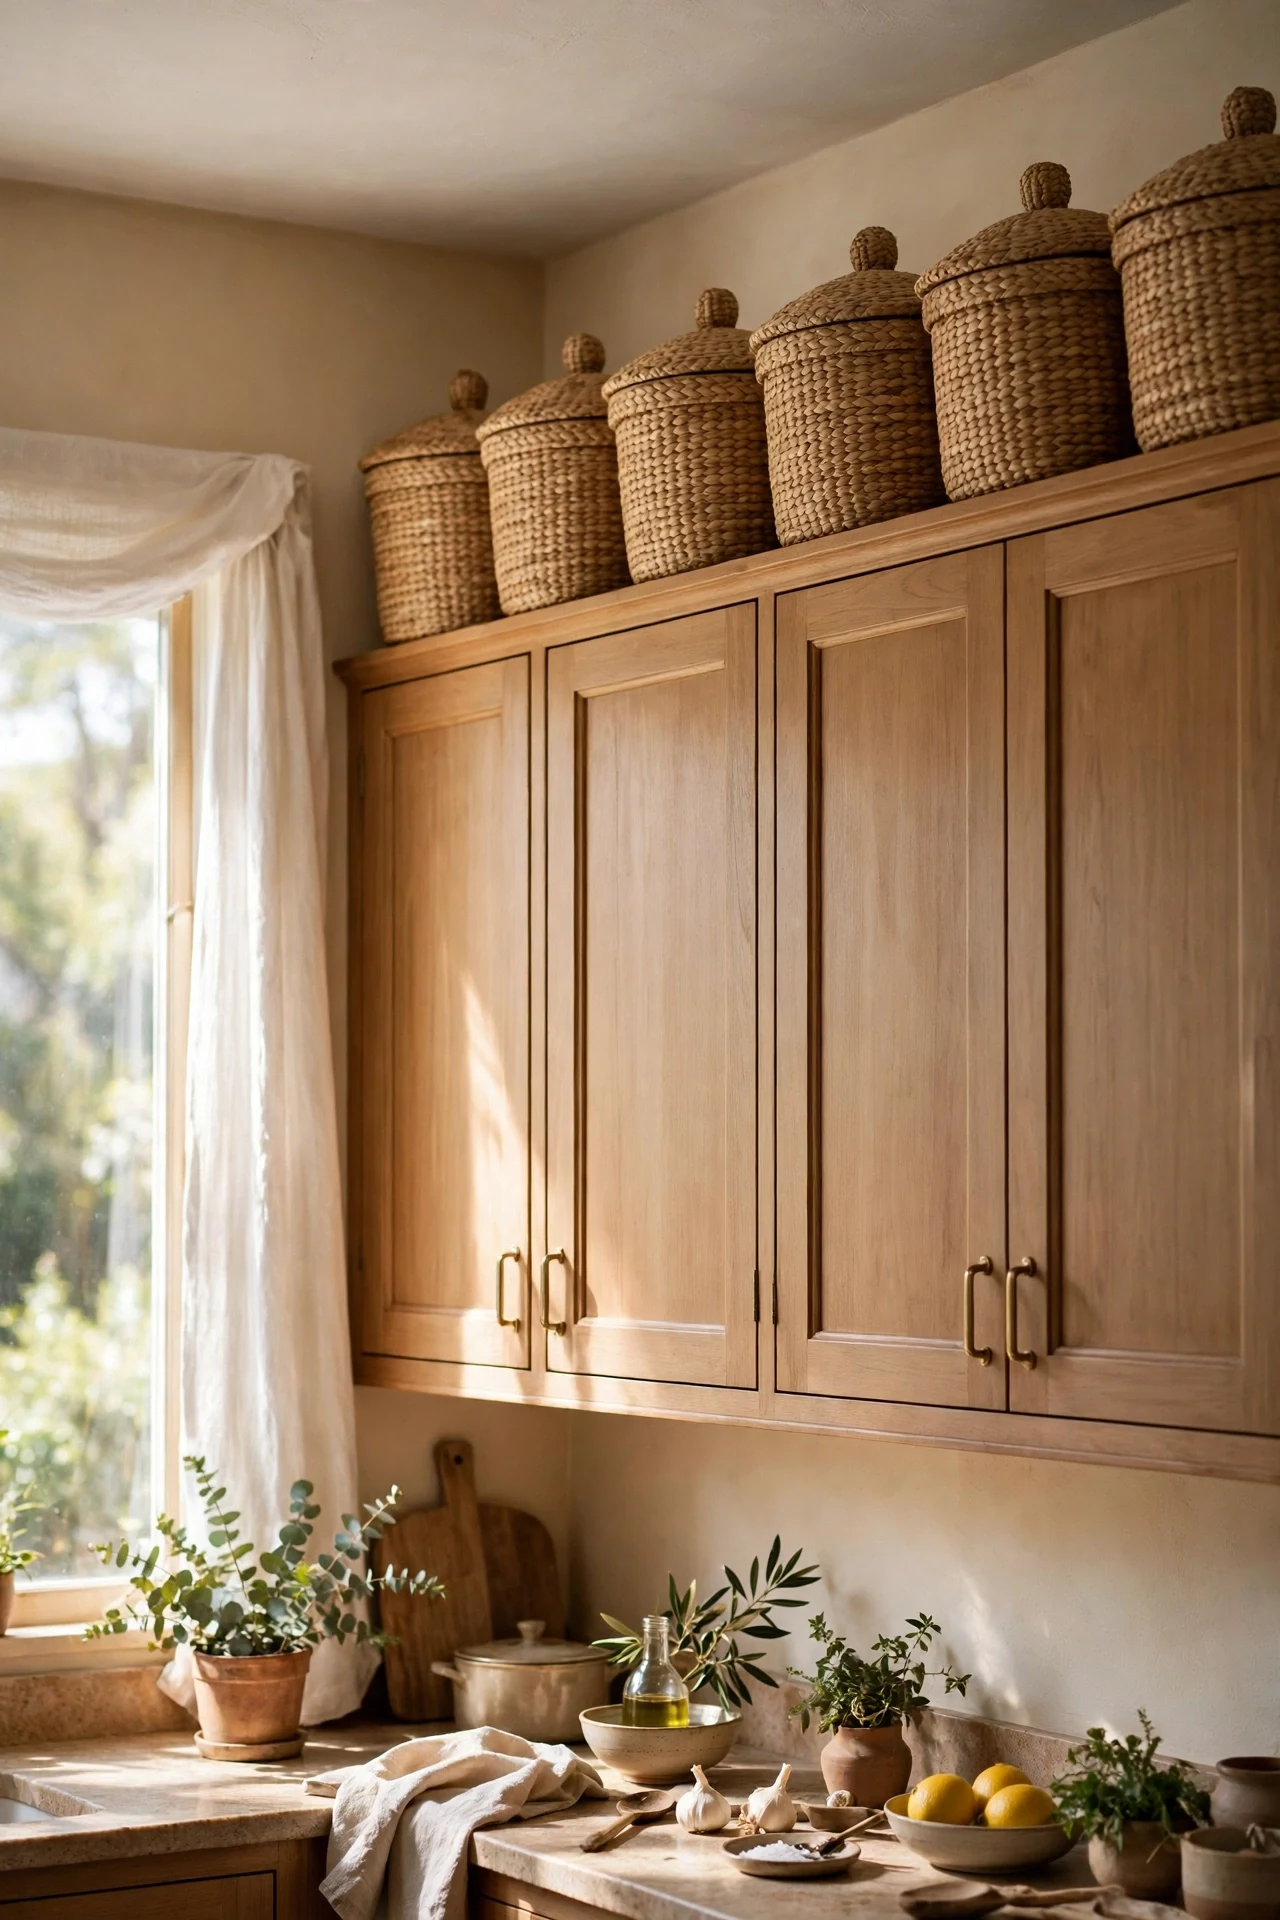
Line matching baskets along the top of your wall cabinets to corral the overflow that always ends up there anyway. Choose baskets with lids to keep dust off, and label them so you actually find things. I tried three seagrass baskets up top, and the jumble of bags and boxes looked intentional for the first time. The mistake to avoid is using open baskets; dust settles fast up there and lids save you a cleaning job. Uniform baskets turn a messy ledge into a design feature.
Clever Corners & Gaps
Pro tip: measure every gap between appliances and cabinets with a tape measure, not your eye. Gaps of 10–20 centimetres are the most common — and most ignored — storage opportunity in small kitchens.
19. Rolling Cart in the Gap
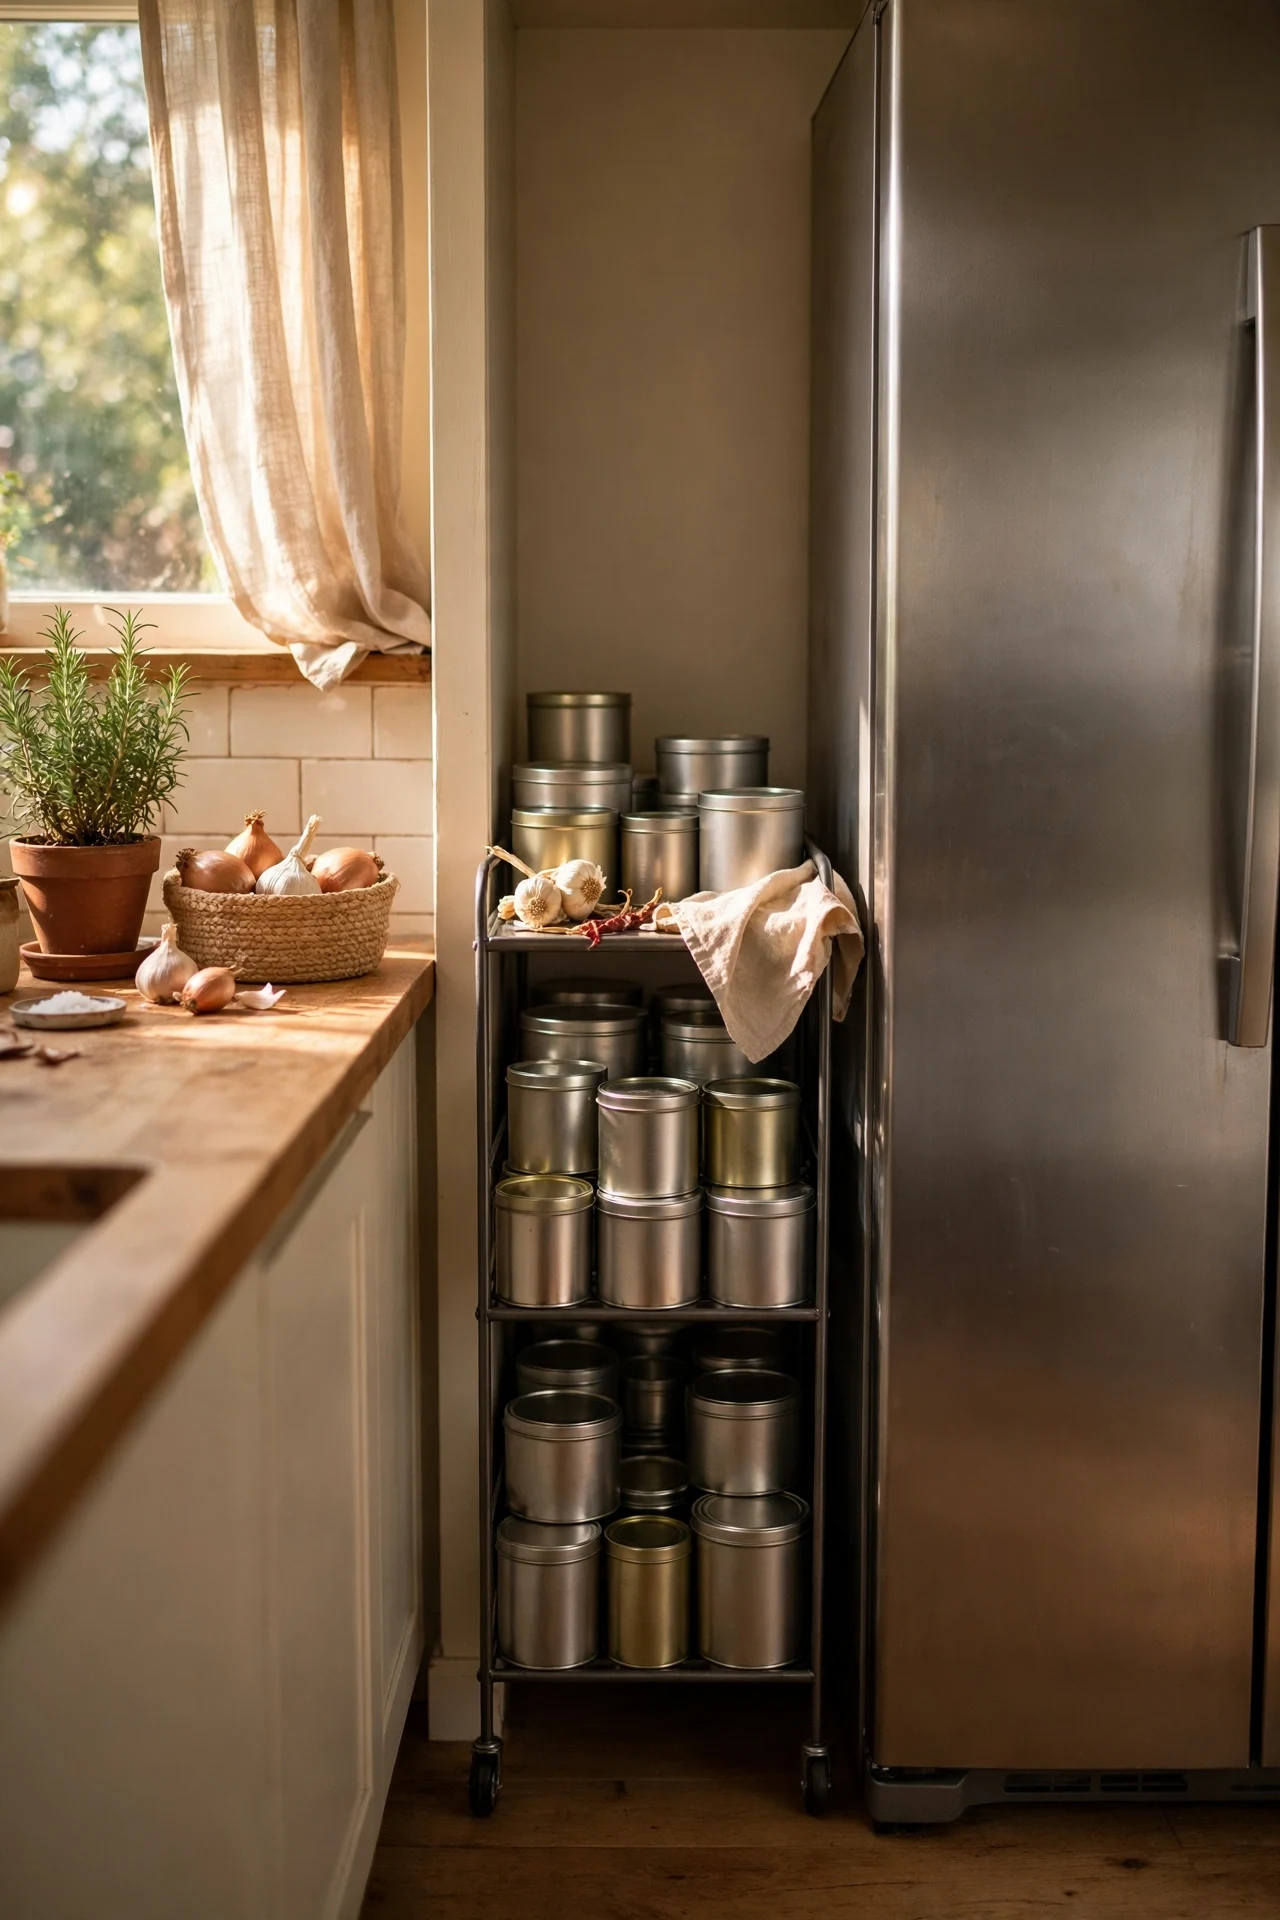
A slim rolling cart that slots into the gap beside the fridge or cooker creates a mobile pantry for tins, bottles, and packets. Choose one narrower than the gap by a centimetre or two, and load the top with daily-use items. I tried a 15-centimetre cart in the fridge gap, and it absorbed my entire tinned-goods collection. The mistake to avoid is buying before measuring; these carts only work when the fit is snug but not stuck. It wheels out when you need it and vanishes when you do not.
20. Corner Carousel in Base Cabinets
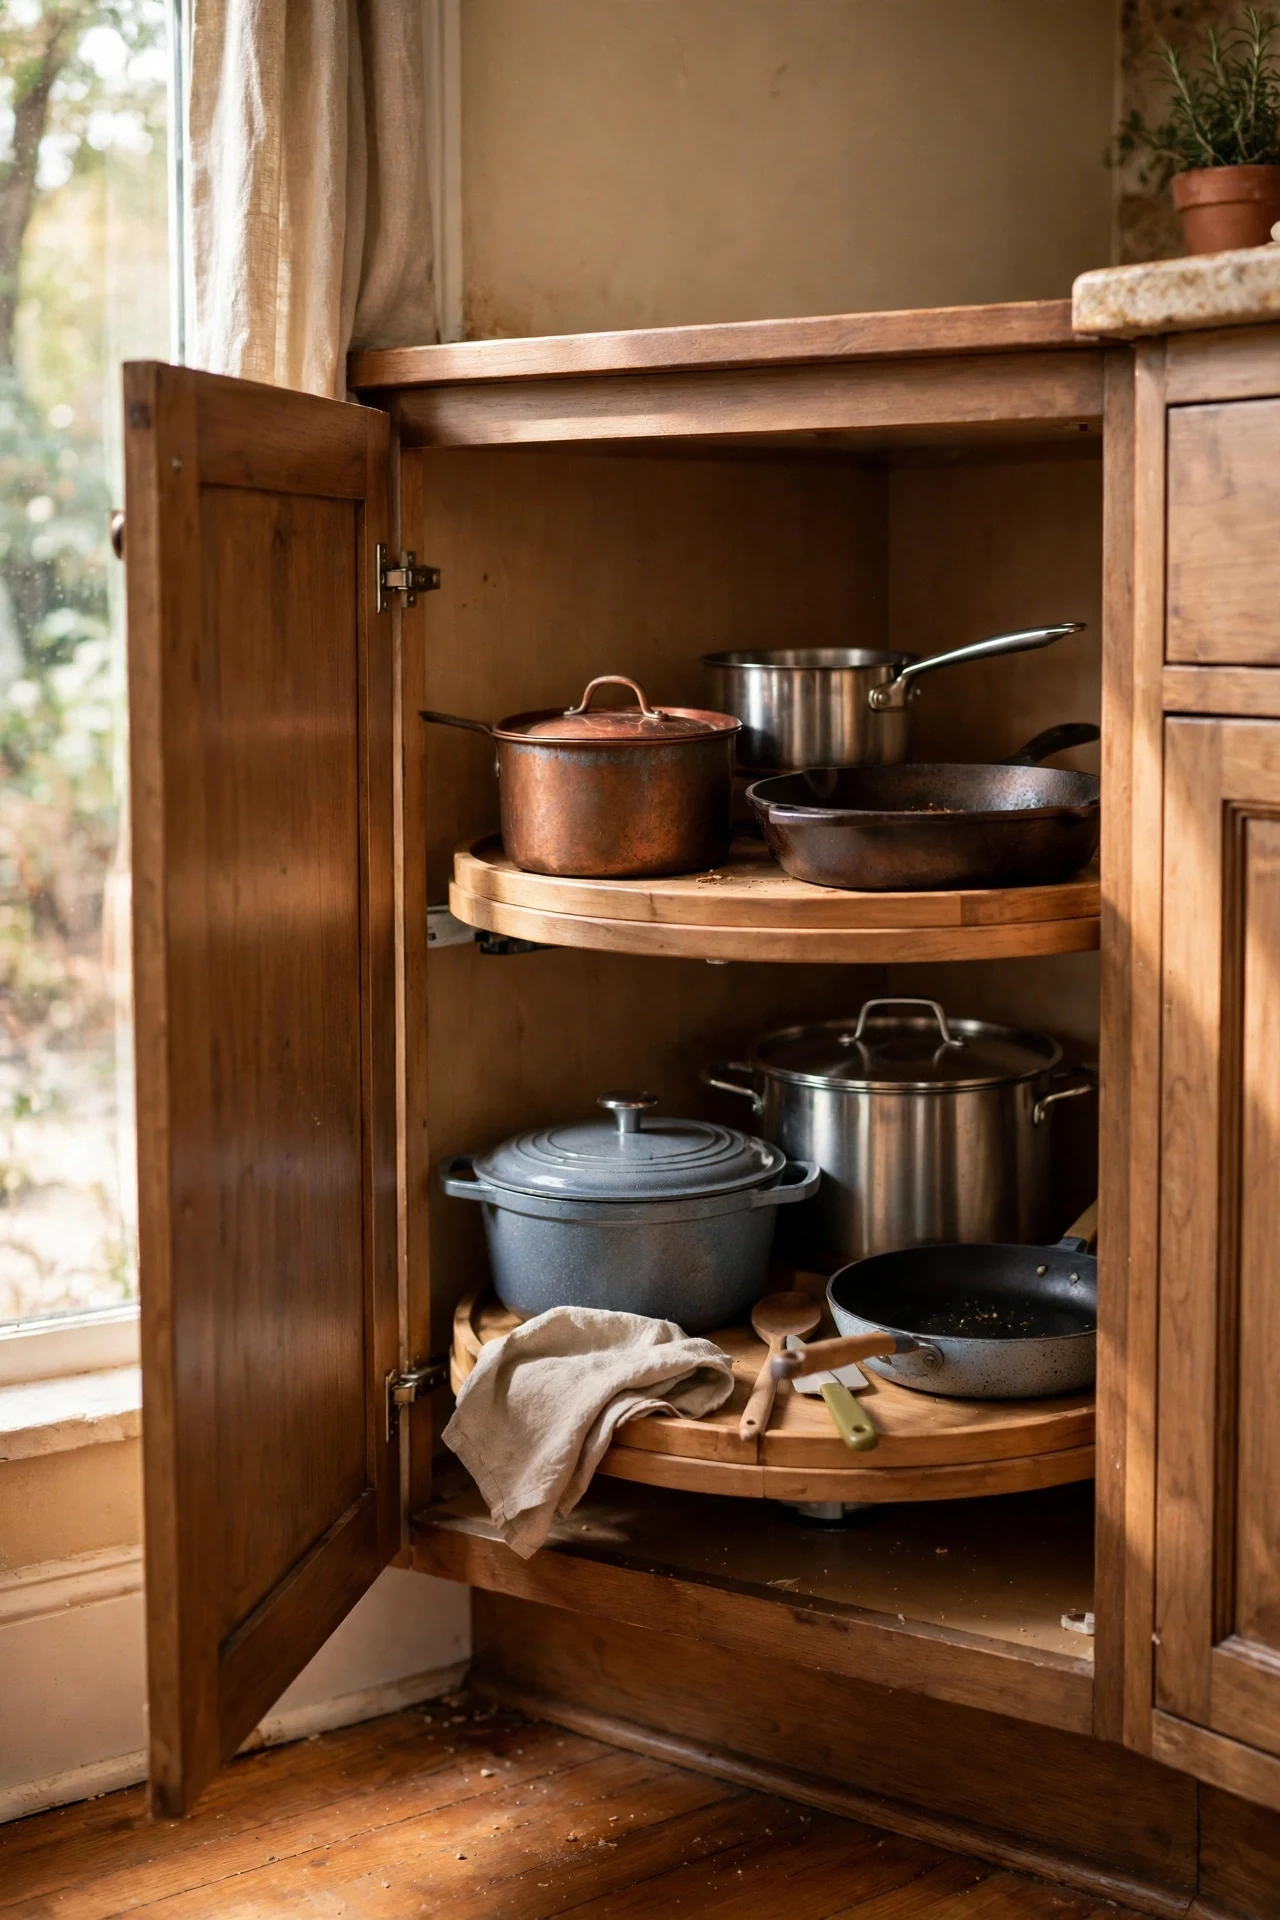
A lazy-Susan carousel inside a corner base cabinet turns the deepest, darkest corner into the most accessible spot in the kitchen. Fit the rotating trays on the cabinet floor and let them spin your pots, pans, or pantry goods into reach. I tried one in my dead corner cupboard, and I stopped losing things to the void behind the hinge. The mistake to avoid is buying the wrong size for your cabinet; measure the opening, not just the interior. It is the fix for the corner every small kitchen regrets.
21. Toe-Kick Drawers Under Cabinets
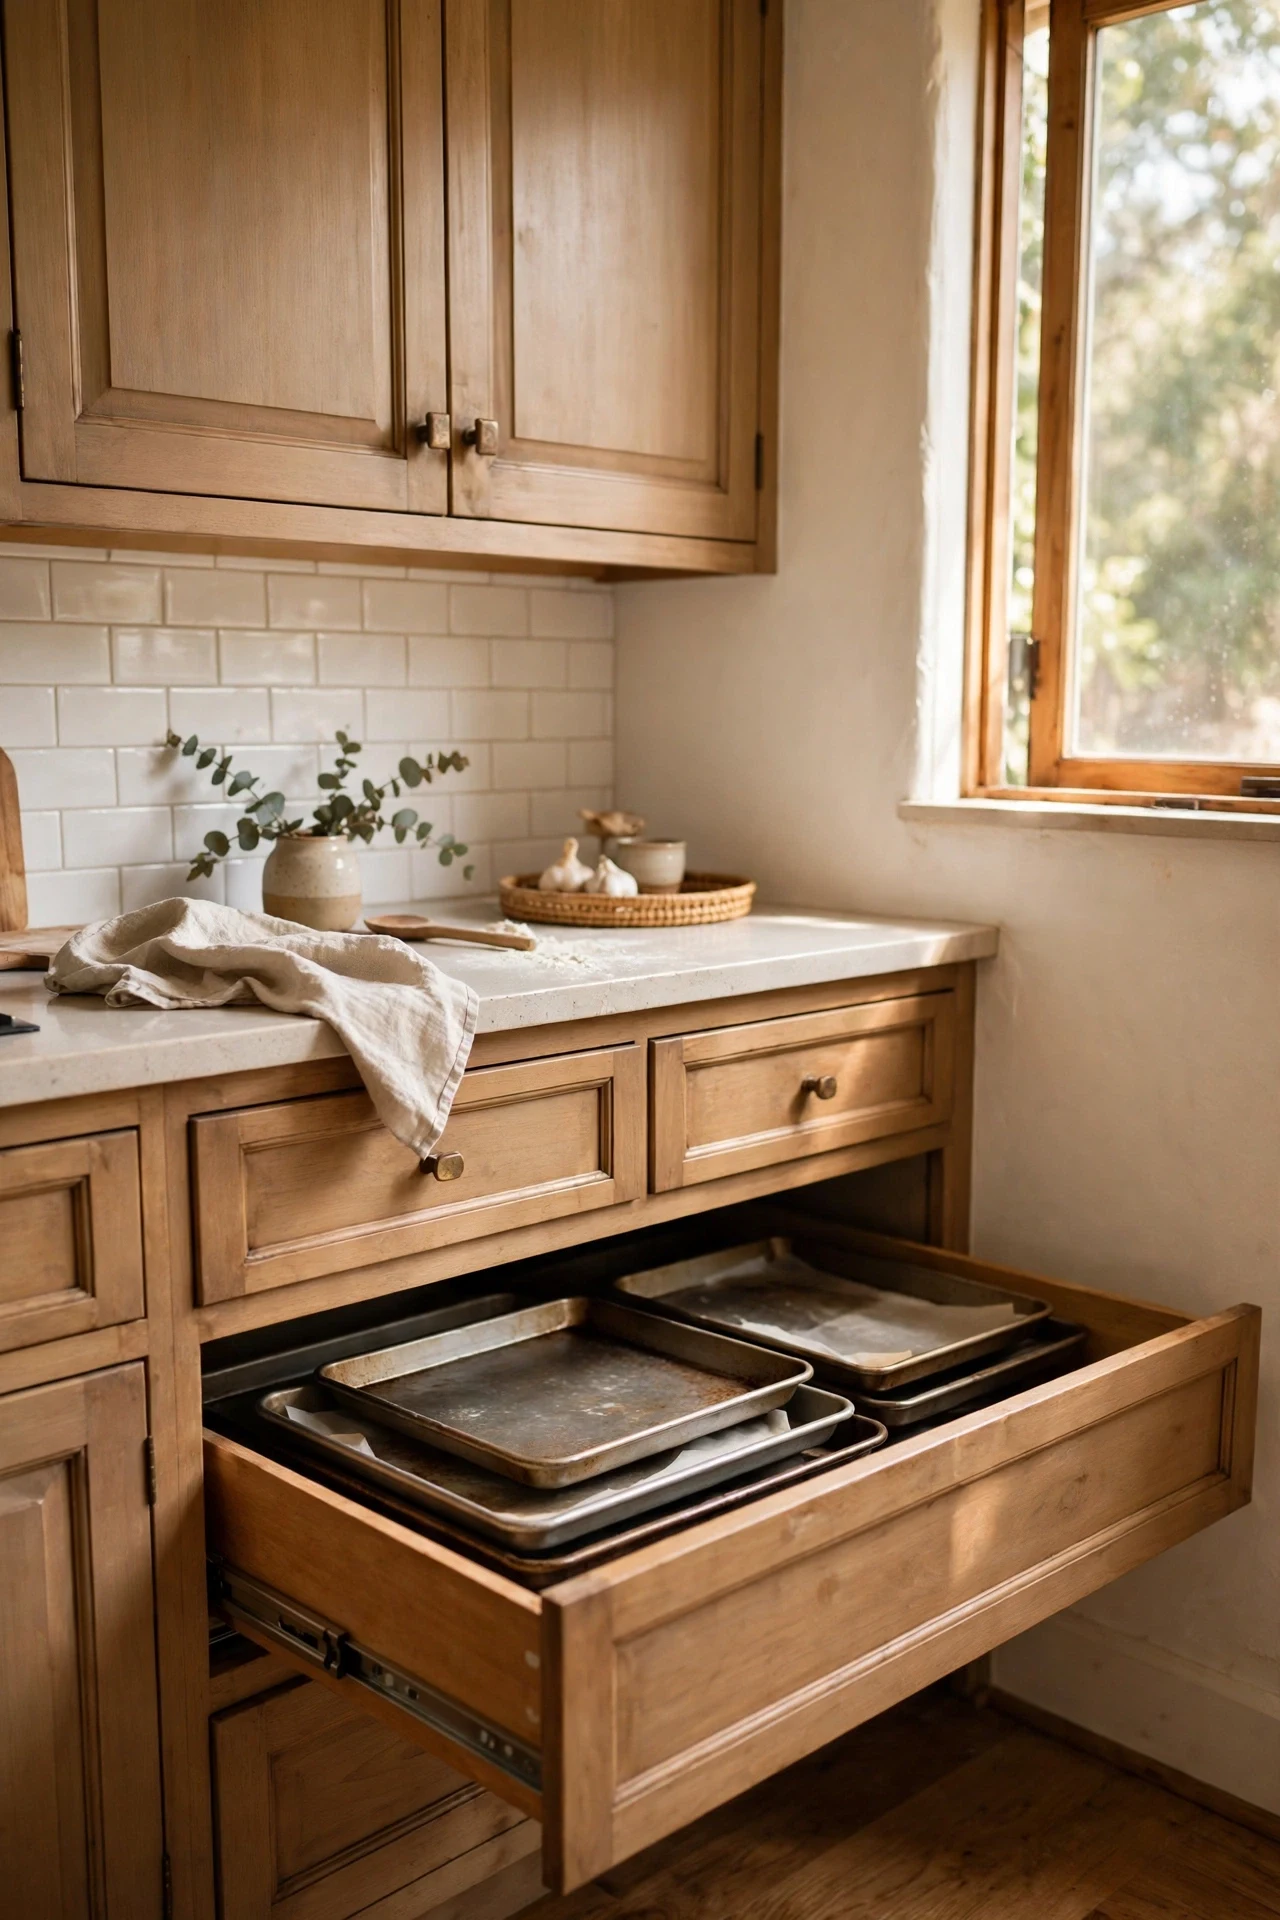
The plinth space under your base cabinets hides 10 centimetres of usable depth, and toe-kick drawers turn it into storage for flat things like baking trays and chopping boards. Fit drawer fronts to the existing kick boards so they blend invisibly. I tried one under my oven unit, and my baking trays finally had a home that was not leaning behind the bin. The mistake to avoid is installing them where they block the dishwasher or oven door swing; check clearances first. It is secret storage hiding in plain sight — see (see also: 15-small-kitchen-ideas-that-feel-twice-as-big) for more space-doubling ideas.
22. Fold-Down Drying Rack on the Wall
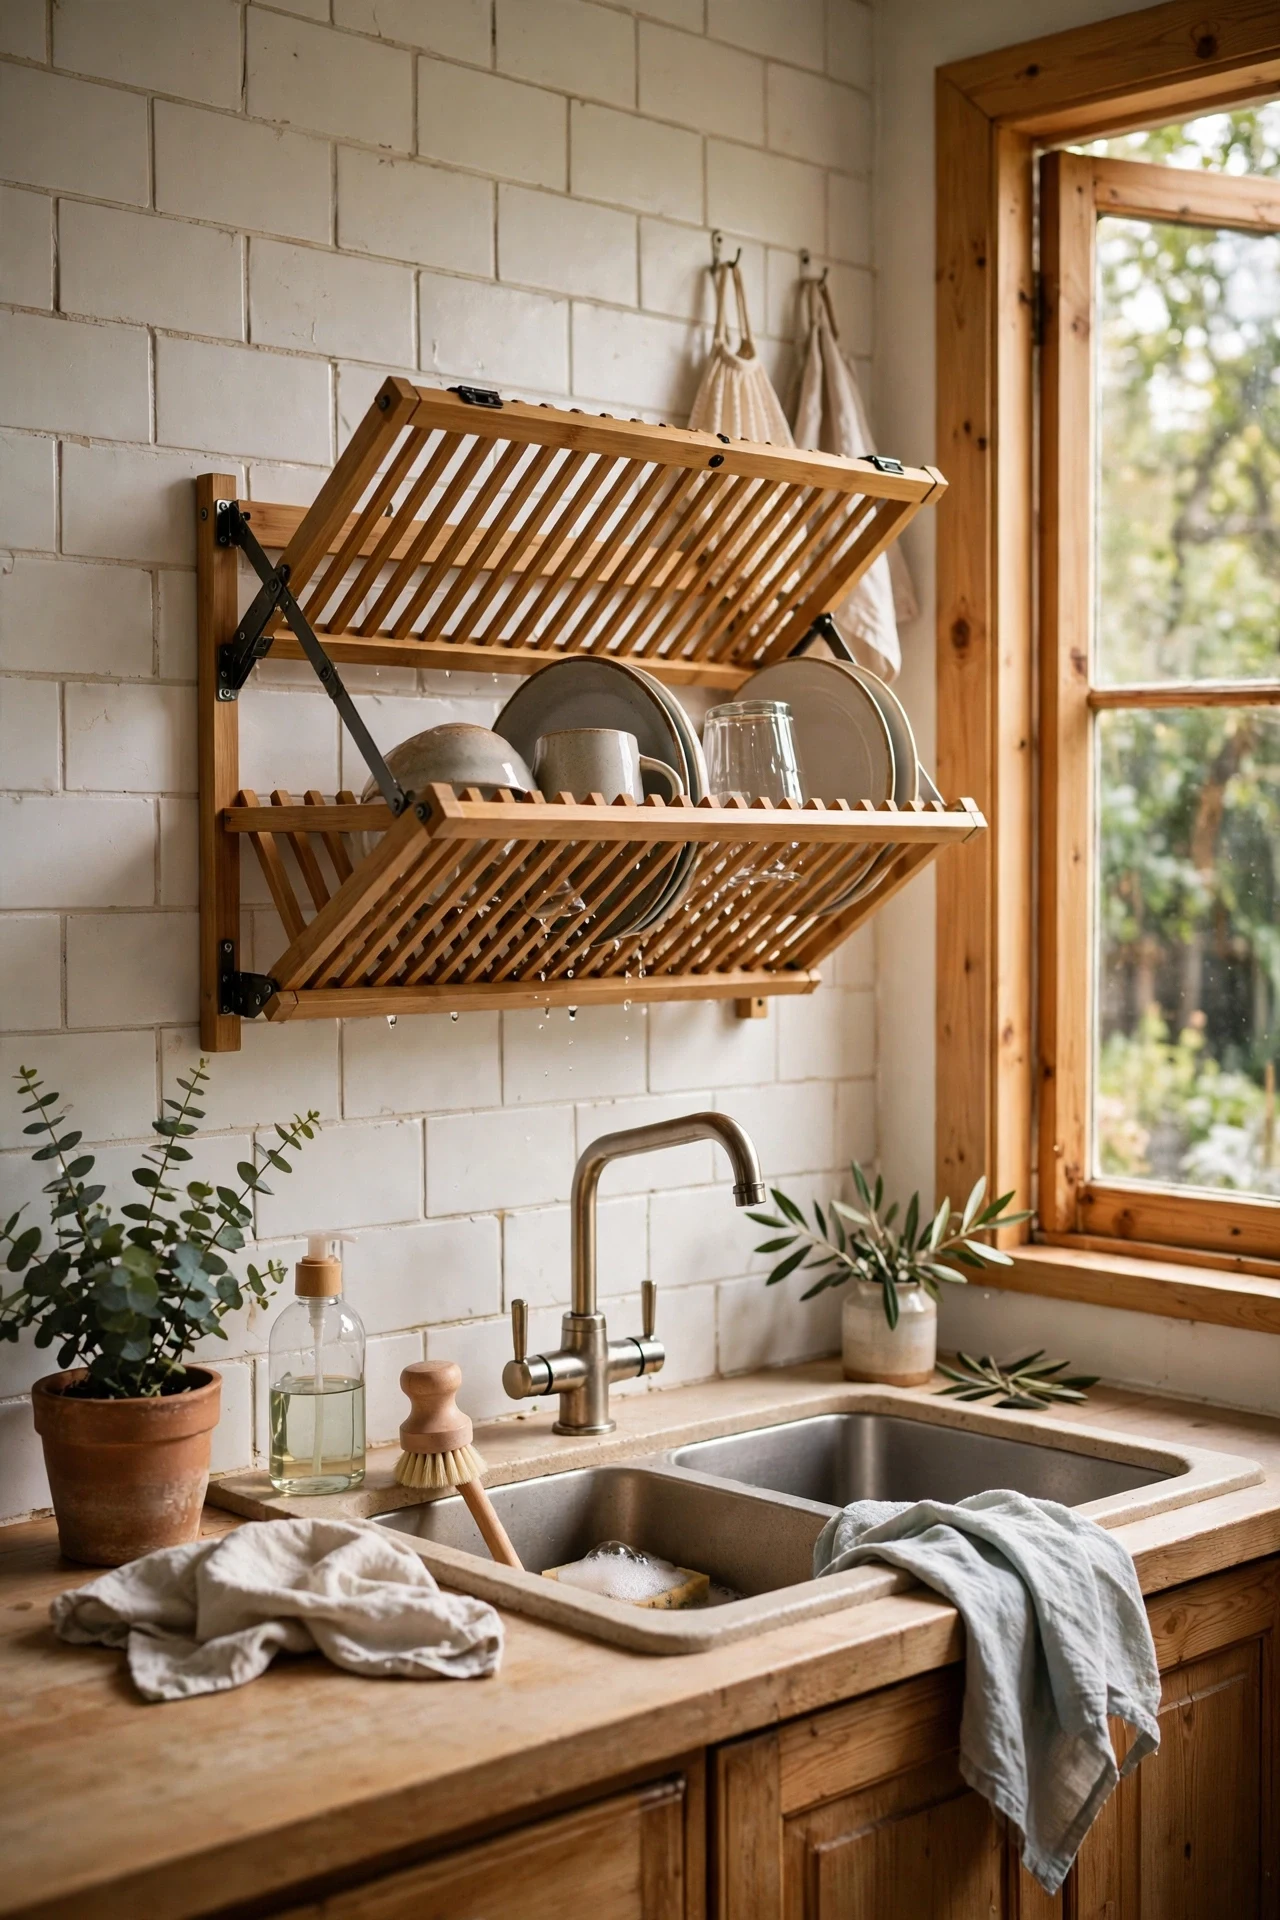
A wall-mounted drying rack that folds flat when not in use gives you dish-drying space without sacrificing counter. Mount it near the sink at a height that lets water drip into the basin, and unfold it only on washing-up days. I tried a bamboo fold-down rack, and my draining board went back in the cupboard for good. The mistake to avoid is mounting it where drips land on the floor; position matters more than looks. It disappears into the wall when guests come over, which feels like a small miracle.
23. Sink Cover Chopping Board
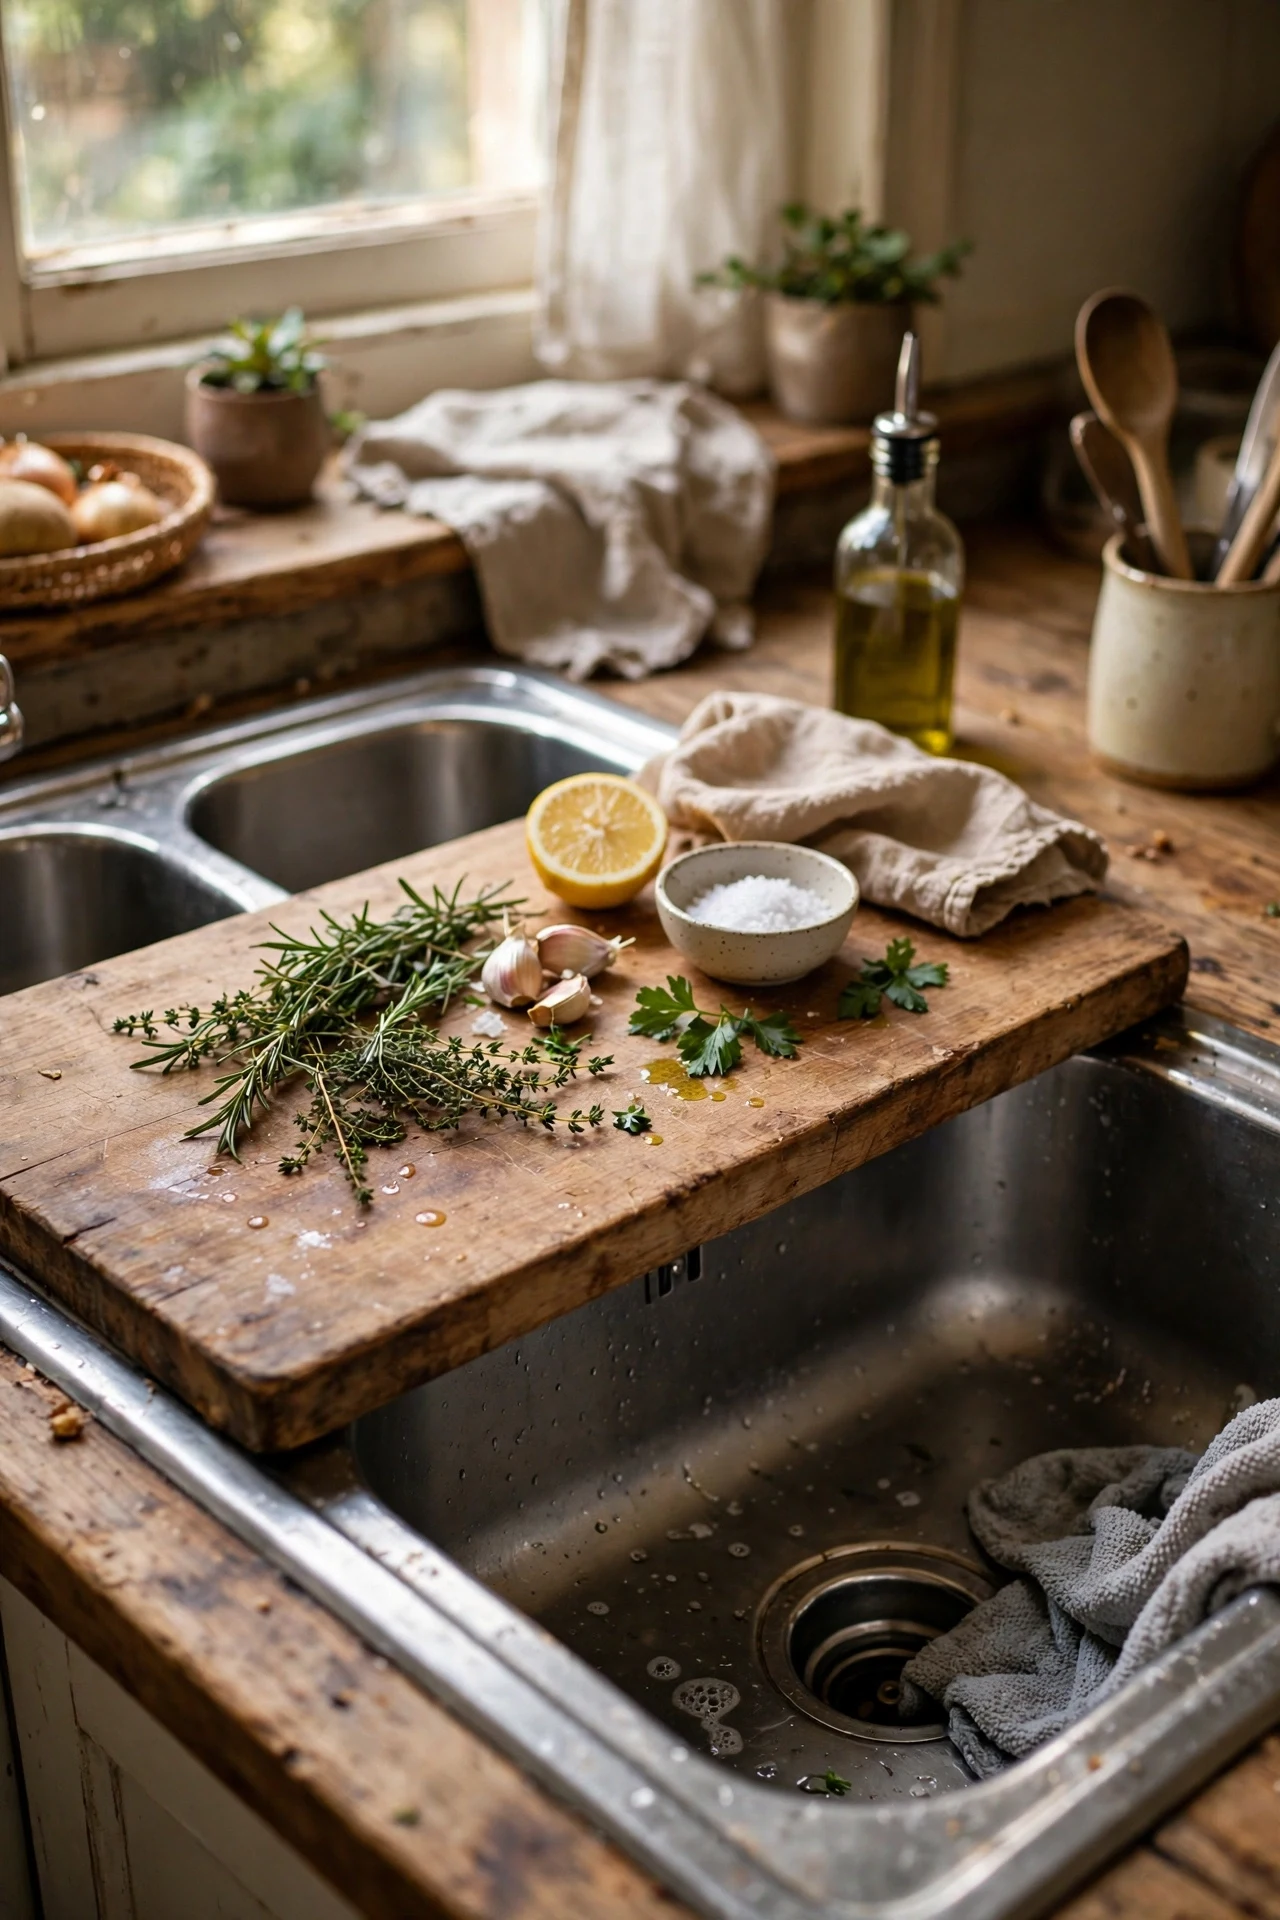
A chopping board cut to sit over one half of your sink instantly adds counter space exactly where you need it. Choose a board that fits snugly and seals the edges against moisture, then use it as a prep zone, a lid rest, or a serving landing. I tried this on wash-up days, and the extra square foot changed how the whole kitchen flowed. The mistake to avoid is using an untreated softwood board; it warps and harbours water. Seal it well or buy a ready-made sink cover, and save this idea for your next tiny-kitchen makeover.
A small kitchen does not need more square footage — it needs every centimetre to work harder, and that is entirely in your hands. Pick three of these ideas this weekend and I promise you will stop apologising for your kitchen the way I used to.
