15 Peel and Stick Kitchen Backsplash Ideas on a Budget
My kitchen had the kind of beige tile that made even toast look sad. Renting meant real tiling was out of the question, so I went down a 1am rabbit hole of peel and stick backsplash ideas, half expecting them to look like a school art project. Three weekends and one slightly crooked first row later, my kitchen looked like a magazine shoot — and my landlord never knew a thing. Peel-and-stick tiles have quietly become the renter’s secret weapon: cheap, removable, and surprisingly convincing from two feet away. These fifteen ideas cover every style and budget, with honest costs and real time estimates, so you can pick your favourite and stick it up this weekend.
1. Classic White Subway Stick-On Tiles
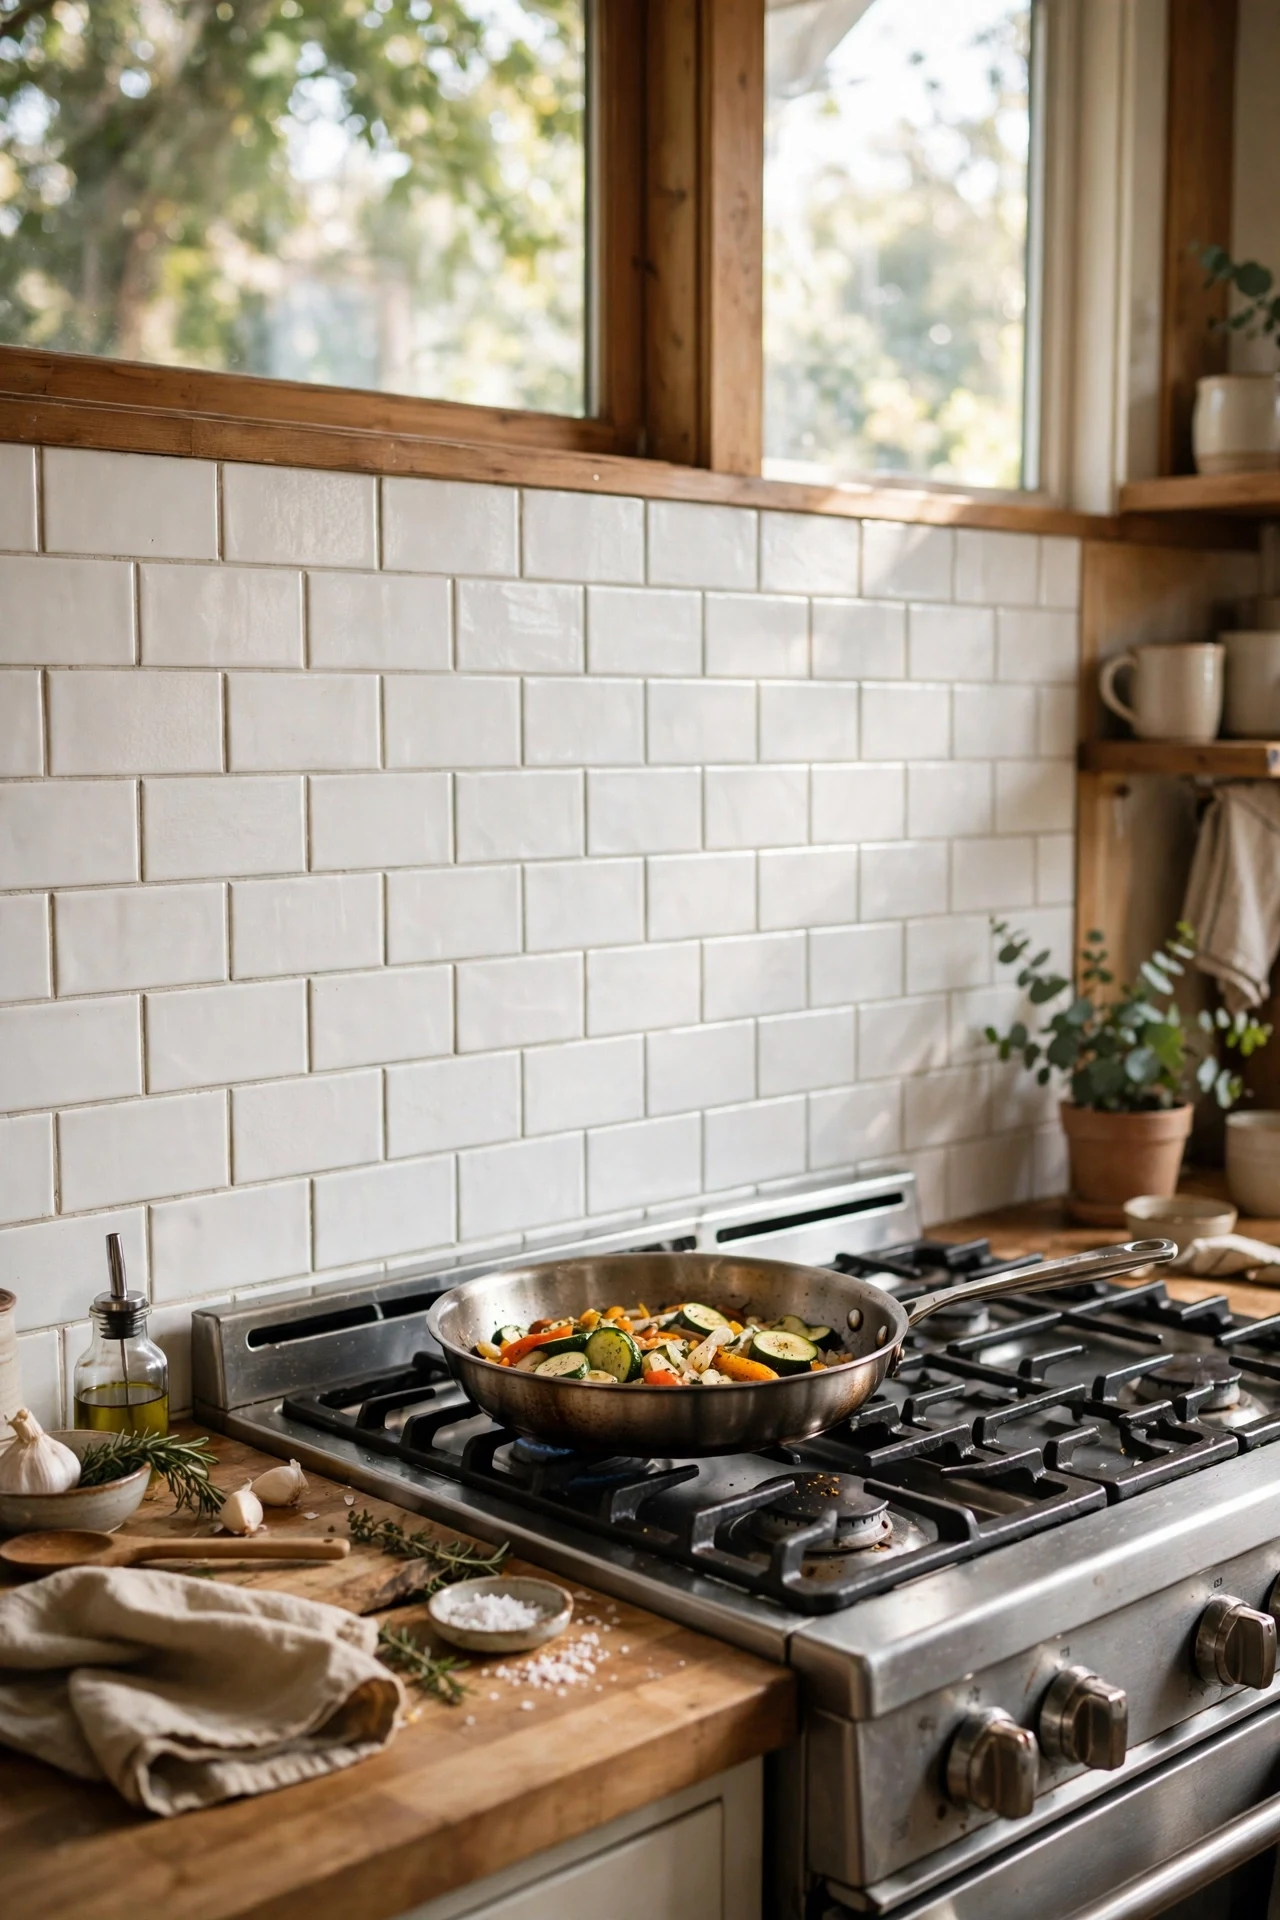
White subway tiles are the little black dress of kitchen backsplashes: they suit everything and never date. Start with a degreased, bone-dry wall, then work from the centre of the cooker or sink outward so cut tiles land symmetrically at the edges. Peel the backing a few centimetres at a time and smooth each tile with a credit card to chase out air bubbles. I tried this in my first rental kitchen and the whole wall took one Sunday afternoon. The mistake to avoid is skipping the cleaning step — grease is the number one reason these tiles peel later. Pair them with brass handles for an instant classic look.
Cost: ~$18 | Time: 60 minutes
2. Marble-Look Peel and Stick Backsplash
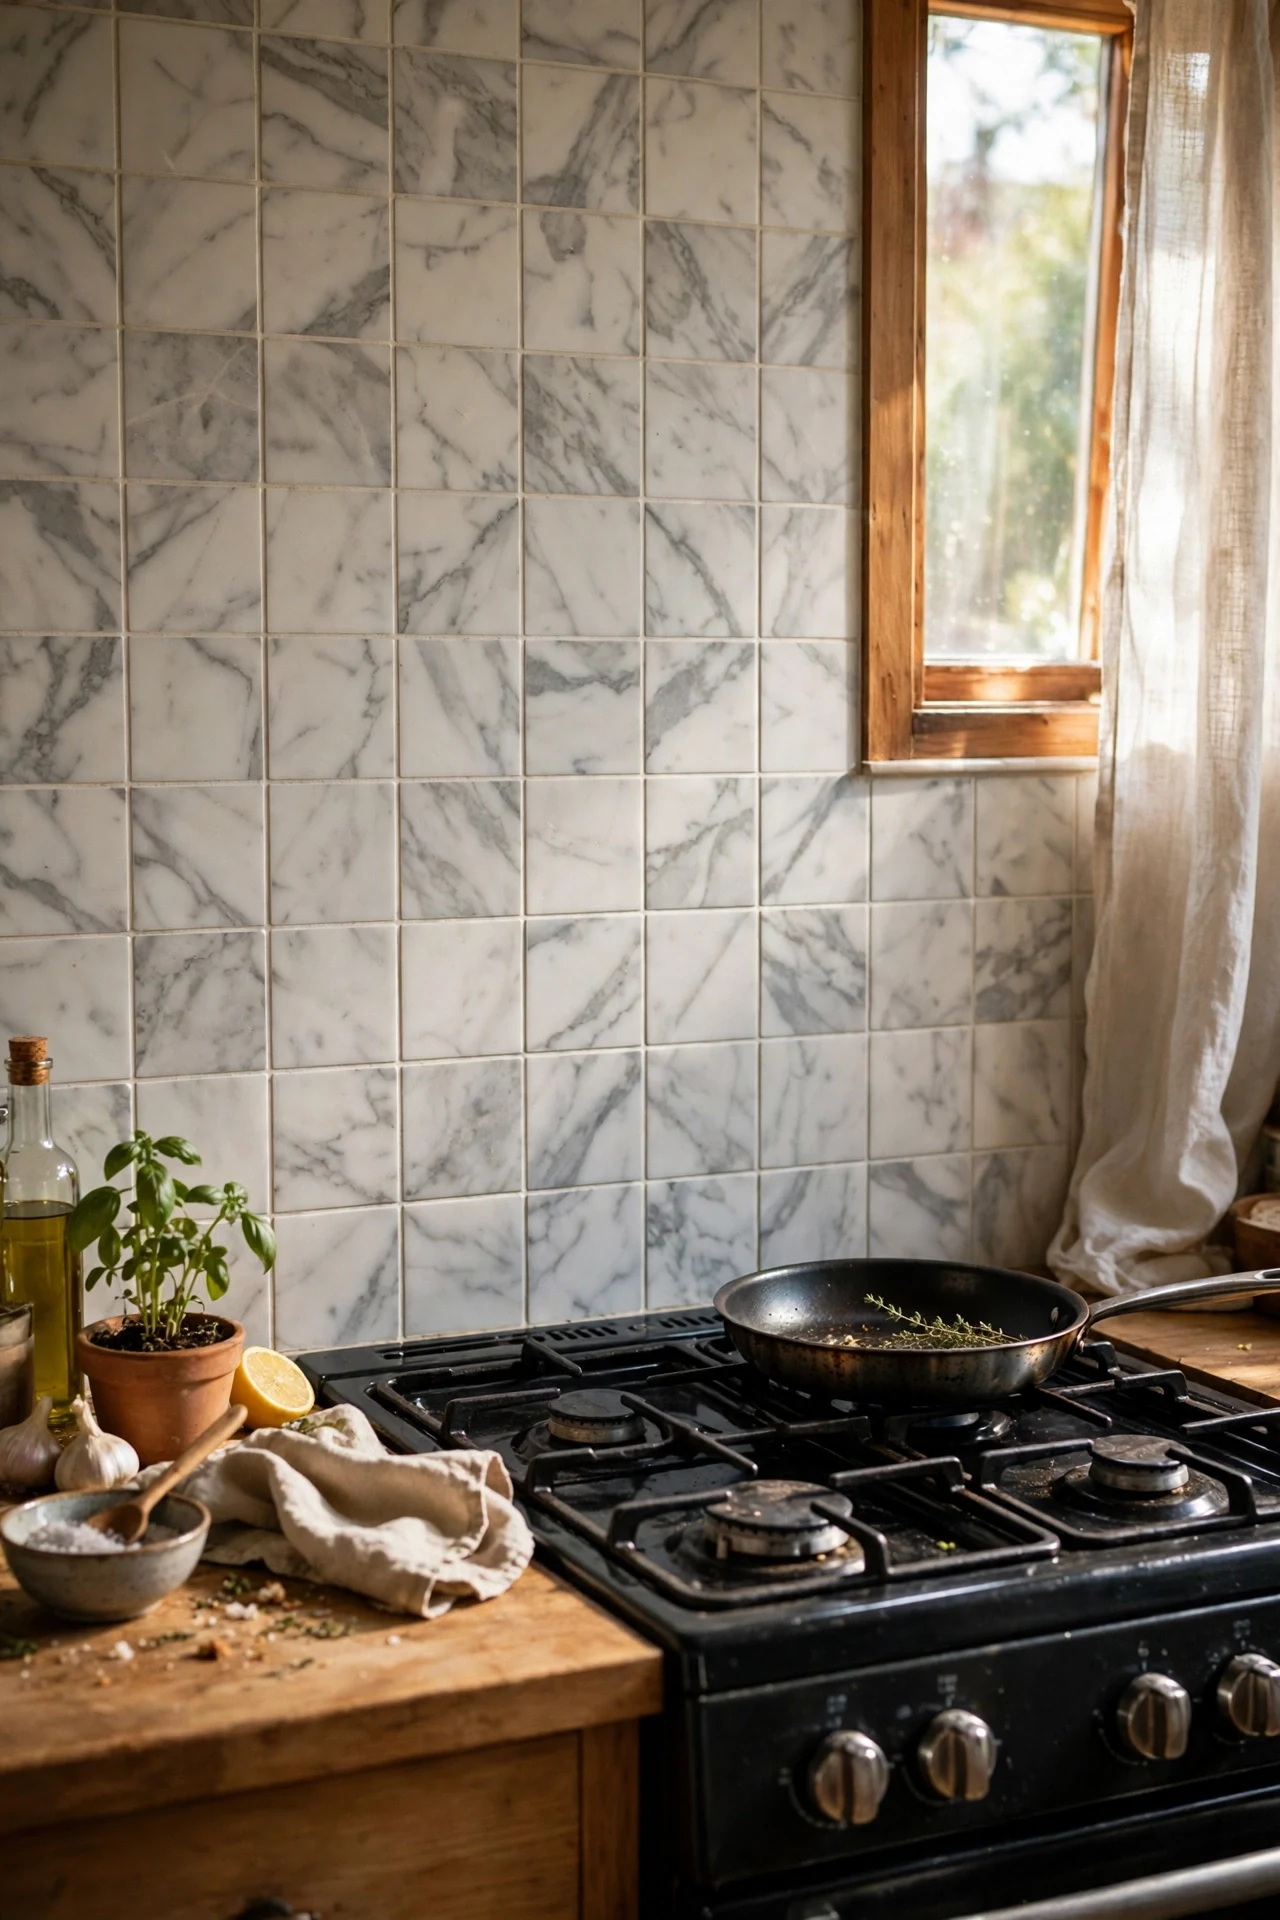
Marble-look vinyl gives you the veined, high-end look for about the price of a takeaway. Choose tiles with varied veining rather than one repeated pattern, or the fakery shows from across the room. Stagger the sheets so the veining doesn’t line up in an obvious grid, and press firmly along every edge with a smoothing tool. I tried this behind my cooker and guests genuinely asked when I’d retiled. The mistake to avoid is buying the cheapest sheets with identical print repeats — spend a few dollars more on realistic veining. Seal the edges nearest the hob with a thin bead of clear caulk for extra staying power.
Cost: ~$25 | Time: 60 minutes
3. Bold Geometric Pattern Tiles
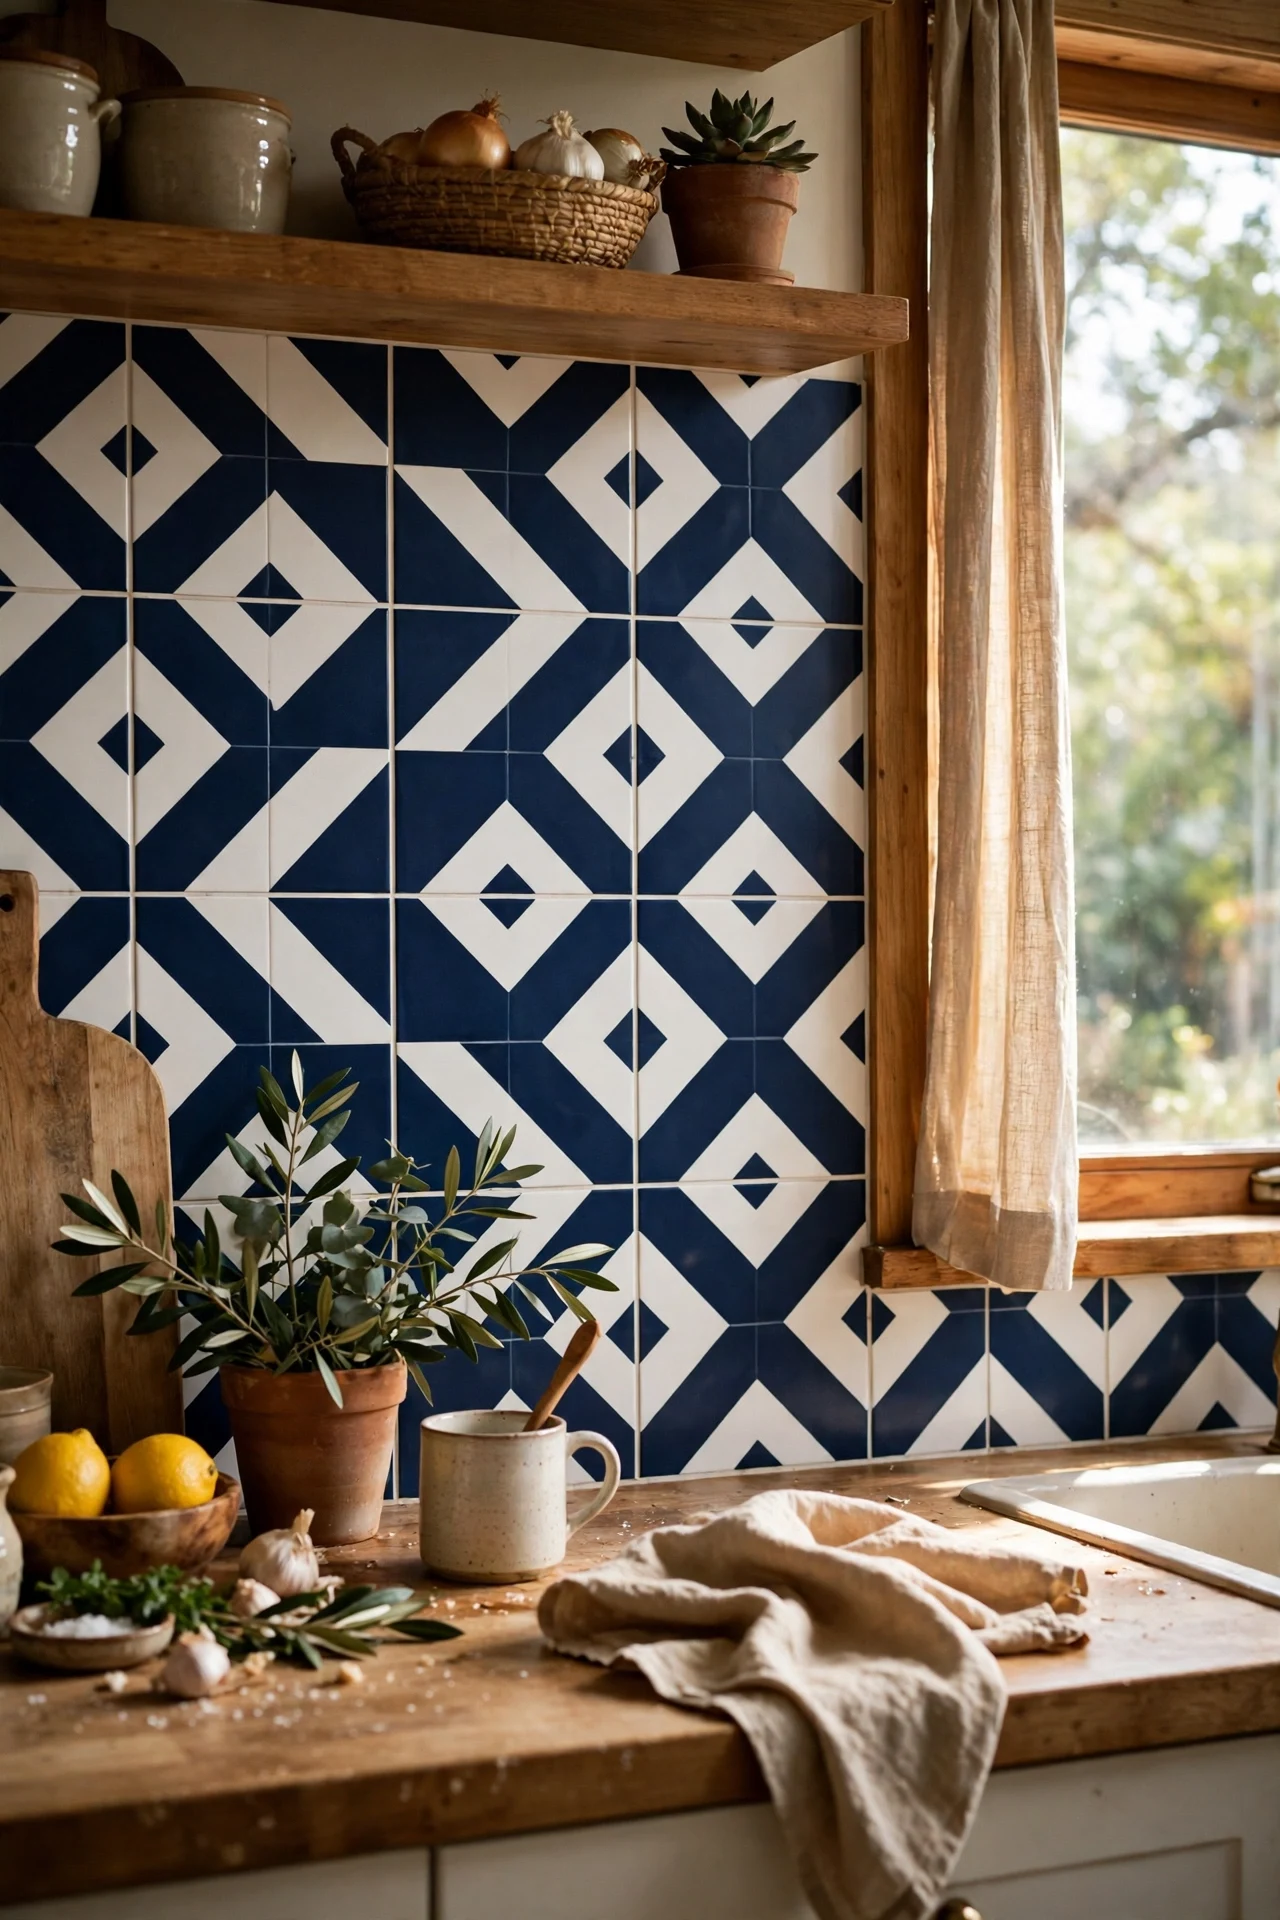
If your kitchen is plain, let the backsplash do the talking. Geometric peel-and-stick tiles in navy, terracotta, or black and white add instant personality for very little money. Lay the pattern out on the floor first so you can plan which tiles go where, then stick from the bottom row upward. I tried a black-and-white diamond pattern and it made my whole kitchen feel designed rather than default. The mistake to avoid is rushing the alignment — geometric patterns show crooked rows cruelly. Step back every few tiles to check your lines. This is the fastest route from boring to intentional.
Cost: ~$22 | Time: 75 minutes
4. Moroccan-Style Patterned Backsplash Stickers
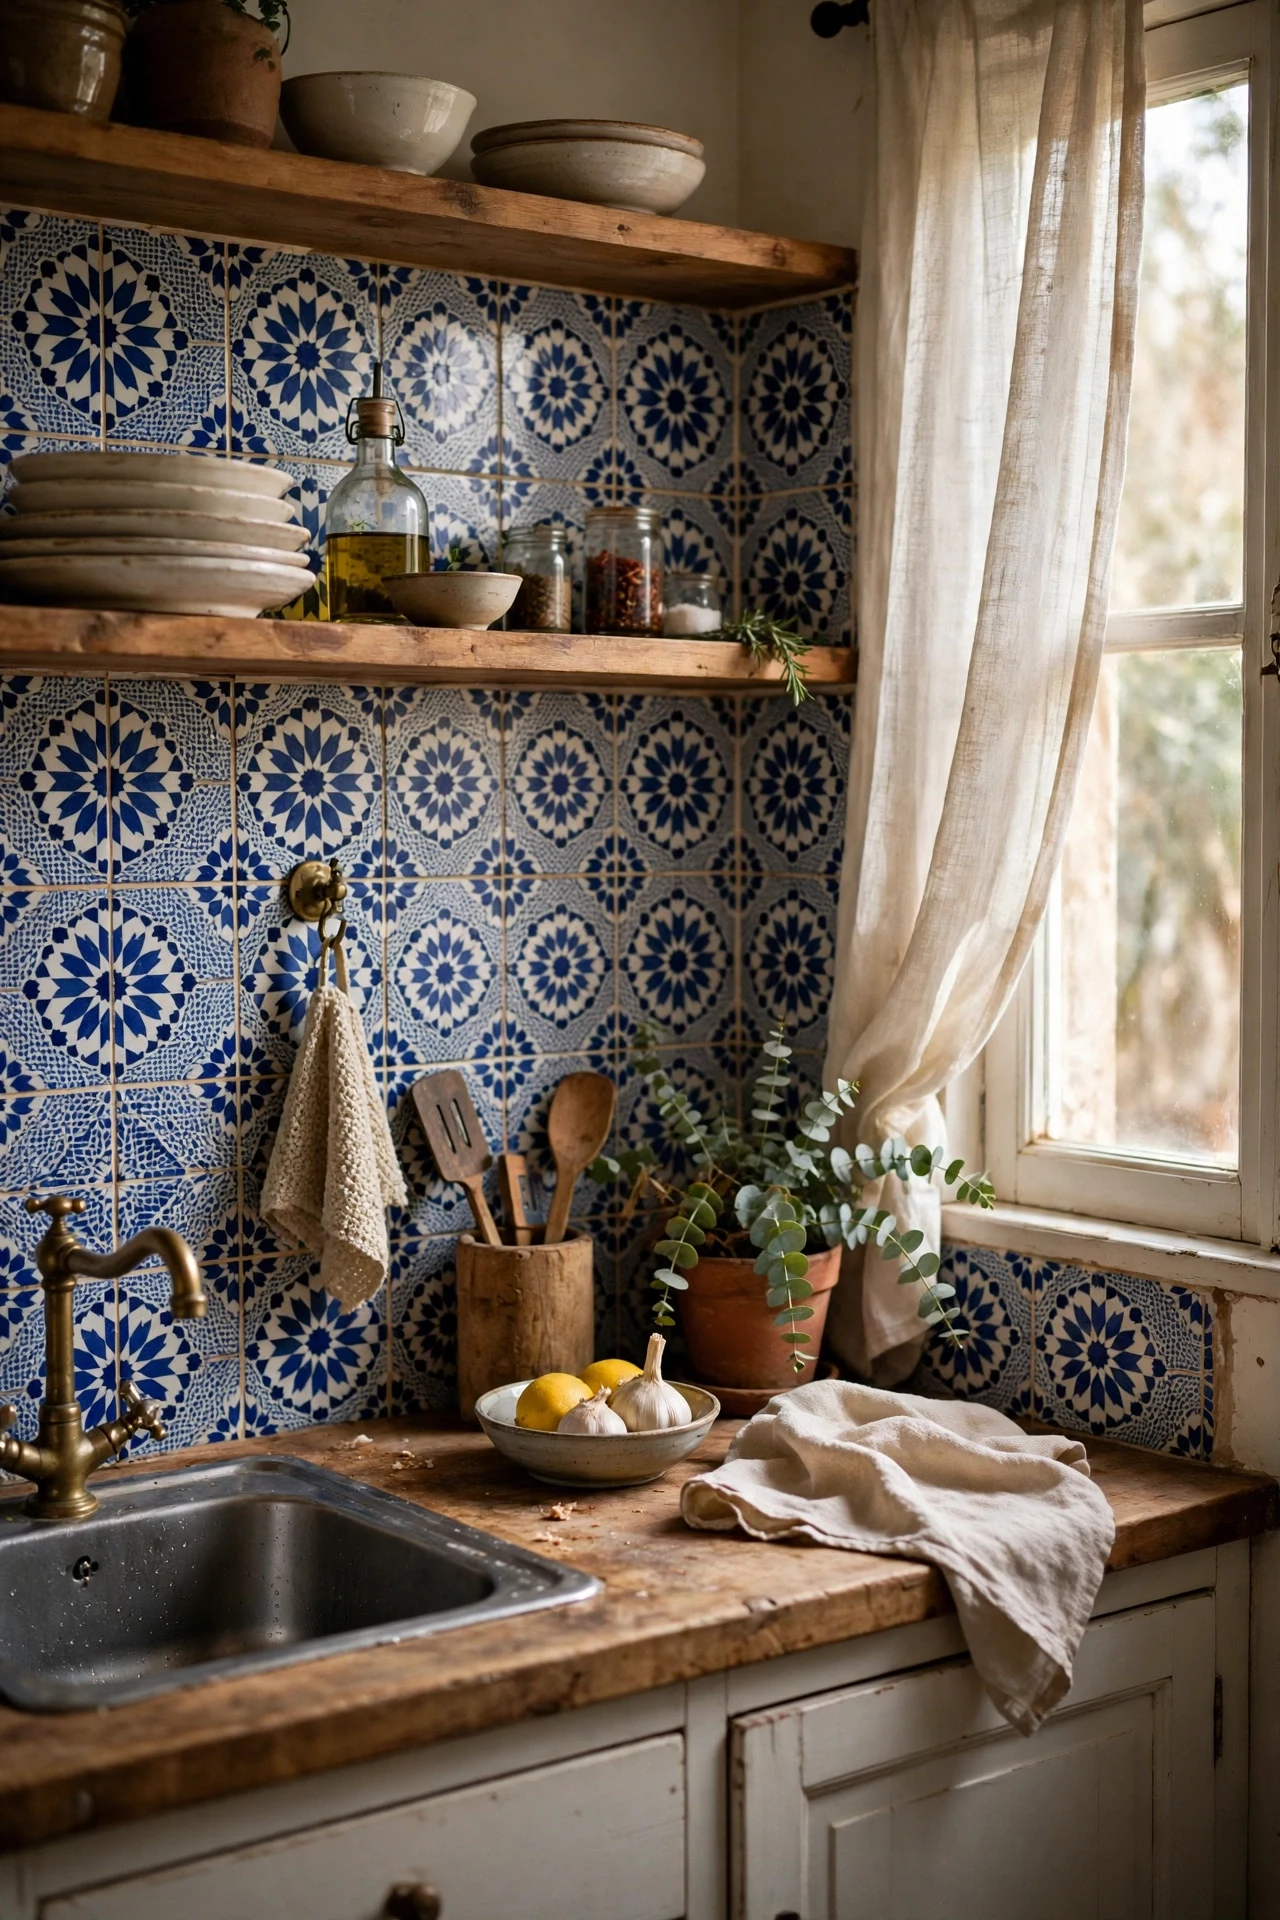
Moroccan-style tiles bring colour and pattern without the commitment of real cement tiles. These come as individual square stickers you press over your existing tiles — perfect if your rental already has tiles you hate. Clean the old tiles thoroughly, let them dry completely, then stick each square centred on the old tile grid. I tried these in a friend’s flat and the blue-and-white pattern made the tiny kitchen feel like a holiday apartment. The mistake to avoid is buying stickers smaller than your existing tiles — measure first. If you rent, these renter-approved backsplash picks have more tenant-proof options.
Cost: ~$20 | Time: 45 minutes
5. Herringbone Vinyl Tile Panels
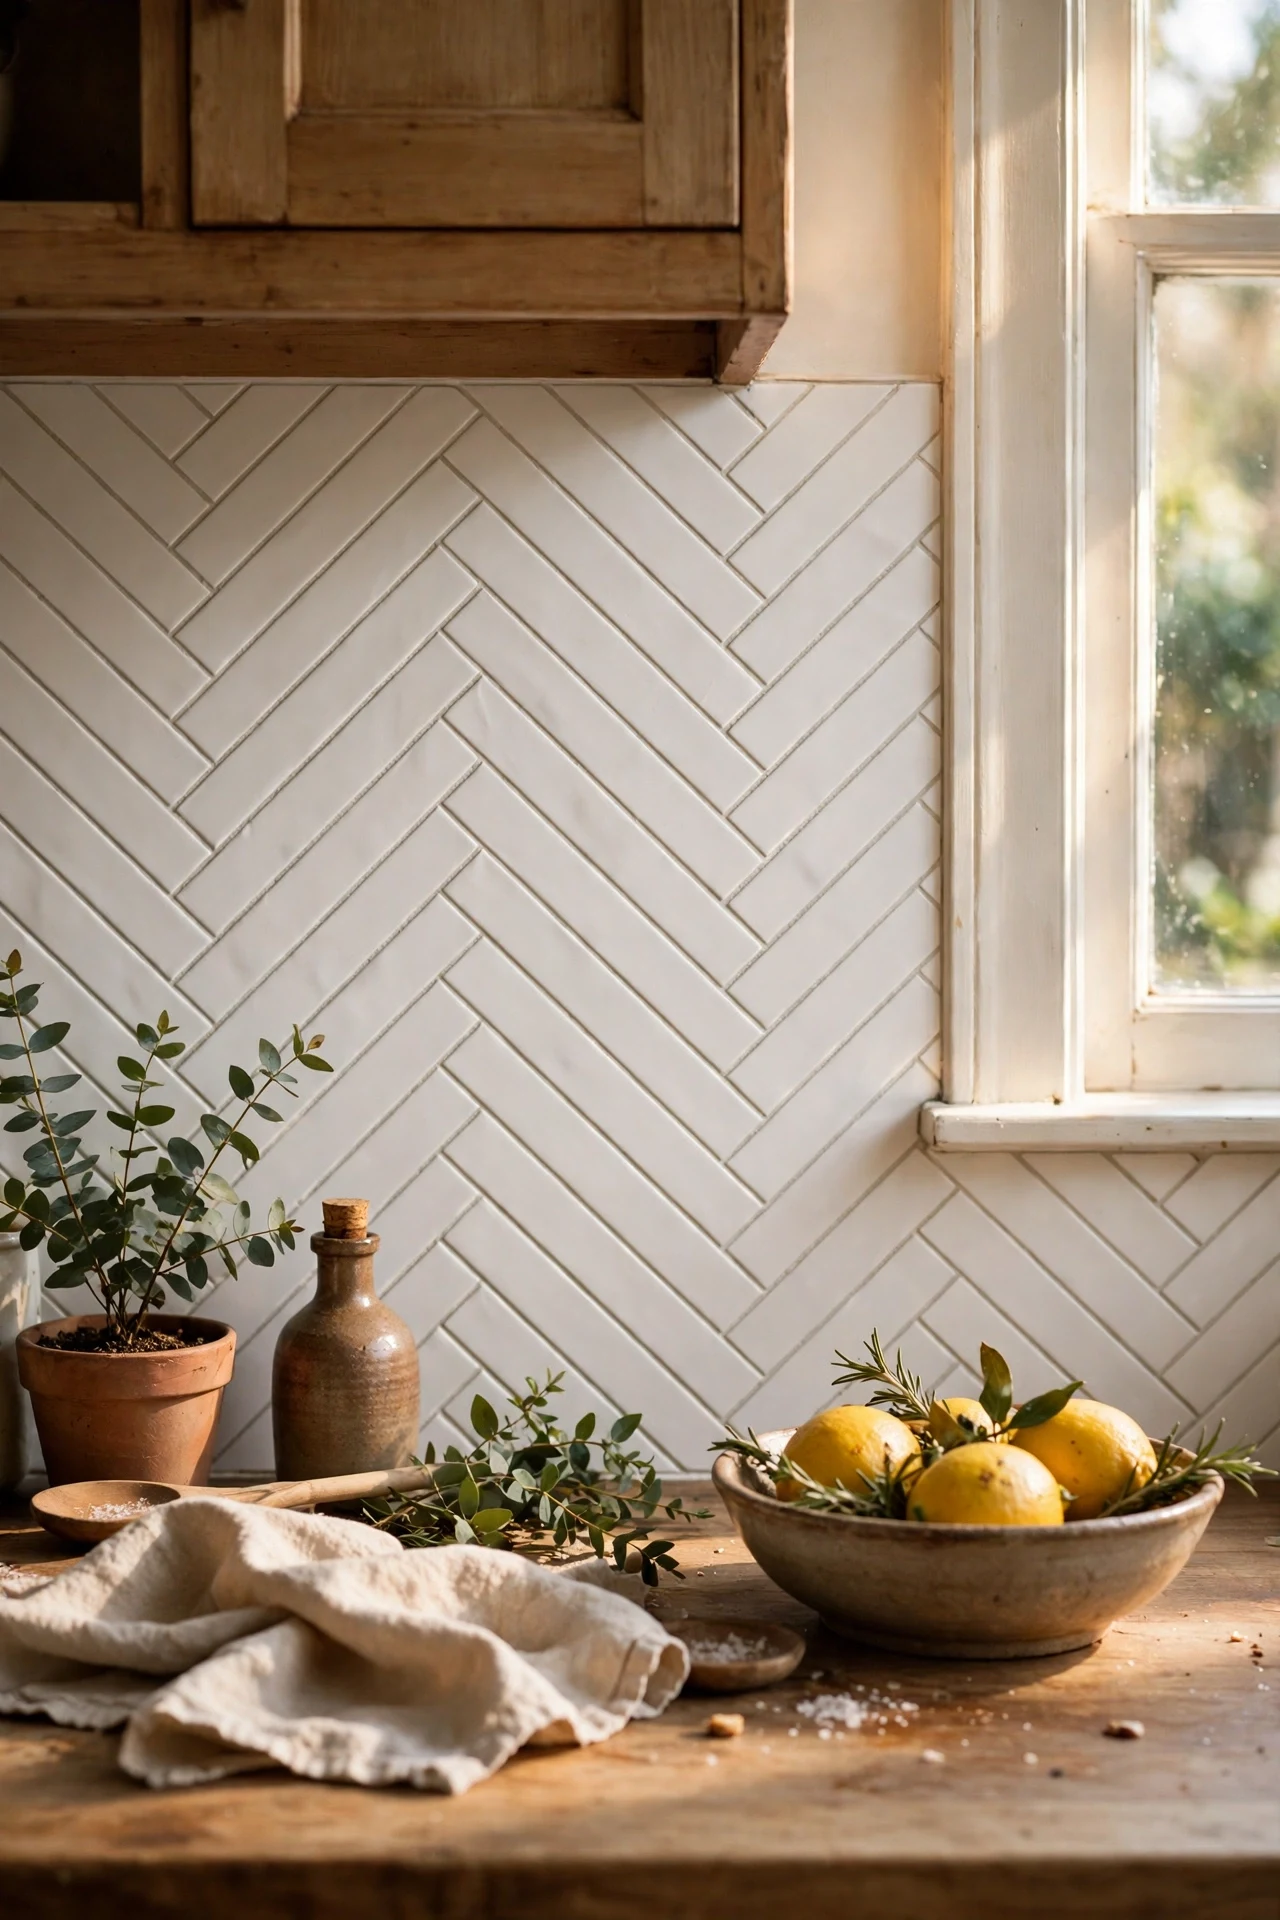
Herringbone says “designer kitchen” like nothing else, and peel-and-stick versions make the pattern achievable without a tiler’s invoice. Work from the centre point outward at a 45-degree angle, using a level and pencil guidelines to keep the zigzag honest. Trim edge pieces with a sharp craft knife and a metal ruler. I tried this and the texture it added was unreal — light catches the angled pieces differently through the day. The mistake to avoid is starting from a corner; the pattern will drift and look drunk by the far end. Take your time with the first three rows and the rest follows.
Cost: ~$28 | Time: 90 minutes
6. Faux Brick Peel-and-Stick Panels
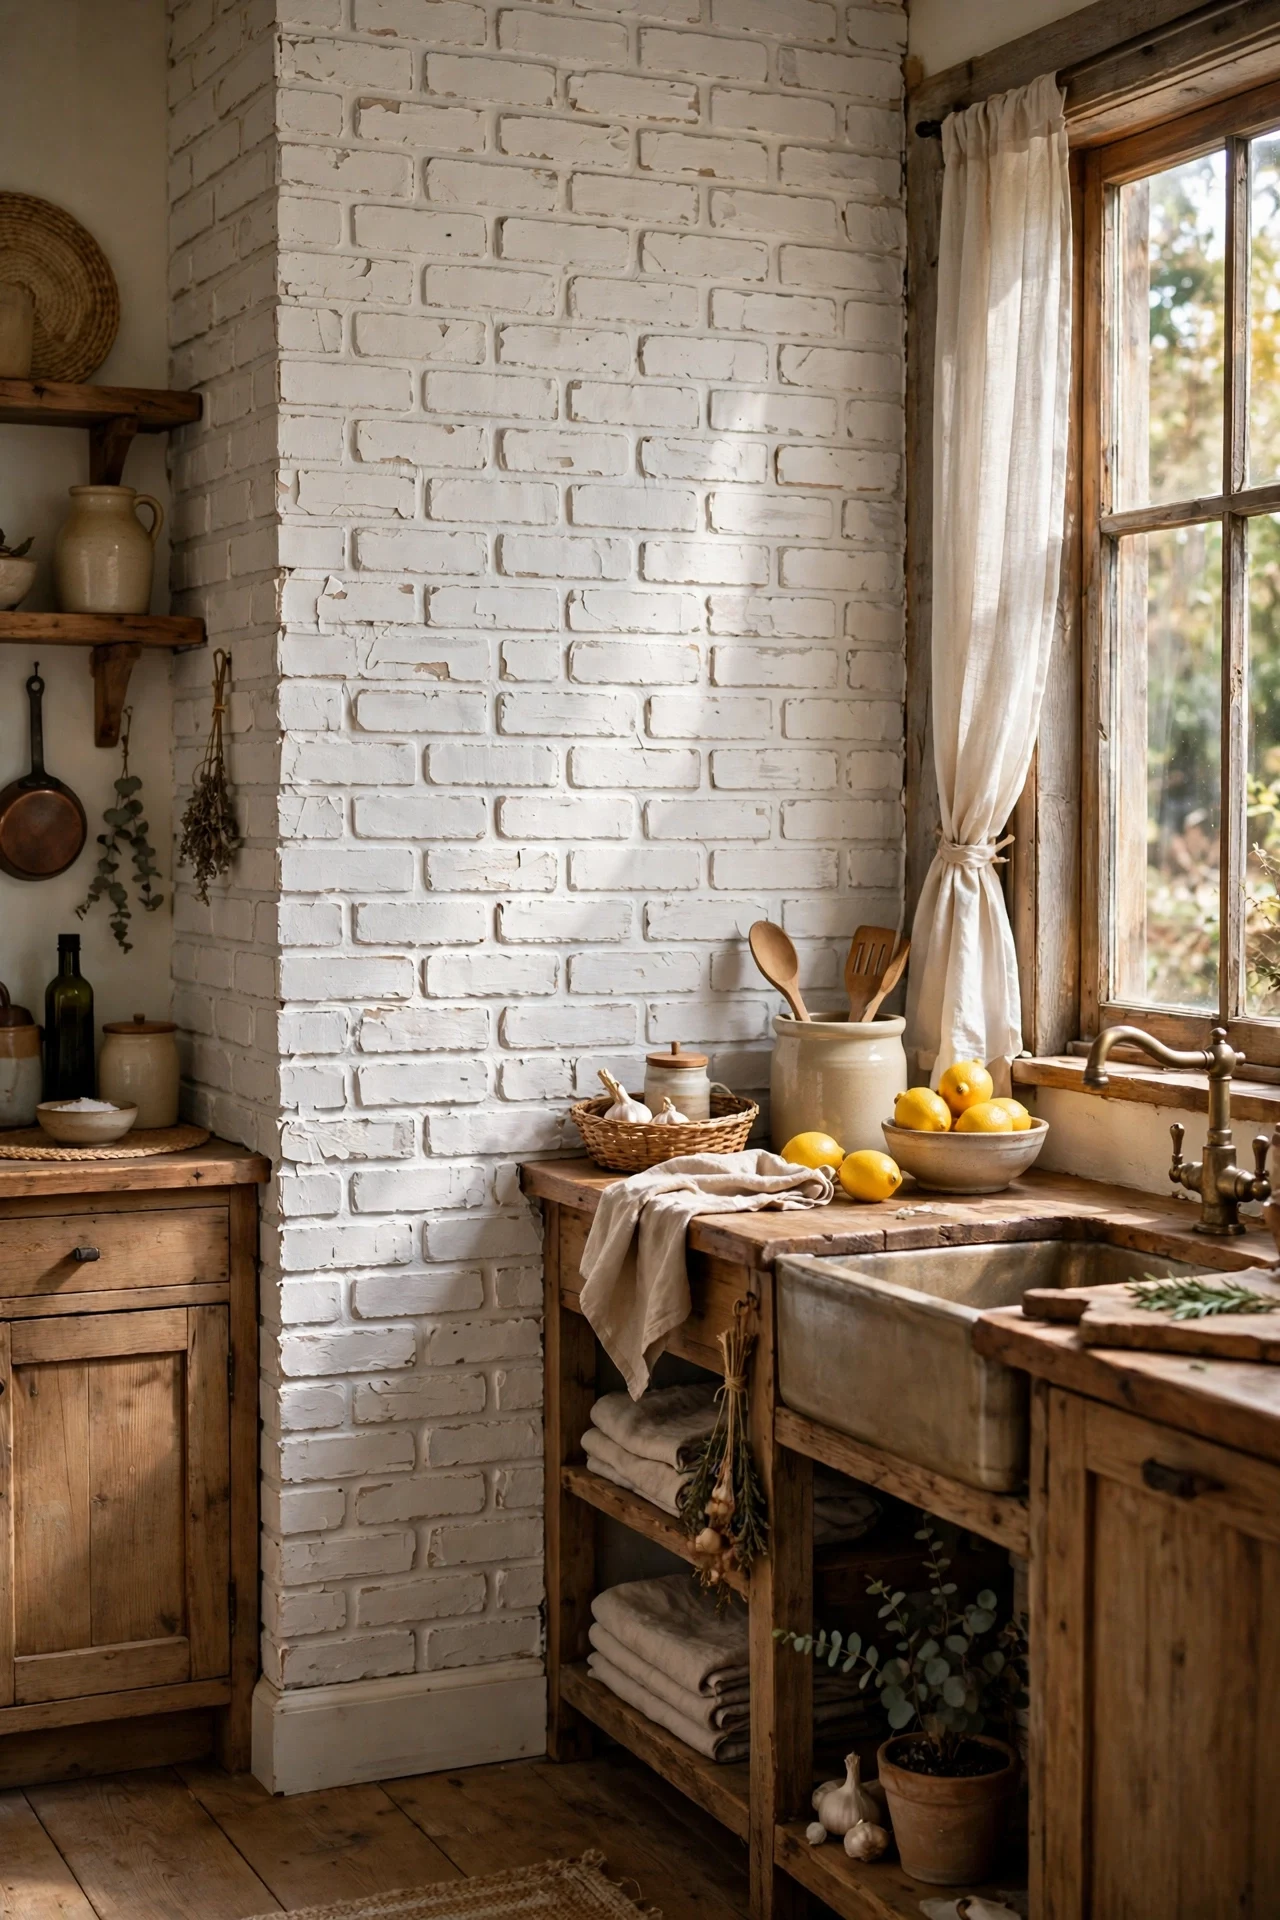
Exposed brick reads warm and rustic, but real brick in a rental is a fantasy — these panels are the next best thing. They come in large sheets rather than individual tiles, so coverage is fast. Overlap the sheet edges slightly to hide the seams, and stagger the brick courses like real masonry. I tried the whitewashed version in a grey kitchen and the cosy factor tripled overnight. The mistake to avoid is leaving gaps at the seams where the wall shows through; butt them tight. A coat of matte varnish over the top makes them wipeable near the cooker.
Cost: ~$24 | Time: 75 minutes
7. Terrazzo Speckled Vinyl Tiles
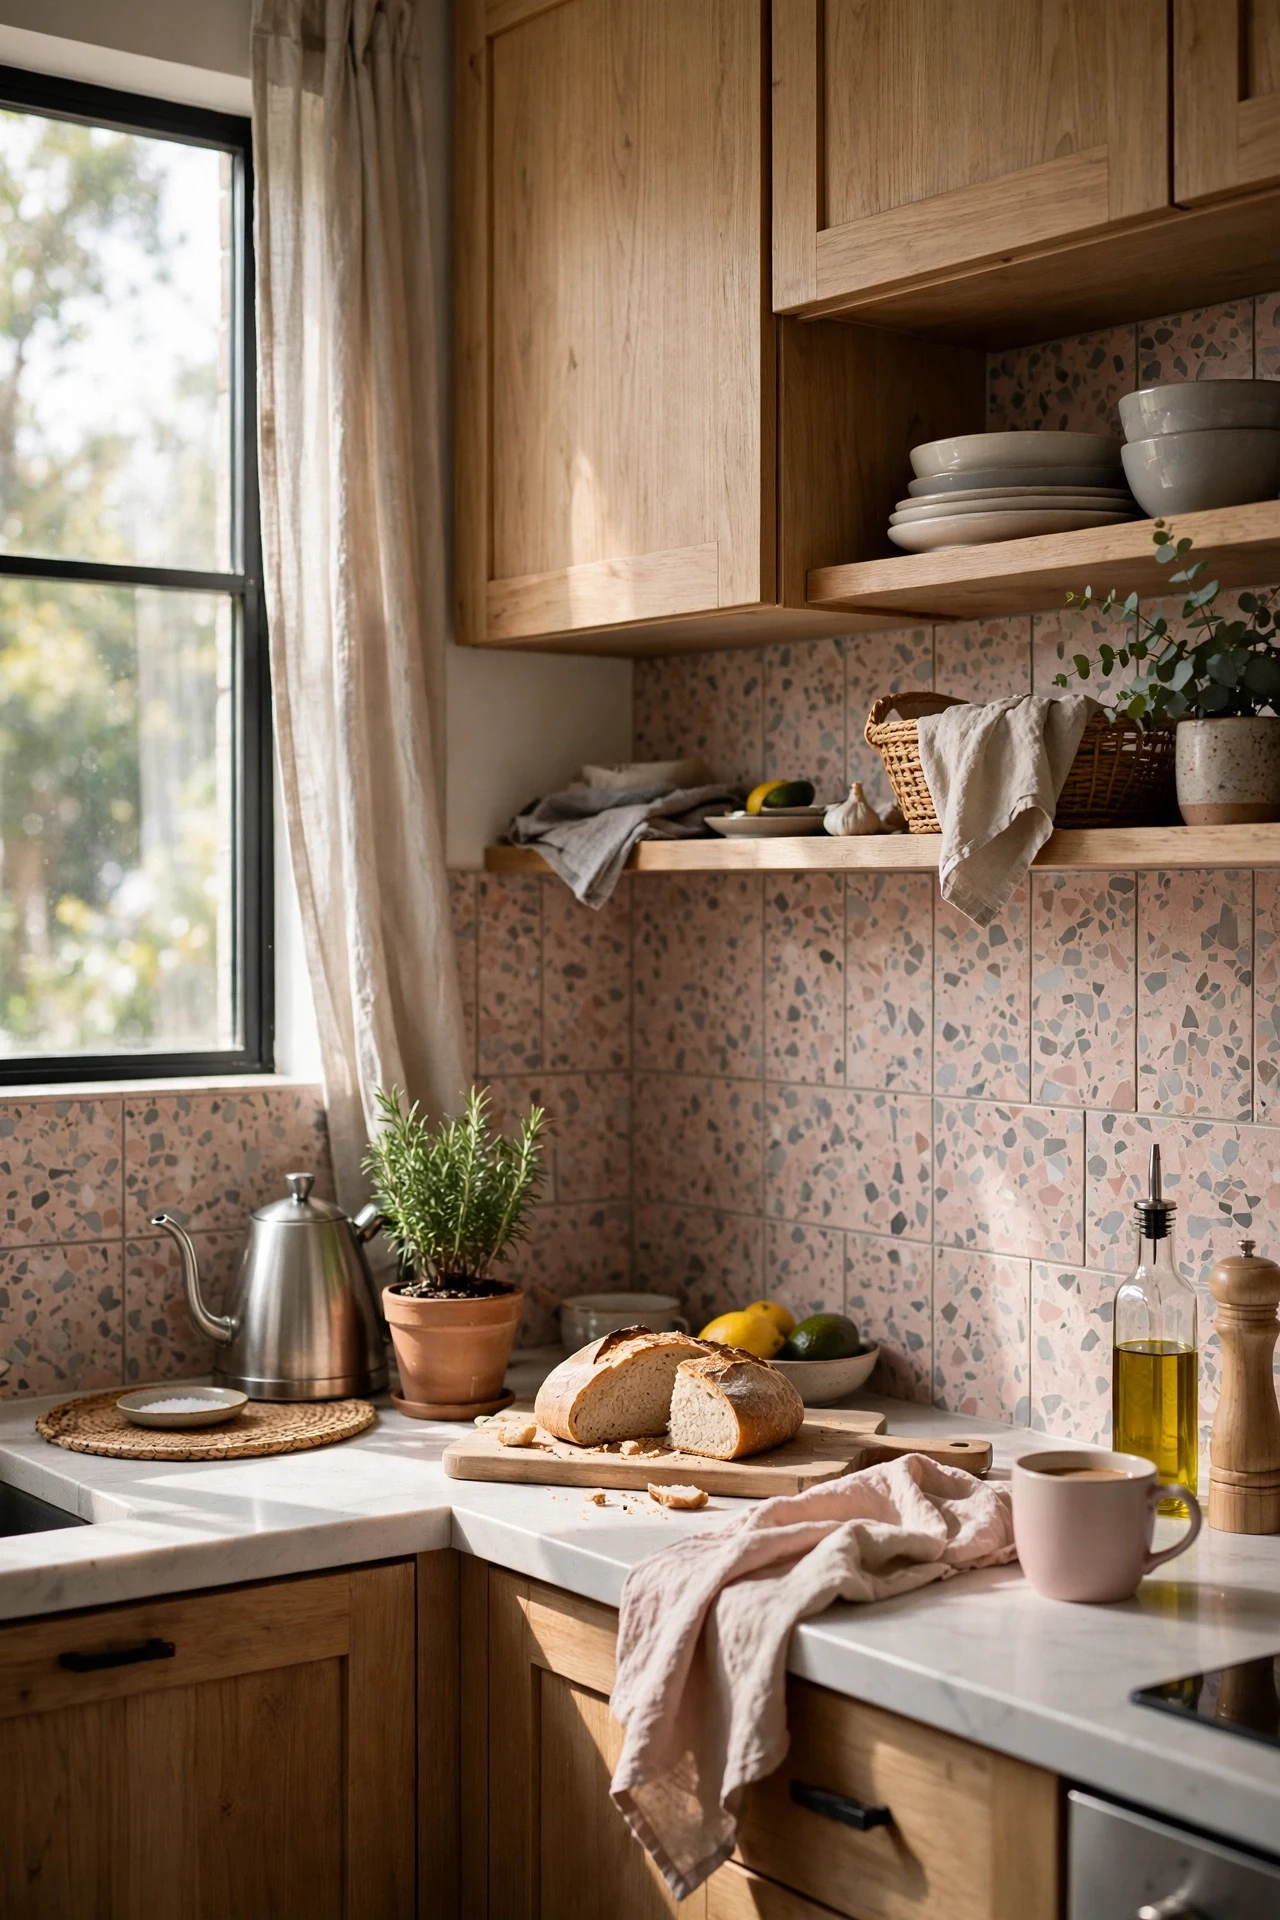
Terrazzo is having a moment, and speckled peel-and-stick tiles let you join in for pennies. The confetti-like chips of colour hide kitchen mess surprisingly well, which is a genuine practical bonus. Stick them in a simple grid — the pattern is busy enough without fancy layouts. I tried a blush-and-grey terrazzo and it made my white cabinets look intentional instead of landlord-special. The mistake to avoid is pairing it with another busy pattern; let the terrazzo be the star. Keep counters and curtains plain so the backsplash can shine.
Cost: ~$26 | Time: 60 minutes
8. Dark Slate-Look Tiles for Drama
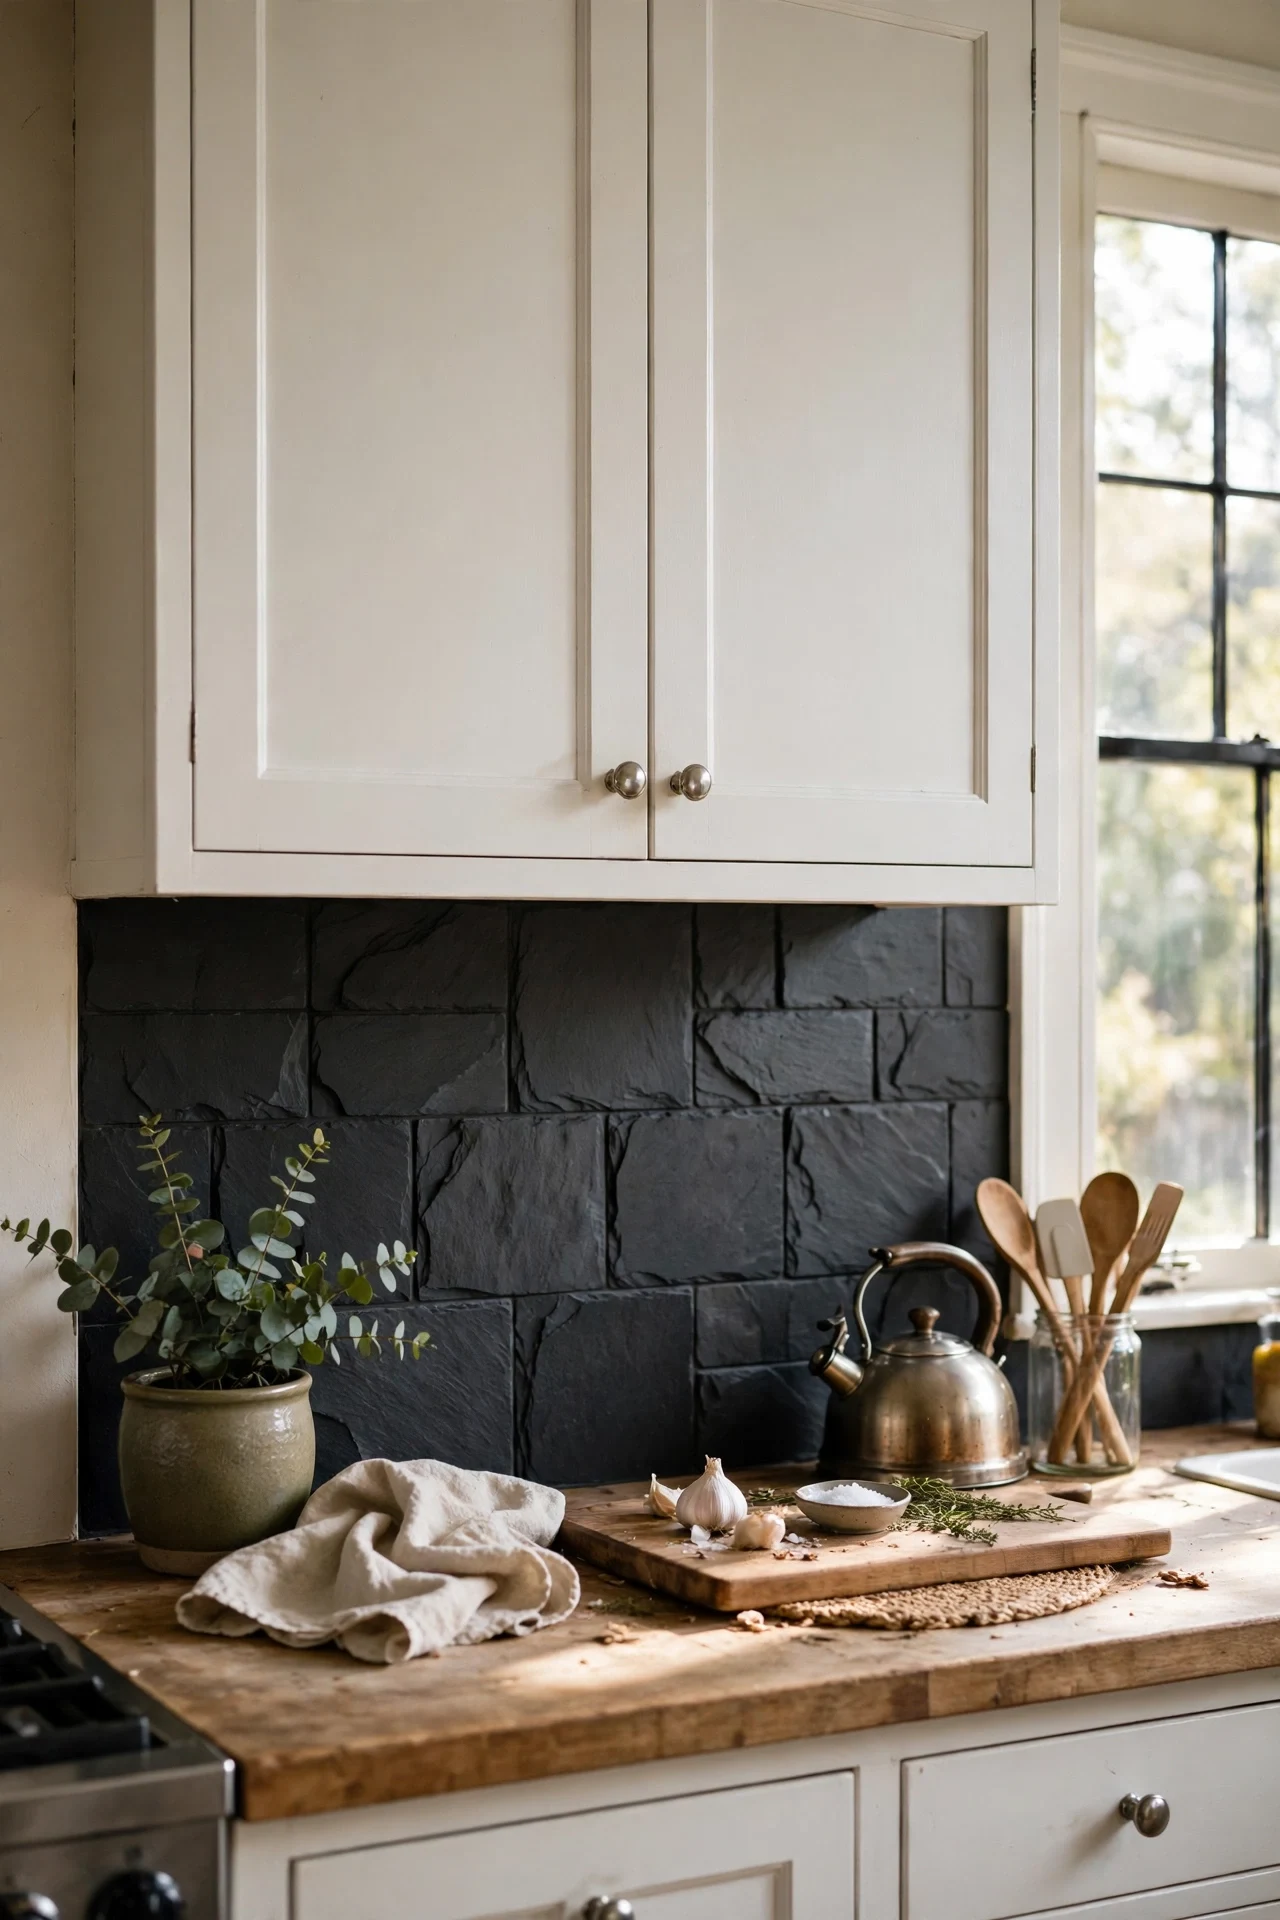
Dark backsplashes feel brave, but slate-look peel-and-stick tiles make drama renter-safe. Deep charcoal or navy tiles make white cabinets pop and hide cooking splashes beautifully. You’ll need good lighting — under-cabinet LEDs are a cheap partner here — or the wall can feel heavy. I tried dark slate in a north-facing kitchen and the contrast made the whole room feel richer, not smaller. The mistake to avoid is using dark tiles in a windowless galley without adding light; brightness keeps it moody rather than gloomy. Wipe with a damp cloth and they look freshly laid for years.
Cost: ~$22 | Time: 60 minutes
9. Honeycomb Hexagon Stick-On Tiles
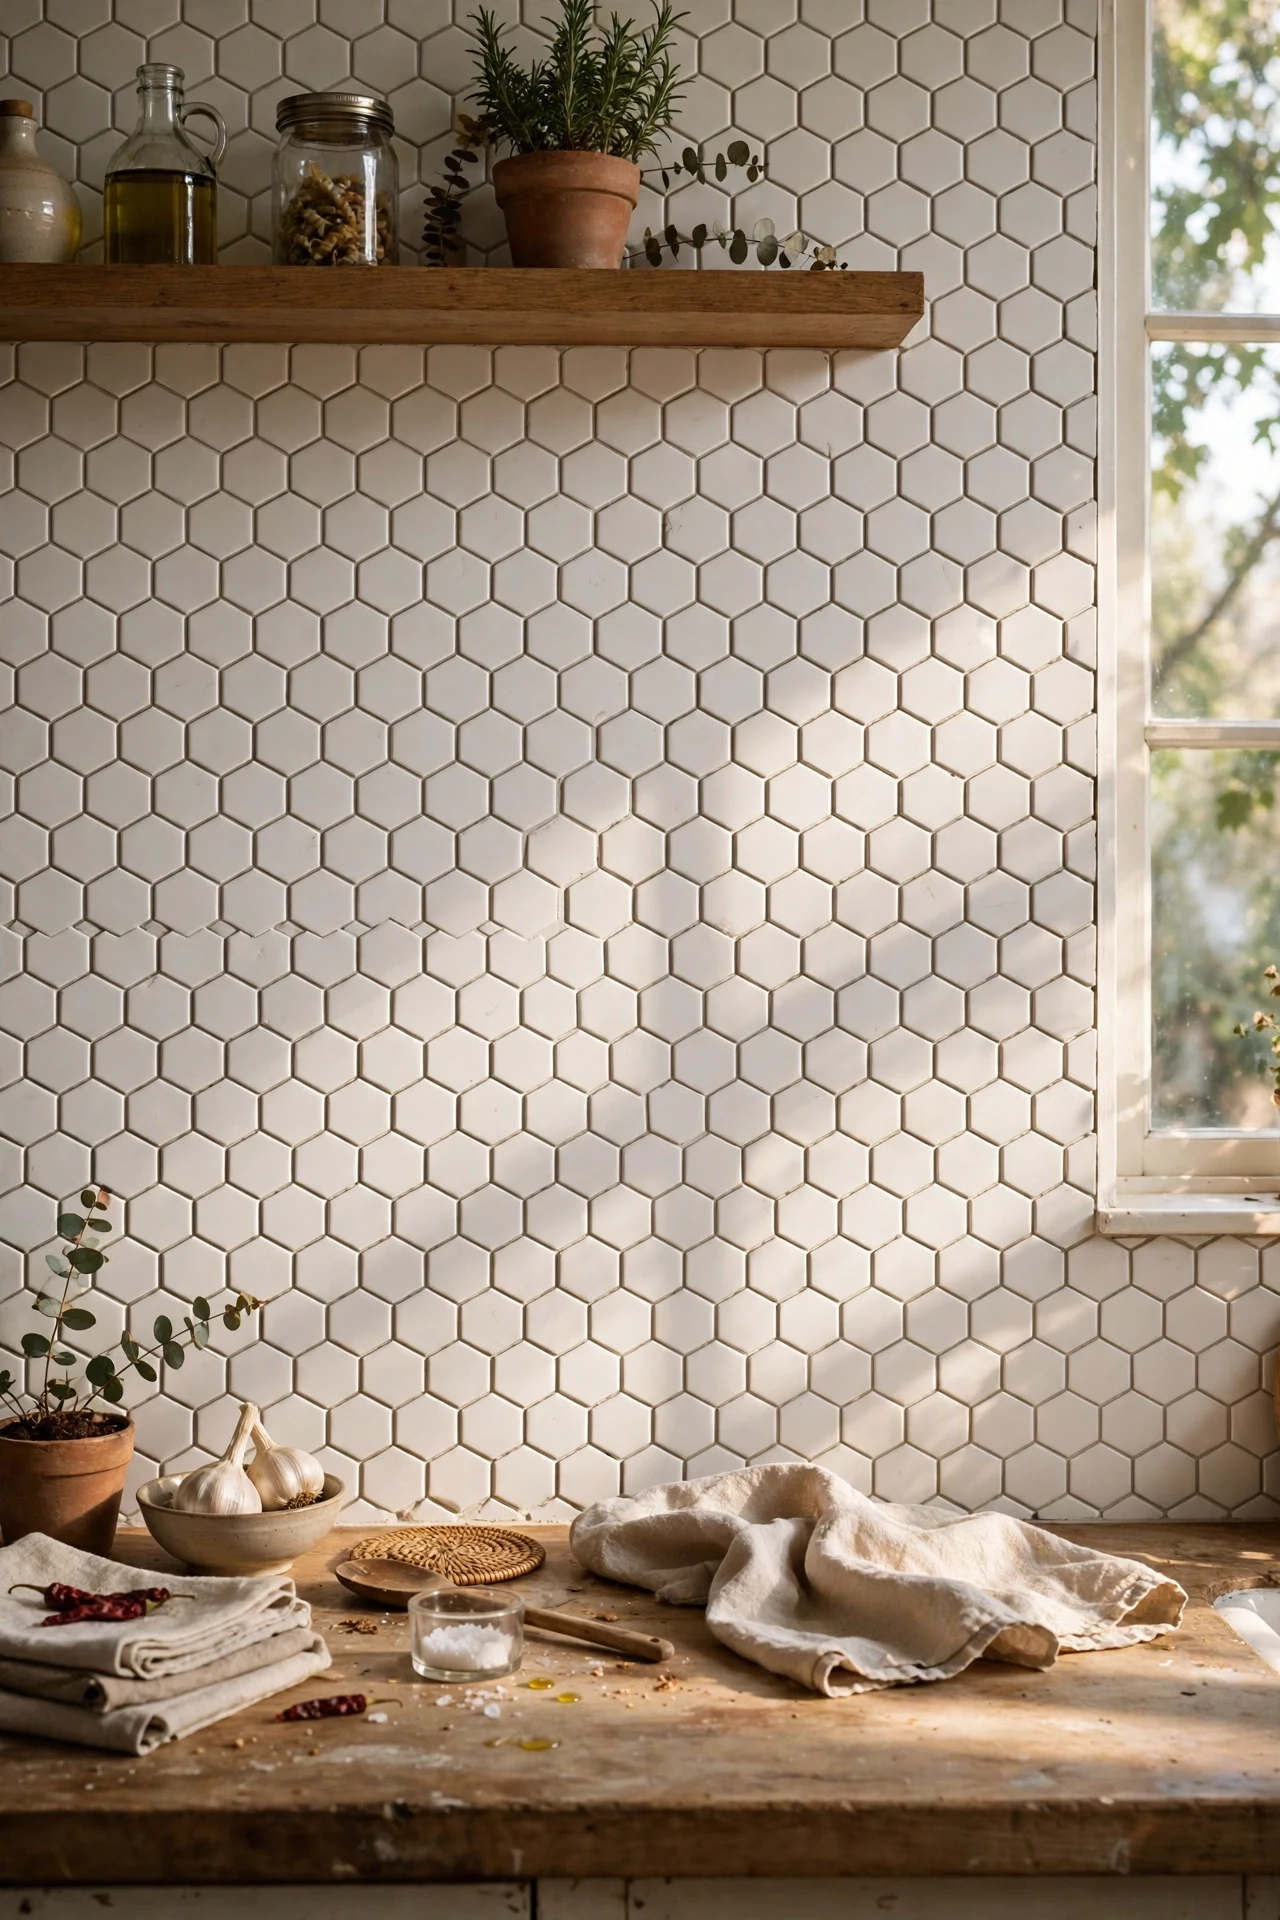
Hexagons break the rectangle monotony of most kitchens. Honeycomb peel-and-stick tiles come as individual hexagons or sheets — sheets are far easier for beginners. Start at the bottom and let the top edge finish naturally behind the cabinets, where cuts won’t show. I tried white hexagons with grey grout-effect lines and the geometry gave my plain kitchen a subtle architectural feel. The mistake to avoid is starting with individual hexagons as your first project; the alignment will test your patience. Sheets first, singles later when you’re confident.
Cost: ~$24 | Time: 75 minutes
10. Farmhouse Shiplap-Style Panels
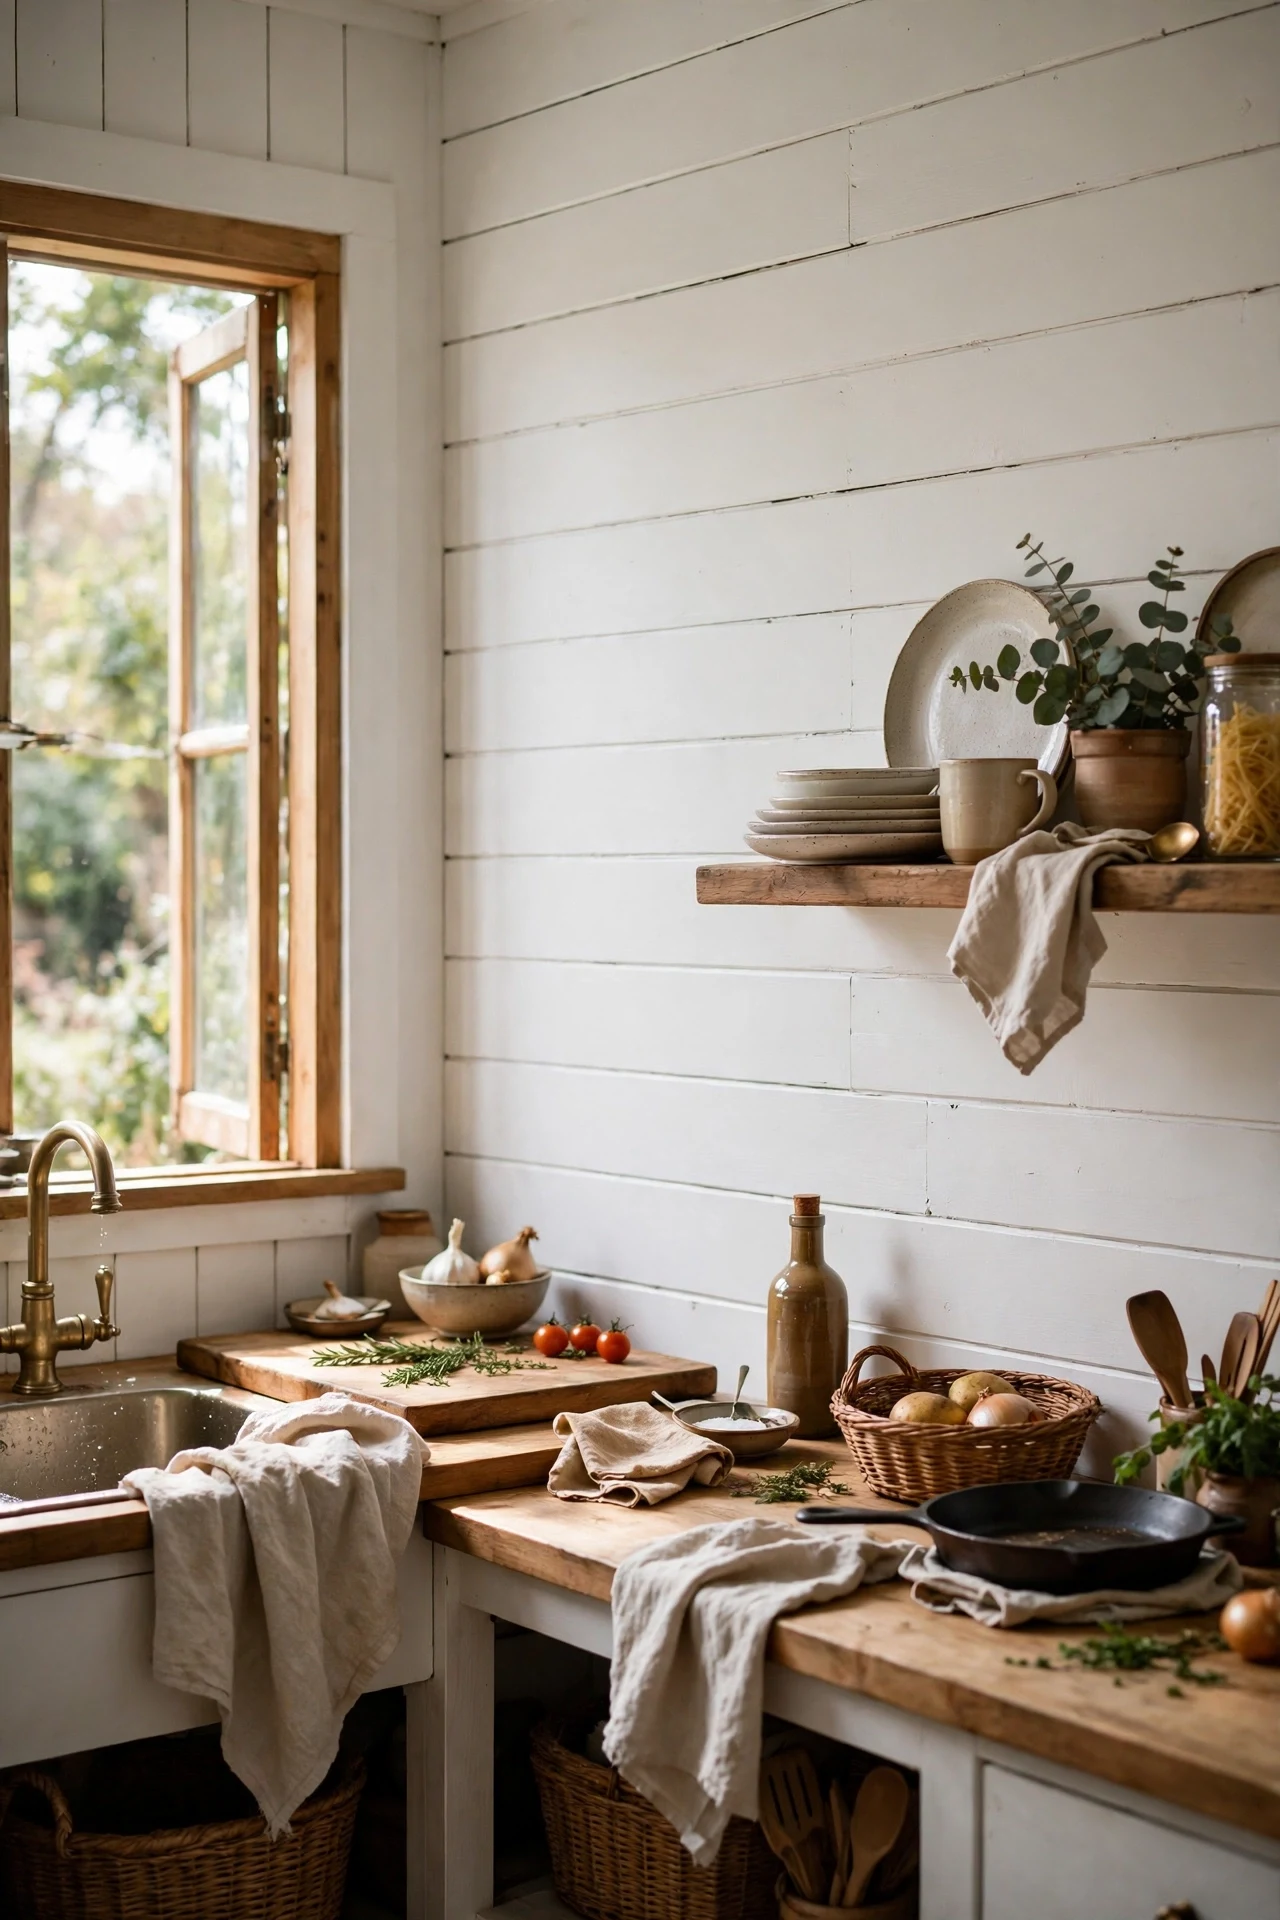
Shiplap-style peel-and-stick panels bring farmhouse charm without a single nail. Horizontal planks in white or pale grey suit cottage-style kitchens and pair beautifully with wooden worktops. Because the panels are wide, a whole run takes minutes — measure once, stick once, smooth once. I tried these in a friend’s dated kitchen and the transformation was almost suspicious for the effort involved. The mistake to avoid is butting panels loosely; even hairline gaps collect grease over time. Run a fingernail along each seam to seal it tight.
Cost: ~$20 | Time: 45 minutes
11. Two-Tone Subway Tiles with Dark Grout Effect
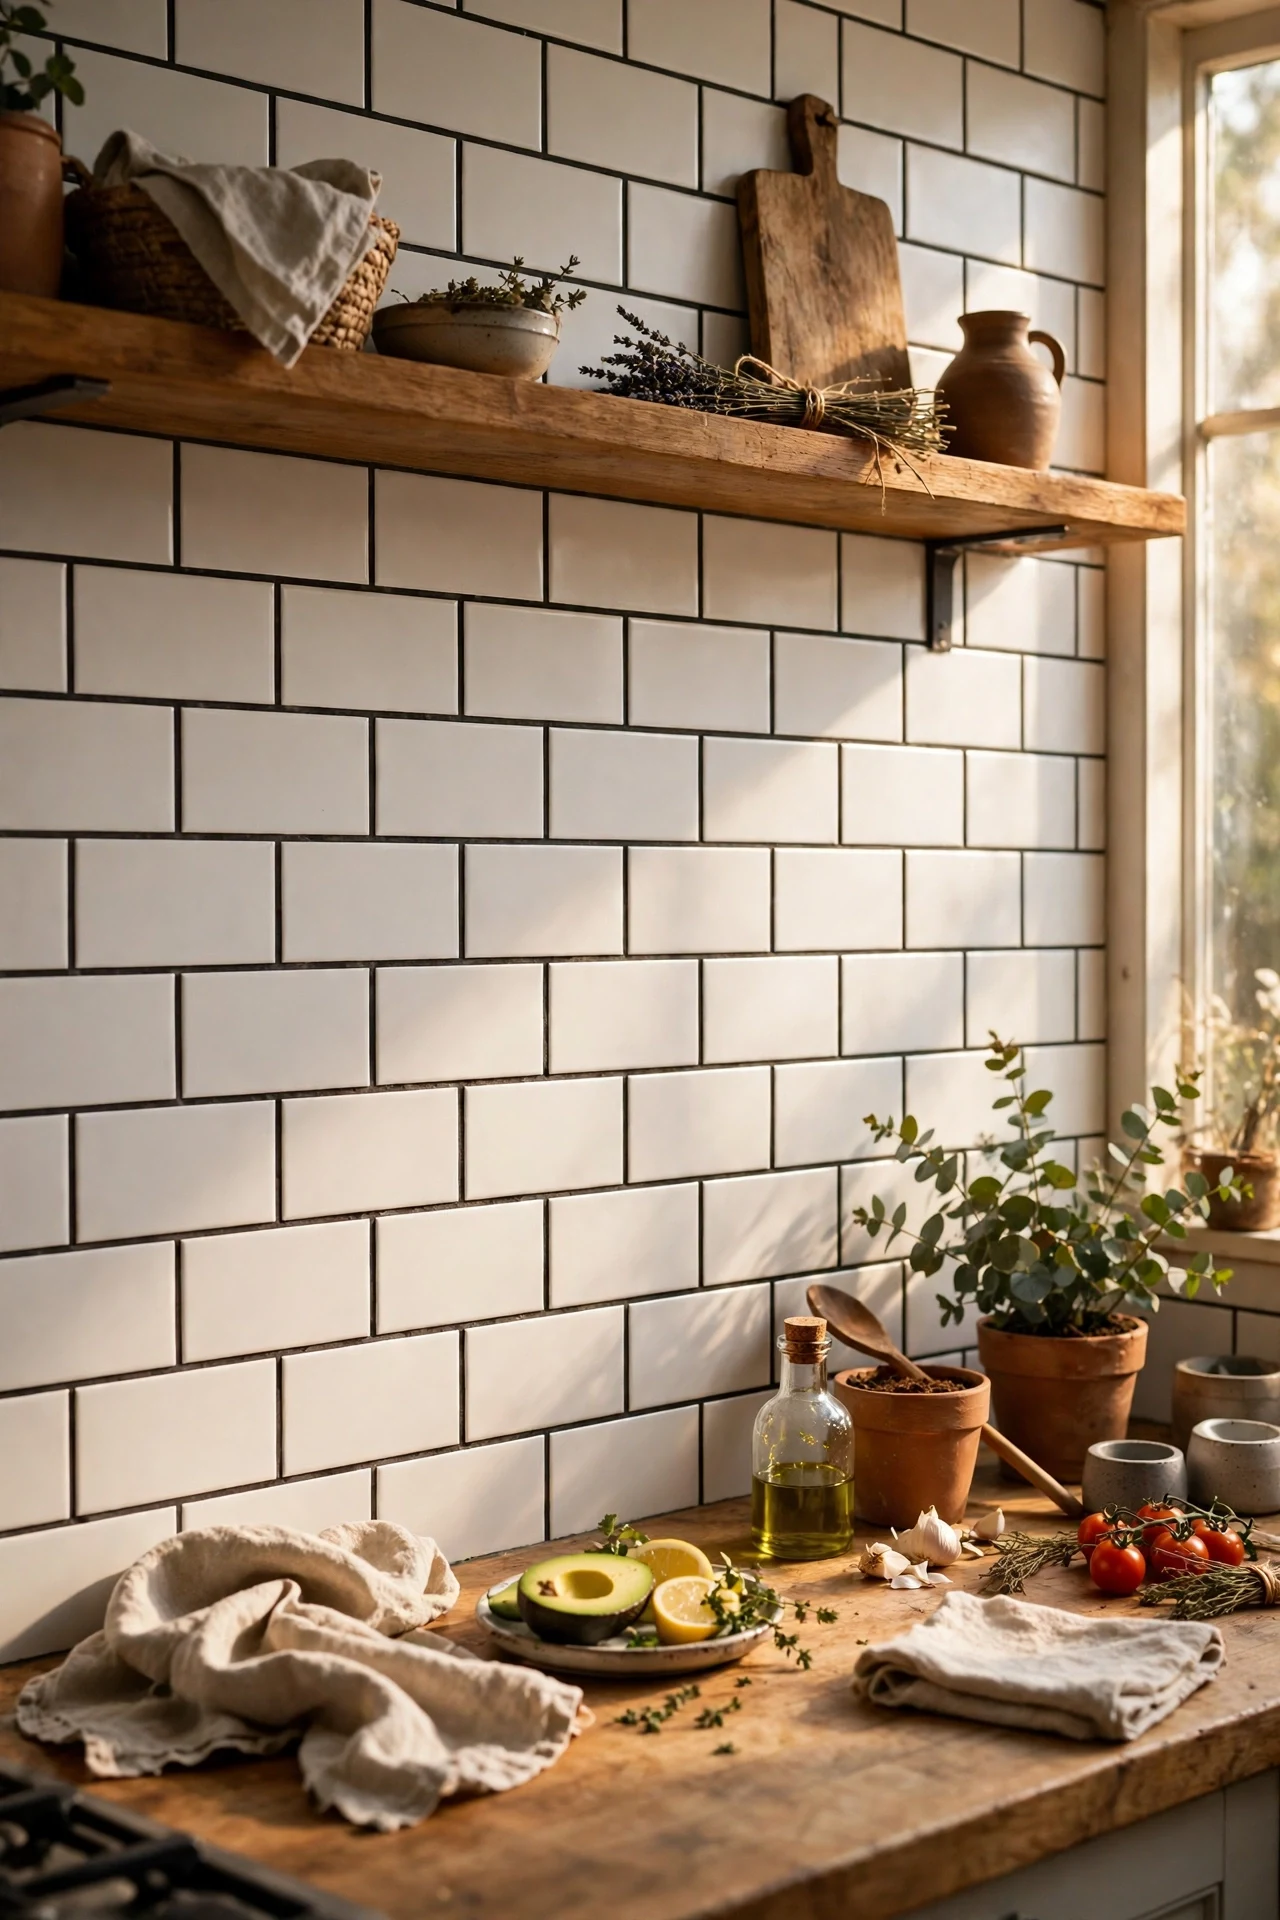
White tiles with dark grout lines give you the classic subway look with extra definition. Look for peel-and-stick tiles that print the grout lines in charcoal — the contrast makes each tile pop. Keep your rows dead level, because dark lines magnify every wobble. I tried these and the graphic look made my budget kitchen feel oddly high-end, like a café. The mistake to avoid is mixing this with patterned flooring; two bold geometries fight. Plain floors, calm counters, and let the grout lines be the graphic moment.
Cost: ~$18 | Time: 60 minutes
12. Peel-and-Stick Backsplash Behind Open Shelving
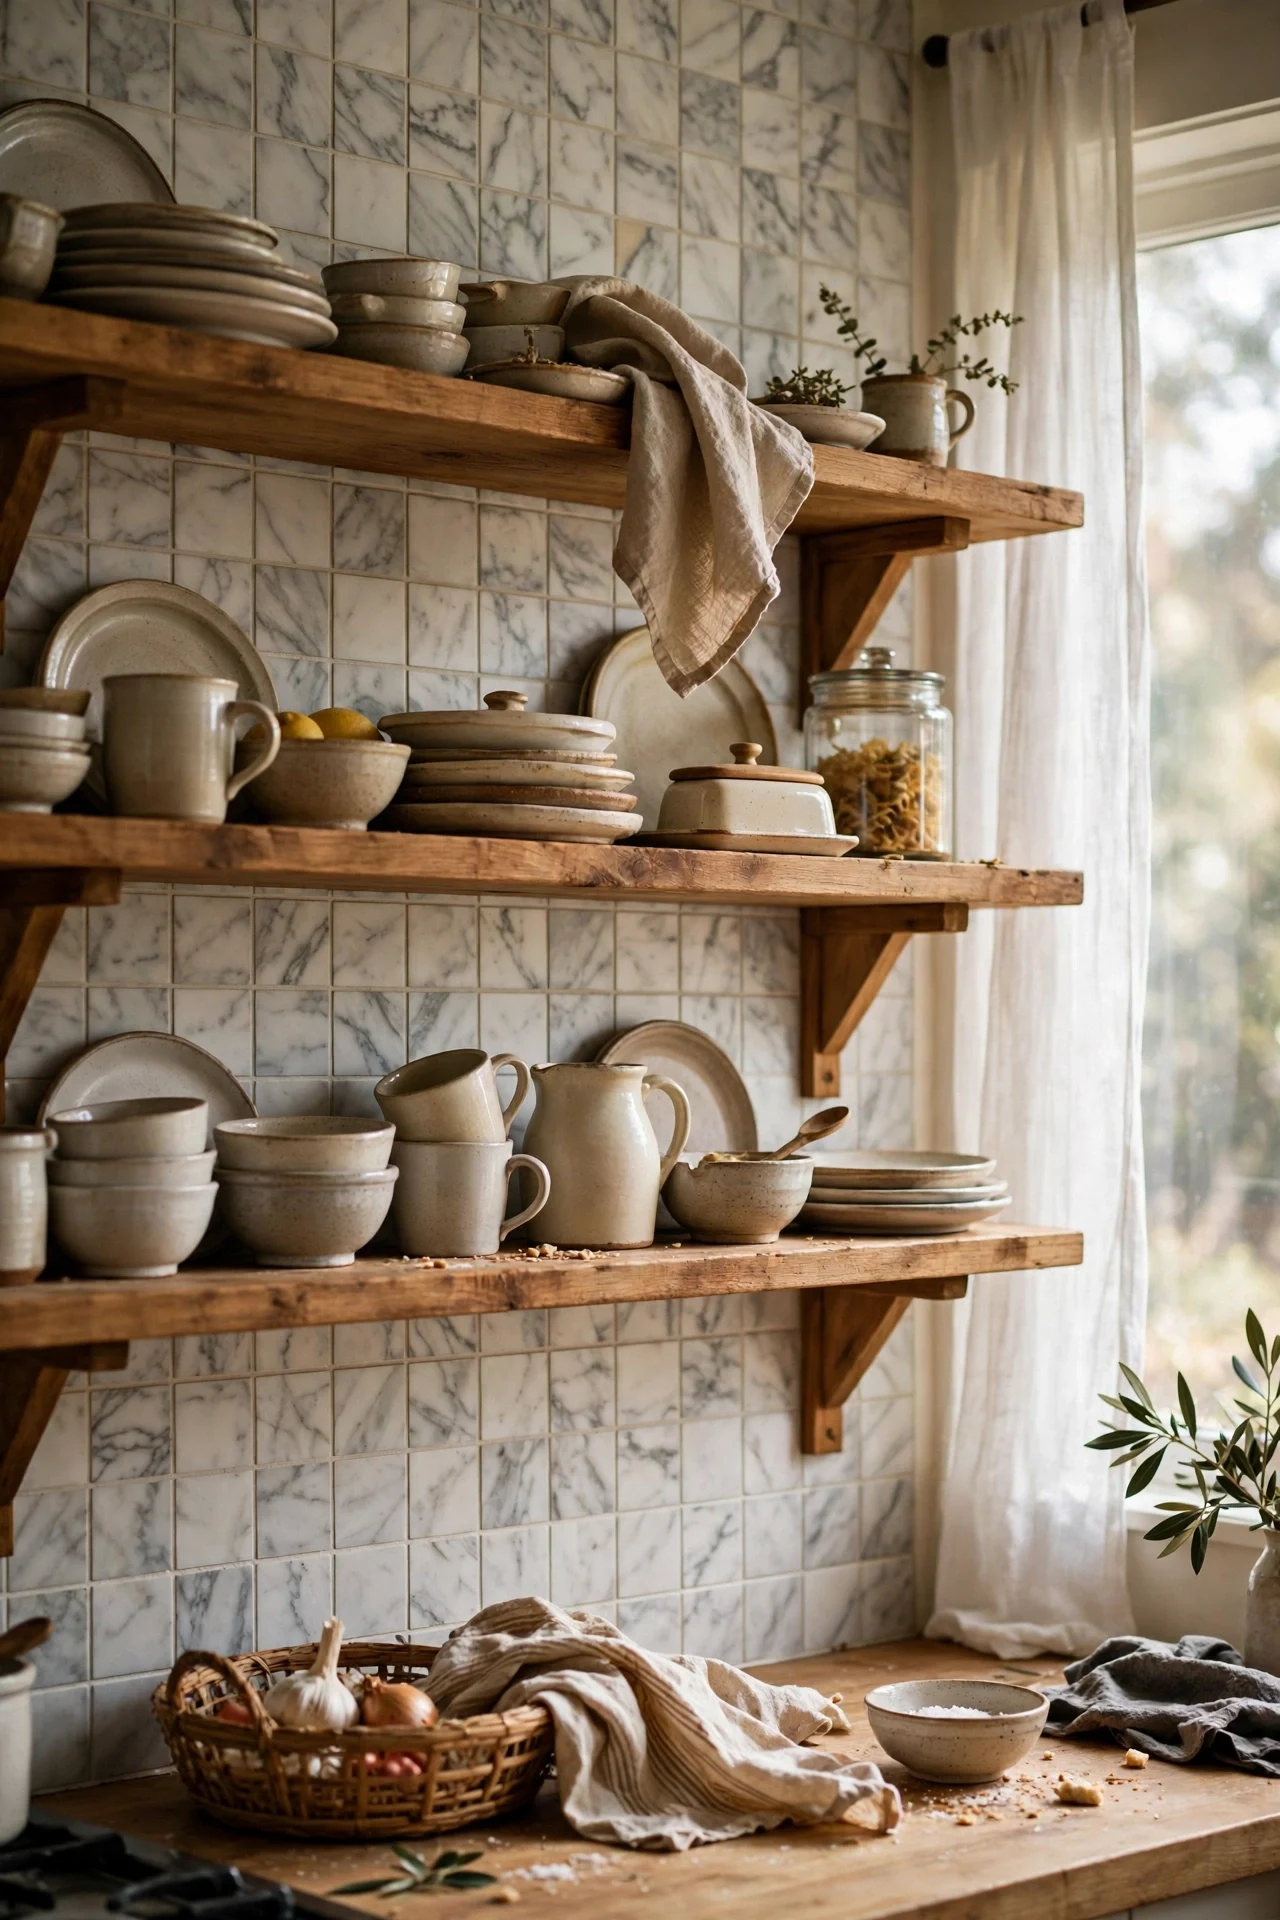
Open shelves look bare against a plain wall — a strip of peel-and-stick tile behind them changes everything. You only need to cover the visible band between shelf brackets, so one pack often does the job. Measure the shelf span, cut your tiles to fit, and stick before you reload the shelves. I tried a marble strip behind my crockery shelves and suddenly my mismatched mugs looked curated. The mistake to avoid is tiling after restocking — you’ll be working around plates. Empty the shelves, tile the strip, then style them back with the new backdrop in mind.
Cost: ~$15 | Time: 30 minutes
13. Mirrored Subway Tiles to Bounce Light
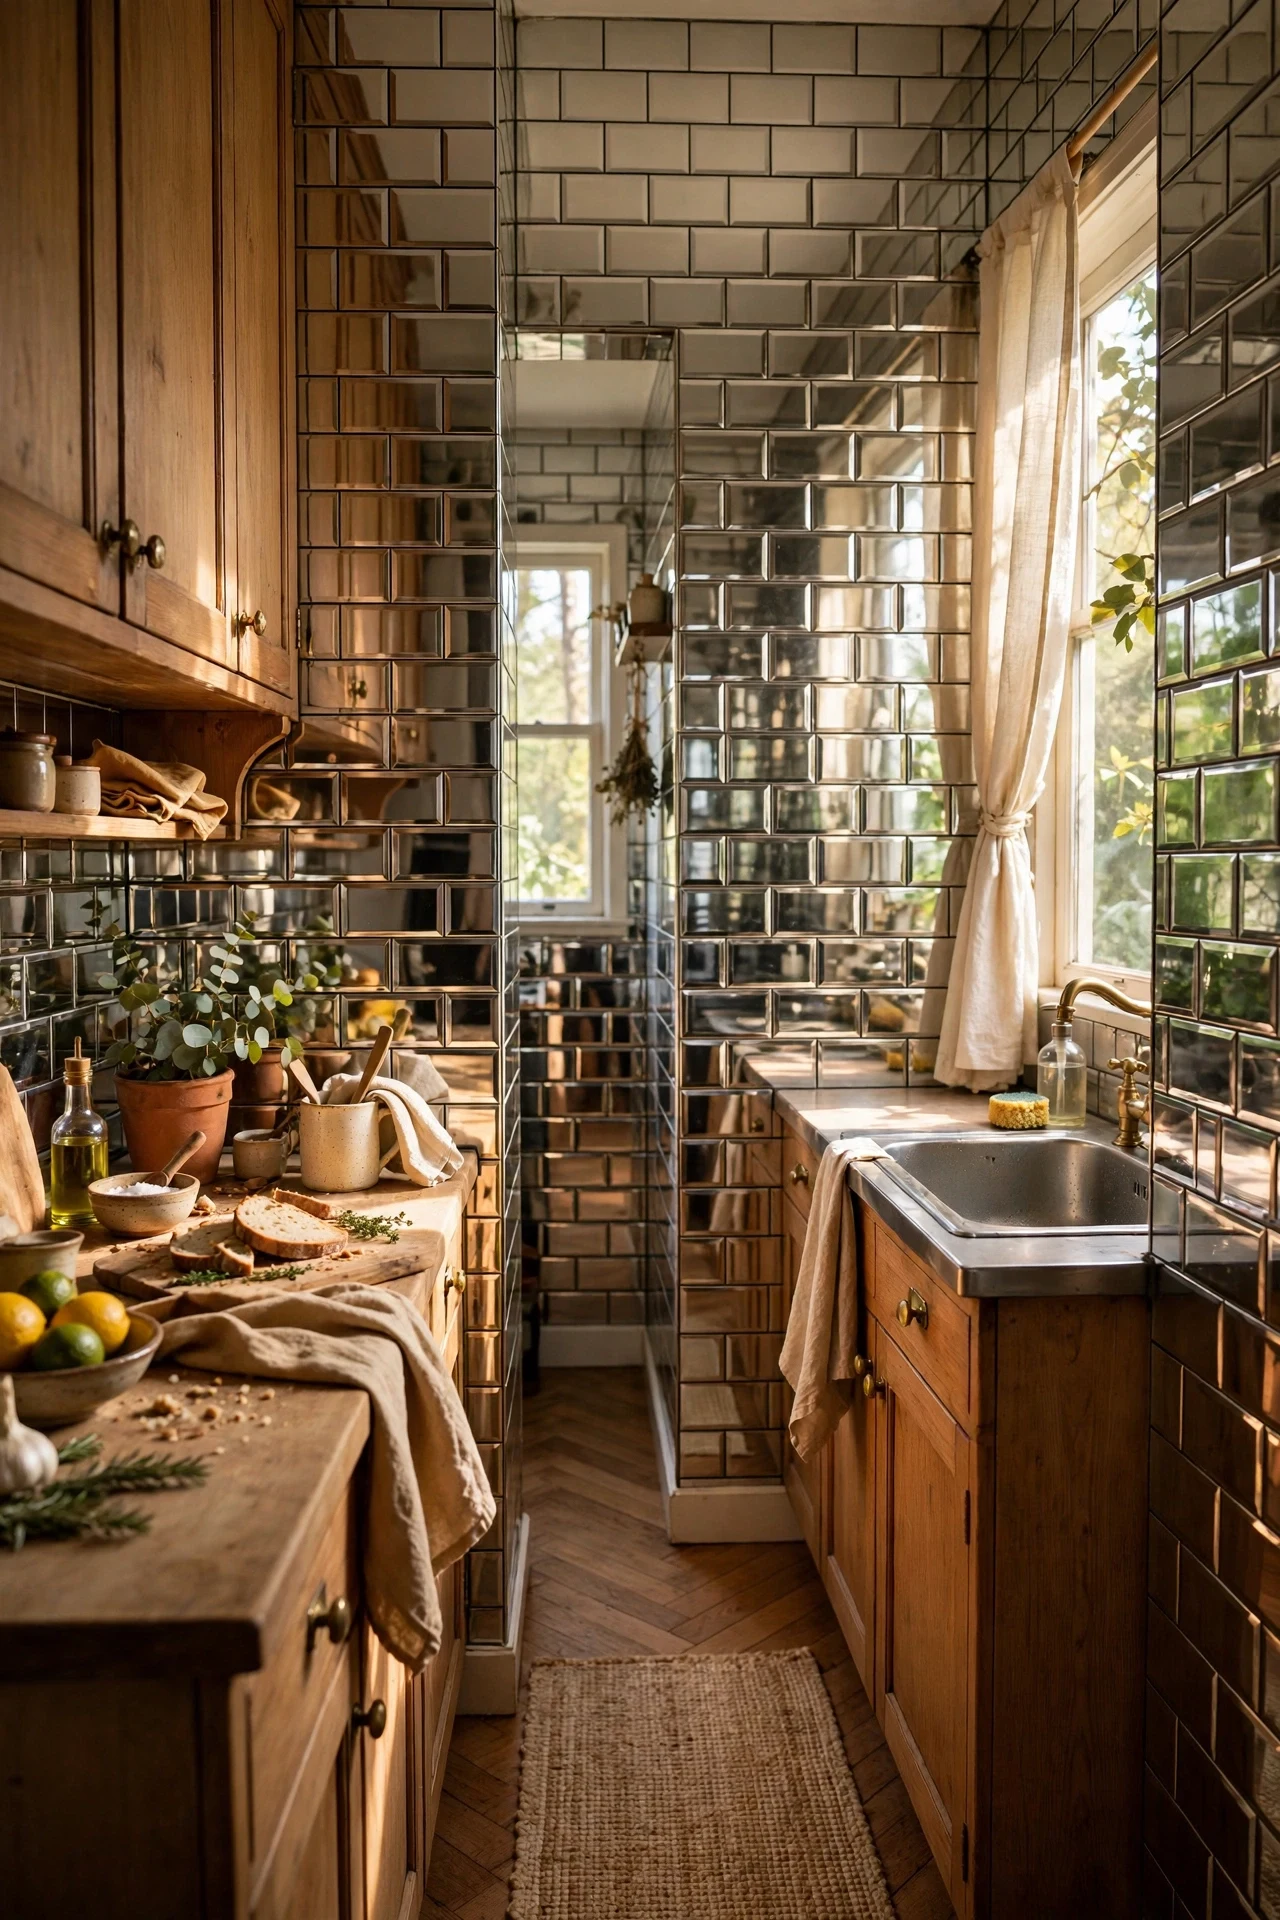
Small, dark kitchens need light more than they need pattern. Mirrored peel-and-stick subway tiles reflect whatever light you have and double the sense of space. Stick them in classic brick formation, handling each tile by the edges to avoid fingerprints. I tried these in a galley kitchen with one small window and the difference at breakfast time was startling. The mistake to avoid is placing them where they reflect clutter — mirrors double whatever they face, so aim them at the window, not the washing-up. A quick polish with glass cleaner keeps them gleaming.
Cost: ~$30 | Time: 60 minutes
14. Peel-and-Stick Tile Strips as a Border Accent
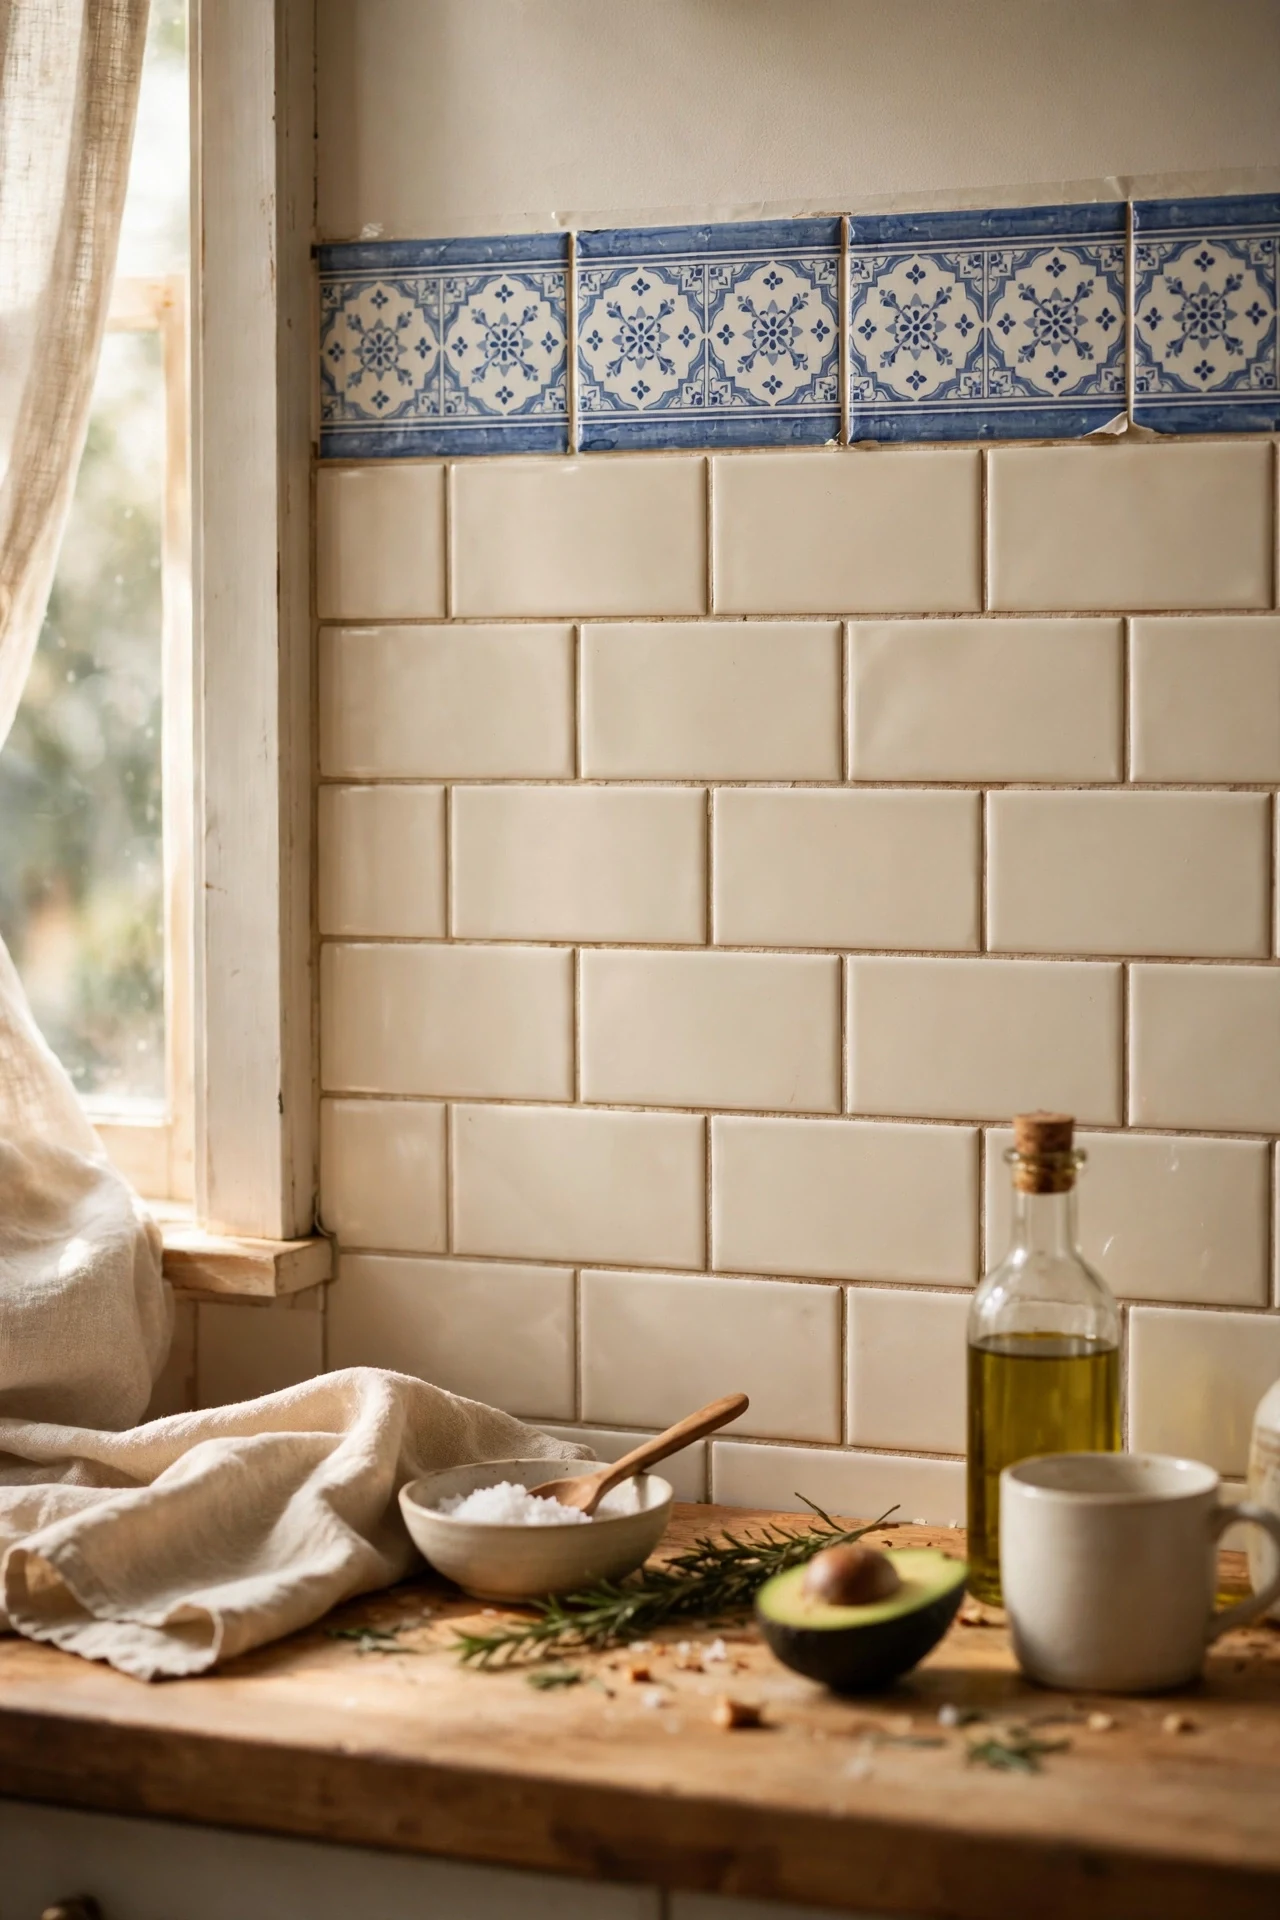
Not ready to commit to a whole wall? A single border strip of patterned tile along the top or bottom of your existing backsplash adds interest for pocket money. Choose a pattern that picks up a colour from your curtains or rug so it looks deliberate. Clean the strip area well, then run your tiles in one straight, level line. I tried a blue patterned border above plain cream tiles and it looked like a designer detail rather than a compromise. The mistake to avoid is a wavy line — use painter’s tape as a guide. It’s the cheapest idea on this list and one of the smartest.
Cost: ~$10 | Time: 25 minutes
15. Full-Height Statement Wall to the Ceiling
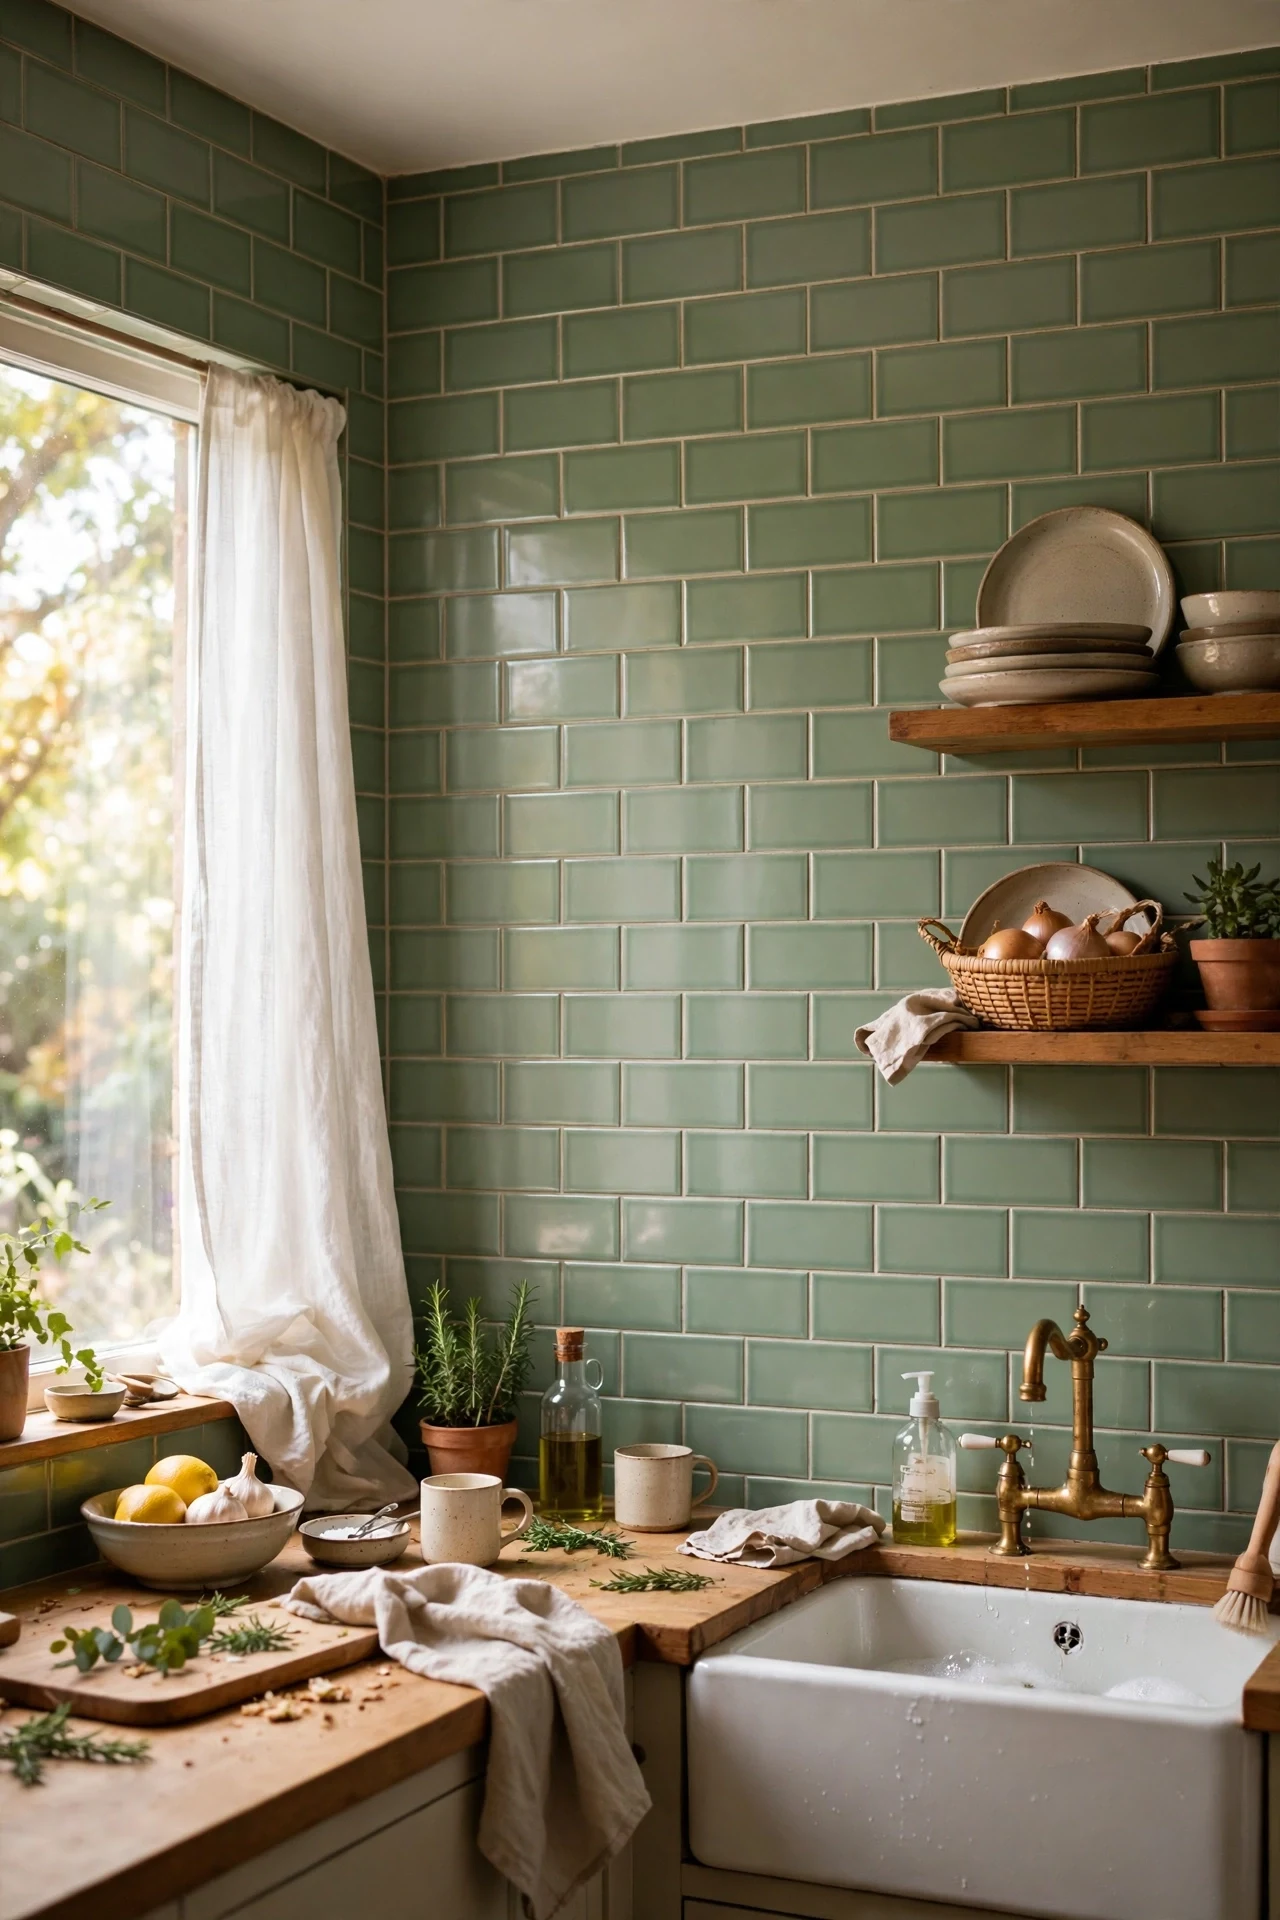
For maximum impact, take your peel-and-stick tiles all the way to the ceiling. Full-height tiling makes ceilings feel taller and turns a plain wall into a feature — choose a tile you love looking at, because you’ll see a lot of it. Work in vertical sections, and keep a step stool handy. I tried a full-height sage-green subway wall and it became the backdrop of every photo I took in that flat. The mistake to avoid is running out of tiles mid-wall; buy one extra pack for a big wall. The payoff per dollar is the highest of any idea here.
Cost: ~$35 | Time: 120 minutes
More budget kitchen reads: kitchen decor ideas under $50 without renovating and kitchen counter decor that looks styled, not cluttered.
Save this to your kitchen ideas board before your next DIY shop run — you’ll want the cost list handy when you’re staring at the tile aisle.
Start with one wall, one afternoon, and one pack of tiles — that’s genuinely all it takes. Your kitchen, your rules, your deposit intact.
