21 Dollar Store Kitchen Organization Ideas Worth Every Penny
Last spring I stood in front of my under-sink cabinet, ankle-deep in half-empty spray bottles and a tangle of carrier bags, and quietly admitted defeat. I’d been putting off dollar store kitchen organization for months because I assumed cheap meant flimsy. Then a friend dared me to spend ten pounds-equivalent at the dollar store and see what happened — and honestly, my whole kitchen changed in one afternoon. Every single idea below costs a handful of dollars, most take under half an hour, and every one of them actually works.
1. Stackable Wire Baskets Under the Sink
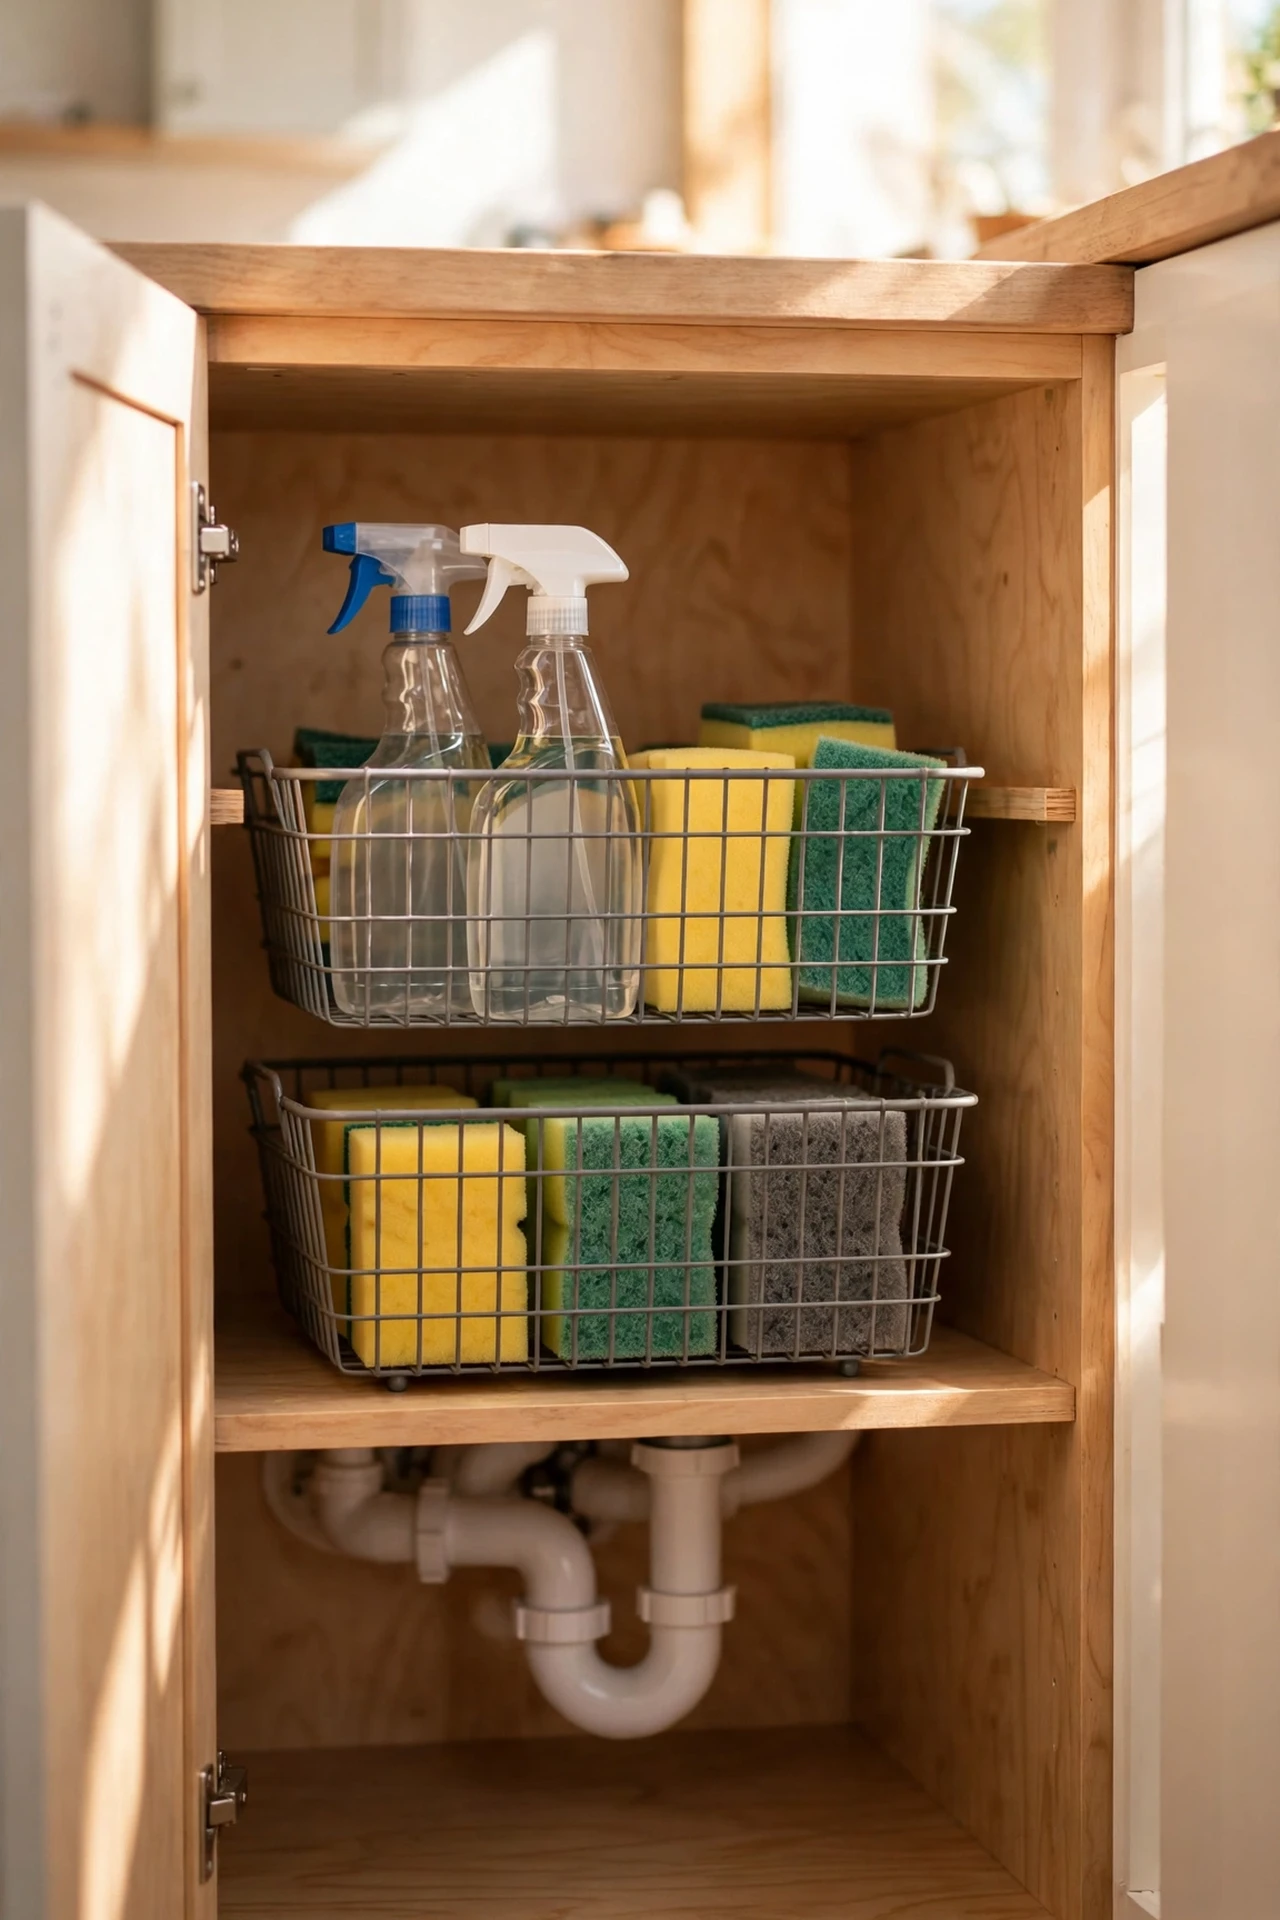
That dark cave under the sink is where cleaning supplies go to disappear. Grab two or three stackable wire baskets from the dollar store and suddenly every bottle has a visible home. Start by pulling everything out and binning the dried-up bottles you never use, then group what remains by job: daily cleaners in one basket, dish supplies in another, odd bits like sponges and gloves in a third. Stack the baskets two high and you double your storage without a single tool. I tried this first in my own kitchen and the mistake to avoid is buying baskets before measuring — my first set was half an inch too tall and the door wouldn’t shut.
Budget callout: Three stackable wire baskets run about $4 at the dollar store. A branded under-sink organizer from a big-box retailer costs $18–$25 for essentially the same thing.
Cost: ~$4 | Time: 20 minutes
2. Pantry Turntable for Sauces and Condiments
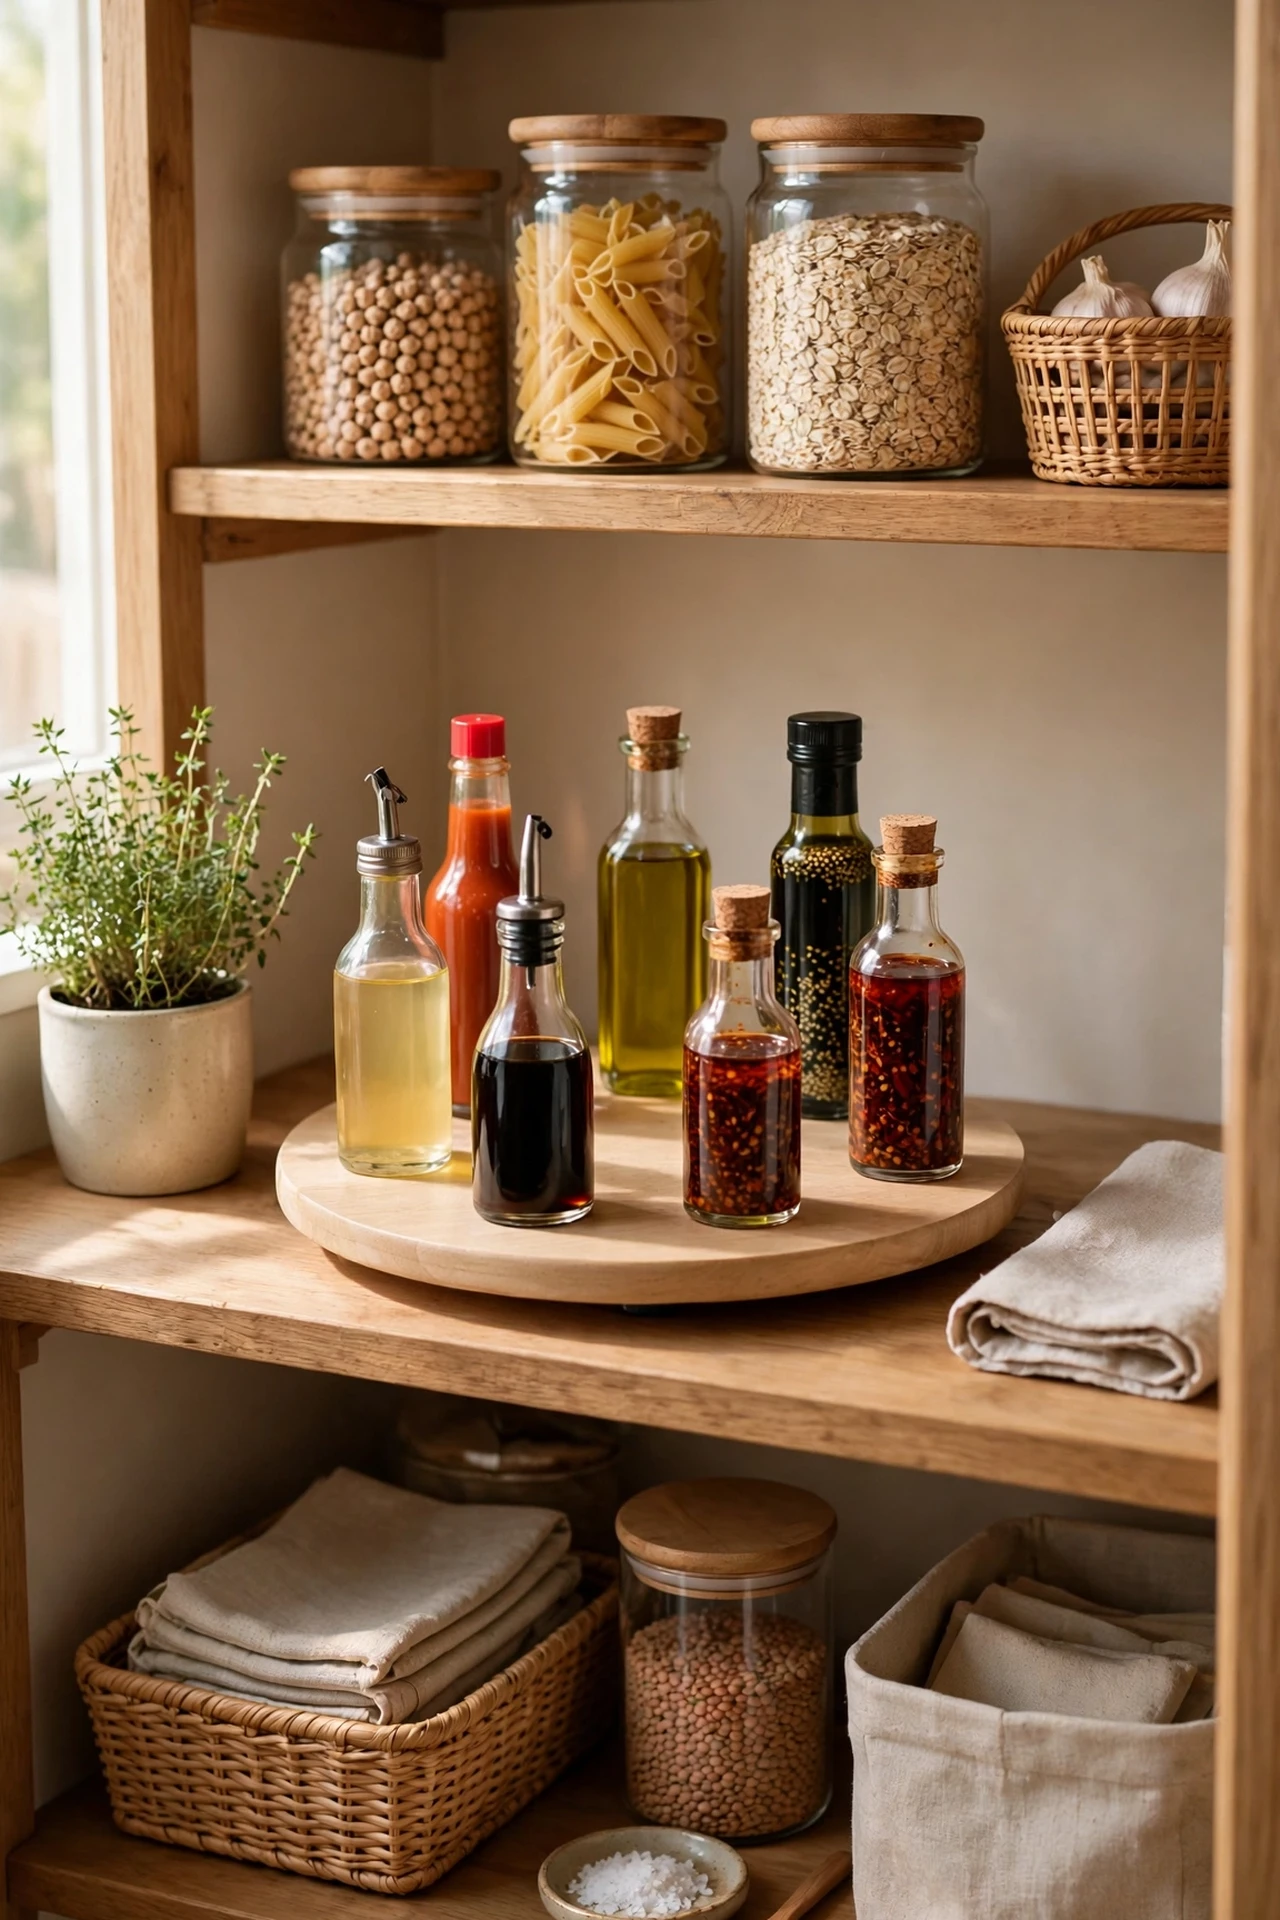
How many times have you bought a second bottle of soy sauce because the first one was hiding behind the ketchup? A dollar-store turntable ends that for good. Clear one pantry shelf, wipe it down, and load tall bottles around the edge with shorter jars in the middle so nothing blocks your view. One spin shows you everything at once, which means no more duplicate buys and no more expired jars lurking at the back. I keep one for cooking sauces and another for baking bits like vanilla and food colouring. The mistake to avoid is overloading it — once it gets too heavy it stops spinning smoothly, so keep it to bottles and small jars.
Budget callout: Dollar-store turntables cost about $1.25 each. The same lazy-Susan style organizer at a home store is $12–$15.
Cost: ~$3 | Time: 15 minutes
3. Tension Rod to Corral Cleaning Bottles
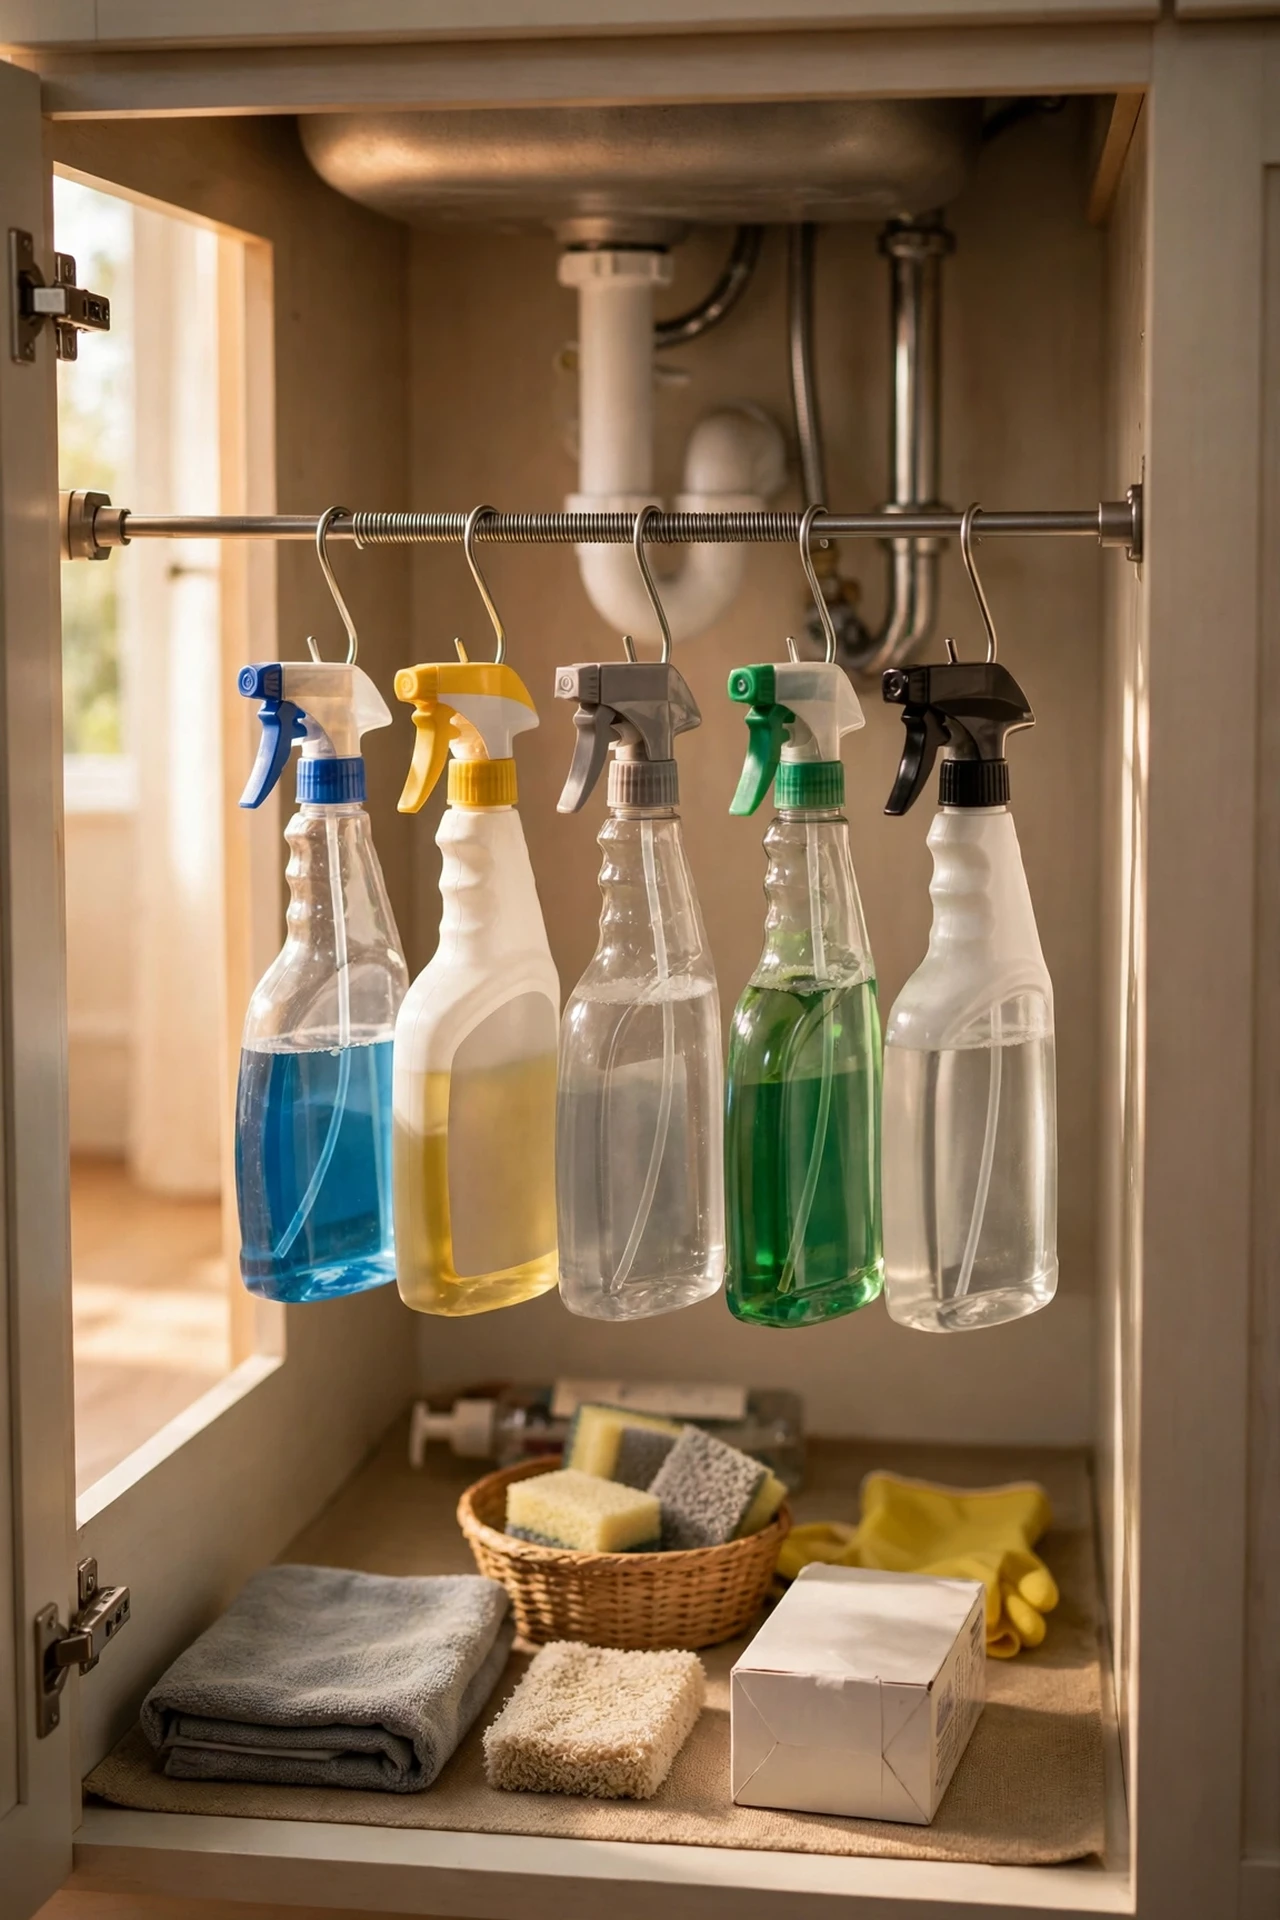
A single tension rod turns the chaos under your sink into a tidy little shelf. Measure the inside width of the cabinet, twist the rod to fit, and position it about two-thirds of the way up near the front. Then hang spray bottles by their triggers right on the rod, leaving the floor of the cabinet free for bulkier items. It costs almost nothing, needs zero drilling, and you can reposition it in seconds. I tried this after years of knocking bottles over every time I reached for the dish soap. The mistake to avoid is buying a rod that’s too thin — the narrowest dollar-store rods can sag under three full bottles, so pick the sturdiest one on the shelf.
Budget callout: One tension rod costs about $1.25. Purpose-made under-sink hanging organizers sell for $10–$16 online.
Cost: ~$1.25 | Time: 10 minutes
4. Magnetic Strips for Spice Jars Inside Cabinet Doors
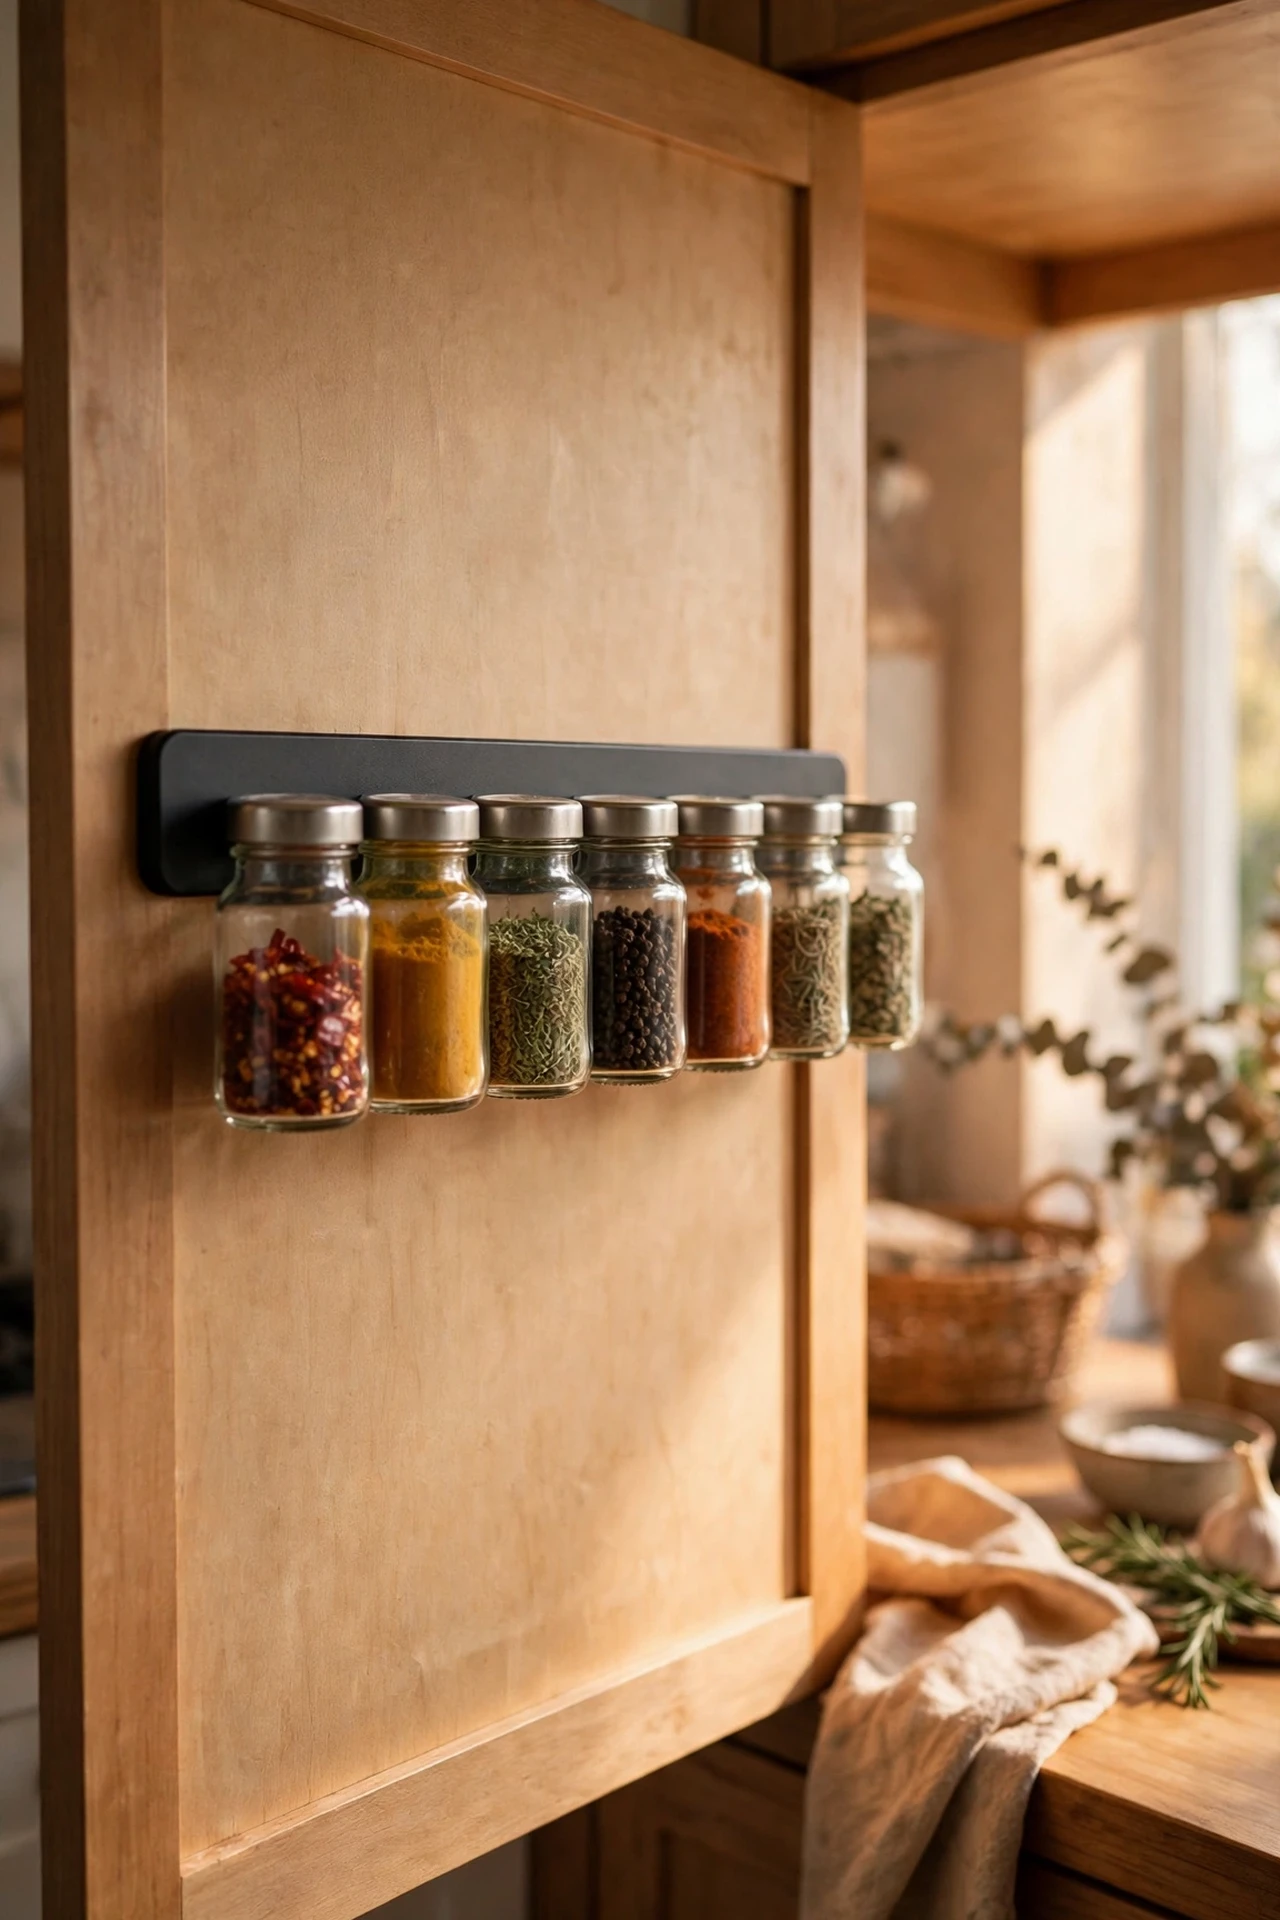
Spice jars eat shelf space like nothing else, so move them to the inside of a cabinet door. Stick a magnetic strip to the door’s interior, then fix small magnets to the lids of your spice jars so each jar hangs upside down in a neat row. Label the bottom of every lid as you go so you can grab the right one without unpeeling anything. I did this with twelve jars and freed up an entire shelf. The mistake to avoid is using weak magnets — a couple of my jars slid down the strip in the first week until I switched to the stronger discs, also from the dollar store.
Budget callout: Magnetic strips plus a pack of magnets cost about $3.50 total. A wall-mounted magnetic spice rack starts around $20.
Cost: ~$3.50 | Time: 30 minutes
5. Small Bins as Kitchen Drawer Dividers
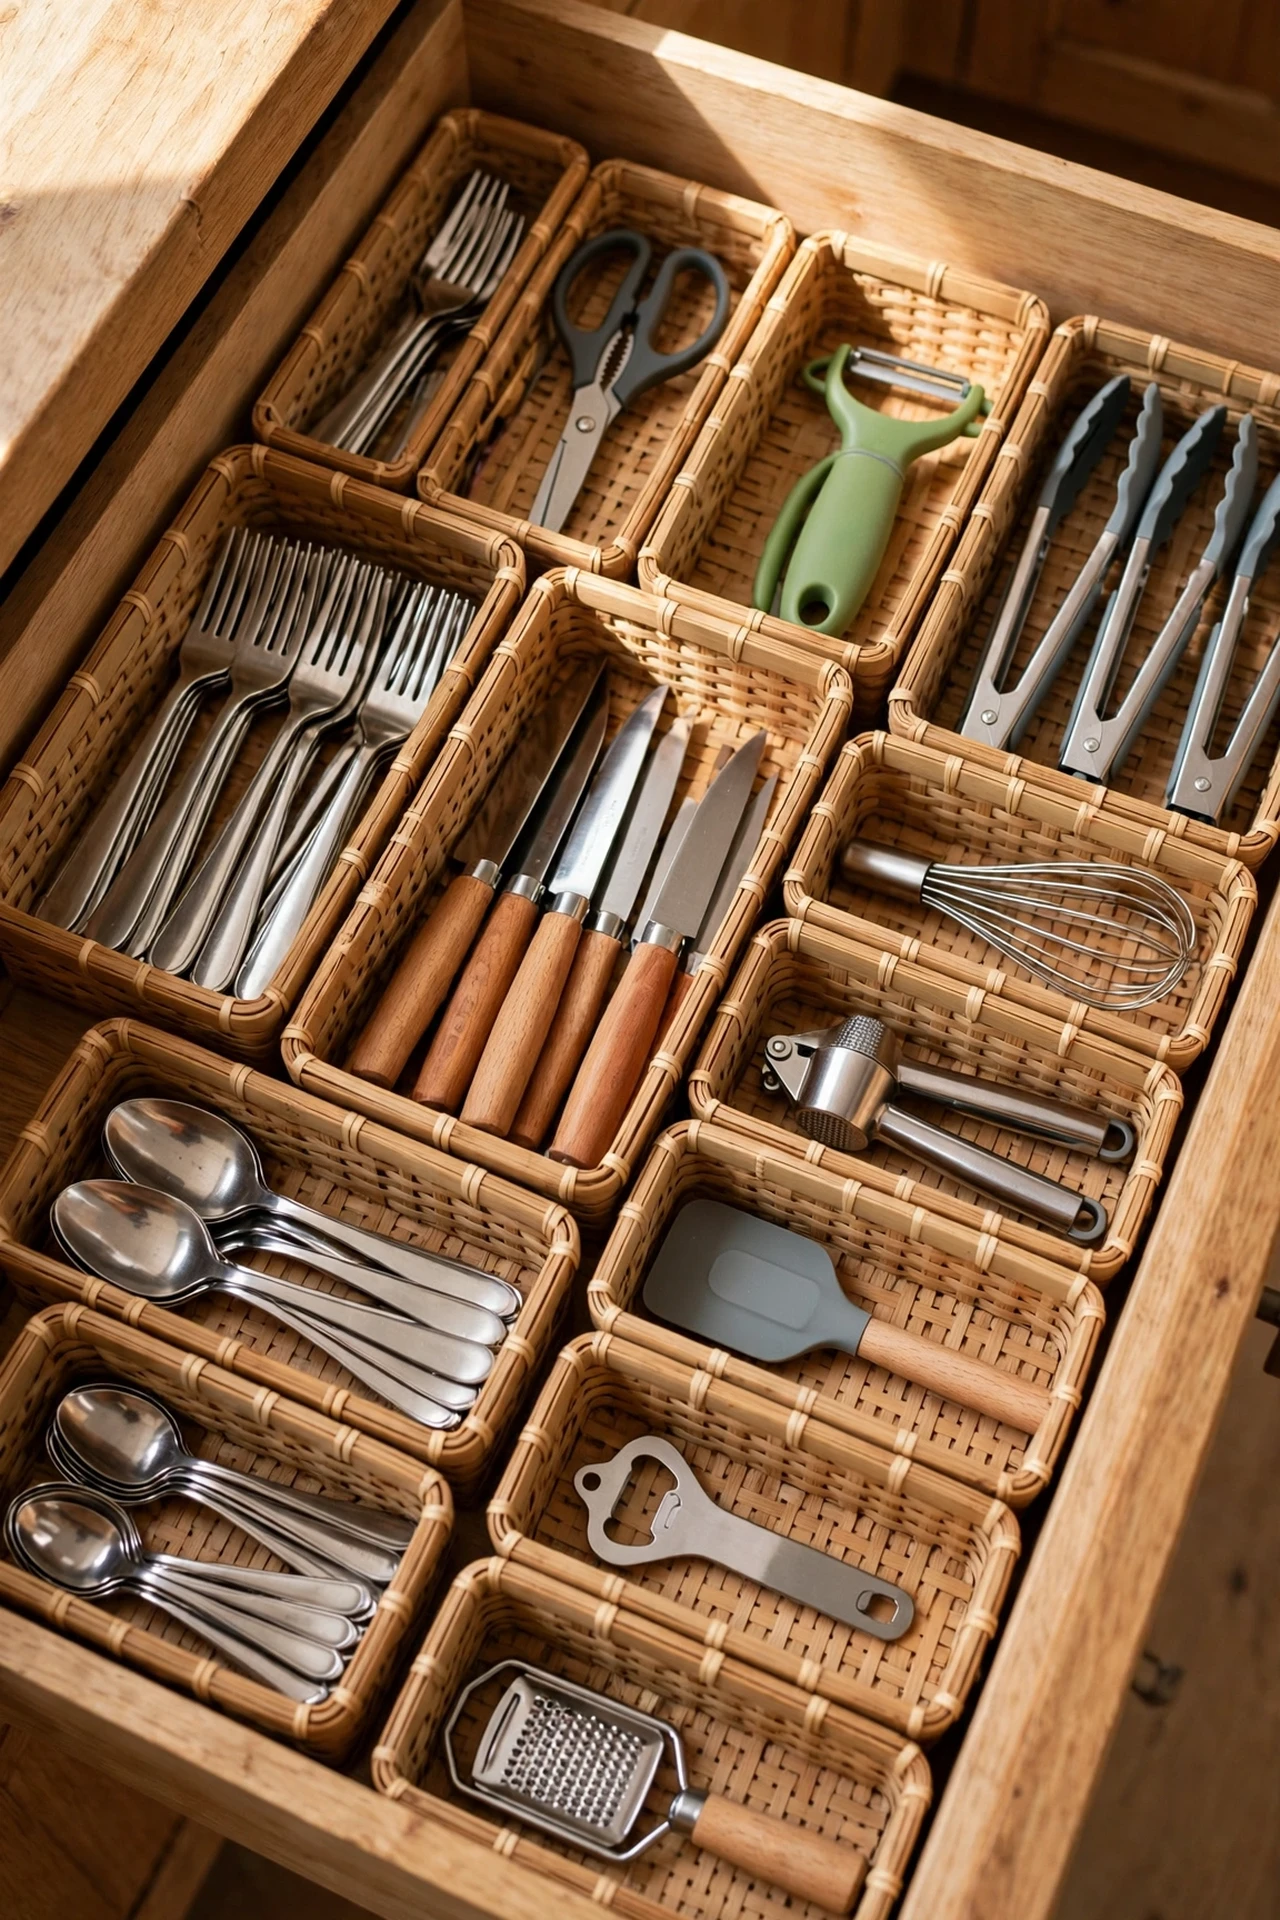
Deep kitchen drawers become junk drawers within a month unless you give everything a boundary. Skip the pricey drawer-organizer kits and drop small dollar-store bins straight into the drawer instead. Sort your cutlery, gadgets, and odds and ends into piles first, then choose a bin for each pile, keeping daily items at the front and occasional tools toward the back. Because the bins lift out, you can shake out the crumbs underneath in seconds. I tried the fancy custom-fit tray once and hated it — the moment my tool collection changed, it stopped fitting. The mistake to avoid is cramming the bins too tight; leave a little wiggle room so you can lift one out without a fight.
Budget callout: Six small bins cost about $7.50. A custom bamboo drawer organizer of the same size runs $35–$50.
Cost: ~$7.50 | Time: 25 minutes
6. Clear Canisters for Decanting Dry Goods
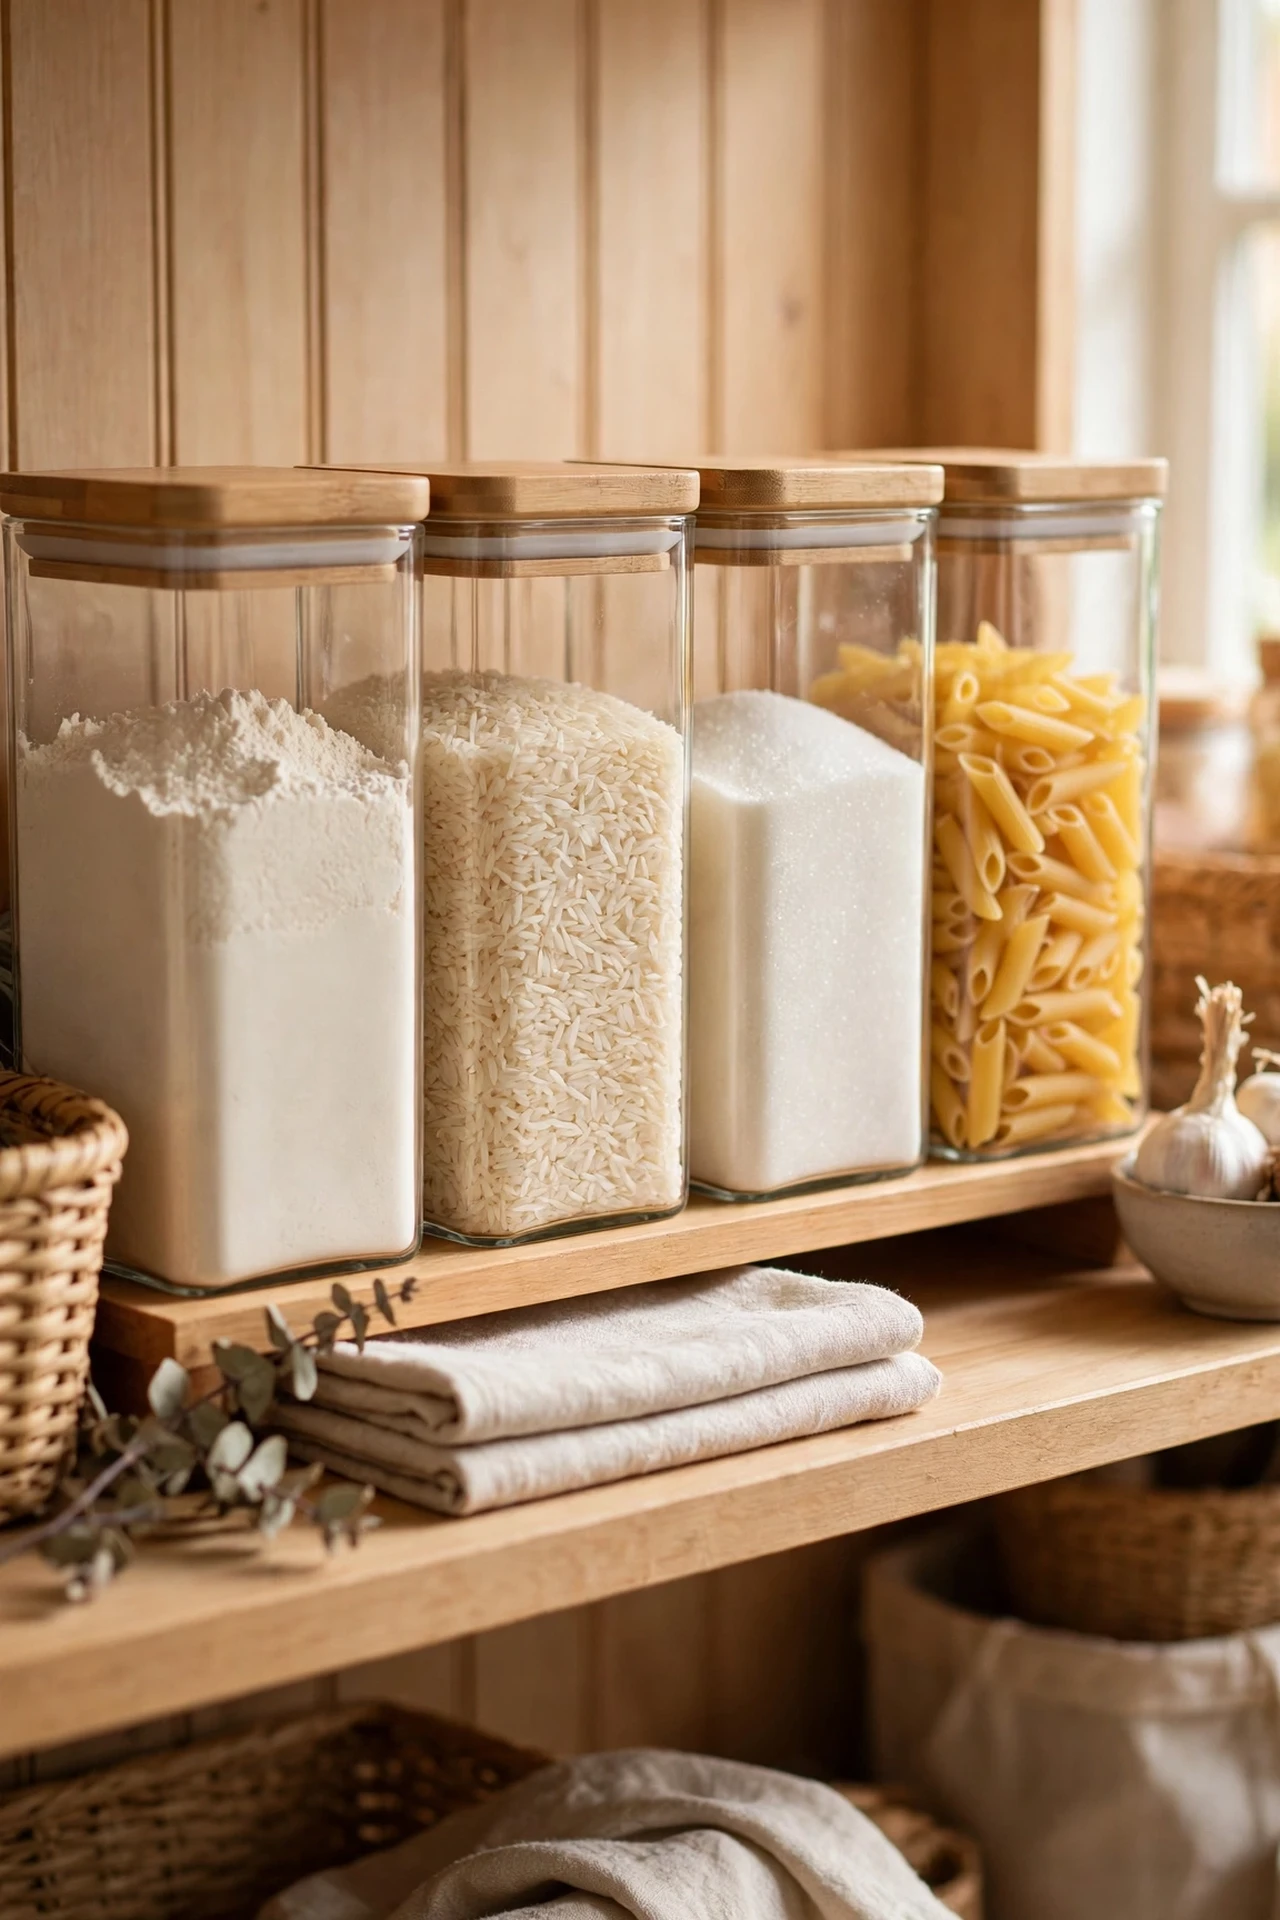
Half-torn bags of flour and rice are a pantry’s worst enemy. Dollar-store clear canisters with snap lids keep everything fresh and let you see at a glance what’s running low. Decant one bag at a time, pour slowly to avoid dust clouds, and snap the lid on before you start the next one — trying to do five bags at once is how flour ends up on the floor. Square canisters use shelf space better than round ones, so grab those where you can. I labelled each lid with the expiry date from the bag I poured from. The mistake to avoid is tossing the bag before copying the cooking instructions — I’ve cooked plain pasta with no timing guide more than once.
Budget callout: Five clear canisters cost about $6.25. A matching branded canister set costs $30–$45.
Cost: ~$6.25 | Time: 20 minutes
7. File Organizer for Baking Sheets and Chopping Boards
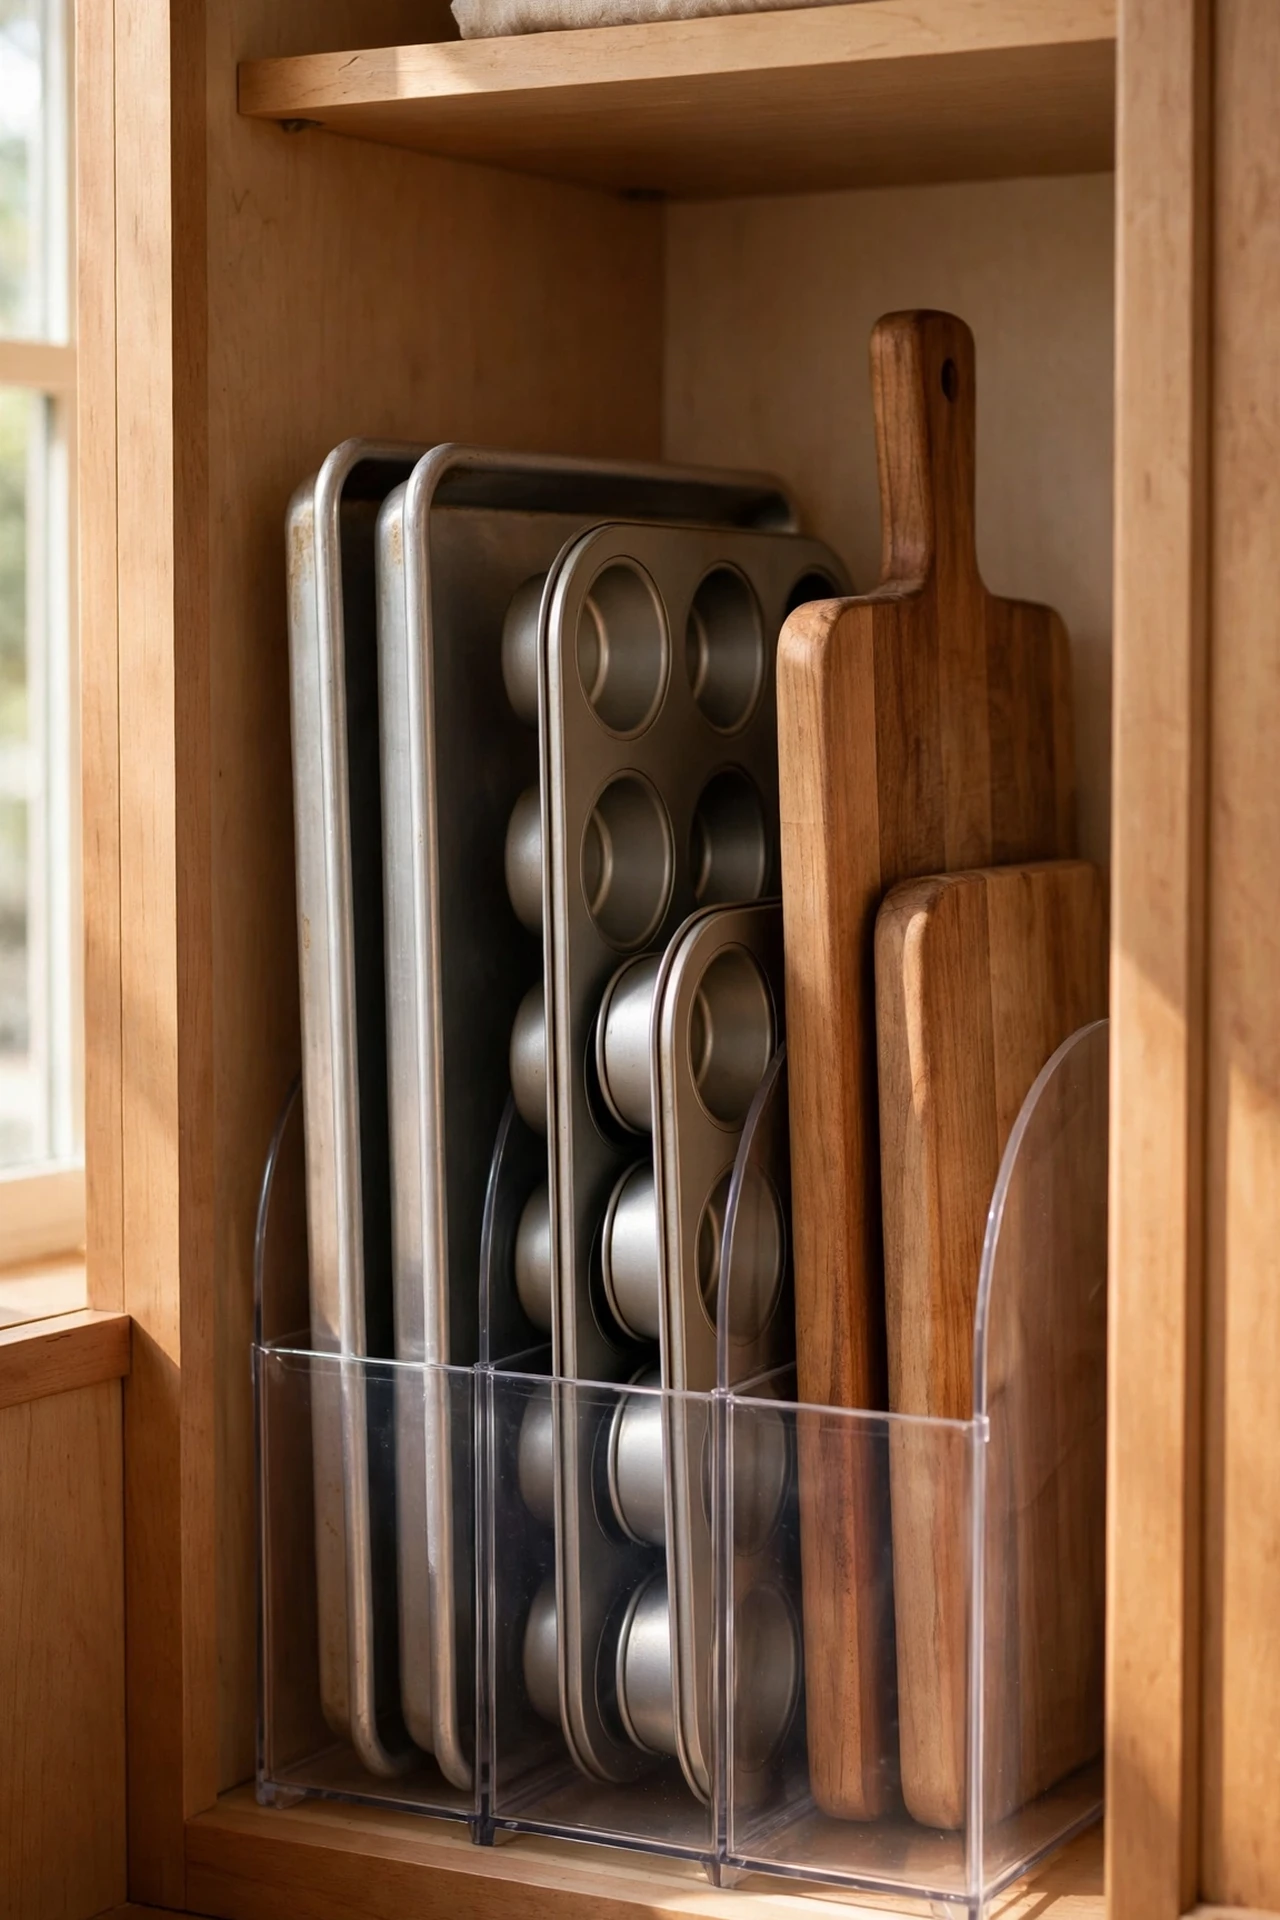
A dollar-store file organizer standing upright is the perfect vertical slot for baking trays, chopping boards, and muffin tins. Set it inside a lower cabinet or on a pantry shelf, then slide each flat item into its own slot like files in a drawer. No more leaning towers that crash forward when you pull one tray out. I keep my cooling racks and muffin tins in mine and it’s honestly life-changing. The mistake to avoid is picking a flimsy wire one for heavy cast-iron pans — stick to light trays and boards, and use the sturdier plastic organizers if yours is a bit wobbly.
Budget callout: A plastic file organizer costs about $1.25. A purpose-made vertical pan organizer sells for $14–$22.
Cost: ~$1.25 | Time: 5 minutes
8. Under-Shelf Hanging Baskets for Mugs
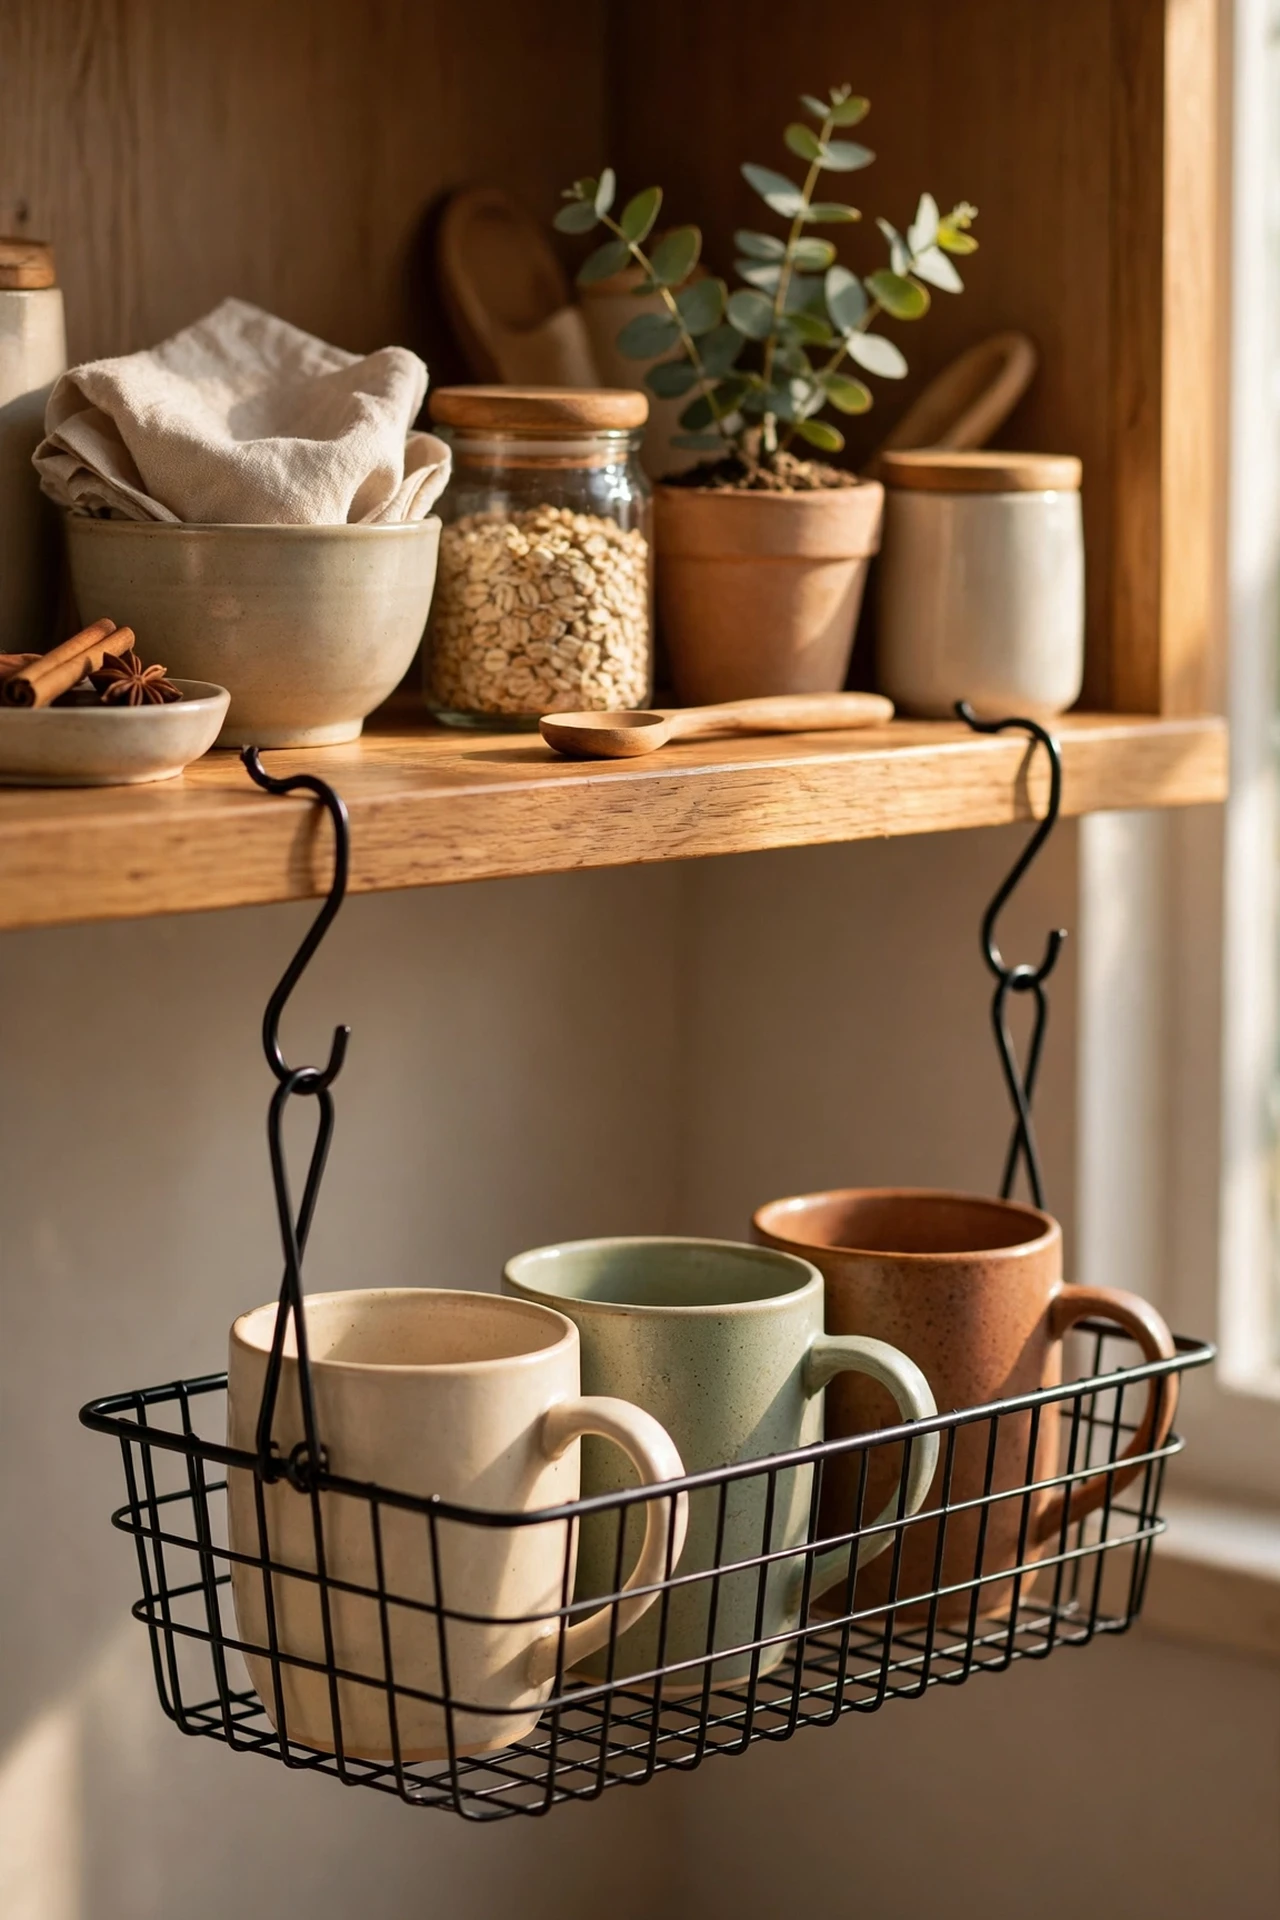
The space between shelves is usually wasted, but under-shelf hanging baskets turn it into prime storage. These wire baskets hook over the front lip of a shelf and hang just below it, which makes them ideal for mugs you reach for daily. Slide one into a cabinet above the kettle and your morning routine gets noticeably faster. They also work brilliantly in the pantry for snack packets that always end up scattered. I tried one above my coffee station and my worktop cleared itself overnight. The mistake to avoid is overloading them — three or four mugs is the sweet spot; pack in more and the basket starts to bow.
Budget callout: Under-shelf baskets cost about $1.25 each. Branded versions run $8–$12 apiece.
Cost: ~$2.50 | Time: 10 minutes
9. Stackable Shelf Risers in Wall Cabinets
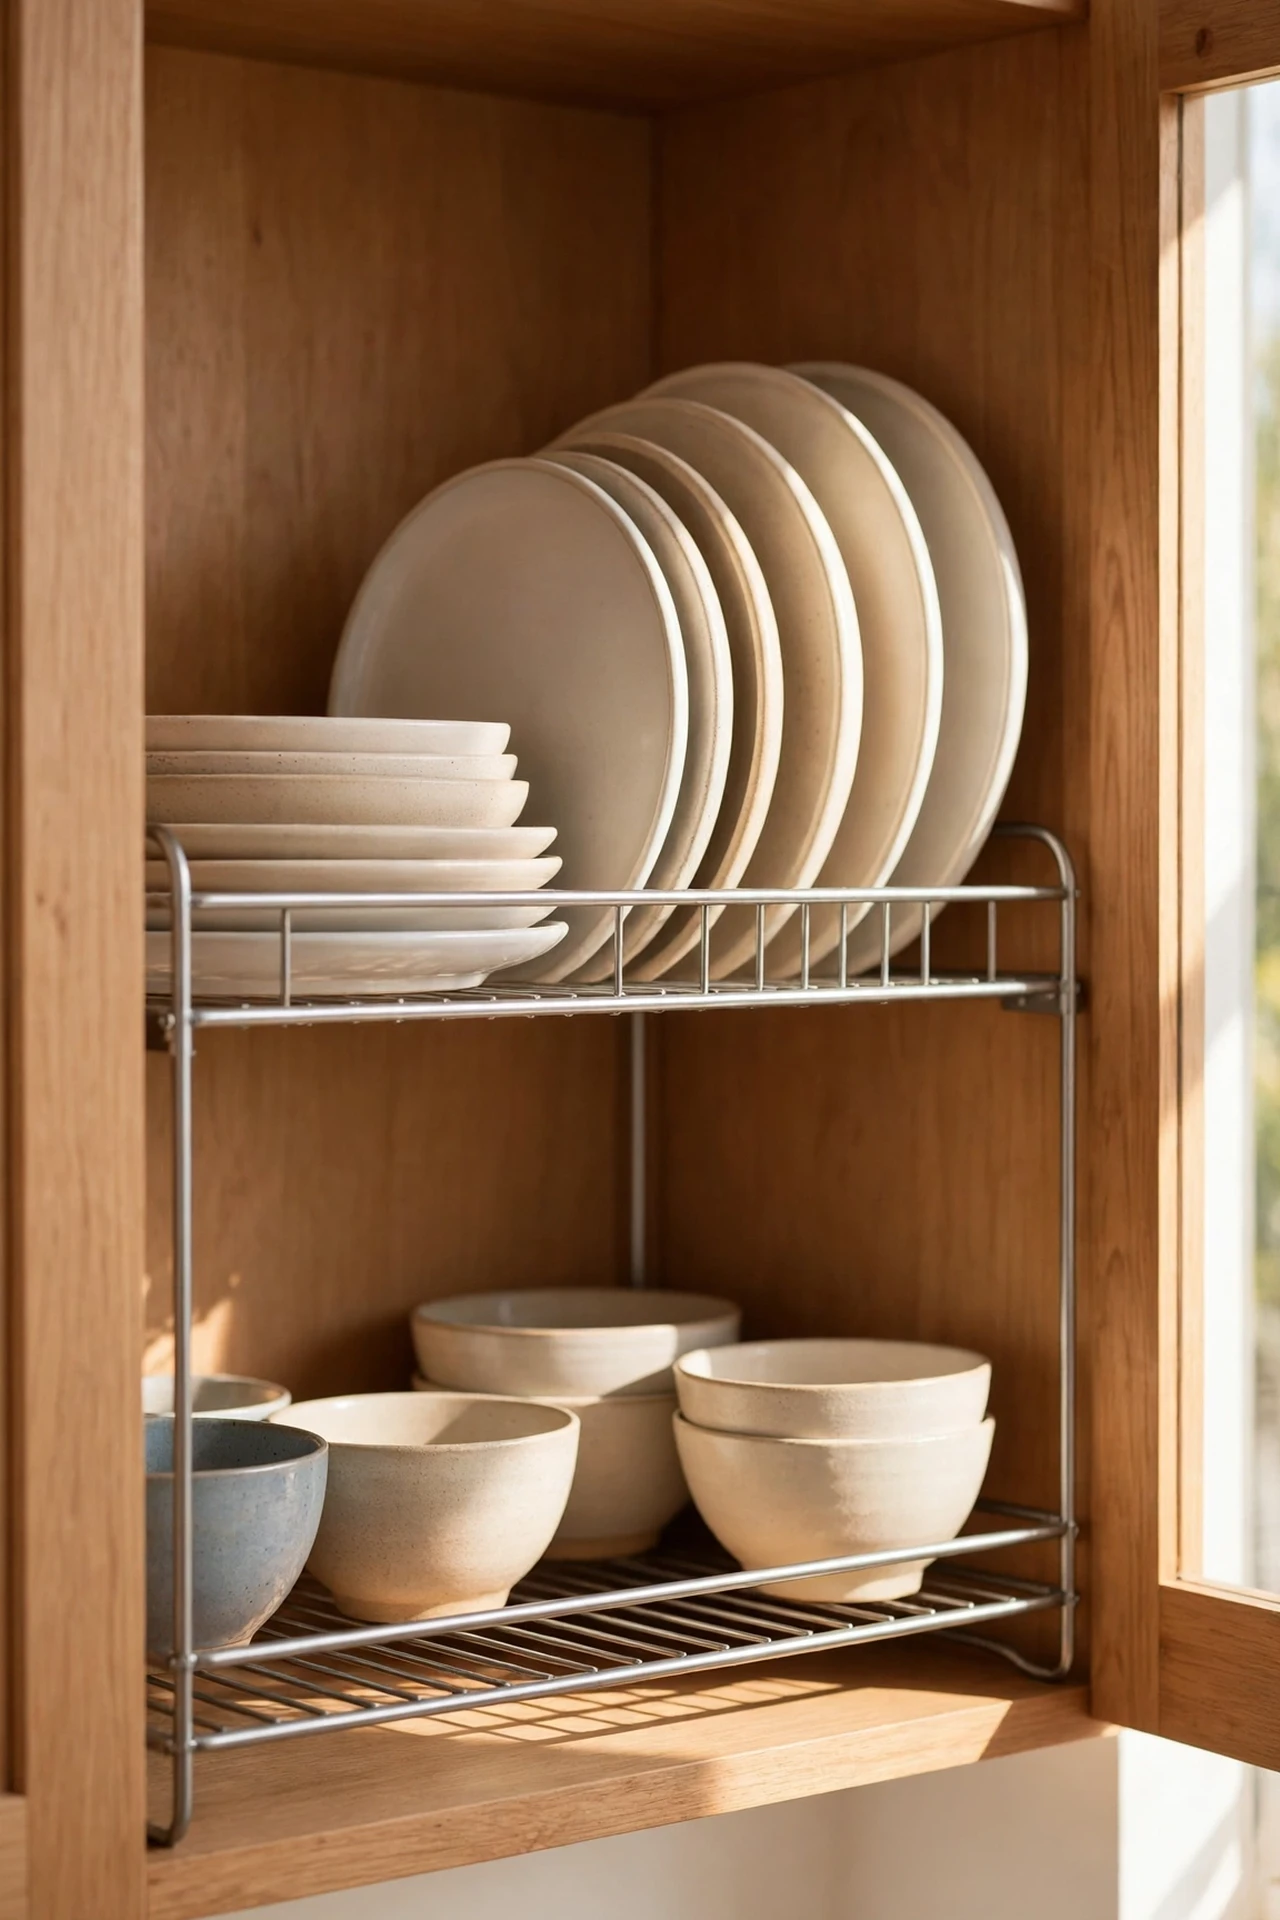
Wall cabinets with a single tall shelf waste half their vertical space, especially above plates and bowls. Shelf risers fix that in seconds — they sit on the shelf and create a second level, so bowls go below and mugs or small plates go on top. Measure your cabinet height first, then pick risers that leave room for your tallest item. I doubled the usable space in my plate cabinet with two risers and stopped stacking bowls six high, which was a disaster waiting to happen. The mistake to avoid is forgetting the cabinet door needs to close over the raised items, so check clearance with the tallest glass before you call it done.
Budget callout: Two shelf risers cost about $2.50. Comparable bamboo or metal risers sell for $12–$20 for a pair.
Cost: ~$2.50 | Time: 10 minutes
10. Over-Door Hooks for Pot Lids
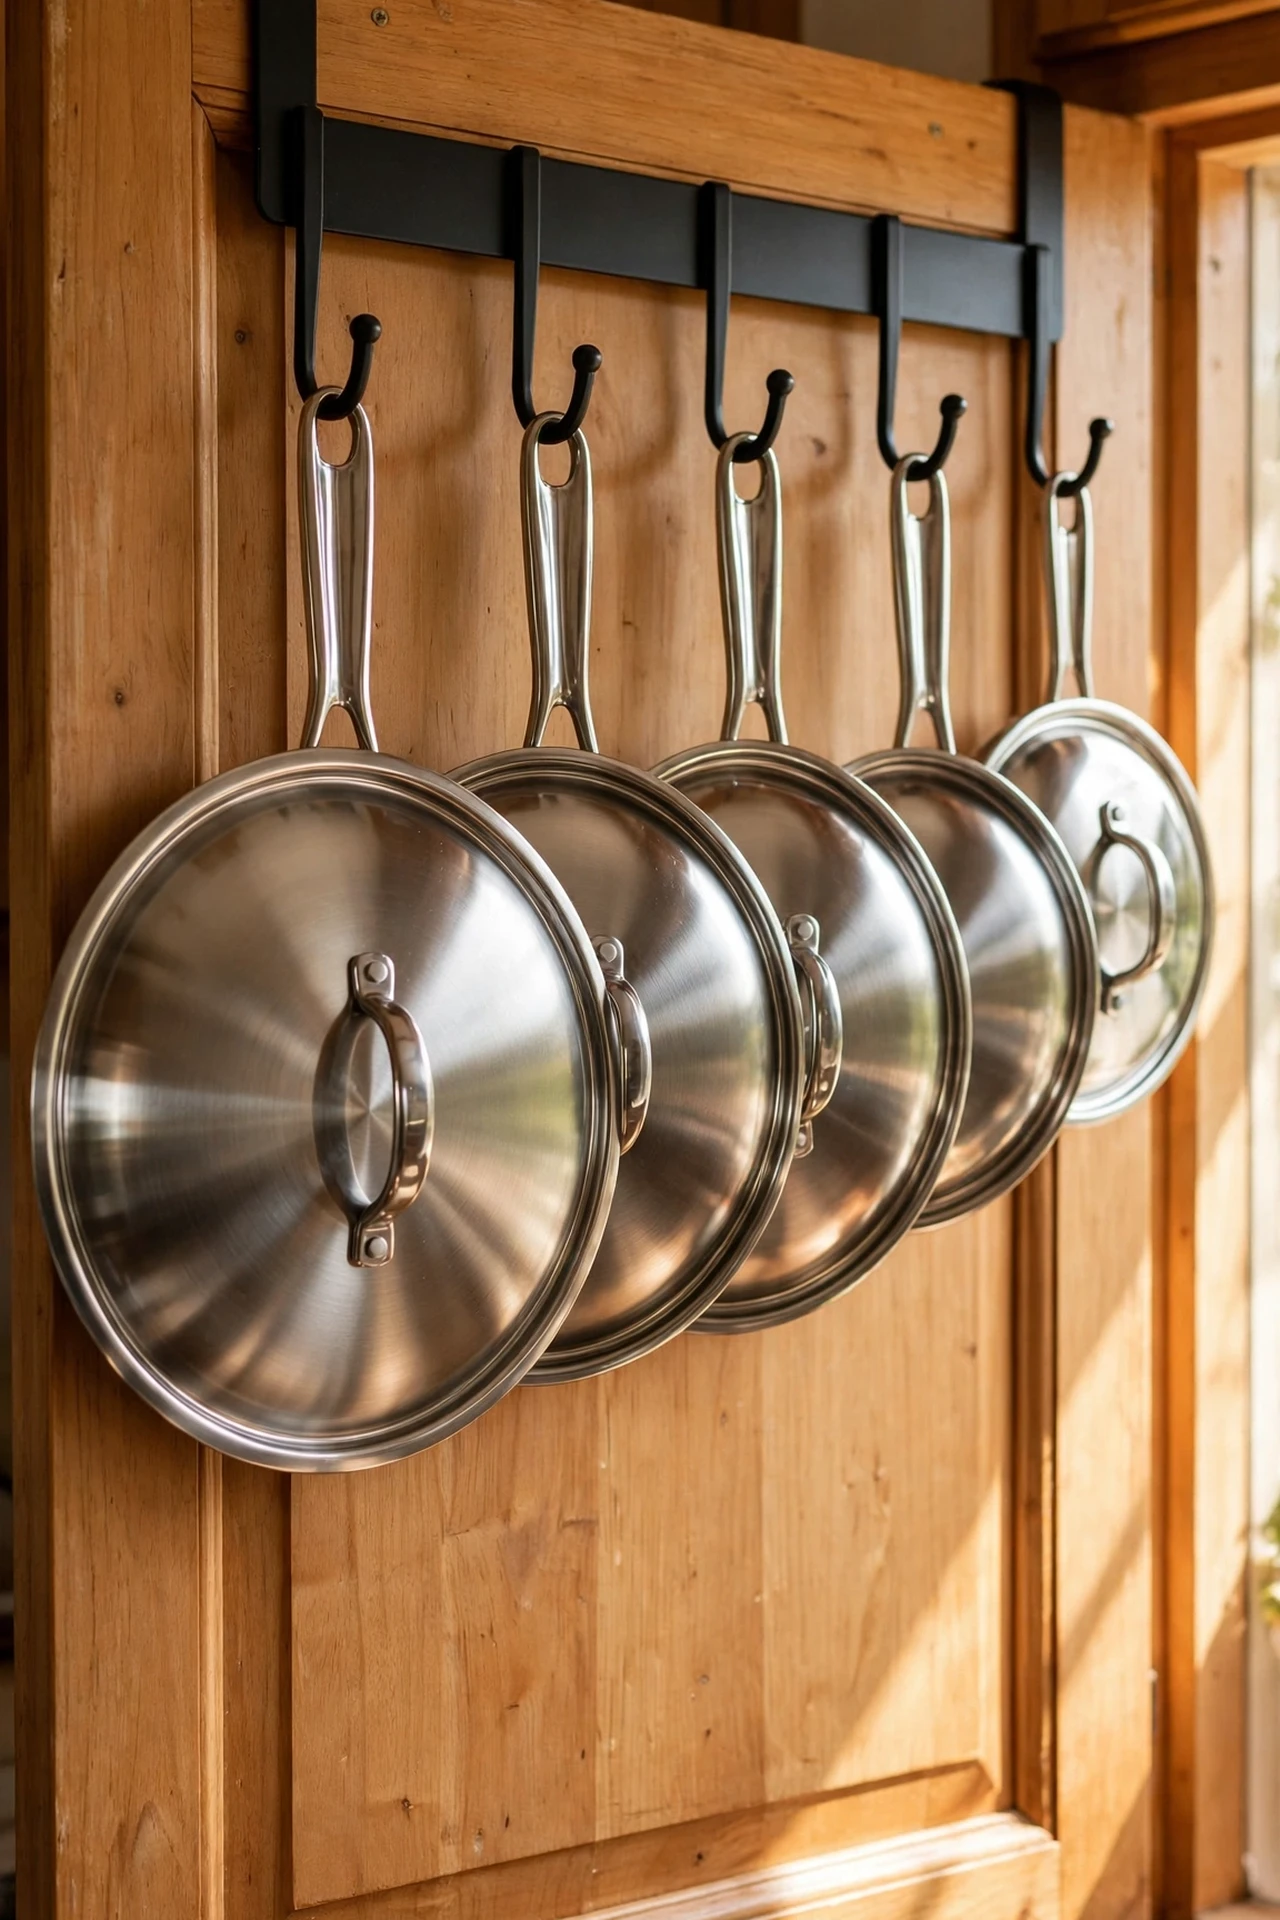
Pot lids are the most awkward things in any kitchen — they never stack neatly and they always slide. Hang over-door hooks on the inside of a lower cabinet door and hook each lid by its handle. Group lids by the pans they belong to and you’ll never dig again. This works especially well on the cabinet nearest the hob so everything is within arm’s reach while cooking. I tried stacking lids for years and every single stack eventually toppled. The mistake to avoid is hanging heavy cast-iron lids this way — the hooks hold fine for standard lids but a heavy one will strain them, so keep iron lids elsewhere.
Budget callout: A pair of over-door hooks costs about $1.25. Branded lid organizers cost $10–$18.
Cost: ~$1.25 | Time: 5 minutes
11. S-Hooks on a Tension Rod for Hanging Mugs
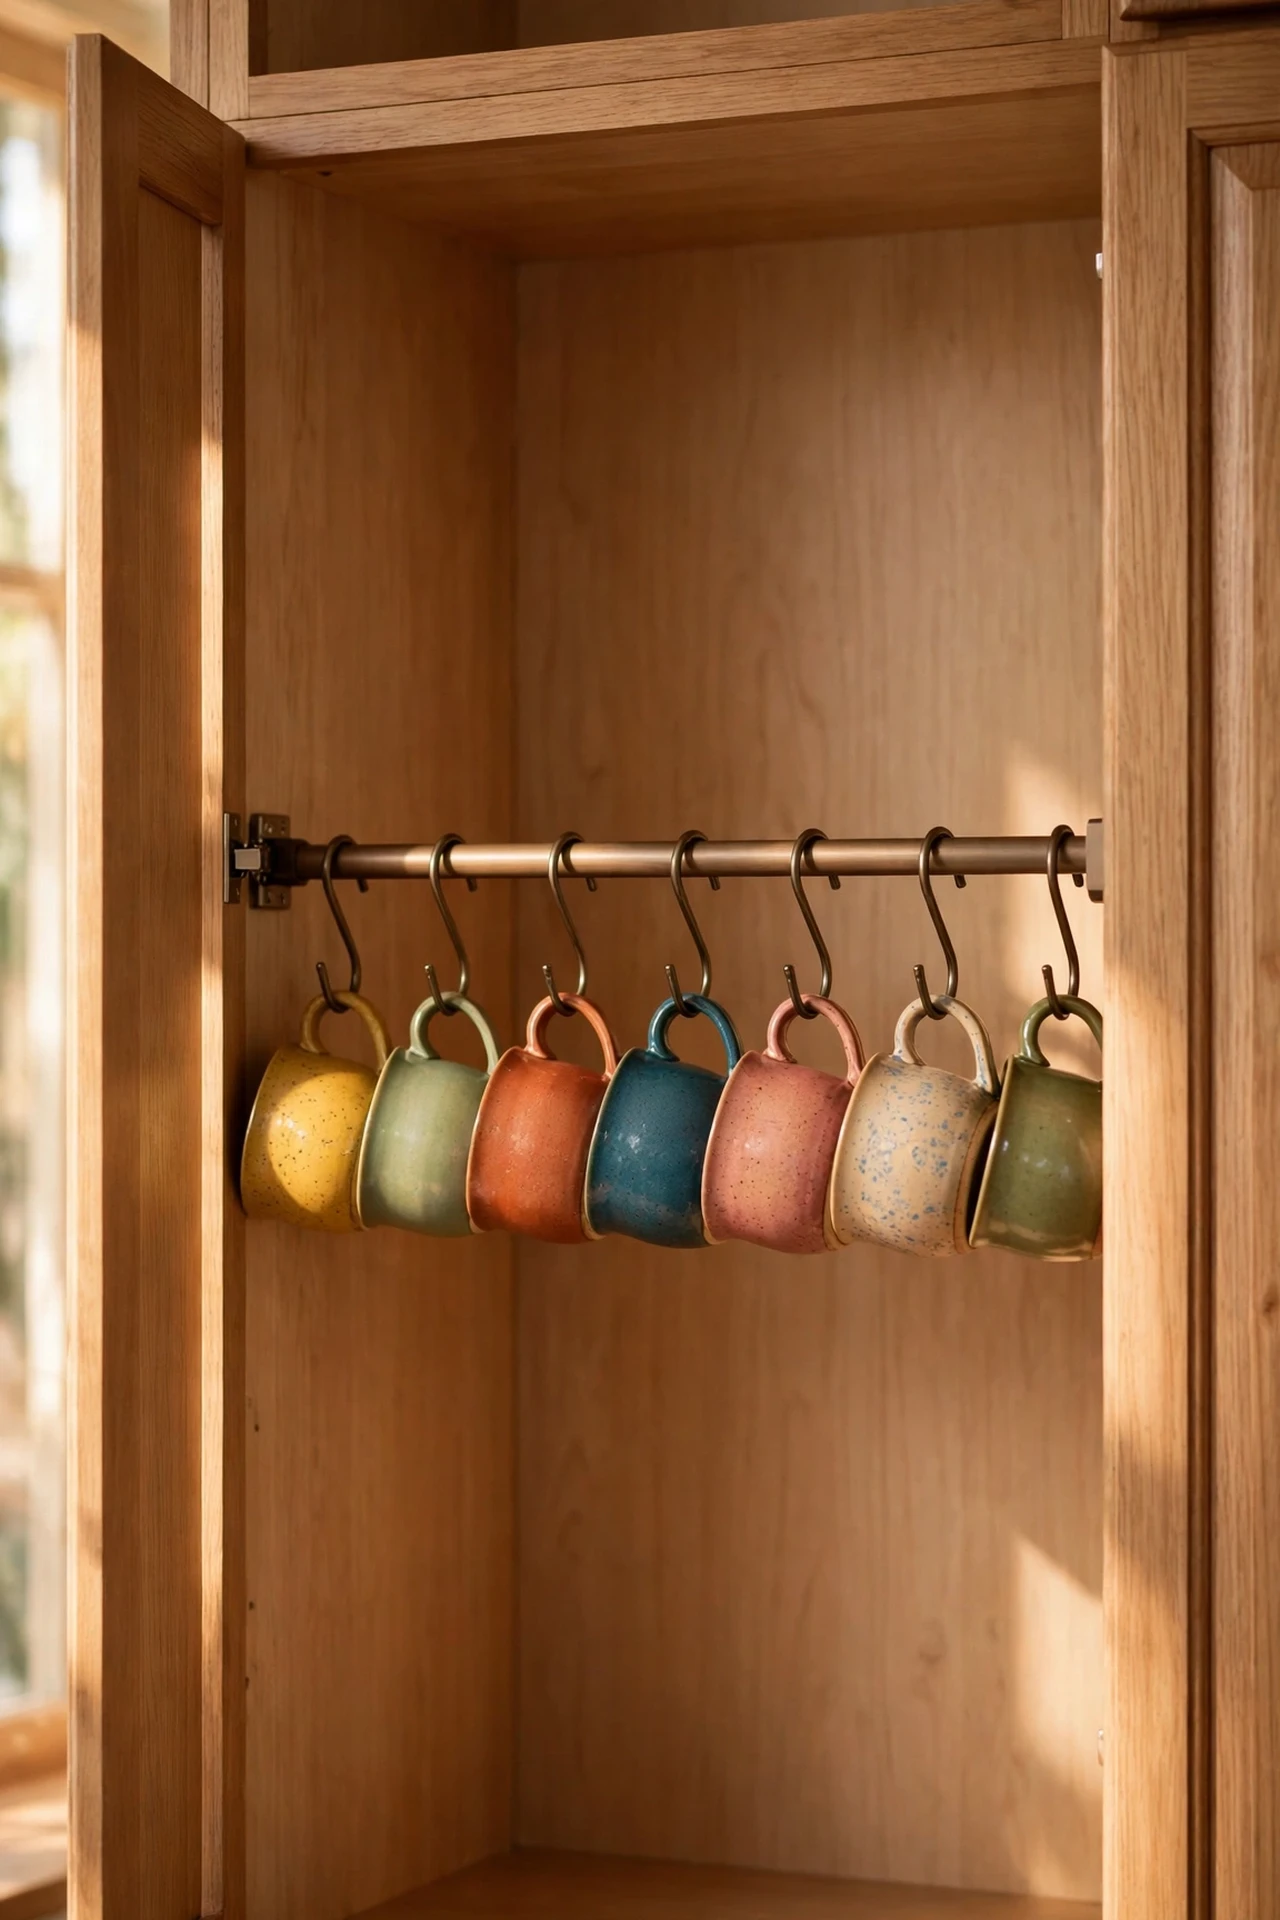
Pair a tension rod with a handful of S-hooks and you’ve got a custom mug rack that fits inside any cabinet or open shelf. Wedge the rod horizontally near the top of the space, then hang mugs from S-hooks so they dangle freely below. It’s also brilliant for measuring cups with holes in their handles, and for hanging utensils you use constantly. I set this up inside a tall cabinet next to the kettle and it freed an entire shelf. The mistake to avoid is hanging mugs too close together — they clink and chip when you bump the rod, so leave a finger’s width between each hook.
Budget callout: A rod plus eight S-hooks costs about $3.50. A wall-mounted mug rack sells for $15–$25.
Cost: ~$3.50 | Time: 15 minutes
12. Chalkboard Labels on Every Container
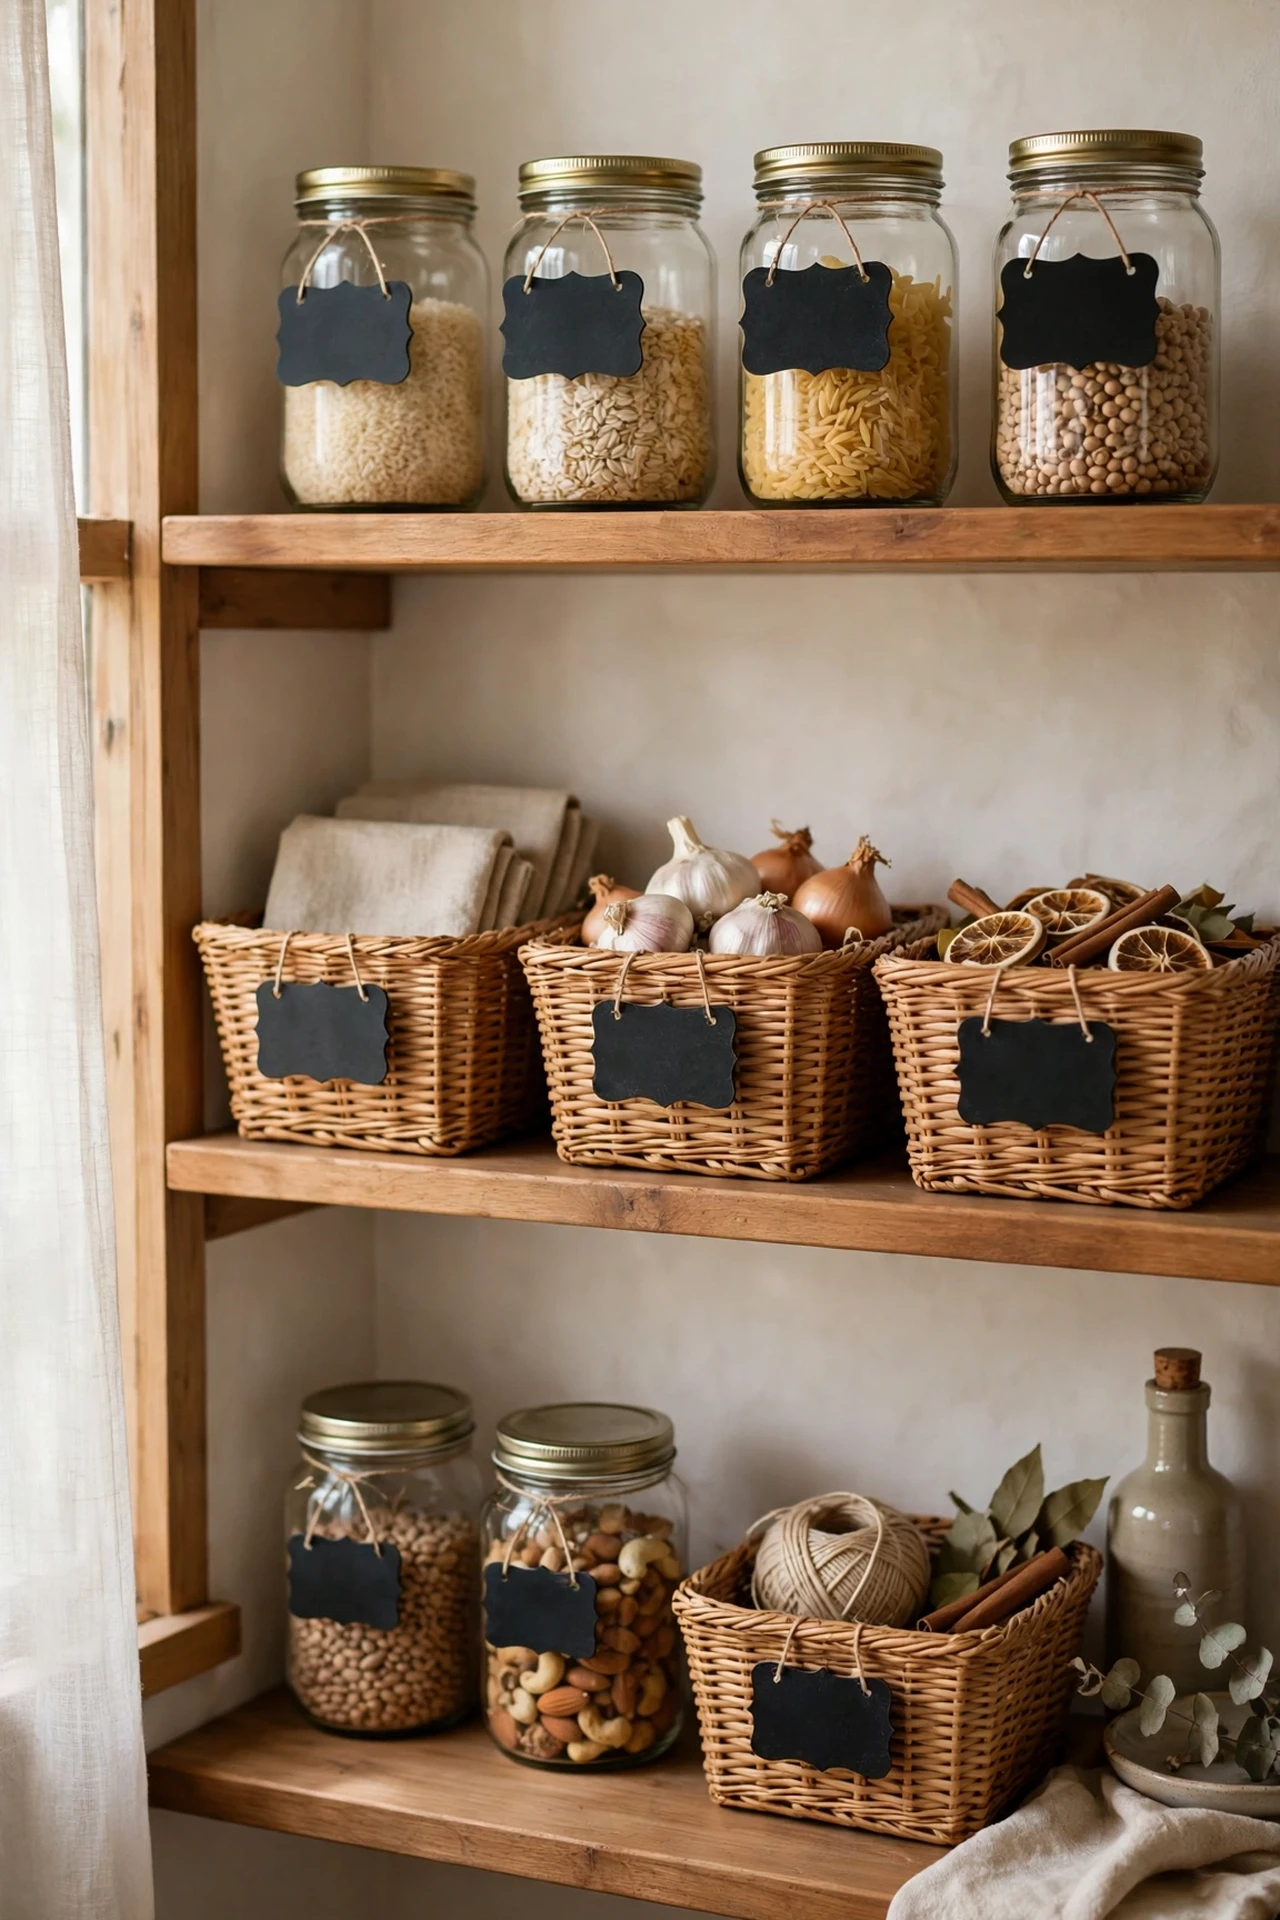
A kitchen full of matching containers looks tidy, but only if you can tell the sugar from the salt. Dollar-store chalkboard labels solve it for pennies. Peel, stick, and write the contents with a chalk marker — when you swap what goes inside, a damp cloth wipes the label clean and you rewrite it. Put labels on canisters, bins, and even the front of basket tags so the whole pantry reads like a proper shop shelf. I relabelled my entire pantry in one go and my other half finally stopped putting pasta in the rice jar. The mistake to avoid is using real chalk, which smudges at the slightest touch — a liquid chalk marker stays put until you wipe it off.
Budget callout: A pack of 24 chalkboard labels plus a chalk marker costs about $2.50. Branded label sets cost $8–$12.
Cost: ~$2.50 | Time: 20 minutes
13. Fridge Bins for Grouping Condiments and Leftovers
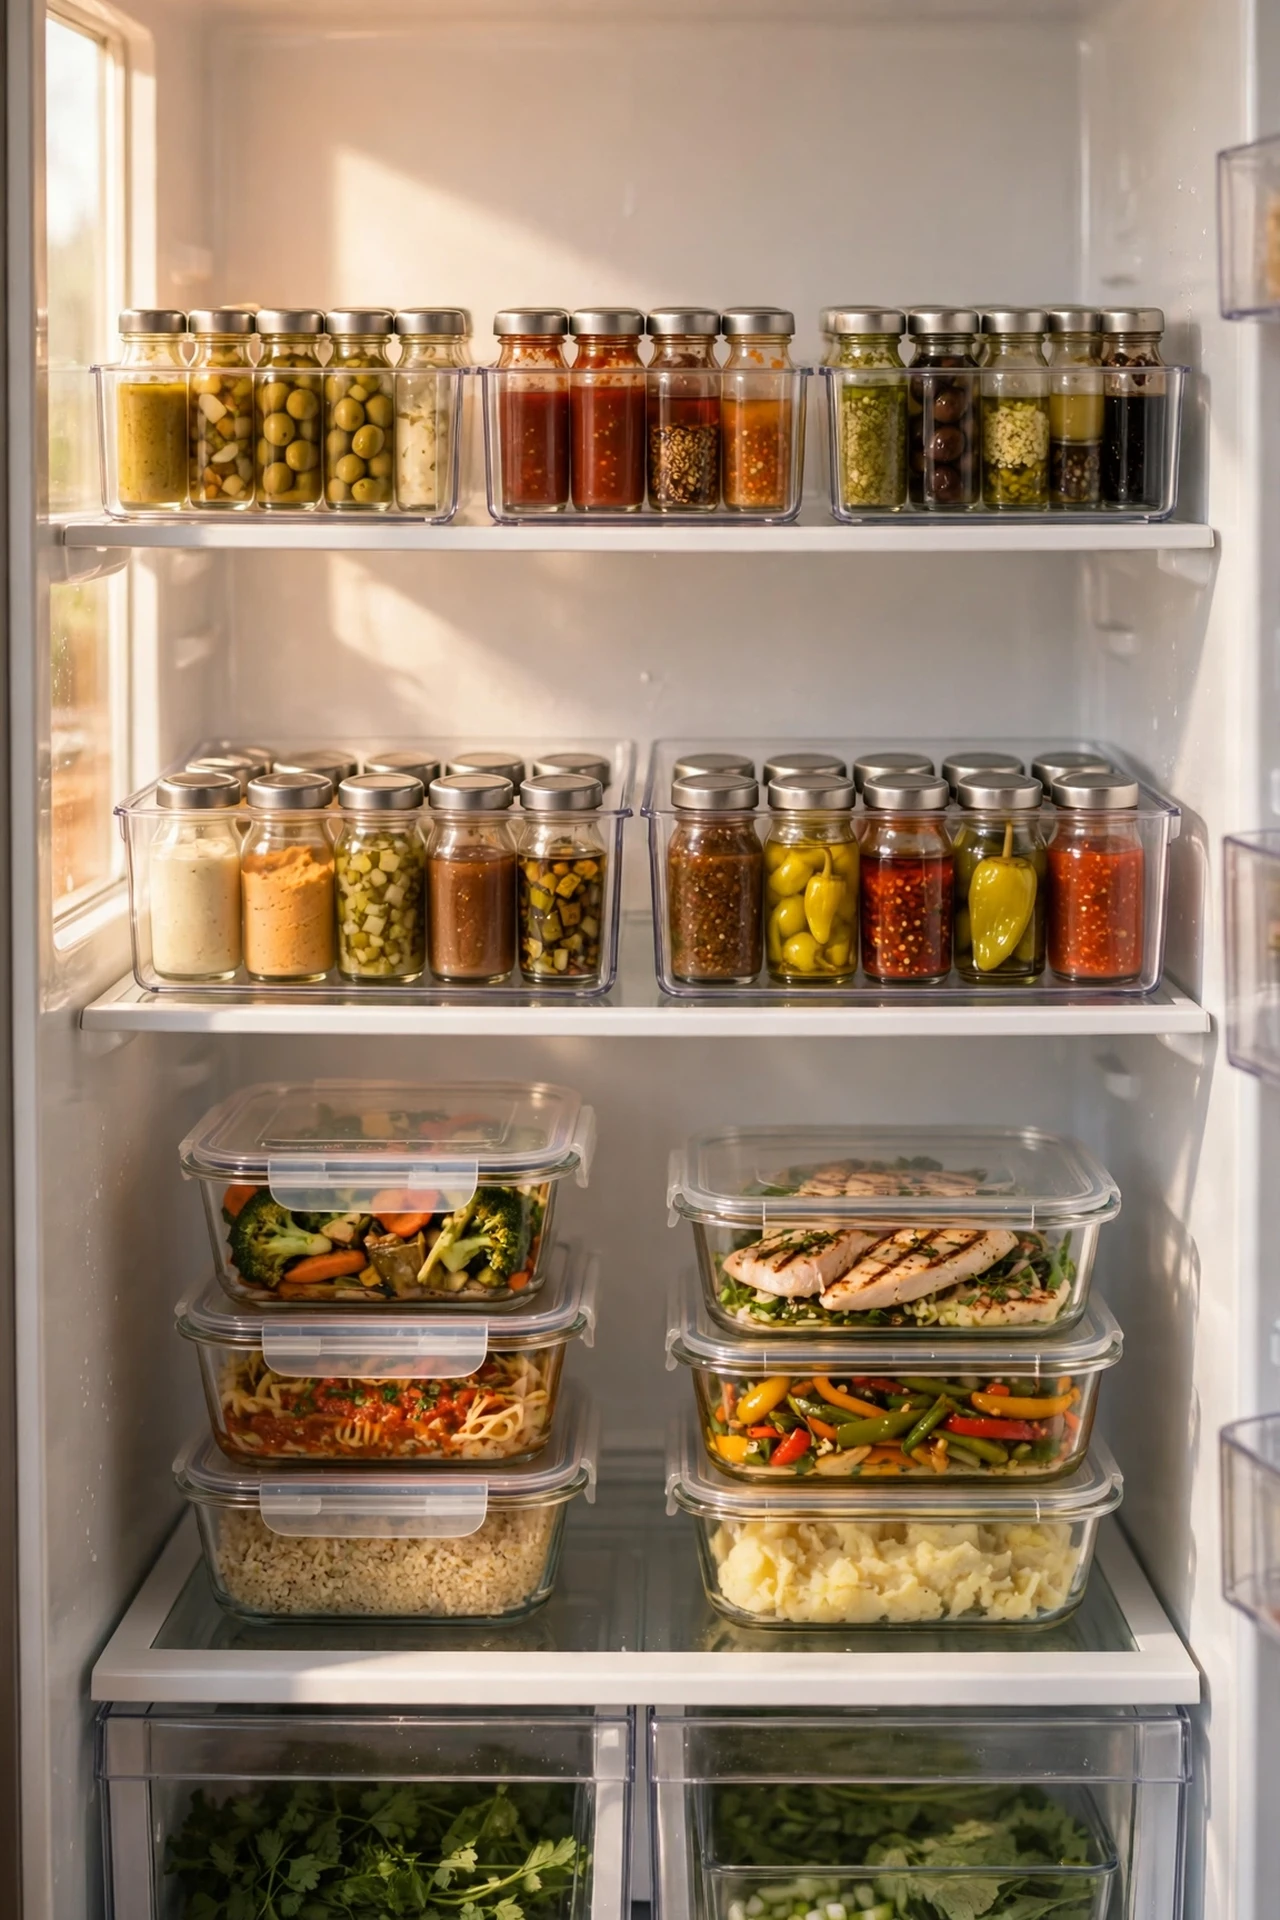
The fridge is just another cupboard when it comes to chaos, and narrow dollar-store bins tame it beautifully. Use one bin for all the little condiment jars, another for leftovers stacked on their lids, and a third for snacks the kids grab constantly. When you need something at the back, you slide the whole bin out instead of shoving everything aside. I started doing this after finding a yoghurt pot from three weeks ago hiding behind the milk. The mistake to avoid is buying bins wider than your shelf depth — measure first, because a bin that juts out stops the fridge door from closing properly.
Budget callout: Four fridge bins cost about $5. Specialized fridge organizers cost $18–$28 for a set.
Cost: ~$5 | Time: 15 minutes
14. Wire Baskets for Onion and Potato Storage
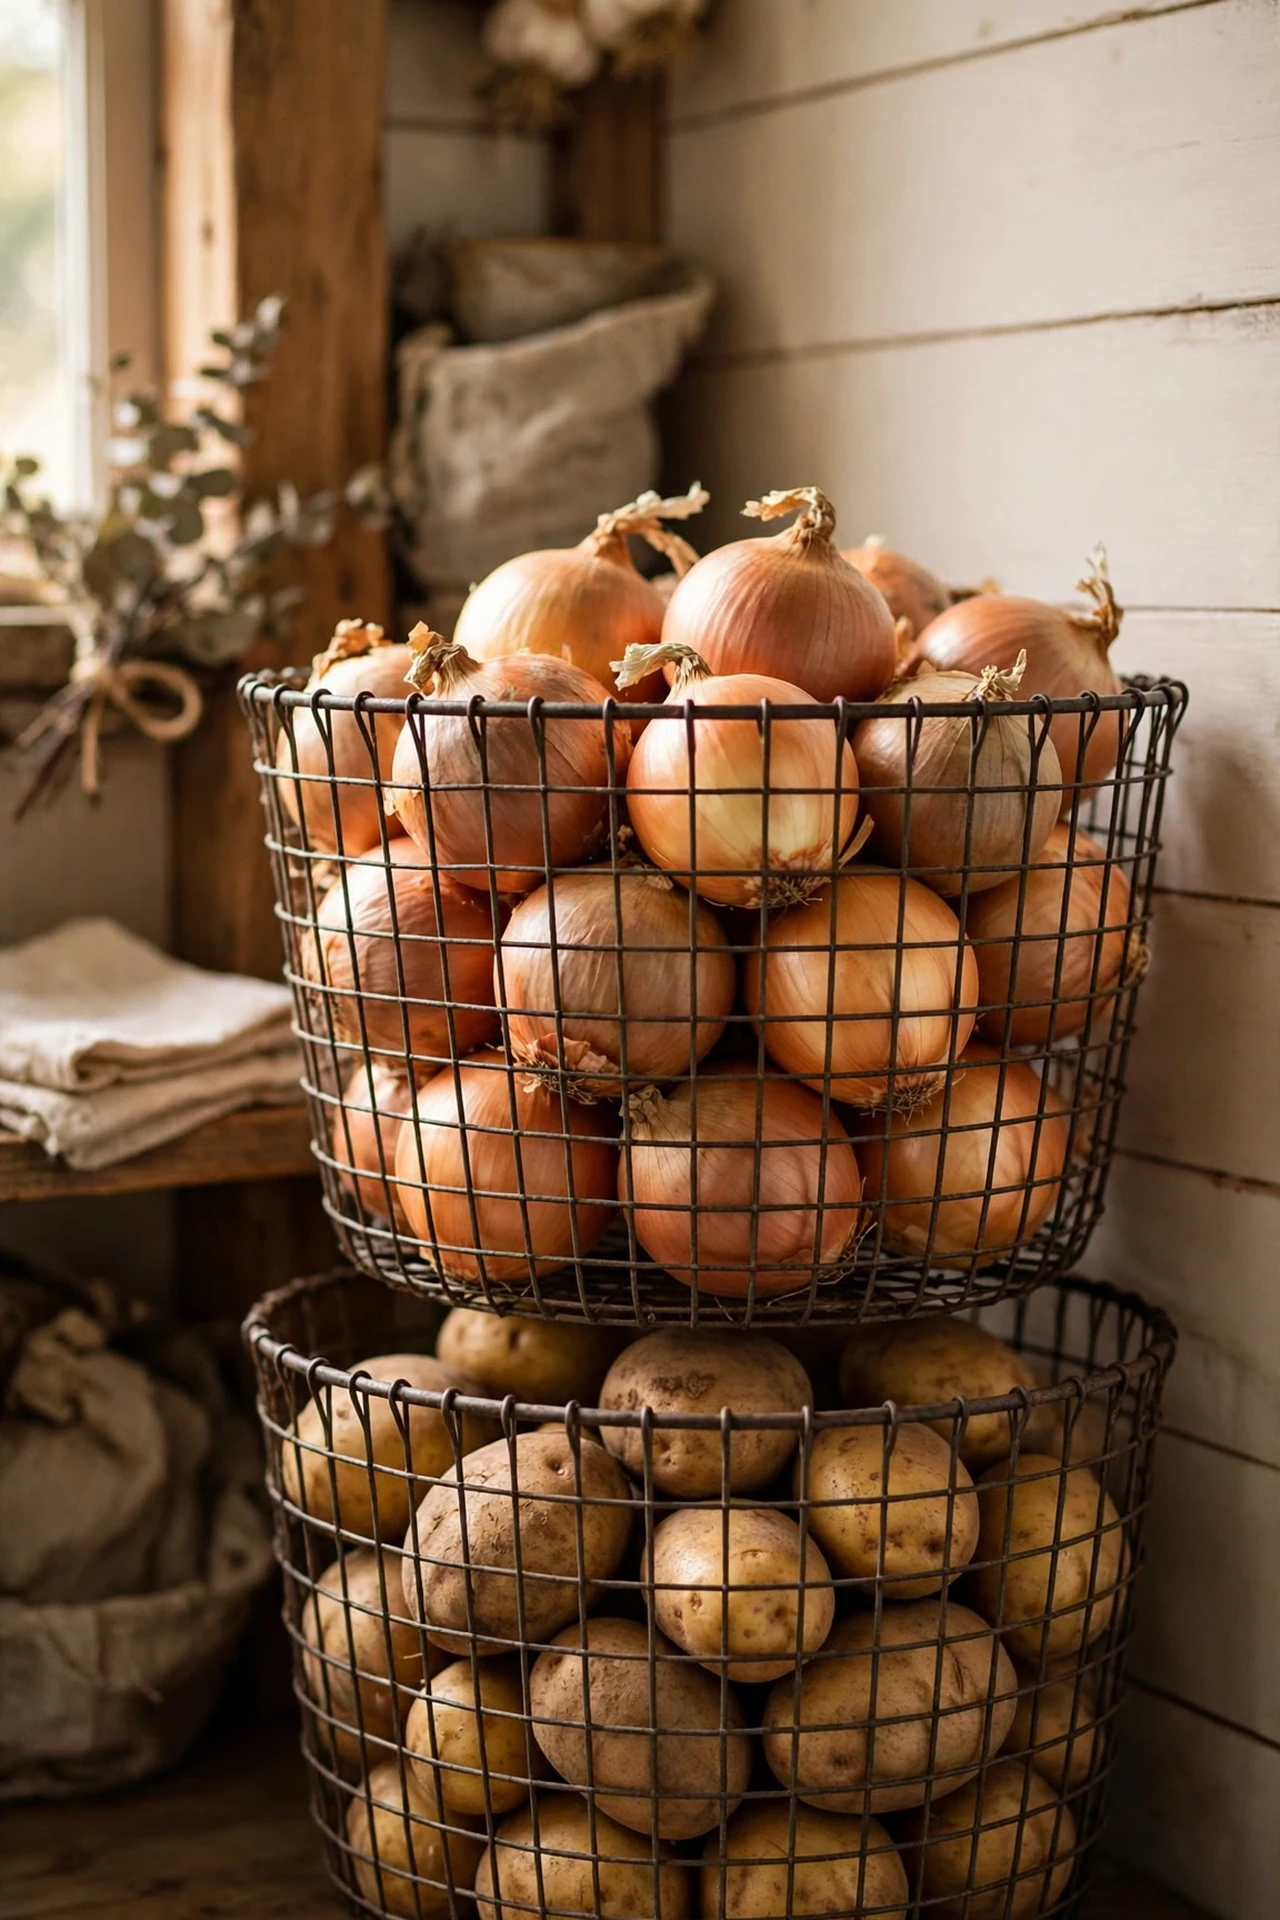
Onions and potatoes need airflow and darkness, which makes a bag on the counter the worst possible home for them. A pair of wire dollar-store baskets lets air circulate while keeping them contained and out of sight. Stack two baskets on a pantry floor or low shelf, put potatoes in one and onions in the other — never together, since they make each other sprout faster. I switched to this setup after one too many sprouting-potato discoveries. The mistake to avoid is storing them anywhere damp or sunny; a cool dark pantry corner keeps them good for weeks longer than the countertop ever did.
Budget callout: Two wire baskets cost about $2.50. Dedicated produce-storage baskets sell for $15–$25.
Cost: ~$2.50 | Time: 10 minutes
15. Pantry Door Rack for Wraps, Foils, and Small Packets
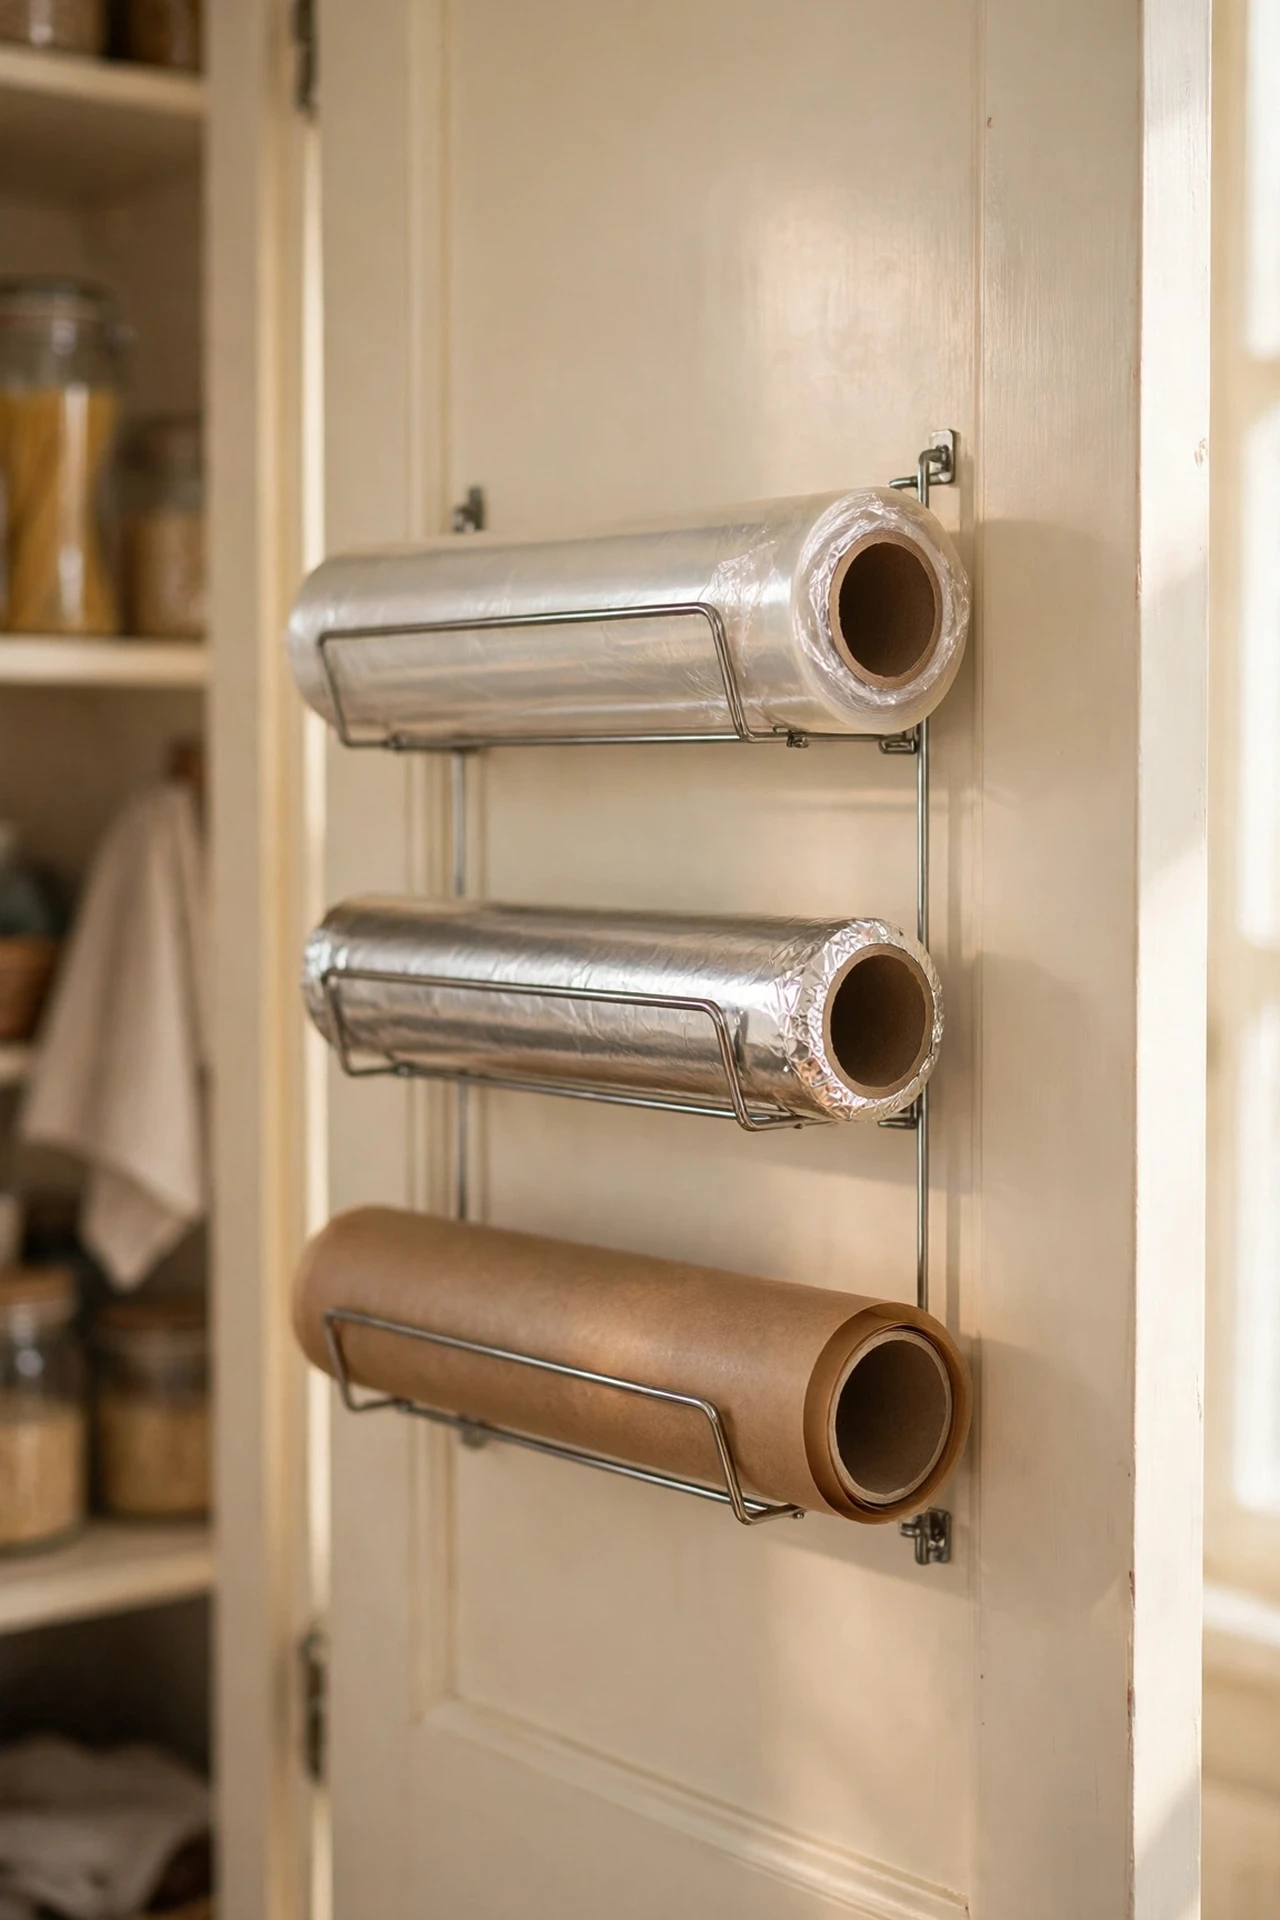
The inside of the pantry door is prime real estate that most kitchens waste completely. A narrow over-door rack with a few wire shelves holds cling film, foil, baking parchment, and all those small packets that vanish into drawers. Mount it on the inside of the pantry door, keeping heavier items on the lower shelves so the door still swings freely. I moved all my wraps out of the junk drawer and suddenly I could close the drawer without shoving. The mistake to avoid is overloading the top shelf — if the rack rattles every time the door moves, redistribute the weight downward and it’ll sit steady.
Budget callout: An over-door wire rack costs about $5. Purpose-built pantry-door organizers cost $25–$40.
Cost: ~$5 | Time: 15 minutes
16. Dollar-Store Canister as a Utensil Crock
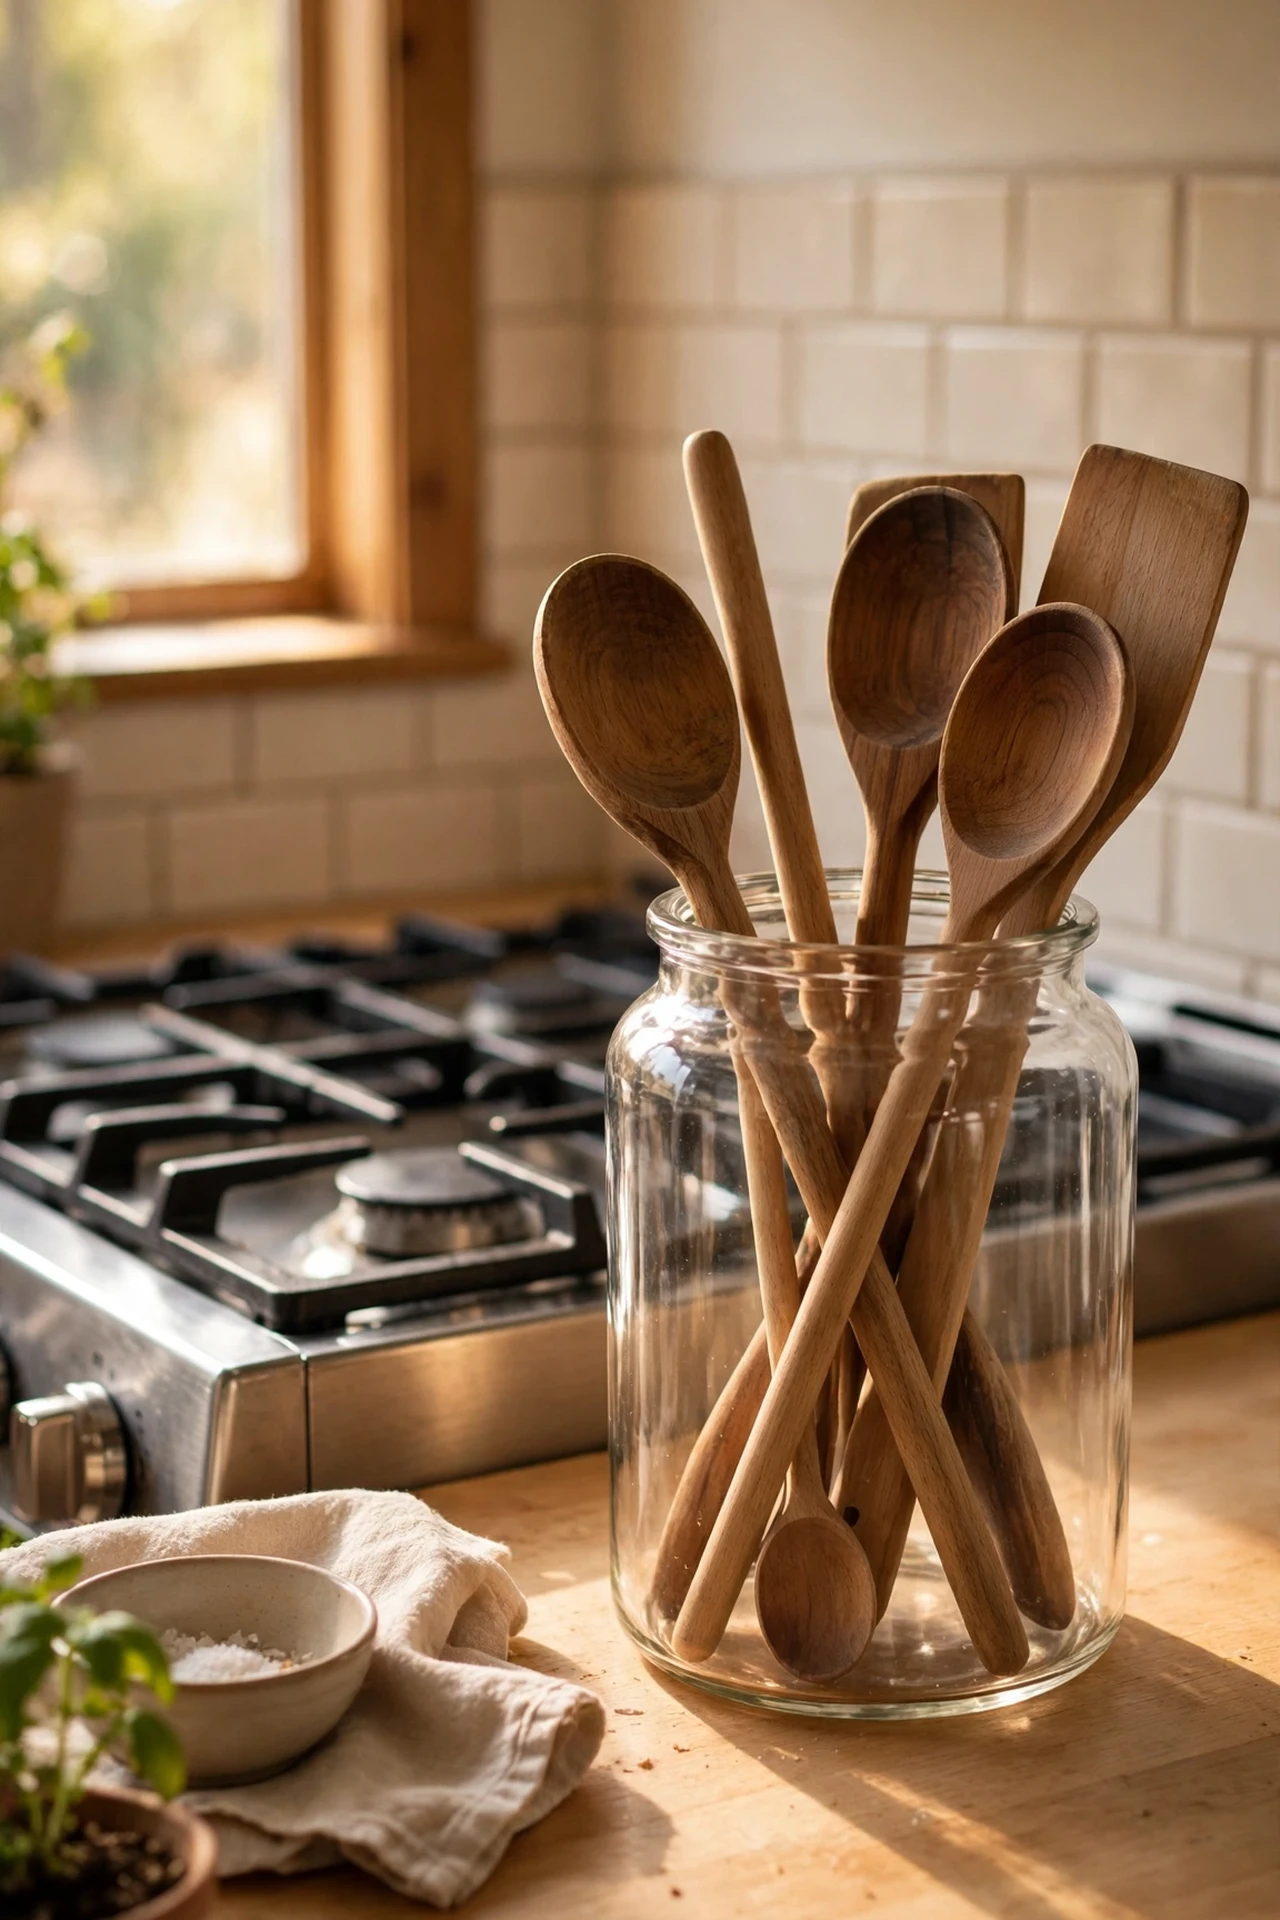
You don’t need a fancy ceramic crock to keep spatulas and wooden spoons handy by the hob. A tall dollar-store canister, glass jar, or even a sturdy storage tub does the same job for a fraction of the price. Fill the bottom with dried beans or rice if it feels tippy, then stand your most-used tools upright with handles down. Keep it close to the stove and you’ll stop opening the utensil drawer forty times a dinner. I swapped my old plastic crock for a simple glass one and it looks twice as expensive as it was. The mistake to avoid is overfilling it — if you can’t pull one spoon out without three others coming along, thin it down to the true daily players.
Budget callout: A tall glass canister costs about $1.25. A branded stoneware utensil crock sells for $20–$30.
Cost: ~$1.25 | Time: 5 minutes
17. Small Jars for Bulk Pantry Staples
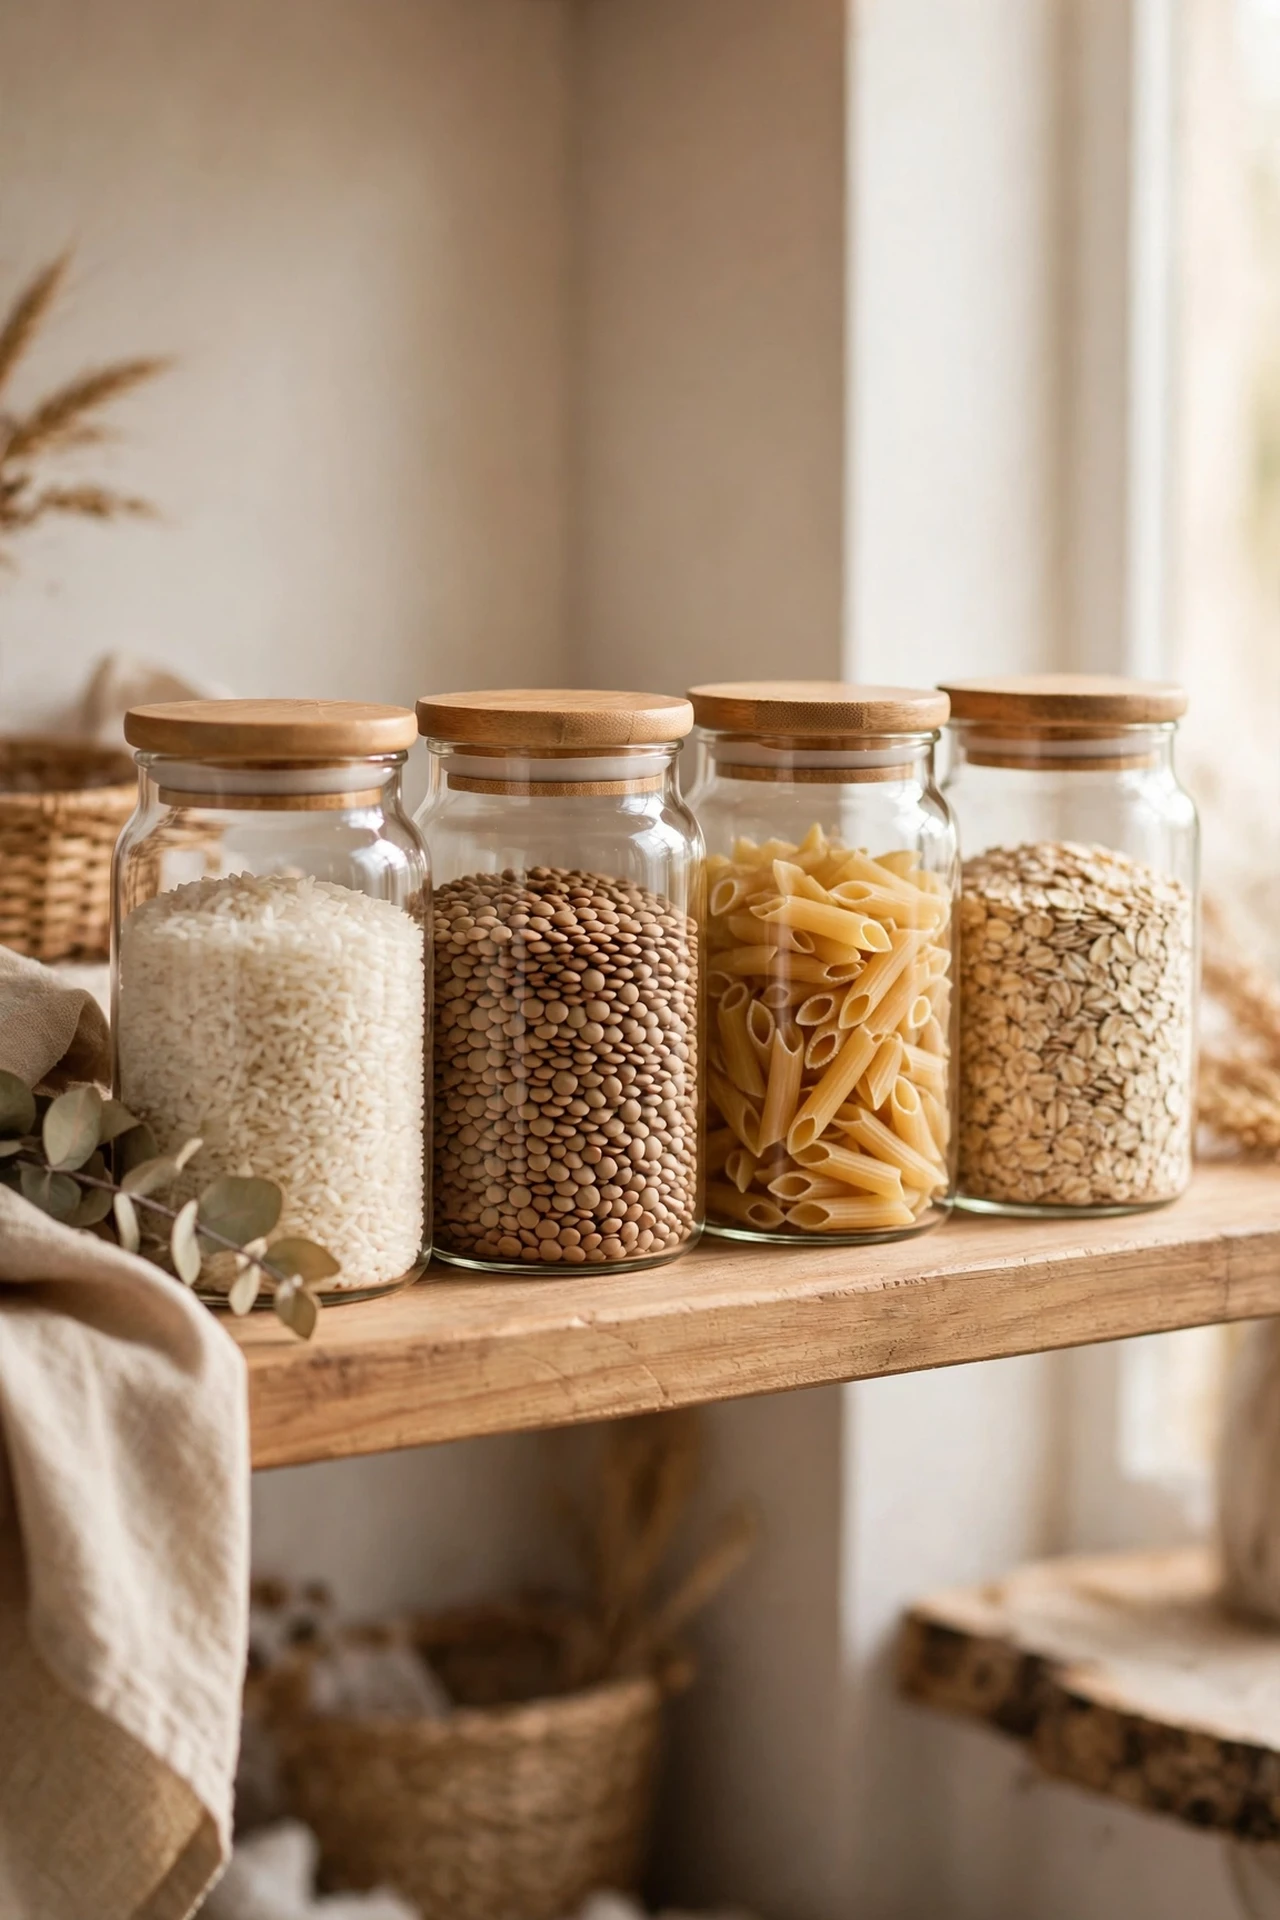
If your budget stretches to the bulk bins, small dollar-store jars are the cheapest way to store what you buy. Rice, lentils, pasta shapes, oats, and nuts all sit beautifully in matching jars that make the pantry look deliberately styled. Buy your jars in the same style so the shelf reads as one tidy row, decant from the bulk bags as soon as you get home, and label the lids with the date. I keep mine on the lowest pantry shelf where the kids can reach the snacks themselves. The mistake to avoid is buying jars with fiddly metal clasps for things you grab daily — simple screw tops or snap lids are much faster when your hands are busy.
Budget callout: Eight small jars cost about $10. Matching branded pantry jars cost $40–$60 for the same number.
Cost: ~$10 | Time: 25 minutes
18. Adhesive Hooks and a Short Bar for Dish Towels
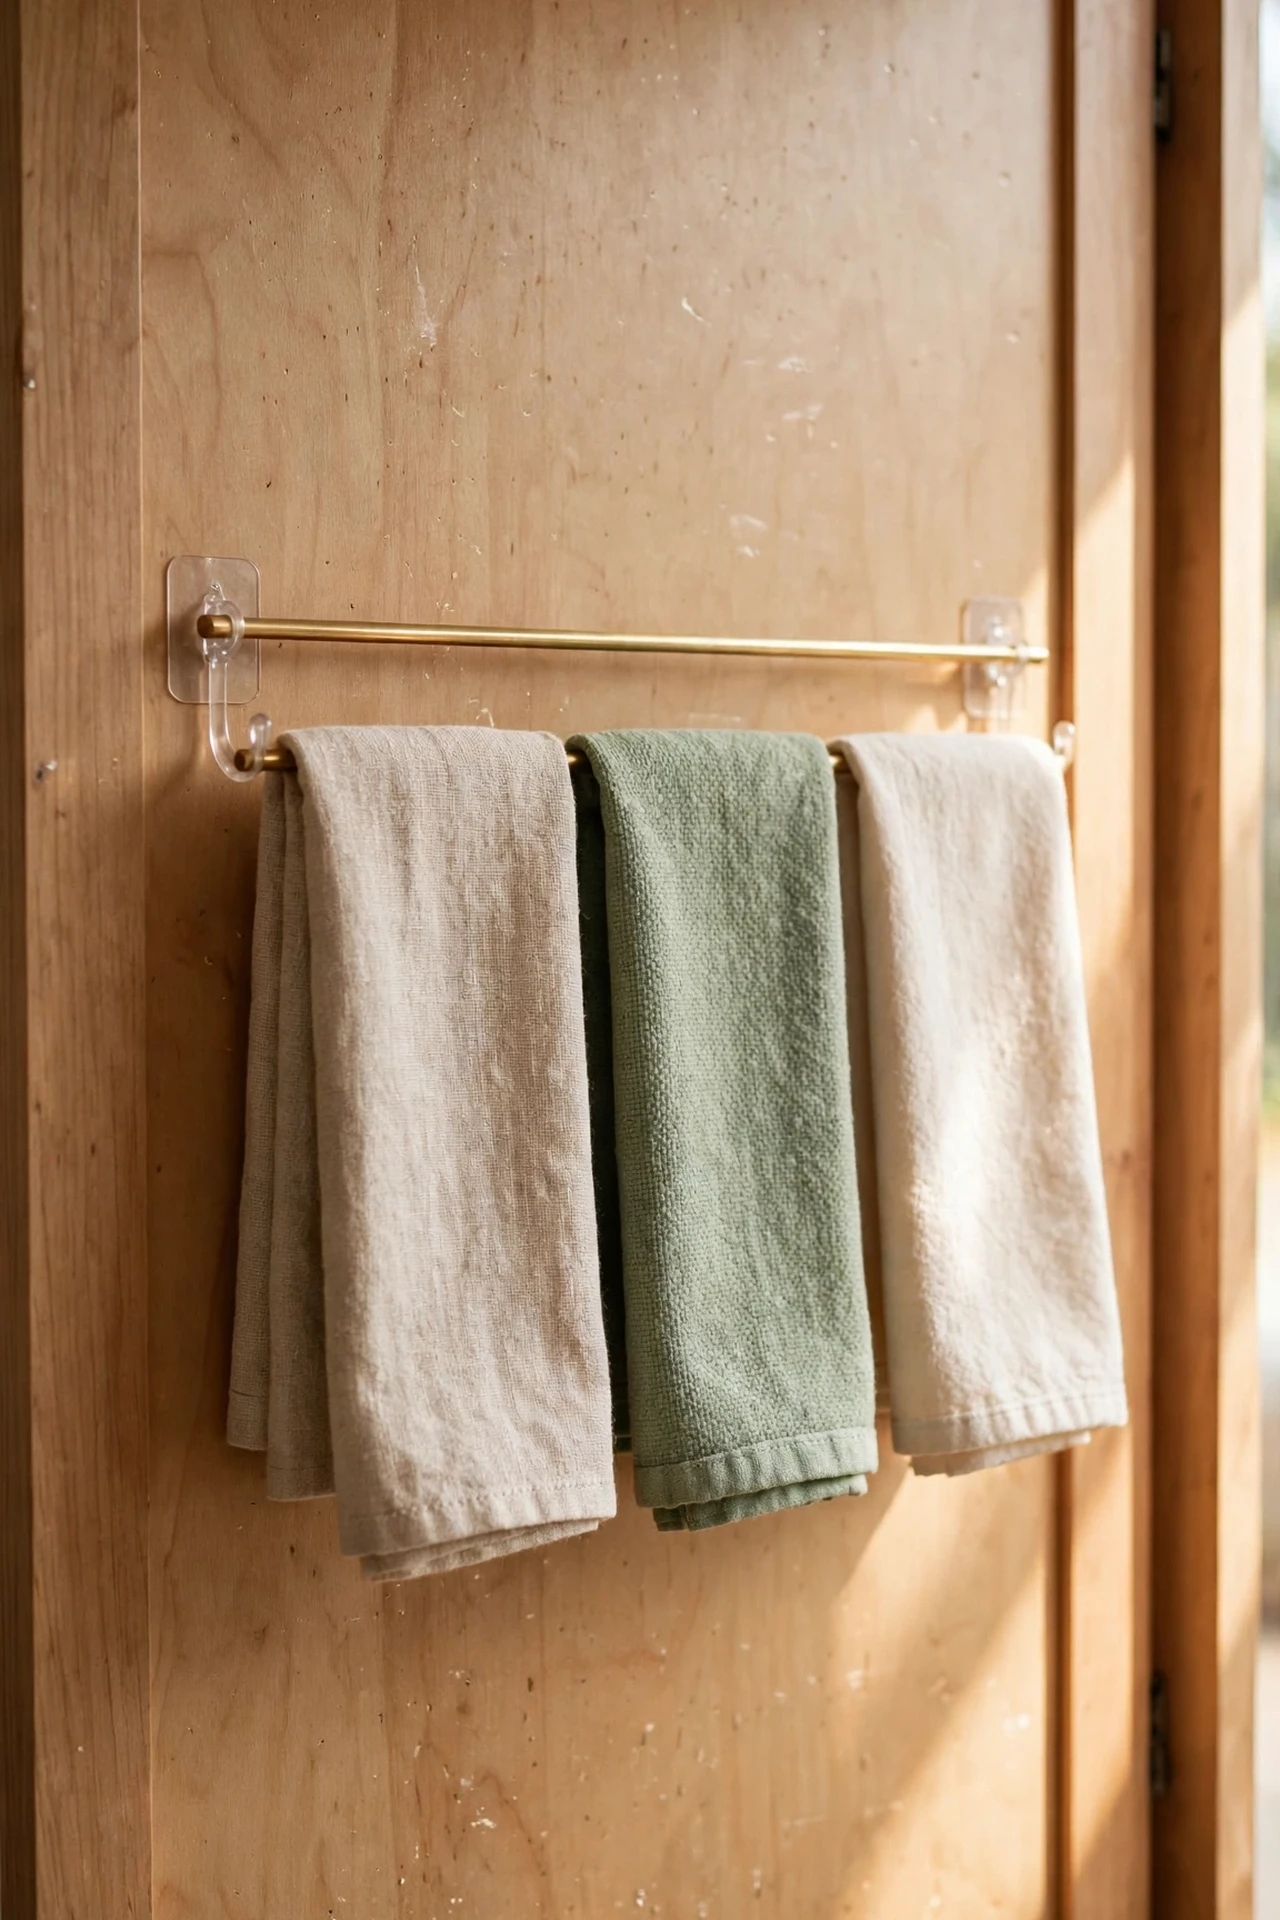
Dish towels draped over the oven handle always end up on the floor, so give them a proper home on the inside of a cabinet door. Stick two strong adhesive hooks low on the door’s interior, rest a short towel bar or wooden dowel across them, and drape your towels over the bar where they’re hidden but reachable. Pick the cabinet nearest the sink so wet hands don’t travel far. I tried this in my rental where I couldn’t drill anything, and the adhesive hooks have held for over a year. The mistake to avoid is using cheap foam-backed hooks — get the stronger plastic ones, and wipe the door with rubbing alcohol first so they bond properly.
Budget callout: Hooks plus a small bar cost about $3. A branded cabinet-door towel holder costs $12–$18.
Cost: ~$3 | Time: 15 minutes
19. Tissue-Box-Style Bag Dispenser for Carrier Bags
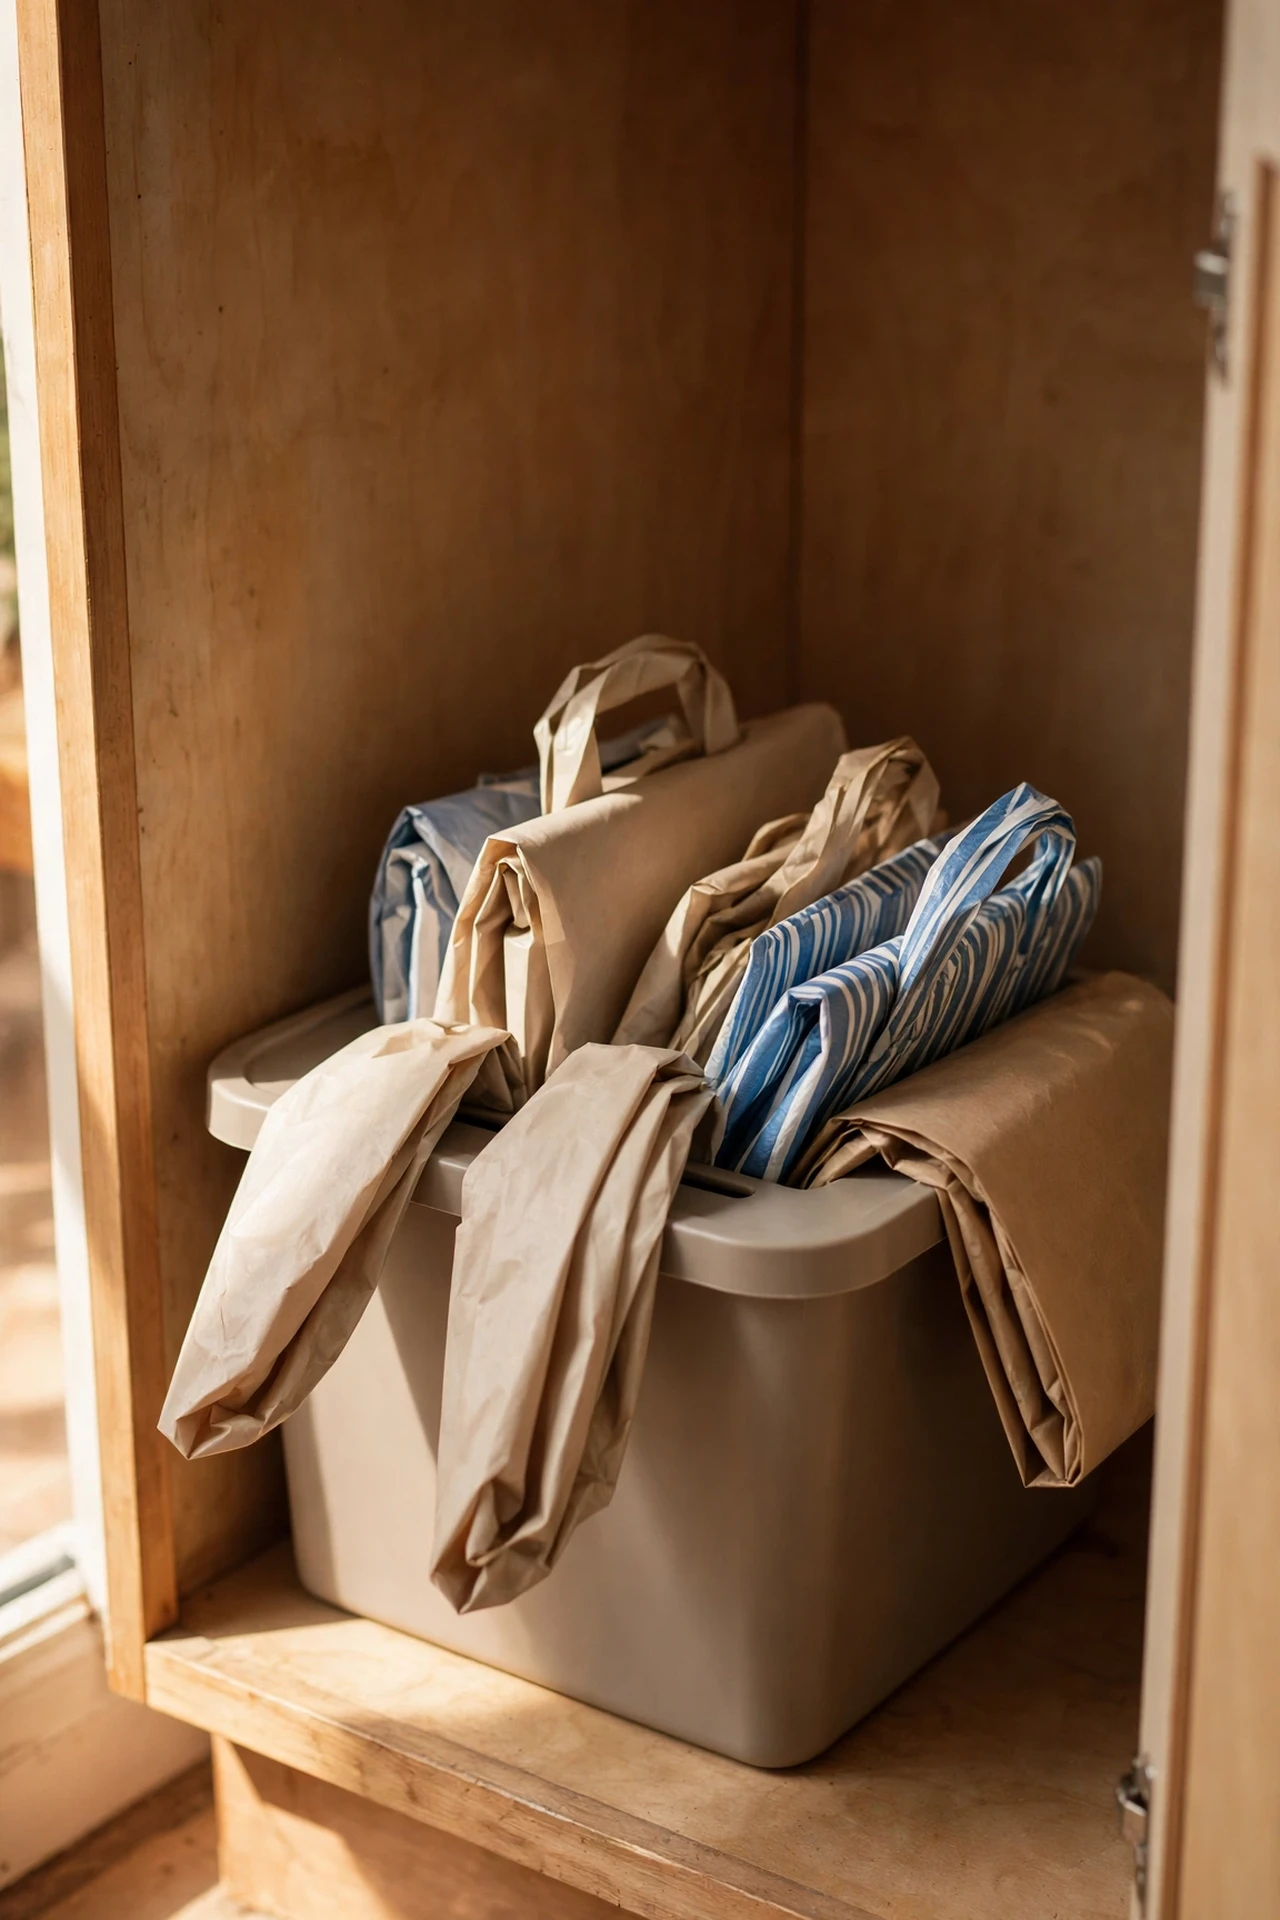
Everyone has the bag-of-bags lurking somewhere, exploding every time you reach in. A small rectangular dollar-store bin with a slot cut in the lid works exactly like a tissue box: stuff the bags in, pull one out through the slot. You can make it in five minutes with a craft knife, or skip the DIY entirely and use one of the wire bins with bags folded inside. Tuck it inside a low cabinet and the bag monster is tamed for good. I tried this after a whole carrier bag avalanche fell on my head one Tuesday. The mistake to avoid is overstuffing it — if you have to force bags in, they won’t pull out, so recycle the excess instead.
Budget callout: One small bin costs about $1.25. A purpose-made bag dispenser sells for $8–$12.
Cost: ~$1.25 | Time: 10 minutes
20. Zone Baskets on Every Pantry Shelf
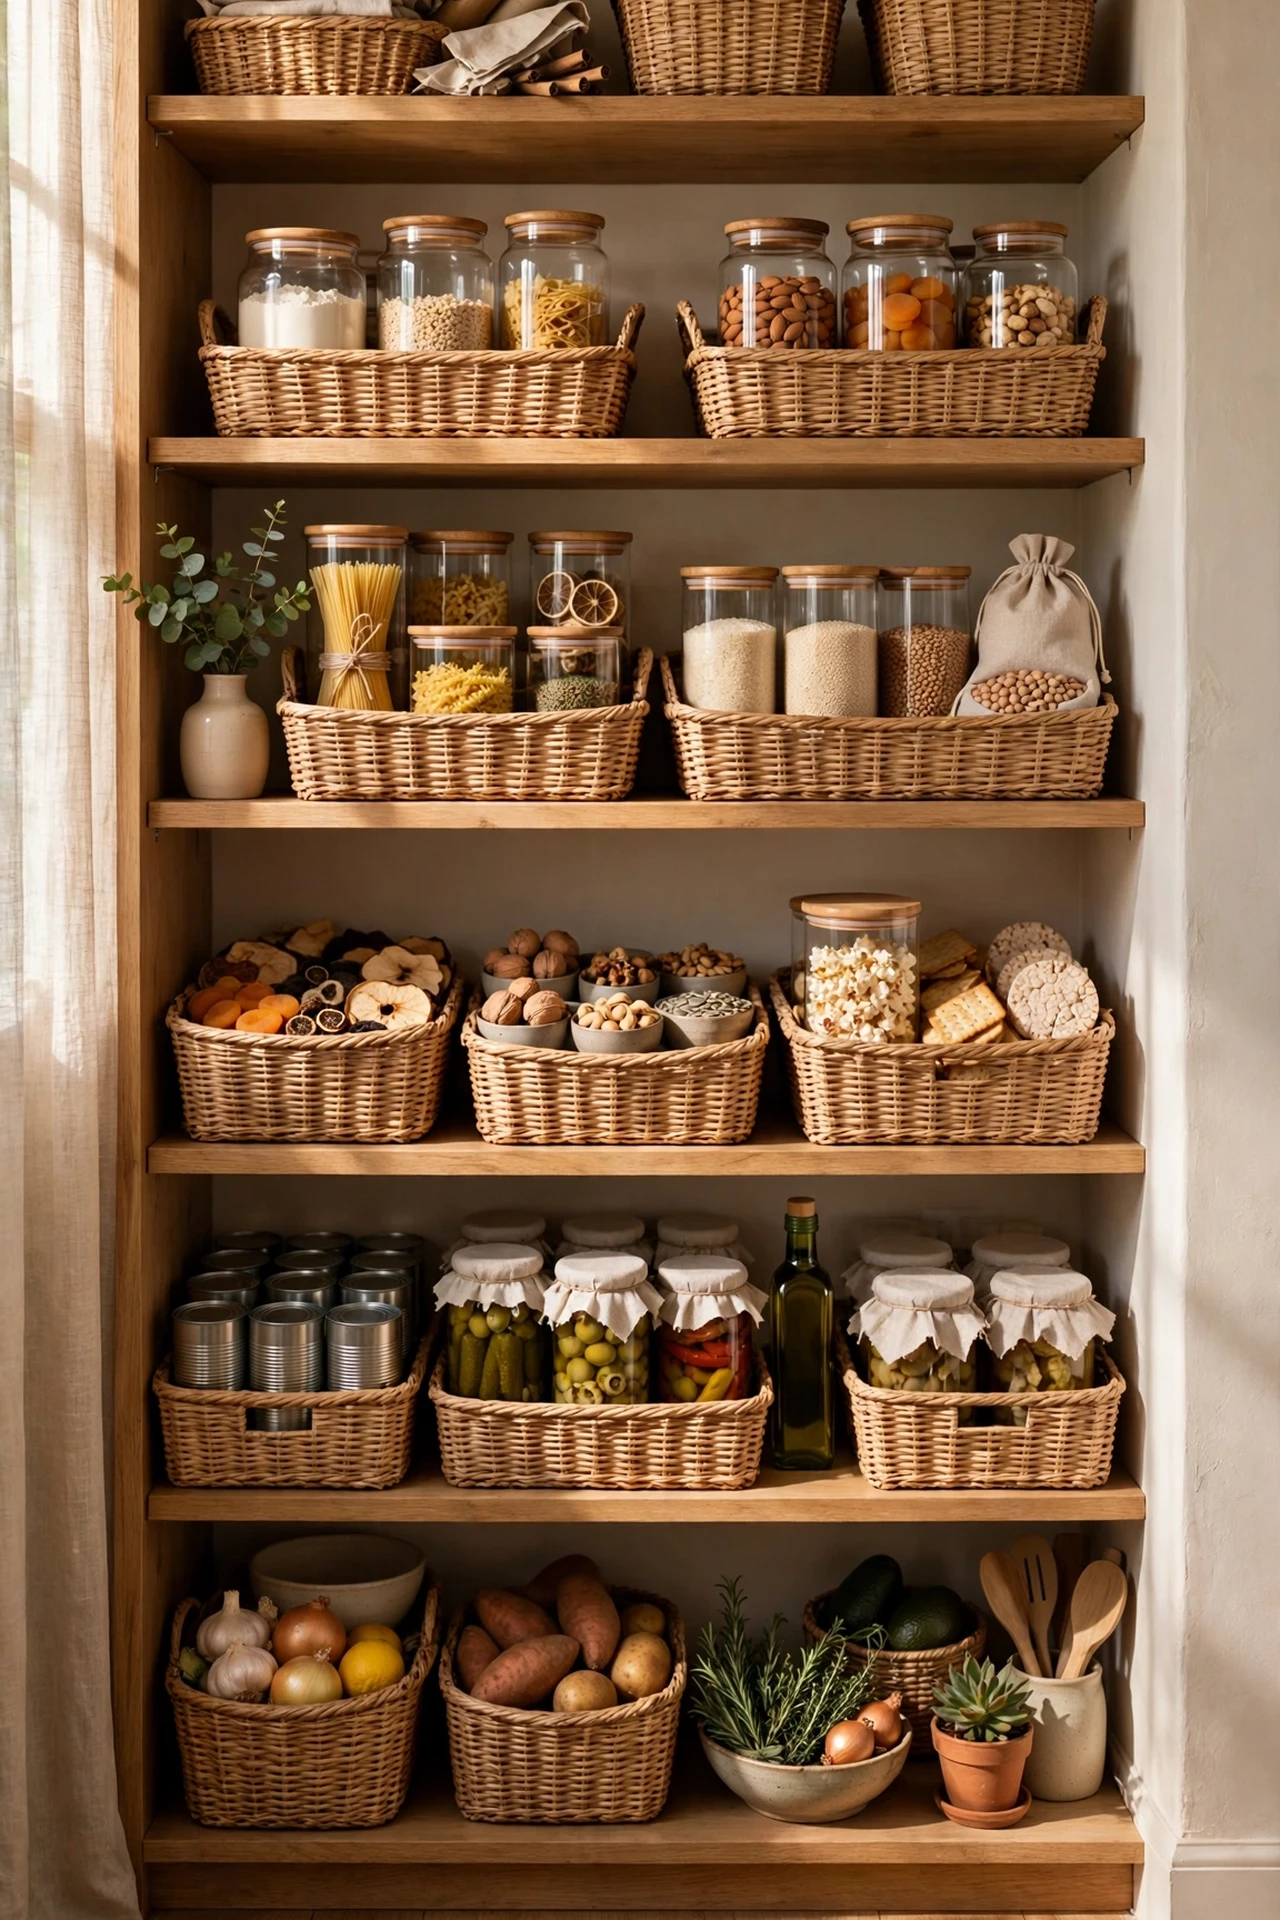
Professional organizers swear by zones, and you can copy the whole system with dollar-store baskets. Give each pantry shelf a job — breakfast things in one basket, baking in another, snacks in a third — and everything you need for a task lives together. Pull the whole basket out like a drawer when you need it, which beats reaching past five items to grab one. Label each basket so the whole household keeps the system running. I set this up before a busy school term and my mornings got genuinely easier. The mistake to avoid is creating more zones than you have shelves — six baskets on three shelves just becomes clutter again, so keep it to one or two per shelf. For more pantry ideas that pair well with this system, see (see also: 17-pantry-organization-ideas-on-a-budget).
Budget callout: Six zone baskets cost about $7.50. Branded pantry basket sets cost $35–$50.
Cost: ~$7.50 | Time: 30 minutes
21. Narrow Bins Between Fridge and Counter for Spices
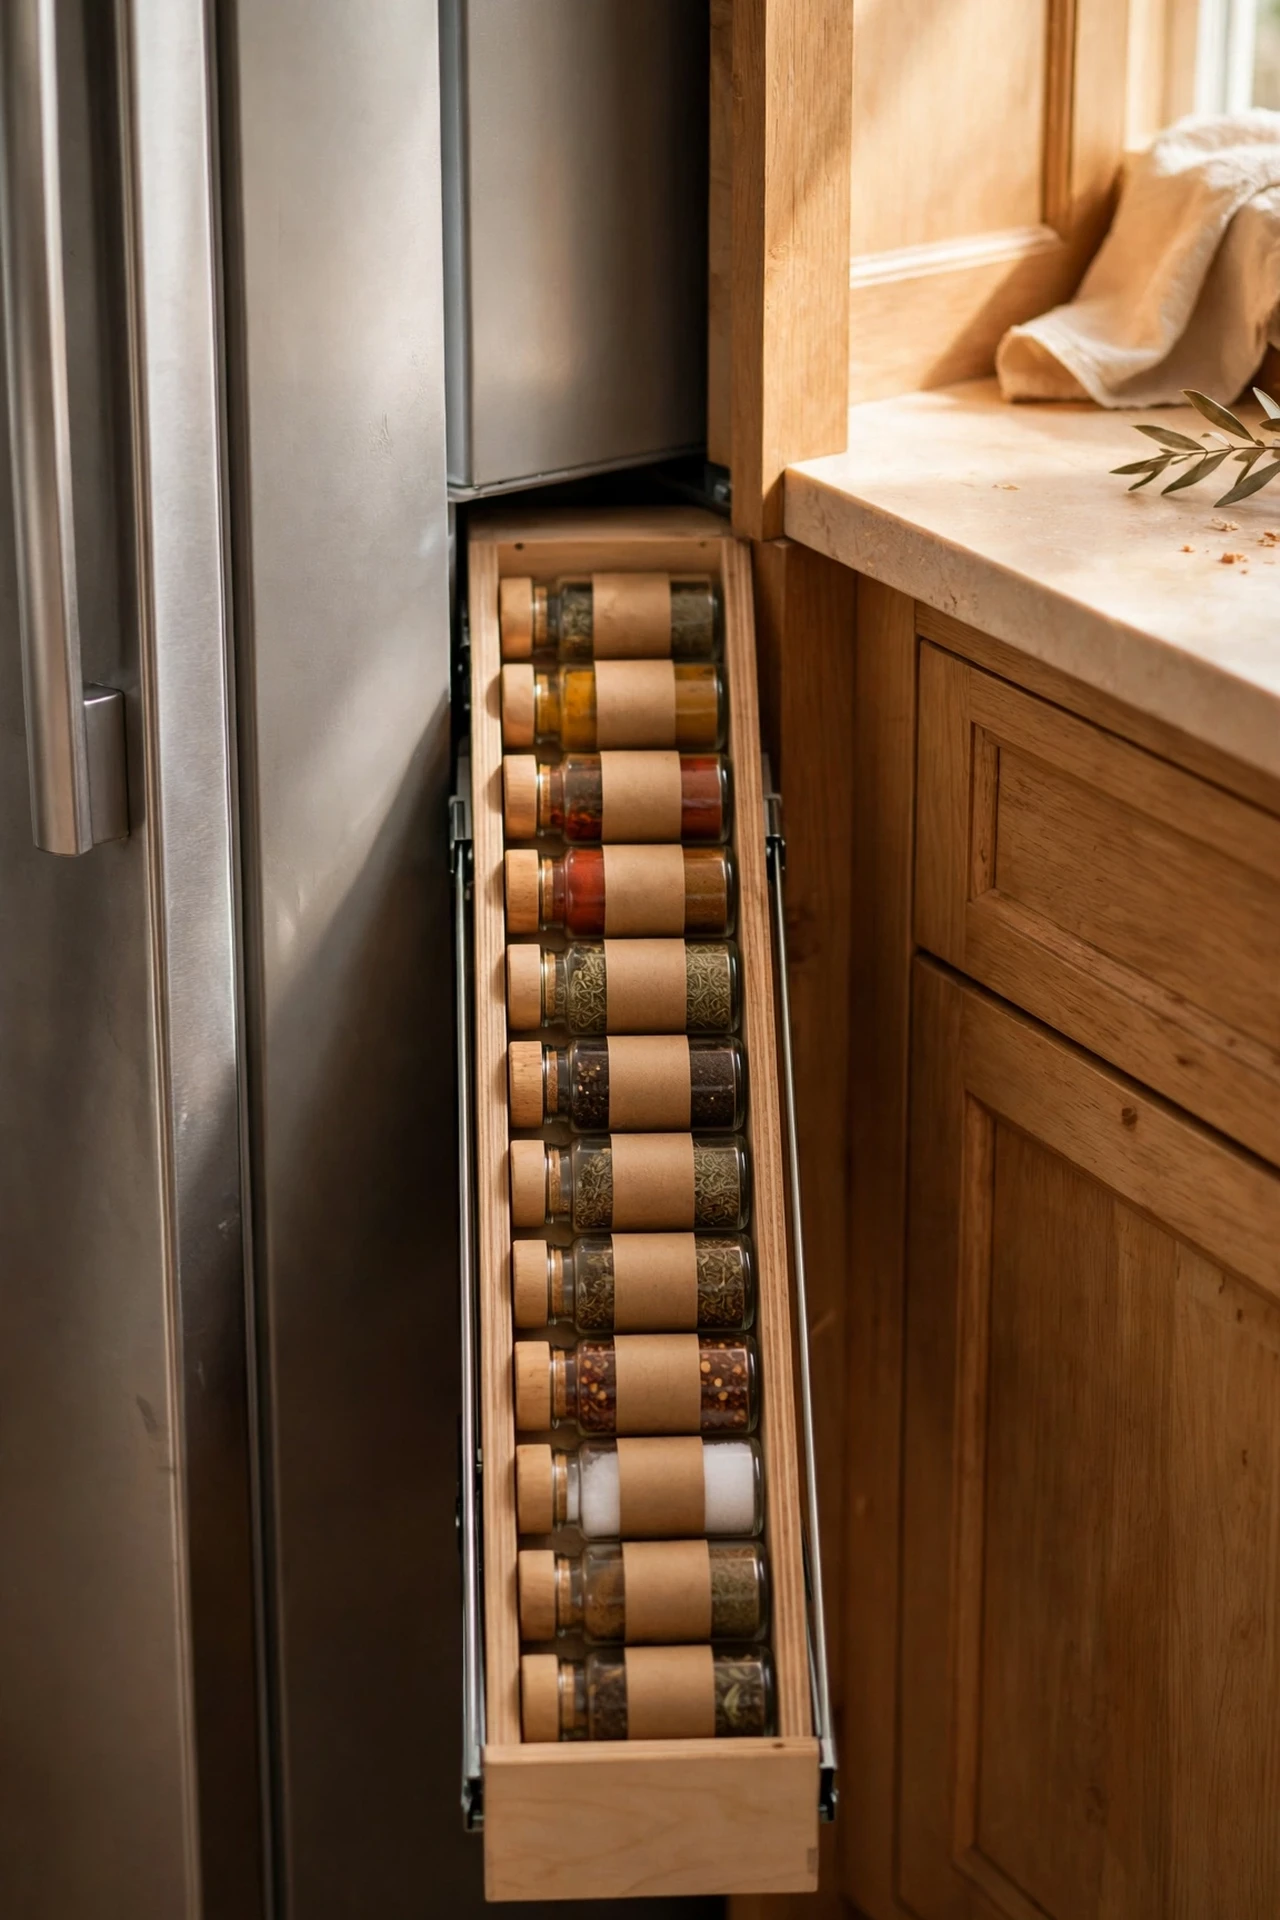
That awkward three-inch gap between the fridge and the counter isn’t wasted space — it’s a spice cupboard waiting to happen. A slim dollar-store rolling bin or tall narrow basket slides into the gap and holds every spice bottle in one pull-out column. Measure the gap before you shop, since these spaces vary wildly, and pick a bin with a handle or lip so it pulls out smoothly. I discovered this trick in a tiny rental kitchen where counter space was measured in centimetres. The mistake to avoid is choosing a bin that’s too tall to see over — keep bottle heights below your sightline so you can spot what you need at a glance. If you love clever small-kitchen tricks like this, you’ll enjoy (see also: 15-small-kitchen-ideas-that-feel-twice-as-big) too.
Budget callout: One slim bin costs about $1.25. A pull-out spice organizer for tight gaps sells for $16–$24.
Cost: ~$1.25 | Time: 10 minutes
📌 Like this one? Save it to your kitchen board before you forget.
If you’re wondering where to start, pick the three messiest spots in your kitchen and give them the dollar-store treatment this weekend. And when you’re ready to make the counters look as good as the cupboards feel, these (see also: 19-kitchen-counter-decor-ideas-that-look-styled-not-cluttered) will finish the job nicely — small changes, honestly, are all it takes.
