19 Beige Kitchen Ideas With Vintage Charm
My grandmother’s kitchen was the colour of warm tea — beige walls, a cream Aga, copper pans that had seen sixty years of Sunday roasts. When I got my own kitchen, a cold grey box with flat-pack everything, I went looking for beige kitchen ideas that could bring back some of that feeling without looking like a 1970s time capsule. Vintage charm isn’t about buying antiques; it’s about warmth, patina, and things that look like they’ve lived a little. These 19 ideas mix thrift-shop finds with simple weekend projects, and every single one keeps the budget firmly in “sensible” territory.
Cheapest picks if you’re starting from zero:
- Vintage tea towel gallery rail — ~$12
- Stoneware crock utensil holders — ~$15
- Framed vintage window backsplash art — ~$18
- Thrifted vintage bread box — ~$20
- Beige linen curtain panels — ~$25
1. Cream Open Shelves Styled With Vintage Dishes
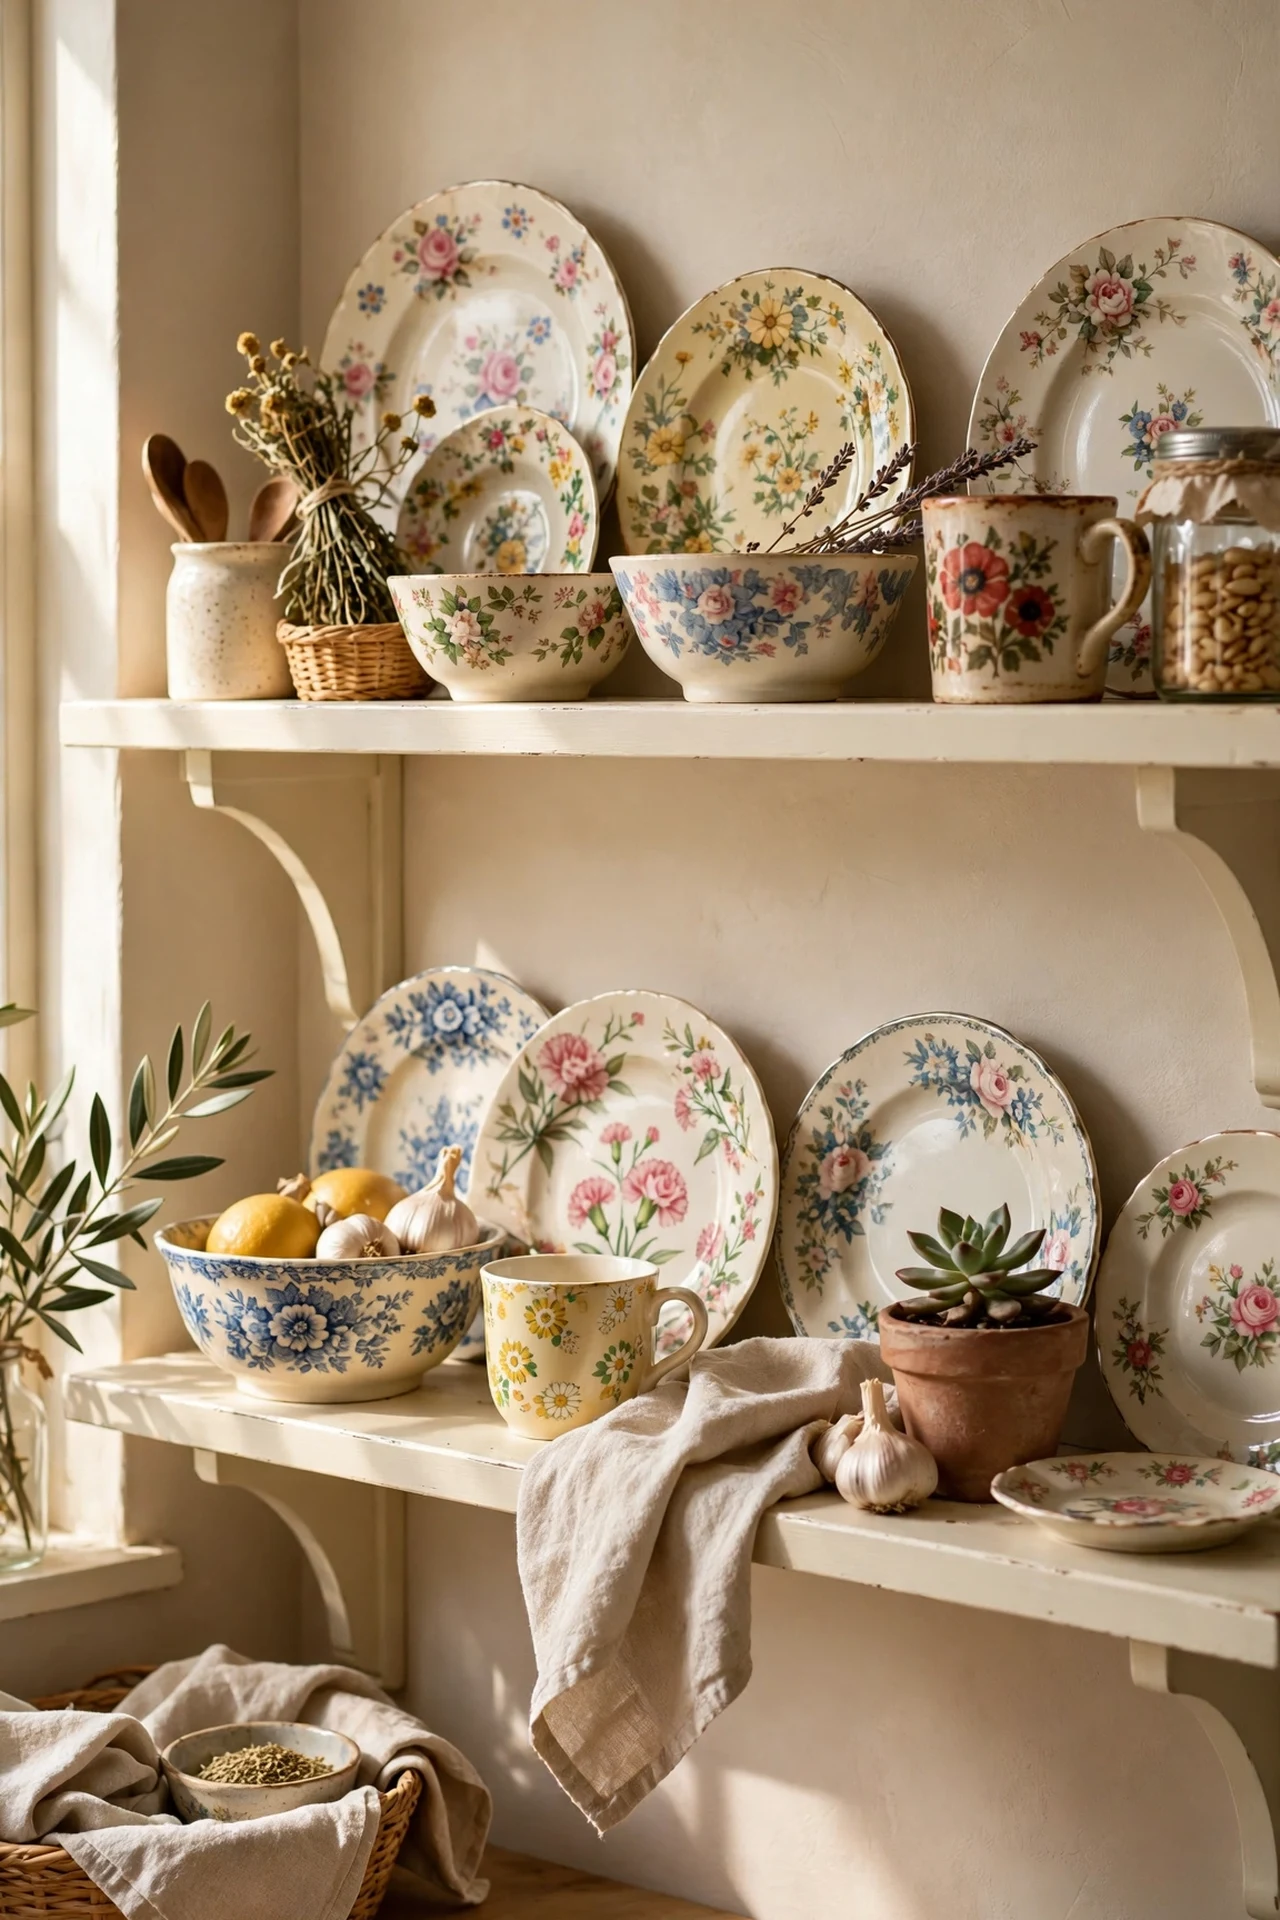
Pull down one upper cabinet and replace it with cream-painted open shelves, then fill them with mismatched vintage dishes from charity shops. I paid under a pound per plate for flowery 1960s side plates, and on a cream shelf against a beige wall they look like a curated collection. Find your studs first, mount solid brackets, and paint the shelves in a warm cream before loading them. The trick I learned: group dishes by colour family rather than matching sets — three blue-and-white pieces together read as intentional, while random singles read as clutter. The mistake to avoid is overloading; leave a third of each shelf empty so the pieces breathe. My shelves cost less than a takeaway and they’re the first thing guests photograph.
Cost: ~$32 | Time: one afternoon
Pro tip: Wash charity-shop dishes in hot vinegar water before shelving — it cuts the musty smell and the grey film old plates pick up in storage.
2. Beige Linen Curtain Panels at the Kitchen Window
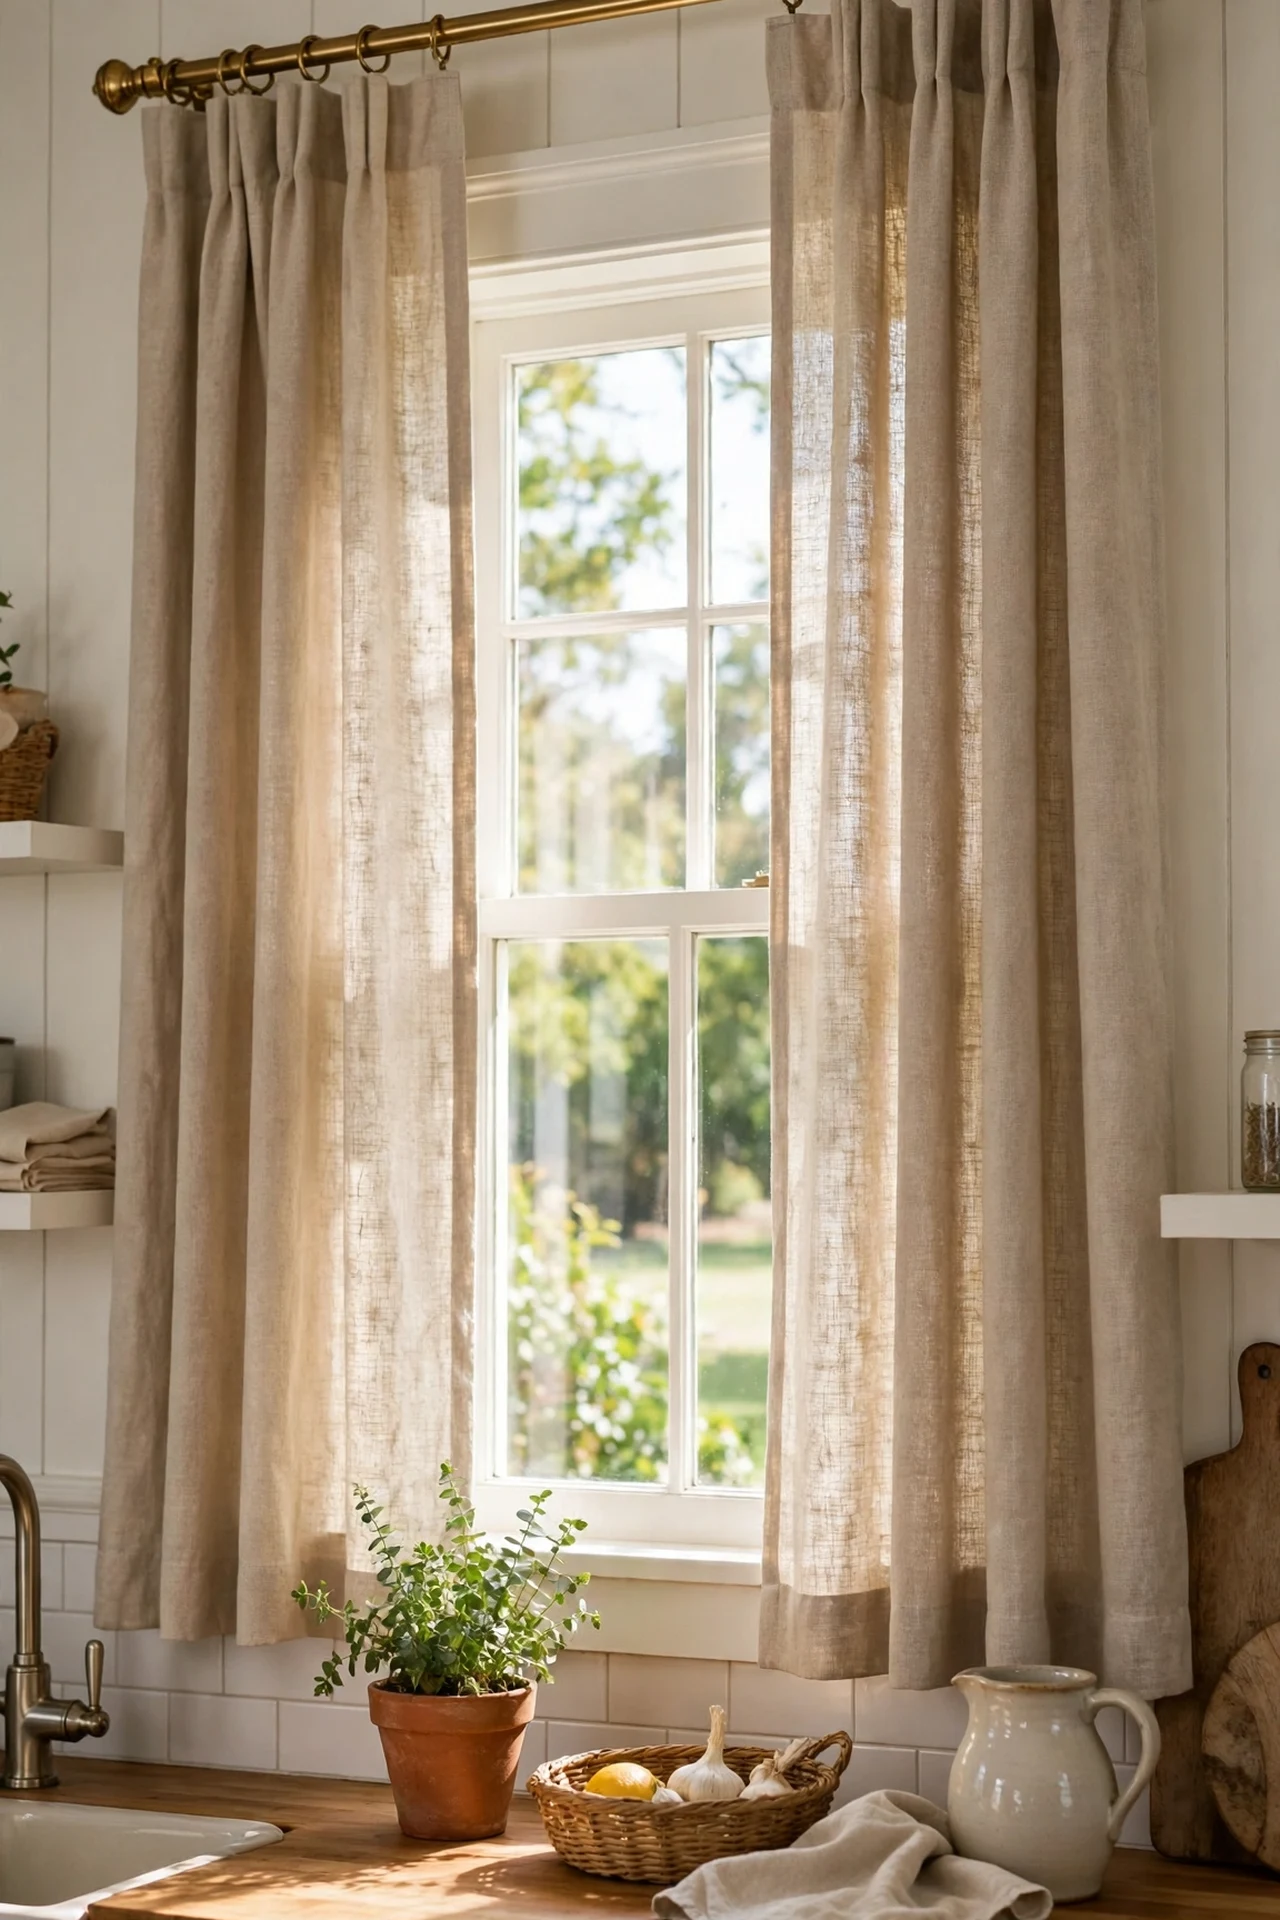
Heavy blinds make a kitchen feel like an office; soft beige linen panels make it feel like a farmhouse. I sewed simple tab-top panels from a linen-look cotton and hung them on a slim brass rod, and the window went from stark to storybook. Measure your window, add four inches to each side for fullness, and hem with iron-on tape if you don’t sew — nobody will ever know. The mistake to avoid is hanging the rod at window height; mount it six inches above the frame and the window looks taller. I tried machine-washing mine on hot and they shrank unevenly, so wash cool and line-dry. The linen texture against beige walls layers beautifully, and morning light through them is genuinely lovely.
Cost: ~$25 | Time: one evening
3. An Aged-Brass Faucet Swap for Instant Warmth
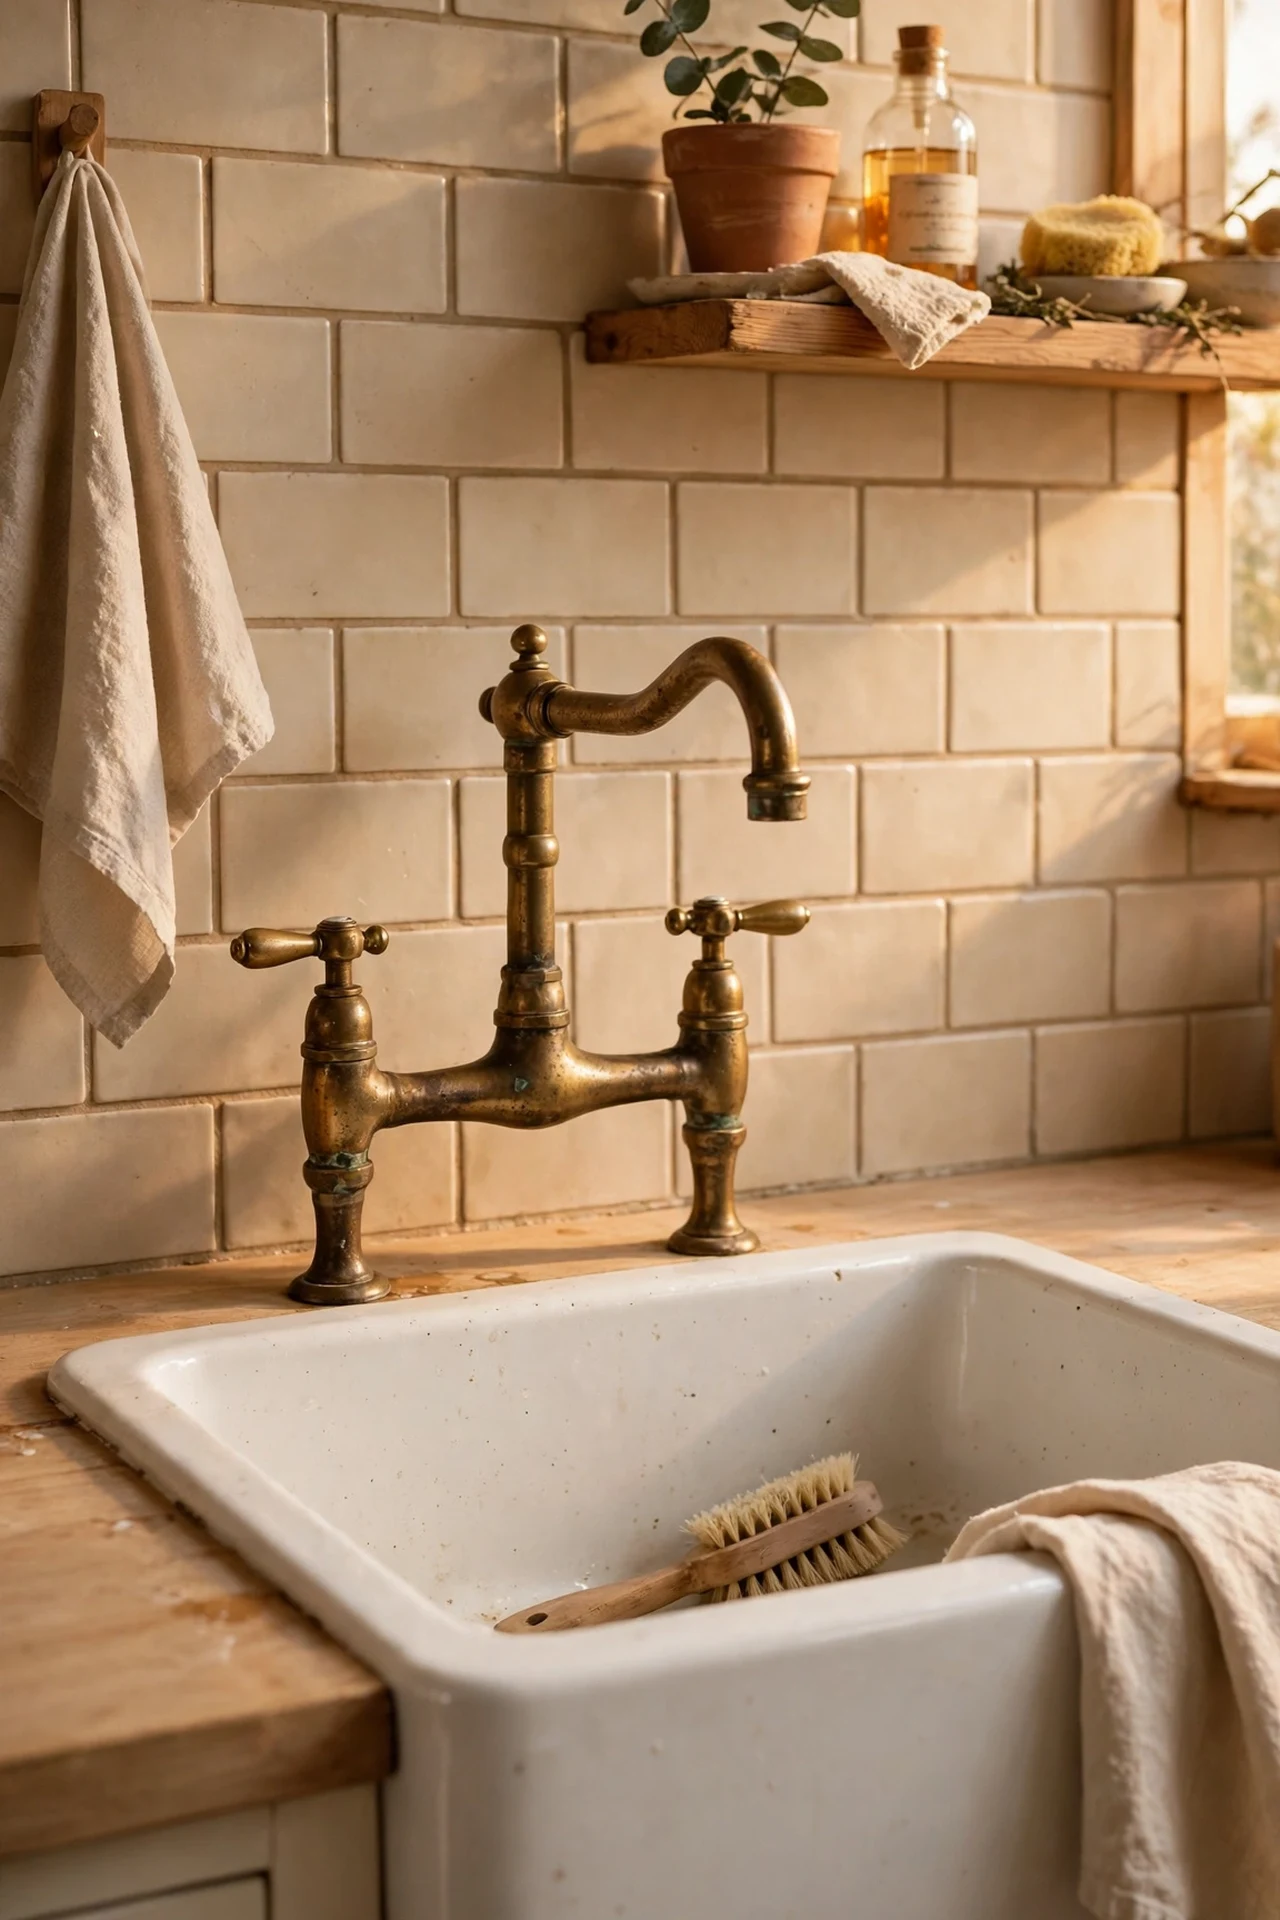
Nothing says vintage charm like a brass tap, and a faucet swap is easier than plumbers want you to believe. I replaced my chrome mixer with an aged-brass bridge tap bought on sale, and the sink area suddenly looked like it belonged in a country cottage. Turn off the isolation valves under the sink, photograph the existing connections before you touch anything, then unscrew and swap — most taps fit standard holes. The mistake to avoid is overtightening the new tap; I cracked the washer on my first attempt and had a slow drip for a week. Wrap threads with PTFE tape and tighten firmly but gently. Pair it with (see also: budget-kitchen-decor-ideas) if you’re refreshing the whole sink zone on a budget.
Cost: ~$70 | Time: 1 hour
4. Beige Slipcovers on Counter Stools
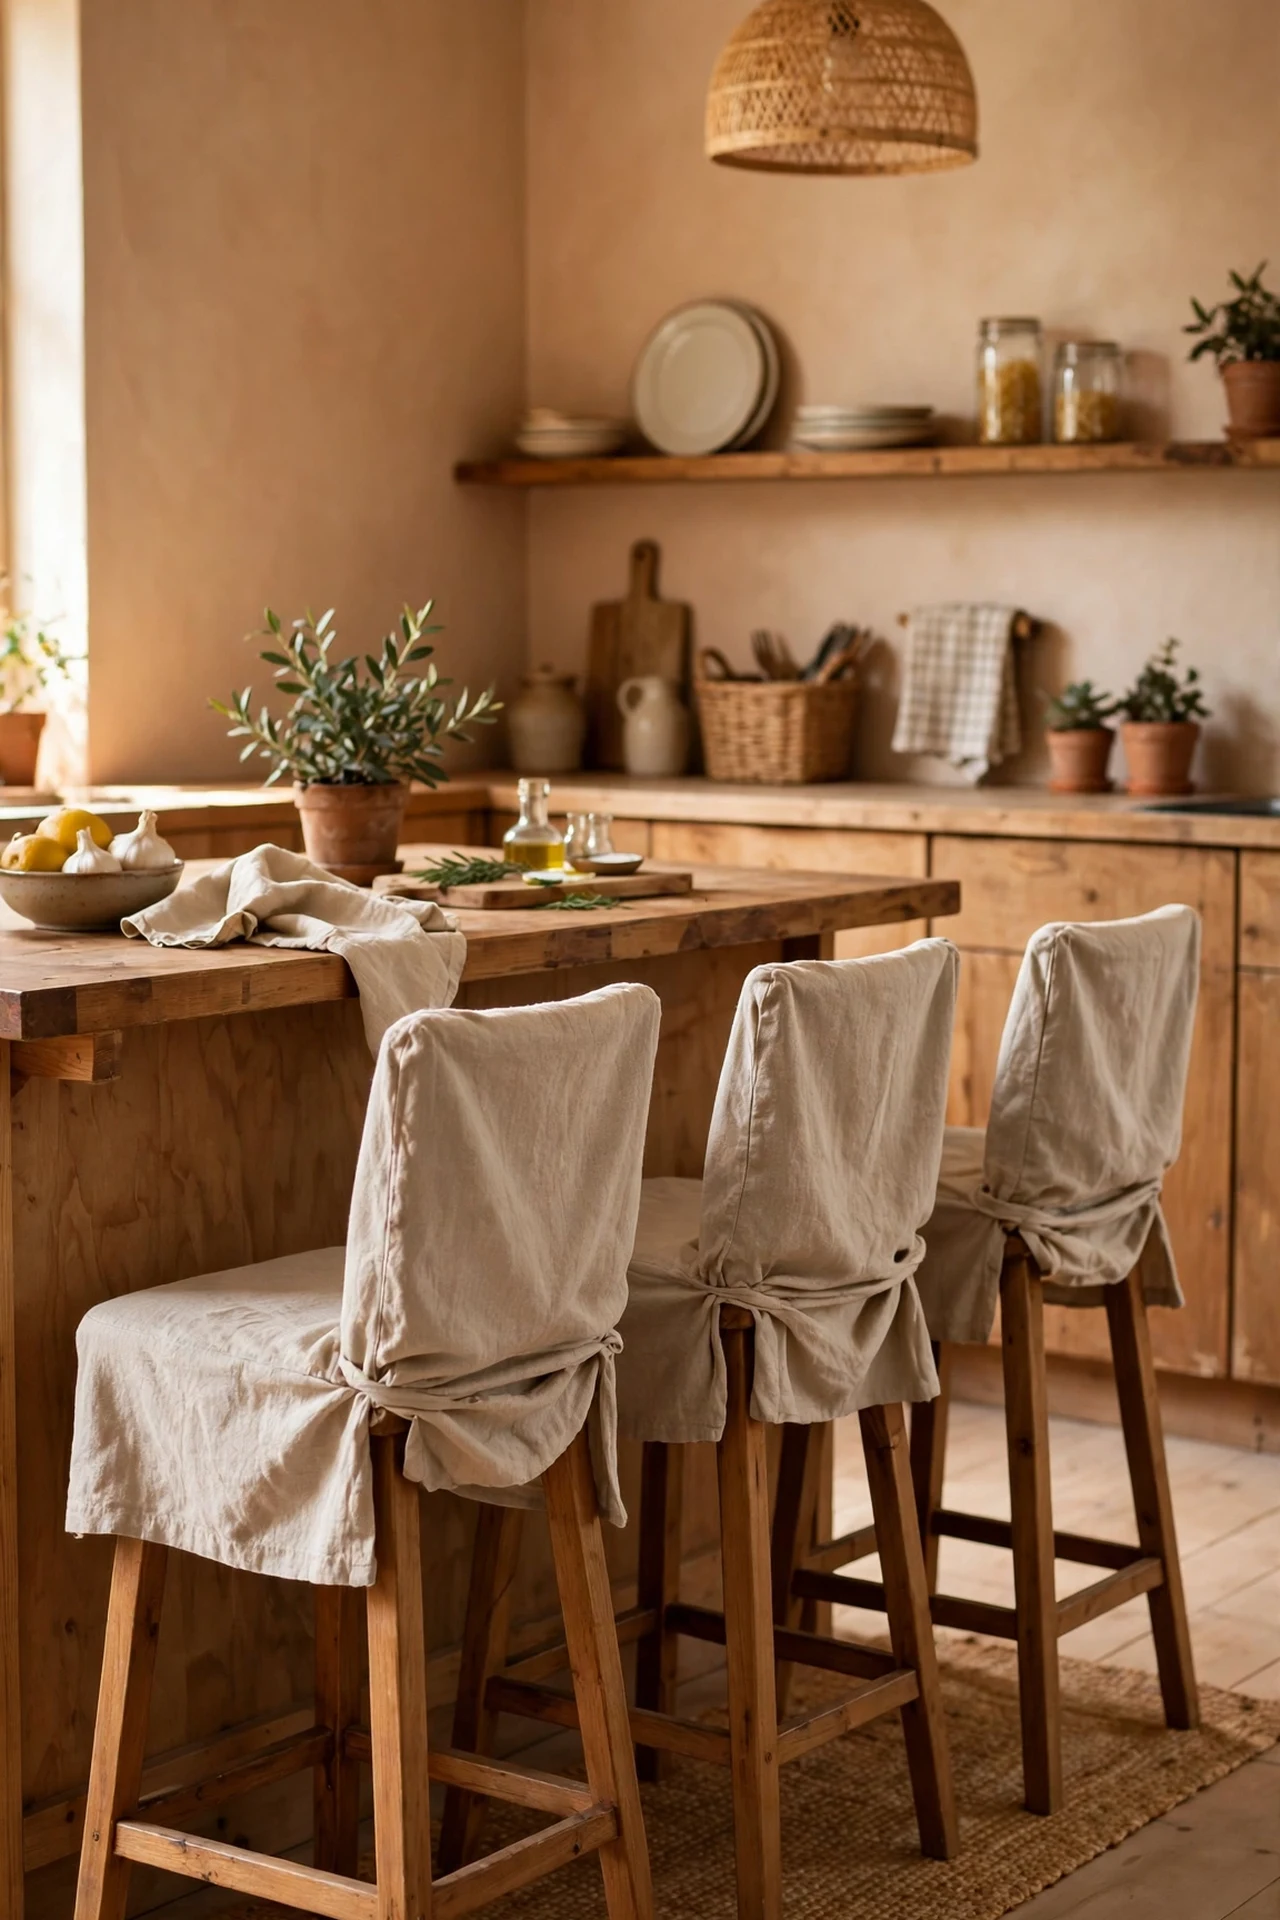
If your counter stools are fine structurally but ugly to look at, beige slipcovers will rescue them. My stools were black faux leather with a crack in every seat; a set of natural linen-look slipcovers turned them into something you’d see in a French bistro. Measure the seat width and back height before ordering — slipcovers come in frustratingly vague sizes. The steps are just: wash and press the covers, pull them over, and tuck the excess into the seat crease with a wooden spoon handle. I tried the no-iron shortcut and the wrinkles never settled; a quick press makes them look tailored. Tie-backs in a slightly darker beige keep them from sliding off when the kids swing on them.
Cost: ~$28 for two | Time: 30 minutes
5. A Vintage Plate Wall Above the Table
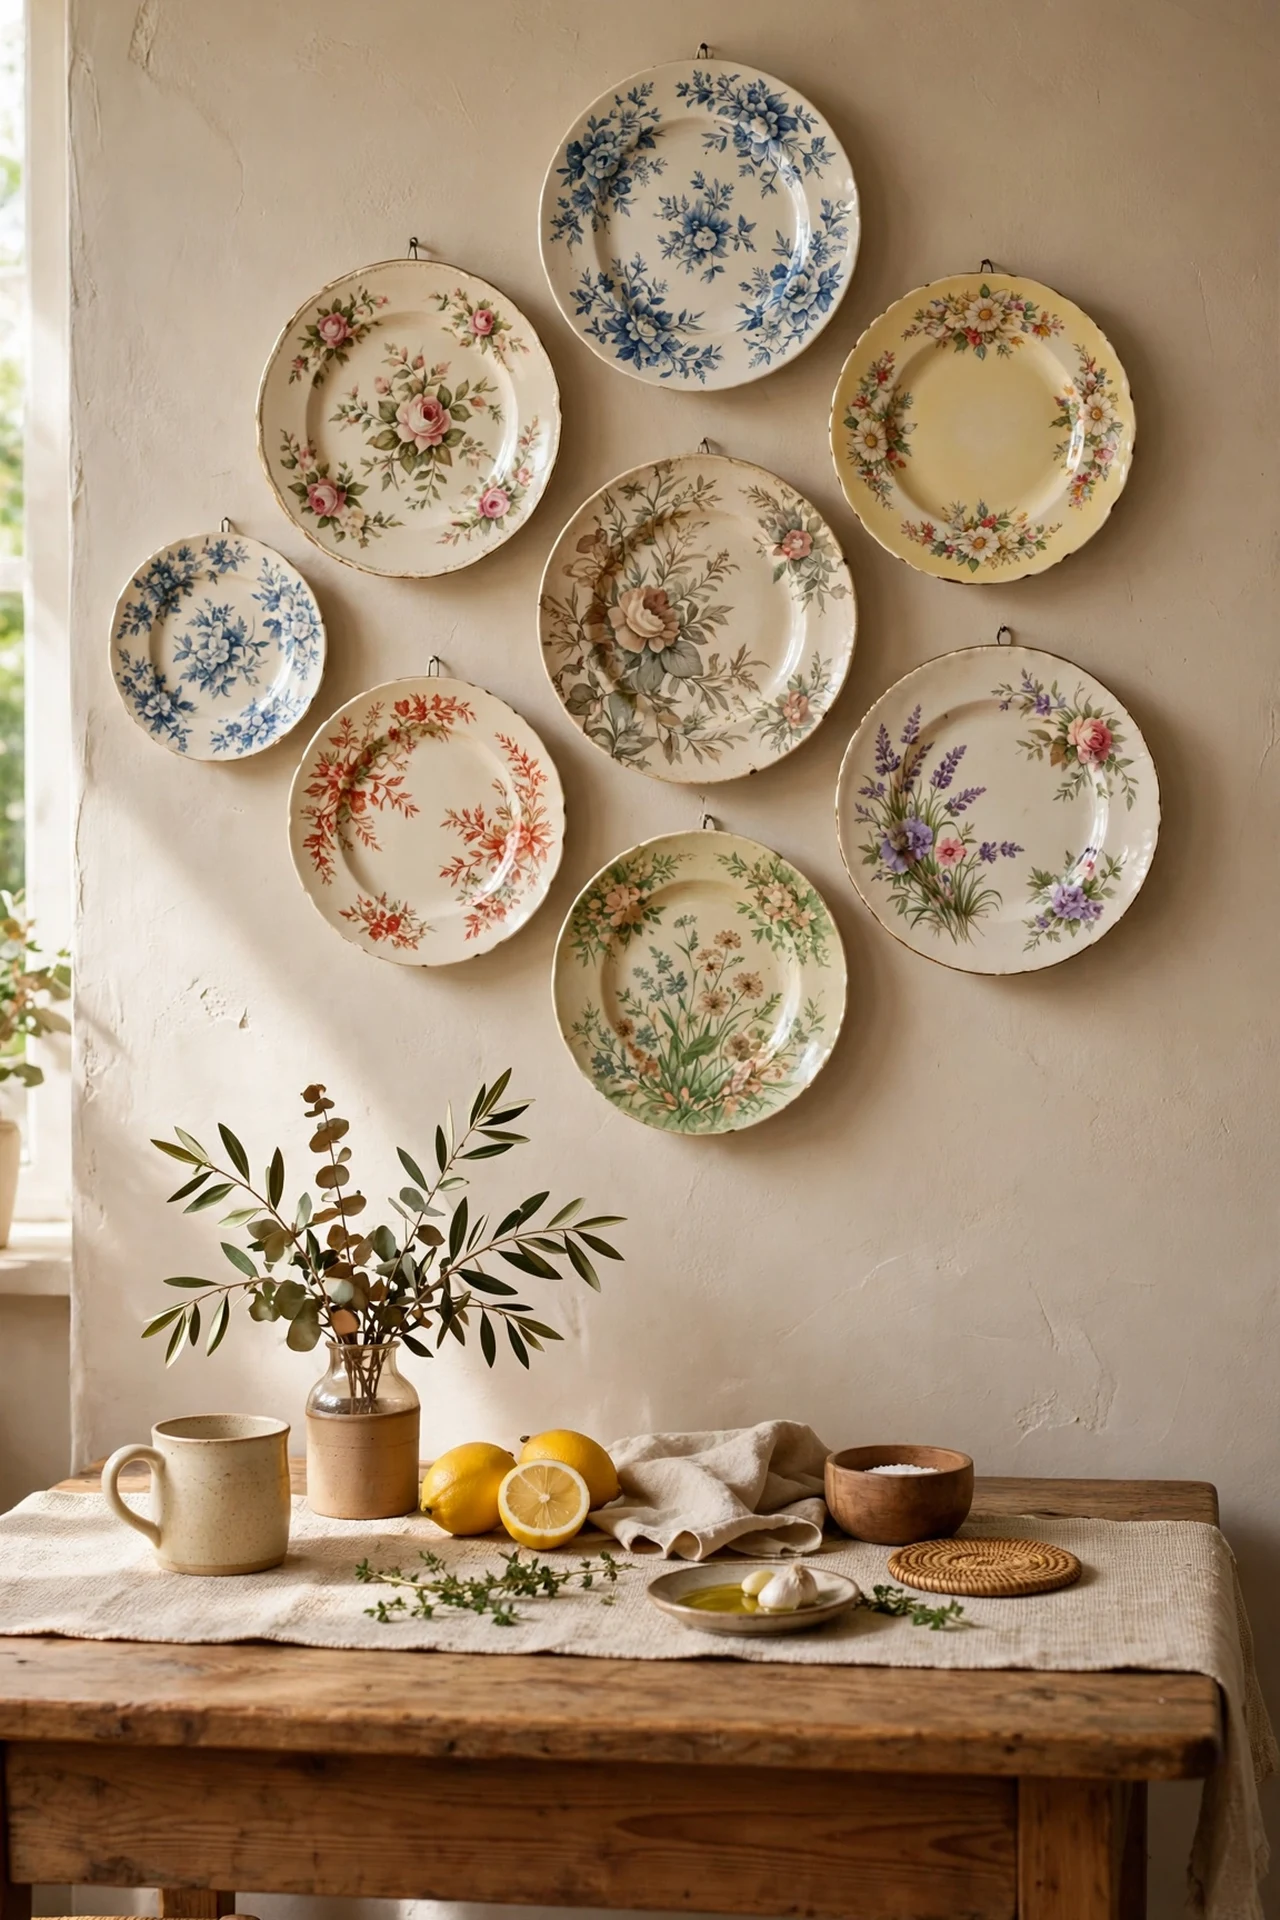
A wall of vintage plates above the kitchen table is the fastest way to manufacture fifty years of history. I collected floral and transferware plates from car boot sales over two months, then arranged them in a loose oval on the dining wall. Lay the arrangement on the floor first and photograph it — rearranging on the floor is free, but patching plaster holes is not. Use plate hangers with the little spring wires, and hang the largest plate at eye level as the anchor. The mistake to avoid is hanging everything dead level; vintage charm wants a little asymmetry. I nudged three plates slightly off-grid and the whole wall relaxed. Beige and cream plates with the odd blue one keep the palette calm.
Cost: ~$22 | Time: one afternoon
Pro tip: Trace each plate onto paper, cut the shapes out, and tape the paper templates to the wall first — you can perfect the layout without a single nail hole.
6. Butcher Block Counters on a Budget
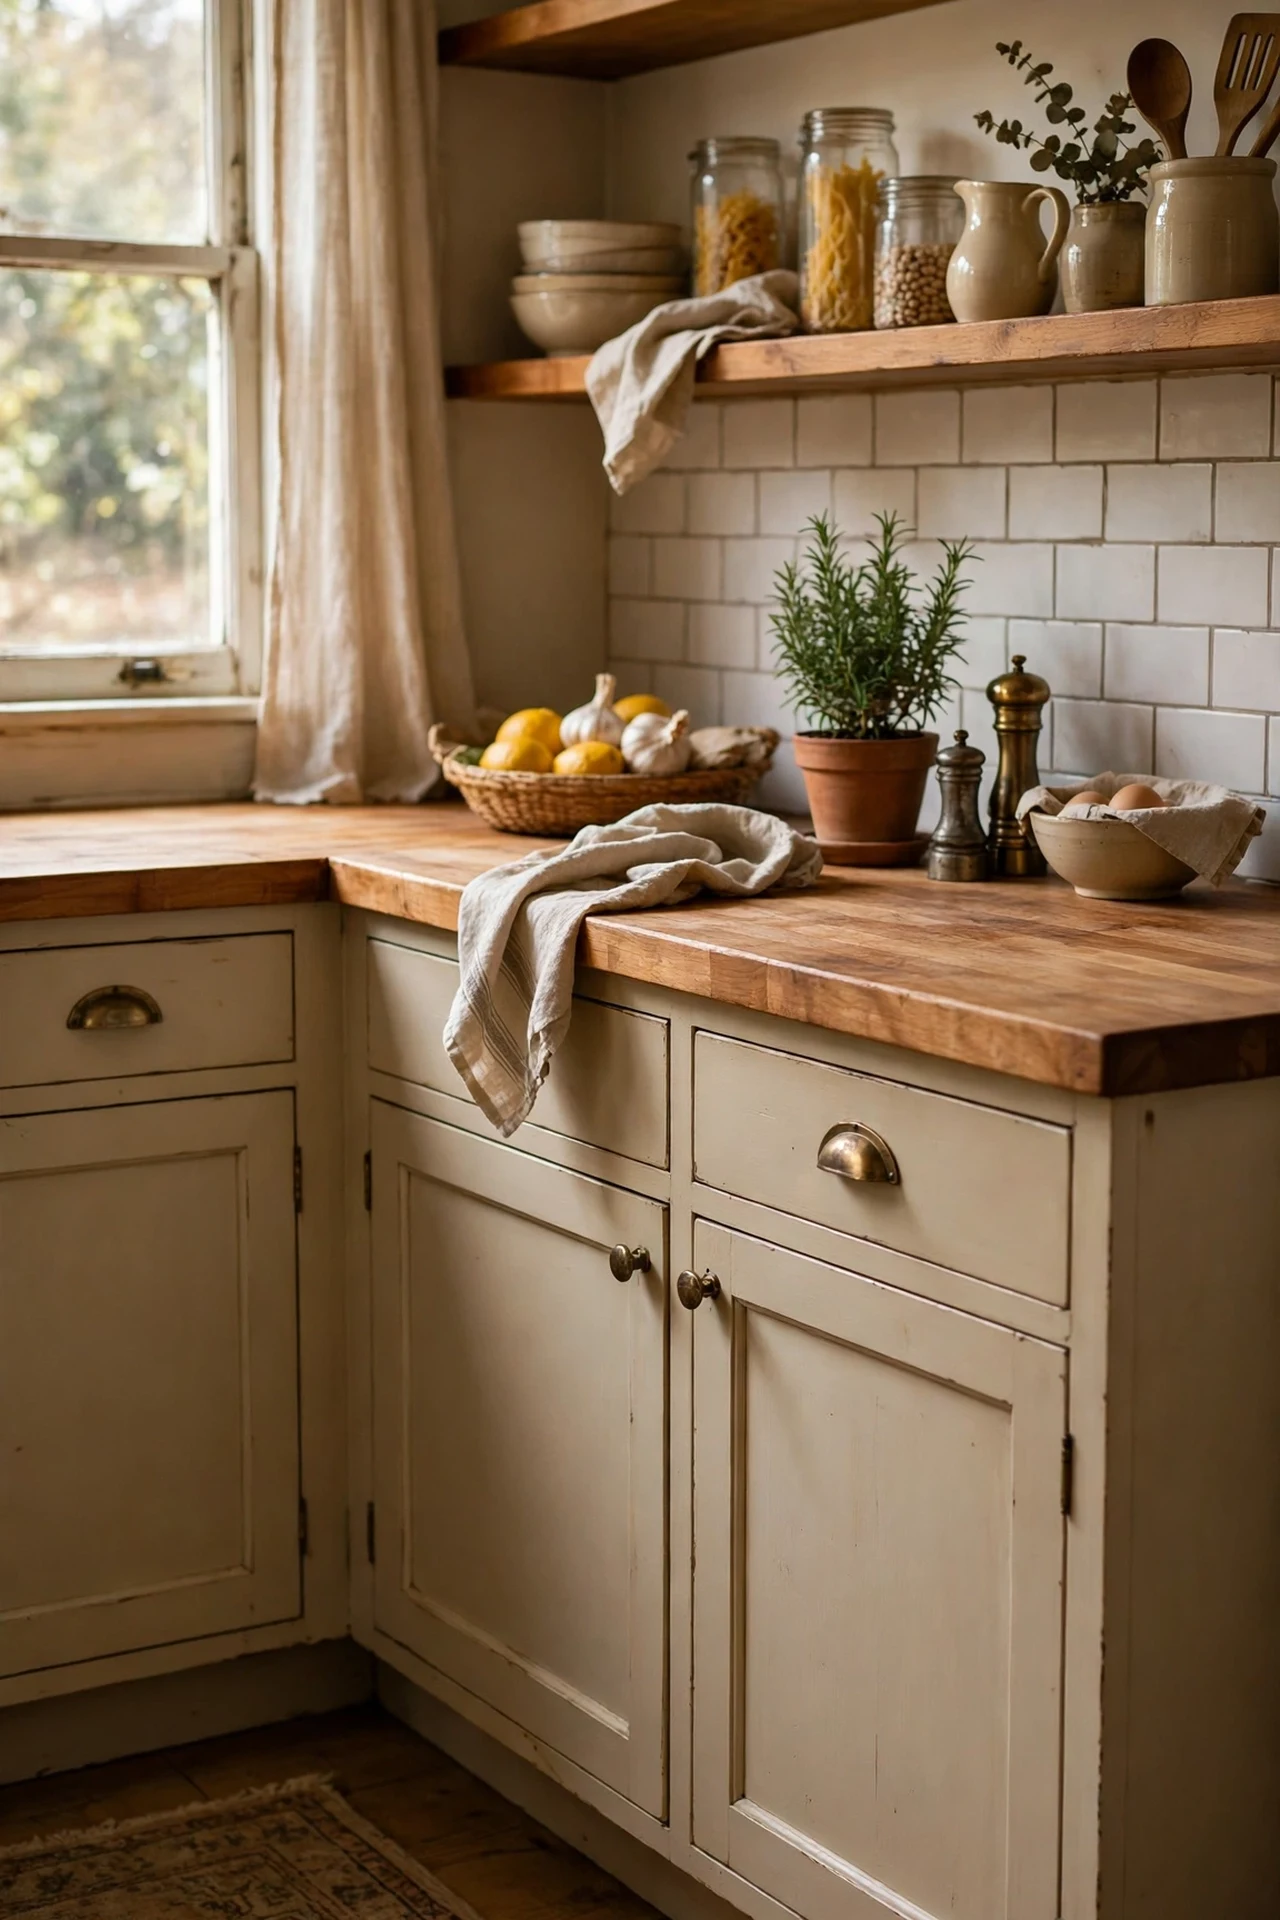
Real butcher block worktops cost a fortune, but a butcher-block-look laminate or a reclaimed scaffold-board counter gives you the same warmth. I laid inexpensive wood-effect worktop over my tired laminate using a contact adhesive and a routered edge, then sealed it with food-safe oil. Measure twice, cut once, and seal every edge including the underside near the sink. The mistake to avoid is leaving the wood unsealed around water — I skipped sealing behind the tap on my first attempt and the edge swelled within a month. Two coats of hardwax oil, reapplied yearly, keeps it honey-coloured and waterproof. Against beige walls, warm wood reads as pure vintage farmhouse.
Cost: ~$85 | Time: one weekend
7. A Beige Jute Runner Down the Galley
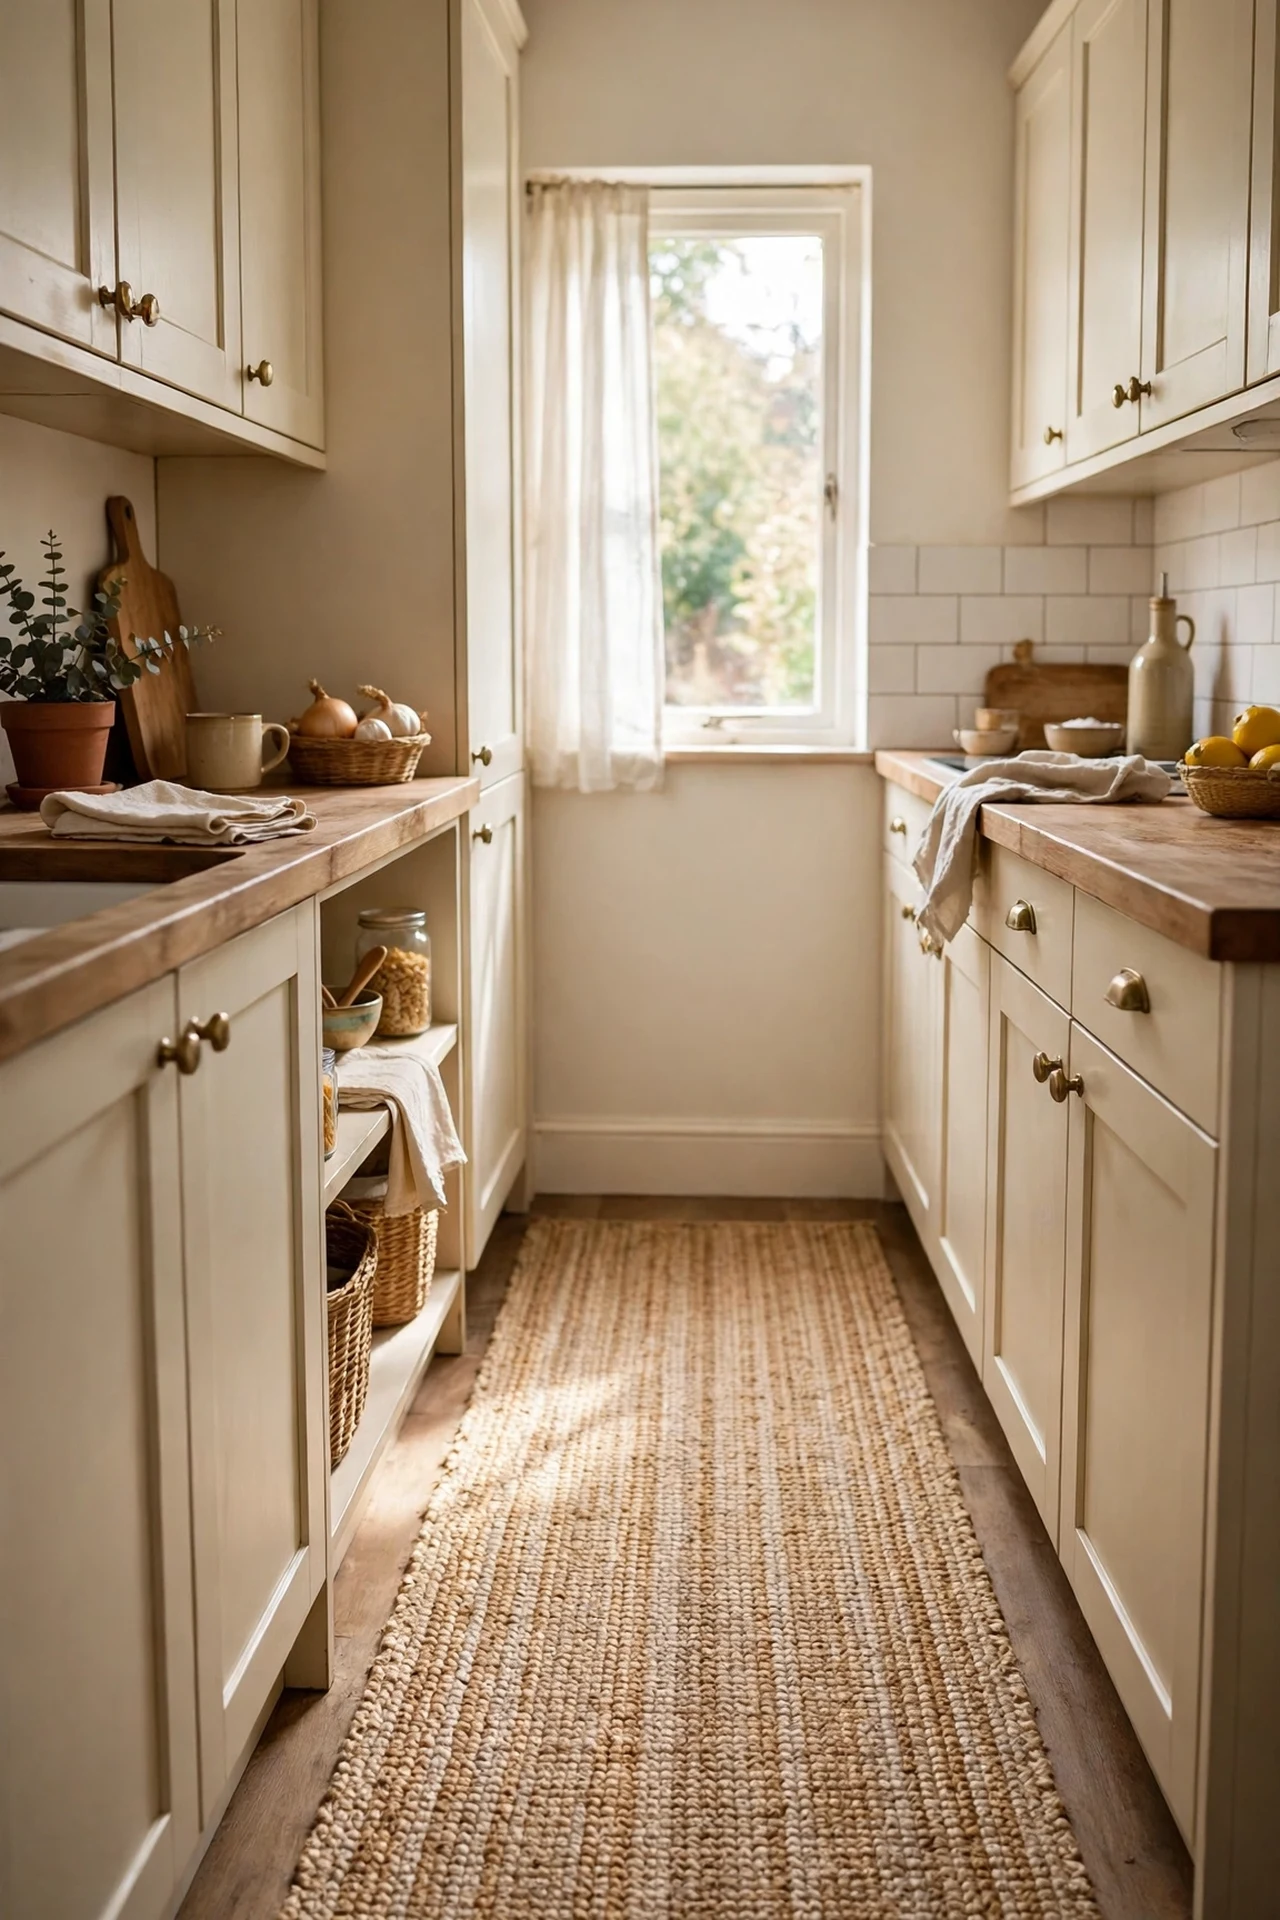
A jute runner brings texture that flat beige walls can’t, and it wears like iron. I laid a natural jute runner down my galley and the whole corridor stopped feeling like a corridor. Choose a tight weave rather than loose braided jute — loose weave catches crumbs and chair legs. Shake it outside weekly and spot-clean spills immediately, because jute stains if you let coffee sit. The mistake I made: buying a runner exactly the width of the gap, which meant it rubbed the cabinet doors; leave an inch of clearance each side. Save this one to your kitchen board — a jute runner is the easiest vintage layer you can add, and it plays nicely with every other idea on this list.
Cost: ~$40 | Time: 10 minutes
8. A Copper Pot Rail With Hanging Enamelware
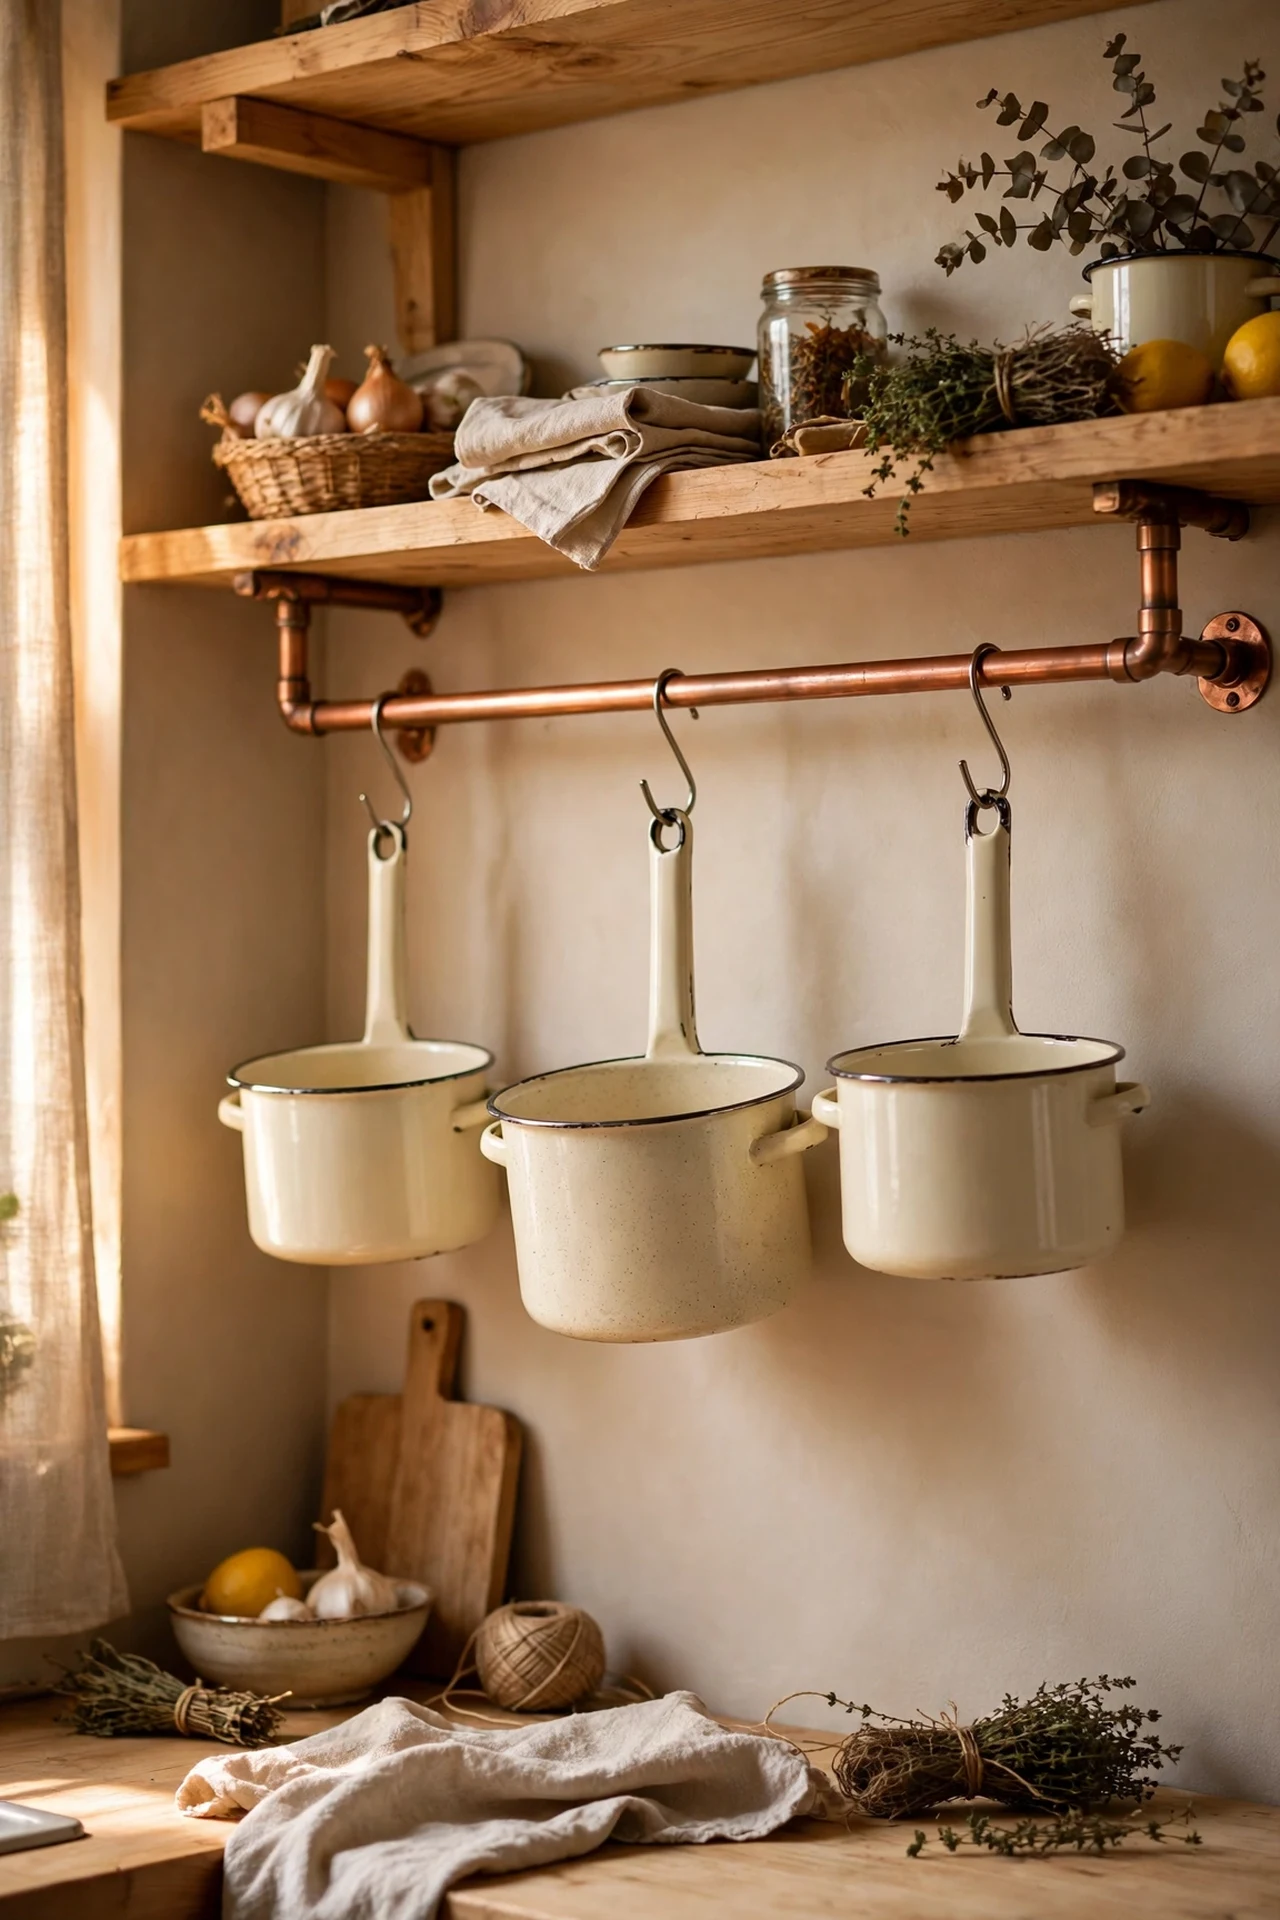
Screw a copper pipe to the wall under your shelves and hang cream enamelware from S-hooks, and you’ve built the kind of display people pay stylists for. I used a length of 22mm copper tube, two flange brackets, and a handful of hooks — total cost less than a decent frying pan. Mark your studs, drill pilot holes, and mount the flanges dead level; a sagging rail ruins the effect. Hang the heaviest pots nearest the brackets. The personal touch: I hung my grandmother’s actual enamel jug in the centre, and it’s the piece everyone asks about. The mistake to avoid is hanging pans you never use — dusty, greasy display pans look sad, so only hang your working rotation.
Cost: ~$35 | Time: 2 hours
Pro tip: Polish the copper once with a vinegar-and-salt paste, then leave it alone — the slow natural patina is exactly the vintage look you’re after.
9. A Warm Putty-Beige Cabinet Repaint
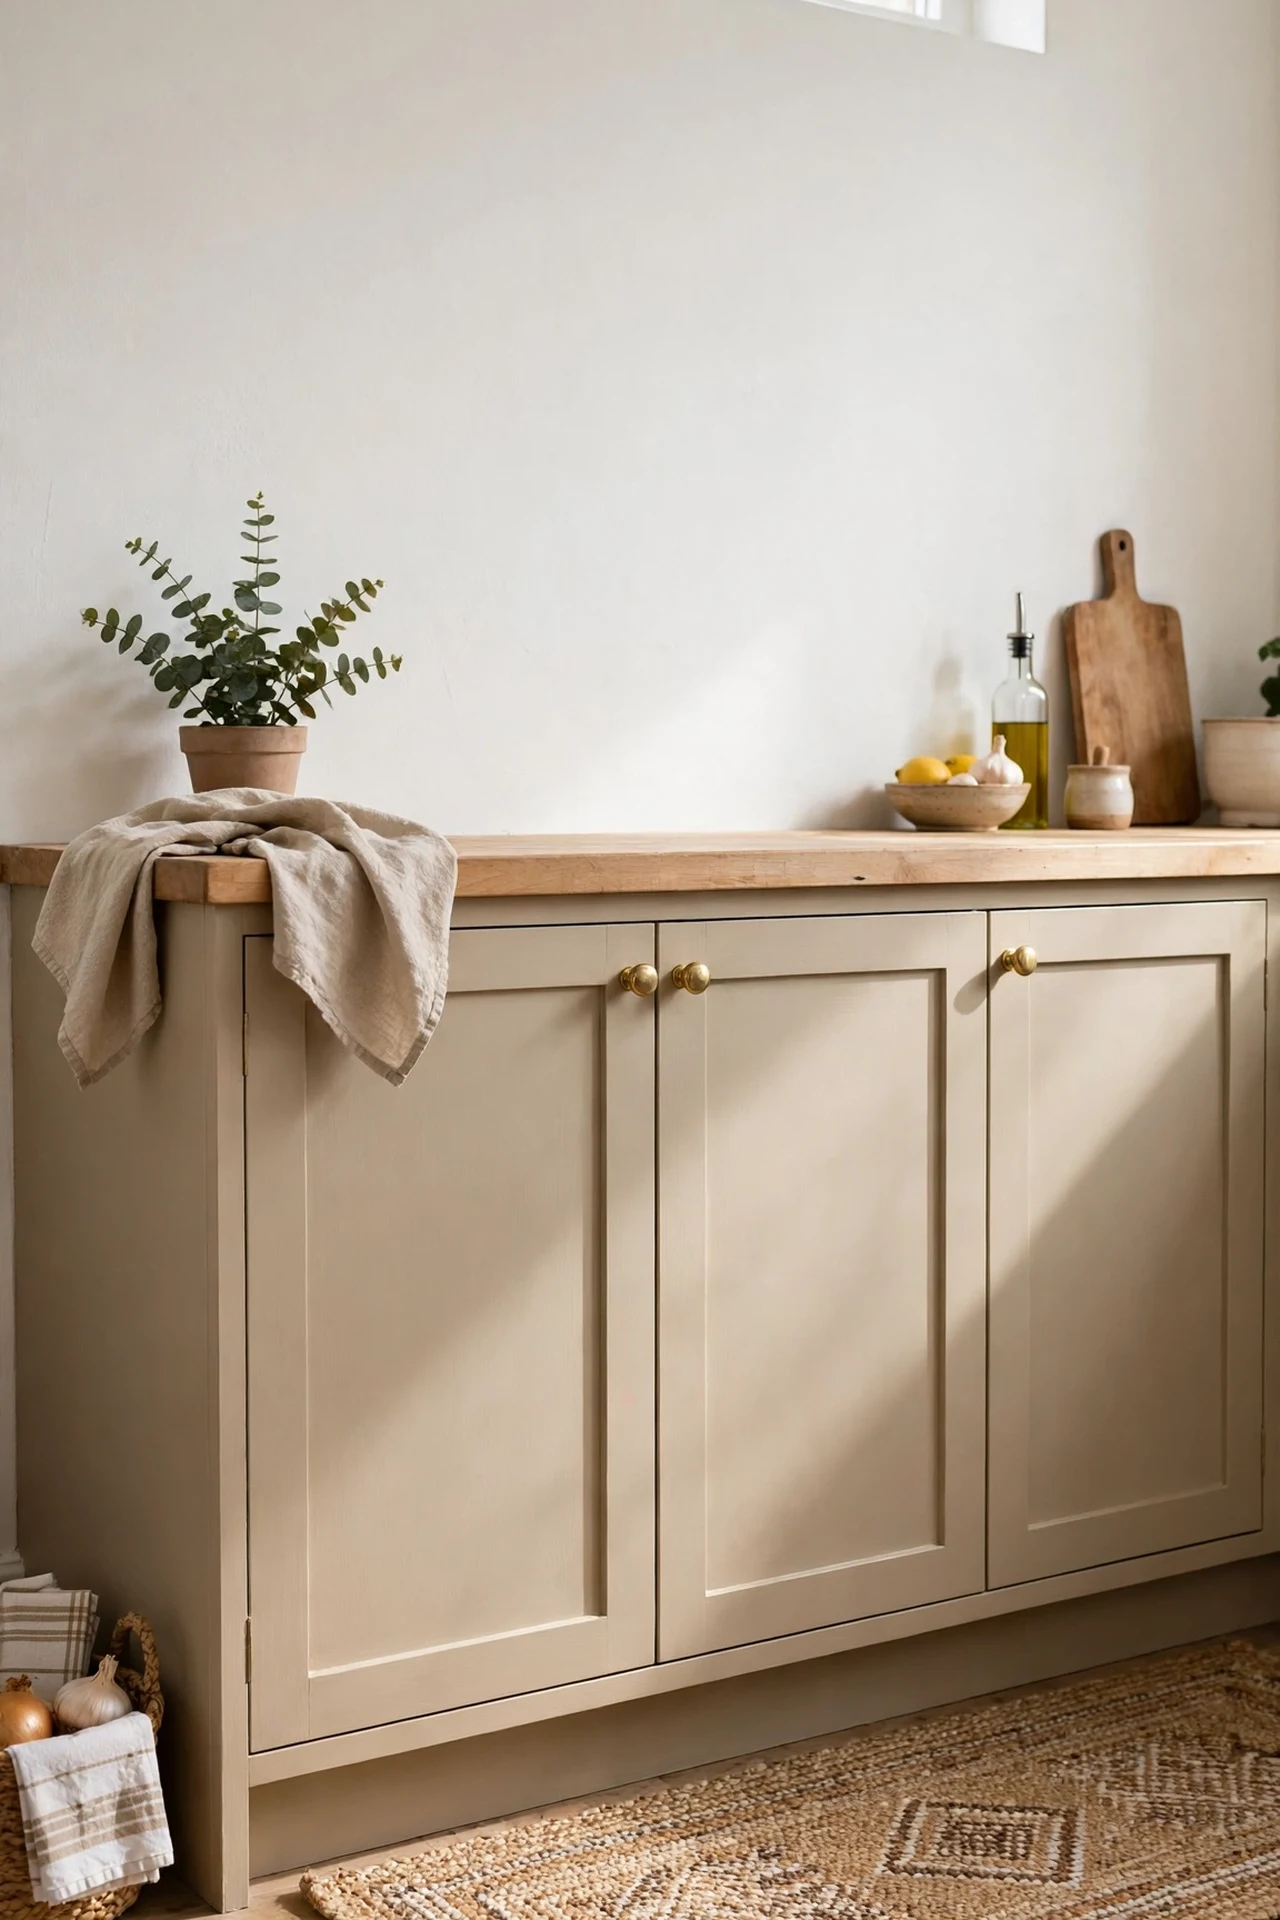
Grey cabinets had their decade; warm putty beige is the vintage-friendly replacement that flatters everything. I repainted my lowers in a mushroomy beige and the kitchen immediately felt sunlit, even on grey days. The process is the usual discipline: remove doors, degrease with sugar soap, sand lightly, prime with a stain blocker, then two coats of cabinet enamel. The mistake to avoid is choosing a beige with pink undertones — under kitchen lighting it can go salmon. I tested three samples on the inside of a door and lived with them for two days before committing. Test in your own light, at your own times of day. Paired with (see also: small-kitchen-organization-ideas), a repainted kitchen is also the perfect moment to declutter what goes back inside.
Cost: ~$50 | Time: one weekend
10. A Vintage Bread Box on the Counter
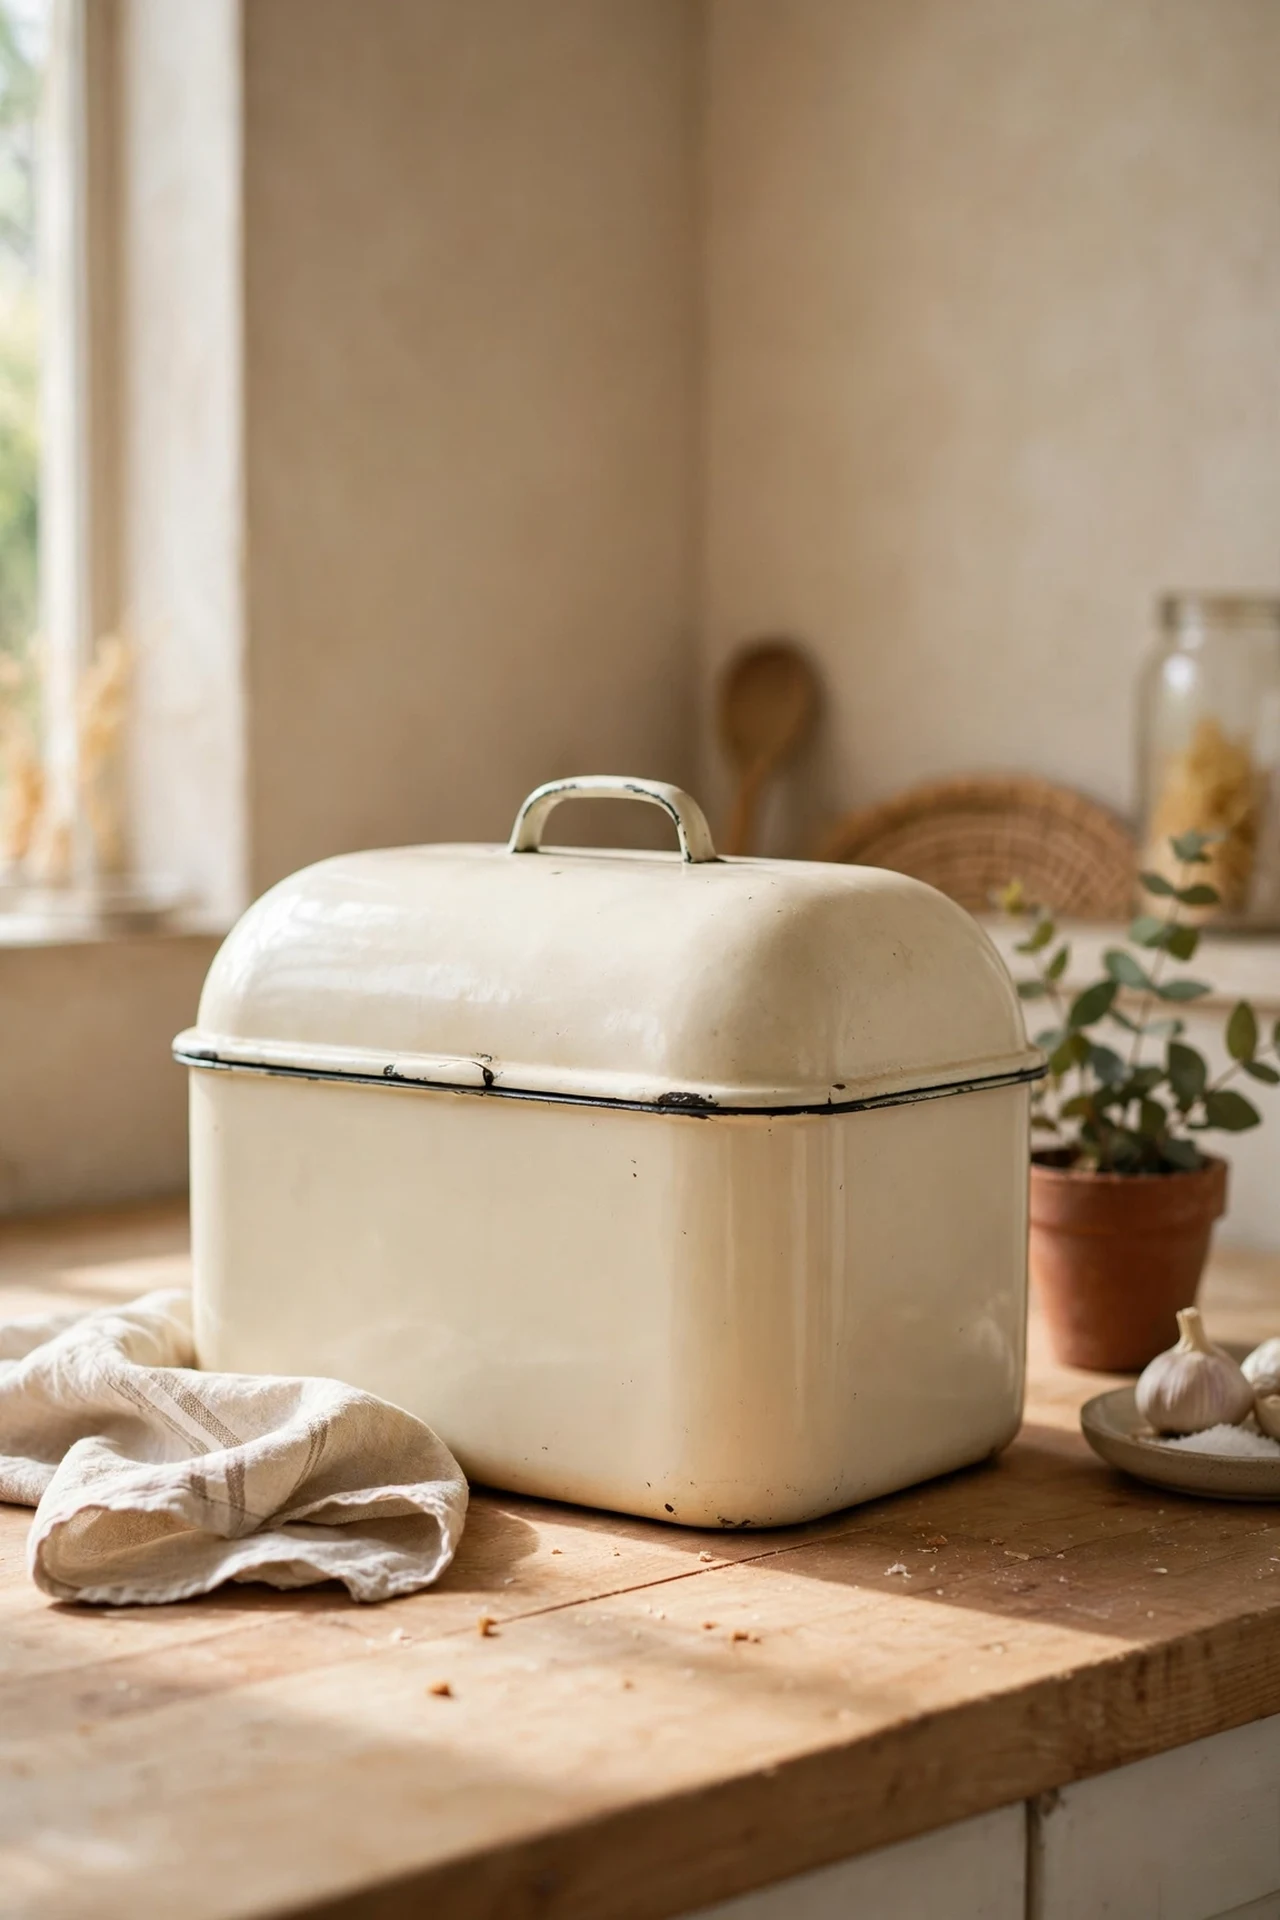
A cream or beige enamel bread box on the worktop does two jobs: it hides the bread bag and it adds a genuine vintage silhouette. I found a 1970s cream bread box at a charity shop for a few pounds, wiped it down, and it looks like it was always meant to be there. If you can’t find a real one, new enamel bread boxes in cream cost very little and look the part. Clean the inside with baking soda to remove any musty smell before first use. The mistake to avoid is storing it right next to the kettle — the steam warps the lid seal over time. Mine sits at the far end of the counter, and it’s become the visual anchor of the whole worktop. It also genuinely keeps bread fresher than the bag does.
Cost: ~$20 | Time: 15 minutes of hunting
11. Beige Checkerboard Peel-and-Stick Floor Tiles
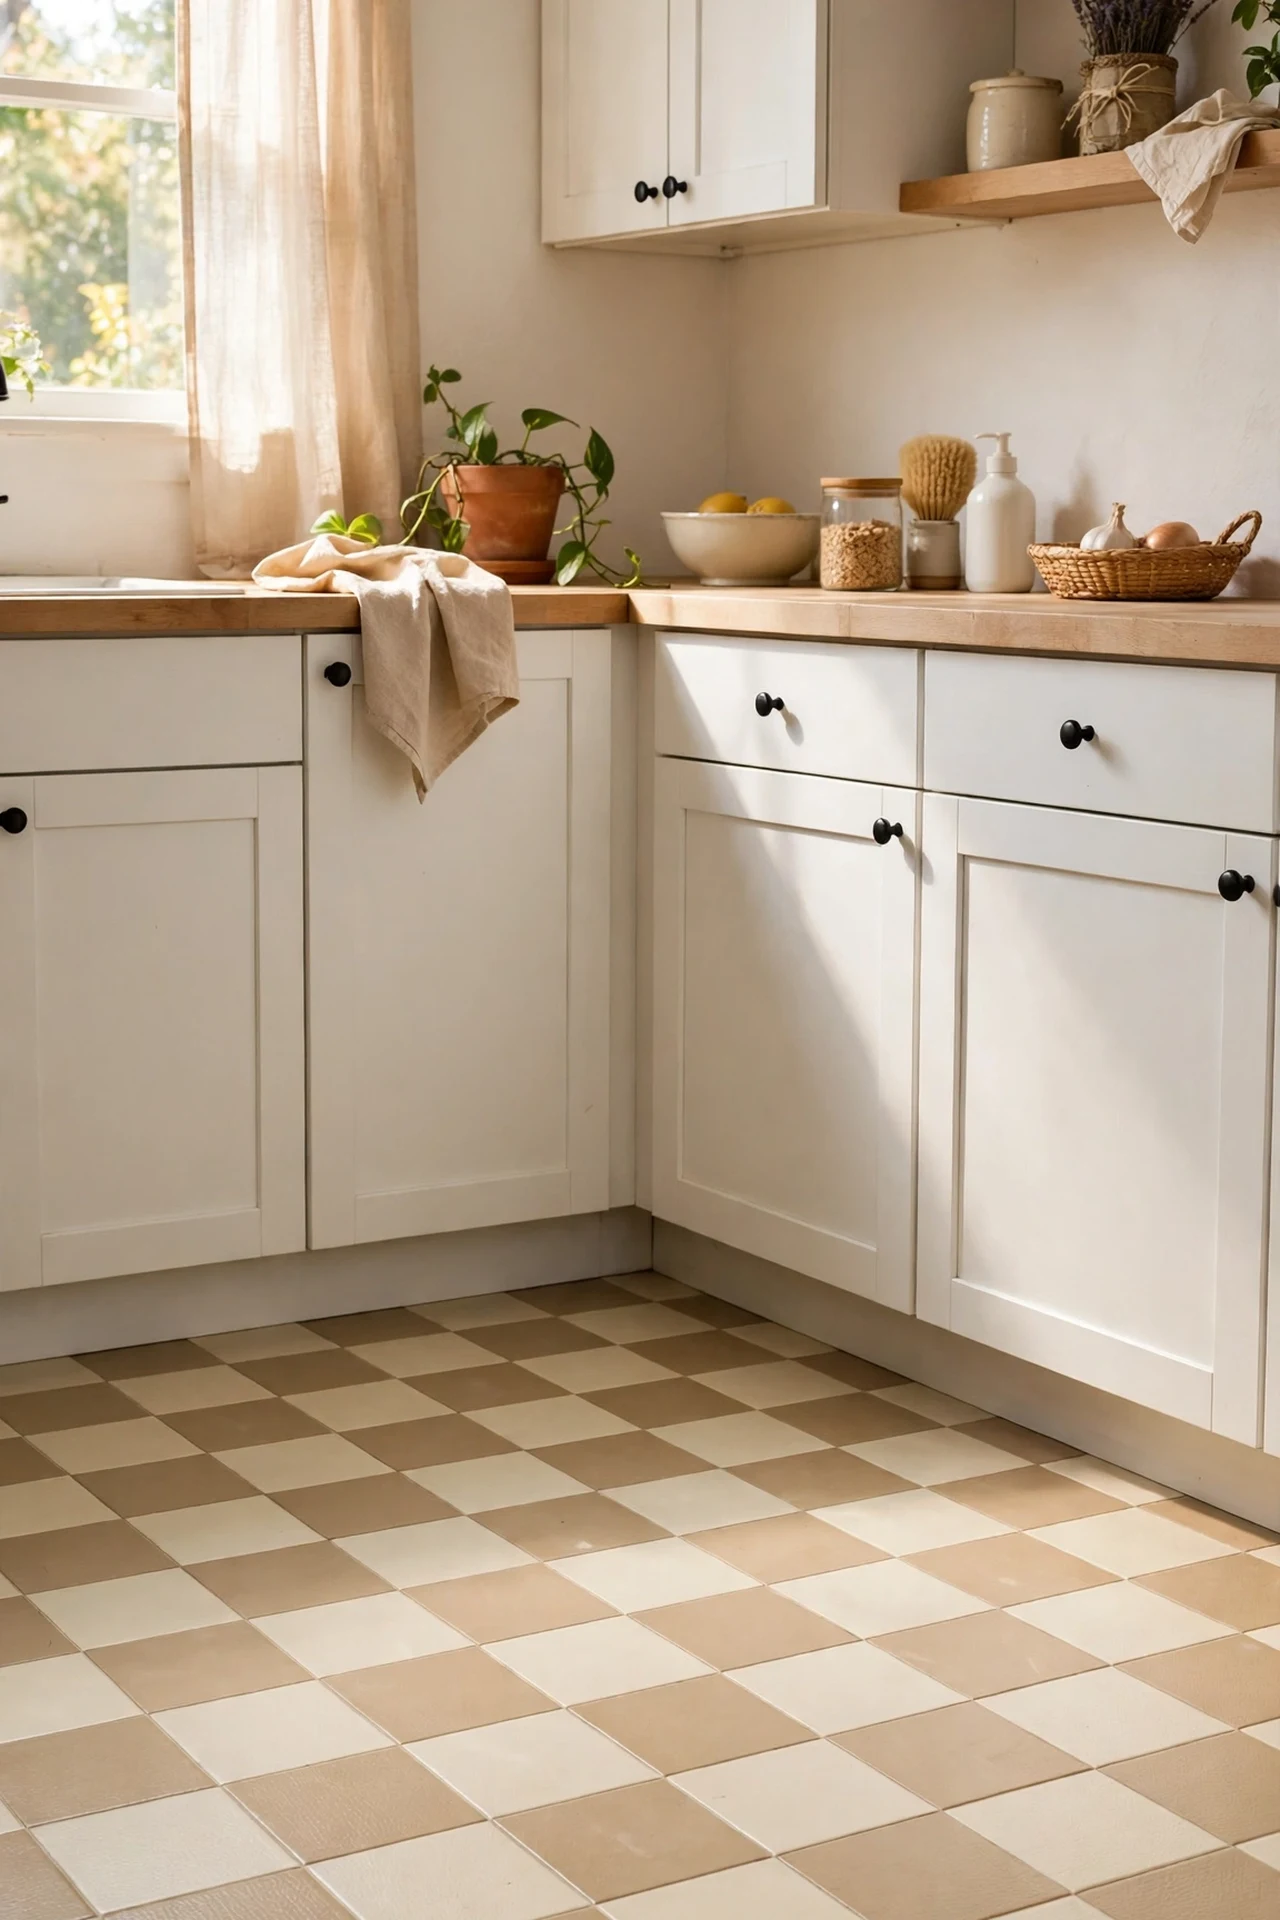
A beige-and-cream checkerboard floor is pure vintage bistro, and peel-and-stick tiles make it a weekend job instead of a renovation. I laid mine straight over the existing lino after a thorough clean and degrease. Snap a chalk line down the centre of the room, lay tiles outward from it so the pattern stays centred, and roll each tile firmly with a rolling pin. The mistake to avoid is laying them in cold weather — the adhesive needs room temperature to bond, and I laid a cold-weather section that lifted at the corners within a week. Warm the room, warm the tiles, and they’ll stick for years. A checkerboard floor makes even plain white cabinets look like a deliberate design choice.
Cost: ~$75 | Time: one weekend
Pro tip: Buy one extra box of tiles — you’ll mis-cut at least two, and dye lots change between batches, so spares from the same box are gold.
12. A Farmhouse Apron Sink Accent
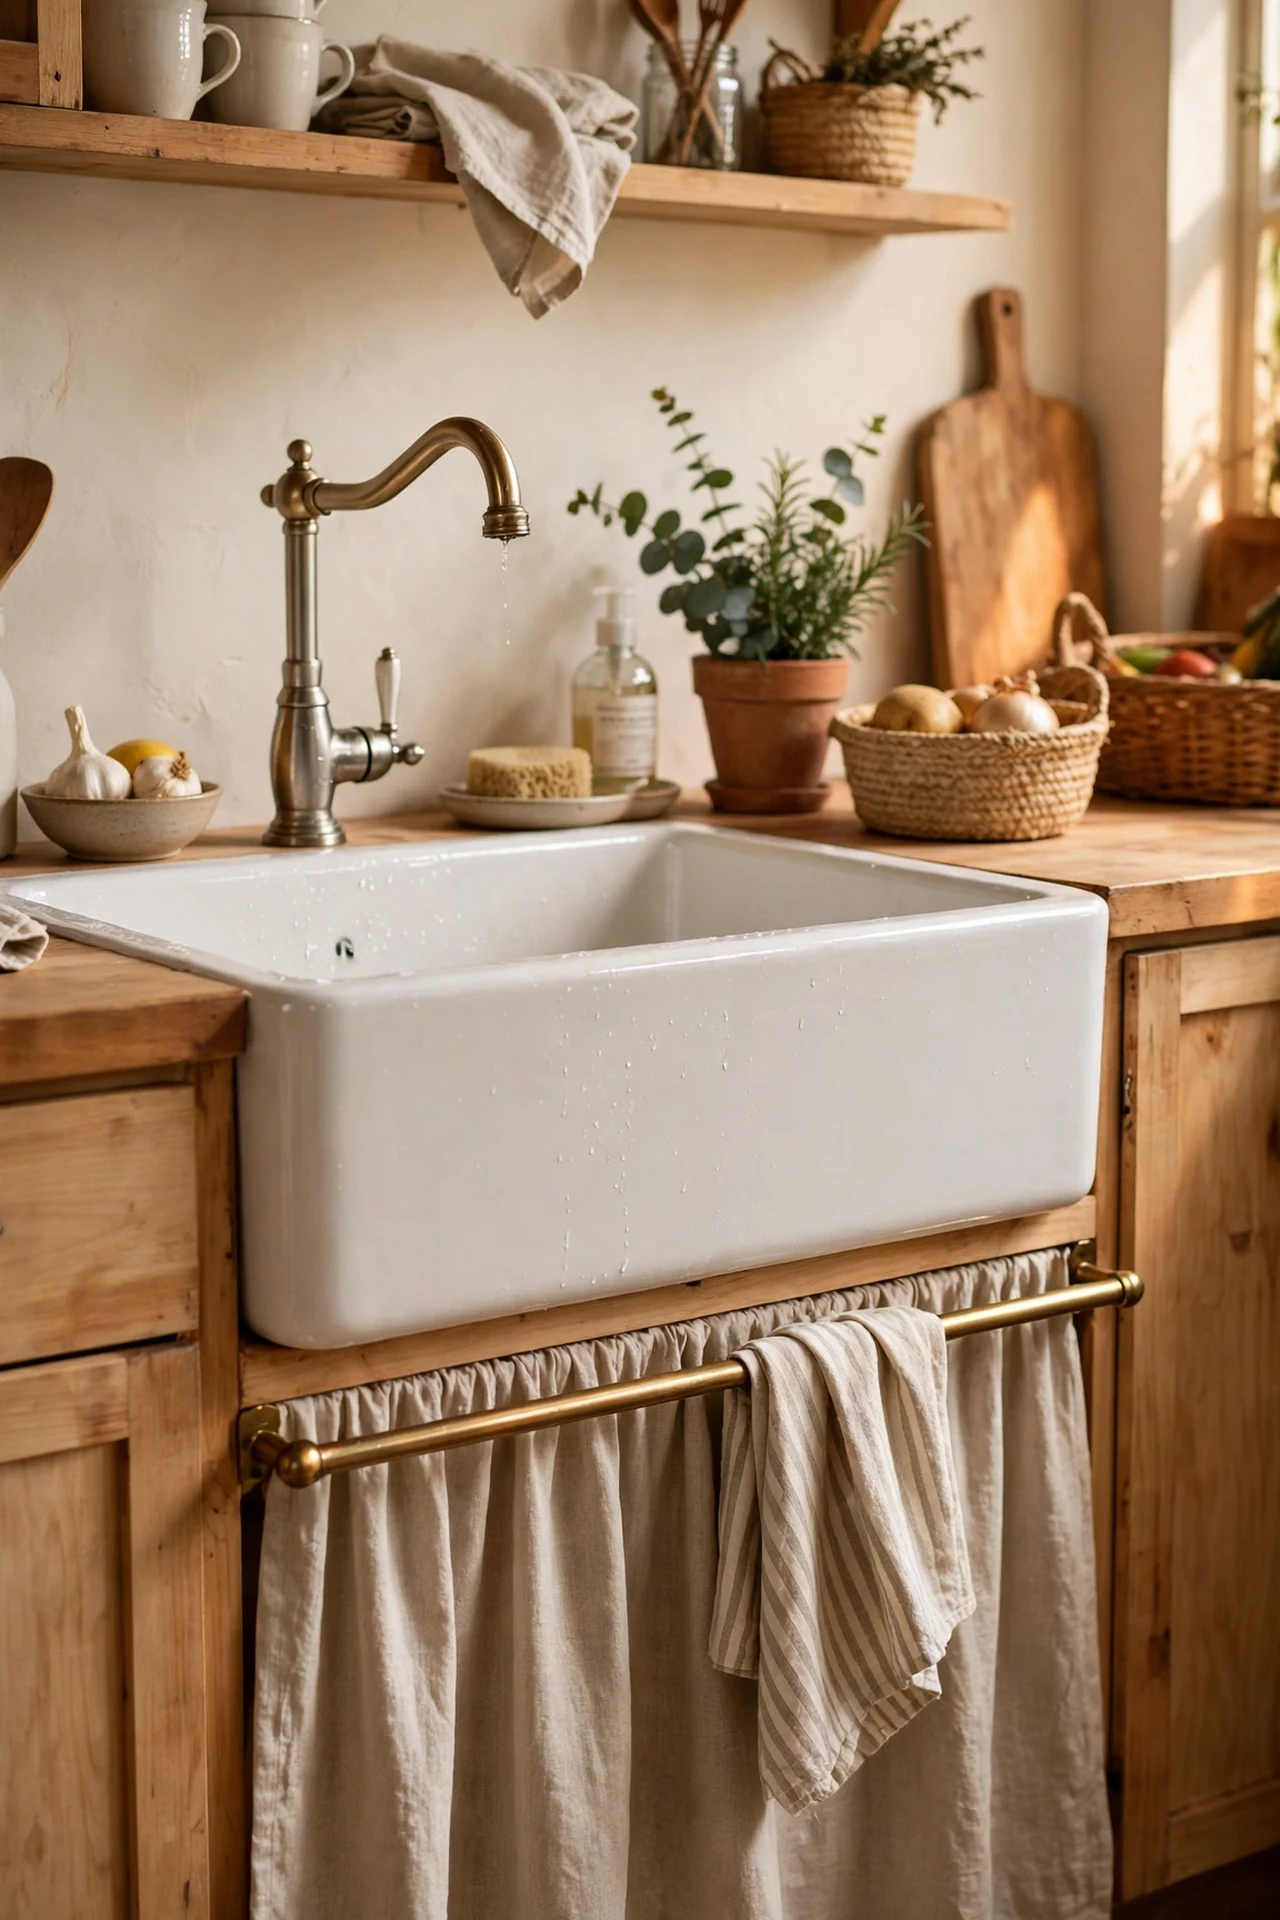
You don’t need to rip out your sink to get the farmhouse look — an apron-front sink skirt or a beige shiplap panel under your existing sink fakes it convincingly. I fitted a simple framed panel in warm beige under my standard inset sink, finished with a slim brass rail and a linen curtain. Measure the opening, build a basic frame from pine batten, paint it, and hang the curtain on a tension rod. The mistake to avoid is a curtain that pools on the floor — it will wick up mop water. Hem it to just kiss the skirting. The linen curtain also hides the under-sink chaos of cleaning bottles, which might be this idea’s greatest gift. It reads as farmhouse from every angle.
Cost: ~$38 | Time: one afternoon
13. A Vintage Wooden Ladder as a Towel Rack
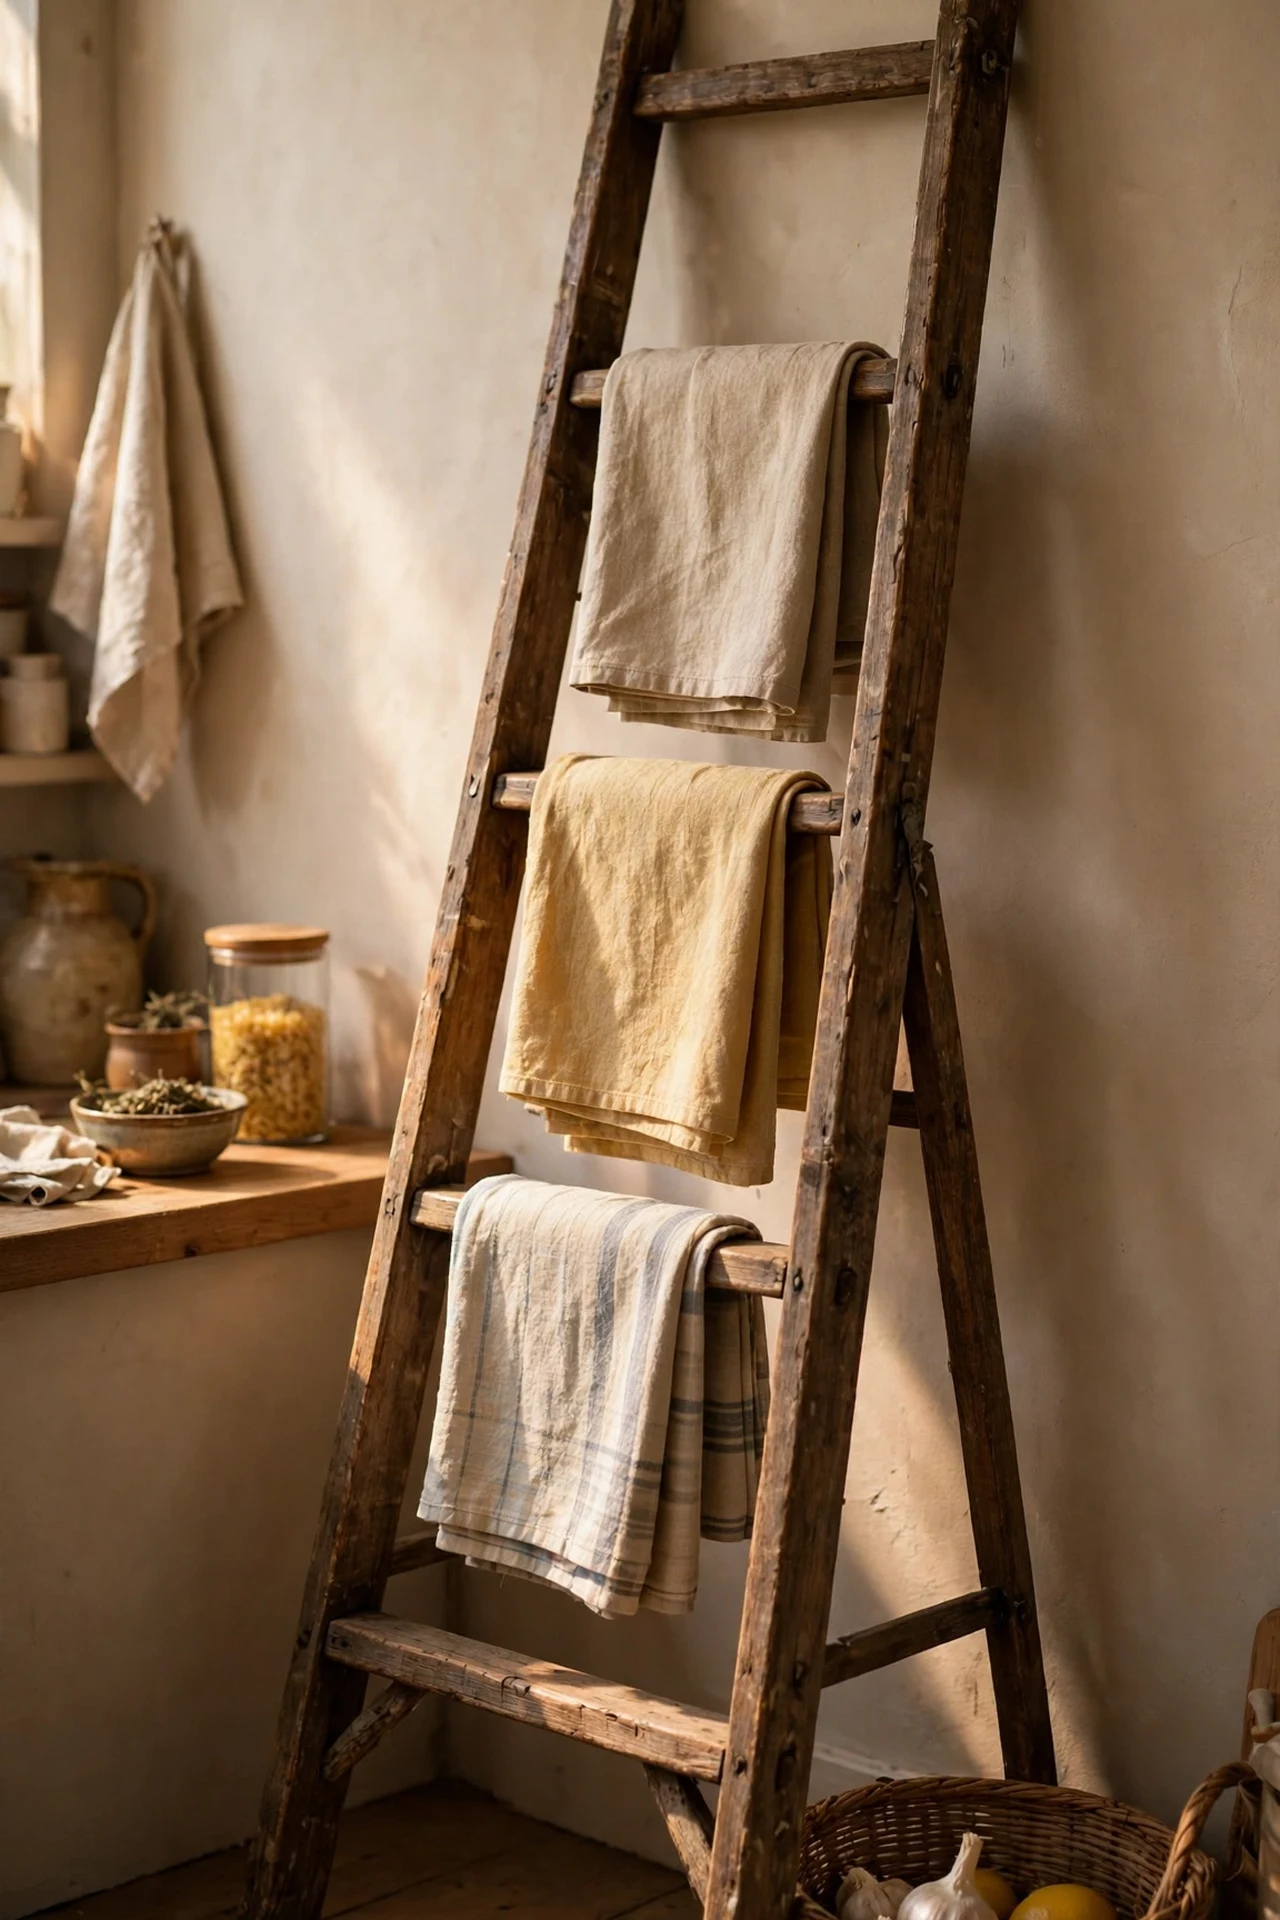
An old wooden ladder leaned against the wall becomes a towel rack with more character than anything from a homeware aisle. I found a paint-spattered decorator’s ladder at a car boot sale, sanded it smooth, and gave it a coat of matte beige. Lean it at a slight angle against a blank wall, drape tea towels and a linen apron over the rungs, and secure the top with a discreet wall bracket so it can’t slip. The mistake to avoid is skipping the bracket — I had mine slide sideways on the first day before I fixed it properly. Sand thoroughly; old ladders hide splinters. The layered towels in creams and beiges turn a dead corner into a styled vignette.
Cost: ~$18 | Time: 2 hours
14. Stoneware Crock Utensil Holders
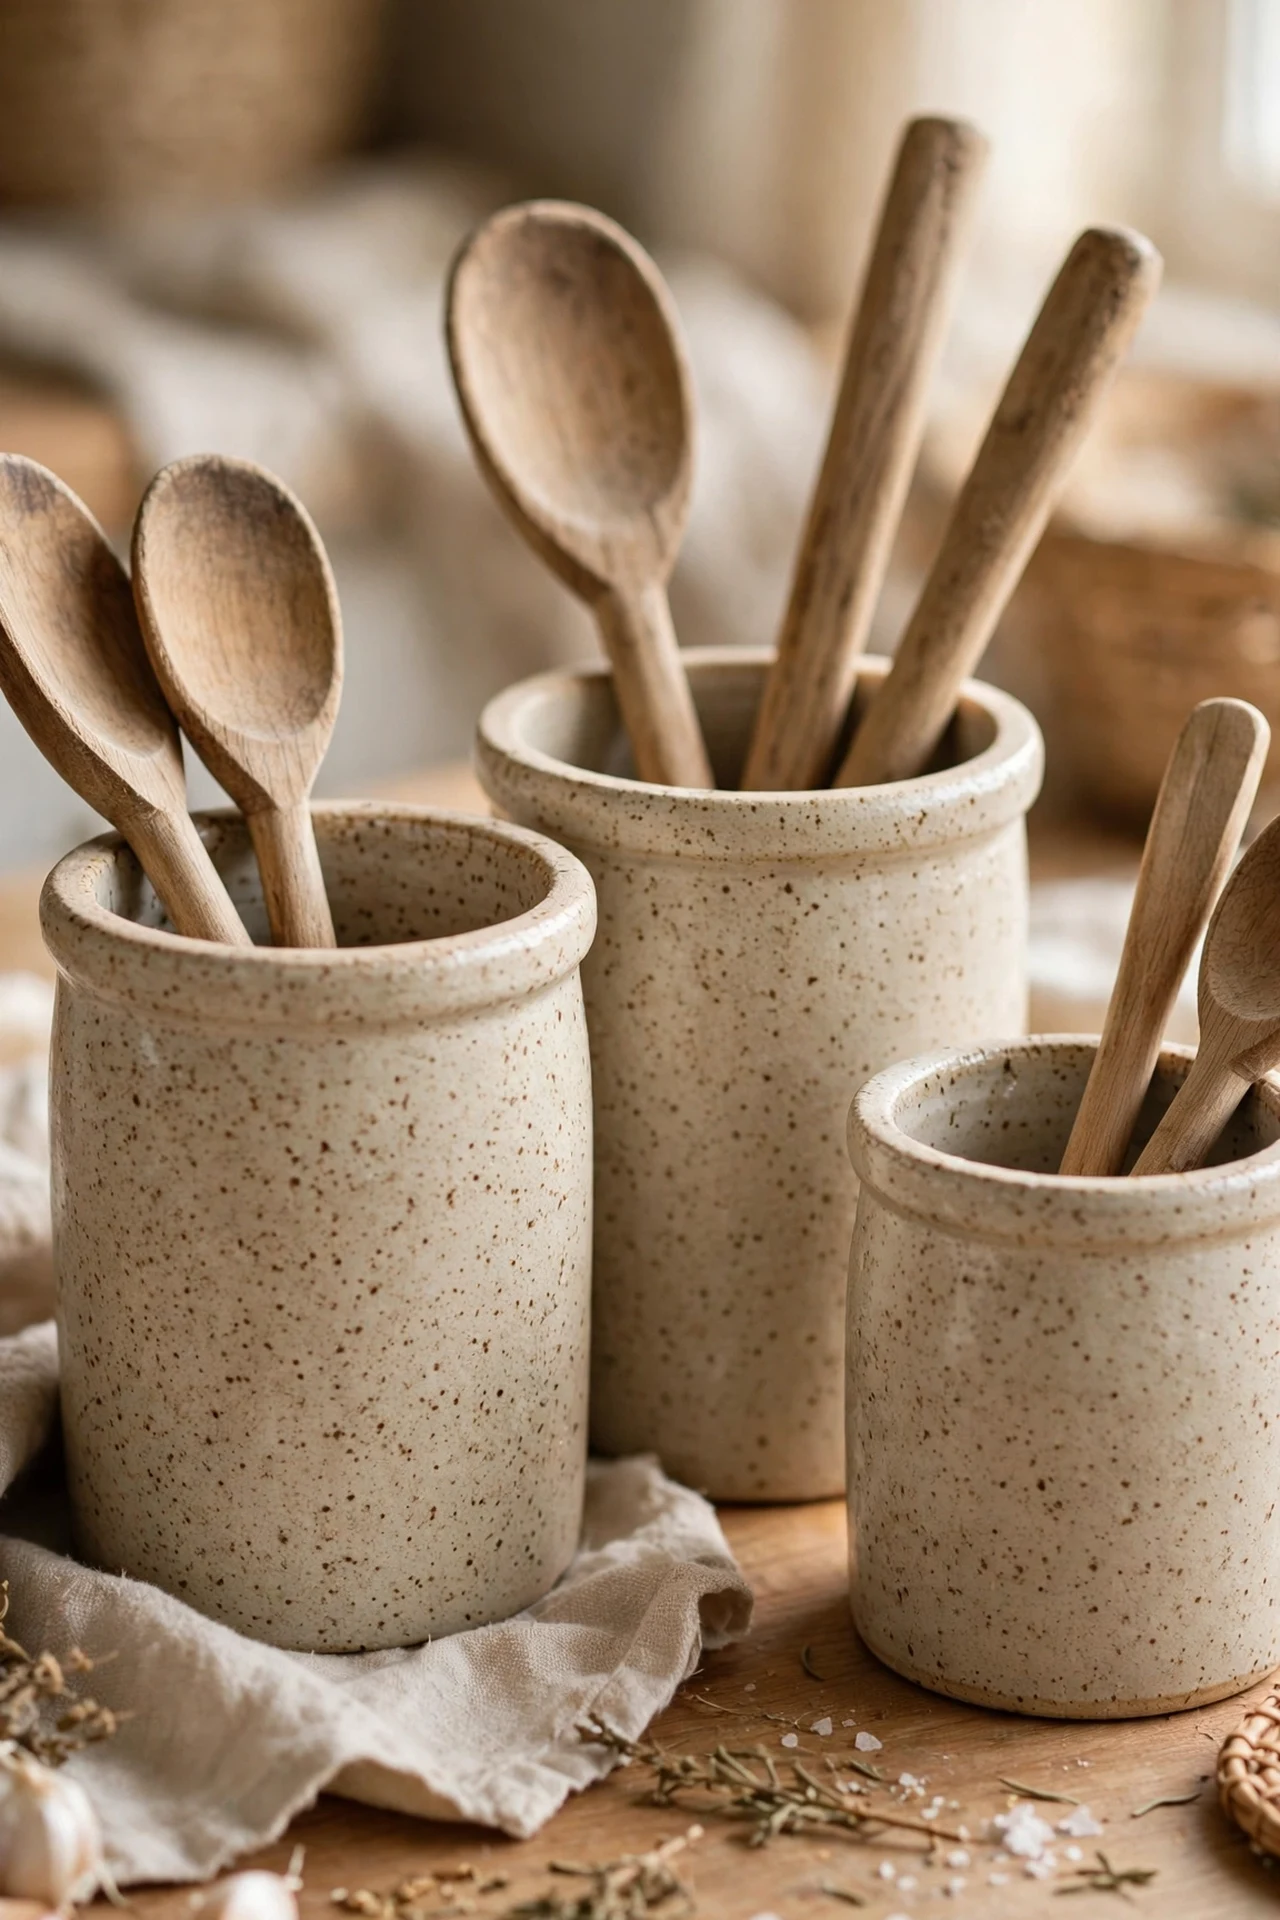
Swap your plastic utensil pot for two or three beige stoneware crocks and the worktop instantly calms down. I bought mine at a pottery outlet — heavy, speckled, unmistakably handmade-looking — and sorted my tools by height so nothing disappears. Keep wooden spoons in the tall crock and spatulas in the short one; the visual order makes the counter feel tidy even when it isn’t. The mistake to avoid is overfilling — I crammed everything into one crock at first and it toppled onto the hob. Two crocks, half full, is the sweet spot. Speckled stoneware against beige walls is the quietest, most reliable vintage texture there is.
Cost: ~$15 | Time: 20 minutes of shopping
15. Framed Vintage Windows as Backsplash Art
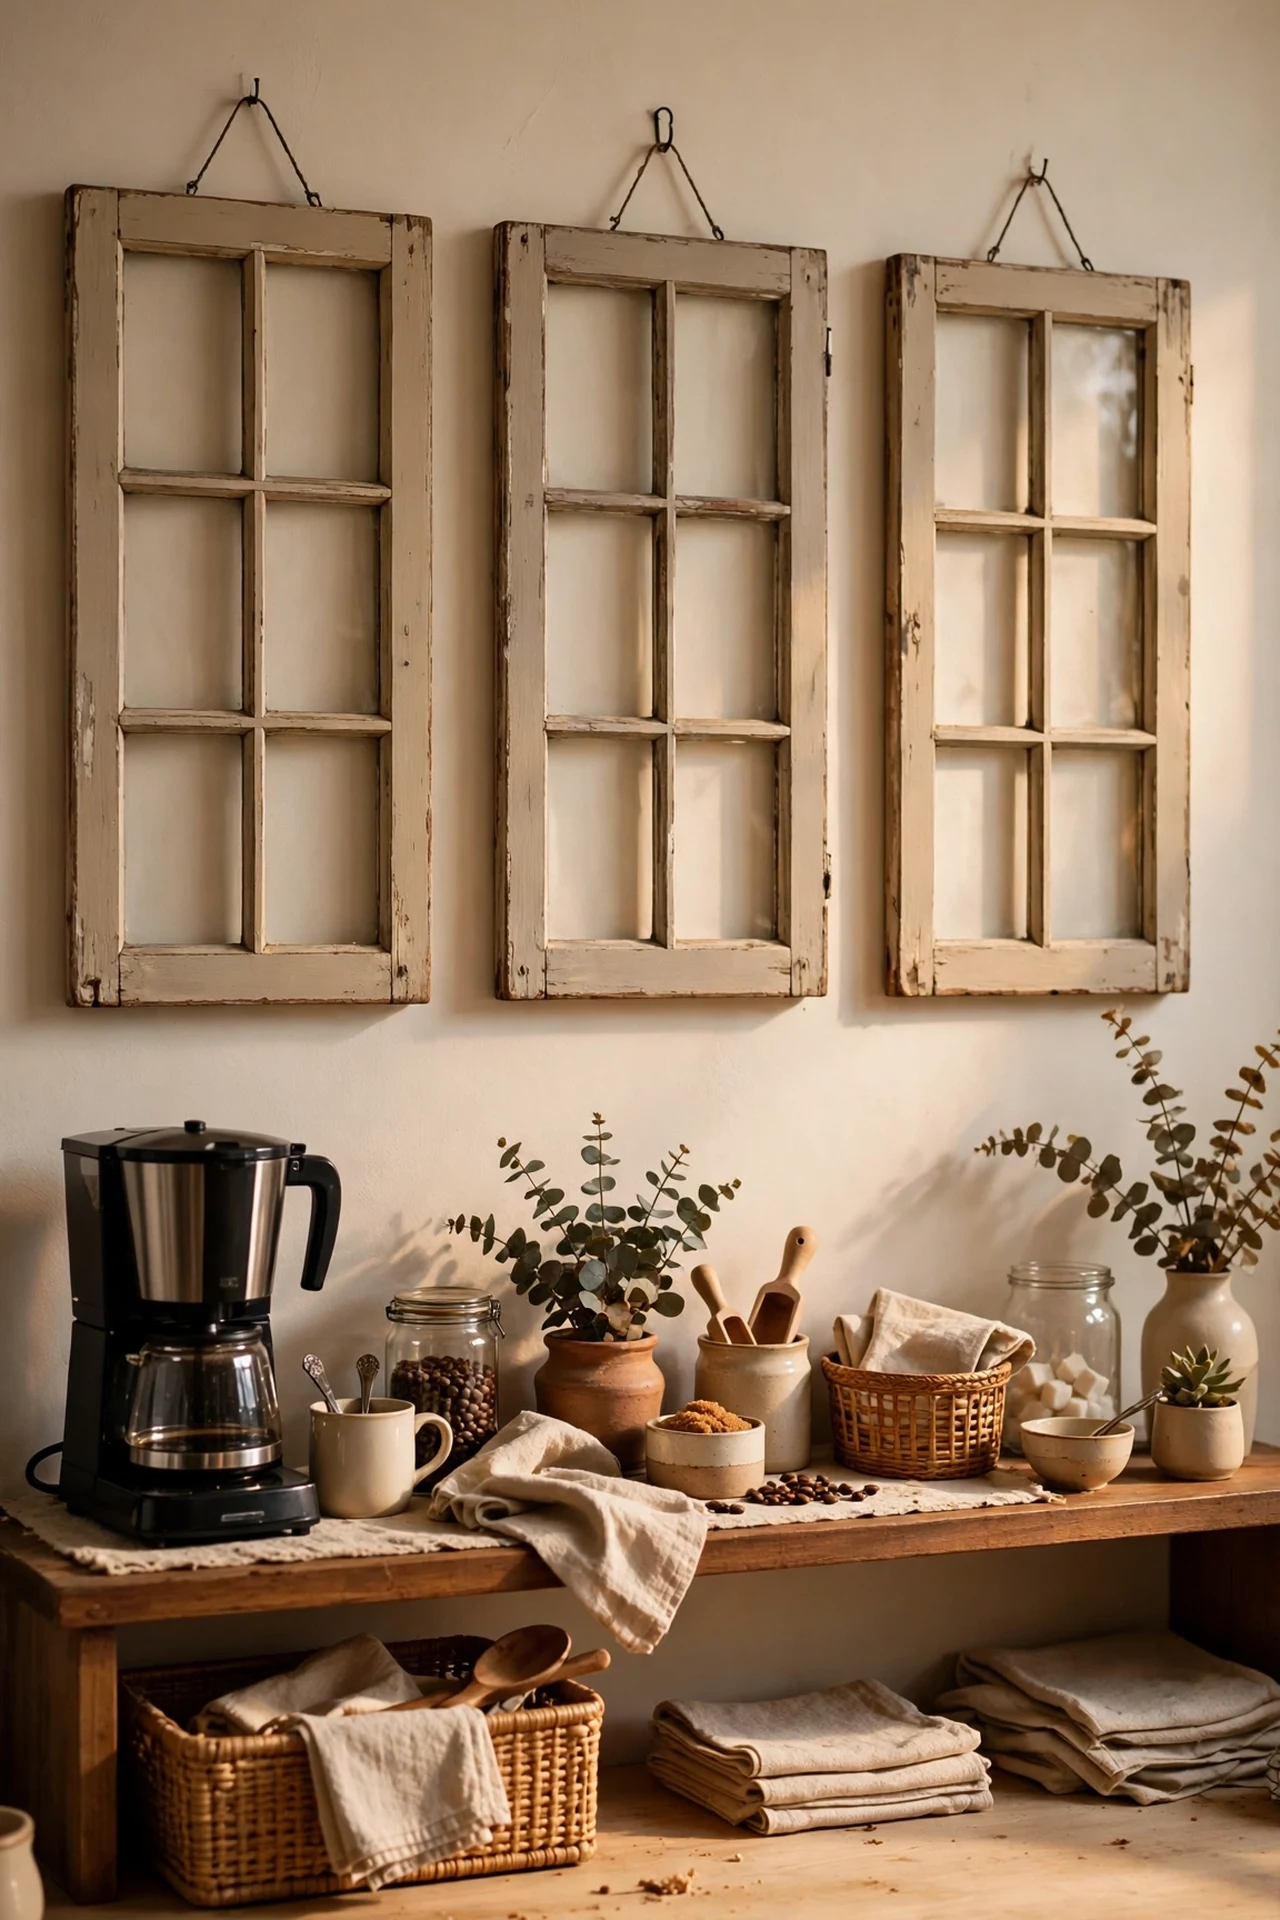
Salvage yards sell old wooden window frames for almost nothing, and hung above a worktop they become architectural art with instant age. I hung two small six-pane frames on the bare wall behind my coffee station, painted in the same warm beige as the walls so they read as texture rather than clutter. Clean the frames, check for lead paint if they’re very old, and hang with proper wall anchors. The mistake to avoid is leaving cracked glass in place — I removed the broken panes entirely and the open frames look cleaner and safer. You can back one pane with a vintage botanical print for a focal point. It’s the kind of detail that makes people ask where you hired your designer.
Cost: ~$18 | Time: one afternoon
Pro tip: Rub a little dark wax into the corners and edges of painted frames — it settles into the detail and fakes decades of gentle wear in minutes.
16. Warm Beige Pendant Light Shades
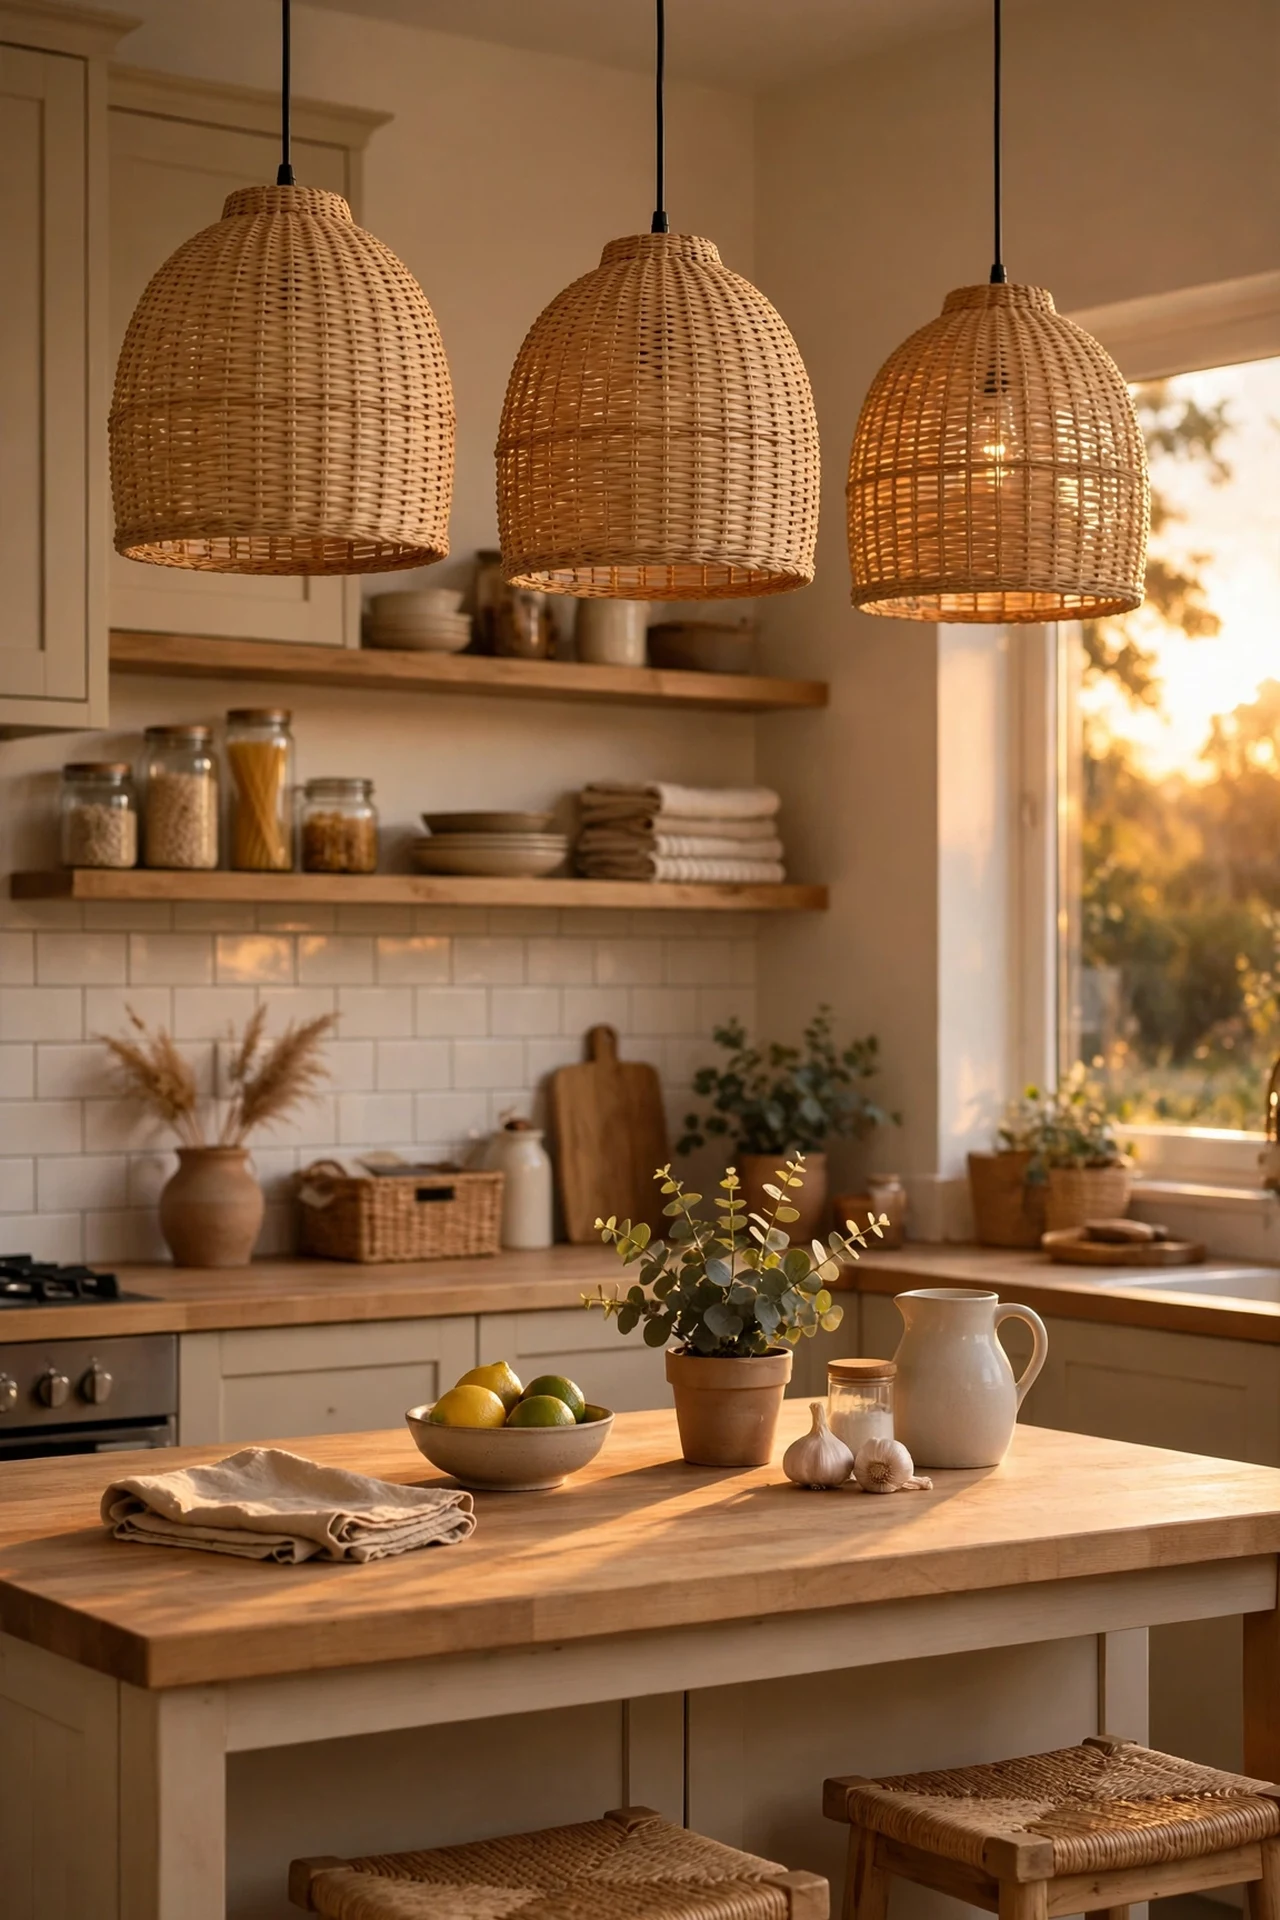
Cool white pendants fight a beige kitchen; warm beige shades complete it. I swapped my stark white pendants for woven rattan shades in a honey-beige tone, and the evening light turned golden. It’s a simple fitting swap: breaker off, unscrew the old shade, fit the new one to the existing flex. Choose shades that cast light downward as well as through the weave, or your worktops go dim. The mistake to avoid is buying shades too small for the space — I bought dinky ones first and they looked lost over the island; shades should be at least a third of the island’s width each. Rattan texture against beige walls layers the vintage story beautifully.
Cost: ~$55 for two | Time: 30 minutes
17. A Vintage Tea Towel Gallery Rail
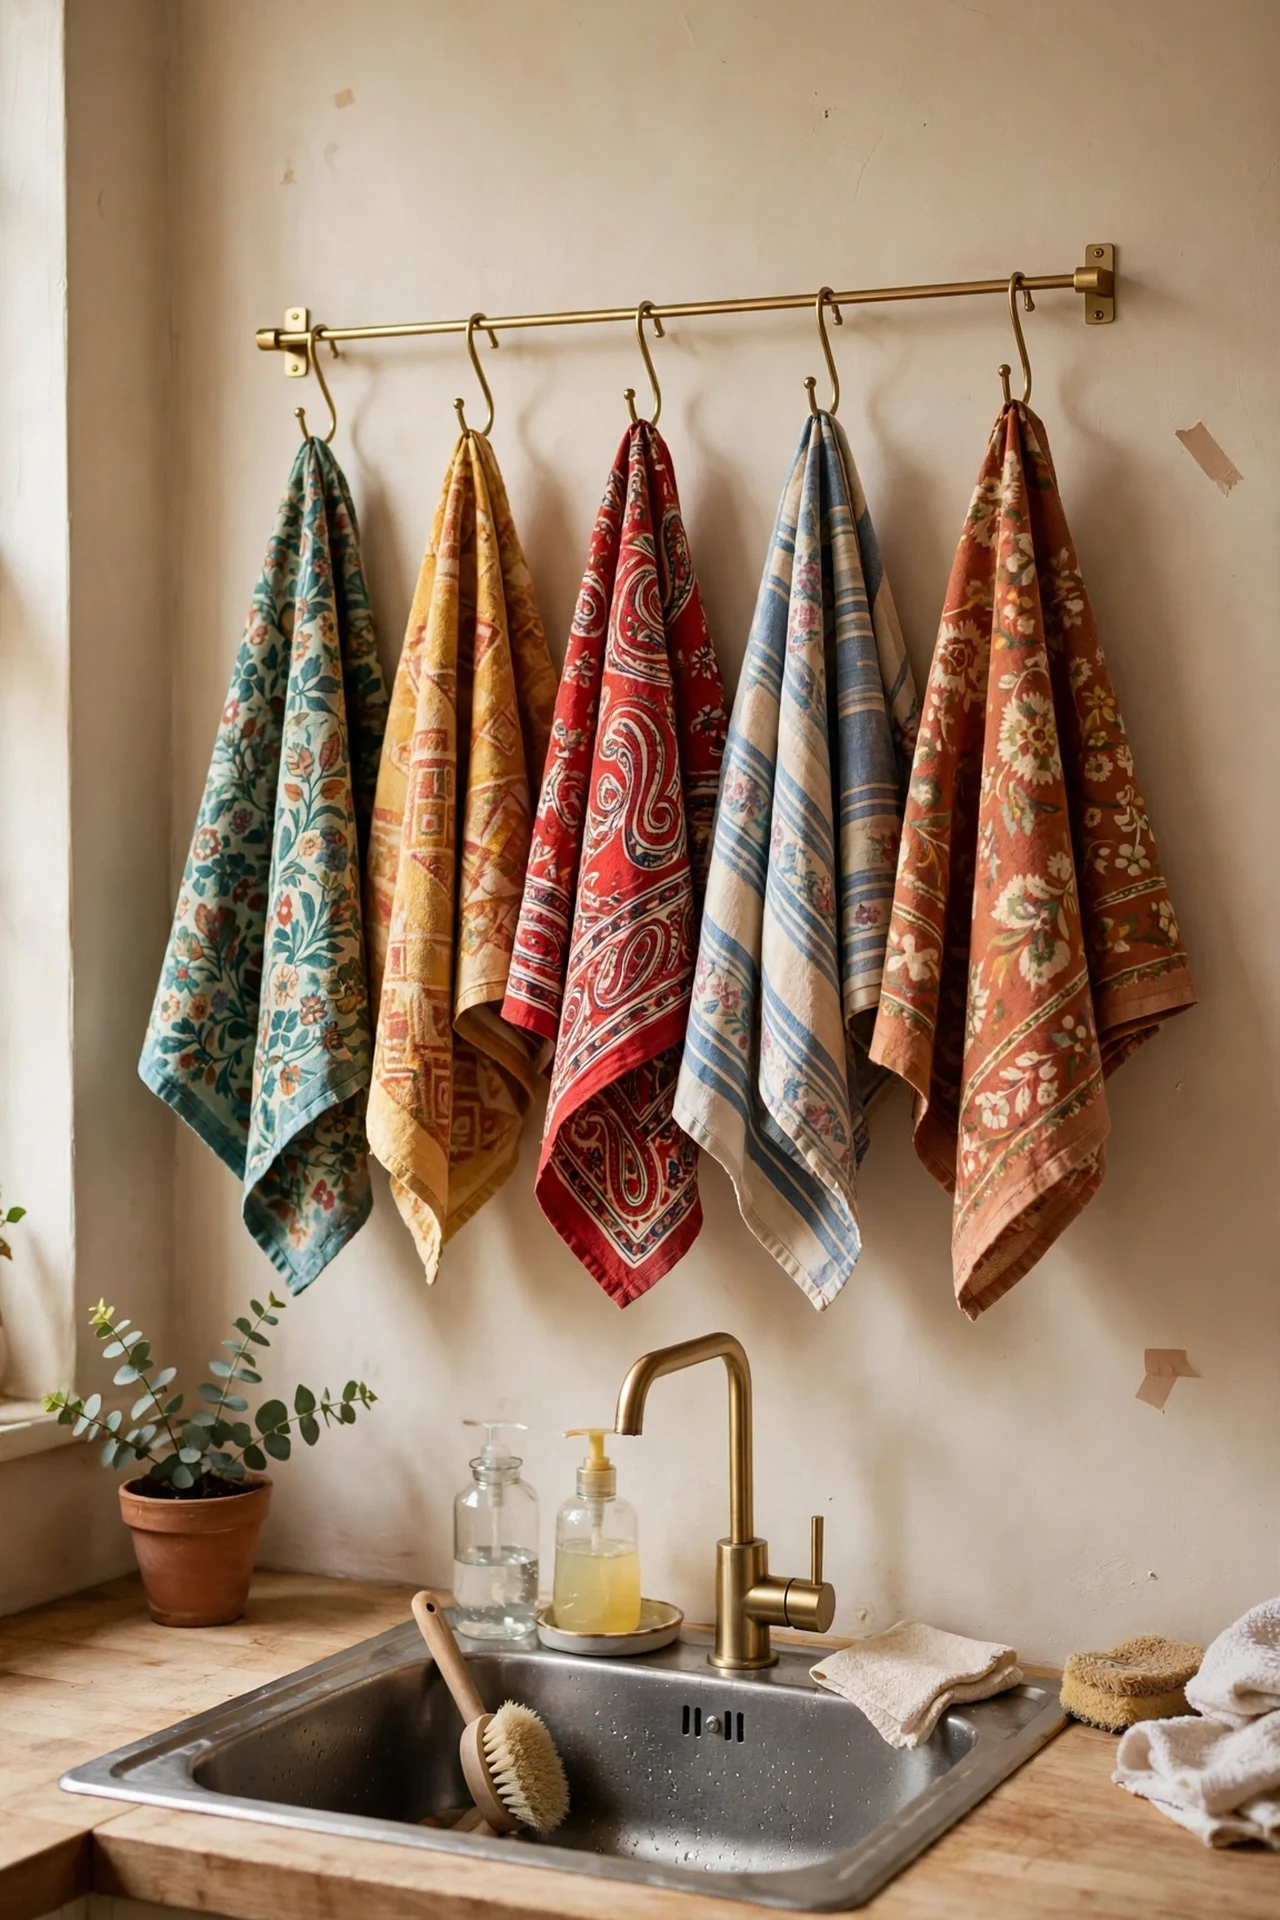
This is the cheapest idea on the list and one of my favourites: a slim brass rail on the wall, hung with a rotating collection of vintage tea towels. I collect them from charity shops — striped French ones, faded floral ones — and swap them seasonally. Mount the rail at a reachable height near the sink, add a few S-hooks, and fold each towel over a hook so the pattern shows. The mistake to avoid is hanging only matching towels; the charm is in the mix, the way a real grandmother’s kitchen looked. I keep three on display and the rest in a drawer, rotating monthly. For the price of a sandwich, you get a wall that changes personality four times a year.
Cost: ~$12 | Time: 30 minutes
18. Limewash Walls in Warm Beige
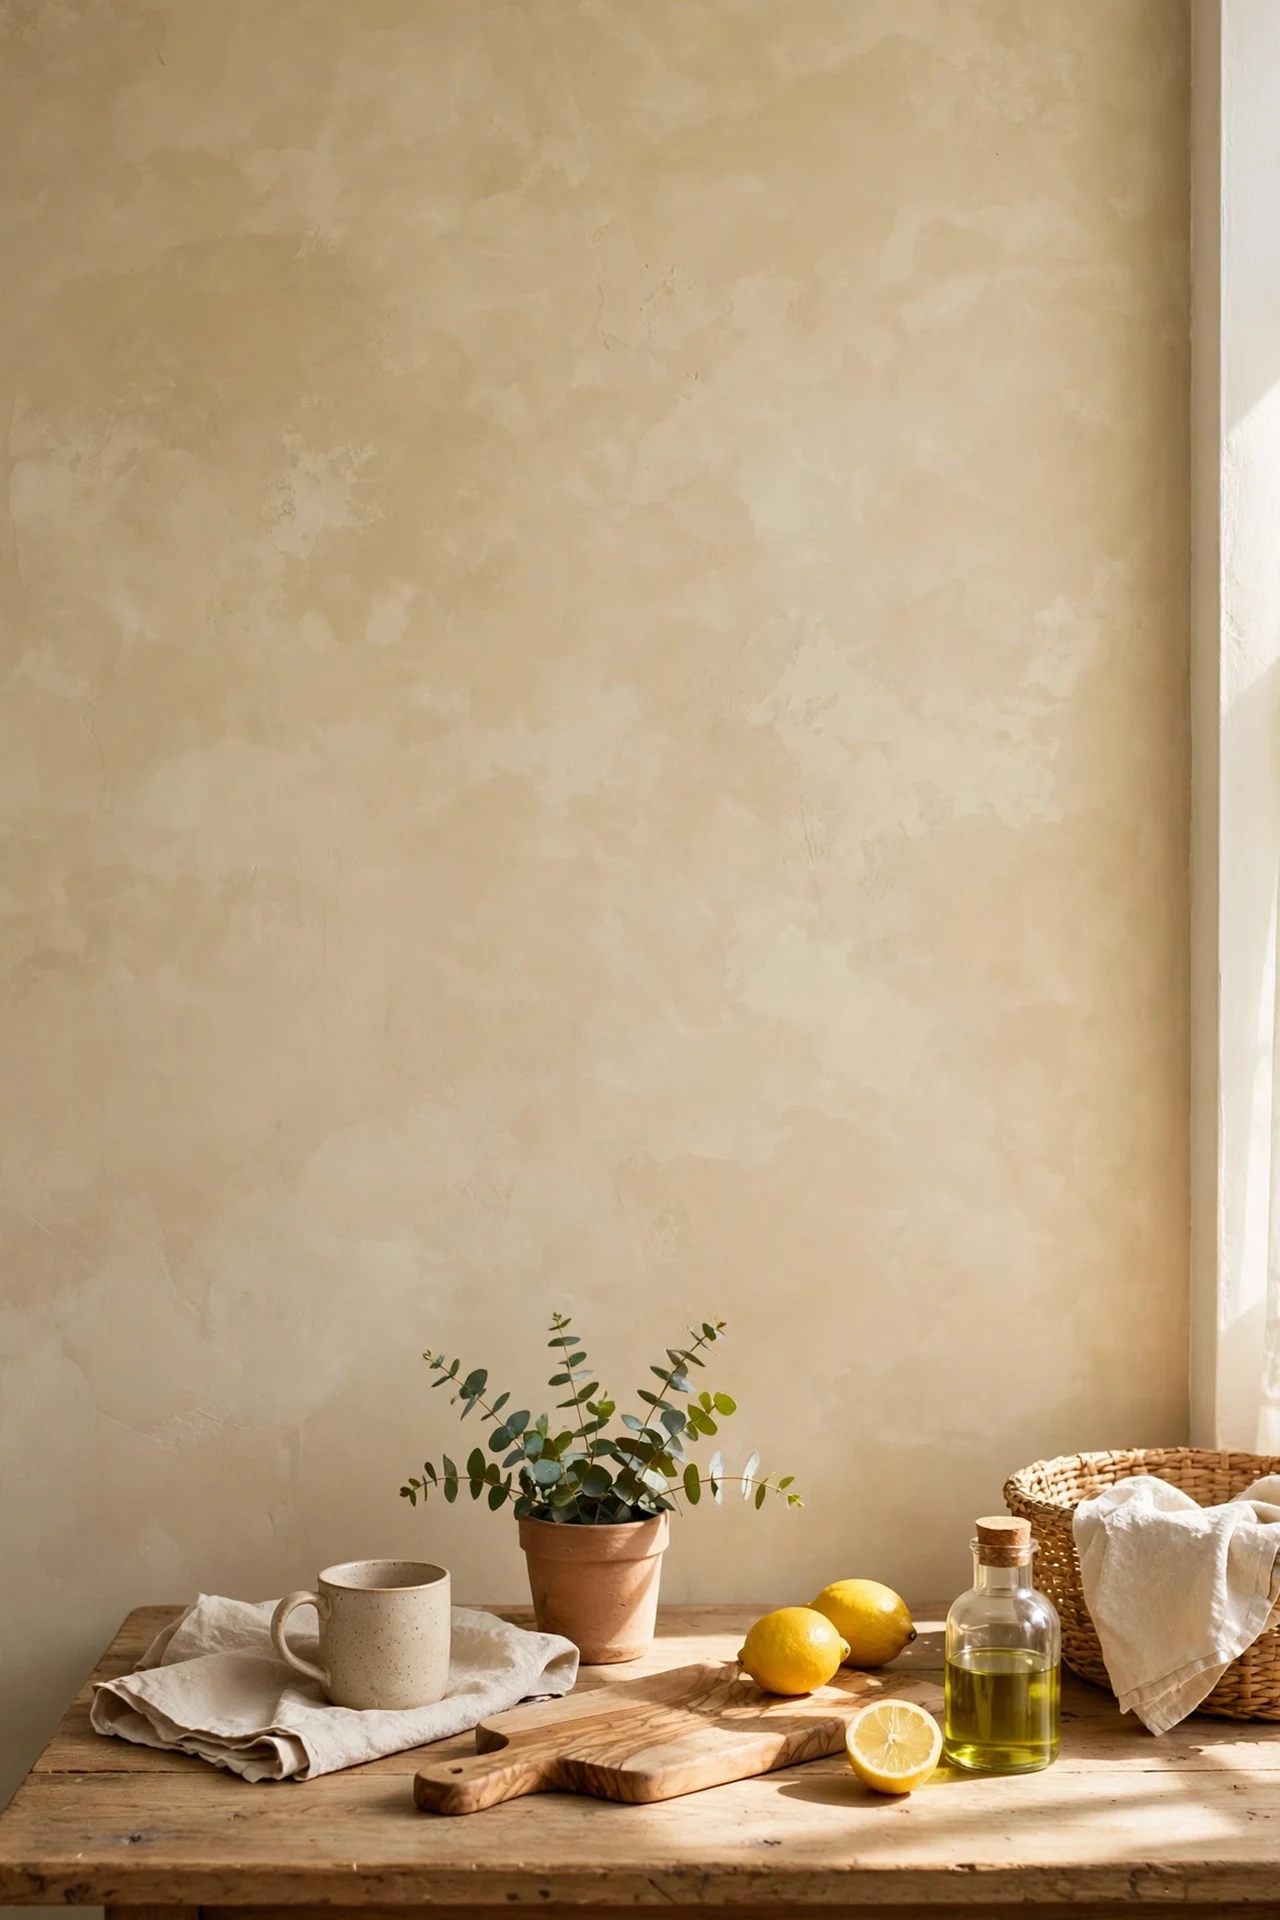
Limewash paint gives walls the soft, cloudy movement that flat emulsion never can, and in warm beige it looks like a Provençal farmhouse. I limewashed my main kitchen wall with a big block brush, working in crisscross strokes, and the wall went from boring to beautiful in one afternoon. The technique: load the brush lightly, apply in random X patterns, and embrace the variation — trying to make it even defeats the purpose. The mistake to avoid is limewashing over a dark colour without the right primer; I had to do three coats where two would have done. One wall is enough; limewash everywhere can feel unfinished. The texture catches lamplight in a way that makes the whole room glow.
Cost: ~$48 | Time: one afternoon
Pro tip: Limewash looks dramatically different wet and dry — paint a test board and let it dry fully for 24 hours before judging the colour.
19. A Vintage Stool Herb Station by the Window
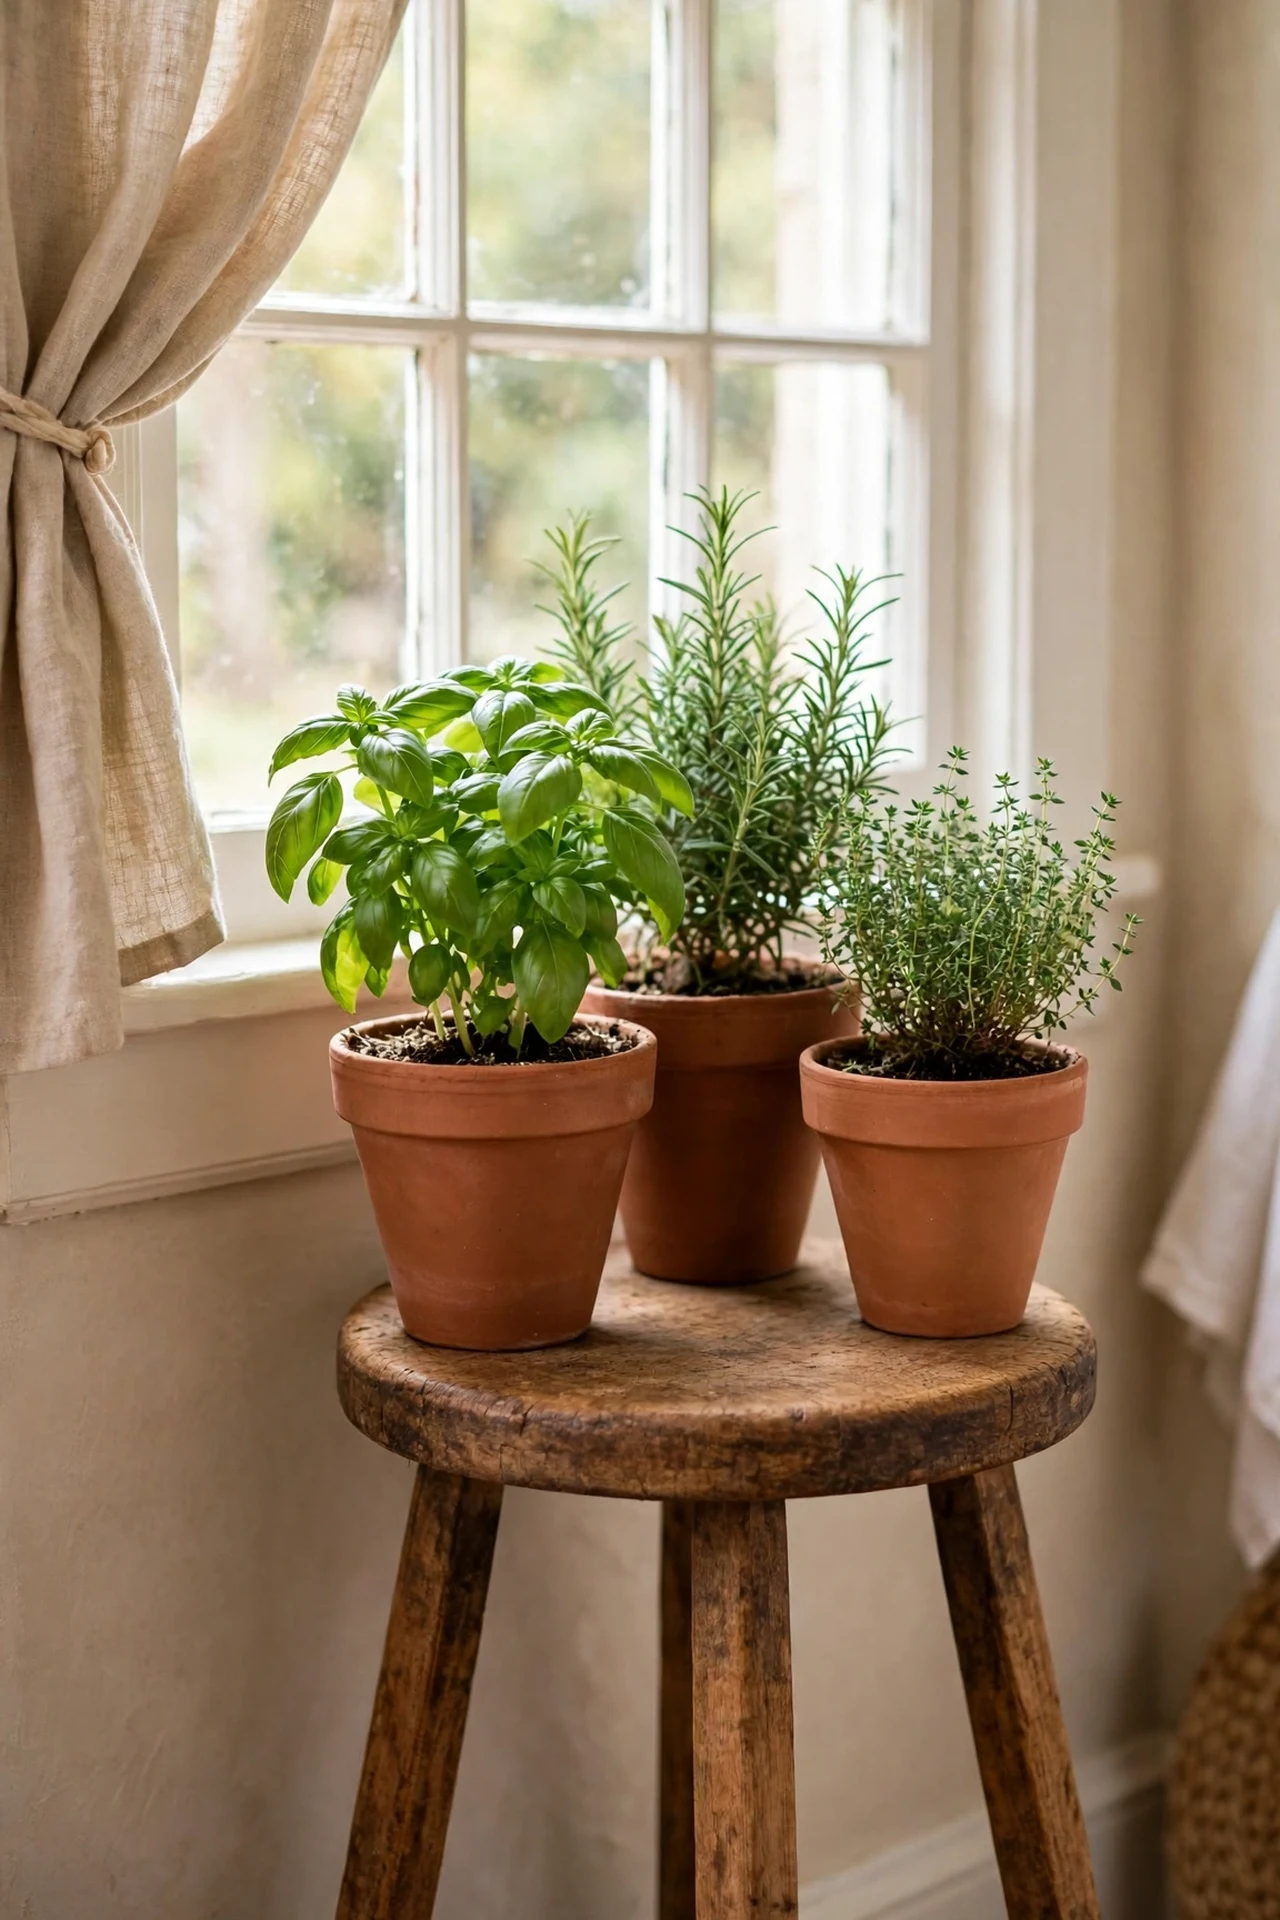
Finish with something living: a vintage wooden stool by the window, topped with potted herbs in beige terracotta pots. I found a battered milking stool at a flea market, sealed it with wax, and now it holds basil, thyme, and rosemary within arm’s reach of the chopping board. Choose a spot with at least four hours of light, use pots with drainage holes and saucers, and water from the bottom to keep leaves dry. The mistake to avoid is buying the sad supermarket basil and expecting it to thrive — I split mine into smaller pots with fresh compost and it lasted months. Fresh herbs, warm wood, beige clay: it’s the vintage kitchen in miniature, and it smells wonderful.
Cost: ~$26 | Time: 1 hour
Beige gets called boring by people who’ve never stood in a kitchen that feels like a hug. My grandmother’s kitchen taught me that warmth is a design choice, not an accident — and none of these ideas asked me to choose between charm and my budget.
