17 Modern Kitchen Ideas That Don’t Break the Bank
17 Modern Kitchen Ideas That Don’t Break the Bank
Last spring my neighbour popped round with a quote from a kitchen fitter — £18,000 to “modernise” her perfectly fine kitchen. She nearly cried into her tea. I told her what I’d tell anyone: modern kitchen ideas don’t need a fitter’s invoice. My own kitchen still has the same tired carcasses it came with ten years ago, but visitors ask who did the renovation. The secret is a handful of clever swaps — paint, hardware, lighting — each costing less than a weekly shop. Here are 17 ideas that deliver that sleek, current look without touching your savings.
1. Paint Just the Lower Cabinets Matte Charcoal
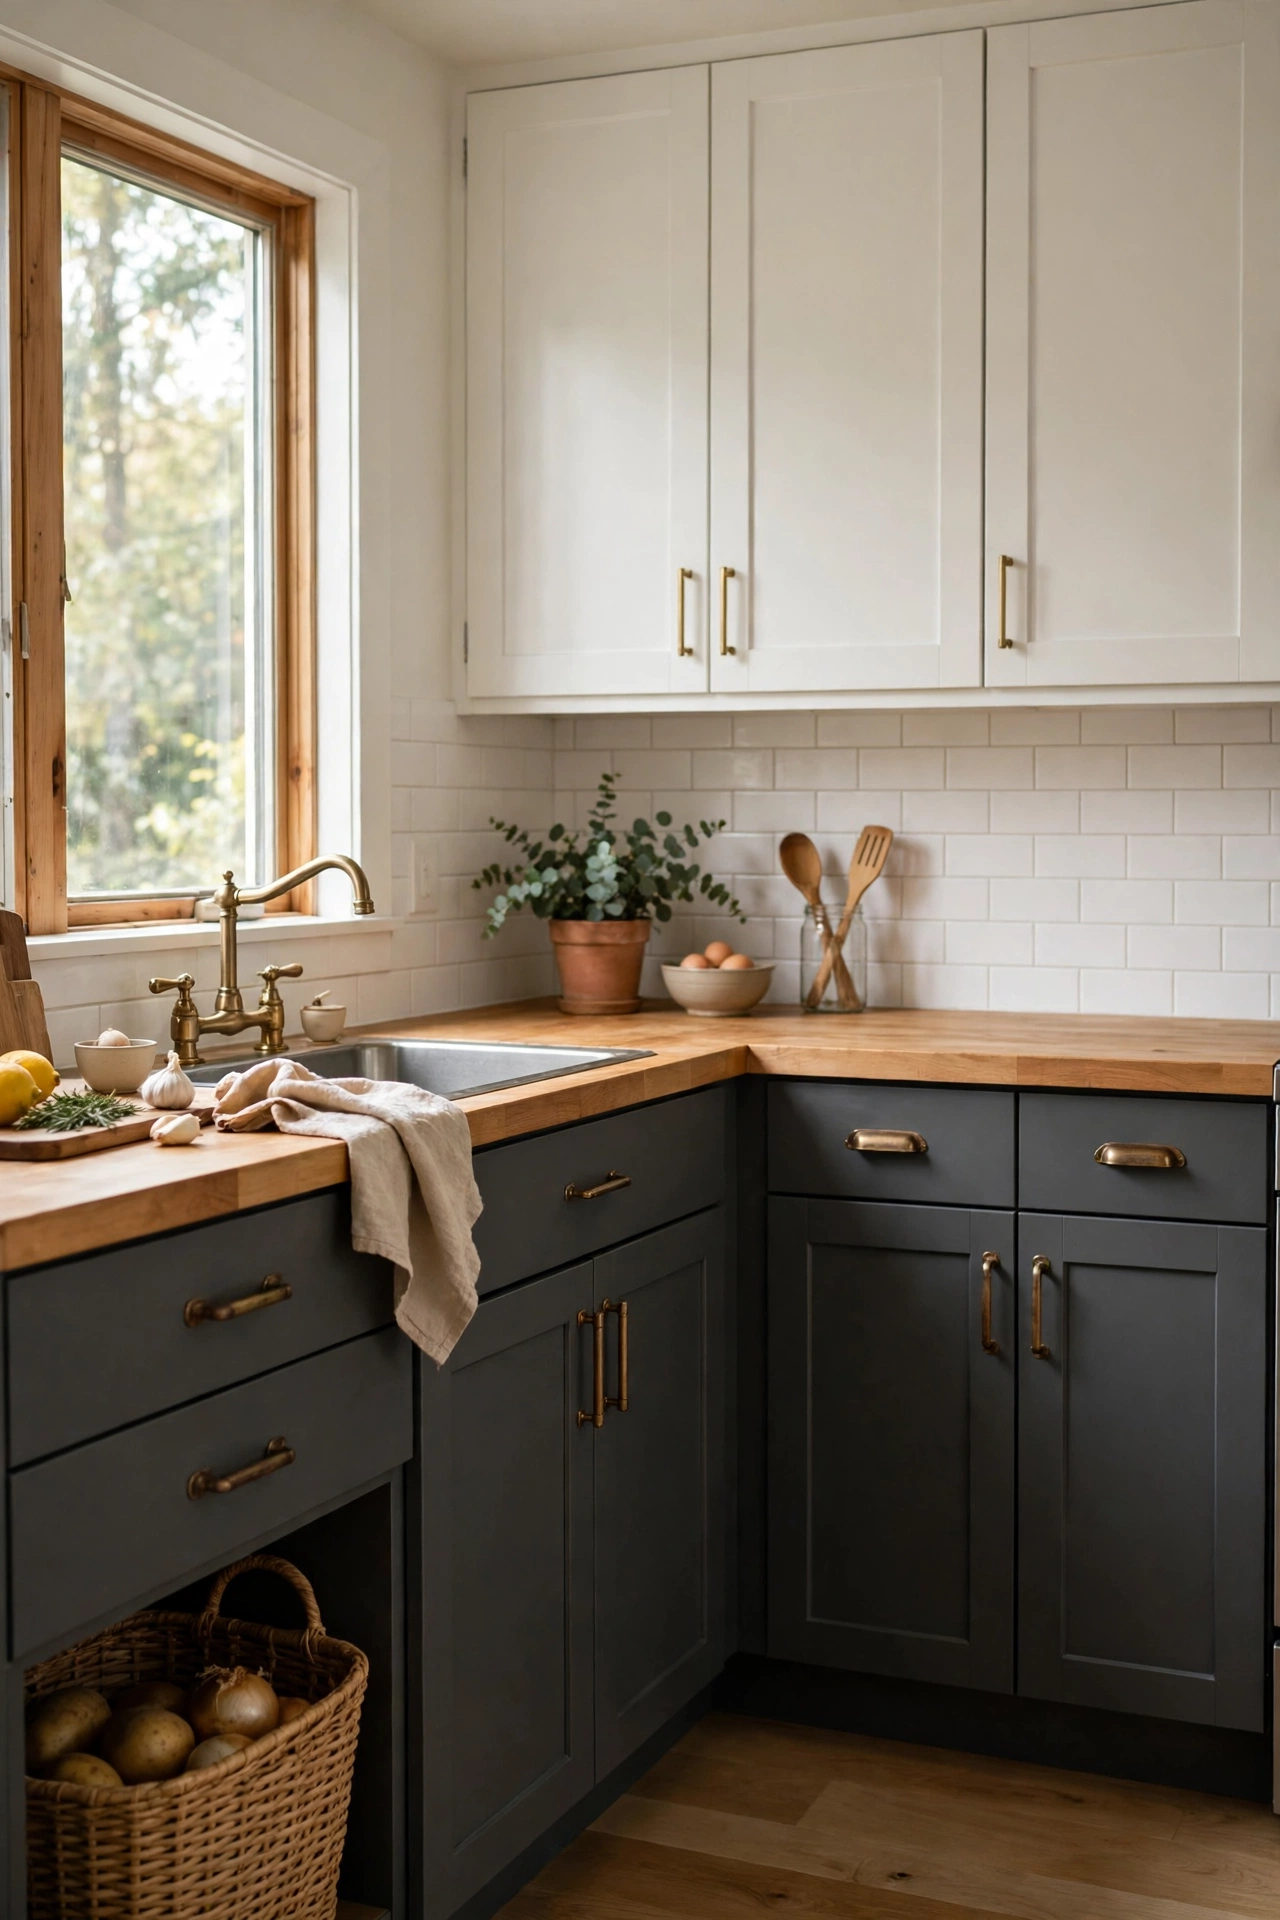
The two-tone kitchen is the defining look of the decade, and you can steal it for the price of a tin of paint. Leave your upper cabinets white or cream, and paint only the base units in a flat, matte charcoal — it grounds the whole room and instantly reads as modern rather than dated. I tried this and the mistake to avoid is painting straight over kitchen grease: wipe every door down with sugar soap first, or the paint will fish-eye and peel within months. The steps are simple: pop the doors off and label them with masking tape, clean and lightly sand, then apply two thin coats of cabinet paint with a foam roller, letting each coat cure fully. Keep the existing hinges for now — the colour shift alone does the heavy lifting.
Pro tip: Paint the inside of one glass-fronted door too — the dark interior makes glassware glow.
Cost: ~$35 | Time: 1 weekend
2. Swap Dated Knobs for Matte Black Bar Pulls
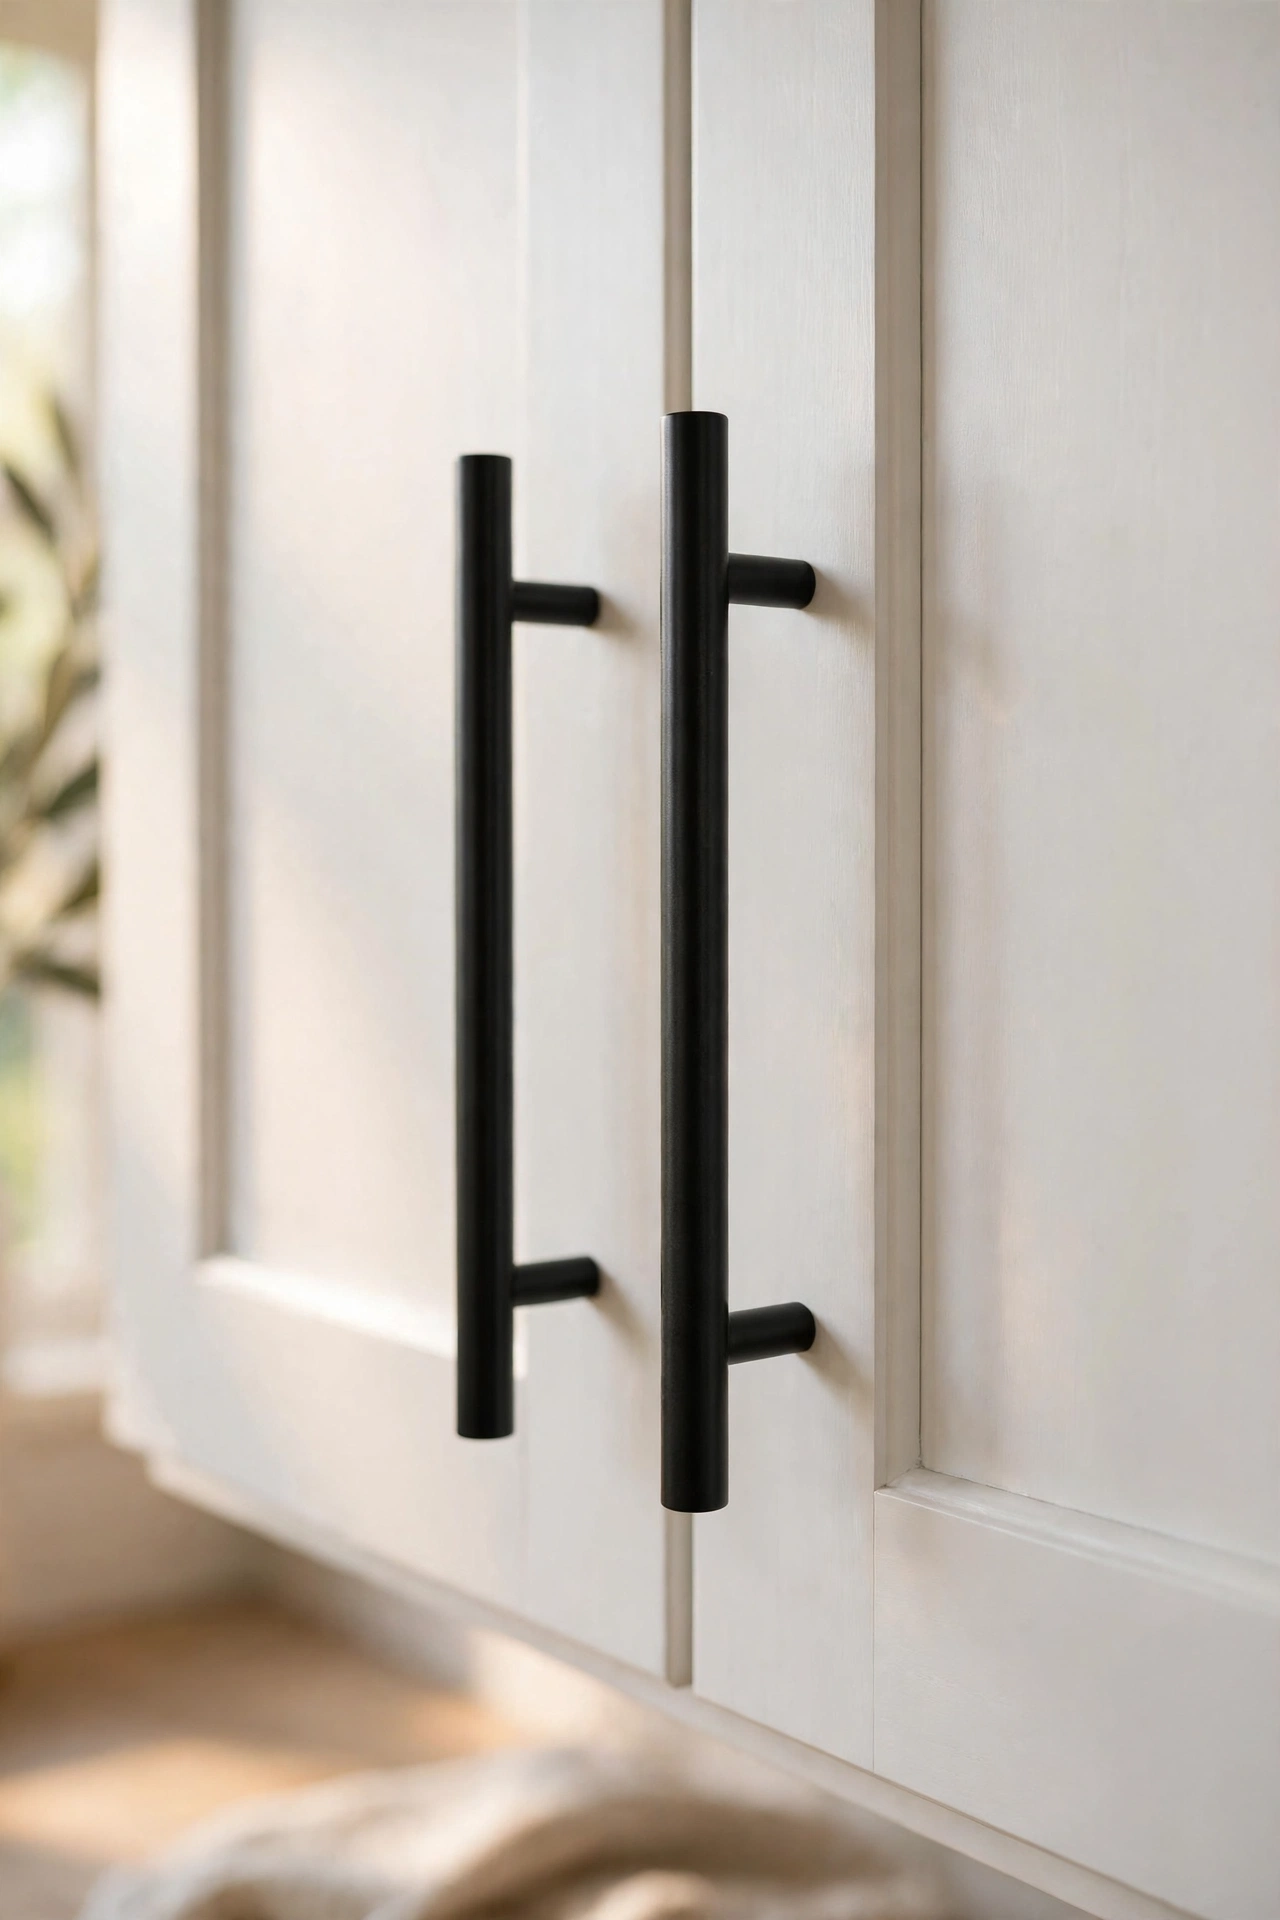
Hardware is the jewellery of the kitchen, and bar pulls are the modern classic. Replacing fiddly little knobs with slim matte black bars — 128mm is the sweet spot for most doors — makes even basic flat-pack units look like a designer fitted them. I tried this and the mistake to avoid is guessing the hole spacing: measure centre-to-centre on your existing holes first, because drilling new ones in the wrong place is a headache you don’t need. Steps: unscrew the old knobs, fill any unused holes with wood filler and touch up with paint, then screw the new pulls in using the supplied bolts. Do every visible door and drawer for consistency; mismatched hardware is what makes a kitchen look unfinished.
Pro tip: Buy one size longer for drawers and one shorter for cupboards — the graded look is very high-end.
Cost: ~$25 | Time: 90 minutes
3. Fake a Butcher-Block Worktop With Warm Wood-Effect Film
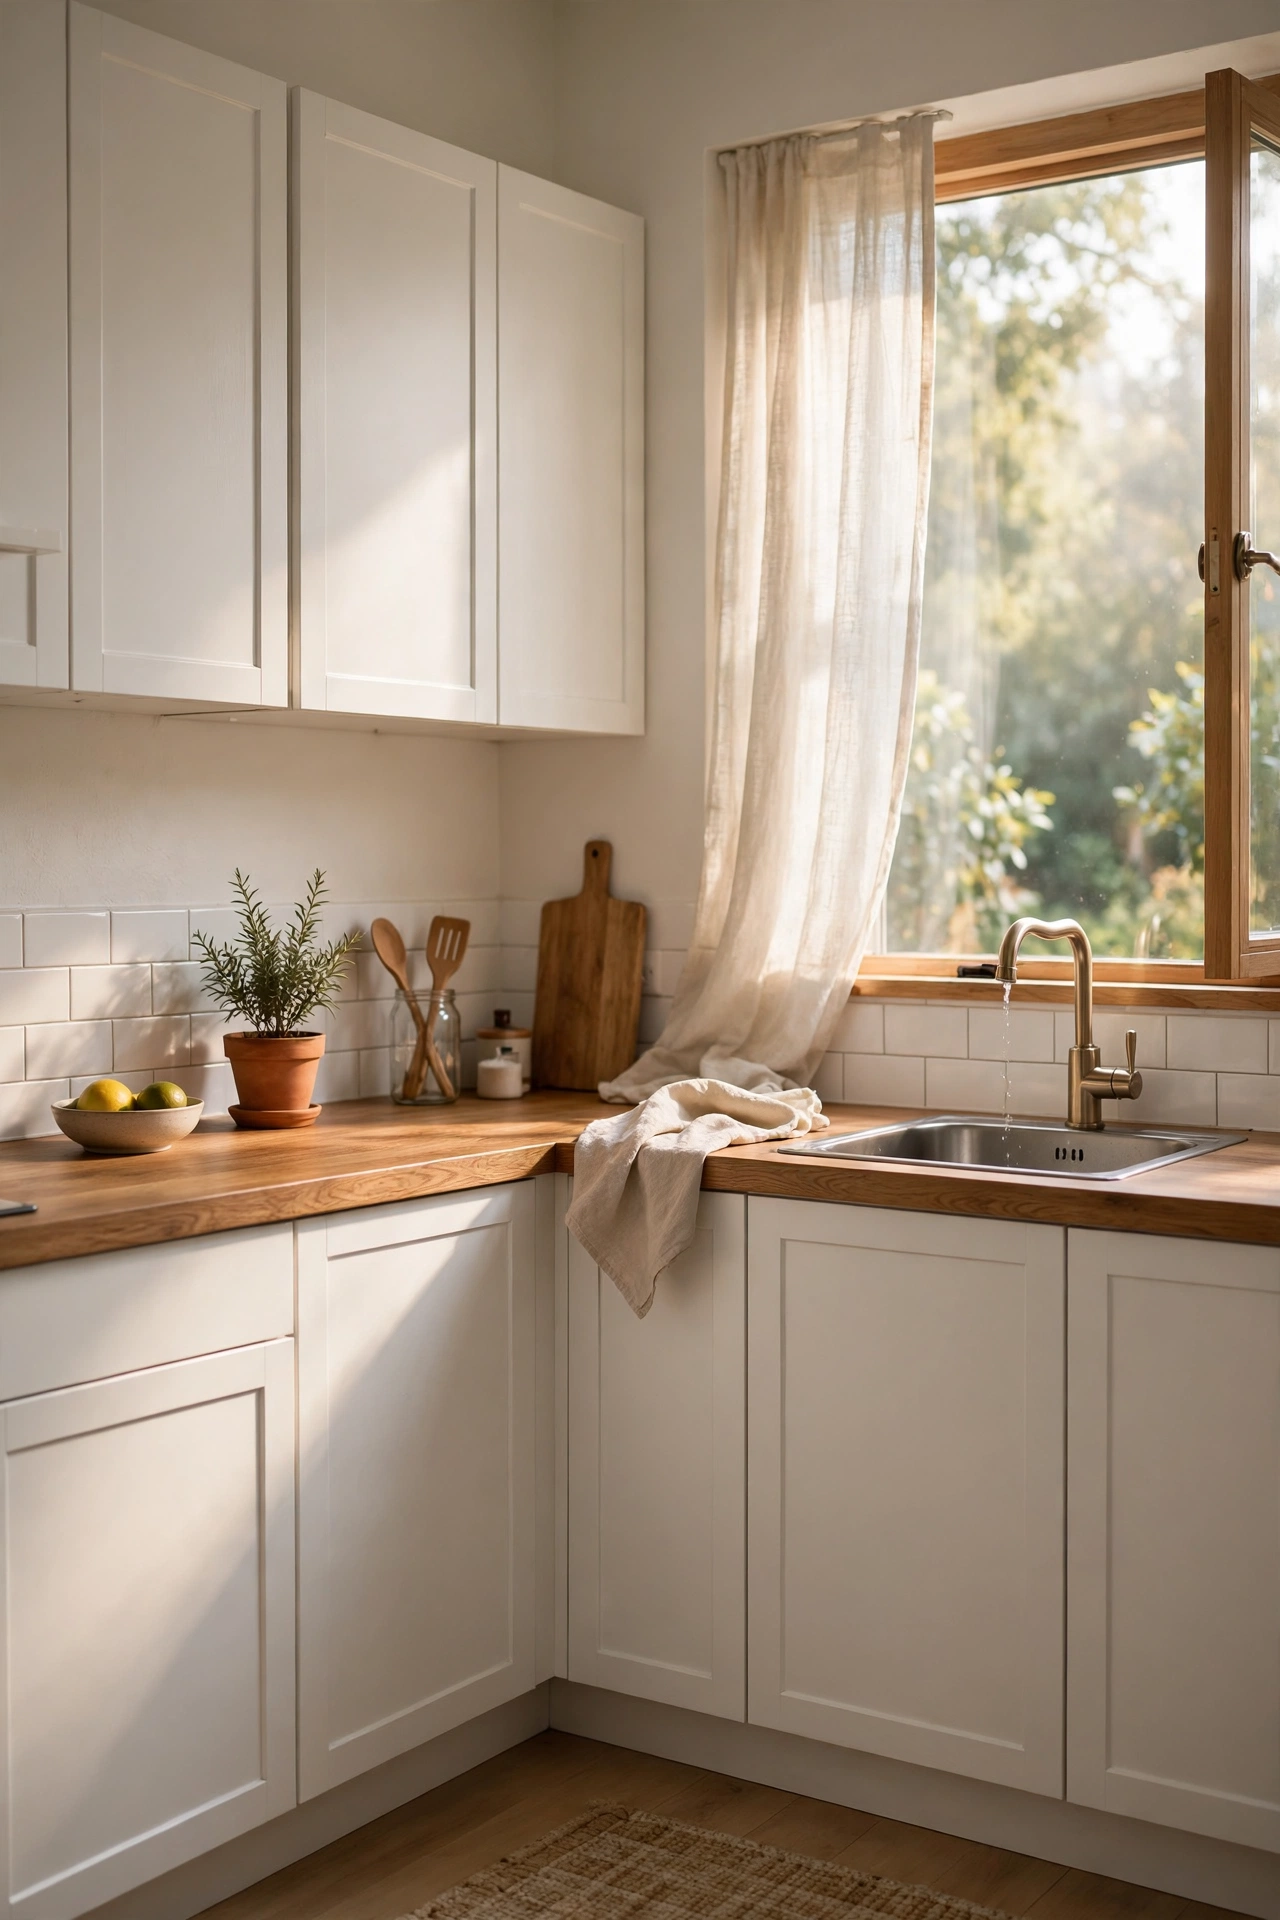
Replacing worktops costs a fortune, but the warm timber look that defines modern kitchens is easy to fake. A good wood-effect adhesive film — the thick, textured kind, not the shiny cheap stuff — wrapped over clean laminate gives you that butcher-block warmth for the price of a pizza. I tried this and the mistake to avoid is stretching the film as you lay it: it springs back and lifts at the edges within days. Steps: deep-clean and degrease the worktop, cut the film oversized, then lay it with a felt squeegee, working from the centre outwards and trimming with a sharp craft knife. Seal the cut edges around the sink with clear silicone so water can’t creep underneath.
Pro tip: Warm the film gently with a hairdryer around corners — it moulds like a dream and won’t wrinkle.
Cost: ~$20 | Time: 2 hours
4. Remove One Upper Cabinet for Open Shelving
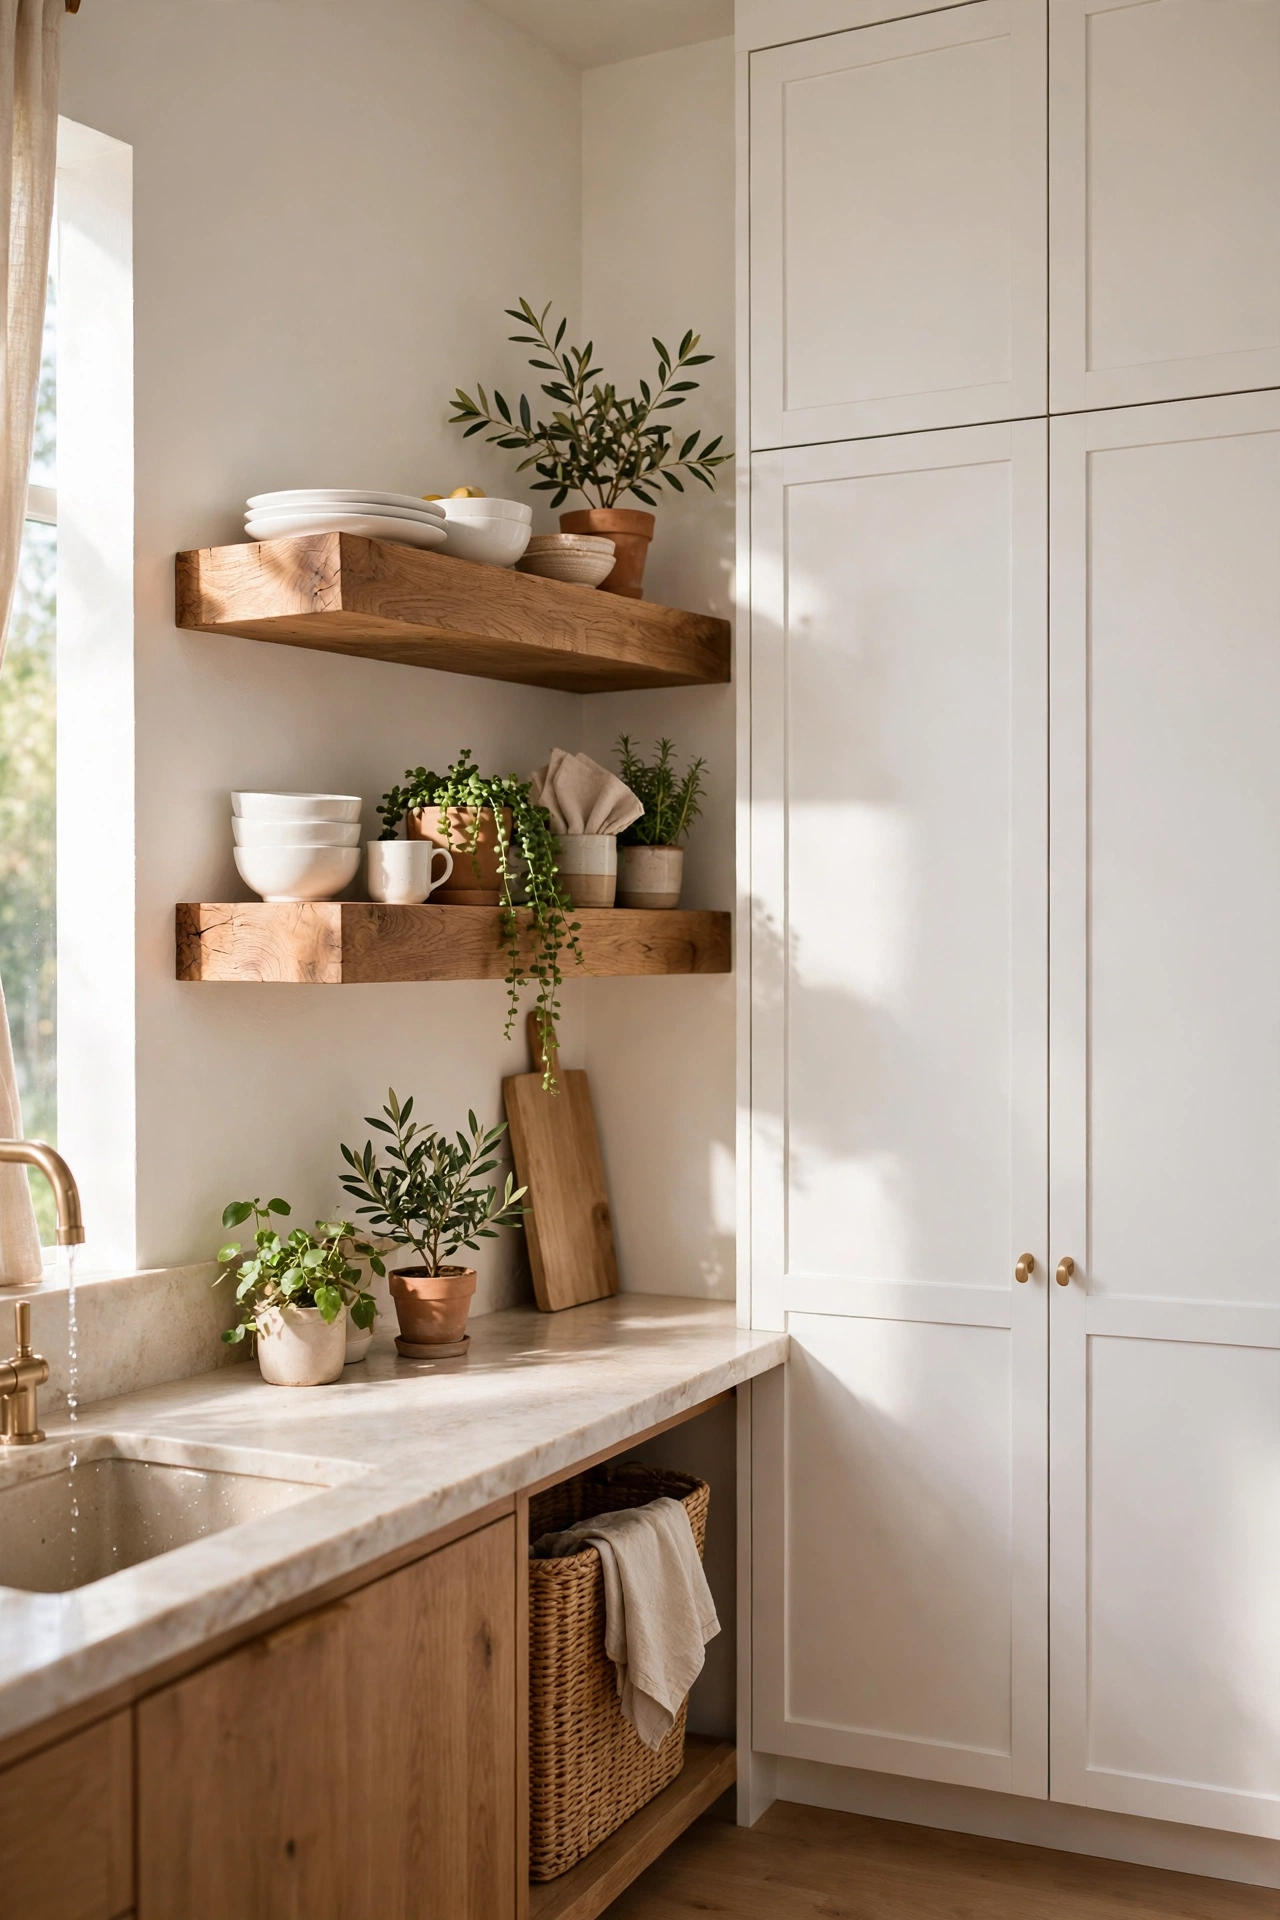
Modern kitchens breathe, and nothing says breathing room like one stretch of open shelving. You don’t need to rip out every wall unit — just remove a single upper cabinet beside the window or cooker and replace it with two chunky floating shelves. I tried this and the mistake to avoid is overloading them with clutter: open shelves only look modern when they’re styled with breathing space, not crammed with every mug you own. Steps: unscrew and lift down the cabinet (get a helper), fill and sand the fixing holes, paint the patch to match the wall, then mount two solid shelves on hidden brackets rated for the weight. For the full styling method, see my (see also: open-shelving-kitchen-styling-guide) before you load them up.
Pro tip: Keep everyday items on the lower shelf and pretty-but-rarely-used pieces up top — beautiful and practical.
Cost: ~$40 | Time: 3 hours
5. Lay a Peel-and-Stick Subway Tile Backsplash
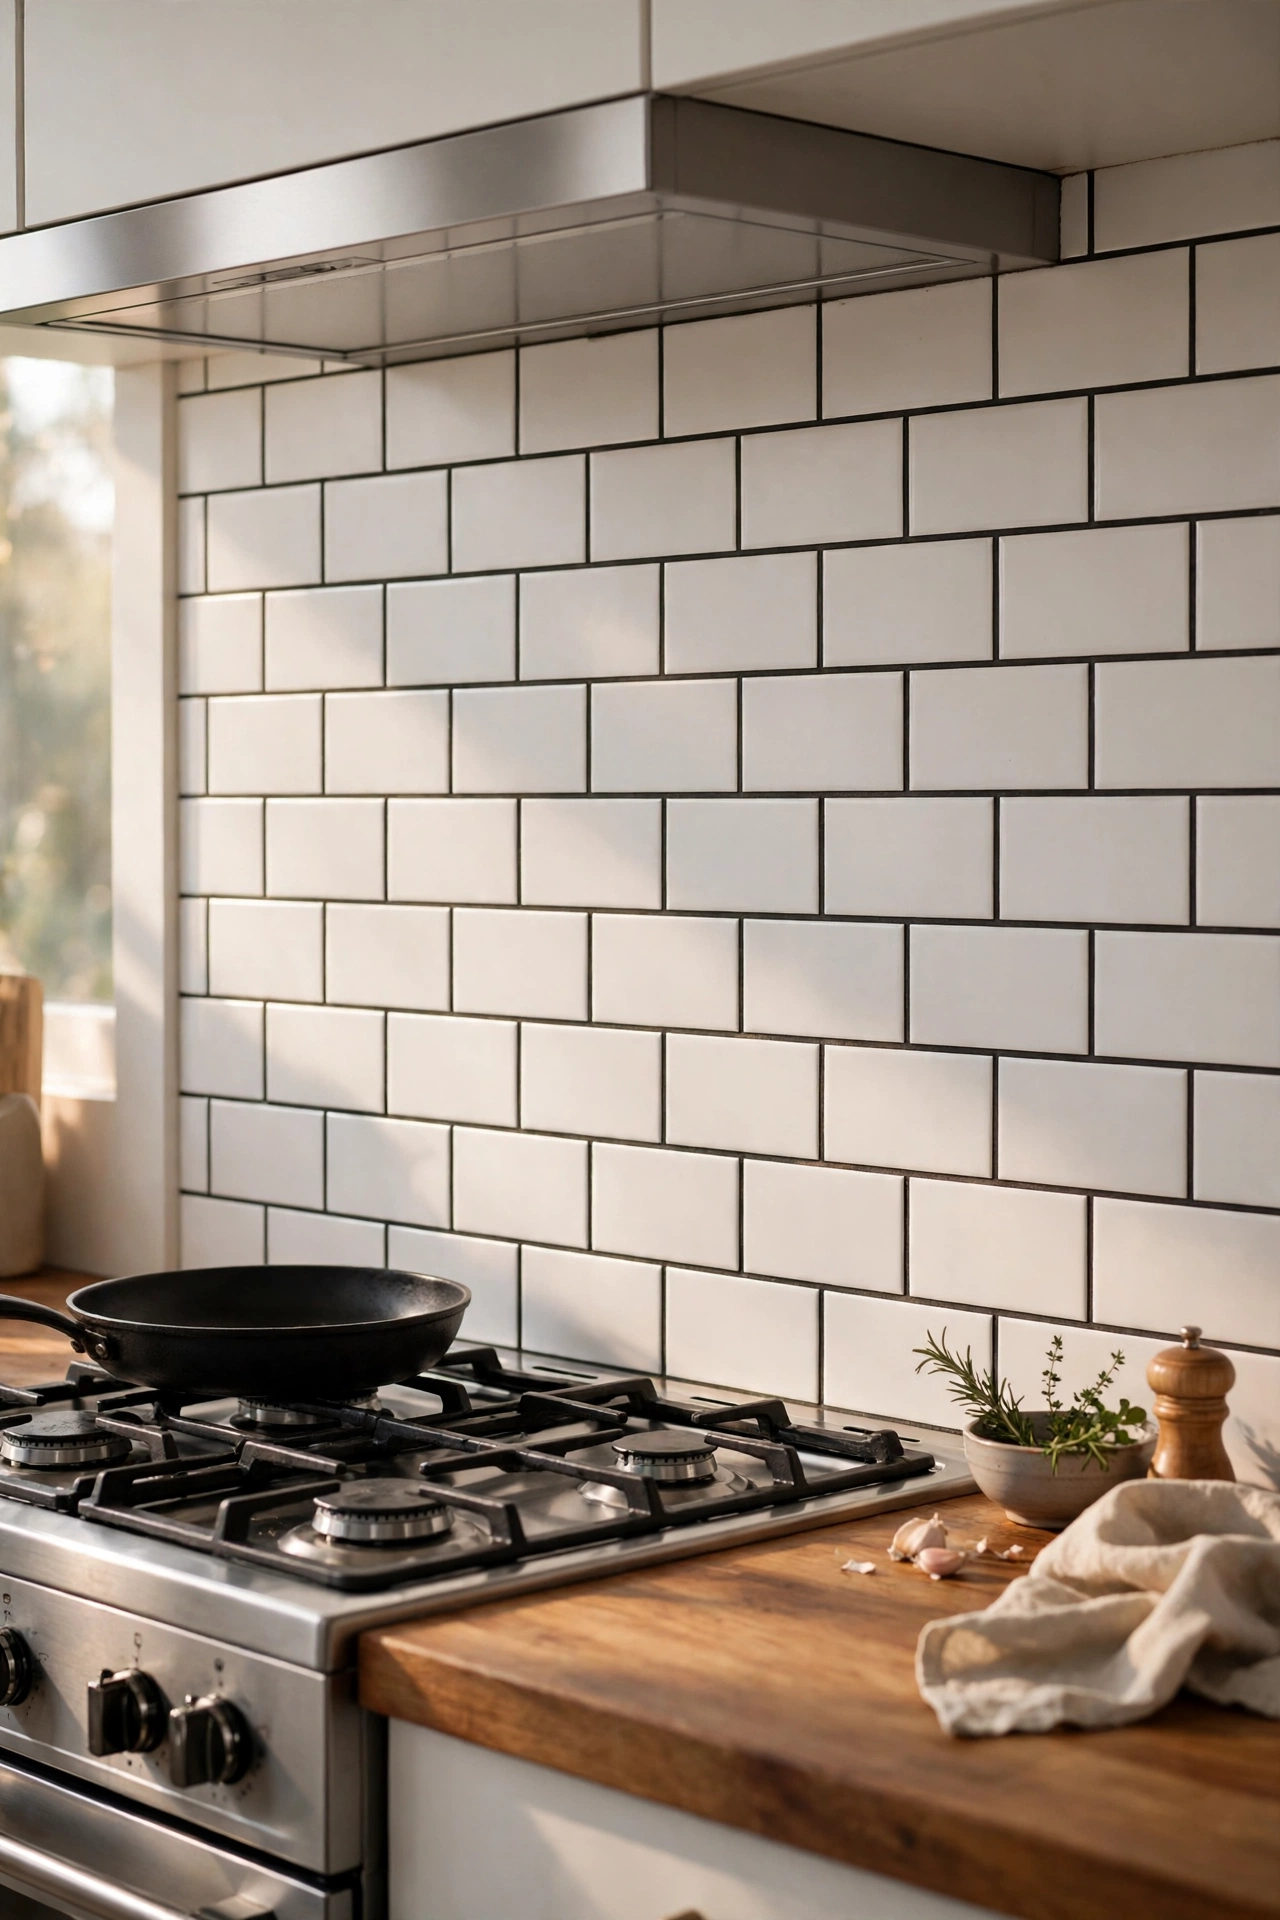
The white subway tile is the unofficial uniform of the modern kitchen, and the peel-and-stick versions have finally grown up. The better ones are genuinely 3D, grout-free, and wipeable — from two feet away nobody can tell they didn’t come with the house. I tried this and the mistake to avoid is starting at the edge: always start at the centre of the wall and work outwards, or you’ll end with a sliver of a tile in the most visible spot. Steps: degrease the wall thoroughly (kitchen walls are filthier than you think), mark a level centre line, then press each sheet firmly from the middle outwards, trimming around sockets with scissors or a craft knife. Overlap the sheets tightly so no wall peeks through.
Pro tip: Run a thin bead of clear silicone along the worktop joint — it stops cooking splashes creeping behind the tiles.
Cost: ~$30 | Time: 2 hours
6. Add Under-Cabinet LED Strip Lighting
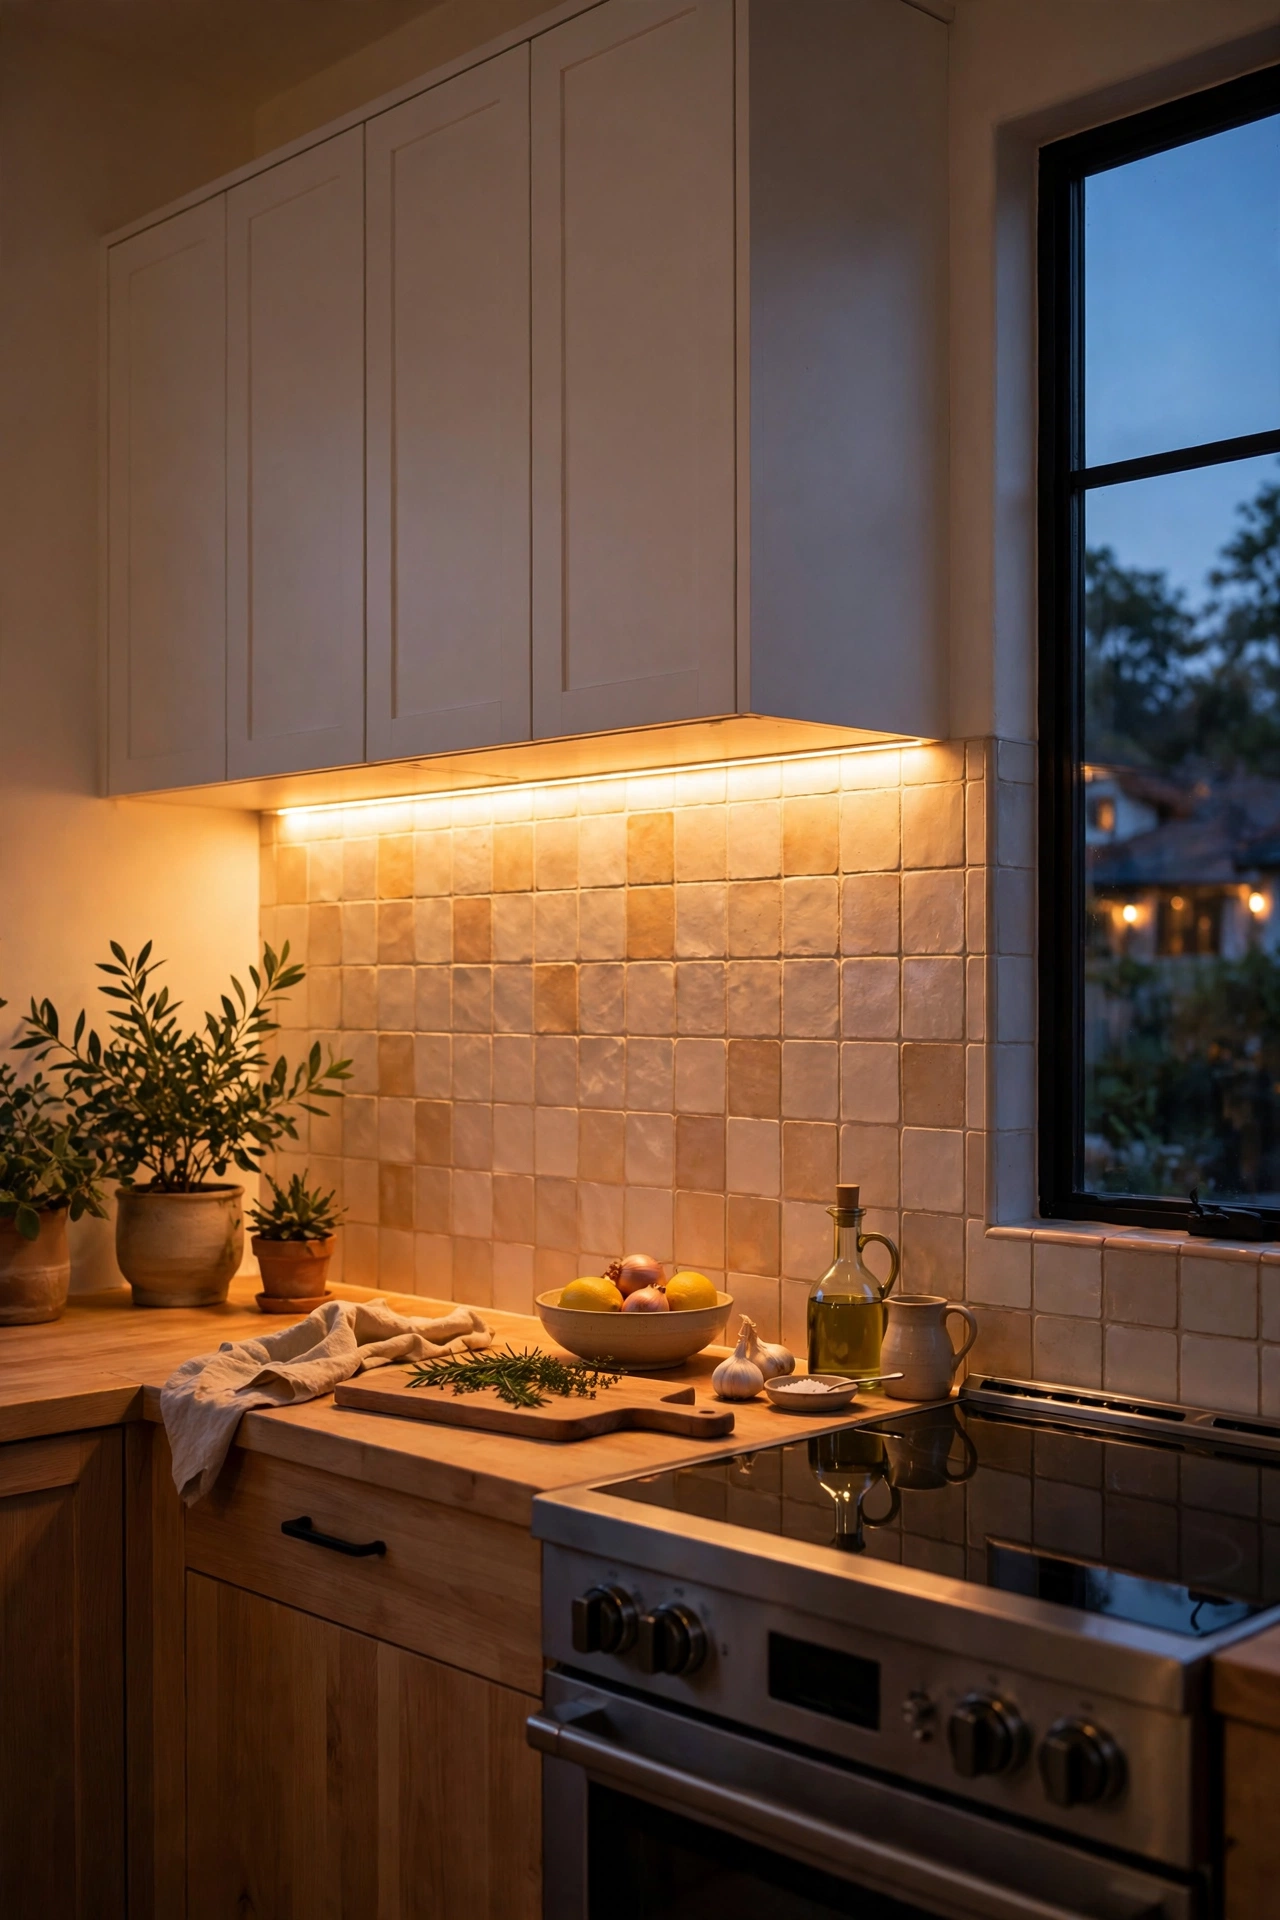
Designer kitchens glow, and the glow almost always comes from under the wall units. A reel of warm-white LED strip with a motion sensor turns a flat, shadowy kitchen into something that feels layered and expensive after dark. I tried this and the mistake to avoid is buying cool-white strips: they make food look grey and the whole room feel like a laboratory. Steps: clean the underside of the cabinets, stick the strip towards the front edge so the light washes down the backsplash, tuck the cable neatly along the cabinet side, and plug the motion sensor into a reachable socket. Warm white (2700–3000K) is the only choice — it flatters wood, stone, and supper alike.
Pro tip: Add a second short strip inside one glass-fronted cabinet — lit glassware at night is pure magic.
Cost: ~$18 | Time: 45 minutes
7. Upgrade to a Matte Black Kitchen Tap
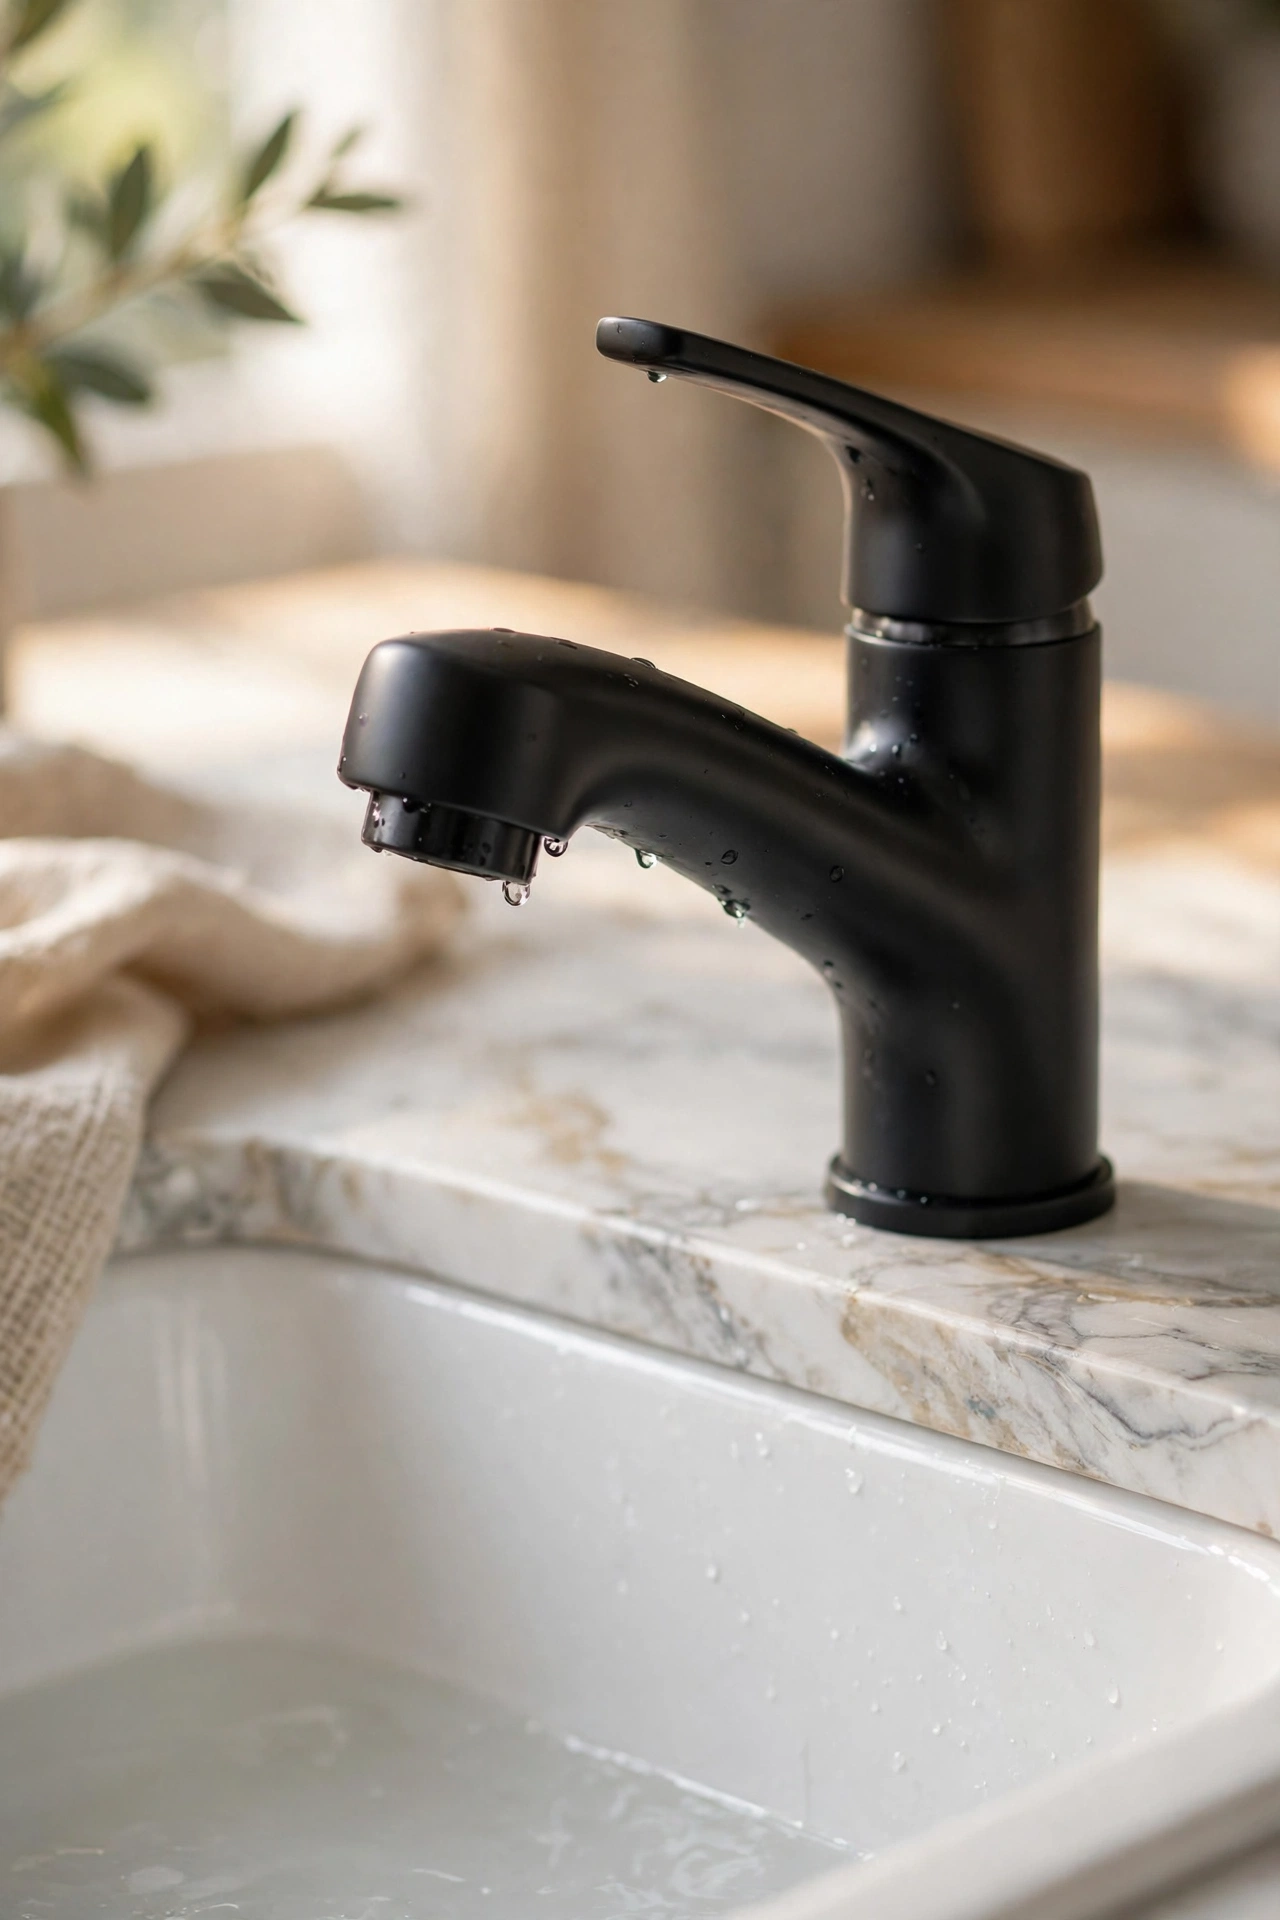
A tap is a small object with an outsized visual job, and a matte black mixer instantly drags a kitchen into the current decade. It’s the single fastest swap on this list — fifteen minutes with a wrench, no plumber required. I tried this and the mistake to avoid is forgetting to check your water pressure first: some tall designer-style taps need decent pressure to feel right, so read the spec sheet before you fall in love. Steps: turn off the isolation valves under the sink, disconnect the old flexi hoses with an adjustable spanner, drop in the new tap with its washer and backing plate, and reconnect everything hand-tight plus a quarter turn. Run it for a minute and check every joint with dry tissue.
Pro tip: Match the tap finish to your new bar pulls — mixed metals can work, but matching black always looks intentional.
Cost: ~$45 | Time: 30 minutes
8. Paint the Island a Bold Focal Colour
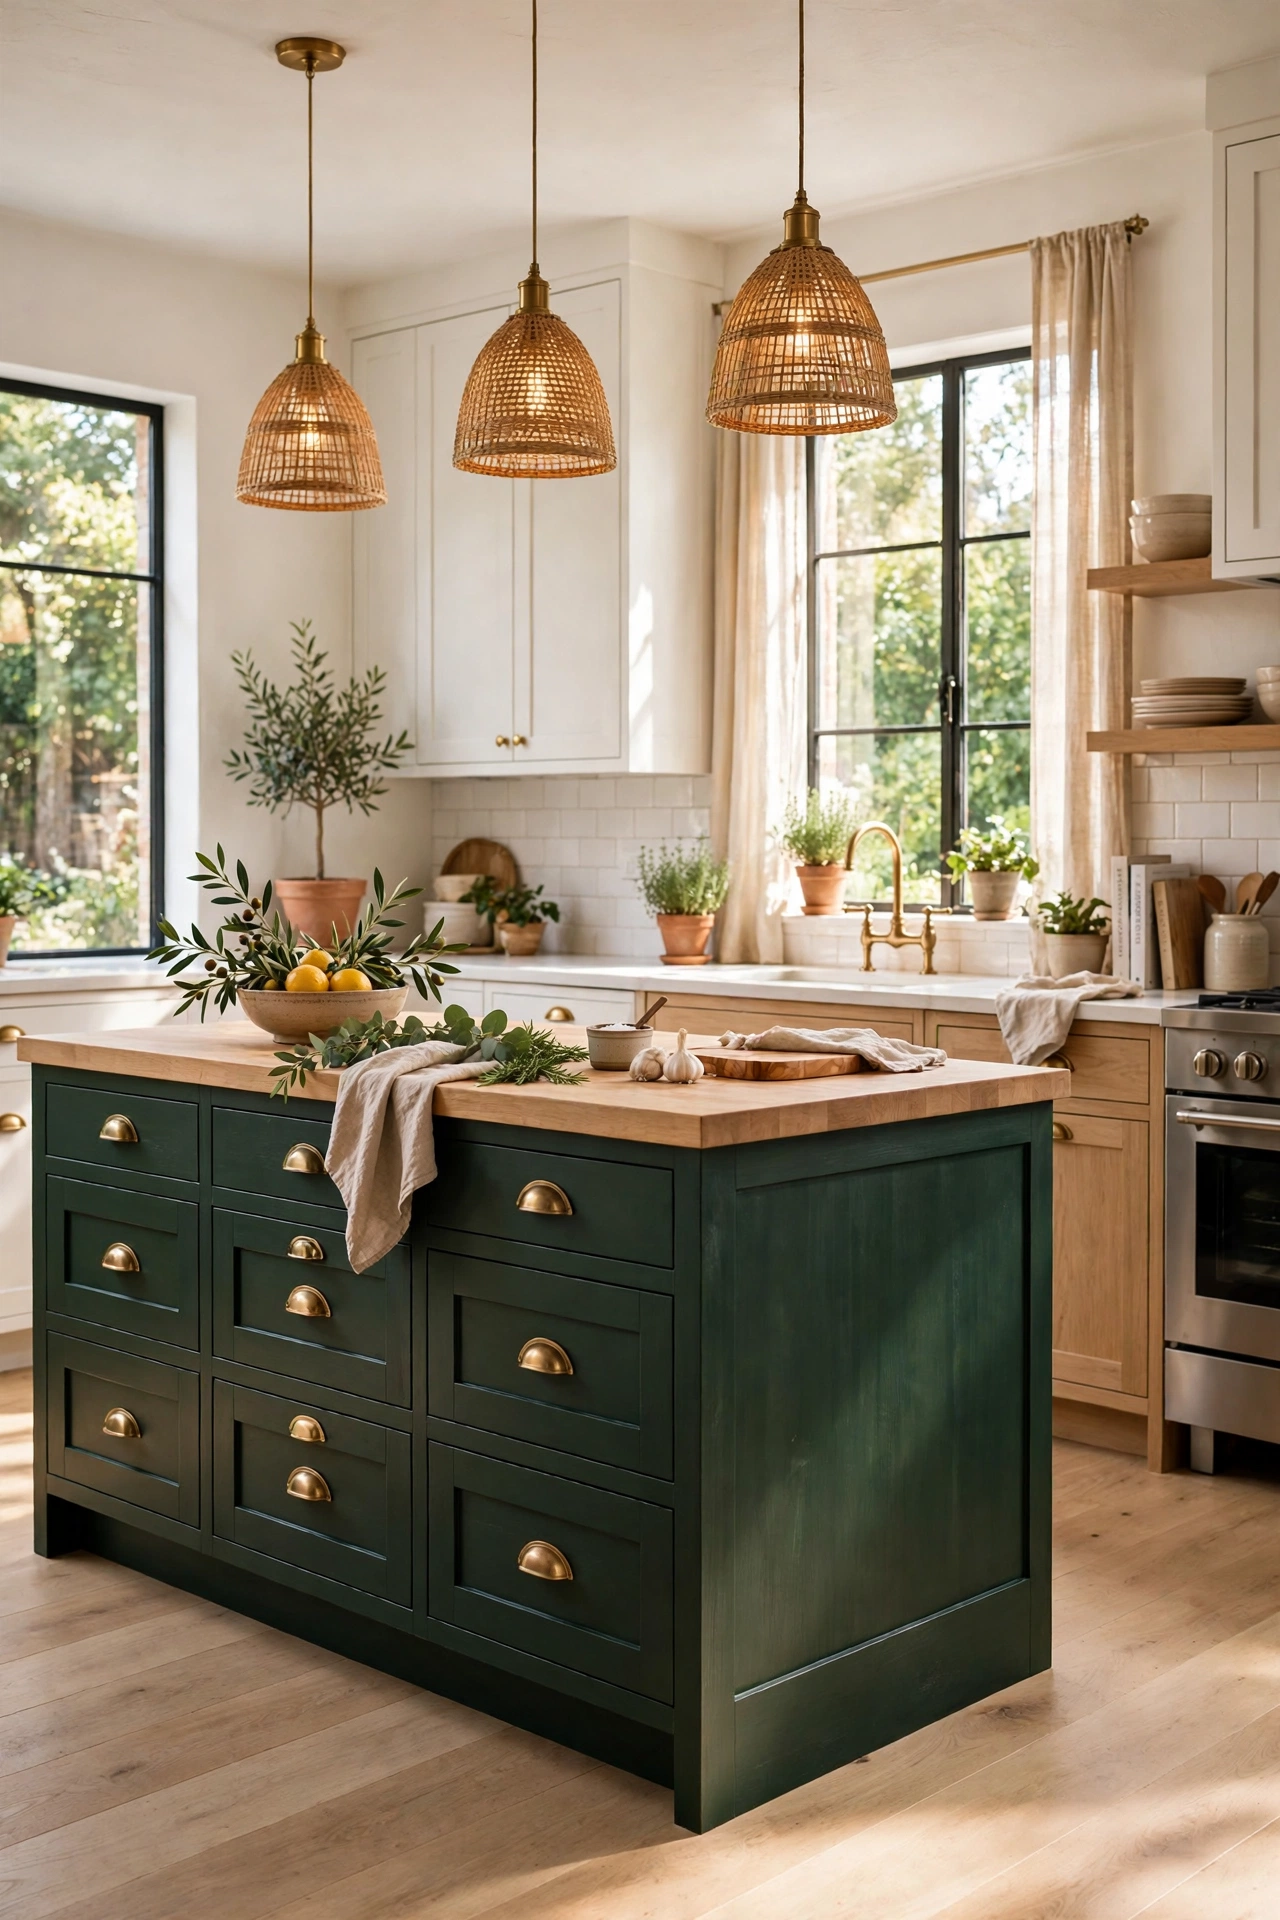
If you have an island — or even a freestanding butcher’s block — painting it a single saturated colour is the cheapest drama in kitchen design. Deep forest green, inky blue, or a rich terracotta turns a plain box into the piece everyone photographs. I tried this and the mistake to avoid is painting it the same sheen as the walls: islands take knocks, so use a scrubbable satin or eggshell made for woodwork. Steps: clean with sugar soap, sand lightly to key the surface, then roll on two coats, cutting in carefully around the worktop edge with a small angled brush. Let it cure a full week before you lean bar stools against it.
Pro tip: Paint the stools to match and the whole island zone reads as one deliberate design decision.
Cost: ~$15 | Time: 1 weekend
9. Give Old Laminate Counters a Concrete-Look Paint Finish
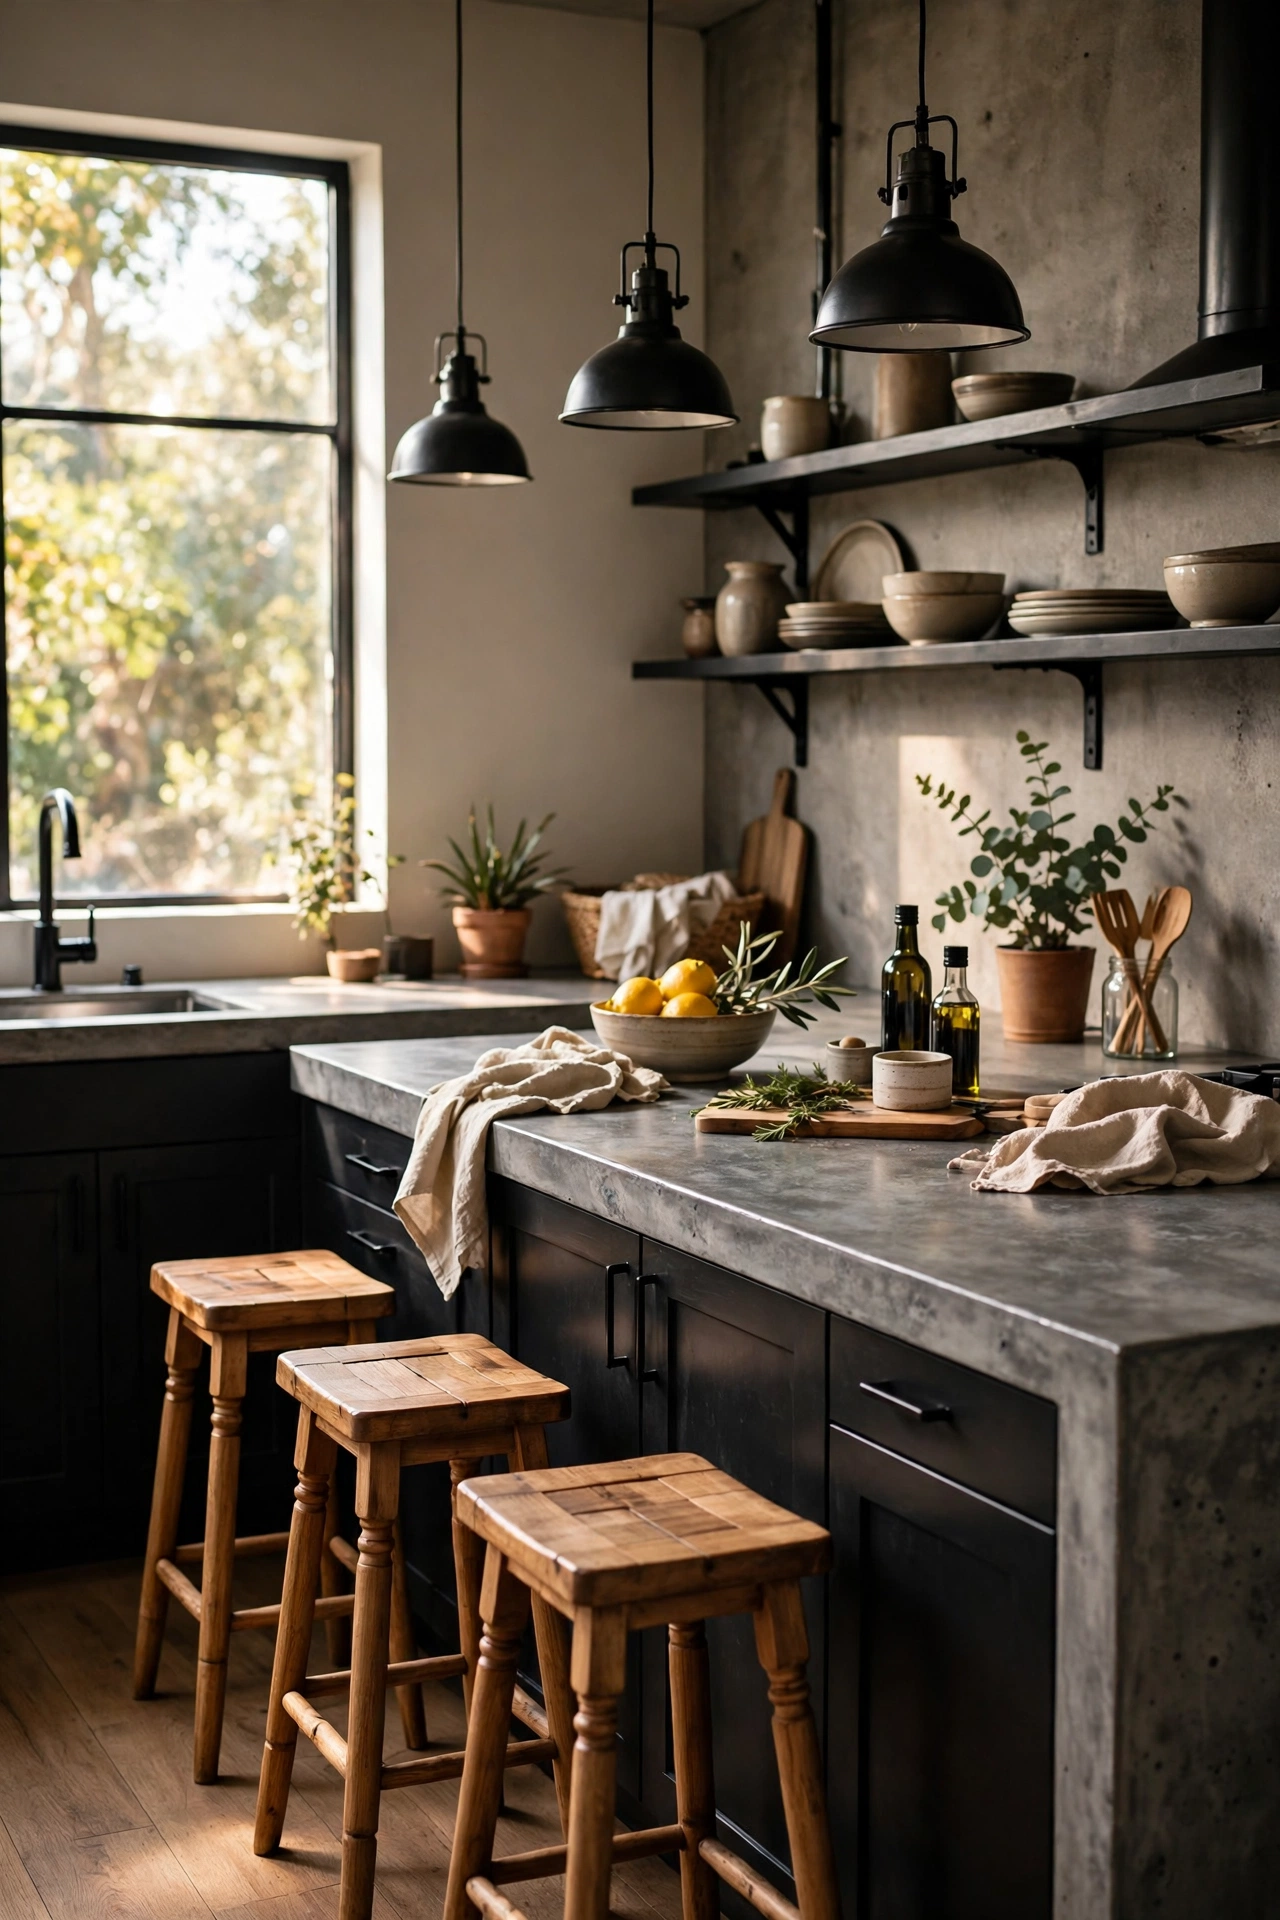
Polished concrete worktops cost thousands; a concrete-look paint kit costs less than a big supermarket shop. These kits layer a grey base, a textured stone coat, and a food-safe sealer over your existing laminate, and the result is convincingly industrial-modern. I tried this and the mistake to avoid is rushing the sealer: every coat needs its full cure time, or hot pans will mark it within weeks. Steps: sand the laminate to degloss, roll on the bonding base coat, sponge on the stone texture in random patches for a natural look, then apply the full number of sealer coats the kit specifies. Keep the kitchen ventilated while it cures — the fumes are no joke.
Pro tip: Practise the sponging technique on cardboard first — the randomness is a skill you can learn in ten minutes.
Cost: ~$50 | Time: 1 weekend
Spotted a favourite already? Save this idea to your kitchen board now — it’s much easier than scrolling back through all seventeen later.
10. Hang a Slim Floating Shelf for Spices and Cookbooks
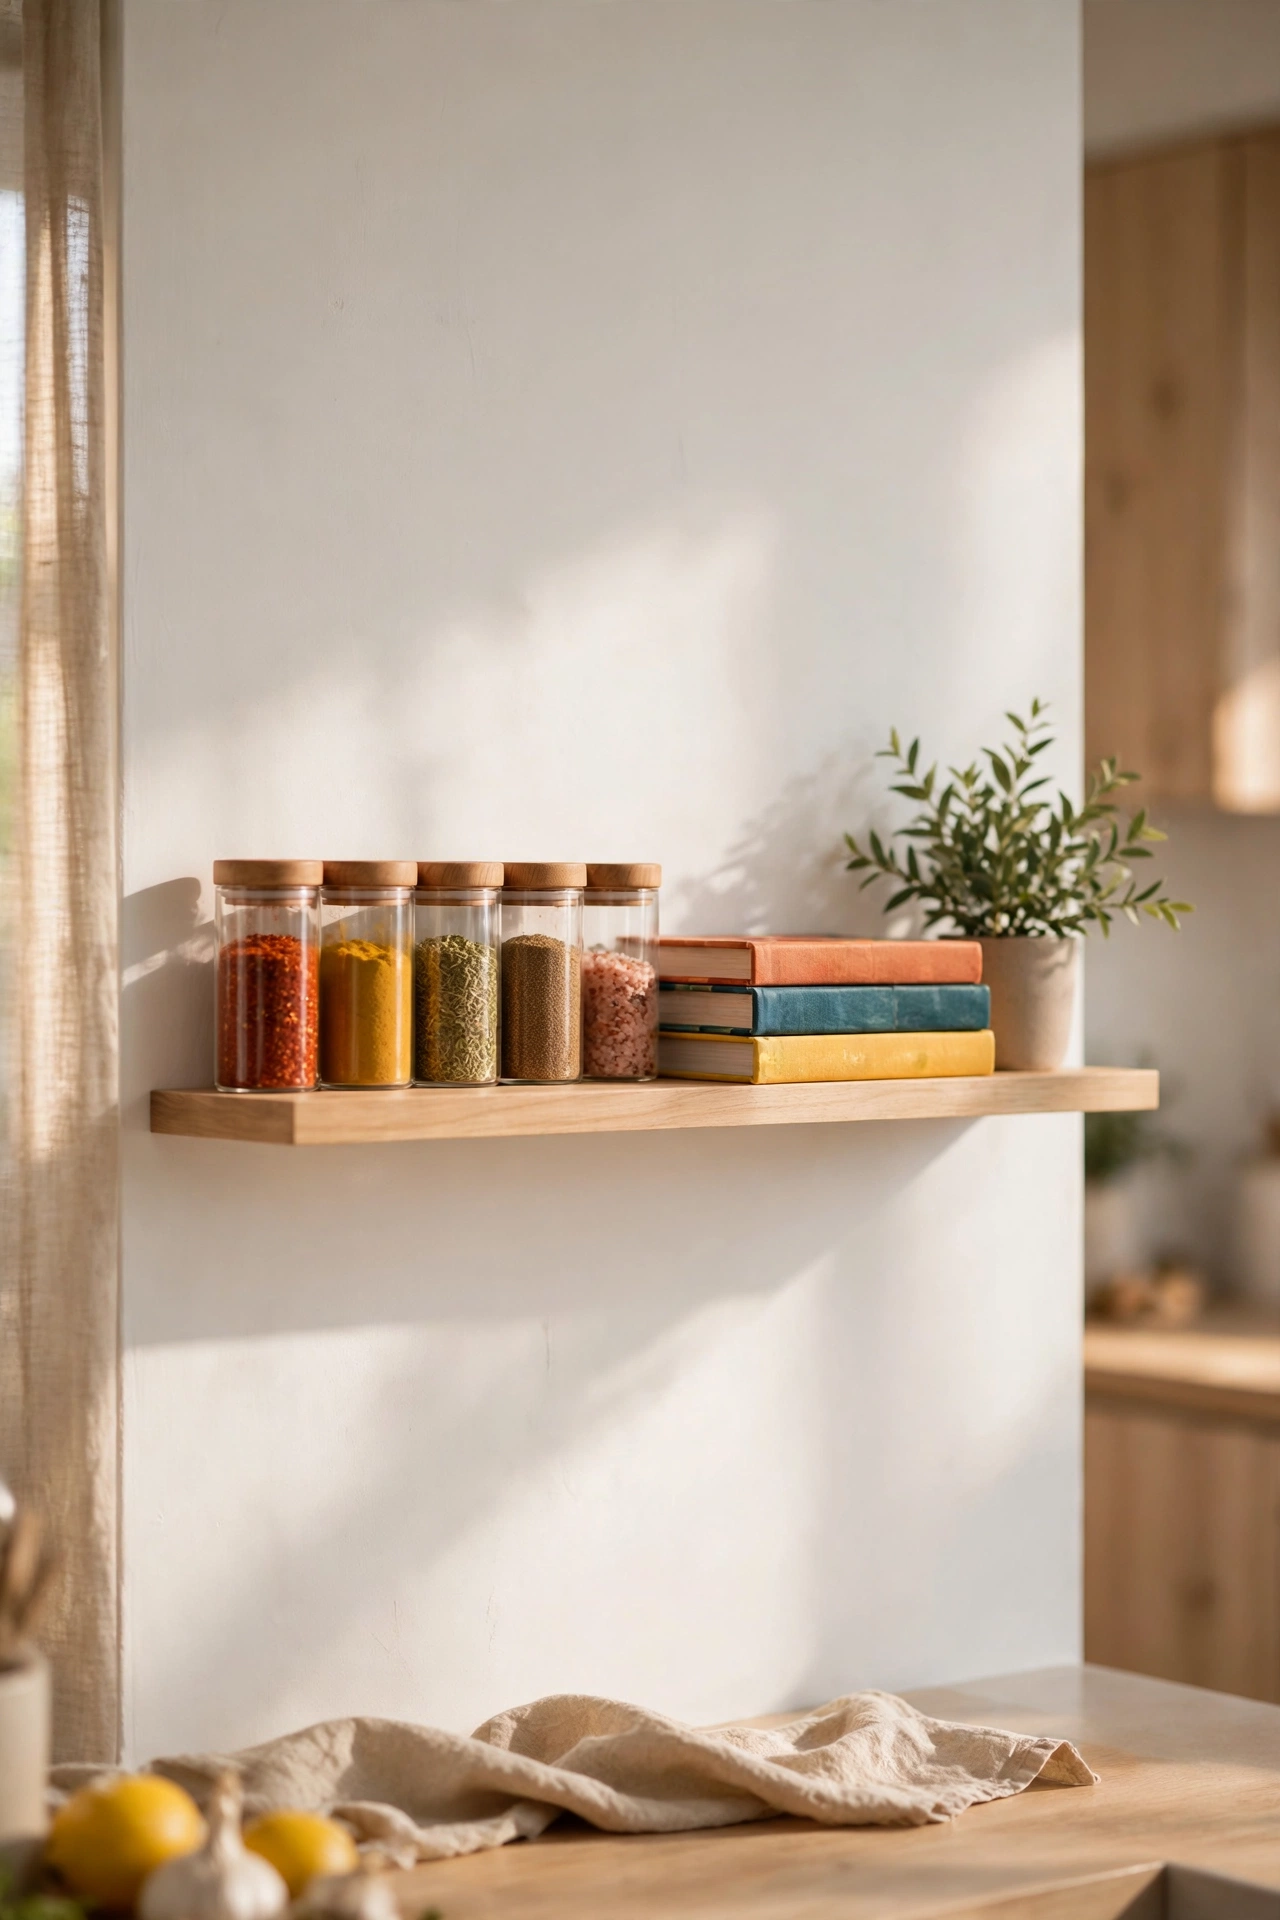
Modern kitchens keep the worktop clear and put the personality on the walls. A single slim floating shelf — about 15cm deep — mounted at eye level gives spices, oils, and your three prettiest cookbooks a proper home. I tried this and the mistake to avoid is mounting it with the fixings that come in the packet: they’re often rubbish, so buy proper wall plugs rated for your wall type. Steps: find the studs or use heavy-duty plasterboard anchors, drill level, slide the shelf onto its hidden bracket, and style it with the rule of thirds — groups of odd numbers, varied heights, a little breathing room. For more small-space storage wins, my (see also: small-kitchen-organisation-ideas) has plenty.
Pro tip: Decant spices into matching small jars — the shelf goes from storage to styling in one move.
Cost: ~$22 | Time: 1 hour
11. DIY Modern Pendant Lights Over the Island
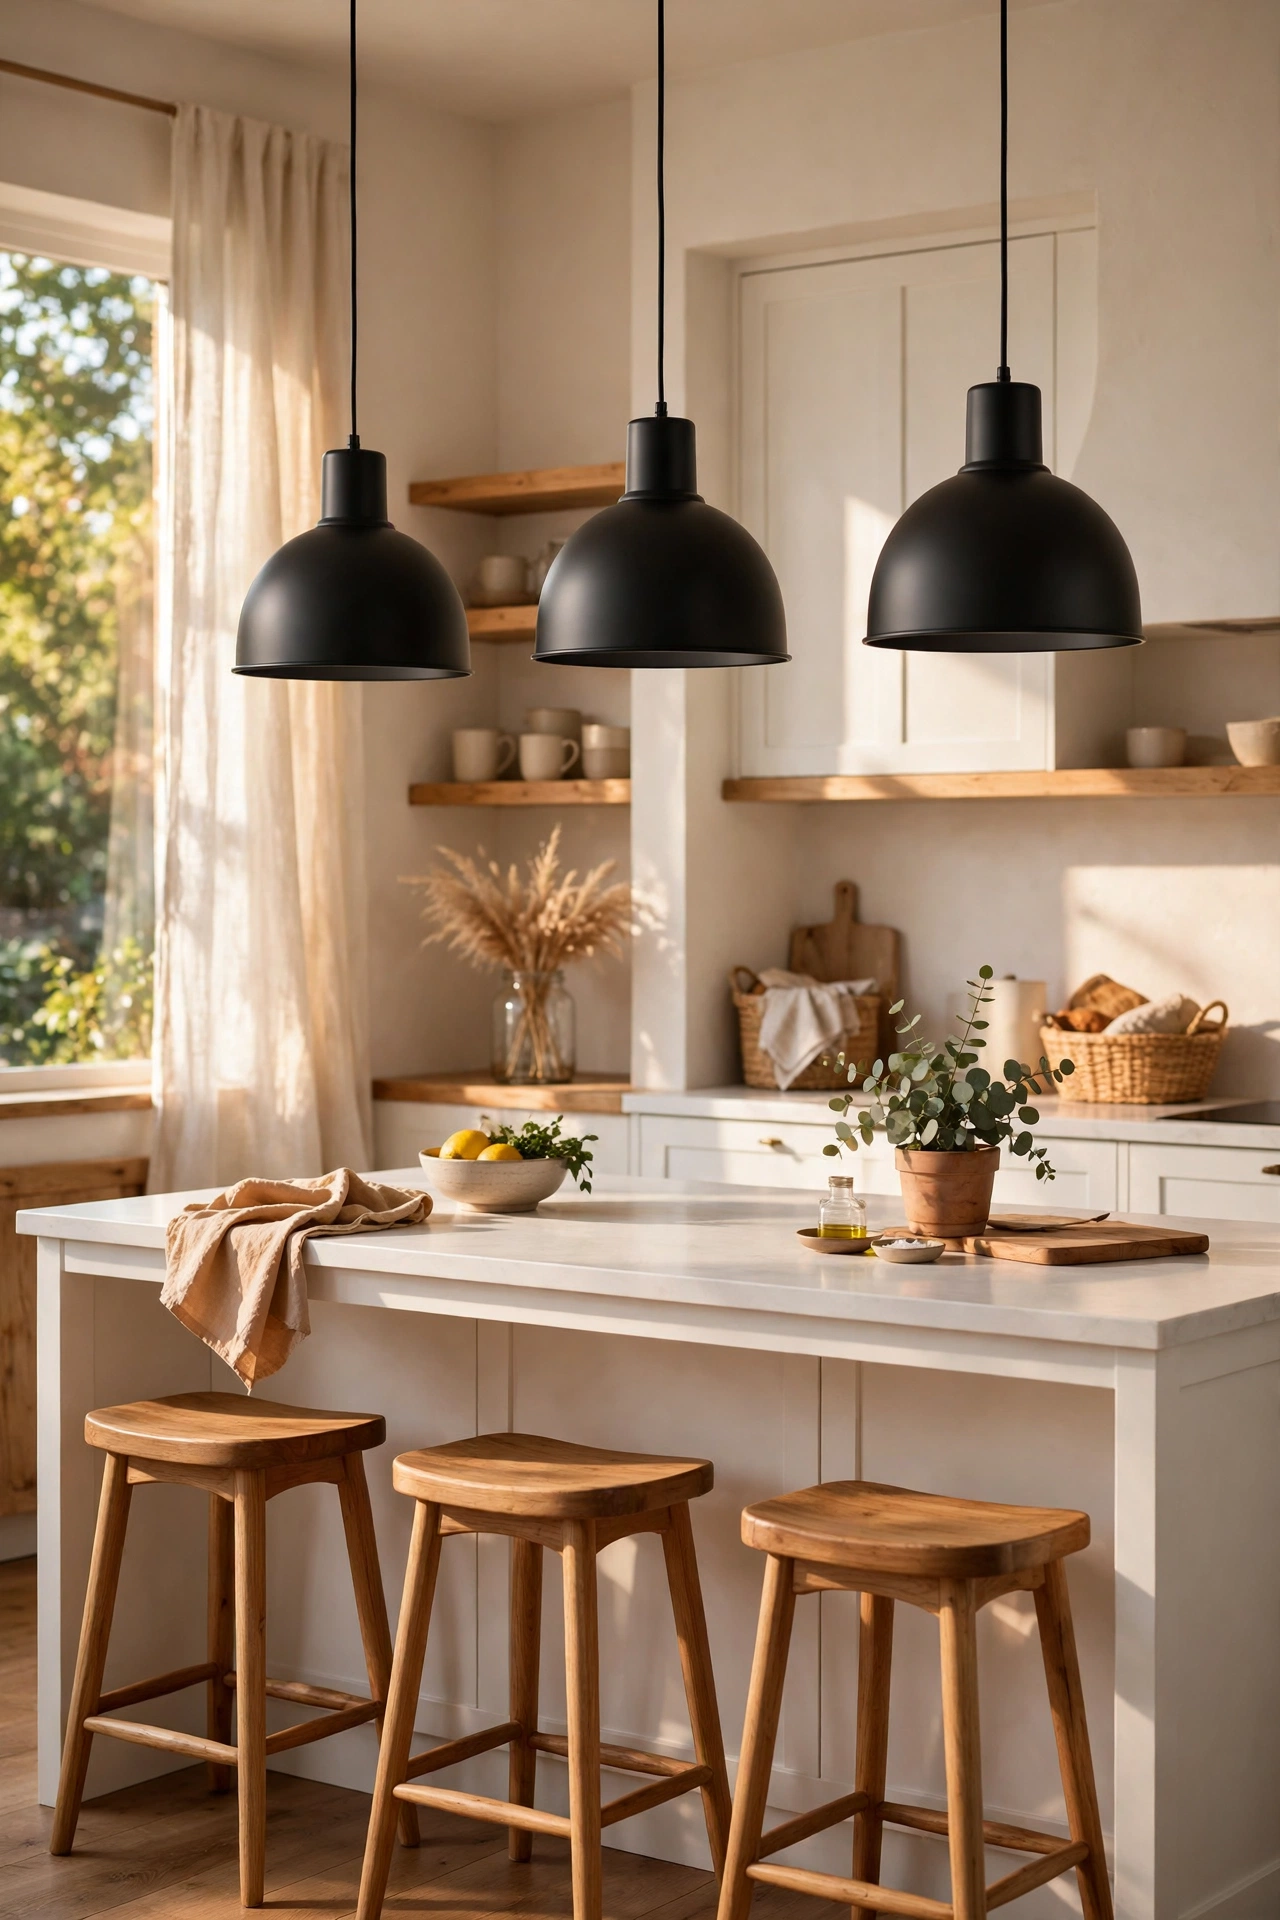
Two or three matching pendants hung low over an island is the silhouette of the modern kitchen, and you don’t need an electrician’s quote to get it. Oversized dome shades or simple globe pendants in black or brass cost very little, and most screw straight onto an existing ceiling rose. I tried this and the mistake to avoid is hanging them too high: the bottom of the shade should sit about 75–90cm above the worktop, or they light the ceiling instead of your chopping. Steps: switch the power off at the fuse box, swap the old fitting for the new pendant following its wiring diagram, then adjust all three cords to exactly the same drop with a tape measure. Use warm Edison-style LED bulbs for the glow.
Pro tip: An odd number of pendants (three beats two) always looks more designed — it’s an old stylist’s trick.
Cost: ~$60 | Time: 2 hours
12. Wrap Only the Visible Cabinet Doors in Matte Adhesive Vinyl
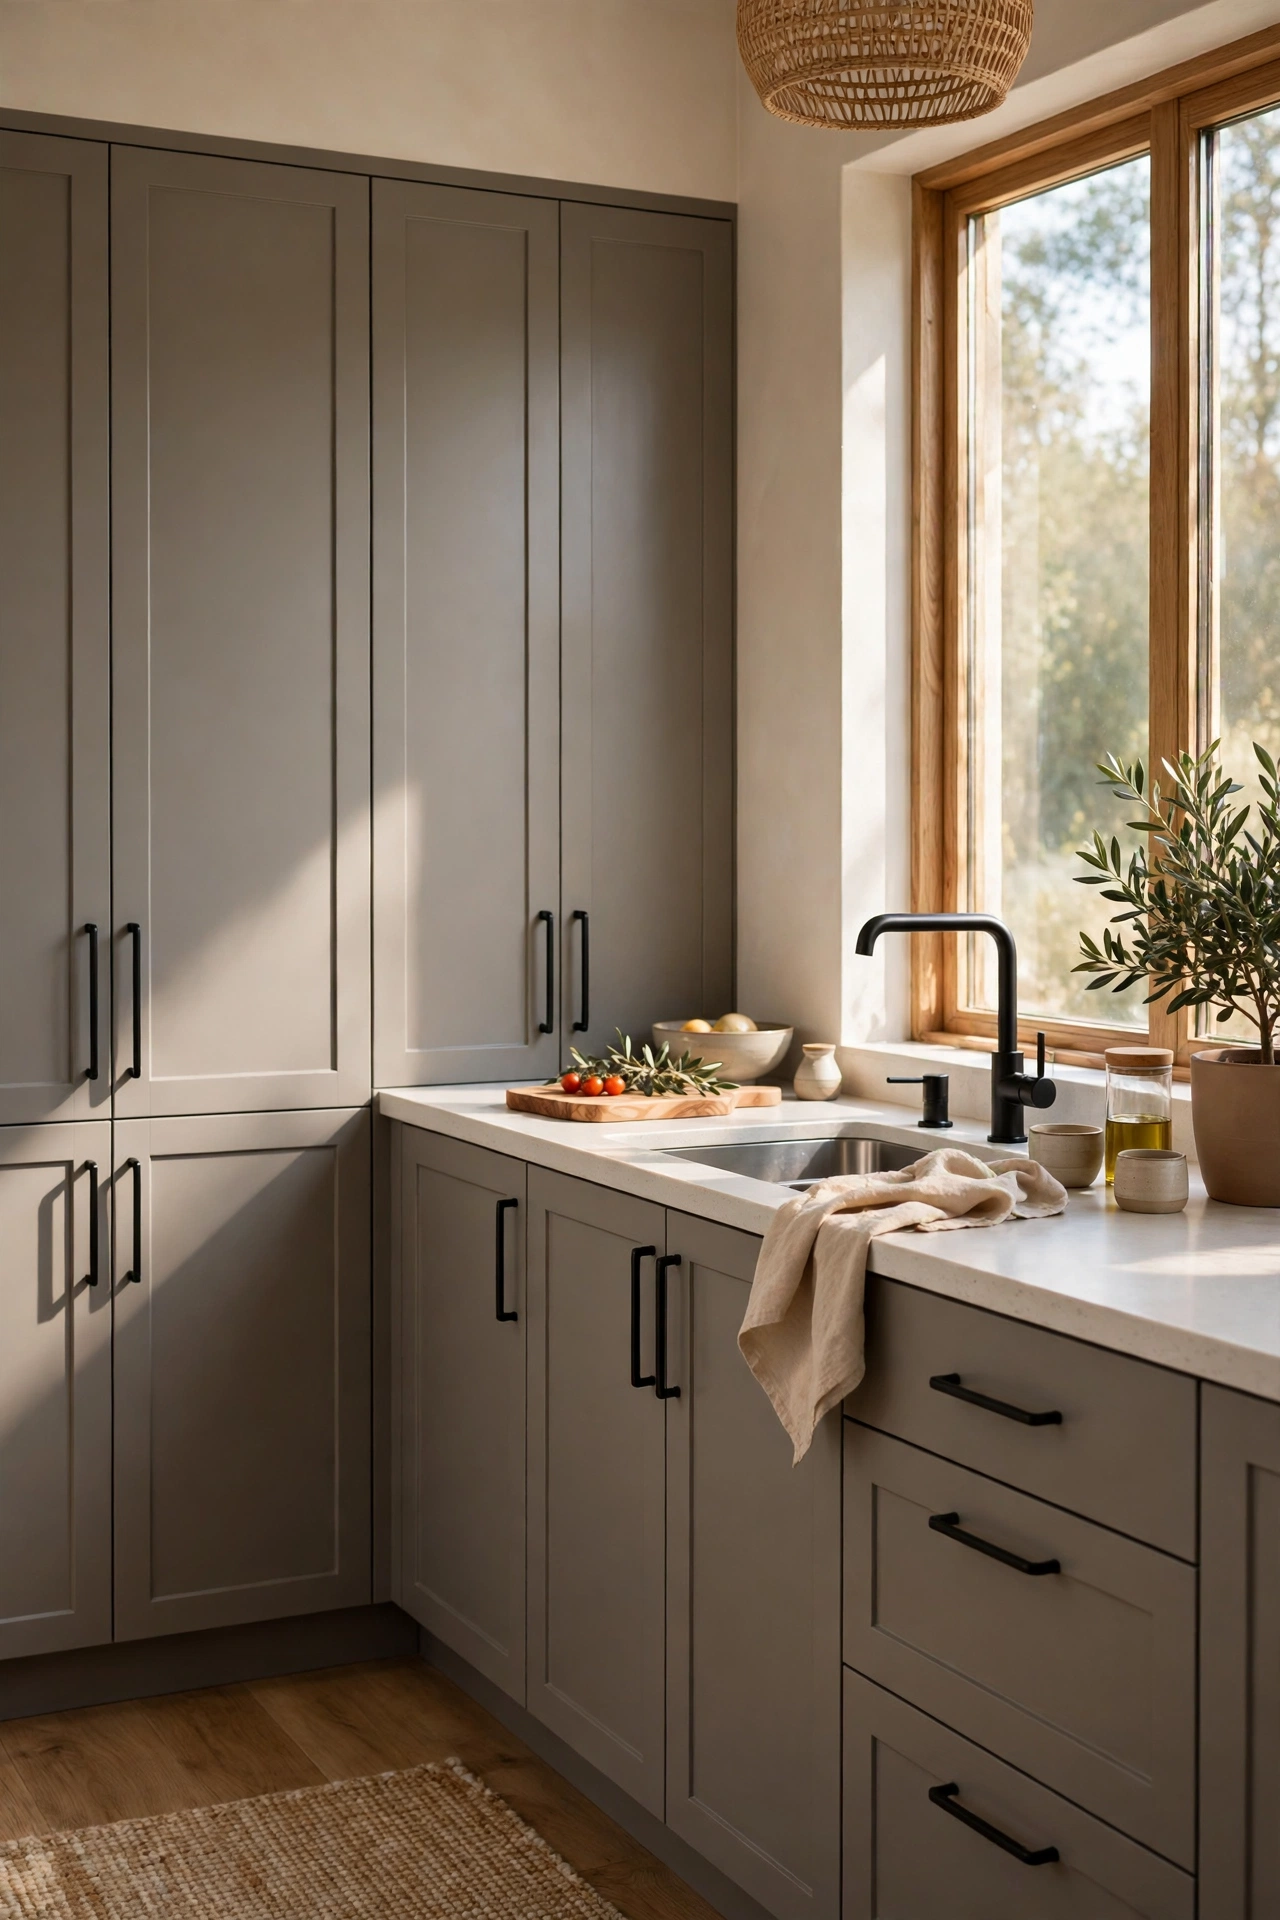
Here’s the budget move nobody talks about: you don’t need to reface the whole kitchen. Wrapping just the doors people actually see — the run facing the living area, the island front — in matte adhesive vinyl gives you flat, modern fronts for pocket money. I tried this and the mistake to avoid is wrapping around the edges in one go: do the flat face first, then wrap the edges separately with a hairdryer, or you’ll get wrinkles at every corner. Steps: remove the doors and lay them flat, cut the vinyl oversized, squeegee from the centre out, then warm and fold the edges. Nobody will ever open the far corner cupboard to compare.
Pro tip: Choose a vinyl with a subtle texture rather than flat colour — it hides imperfections and looks far more expensive.
Cost: ~$28 | Time: 3 hours
13. Create a Handleless Look With Push-to-Open Latches
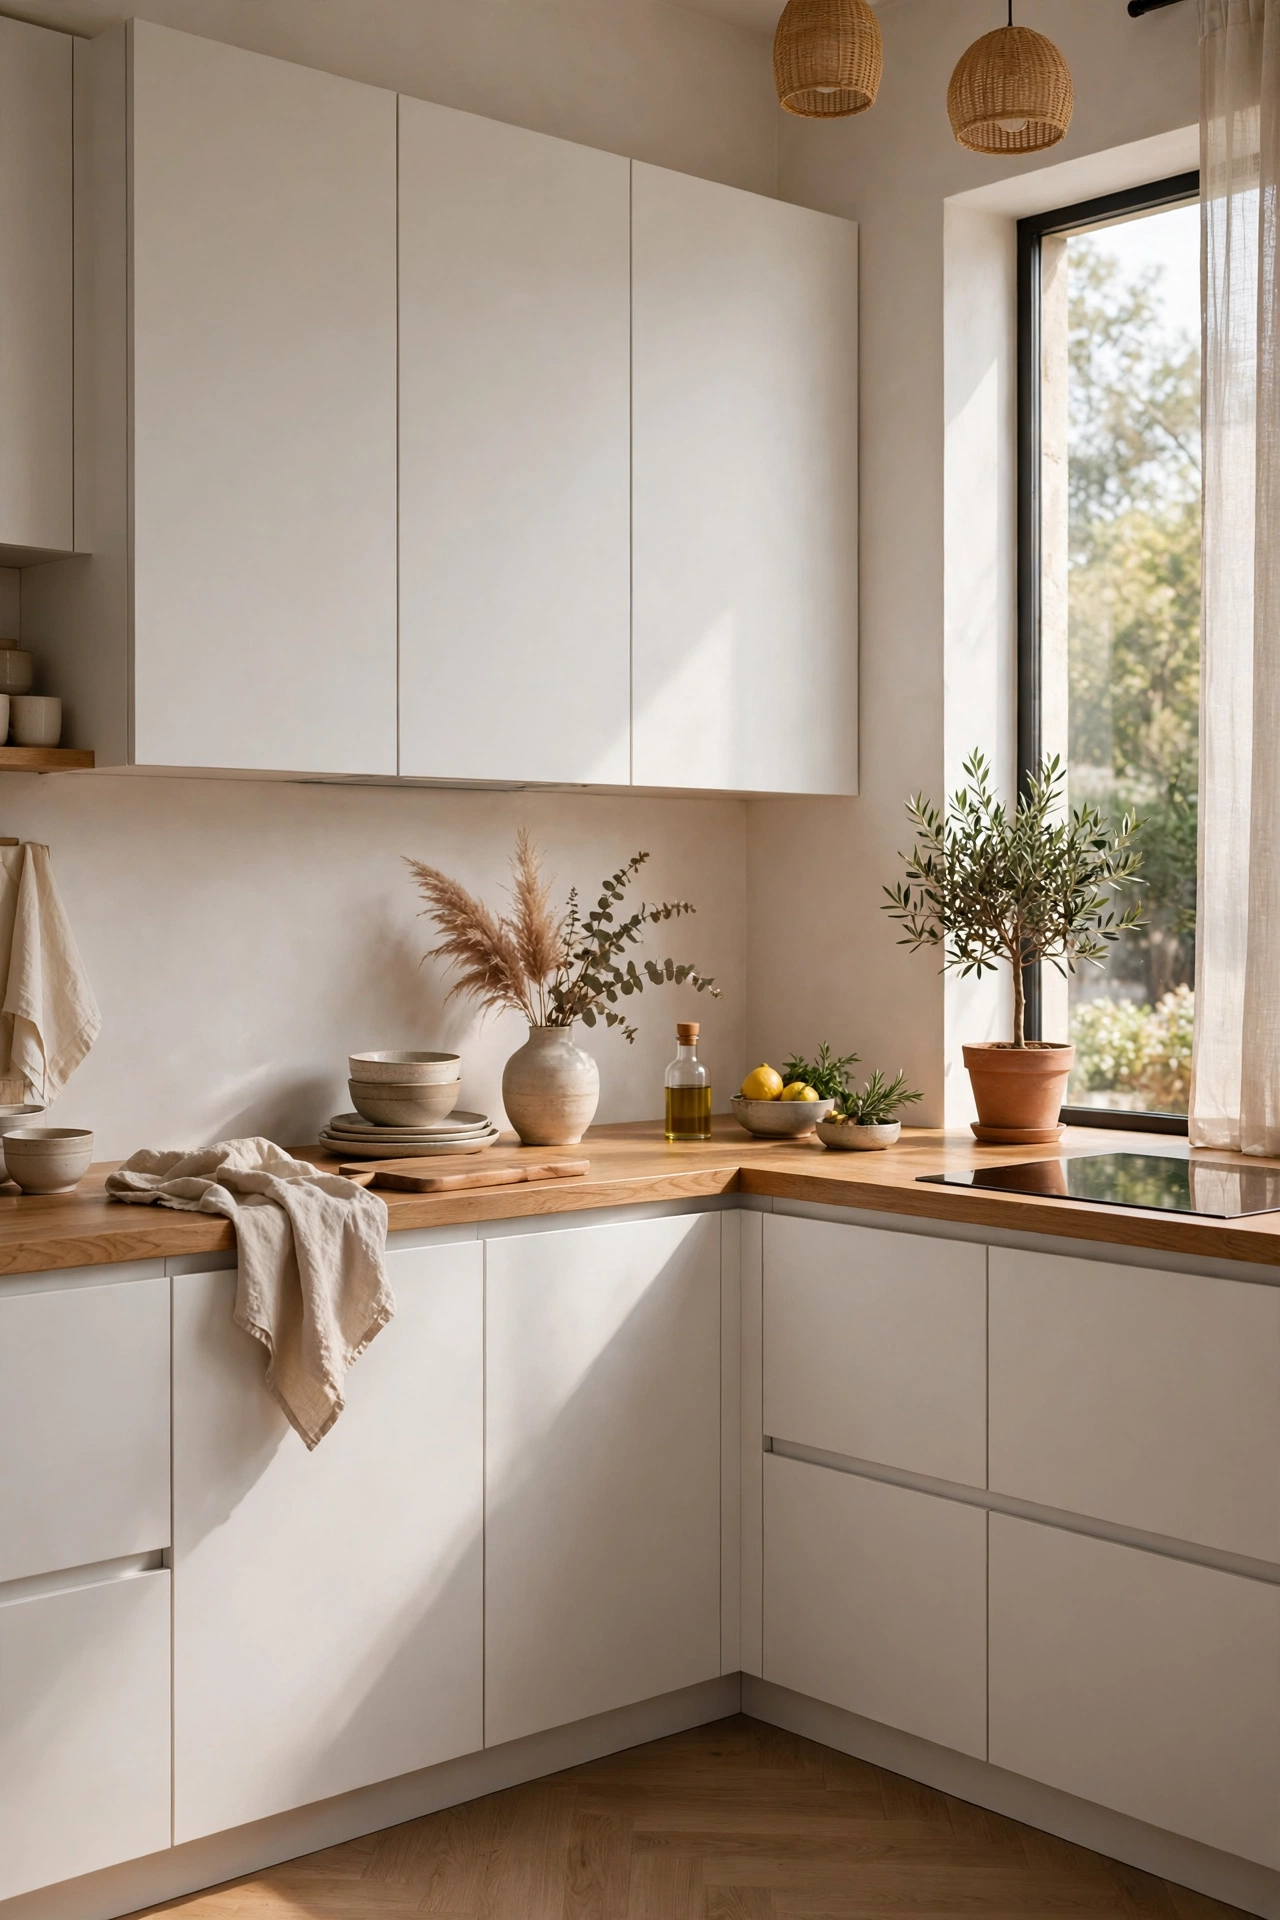
Handleless kitchens are peak modern, and push-to-open latches fake the look for about a pound a door. These tiny magnetic or mechanical catches replace your knobs entirely — you just press the door and it springs open. I tried this and the mistake to avoid is fitting them to heavy pan drawers: the mechanism isn’t strong enough, so keep handles on the two or three heaviest drawers and go handleless everywhere else. Steps: remove the old knobs and fill the holes, screw the latch plate inside the cabinet frame, stick the magnetic plate to the door back, and adjust until the push feels crisp. The flat, uninterrupted fronts look instantly architectural.
Pro tip: Add soft-close dampers at the same time — silent doors are the detail that screams quality.
Cost: ~$15 | Time: 2 hours
14. Zone the Worktops With Trays and Declutter Ruthlessly
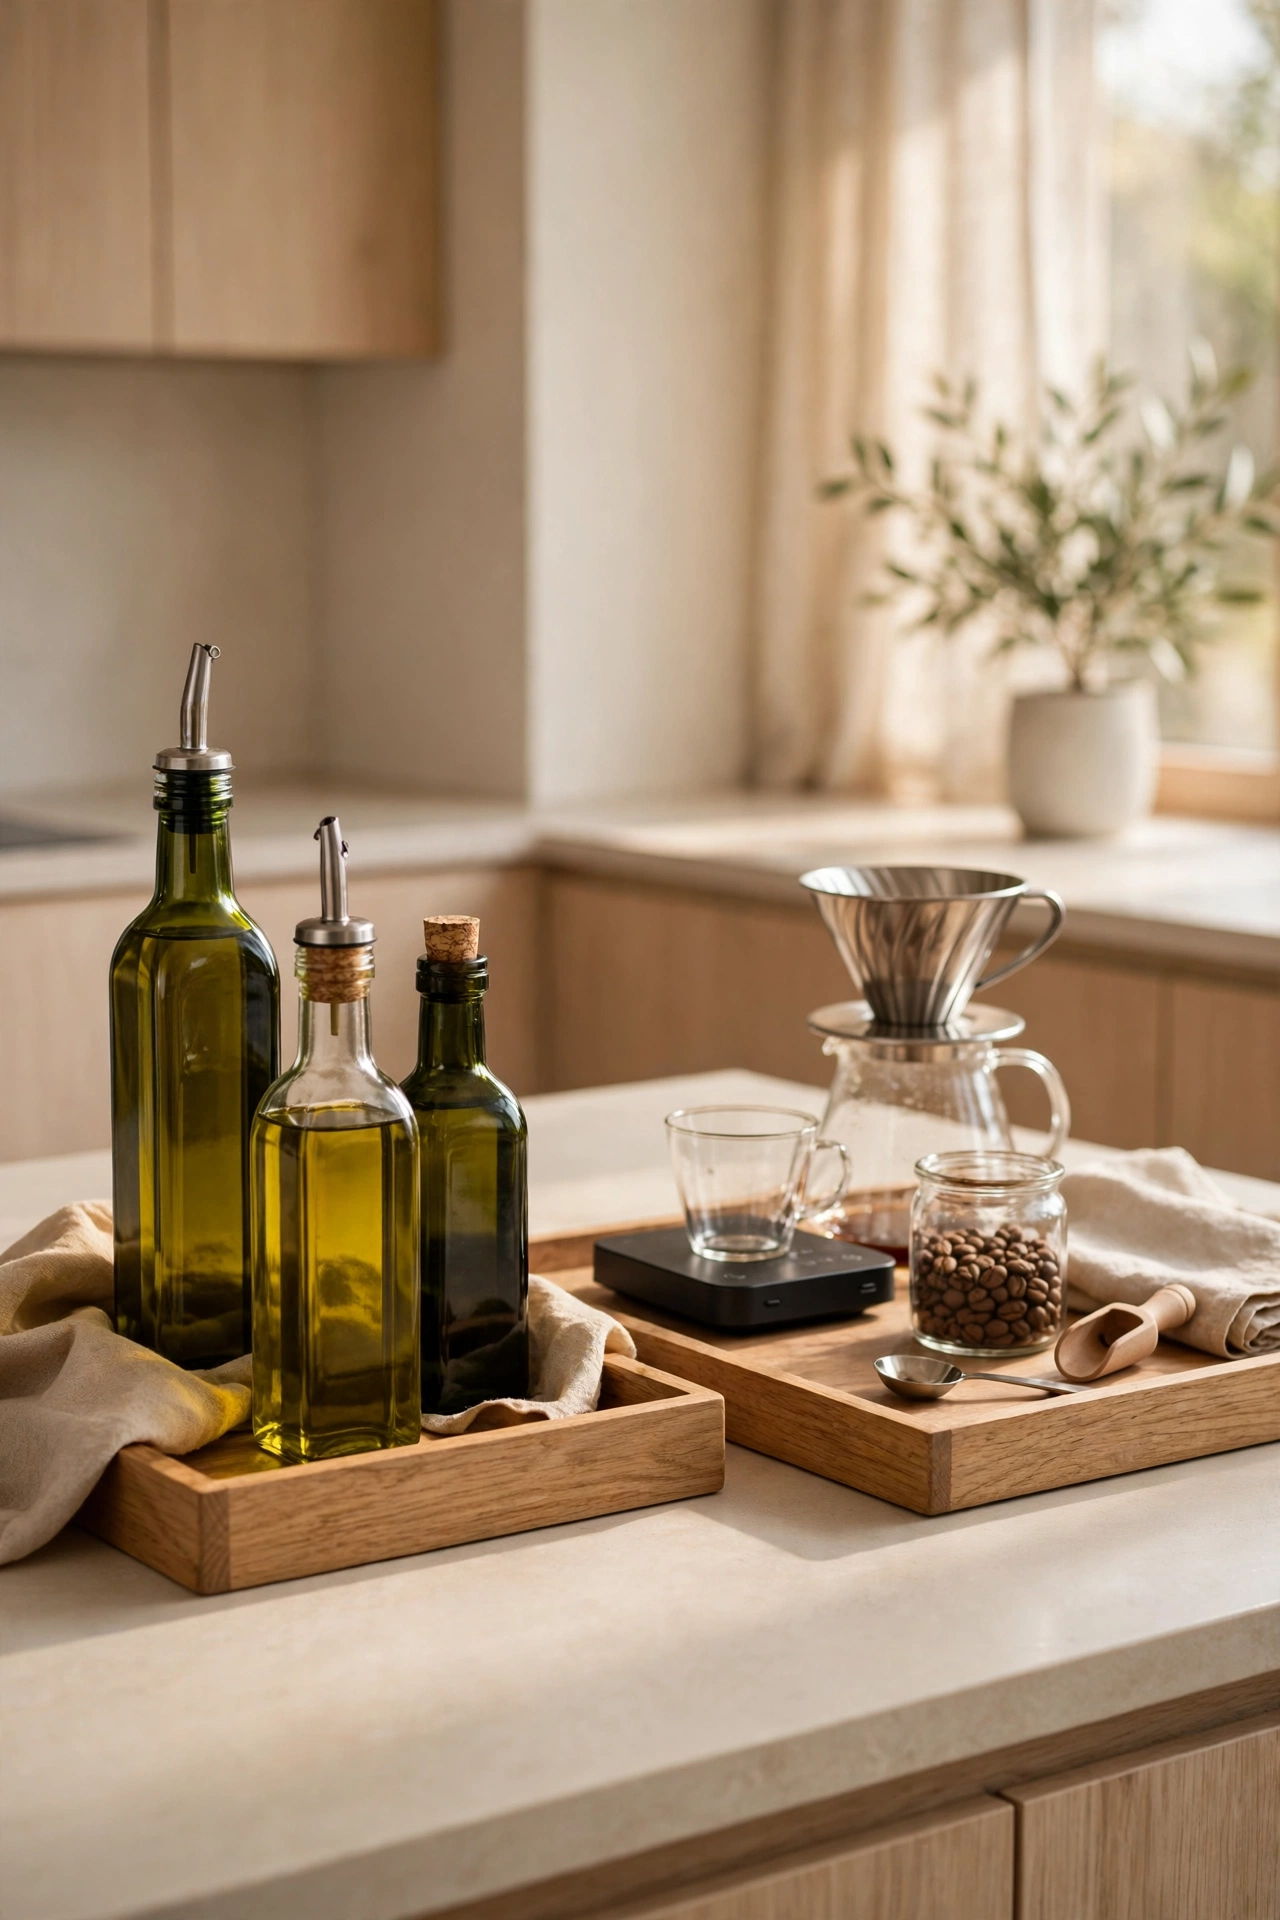
The most modern kitchens aren’t the most expensive — they’re the emptiest. Grouping the few things that must live on the worktop onto one or two trays (oils by the cooker, coffee kit by the machine) creates clean zones instead of visual noise. I tried this and the mistake to avoid is buying the trays before decluttering: purge first, then contain what’s left, or you’re just organising clutter beautifully. Steps: pull everything off the worktops, bin or rehome the duplicates and the gadgets you never touch, wipe every surface, then place back only daily essentials, grouped on trays with a small plant or candle for warmth. The empty space you gain is the whole point.
Pro tip: The “one in, one out” rule keeps it this way — every new gadget means an old one leaves.
Cost: ~$12 | Time: 90 minutes
15. Hang One Oversized Minimalist Art Print
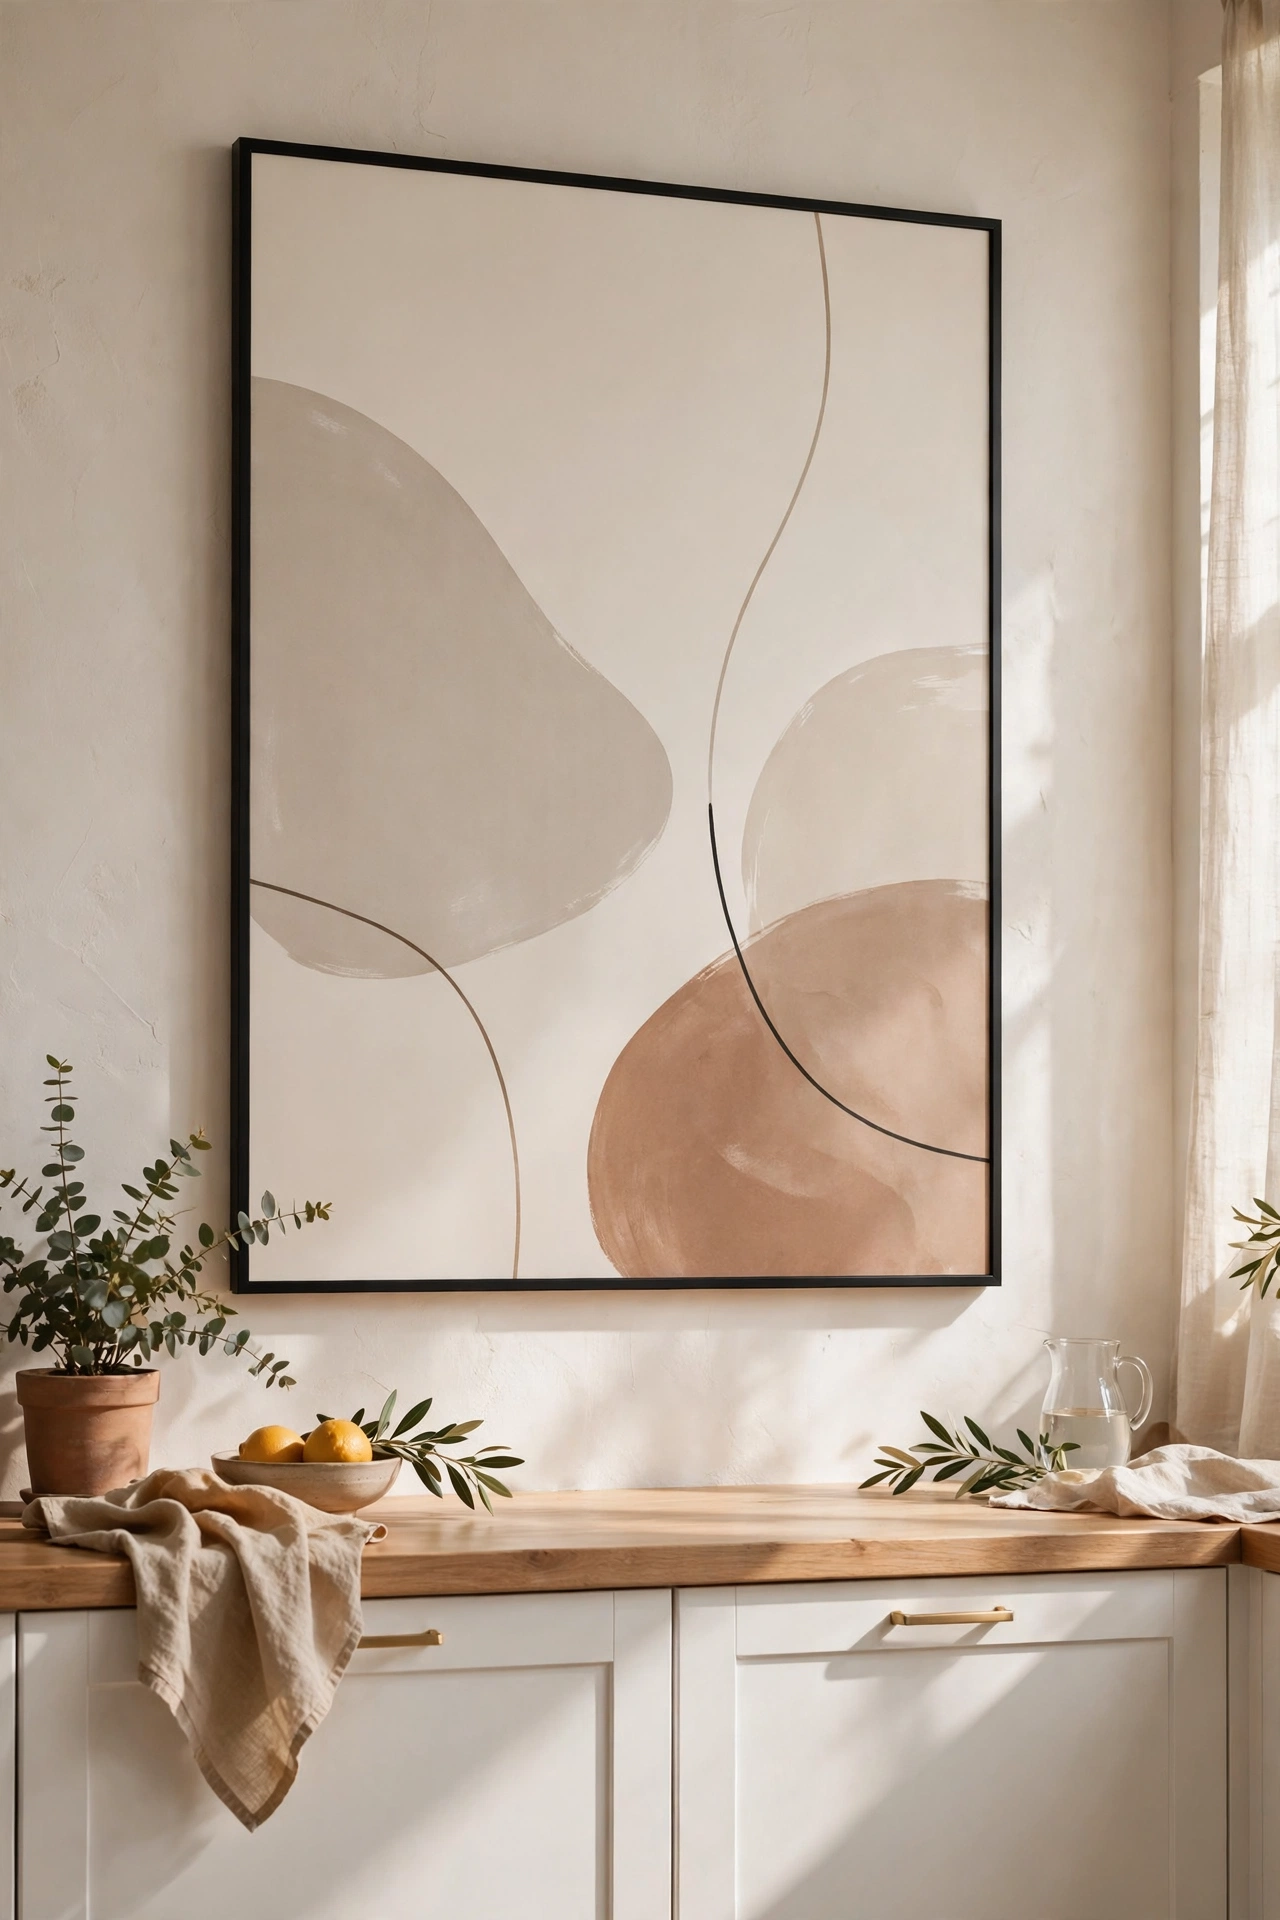
Modern doesn’t have to mean cold, and one large piece of art is the fastest way to warm a kitchen up. A big abstract print in a thin black frame — hung where you’d least expect it, like beside the cooker or above a shelf — gives the room a gallery feel for the price of a print and a frame. I tried this and the mistake to avoid is hanging it too small: a dinky A4 print looks lost, so go as large as the wall allows, ideally 50×70cm or bigger. Steps: order the print, frame it simply, hang it at eye level (centre about 145cm from the floor), and keep everything else on that wall bare. One confident piece beats five timid ones.
Pro tip: Charity shops are goldmines for large frames — a £3 frame plus a new print beats a £40 frame every time.
Cost: ~$20 | Time: 30 minutes
16. Limewash One Wall for Soft Modern Texture
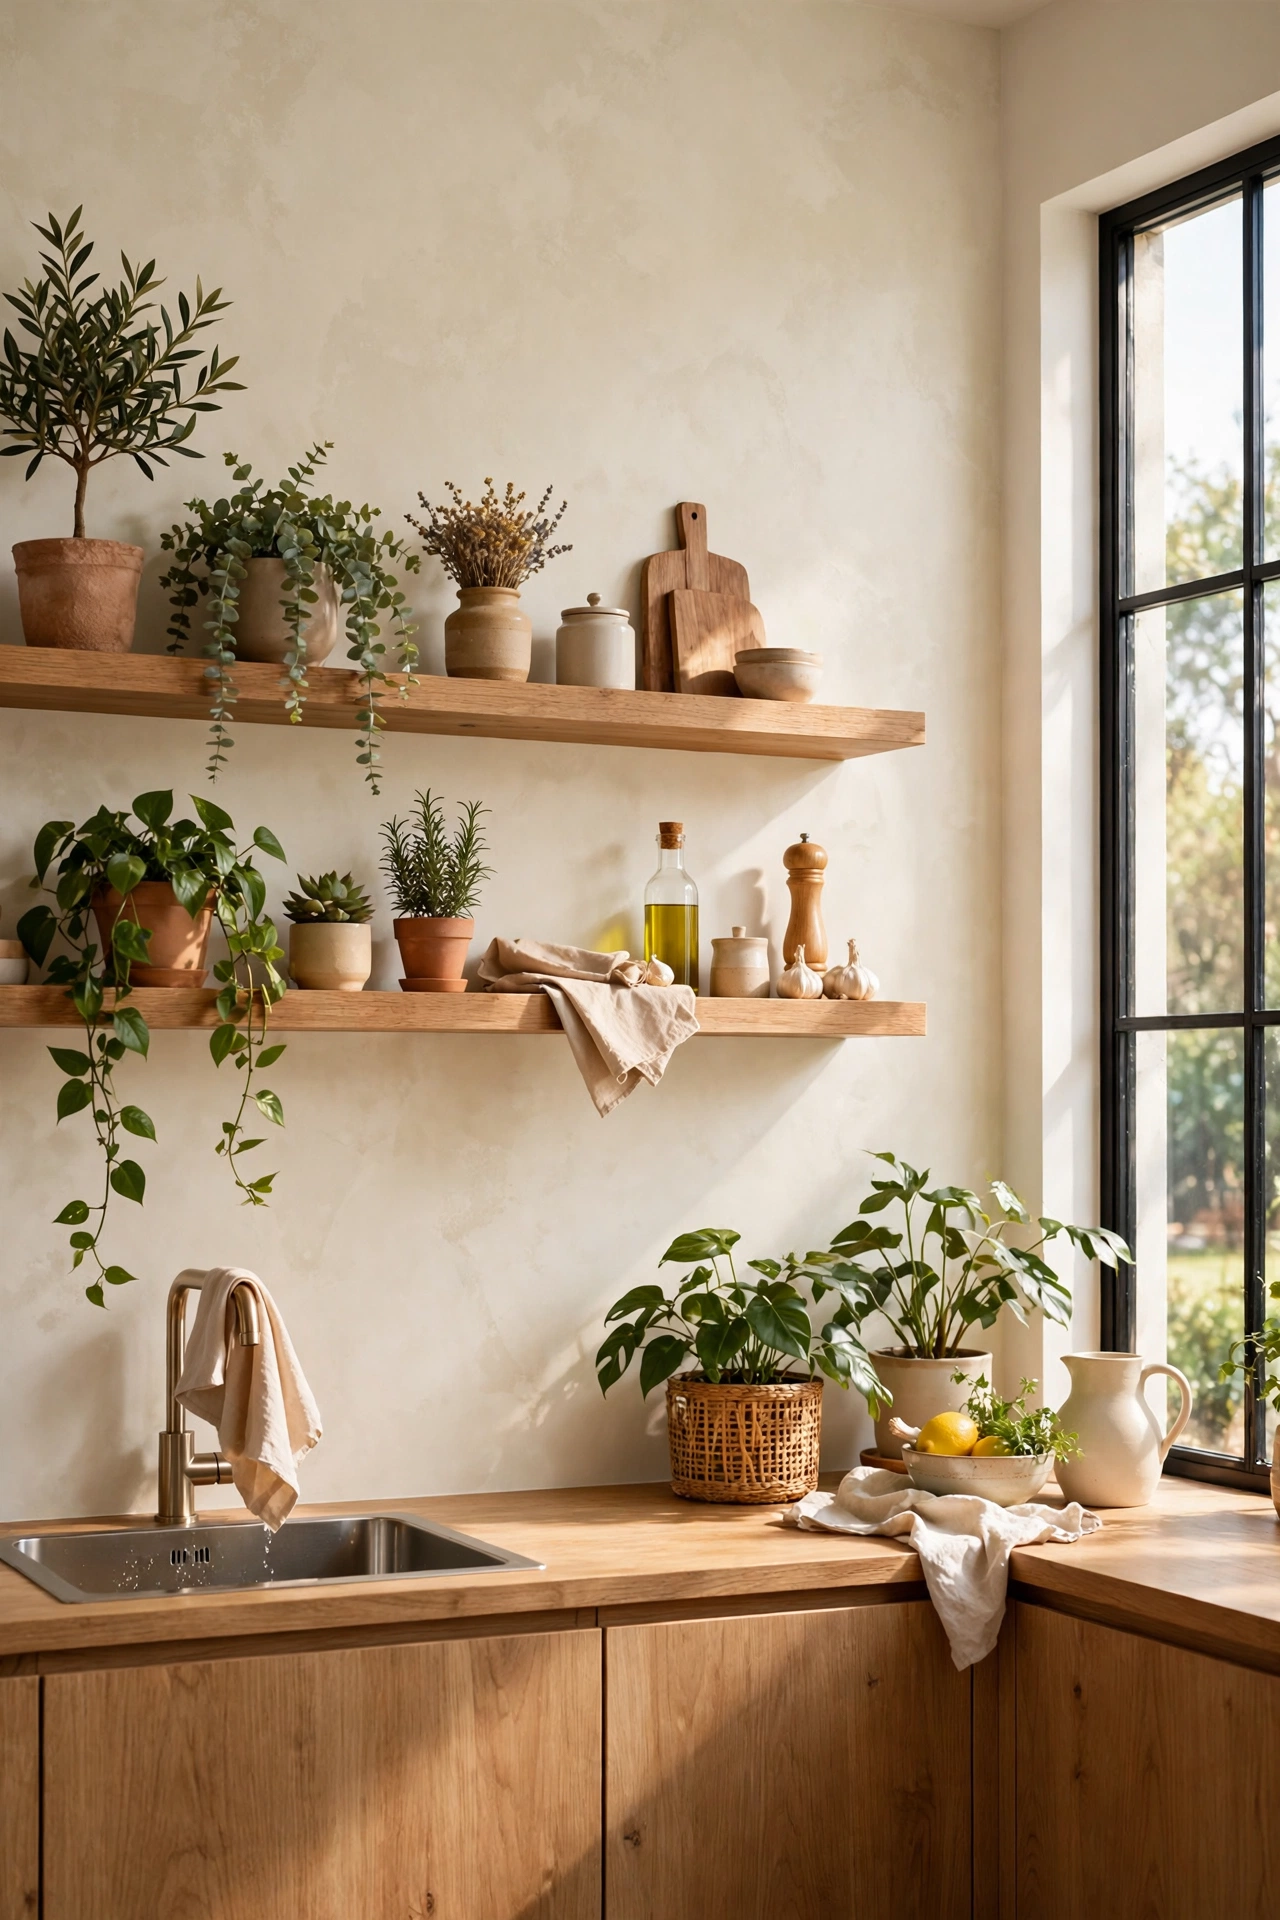
Flat matt walls can feel a bit stark; a limewash finish adds the soft, cloudy texture you see in high-end modern interiors. Limewash paint is forgiving to apply — the whole point is visible brush movement — and one feature wall takes an afternoon. I tried this and the mistake to avoid is overworking it: lay the paint on in loose criss-cross strokes and walk away, because fiddling creates hard edges that ruin the effect. Steps: choose a warm off-white or pale greige, cut in the edges, then apply with a large block brush in random X-shaped strokes, keeping a wet edge. Two coats, no sanding between — the texture is the finish.
Pro tip: Limewash loves natural light — pick the wall opposite the window so the texture shifts through the day.
Cost: ~$30 | Time: 4 hours
17. Replace Switch Plates and Outlet Covers With Sleek Modern Ones
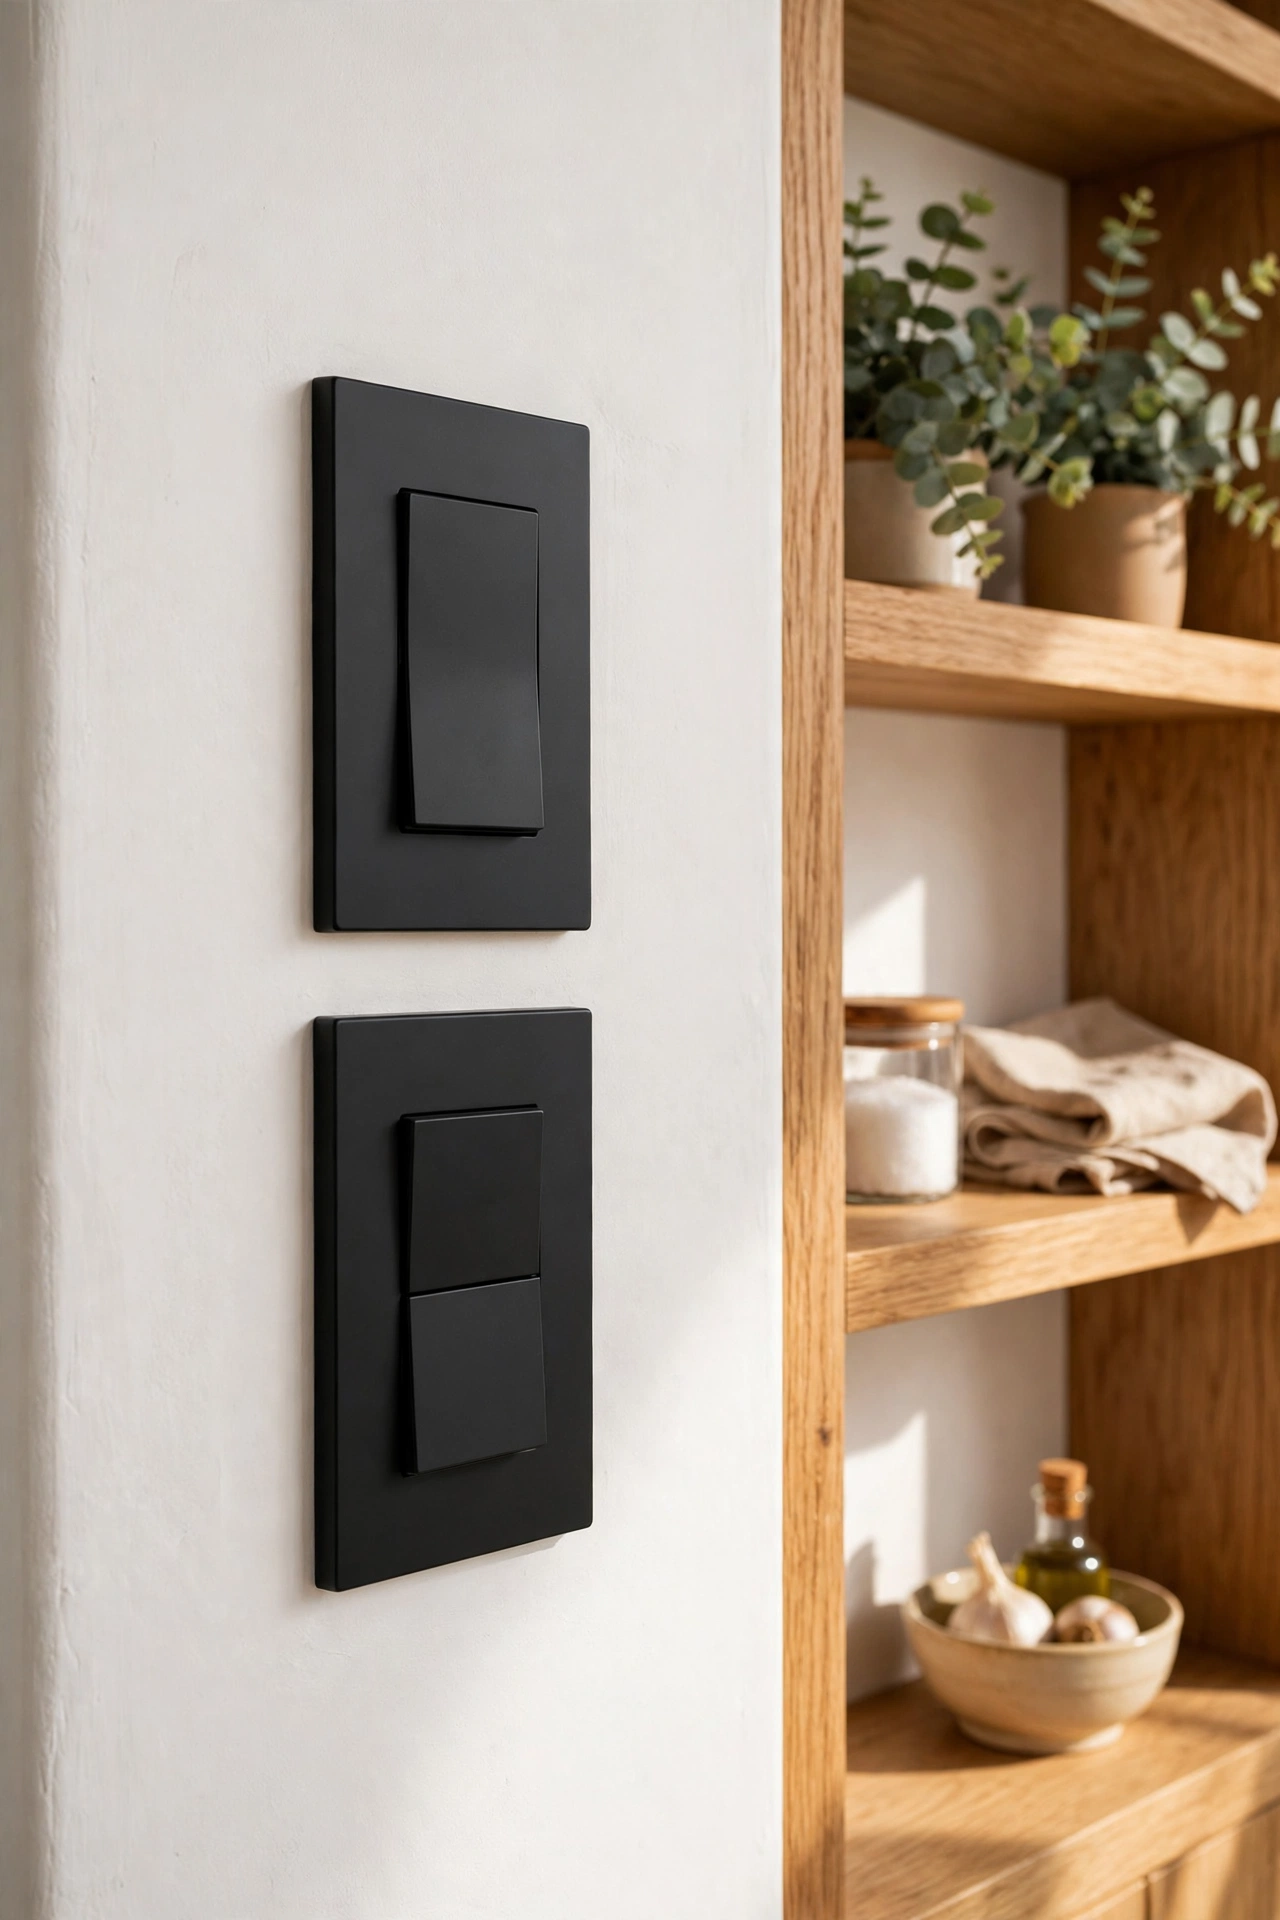
It’s the detail your eye registers without knowing why: chunky yellowed plastic switch plates date a kitchen instantly. Swapping them for slim screwless plates in white, black, or brushed metal costs a few pounds and takes minutes. I tried this and the mistake to avoid is buying before measuring: plate sizes differ between regions, and nothing is more annoying than a plate that doesn’t cover the old screw holes. Steps: switch off the circuit at the fuse box, unscrew the old plates, wipe the wall behind them (years of grime hide there), and screw on the new ones. Do every visible plate in the room — one old straggler ruins the illusion.
Pro tip: While the plates are off, it’s the perfect moment to touch up scuffed paint around the switches.
Cost: ~$14 | Time: 40 minutes
You don’t need a five-figure refit to cook in a kitchen that feels current. Pick two or three of these ideas, give yourself one free weekend, and enjoy the moment someone asks which designer you hired.
