25 Scandinavian Kitchen Ideas That Don’t Break the Bank
25 Scandinavian Kitchen Ideas That Don’t Break the Bank
I fell in love with Scandinavian kitchens the winter my heating bill tripled and my kitchen felt cold in every sense — gloomy cabinets, cluttered counters, and a colour palette that could best be described as “landlord beige.” I couldn’t afford a remodel, so I spent three weekends copying the calm, bright, wood-and-white kitchens I’d been saving on Pinterest. The surprise wasn’t that these Scandinavian kitchen ideas worked on a budget — it’s that they worked better. Stripping a kitchen back costs less than dressing one up, and a year later my kitchen is still the room I photograph on sunny mornings.
1. Swap Upper Cabinets for Open Shelving
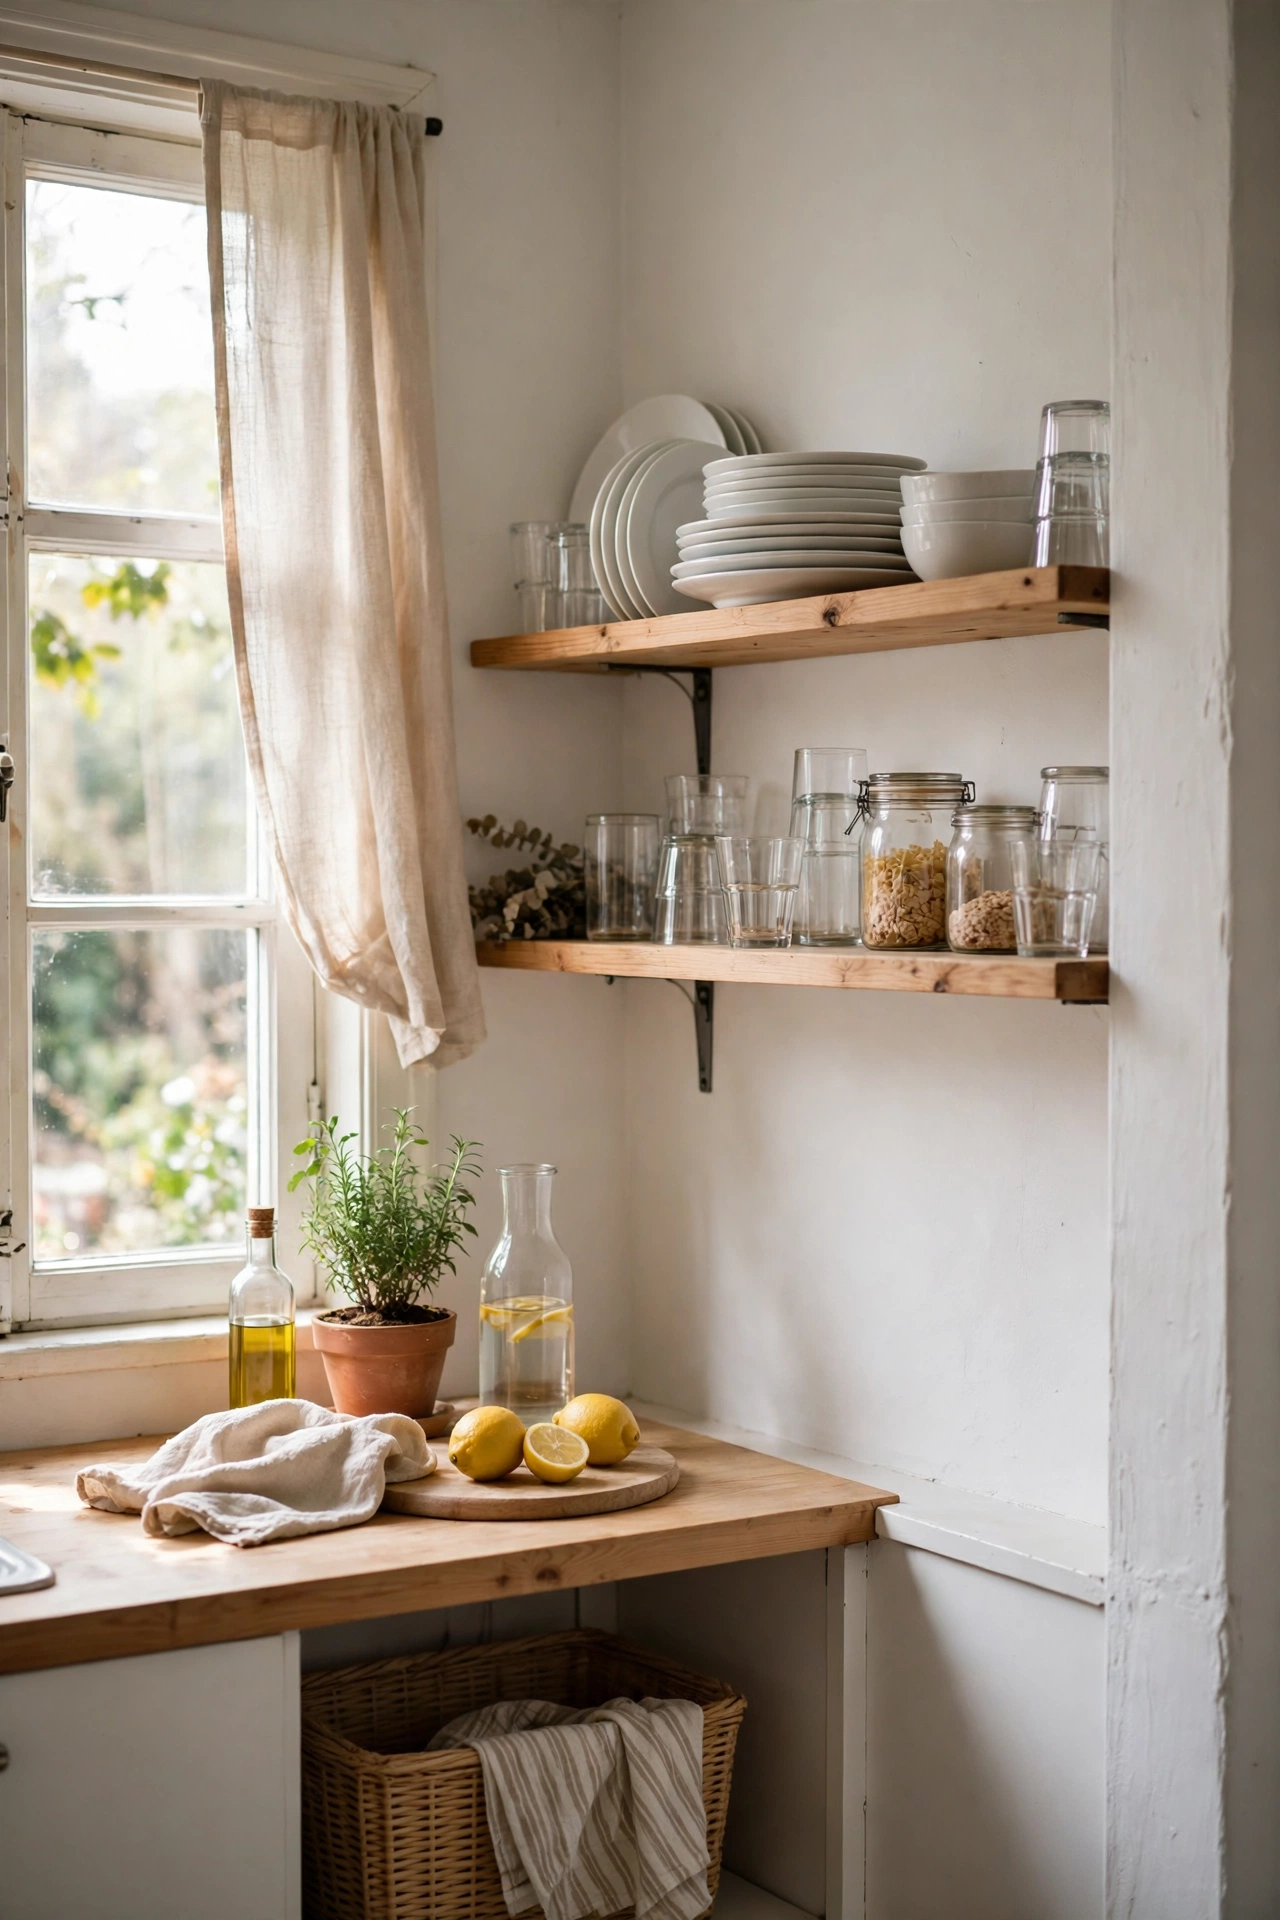
Taking down a set of upper cabinet doors — or skipping uppers entirely on one wall — instantly gives a kitchen that airy Scandinavian openness. The trick is restraint: keep only your prettiest everyday pieces on show. First, remove the doors from one run of uppers and fill the screw holes with wood filler. Second, line the shelves with matching white dishes and clear glasses. Third, corral everything else inside the closed cabinets below. I tried this and the mistake to avoid is cramming the shelves full — a half-empty shelf reads calm, a packed one reads cluttered. (see also: open-kitchen-shelving-ideas)
Cost: ~$15 | Time: 60 minutes
2. Paint Walls in a Warm, Soft White
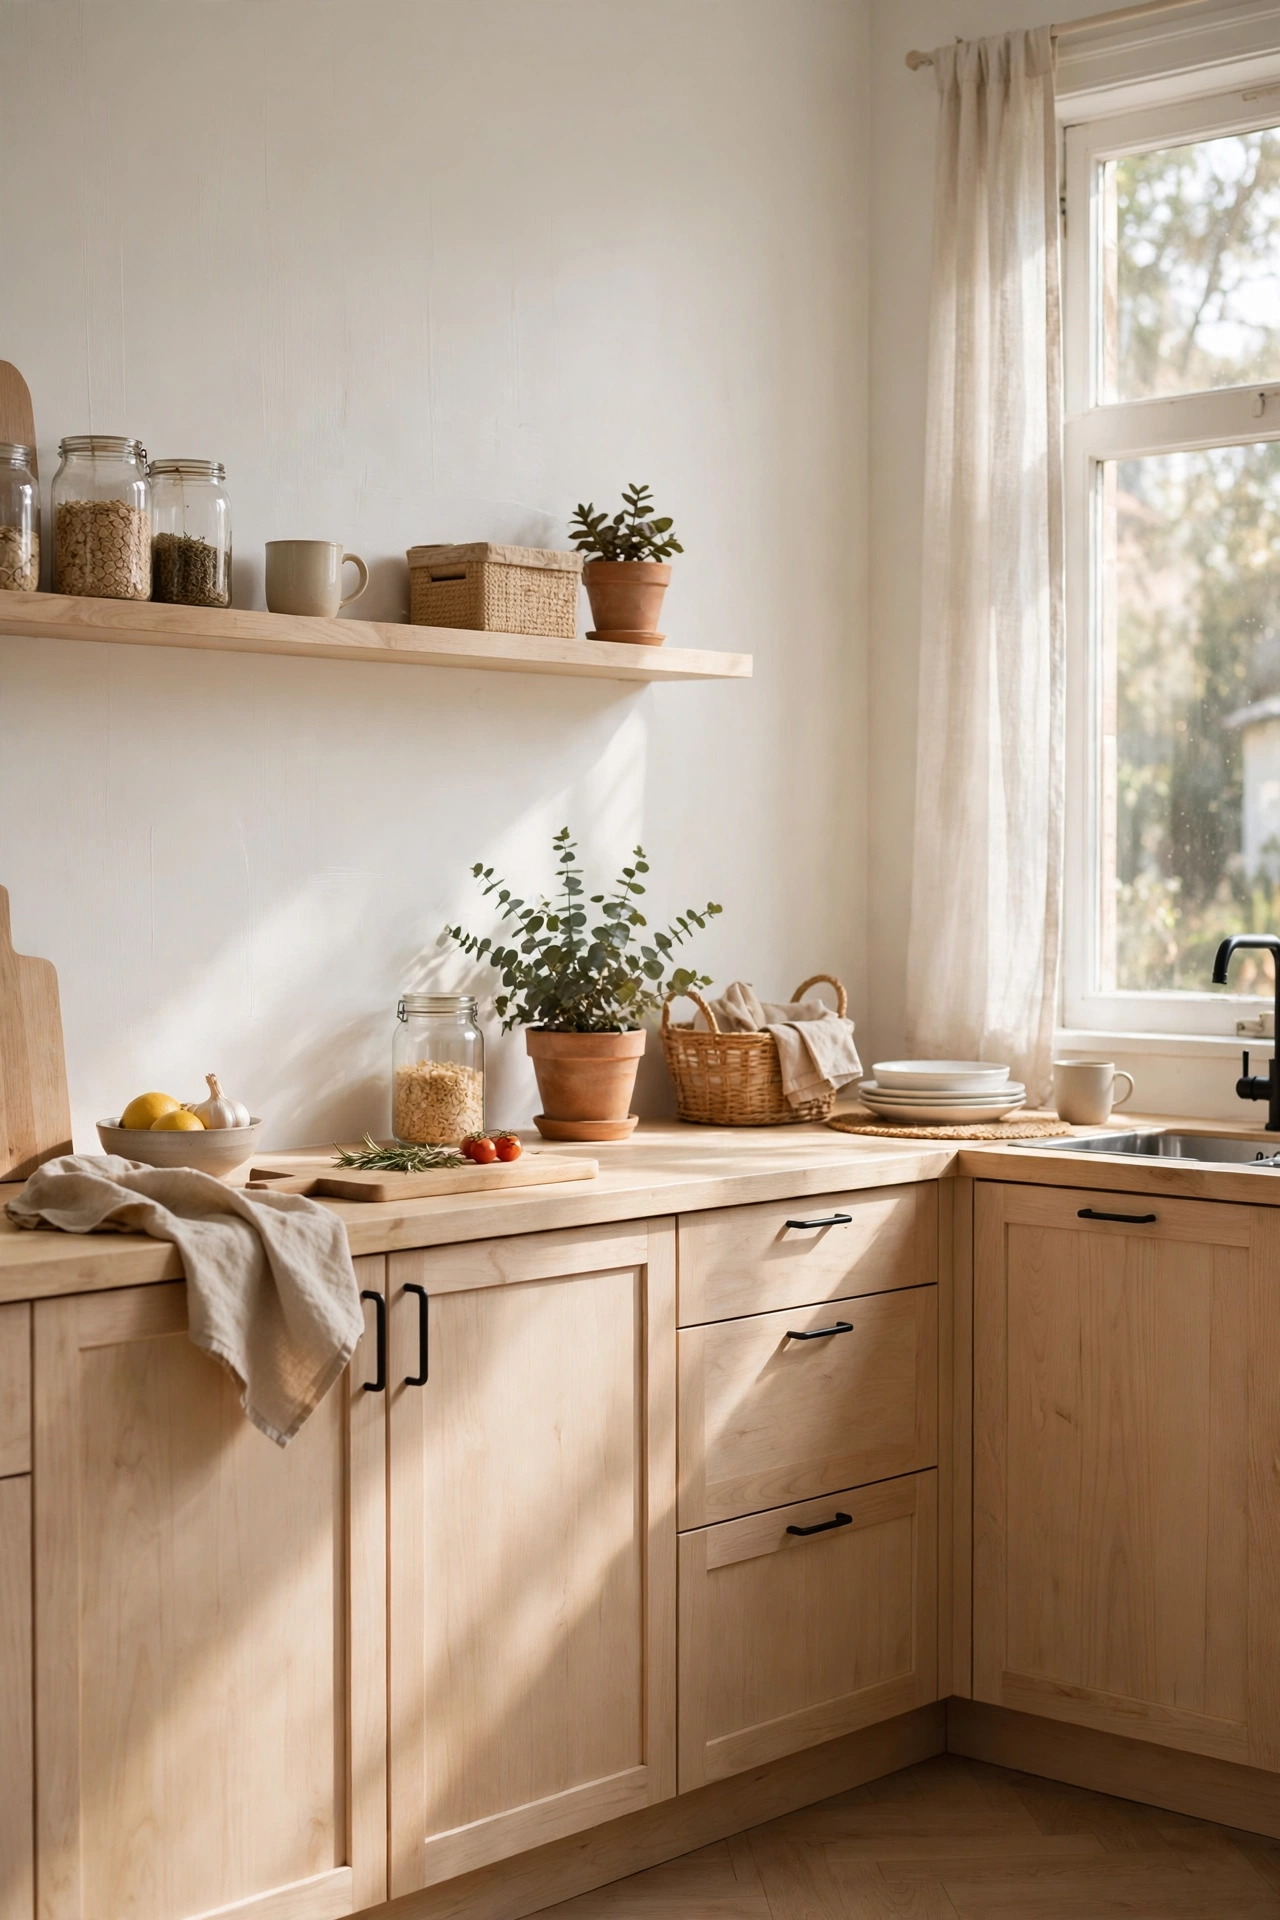
Scandinavian rooms are white, but never the harsh hospital white most rental kitchens start with. A warm soft white with a whisper of cream bounces light around and makes oak and pine look richer. Choose a satin or eggshell finish so splashes wipe off easily. Start by washing the walls with sugar soap, then cut in around cabinets and ceiling, and roll two thin coats rather than one thick one. I tried this and the mistake to avoid is picking a bright blue-white — it makes everything look cold and flat once the evening light fades. (see also: best-white-paint-for-kitchens)
Cost: ~$40 | Time: 180 minutes
3. Style a Collection of Wooden Chopping Boards
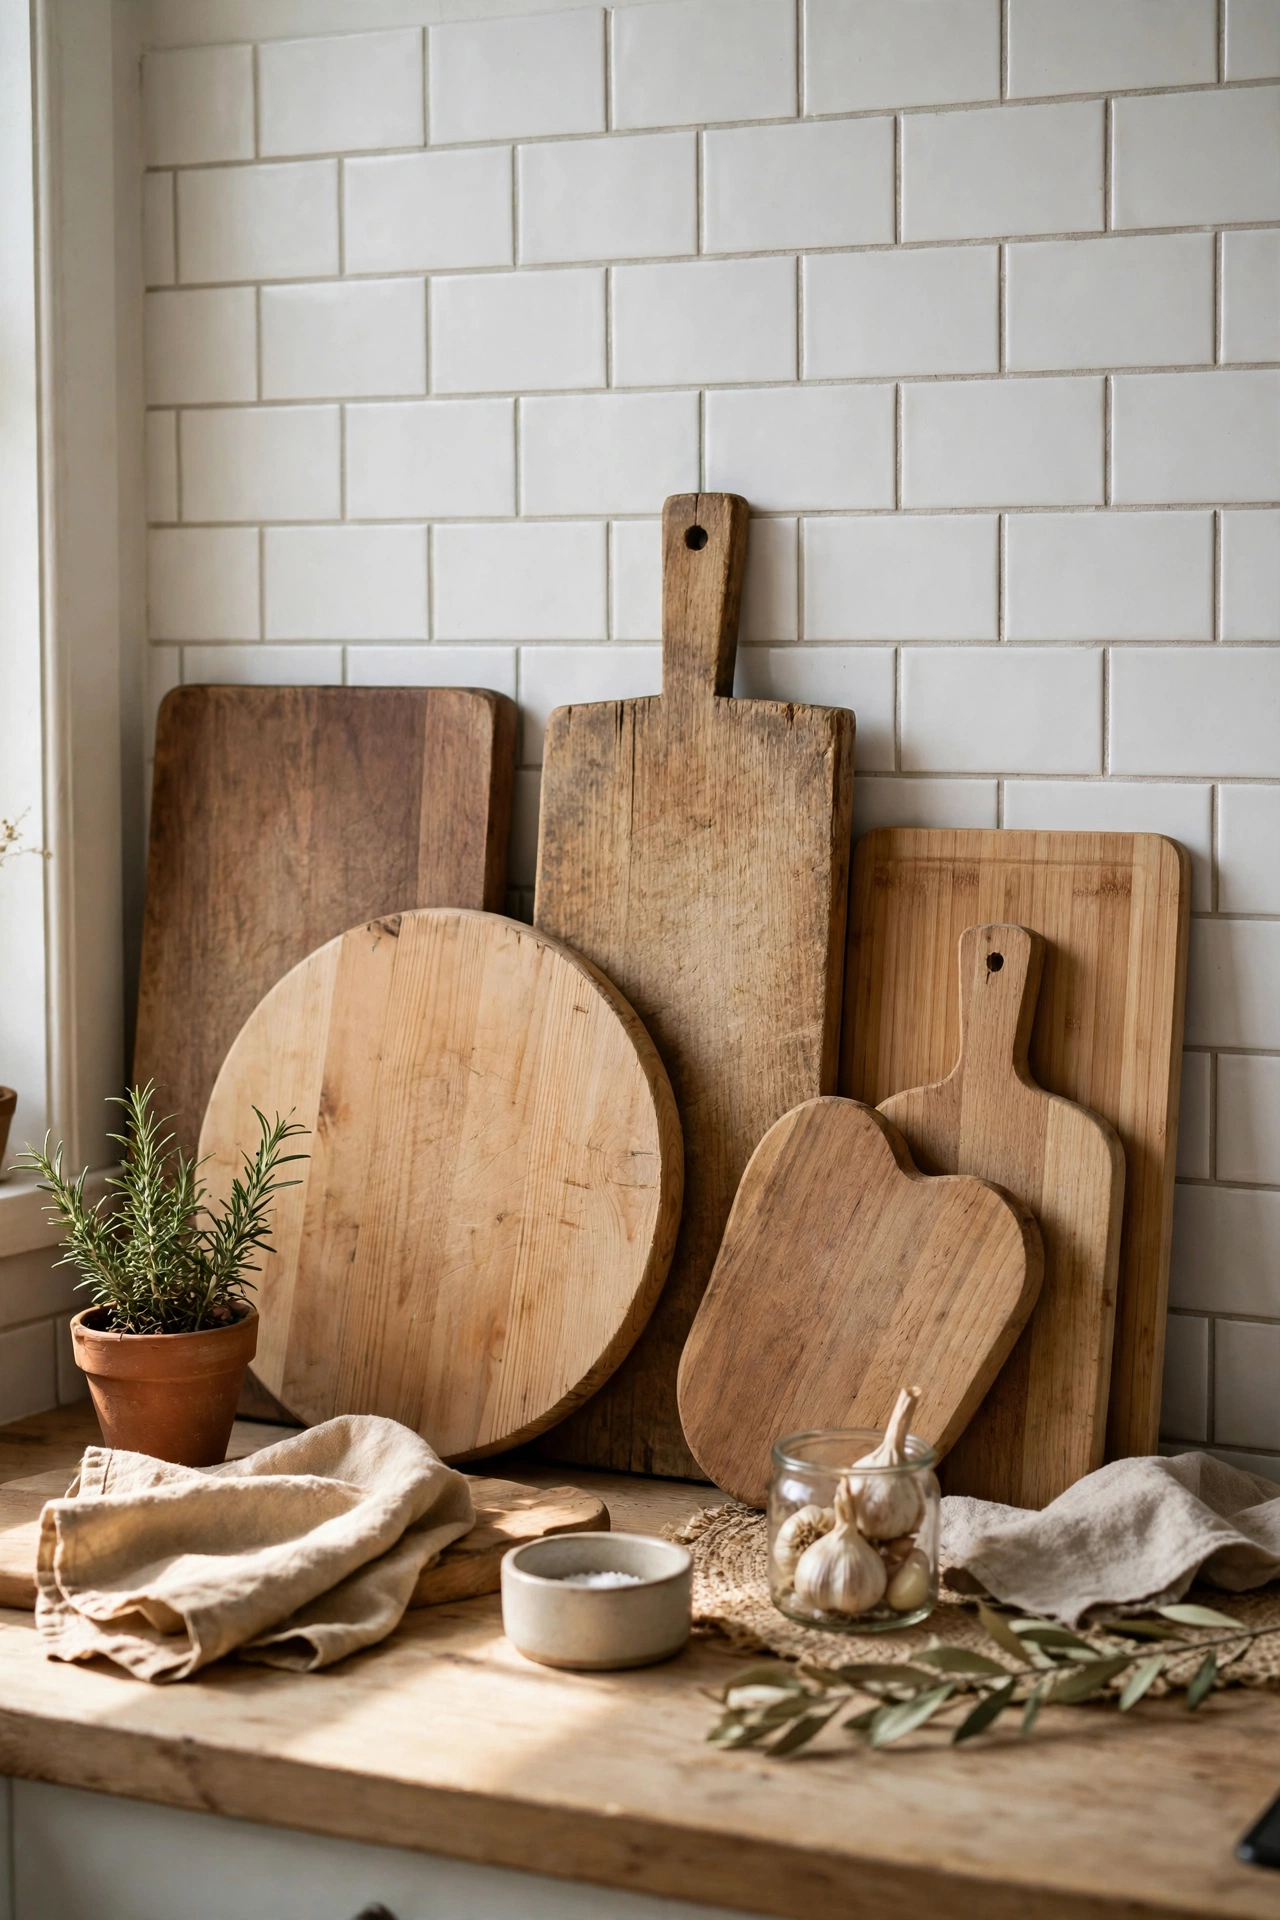
A leaning row of wooden boards against the backsplash is the cheapest styling trick in the Scandinavian playbook — pale oak, ash, and bamboo all bring that natural warmth. Hunt charity shops and boot sales first; boards are always there for a pound or two. Wash and oil them with mineral oil, lean the largest at the back and smallest at the front, and group three to five together rather than scattering them. I tried this and the mistake to avoid is buying a matching set — mixed sizes and wood tones look collected, not staged.
Cost: ~$12 | Time: 30 minutes
4. Fit a Simple Metal Rail for Utensils
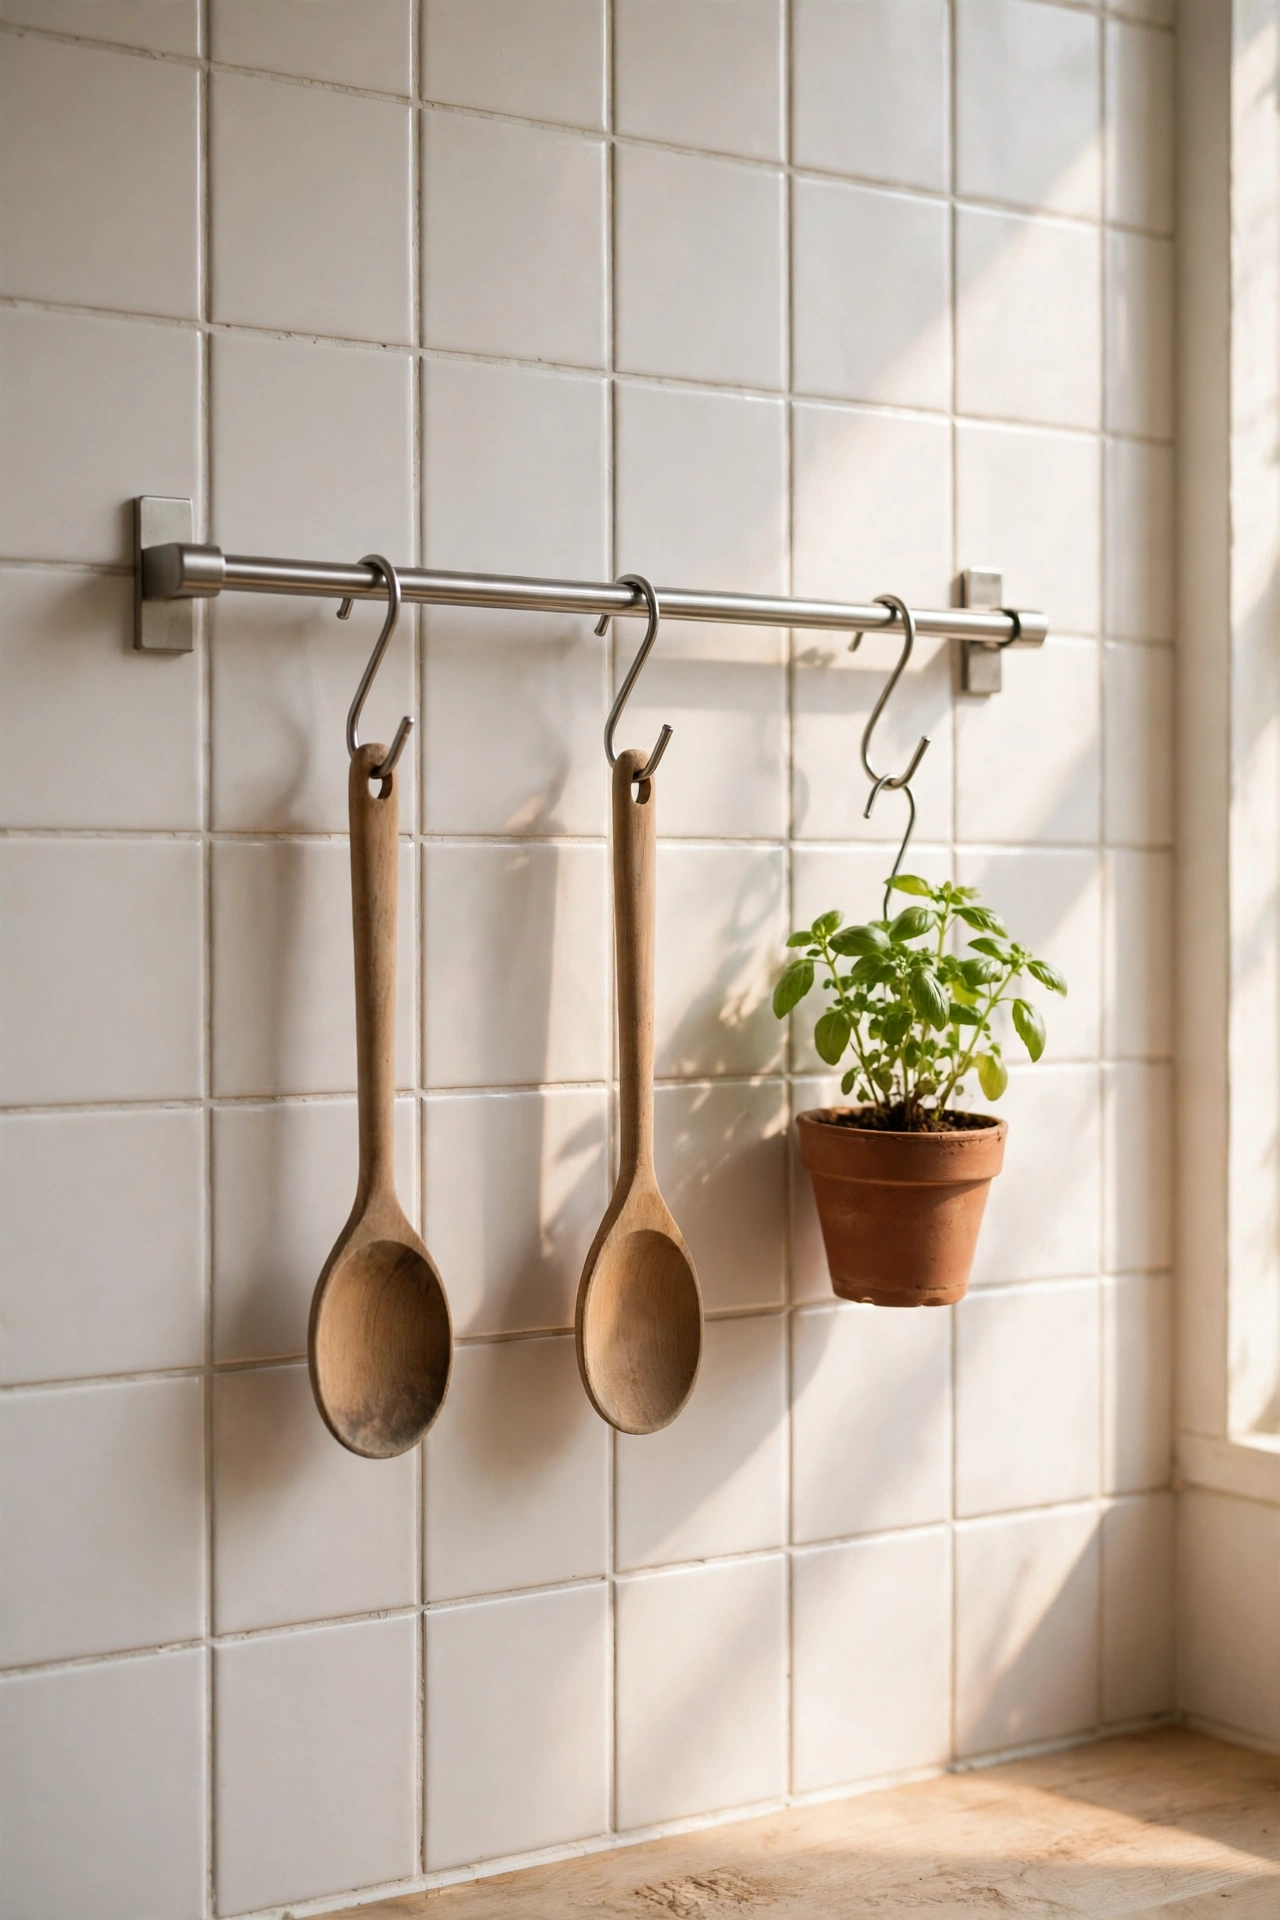
The classic Scandi rail — a slim metal bar with S-hooks holding wooden spoons and a whisk — gets tools off the counter and onto the wall as decoration. Mount a rail about 30cm above the hob or prep area, choosing stainless steel or matte black for the authentic look. Hang only items you actually reach for daily, then add one trailing herb plant for life. I tried this and the mistake to avoid is hanging twenty gadgets on it — five well-chosen tools and some breathing room is the whole point.
Cost: ~$18 | Time: 45 minutes
5. Hang Linen Café Curtains
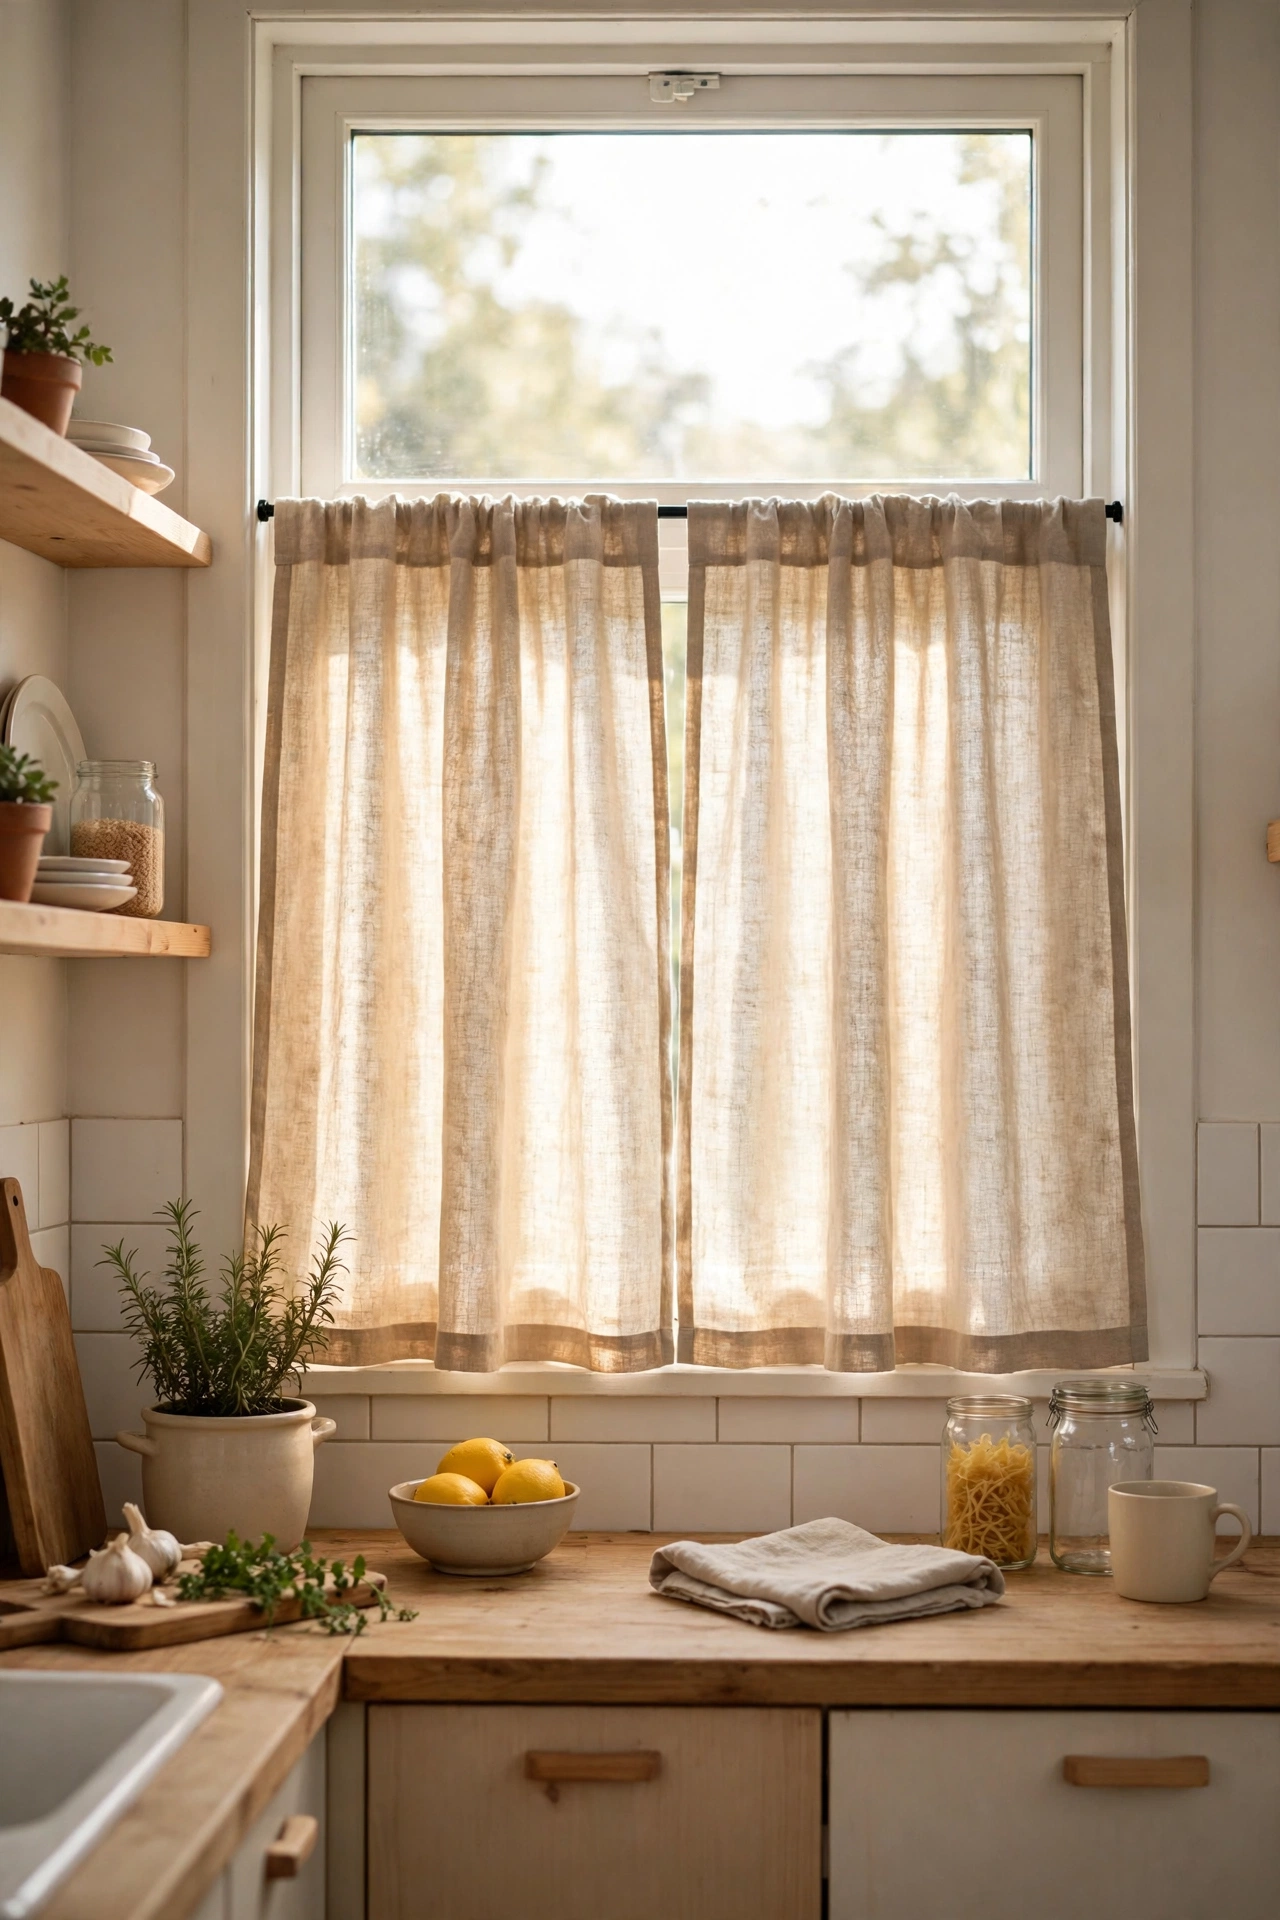
Full-length curtains fight the light; a linen café curtain covering just the lower half of the window gives privacy while letting the daylight pour in. Natural or oatmeal linen is the quintessential fabric. Measure the window width and add 50% for gentle gathers, hem a simple pocket for a tension rod, and press it lightly — linen should look lived-in, not ironed flat. I tried this and the mistake to avoid is polyester “linen-look” fabric, which goes plasticky and stiff in sunlight.
Cost: ~$25 | Time: 90 minutes
6. Add Pale Floating Shelves Beside the Window
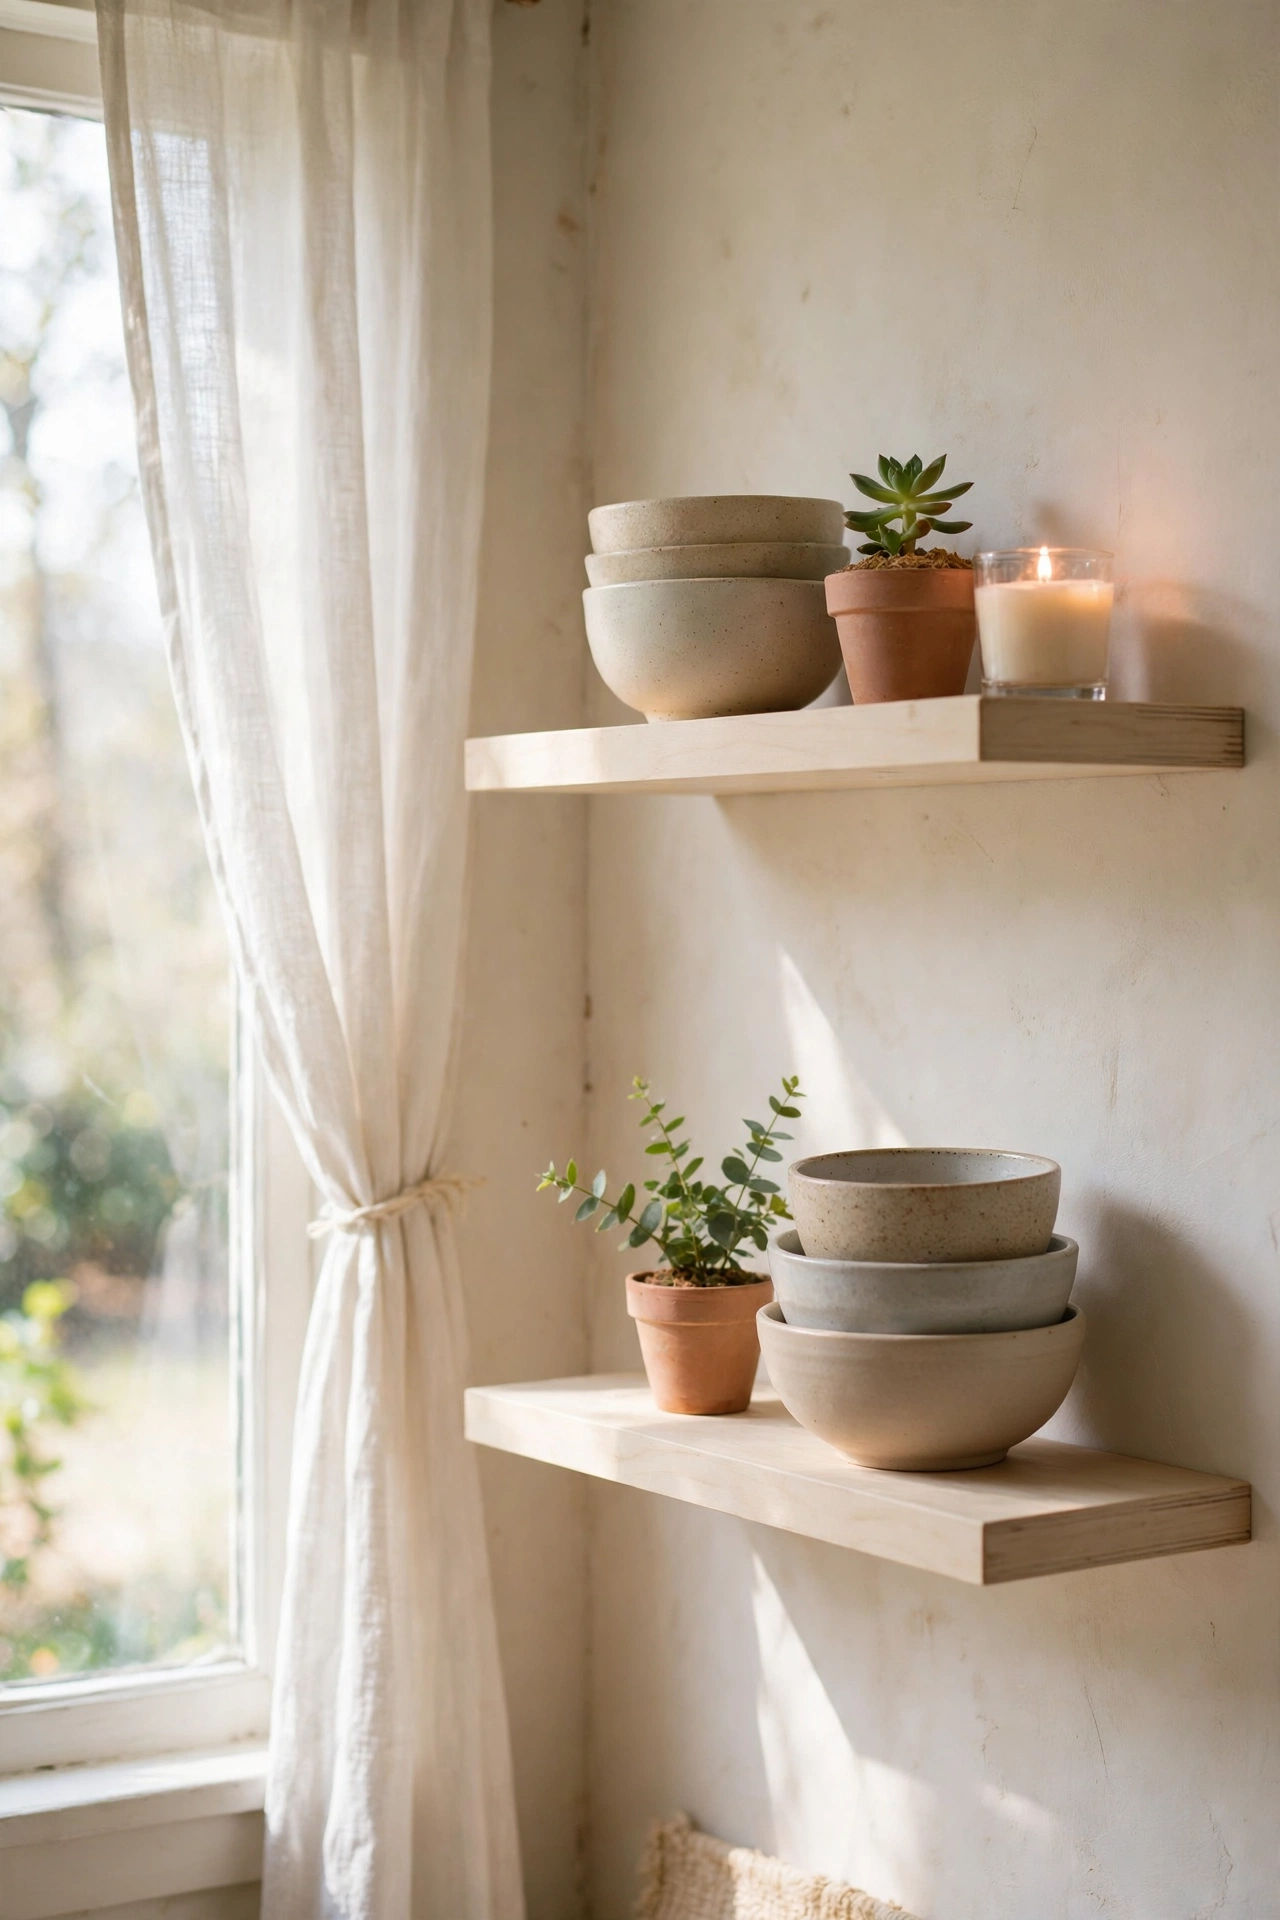
Two short floating shelves in pale birch or painted pine give you display space without the weight of cabinetry, and beside a window they’re pure Scandinavian magic. Fit them with concealed brackets so they appear to float, then style with a stack of bowls, a small plant, and a candle. Keep the styling asymmetrical and sparse. I tried this and the mistake to avoid is loading shelves with tins and packets — closed storage for the ugly stuff, shelves for the beautiful stuff.
Cost: ~$30 | Time: 75 minutes
7. Grow a Tiny Herb Garden on the Sill
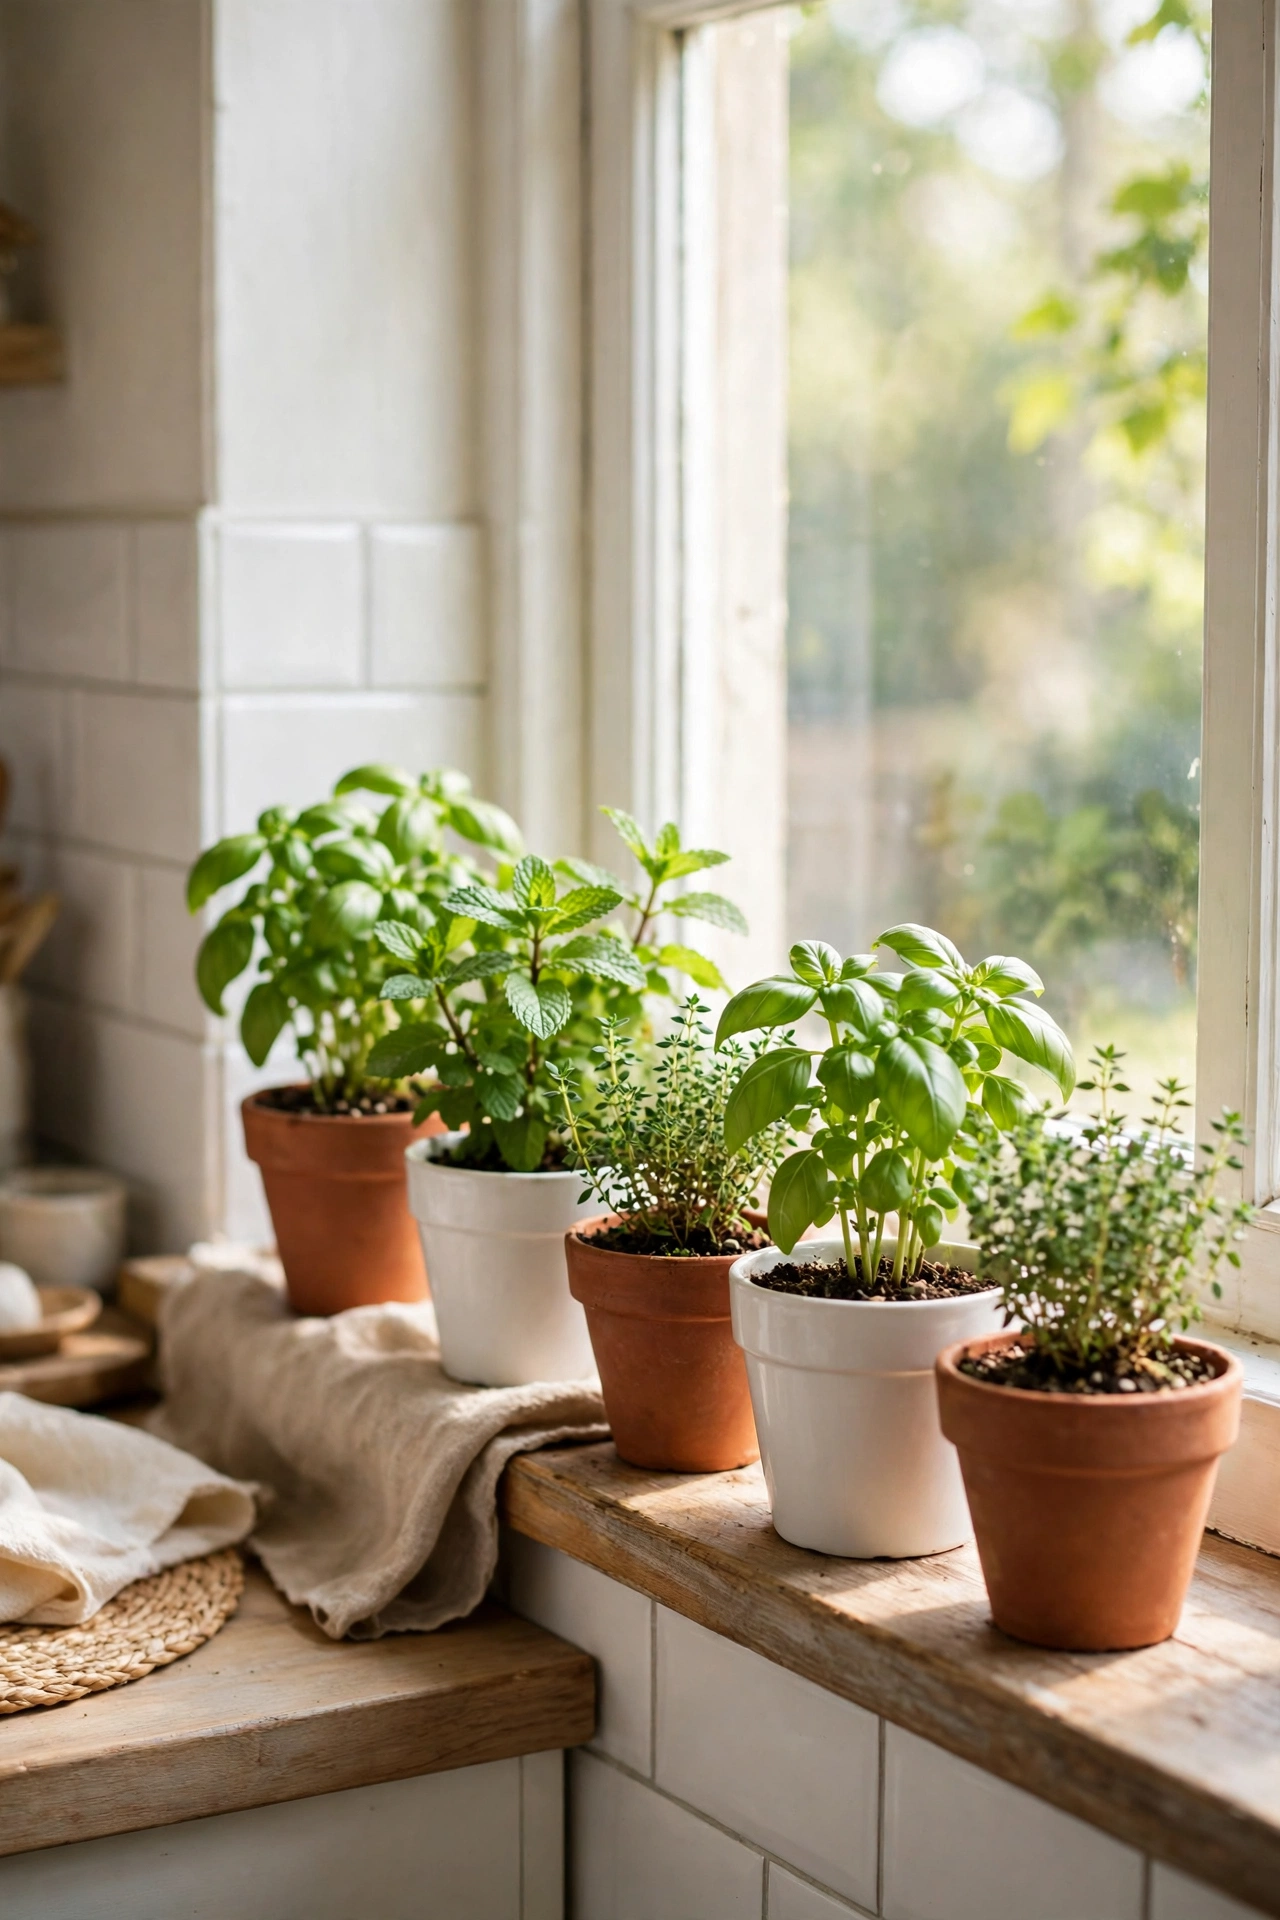
Basil, mint, and thyme in plain terracotta or white ceramic pots are living Scandinavian décor — fresh, useful, and photogenic. Choose pots all in one colour family so they read as a set, even if the sizes differ. Plant in free-draining compost, water from the base, and snip often since regular picking keeps herbs bushy. I tried this and the mistake to avoid is buying a giant mixed herb planter from the supermarket — half the herbs die within a week; separate small pots live much longer.
Cost: ~$15 | Time: 40 minutes
8. Lay a Flat-Weave Wool Runner
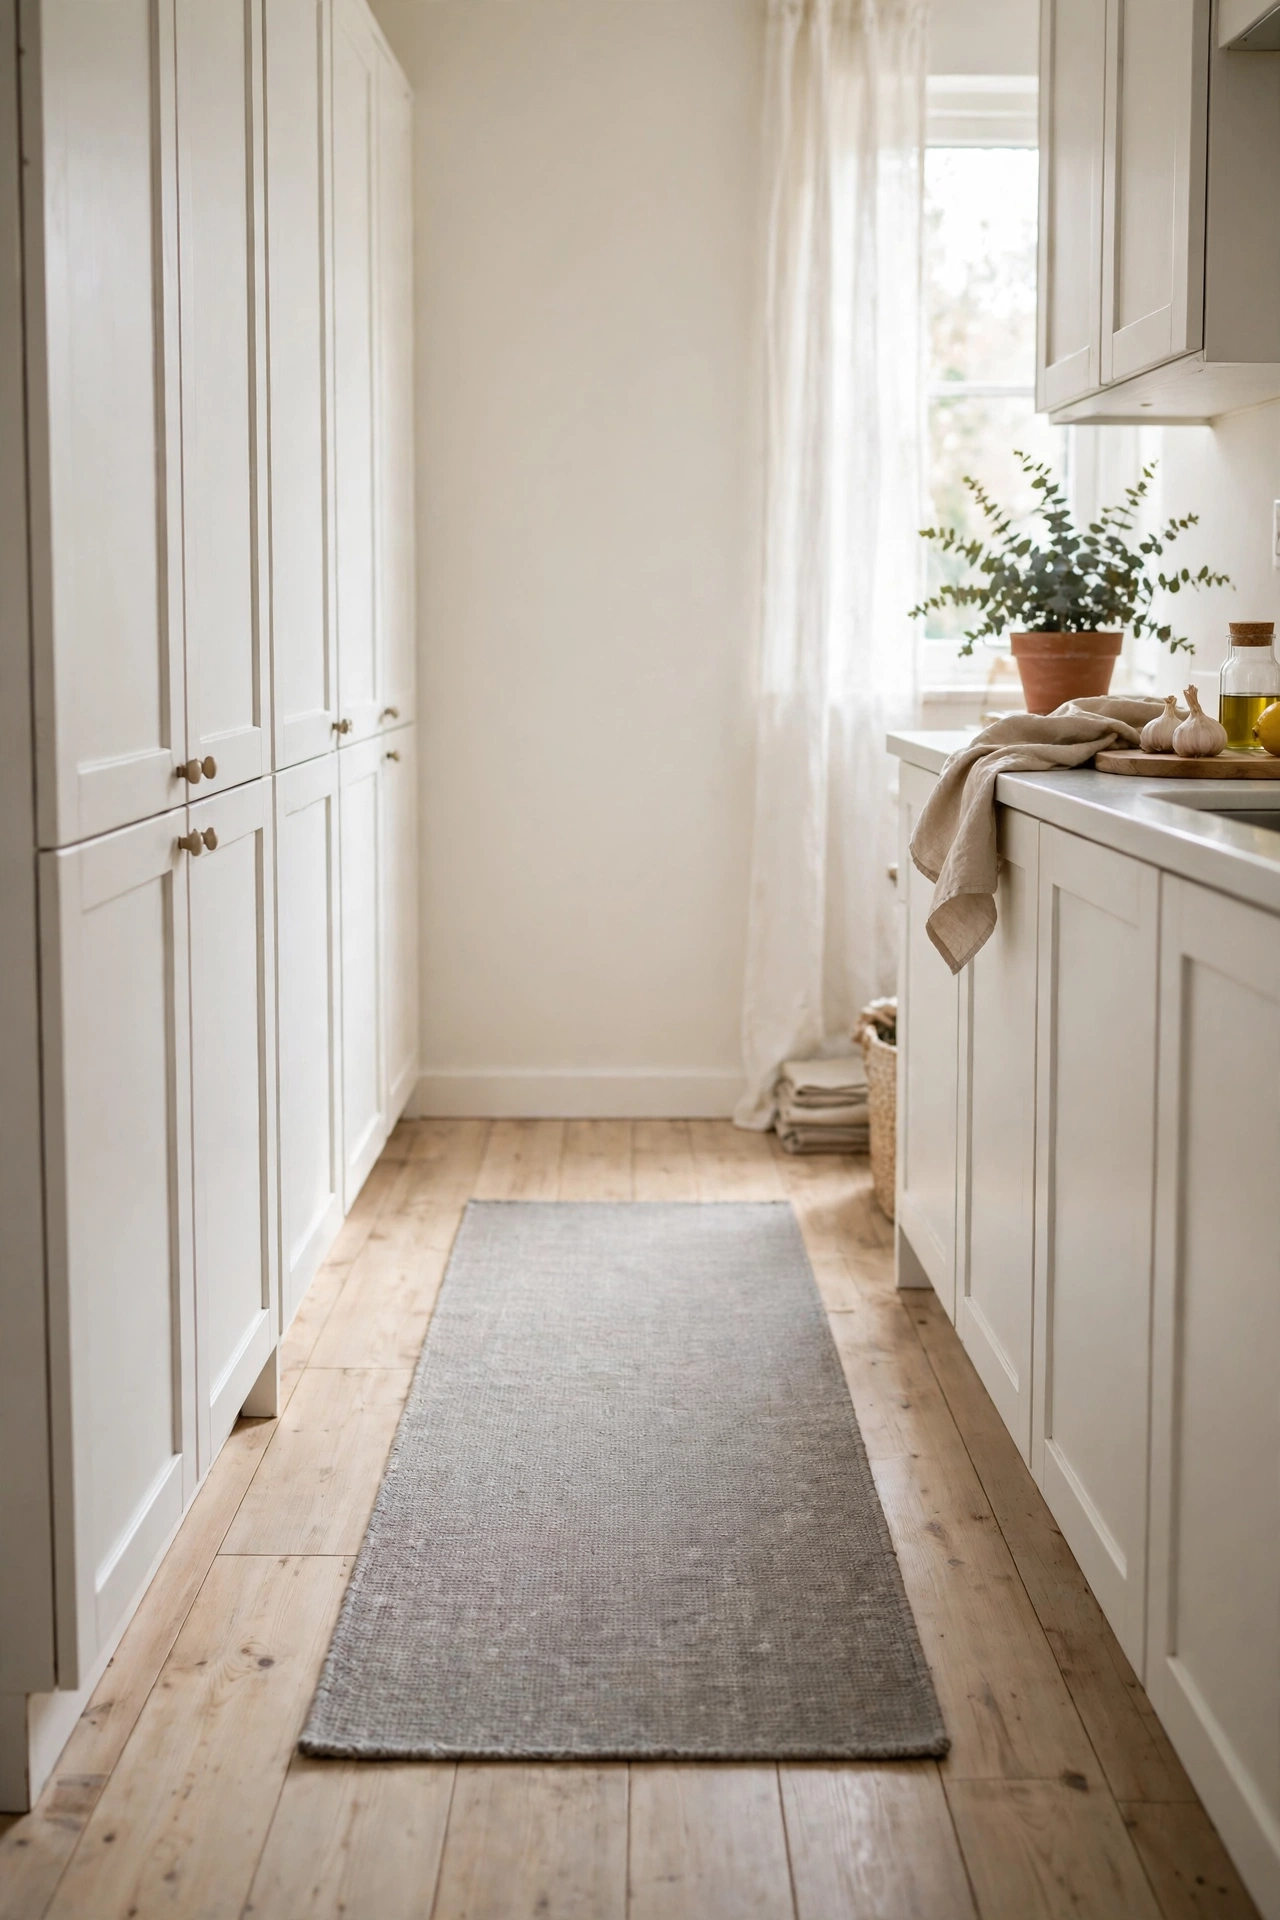
A simple flat-weave runner in grey, natural, or muted stripes softens hard kitchen floors and adds that cosy-but-clean feeling. Wool flat-weaves shed crumbs easily and lie flat underfoot, which matters at the sink. Measure the run between your work zones, lay a non-slip underlay, and place the runner so it lines up with the cabinet toe-kick. I tried this and the mistake to avoid is a deep-pile or fluffy runner — it becomes a crumb museum within days. Choose a pattern you won’t tire of — simple ticking stripes have looked right in my kitchen for three years now.
Cost: ~$35 | Time: 15 minutes
9. Decant Dry Goods into Simple Glass Jars
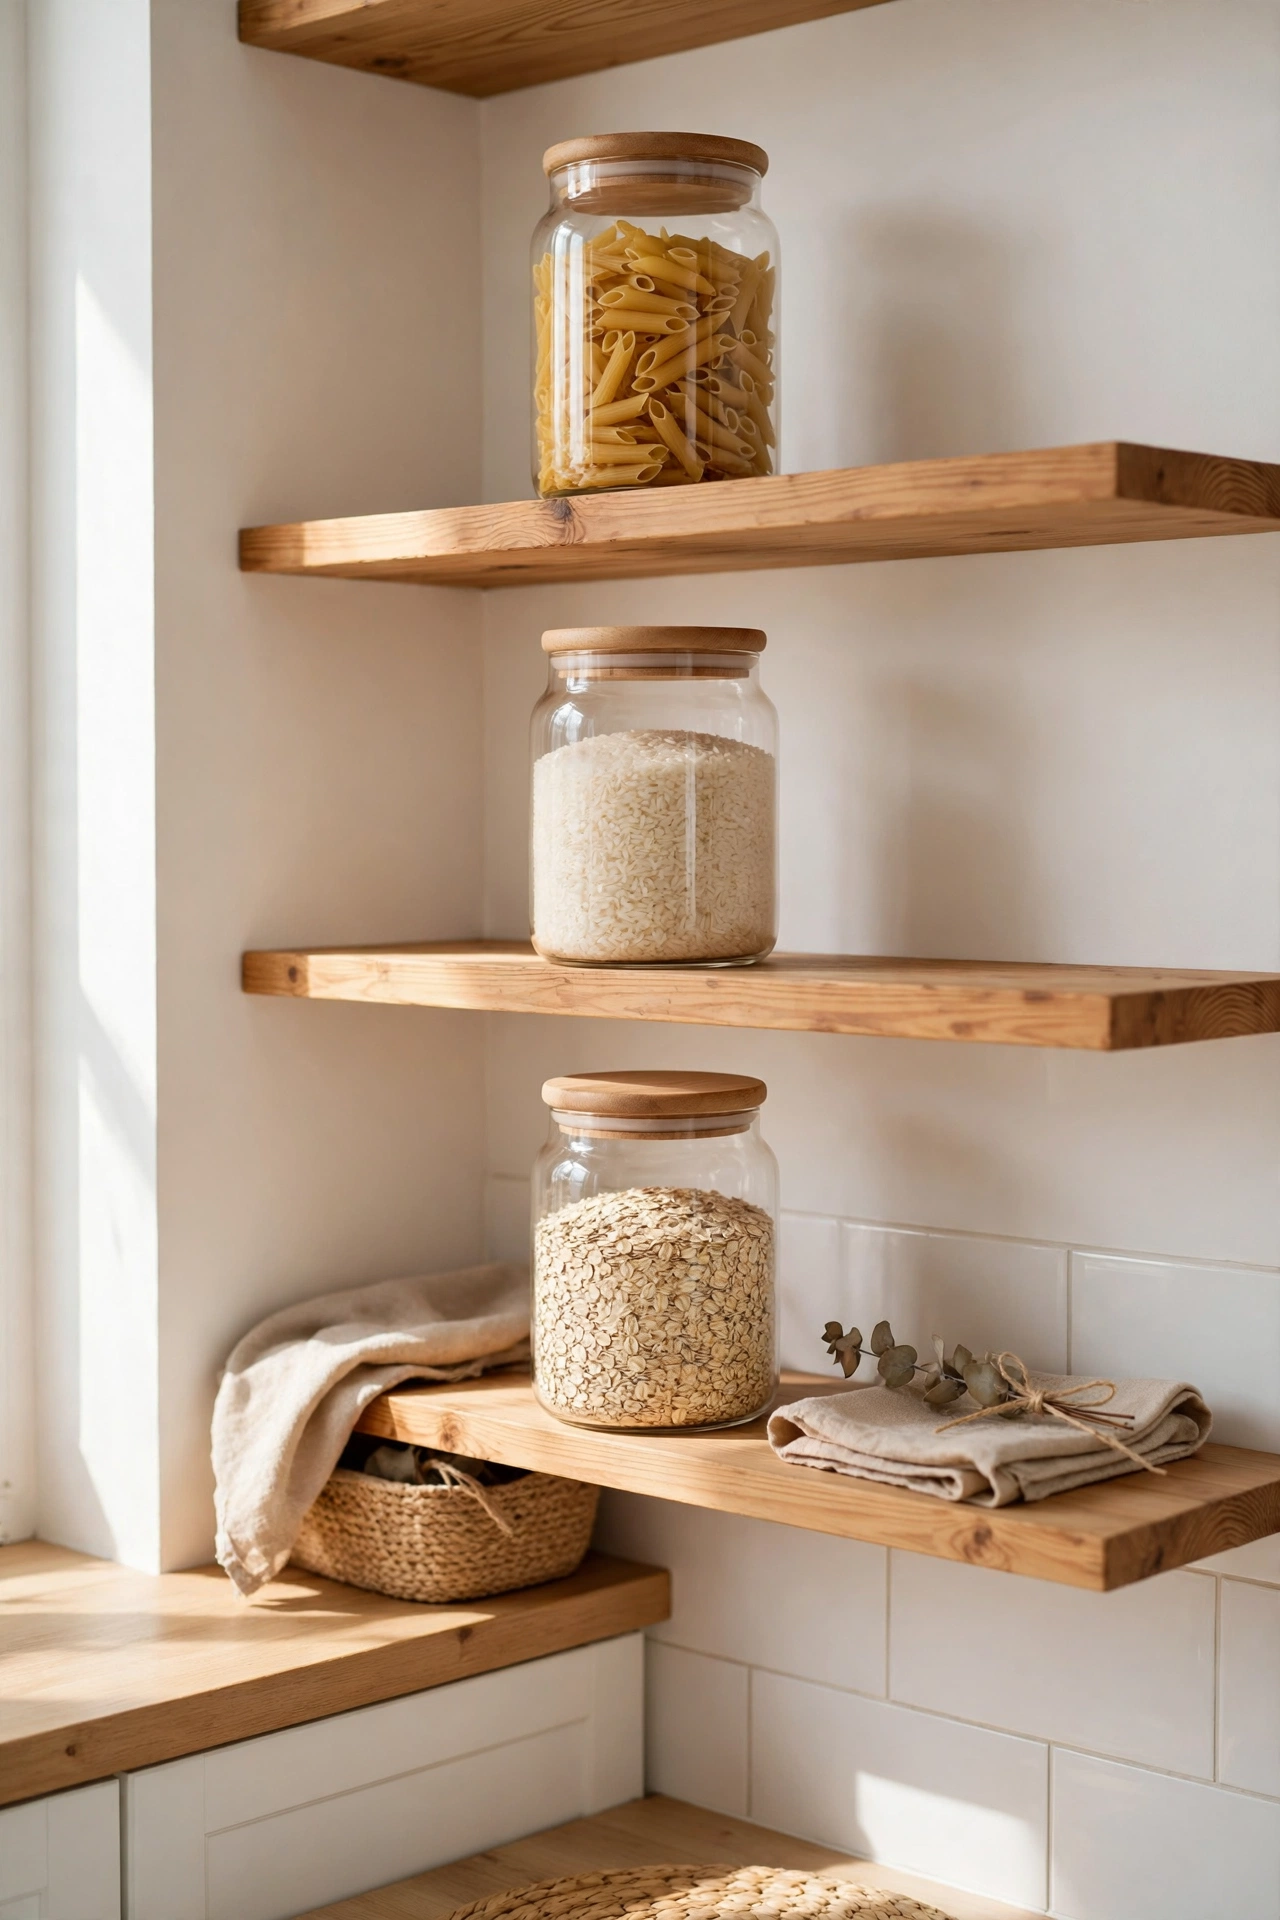
Pasta, rice, flour, and oats in plain glass jars turn open shelves into a calm still life. Buy one style of jar in three sizes — consistency is what makes it look Scandinavian rather than jumbled. Decant everything at once, label with a small kraft sticker, and keep the jars at the same fill level for tidiness. I tried this and the mistake to avoid is mixing round, square, and novelty jars — uniformity is the entire trick here. Give the shelf a quick wipe-down each week so flour dust never settles into the corners behind the jars.
Cost: ~$22 | Time: 50 minutes
10. Hang a Large Paper Pendant Shade
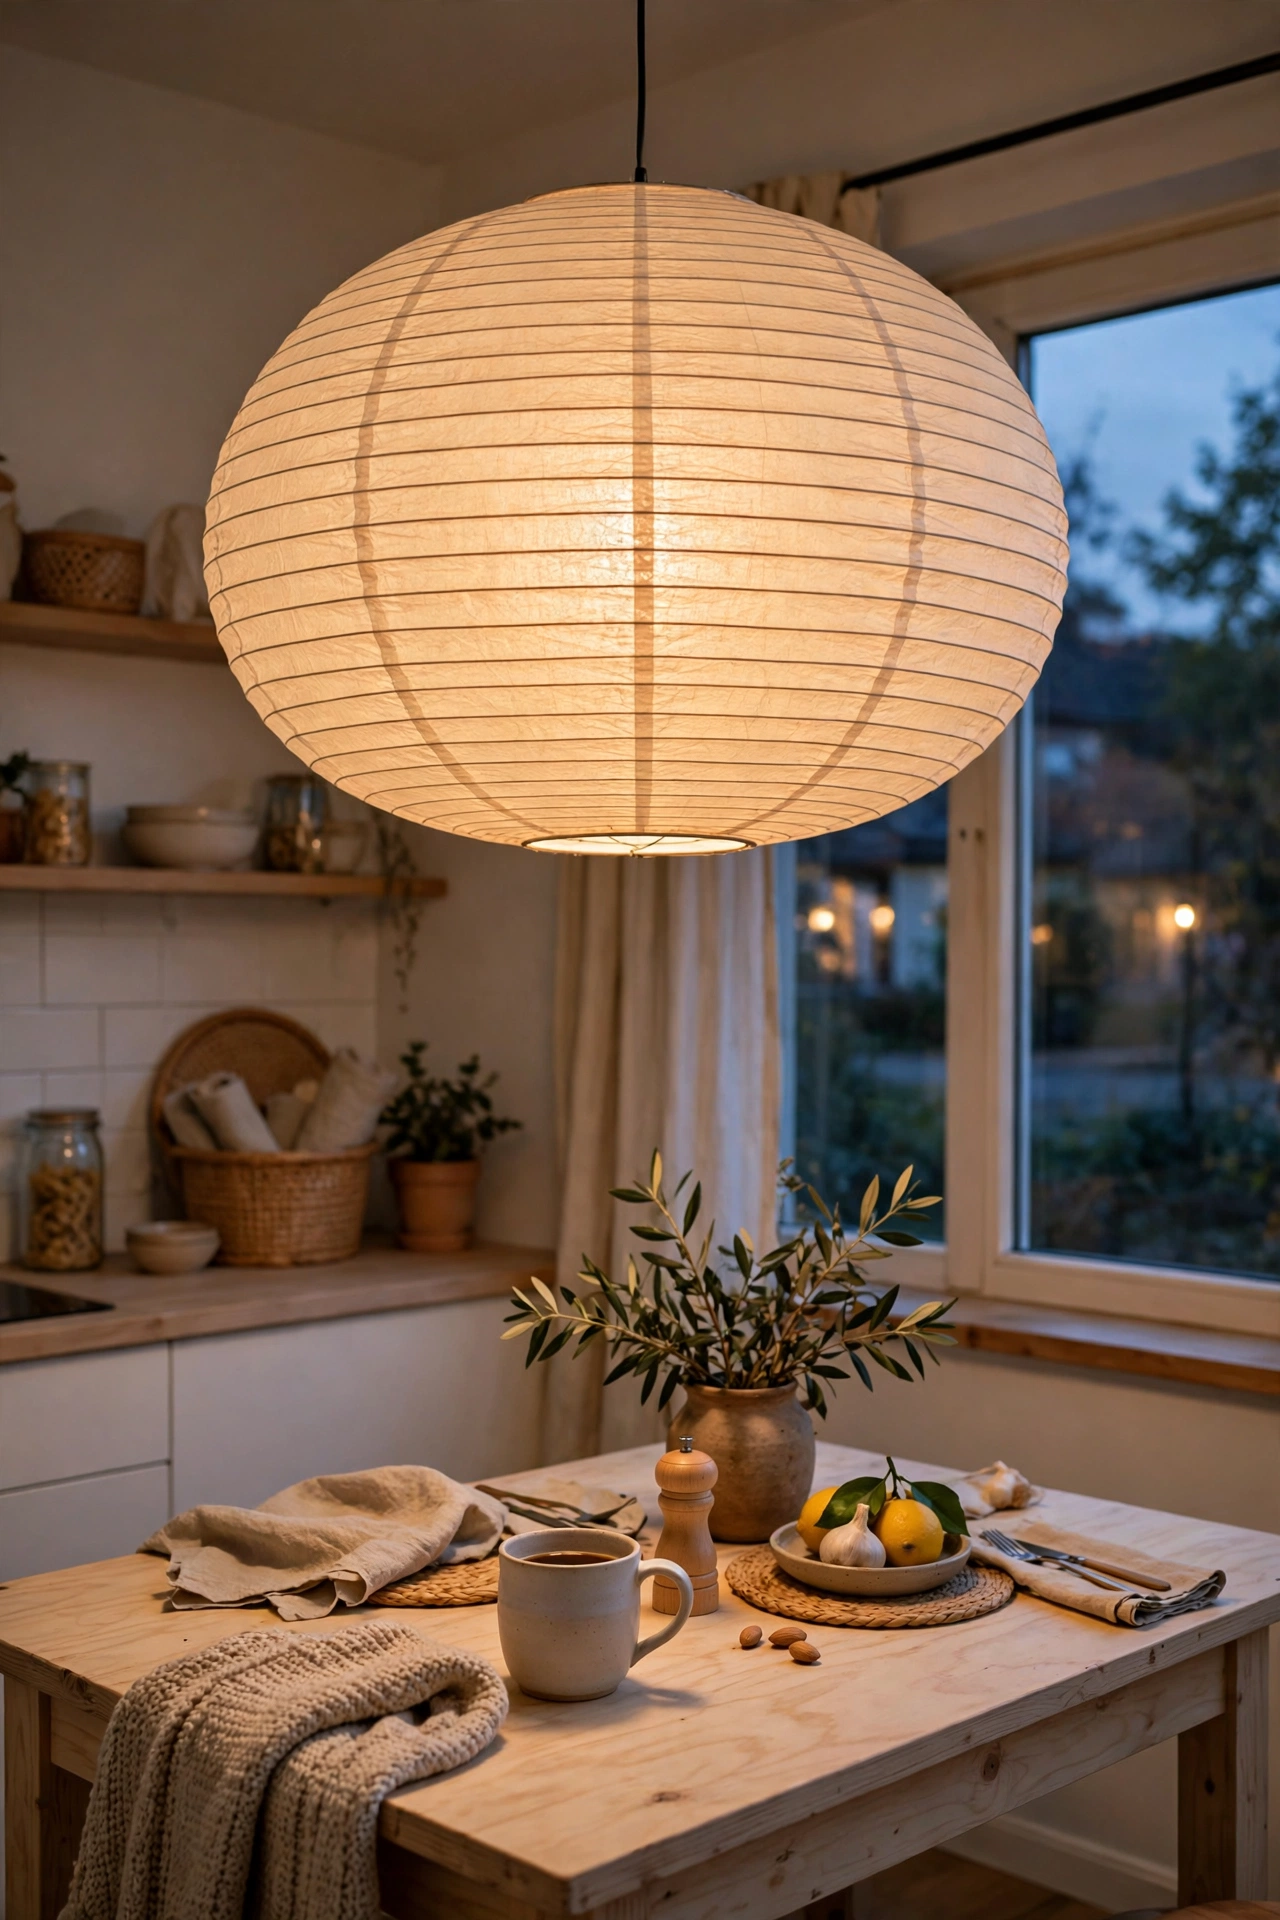
An oversized paper or rice-paper pendant is the iconic Scandinavian kitchen light, and it costs a fraction of a designer fixture. The soft diffused glow flatters everything and makes small kitchens feel bigger. Swap the ceiling rose fitting, hang the shade low enough over a table or island but high enough to see under, and fit a warm 2700K bulb. I tried this and the mistake to avoid is a tiny shade — go big and dramatic; a 50–60cm shade is what gives the look.
Cost: ~$28 | Time: 35 minutes
11. Use Tea Lights in Plain Glass Holders
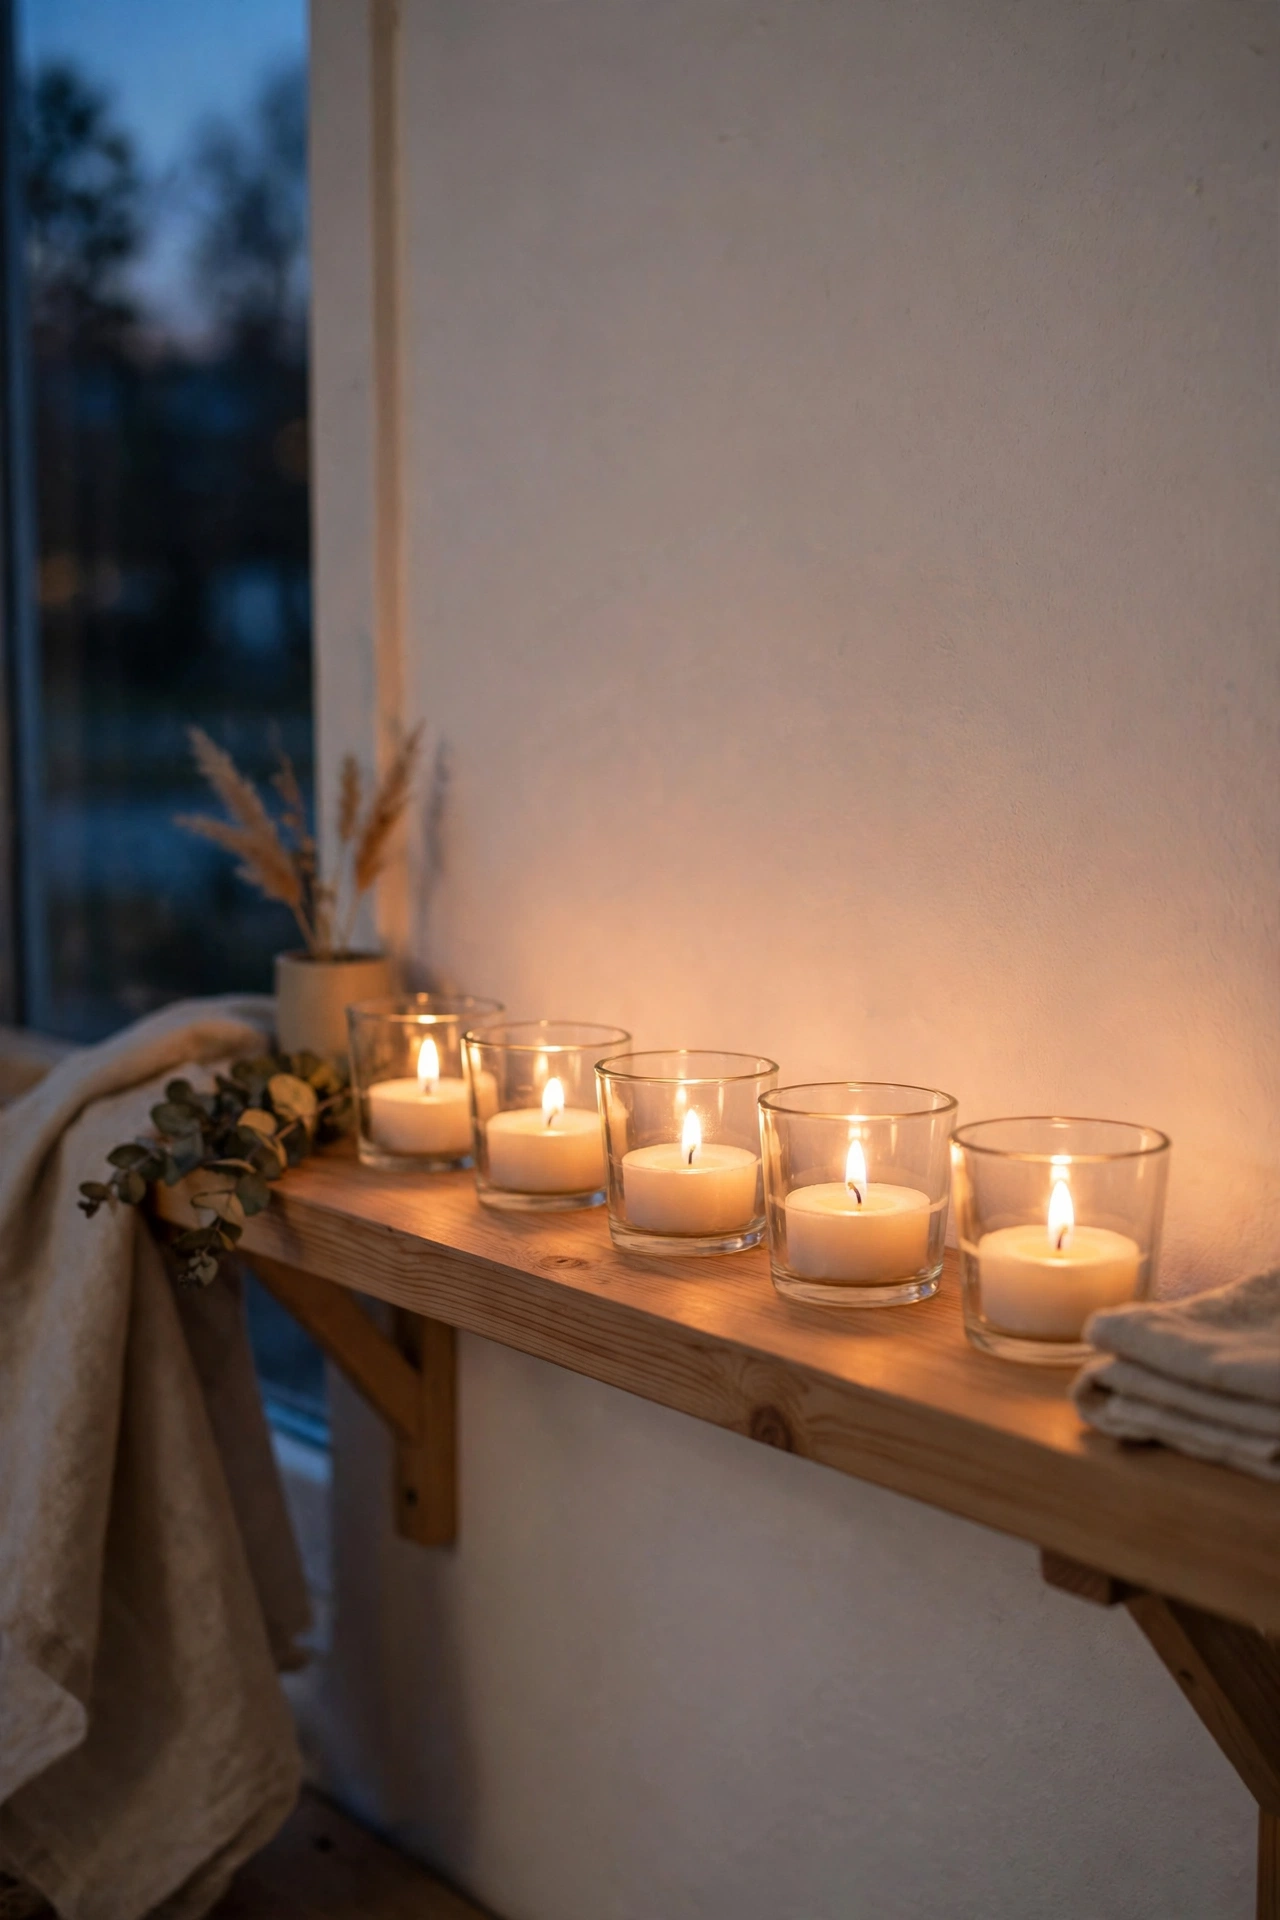
Scandinavians light candles daily — in October as much as December — and a row of tea lights along a shelf or sill is the fastest cosiness upgrade there is. Keep a basket of plain glass holders and cheap unscented tea lights on hand. Group in odd numbers, vary the heights with upturned bowls or blocks of wood, and light them at dusk for the full hygge effect. I tried this and the mistake to avoid is heavily scented candles in the kitchen — they clash with cooking smells.
Cost: ~$10 | Time: 10 minutes
12. Swap Cabinet Handles for Wooden Knobs
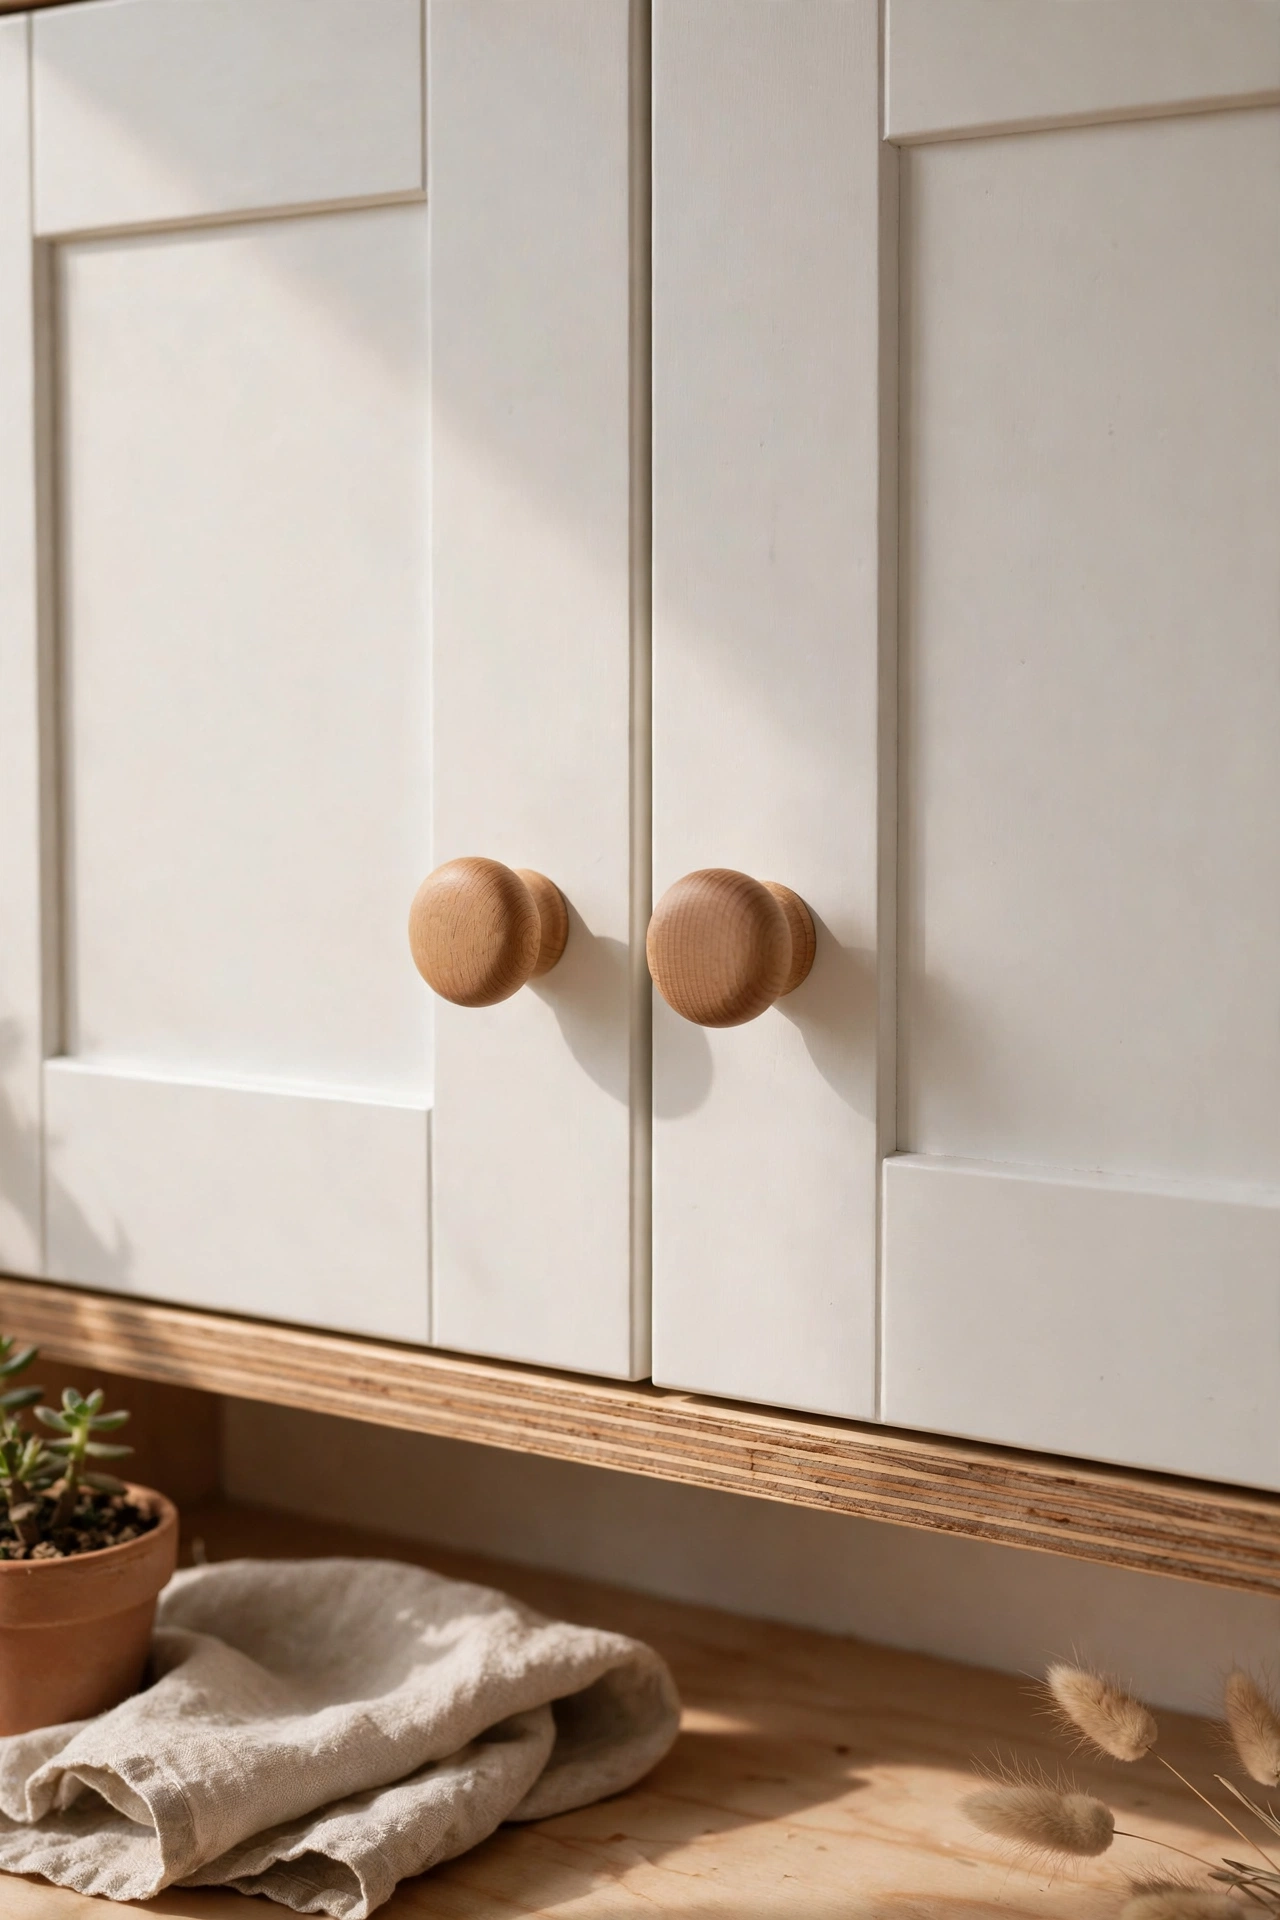
Dated metal handles can make a whole kitchen feel tired; round beech or oak knobs are the classic Scandi refresh. Unscrew the old handles one door at a time, fill any extra holes with filler, and screw in the new knobs — measure the screw length so nothing pokes through. Keep the wood finish consistent across the kitchen. I tried this and the mistake to avoid is mixing knob shapes on every cupboard — one shape, one wood tone, everywhere.
Cost: ~$20 | Time: 55 minutes
13. Add a Sturdy Wooden Stool at the Counter
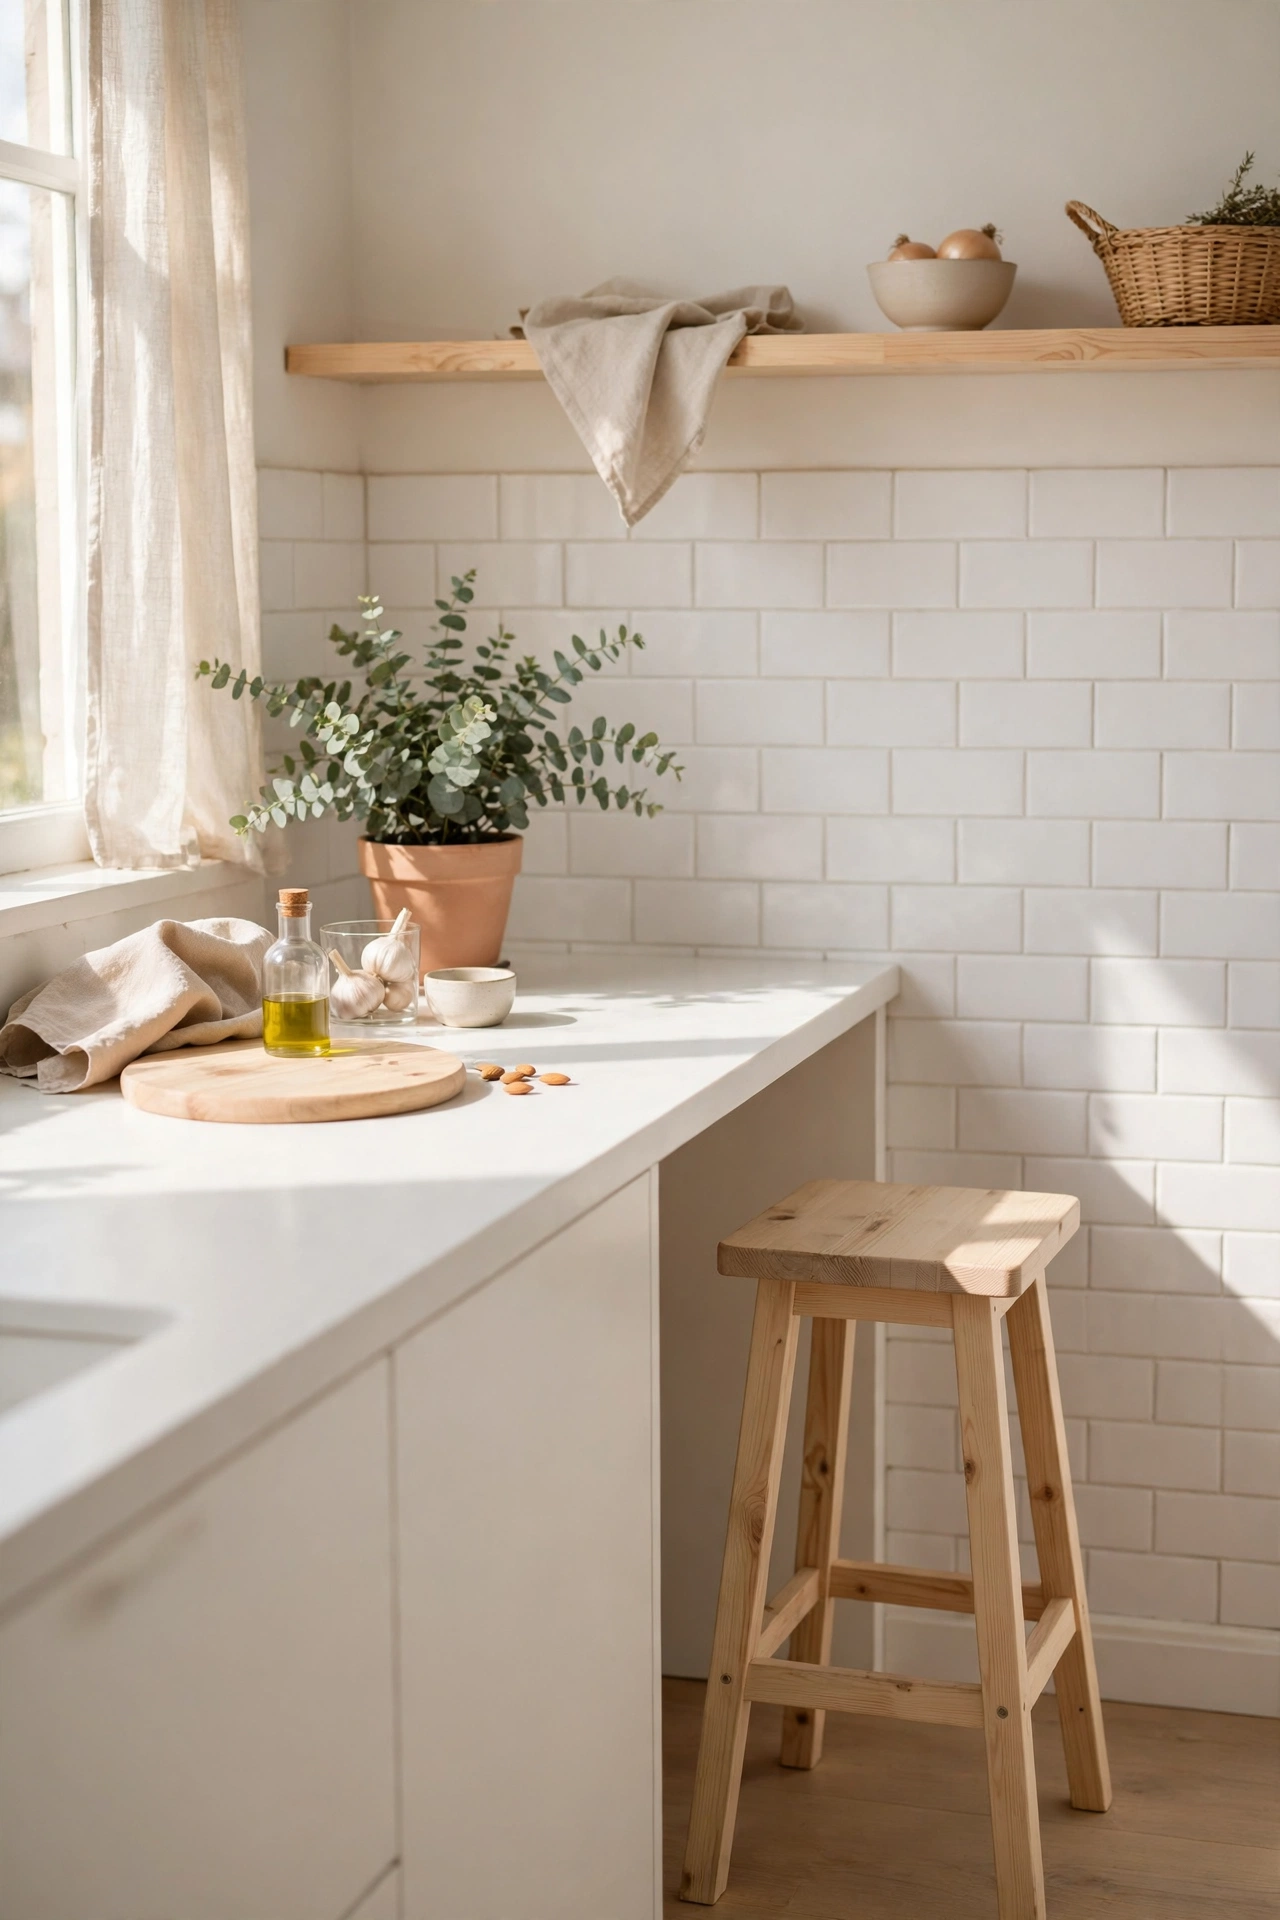
One well-made wooden stool in pale pine or birch does triple duty: extra seat, step-up to high shelves, and sculptural object in the corner. Look for secondhand Scandinavian-style stools — they’re common and built to last. Sand any rough spots, apply a coat of clear matte sealant, and tuck it at the end of the counter. I tried this and the mistake to avoid is four mismatched stools fighting for space — one hero stool beats a crowd. Check the joints once a year and tighten any screws — a wobbly stool stops getting used and eventually becomes clutter.
Cost: ~$30 | Time: 45 minutes
14. Style a Light Oak Serving Tray
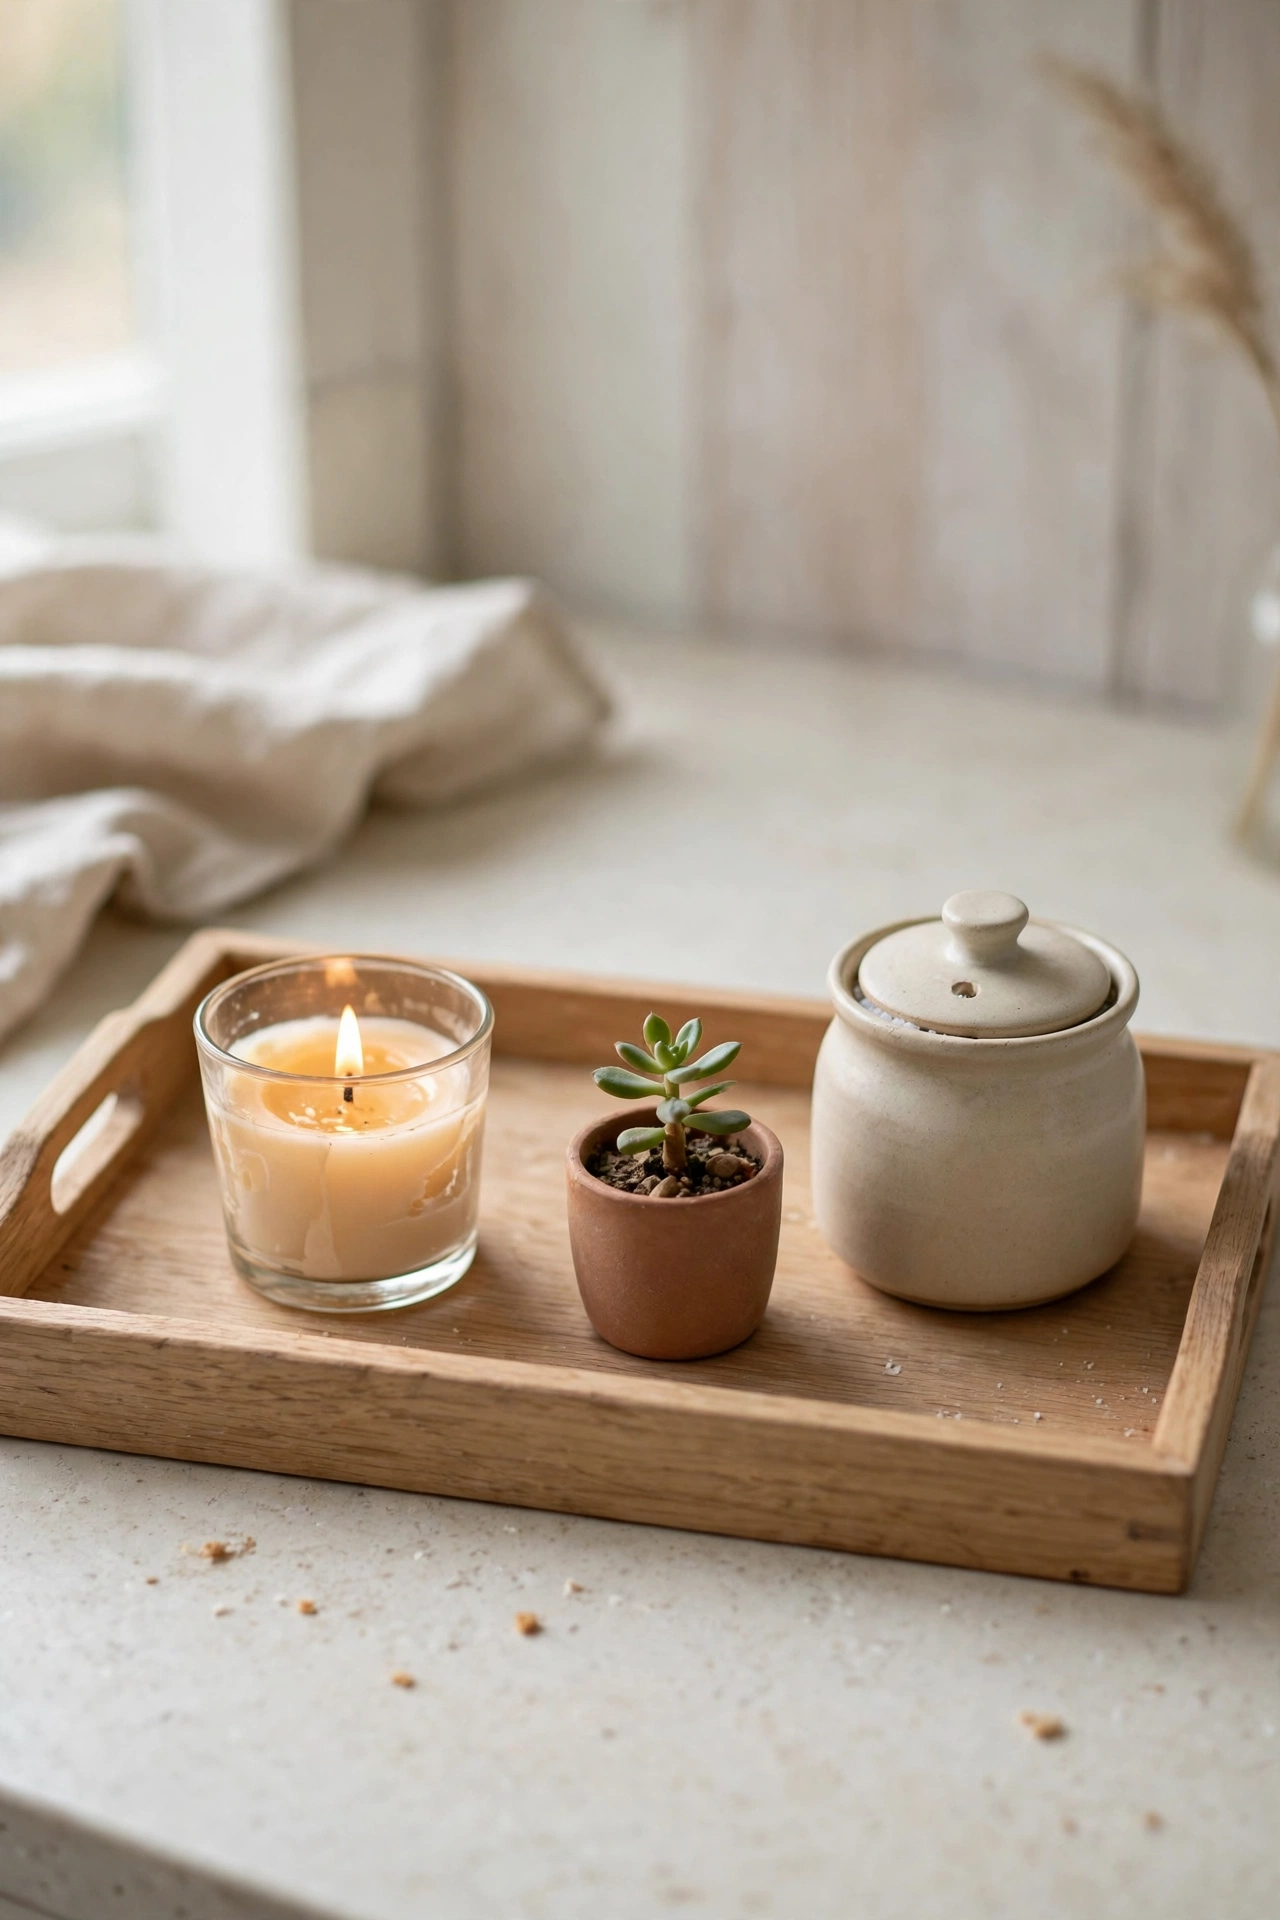
A single tray gathers clutter into a vignette: a candle, a small plant, and your salt and pepper suddenly look intentional. Choose pale wood with raised handles in a size that fits your table or counter corner. Arrange three items of different heights on it, then leave the tray’s surface otherwise clear. I tried this and the mistake to avoid is using the tray as storage for post and keys — the moment it holds mail, the styling dies. (see also: kitchen-tray-styling-ideas)
Cost: ~$16 | Time: 10 minutes
15. Keep the Palette to Three Neutrals
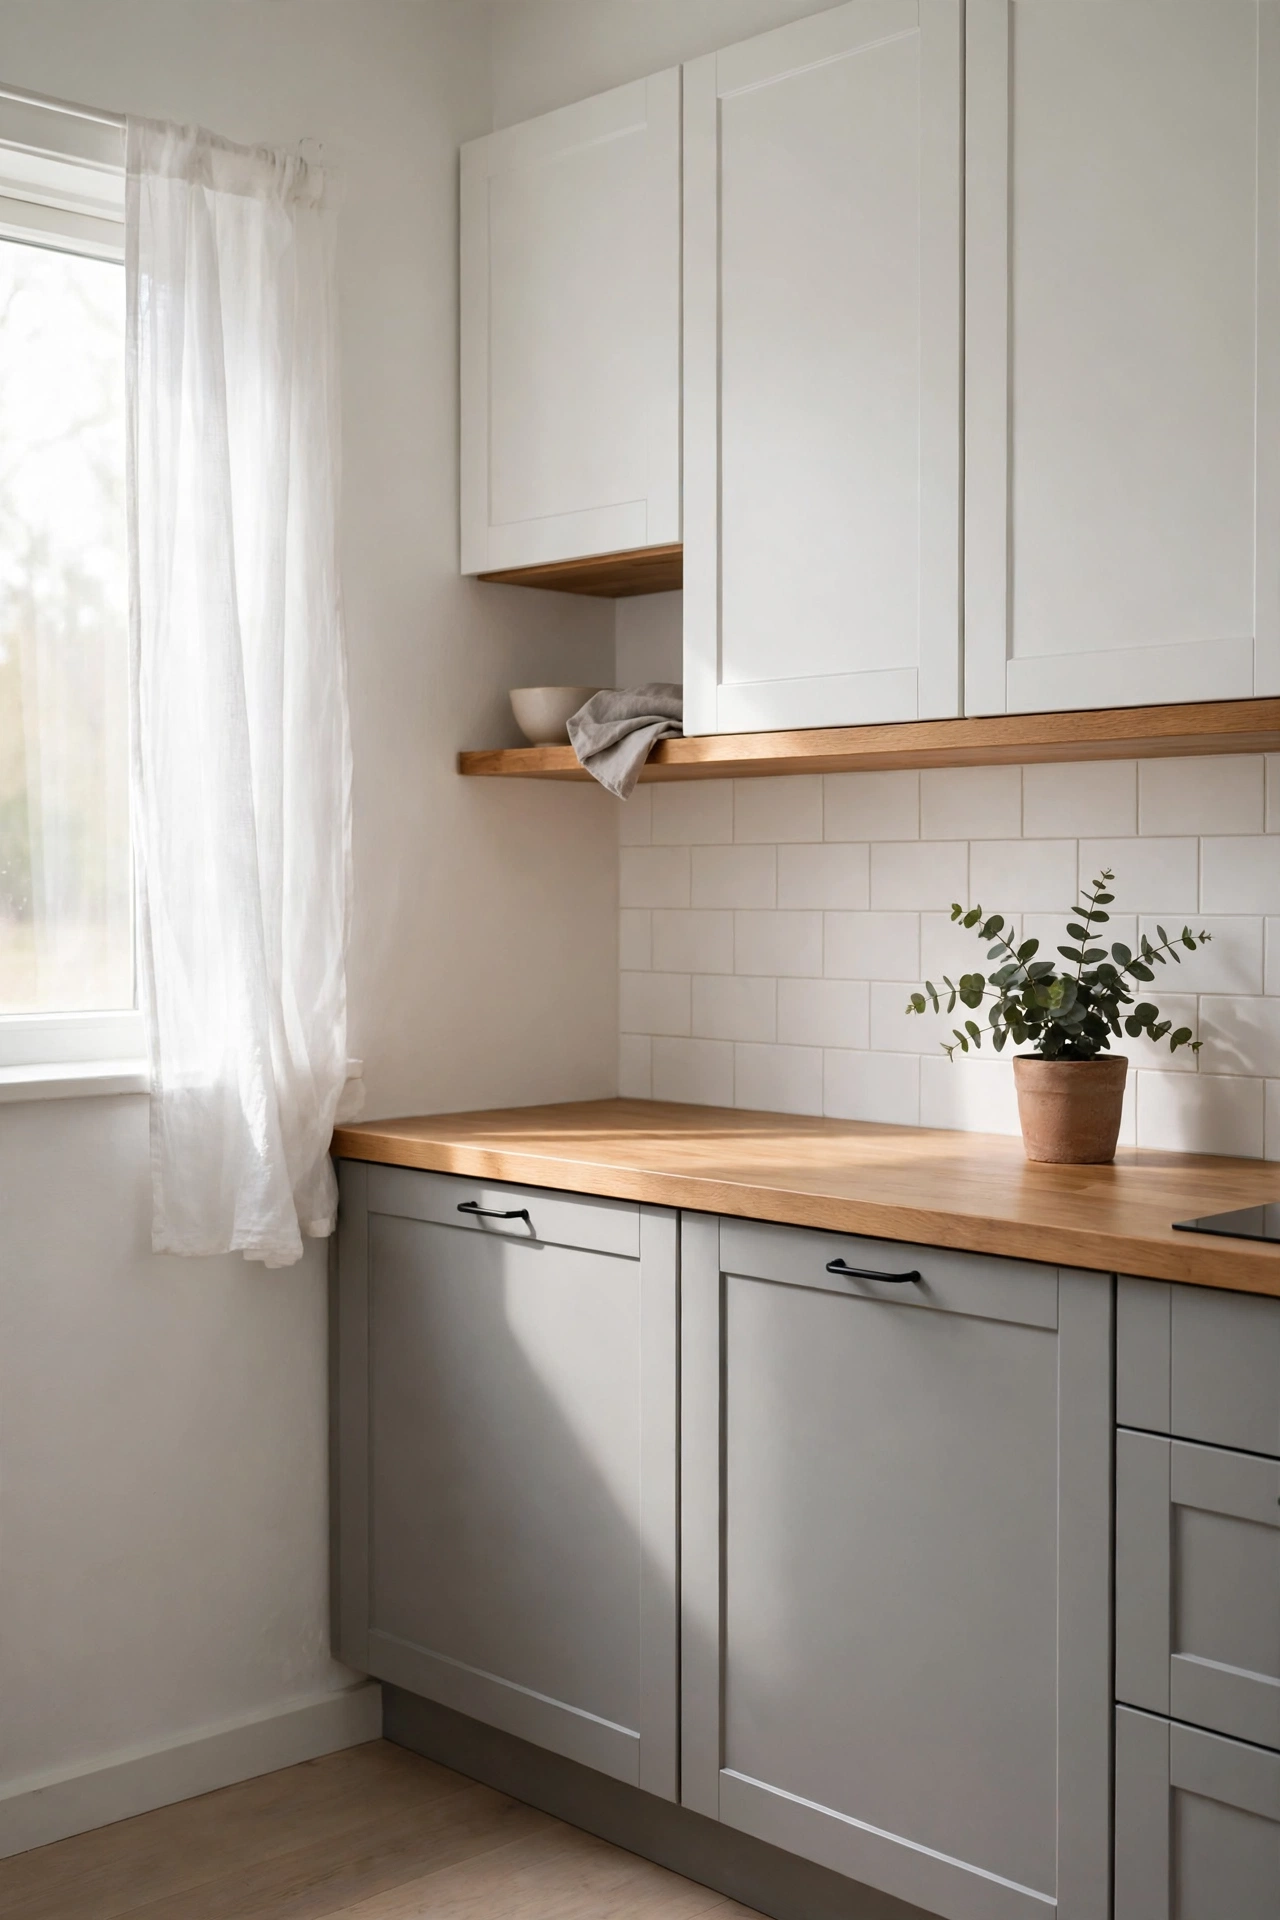
The calmest Scandinavian kitchens use just three tones — white, warm wood, and one soft neutral like grey or oatmeal — and nothing else. Audit your kitchen and remove or hide anything that breaks the palette: the red toaster can live in a cupboard. Keep only the three tones visible on counters and walls, then add a single green plant as the permitted accent. I tried this and the mistake to avoid is keeping “just one” colourful gadget on show — one always becomes six.
Cost: ~$0 | Time: 40 minutes
16. Hang Drying Herbs from a Cupboard Rail
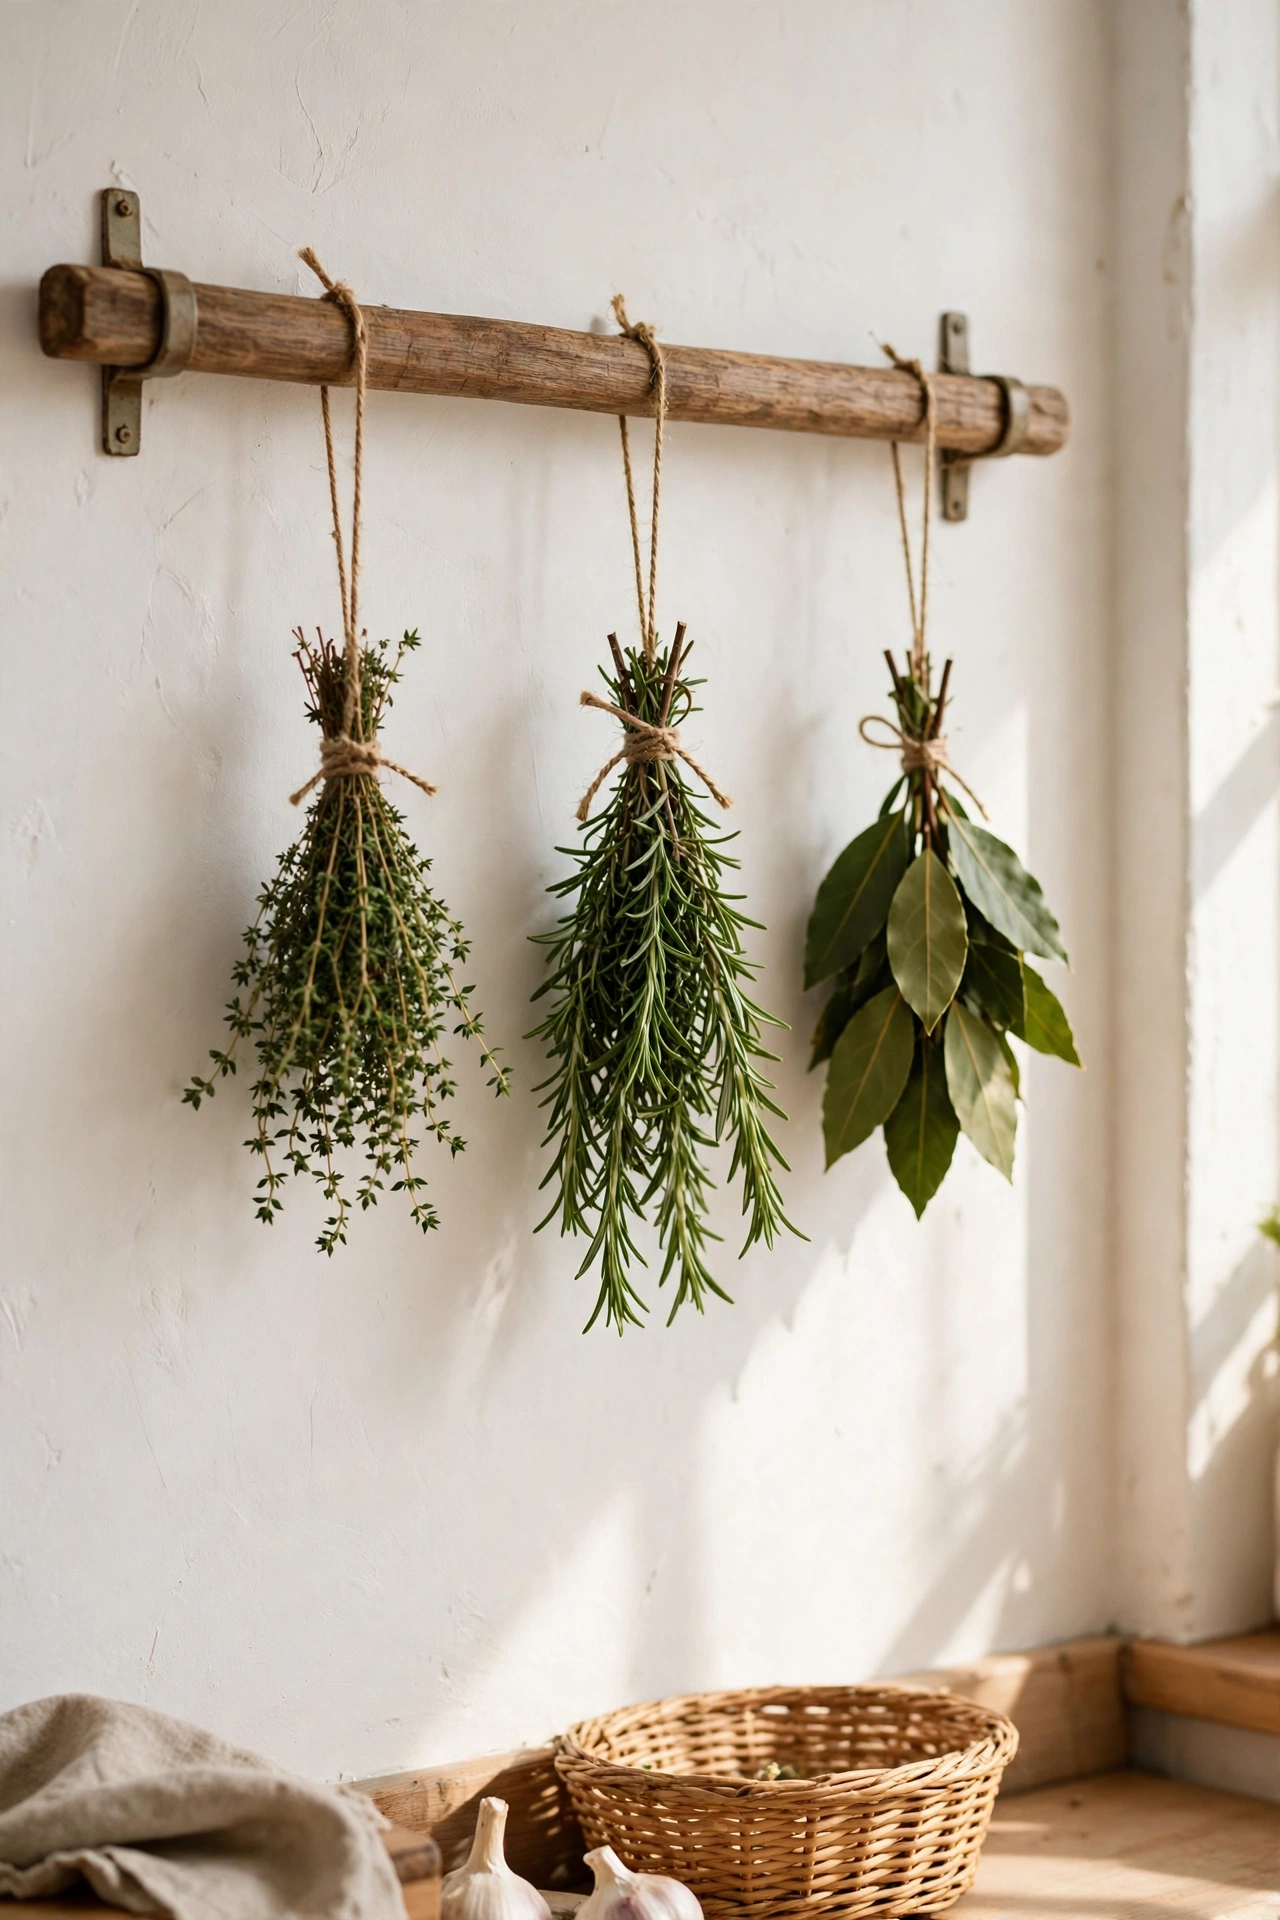
Bunches of thyme, rosemary, and bay tied with string and hung upside down look beautiful and cost nothing if you already grow herbs. Tie small bundles tightly at the stems, hang them somewhere dry with air flow — a cupboard rail or open beam works perfectly — and snip from them as they dry. Once crisp, crumble into jars for the pantry. I tried this and the mistake to avoid is hanging them above the hob, where steam and grease ruin them.
Cost: ~$3 | Time: 20 minutes
17. Choose One Simple Cream Appliance Set
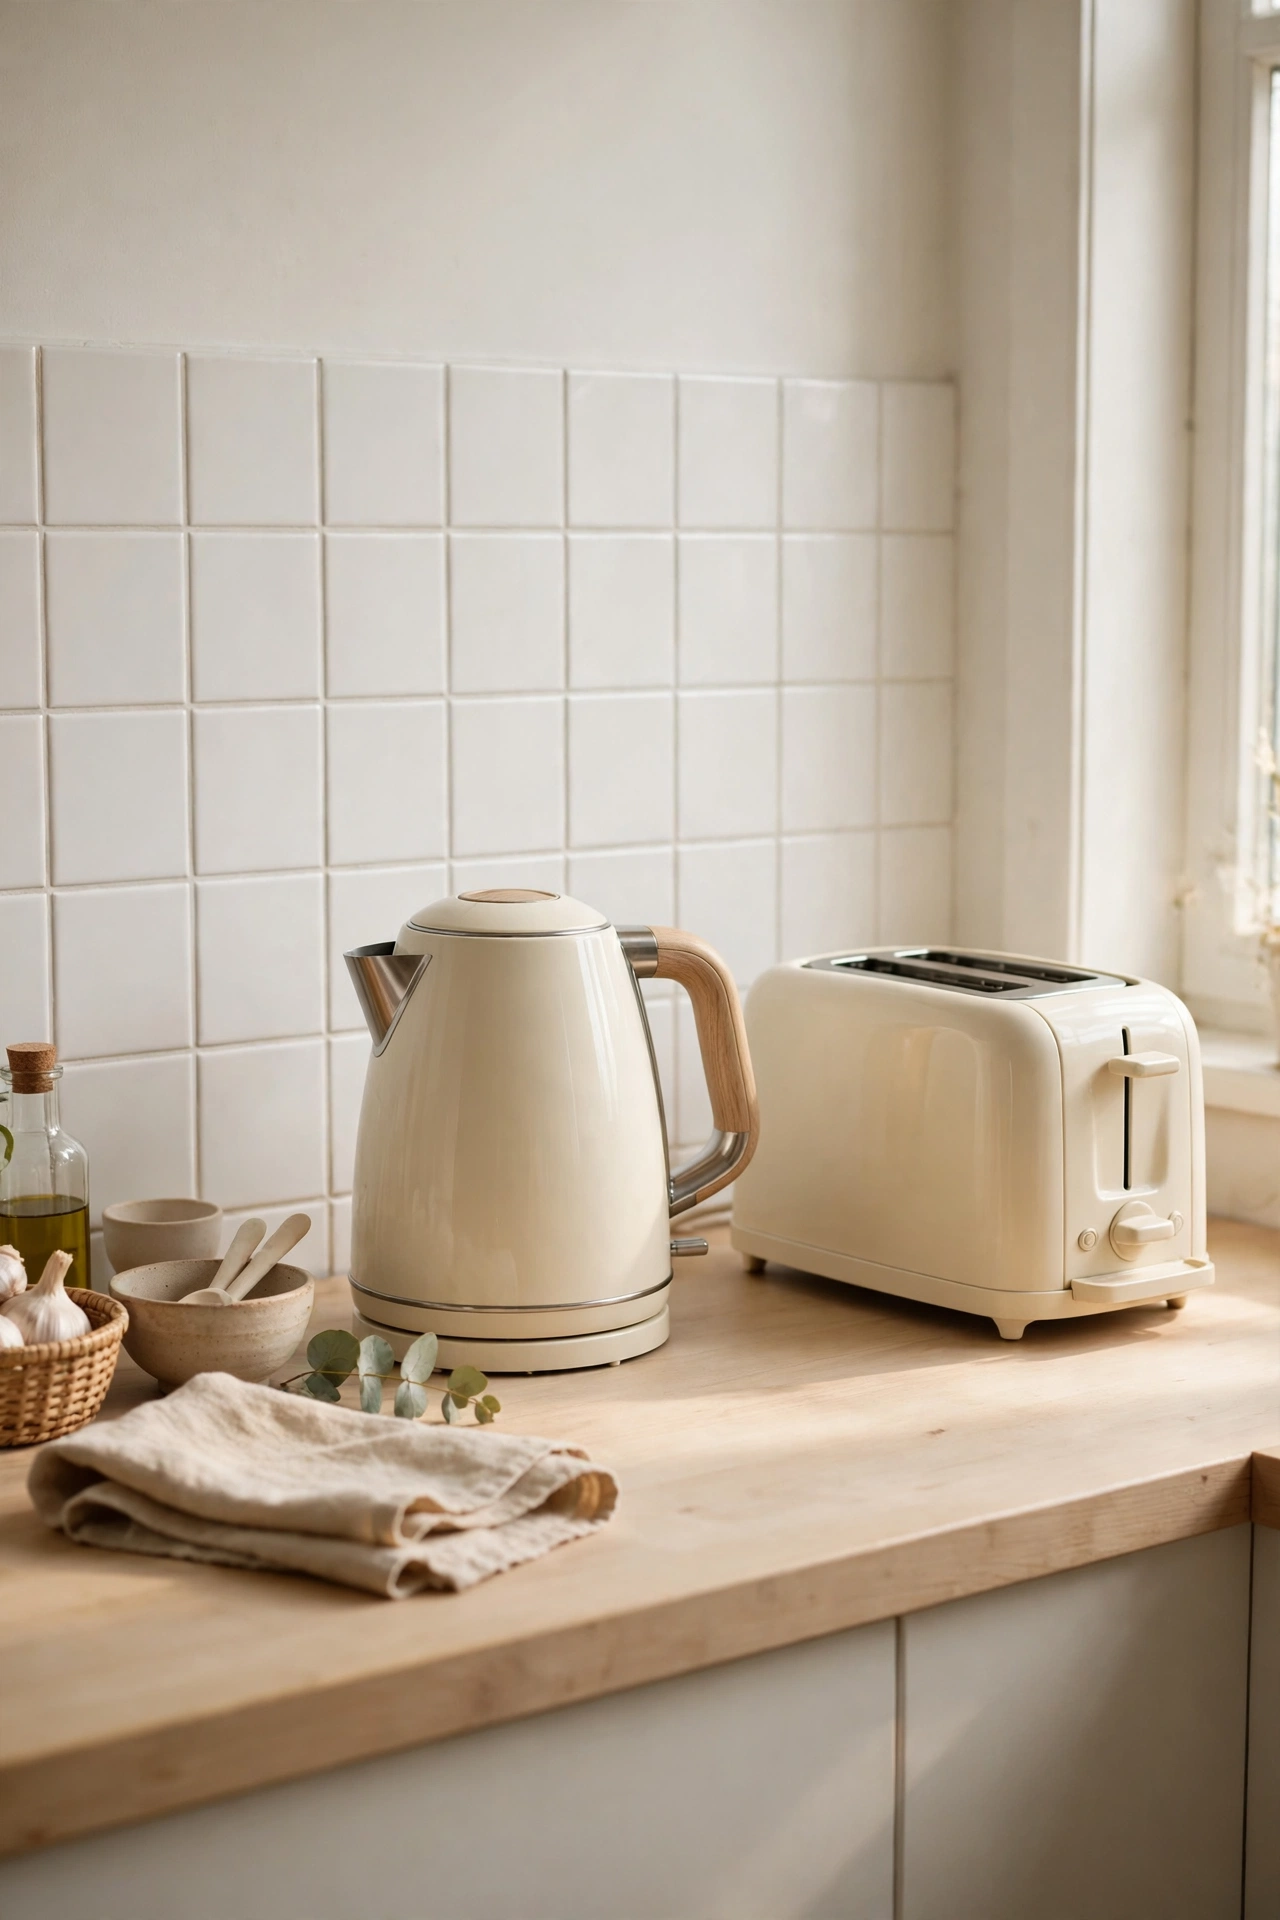
If you can only replace small appliances, choose one finish — cream or oatmeal — and swap pieces over time. A matching kettle and toaster in a soft tone instantly calm a countertop. Start with the item you use most, sell the old one secondhand to fund the next, and keep cords tidied behind. I tried this and the mistake to avoid is mixing cream, stainless, and black across three appliances — it undoes the whole calm effect. Buy refurbished where you can; small appliances are easy to find secondhand, and a cream finish hides wear beautifully.
Cost: ~$55 | Time: 20 minutes
18. Weave Storage Baskets into Lower Shelves
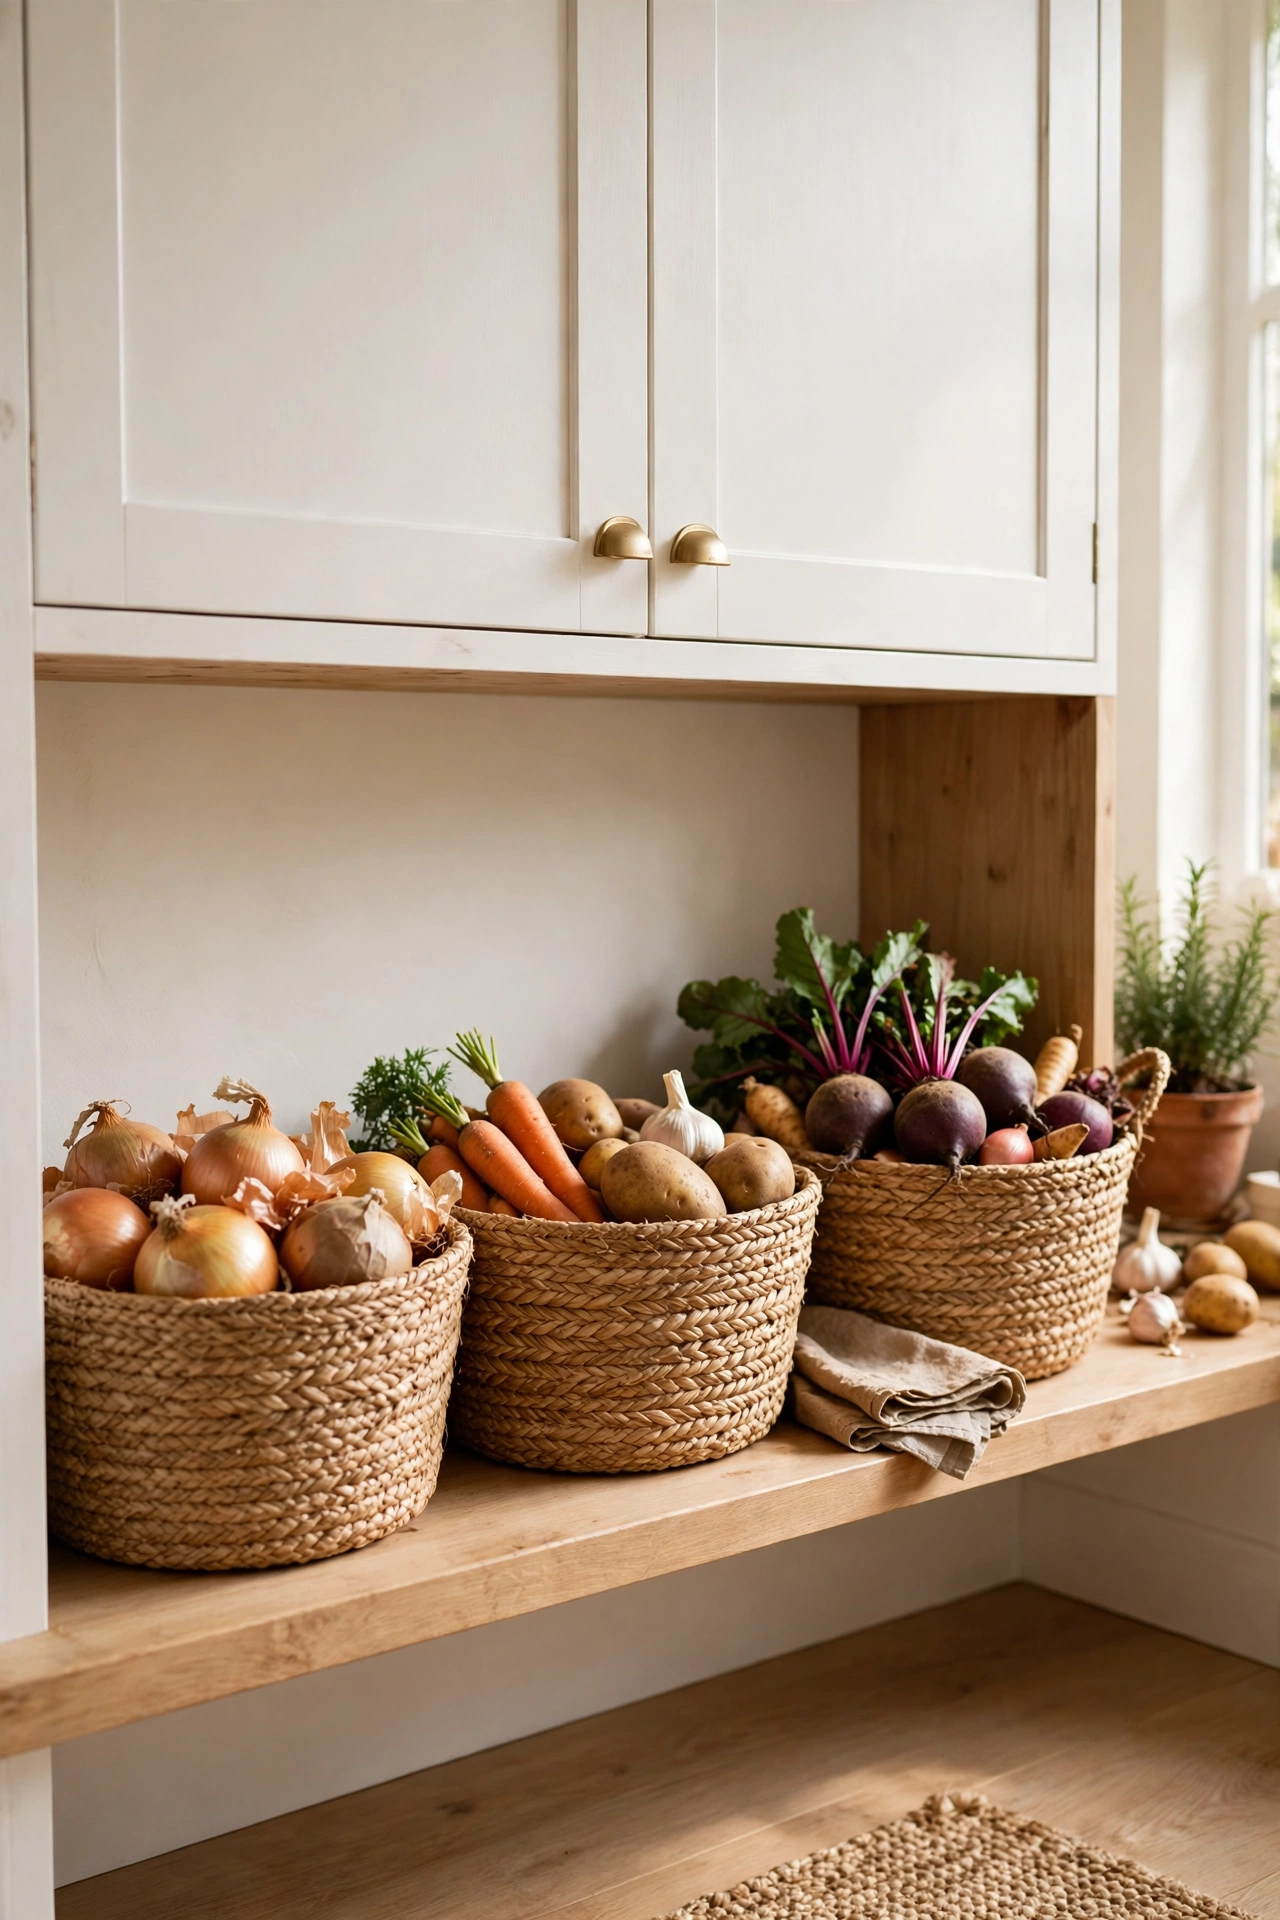
Seagrass, rattan, or water-hyacinth baskets hide the visual noise of onions, root vegetables, and cleaning supplies while adding natural texture. Measure your shelf openings and buy baskets that fit like drawers. Label nothing — the woven texture is the point — but keep each basket’s contents to one category. I tried this and the mistake to avoid is baskets with fiddly lids you’ll never lift; open-top baskets get used, lidded ones become tombs. Tuck a folded tea towel into each basket to protect the weave, and cleaning becomes as simple as a quick shake.
Cost: ~$24 | Time: 15 minutes
19. Lay a Sheepskin Throw on One Chair
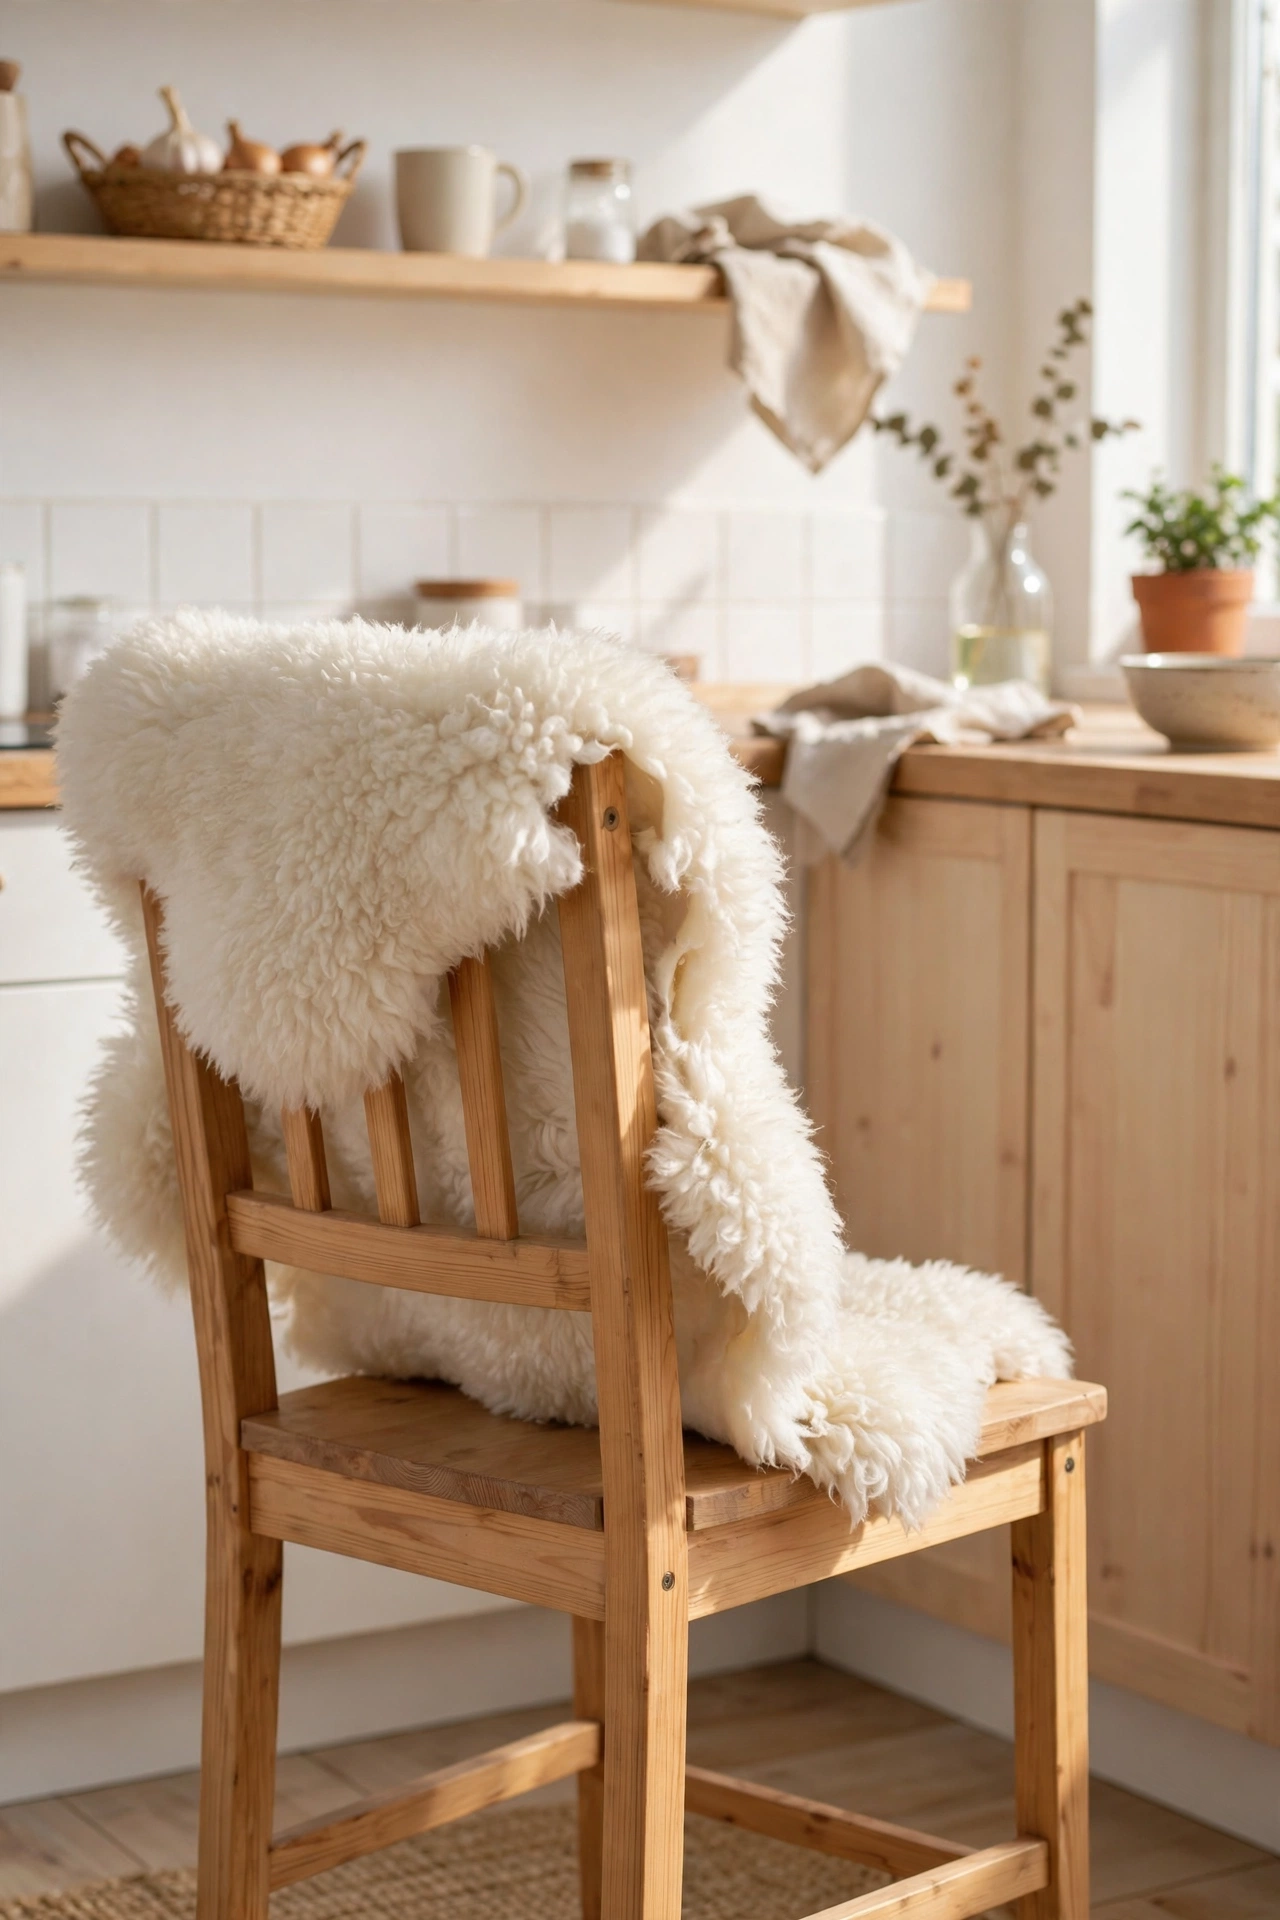
A single sheepskin (or a good faux one) draped over a kitchen chair brings the cosy Scandinavian texture contrast that makes minimal rooms feel warm. It’s the one “luxury” texture the style insists on. Drape it over the back of the chair you sit on for morning coffee, not every seat — restraint is key. Shake it out weekly and keep it away from the hob. I tried this and the mistake to avoid is draping one over every chair, which reads ski-lodge rather than Scandi.
Cost: ~$20 | Time: 5 minutes
20. Build a Tiny Breakfast Nook in the Corner
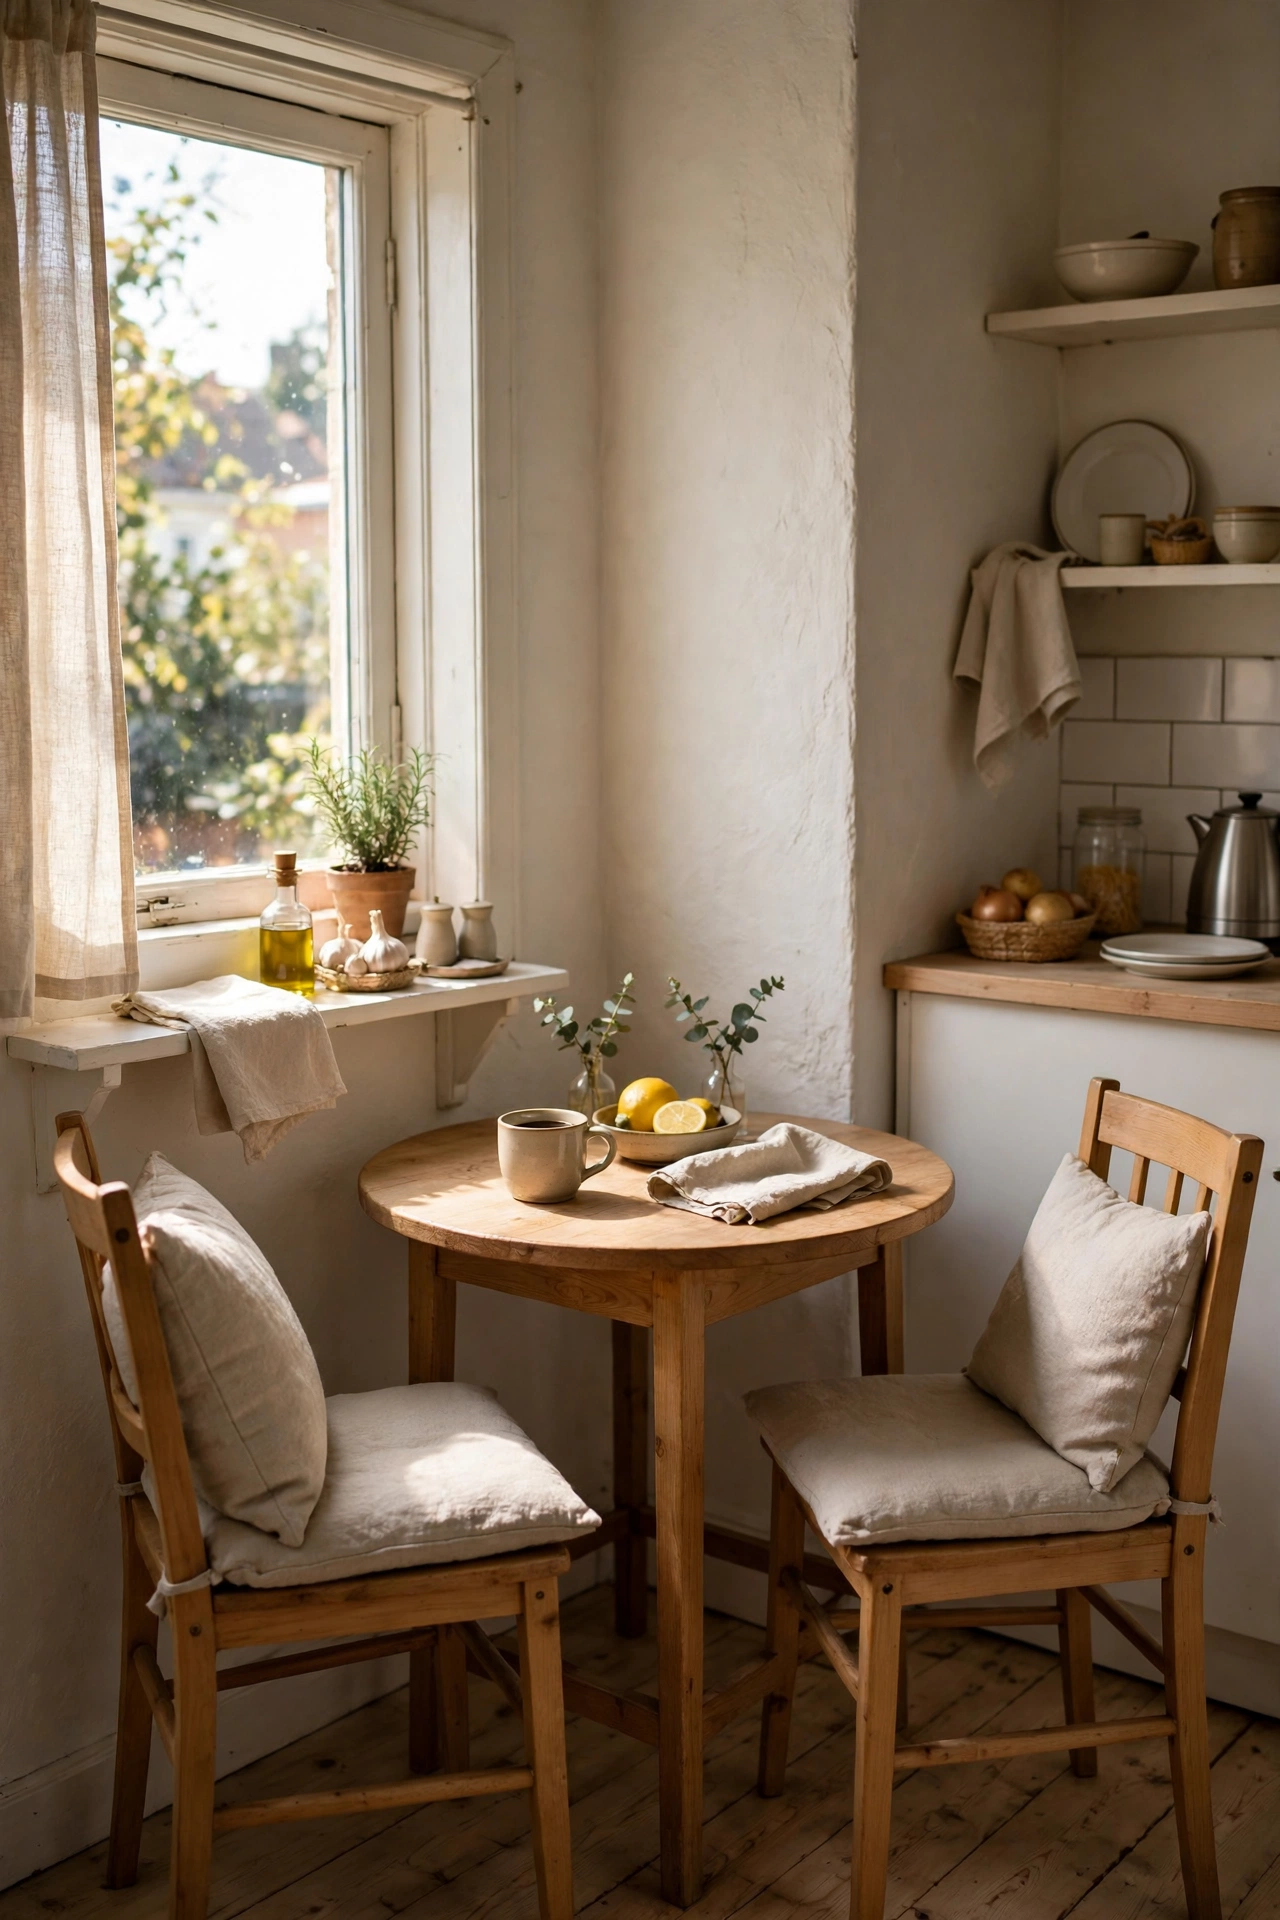
You don’t need a dining room — a small round bistro table and two chairs squeezed into a sunny corner becomes the heart of the kitchen. A round table fits tight corners far better than a square one. Anchor it with a small rug, add a linen cushion on each seat, and keep the tabletop nearly clear. I tried this and the mistake to avoid is pushing a full-size dining table against the wall — it dominates the room and leaves no elbow room.
Cost: ~$70 | Time: 60 minutes
21. Paint One Lower Cabinet Run in Soft Grey
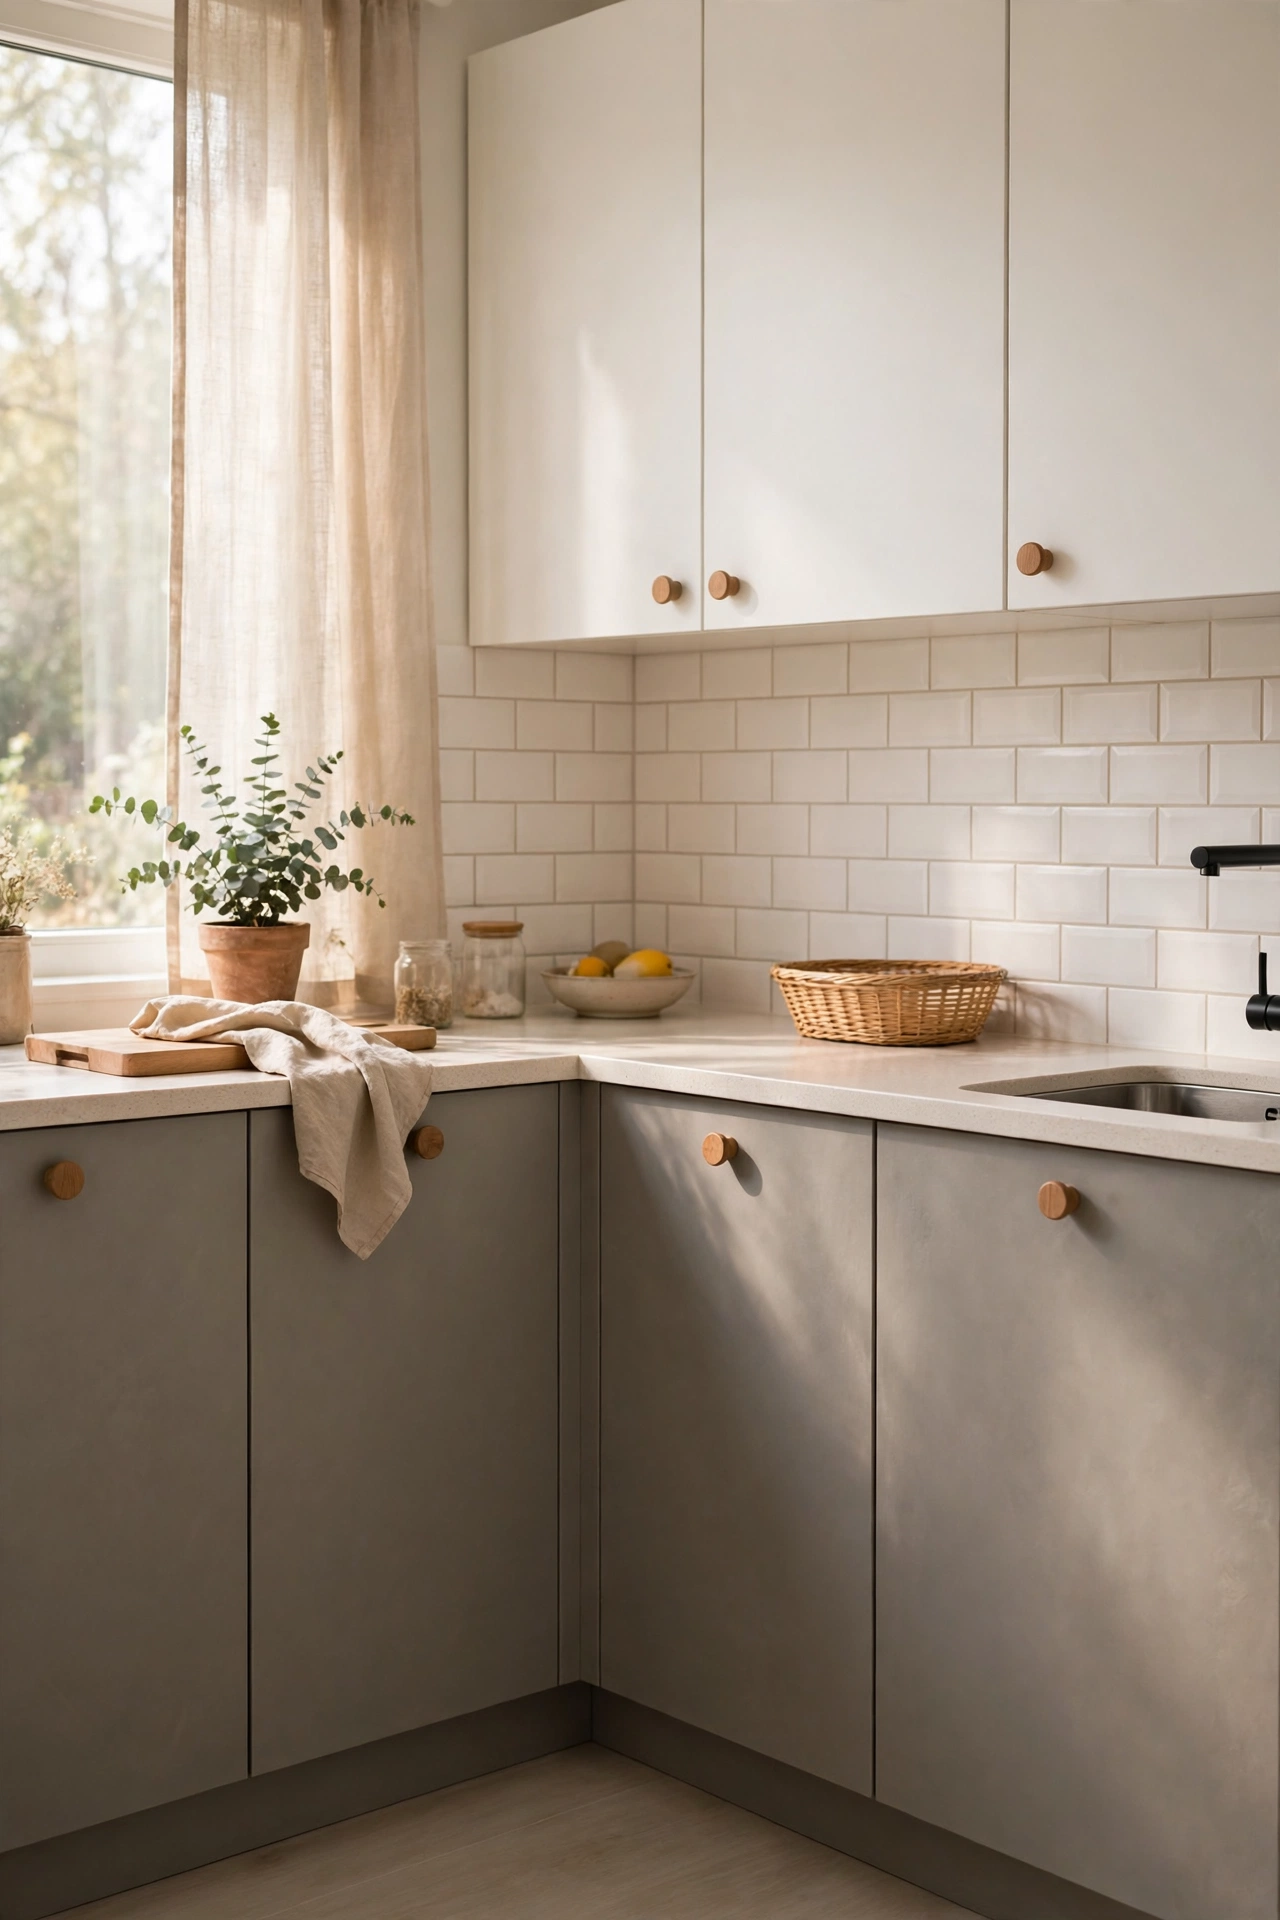
White uppers plus soft grey lowers is the two-tone trick that makes plain kitchens look bespoke. Use a durable cabinet paint in a warm grey, degrease the doors first, and apply two thin coats with a foam roller for a factory-smooth finish. Remove the doors to paint them flat and avoid drips. I tried this and the mistake to avoid is skipping the degrease — kitchen grime is invisible until the paint bubbles off it. Let the doors cure for a full week before heavy use — cabinet paint feels dry long before it is truly hard.
Cost: ~$45 | Time: 240 minutes
22. Set Out a Matching White Ceramic Collection
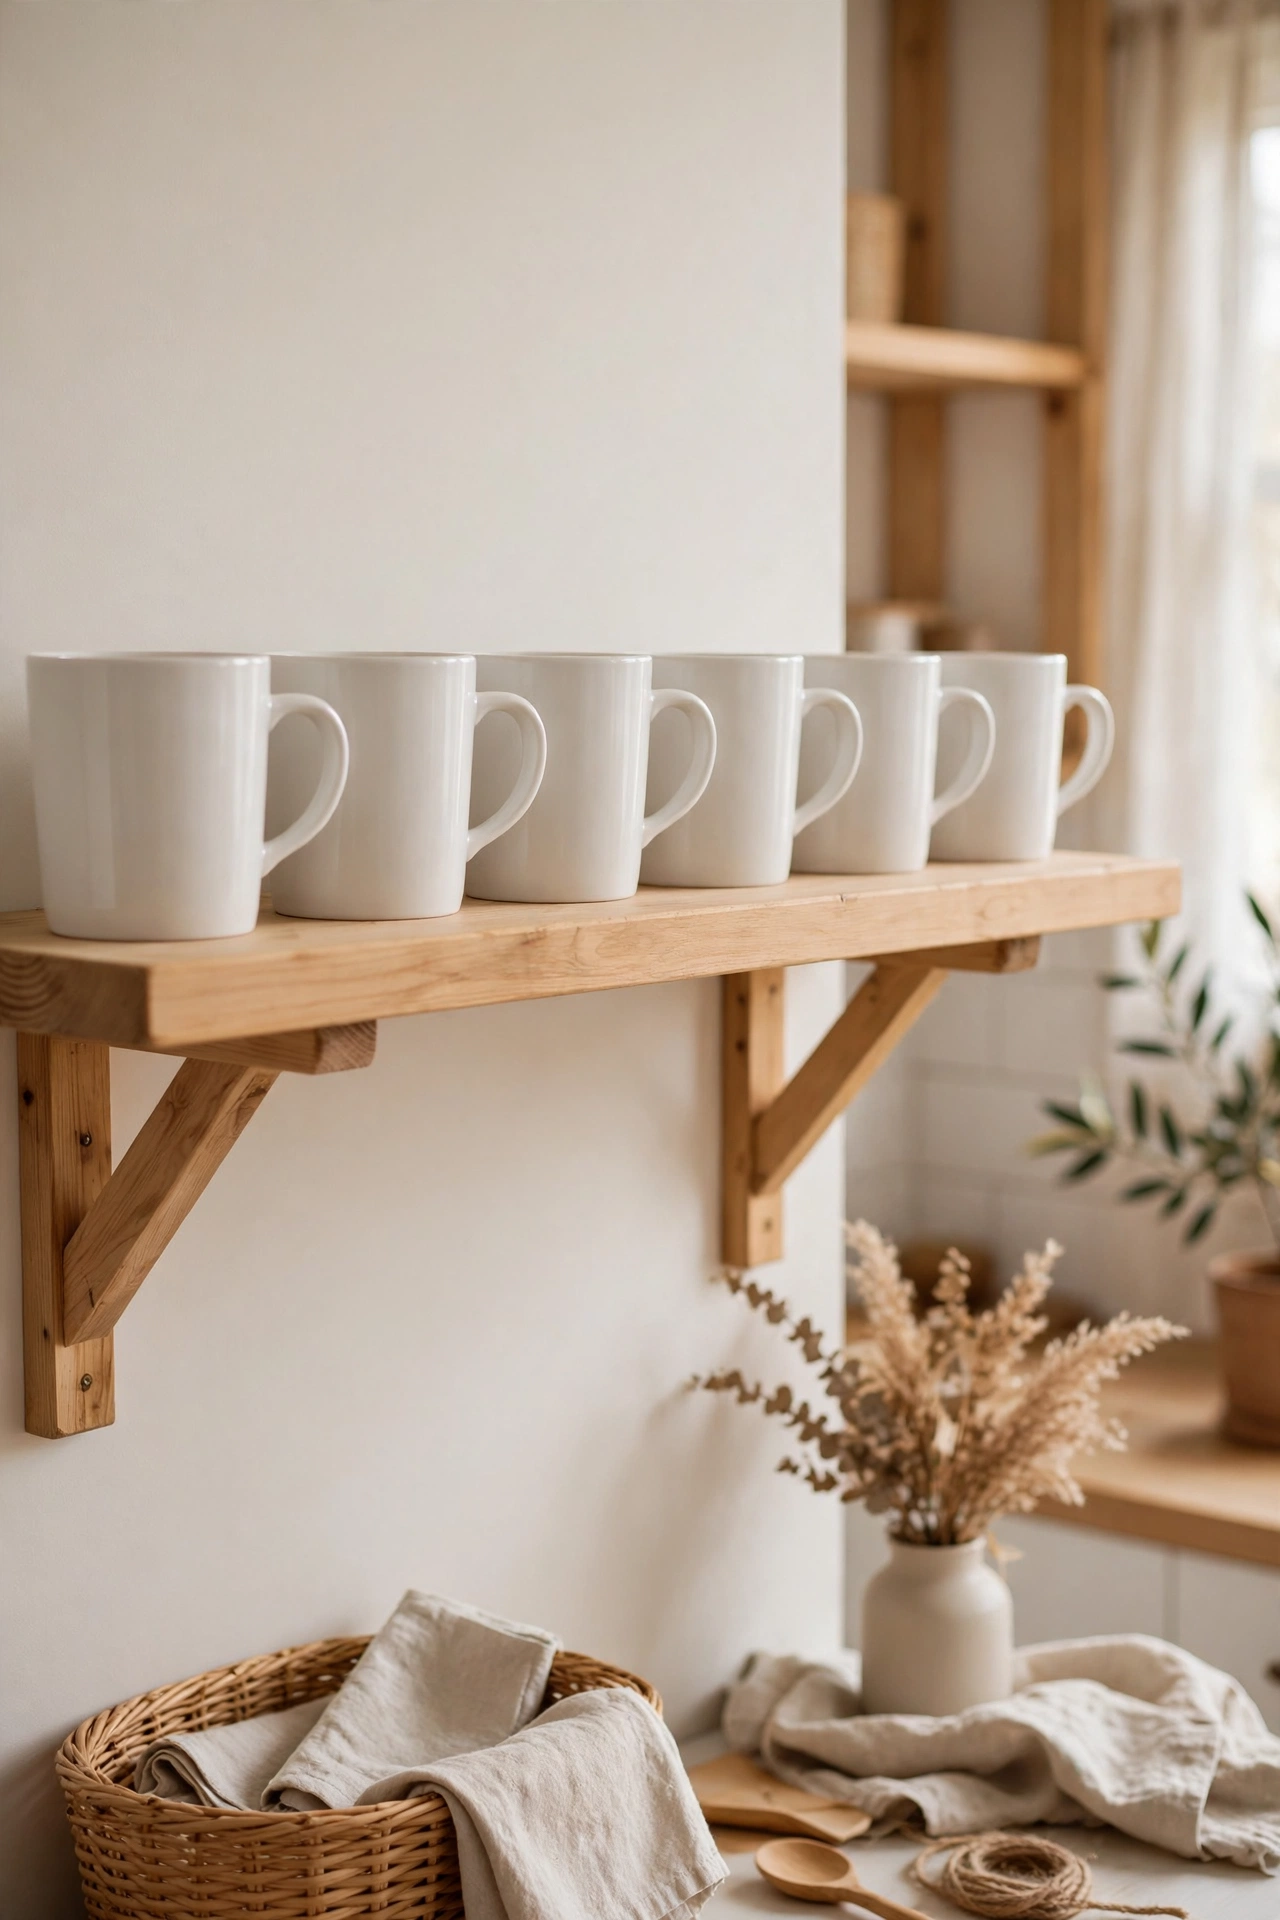
A row of identical white mugs or small bowls is sculpture, not tableware, when it’s displayed with discipline. Charity shops are full of plain white ceramics for pennies. Gather six to eight matching pieces, line them on the open shelf with even spacing, and use them daily so they stay dust-free. I tried this and the mistake to avoid is buying a decorative set nobody uses — display what you actually drink from. If one mug chips, replace it rather than hiding it at the back — uniformity is what sells the whole look.
Cost: ~$10 | Time: 25 minutes
23. Fit a Slim Oak Picture Ledge for Art
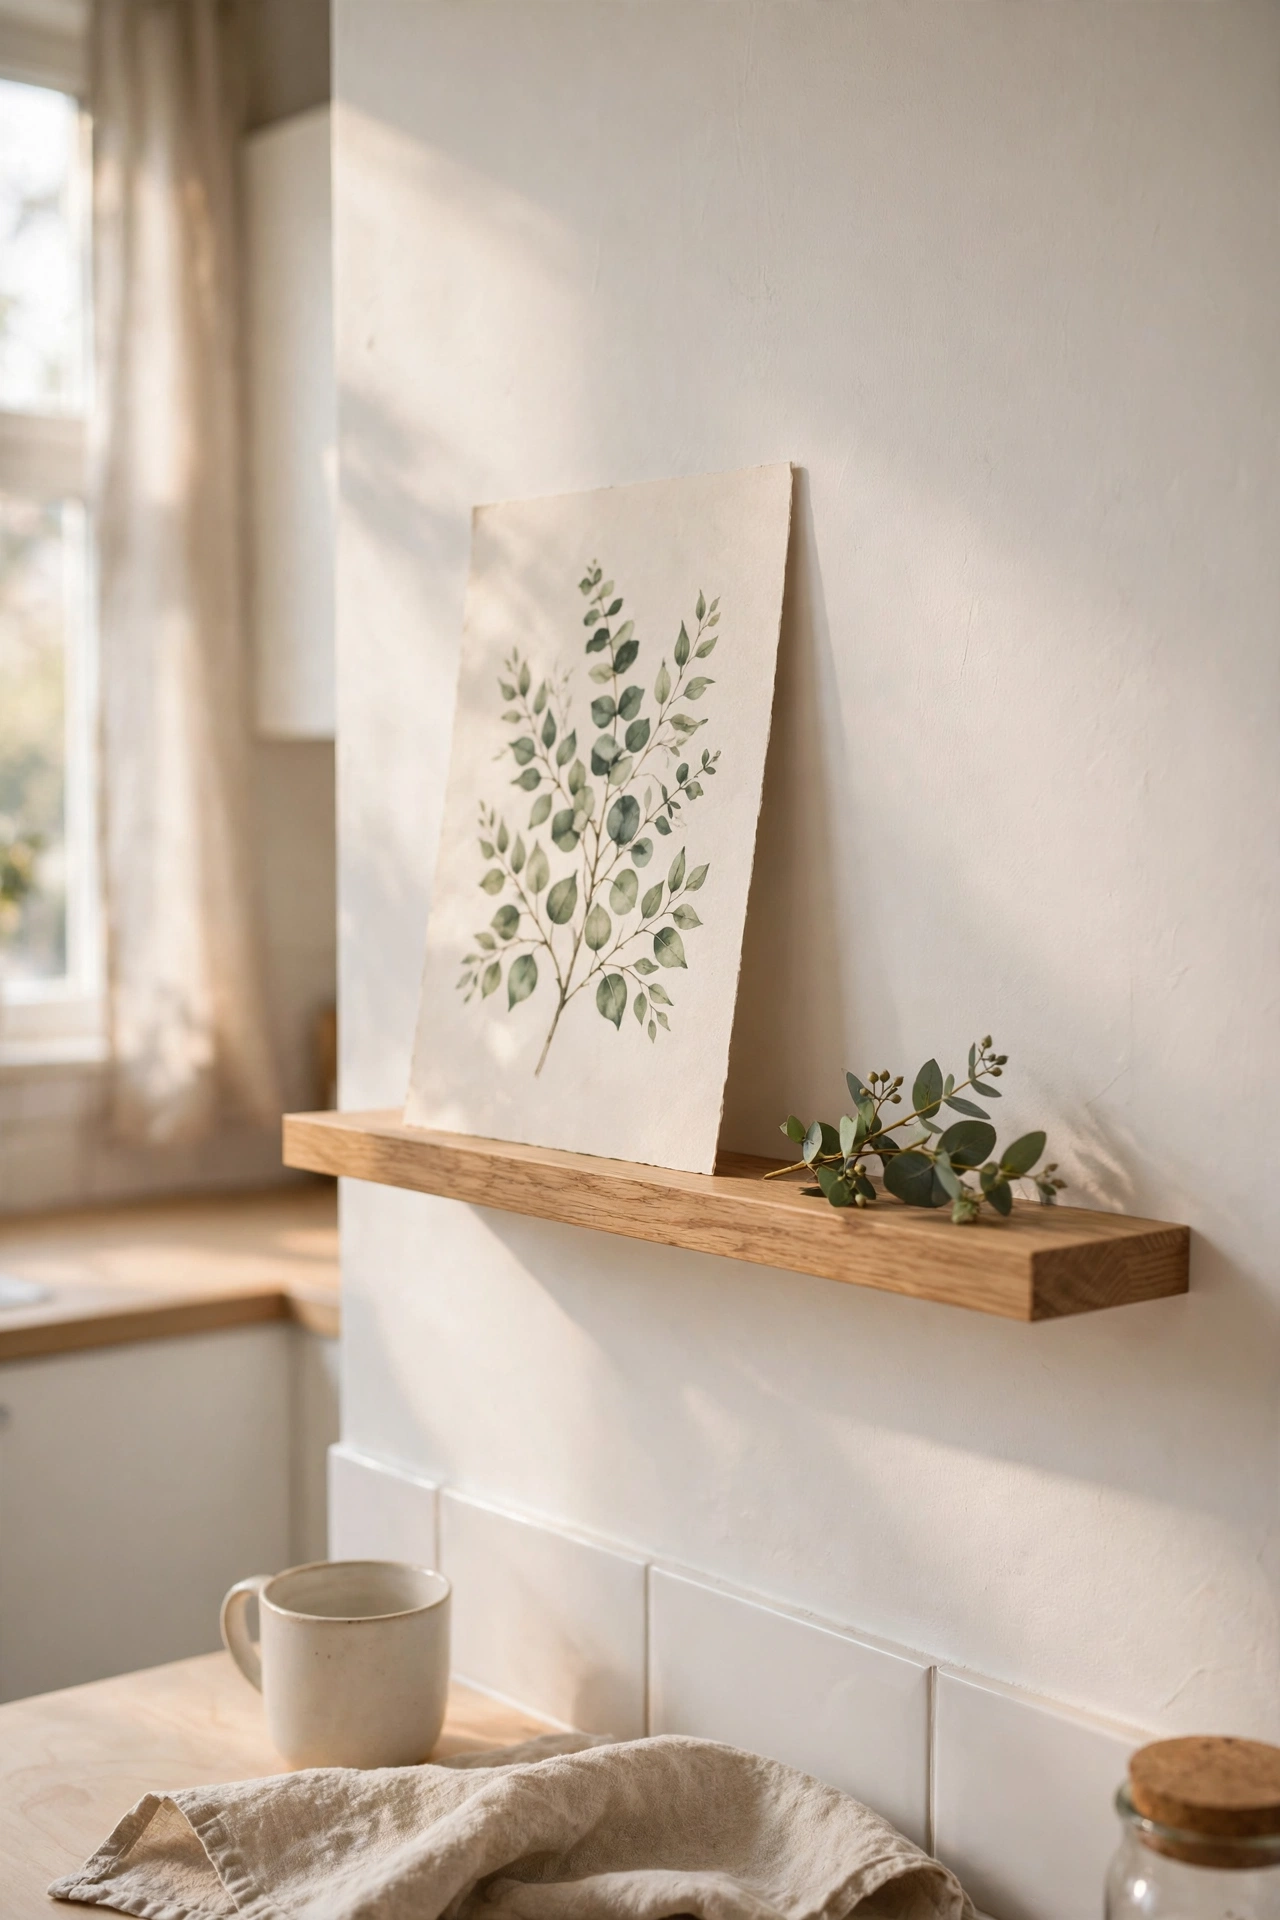
A single slim ledge on a kitchen wall holds a leaning print, a small mirror, and a sprig of eucalyptus — rotating art without drilling new holes. Screw one 60cm oak ledge at eye level on an empty wall, prop a botanical print against it, and overlap a smaller frame in front. Swap the print seasonally. I tried this and the mistake to avoid is hanging big framed art with glass — steam clouds it and the frame overwhelms the room.
Cost: ~$18 | Time: 40 minutes
24. Organise One Drawer with Wooden Dividers
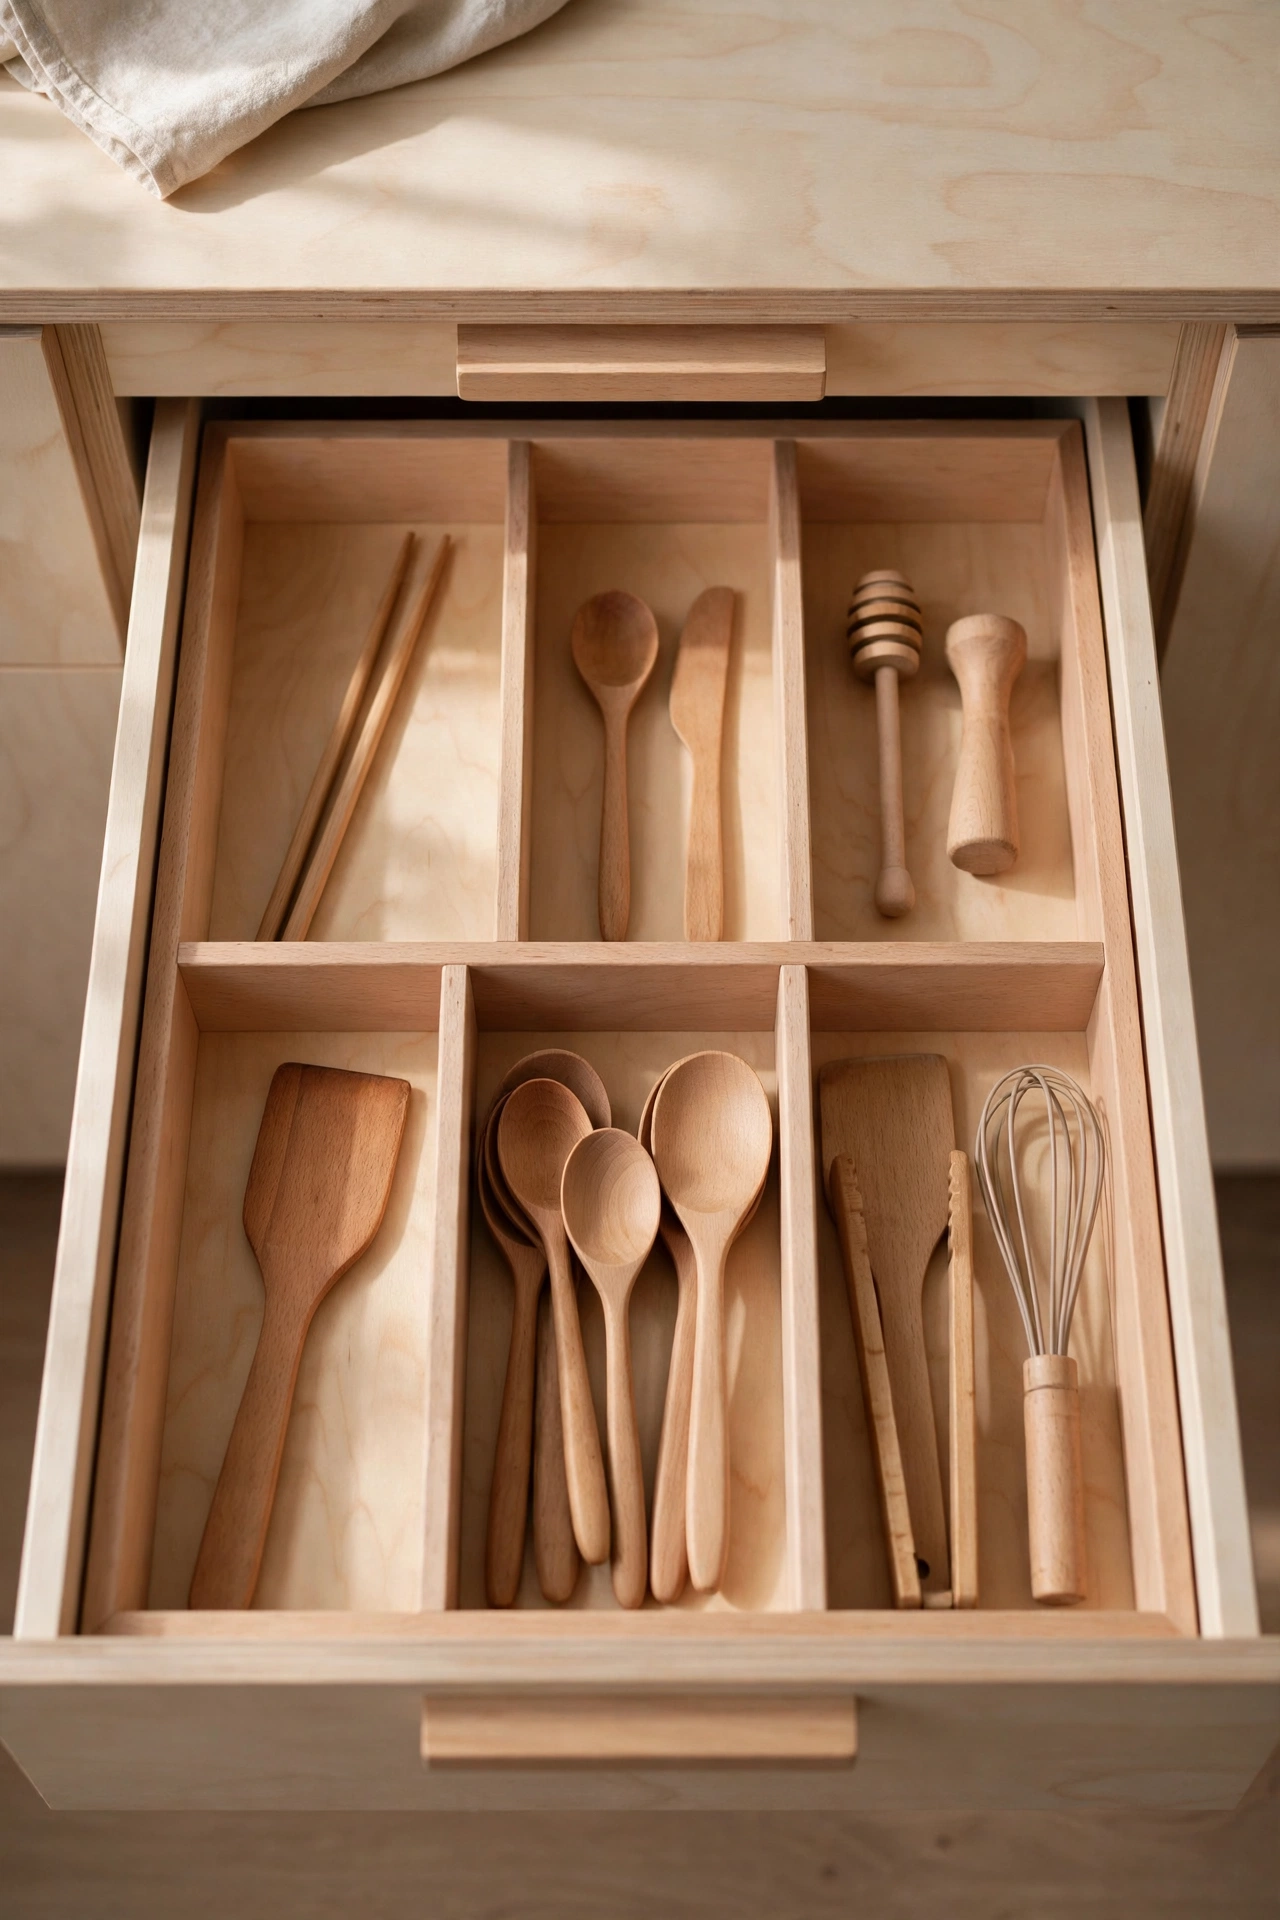
Scandinavian calm is really about hidden order: an organised utensil drawer in beech dividers means nothing ever lives on the counter. Measure the drawer, cut inexpensive beech dividers to fit, and give every tool a slot — if it doesn’t fit, it doesn’t belong. I tried this and the mistake to avoid is buying dividers before measuring; half the ones I first ordered rattled around uselessly. Take ten minutes each month to re-sort the drawer; utensils migrate, and the system only works if it stays current.
Cost: ~$14 | Time: 45 minutes
25. End Each Day with the Clear-Counter Reset
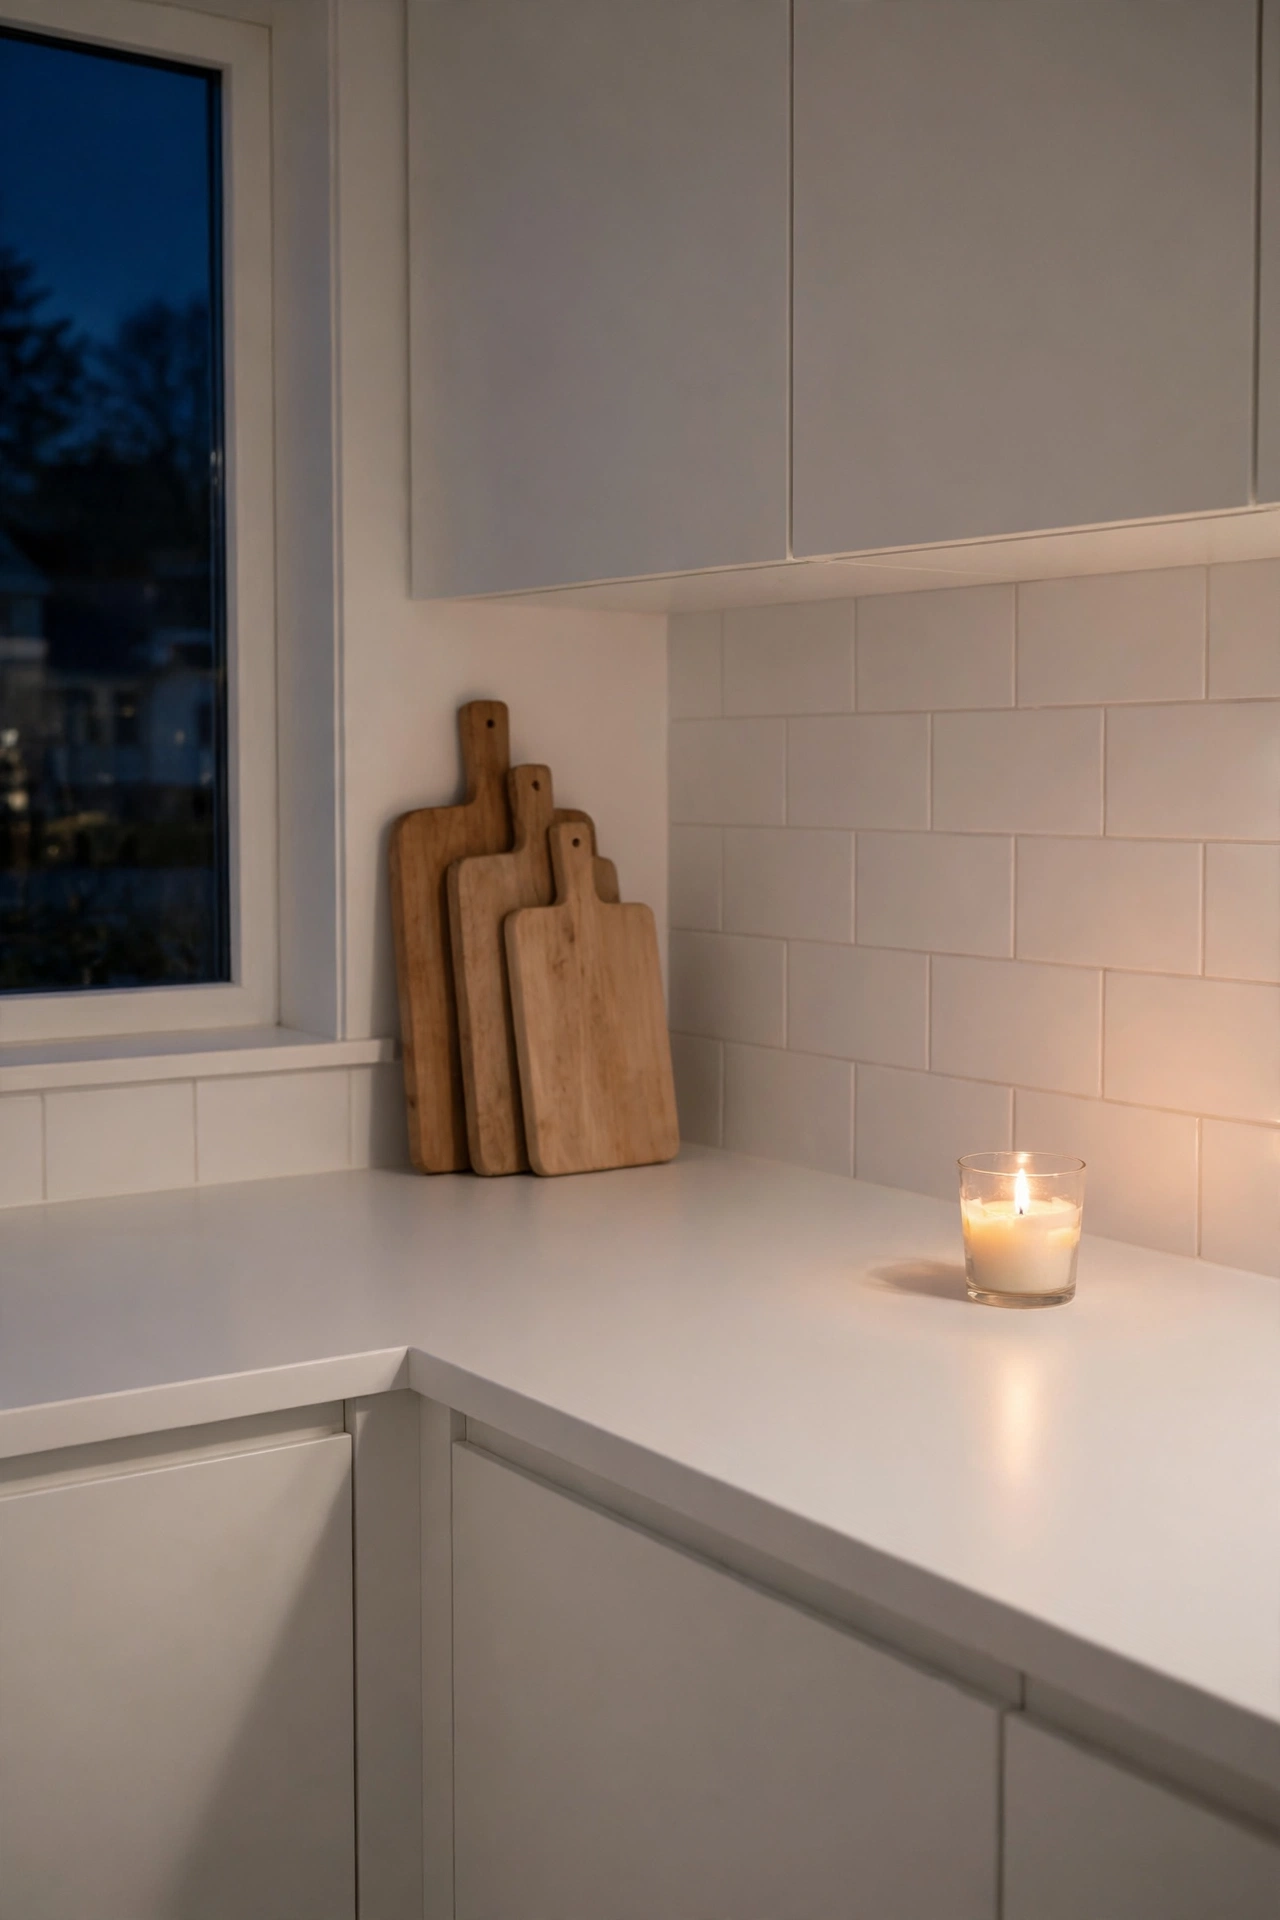
The cheapest idea of all is a ritual: before bed, everything goes home and counters go completely clear. Scandinavian kitchens look serene because their owners are disciplined, not because they own less. Wash up, return the boards to their lean, wipe the worktop, and put the stool back in its corner — two minutes, every night. I tried this and the mistake to avoid is “clearing” by shoving things into another room — they come back by morning. Save this idea if your kitchen never quite looks like the photos — this is the habit that makes them match.
Cost: ~$0 | Time: 10 minutes
Scandinavian Kitchen FAQs
Q: Do Scandinavian kitchens have to be all white? A: Not at all — white is the classic base, but warm wood, soft grey, oatmeal, and black accents are all part of the style. The rule is a restrained palette of three to four tones, not pure whiteness.
Q: How do I make my kitchen look Scandinavian on a tiny budget? A: Declutter first (free), paint the walls warm white, swap cabinet handles for wooden knobs, add open shelving or a utensil rail, and finish with linen, candles, and one wooden tray — most of this list costs under $40 per idea.
Q: Is open shelving practical in a real kitchen? A: Yes, if you display only daily-use items that get washed regularly, so dust never settles. Keep bulk tins and packets inside closed cupboards and let the shelves hold bowls, glasses, and jars.
None of these ideas needed a contractor, a new kitchen, or a loan — just lighter colours, honest materials, and the discipline to leave some space empty. Start with the clear-counter reset tonight, then tackle one idea each weekend, and your kitchen will feel calmer every single morning.
