25 DIY Shelf Ideas on a Budget
Shelves are the hardest-working decor in any home: storage, display, and wall art in one. My house has twenty-three shelves I built myself, because shop-bought shelving is either flimsy or shockingly expensive. DIY shelf ideas on a budget changed how every room functions — the dead wall above my desk is now my favourite spot in the house, and it cost $18. These twenty-five ideas cover every room, every style, and every skill level.
The two rules of good shelving: mount into studs or use proper wall plugs, and never load a shelf beyond what its brackets are rated for. Everything else is style. Every project here costs under $50, most under $25, and each one includes the mounting advice that keeps your books off the floor. Start with the room that needs storage most.
1. Pine Board and Bracket Shelves
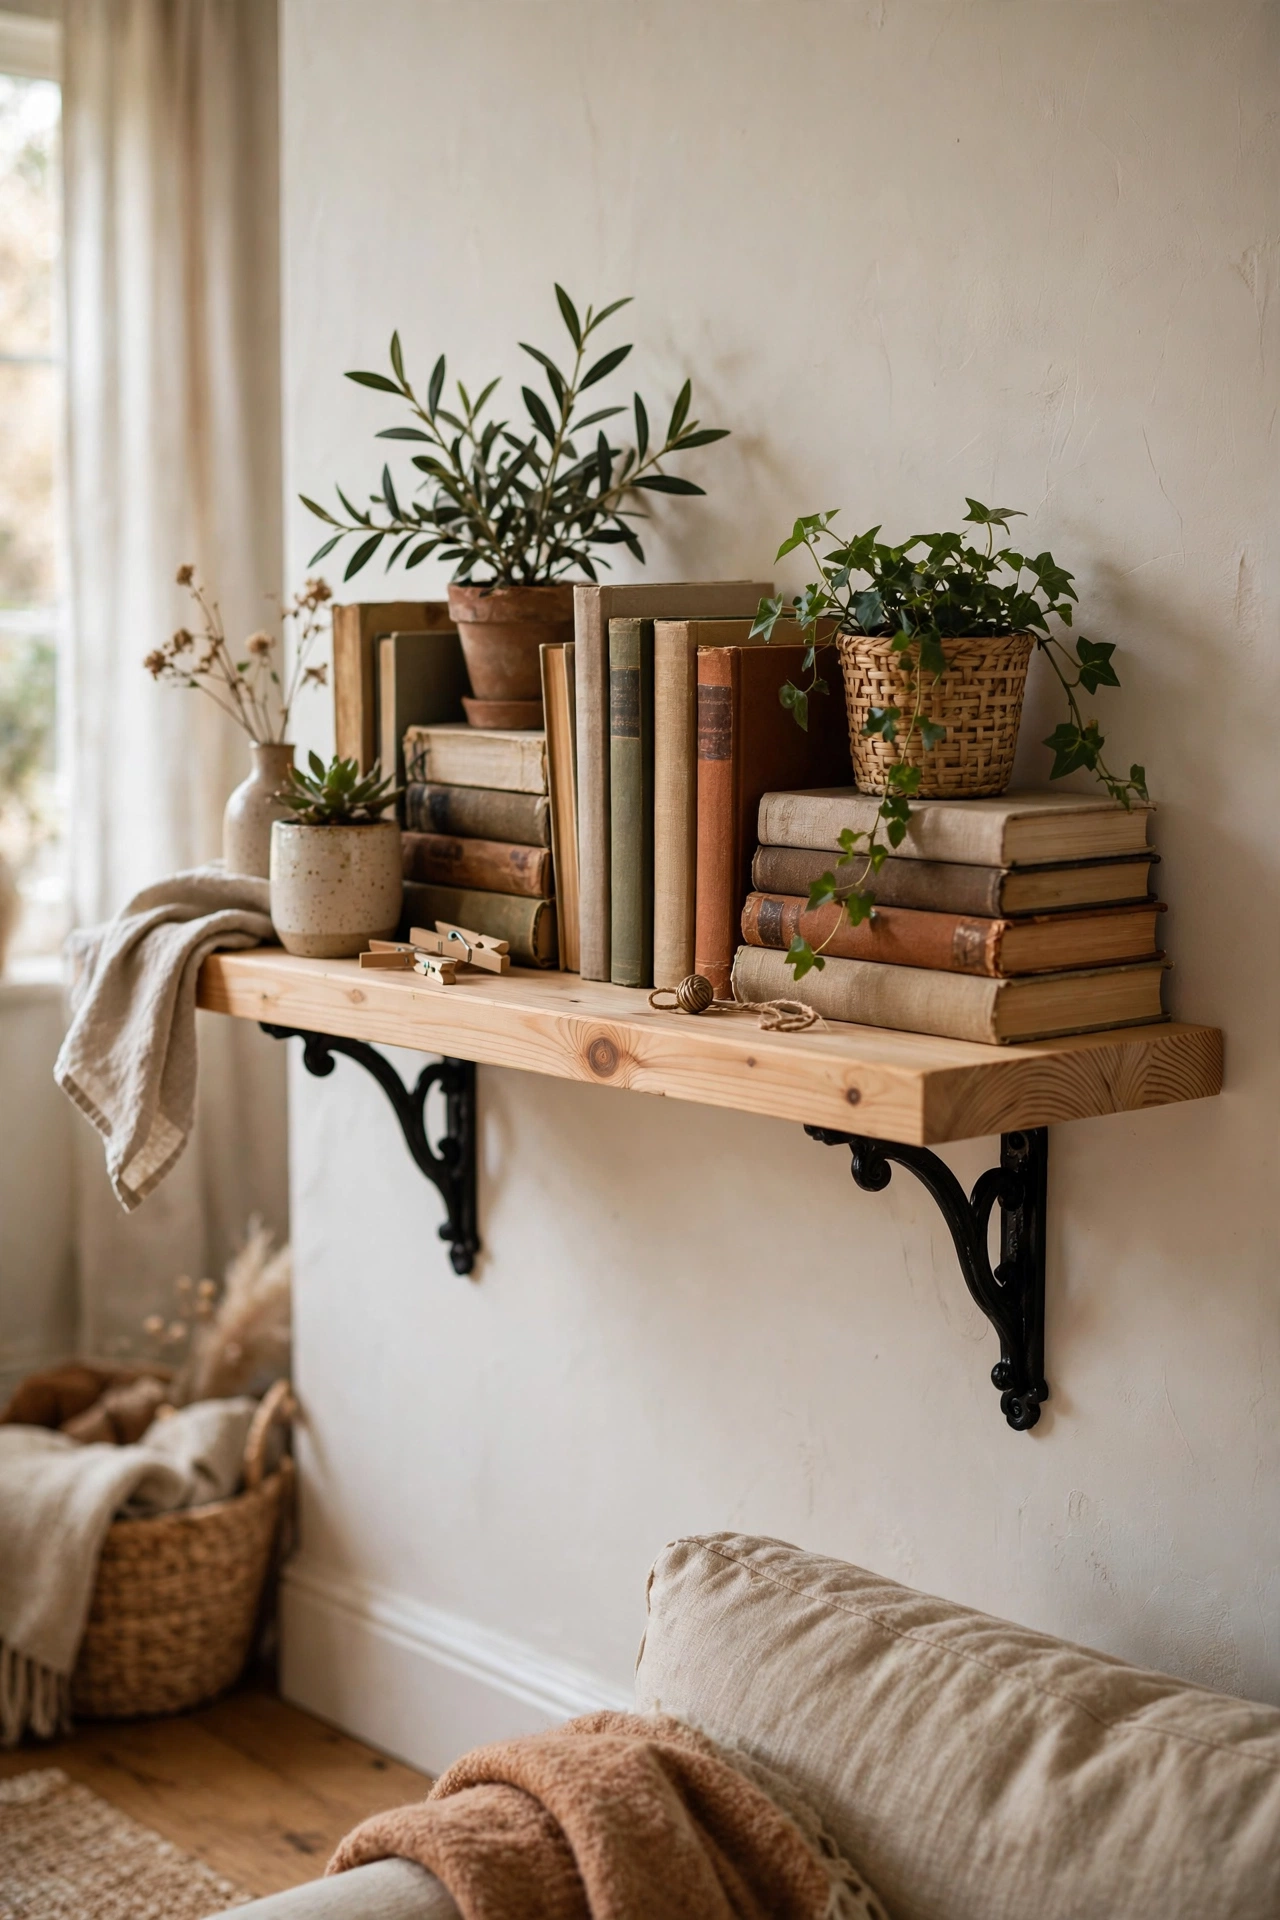
The timeless classic: a pine board on two decorative brackets. Buy a planed pine board cut to length — timber yards cut free — sand it smooth, stain or paint it, and mount on sturdy brackets fixed into studs. I have these in four rooms and they never look wrong. Do use a spirit level; even a slight slope is visible once books are on. Don’t use brackets rated below your intended load — books are brutally heavy. This is the shelf every beginner should build first.
Cost: ~$12-22 | Time: 1 hour
2. Floating Shelves with Hidden Brackets
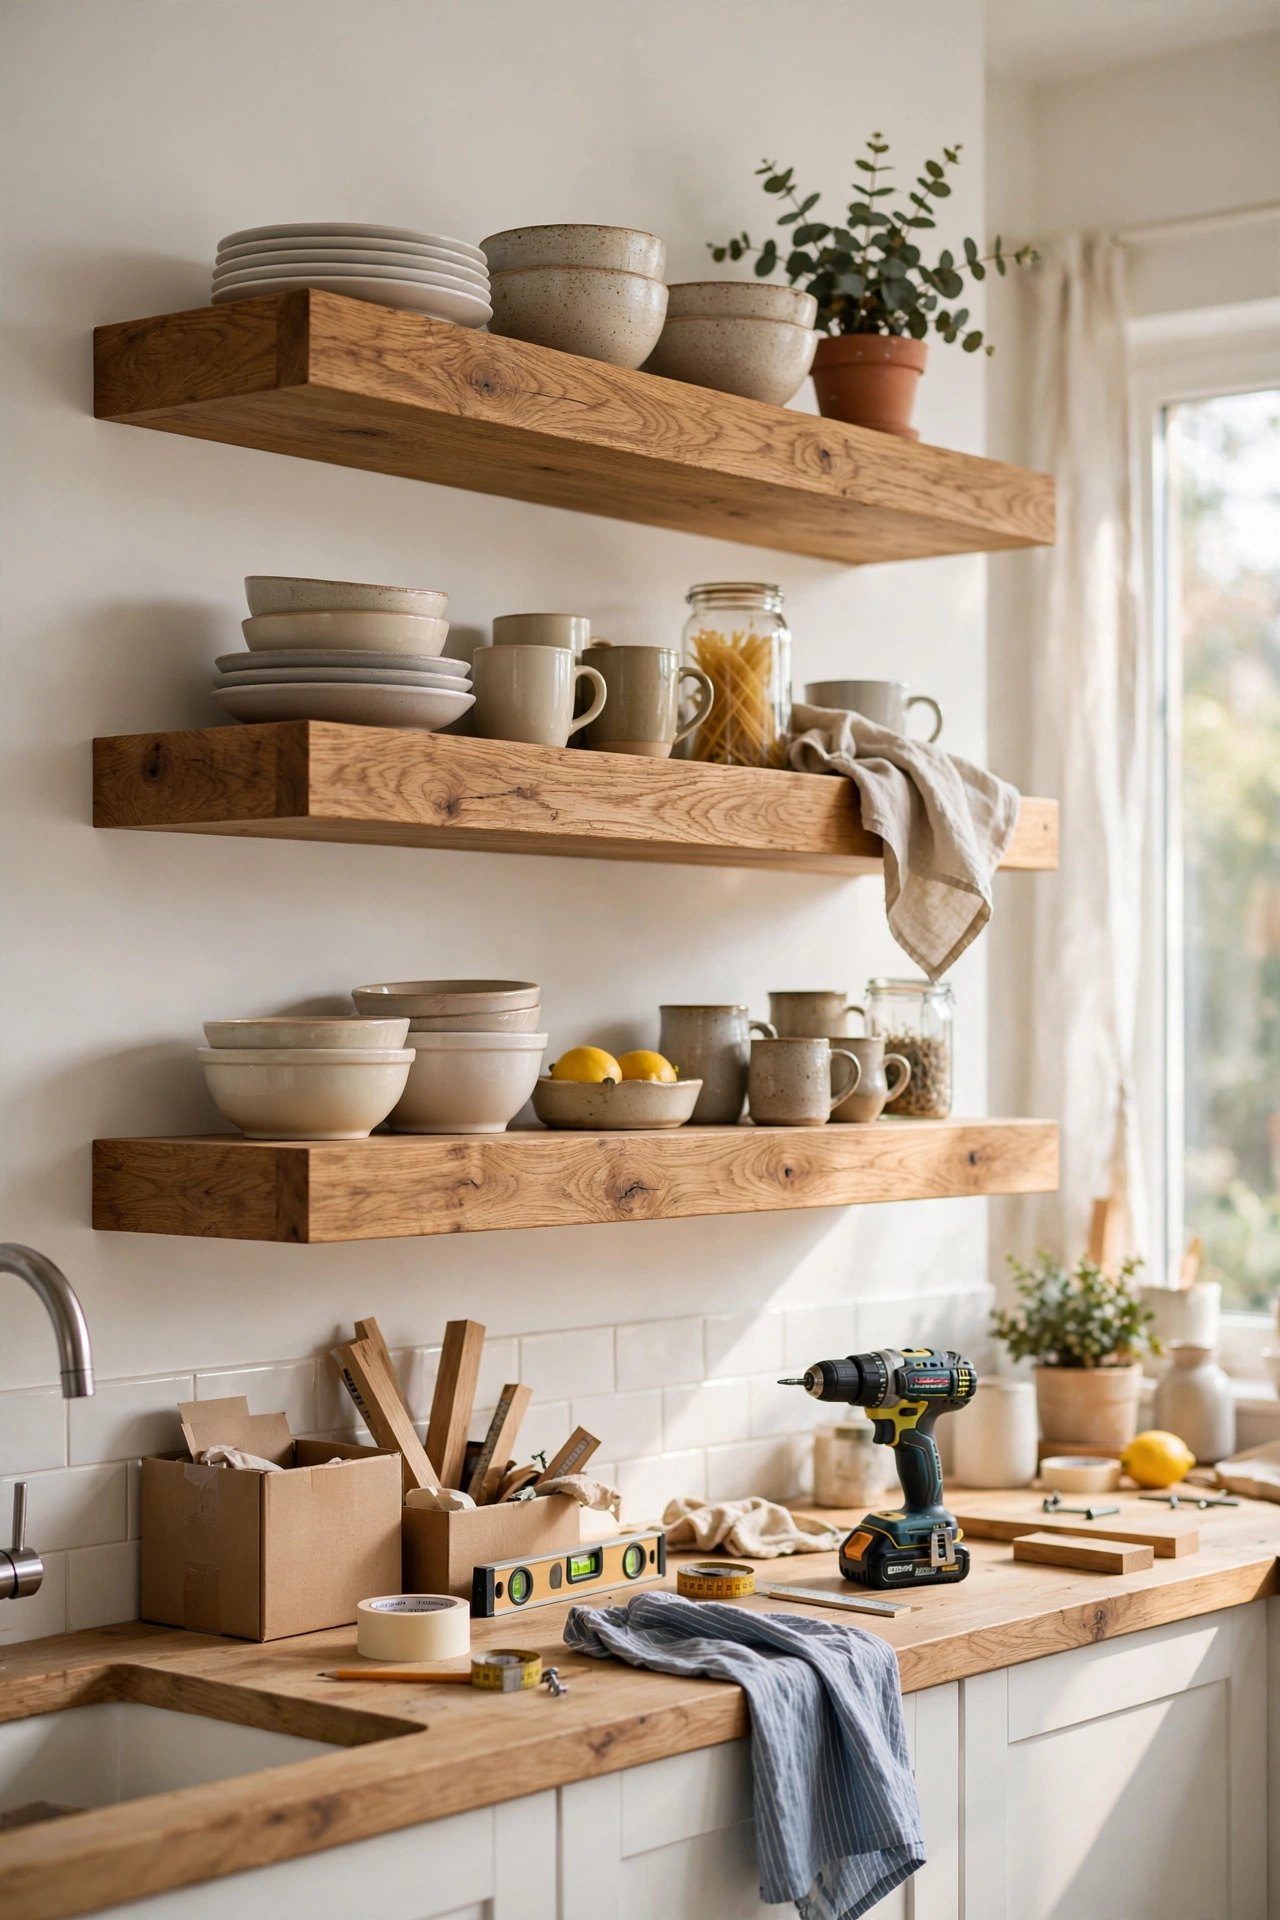
Floating shelves look like magic — no visible brackets, just clean wood on the wall. Use a hollow shelf or a solid board with concealed floating brackets, drilling precisely into studs. I floated three oak shelves in my kitchen for crockery and they look properly high-end. Do measure bracket positions obsessively; hidden brackets forgive nothing. Don’t attempt these on plasterboard without specialist fixings — they need solid anchoring. The clean look is worth the fussy installation.
Cost: ~$20-35 | Time: 1.5 hours
3. Crate Wall Shelves
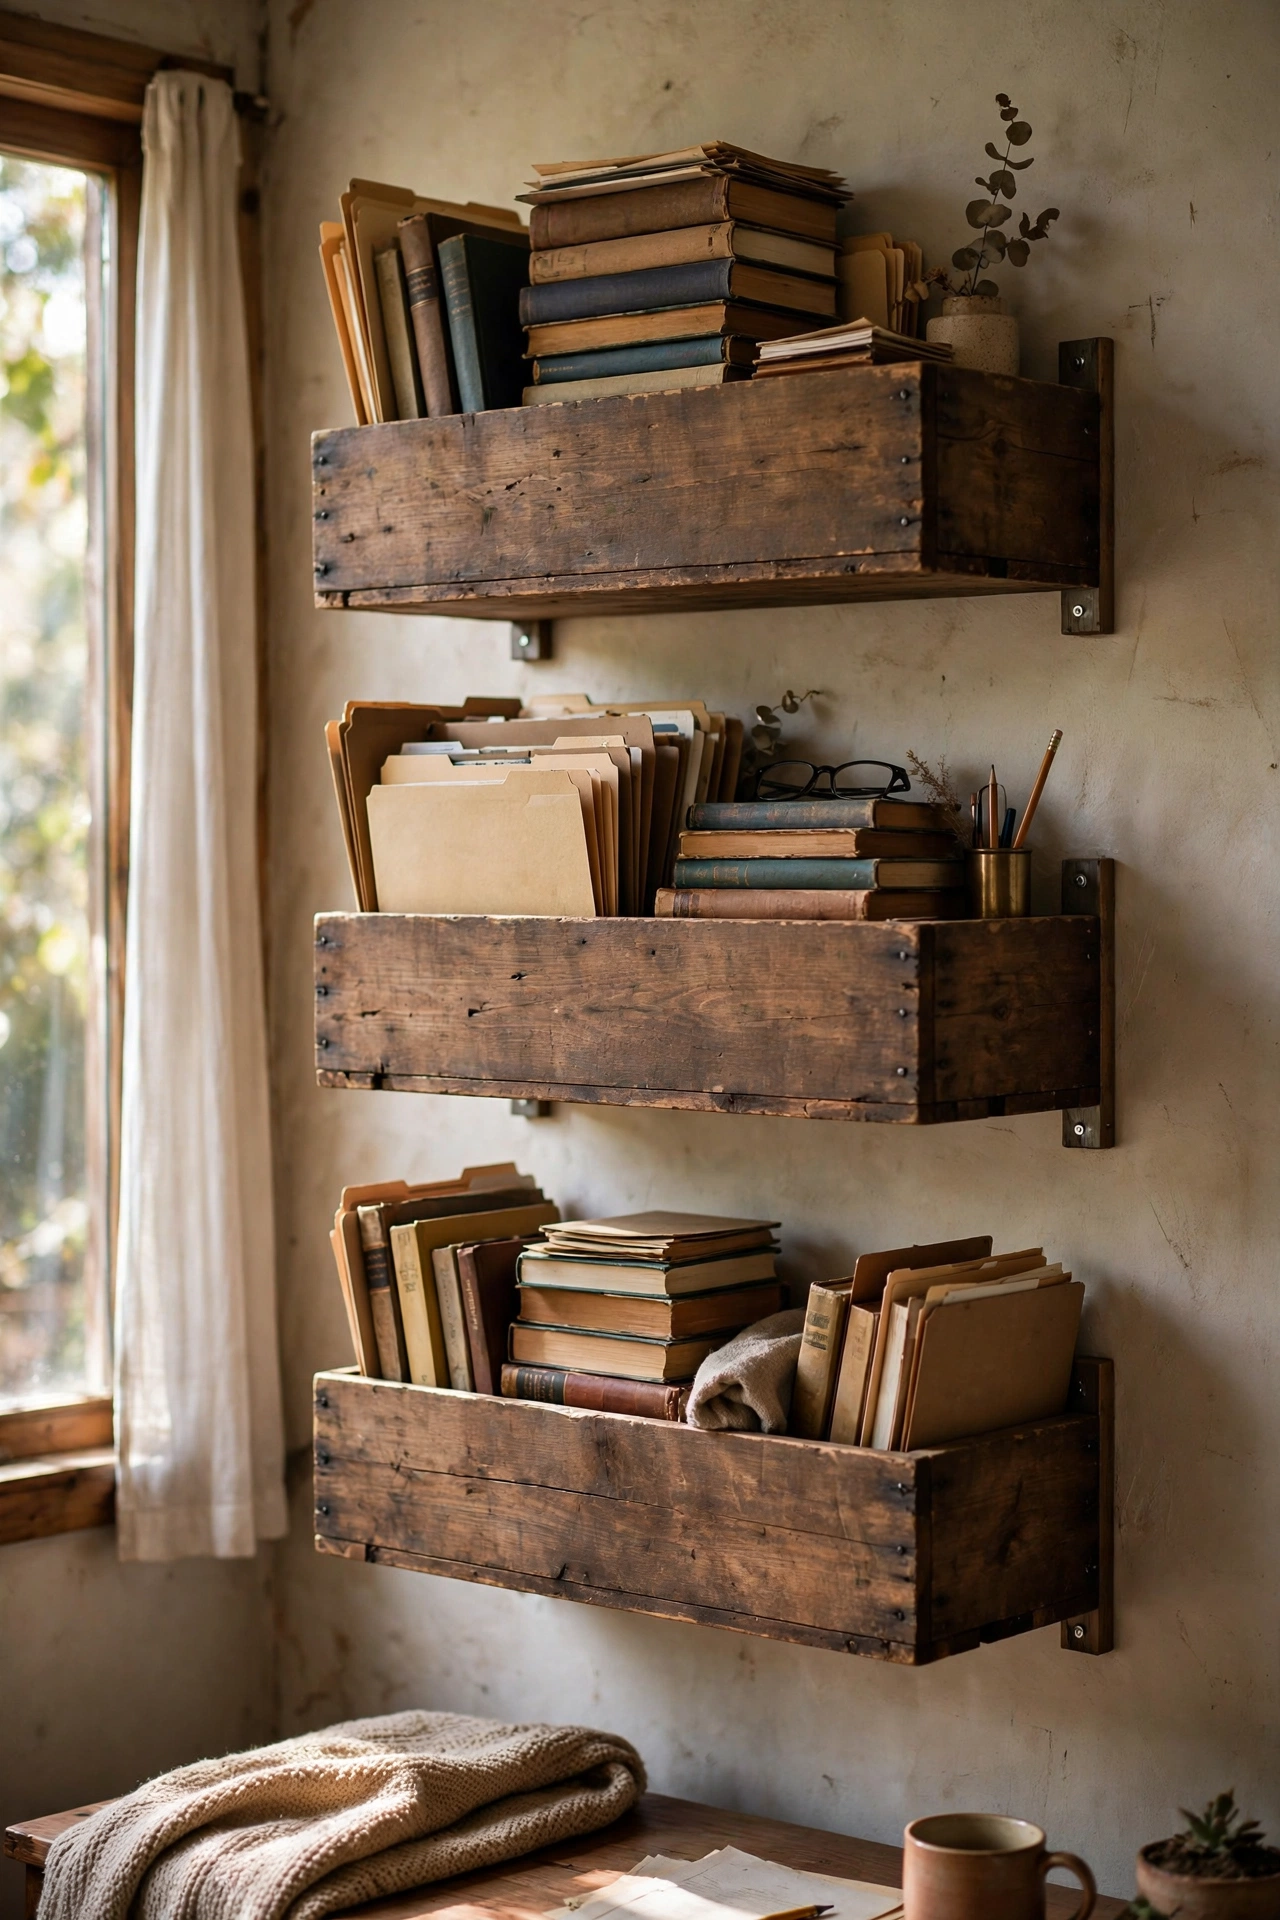
Wooden crates mounted on the wall become deep box shelves with character. Fix sturdy crates directly to studs with the open side out, arranging them in a pleasing cluster. I have three wine crates in my study holding books and files. Do screw through the crate back into the stud — never rely on adhesive for something this heavy. Don’t use flimsy decorative crates; they must be solid wood. Stain or paint the crates to match your room.
Cost: ~$15-28 | Time: 1 hour
4. Corner Floating Shelves
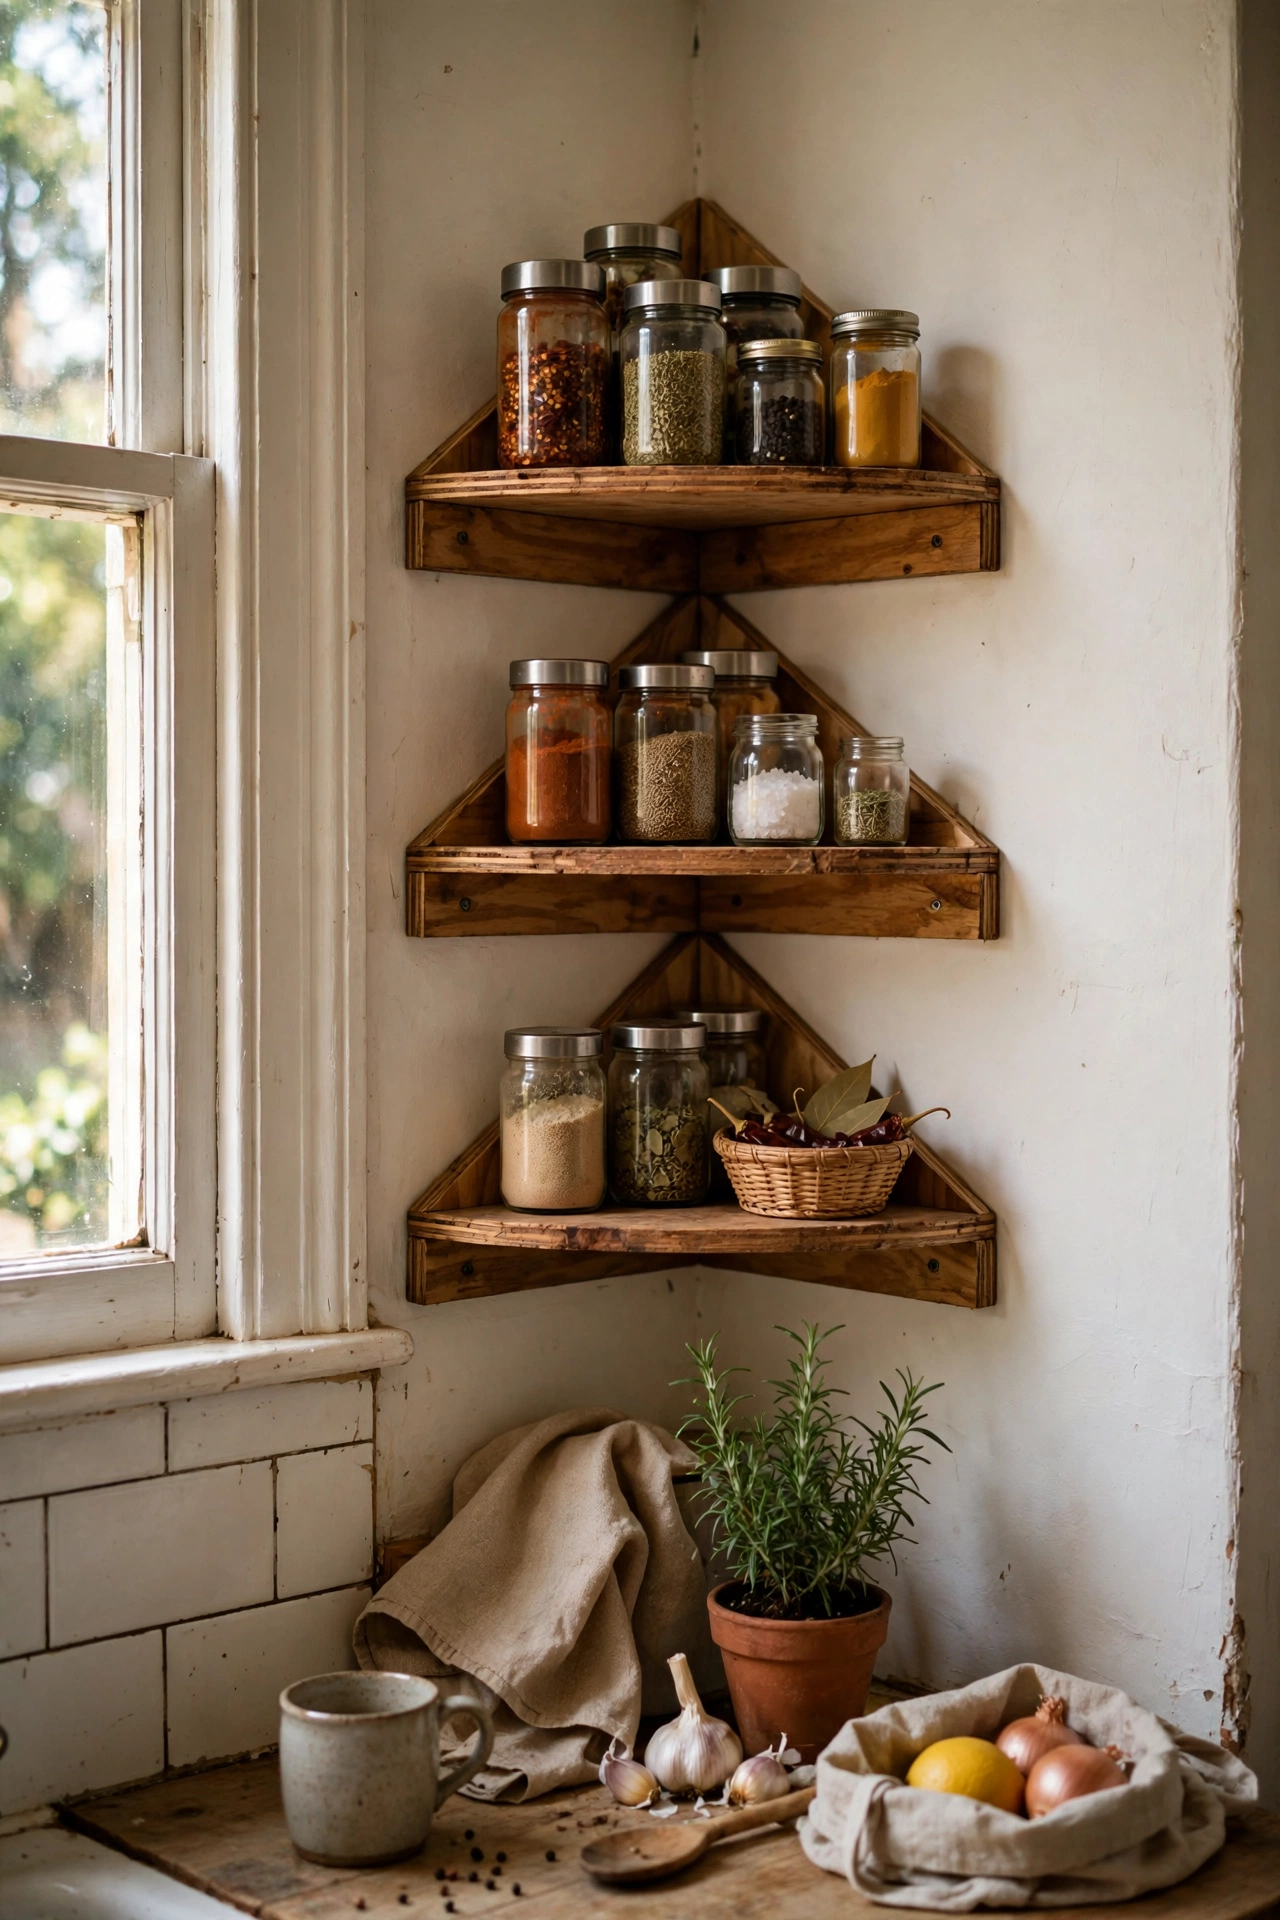
Corners are wasted space until you shelf them. Cut triangular or L-shaped shelves to fit a corner and mount with brackets on both walls — the two-wall fixing makes them incredibly strong. I put corner shelves in my kitchen for spices and in the bathroom for toiletries. Do cut the shelves to fit snugly; gaps in corners look sloppy. Don’t make them too deep — 20cm is plenty for corner storage. This is the highest-value small shelf you can build.
Cost: ~$10-18 | Time: 1 hour
5. Pipe and Wood Industrial Shelves
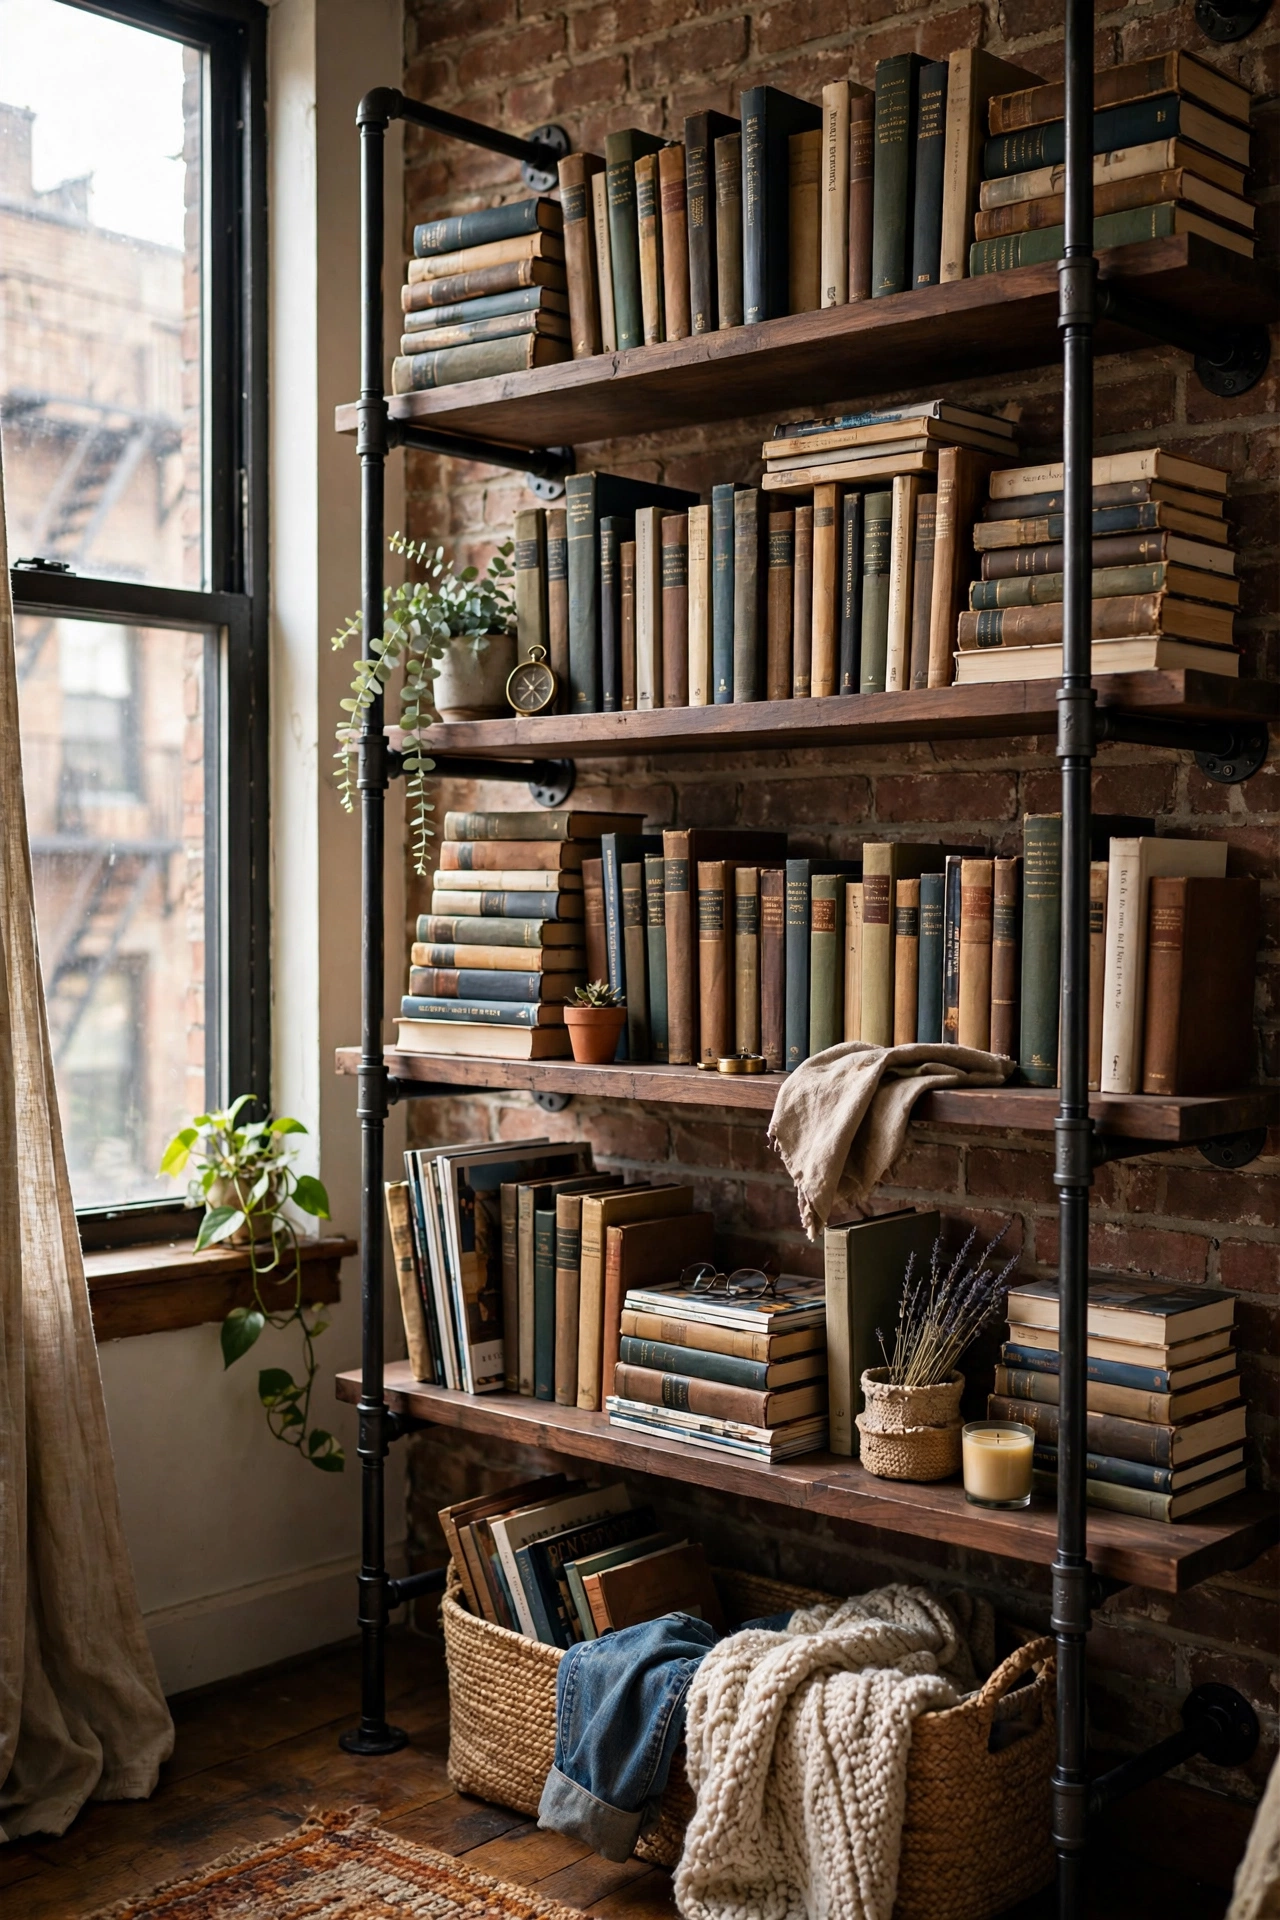
Black iron pipe and wood boards make the industrial shelving everyone wants. Assemble pipe flanges, uprights, and elbows into bracket frames, mount to studs, and rest stained boards across them. My pipe shelves hold my entire book collection and look like a Brooklyn loft. Do buy real iron pipe, not plastic-look imitations — the weight and finish matter. Don’t skip the wall plugs rated for the load; pipe shelving is heavy before you add books. Stain the wood dark walnut for the full industrial look.
Cost: ~$35-55 | Time: 2 hours
6. Ladder Shelf from an Old Ladder
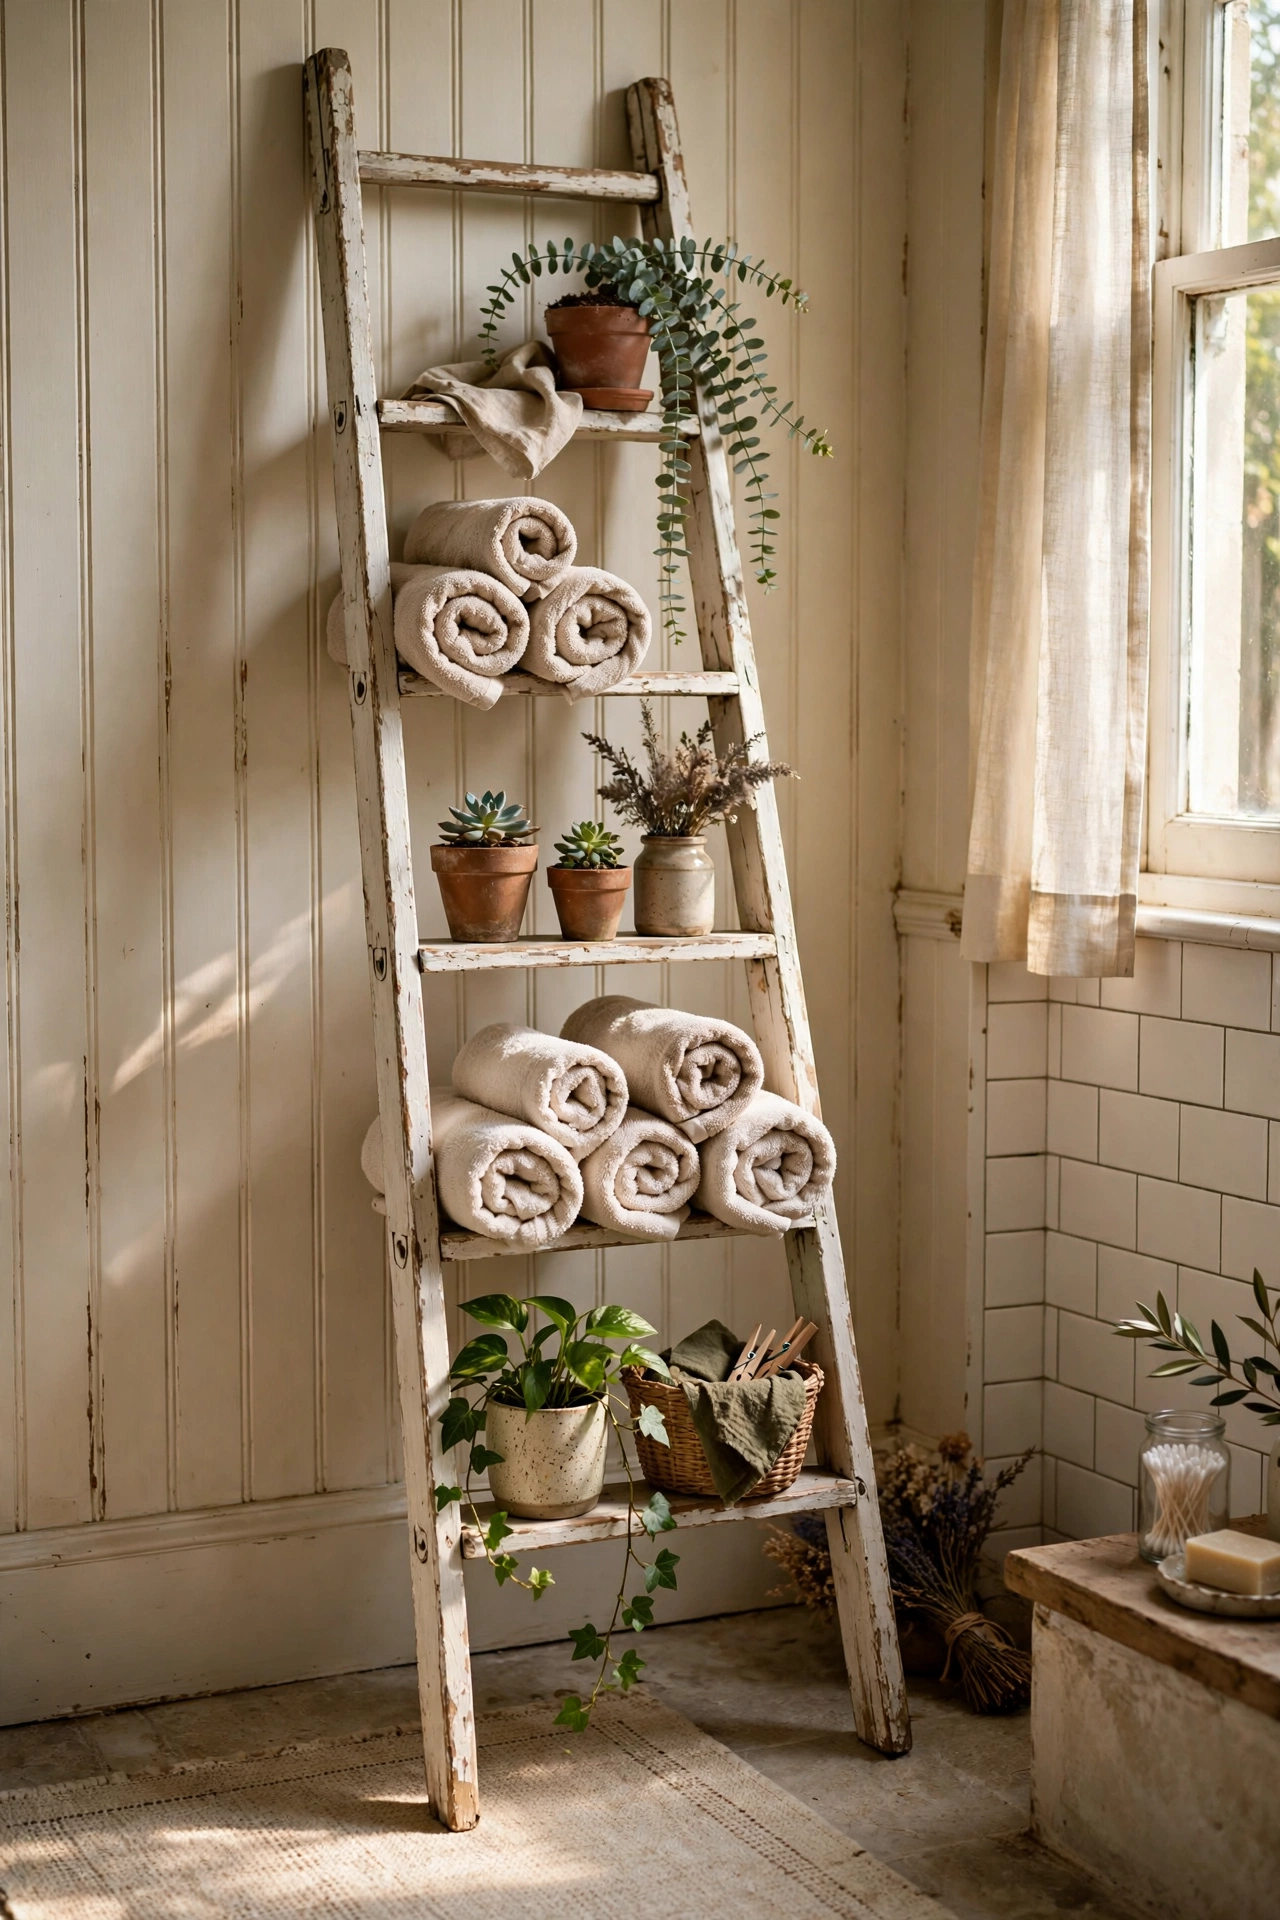
An old wooden ladder leaning against the wall is instant shelving with vintage charm. Find a sturdy wooden ladder at a flea market, sand and paint or stain it, and lean it securely — fixing the top to the wall with a bracket for safety. I use mine in the bathroom for towels and plants. Do fix the top to the wall; a leaning ladder with weight on it can slide. Don’t use a ladder with cracked rungs. The graduated rung depths naturally suit different-sized items.
Cost: ~$15-30 | Time: 1.5 hours plus drying
7. Picture Ledge Shelves
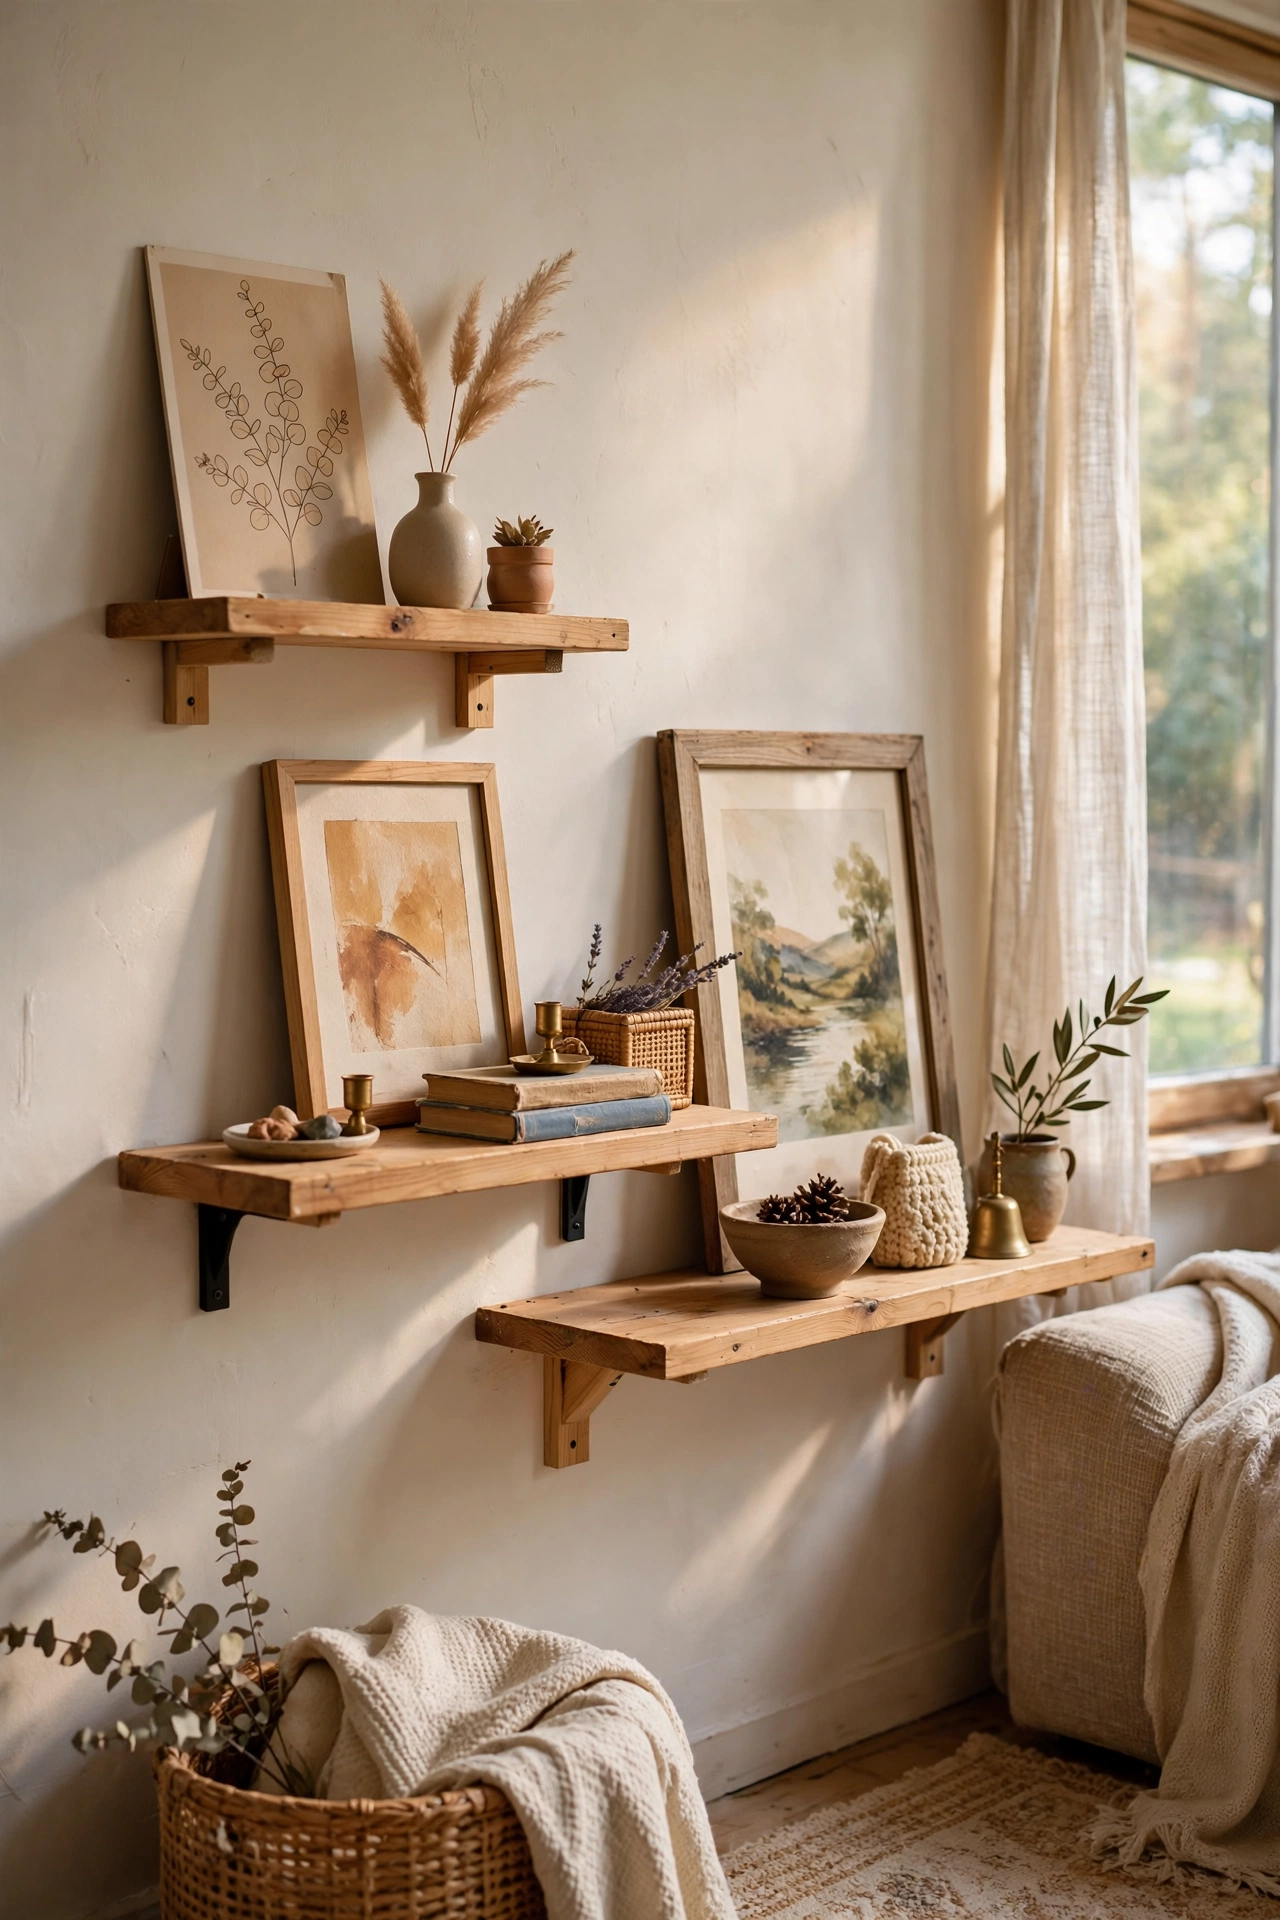
Picture ledges are shallow shelves with a lip, perfect for art, photos, and small objects. Mount two or three at staggered heights and lean frames along them. I restyle my ledges seasonally and the room feels new each time. Do include the front lip — without it, everything slides off. Don’t mount them where they will be bumped; ledges suit hallways and bedrooms better than busy corridors. The rearrangeability is the whole point.
Cost: ~$15-28 | Time: 1 hour
8. Cube Shelves from Boxes
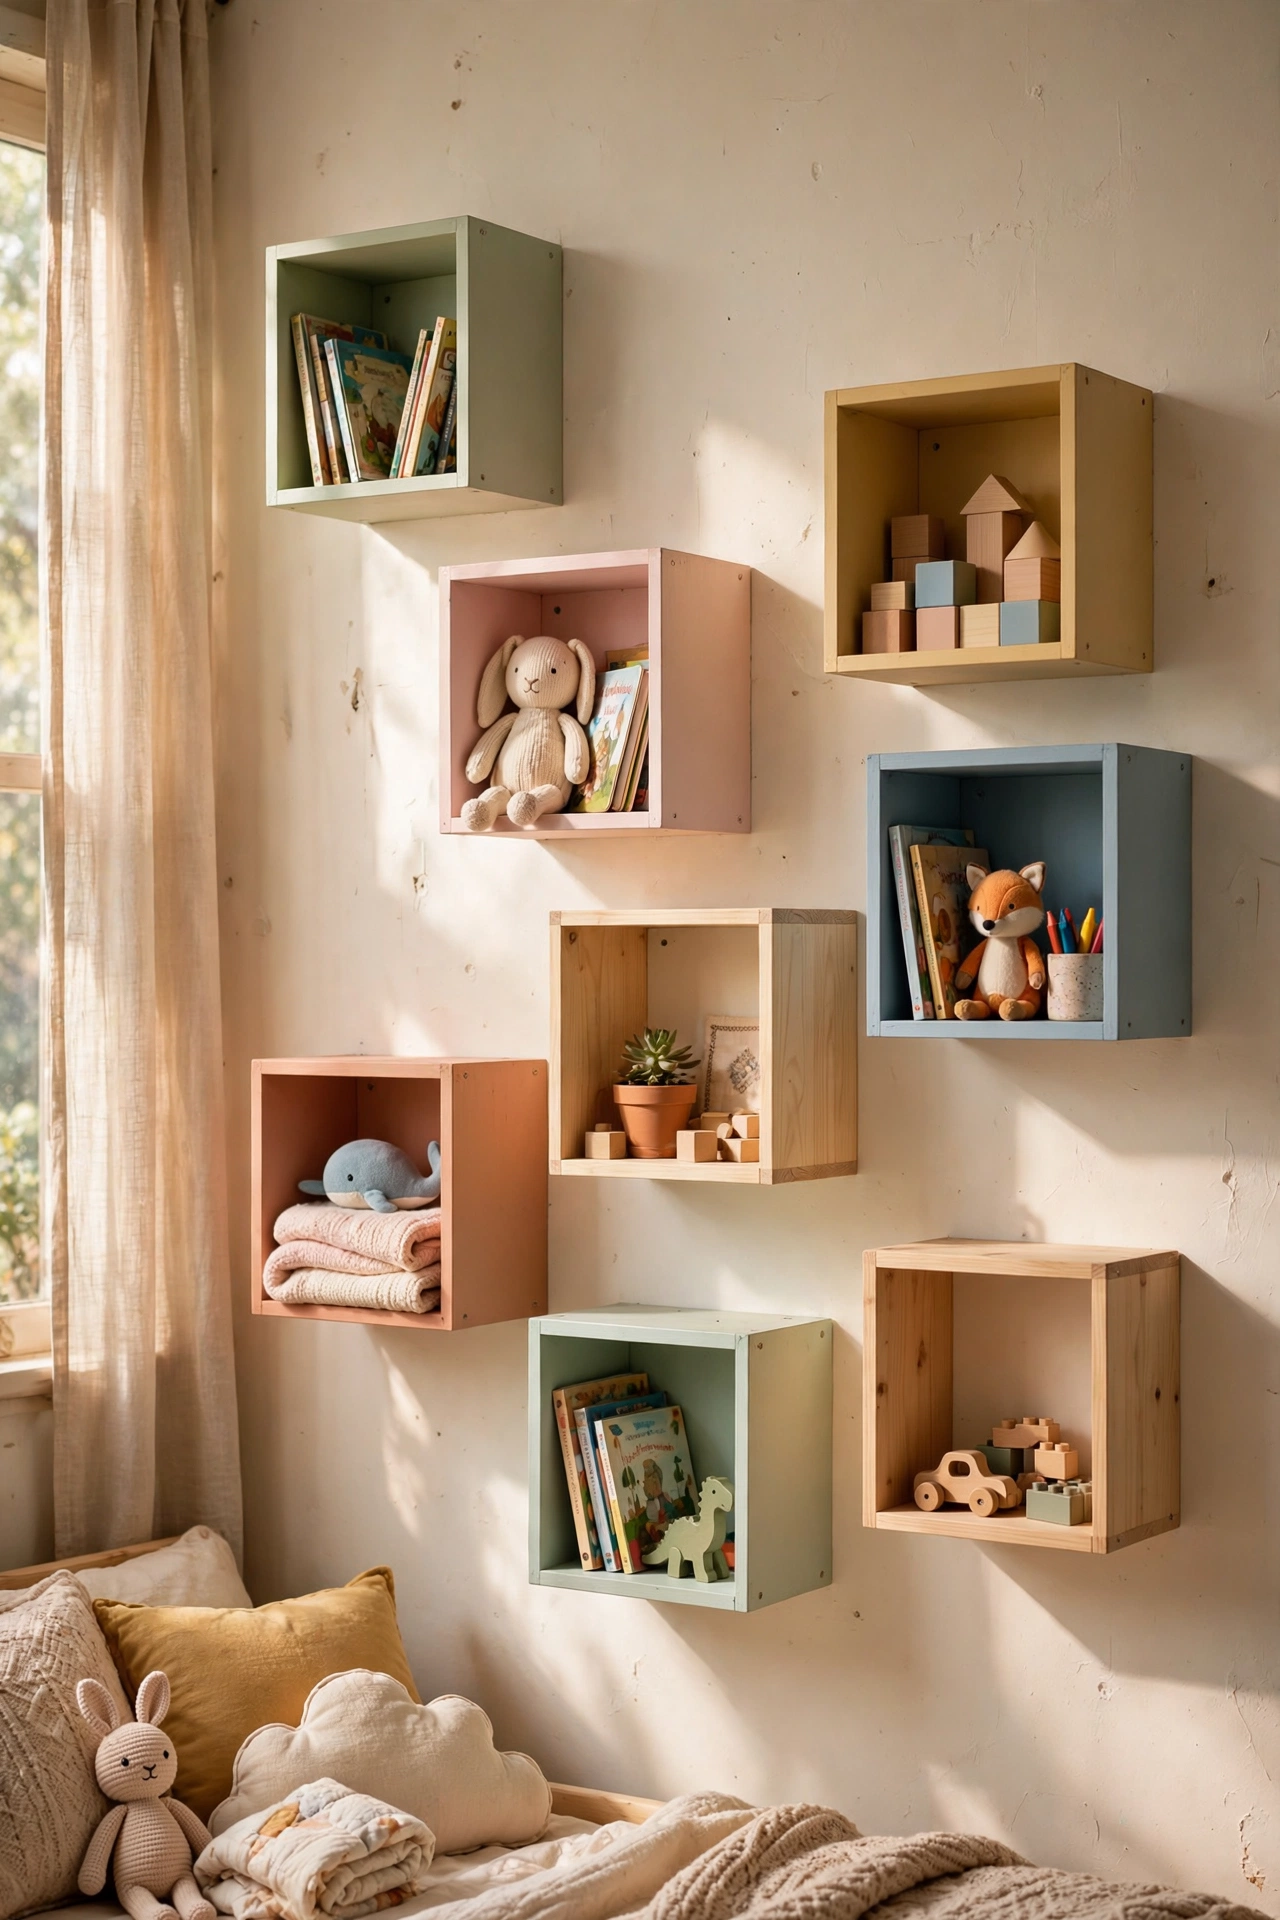
Wooden boxes mounted as cubes create playful geometric shelving. Fix open-fronted boxes to the wall in a honeycomb or scattered pattern, painting them your chosen colour first. I made a cube cluster in my daughter’s room for toys and books. Do vary the box sizes for visual interest. Don’t mount them where small children climb — anchor everything properly. Painted cubes look modern; stained look rustic.
Cost: ~$15-25 | Time: 1.5 hours
9. Reclaimed Pallet Shelves
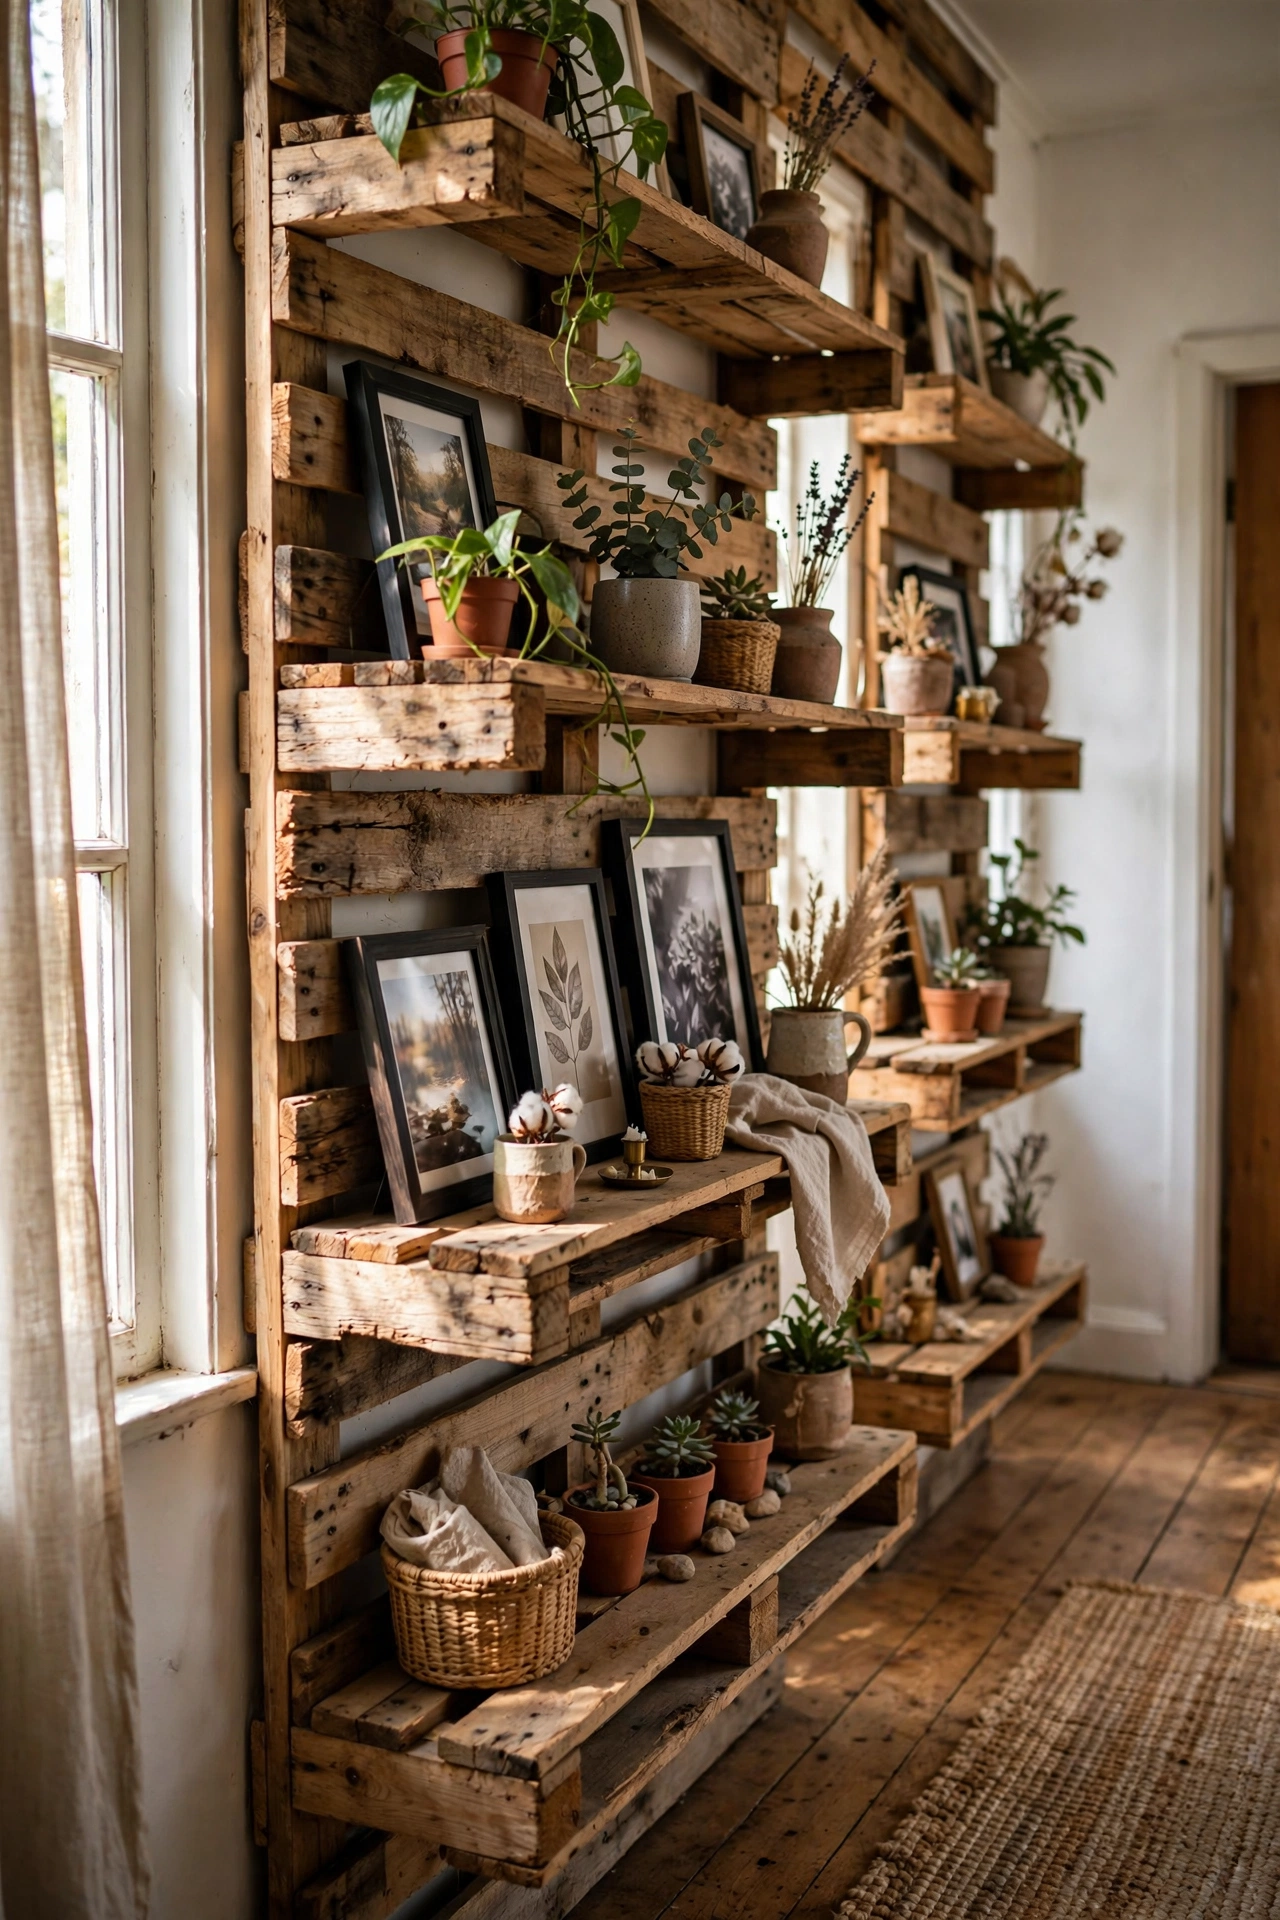
Pallet wood shelves bring rustic texture for almost nothing. Dismantle a heat-treated pallet — HT stamp only — cut the slats to shelf length, sand smooth, and mount on simple brackets. I lined my hallway with pallet shelves and the wood’s character beats any new timber. Do sand thoroughly; pallet wood is rough. Don’t use pallets without the HT stamp — chemically treated wood has no place indoors. A clear wax finish protects without hiding the grain.
Cost: ~$8-16 | Time: 2 hours
10. Rope-Hung Shelves
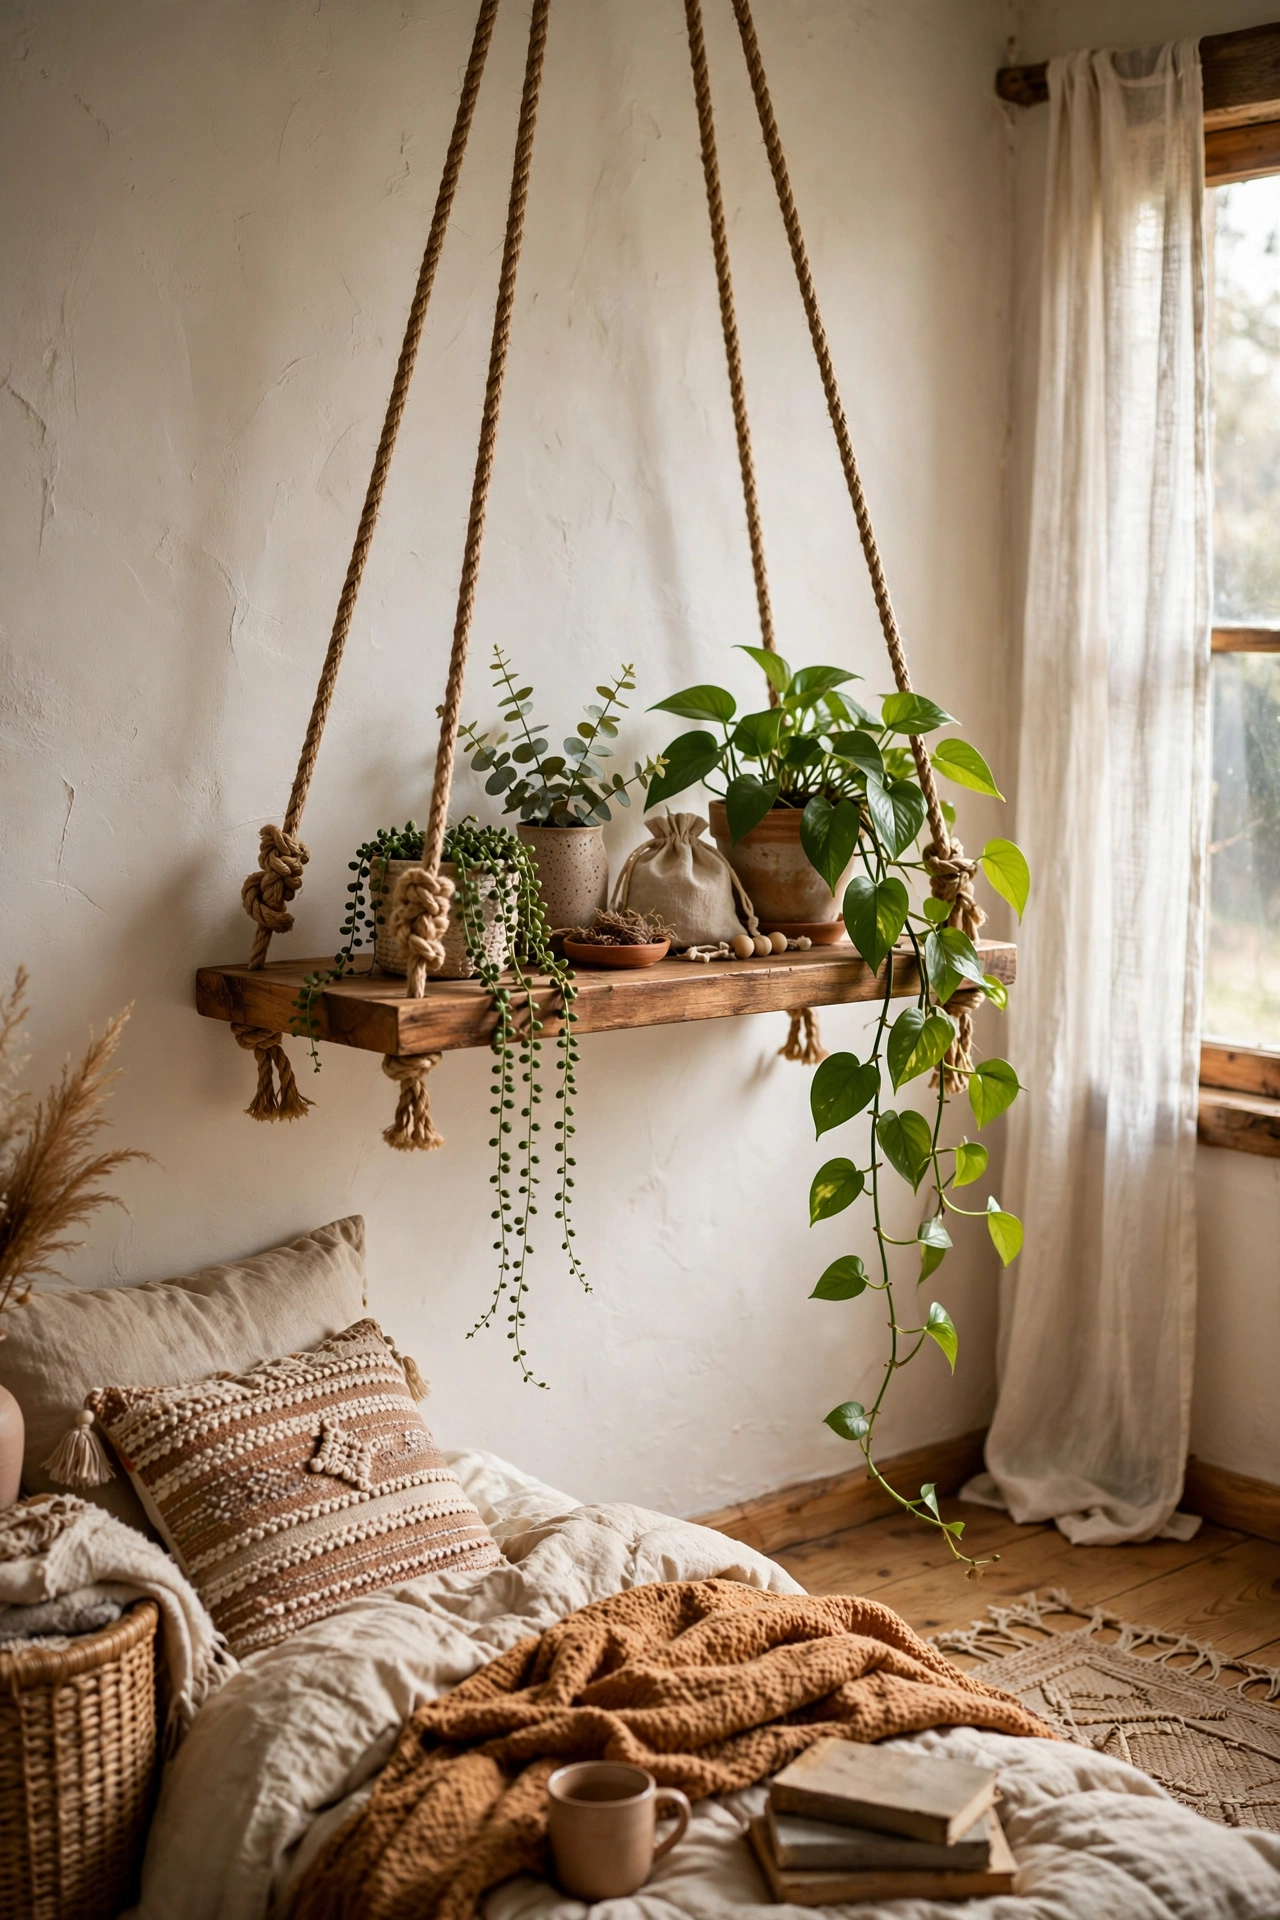
Shelves hung from rope look bohemian and need minimal wall fixings. Drill four holes in a board, thread thick rope through, knot underneath, and hang from two ceiling or wall hooks. I hung a rope shelf in my bedroom for plants and it sways gently in the best way. Do use thick natural rope — 10mm minimum — and proper ceiling anchors. Don’t load rope shelves heavily; they suit plants and light objects, not book collections. Level the board carefully before final knotting.
Cost: ~$12-20 | Time: 1 hour
11. Hexagon Shelves from Wood Offcuts
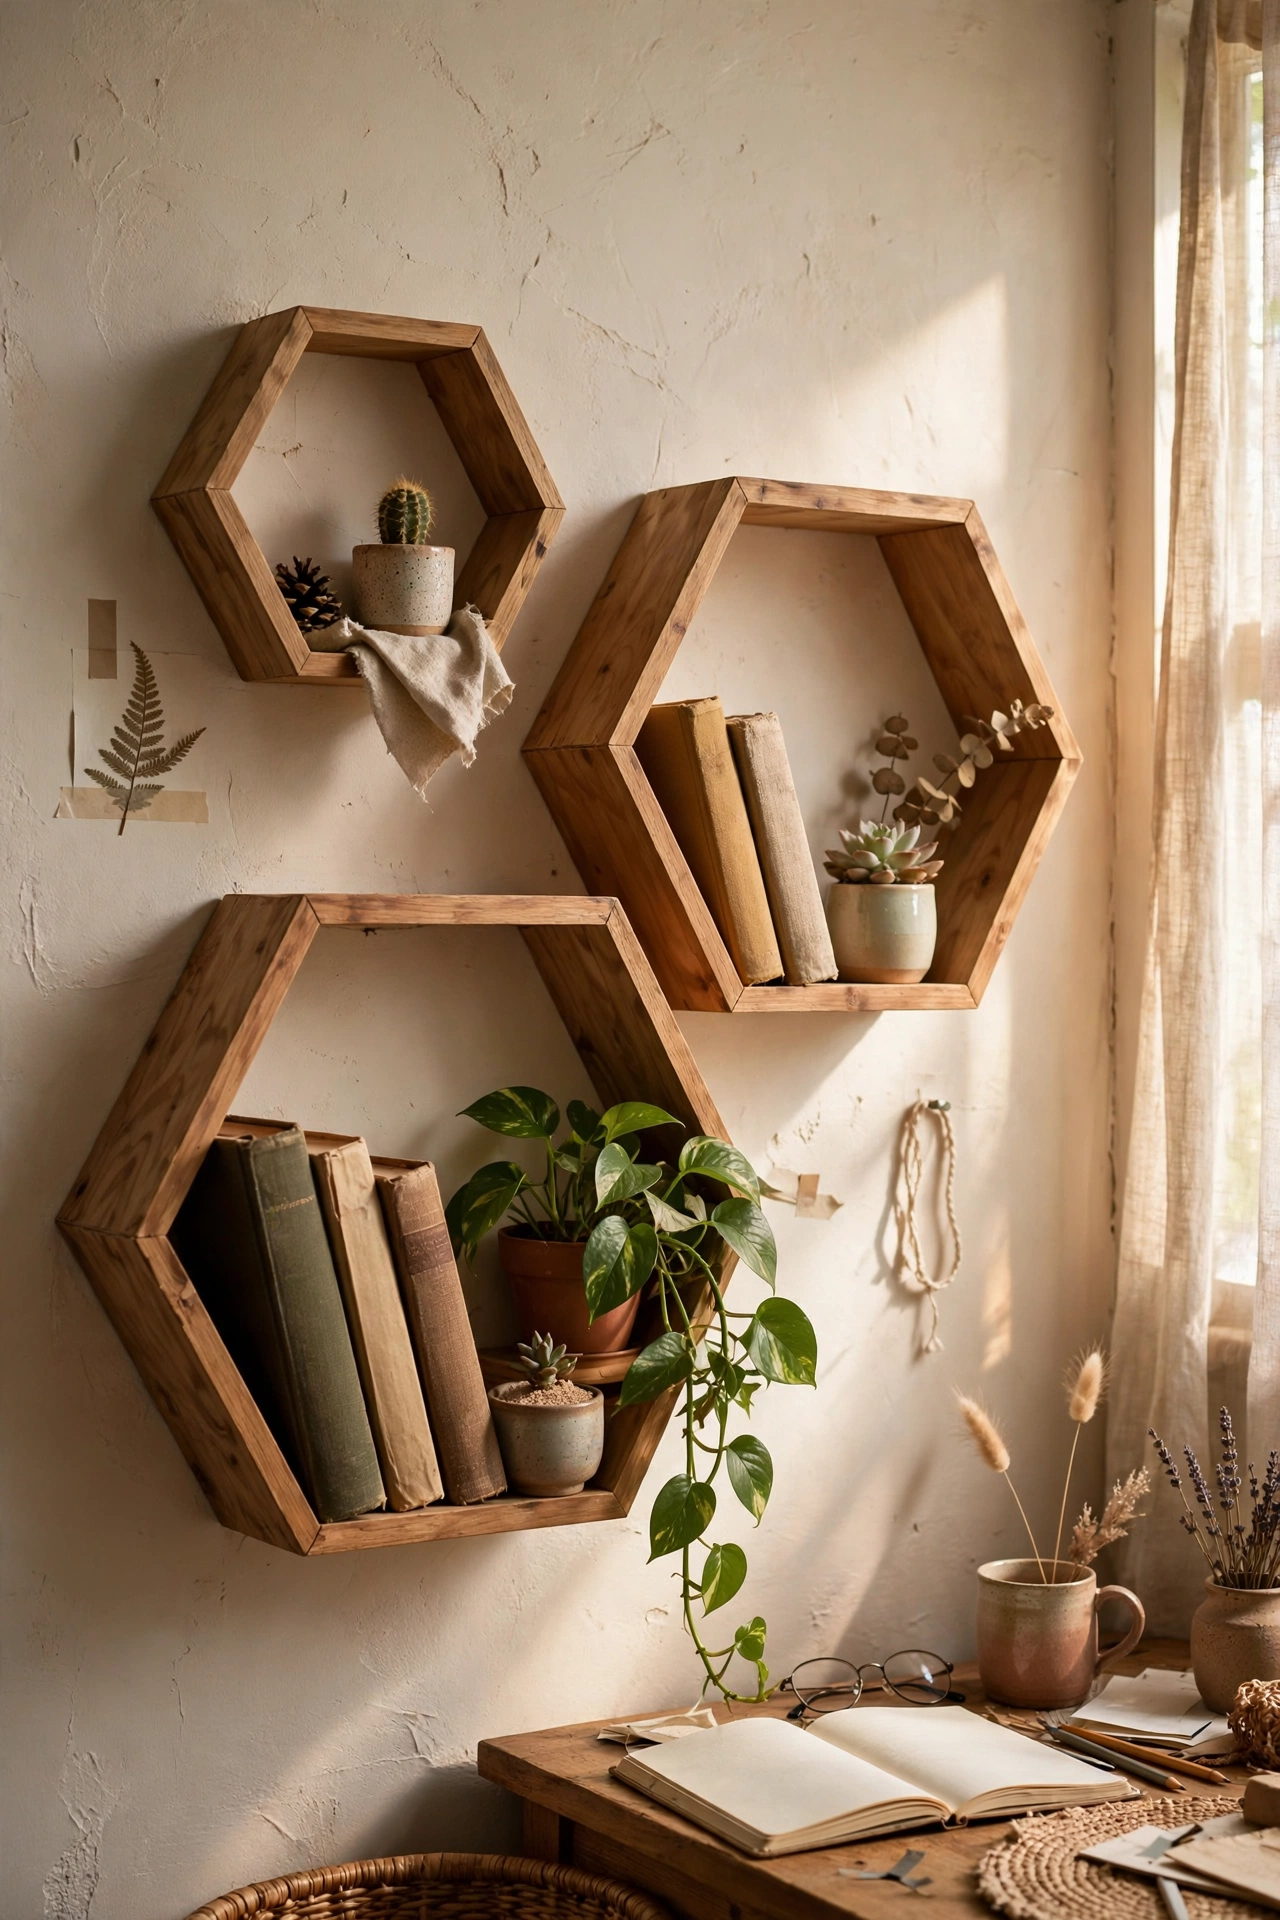
Hexagon shelves are the geometric statement every modern room wants. Cut six equal angled pieces per hexagon — 30-degree mitres — glue and pin them, sand smooth, and paint or stain. I made three in different sizes for my study wall and they look properly designer. Do cut all pieces identically; hexagons forgive nothing. Don’t rush the glue-up — clamp each hexagon square while it dries. Group in odd numbers for the best arrangement.
Cost: ~$12-20 | Time: 2 hours plus drying
12. Above-Door Shelf
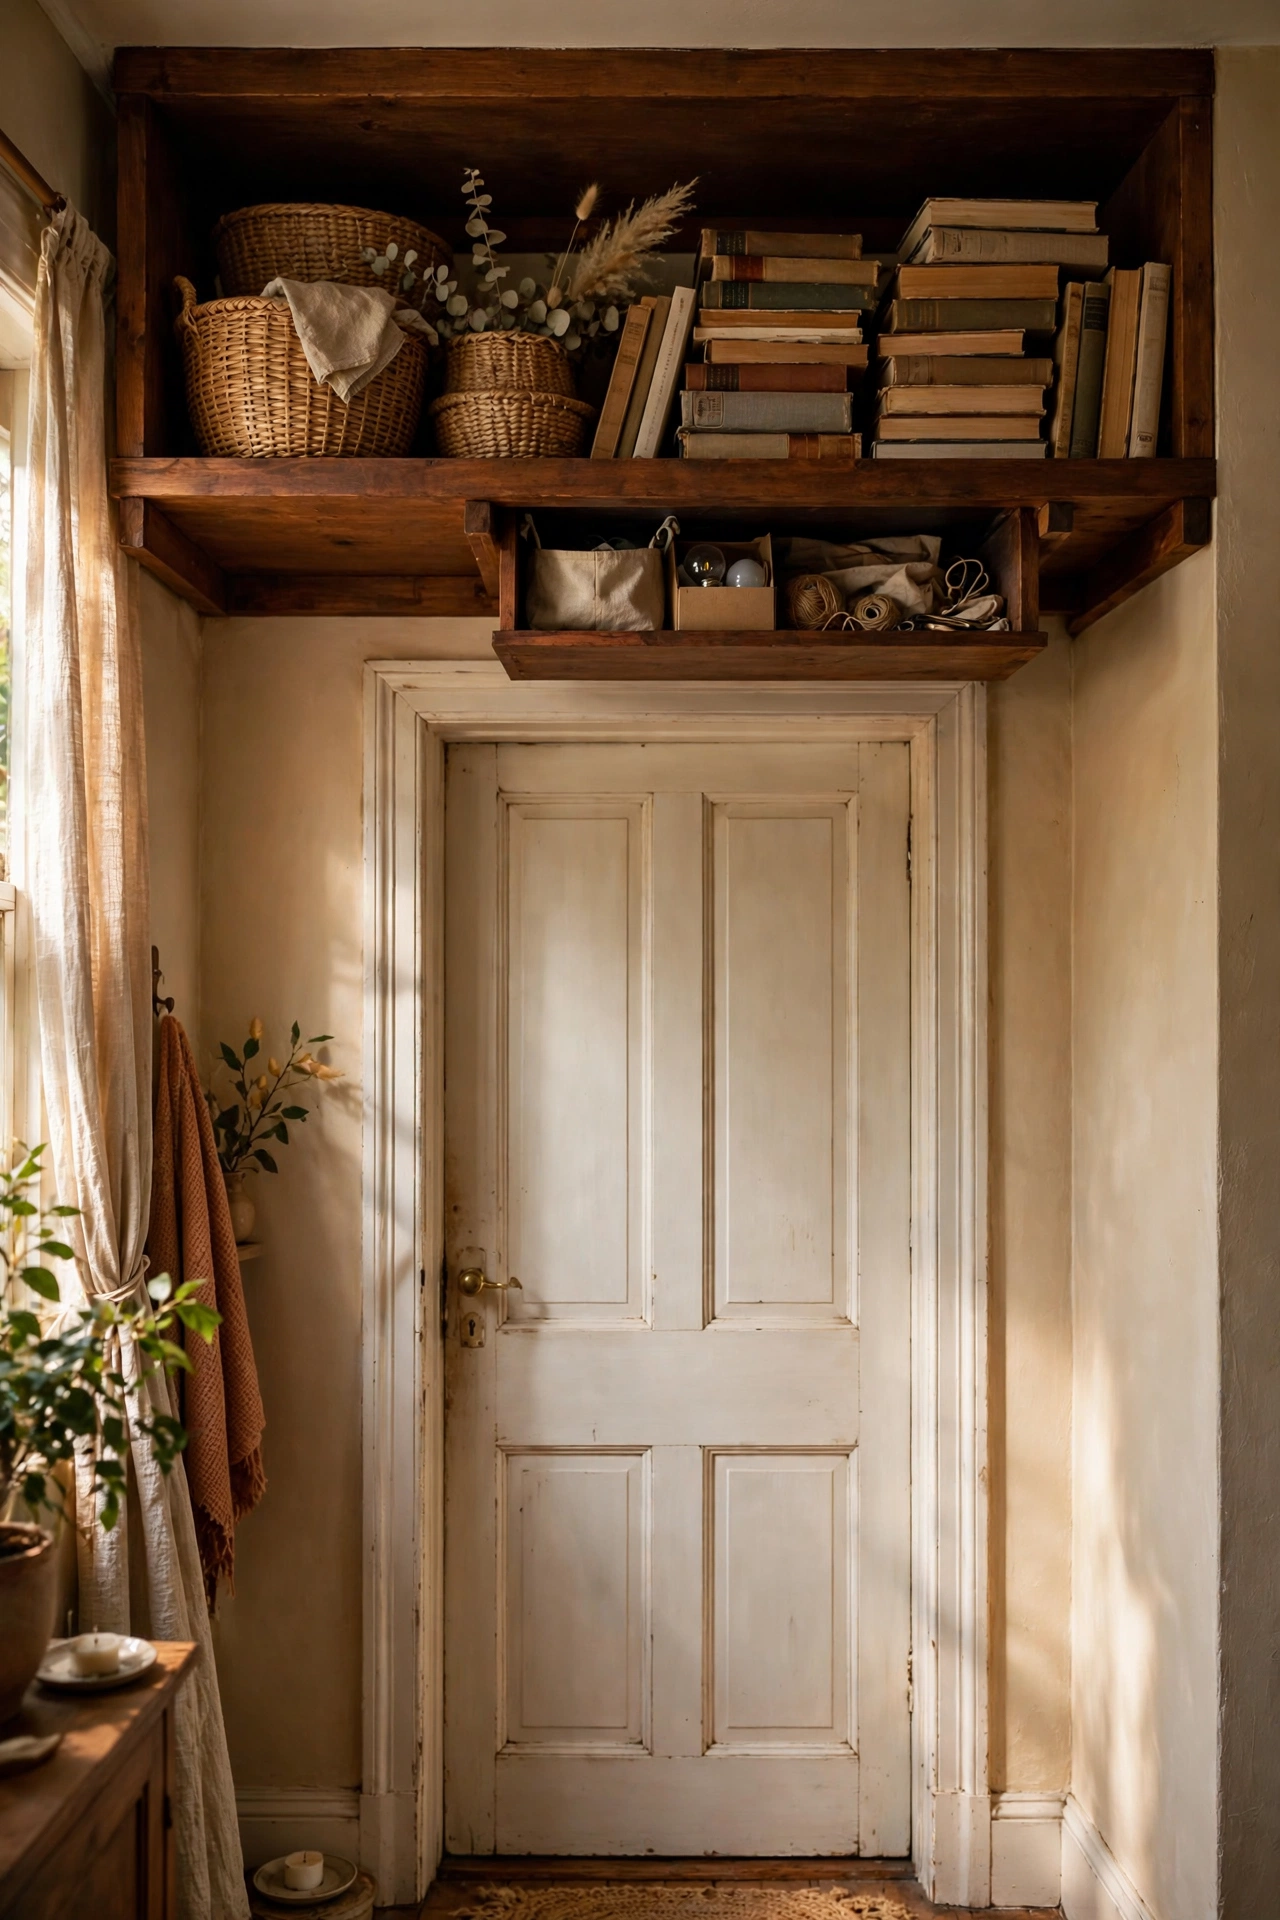
The wall above a door is storage space everyone forgets. Mount a deep shelf above interior doors for books, baskets, or display items you do not need daily. I put one above my study door for reference books and reclaimed a whole shelf elsewhere. Do mount into the header — the solid timber above the door frame — which holds weight well. Don’t store anything you need often; this is for the beautiful and the rarely-used. It is invisible storage that costs almost nothing.
Cost: ~$10-18 | Time: 45 minutes
13. Kitchen Open Shelves from Butcher Block
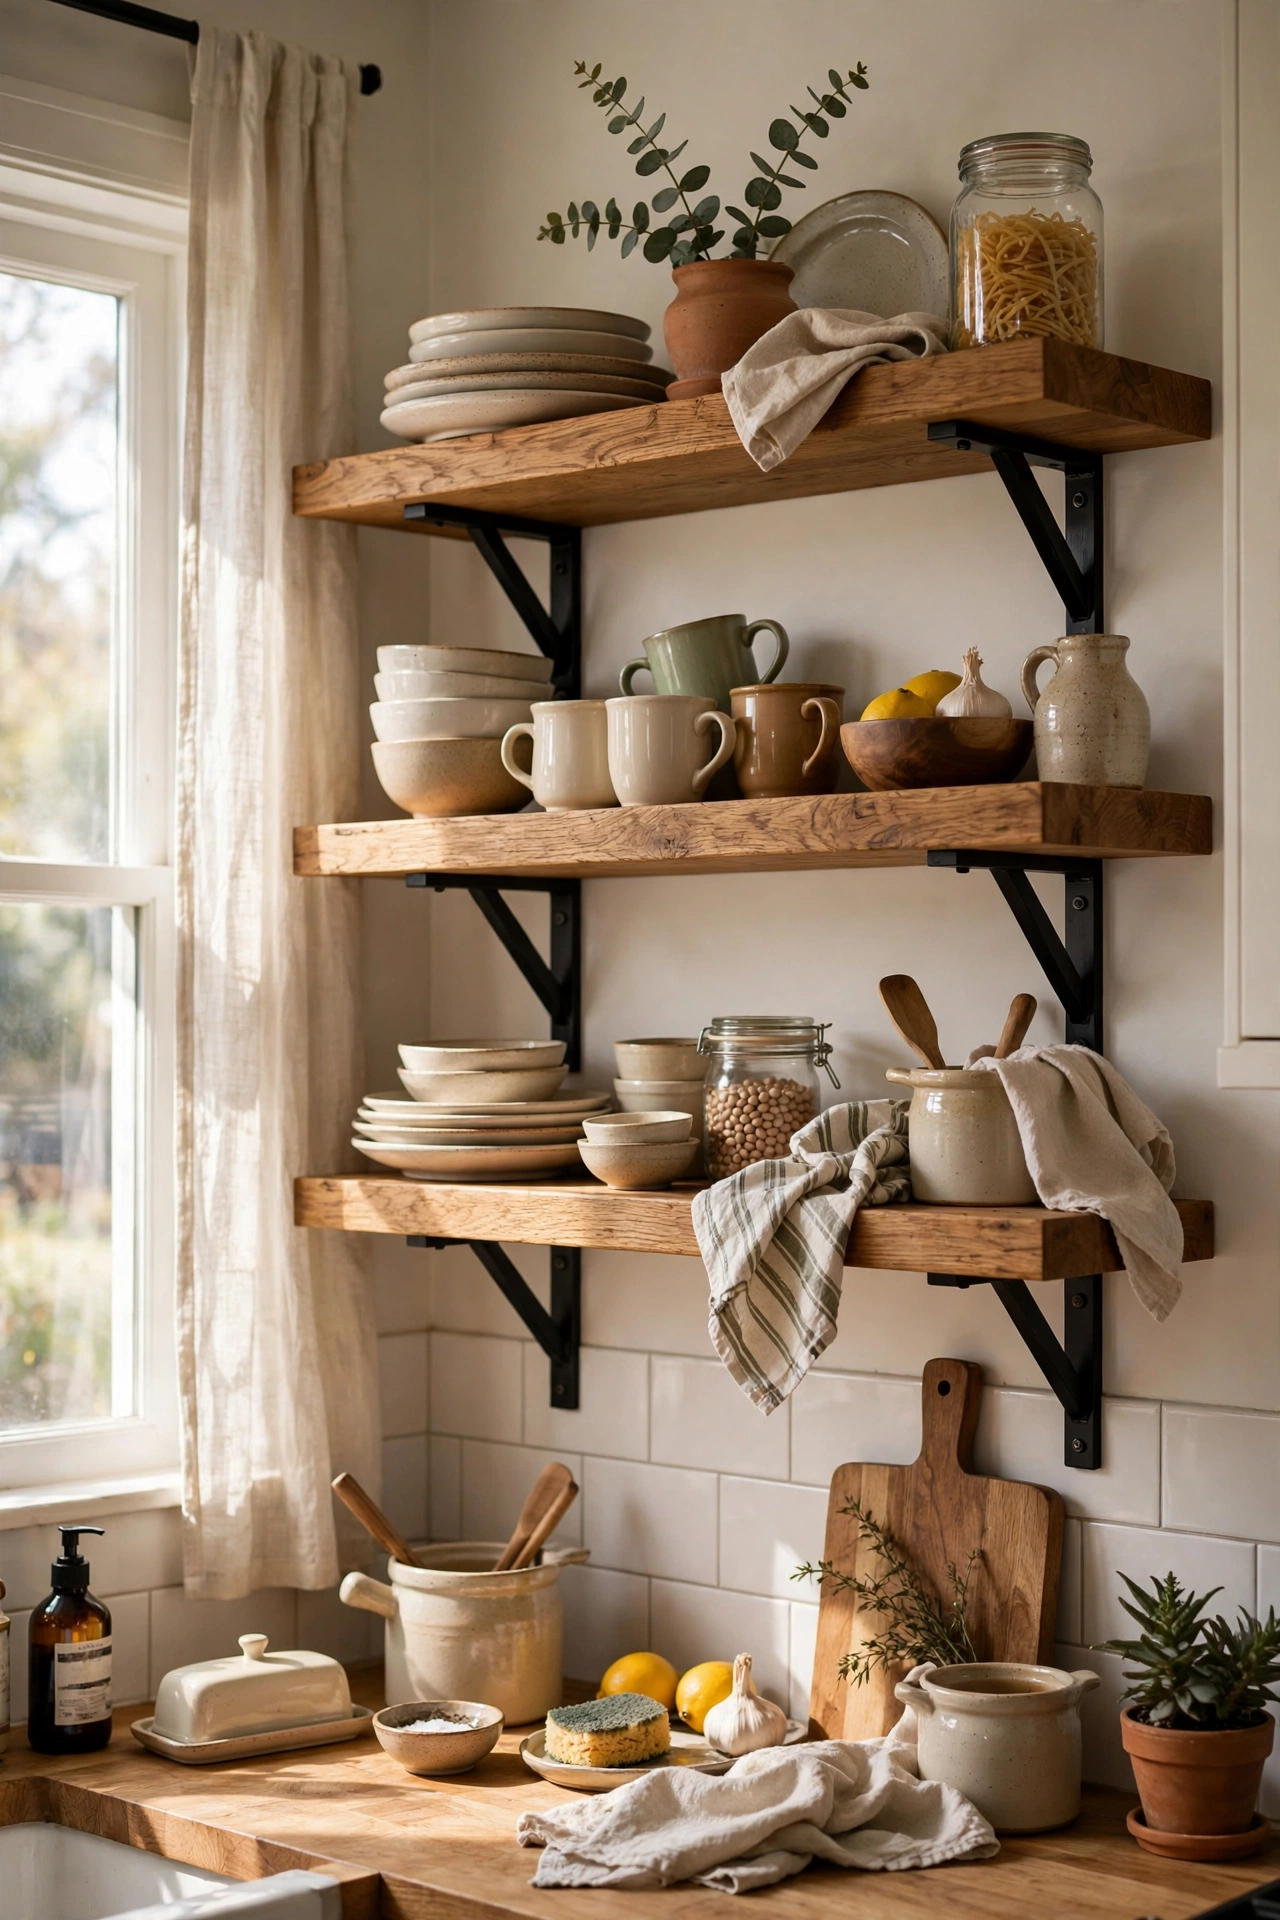
Open kitchen shelving from butcher block offcuts looks like a designer kitchen. Mount two thick oak offcuts with heavy-duty brackets and style with everyday crockery. I replaced my upper cabinets with open shelves and cooking feels joyful now. Do seal the wood with food-safe oil since kitchen shelves meet steam and splashes. Don’t overload with rarely-used items — open shelves work when everything on them gets used and washed. Keep it to what you actually reach for.
Cost: ~$30-50 | Time: 2 hours
14. Bathroom Towel Shelves
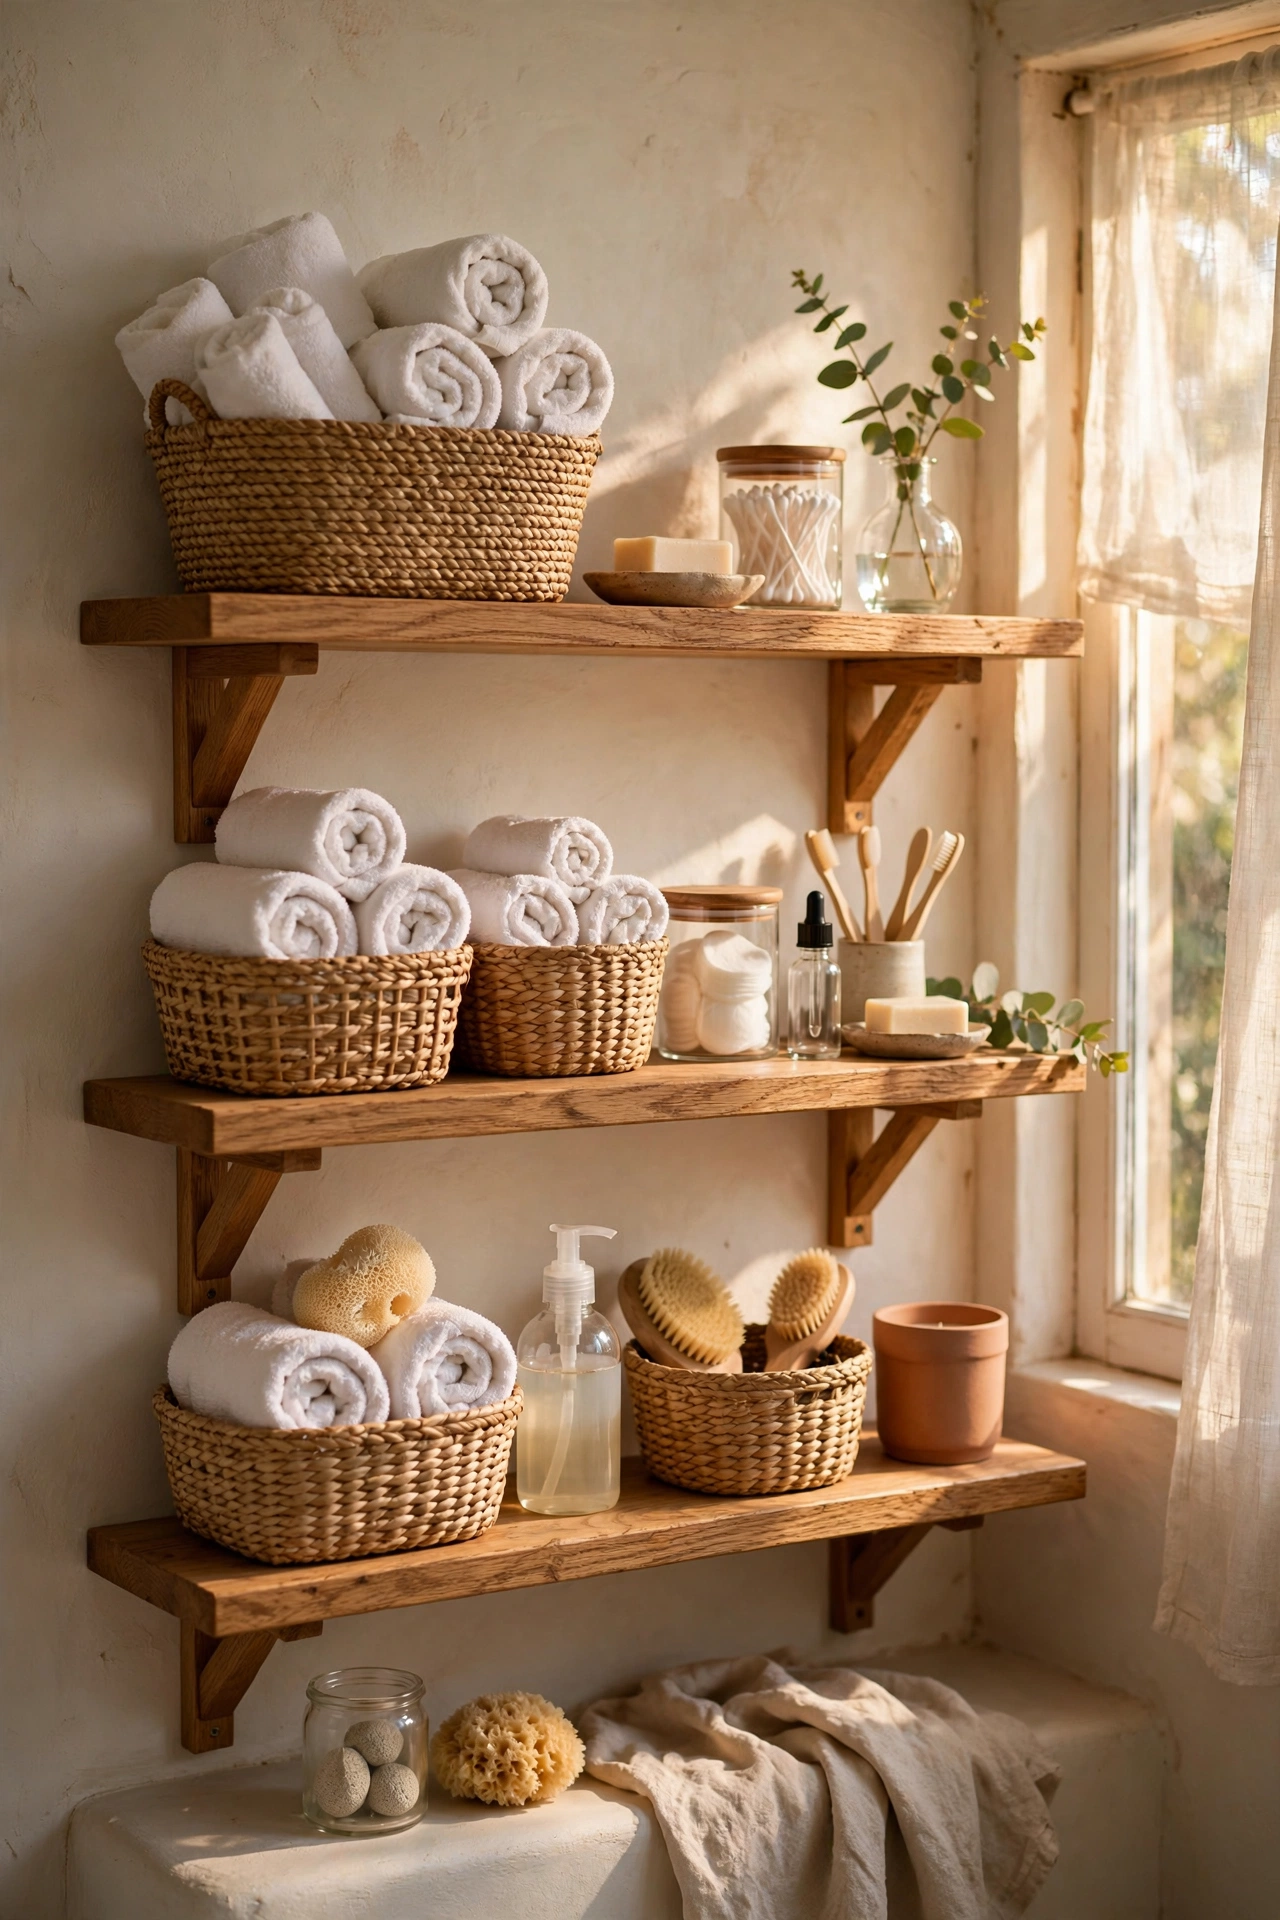
Bathroom shelves need to handle steam, so choose sealed wood or metal. Mount two shelves above the toilet or beside the mirror for rolled towels, baskets, and toiletries. I added oak shelves sealed with marine varnish to my bathroom and the storage transformed the room. Do seal every surface including the underside — steam finds unsealed wood fast. Don’t use MDF in a bathroom; it swells. Rolled towels look like a spa and cost nothing to arrange.
Cost: ~$18-30 | Time: 1 hour
15. Plant Shelves by the Window
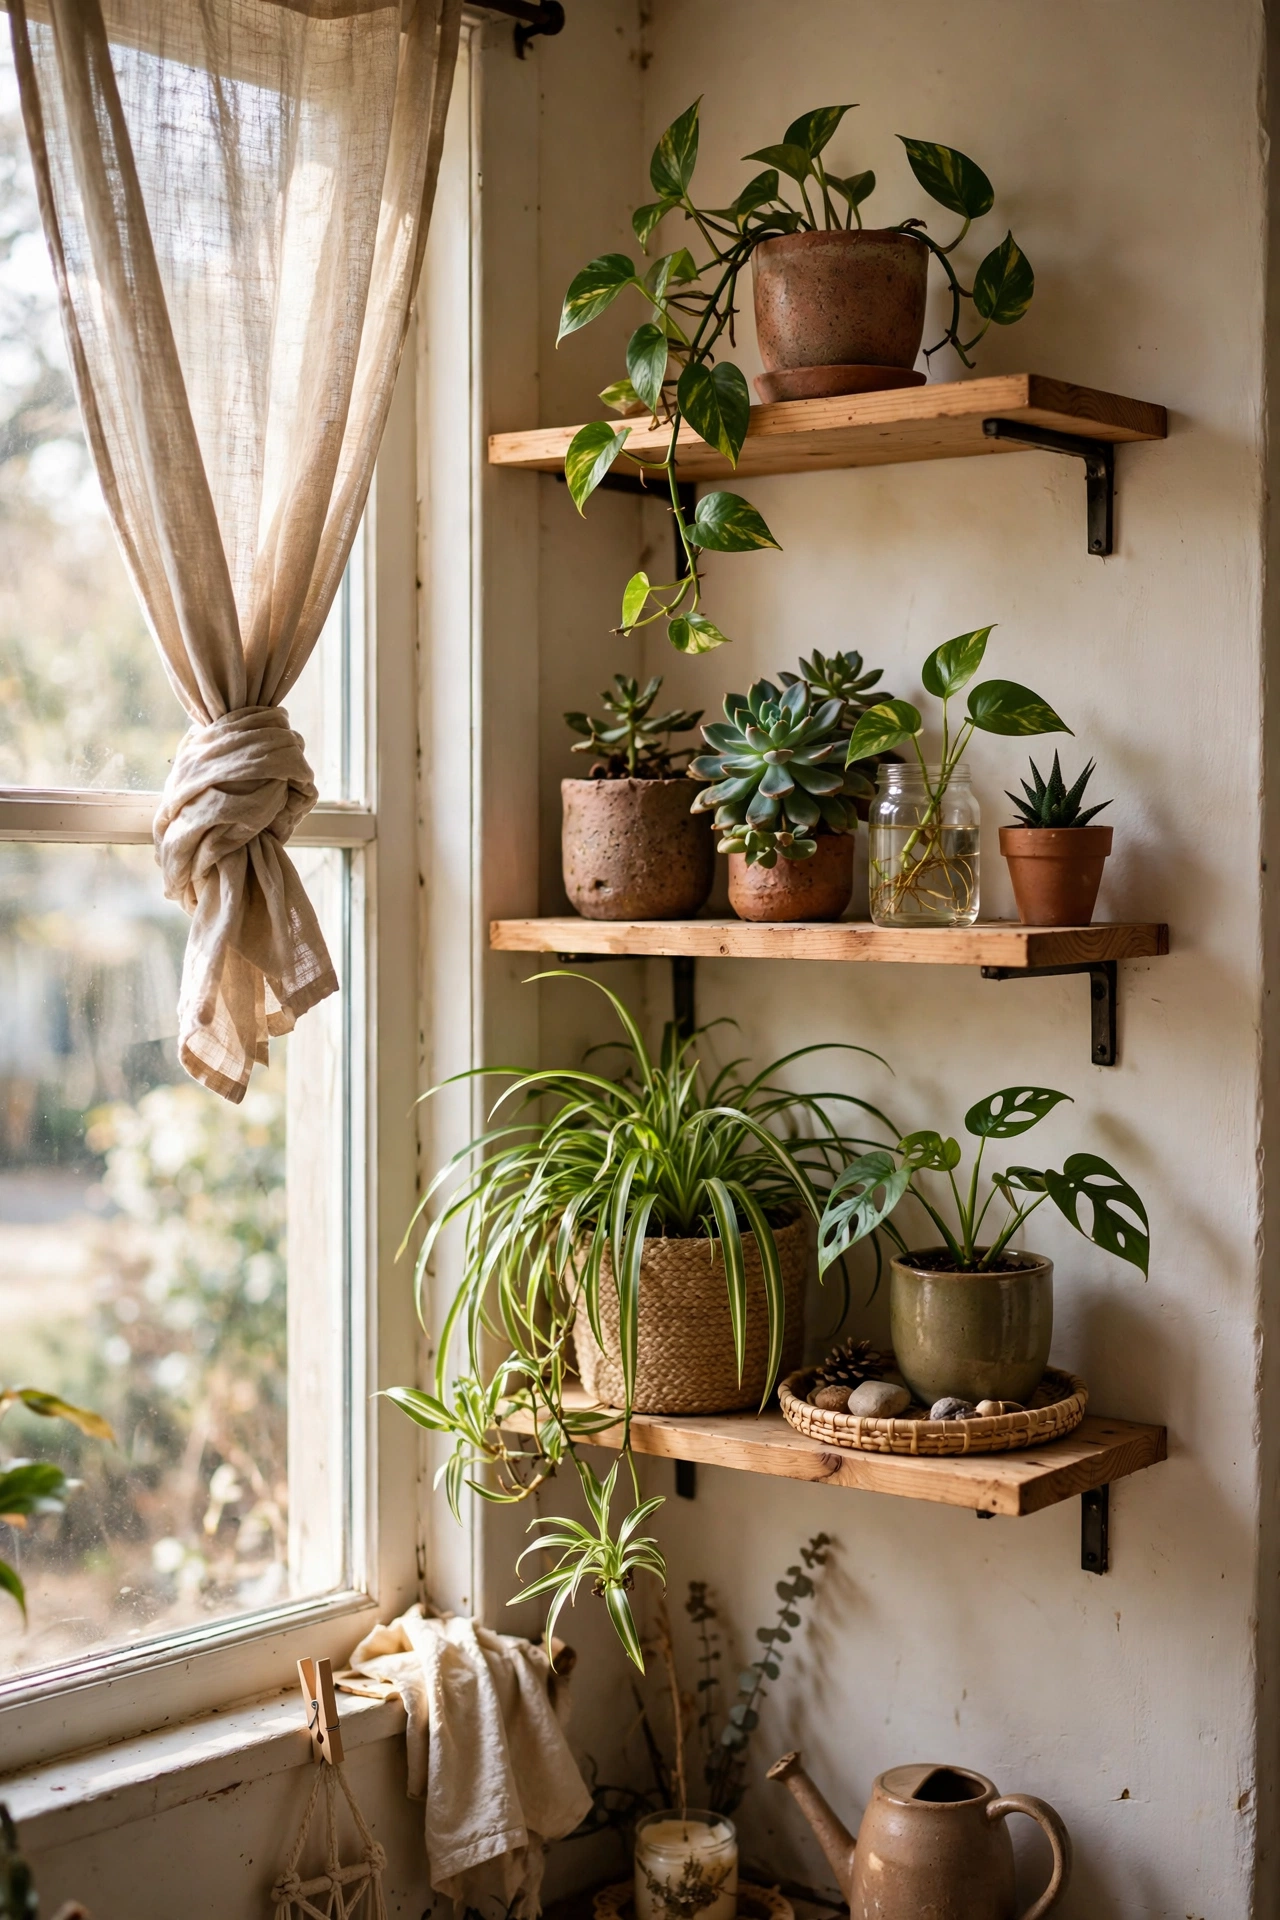
A dedicated plant shelf by the brightest window keeps your jungle organised. Mount two or three narrow shelves at different heights beside the window and arrange plants by light needs — sun-lovers highest, shade-tolerant lowest. My window plant shelves hold fourteen plants in what used to be dead space. Do check the weight rating; wet soil is heavy. Don’t crowd the plants — air circulation prevents pests. This is the shelf that makes plant people happiest.
Cost: ~$15-28 | Time: 1 hour
16. Bookshelf from Stacked Crates
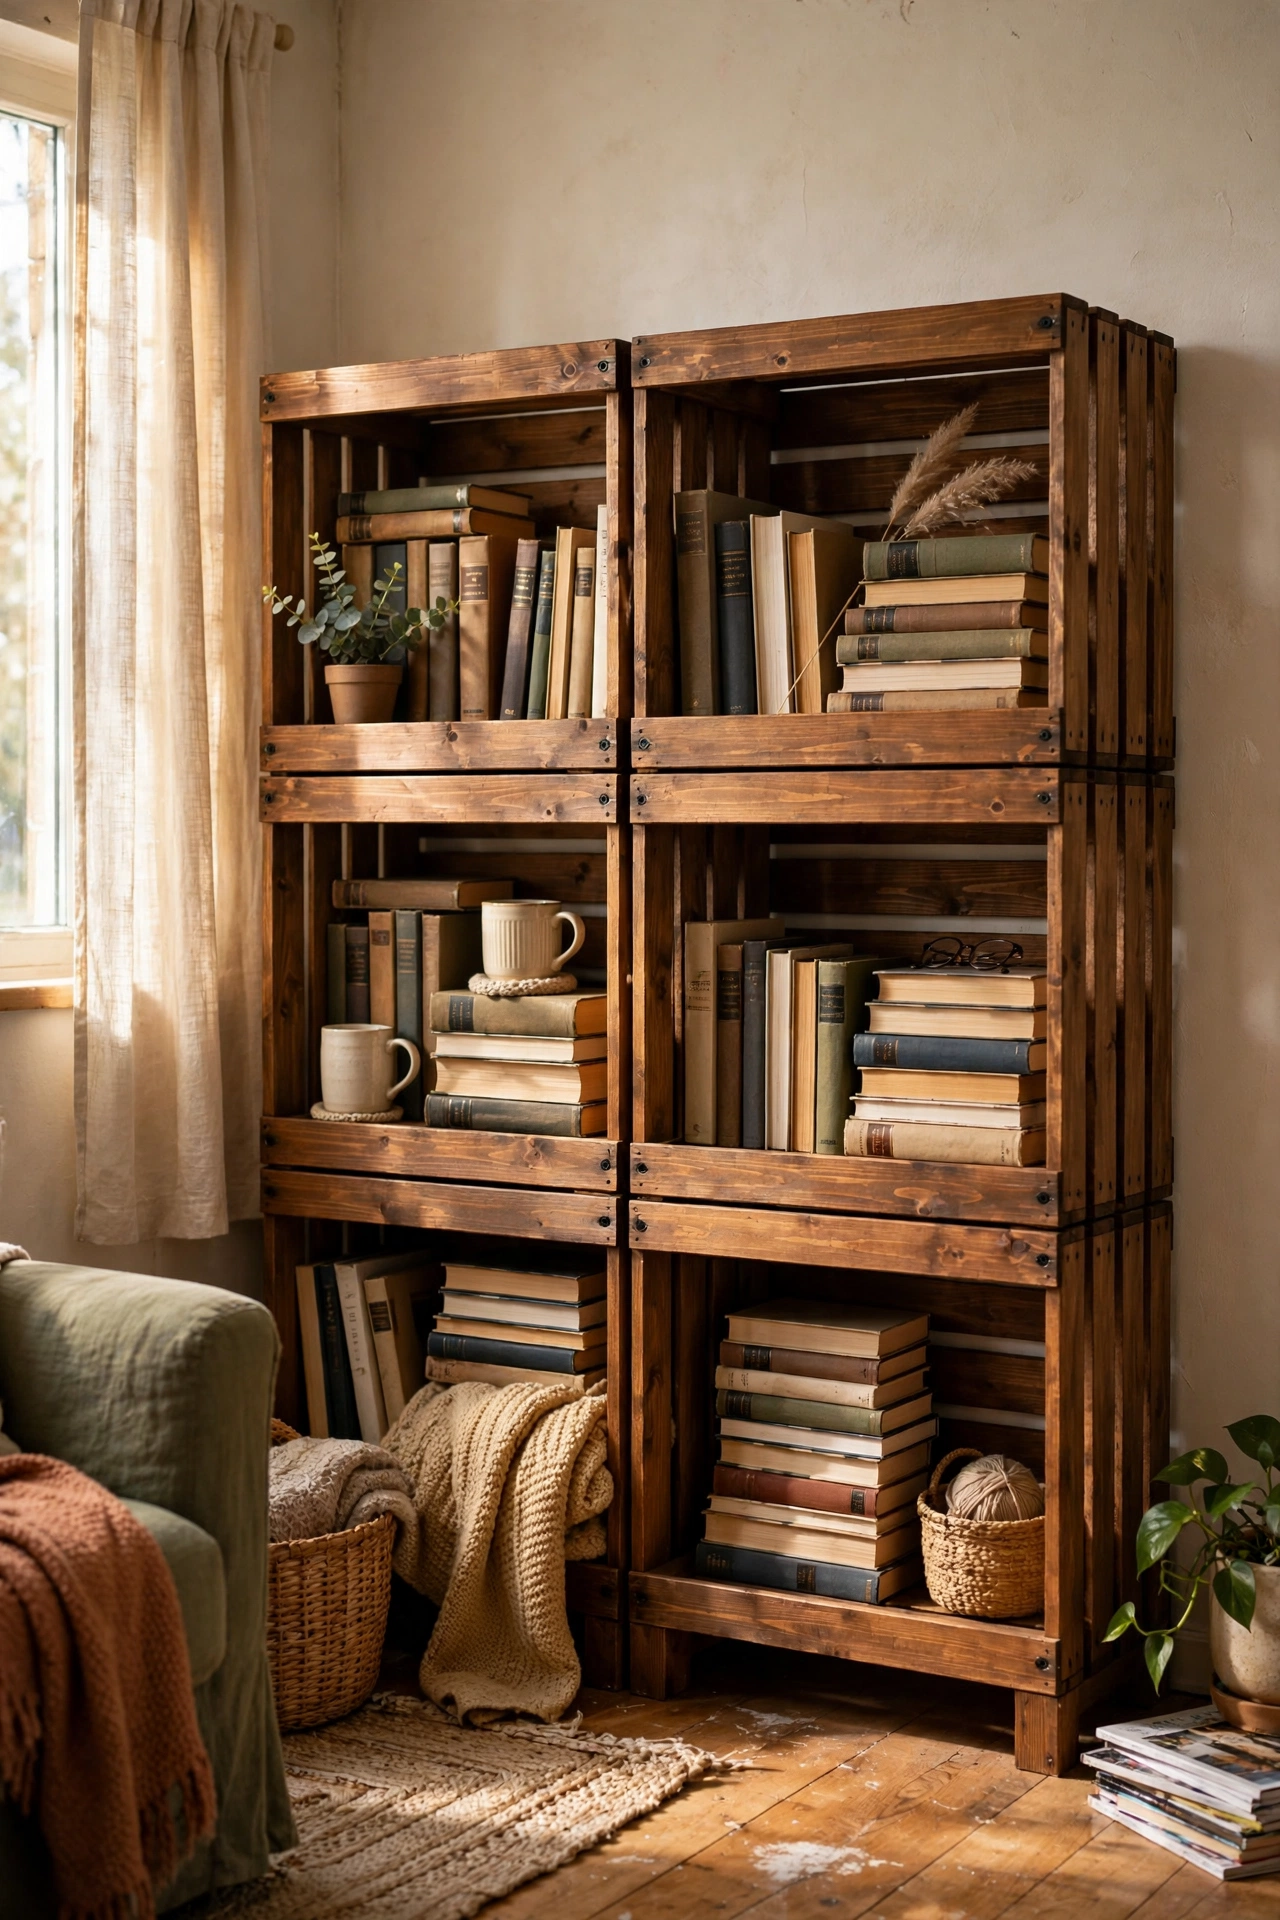
Stacked crates become a full bookshelf with zero wall fixings — perfect for renters. Stack sturdy wooden crates in a stable arrangement, screwing them together from the inside, and load with books. I built a six-crate bookshelf in my rental and it moved house with me. Do screw the crates together and anchor the top to the wall with a removable strap for safety. Don’t stack higher than you can safely reach. Stain all crates the same colour for a unified look.
Cost: ~$25-45 | Time: 2 hours
17. Entryway Key Shelf with Hooks
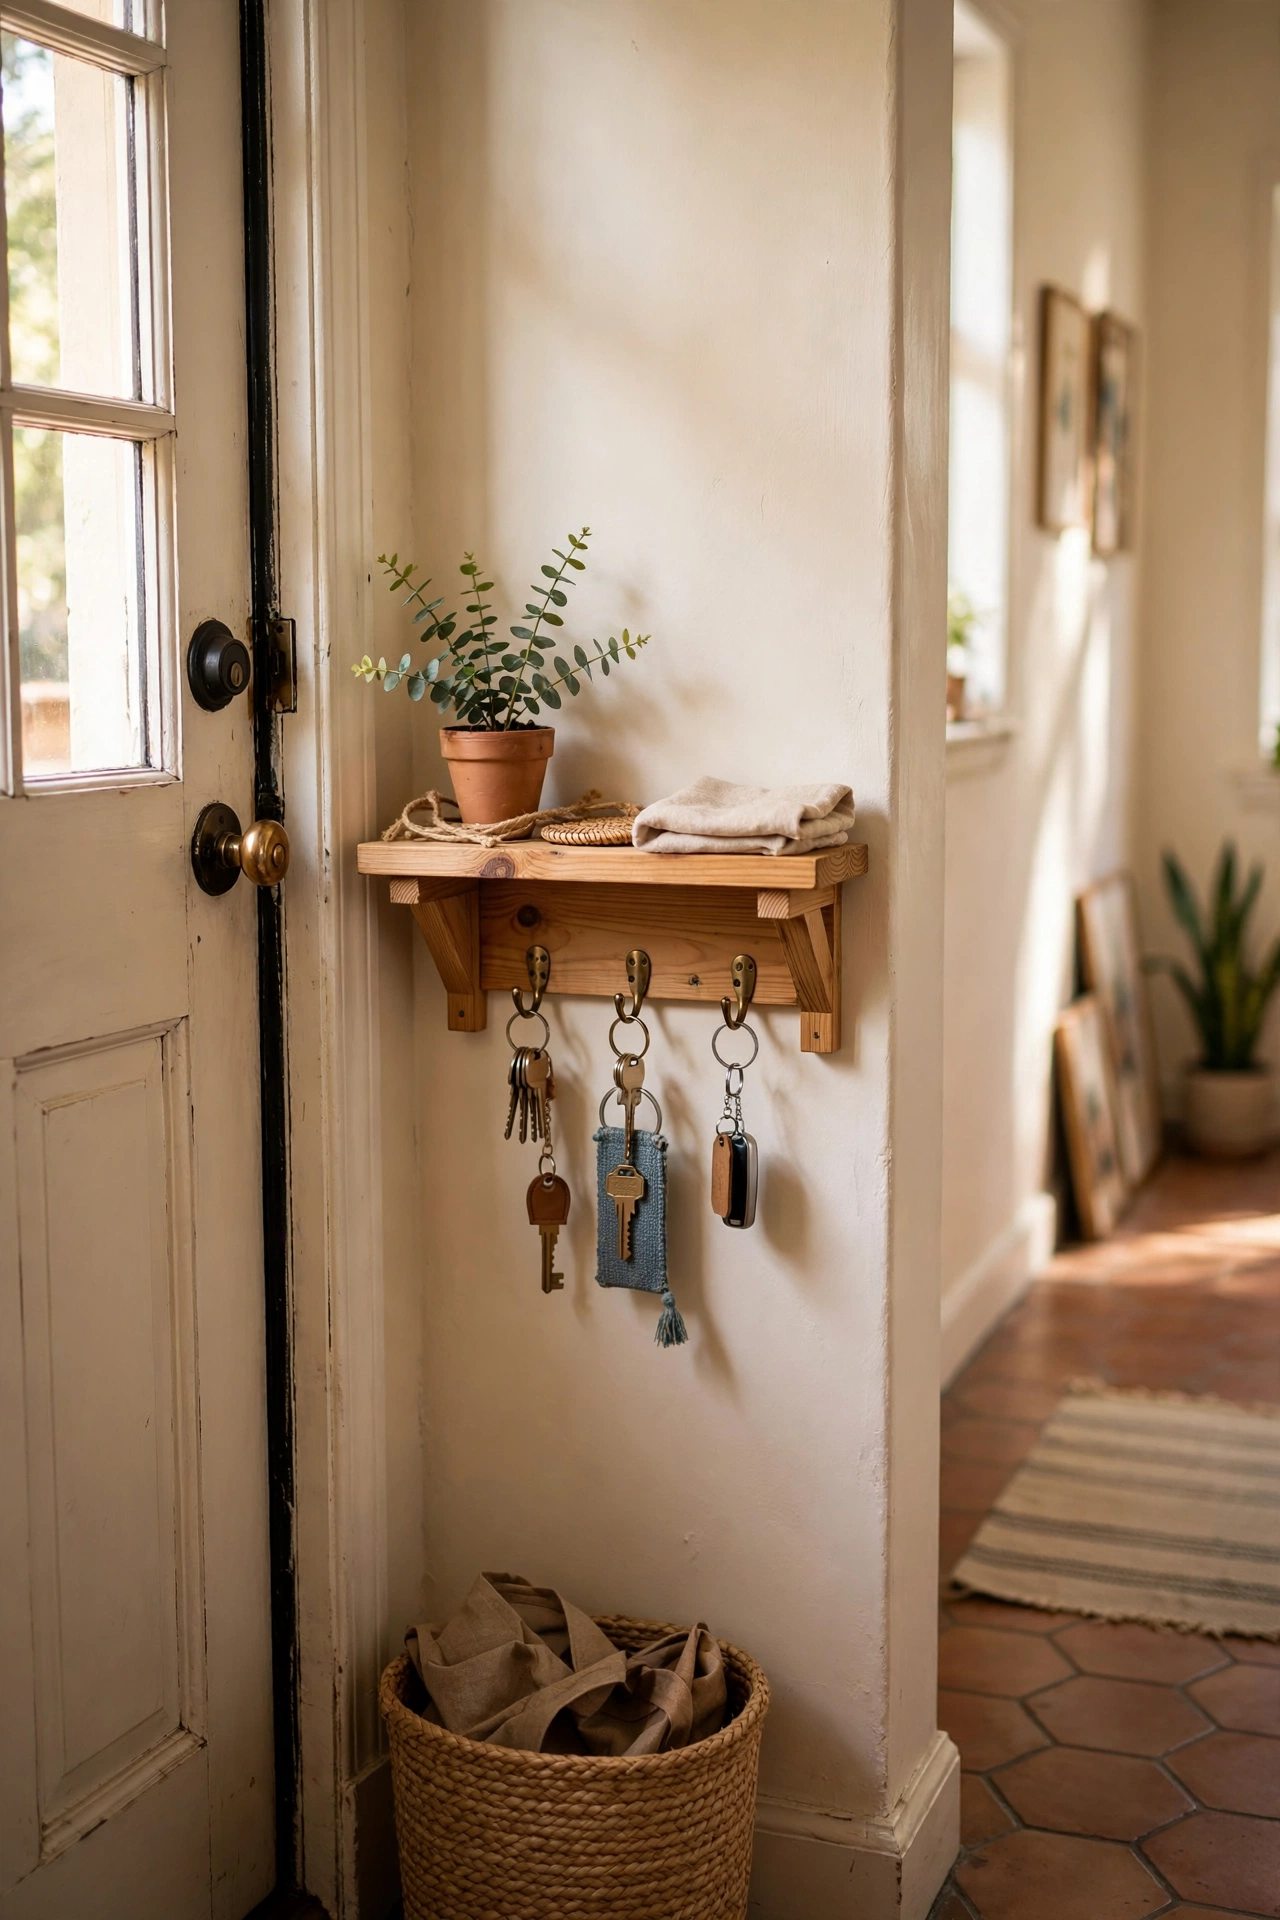
An entryway shelf with hooks ends the lost-keys era. Mount a small shelf with three or four hooks underneath beside the front door — keys on hooks, post and sunglasses on top. I made mine from an offcut and it is the most-used shelf in my house. Do mount it at a height everyone in the house can reach. Don’t skip the hooks; a shelf alone just becomes a dumping ground. A little tray on top corrals the small stuff.
Cost: ~$8-15 | Time: 45 minutes
18. Nursery Book Ledges
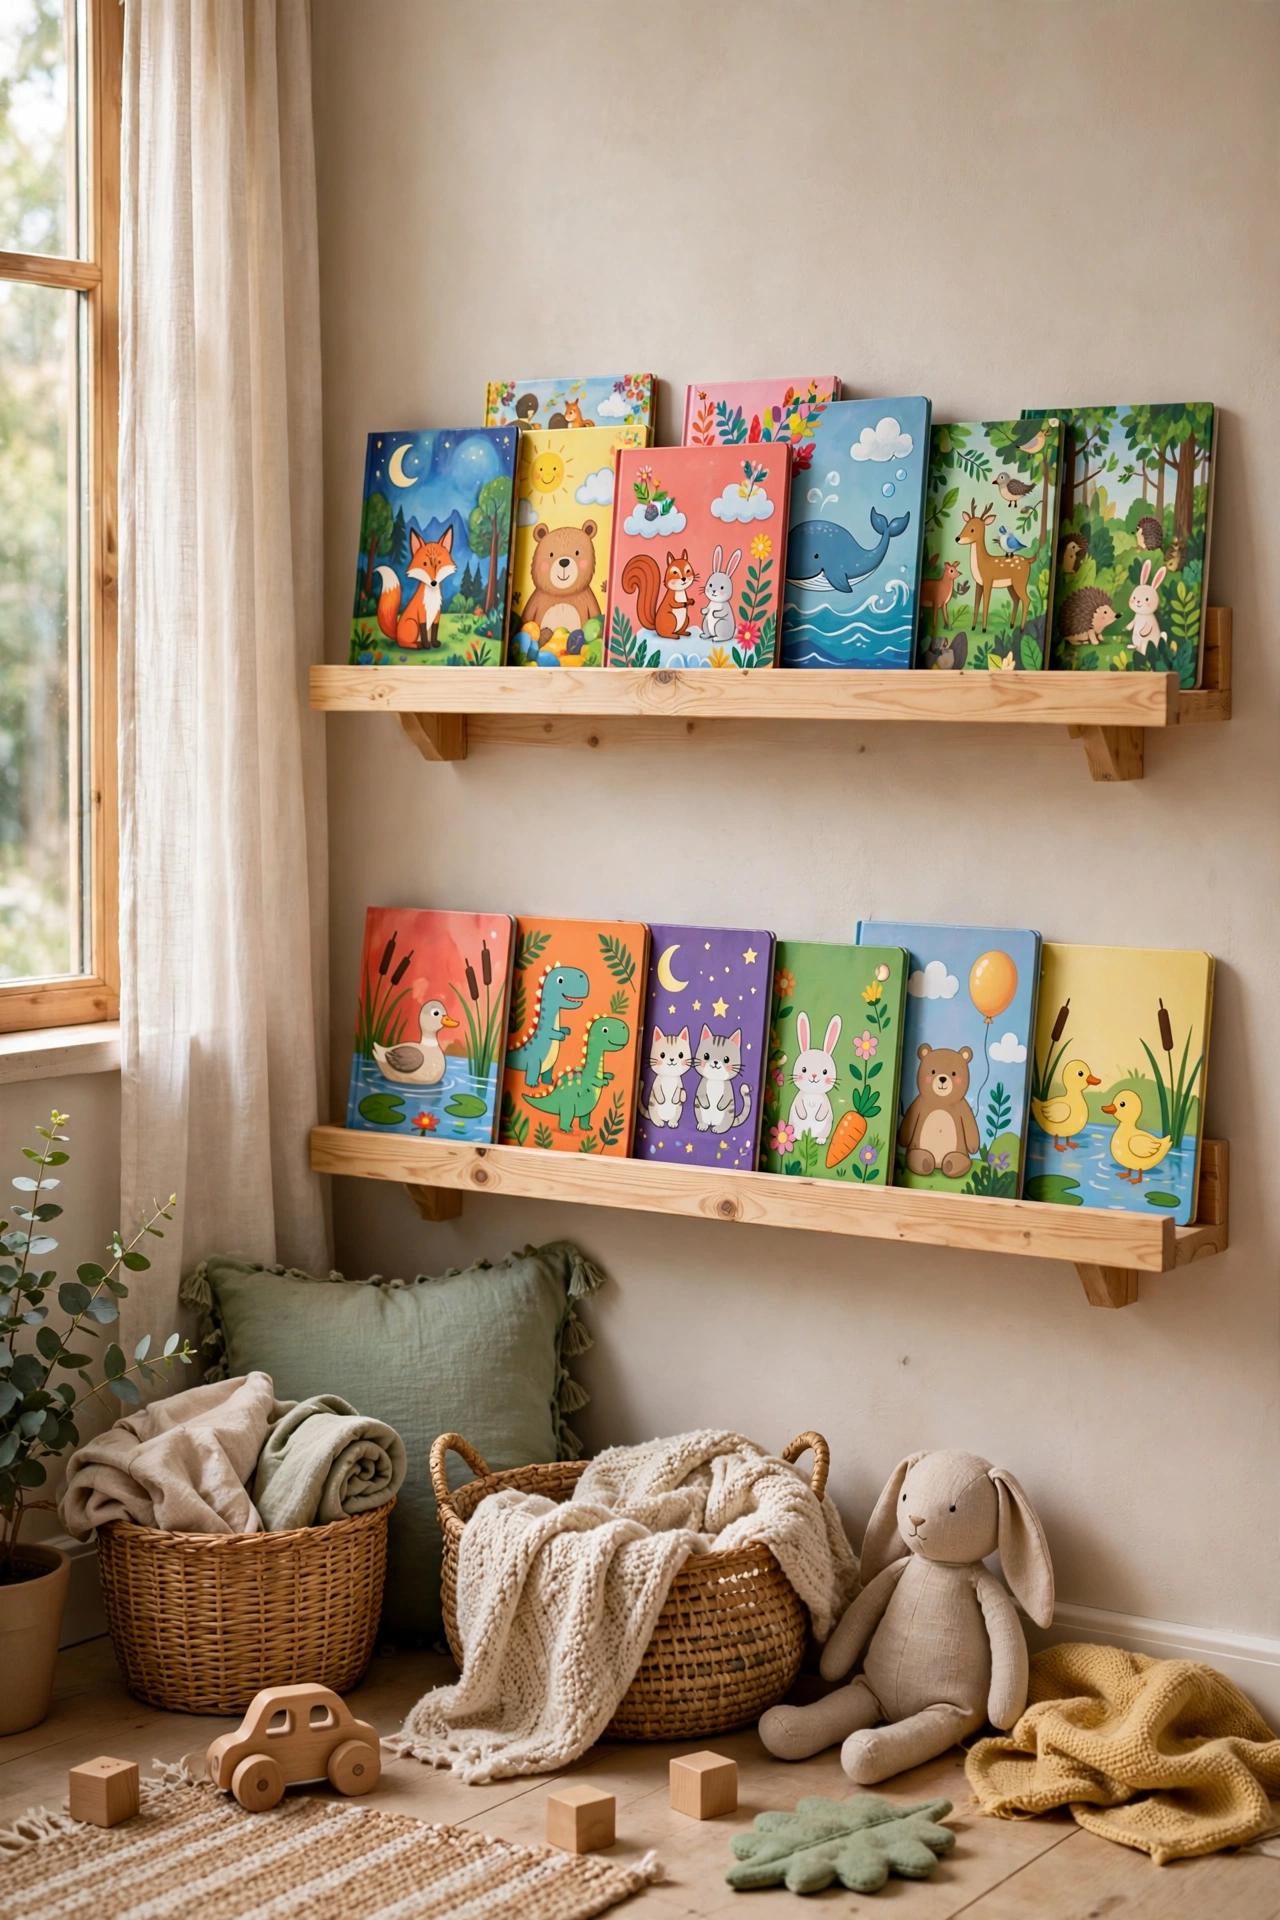
Book ledges in a nursery display picture books cover-out, which is how children choose. Mount two low ledges at toddler height and fill with colourful books. My niece’s room has these and she “reads” for ages choosing covers. Do mount them low and securely — toddlers pull. Don’t use deep shelves; the books should face out, not spine-out. Rotate the books monthly to keep the display fresh.
Cost: ~$12-20 | Time: 45 minutes
19. Closet Extra Shelves from Tension Rods
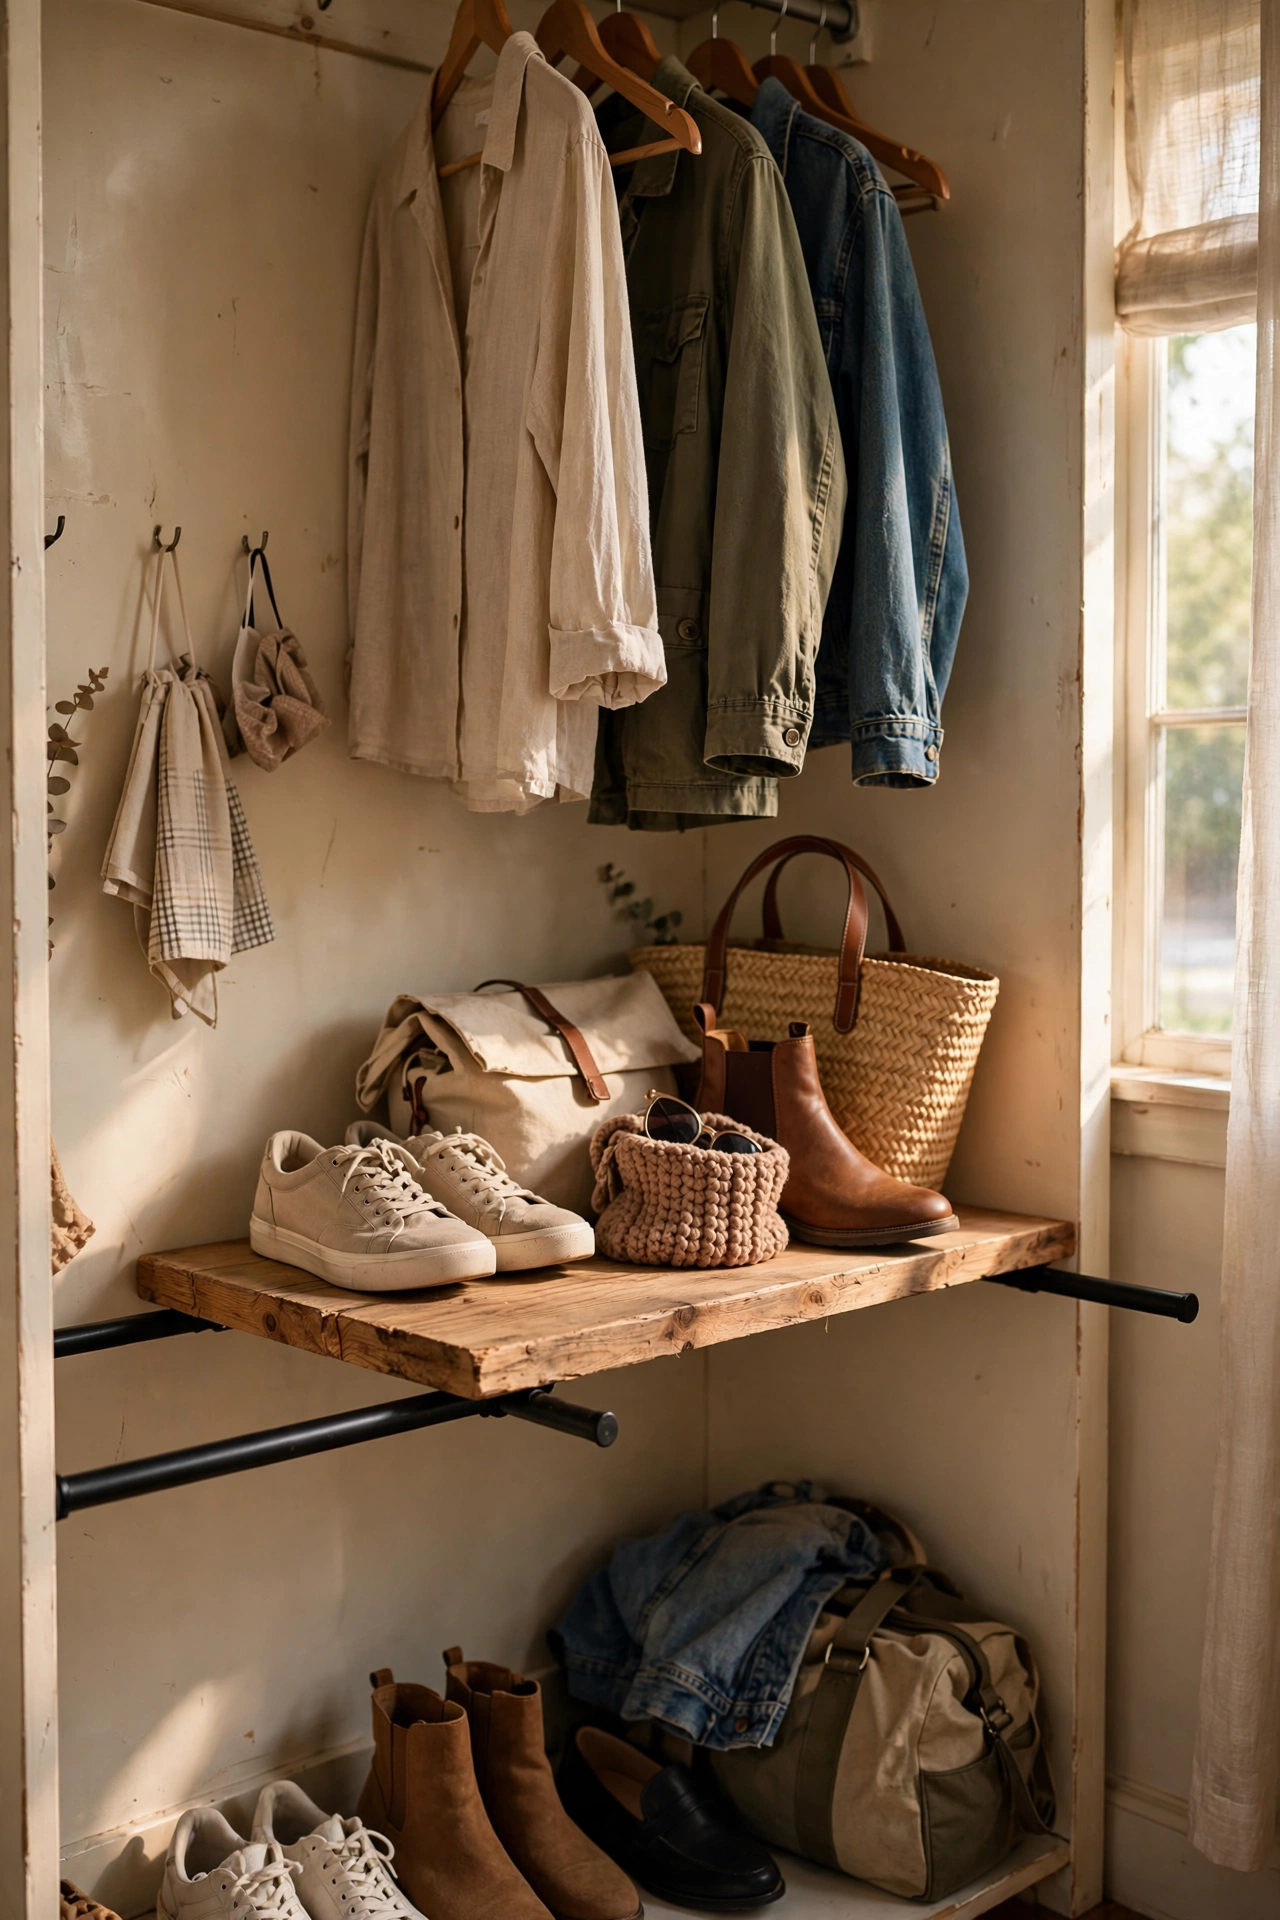
Tension rods create instant closet shelves with no tools. Wedge two tension rods across a closet or alcove, lay a board across them, and you have a shelf. I added two to my coat closet for shoes and bags. Do buy quality rods rated for the span — cheap ones slip. Don’t load them like fixed shelves; they suit light to medium items. This is the renter’s secret weapon for closet storage.
Cost: ~$10-18 | Time: 20 minutes
20. Display Shelf for Collections
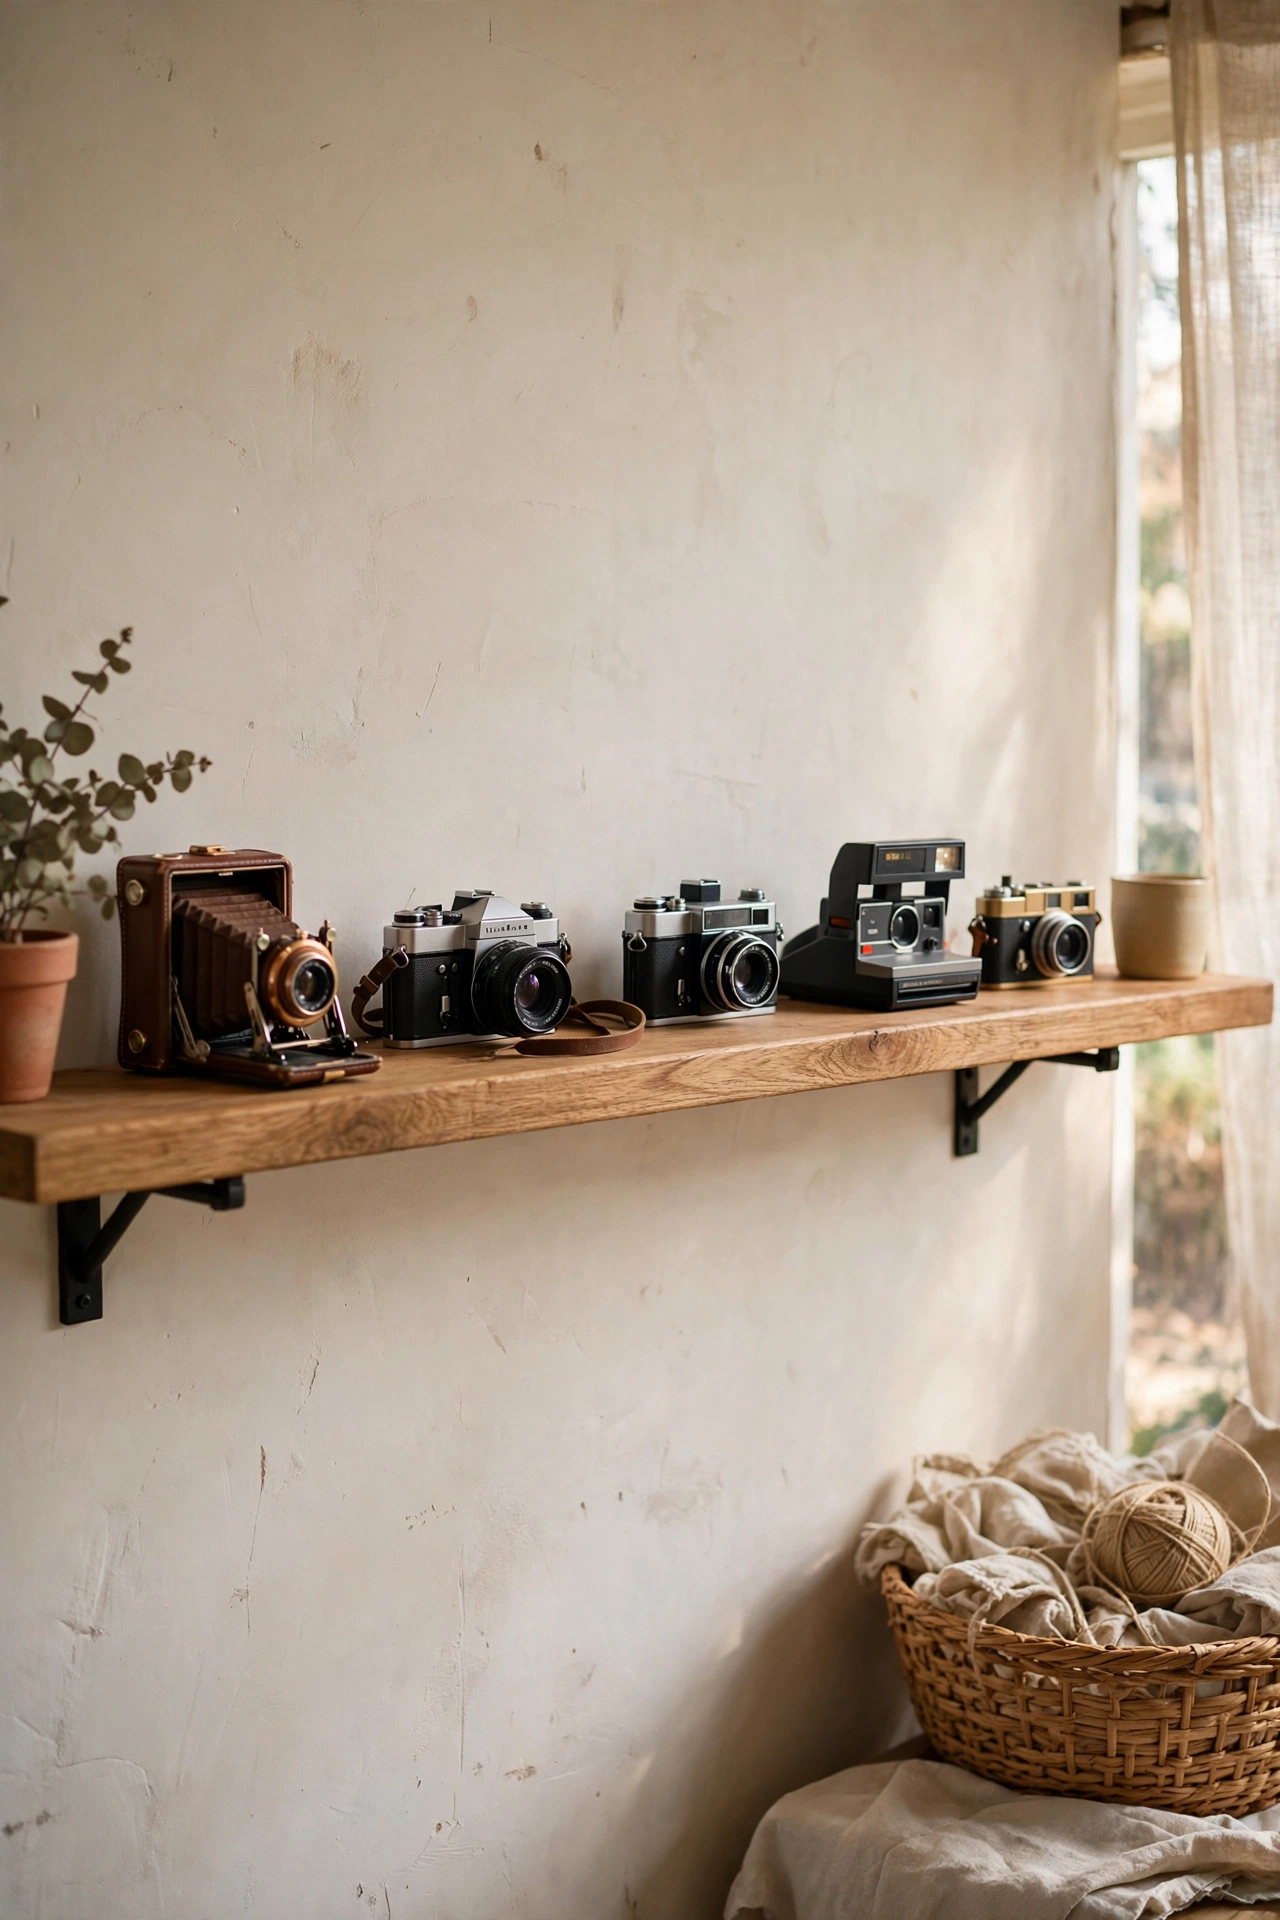
One dedicated display shelf turns any collection from clutter into curation. Mount a single long shelf and arrange your collection — ceramics, cameras, shells — with breathing room between pieces. I gave my vintage cameras one shelf and they finally look like the collection they are. Do leave negative space; crowding kills the gallery effect. Don’t mix collections on one shelf — one shelf, one story. A picture light above makes it museum-worthy.
Cost: ~$12-22 | Time: 45 minutes
21. Stain vs Paint: Picking Your Shelf Finish
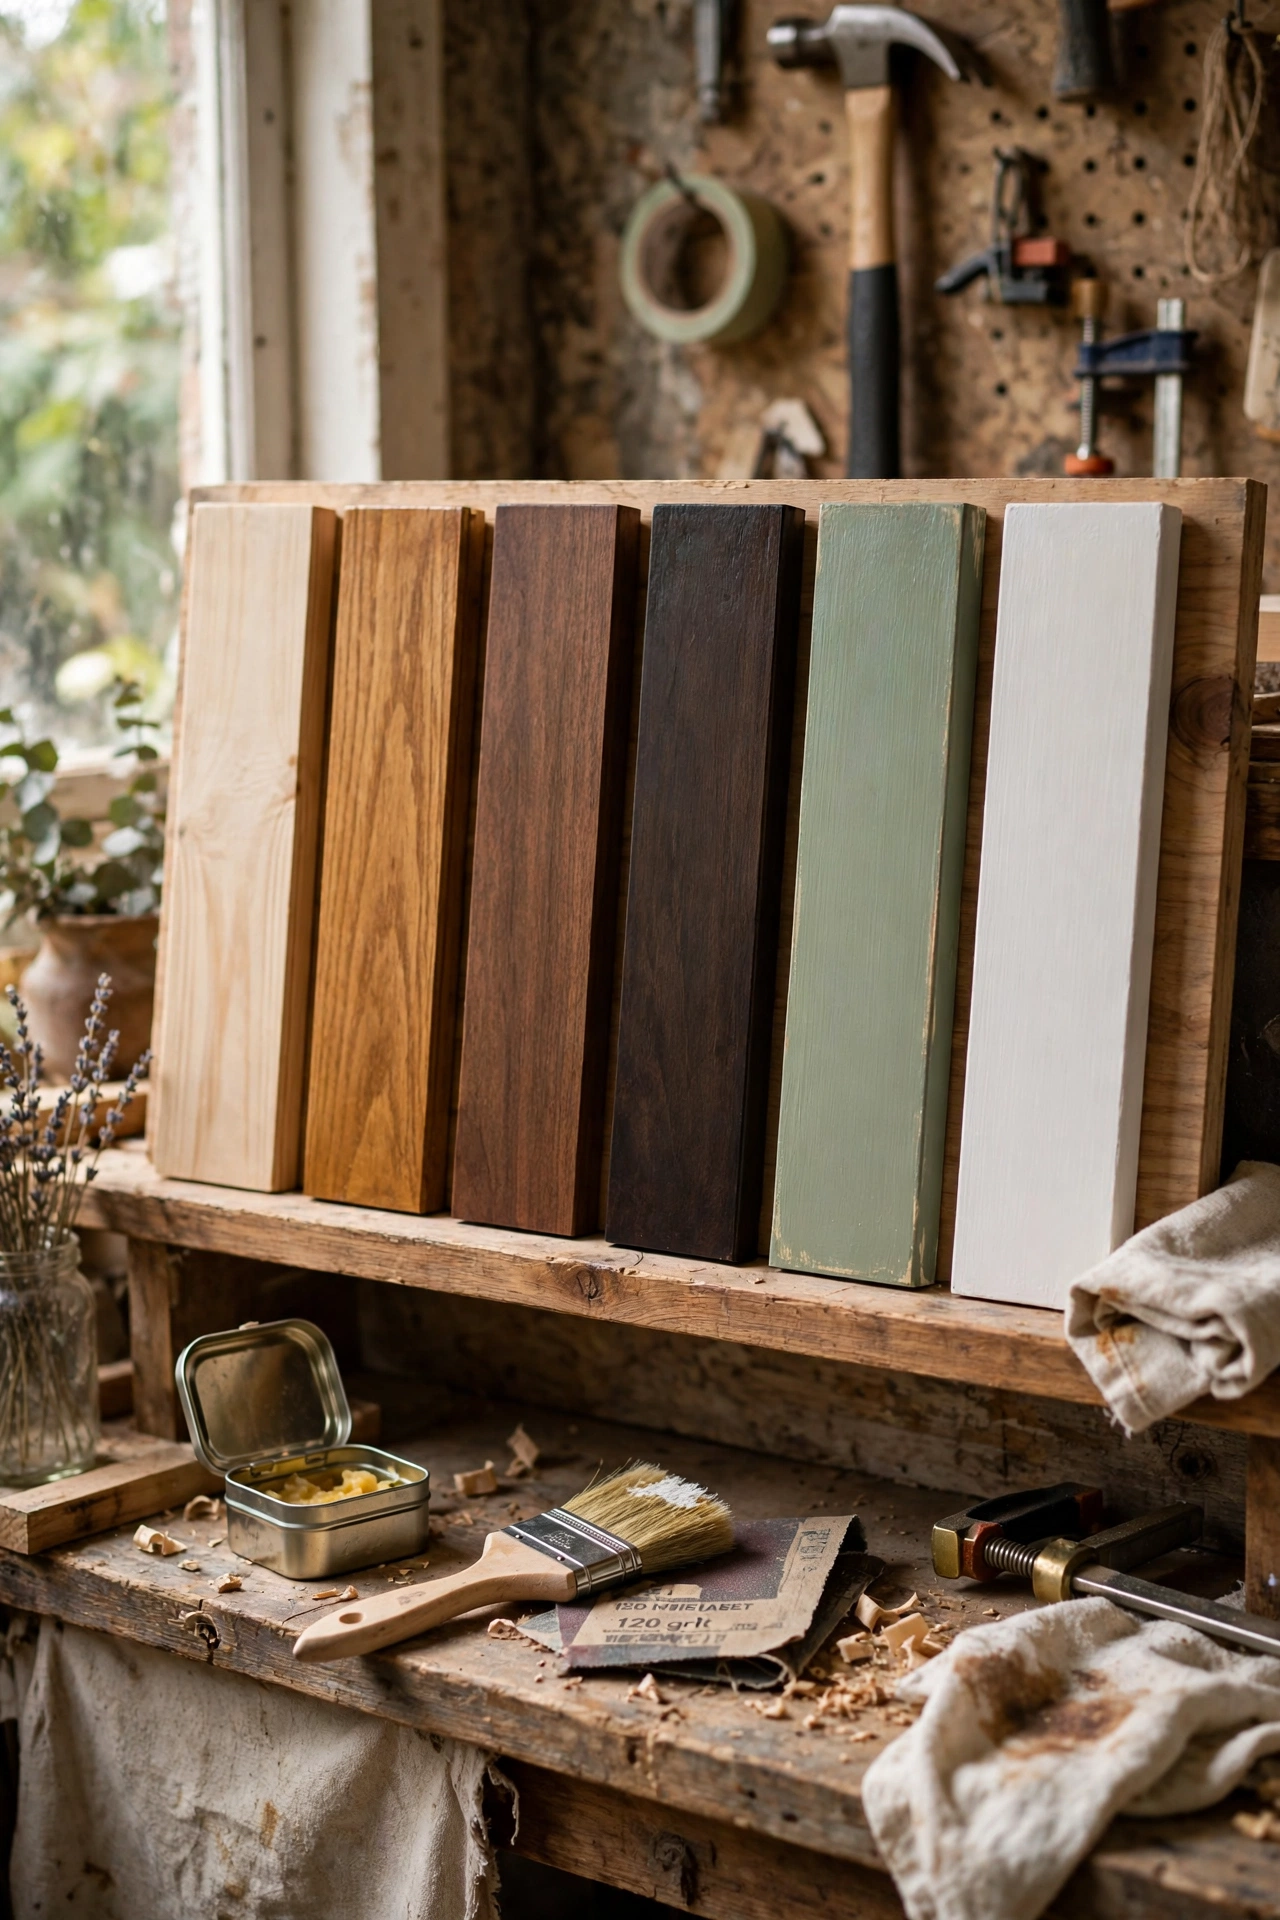
Choosing the right finish makes or breaks a shelf project. Stain shows wood grain and suits rustic, Scandinavian, and traditional rooms; paint gives clean colour and suits modern and eclectic spaces. I stain shelves in my living room and paint them in my daughter’s room. Do test your finish on an offcut first — stain colours surprise. Don’t mix stained and painted shelves in one room unless it is deliberate. The finish should echo other wood or colour in the room.
Cost: ~$8-15 | Time: 1 hour plus drying
22. The Rule-of-Thirds Shelf Styling Trick
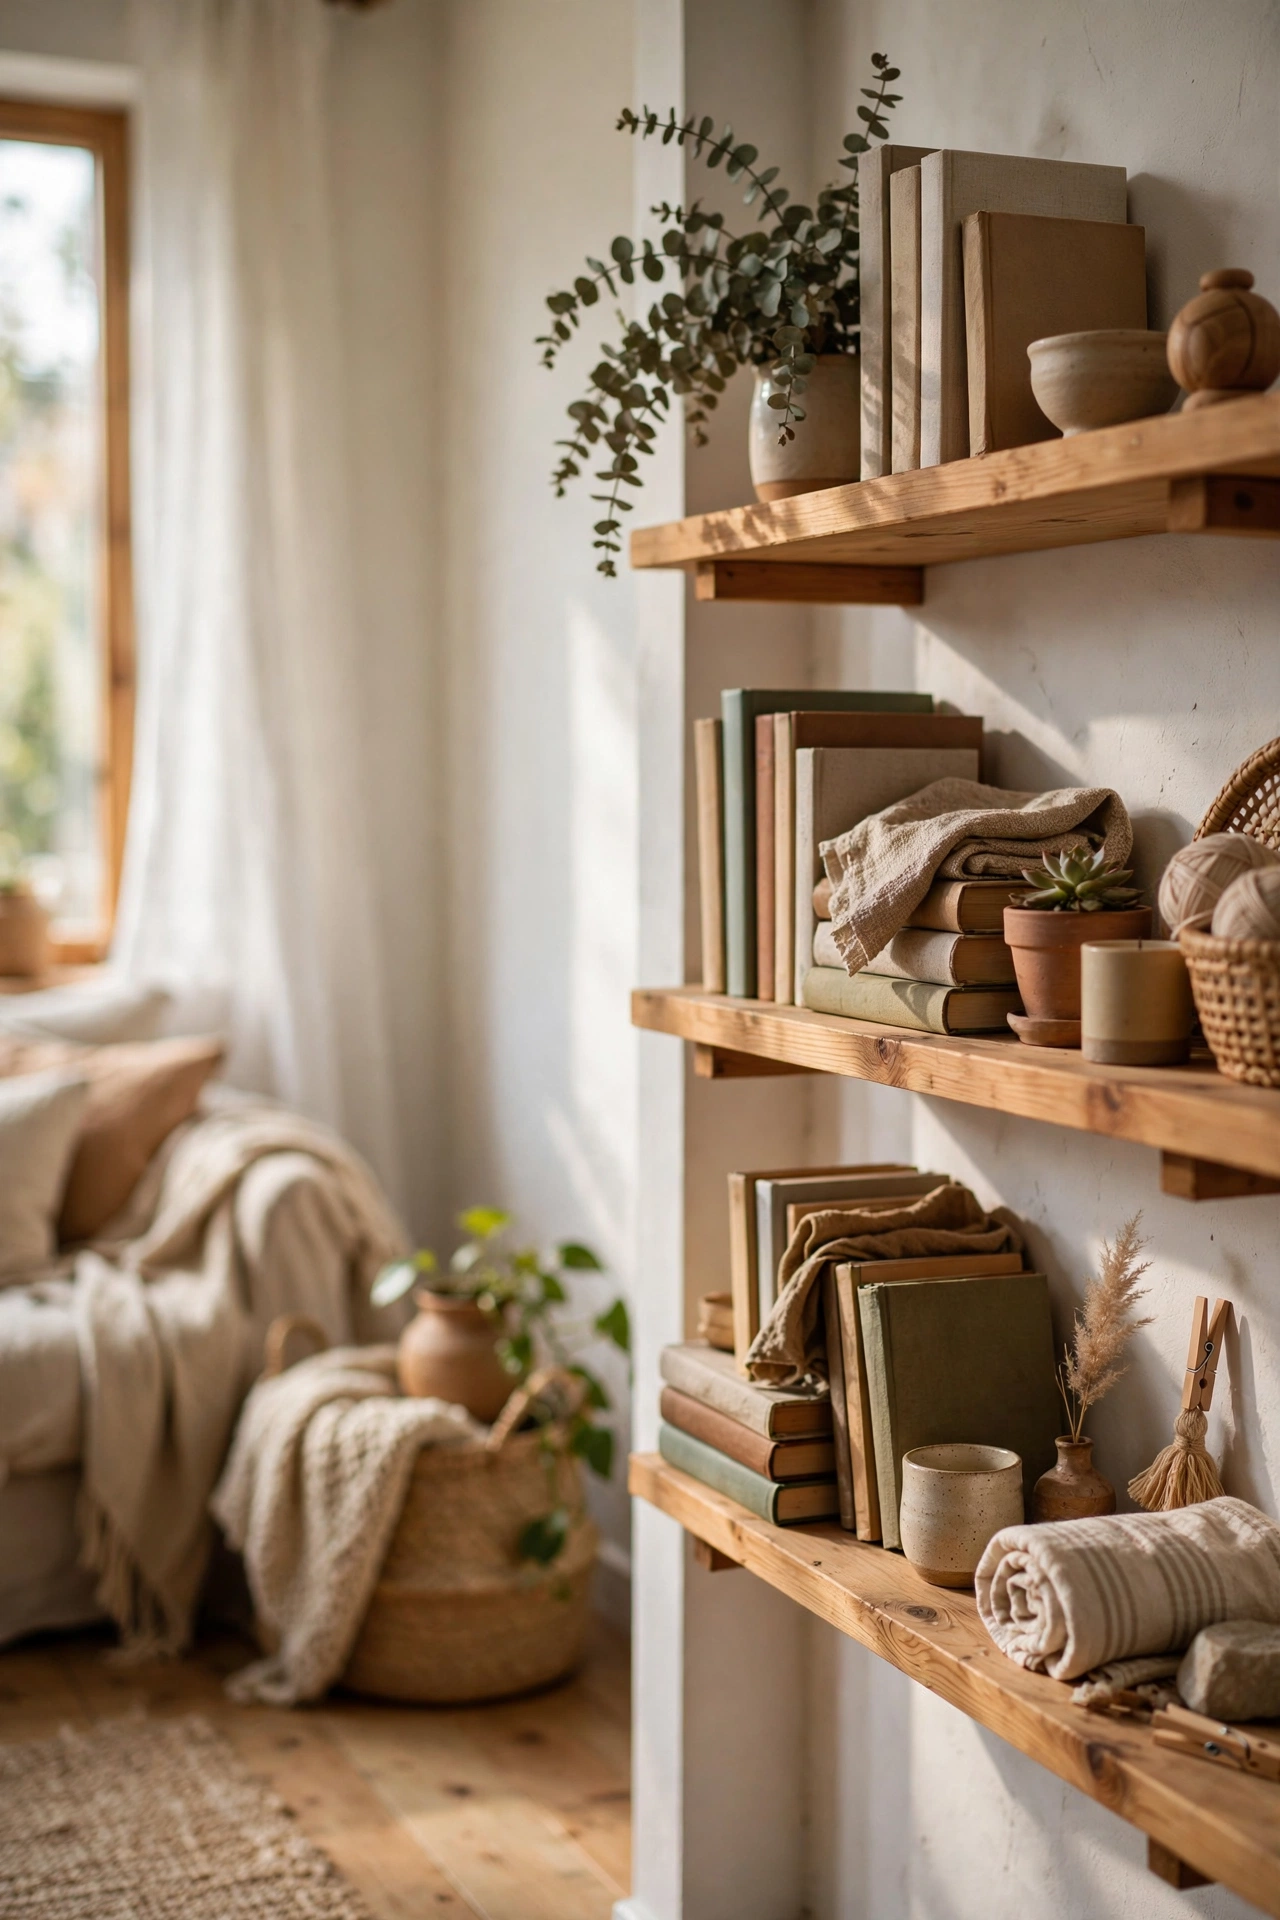
Styling shelves is a skill, and the rule of thirds is the shortcut. Divide each shelf mentally into thirds: one third books, one third objects, one third empty space. I restyled all my shelves with this formula and every one looks better. Do vary heights within each third — tall, medium, small. Don’t fill every centimetre; the empty third is what makes the styled thirds look intentional. Step back and squint — the overall shape should please you.
Cost: ~$0 | Time: 30 minutes
23. Floating Nightstand Shelf
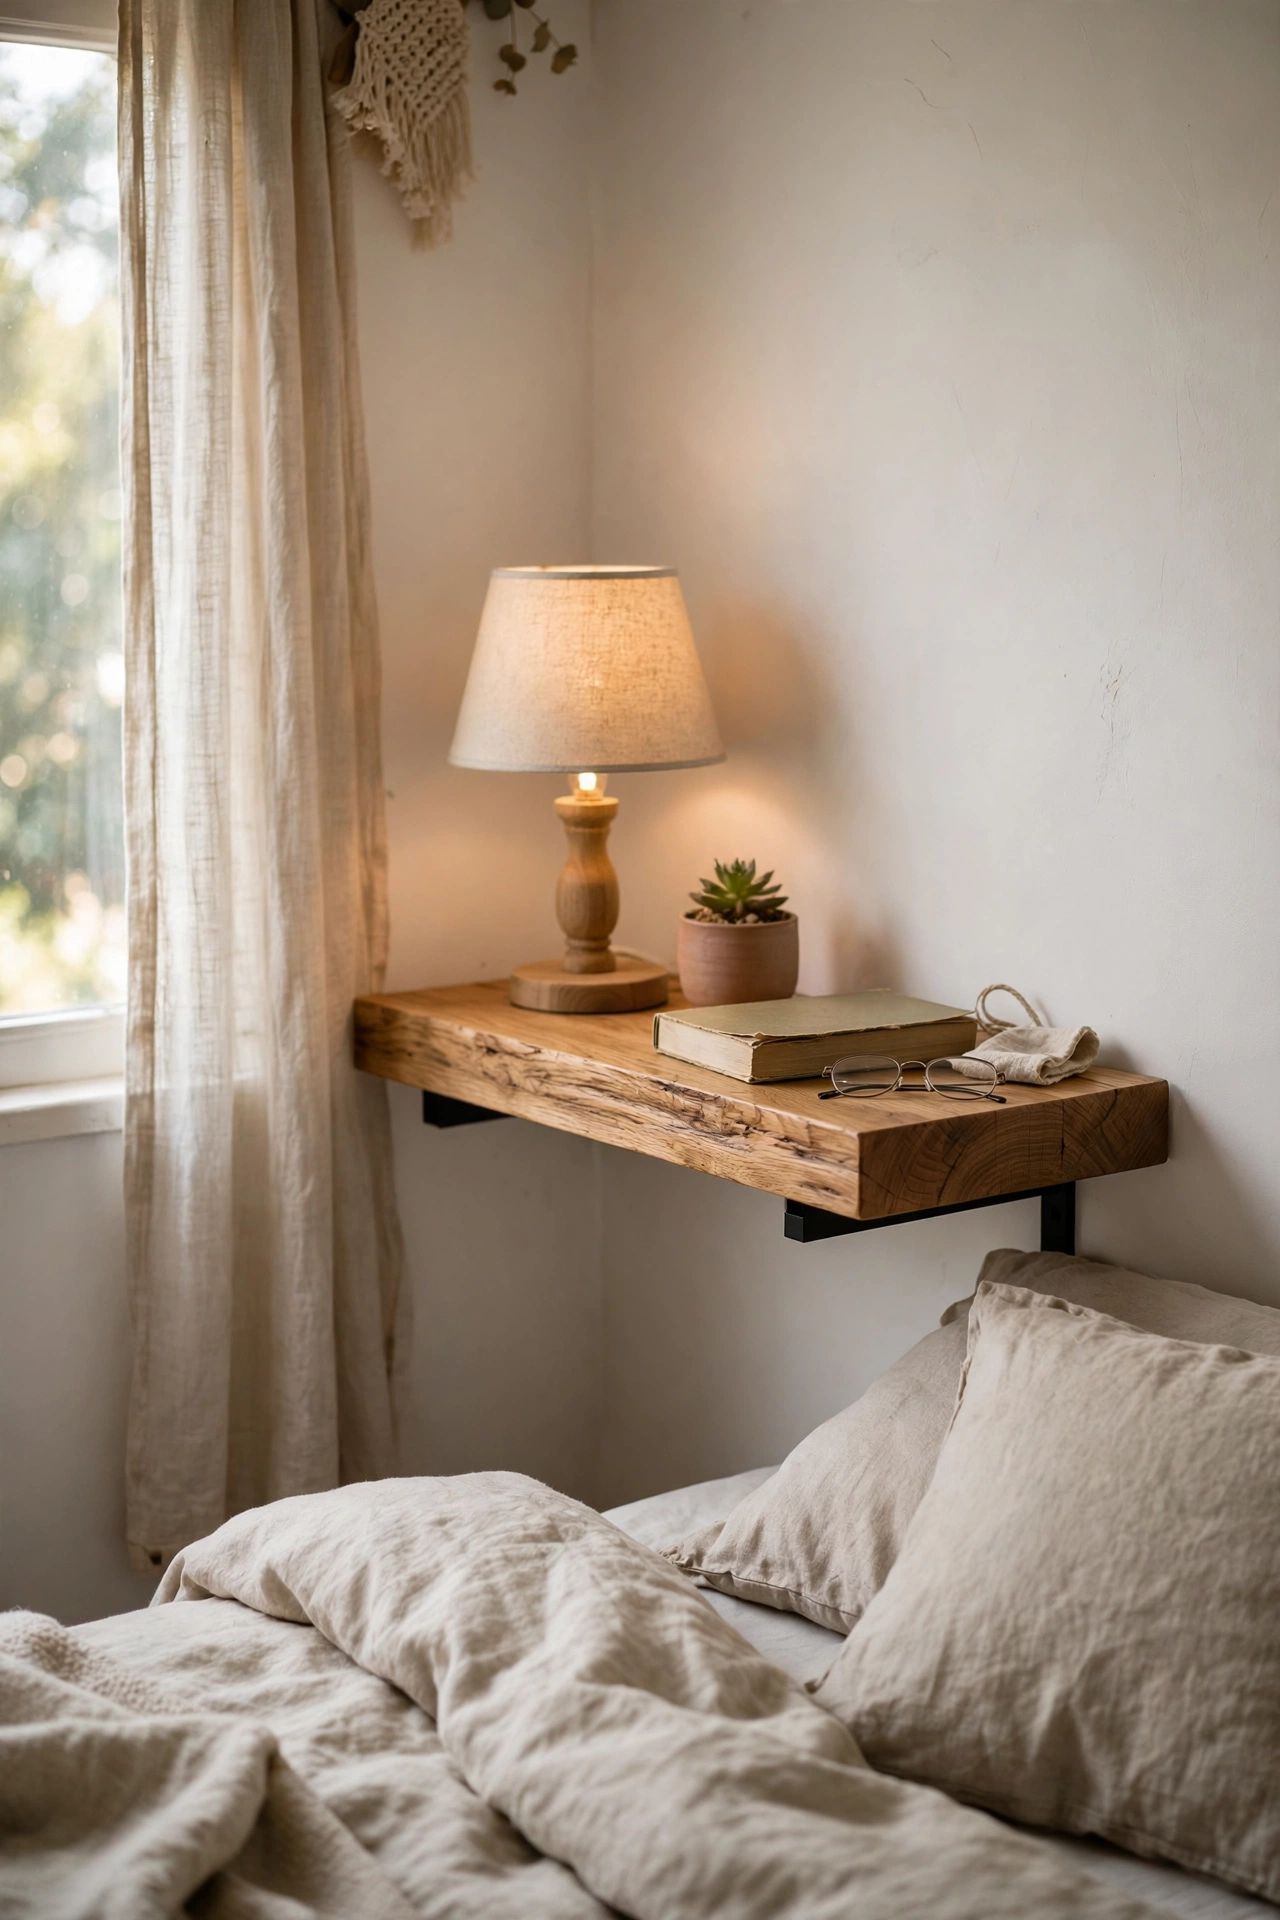
A floating shelf as a nightstand frees floor space in small bedrooms. Mount a chunky shelf at mattress height with hidden brackets into studs, and keep it minimal: lamp, book, glass. I did this in my box room and the extra floor space is transformative. Do anchor into studs — a nightstand shelf holds a lamp and gets leaned on. Don’t make it deeper than 25cm; it should hold essentials, not accumulate clutter. The floating look reads expensive and modern.
Cost: ~$15-25 | Time: 1 hour
24. Under-Stair Shelves
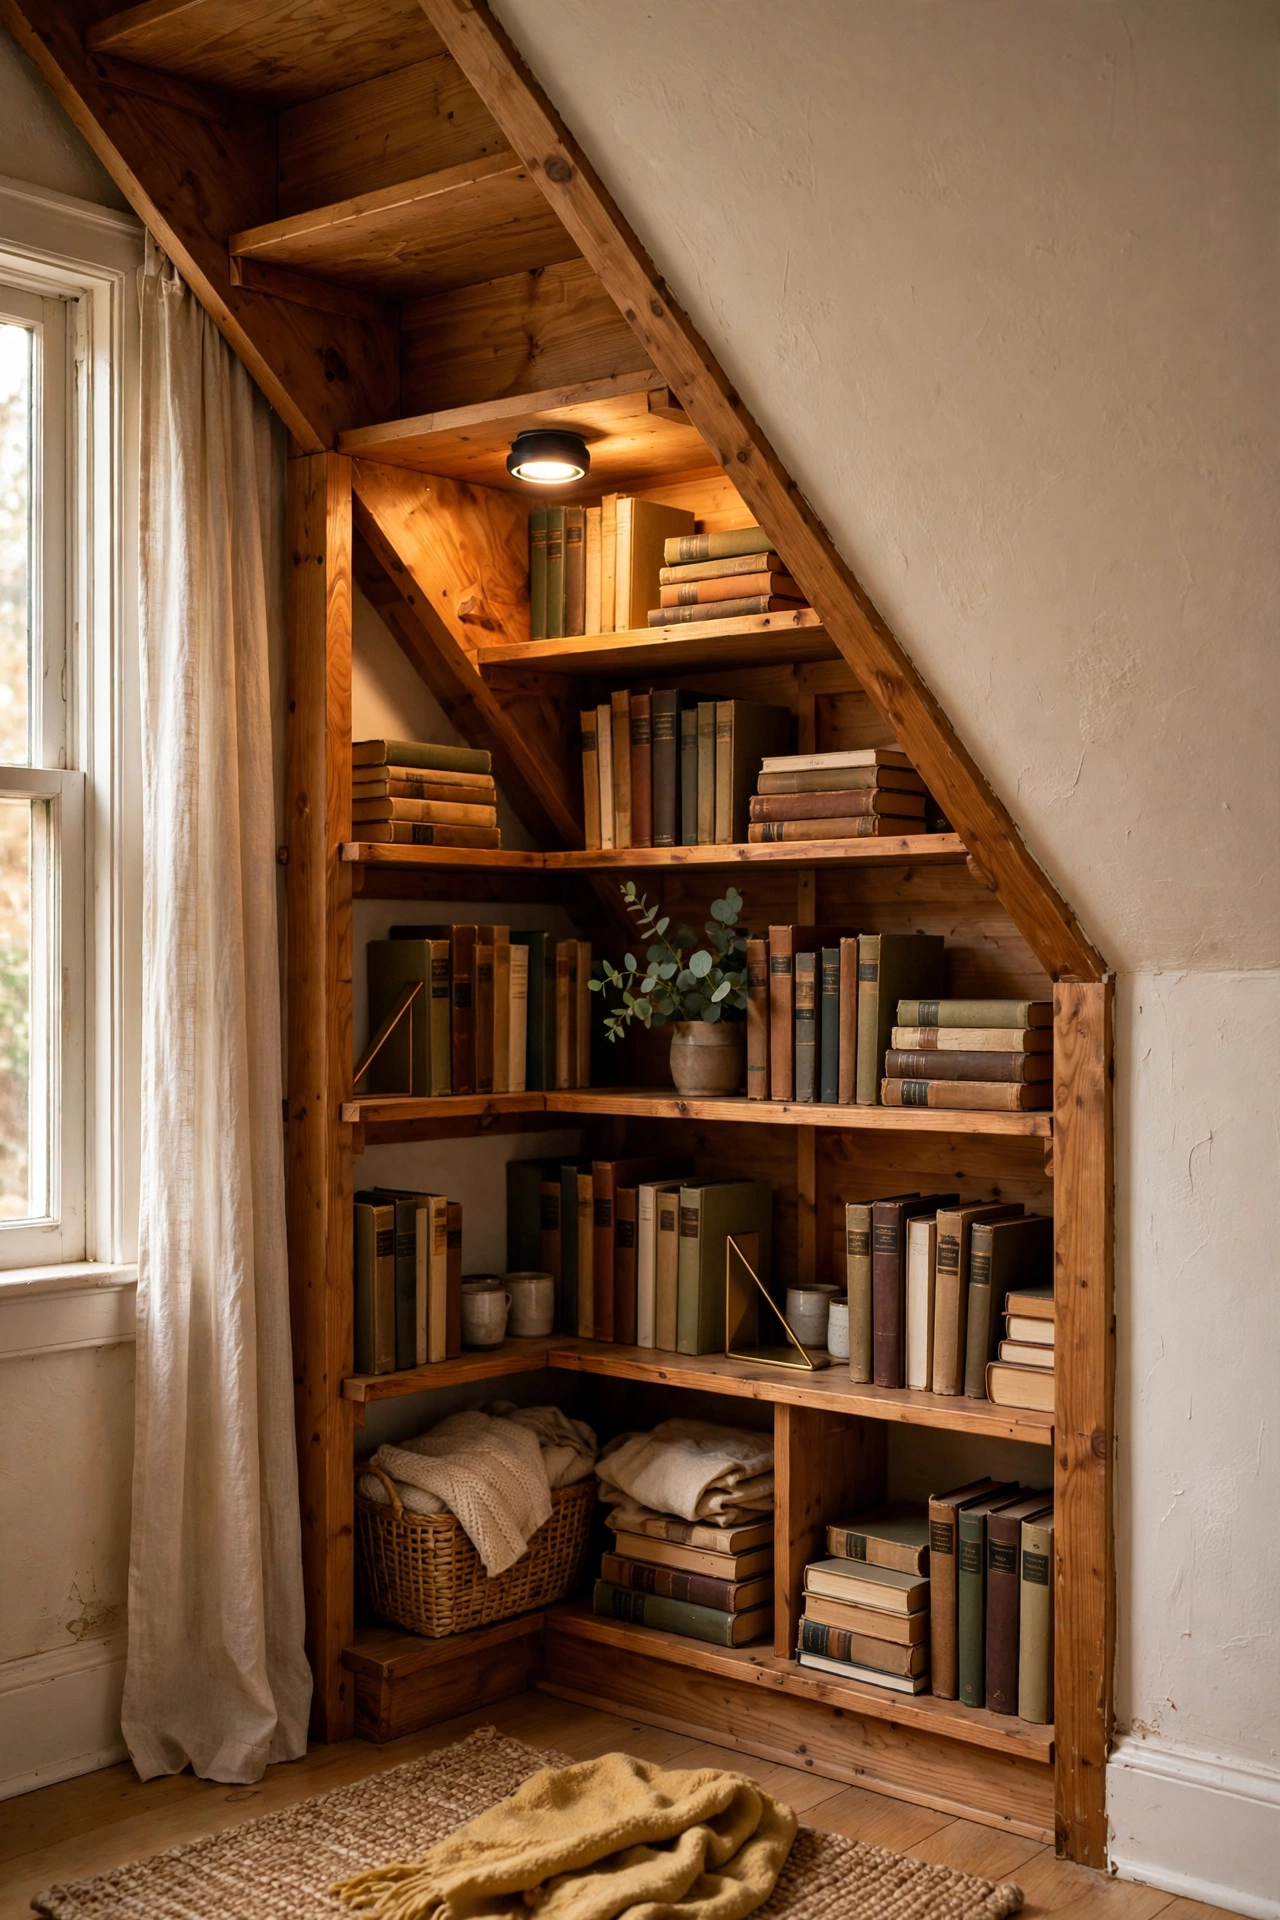
The space under stairs is a shelving goldmine. Fit simple shelves into the under-stair triangle for books, shoes, or display — measuring each shelf to the sloping ceiling. I shelved my under-stair nook for my book overflow and it is now a feature. Do measure each shelf individually; the slope means no two are the same. Don’t forget lighting — under-stair spaces are dark and a battery puck light transforms them. This turns dead space into the most interesting storage in the house.
Cost: ~$20-35 | Time: 2 hours
25. Small-Space Vertical Shelf Tower
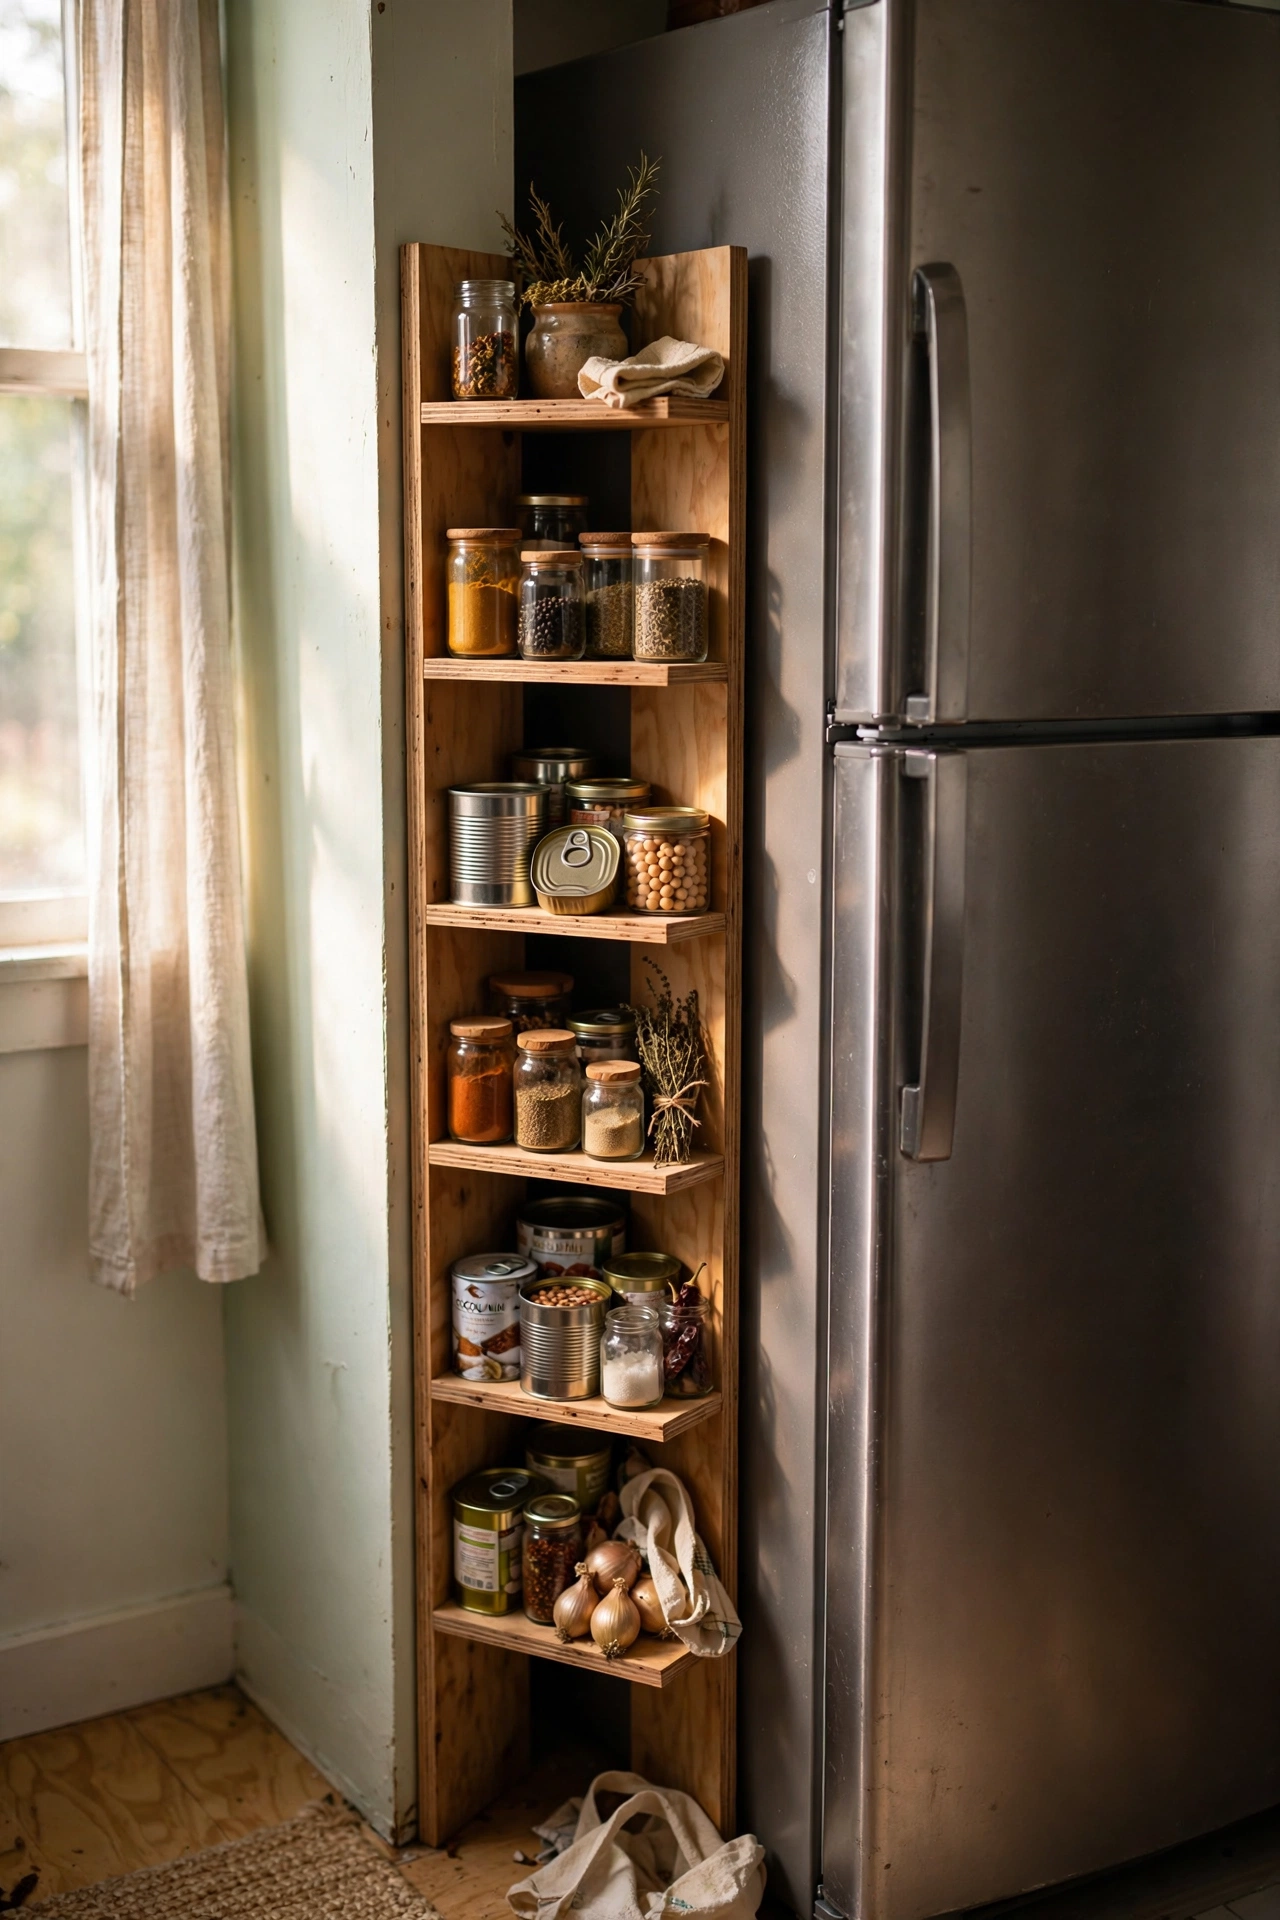
When floor space is gone, build up. A narrow vertical tower of five or six small shelves fits in a 30cm-wide gap and holds an astonishing amount. I built one for the gap beside my fridge — spices, oils, and tins in what was dead space. Do anchor tall narrow towers to the wall; they are tippy by nature. Don’t make it deeper than 20cm or it dominates the gap. Vertical storage is the small-space superpower.
Cost: ~$18-30 | Time: 2 hours
Quick questions, answered
How do I find studs for mounting shelves?
Use an electronic stud finder — they cost about $15 and remove all guesswork. Studs are usually 40cm apart. Knock on the wall too: a solid thunk means stud, a hollow sound means plasterboard. When in doubt, use plasterboard fixings rated for your shelf’s loaded weight.
How much weight can a DIY shelf hold?
It depends entirely on the fixings, not the board. Shelves fixed into studs with proper brackets hold 20kg+ easily. Shelves on plasterboard fixings hold 5-10kg. Books are the heaviest common load — a metre of books weighs about 20kg — so always over-specify fixings for bookshelves.
What is the best wood for DIY shelves?
Pine is the best beginner wood: cheap, easy to cut, and takes stain and paint well. Oak looks more premium for visible shelves. Plywood is strong and stable for painted shelves. Avoid MDF in damp rooms and for long spans — it sags.
How deep should shelves be?
20-25cm for books and most decor, 15cm for picture ledges and small objects, 30cm+ for kitchen shelves holding plates. Deeper is not better — oversized shelves collect clutter and dominate rooms. Match the depth to what the shelf will actually hold.
📌 Shelf project planned? Pin this post now so you can save this idea for your next DIY weekend.
Keep the storage beautiful with these next: (see also: 15-diy-shelf-ideas-for-beginners) (see also: 15-diy-shelf-ideas-in-a-weekend) (see also: 19-diy-coffee-table-ideas-that-look-expensive)
