17 No-Paint DIY Wall Decor Ideas Anyone Can Make
Renting taught me to decorate walls without touching a paintbrush. My landlord’s magnolia walls were non-negotiable, but blank walls made me miserable — so I learned every DIY wall decor trick that needs no paint at all. No-paint wall decor is not a compromise; some of my favourite walls I have ever made involved fabric, paper, and things hung with removable strips. These seventeen diy wall decor no paint ideas all leave walls exactly as you found them.
Every project here is renter-friendly and beginner-proof, costing under $25 and most under $15. You will need no painting skills, no messy drop cloths, and no landlord negotiations. Just pick the wall that bothers you most and start at idea one.
1. Fabric Wall Panels on Foam Board
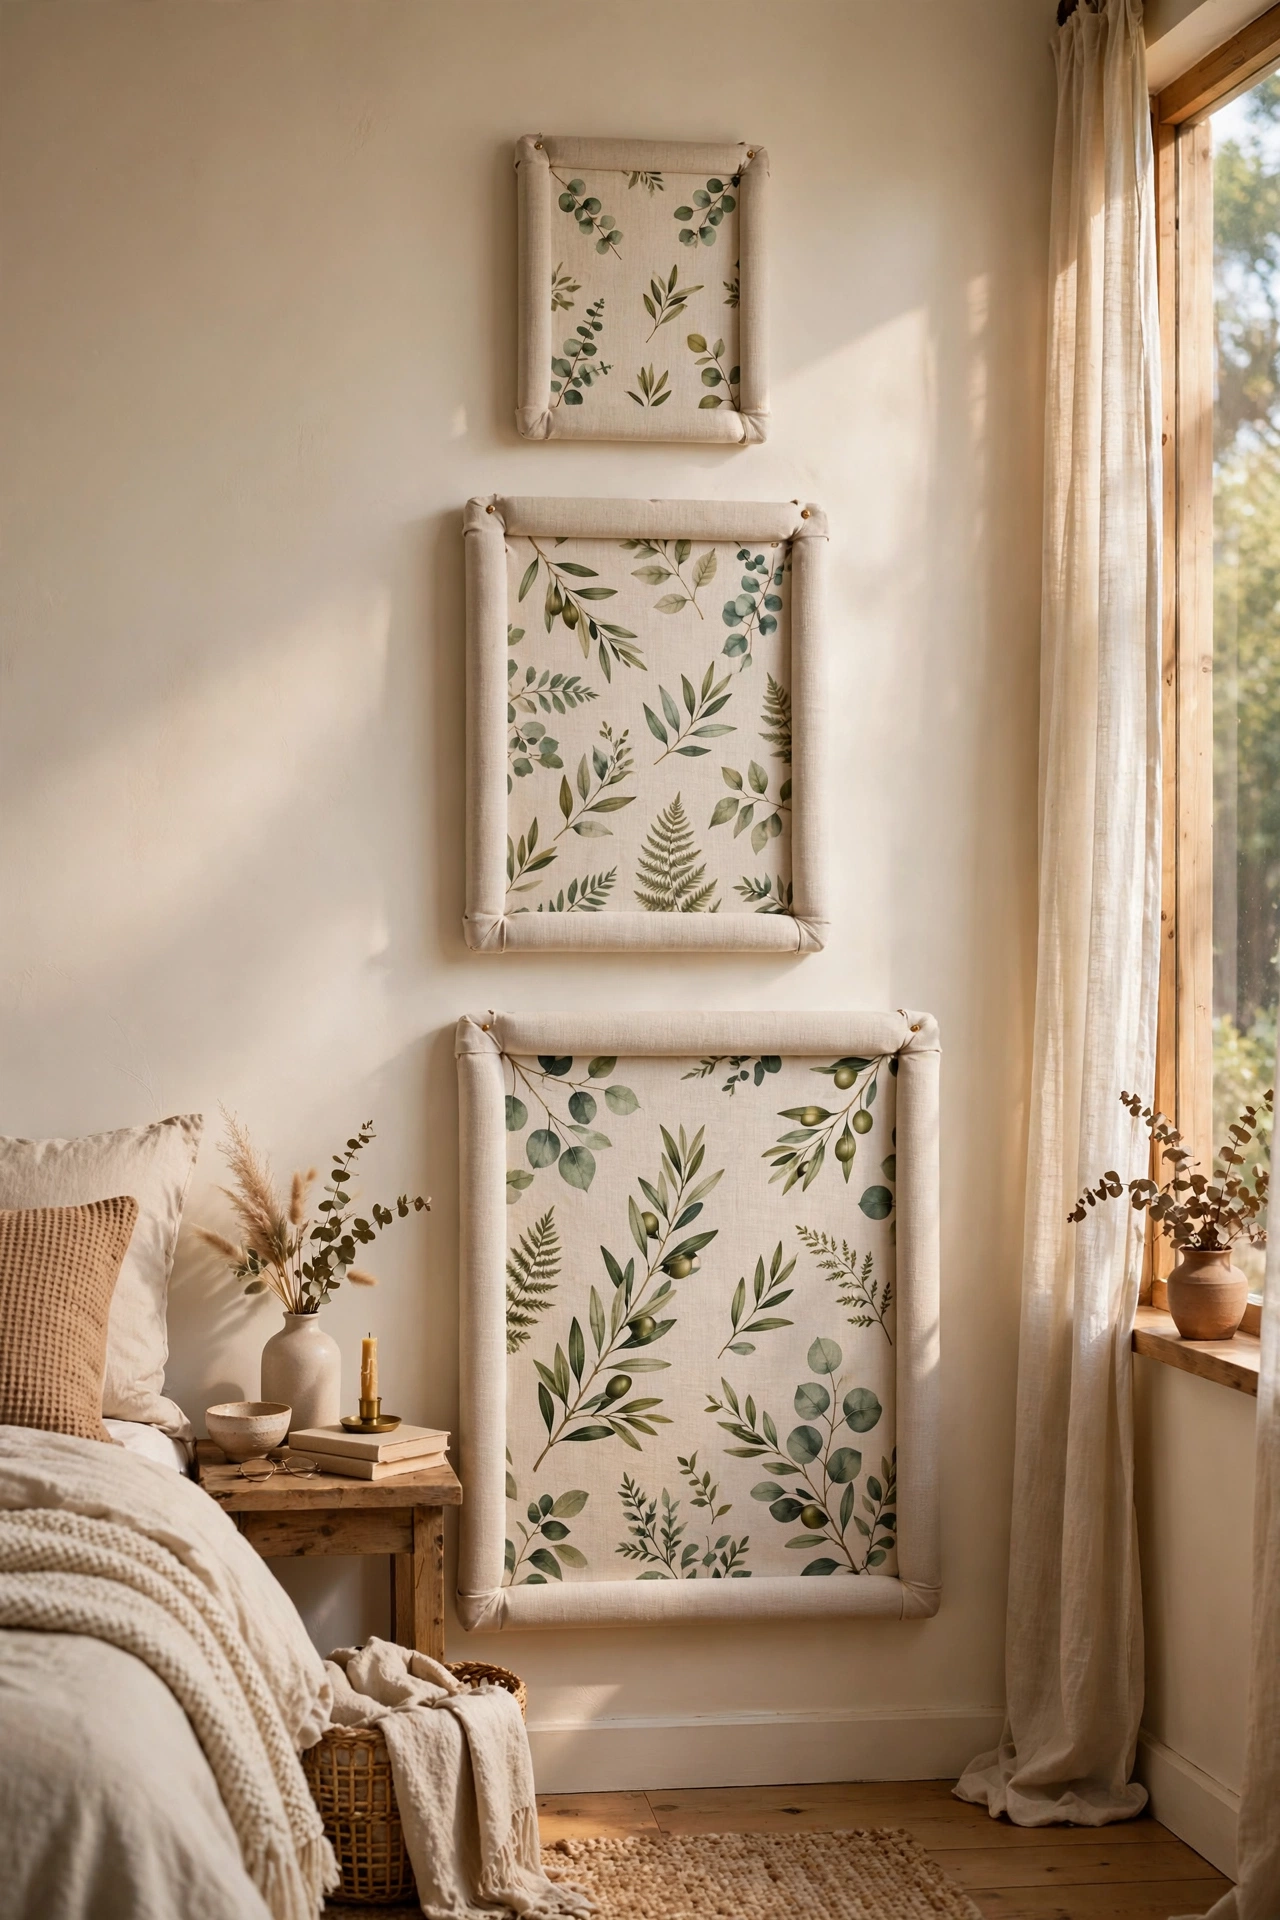
Stretching pretty fabric over foam board creates upholstered-look wall panels with zero sewing. Cut foam board to your chosen sizes, wrap each in fabric like a present, and secure the back with tape. Hang with removable strips. I made three large panels in a botanical print for my bedroom and they look like expensive upholstered wall art. Do choose a fabric with a large-scale pattern — small prints get lost at panel size. Don’t use thin fabric that shows the board’s edges through; medium-weight cotton is ideal.
Pro tip: make the panels in graduated sizes — large, medium, small — and hang them as a trio. The size variation looks far more designed than three identical squares.
Cost: ~$12-20 | Time: 45 minutes
2. Peel-and-Stick Wallpaper Accent Wall
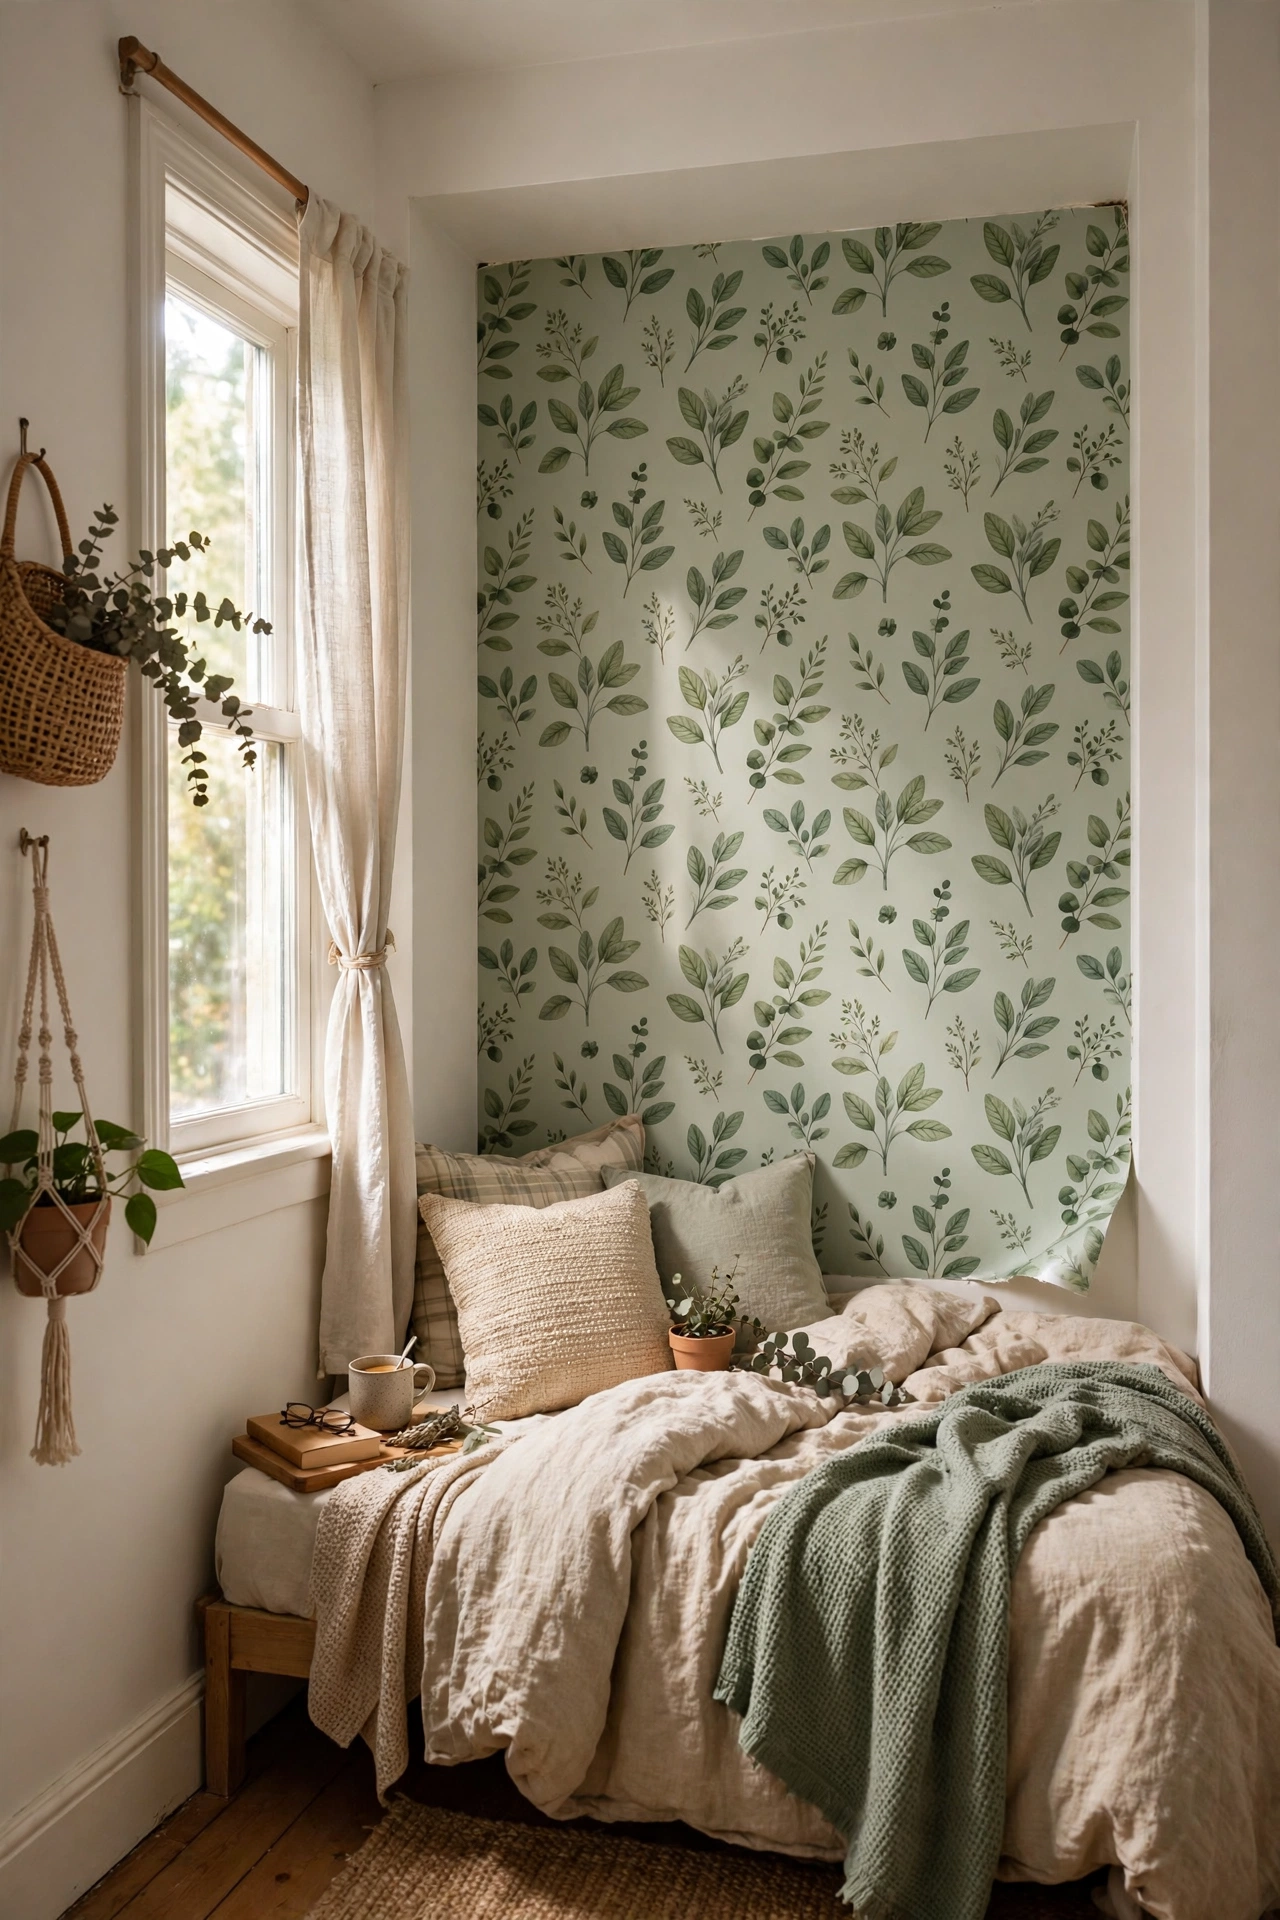
Peel-and-stick wallpaper gives you a full accent wall with no paint and no paste. Measure the wall, order slightly more than you need, and apply panel by panel from the top down, smoothing with a plastic smoother. I papered my bedroom alcove in a sage botanical print in one afternoon and it is the prettiest wall I have. Do start in the least visible corner — your technique improves as you go. Don’t stretch the paper to fit; reposition instead, or it shrinks back later. Removal is genuinely clean when your tenancy ends.
Cost: ~$20-40 | Time: 2-3 hours
3. Woven Wall Hanging from a Branch
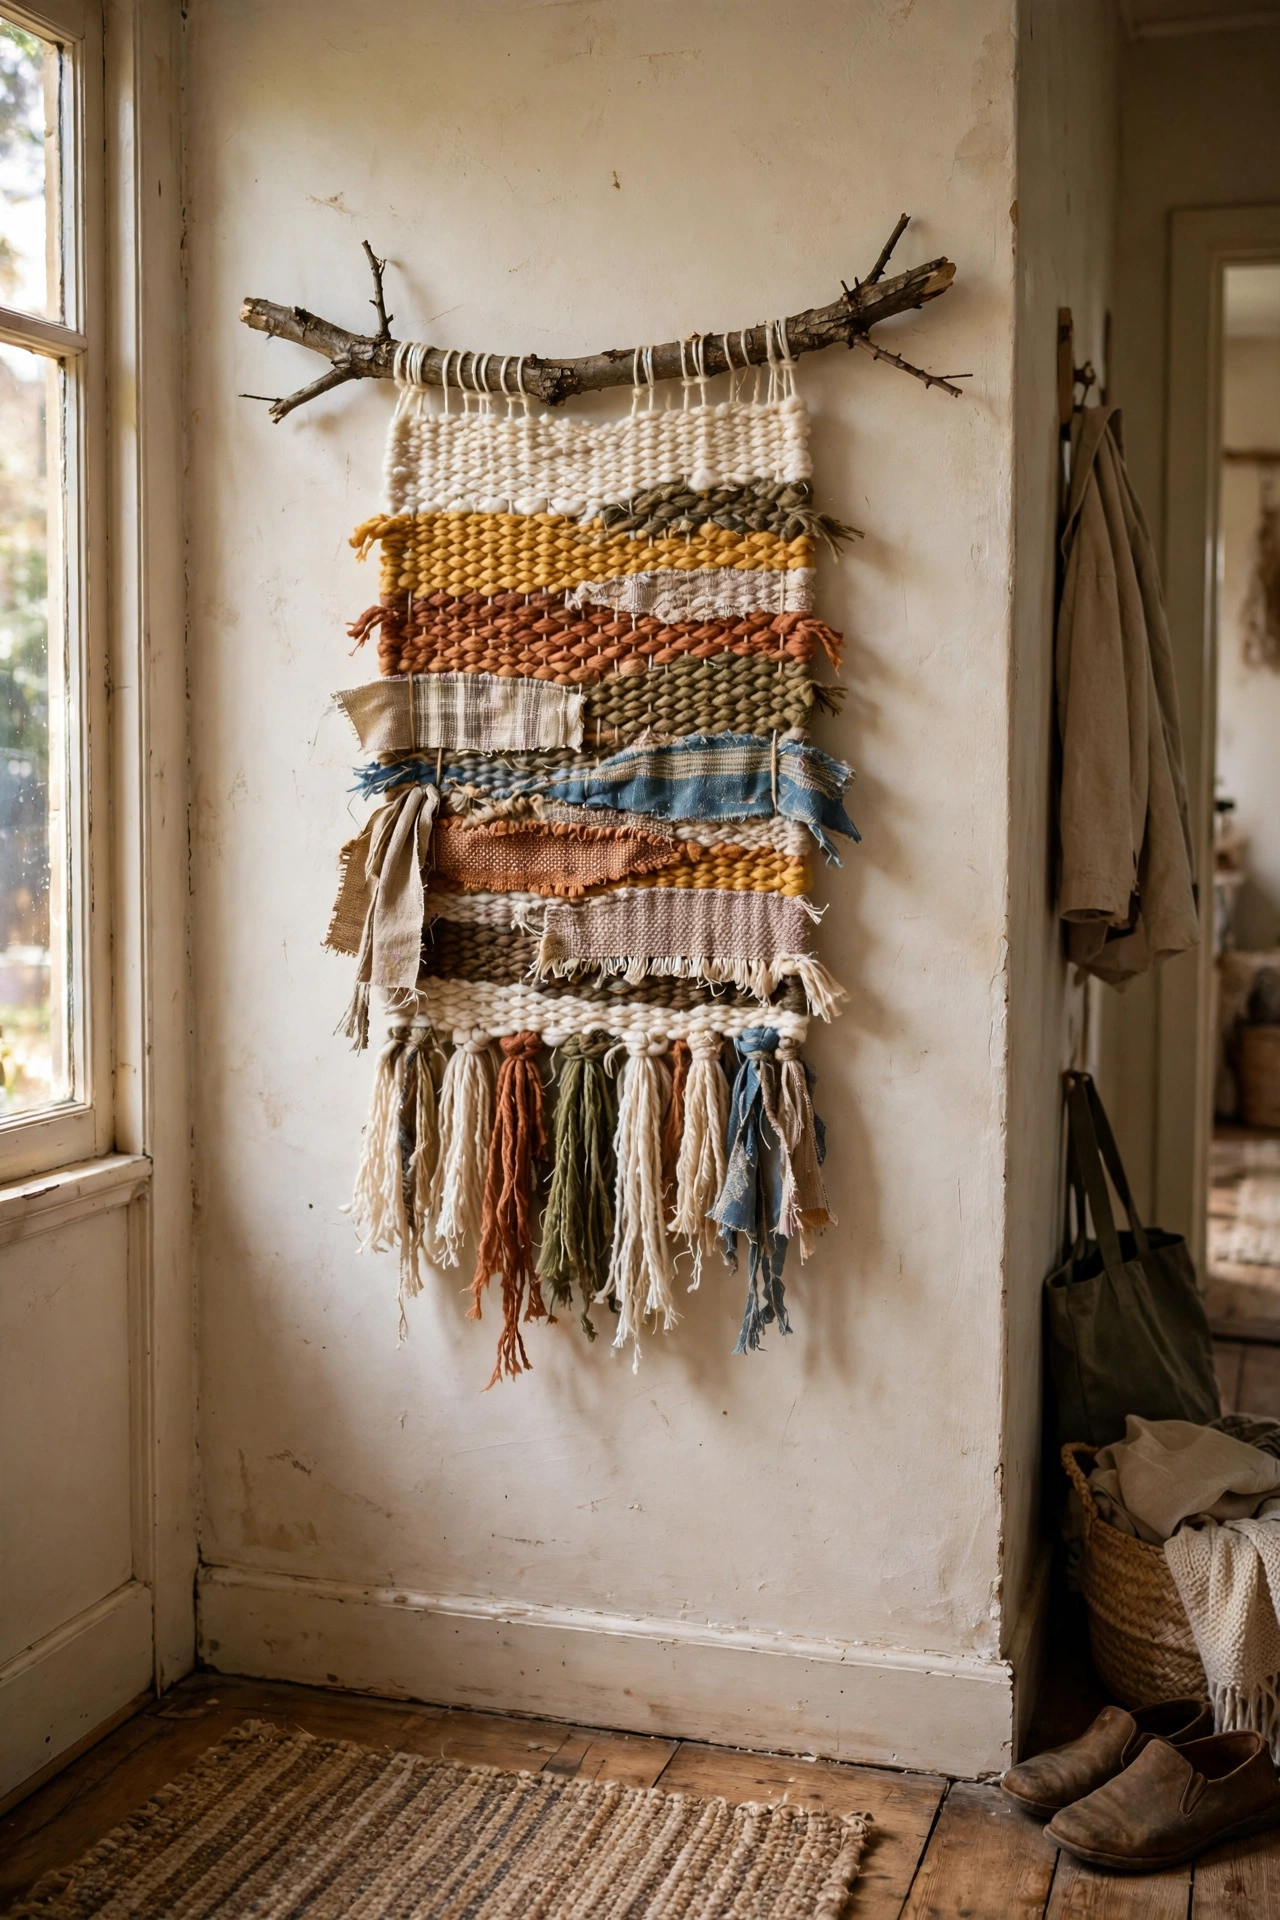
A woven wall hanging adds handmade texture to any blank wall. Tie warp threads along a foraged branch, weave in yarn rows using a simple over-under pattern, and finish with tassels or a fringe. My first weaving hangs in my hallway and its imperfections are exactly what I love about it. Do keep the weaving relaxed — pulled-tight weft buckles the whole piece. Don’t buy expensive yarn; charity shop wool in your palette works beautifully.
Pro tip: weave in a few strips of fabric from an old shirt or curtain. The mixed materials look far more interesting than yarn alone, and it costs nothing.
Cost: ~$5-12 | Time: 2-3 hours
4. Framed Fabric Swatches Gallery
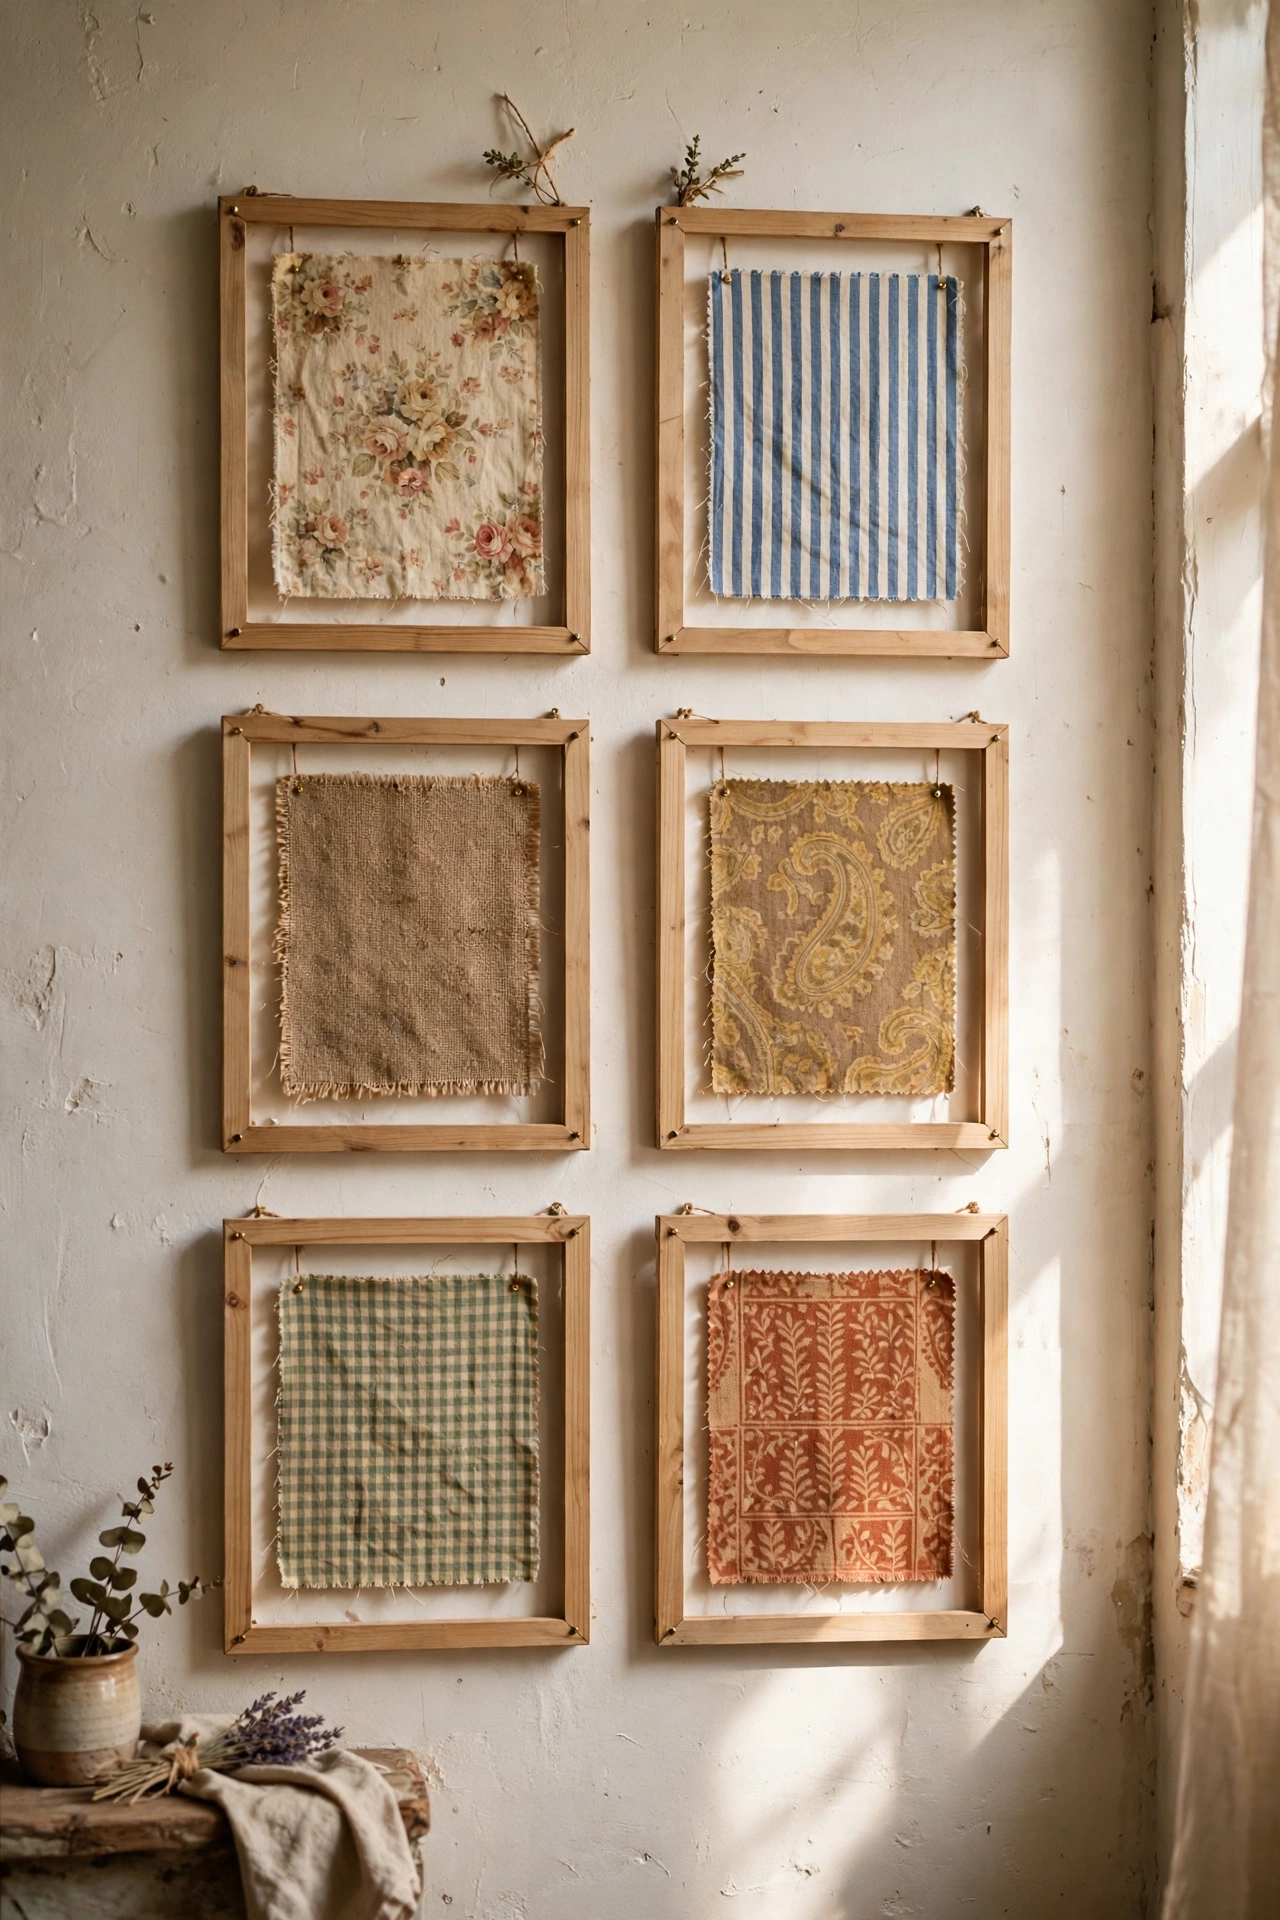
Framing fabric swatches is the cheapest art you will ever hang. Cut interesting fabrics — florals, stripes, vintage finds — to fit simple frames, and hang in a grid. I framed six swatches from a single vintage curtain and the grid looks like a textile exhibition. Do iron the fabric before framing so it lies perfectly flat. Don’t use stretchy fabrics; woven cottons frame the crispest. This is also the perfect use for fabric too pretty to cut up for anything else.
Cost: ~$10-18 | Time: 45 minutes
5. Plate Wall Display
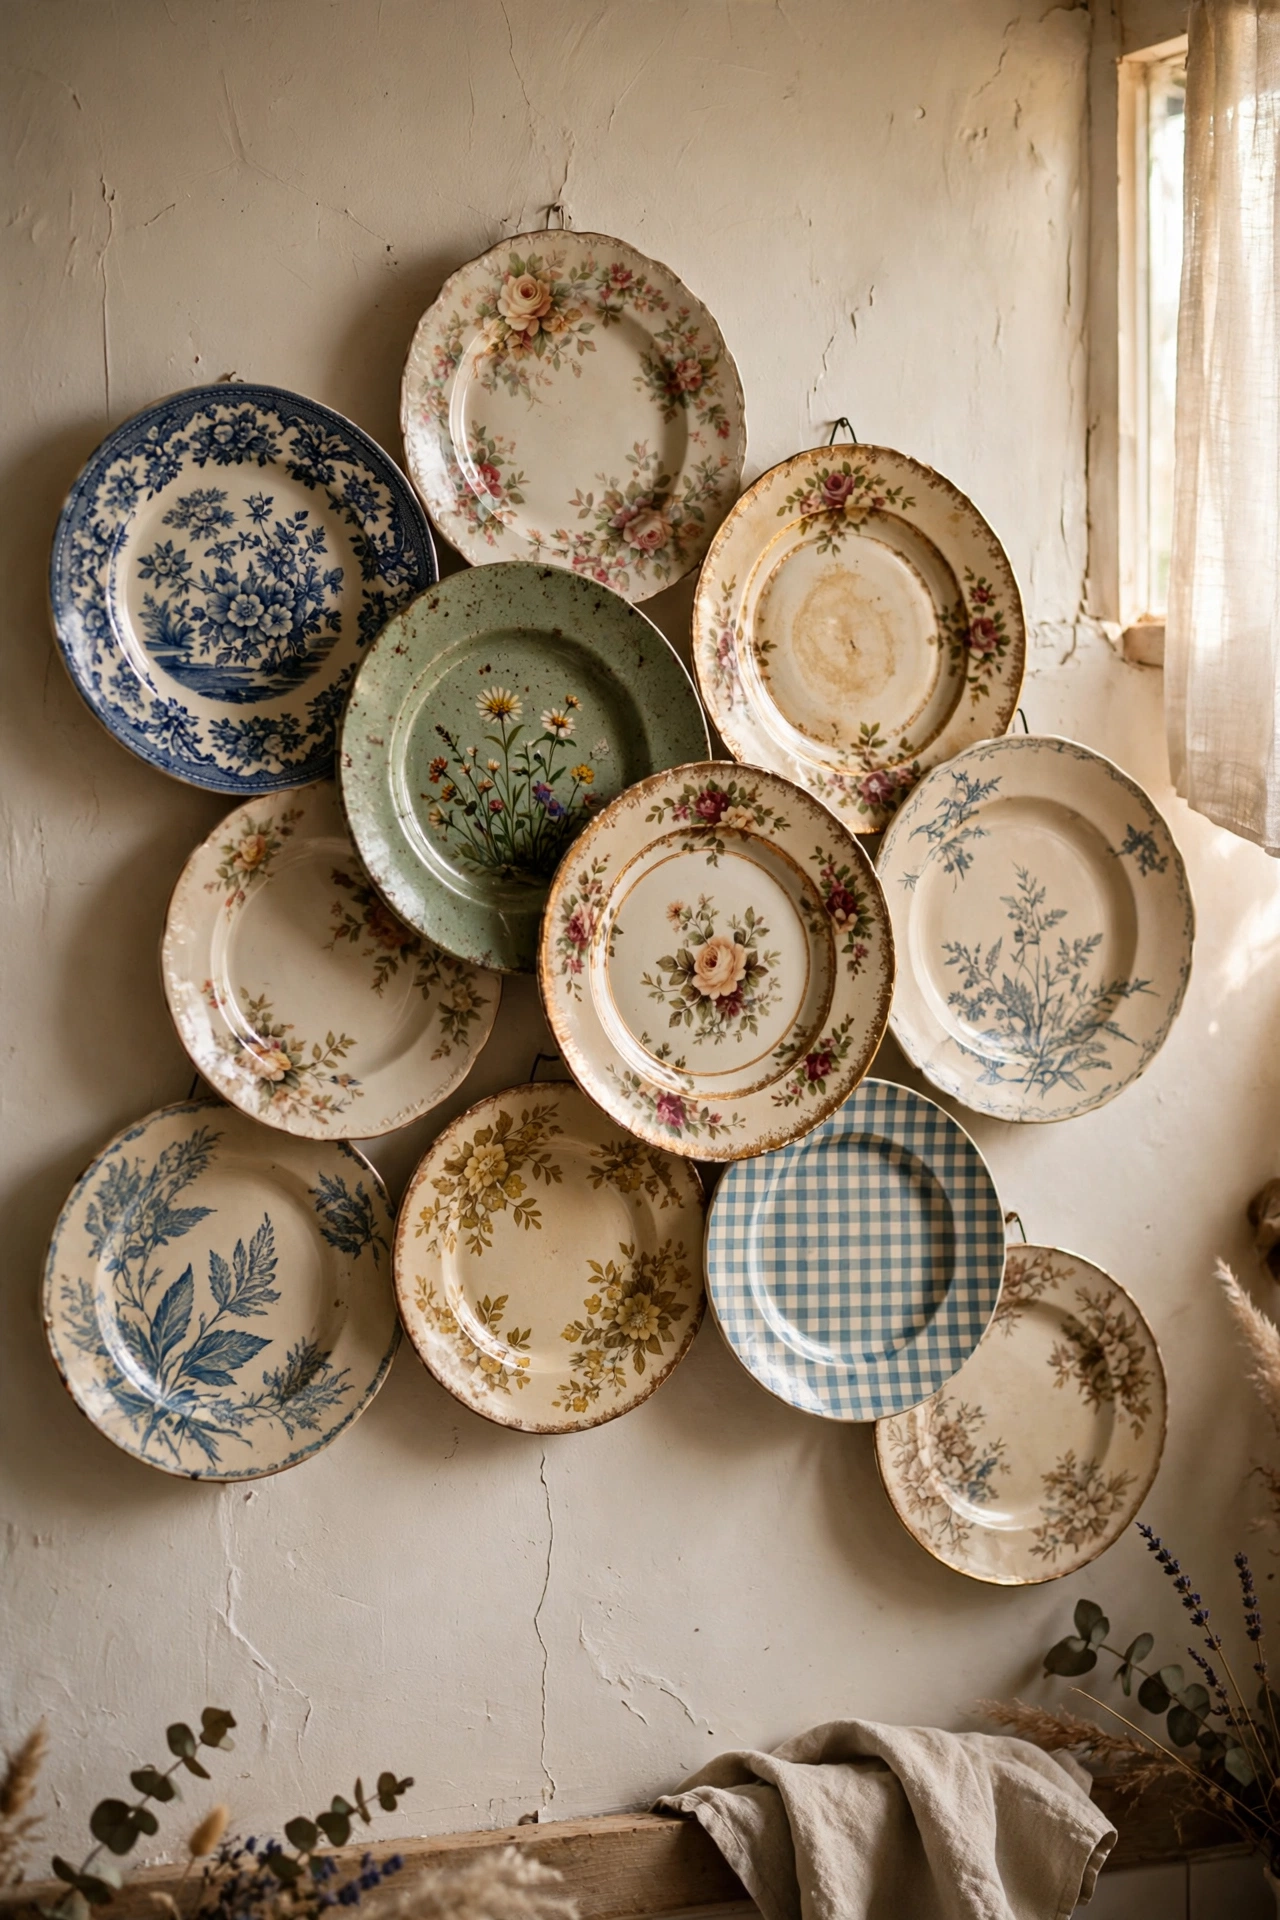
A plate wall is classic, charming, and completely paint-free. Collect interesting plates from charity shops — the quirkier the better — and hang with adhesive plate hangers or removable disc hangers. My kitchen plate wall mixes florals, a souvenir plate, and one gloriously ugly one I love. Do plan the arrangement on the floor first; plate walls need a pleasing overall shape. Don’t hang heavy plates with adhesive alone — use proper plate hangers for anything over 20cm. The mix is the magic.
Pro tip: include one plate hung slightly overlapping another. The layering breaks the grid and makes the whole display look collected over time rather than installed in an afternoon.
Cost: ~$8-16 | Time: 1 hour
6. Floating Shelf Photo Ledge
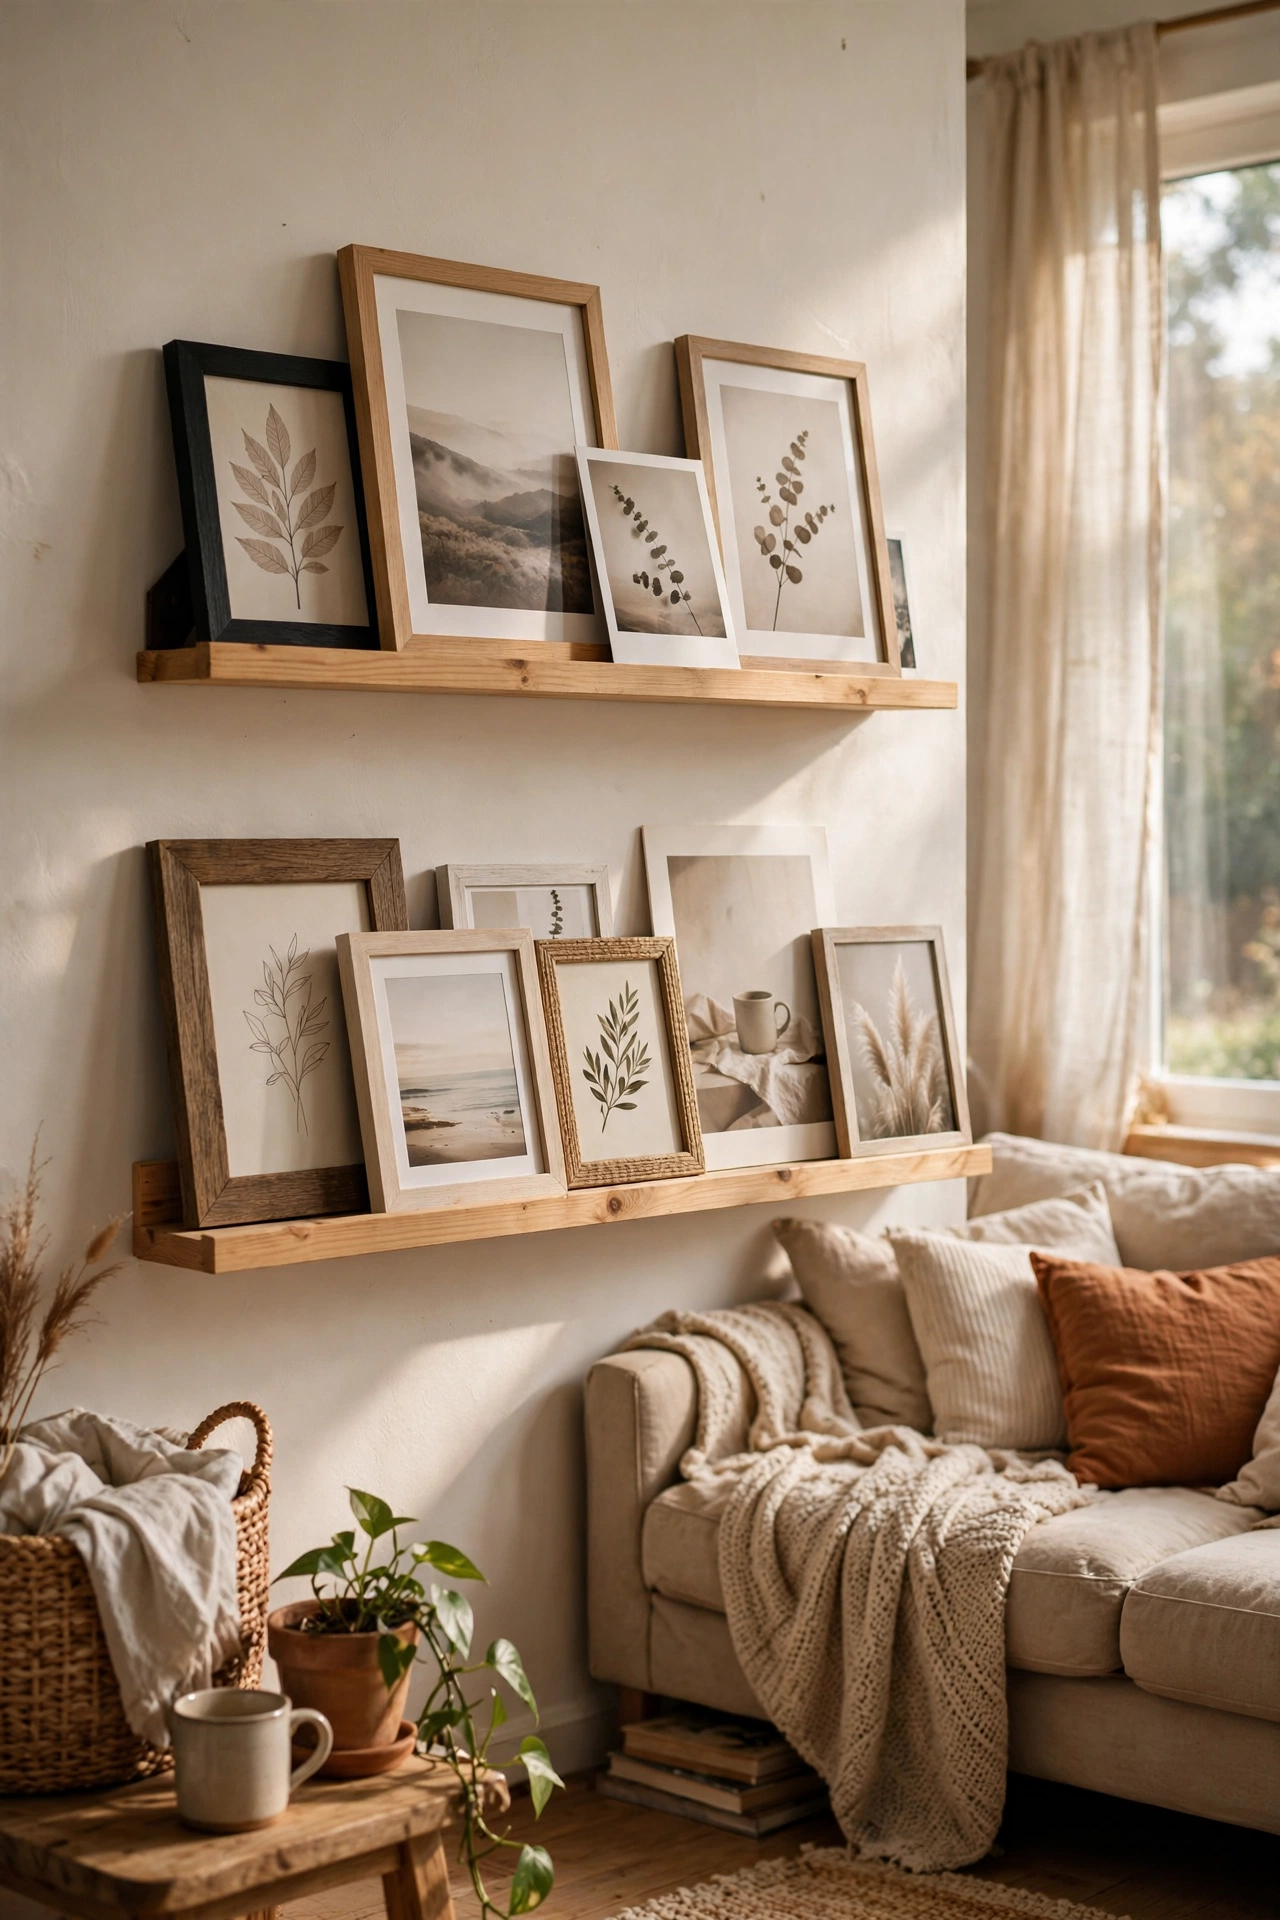
Photo ledges give you a gallery wall you can rearrange in seconds. Mount one or two narrow ledges and lean framed photos and prints along them, layering small frames in front of large ones. I restyle my living room ledges seasonally and it takes twenty minutes. Do overlap the frames for a layered, collected look. Don’t line them up like soldiers — the casual lean is the style. Small screws into studs hold ledges securely; use removable strips only for very light ledges.
Cost: ~$15-28 | Time: 1 hour
7. Macramé Wall Hanging (Beginner Knots)
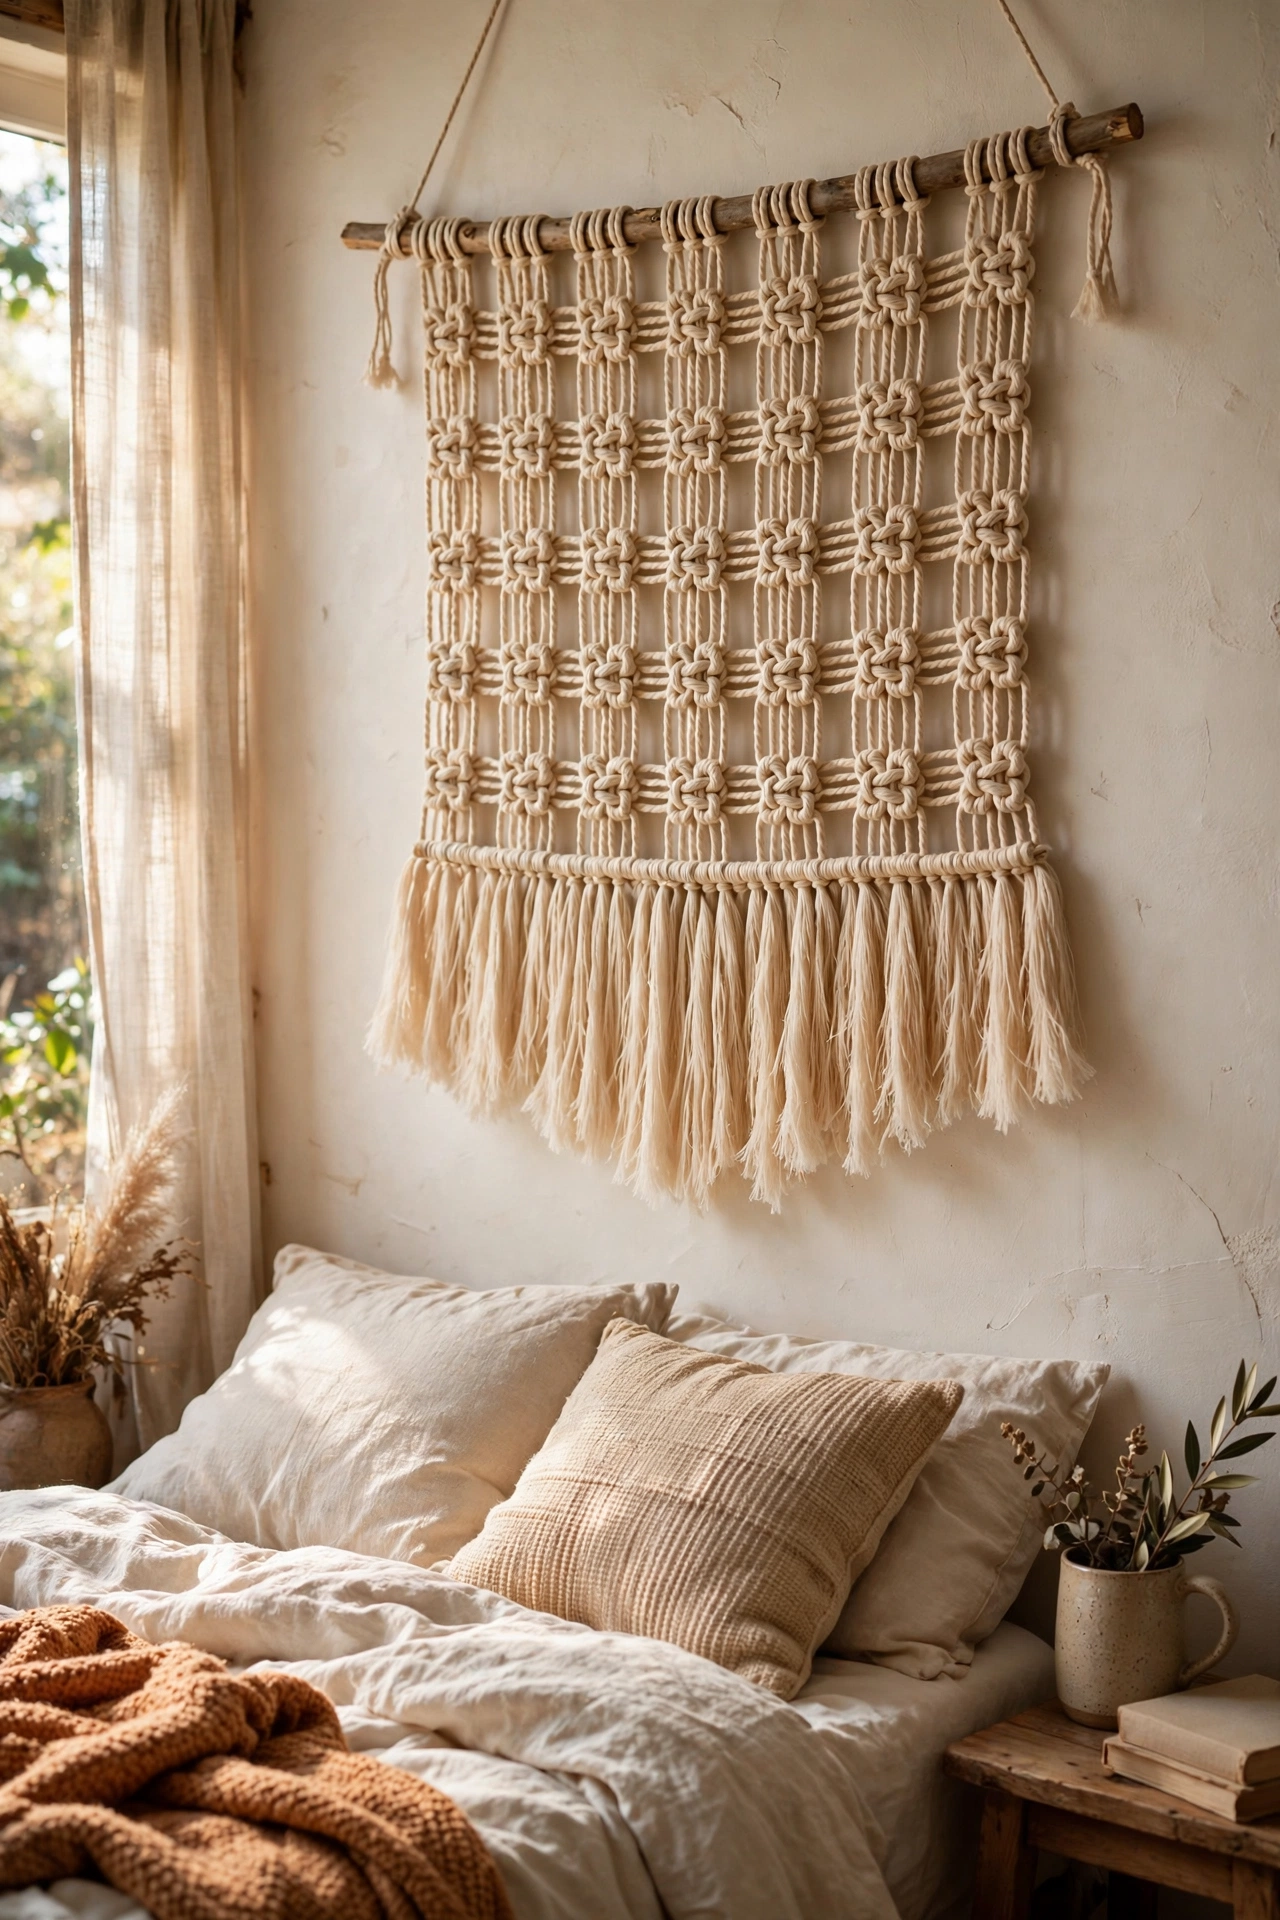
Macramé needs only two knots to look impressive: the lark’s head to attach cords and the square knot for the pattern. Hang cords from a branch or dowel, work rows of square knots, and finish with a V-shape or fringe. My first macramé took an evening following a free tutorial and hangs above my bed. Do use thick cotton cord — 5mm — because thin cord looks fiddly and takes forever. Don’t pull knots unevenly; consistent tension is what makes macramé look professional. Comb out the fringe for the full boho effect.
Cost: ~$8-15 | Time: 2-3 hours
8. Large-Scale Printable Art
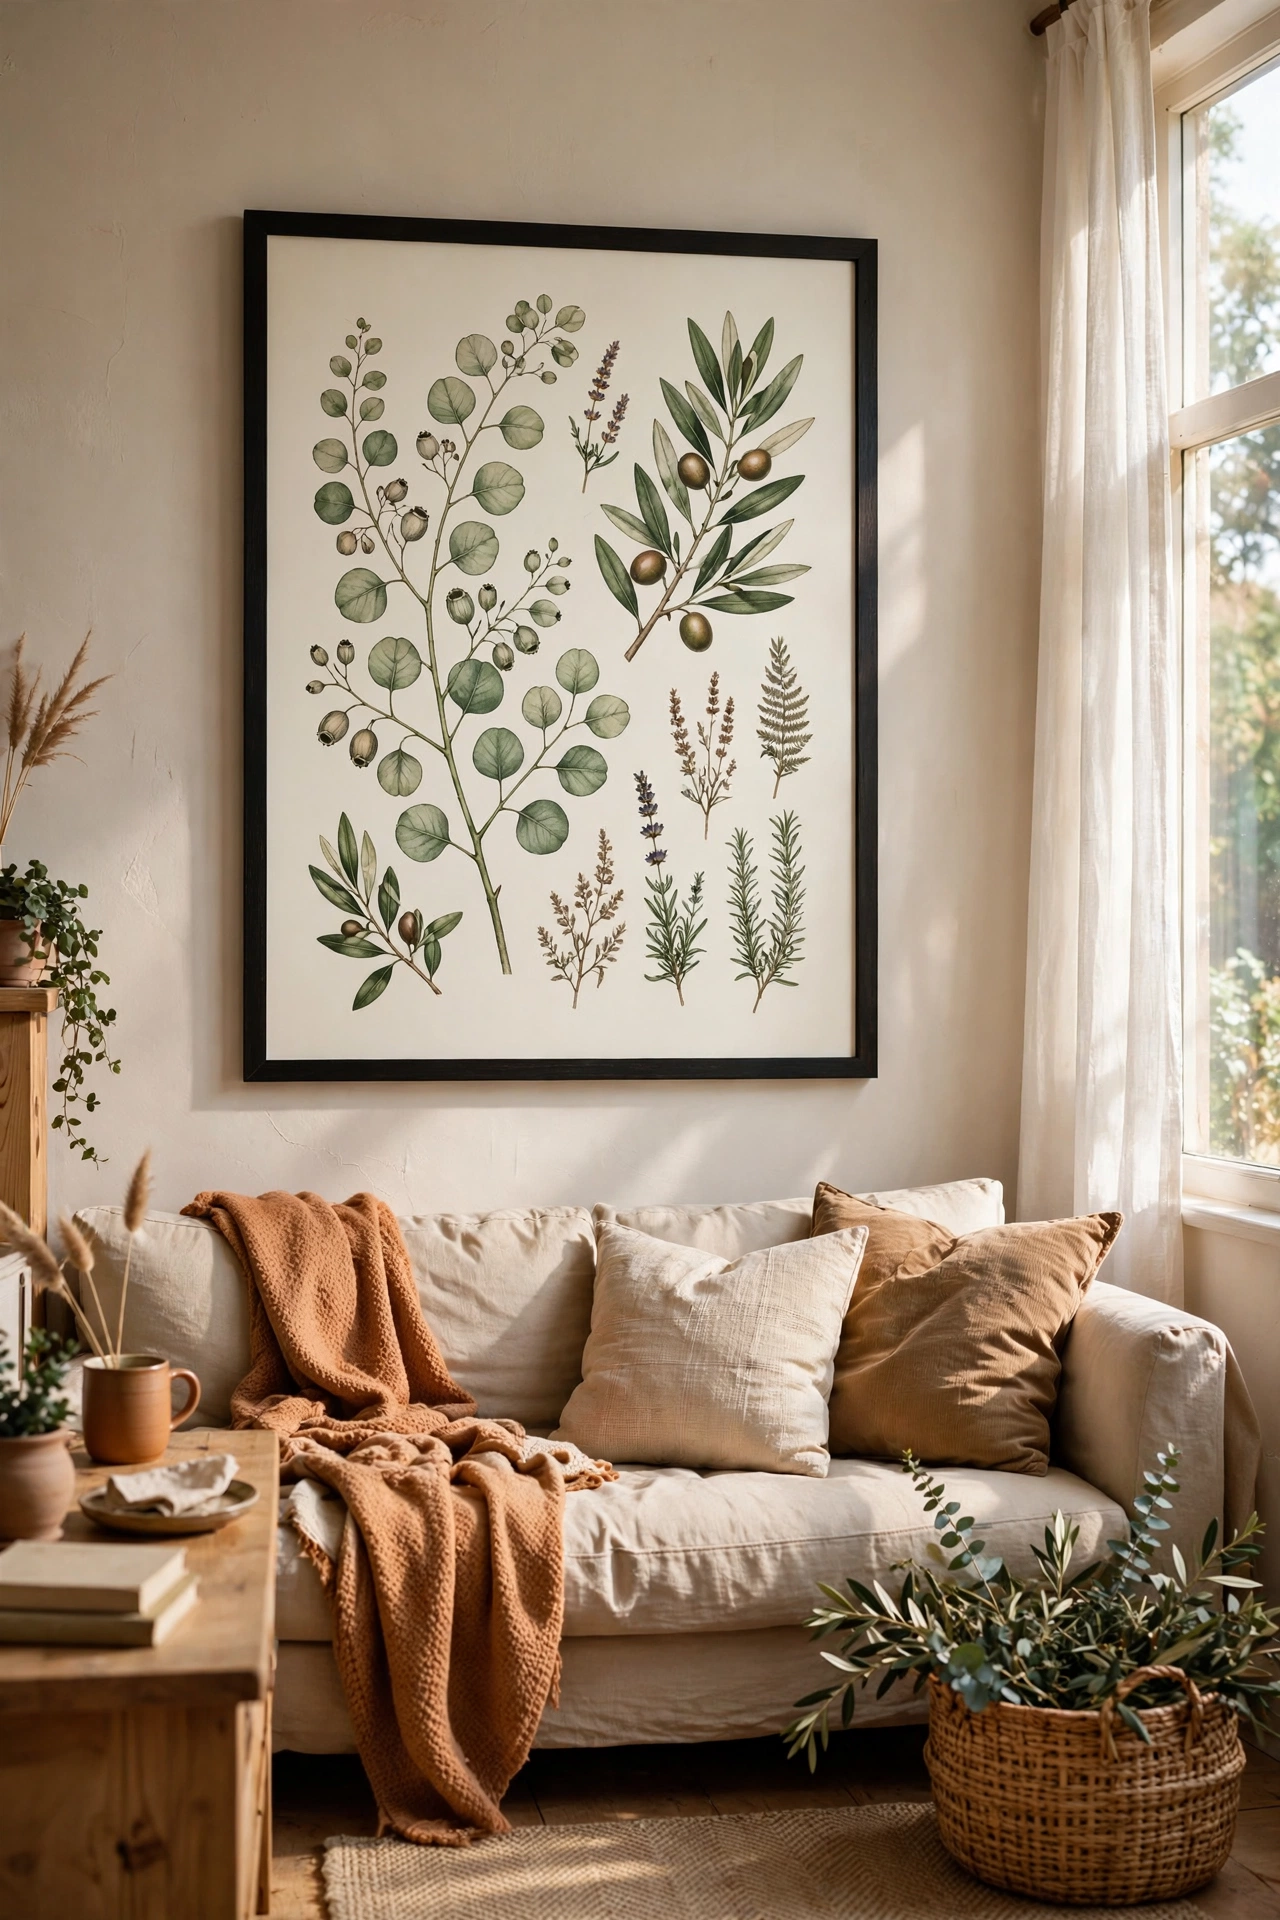
One oversized print makes more impact than ten small frames. Download a high-resolution printable — abstract, botanical, or landscape — print it large at a copy shop, and frame it simply or hang it with magnetic poster hangers. My A1 botanical print cost $9 to print and anchors my entire living room. Do check the file is high resolution before printing big; anything under 150 DPI at final size goes blurry. Don’t print large pieces on a home inkjet — the colours fade. One big piece beats a fussy cluster on large walls.
Pro tip: magnetic wooden poster hangers cost a few dollars and make huge prints look like proper art while keeping them renter-friendly and swappable in seconds.
Cost: ~$10-20 | Time: 30 minutes plus printing
9. Tapestry Hung from a Curtain Rod
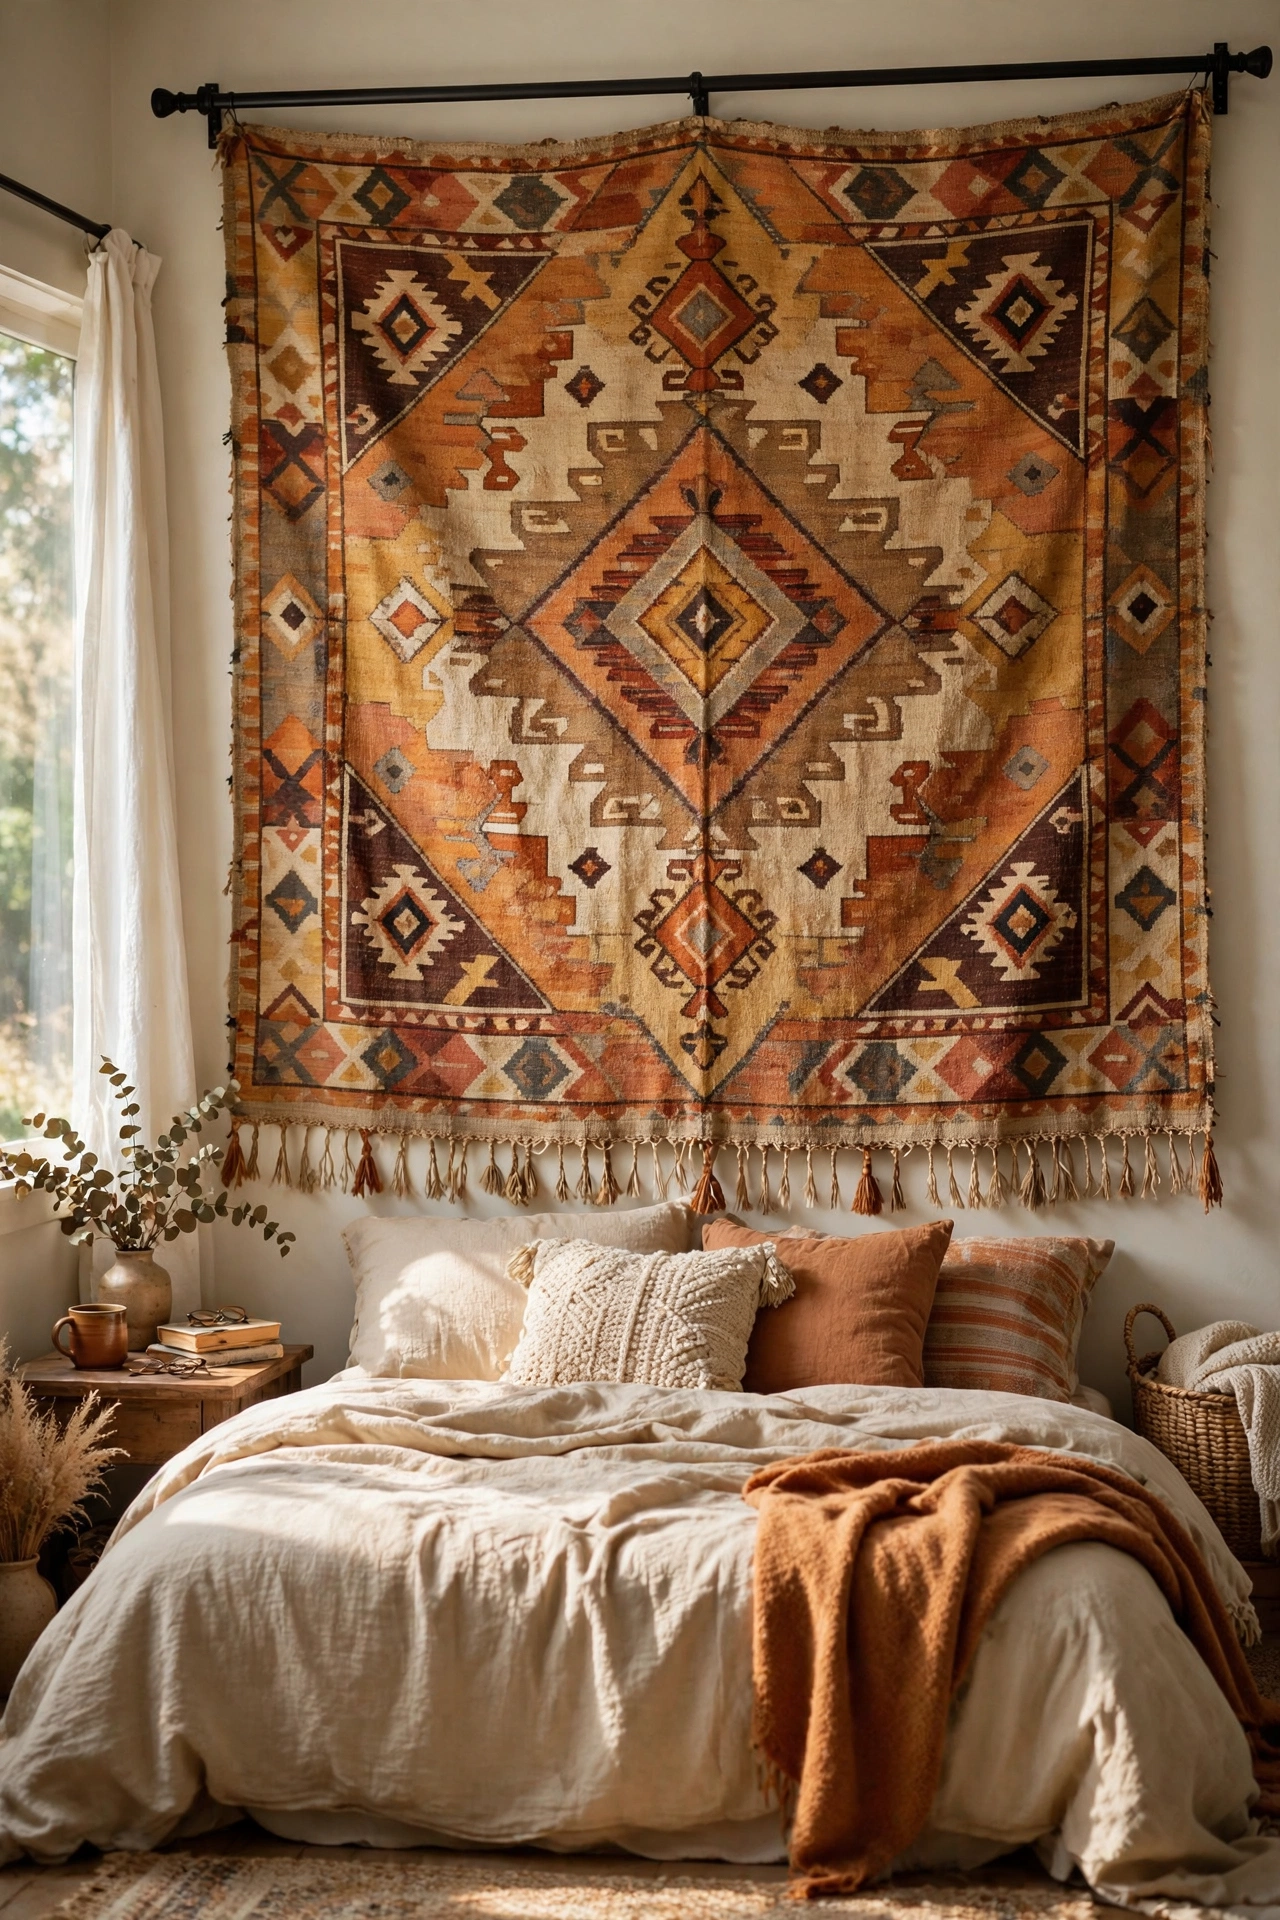
A tapestry on a curtain rod is instant large-scale wall art with zero commitment. Buy an inexpensive tapestry or a beautiful flatweave throw, thread it onto a tension rod or a decorative curtain rod, and hang. I hung a vintage-look tapestry in my bedroom and it adds more warmth than any paint colour could. Do use a rod slightly wider than the textile so it hangs flat. Don’t use heavy tapestries on tension rods — they slip; use proper brackets for anything weighty. The fabric softens a room’s acoustics too.
Cost: ~$15-30 | Time: 20 minutes
10. Mirror Cluster Wall
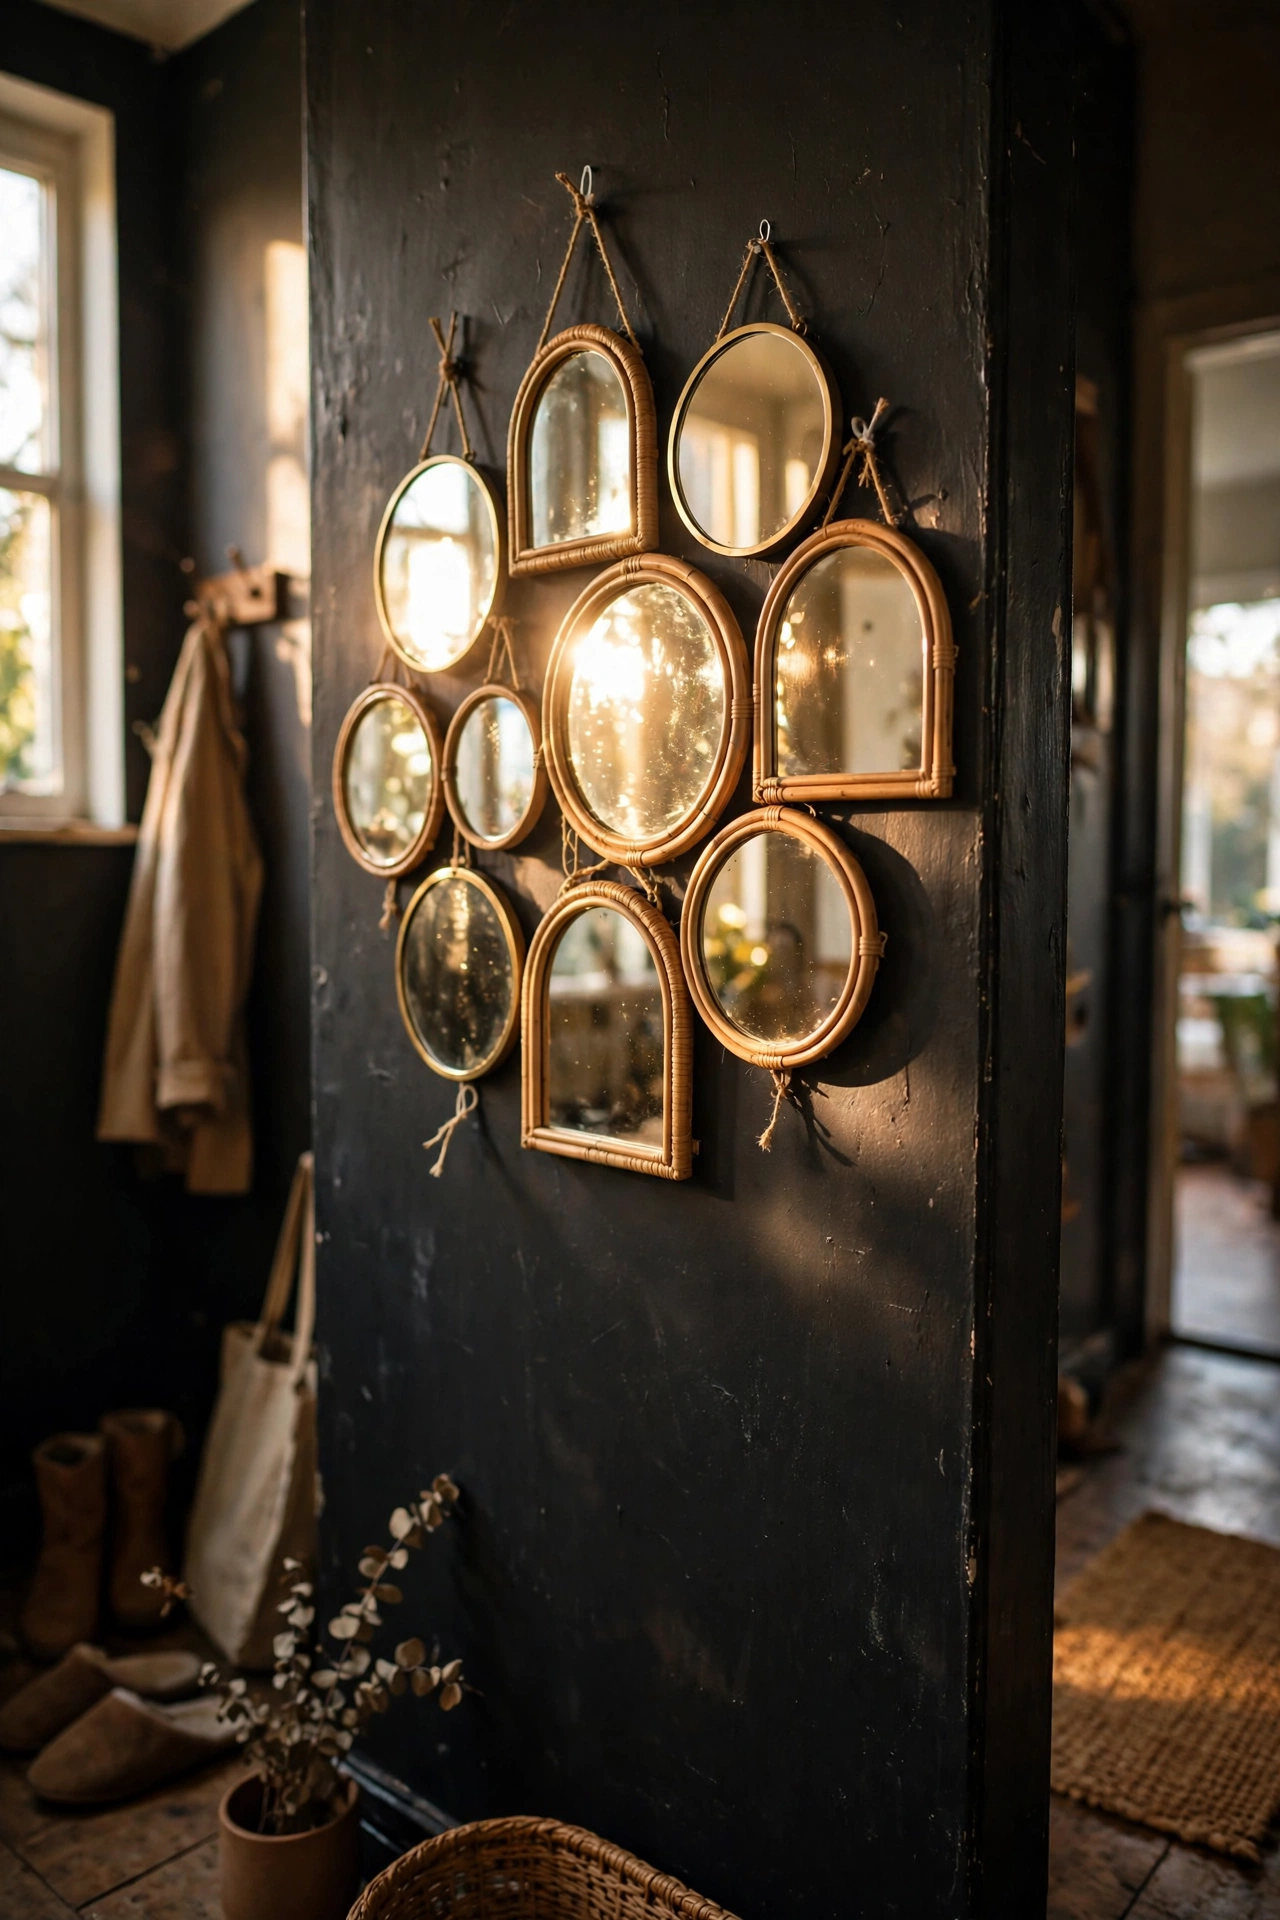
A cluster of small mirrors bounces light around and needs no art at all. Collect small mirrors in different shapes from charity shops and discount shops, and arrange them in an organic cluster with removable strips. My dark hallway mirror cluster doubled the light from the front door. Do place the cluster where it reflects a window or something pretty — mirrors double whatever they face. Don’t hang a mirror facing clutter; it just doubles the mess. Round and arched shapes mix beautifully.
Cost: ~$12-22 | Time: 45 minutes
11. Dried Flower Wall Installation
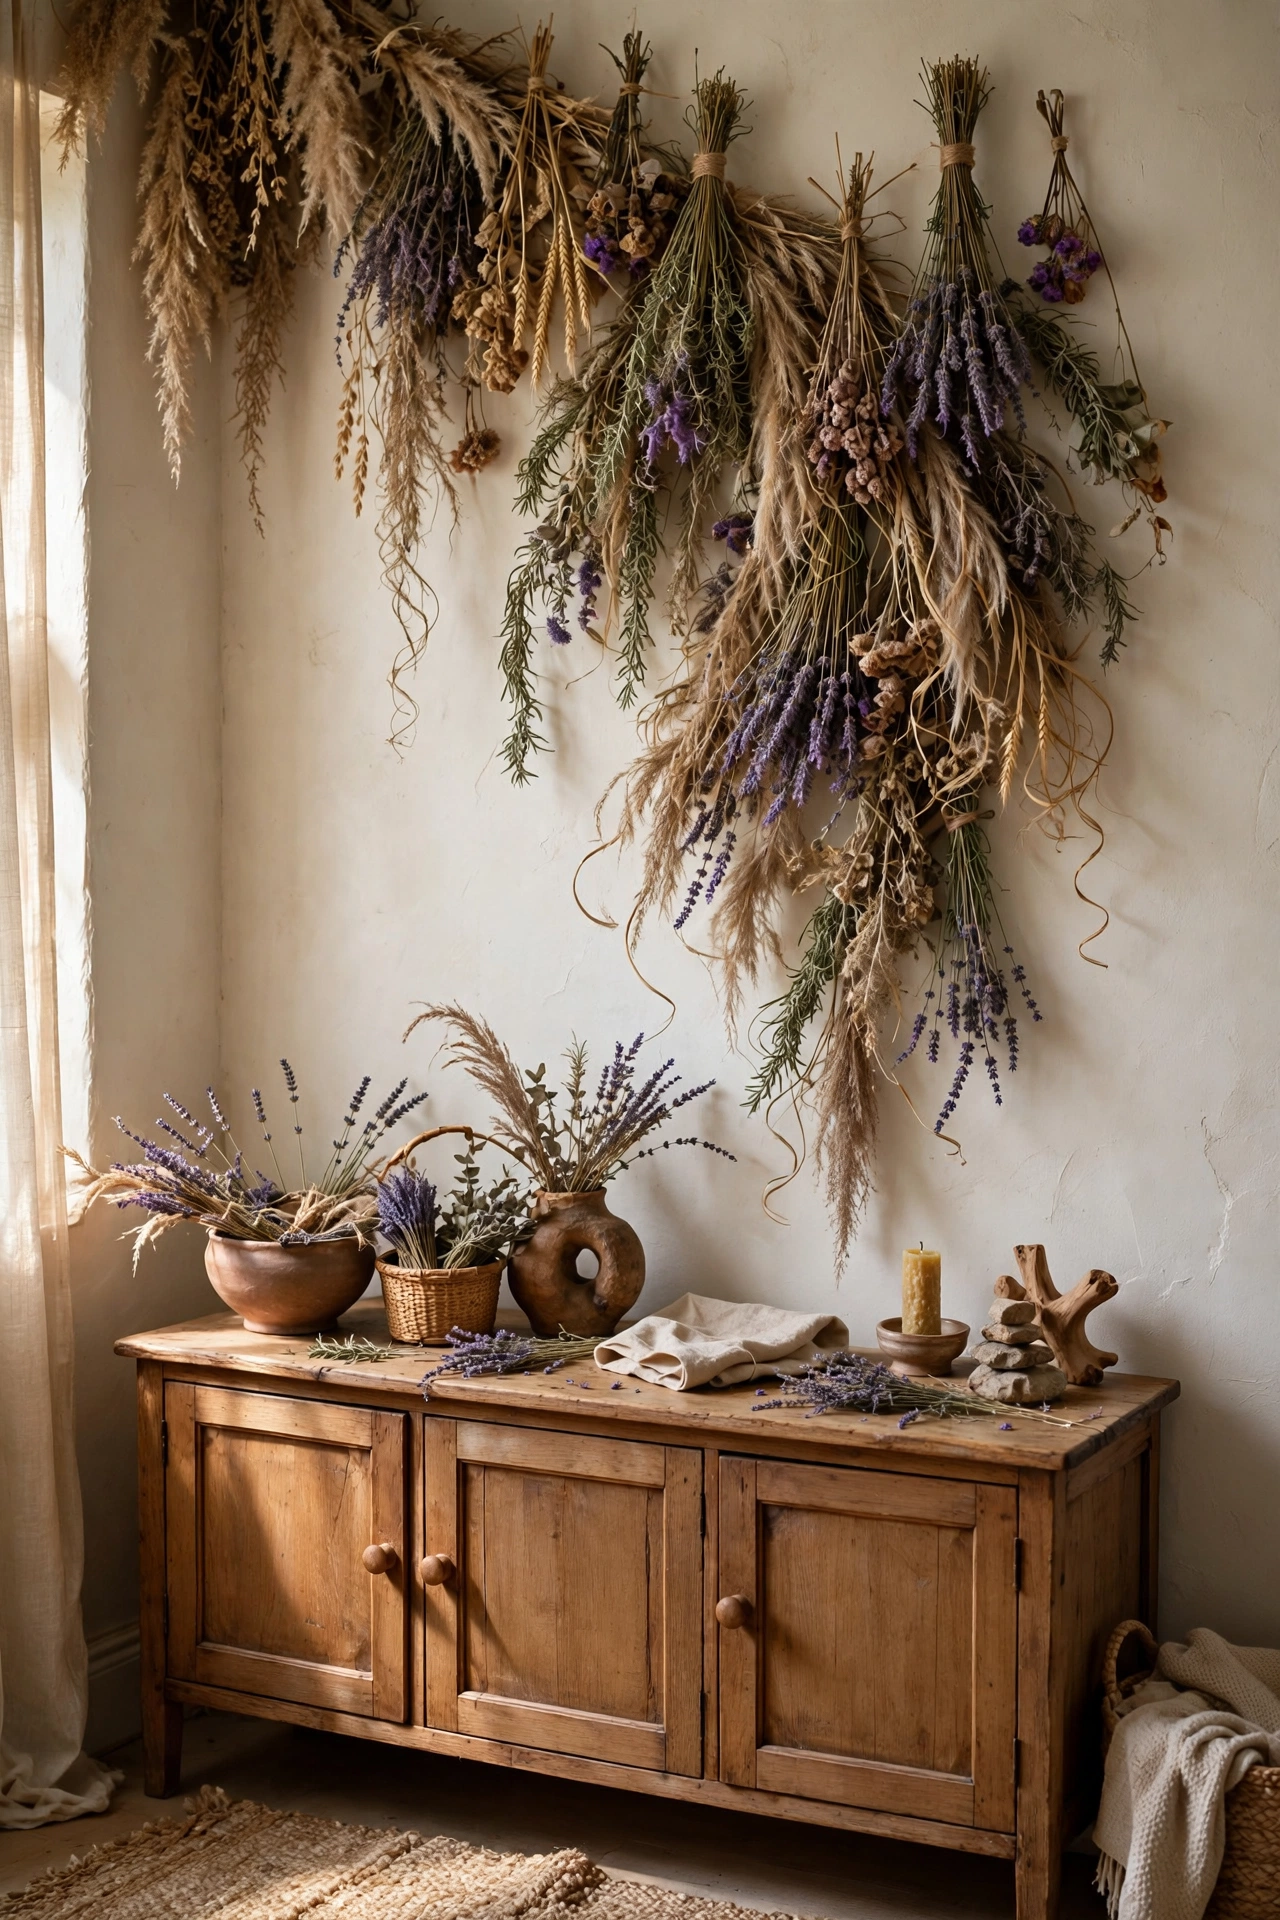
Dried flowers pinned directly to the wall create a stunning organic installation. Arrange dried stems — grasses, lavender, bunny tails — in a flowing shape on the wall, fixing each with a small removable hook or pin. I made a cascading grasses installation above my sideboard and it is the most photographed corner of my house. Do work from the bottom up, building the shape as you go. Don’t use fresh flowers; they wilt and stain. Dried installations last for years with an occasional gentle dusting.
Pro tip: photograph your arrangement as you build it. The camera shows gaps and lopsidedness your eyes miss when you are standing close to the wall.
Cost: ~$10-20 | Time: 1.5 hours
12. Woven Basket Wall
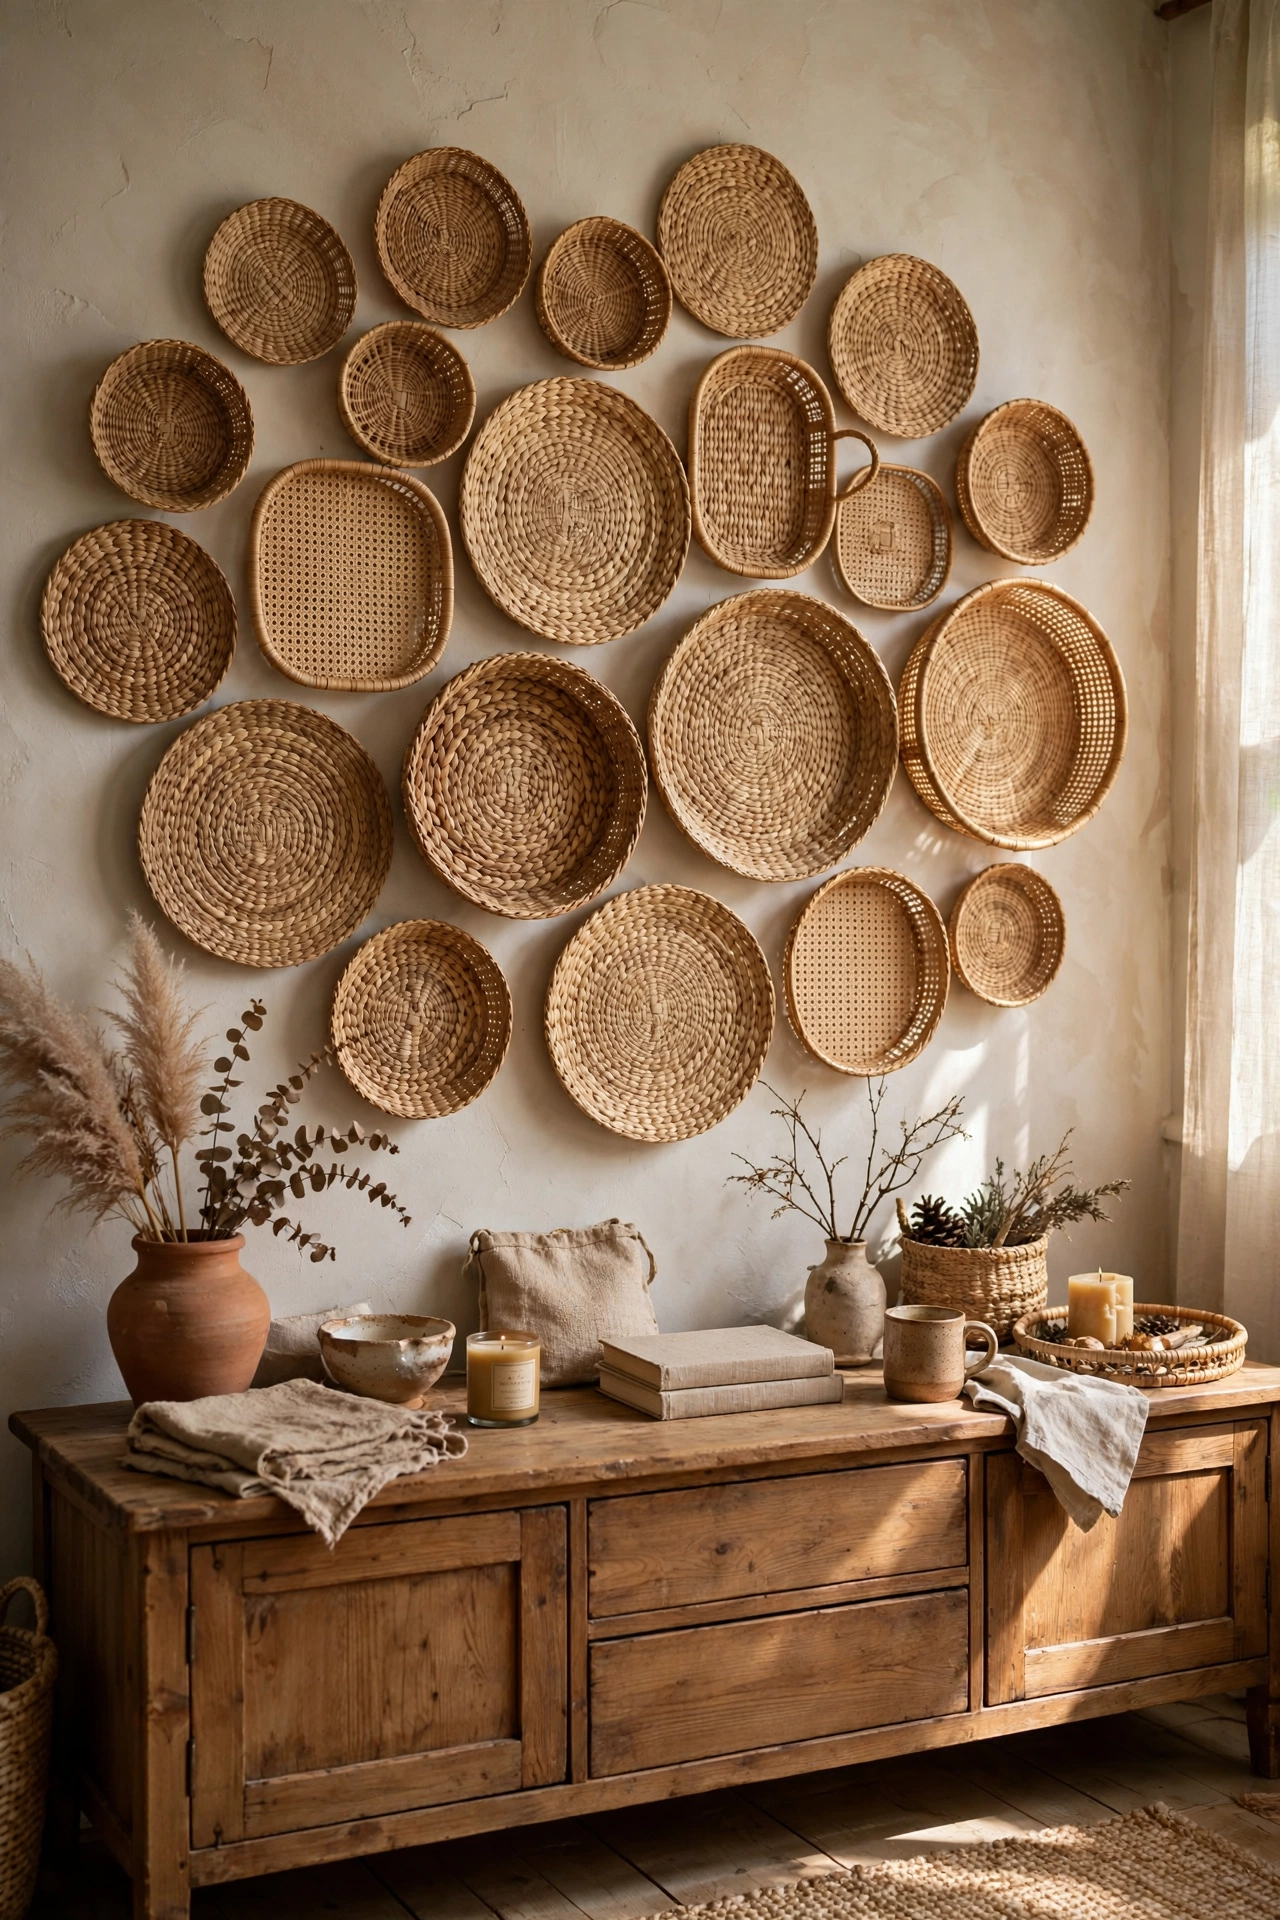
Flat woven baskets hung as a group bring warmth no frame can match. Collect shallow baskets in graduated sizes, hang the largest first with two small nails or removable hooks, and build outward. My basket wall above the sideboard mixes seagrass and cane and it is pure texture. Do keep the baskets shallow — deep ones cast strange shadows. Don’t hang them with a single fixing; two points stop them slowly rotating. This suits boho, farmhouse, and eclectic rooms perfectly.
Cost: ~$10-20 | Time: 45 minutes
13. Cork Board Gallery Wall
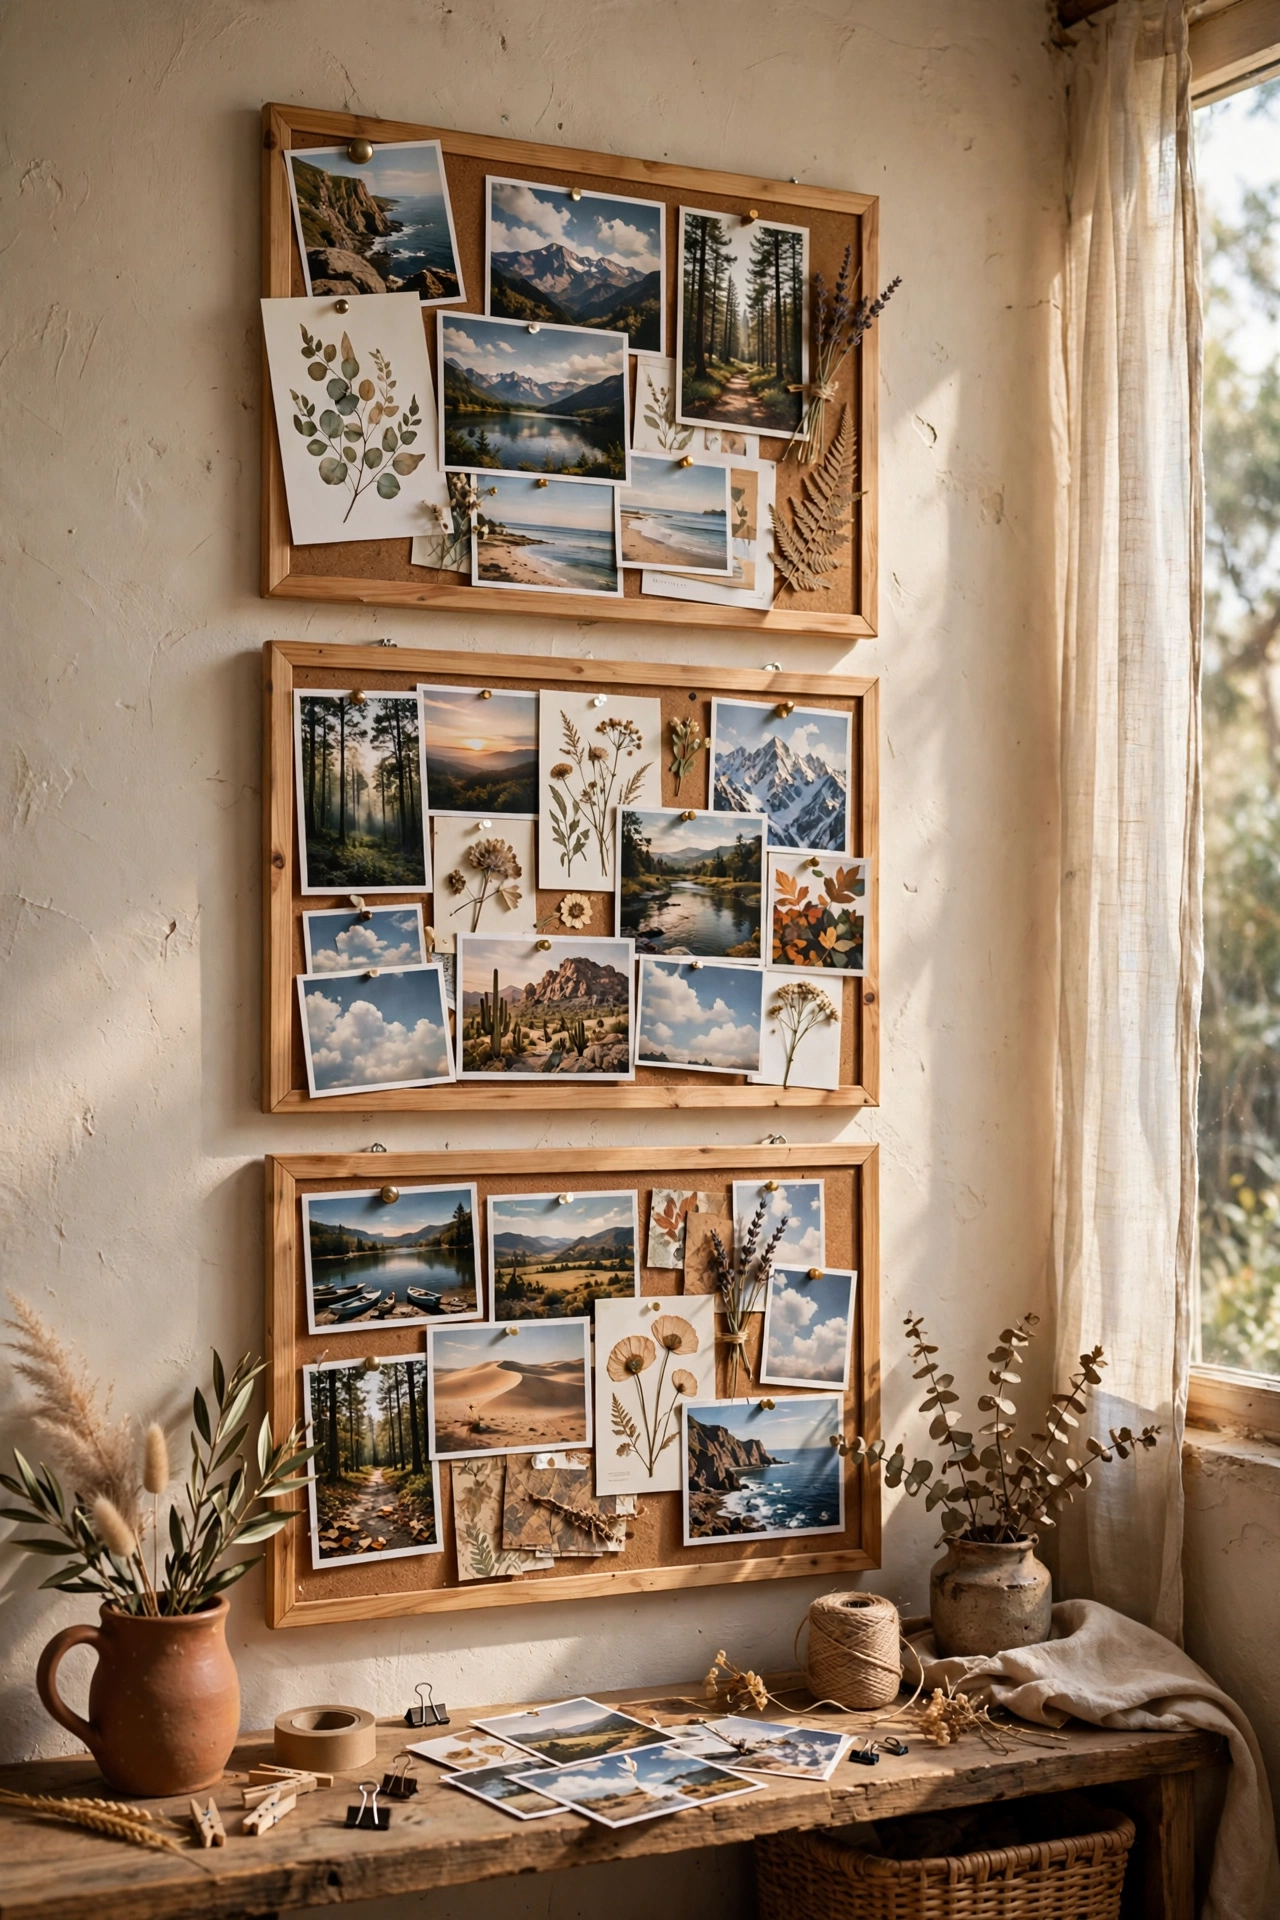
A wall of framed cork boards is a gallery you can change daily. Hang three or four cork boards — or one large one — and pin up photos, postcards, tickets, and prints. I have a cork wall in my study that evolves constantly and I never tire of it. Do frame the cork boards simply so they look intentional rather than office-like. Don’t use one tiny board; go big or group several for real impact. This is the wall for people who can never commit to permanent art.
Cost: ~$12-24 | Time: 45 minutes
14. Hanging Plant Wall (Pothos on Hooks)
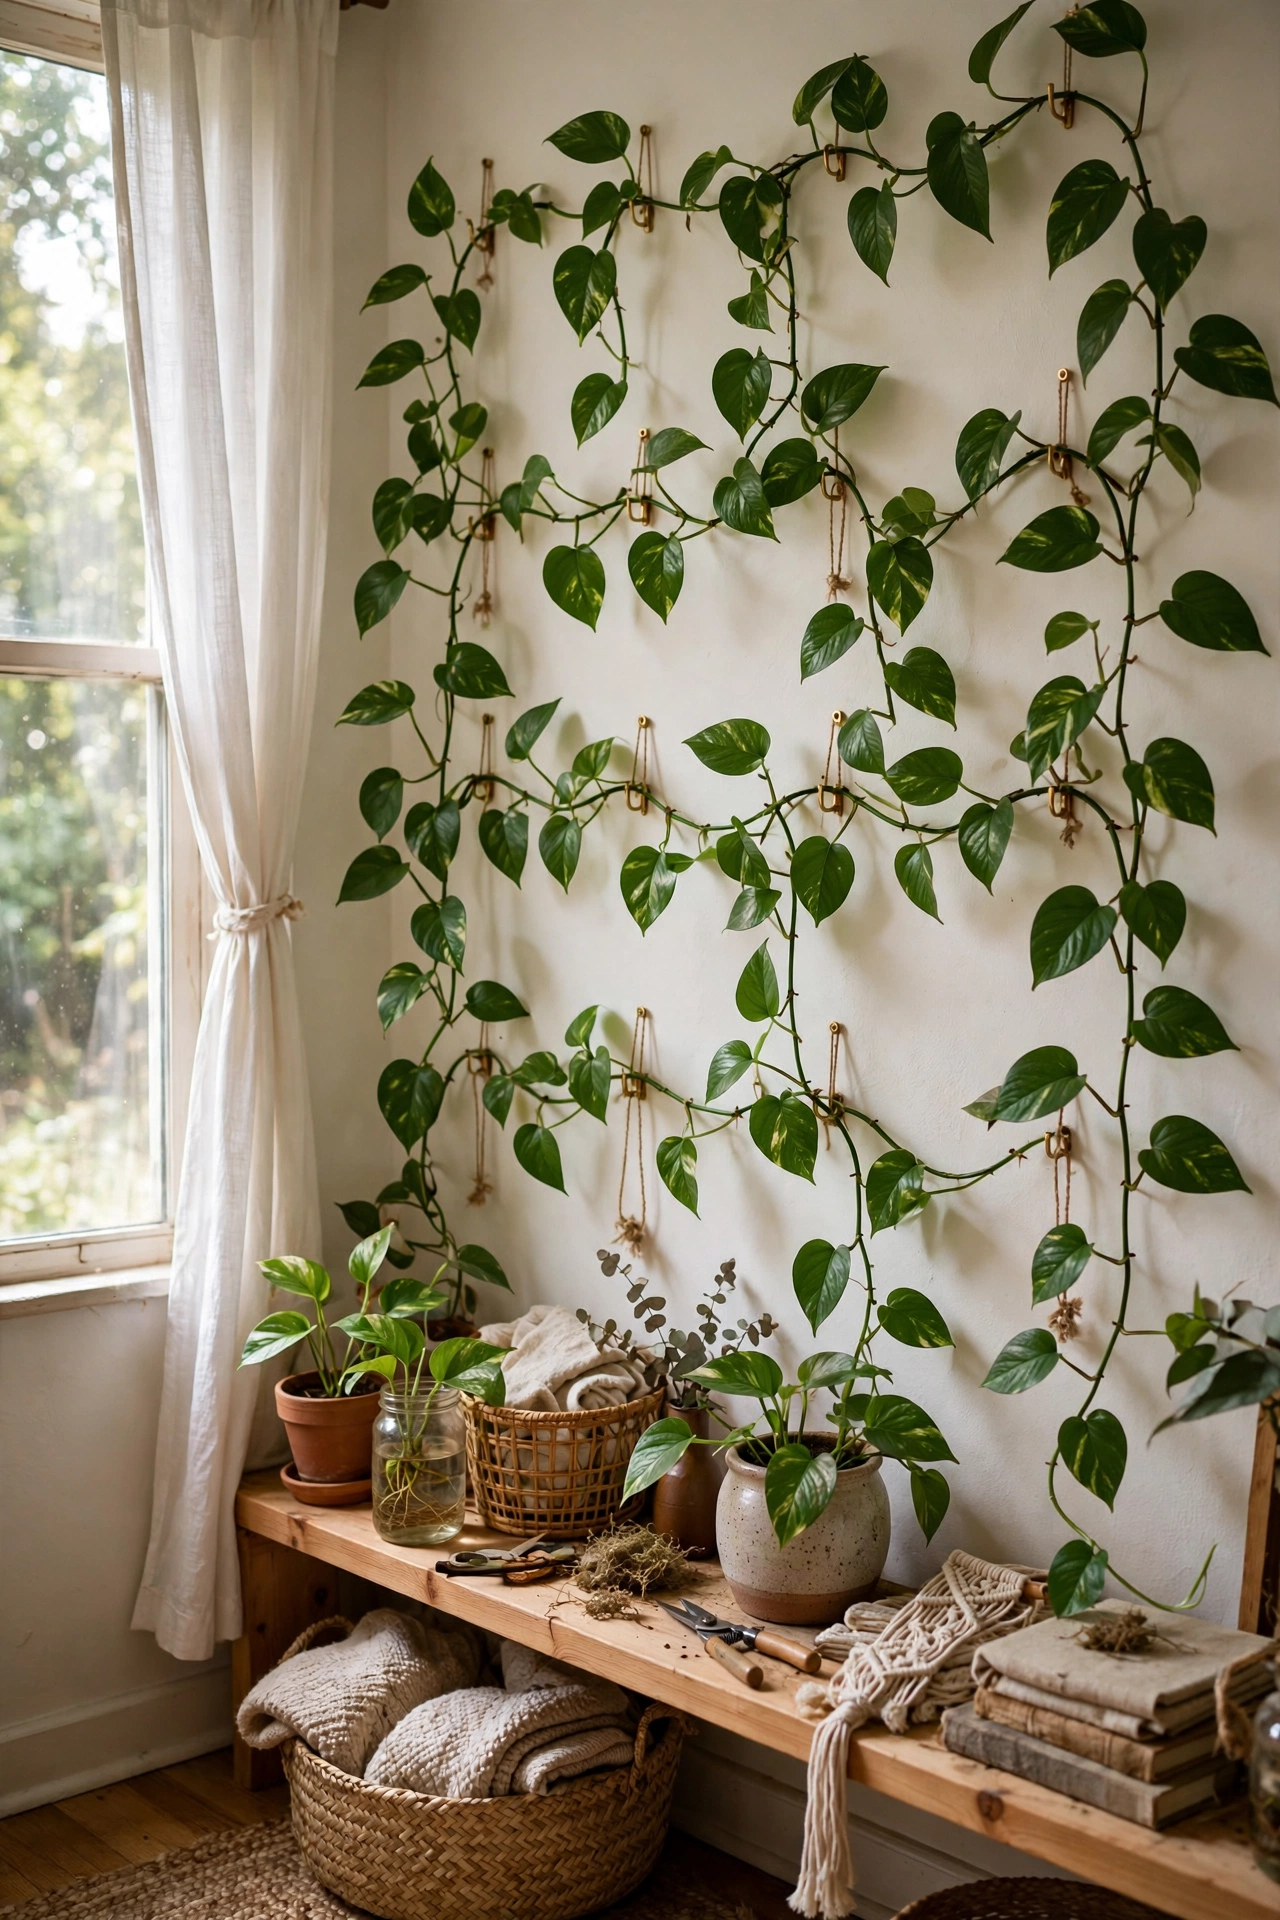
Trailing plants on wall hooks create a living green wall with no paint and little cost. Screw small hooks into the wall in a climbing pattern, train pothos or philodendron vines along them, and watch the wall turn green over months. My pothos wall is two years old and gloriously jungly. Do use proper wall plugs for the hooks — a mature plant is heavier than you think. Don’t choose fussy plants; pothos and philodendron forgive everything. This is the slowest idea on the list and the most rewarding.
Pro tip: start with three plants, not one. A single vine takes years to cover a wall; three planted together give you a respectable green wall within a year.
Cost: ~$15-25 | Time: 30 minutes plus growing
15. String Art Initial
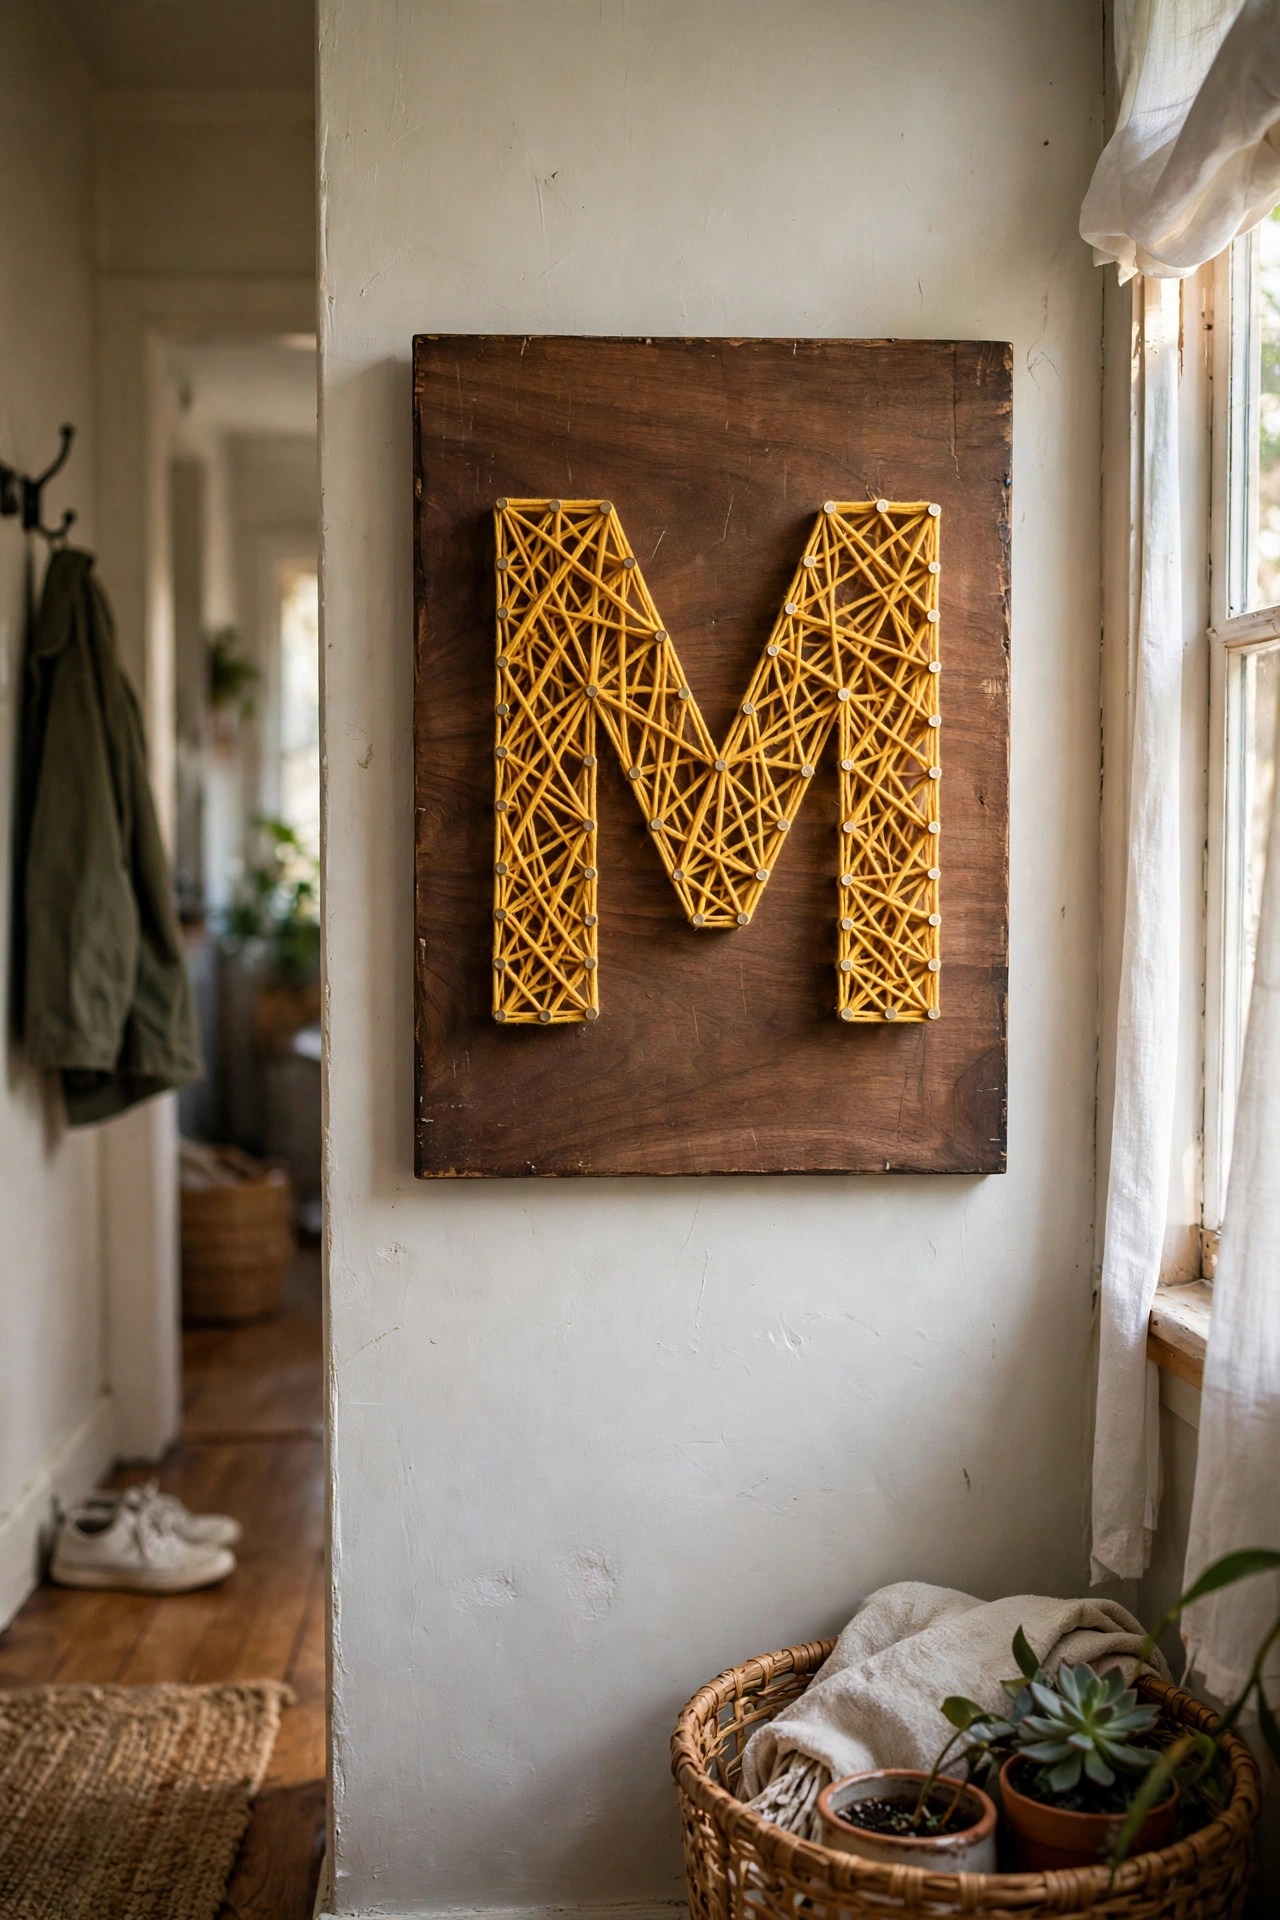
String art is due a comeback, and a single initial looks modern rather than retro. Hammer small nails in the shape of your initial on a stained wood board, then wrap coloured string around them in overlapping passes. I made an “S” for my hallway in mustard string on walnut stain and it looks properly graphic. Do hammer the nails to even heights or the string sits unevenly. Don’t wrap randomly — work methodically around the outline then fill in. The contrast between string colour and board is everything.
Cost: ~$8-14 | Time: 1.5 hours
16. Washi Tape Geometric Wall Design
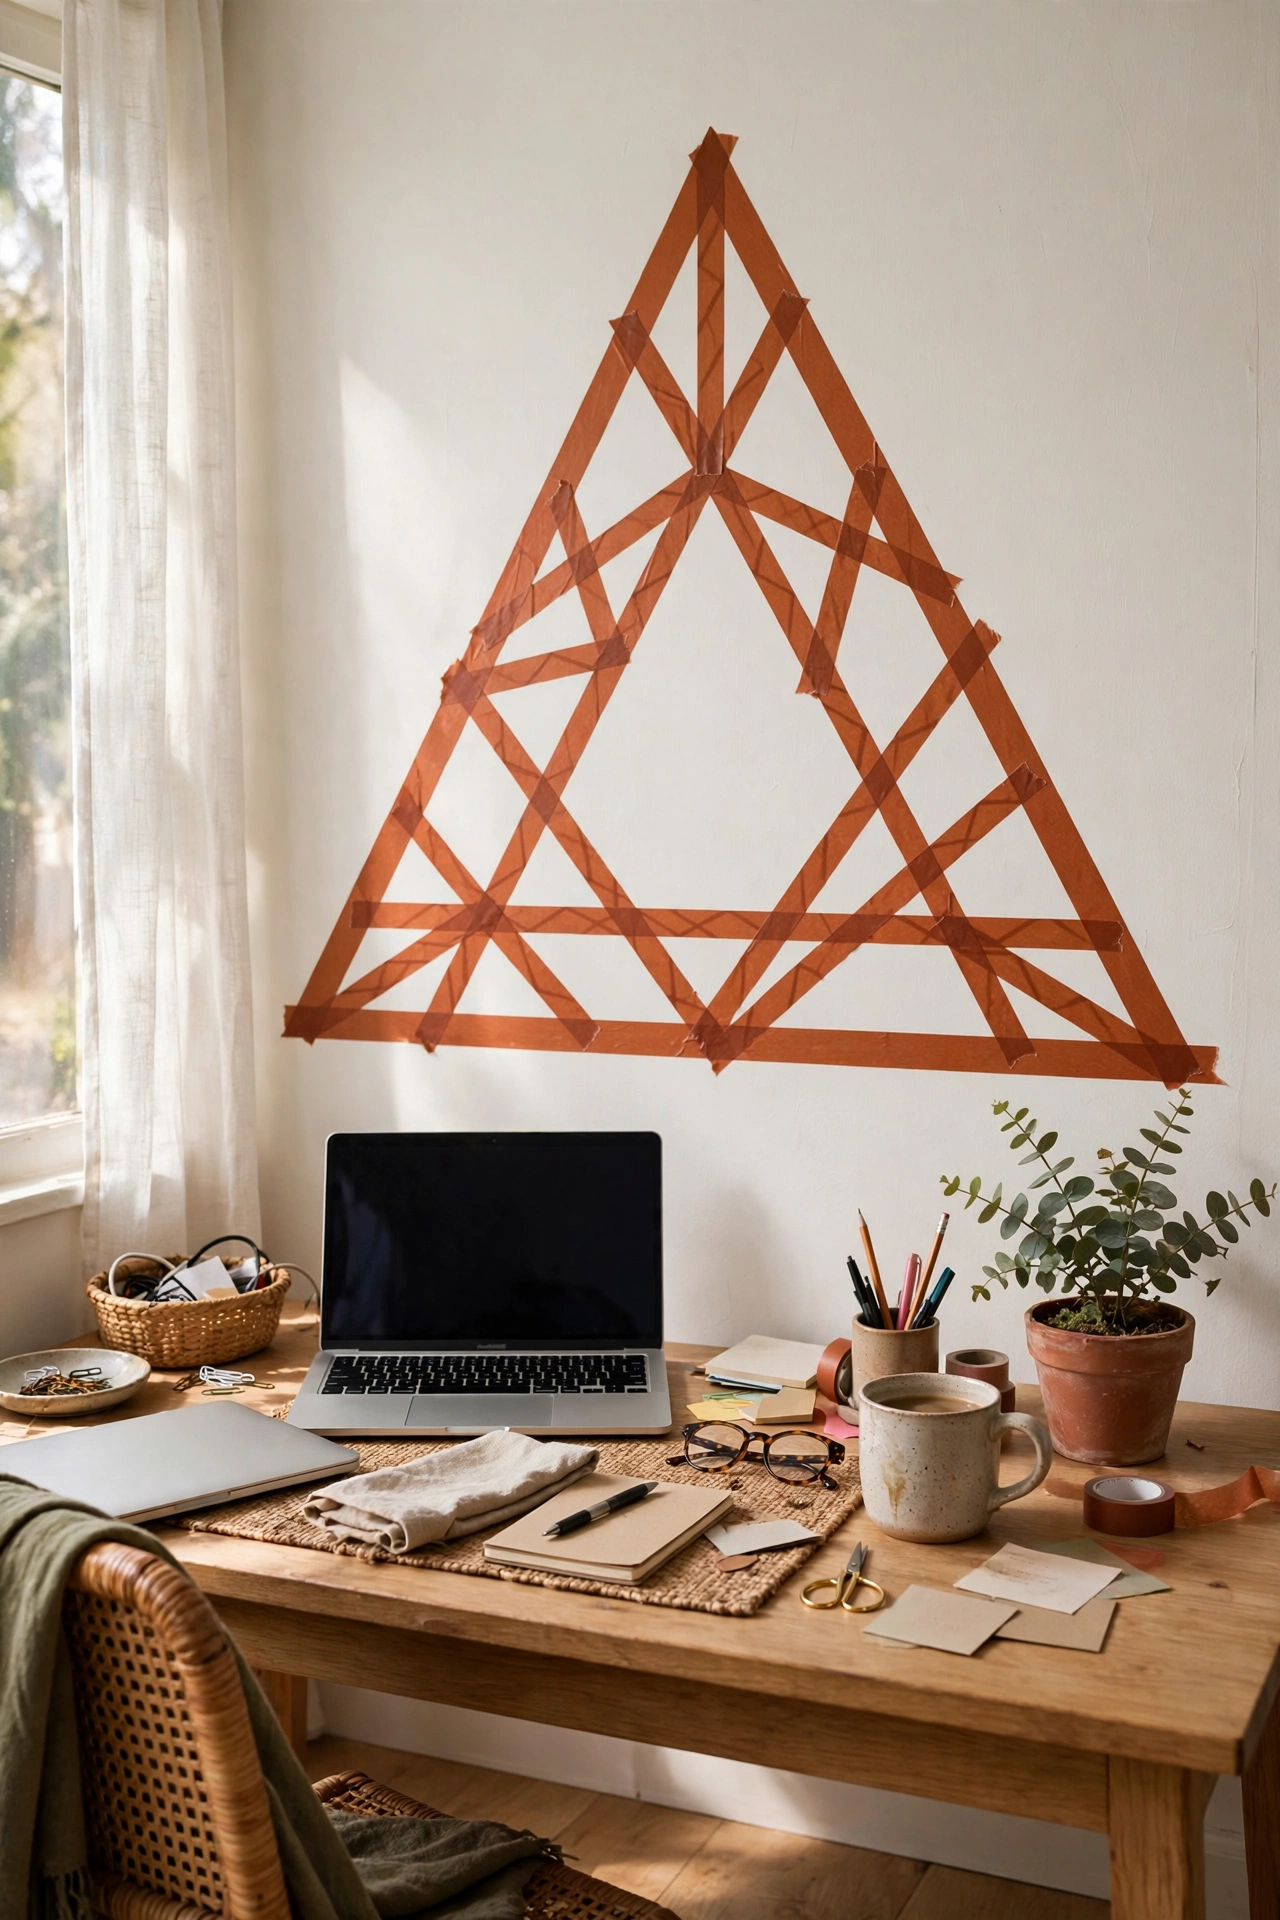
Washi tape creates bold geometric wall designs that peel off cleanly. Plan a simple pattern — chevrons, a giant triangle, or a grid — mark it lightly in pencil, and apply wide washi tape in your chosen colours. I did a huge terracotta triangle behind my desk and it looks painted. Do use quality washi tape; cheap tape tears and leaves residue. Don’t attempt fiddly curves — washi tape loves straight lines and sharp angles. This is the ultimate commitment-free statement wall.
Pro tip: sketch your design on paper first and live with the sketch for a day. Geometric tape designs are quick to apply but annoying to redo, so get the design right before you stick anything.
Cost: ~$8-14 | Time: 1 hour
17. Book Page Wall Collage
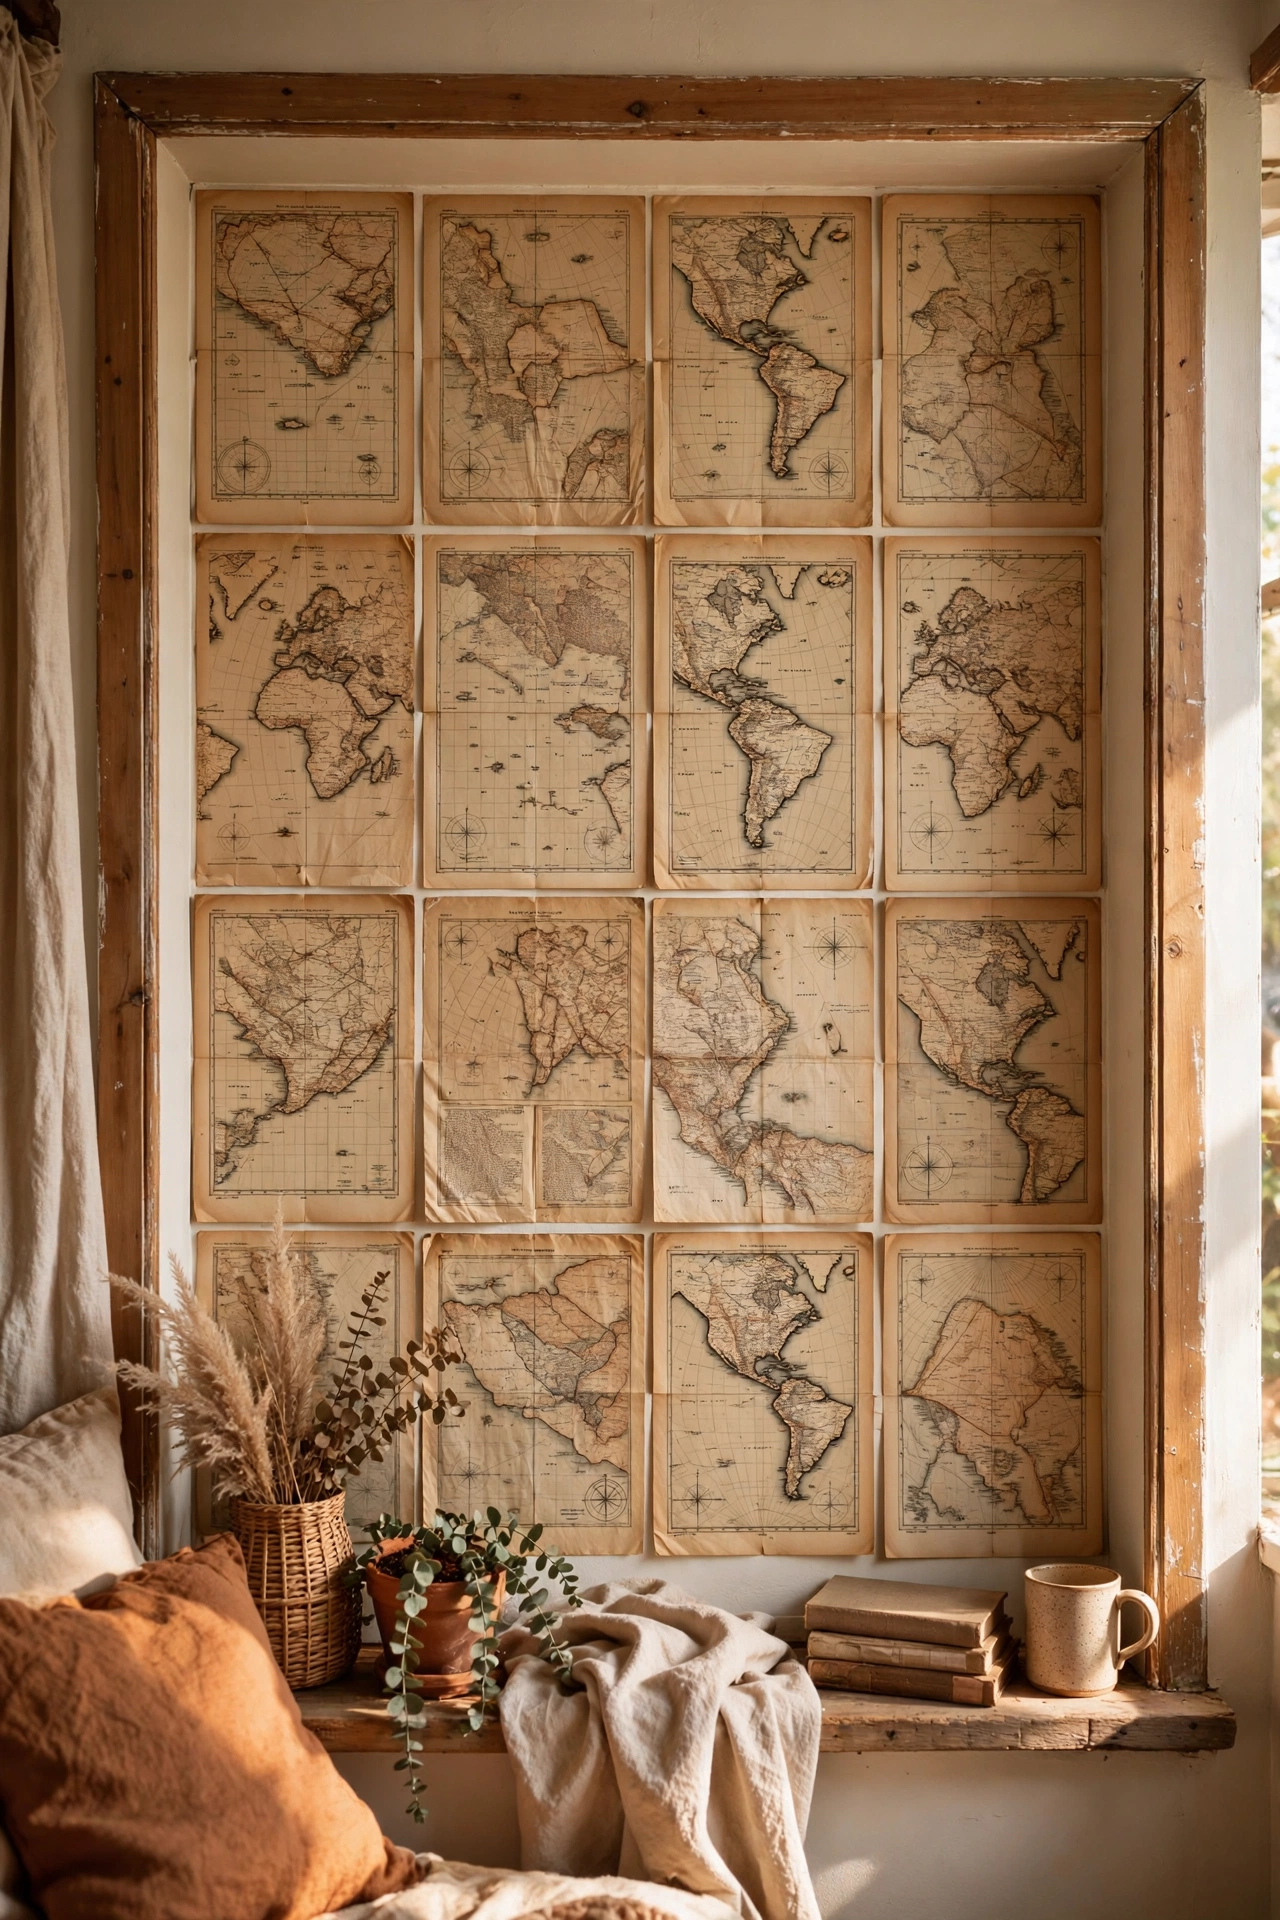
Old book pages pasted in a grid create a literary wallpaper effect with no paint. Take a damaged book — never a good one — and attach pages to the wall in neat rows with removable adhesive. I papered an alcove with vintage atlas pages and it looks like expensive decoupage. Do use removable mounting squares so the pages come down cleanly. Don’t use a book you love; charity shops sell damaged books for pennies precisely for this. Overlapping the pages slightly hides any wall colour showing through.
Cost: ~$5-10 | Time: 1.5 hours
Quick questions, answered
How do I hang things without damaging rental walls?
Removable adhesive strips and hooks hold most lightweight decor — frames, mirrors, baskets, and fabric panels. For heavier items, use proper wall plugs and accept that you will fill two small holes when you leave; a dab of filler is invisible. Most landlords prefer two neat filled holes to a wall of failed adhesive.
What is the best no-paint statement for a large blank wall?
One oversized piece: a large tapestry, an A1 print, or a woven hanging. Large walls swallow small frames — a cluster of tiny pictures on a big wall looks lost. Go big once rather than small ten times.
Can I do an accent wall without paint?
Yes — peel-and-stick wallpaper, a washi tape design, a book-page collage, or a full tapestry all create accent-wall impact with zero paint. Peel-and-stick wallpaper is the closest to a real painted or papered wall, and it removes cleanly.
How do I arrange wall decor without it looking random?
Plan on the floor first, keep gaps consistent, and give the arrangement an overall shape — a rectangle, an oval, or a clear cluster. Consistent spacing is what separates “gallery wall” from “things nailed up.” Paper templates on the wall let you perfect the layout before committing.
📌 Renting with blank walls? Pin this post now so you can save this idea for your next decorating day.
Keep the walls beautiful with these next: (see also: 23-no-paint-diy-wall-decor-ideas-on-a-budget) (see also: 15-no-paint-diy-wall-decor-ideas-for-renters) (see also: 19-diy-gallery-wall-ideas-for-beginners)
