15 Dollar Store DIYs Worth Every Penny
I used to walk past the dollar store’s home aisle without a second glance, assuming everything there would look cheap in my house. Then a friend showed me her hallway, which I had assumed was styled with boutique finds, and half of it came from dollar store diy decor. I spent the next month testing which dollar store projects actually look good and which ones look exactly like what they cost. This list is the fifteen that passed the test: every one costs a few dollars, takes under an hour, and has fooled at least one guest in my home.
The secret to dollar store diy decor is editing. Buy the simple glass, the plain wood, and the basic greenery, and skip anything with glitter, slogans, or fake finishes. A coat of spray paint and decent styling does the rest. Keep your receipt, because you will want to go back.
1. Frosted Glass Jar Lanterns
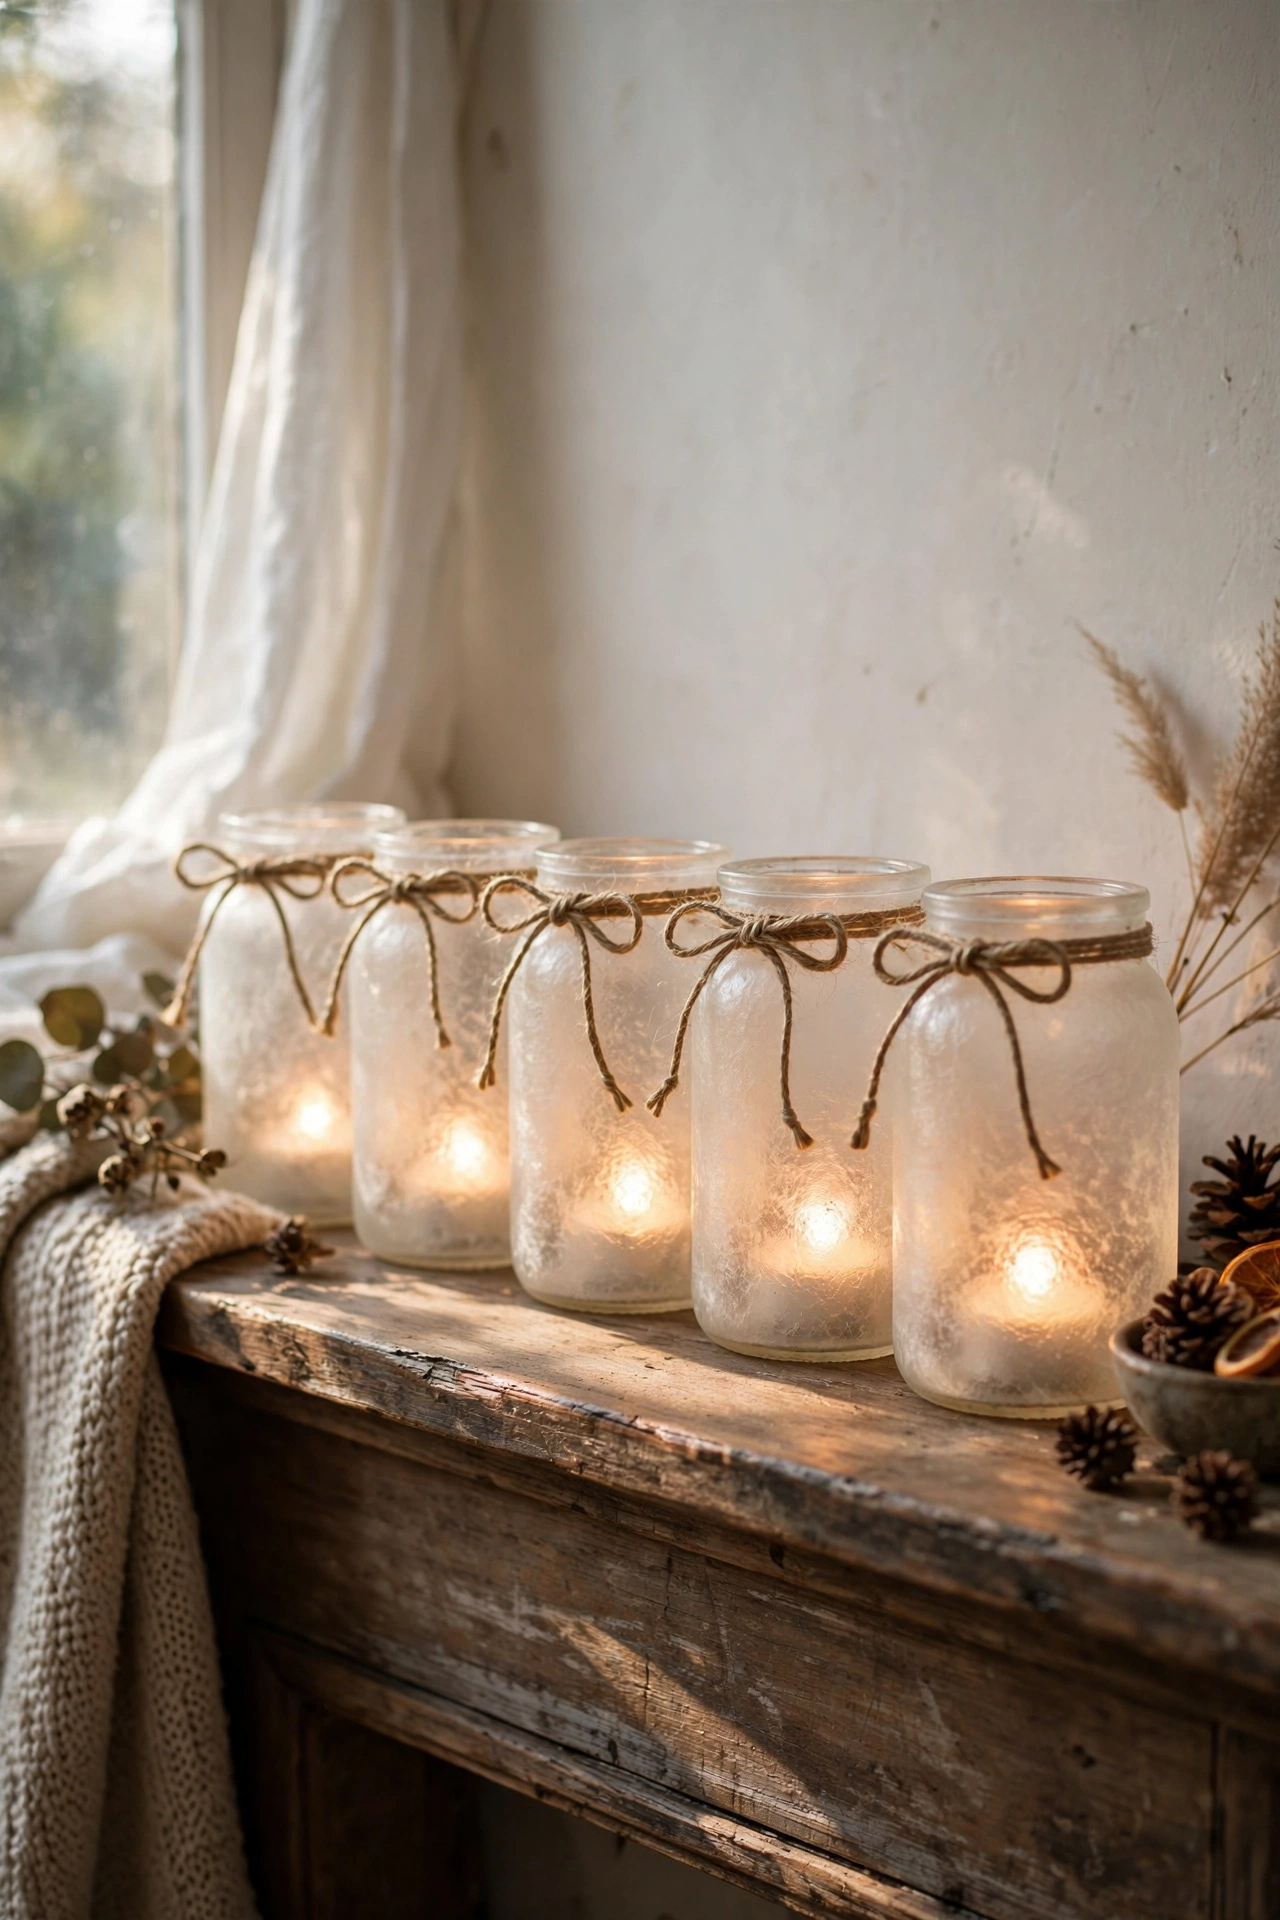
Plain glass jars become glowing lanterns with a coat of frosted glass spray. I bought six small jars, sprayed them lightly with frosting spray, and dropped battery tea lights inside. They line my mantel in winter and my patio table in summer, and the frosted finish makes the light glow softly instead of glaring. The key is light coats from about ten inches away, because heavy spraying goes blotchy. I did two thin passes and the finish is perfectly even. Tie a bit of twine around the neck of each jar and they look handmade rather than store-bought.
Cost: ~$6-10 | Time: 30 minutes plus drying
2. Foam Board Botanical Wall Art
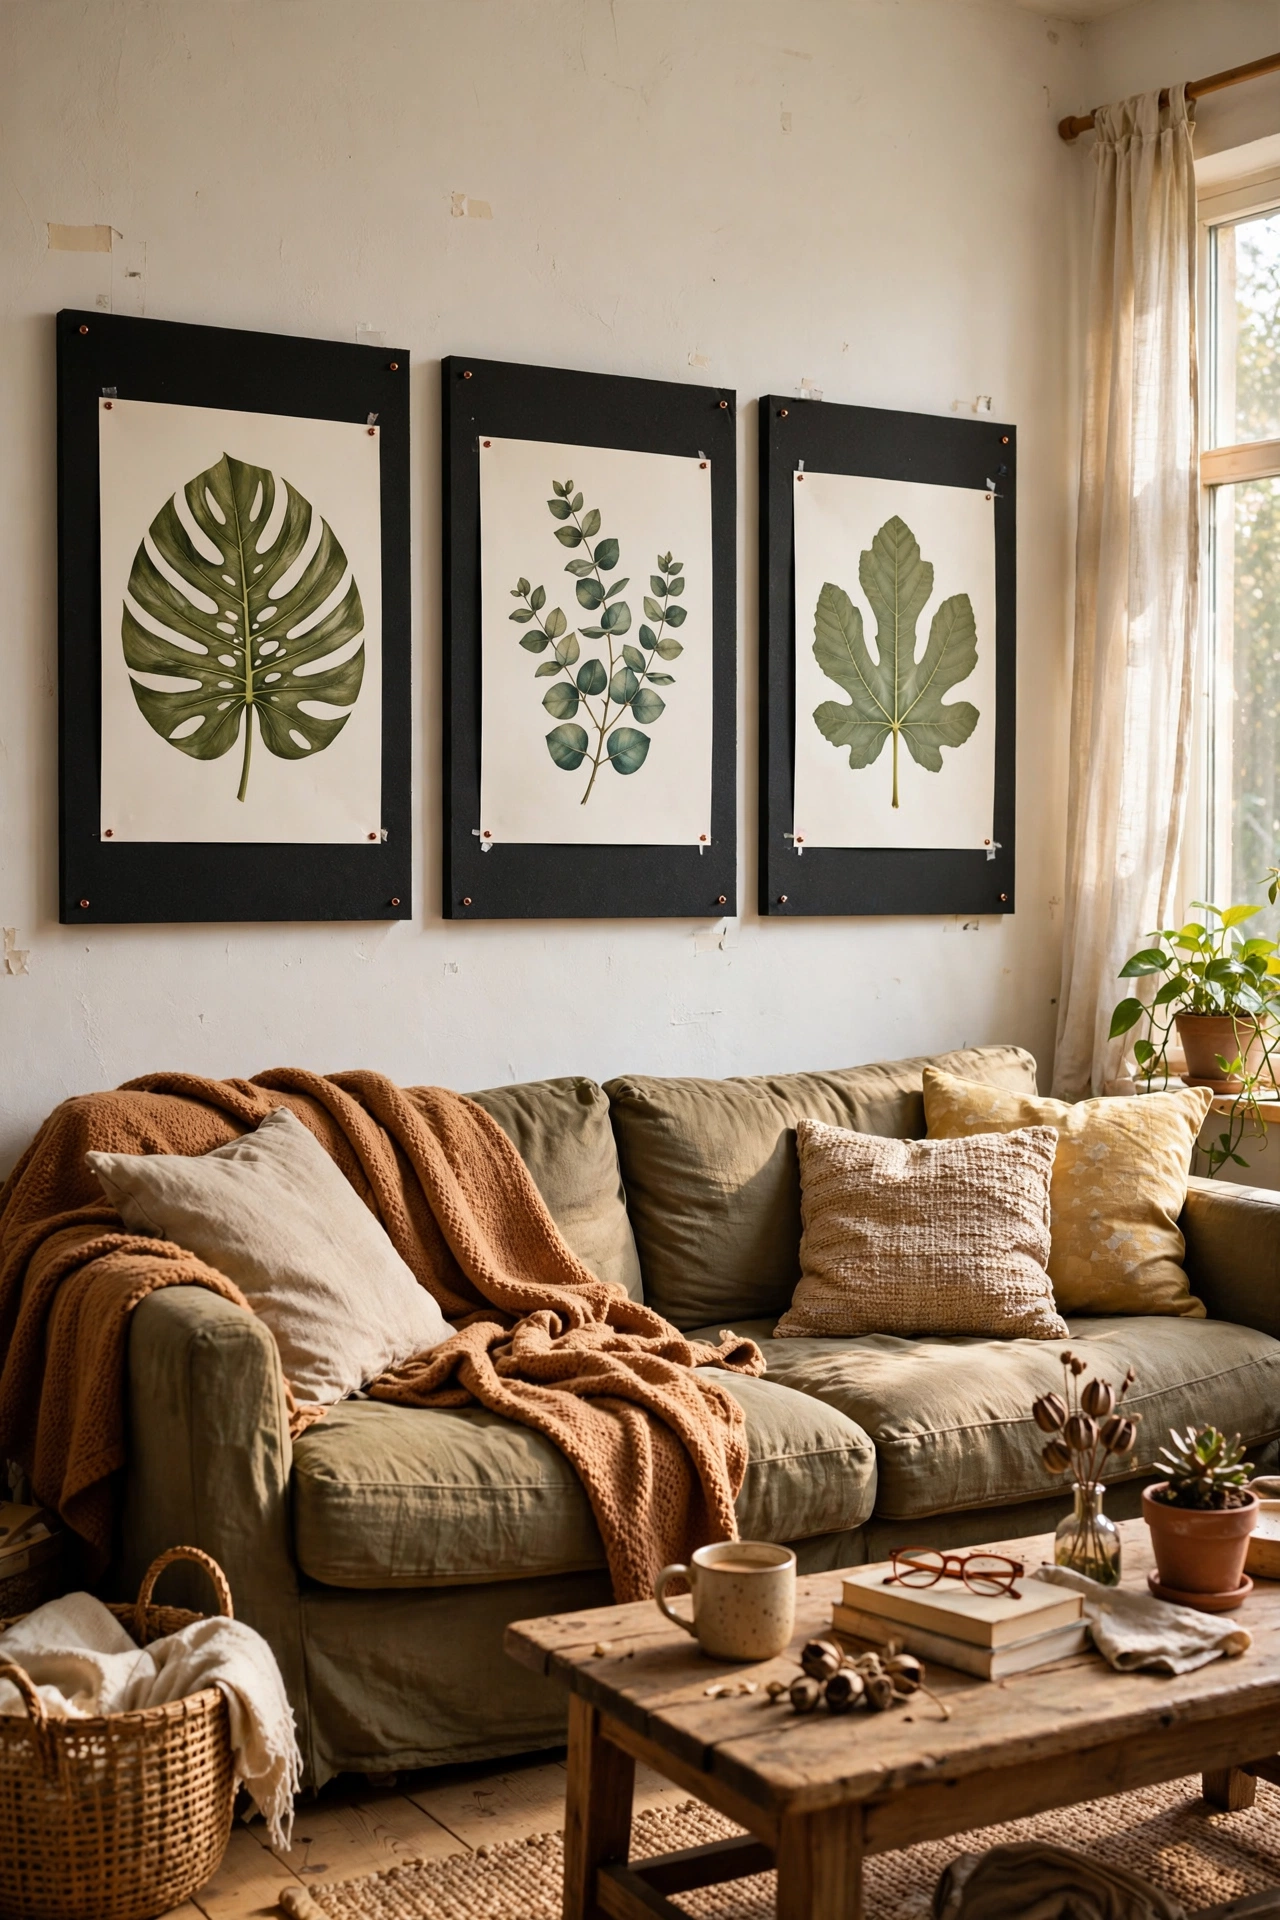
Large-scale botanical prints are expensive, but foam board and free printable art are not. I printed three oversized leaf illustrations at the library, mounted them on black foam board with spray adhesive, and hung them in a row above my sofa. From across the room they read as proper gallery prints. Trim the foam board with a sharp craft knife and a metal ruler for clean edges, because ragged edges give the game away. I mounted mine with the print wrapping slightly around the edges, which hides the board’s thickness. Three big pieces of art for under ten dollars still feels like cheating.
Cost: ~$6-10 | Time: 45 minutes
3. Faux Greenery Wreath
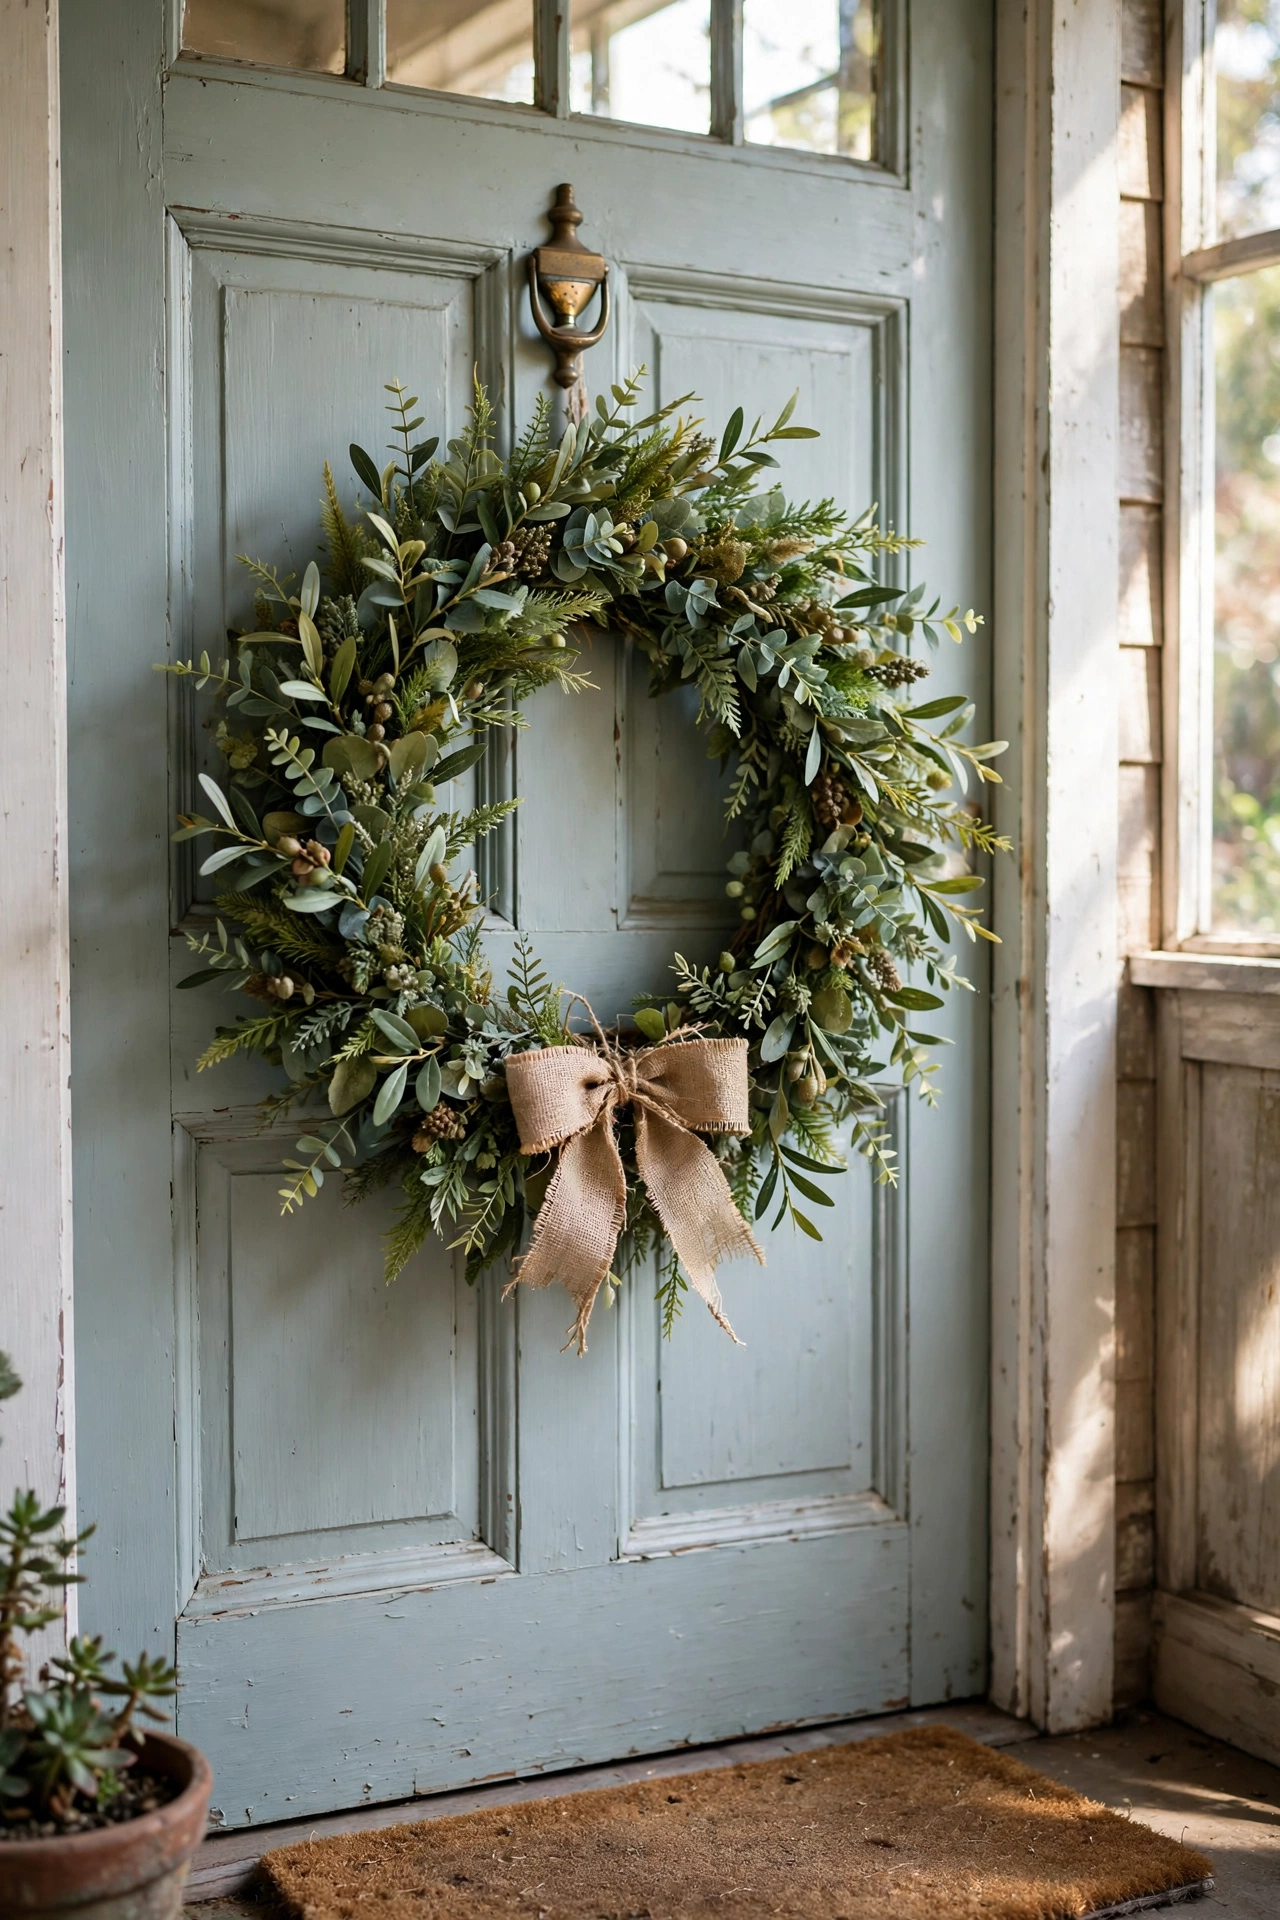
A full-looking wreath from dollar store greenery picks is entirely possible if you buy enough stems. I used a $3 wire wreath form and about fifteen greenery picks, wiring them on in overlapping layers all facing the same direction. The fullness comes from the layering, so do not skimp on picks. My first attempt used eight and looked sparse and sad. Fluff each pick outward after wiring, and add a simple burlap bow at the bottom. Mine has hung on my front door for two seasons and still looks fresh, which is more than I can say for the real wreath I bought the year before.
Cost: ~$12-18 | Time: 1 hour
4. Tiered Tray Centrepiece From Dollar Finds
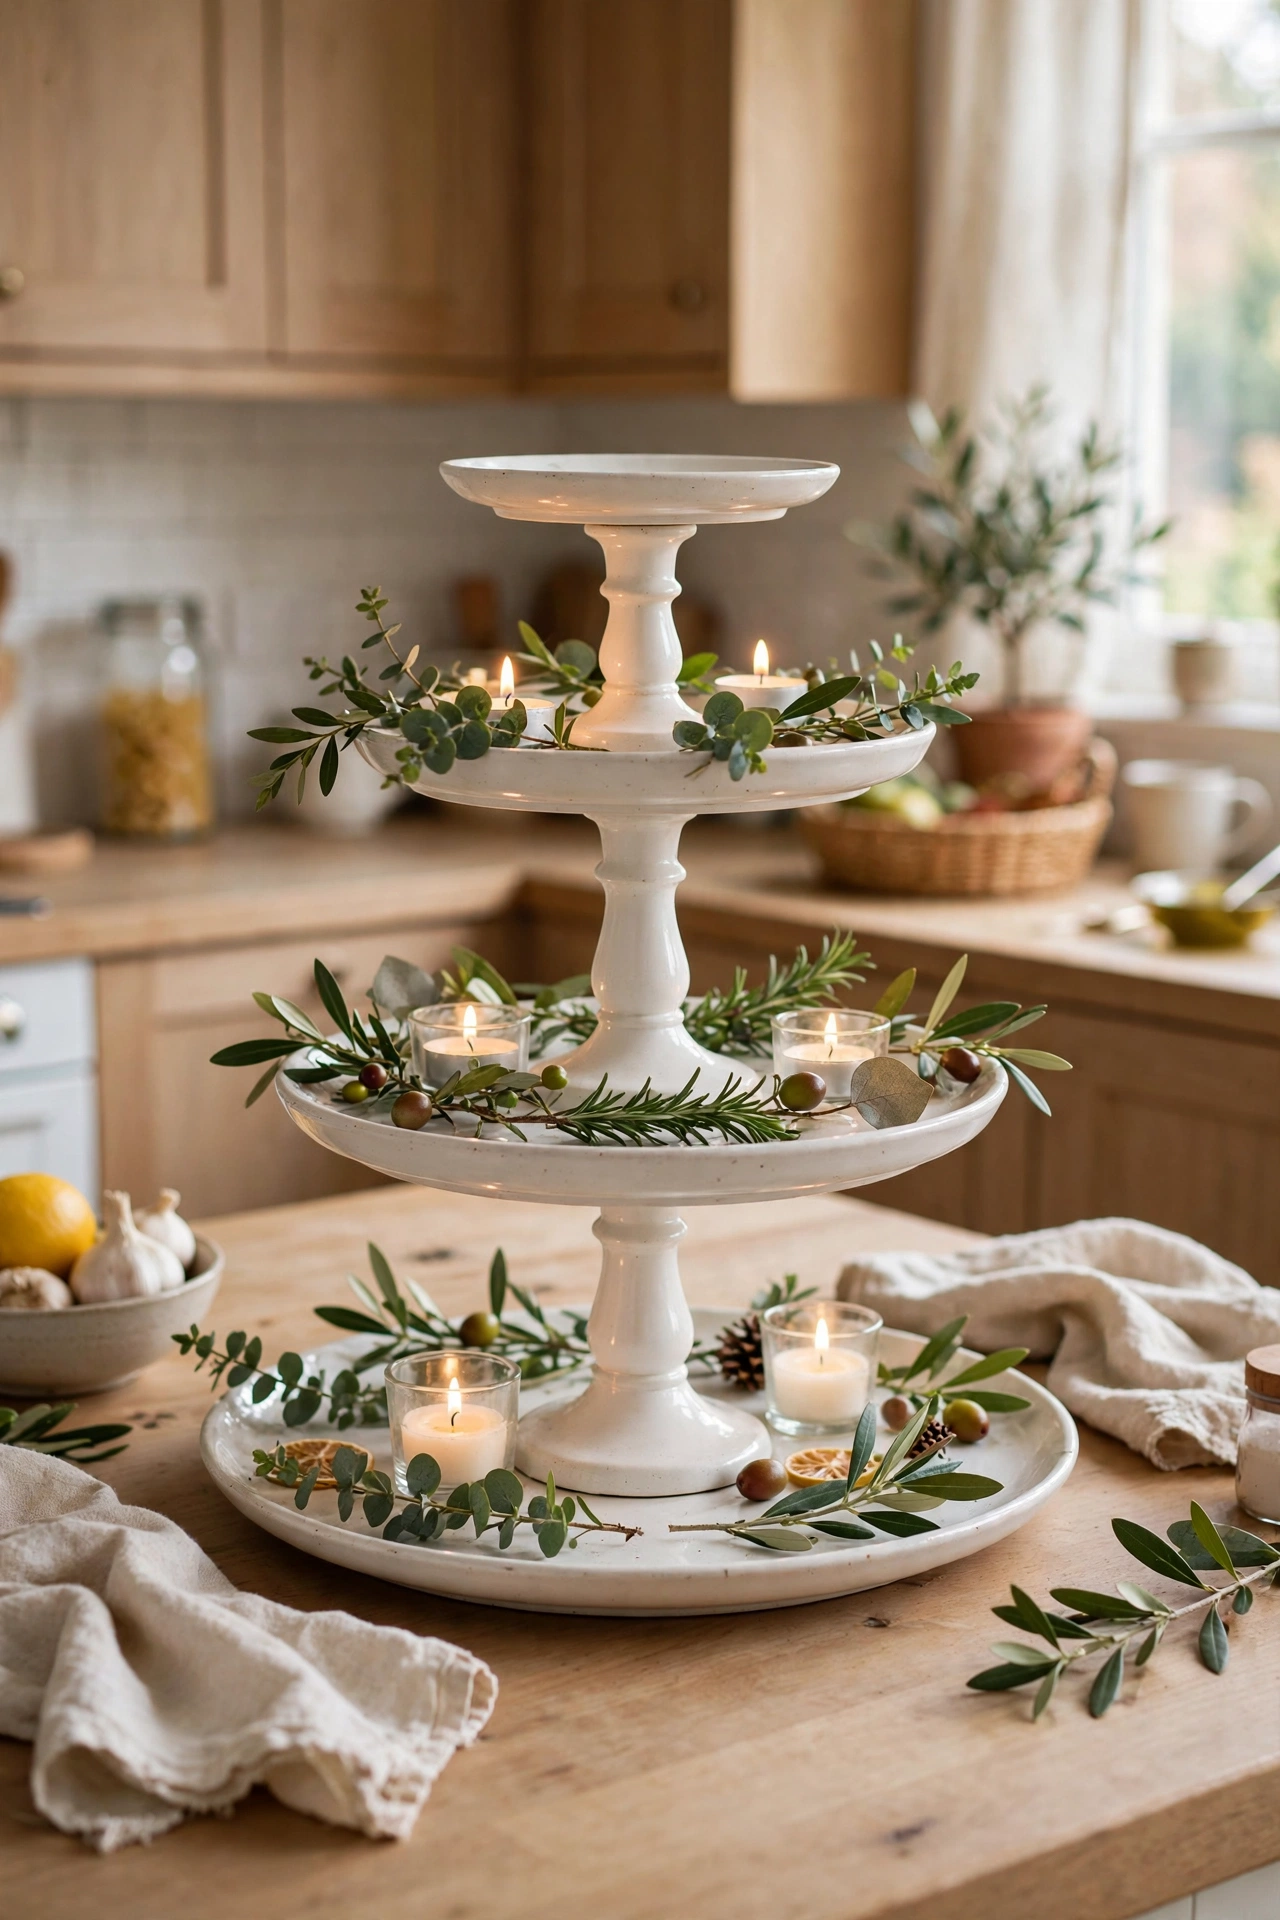
Tiered trays sell for silly money, but two candlesticks, two plates, and strong glue get you there. I glued a large plate to a tall candlestick, then a smaller plate to a shorter candlestick on top of that, and finished with a tiny dish. Let each layer cure fully before adding the next, because I rushed mine and the top plate slid off overnight. Style it with small candles, a tiny plant, and seasonal bits. Mine lives on my kitchen island and gets restyled every season, which makes it the hardest-working few dollars I have spent on decor.
Cost: ~$5-8 | Time: 30 minutes plus curing
Budget check: four projects in and the total spend is under $40. The wreath was the priciest, and it replaced a $60 one I nearly bought online.
5. Plastic Bin Drawer Organisers
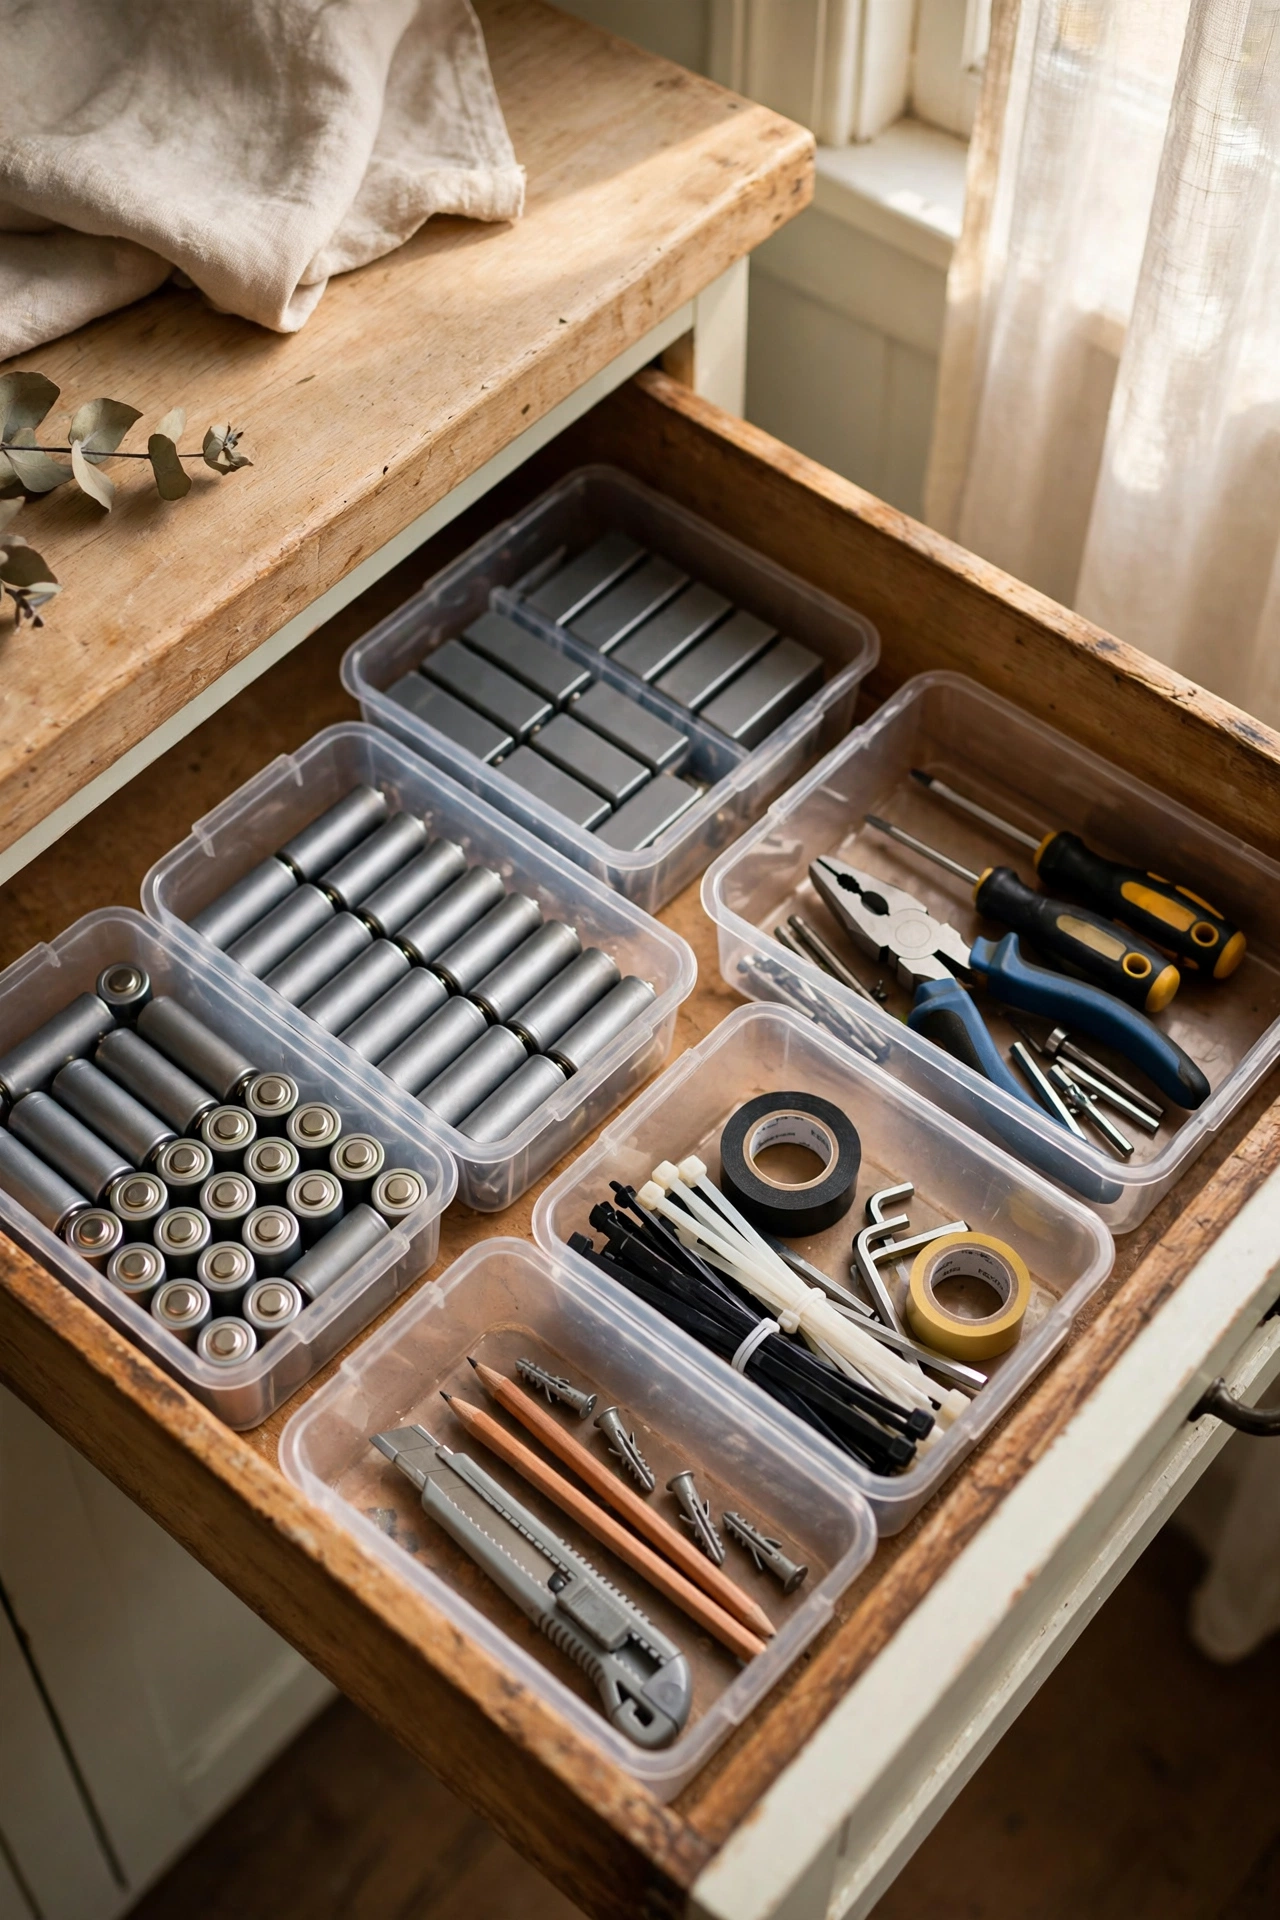
Dollar store plastic bins are the unsung heroes of tidy drawers. I bought a stack of small rectangular bins and fitted them into my kitchen junk drawer and my bathroom vanity, one category per bin. The trick is measuring your drawers first and buying bins that tile neatly without gaps. I lined the bottom of each bin with a square of shelf liner so they do not slide. My junk drawer went from chaos to calm in twenty minutes, and I can actually find the batteries now. Buy a few extra, because once one drawer is organised you will want to do them all.
Cost: ~$5-8 | Time: 30 minutes
6. Painted Wooden Crates as Cubby Storage
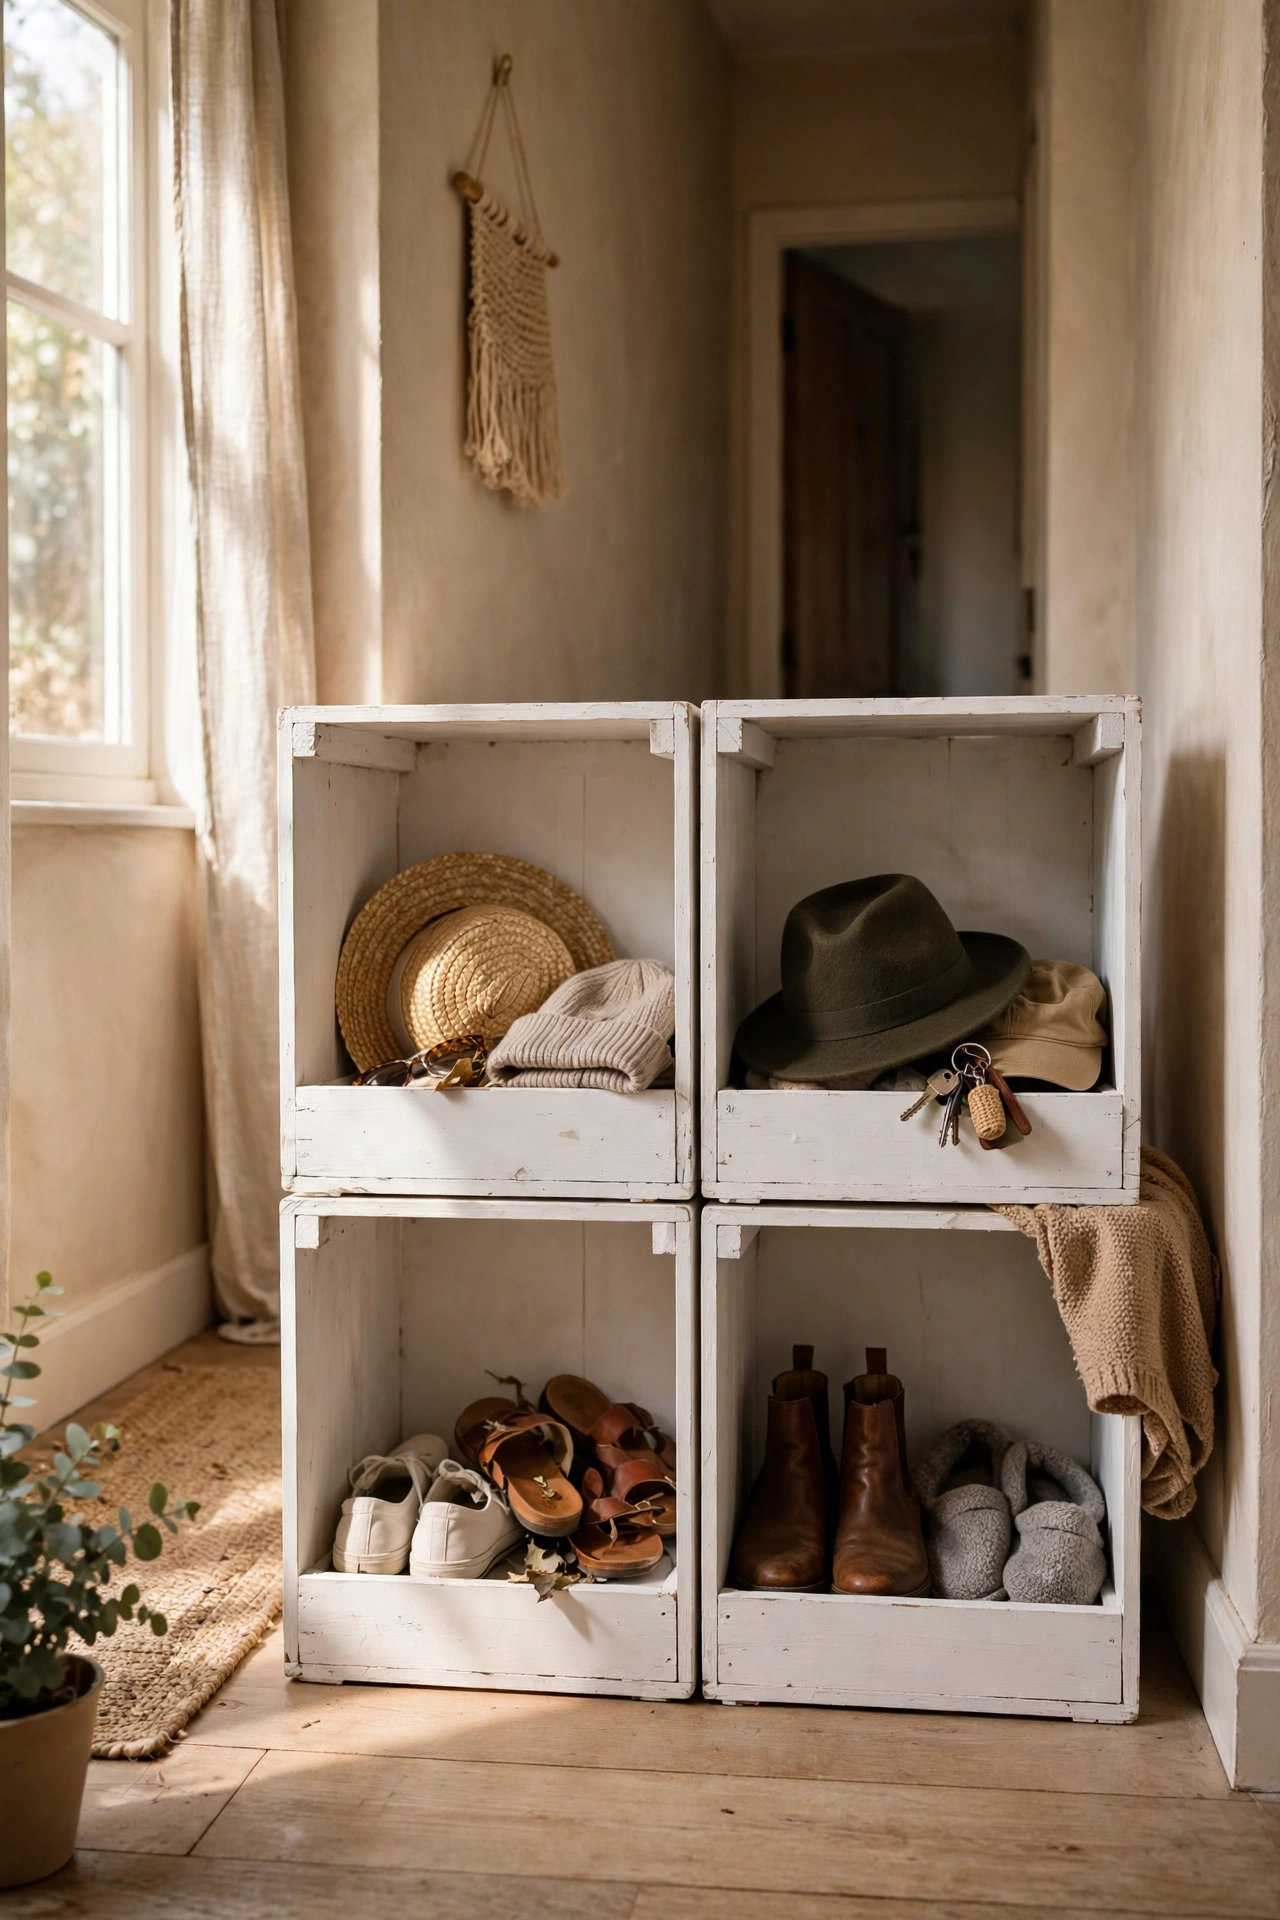
Those little wooden crates stack into genuinely useful cubby storage. I bought four, painted them the same warm white, and stacked them two-by-two in my hallway for shoes, hats, and dog leads. Sand the crates first, because the wood is rough and will snag everything. I screwed mine together through the sides for stability, since a stack of crates holding shoes will wobble otherwise. The painted finish makes them look like proper furniture rather than craft supplies. For more small-space storage ideas, see (see also: 17-diy-shelf-ideas-that-look-expensive).
Cost: ~$8-12 | Time: 1.5 hours plus drying
7. Peel-and-Stick Tile Trivets
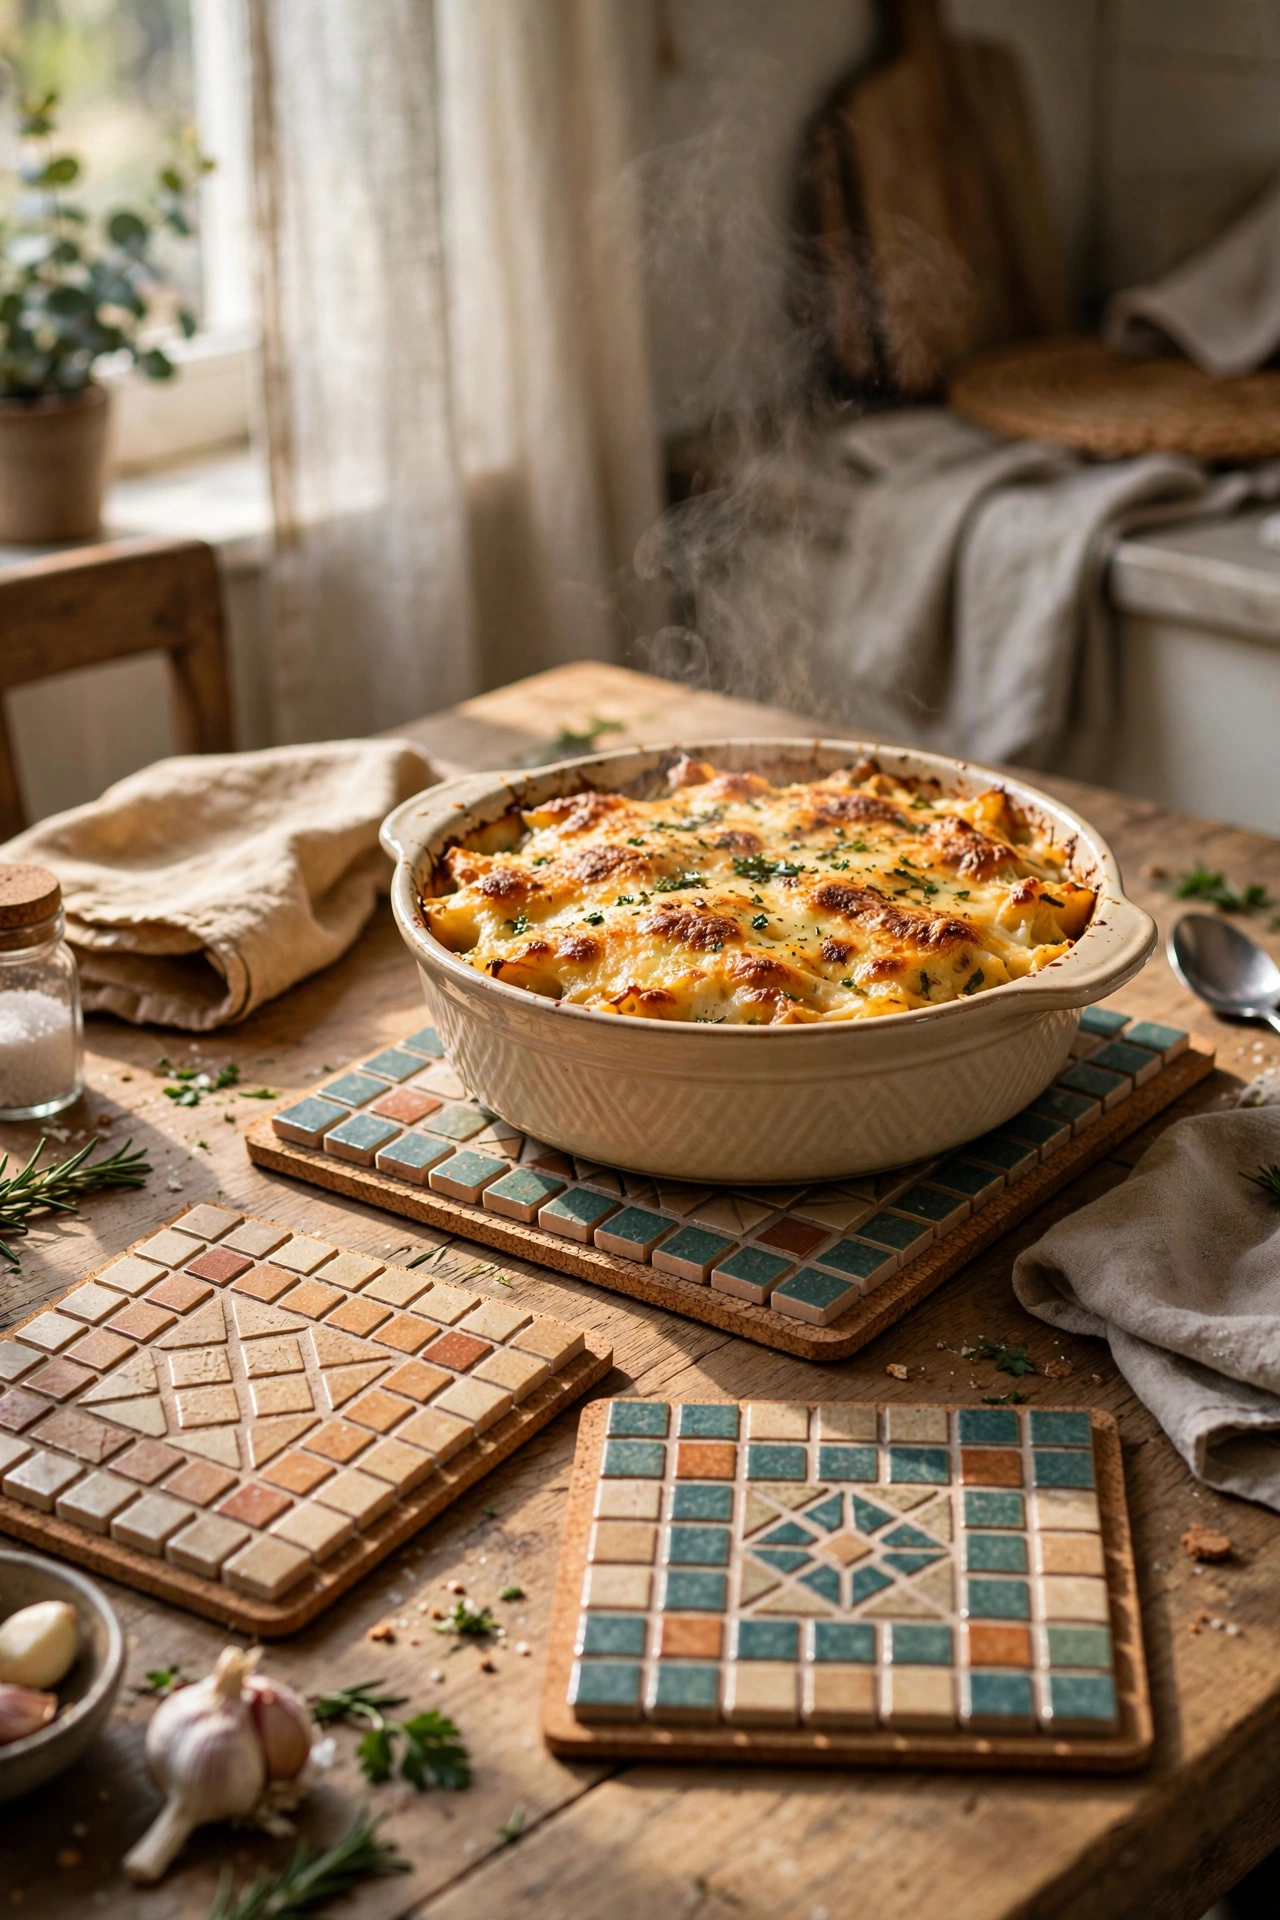
Peel-and-stick tile samples make beautiful heat trivets when mounted on cork. I bought a sheet of mosaic-look tiles, cut it into squares, stuck them to cork tiles, and sealed the edges with clear silicone. They protect my table and look like something from a tile shop. Press the tiles down firmly and roll over them with a rolling pin to get full adhesion, because the corners love to lift. I sealed mine twice and they have survived two years of hot casserole dishes. Make a set of four and tie them with ribbon for an easy handmade gift.
Cost: ~$4-7 | Time: 30 minutes
8. Placemat Table Runner
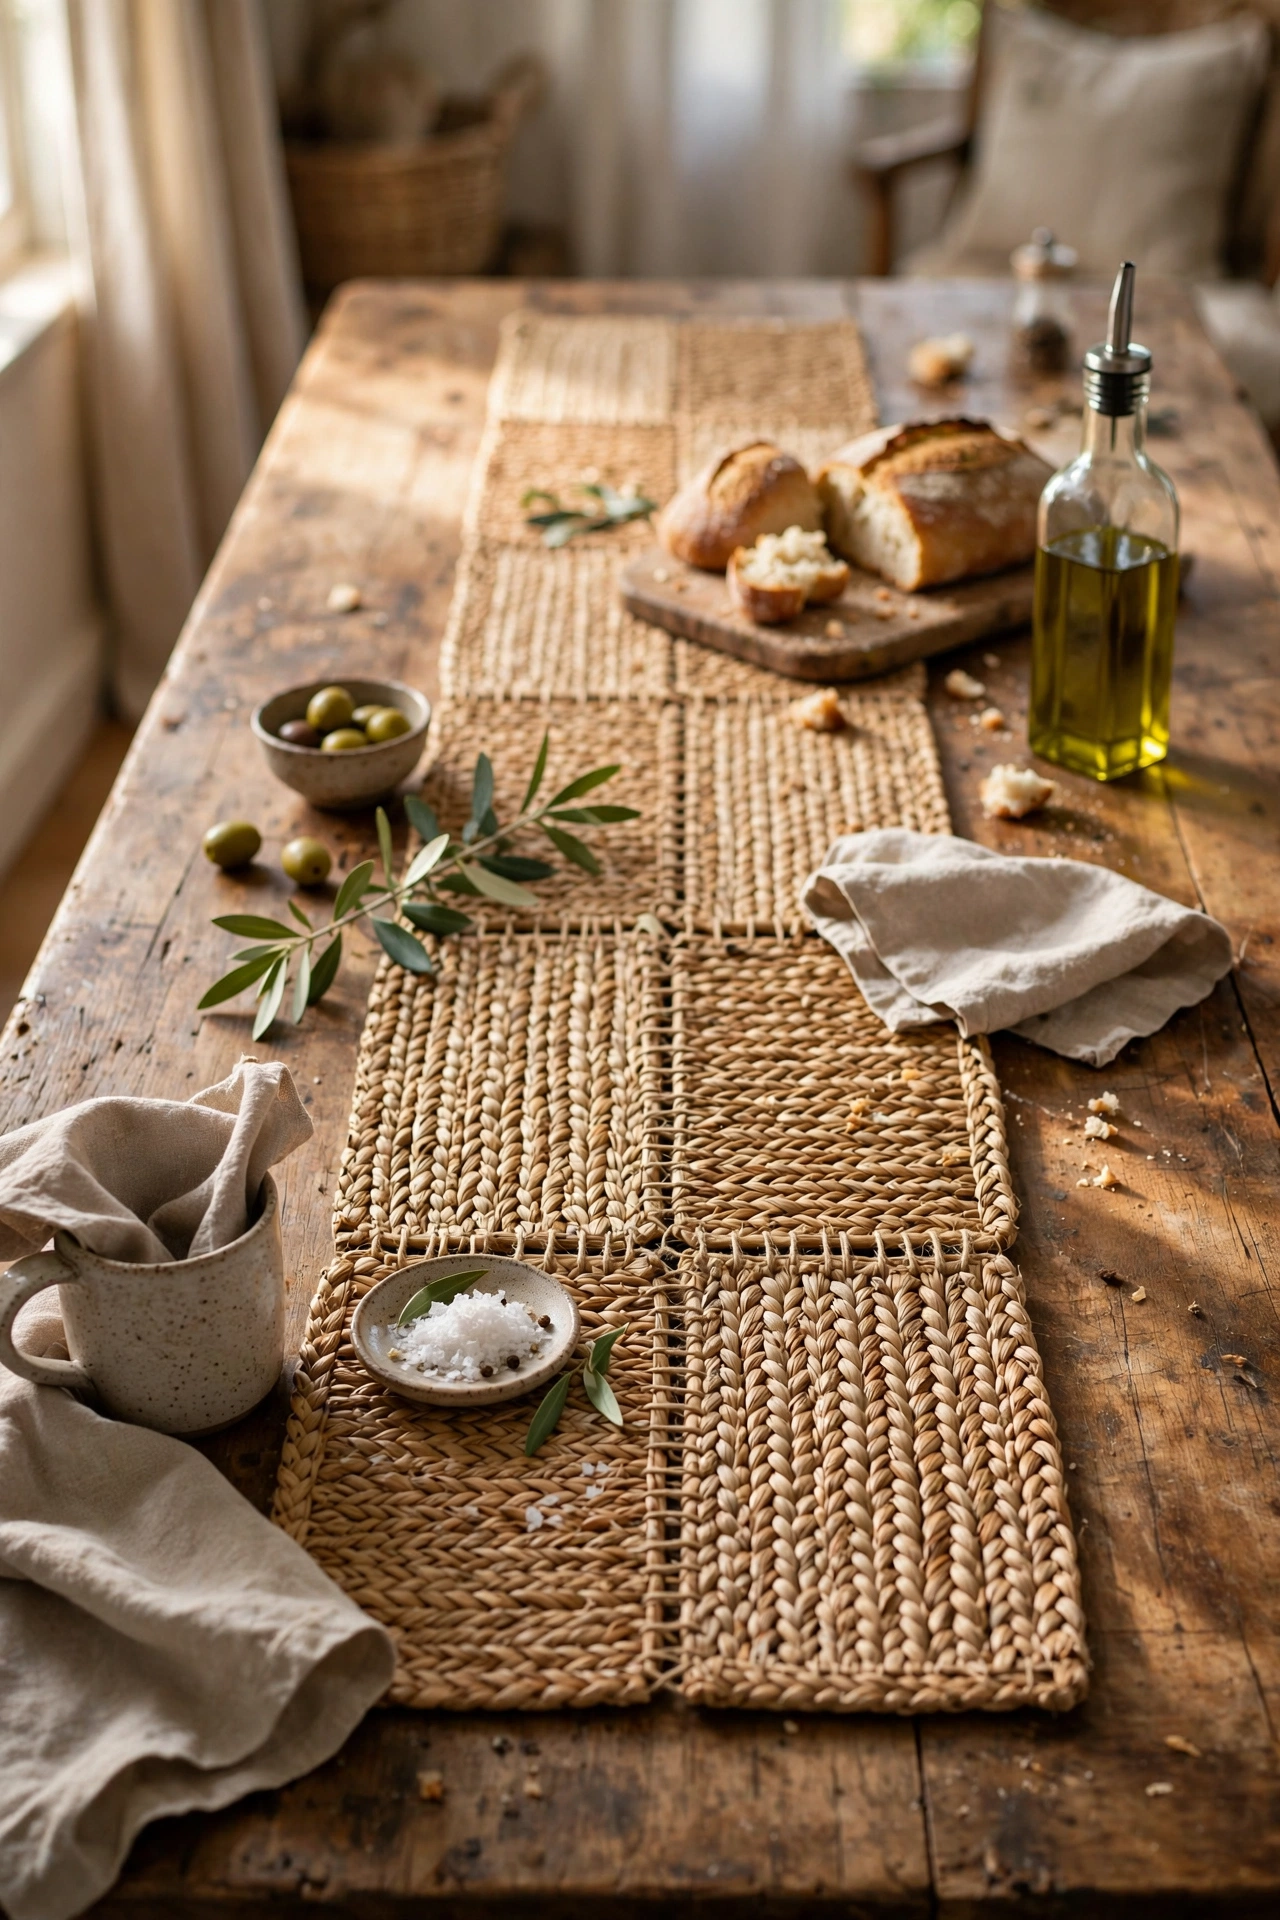
Woven placemats sewn or glued end to end make a textured table runner for almost nothing. I joined five natural woven placemats with a line of hot glue on the back, overlapping them slightly, and the runner looks like something from a homewares catalogue. Use placemats with finished edges so the joins look neat. I ironed mine flat first, because they arrived curled from the packaging. The runner has survived dozens of dinners; I just shake off the crumbs and spot-clean spills. At this price I made a second one in a darker weave for autumn.
Cost: ~$5-8 | Time: 20 minutes
Budget check: eight projects done and nothing has cost more than a takeaway coffee run. The crate cubbies are doing daily duty in my hallway and still look smart.
9. Candle Cluster on a Mirrored Tray
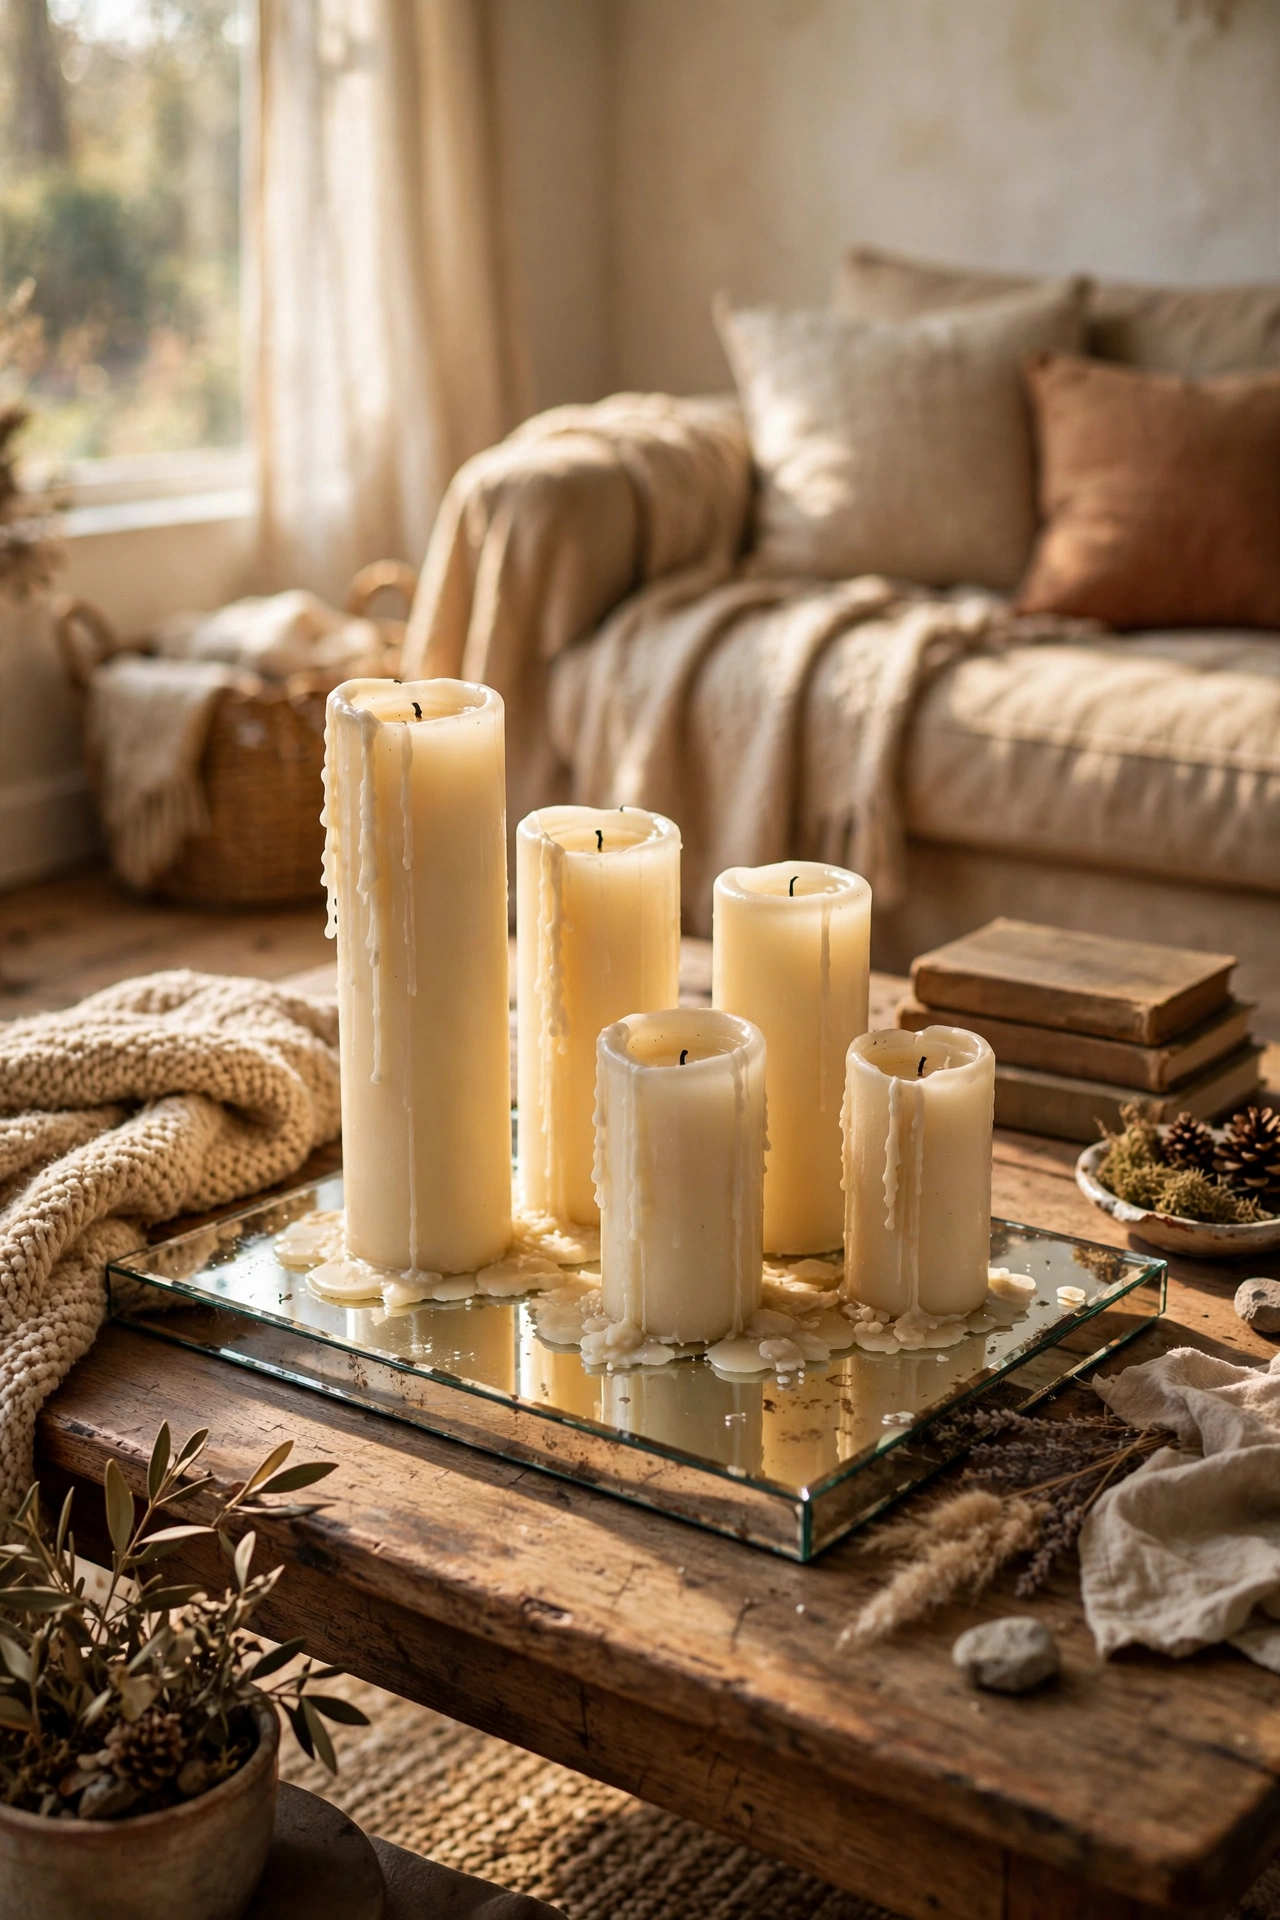
A small mirror glued to a picture frame becomes a reflective tray that doubles candlelight beautifully. I bought a $3 square mirror and a flat wooden frame, glued the mirror into the frame, and grouped pillar candles of different heights on top. The mirror throws the candlelight around the room and makes the whole arrangement glow. Keep the candles in odd numbers and vary the heights by at least two inches. I put felt pads on the bottom so the tray does not scratch my coffee table. This is my go-to centrepiece whenever guests come over.
Cost: ~$8-12 | Time: 25 minutes
10. Decorative Book Stack With a Candle

Dollar store books with pretty covers, stacked and topped with a candle, are instant shelf styling. I bought three hardcovers in coordinating colours, stacked them largest to smallest, and set a small candle and a sprig of greenery on top. Look for books with cloth-look covers in neutrals rather than glossy jackets. I removed the dust jackets from mine to reveal plain coloured boards underneath, which looked far more expensive. This little stack has lived on my coffee table, my nightstand, and my entryway console, and it works everywhere.
Cost: ~$4-6 | Time: 10 minutes
11. Napkin Decoupage Storage Boxes
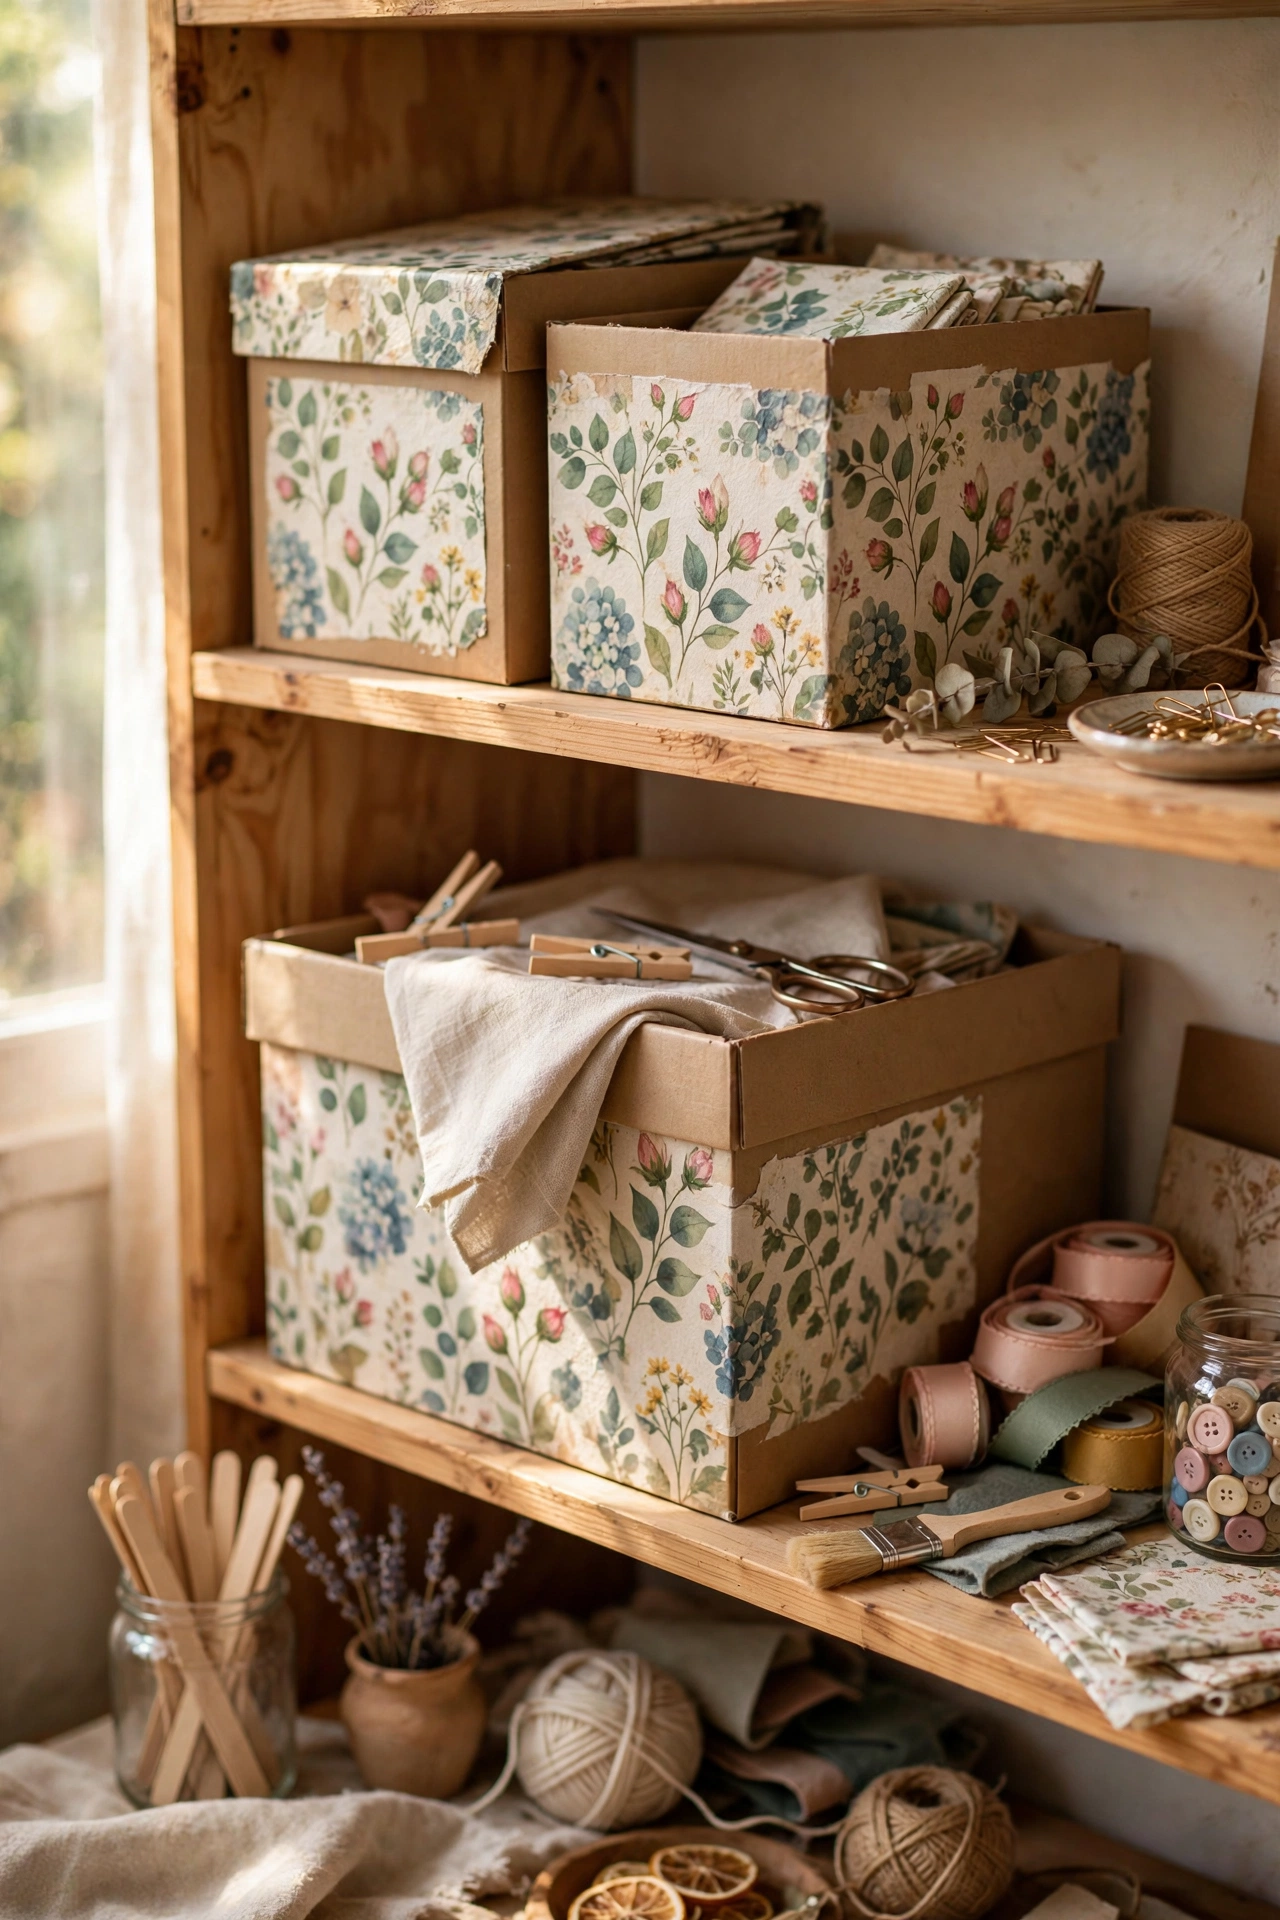
Pretty paper napkins decoupaged onto plain boxes turn ugly storage into decor. I covered three cardboard photo boxes with floral napkins using decoupage medium, smoothing each layer carefully to avoid wrinkles. Peel the napkin down to its single printed ply first, because the full three-ply napkin is too thick and will bubble. I learned that after one very lumpy box. Apply the medium under and over the napkin, and let each box dry fully before stacking. Mine hold craft supplies on an open shelf and look like boutique storage boxes.
Cost: ~$5-8 | Time: 1 hour plus drying
12. Chalkboard Pantry Labels
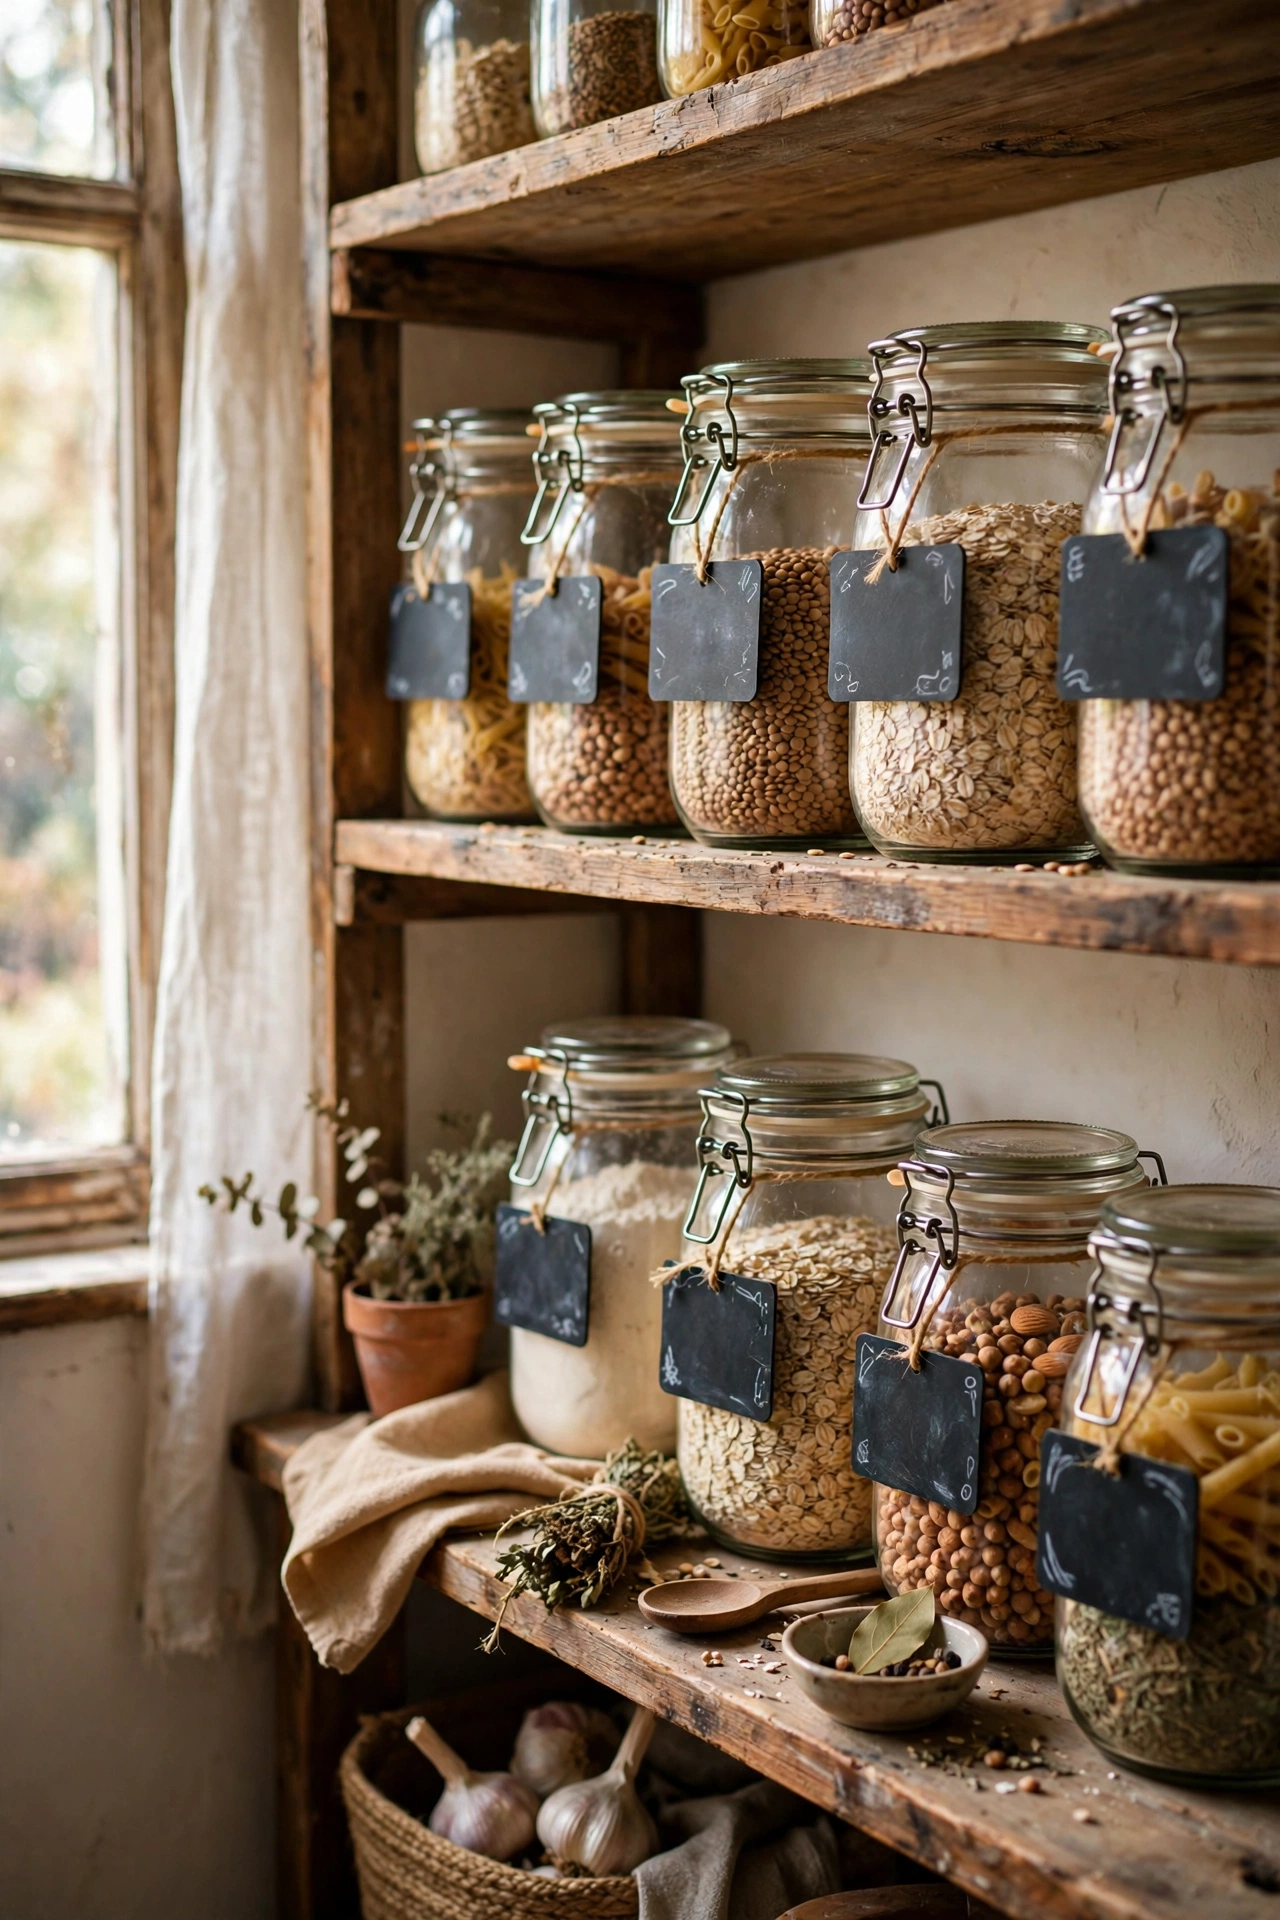
Small chalkboard labels on jars and bins make a pantry look organised and charming. I bought a pack of adhesive chalkboard labels and a chalk marker, labelled every jar in my pantry, and the whole shelf looks like a farmhouse shop. Write the labels with a chalk marker rather than real chalk, because real chalk smudges every time you touch the jar. I redid mine twice before switching markers. Let the marker dry for a full minute before handling. The labels peel off cleanly if you change your mind, which I did three times on the flour jar.
Cost: ~$3-5 | Time: 20 minutes
Budget check: twelve projects finished and the running total is still under $90. The pantry labels were the cheapest project so far and the one I use every single day.
13. Painted Plastic Plant Pots
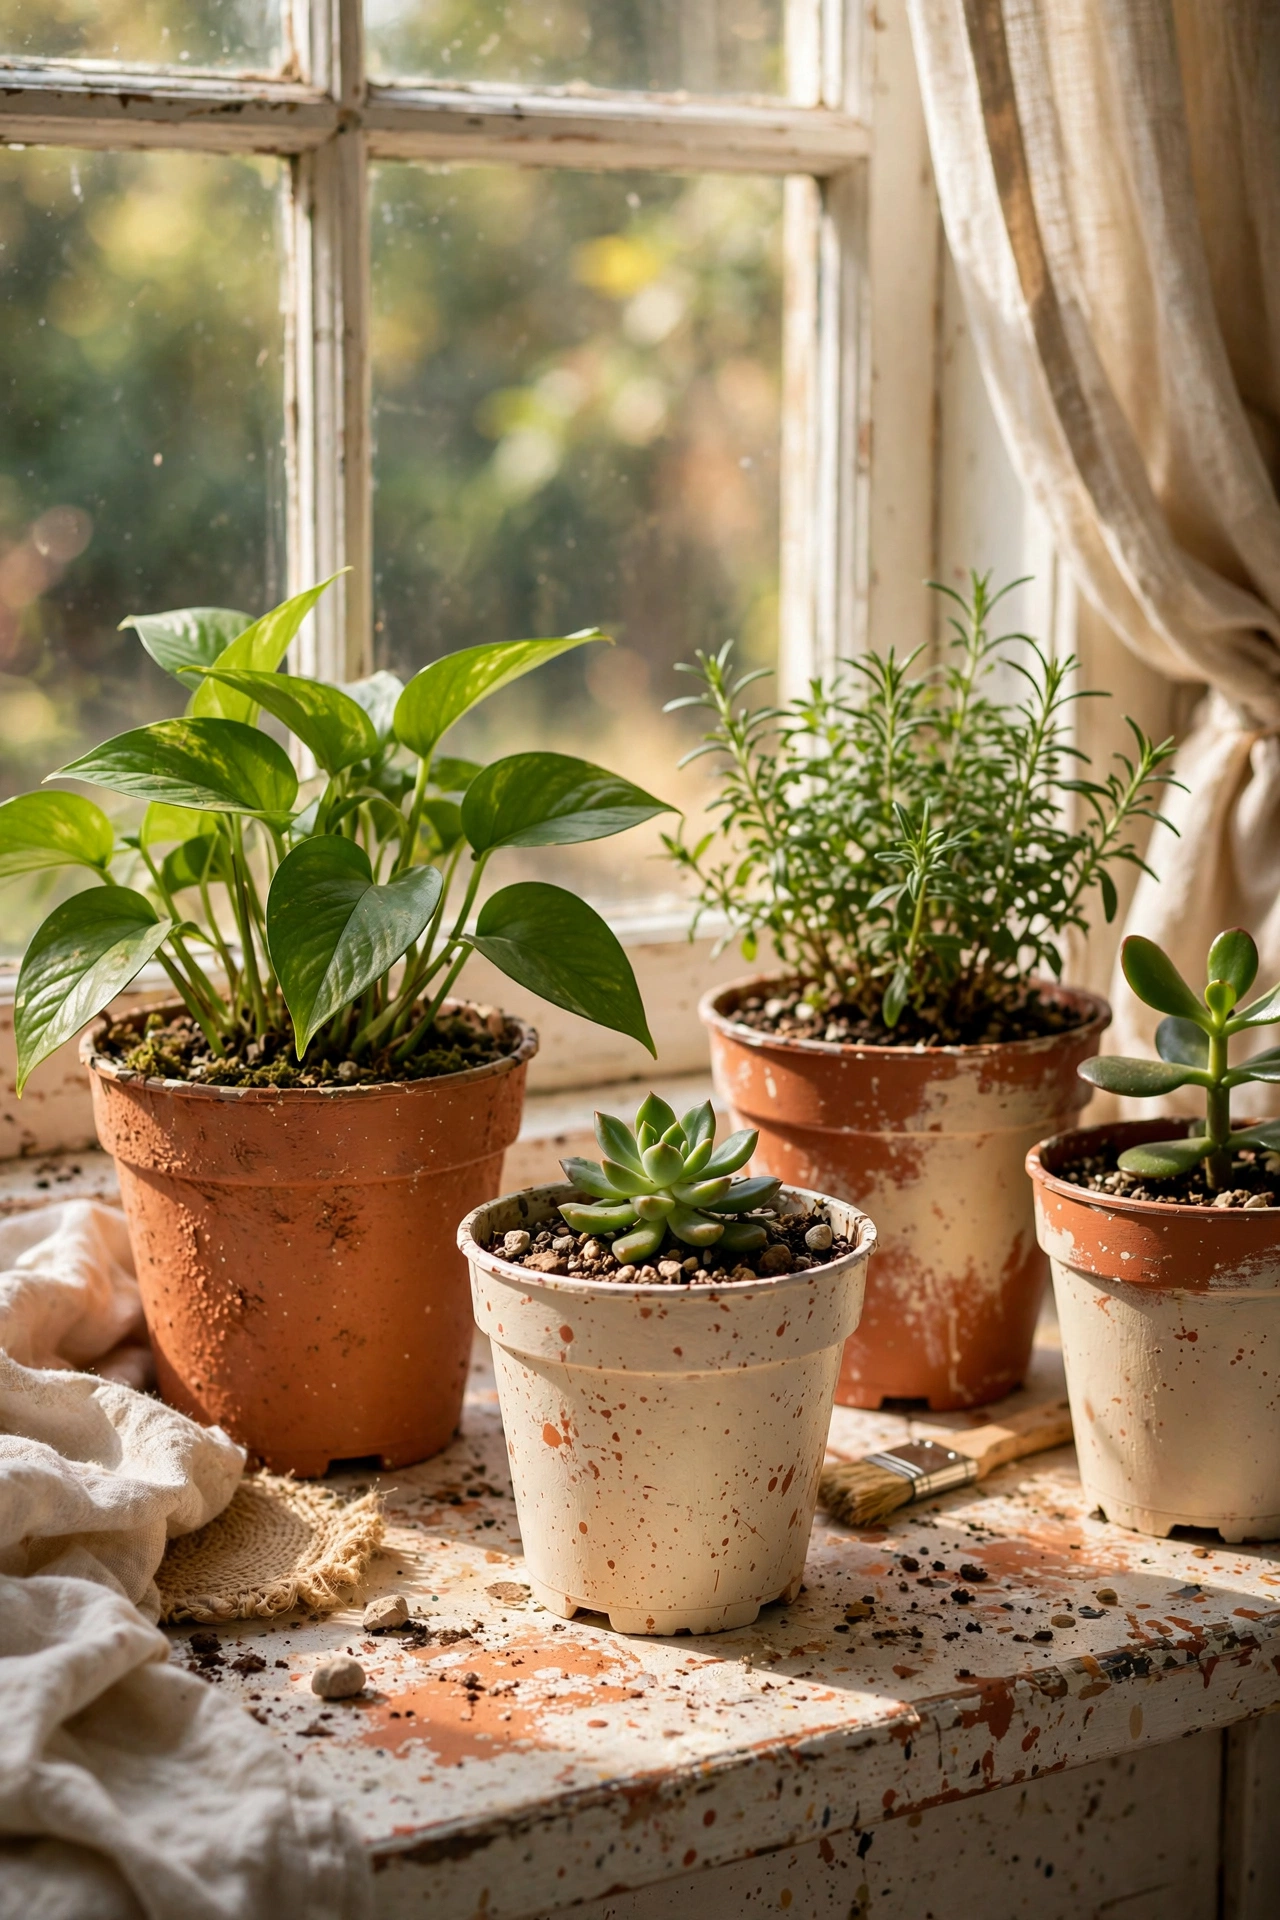
Flimsy plastic nursery pots disappear under a coat of matte spray paint. I sprayed a batch of black plastic pots in terracotta and cream, and they now look like proper planters on my windowsill. Scuff the plastic lightly with sandpaper first so the paint grips, and use a spray paint rated for plastic. I skipped the scuffing on my first batch and the paint scratched off within a month. Two light coats beat one heavy coat every time. At this price you can afford to experiment with colours you would never risk on an expensive pot.
Cost: ~$4-7 | Time: 30 minutes plus drying
14. Fairy-Light Mason Jars
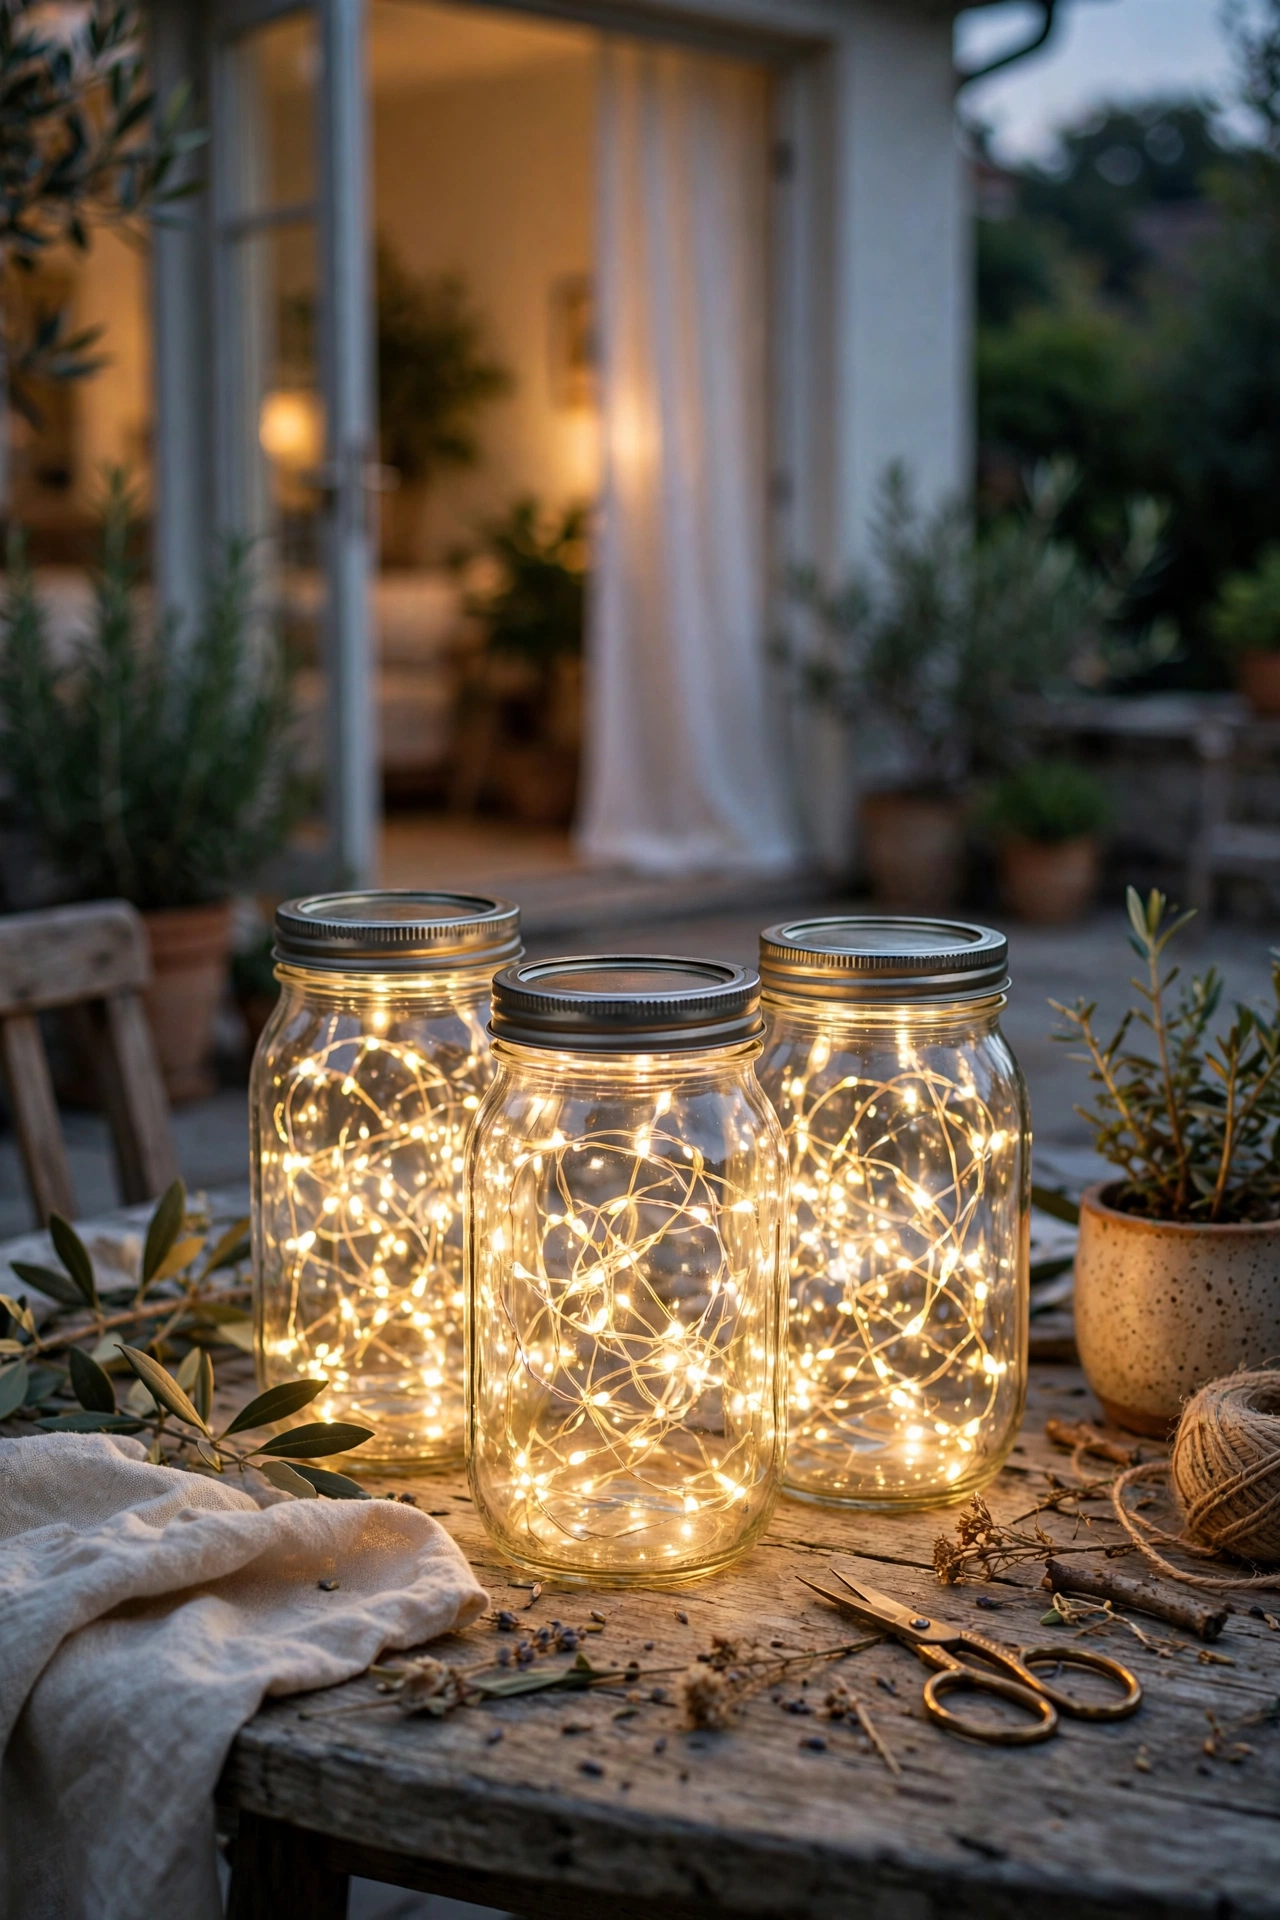
Mason jars filled with battery fairy lights are pure magic on a patio table. I dropped a string of warm-white fairy lights into each of four jars, tucked the battery pack under the lid ring, and set them along my garden path. Use the timer function on the battery pack so they switch themselves on at dusk. I forgot this the first week and the batteries died in three days. Frost the jars lightly with spray first if you want a softer glow, or leave them clear for maximum sparkle. They have survived two summers of rain with no issues.
Cost: ~$8-12 | Time: 15 minutes
15. Seasonal Front-Door Swag
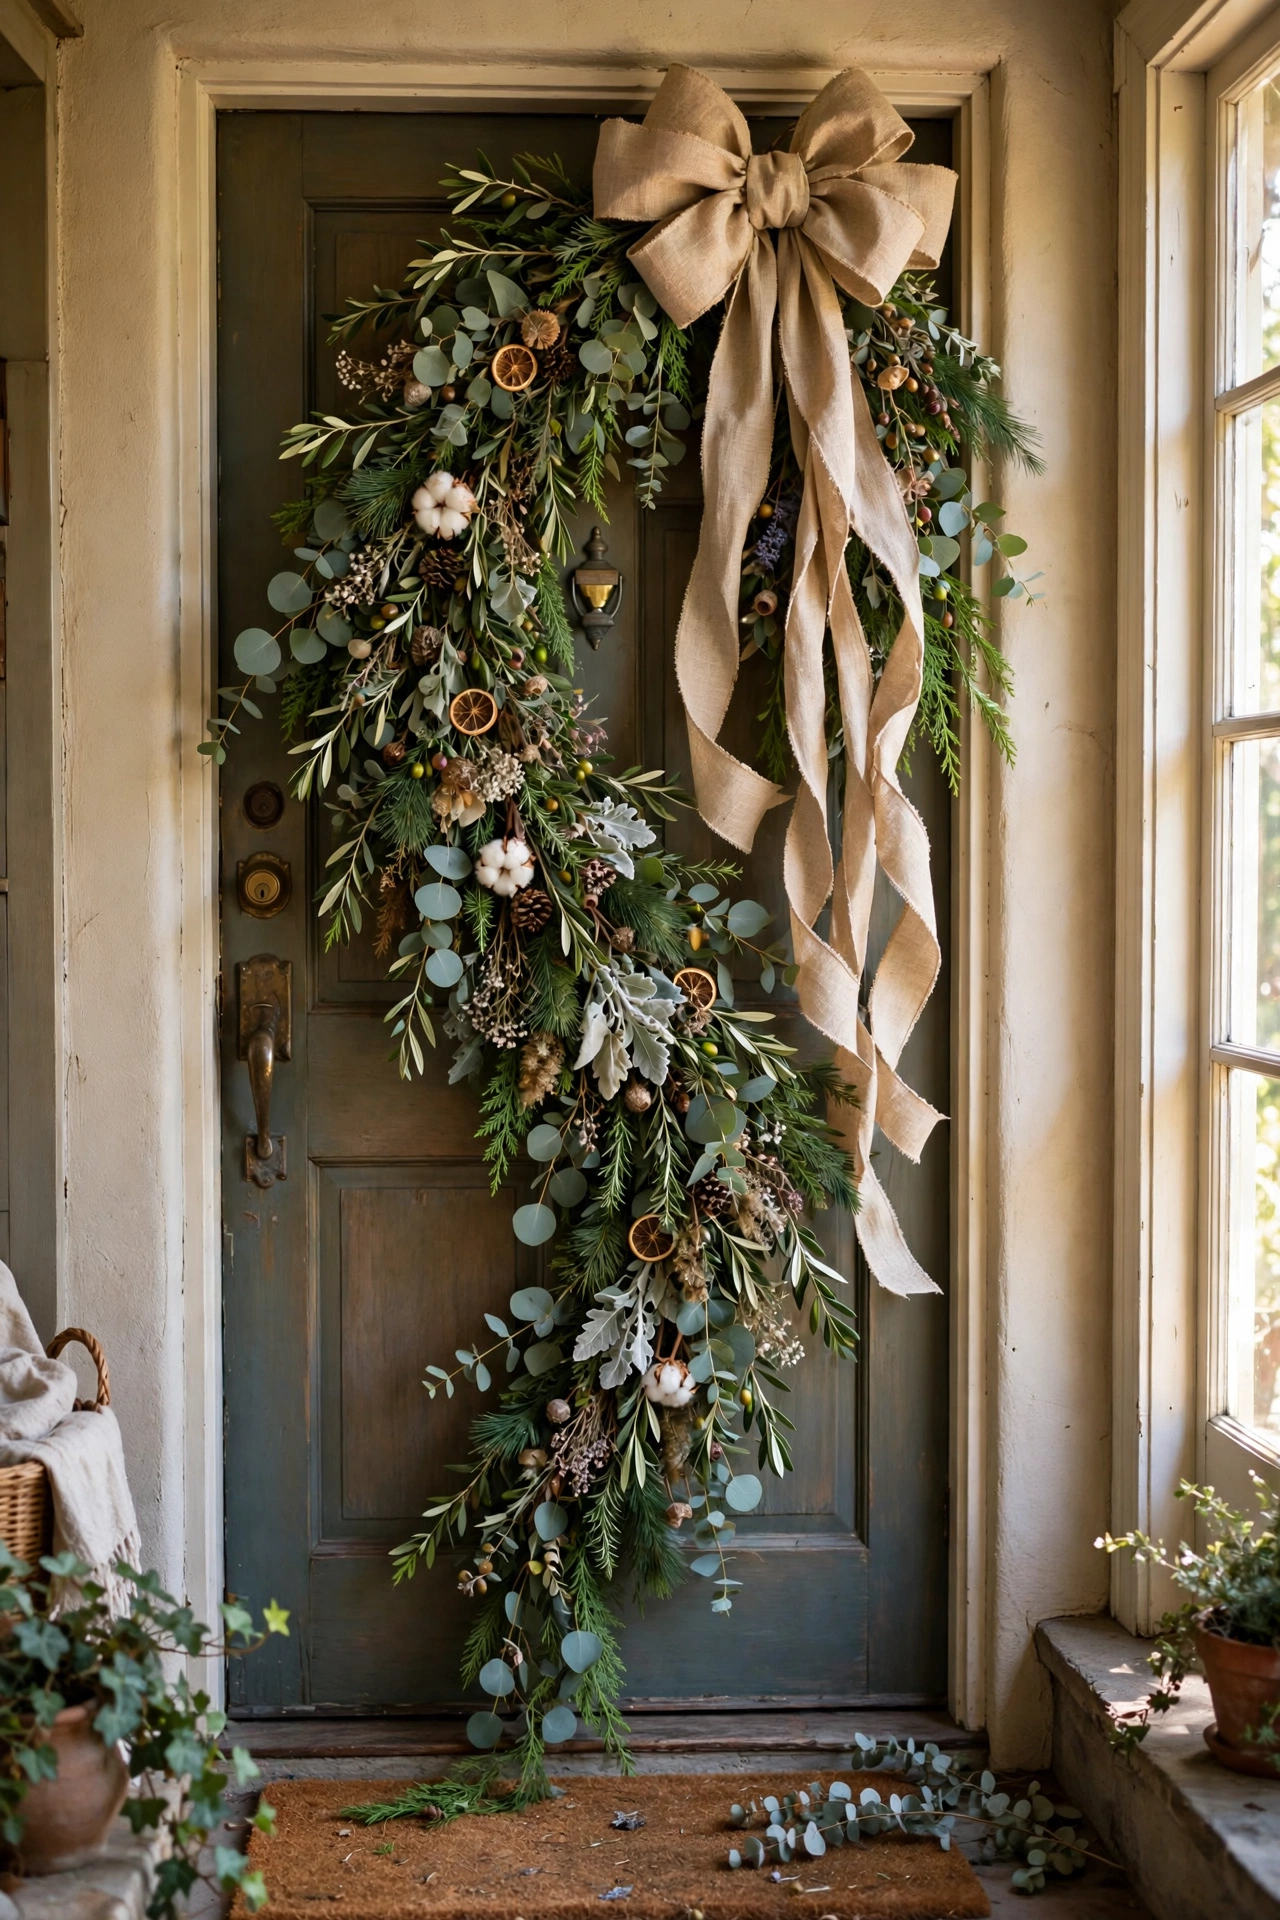
A door swag made from dollar store greenery picks and ribbon looks far more expensive than it is. I wired a dozen picks into a cascading bundle, added a big bow, and hung it on my front door with a wreath hanger. The trick is mixing two or three types of greenery so it looks gathered rather than uniform. My first swag used one type of pick and looked flat. Fluff every stem outward and step back often to check the shape. I refresh the bow each season and the greenery base has lasted two years. For more entryway ideas, see (see also: 15-easy-diy-home-decor-projects-for-beginners).
Cost: ~$8-12 | Time: 45 minutes
Save this one for your next rainy-day project list.
Keep the DIY momentum going: (see also: 17-diy-shelf-ideas-that-look-expensive) (see also: 23-diy-mirror-ideas-for-beginners)
