19 Easy DIY Home Decor Projects for Beginners Under $20
When I moved into my first flat, I owned a mattress, a kettle, and absolutely no idea how to make a room look finished. Hiring help was out of the question, so I started collecting easy diy home decor projects that a complete beginner could actually finish. Some were disasters: the less said about my first attempt at stencilling, the better. But most of them worked, and slowly the flat started to feel like mine. These are the nineteen projects I recommend to every beginner, each costing under $20 and needing nothing fancier than basic craft supplies.
Every one of these easy diy home decor projects is designed for a first-timer. No power tools beyond a drill, no sewing machine, no experience required. Start with the ten-minute ones to build your confidence, then work up to the weekend projects.
1. Stencilled Throw Pillow Covers
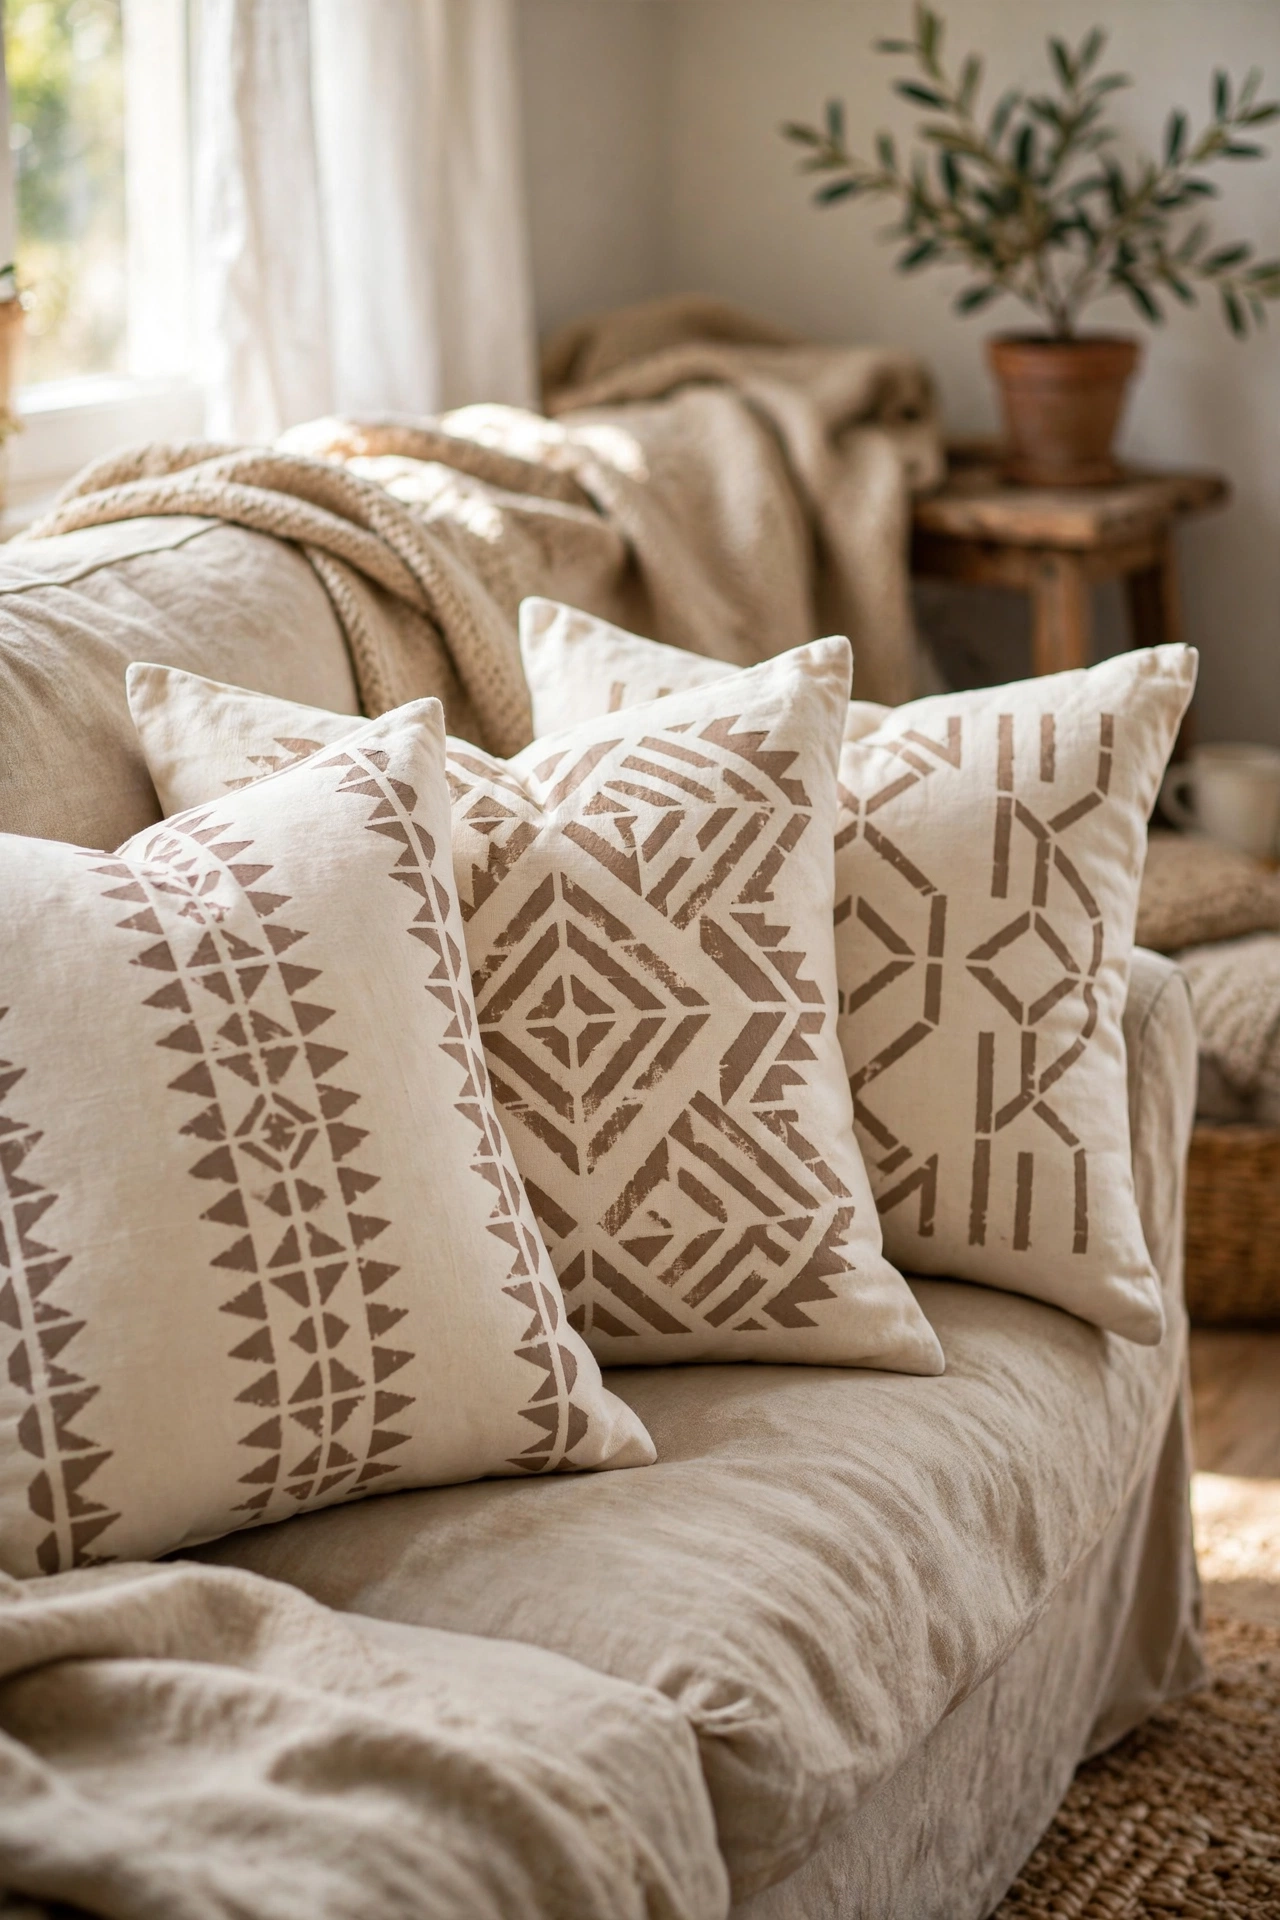
Plain pillow covers become custom cushions with a stencil and fabric paint. I bought two cream covers, taped down a simple geometric stencil, and dabbed on fabric paint with a nearly dry brush. The secret is using almost no paint: dab the brush on paper until it feels dry, then stencil. My first cover bled under the stencil because the brush was too wet, and I had to turn it into the back cushion. Let the paint dry fully, then heat-set it with an iron through a cloth. The covers have survived a dozen washes and still look crisp.
Cost: ~$8-14 | Time: 1 hour plus drying
2. Painted Terracotta Herb Pots
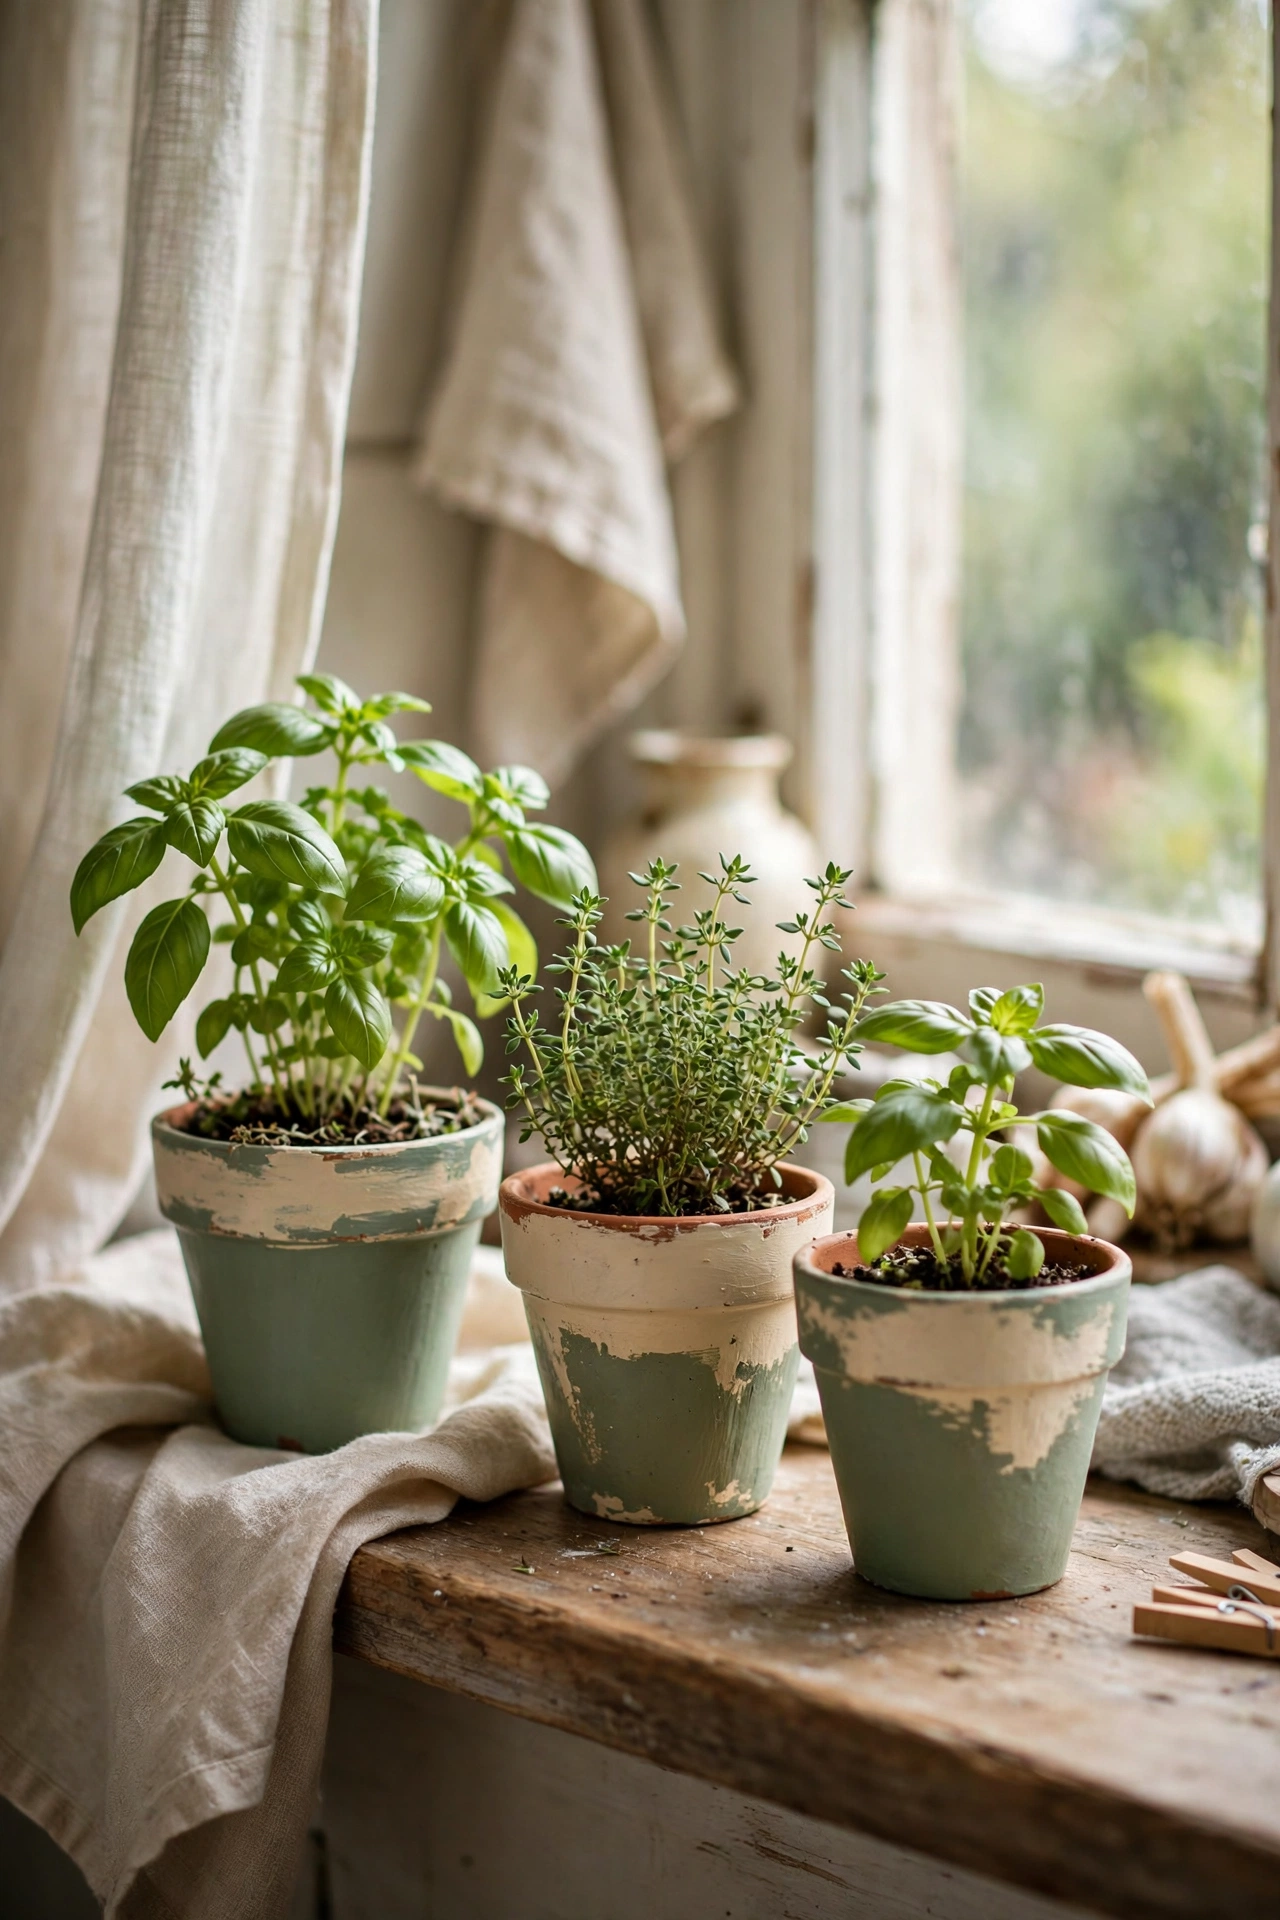
Terracotta pots are cheap, cheerful, and even better with a coat of paint. I painted a row of small pots in alternating sage and cream, planted basil, thyme, and mint, and lined them along my kitchen windowsill. Use acrylic craft paint and seal with a clear matte sealer, because unsealed paint will bubble when you water the plants. I skipped the sealer on my first pot and watched the paint peel within a month. Paint the outside only and leave the inside natural so the pot can still breathe. A painted herb garden costs less than one bunch of shop-bought herbs.
Cost: ~$6-10 | Time: 1 hour plus drying
3. Yarn-Wrapped Glass Vase
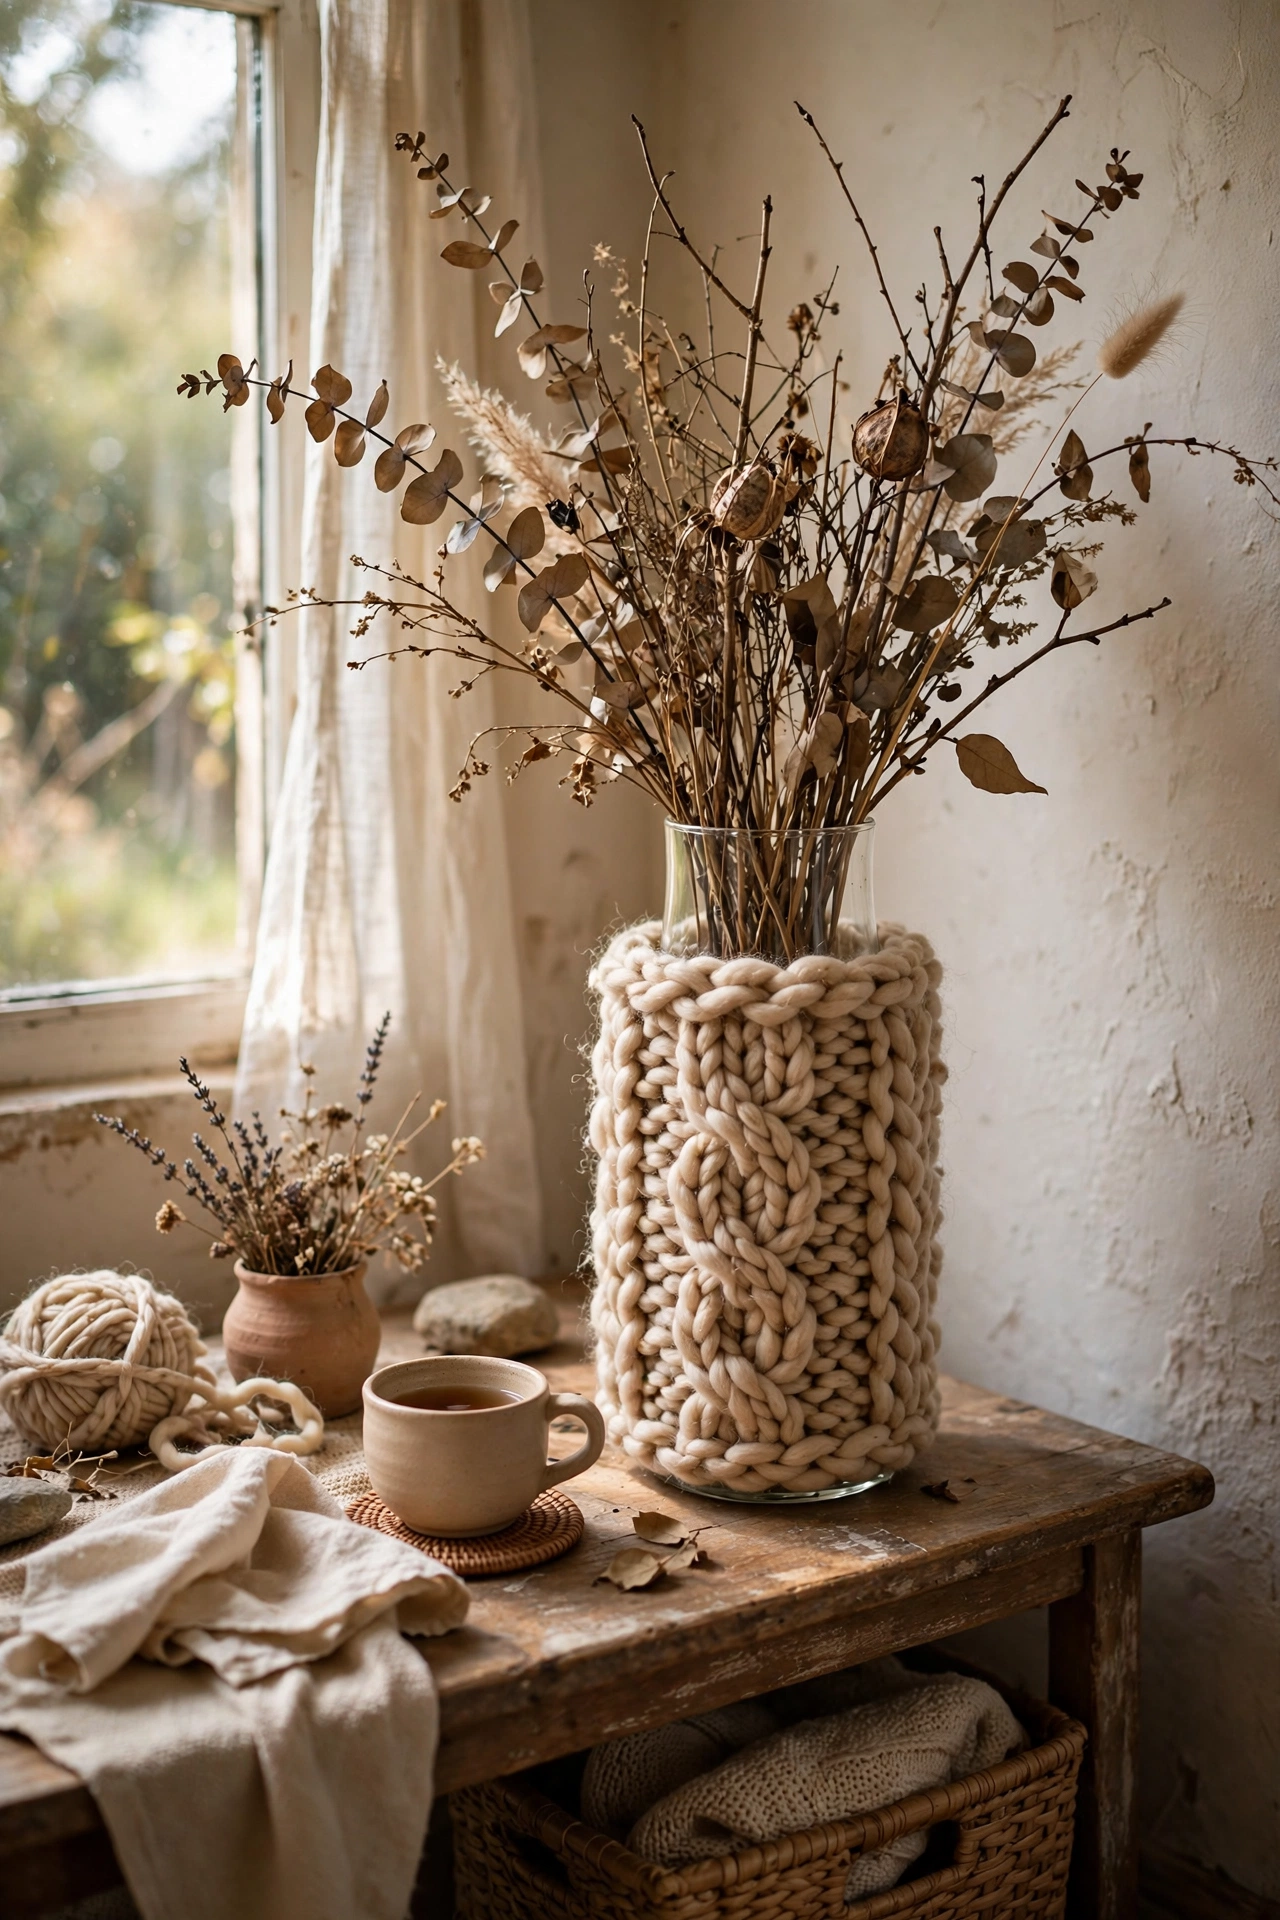
Wrapping a plain glass vase in chunky yarn gives it a cosy, handmade texture. I ran a line of hot glue around the base of a tall cylinder vase and wound natural jute-coloured yarn upward in tight rows, adding glue every few inches. It took one episode of a drama series and looks like a proper artisan piece. Keep the rows snug together so no glass peeks through. I left gaps on my first attempt and had to unwind the whole thing. Finish with a tiny bow or a wooden bead threaded on the last row for a polished detail.
Cost: ~$5-9 | Time: 1.5 hours
4. No-Sew Hem Curtain Panels
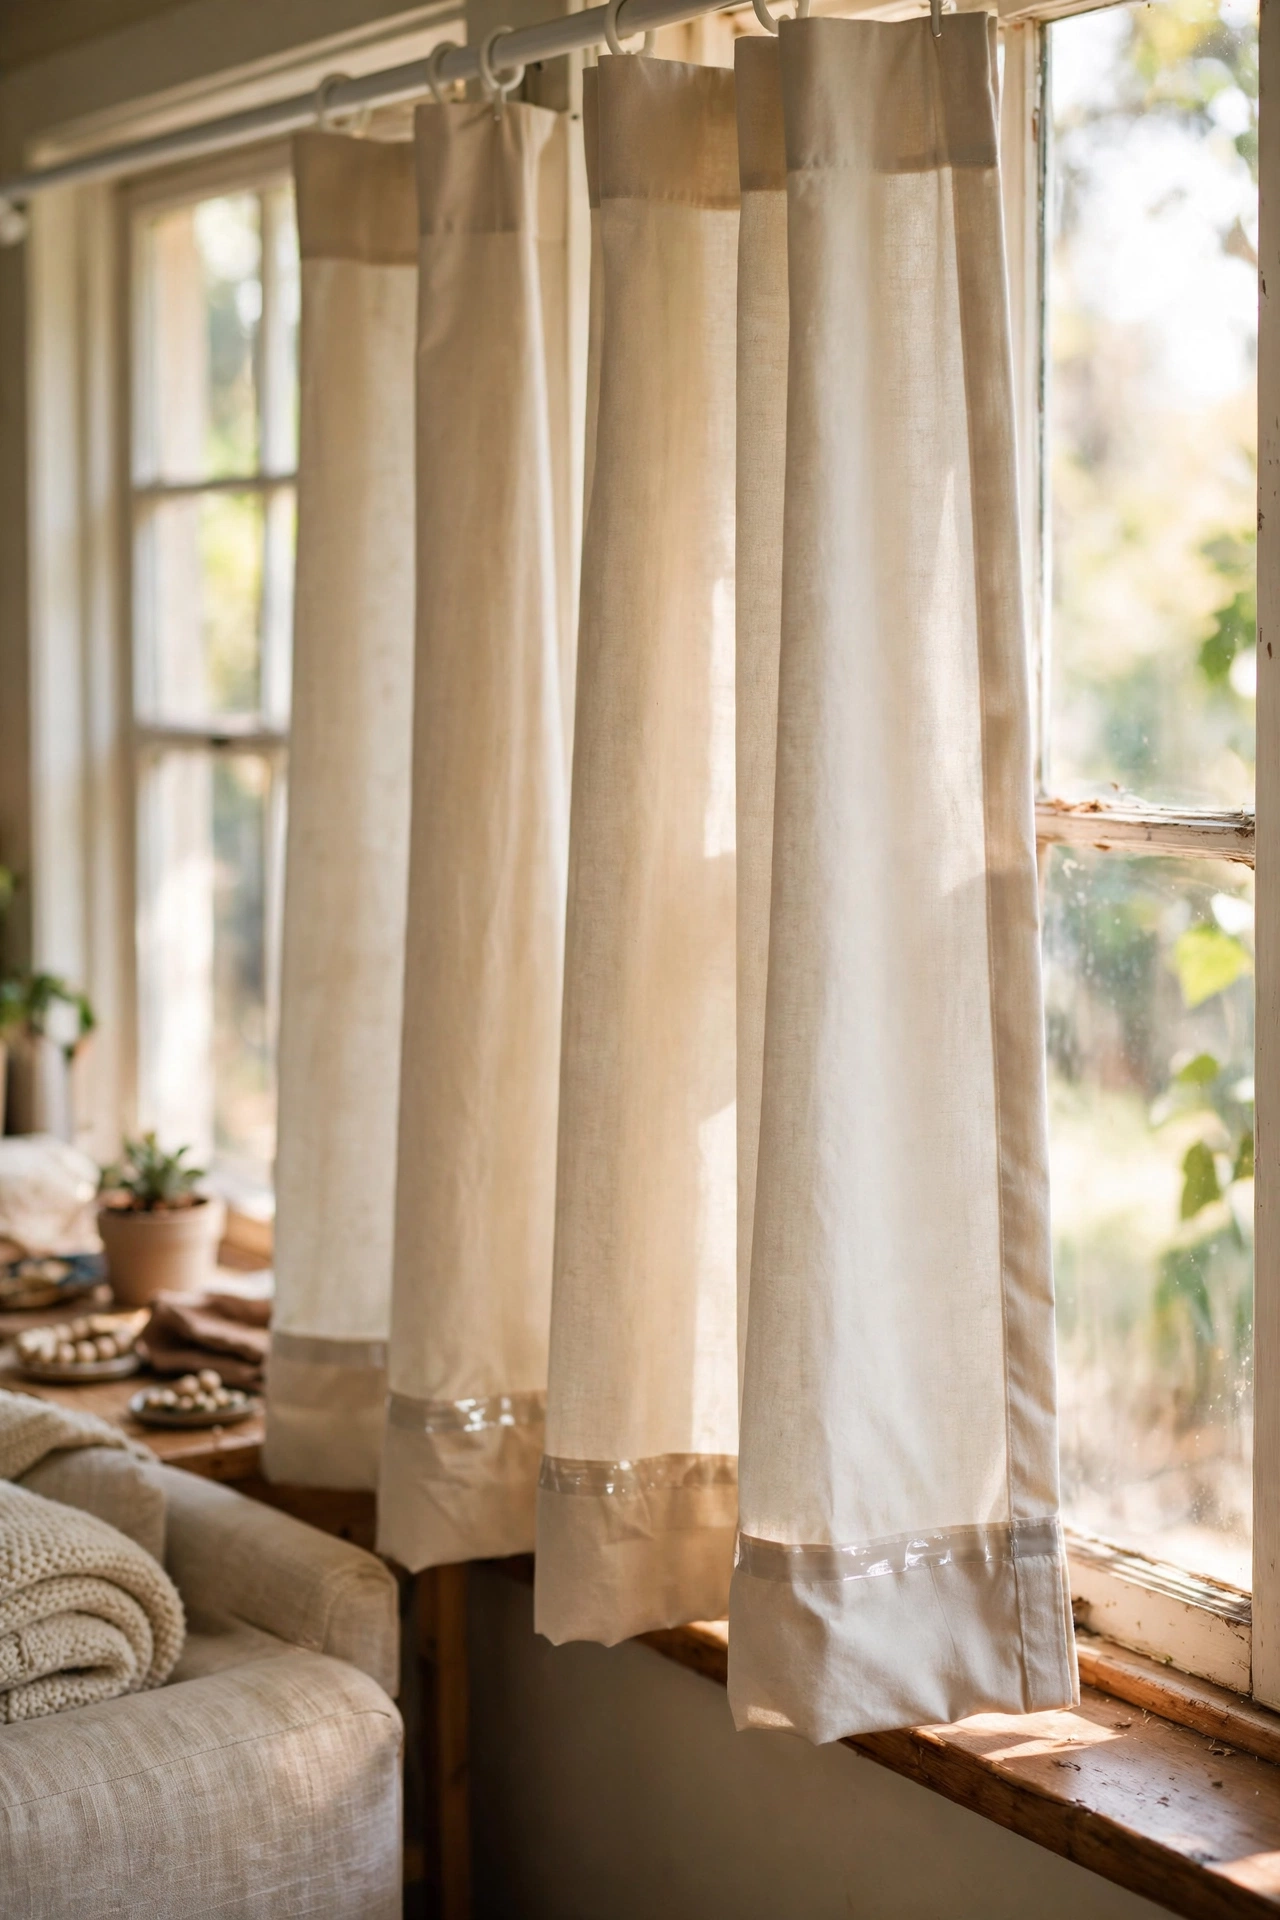
Curtains that are too long are an easy fix with iron-on hem tape and no sewing at all. I bought two budget curtain panels, measured how much needed to come off, folded the hem, and fused it with hem tape and a hot iron. The whole job took forty minutes for the pair. Measure from the rod to where you want the curtains to fall, and hem both panels to exactly the same length. I hemmed my first pair at slightly different lengths and they looked drunk until I fixed them. Press the fold sharply before fusing for the crispest edge.
Cost: ~$12-18 | Time: 45 minutes
Budget check: four projects finished, all under $20 as promised. The curtain hemming saved me from buying custom-length panels at five times the price.
5. Framed Fabric Wall Art
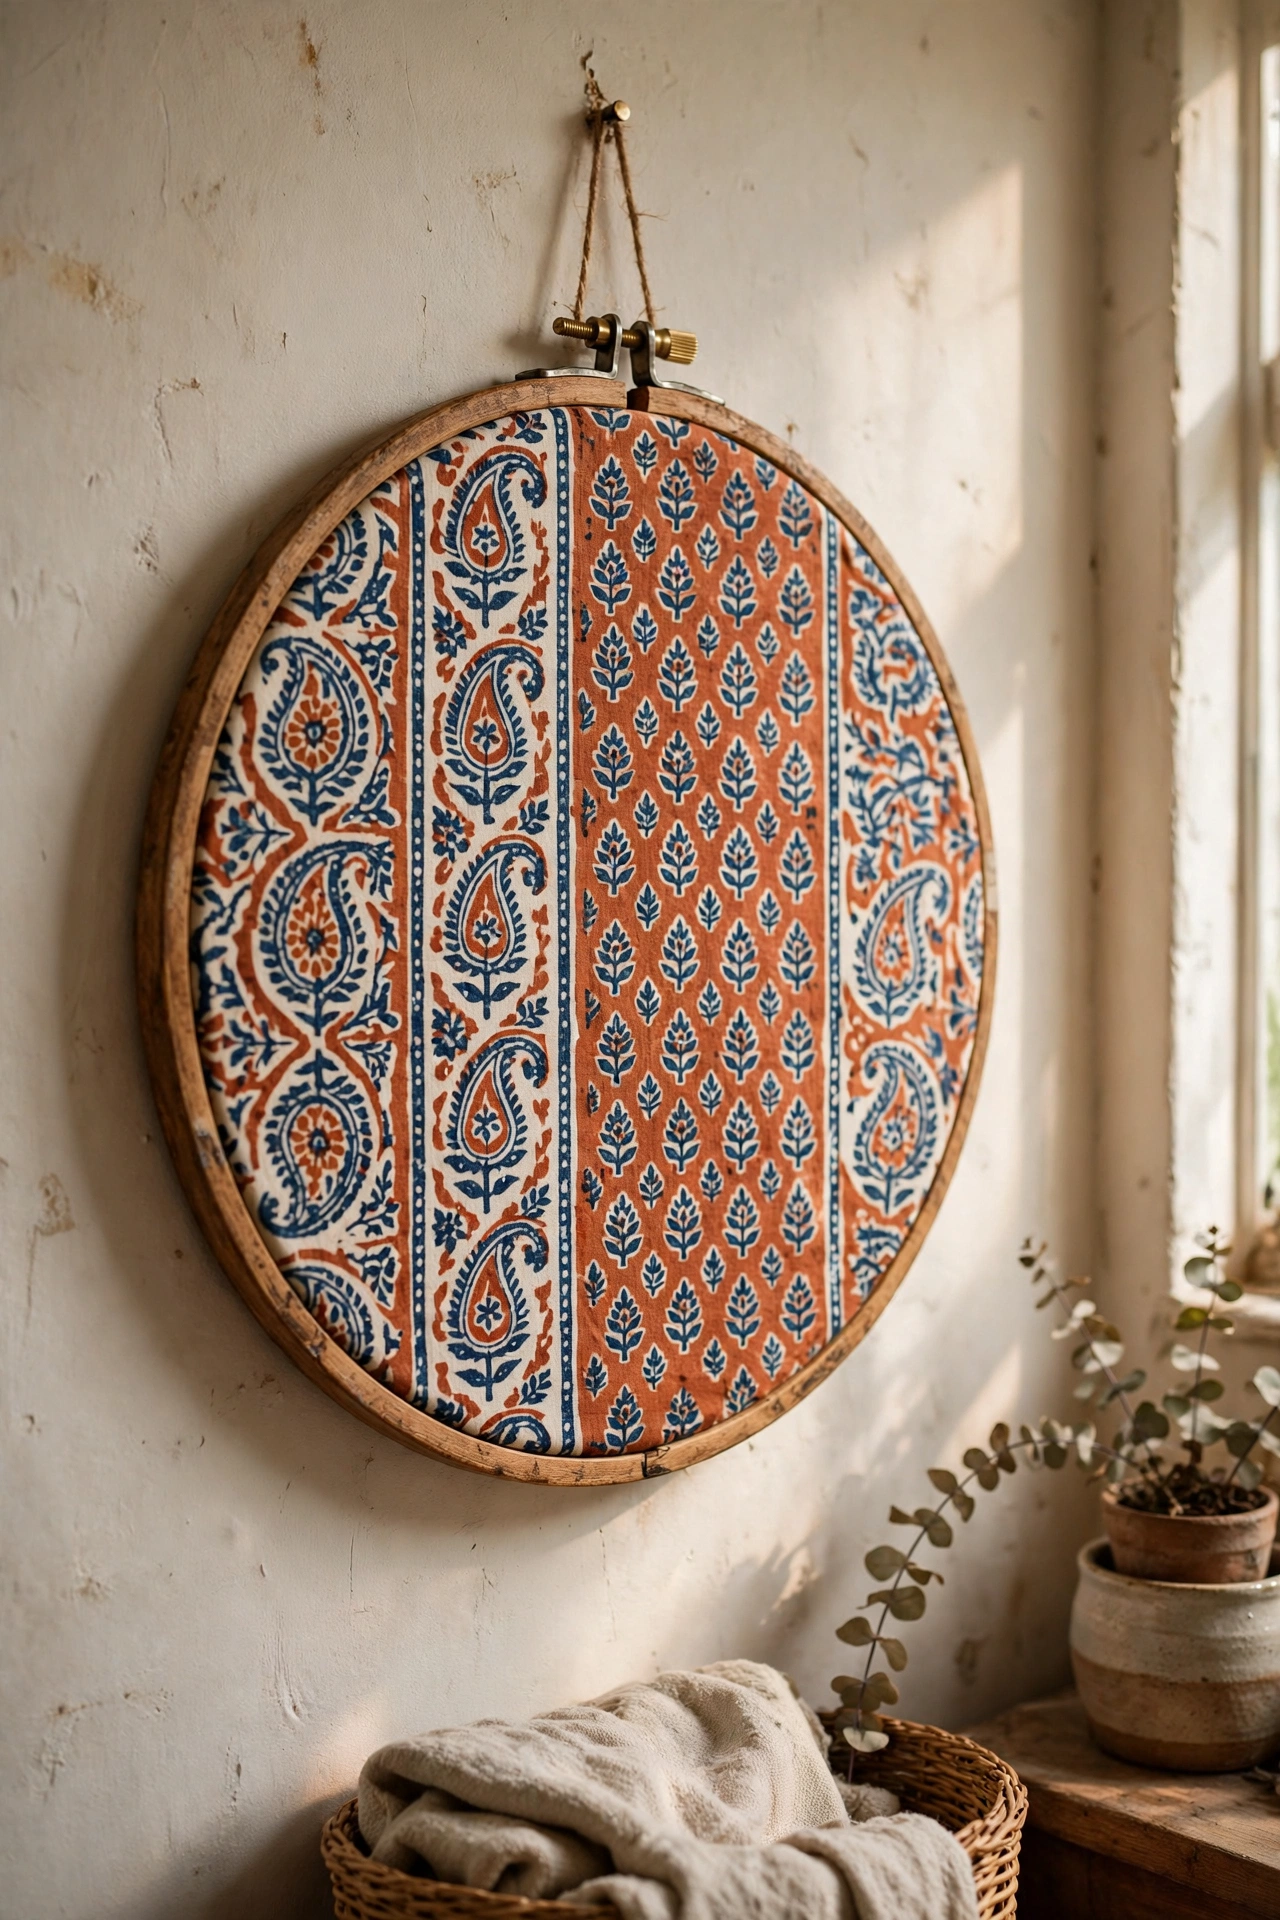
A beautiful fabric remnant stretched in an embroidery hoop or frame is instant wall art. I found a fat quarter of block-printed cotton for $4, stretched it tight in a large wooden embroidery hoop, and hung it in my bedroom. Pull the fabric drum-tight and trim the excess at the back, because wrinkles show. I re-stretched mine twice before it sat perfectly flat. Look for fabrics with a bold pattern that reads well from across the room. Three hoops in different sizes grouped together make an even better display, and the whole thing costs less than one small print.
Cost: ~$6-12 | Time: 30 minutes
6. Painted Wooden Serving Tray
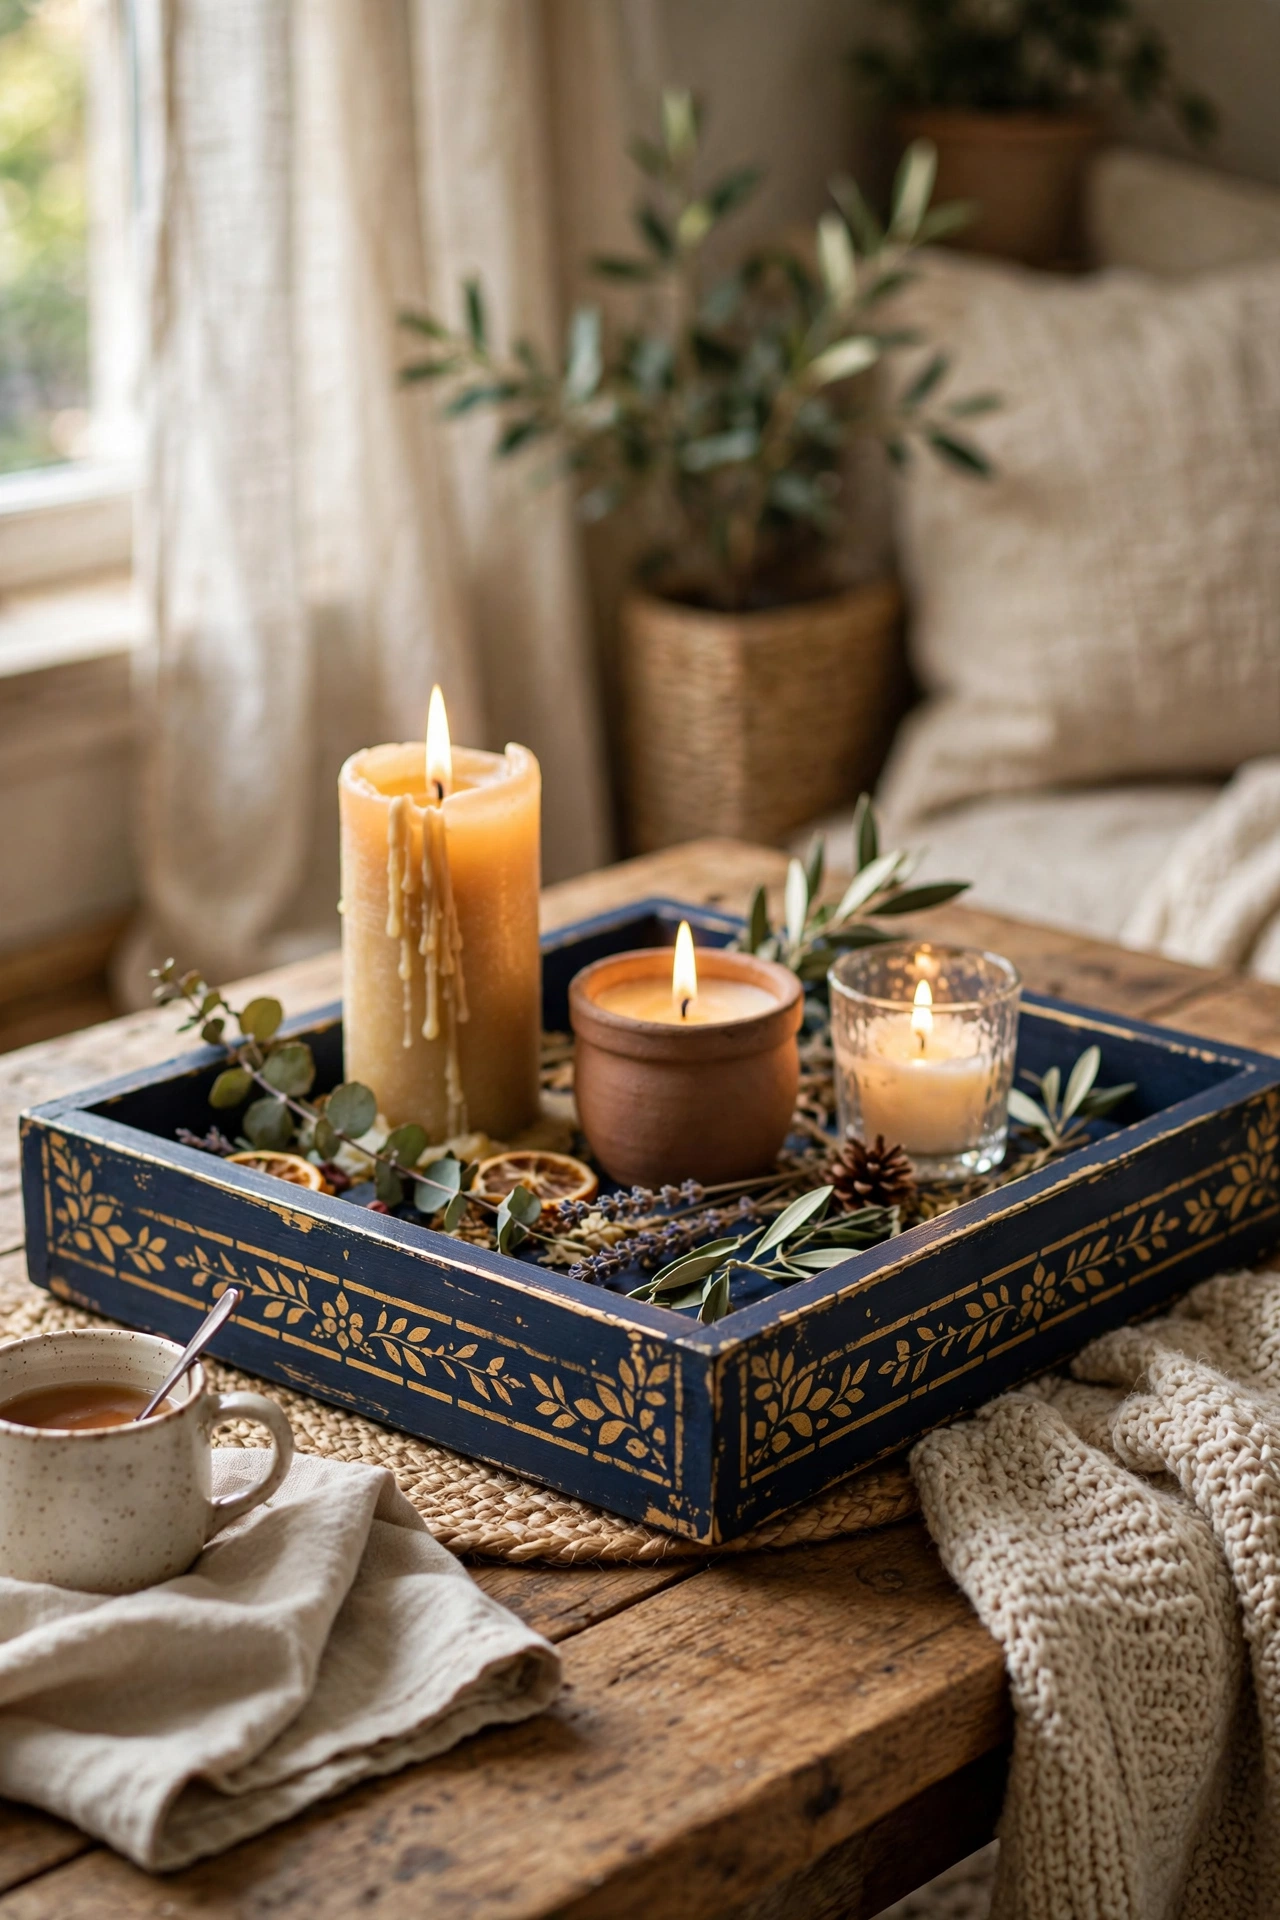
A plain wooden tray becomes a styling workhorse with paint and a stencil. I bought an unfinished tray for $8, painted it deep navy, and stencilled a simple border in gold around the rim. It now corrals candles on my coffee table and carries drinks when friends visit. Sand the tray smooth before painting, because unfinished wood is thirsty and rough. I gave mine two coats of paint and a clear sealer so it survives spills. The handles make all the difference, so choose a tray with cut-out or attached handles rather than a flat board.
Cost: ~$10-15 | Time: 1.5 hours plus drying
7. Mason Jar Candle Holders
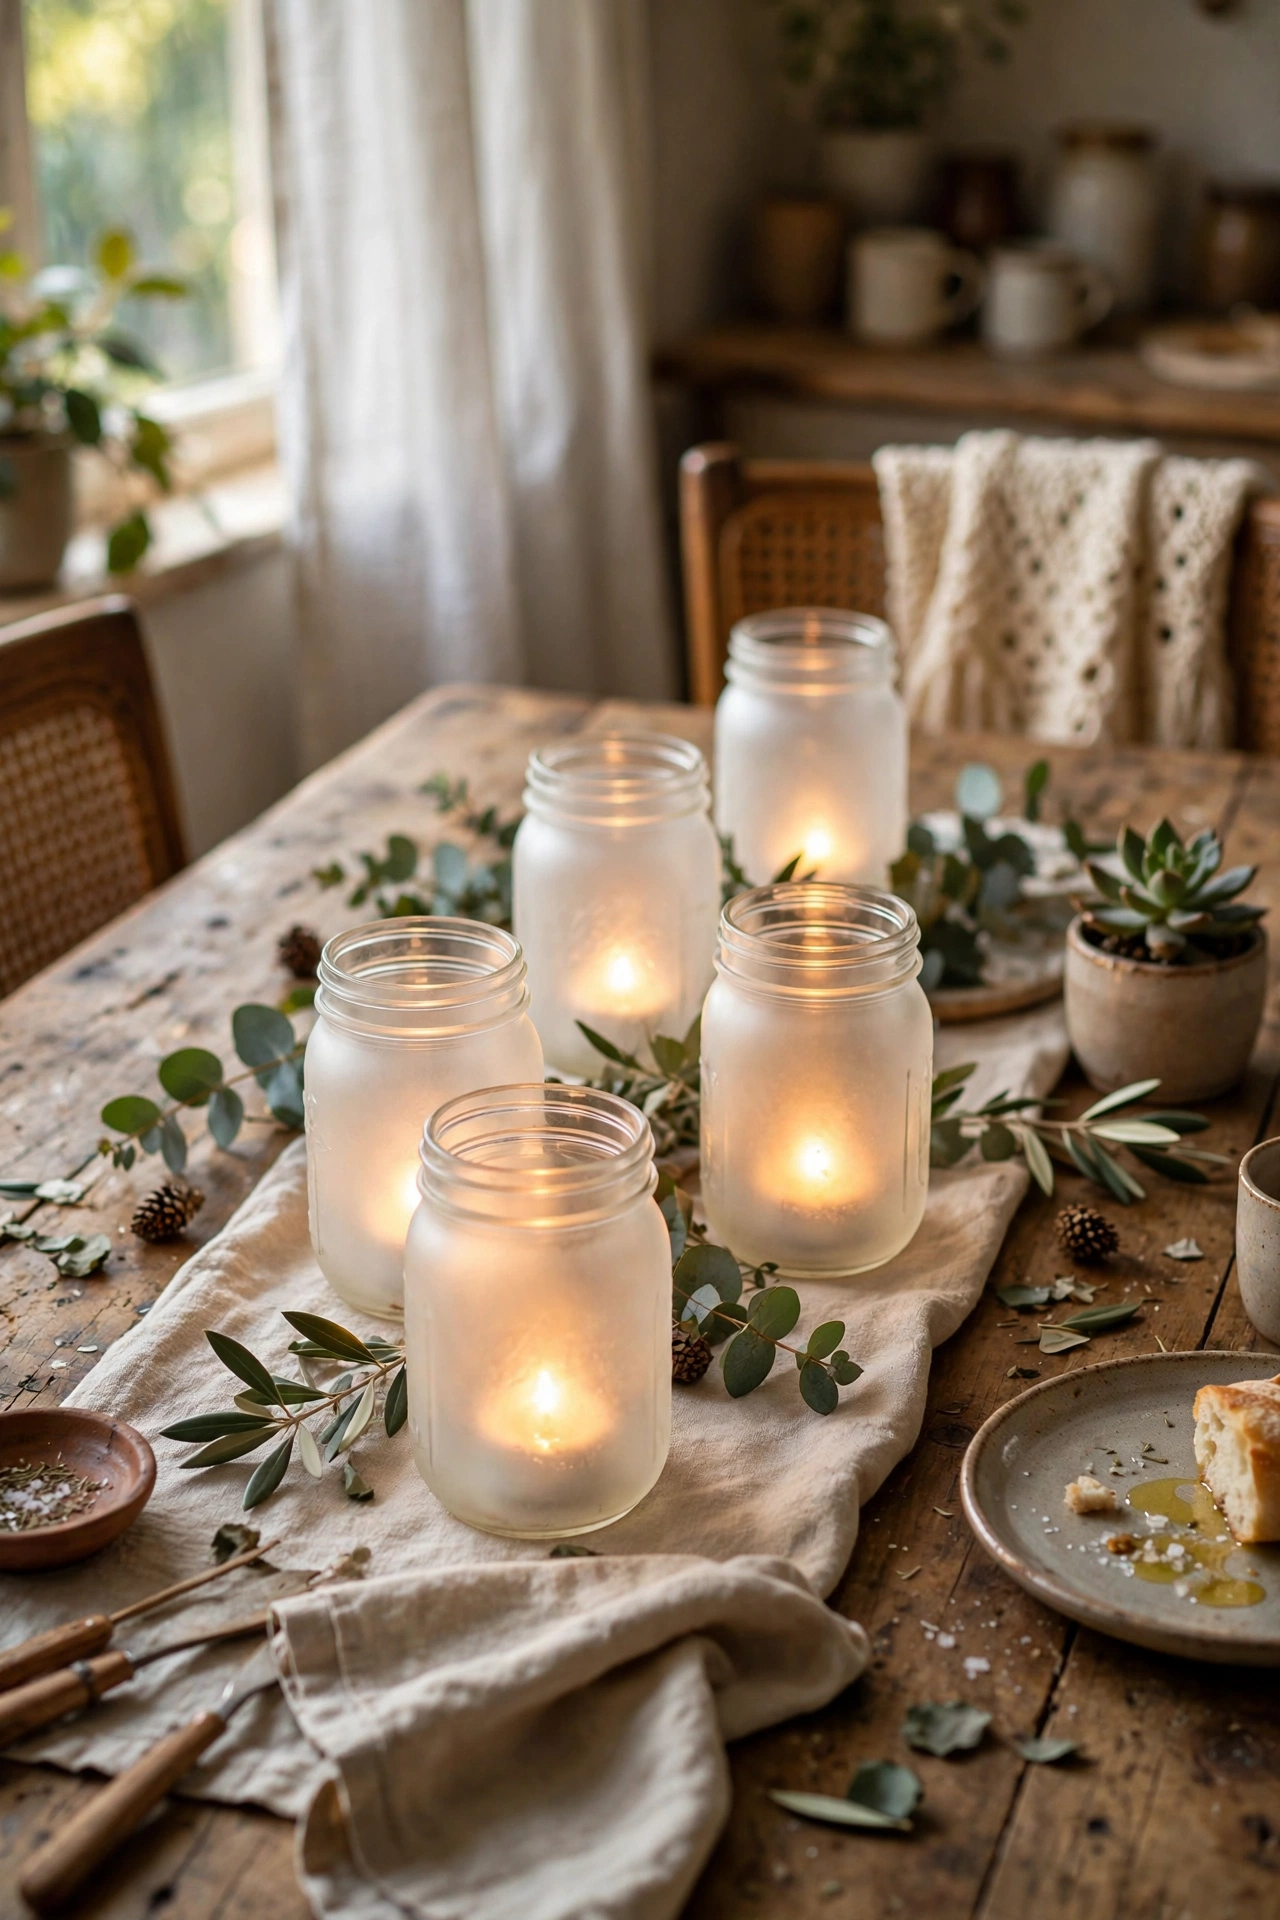
Mason jars with a light coat of frosted spray make beautiful candle holders. I sprayed six jars, dropped in tea lights, and grouped them down the centre of my dining table. The frosted finish softens the flame into a warm glow. Spray in very light passes, because a heavy coat looks cloudy rather than frosted. I overdid my first jar and it looked like it needed cleaning. Vary the jar heights for visual interest, and always use tea lights or LED candles rather than tall tapers that could overheat the glass. For more jar ideas, see (see also: dollar-store-decor-ideas-that-look-expensive).
Cost: ~$6-10 | Time: 30 minutes plus drying
8. Peel-and-Stick Wallpaper Accent Panel
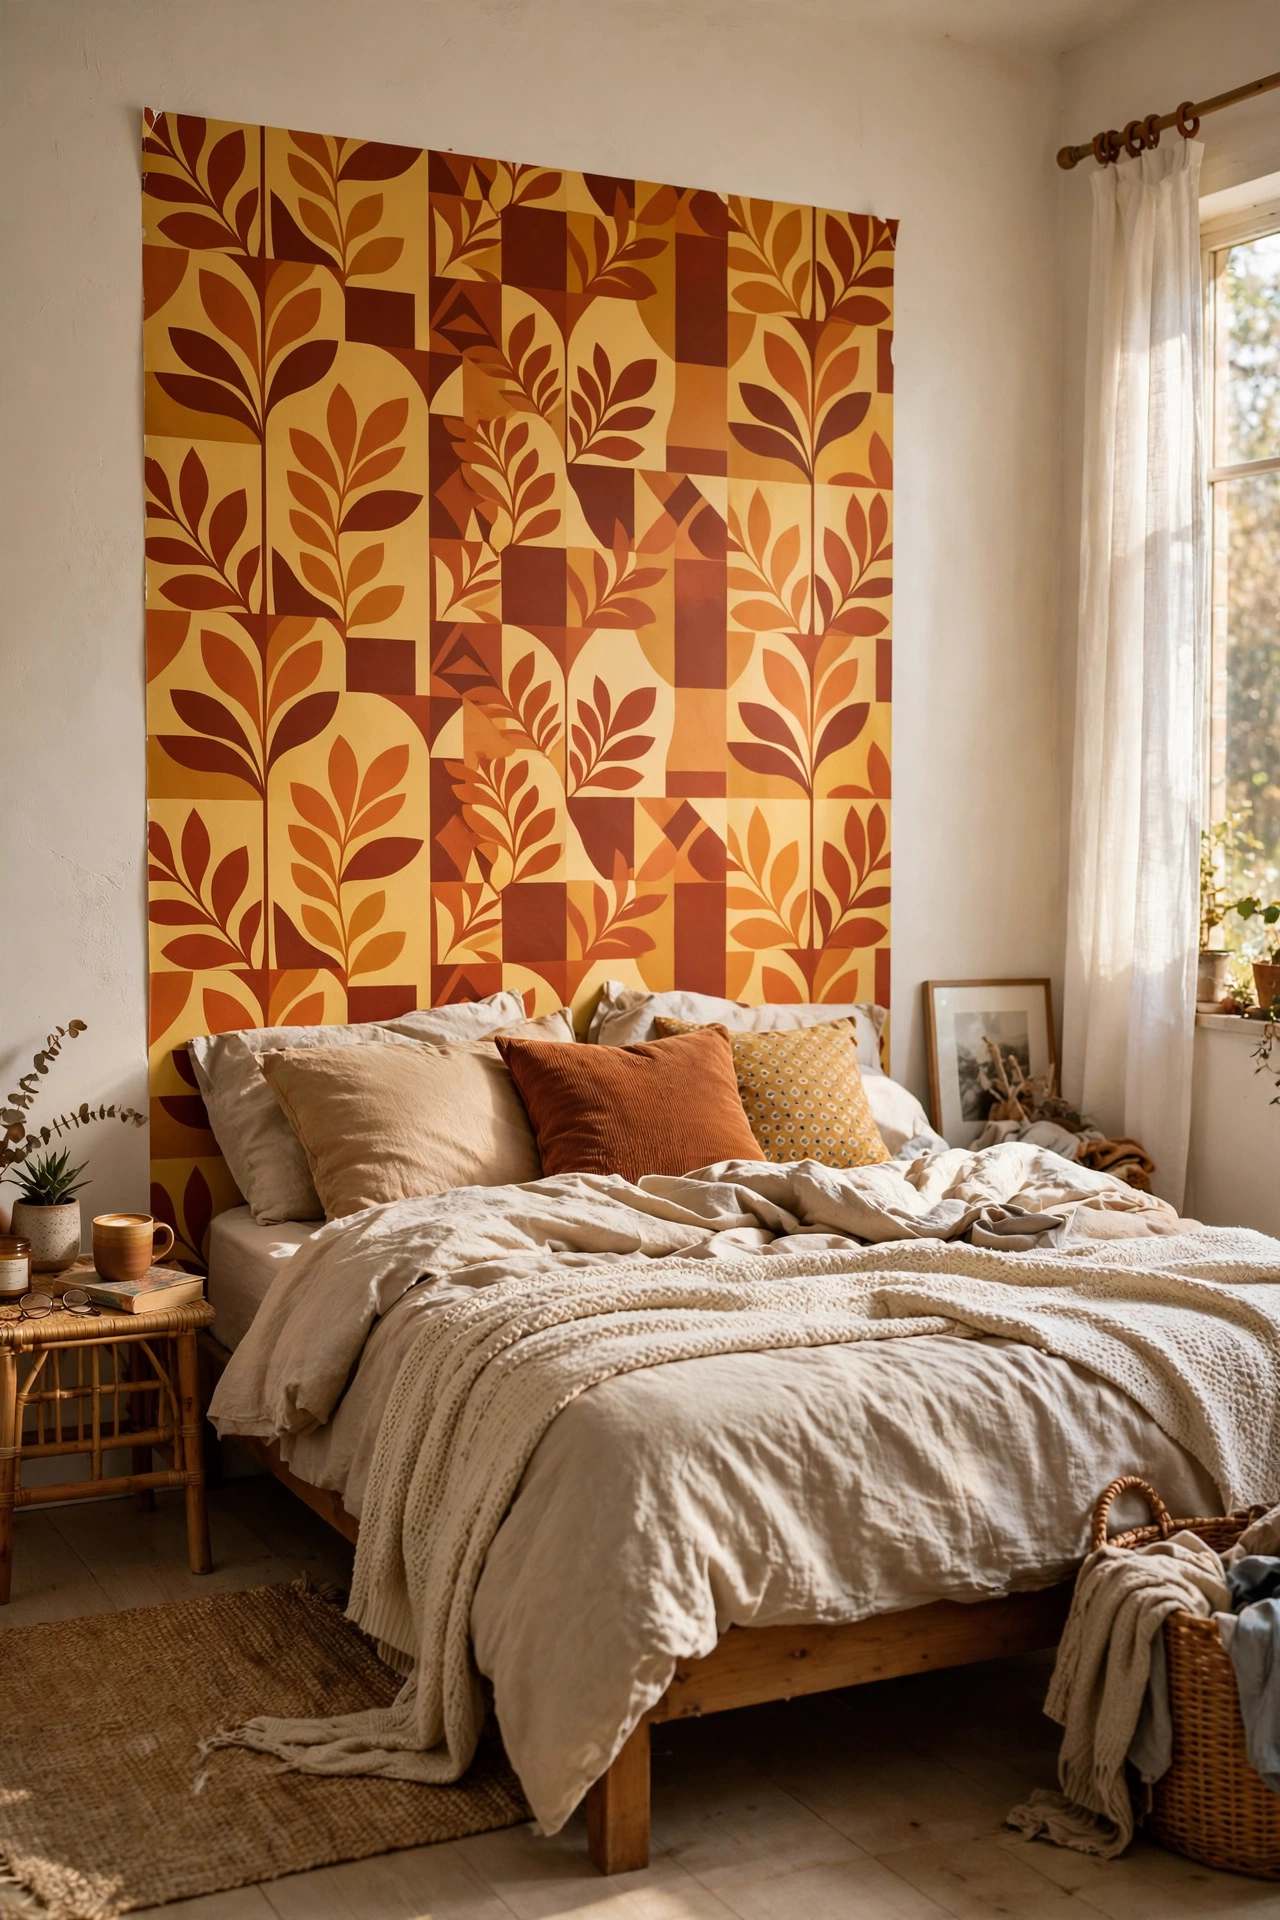
You do not need to paper a whole wall to get the wallpaper effect. I applied peel-and-stick wallpaper to a single framed panel behind my bed, essentially a giant piece of art, and it looks like a proper headboard wall. Measure and cut the wallpaper slightly oversized, smooth it onto a primed board, and trim the edges. The repositionable adhesive forgives mistakes, which I needed twice. Choose a bold pattern, because a small area can handle drama that would overwhelm a full wall. This renter-friendly trick comes off cleanly when you move.
Cost: ~$14-20 | Time: 1 hour
Budget check: eight projects in and the most expensive was still under $20. The wallpaper panel gets more compliments than anything else in my bedroom.
9. Printed Art Gallery Wall
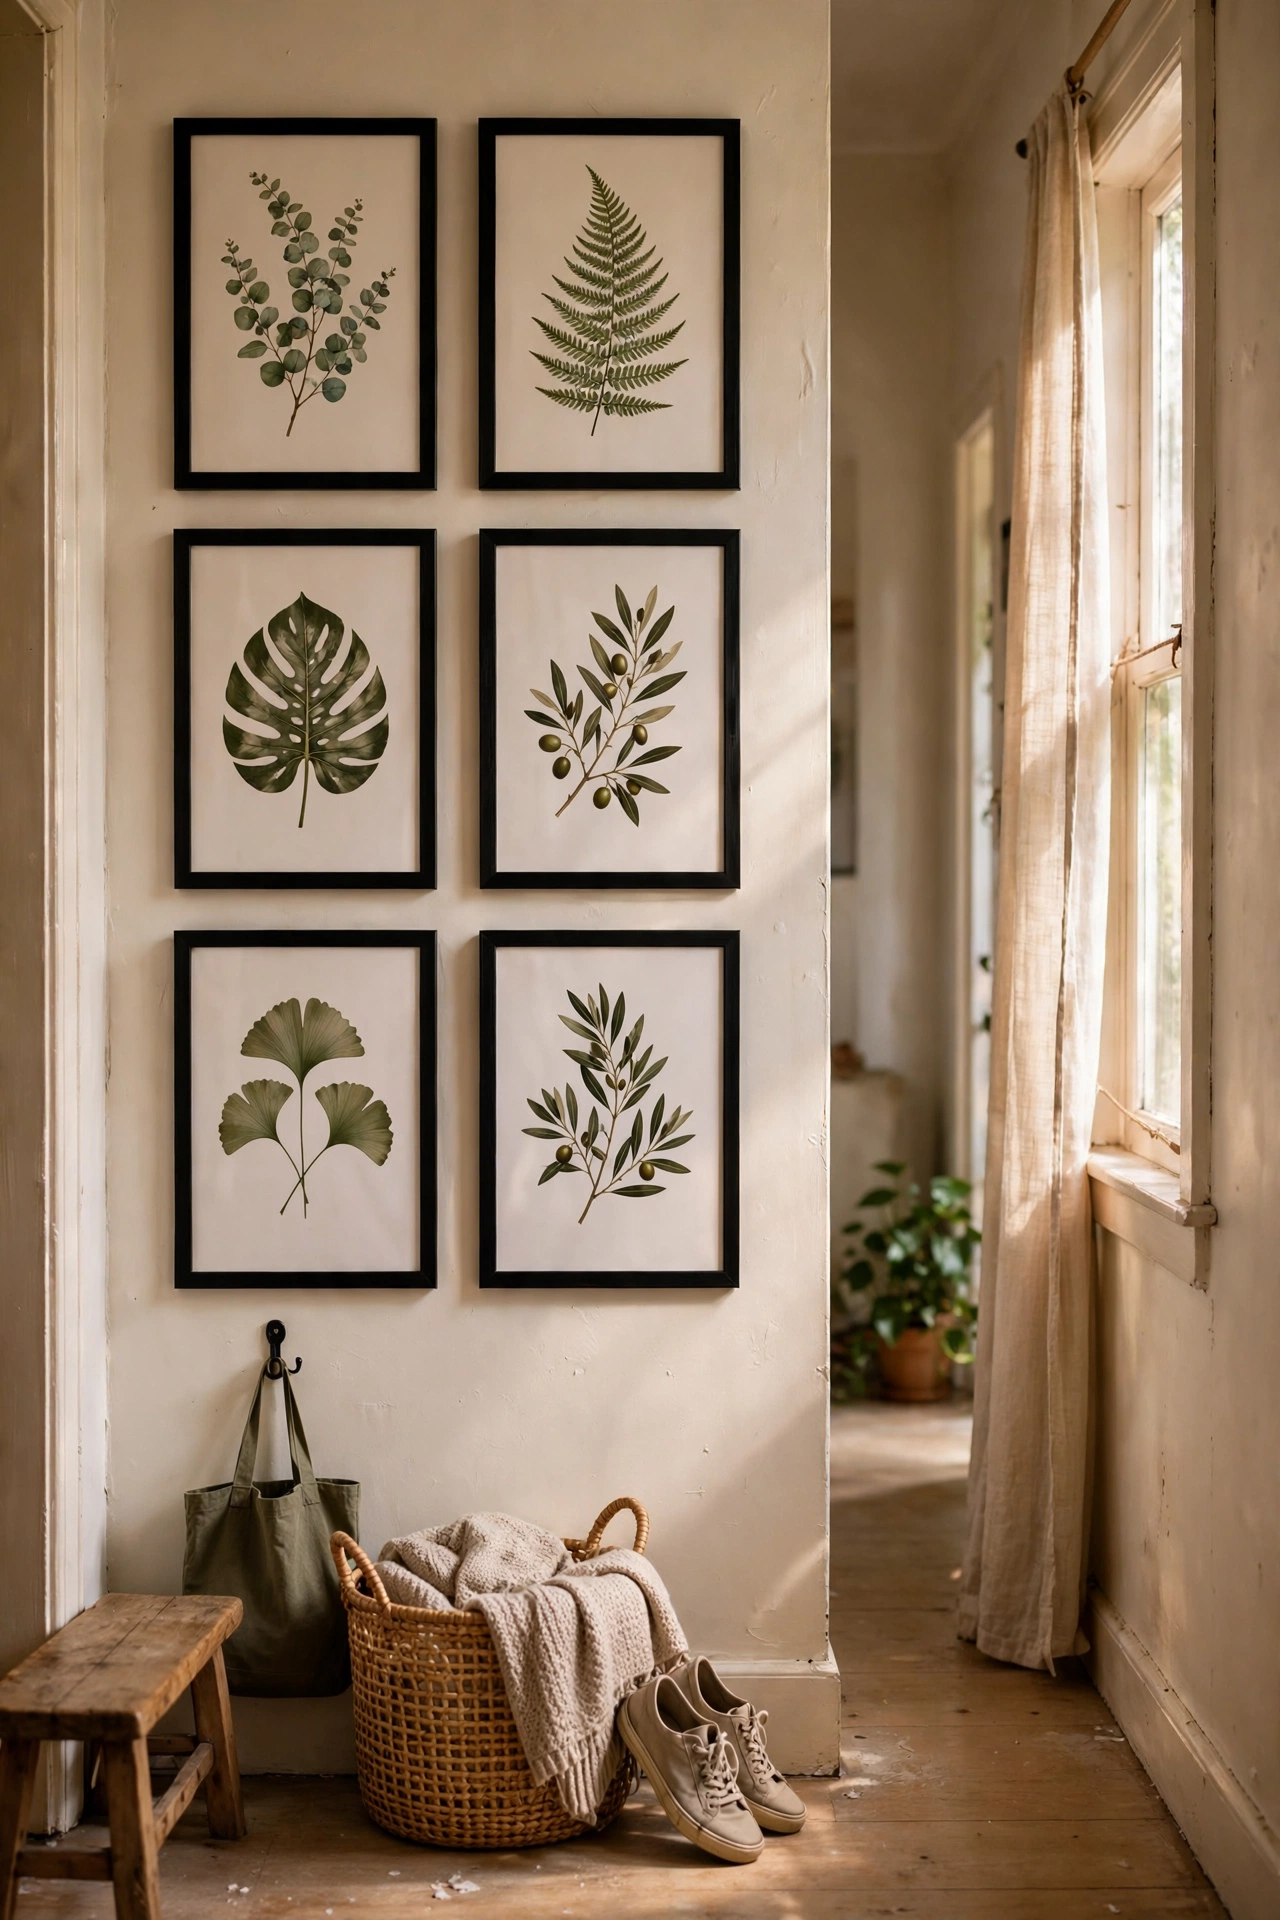
Free printable art in budget frames makes a gallery wall anyone can afford. I downloaded a set of botanical prints, had them printed at the library for a few dollars, and hung them in matching black frames from the discount store. The matching frames are what make mixed art look intentional. I laid the arrangement on the floor first and photographed it before hanging a single nail. Keep the spacing even, about two inches between frames, and hang the centre of the grouping at eye level. My hallway wall looks like a proper gallery now.
Cost: ~$12-18 | Time: 2 hours
10. Woven Yarn Wall Hanging on a Branch
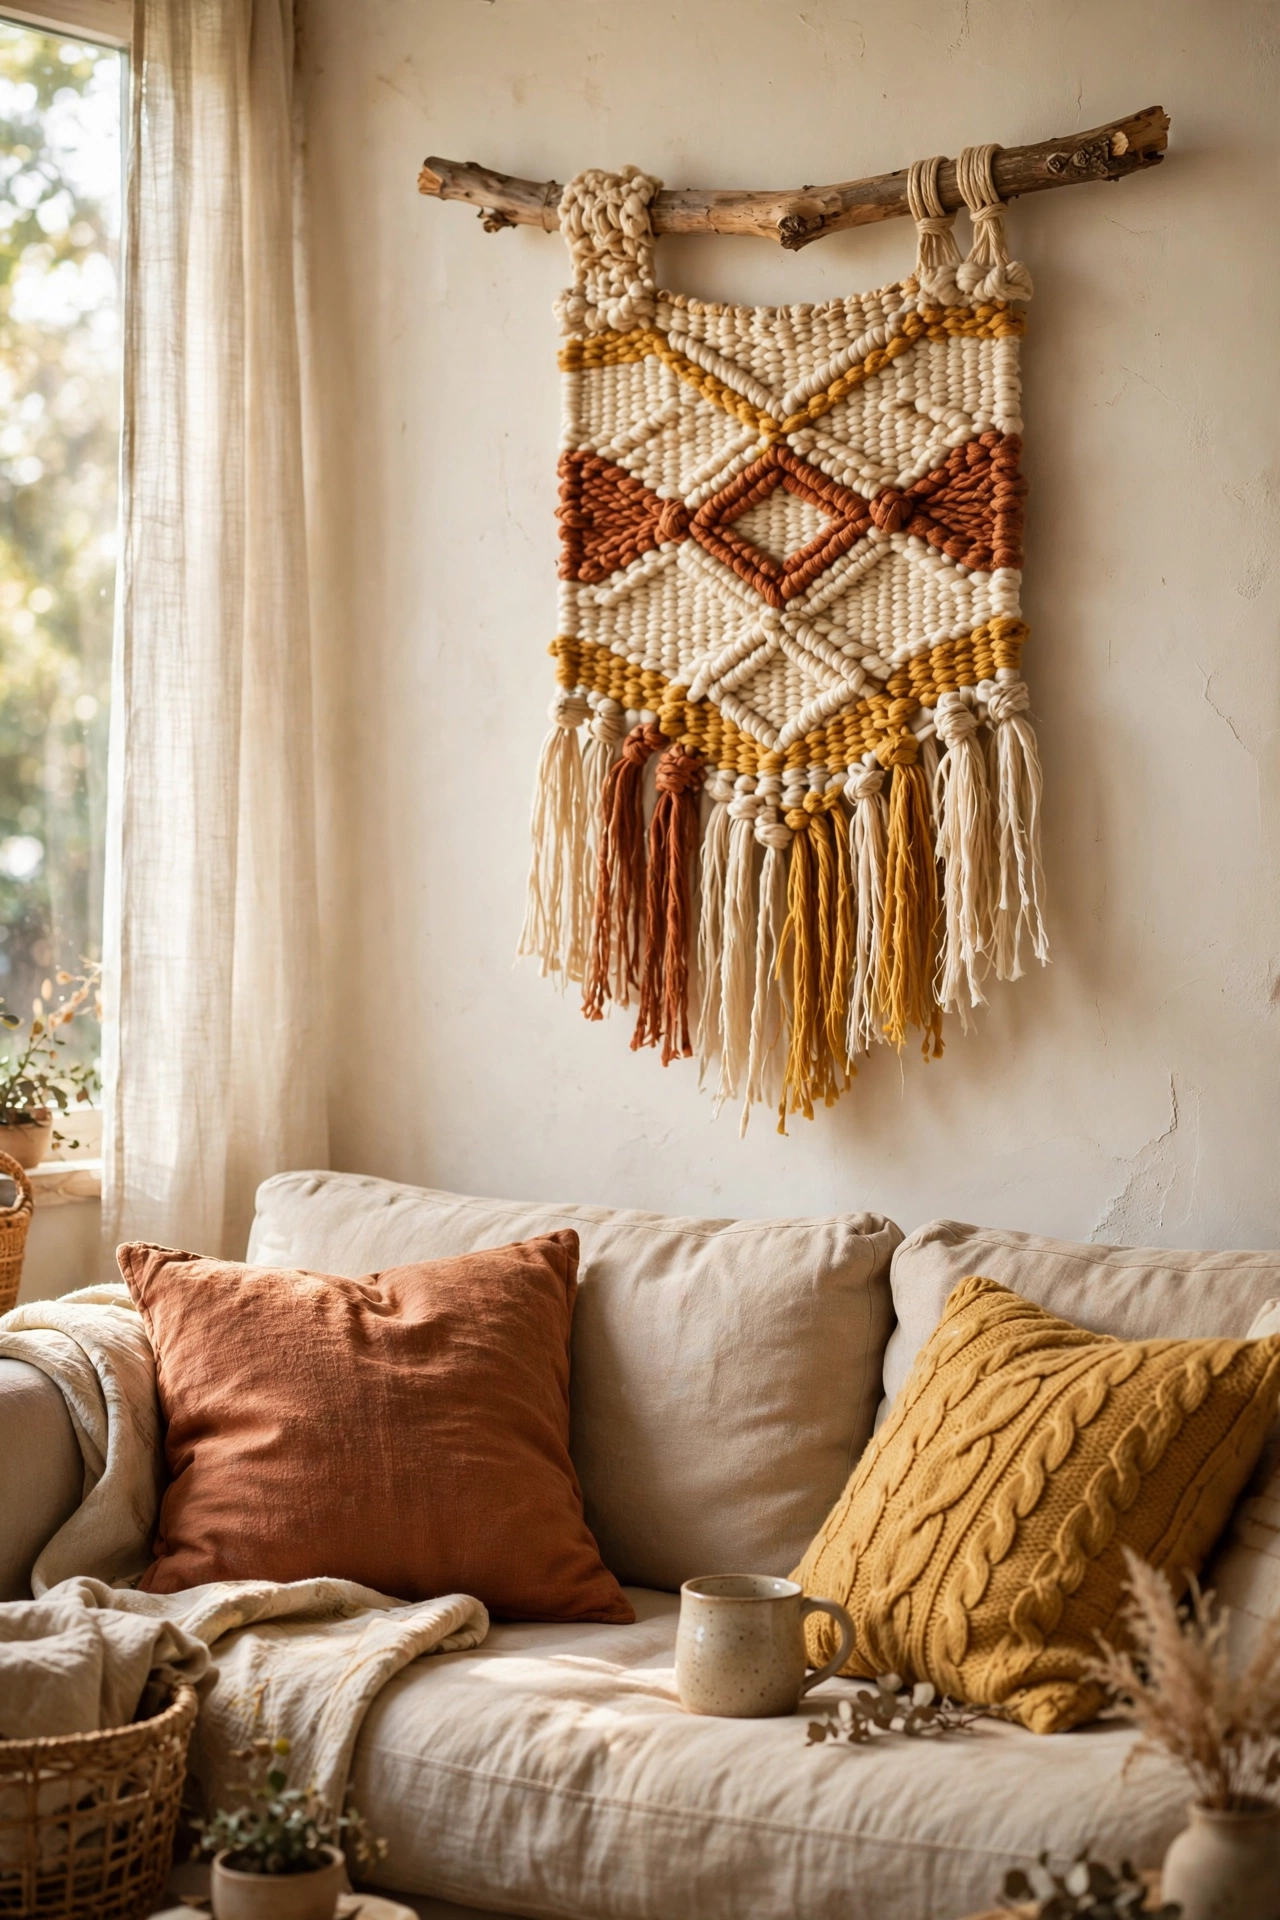
A wall hanging from yarn and a found branch is the ultimate beginner textile project. I tied lengths of wool in cream, rust, and mustard to a sturdy branch using simple lark’s head knots, trimmed the bottom into a V shape, and hung it above my sofa. The knots are genuinely easy: fold, loop, pull through. I watched one short video and had it mastered. Vary the yarn lengths and textures for a rich look, and trim the bottom edge last when you can see the whole shape. Mine took an evening and cost less than a takeaway.
Cost: ~$8-12 | Time: 2 hours
11. Hand-Painted Doormat
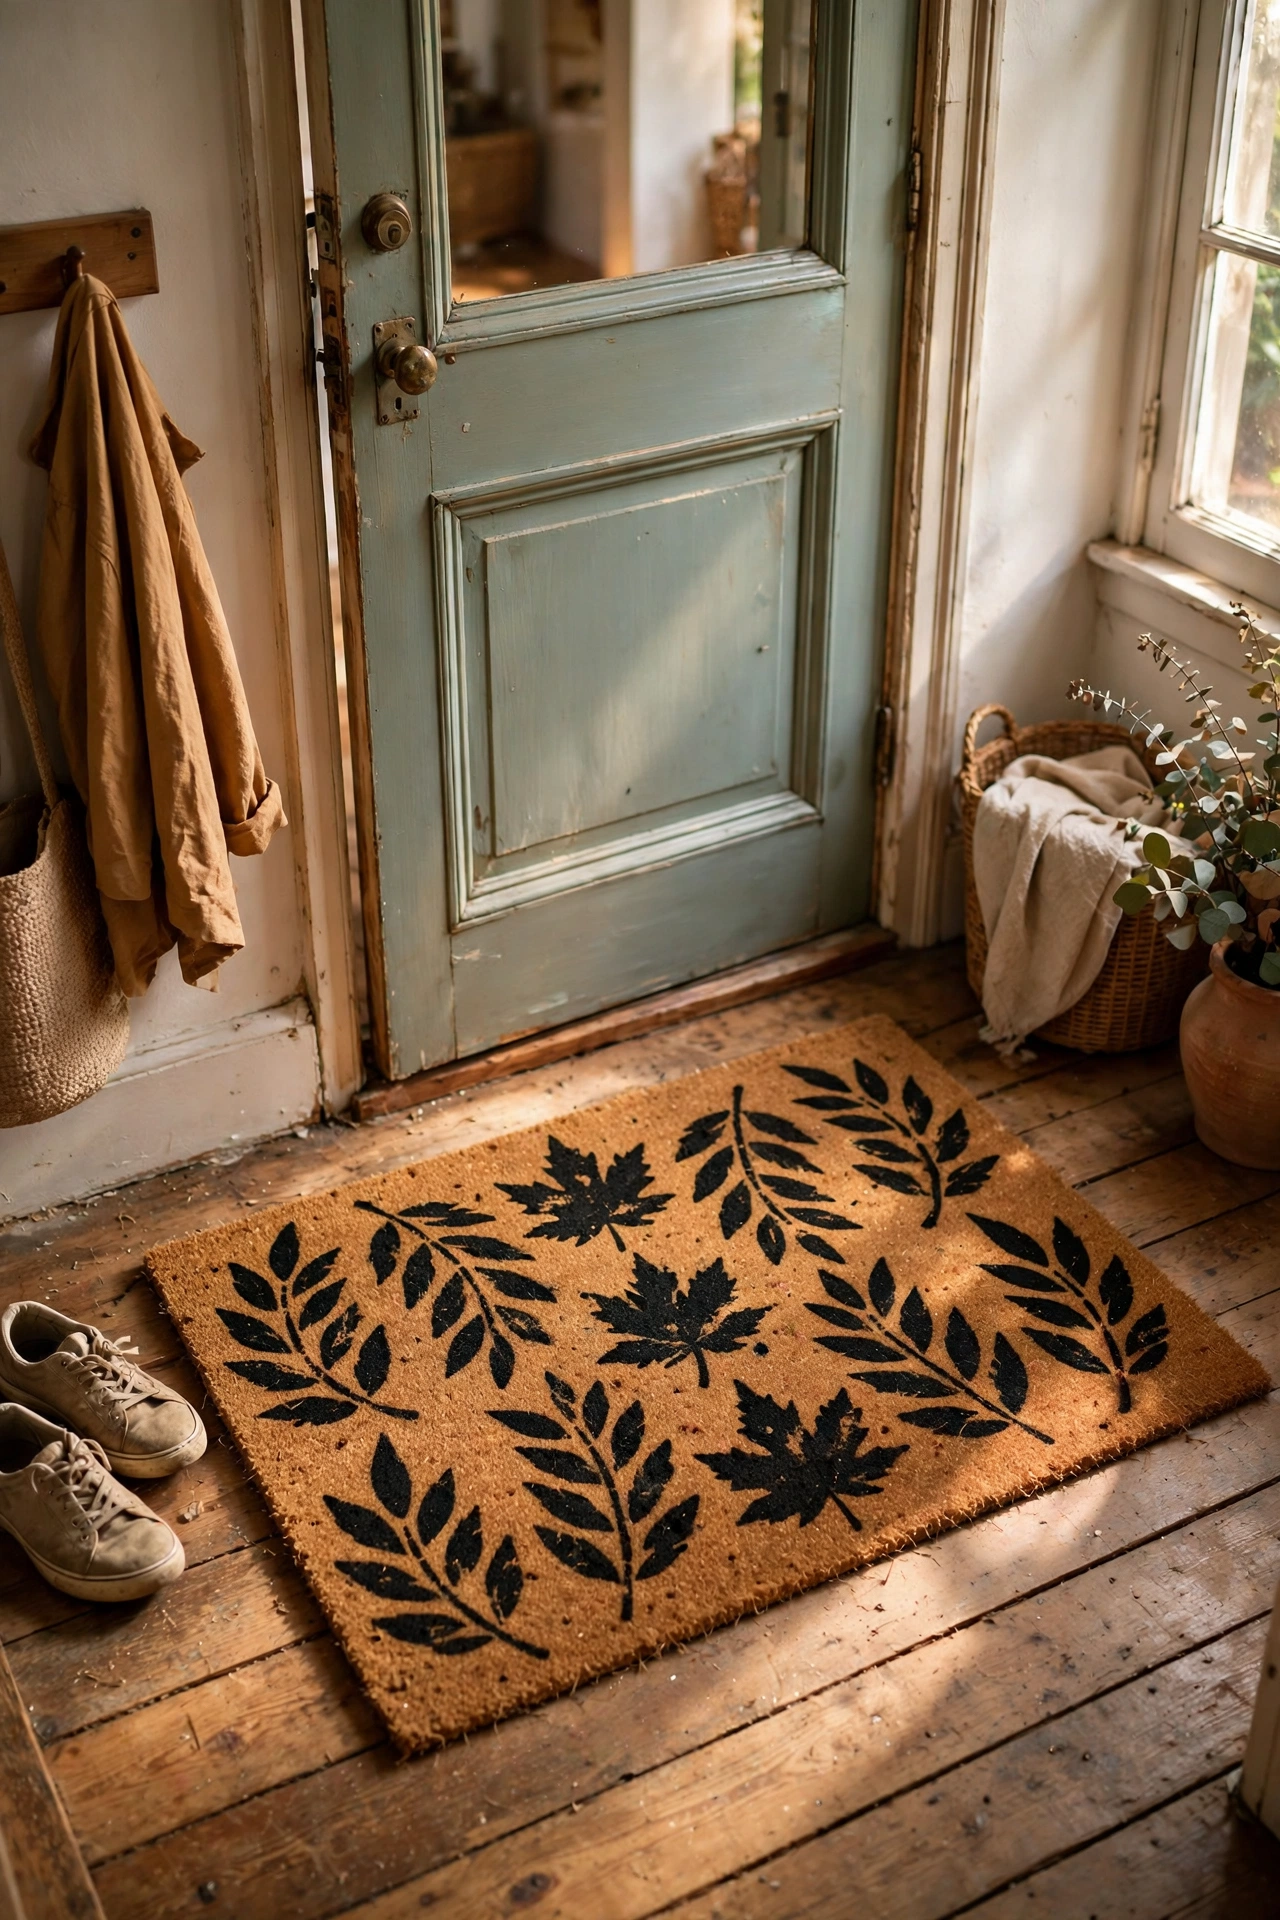
A plain coir doormat becomes a personal welcome with outdoor paint and a stencil. I stencilled a simple leaf pattern in black on a $10 mat, and it looks like the expensive personalised ones. Use outdoor acrylic paint and dab it on with a nearly dry stencil brush, because coir drinks paint and heavy application bleeds. I pressed too hard on my first corner and the line went fuzzy. Let it dry for a full day before putting it outside. Two thin coats last far longer than one thick one, and a clear outdoor sealer adds extra life.
Cost: ~$12-16 | Time: 1 hour plus drying
12. Chalk-Painted Wooden Stool
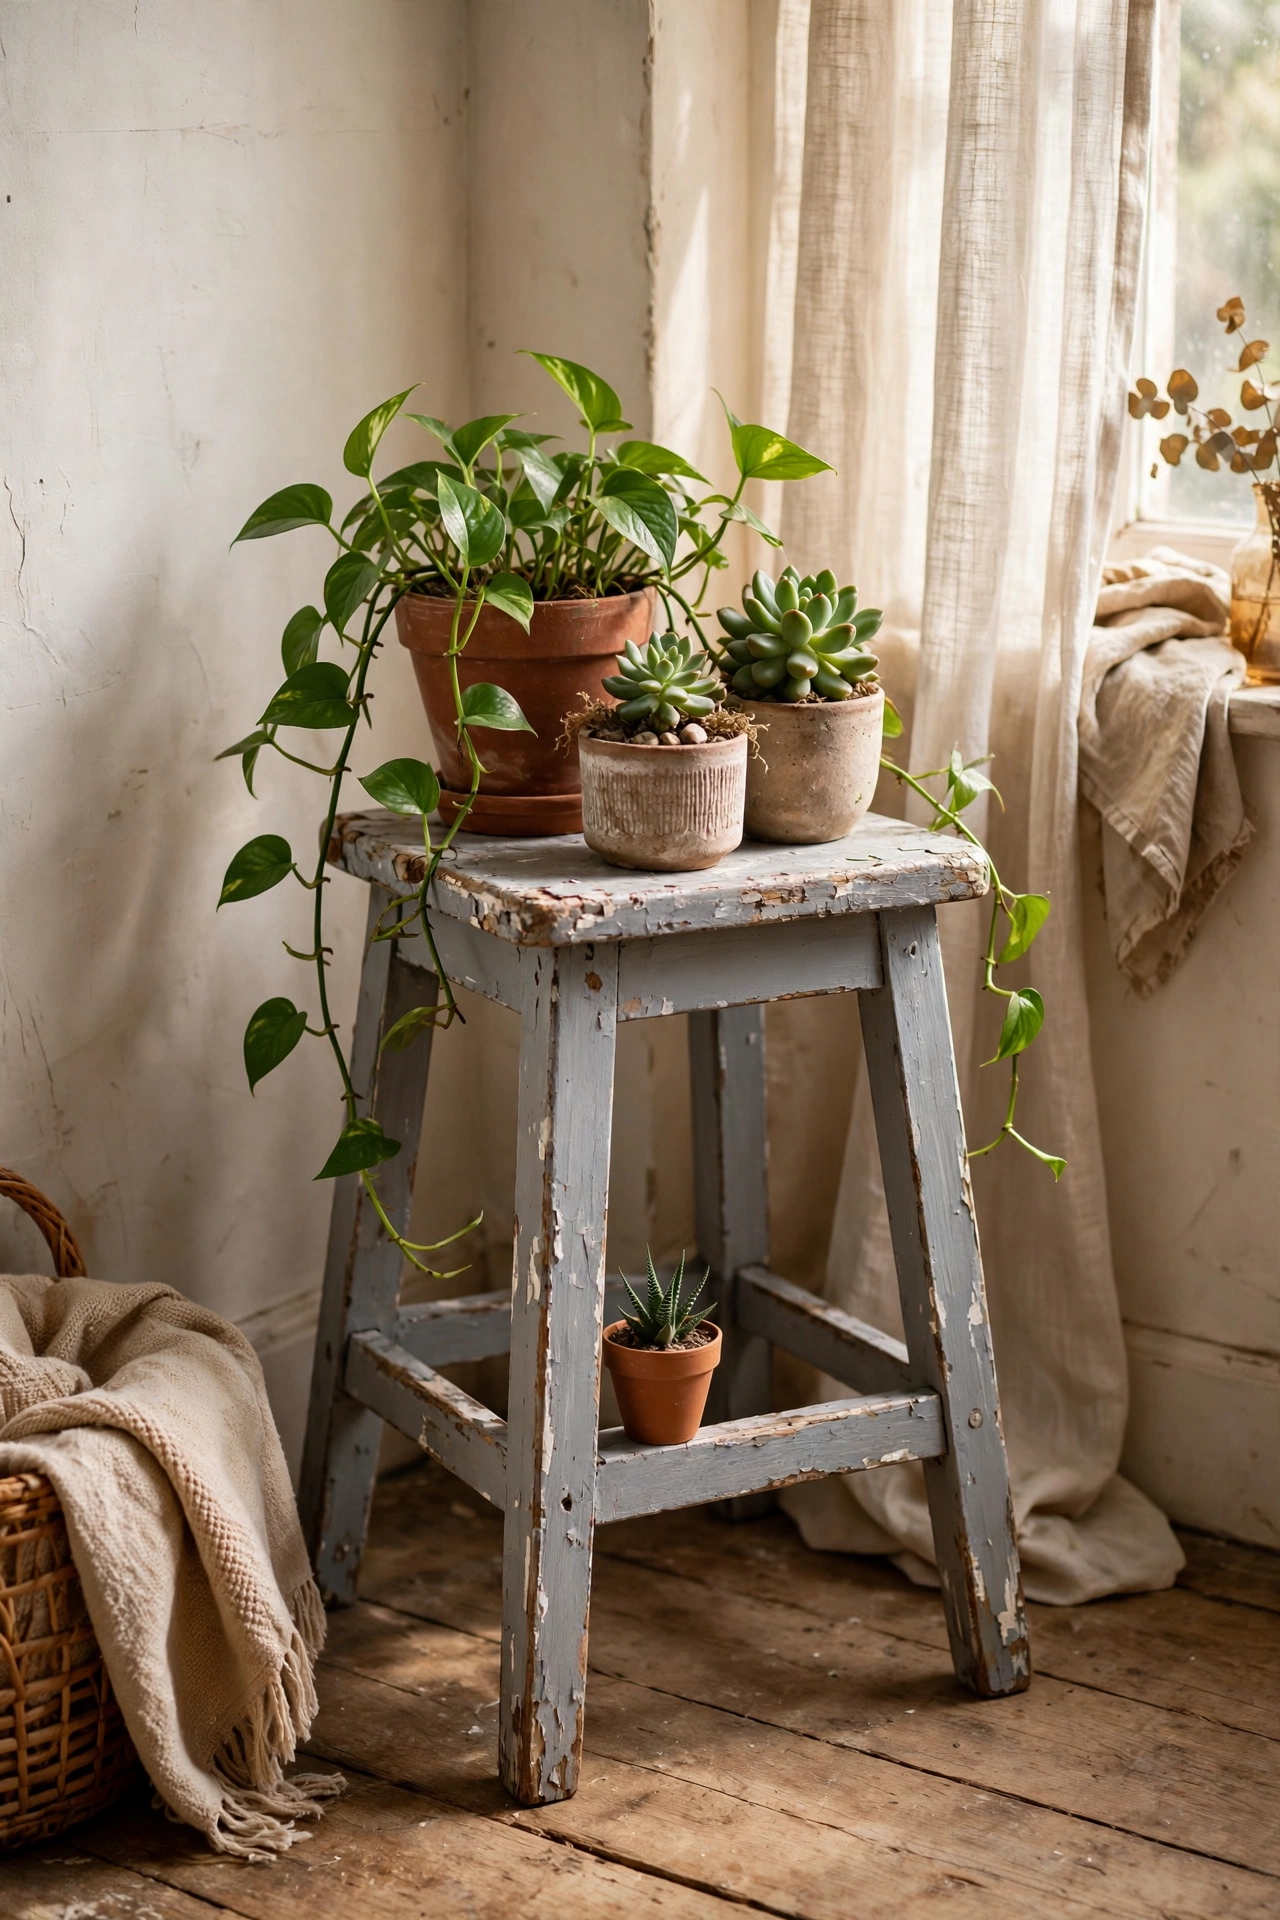
A battered wooden stool is a perfect first furniture project because chalk paint needs almost no prep. I found a wobbly stool for $6, tightened the screws, brushed on two coats of soft grey chalk paint, and sealed it with wax. It now works as a plant stand, a side table, and extra seating. Tighten everything before you paint, because painting over a wobble just gives you a pretty wobble. I sanded the top lightly between coats for a smoother seat. Small furniture is the ideal beginner canvas: low stakes, quick results, real confidence.
Cost: ~$10-16 | Time: 1.5 hours plus drying
Budget check: twelve projects done, and the stool was the cheapest furniture flip yet. Total spend so far would barely cover one new cushion from a home store.
13. Dried Lavender Wreath
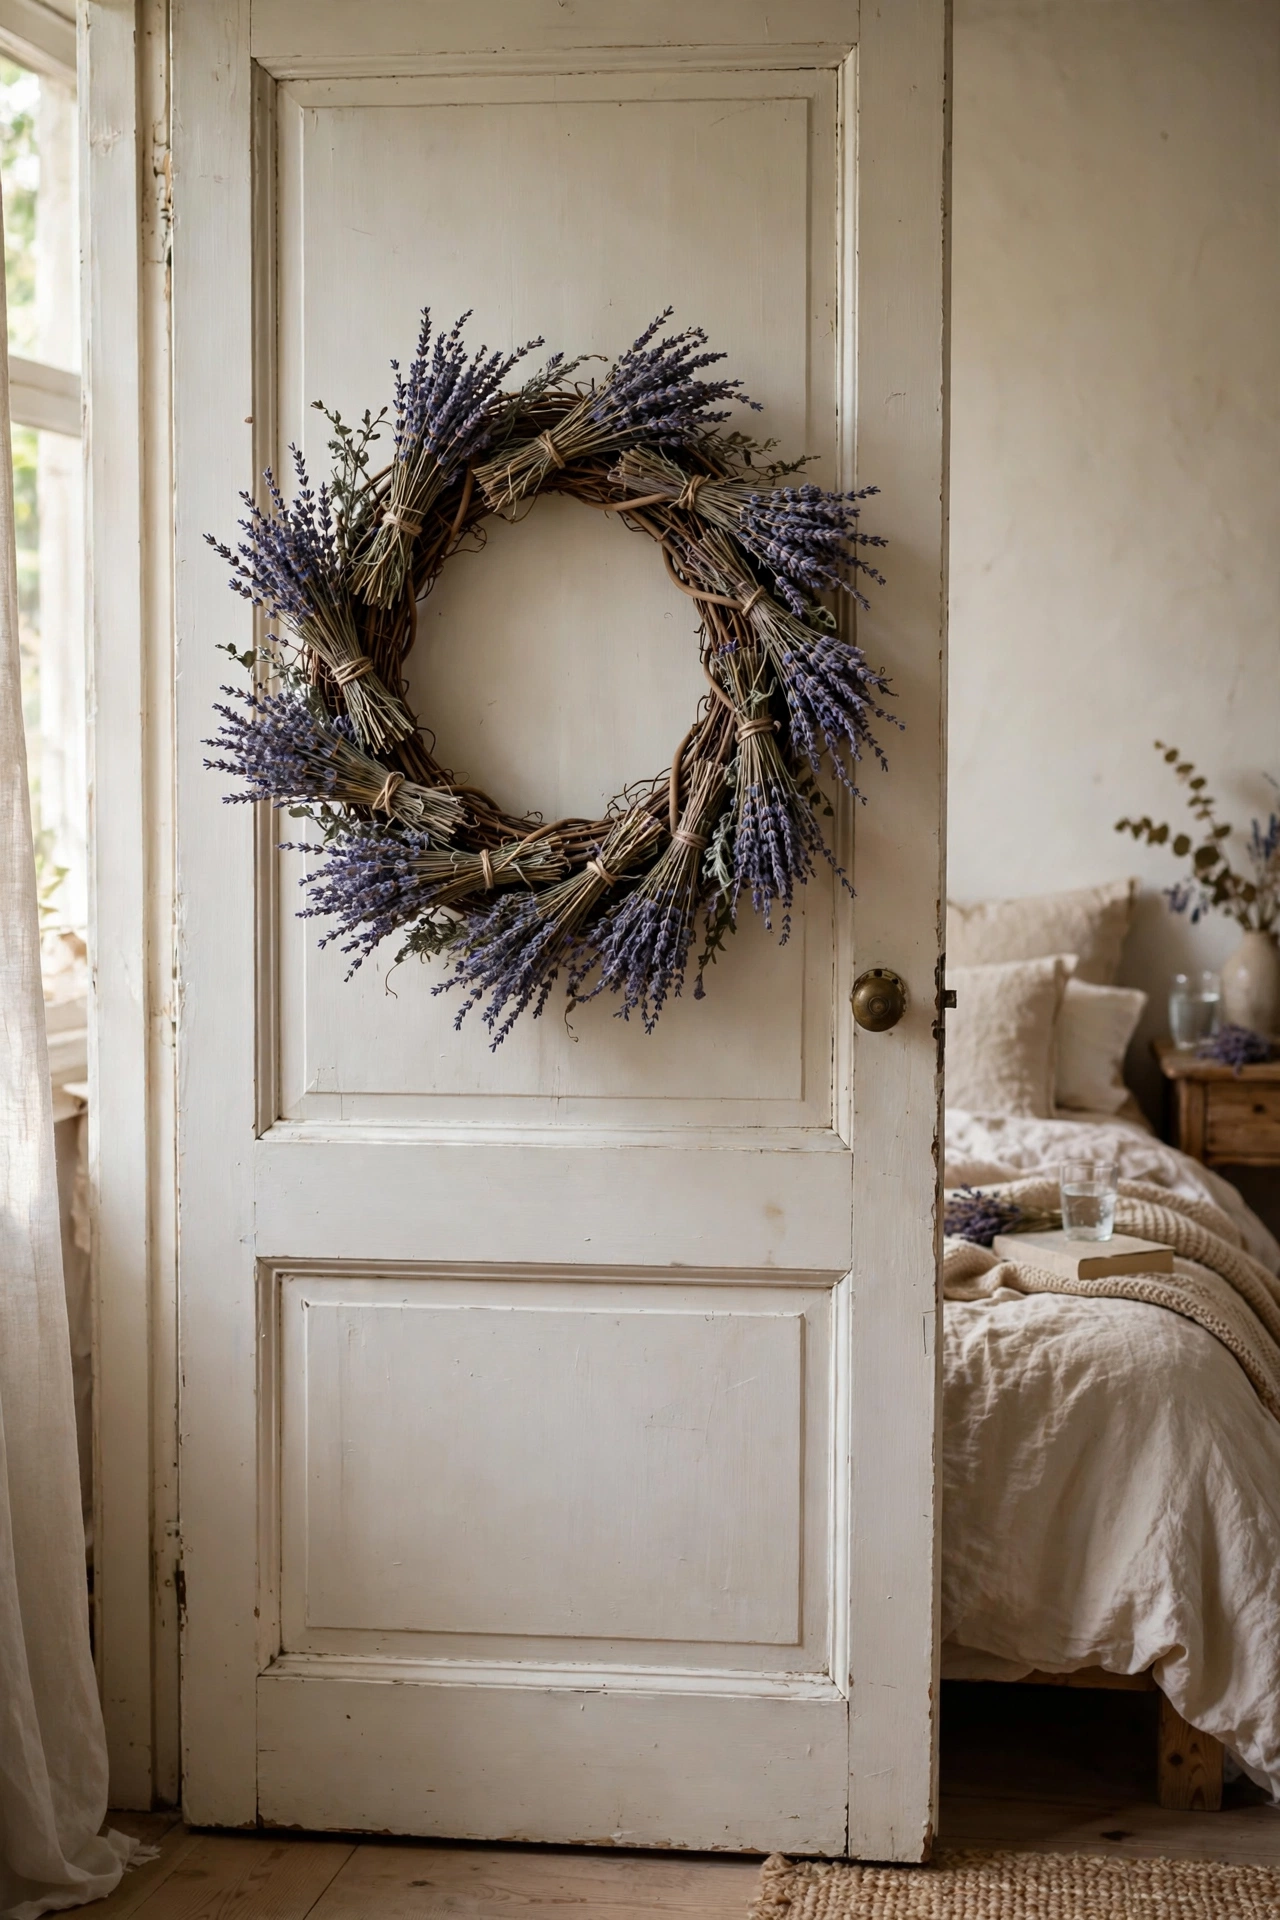
A wreath of dried lavender is beautiful, fragrant, and nearly free if you grow it. I bundled small bunches of lavender with florist wire, wired them to a grapevine wreath form all facing the same direction, and hung it on my bedroom door. Work with the lavender just as it starts to dry, because fully brittle stems snap. My first bundle crumbled because I waited too long after cutting. Overlap the bundles generously so no wire shows. It has scented my hallway for a year, and when the fragrance fades the wreath still looks lovely.
Cost: ~$5-12 | Time: 1 hour
14. Fabric-Covered Storage Boxes
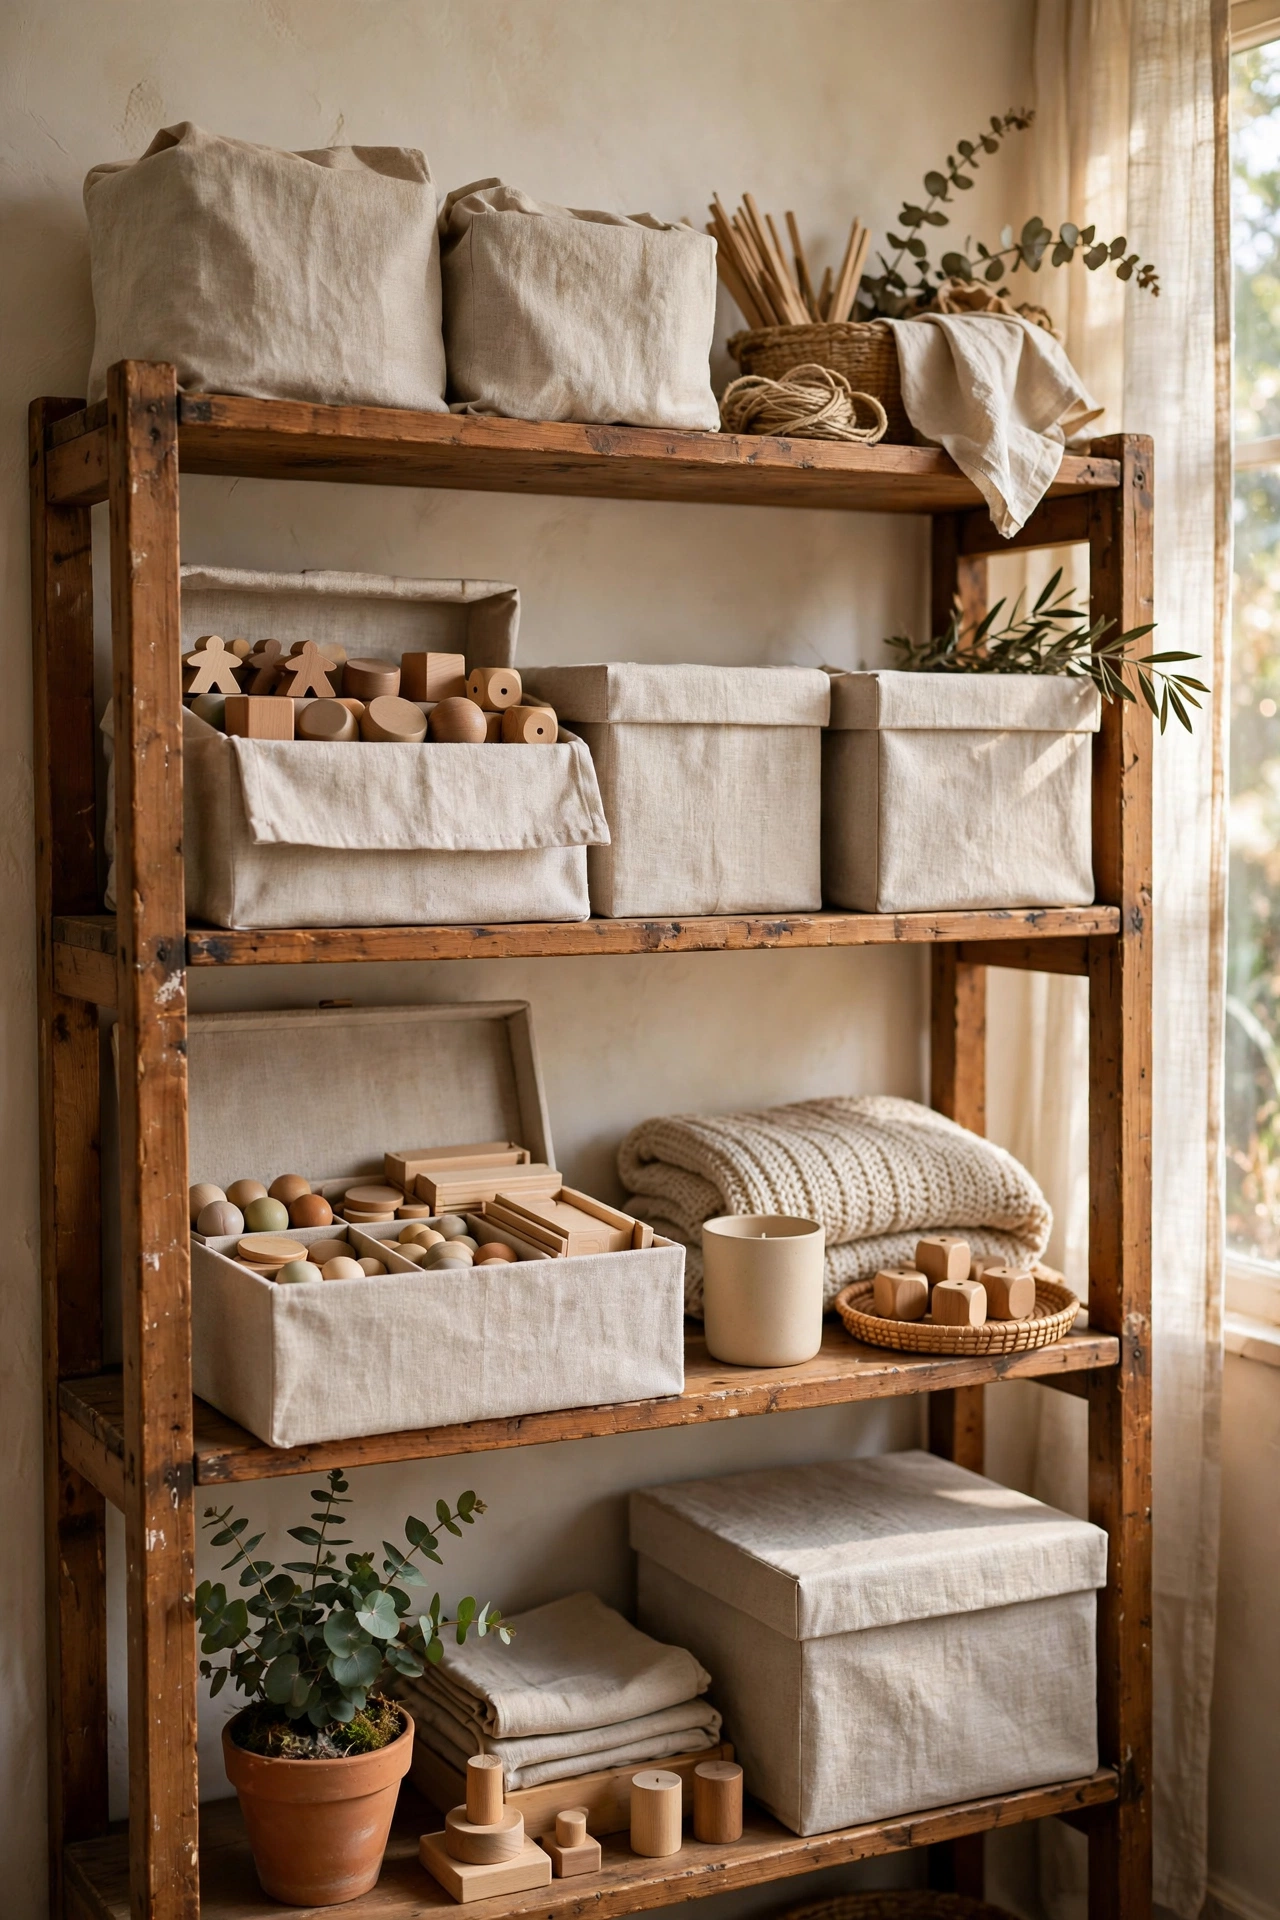
Ugly cardboard boxes disappear under fabric and spray adhesive. I covered three mismatched boxes with a neutral linen-look fabric, wrapping it like a present and gluing the flaps inside. Measure and cut the fabric generously, because short fabric leaves bare corners. I came up short on my first box and had to patch it. Smooth out every wrinkle as you go, since the adhesive grabs fast. These now hold board games on my bookshelf and look like intentional storage. Choose a fabric that echoes your curtains or cushions for a coordinated look.
Cost: ~$8-12 | Time: 1 hour
15. Windowsill Herb Garden in Tin Cans
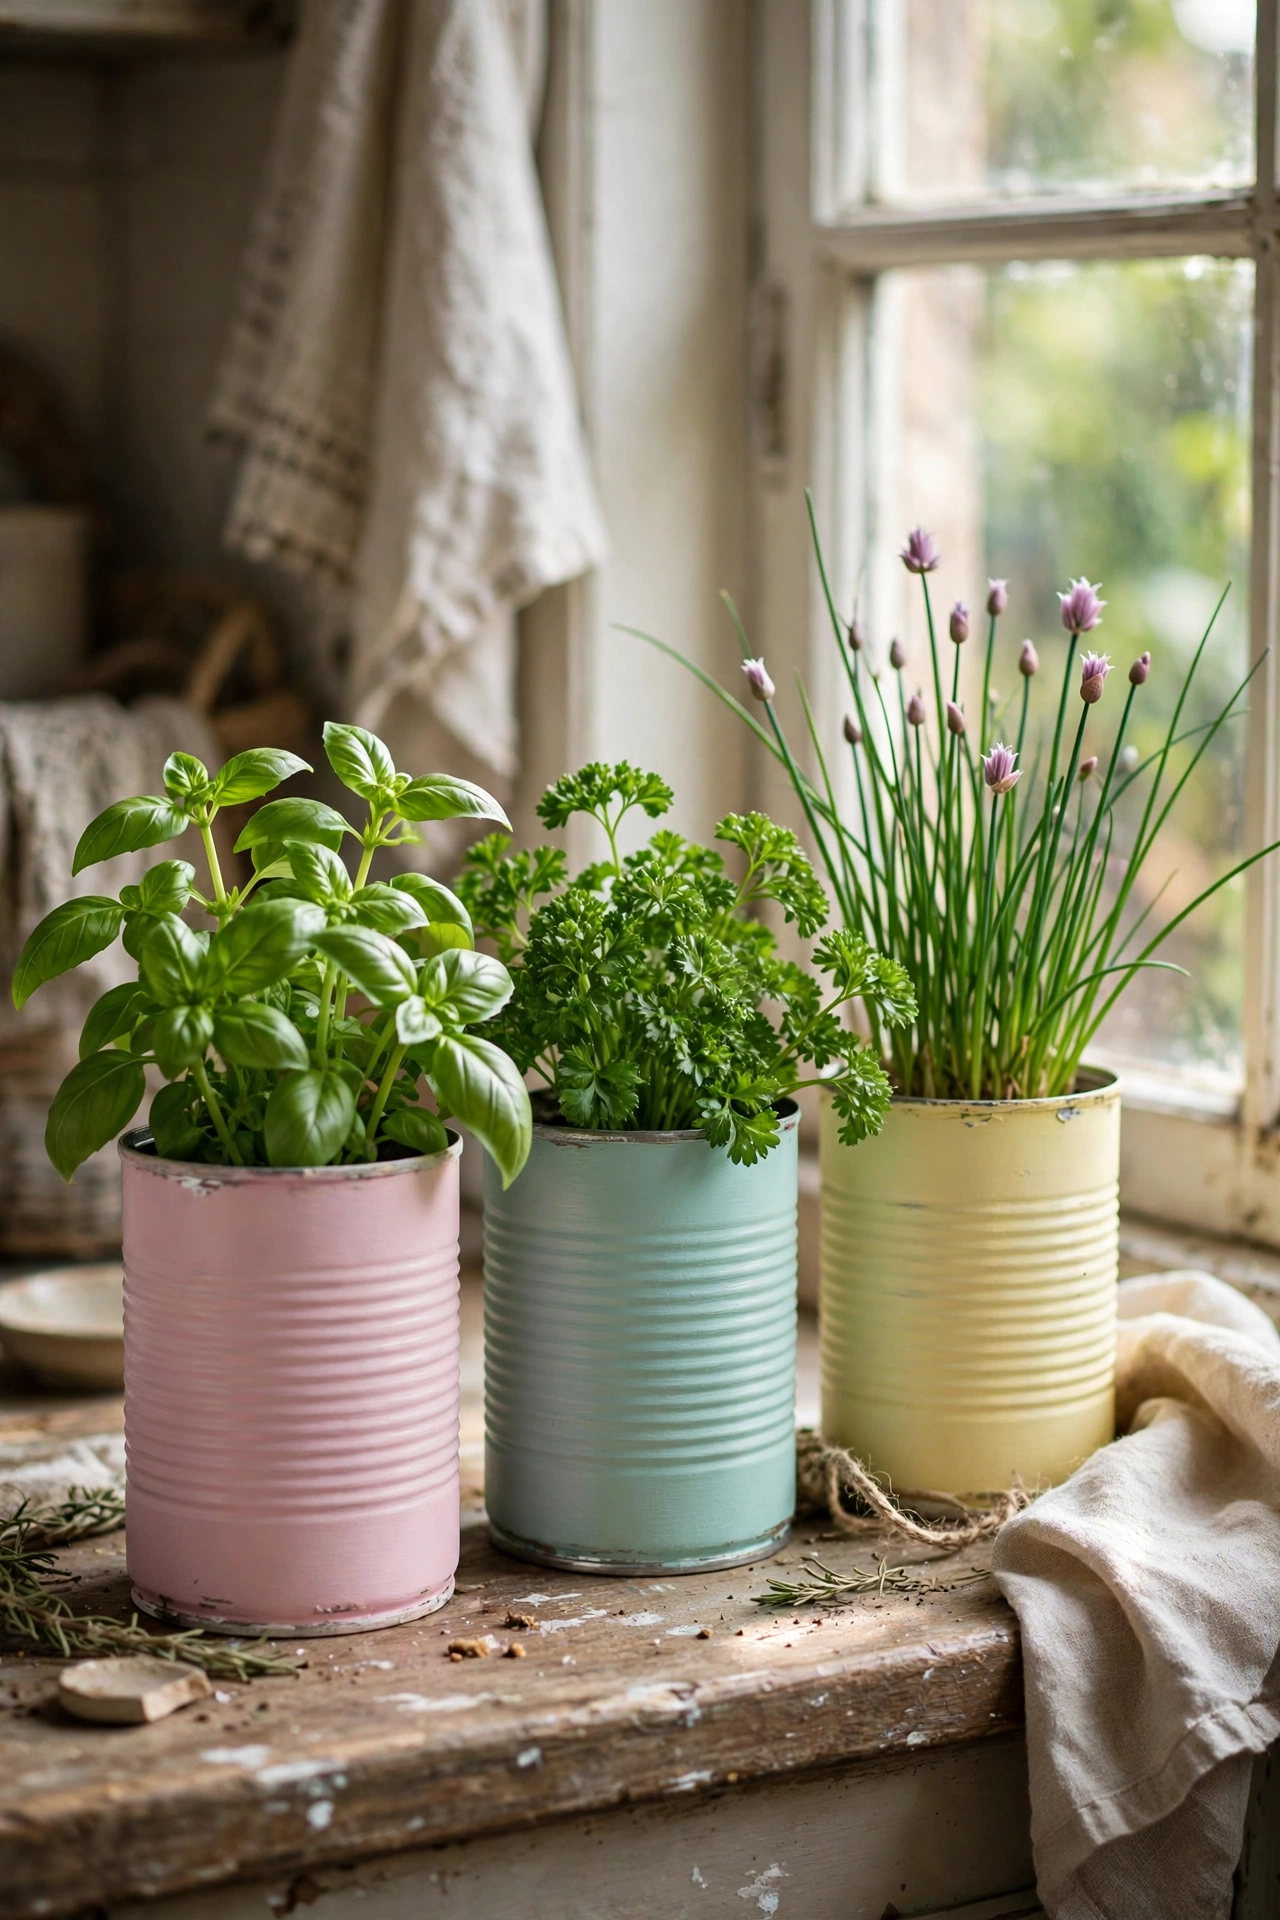
Clean tin cans painted in cheerful colours make a charming windowsill herb garden. I saved six cans, removed the labels, painted them in pastel shades, punched drainage holes in the bottoms, and planted basil, parsley, and chives. Punch the drainage holes before painting, because hammering afterwards chips the finish. I learned that order the hard way. Use a liner of gravel under the soil for extra drainage. The whole garden cost me the price of the seeds, and fresh herbs steps from the stove have genuinely changed how I cook.
Cost: ~$4-8 | Time: 1 hour plus drying
16. Painted Wooden Bead Garland
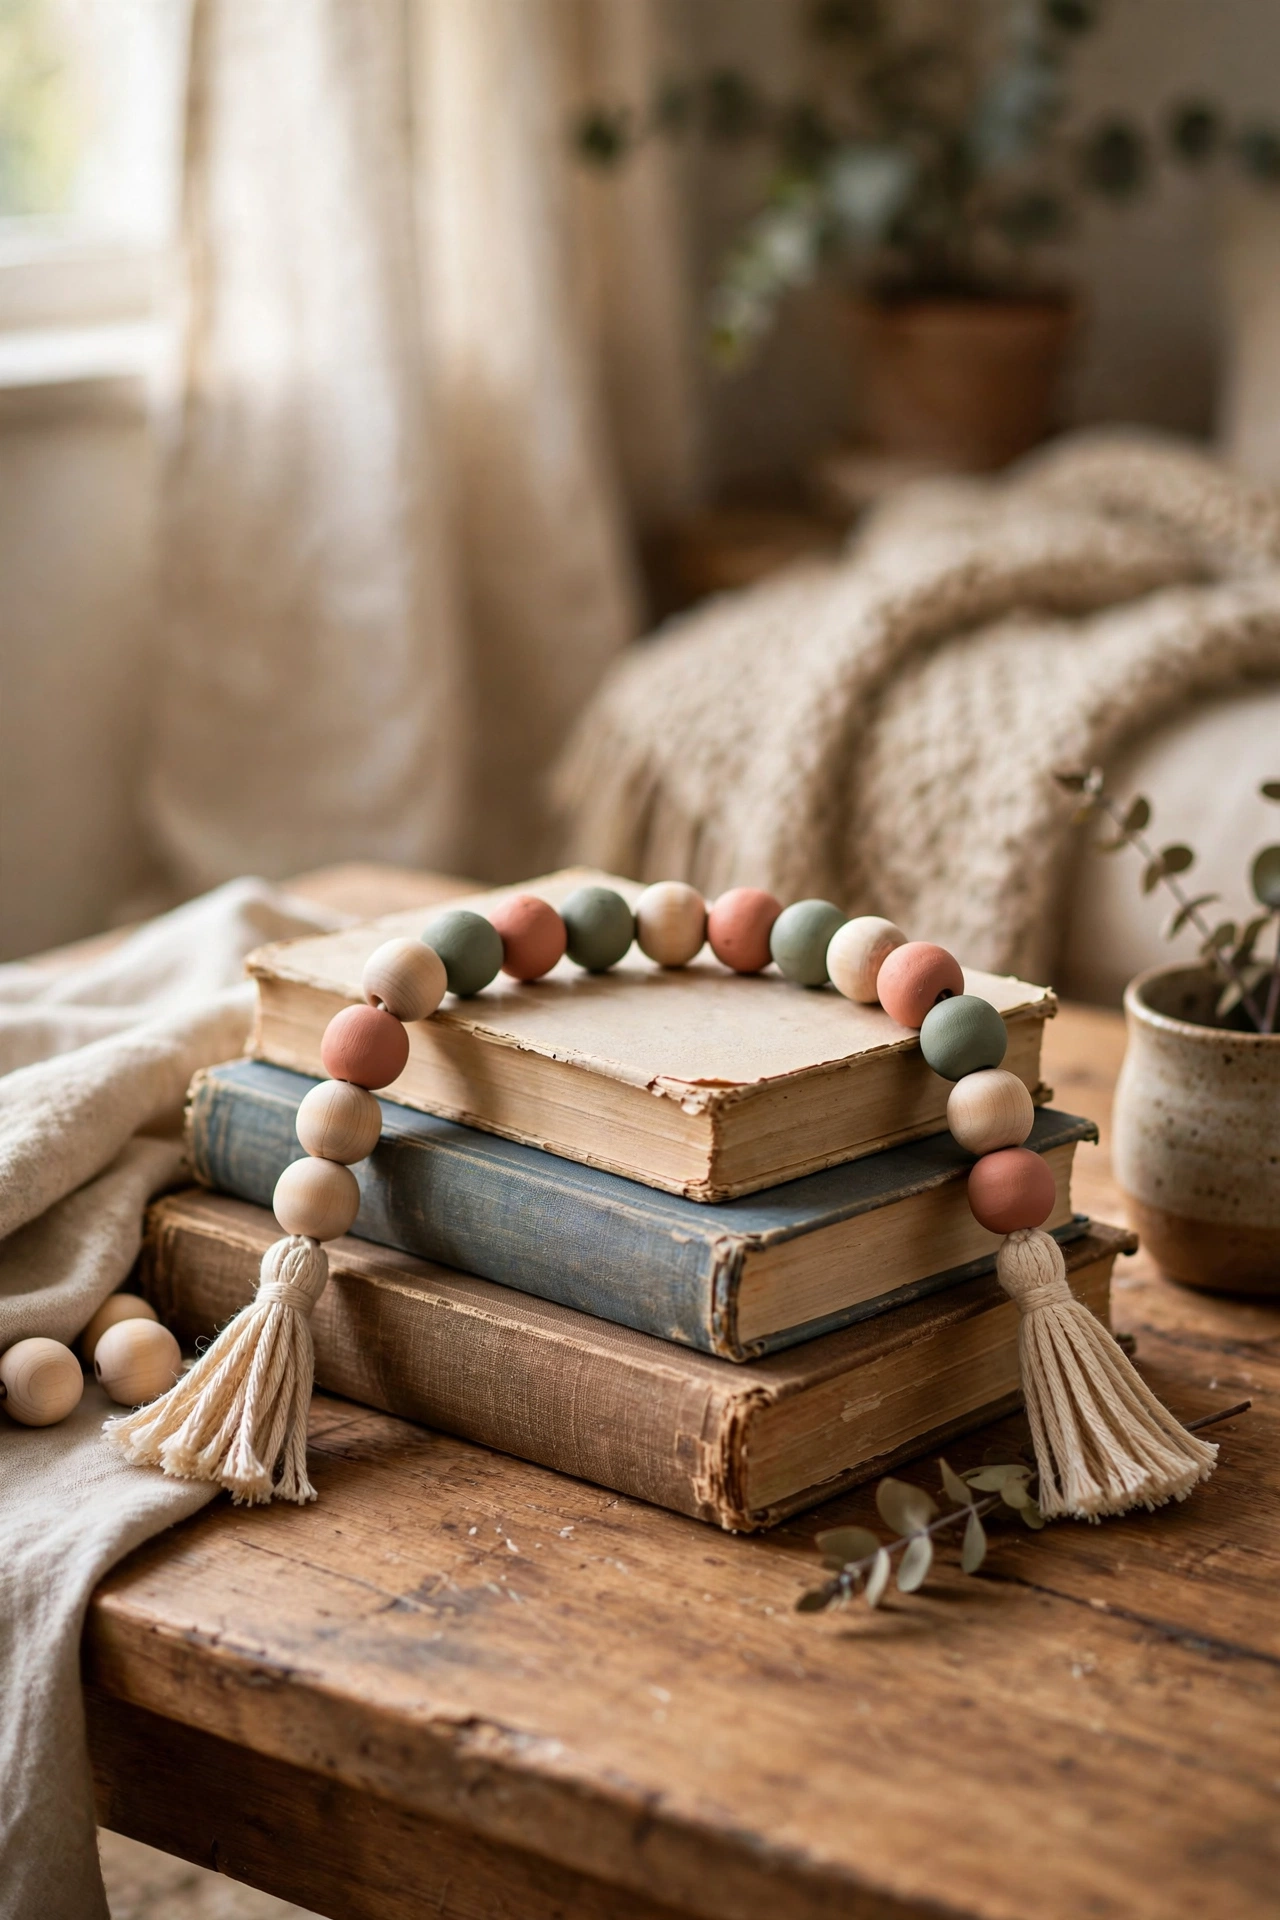
A garland of painted wooden beads draped over books or a vase is the stylist’s secret weapon. I bought a bag of unfinished wooden beads, painted half of them in muted tones and left the rest natural, strung them on twine with a tassel at each end. The mix of painted and natural beads looks far more interesting than all one colour. I painted mine too bright the first time and they clashed with everything; muted earth tones go with anything. Drape the finished garland over a stack of books or along a mantel for instant styled polish.
Cost: ~$5-9 | Time: 1 hour plus drying
Budget check: sixteen projects finished, every one under $20. The bead garland is the smallest project here and somehow the one guests pick up most.
17. No-Sew Fleece Throw Blanket
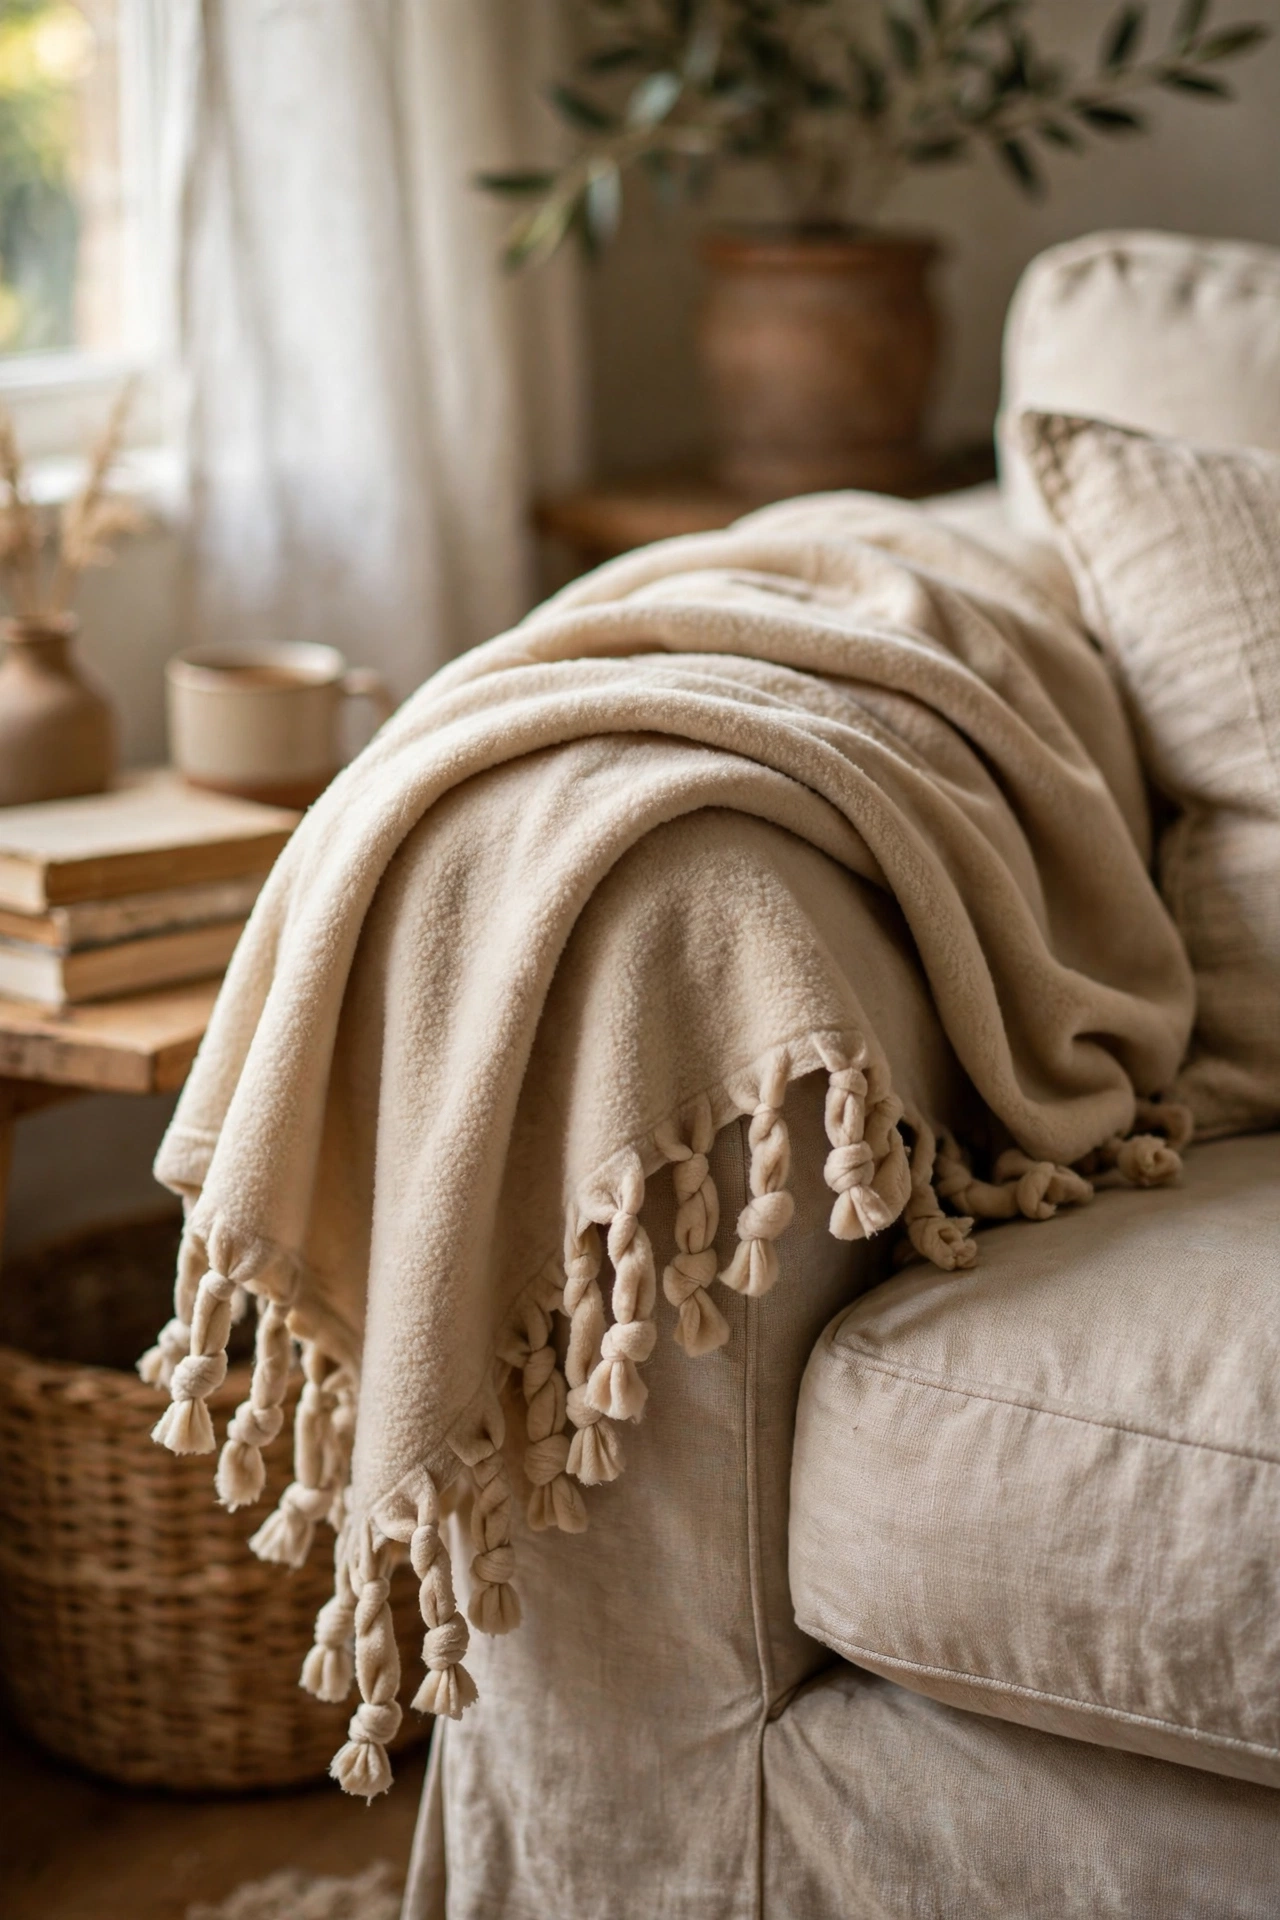
A no-sew fleece throw needs only fabric and scissors. I bought two metres of cosy fleece, cut fringe strips around all four edges, and tied each pair of fringe strips in double knots. An hour later I had a proper throw blanket for the sofa. Cut the fringe strips evenly, about four inches long and one inch wide, because uneven fringe looks scruffy. I measured and marked mine with chalk first. Choose a fleece in a colour that works with your sofa, and the blanket will look bought rather than made. For more cosy textile ideas, see (see also: 17-thrift-store-diy-ideas-in-a-weekend).
Cost: ~$10-15 | Time: 1.5 hours
18. Painted Clay Pot Candle Holders
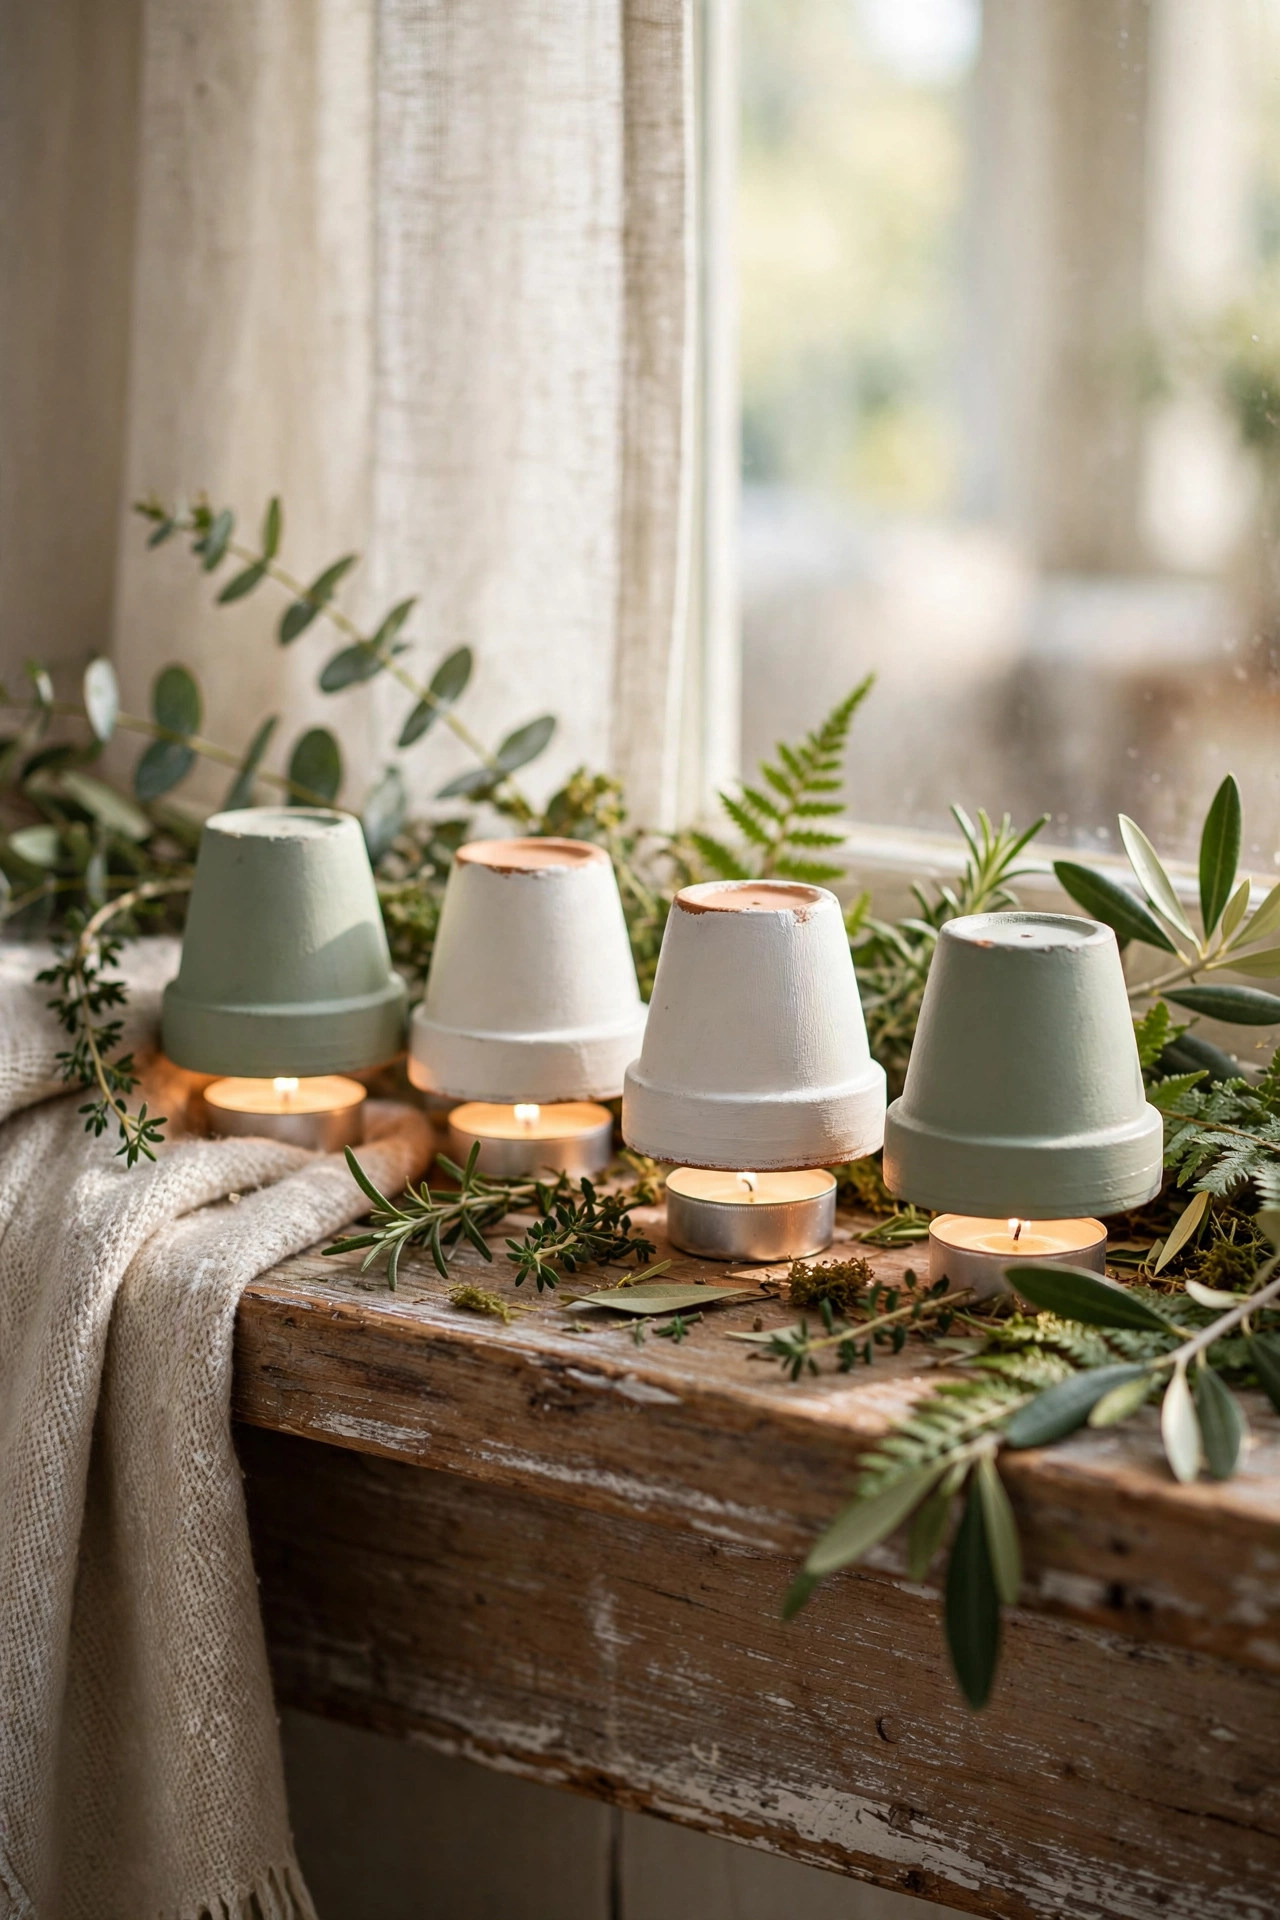
Tiny clay pots flipped upside down make adorable candle holders. I painted six mini terracotta pots in white and sage, turned them upside down, and set tea lights on top of each. The proportions are perfect: the pot base is exactly tea-light sized. Seal the paint so it survives handling, and keep the tea lights centred so the flame does not lick the pot rim. I grouped mine in a cluster on my mantel with some greenery tucked between. They cost pennies each and look like something from a Scandinavian design shop.
Cost: ~$5-8 | Time: 45 minutes plus drying
19. Cosy Reading Nook Corner
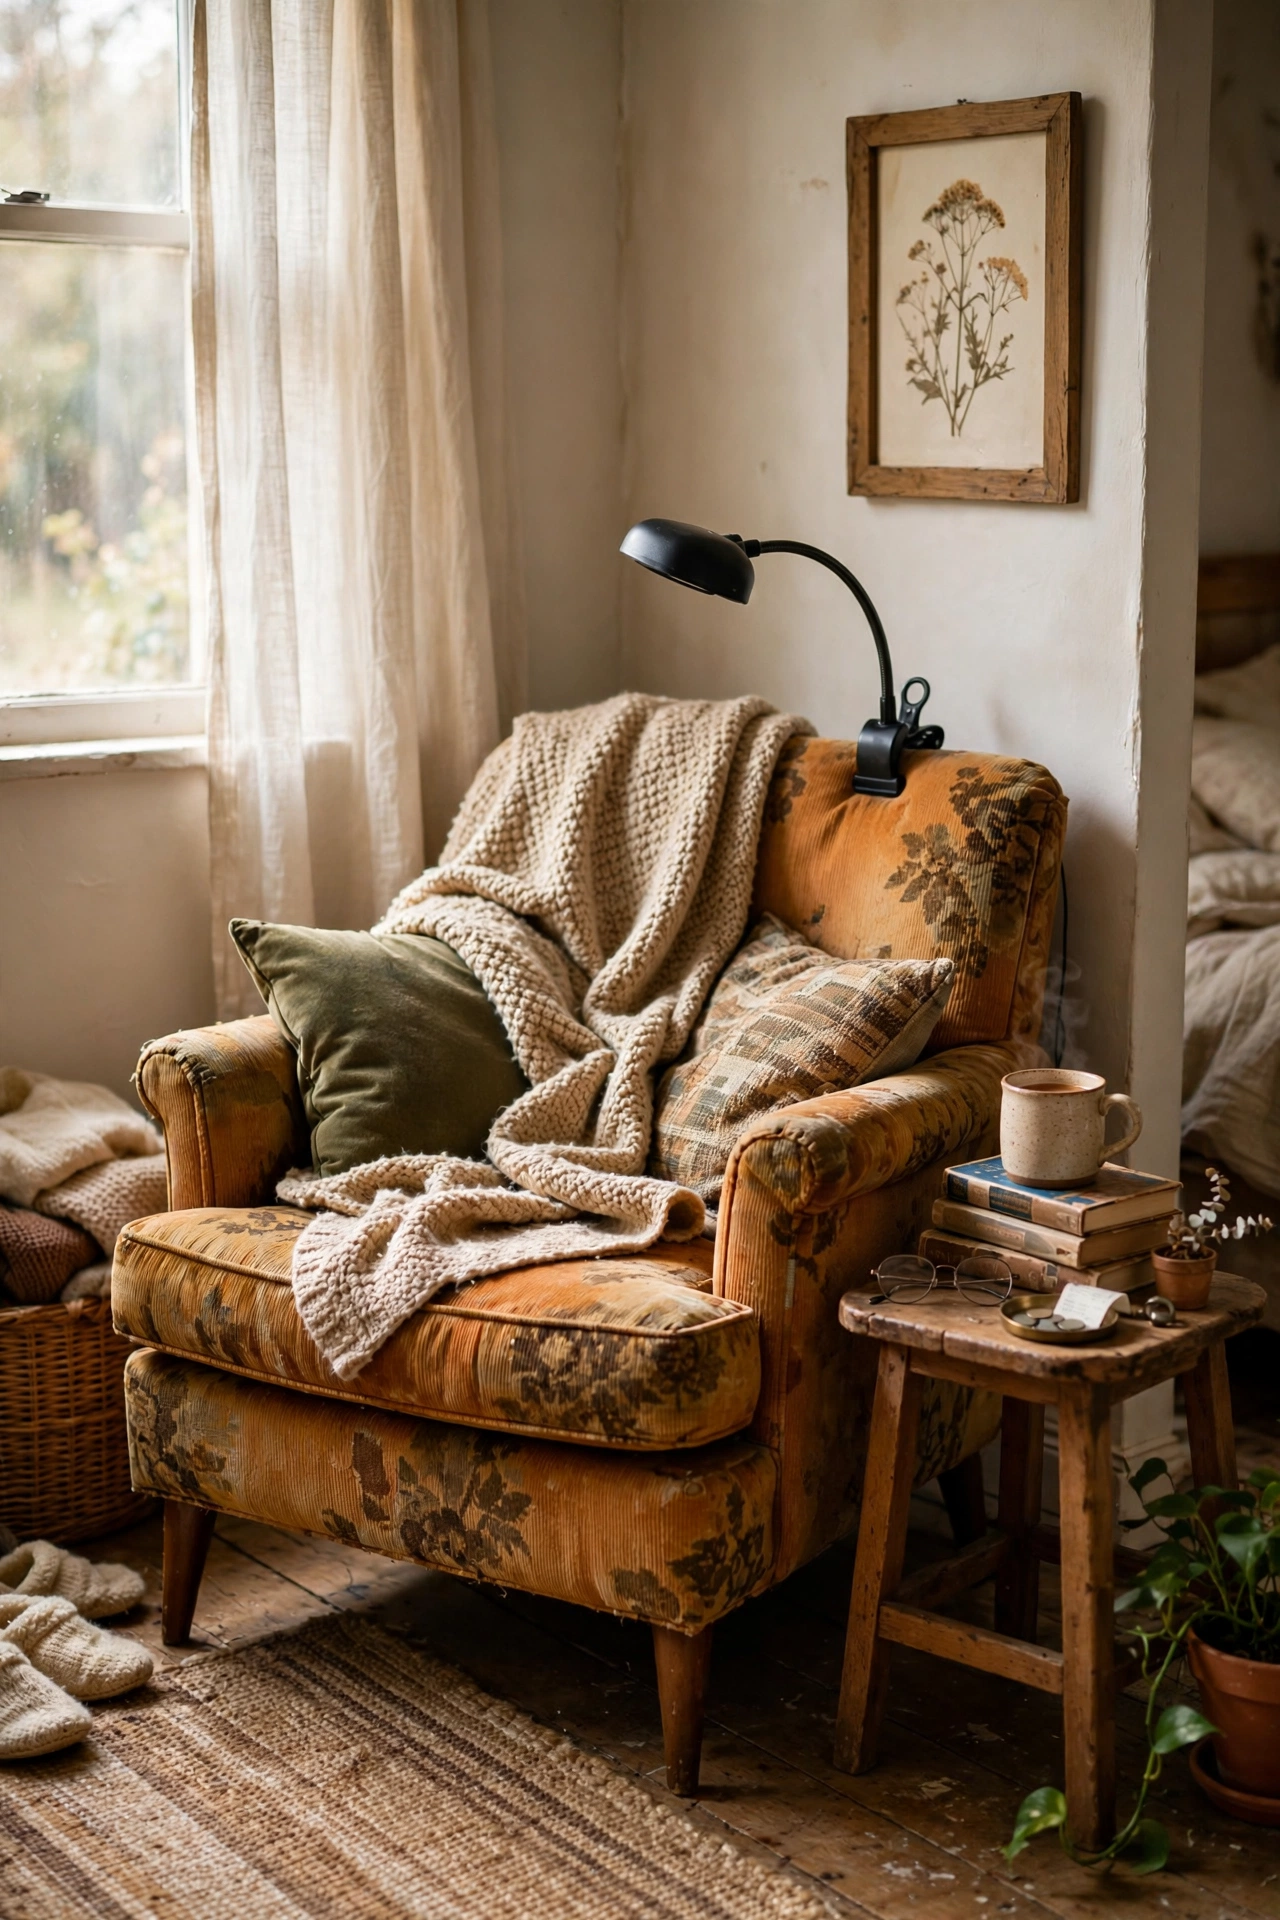
You do not need a whole room for a reading nook: one corner, a chair, and good light will do. I claimed the dead corner of my bedroom with a thrifted armchair, a floor cushion, a small side table for tea, and a $12 clip-on reading light. The styling is what makes it a nook rather than a chair in a corner: a throw over the arm, a small basket for books, and a plant nearby. I added a peel-and-stick wall sconce later for softer light. This corner is now the most-used seat in my house, built from things I mostly owned already.
Cost: ~$12-20 | Time: 1 hour
Save this one for your next rainy-day project list.
Keep the DIY momentum going: (see also: dollar-store-decor-ideas-that-look-expensive) (see also: 17-diy-shelf-ideas-that-look-expensive)
