17 DIY Shelf Ideas That Look Expensive
My living room had exactly one sad bookshelf for years, and everything I owned was crammed onto it in a way that made the whole room feel cluttered. I could not afford custom shelving, so I went down a rabbit hole of diy Shelf builds that look like they cost hundreds. What I discovered is that expensive-looking shelves are almost never about the wood. They are about thick boards, hidden fixings, and confident styling. These seventeen shelf projects all use affordable materials and basic tools, and every one of them looks far pricier than it was.
Most of these diy Shelf ideas need just a saw, a drill, a level, and a free afternoon. Always mount into studs or use proper wall anchors, because a shelf full of books is heavier than you think. Measure twice, level everything, and the results will look professional.
1. Stained Pine Floating Shelves
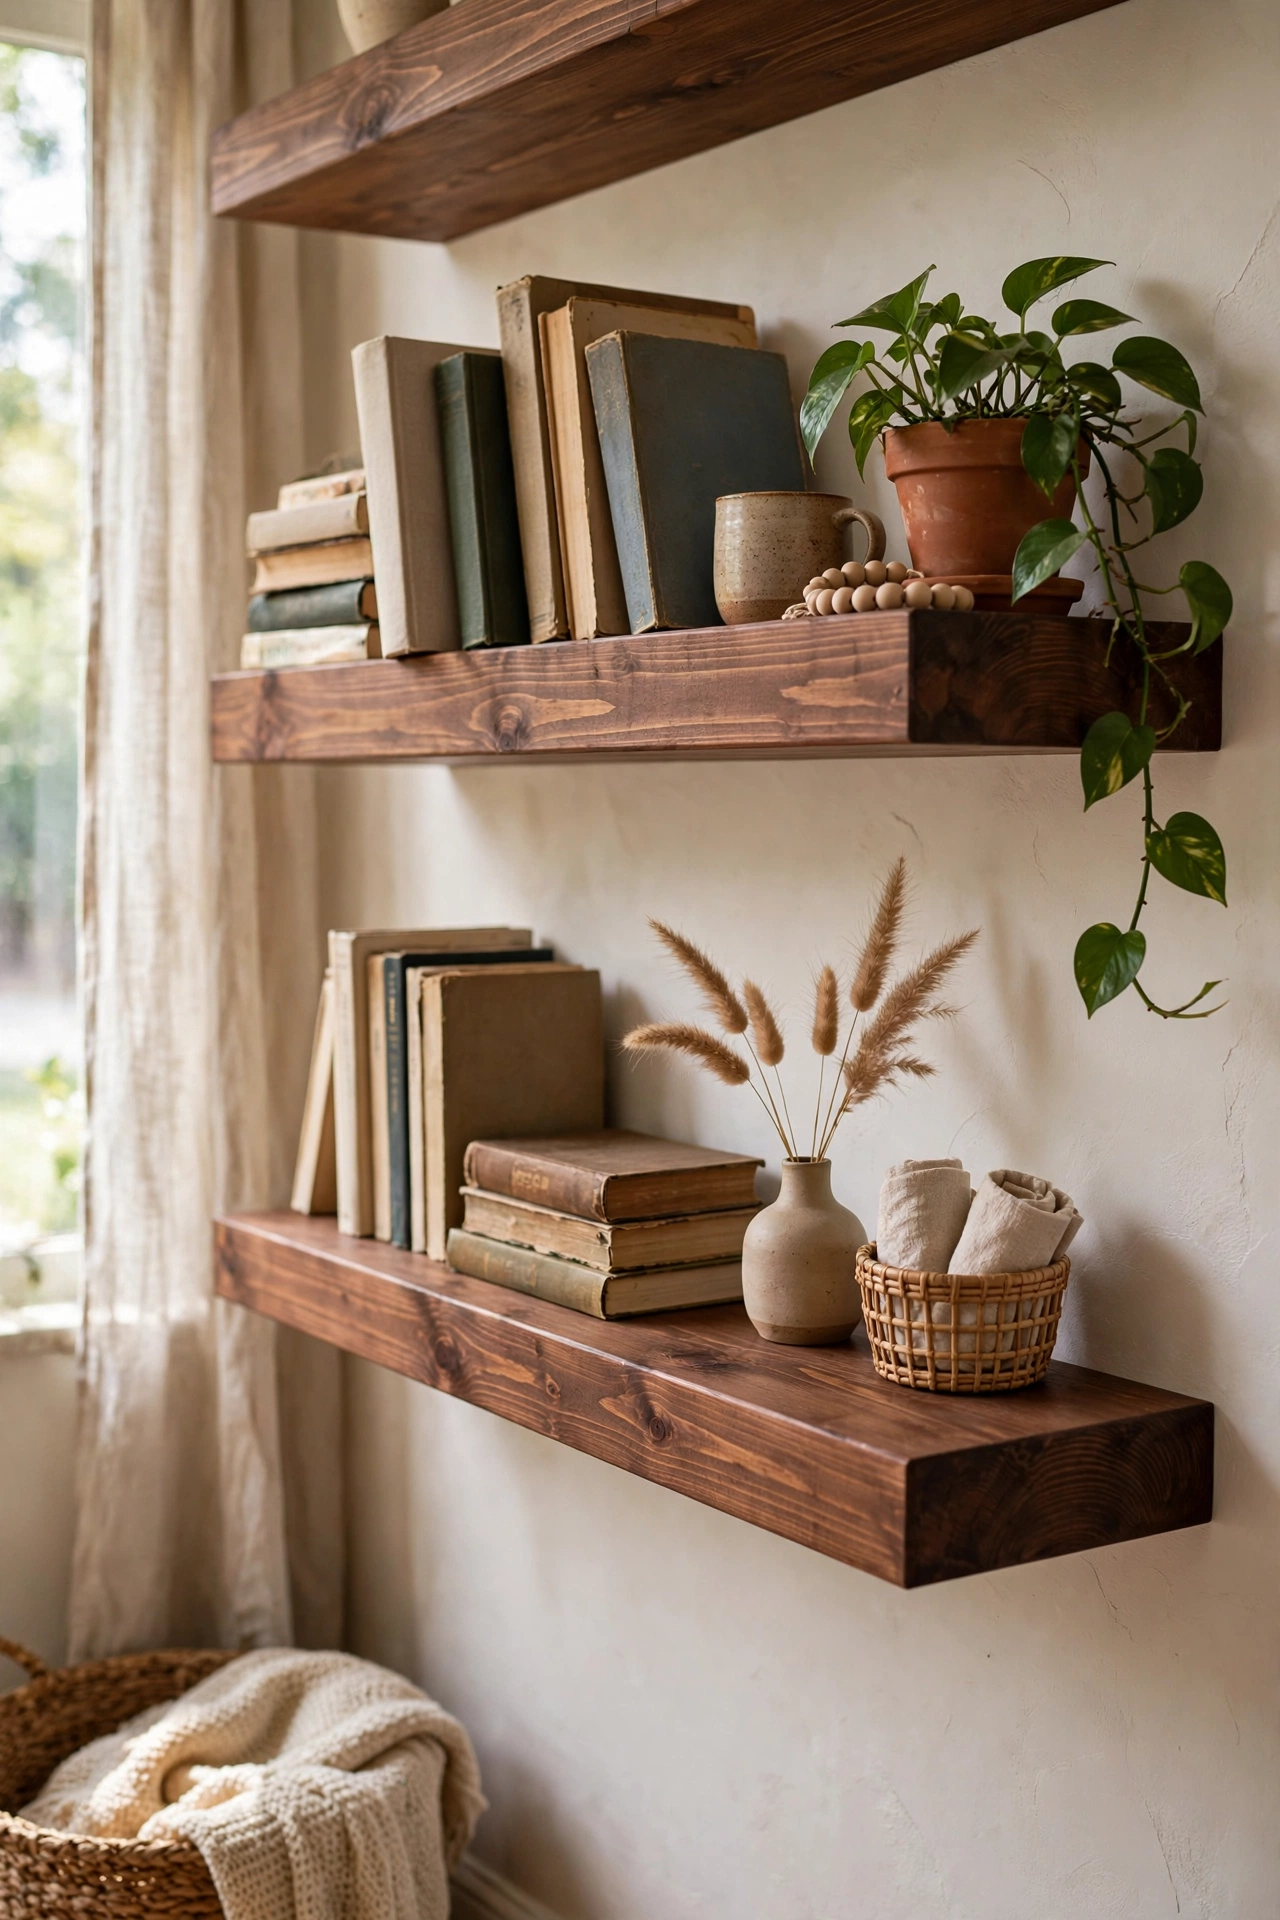
Thick pine boards on hidden floating brackets are the classic expensive look. I bought two chunky pine boards, stained them in a rich walnut tone, and mounted them on concealed metal brackets rated for heavy loads. The hidden fixings are what sell the illusion: no visible brackets means the shelves appear to grow out of the wall. Sand the boards smooth before staining, because rough pine drinks stain unevenly and goes blotchy. I conditioned my boards first and the colour came out beautifully even. Style them with books, a plant, and one sculptural object per shelf.
Cost: ~$25-40 | Time: 2 hours plus drying
2. Bracket Shelves With Brass Hardware
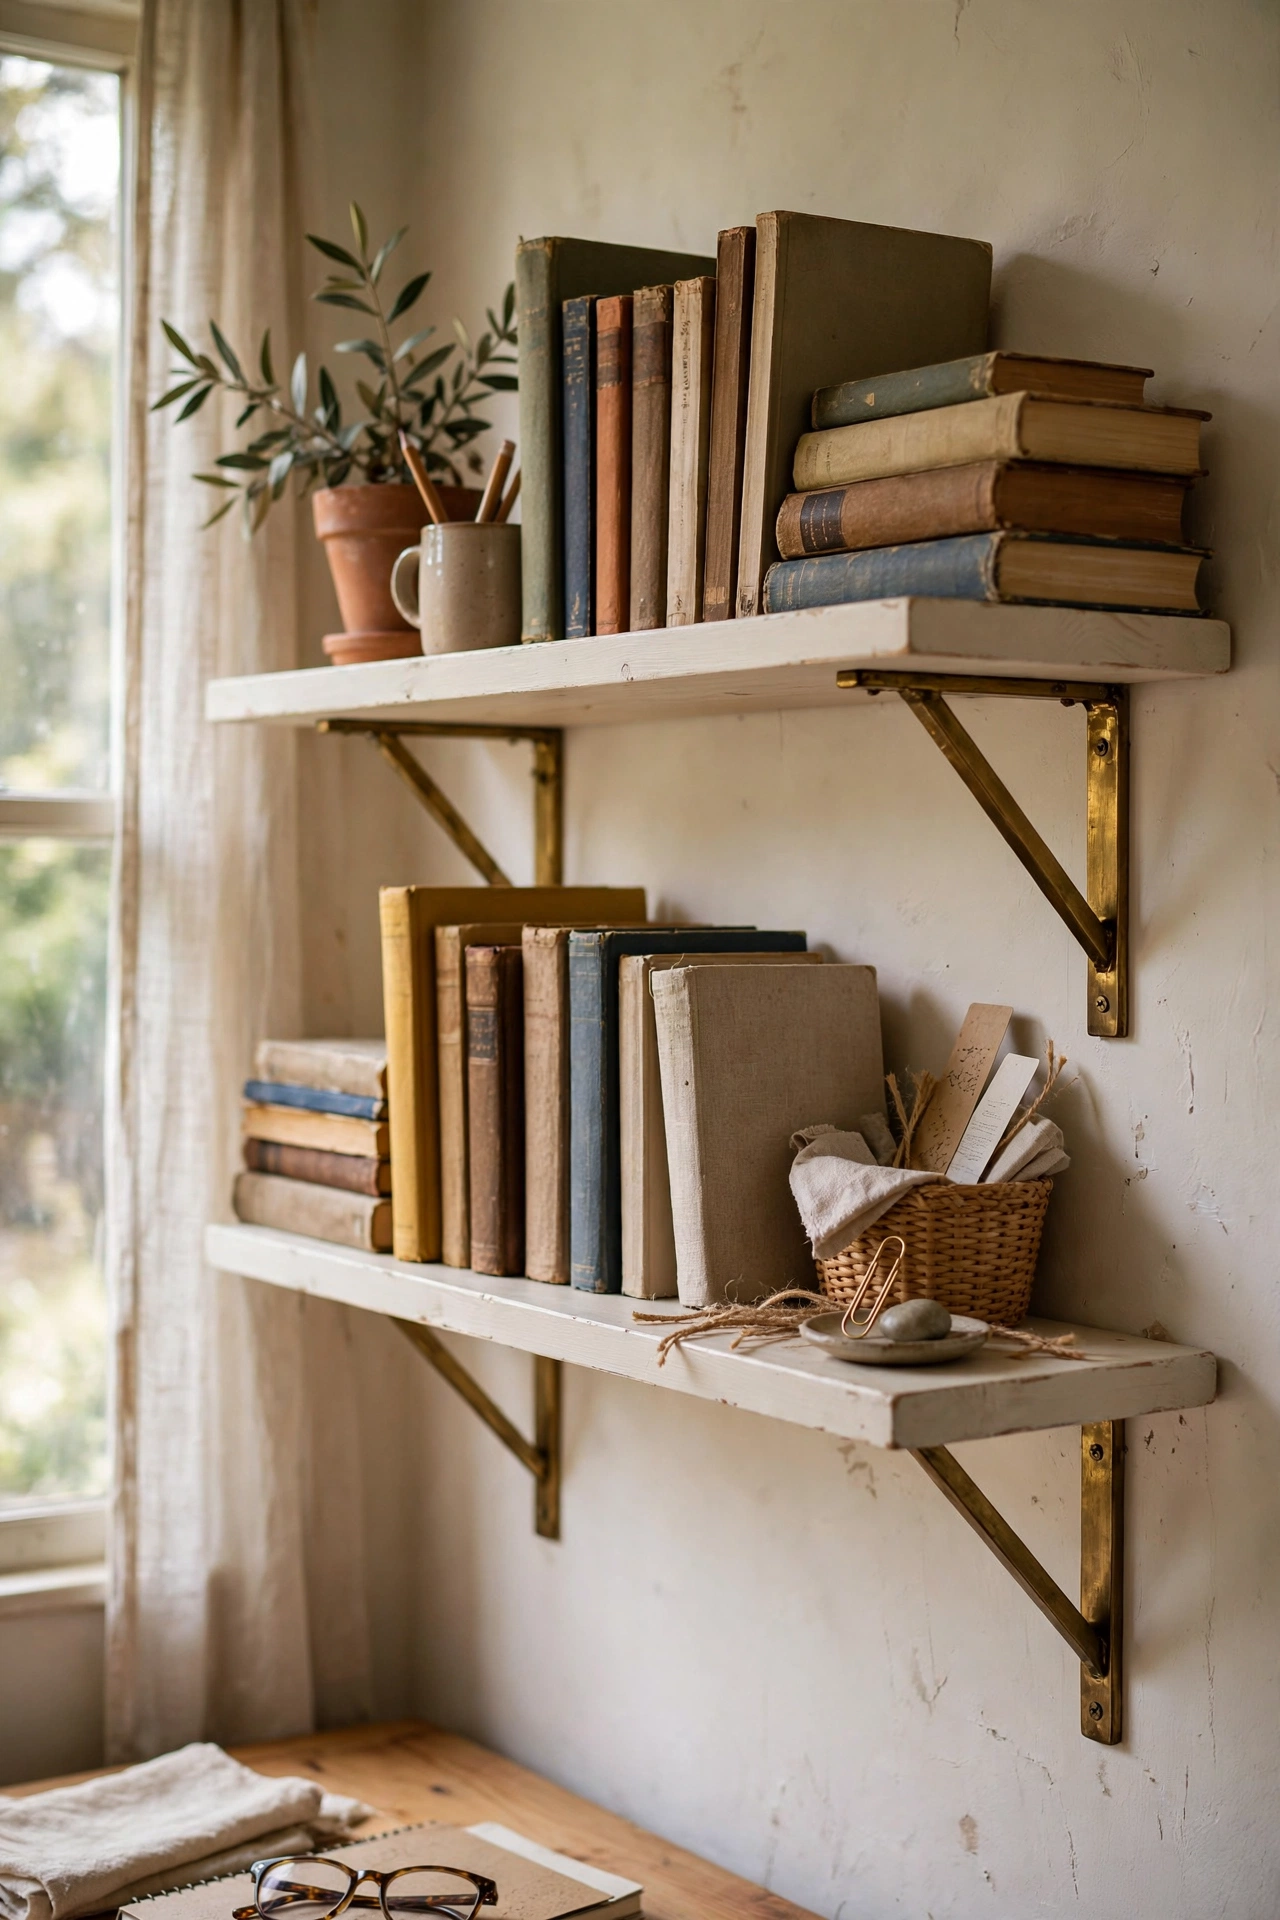
Sometimes visible brackets are the point, especially in brass. I mounted two painted pine boards on simple brass shelf brackets in my office, and the metal detailing makes the whole thing look bespoke. Spray-painting basic steel brackets in metallic gold is the budget move here: two light coats and nobody will know. Position the brackets about six inches from each end of the board for the best support. I measured mine unevenly the first time and the shelf had a visible lean until I redid it. A level is non-negotiable on this project.
Cost: ~$20-32 | Time: 1.5 hours
3. Painted Crate Wall Shelves
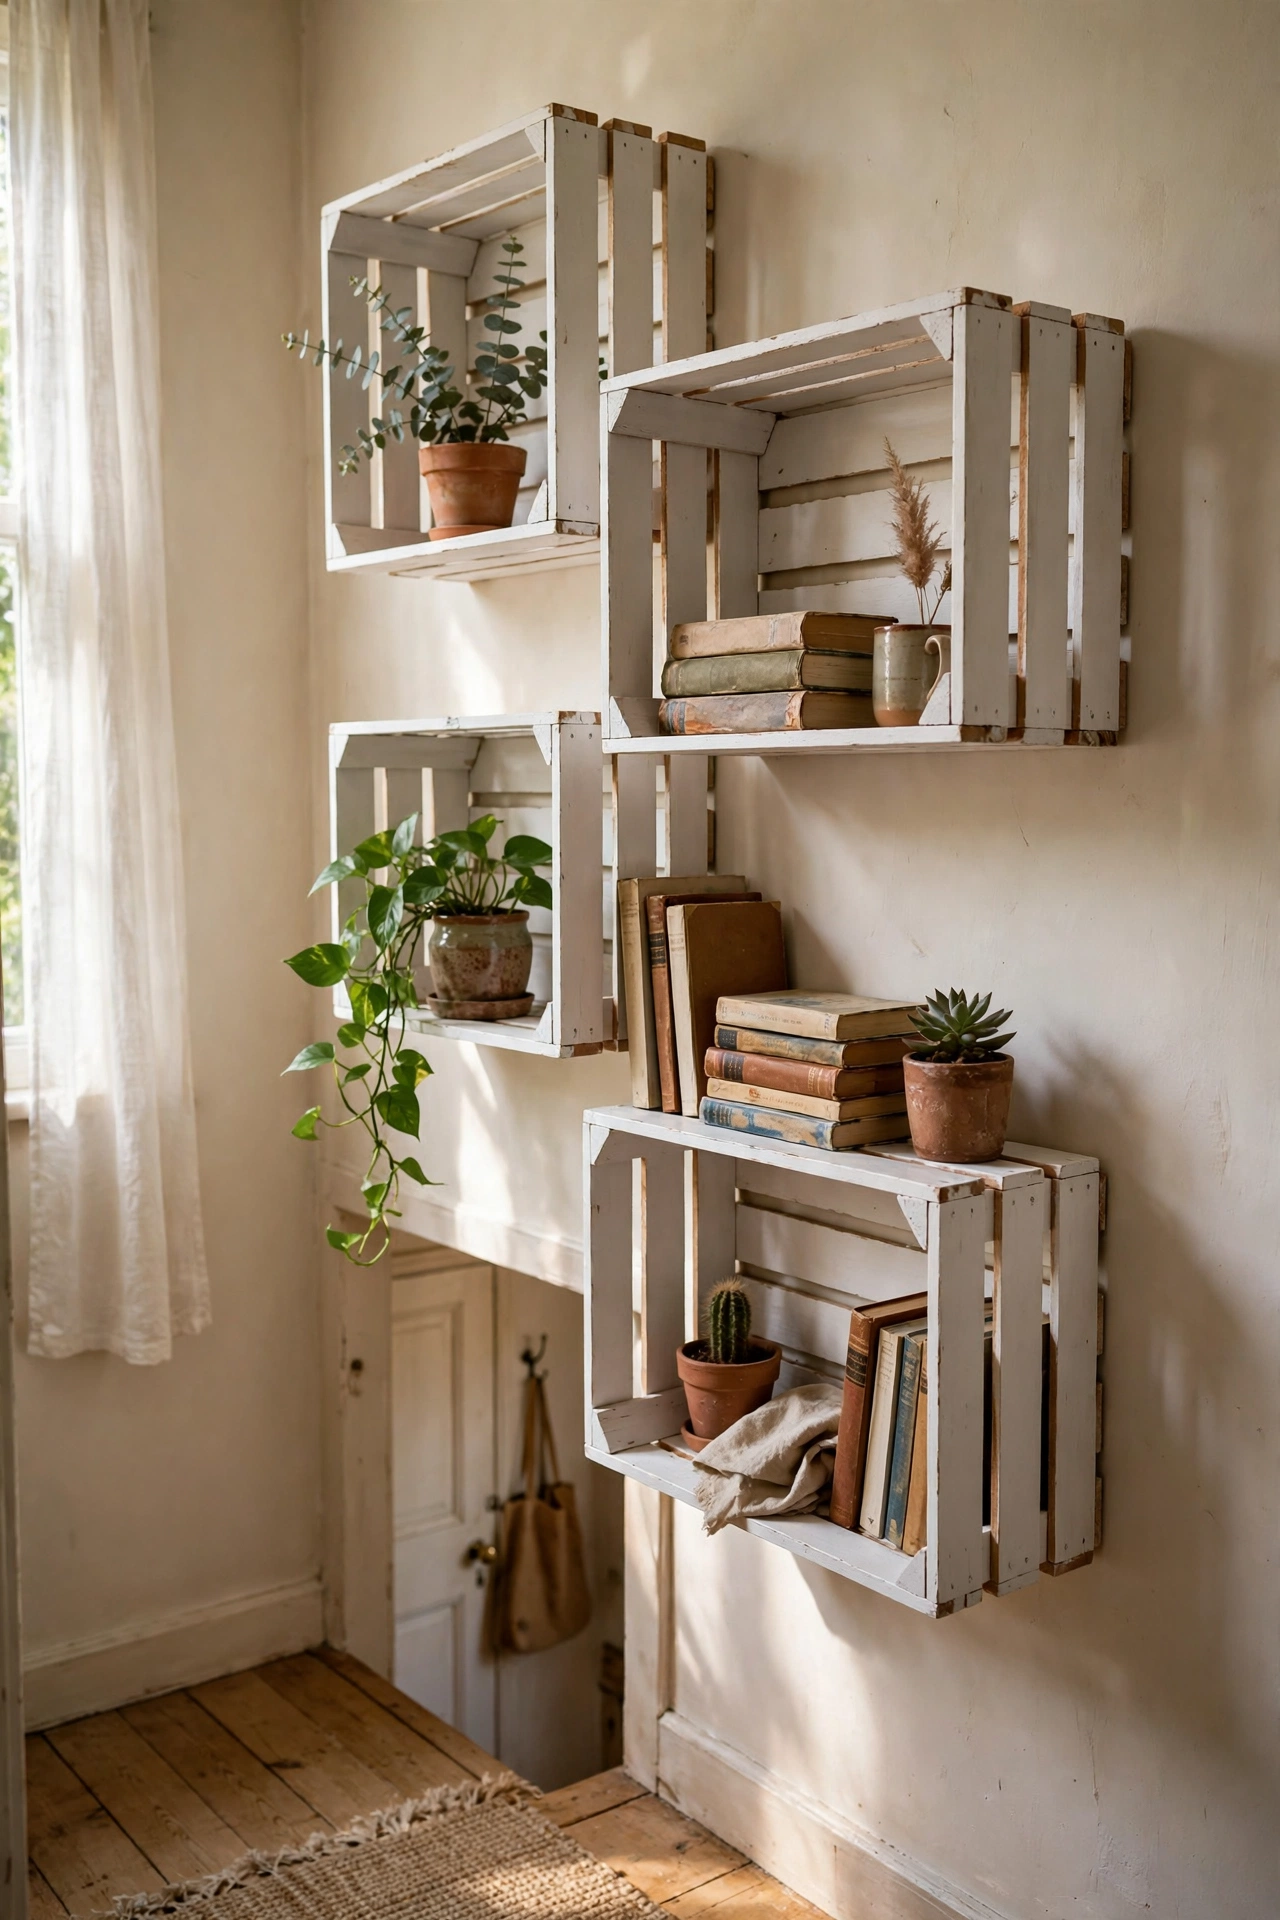
Wooden crates mounted on the wall become deep, characterful box shelves. I painted three crates the same soft white, mounted them in a staggered arrangement in my hallway, and filled them with plants and books. The depth of a crate holds far more than a flat shelf, which makes them brilliant for awkward walls. Secure each crate with two screws into studs, because a loaded crate is heavy. I arranged mine on the floor first and photographed the layout. The painted finish unifies the crates so they read as intentional shelving, not craft supplies.
Cost: ~$15-25 | Time: 2 hours plus drying
4. Picture Ledge Shelves
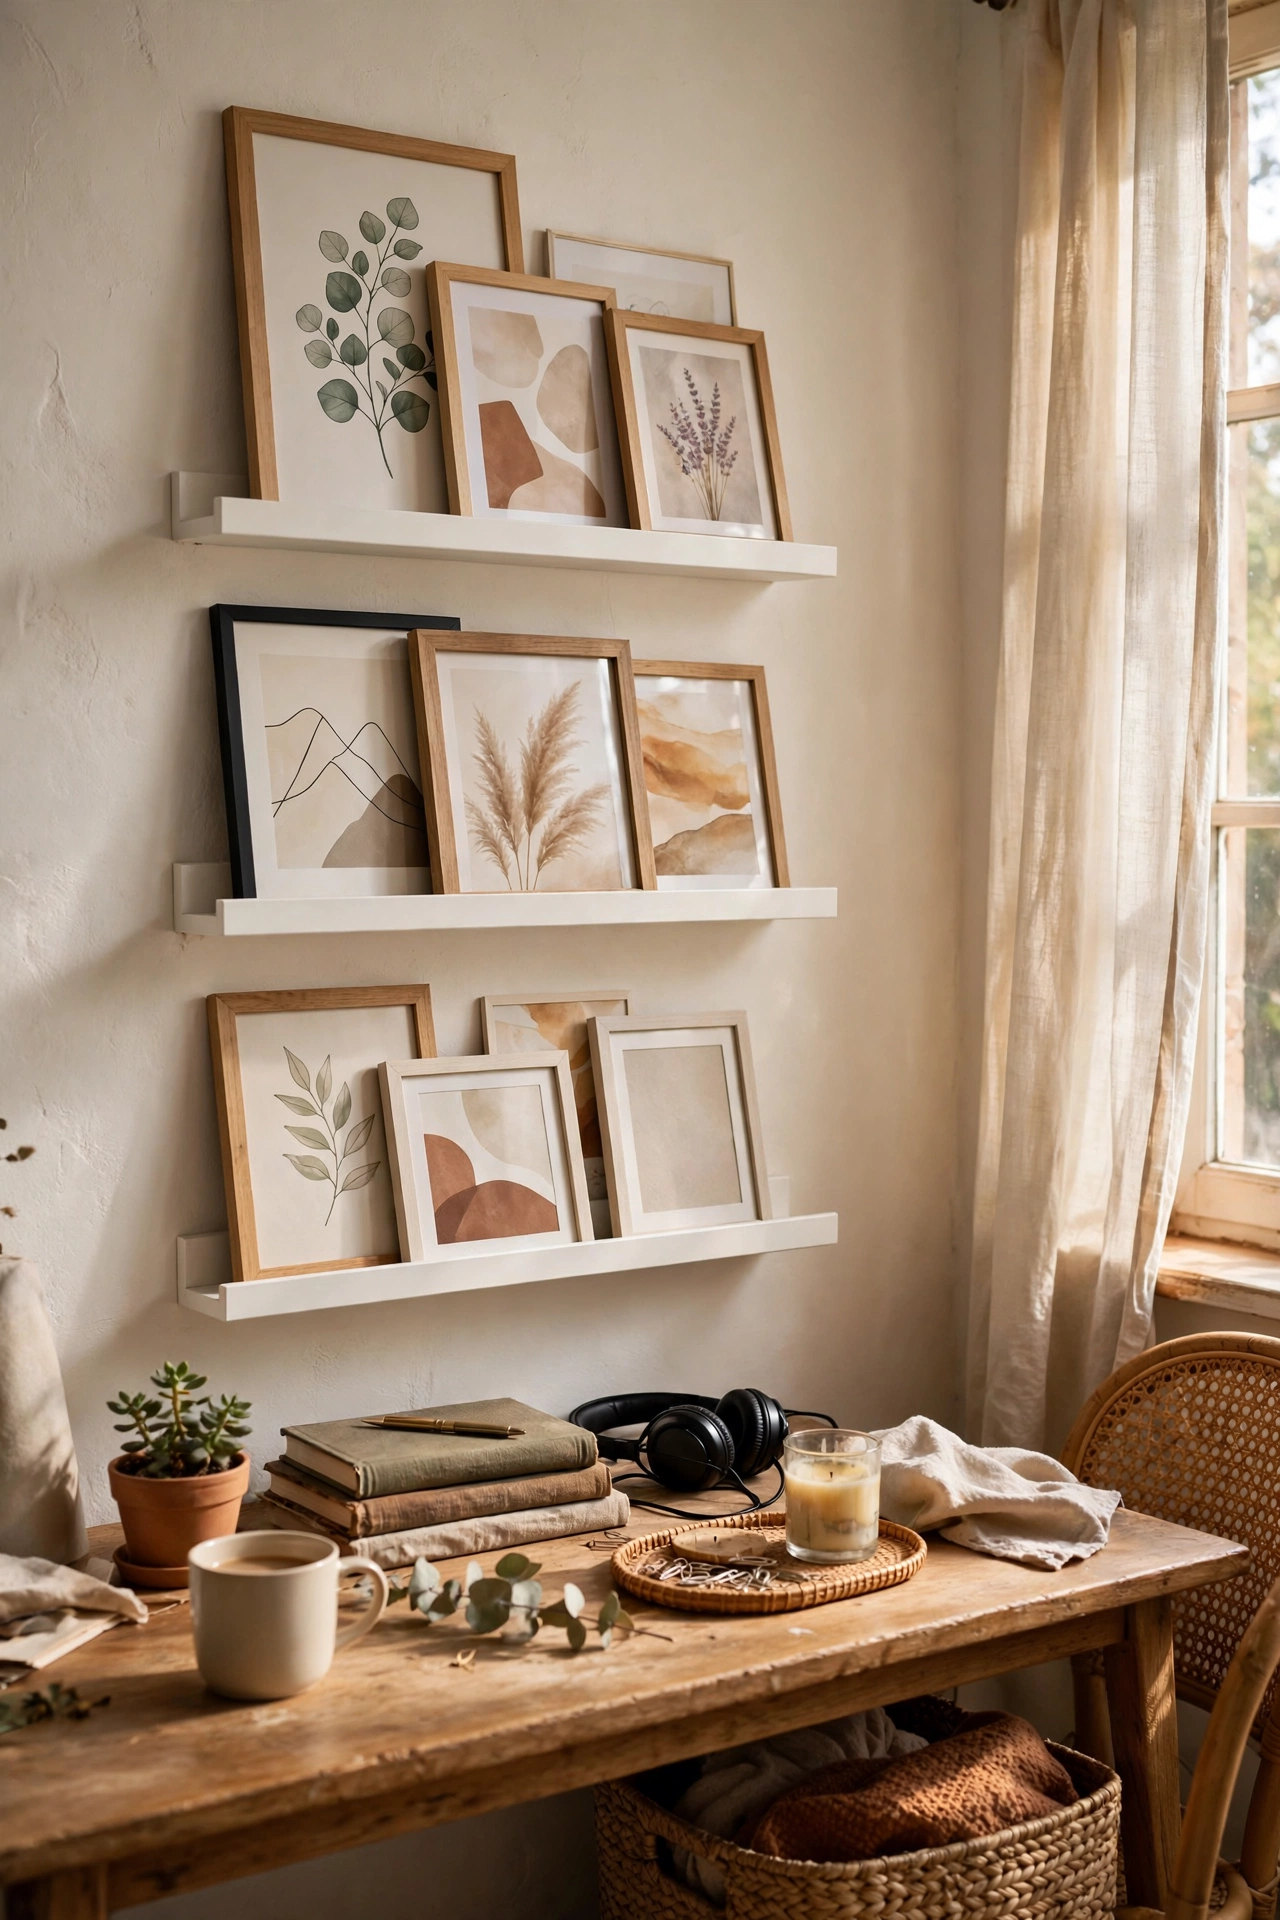
Narrow picture ledges are the easiest shelves to build and the most versatile to style. I made two from simple pine strips: a back board, a base, and a small front lip, glued and nailed together, then painted white. They hold framed prints layered casually, and I rearrange the art whenever I feel like it without touching a nail. The front lip is essential, because frames slide right off a flat ledge. Mine is just one inch tall and it does the job. These are perfect above a desk or a sofa where you want art without commitment.
Cost: ~$12-20 | Time: 2 hours plus drying
Budget check: four shelves built, all for less than one flat-pack bookcase. The picture ledges were the cheapest and get restyled more than anything else in my house.
5. Corner Floating Shelves
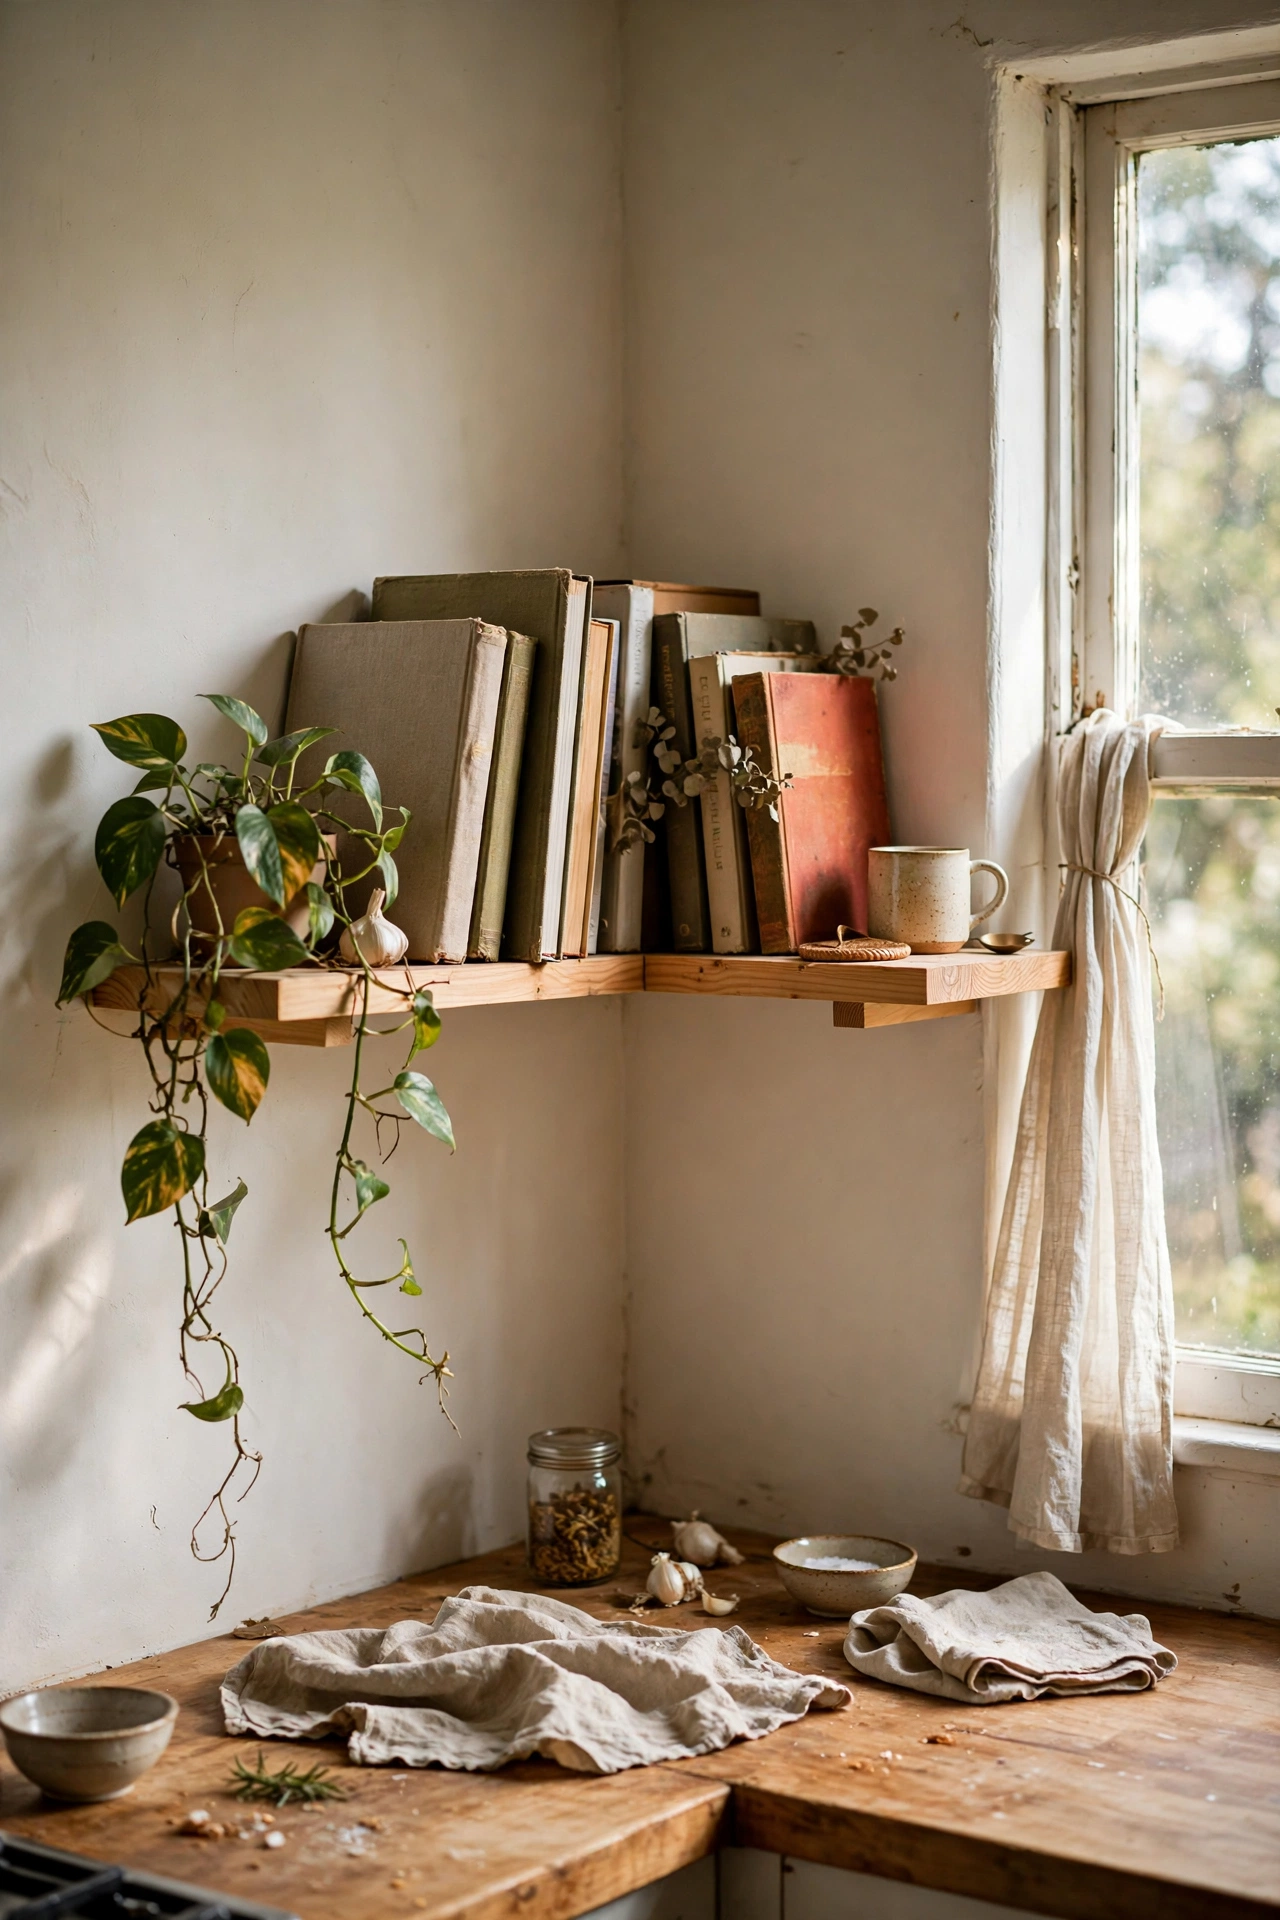
Dead corners become display space with two short floating shelves meeting at a right angle. I cut pine boards to fit my kitchen corner, mounted them on hidden brackets, and now the corner holds cookbooks and a trailing plant instead of gathering dust. Measure each wall separately, because corners are rarely perfectly square and a board cut for one side will not fit the other. I learned this with a gap you could see from across the room. Caulk the small gaps after mounting for a built-in look that hides every imperfection.
Cost: ~$18-28 | Time: 2 hours
6. Ladder-Style Leaning Shelf
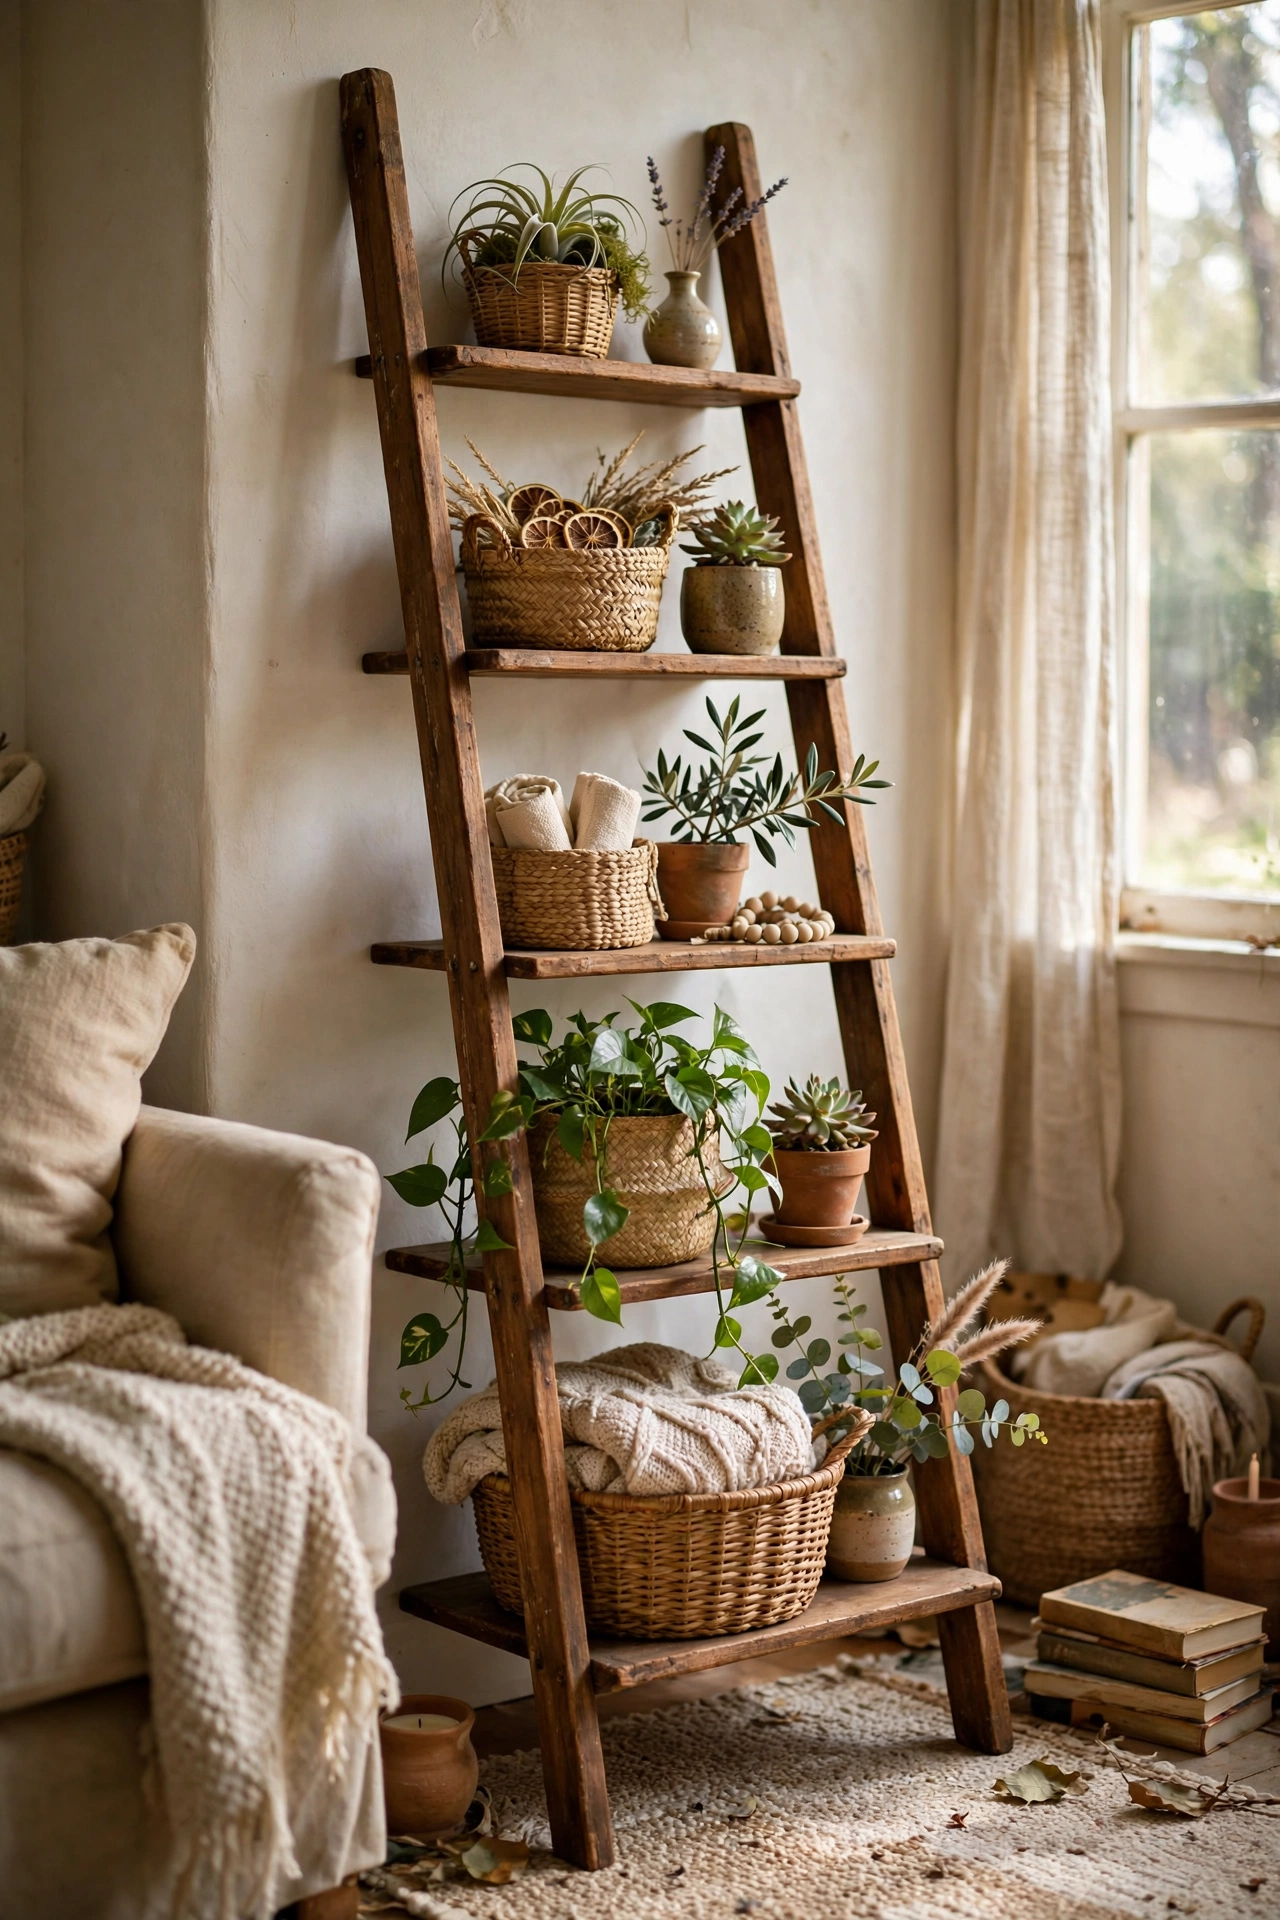
A leaning ladder shelf needs no wall fixings at all, which makes it renter-friendly. I built mine from two side rails and five graduated shelves, screwed together and stained warm oak. The wider shelves at the bottom hold baskets, the narrow top ones hold plants. Cut all the shelf boards before you assemble, and dry-fit everything on the floor first. My first attempt had shelves at slightly different depths because I cut as I went. Lean it at a gentle angle and put felt pads where it meets the wall to protect the paint.
Cost: ~$30-45 | Time: 3 hours
7. Reclaimed Wood Beam Shelf
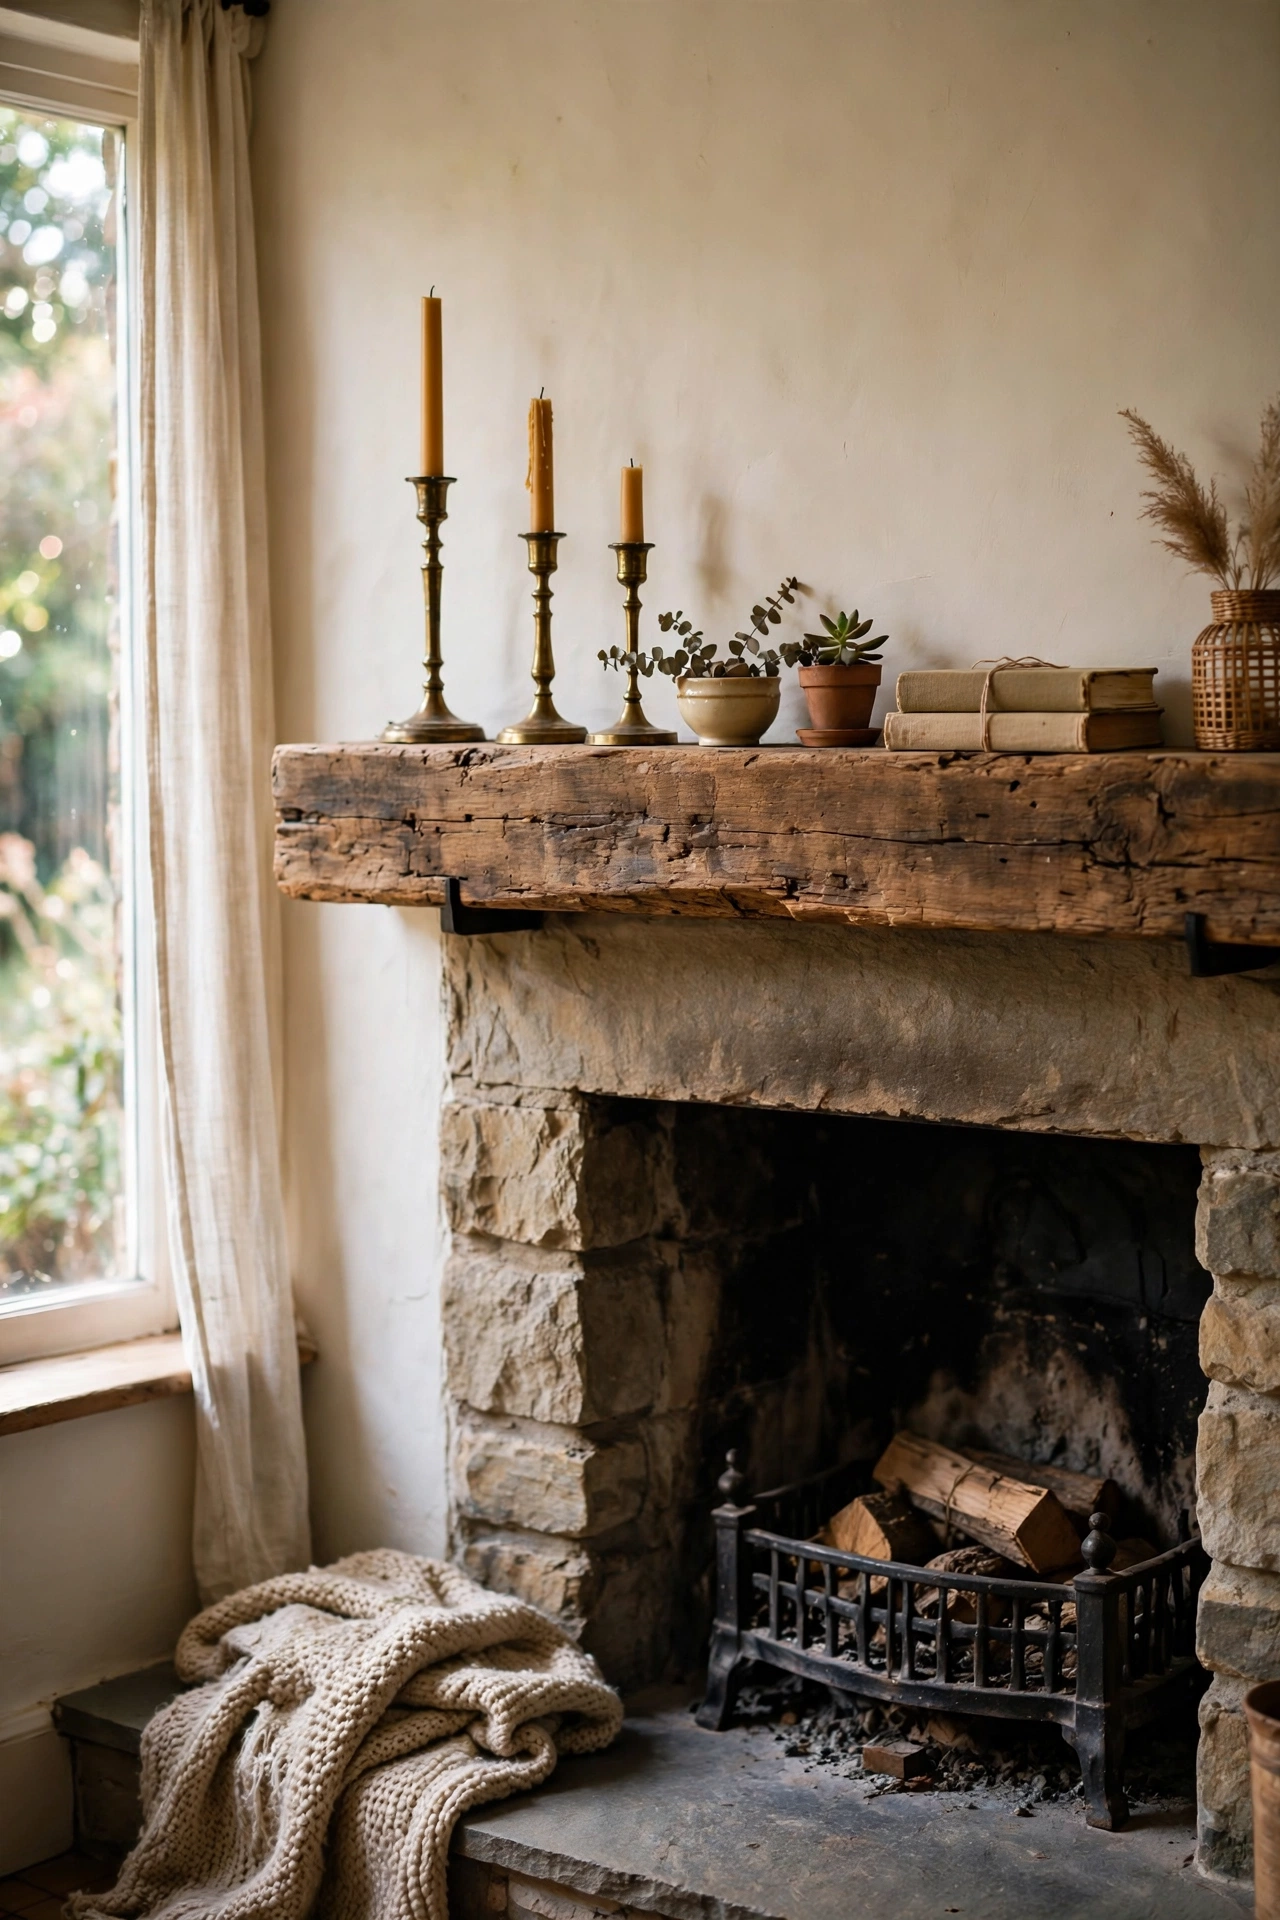
A chunky beam shelf with visible grain looks like architectural salvage. I found a thick reclaimed-look beam at a timber yard offcut bin, sanded it lightly to keep the character, sealed it with matte varnish, and mounted it on heavy-duty hidden brackets above my fireplace. The thickness is what makes it: a two-inch board reads as a beam, a one-inch board reads as a shelf. Check the beam is straight before you buy, because a warped beam will never sit level. Mine holds a row of candlesticks and looks like it came with the house.
Cost: ~$22-35 | Time: 2 hours
8. Hexagon Wall Shelves
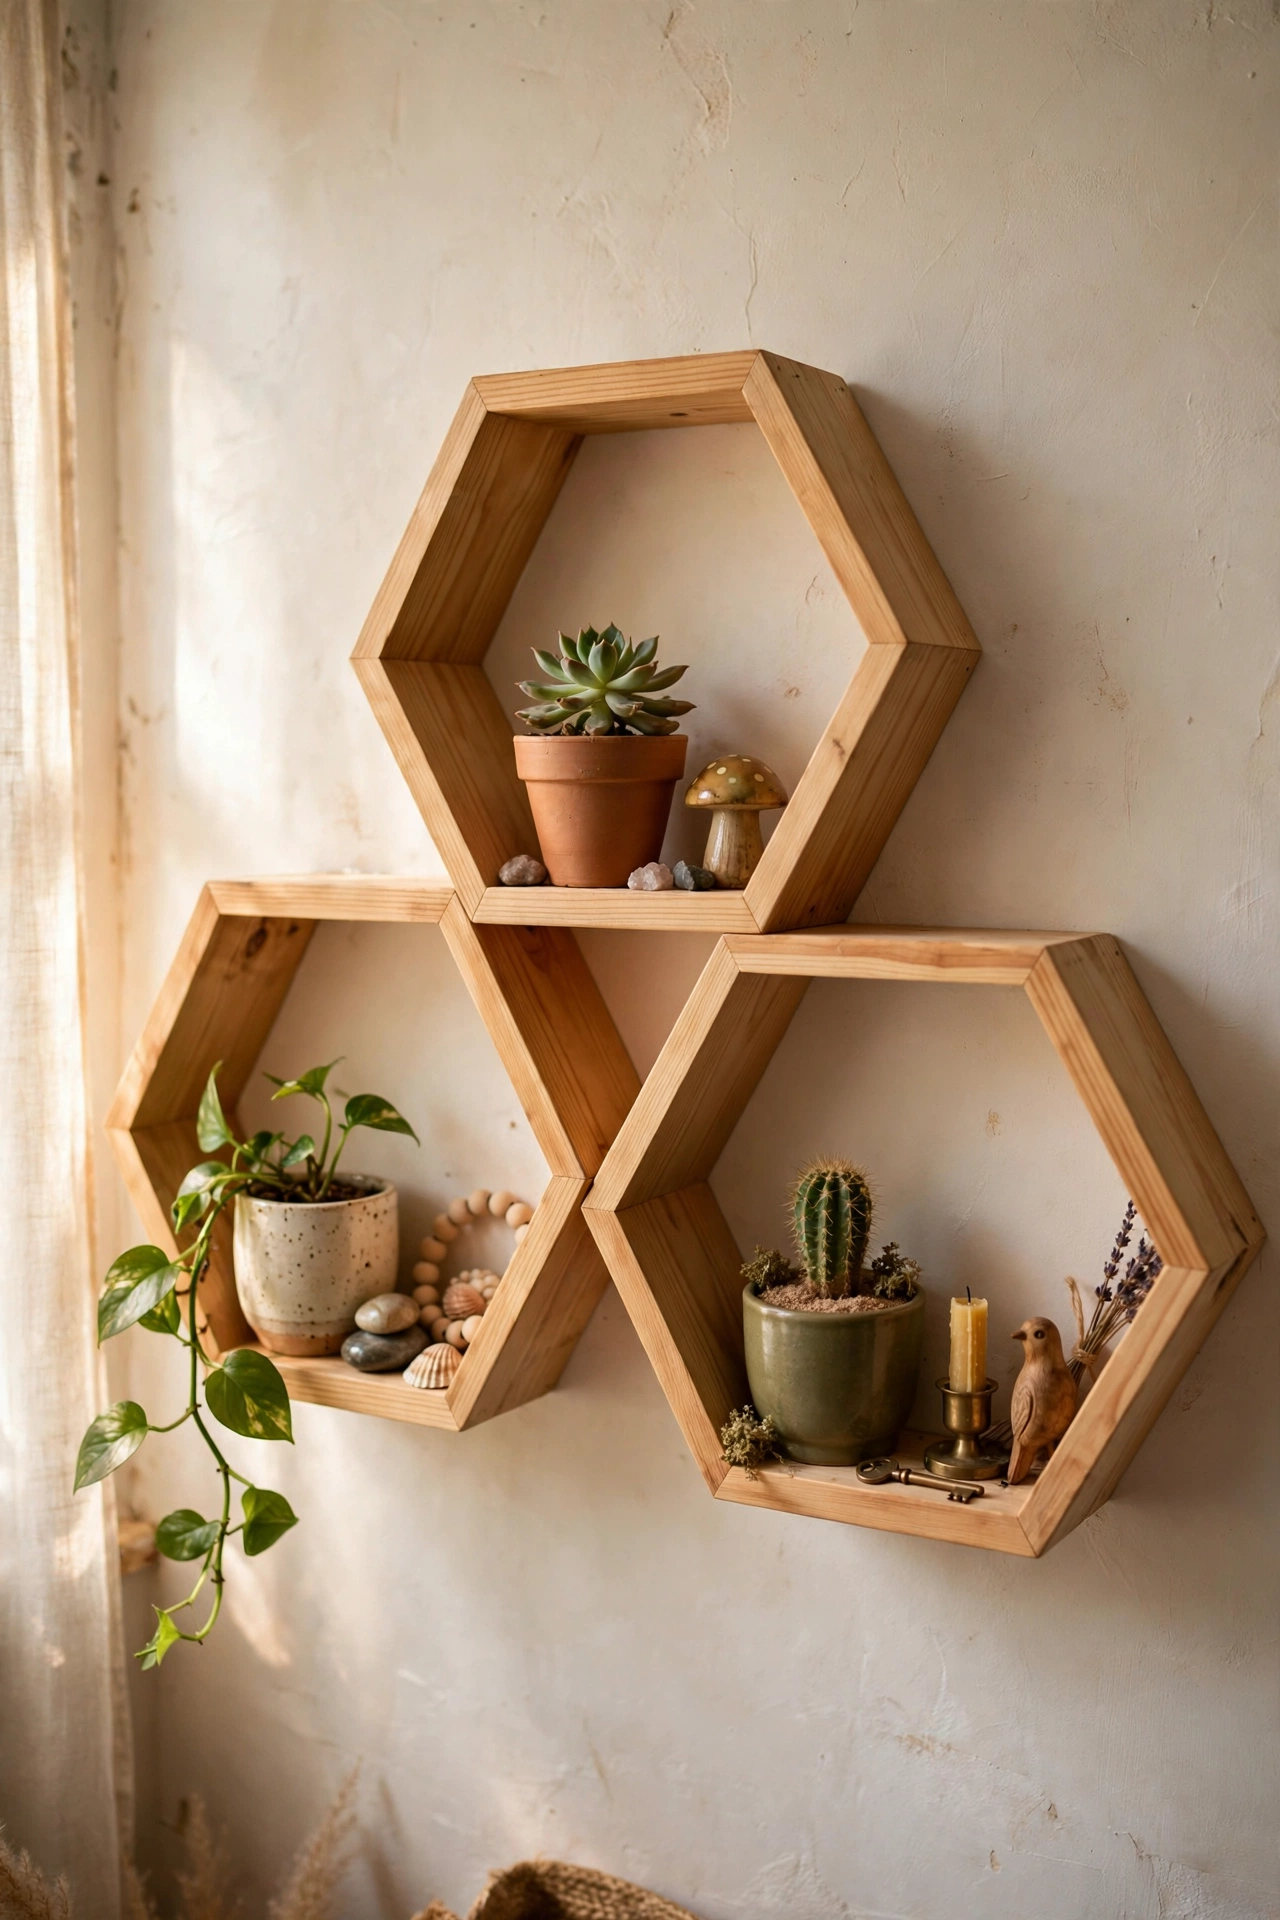
Honeycomb hexagon shelves are geometric, modern, and simpler to build than they look. I cut pine boards into equal lengths with 30-degree mitre cuts, glued and nailed them into hexagons, and hung three in a cluster. The mitre cuts need to be accurate or the hexagon will not close, so use a mitre box and measure carefully. I wasted two boards learning this. Paint them all one colour for a clean modern look, or leave the wood natural for warmth. They are perfect for small plants and collectibles that deserve a stage.
Cost: ~$15-25 | Time: 3 hours plus drying
Budget check: eight shelves done, averaging around $25 each. The beam shelf looks like the most expensive thing in my living room and cost less than a pizza night.
9. Round Dowel Peg Shelf
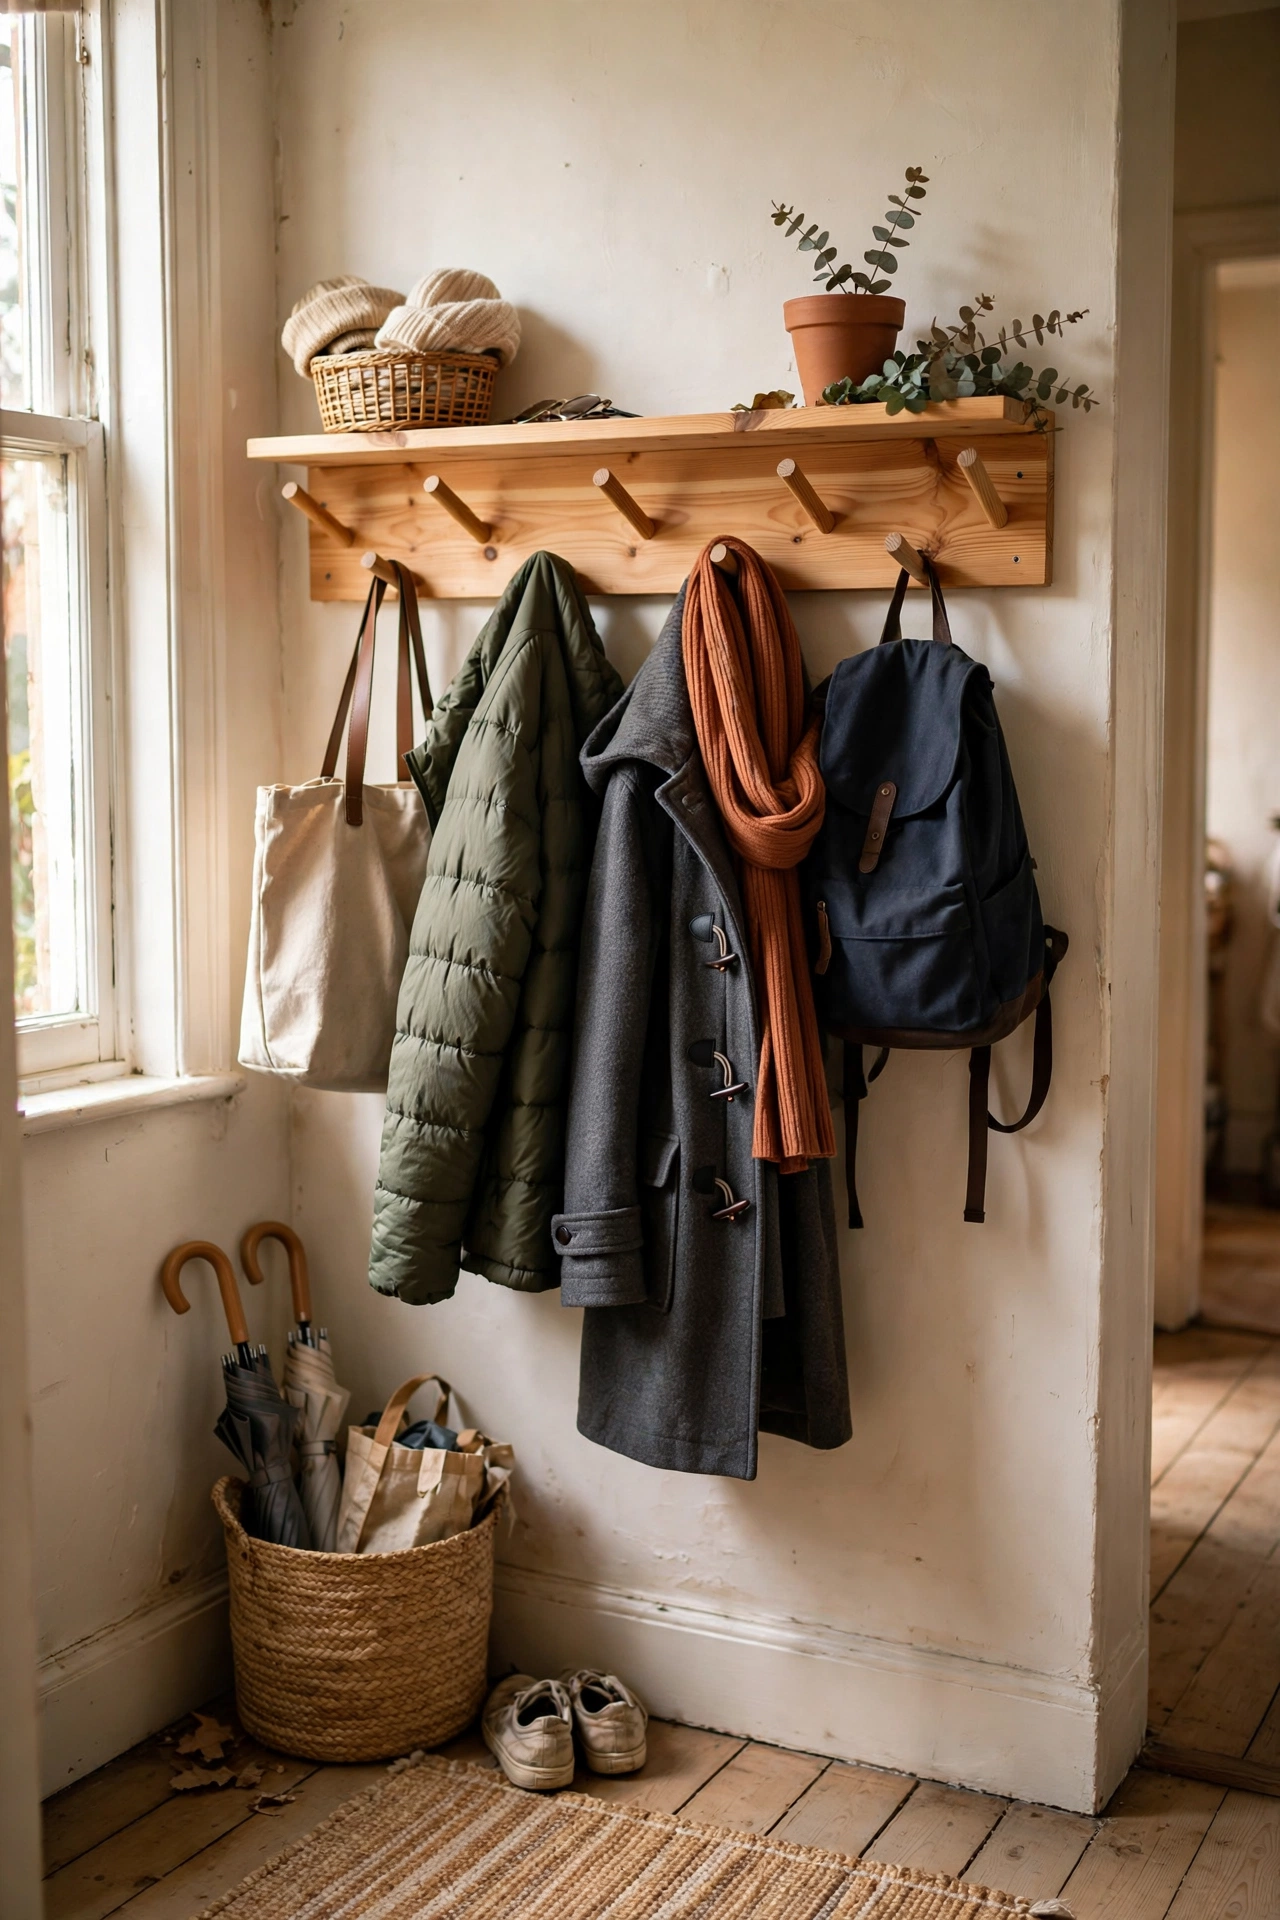
A peg shelf with round dowels is Shaker-simple and endlessly useful. I mounted a pine board to my hallway wall, drilled angled holes along it, and glued in wooden dowel pegs for hanging coats, bags, and hats. Drilling the holes at a slight upward angle is the key detail, because straight holes let everything slide off. I used a ten-degree angle and nothing has slipped yet. Sand the peg ends smooth so they do not snag coats. This little shelf handles our whole family’s daily clutter by the front door. For more entryway organisation, see (see also: 15-easy-diy-home-decor-projects-for-beginners).
Cost: ~$12-18 | Time: 1.5 hours
10. Kitchen Open Shelving With Styled Crockery
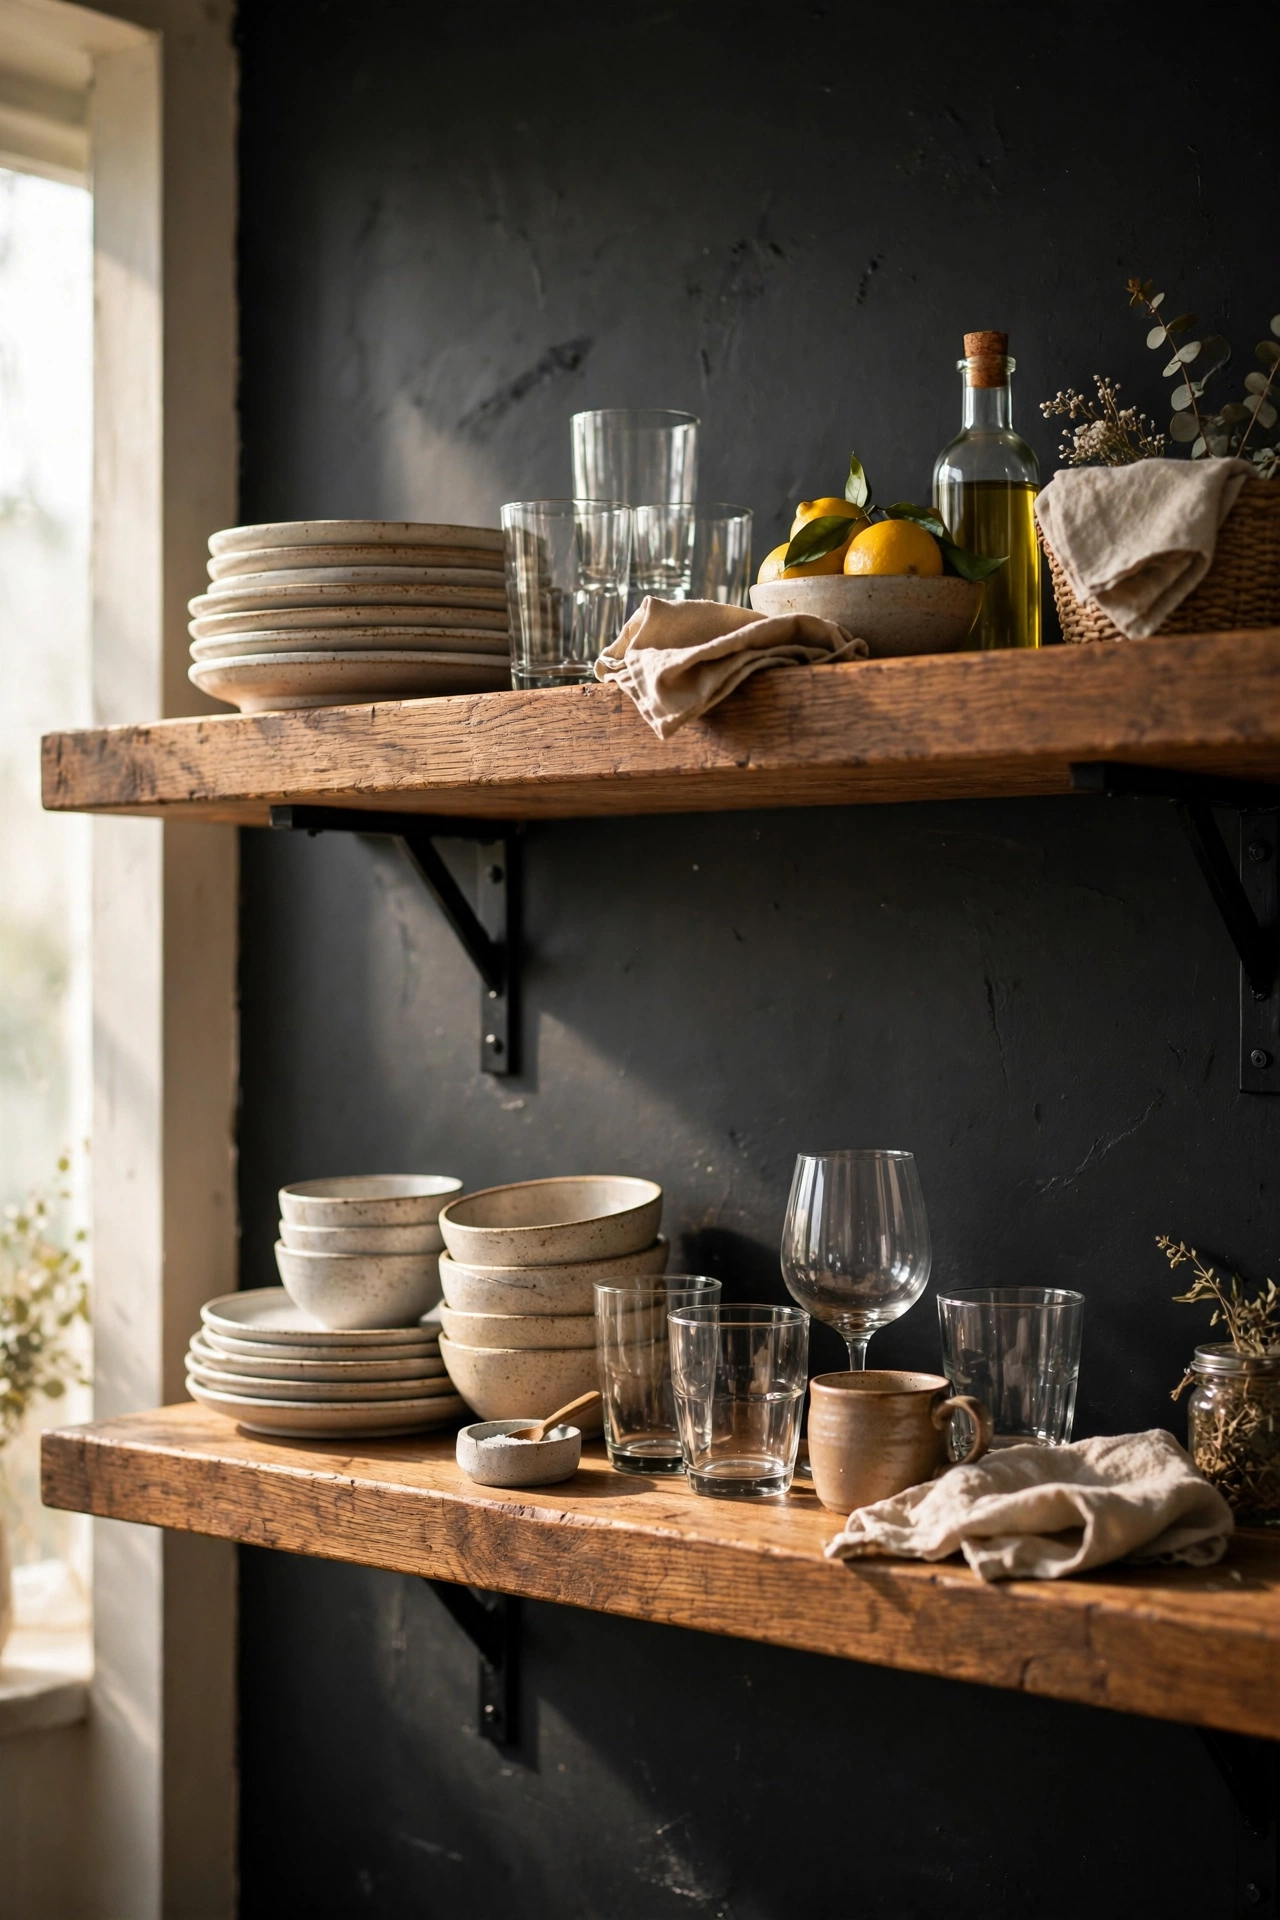
Replacing one upper cabinet with open shelving makes a kitchen feel bigger and more personal. I removed a tired wall cabinet, patched the wall, and mounted two thick oak-stained shelves on black brackets. The styling matters as much as the build: stack everyday plates, line up glasses, and leave breathing room between groups. I keep only the pretty everyday pieces on display and the mismatched stuff stays in the remaining cabinets. Dust is the honest downside, so I wipe the shelves when I do the weekly clean. The kitchen feels twice as bright now.
Cost: ~$30-45 | Time: 3 hours
11. Bathroom Floating Shelf With Rolled Towels
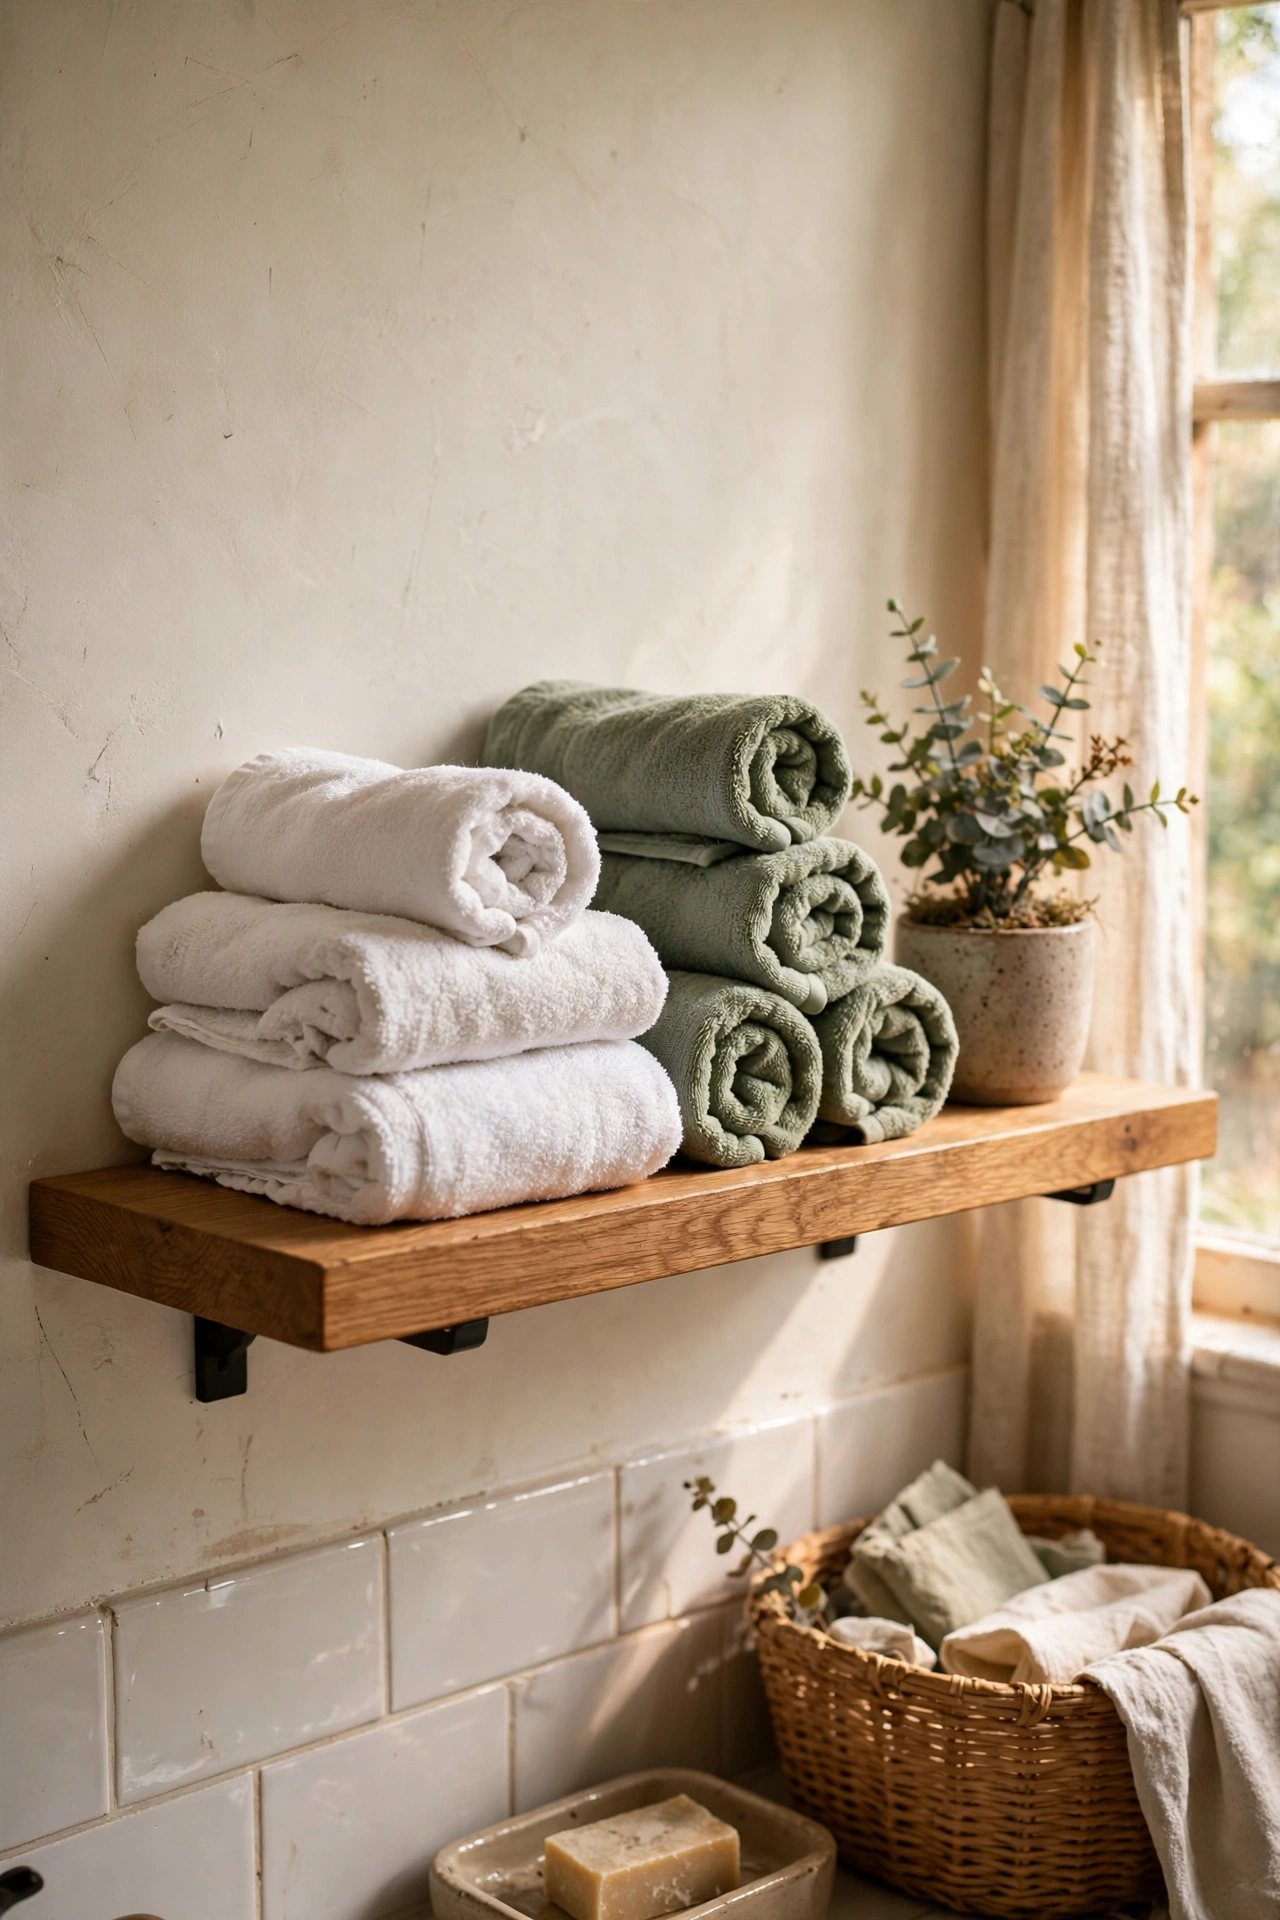
A floating shelf stacked with rolled towels turns a plain bathroom into a spa-like space. I mounted a single oak shelf above my toilet on hidden brackets and rolled white and sage towels into neat cylinders. Rolling rather than folding is what gives the hotel look, so take the extra minute per towel. I sealed the shelf with a water-resistant varnish, because bathroom steam will ruin an unsealed finish. A small plant and a candle complete the styling. Guests now ask if I renovated the bathroom, and all I did was add one shelf.
Cost: ~$15-25 | Time: 1.5 hours
12. Entryway Shelf With Hooks
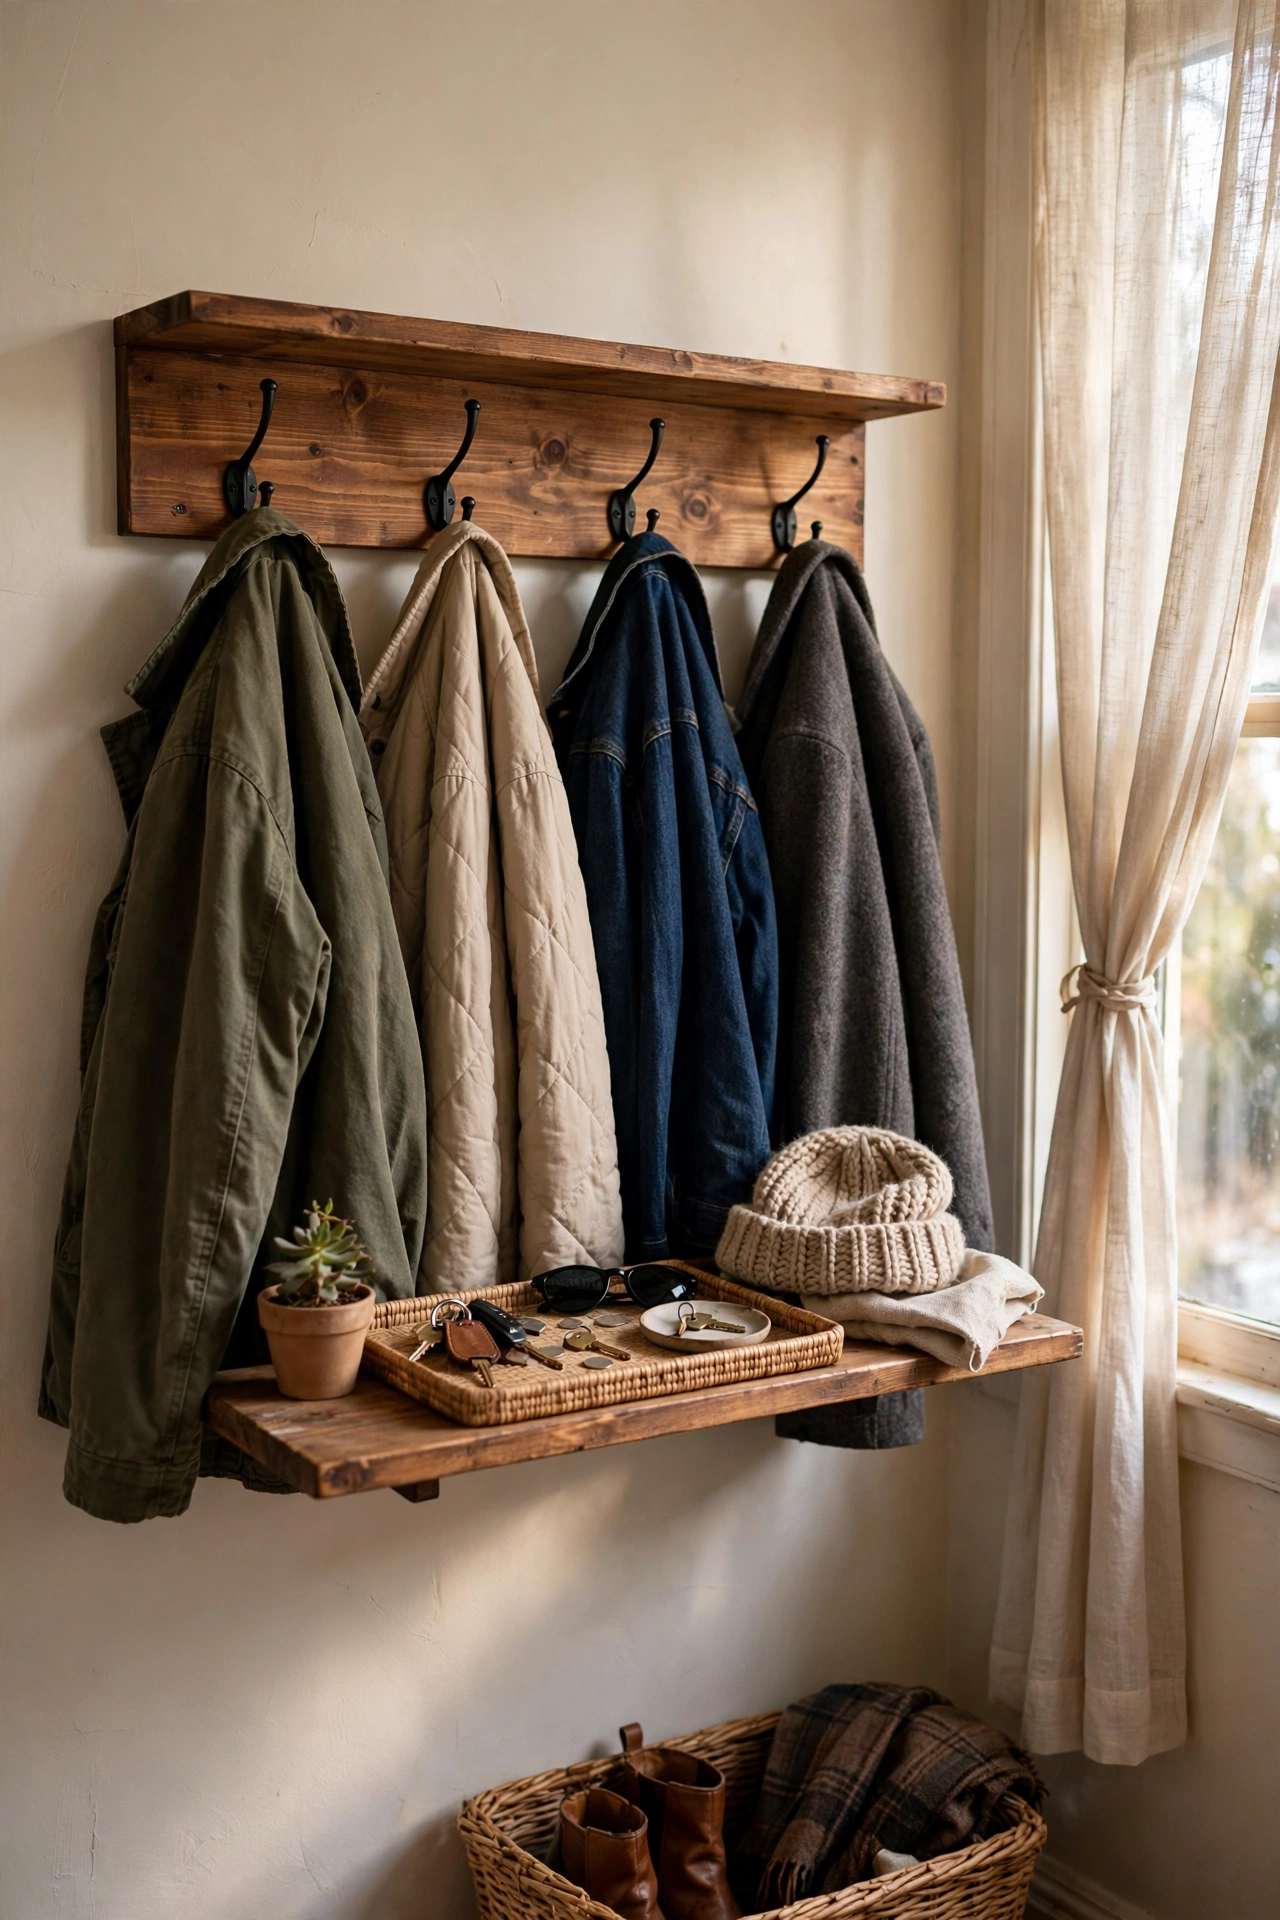
A shelf with hooks underneath is the hardest-working piece in an entryway. I mounted a pine board, added four black metal hooks beneath it, and stained the board to match my door. Keys and sunglasses live on top, coats hang below, and the hallway finally stays tidy. Mount into studs, because hooks loaded with winter coats pull hard on the fixings. I spaced the hooks eight inches apart so coats do not overlap into a lump. A small tray on the shelf corrals the bits that would otherwise scatter across the hall table.
Cost: ~$18-28 | Time: 2 hours
Budget check: twelve shelves finished. The entryway hook shelf replaced a wobbly coat stand and a cluttered table, and it cost less than either would have new.
13. Painted MDF Floating Shelves
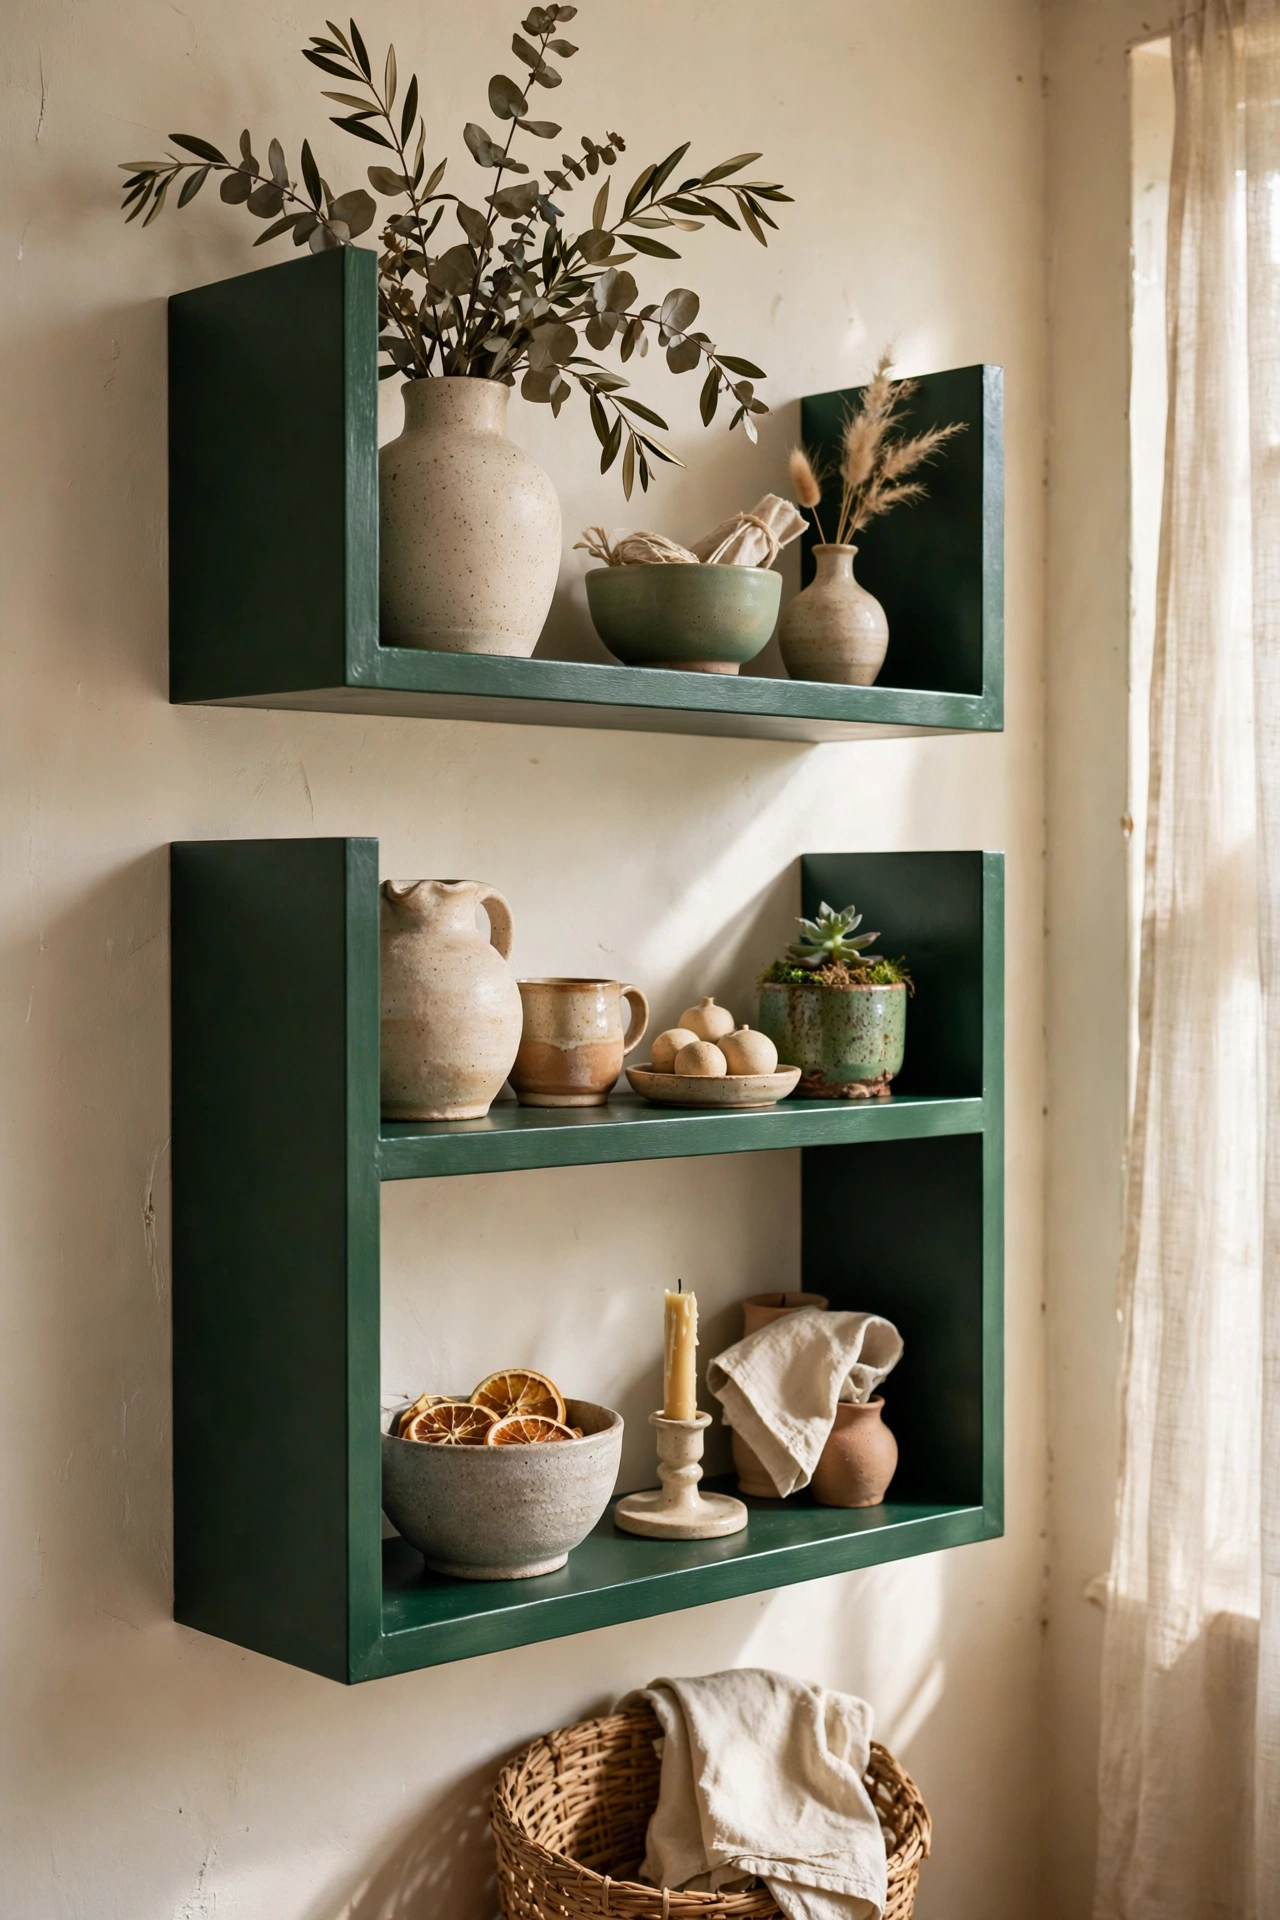
MDF painted in a high-gloss colour makes shelves that look lacquered and custom. I built simple box shelves from MDF, filled every seam, primed thoroughly, and finished with two coats of deep green satin paint. The filling and priming are non-negotiable with MDF: skip them and the edges drink paint and look fuzzy forever. I learned to caulk the wall joint too, which makes the shelf look built-in rather than stuck-on. These read as designer joinery, and the whole project cost less than one restaurant dinner.
Cost: ~$20-30 | Time: 3 hours plus drying
14. Alcove Shelves From Offcuts
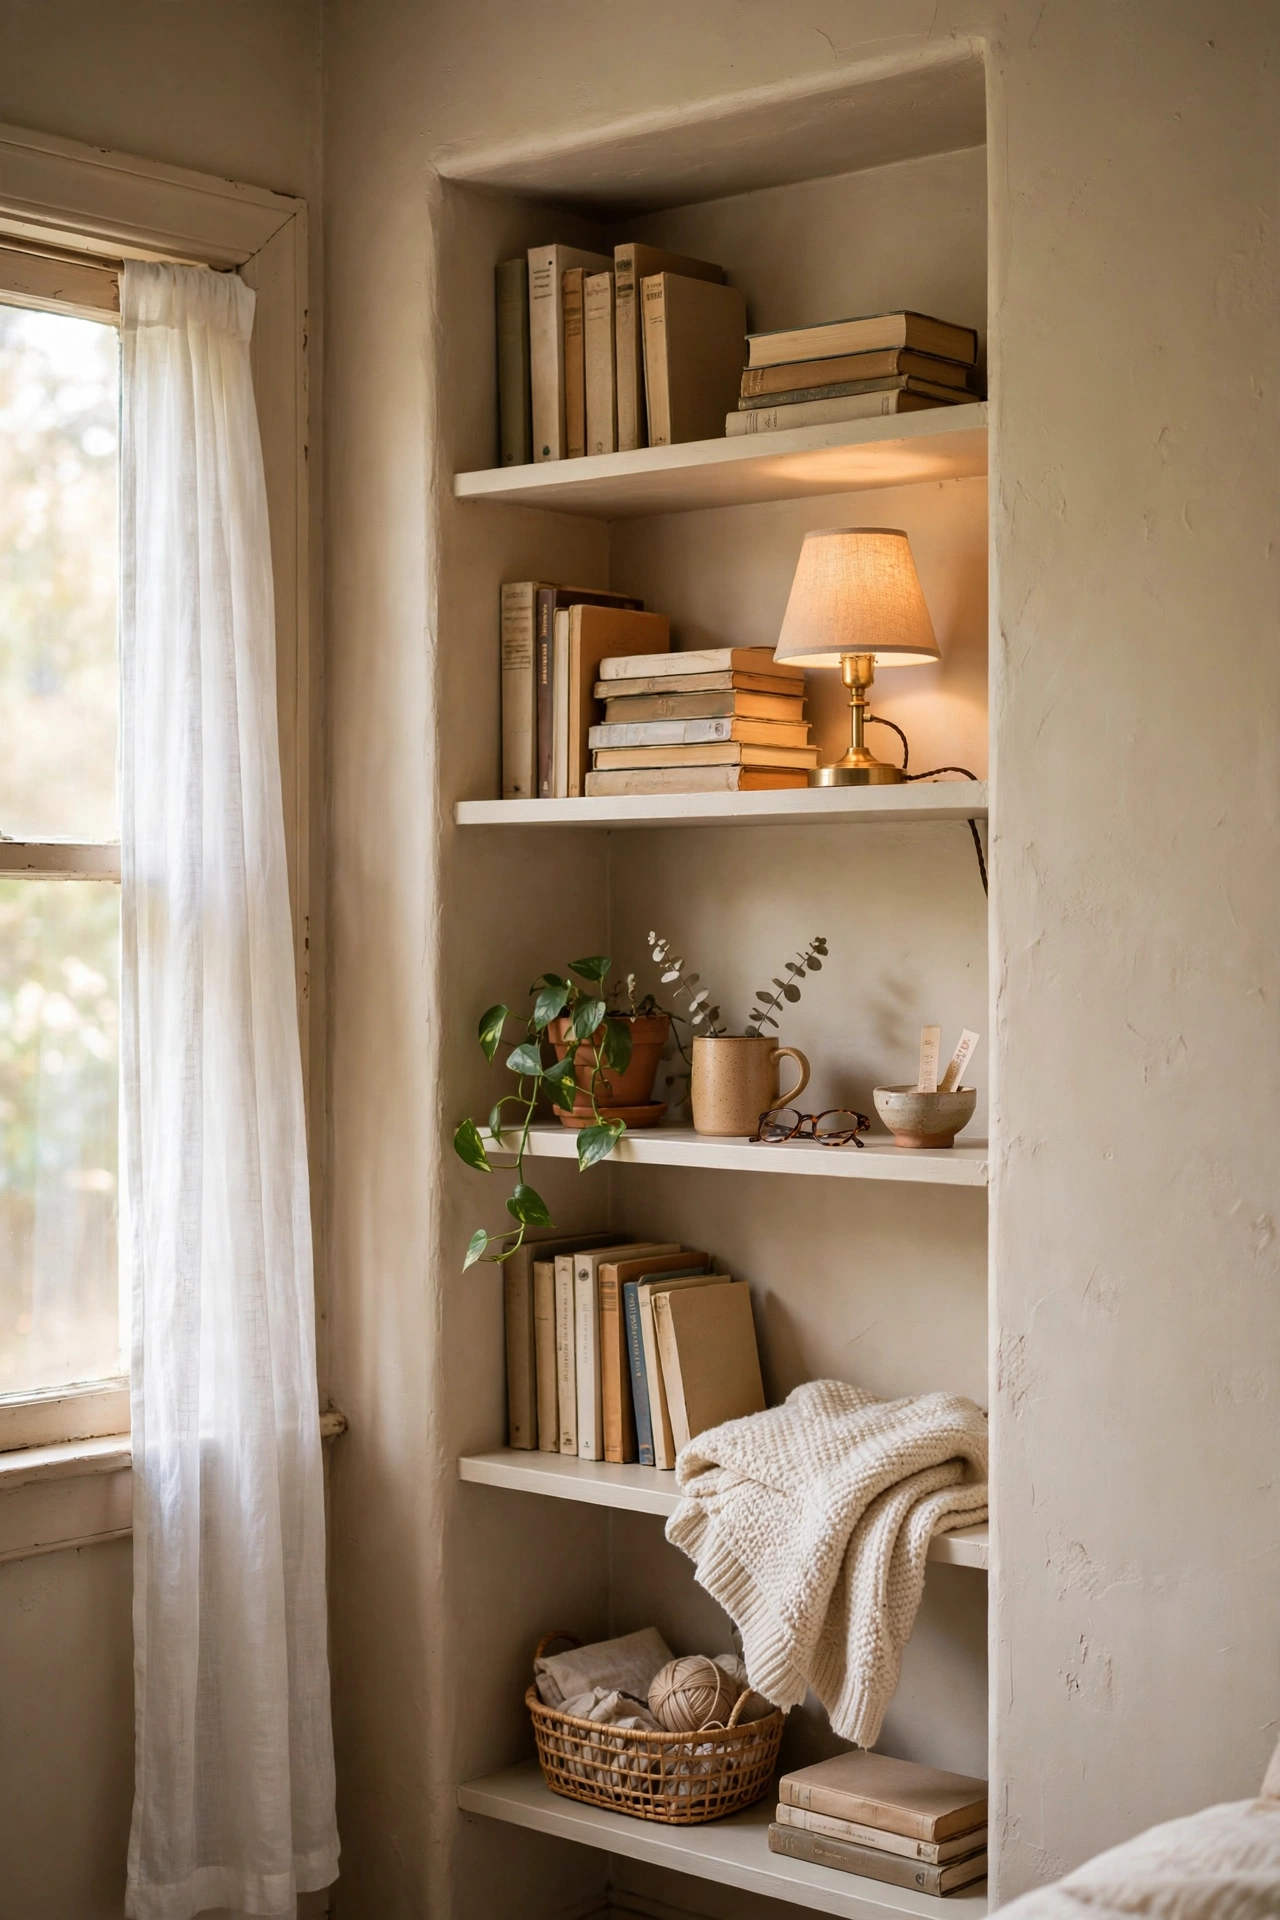
Awkward alcoves become library walls with shelves cut to fit. I measured my bedroom alcove, had the timber yard cut pine boards to size, and mounted them on simple wooden battens screwed to the walls. The battens do the structural work invisibly, so the shelves appear to float. Paint the shelves and battens the same colour as the wall and the whole alcove reads as custom built-in joinery. I filled mine with books and a reading lamp, and the dead corner is now my favourite spot. Measure at three points per shelf, because old walls are never straight.
Cost: ~$25-40 | Time: 3 hours
15. Nightstand Wall Shelf
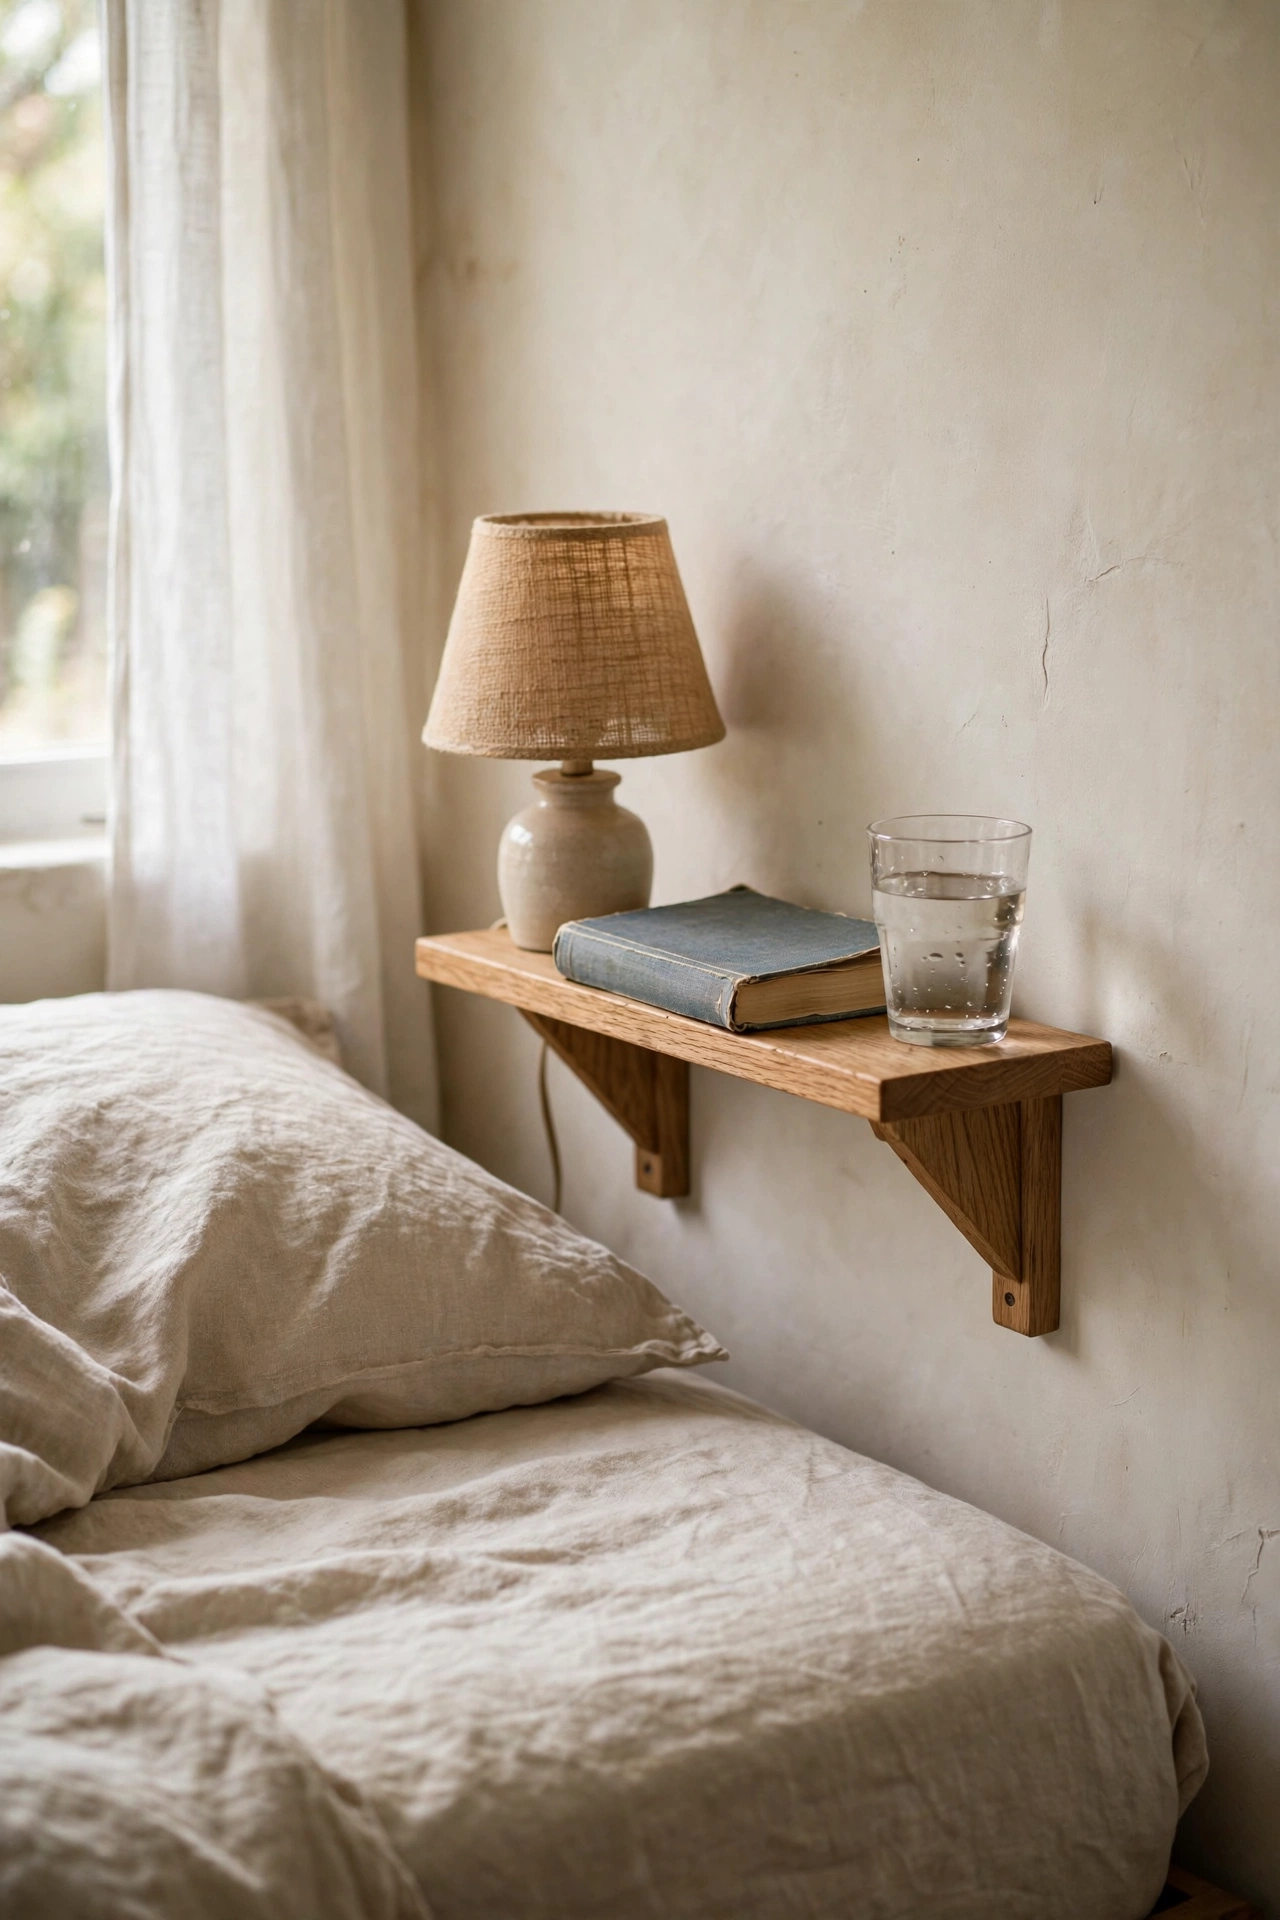
A small wall-mounted shelf beside the bed replaces a bulky nightstand in tight bedrooms. I mounted a single oak board on hidden brackets at mattress height, and it holds my lamp, book, and glass of water with room to spare. The floor space underneath stays clear, which makes a small bedroom feel noticeably bigger. Mount it solidly, because a wobbling shelf next to your head at night is miserable. I added a tiny lip at the back edge so my phone does not slide off. This is the best small-bedroom trick I know for under thirty dollars.
Cost: ~$15-25 | Time: 1.5 hours
16. Spice Rack Wall Shelf
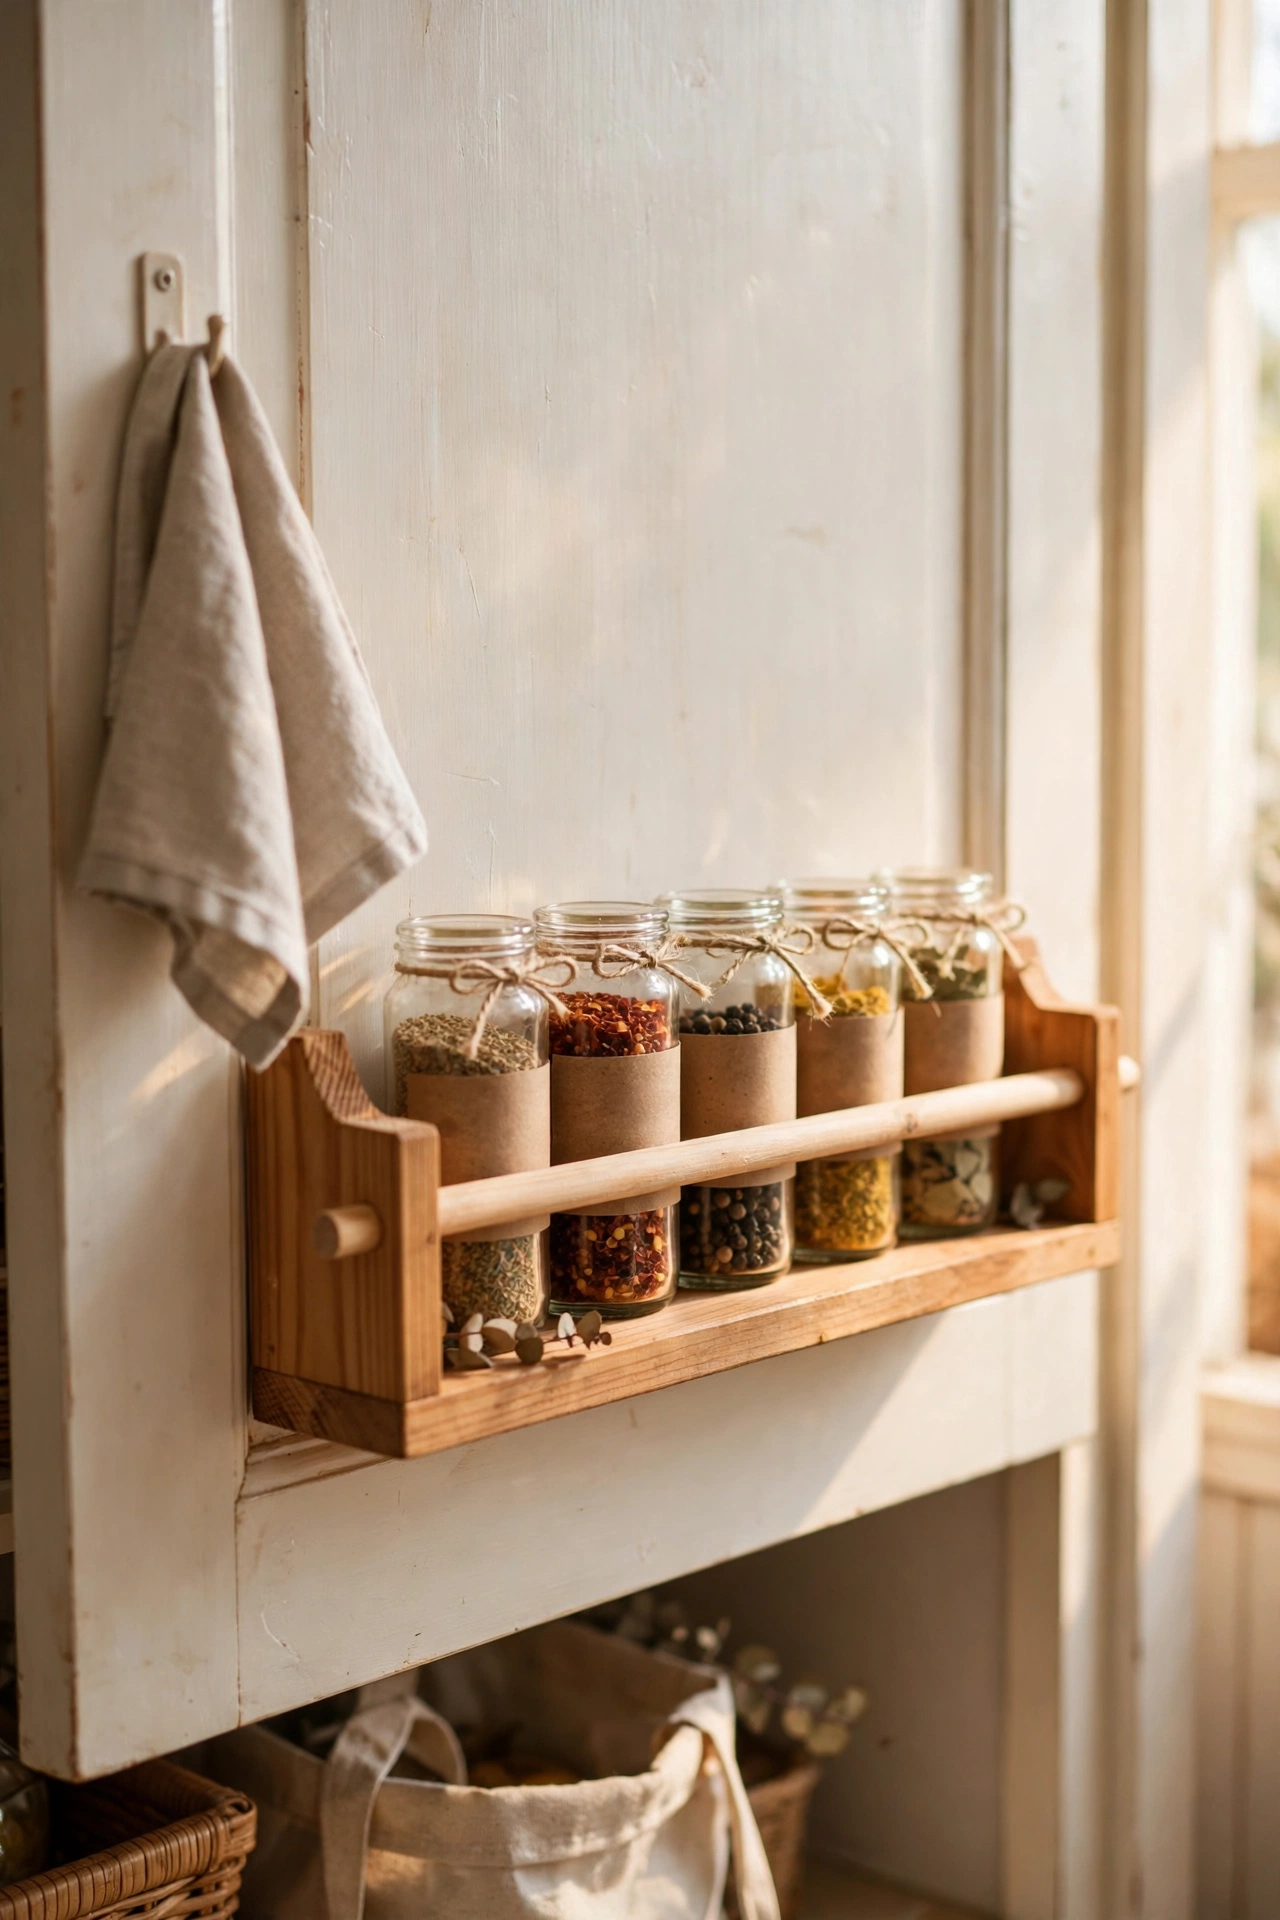
A narrow wall shelf with a front rail keeps spices visible and reachable. I built a slim pine shelf with a dowel rail across the front, mounted it inside my pantry door, and decanted my spices into matching jars. The rail stops jars tumbling when the door moves, which is the detail that makes it work. I labelled every jar with a chalk marker so I can actually find the cumin. Decanting sounds fussy, but cooking from a tidy labelled rack genuinely makes weeknight dinners easier. For more kitchen upgrades, see (see also: dollar-store-decor-ideas-that-look-expensive).
Cost: ~$12-20 | Time: 2 hours
Budget check: sixteen shelves built, and the spice rack was one of the cheapest. The whole list averages about $24 a shelf, which is remarkable for how custom everything looks.
17. Reading Corner Book Shelves
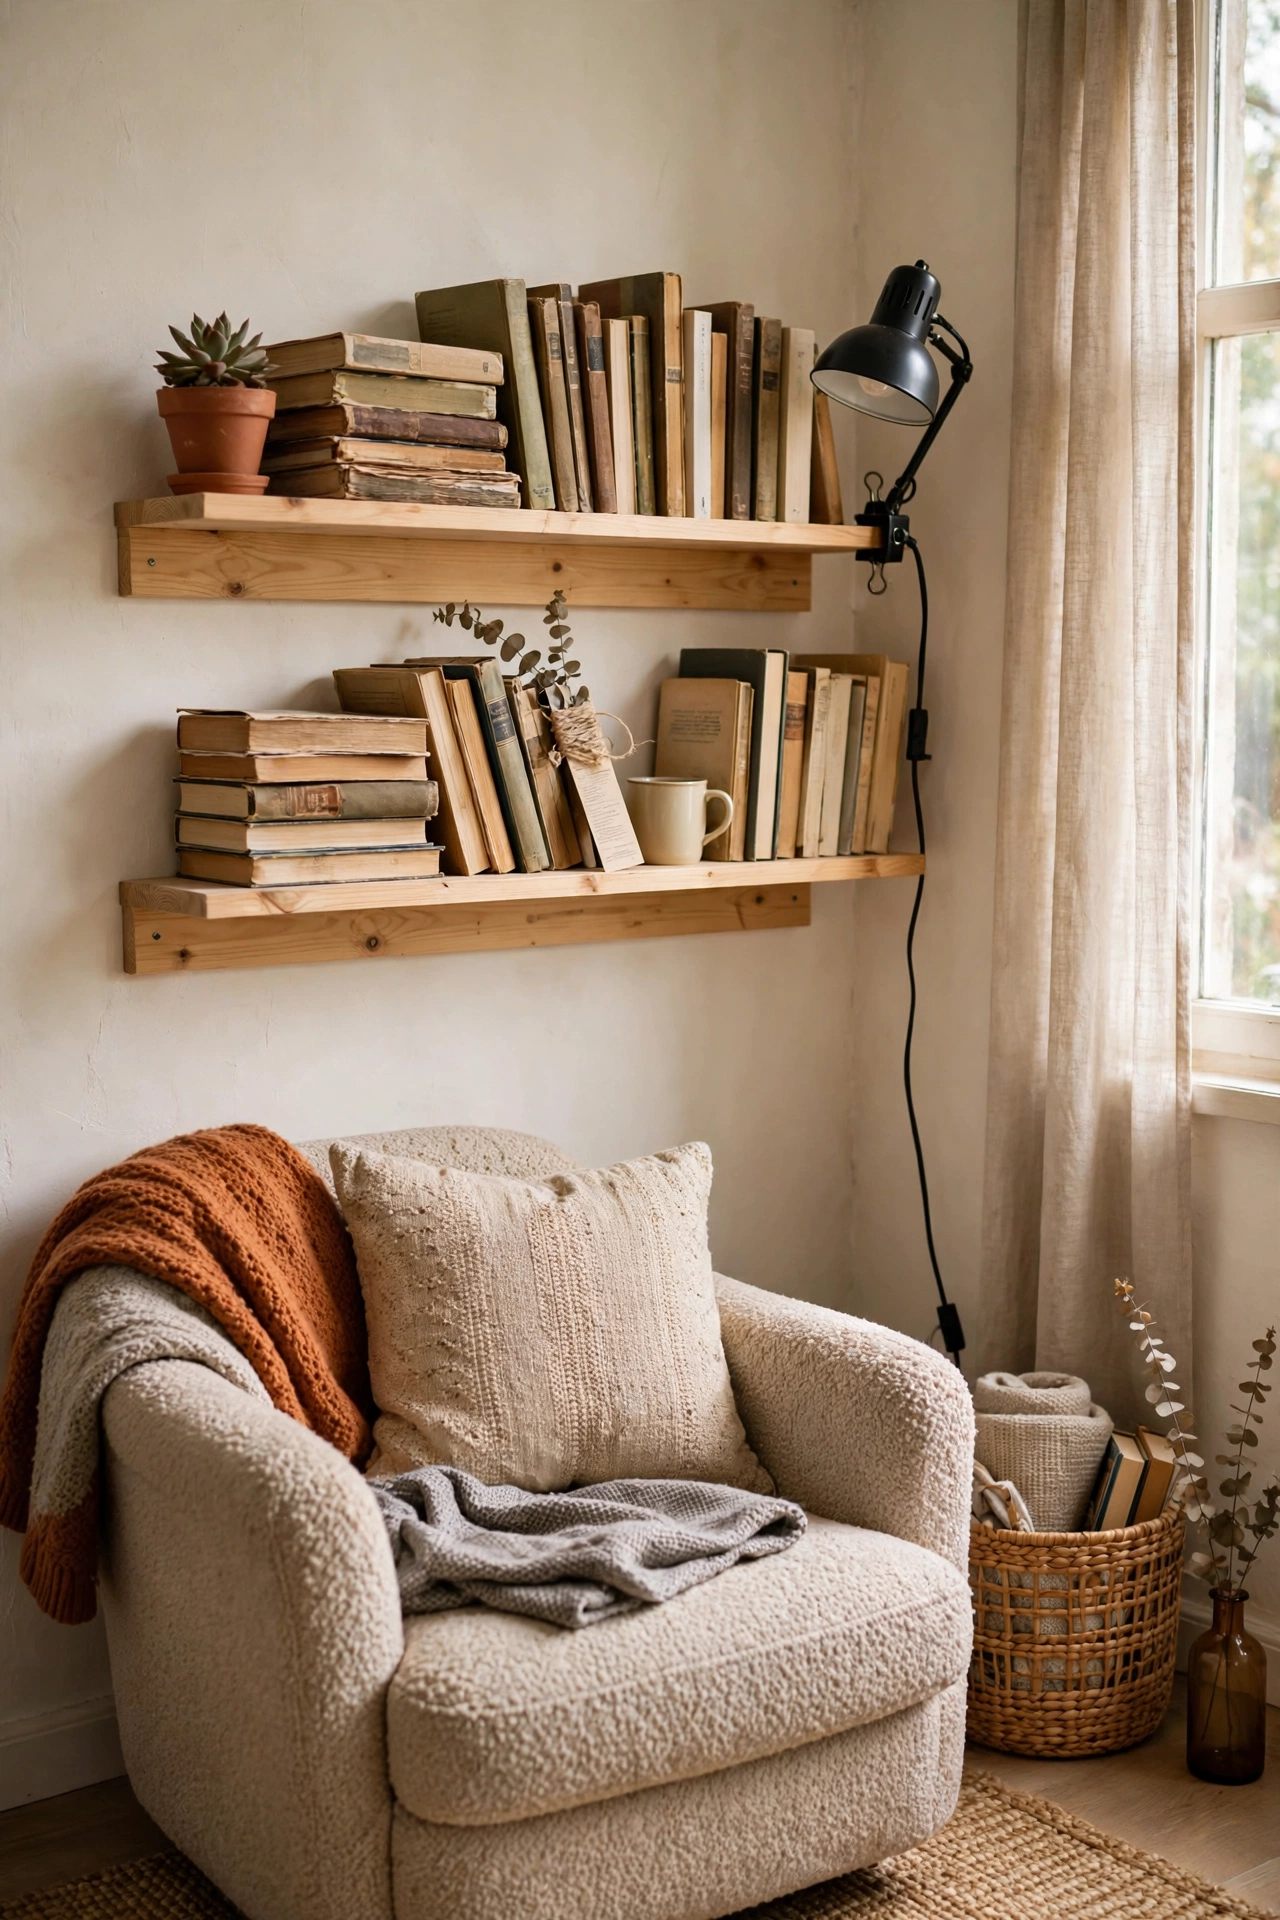
Two short shelves stacked above a reading chair create a personal library corner. I mounted two pine shelves in my bedroom corner, stained them to match my furniture, and filled them with the books I actually reread. Keep the shelves close enough to reach from the chair, about eighteen inches apart, so the corner feels enveloping rather than display-like. I added a small clip light to the lower shelf for evening reading. This corner cost me one afternoon and about thirty dollars, and it is where I end up every single evening.
Cost: ~$25-35 | Time: 2.5 hours
Save this one for your next rainy-day project list.
Keep the DIY momentum going: (see also: 23-diy-mirror-ideas-for-beginners) (see also: 17-thrift-store-diy-ideas-in-a-weekend)
