15 DIY Christmas Decorations on a Budget
I’ve always believed the best Christmas decorations are the ones you make yourself — not because they’re perfect, but because they carry a story. The wonky star my daughter painted, the garland I made while the turkey was in the oven, the wreath that took three tries. These 15 DIY Christmas decorations all cost very little, use things you probably already have, and actually look good when they’re finished. Save this list before you scroll on, and if you want more cheap festive ideas, check my (see also: dollar-store-christmas-decor-ideas) and (see also: budget-christmas-decor-ideas) too.
Quick wins under $5
1. Paper Snowflakes on the Window
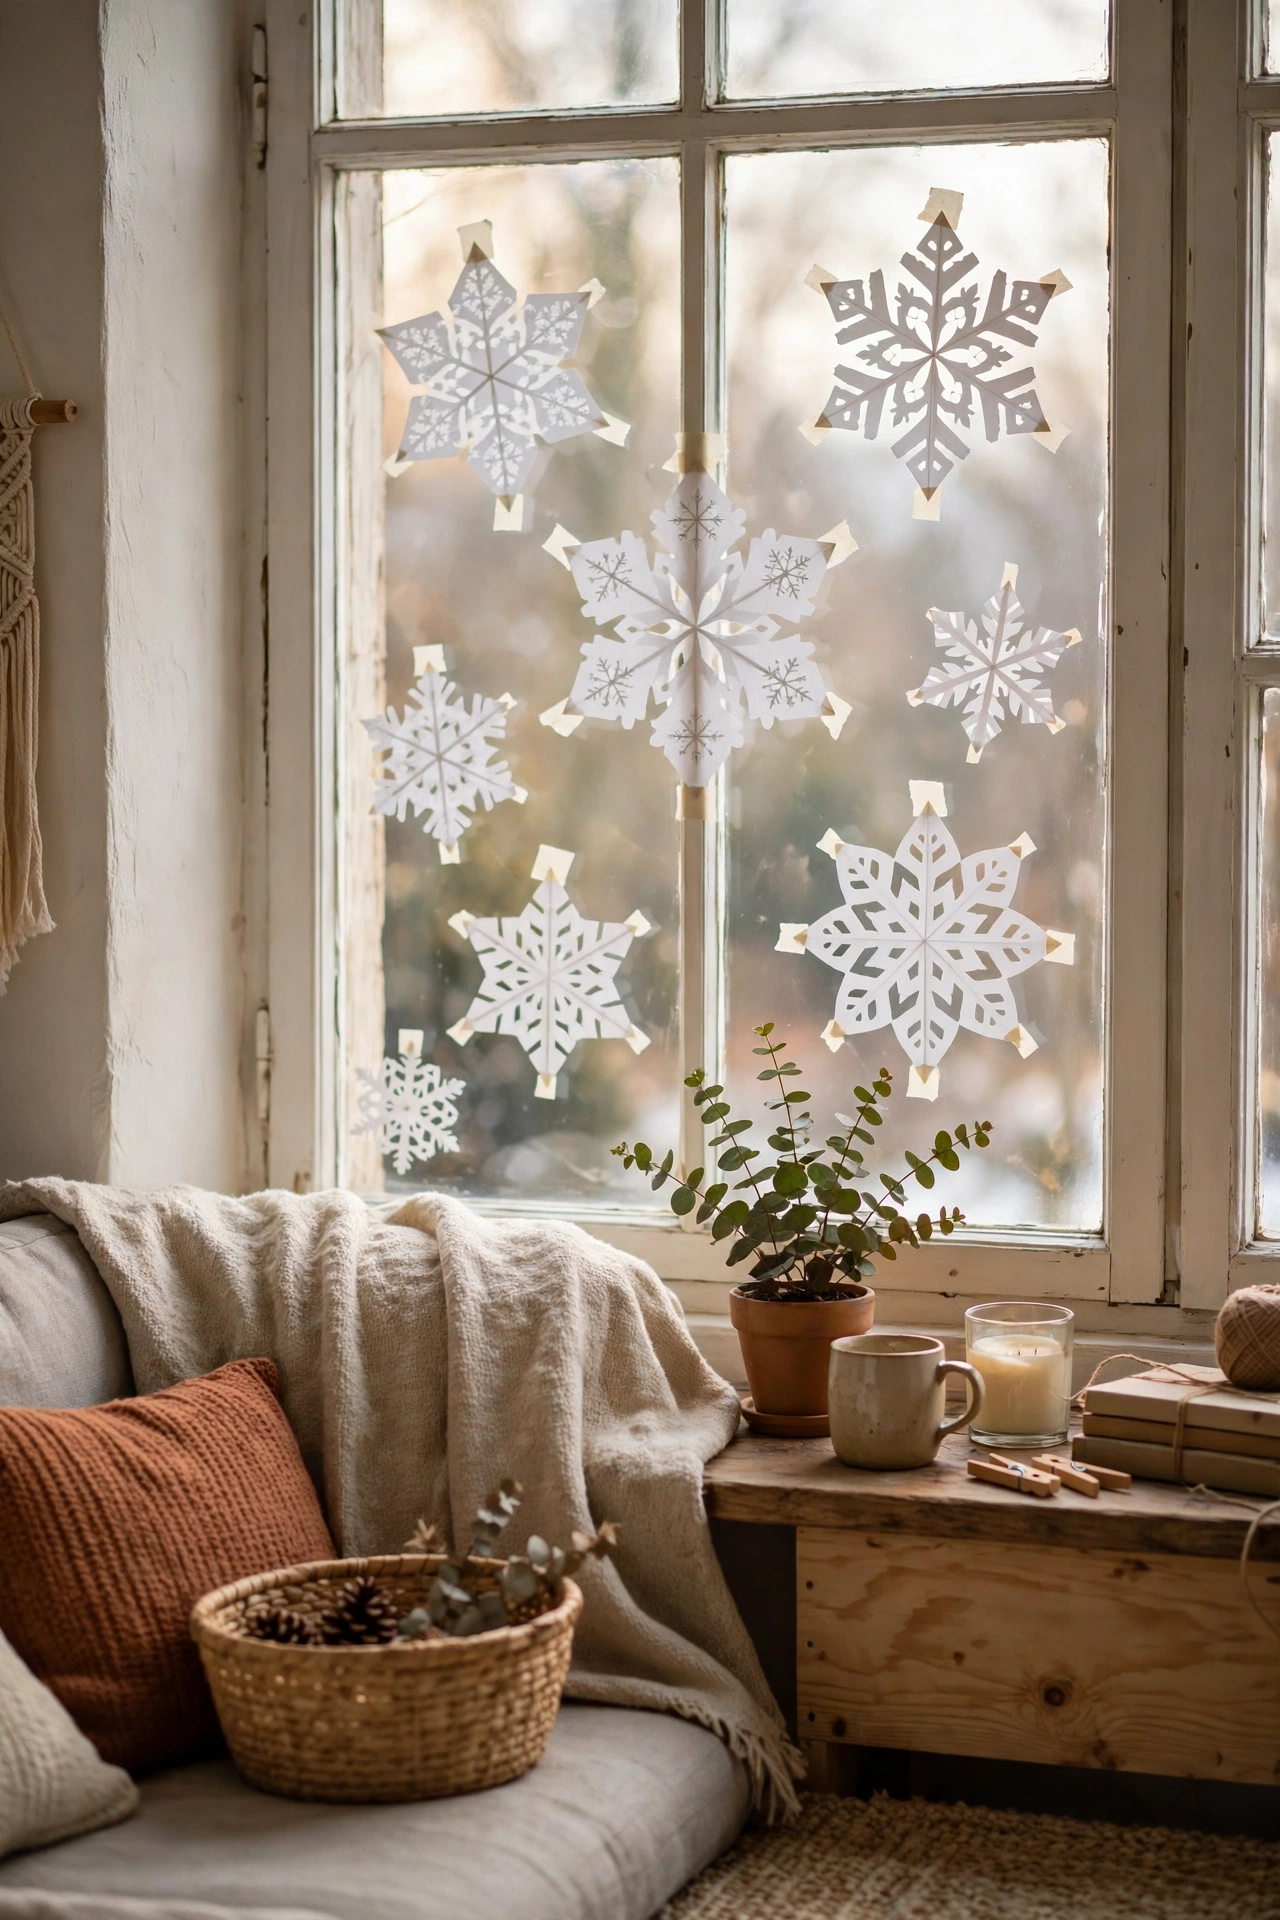
Fold a square of white paper, cut triangles and curves into the folded edges, and unfold it to find a snowflake no two people make the same way. Tape a cluster of them to the window with the fold lines facing out, and the light shining through makes them glow. My kids and I make a fresh batch every year, and the wonky ones are always my favourites. Use slightly thicker paper than printer paper if you can — it holds its shape better and doesn’t tear when little hands unfold it. A whole window costs nothing but an afternoon.
Cost: ~$0 | Time: 30 minutes
2. Orange Slice Garland for the Tree
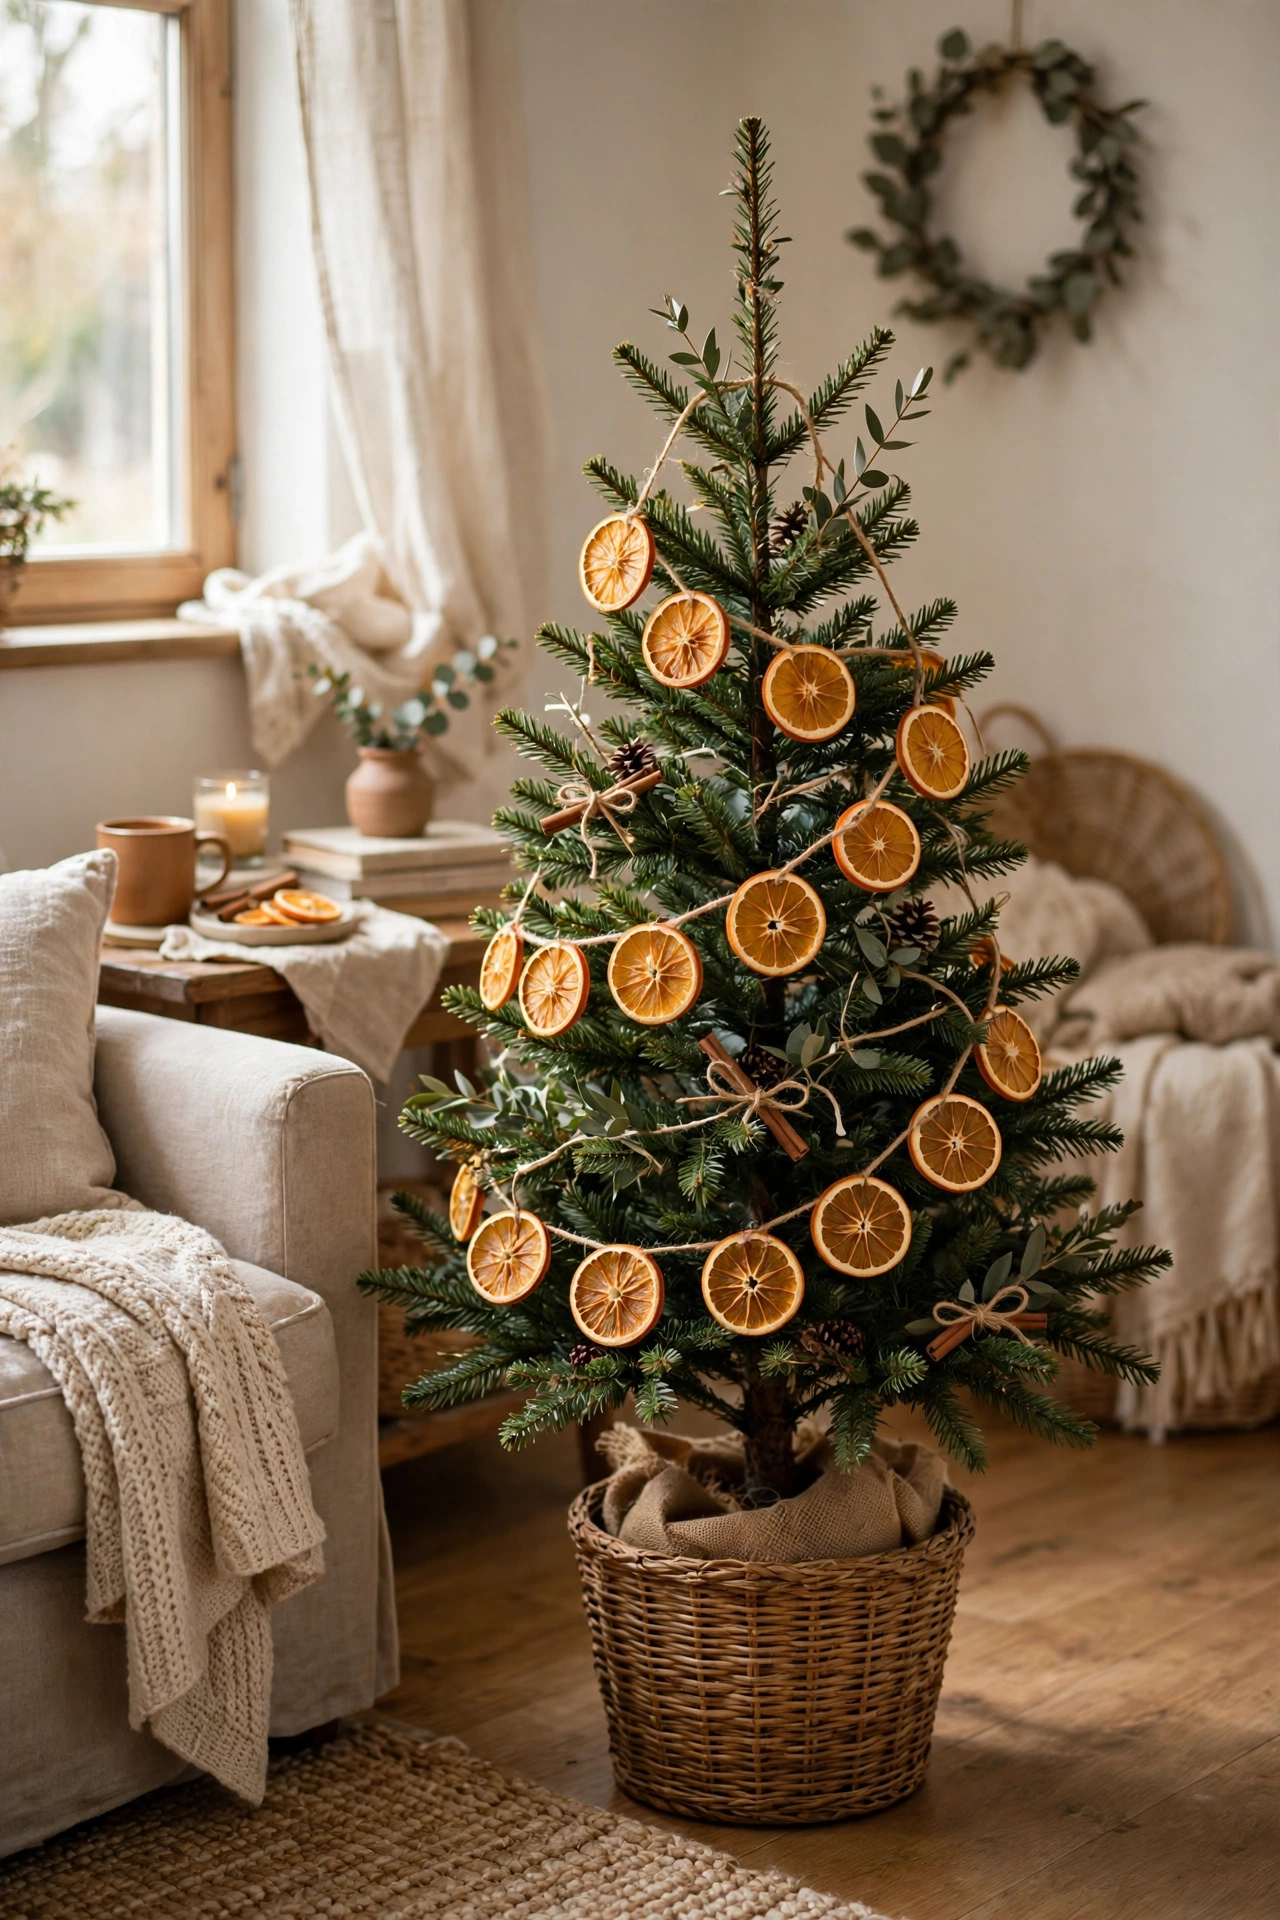
Slice oranges thinly, dry them in a low oven for a couple of hours until they’re crisp, then thread them on twine with cinnamon sticks between each slice. The garland smells wonderful and looks warm and rustic against green branches. I learned to slice them as evenly as I could, because thick slices stay soft and bend the twine. Hang it in loops rather than a straight line so it drapes like a proper garland. It lasts the whole season and makes the room smell like Christmas.
Cost: ~$3 | Time: 45 minutes
3. Pinecone Ornaments With Ribbon Loops
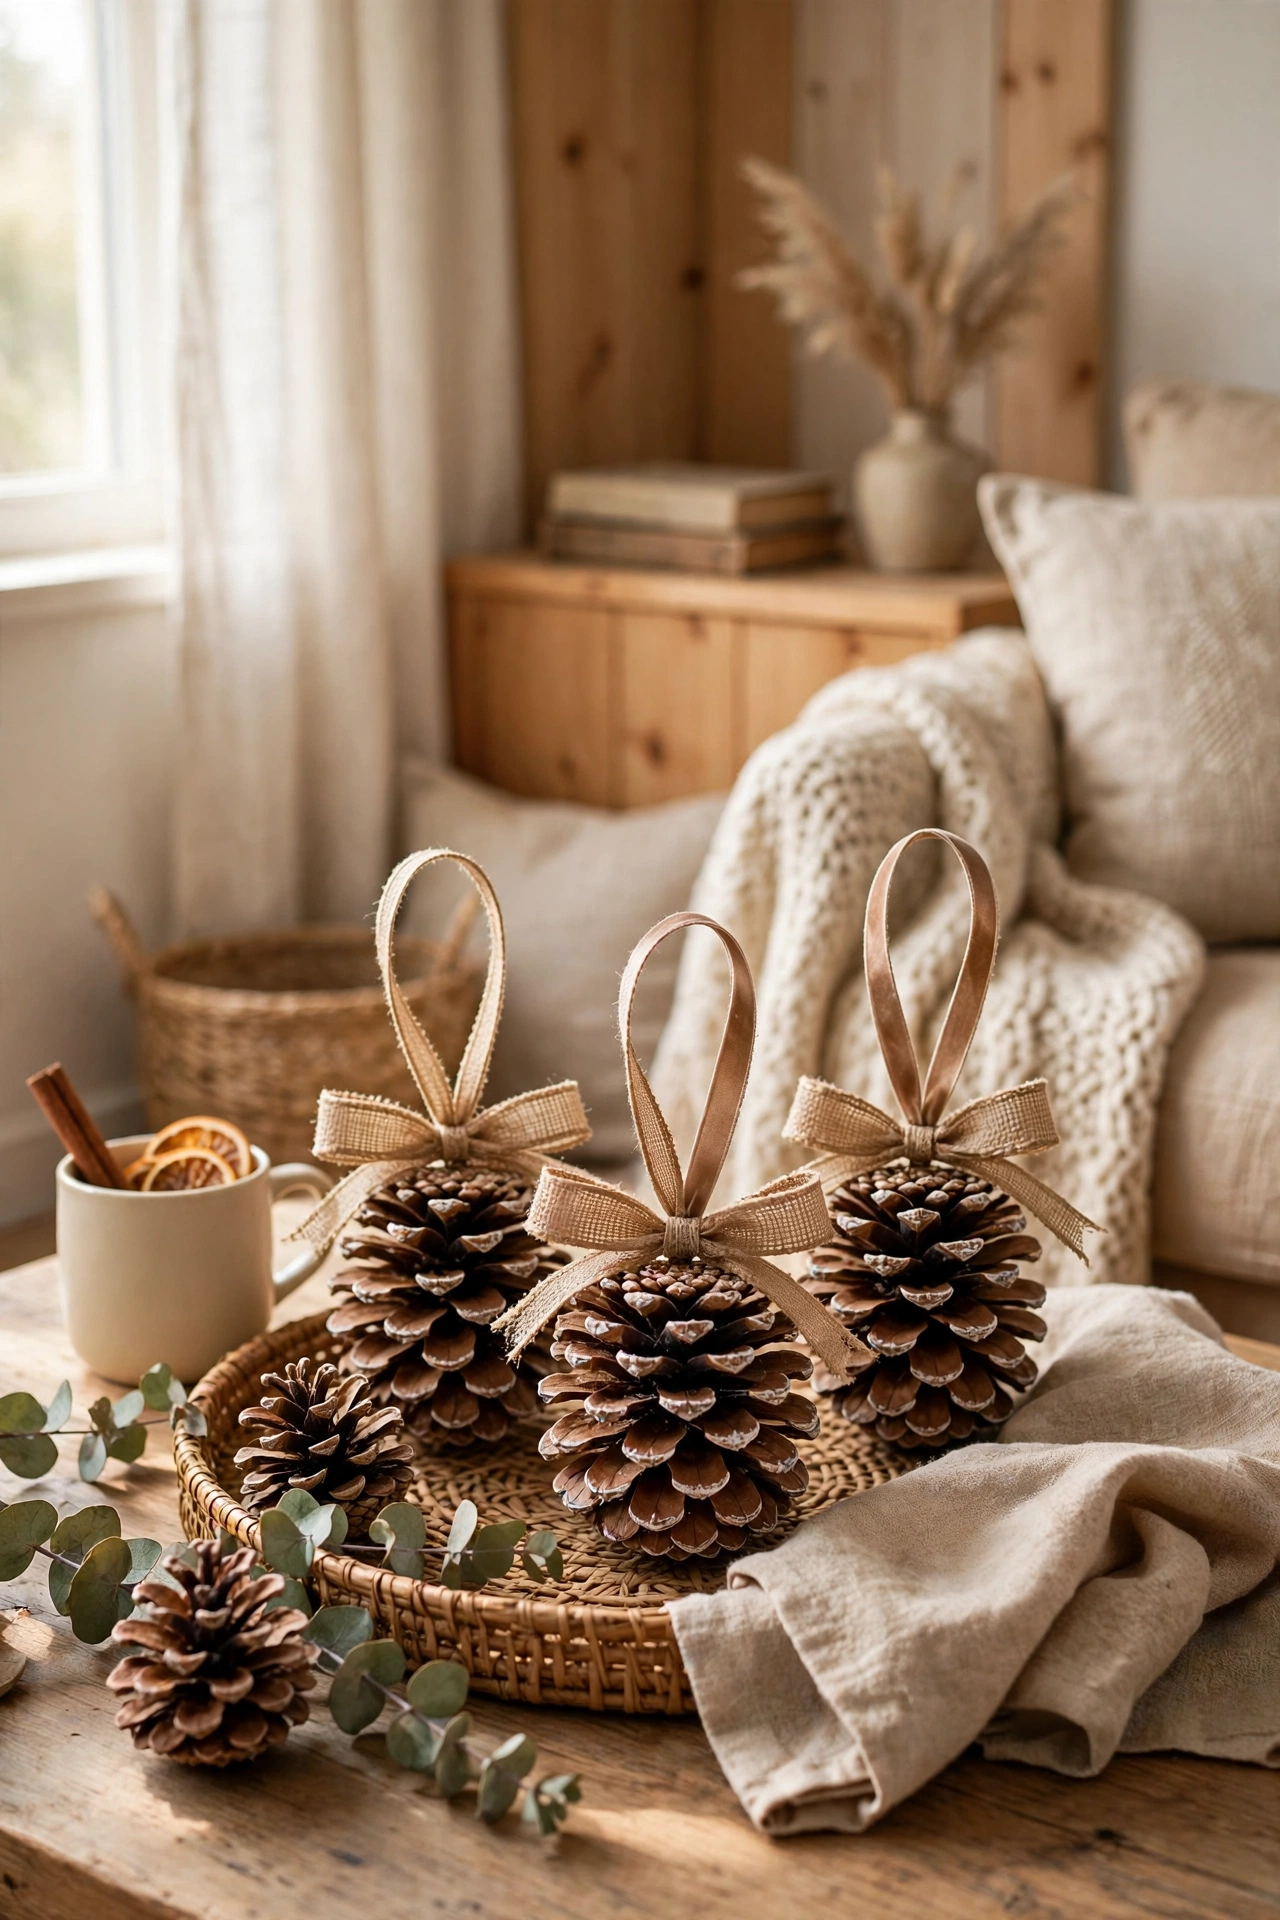
Collect pinecones — or buy a bag if you don’t have trees nearby — paint the tips white or gold, tie a ribbon loop to the top, and hang them from the tree. They add texture that shiny baubles can’t, and they cost almost nothing. I paint mine while watching TV, which turns a chore into a relaxing evening. The first year I hung them straight from the branches and they spun around; a short ribbon loop tied in a knot holds them steady. Mix painted and plain pinecones for a natural look.
Cost: ~$2 | Time: 25 minutes
4. Salt Dough Ornaments the Kids Can Paint
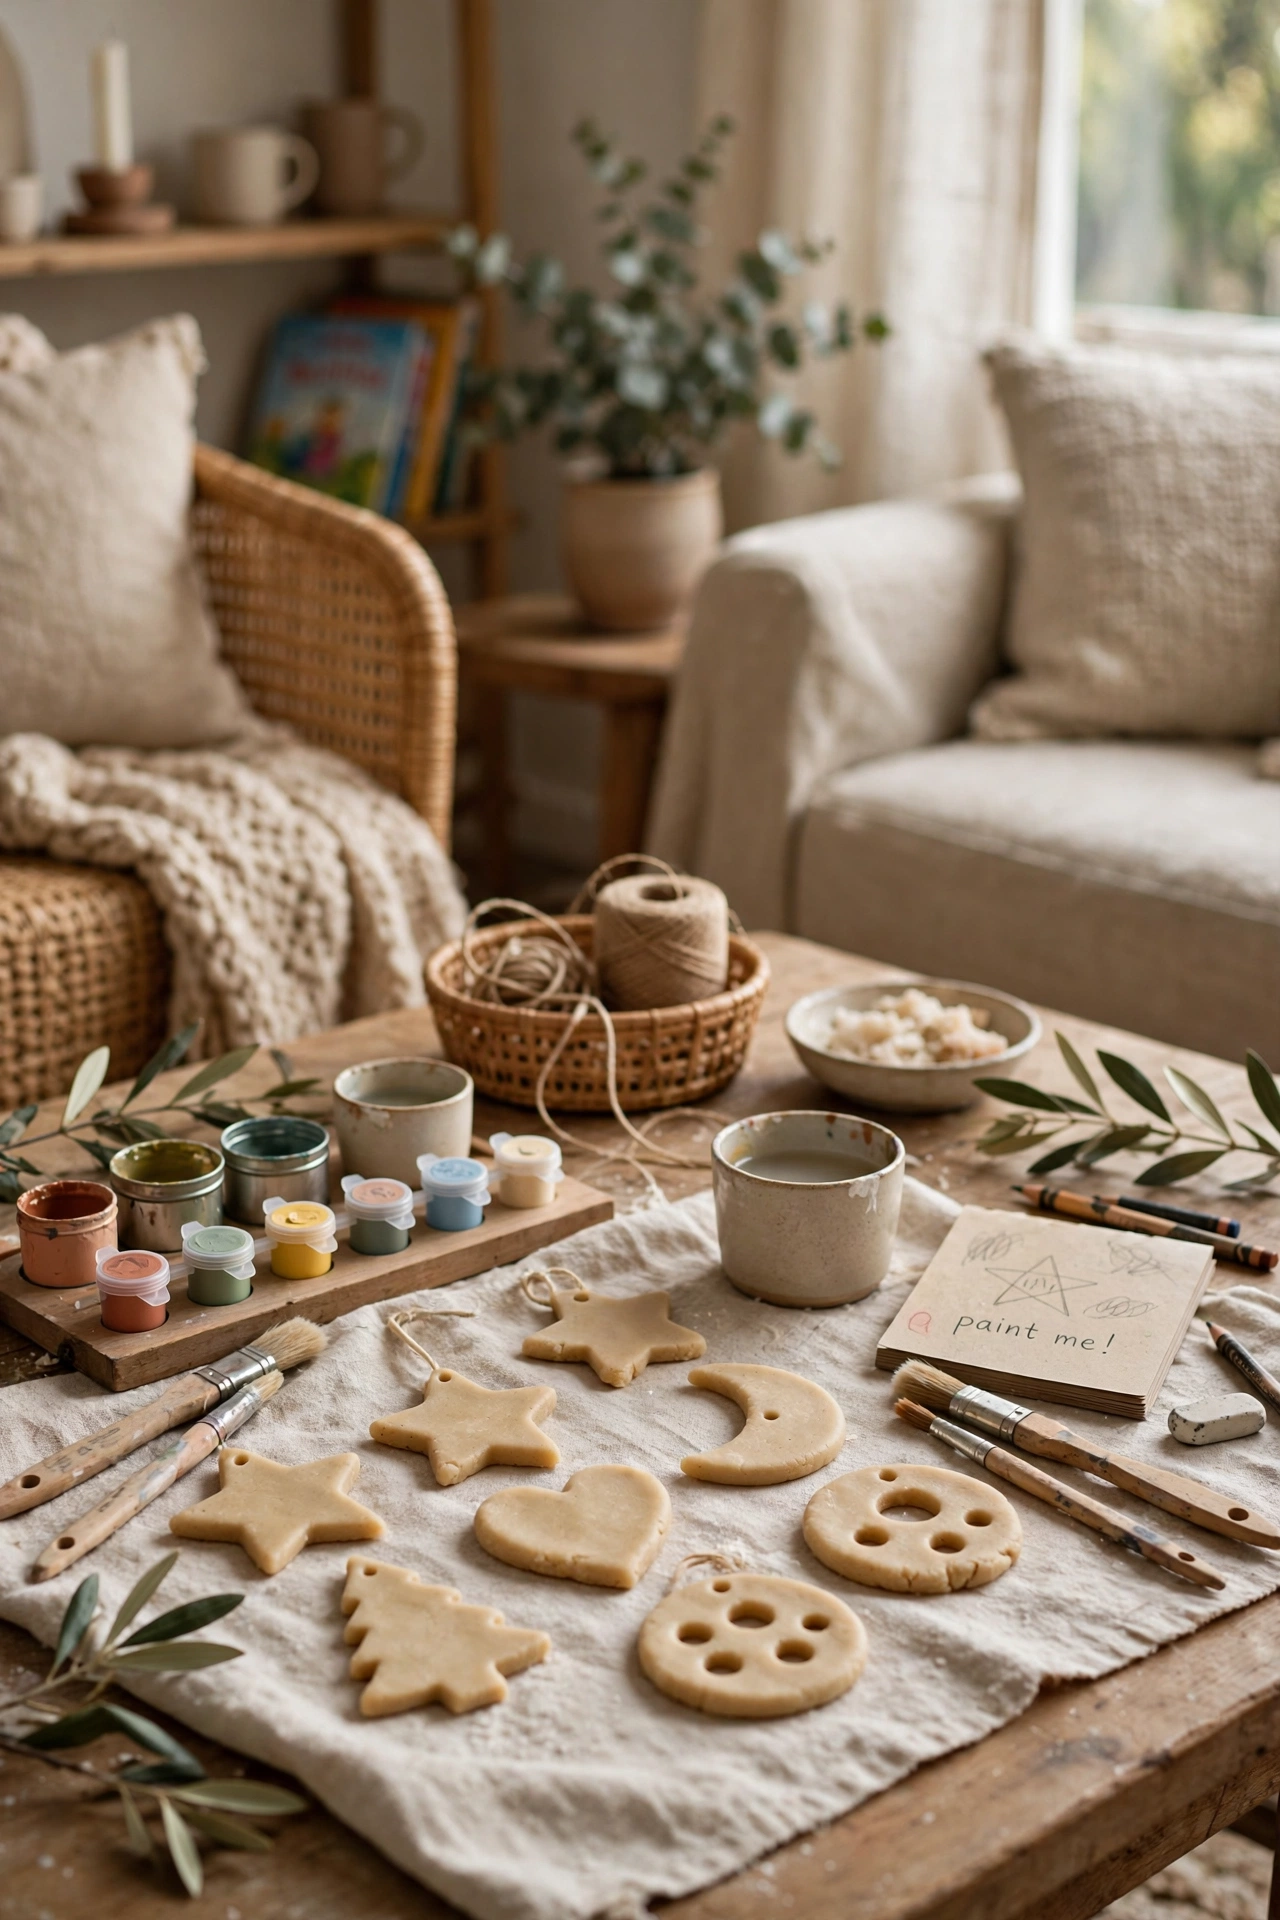
Mix flour, salt, and water into a dough, roll it out, cut stars and trees with cookie cutters, and bake until hard. Once they’re cool, paint them white and gold, poke a ribbon through the hole, and hang them up. My daughter painted one with far too much glitter and it’s still my favourite ornament on the tree. Make the hole before baking, not after, or the dough cracks — I learned that the messy way. These keep for years if you store them dry.
Cost: ~$1 | Time: 60 minutes
For the mantel and shelves
5. Twig Star for the Wall
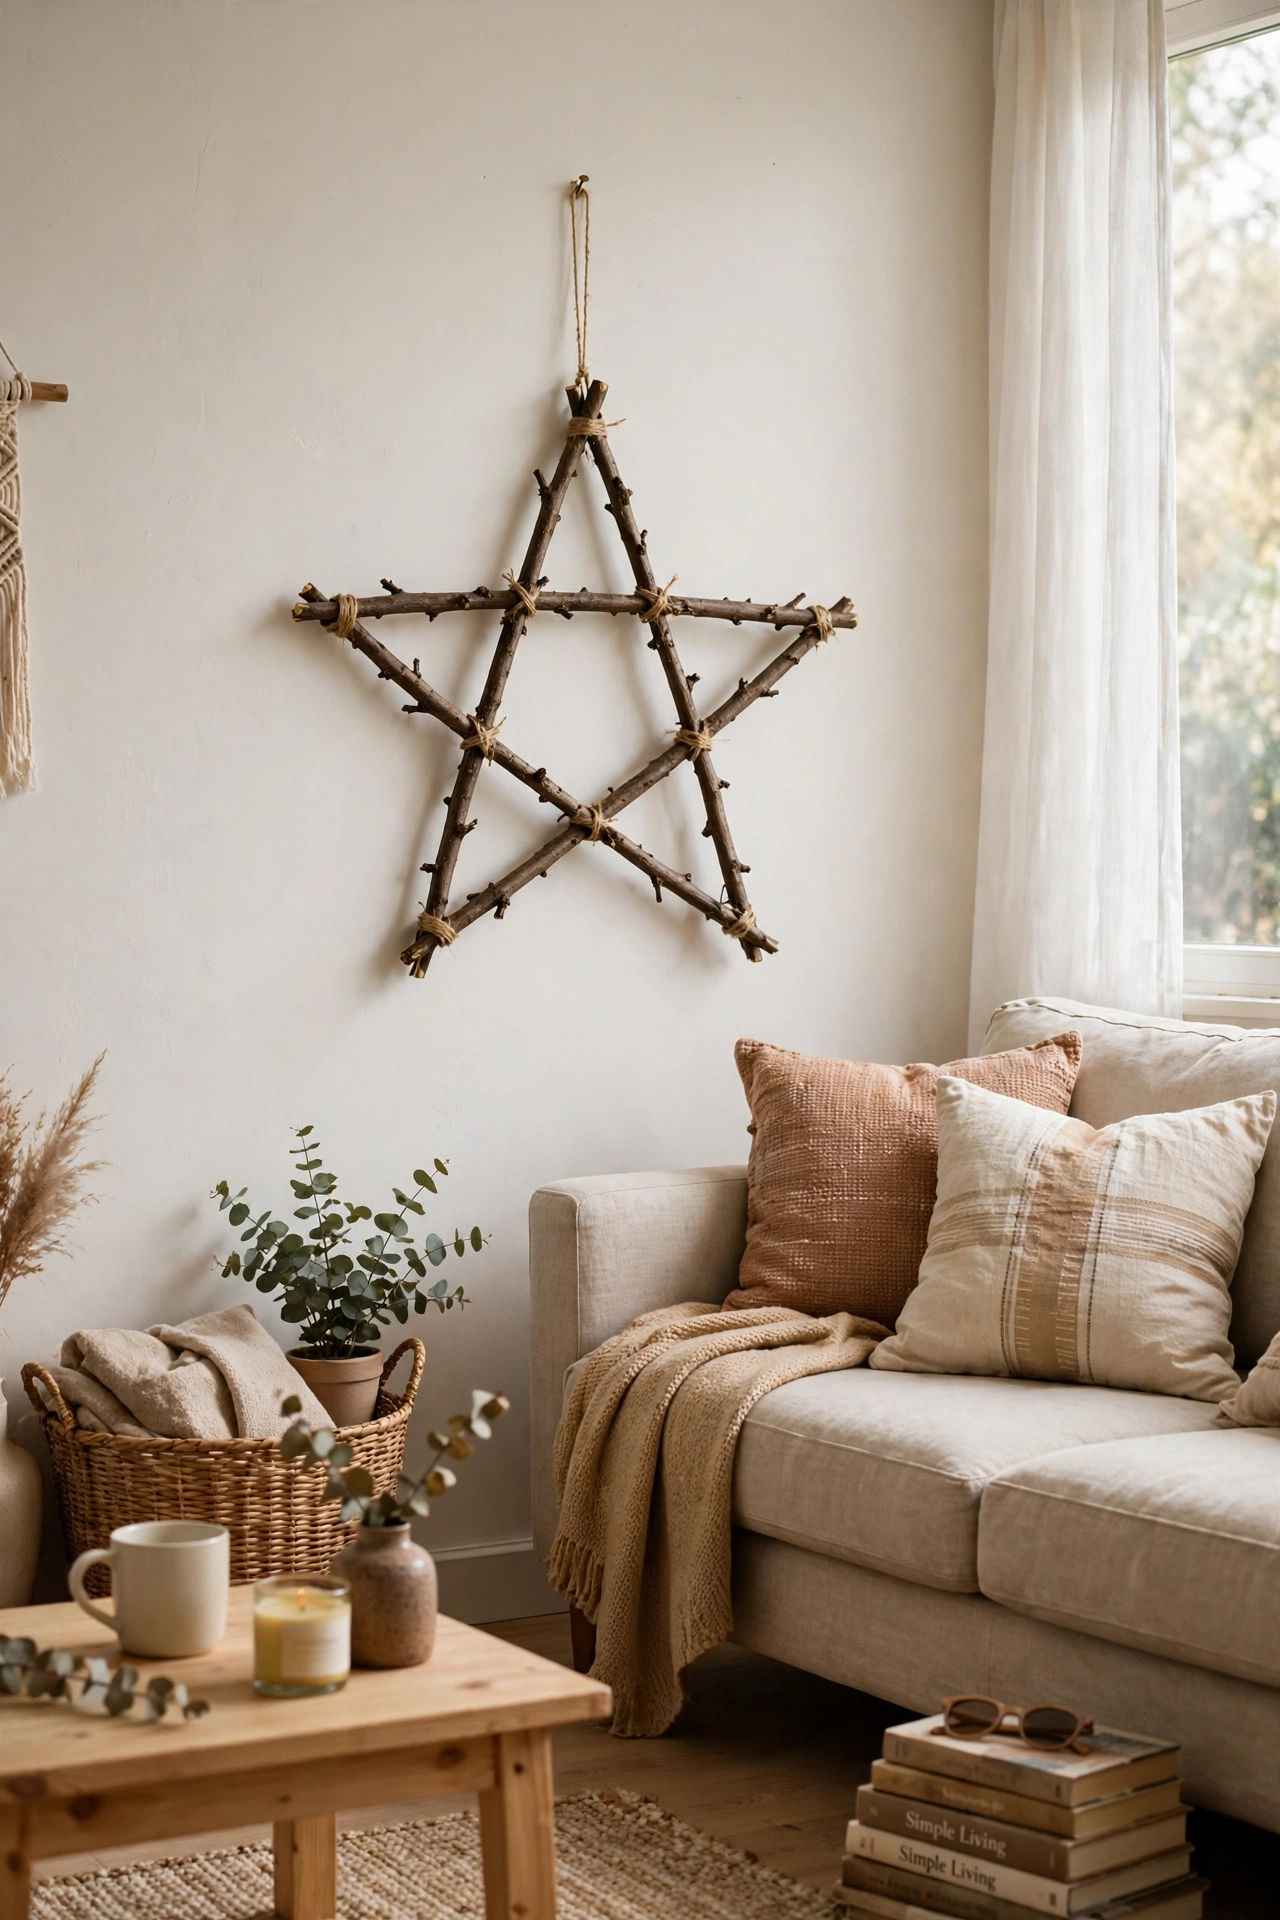
Gather five straight twigs of roughly equal length, lay them out in a star shape, and tie each joint with twine. Add a few tiny fairy lights wrapped loosely around it, and hang it on the wall. It looks rustic and a little bit magical, and it costs nothing if you have a garden. I made mine from sticks the kids collected on a walk, so it carries a memory as well as a shape. Keep the twigs thin, or the star gets heavy and pulls the twine loose.
Cost: ~$0 | Time: 20 minutes
6. Scrap Fabric Garland
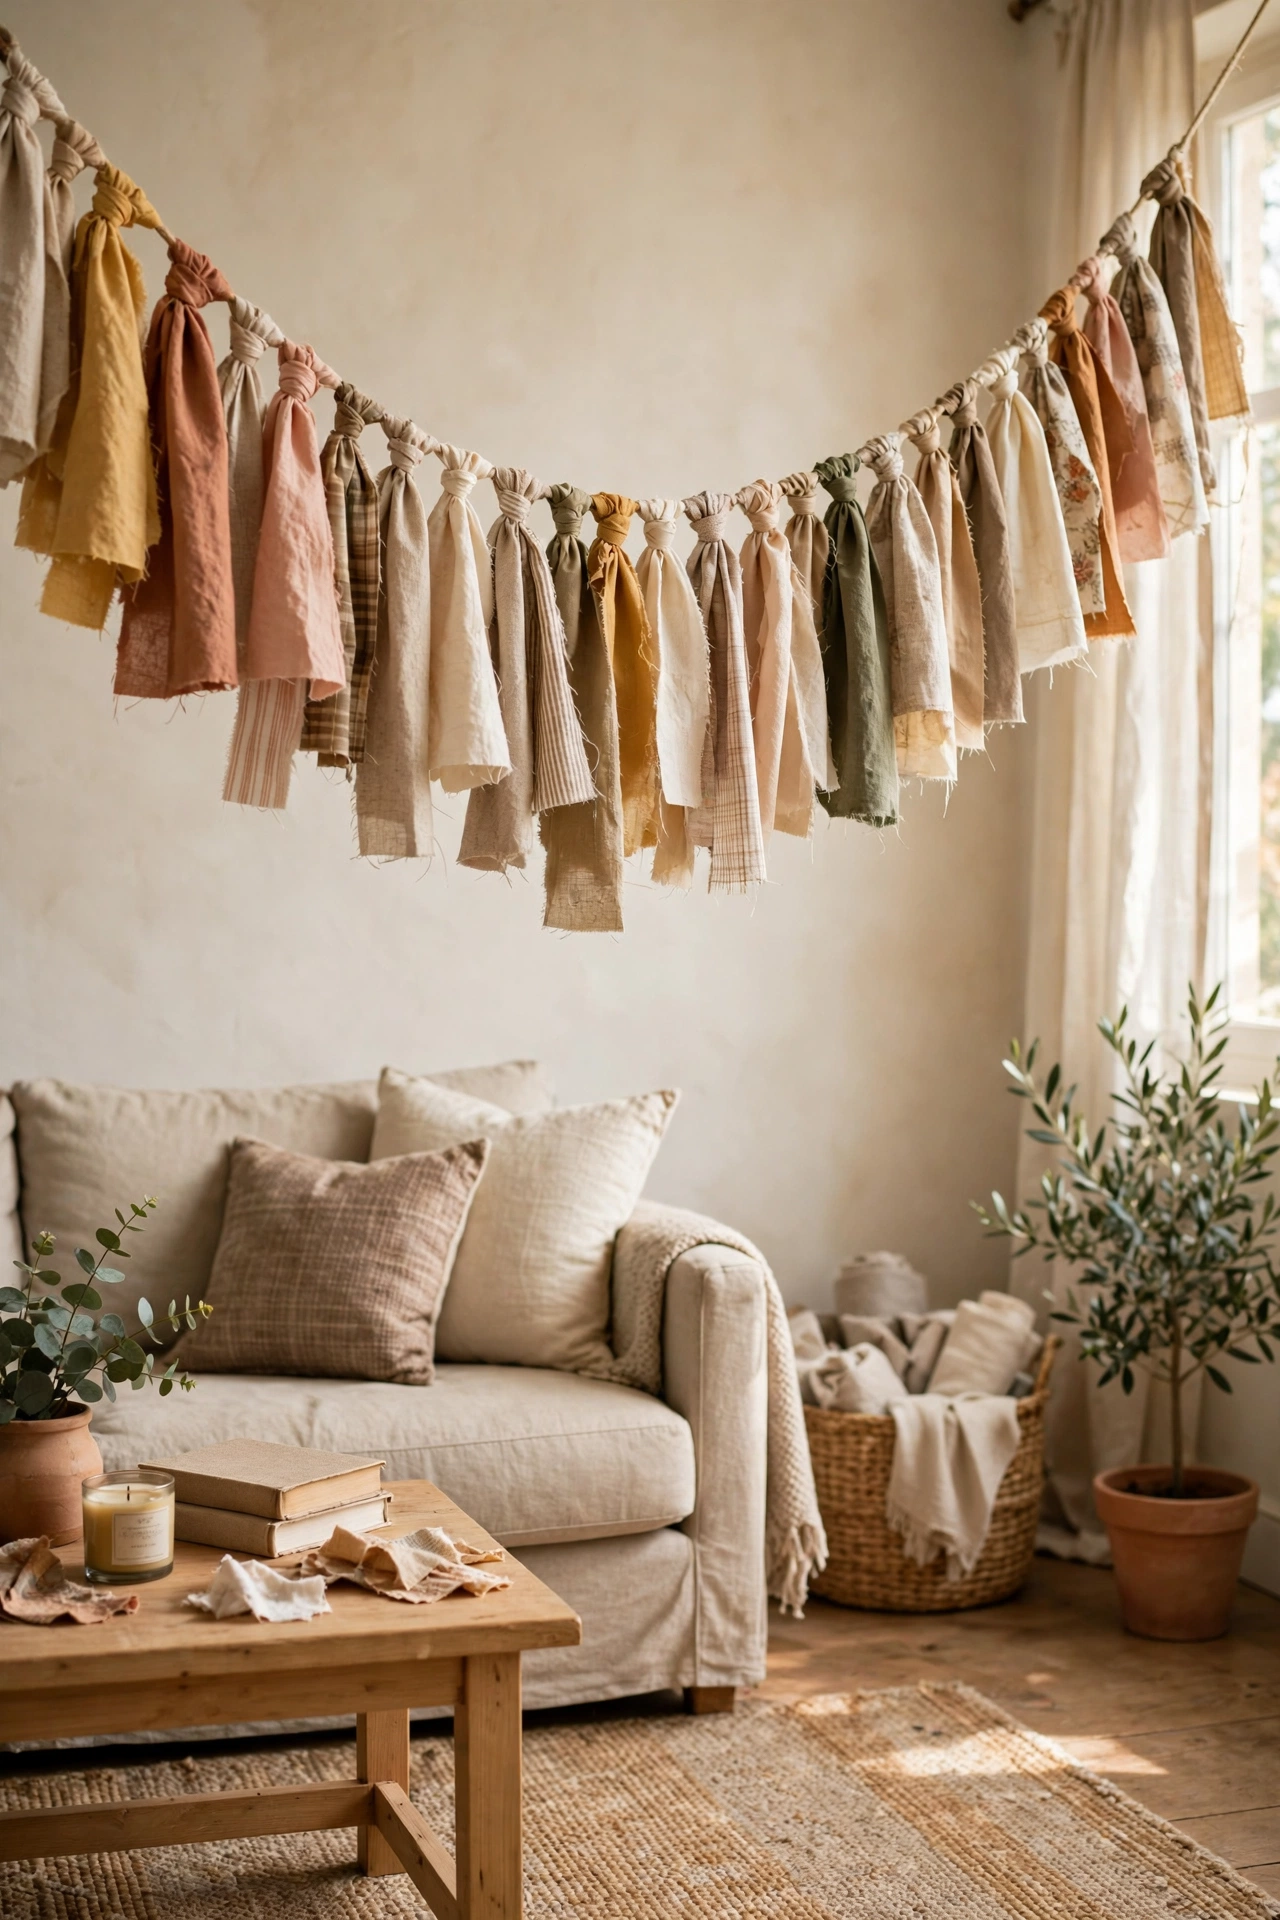
Cut old fabric — worn-out shirts, leftover wrapping, even tea towels — into strips, tie them onto a length of twine with a simple knot, and push them close together until the garland looks full. Use reds, greens, and creams for a Christmas feel, or go all one colour for something calmer. I made mine from a shirt my husband was about to throw away, and now it’s my favourite decoration. The knots are the fiddly bit, so do it in front of the TV over a couple of evenings.
Cost: ~$0 | Time: 40 minutes
7. Painted Jar Vases With Pine Sprigs
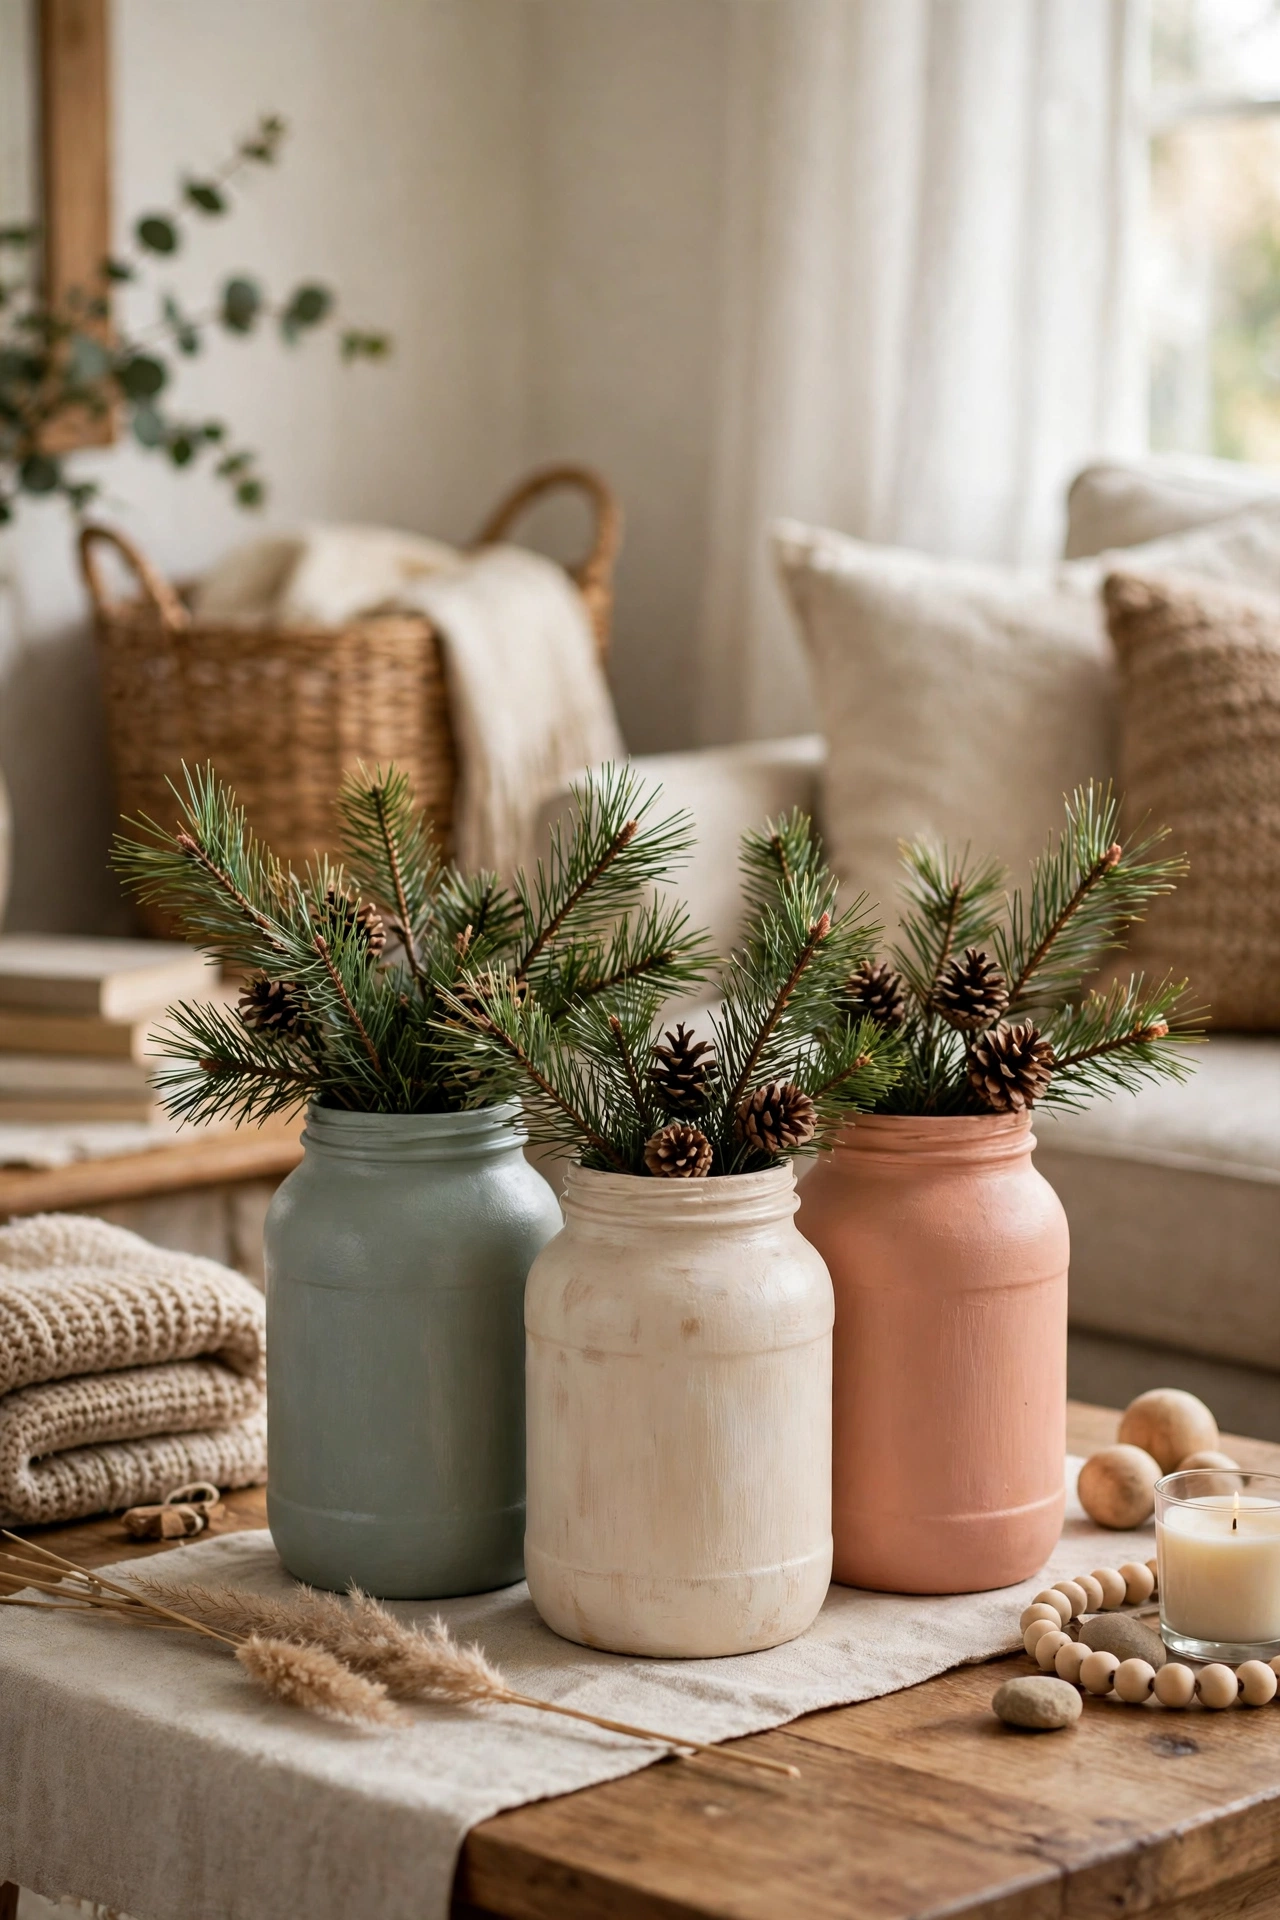
Paint clean jam jars in white, green, or gold, let them dry, and pop a pine sprig and a couple of red berries into each one. Line three jars along the mantel or windowsill and you have a display that looks bought, not made. I paint the outside only, so the glass still shows through the top and catches the light. My first batch I painted too thickly and the paint peeled — two thin coats dry faster and last longer. Add a twine bow around the neck to finish.
Cost: ~$2 | Time: 30 minutes
8. Cardboard Village Silhouettes
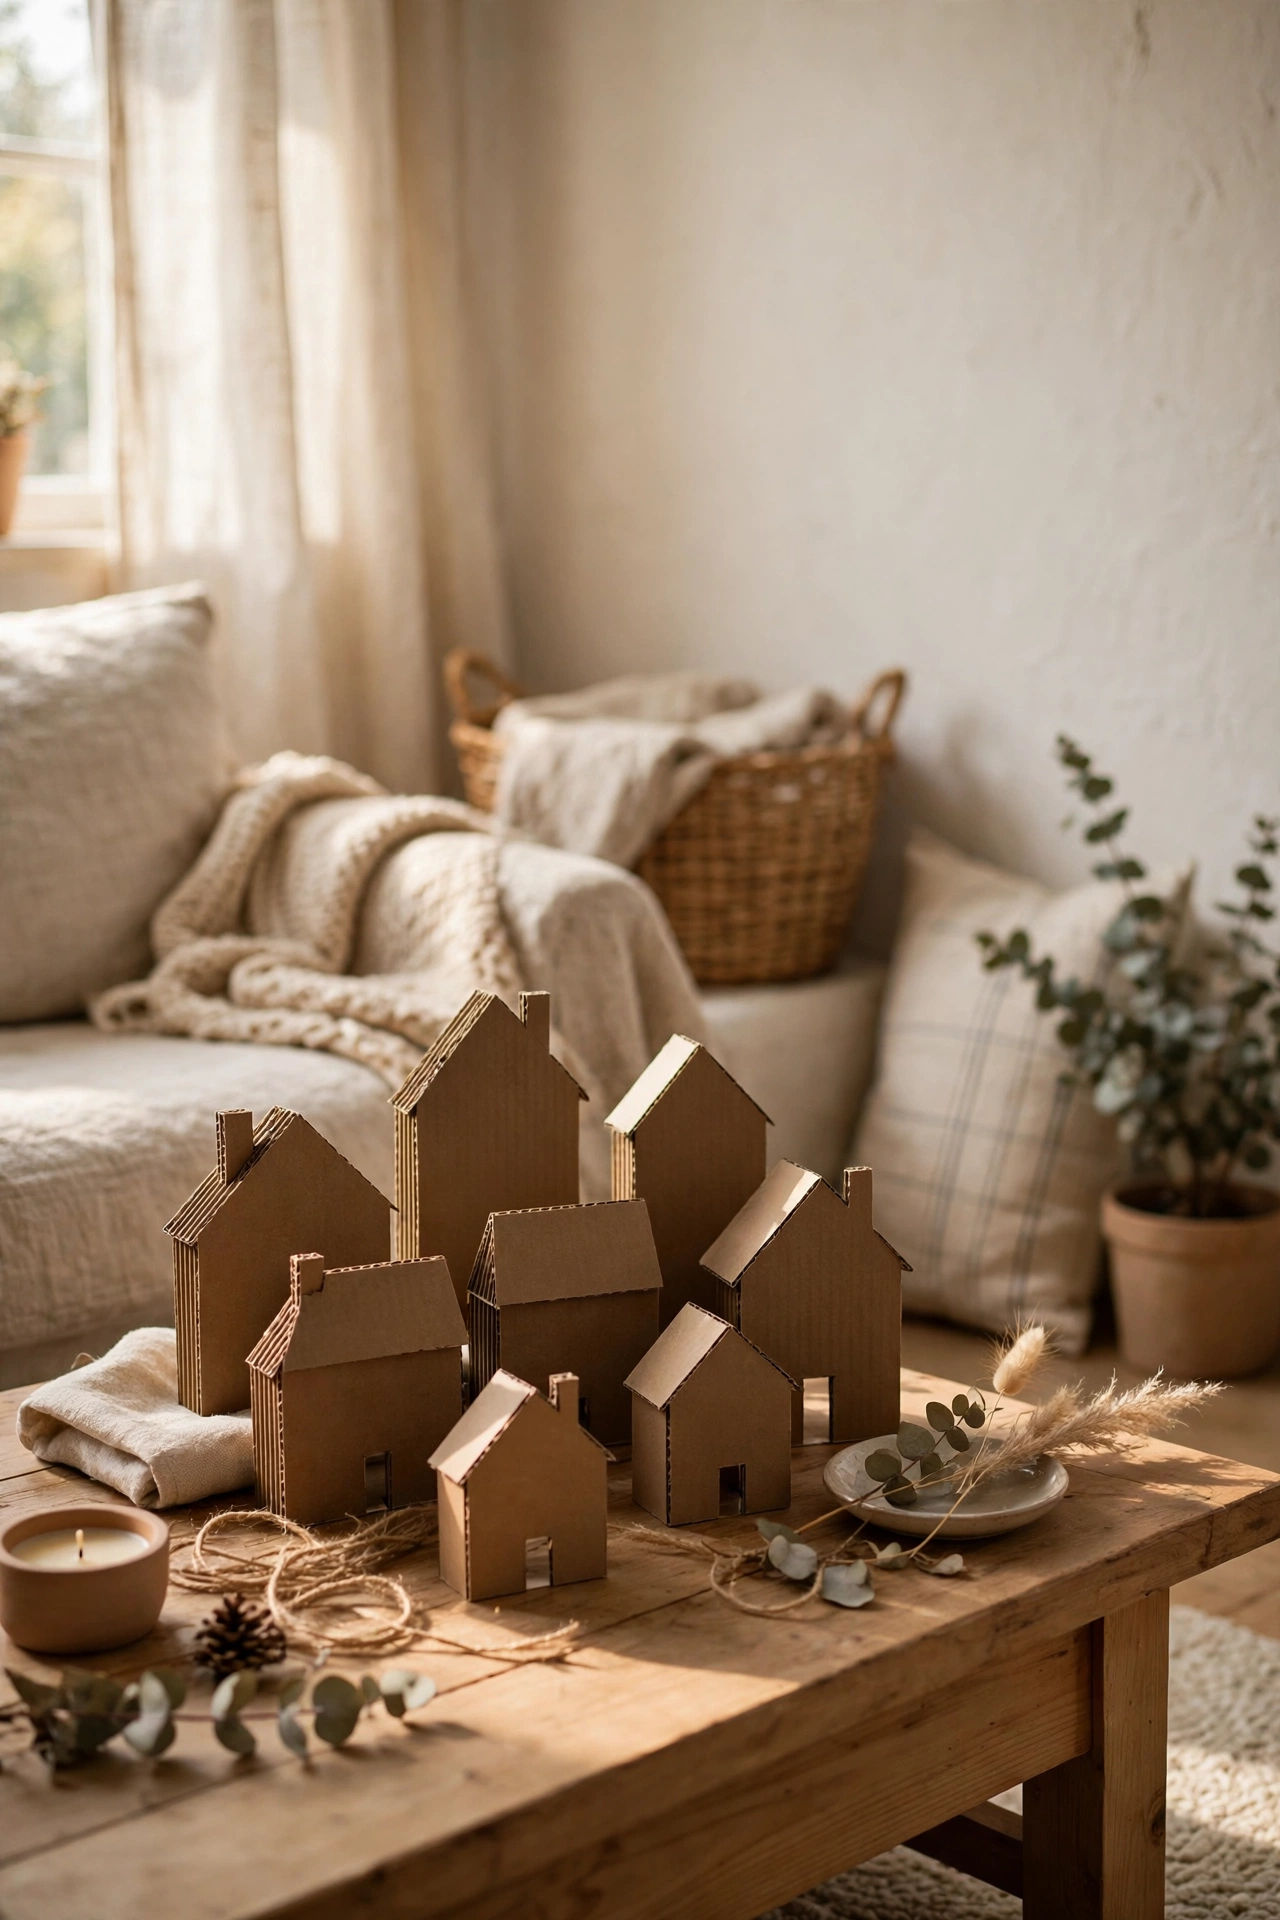
Cut simple house shapes from cardboard, paint them white, and stand them in a row on the windowsill with fairy lights behind them. The light shining through the cut-out windows makes them glow like a little street at dusk. I cut the windows with a craft knife on a chopping board, which is safer than holding the cardboard in the air. My village is deliberately simple — rectangles, triangle roofs, square windows — and it looks better for it. The kids help paint them every year.
Cost: ~$1 | Time: 45 minutes
For the table and tree
9. Cinnamon Stick Candle Holders
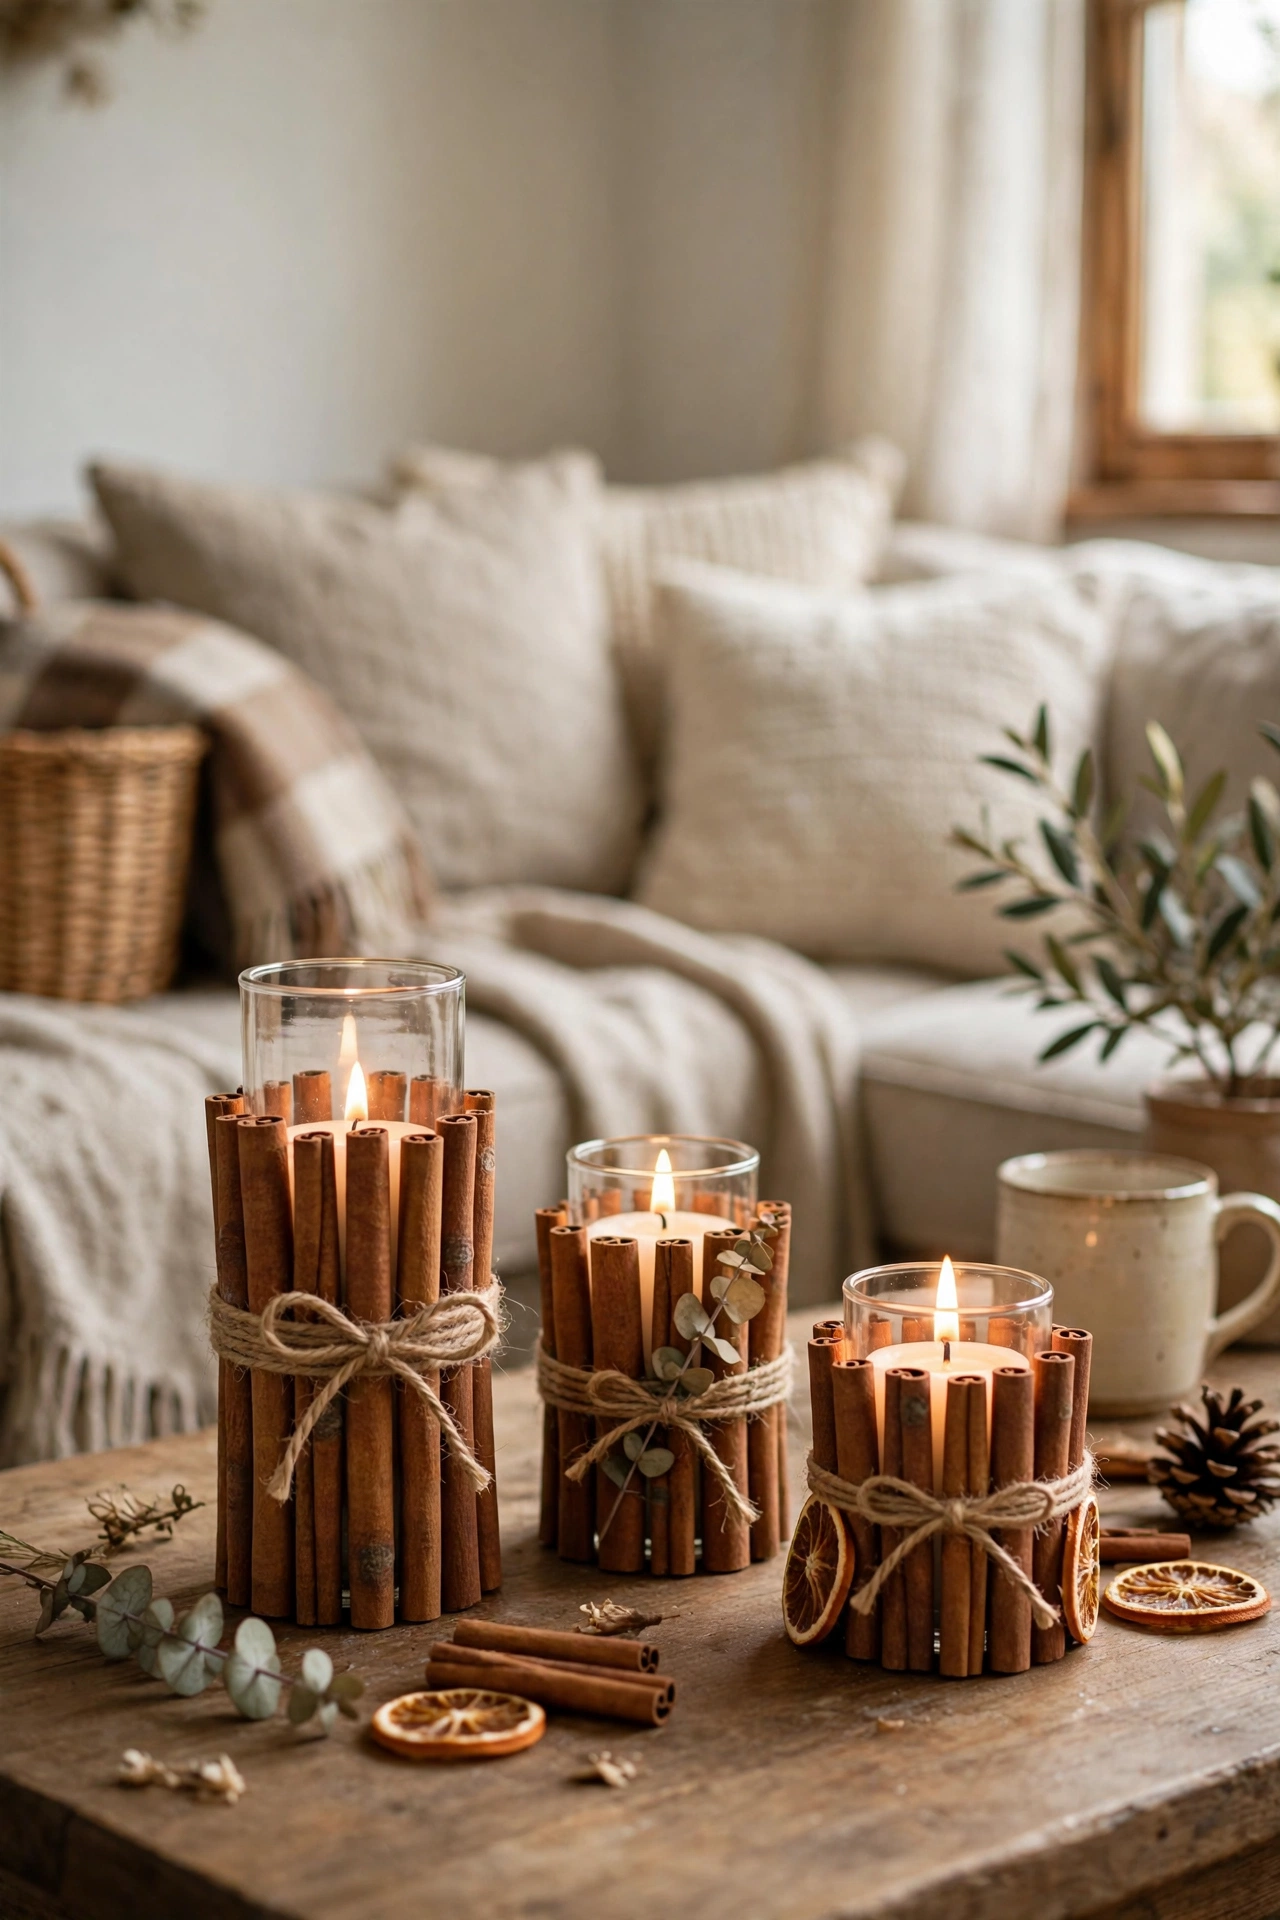
Stand cinnamon sticks upright around a plain pillar candle and tie them in place with twine. The heat from the candle — or even a battery candle — releases a gentle cinnamon scent, and the holder looks rustic and warm. I use a rubber band hidden under the twine to hold the sticks while I tie it, which saves a lot of fumbling. Never leave a real candle burning unattended, and keep the sticks trimmed below the flame. This is my favourite table decoration because it smells as good as it looks.
Cost: ~$3 | Time: 15 minutes
10. Ribbon Tree Topper You Make Yourself
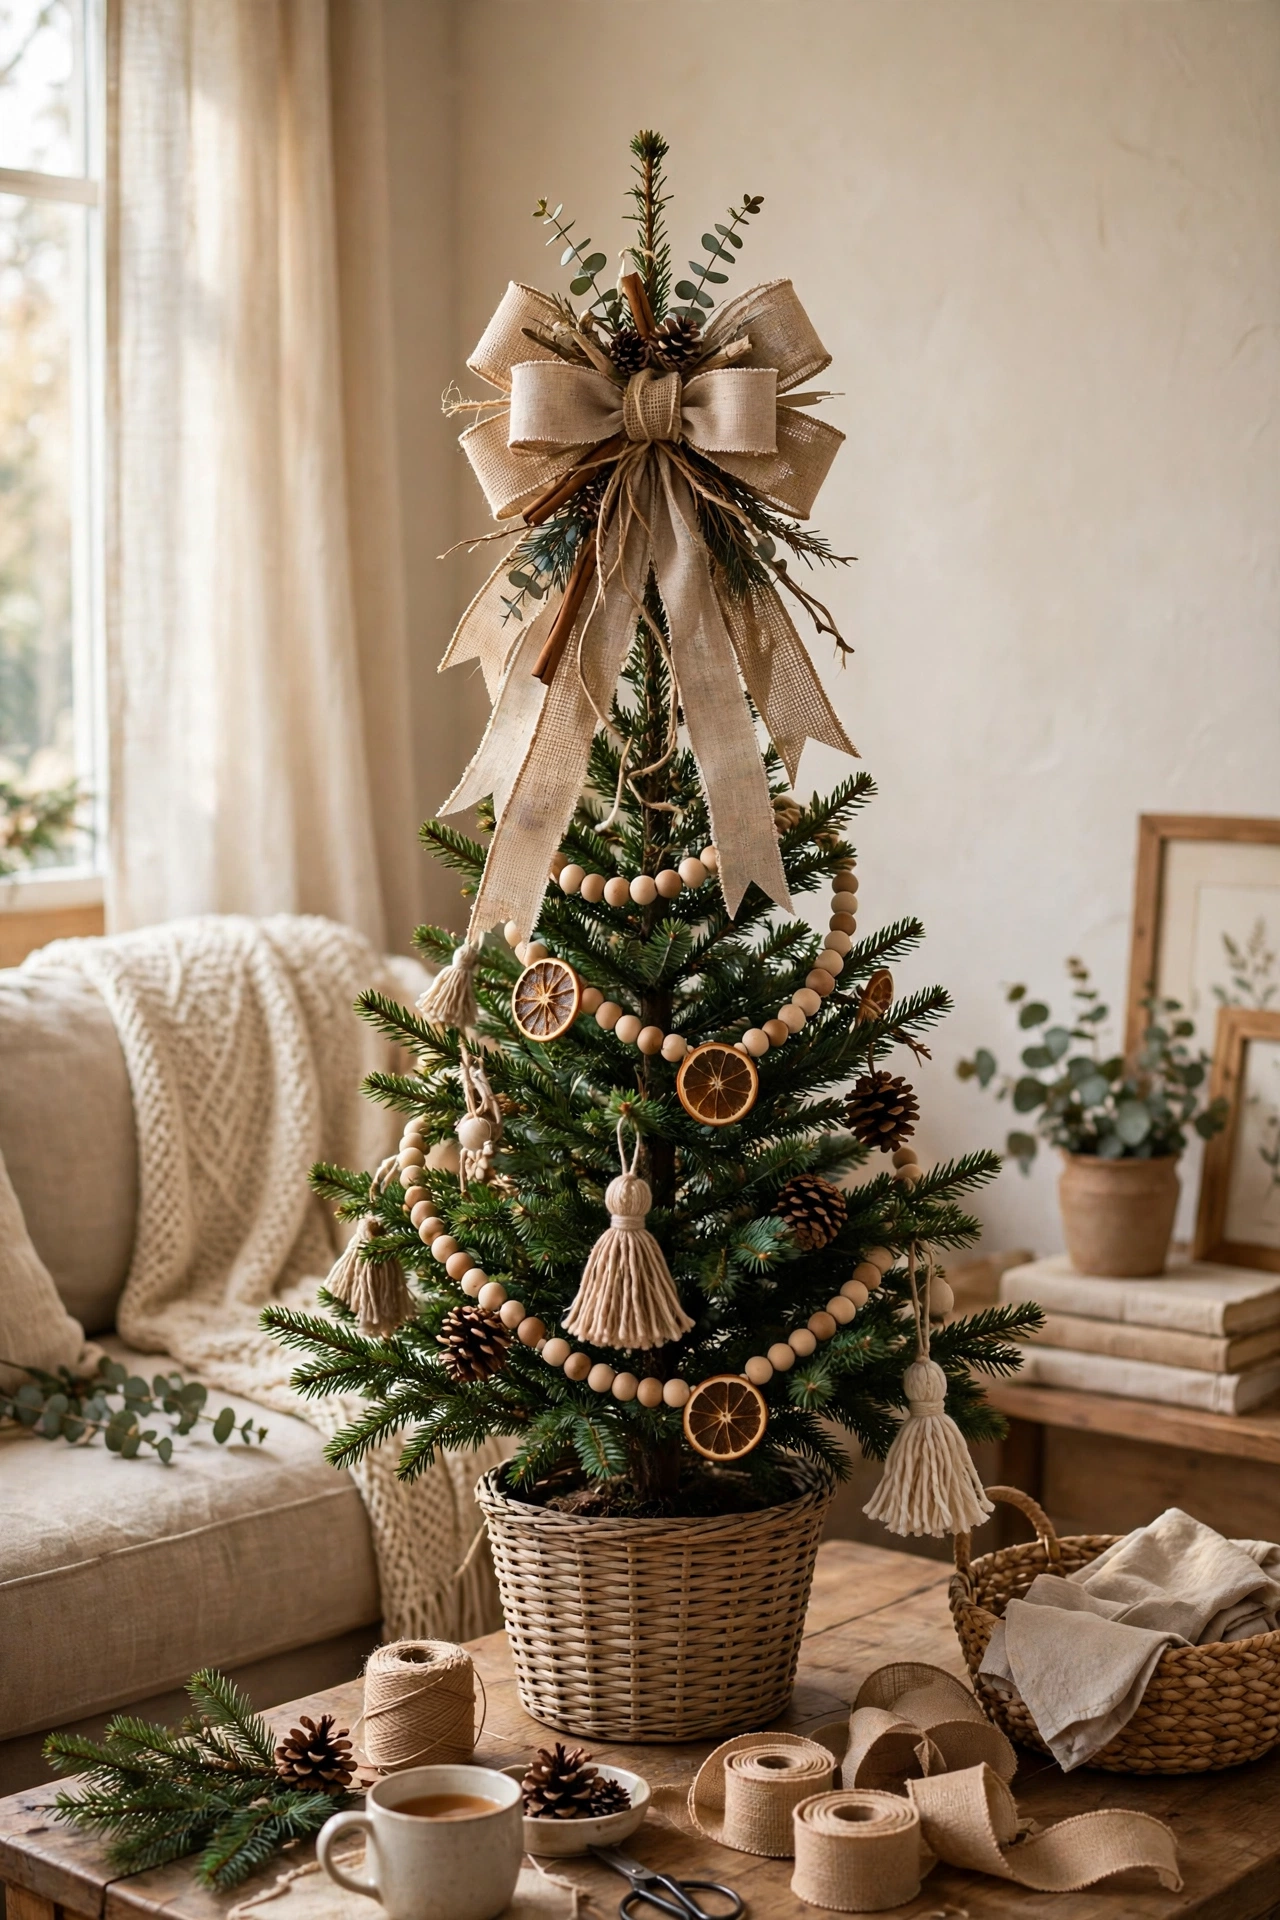
Cut wide ribbon into loops of different lengths, wire them together at the centre, and fan them out into a bow-style topper. Add a couple of berry picks and a star if you like. I spent years buying toppers that never quite sat right, then made one in twenty minutes and never looked back. The trick is wiring the loops tightly so they hold their shape, and fluffing them once the topper is on the tree. Mine is deep red and gold, and it finishes the whole tree.
Cost: ~$4 | Time: 20 minutes
11. Beaded Garland From Wooden Beads
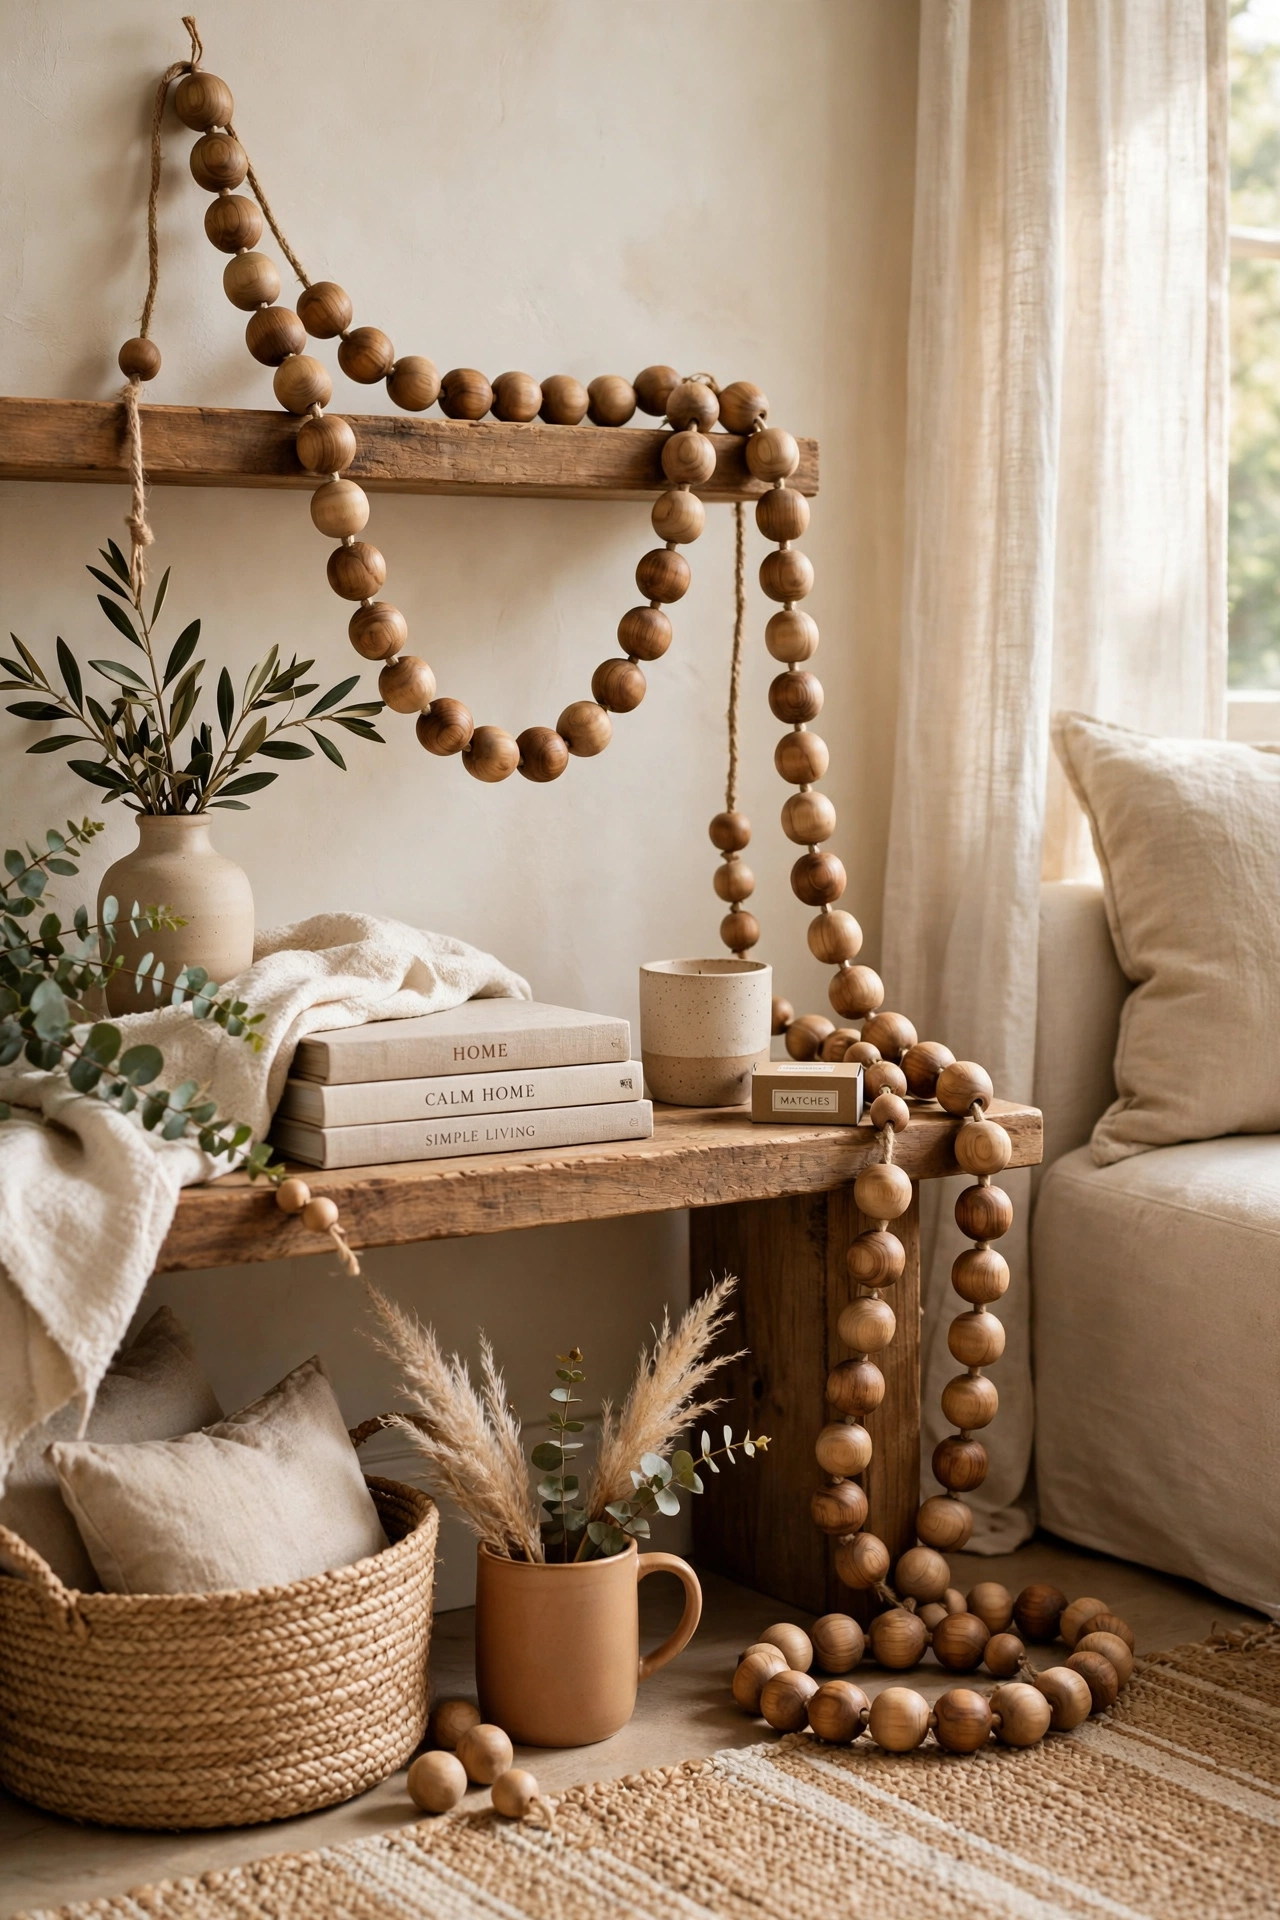
Thread wooden beads onto twine, alternating large and small, and add a tassel at each end. Drape the garland around the tree or across the mantel for a natural, Scandi feel. I stain half my beads with a tea wash for a warm brown tone, which costs nothing and looks lovely. The threading is slow work, so I do it while listening to a podcast. Keep the beads loose enough to drape, but not so loose they bunch up at the bottom.
Cost: ~$4 | Time: 35 minutes
12. Handmade Gift Tags as Tree Ornaments
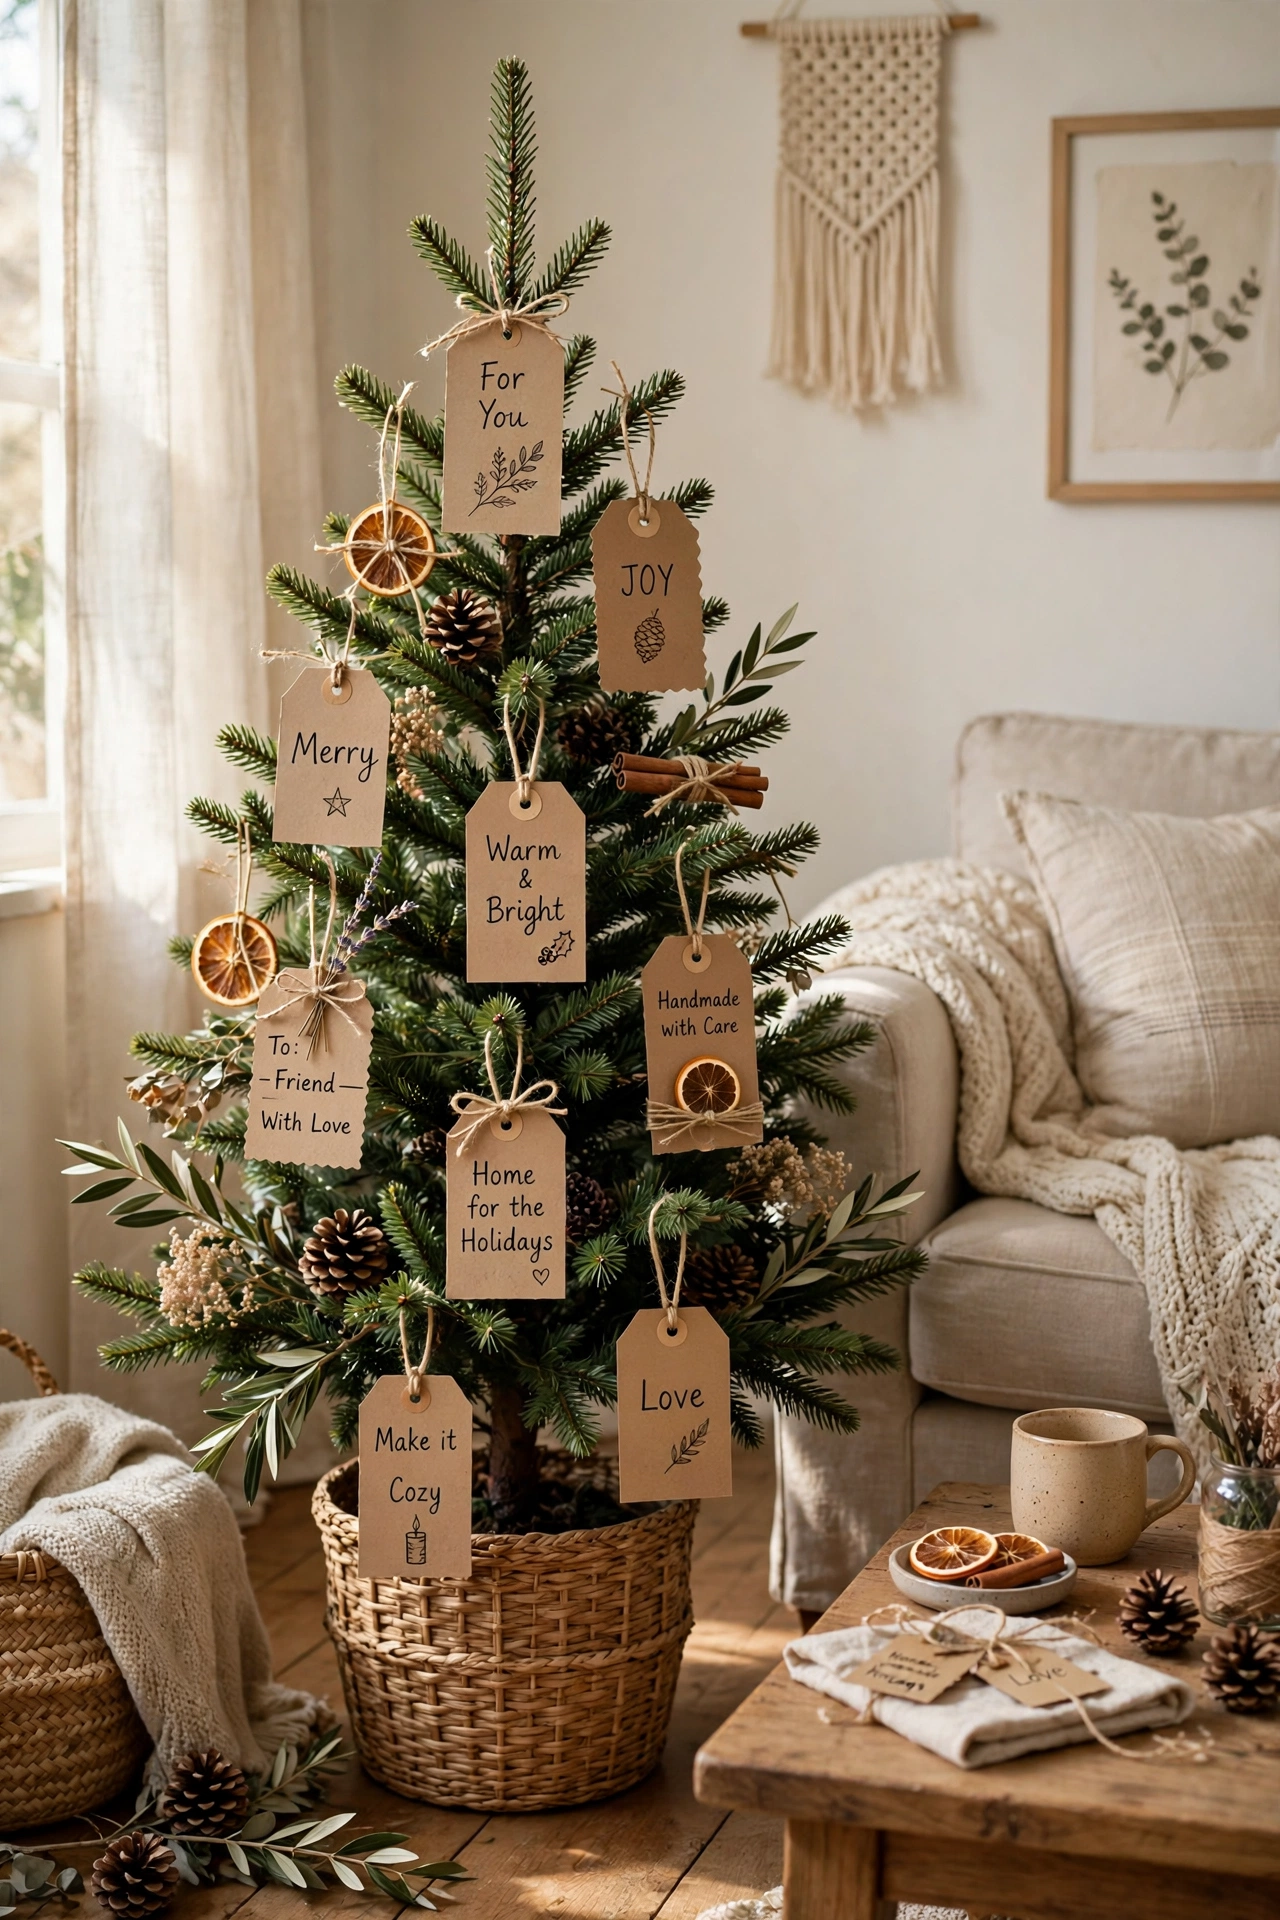
Cut kraft card into tag shapes, stamp or write a word like “joy” or “peace” on each one, tie a ribbon loop through the top, and hang them from the tree. They double as ornaments now and gift tags later, which is wonderfully practical. I write the words in my neatest handwriting and add a tiny sprig of greenery to each tag. The first year I made them too big and they overwhelmed the tree — palm-sized is perfect. Guests often ask to take one home, which I take as a compliment.
Cost: ~$2 | Time: 30 minutes
Finishing touches
13. Sock Snowman for the Kids’ Room
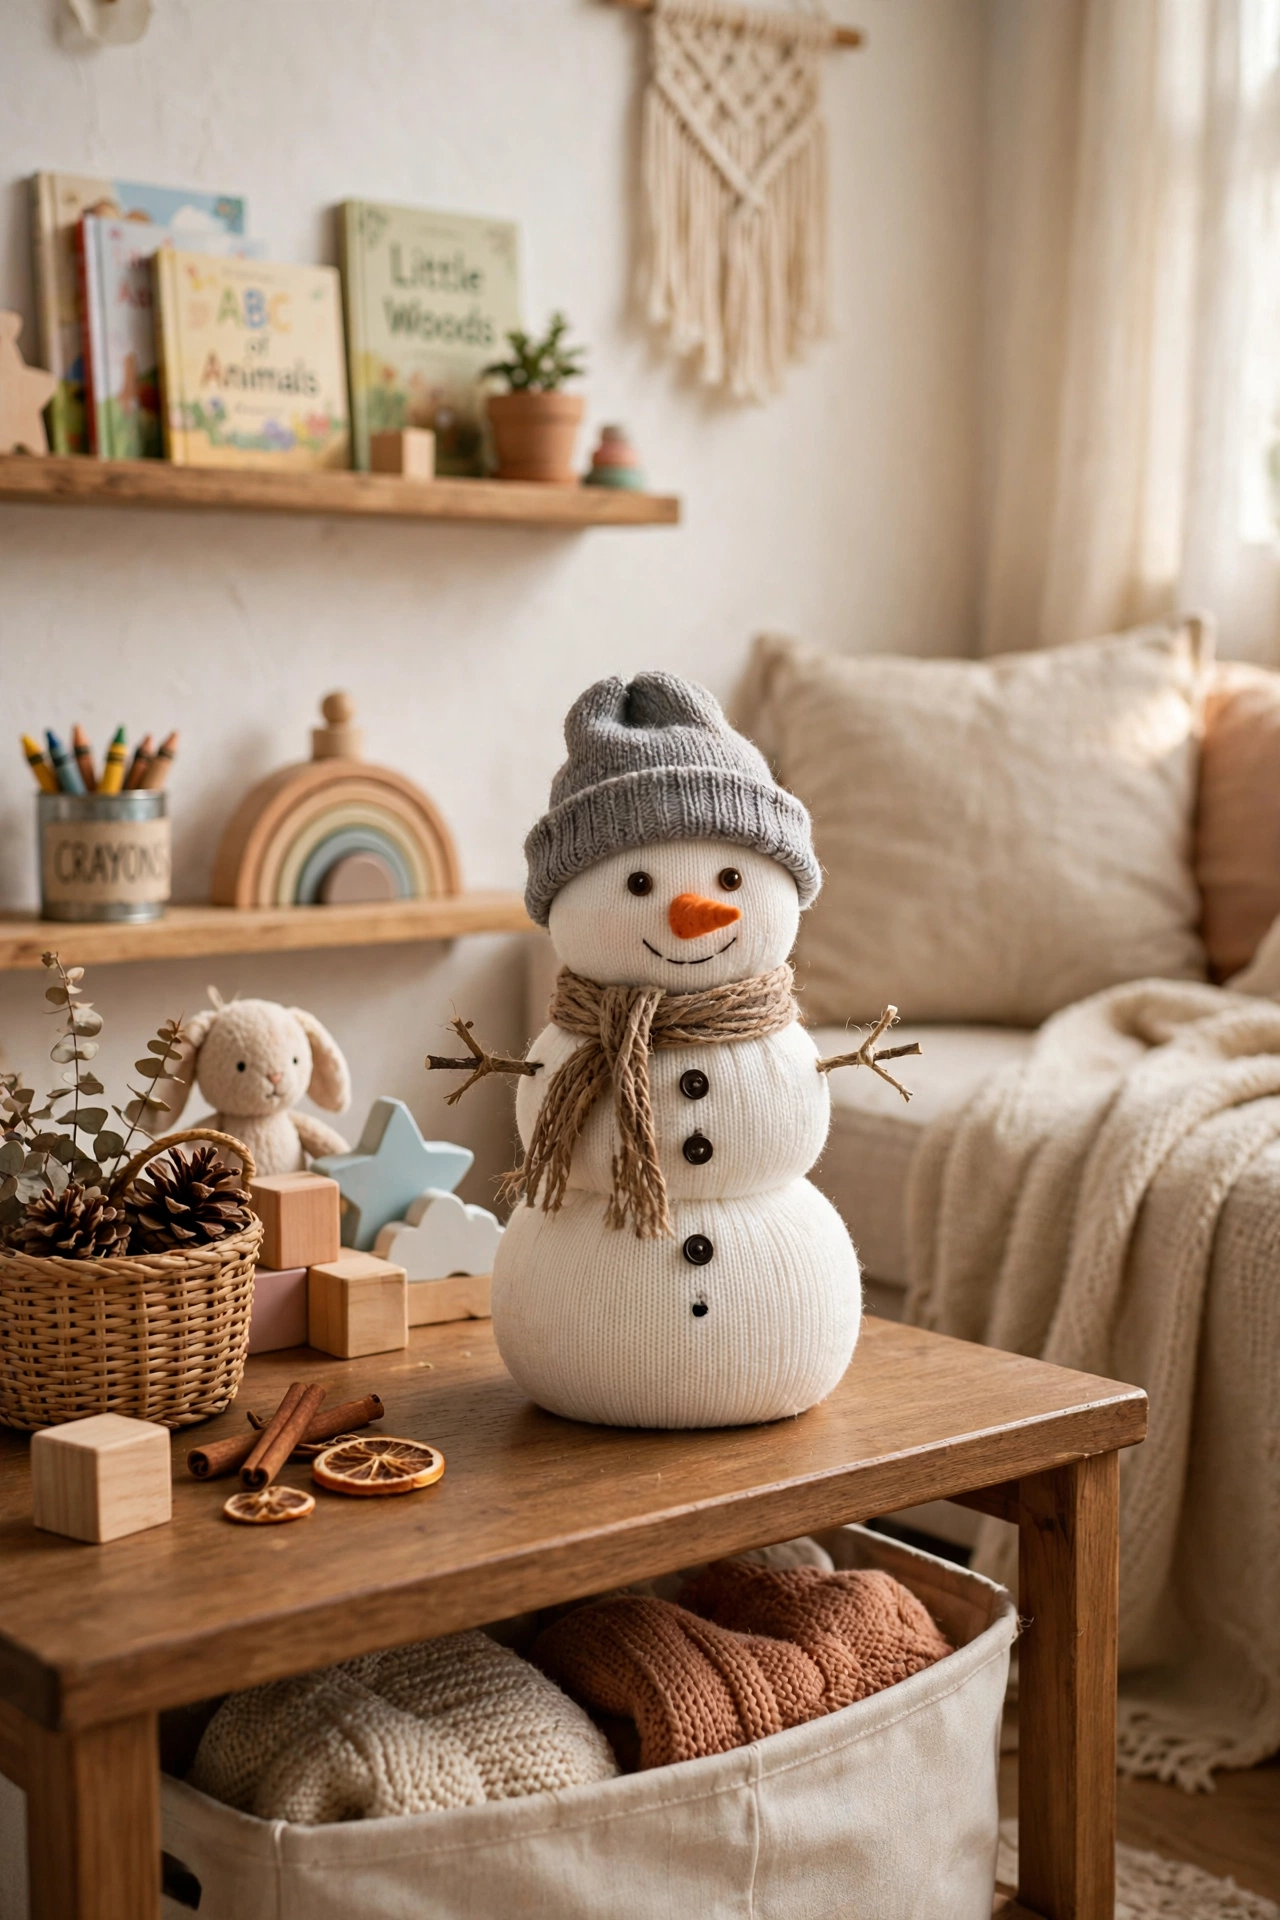
Fill a white sock with rice, tie it in two places to make a snowman shape, and add button eyes, a ribbon scarf, and a tiny felt hat. It takes ten minutes, costs almost nothing, and kids love it. I made one with my son last year and it still sits on his bedside table, slightly lopsided and completely beloved. Tie the knots tightly, or the rice shifts and your snowman develops a wobble. Use a sock without holes — I learned that one the rice-covered way.
Cost: ~$1 | Time: 15 minutes
14. Washi Tape Christmas Cards Display
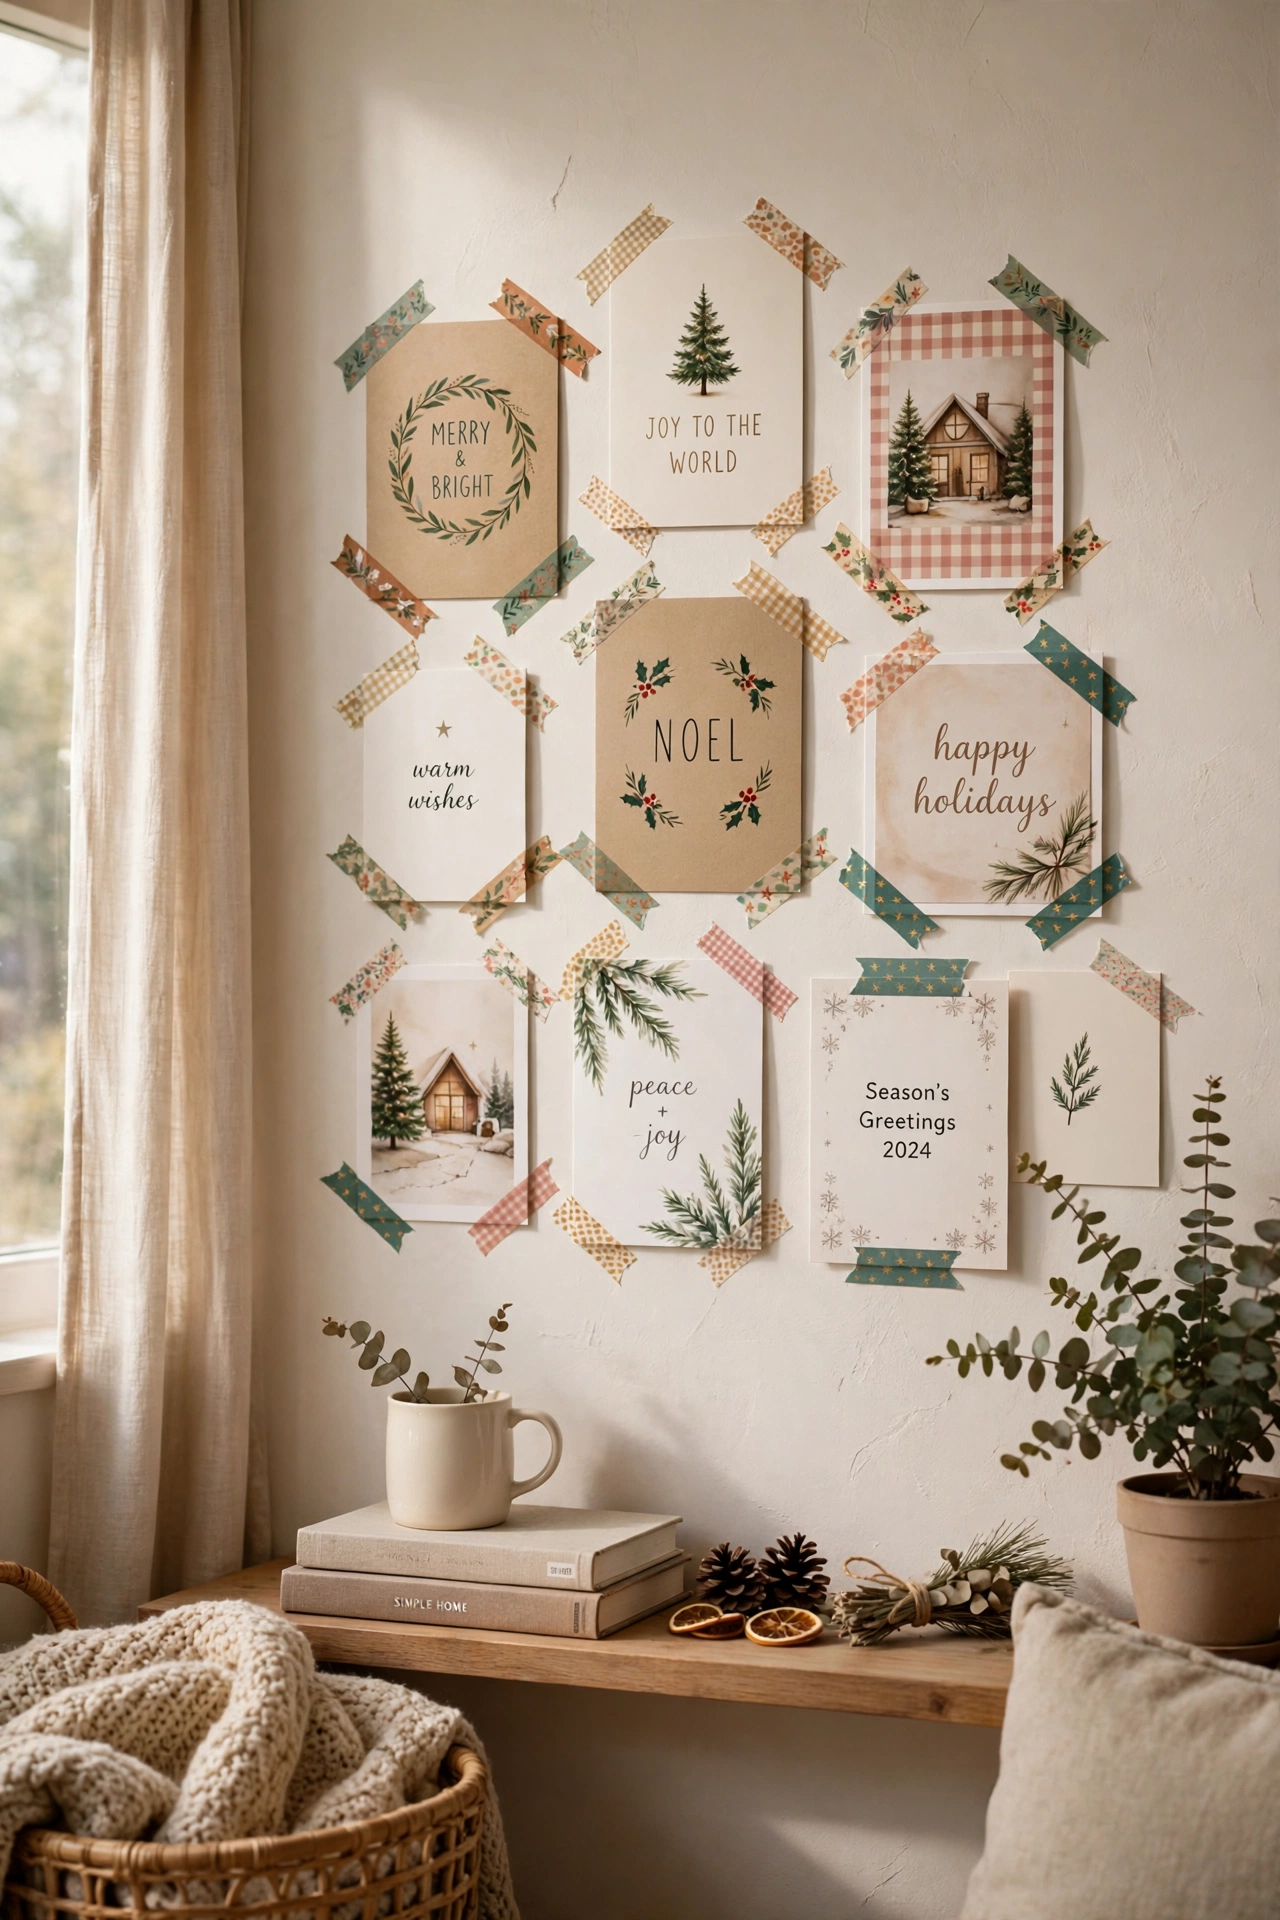
Run strips of washi tape across a wall in the shape of a tree, then stick the Christmas cards you receive onto the tape branches as they arrive. By mid-December you have a tree made of cards, and it grows every day. I use green and gold tape, and I start with just the outline so the shape is clear. It’s the best way I’ve found to actually display cards instead of piling them on a shelf. Take a photo before you take it down in January.
Cost: ~$3 | Time: 15 minutes
15. Dried Orange and Clove Pomanders
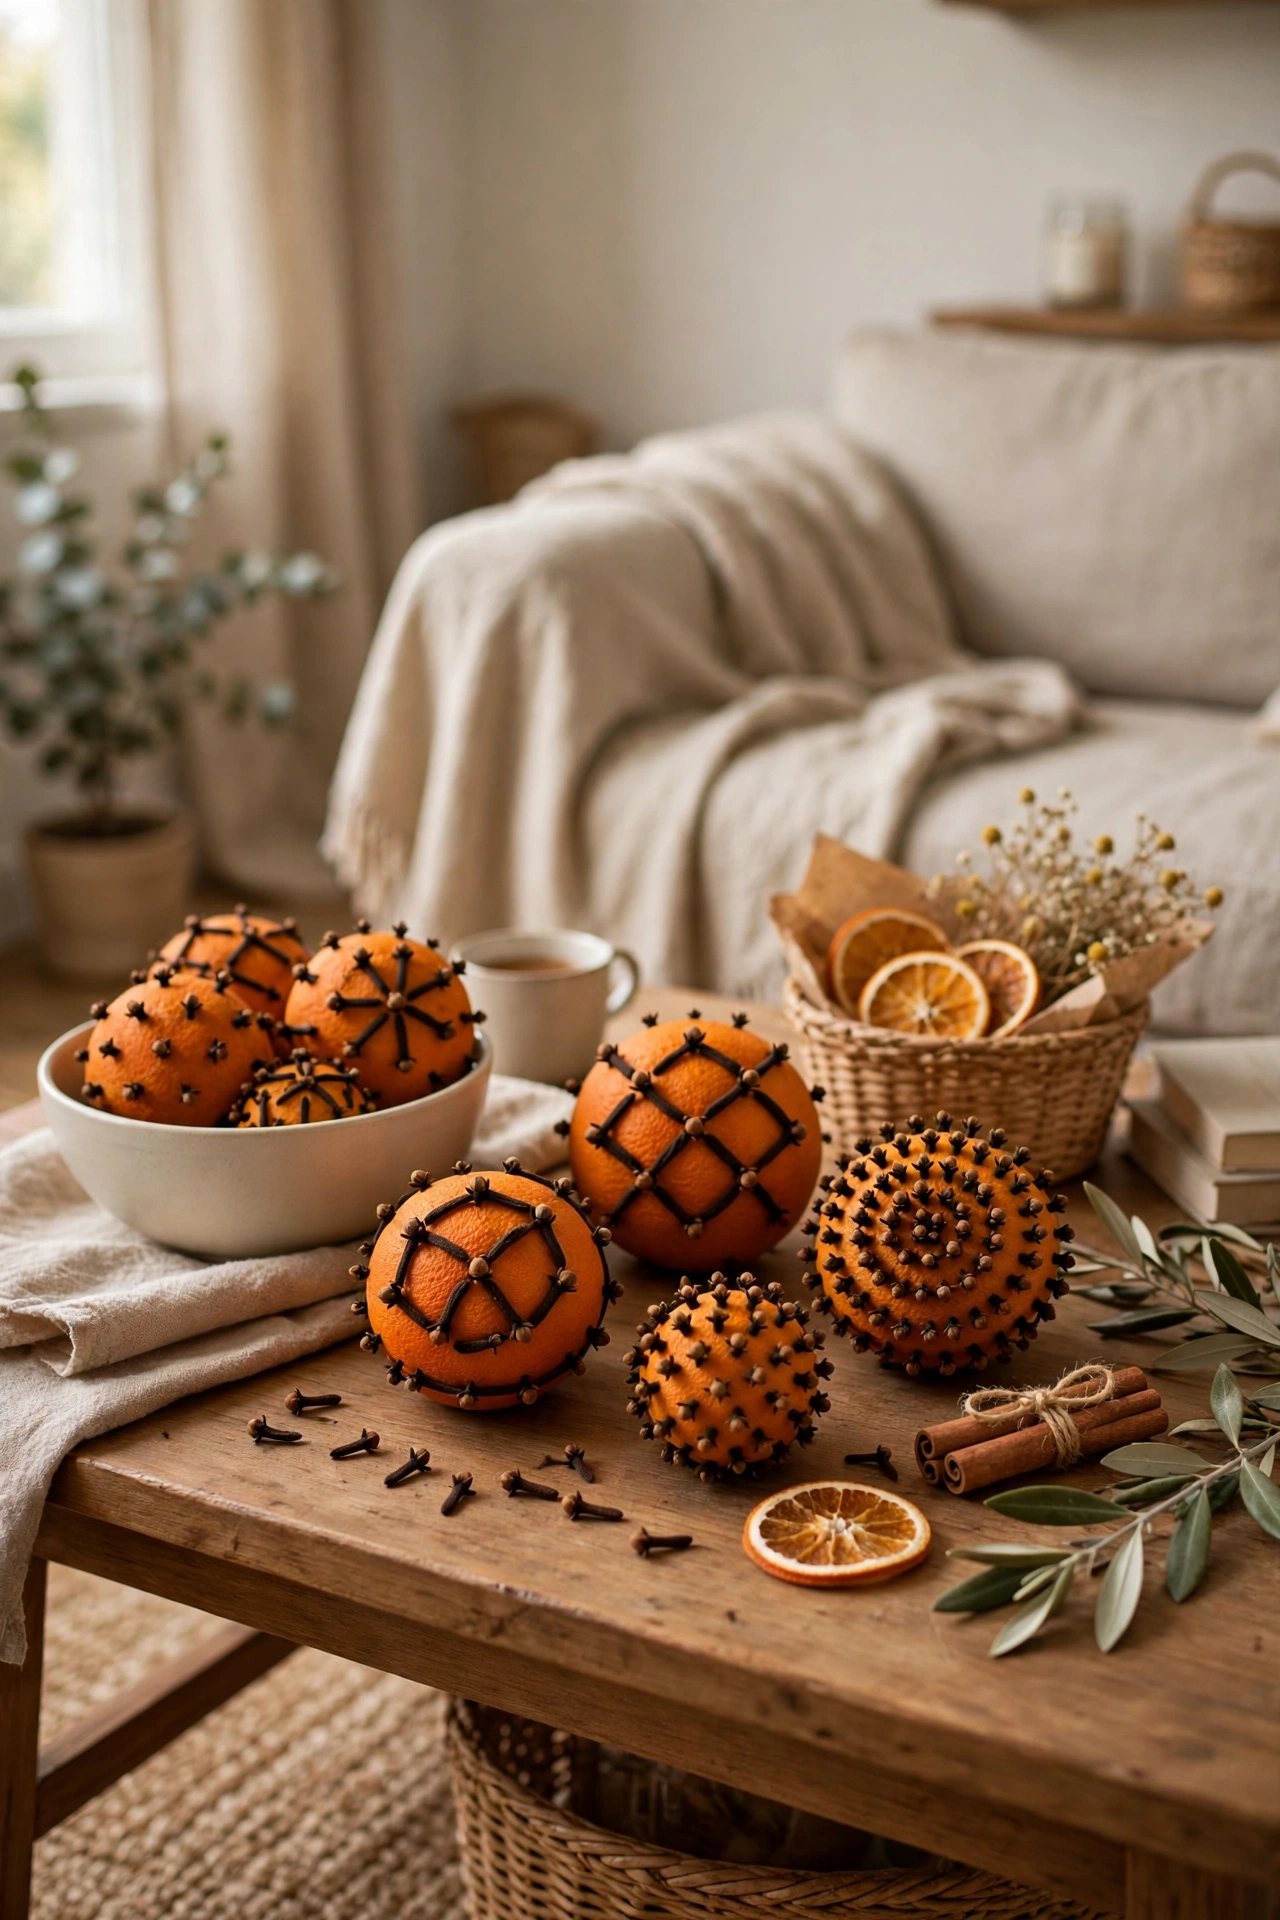
Push whole cloves into an orange in a pattern — stripes, spirals, or just scattered — tie a ribbon around it, and hang it in a window or from the tree. The scent is incredible, warm and spicy, and it fills a whole room. I make three or four at the start of December and they last until January if I keep them dry. The cloves are the fiddly part, so I do one while the kettle boils and another while dinner cooks. They also make lovely little gifts tied to a present.
Cost: ~$3 | Time: 20 minutes
