15 Small Kitchen Ideas That Feel Twice as Big
When I moved into a flat with a kitchen the size of a parking space, I honestly thought proper cooking was off the menu. Two years later, it’s the room I love most — and nobody believes it when I tell them these small kitchen ideas made it feel twice as big without moving a single wall. It’s all about tricking the eye and using every centimetre twice: light where it was dark, storage where there was air, and nothing on the floor that doesn’t earn its place. Here are the fifteen changes that did the heavy lifting in mine.
1. Paint the Walls a Bright, Warm White
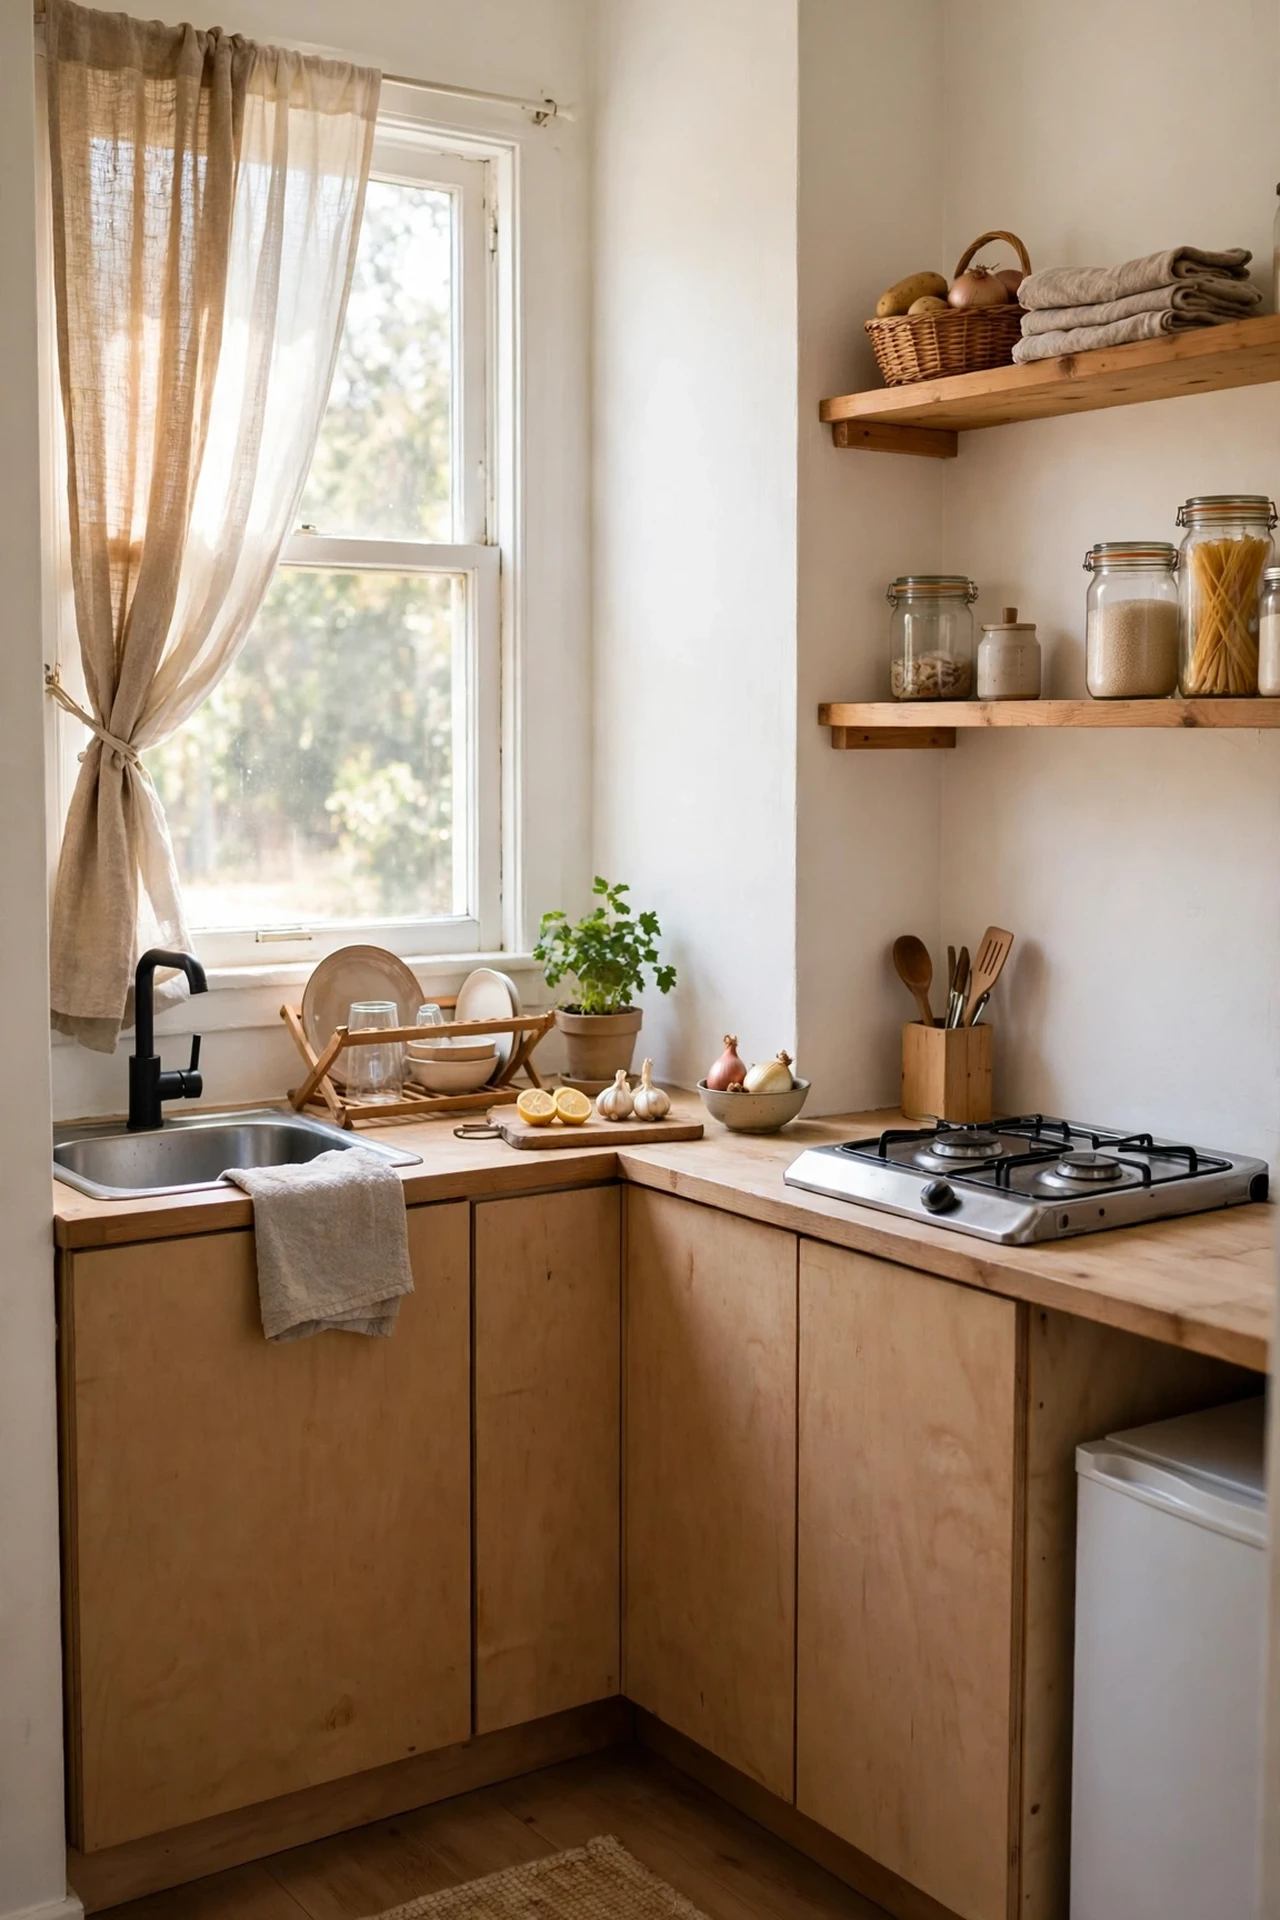
Dark walls in a tiny kitchen close in on you like a lid, so the single biggest change you can make is a fresh coat of bright warm white. Pick a white with a soft yellow undertone rather than a cold blue one — it bounces light around without feeling clinical. The steps are straightforward: clear the counters, tape off the edges, and do two thin coats rather than one thick one for a clean finish. I tried a brilliant stark white first and the room felt like a dentist’s surgery. The mistake to avoid is going pure white in a north-facing kitchen; it turns grey and gloomy by afternoon, while warm white stays sunny.
Cost: ~$20 | Time: 4 hours
2. Add Under-Cabinet LED Strips
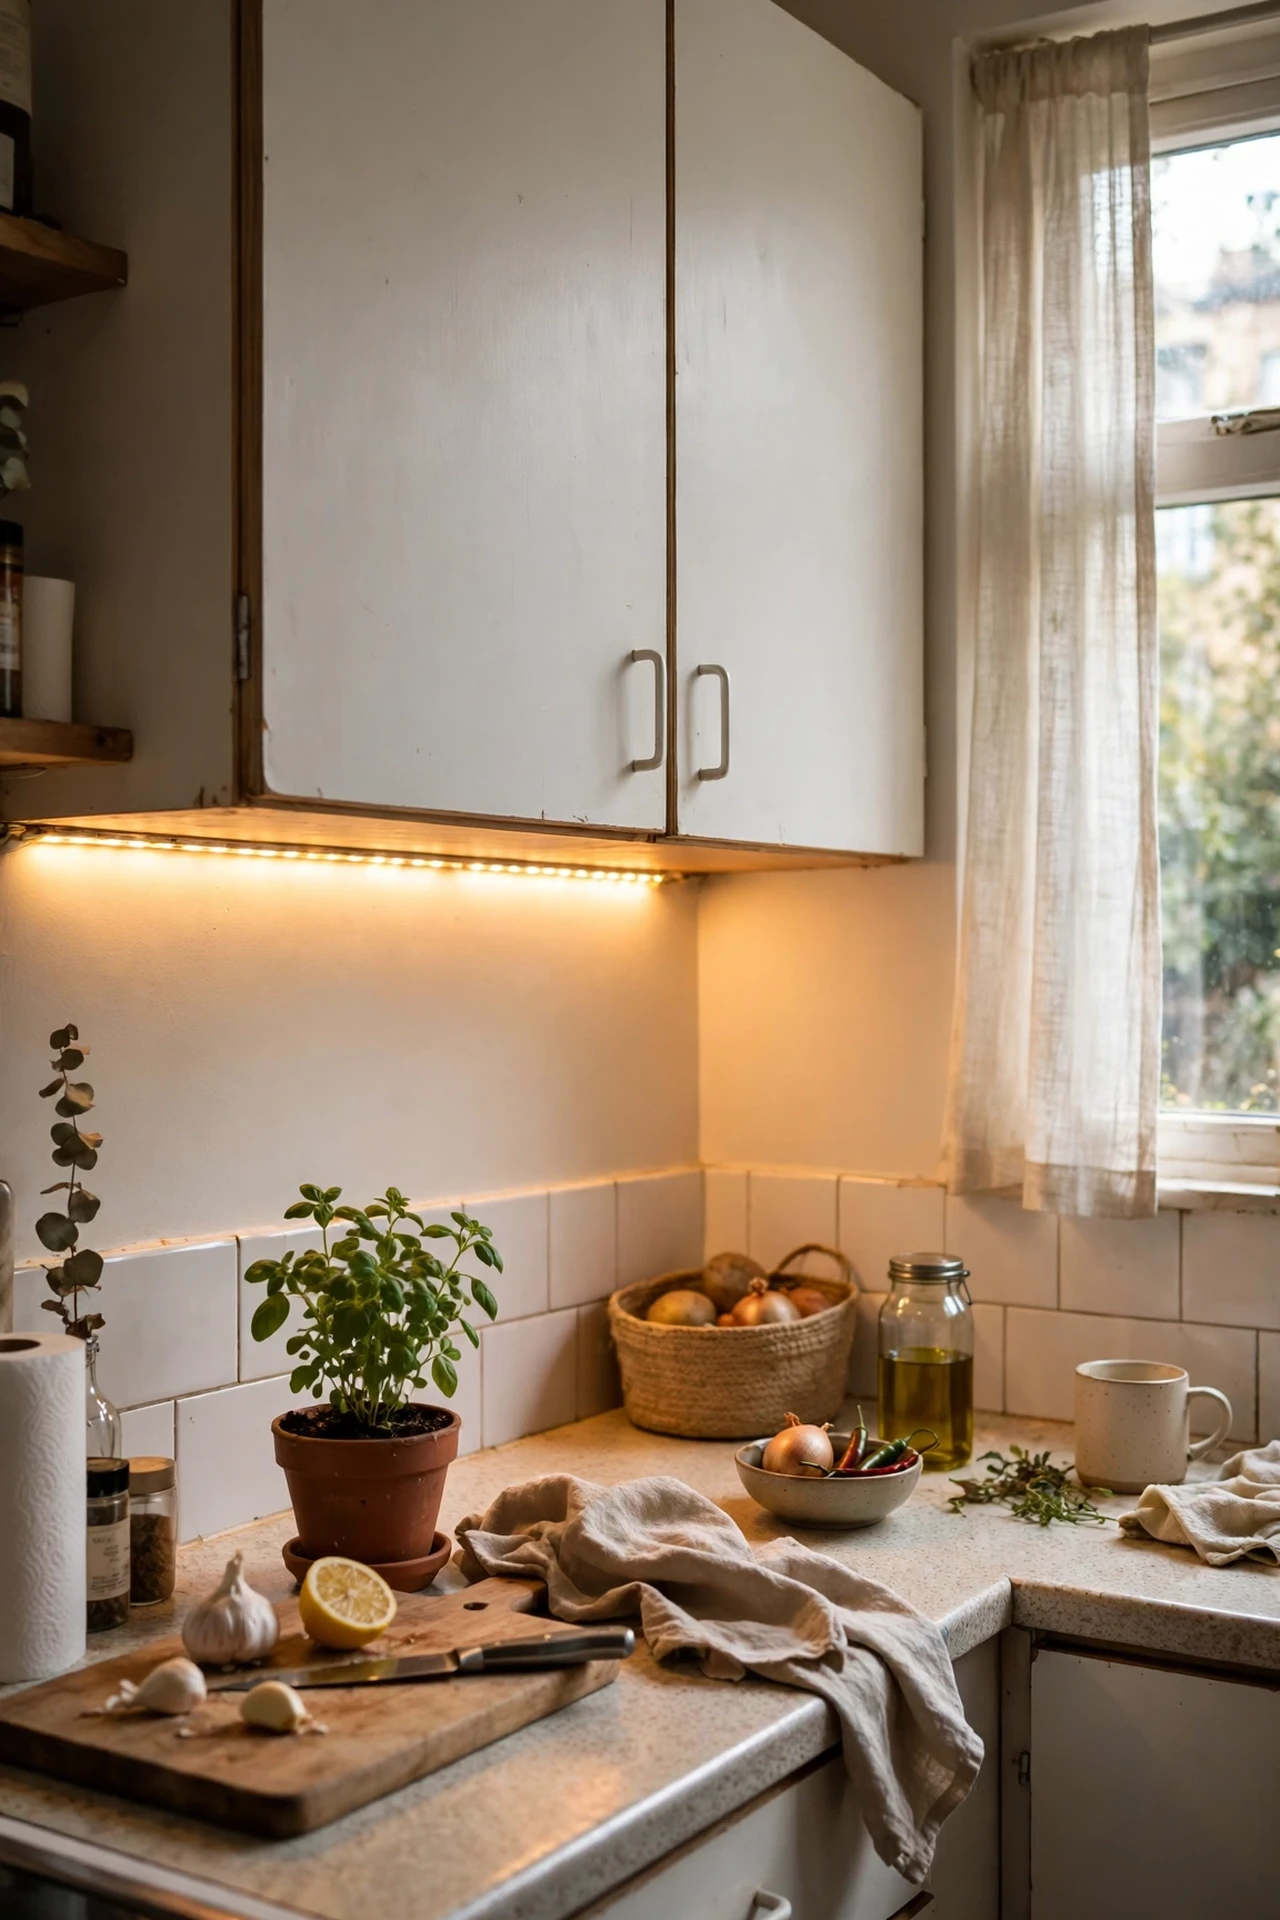
Shadowy counters make a small kitchen feel cramped and hard to work in, and cheap LED strips fix it in an evening. Stick a peel-and-back LED strip to the underside of your wall cabinets, plug it into the nearest socket, and suddenly your worktops glow like a much bigger room. Choose warm white (around 3000K) so the light feels cosy rather than office-like, and run the strip the full length of the cabinet for even light. I tried a short strip that only lit the middle and it created weird bright and dark patches. The mistake to avoid is leaving the cable dangling — route it neatly behind the cabinet or it ruins the effect.
Cost: ~$15 | Time: 30 minutes
3. Swap Solid Cabinet Doors for Glass Fronts
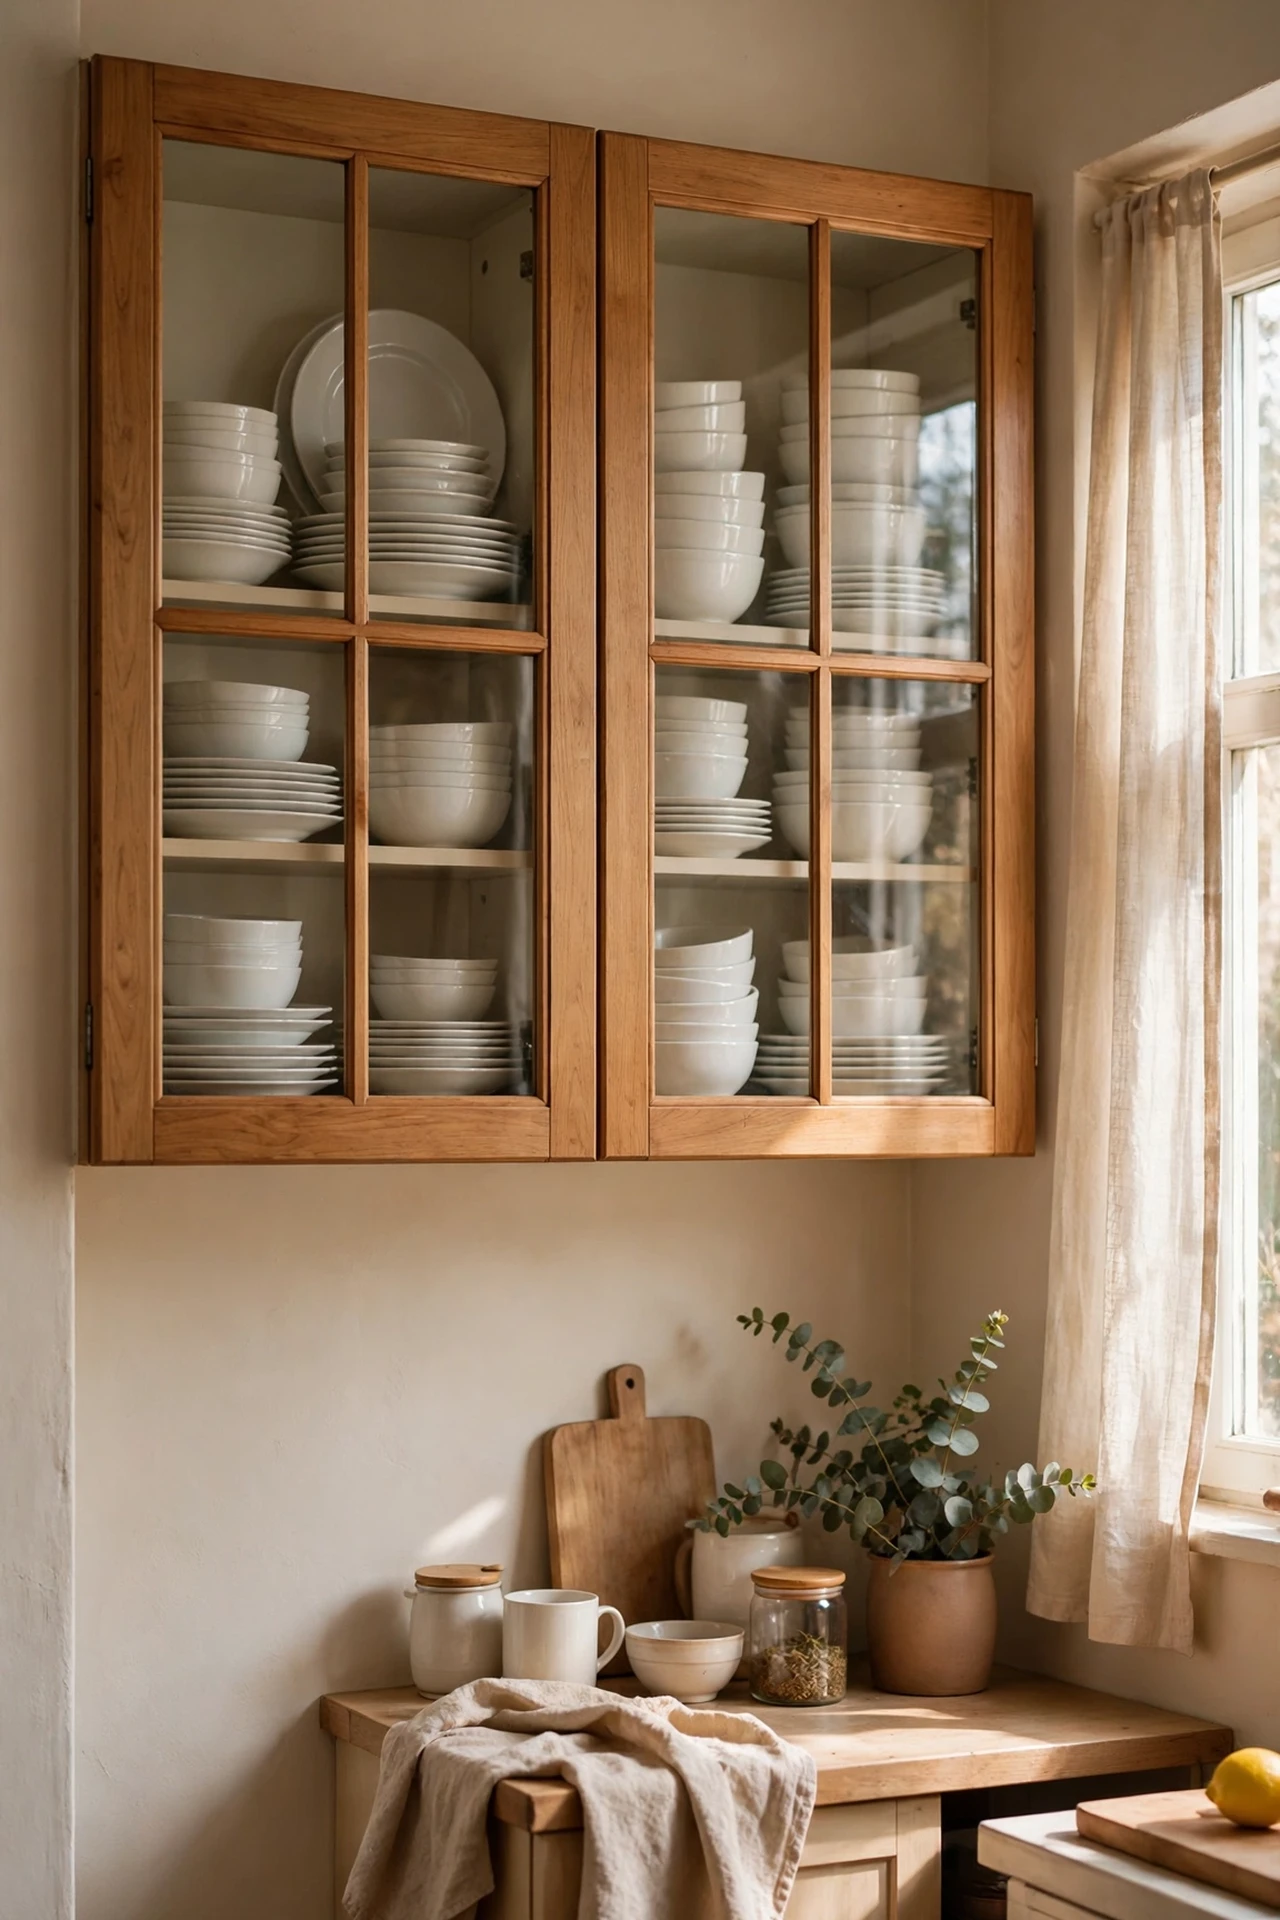
Glass-fronted cabinets give your eye somewhere to go, which makes the whole wall feel deeper instead of a flat block of doors. You don’t need new cabinets — just replace the door panels on two or three upper cabinets, or remove the doors entirely for open shelving if you’re brave. Keep what you display simple and matching, since glass means you can’t hide the mess. I tried this on every cabinet and it was too much to keep tidy. The mistake to avoid is doing all of them; two or three glass fronts is the sweet spot, and the rest can stay solid. Our (see also: kitchen-cabinet-decor-ideas) guide shows how to style the insides so they look intentional.
Cost: ~$35 | Time: 2 hours
4. Use a Fold-Down Table Instead of a Fixed One
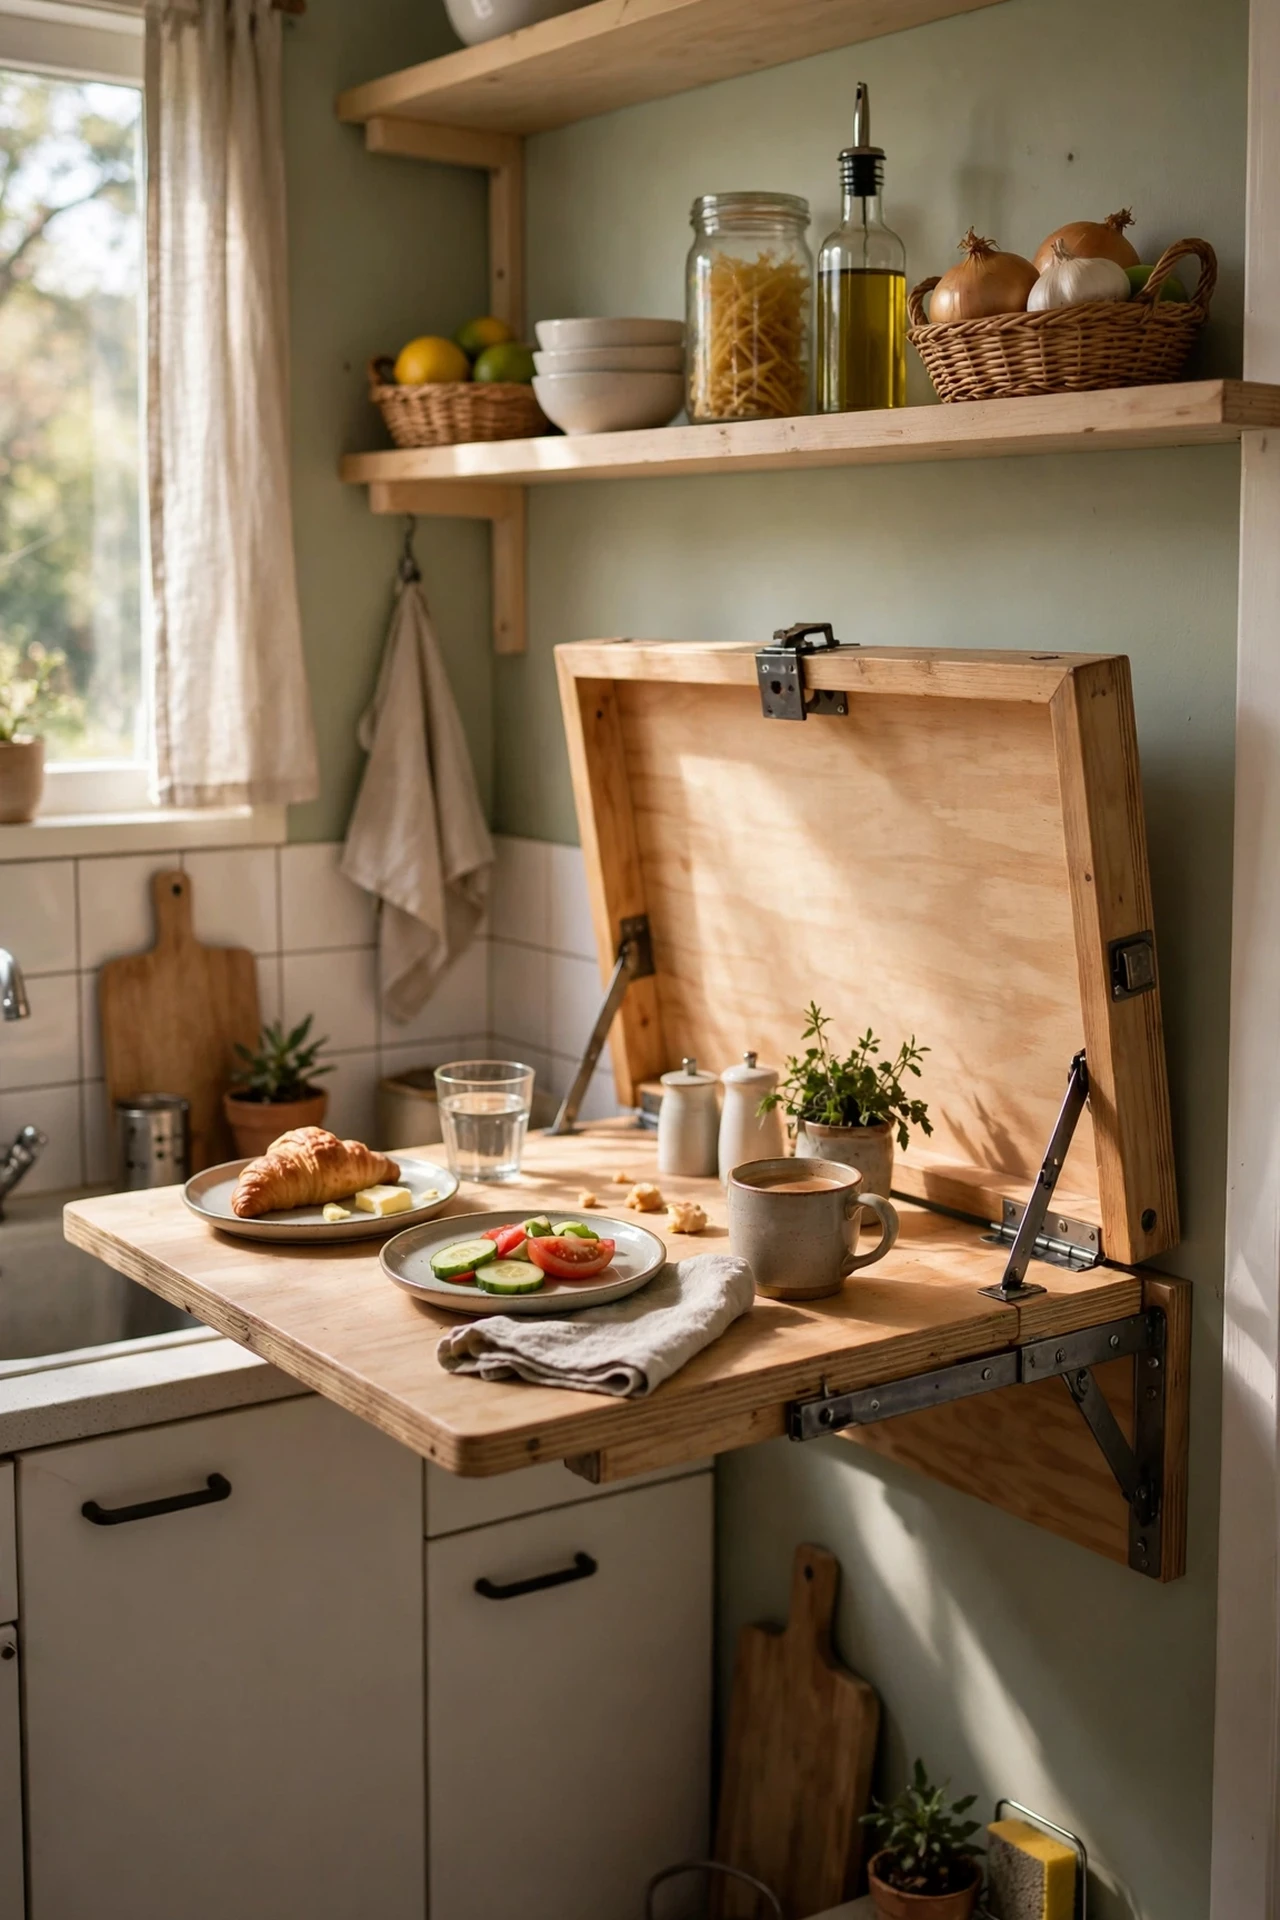
A fixed dining table in a small kitchen eats the floor plan, but a wall-mounted fold-down table gives you the same surface only when you need it. Screw a sturdy folding bracket table to a free stretch of wall, pull it up for meals or prep, and drop it flat the rest of the time. Check you’re fixing into solid wall or studs — plasterboard alone won’t hold dinner. I tried a cheap bracket that sagged the first time I leaned on it. The mistake to avoid is skimping on the brackets; spend a little more on heavy-duty ones and the table will outlast the kitchen. Pin this one to your kitchen board — you’ll want it when you’re planning a small-kitchen layout and every centimetre counts.
Cost: ~$40 | Time: 1 hour
5. Hang a Mirror to Bounce the Light
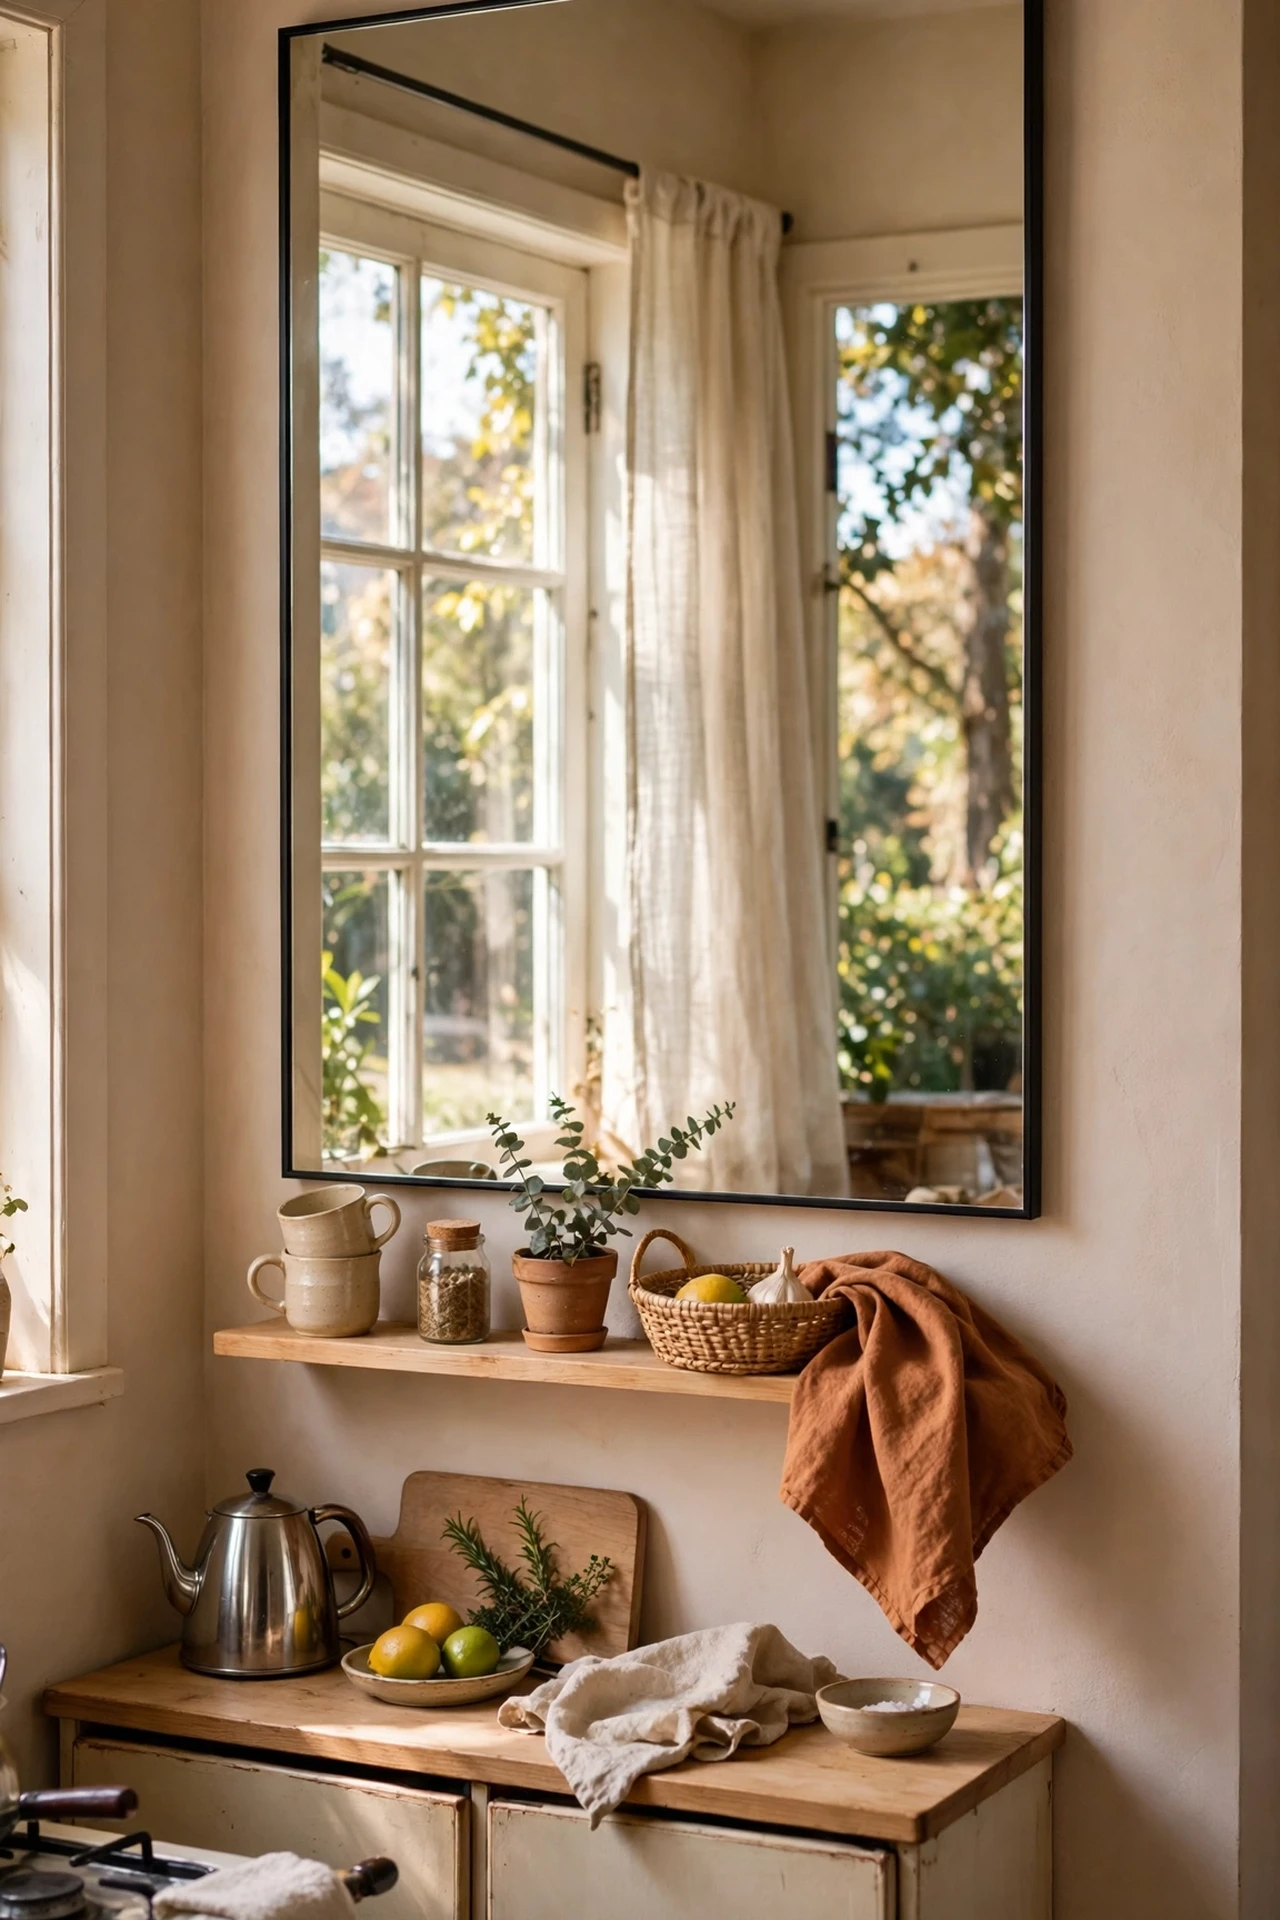
A mirror opposite the window doubles your natural light and makes the room feel dramatically bigger — it’s the oldest decorator’s trick and it works. Hang a medium-sized mirror with a slim frame where it catches the window view, not where it reflects the bins. Wipe it weekly because kitchen grease films over glass fast. I tried a tiny decorative mirror first and it did absolutely nothing. The mistake to avoid is going too small; it needs to be big enough to reflect a real chunk of the room, roughly 60cm wide minimum.
Cost: ~$25 | Time: 20 minutes
6. Choose One Continuous Flooring
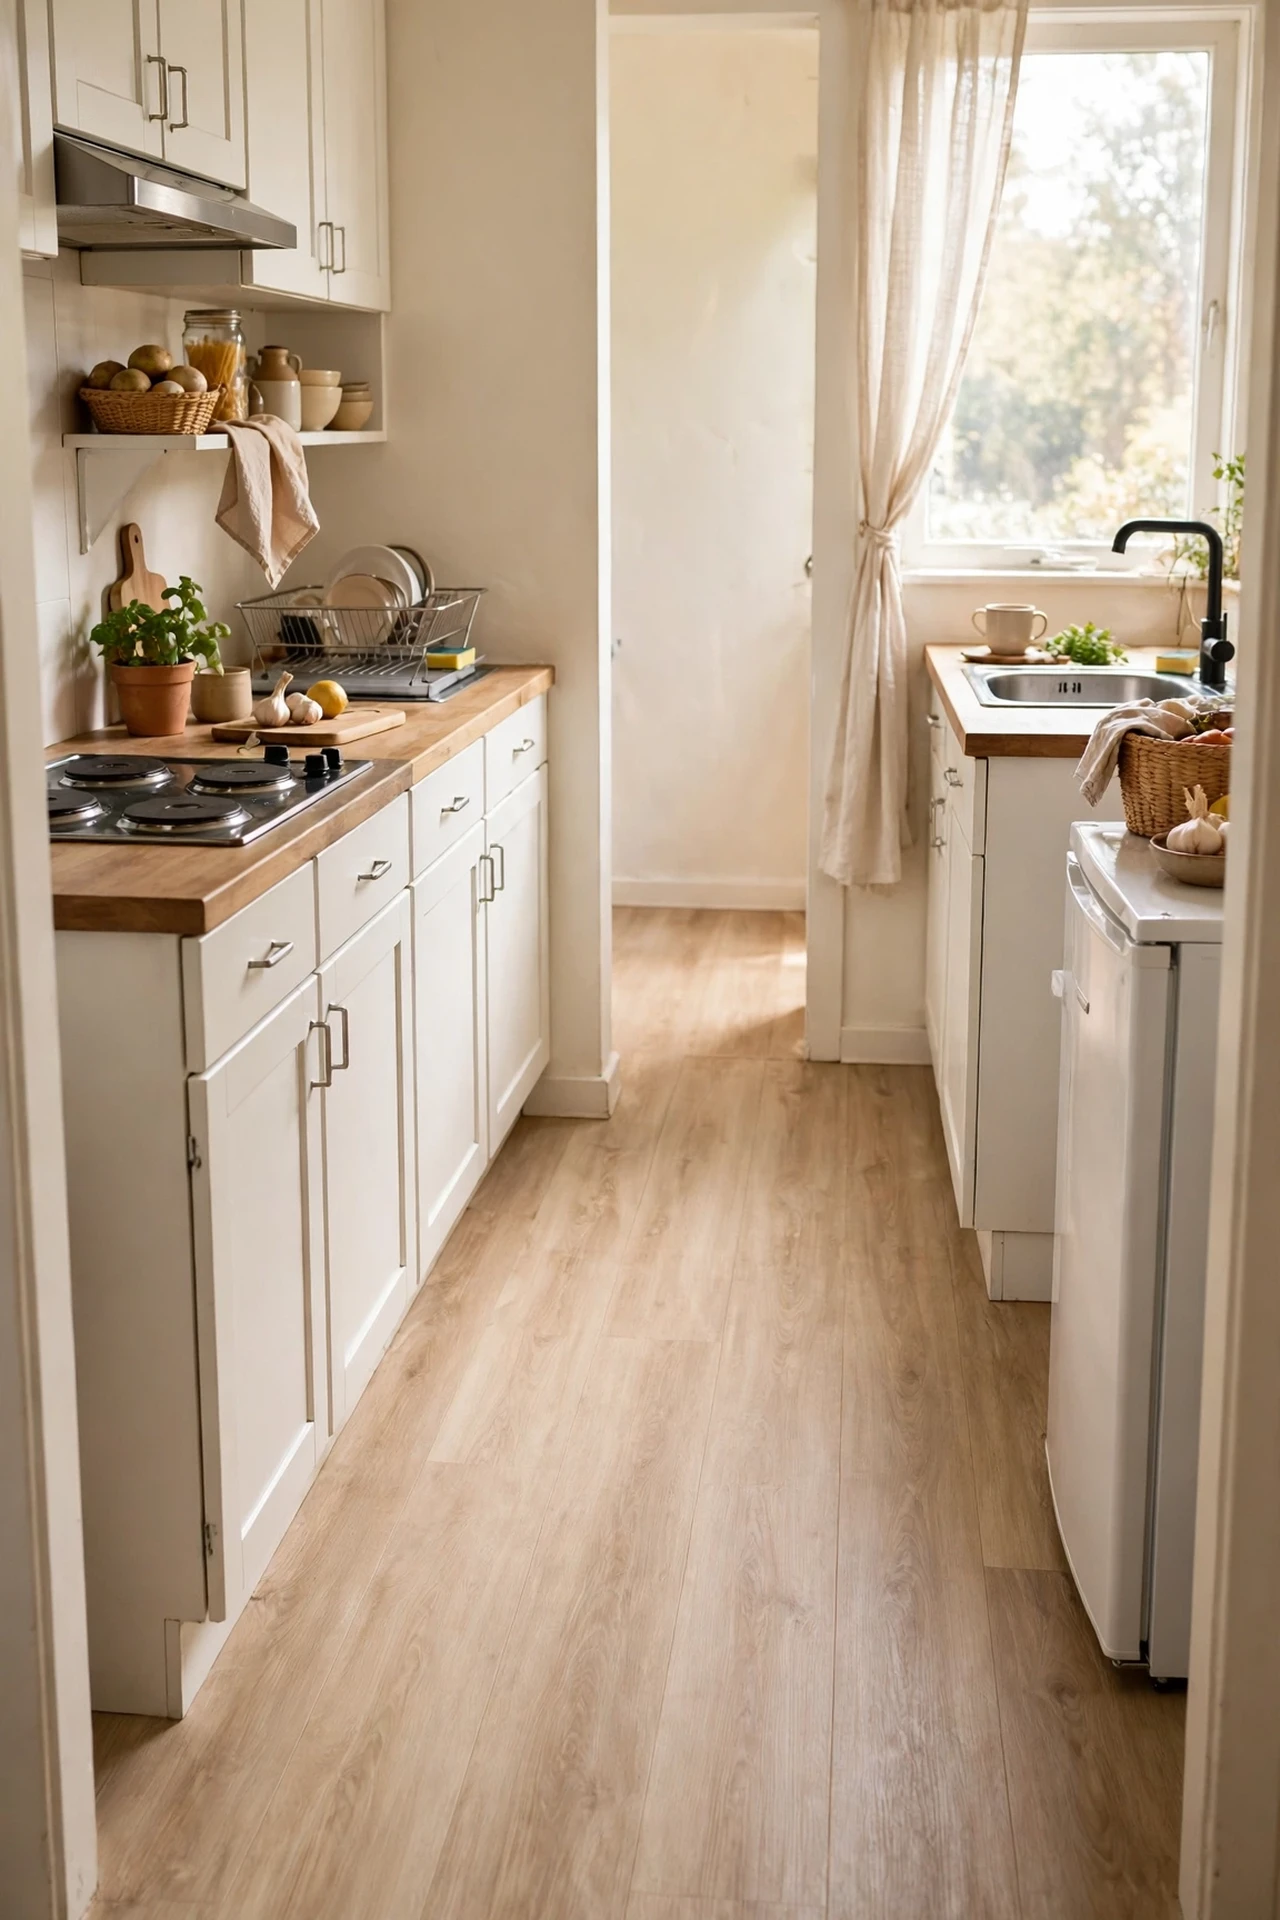
Broken-up flooring — tiles here, lino there — chops a small kitchen into visual pieces that each feel tinier. Running one continuous floor, even a cheap peel-and-stick vinyl in a light wood tone, makes the space read as one generous room. Measure carefully, lay it in the direction of the longest wall to stretch the eye, and butt the edges tight. I tried a busy patterned tile and the floor shouted over everything else. The mistake to avoid is dark or busy flooring; plain and pale is what makes small rooms feel expansive.
Cost: ~$45 | Time: 3 hours
7. Install a Pegboard for Vertical Storage
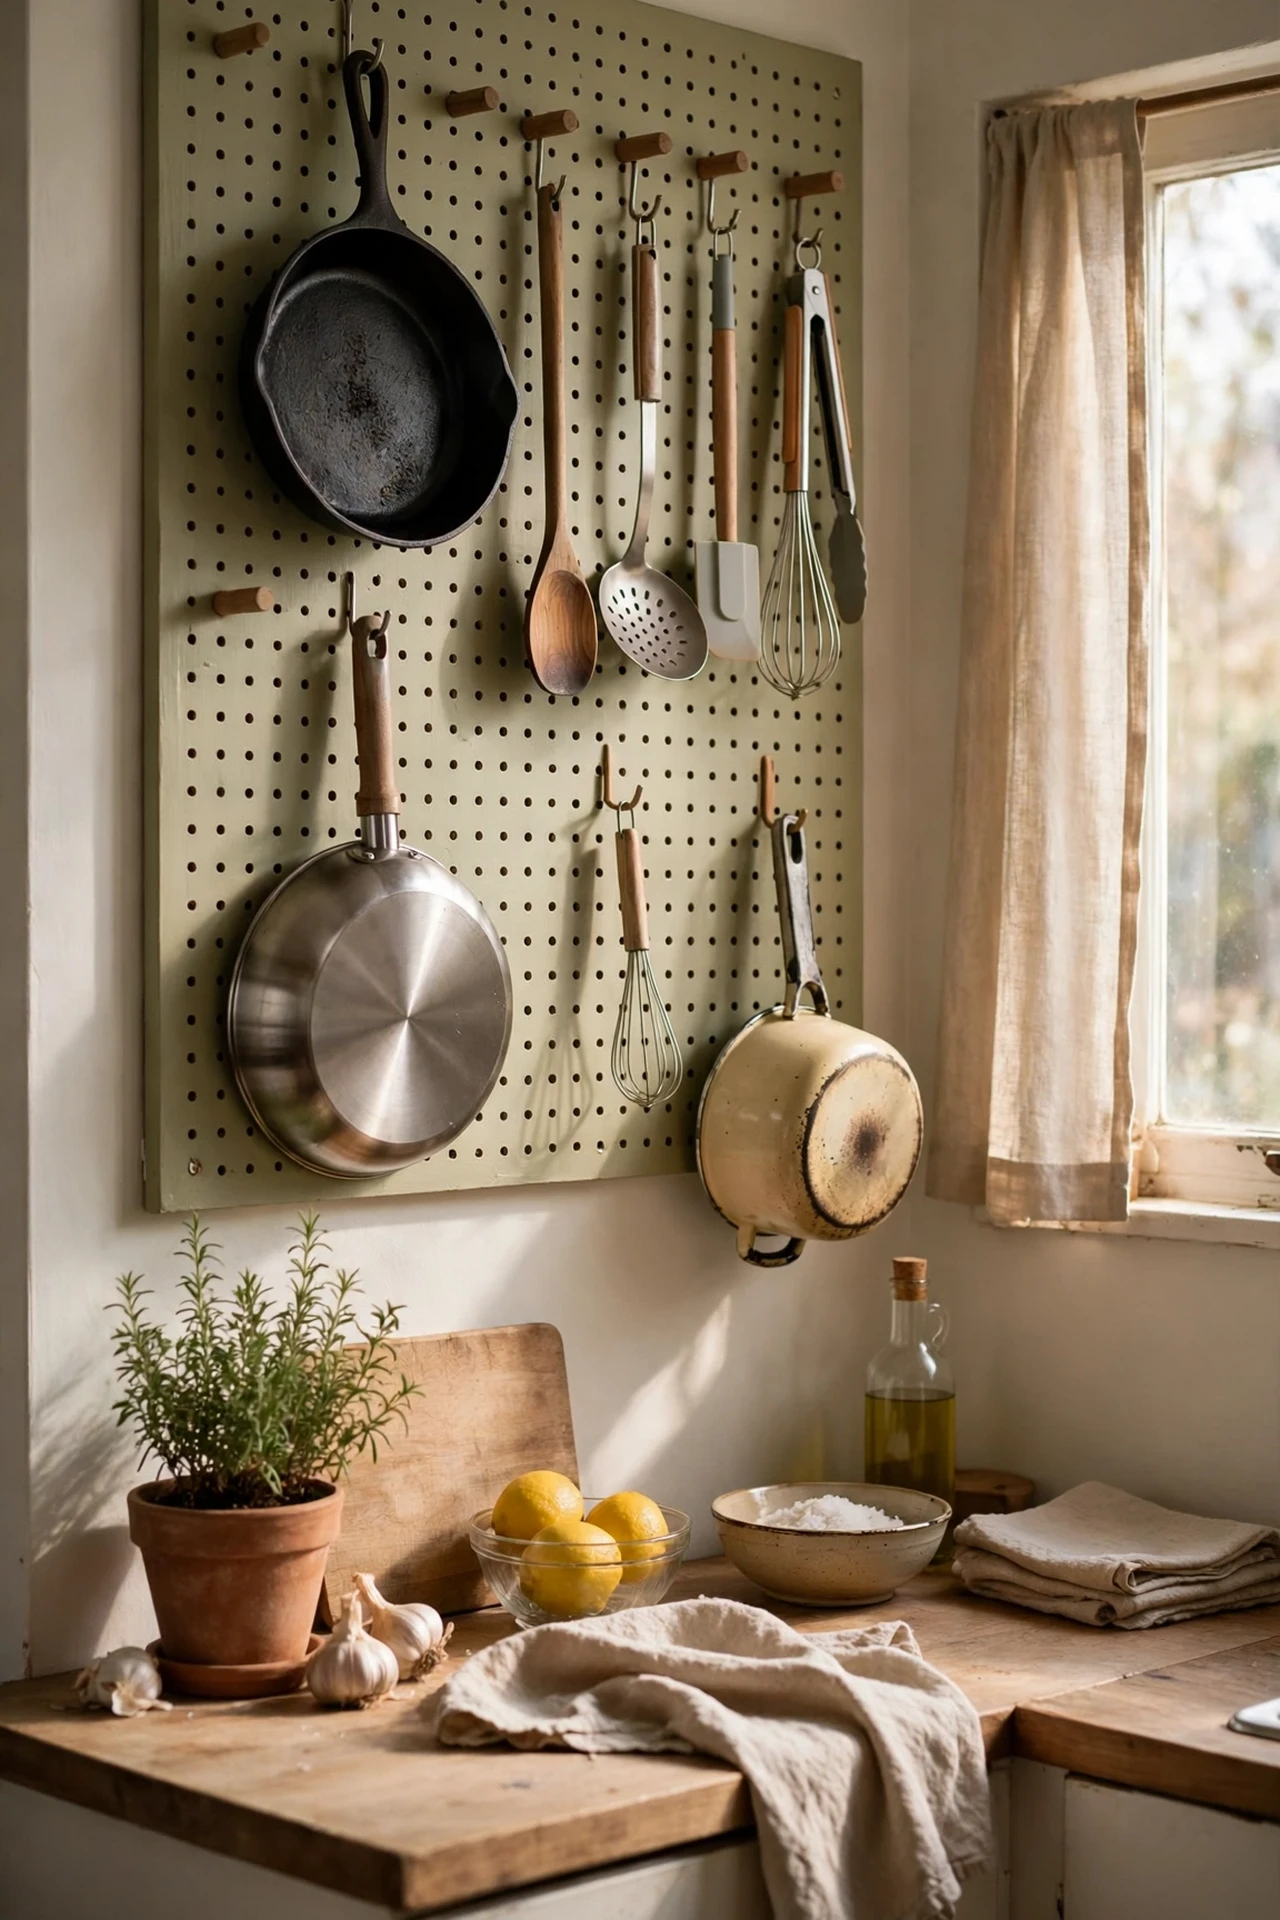
When the cupboards are full, the wall is the next frontier — a pegboard turns dead wall space into flexible storage that looks charming. Mount a painted pegboard panel on a free stretch of wall, add hooks and small shelves, and hang pots, pans, and utensils where you can grab them. Paint it the same colour as the wall so it blends in, and rearrange the hooks whenever your needs change. I tried overloading mine until it looked like a hardware shop. The mistake to avoid is hanging more than you’ll actually use; leave some empty pegs so it breathes.
Cost: ~$18 | Time: 45 minutes
8. Pick Bar Stools That Tuck Fully Under
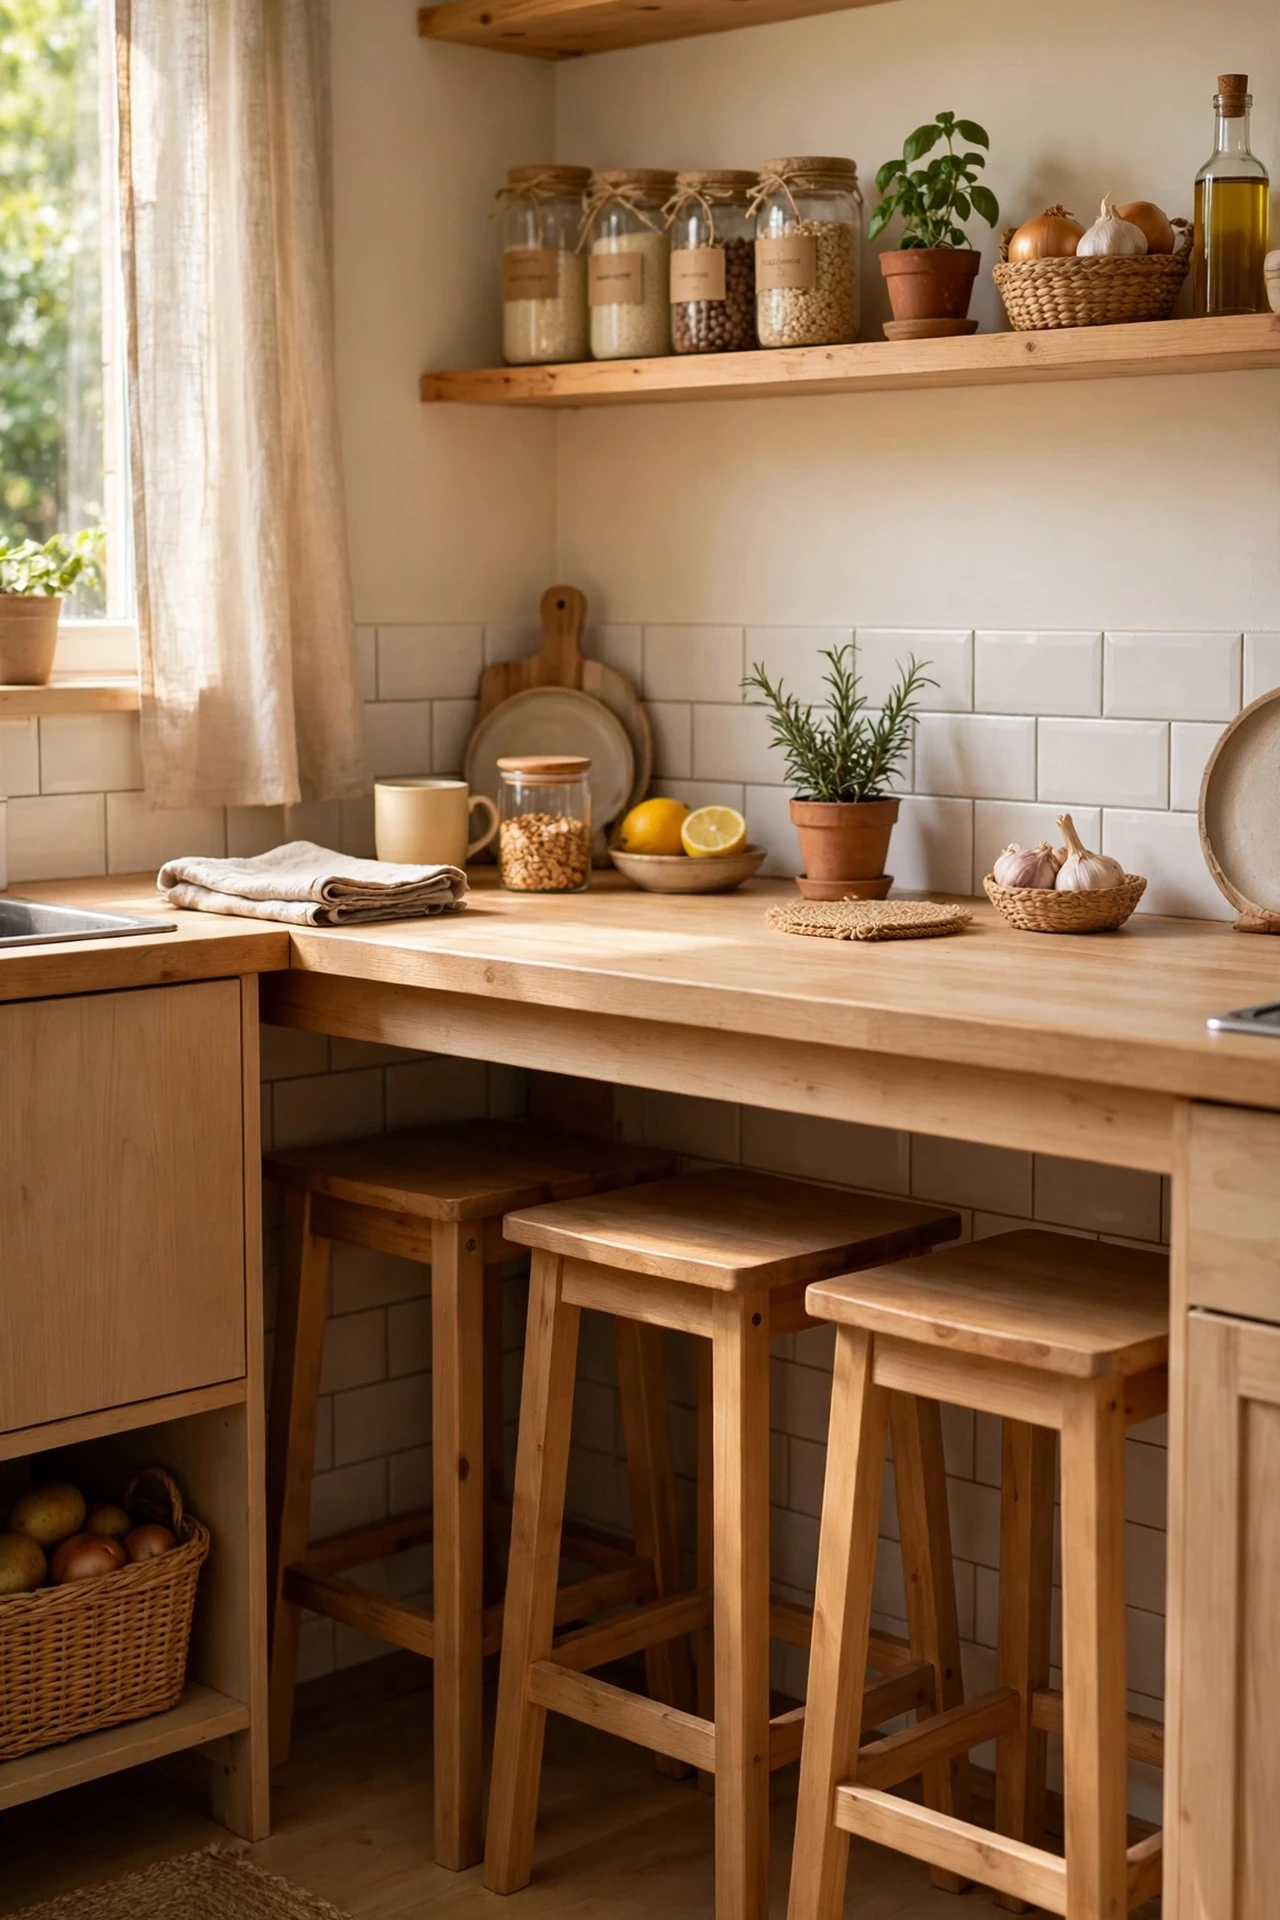
Stools that stick out into the room are trip hazards and visual clutter, so choose ones that slide completely under the counter. Measure the gap between the floor and your worktop overhang, then buy backless stools a couple of centimetres shorter than that gap. Backless is key — backs snag on the counter edge. I tried cute backed stools and they permanently lived in the middle of the floor. The mistake to avoid is guessing the height; take a tape measure to the shop or check the dimensions twice online.
Cost: ~$50 | Time: 20 minutes
9. Keep the Palette to Two Colours
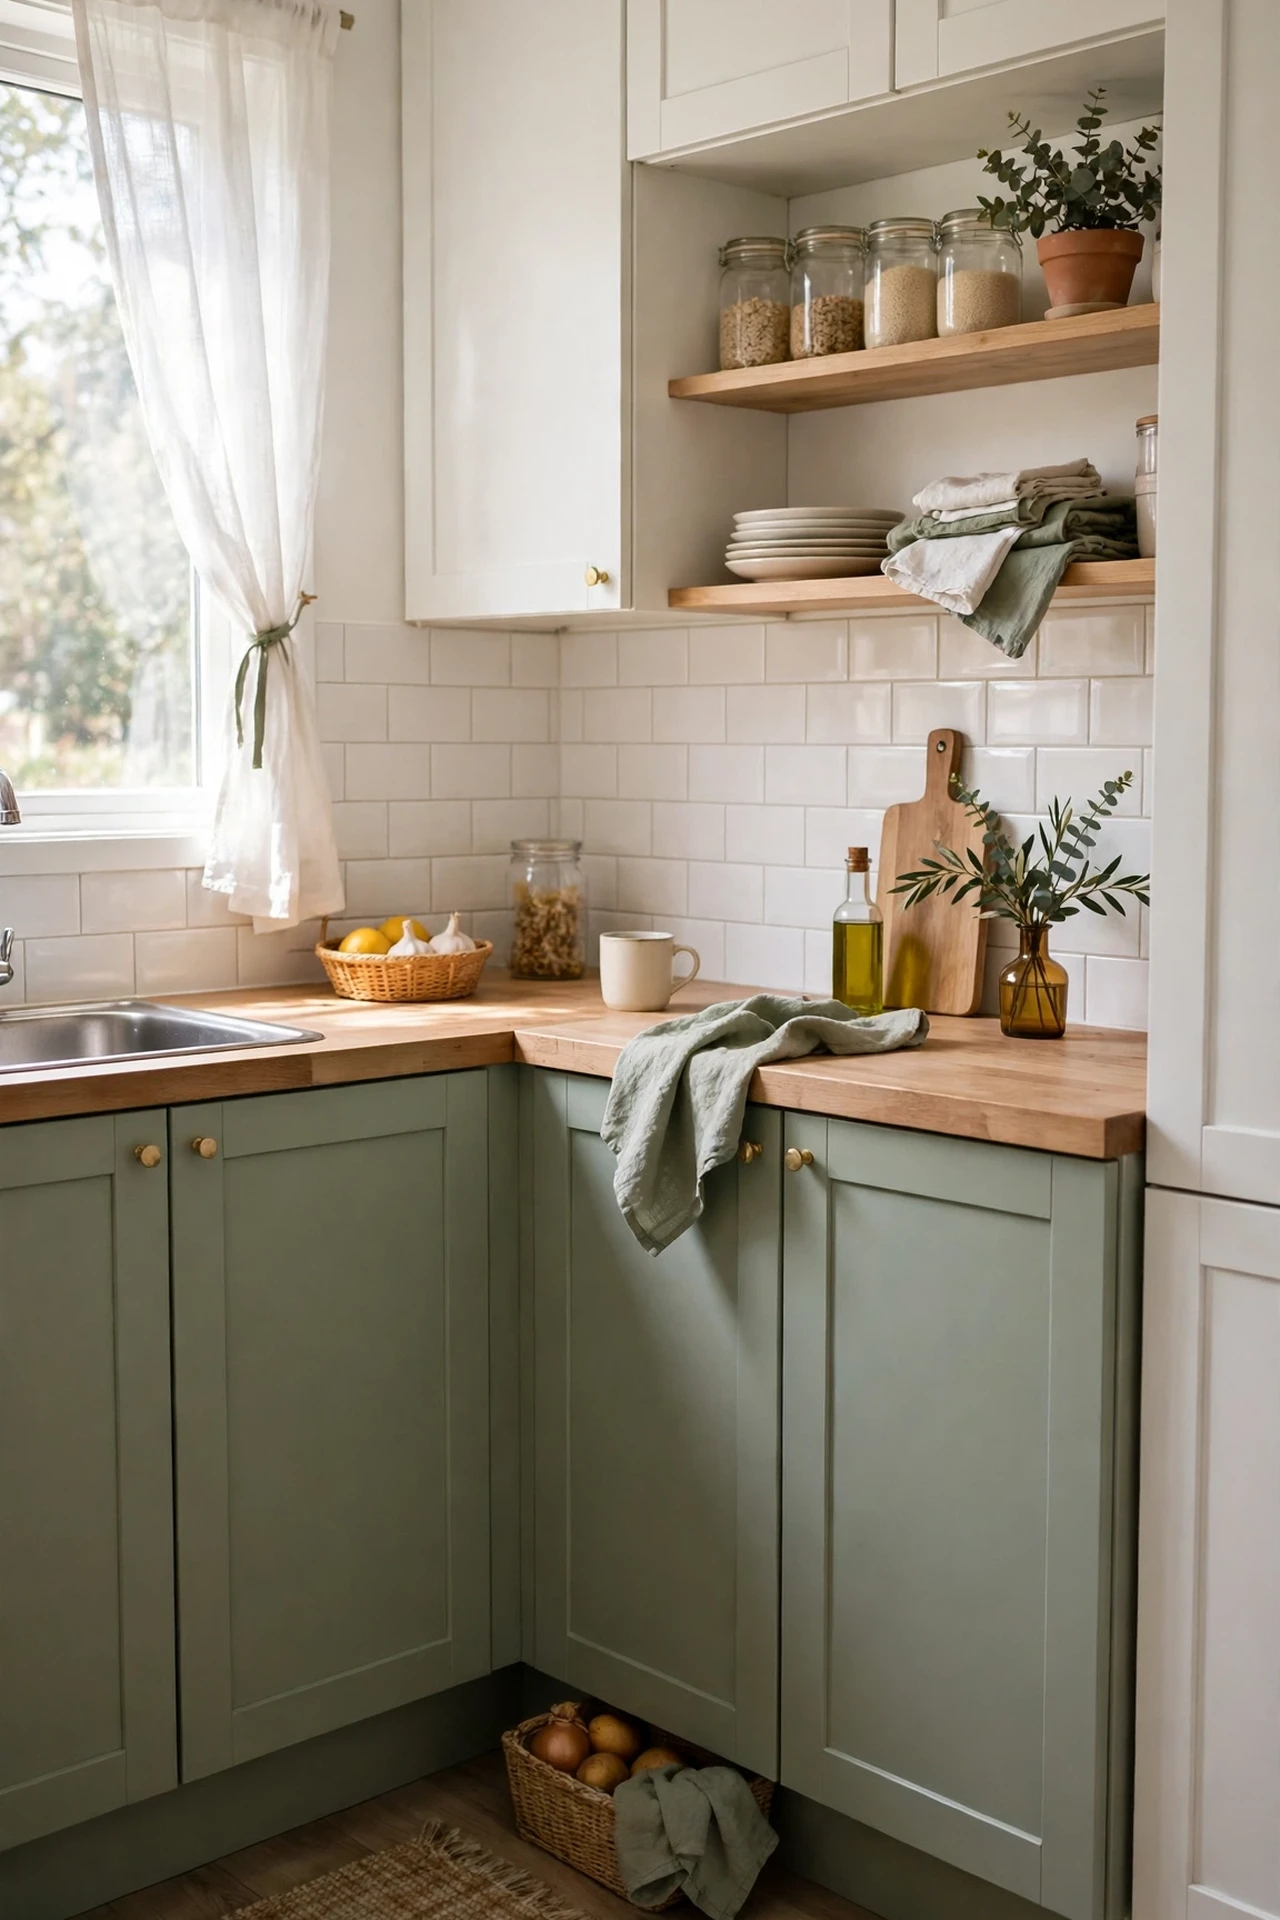
A small kitchen with five competing colours feels chaotic, but two harmonious ones feel calm and much larger. Pick a base colour for the big surfaces and one accent for textiles and small items — white and sage, or cream and terracotta, both work beautifully. Then edit ruthlessly: the red kettle and the blue toaster have to earn their place or go. I tried this and realised my “eclectic” kitchen was actually just cluttered. The mistake to avoid is a halfway job; one clashing item undoes the whole effect, so be honest about what stays.
Cost: ~$10 | Time: 1 hour
10. Add Open Shelving in Place of One Cabinet
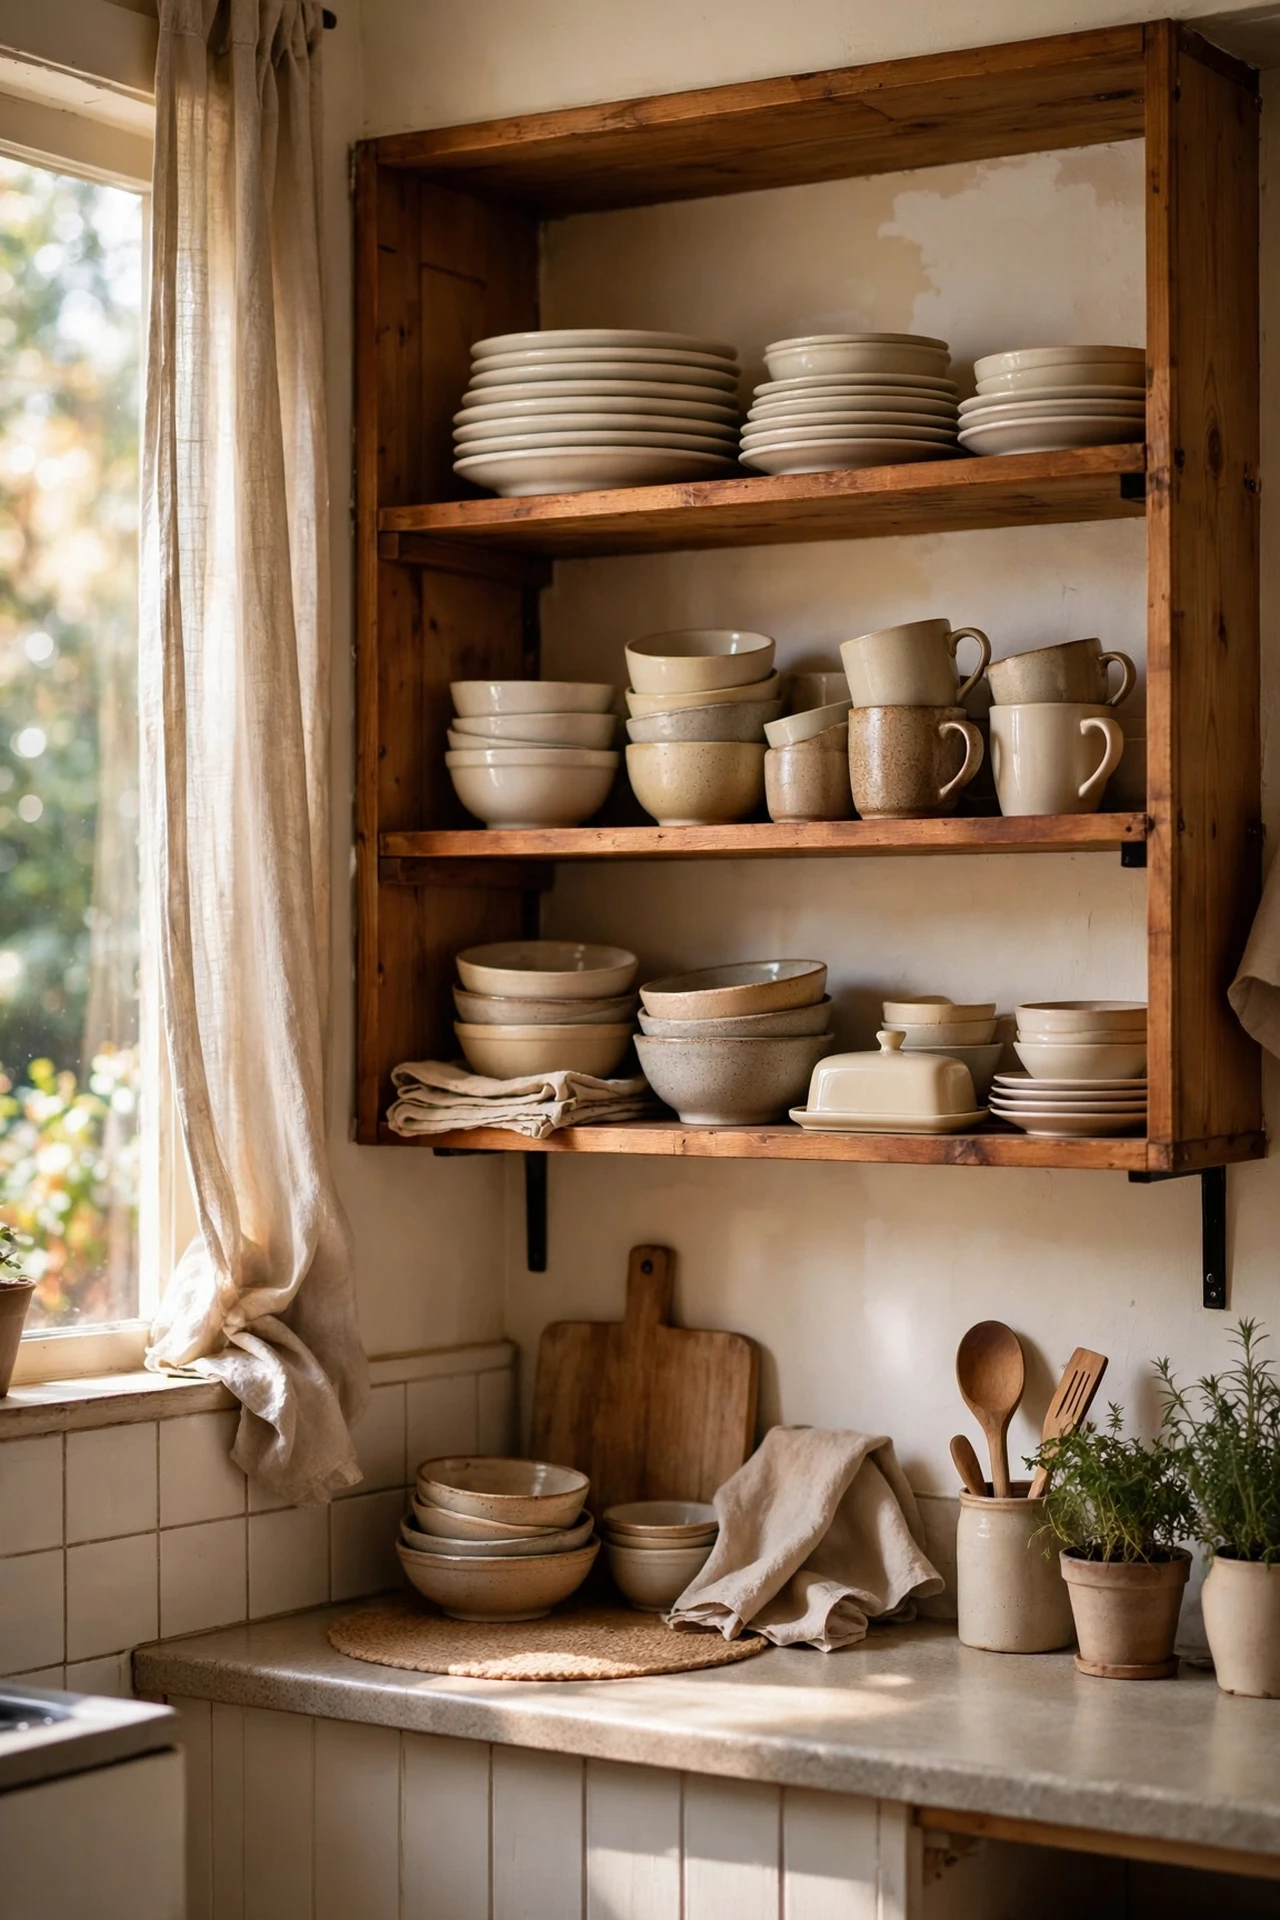
Removing a single upper cabinet and replacing it with open shelves takes visual weight off the wall and gives you a styling moment. Take the door off carefully, fit two wooden shelves on brackets at the same height, and display your nicest everyday crockery in neat stacks. Keep it to things you use weekly so nothing gathers dust. I tried styling mine with purely decorative items and then had nowhere for the actual plates. The mistake to avoid is treating open shelves as decor only; they must work as storage too, or you’ve just lost a cupboard for nothing. More on this in our (see also: open-shelving-kitchen-ideas) post.
Cost: ~$22 | Time: 1 hour
11. Use Clear Containers in the Pantry
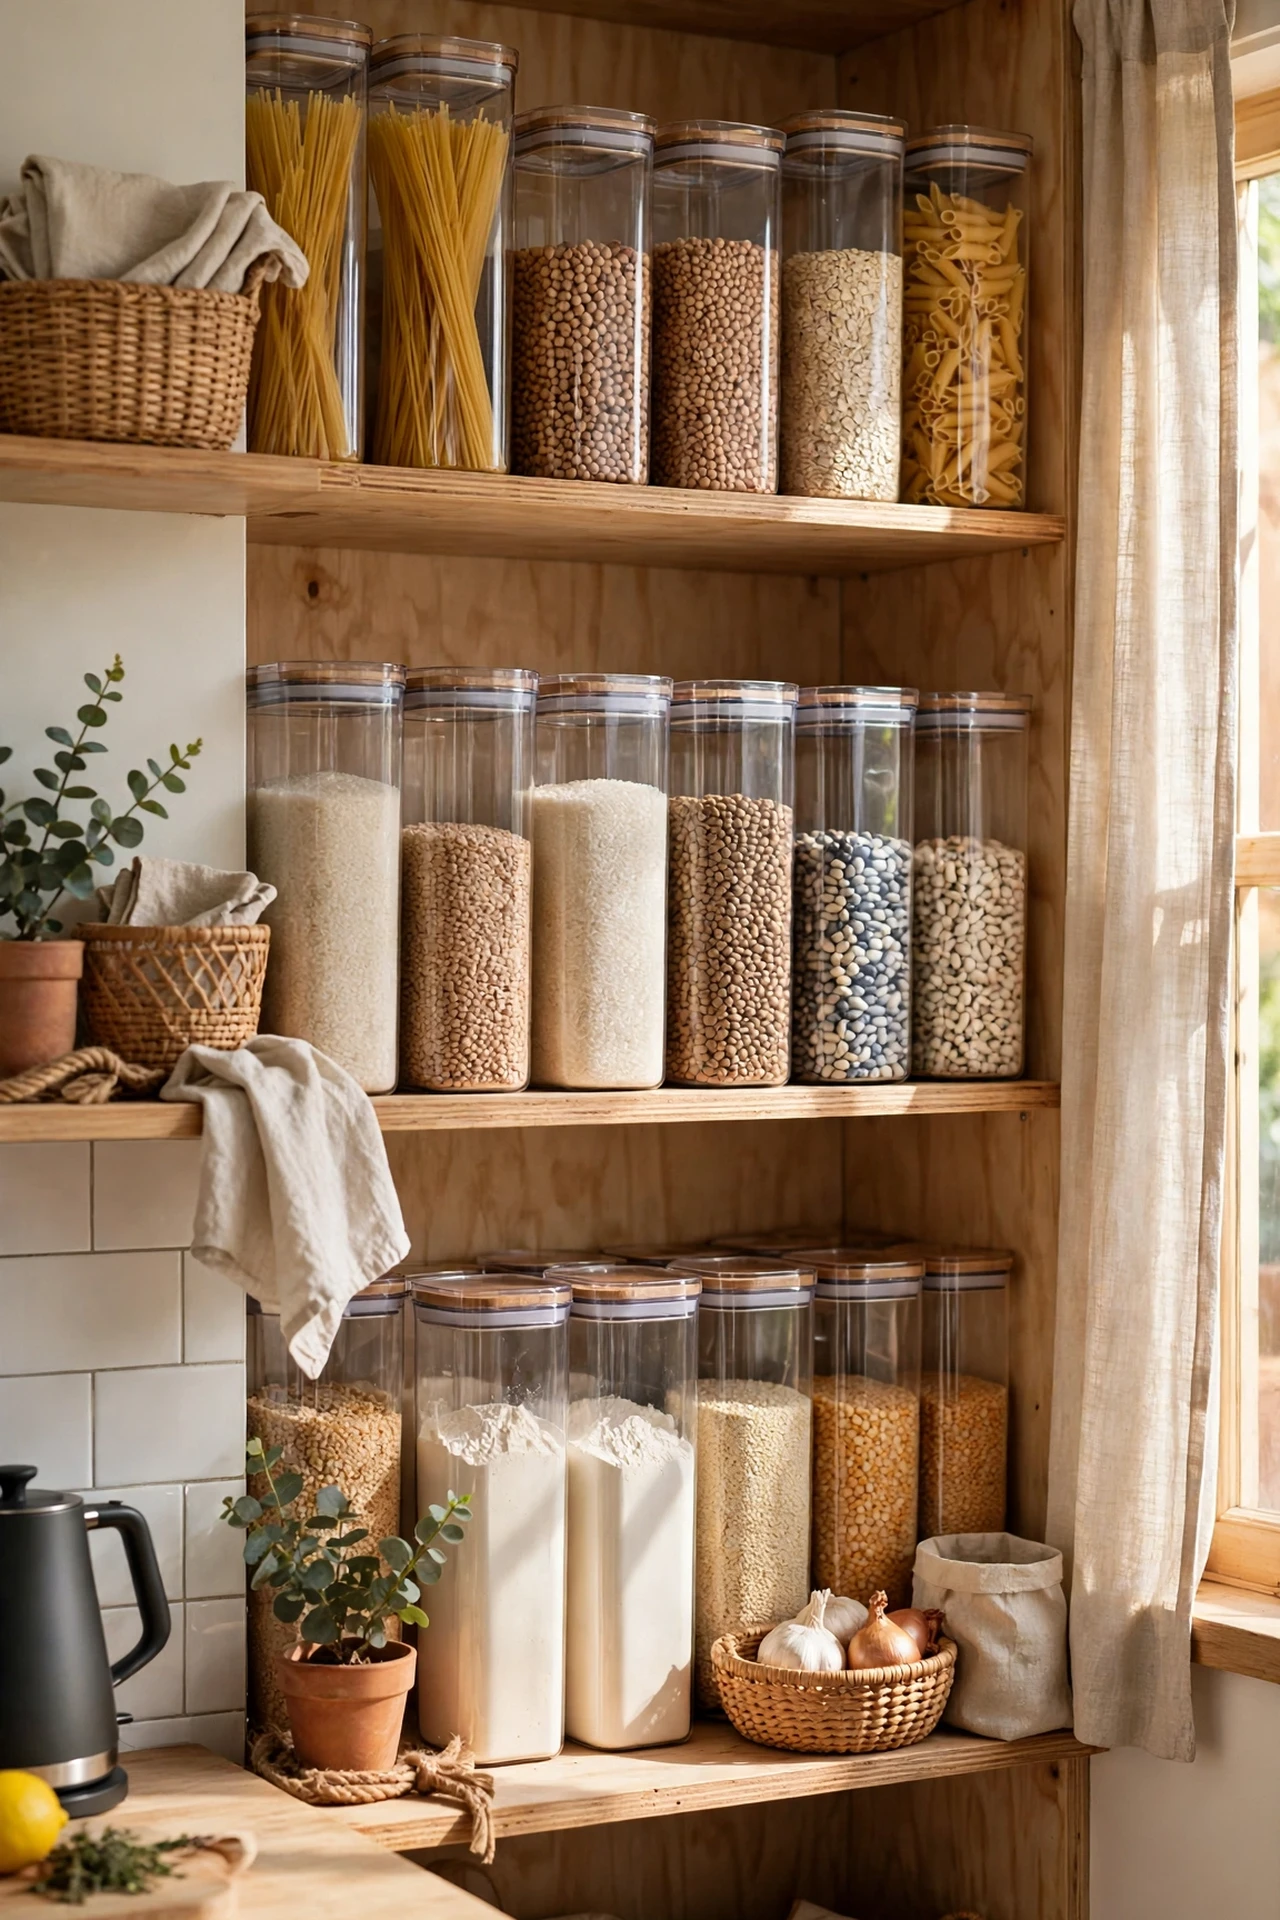
You can’t see into opaque packets, so you buy duplicates and the pantry overflows — clear containers end the cycle and make shelves look orderly. Decant dry goods into matching clear jars or stackable boxes, label them simply, and line them up with the labels facing out. Start with the worst shelf rather than doing the whole pantry at once. I tried decanting everything in one go and burned out halfway with a kitchen full of open packets. The mistake to avoid is buying containers before measuring your shelves; jars that don’t fit the shelf height are useless.
Cost: ~$20 | Time: 1 hour
12. Choose a Single Statement Pendant
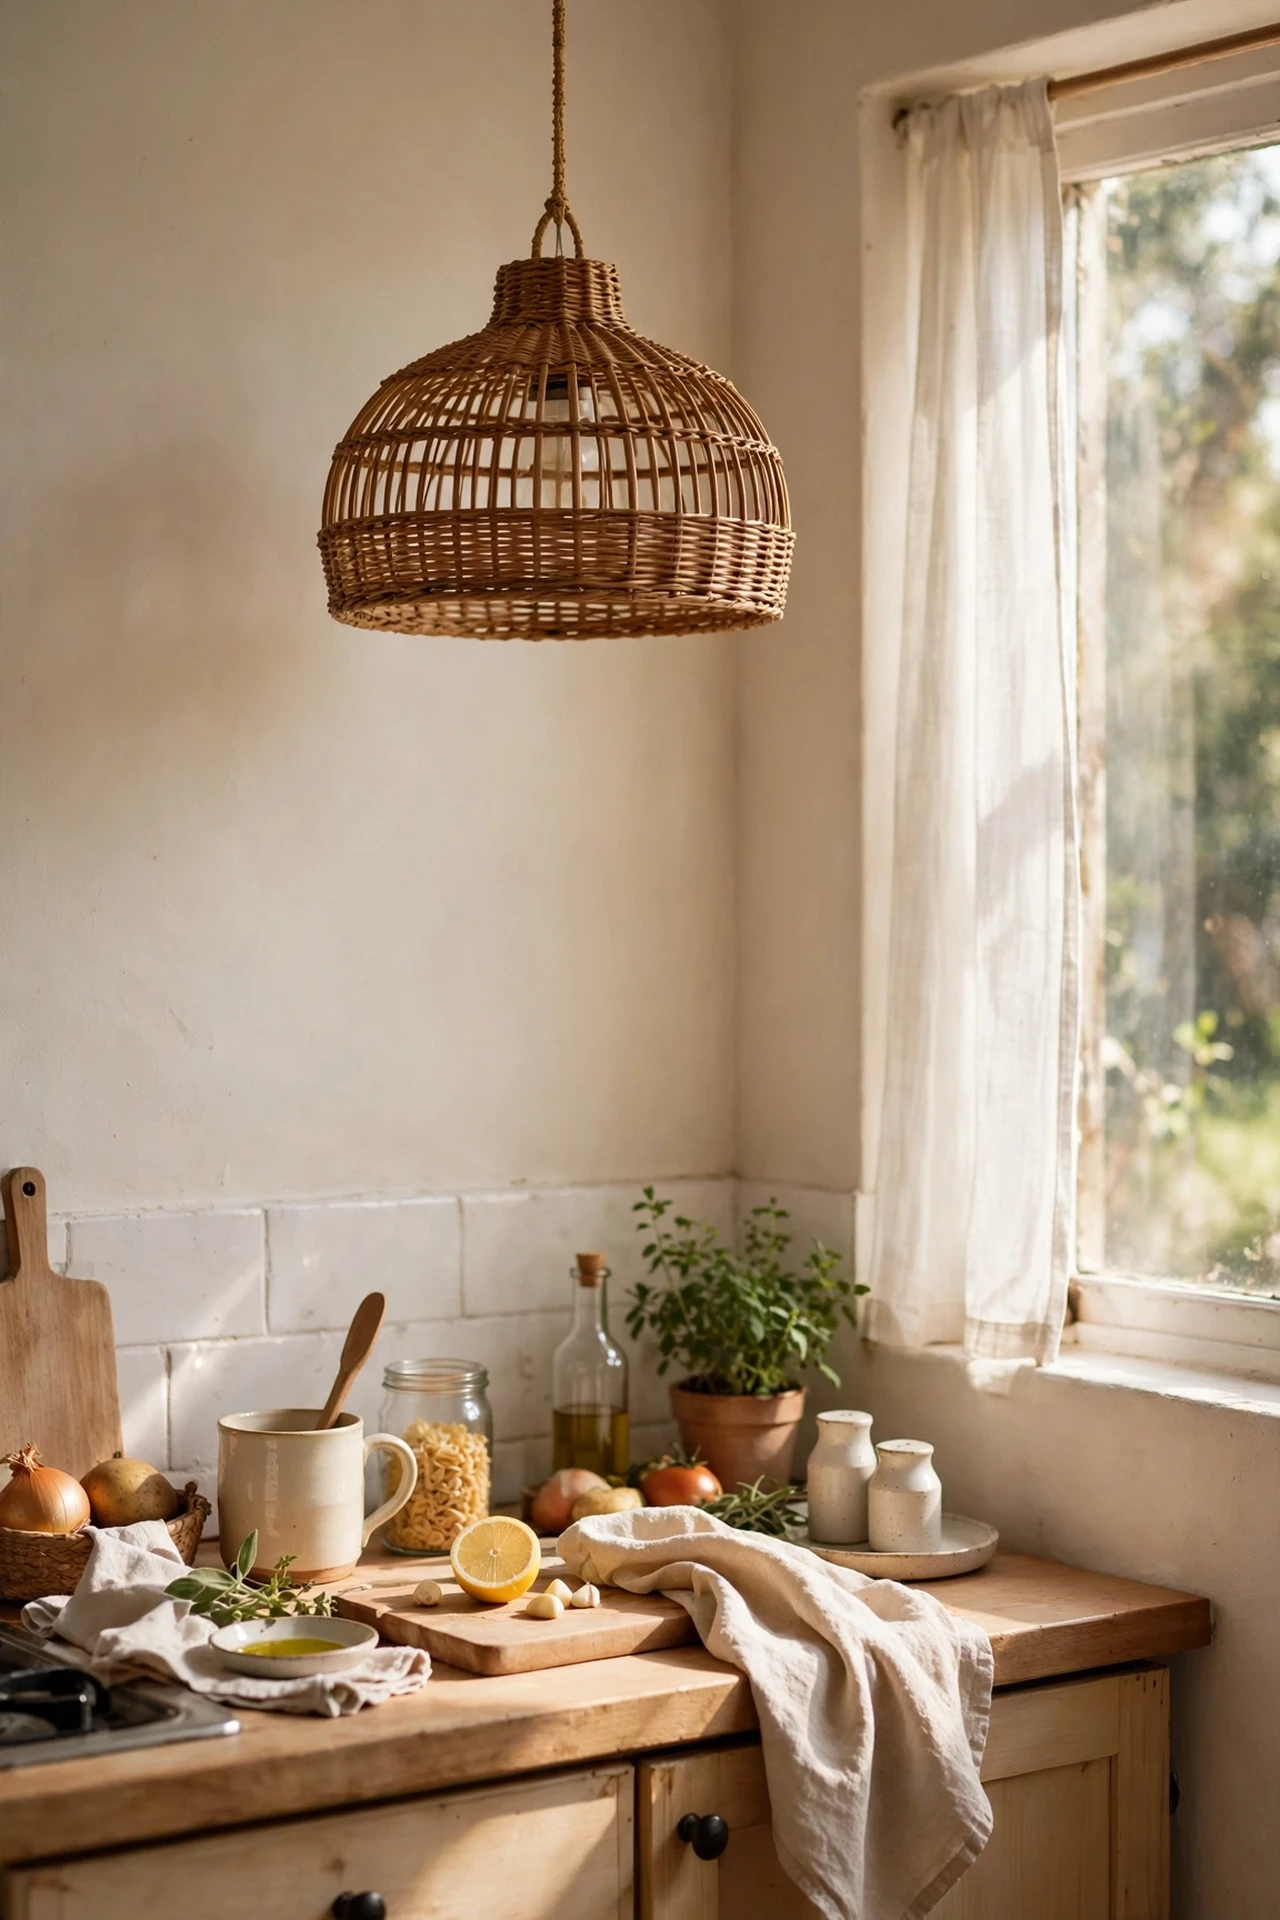
One well-chosen pendant light over the main work area draws the eye up and makes the ceiling feel higher, while multiple small fittings chop the space up. Hang a single pendant with a slim profile — rattan, glass, or a simple metal shade — about 75cm above the counter surface. If wiring worries you, plug-in pendant kits hang from a ceiling hook with no electrician needed. I tried three mini pendants and the ceiling looked busy. The mistake to avoid is hanging it too low; it should clear your sightline when you stand at the counter.
Cost: ~$30 | Time: 40 minutes
13. Hide the Bins Inside a Cabinet
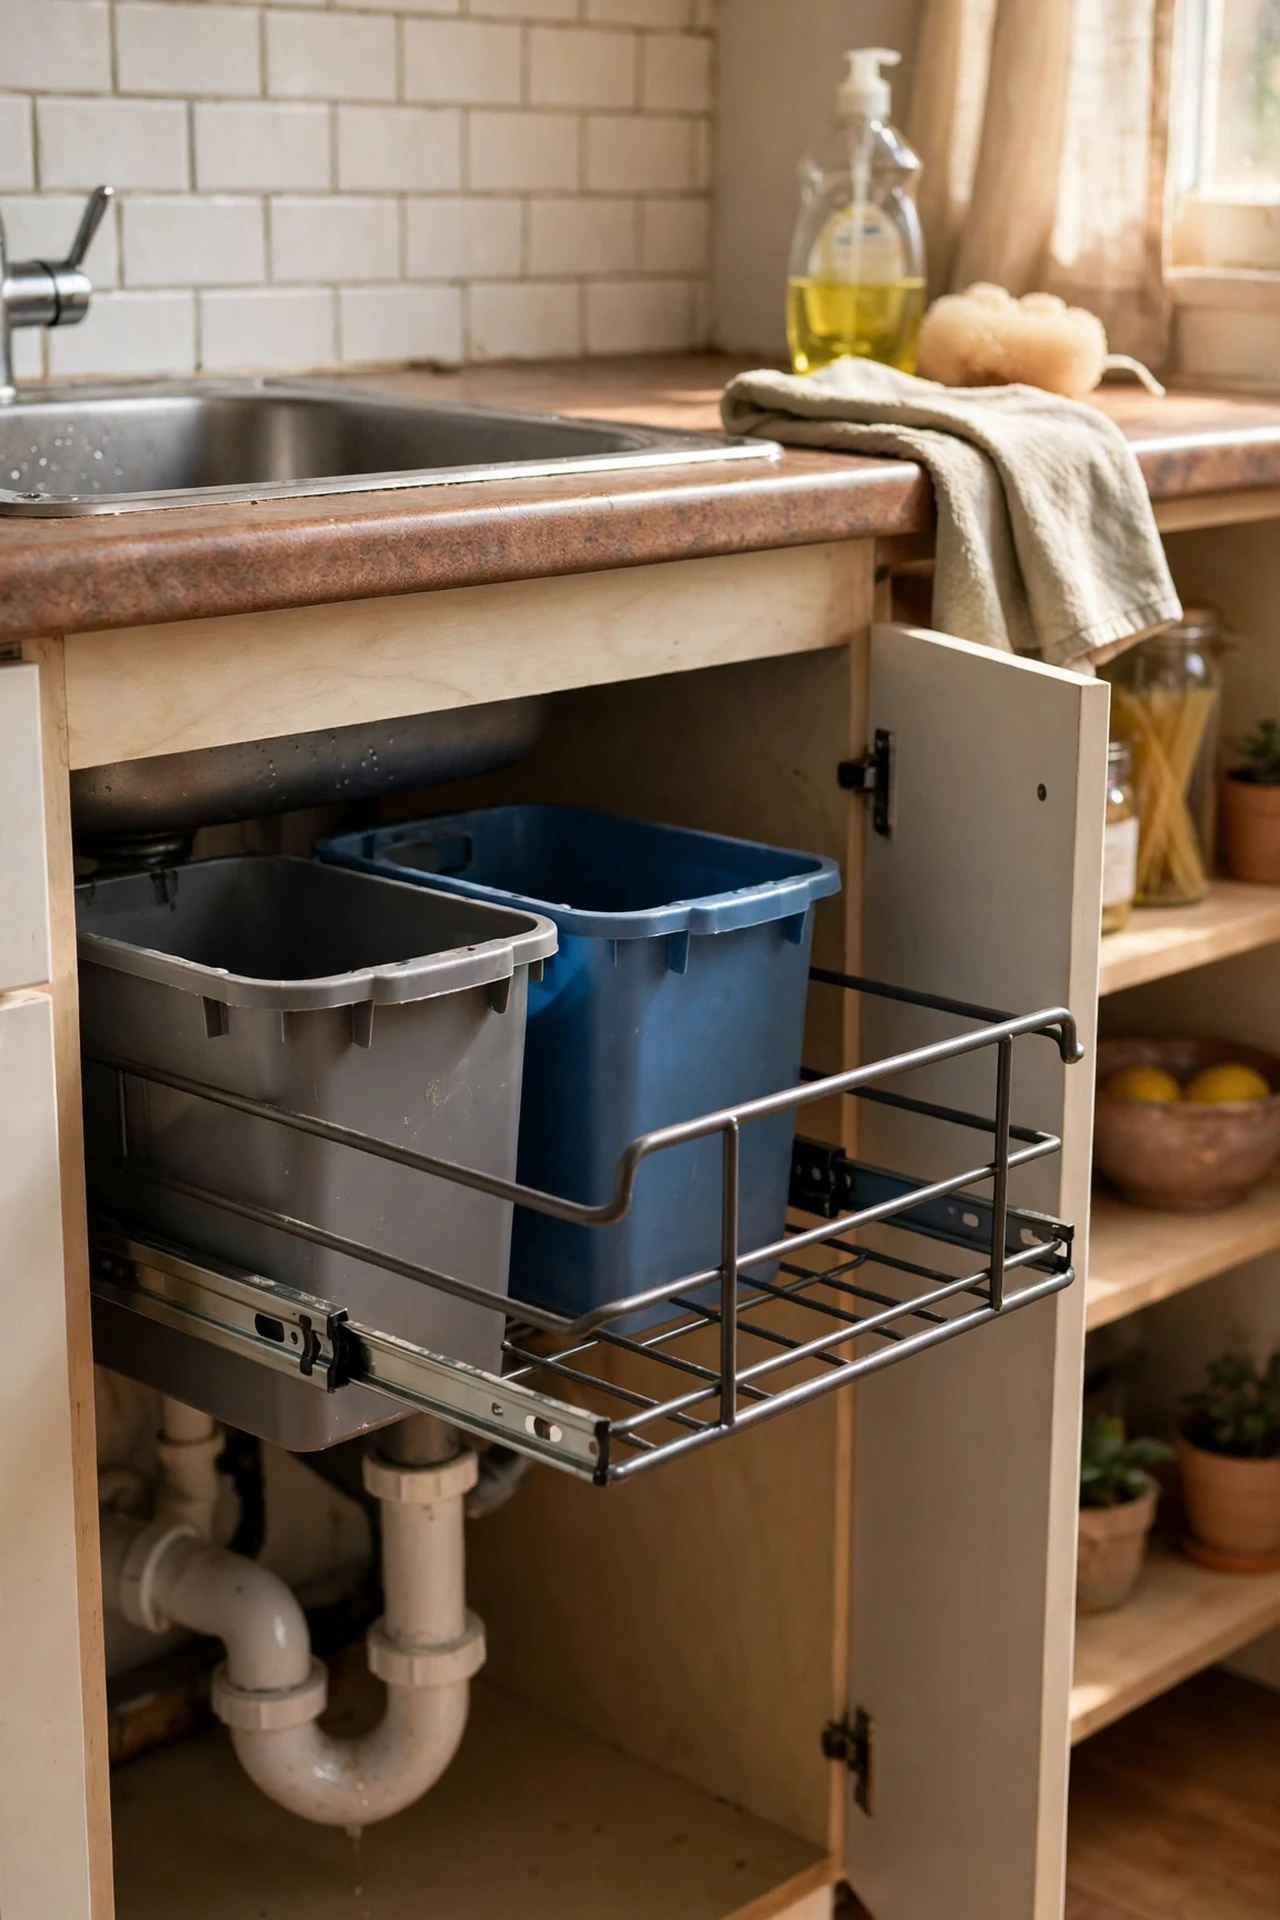
A freestanding bin in a small kitchen is a space thief and an eyesore, so move it inside a cabinet with a pull-out frame. Fit a simple pull-out bin kit into the cabinet under the sink or next to the dishwasher, and the floor stays clear and the room instantly looks bigger. Measure your cabinet interior before buying the kit, and choose one with a soft-close runner. I tried just shoving a bin in the cabinet without a frame and it slid around and tipped. The mistake to avoid is skipping the mounting hardware; the pull-out frame is what makes it actually usable.
Cost: ~$35 | Time: 1 hour
14. Go Handleless or Use Slim Pulls
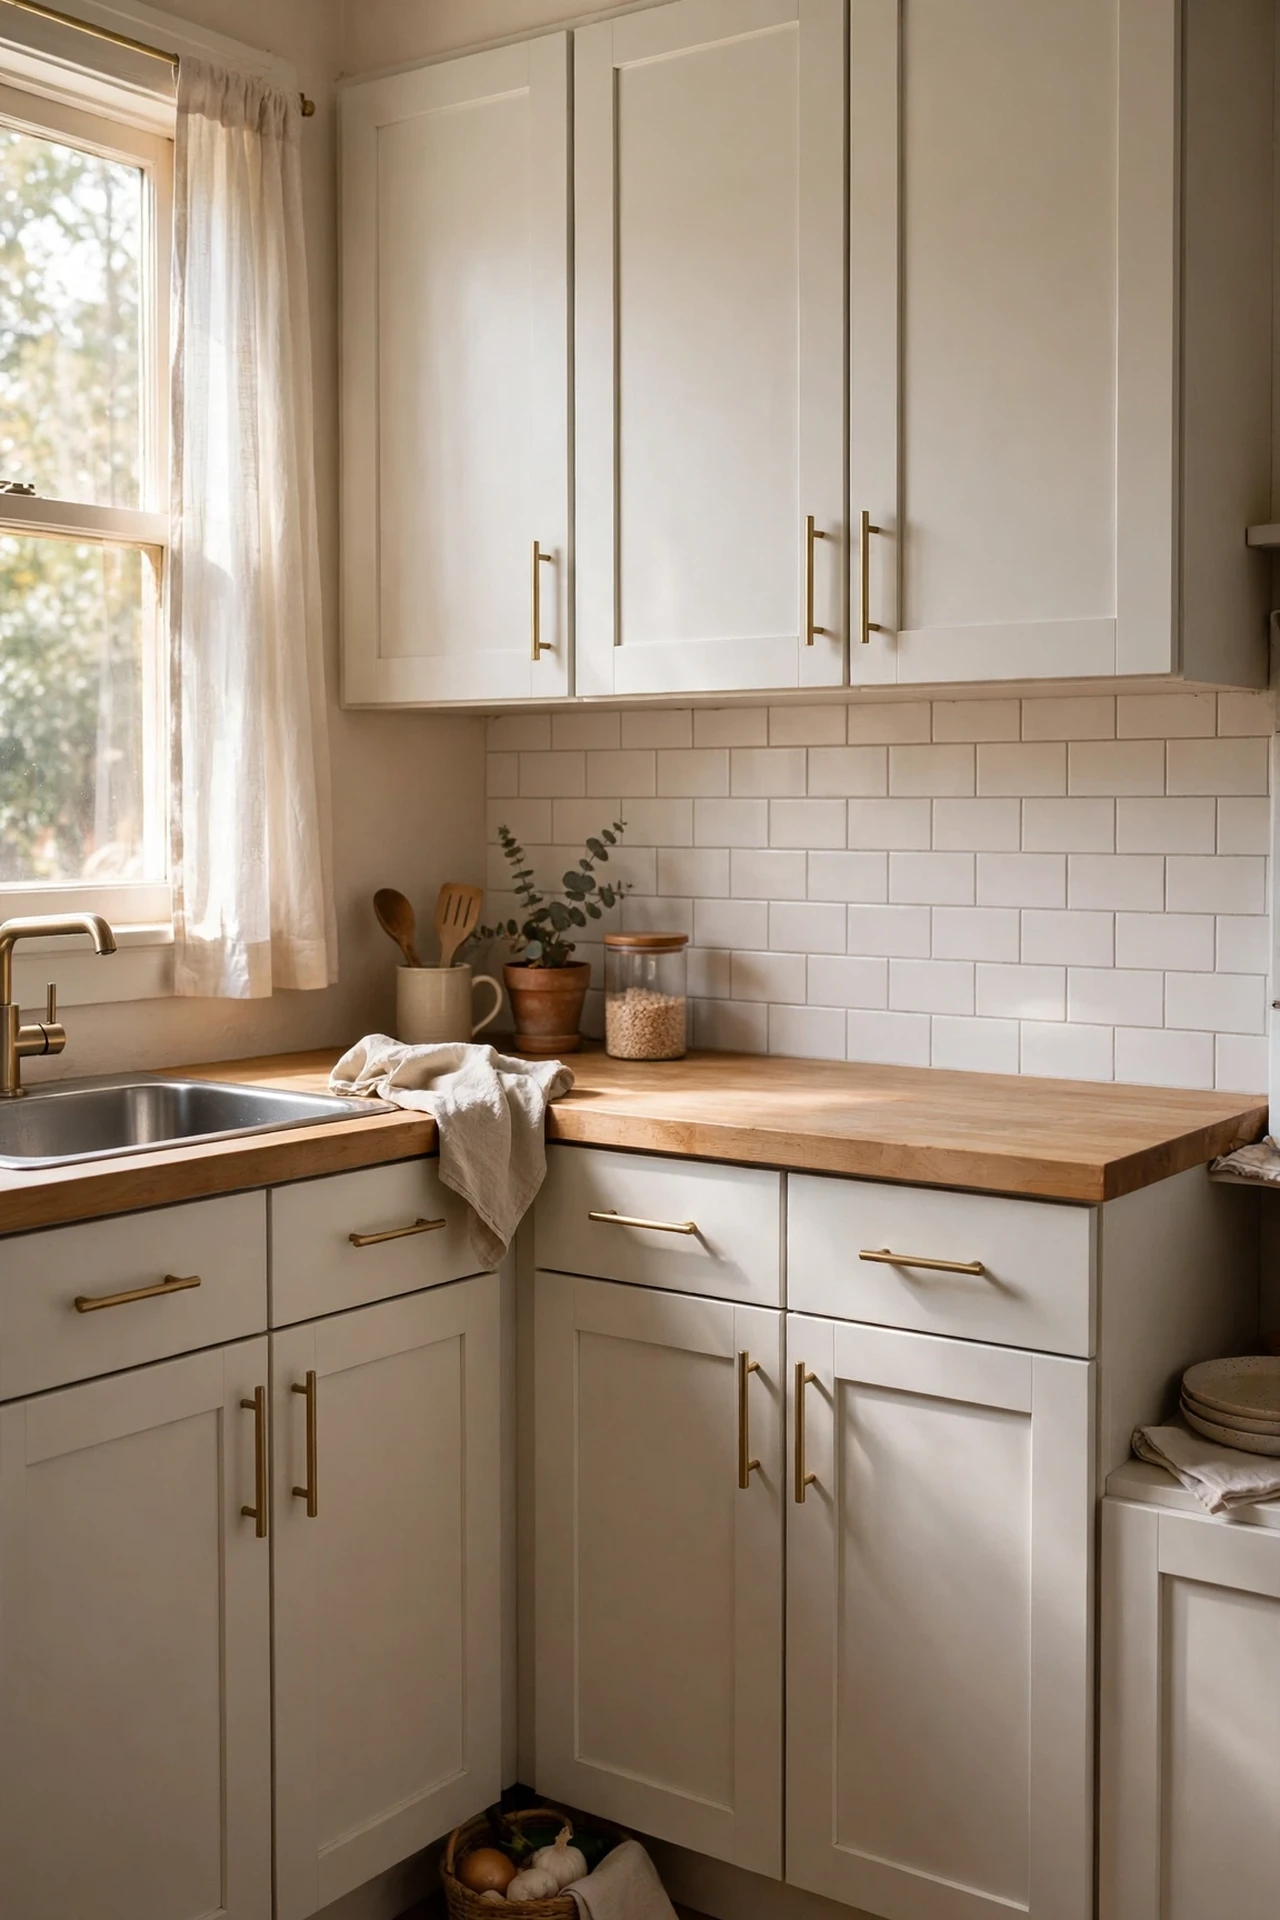
Chunky handles catch your clothes and your eye, breaking up the cabinet run into busy bits — slim pulls or handleless fronts let the units read as one calm surface. Swap existing handles for slim bar pulls in a matching finish, which is a screwdriver job, or add push-to-open latches for a fully handleless look. Keep every handle the same style throughout. I tried mixing brass and black handles and it looked like a sample sale. The mistake to avoid is mixing finishes; one finish, everywhere, is what makes it look designed.
Cost: ~$16 | Time: 45 minutes
15. Style the Windowsill, Not the Worktop
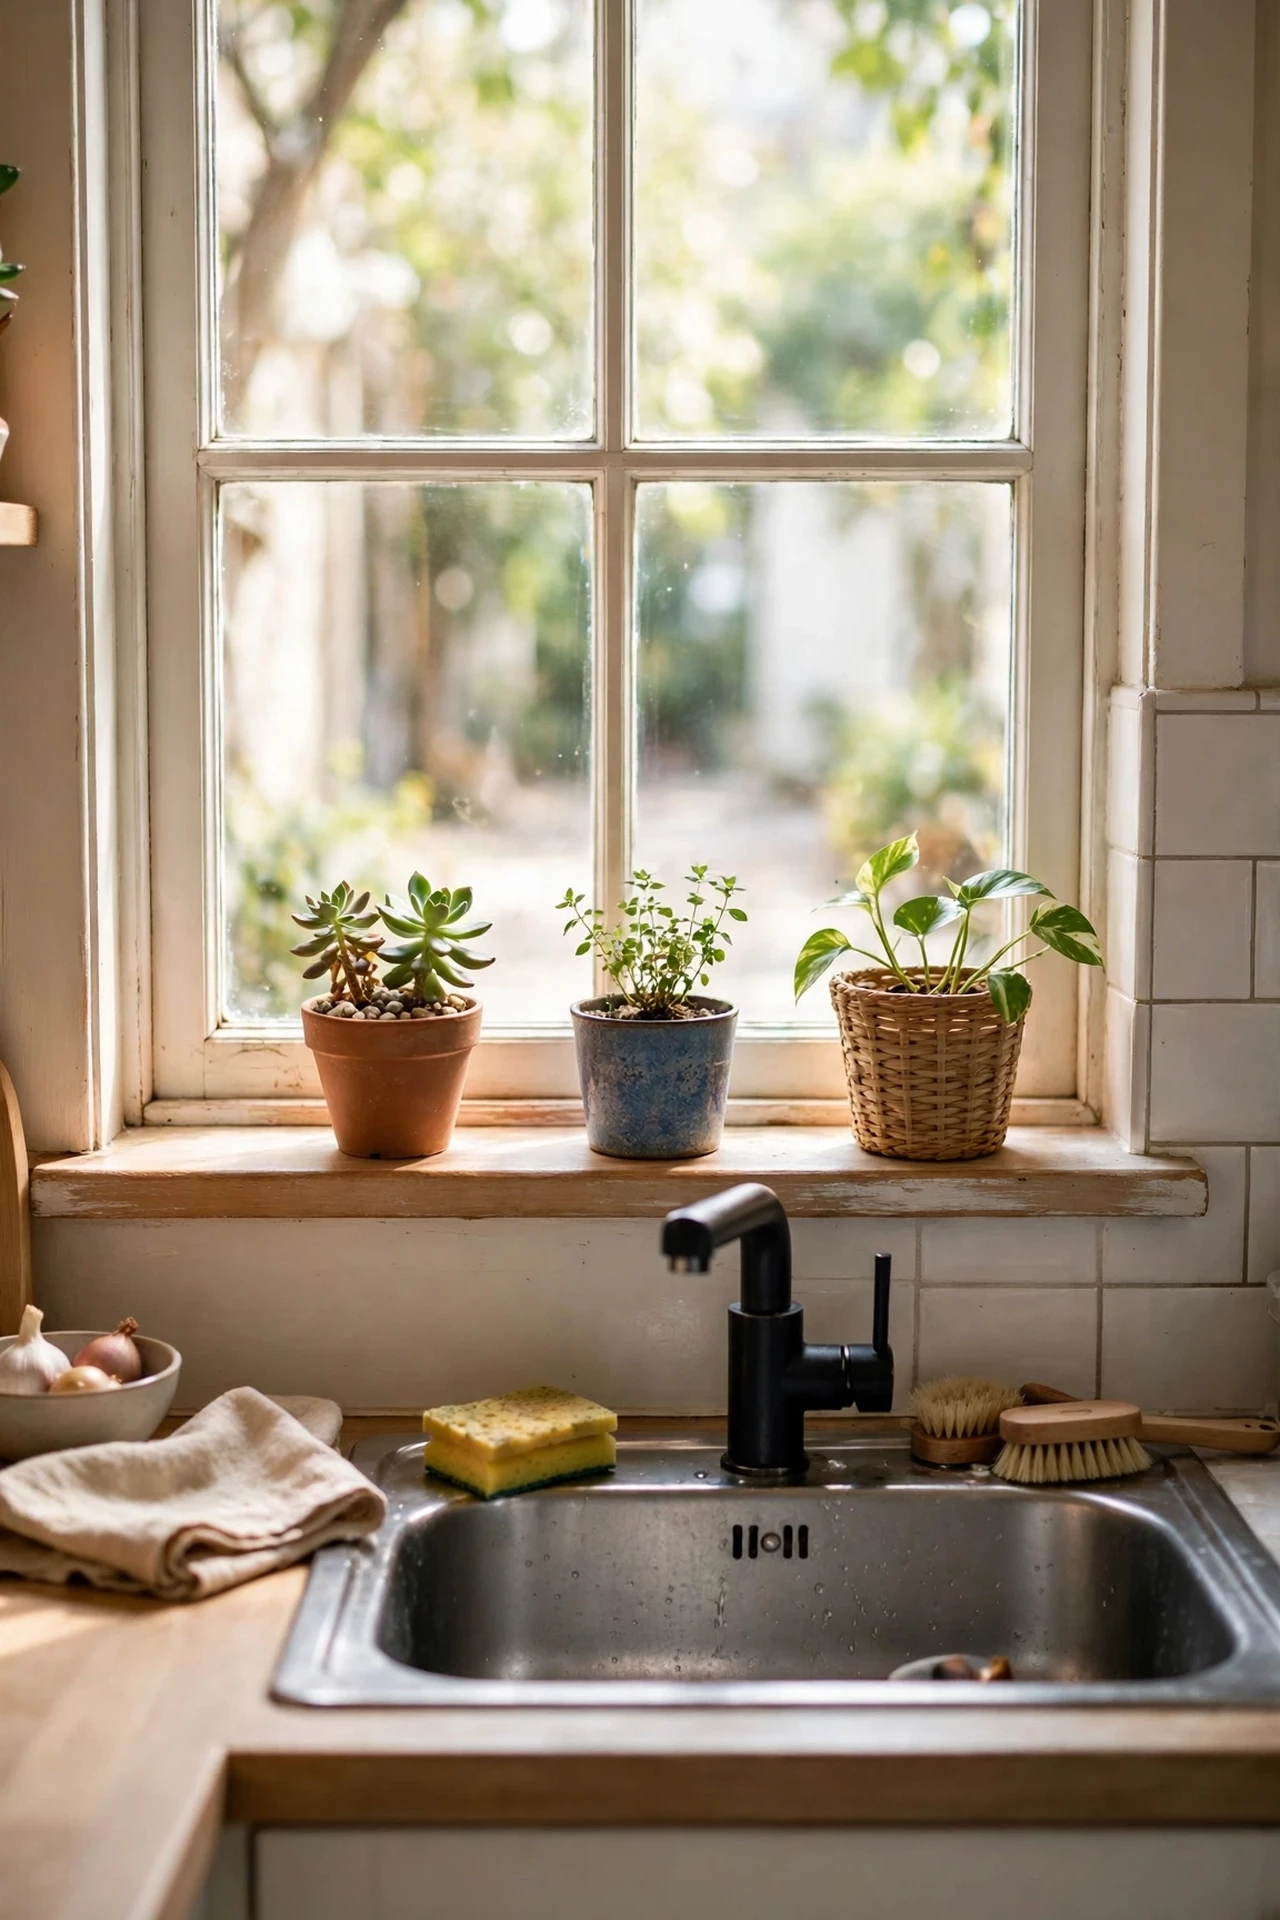
When worktop space is precious, the windowsill becomes your display shelf — a row of small plants or a candle there adds charm without costing you a centimetre of prep space. Line up three small pots or a single trailing plant, keep everything narrow enough that the window still opens, and wipe the sill monthly. I tried cramming a big plant collection there and blocked half the light. The mistake to avoid is overcrowding the sill; it’s a windowsill, not a greenhouse, and the light it lets in matters more than the decor. For more surface-saving tricks, see our (see also: budget-kitchen-decor-ideas) roundup.
Cost: ~$8 | Time: 15 minutes
Your Small Kitchen Questions, Answered
What is the cheapest way to make a small kitchen look bigger?
Paint and light. A tin of warm white paint plus a £12 LED strip under the cabinets will change the room more than any new furniture, and together they cost less than a takeaway for two.
Should I remove upper cabinets in a small kitchen?
Not all of them — you’ll miss the storage. Remove one or two and replace them with open shelves or leave the space clear, which lifts the visual weight off the wall without losing all your cupboards.
Do dark colours ever work in a small kitchen?
Yes, as accents. A dark green island or a black tap looks striking against pale walls, but keep the big surfaces — walls, floors, main cabinets — light so the room keeps its airy feel.
Small kitchens reward the ruthless and the clever in equal measure. Start with paint and light this weekend, then work through one storage fix at a time — by the end of the month you won’t recognise the place.
