25 Beige Kitchen Ideas That Feel Fresh
My kitchen used to be the room I apologised for. The cupboards were a tired yellow-cream, the walls had that flat rental magnolia, and every photo I took of dinner came out looking slightly sad. I couldn’t afford a refit, so I went all-in on beige instead — warm, layered, deliberate beige. Two weekends later the same small kitchen felt calm and pulled-together, and friends started asking who’d done it. These beige kitchen ideas are the exact moves I tried, kept, or learned from, all priced for real budgets.
The cheapest picks, if you’re in a hurry:
- Warm beige grout refresh — ~$12
- No-sew biscuit stool cushions — ~$18
- Beige checked tea towels on a rail — ~$15
- Terracotta herb pots on the sill — ~$20
- Linen-look café curtains — ~$25
Save this one to your kitchen board — you’ll want it when you repaint.
1. Beige Shaker Cabinets With Brass Cup Pulls
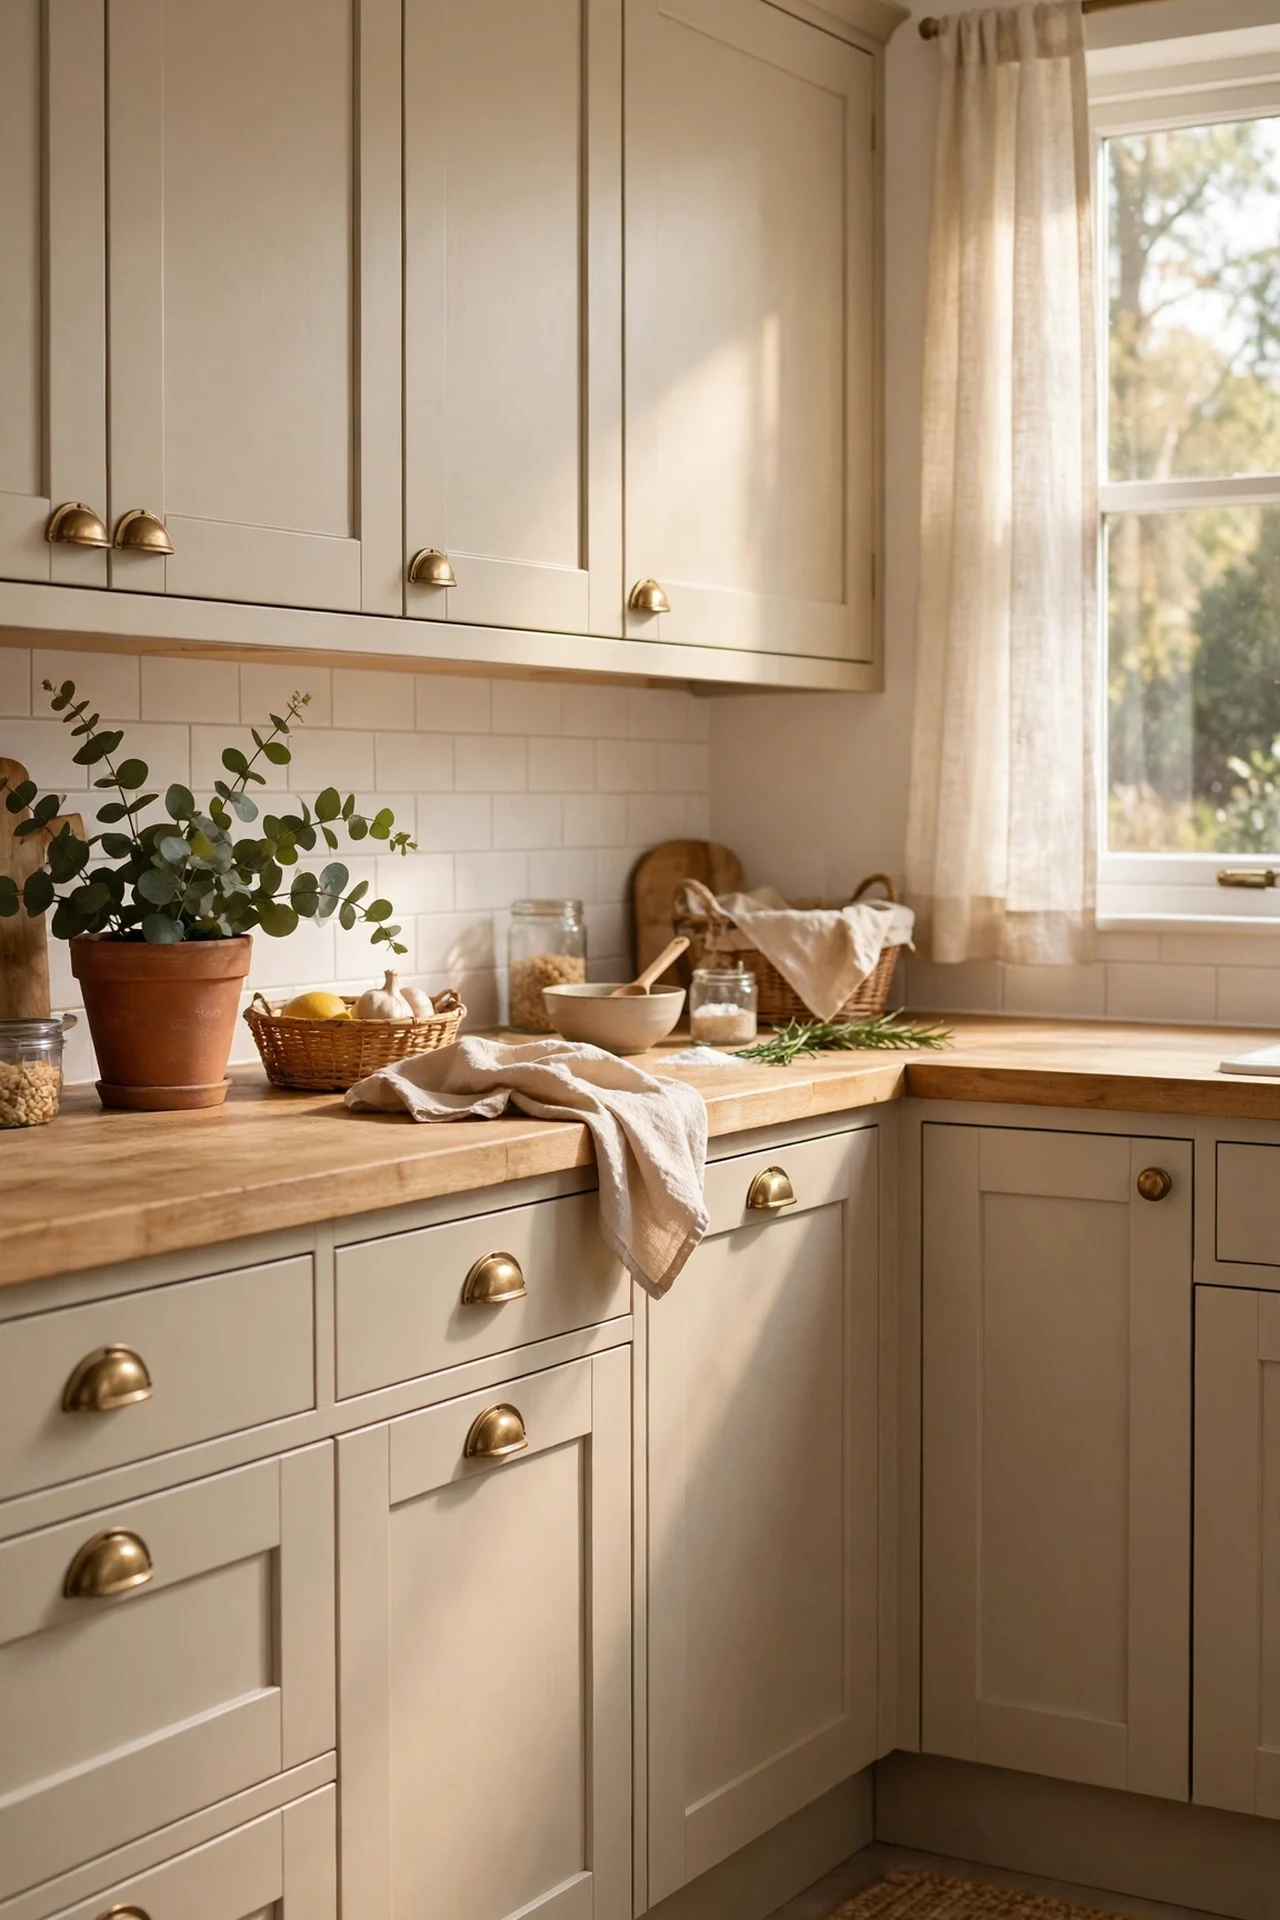
Painting my upper and lower cabinets in a warm greige-beige was the single biggest change in the room. I cleaned every door with sugar soap, gave them a light sand, then rolled on two coats of a satin cabinet paint in a shade called warm putty. The trick is swapping the handles at the same time — I fitted £2 brass cup pulls on the drawers and small knobs on the doors, and suddenly flat-pack units looked bespoke. I tried brushing the first door and it left streaks, so a small foam roller is the move, and take the doors off their hinges to paint them flat on dust sheets. Let each coat cure a full day before rehanging or you’ll get fingerprints baked in.
Cost: ~$65 | Time: one weekend
2. Warm Greige Walls With White Open Shelving
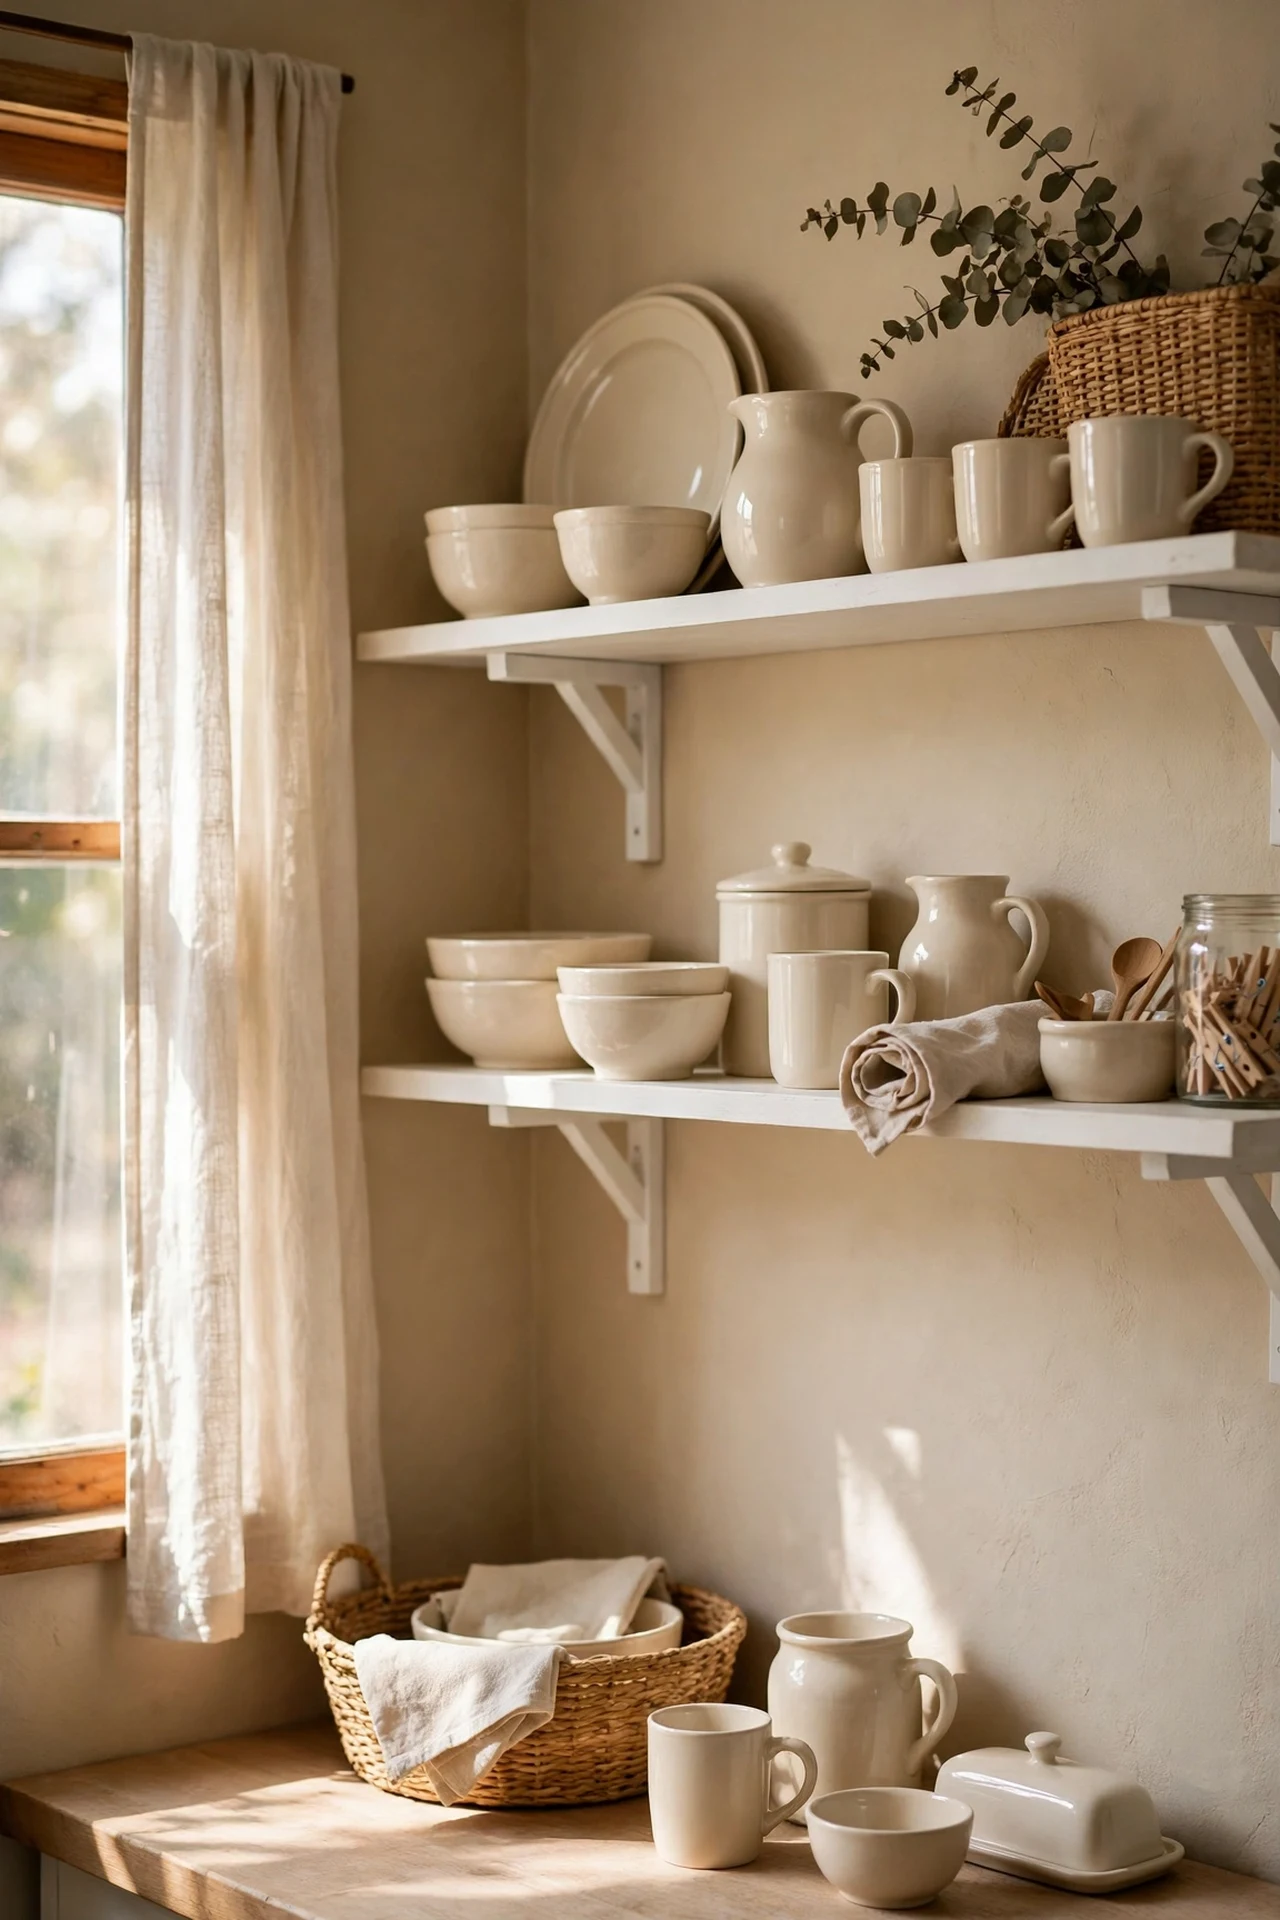
Beige walls get a bad name because people pick the cold, pinky kind. I went for a warm greige with a yellow undertone and the whole kitchen stopped looking washed out. First I painted just one wall as a tester and lived with it for three days — morning light and evening light change beige completely, so don’t skip this. Then I put up two simple white floating shelves on the emptiest wall and styled them with cream bowls and a couple of glass jars. The shelves break up the beige so it reads as a choice rather than a default. One mistake to avoid: don’t paint over greasy walls without degreasing, or the paint will peel within a month. Sugar soap first, always.
Cost: ~$45 | Time: one day
3. Oatmeal Subway Tile Splashback
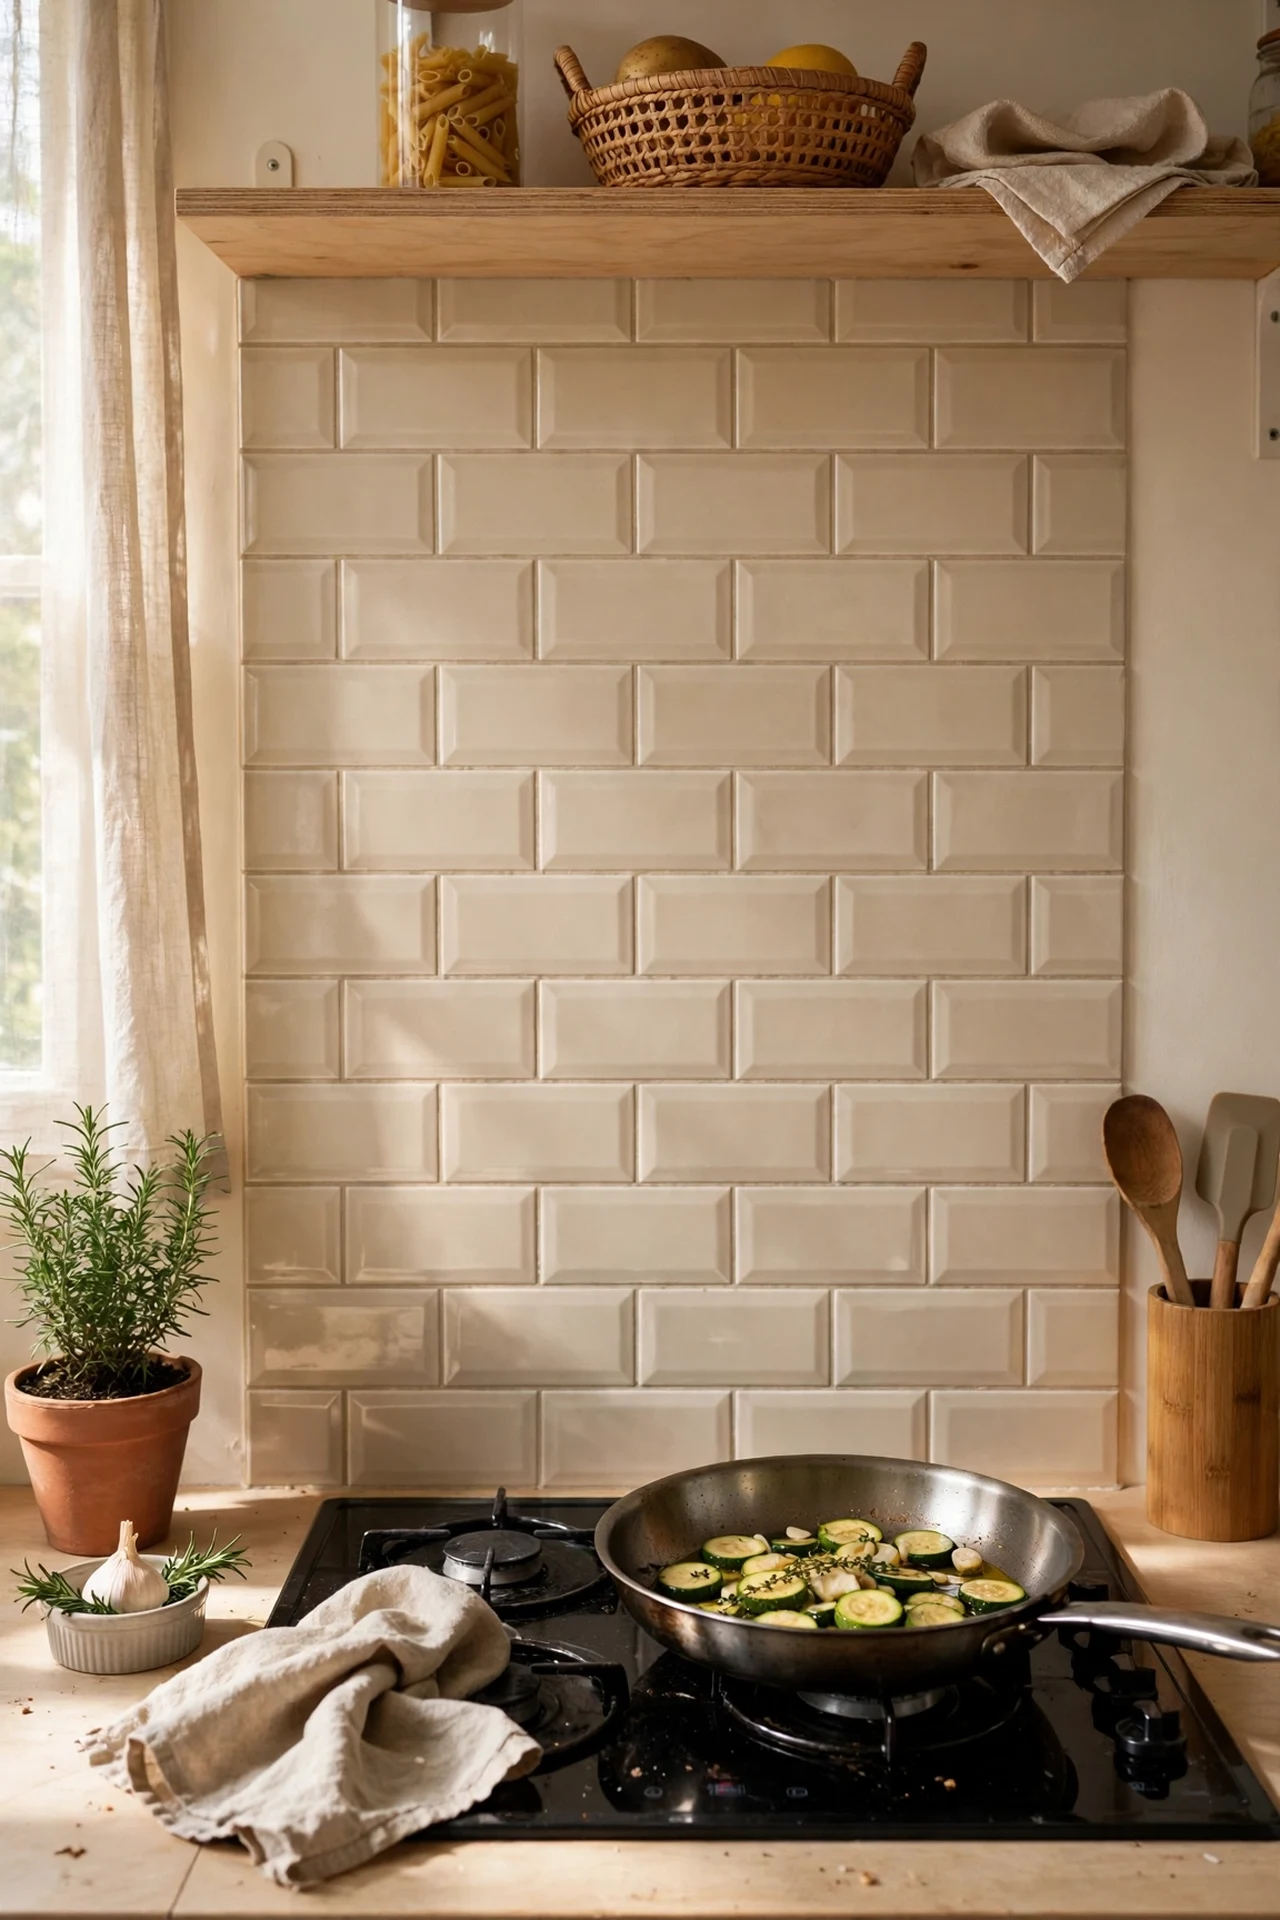
My old splashback was a patch of stained paint behind the hob, so I tiled it with oatmeal-coloured subway tiles and it changed the cooking zone completely. I used peel-and-stick tiles because my walls were uneven and I didn’t trust myself with adhesive — they went up in an afternoon with a craft knife and a spirit level. Start from the centre and work outward so the cut tiles land at the edges where they’re less noticeable. I tried to rush the measuring on the first row and ended up with a wavy line I had to peel off and redo, so slow down on row one. Seal the edges with a thin bead of silicone and it looks properly finished.
Cost: ~$55 | Time: half a day
4. Beige Quartz-Look Laminate Counter Overlay
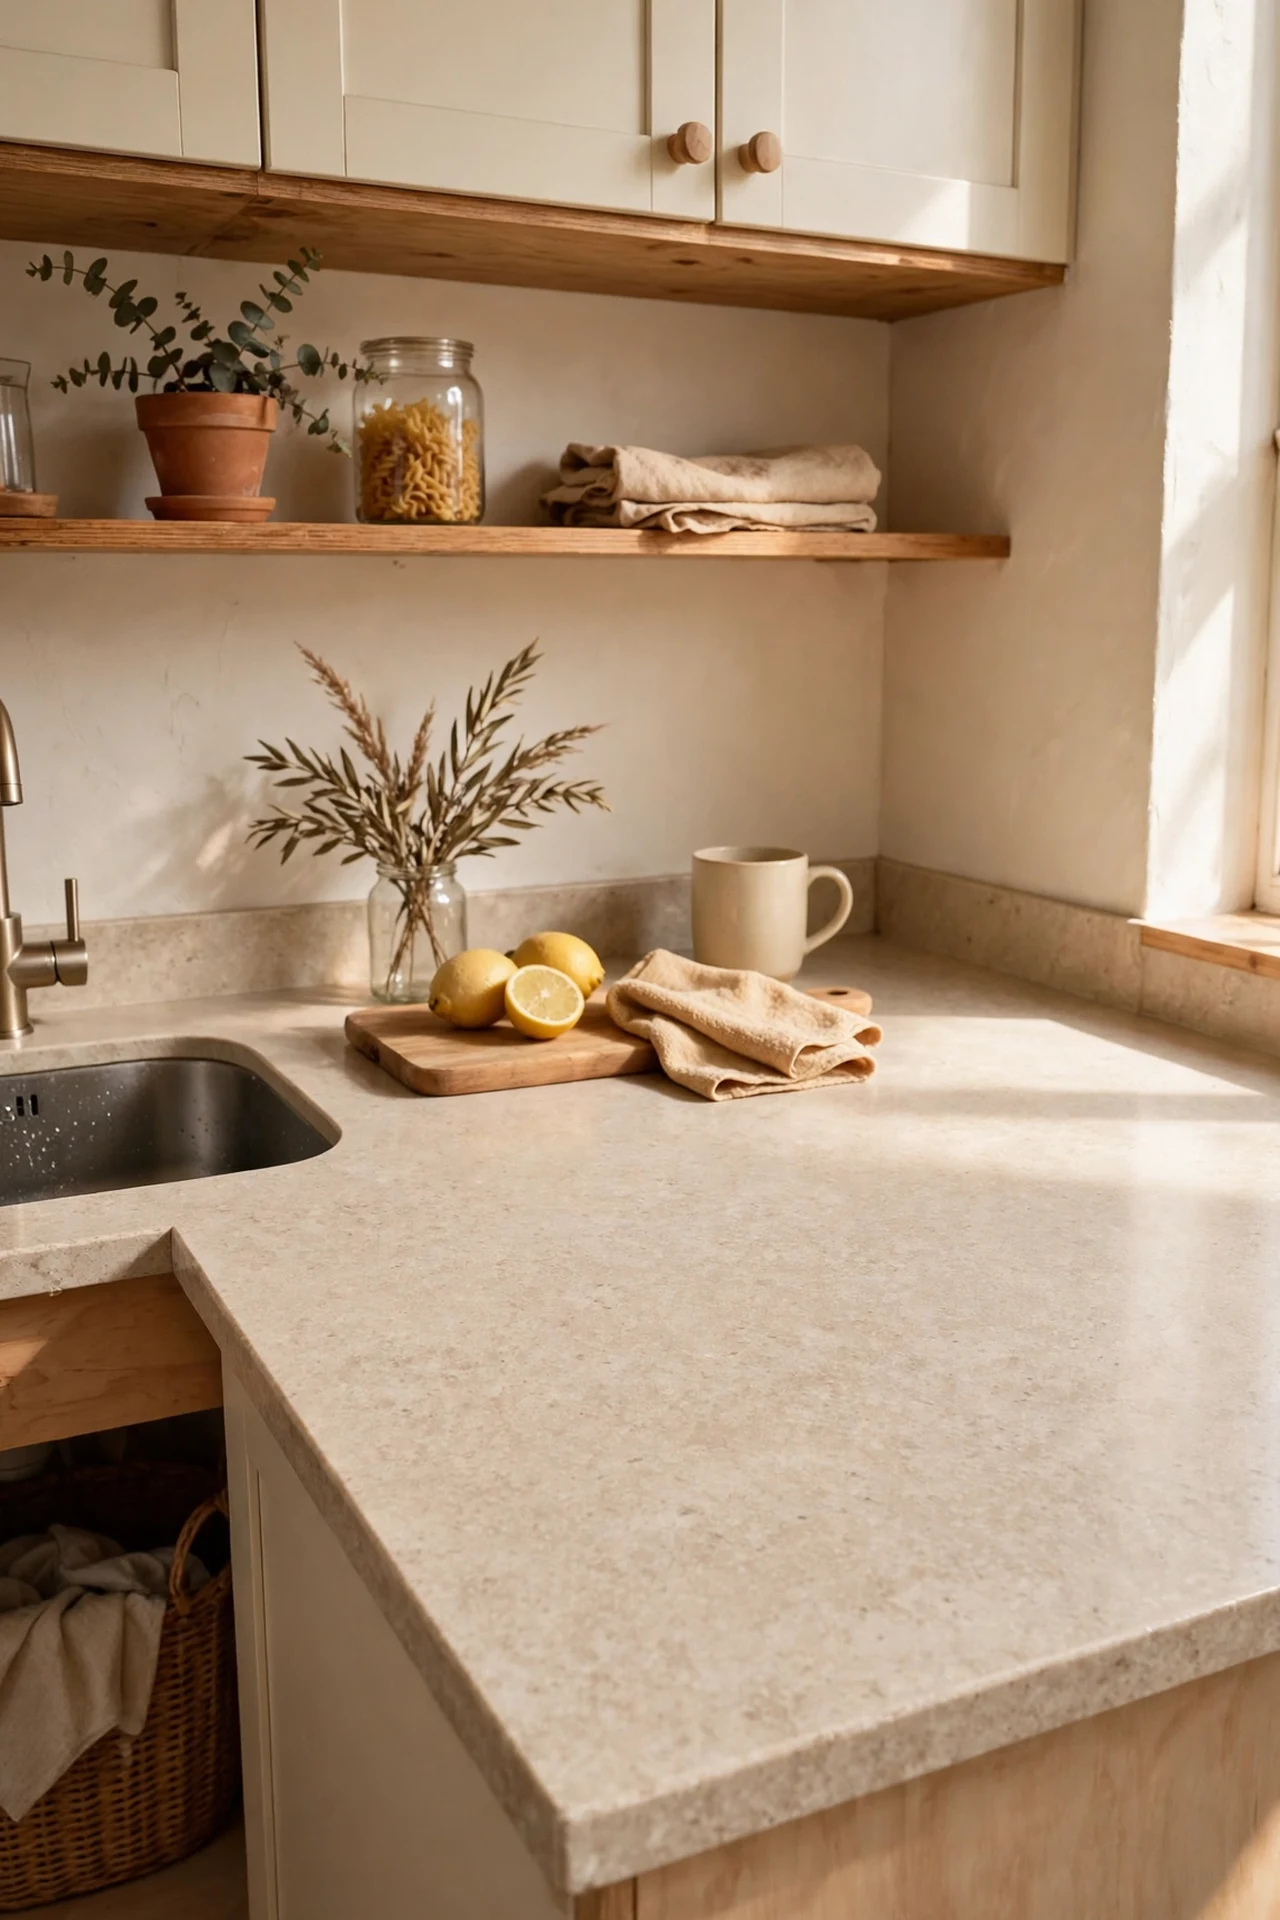
New worktops were wildly out of budget, so I covered my scratched laminate with a beige quartz-look adhesive film and honestly, guests can’t tell. The key is buying the thicker, heat-rated film and working in sections with a felt squeegee to push out air bubbles. I cleaned the old counters with isopropyl alcohol first so the film would grip, then wrapped the front edges by heating the film gently with a hairdryer so it curved without creasing. The mistake to avoid is cutting the film exactly to size — leave a 2cm overhang and trim it flush with a sharp blade after it’s stuck down. It’s held up to daily cooking for months now.
Cost: ~$40 | Time: 3 hours
5. Linen Café Curtains on a Tension Rod
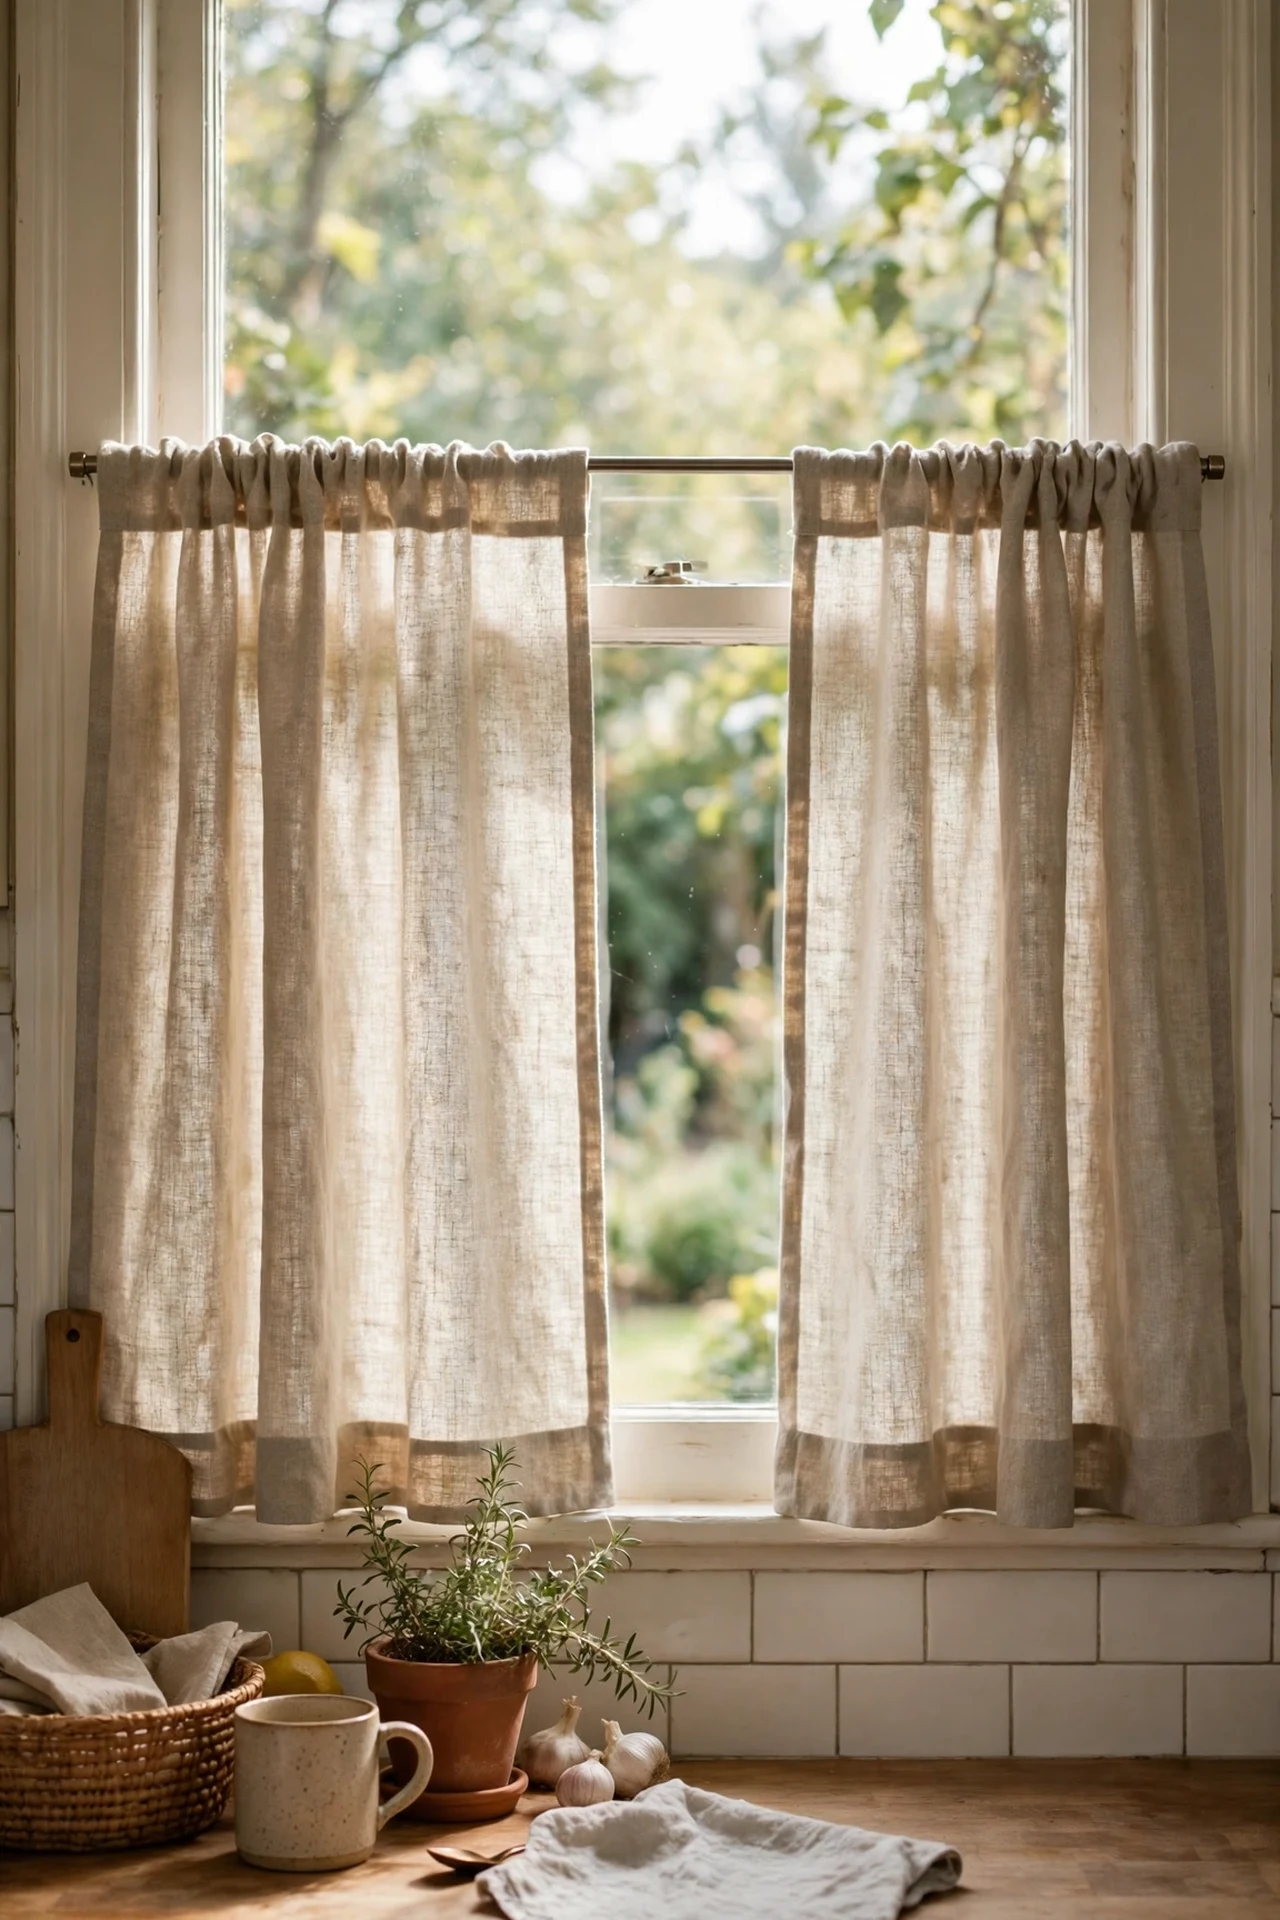
The bare kitchen window made everything feel stark, but full curtains would have blocked the light I desperately needed. Café curtains — the half-height kind — were the answer. I bought two linen-look panels in natural oatmeal and hung them on a cheap tension rod at mid-window height, which took about ten minutes and zero drilling. They soften the daylight, hide the bins outside, and still let the sun pour over the top. I tried ironing them first and they looked too crisp, so I washed them once and hung them damp for that relaxed lived-in drape. If your window is wide, get two panels rather than one stretched thin.
Cost: ~$25 | Time: 20 minutes
6. Pale Maple Butcher-Block Island Top
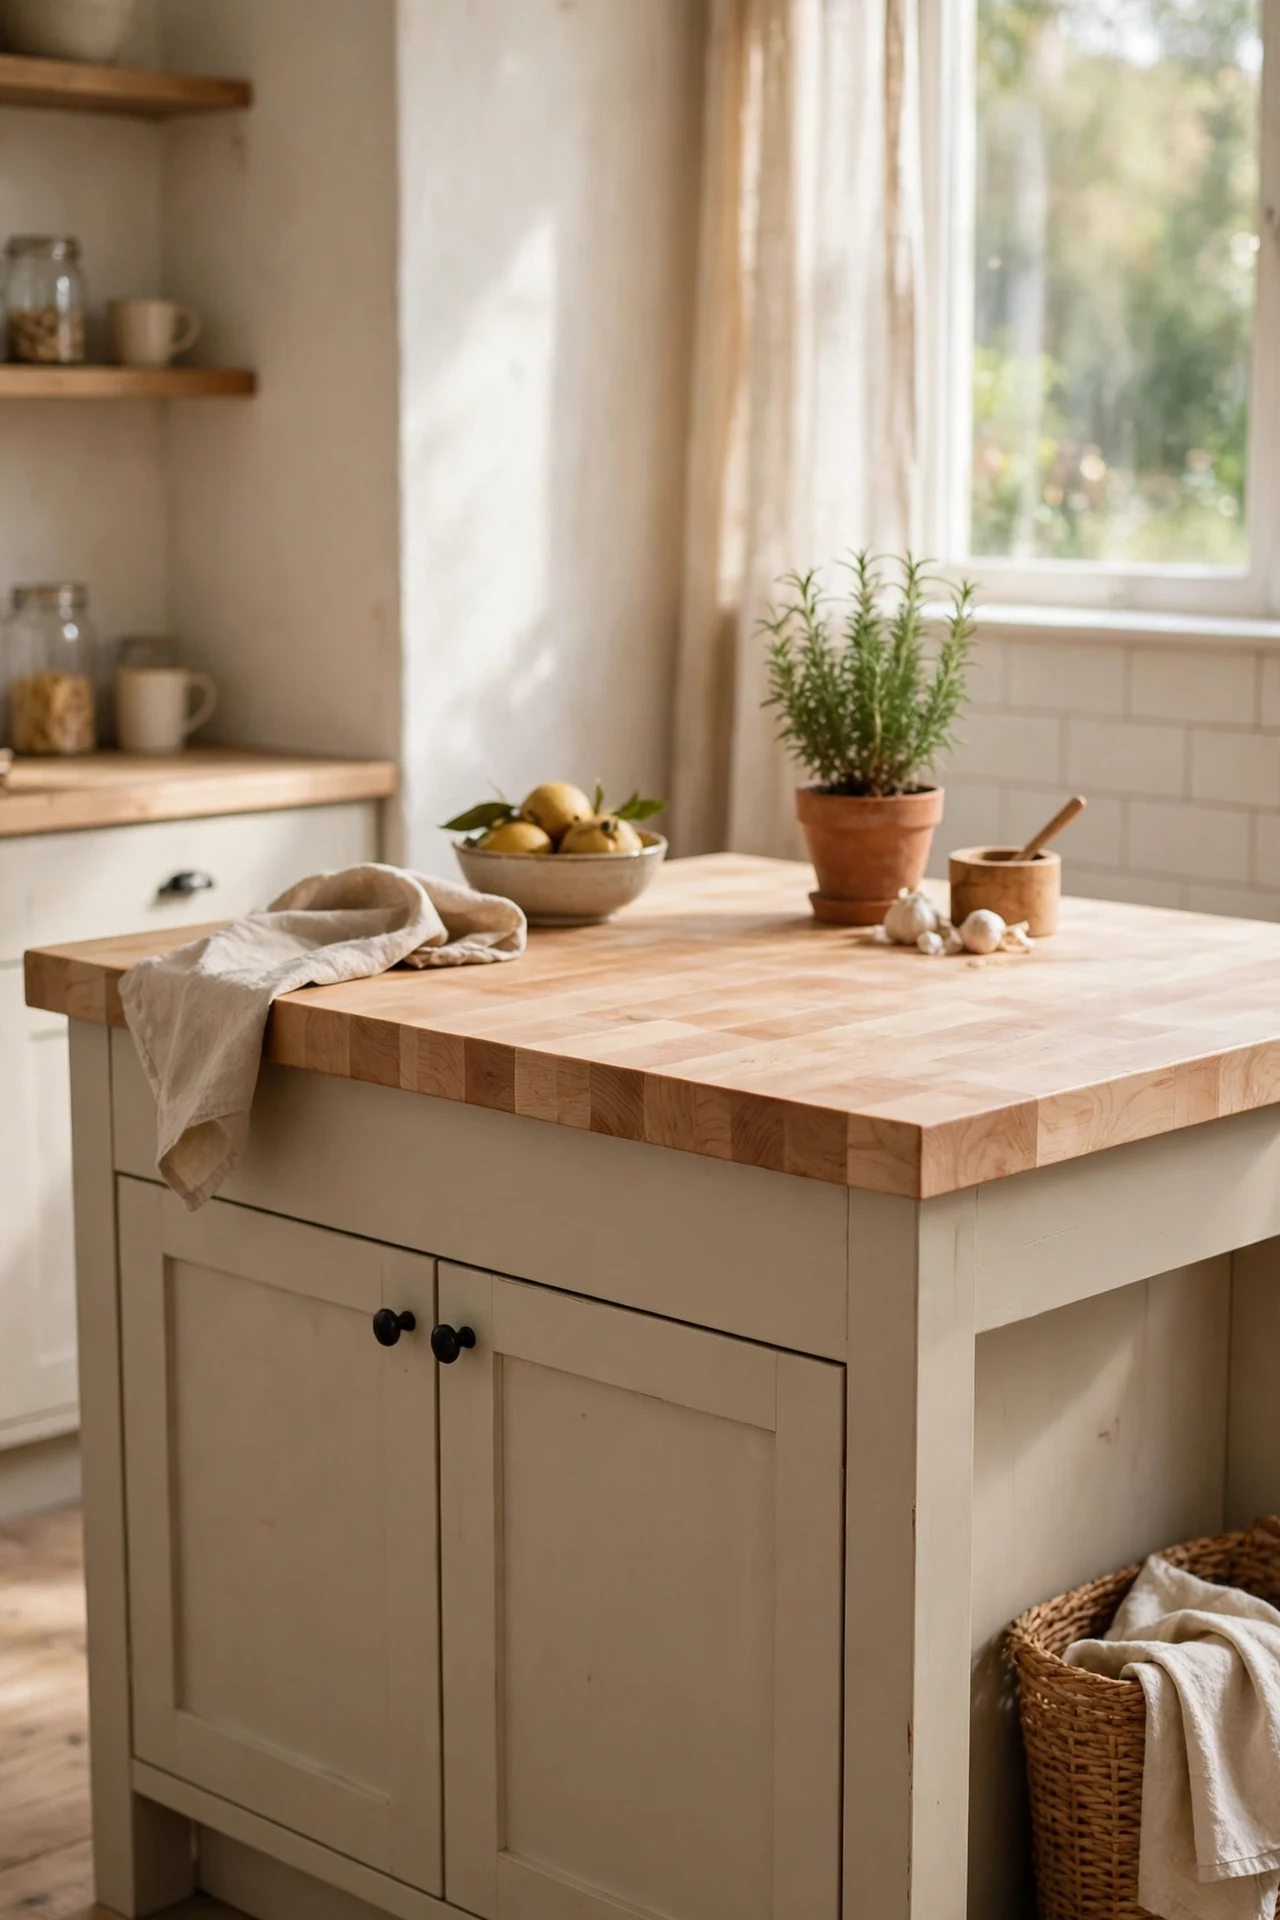
I didn’t have an island, so I made one from a secondhand console table topped with a pale maple butcher-block panel. The table cost me almost nothing from a charity shop, and the wood panel came pre-cut from a DIY store. I sanded the top smooth, oiled it with food-safe mineral oil, and painted the table base in a warm beige to tie it to the cabinets. It now holds the fruit bowl, the toaster, and all the clutter that used to live on the main counters. The mistake to avoid is skipping the oil — an unoiled top stains the first time you set down a coffee mug. Two coats, a day apart, and wipe it down weekly.
Cost: ~$80 | Time: one weekend
7. Beige Jute Runner Along the Galley
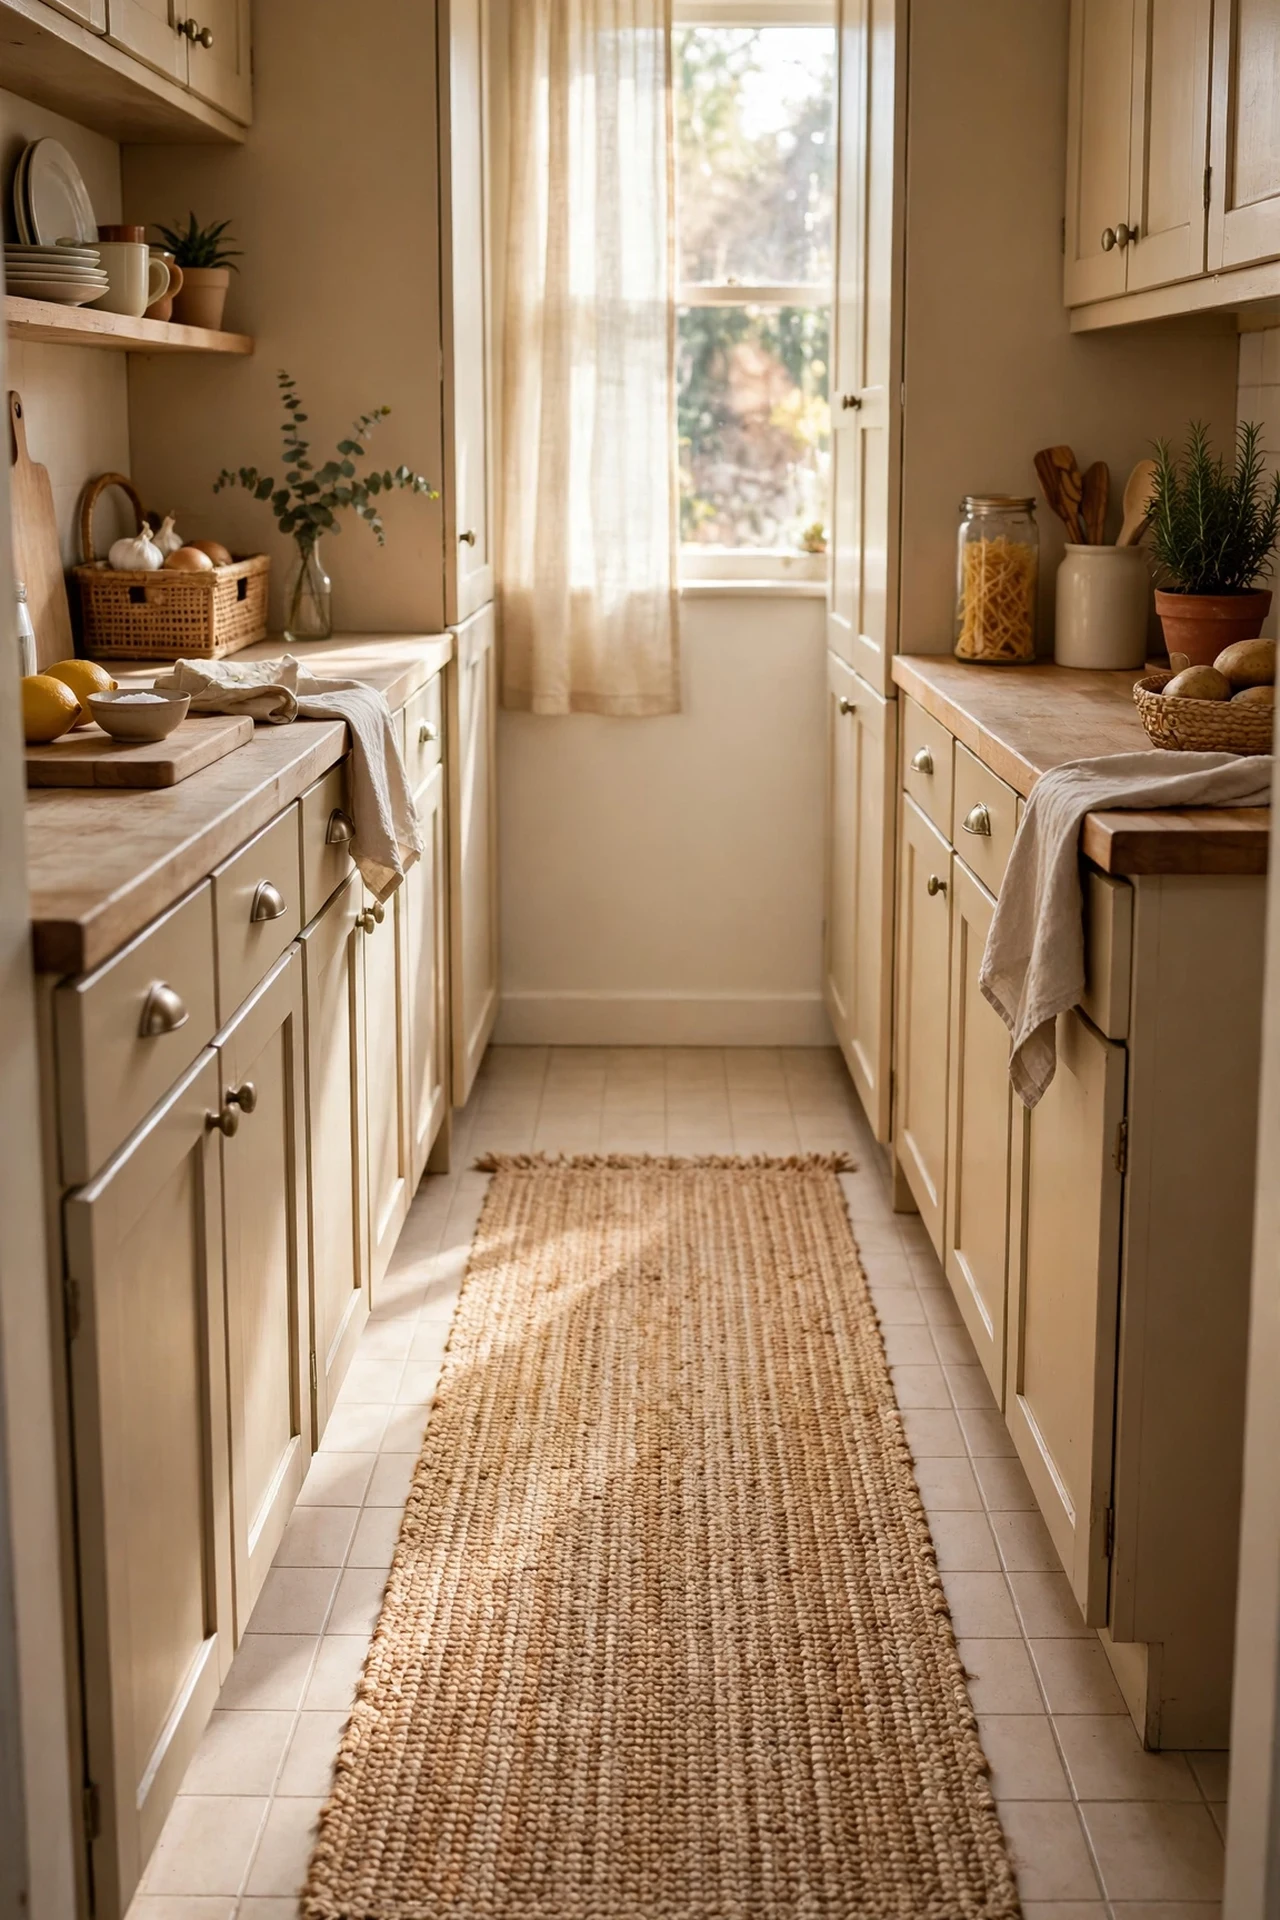
Cold tile floors were making my beige kitchen feel unfinished, and a jute runner fixed it in minutes. I measured the galley twice, ordered a natural jute runner slightly narrower than the walkway, and laid it with a non-slip rug pad underneath. The texture warms up all the hard surfaces and it hides the scuffed tiles I can’t afford to replace. I tried it without the pad first and it crept across the floor within a day, so don’t skip that step. Shake it out weekly and spot-clean spills fast — jute doesn’t forgive red wine, but for a kitchen it mostly sees crumbs and it’s perfect for those.
Cost: ~$35 | Time: 15 minutes
8. Open Oak Shelves Styled With Cream Ceramics
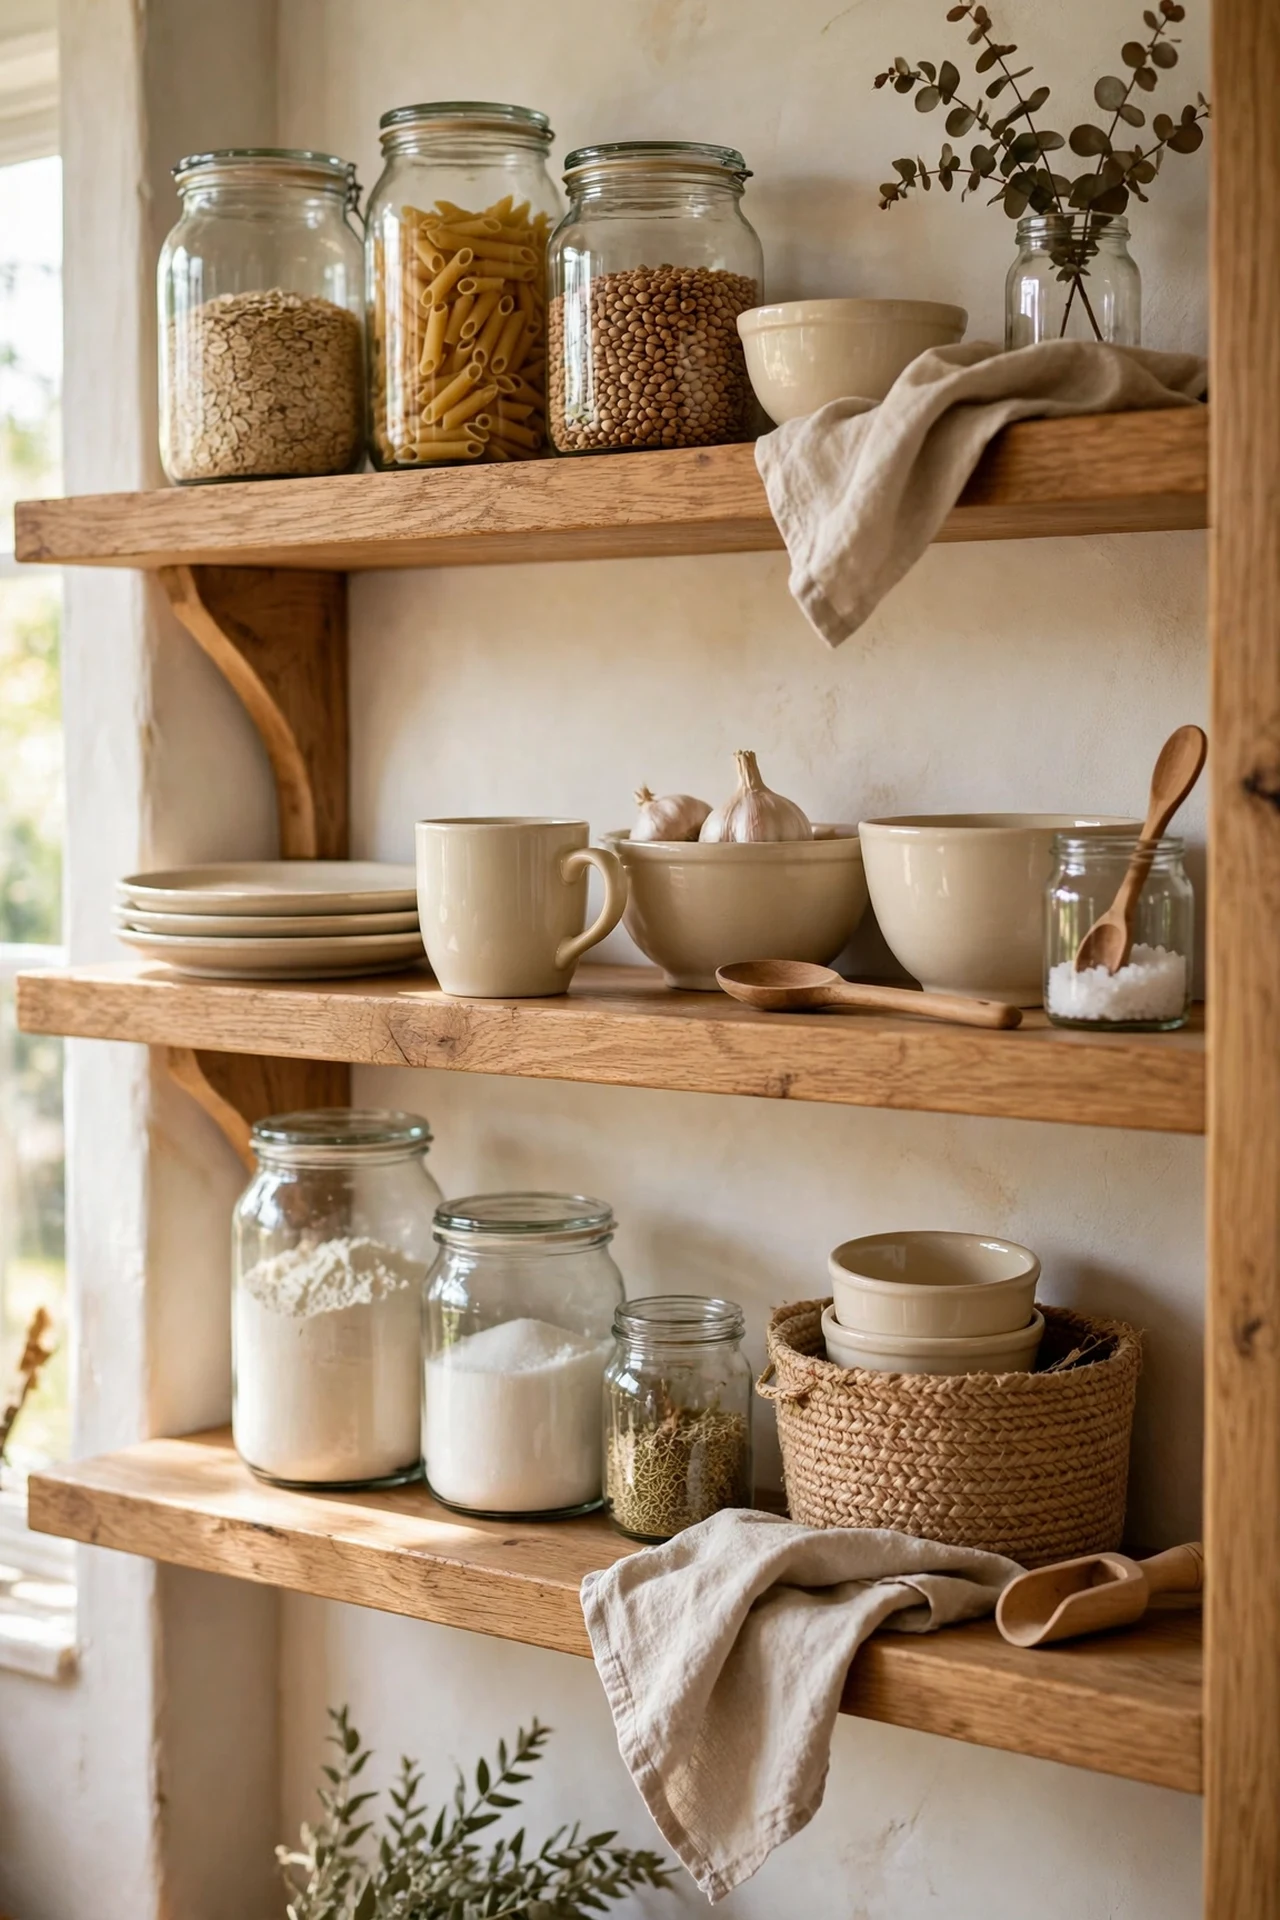
Taking the doors off one wall cabinet felt terrifying, but styling those shelves with cream ceramics turned dead storage into the prettiest corner of the kitchen. I sanded and oiled the cabinet interior, then arranged everyday bowls, mugs, and a few glass jars in loose groups of three. The rule I follow is: keep it to things you actually use, or it becomes a dust museum. I tried cramming too much on at first and it looked cluttered, so I edited it down to one row per shelf with breathing room. Wipe the shelves monthly since open storage does collect a film of cooking grease, and it stays lovely.
Cost: ~$30 | Time: half a day
9. Mushroom-Beige Pantry Door Refresh
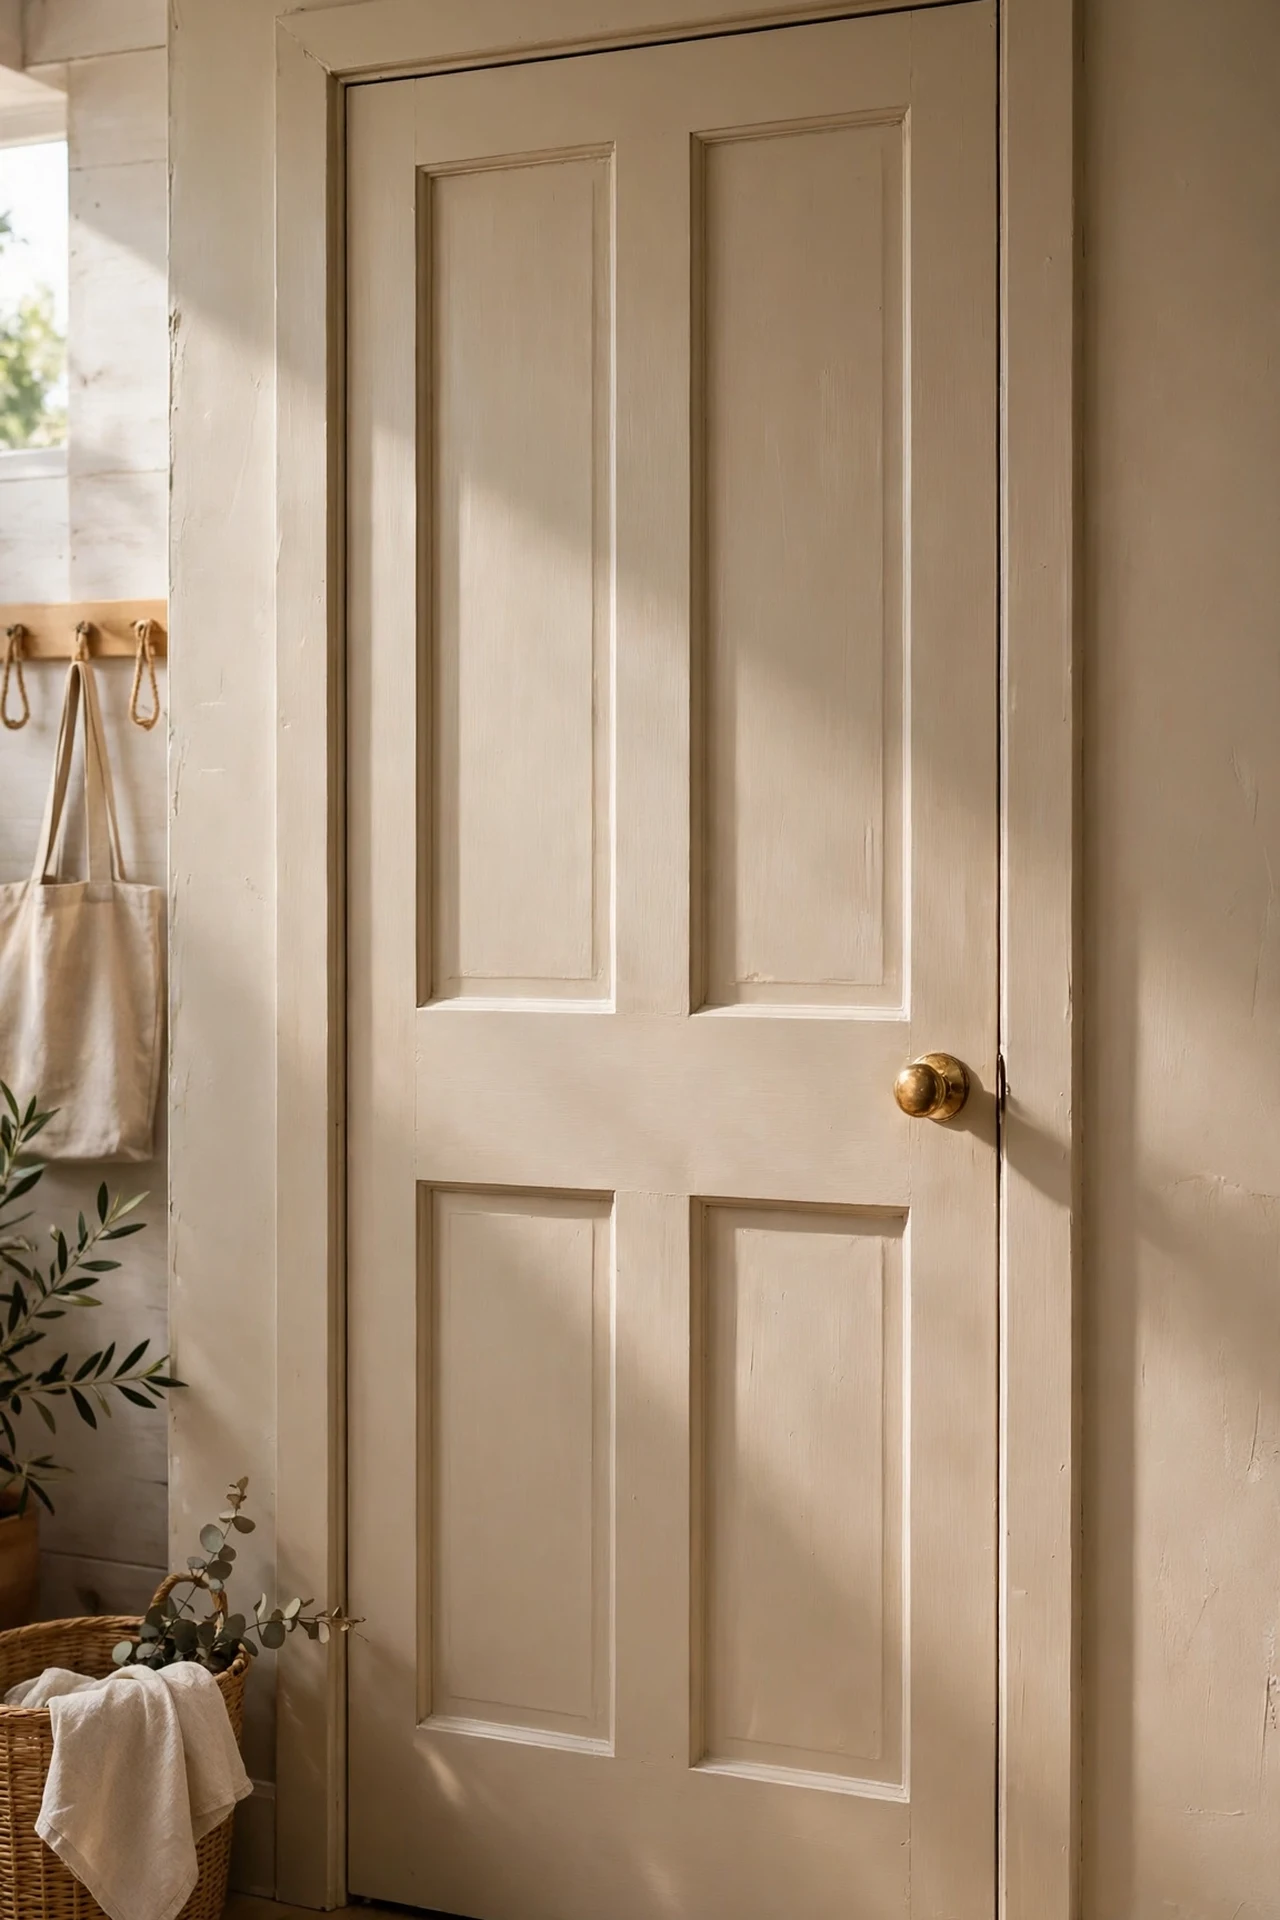
The pantry door was white, scuffed, and completely forgettable until I painted it a mushroom beige with a hint of grey. One door, one small tin of paint, and suddenly there’s a focal point. I took the door off, laid it flat on sawhorses, and used a foam roller for a smooth finish — two thin coats beat one thick coat every time. I also swapped the tired knob for a small brass one that echoes the cabinet pulls, which makes the whole kitchen feel designed rather than assembled. The mistake to avoid is painting it in place; the drips run and the brush marks show. Flat is always better for doors.
Cost: ~$28 | Time: half a day
10. Sand-Coloured Painted Breakfast Nook
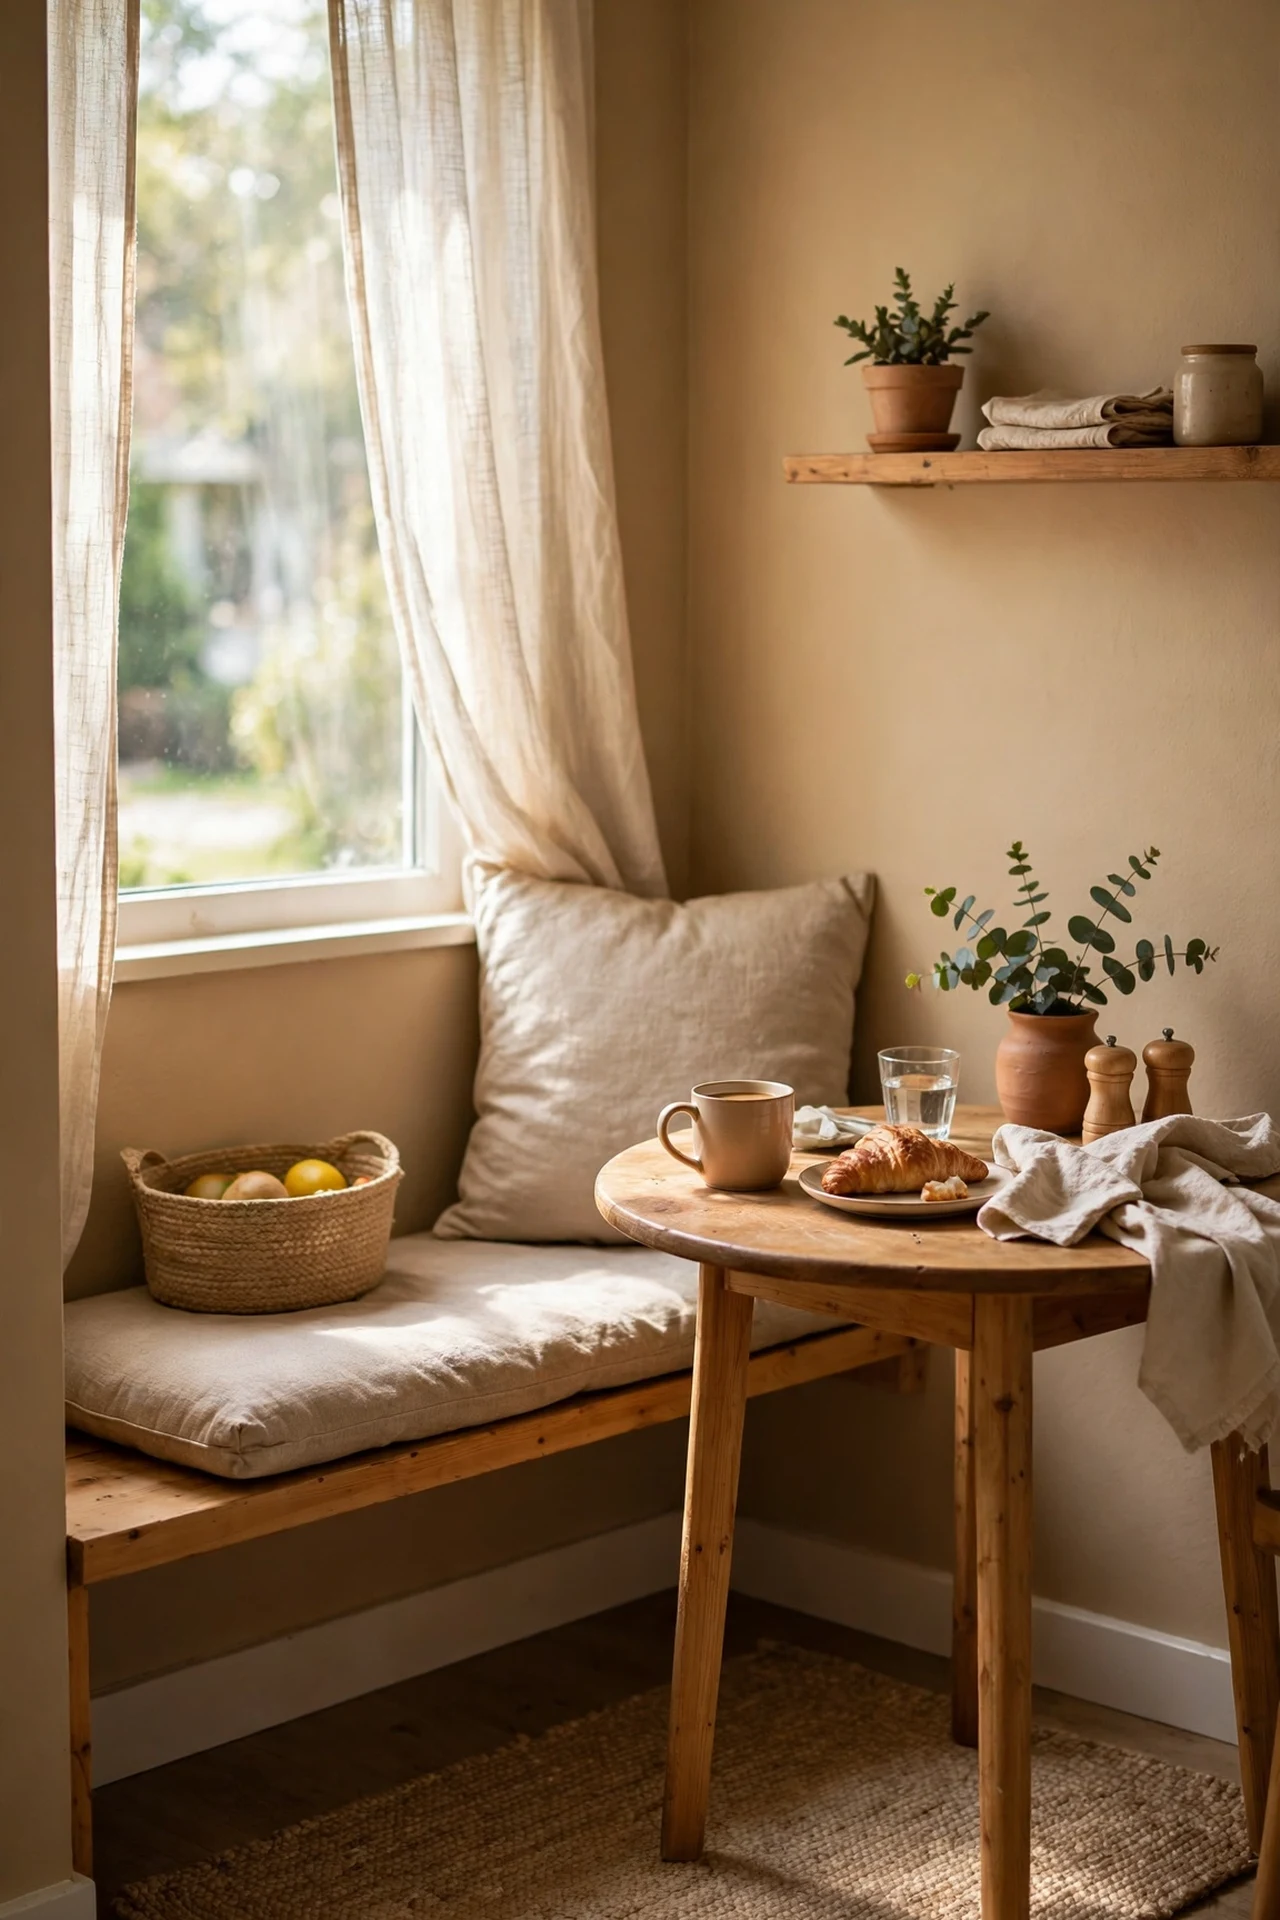
My little breakfast corner was just a table shoved against a white wall, so I painted the wall behind it a warm sand colour and it became a nook. I chose a shade two tones deeper than the main walls so it feels intentional, like a hug around the table. Then I added a cheap secondhand bench with a beige cushion and a small round rug underneath. The whole zone cost less than a takeaway habit and it’s now where I drink my morning coffee. I tried painting the ceiling of the nook too and it felt cave-like, so keep the colour to the walls. Mask the edges carefully — crisp lines sell the effect.
Cost: ~$50 | Time: one day
11. Travertine-Look Vinyl Floor Tiles
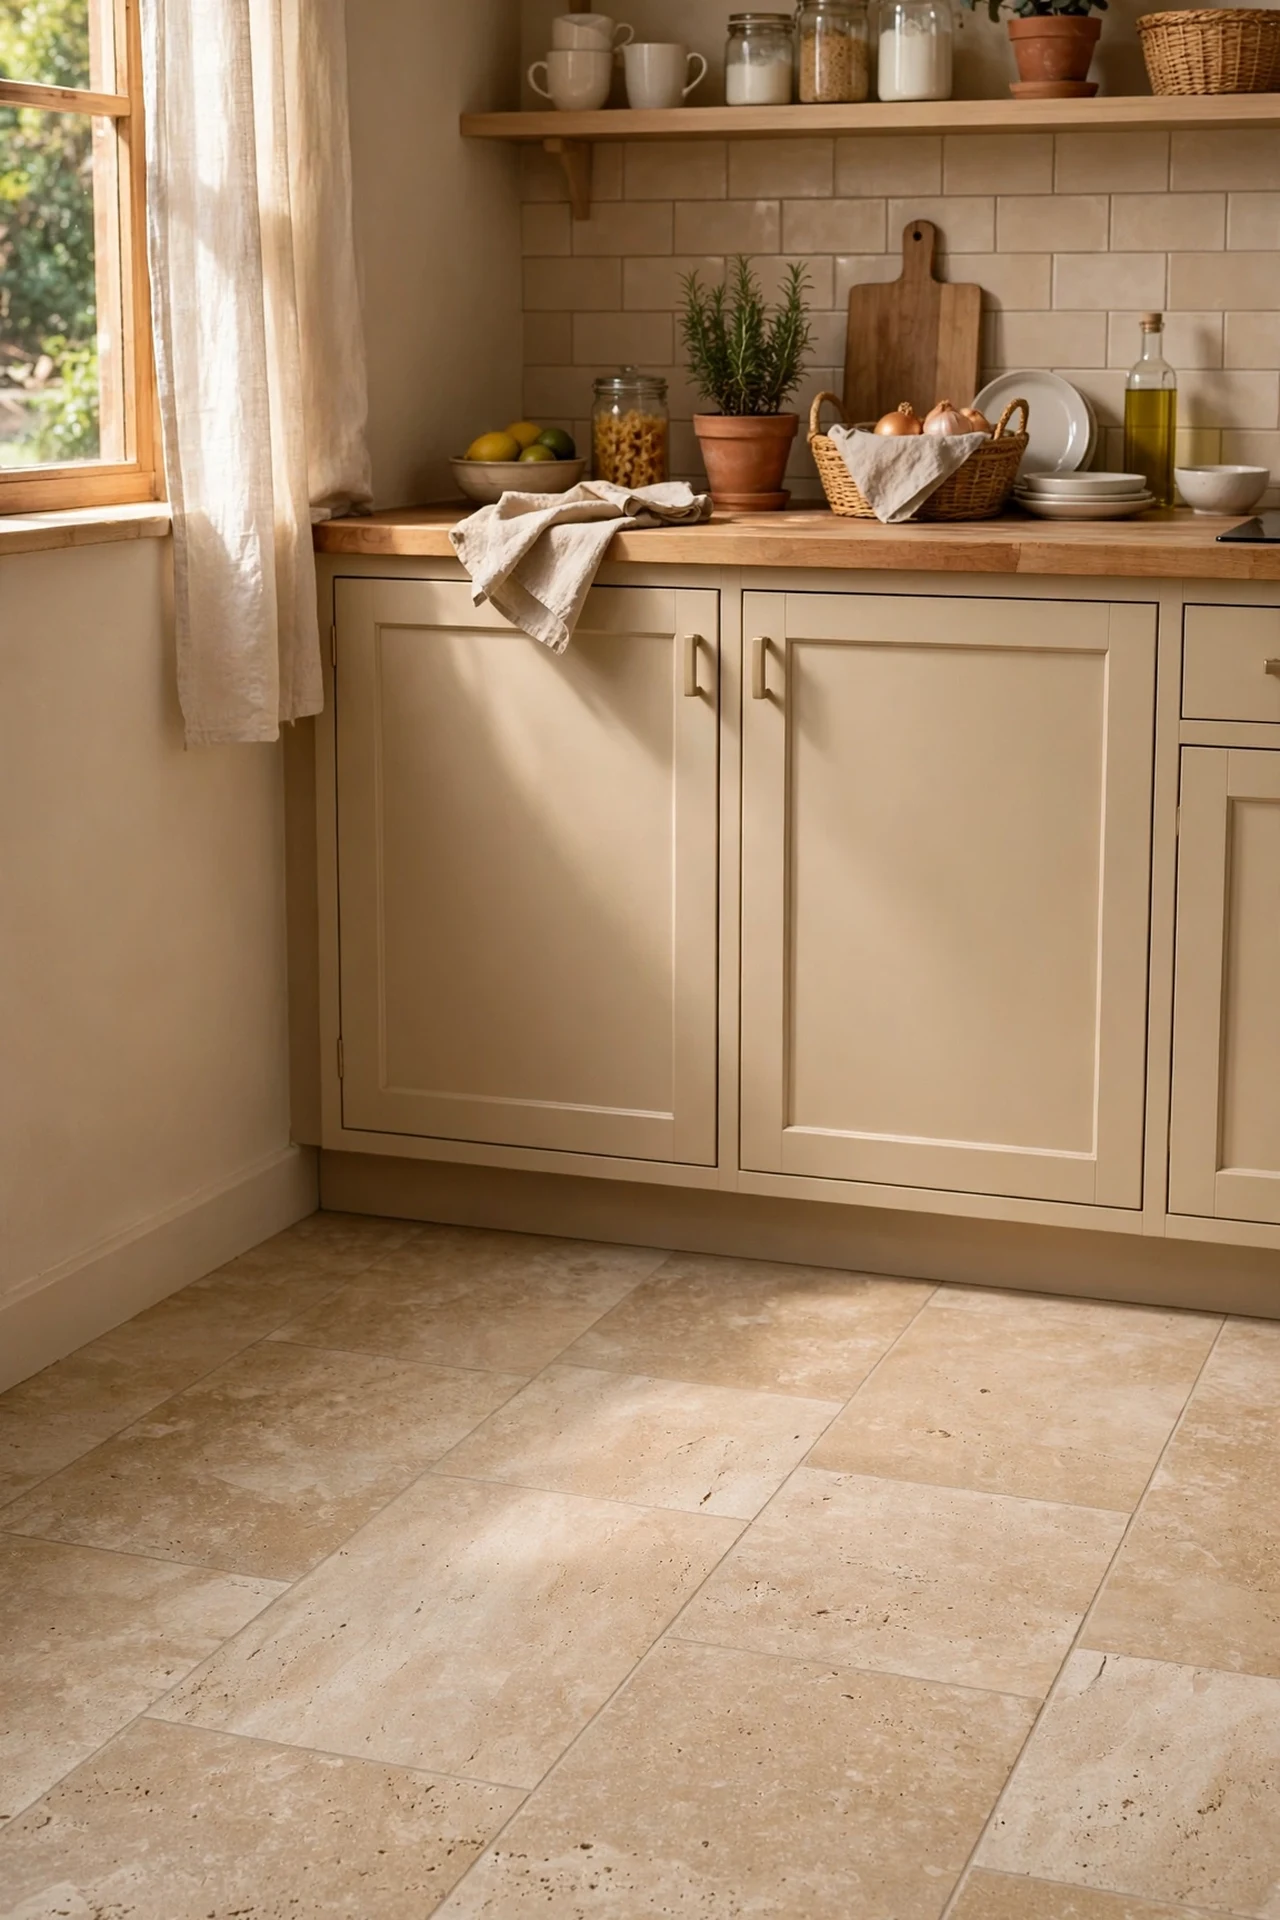
Ripping up my floor was never happening, so I laid travertine-look vinyl tiles straight over the old lino. These are the thick peel-and-stick kind in a warm beige stone pattern, and they went down in a single Saturday. I started from the centre of the room, used a vinyl roller to press each tile flat, and cut the edge pieces with a utility knife and a metal ruler. The mistake to avoid is laying them over a dirty floor — I mopped twice and let it dry fully, because any grit underneath telegraphs through within weeks. A year on, they still look like real stone to everyone who visits.
Cost: ~$90 | Time: one day
12. Beige Pendant Lights With Rattan Shades
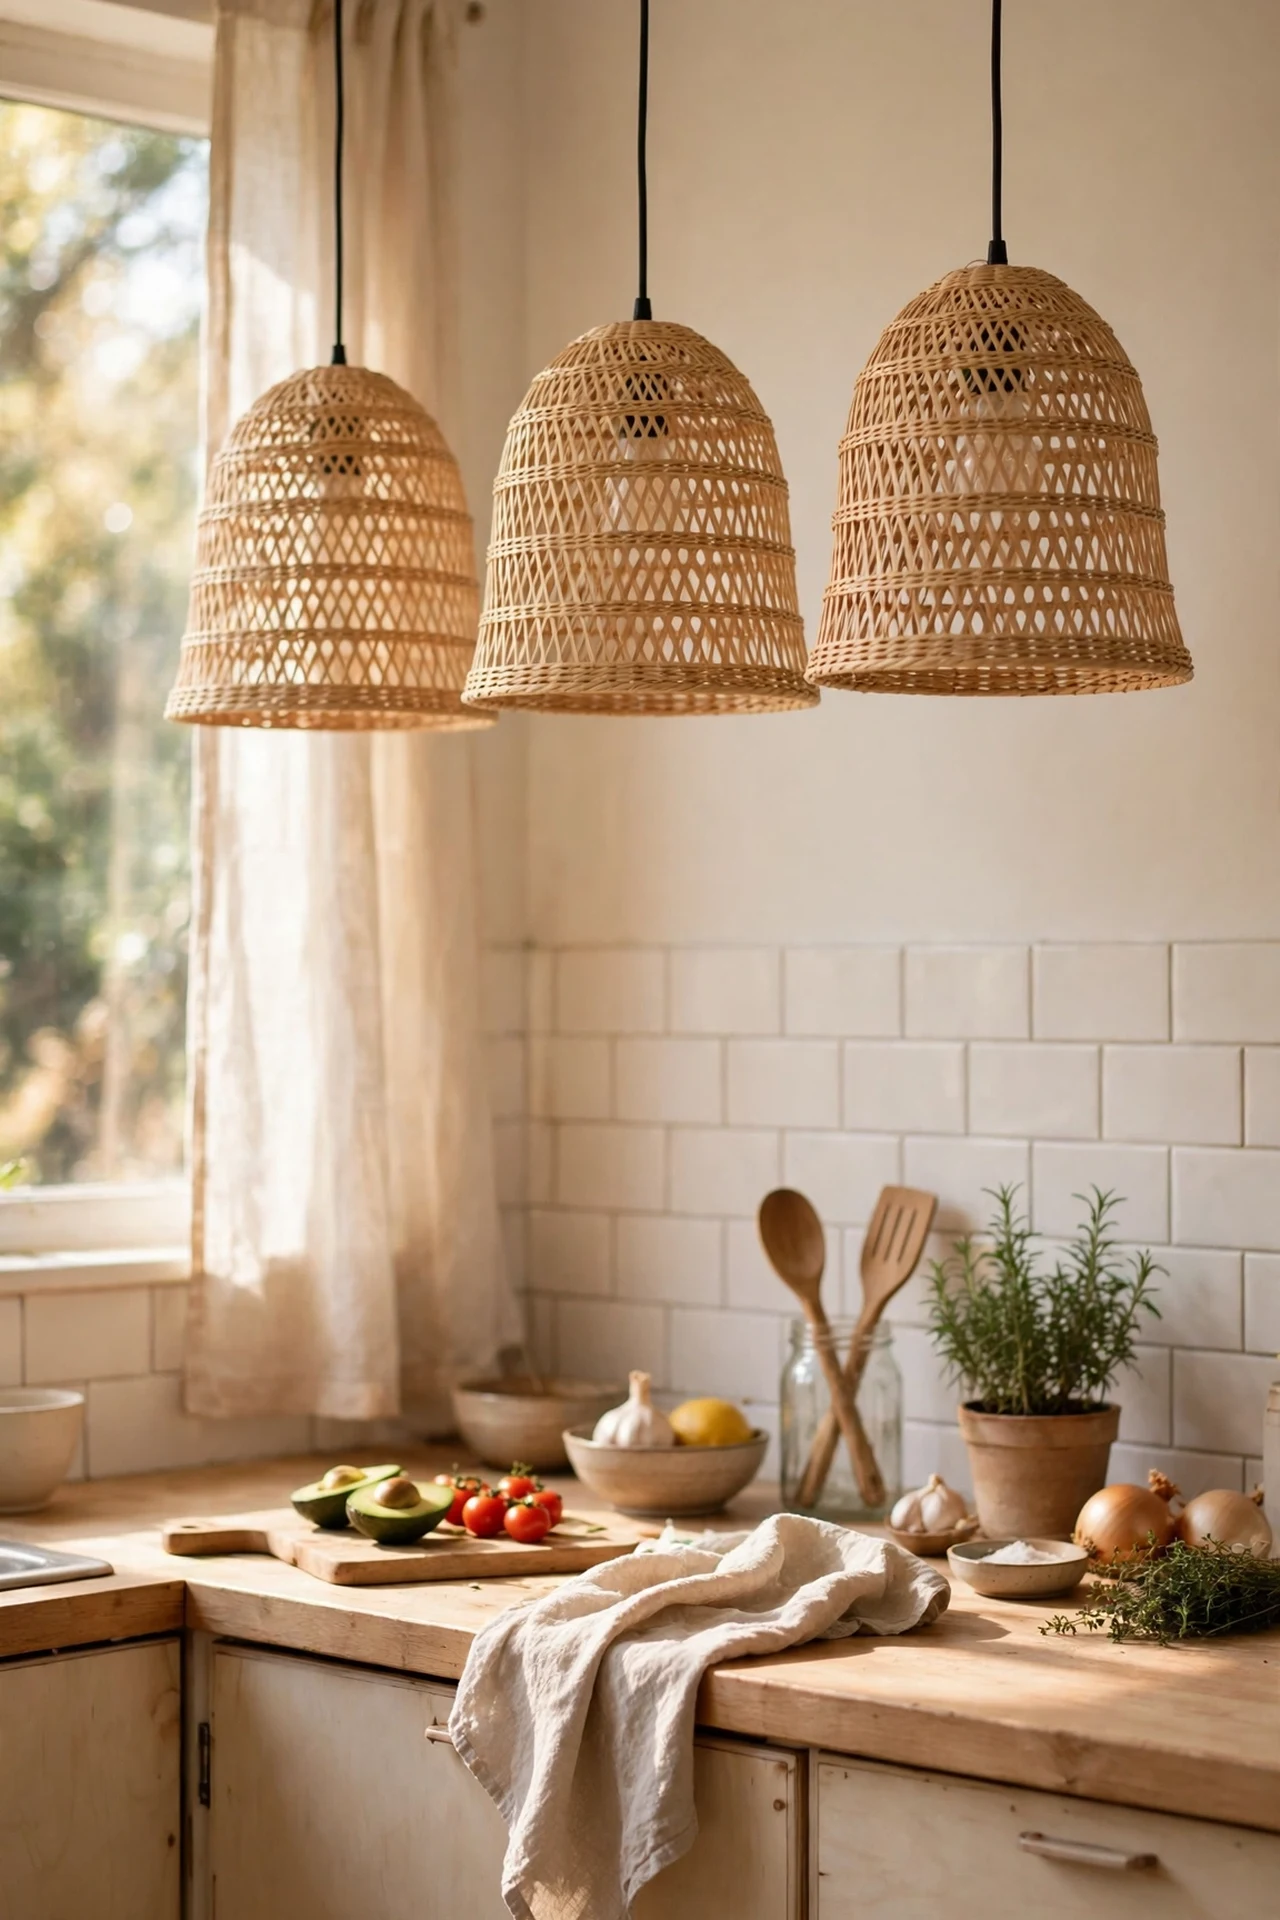
Lighting was the thing I kept putting off, but swapping the harsh ceiling fitting for two rattan pendants in a natural beige changed how the kitchen feels at night. I bought plug-in style pendant kits so there was no wiring involved — just hooks in the ceiling and the cords tucked neatly. The woven shades throw a warm patterned light that makes beige walls glow instead of looking flat. I hung them too high at first and the light pooled uselessly on the ceiling, so lower them until the bottom of the shade sits about 75cm above the worktop. Warm-white bulbs only; cool bulbs kill the whole effect.
Cost: ~$60 | Time: 1 hour
13. Cream Fridge Makeover With Vinyl Wrap
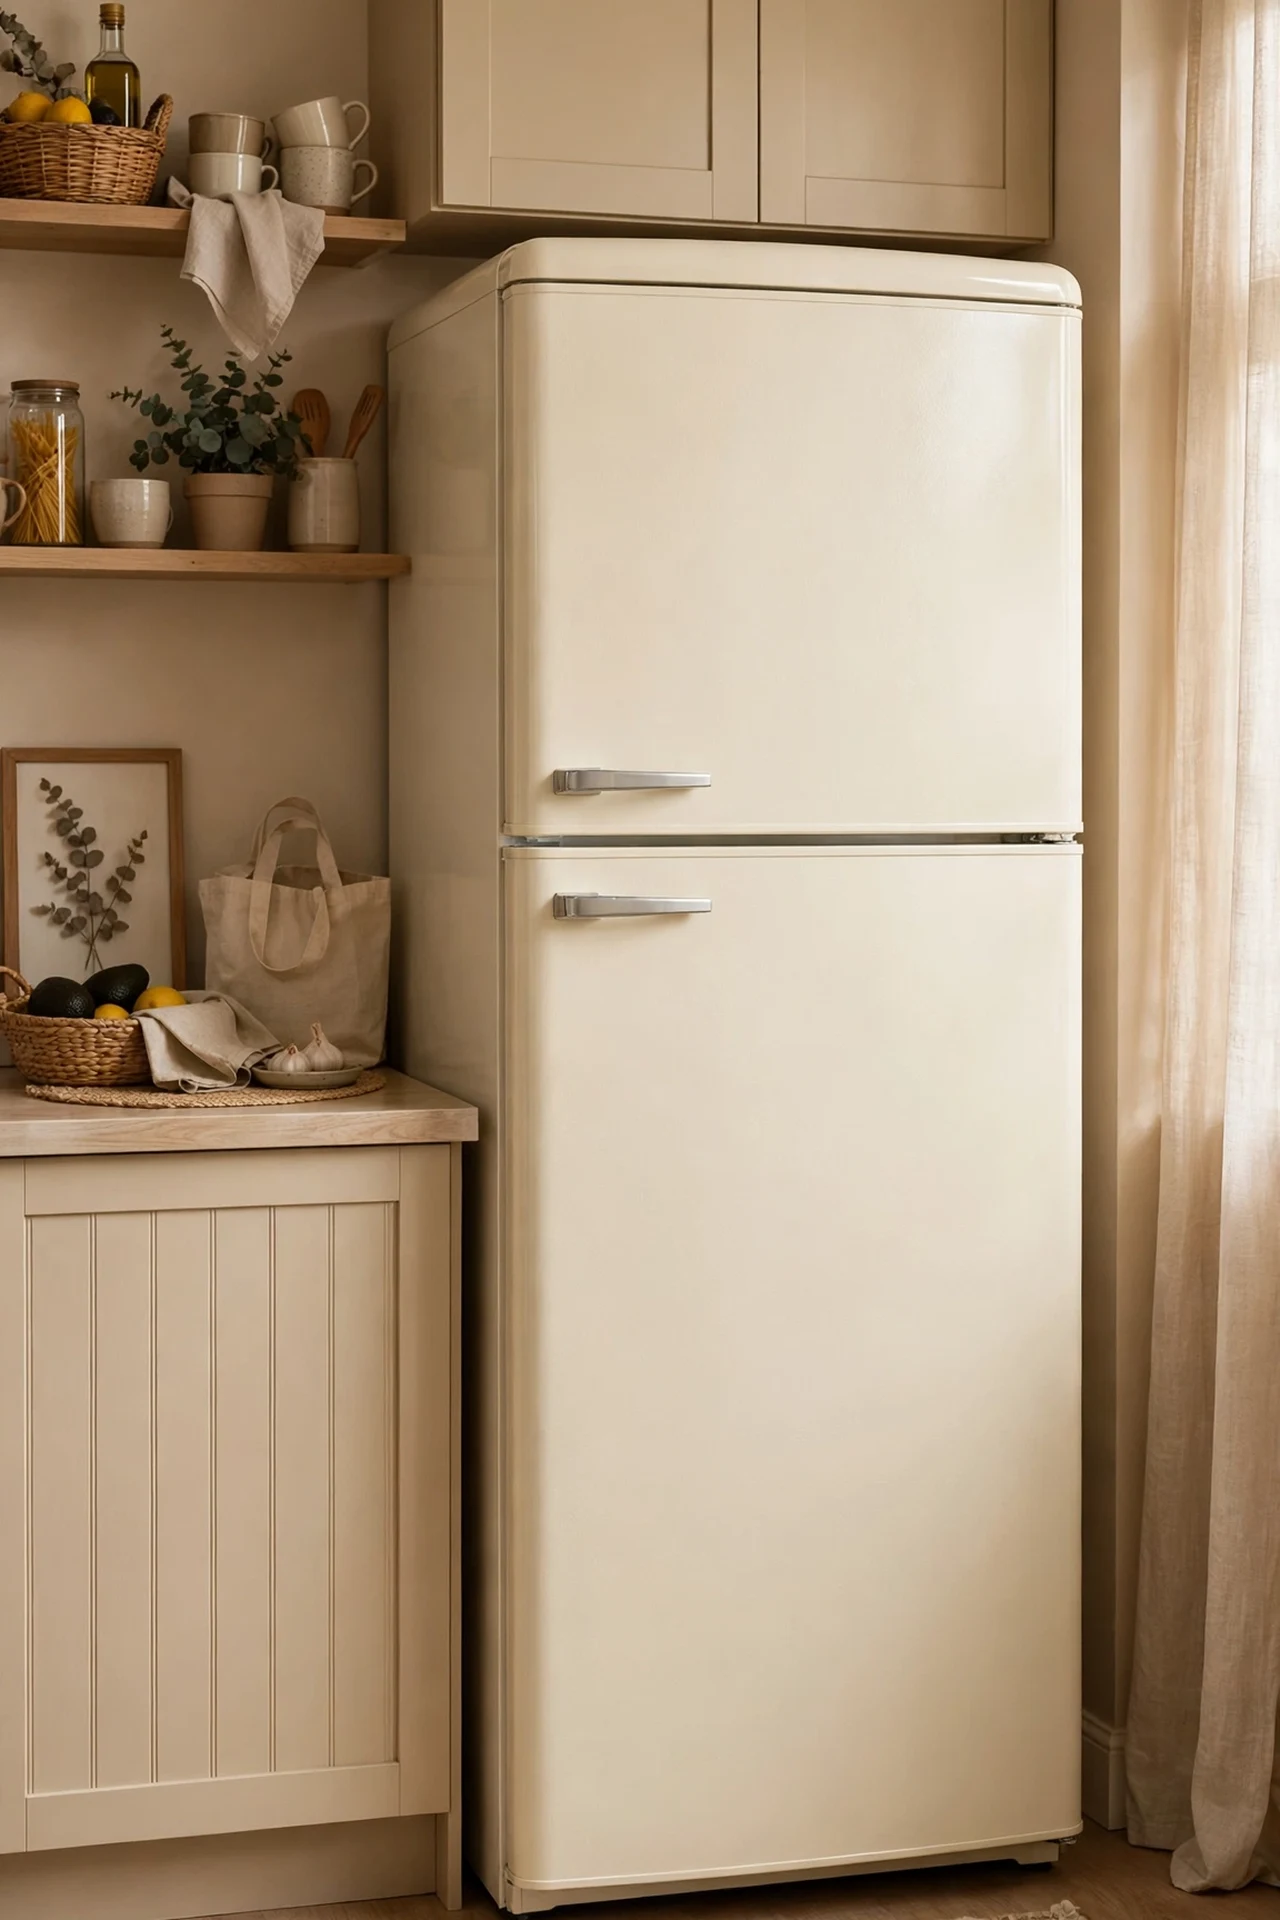
My fridge was a battered white box that clashed with everything, so I wrapped it in a matte cream vinyl and it looks like a retro appliance now. I measured each panel, cut the vinyl with a few centimetres of overhang, and smoothed it on with a squeegee, trimming the excess with a sharp blade. The doors were the fiddly bit — I removed the handles first and cut around the hinges carefully. I tried to do it in one giant piece and it wrinkled badly, so panel-by-panel is much easier. Clean the surface with alcohol first and the wrap grips beautifully; mine has survived two years of daily use.
Cost: ~$35 | Time: 2 hours
14. Warm Beige Grout Refresh on Old Tiles
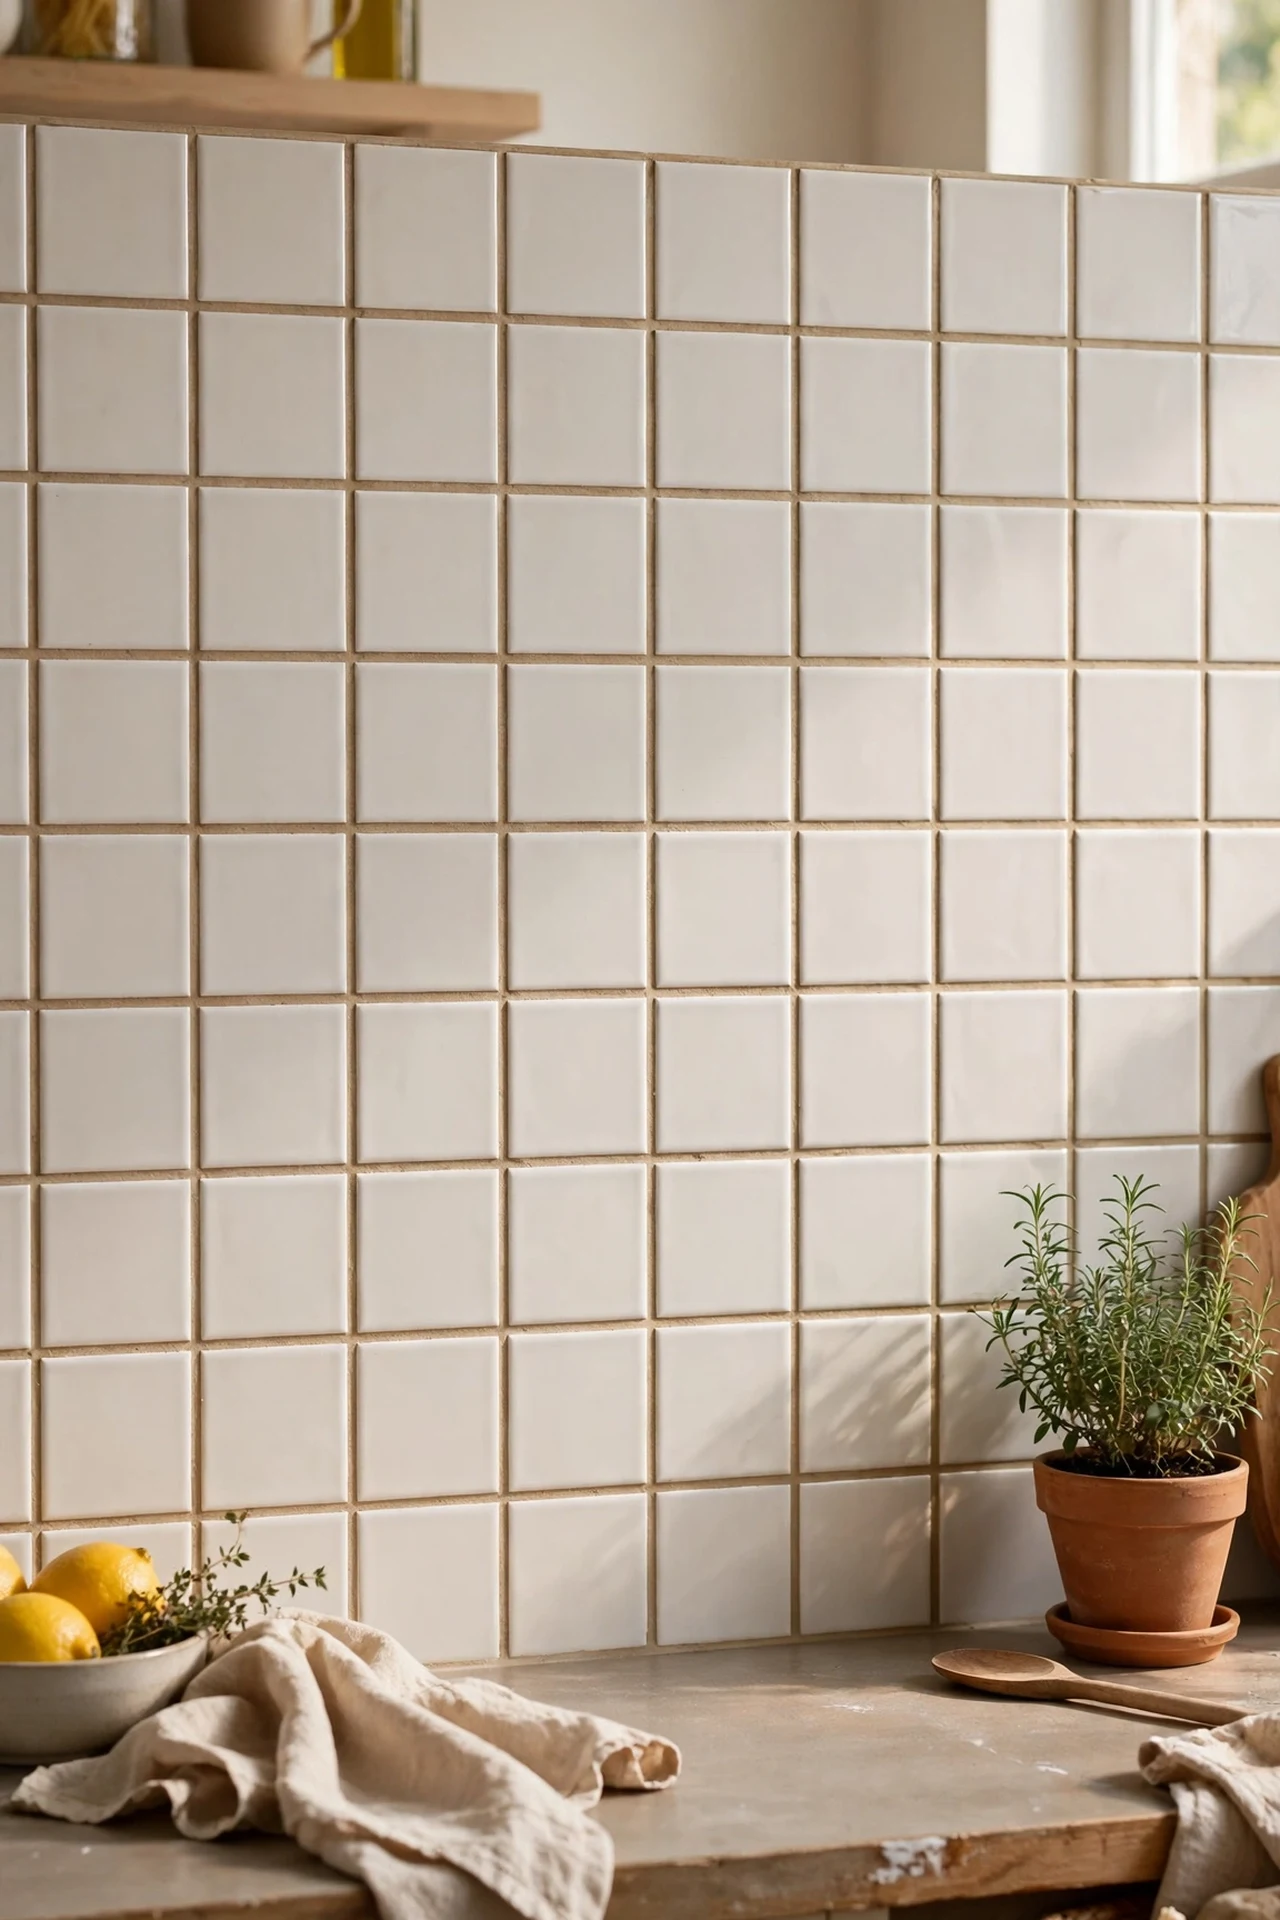
This is the cheapest transformation on the list and it shocked me. My splashback tiles were fine but the grout had gone grey and grimy, making everything look tired. I cleaned the grout lines with a stiff brush and bicarbonate paste, let them dry, then painted on a warm beige grout reviver with a small brush. Two thin coats, wipe the excess off the tiles as you go, and the whole splashback looked newly tiled. I tried doing it without the deep clean first and the reviver peeled within weeks, so the scrubbing is non-negotiable. For around twelve pounds and an evening’s work, nothing beats the payoff.
Cost: ~$12 | Time: 2 hours
15. Biscuit-Toned Stool Cushions, No-Sew
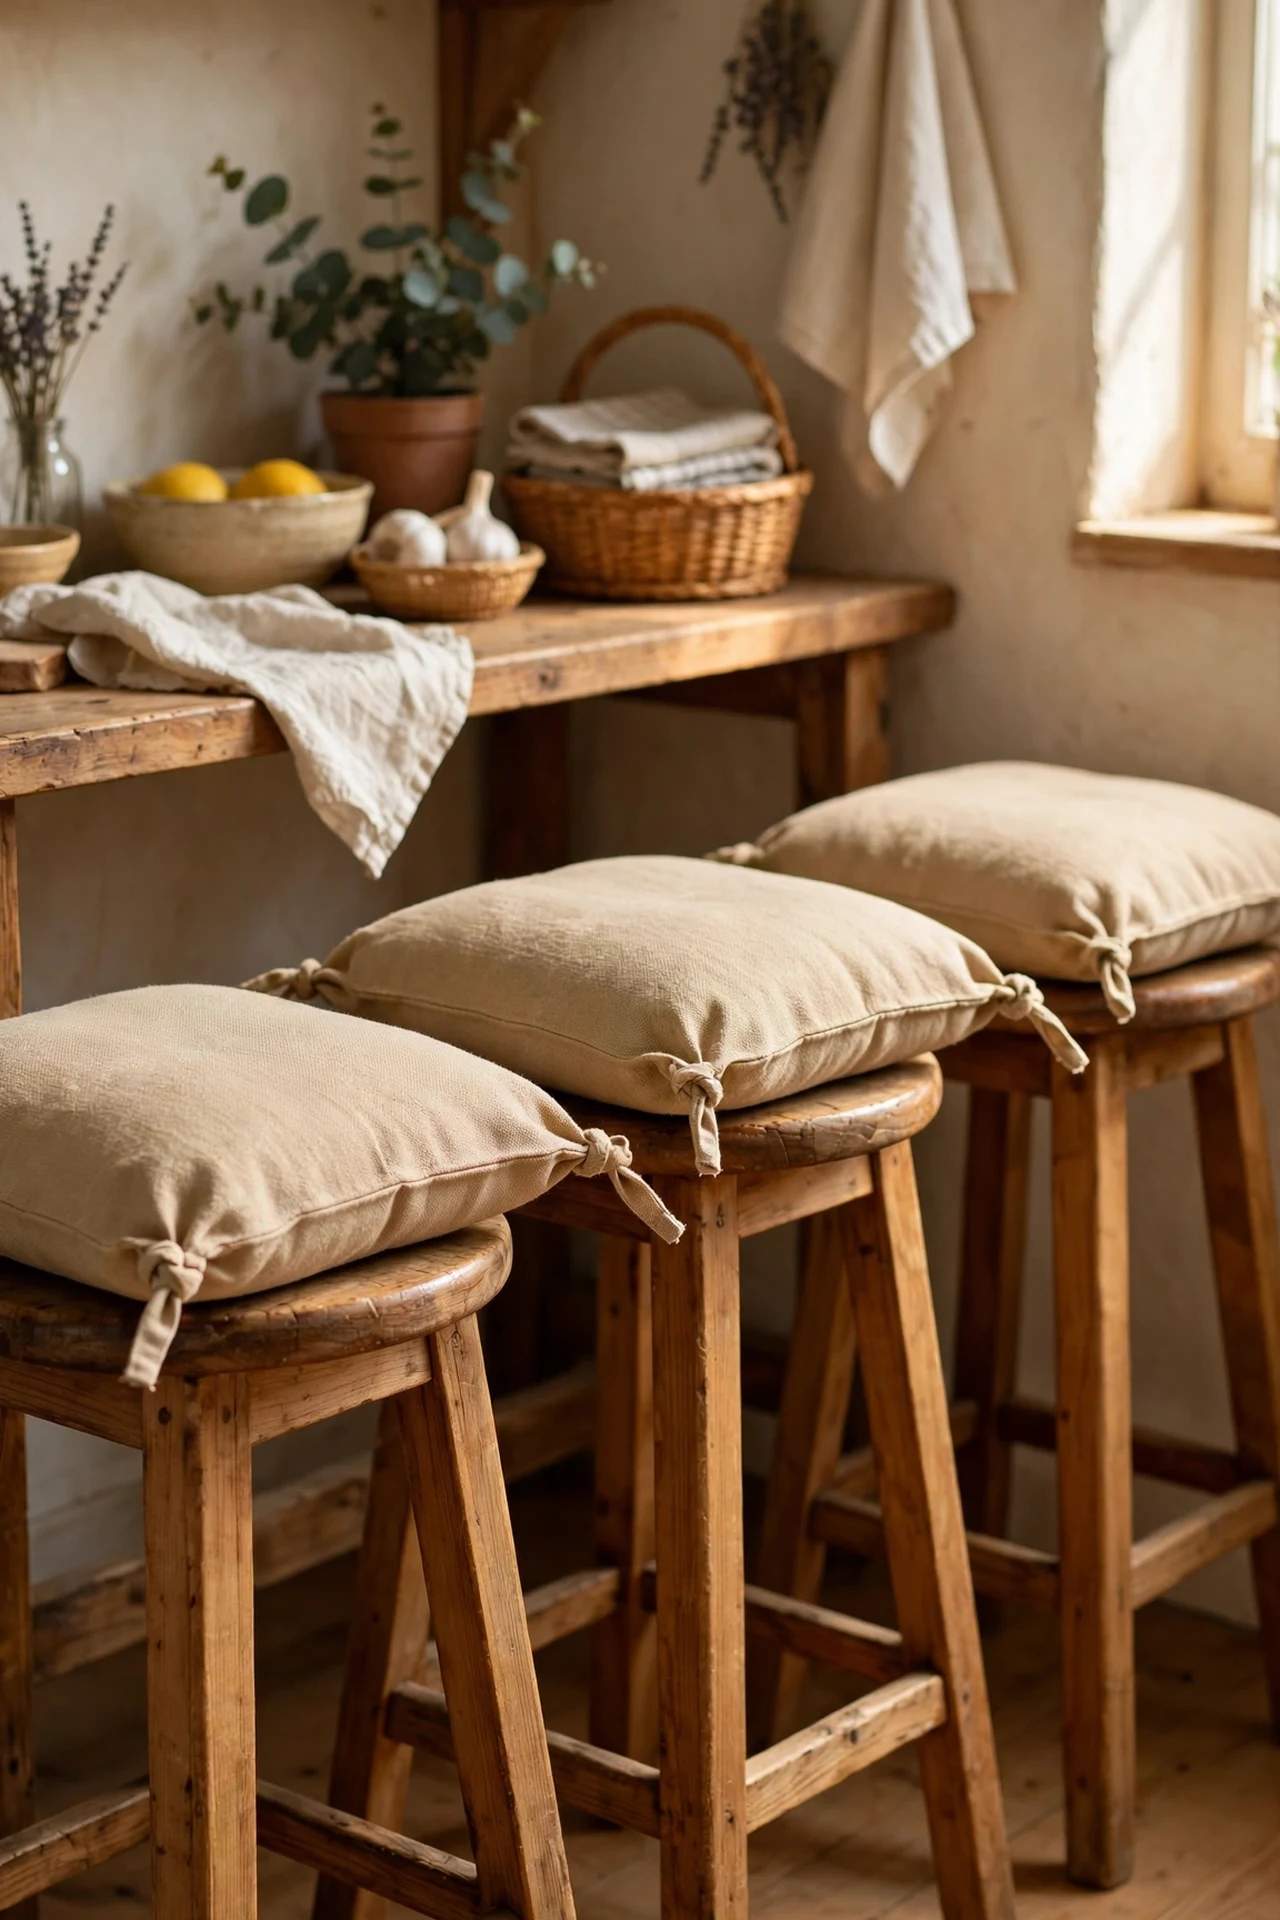
My kitchen stools were hard, cold, and slightly wobbly-looking, so I made no-sew cushions in a biscuit beige fabric. I cut foam pads to fit the seats, wrapped them in fabric, and secured the underside with a staple gun — no machine, no stitching, just fold the corners like wrapping a parcel. Then I added ties from the same fabric so the cushions stay put. I tried hot glue on the first one and it gave way within a month, so staples are the answer. If you’re hunting for more ways to make a compact kitchen work harder, these pair beautifully with (see also: small-kitchen-organization-ideas). The stools look upholstered and sitting down for breakfast finally feels inviting.
Cost: ~$18 | Time: 1 hour
16. Beige Rail With Hanging Utensils
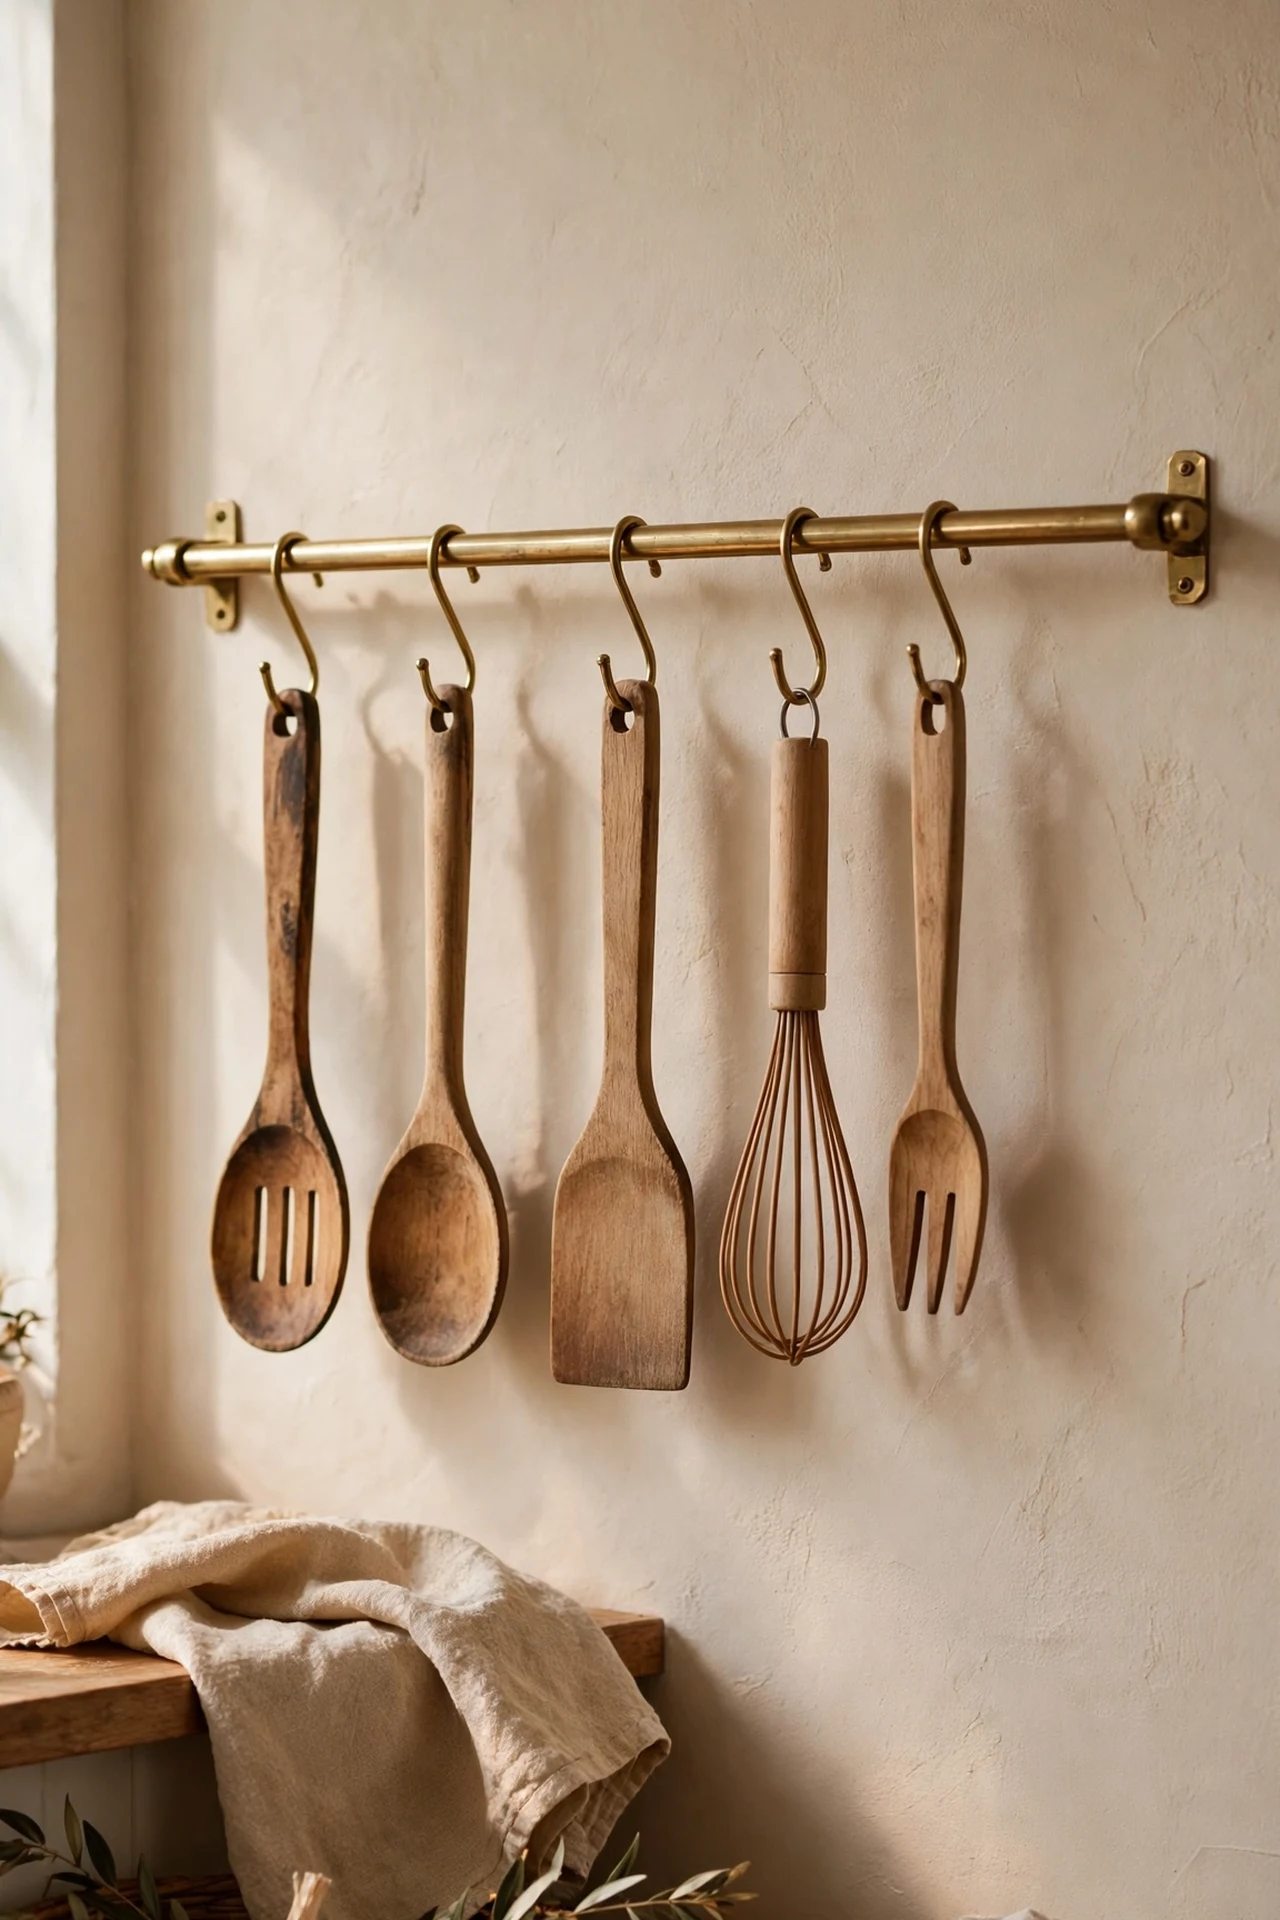
Drawer space was at a premium, so I mounted a brushed-brass rail on the empty wall by the cooker and hung my everyday utensils on S-hooks. Wooden spoons, a whisk, the good tongs — suddenly they’re décor and they’re always to hand. I fixed the rail into wall plugs rated for the weight, spaced the hooks evenly, and kept the hanging items to a tight colour story of wood, brass, and beige so it looks curated. I tried hanging everything I owned and it looked like a hardware shop, so edit ruthlessly. Wipe the rail monthly because cooking grease settles on it, and it stays gleaming.
Cost: ~$22 | Time: 30 minutes
17. Fluted Beige Panel Behind the Cooker
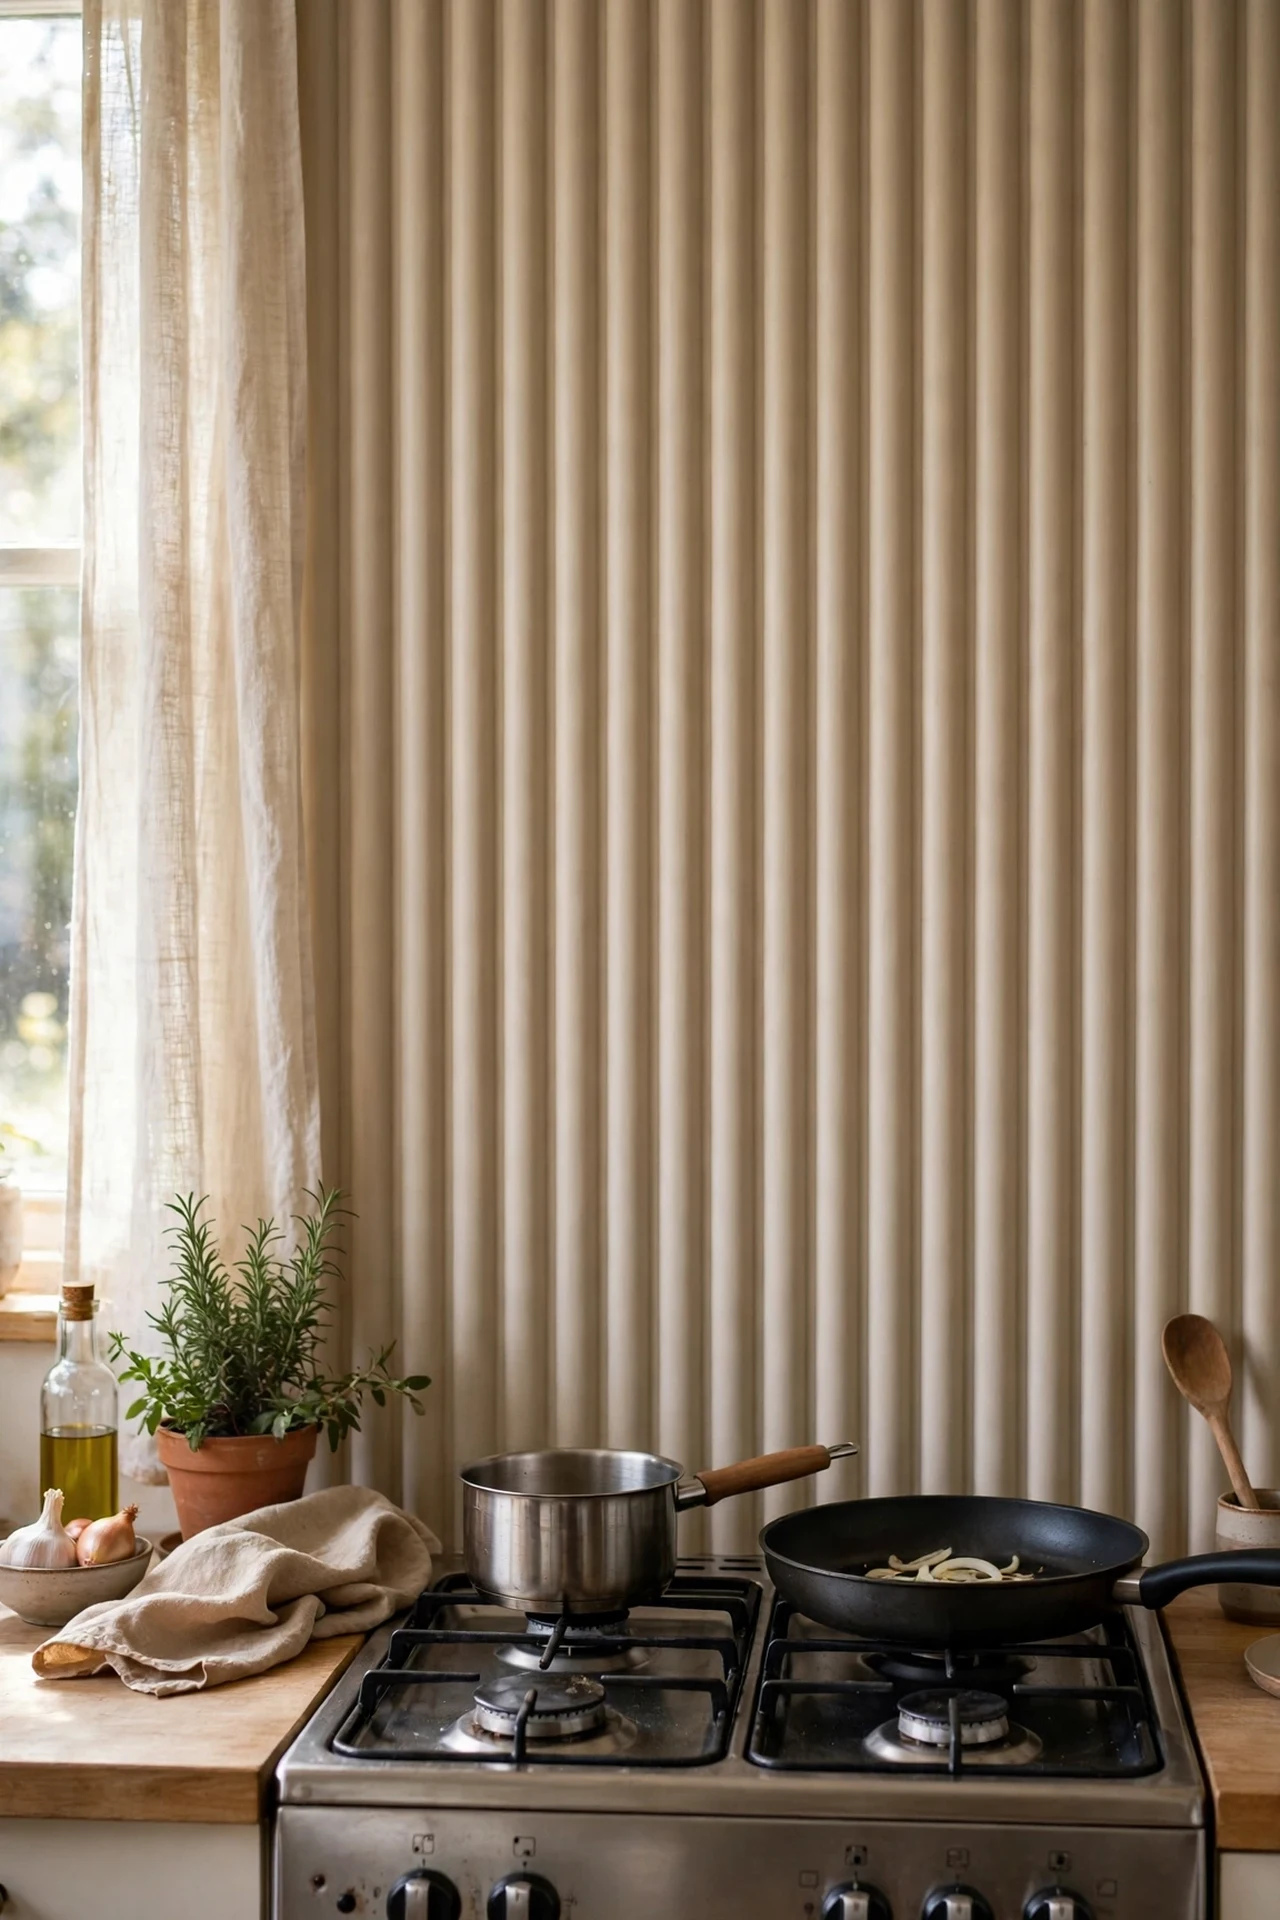
Behind my cooker there was just painted plaster that stained every time I fried anything. I fixed up a fluted wall panel in warm beige — the ribbed kind that comes in lightweight sheets — and it looks like a designer feature wall. I cut it to size, stuck it up with construction adhesive, and caulked the edges for a clean finish. The fluting catches the light beautifully and the beige tone ties straight into the cabinets. I tried painting it a different colour first and it fought with everything, so matching the cabinet beige was the right call. Wipe it down with a damp cloth after cooking and it stays pristine.
Cost: ~$48 | Time: 2 hours
18. Coffee Corner in Latte Tones
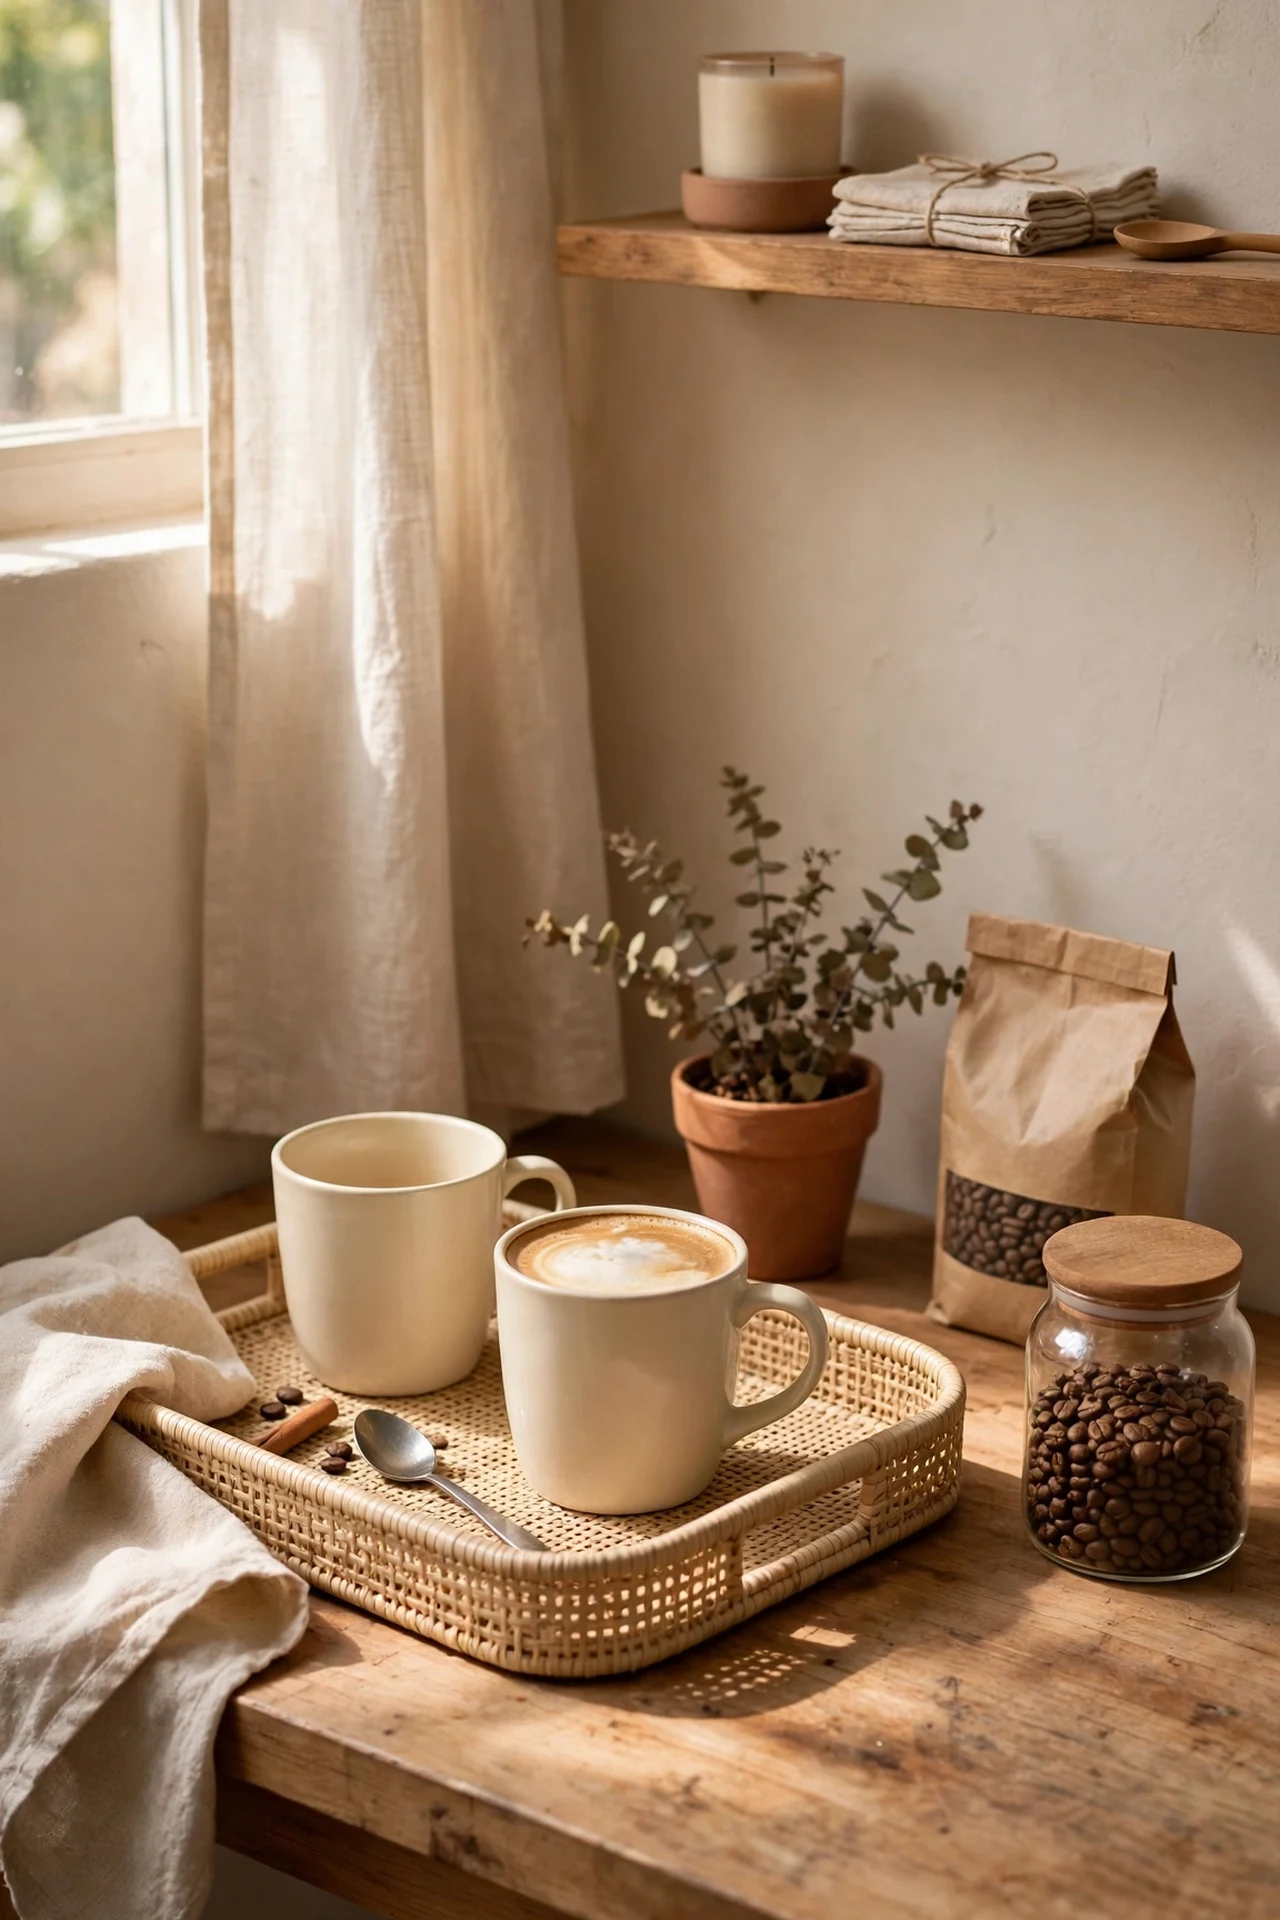
I carved a coffee corner out of one cluttered worktop section and styled it in latte tones — beige, cream, and warm wood. I cleared everything off, laid a small beige tray as the anchor, and arranged the kettle, a French press, and two cream mugs on it. A tiny potted plant and a jar of coffee beans finished it. The tray is the secret: it corrals the clutter and makes an ordinary kettle look like a styled vignette. I tried it without the tray first and the bits just drifted across the counter again within days. Now making coffee feels like a little ritual instead of a chore.
Cost: ~$20 | Time: 30 minutes
19. Beige and White Checked Tea Towels on a Rail
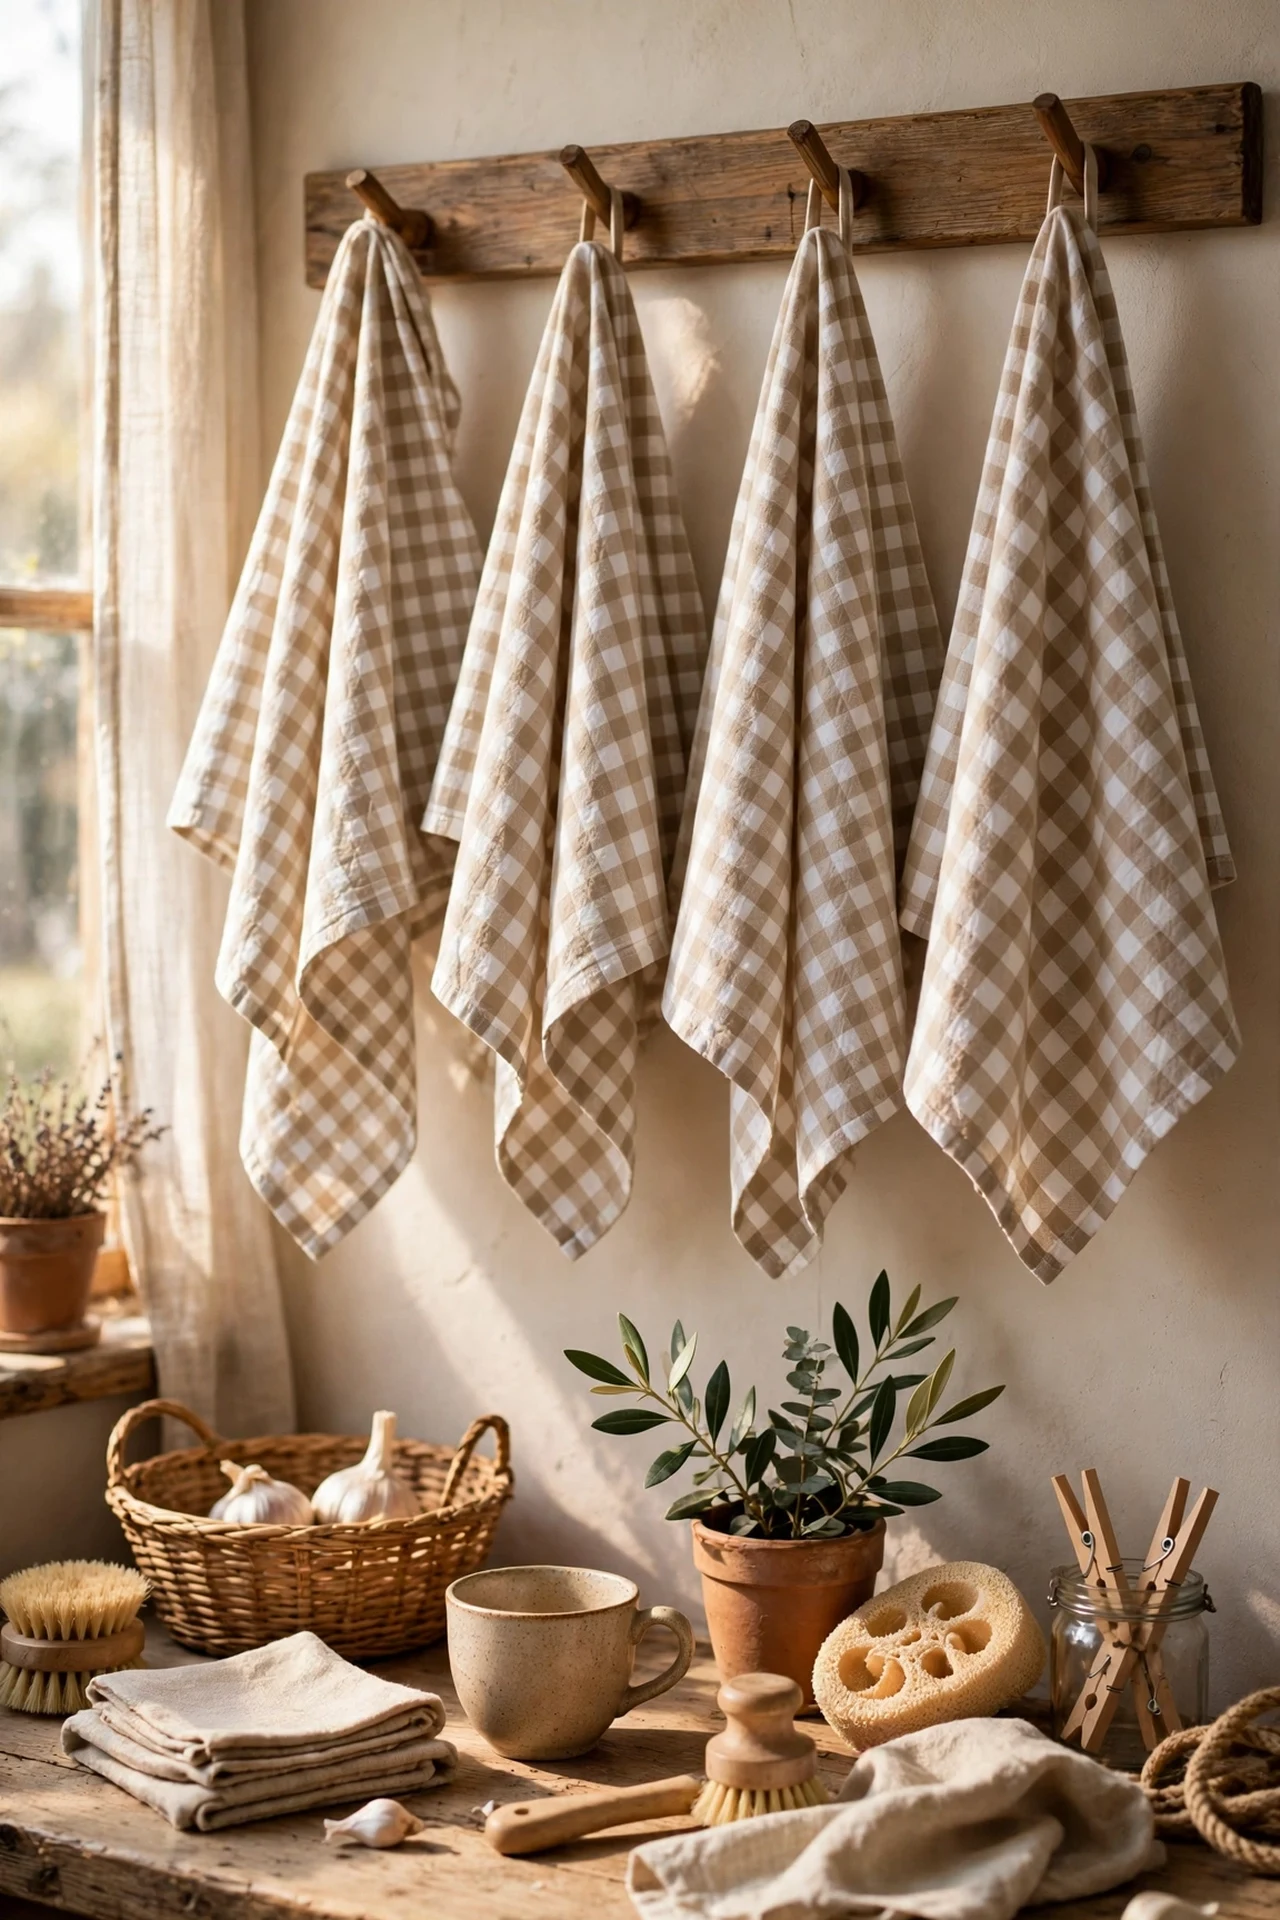
Tea towels are the cheapest styling tool in the kitchen and I use them like accessories. I hung a short rail inside a cupboard door and draped three beige-and-white checked towels over it — they add pattern and warmth for almost nothing. I buy them in multipacks and rotate them so they always look fresh, and I keep one strictly for display while the others do the real work. I tried patterned towels in clashing colours once and the cupboard looked chaotic every time I opened it, so sticking to one palette keeps it calm. For more purse-friendly refreshes, browse (see also: budget-kitchen-decor-ideas) for the full collection.
Cost: ~$15 | Time: 15 minutes
20. Greige Painted Window Frames
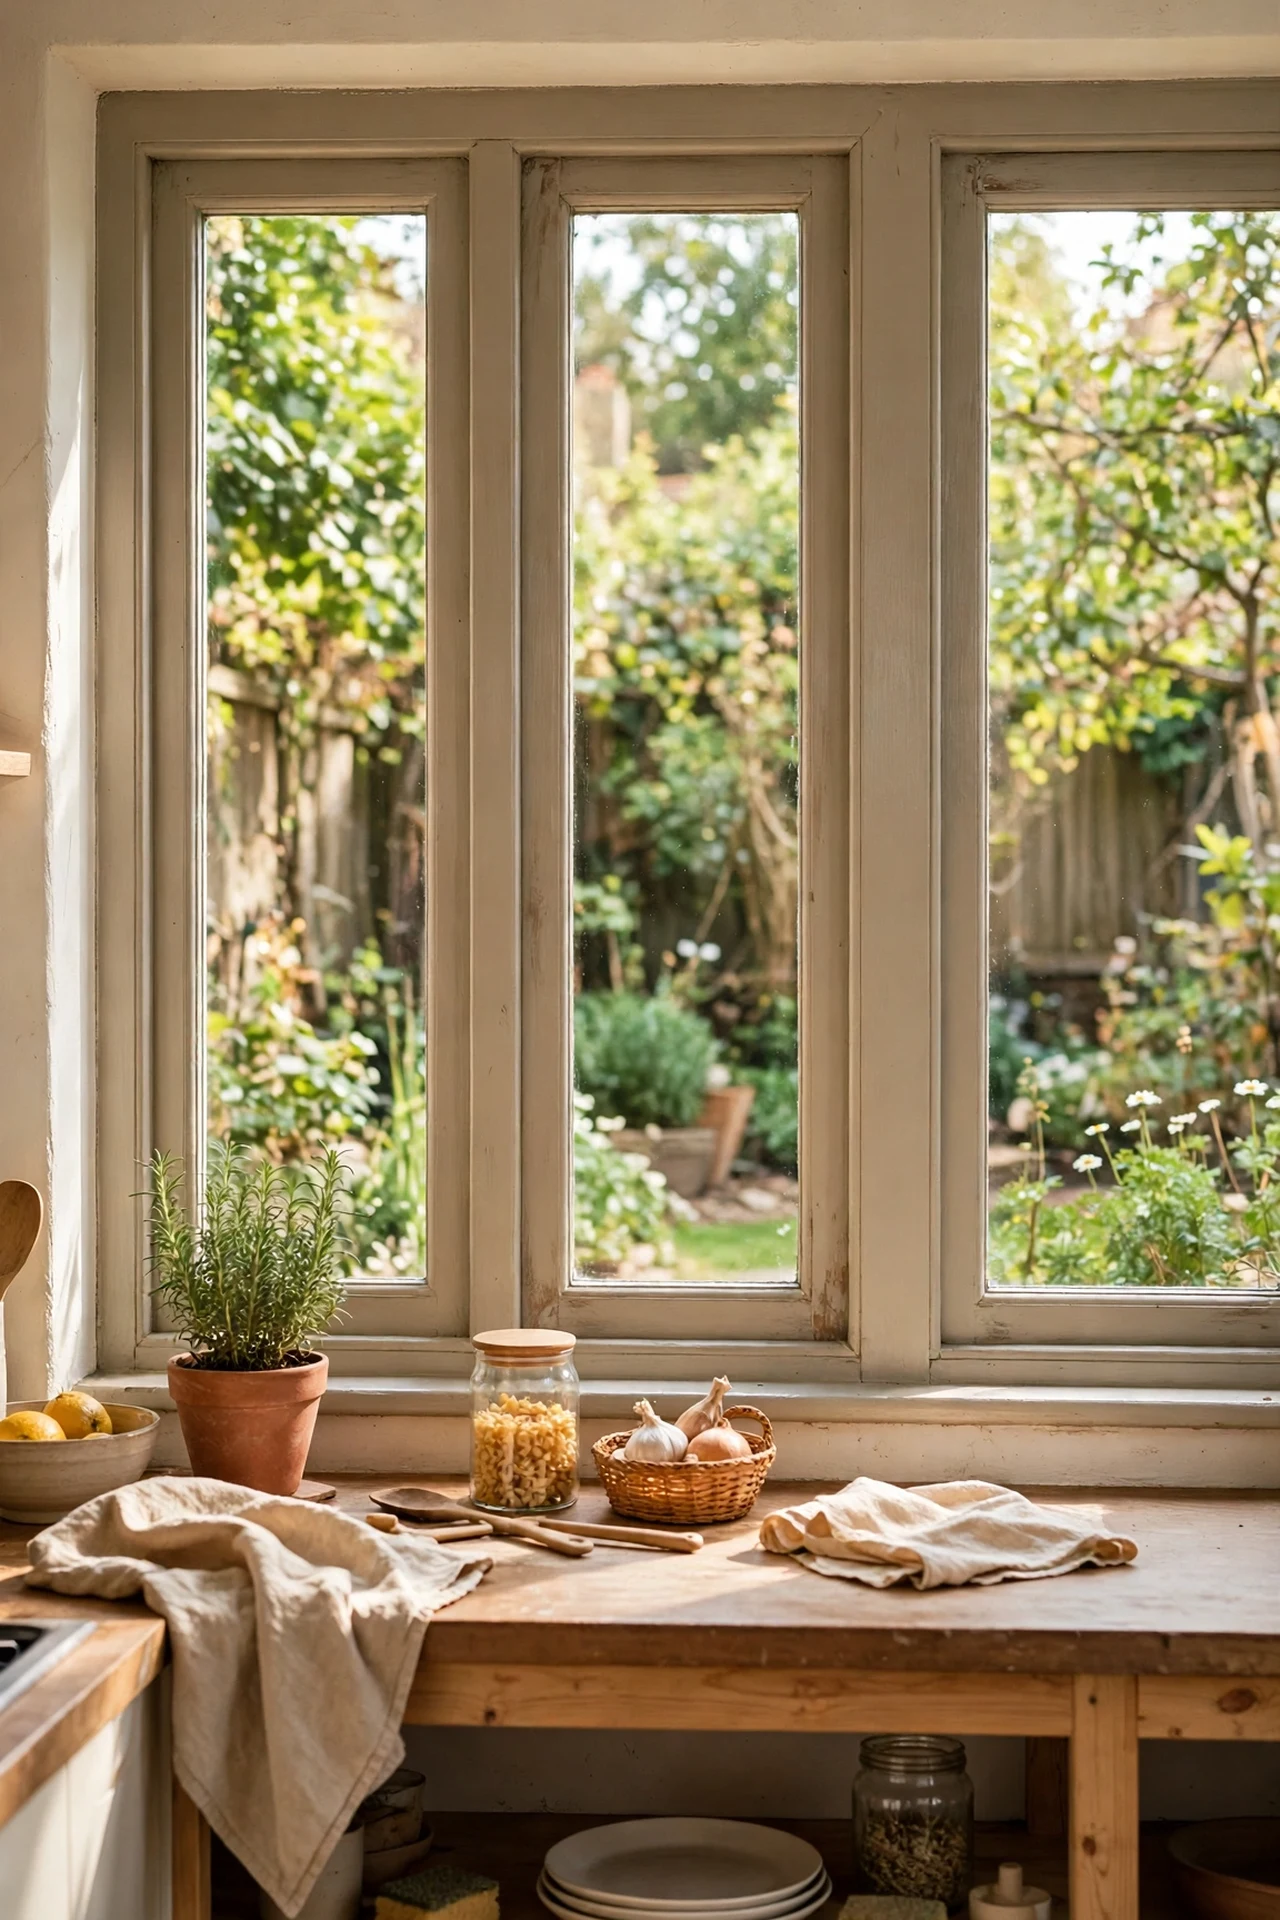
Nobody paints window frames and that’s exactly why it works. My frames were standard white and slightly yellowed, so I painted them a soft greige that matches the walls. It sounds subtle, but it makes the window feel like part of the design instead of an afterthought, and it frames the garden view beautifully. I masked the glass carefully with painter’s tape, sanded the frames lightly, and applied two coats of satinwood. The mistake to avoid is rushing the masking — paint on glass is miserable to scrape off. Take twenty minutes with the tape and the result looks professional.
Cost: ~$18 | Time: 2 hours
21. Beige Painted Ceiling to Soften the Light
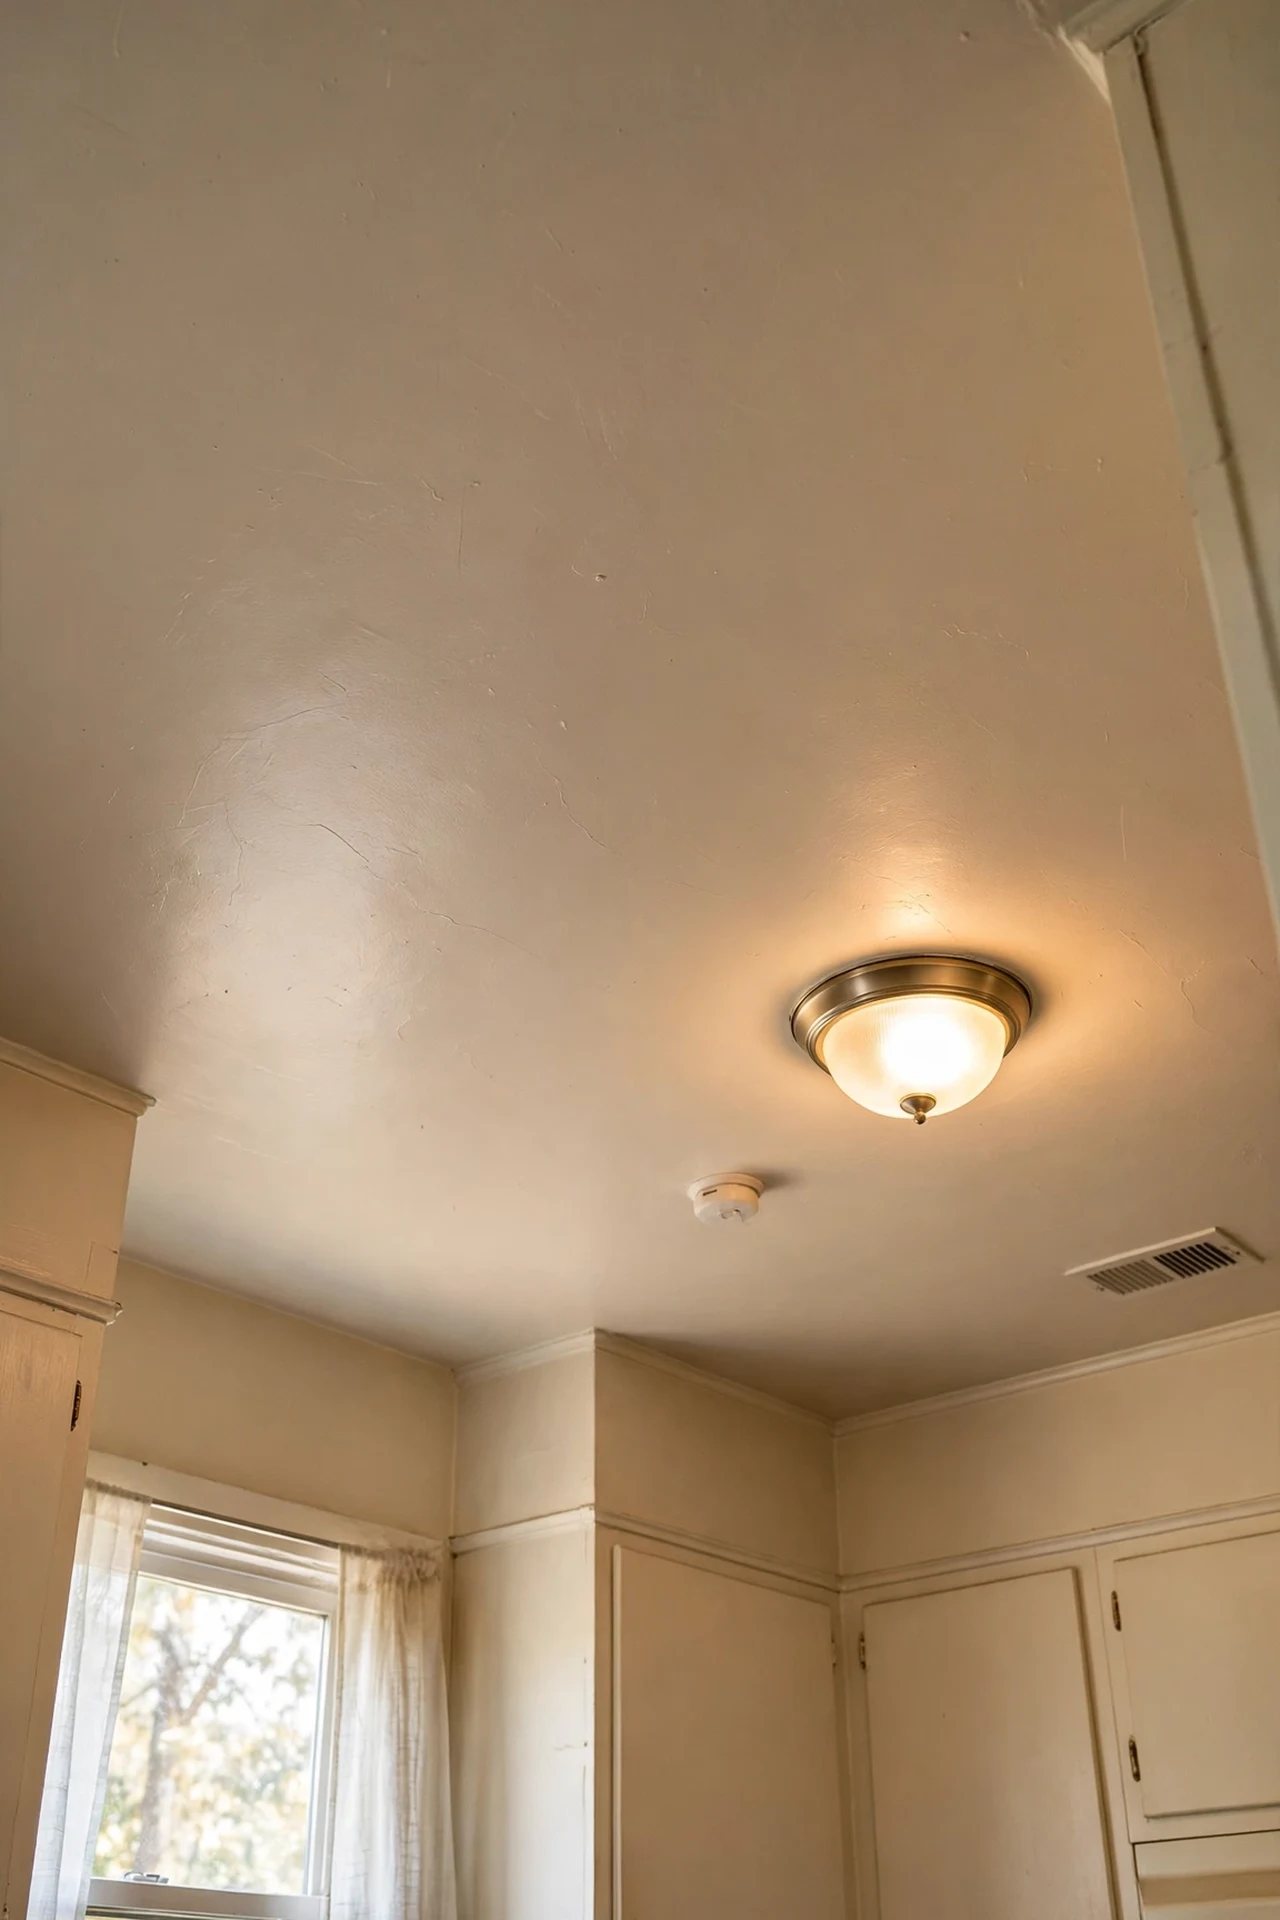
White ceilings can bounce light around harshly in a small kitchen, so I painted mine the palest warm beige. It sounds odd, but it takes the clinical edge off and makes the whole room feel wrapped in warmth. I used a flat matt emulsion so it wouldn’t reflect, cut in carefully around the coving, and rolled the rest with an extension pole. The mistake to avoid is going too dark — anything deeper than a whisper of beige will make the ceiling feel lower. Keep it barely-there and the light still bounces, just softer. It’s the kind of change guests feel but can’t quite name.
Cost: ~$30 | Time: half a day
22. Warm White and Beige Two-Tone Cabinet Doors
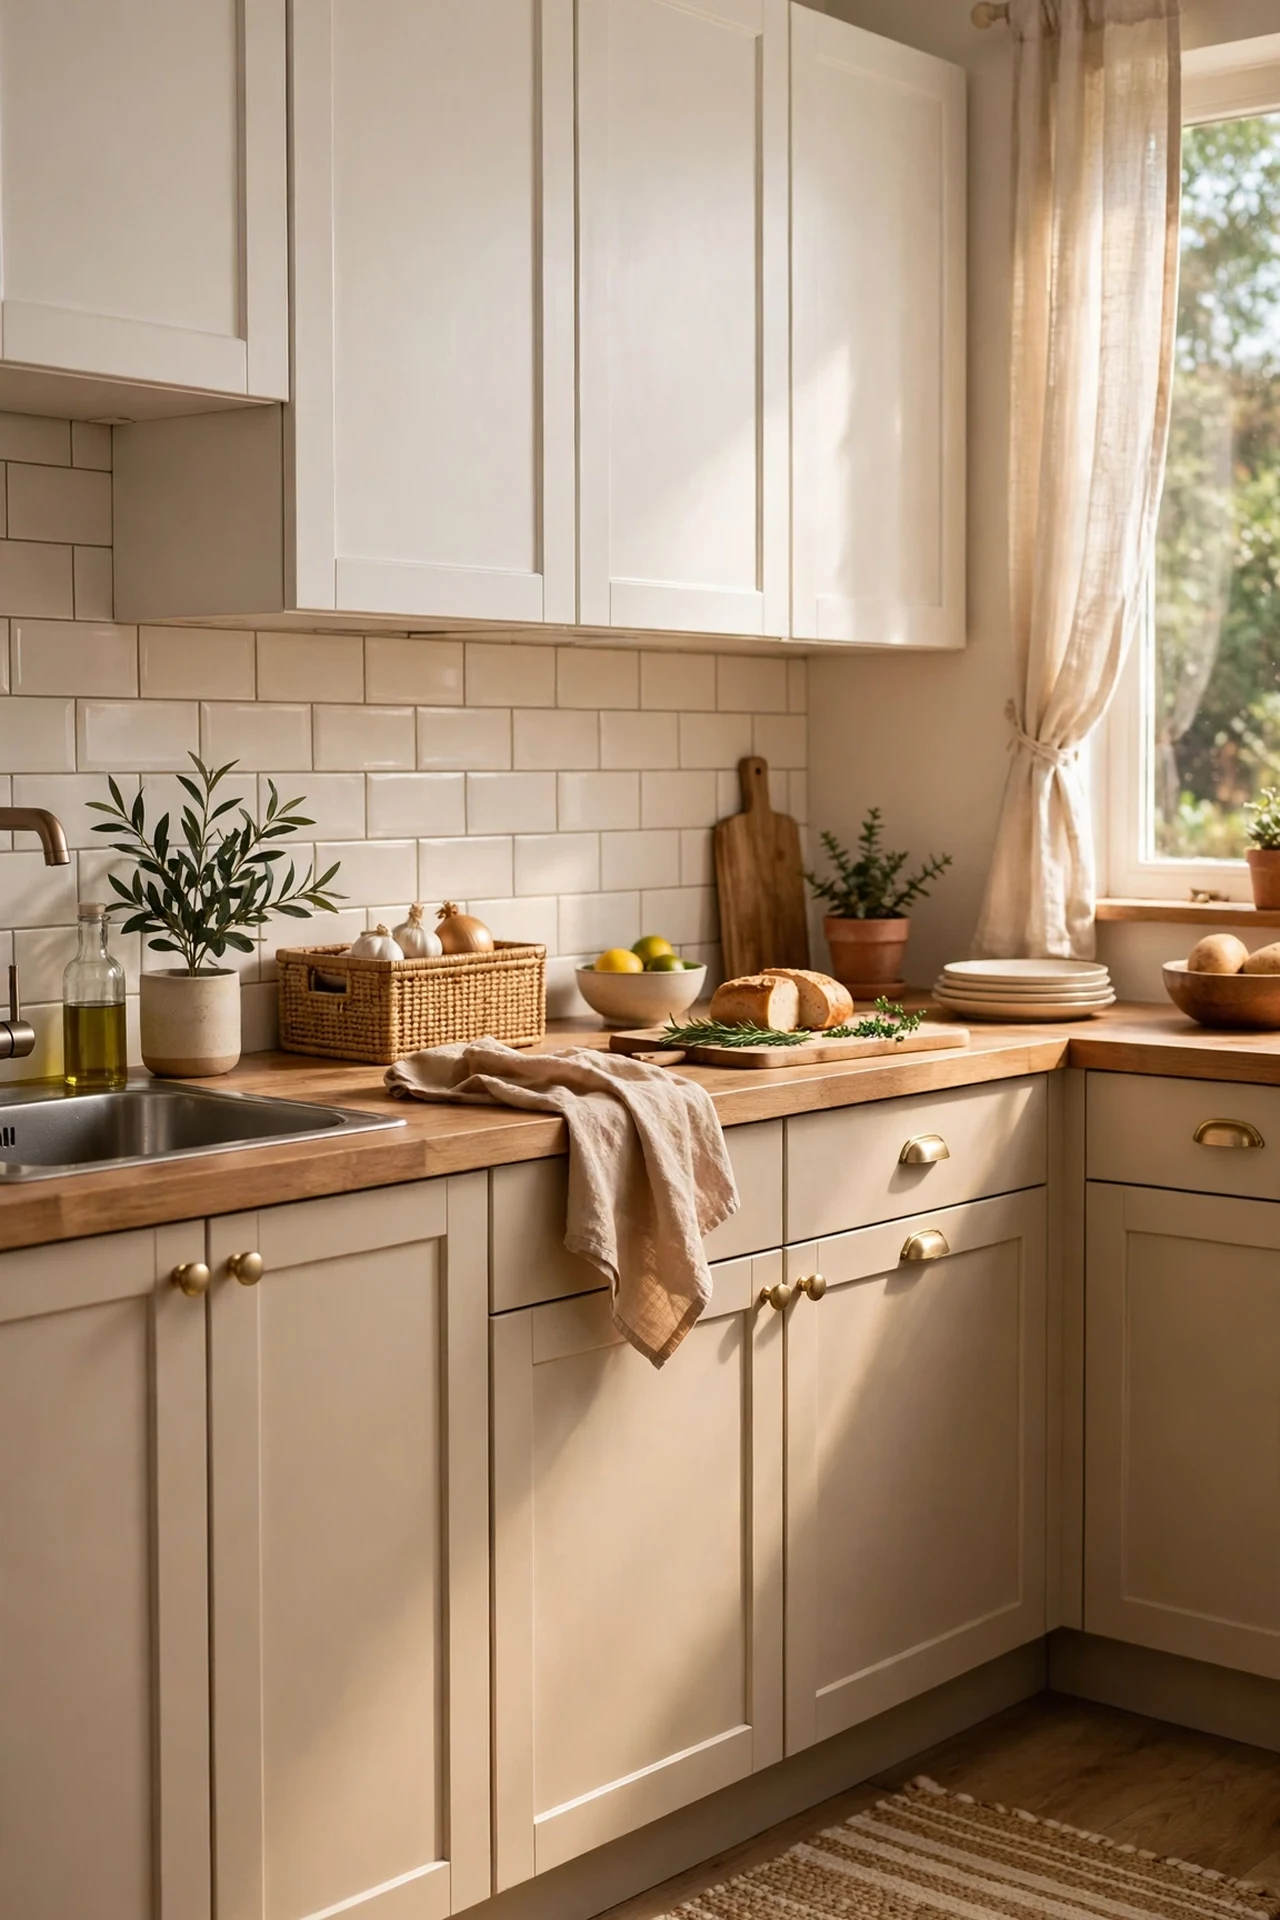
If all-beige feels like too much commitment, try two-tone: I painted my uppers a warm white and the lowers a deeper beige, and the contrast gives the kitchen real shape. The darker lowers ground the room while the light uppers keep it airy — it’s the classic designer trick, done with two tins of paint. I painted the uppers first, let them cure fully, then did the lowers, keeping the line between them crisp where they meet at the worktop. I tried to eyeball the colour pairing in the shop and got it wrong, so bring home tester pots and check them side by side in your own light before committing.
Cost: ~$70 | Time: one weekend
23. Sisal-Wrapped Stool Legs in Natural Beige
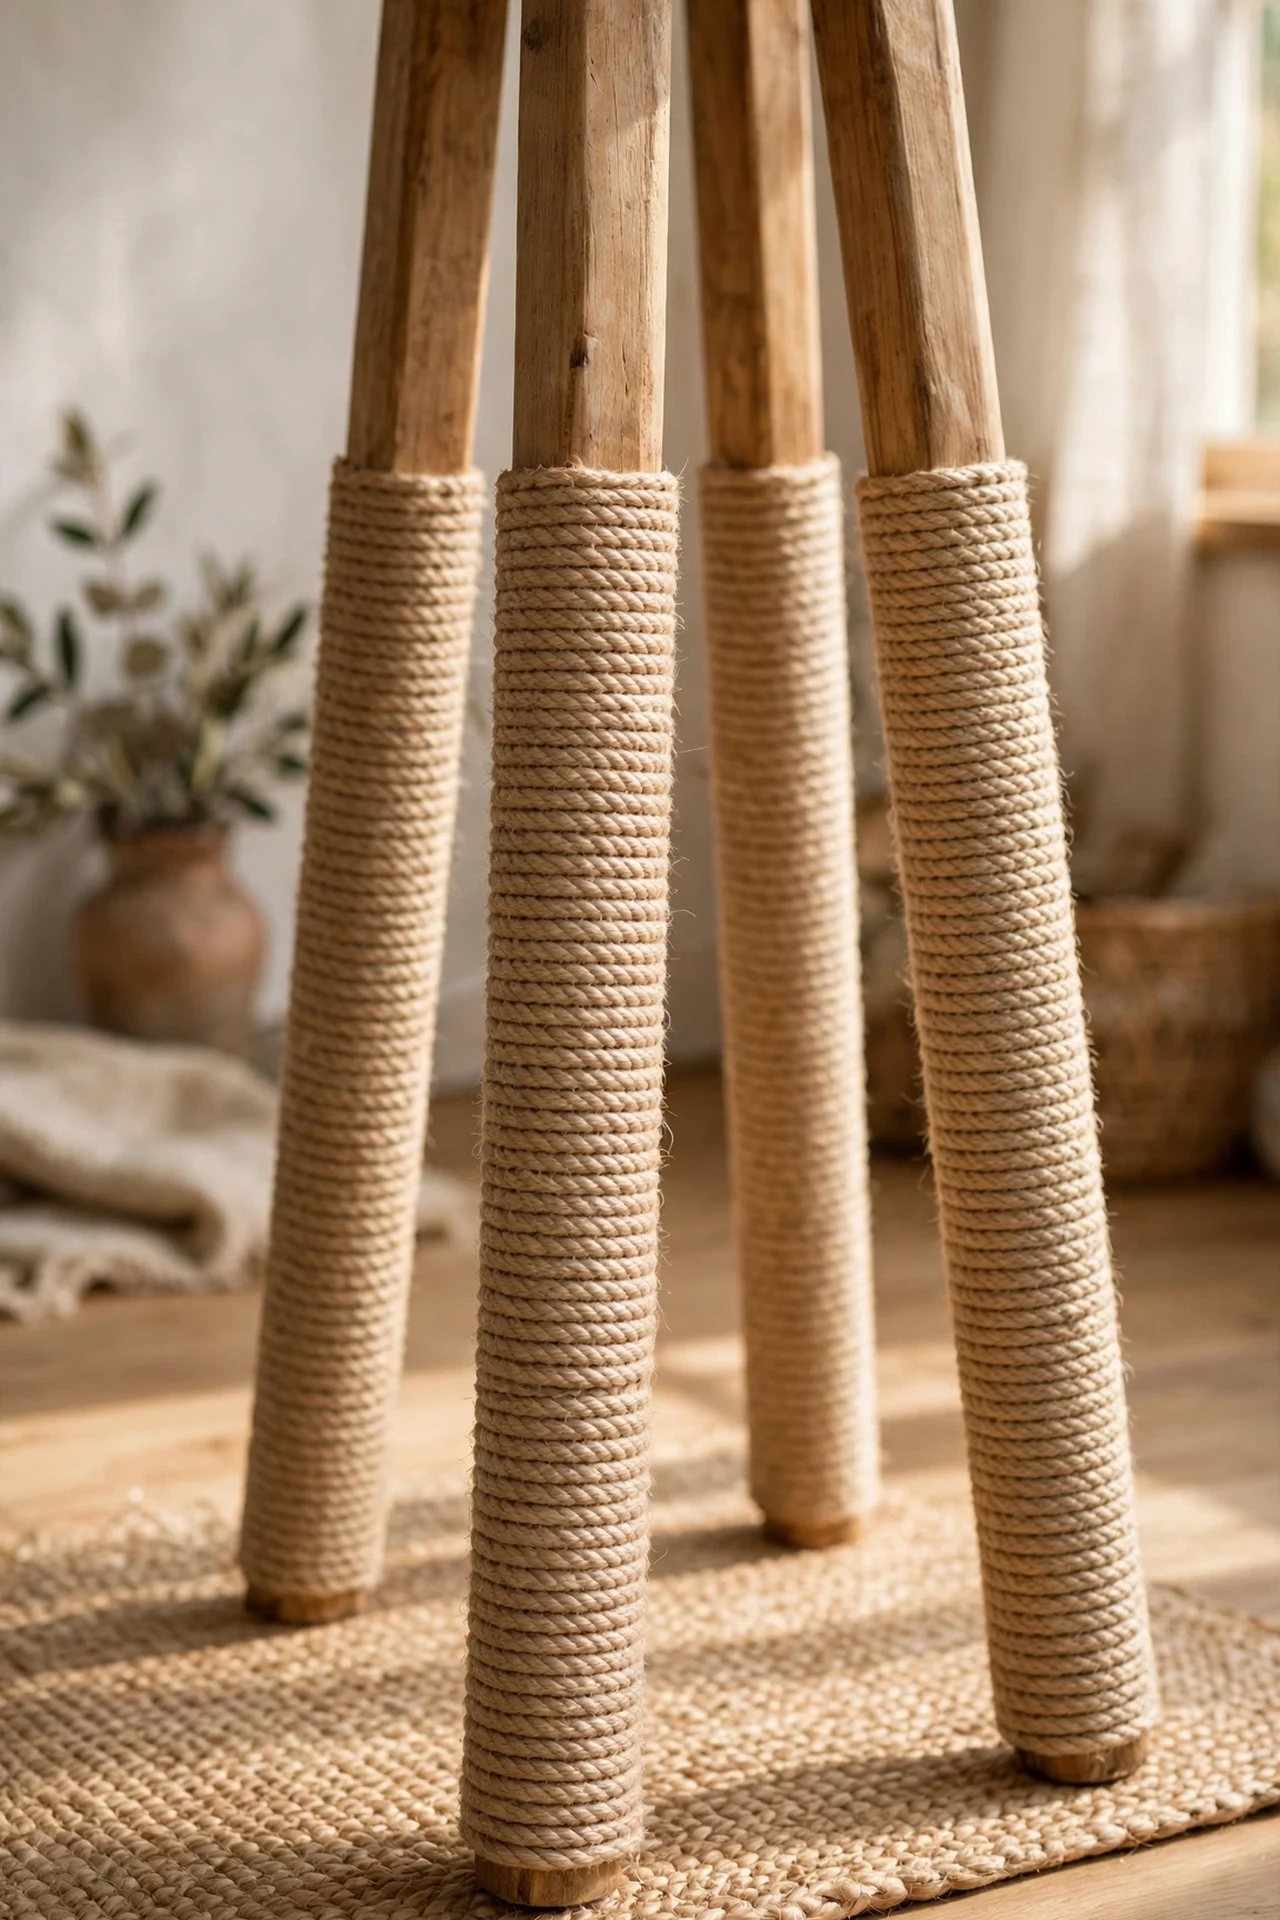
My metal bar stools looked cold against all the new warmth, so I wrapped the legs in natural sisal rope. I started at the bottom of each leg, fixed the rope end with a dab of hot glue, and wound it tightly upward, gluing every few turns to keep it snug. The sisal adds gorgeous texture and the beige tone bridges the stools to the rest of the room. I tried wrapping loosely on the first leg and it slid within a week, so keep the tension firm and the glue frequent. It also stops the stools scratching the floor, which was a happy bonus I hadn’t expected.
Cost: ~$16 | Time: 1 hour
24. Beige Herb Pots on the Windowsill
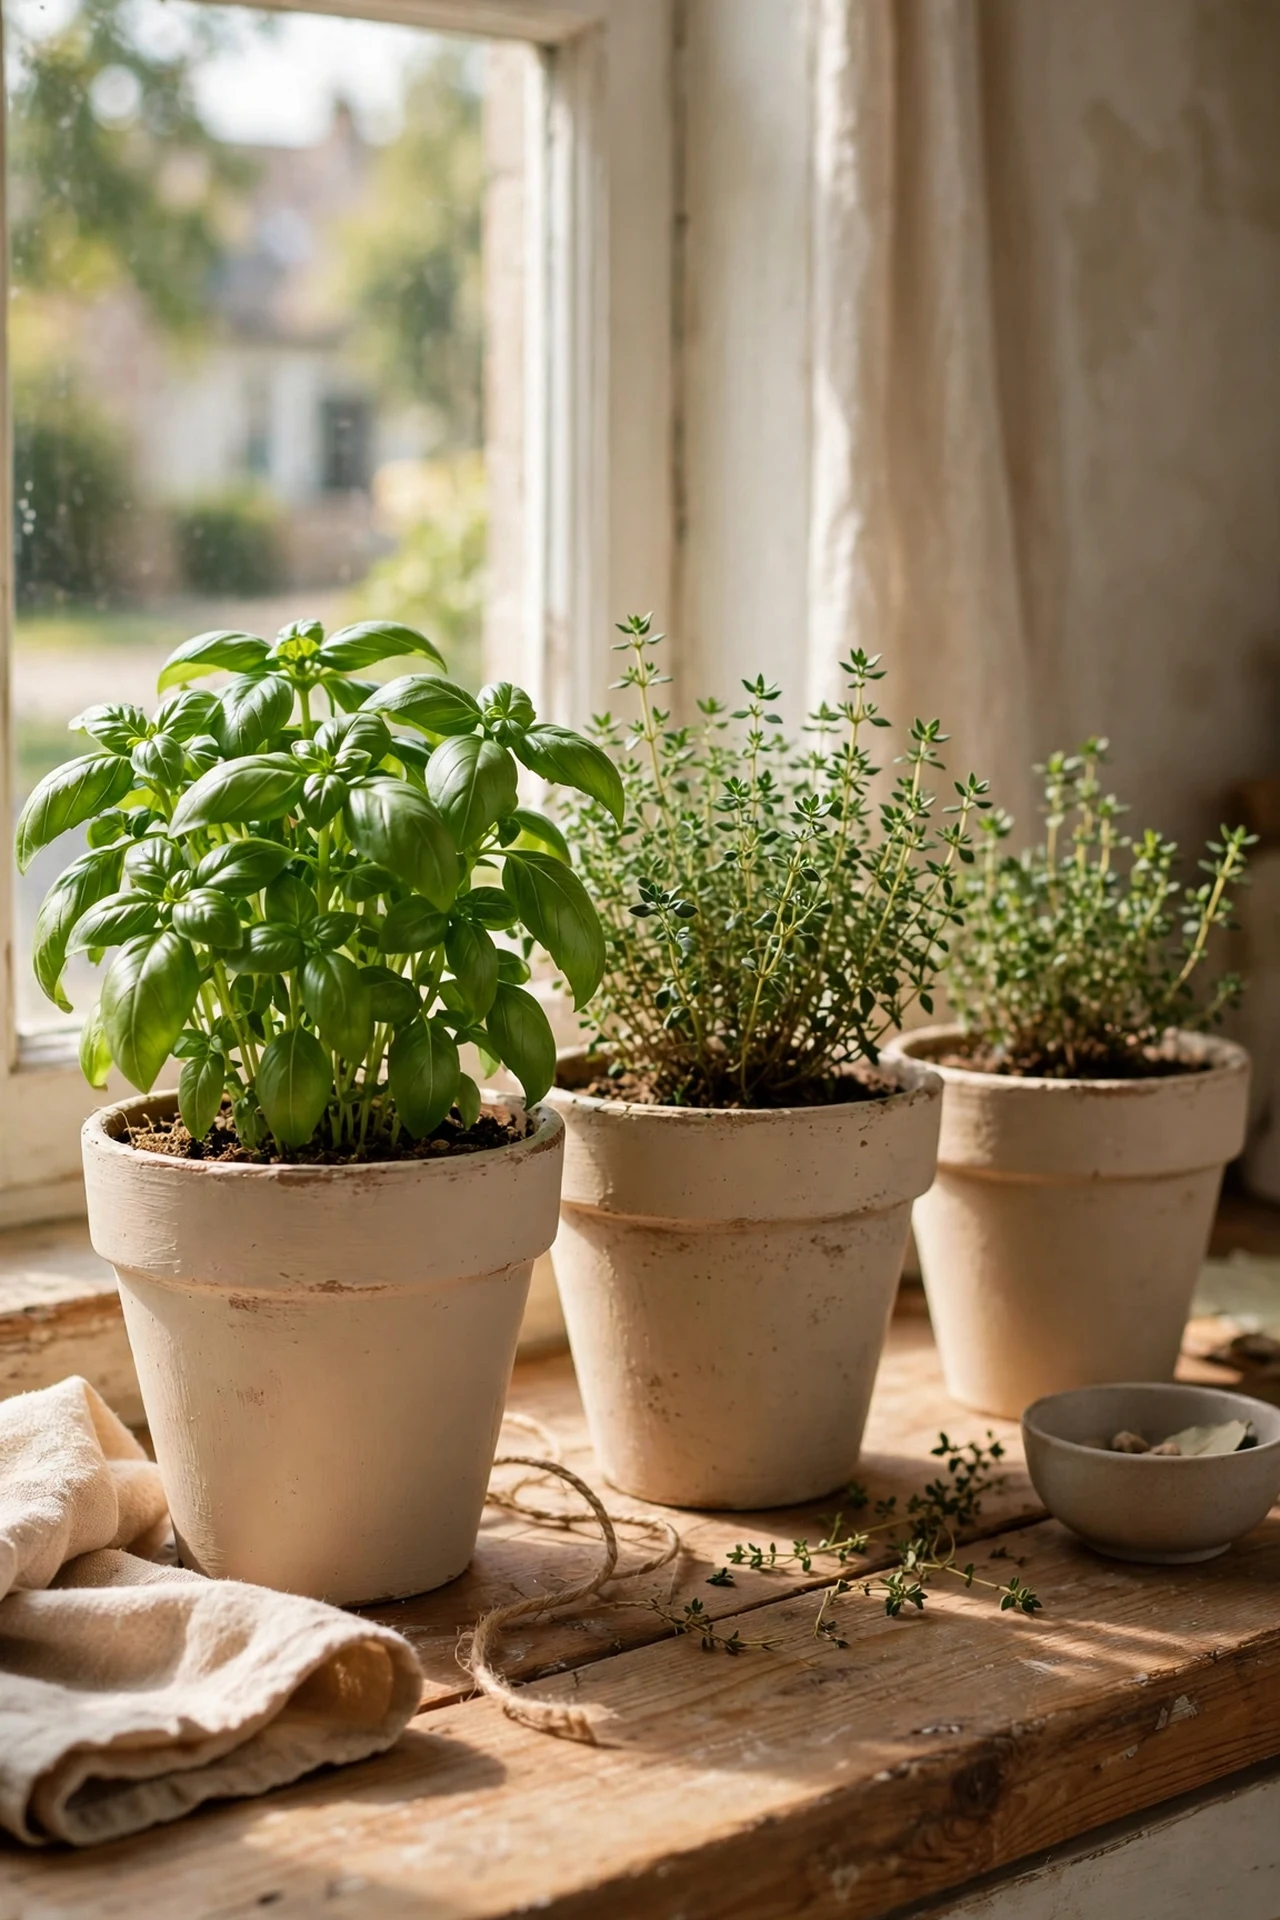
Nothing makes a beige kitchen feel alive like green, so I lined the windowsill with terracotta pots painted in matte beige and planted basil, thyme, and mint. I gave the cheap terracotta pots two coats of exterior paint so they’d survive the watering, added a layer of gravel for drainage, and labelled each one with a little wooden tag. They cost almost nothing, they smell wonderful, and I actually cook with them — the mint goes in everything. I tried skipping the drainage gravel once and lost a basil plant to root rot within a fortnight, so don’t skip it. Water little and often.
Cost: ~$20 | Time: 1 hour
25. Aged Brass Taps With a Beige Stone Tray
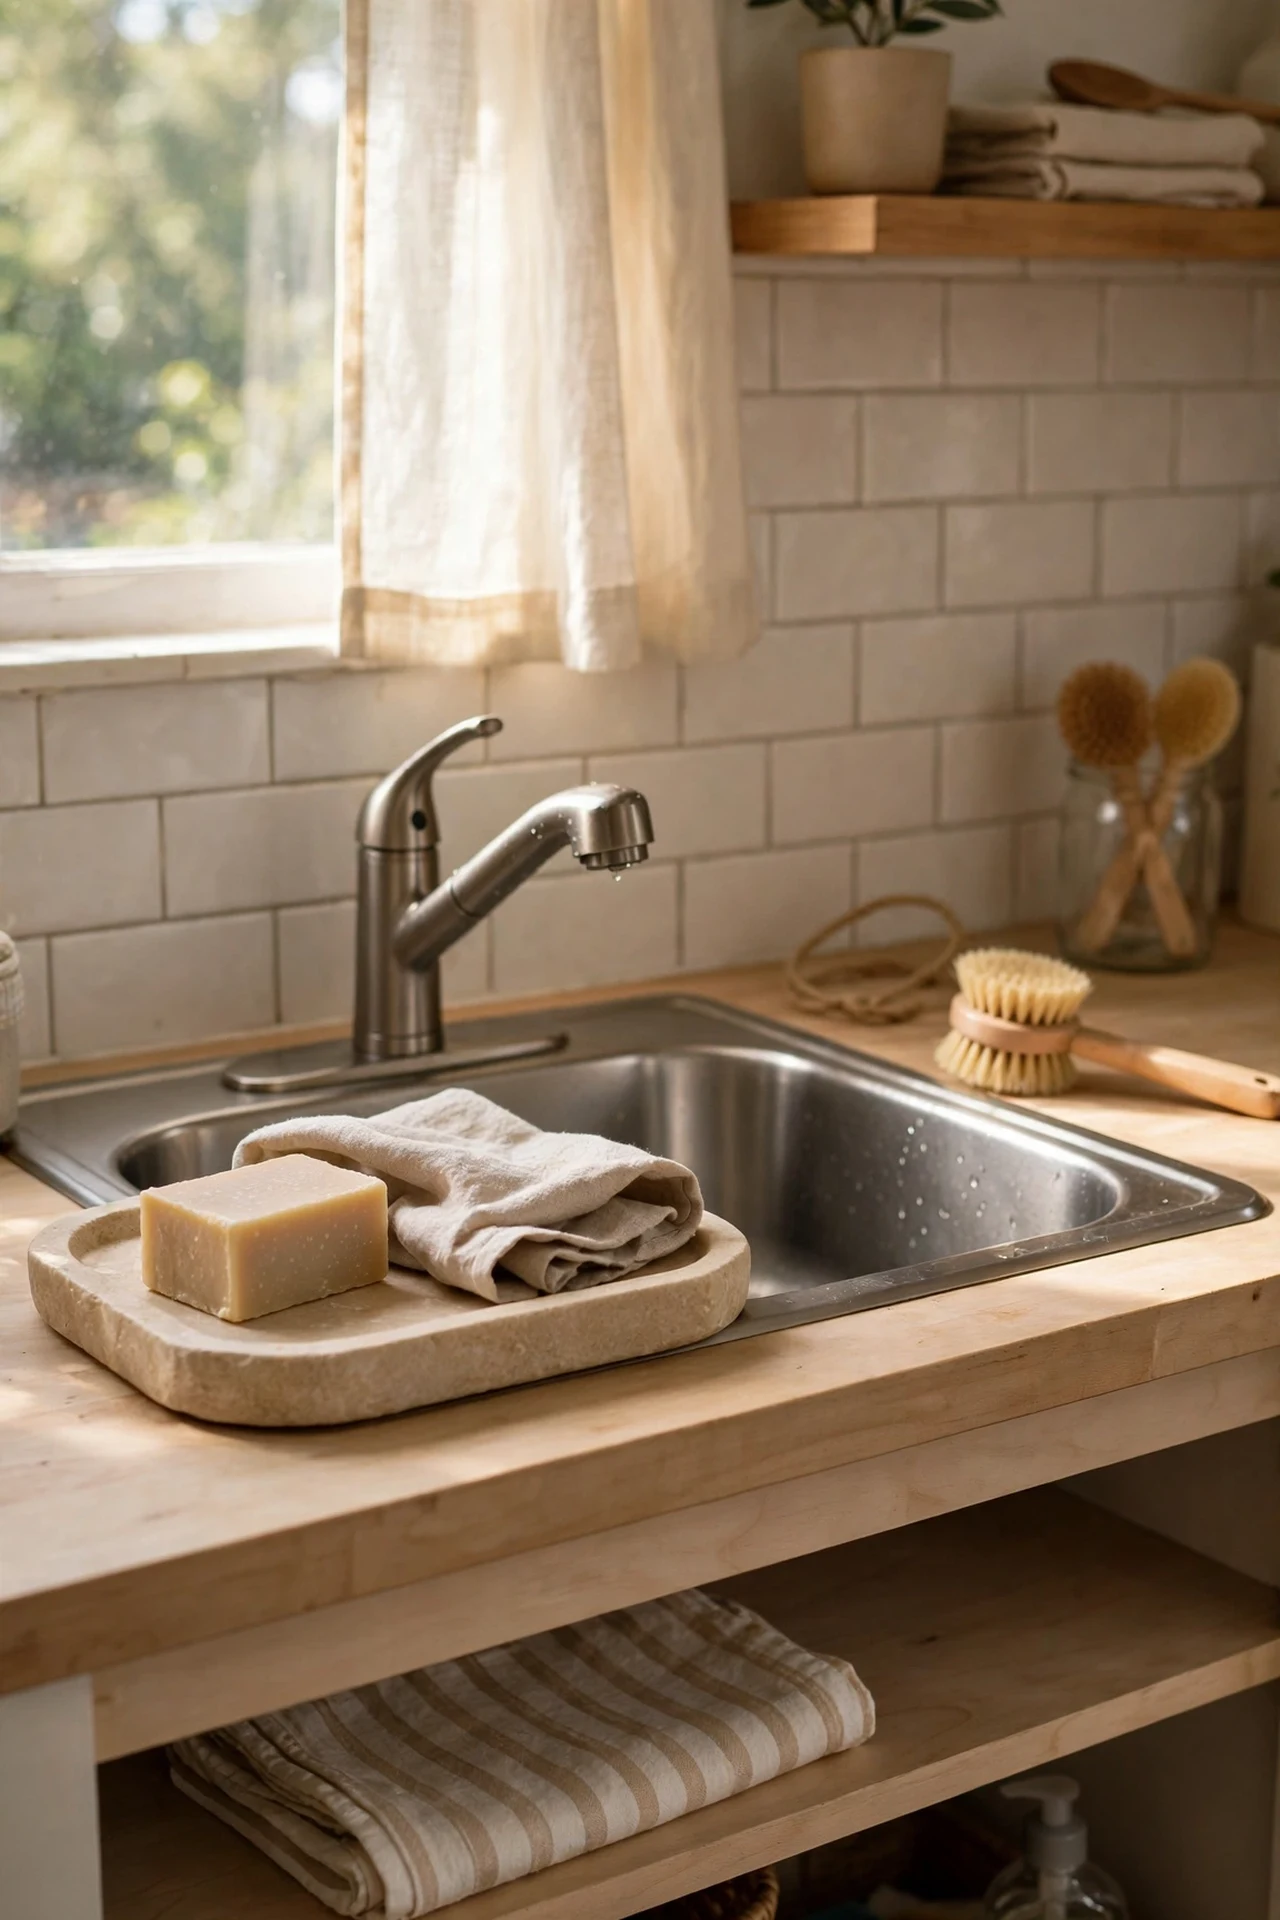
The finishing touch was the sink area: I couldn’t justify new taps, so I cleaned my old ones back to a shine and styled the sink surround with a small beige stone tray holding the soap and a folded cloth. The tray corrals the bits that always look messy — the washing-up liquid, the sponge — and turns them into a vignette. I found the tray in a homeware sale for a few pounds; a small chopping board works just as well. I tried leaving everything loose on the sink edge and it photographed terribly every time, so the tray is doing real visual work. For the full low-spend approach, see (see also: budget-kitchen-decor-ideas) again — small moves, big difference.
Cost: ~$14 | Time: 20 minutes
Quick Answers
Q: What beige paint shade works best in a kitchen?
A: Pick a warm beige with a yellow or golden undertone rather than pink or grey — it flatters both daylight and warm artificial light. Always test a large swatch on the wall for three days before committing.
Q: Will beige make my small kitchen look smaller?
A: Not if you layer it. Keep walls light, use deeper beige on lowers or one feature wall, and add texture through textiles and wood — the variation creates depth instead of flatness.
Q: What’s the cheapest beige kitchen idea on this list?
A: The grout refresh at around $12. An evening’s work with a grout reviver pen or brush-on product makes tired tiles look brand new.
Beige gets dismissed as boring, but done deliberately it’s the warmest, calmest backdrop a kitchen can have. Almost every idea here costs less than a big supermarket shop, so pick your favourite and start this weekend.
