15 Kitchen Decor Ideas Under $50 Without Renovating
Two years ago my kitchen was making me miserable. Not broken — just beige, bland, and completely uninspiring, the kind of room you walk through rather than linger in. A full renovation was out of the question, so I set myself a challenge: find kitchen decor ideas under $50 that could make the whole room feel different without touching the plumbing or my savings. What followed was a glorious month of thrifting, painting, and sticking things to walls. Some ideas flopped (we don’t talk about the glitter grout pen). But fifteen genuinely worked, and my kitchen finally feels like somewhere I want to cook. Here they are.
Pin this one to your kitchen board — you’ll want it when the January gloom hits and your kitchen needs cheering up without the renovation bill.
1. Swap Cabinet Hardware for Brushed Brass Pulls
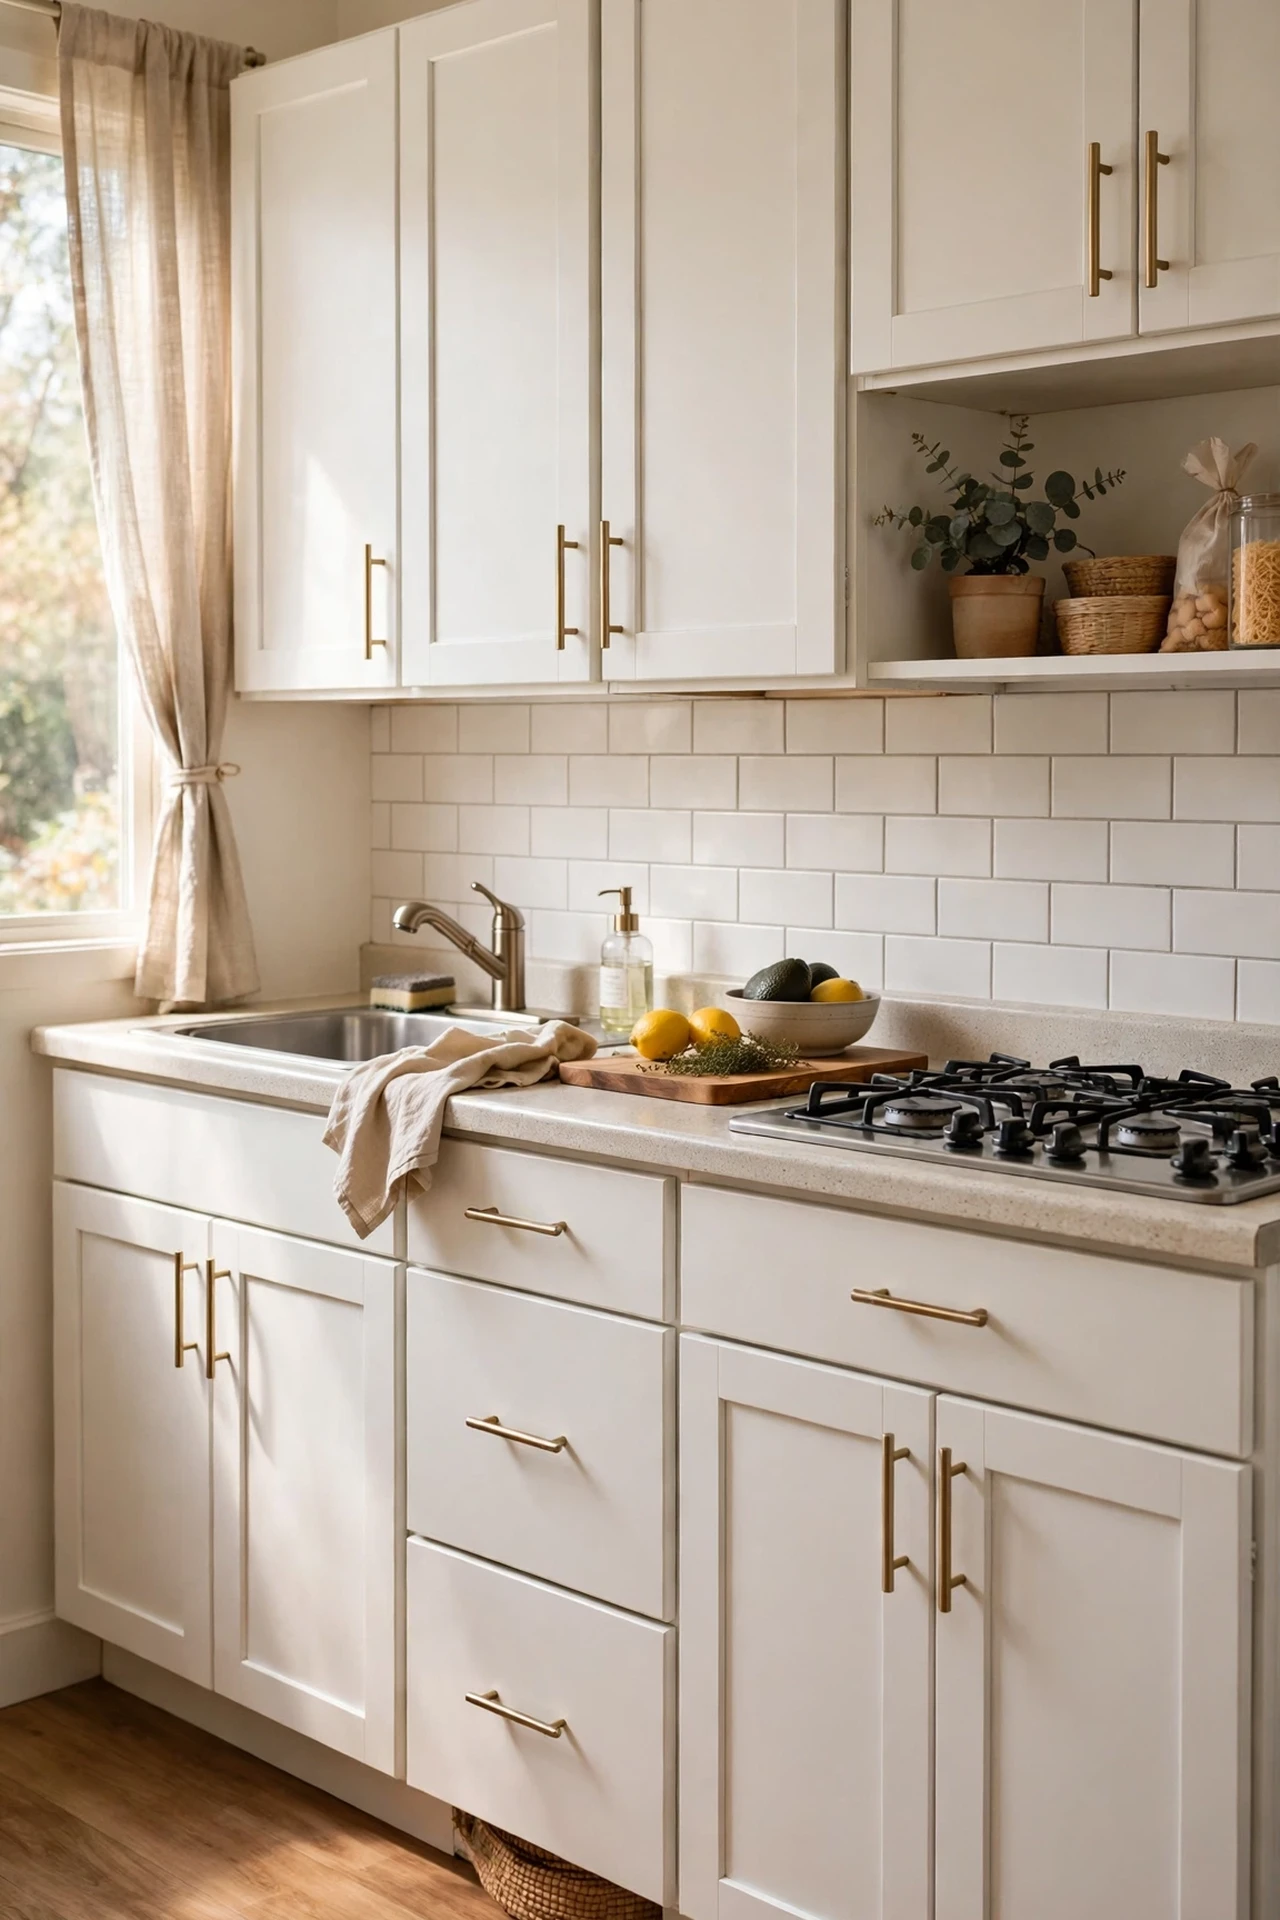
Nothing dates a kitchen faster than tired old knobs, and nothing refreshes it faster than new ones. I replaced every handle in my kitchen with brushed brass bar pulls I found in a multipack online, and the difference was honestly ridiculous for the effort involved. Here’s how: unscrew one old knob and take it to the shop (or measure the hole spacing — most are 96mm or 128mm), order pulls to match so you don’t have to drill new holes, then swap them one door at a time with a screwdriver. I tried this — the mistake to avoid is buying pulls without checking the spacing first, because I ended up with a bag of beautiful handles that didn’t fit anything and a very patient returns queue.
Cost: ~$25 | Time: 45 minutes
2. Lay Peel-and-Stick Backsplash Tiles
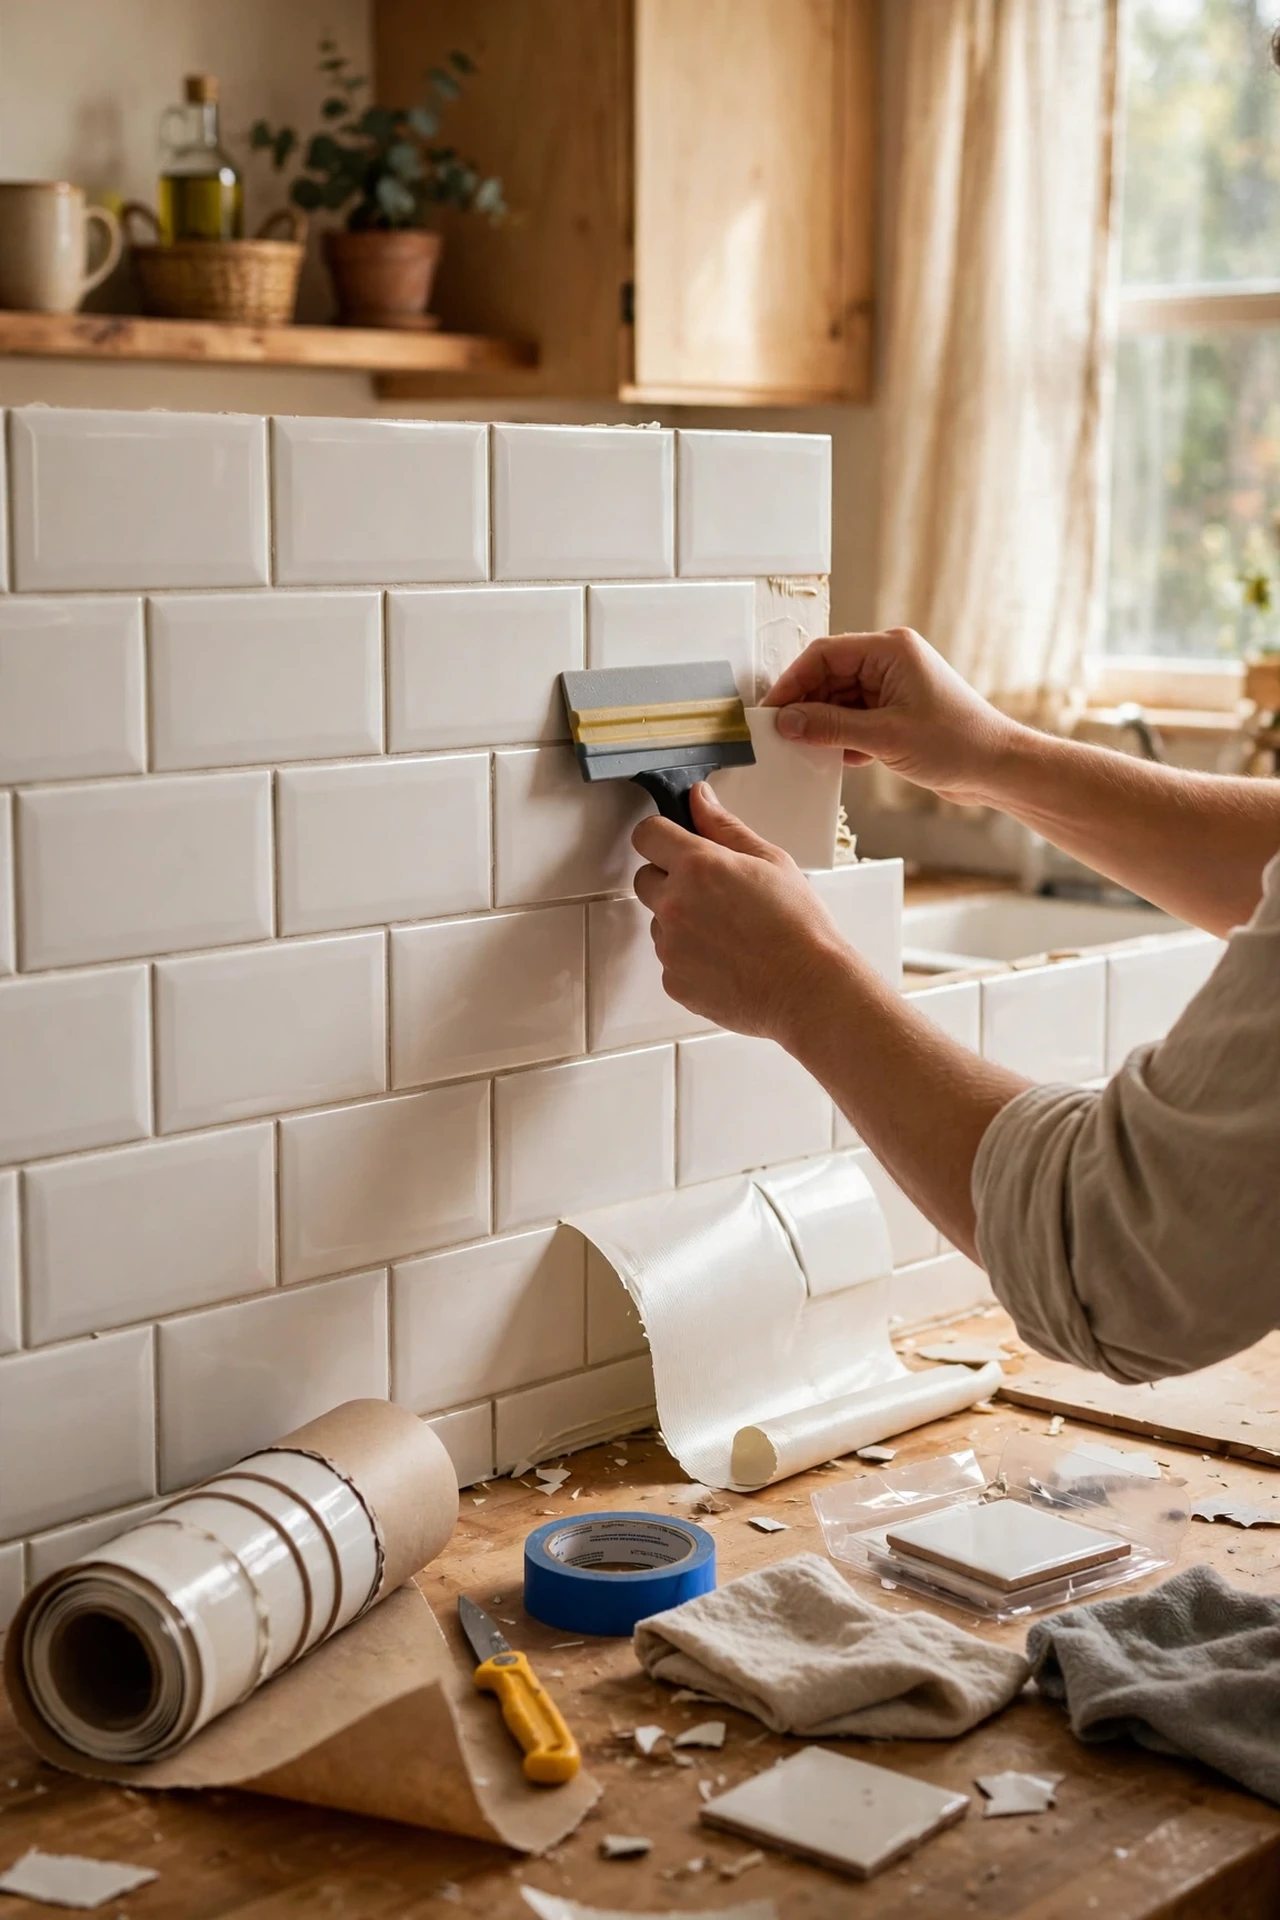
If your backsplash is plain white tile or — worse — painted drywall splattered with years of cooking, peel-and-stick tiles are the budget hero you need. They look surprisingly convincing once they’re up, especially the subway and Moroccan patterns. Clean the wall thoroughly with sugar soap and let it dry completely, plan your layout from the centre outward so the cut tiles land at the edges, then peel, stick, and smooth each tile with a credit card to chase out bubbles. I tried this — the mistake to avoid is rushing the first row, because every crooked tile after it multiplies the wonkiness. Take your time levelling that starter row and the rest practically installs itself.
Cost: ~$30 | Time: 60 minutes
3. Style an Open Shelf With Everyday Dishes
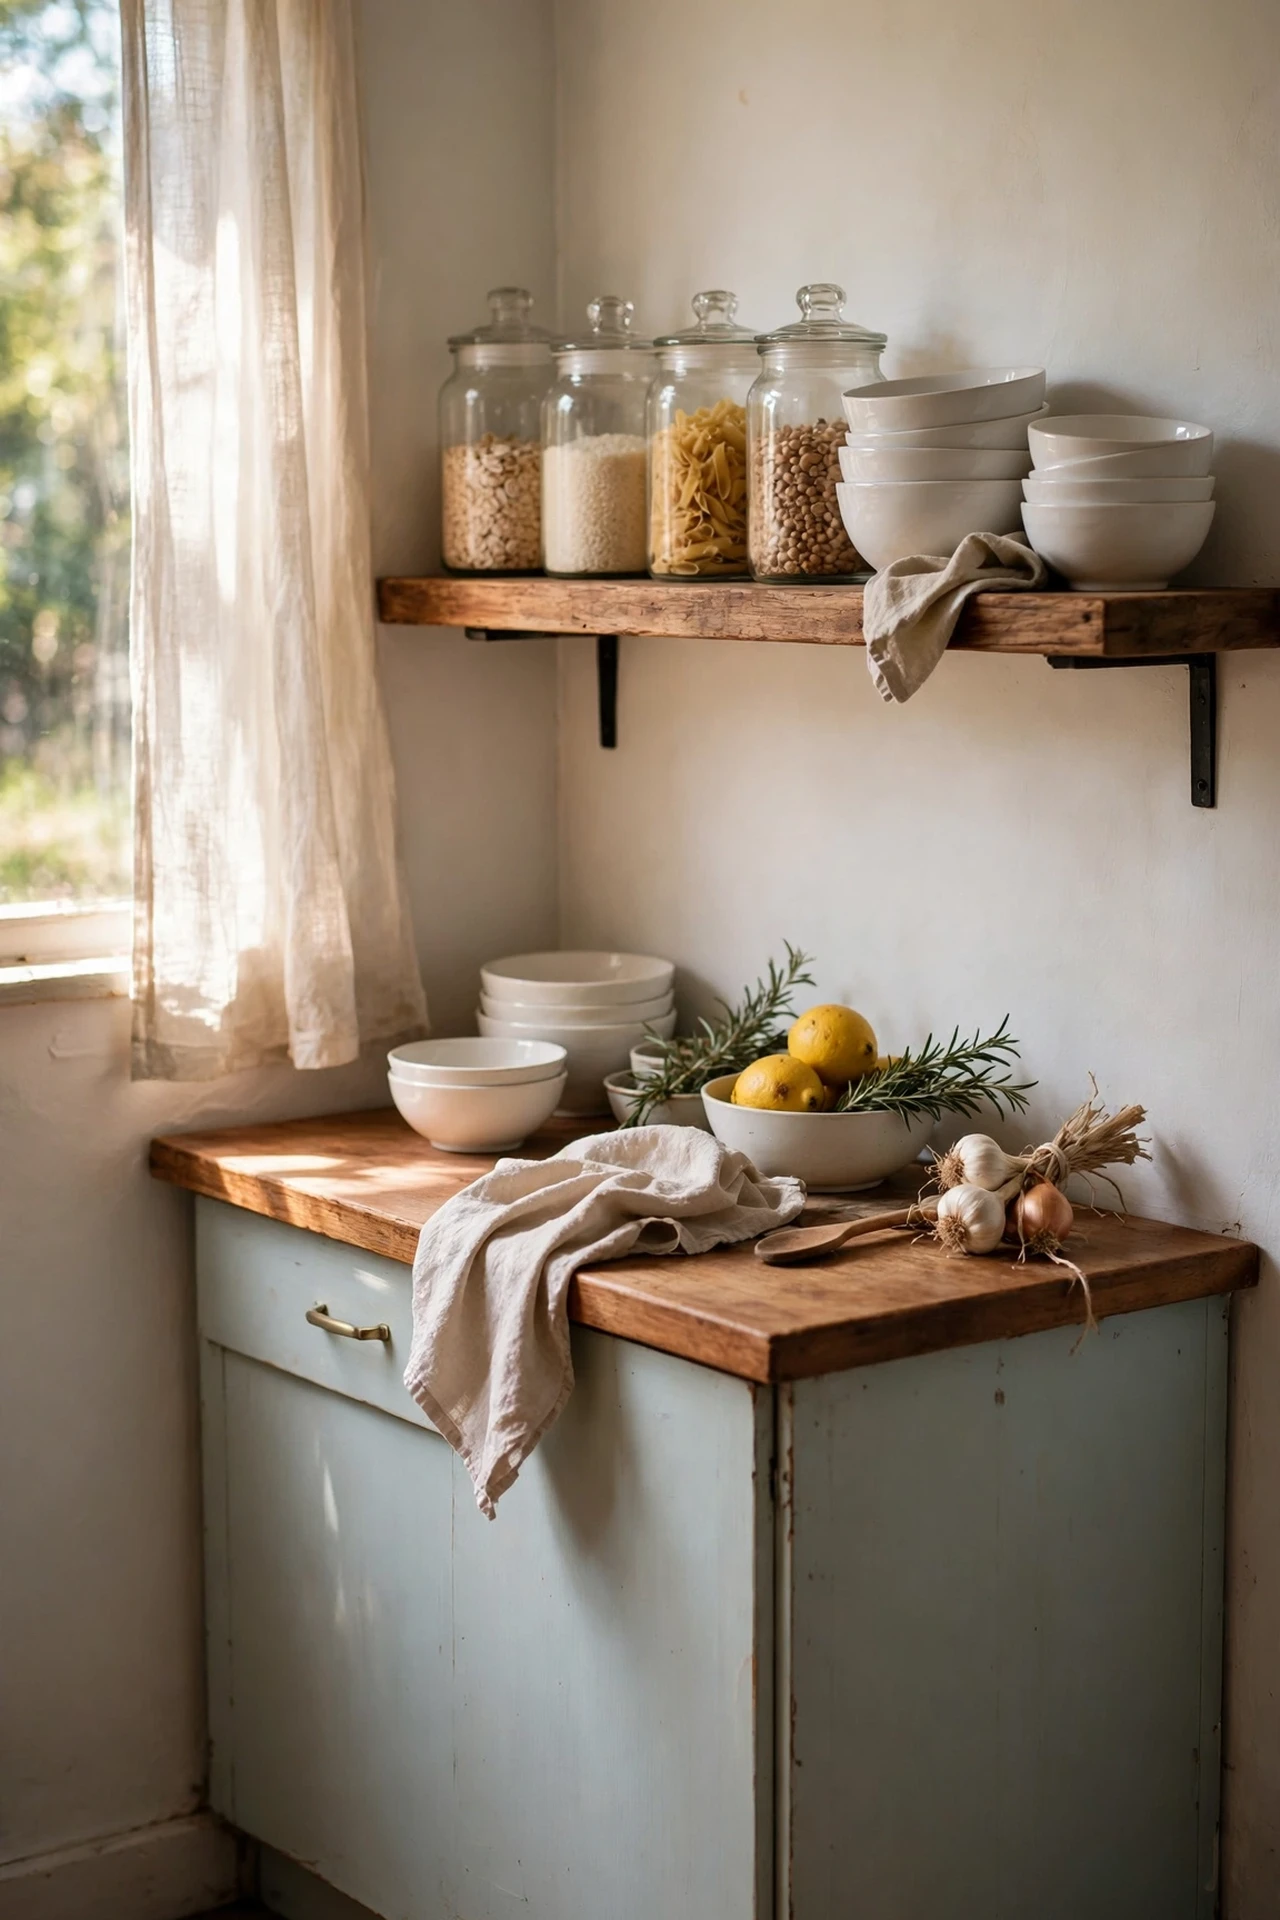
You don’t need to rip out cabinets to get the open-shelf look — one floating shelf on an empty stretch of wall does the job. Mine holds the pretty stuff I actually use: white bowls, a stack of pasta jars, and the chipped blue mug I refuse to throw away. Mount the shelf into studs (or use proper plasterboard anchors — a shelf of crockery is heavy), then style it in odd-numbered groups with breathing room between them. Tall items at the back, small ones at the front. I tried this — the mistake to avoid is cramming it full like a shop display; negative space is what makes it look curated instead of cluttered. Leave a third of the shelf empty and thank me later.
Cost: ~$20 | Time: 30 minutes
4. Hang a Linen-Look Cafe Curtain
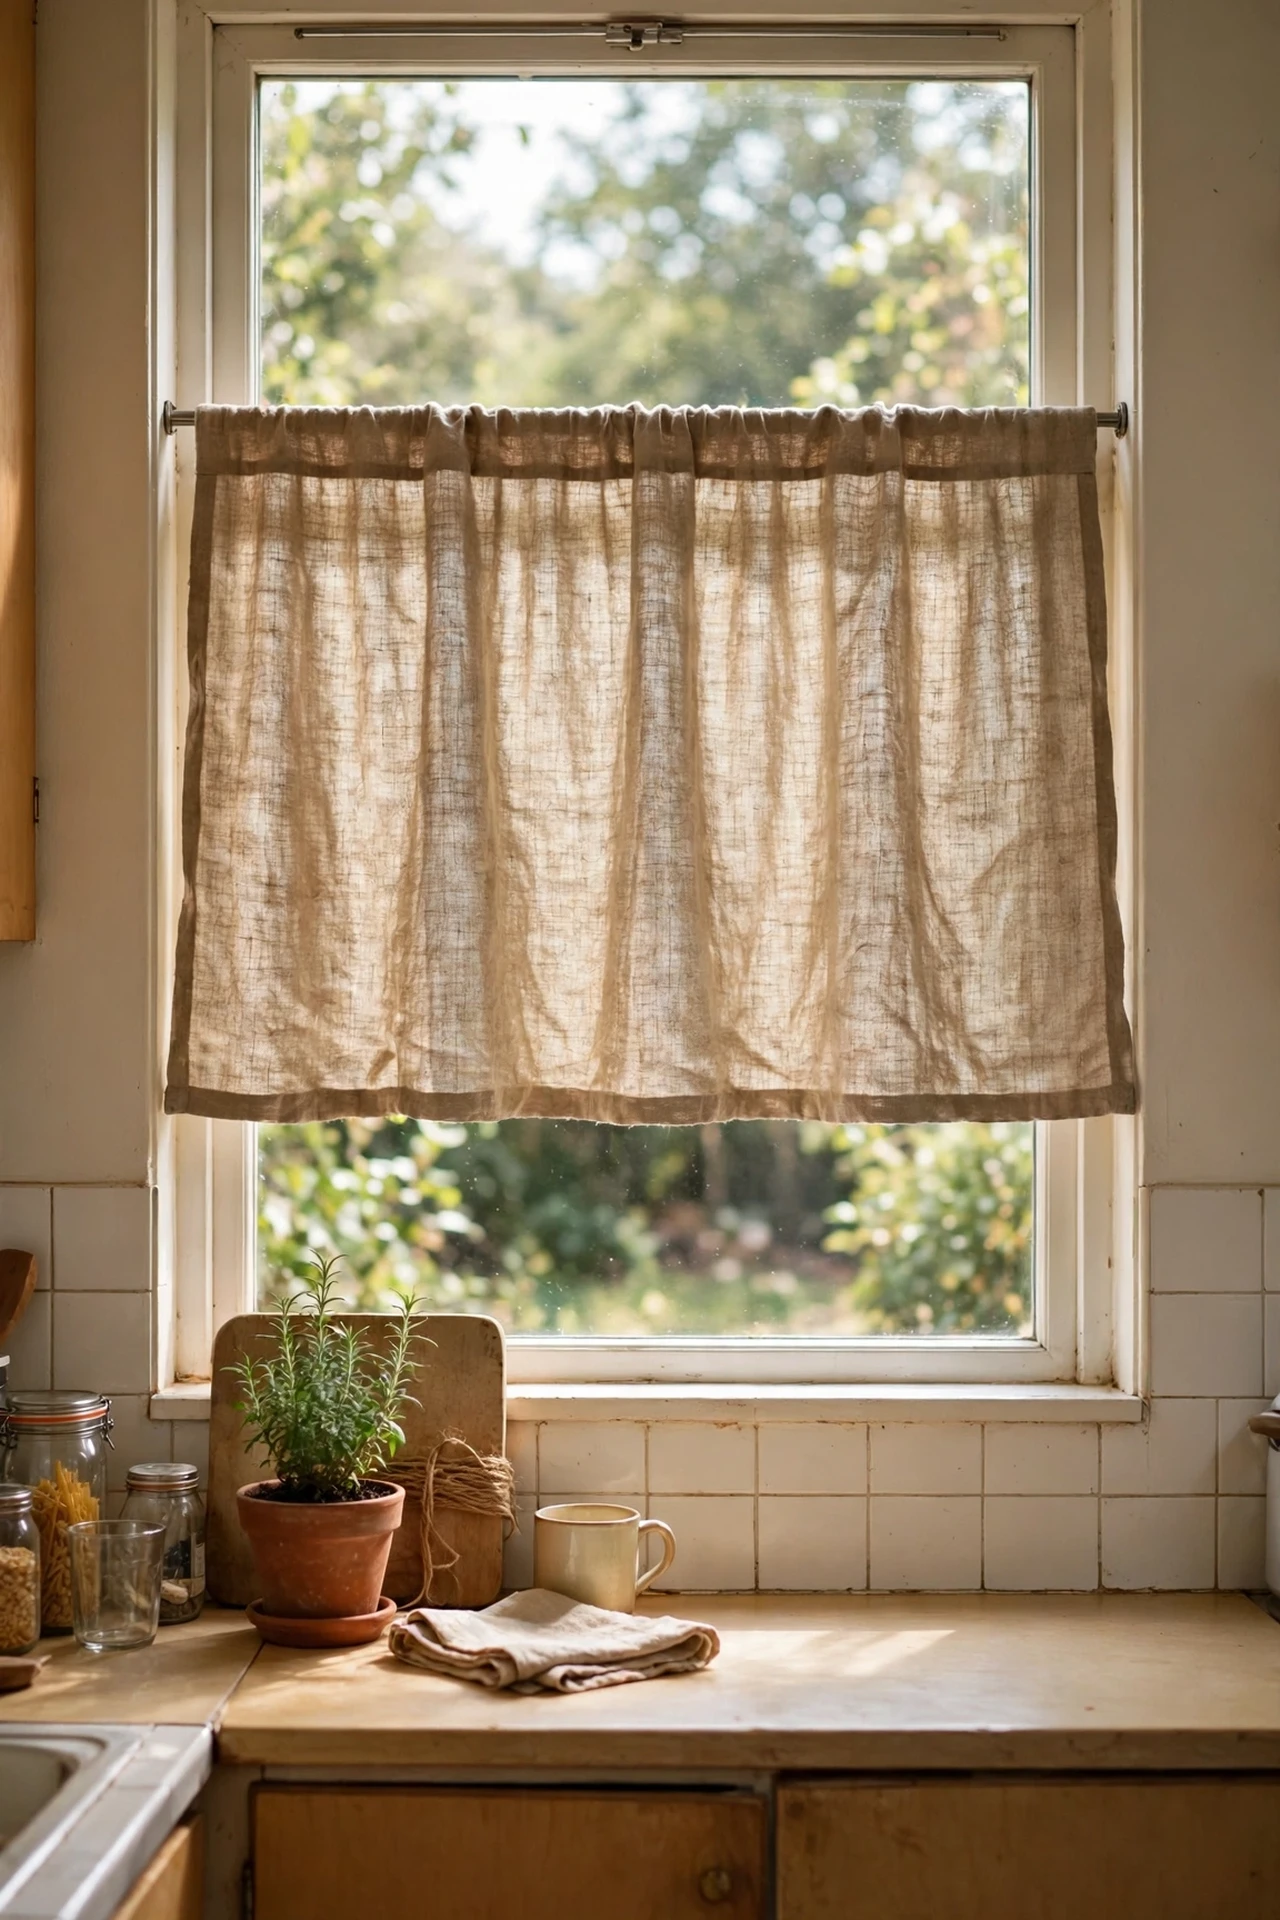
Full-length curtains can swallow a small kitchen, but a cafe curtain — covering just the lower half of the window — gives you privacy without stealing light. I hung one on a tension rod inside the window frame, which meant zero drilling and about ten minutes of work. Measure the inside width of your frame, buy a curtain slightly wider so it gathers nicely, and pick a washable linen-look fabric in white or natural. Thread it onto the rod, pop the rod in place, and adjust the gathers until they look even. I tried this — the mistake to avoid is hanging it too high; the whole point is shielding the lower half while the top stays open to the sky. Keep it low and your kitchen stays bright.
Cost: ~$15 | Time: 10 minutes
Pro tip: Wash cafe curtains monthly — kitchen grease builds up invisibly and dulls the fabric fast.
5. Grow Fresh Herbs in Painted Terracotta Pots
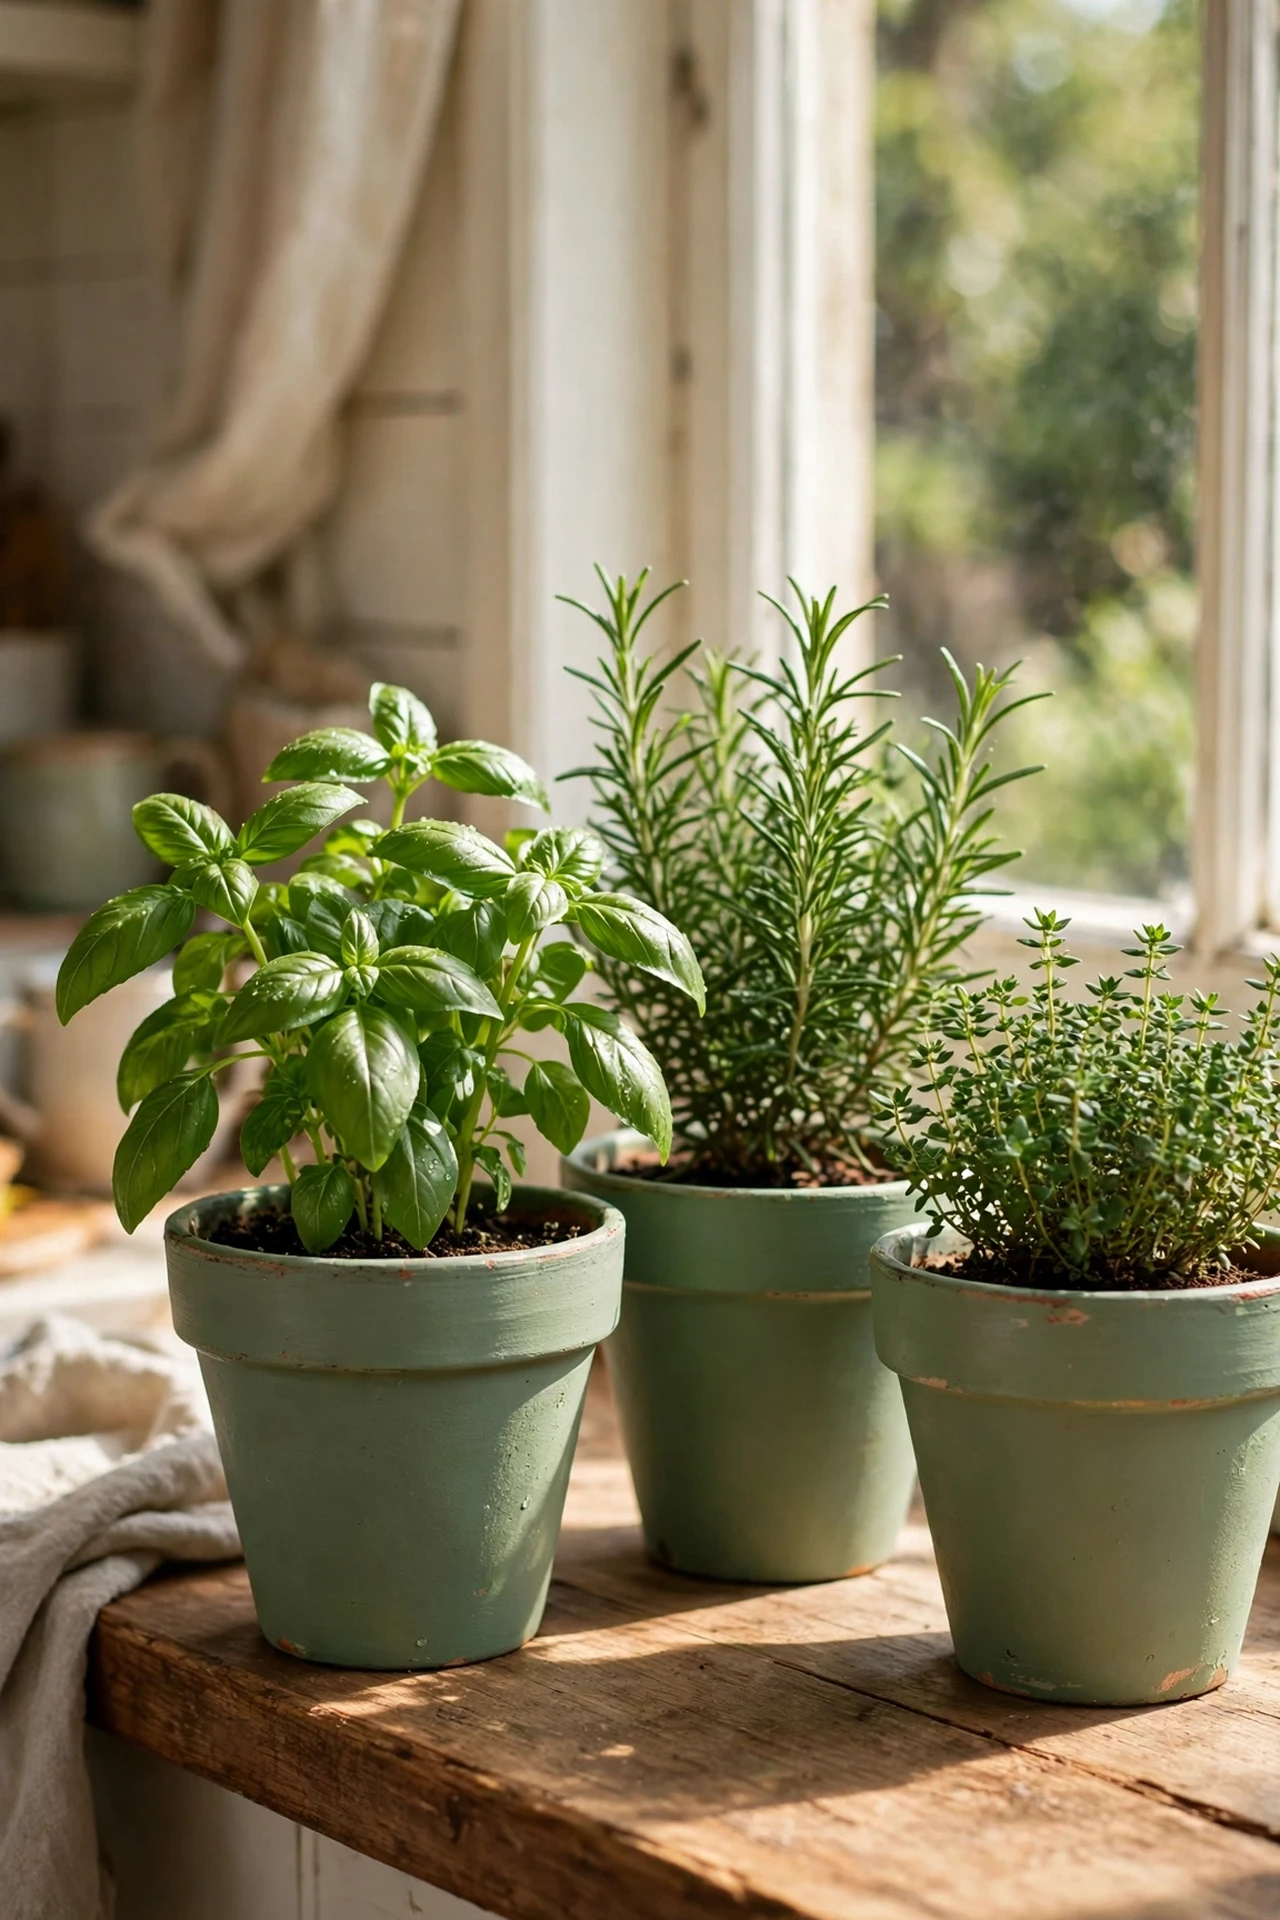
A row of herbs on the windowsill is decor that pays you back in flavour. Terracotta pots cost next to nothing, and a lick of paint turns them from garden-centre basic into something that actually suits your kitchen. Pick up three or four small pots, paint them in one colour that ties into your scheme (I went with sage green), and let them dry fully before planting. Fill with multi-purpose compost, pop in supermarket herb plants — basil, thyme, and chives are the easiest starters — and water from the saucer so the leaves stay dry. I tried this — the mistake to avoid is drowning basil; it wants consistently damp soil, not a swamp. Stick your finger in the compost and only water when the top feels dry. Windowsill gardeners will love these (see also: small-kitchen-garden-ideas) too.
Cost: ~$12 | Time: 40 minutes
6. Lean a Large Mirror Against the Splashback
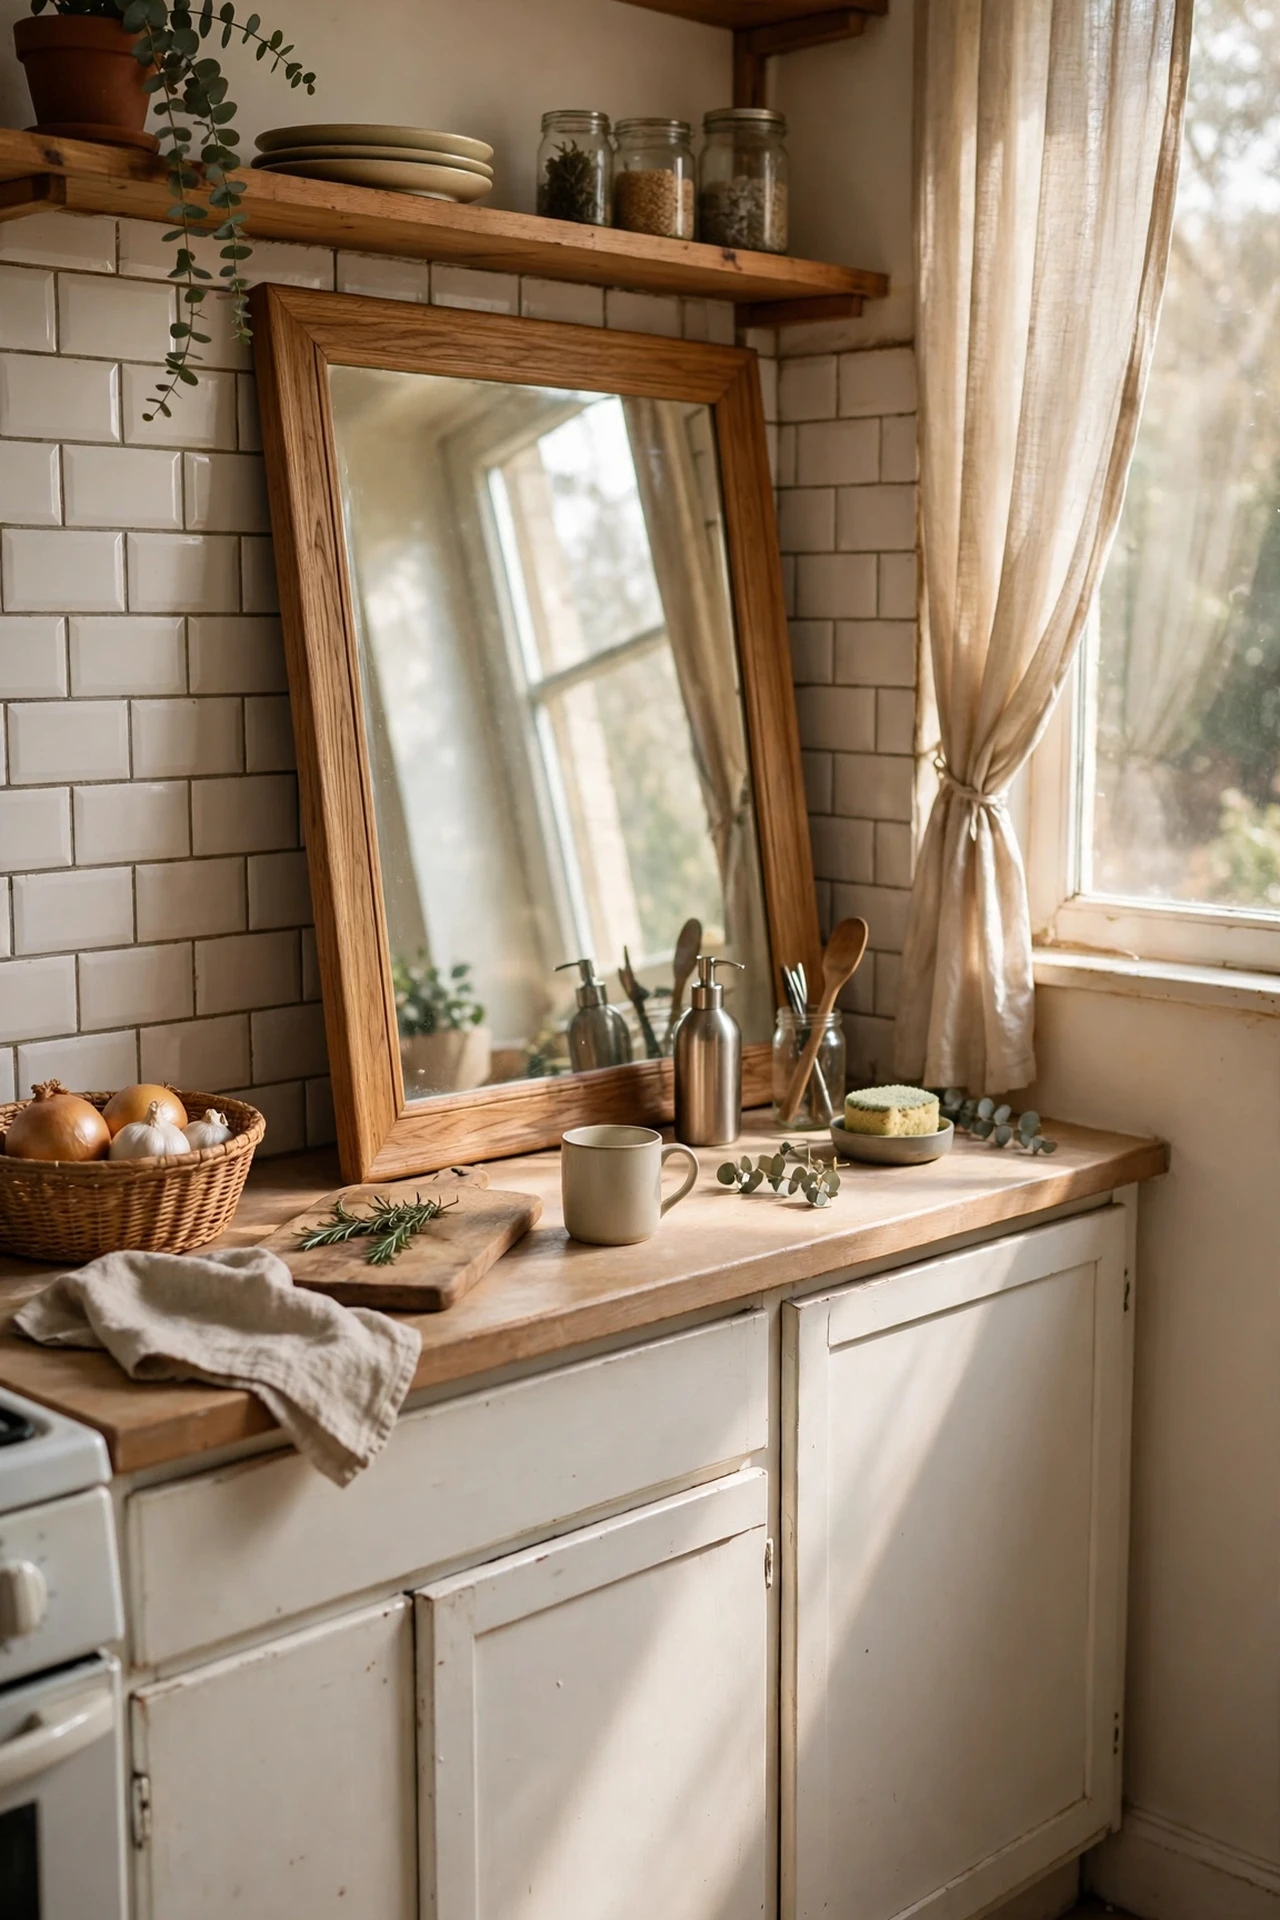
This is the oldest stylist trick in the book and it works absurdly well in kitchens. A big mirror bounces light around and makes a poky galley feel twice as wide — no drilling, no wiring, no commitment. Thrift stores are full of large framed mirrors for under $20 if you go on a weekday morning when new stock lands. Lean it against the splashback on the worktop, angle it slightly so it catches window light, and set a small plant in front so the reflection doubles your greenery. I tried this — the mistake to avoid is hanging a heavy mirror with adhesive hooks; mine came down at 2am and took a mug with it. Lean it securely or screw proper brackets into studs.
Cost: ~$18 | Time: 15 minutes
7. Stick Under-Cabinet LED Strip Lights
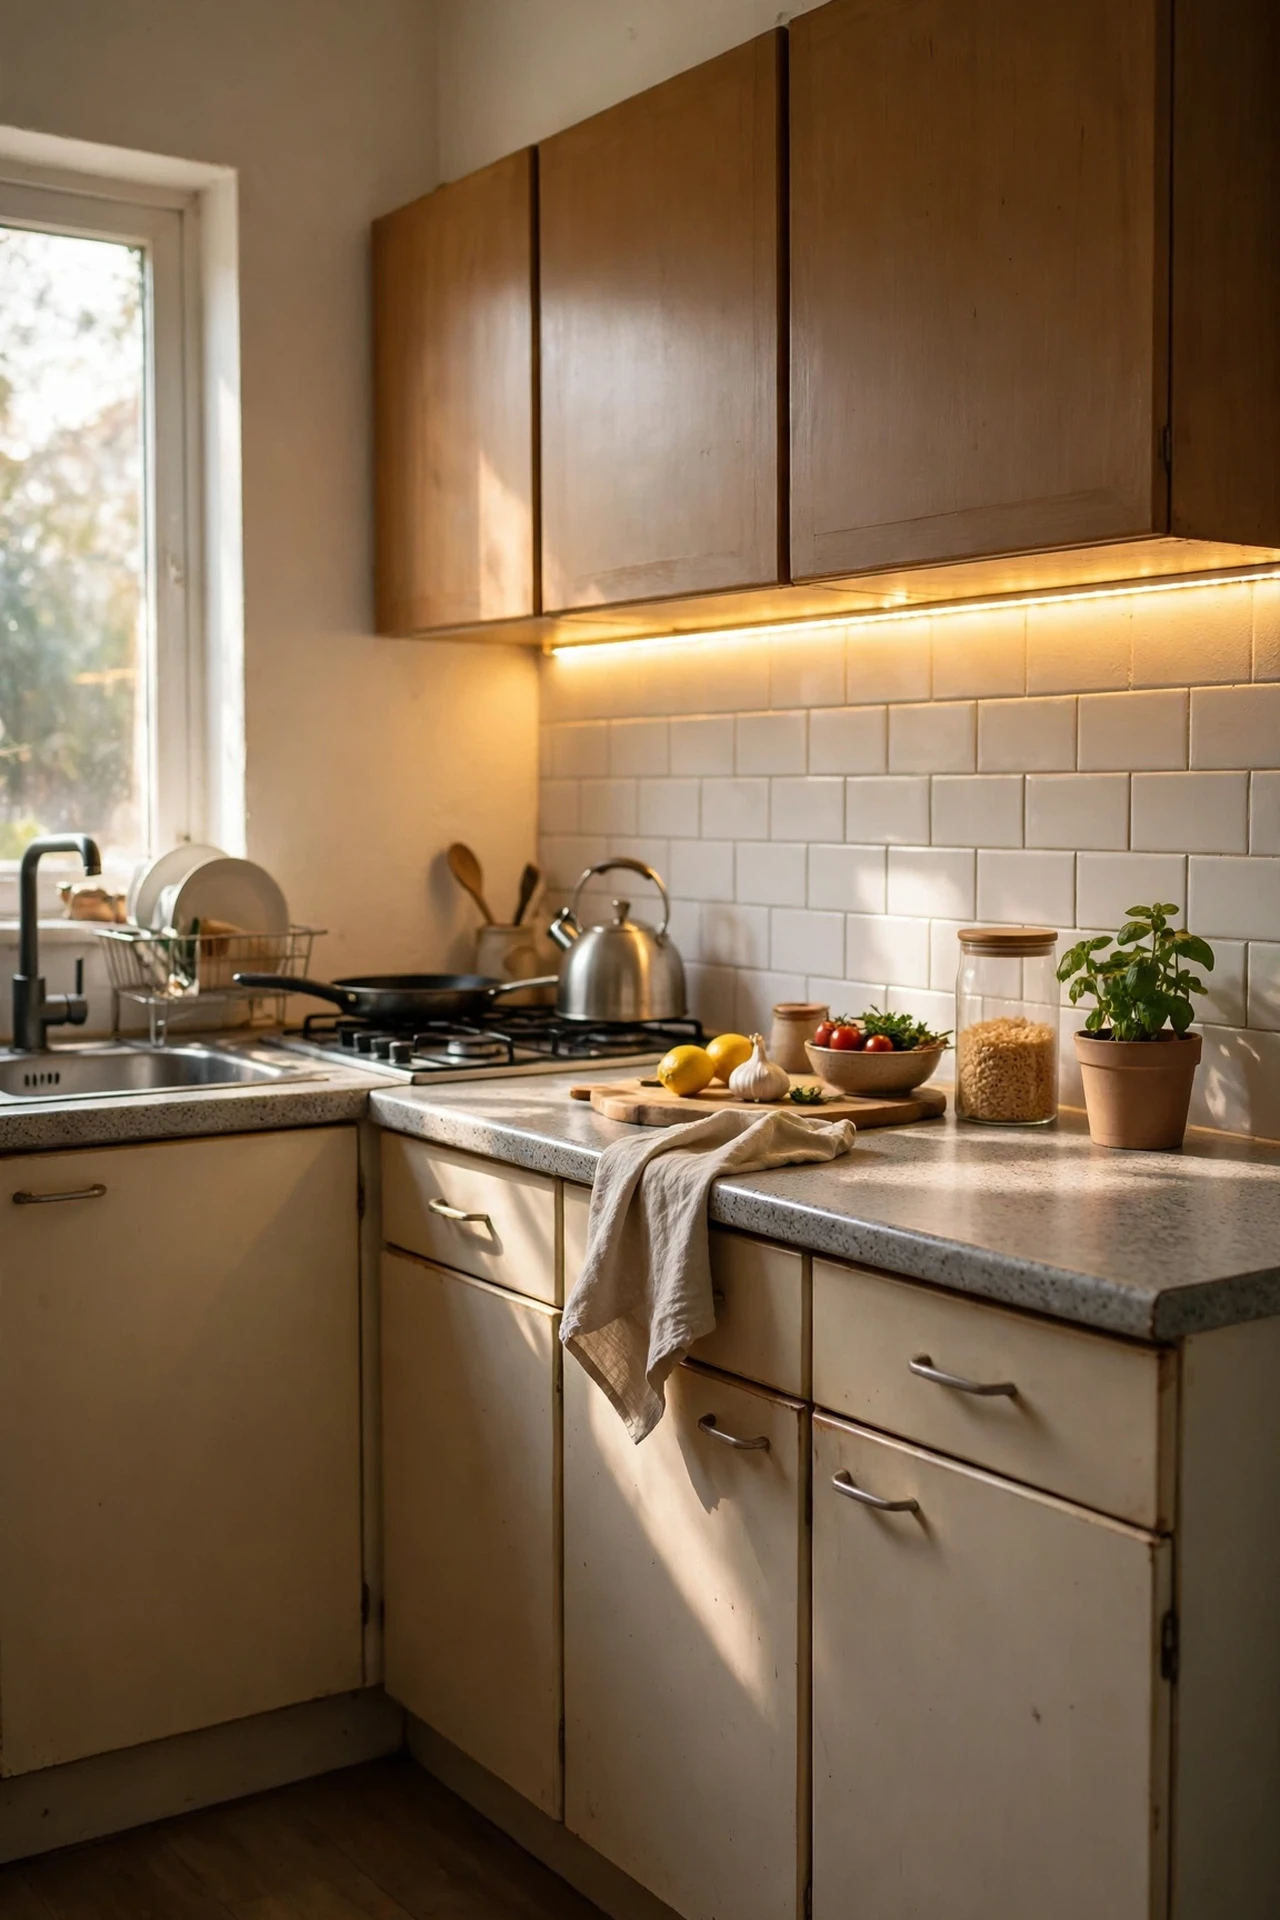
Task lighting is one of those things you don’t know you’re missing until you have it. Battery or USB-powered LED strips cost very little, install in minutes, and make your worktops glow like a showroom after dark. Measure the underside of your wall cabinets, cut the strip to length on the marked lines, and stick it toward the front edge so the light washes down the splashback rather than blinding you. Most strips come with a remote for dimming and warm-to-cool settings. I tried this — the mistake to avoid is buying the cheapest no-name strip; mine flickered within a month. Spend a few dollars more on a reputable brand and warm white (2700K) for that cosy evening glow.
Cost: ~$22 | Time: 25 minutes
8. Upgrade the Sink Zone With a Tray and Dispenser
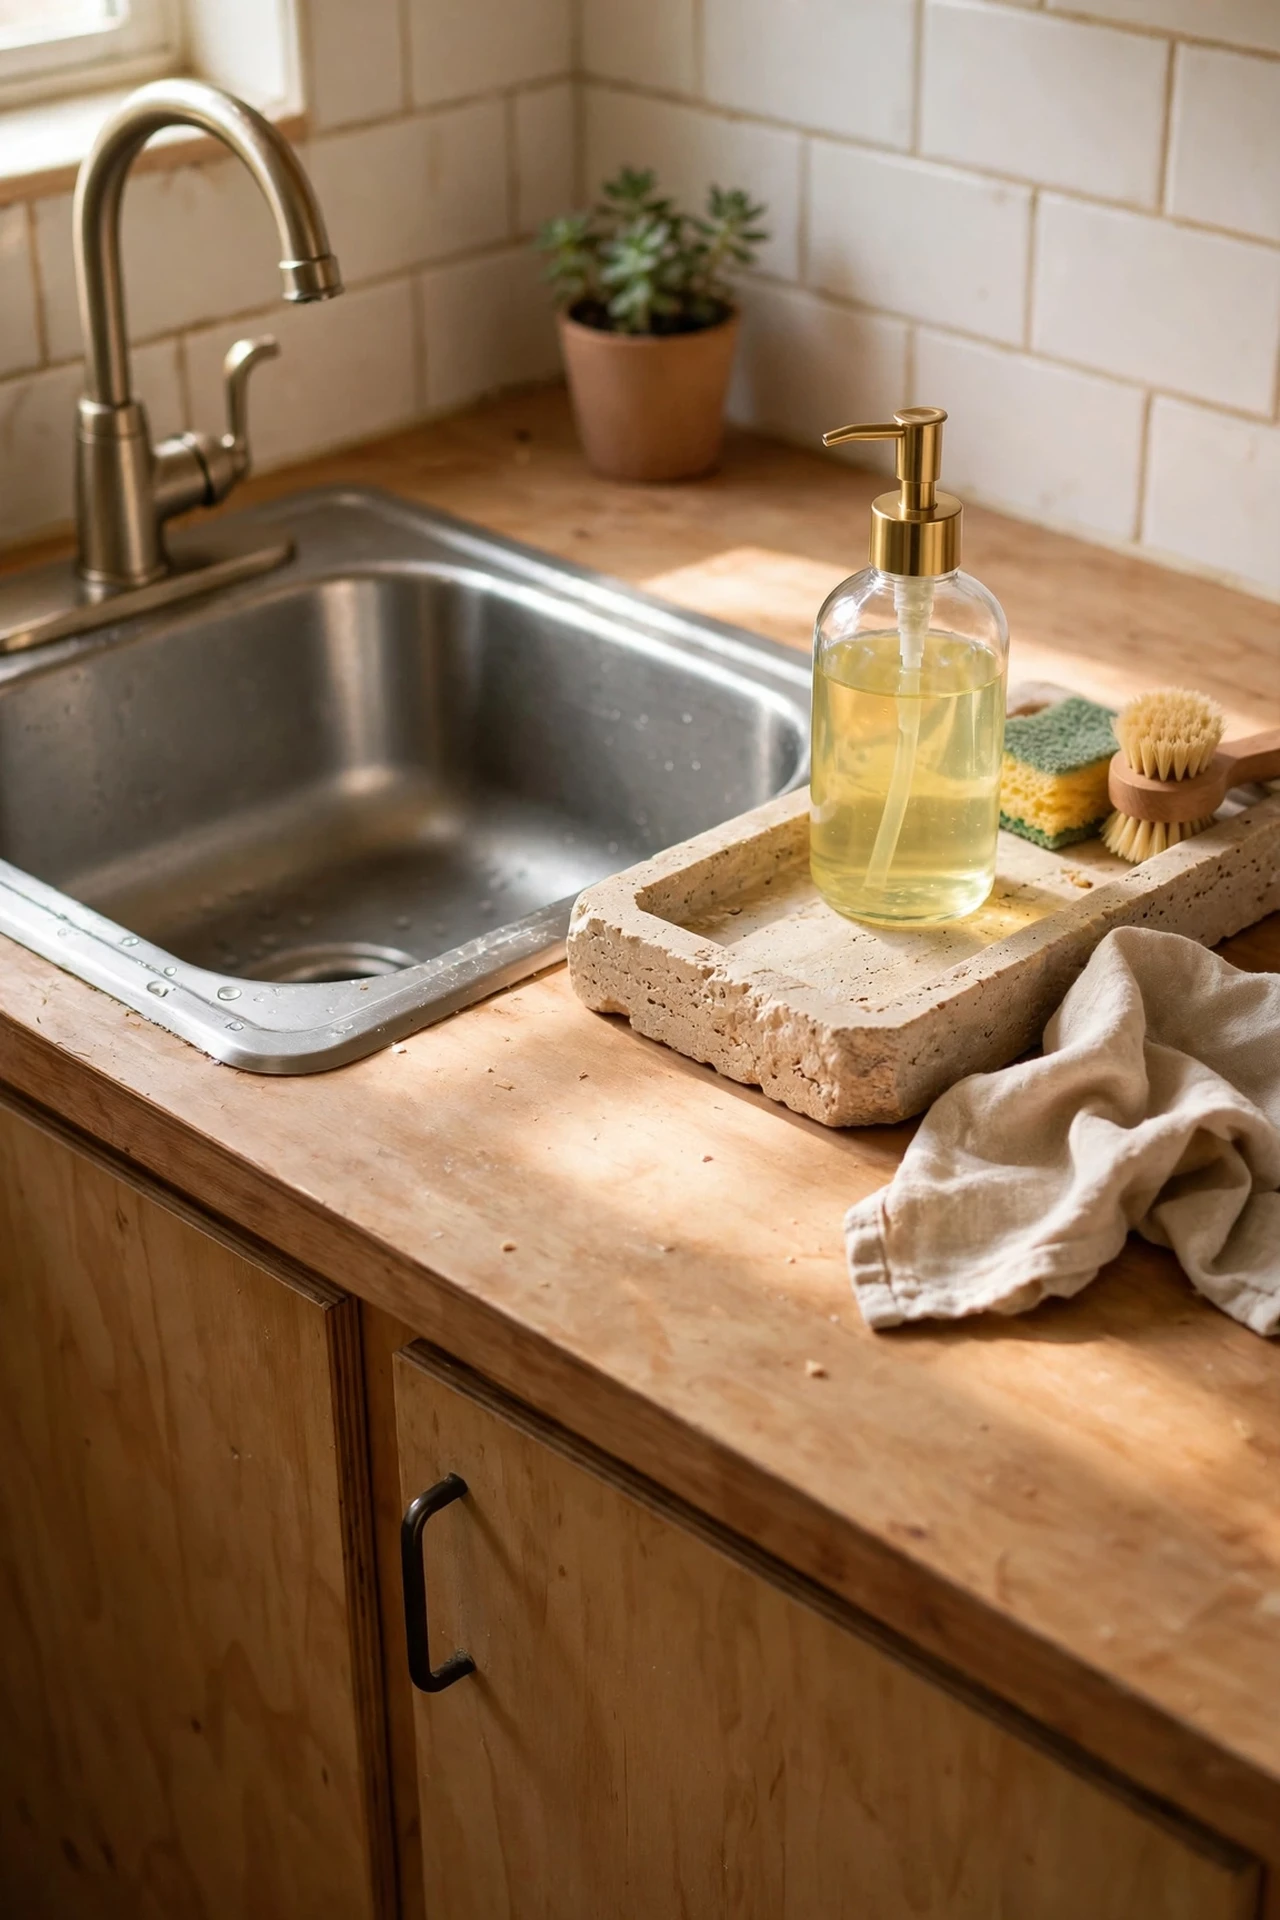
The sink area collects clutter like nowhere else — bottles, sponges, brushes all jostling for space. Corraling them onto a single tray instantly makes it look intentional instead of chaotic. Find a small stone, wood, or metal tray that fits beside your tap, decant your washing-up liquid into a glass pump dispenser, and add a little dish for the sponge and a bud vase if you’re feeling fancy. It’s a five-minute job that makes the most-used spot in your kitchen feel considered. I tried this — the mistake to avoid is buying a tray without measuring first; mine overlapped the draining board and wobbled for weeks until I admitted defeat and got the right size.
Cost: ~$20 | Time: 5 minutes
Pro tip: Refill the dispenser from a bulk bottle — it costs less per wash and cuts plastic waste too.
9. Frame Free Printable Kitchen Art
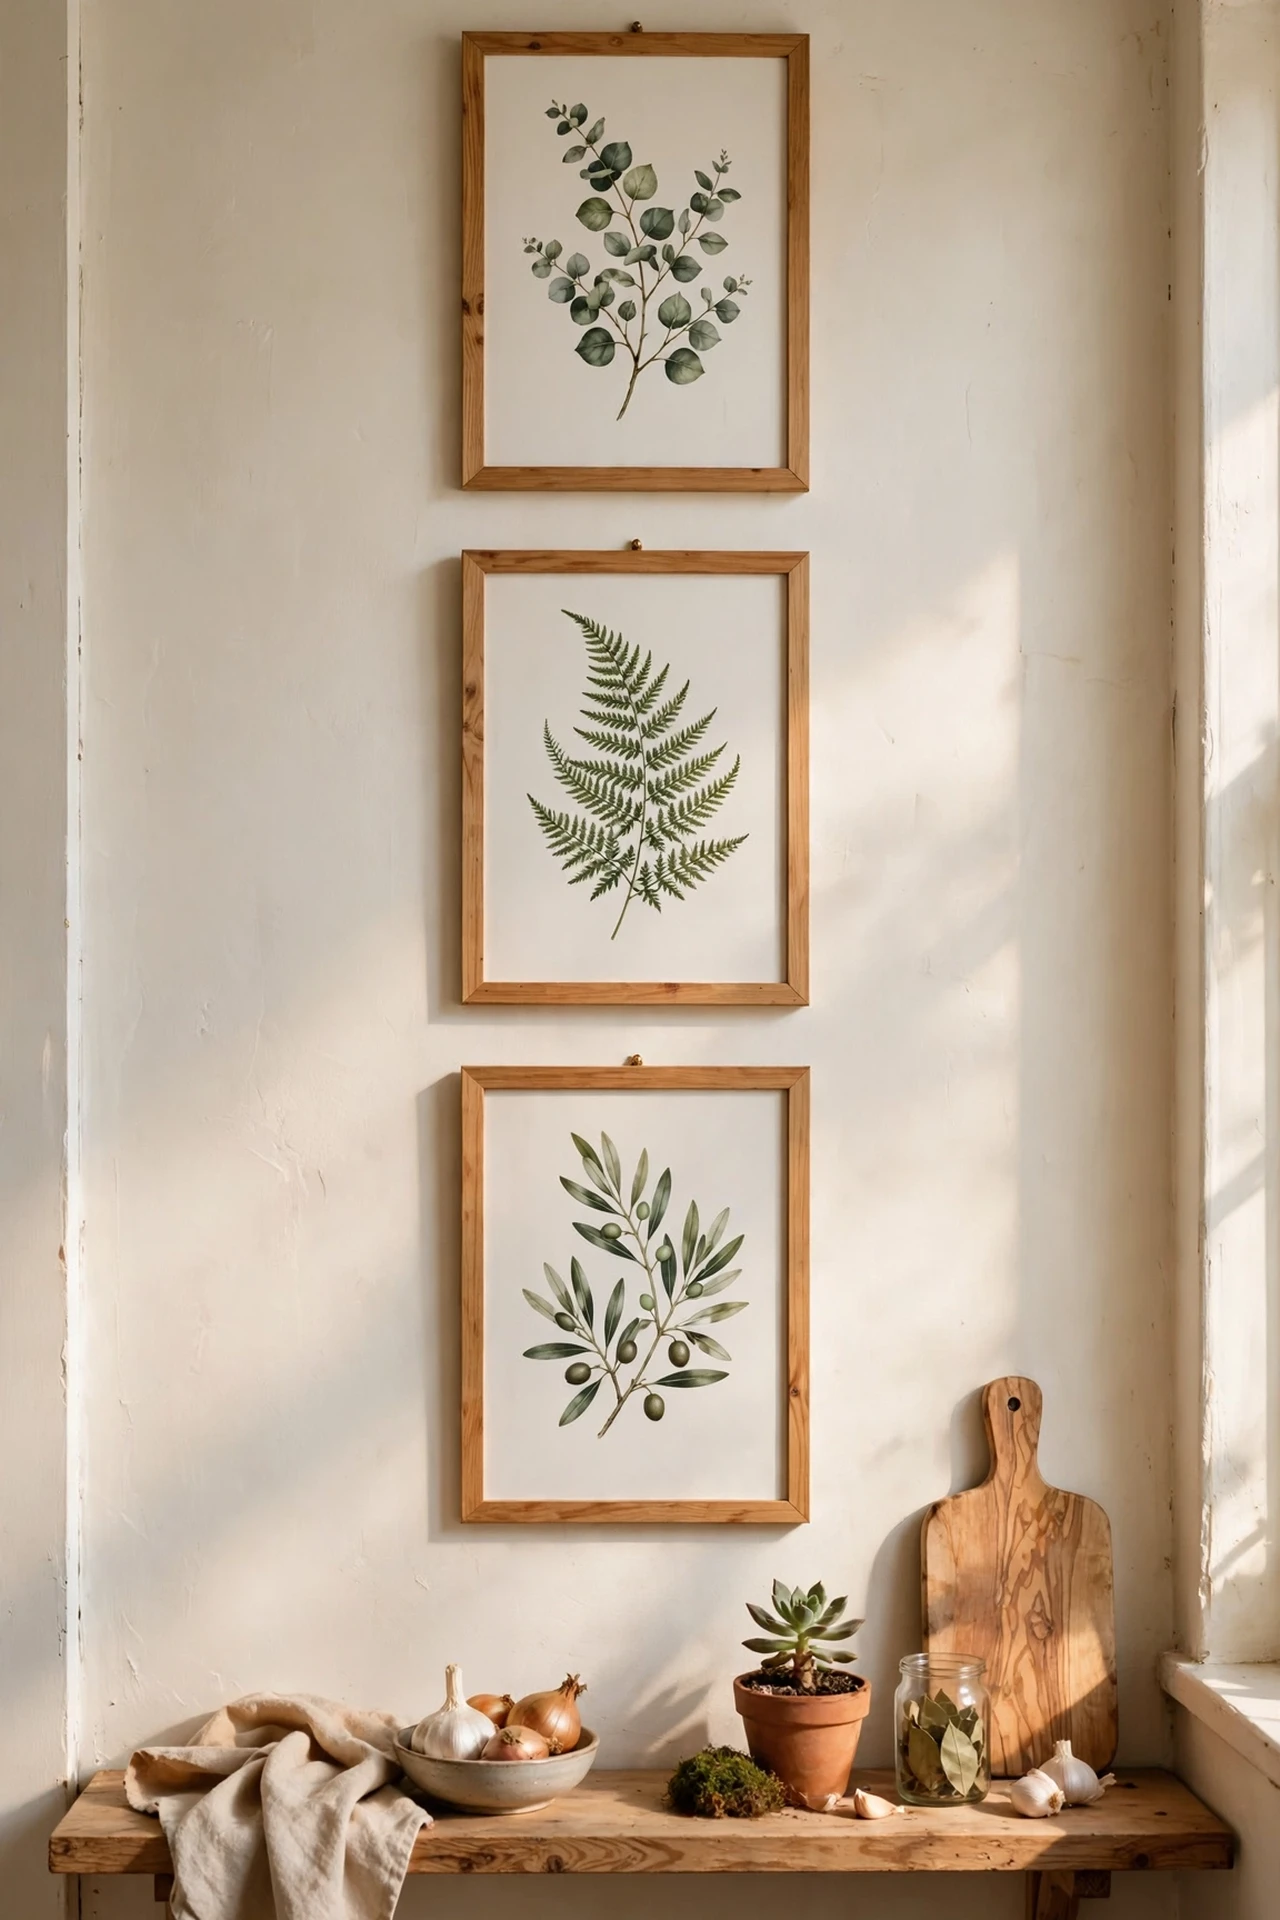
Art is the fastest way to add personality, and printable art is the cheapest way to get it. Designers give away gorgeous kitchen prints — herb illustrations, funny coffee quotes, vintage fruit labels — if you know where to look. Download two or three in matching tones, print them at a local copy shop on decent matte paper, and pop them into matching frames from the discount store. Hang as a little gallery beside the window or lean one on the worktop shelf. I tried this — the mistake to avoid is printing at home on standard paper; the colours looked anaemic and the paper curled within days. A proper print on heavier stock costs very little and looks ten times better.
Cost: ~$14 | Time: 20 minutes
10. Roll Out a Washable Kitchen Runner
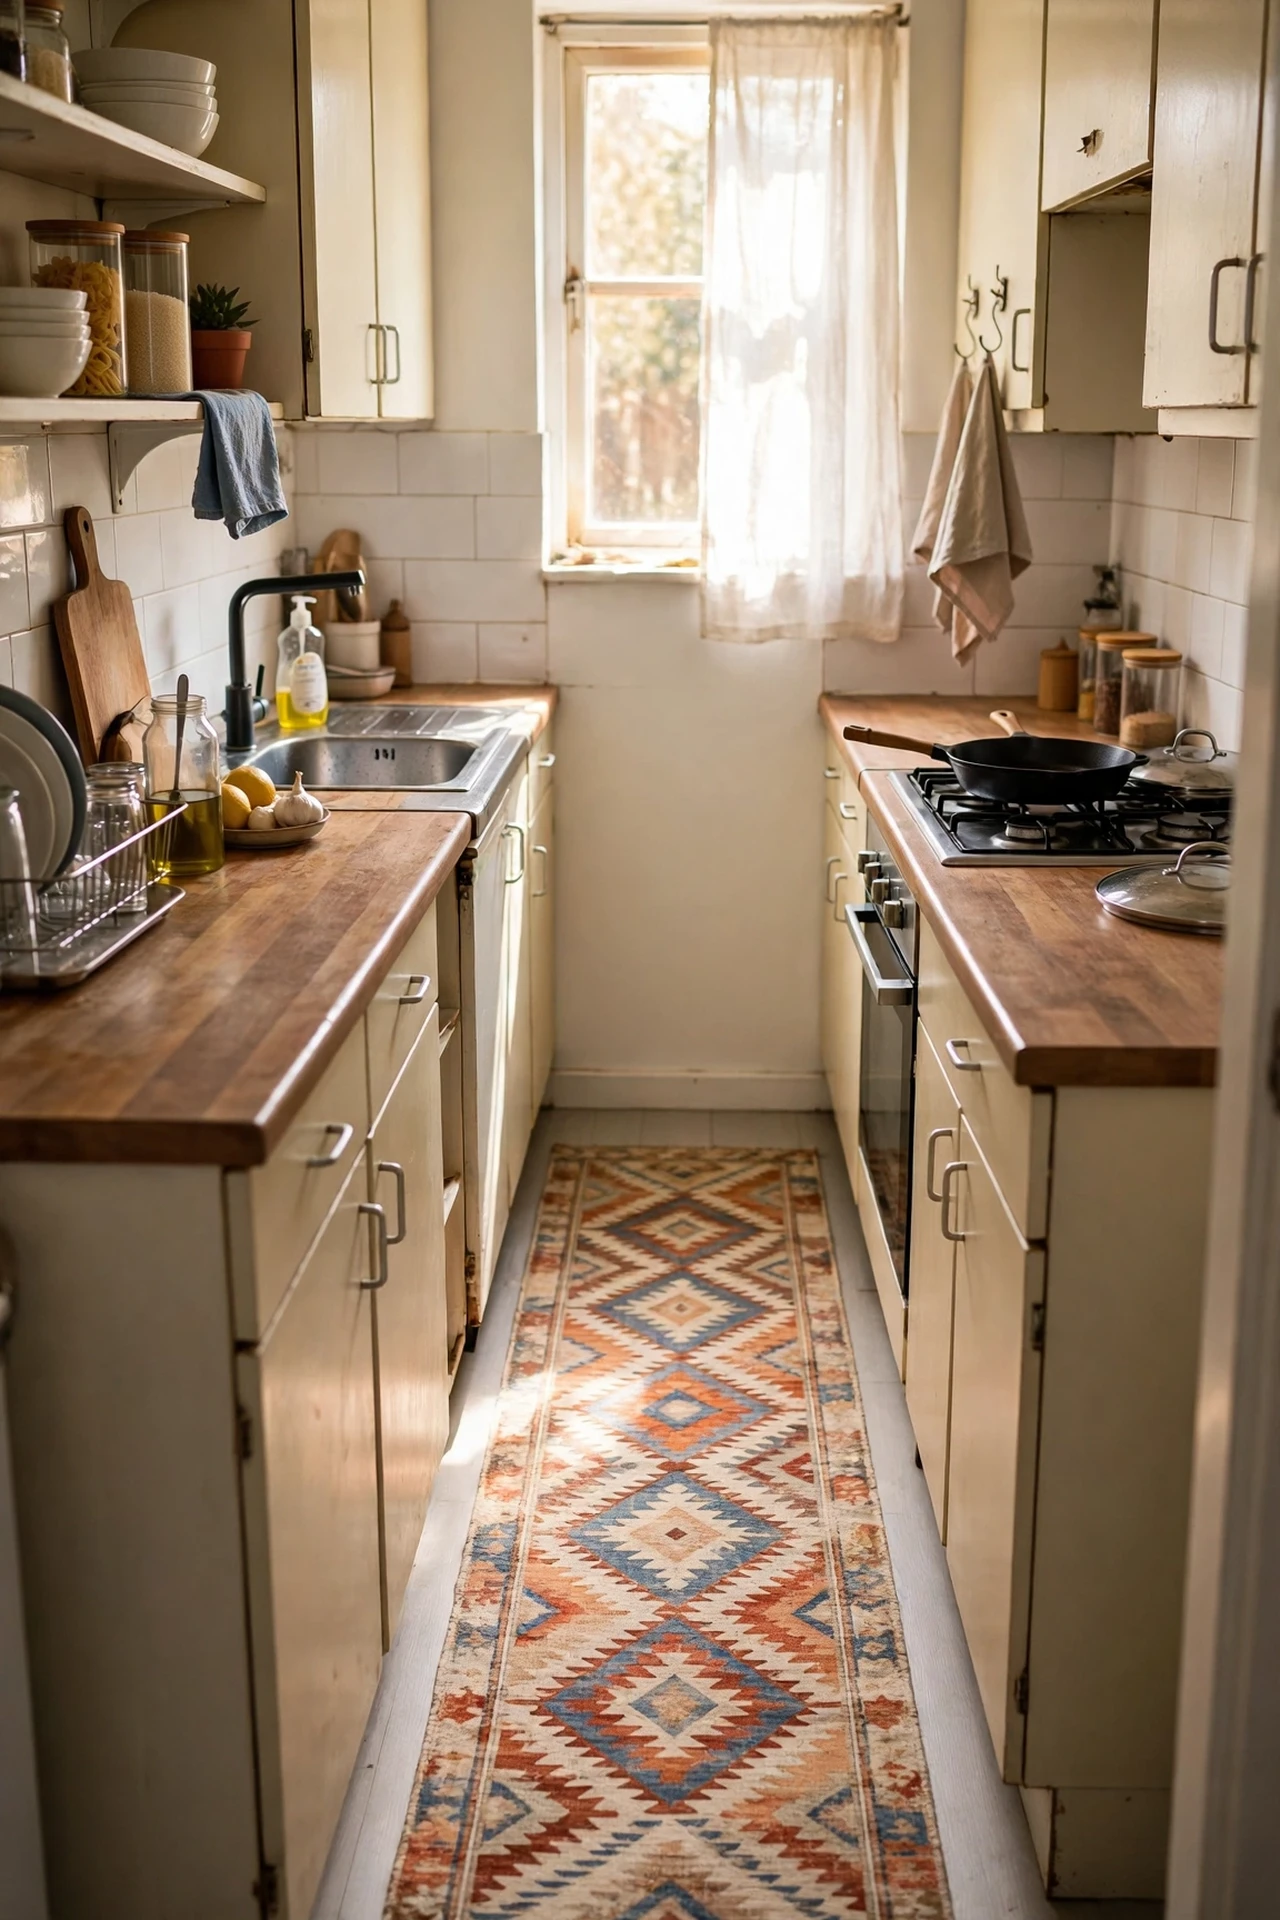
Bare kitchen floors feel cold and unfinished, but a proper rug in a cooking zone is a spill waiting to happen — which is why washable runners are such a brilliant invention. They look like real woven rugs, survive tomato sauce and muddy paws, and go straight in the washing machine. Measure the length of your galley or the space in front of the sink, choose a pattern that hides crumbs (trust me on this — busy patterns are your friend), and lay it flat for a day to relax the creases. I tried this — the mistake to avoid is skipping the rug pad; without one, my runner migrated across the kitchen every time someone walked past. A thin non-slip pad keeps it exactly where you put it. A runner is only the beginning — find more (see also: budget-kitchen-makeover-ideas) in the full roundup.
Cost: ~$35 | Time: 10 minutes
11. Paint the Island a Bold Accent Colour
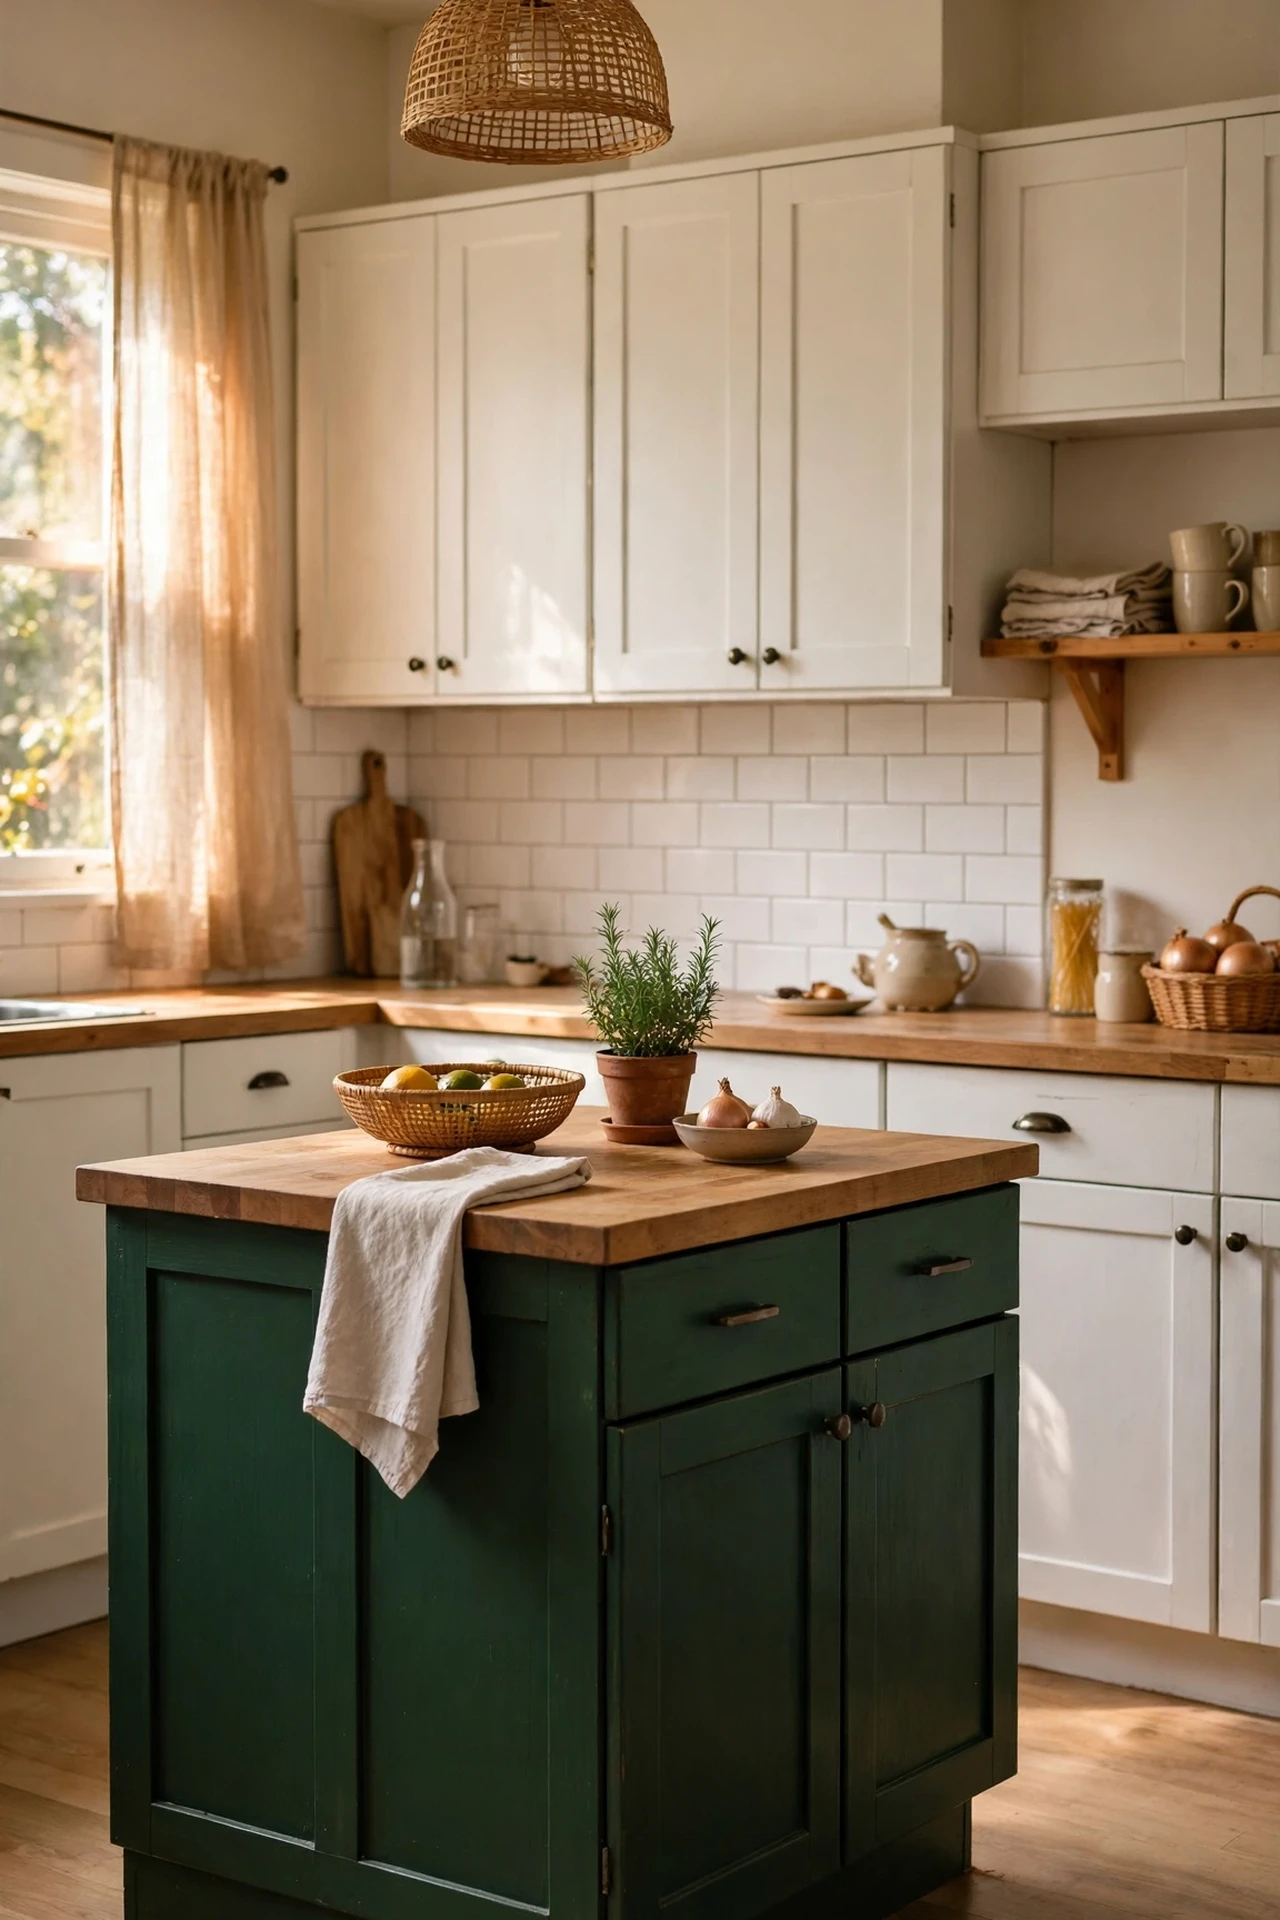
If your kitchen has an island — or even just one stretch of lower cabinets — painting it a deep, moody colour creates the designer two-tone look for the price of a litre tin. Deep green, navy, or charcoal against white uppers looks incredibly high-end. Clean and lightly sand the surface, apply a coat of decent primer, then two thin coats of cabinet paint with a small foam roller for a smooth finish. Let each coat cure fully before the next. I tried this — the mistake to avoid is using wall paint on cabinets; it chips within weeks under daily knocks. Proper cabinet or furniture paint costs a little more but survives real kitchen life. For the whole colour story, browse my (see also: kitchen-colour-scheme-ideas).
Cost: ~$30 | Time: 120 minutes
12. Lean Wooden Cutting Boards on the Splashback
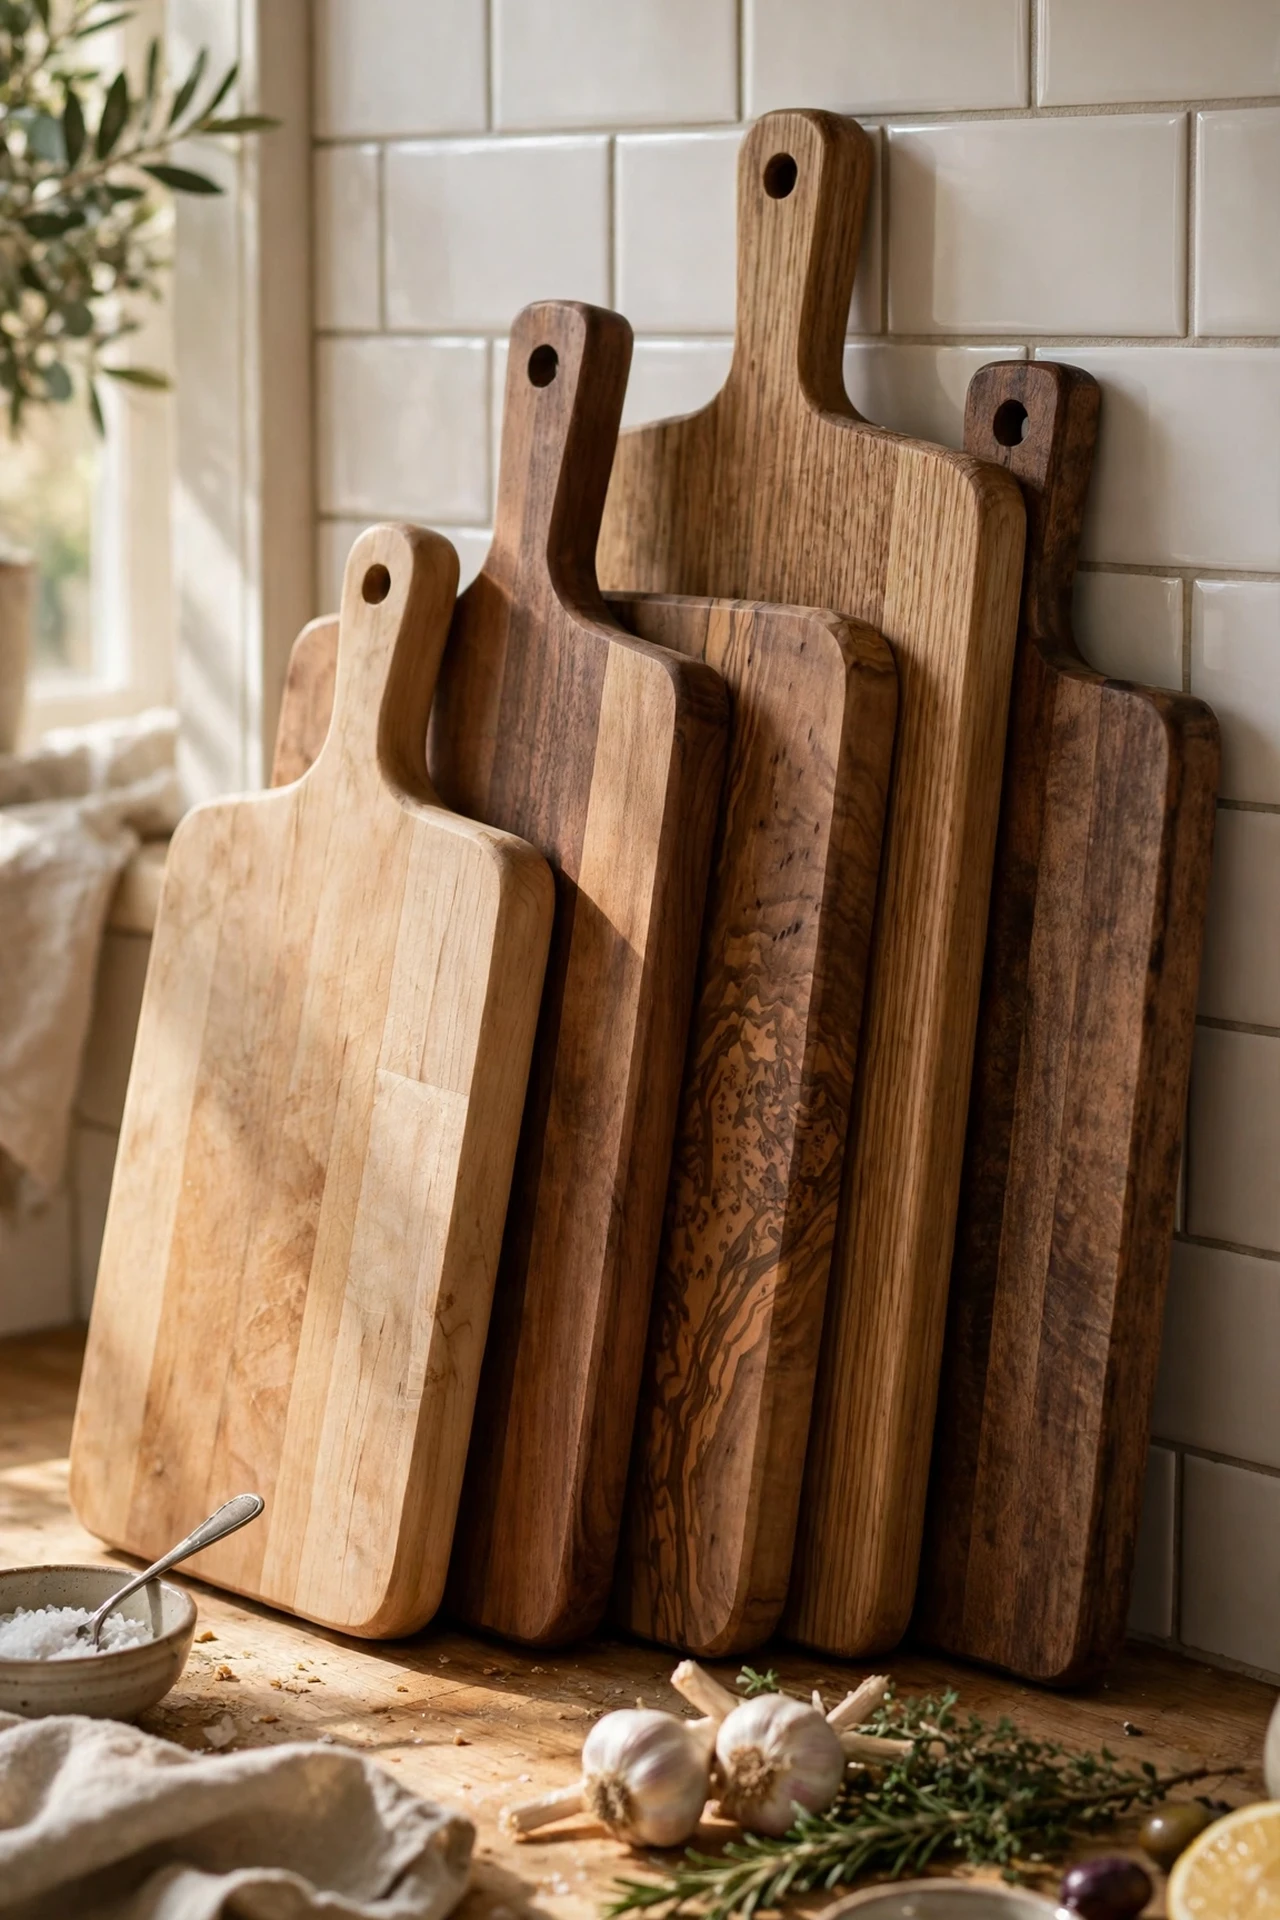
This might be the easiest idea on the entire list, and stylists use it constantly. A cluster of wooden cutting boards in different shapes and tones, leaned casually against the splashback, adds instant warmth and texture to a cold stretch of worktop. Raid charity shops for solid wood boards — the worn ones have the best patina — or buy a small set new. Lean the largest at the back, overlap smaller ones in front, and vary the wood tones from pale beech to dark walnut. I tried this — the mistake to avoid is using boards you actually chop on daily; the knife scars and stains show up fast. Keep a pretty set purely for display and hide your workhorse board in a drawer.
Cost: ~$16 | Time: 10 minutes
Pro tip: Rub display boards with food-safe mineral oil twice a year to keep the wood from drying out.
13. Display Cookbooks on a Picture Ledge
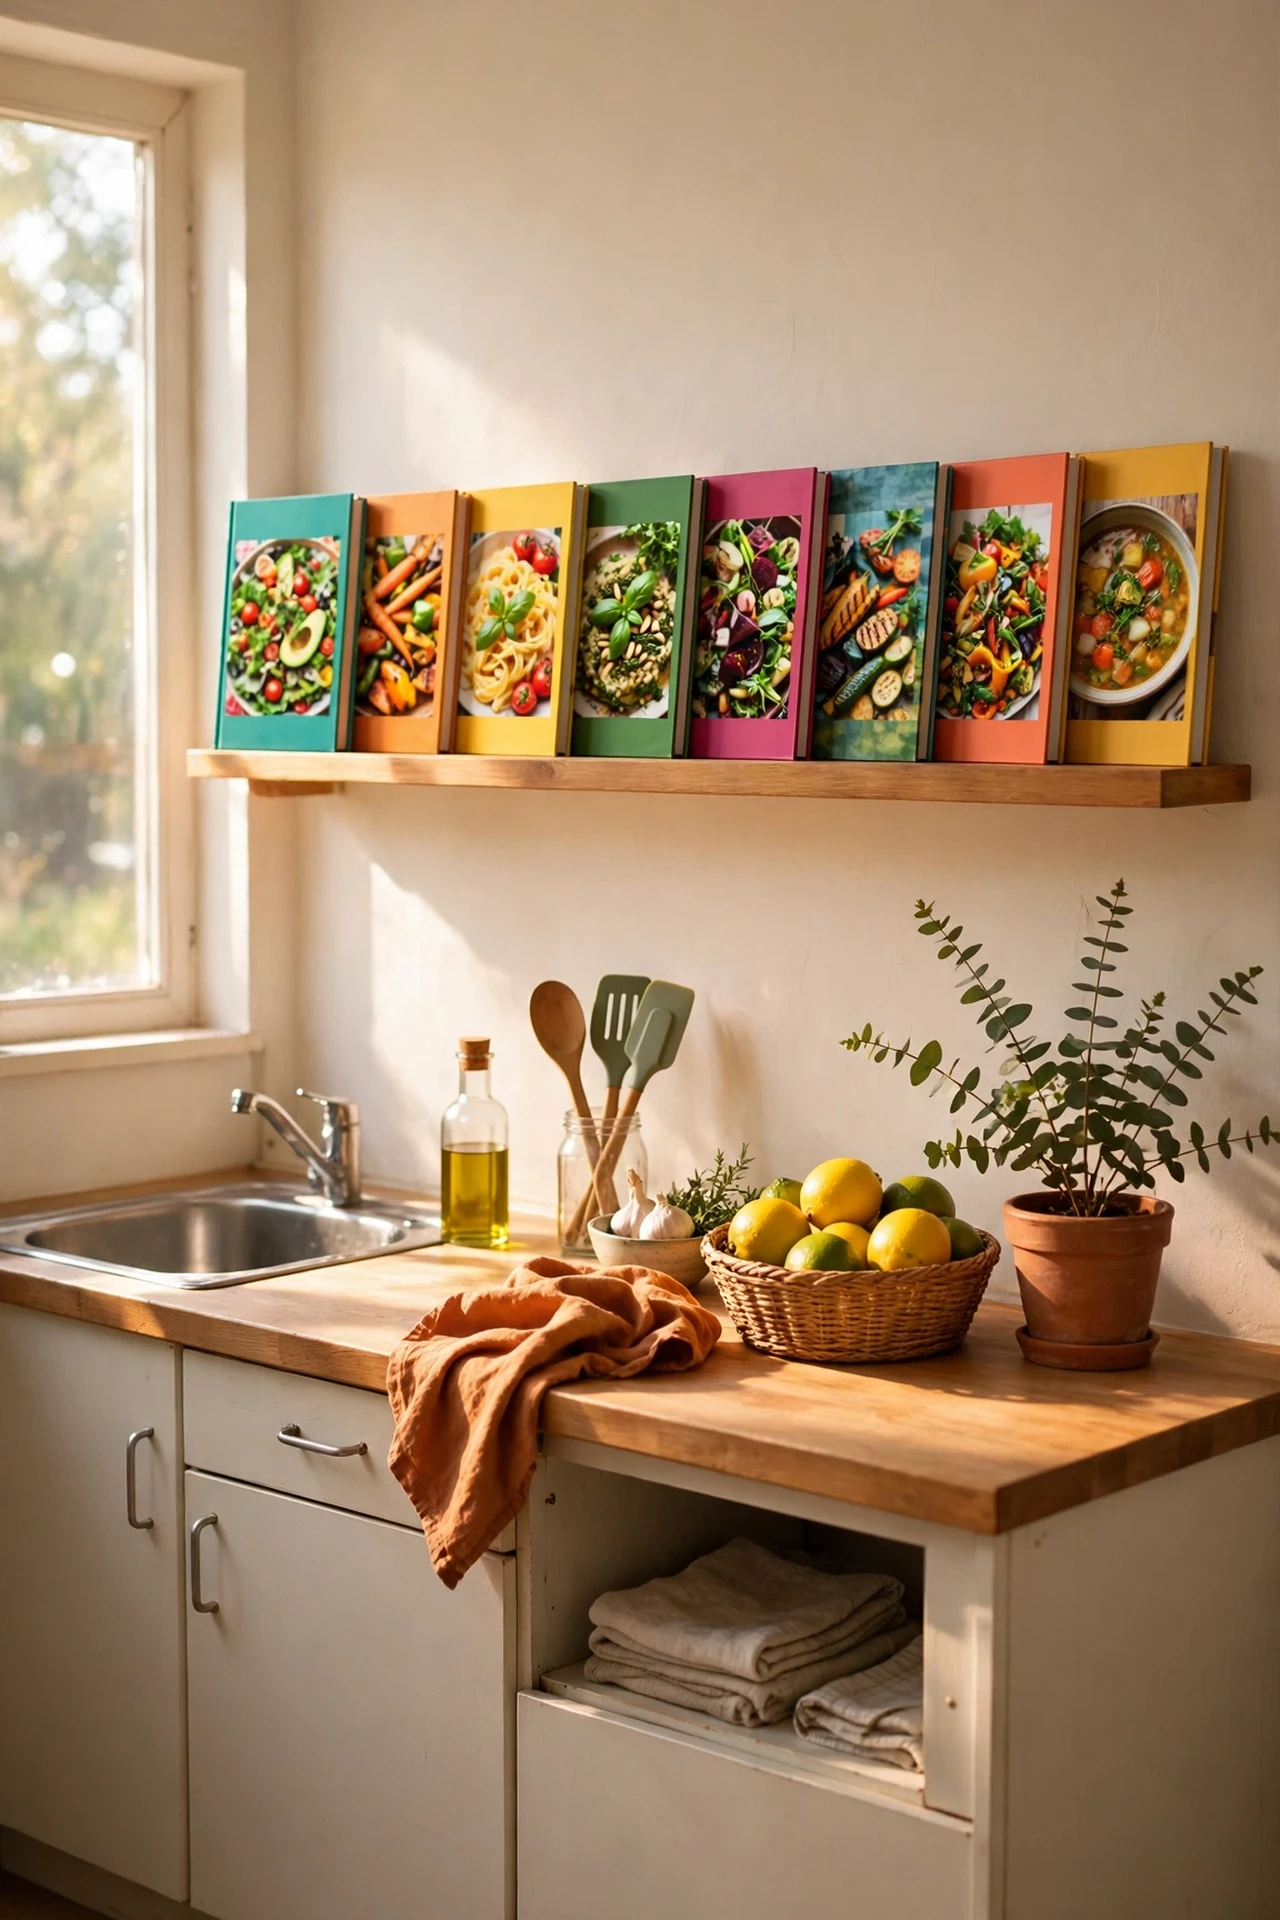
Cookbooks with beautiful covers deserve better than a dusty shelf — a narrow picture ledge turns them into rotating art. Fix one or two ledges on an empty wall, then arrange books with their prettiest covers facing out, mixing in a small plant or candle for variety. The beauty is you can swap the display whenever you like, so it never goes stale. Keep your most-used books here too and you’ll actually cook from them more. I tried this — the mistake to avoid is overloading the ledge; cookbooks are heavy and a sagging shelf looks dreadful. Use proper wall fixings, keep it to a single row of books, and check it’s level before you load it up.
Cost: ~$18 | Time: 30 minutes
14. Swap Pendant Shades for Woven Covers
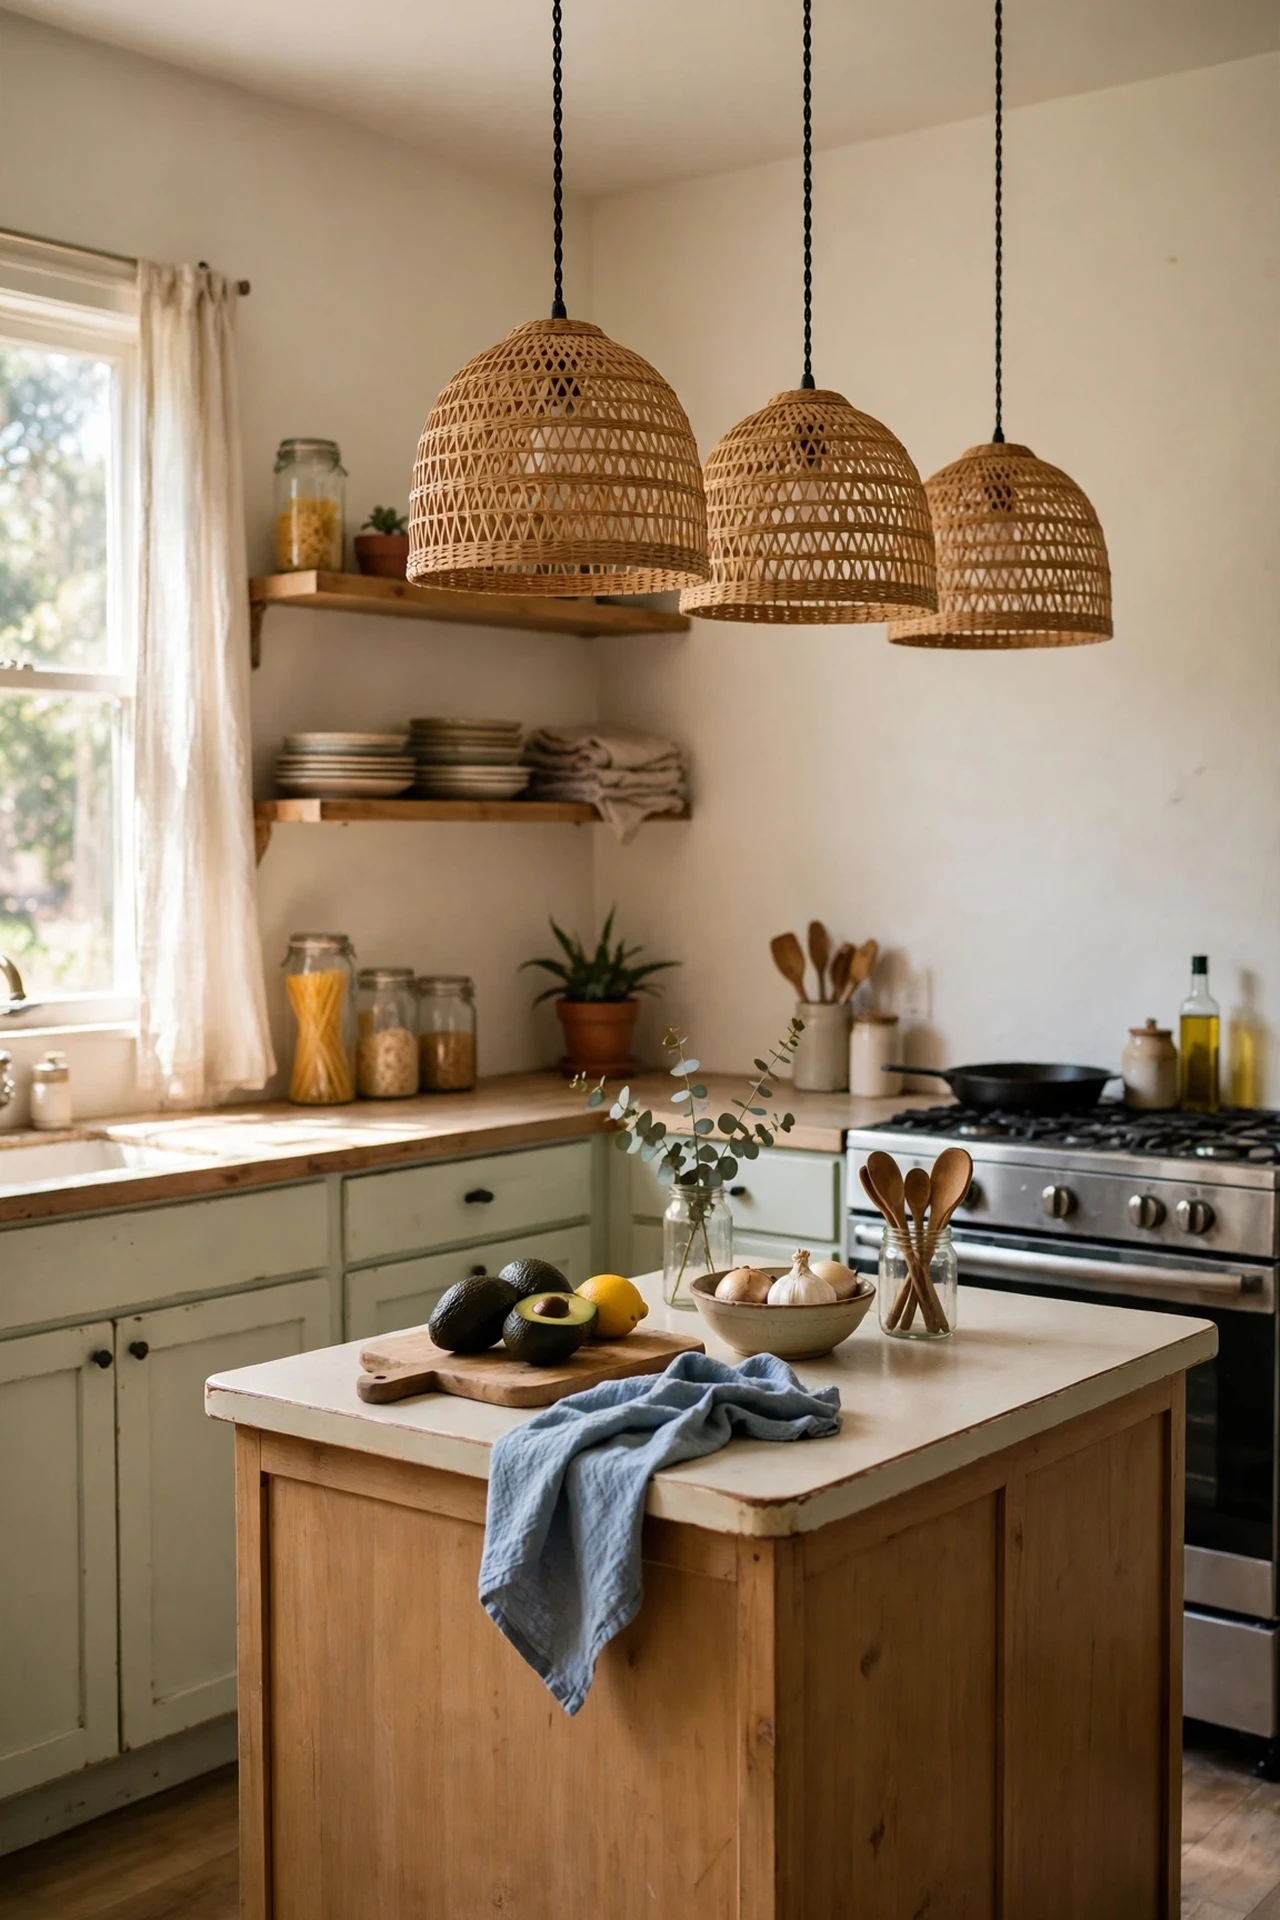
Dated glass or metal pendant shades drag a whole kitchen down, but you don’t need an electrician to fix them. Woven rattan or bamboo shade covers slip right over most existing pendants and instantly add that relaxed, organic texture everyone wants right now. Switch the power off at the breaker first (non-negotiable), unscrew the old shade, and fit the new cover according to its instructions — most just clamp or tie on. Use warm LED bulbs to complete the glow. I tried this — the mistake to avoid is buying covers without checking your bulb type; exposed bulbs inside woven shades need to be LED, because old halogens run hot enough to scorch natural fibres. Safety first, style second.
Cost: ~$28 | Time: 20 minutes
15. Style a Seasonal Fruit Bowl Centrepiece

The cheapest styling trick of all might be the one staring at you in the fruit aisle. A generous bowl of seasonal fruit — lemons in summer, clementines at Christmas, apples in autumn — brings colour, life, and a faintly virtuous glow to your worktop or island. Choose a bowl with some presence (a charity-shop ceramic one works beautifully), pile the fruit high rather than spreading it flat, and tuck in a sprig of eucalyptus or rosemary for that styled finish. Eat from the bottom and top it up weekly. I tried this — the mistake to avoid is letting fruit sit until it turns; one mouldy lemon ruins the whole effect. Check the bowl when you do your weekly shop and compost anything past its best.
Cost: ~$10 | Time: 5 minutes
Start with the idea that annoyed you most while reading — that’s the one your kitchen needs first. Come back in a month and tell me which $50 fix made the biggest difference.
