23 Farmhouse Kitchen Ideas That Don’t Break the Bank
23 Farmhouse Kitchen Ideas That Don’t Break the Bank
I’ve always believed the farmhouse look isn’t about a five-figure renovation — it’s about warmth, worn wood, and little details that feel like they’ve been there for decades. The best Farmhouse kitchen ideas I’ve actually done cost less than a weekly shop, and most were finished in a single weekend. Below are 23 budget-friendly updates I’ve either tried myself or watched neighbours pull off beautifully, grouped by where in the kitchen they land. Start with whichever group your kitchen needs most.
Walls & Surfaces
1. Paint the Walls a Warm Cream
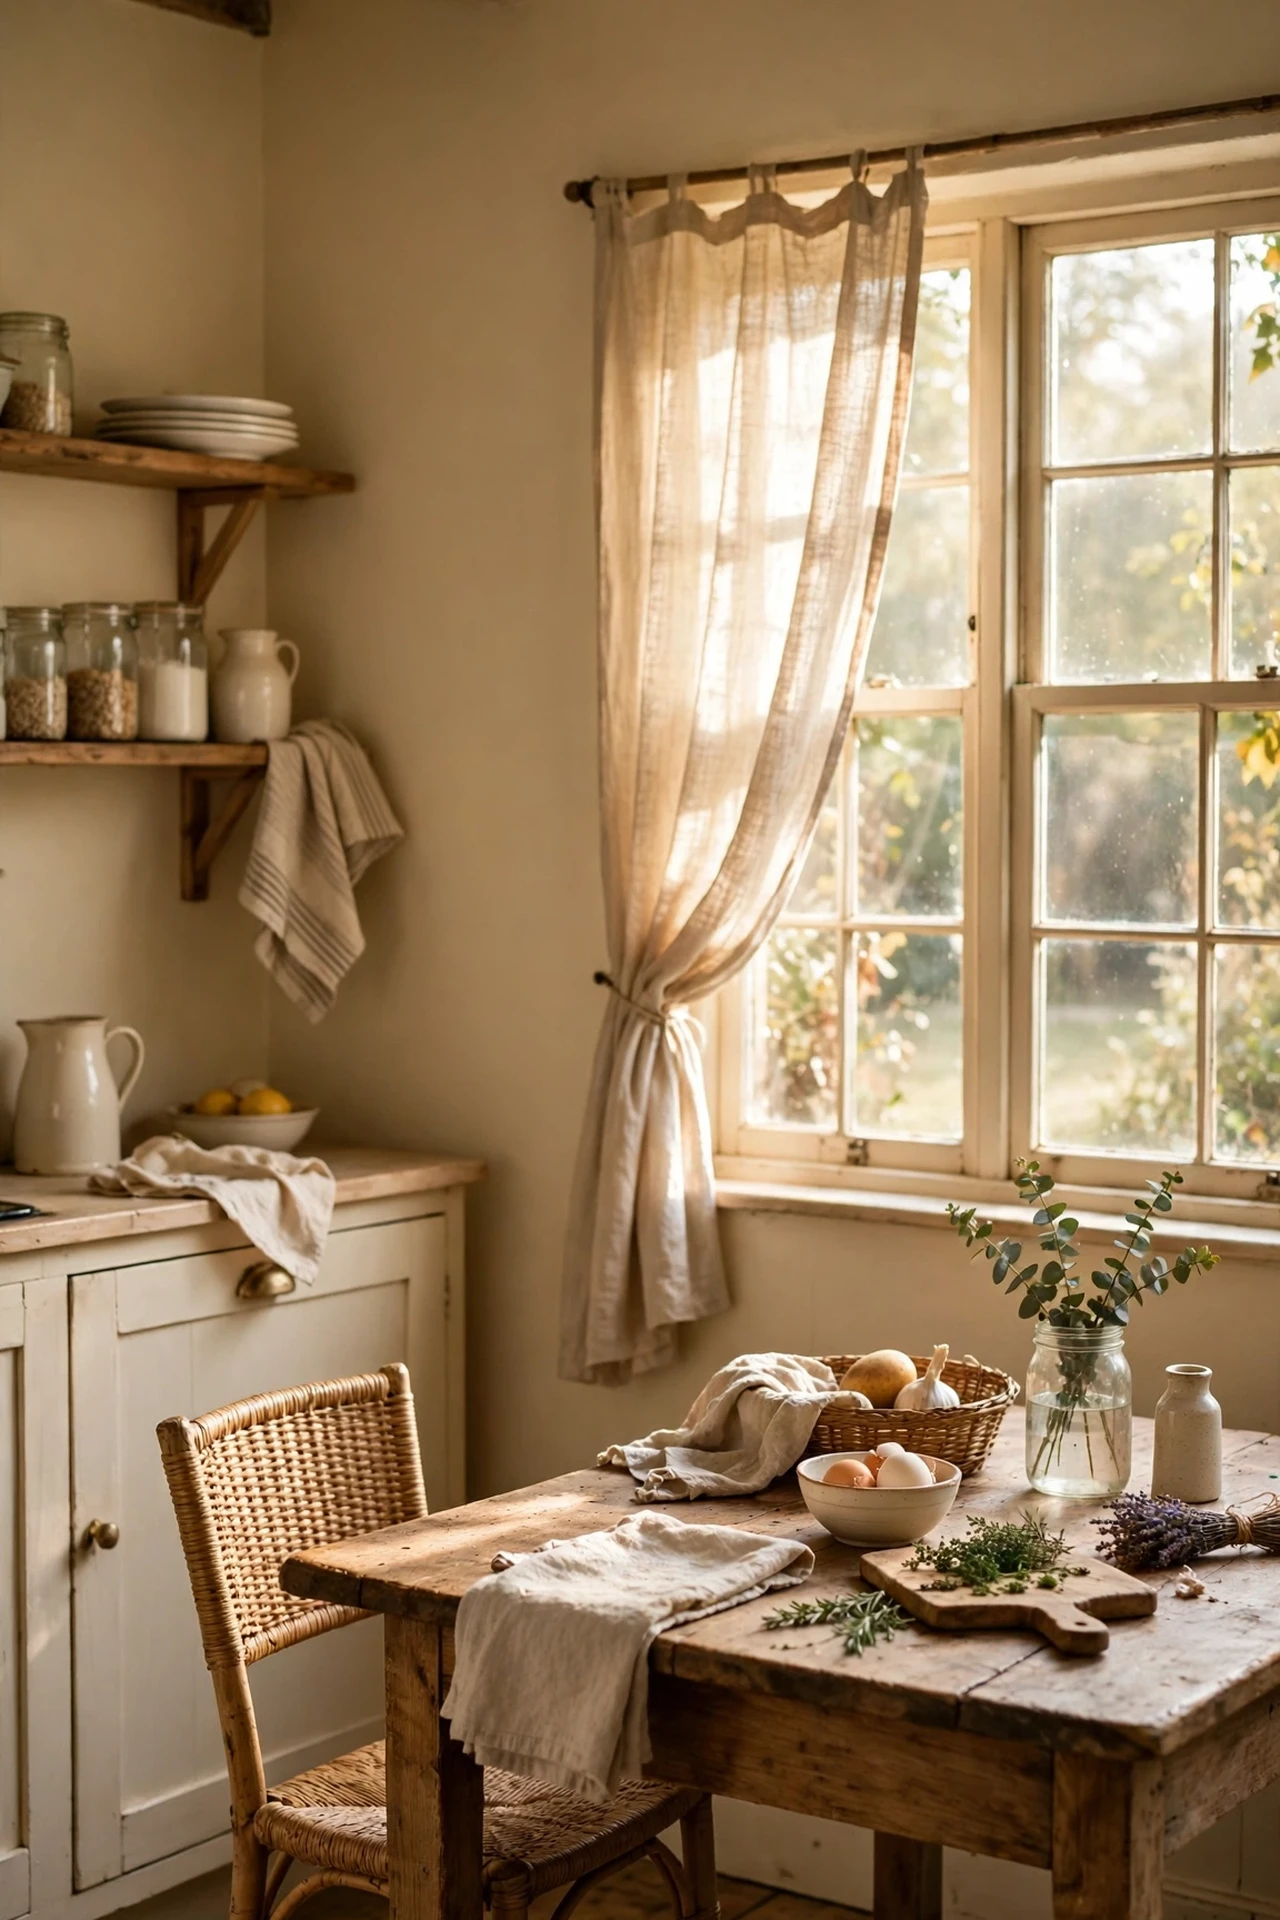
A tin of warm cream paint is the fastest way to farmhouse your kitchen. Clear the walls, fill any dents with filler, and roll on two coats — the colour instantly softens cold grey or builder-grade white and makes wooden furniture glow. I tried this in my own kitchen with a shade called “antique white” and the mistake to avoid is painting straight over greasy walls: wipe them down with sugar soap first or the paint fisheyes. One weekend afternoon and the whole room feels cosier.
Cost: ~$30 | Time: 240 minutes
2. Add Peel-and-Stick Shiplap to One Wall
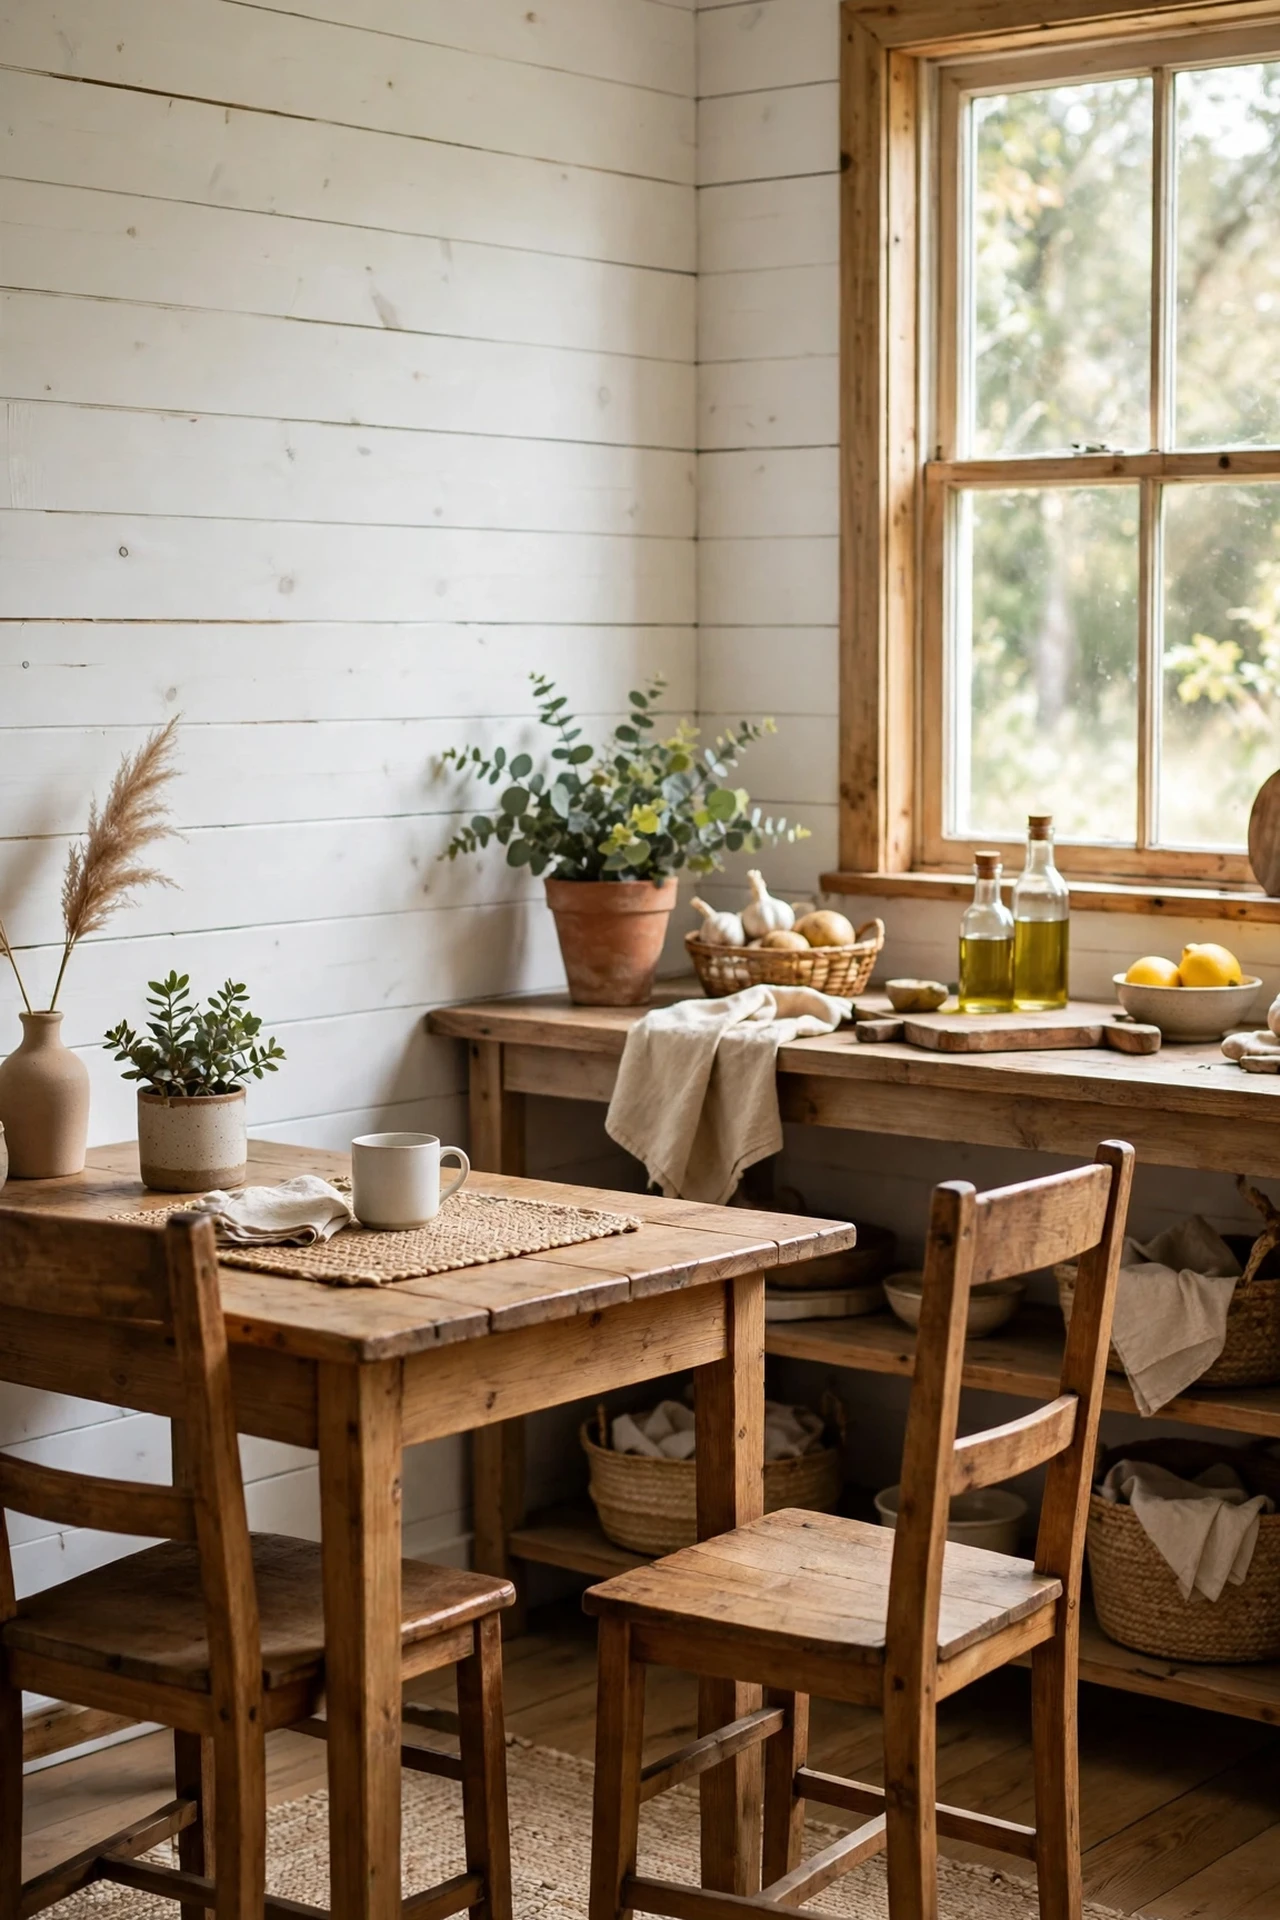
Real shiplap costs a fortune, but peel-and-stick planks give the same horizontal-lines charm for a fraction of the price. Measure your accent wall (behind the dining corner works beautifully), cut the planks to length with a utility knife, and stick them from the bottom up, pressing firmly. I tried this on a small hallway-style wall and the mistake to avoid is skipping the wall clean — dust kills the adhesive. Paint it white or a soft sage once up and it reads as genuine farmhouse character.
Cost: ~$45 | Time: 180 minutes
3. Frame Chalkboard Paint Into a Cabinet Panel
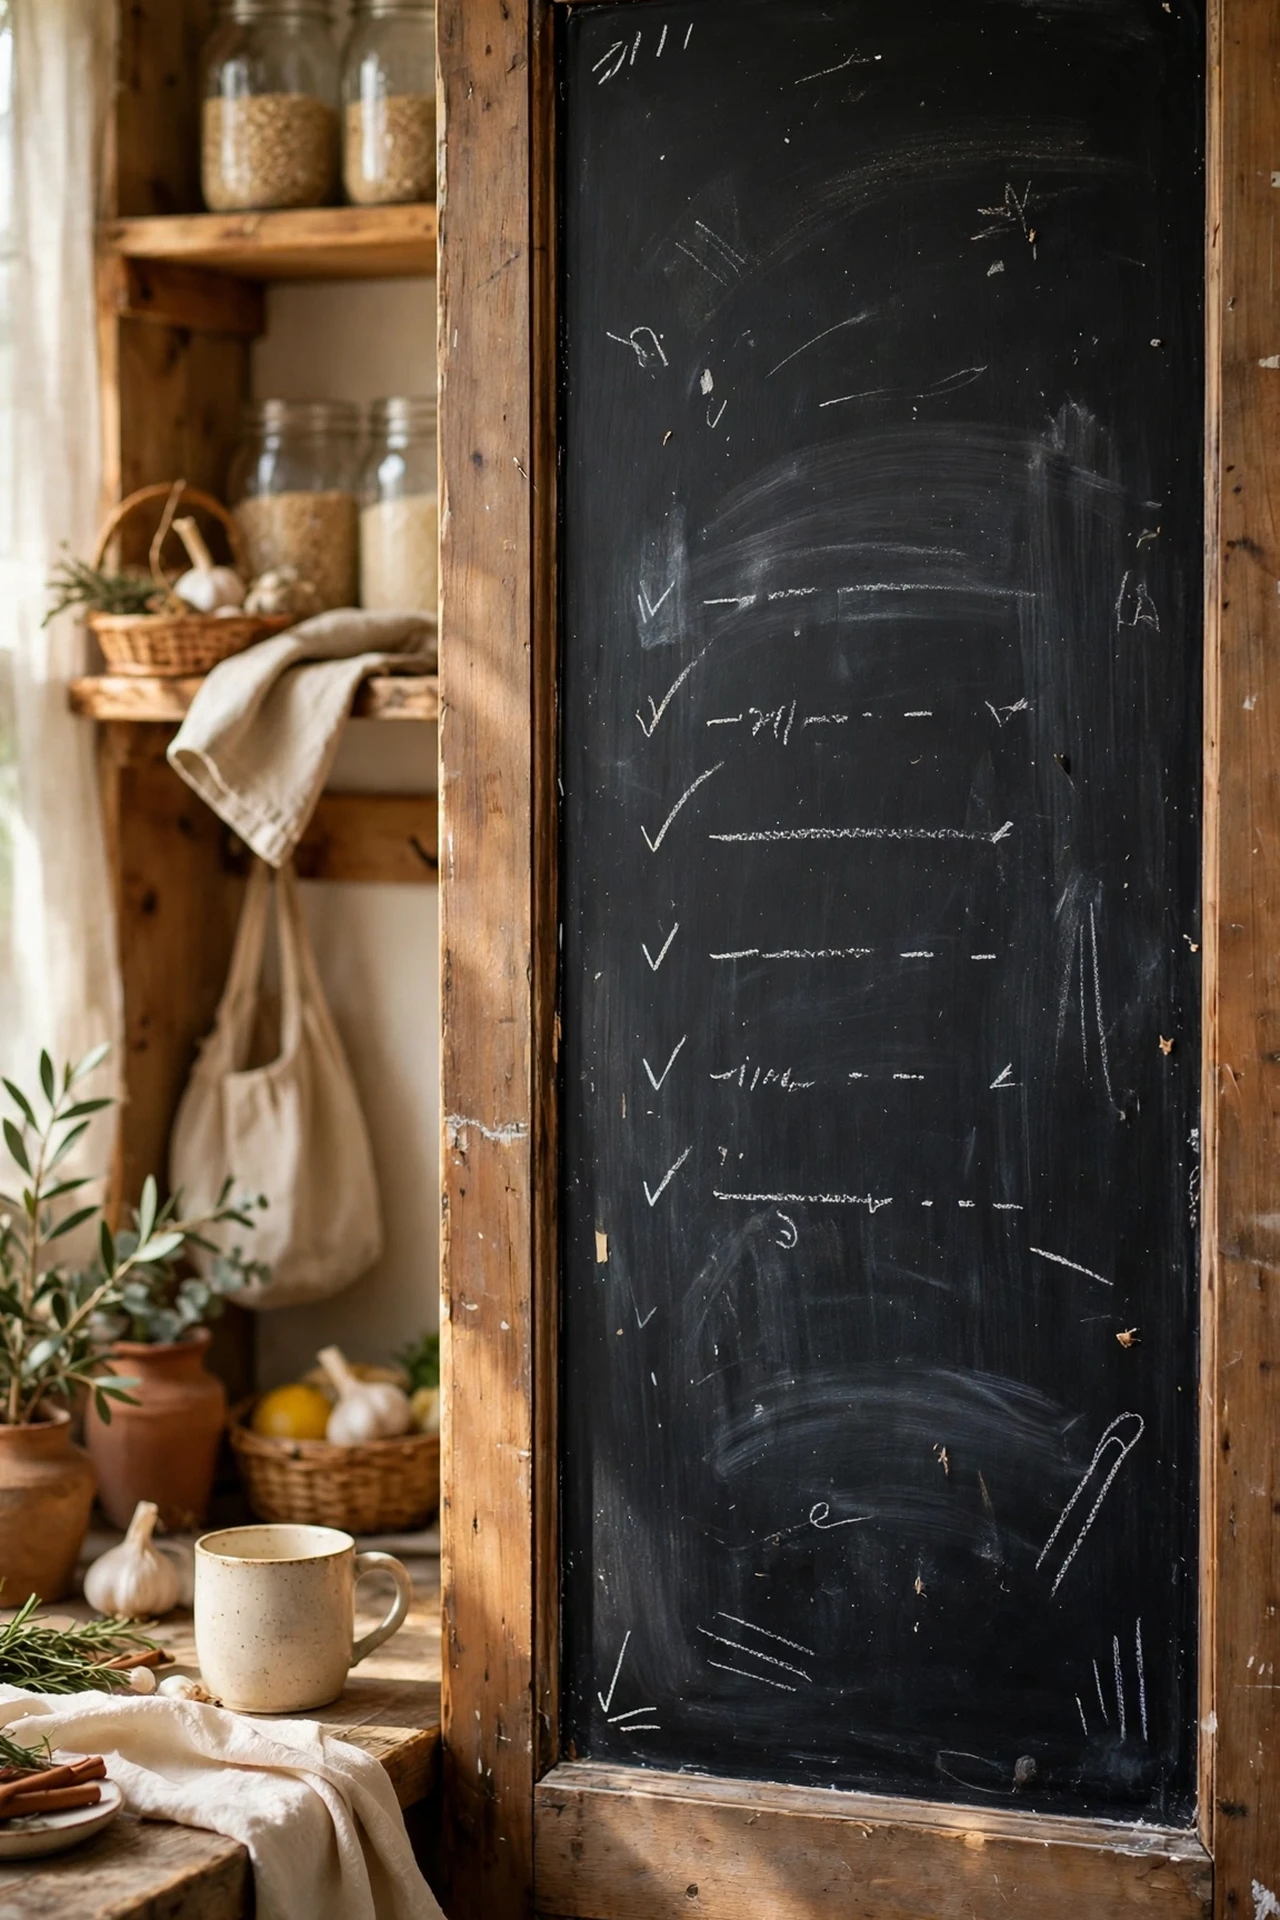
Chalkboard panels are a farmhouse classic — shopping lists, menus, kids’ drawings, all in one spot. Paint one cabinet door front or a framed board with two coats of chalkboard paint, let it cure for three days, then “season” it by rubbing chalk over the whole surface and wiping off. I tried this on a pantry door and the mistake to avoid is writing on it before curing; the ghost marks never come out. A cheap frame from a charity shop keeps it looking tidy rather than tatty.
Cost: ~$15 | Time: 45 minutes
4. Hang a DIY Reclaimed-Wood Sign
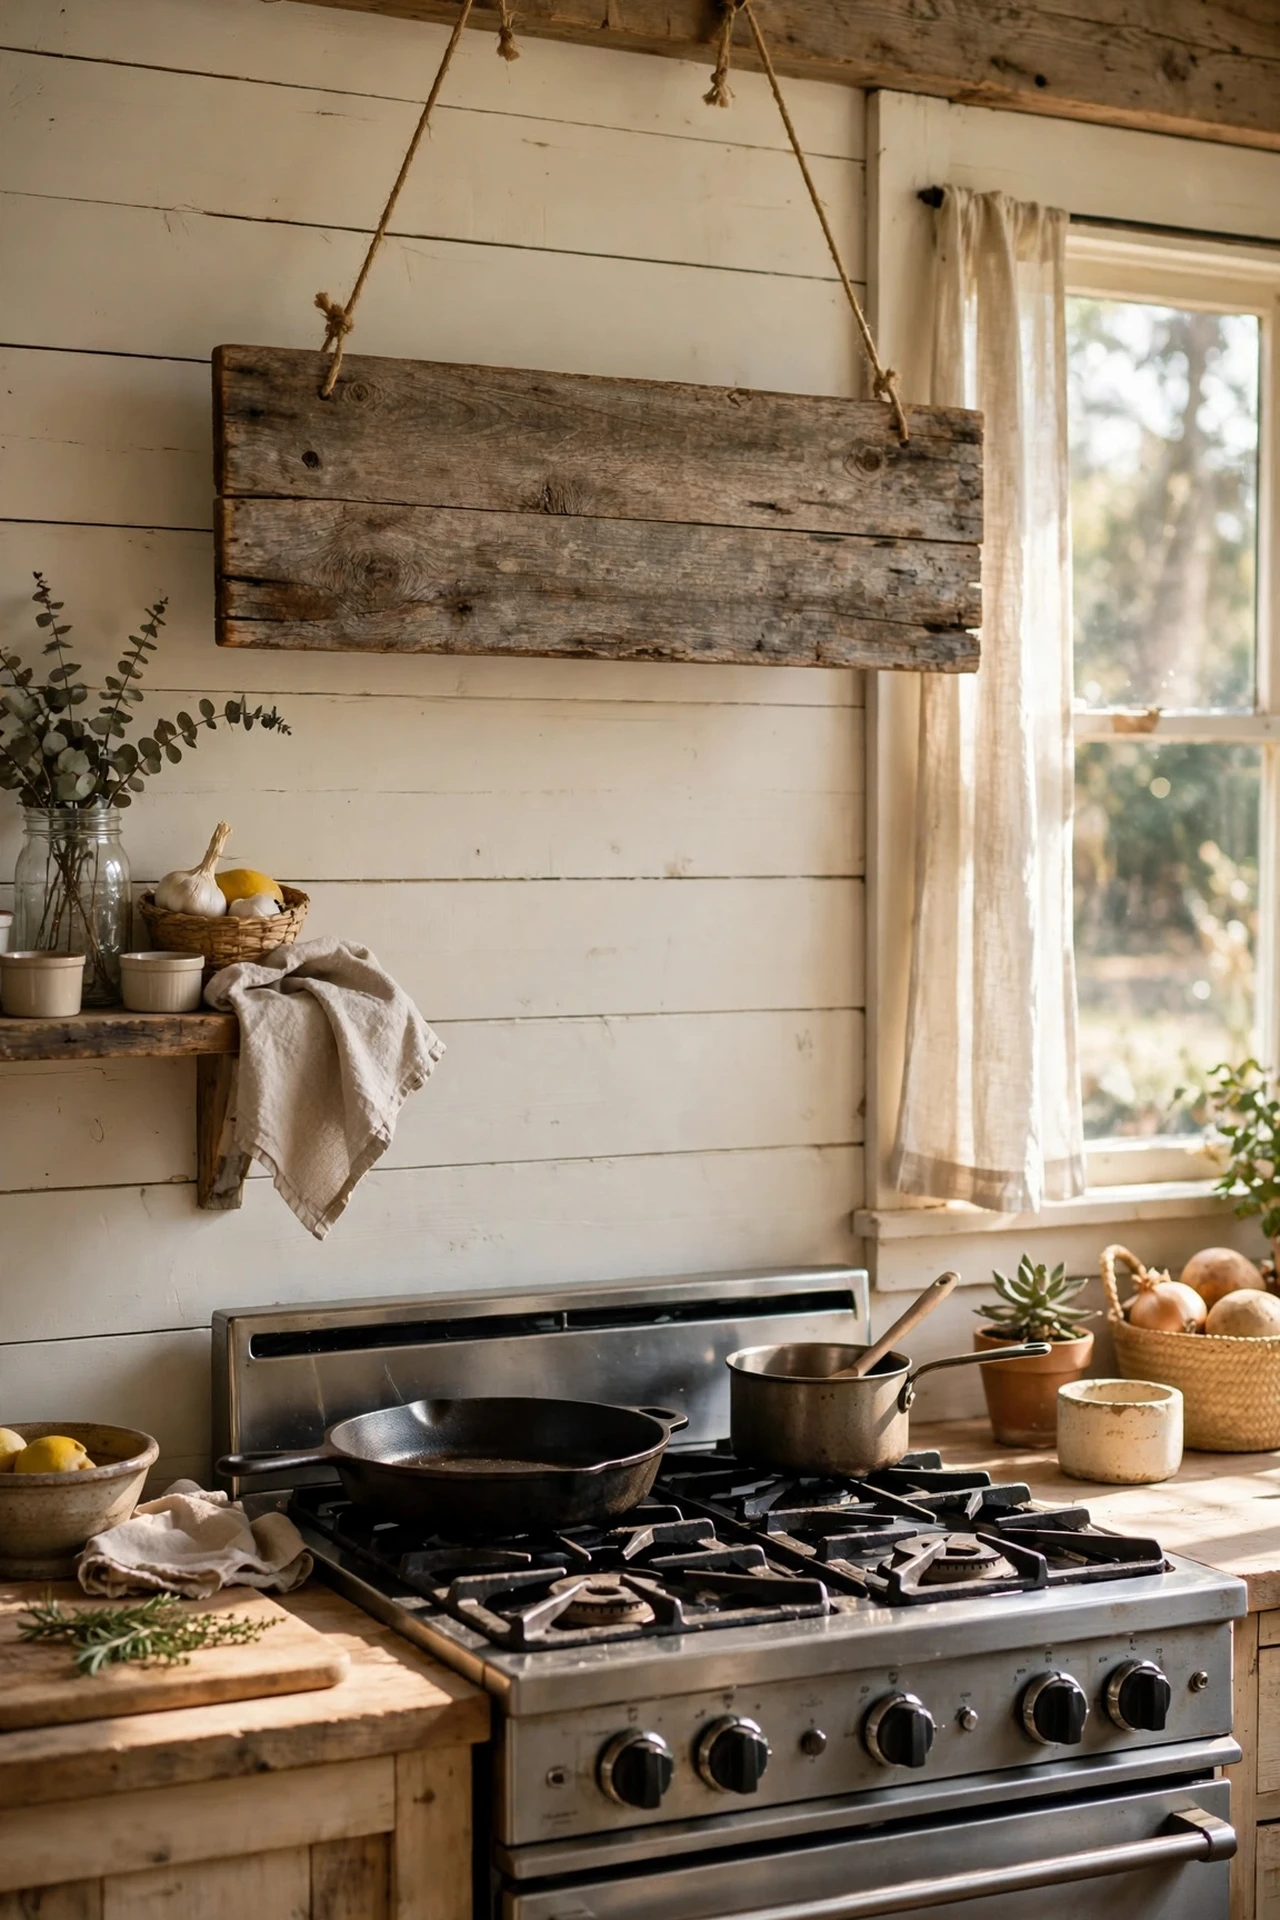
Nothing says farmhouse like a chunky wooden sign over the cooker or door. Find a pallet board or fence plank, sand it smooth, and stencil a simple word like “KITCHEN” or “GATHER” with white craft paint. I tried this with a skip-dived board and the mistake to avoid is skipping the seal — unsealed paint rubs off in a steamy kitchen, so add one coat of clear wax or polyurethane. Hang it with picture-hanging strips so you don’t drill into tile.
Cost: ~$12 | Time: 60 minutes
5. Display a Gallery Wall of Vintage-Style Prints
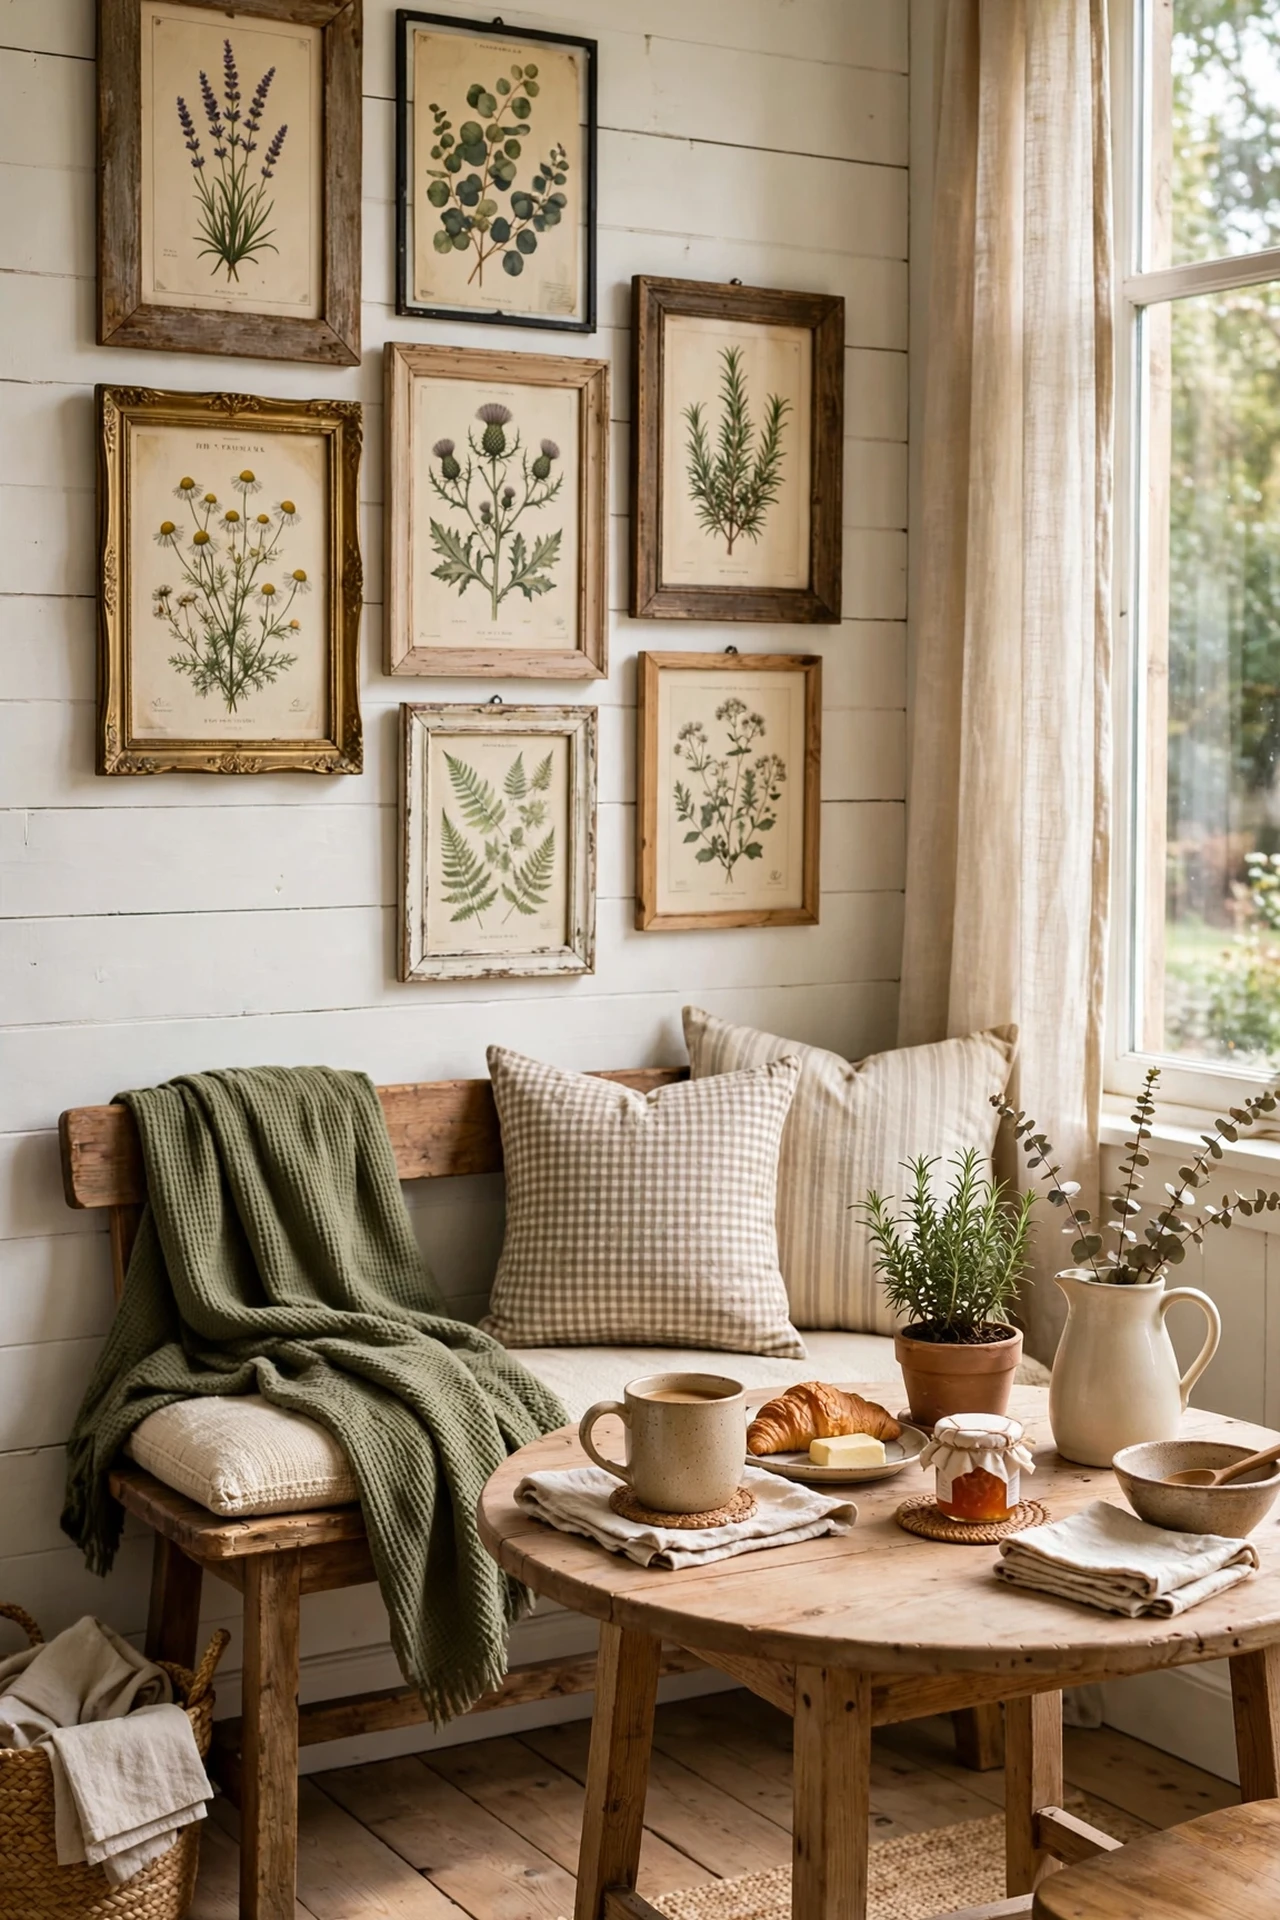
A little gallery wall of botanical prints, old seed packets, or farm-animal illustrations brings instant cottage charm. Print free vintage images at home or at a library, pop them into mismatched thrifted frames, and lay the arrangement out on the floor before you hang a thing. I tried this above our breakfast nook and the mistake to avoid is hanging them too high — keep the centre at eye level or they look lost. If you’re curious how print styling carries into other rooms, these (see also: budget-farmhouse-decor-ideas) pair nicely with the kitchen look.
Cost: ~$25 | Time: 90 minutes
Cabinets & Storage
6. Repaint Cabinets in Soft White or Sage
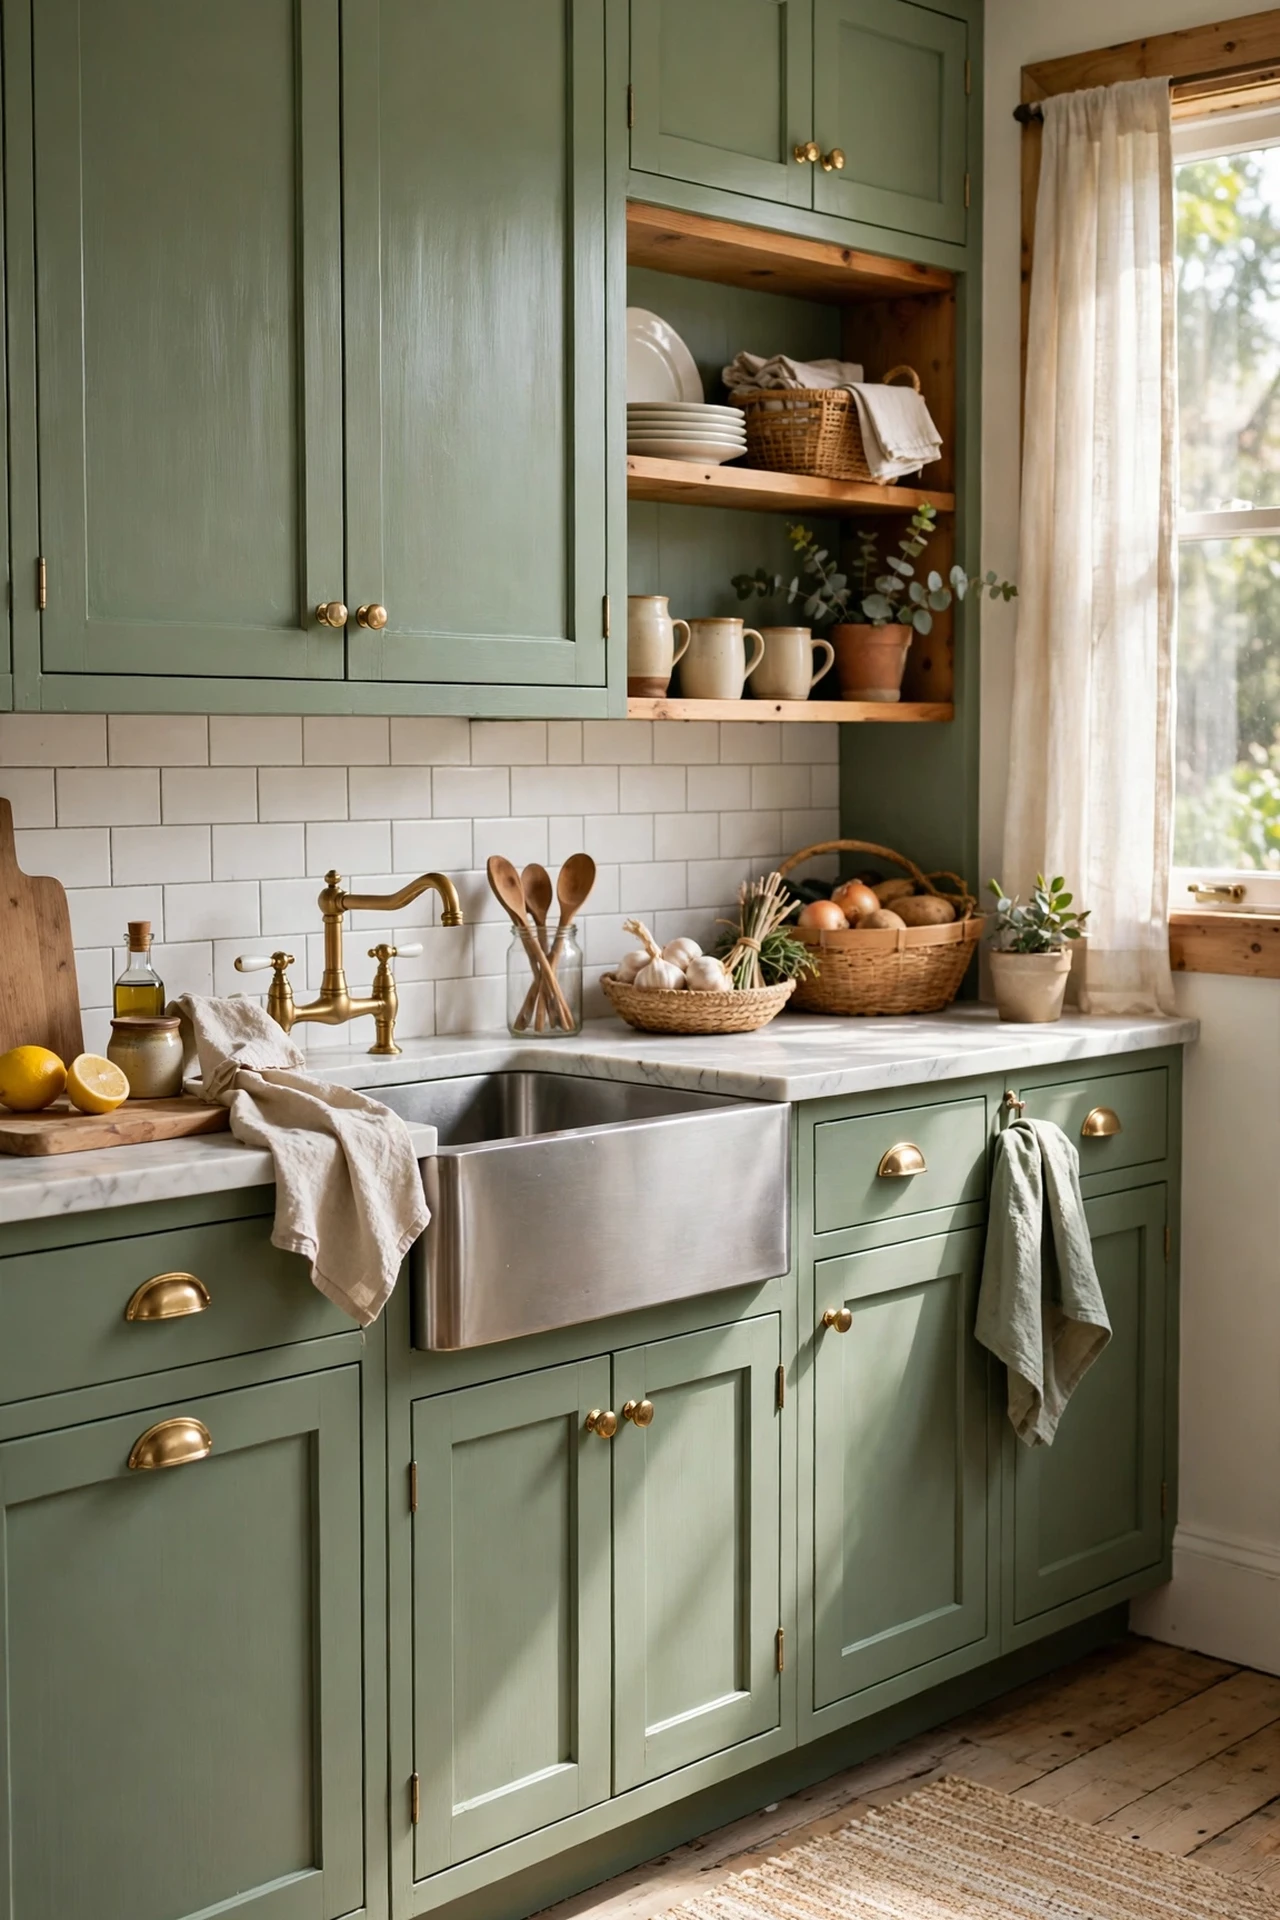
Painting cabinets is the single biggest farmhouse payoff per pound — or dollar. Remove the doors and hardware, degrease everything with TSP substitute, sand lightly, then apply a bonding primer followed by two coats of cabinet enamel. I tried this on our dated oak cupboards and the mistake to avoid is rushing the cure: give the doors a full week before heavy use or they chip. Soft white opens the room up; sage green leans straight into the classic farmhouse kitchen palette.
Cost: ~$60 | Time: 600 minutes
7. Swap Cabinet Knobs for Bin Pulls
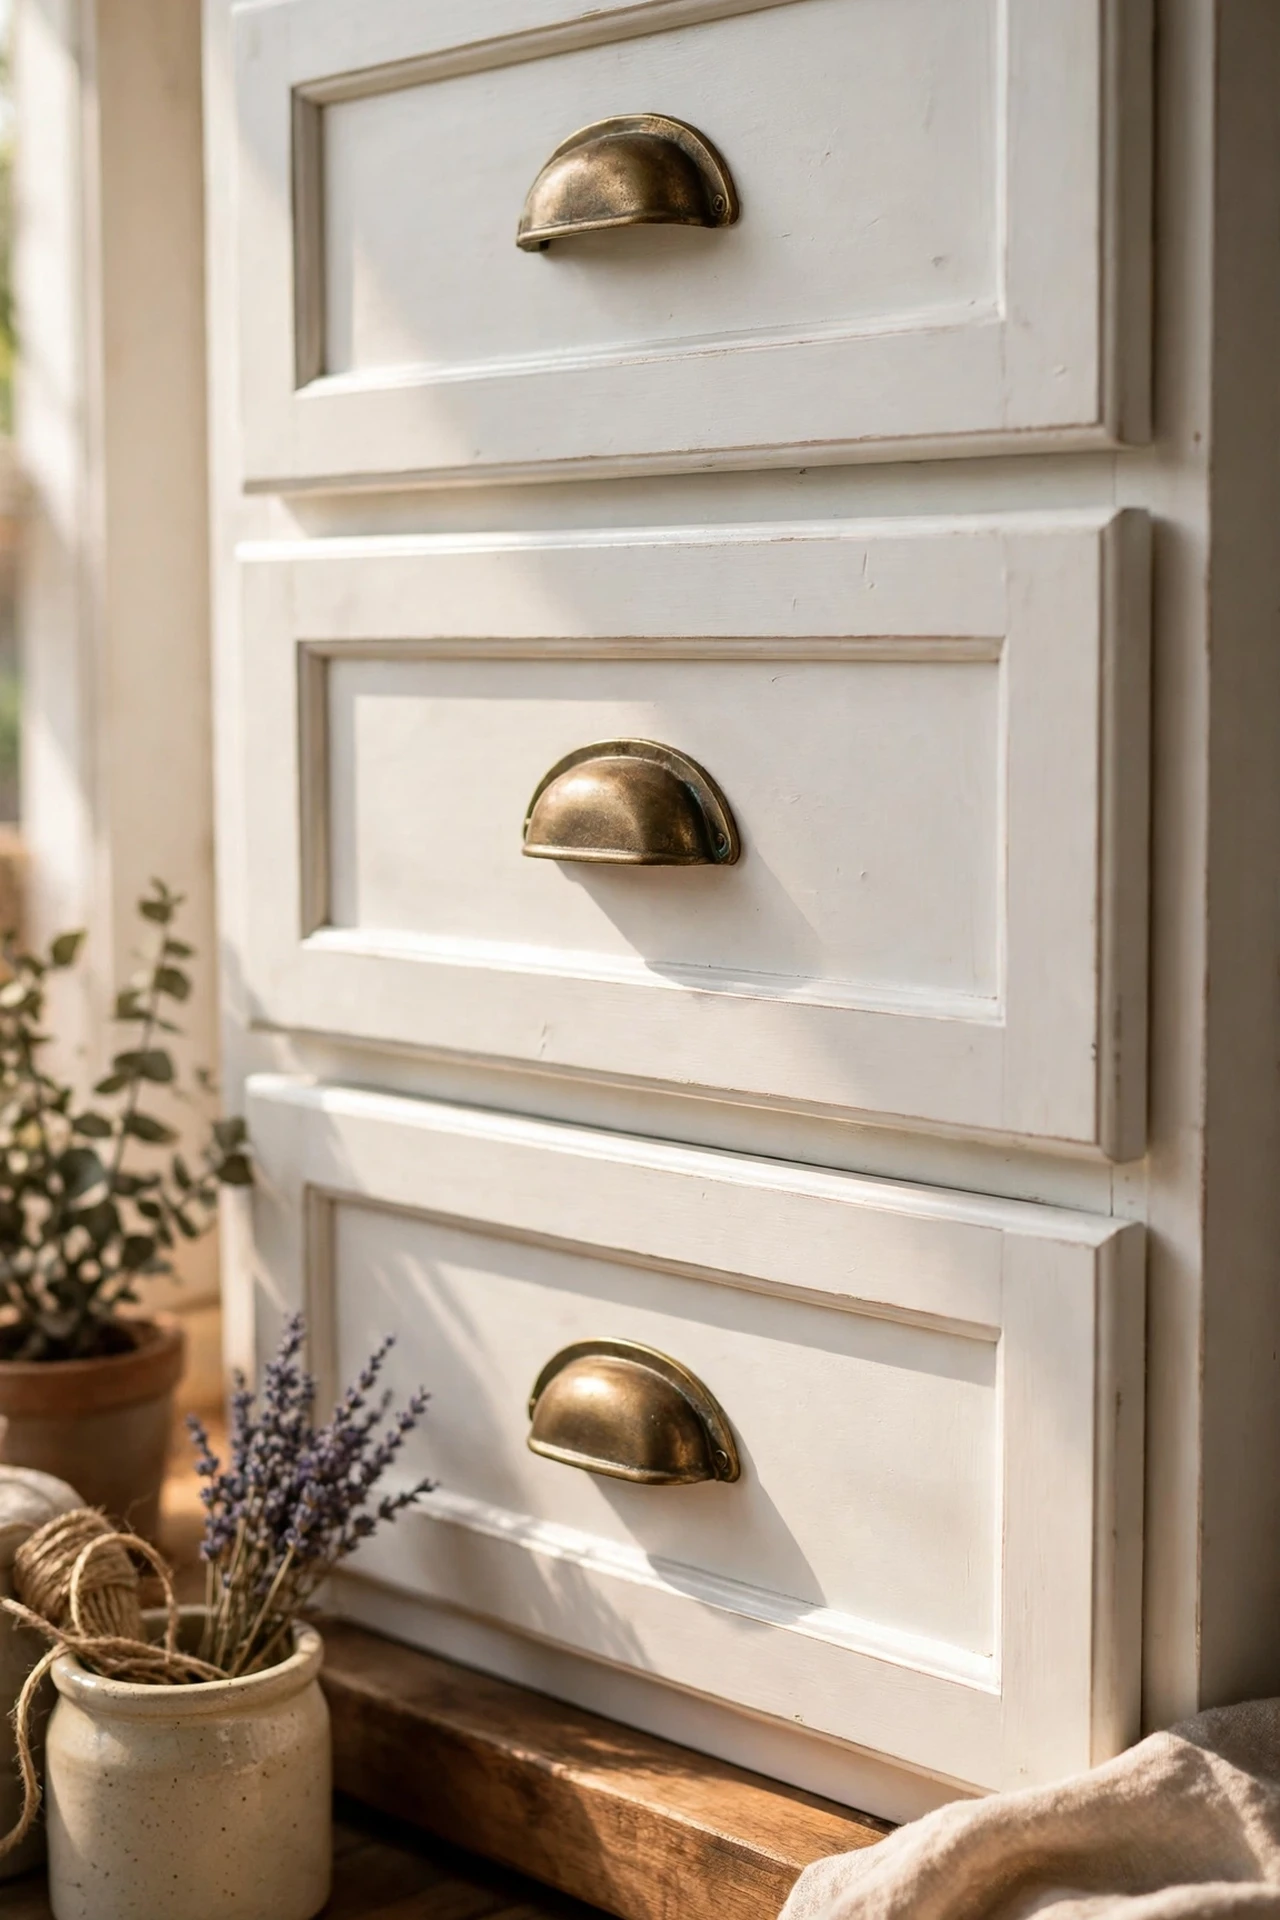
Bin pulls — those little cup-shaped handles — are the farmhouse signature on drawers. Unscrew your existing knobs and swap them one drawer at a time; most bin pulls use the same single-screw fitting, so no drilling needed. I tried this on six drawers and the mistake to avoid is buying pulls that are too small — they look dinky on wide drawers, so measure and go slightly chunkier than you think. Aged brass or oil-rubbed bronze finishes hide fingerprints best.
Cost: ~$20 | Time: 30 minutes
8. Add Open Shelving With Butcher’s Twine Brackets
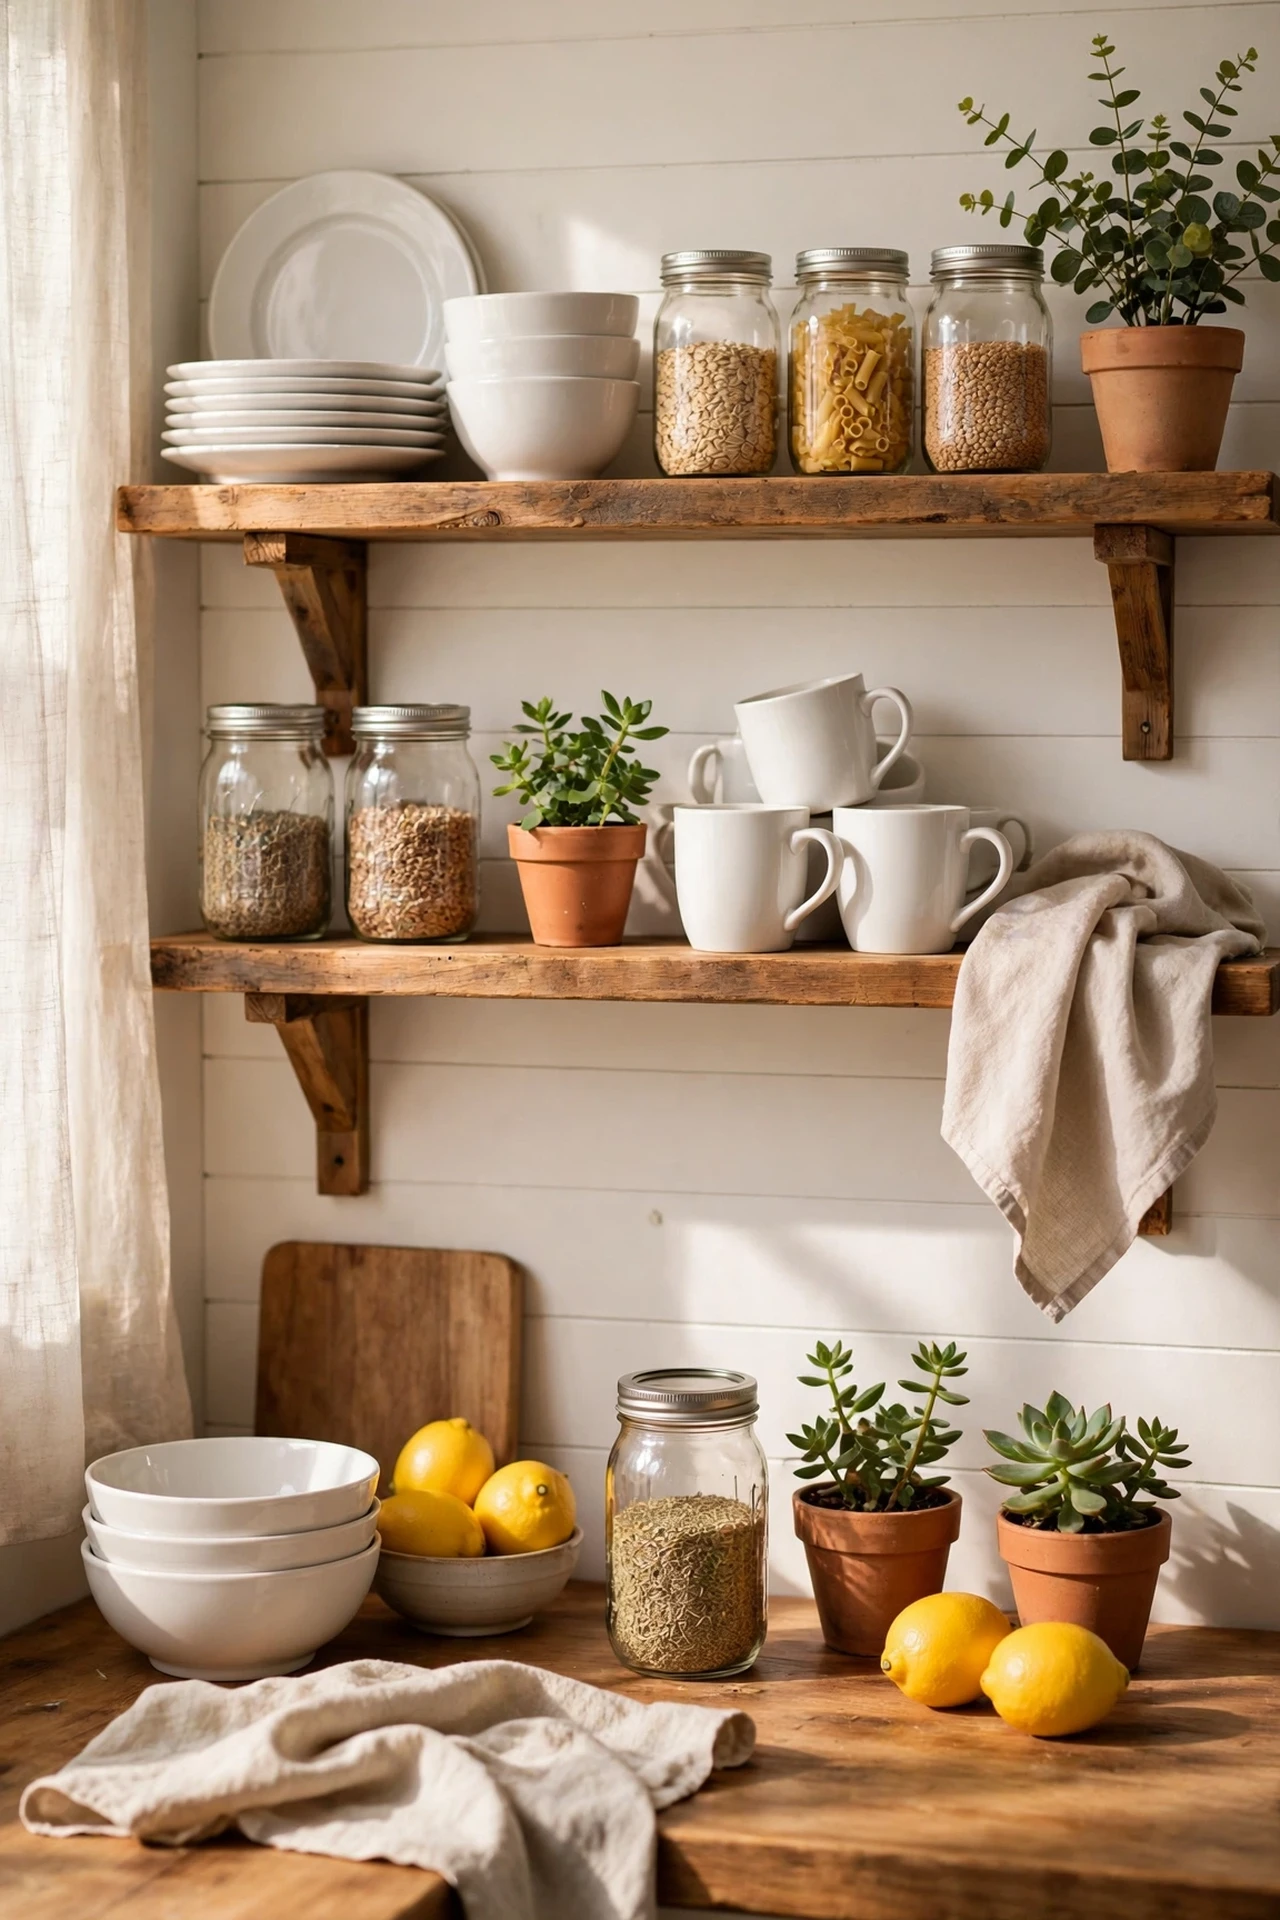
Pull off one cabinet door pair and you instantly have open shelving — the farmhouse display moment. Paint the interior a soft cream, screw in simple metal L-brackets, and style the shelves with white crockery, mason jars, and a trailing plant. I tried this beside the cooker and the mistake to avoid is cramming it full: open shelves need breathing room, so keep the back half empty. Style tips from these (see also: kitchen-open-shelf-styling-tips) will keep it pretty rather than cluttered.
Cost: ~$18 | Time: 90 minutes
9. Install a Cheap Tension-Rod Cafe Curtain
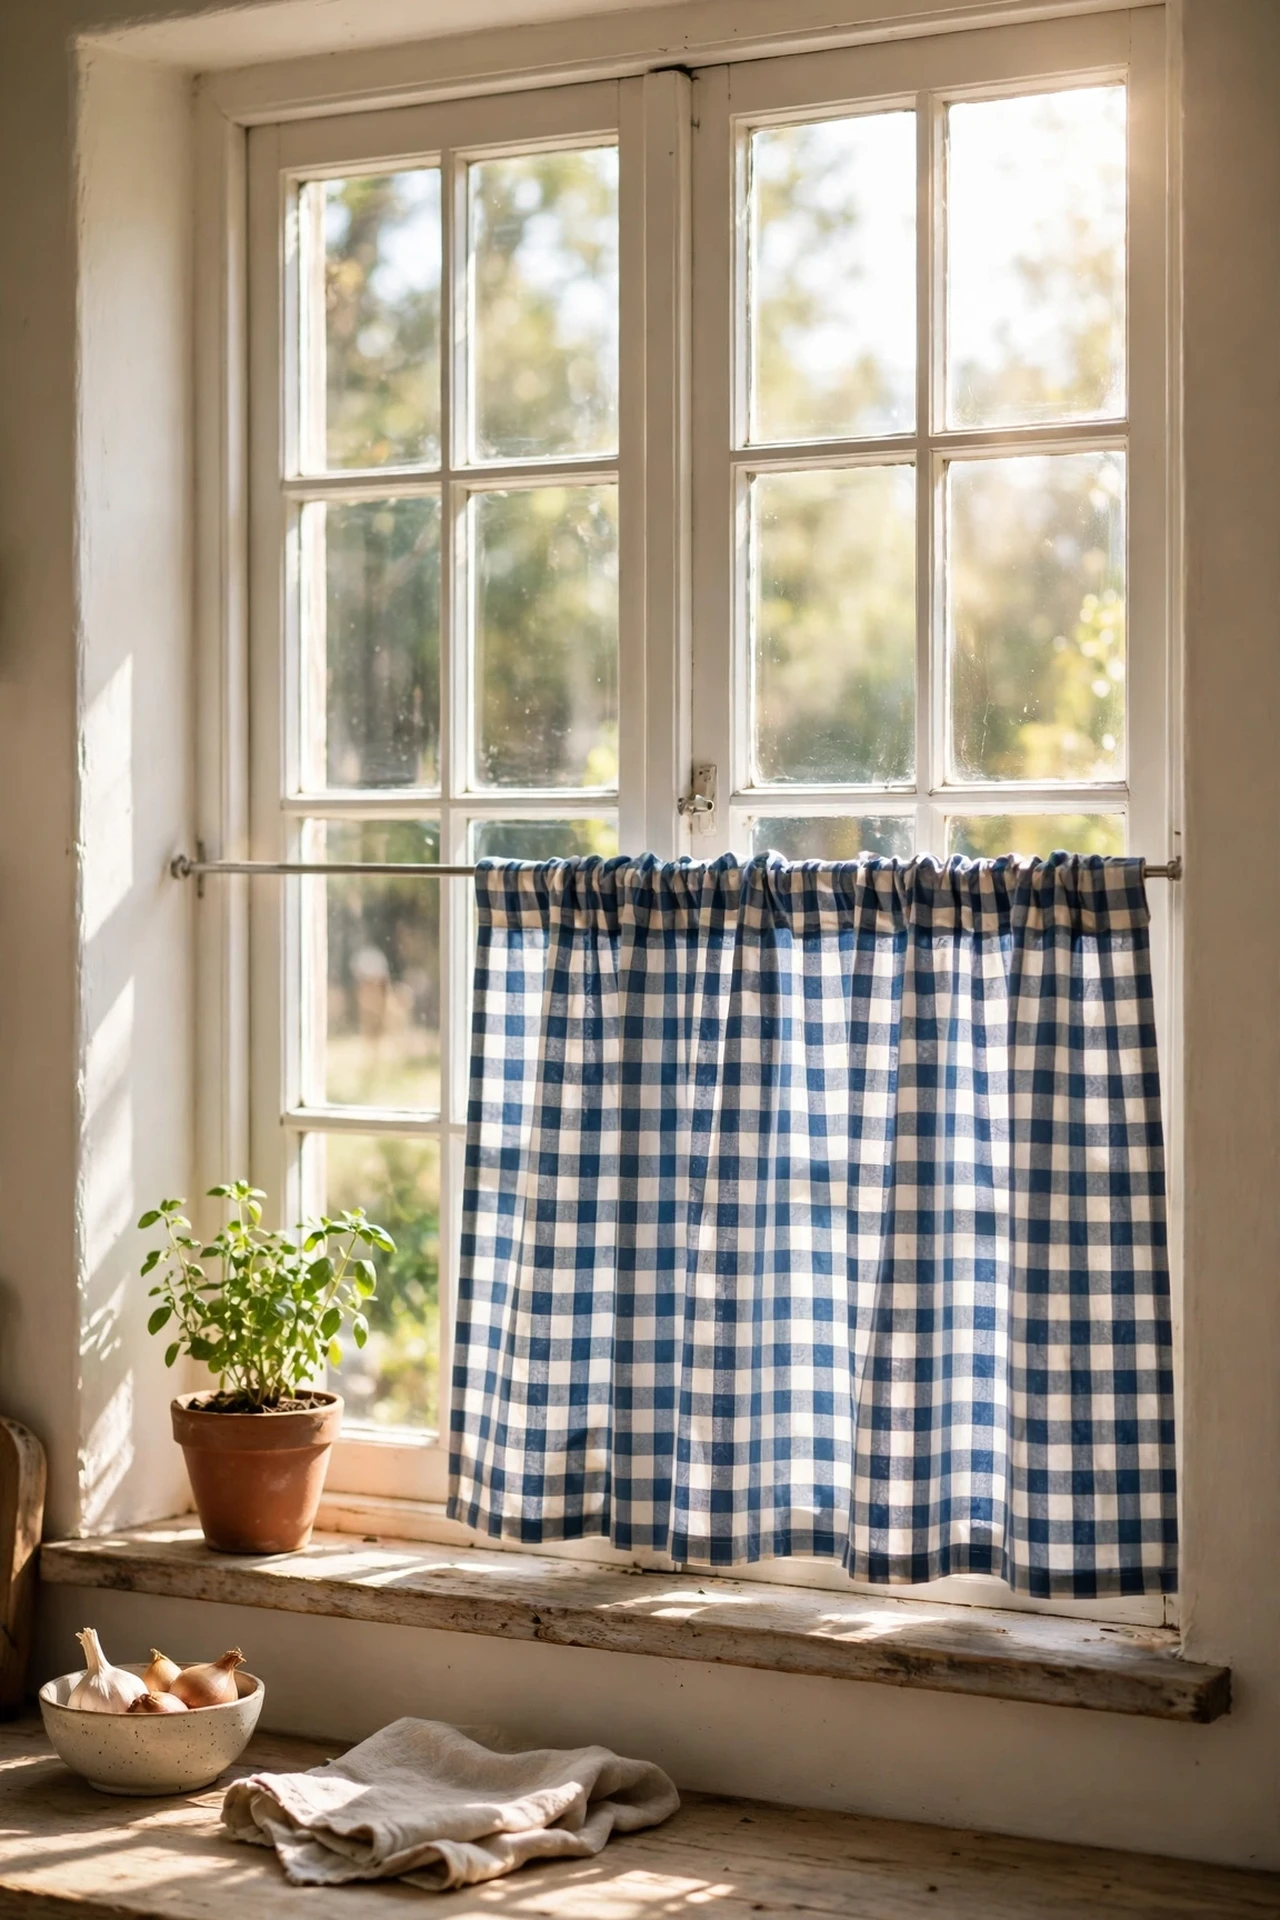
A half-height cafe curtain in a window or under a sink instantly reads farmhouse. Measure the opening, fit a tension rod at mid-window height, and thread on a length of cotton fabric with a rod pocket — no sewing needed if you use fusible hem tape. I tried this on our kitchen window and the mistake to avoid is fabric that’s too long: it should just kiss the sill. Gingham, ticking stripe, or plain linen all nail the look for almost nothing.
Cost: ~$10 | Time: 25 minutes
10. Stack Wooden Crates as a Pantry Tower
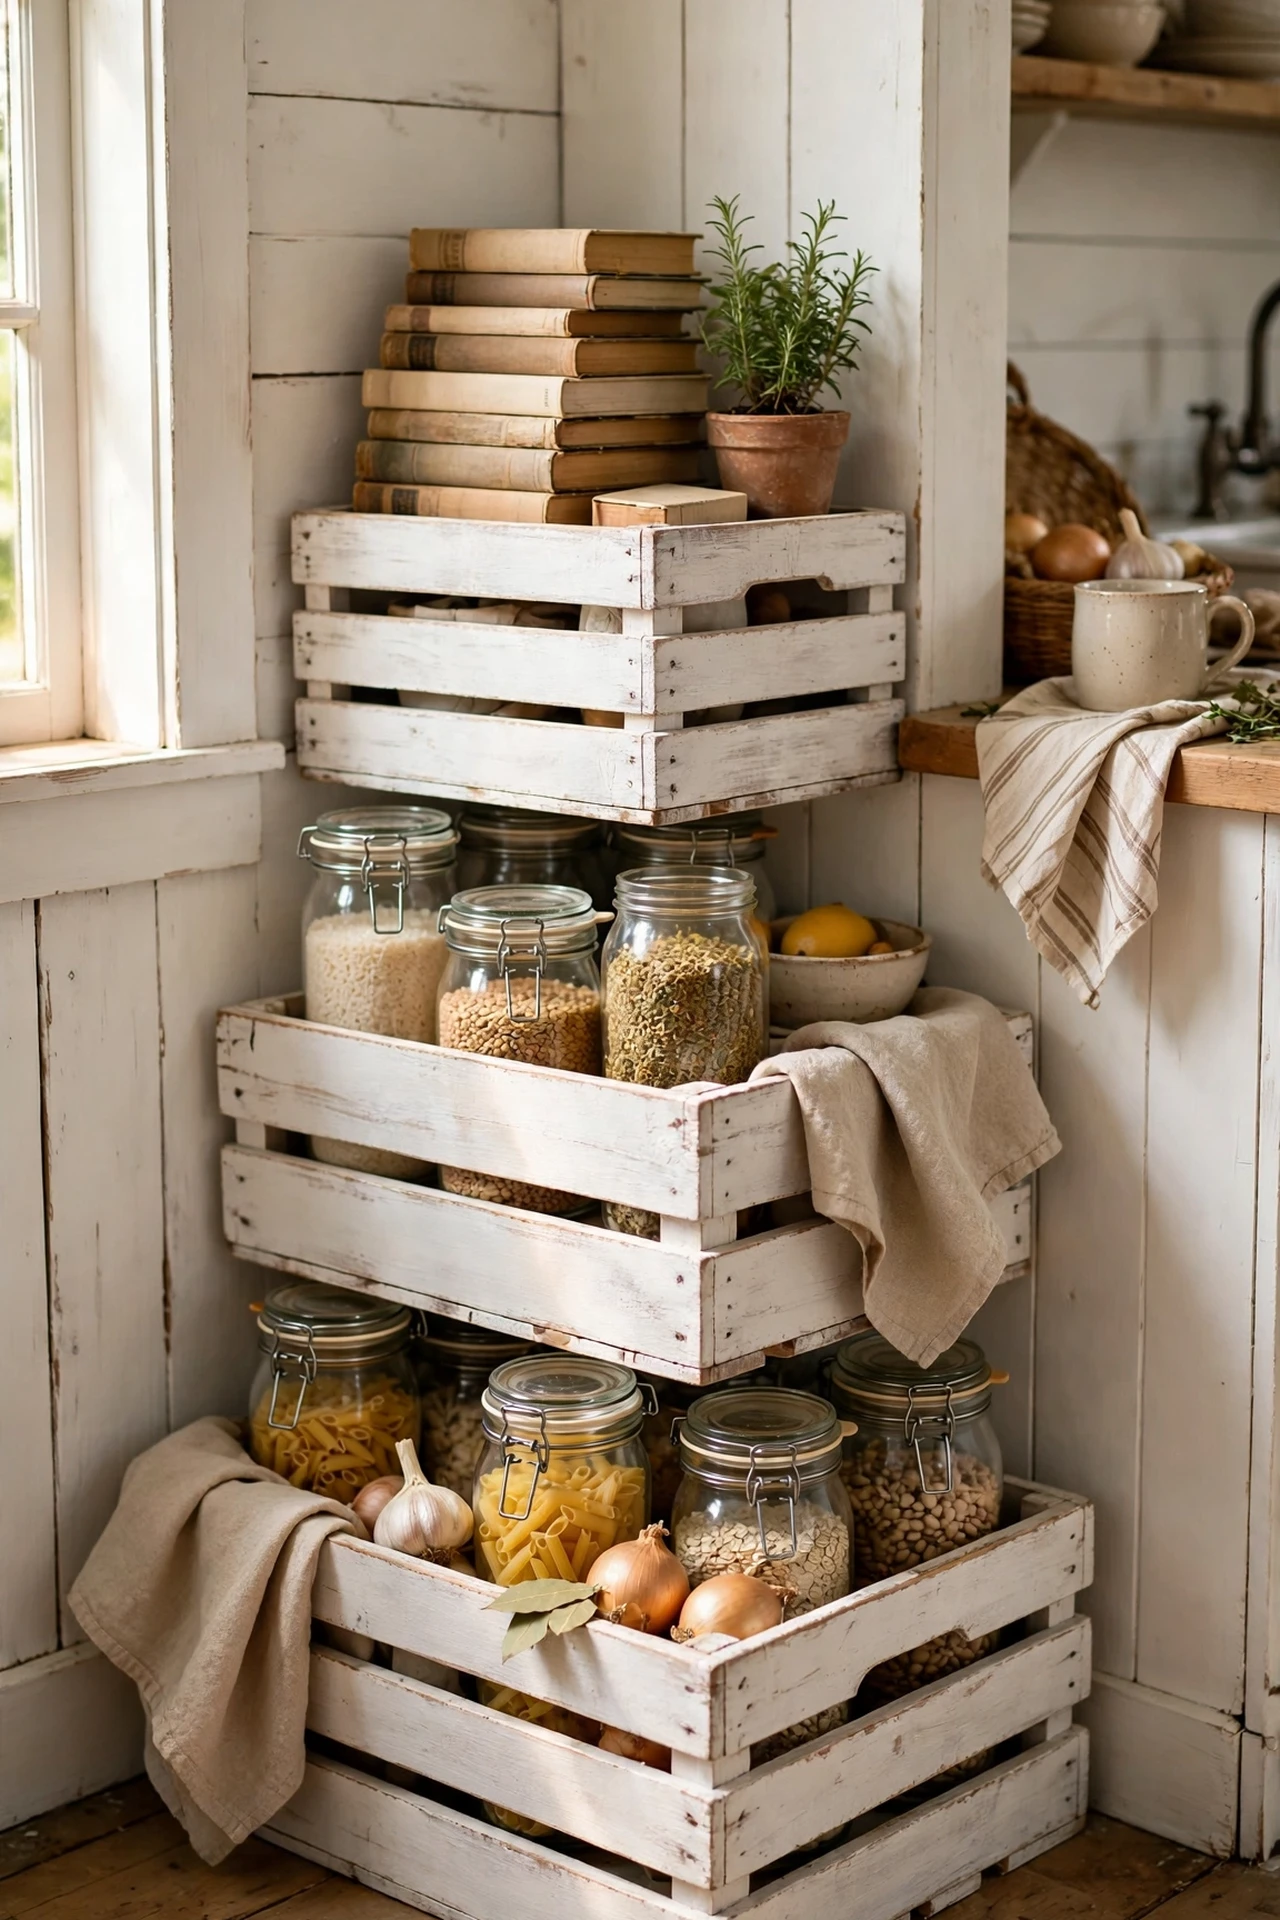
Wooden crates stacked on their sides make brilliant rustic storage — a mini pantry, veg store, or cookbook library. Sand two or three crates, stain or whitewash them, and stack with the largest at the bottom, screwing them together from the inside for stability. I tried this in a narrow gap by the fridge and the mistake to avoid is wobbly stacking on an uneven floor: shim the base level first. Label each crate with a little chalk tag for the full farmhouse shop feel.
Cost: ~$28 | Time: 75 minutes
Countertops & Sink Area
11. Refresh Countertops With Faux Butcher-Block Film
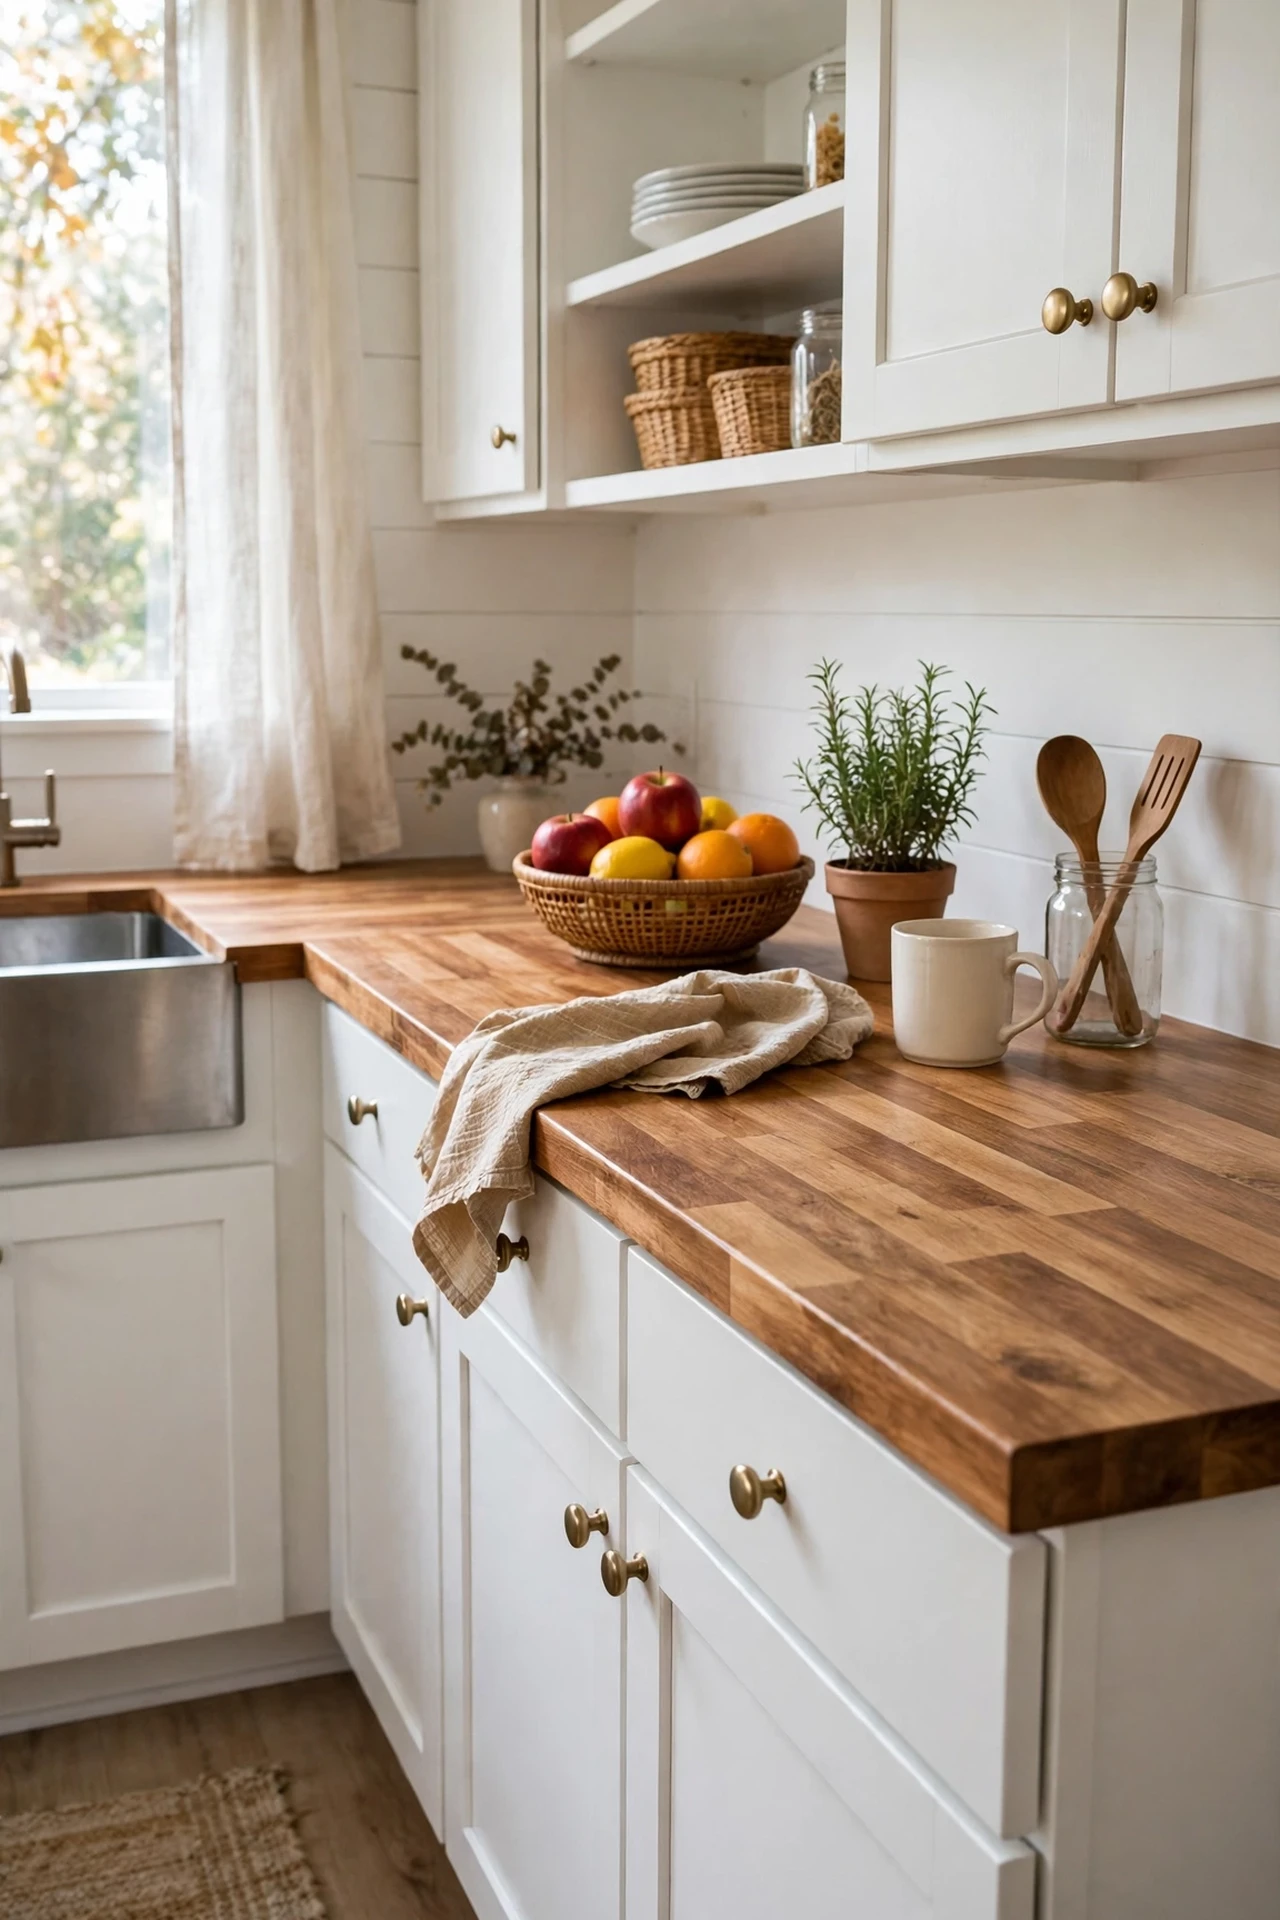
Peel-and-stick faux butcher-block film can fake the warm wooden worktop look over laminate in an afternoon. Clean and degrease the counters, cut the film oversized, lay it down from one edge with a credit card to push out bubbles, and trim the edges with a sharp blade. I tried this on our island and the mistake to avoid is working in a cold room — the film goes stiff; a hairdryer on low helps it mould around edges. It won’t fool anyone up close, but from the doorway it looks gorgeous.
Cost: ~$35 | Time: 150 minutes
12. Style a Farmhouse Sink Tray
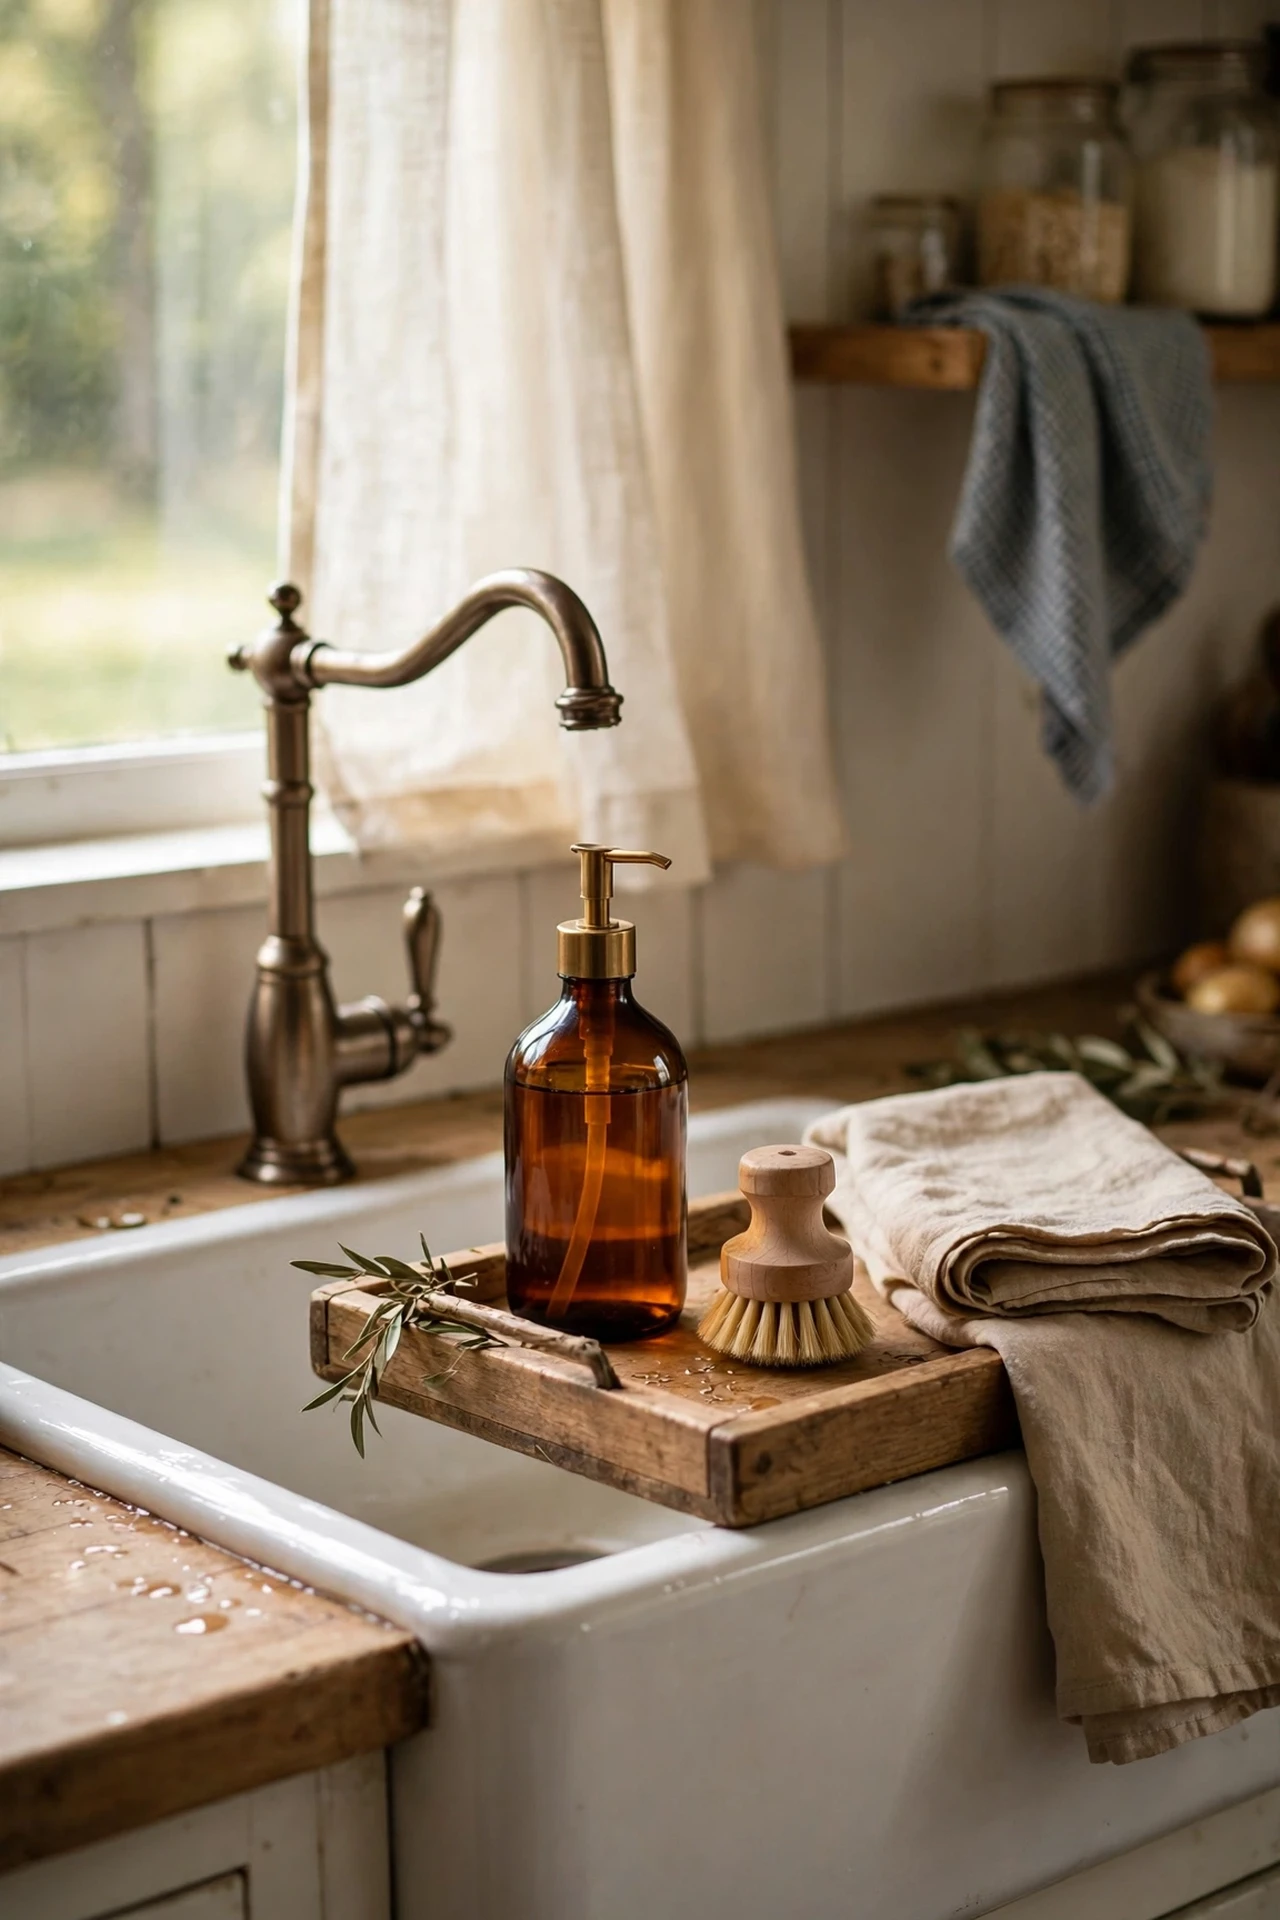
A small wooden tray beside the sink corrals soap, a brush, and a sponge into one tidy farmhouse moment. Line a thrifted tray with a washable mat, add a pump bottle in amber glass, a wooden dish brush, and a folded linen tea towel. I tried this at our sink and the mistake to avoid is a tray with no lip — soap bottles slide off smooth trays the moment they get wet. A lipped tray or a small ceramic caddy solves it instantly.
Cost: ~$14 | Time: 15 minutes
13. Hang a Wooden Utensil Crock by the Cooker
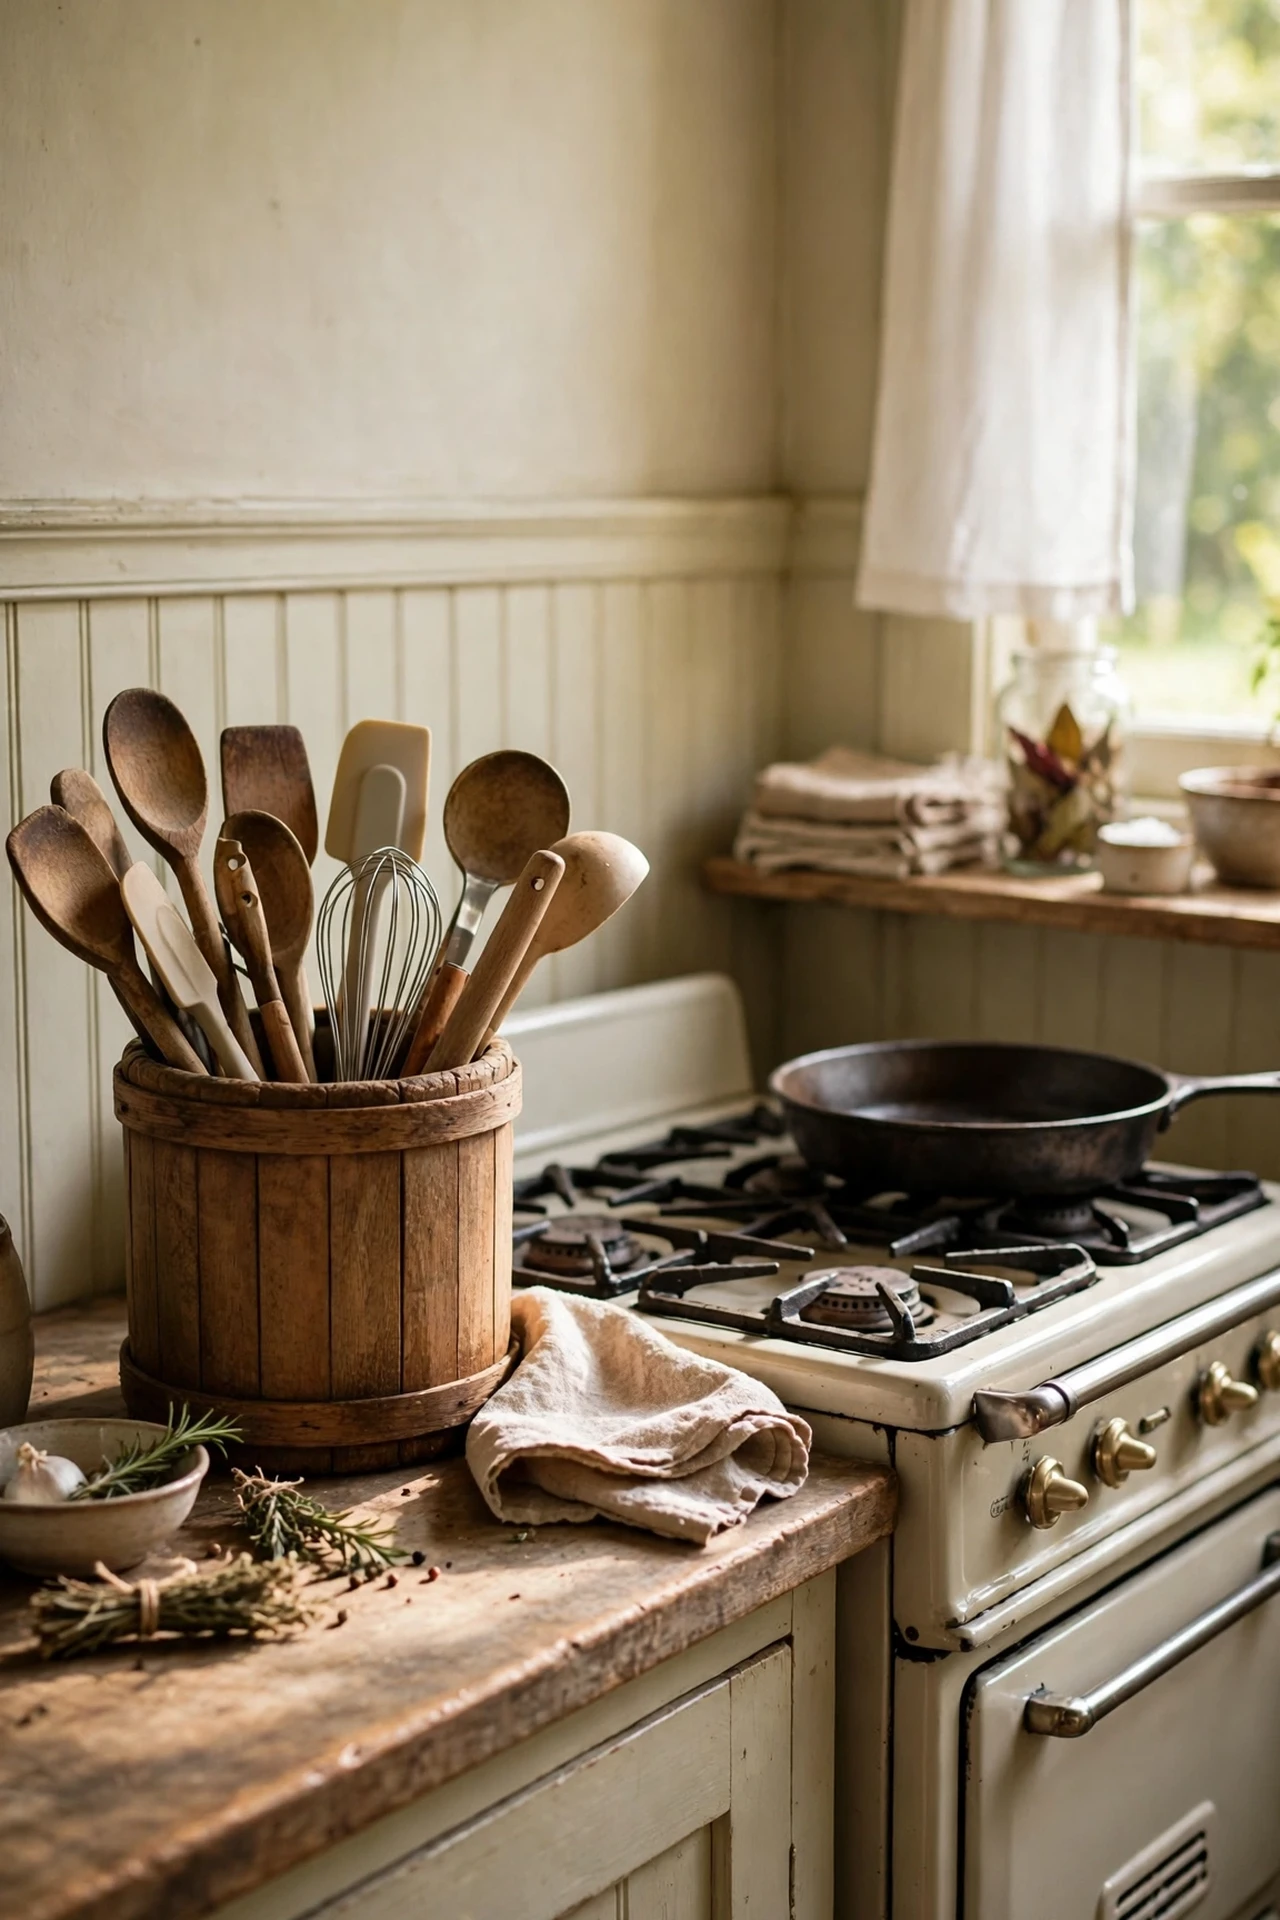
A tall wooden or stoneware crock holding your spoons and spatulas by the hob is pure farmhouse. Decant your most-used utensils into it, keep it within arm’s reach of the stove, and it doubles as decor. I tried this and the mistake to avoid is overfilling it — too many utensils and it becomes a wobbly mess; keep a dozen max. A second smaller crock for tasting spoons next to it looks intentional, not cluttered.
Cost: ~$12 | Time: 10 minutes
14. Build a Cheap Cutting-Board Display Wall
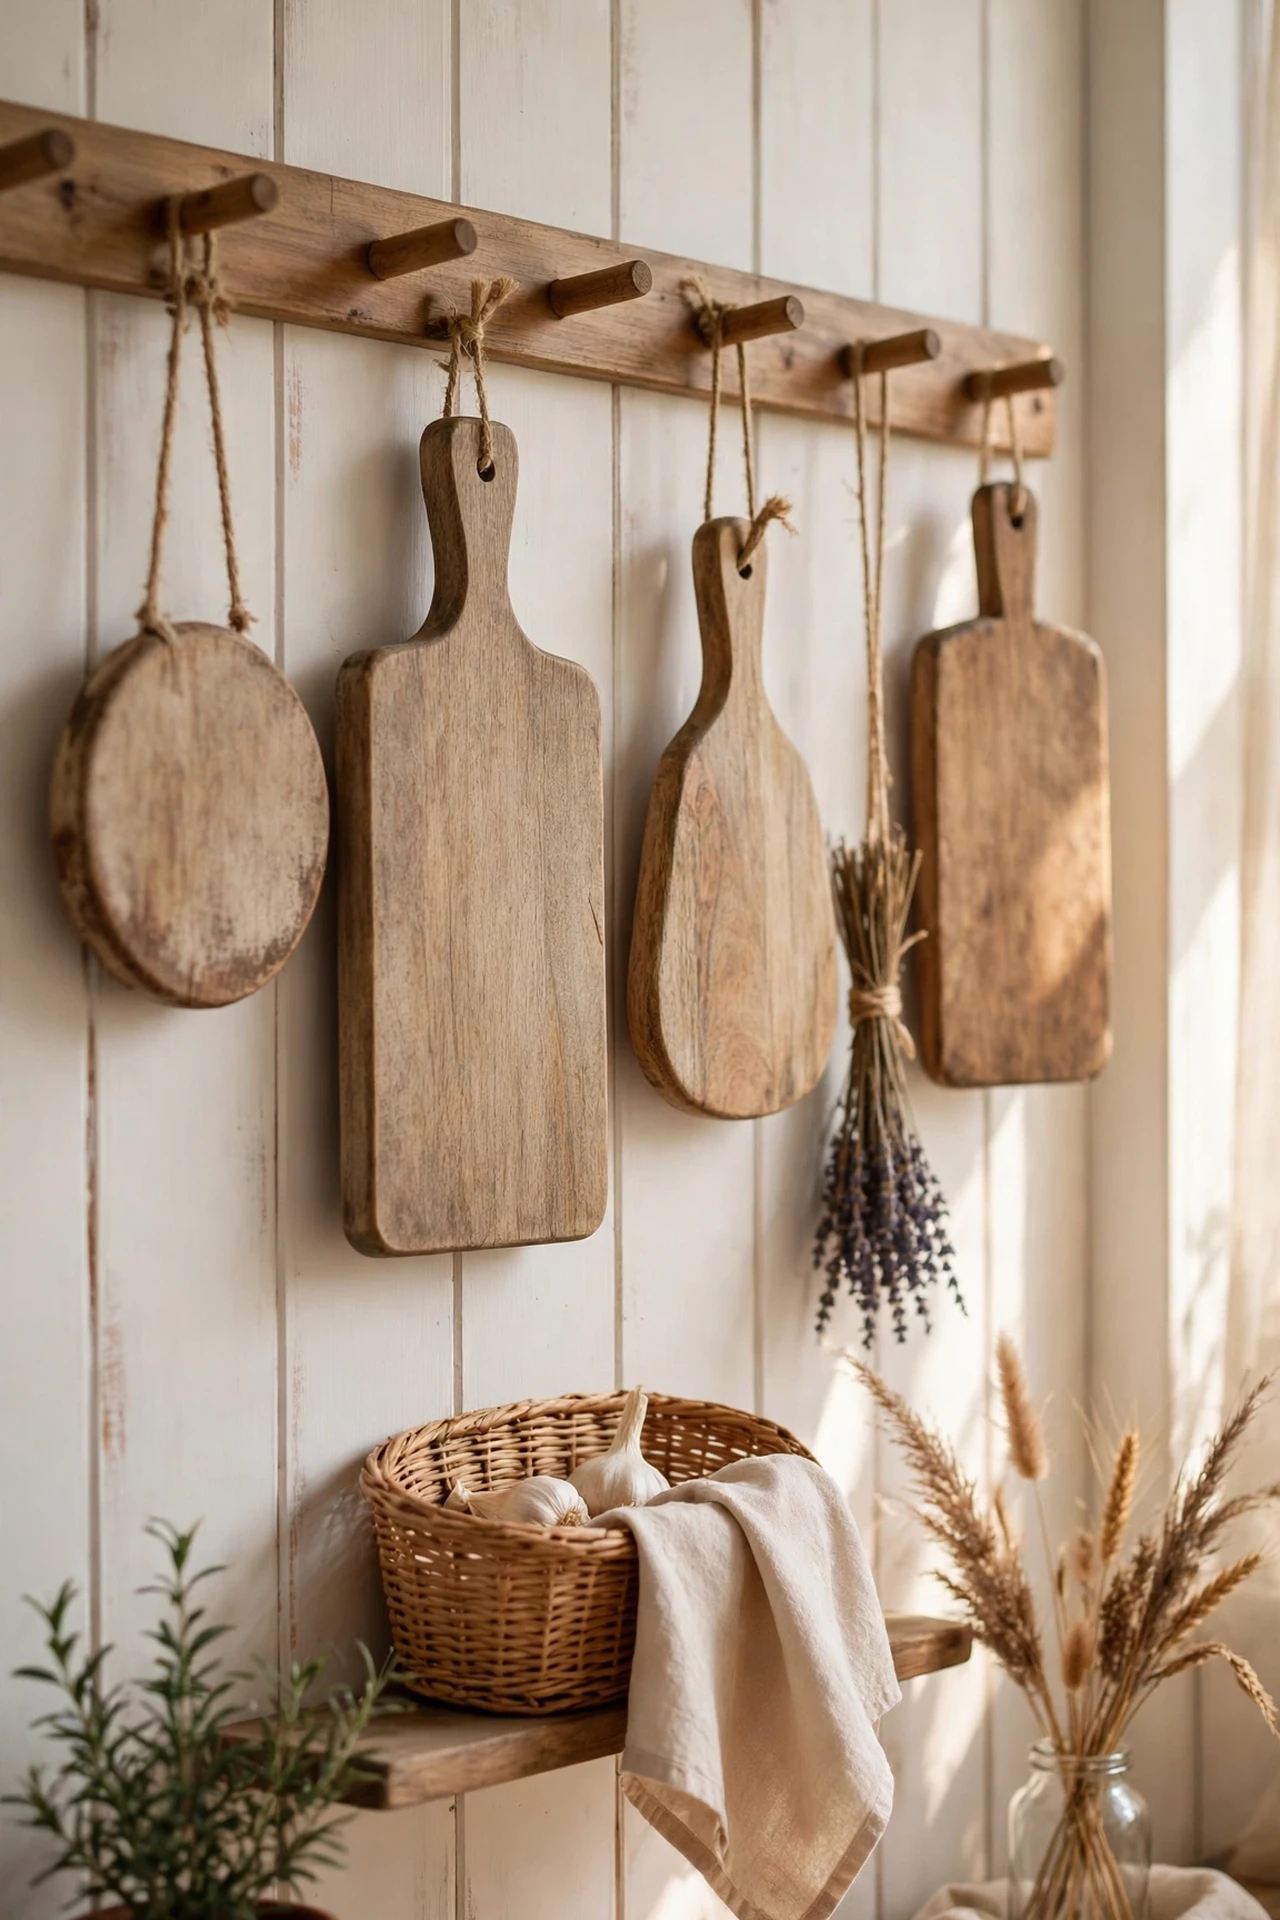
Group your wooden cutting boards on one wall section and they become art. Collect a few boards in different shapes, oil them with food-safe mineral oil, and hang them on small peg hooks or picture nails at slightly varied heights. I tried this on the wall behind our door and the mistake to avoid is hanging heavy boards on weak hooks — use anchors if there’s no stud. Pin this one to your kitchen board — you’ll want it when you spot a bargain board at a boot sale and need the styling reminder.
Cost: ~$20 | Time: 40 minutes
Lighting & Hardware
15. Swap in a Wire-Basket Pendant Shade
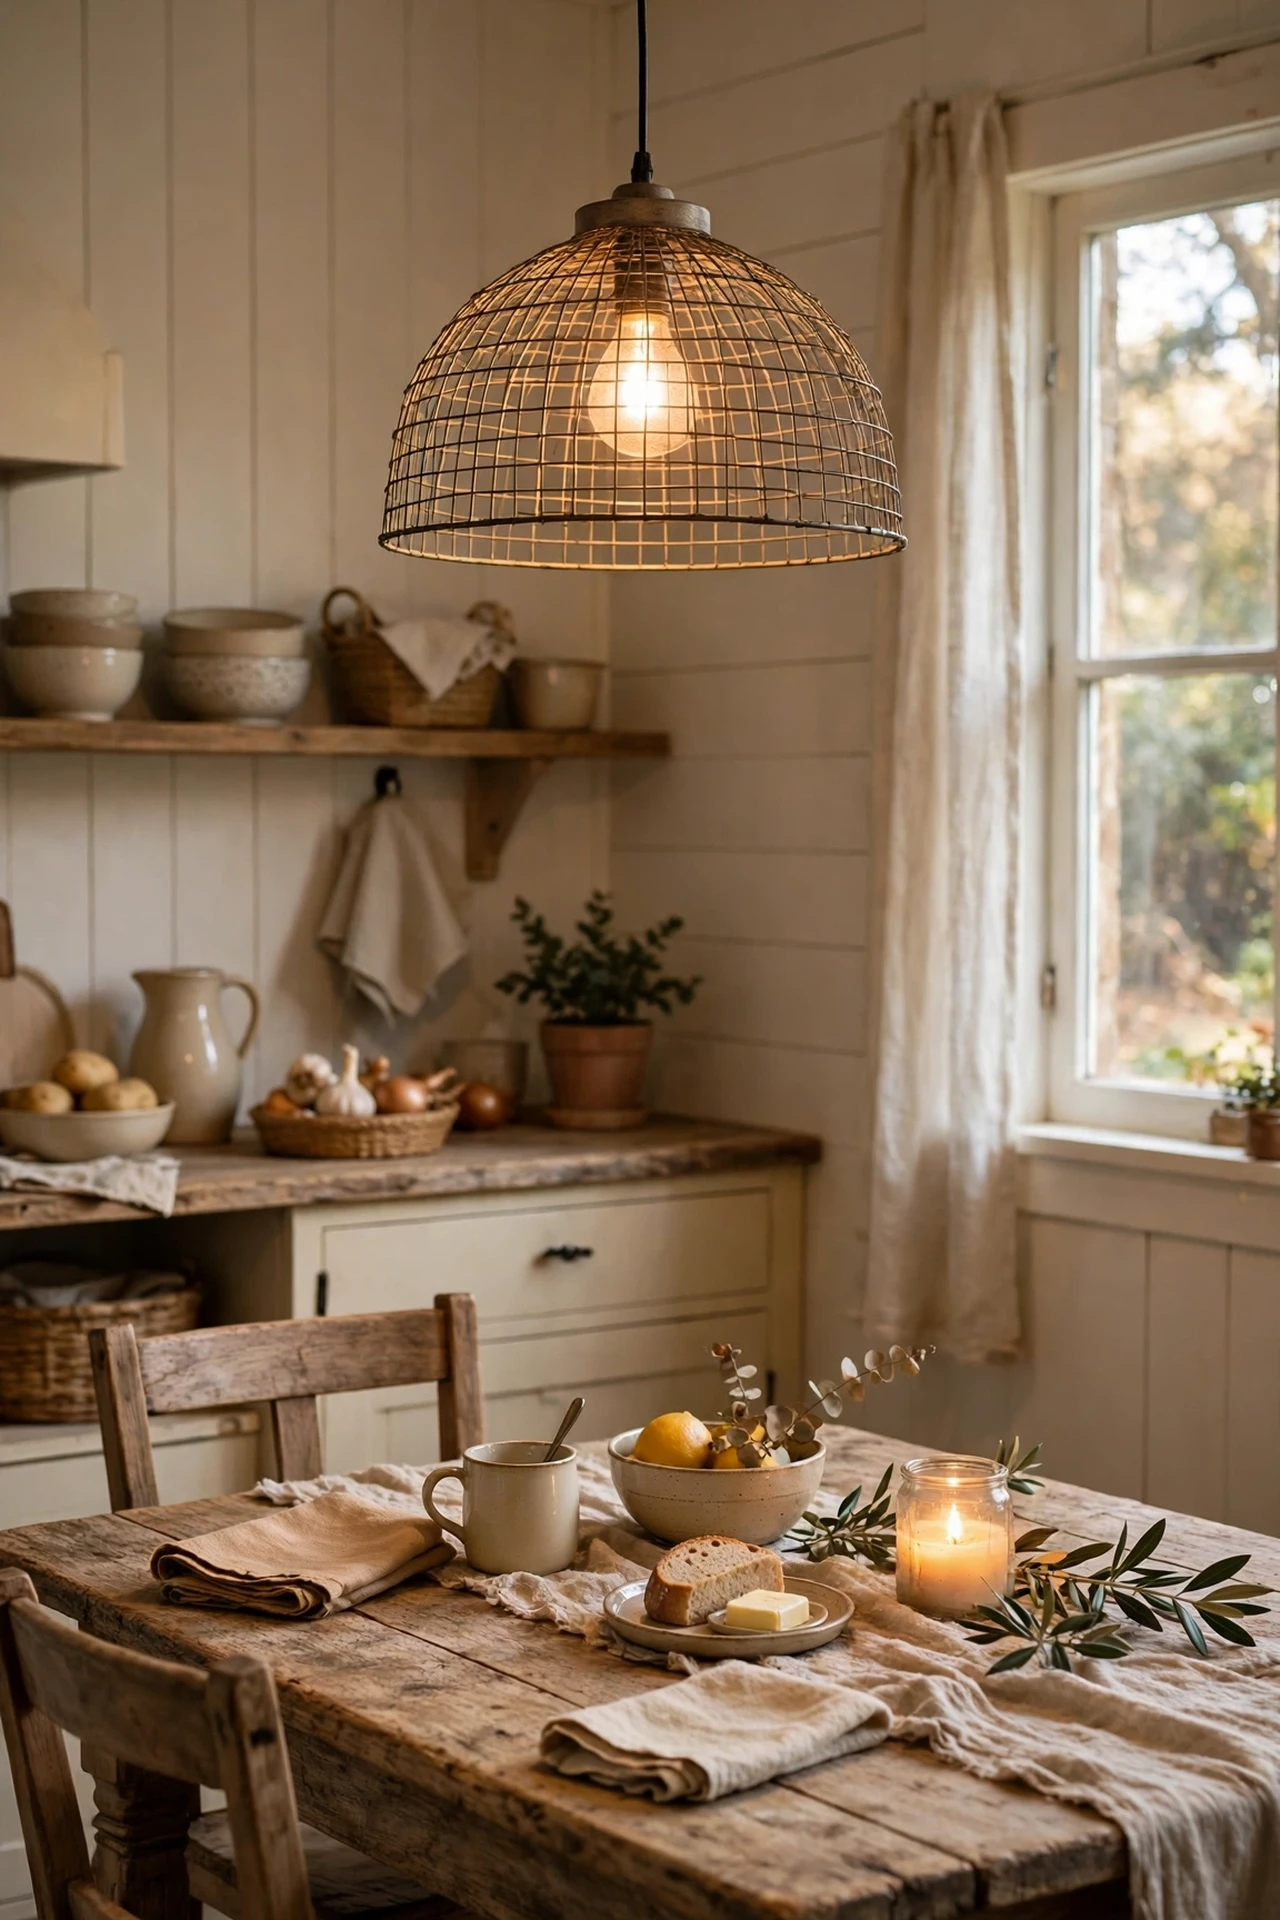
A wire-basket or galvanised shade over the table or island screams farmhouse and takes twenty minutes to fit. Turn off the power at the breaker, unscrew the existing shade, and hang the new one on the same fitting — most screw onto a standard socket. I tried this over our dining corner and the mistake to avoid is buying before measuring your cord drop: too-low shades bonk heads, too-high ones look stranded. Aim for the bottom of the shade about 75cm above the tabletop.
Cost: ~$25 | Time: 20 minutes
16. Add Under-Cabinet Battery Puck Lights
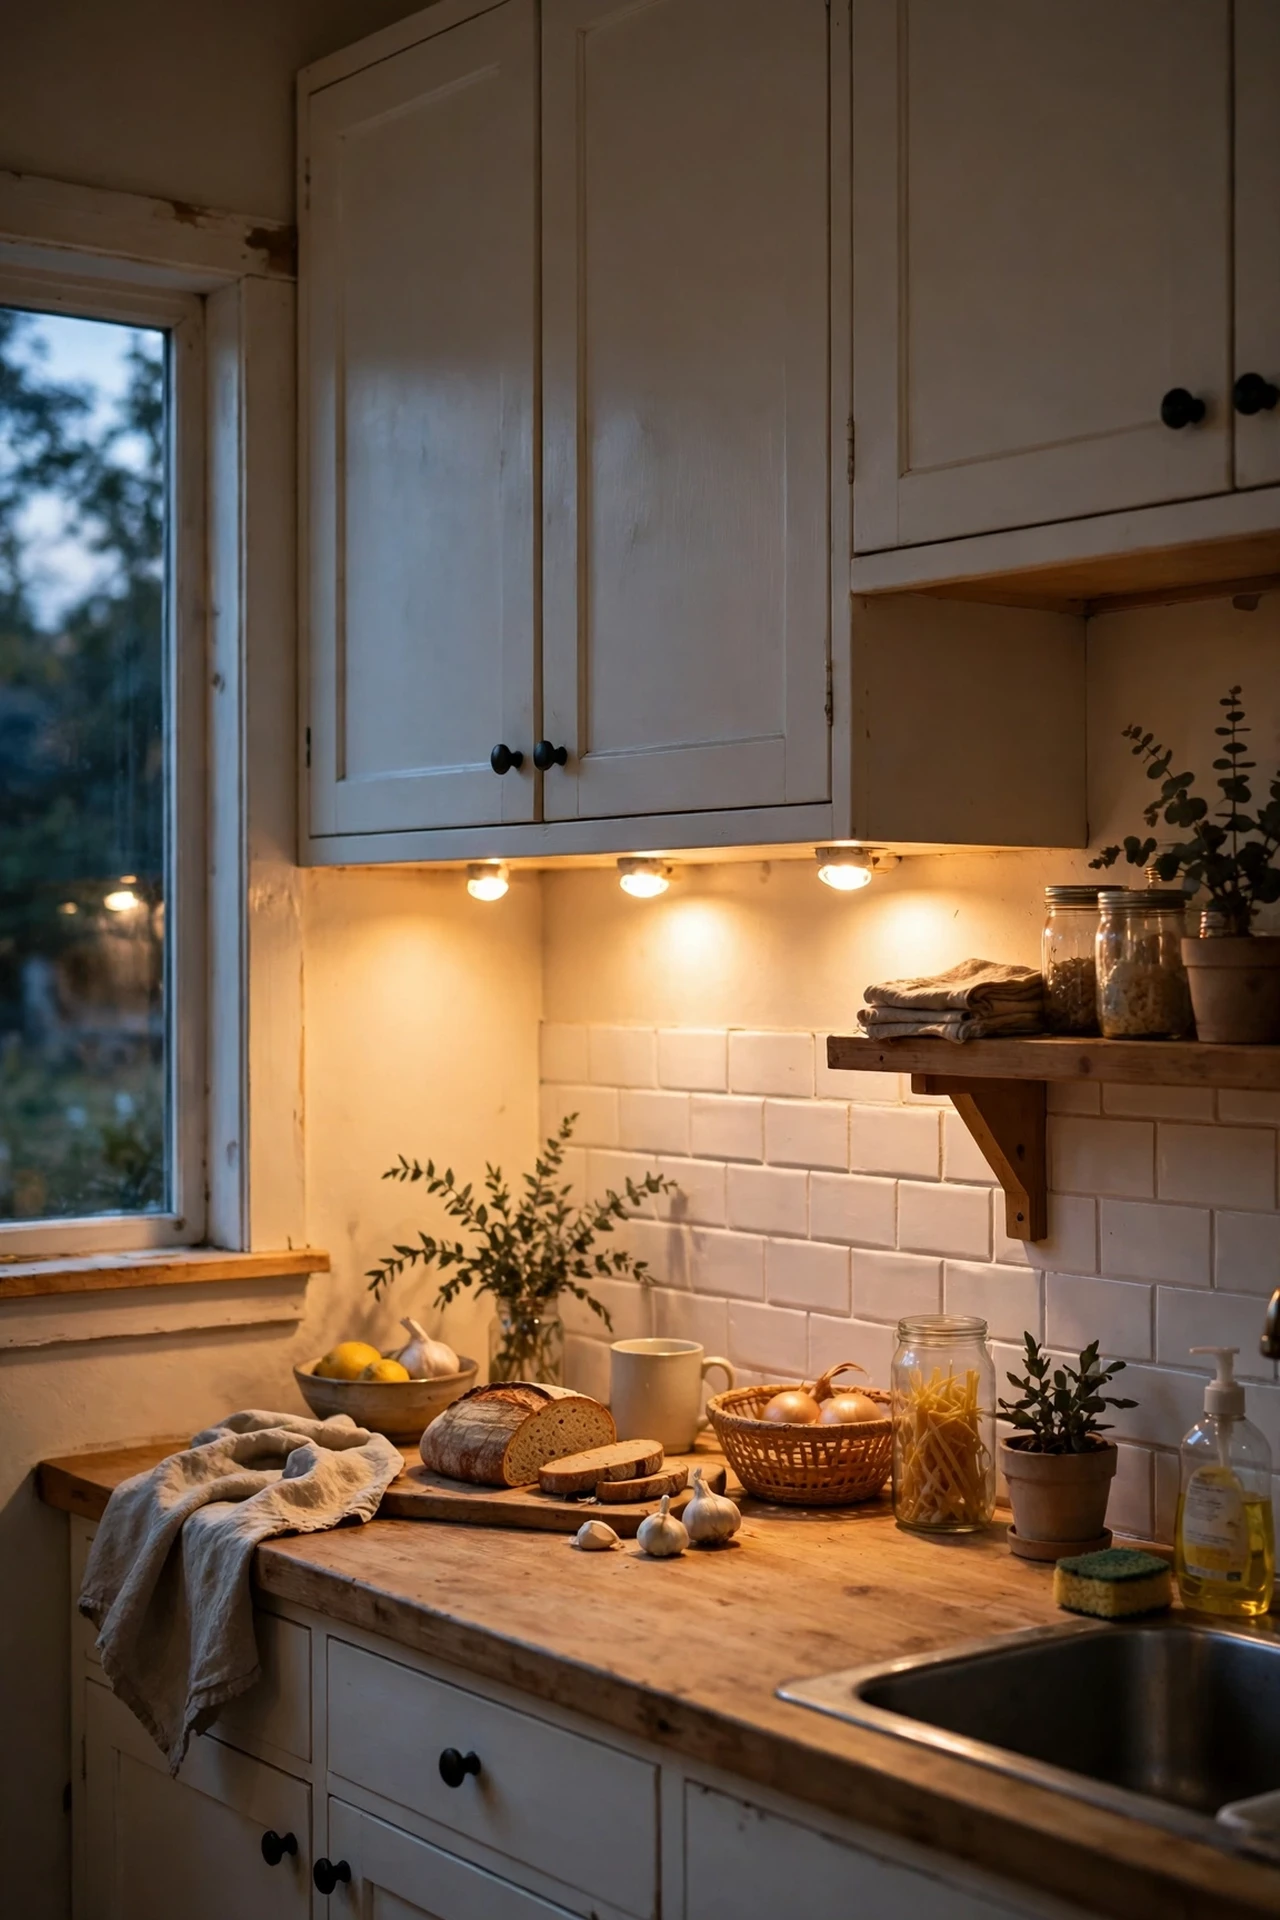
Battery puck lights stuck under wall cabinets give that warm under-cabinet glow without an electrician. Peel the adhesive backs and press them under each cabinet, spaced evenly, then tap the remote for warm white. I tried these and the mistake to avoid is the cheap cool-white ones — they look like a fridge interior; warm 2700K is the only choice for farmhouse cosiness. Rechargeable versions save you a fortune in batteries over a year.
Cost: ~$18 | Time: 15 minutes
17. Replace Faucet Handles With Porcelain-Style Levers
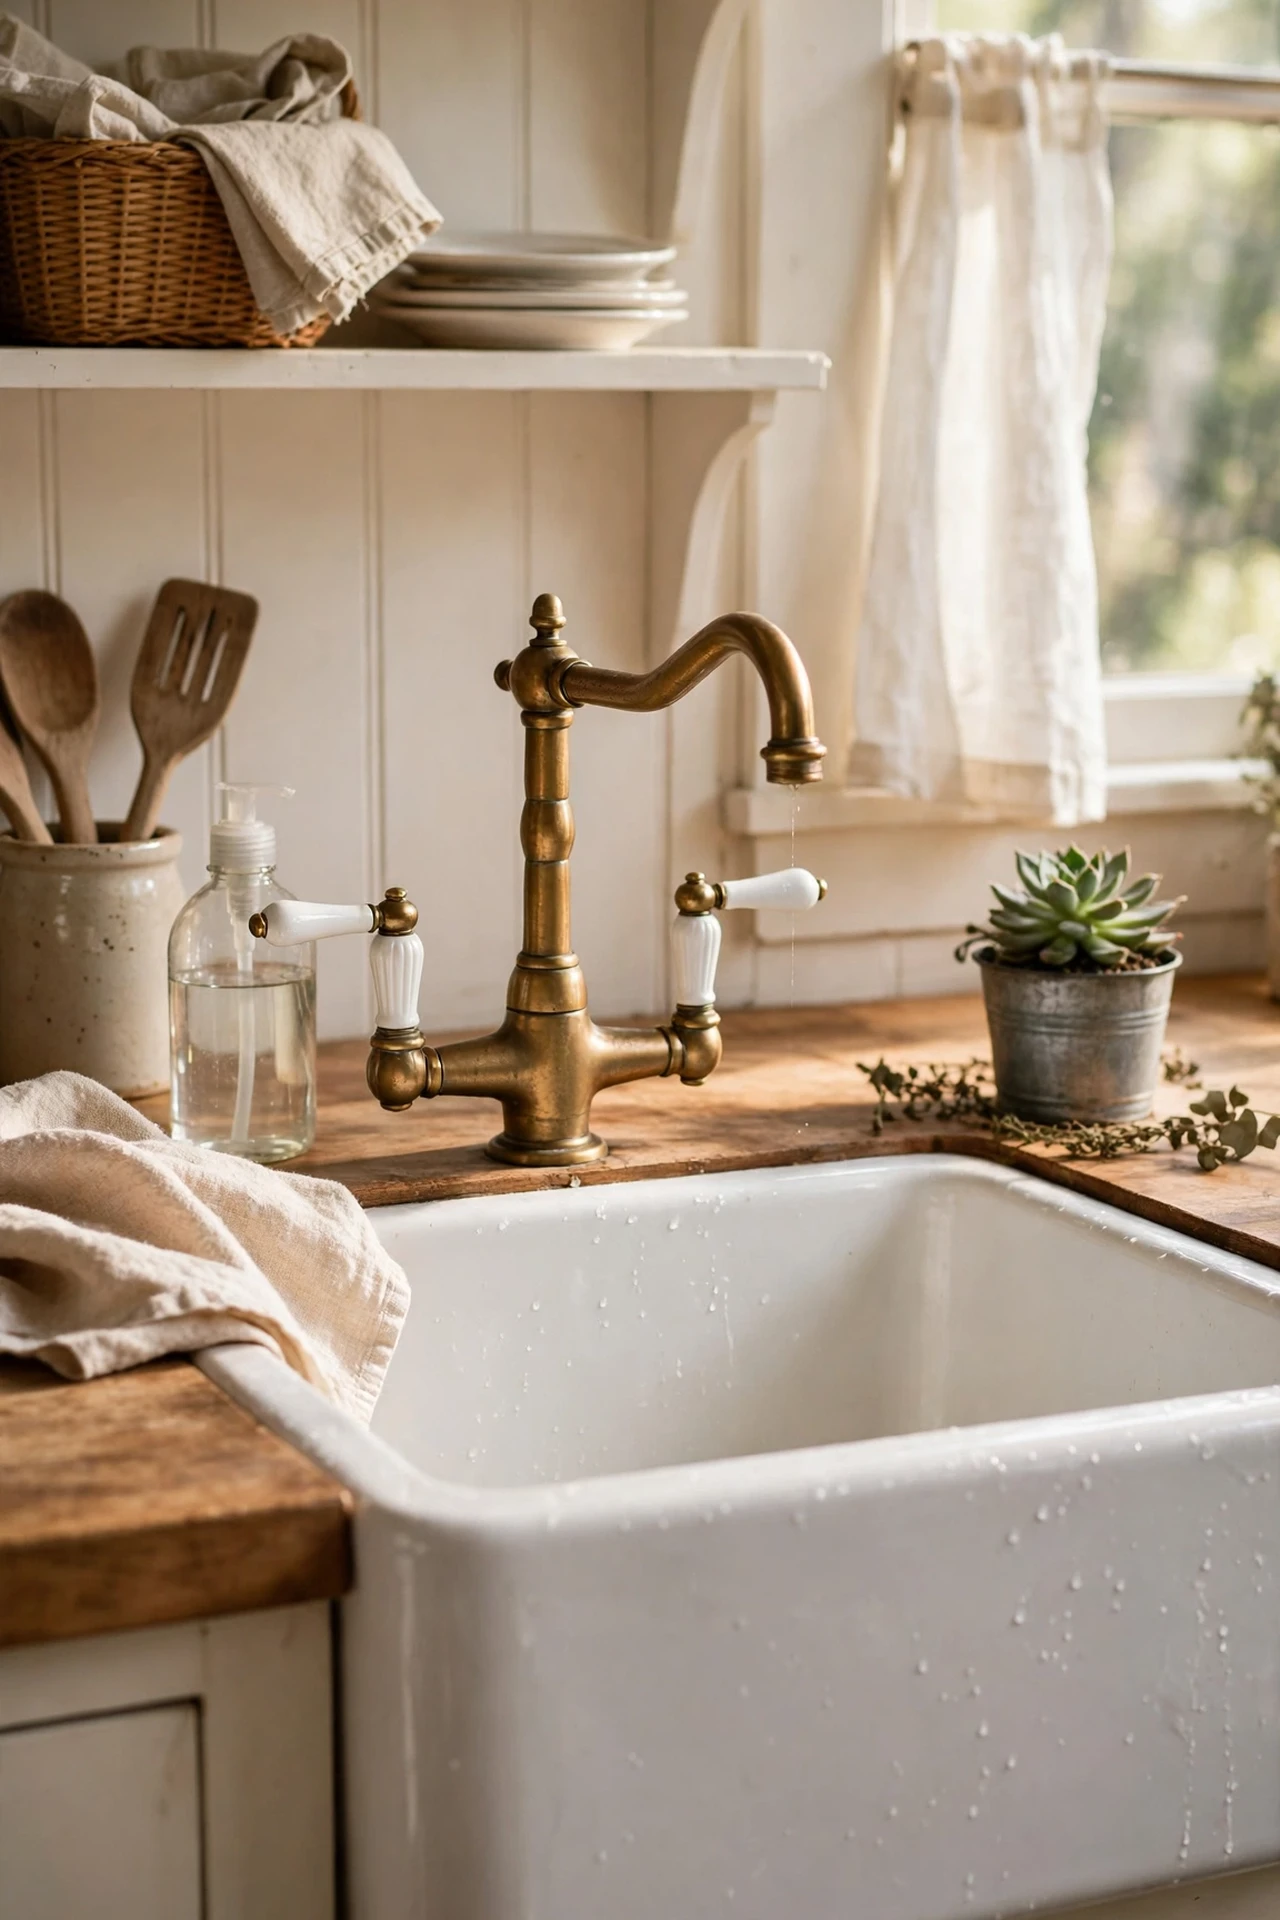
Porcelain-topped tap handles are a tiny detail with an outsized farmhouse payoff. Many replacement handles fit standard faucet stems — turn off the water, pop off the caps, unscrew the old handles, and screw the new ones on. I tried this on our bathroom-style kitchen tap and the mistake to avoid is not checking your tap’s brand compatibility first; take a photo to the hardware shop. White porcelain with brass levers is the classic combo that photographs beautifully.
Cost: ~$22 | Time: 30 minutes
18. Hang Edison-Style String Lights Along a Beam
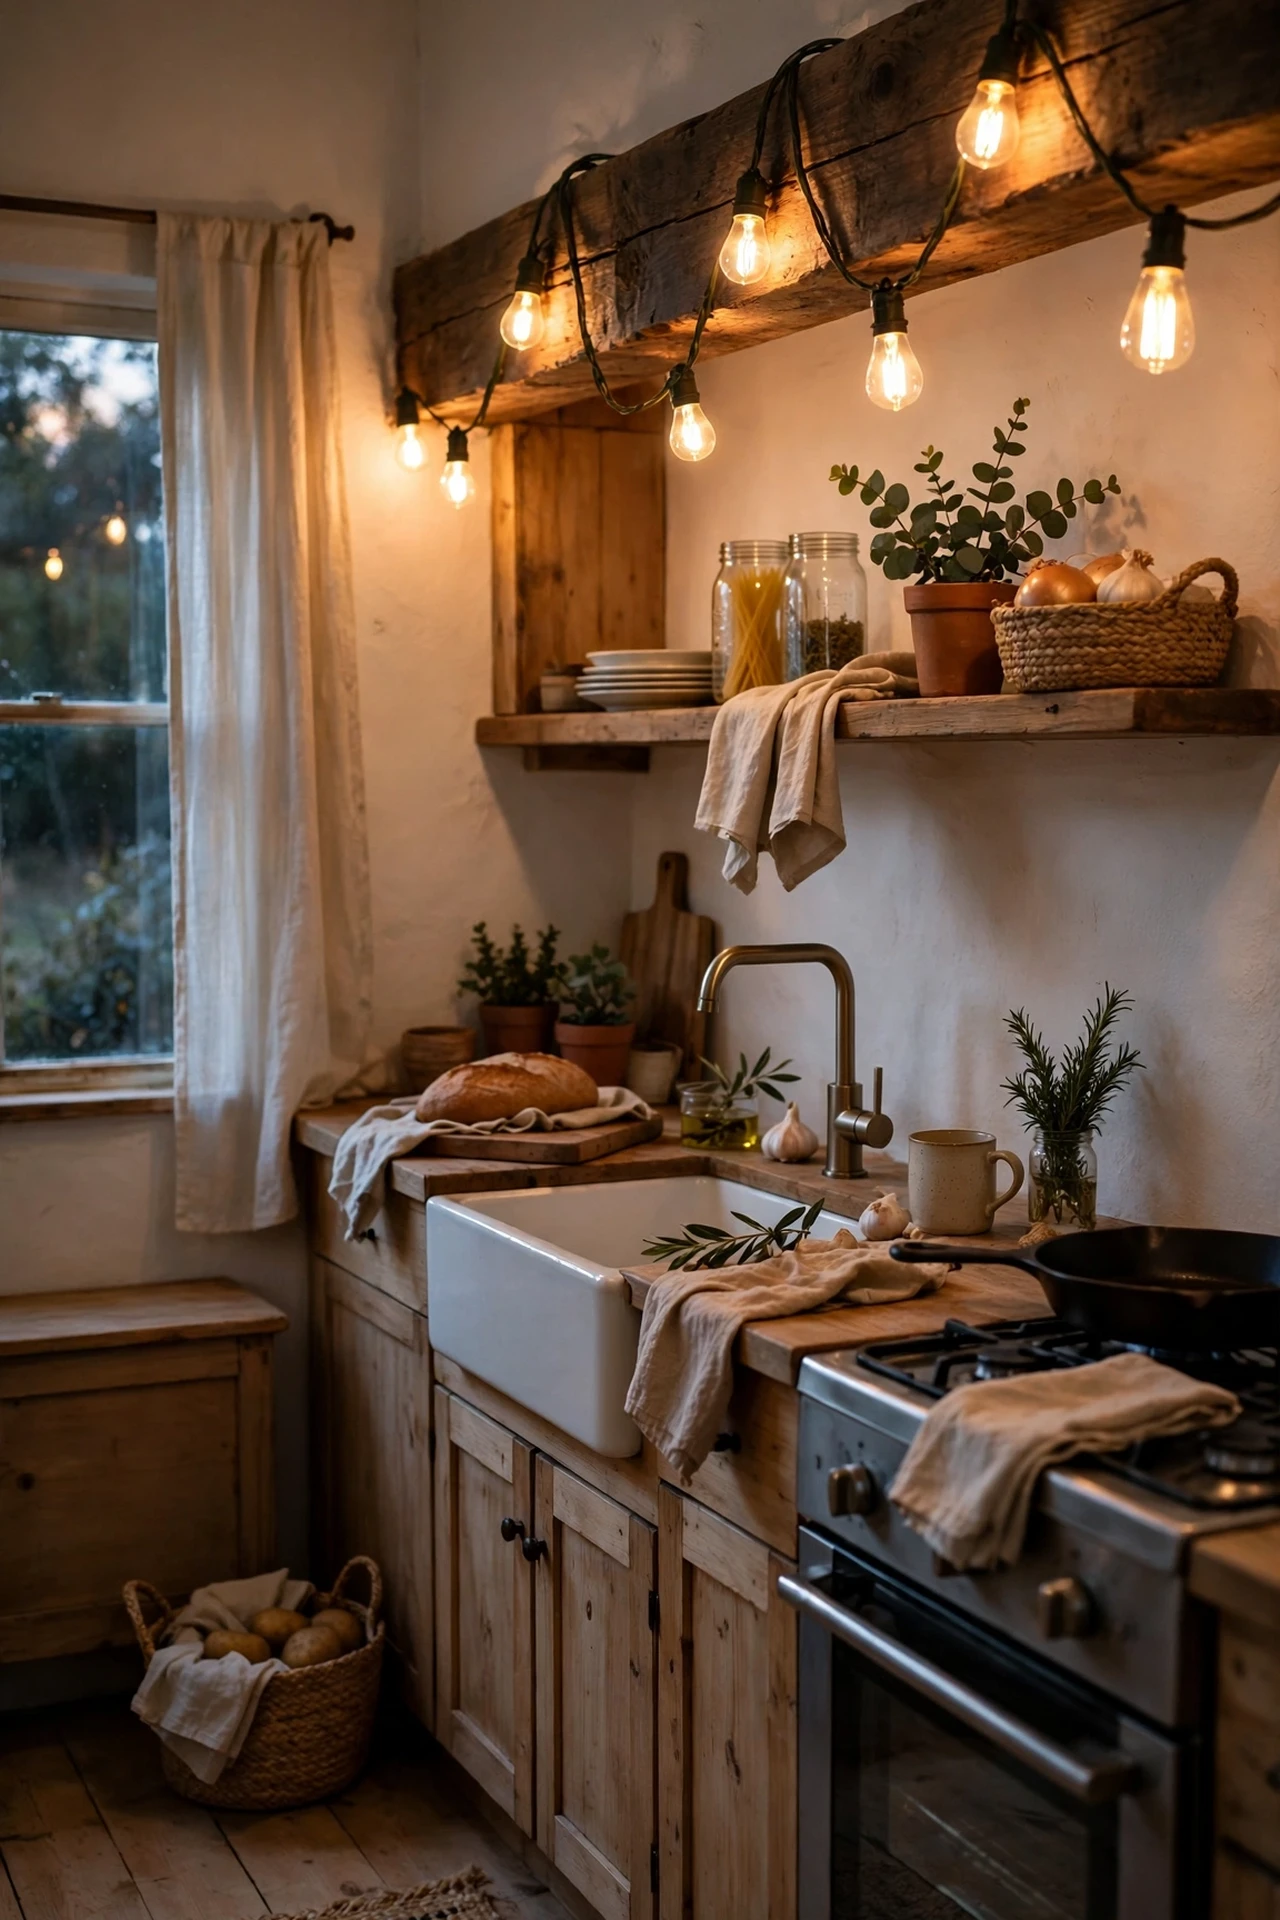
Warm Edison-bulb string lights draped along a shelf top, window frame, or open beam add farmhouse magic at night. Use clear command hooks to drape them in gentle swags, plug into a timer so they come on at dusk. I tried this over our window and the mistake to avoid is the harsh white daylight versions — they kill the mood; go warm white only. These (see also: budget-farmhouse-lighting-ideas) have more glow tricks if you’re hooked on the warm-light life.
Cost: ~$16 | Time: 20 minutes
Textiles & Finishing Touches
19. Lay a Washable Vintage-Look Runner
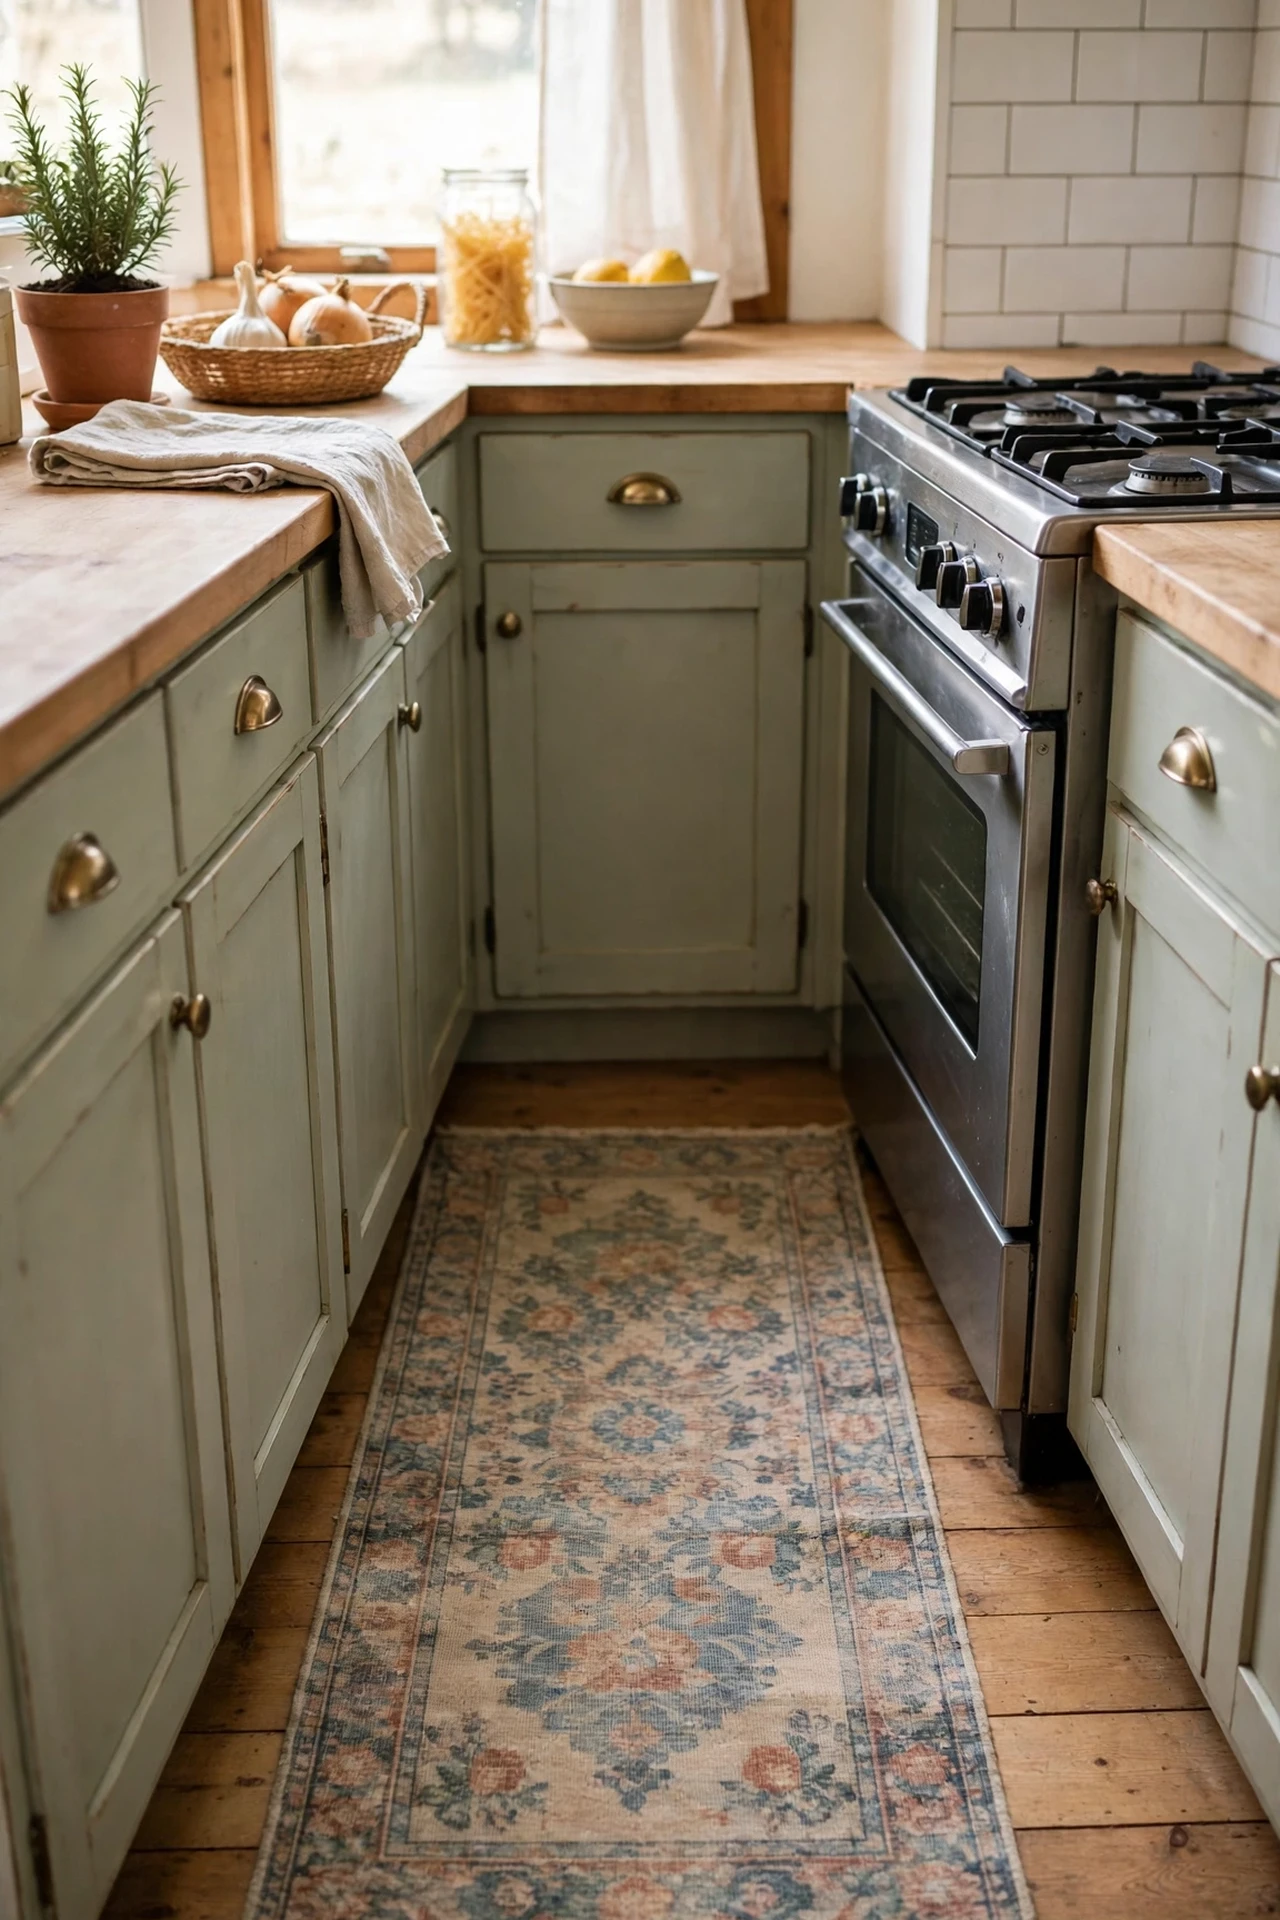
A flatweave runner with a faded oriental pattern is the farmhouse kitchen floor uniform — and washable rugs make it practical. Measure the length between your cabinets and cooker, buy one size down if between sizes, and lay a non-slip pad underneath. I tried this and the mistake to avoid is a rug that slides on tile: without a pad it bunches and becomes a trip hazard within a day. Terracotta, faded blue, or warm beige patterns all work with wood tones.
Cost: ~$40 | Time: 15 minutes
20. Fold Flour-Sack Towels Over the Oven Handle
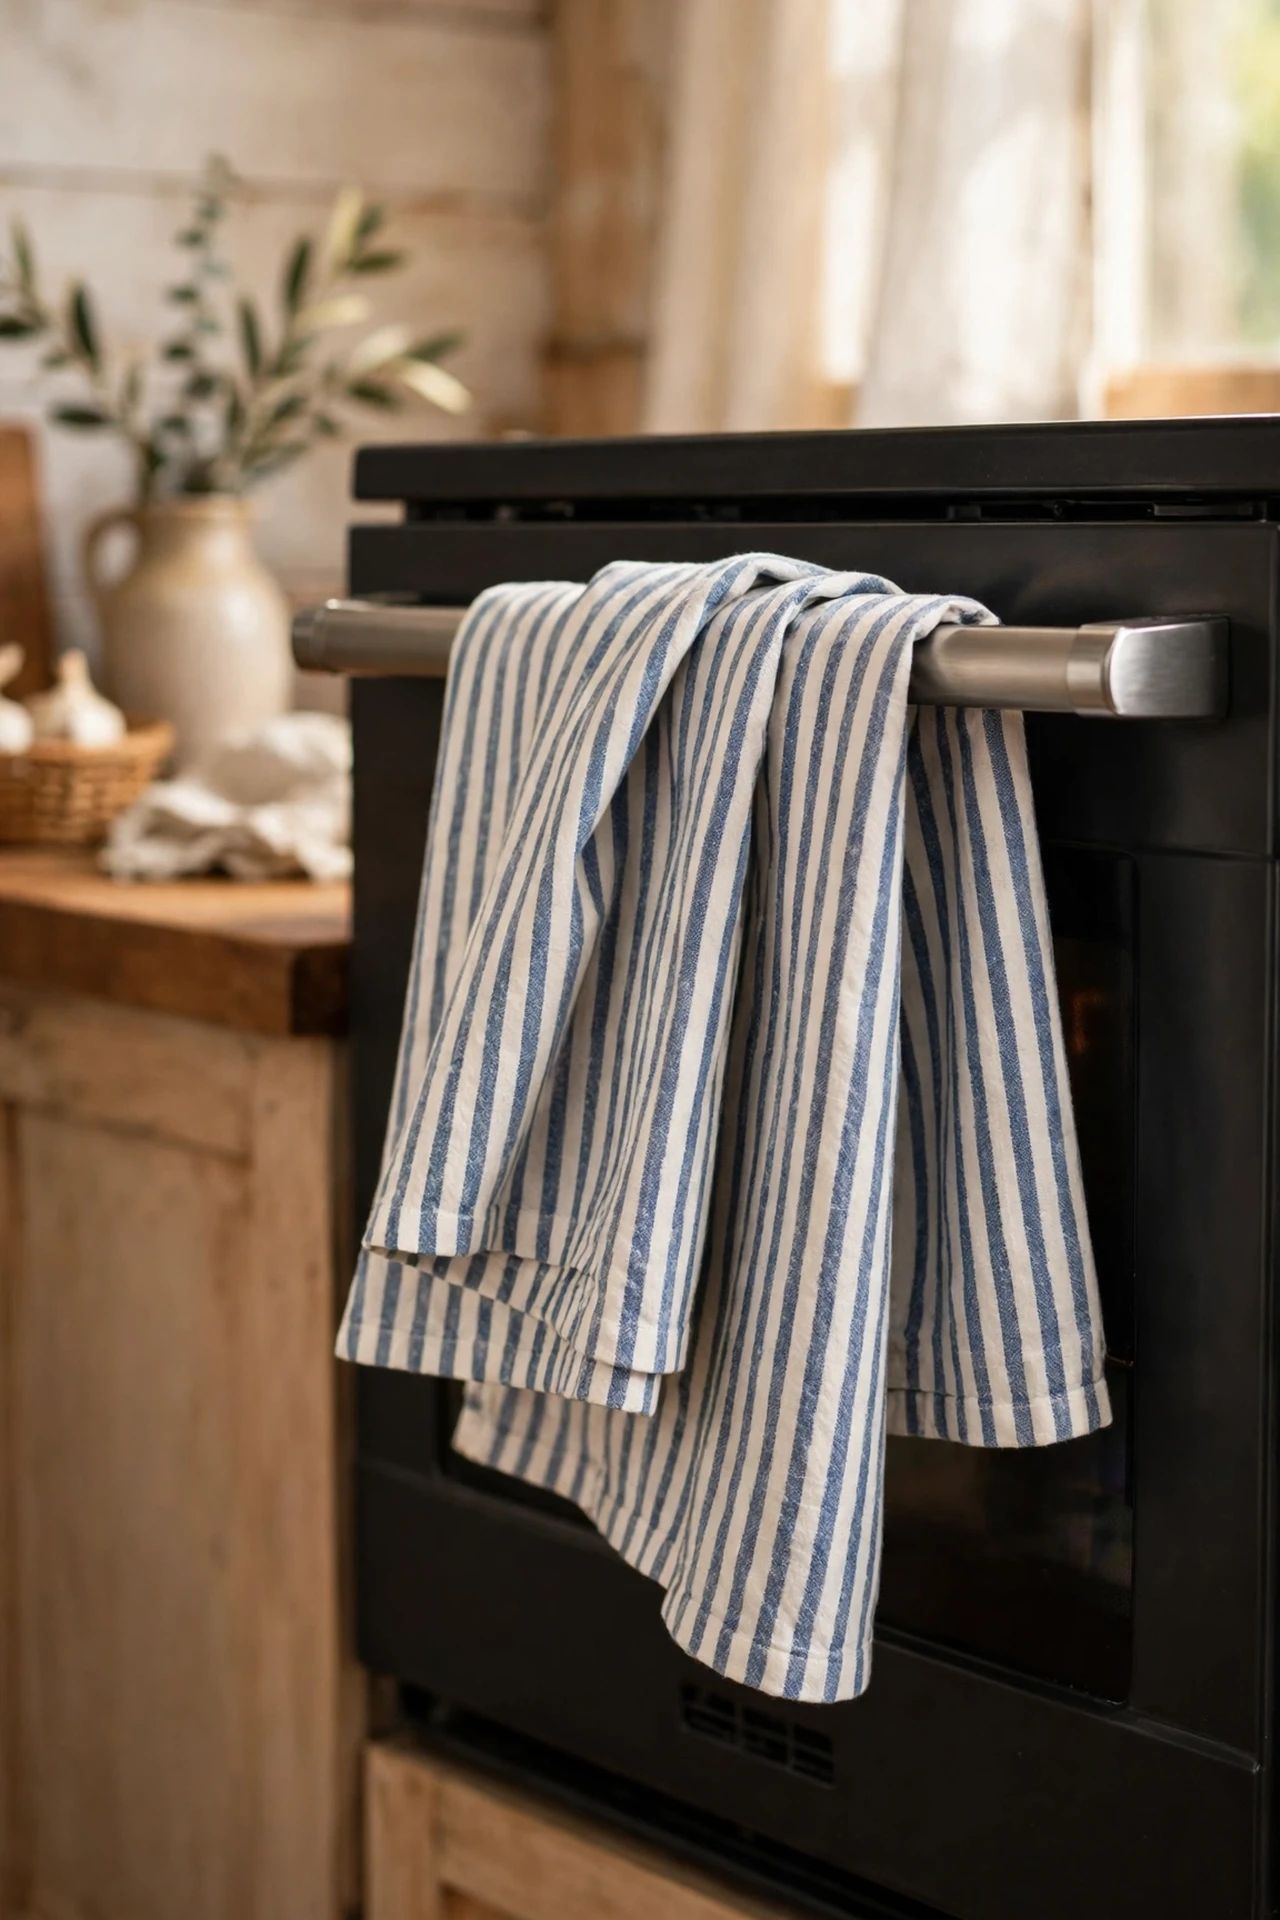
A stack of plain flour-sack or striped grain-sack towels folded over the oven handle is the cheapest farmhouse signal there is. Buy a bundle, fold them in thirds so the stripe shows, and drape two over the handle. I tried this and the mistake to avoid is hanging them while cooking a roast — they singe; swap to a plain oven mitt when the oven’s in full use. Change the fold side every wash so they wear evenly.
Cost: ~$8 | Time: 5 minutes
21. Pot a Windowsill Herb Garden in Terracotta
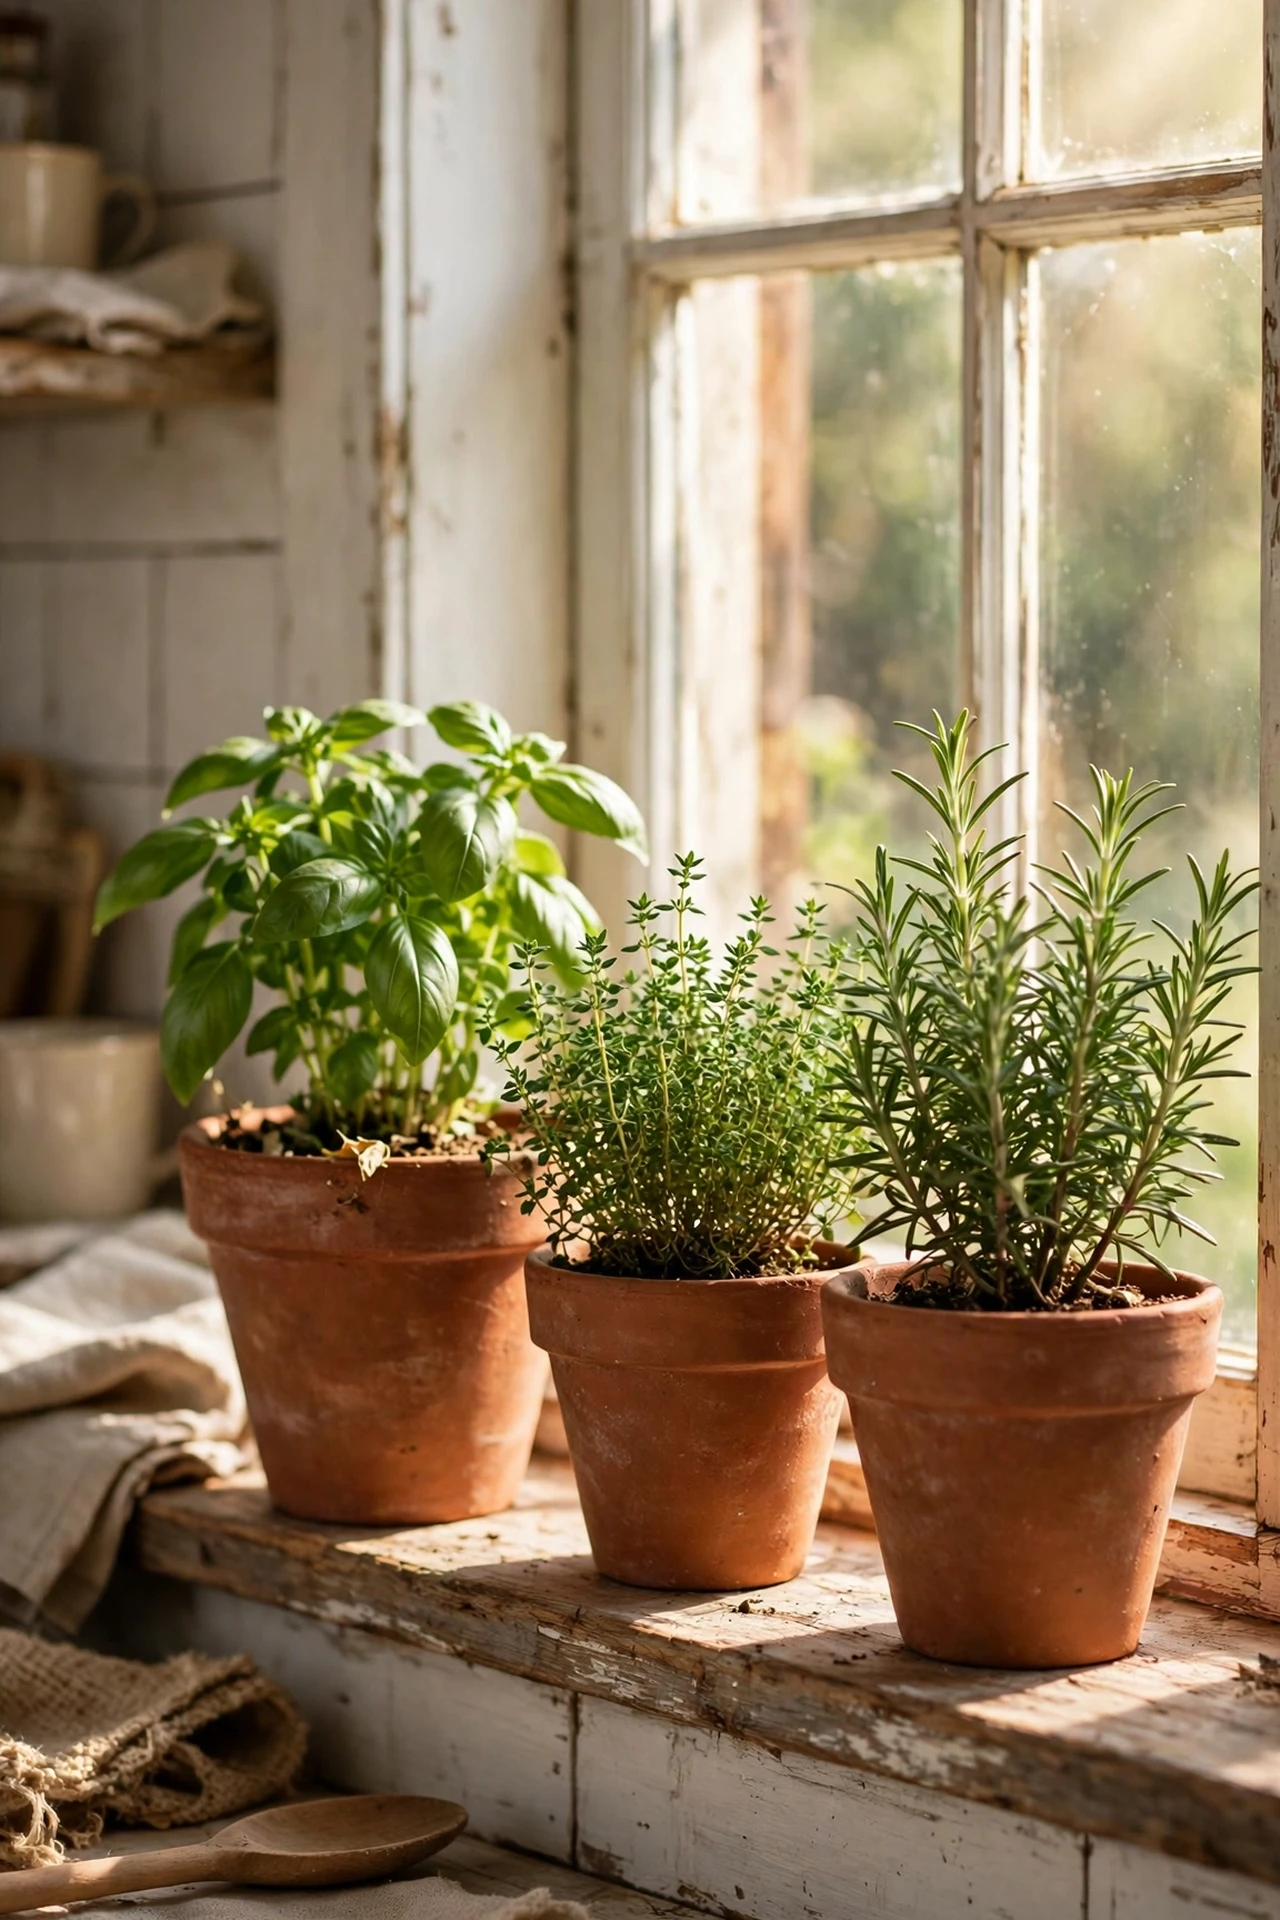
Three little terracotta pots of basil, thyme, and rosemary on the sill are farmhouse and functional. Pot up supermarket herbs into terracotta with fresh compost, water from the bottom, and rotate the pots weekly so they grow evenly. I tried this and the mistake to avoid is overwatering — herbs in terracotta dry fast but still rot in soggy compost; let the top inch dry out. Snipping fresh herbs into dinner is the smug payoff.
Cost: ~$12 | Time: 20 minutes
22. Style the Table With a Simple Wooden Dough Bowl
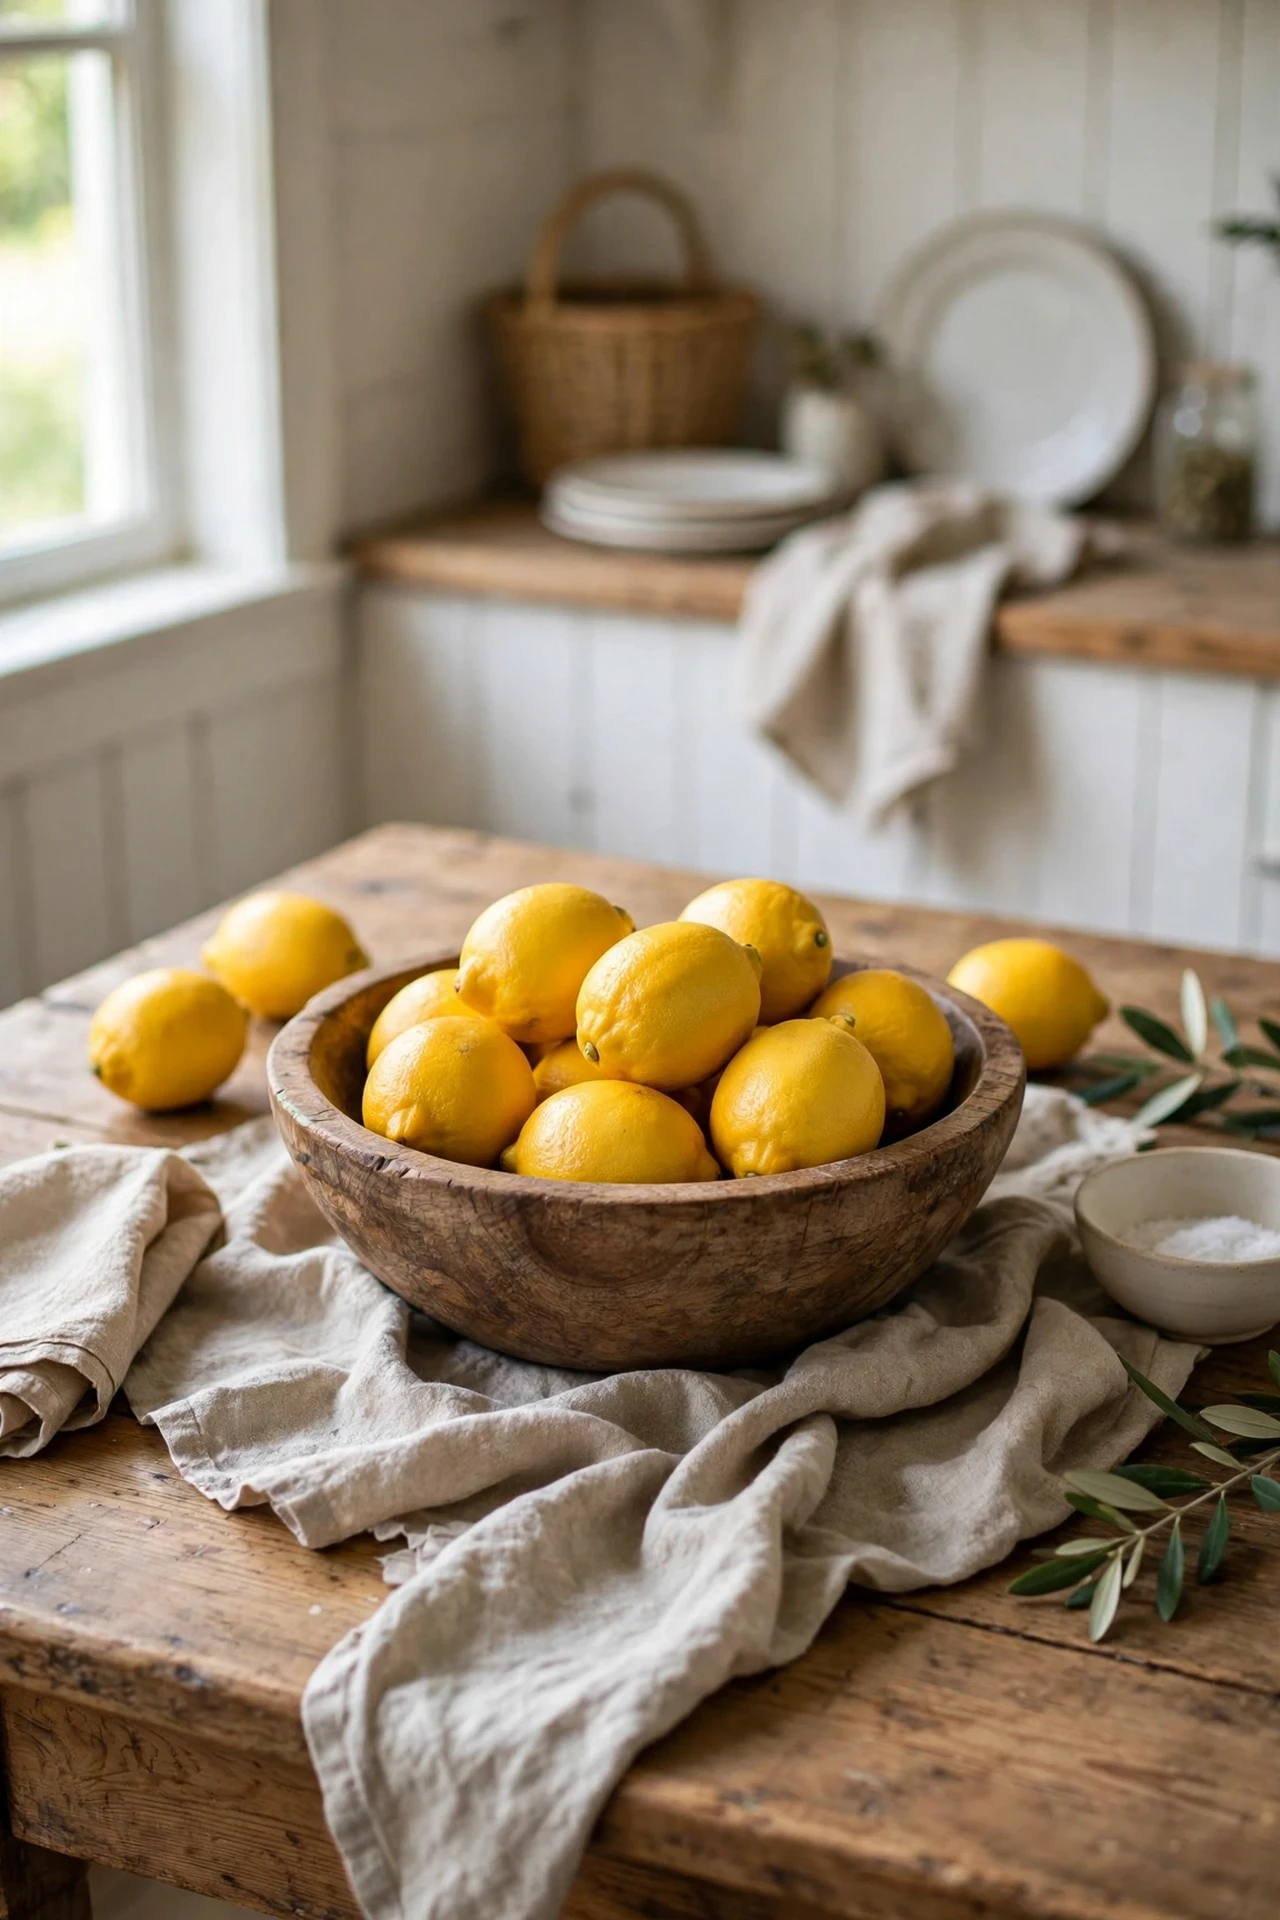
A carved wooden dough bowl piled with seasonal fruit or pinecones is the farmhouse table centrepiece that never fails. Hunt one down at a flea market or buy a reproduction, then fill it with lemons, green apples, or whatever’s in season. I tried this and the mistake to avoid is letting fruit sit on the bare wood for weeks — the acid marks it; pop a linen cloth underneath. Swap the contents with the seasons and it never gets stale.
Cost: ~$18 | Time: 10 minutes
23. Finish With a Woven Seagrass Basket for Veg
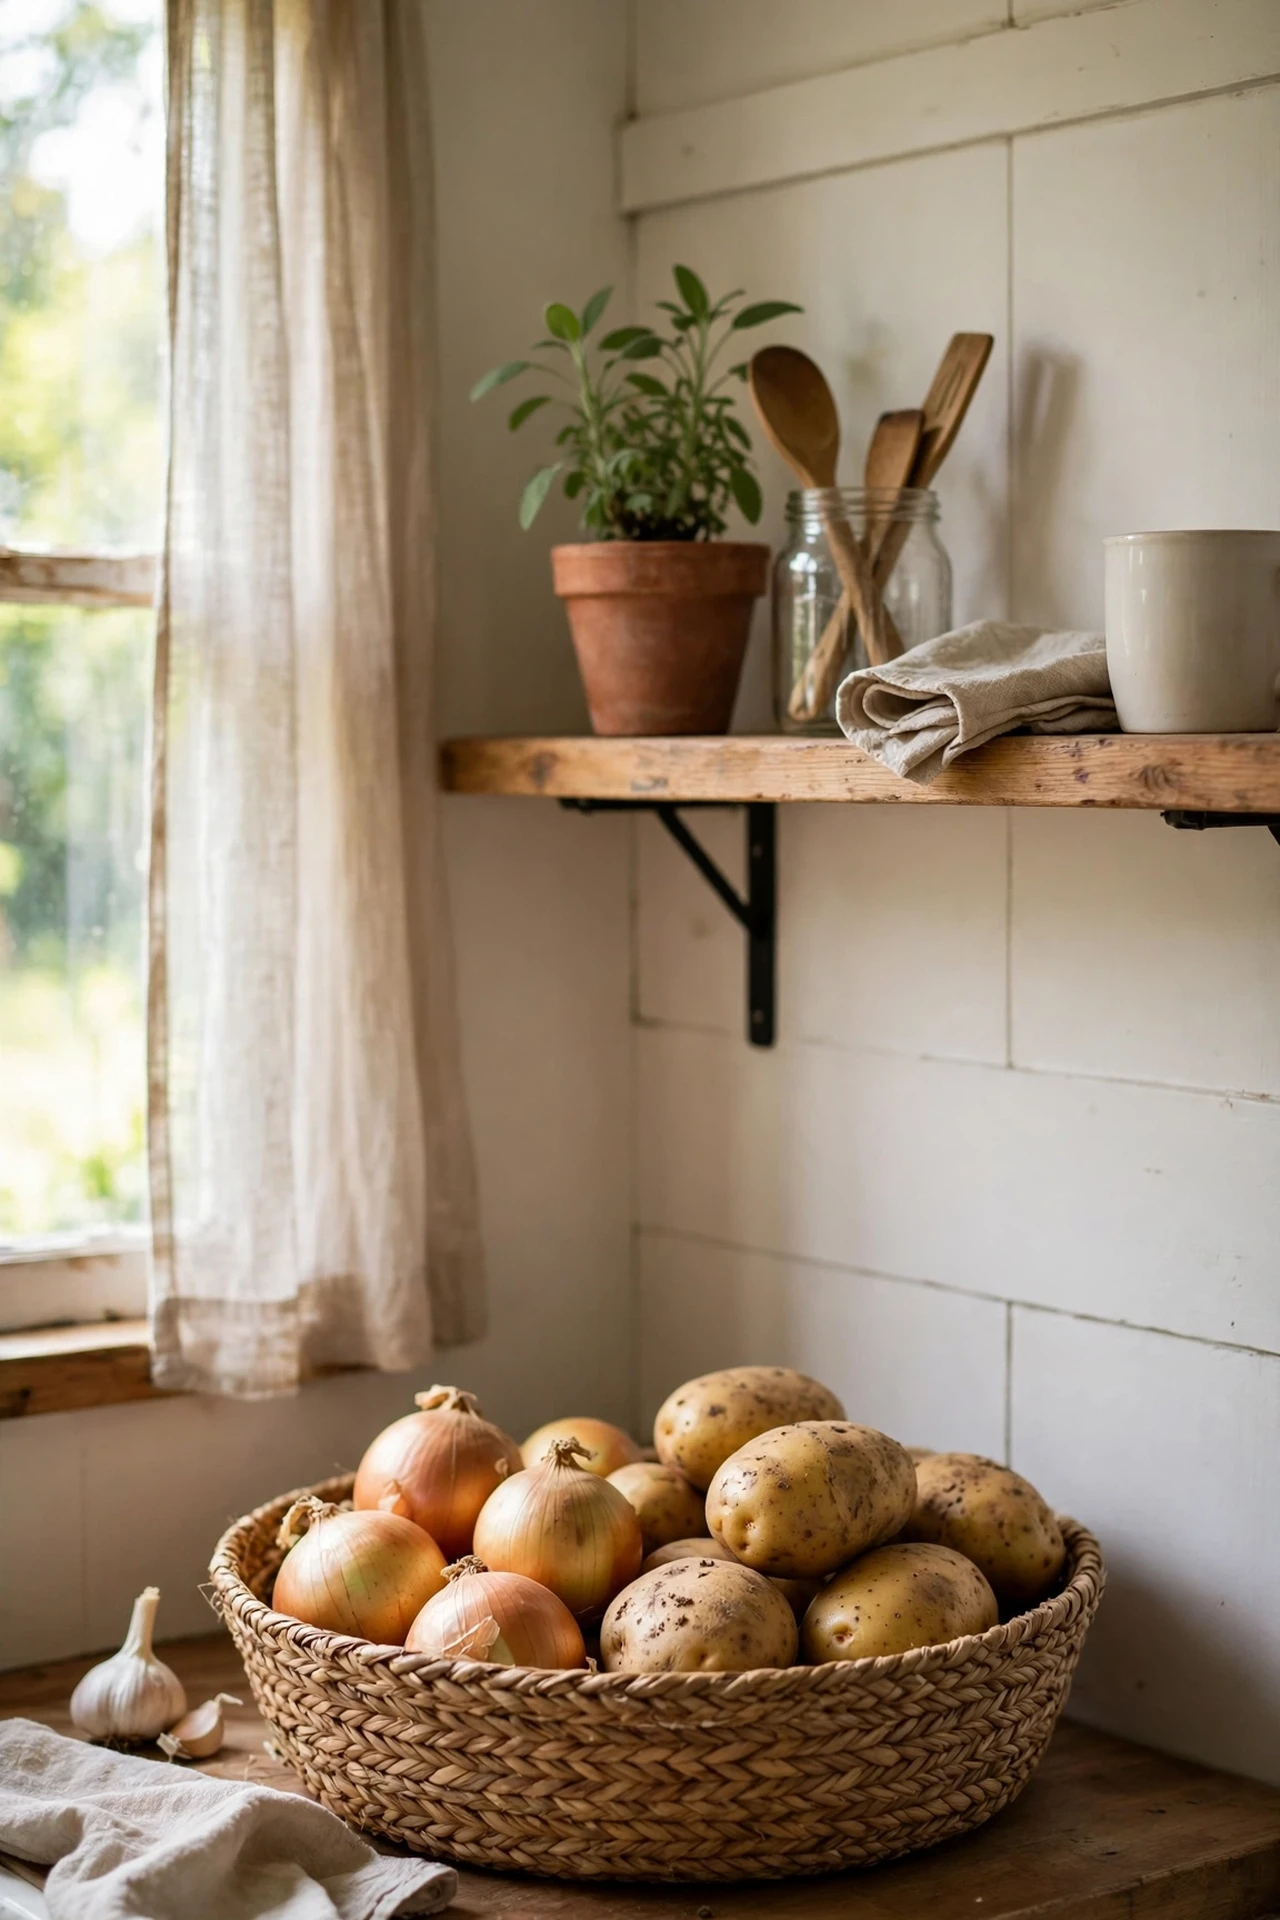
A chunky woven basket holding onions, potatoes, or a bag of flour brings the last layer of texture farmhouse kitchens crave. Tuck it onto a counter corner or under an open shelf, and line it with a cloth napkin to keep crumbs off the counter. I tried this and the mistake to avoid is storing potatoes in direct light — they go green and bitter; keep the basket in a shaded spot. One basket often leads to three, and honestly, I’m fine with that.
Cost: ~$15 | Time: 5 minutes
A farmhouse kitchen isn’t bought, it’s layered — one painted wall, one swapped handle, one basket at a time. Pick the idea that made you nod first, and enjoy the process as much as the result.
