17 Japandi Kitchen Ideas That Don’t Break the Bank
17 Japandi Kitchen Ideas That Don’t Break the Bank
Japandi kitchens always looked like a luxury I couldn’t afford — all that pale oak, honed stone and serene empty worktop. Then a friend’s tiny rented flat changed my mind: she’d done the whole look with paint, thrifted wood and a ruthless declutter, and honestly, her kitchen looked calmer than mine ever has. These Japandi kitchen ideas work on a tight budget because the style itself is the saving grace: fewer things, warmer tones, natural materials. You don’t need new cabinets. You need a lighter hand and about six weekends of small tweaks.
1. Take the Doors Off One Upper Cabinet
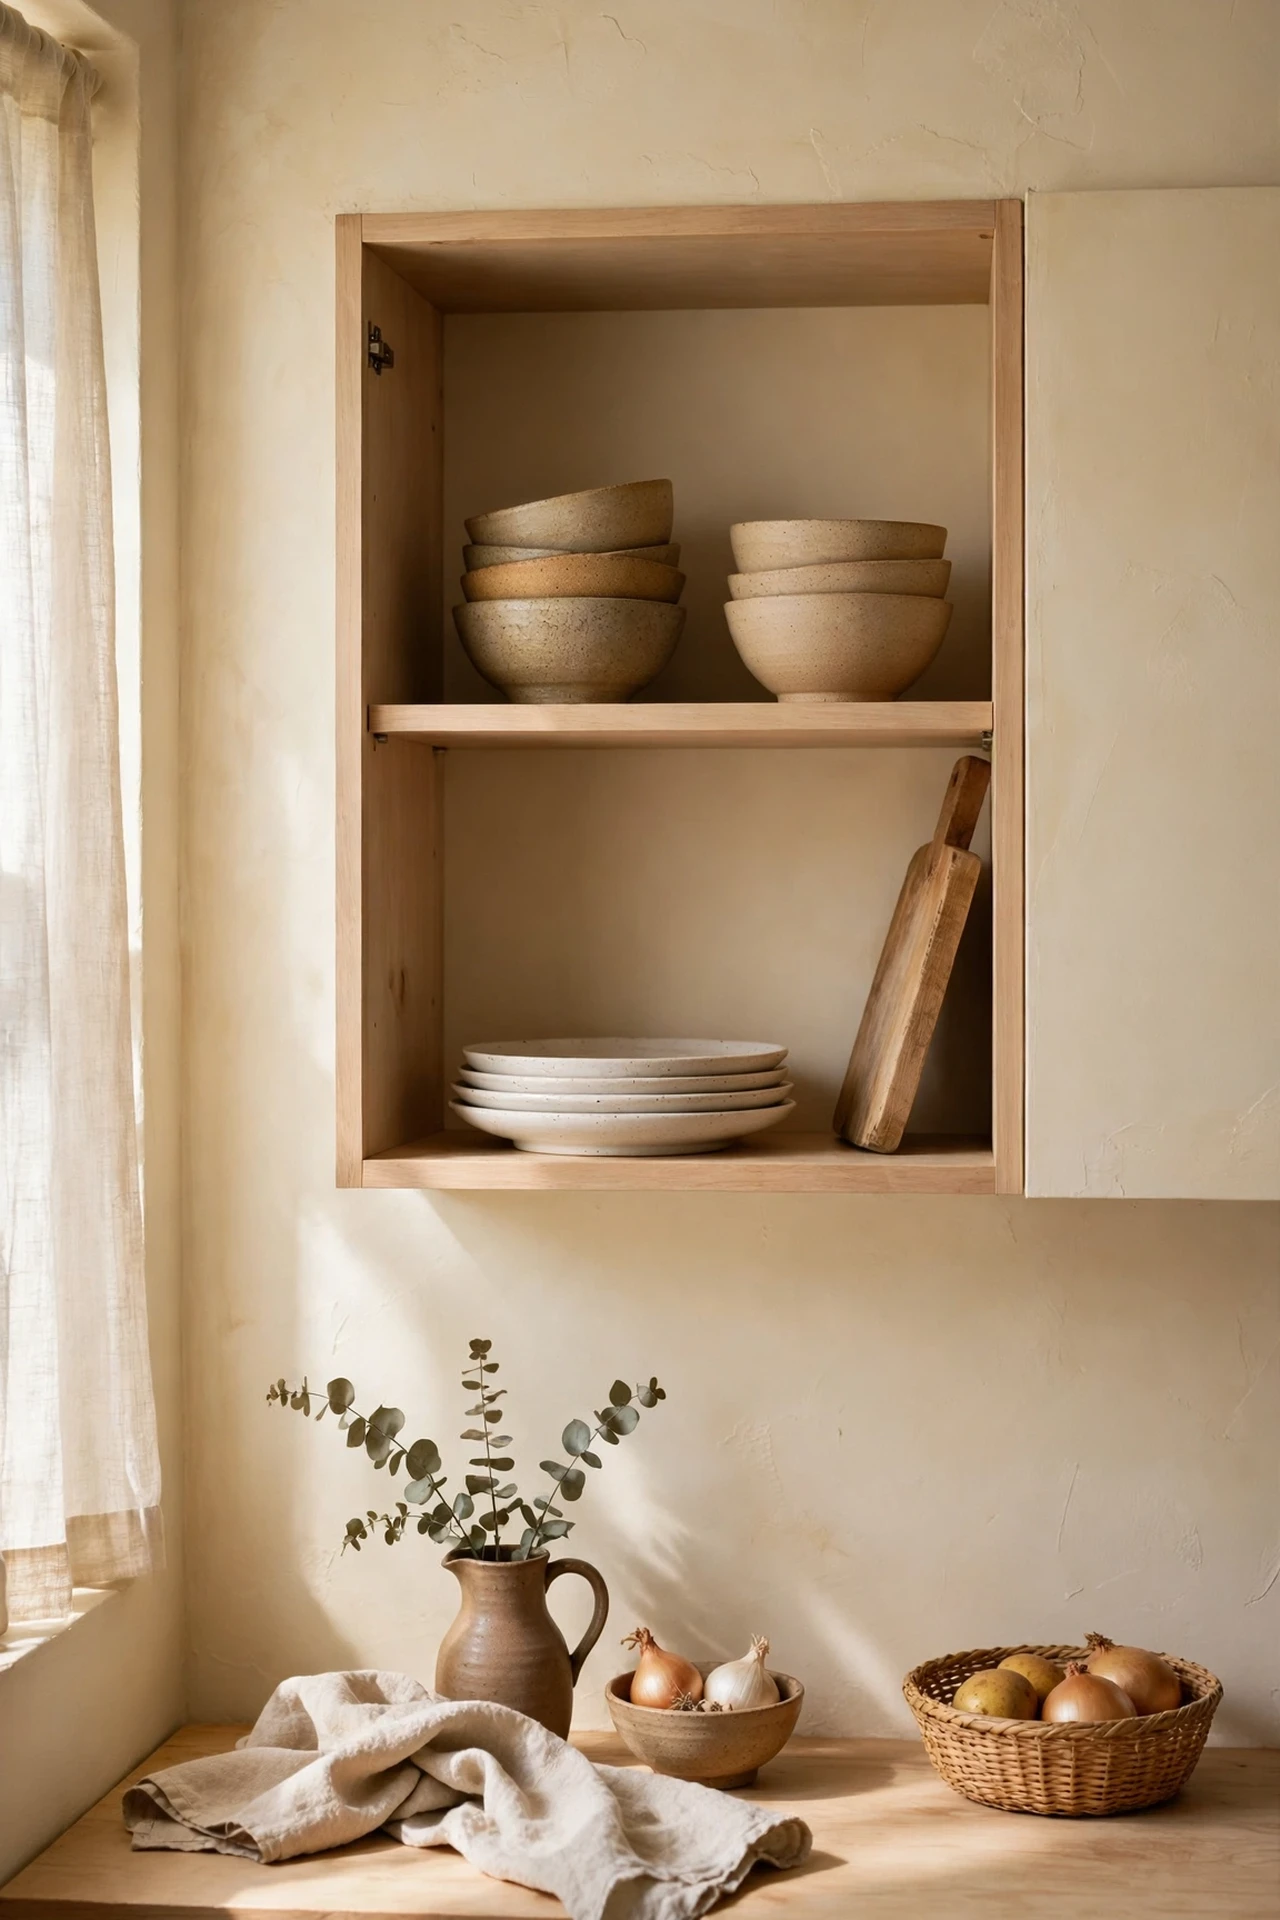
This is the single biggest Japandi win for zero pounds, and it takes ten minutes. Pick one upper cabinet — ideally near the hob — remove the door, and style the inside shelf with plain stoneware, stacked bowls and a wooden board leaning at the back. The open space reads as calm and airy, which is the whole Japandi point. Paint the cabinet interior the same warm white as the walls so it looks intentional, not half-finished. Keep only things you genuinely like on display; everything ugly migrates to a closed cupboard. I tried this — the mistake to avoid is over-styling it like a shop display. Three bowls, two plates, done.
Cost: ~$0 | Time: 20 minutes
💰 Budget win: Free is the cheapest price — just save the hinges and screws in a bag taped inside the cabinet so the landlord never knows.
2. Repaint in Warm Off-White
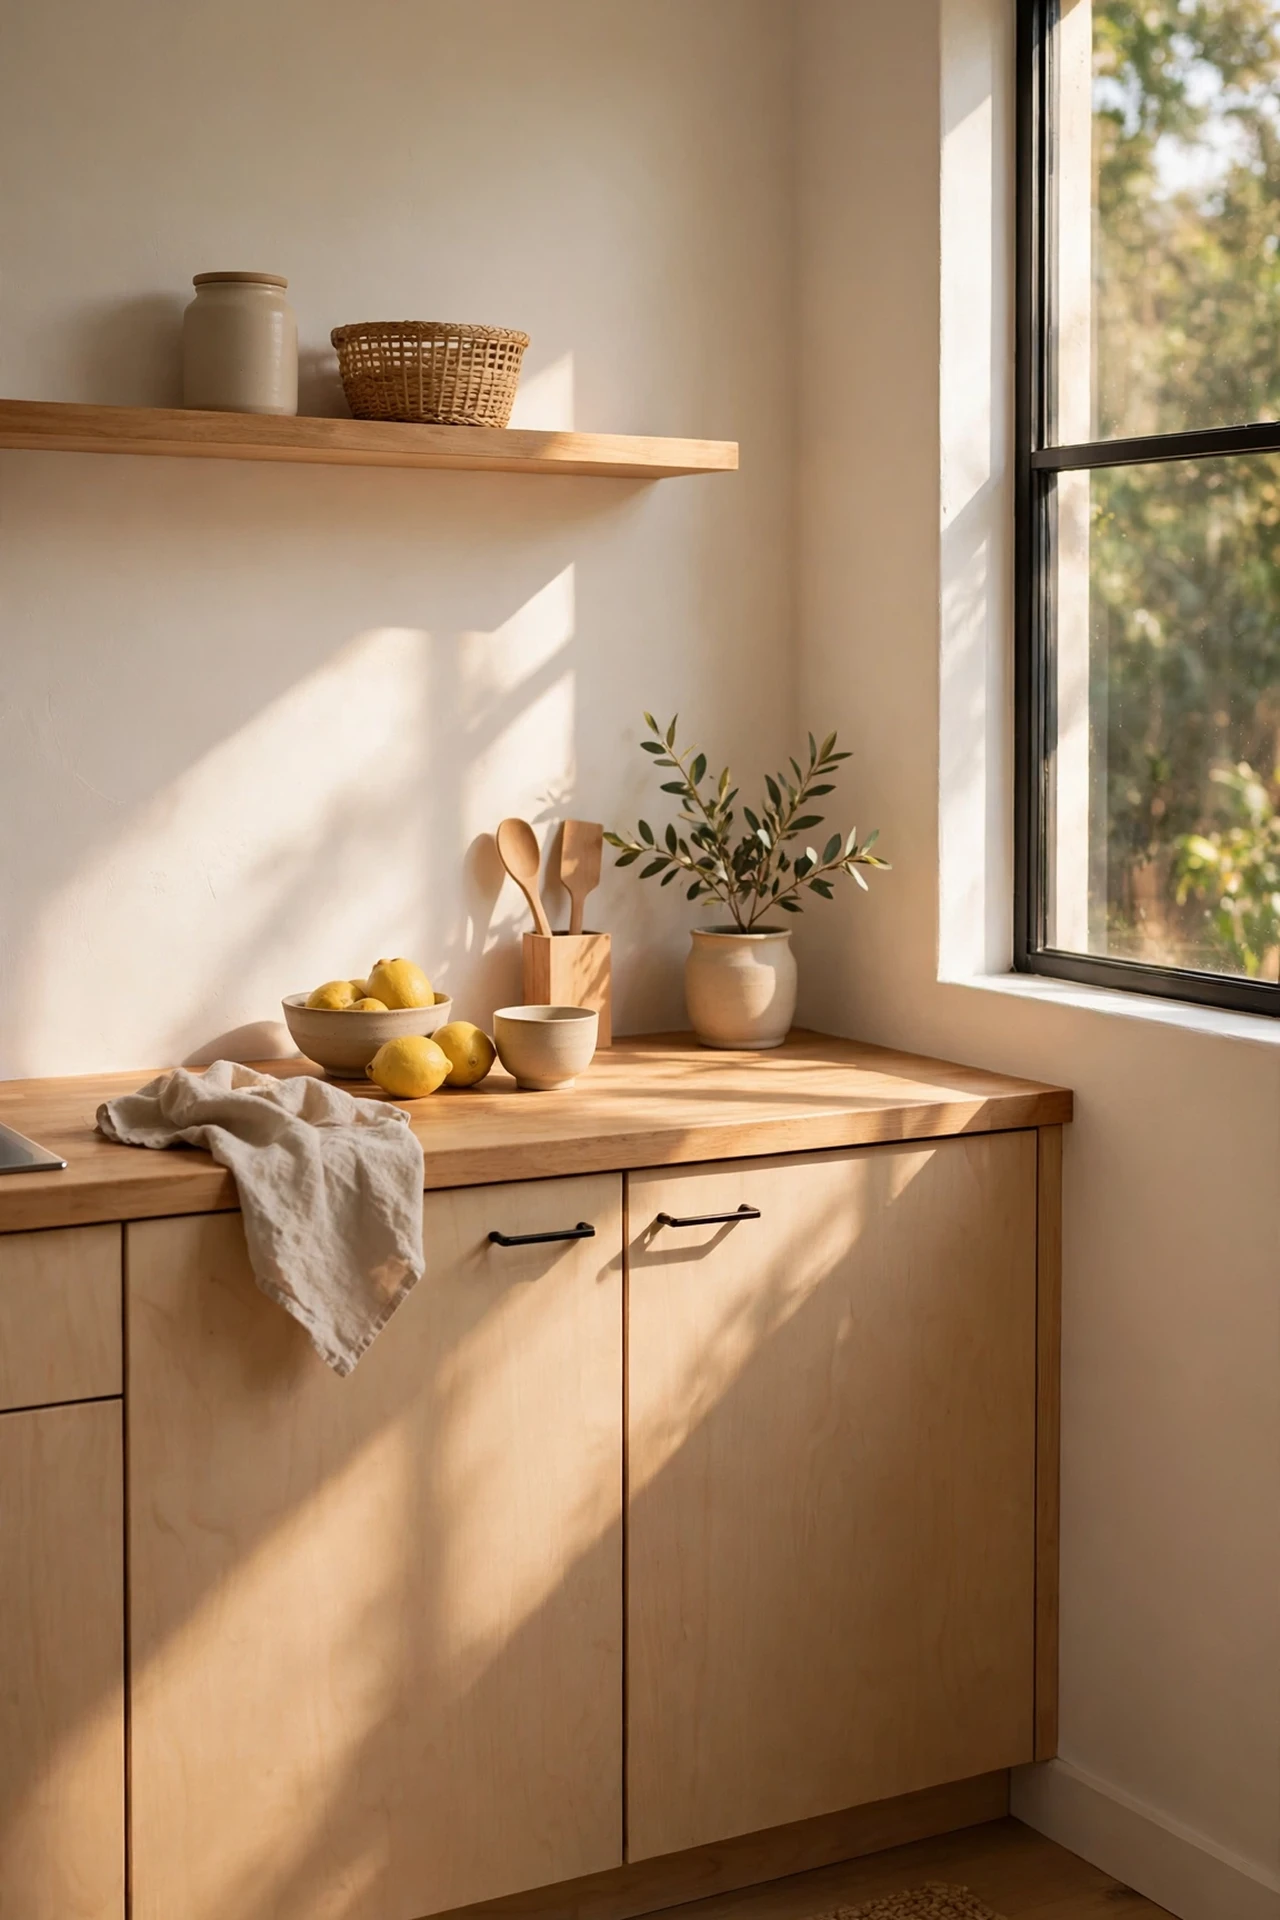
Most rental kitchens are painted in that cold blue-white that makes everything feel clinical. One tin of warm off-white — think oat, bone or warm linen — instantly shifts the room towards Japandi without touching a single cabinet. Roll it on the walls above the splashback and on any painted woodwork. The difference is hard to overstate: the same room, the same furniture, but it suddenly glows in afternoon light. Use a matt finish, which reads softer and hides roller marks. I did my galley kitchen in one Saturday with a tin that cost less than a takeaway. For more paint magic on a budget, see my (see also: budget-kitchen-makeover-ideas) roundup.
Cost: ~$25 | Time: 4 hours
💰 Budget win: Buy the smallest tin that covers your walls — a 2.5L tester strategy often covers a galley kitchen and costs a fraction of a big tin.
3. Lean Wooden Cutting Boards Against the Splashback
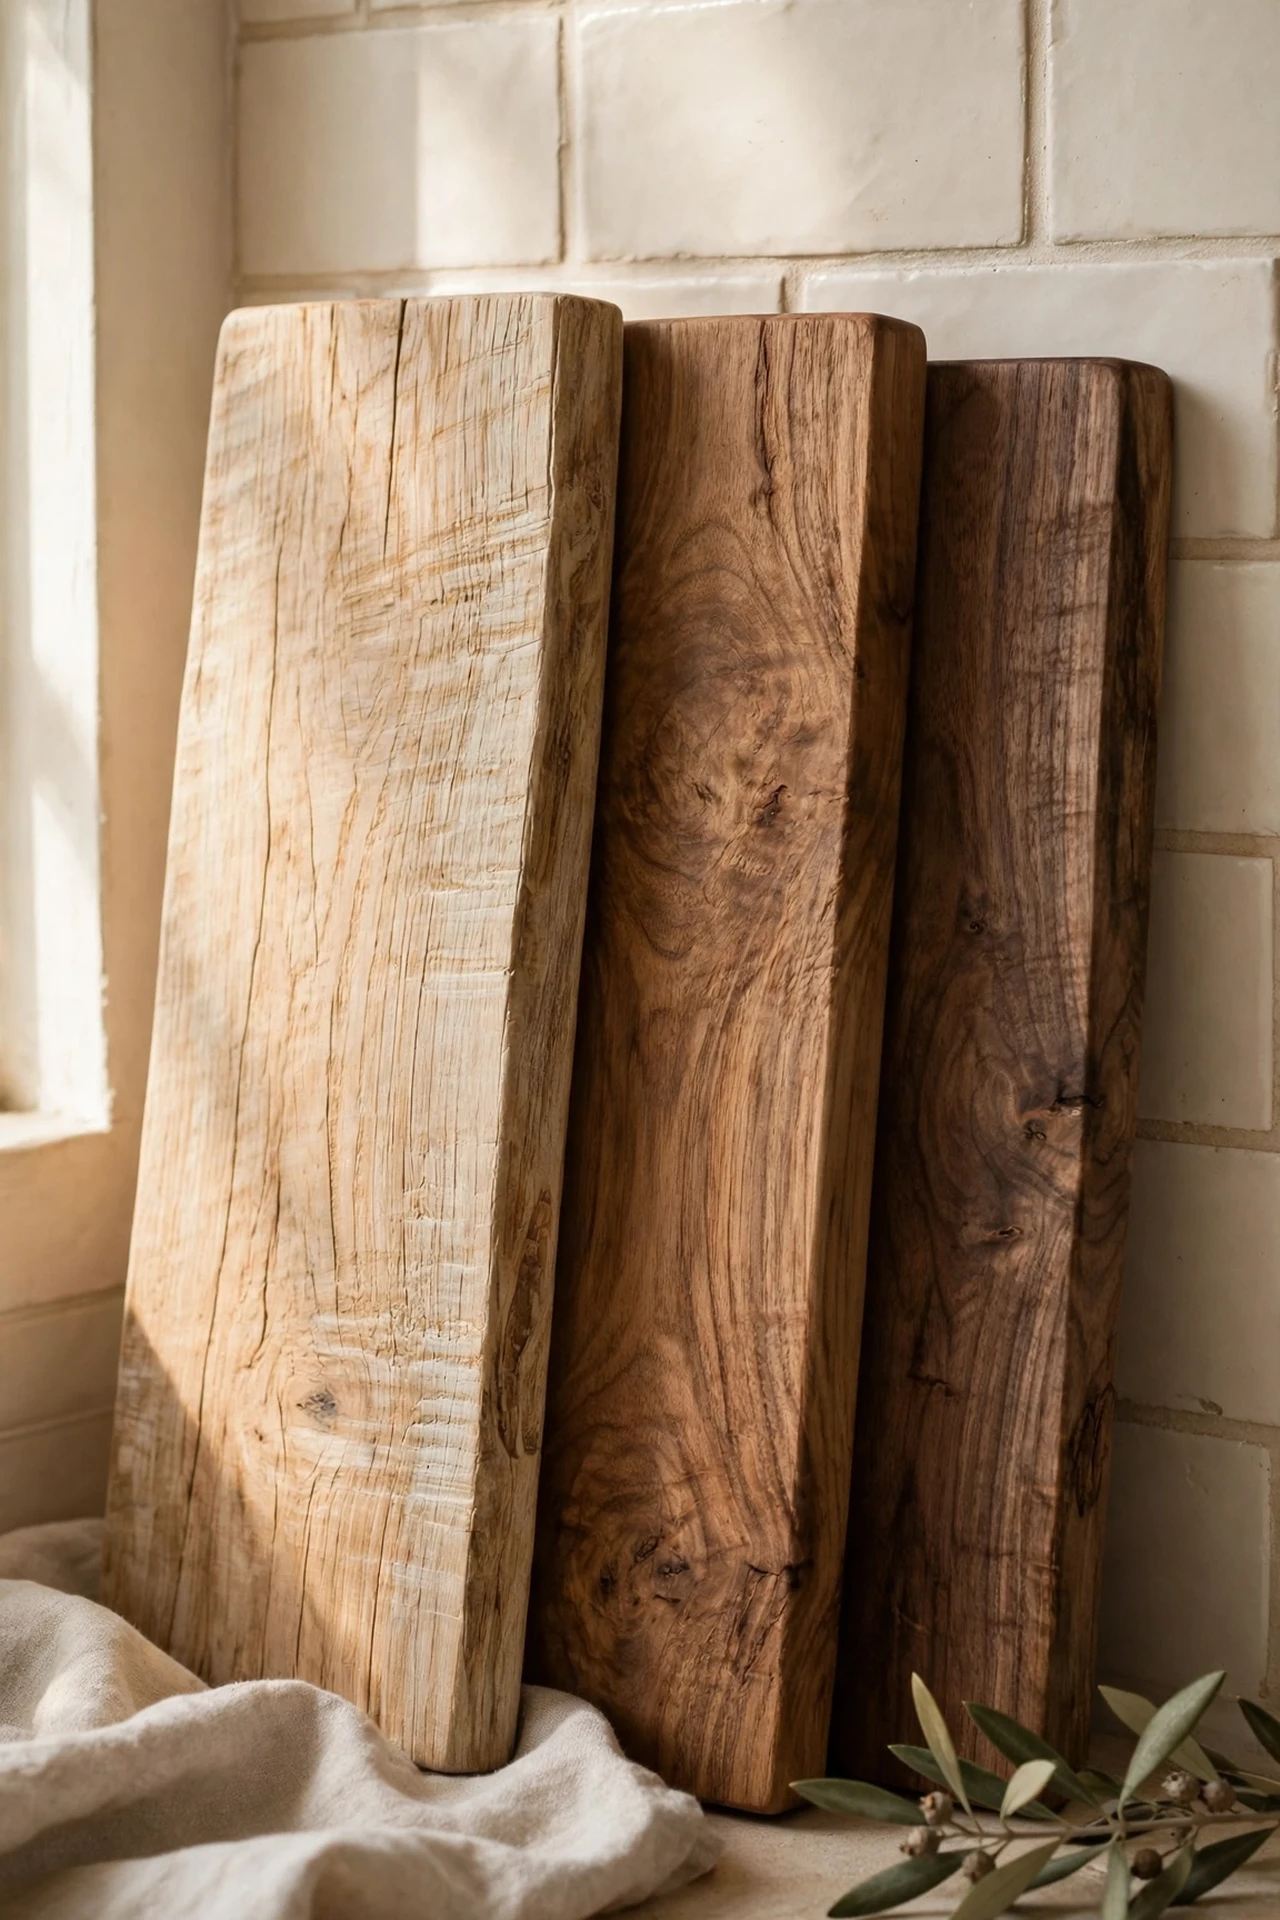
A cluster of two or three wooden boards leaning against the splashback is basically Japandi shorthand: warm timber, simple shapes, nothing fussy. Thrift shops are full of solid wood boards for a pound or two — look for chunky ones with character, acacia or beech if you’re lucky. Lean the largest at the back, smaller ones in front, and leave a gap of bare splashback on either side. The wood tones do all the styling work for you. Oil them with food-safe mineral oil once and they’ll glow for months. I tried this — the mistake to avoid is buying those thin bamboo novelty boards shaped like fish. Plain rectangles only.
Cost: ~$6 | Time: 10 minutes
💰 Budget win: Thrift stores and car boot sales regularly have solid wood boards for $1–2; skip the boutique “artisan” ones at $30.
4. Swap Cabinet Handles for Matte Black Bars
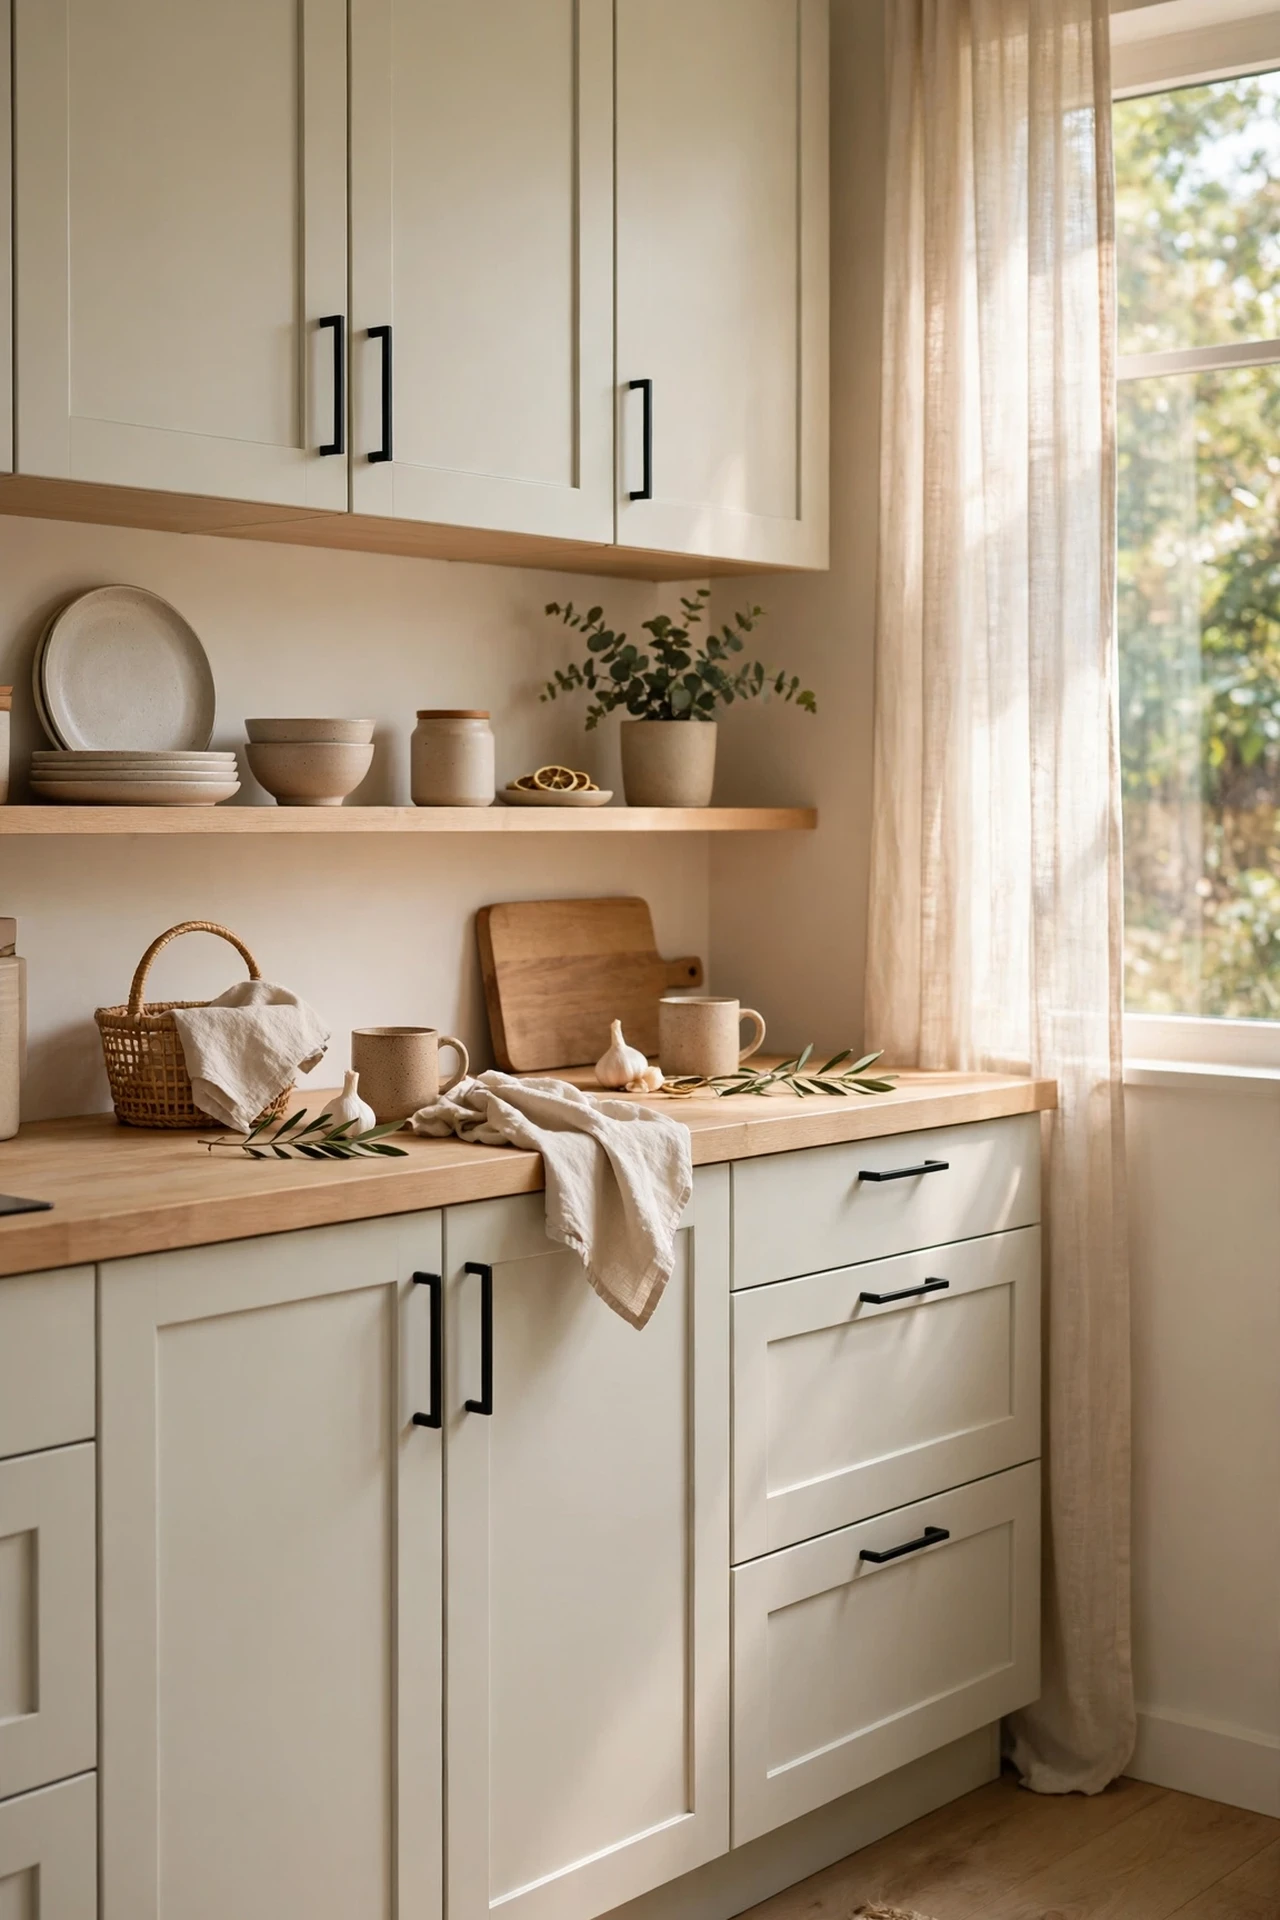
Those dated brass or wooden knobs are fighting your Japandi ambitions. A set of slim matte black bar pulls — the kind sold in multipacks online — gives every cabinet a clean, modern line for very little money. Measure the hole spacing before you order; most kitchens use one of two standard sizes. Keep the old handles in a labelled bag for move-out day. The black against pale wood or white cabinets is exactly the high-contrast-but-calm look Japandi is known for. It took me an evening with a screwdriver to do fourteen doors. The transformation genuinely shocked me.
Cost: ~$15 | Time: 90 minutes
💰 Budget win: Multipacks of 10–25 pulls online work out to under $1 each — far cheaper than buying pairs from a hardware shop.
5. Corral Utensils in a Stoneware Crock
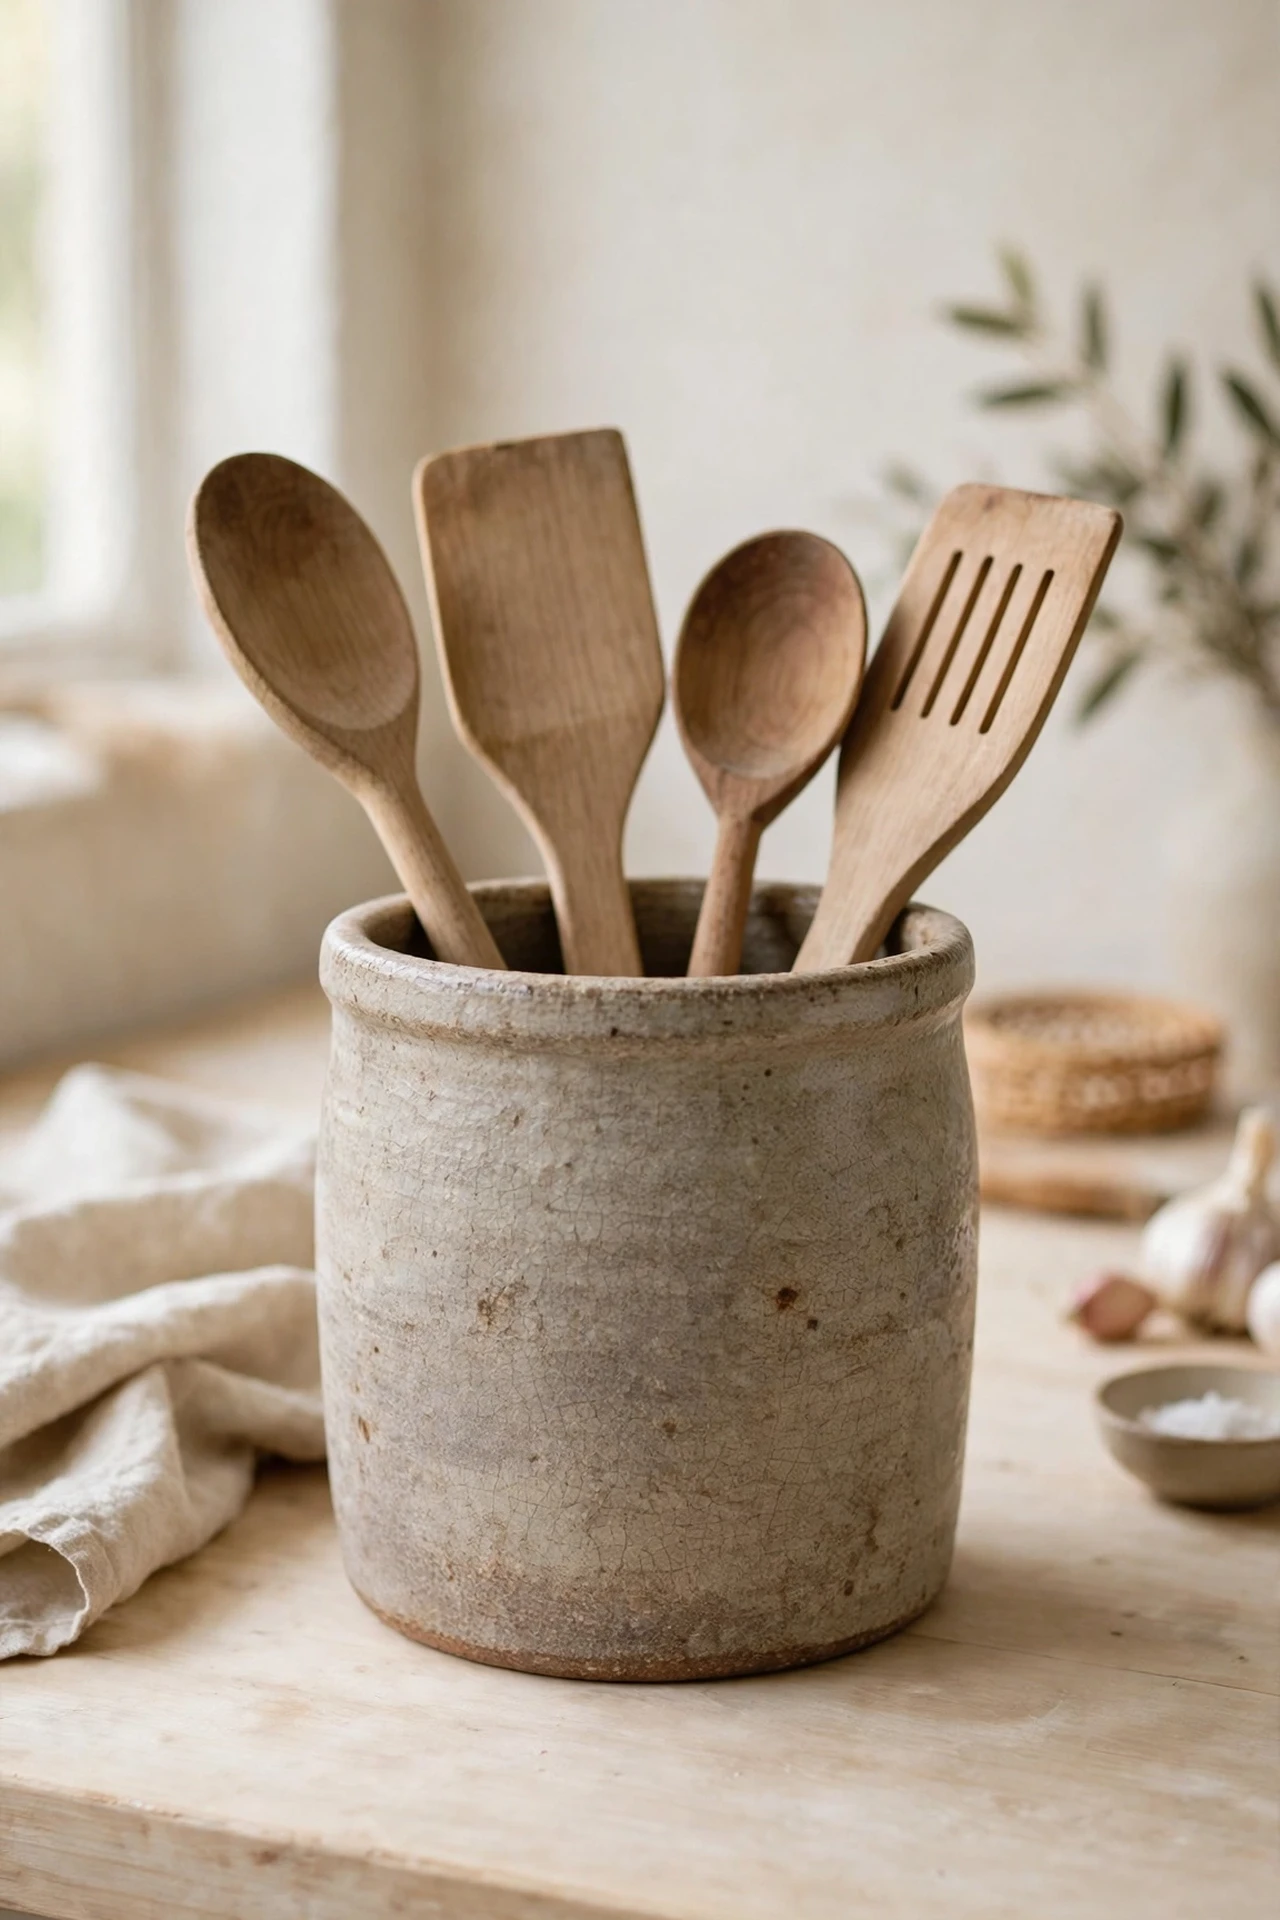
A heavy stoneware crock holding your wooden spoons and spatulas is more Japandi than any gadget organiser, and it costs less than most of them. The weight keeps it stable, the neutral glaze disappears into the background, and grouping utensils upright frees a whole drawer. Look for handmade-look stoneware in charity shops — imperfect glaze is a feature, not a flaw. Size matters: too tall and the spoons vanish; too short and they topple. Around 15cm tall is the sweet spot. Mine replaced a plastic utensil tray and the worktop immediately looked tidier, even though the spoons were identical.
Cost: ~$8 | Time: 5 minutes
💰 Budget win: Charity shops sell stoneware crocks and vases for $2–4; the “handmade” premium on new ones is pure markup.
6. Hang a Linen Cafe Curtain
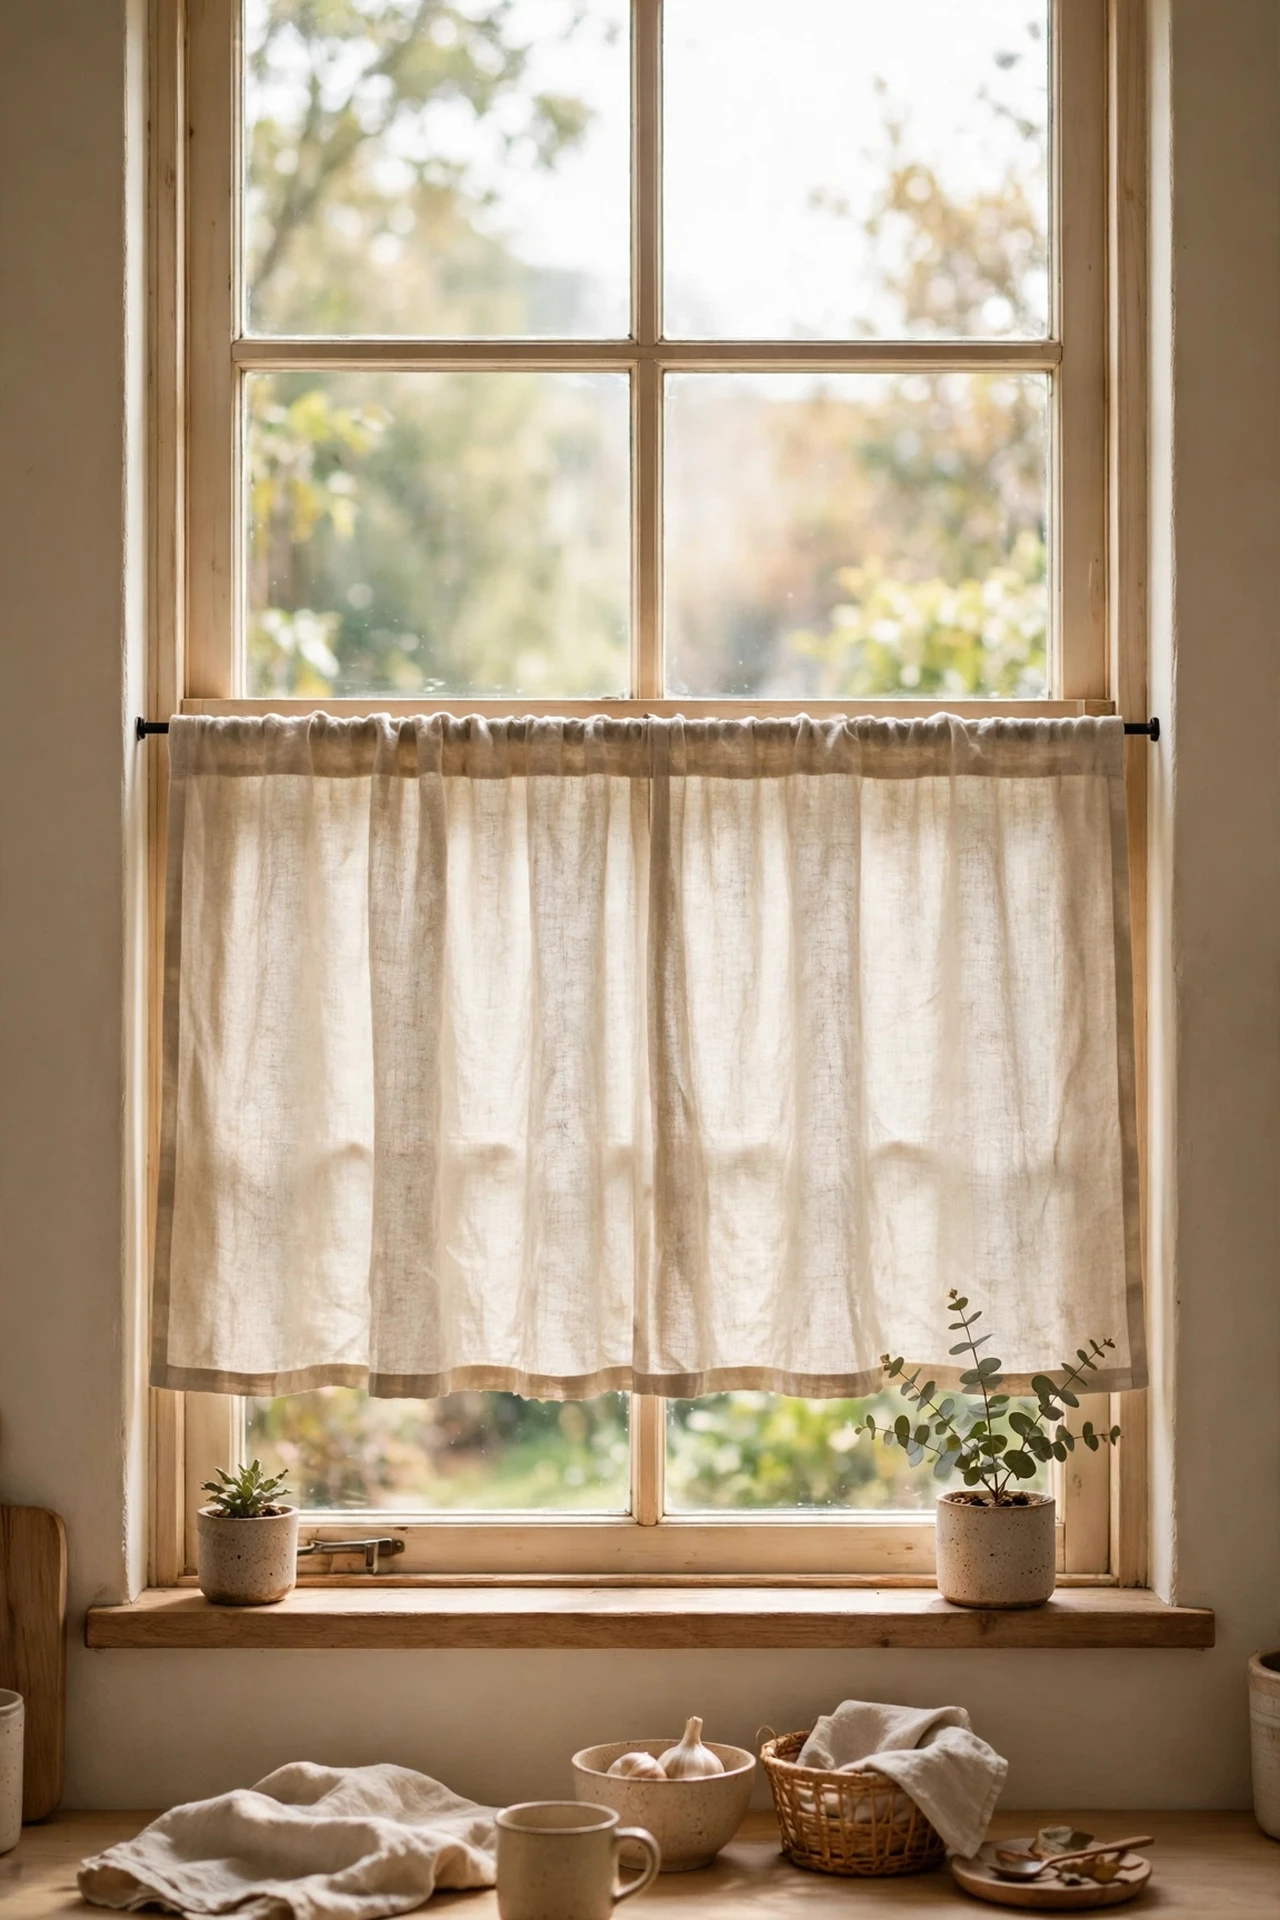
If your kitchen window has sad vertical blinds or bare glass, a half-height linen cafe curtain changes the entire mood. It softens the light, adds that natural texture Japandi loves, and costs a fraction of full curtains. Mount a slim tension rod inside the window frame — no drilling — and hem a length of washed linen or even a linen-look cotton. The bottom half stays covered for privacy while light floods in above. Wash it once so it hangs with that relaxed crumple. I sewed mine from a £4 charity-shop linen tablecloth in under an hour.
Cost: ~$12 | Time: 60 minutes
💰 Budget win: A charity-shop linen tablecloth or flat sheet works as curtain fabric — pre-hemmed edges and a fraction of fabric-shop prices.
7. Style a Low Bamboo Tray on the Worktop
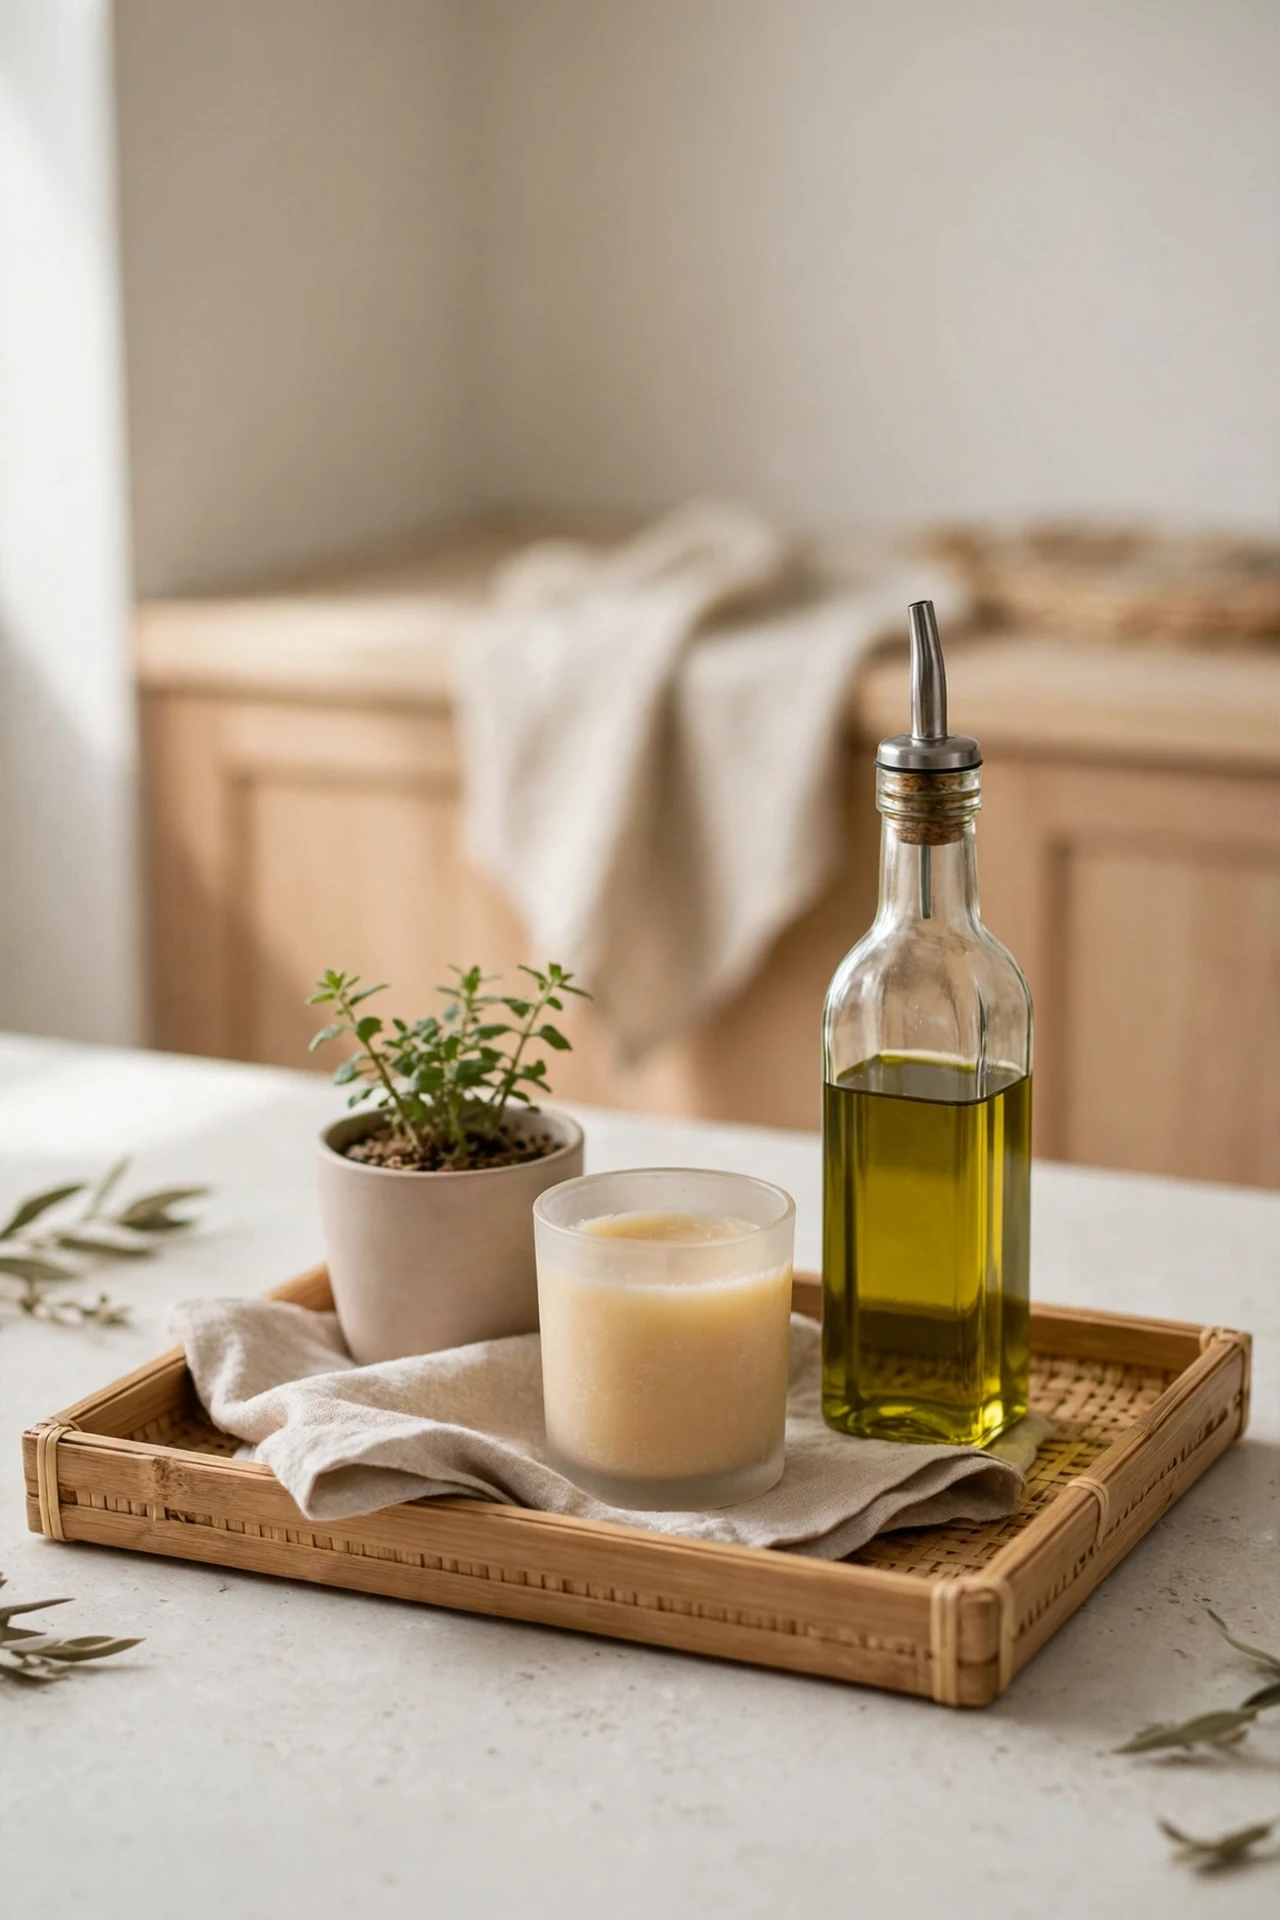
Japandi kitchens always have one composed little vignette, and a low bamboo or wooden tray is the cheapest way to fake it. Place the tray on the worktop and arrange three things: a small plant or stem, a candle or the olive oil you actually use, and something textural like a linen cloth. The tray’s edge contains the clutter visually, so the rest of the worktop reads as empty. When you need the space, the whole vignette lifts away in one move. I tried this — the mistake to avoid is adding a fourth and fifth thing until it’s just a tray of clutter. Three items, then stop.
Cost: ~$7 | Time: 10 minutes
💰 Budget win: Bamboo bath trays from the pound shop work perfectly — they’re the same slatted wood at a tenth of the “styling tray” price.
8. Switch to Clay and Oat Textiles
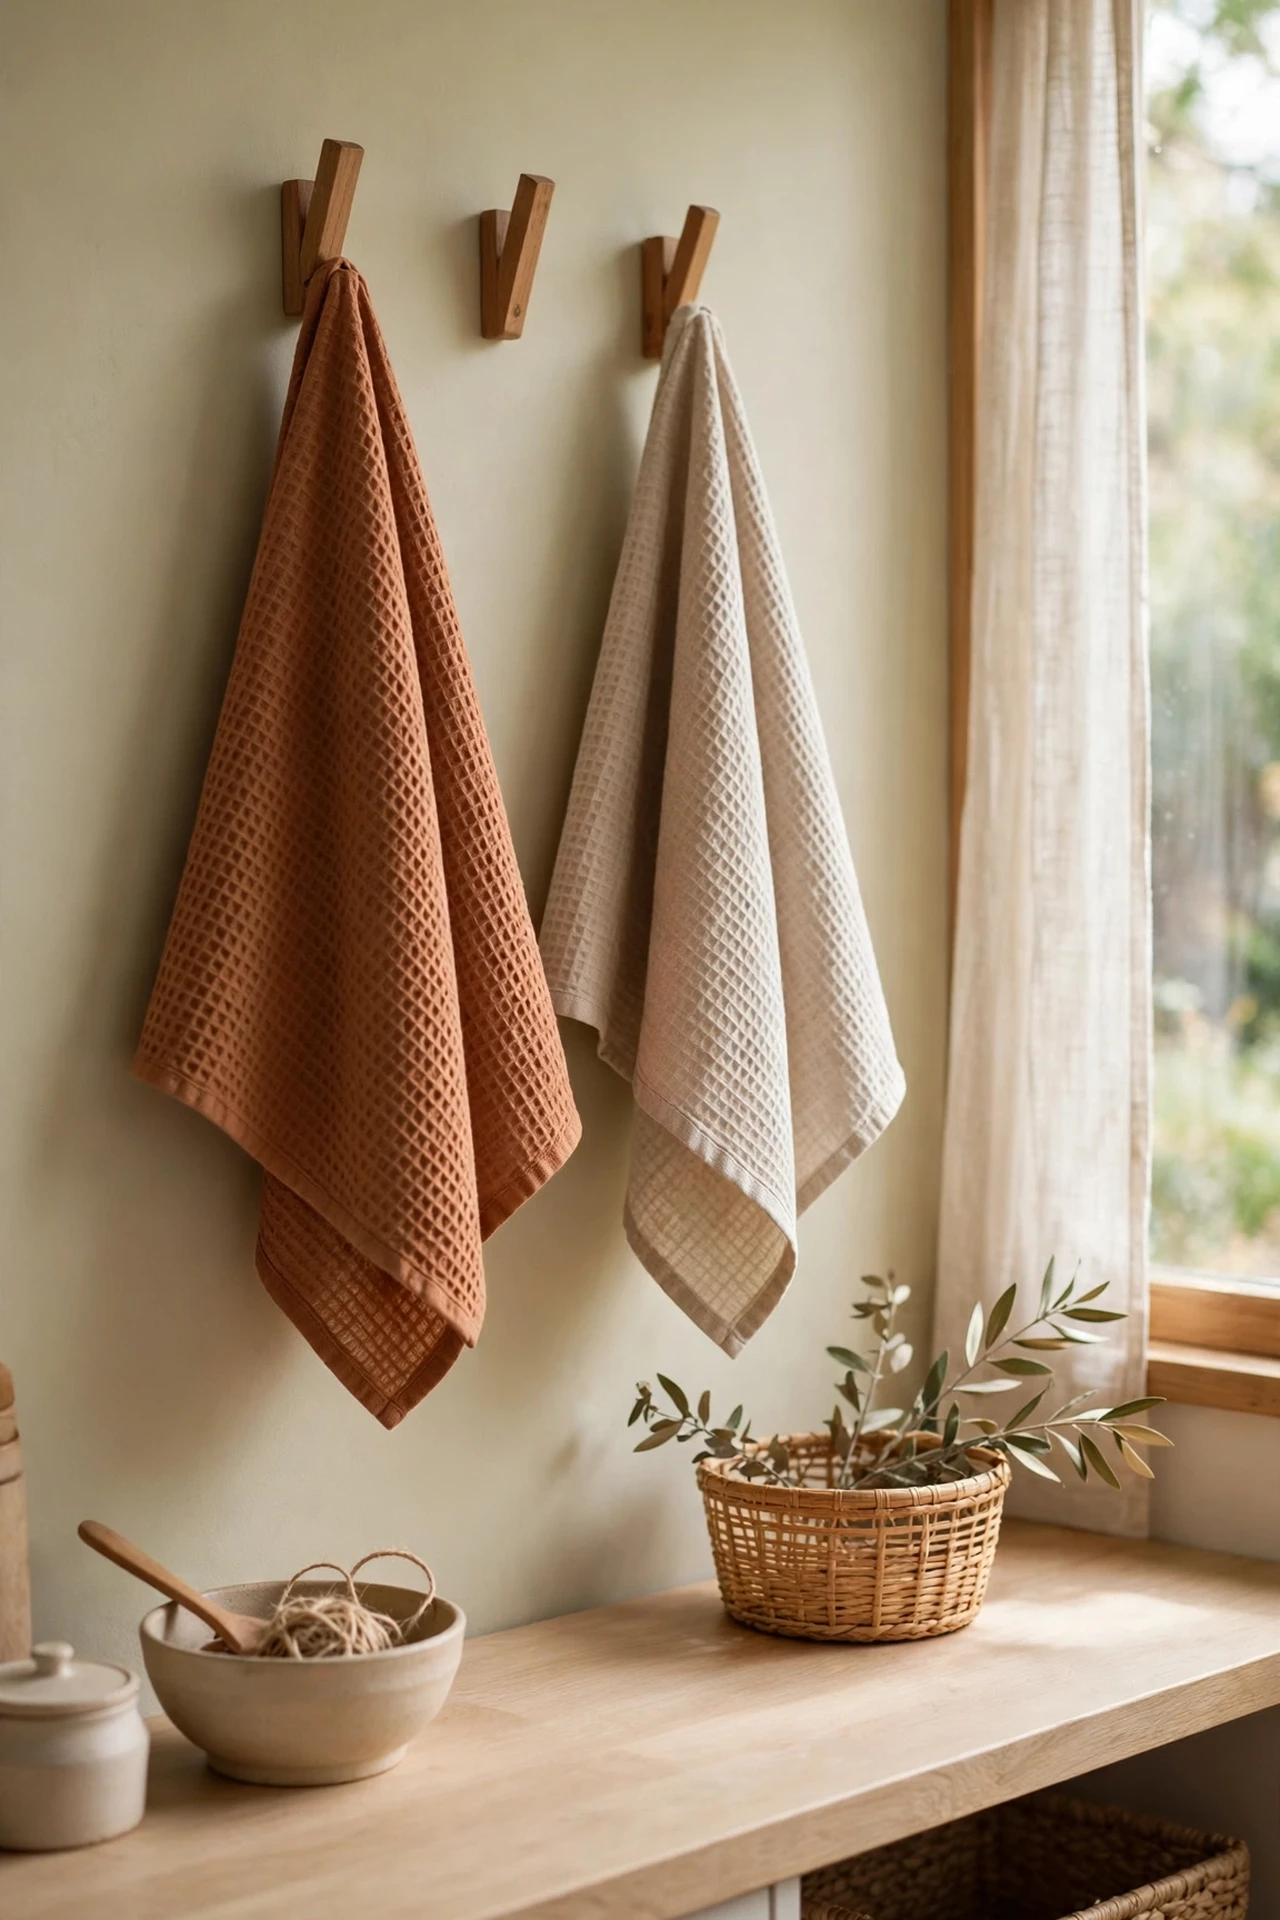
Bright tea towels and patterned oven gloves quietly ruin a calm kitchen. Replace them with two or three in clay, oat or warm grey — solid colours, natural fibres, nothing printed. It sounds trivial and it is not: textiles are everywhere your eye lands, and a unified palette makes the whole room feel designed. Waffle-weave cotton dries dishes better than the thin novelty ones anyway. While you’re at it, hang one on a wooden peg rail or a simple hook instead of the oven handle. Pin this one to your kitchen board — you’ll want it when you’re standing in the home aisle wondering what actually matters.
Cost: ~$10 | Time: 15 minutes
💰 Budget win: Multipacks of plain cotton tea towels in neutral shades cost the same as novelty singles — buy the pack, donate the extras.
9. Replace the Plastic Paper Towel Holder
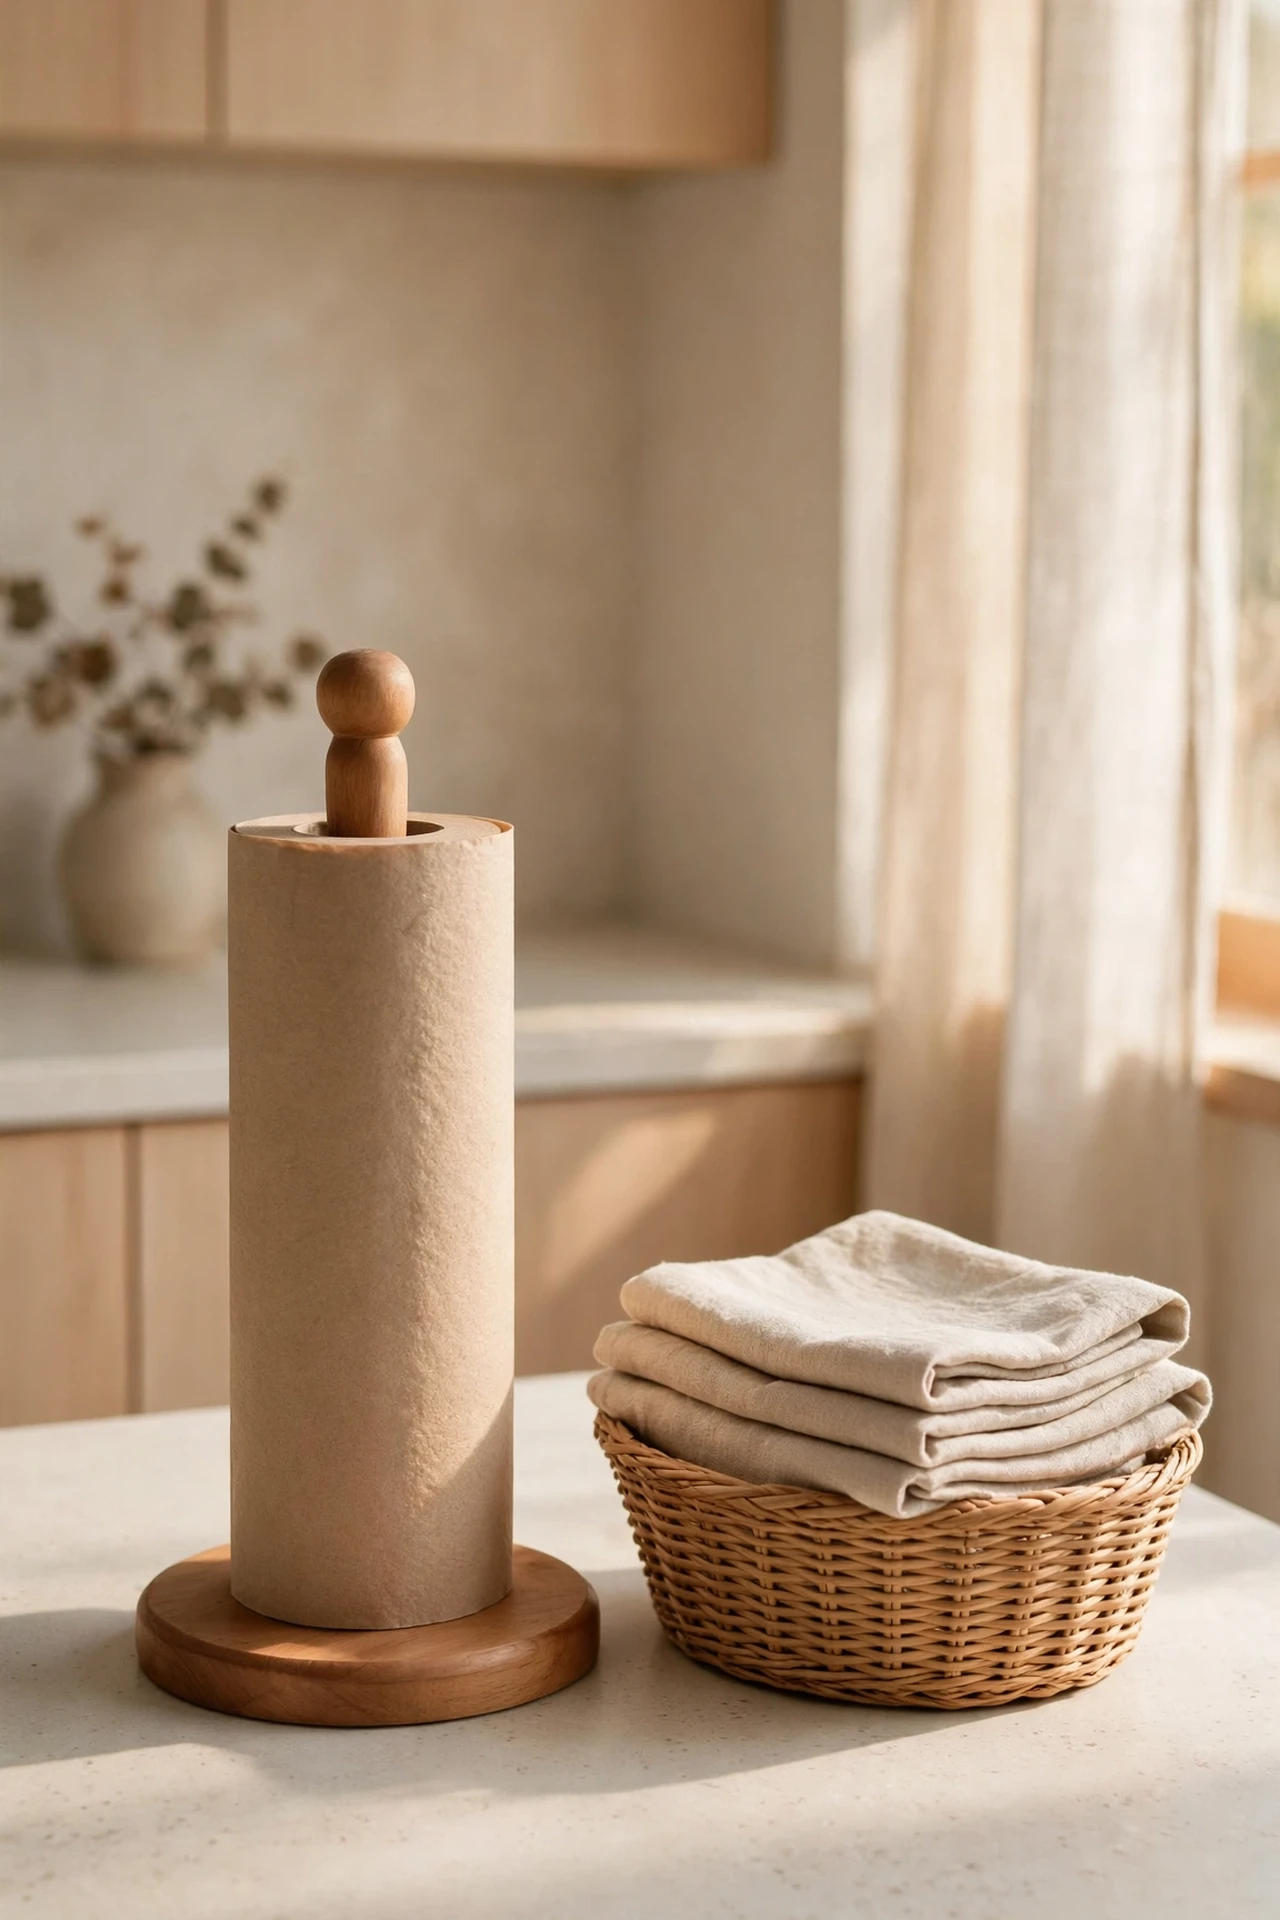
The chrome or plastic paper towel holder is a small thing that photographs badly in every kitchen. A simple wooden one — turned beech or acacia — costs little and removes a jarring modern note from the worktop. If you want to go full Japandi, skip paper towels entirely and keep a stack of linen cloths in a basket instead; it’s cheaper long-term and looks better. Either way, the goal is the same: no shiny plastic on the worktop. This is a five-minute swap with an outsized visual payoff, especially in photos. Mine was a £5 market find and it’s still going strong three years on.
Cost: ~$8 | Time: 5 minutes
💰 Budget win: A bundle of washable cloths replaces months of paper towel spending — the holder pays for itself within weeks.
10. Hide Small Appliances in a DIY Appliance Garage
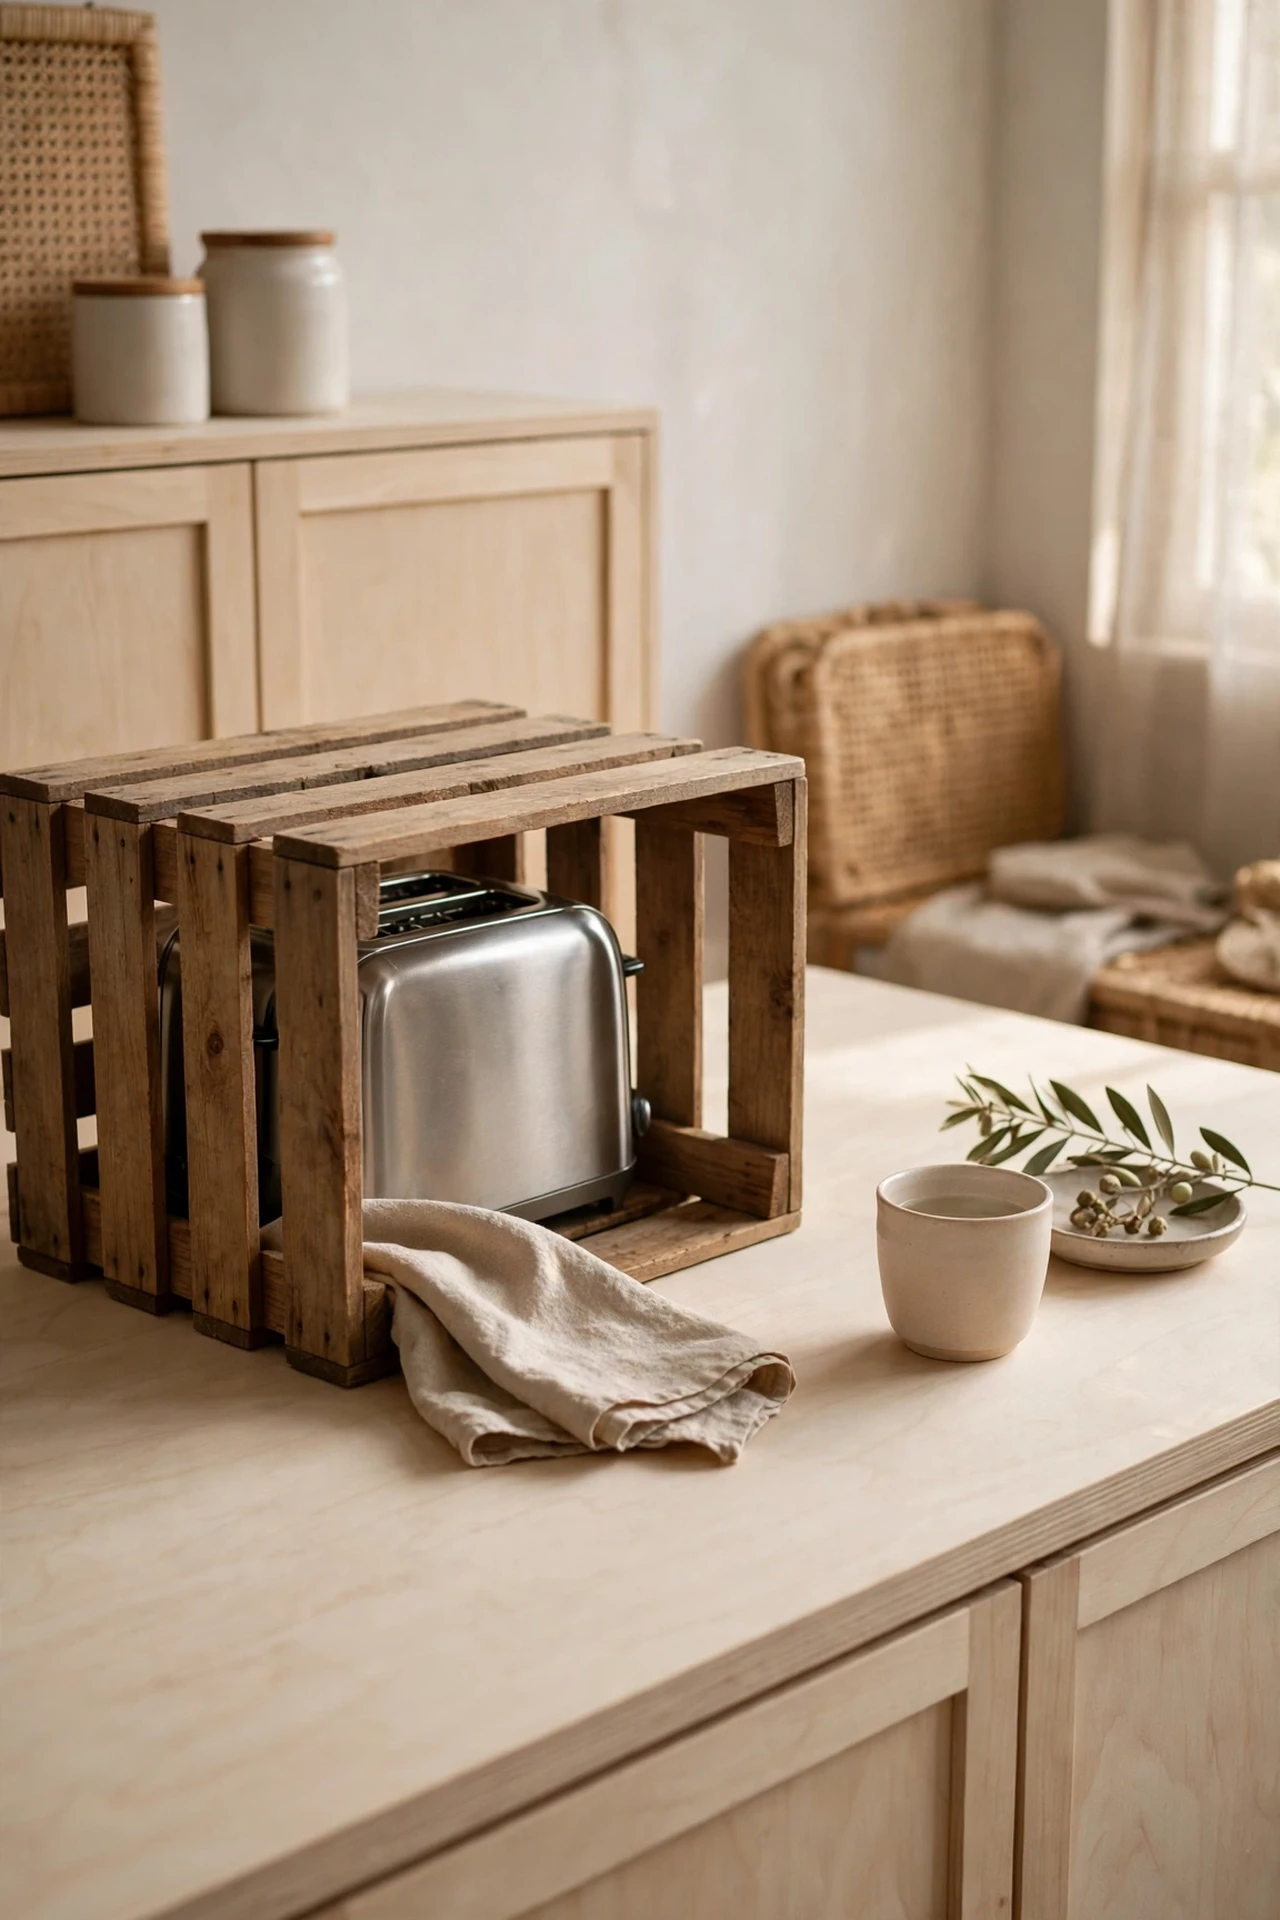
Nothing kills Japandi calm faster than a toaster, kettle and air fryer lined up like a showroom. Clear one stretch of worktop by stashing the rarely-used ones in a cupboard and corralling the daily two on a wooden tray at the back of the counter. For a proper appliance garage, a large open-fronted wooden crate turned on its side hides the toaster completely and costs less than a takeaway. Push appliances to the wall, keep cords wrapped, and the room breathes again. For more worktop-clearing strategies, my (see also: small-kitchen-ideas-to-make-every-inch-count) post goes deeper.
Cost: ~$12 | Time: 30 minutes
💰 Budget win: A wooden crate from a craft store is the classic cheap appliance garage — stain it with tea for an aged oak look, free.
11. Put One Stem in a Simple Vase
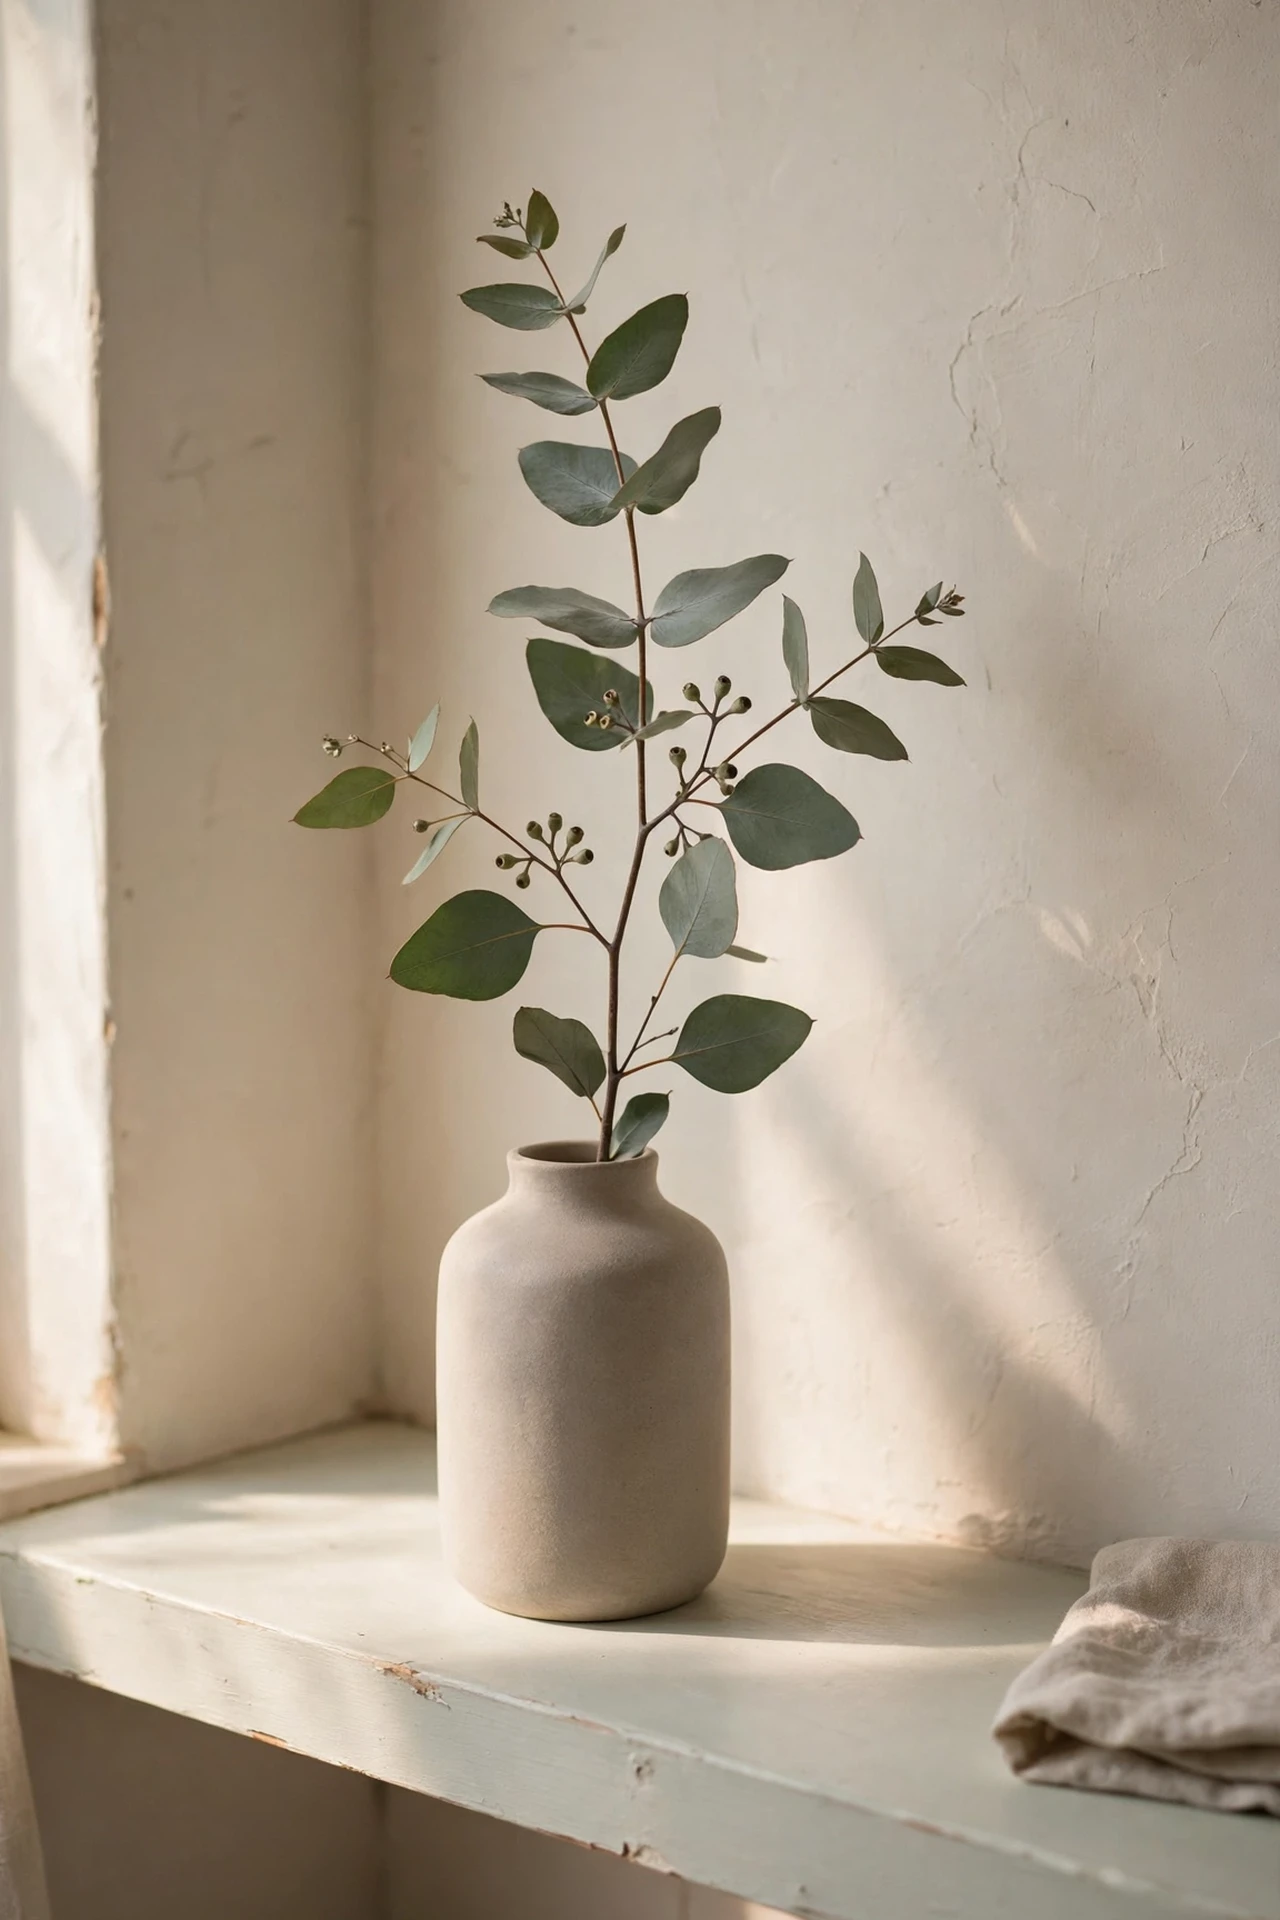
Japandi styling borrows heavily from ikebana: one considered stem beats a crowded bouquet. A tall, simple vase with a single eucalyptus branch, olive stem or even a bare branch picked up on a walk is the whole arrangement. The asymmetry is the point — let it lean. Keep the vase neutral: stoneware, frosted glass or plain ceramic. Change the stem when it fades; eucalyptus dries beautifully and lasts for months. This is the cheapest styling trick in this entire list if you forage the branch, and it reads as effortlessly elegant rather than cheap. I keep a rotation of three vases and swap stems seasonally.
Cost: ~$5 | Time: 10 minutes
💰 Budget win: Foraged branches and a $2 charity-shop vase cost essentially nothing — the most expensive part is resisting a $40 “designer” vase.
12. Stick on Zellige-Look Peel-and-Stick Tiles
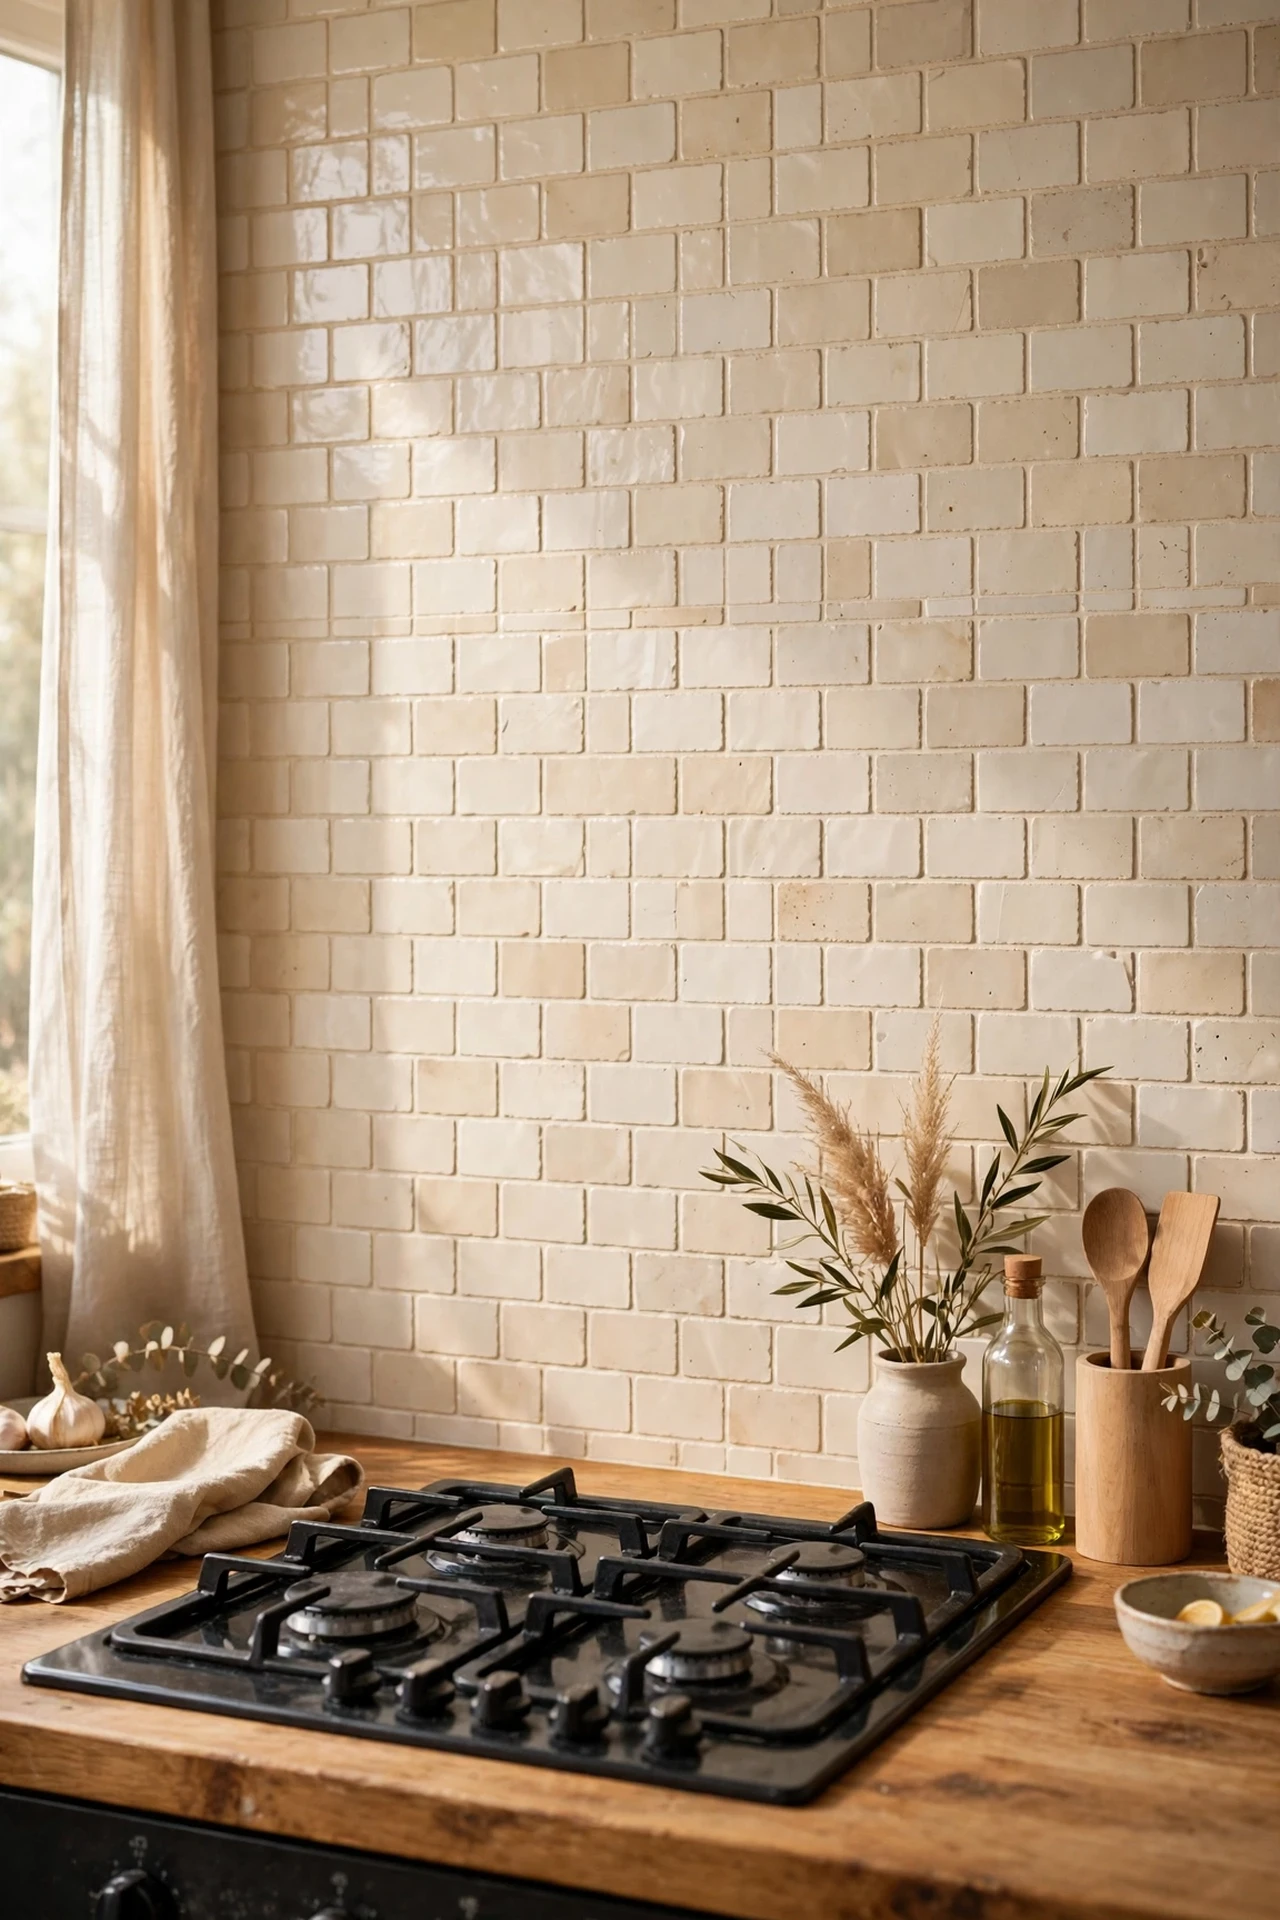
A real zellige splashback costs thousands; the peel-and-stick versions cost the price of a pizza and read beautifully from normal distance. Choose a warm off-white or pale sage with slight colour variation — that handmade wobble is what sells the look. Clean the existing tiles with sugar soap, press the stickers on firmly, and seal the edges with clear silicone near the hob. They survive steam and splashes far better than you’d expect. I did the strip behind my hob in an afternoon and guests genuinely asked who’d tiled it.
Cost: ~$20 | Time: 2 hours
💰 Budget win: Buy one extra sheet and do just the focal strip behind the hob — a partial splashback looks deliberate and halves the cost.
13. Use a Wooden Step Stool as a Display Plinth
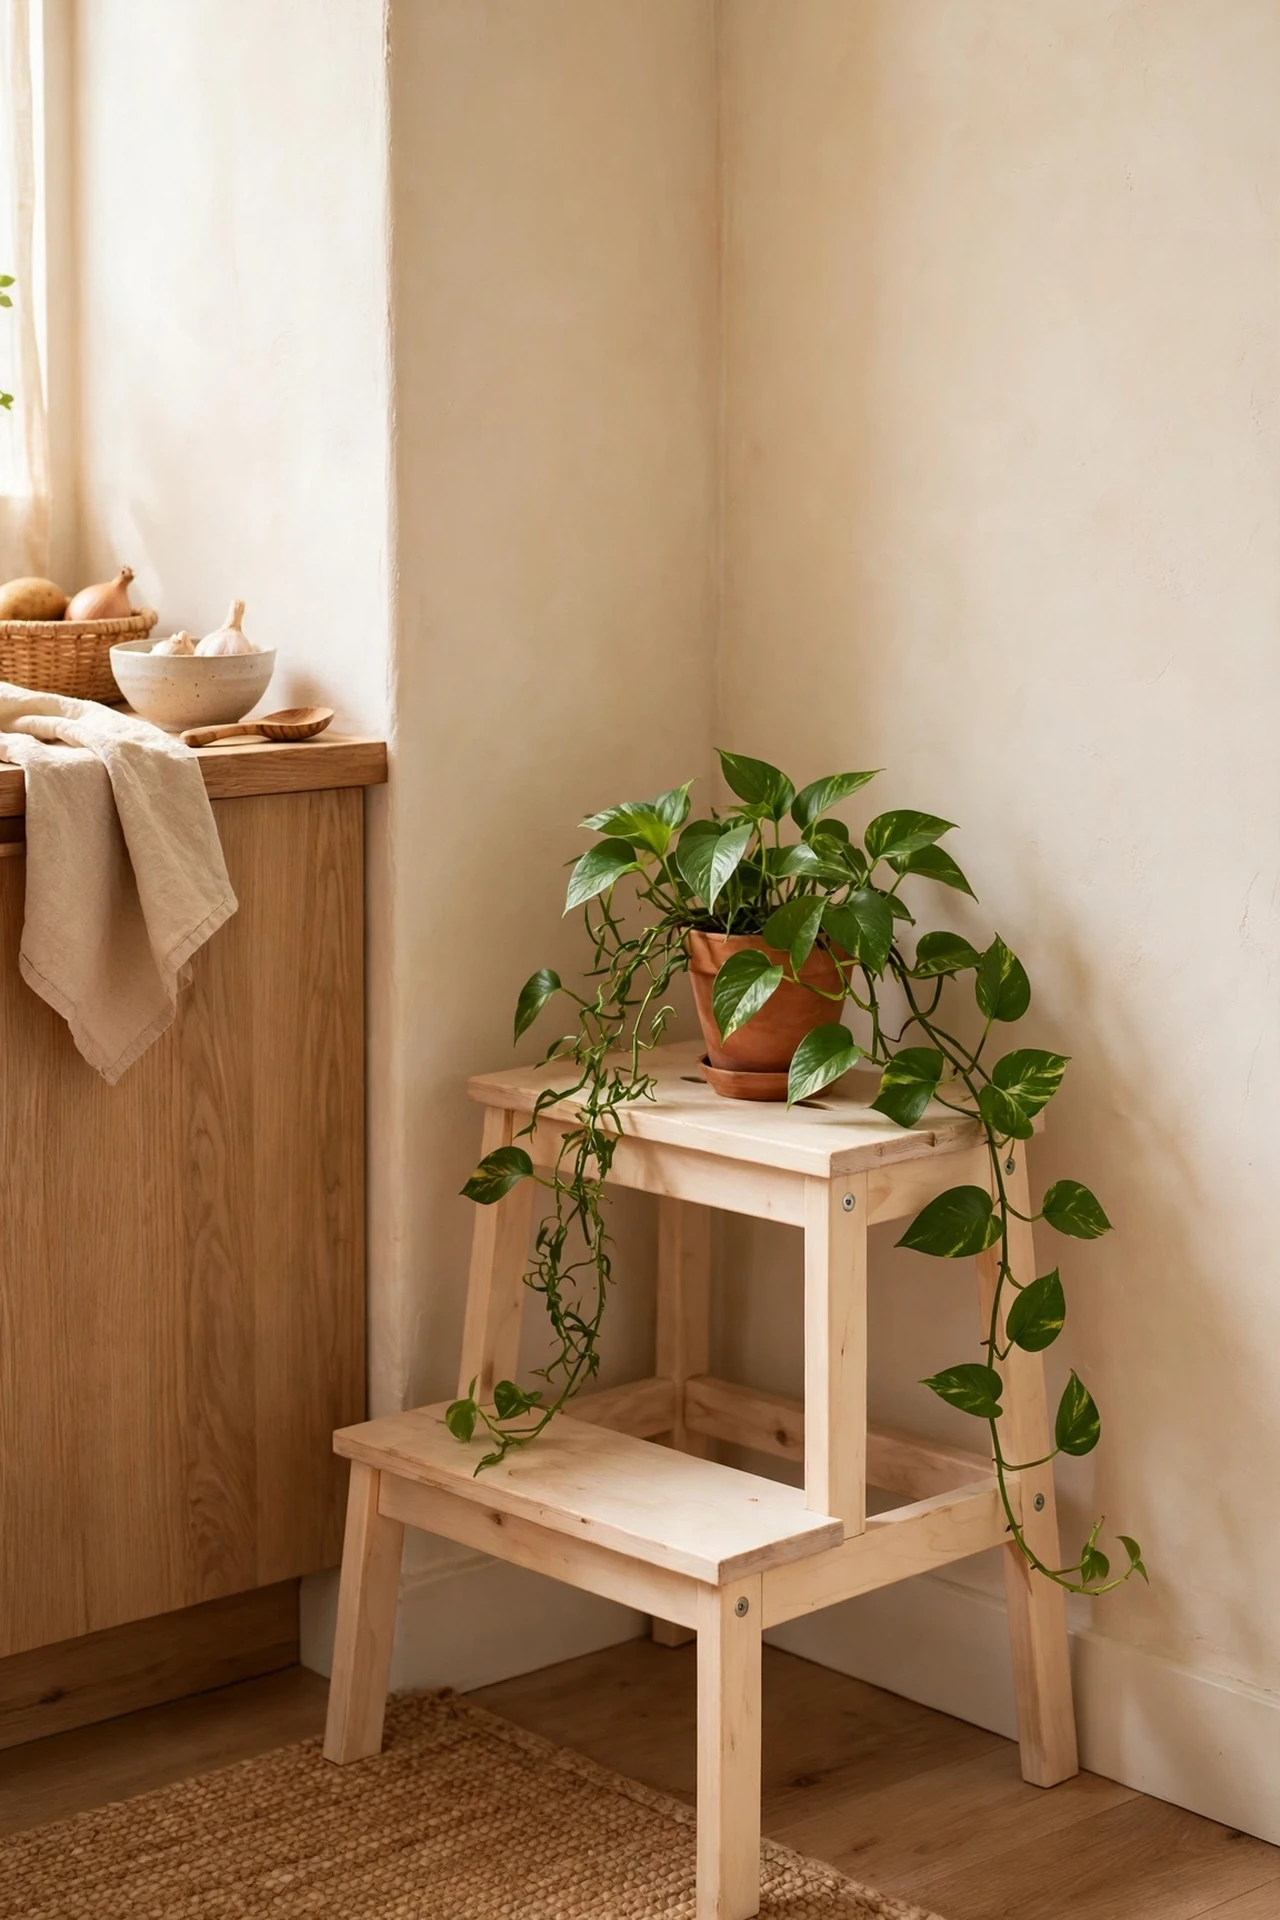
A small wooden step stool in a pale finish is pure Japandi: functional, beautiful, and honest about what it is. Park it in the corner with a trailing plant or a stack of cookbooks on top, and it becomes a styling plinth that also reaches the high shelves. Thrift shops always have a few; sand it lightly and rub in some oil if it’s tired. Avoid painted or plastic ones — the plain wood is the entire point. Mine lives by the pantry and gets used daily, which is more than can be said for most decor. Form that actually functions is the Japandi ideal.
Cost: ~$10 | Time: 20 minutes
💰 Budget win: A secondhand stool plus an hour of sanding beats any new “Scandi-style” stool at five times the price.
14. Decant Soap into Matte Black Dispensers
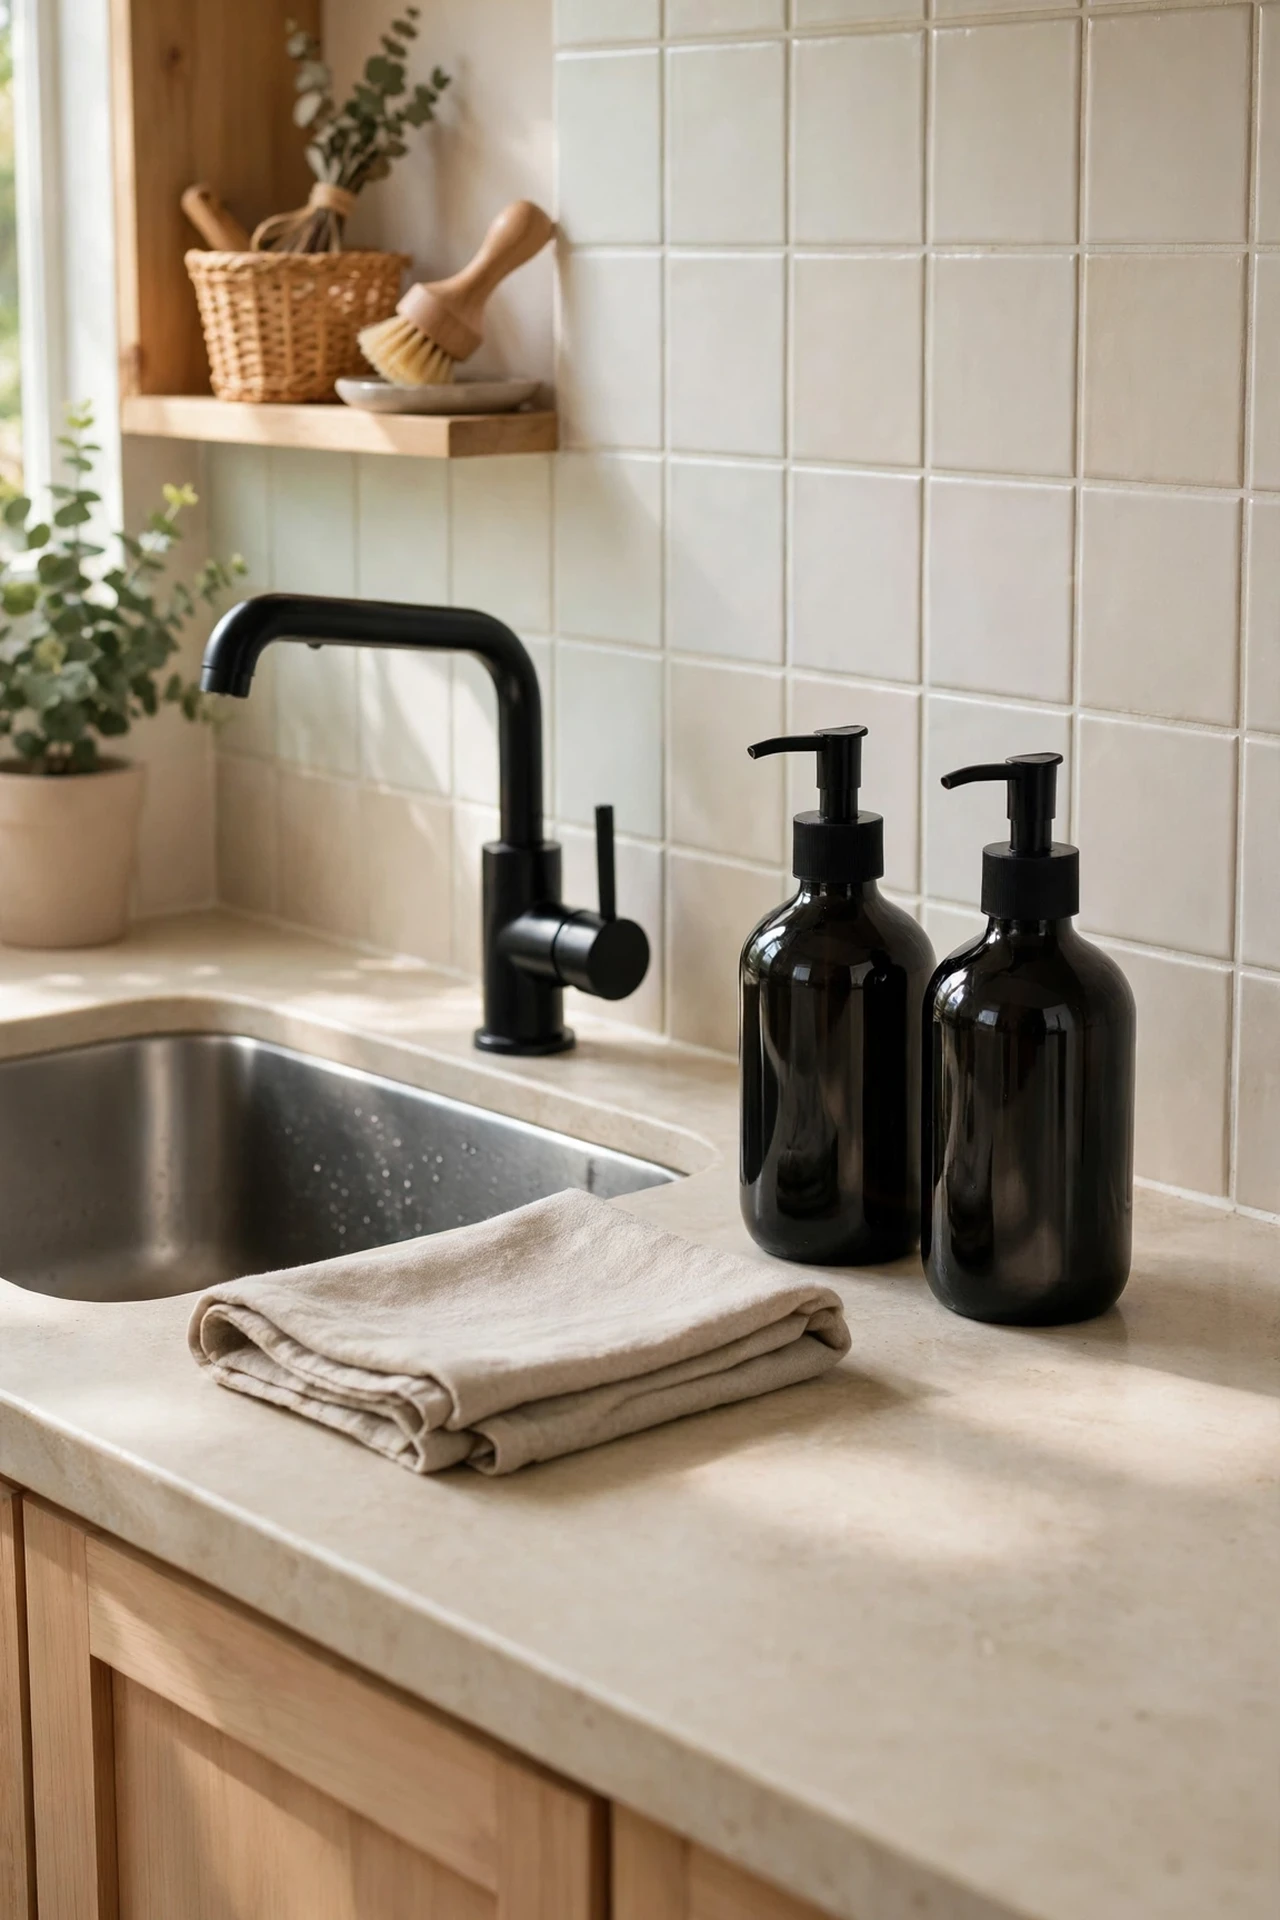
Branded washing-up liquid bottles are visual noise. Decant hand soap and washing-up liquid into matching matte black or amber glass dispensers and the sink area instantly calms down. Refill from big economy bottles kept under the sink — it’s cheaper per wash than the pretty small bottles anyway. Label them with a simple tag or a paint pen dot if the household gets confused. This is one of those tiny changes that makes the kitchen feel like a boutique hotel rather than a chore zone. Two dispensers, five minutes, done.
Cost: ~$9 | Time: 10 minutes
💰 Budget win: A pair of glass dispensers plus economy refills undercuts branded “pretty” soap within two months.
15. Store Produce in a Rattan Basket
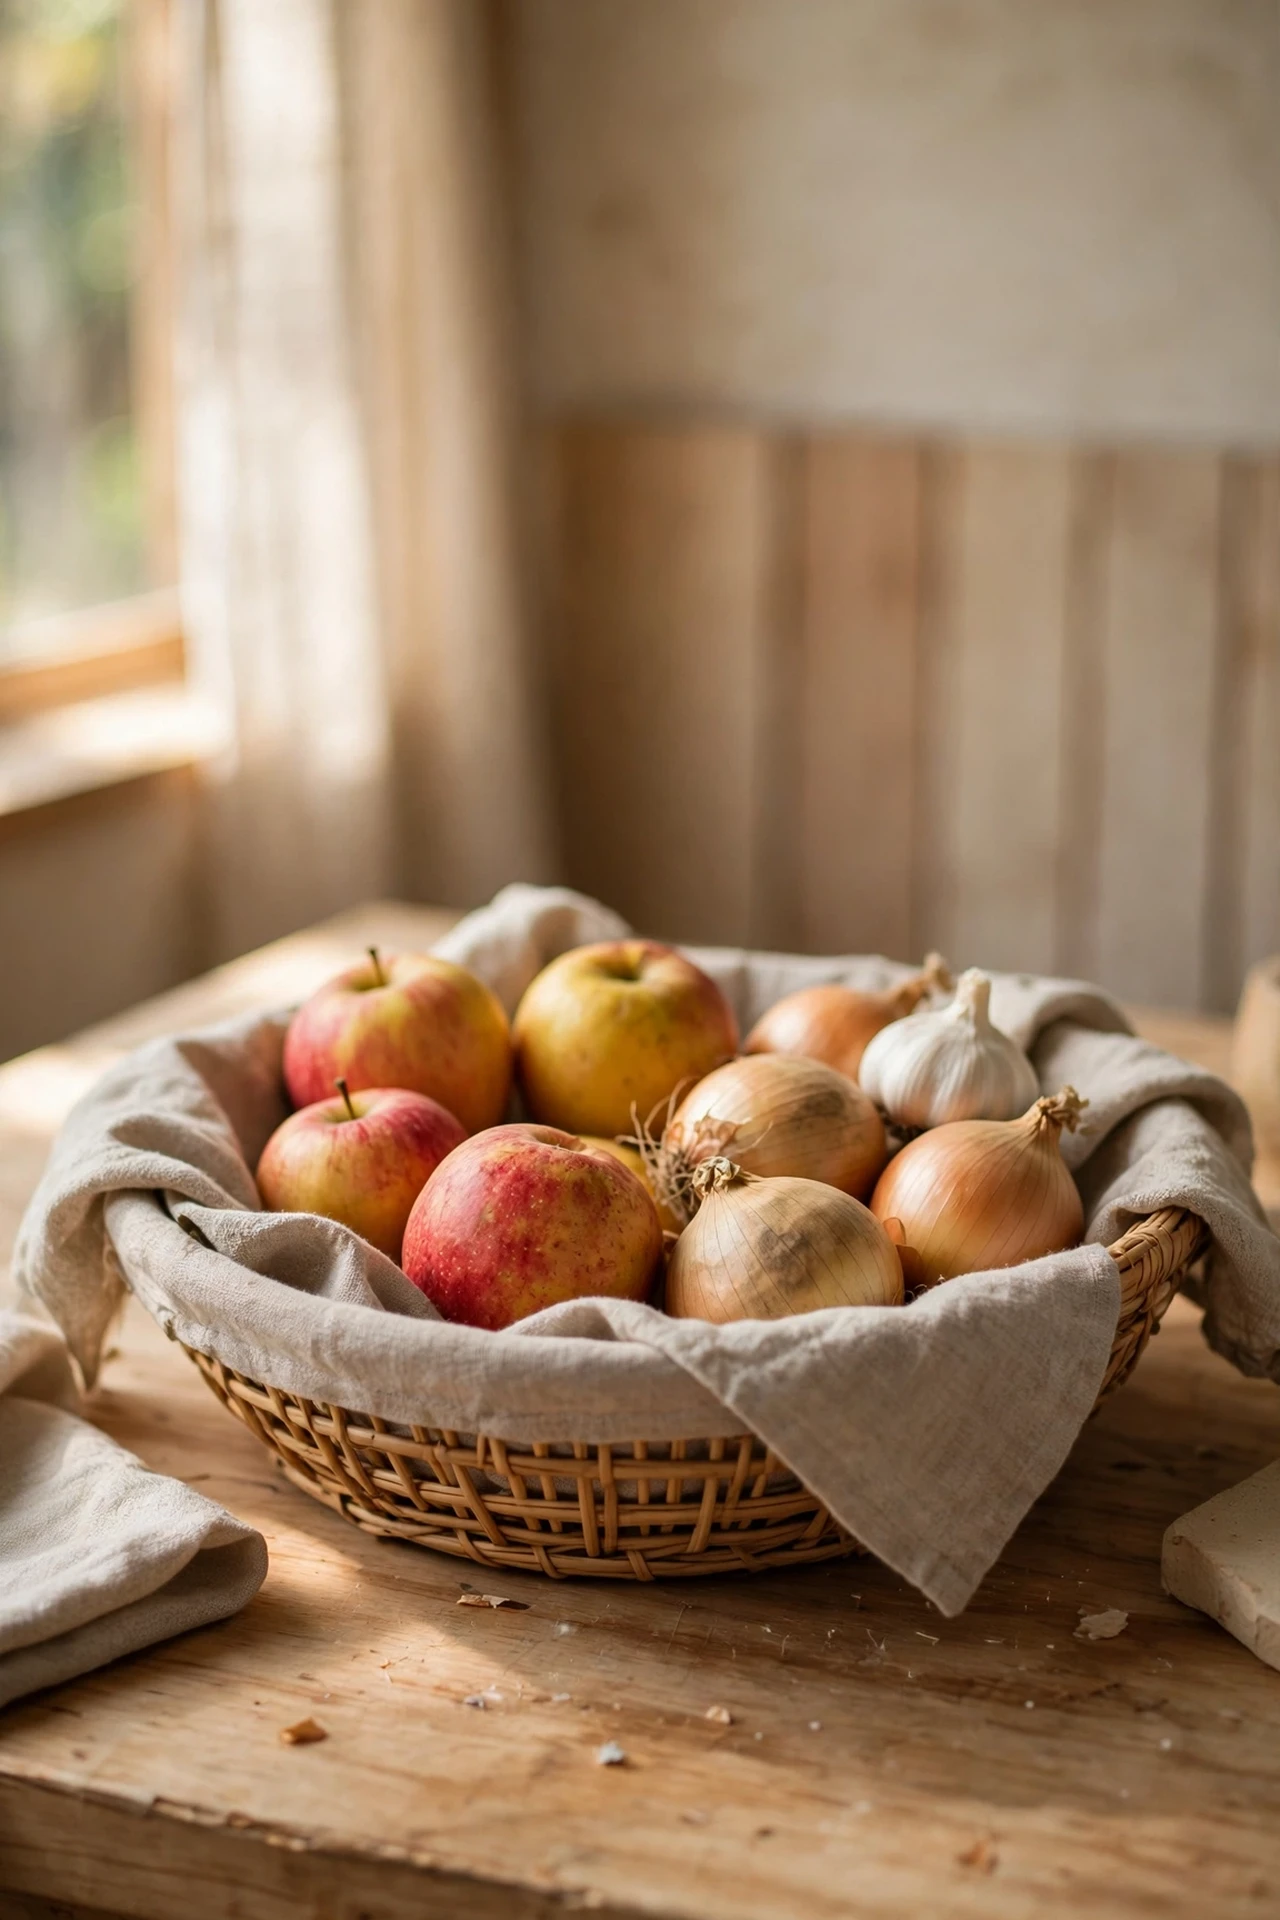
A shallow rattan or seagrass basket for onions, garlic and fruit adds natural texture and keeps produce visible so it actually gets eaten. The open weave lets air circulate, which keeps things fresher than a sealed bowl. Line it with a linen cloth for the full look. Hang a second one from a hook for the full market-stall effect if you have the wall space. Charity shops are overflowing with baskets for a pound or two — the wonkier the weave, the more authentic it looks. Mine holds the week’s fruit and doubles as the table centrepiece when guests come.
Cost: ~$5 | Time: 5 minutes
💰 Budget win: Baskets are charity-shop gold at $1–2 each — never pay boutique prices for something sold to hold laundry.
16. Add Warm Under-Cabinet LED Strips
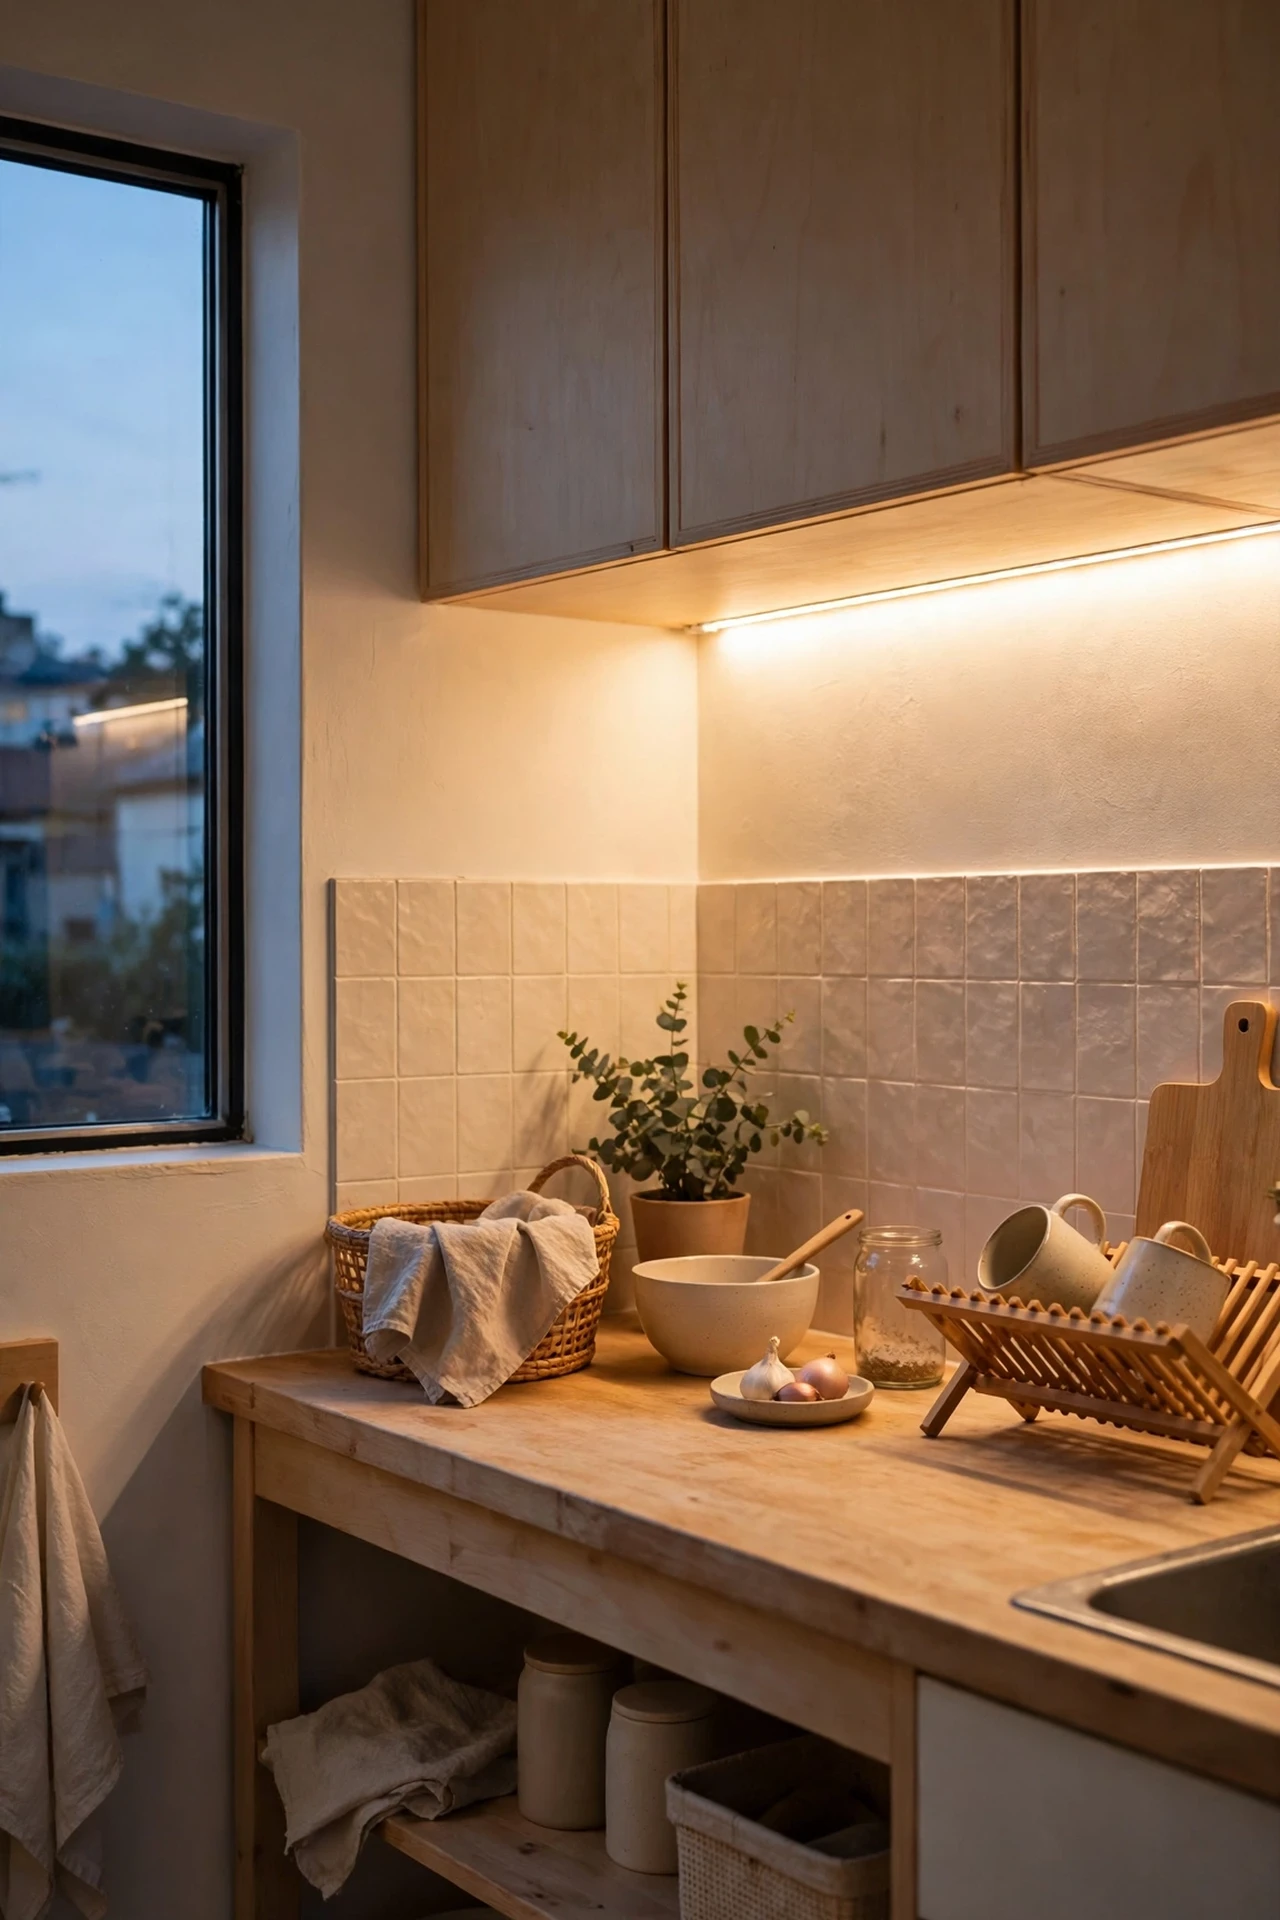
Japandi kitchens glow; rental kitchens glare. Battery or USB-powered LED strips tucked under the wall cabinets bathe the worktop in warm light and make evening cooking feel completely different. Choose 2700K warm white — anything cooler reads as office lighting. The adhesive backing means no damage, and most strips cut to length with scissors. Run them along the front edge of the cabinet so the light washes down the splashback. I put mine on a cheap timer plug so they switch on at dusk automatically. For lighting on a bigger budget, the (see also: budget-kitchen-makeover-ideas) guide has hardwired options.
Cost: ~$14 | Time: 30 minutes
💰 Budget win: One 5-metre strip usually covers a whole galley run — measure first so you buy a single strip, not two.
17. Practise Ruthless Negative Space
The most Japandi thing you can do costs nothing at all: leave empty space alone. Clear one full stretch of worktop and keep it clear — not as a staging area, permanently. Remove the knife block you never use, the decorative canisters holding nothing, the third chopping board. Japandi is as much about what isn’t there as what is, and a genuinely empty worktop reads as the ultimate luxury. Do the “one in, one out” rule for every new kitchen item from now on. I tried this — the mistake to avoid is treating it as a one-time purge. It’s a habit, and it takes about three weeks to stick.
Cost: ~$0 | Time: 60 minutes
💰 Budget win: Completely free, and it makes every other idea on this list look twice as expensive as it was.
Total damage for all seventeen ideas: under $170 if you shop secondhand first — less than a single “designer” pendant light. Start with the free ones this weekend, add a paint tin next month, and let the calm build gradually. That’s the Japandi way, really: less, but better, and never rushed.
