19 Kitchen Counter Decor Ideas That Look Styled, Not Cluttered
My kitchen counter used to be the place where everything landed — post, chargers, a dead plant — and somehow the mess always looked worse than it was. Then I spent a weekend rethinking my kitchen counter decor ideas properly, and the whole room felt calmer without removing anything useful. The secret is not having less stuff, it’s grouping things with intent: a tray here, a bit of height there, one plant that actually thrives. These nineteen ideas all cost very little and none of them will get in the way of actually cooking.
1. Anchor Everything on a Wooden Tray
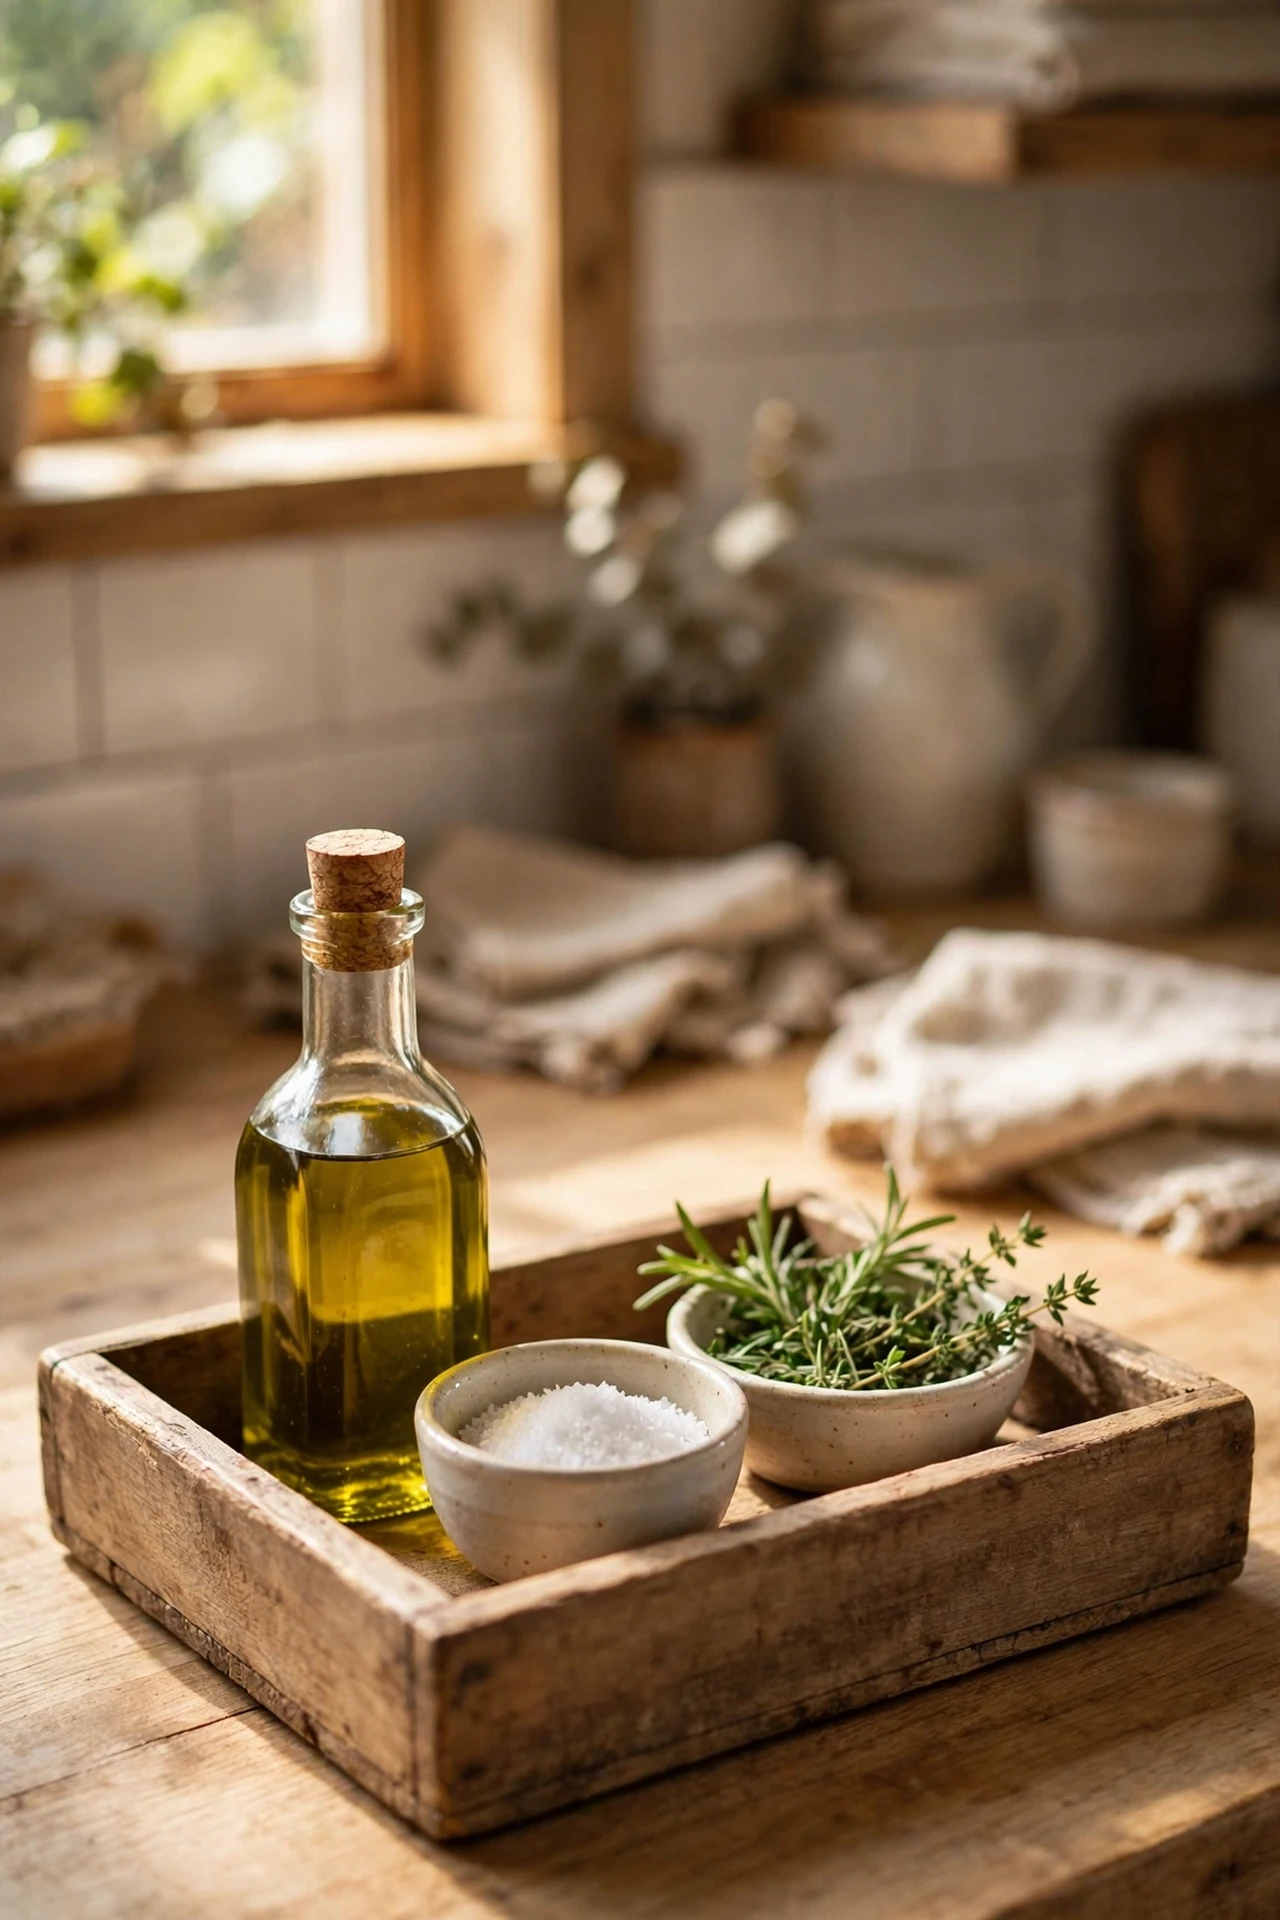
A tray is the fastest trick in this whole list because it turns random objects into a deliberate display. Put your olive oil, a small salt bowl, and a tiny dish of herbs on it, and suddenly the counter looks styled instead of busy. Start with a wooden or bamboo tray about 30cm wide, wipe your counter clean, and arrange just three items with a little breathing room between them. I tried this first with five items and it instantly looked like clutter again — the mistake to avoid is overfilling, so stick to three and resist the urge to add “just one more thing”. It works in any kitchen and you can lift the whole tray to wipe underneath in seconds.
Cost: ~$12 | Time: 10 minutes
2. Use a Cutting Board as a Backdrop Layer
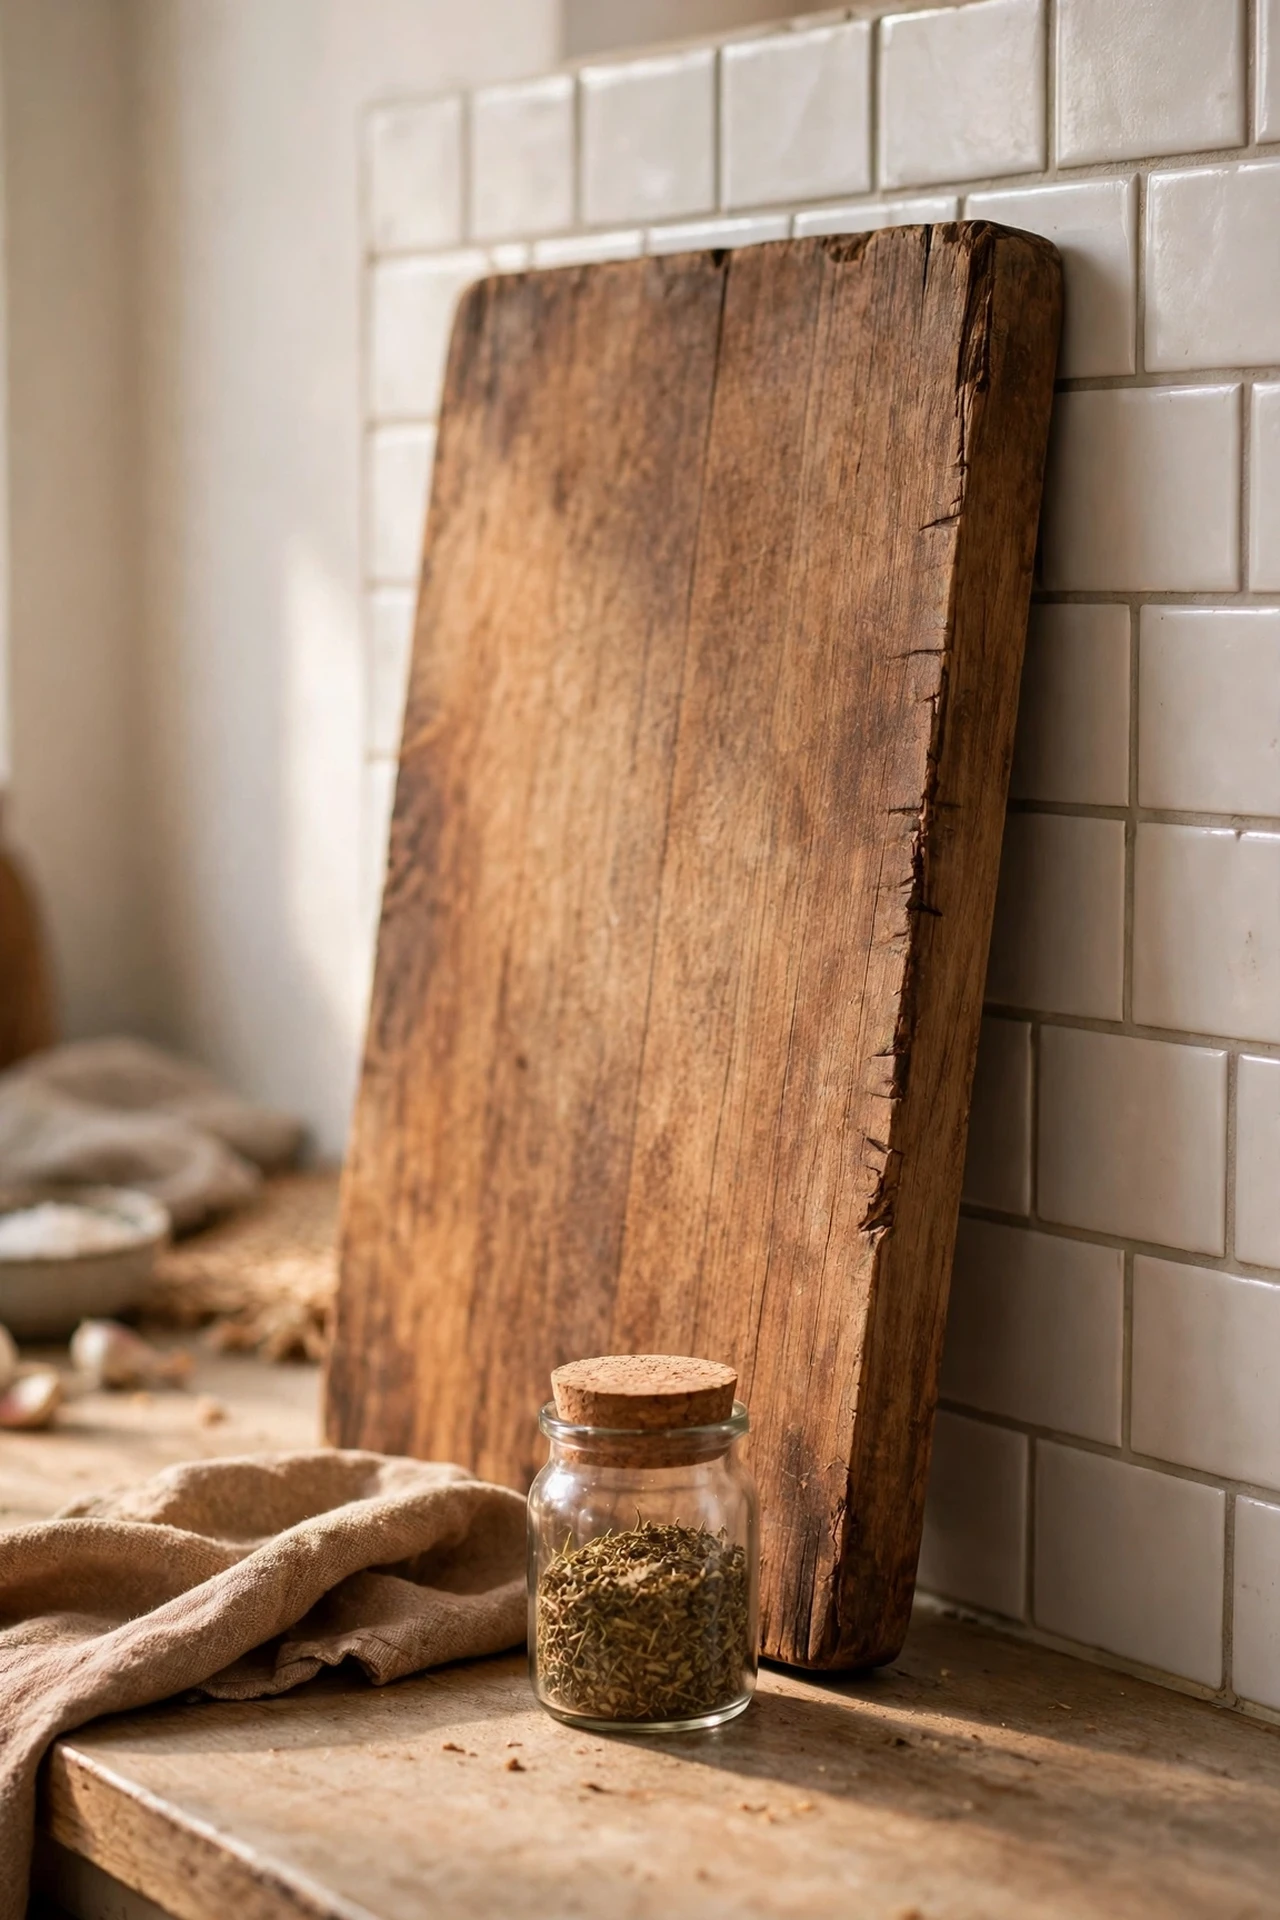
Leaning a beautiful wooden cutting board against the splashback gives your counter instant depth, and it costs nothing if you already own one. Choose a board with visible grain, stand it upright behind your coffee station or fruit bowl, and let it act as a textured backdrop that makes everything in front look intentional. The three steps are simple: pick your nicest board, lean it at a slight angle so it stays put, and style one small item in front like a candle or a small jar. I tried this with a board that was too small and it just disappeared — the mistake to avoid is going undersized; it should be taller than whatever sits in front of it. As a bonus, it’s right there when you need to chop something.
Cost: ~$15 | Time: 5 minutes
3. Decant Staples Into Matching Glass Jars
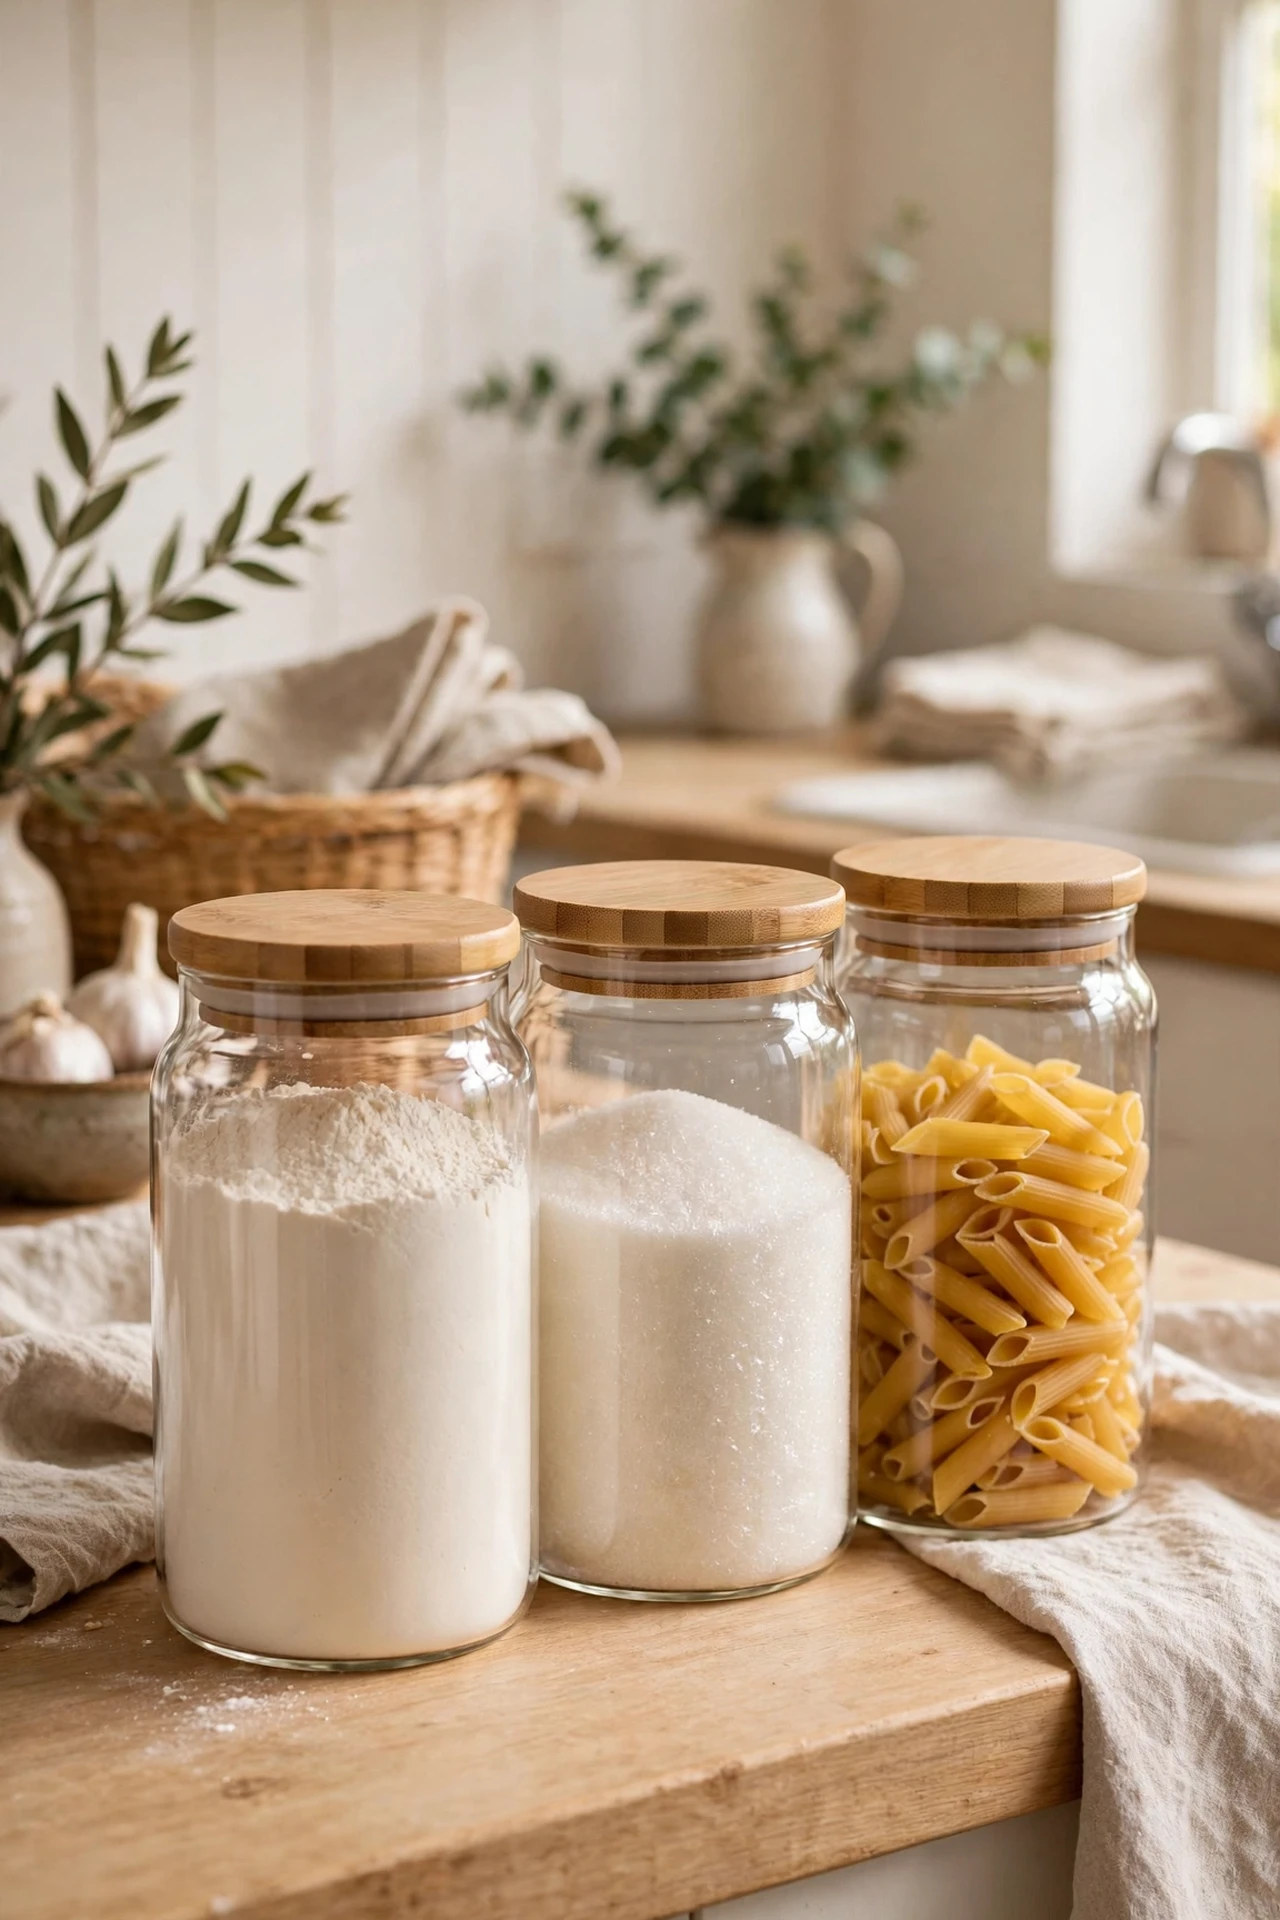
Flour, sugar, coffee, and pasta look so much better out of their supermarket packaging, and glass jars keep them fresher too. Buy a set of matching glass jars with bamboo or metal lids, pour in your everyday staples, and line them up with the labels facing forward so they read like a little shop display. Start with just the three or four things you reach for daily — washing and refilling a full wall of jars gets tedious fast. I tried decanting everything at once and half the jars sat empty for months, which looked silly. The mistake to avoid is buying jars before you know what you’ll actually fill them with, so measure your most-used ingredients first.
Cost: ~$18 | Time: 25 minutes
4. Add One Herb Plant in a Proper Pot
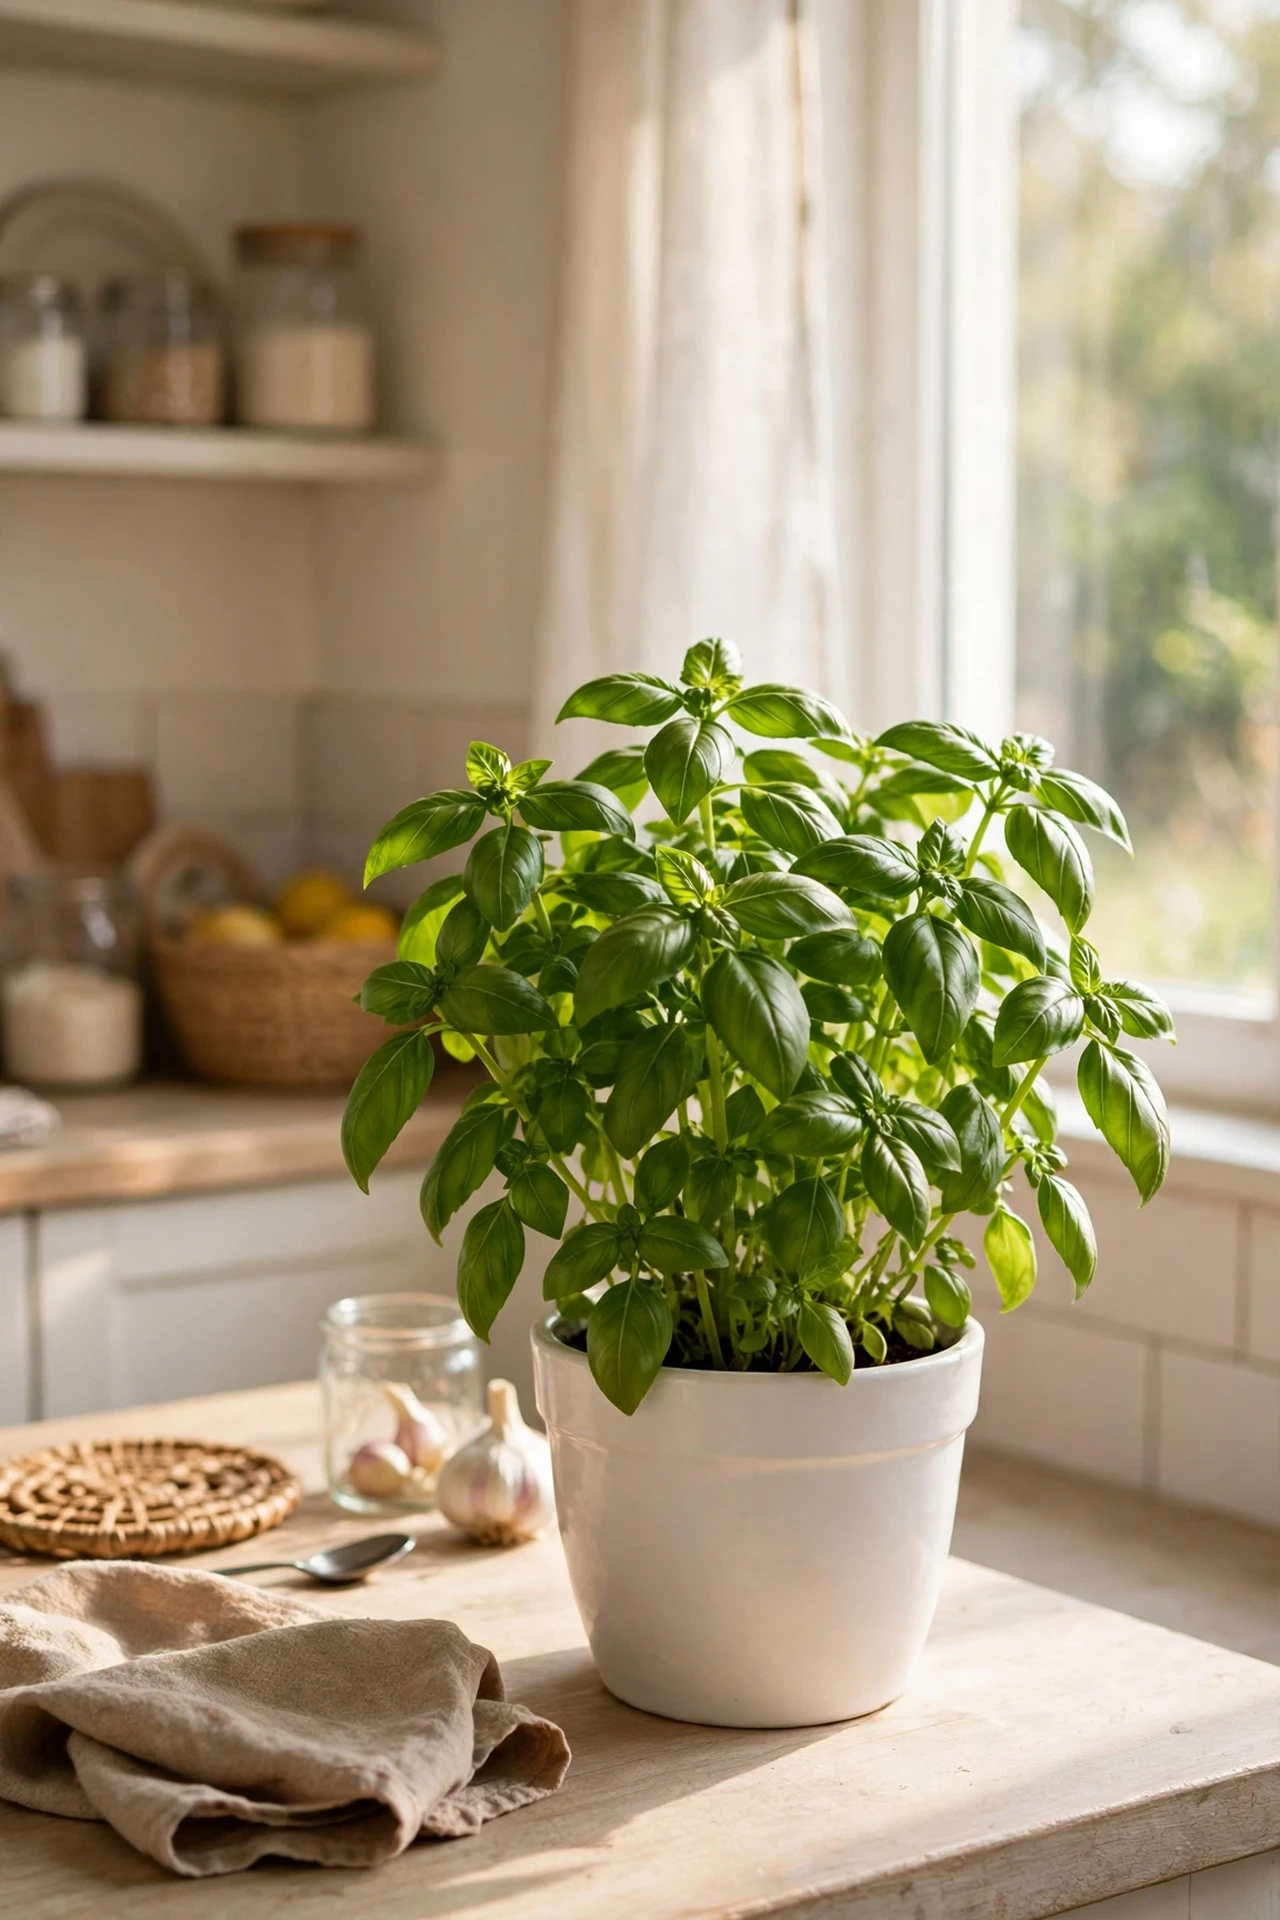
A single living herb plant on the counter adds colour, scent, and something you can actually cook with, which beats a decorative object every time. Basil, rosemary, or thyme all do well in a bright kitchen — repot it into a ceramic pot that matches your style rather than leaving it in the plastic nursery pot. Water it when the top centimetre of soil feels dry, snip from the top to encourage bushy growth, and keep it near the window but away from the hob’s heat. I tried keeping mine right next to the stove and it gave up within two weeks. The mistake to avoid is drowning it; most kitchen herbs die from too much water, not too little.
Cost: ~$8 | Time: 15 minutes
Pro tip: Group items in odd numbers — threes read as styled, fours read as clutter, and your eye will notice the difference even if you can’t explain it.
5. Display a Stack of Cookbooks Like a Mini Library
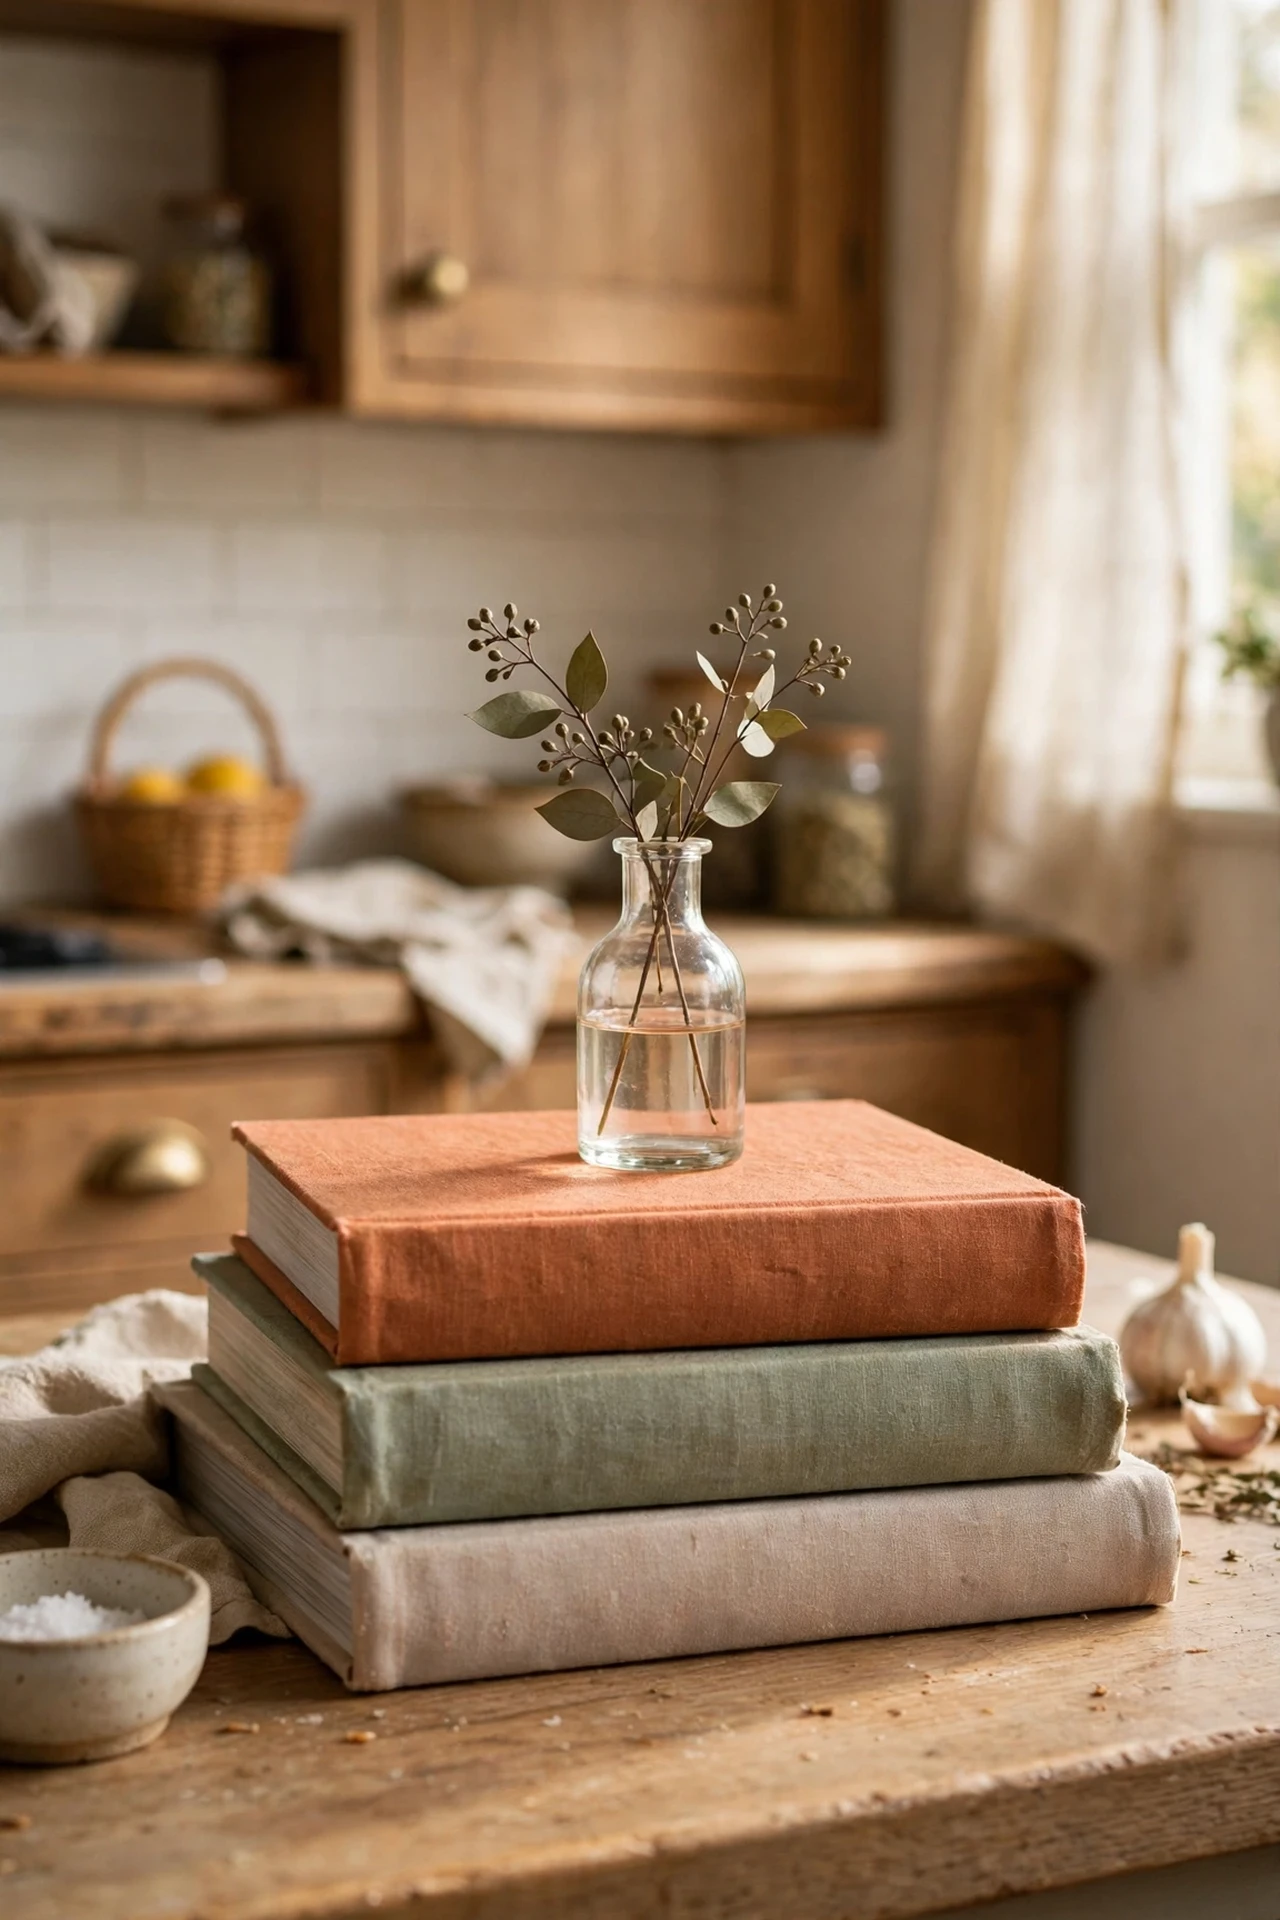
Three or four favourite cookbooks stacked sideways on the counter work as decor and a reminder to actually use them. Pick the ones with the nicest spines, stack them largest at the bottom, and top the pile with something small like a bud vase or a piece of fruit so it doesn’t look like a library sale. Keep the stack under four books — any taller and it starts to dominate the counter and block light. I tried stacking seven and it looked like I’d given up tidying. The mistake to avoid is placing them near the sink where splashes will ruin the pages; the dry end of the counter near the dining side is far safer.
Cost: ~$0 | Time: 5 minutes
6. Style a Small Bowl of Seasonal Fruit
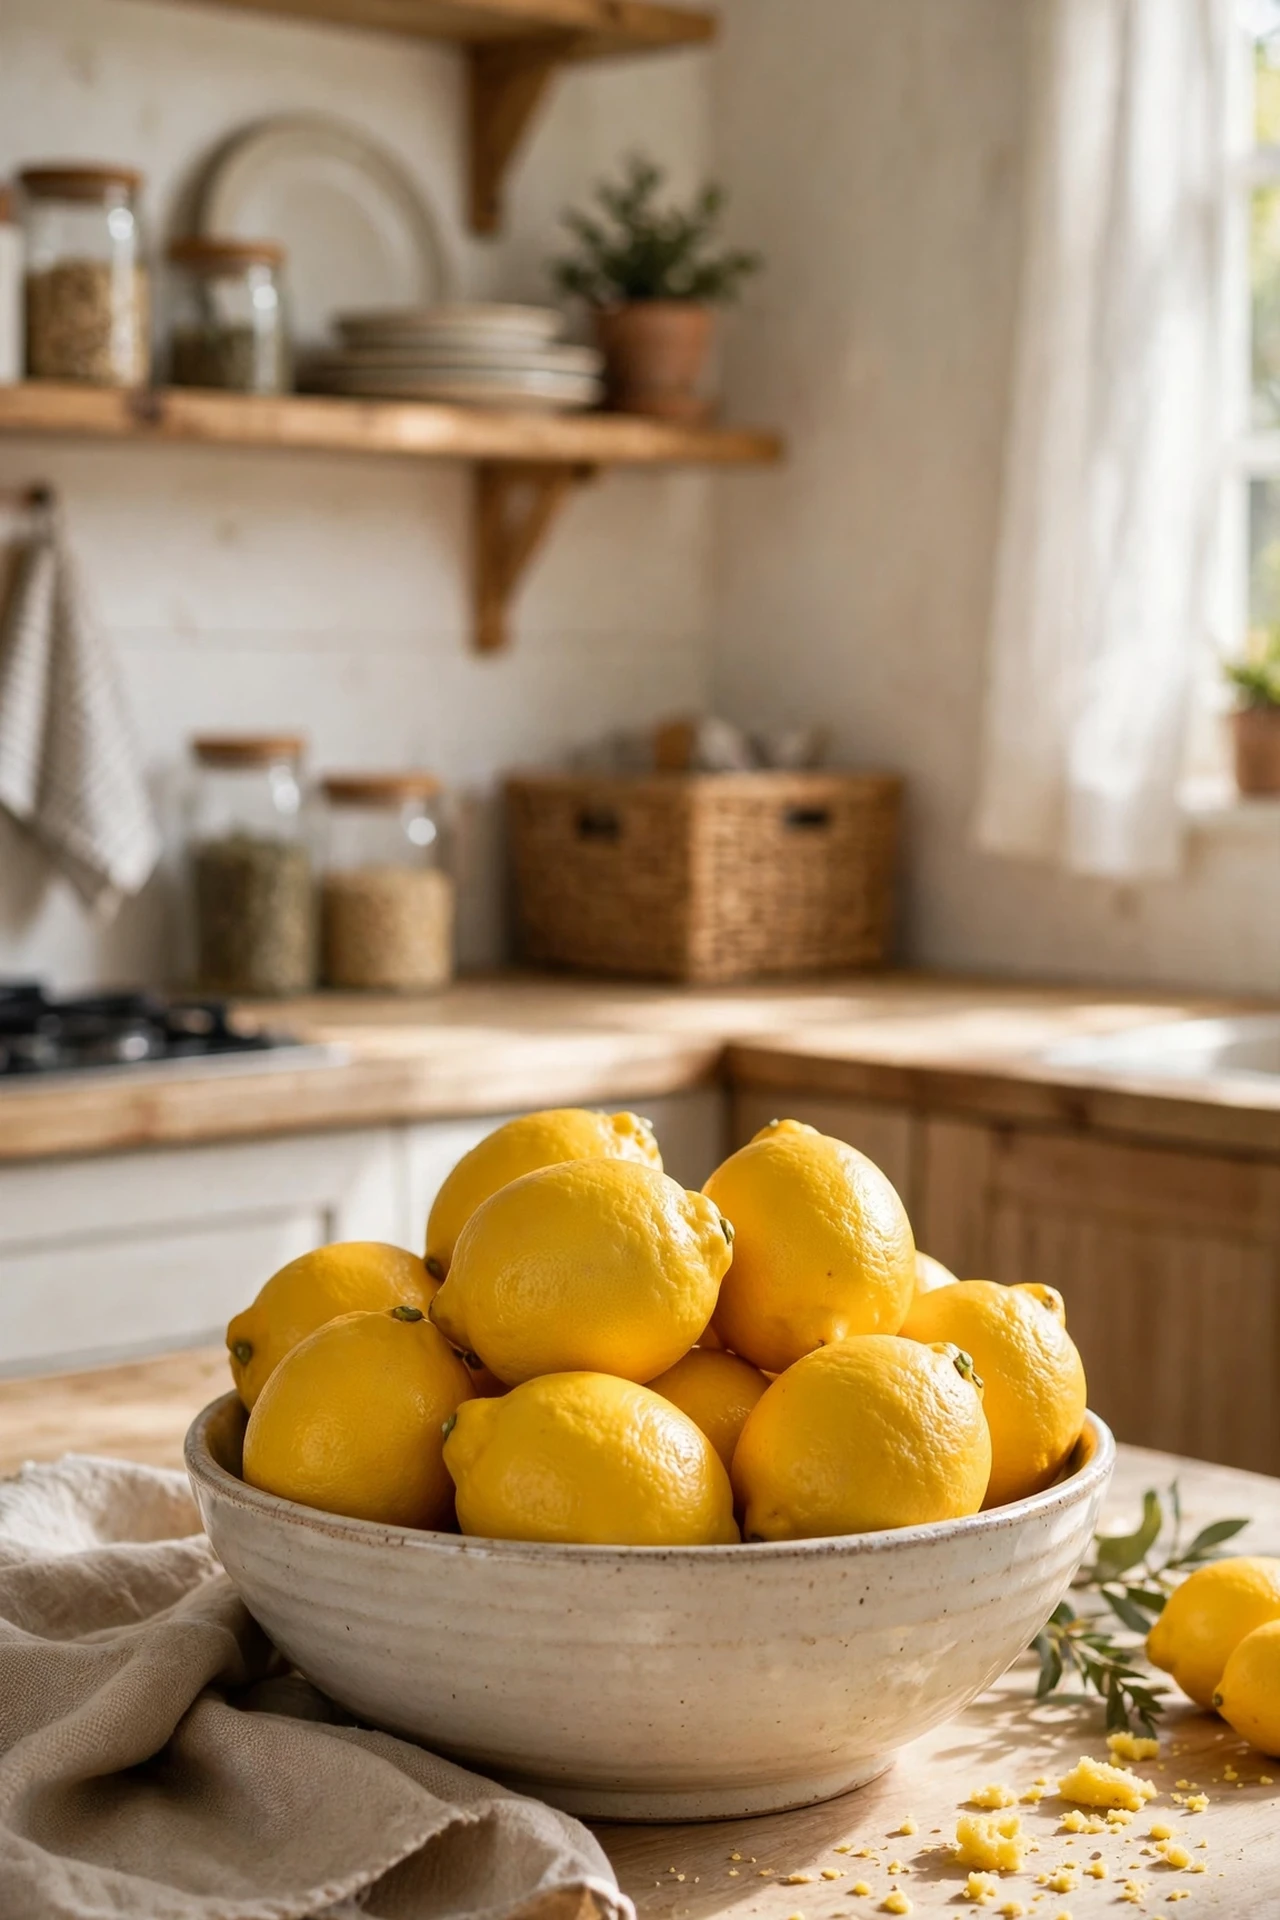
Nothing makes a counter look alive faster than a bowl of real fruit, and unlike most decor it never needs dusting. Use a shallow ceramic or wooden bowl and fill it with one type of fruit in a single colour — all lemons, all green apples, all oranges — because a mixed bowl reads busy while a single colour reads designed. Keep it to a number you will actually eat within the week, and refill from the fridge rather than buying fruit just for the bowl. I tried a huge overflowing bowl and half of it went soft before we touched it. The mistake to avoid is putting the bowl in direct afternoon sun, which turns beautiful fruit tired-looking in a day.
Cost: ~$6 | Time: 5 minutes
7. Corral the Coffee Station on a Small Board
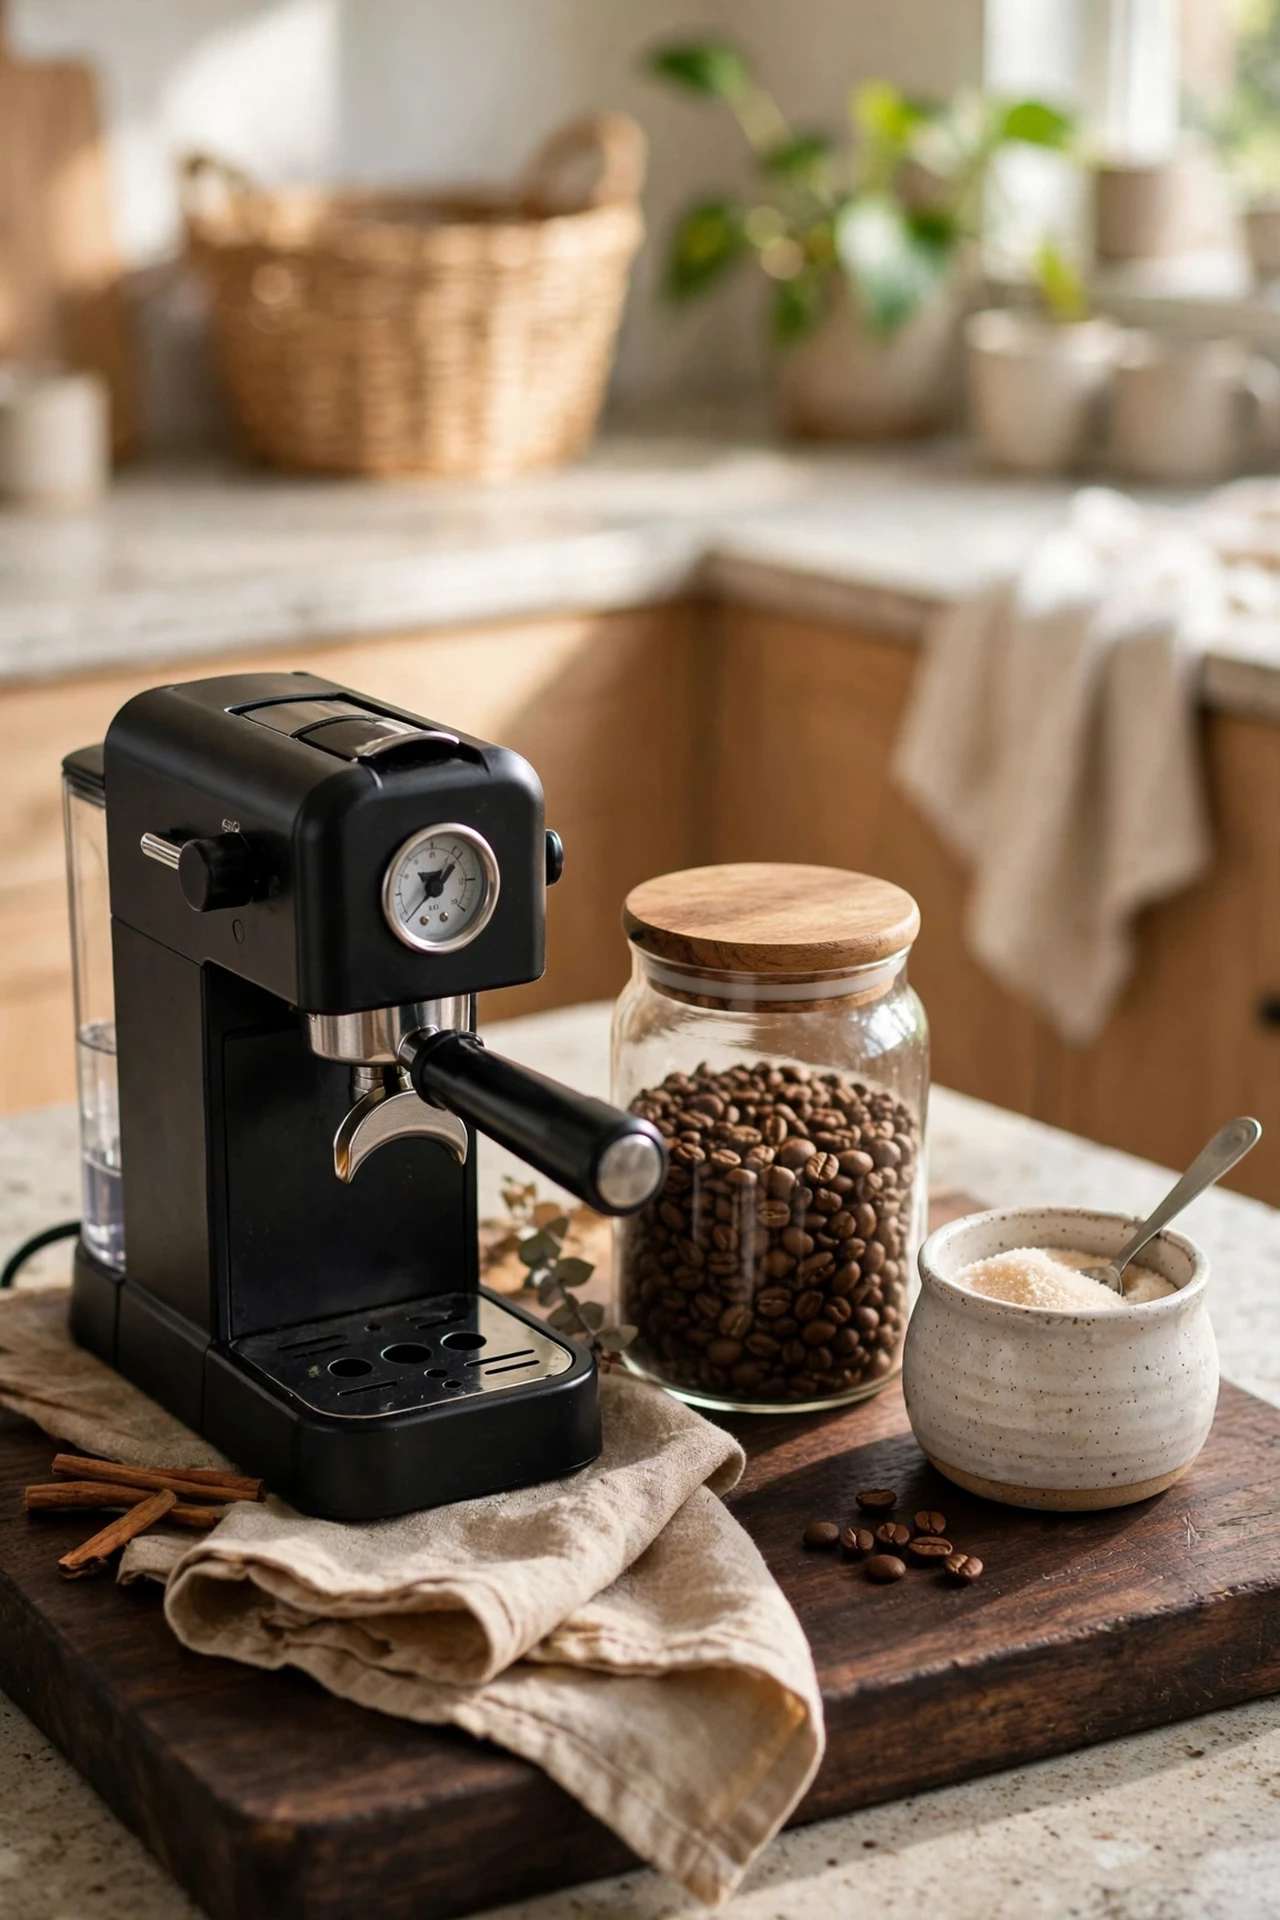
If you make coffee every morning, those supplies deserve their own zone instead of sprawling across the counter. Place your machine, a jar of beans, and your sugar bowl on a single dark wood board, and the whole setup suddenly looks like a café corner. Keep only what you use daily on the board and store the extras in a cupboard, because a coffee station with six unused gadgets is just clutter with a theme. I tried including the milk frother, syrups, and spare filters, and the board looked frantic. The mistake to avoid is letting the zone creep outward — when a mug lands outside the board, put it back. Our full (see also: small-kitchen-organisation-ideas) guide has more zone tricks if your counter space is tight.
Cost: ~$14 | Time: 15 minutes
8. Try a Tiny Bud Vase With One Stem
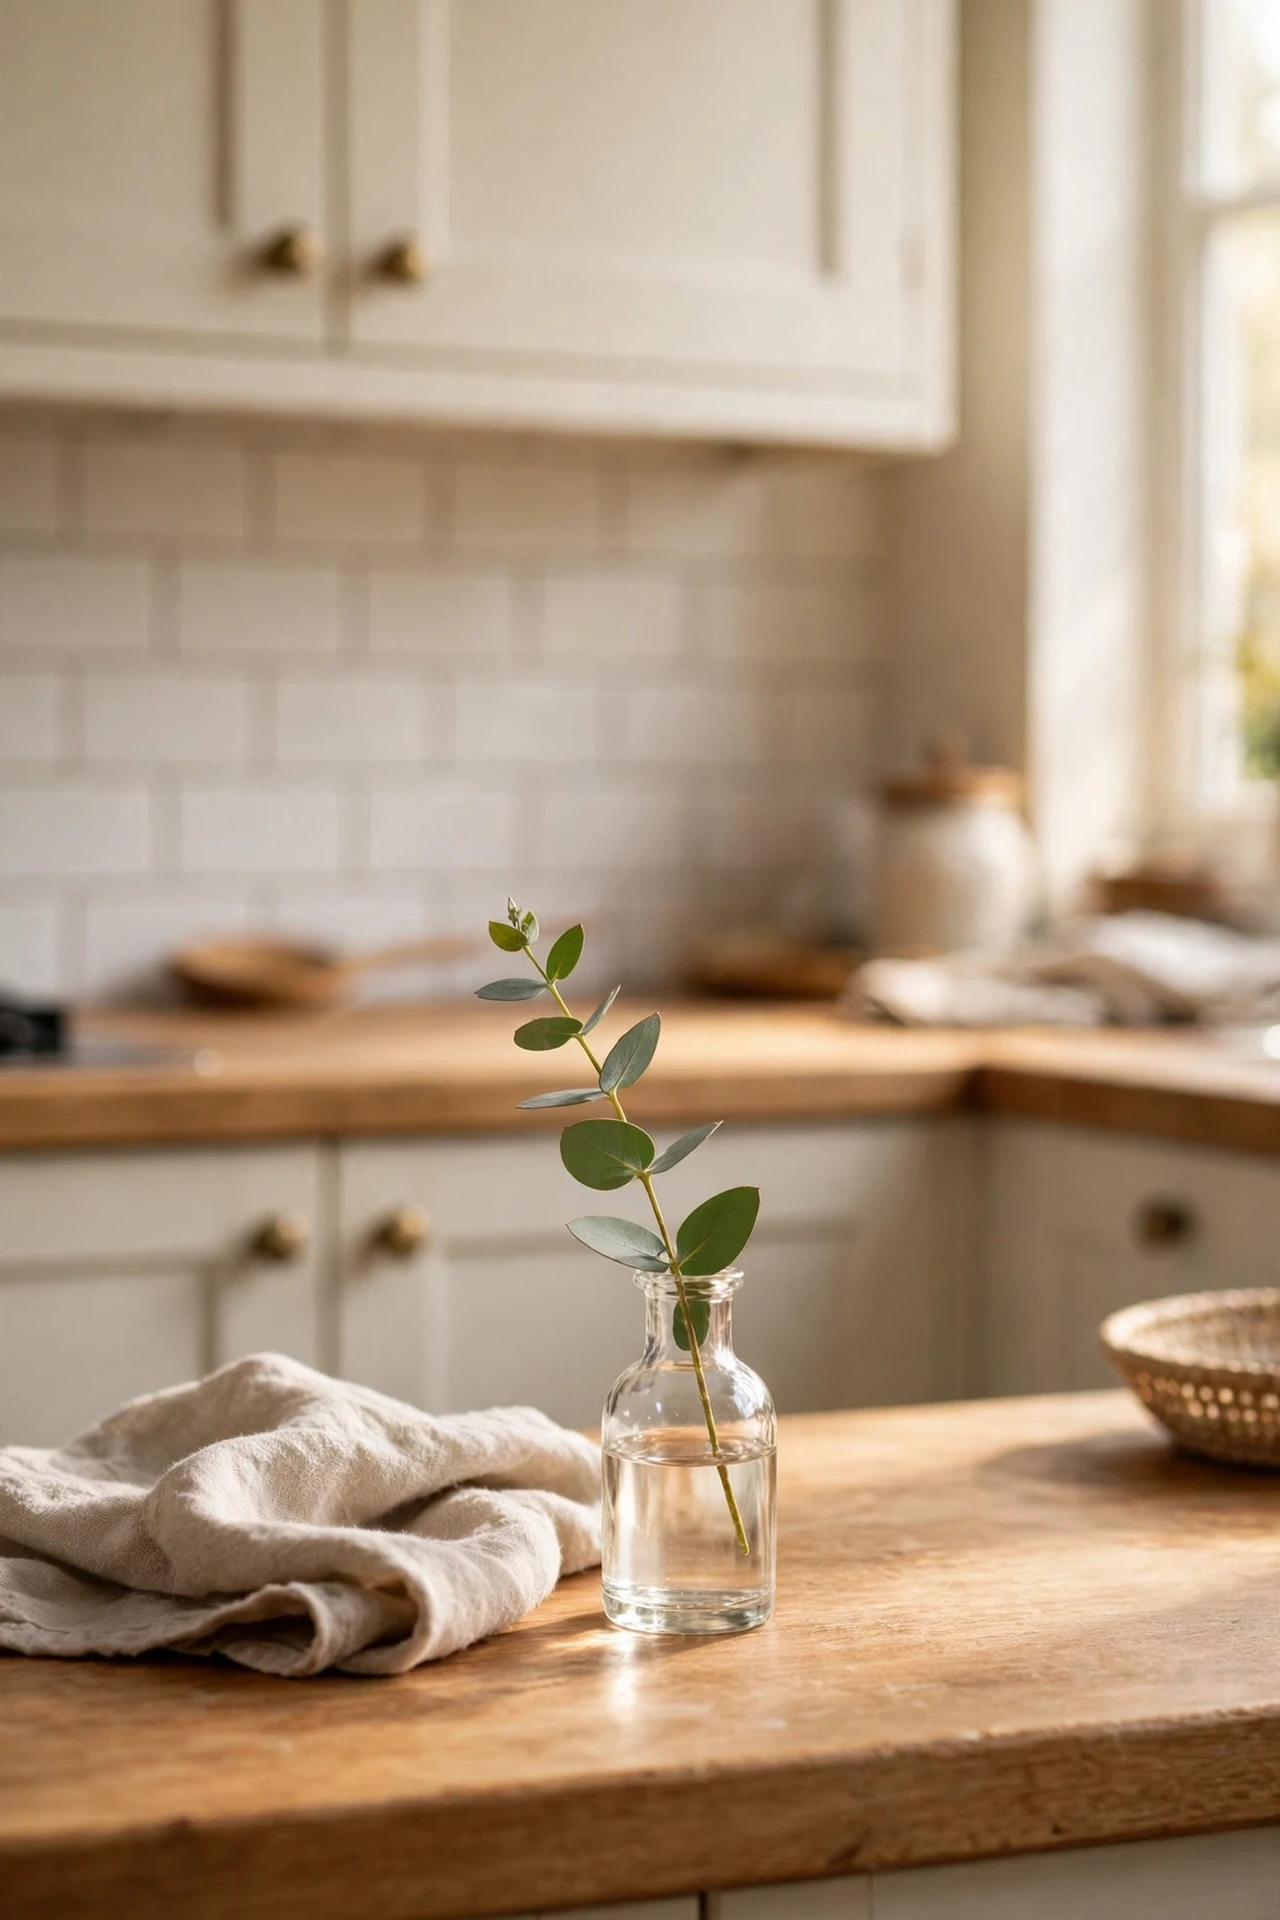
A full flower arrangement can overwhelm a counter, but a bud vase with a single stem adds charm without taking up space. Thrift stores are full of bud vases for a pound or two, so grab a couple in different heights, add a single eucalyptus sprig or one stem from the garden, and change the water every few days. The rule is one stem per vase, placed where you will actually see it — next to the fruit bowl or by the coffee station works beautifully. I tried three stems in a bud vase and it looked like a failed bouquet. The mistake to avoid is letting the water sit for a week; it goes cloudy fast and ruins the effect.
Cost: ~$4 | Time: 5 minutes
Pro tip: Leave at least one third of your counter visibly empty — that clear space is what makes everything else look styled rather than crowded.
9. Swap Dish Soap Into a Pretty Dispenser
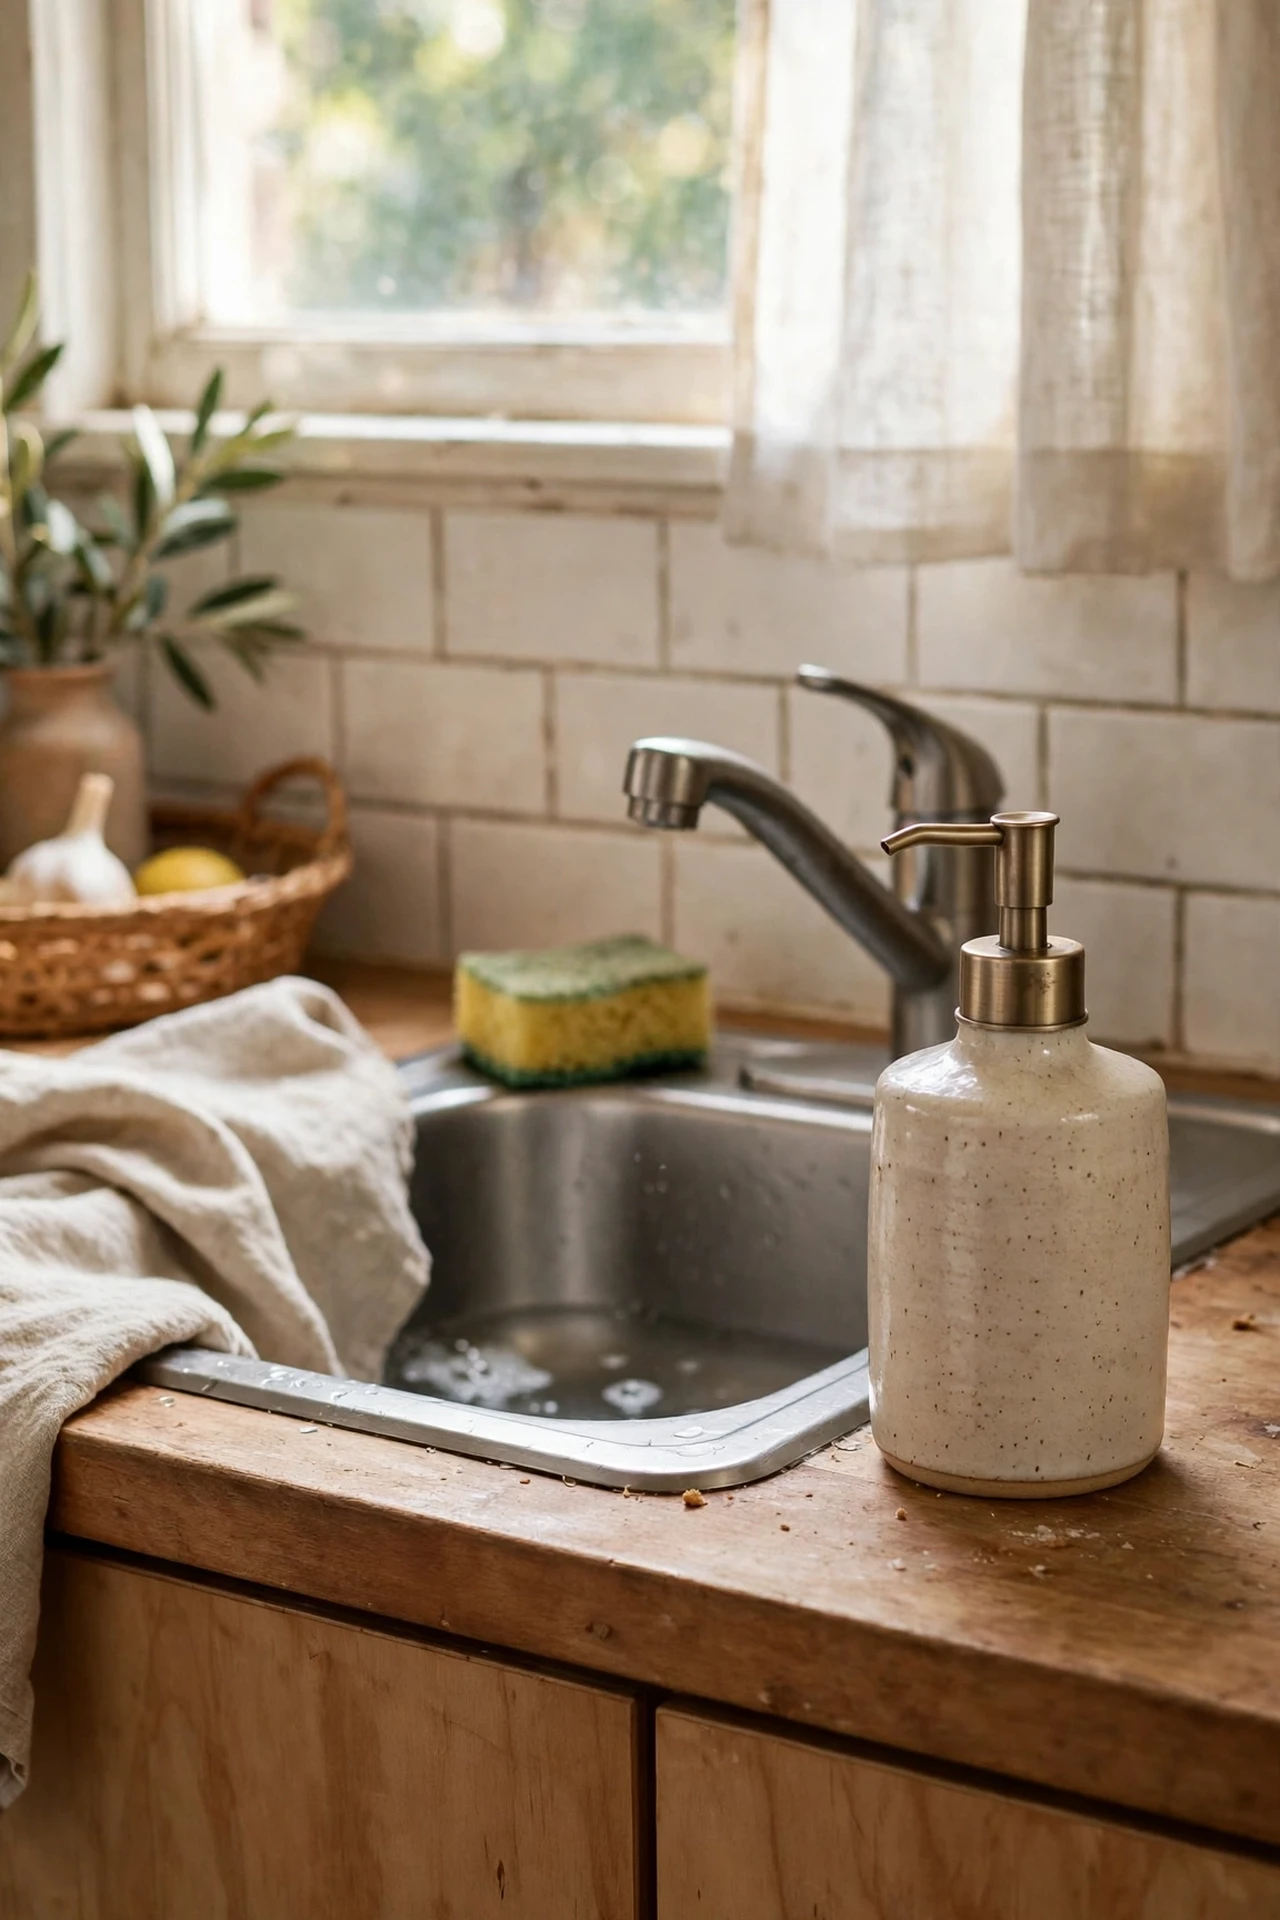
The bottle your dish soap comes in was designed to sell on a shelf, not to sit on your counter, so decanting it is a tiny change with a big payoff. Pick a pump dispenser in ceramic, glass, or brushed metal that matches your taps, pour in the soap, and wipe the pump weekly to keep it looking clean. It takes thirty seconds to refill and the sink area instantly looks calmer. I tried a tall fancy dispenser first and the pump mechanism was so stiff it drove me mad. The mistake to avoid is choosing style over function — test the pump action in the shop if you can, because you’ll use it several times a day.
Cost: ~$10 | Time: 5 minutes
10. Hang Utensils on a Simple Rail
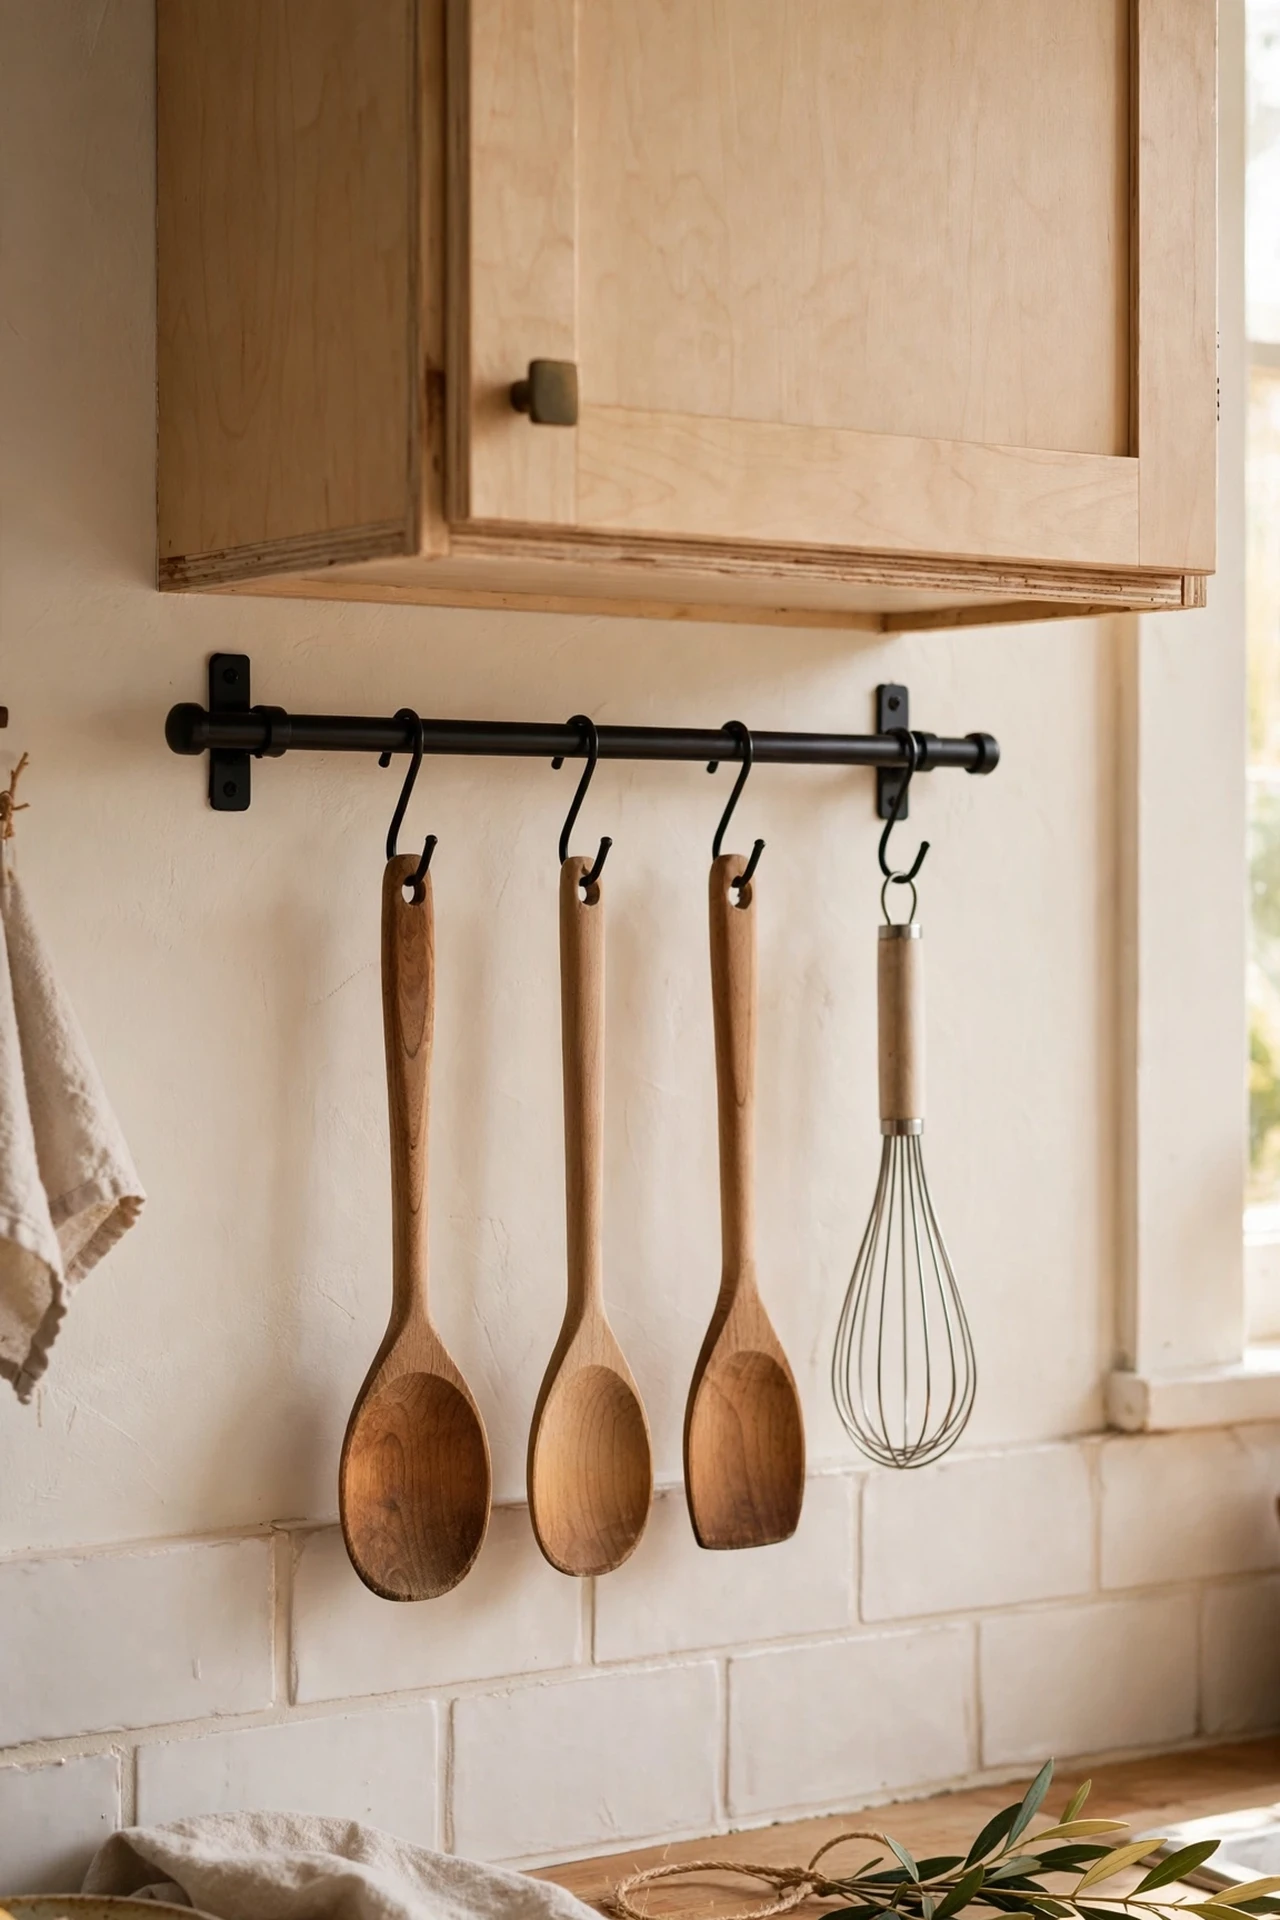
Moving your most-used utensils off the counter and onto a wall rail frees up real space while still looking decorative. Fix a short metal rail with hooks under a wall cabinet or on a free stretch of splashback, hang your spatula, whisk, and a couple of wooden spoons, and leave the bulky countertop crock for the rest or ditch it entirely. Measure twice before drilling, keep the rail away from the hob’s splatter zone, and choose hooks that actually hold the handles you own. I tried this with flimsy adhesive hooks and woke up to everything on the floor. The mistake to avoid is underestimating the weight — a proper screwed rail is a ten-minute job and lasts years.
Cost: ~$11 | Time: 20 minutes
11. Use a Cake Stand for Everyday Items
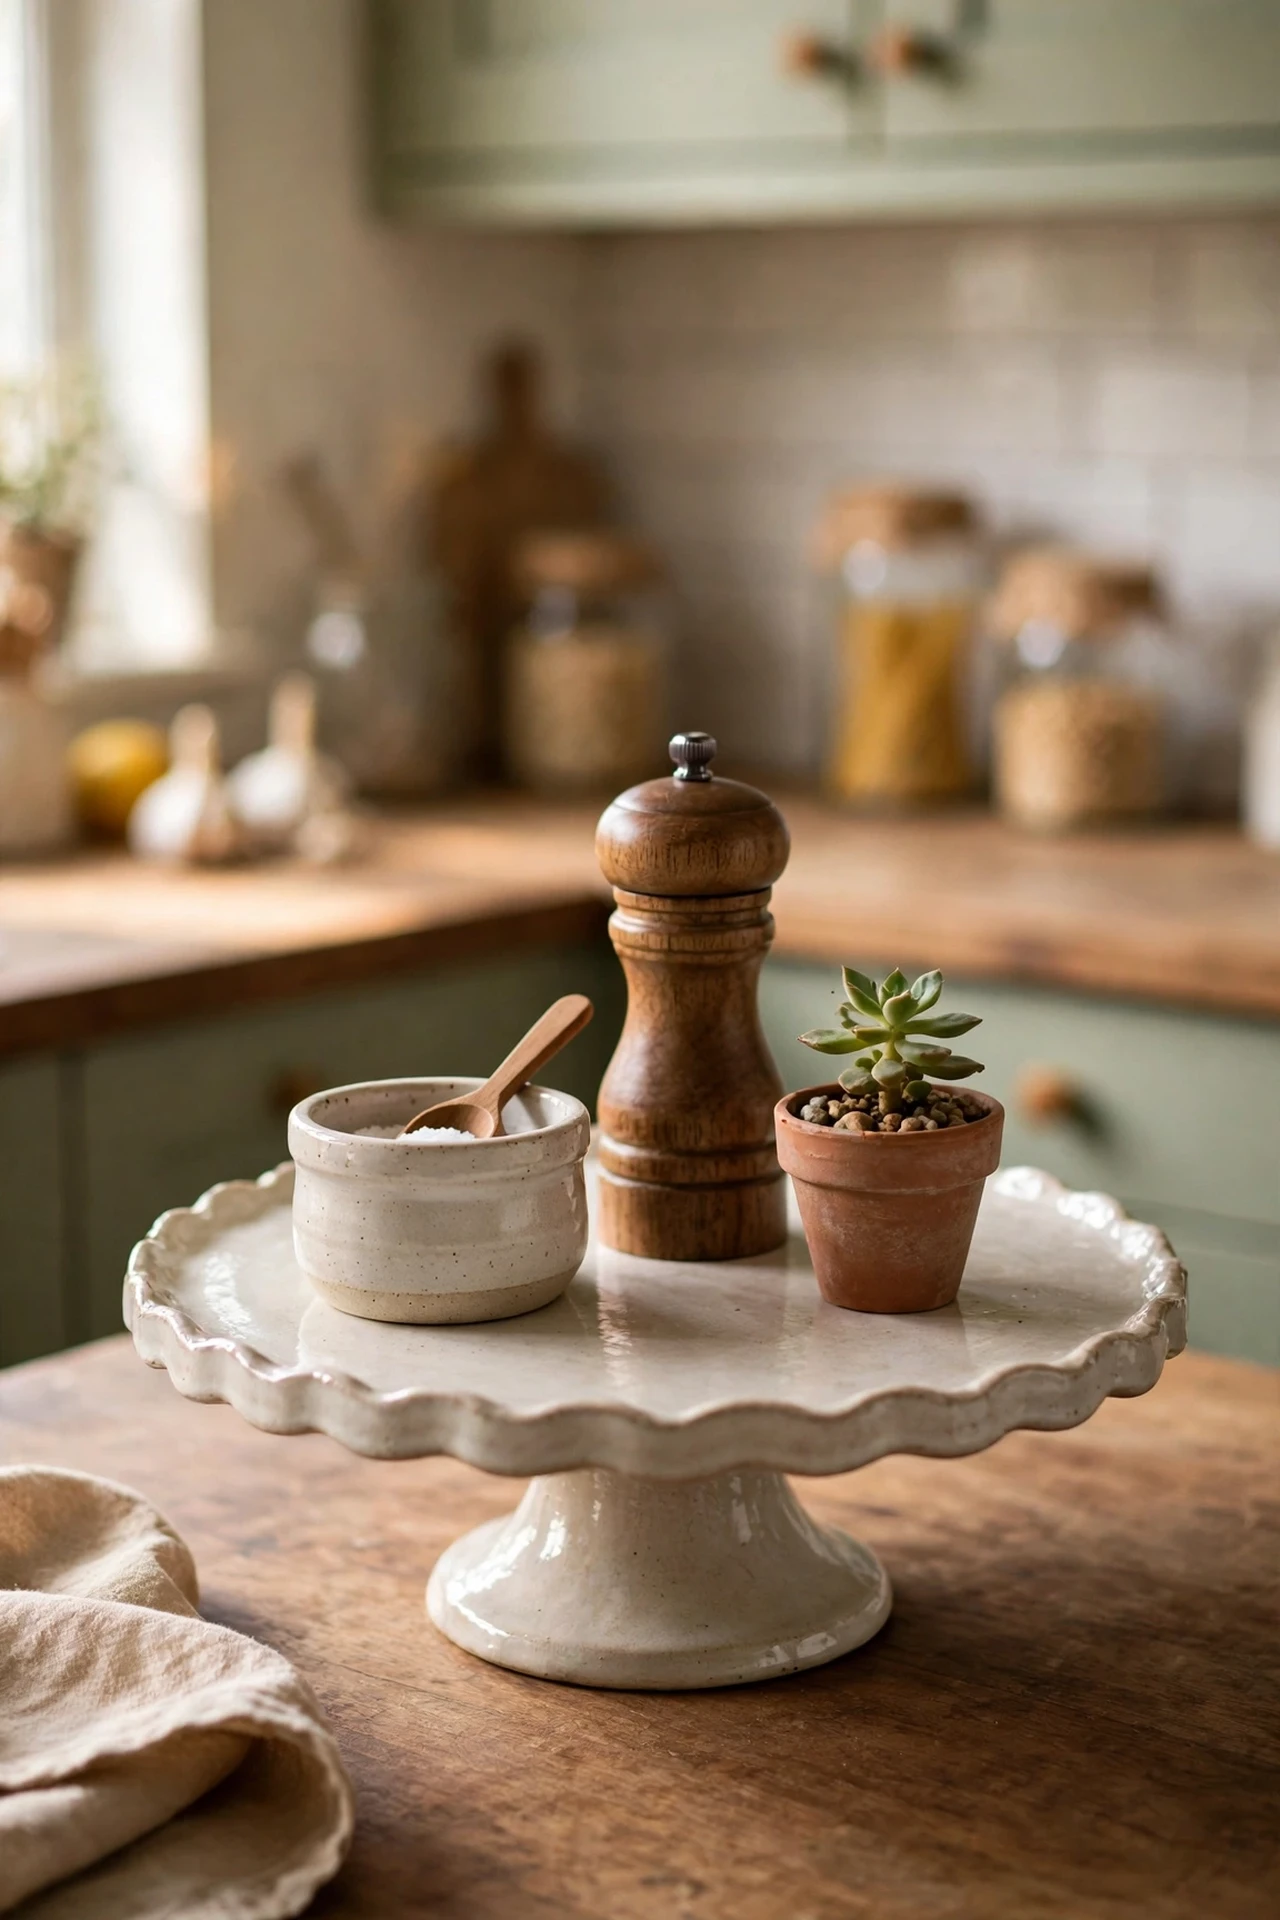
A cake stand isn’t just for parties — using one for everyday counter items adds height variation that makes the whole display look layered. Set your salt and pepper, olive oil, and a small plant on it, and ordinary things suddenly look like a styled vignette. Hunt charity shops for a ceramic or glass stand rather than buying new, and wipe it down weekly since kitchen grease settles on raised surfaces fast. I tried piling too much on mine and it looked like a jumble sale. The mistake to avoid is treating it as extra storage space; the moment it holds more than four items, it stops being decor. Pin this one to your kitchen board — you’ll want it when you rearrange your counters for a party and need a quick styling win.
Cost: ~$9 | Time: 10 minutes
12. Add Warmth With a Small Table Lamp
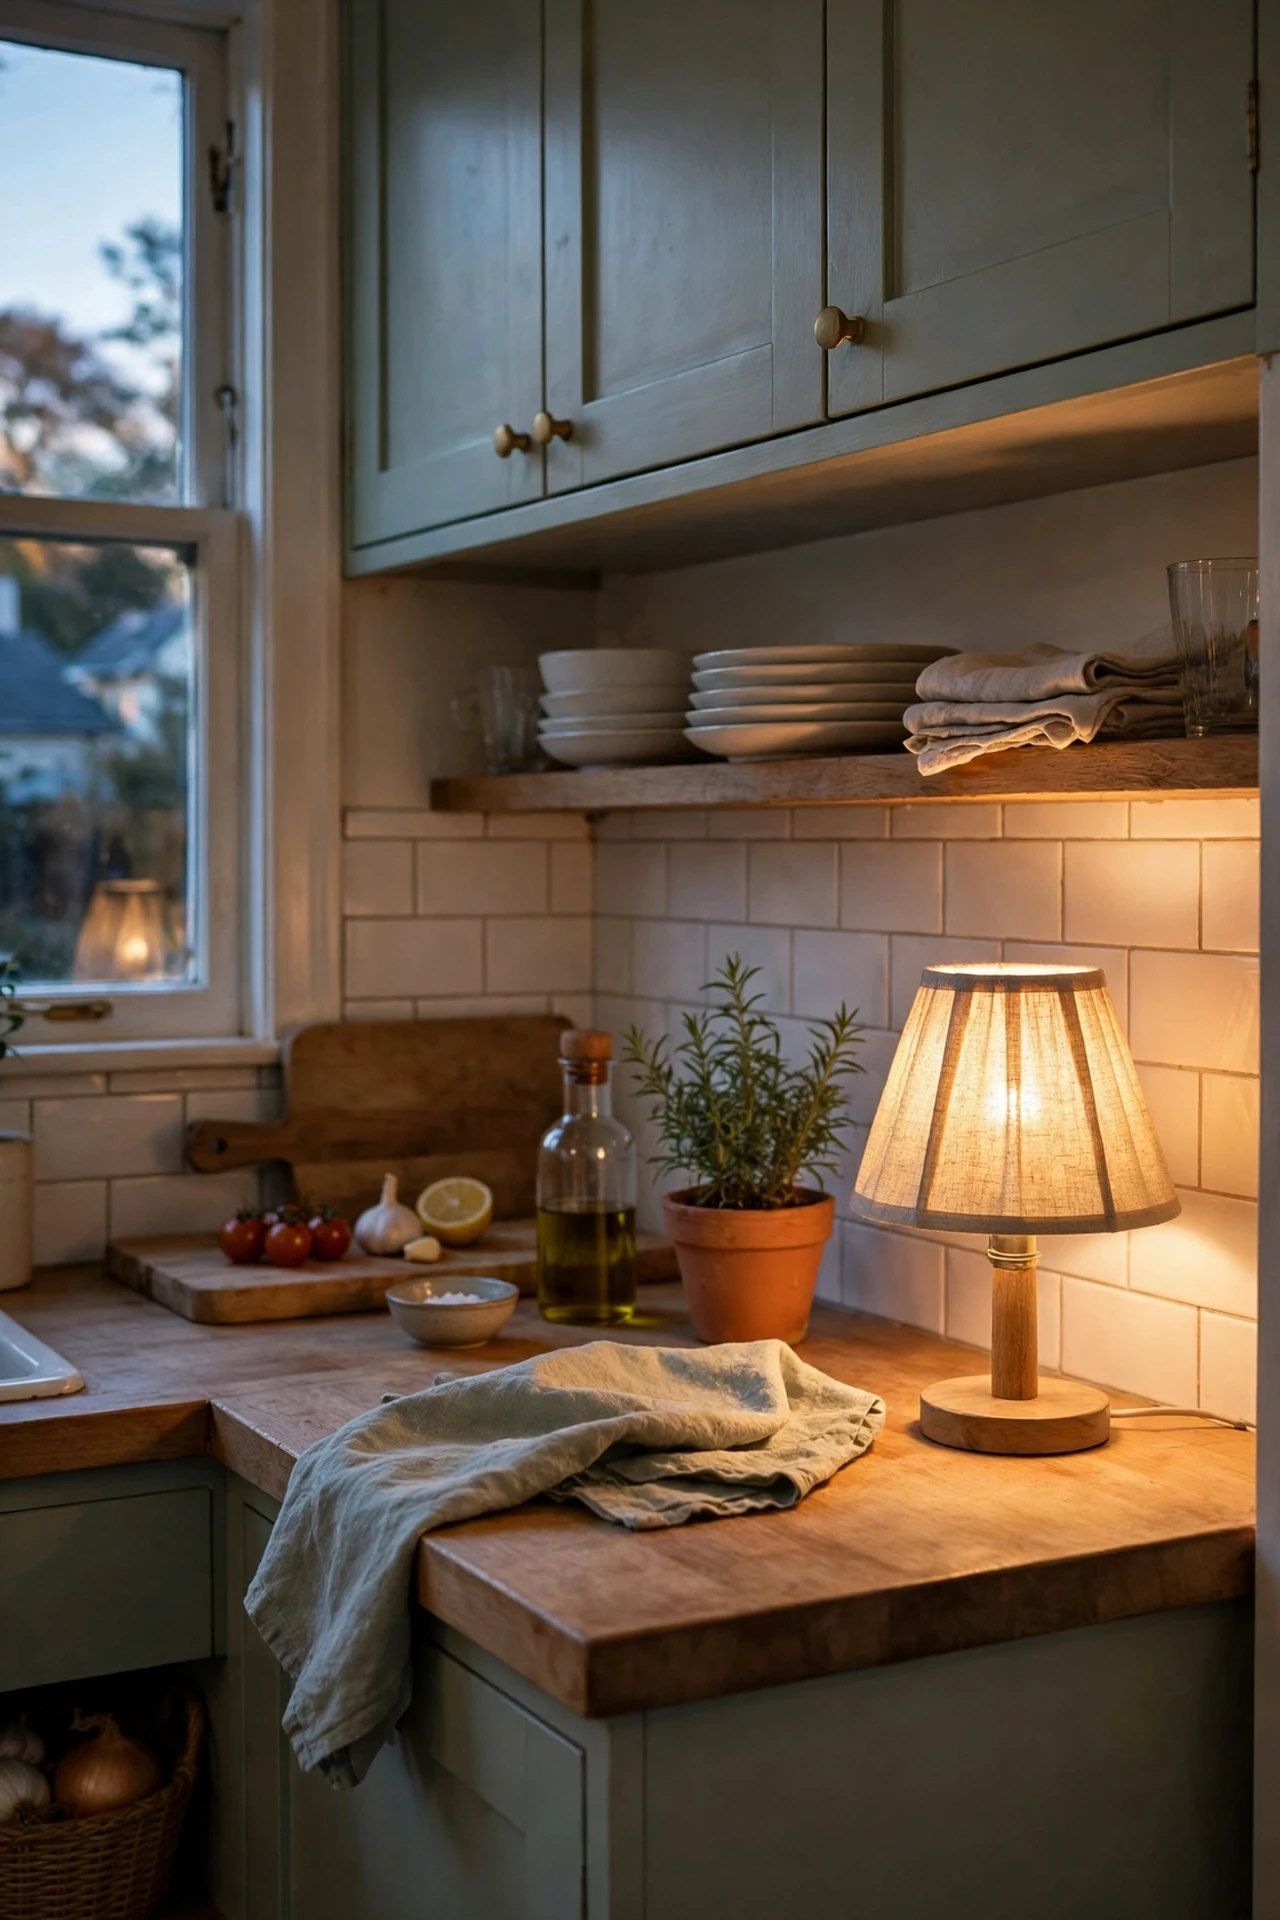
A little lamp on the kitchen counter sounds odd until you try it — the warm pool of light makes the whole room feel cosier in the evenings. Choose a compact lamp with a fabric shade and a warm-toned bulb, tuck it at the far end of the counter away from water, and switch it on instead of the overhead lights when you’re done cooking. Use an LED bulb so it stays cool, and keep the cord tucked neatly behind the lamp base. I tried a full-size table lamp and it swallowed the counter. The mistake to avoid is going too big — a lamp under 25cm tall is plenty, and battery-operated ones remove the cord worry entirely.
Cost: ~$16 | Time: 10 minutes
Pro tip: Vary heights across your counter — a tall plant, a medium jar, a low bowl. When everything sits at the same level the counter looks flat and cluttered.
13. Roll Up Tea Towels Into a Crock
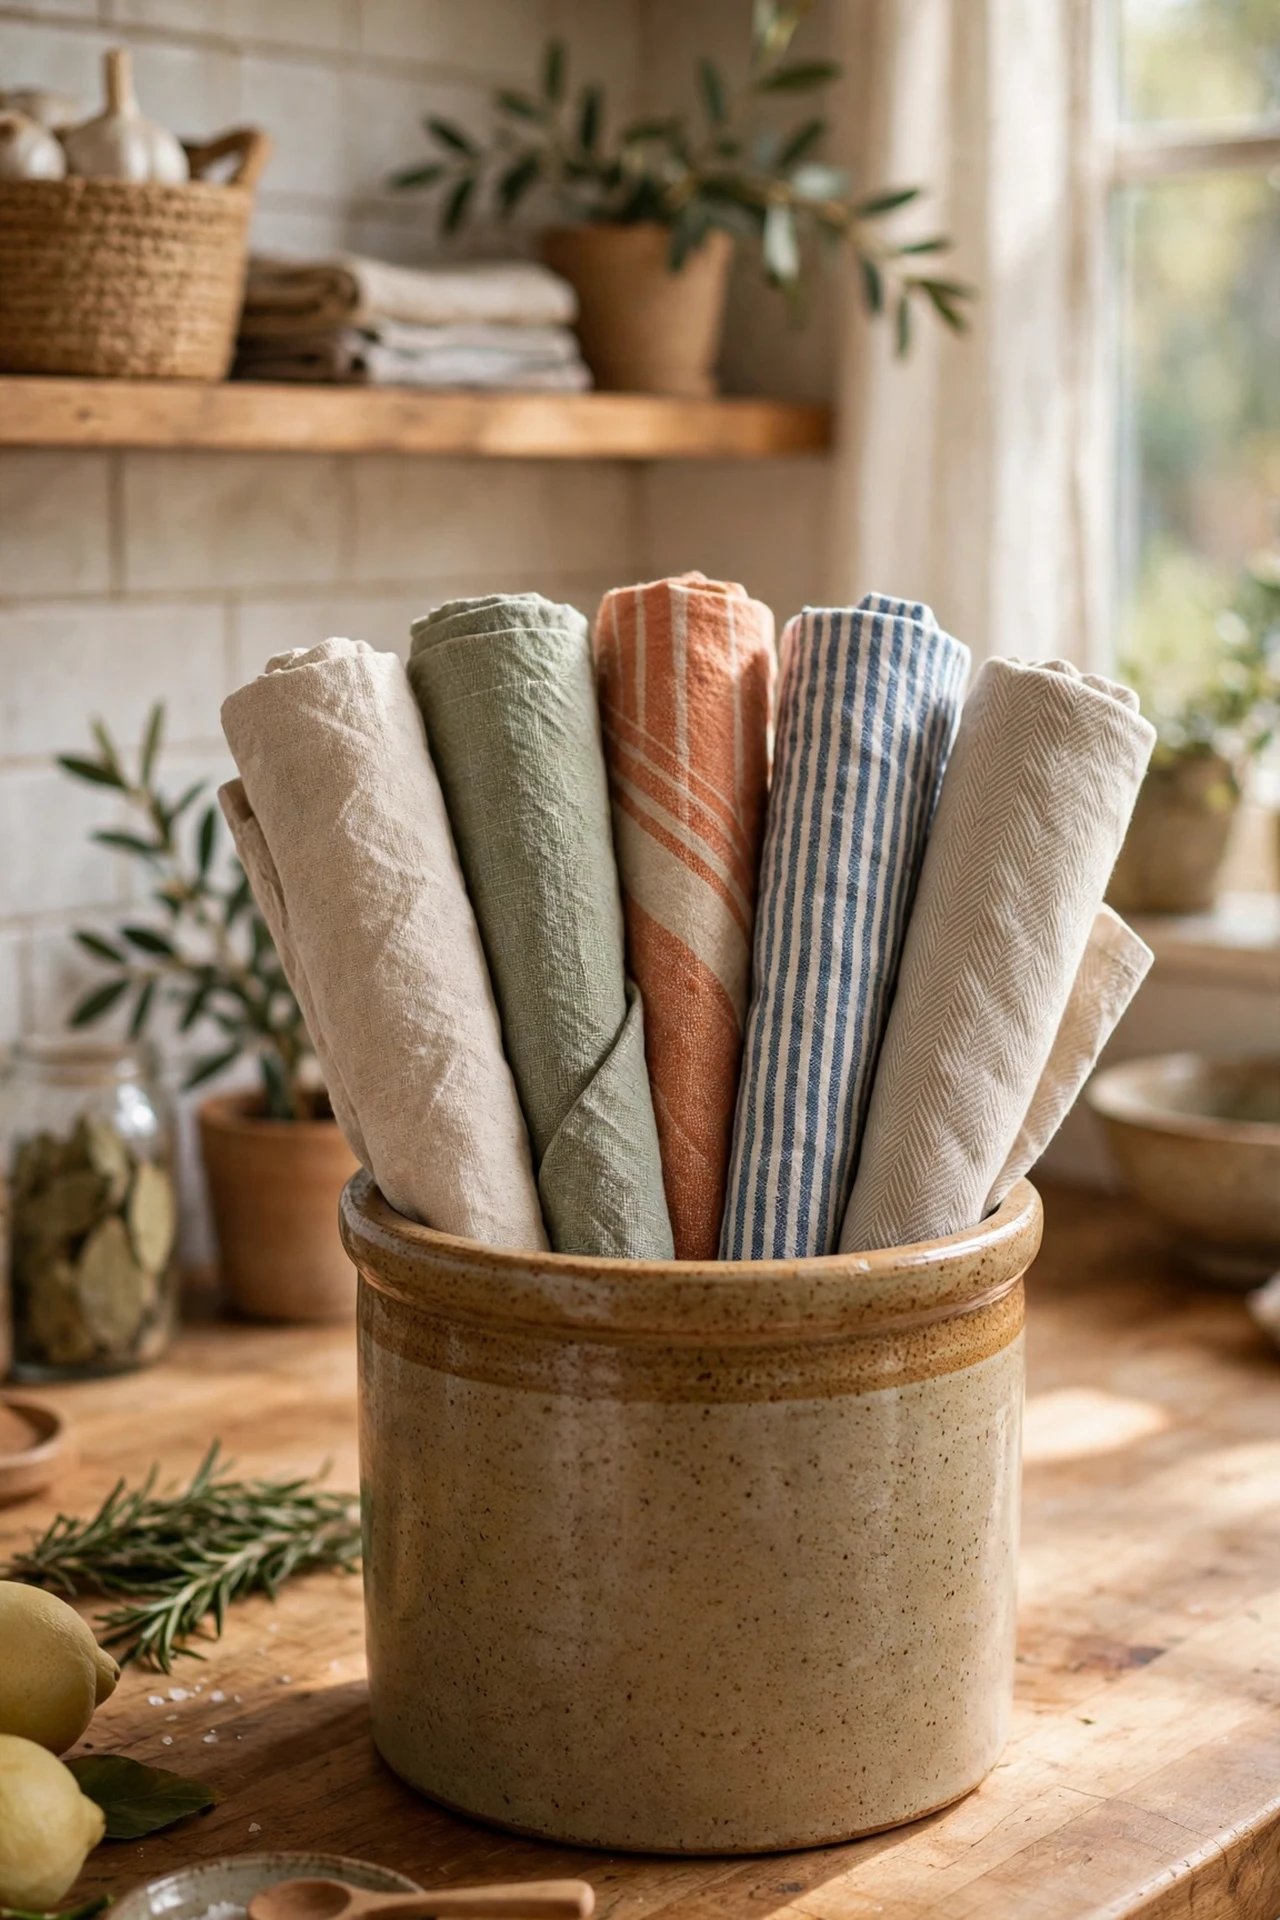
A ceramic crock of rolled tea towels looks far tidier than a draped one and keeps your prettiest towels on show. Roll each towel tightly so the pattern faces out, stand them upright in a sturdy crock or vase, and place it near the sink or hob where you’ll actually grab them. Stick to two or three colours that match your kitchen, because a rainbow of clashing towels defeats the purpose. I tried cramming in every towel I owned and the crock bulged like an overstuffed bag. The mistake to avoid is using your everyday worn towels for display — keep the display set separate and the scruffy ones in a drawer.
Cost: ~$12 | Time: 10 minutes
14. Frame a Small Print for the Counter Wall
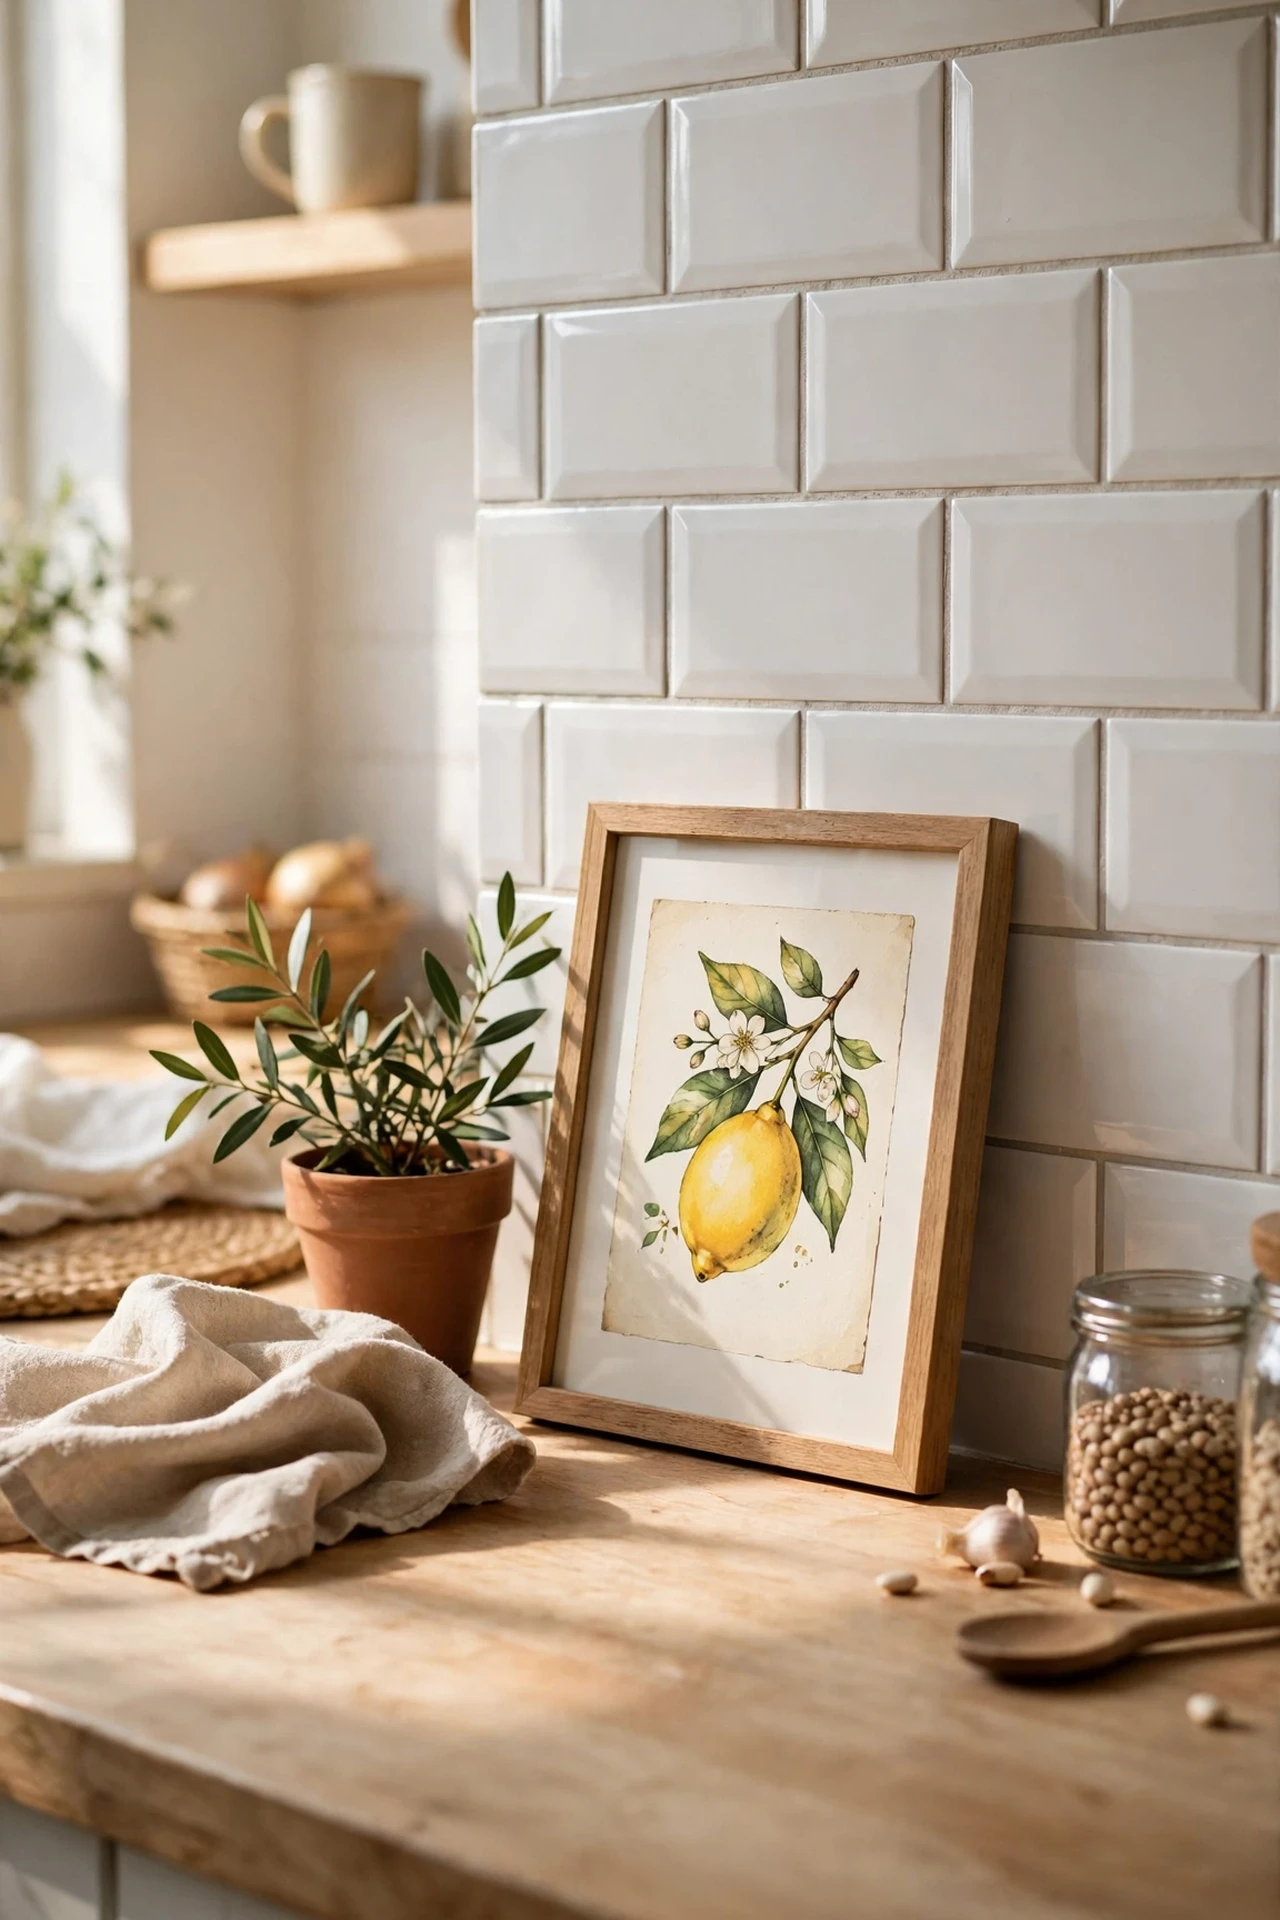
Art in the kitchen is underrated, and a small framed print leaning on the counter fills a blank stretch of splashback beautifully. Choose a food-themed illustration, a vintage market poster, or even a page torn from a cookbook, frame it simply, and lean it where it won’t get splashed. Keep the frame modest — around A5 — so it doesn’t dominate, and wipe the glass monthly since kitchens are dusty. I tried a big framed print and it blocked half my prep space. The mistake to avoid is hanging it with nails when leaning works better; leaning lets you move it when you need the space. For more wall styling, our (see also: kitchen-wall-decor-ideas) post covers splashback-friendly art in detail.
Cost: ~$8 | Time: 10 minutes
15. Style With a Mortar and Pestle
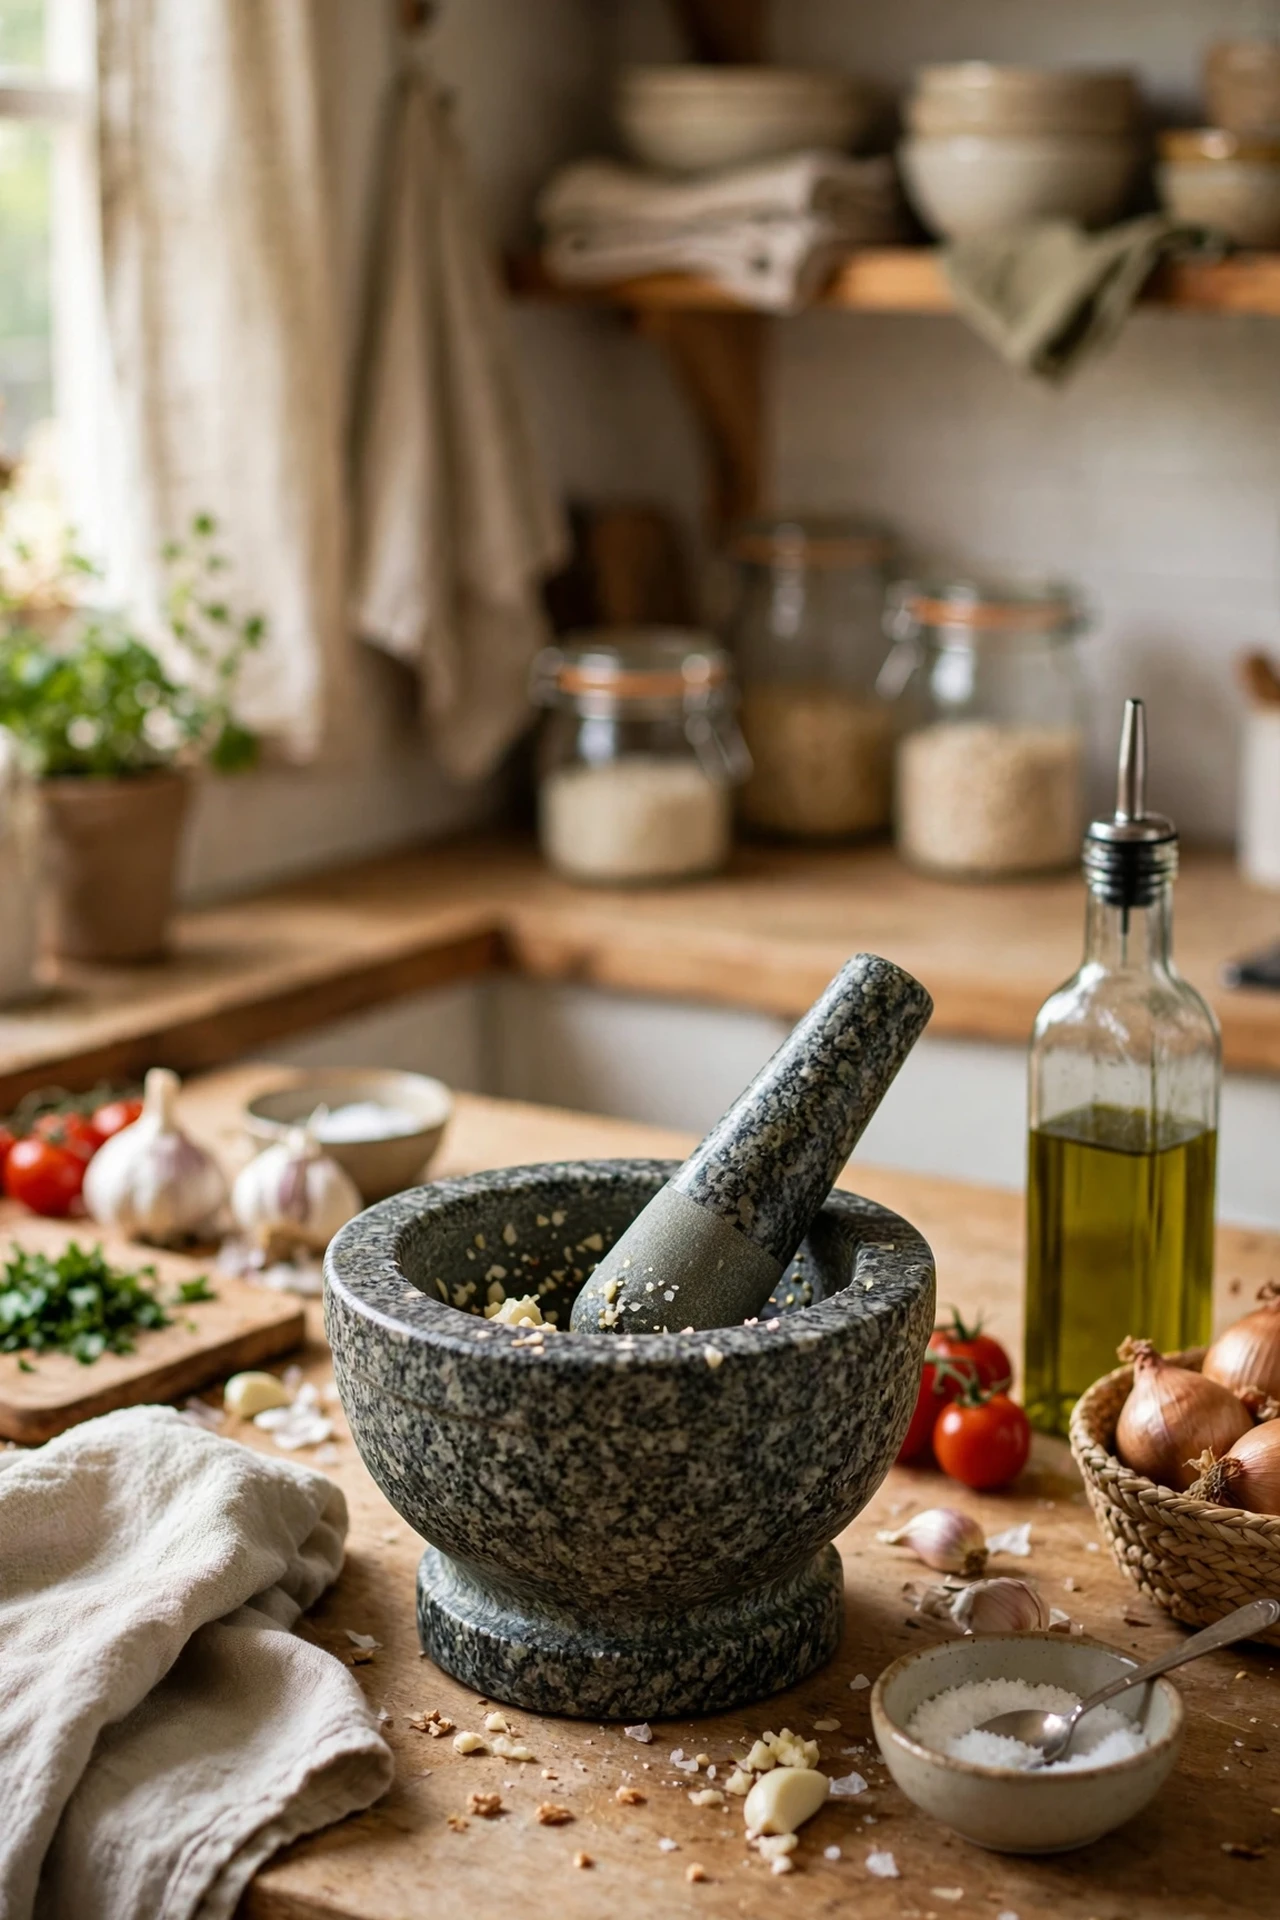
A stone mortar and pestle looks sculptural on the counter while being genuinely useful, which is the sweet spot for kitchen decor. Choose one in granite or marble that feels heavy and solid, place it near your prep area, and use it weekly for spices so it earns its space. A quick rinse and air-dry keeps it clean — never put it in the dishwasher. I tried a tiny decorative one first and it couldn’t crush anything, so it was just clutter in disguise. The mistake to avoid is buying it only for looks; if you won’t use it, skip it, because decor that pretends to be useful fools nobody.
Cost: ~$14 | Time: 5 minutes
16. Keep a Woven Basket for Overflow
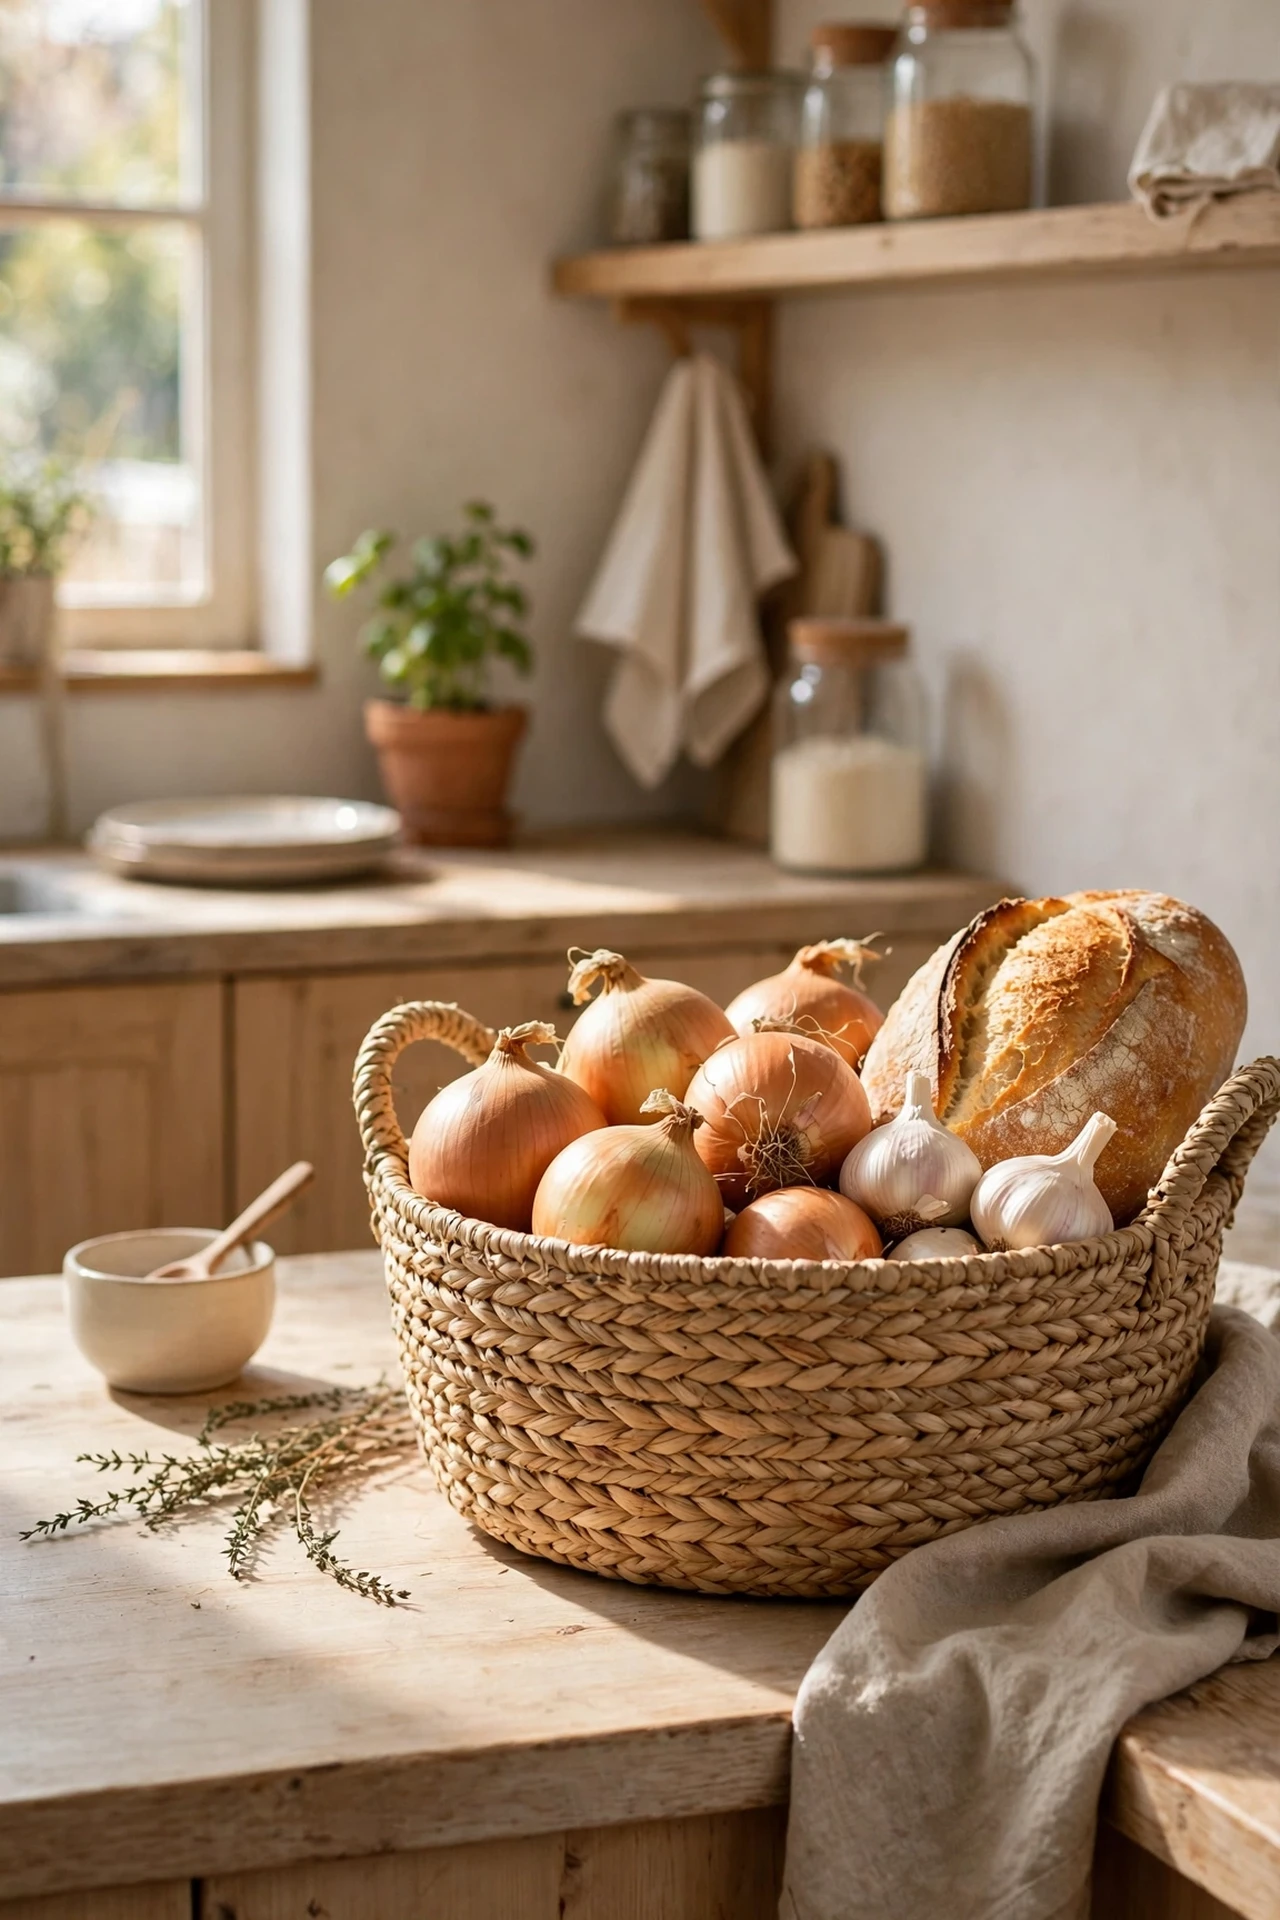
Every kitchen has those bits — garlic, onions, the bread you haven’t finished — and a woven basket gives them a home that looks intentional. Pick a low, wide basket in seagrass or wicker, set it at the end of the counter, and everything inside reads as styled rather than scattered. Keep it to one basket, empty it weekly, and don’t let it become the place where random things go to disappear. I tried this and within a month it was full of batteries and receipts. The mistake to avoid is letting the basket overflow — the day you can’t see the bottom, it’s time to sort it out.
Cost: ~$10 | Time: 5 minutes
Pro tip: Stick to two or three materials across all your counter styling — wood, ceramic, and one metal. Mixed materials everywhere is the fastest route to visual clutter.
17. Display Olive Oil in a Dark Bottle
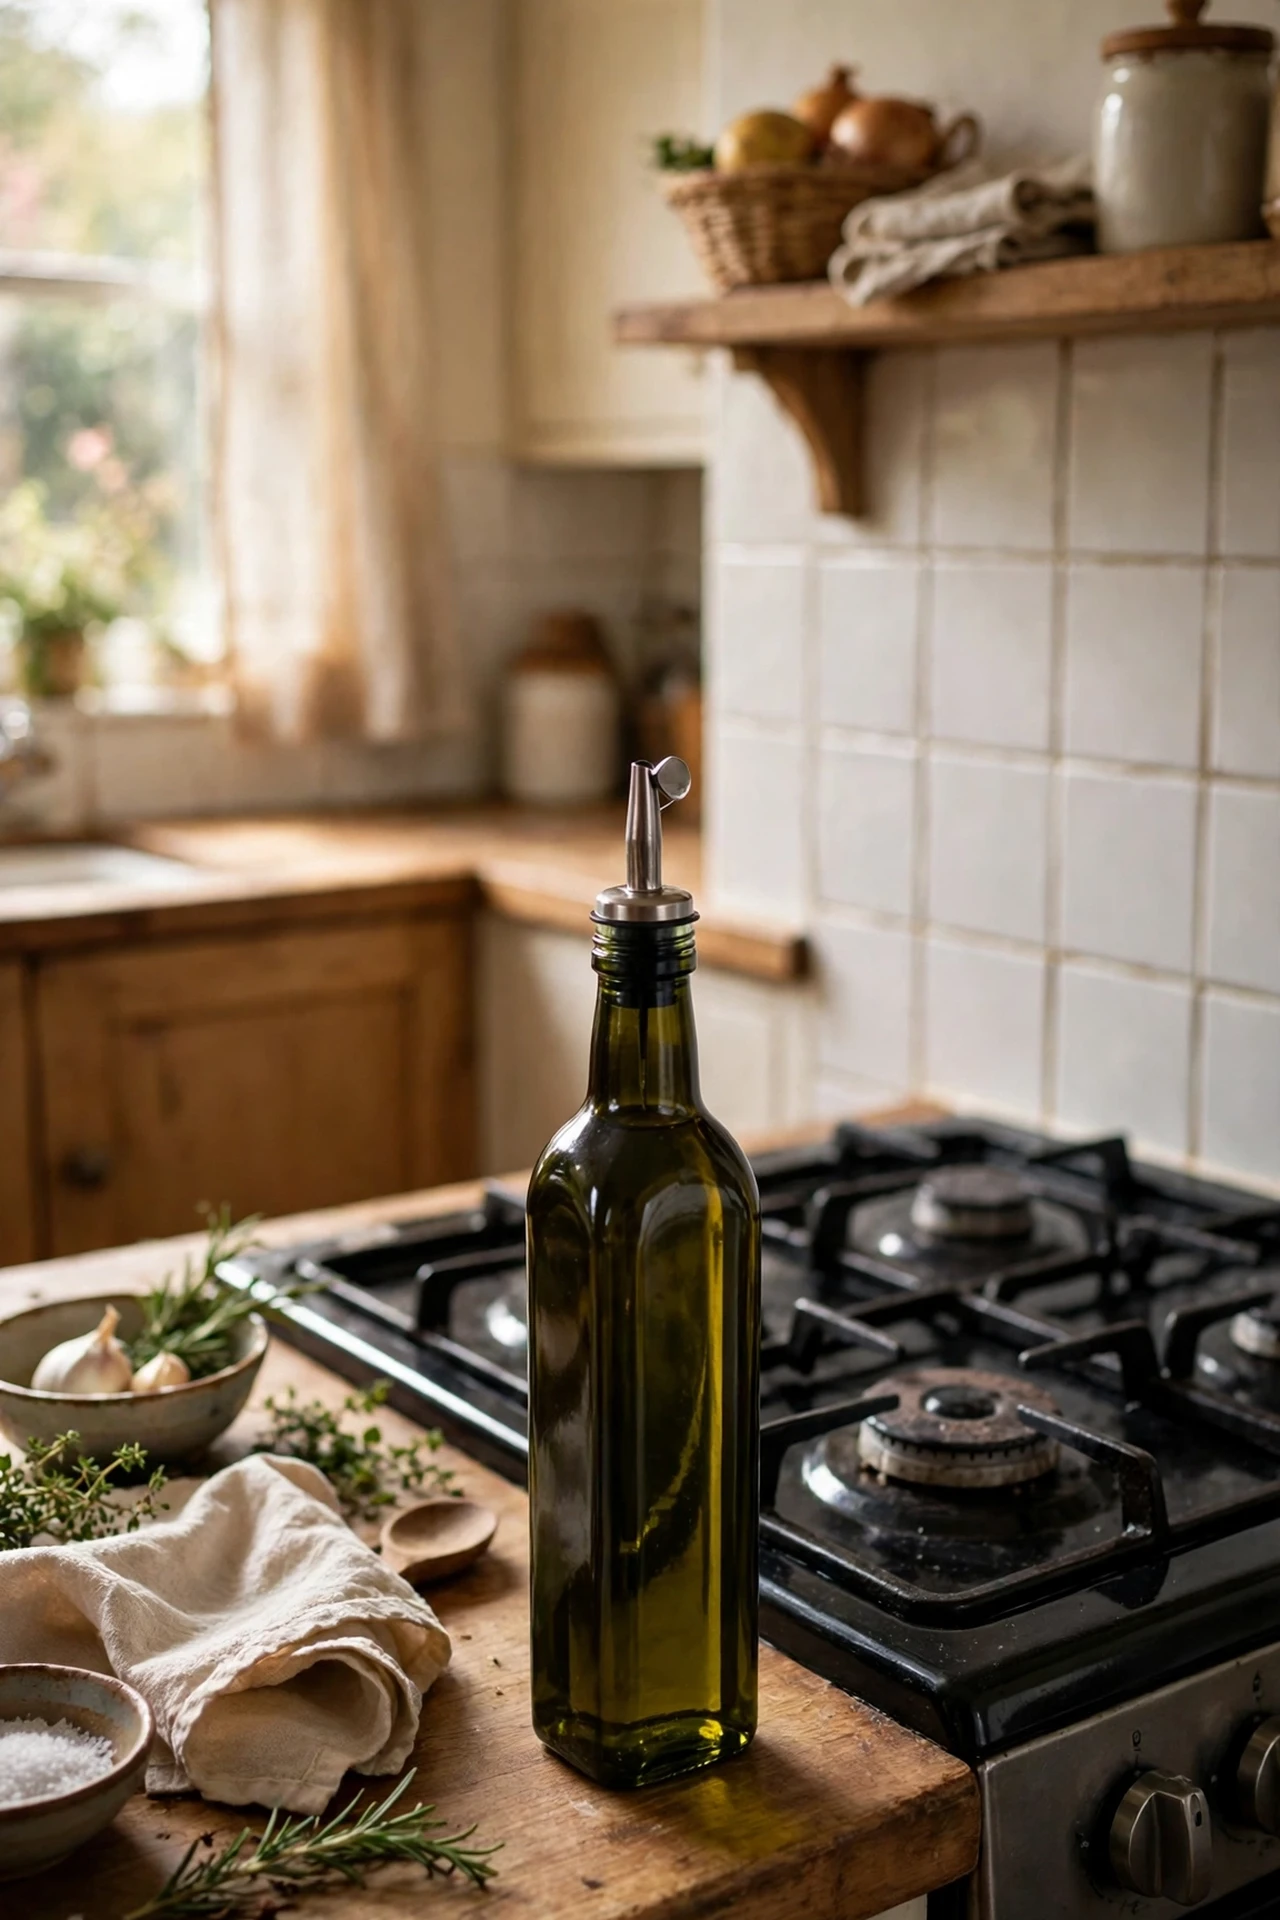
A handsome bottle of olive oil by the hob is the chef’s version of decor — practical, pretty, and always within reach. Transfer your oil into a dark glass bottle with a pour spout, since light degrades oil and the original plastic bottle is an eyesore. Keep it close to where you cook but not right over the heat, and refill from a larger bottle stored in the cupboard. I tried keeping the original bottle and it leaked down the side every time I poured. The mistake to avoid is buying a huge decorative bottle you’ll never finish; oil goes rancid, so a 500ml bottle you use up monthly is ideal.
Cost: ~$7 | Time: 5 minutes
18. Add a Small Chalkboard for Notes
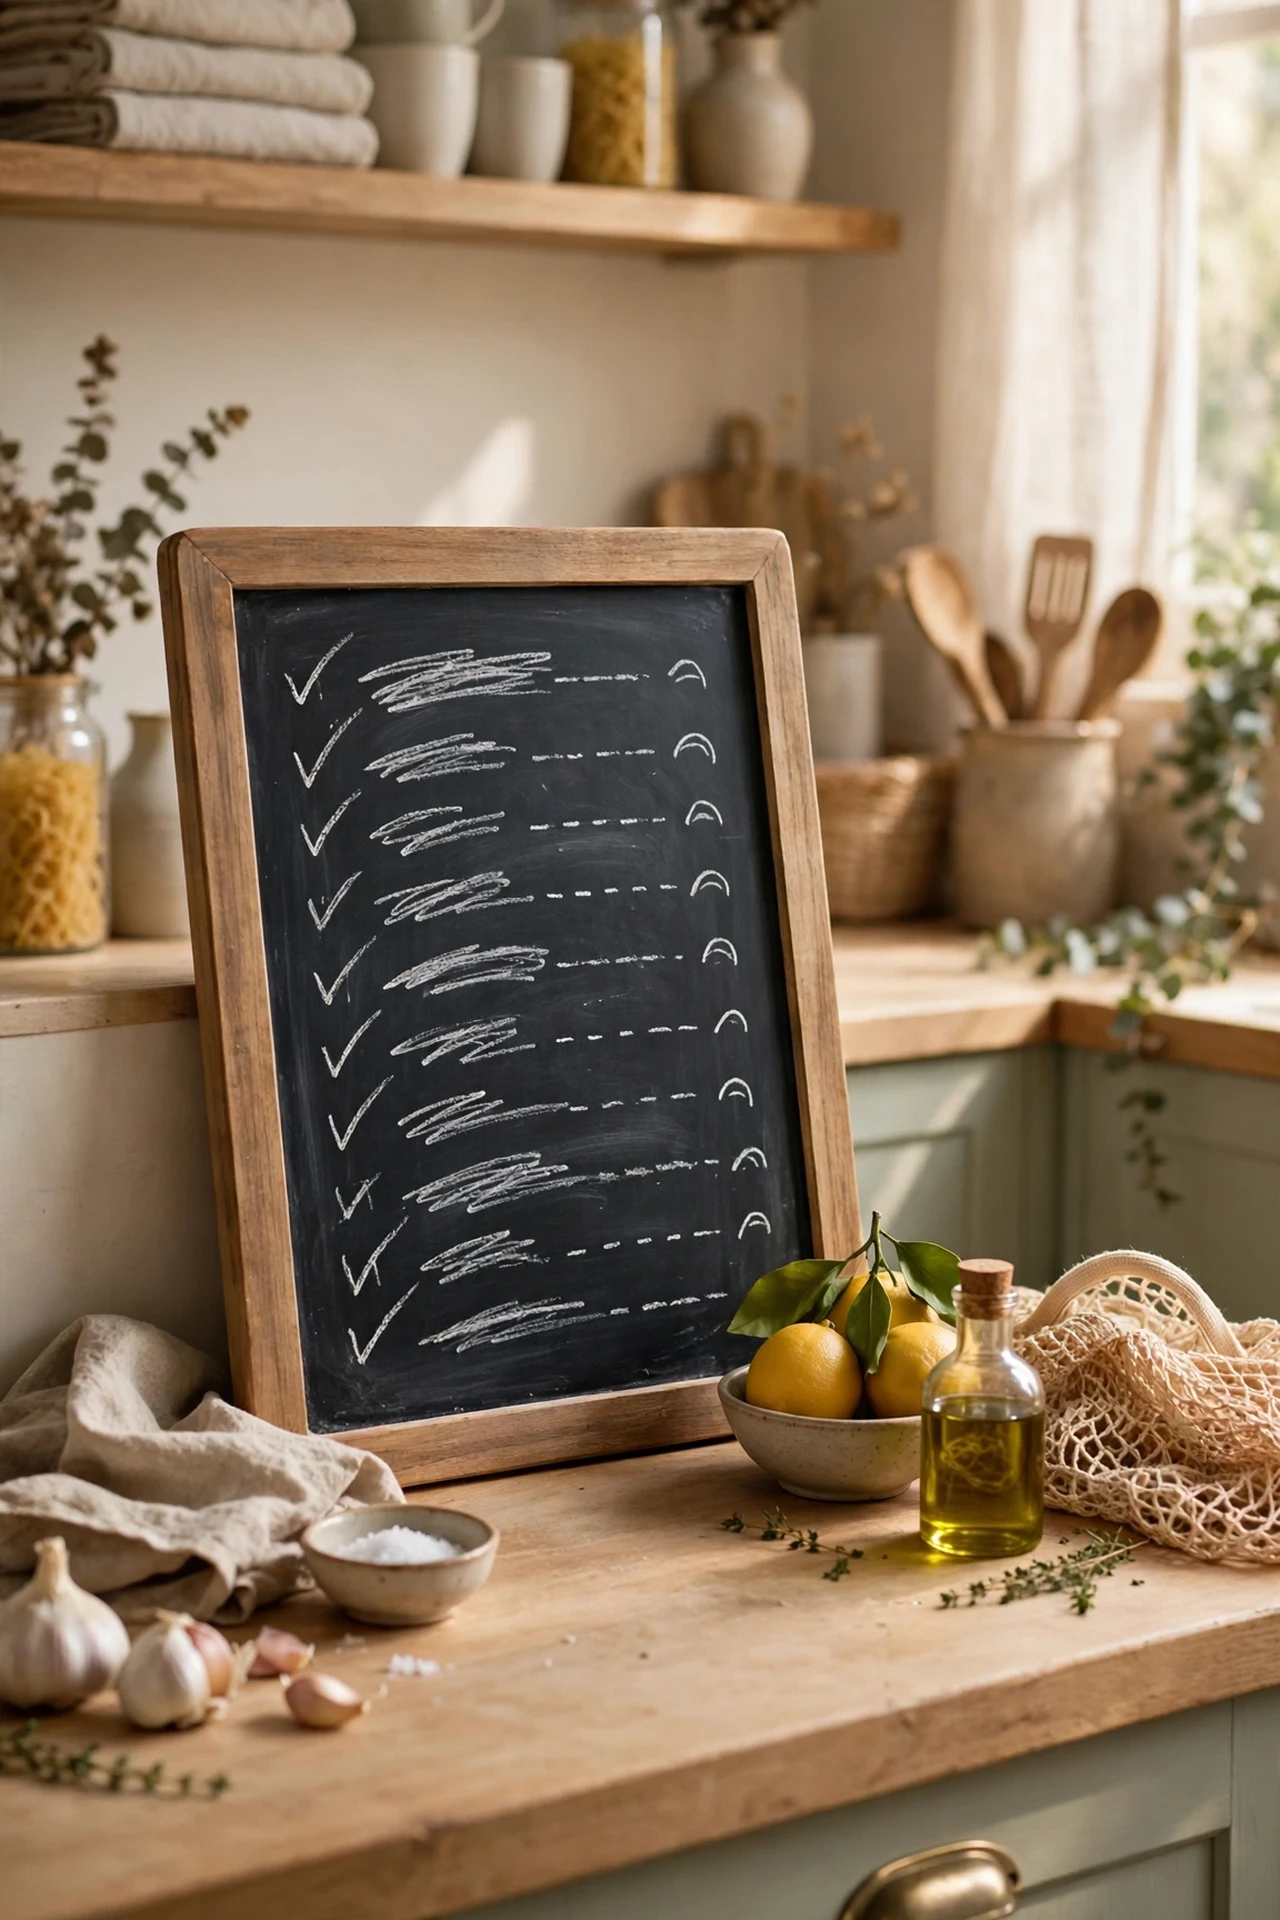
A little chalkboard on the counter adds personality and is genuinely handy for shopping lists and dinner plans. Lean a small framed board near the fridge end of the counter, keep a piece of chalk in a tiny cup beside it, and write the week’s meals or a reminder to buy milk. Wipe it clean with a damp cloth when the list is done so it doesn’t go stale. I tried a massive chalkboard and it became a permanent scribble wall that looked messy. The mistake to avoid is letting it fill up with old notes — if it’s not current, erase it. Our (see also: budget-kitchen-decor-ideas) roundup has more chalkboard uses if you love this look.
Cost: ~$6 | Time: 5 minutes
19. Finish With a Scented Candle Away From Prep Areas
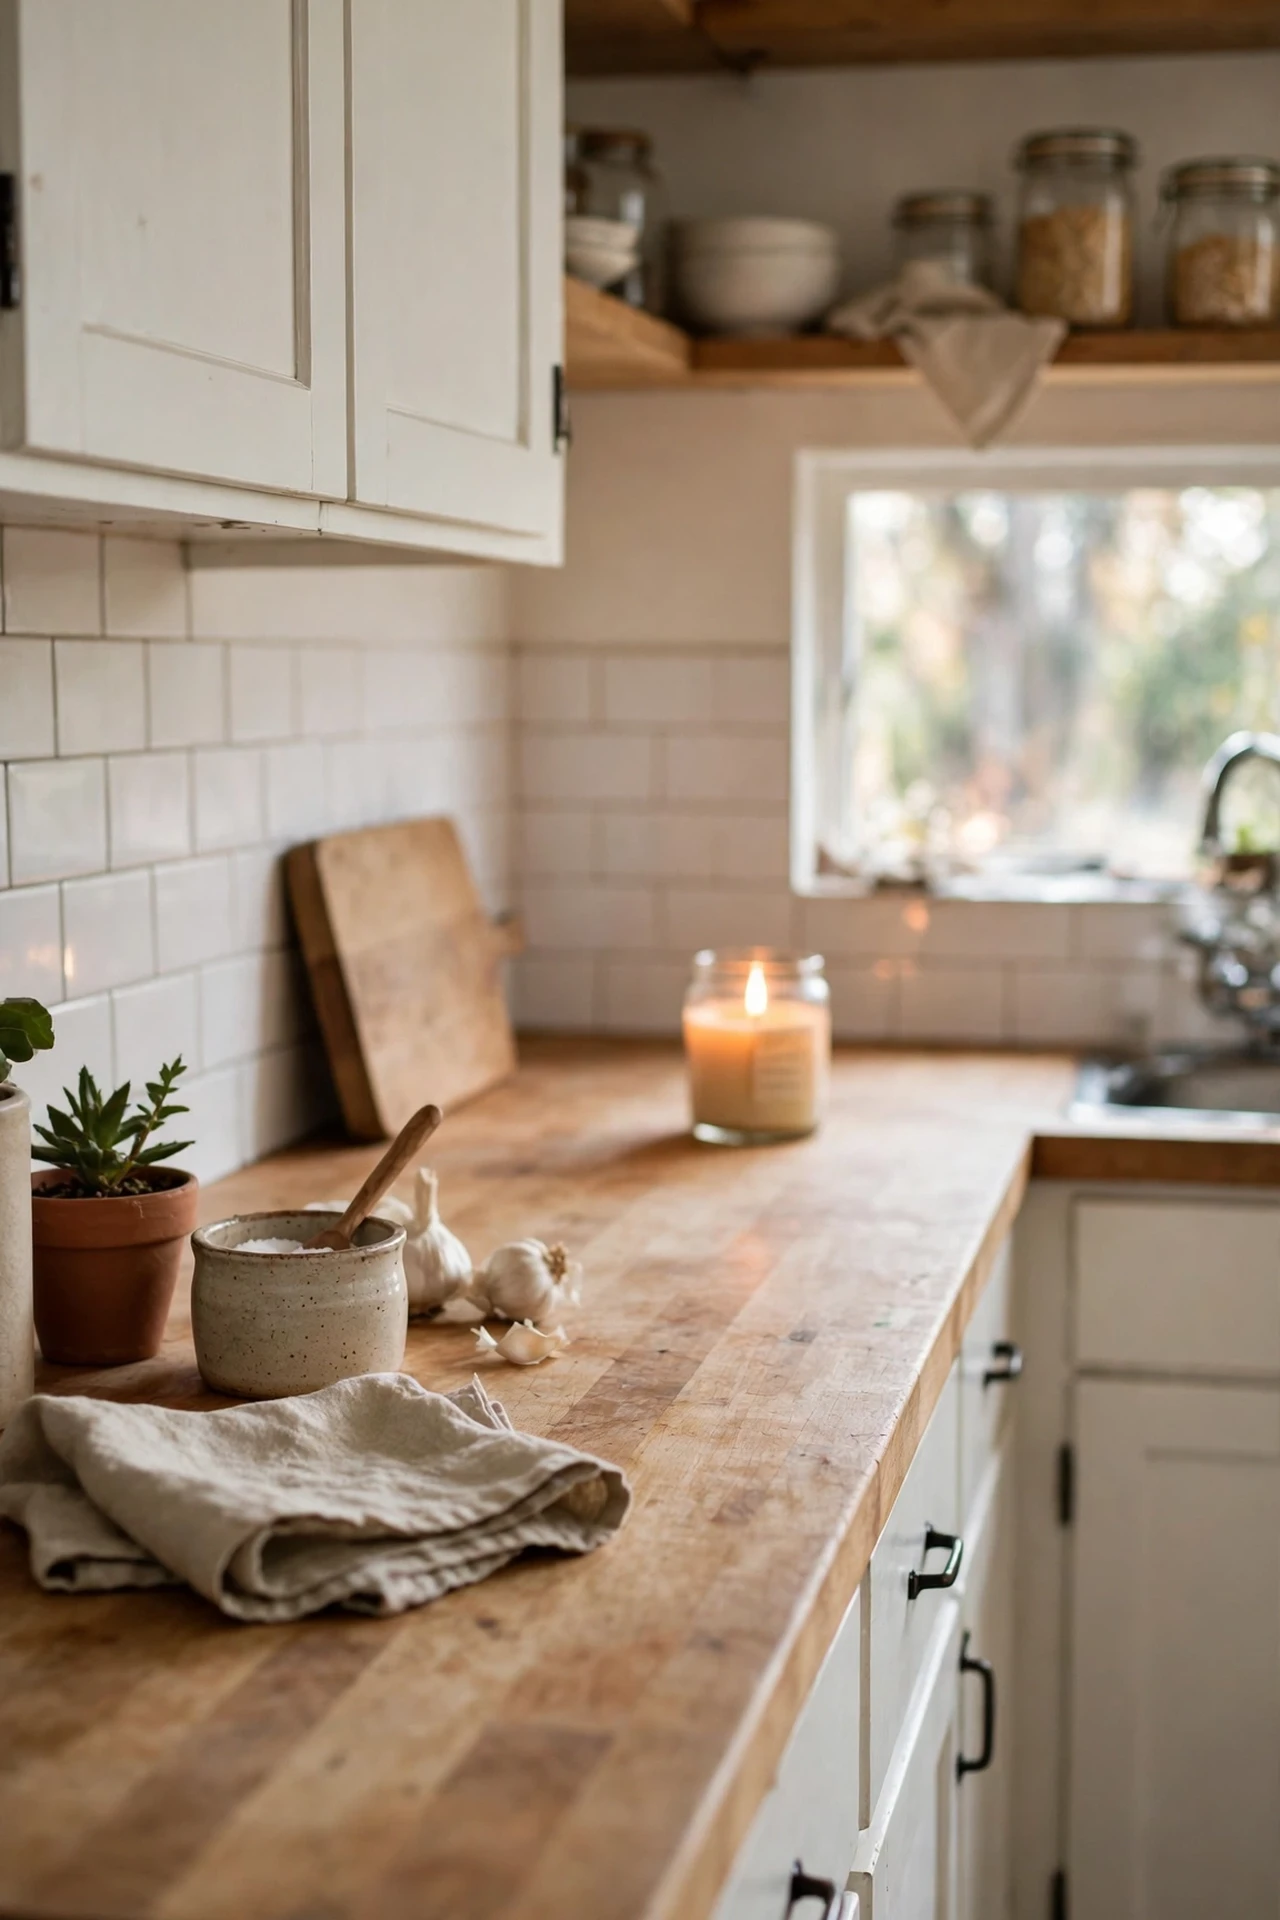
A candle at the far end of the counter makes the kitchen smell wonderful and looks lovely unlit too. Choose a scent that suits a kitchen — citrus, vanilla, or fresh herbs — and place it well away from the hob and prep zones where food is handled. Never leave it burning unattended, and trim the wick to 5mm before each light for a clean burn. I tried a strongly spiced candle and it fought with the smell of dinner. The mistake to avoid is overpowering scents; in a kitchen, subtle always wins because you’re layering it over real cooking smells.
Cost: ~$9 | Time: 5 minutes
The best-styled counters I know don’t look like showrooms — they look like someone who cooks well and tidies quickly. Pick three ideas from this list, group everything on trays and boards, and leave yourself some breathing room. That’s really all there is to it.
