25 Black and White Kitchen Ideas That Feel Fresh
There is a reason Black and White kitchen ideas never really go out of style — they are forgiving. You can change your mind about the hardware, swap the curtains, repaint the walls, and the palette still holds the whole room together. When I redid my own tiny rental kitchen, I started with black and white precisely because the budget was embarrassing, and almost everything in that palette was already cheap or easy to find secondhand. Every idea below is priced the way I actually did it, so if money is tight, you can see exactly where the savings are before you lift a paintbrush.
1. Matte Black Cabinet Hardware on Plain White Doors
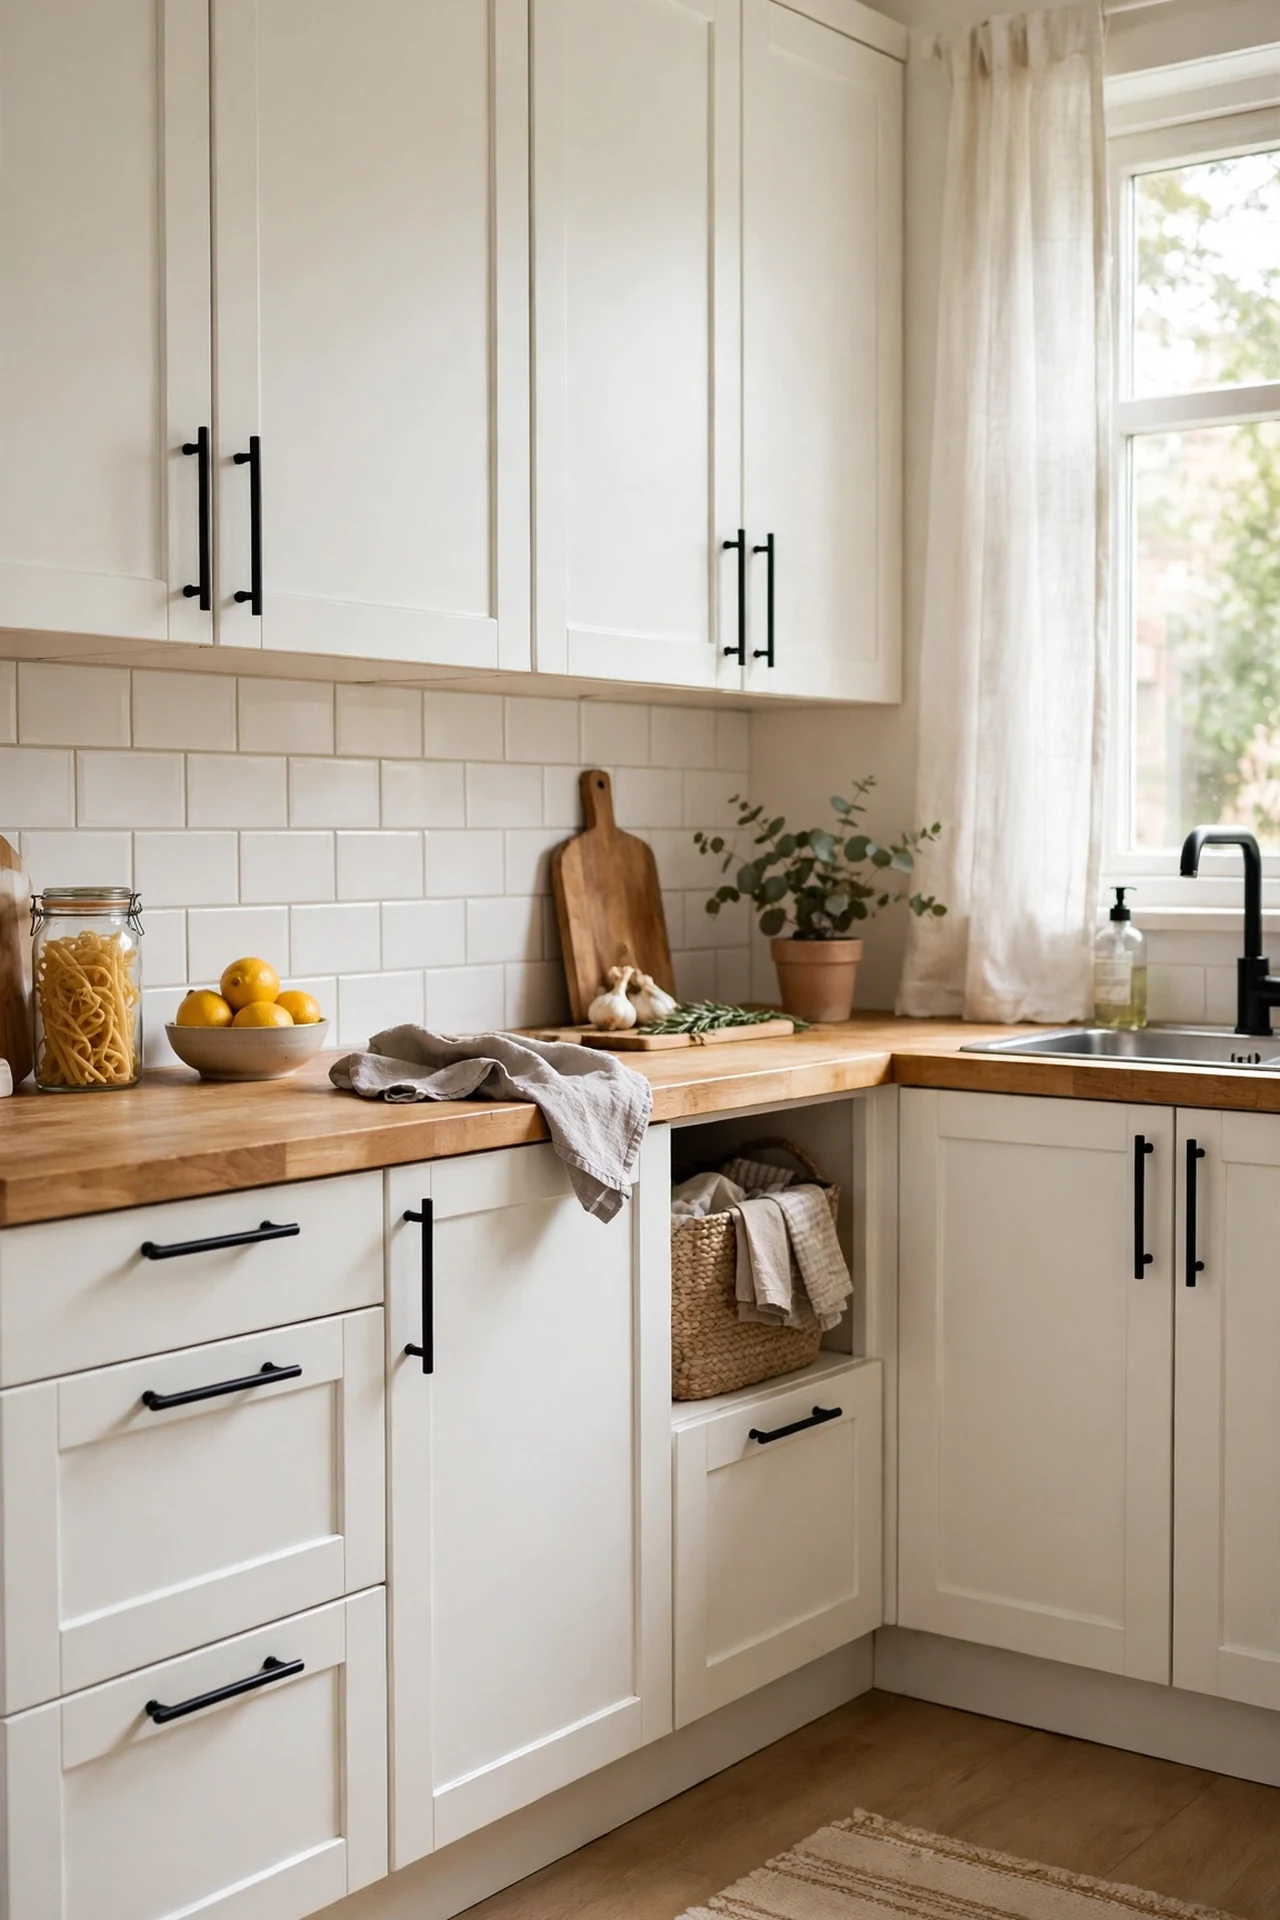
The cheapest win first: a set of matte black bar pulls costs far less than new doors, and against plain white cabinets it reads instantly modern. Start by removing one old handle and measuring the hole spacing — most are 96mm or 128mm, so order to match and skip re-drilling. I tried this on my own cupboards and the mistake to avoid is buying the budget mixed pack where half the screws are the wrong length; spend a little more on a consistent set from one seller. Wipe the doors down while the handles are off, because it is the easiest deep clean you will ever get.
Cost: ~$28 for a 20-pack | Time: 45 minutes
2. White Subway Tiles With Charcoal Grey Grout
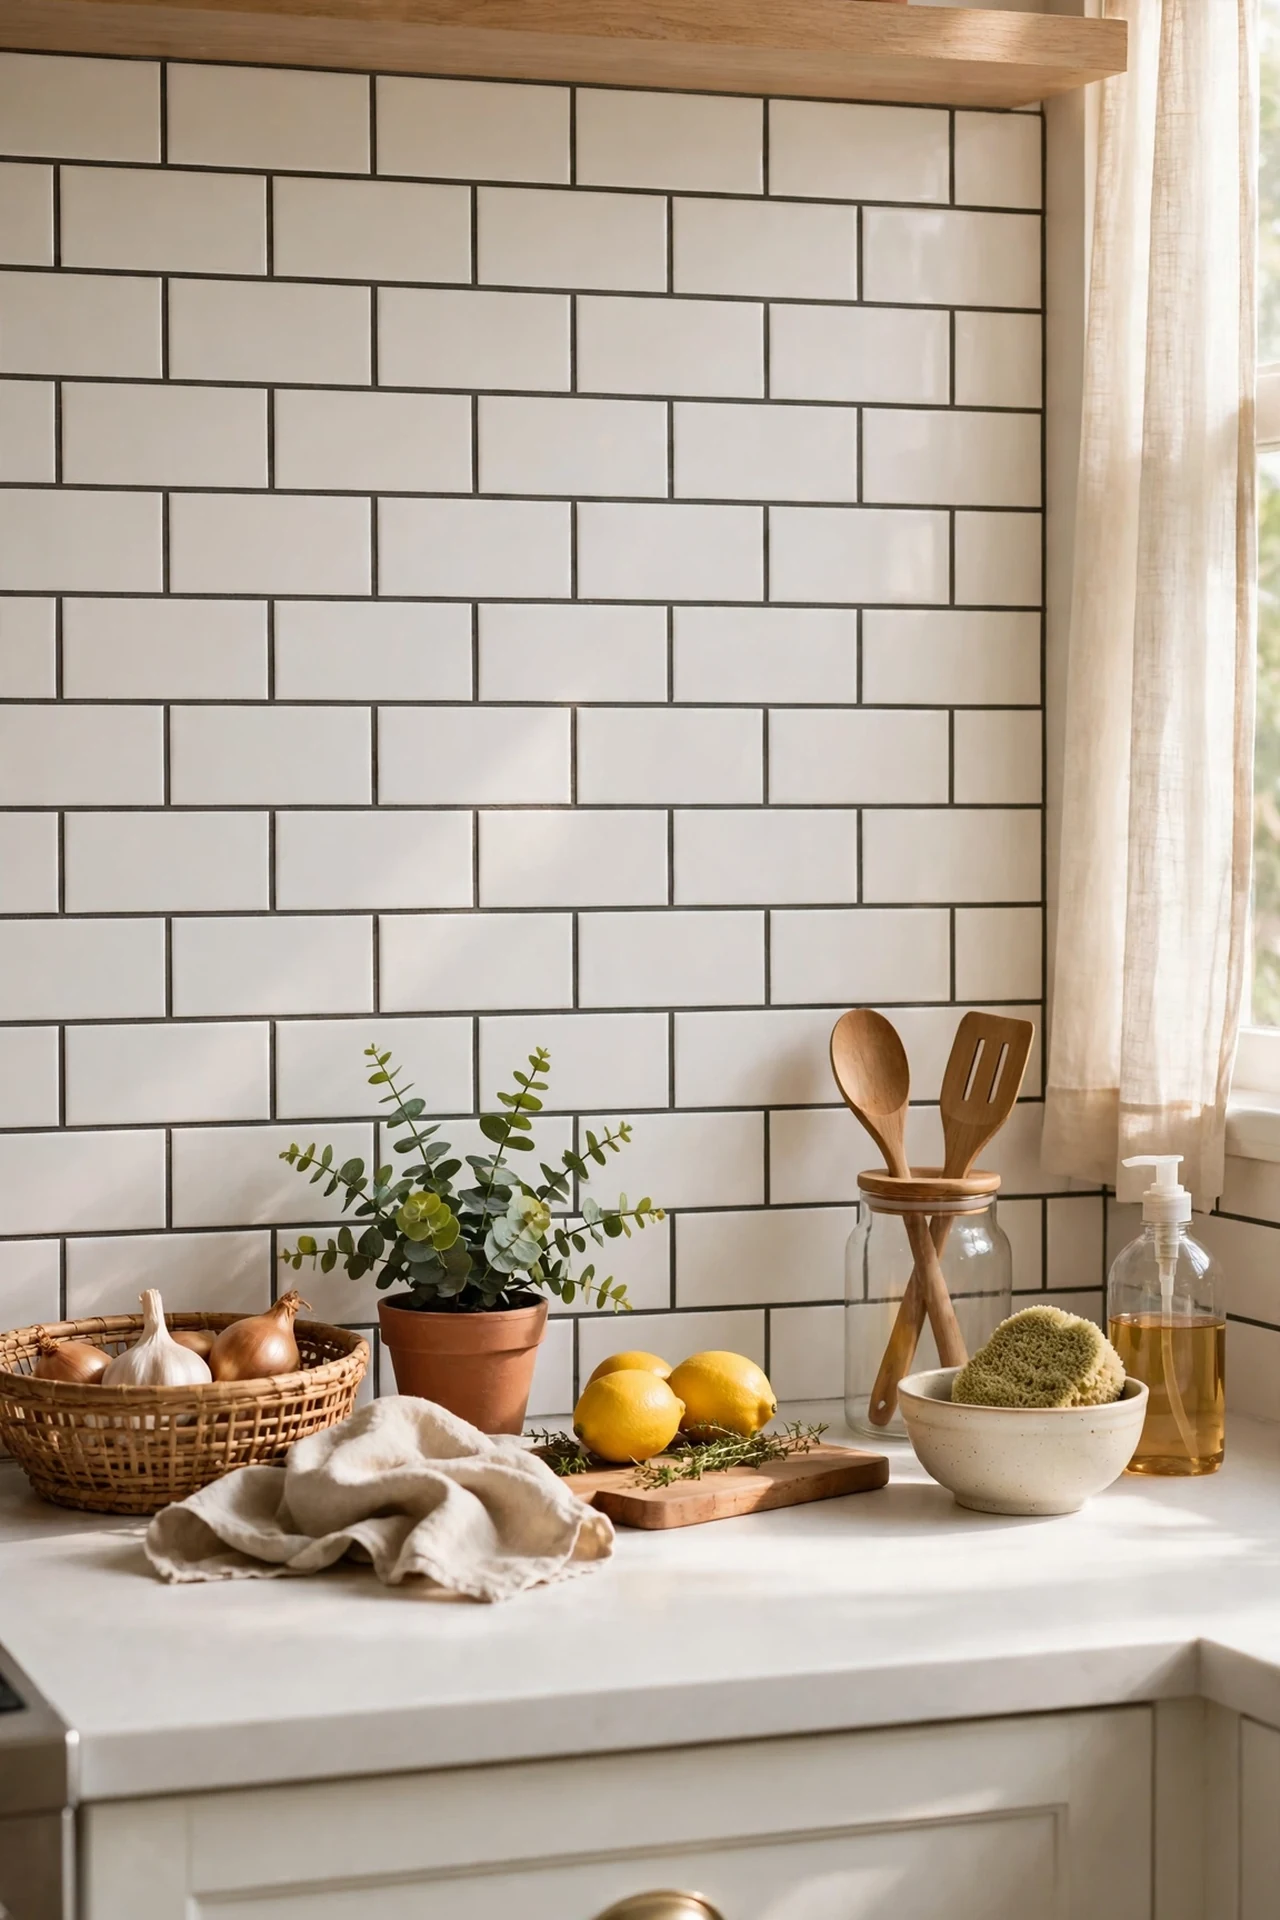
If you want a backsplash for under forty dollars, standard white subway tiles are the answer, and charcoal grout is what keeps them from looking like a rental default. Buy peel-and-stick or thin ceramic depending on your tolerance for adhesive — both work over existing tiles if the surface is clean. I tried this and the mistake to avoid is sealing the grout before it is fully cured; mine darkened unevenly in the spot I sealed too early. Apply, wait the full 48 hours, then seal once with a squeeze bottle so you do not stain the tiles.
Cost: ~$35 for a 10 sq ft backsplash | Time: 3 hours
3. Black Lower Cabinets, White Uppers
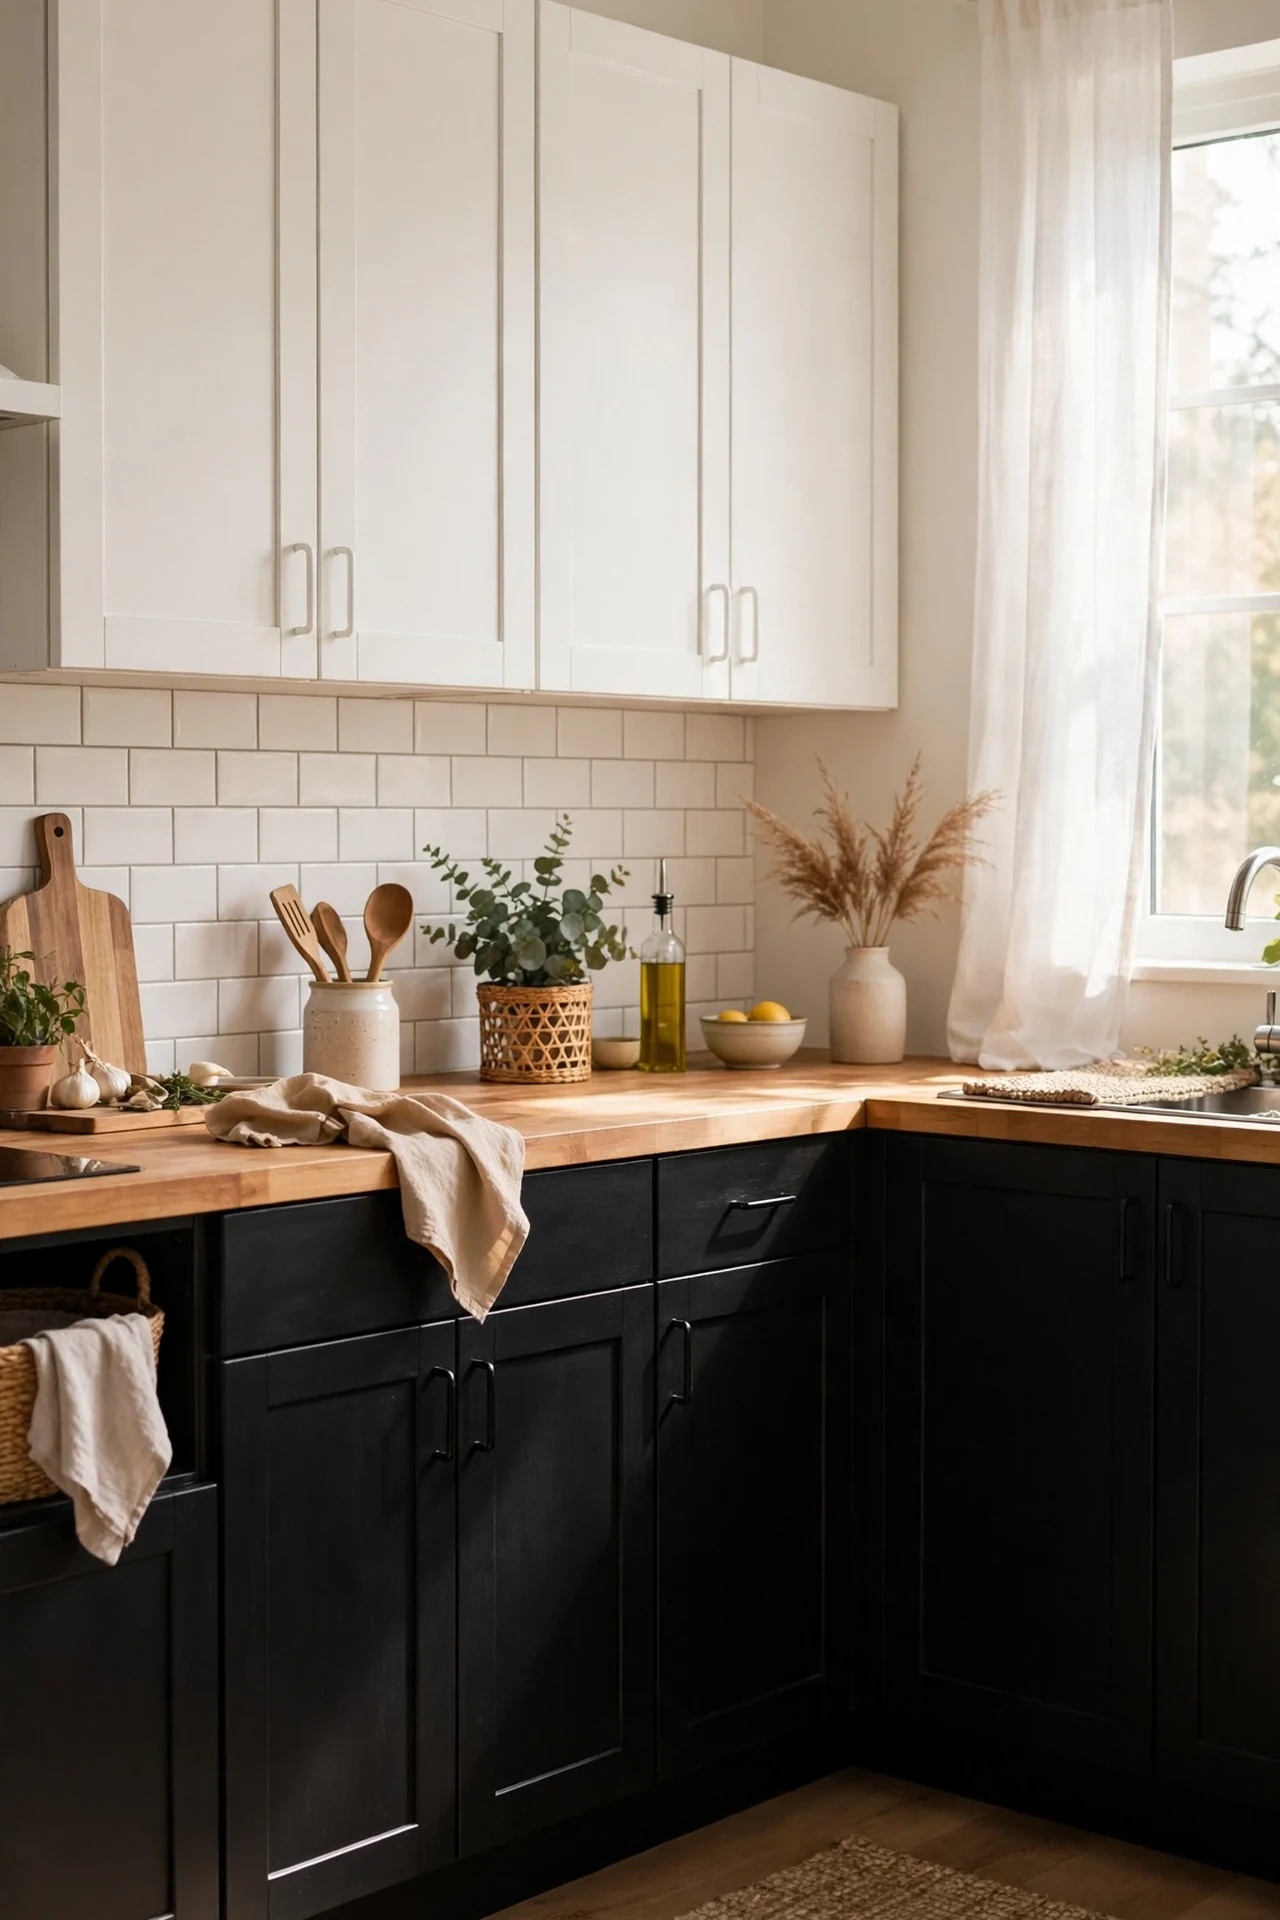
Painting only the lower cabinets black and leaving the uppers white is the classic budget trick because you buy half the paint and the room feels bigger than it is. Sand lightly, wipe with sugar soap, and use a cabinet-rated paint in satin so fingerprints wipe off. I tried this and the mistake to avoid is skipping the primer on previously varnished wood — the black went on beautifully and then peeled in sheets around the bin pull-out. One coat of grip primer takes an extra evening and saves you repainting the whole thing by spring.
Cost: ~$45 for paint and primer | Time: 6 hours over two days
4. Butcher-Block Warmth Next to a Black and White Scheme
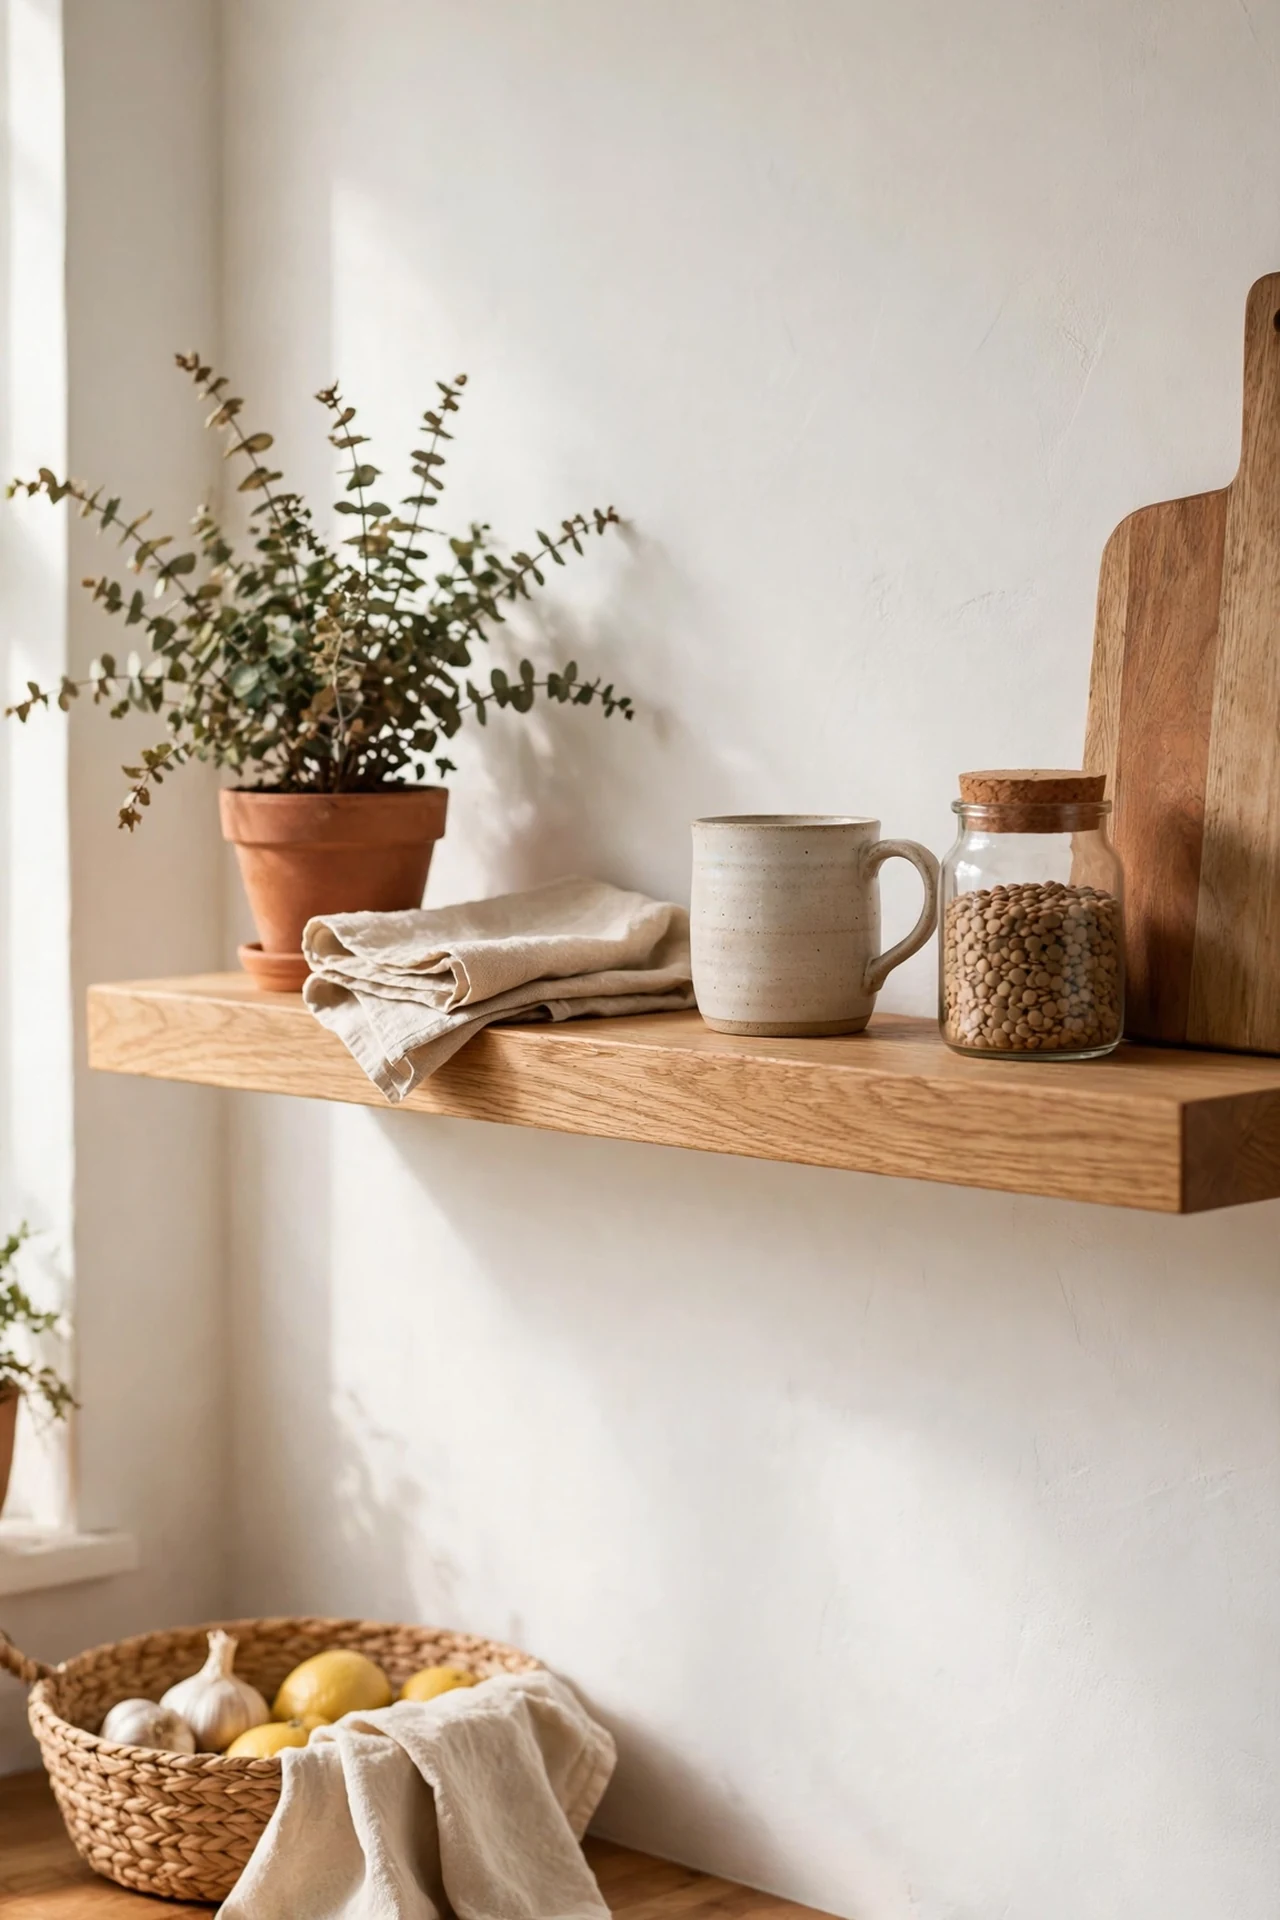
A single oak or beech worktop board breaks up the monochrome without blowing the budget, and you do not need a whole new counter — one floating shelf or a chopping-board-style open shelf is enough. Sand the edges smooth and oil with food-safe mineral oil twice before mounting. I tried this and the mistake to avoid is putting it too close to the hob without oiling the ends as well; heat dries bare end grain and mine cracked within a month. If your kitchen needs more storage ideas, these (see also: budget-small-kitchen-storage-ideas) pair well with the open-shelf look.
Cost: ~$22 for a solid board shelf | Time: 90 minutes
5. Whitewashed Brick Effect With Black Grout Lines
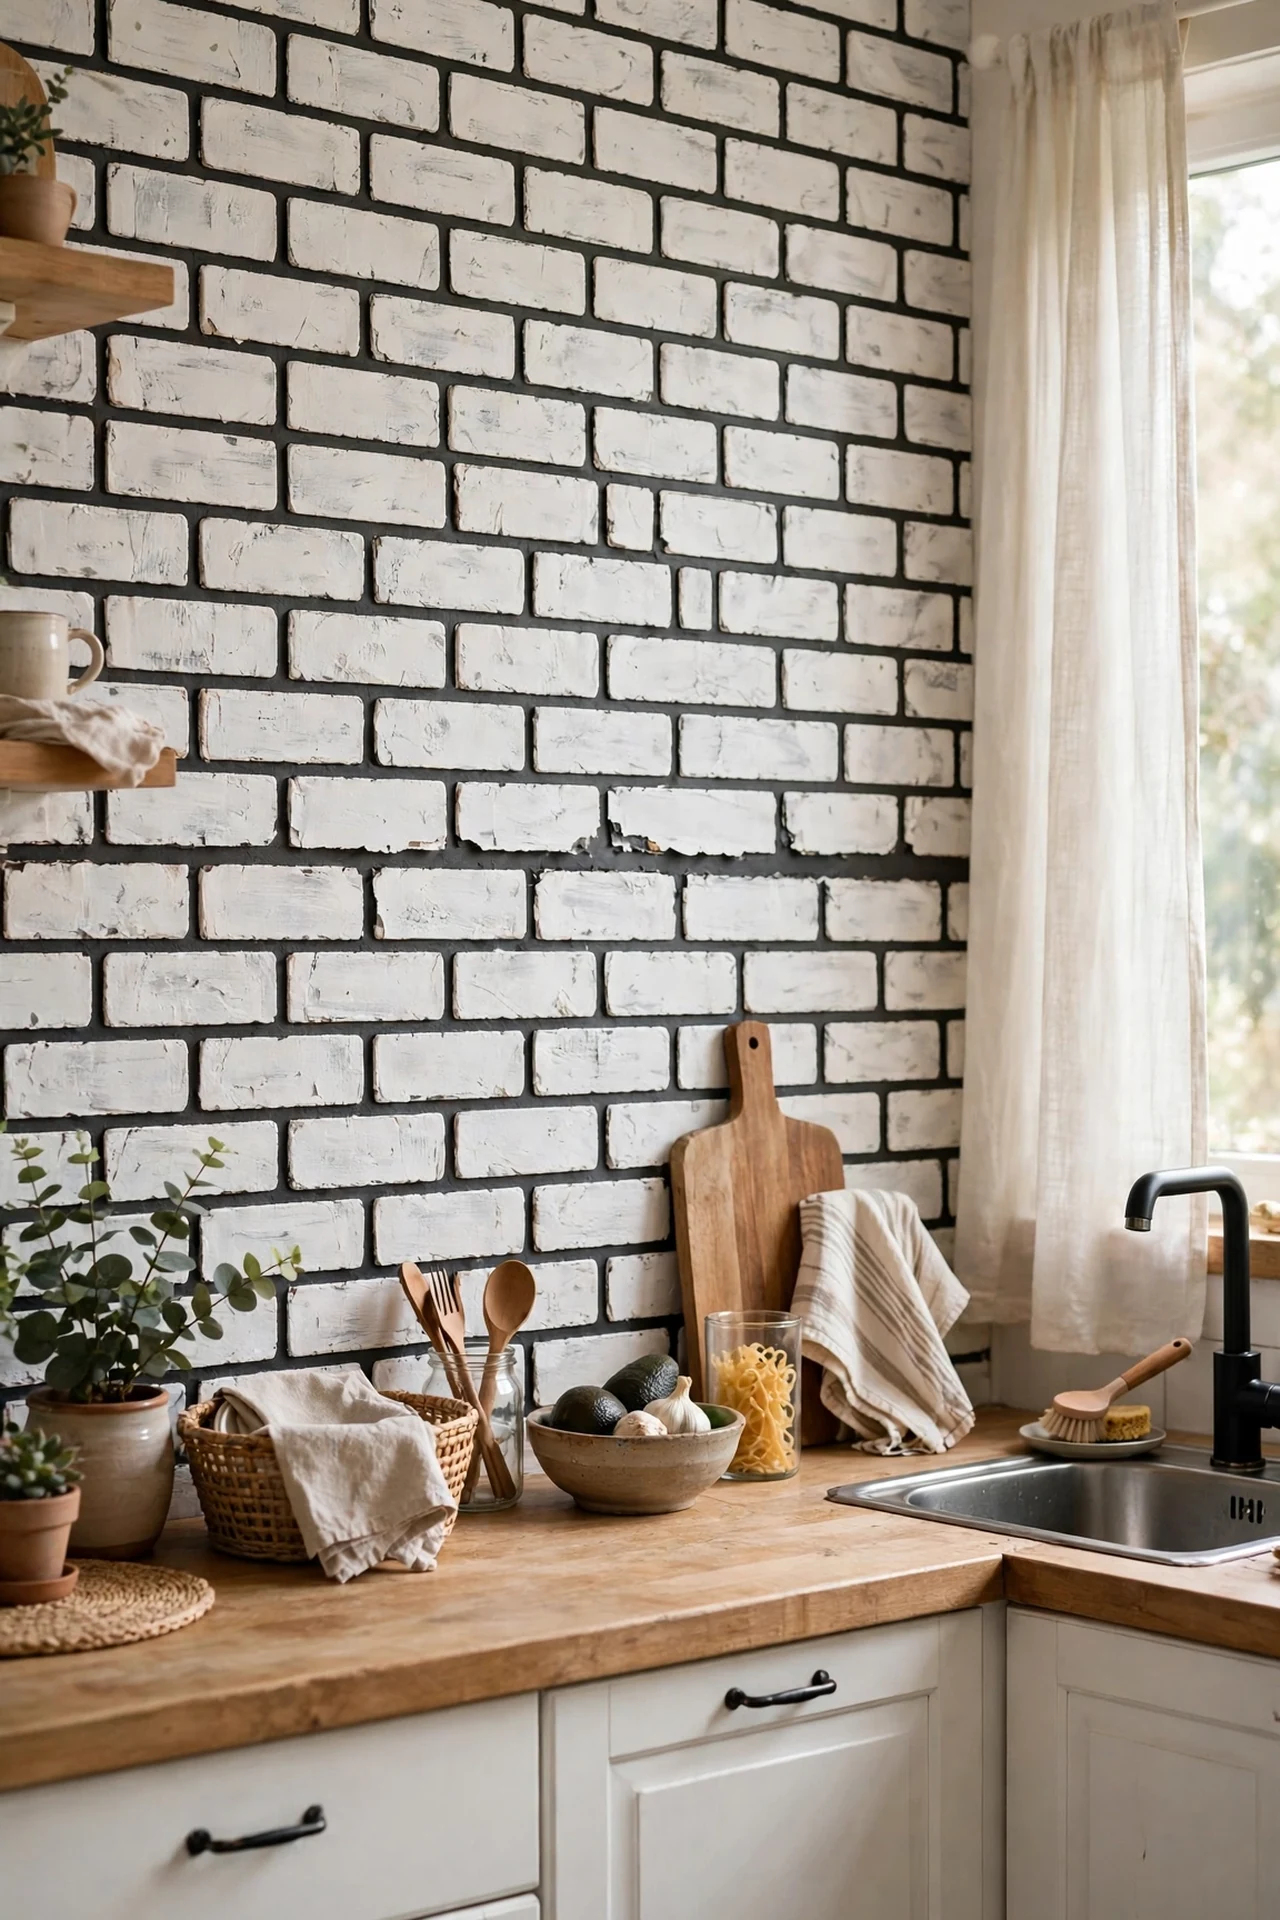
Brick-look peel-and-stick panels in white with dark grout lines give you that loft-kitchen character for the price of a takeaway. Start in the least visible corner so your first crooked panel is hidden, and butt each panel tight against the last rather than leaving gaps. I tried this and the mistake to avoid is using them right behind a gas hob where grease bakes on — my first panel yellowed within weeks and had to be replaced. Put them on the wall beside the cooker instead and they stay pristine.
Cost: ~$18 for two panels | Time: 40 minutes
6. Black Window Frames Painted Over Dated White PVC
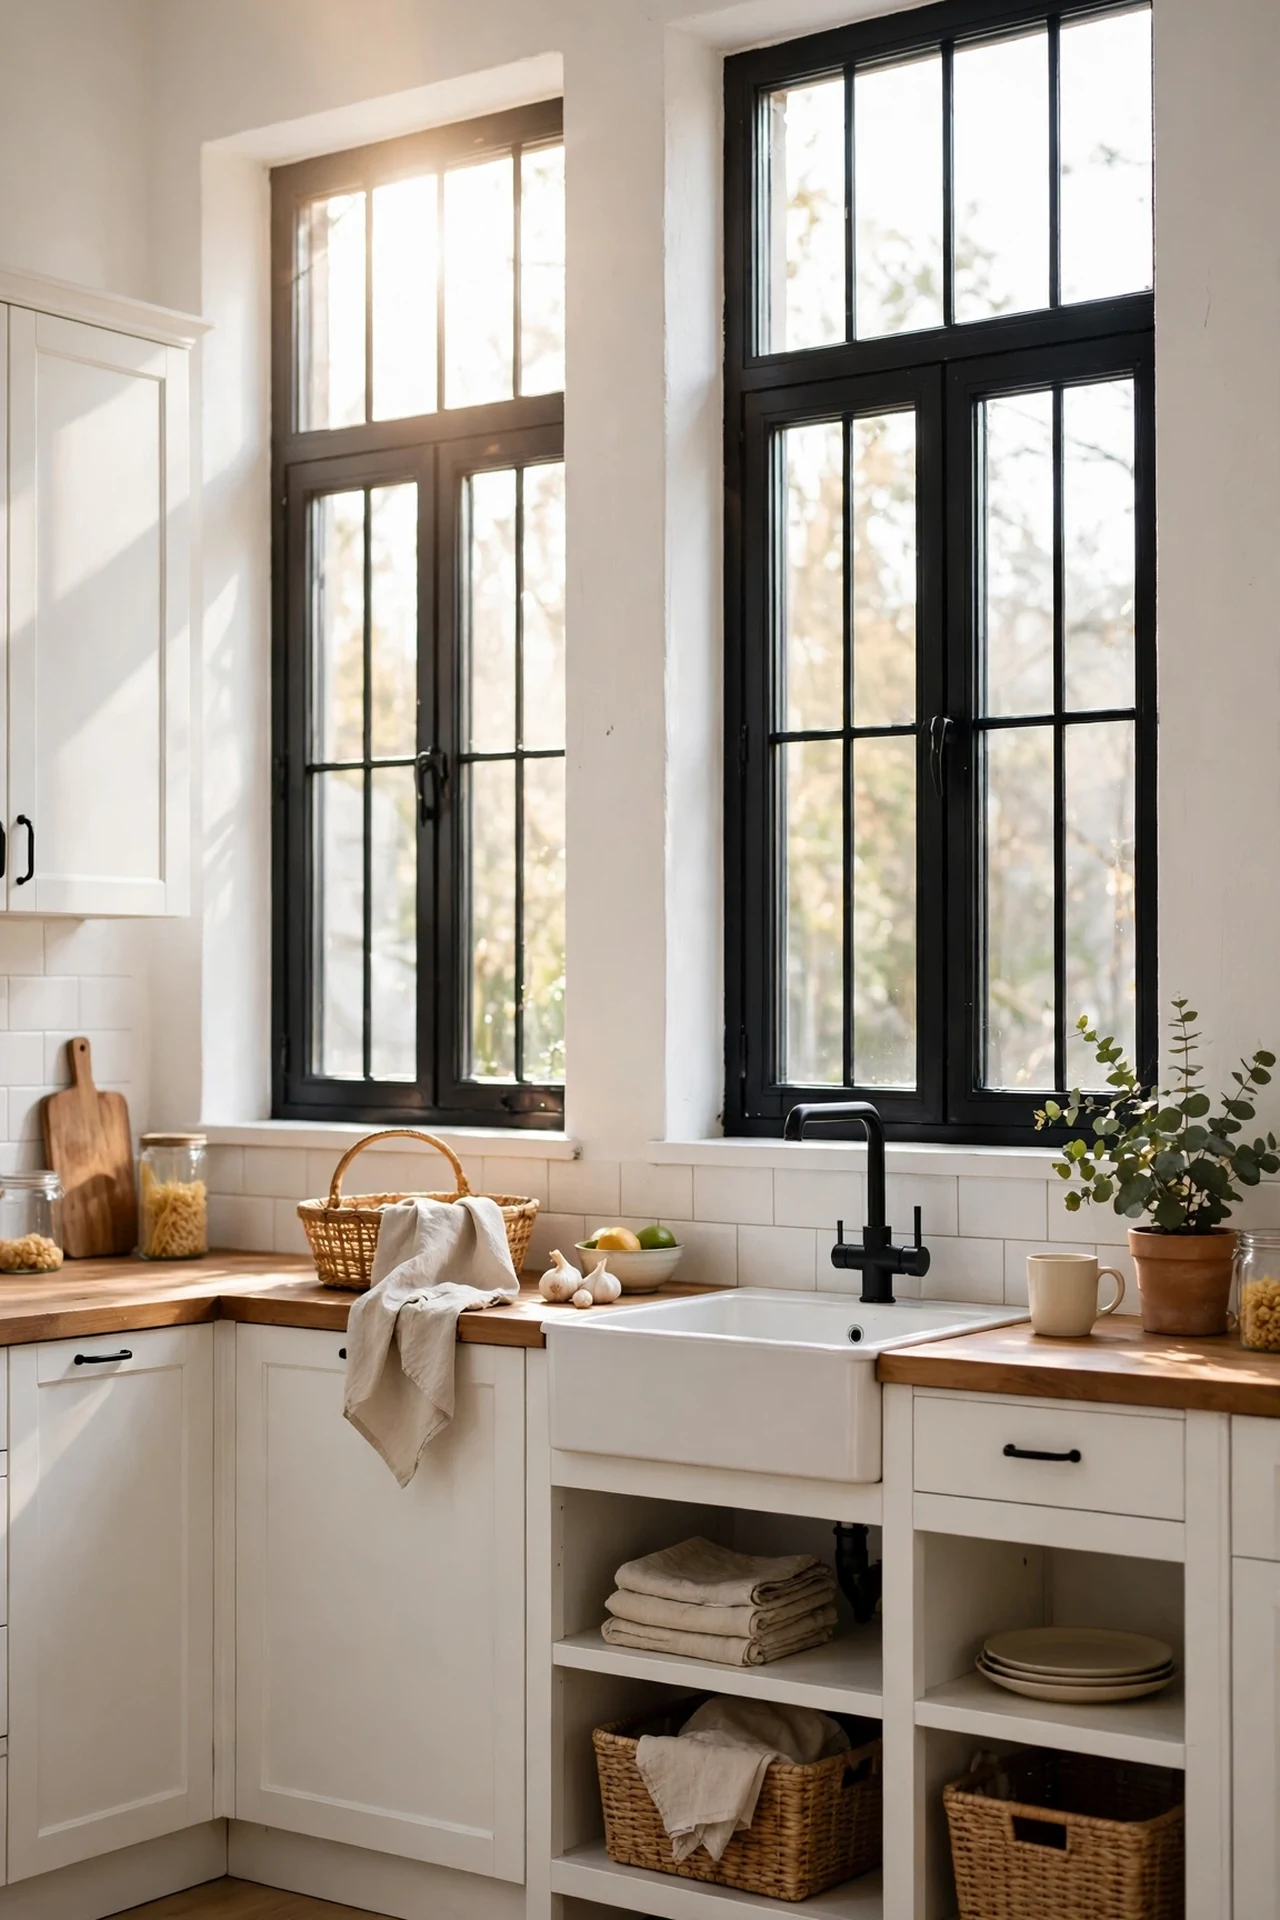
Painting interior window frames black is the fastest way to make a cheap kitchen look designed, because it echoes the hardware and pulls the eye outward. Clean the frames with a degreaser first, mask the glass with tape and newspaper, and use a multi-surface paint rated for plastic. I tried this and the mistake to avoid is painting on a humid day — the second coat stuck to the tape and peeled the frame line clean off. Do it on a dry afternoon and the whole job costs less than a new pair of curtains.
Cost: ~$16 for a small tin | Time: 2 hours
7. High-Contrast Open Shelving in Gloss Black
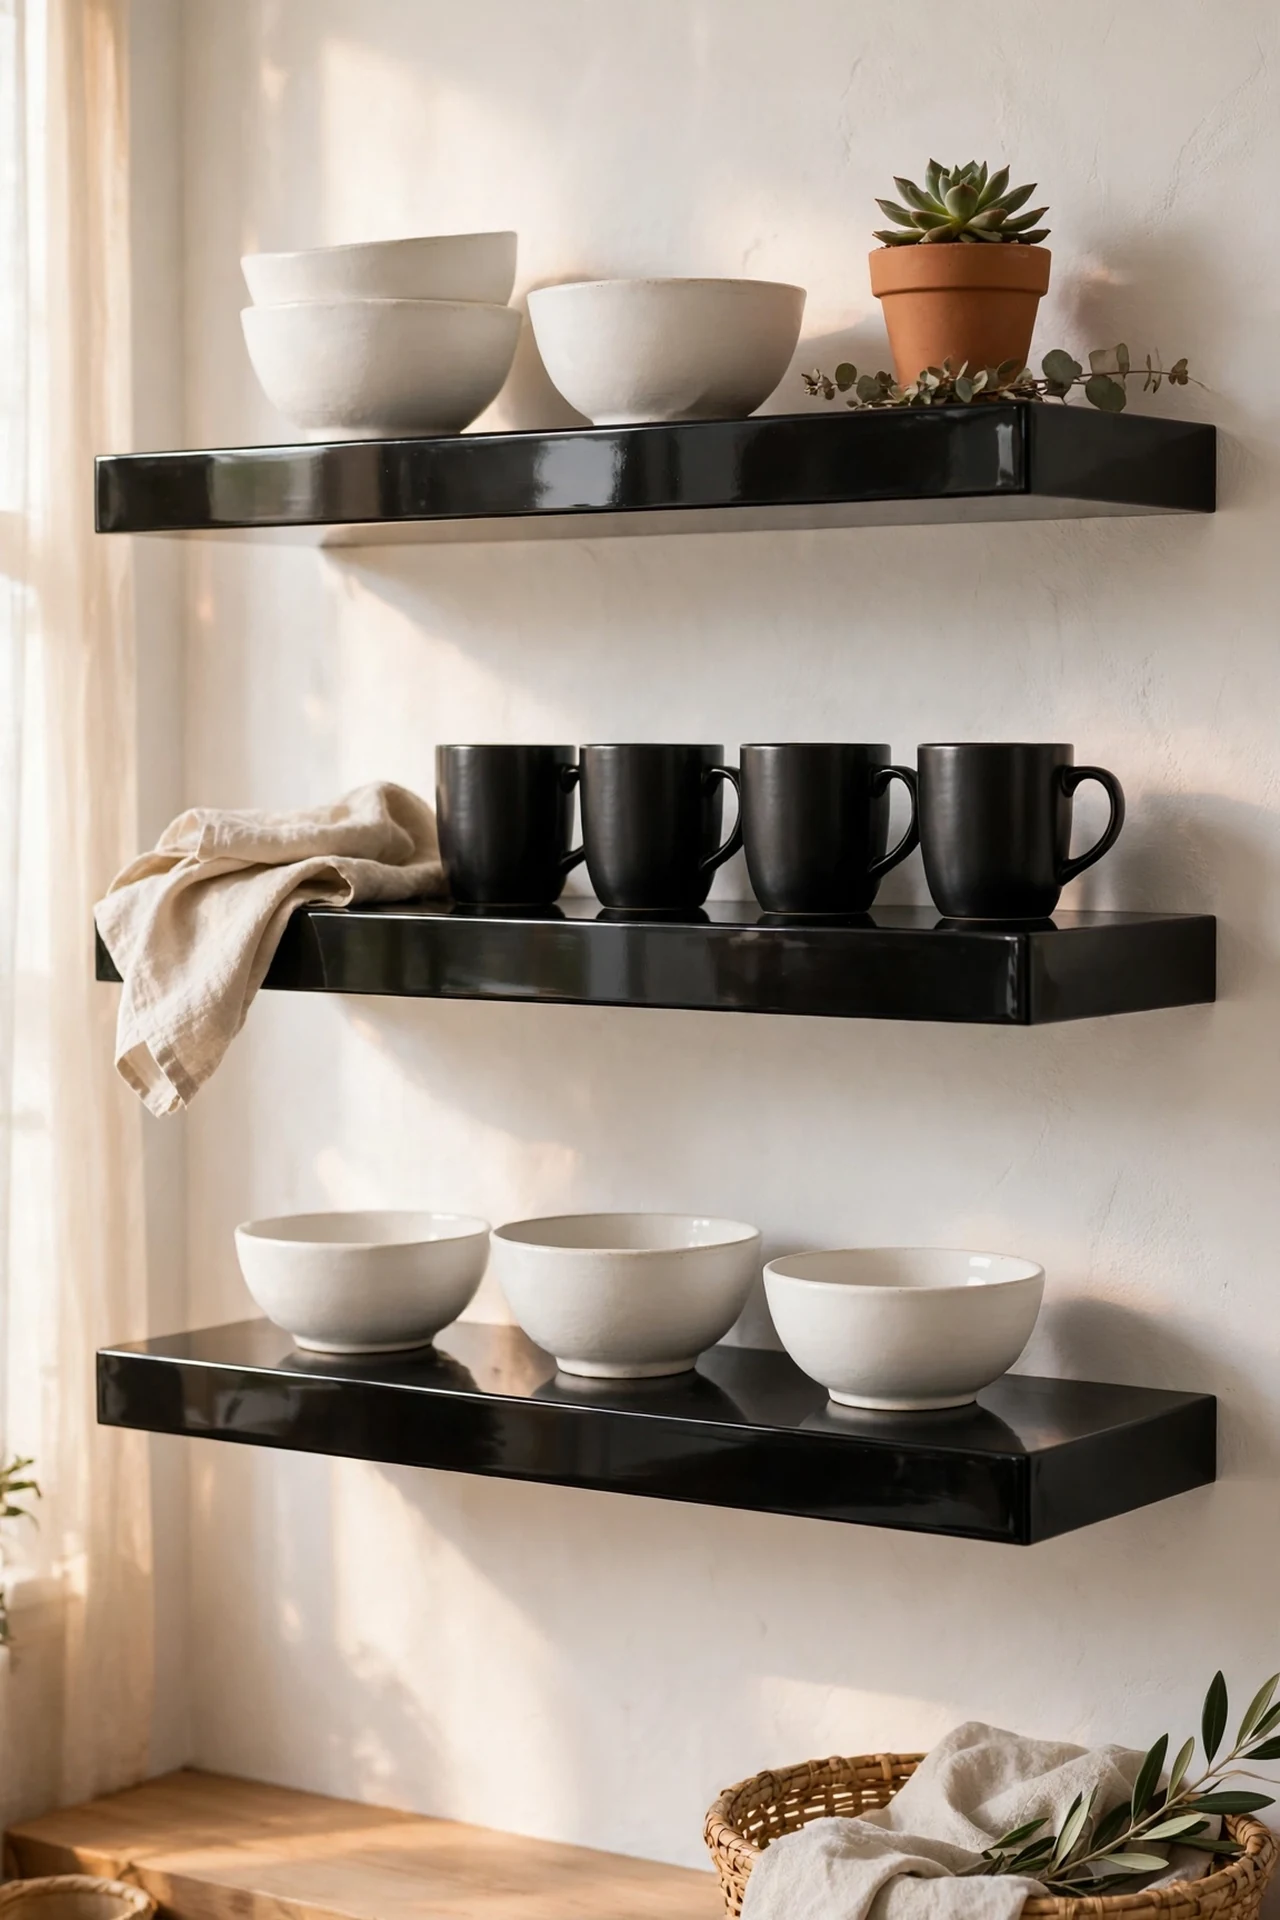
A pair of black floating shelves against a white wall costs less than one wall cabinet and shows off the crockery you already own. Mount into studs or use proper plasterboard anchors rated for the weight — crockery is heavier than you think. I tried this and the mistake to avoid is loading them the same day; my brackets were fine but the anchors needed 24 hours to set and one shelf tipped. Style them with your nicest white bowls and one black mug set and they do all the decorating for you.
Cost: ~$30 for two shelves and brackets | Time: 1 hour
8. A Black-and-White Checkerboard Vinyl Floor
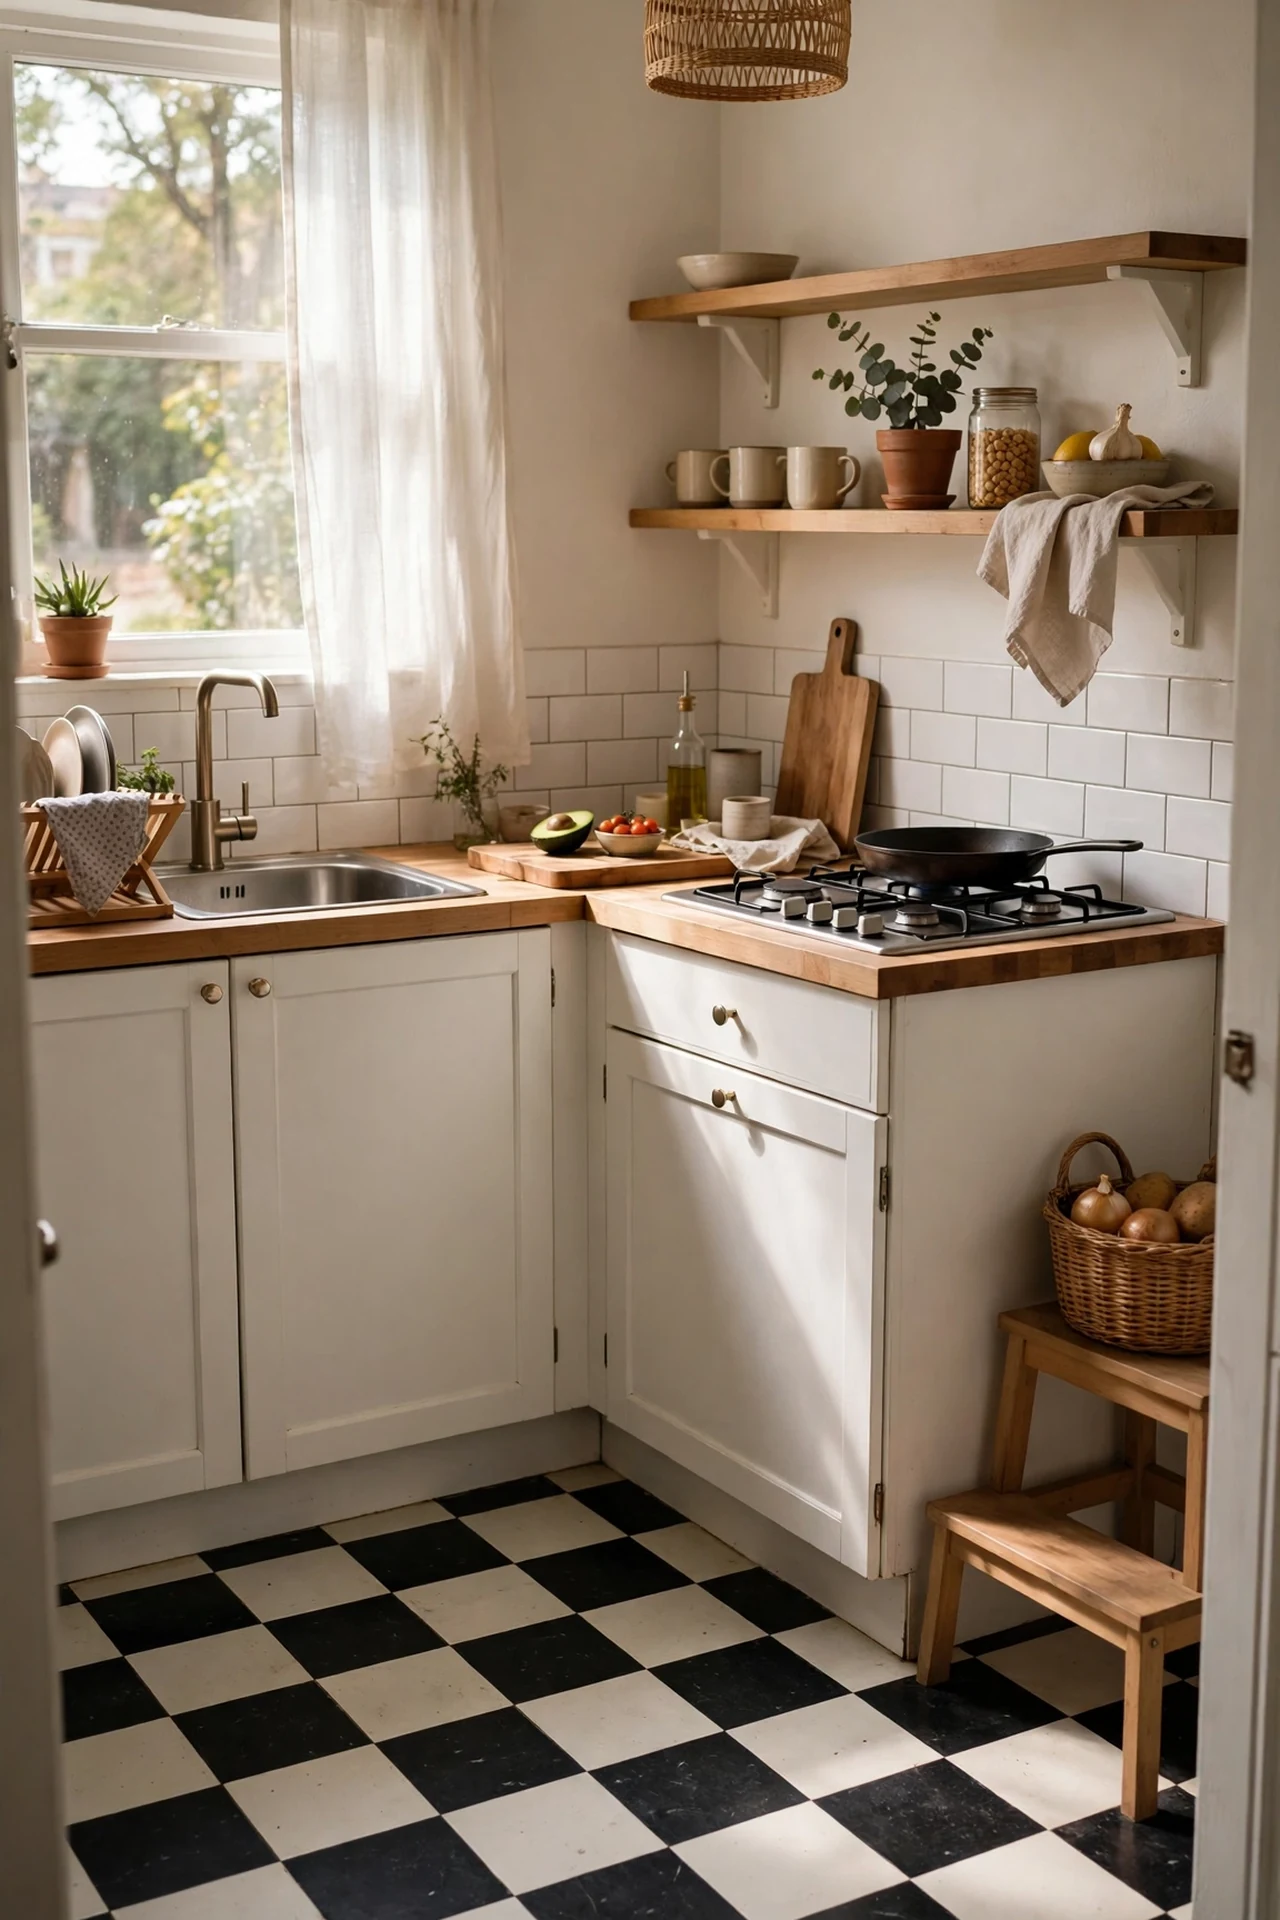
Self-adhesive checkerboard vinyl tiles turn a tired floor into the star of the room for less than a tank of fuel. Start from the centre of the room and work outward so the cut tiles land at the edges, and use a sharp blade with a metal straight edge. I tried this and the mistake to avoid is laying them straight onto a dusty floor — every bump shows through vinyl. Mop, let it dry completely, and the tiles will sit flat for years. Save this idea if your floor is the thing you are most sick of, because it genuinely changes the whole room in an afternoon.
Cost: ~$48 for a small kitchen | Time: 4 hours
9. Painted White Table and Black Windsor Chairs
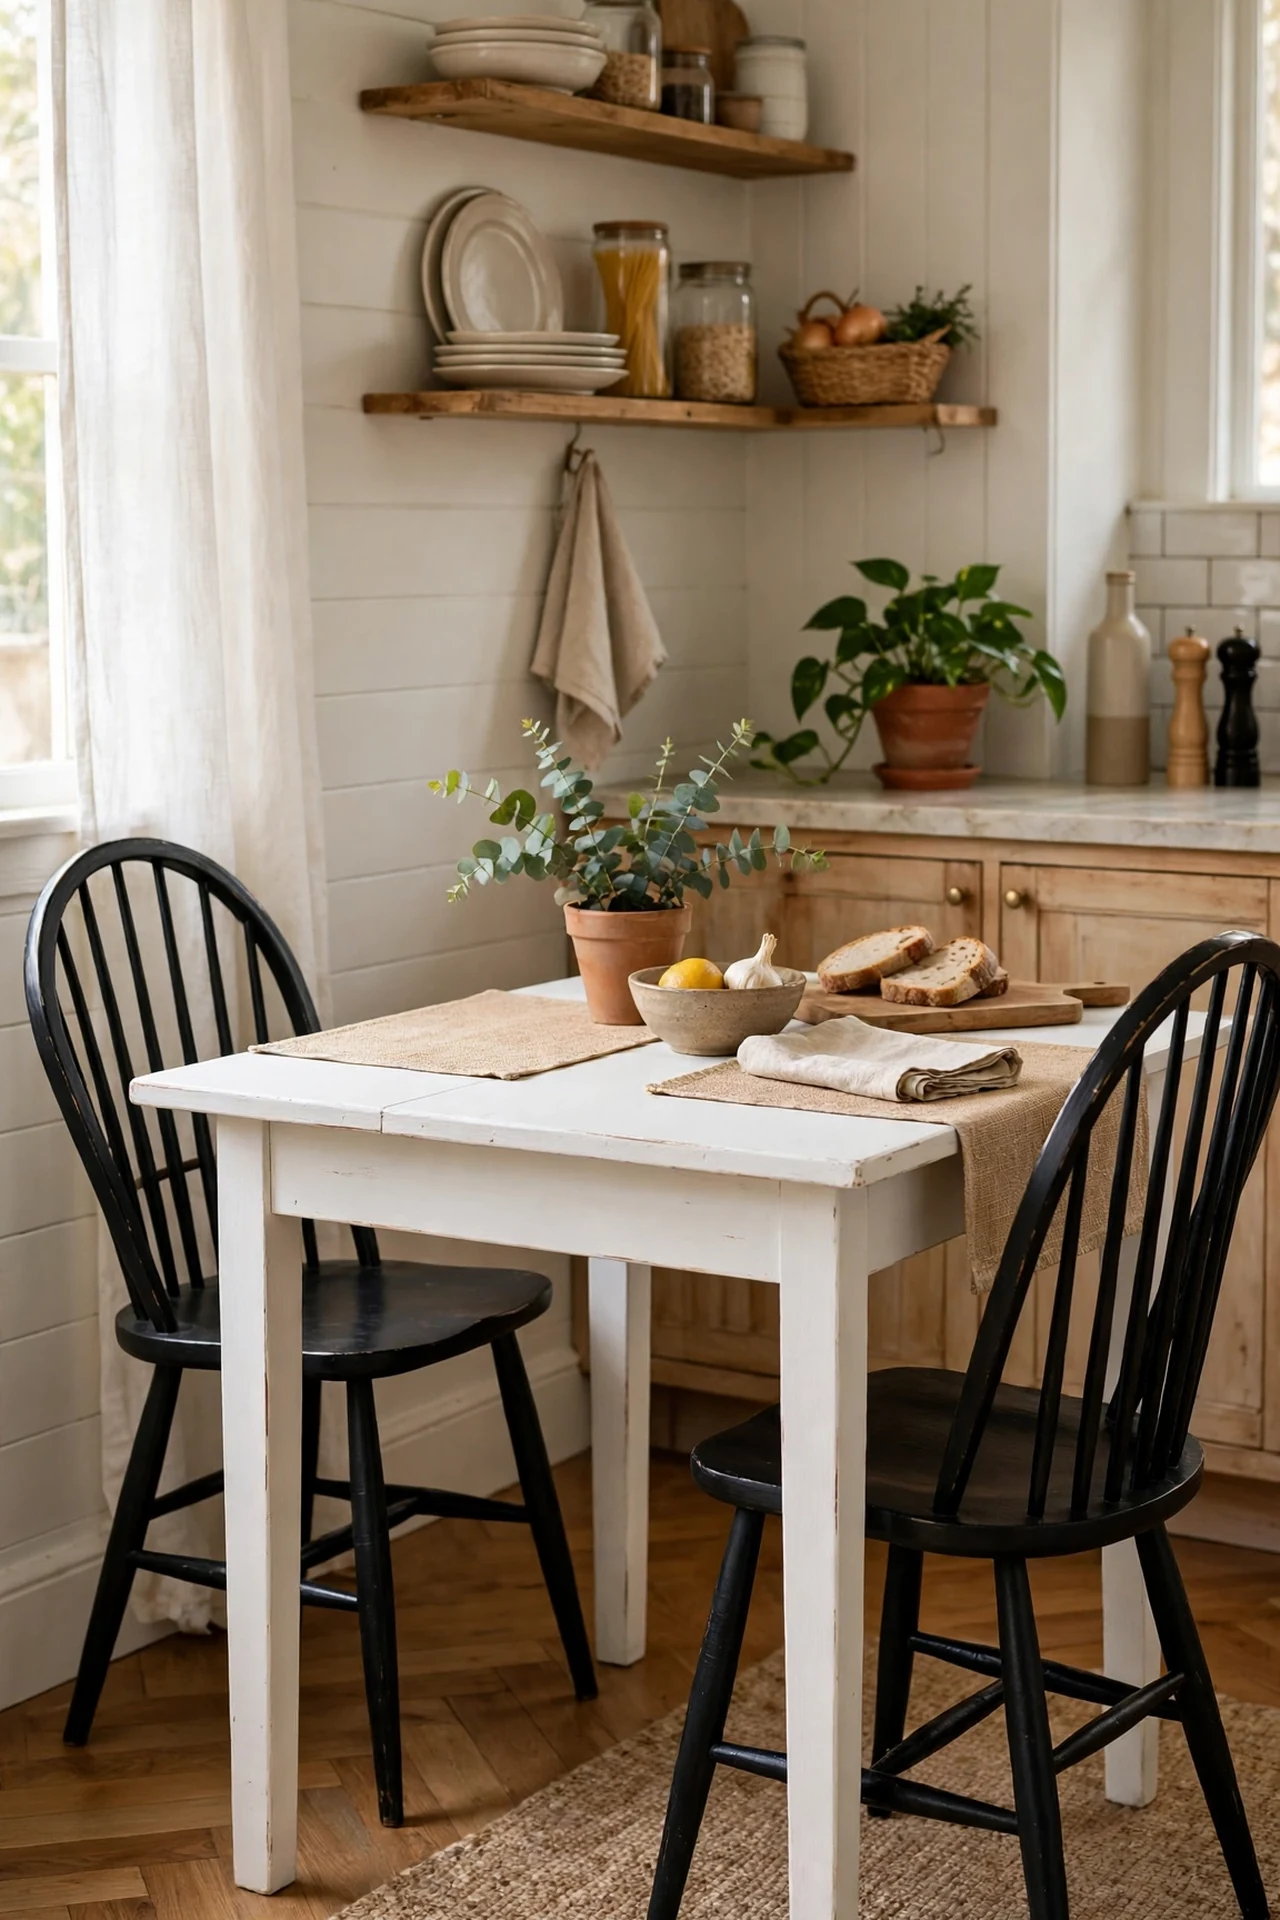
Scout the charity shops for mismatched chairs and unify them with black paint around a white-painted table — the whole dining set costs less than one high-street chair. Sand only enough to key the surface, then two coats of furniture paint and a coat of clear wax on the seat edges where they take the abuse. I tried this and the mistake to avoid is painting chair seats without wax — three months of jeans and the black was scuffed grey. Wax the touch points and they wipe clean. These (see also: cheap-dining-nook-decor-ideas) are worth a look if your kitchen corner needs more love.
Cost: ~$50 including secondhand chairs | Time: 5 hours
10. Matte Black Tap to Anchor the Sink Area
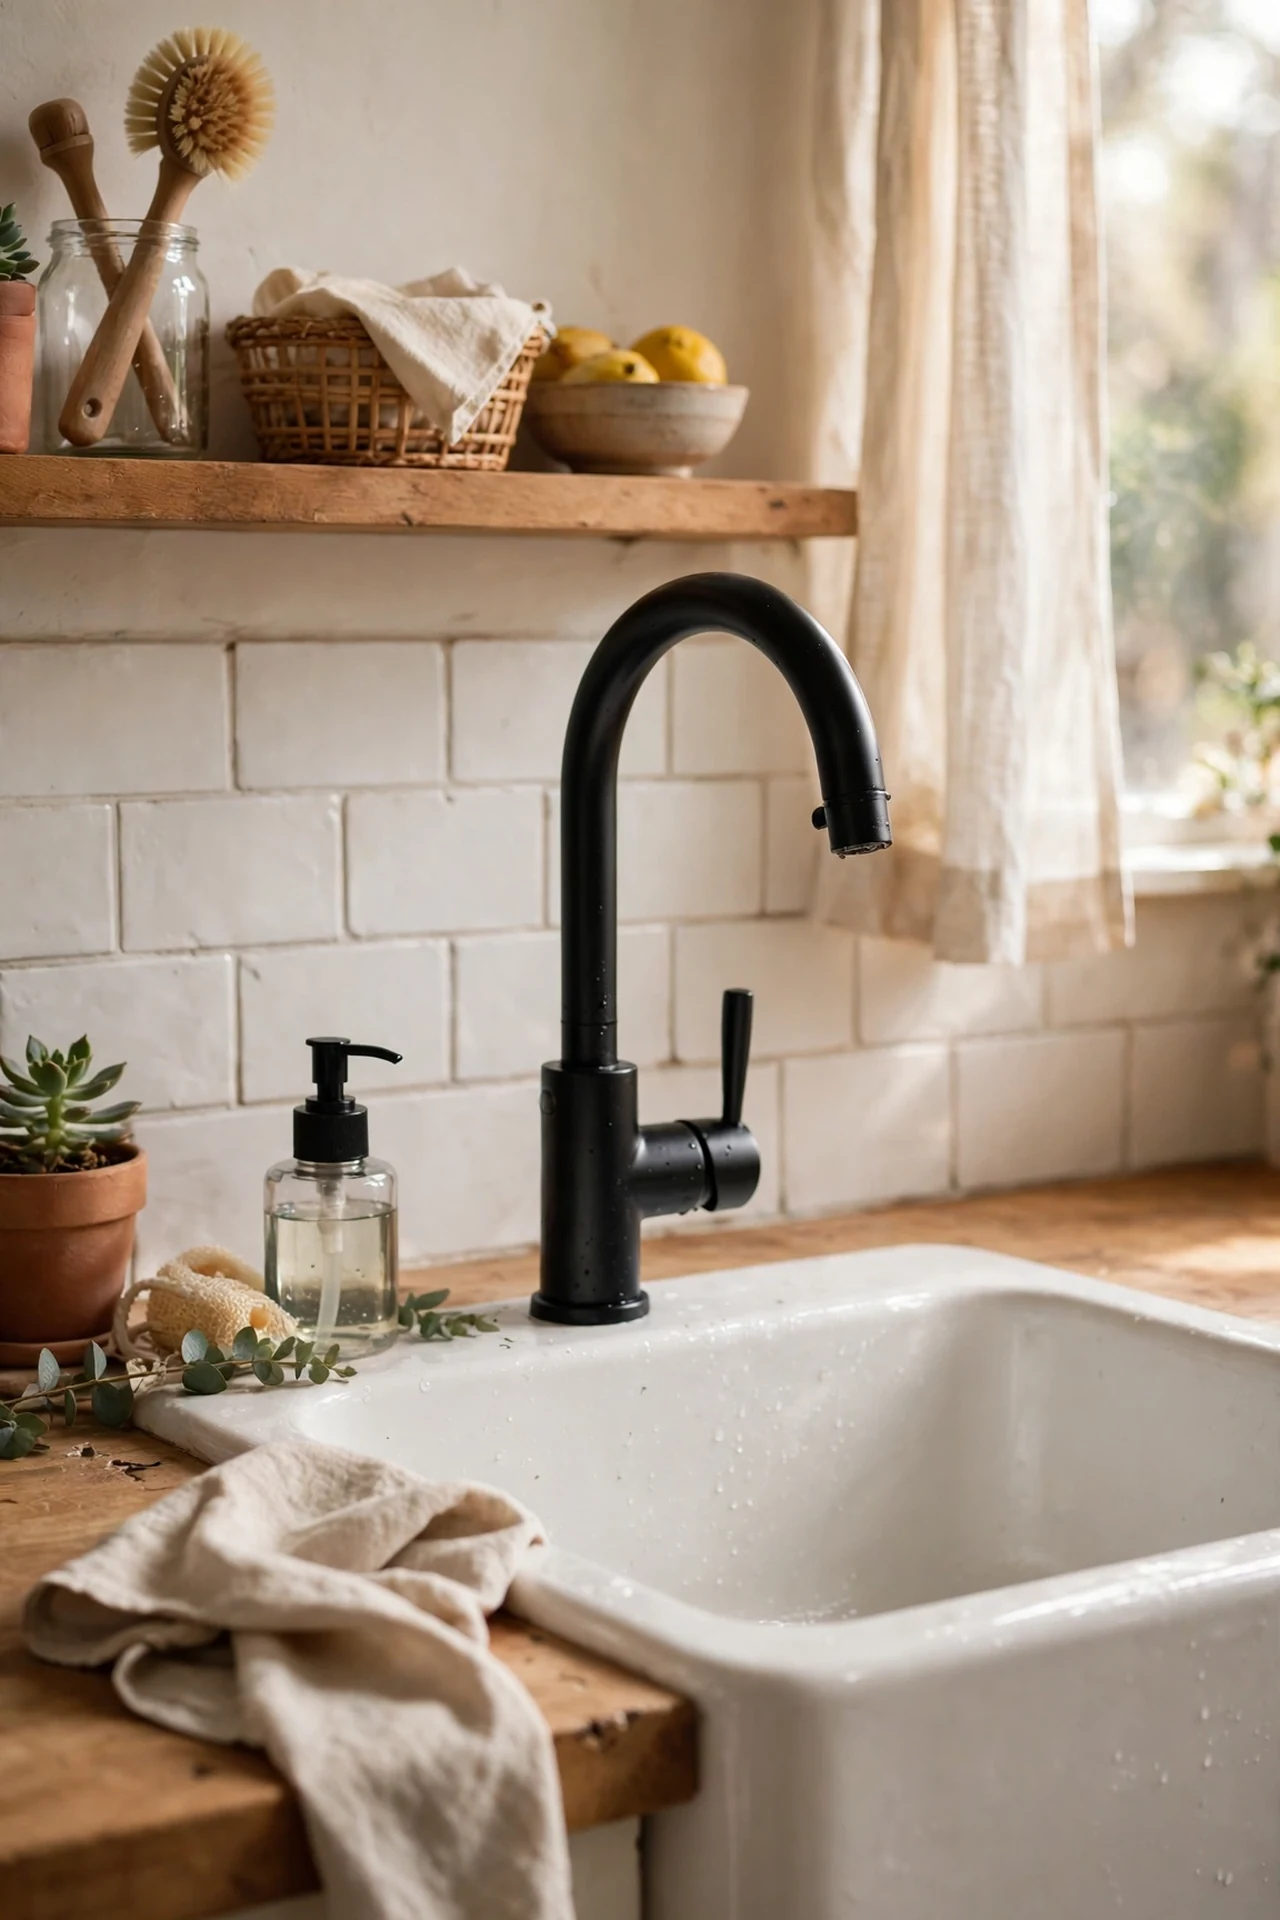
A single matte black tap changes the whole sink wall because everything else hangs off it — and budget taps have improved enormously. Check your existing tap’s hole count first: a one-hole tap will not cover a three-hole sink without a deck plate. I tried this and the mistake to avoid is buying one with no brand name and plastic innards; mine dripped within a fortnight and the plumber’s callout cost more than a decent tap would have. Shut off the isolation valves, swap it yourself in under an hour, and keep the receipt.
Cost: ~$55 for a decent mid-range tap | Time: 50 minutes
11. Black Pendant Lights Over a White Island or Table
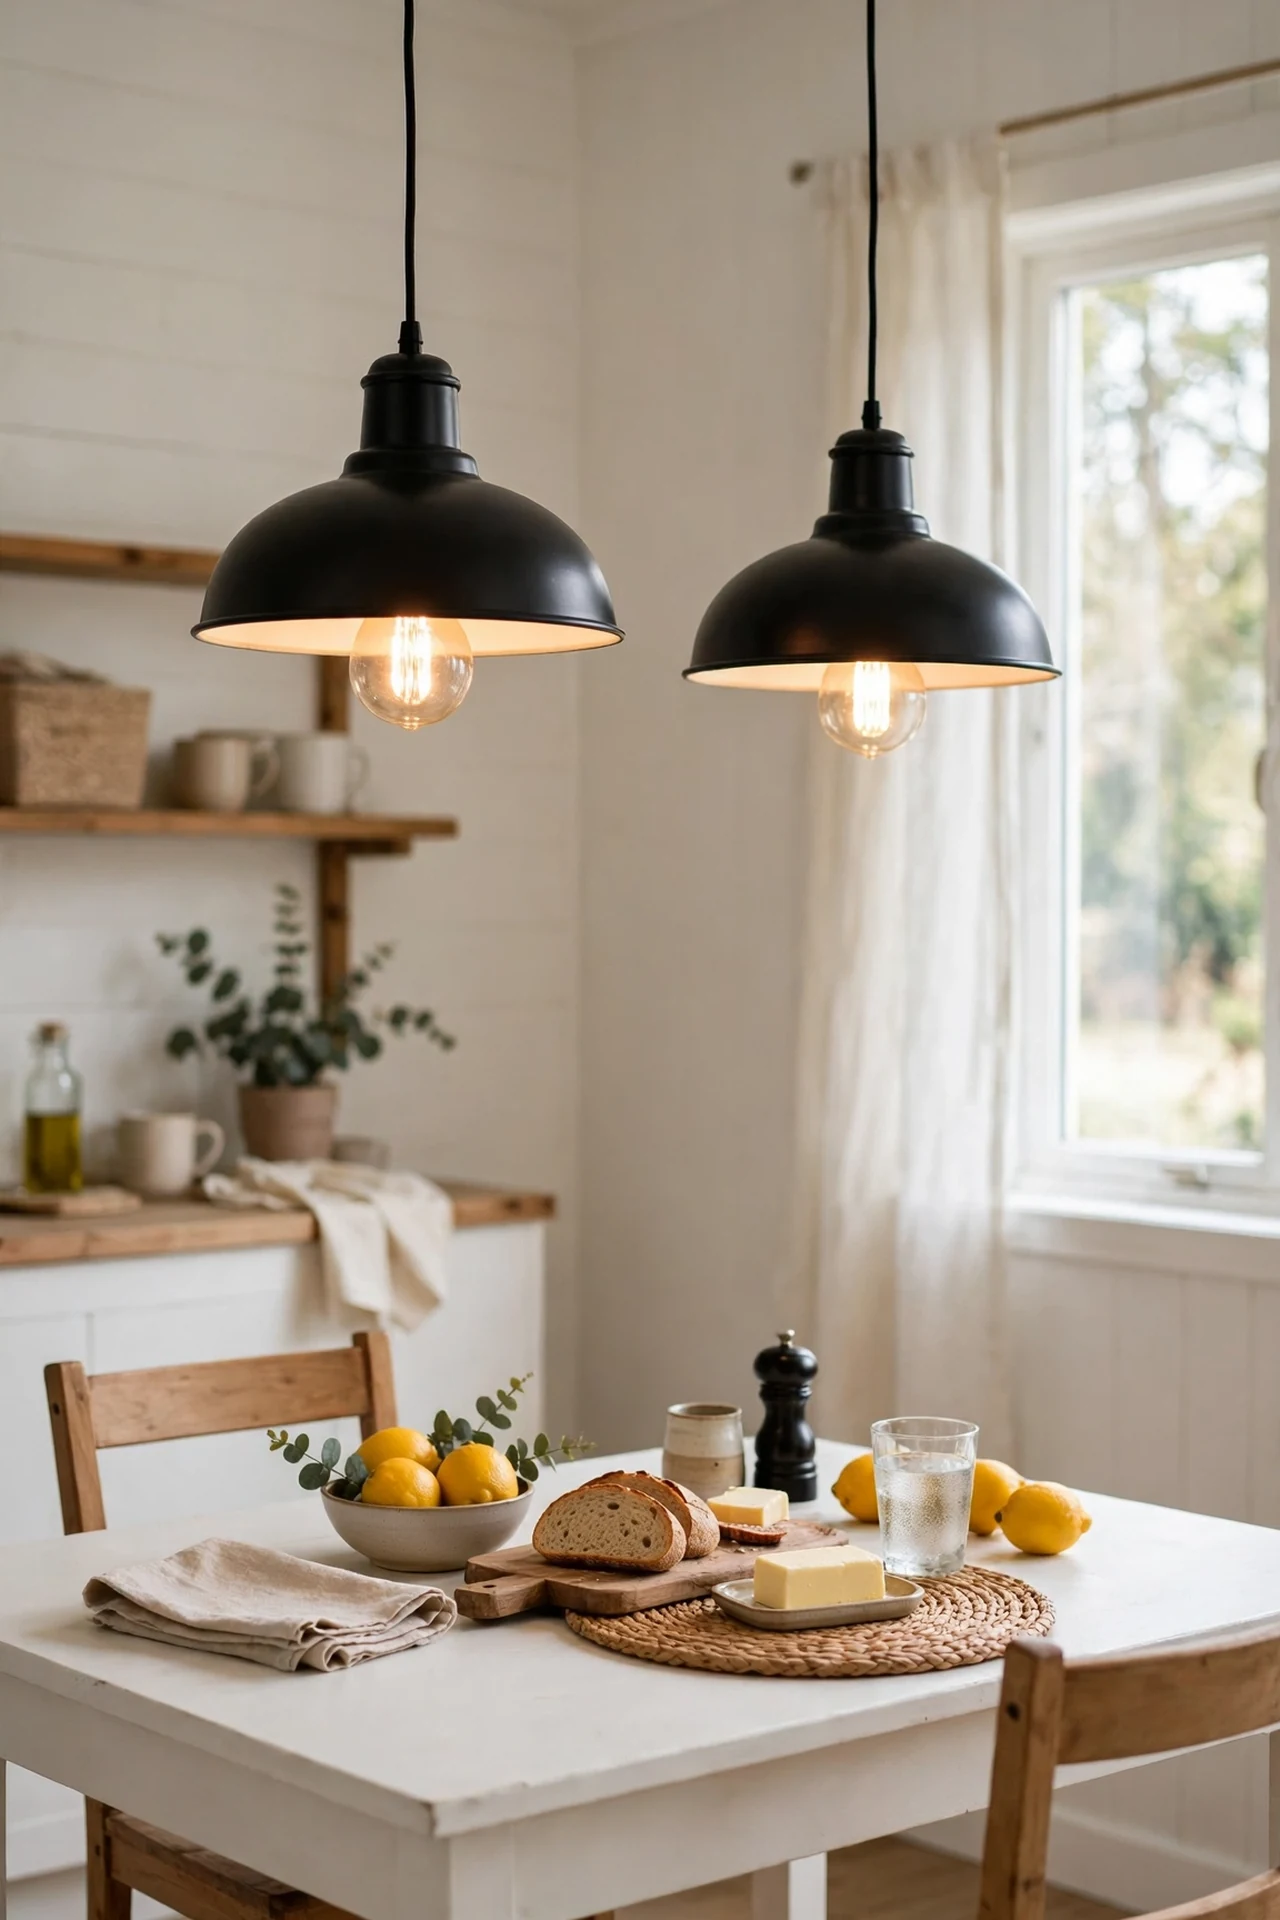
Two black pendant shades over the eating area are cheaper than a full lighting rewire because they hang from existing ceiling points. Pick shades with white or mirrored interiors so they throw light down instead of swallowing it. I tried this and the mistake to avoid is hanging them at different heights — an inch difference reads as a mistake forever. Measure from the worktop up, mark both, then hang. Warm 2700K bulbs keep the black and white palette feeling cosy rather than clinical.
Cost: ~$40 for a pair of shades | Time: 1 hour
12. A Blackboard Wall or Framed Blackboard for Meal Planning
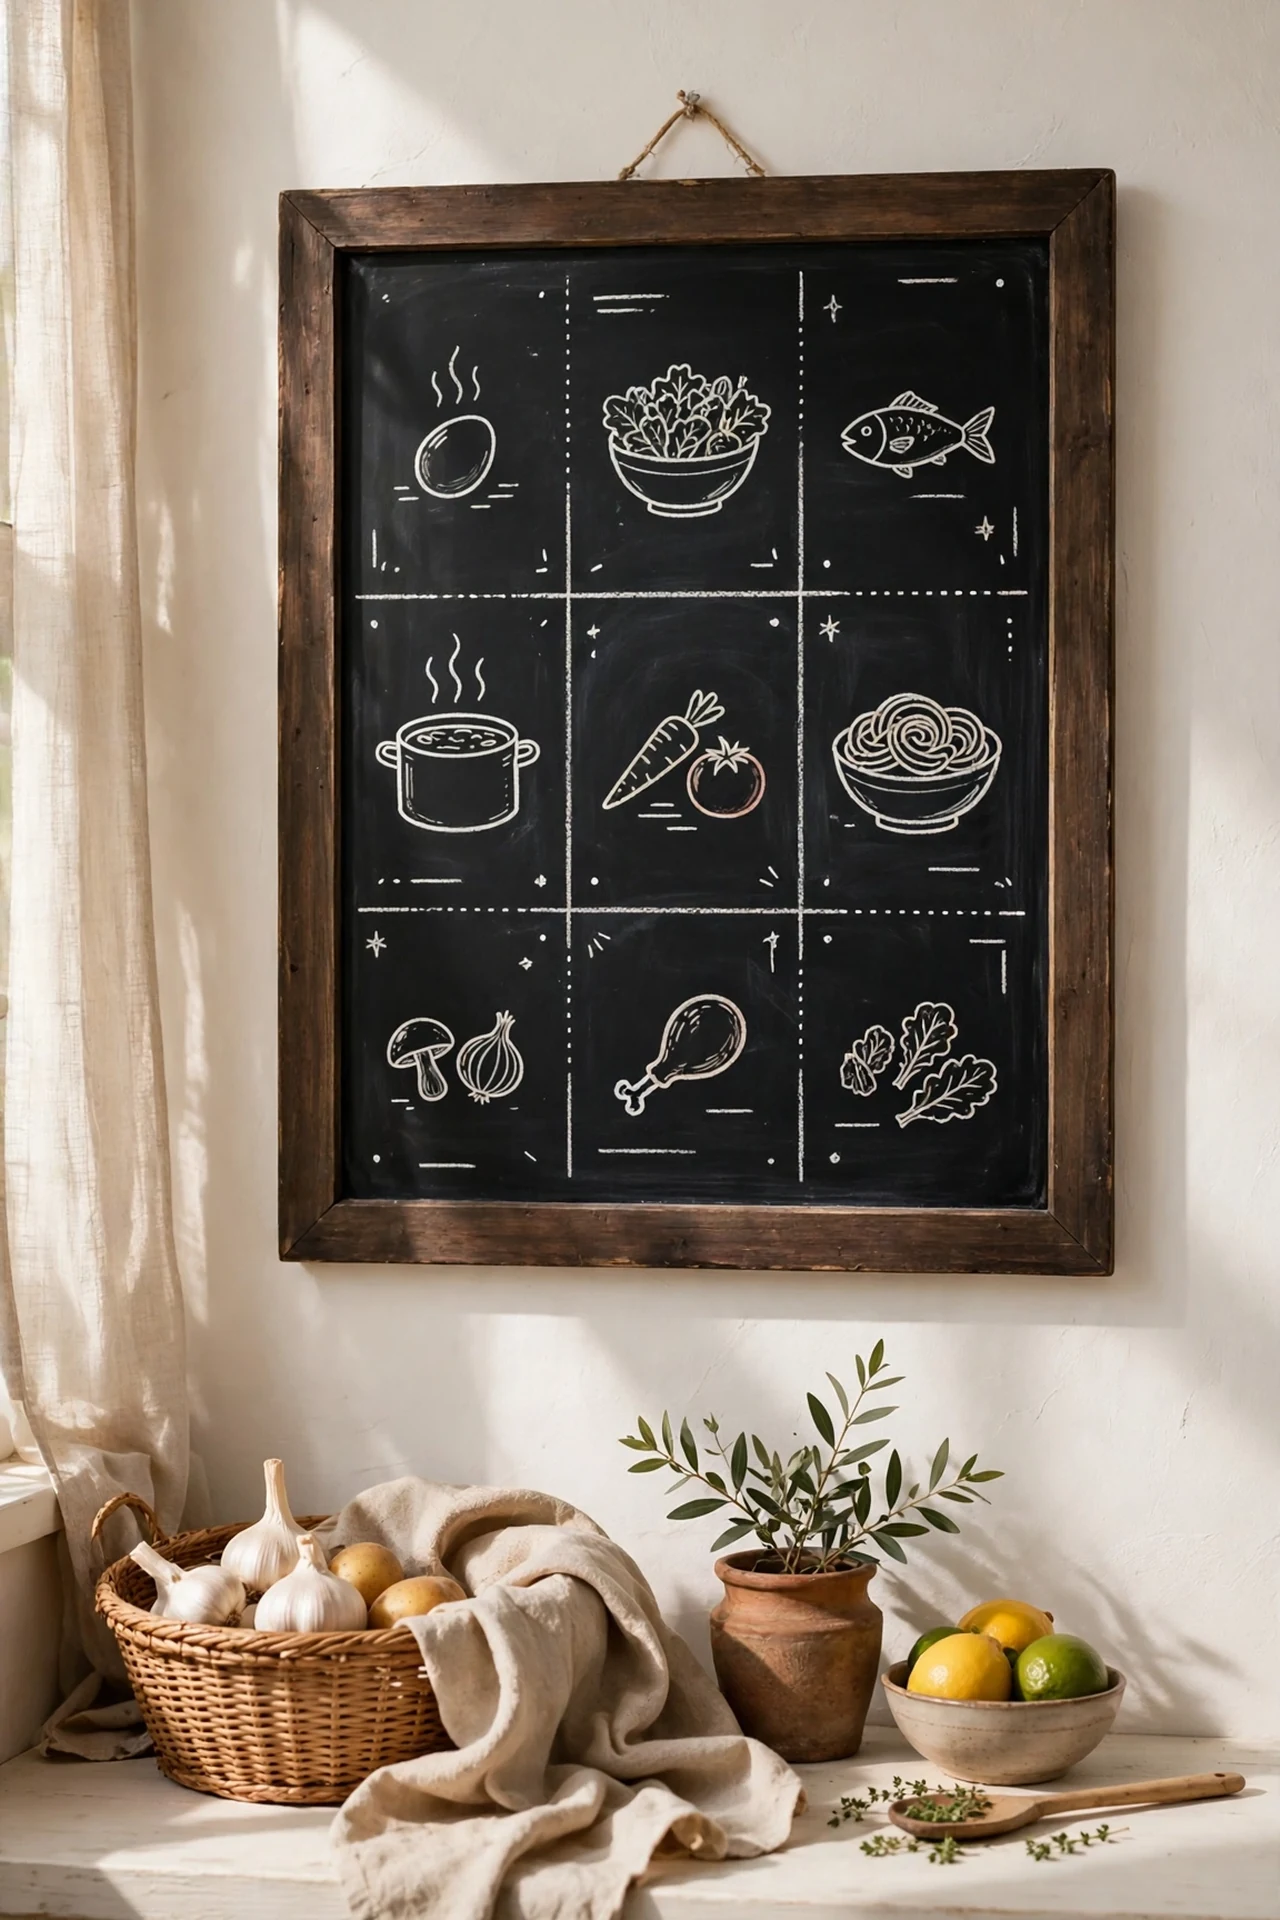
A framed blackboard — or a blackboard-painted patch of wall — gives you a weekly menu planner that also works as decor. Sand the surface smooth before painting or the chalk skips, and do two thin coats of the paint rather than one thick one. I tried this and the mistake to avoid is using real chalk the first day; you must season the board by rubbing chalk over the whole surface and wiping it off, or the first writing ghosts forever. Chalk markers look sharper and wipe off with a damp cloth.
Cost: ~$14 for chalkboard paint and a frame | Time: 2 hours
13. White Sheer Curtains With Black Tie-Backs
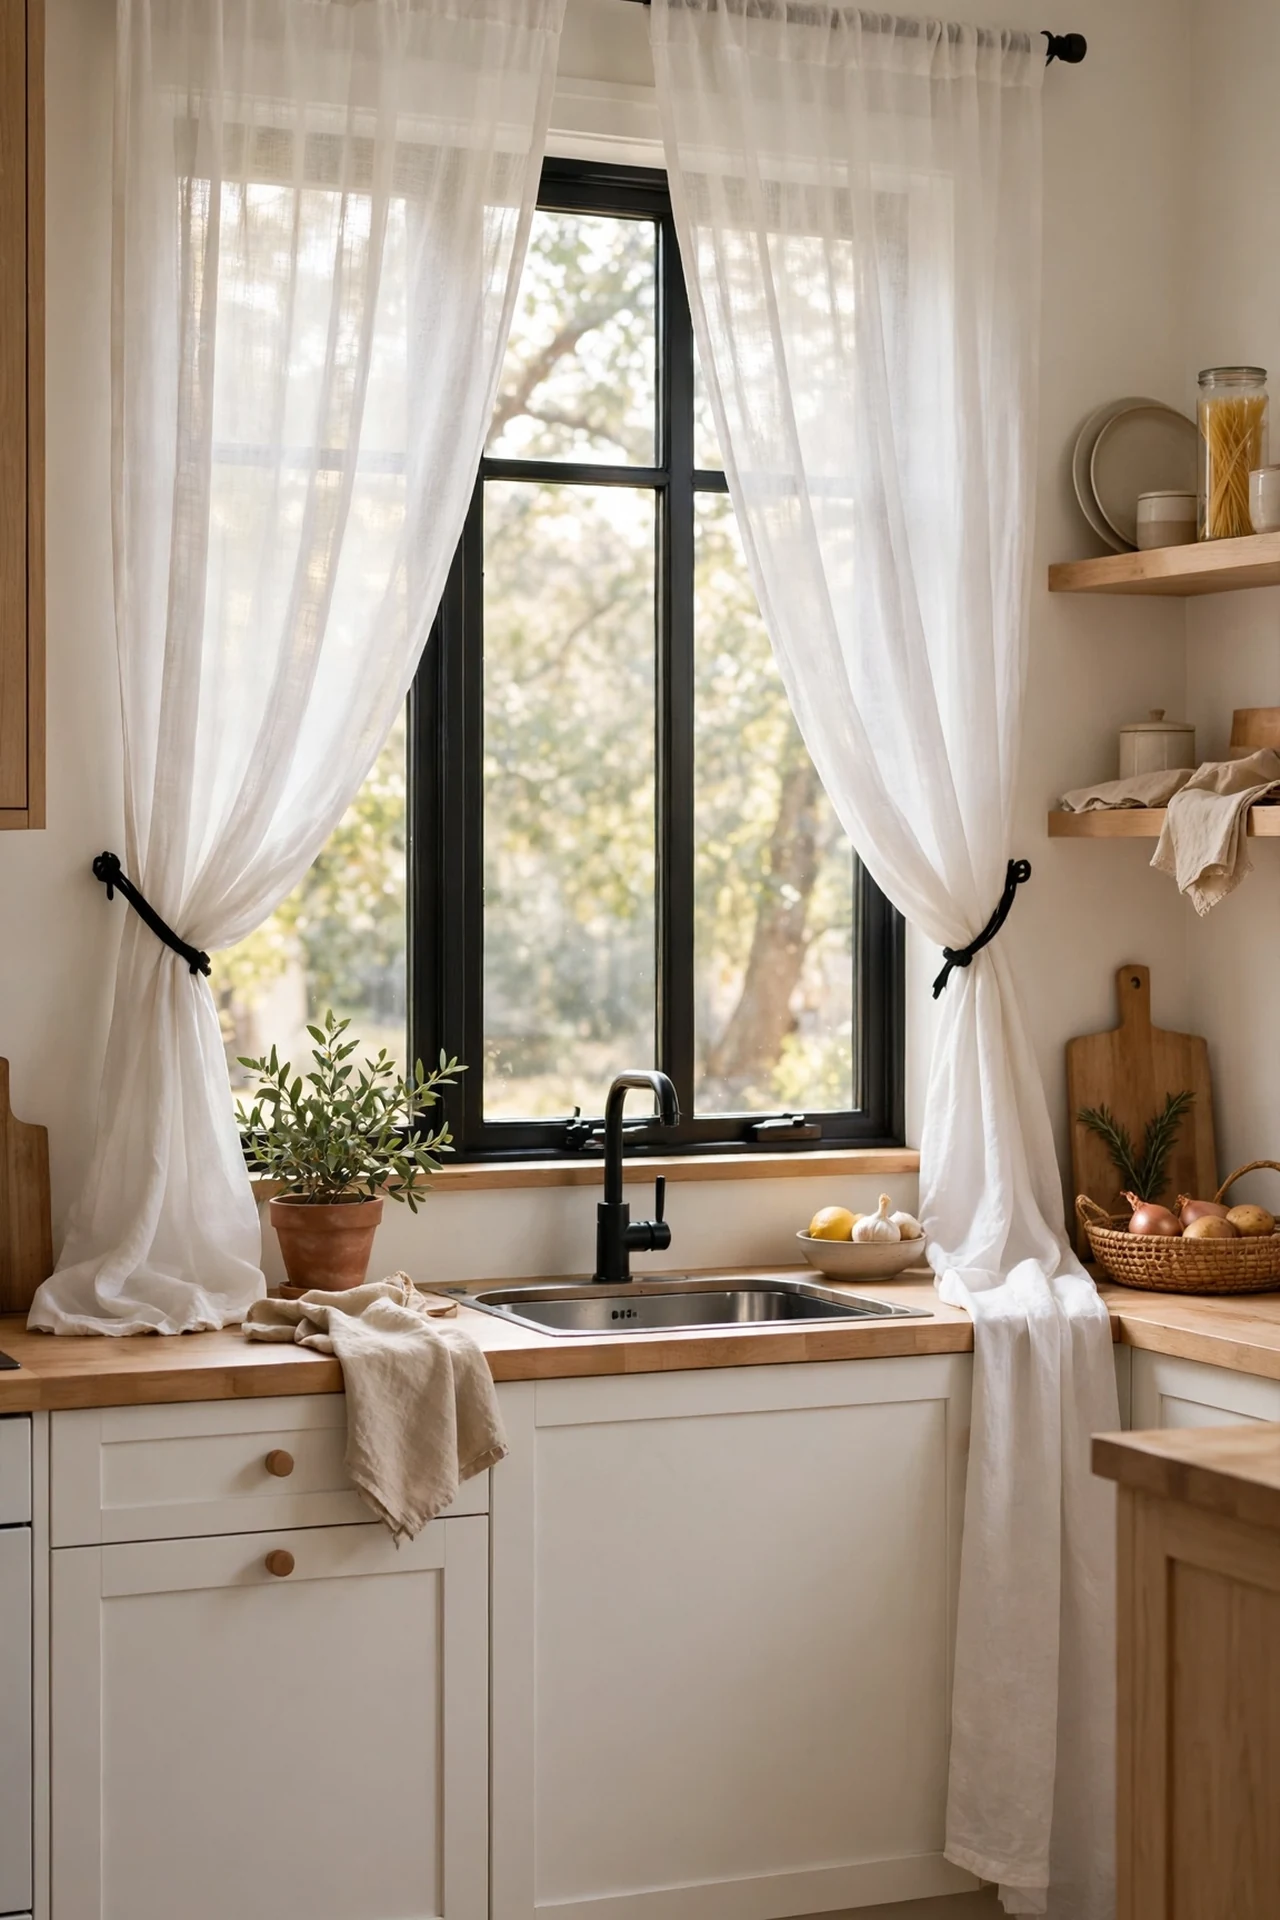
Sheers keep the light while black tie-backs and a dark rod echo the palette for the price of a shop-bought lunch. If the window is near the sink, hang the rod wider than the frame so the curtains can be pushed fully clear of splashes. I tried this and the mistake to avoid is buying sheers exactly the window width — they never gather properly and look skimpy. Go 1.5 times the width and they fall in soft folds that look far more expensive.
Cost: ~$20 for sheers, rod and tie-backs | Time: 45 minutes
14. Contrast Stovetop: Black Splashback Panel Behind a White Hob
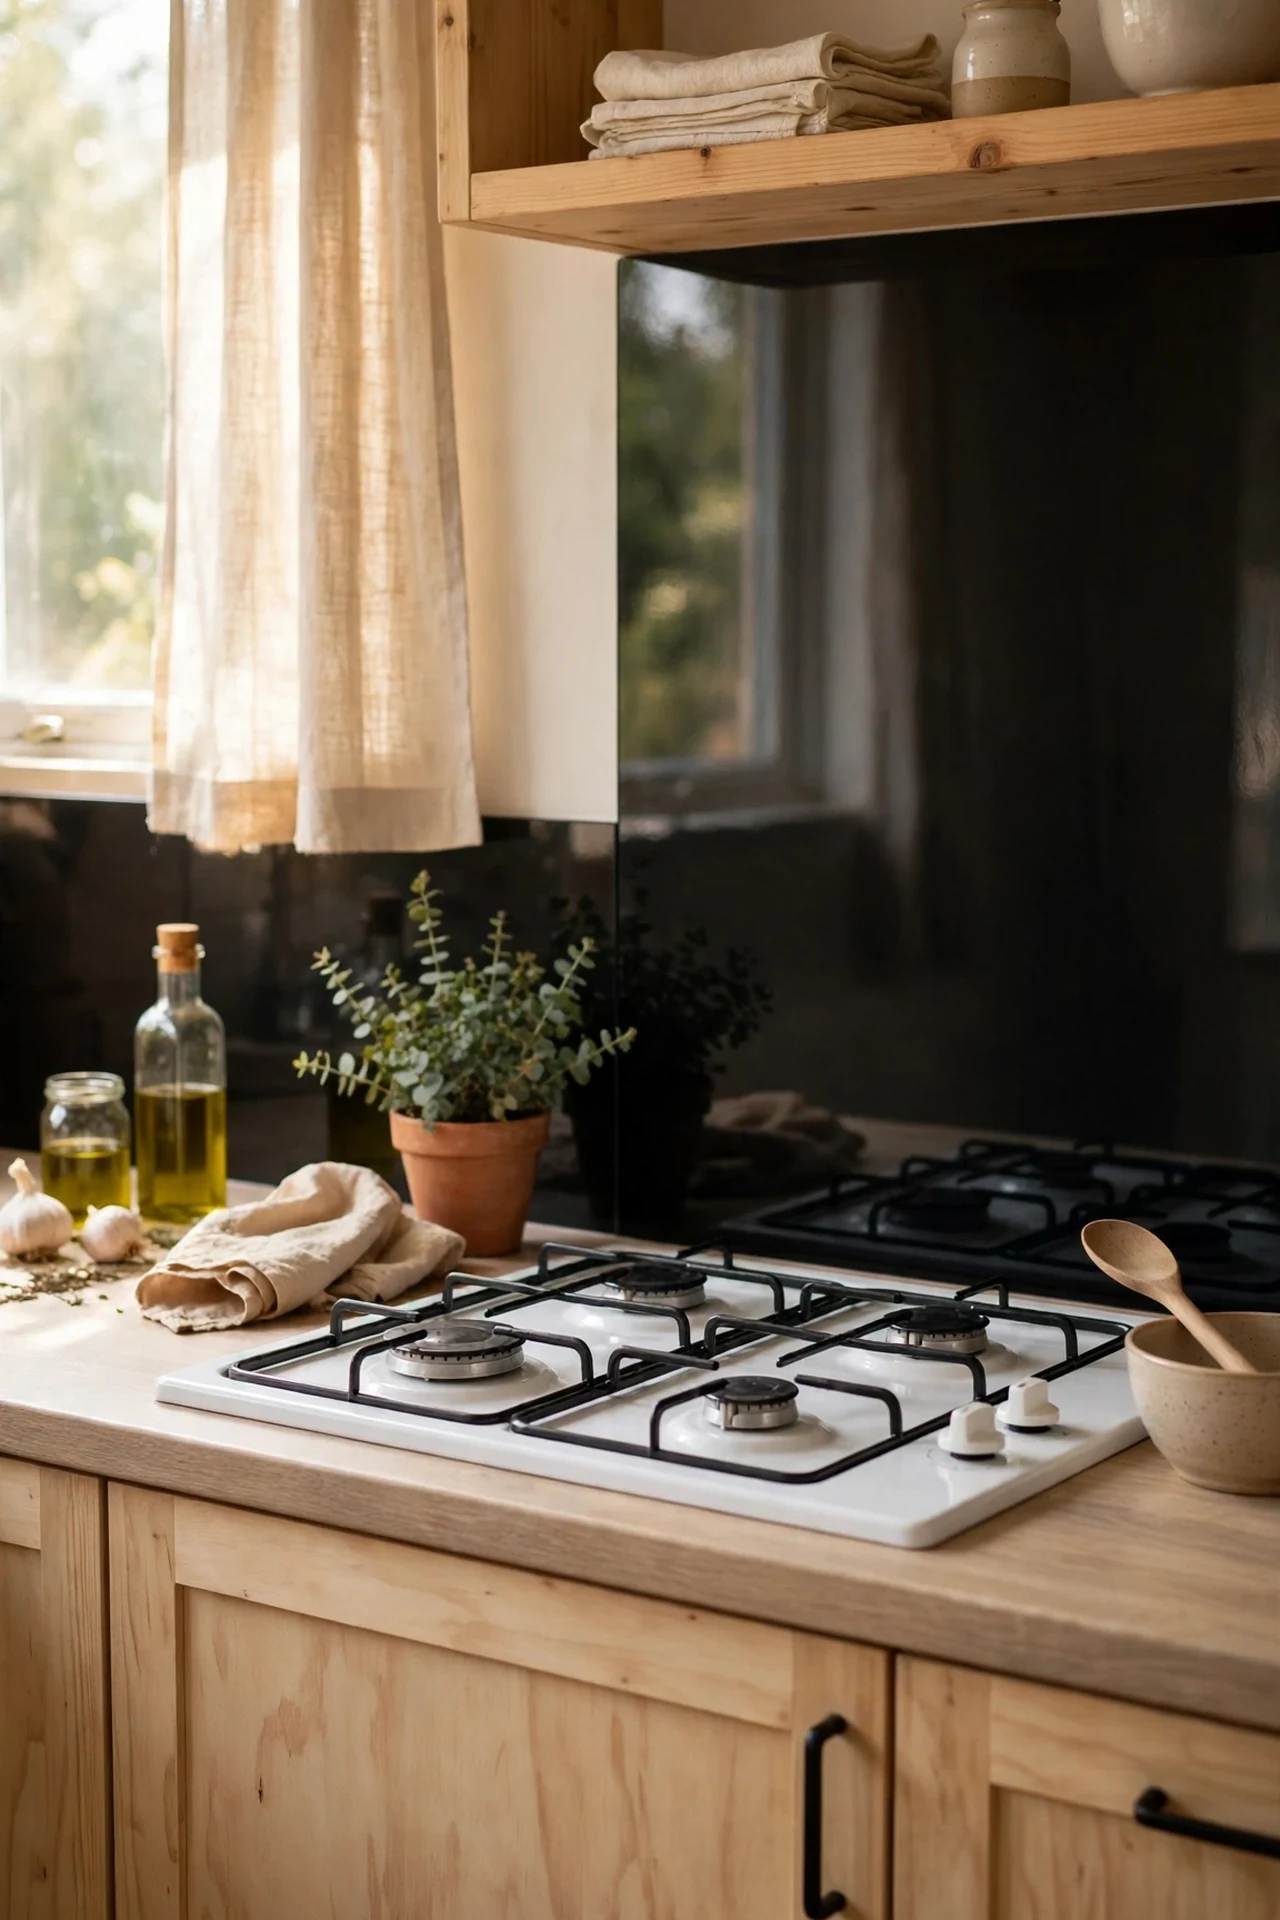
A single sheet of black glass or painted hardboard behind the cooker creates the drama of a range cooker splashback for almost nothing. Cut it to the exact width of the hob and fix with heat-rated adhesive or standoffs, leaving a small air gap. I tried this and the mistake to avoid is using standard MDF — the heat and steam made mine swell at the bottom edge within a season. Moisture-resistant board or real glass costs barely more and lasts. Wipe it down after cooking and grease never gets a foothold.
Cost: ~$25 for a black glass panel | Time: 1 hour
15. Black and White Striped Runner Rug by the Sink
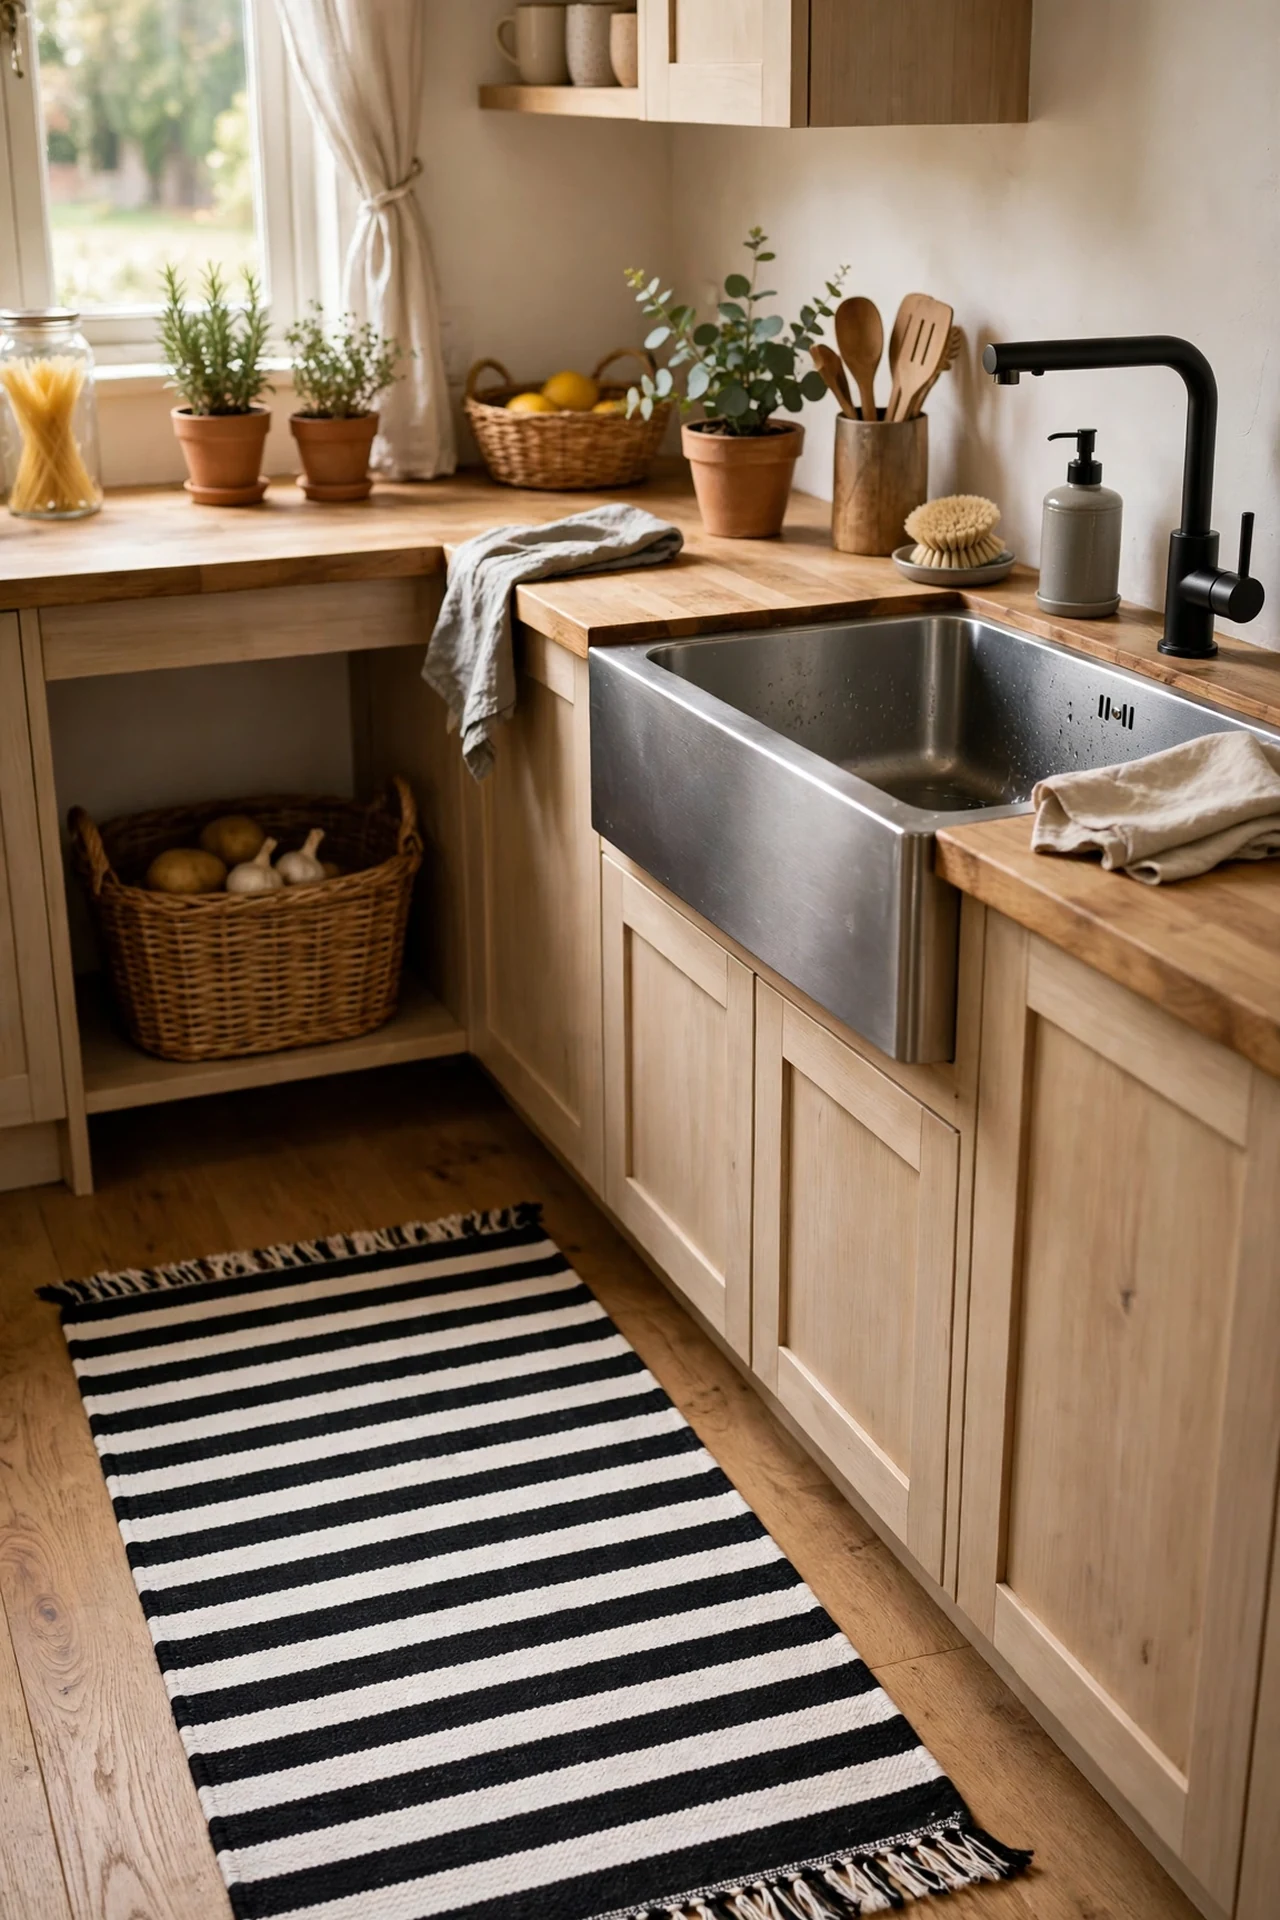
A washable striped runner is the cheapest way to tie the palette to the floor, and it is machine-washable for the one thing kitchens do constantly: get dirty. Measure the gap between the sink and the opposite run of cabinets and leave a few inches clear each side so the door still swings. I tried this and the mistake to avoid is buying non-washable — my first runner went in the bin after one tomato sauce incident. A low-pile washable one goes in with the towels and comes out like new.
Cost: ~$32 for a washable runner | Time: 5 minutes
16. Chalk-White Cabinets With Black Stove and Hood
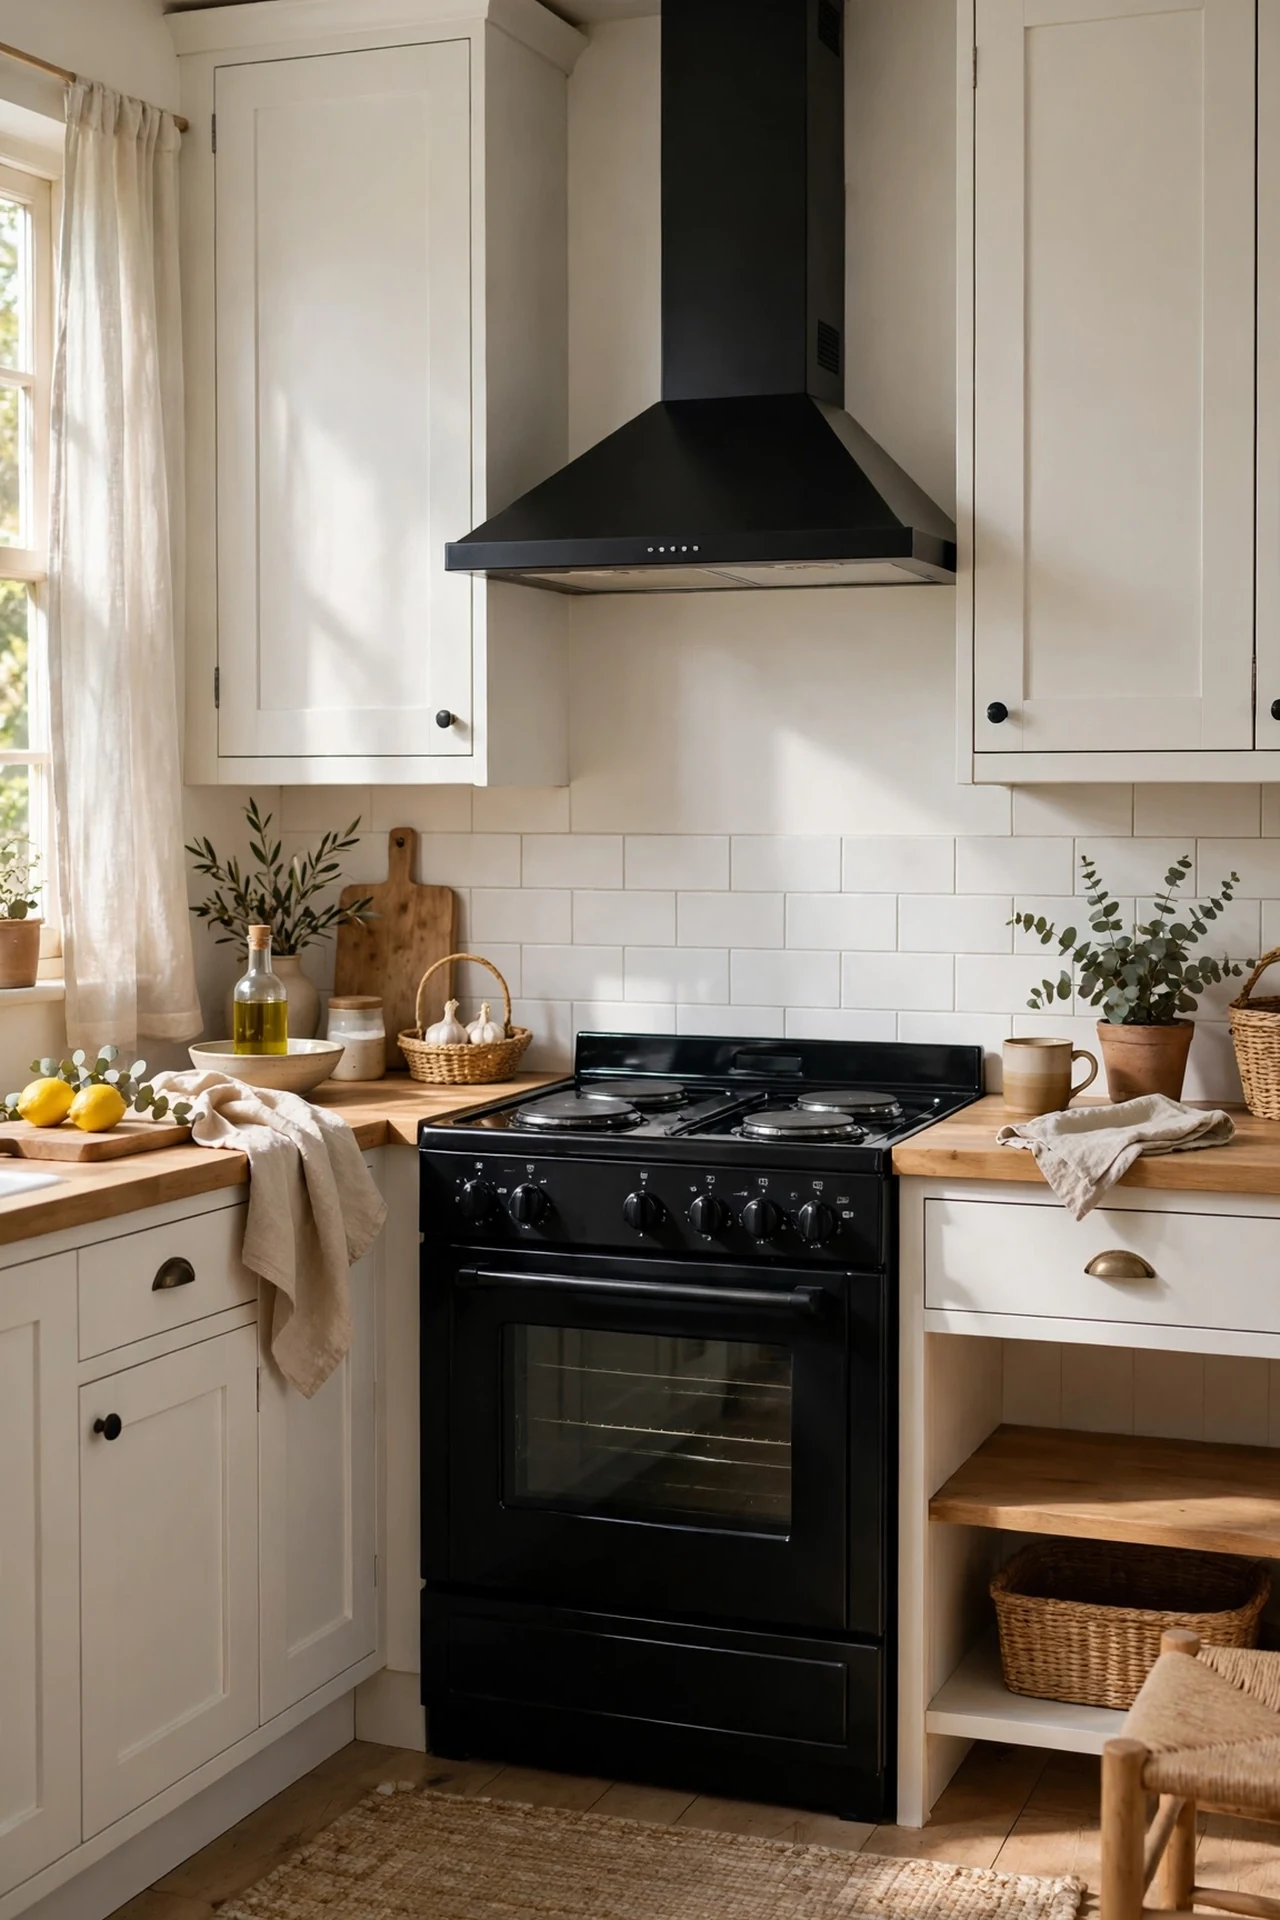
If your appliances are white and dated, do not replace them — lean the other way and make the cooker the black centrepiece of the room. A black enamel-look stick-on cover on the oven door, plus black handle paint rated for heat, fools the eye completely. I tried this and the mistake to avoid is using normal paint on a cooker handle; it softened and went tacky the first time the oven ran. High-heat paint from the hardware shop costs the same and survives. Suddenly the room reads as deliberately monochrome.
Cost: ~$20 for high-heat paint and film | Time: 2 hours
17. Labelled Glass Jars With Black Lids on White Shelves
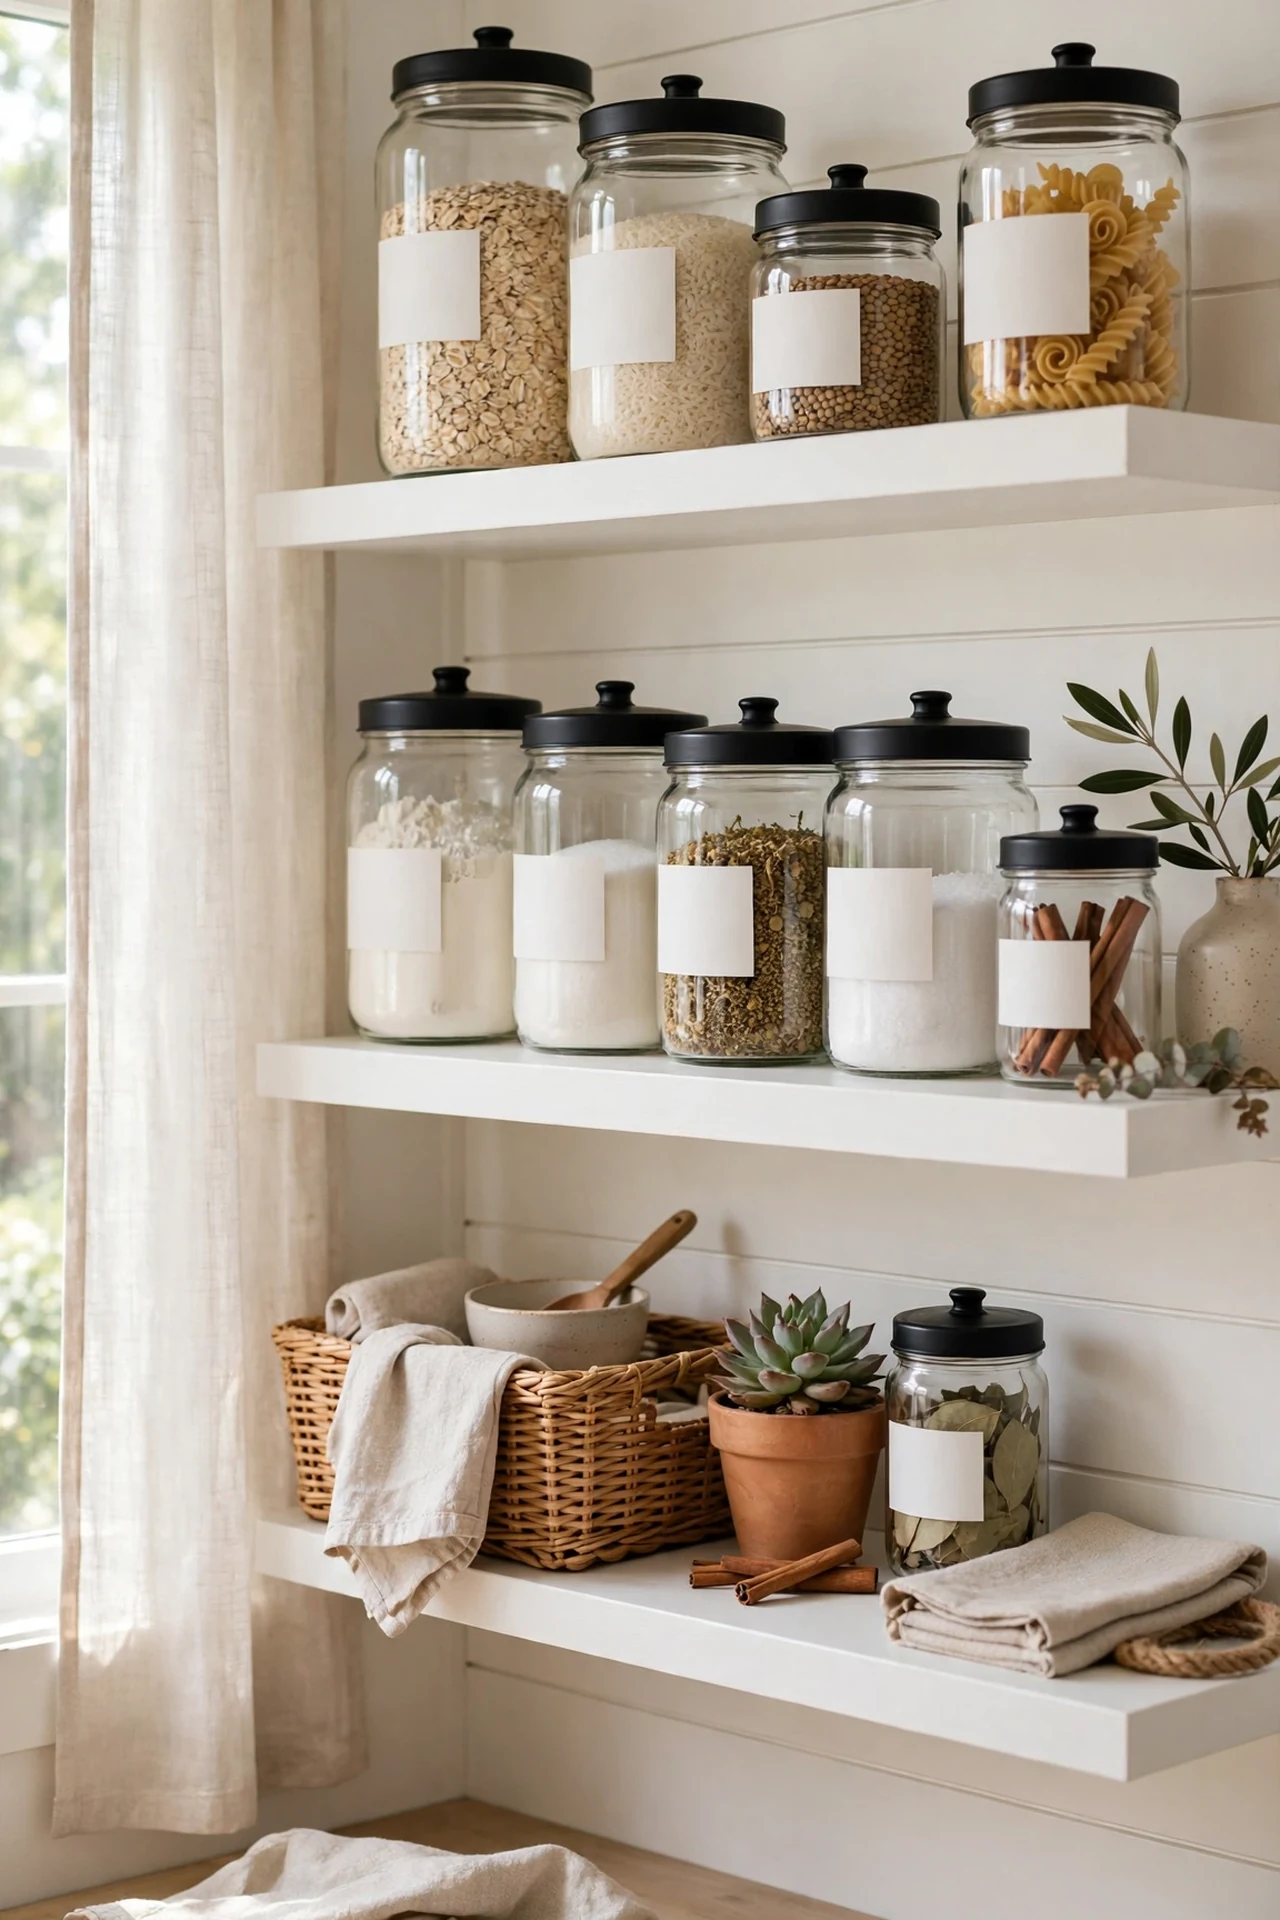
Reusing jars with a set of matching black lids costs pennies and makes open shelves look styled rather than cluttered. Buy lids to fit your most common jar size — one size looks tidier than a jumble — and add plain white labels written in a marker. I tried this and the mistake to avoid is decanting everything before checking you can still read cooking times off the packet; photograph the instructions first. Fill the back row with flour, sugar and pasta and the everyday cooking ingredients live in front.
Cost: ~$12 for a dozen lids and labels | Time: 1 hour
18. A Black Pan Rail Instead of Cupboard Clutter
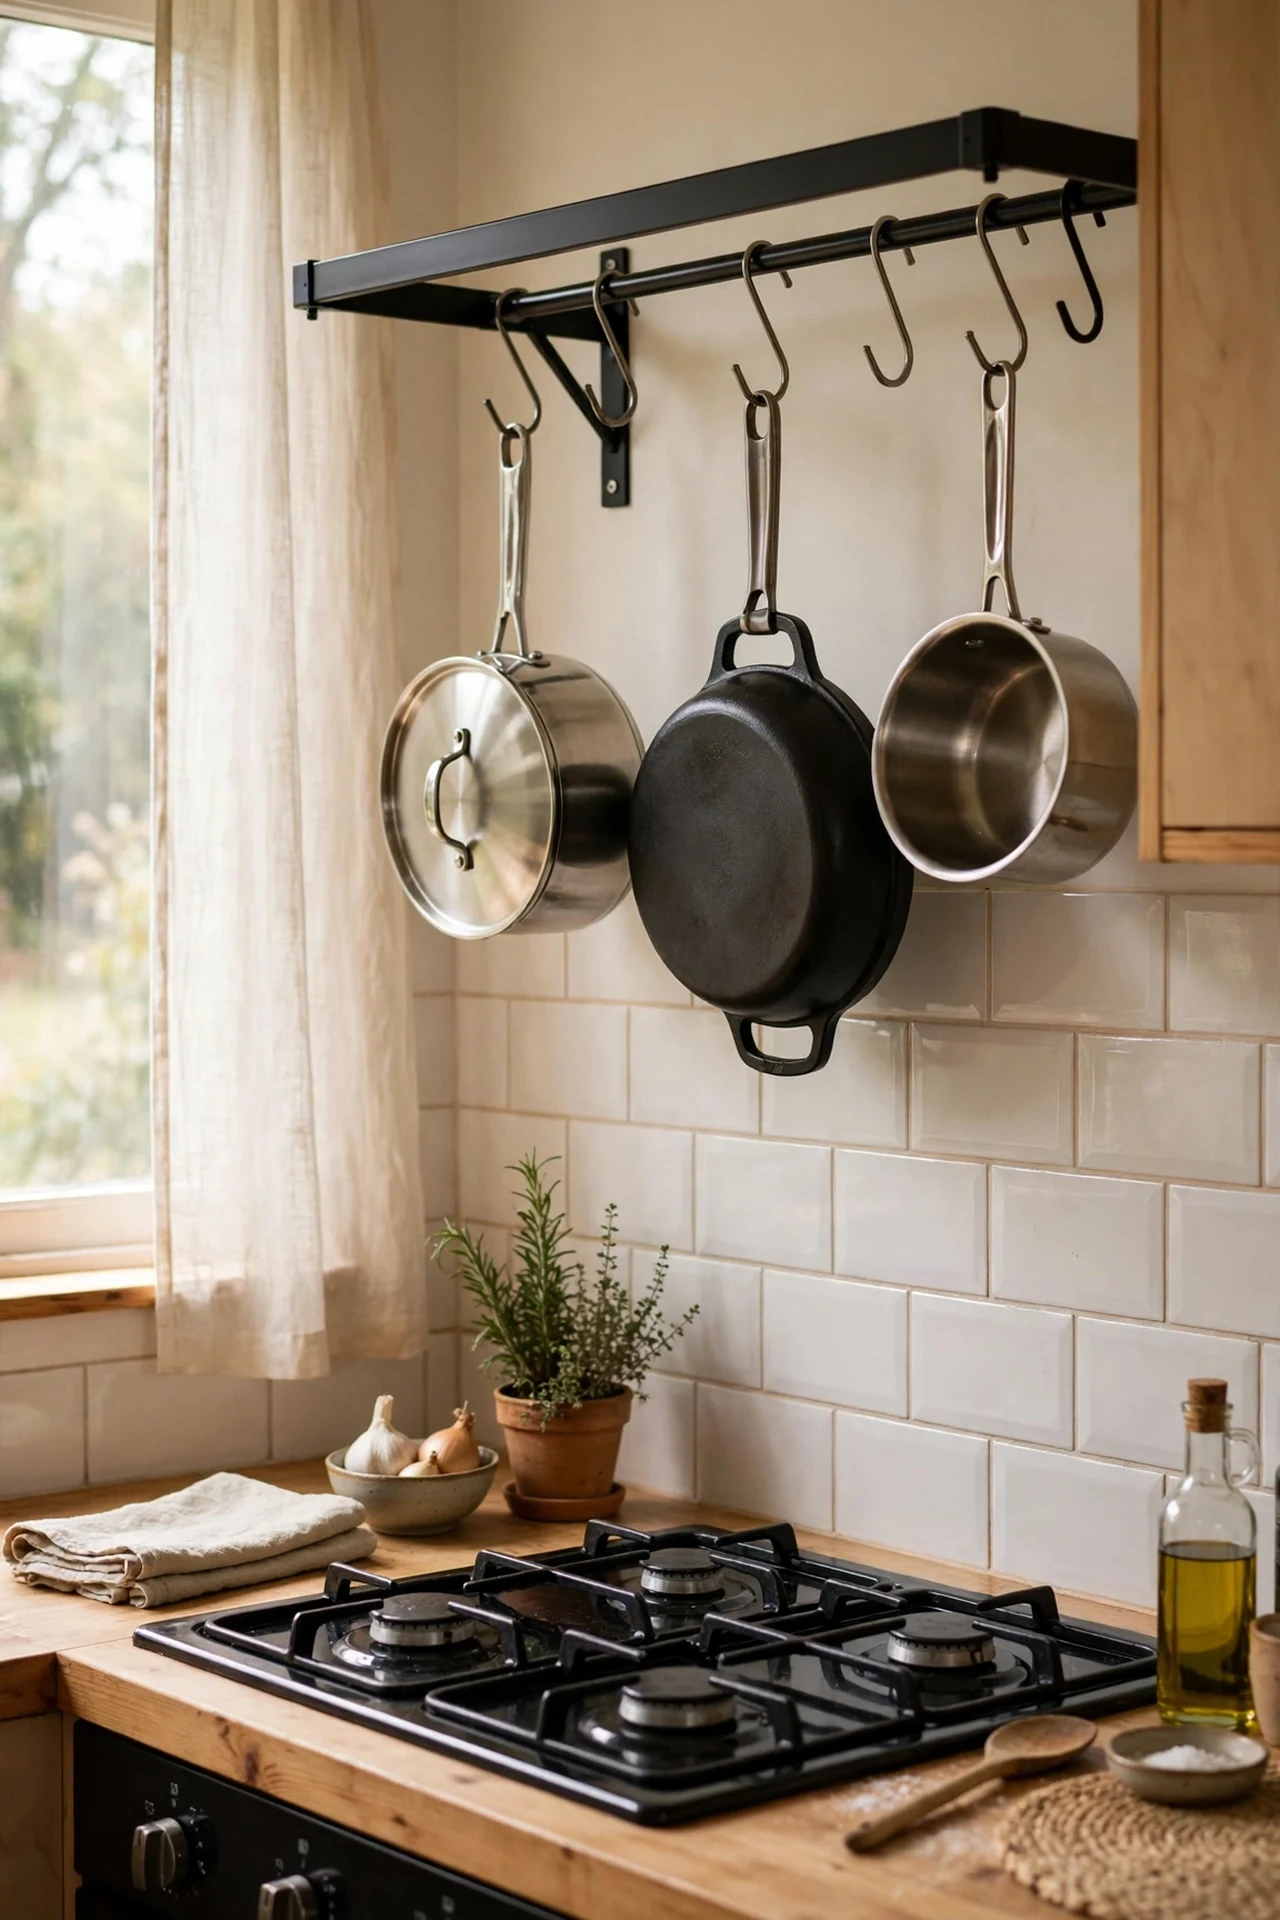
A black metal rail with S-hooks above the hob or under a shelf frees a whole cupboard and turns your pans into the decor. Screw into studs or masonry — a rail full of cast iron is no place for flimsy anchors. I tried this and the mistake to avoid is hanging pans so low they clonk against the wall; leave two inches of clearance and wrap hook tips in electrical tape to silence the rattle. One wipe a week keeps the grease dust off, and the cupboard space you gain is the real prize.
Cost: ~$18 for a rail and hooks | Time: 40 minutes
19. Framed Black and White Food Prints on a Bare Wall
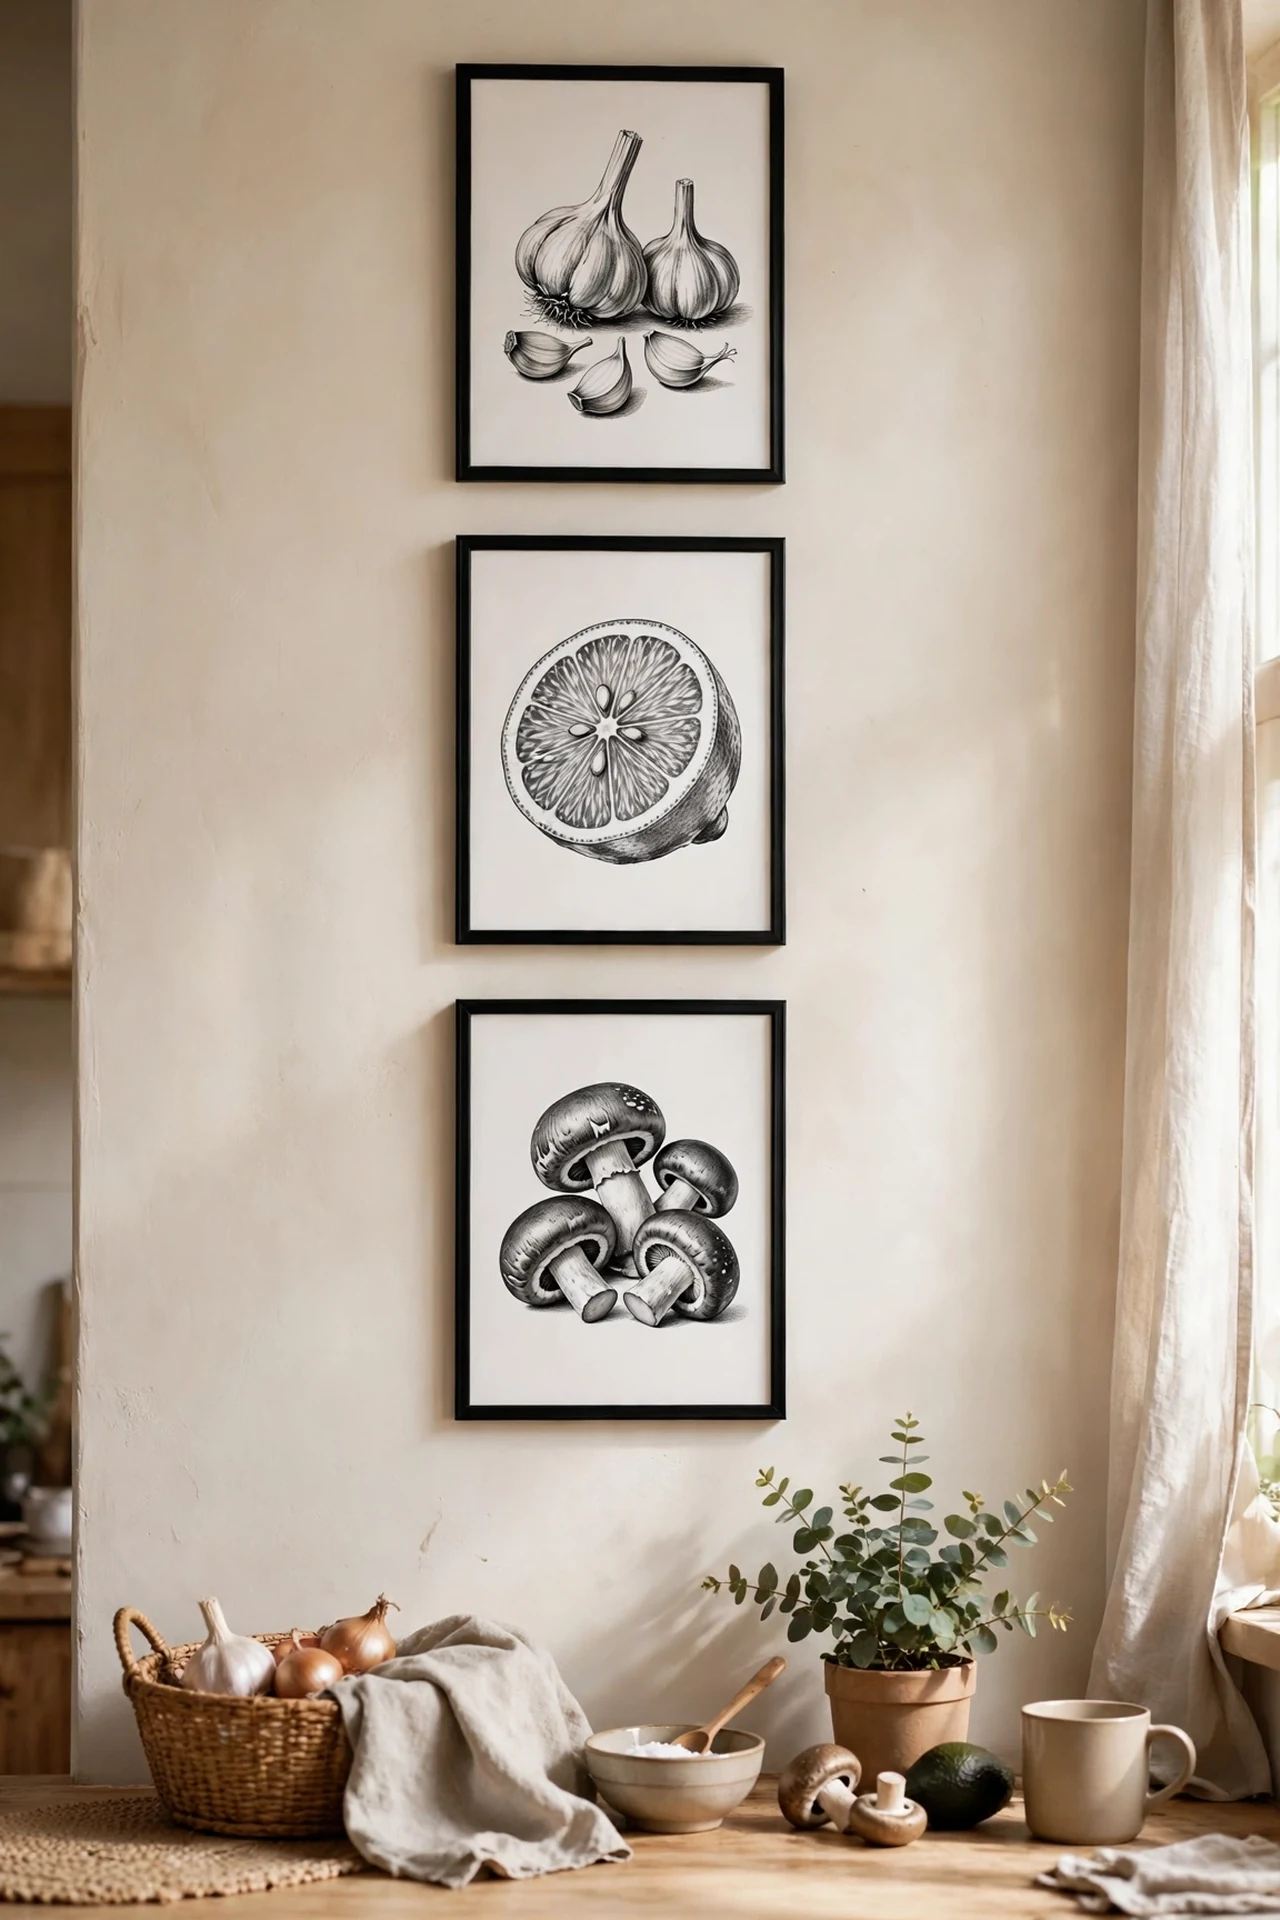
Charity-shop frames spray-painted black, filled with free botanical or food prints you print at home, fill a blank wall for less than a fiver per piece. Group three in a row at eye level above the table — an odd number always looks more deliberate than two. I tried this and the mistake to avoid is hanging them on a cooking-splash wall without glass; my lemon print absorbed a year of fry-ups and yellowed. Glaze every frame that goes near heat and they last for years.
Cost: ~$15 for three framed prints | Time: 2 hours
20. White Walls, Black Ceiling — the Bold Renter-Friendly Reverse
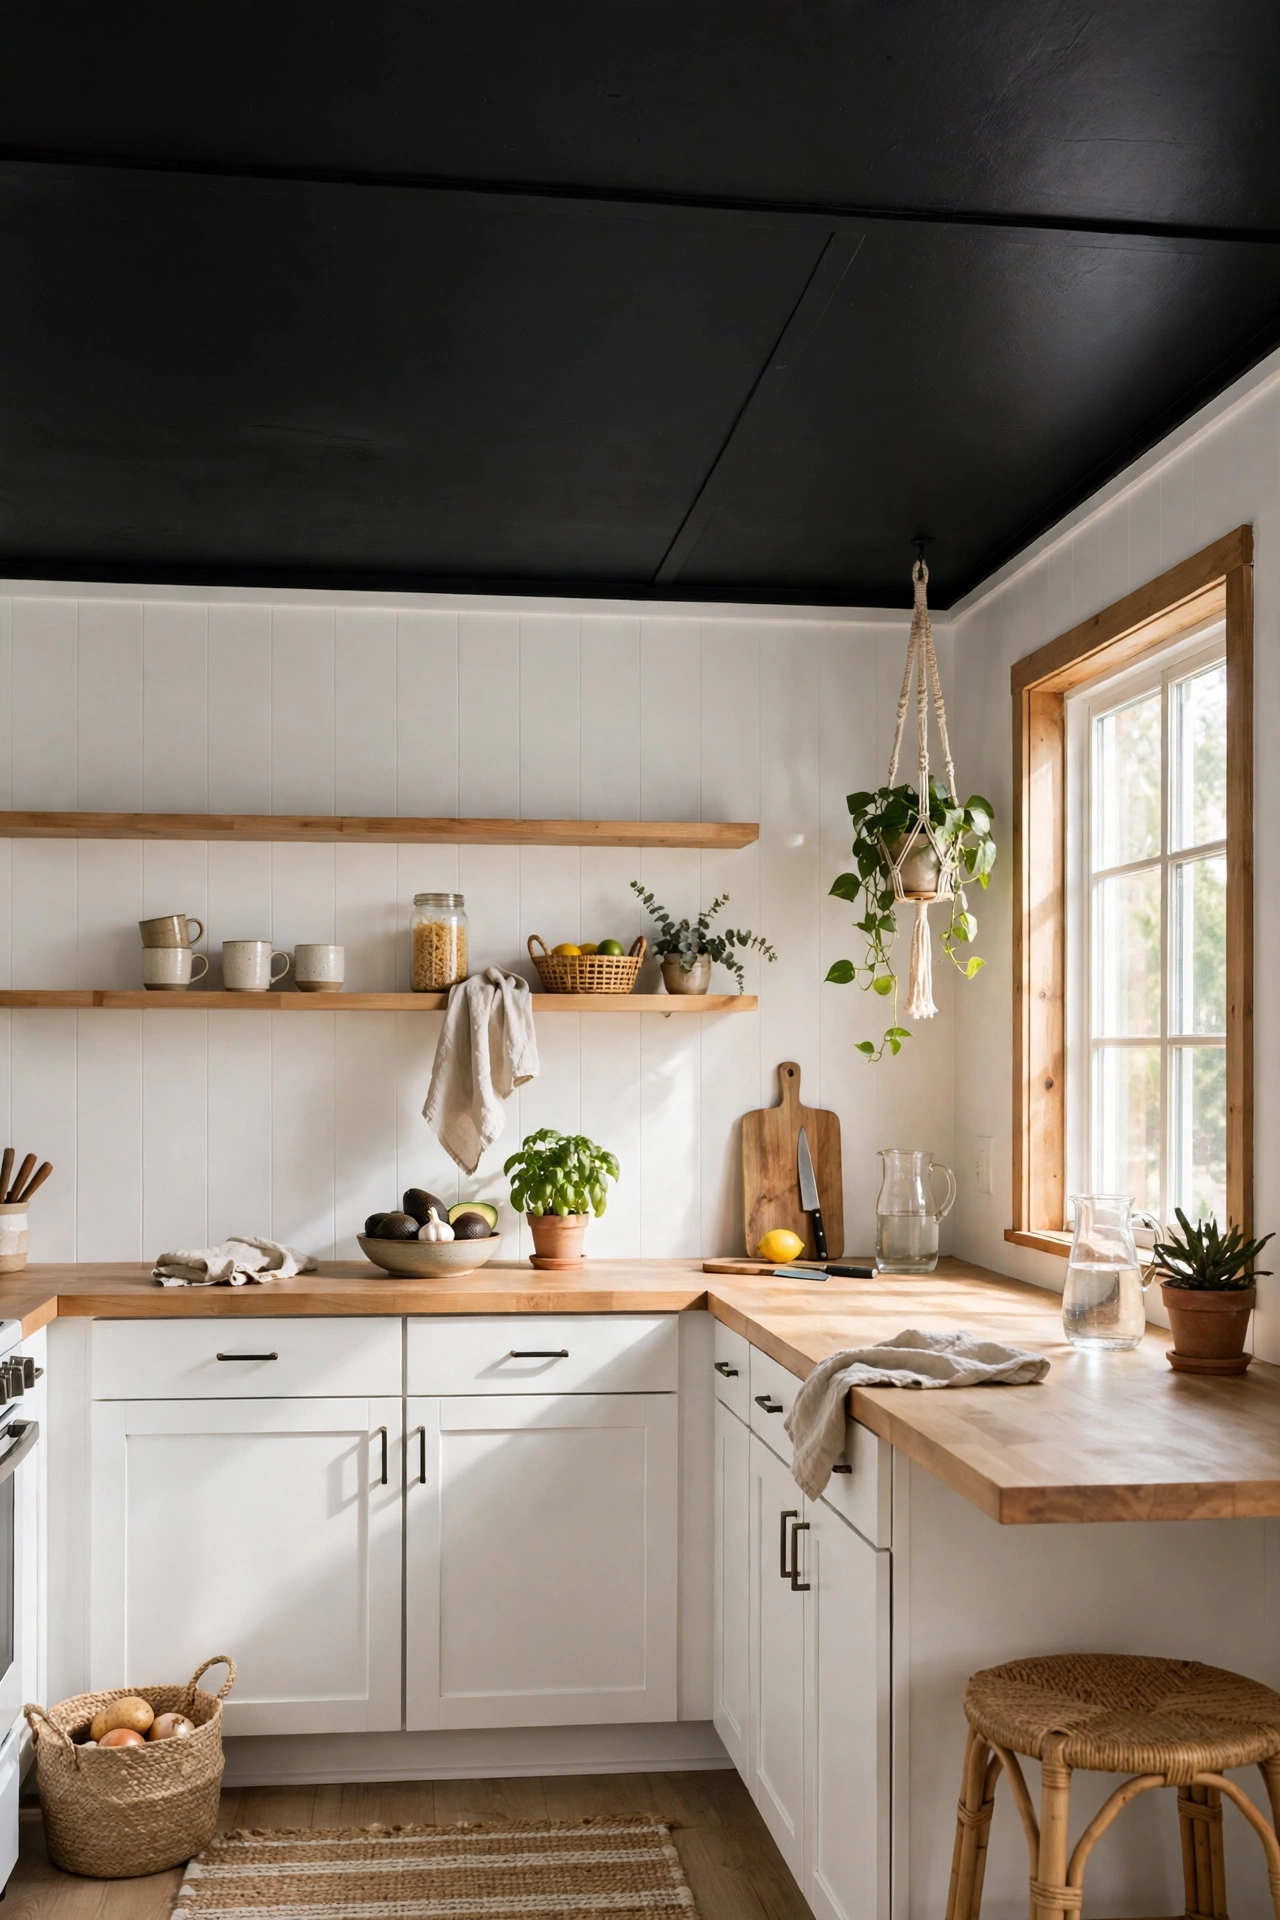
Painting the ceiling black sounds mad until you see how it makes white walls glow — and it uses one tin of paint and no permission to rearrange the furniture. The trick is cutting in cleanly at the cornice line, so tape it twice and take your time there. I tried this and the mistake to avoid is using cheap matt that shows every roller lap; a wipeable matt emulsion from a mid-range line covers in two coats. Check your tenancy first — a coat of white puts it back — and if you need more permission-friendly ideas, these (see also: renter-friendly-kitchen-makeover-ideas) keep the deposit safe.
Cost: ~$30 for a tin of black emulsion | Time: 3 hours
21. Monochrome Dishware Displayed as the Decor
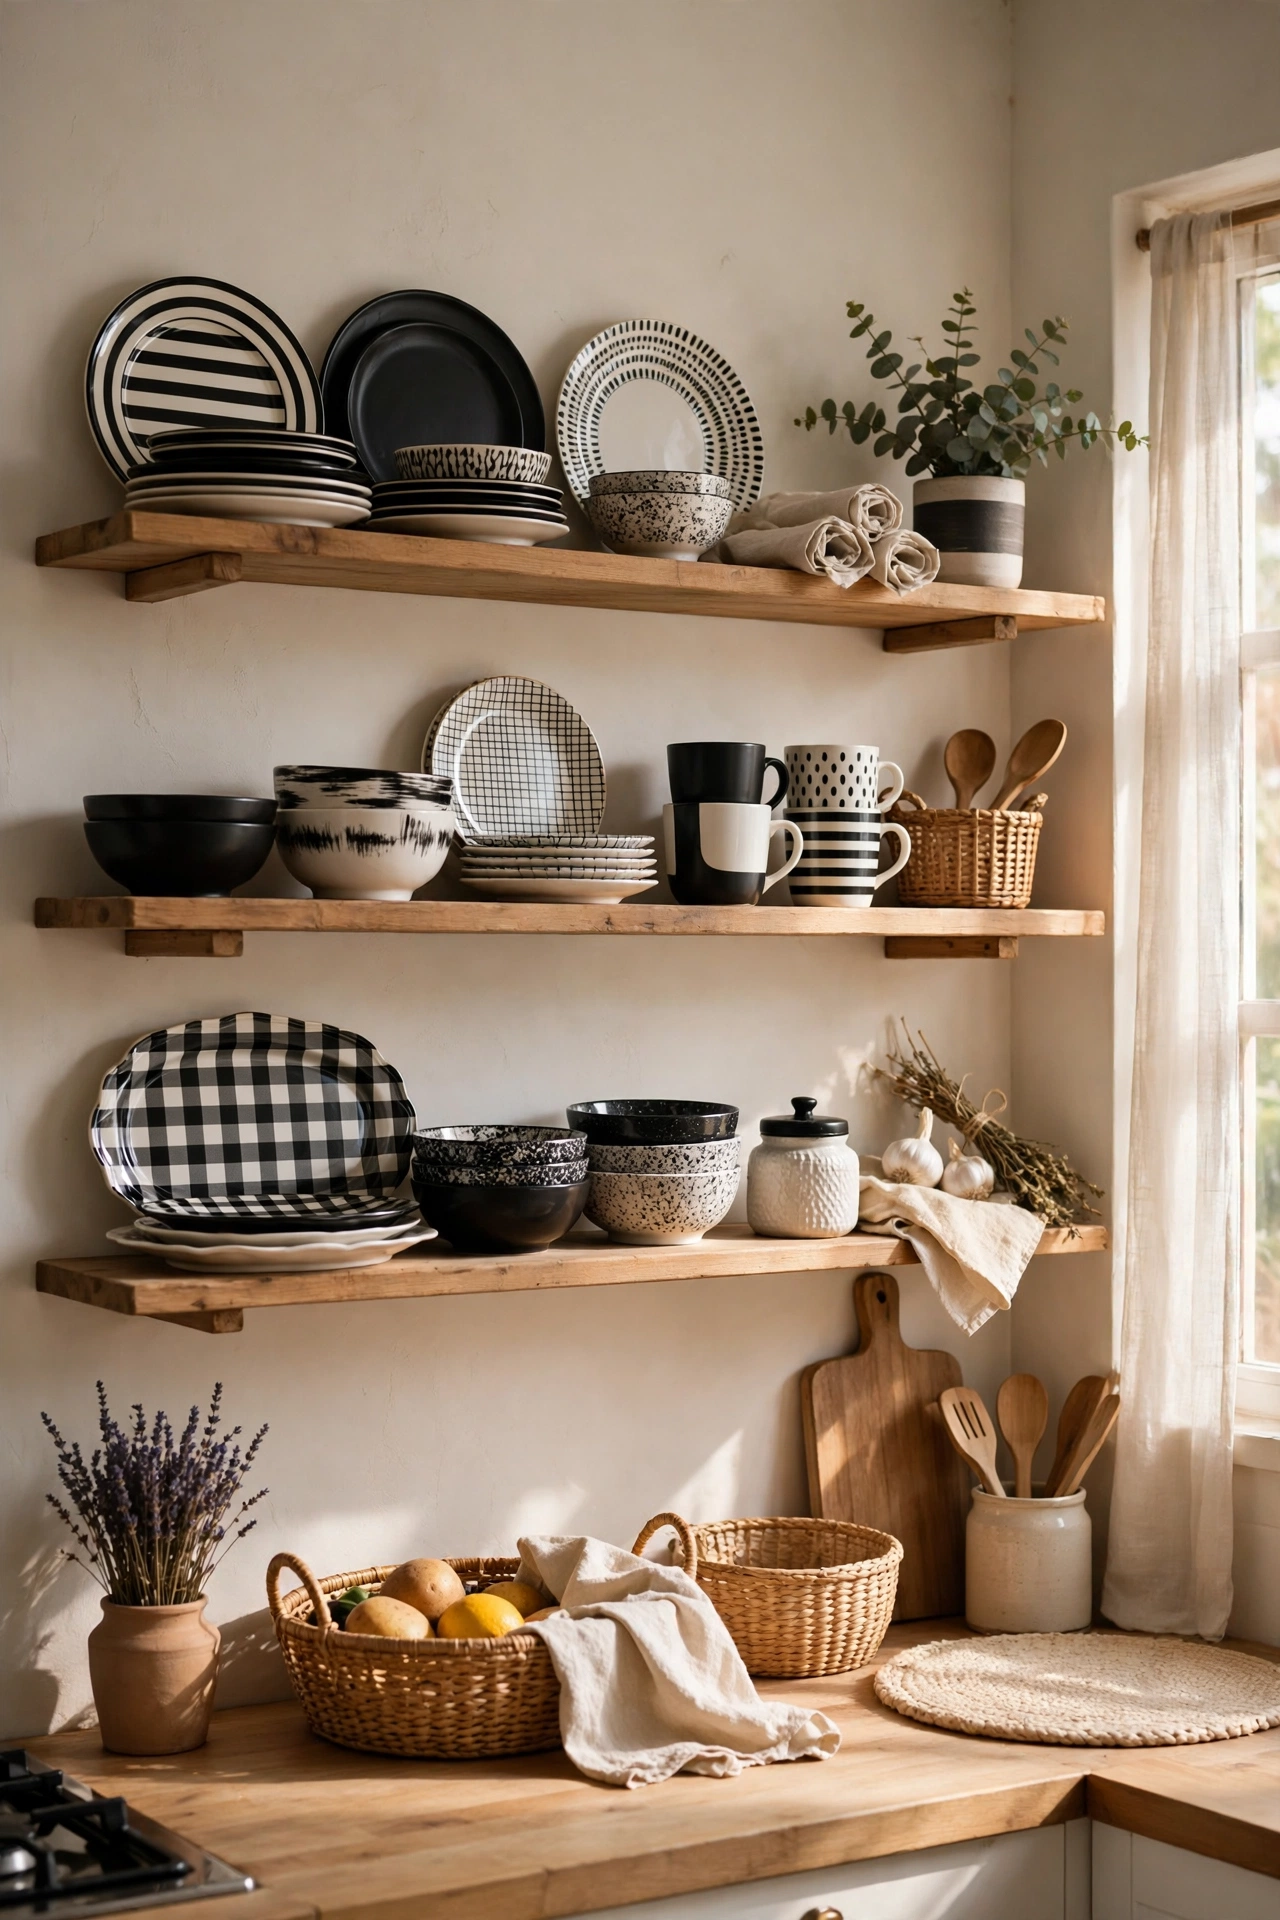
Instead of buying decor, rotate your black and white dishes to the front of glass-front cabinets or open shelves and let them do the styling. Thrift shops are full of black bowls and white plates for a pound apiece, so fill the gaps cheaply. I tried this and the mistake to avoid is cramming the shelves edge to edge — three bowls stacked with air around them looks styled, ten looks like storage. Leave one shelf nearly empty for the items you actually grab daily and the display stays practical.
Cost: ~$10 for a few thrifted pieces | Time: 30 minutes
22. Black Cabinet Toe-Kicks for a Floating Look
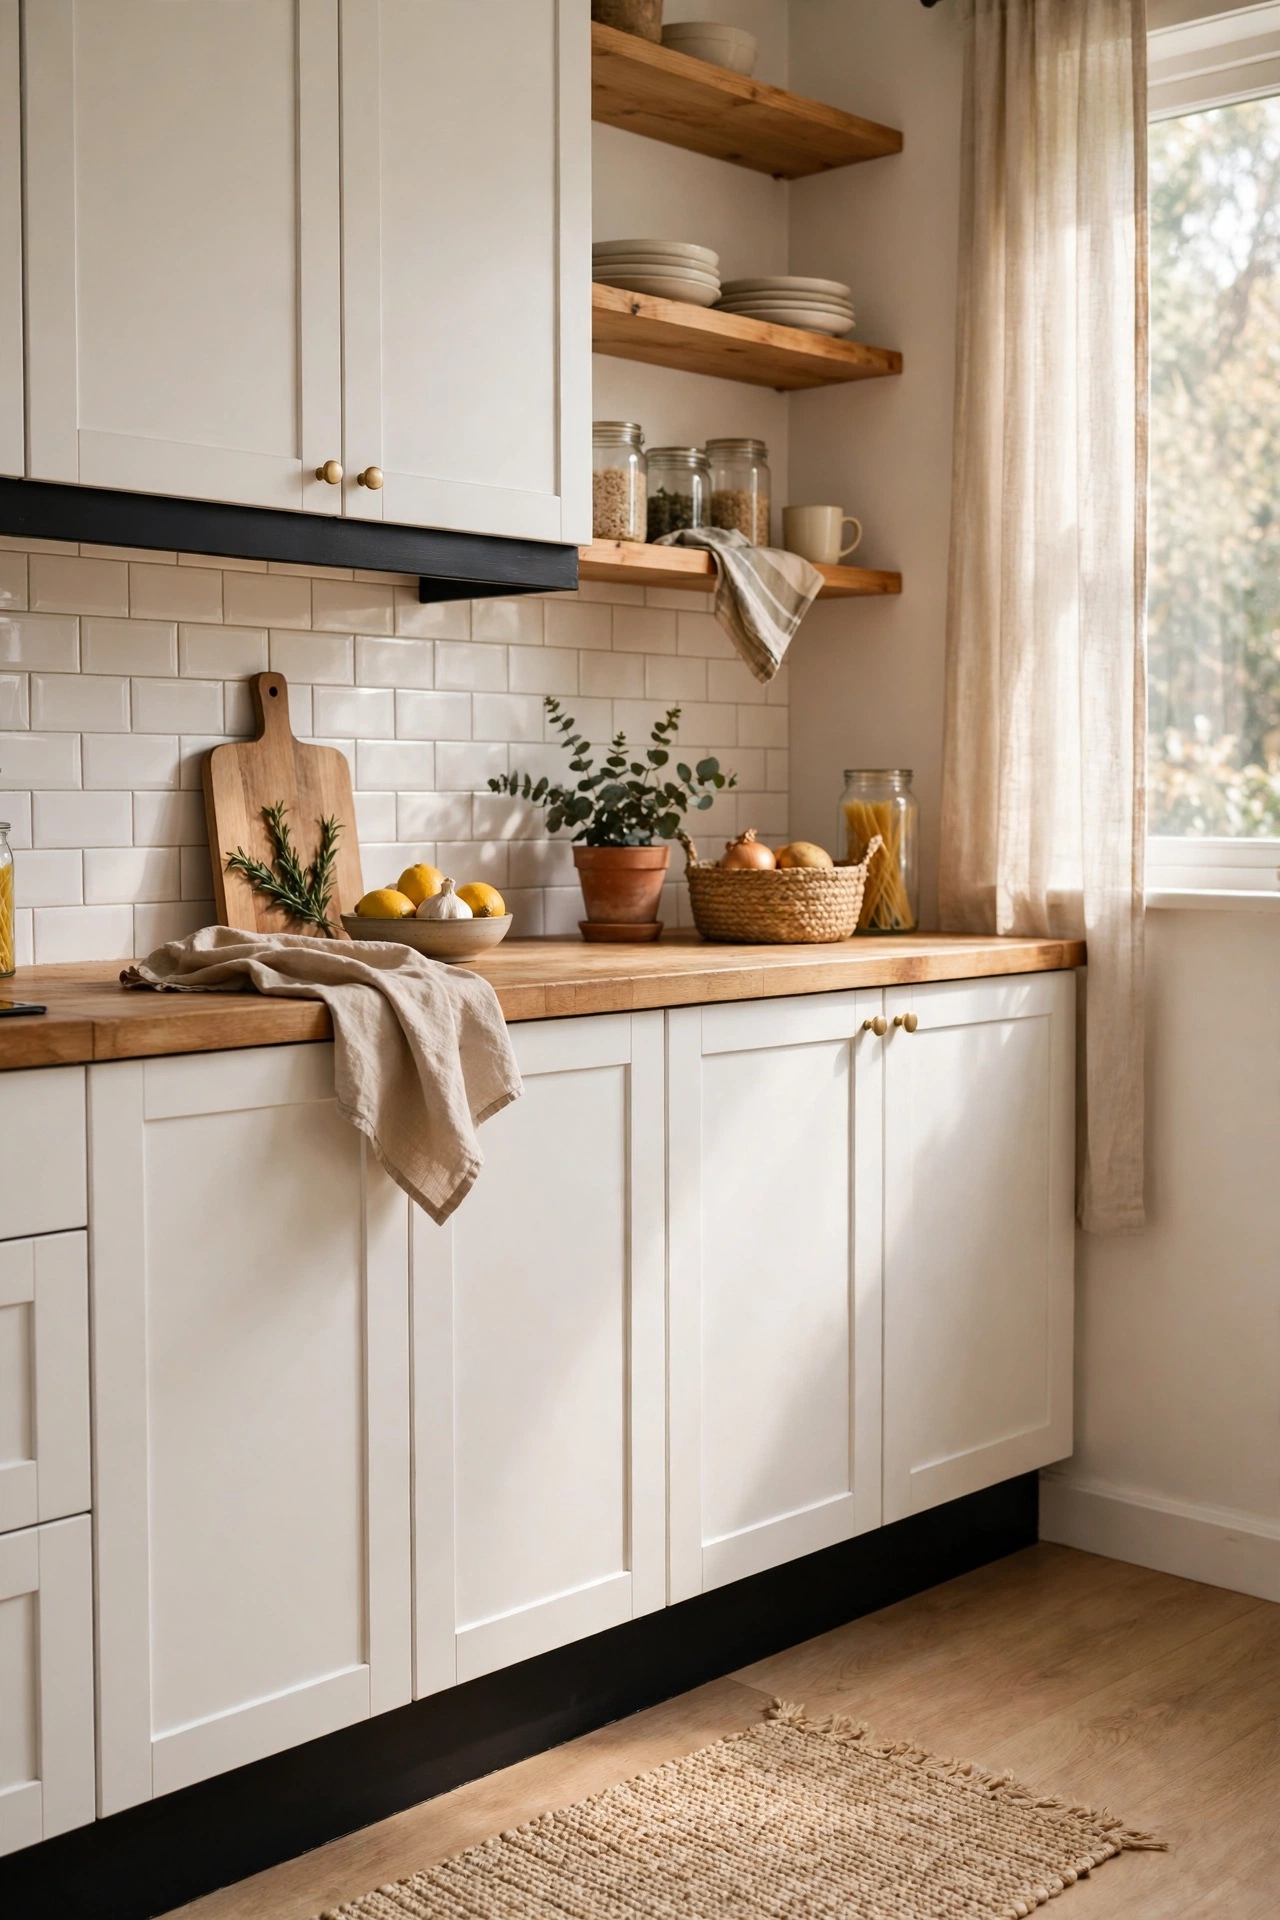
Painting the recessed toe-kick strip at the base of your cabinets black makes white cabinets look like they float, and it hides scuff marks better than white ever did. The strip is already there — you just need a small brush, masking tape and a satin paint that survives mopping. I tried this and the mistake to avoid is painting over dust and mop residue; the paint peeled in ribbons along the edge I skipped. Degrease, tape the floor, two thin coats, and the whole room gets an instant designer line.
Cost: ~$8 for a sample pot | Time: 1 hour
23. A Black-and-White Cafe Curtain on the Lower Window Half
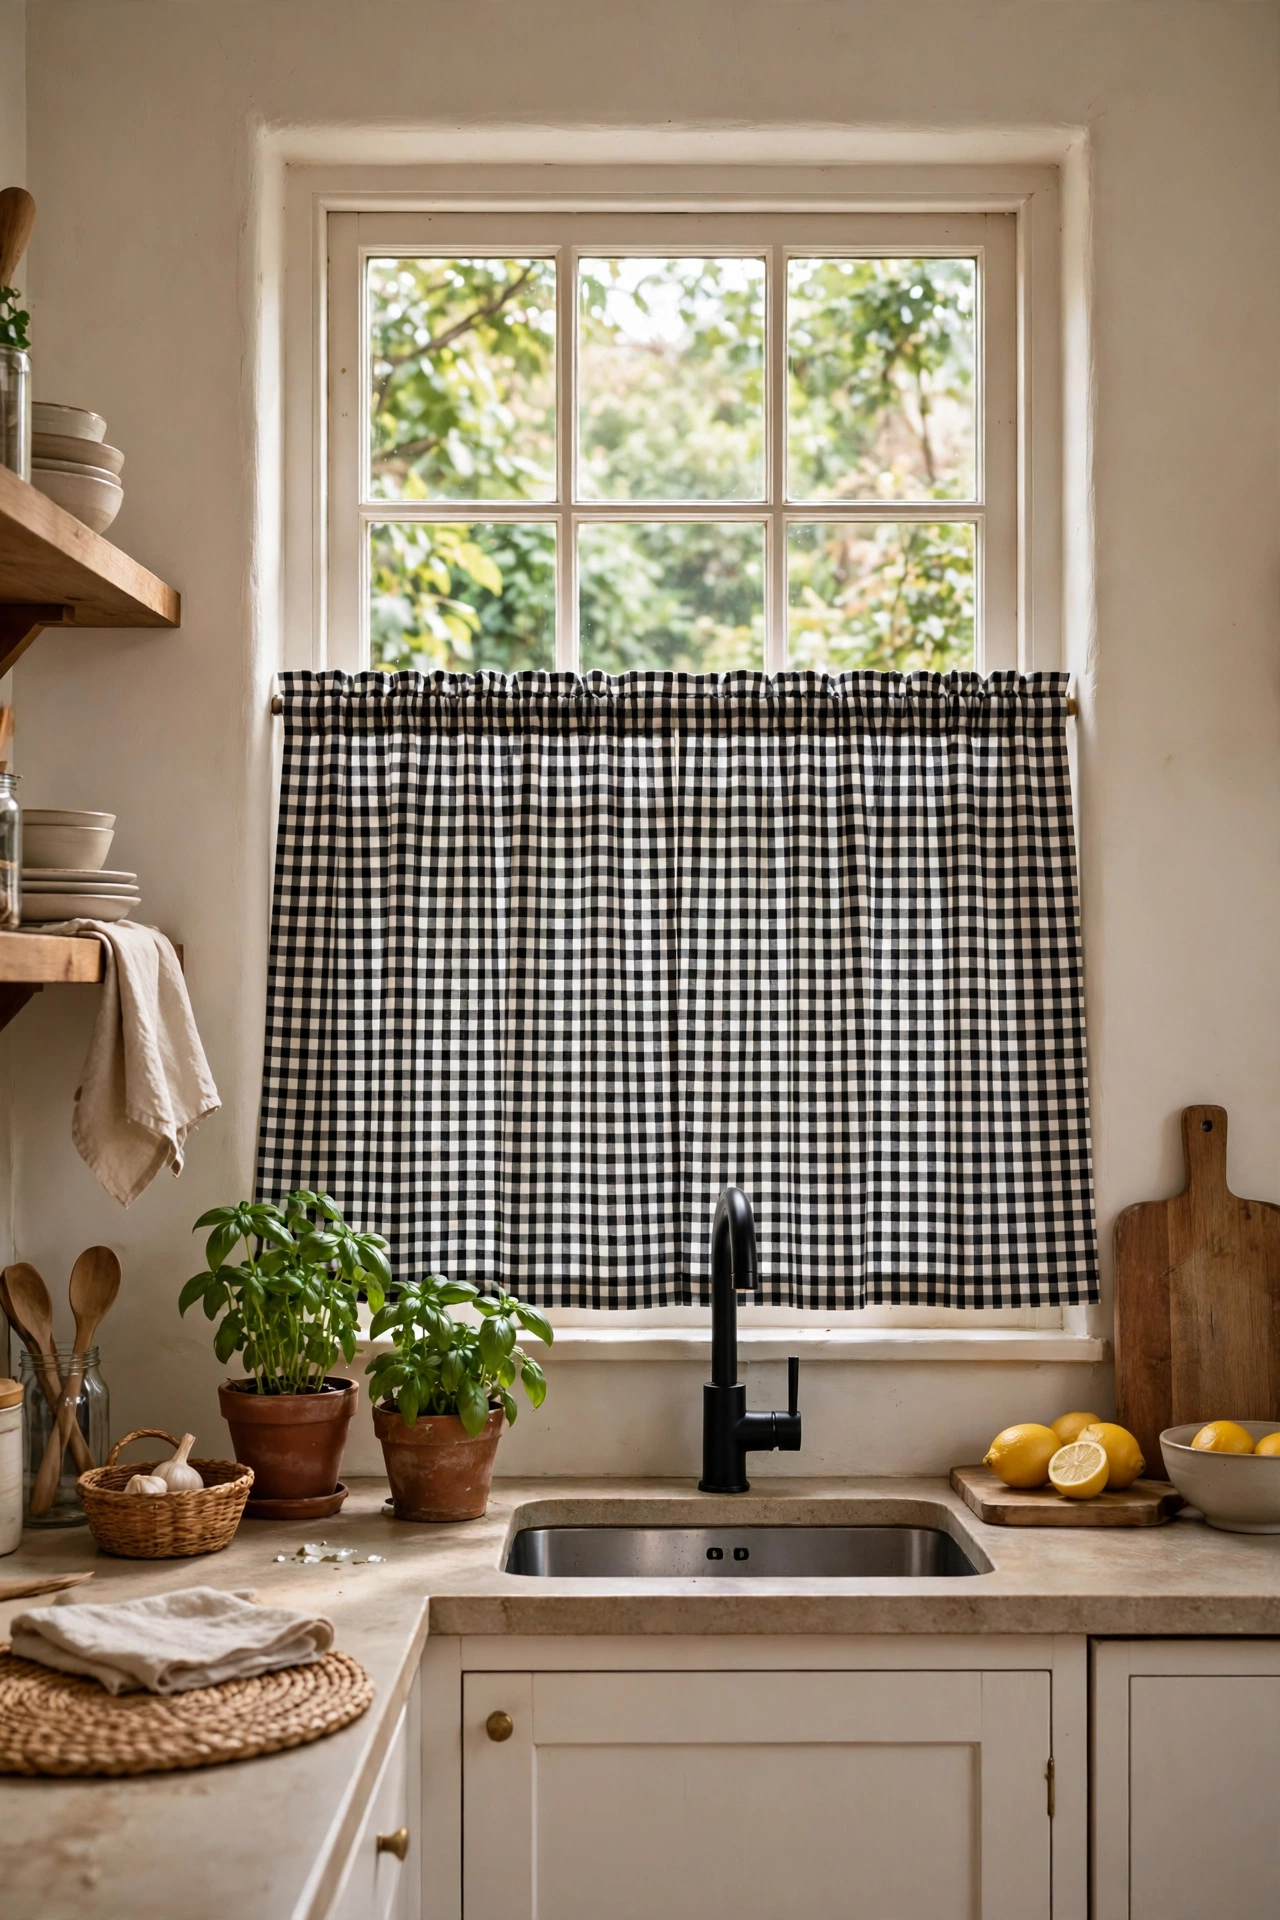
A cafe curtain covering only the lower half of the window keeps privacy and light, and a tension rod means no drilling at all. Look for a ticking-stripe or gingham fabric — both read instantly French-bistro in black and white. I tried this and the mistake to avoid is hanging it too high; the whole point is shielding the sightline from the pavement, so the rod sits at about two-thirds up. Wash and press the fabric first, because a crisp hem is what makes a £5 curtain look like it cost ten times that.
Cost: ~$14 for fabric and a tension rod | Time: 1 hour
24. Black Switch Plates and Plug Covers
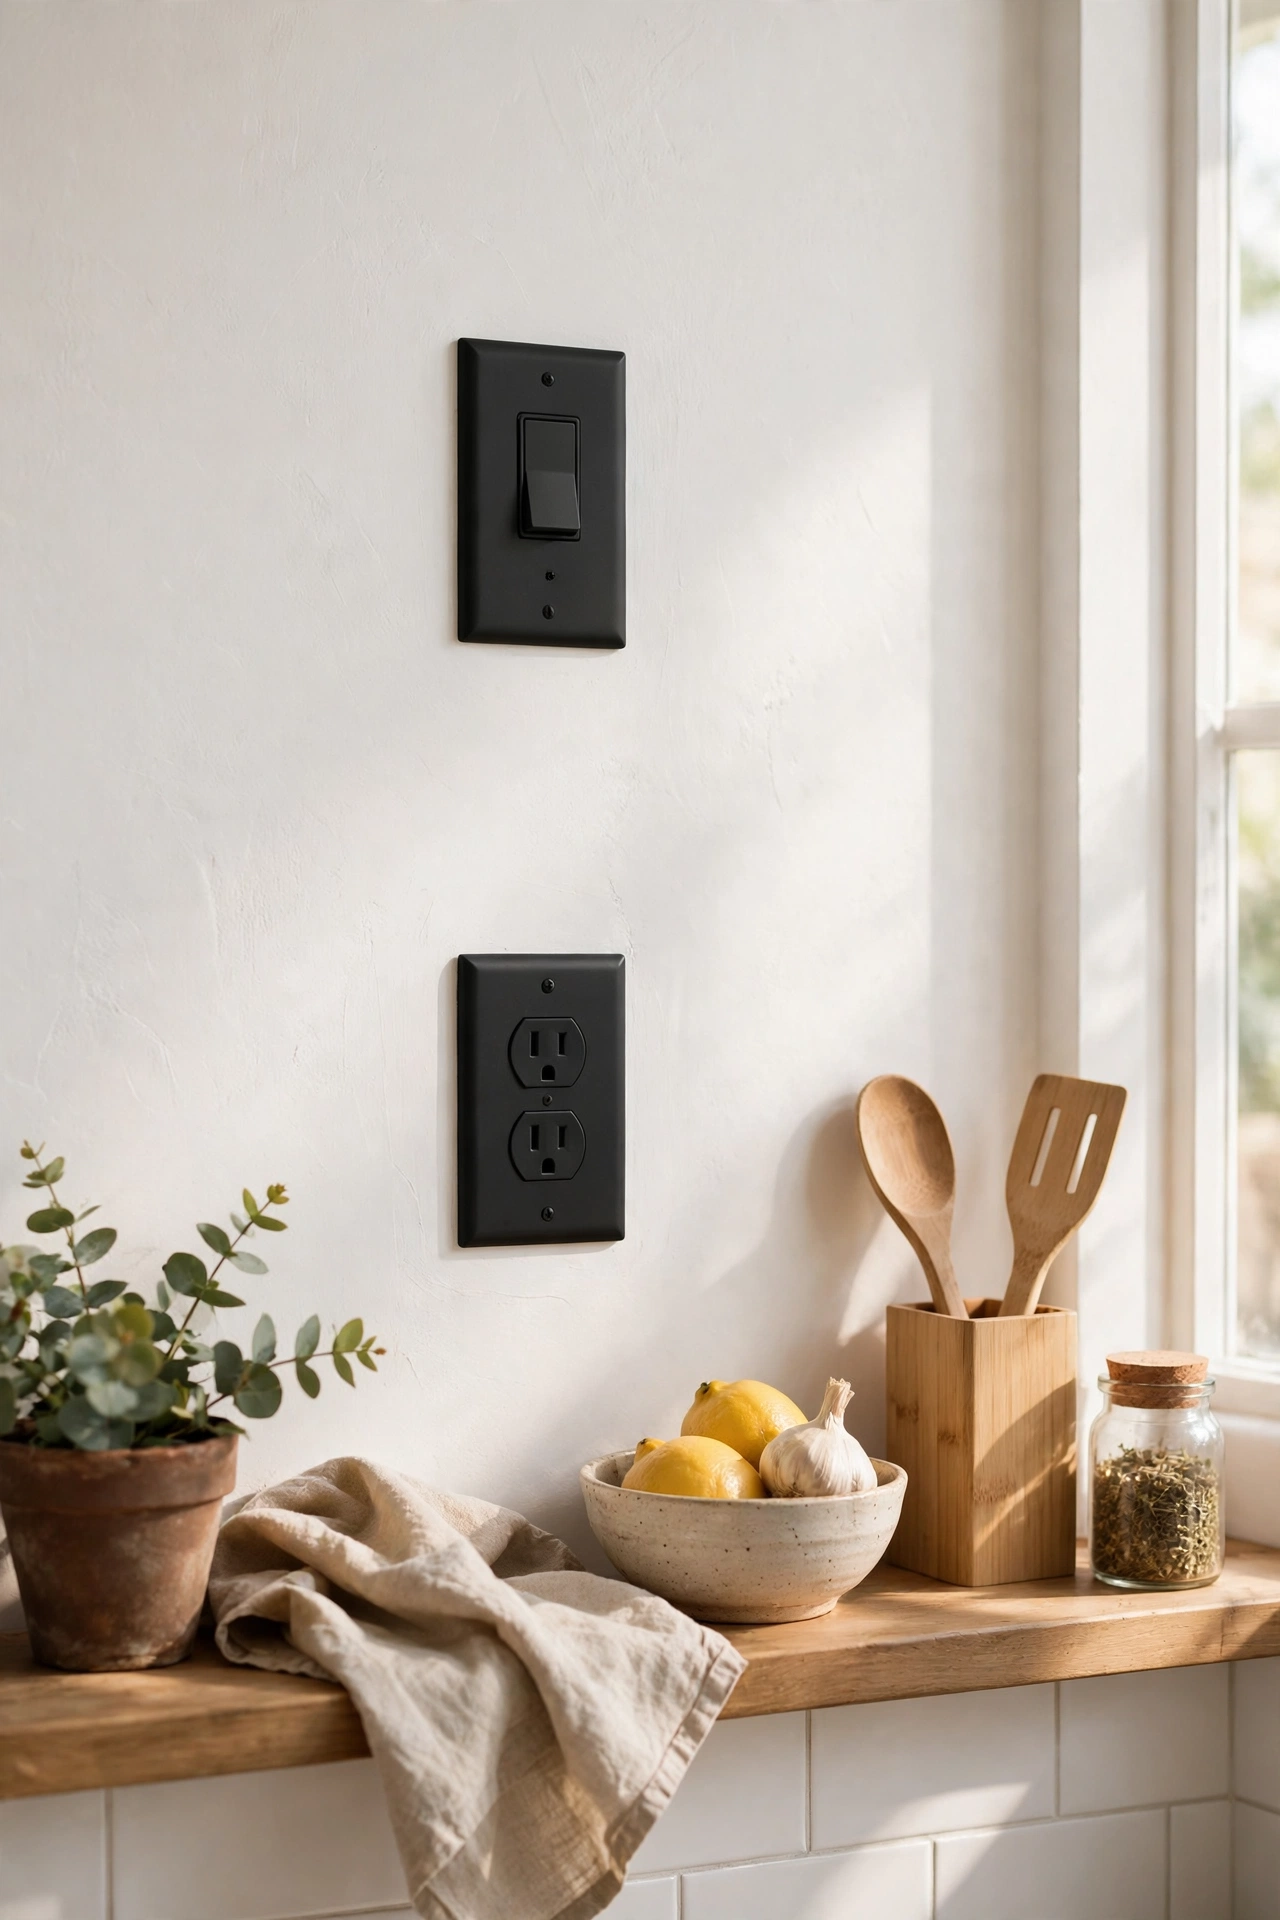
Swapping every yellowed white switch plate for matt black ones is a twenty-minute job that pulls the whole palette together at a detail level most people skip. Turn off the breaker first — obviously — and photograph the wiring before you unscrew anything. I tried this and the mistake to avoid is buying the cheap brittle plates that crack at the screw holes; the slightly heavier ones cost a pound more each and survive tightening. Do every plate in the room for consistency and it reads as intentional, not random.
Cost: ~$18 for a full set | Time: 25 minutes
25. A Chalk-Striped Feature Wall Behind the Eating Area
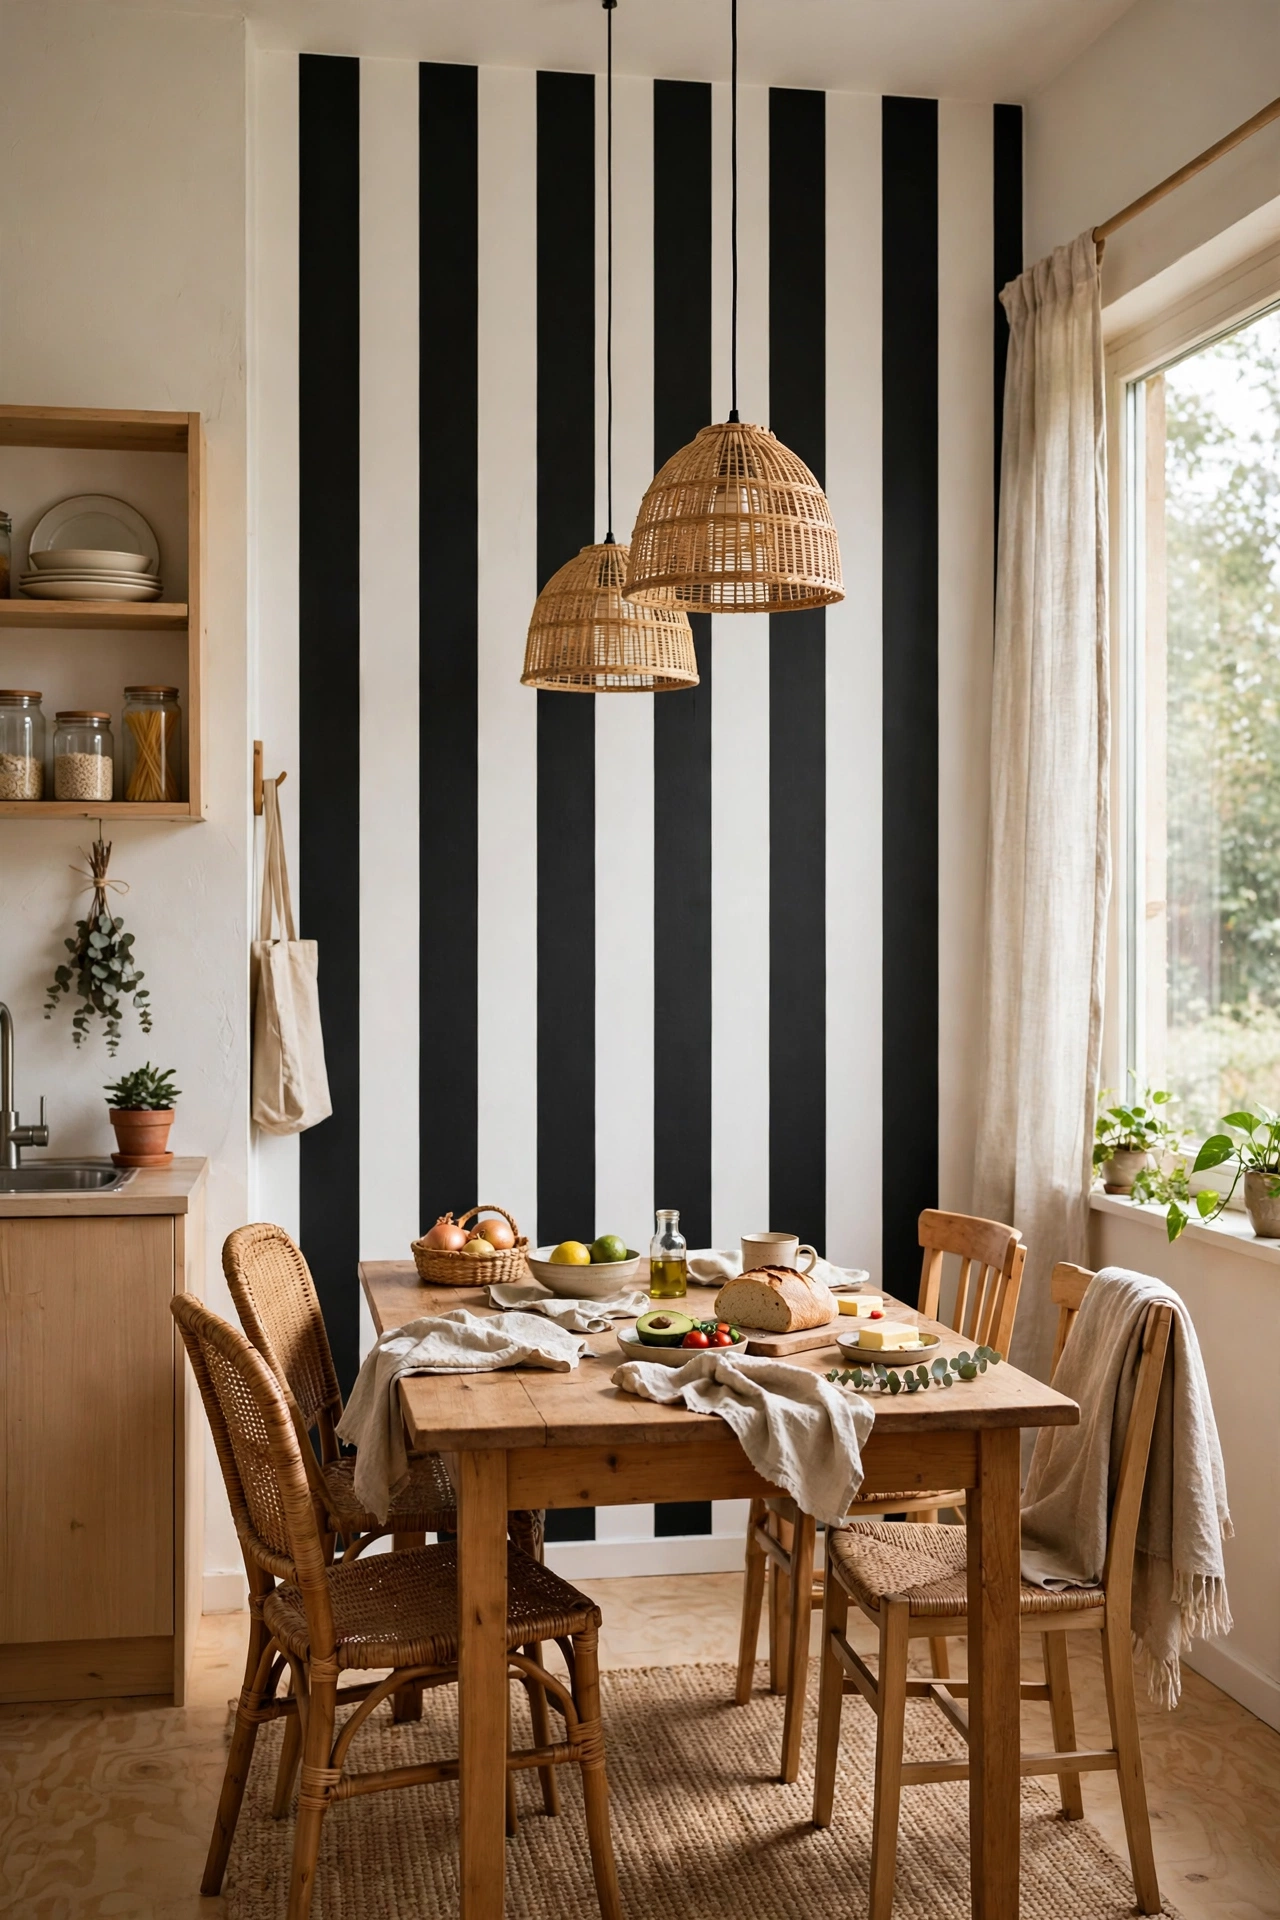
Paint one wall white, then tape off wide vertical stripes and paint alternate bands in soft black — broad stripes feel graphic, not busy. Use a laser level or a plumb line for the tape edges; wandering lines are what make DIY stripes look amateur. I tried this and the mistake to avoid is pulling the tape off when the paint is bone dry; it lifts the edge and chips. Peel it while the second coat is still tacky, at a sharp angle, and the lines come out razor clean. One wall is plenty — the rest of the room stays calm.
Cost: ~$25 for paint and tape | Time: 4 hours
The beauty of this palette is that nothing here depends on a big reveal — each idea pays off on its own, and together they stack into a kitchen that looks considered rather than expensive. Start with the one that bothers you most when you walk in, because motivation is half the budget.
