19 Thrift Store DIY Ideas for Beginners
My first solo trip to the charity shop was a disaster: I came home with a ceramic goose I hated and left behind a solid oak stool I still think about. It took me a year to learn that good thrift store diy ideas start with boring, well-made basics, not quirky finds. Now I walk in with a list and walk out with future furniture. These 19 projects are the ones I wish someone had handed me on day one, all beginner-friendly and all cheap.
Every project costs $25 or less including the thrifted piece, and none needs more than basic tools. My golden rule: buy for bones, not beauty. Solid wood, heavy ceramics, and real brass are always worth grabbing, because paint and polish fix everything else. Smart shopping tips: (see also: thrift-store-shopping-tips).
1. Spray-Painted Picture Frames
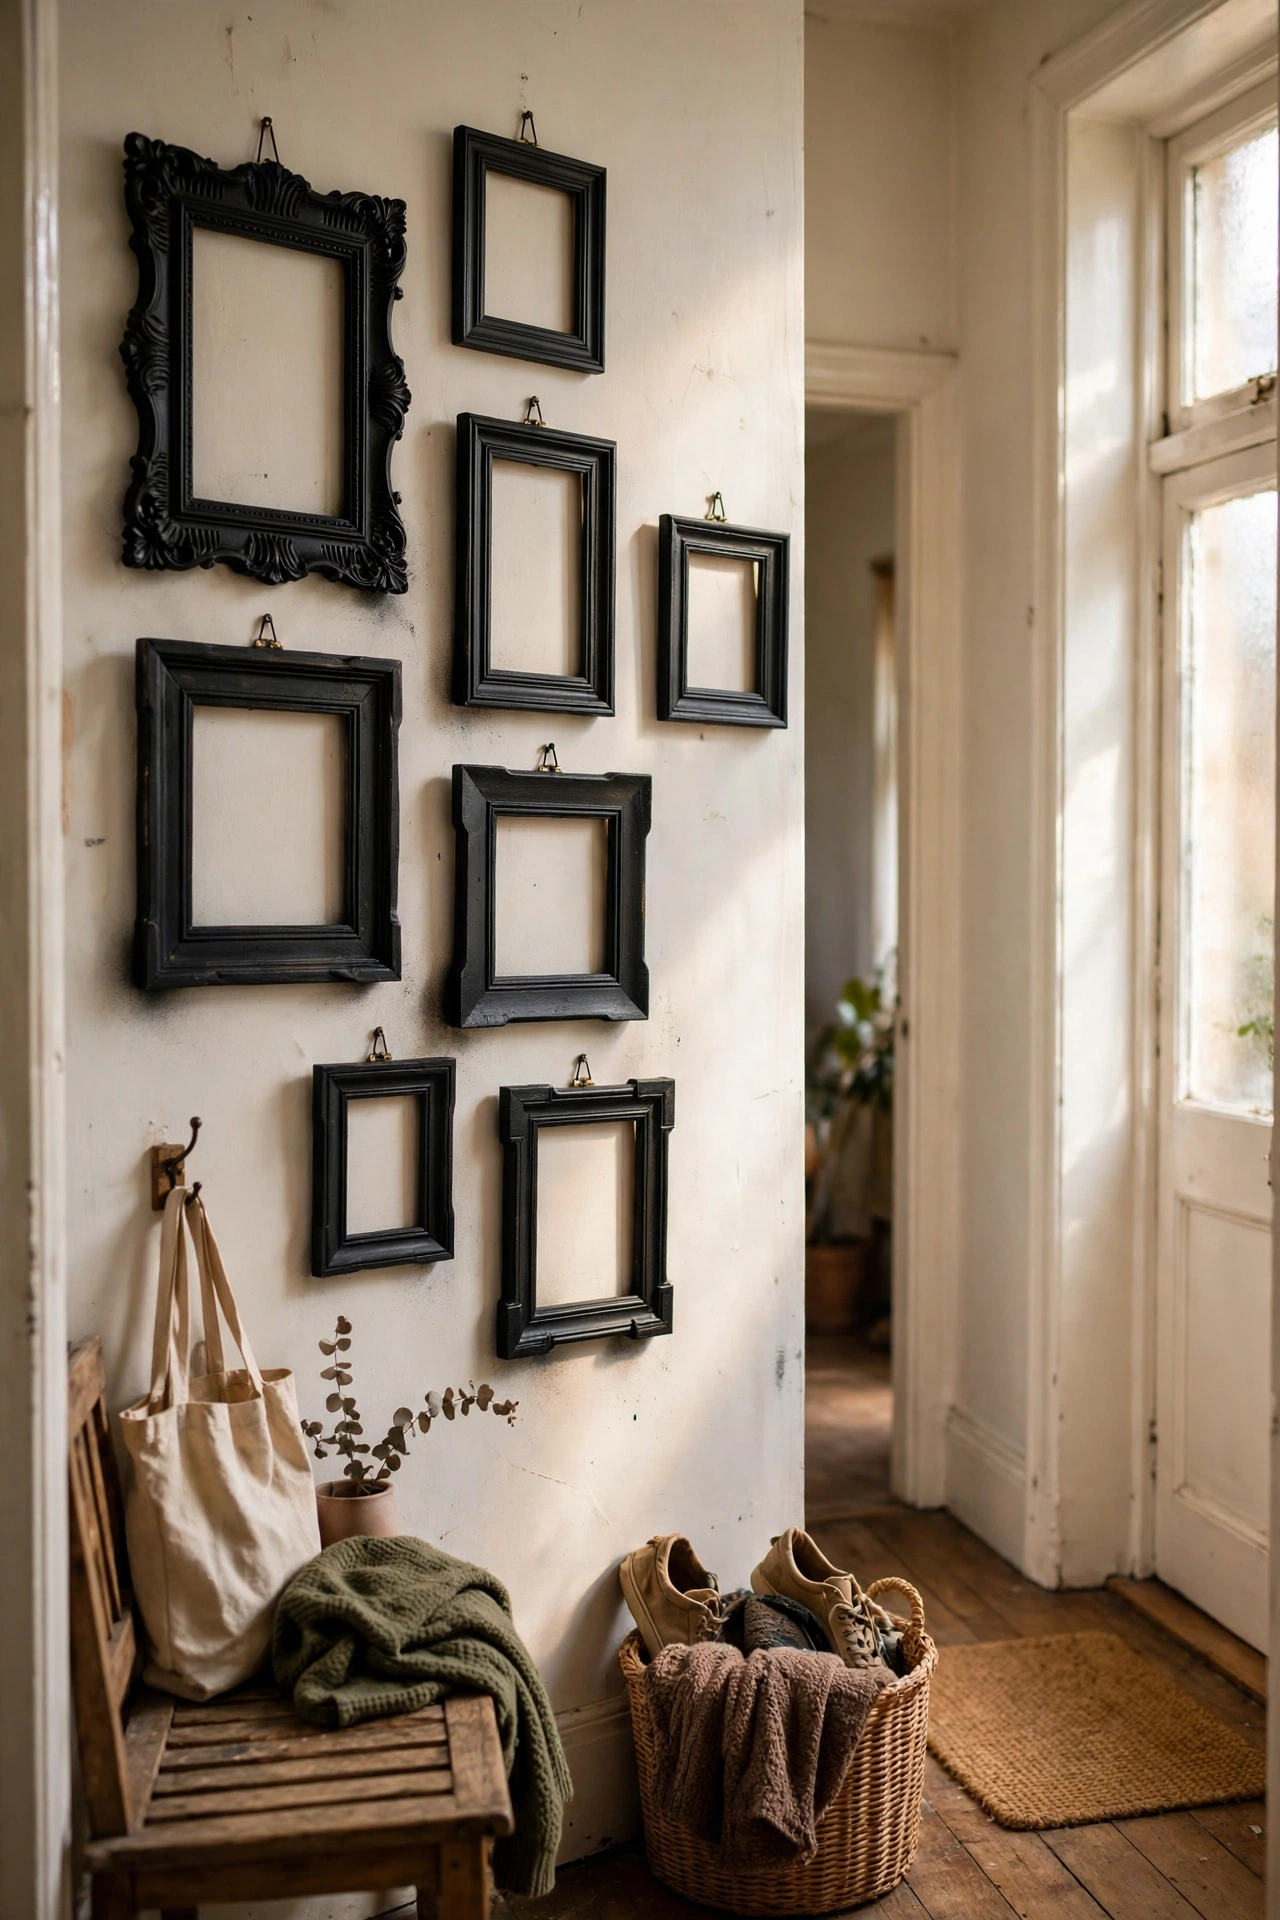
Mismatched charity-shop frames become a matching set with one can of spray paint. I buy whatever wooden frames I find, clean them well, and spray them all the same colour, matte black for the hallway, cream for the bedroom. The uniformity makes random art look curated. My first batch dripped because I sprayed too close, so keep the can a foot away and do light passes. Two thin coats always beat one thick one. I keep one sacrificial frame for testing — new paint colours always surprise you once they’re dry.
Cost: ~$8-14 | Time: 1 hour plus drying
2. Chalk-Painted Thrifted Vase Makeover
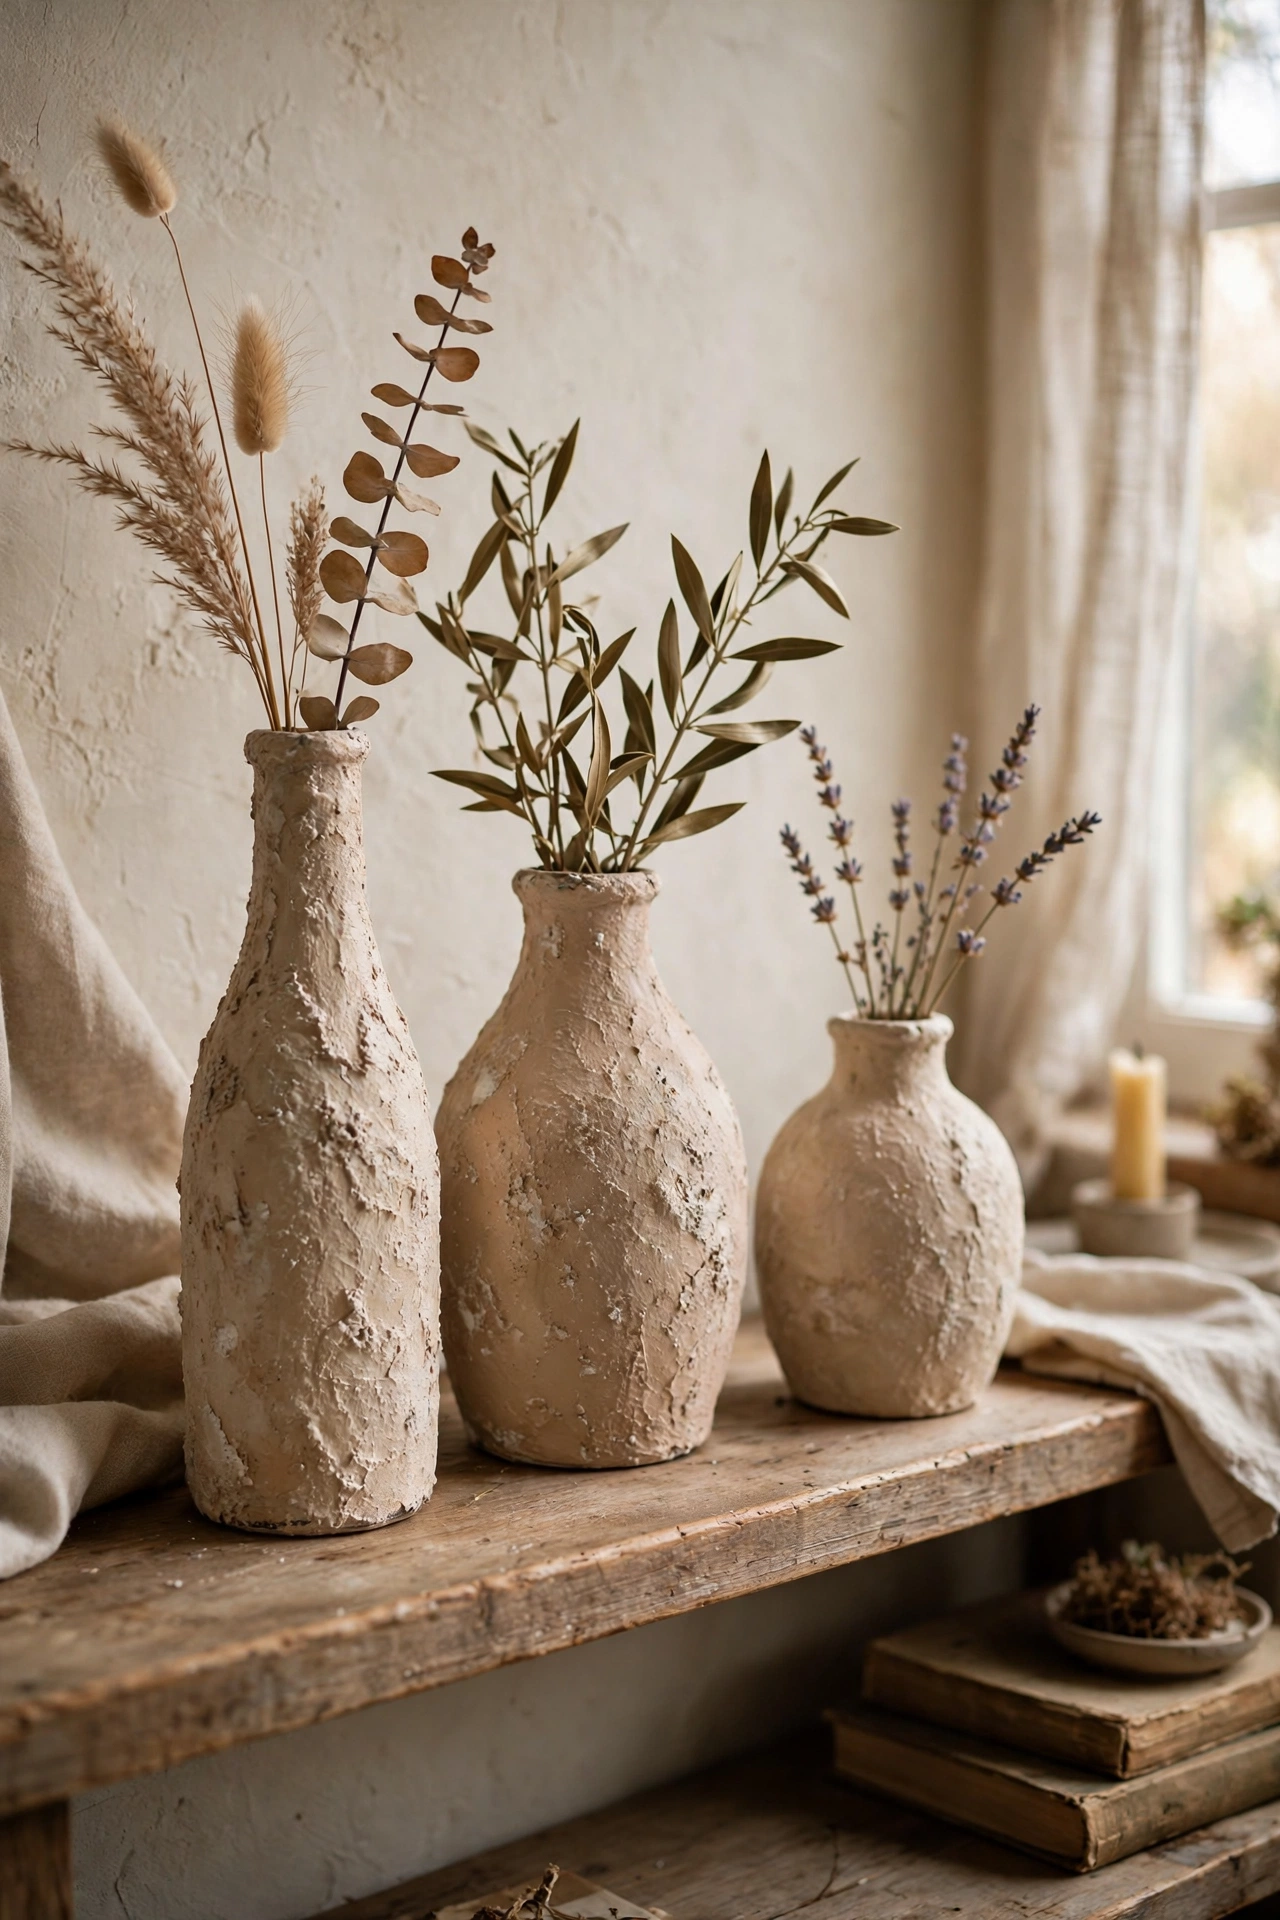
Ugly shiny vases get a ceramic look with chalk paint and baking soda. I mix a spoonful of baking soda into chalk paint for texture, brush it onto the vase in two coats, and finish with clear wax. The result looks like handmade stoneware. I did a whole shelf of vases in an afternoon and nobody believes they cost a pound each. Let each coat dry fully, because the texture drags if you recoat too soon. Two coats of clear wax after painting, buffed lightly — it takes the chalky dullness down a notch.
Cost: ~$6-12 | Time: 2 hours plus drying
3. Wooden Chair Sand and Stain Refresh
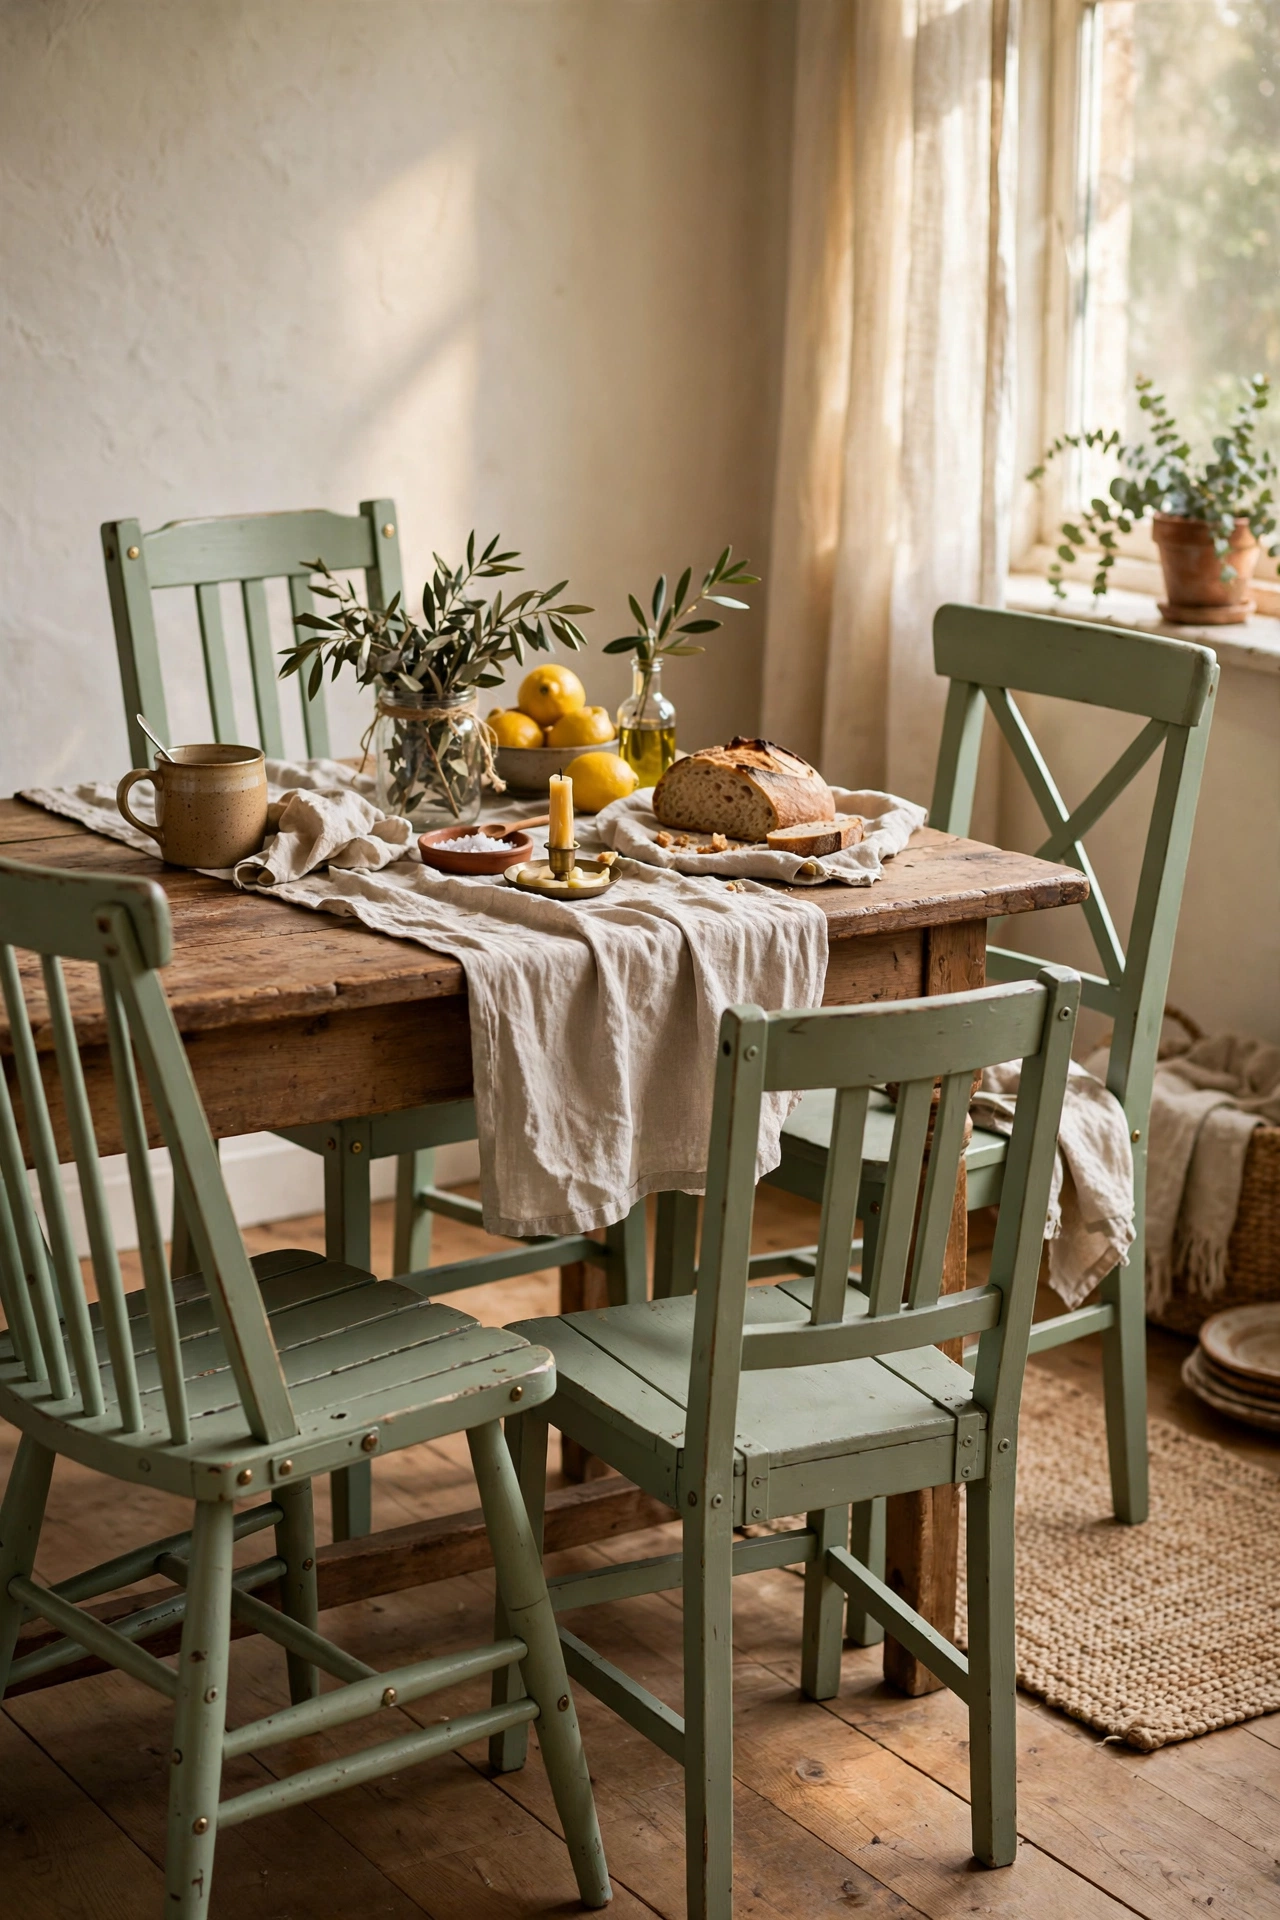
A wobbly wooden chair with good bones is a beginner’s best project. I tighten every joint with wood glue and clamps first, then sand the whole chair and apply a fresh stain or paint. My dining set is six mismatched chairs I unified in sage green, and it is my favourite thing in the house. Fix the wobble before you beautify, because paint over a loose joint just delays the inevitable. Check for woodworm holes before you buy. I flip the chair upside down to stain the legs — gravity does the blending for you.
Cost: ~$10-18 | Time: 3 hours plus drying
Pro tip: Tighten chair joints with wood glue and leave clamped overnight. Screws into old joints split the wood, but glue holds for decades.
4. Thrifted Lamp Base Rescue
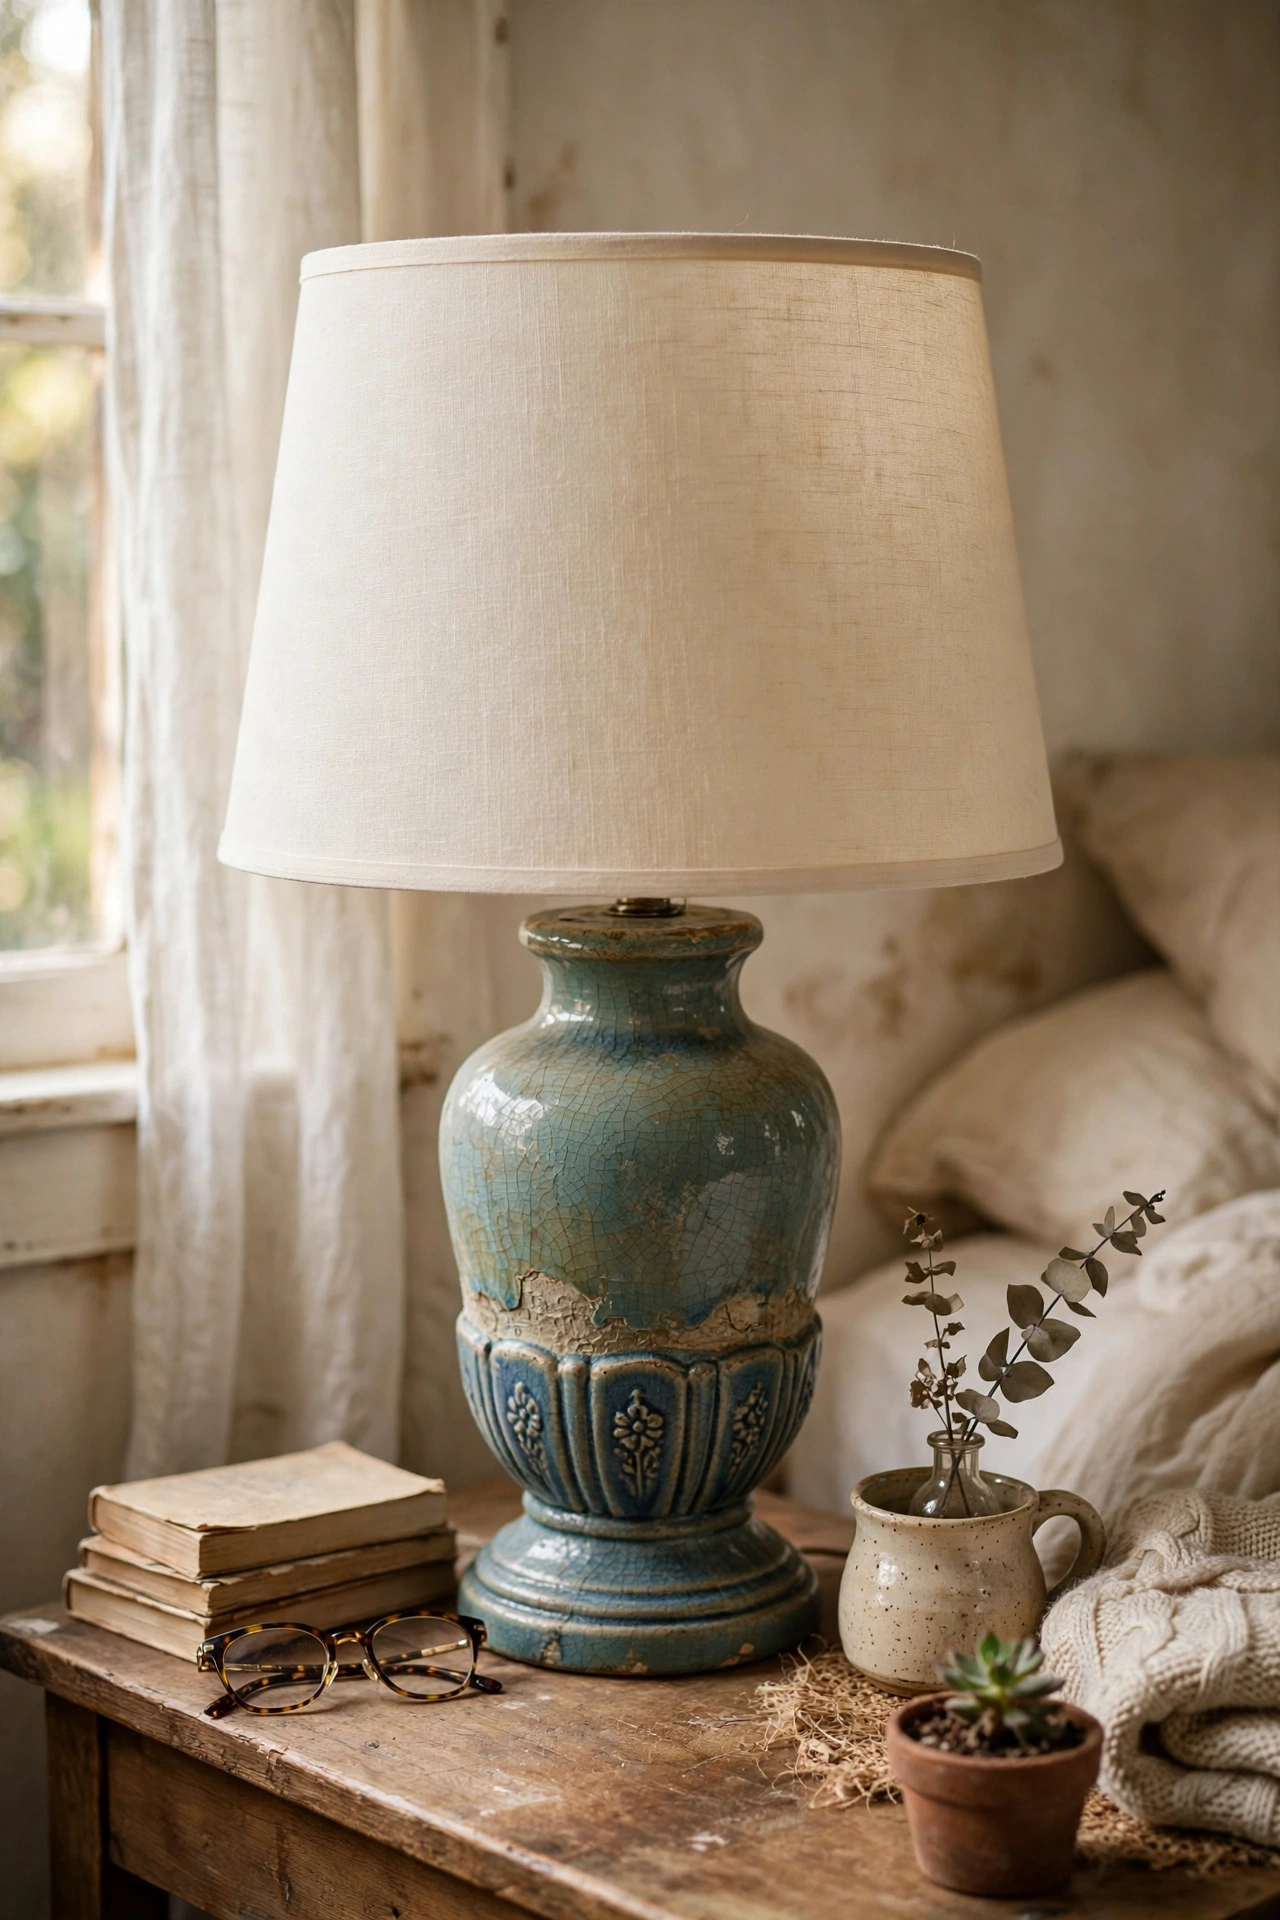
A dated lamp base is usually one shade swap away from lovely. I buy solid ceramic or brass bases, ignore the terrible shade, and fit a new drum shade in a current colour. If the wiring looks dodgy, a rewire kit costs about ten pounds and takes twenty minutes. My bedside lamps were both rescues and they look brand new. Always check the plug and flex before you buy an old lamp. A harp and finial from the hardware store completes the rescue — a naked socket ruins the effect.
Cost: ~$12-22 | Time: 30 minutes
5. Basket Wall Collage
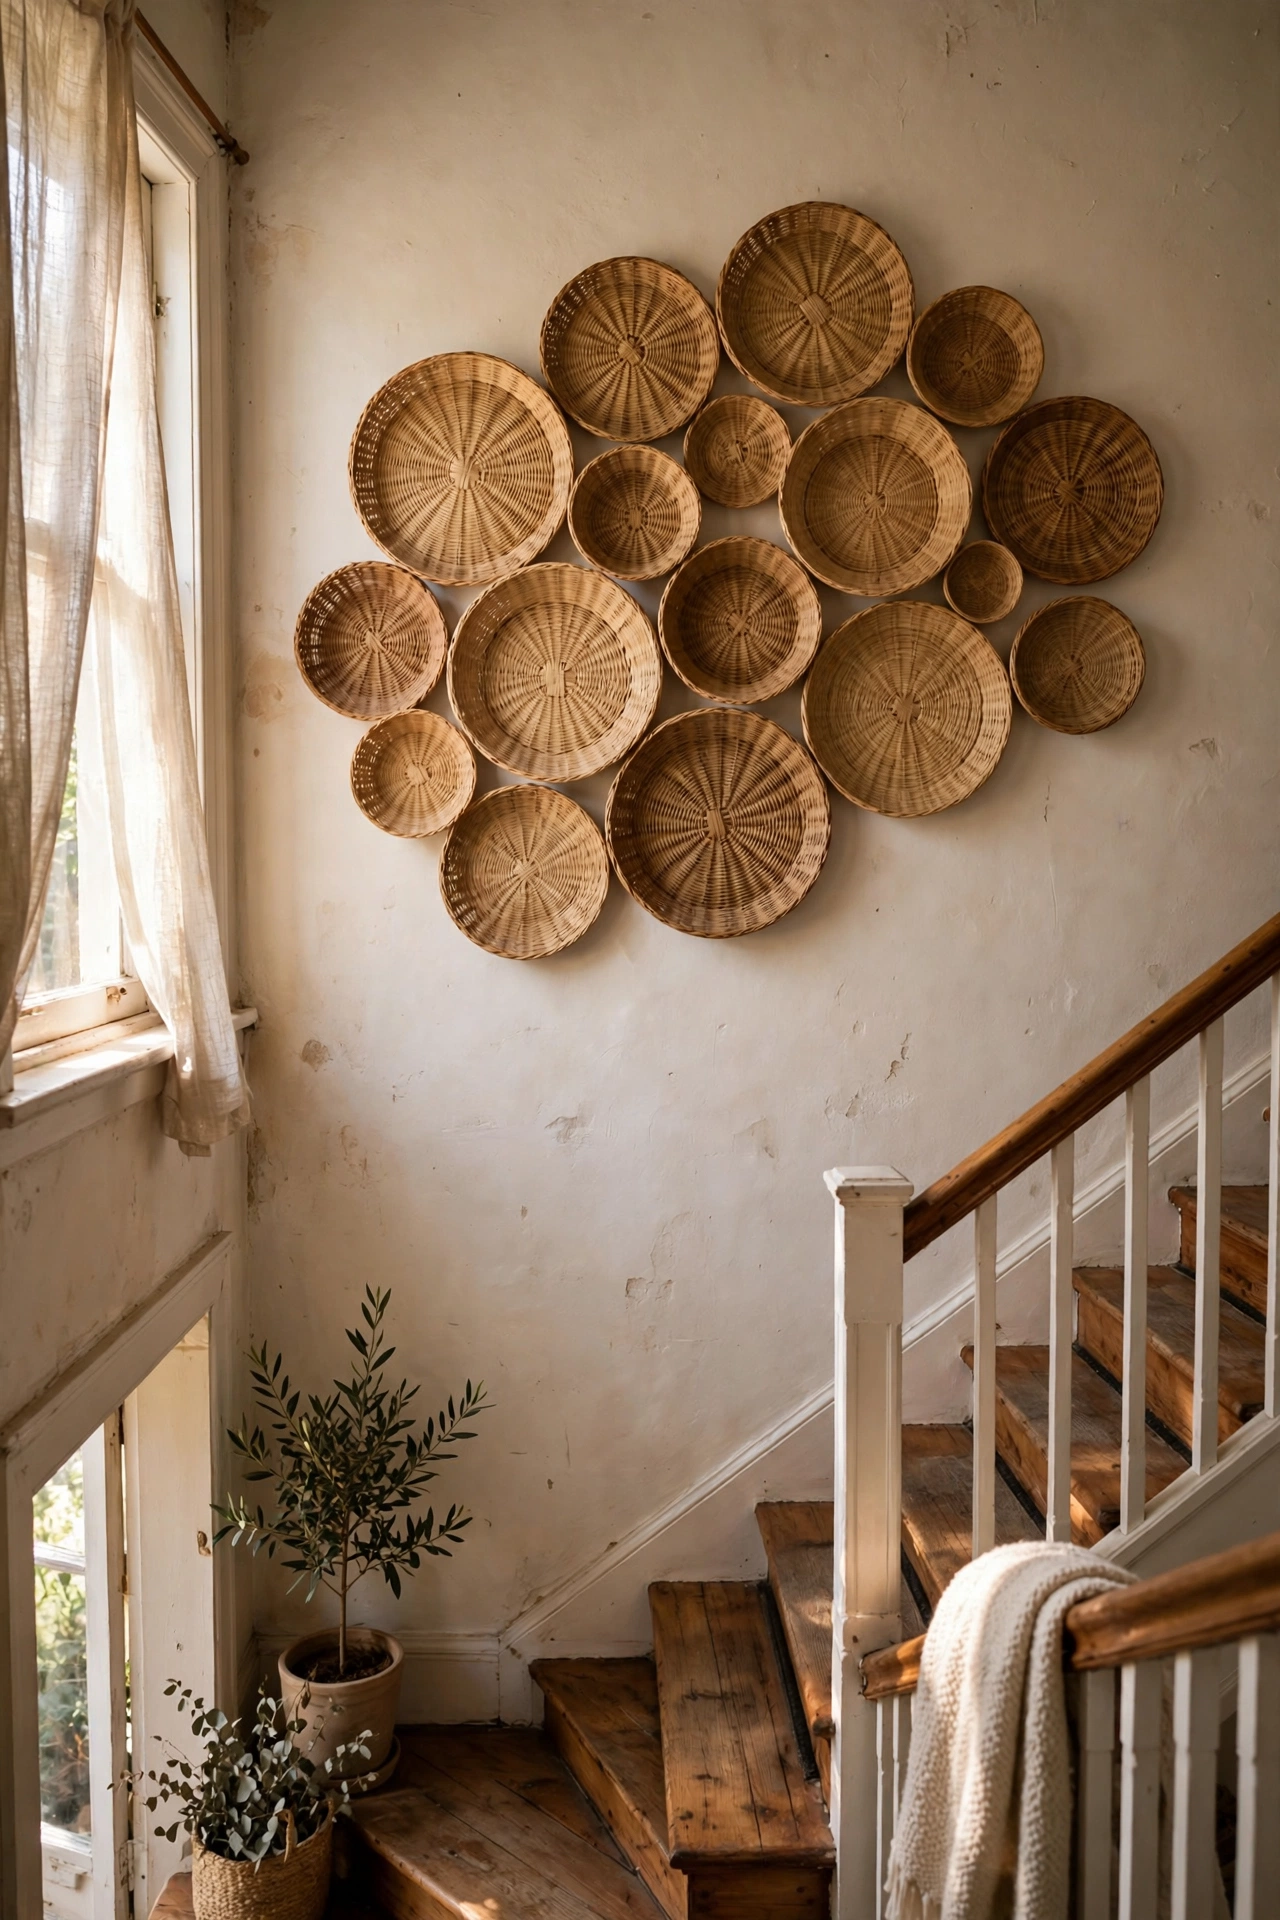
Flat woven baskets hung in a cluster make wall art with warmth and texture. I collect shallow baskets in different sizes, lay out the arrangement on the floor first, then hang them with a single nail each. Mine covers the awkward wall above the stairs and cost less than one framed print. Vary the sizes and keep the spacing even, because a grid looks stiff and random looks messy. Aim for organised cluster. Odd numbers hang better — mine went from five to seven and the wall finally felt finished.
Cost: ~$8-15 | Time: 1 hour
6. Painted Ceramic Animal Bookends
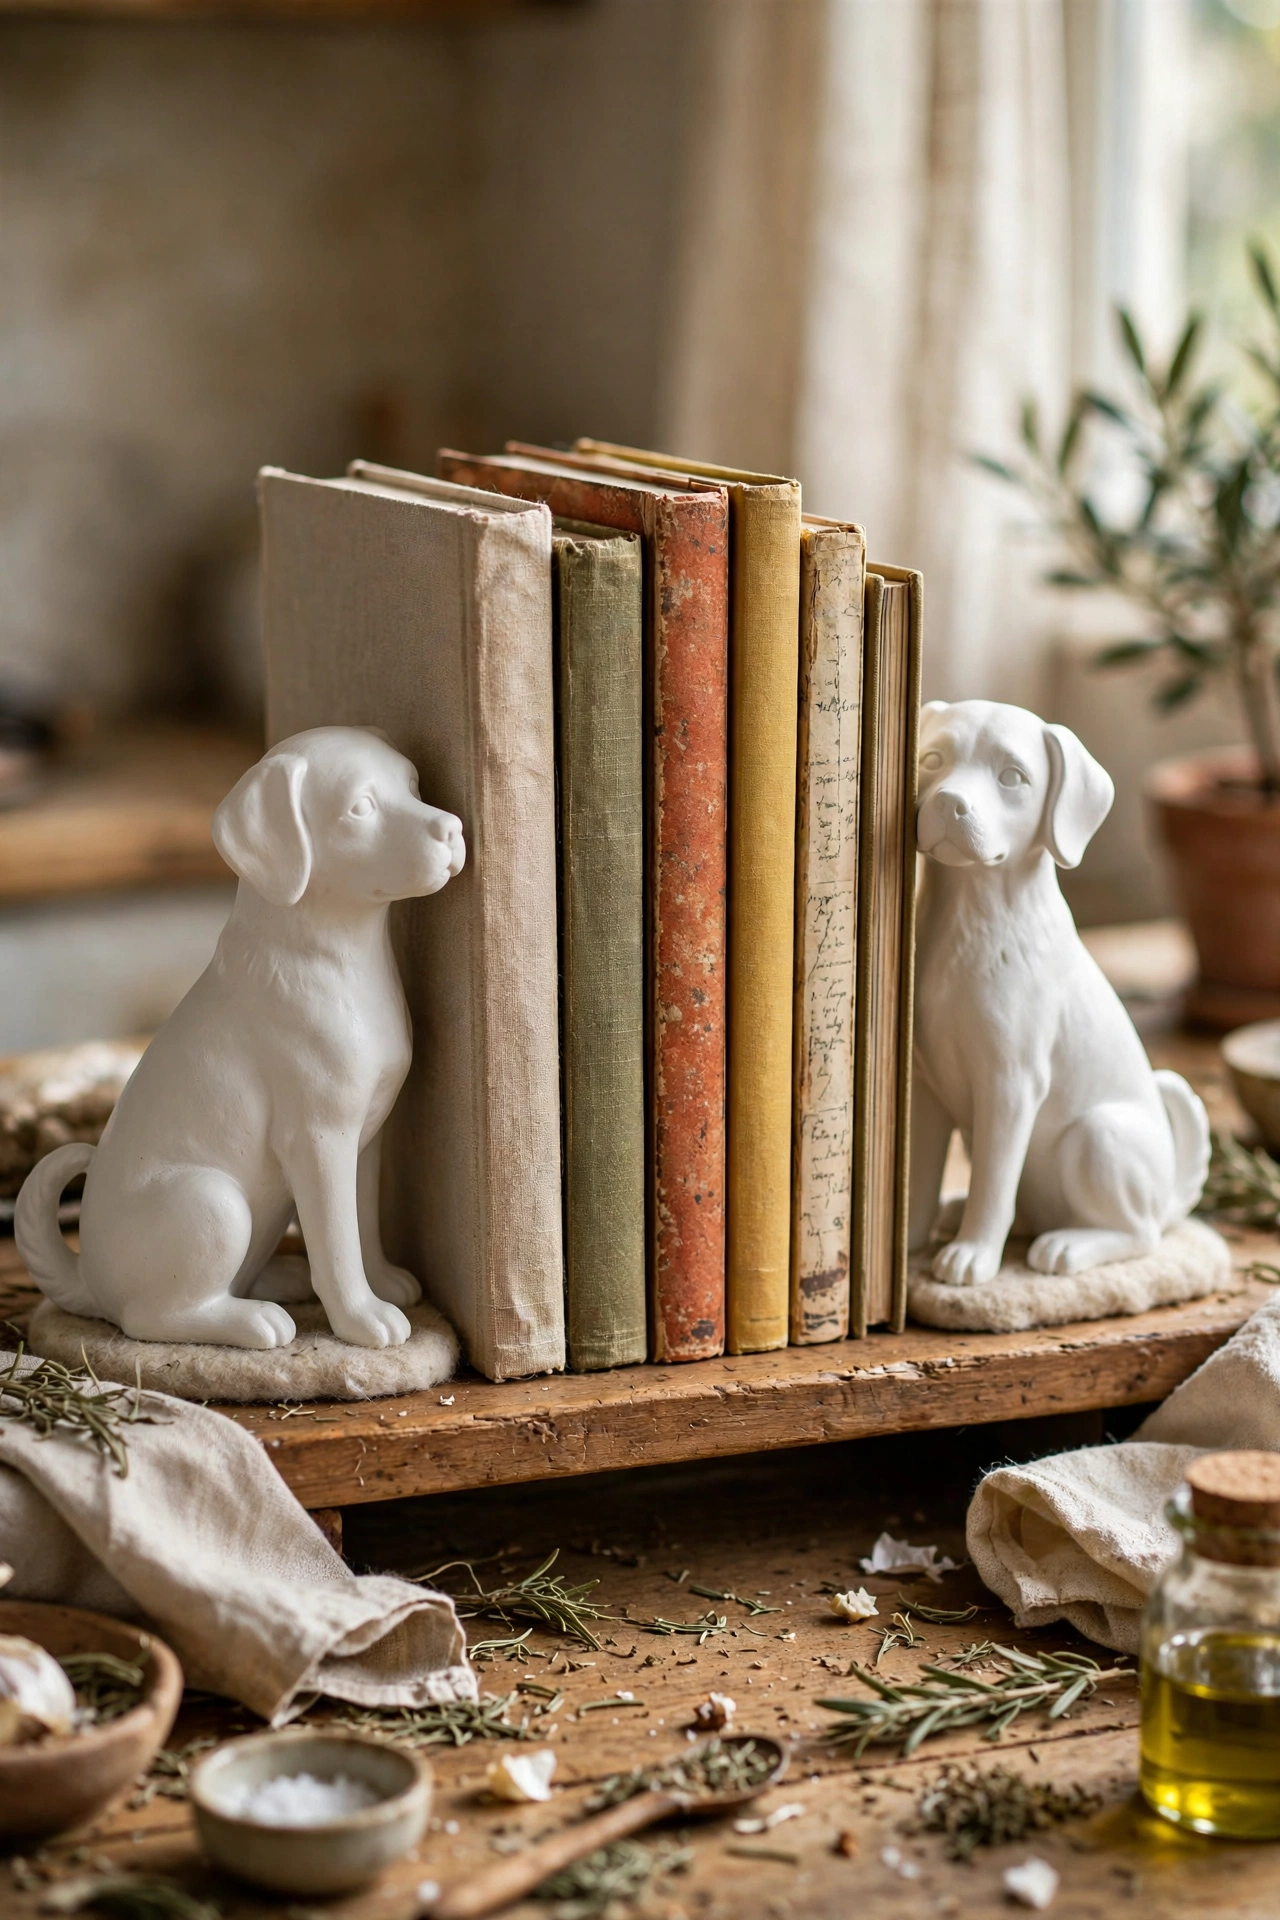
Kitschy ceramic animals become chic bookends with a coat of paint. I found a pair of identical ceramic dogs, sprayed them matte white, and glued felt to the bases. They hold up my cookbooks and look like designer pieces. Any matching pair works: elephants, horses, even frogs. Spray in light coats from all angles, because missed spots underneath show. This is the project that convinces people thrifting is worth it. Matte over gloss, every time — gloss reads plastic while matte reads stone, and that is the whole trick.
Cost: ~$5-10 | Time: 45 minutes plus drying
Pro tip: Buy ceramic animals in pairs whenever you spot them. Singles are decoration, but a matching pair becomes bookends, and pairs are much harder to find later.
7. Stacked Old Books as Decor
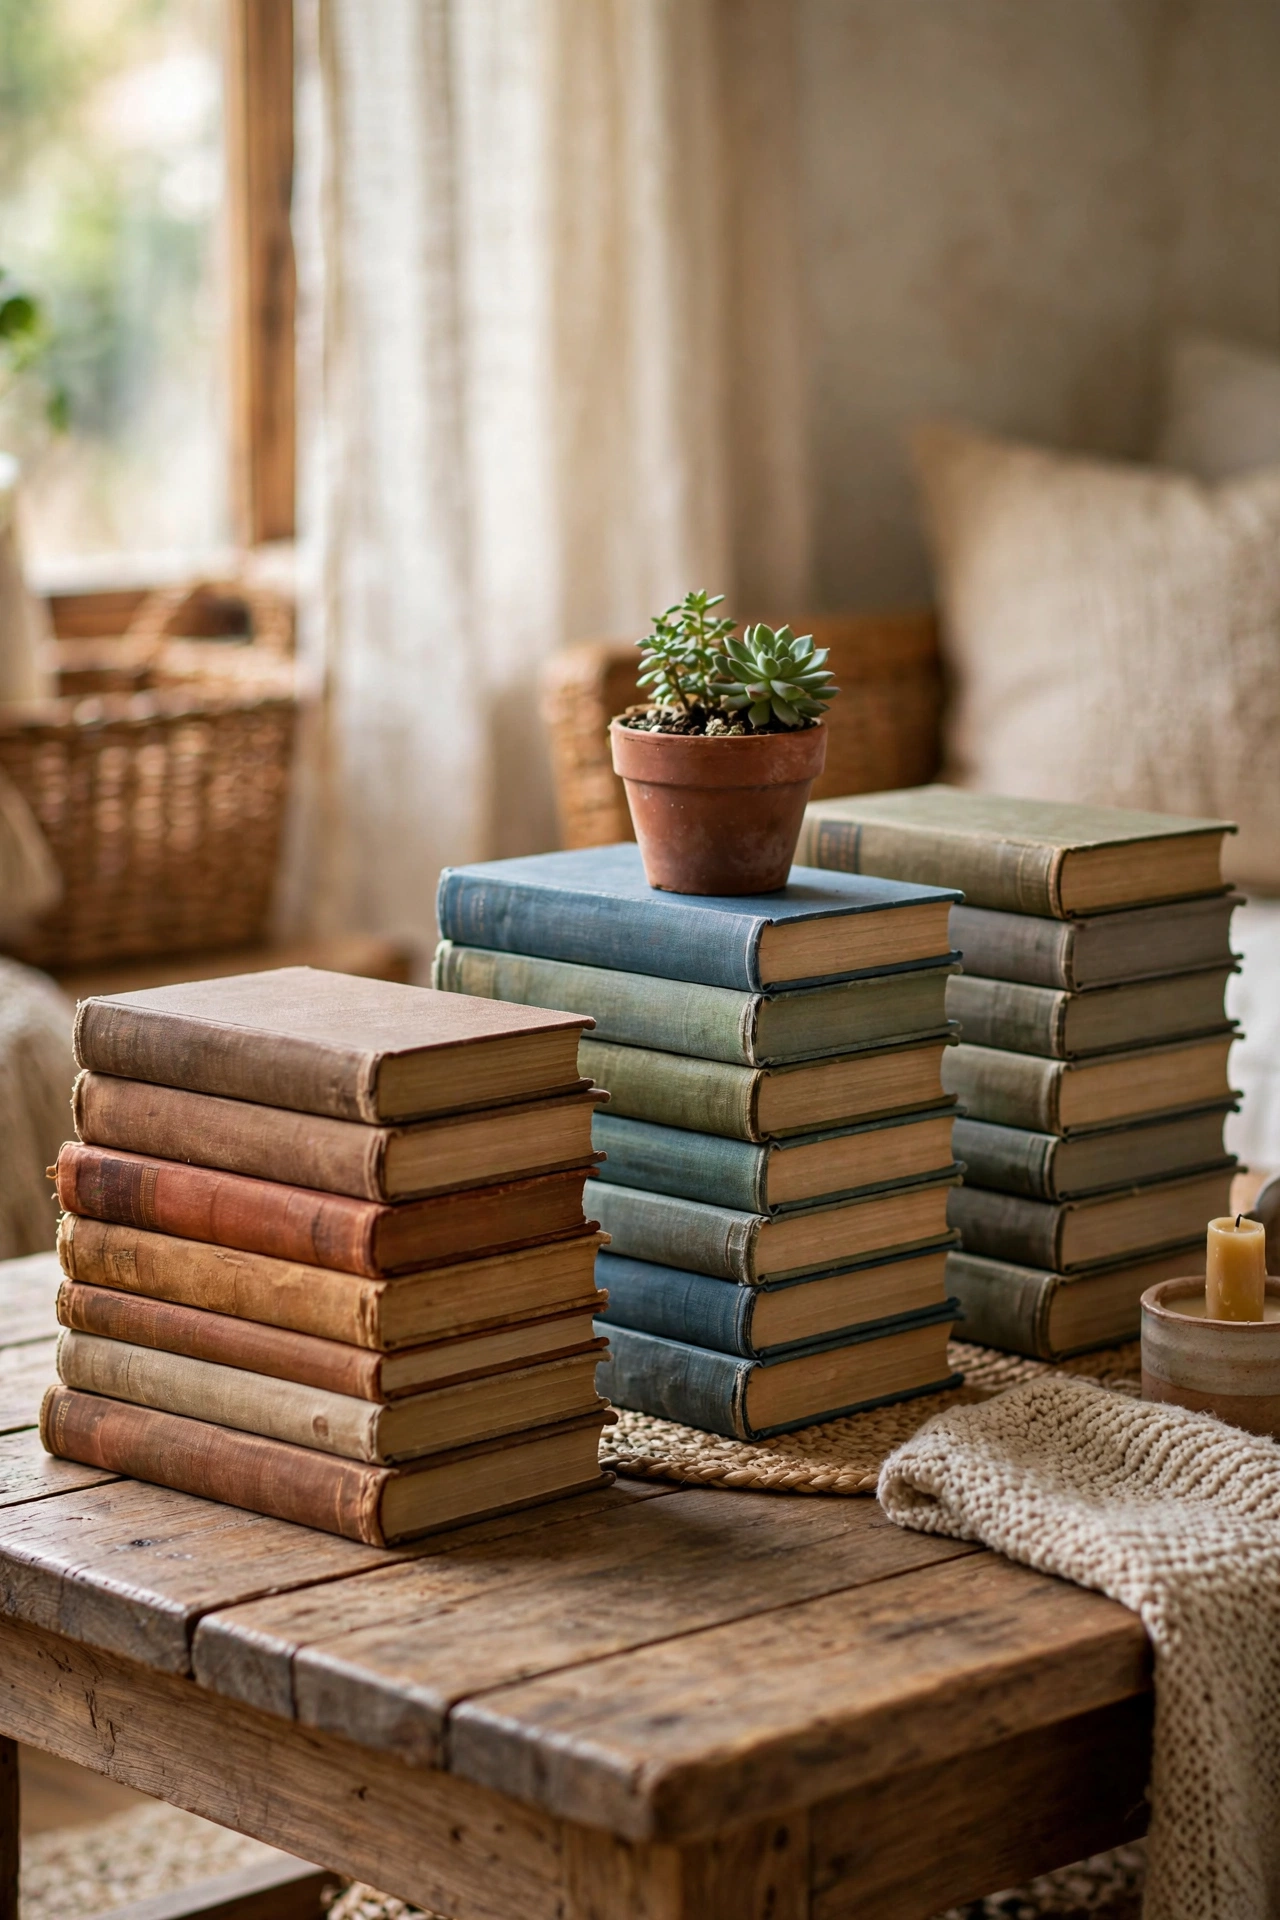
Old hardbacks with nice spines stack into instant decor. I buy books for their covers, not their contents, stack three or four on the coffee table, and top them with a small plant or candle. Remove the dust jackets, because the cloth bindings underneath are usually prettier. My stacks are colour-grouped: greens on one table, reds on another. It is the easiest styling trick I know and it costs pennies. A bookend slipped behind the last stack stops it toppling when someone borrows one.
Cost: ~$3-6 | Time: 15 minutes
8. Thrifted Mirror Frame Repaint
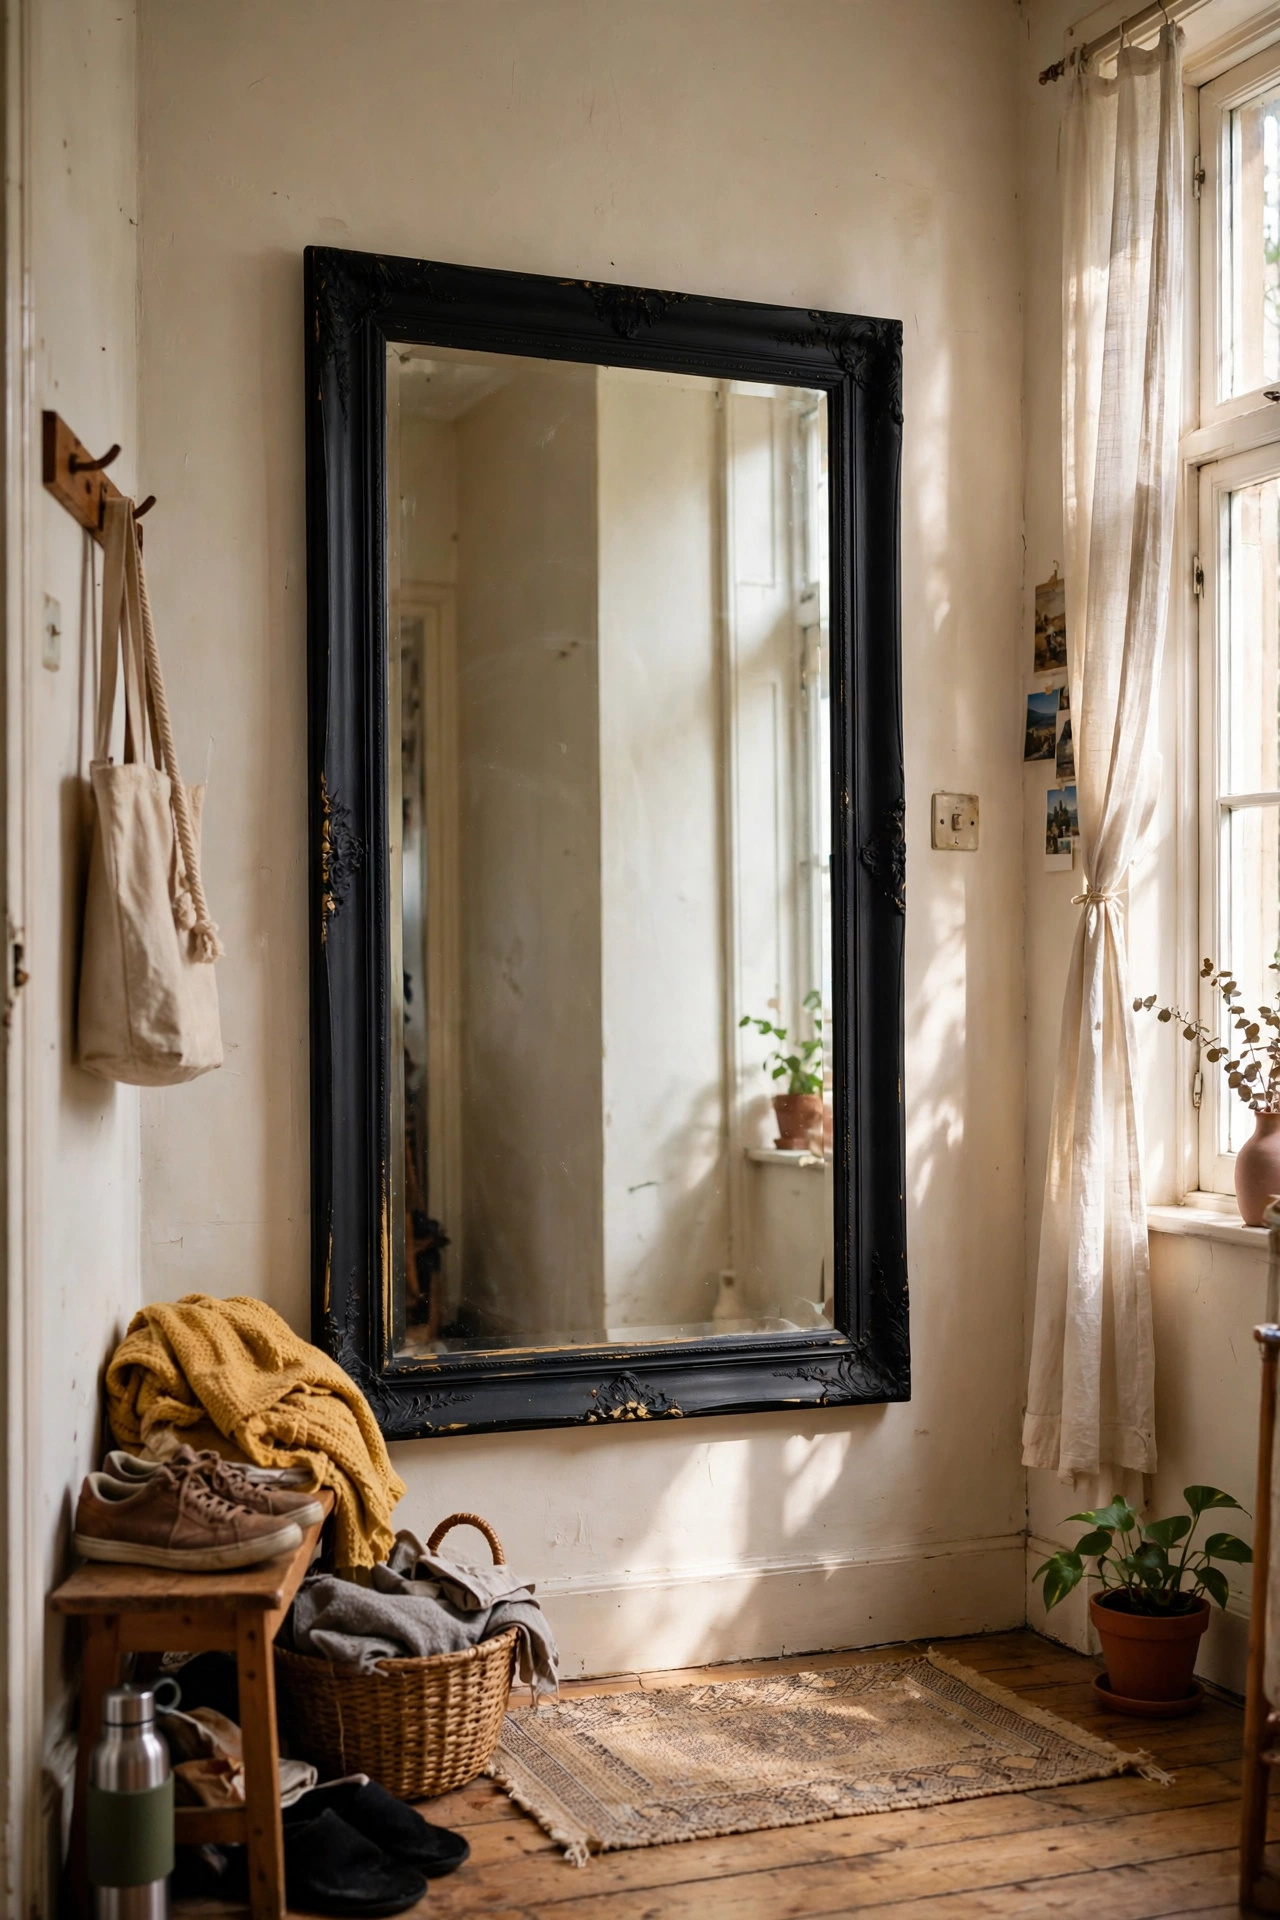
A good mirror in a bad frame is a bargain hiding in plain sight. I check the glass first for desilvering spots, then repaint or restain the frame to suit the room. My hallway mirror had a gold 1980s frame I painted matte black, and it looks completely current. Mask the glass with tape and newspaper before painting, because scraping paint off mirror is tedious. Heavy mirrors need proper wall fixings. Daylight is the honesty check — desilvering hides in shop lighting and shows at home.
Cost: ~$8-15 | Time: 1.5 hours plus drying
9. Wooden Tray Serving Refresh
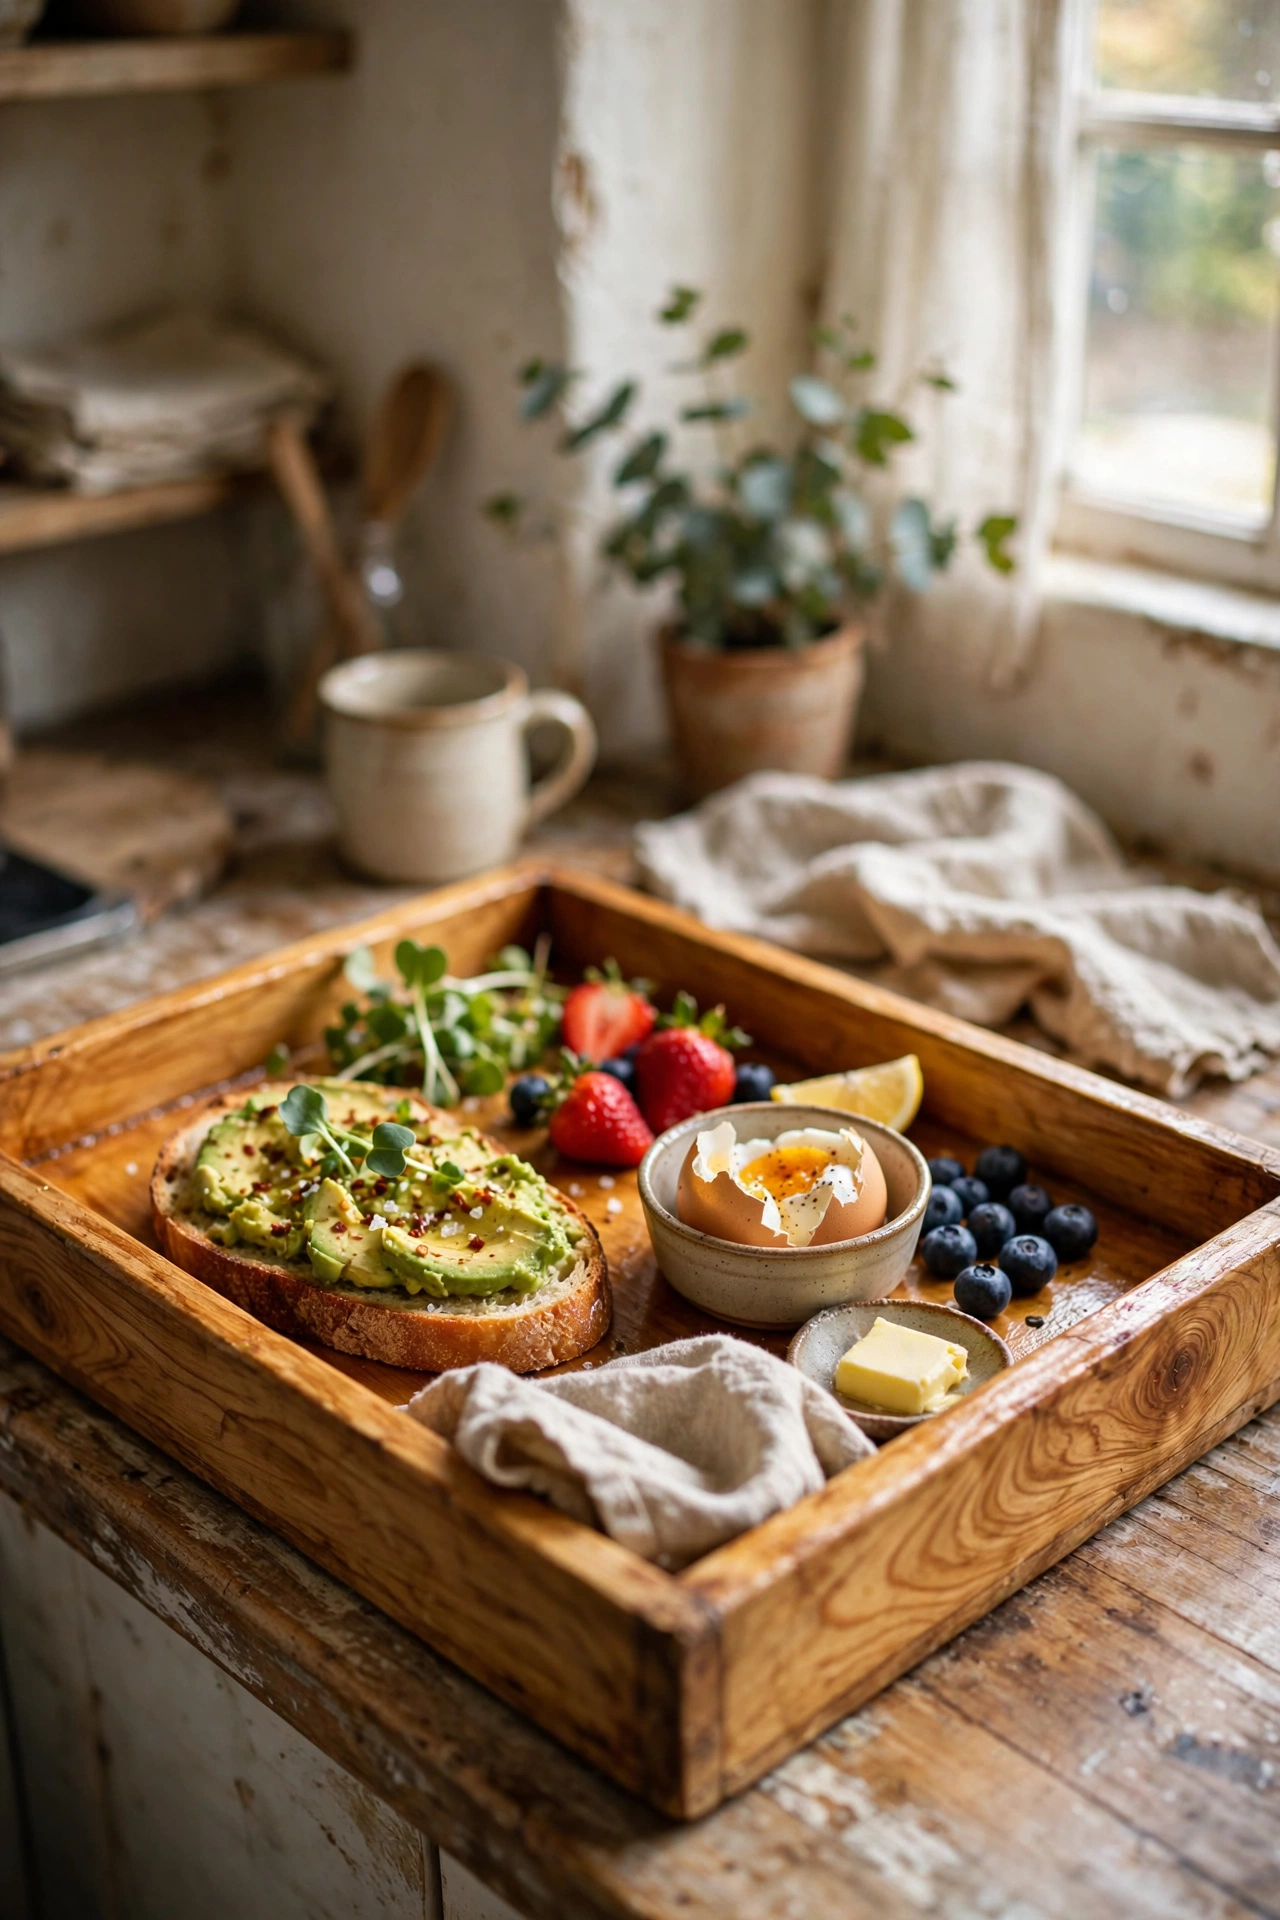
Scratched wooden trays come back to life with sanding and oil. I sand thrifted trays back to bare wood, working through the grits, then feed them with food-safe mineral oil. The grain glows and the scratches vanish. My breakfast tray was grey and lifeless and now it is the prettiest thing in the kitchen. Oil needs reapplying every few months, so keep the bottle handy. This is deeply satisfying work. Don’t forget the underside — a rough tray bottom scratches every table it sits on.
Cost: ~$5-10 | Time: 1.5 hours
Pro tip: Sand with the grain, never across it. Cross-grain scratches show through oil finishes and there is no hiding them once the oil goes on.
10. Paint-Over Ugly Canvas Art
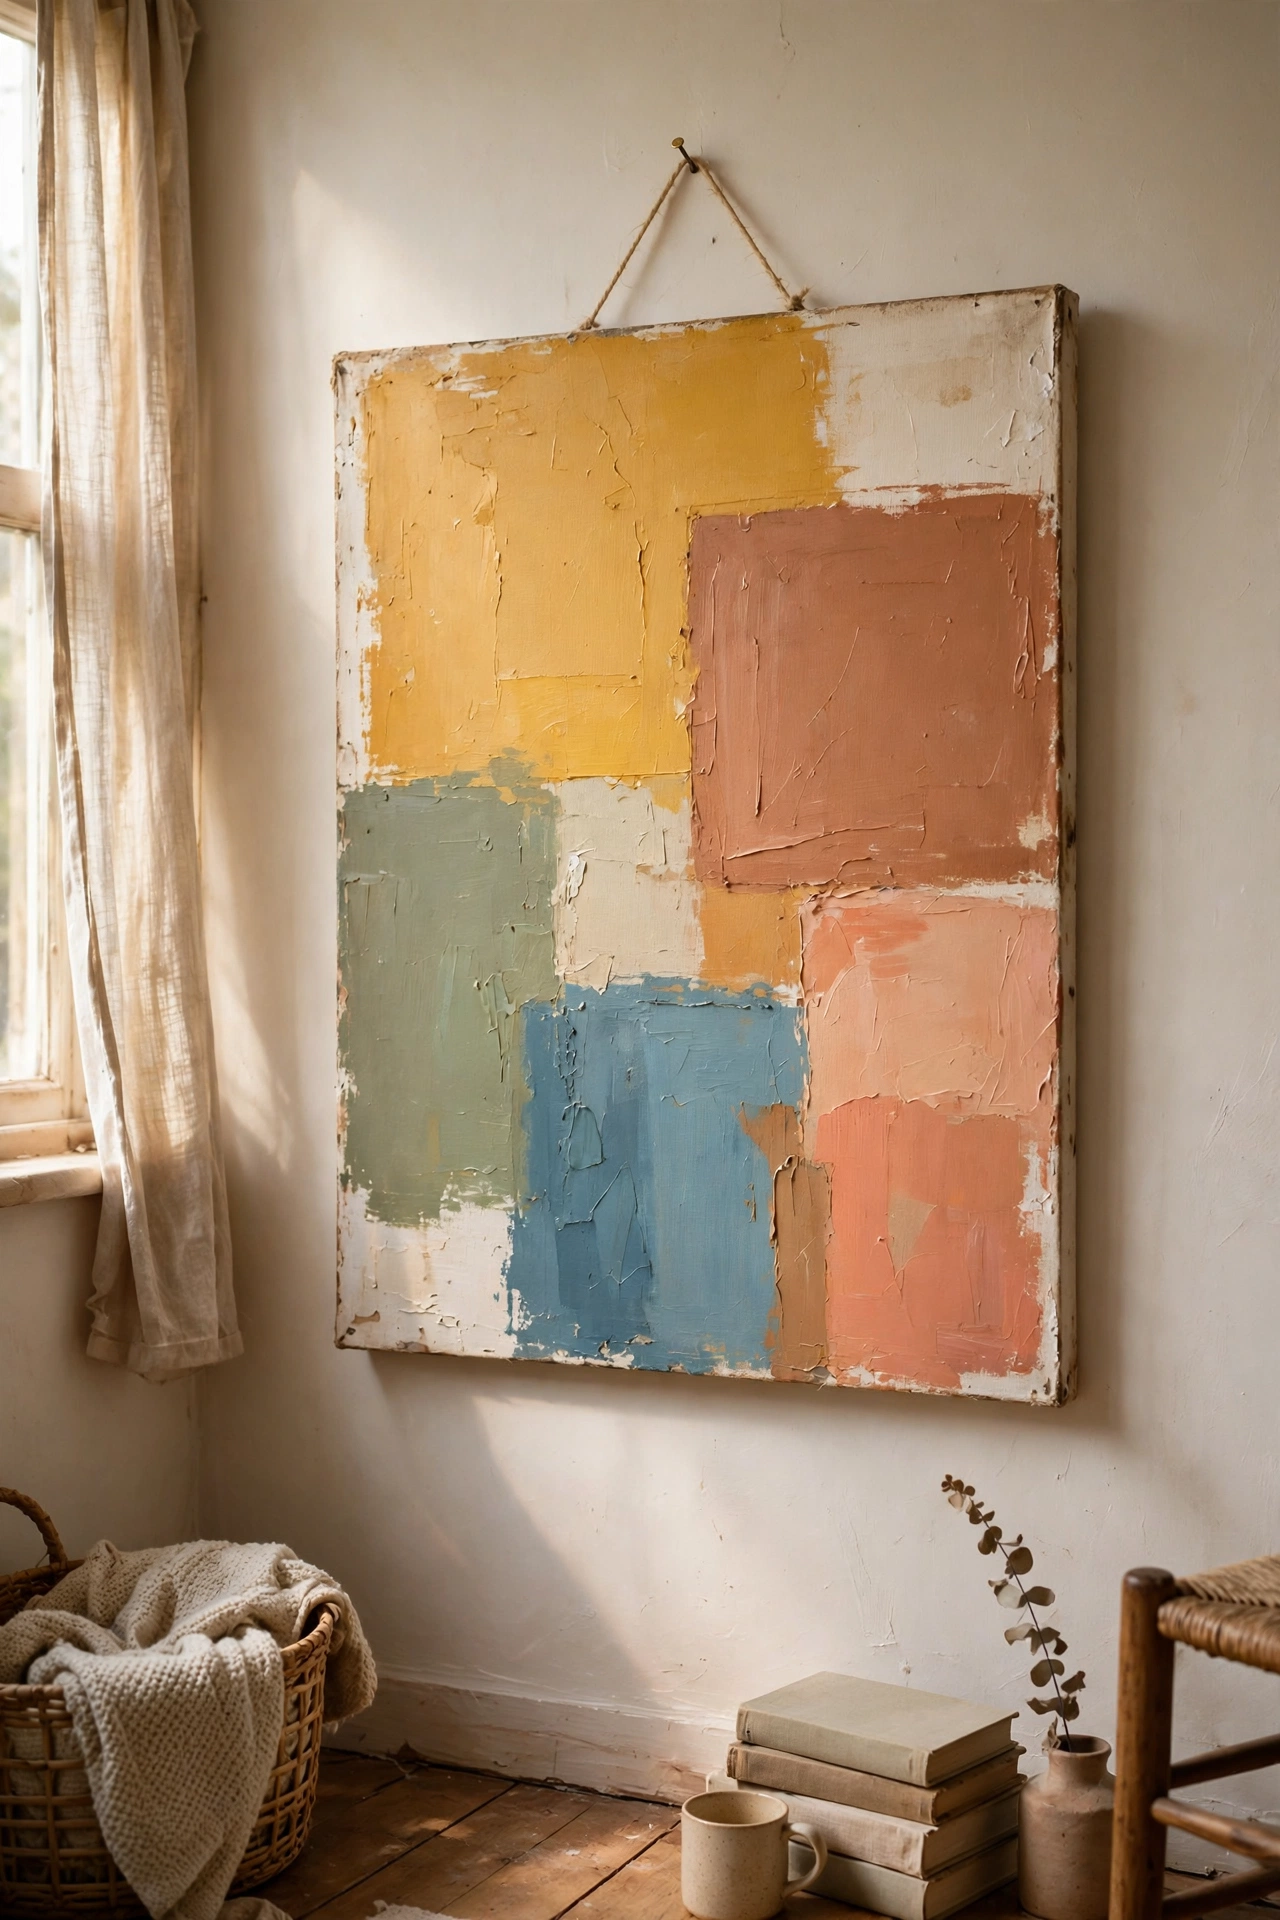
Bad art on a good canvas is just a cheap canvas. I buy ugly paintings for the stretcher frames, gesso over the whole thing twice, and paint my own simple abstract art. Even total beginners can manage colour-block or landscape washes. My first attempt hangs in the spare room and guests assume it is original art. Two coats of gesso are essential, because one lets the old image ghost through. I photograph the ugly original before painting over it — charity shops sometimes sell accidental gems.
Cost: ~$8-14 | Time: 2 hours plus drying
11. Brass Candlestick Polish and Style
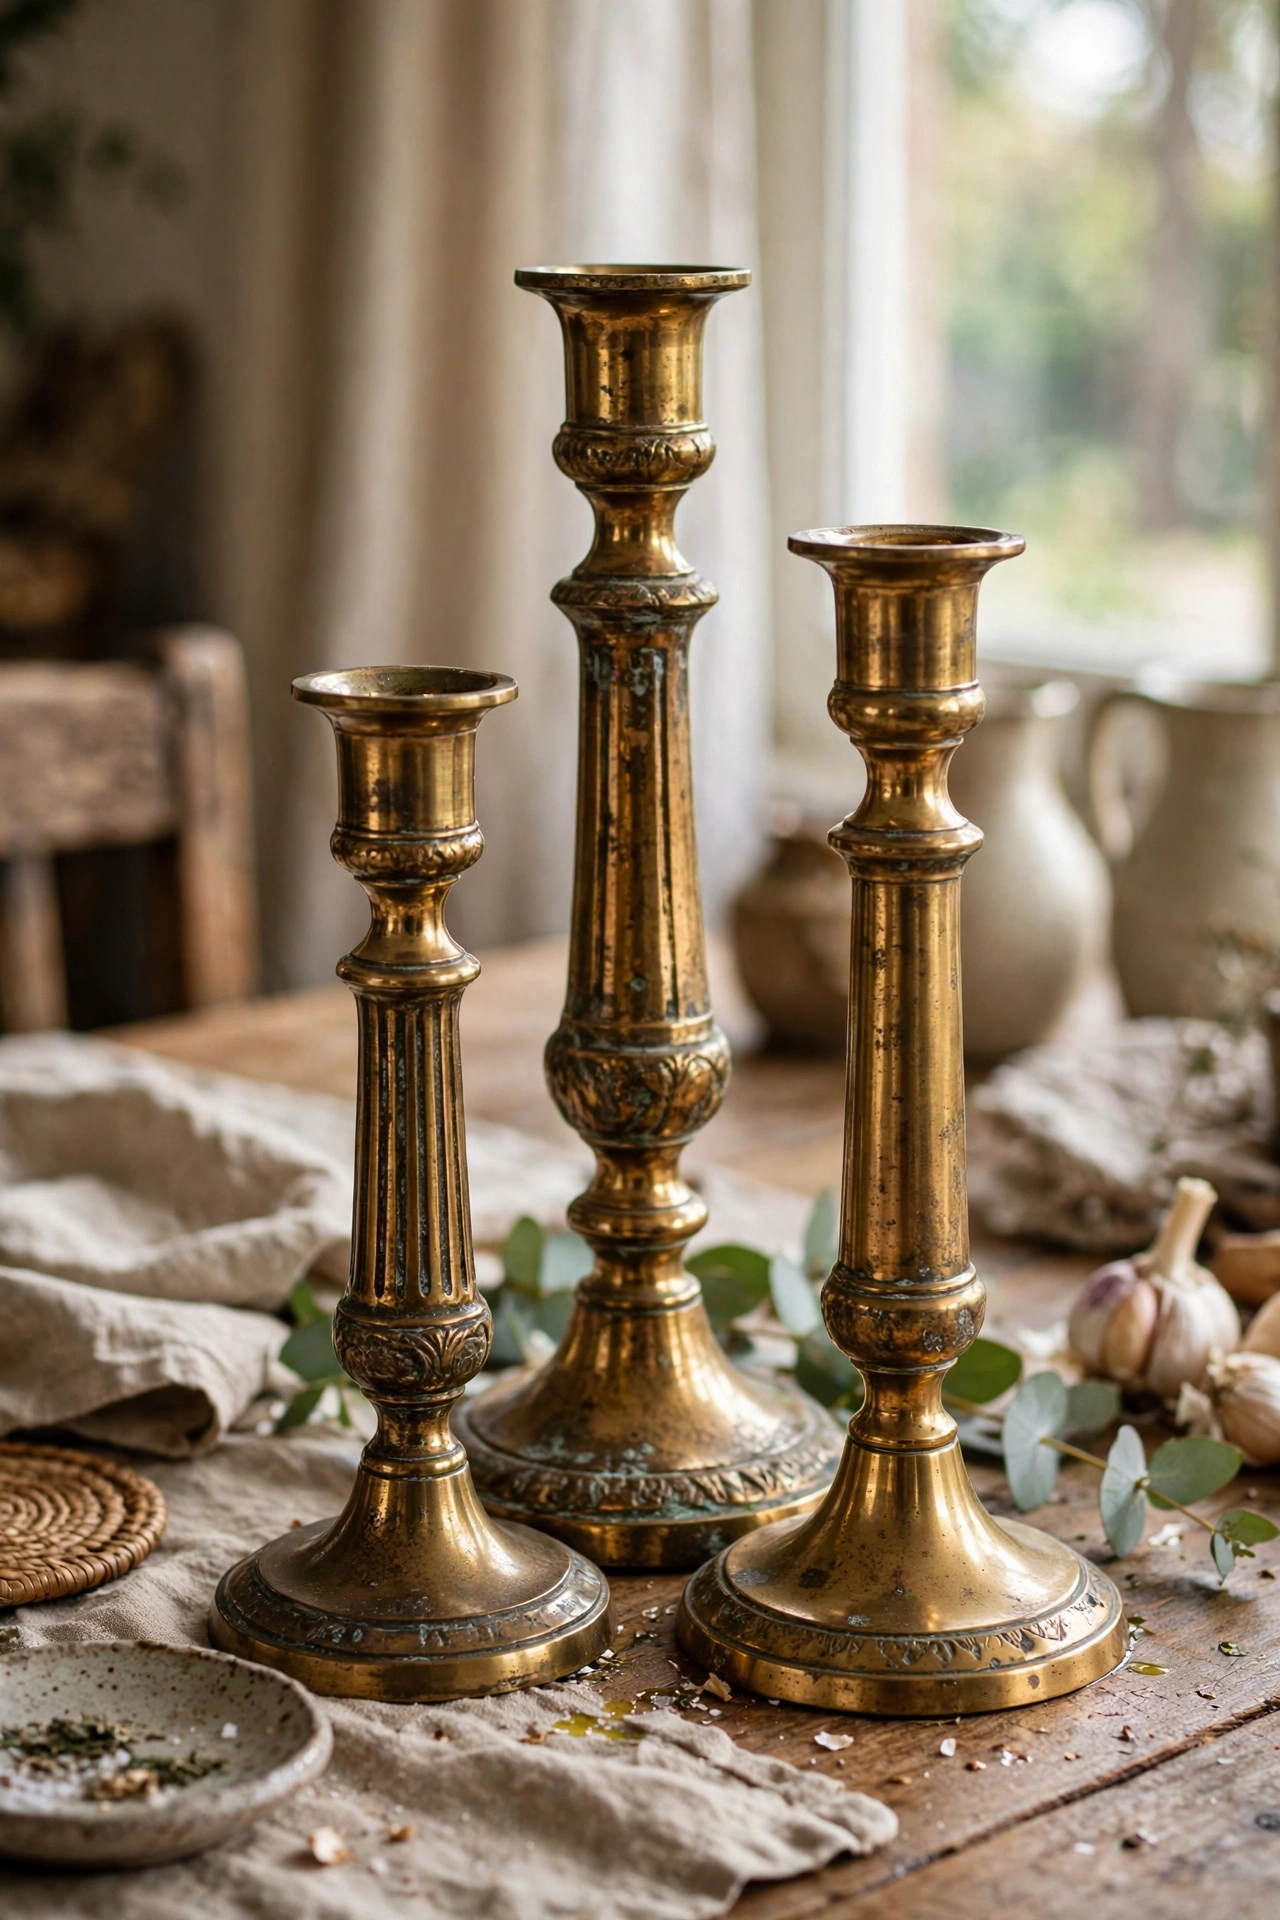
Tarnished brass candlesticks polish up into jewels. I soak them in hot soapy water, polish with brass cleaner and an old toothbrush for the crevices, and style them in groups of three. The before-and-after is staggering every single time. Do not over-polish to mirror shine, because a little patina in the details looks richer. My dining table centrepiece is entirely thrifted brass and cost under ten pounds. A dark cloth under the brass first — it catches drips and stops metal scratching wood. Save this one for your weekend project list.
Cost: ~$5-10 | Time: 1 hour
12. Wicker Basket Storage Upgrade
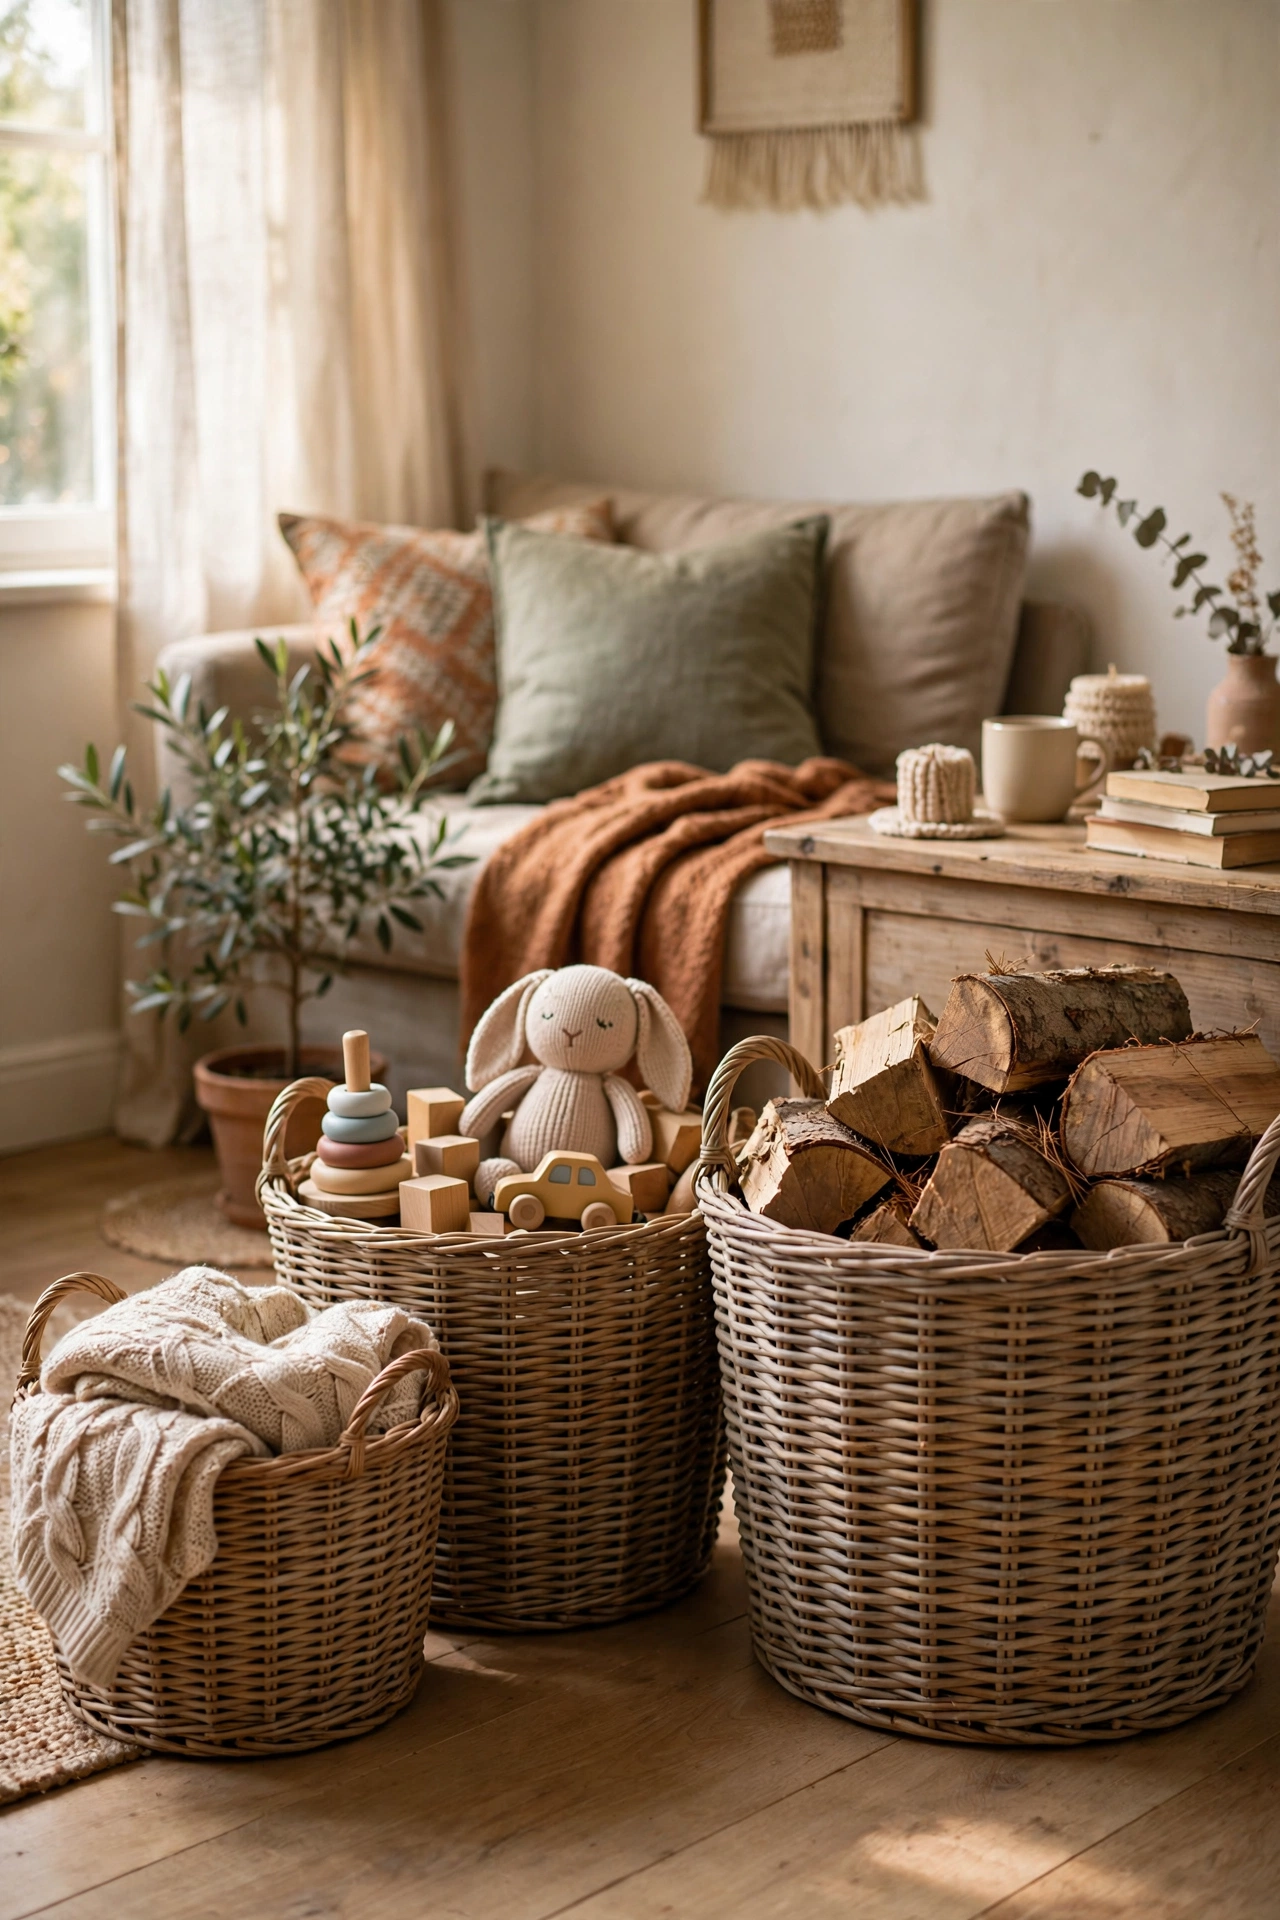
Sturdy wicker baskets organise every room for almost nothing. I buy them in graduated sizes, wipe them down, and use them for throws, toys, and firewood. A quick spray of clear matte sealer stops them shedding. My living room has four and they hide all the clutter. Check handles are firmly attached, because a loaded basket with a loose handle dumps everything. More storage ideas: (see also: budget-storage-ideas). One category per basket, and the category never moves rooms — I label nothing and memorise nothing, ever.
Cost: ~$6-12 | Time: 30 minutes
Pro tip: Sniff wicker baskets before buying. Musty ones rarely lose the smell, but clean dry ones just need a wipe and they are good for years.
13. Thrifted Sweater Pillow Covers
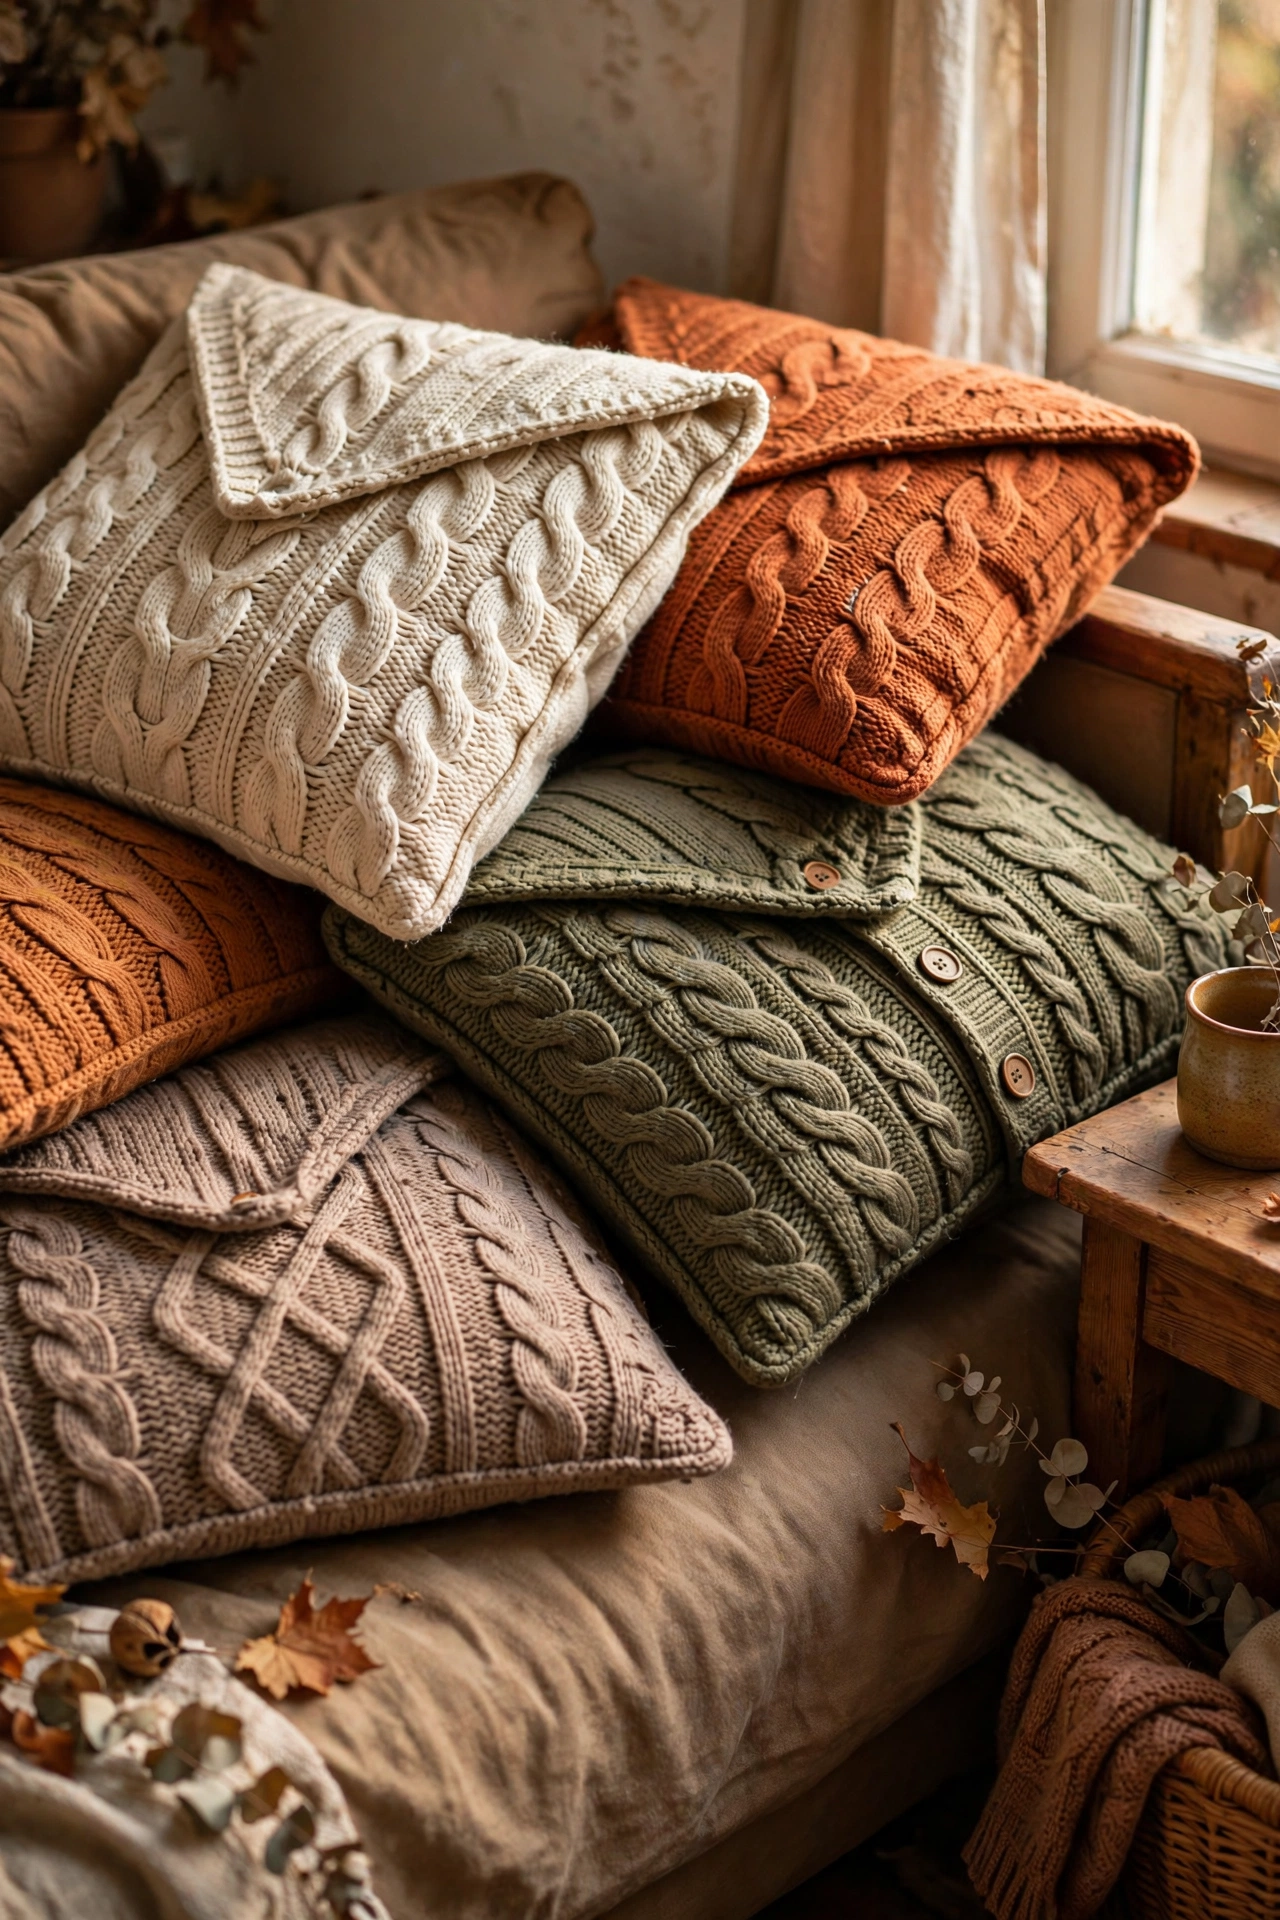
Chunky knit jumpers become the cosiest cushion covers. I buy oversized wool or wool-blend jumpers, cut squares from the body avoiding seams, and sew simple envelope backs. The cable-knit texture looks incredibly expensive on the sofa. Felt the jumper in a hot wash first if it is 100 percent wool, because felting stops fraying. My autumn sofa is all thrifted knits and everyone touches them. Sew the opening with the jumper inside out, then turn it — the seam vanishes into the knit and no one finds it.
Cost: ~$8-14 | Time: 2 hours
14. Mismatched Glassware Set Styling
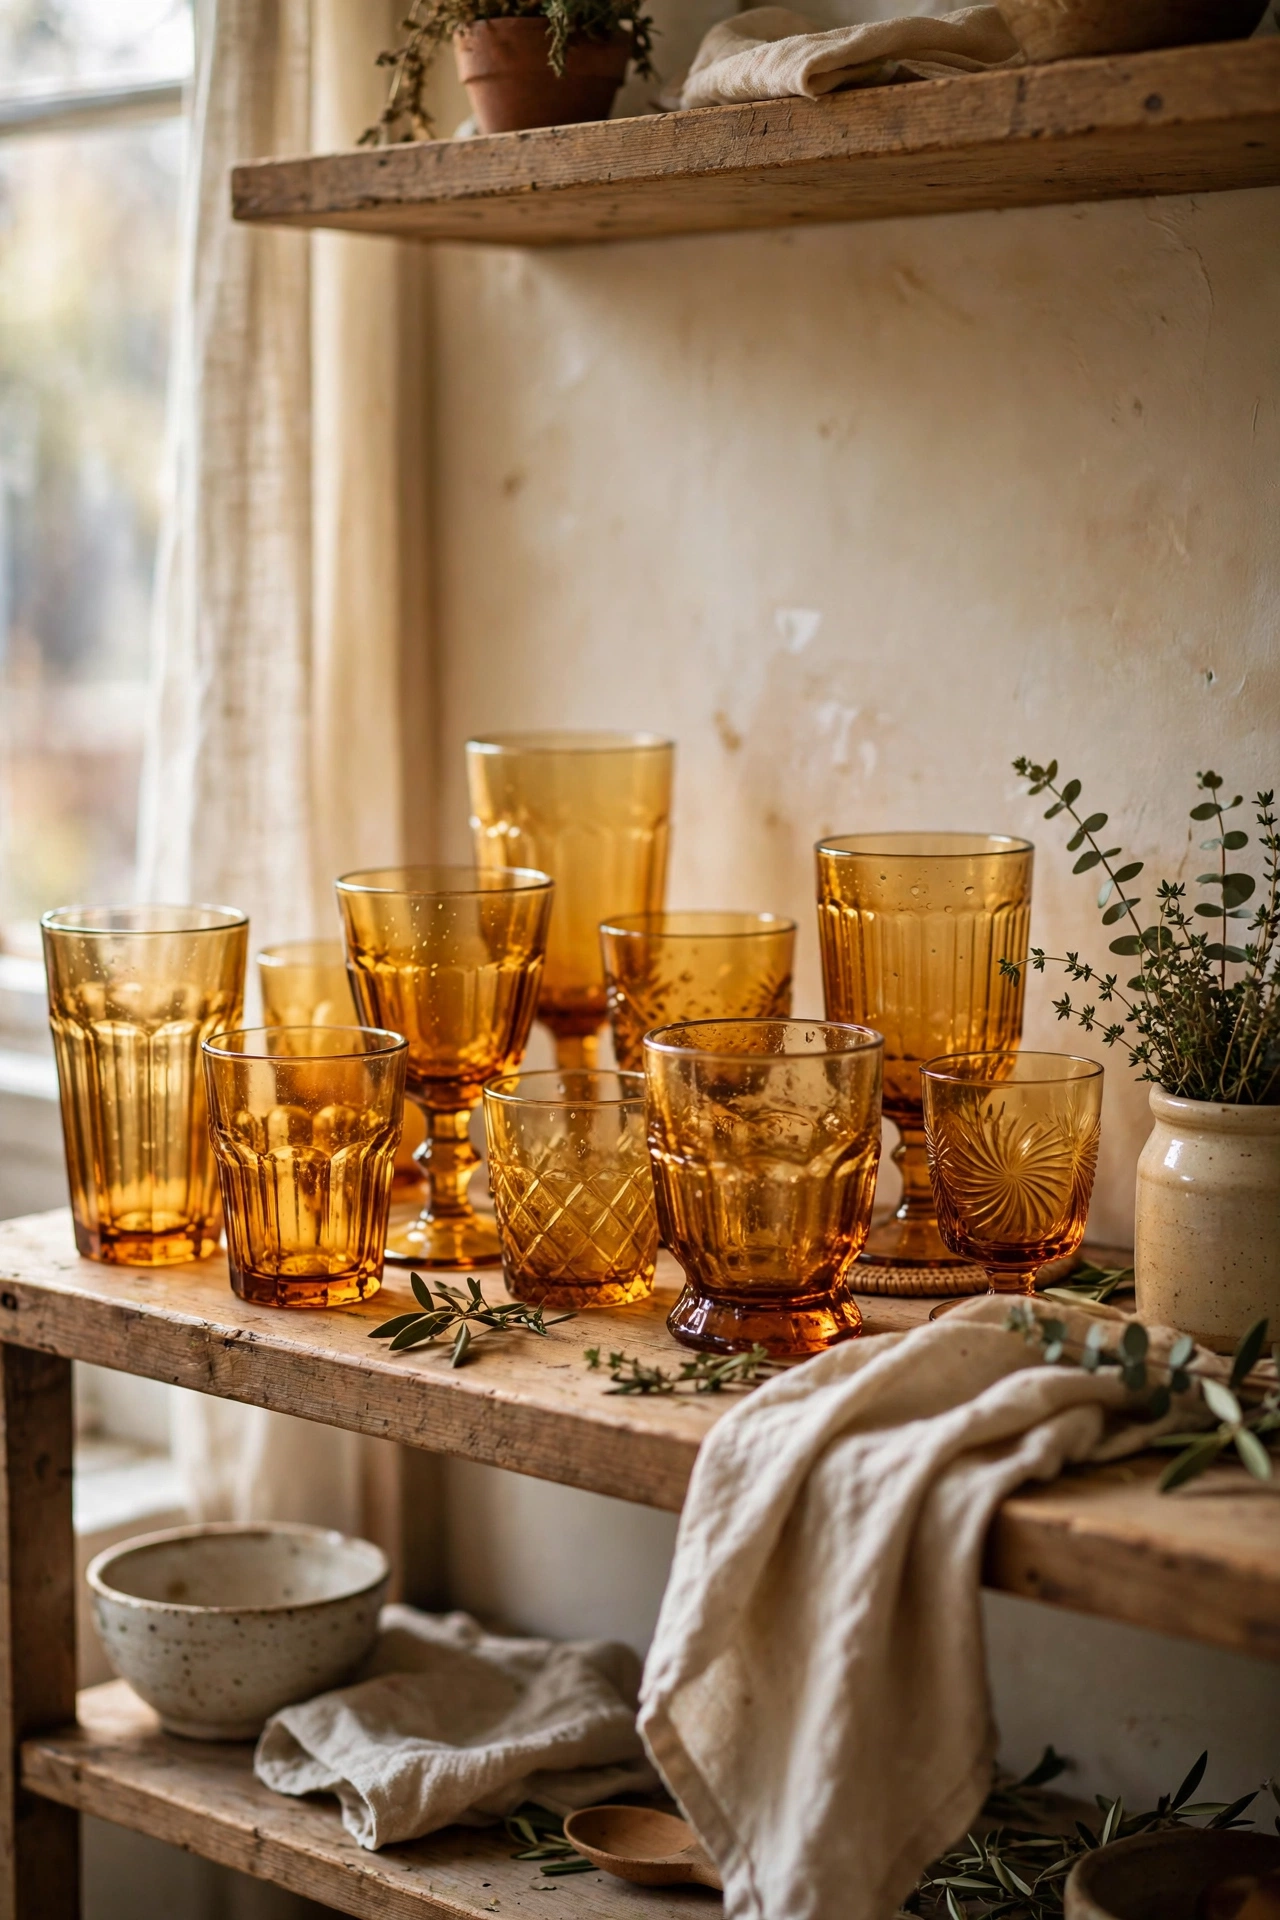
Collected over time, mismatched vintage glasses become a set with charm. I buy interesting glasses one or two at a time, sticking loosely to one colour family like amber or green. Displayed on open shelving they look curated, not chaotic. My amber collection started with two glasses and now fills a shelf. Wash vintage glassware by hand, because old glass can be thin and dishwashers are brutal. I add one new piece a month so the collection grows slowly — shelves built in a day look bought.
Cost: ~$6-12 | Time: 20 minutes
15. Small Dresser Nightstand Flip
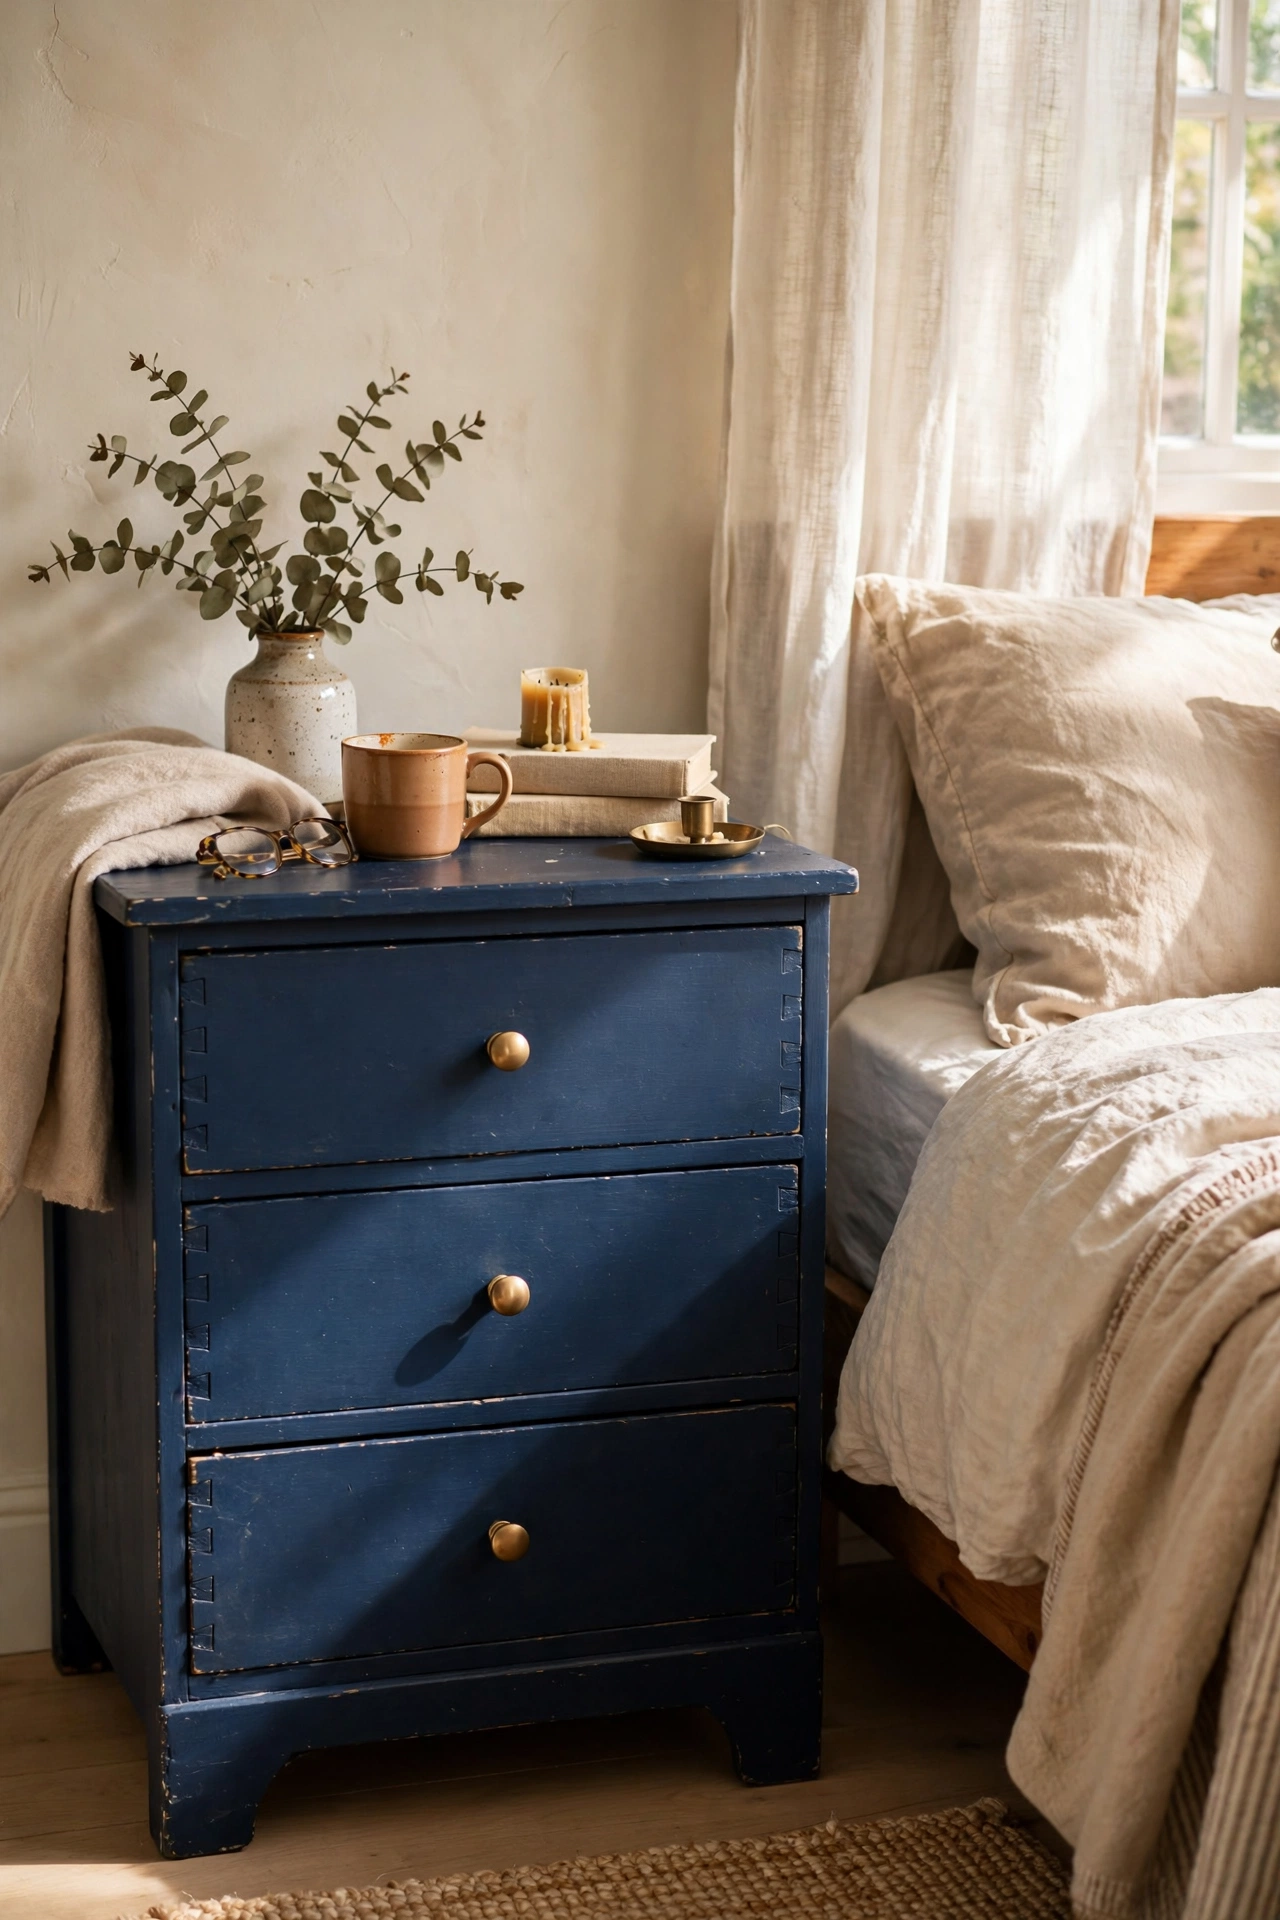
A small dresser makes a nightstand with far more storage than a table. I look for solid dovetailed drawers, clean and sand the piece, then paint it a current colour with new knobs. My nightstands are two different dressers painted the same navy, and the drawers swallow all the bedside clutter. Always check drawers slide smoothly before buying, because warped drawers are a misery to fix. New knobs are the jewellery. Original keyholes and escutcheons stay — new paint with old hardware is the whole charm.
Cost: ~$18-25 | Time: 4 hours plus drying
Pro tip: Remove drawers and hardware before painting a dresser. Painted-shut drawers and gummed-up runners are the classic beginner mistake.
16. Thrifted Quilt as Wall Hanging
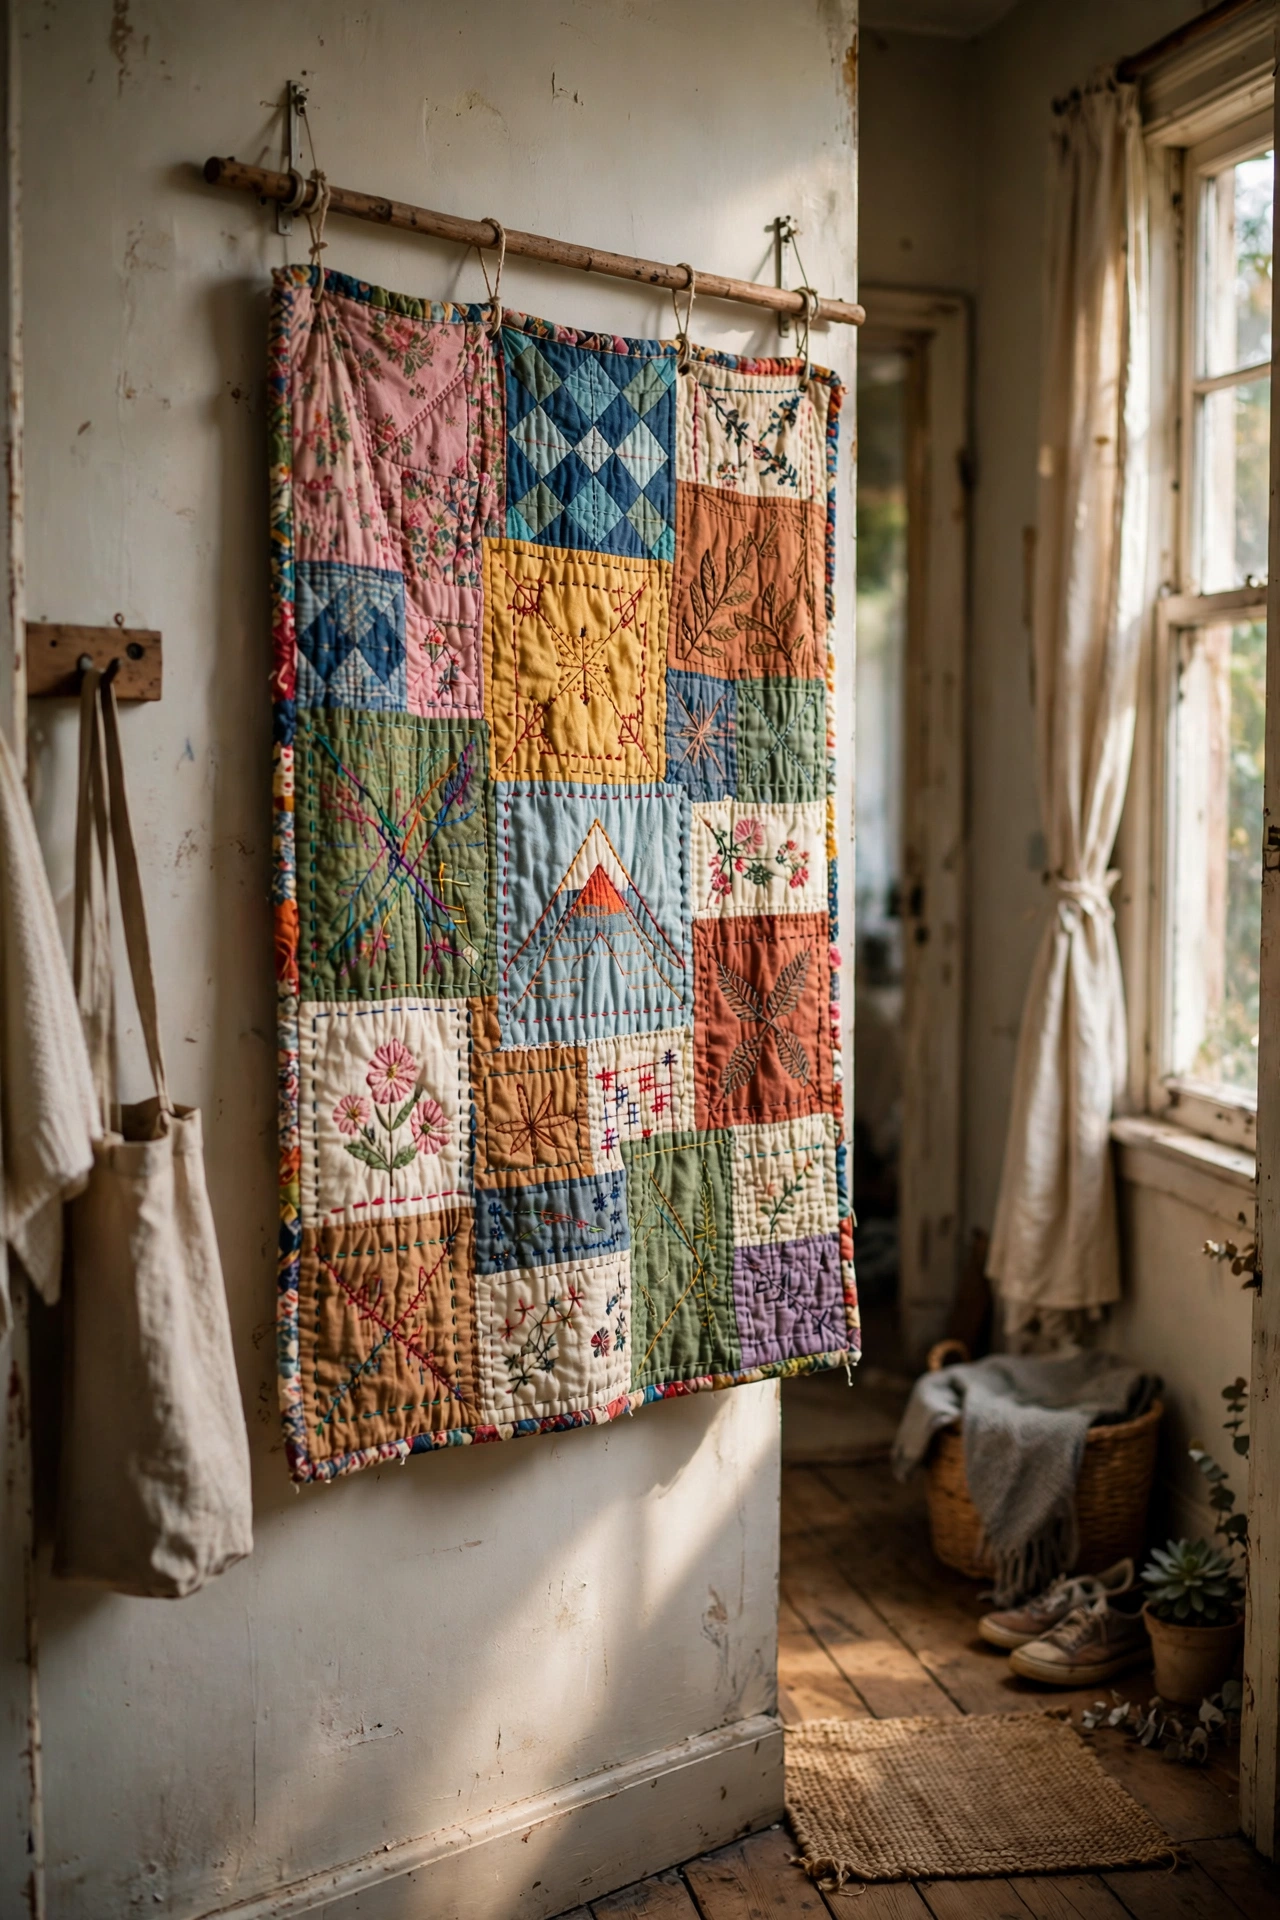
A handmade quilt too worn for a bed is perfect wall art. I hang quilts from a simple wooden dowel threaded through a fabric sleeve sewn on the back. The patterns and stitching deserve to be seen. My grandmother-style quilt hangs in the hallway and it is the warmest thing in the house. Keep it out of direct sun, because vintage fabrics fade fast. This honours someone’s handwork beautifully. I sew the sleeve by hand rather than machine — the machine needle bruises old quilting.
Cost: ~$8-15 | Time: 1 hour
17. Plate Wall Display
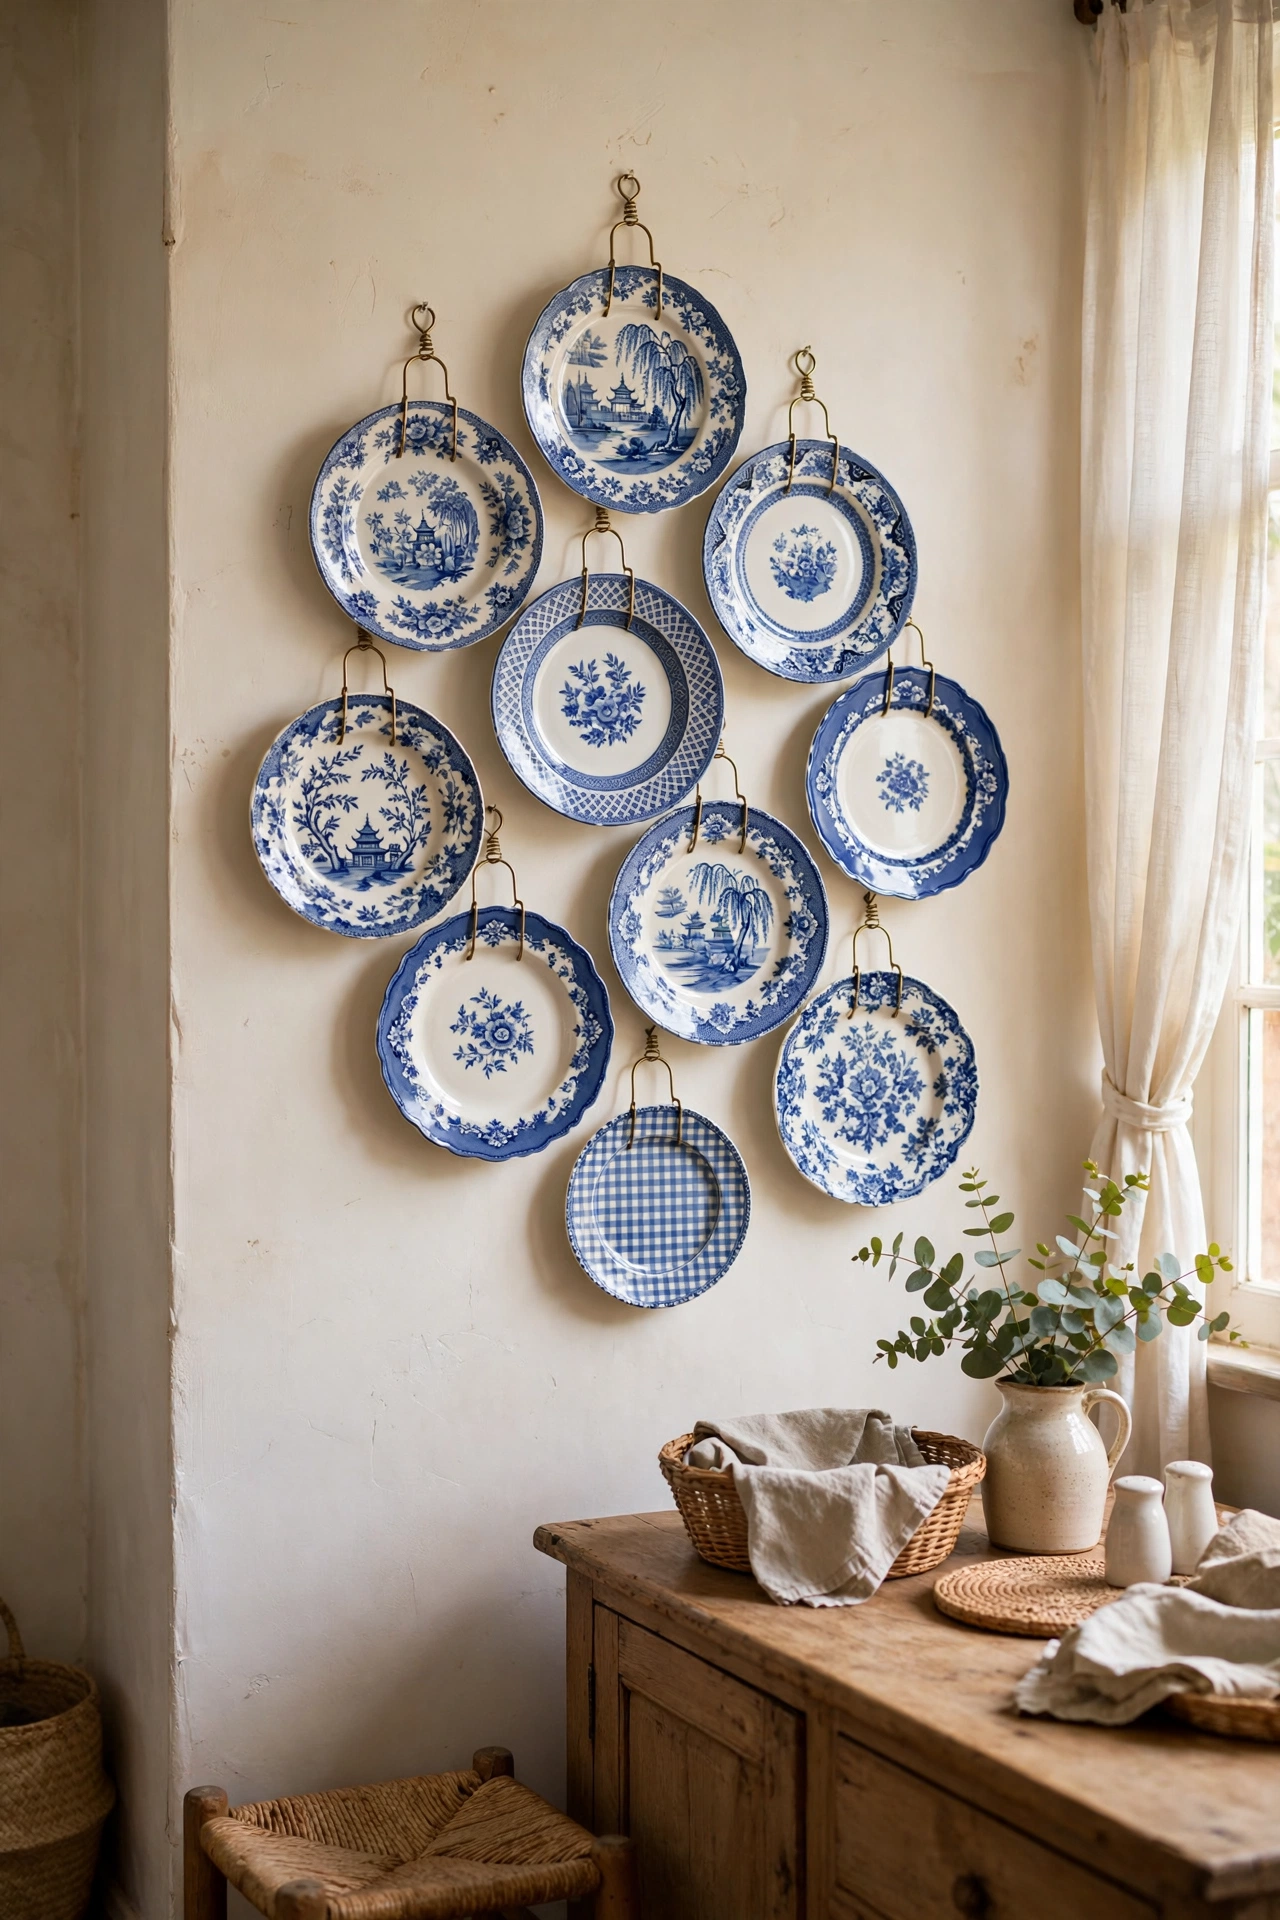
Pretty plates hung in a cluster make a dining room wall sing. I collect plates in blue and white, trace the arrangement on paper taped to the wall first, then hang each on a proper plate hanger. No nails through plates, ever. My wall took six months to collect and it is my favourite thing I own. Plate hangers grip the rim, so check they fit before you buy the plate. The smallest plates hang last, filling the gaps — the arrangement decides its own edges.
Cost: ~$10-18 | Time: 1.5 hours
18. Wooden Bowl Centrepiece Styling
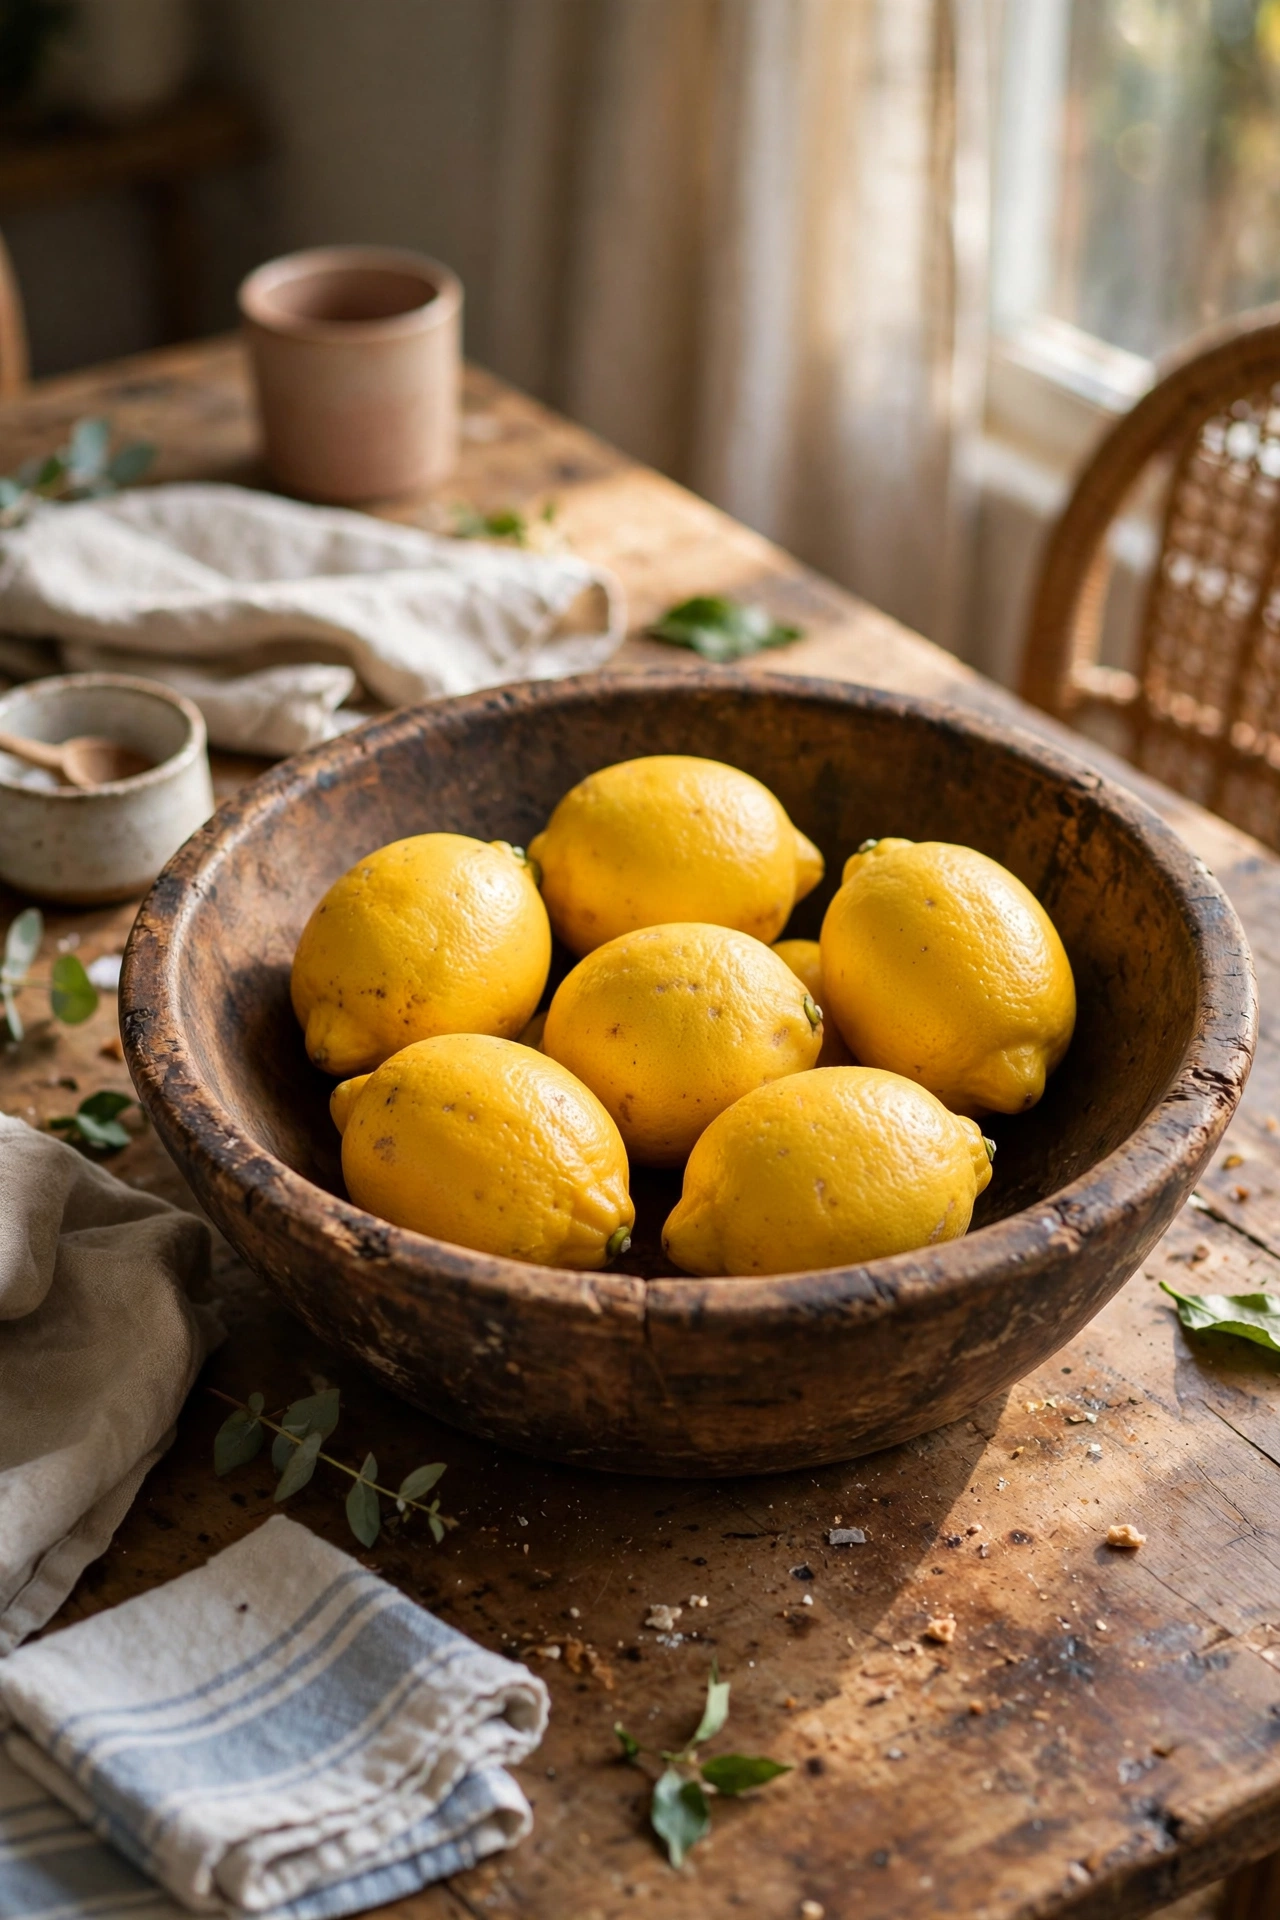
A big wooden bowl is the hardest-working decor object I own. I fill mine seasonally: pinecones in winter, lemons in summer, dried flowers in autumn. The bowl itself was three pounds at a car boot sale. Oil it occasionally to keep the wood fed. One beautiful bowl styled simply beats a shelf of small trinkets every time. This is minimalism that still feels warm. A box of offcuts — pinecones, dried pods, spare lemons — means restyling takes five minutes, not a shop trip.
Cost: ~$5-12 | Time: 15 minutes
Pro tip: Style wooden bowls with odd numbers of one thing rather than a mix. Seven lemons looks designed; a lemon, a pinecone, and a candle looks like tidying up.
19. Curtain Panel Dye and Hem Refresh
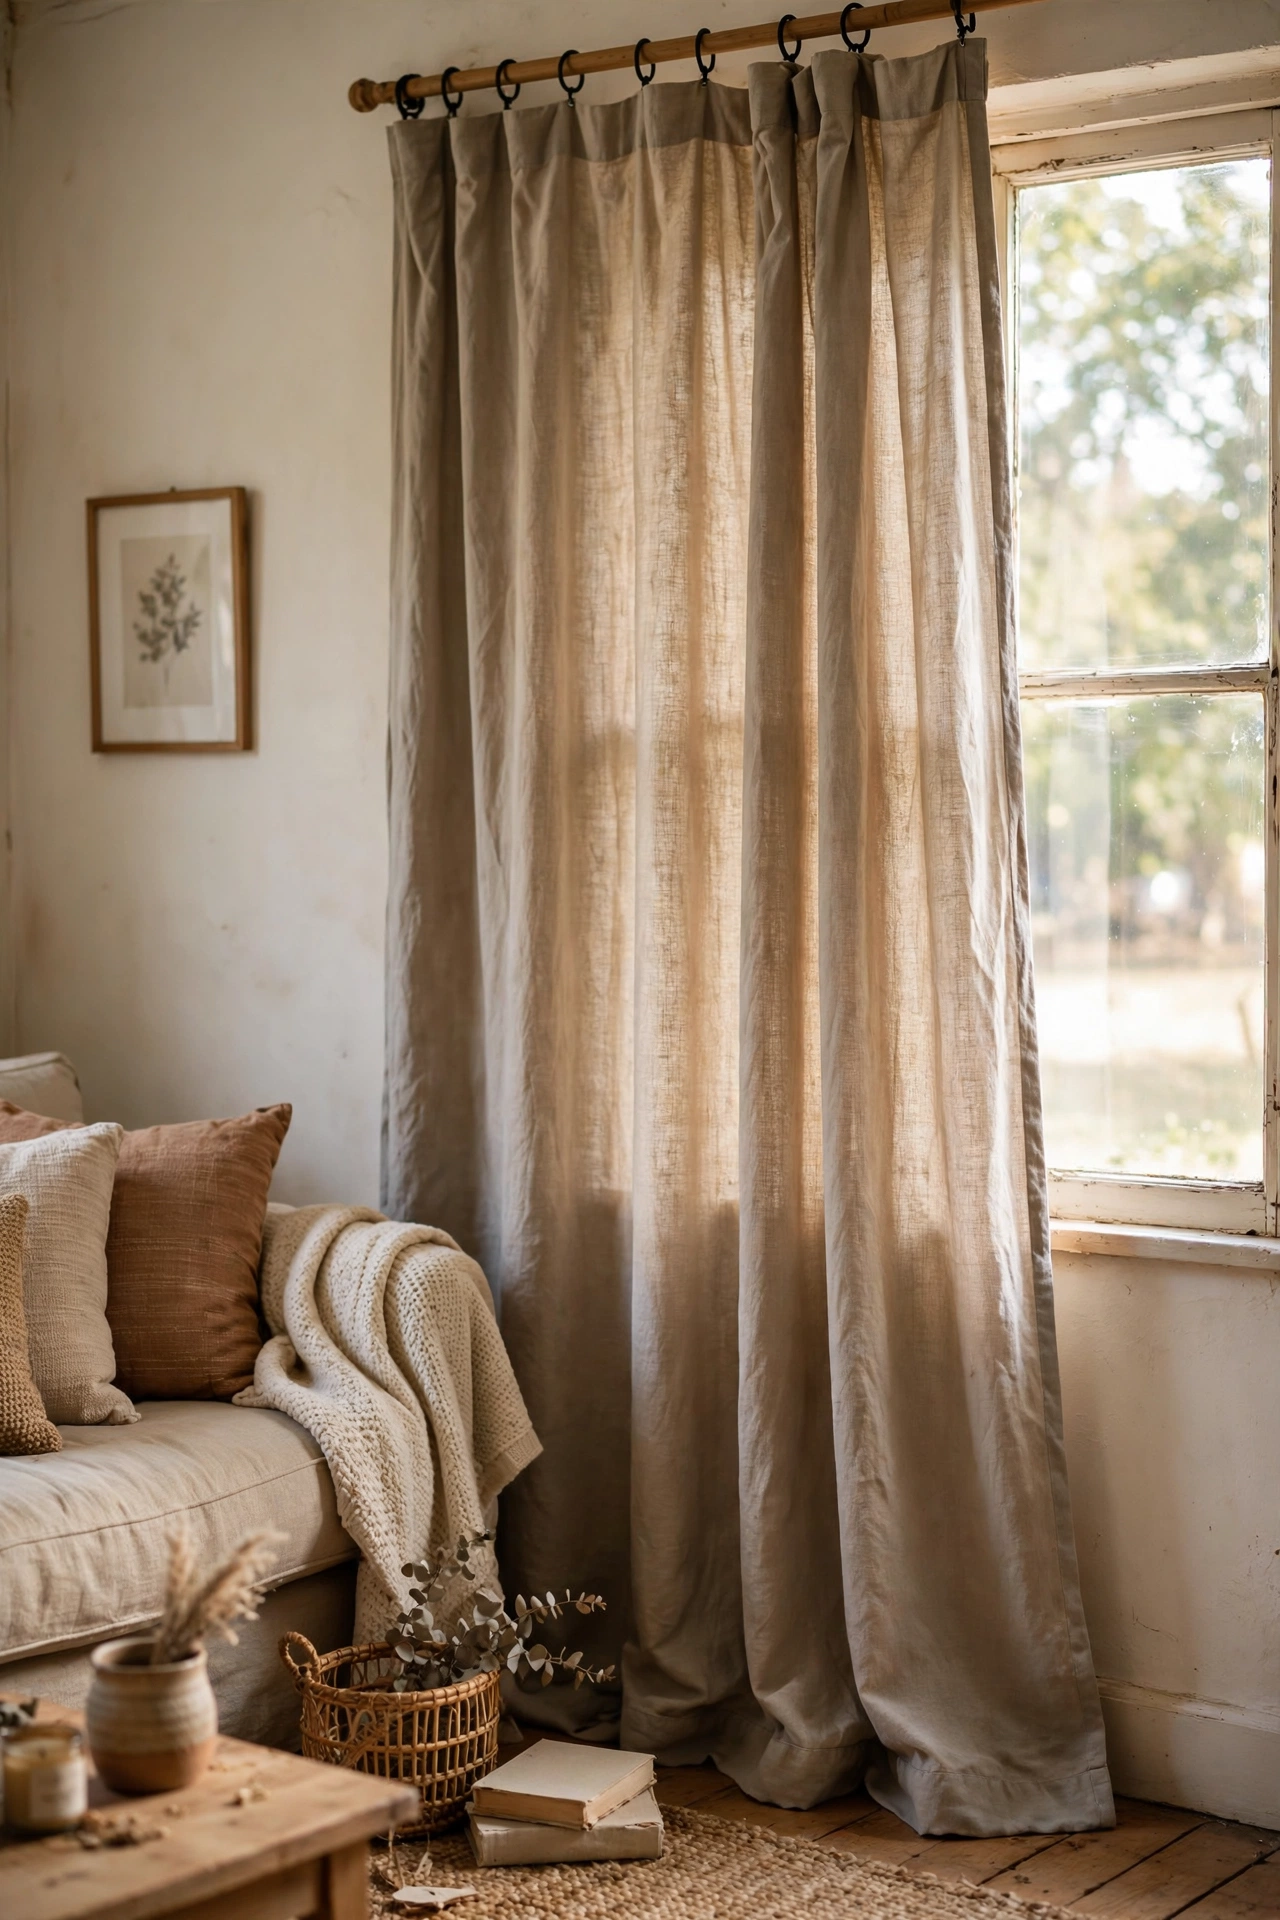
Good-quality curtains in a dated colour just need dye and a hem. I dye faded panels in the washing machine with fabric dye, then hem them to the right length with iron-on tape. My living room curtains went from peachy relic to warm greige for the price of two dye packs. Dye in the machine, not a bucket, for even colour. Measure the drop twice before hemming, because you cannot add fabric back.
Cost: ~$10-16 | Time: 2 hours
That is nineteen beginner wins, and every one of them started as someone else’s cast-off. Grab a list, hit the charity shops this weekend, and buy for bones.
