25 Rustic-Style DIY Decor Projects on a Budget
My first flat was all clean white boxes, and it never felt like home until I dragged in wood with some history. A neighbour was throwing out old fence boards, and that pile of grey timber became my first shelves. Rustic diy decor suits a tight budget perfectly, because the whole look is built on reclaimed, weathered, and imperfect materials that cost little or nothing. These are the 25 projects that gave my rooms warmth without a showroom price tag.
Every project here costs $35 or less, and half use free or found wood. The rustic rule I live by: mix rough textures with one clean element, like white bedding or a simple lamp, so the room feels styled rather than a barn. Sand reclaimed wood well and check for nails before you build. More wood-project ideas: (see also: reclaimed-wood-decor-ideas).
1. Reclaimed Wood Floating Shelves
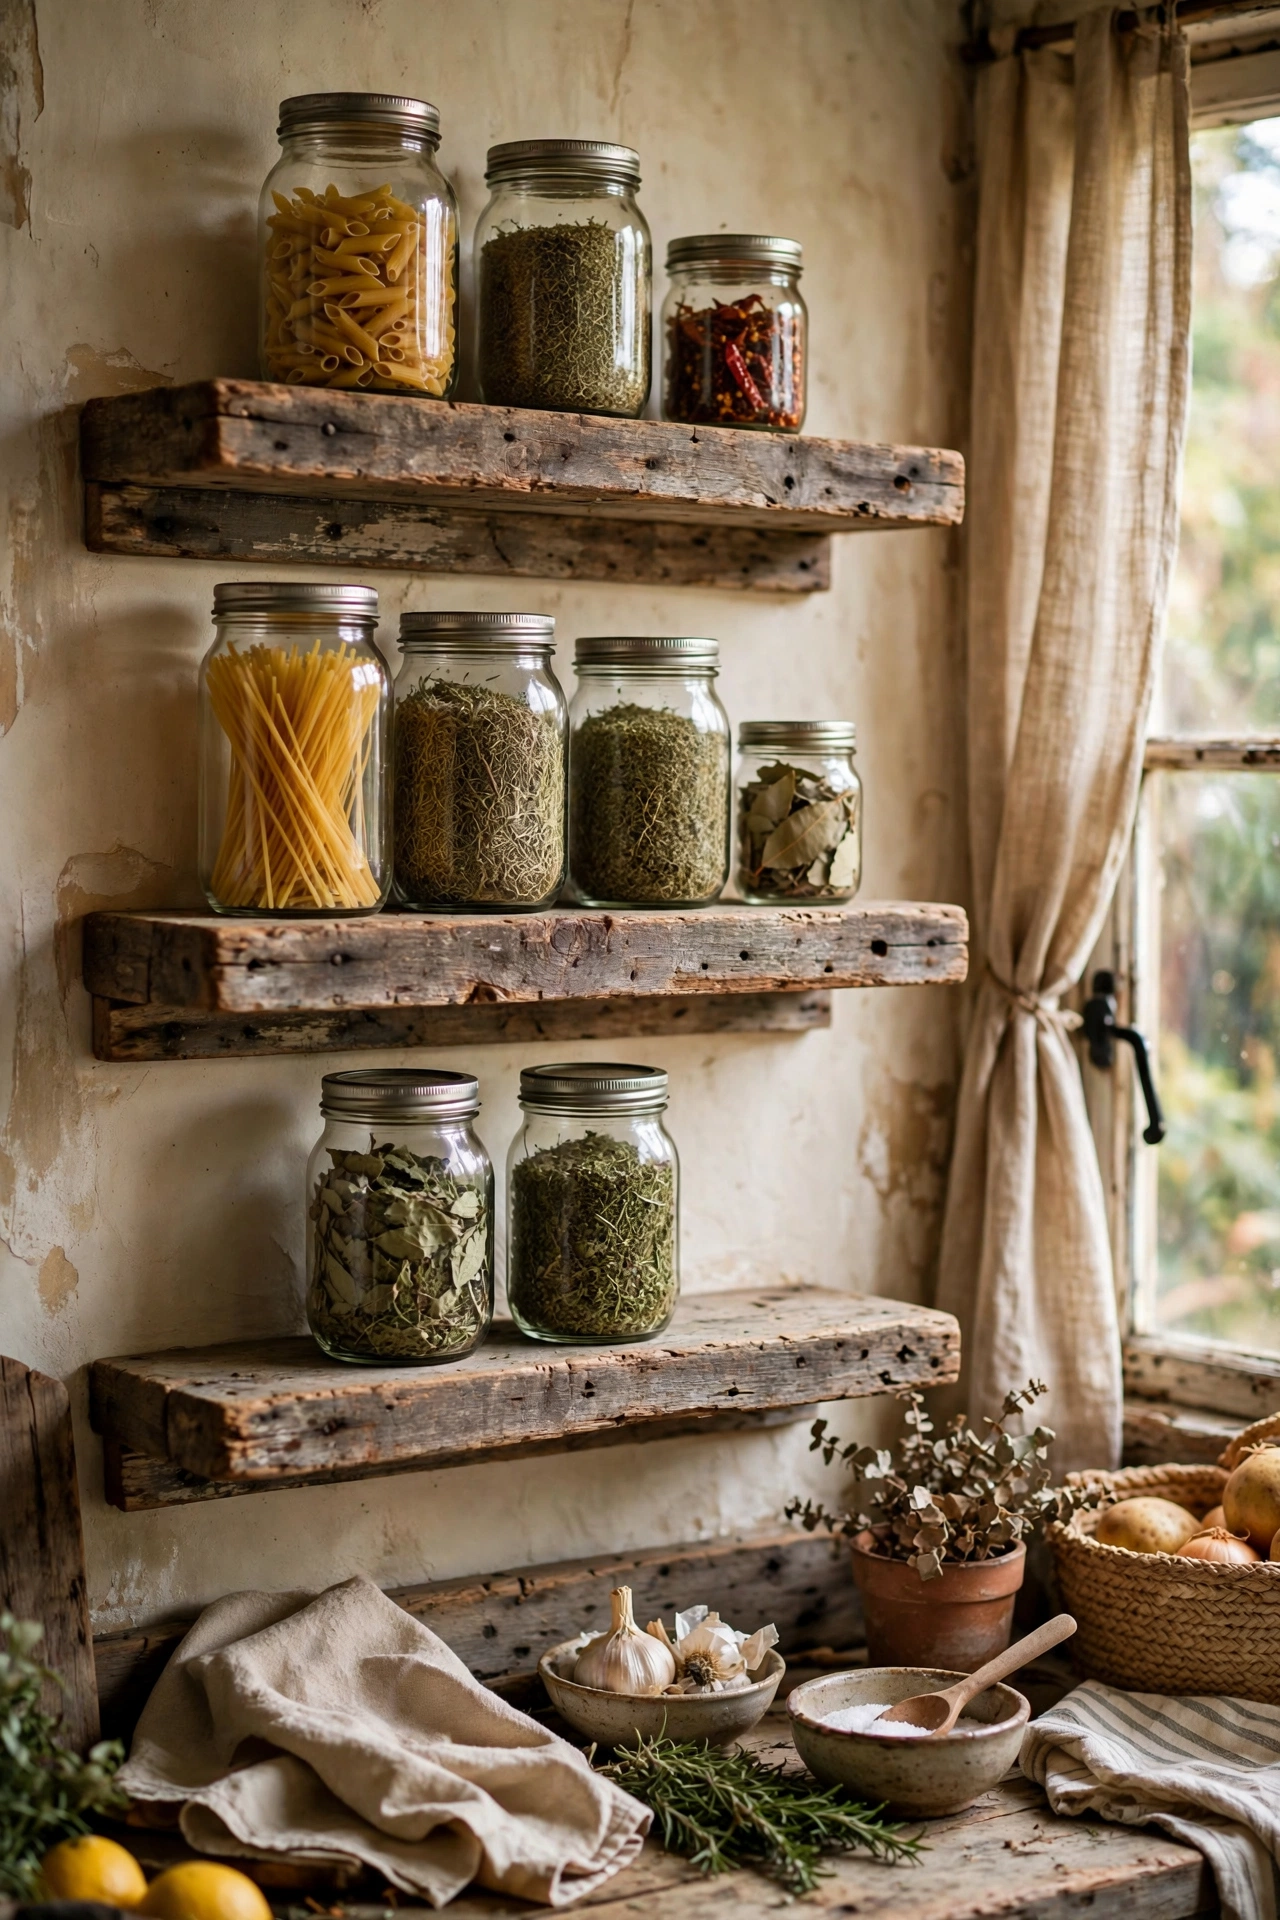
Old fence boards or scaffold planks become floating shelves with more character than anything flat-packed. I sanded three weathered boards smooth, sealed them with matte polyurethane, and mounted them on hidden brackets in the kitchen. They hold jars of pasta and herbs beautifully. Check every board for nails with a magnet before you sand, because one hidden nail ruins a sander belt. The grey weathered tone needs no stain at all. I left the old nail holes unfilled on purpose — they read as history, not damage.
Cost: ~$15-25 | Time: 2 hours plus drying
2. Mason Jar Wall Sconce Lights
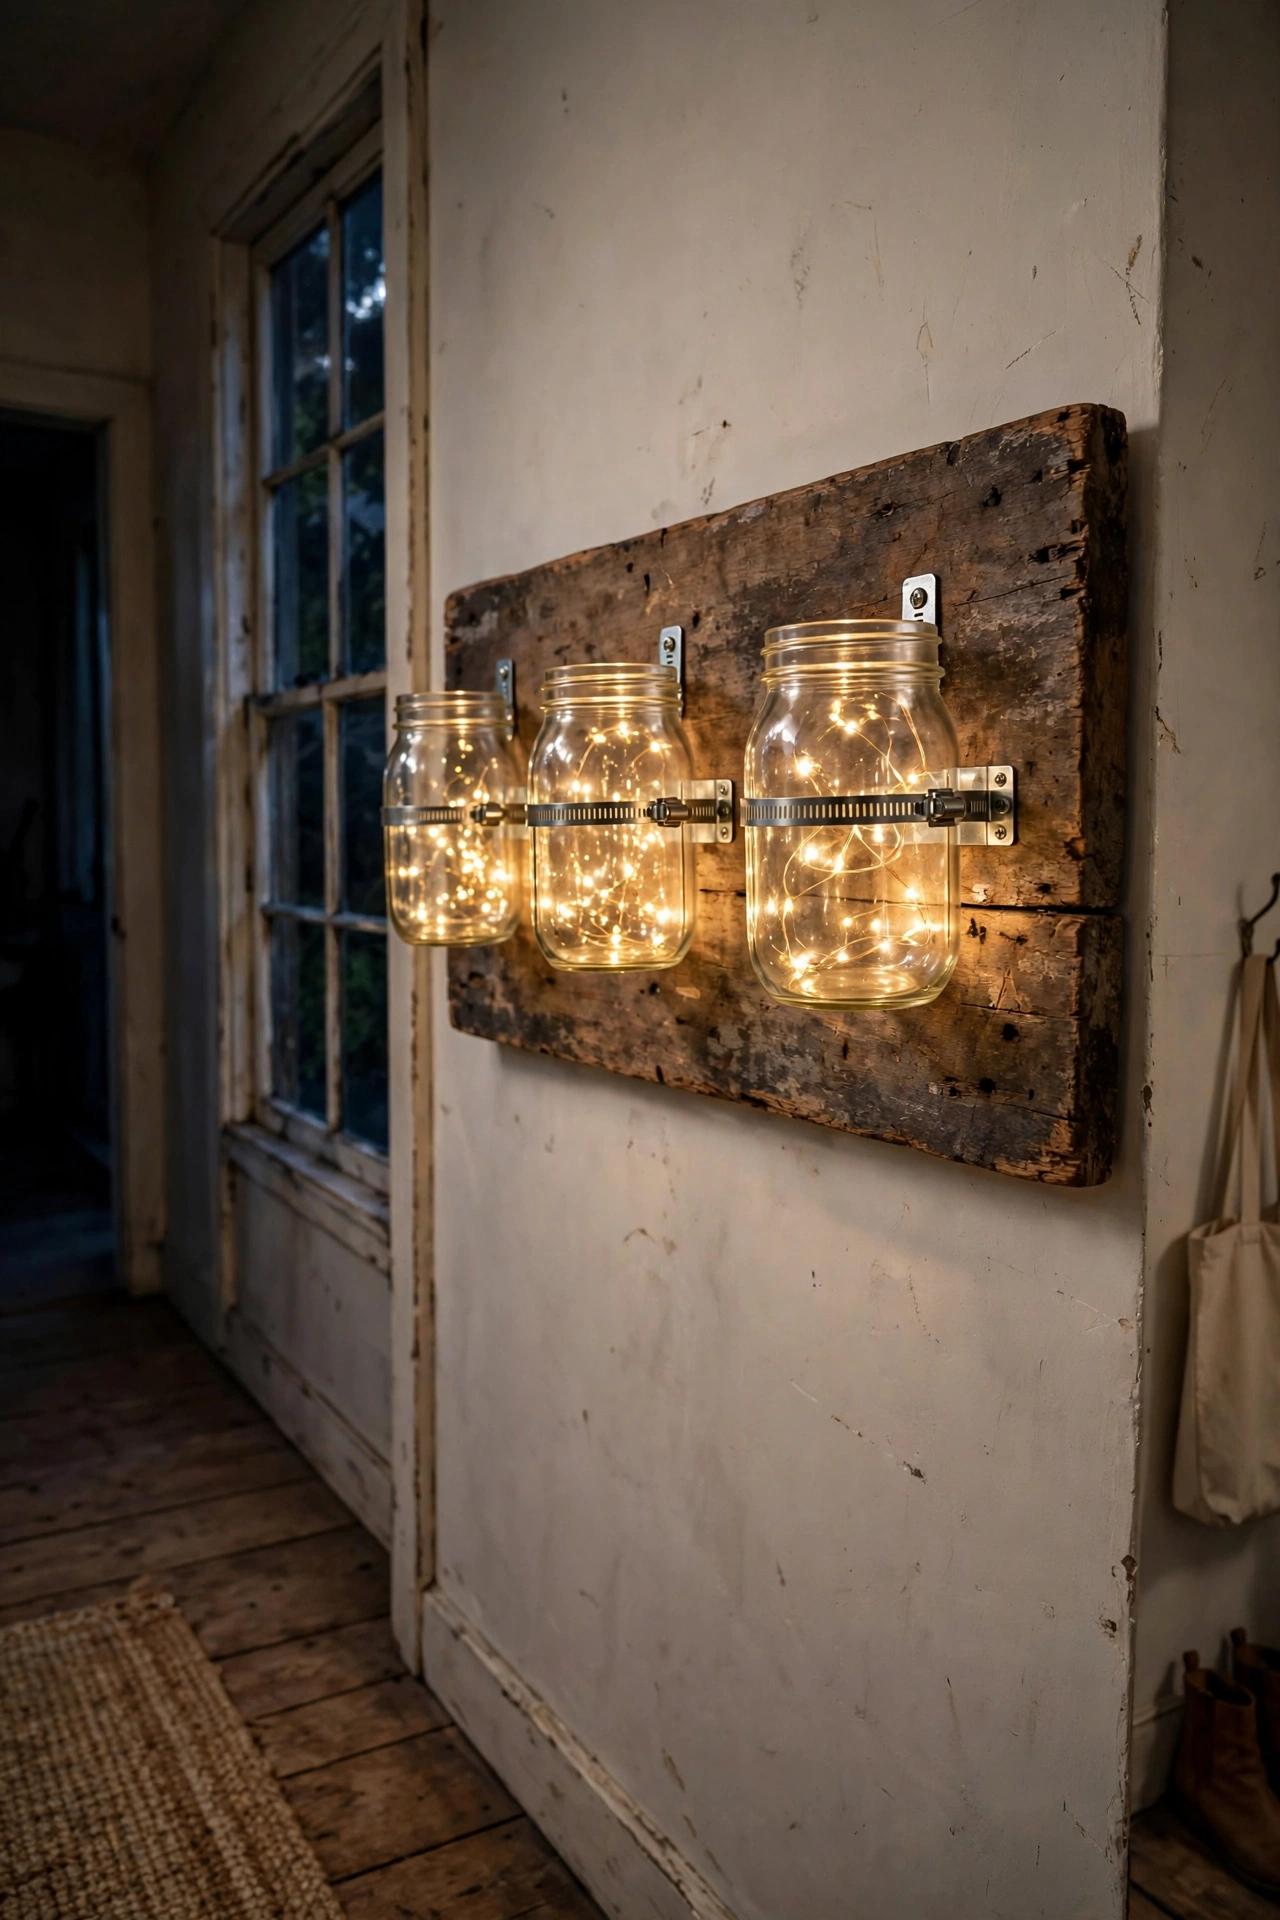
Mason jars clamped to a reclaimed board make rustic wall sconces with real charm. I screwed two metal hose clamps to a stained plank, slid in mason jars with battery fairy lights, and hung the board in the hallway. The warm glow against the wood is lovely at night. Use the timer function on the lights so they switch themselves on at dusk. My board came from a broken pallet and cost nothing. Warm-white fairy lights only — cool white against wood looks like a Christmas aisle, not a hallway.
Cost: ~$10-16 | Time: 1 hour
3. Burlap Table Runner with Stencilled Monogram
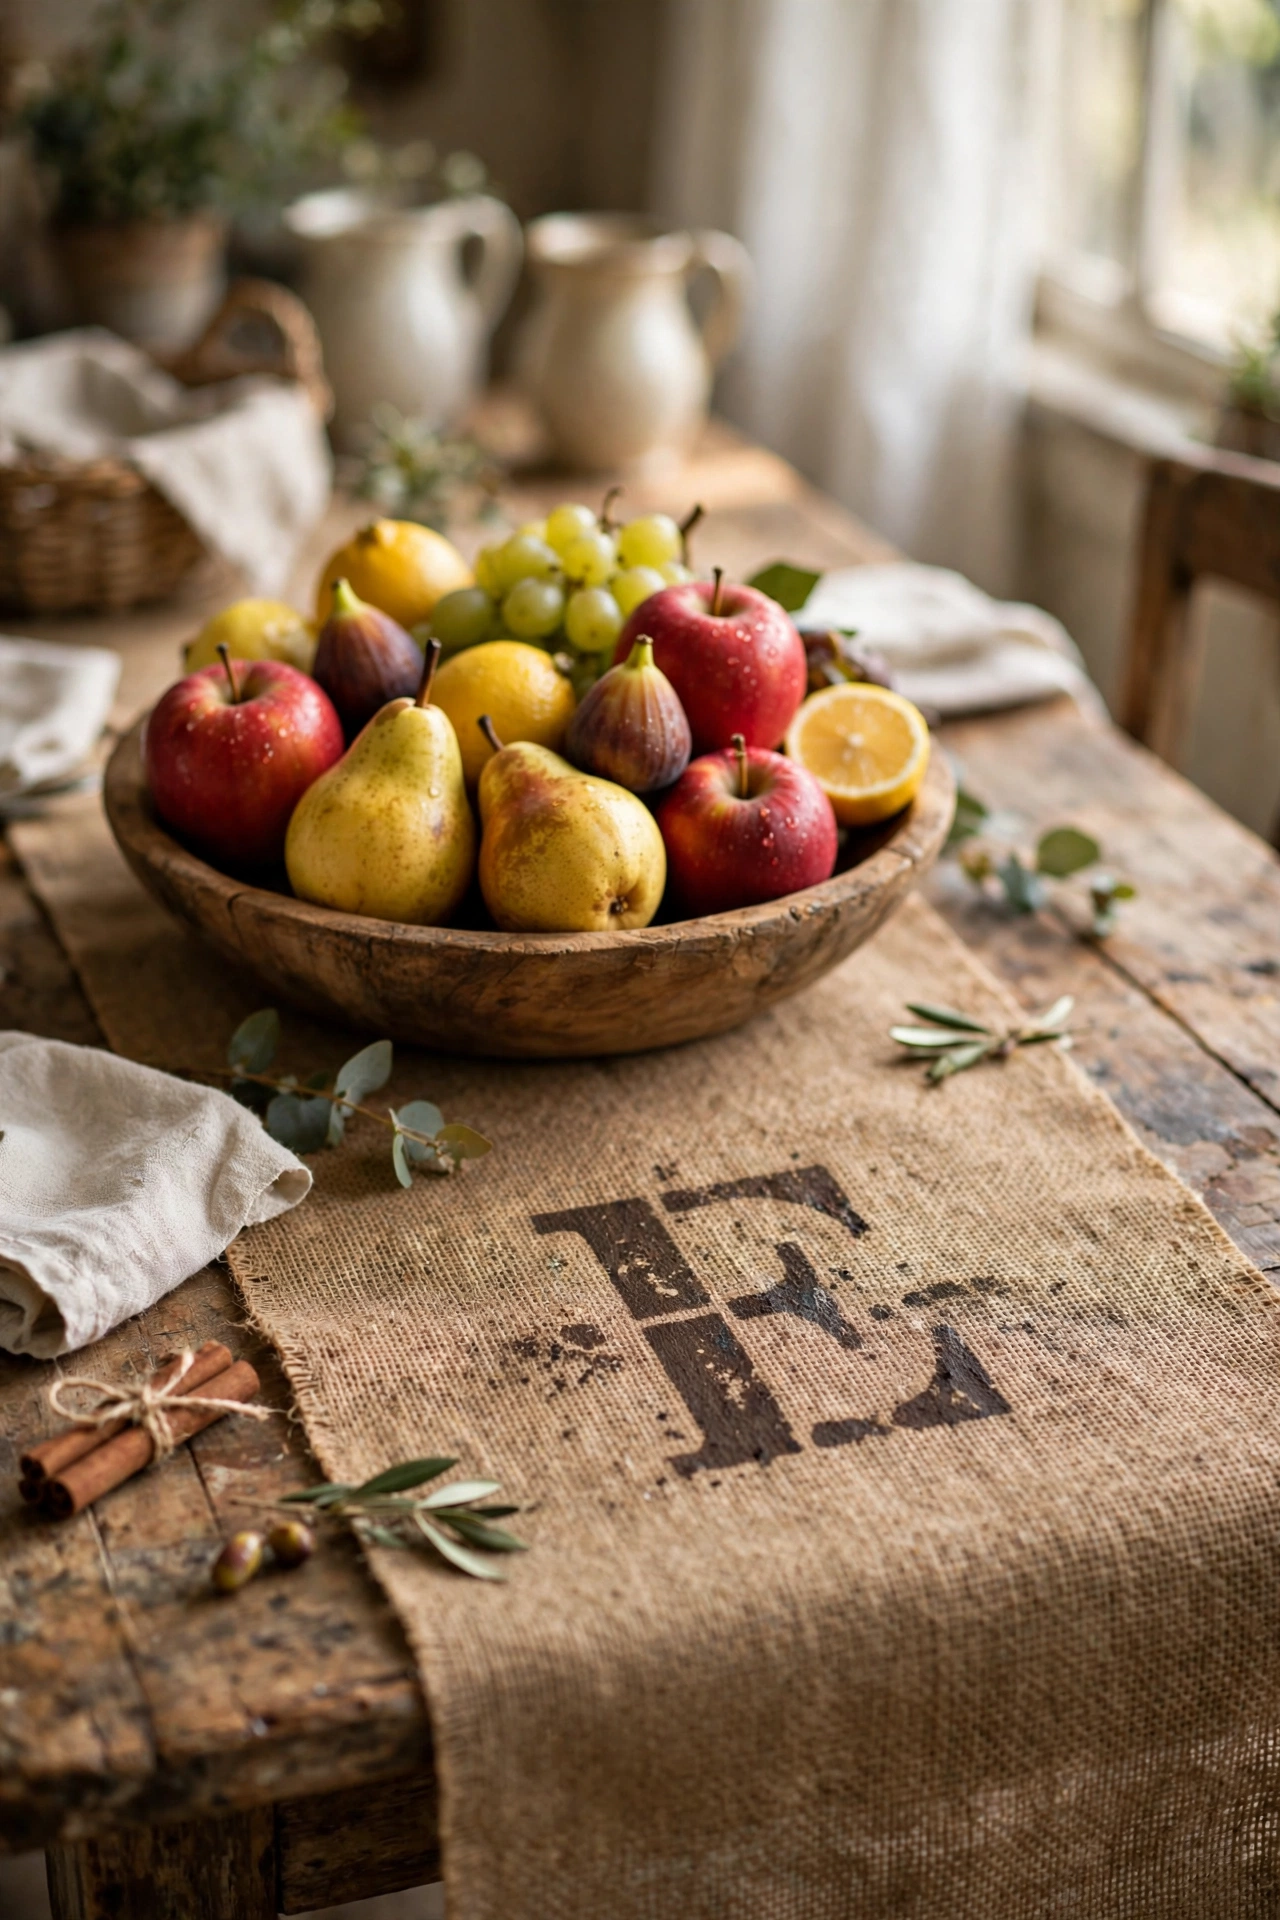
A length of burlap with a stencilled monogram dresses a farmhouse table for almost nothing. I cut burlap to size, hemmed the raw edges with iron-on tape, and stencilled our initial in the centre with dark brown craft paint. It lives on the dining table under a wooden bowl of fruit. Wash burlap first, because it sheds and smells of the warehouse. Iron the stencil area flat so the paint does not bleed. A line of stitching through the centre keeps it draping straight — burlap loves to wander.
Cost: ~$6-10 | Time: 1 hour
Pro tip: Dab stencil paint with a nearly dry brush rather than brushing it on. Wet brushes push paint under the stencil edges and blur the letters.
4. Pallet Wood Headboard
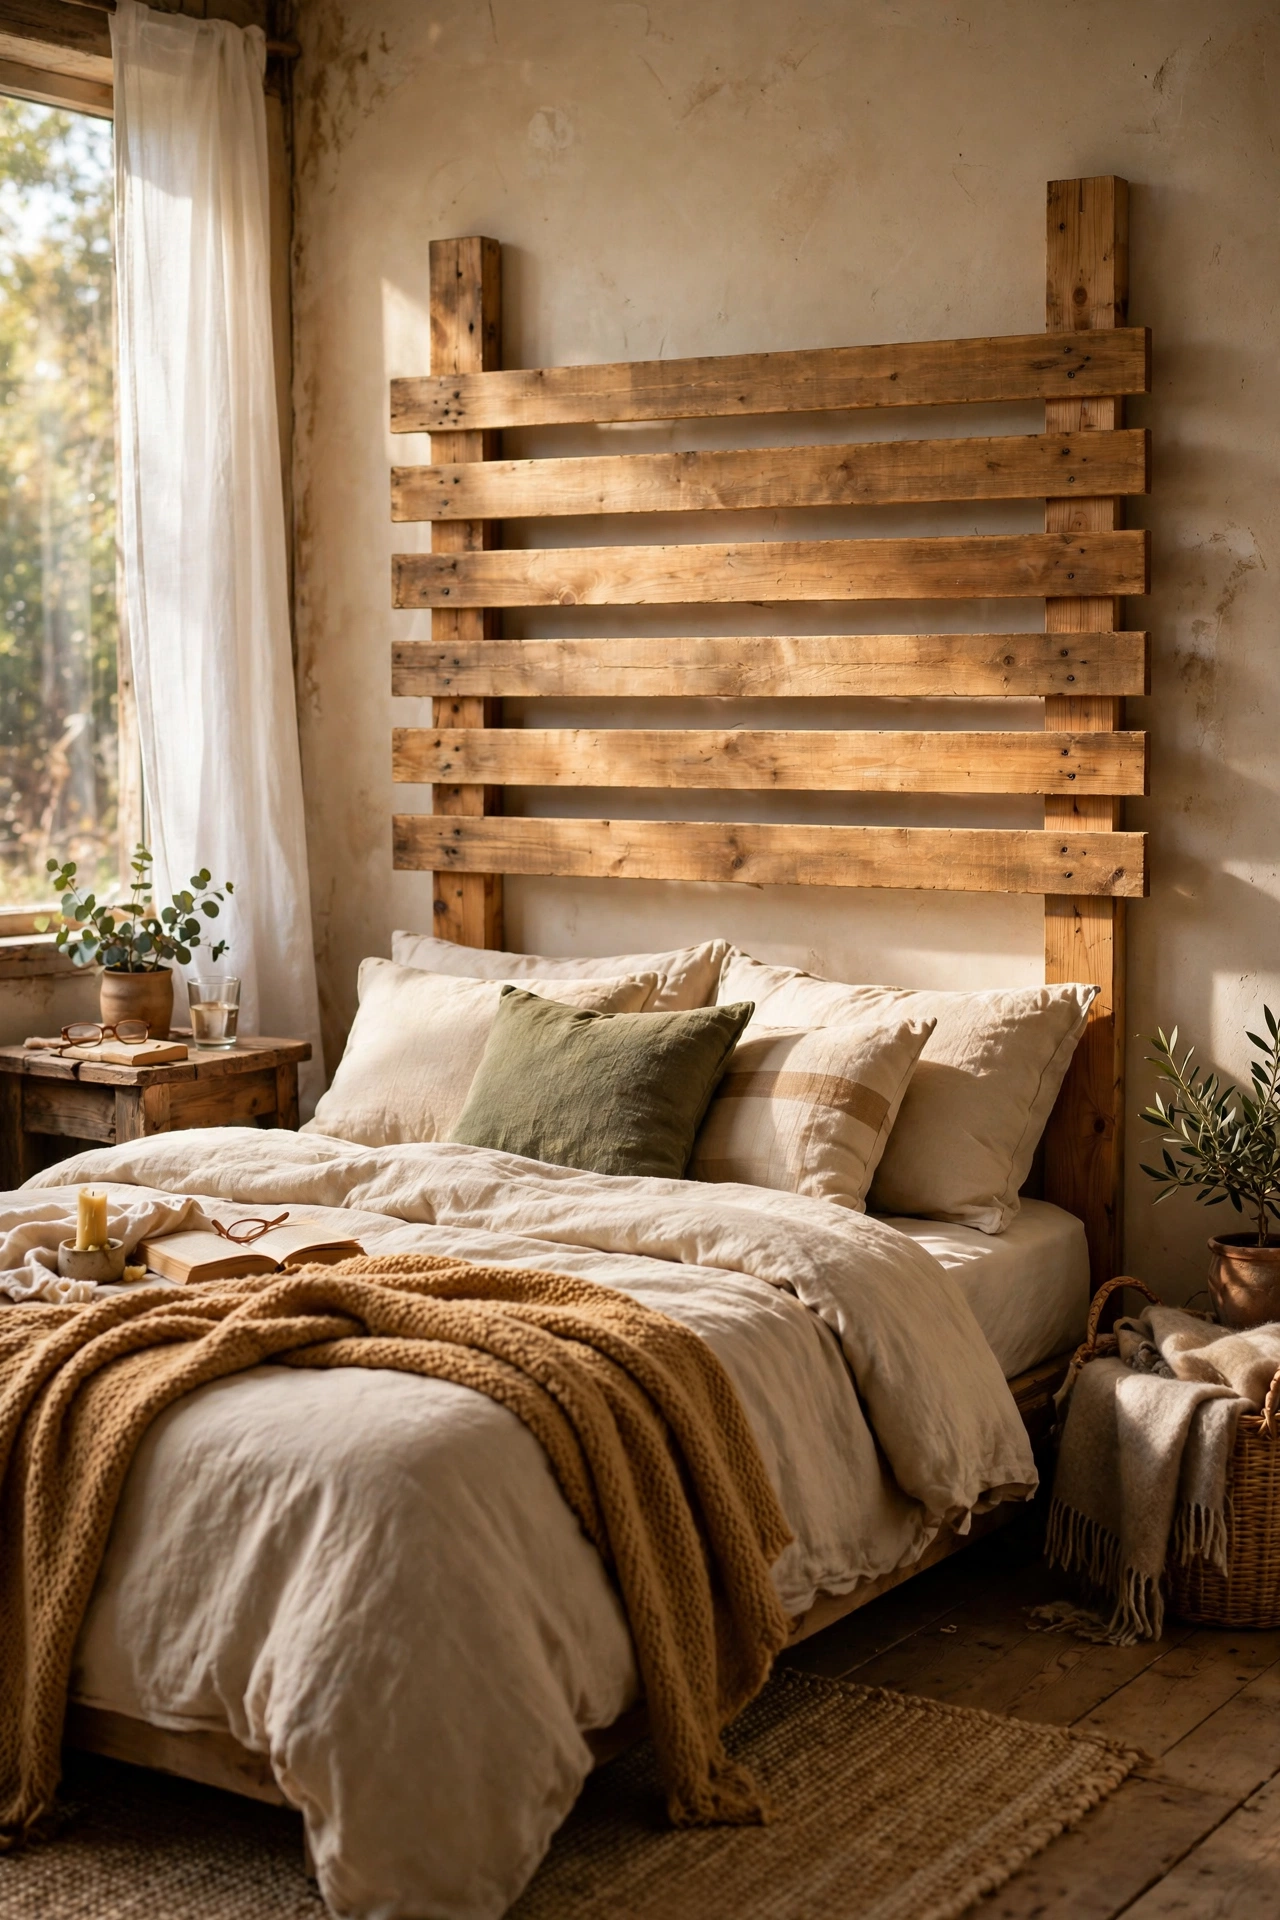
Dismantled pallet slats screwed to battens make a headboard with real rustic weight. I sanded the slats, arranged them horizontally with small gaps, and fixed them to two vertical battens screwed to the wall. It spans the full width of the bed and looks properly handmade. Check pallets for the heat-treated stamp and avoid any with chemical smells. A coat of clear wax softens the wood without hiding the grain. I screwed a third batten across the middle, because pallets bow over time and a bowed headboard creaks all night.
Cost: ~$15-25 | Time: 4 hours
5. Twine-Wrapped Vase Set
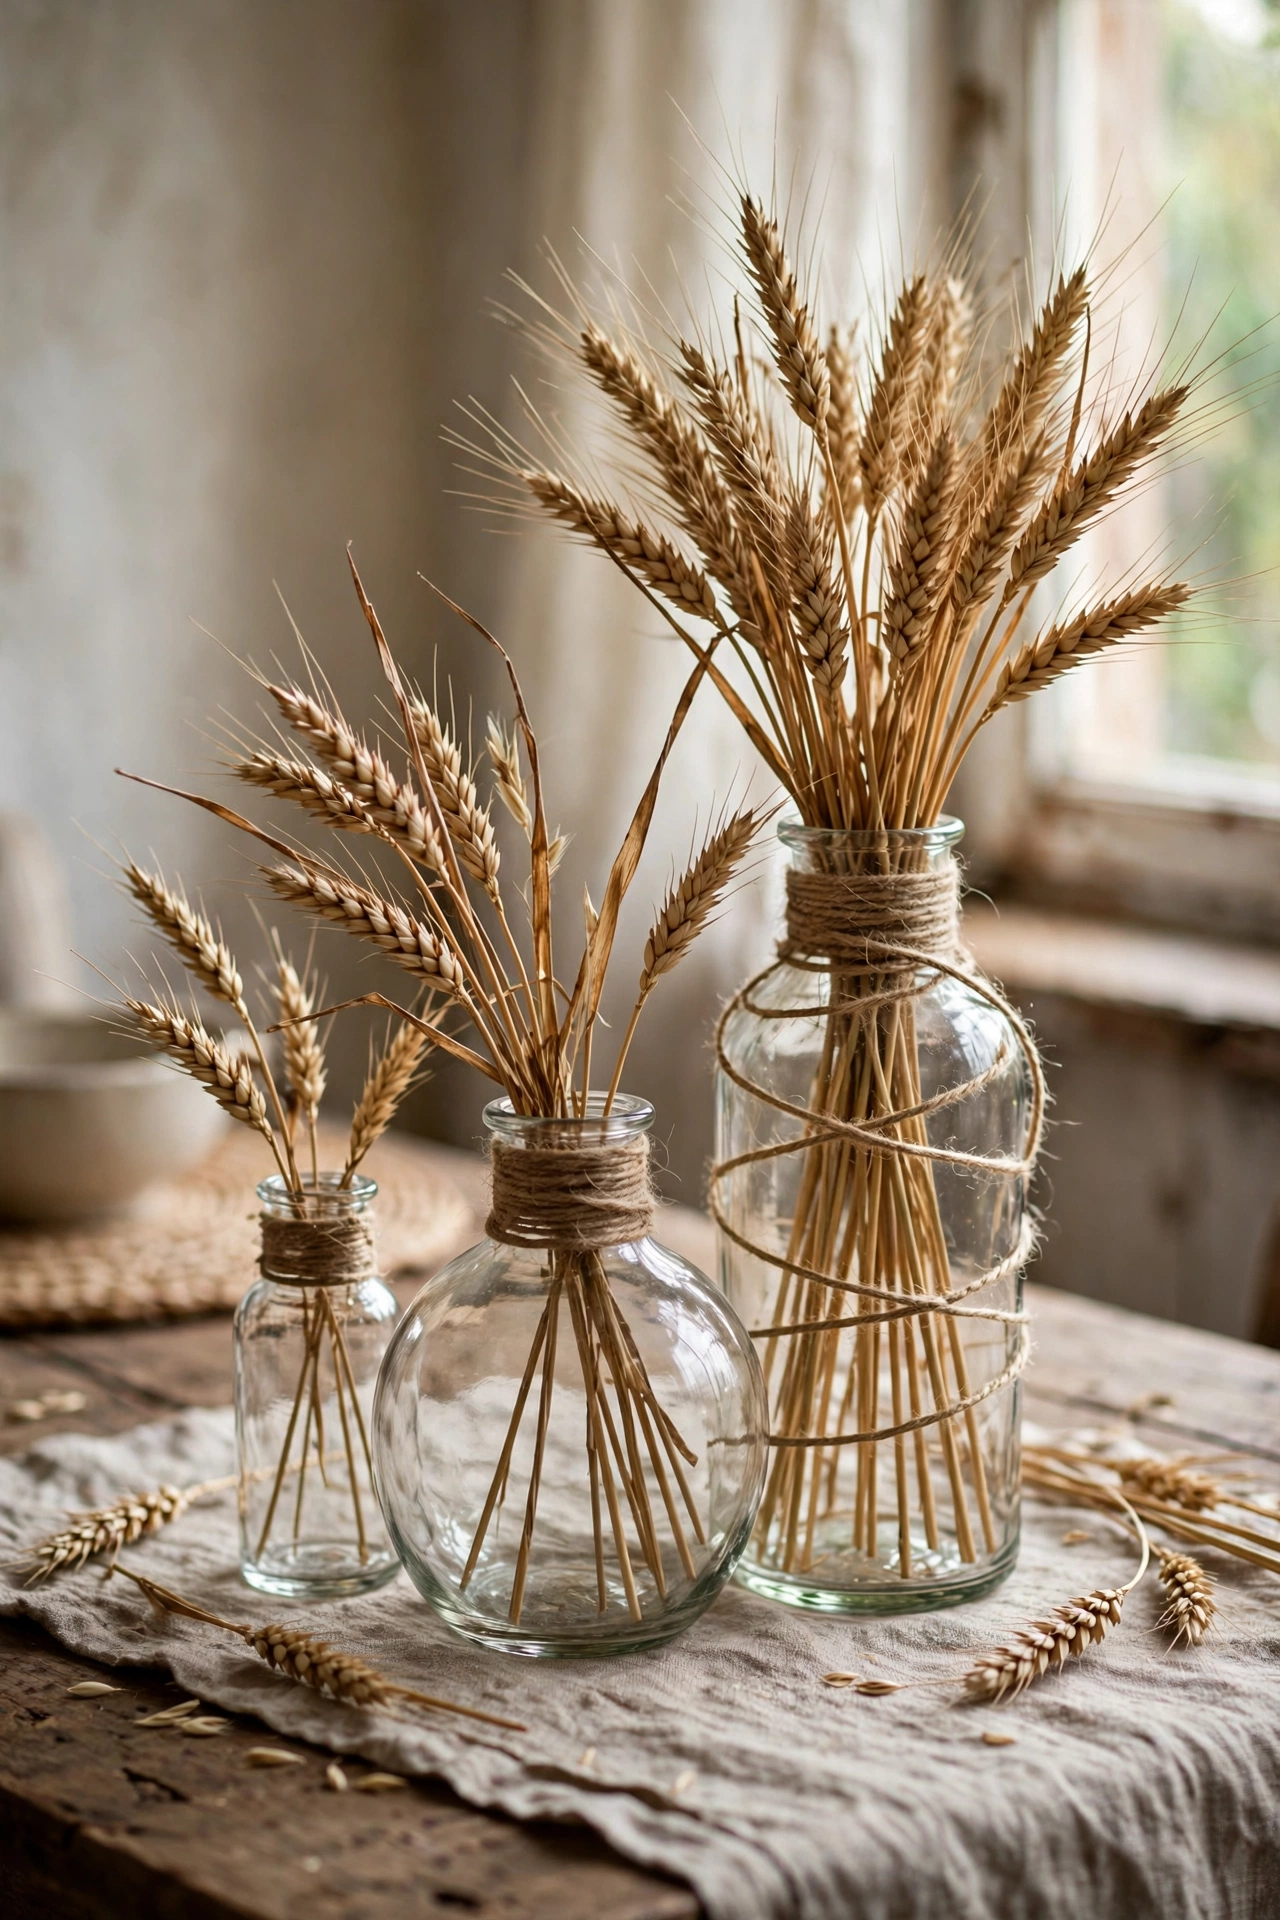
Plain glass vases wrapped in twine look like expensive artisan pieces. I hot-glued twine round three different-sized vases, working from the base up and keeping rows tight. Grouped together with dried wheat stems, they make a beautiful rustic centrepiece. My first vase had gaps because I rushed, so slow down and press each row snug. Vary the twine thickness across the set for a more collected look. A dab of hot glue every five rows keeps the whole wrap from spiralling loose over time — ask me how I know.
Cost: ~$8-12 | Time: 1.5 hours
6. Rustic Ladder Blanket Rack
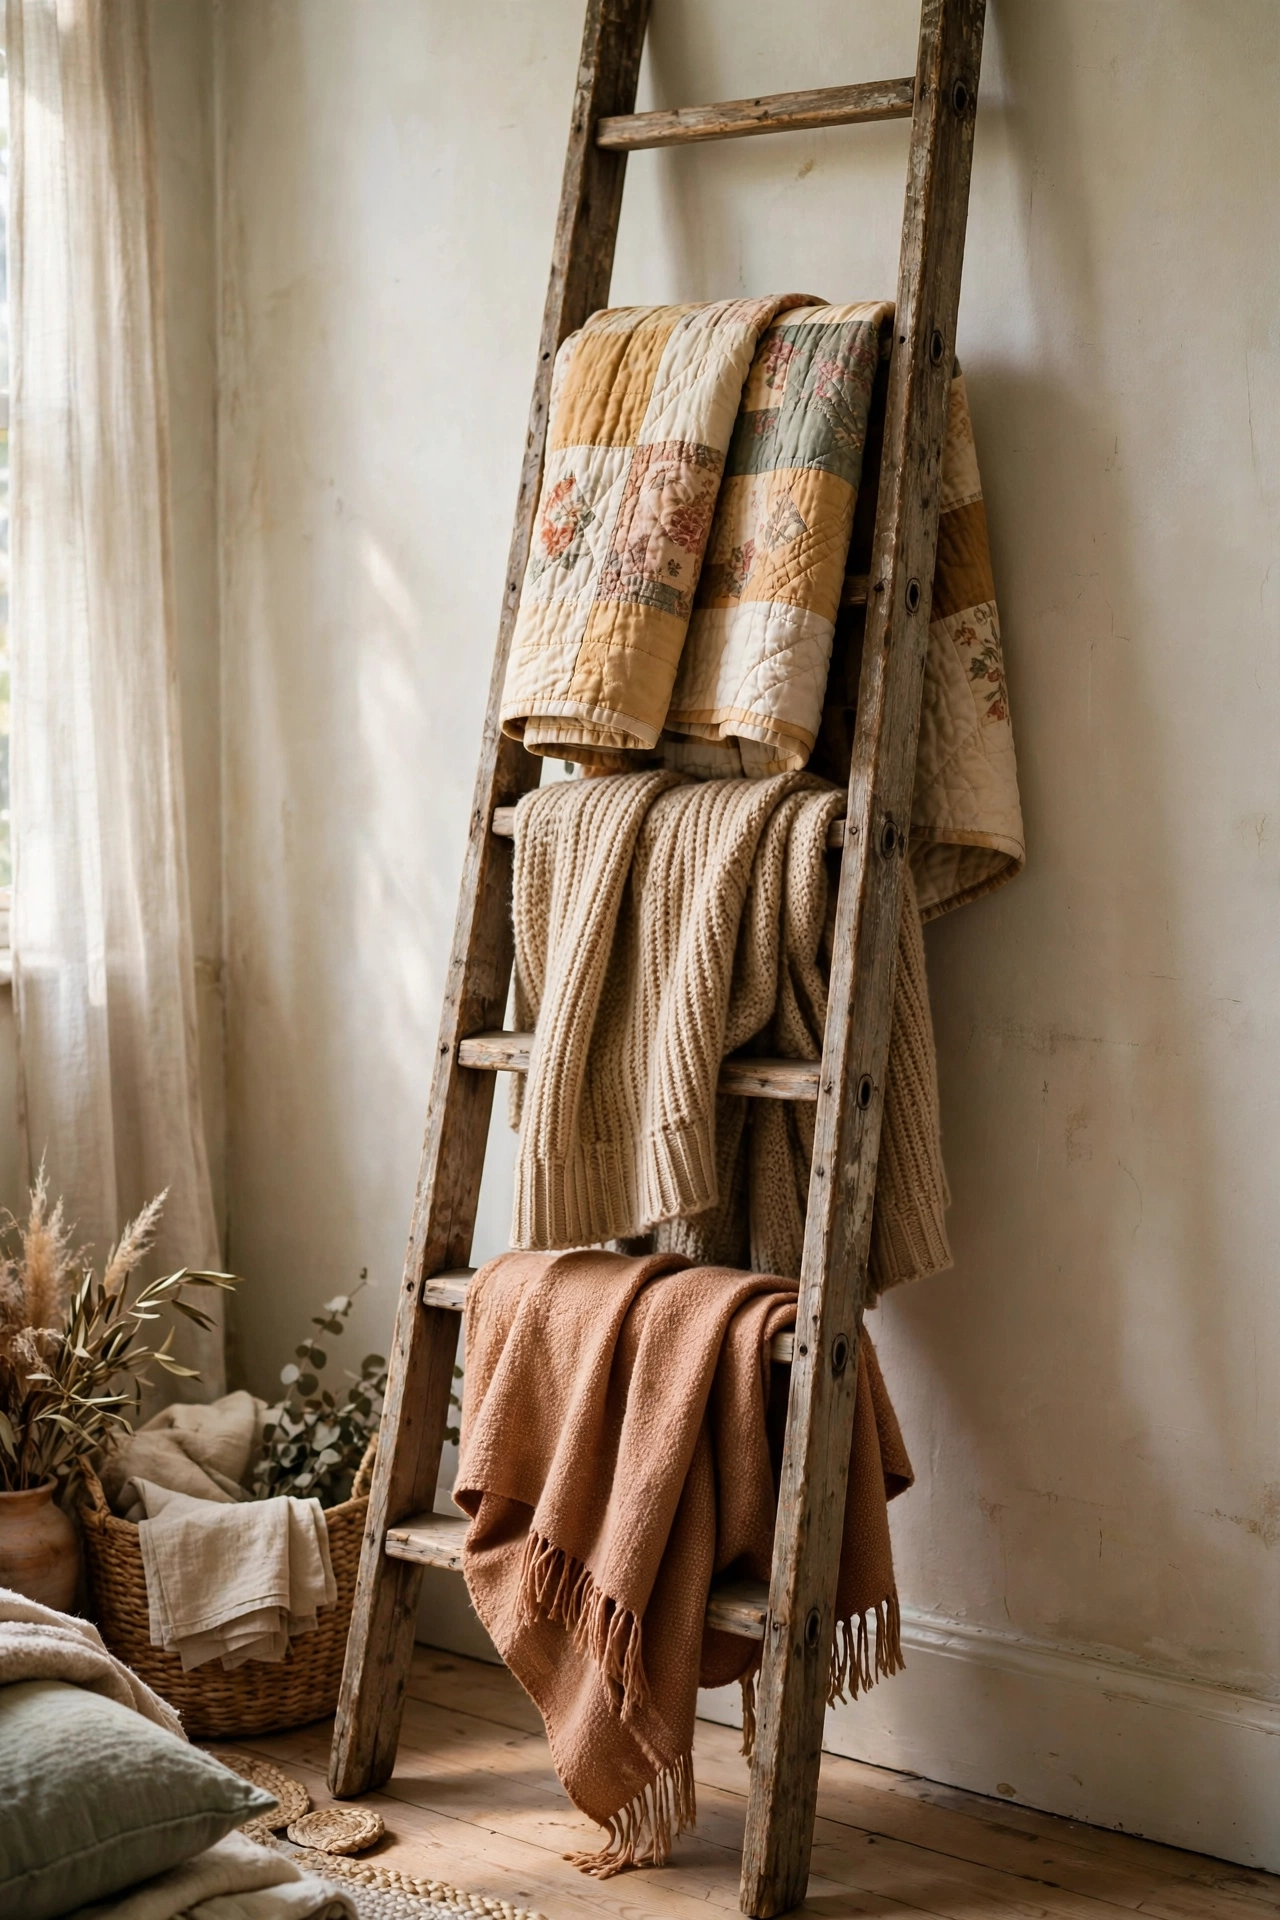
An old wooden ladder leaned against the wall is the simplest blanket storage going. I sanded a rickety ladder from a car boot sale, gave it a coat of clear wax, and draped quilts and throws over the rungs. It holds five blankets in the corner of the living room and looks completely intentional. Check the ladder is stable before loading it, and never climb a decorative ladder. Widen the feet slightly if it wobbles. Anchor the top to the wall with a discreet hook — a blanket-laden ladder leaning free is a toddler hazard.
Cost: ~$8-15 | Time: 1 hour
Pro tip: Lean decorative ladders at a slight angle with the feet a good foot from the wall. Too upright and they slide; too angled and they eat floor space.
7. Distressed Paint Picture Frames
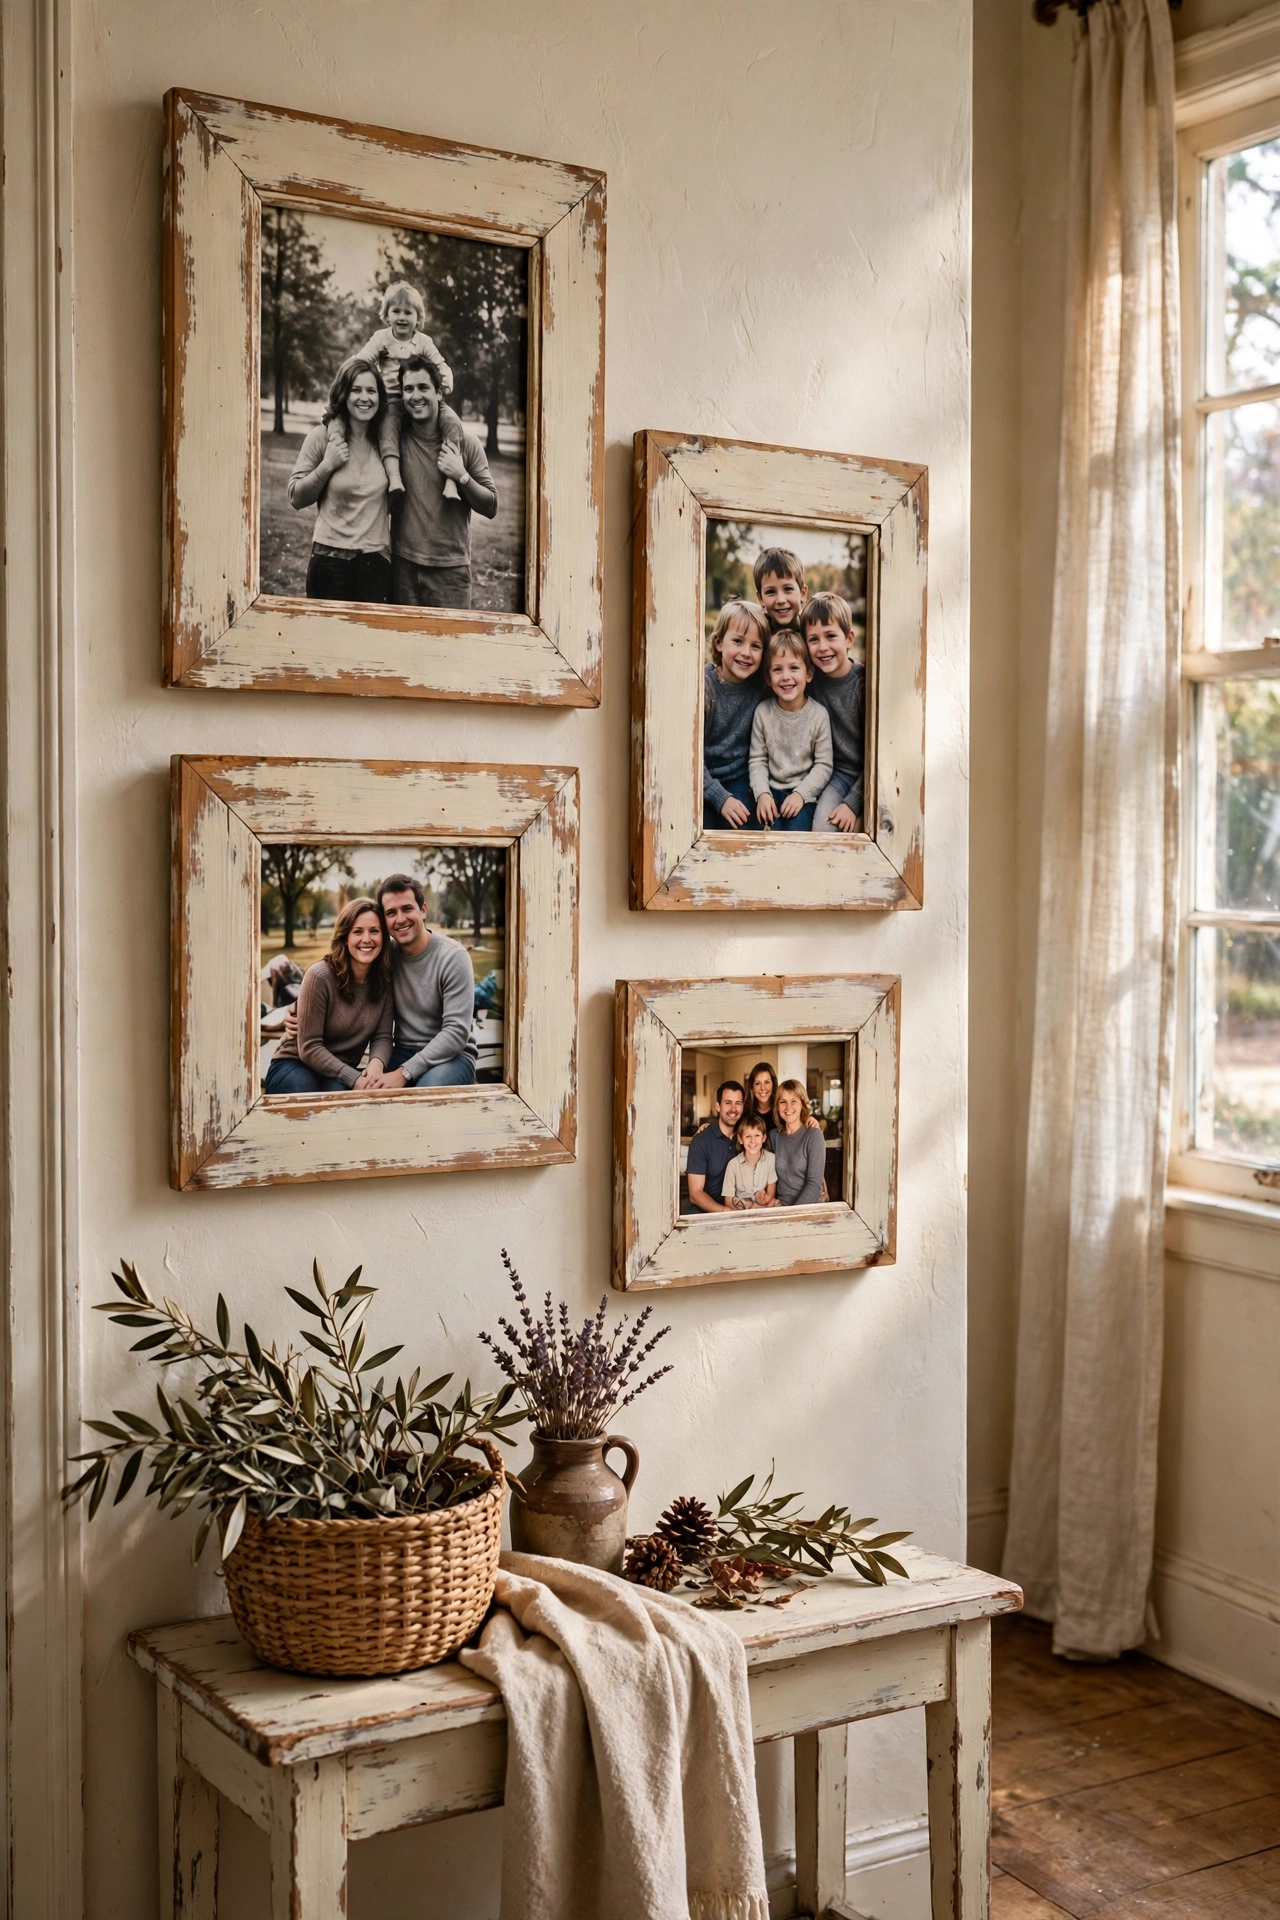
New pine frames distressed with paint and sandpaper look genuinely old. I brush on a coat of cream chalk paint, let it dry, then sand the edges and corners back to the wood. A rub of dark wax in the crevices finishes the aged look. I framed family photos in a set of four and they hang in the hallway looking like heirlooms. Distress the edges most, because that is where real frames wear first. I distress most on the corners and bottom edge, where real handling wear would land anyway.
Cost: ~$10-16 | Time: 2 hours plus drying
8. Wood Slice Coasters
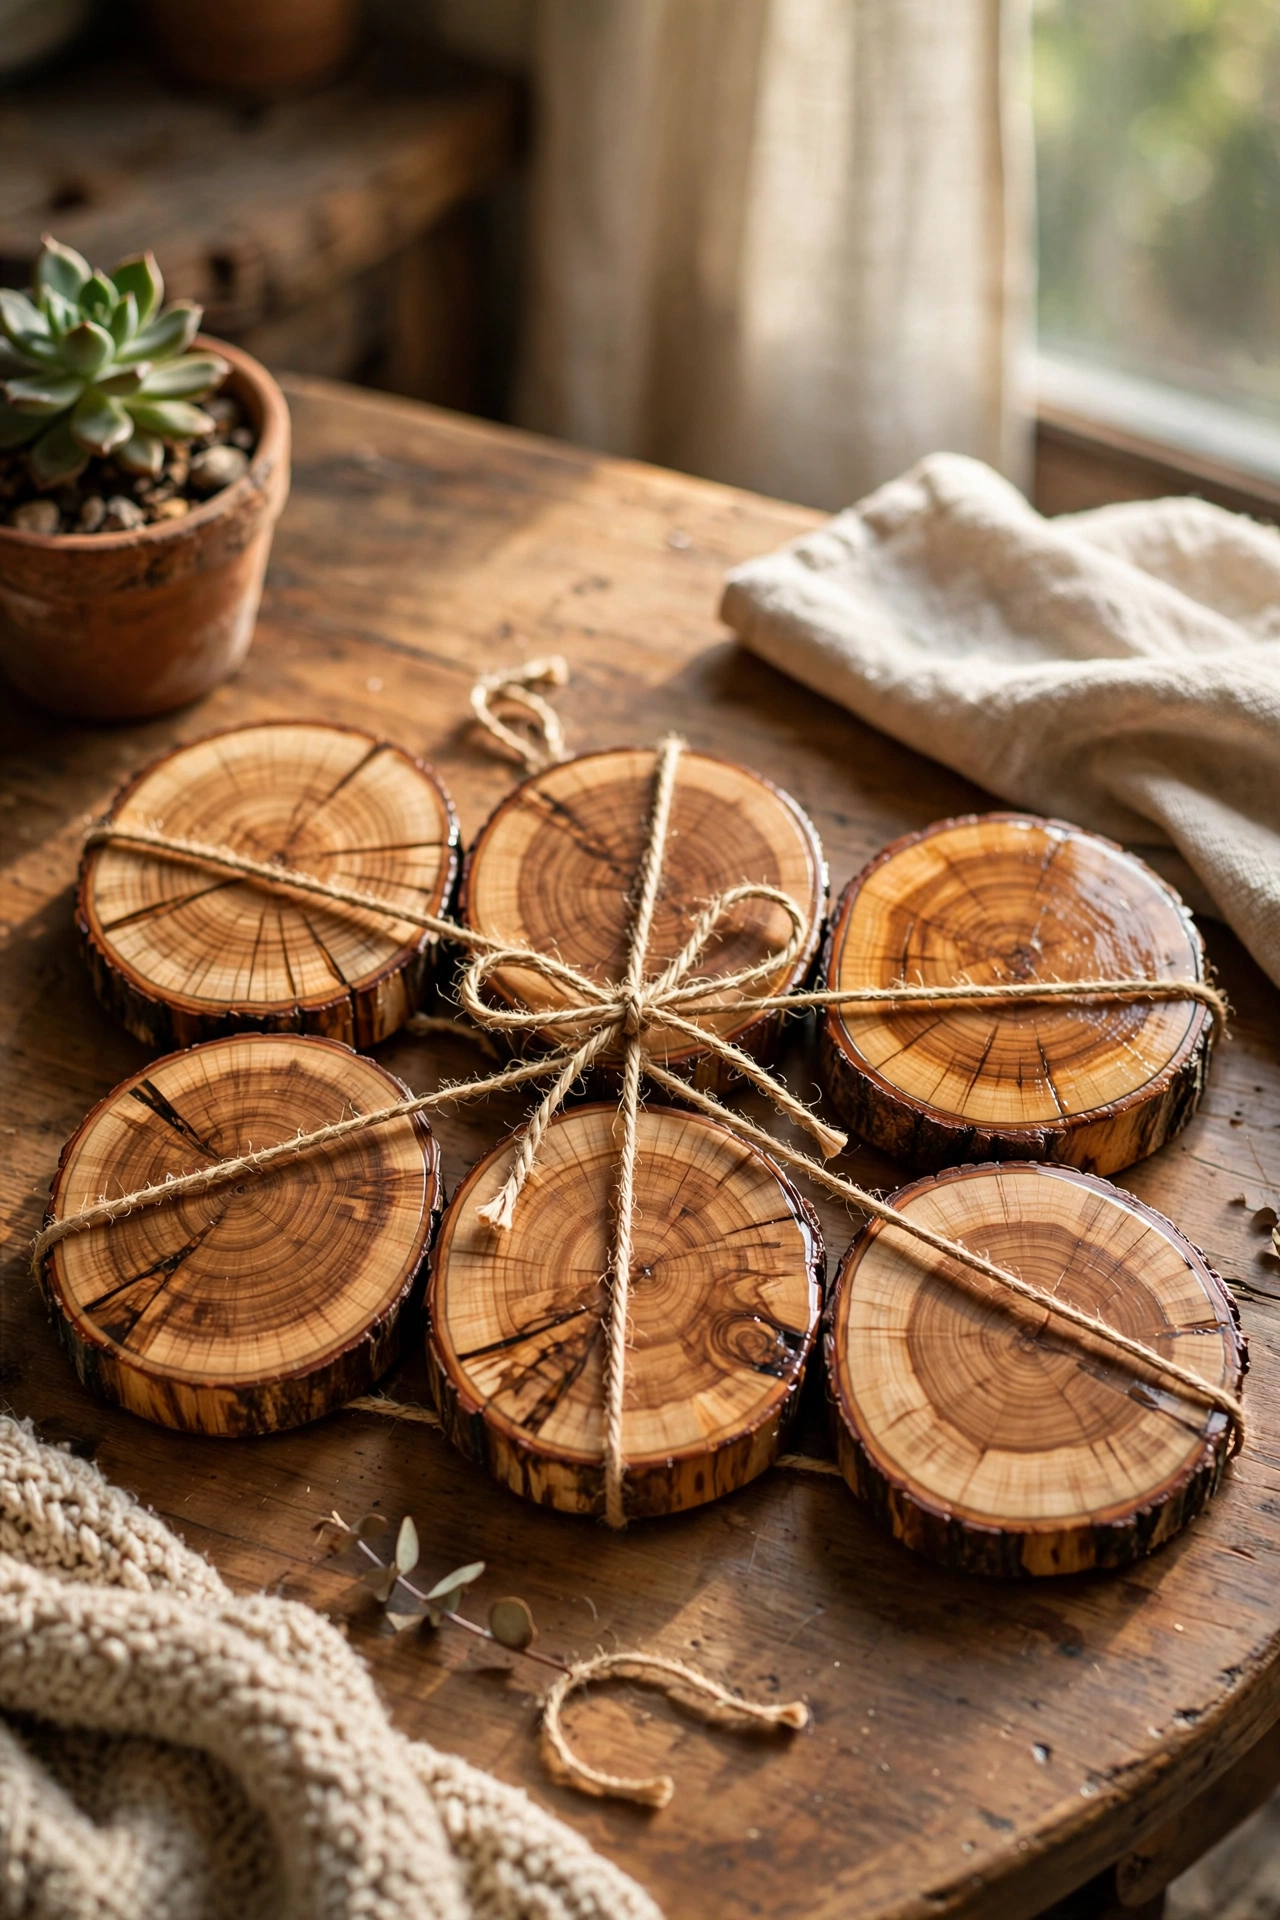
Slices cut from a fallen branch become coasters with beautiful grain. I cut a dry branch into half-inch slices, sanded them smooth, and sealed all sides with heat-resistant varnish. A set of six took an afternoon. The branch must be fully dry or the slices crack as they shrink, so season it indoors for a month first. Tie the set with twine and they make a lovely handmade gift too. Branch slices with bark edges look the most rustic, but seal the bark well — it crumbles otherwise.
Cost: ~$5-10 | Time: 2 hours plus drying
9. Galvanised Wash Tub Planter
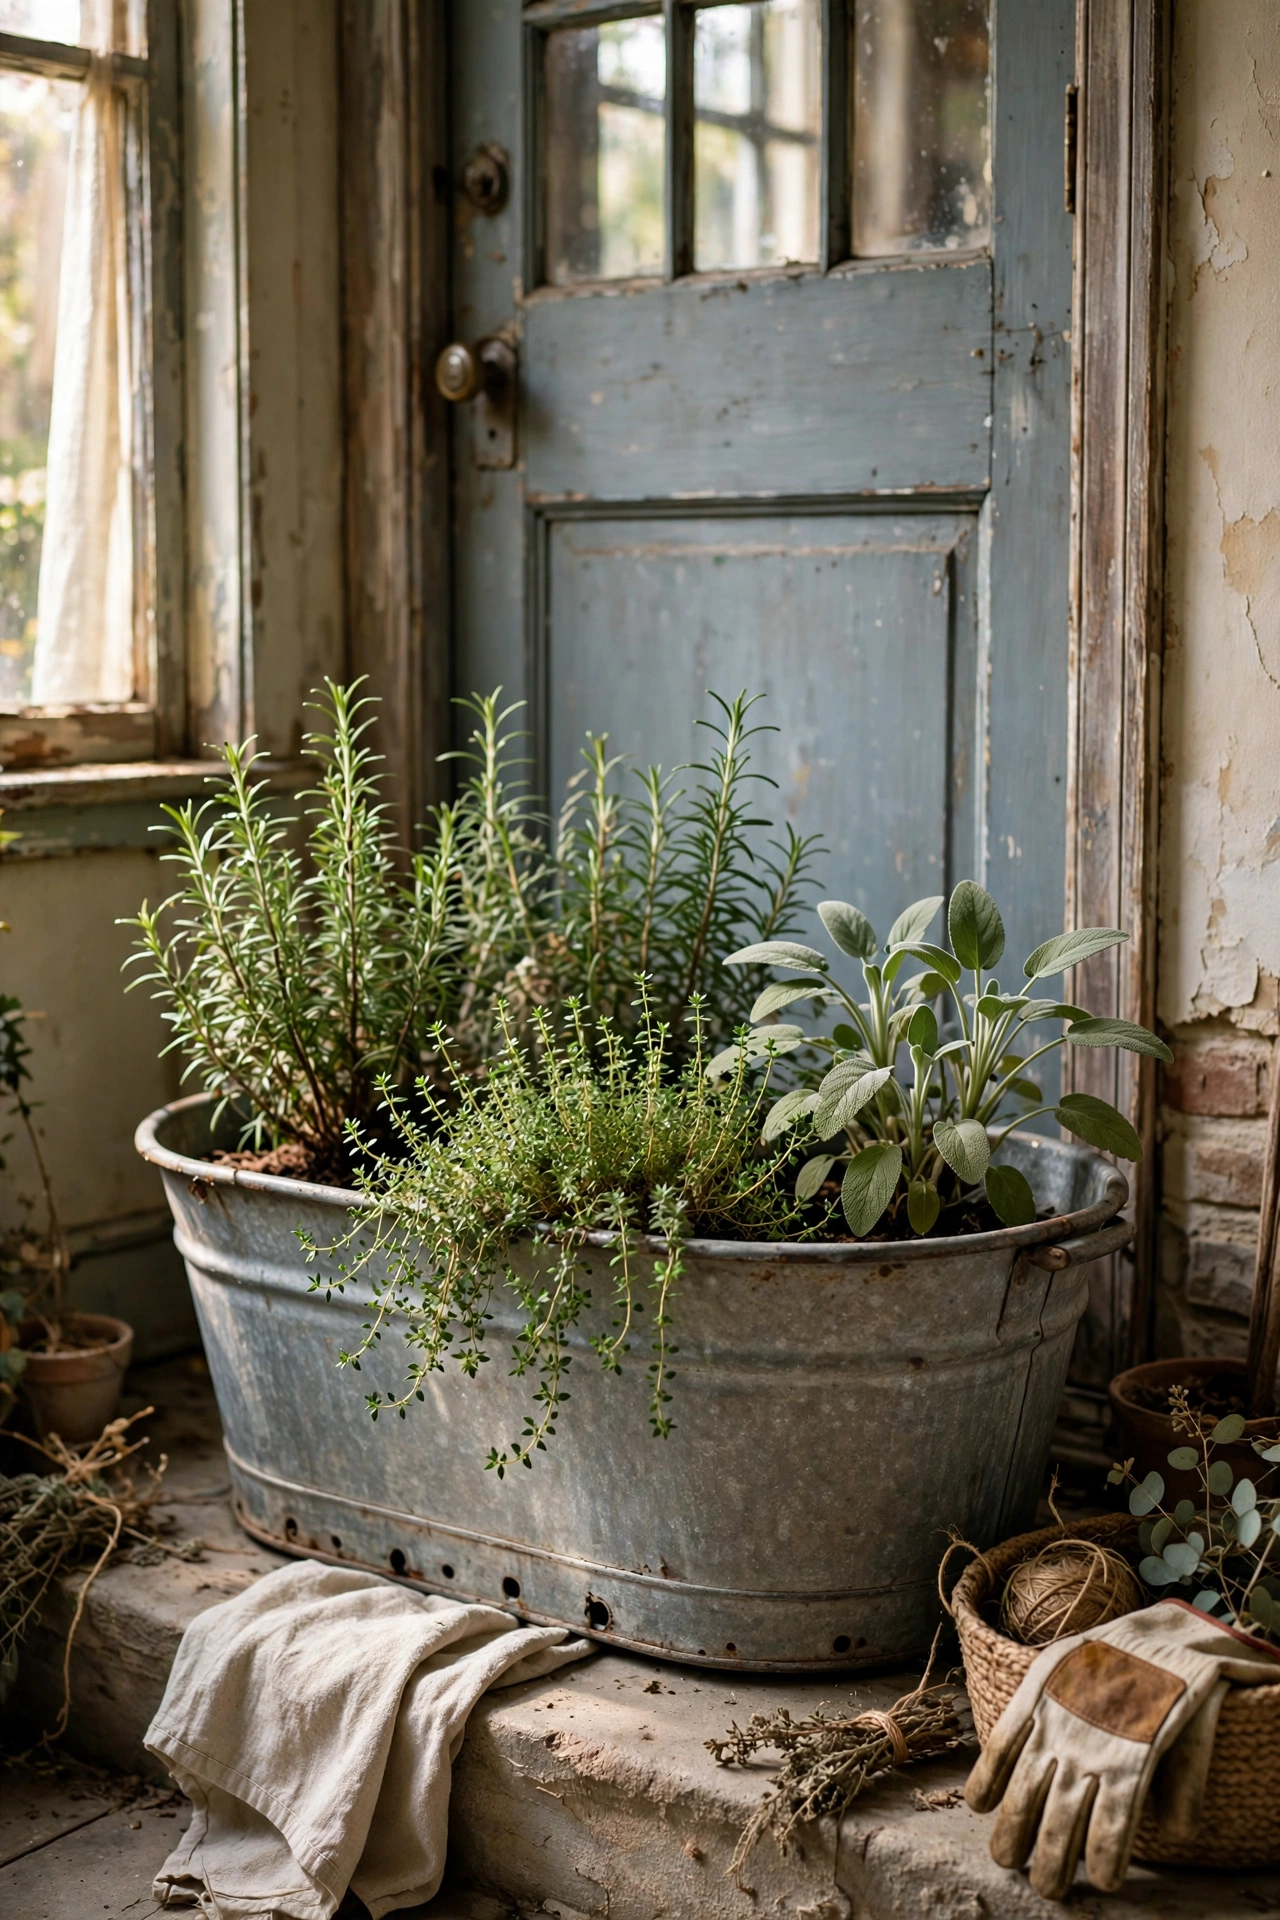
An old galvanised wash tub planted with herbs is peak rustic charm. I drilled drainage holes in the base of a tub from a farm auction, filled it with compost, and planted thyme, rosemary, and sage. It sits by the back door and I cook from it all summer. Galvanised metal heats up in sun, so keep it where it gets afternoon shade. The tub will outlive us all, which is part of the appeal. A terracotta saucer inside catches drainage, because rust streaks on the patio are forever.
Cost: ~$10-18 | Time: 45 minutes
Pro tip: Drill drainage holes with a metal bit and go slow. Galvanised steel grabs drill bits, and forcing it snaps the bit or dents the tub.
10. Faux Barn Door Cabinet Fronts
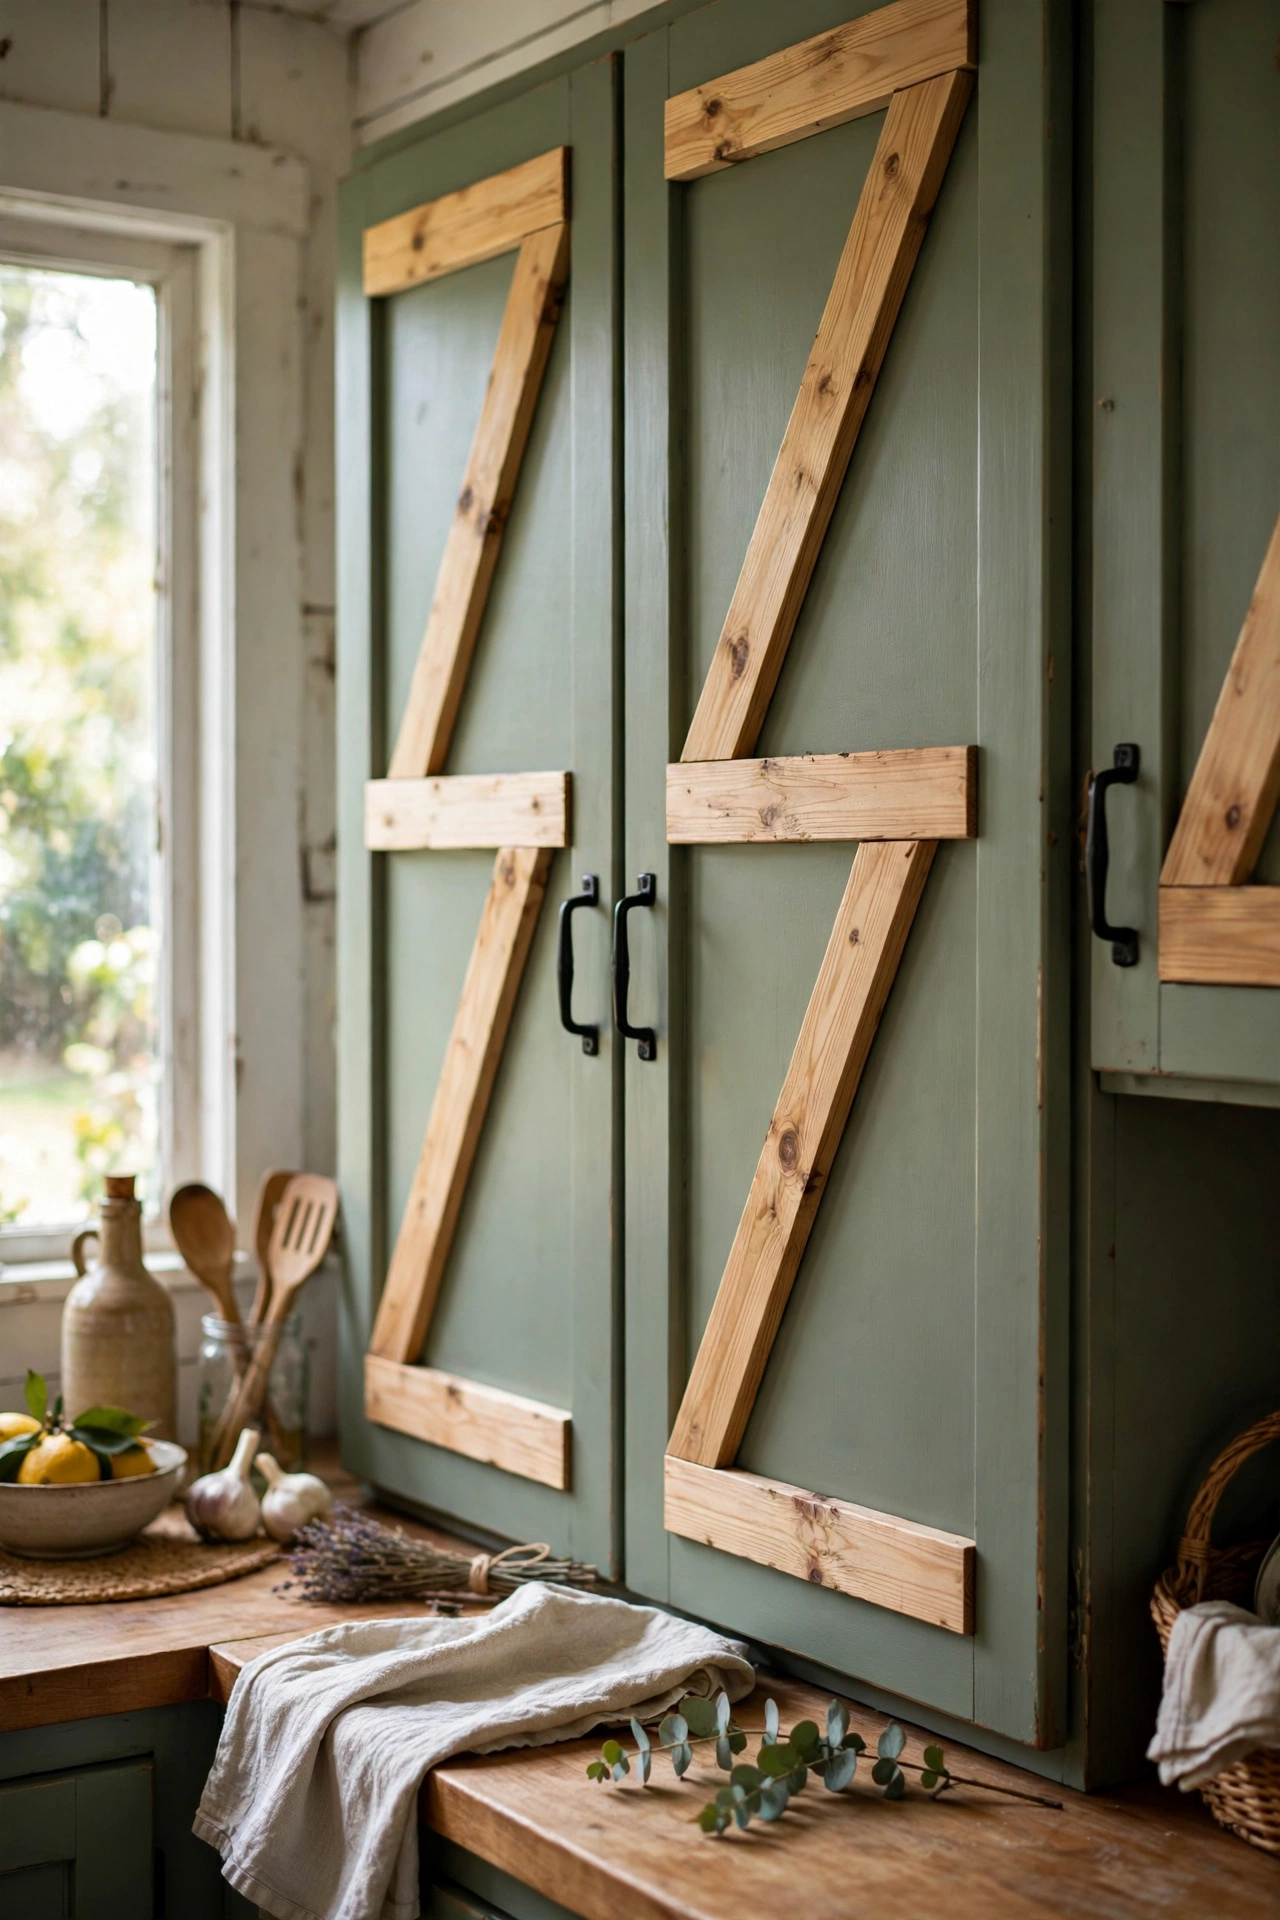
Plain cabinet doors get a barn-door look with thin battens glued in a Z pattern. I cut lightweight pine strips, glued them to my kitchen cabinet doors in the classic barn-door Z, and painted the whole thing sage green. The kitchen feels farmhouse now for the price of some trim. Use construction adhesive rather than nails, because nails split thin doors. Paint after gluing so the battens and door read as one piece. Caulk the gaps between batten and door before painting — shadows in the seams betray the illusion.
Cost: ~$20-30 | Time: 4 hours plus drying
11. Rope Shelf Brackets
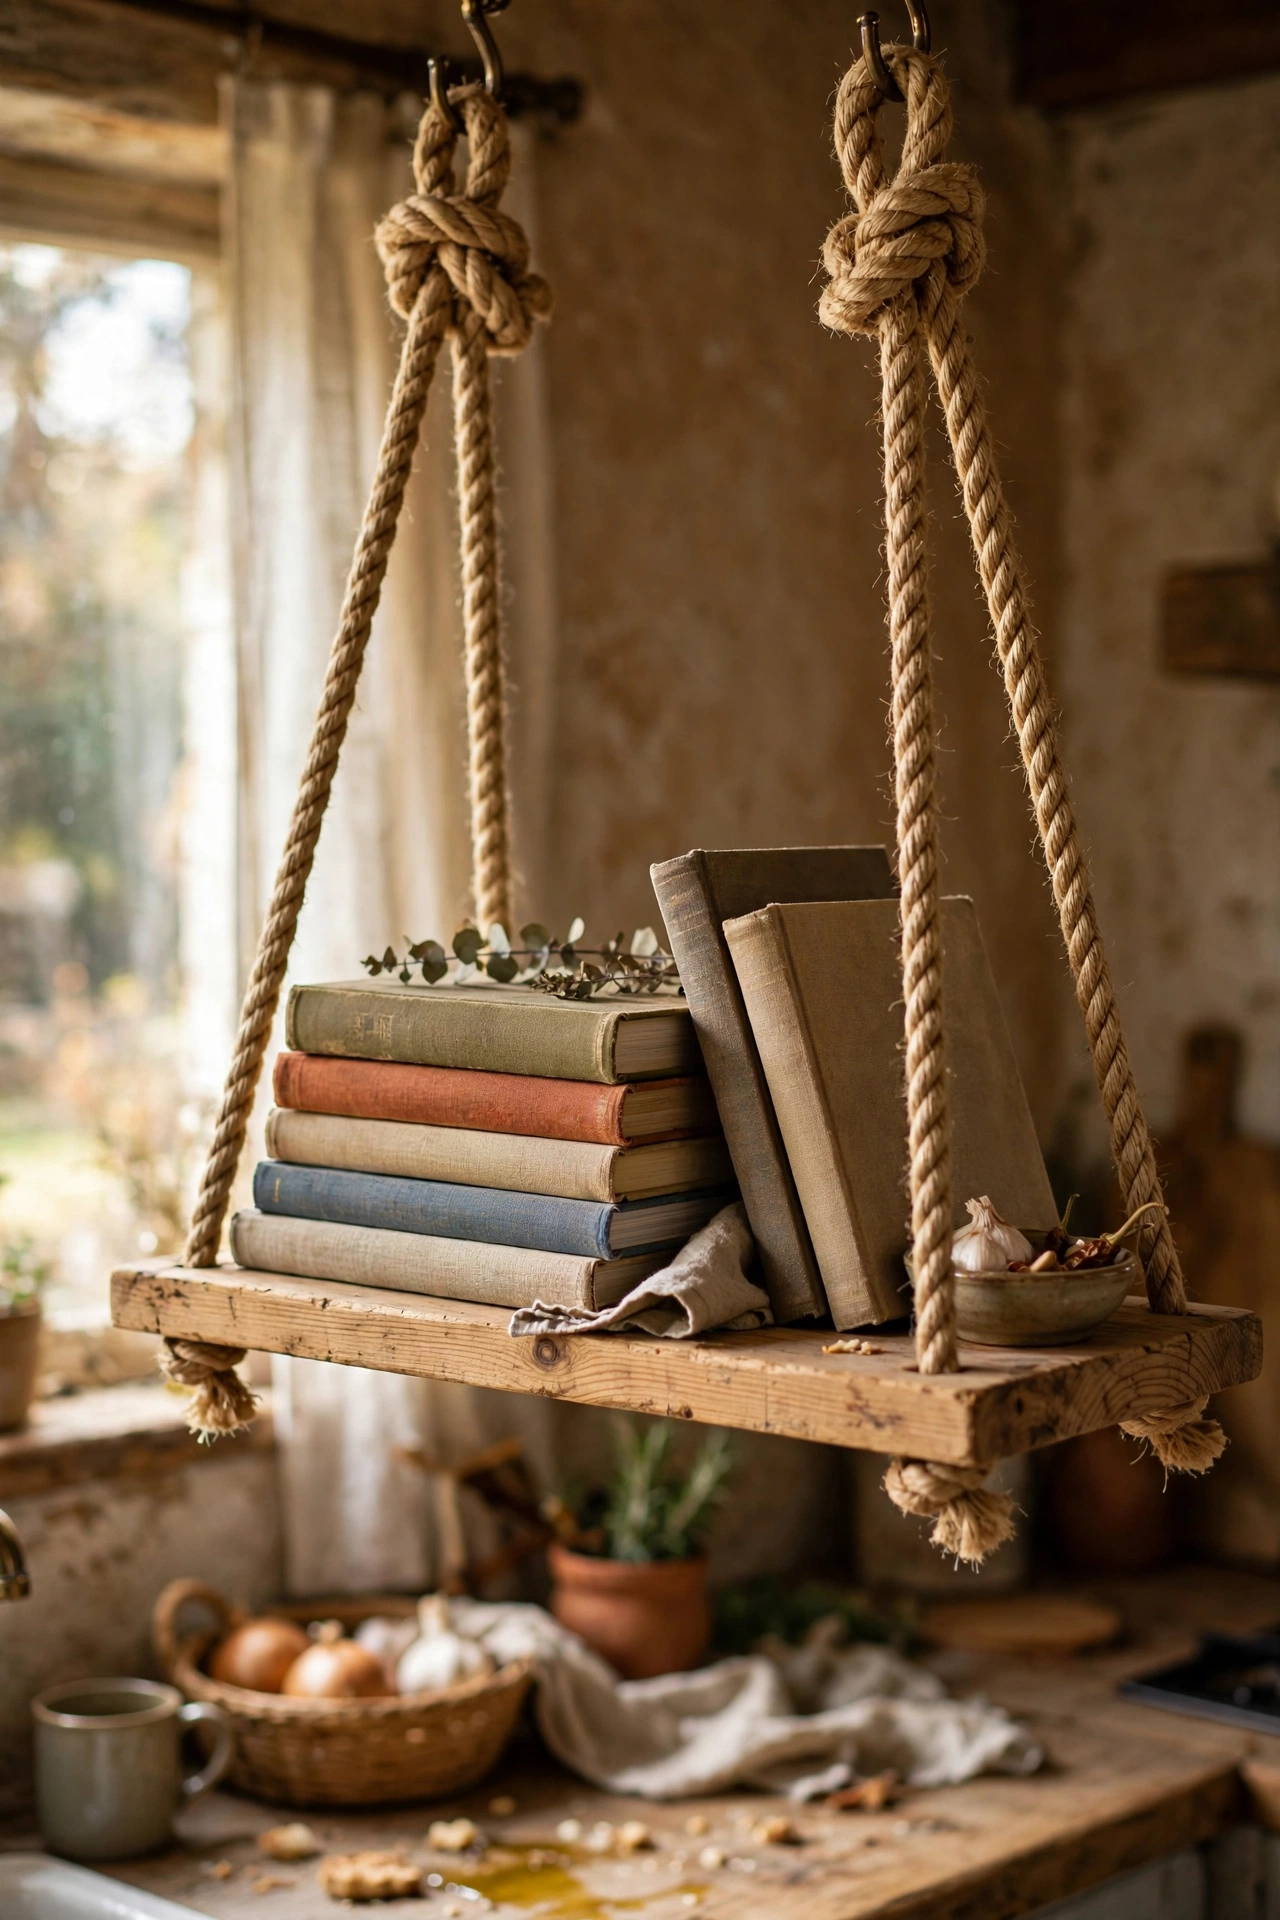
Thick rope hung from ceiling hooks makes the simplest rustic shelf brackets. I looped manila rope through holes drilled in each end of a pine board, knotted it underneath, and hung the loops from two sturdy ceiling hooks. It holds cookbooks in my kitchen and sways almost imperceptibly. Use proper ceiling anchors rated for the load, because books are heavy. Keep the shelf narrow so it cannot tip. I burn the cut rope ends with a lighter so they don’t unravel — a two-second job that saves the shelf.
Cost: ~$12-18 | Time: 1.5 hours
12. Wooden Crate Side Table
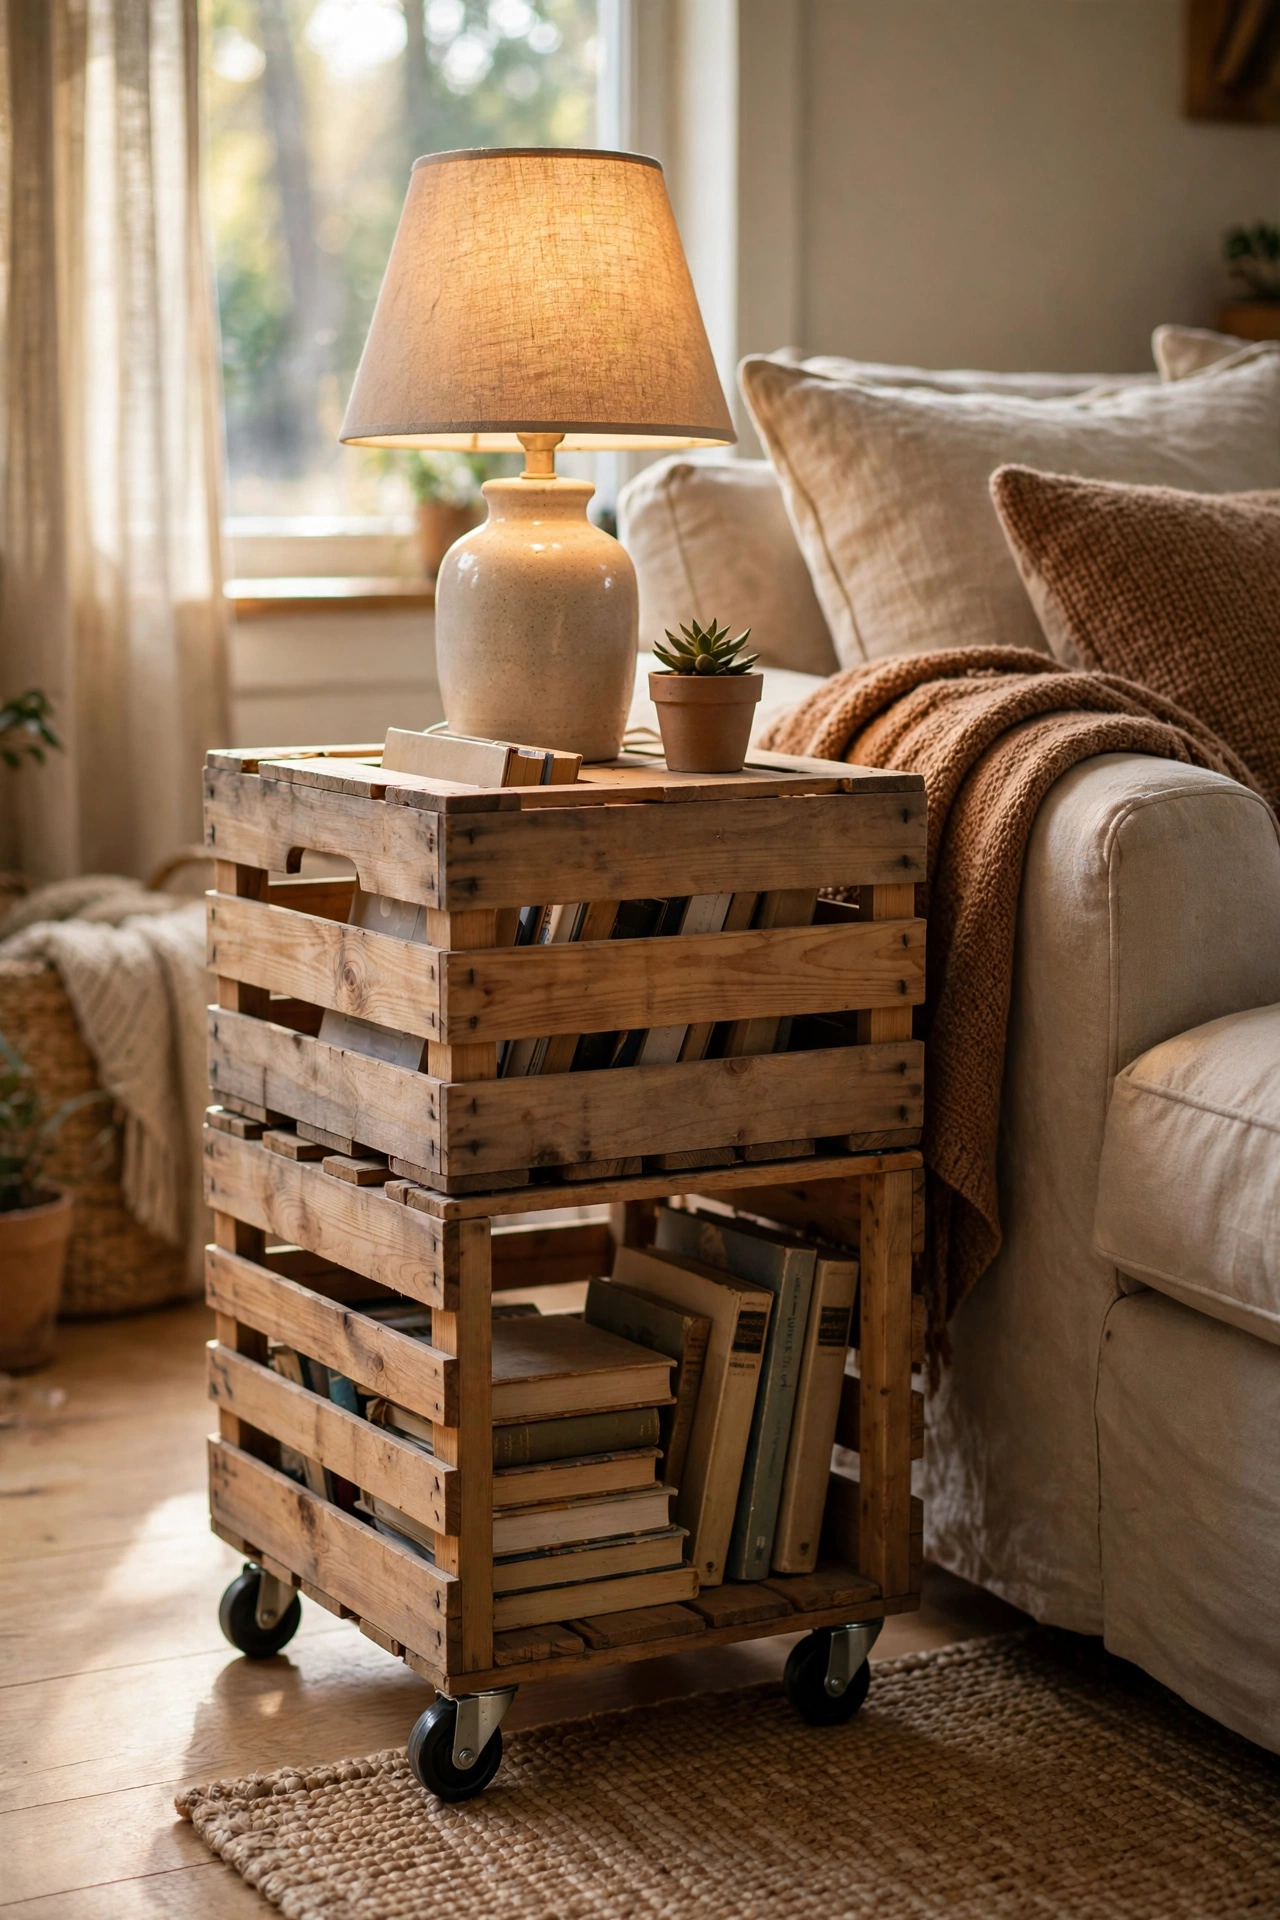
Two stacked wooden crates become a side table with built-in storage. I sanded two sturdy apple crates, screwed them together, and added small caster wheels so it rolls. It sits beside the sofa holding books below and a lamp on top. Check the crates are solid, because cheap modern ones are stapled and wobbly. A coat of wood oil brings out the grain beautifully. The casters were the best decision — I wheel it aside for the vacuum and it never scuffs the floor. Save this one for your weekend project list.
Cost: ~$12-20 | Time: 2 hours
Pro tip: Add felt pads under crate tables even with casters. One drag across a wooden floor without them and you will be sanding out scratches.
13. Faux Antler Wall Hooks
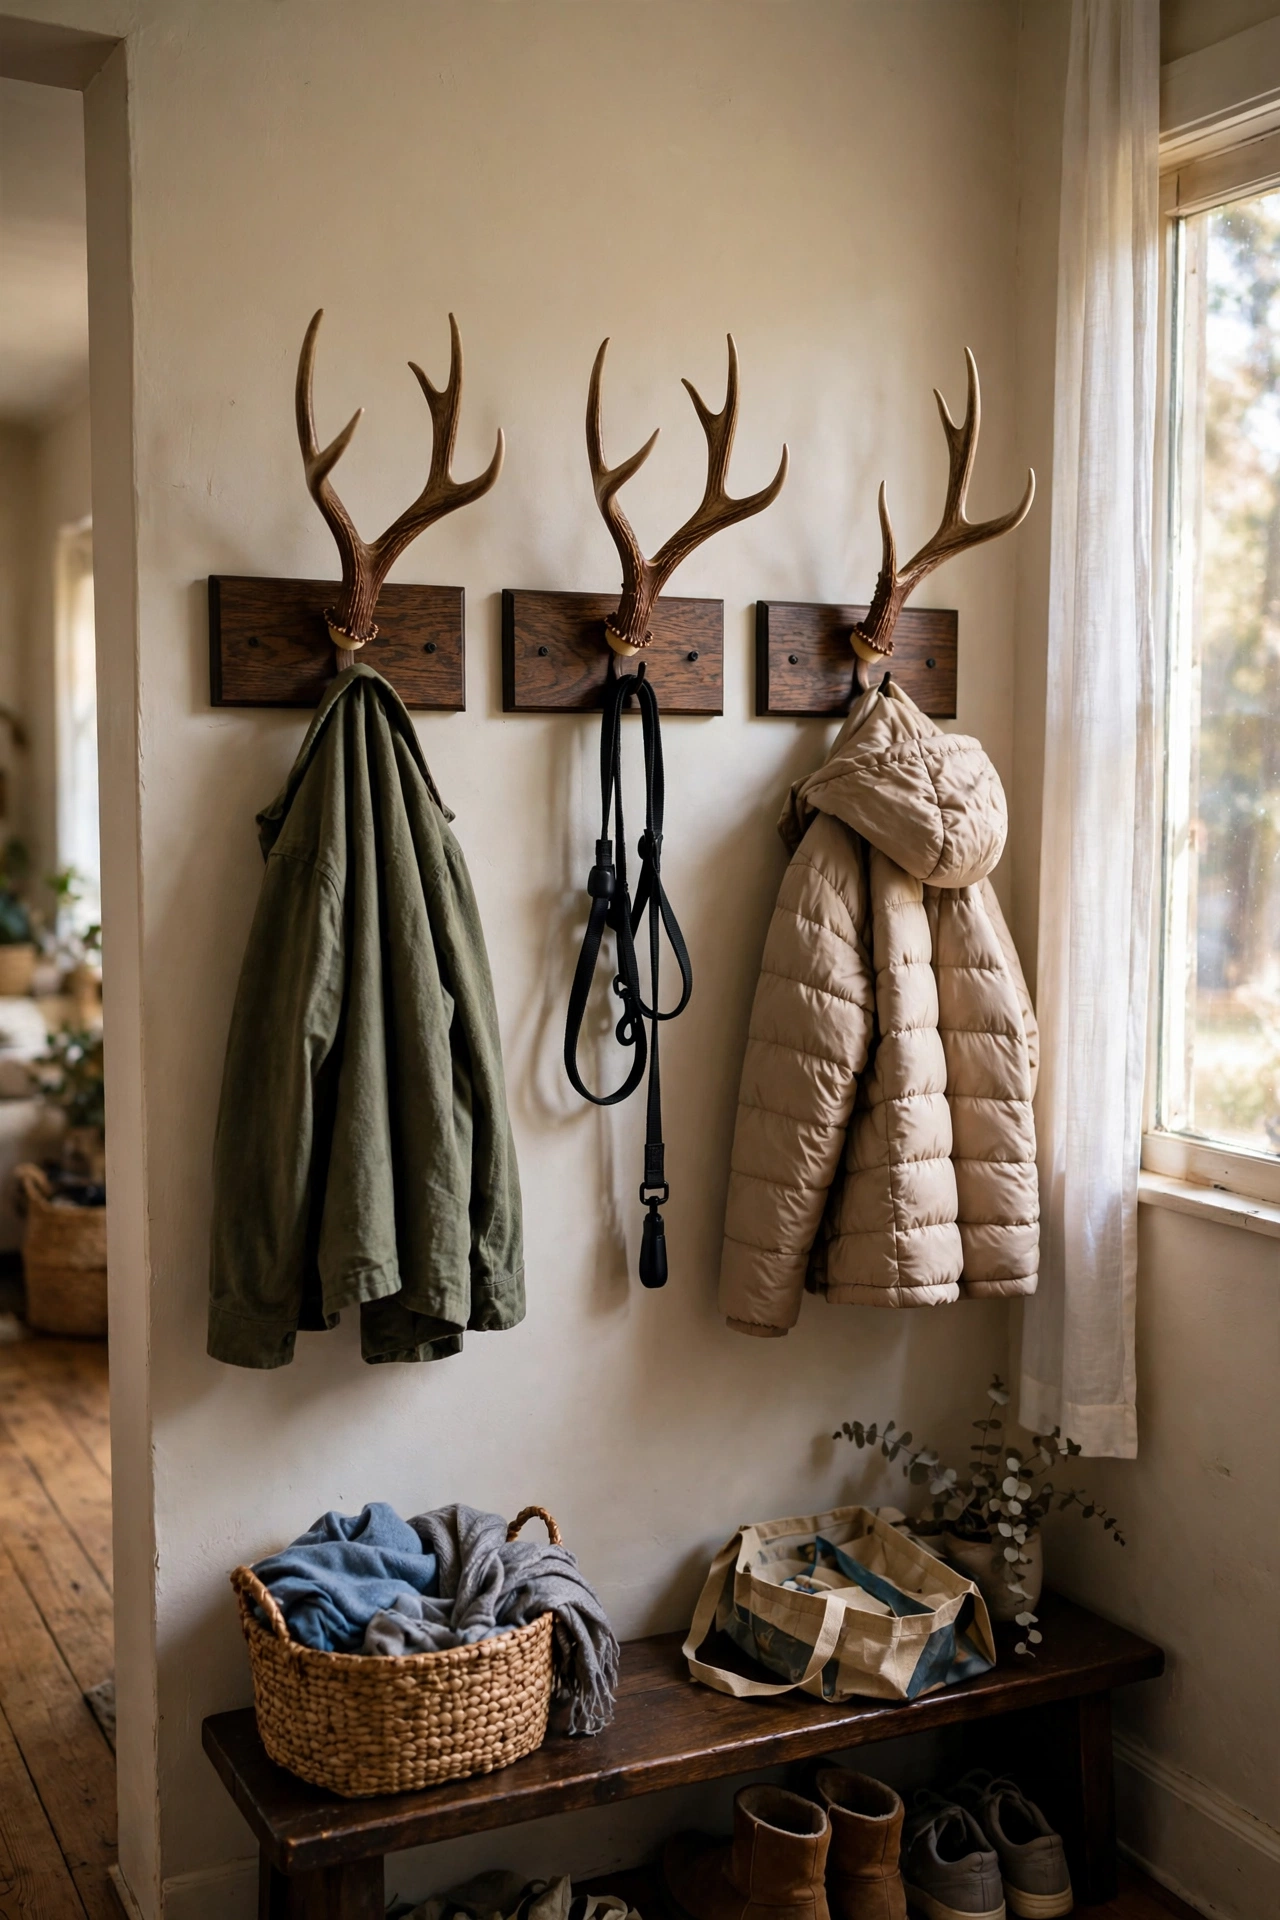
Resin antlers mounted on wood plaques make striking rustic hooks. I bought inexpensive faux antlers, screwed them to small oak plaques, and mounted a row of three in the hallway for coats and dog leads. They look like a hunting lodge and cost less than one designer hook. Mount into studs, because antlers plus winter coats are heavy. Stain the plaques dark so the pale antlers stand out. One antler hangs lower for the kids’ coats — the row looks fine and the little ones actually use theirs.
Cost: ~$18-28 | Time: 1.5 hours
14. Pinecone Wreath for the Front Door
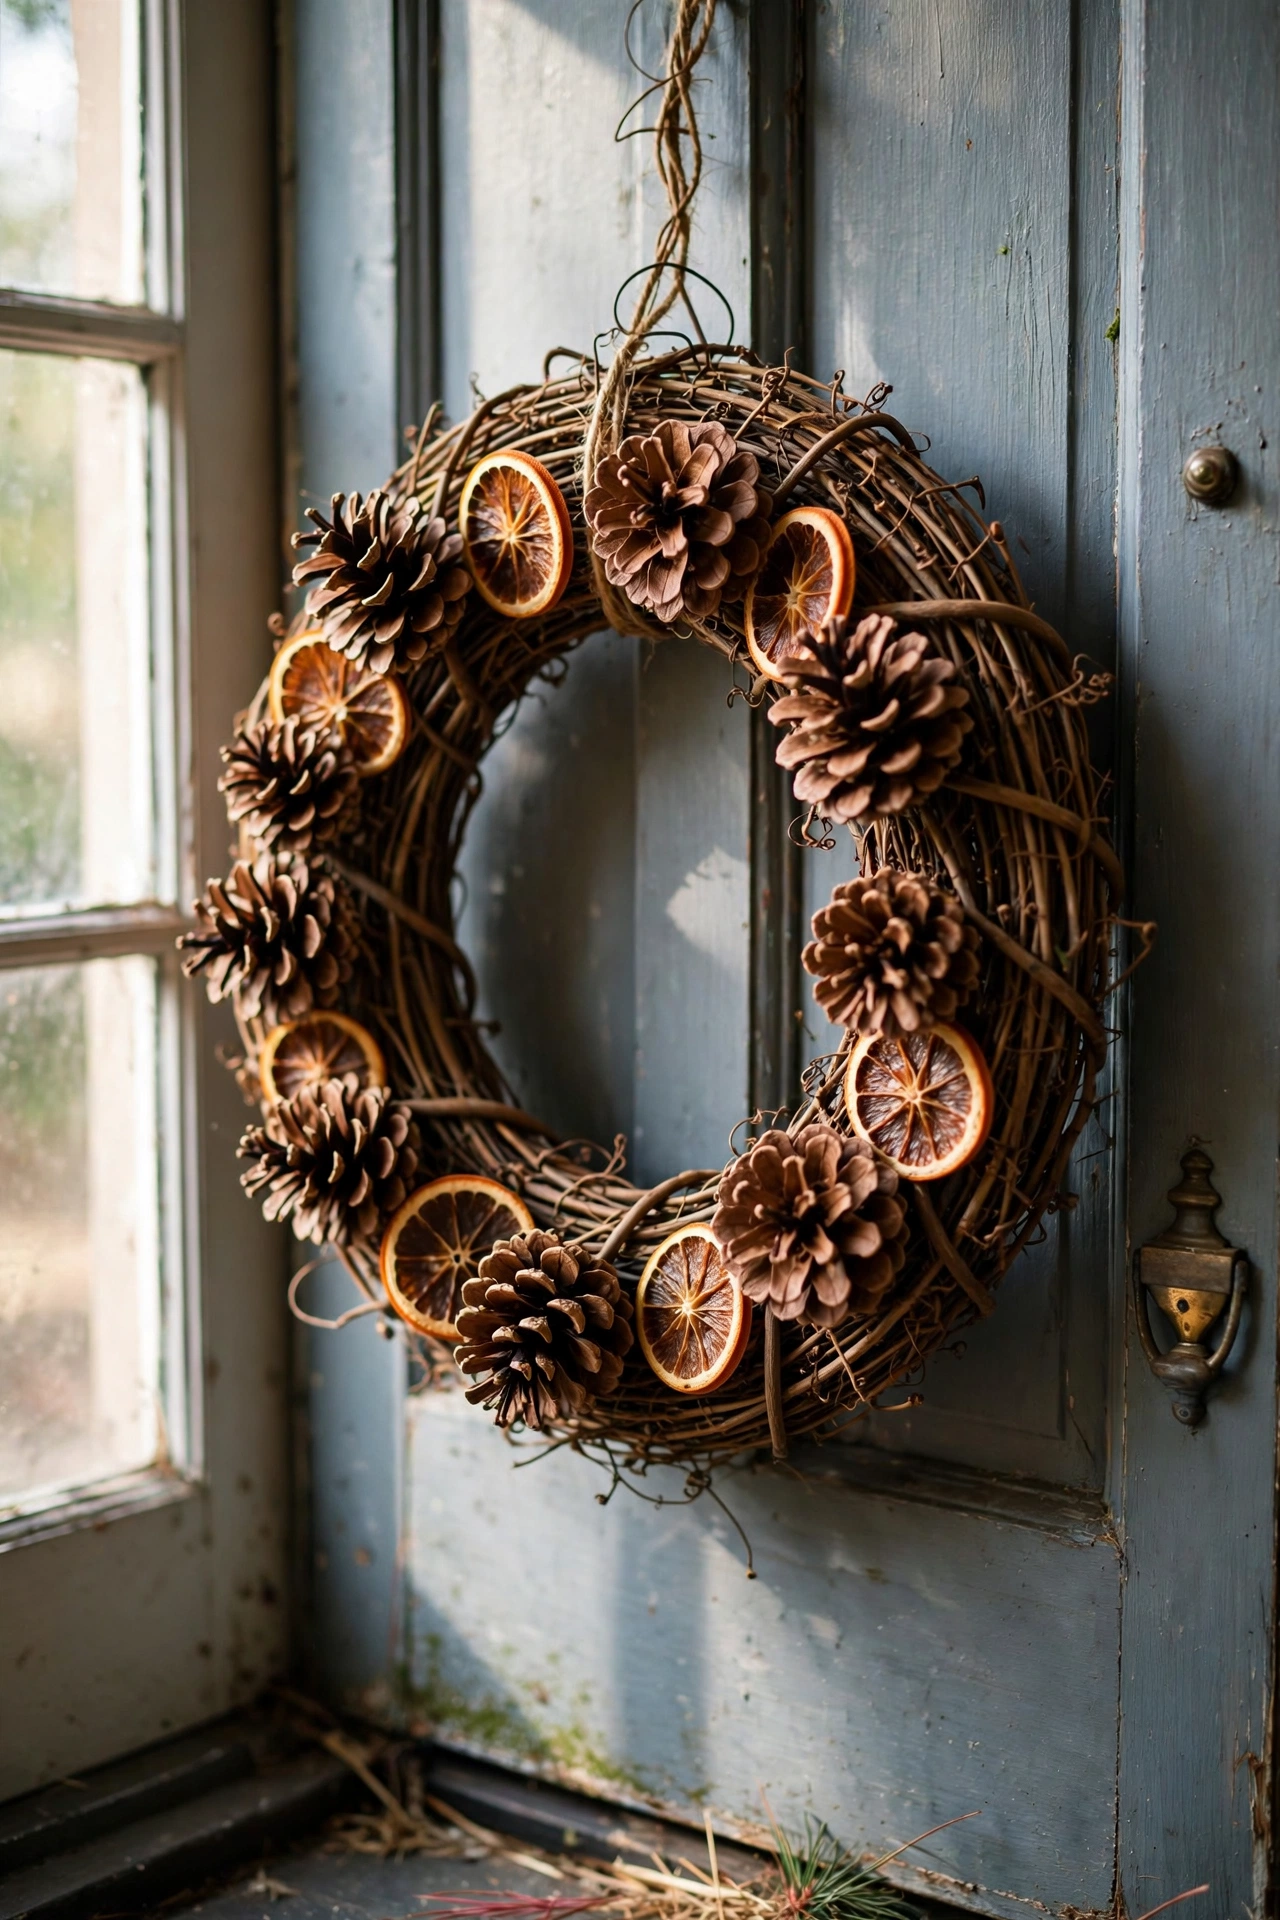
Pinecones wired to a grapevine wreath base make the classic rustic door decoration. I collected two carrier bags of pinecones on an autumn walk, wired them onto the base in overlapping rows with florist wire, and tucked in dried orange slices. It has hung on my door for three years now. Bake collected pinecones at low heat first to kill any bugs hiding inside. Overlap generously, because gaps show the base. A few new pinecones every other autumn keep it full — three years on, mine still looks freshly made.
Cost: ~$5-10 | Time: 2 hours
15. Burlap-Covered Lampshade
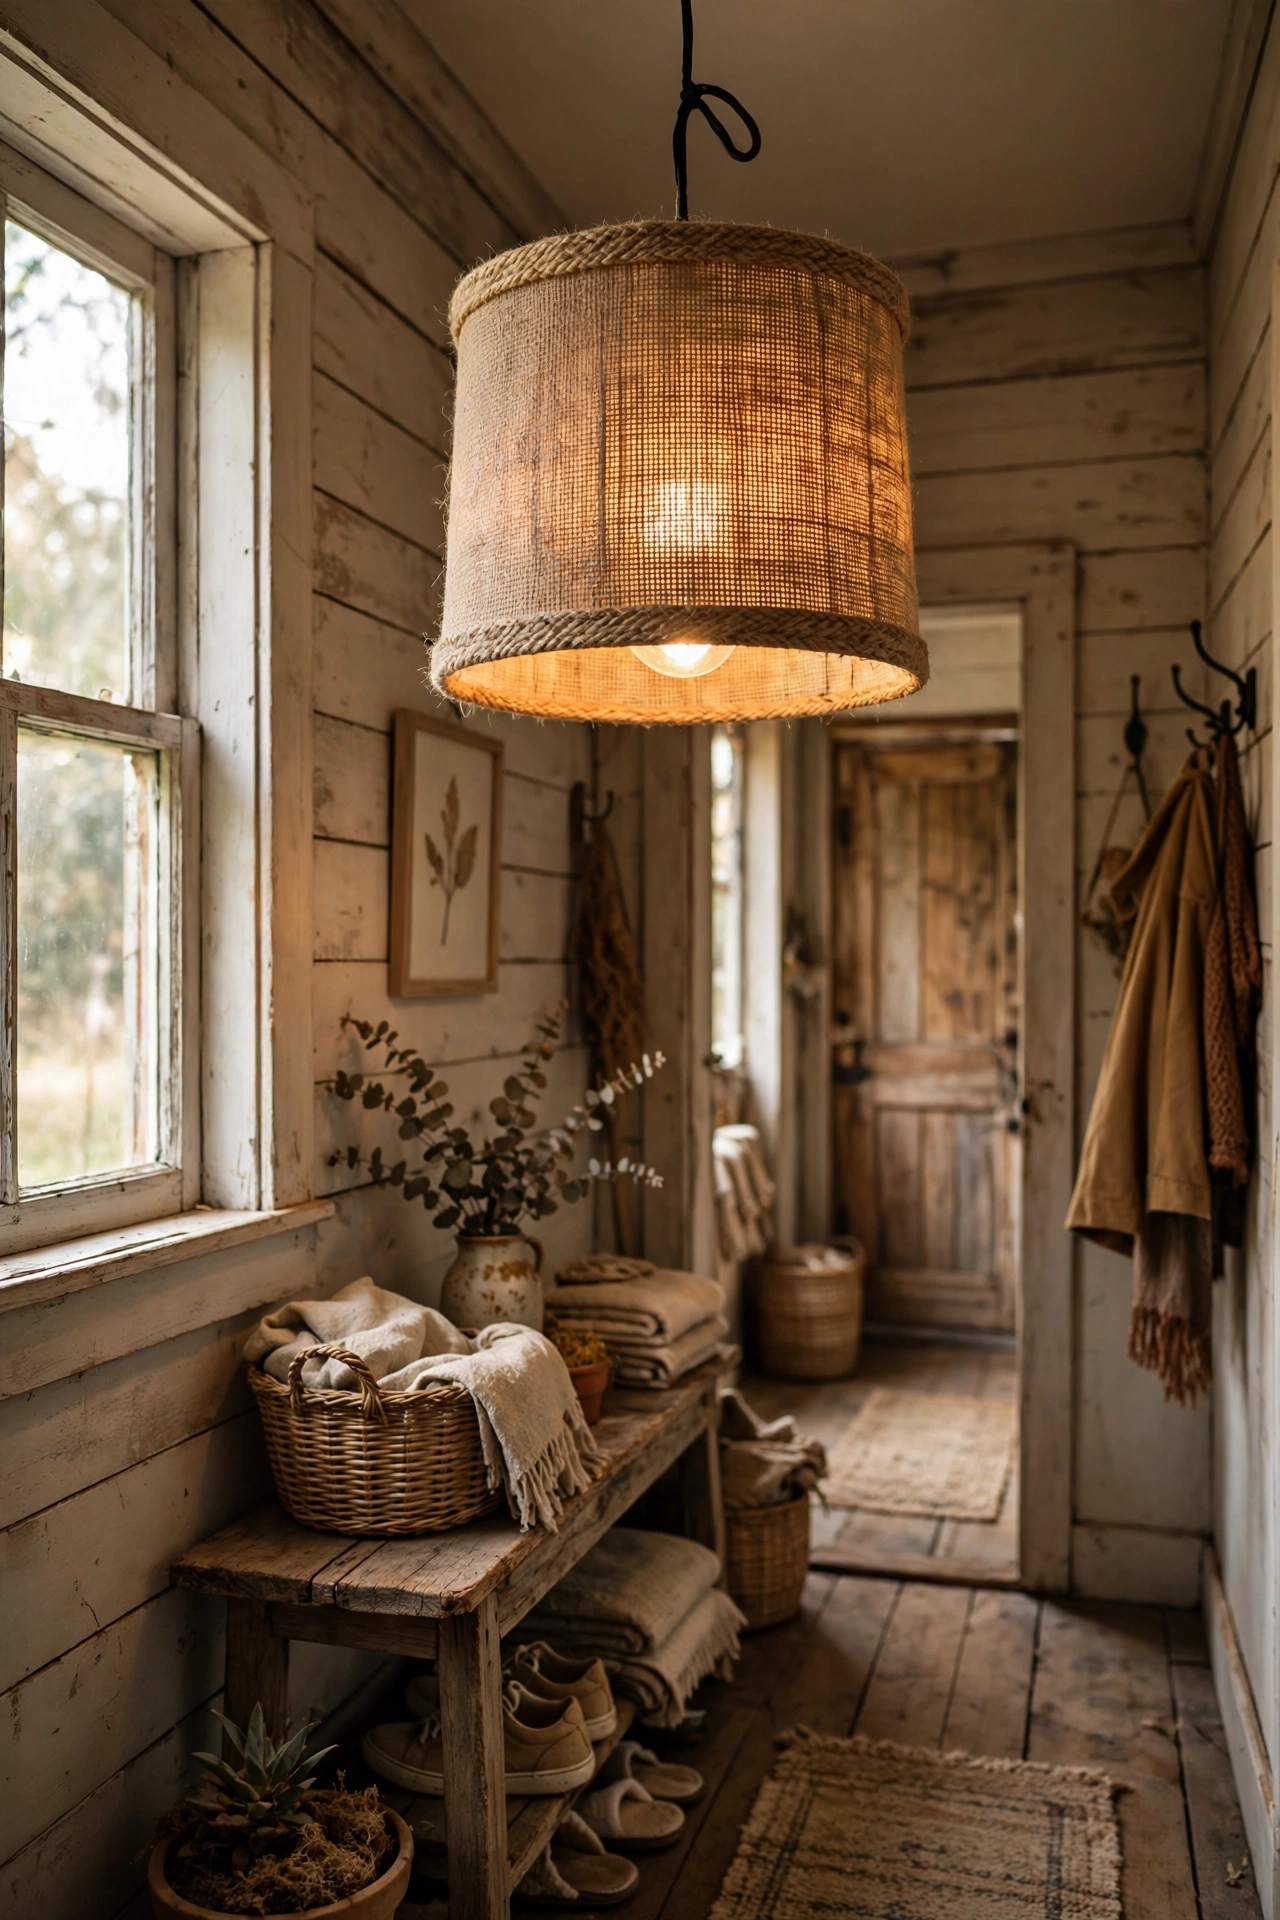
A plain shade covered in burlap throws warm, textured light. I wrapped a drum shade in burlap with spray adhesive, trimming carefully top and bottom and finishing the edges with jute trim. The light through the weave is beautifully warm. Use LED bulbs only, because burlap near a hot bulb is a risk I will not take. My hallway lamp finally matches the rustic shelves beside it. I layered a plain ivory liner inside first, so the weave glows without anyone seeing the bulb.
Cost: ~$10-15 | Time: 1 hour
Pro tip: Iron burlap on low before wrapping. It arrives creased from the shop, and creases telegraph straight through onto the finished shade.
16. Rustic Open Kitchen Shelving
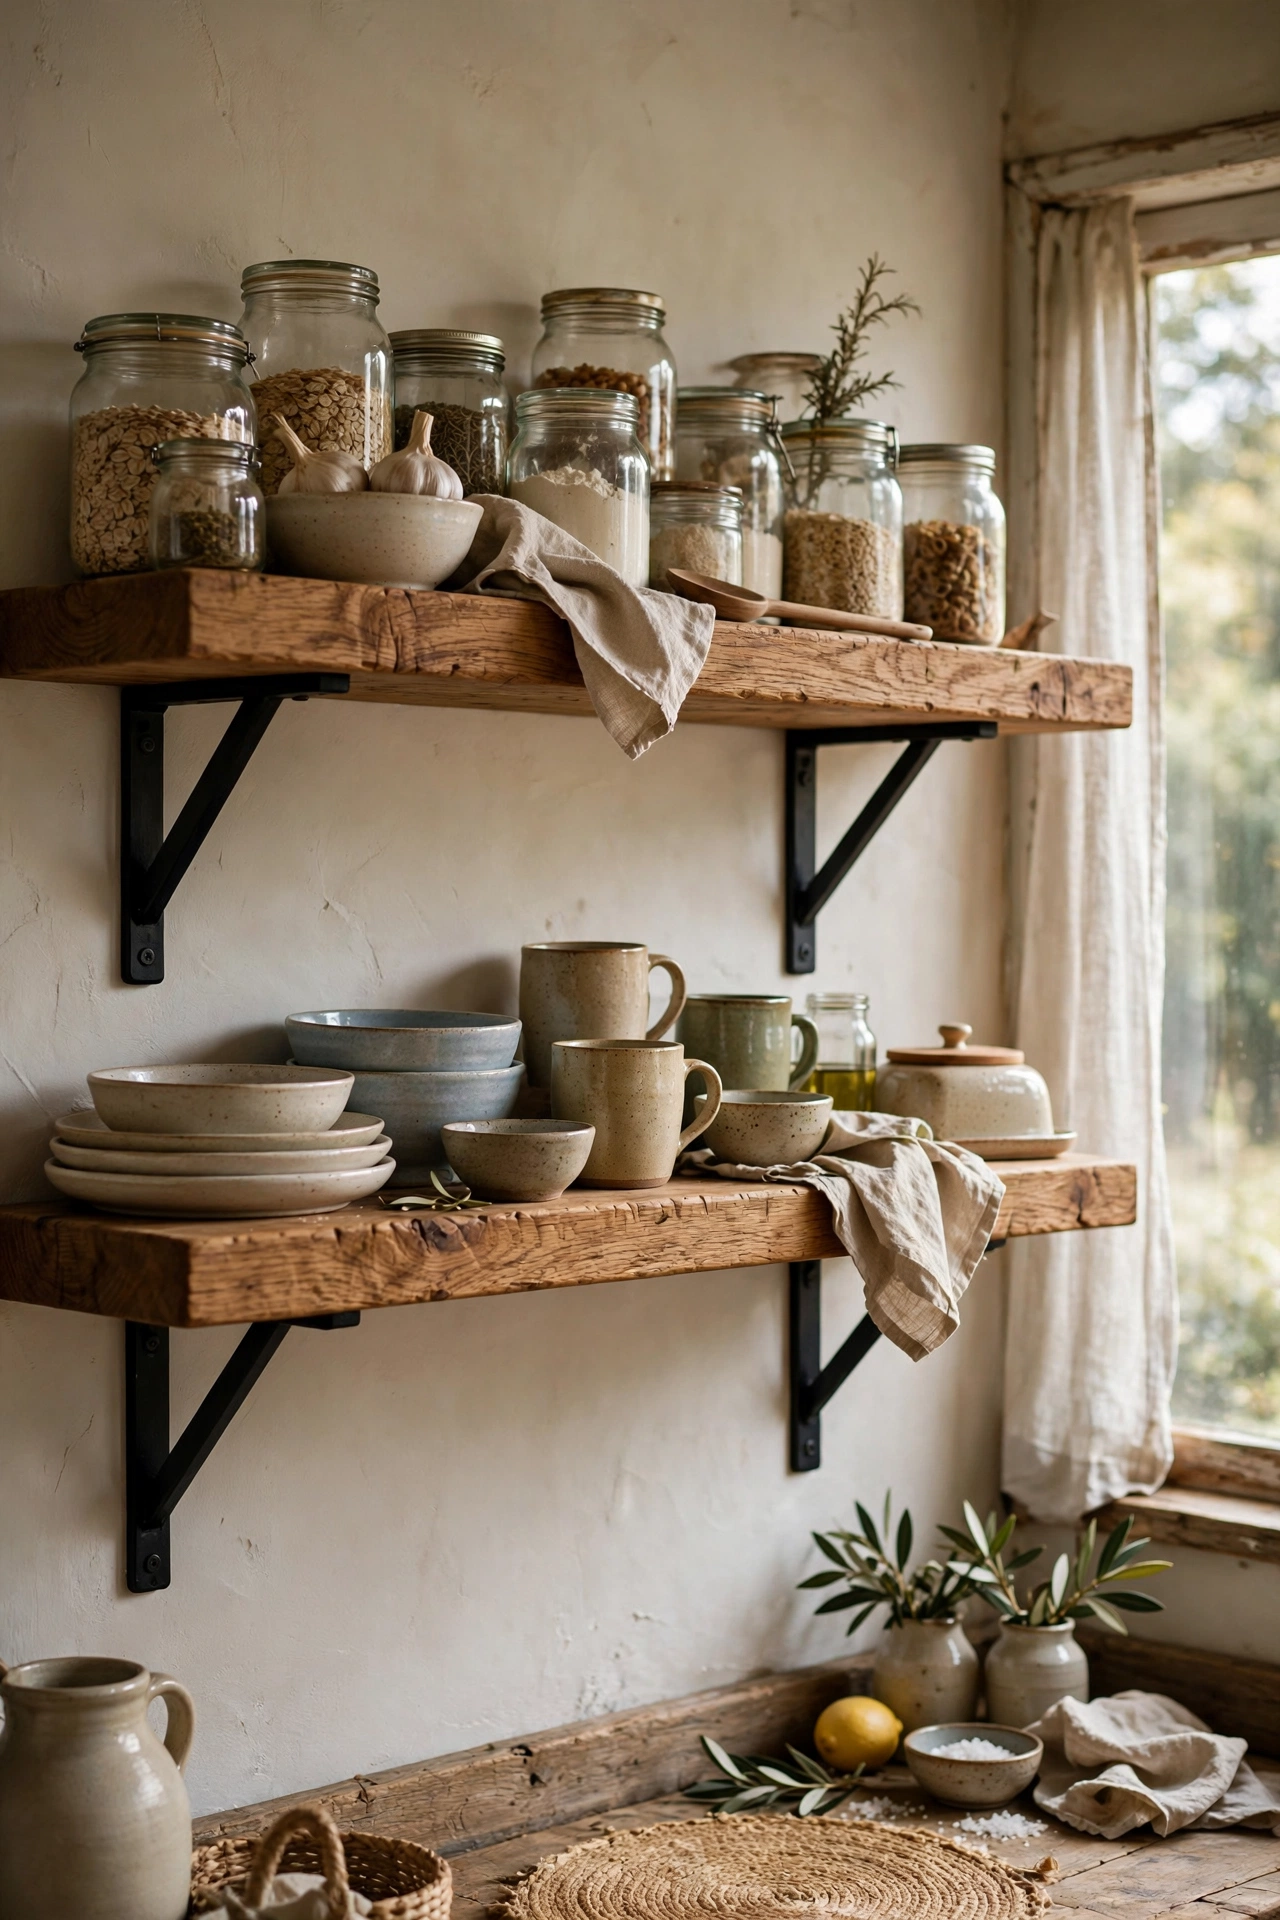
Replacing one wall cabinet with open wooden shelves opens up a rustic kitchen instantly. I removed a tired wall cupboard, patched the wall, and mounted two thick oak-look boards on black brackets. Everyday crockery and glass jars live there now, and the kitchen feels bigger. Style shelves with things you actually use, because decorative-only shelves gather dust. Keep the styling loose and the wood will do the talking. Matching jars for the flour and rice turn open shelves from storage into styling — the uniformity does all the work.
Cost: ~$25-35 | Time: 3 hours
17. Log Slice Side Table
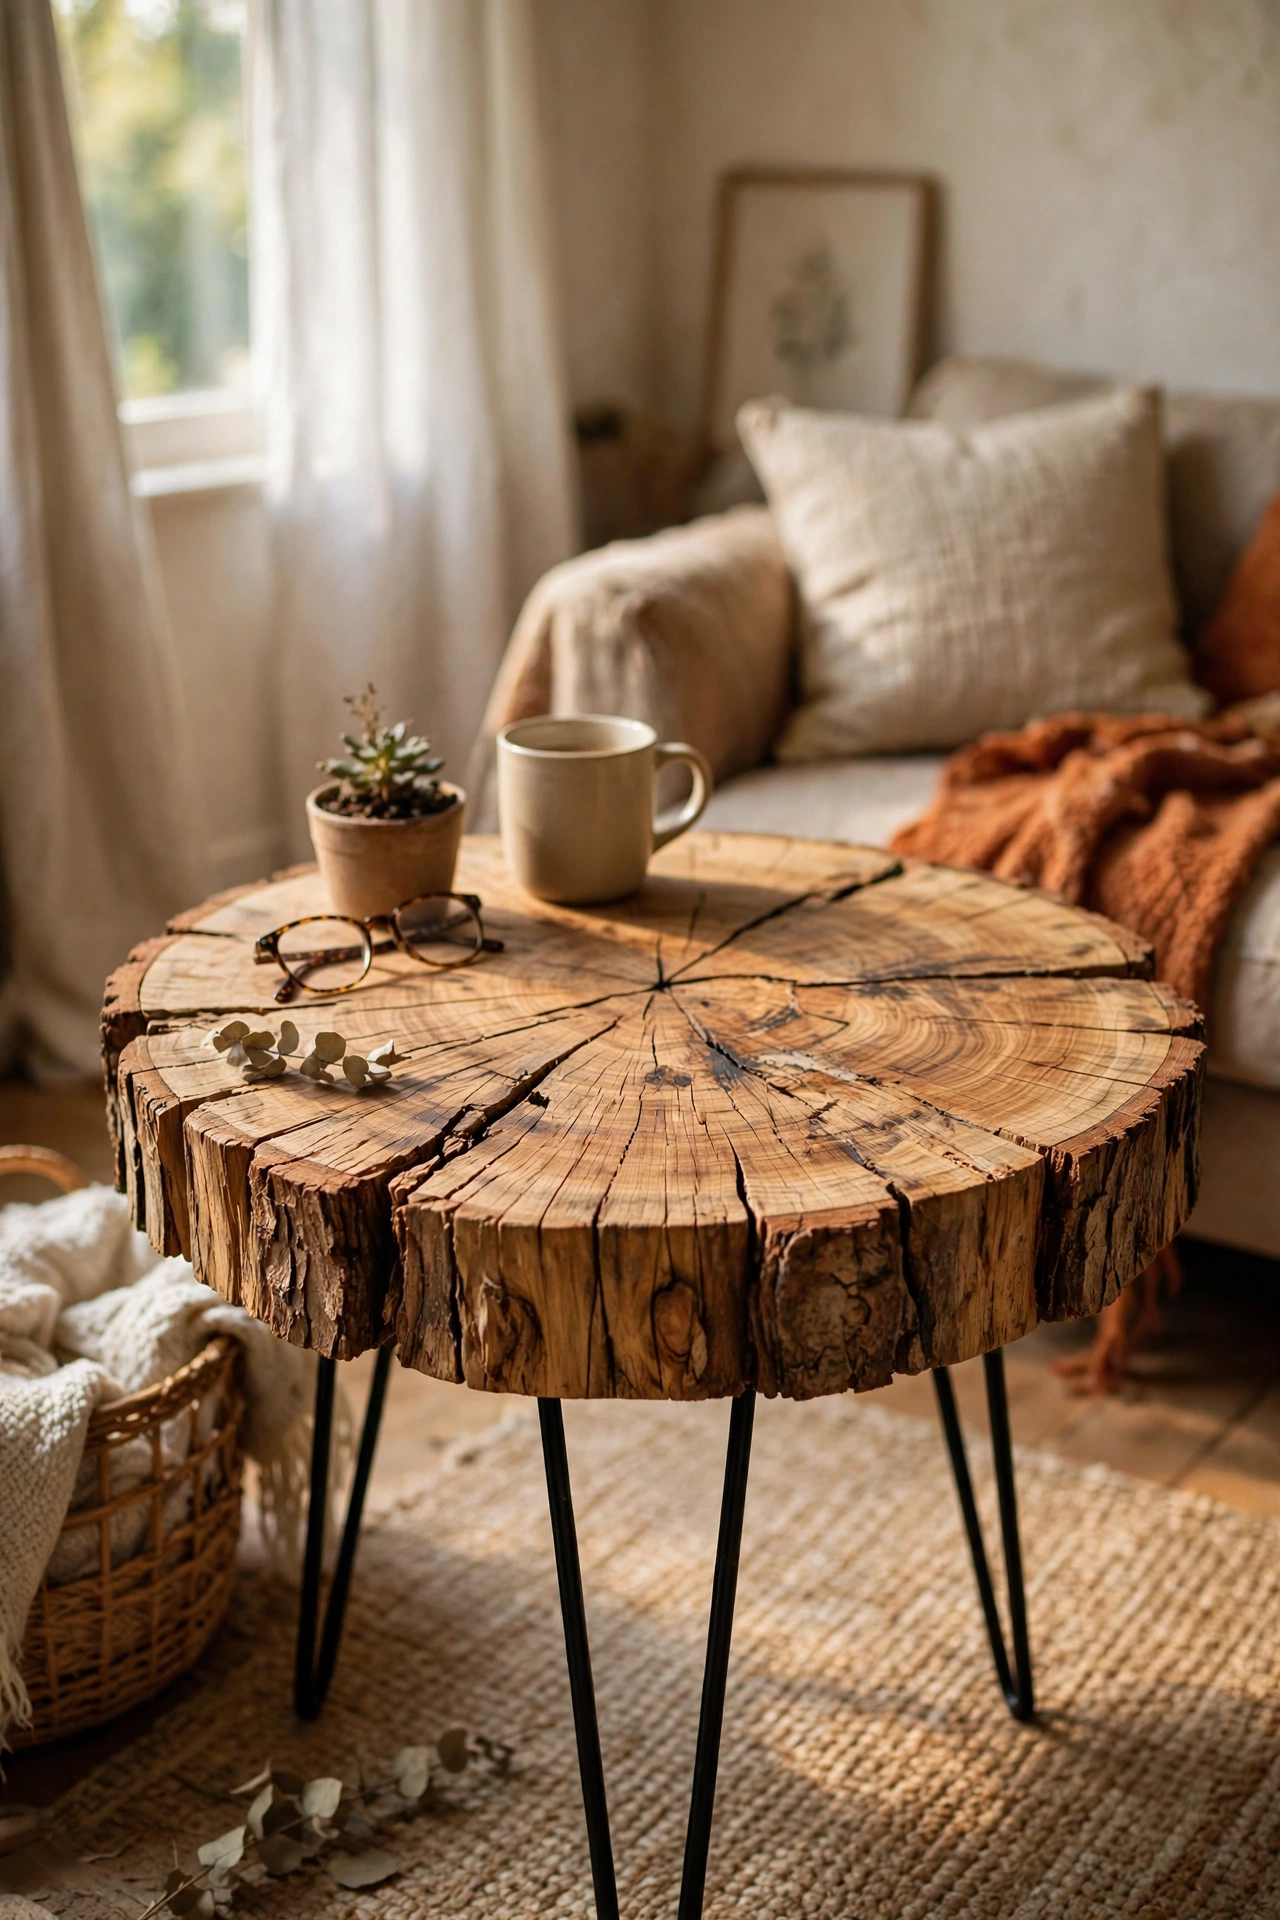
A thick slice of log on hairpin legs is a side table with real presence. I bought a dried log slice from a local sawmill, sanded it smooth, sealed it with matte varnish, and screwed on three black hairpin legs. The grain is stunning and guests always touch it. Make sure the slice is kiln-dried, because green wood cracks as it dries. Three legs sit steadier than four on uneven floors. I filled a bark crack with clear resin before sealing — it stopped the split and looks like a river in the grain.
Cost: ~$25-35 | Time: 2 hours plus drying
18. Chicken Wire Memo Board
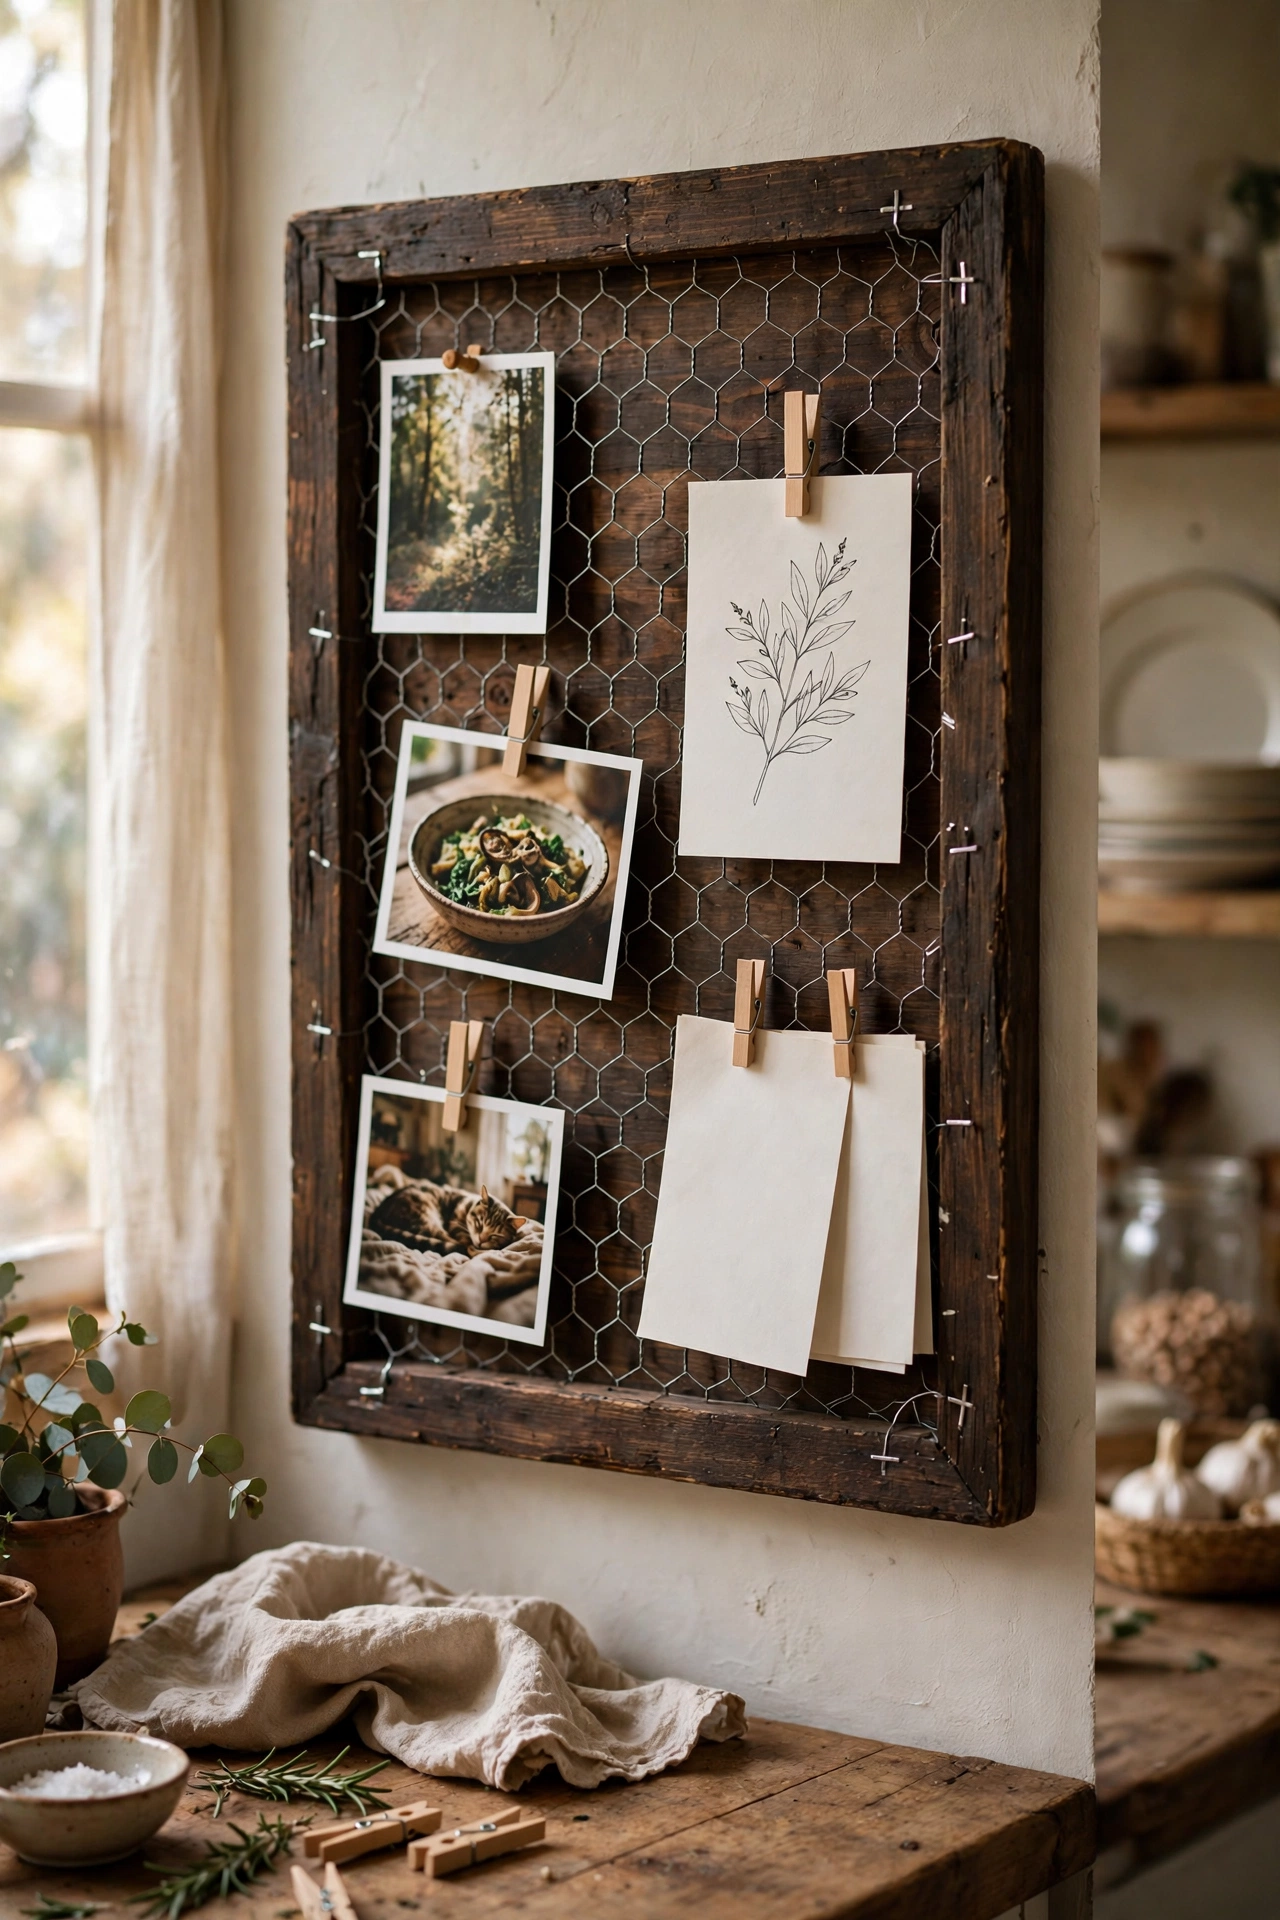
Chicken wire stapled to a rustic frame makes a memo board with farmhouse charm. I built a simple frame from pine trim, stapled chicken wire across the back, and stained the frame dark. Photos, notes, and dried flowers clip on with tiny pegs. Wear gloves when cutting the wire, because the cut ends are sharp. Mine hangs in the kitchen holding recipes and my daughter’s drawings. More hallway ideas: (see also: rustic-entryway-ideas). Tiny wooden pegs hold photos better than clips — the clips rust and mark the pictures.
Cost: ~$10-15 | Time: 1.5 hours
Pro tip: Stretch chicken wire drum-tight before stapling. Saggy wire looks homemade in the wrong way and pegs slide off it.
19. Rustic Farmhouse Clock from a Wood Round
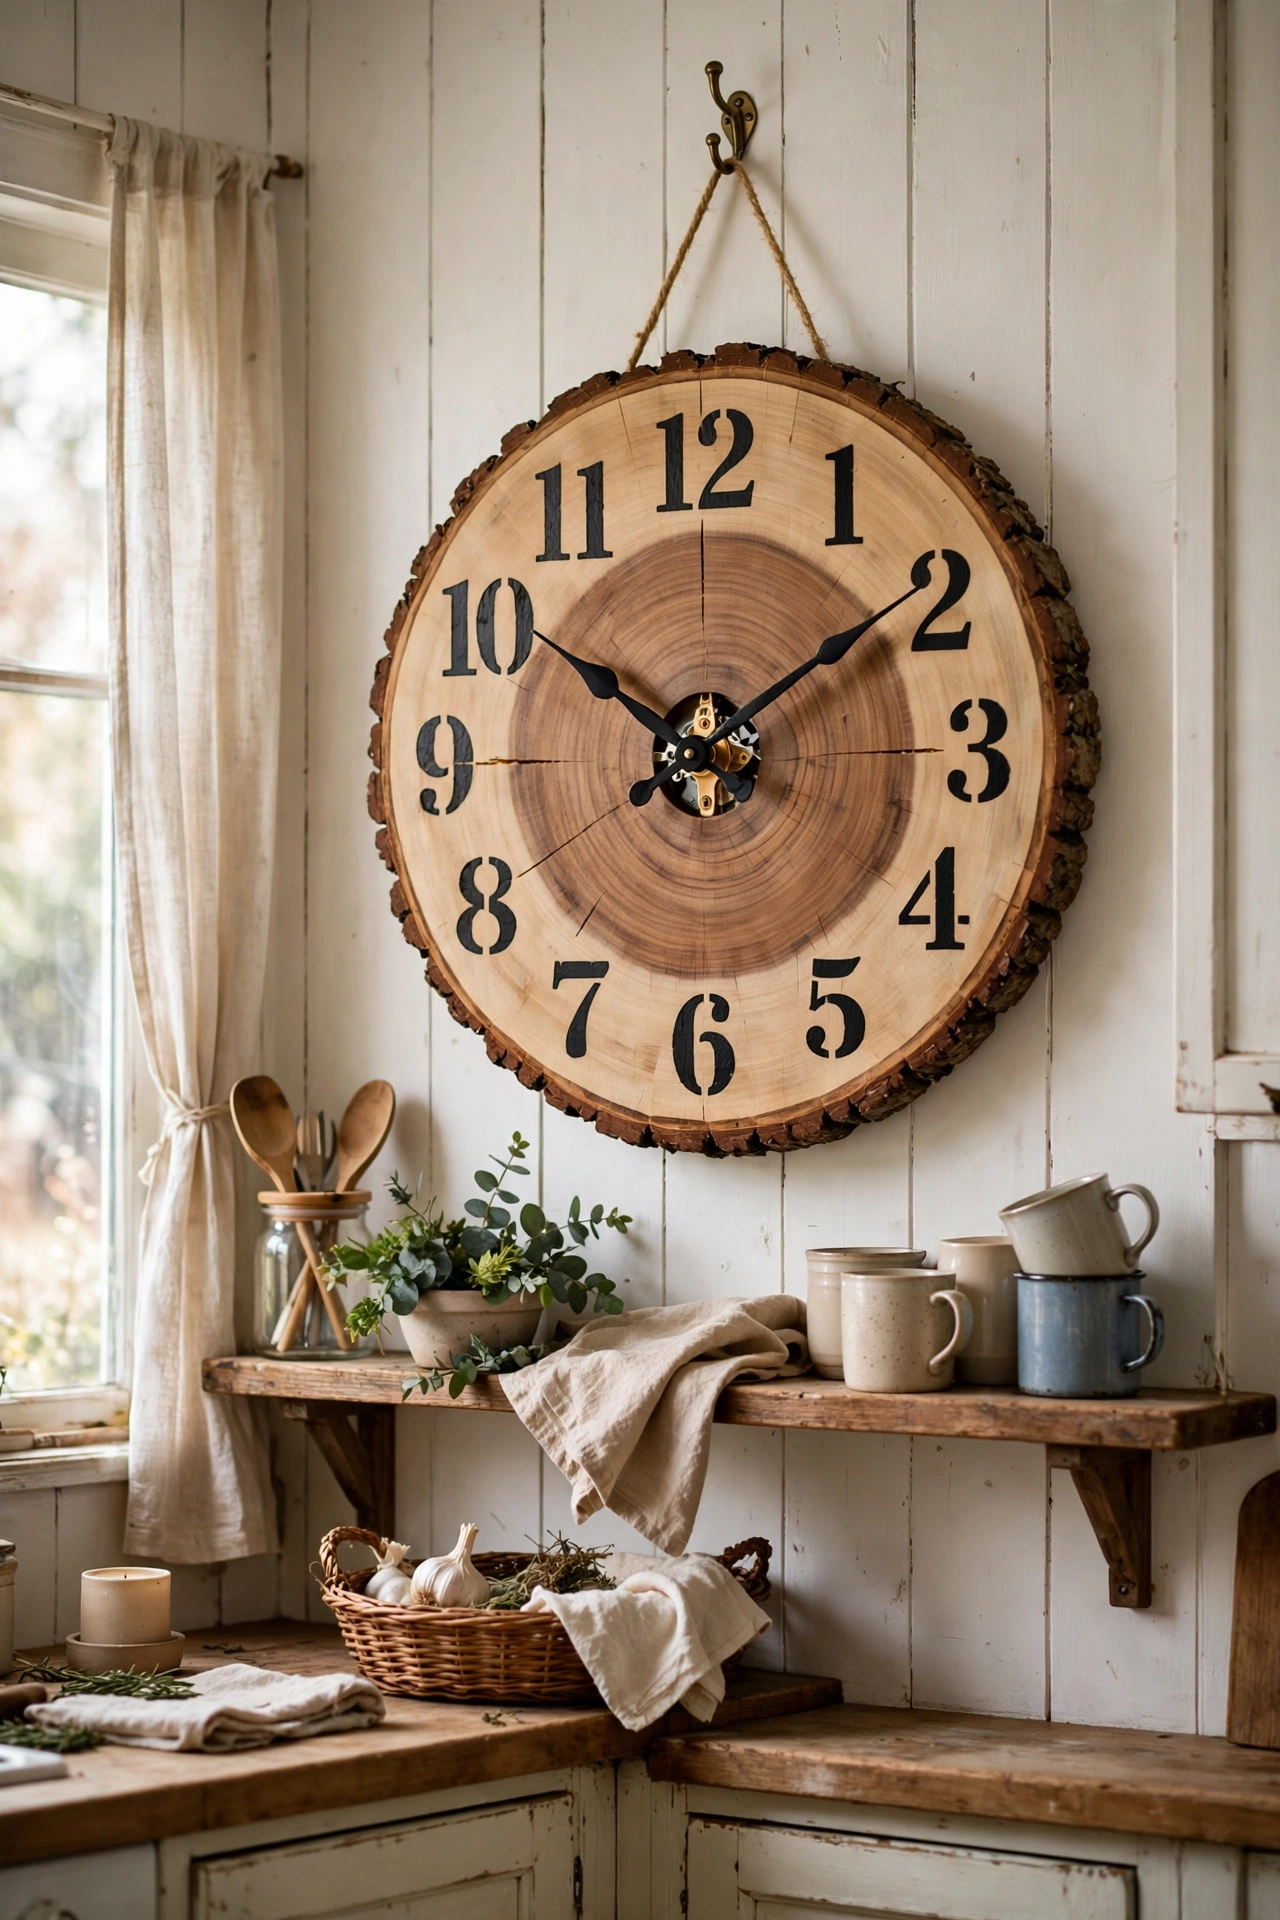
A wood round with a clock kit becomes a farmhouse clock in under an hour. I sanded a large wood slice, drilled a centre hole, fitted a quartz clock movement, and painted simple numerals with a stencil. It hangs in the kitchen and keeps perfect time. Seal the wood first so the paint does not bleed into the grain. Choose a silent-sweep movement, because ticking clocks drive some people mad. I hung it where I can see it from the sofa — a clock nobody reads is just a circle.
Cost: ~$12-18 | Time: 1 hour
20. Whitewashed Coffee Table Refresh
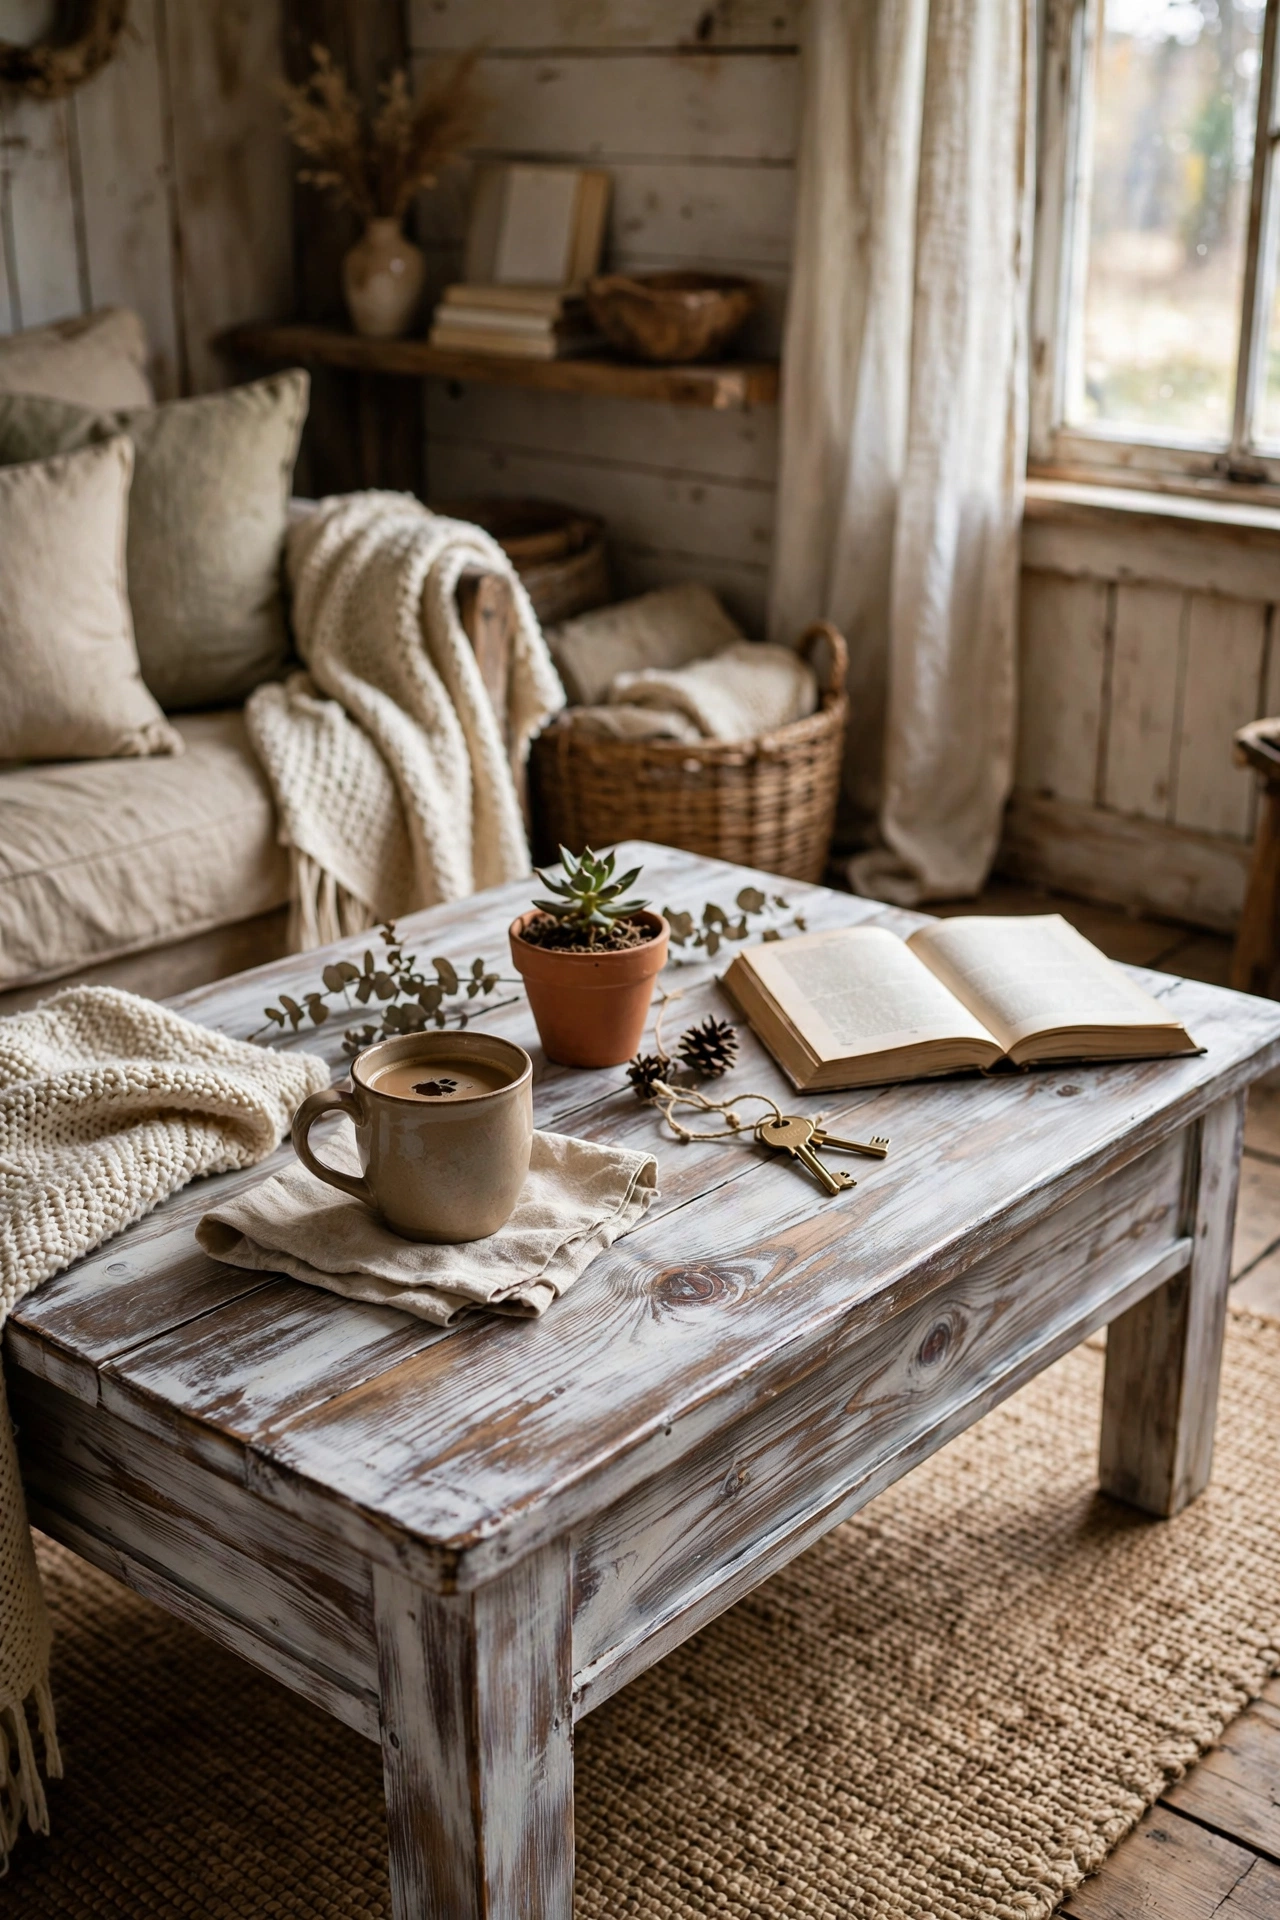
A dark, dated coffee table gets a rustic second life with whitewash. I mixed white paint half-and-half with water, brushed it over the sanded table, and wiped back the excess so the grain shows through. Two coats of matte sealer protect it. My table went from gloomy brown to coastal-rustic in a weekend. Work in sections and wipe back quickly, because whitewash sets fast. The wood grain showing through is the whole point. The underside is the test patch — my first mix was closer to paint than wash.
Cost: ~$12-18 | Time: 3 hours plus drying
21. Rustic Crate Entryway Bench
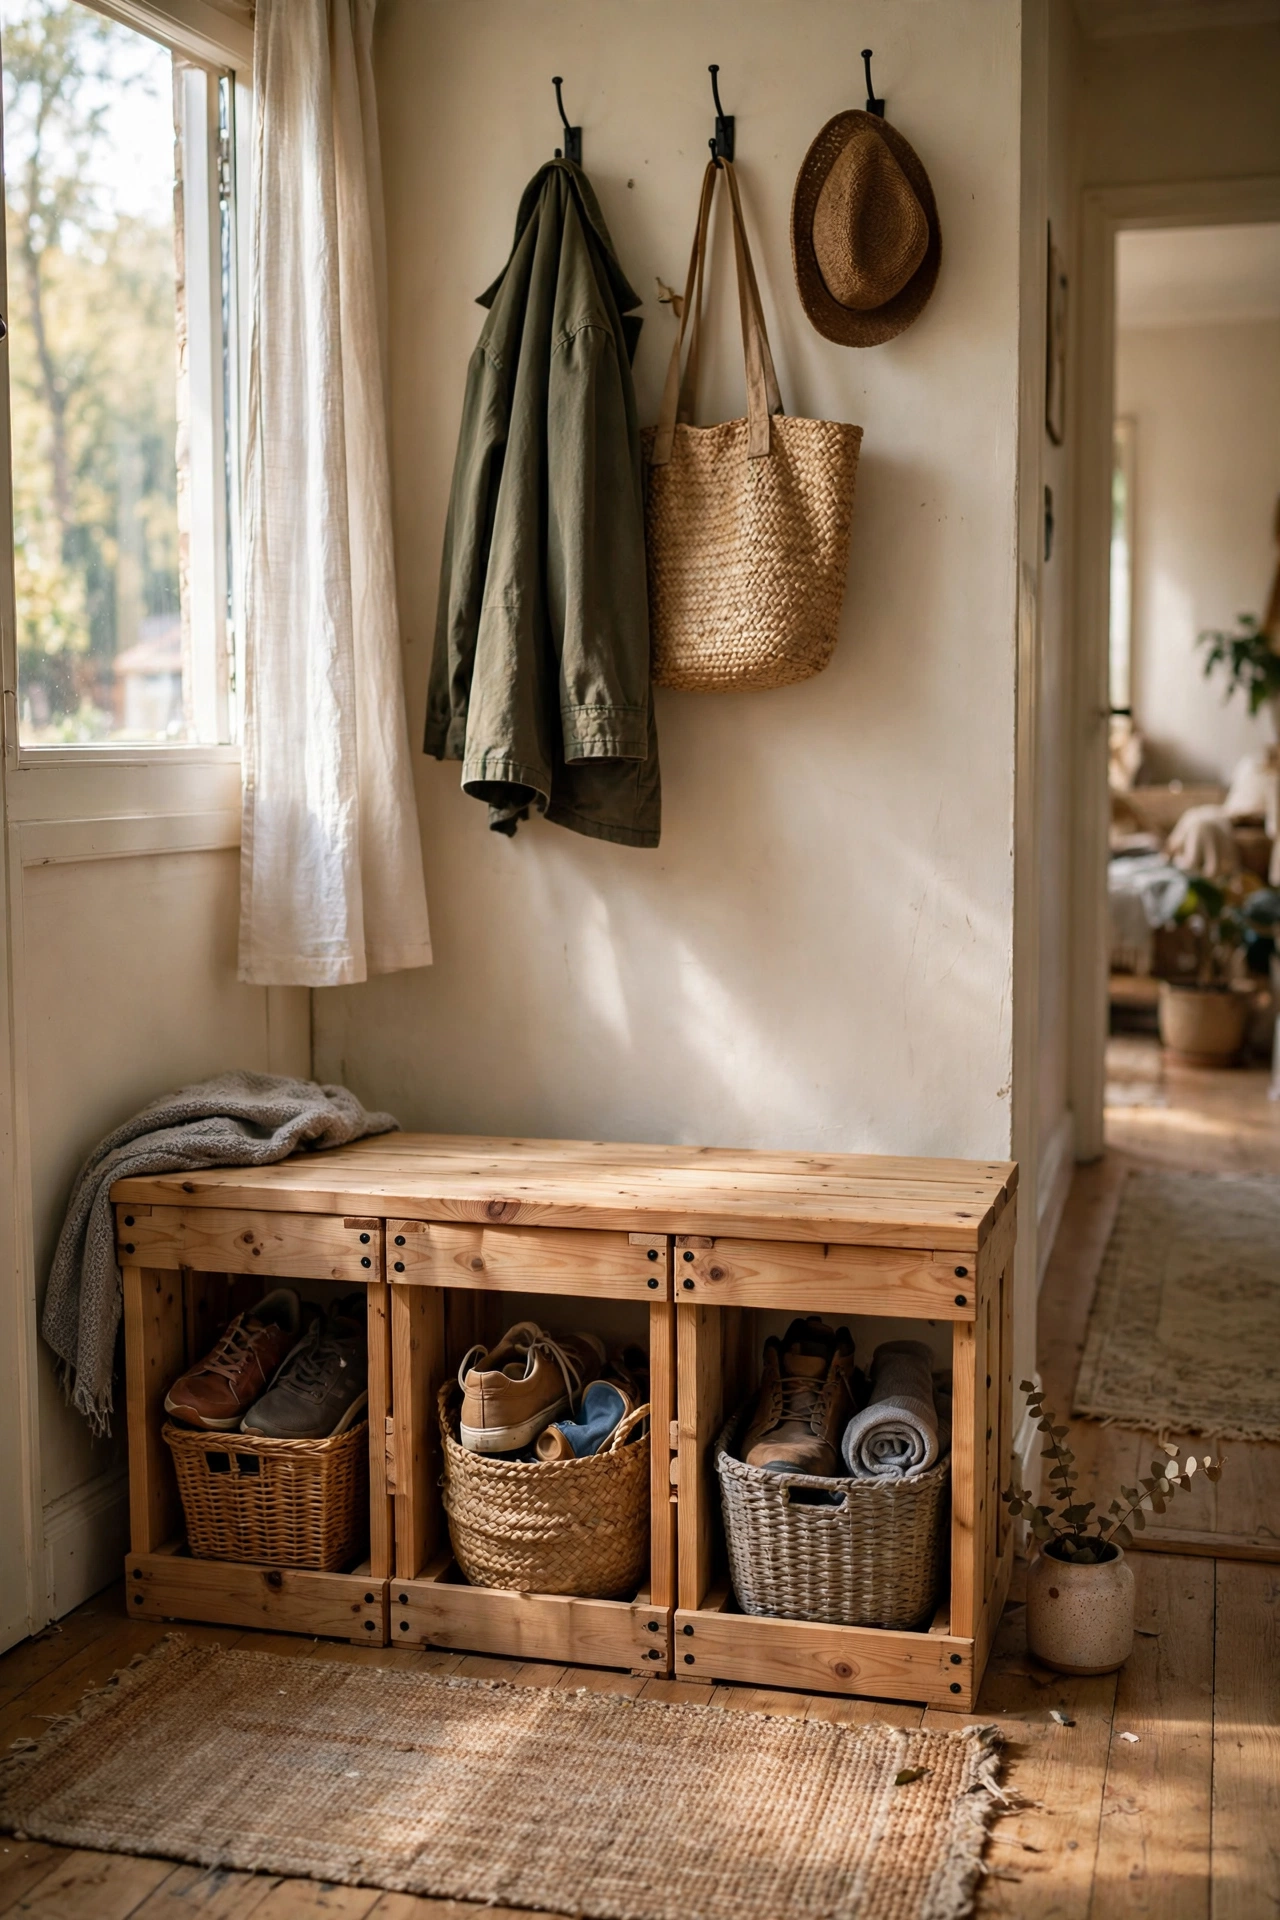
Three large crates bolted together make an entryway bench with cubby storage. I sanded sturdy crates, bolted them side by side, added a pine plank seat on top, and put baskets in the cubbies for shoes. It organises the whole hallway. Bolt through the crate sides with washers so the fixings do not pull through the thin wood. A cushion on top makes it a proper sit-down spot. I added felt glides under the crates — a loaded bench dragged across tiles is a scratch factory.
Cost: ~$25-35 | Time: 3 hours
Pro tip: Anchor crate benches to the wall with an anti-tip strap. Kids climb cubbies like ladders, and a toppling bench is dangerous.
22. Twig Picture Frames
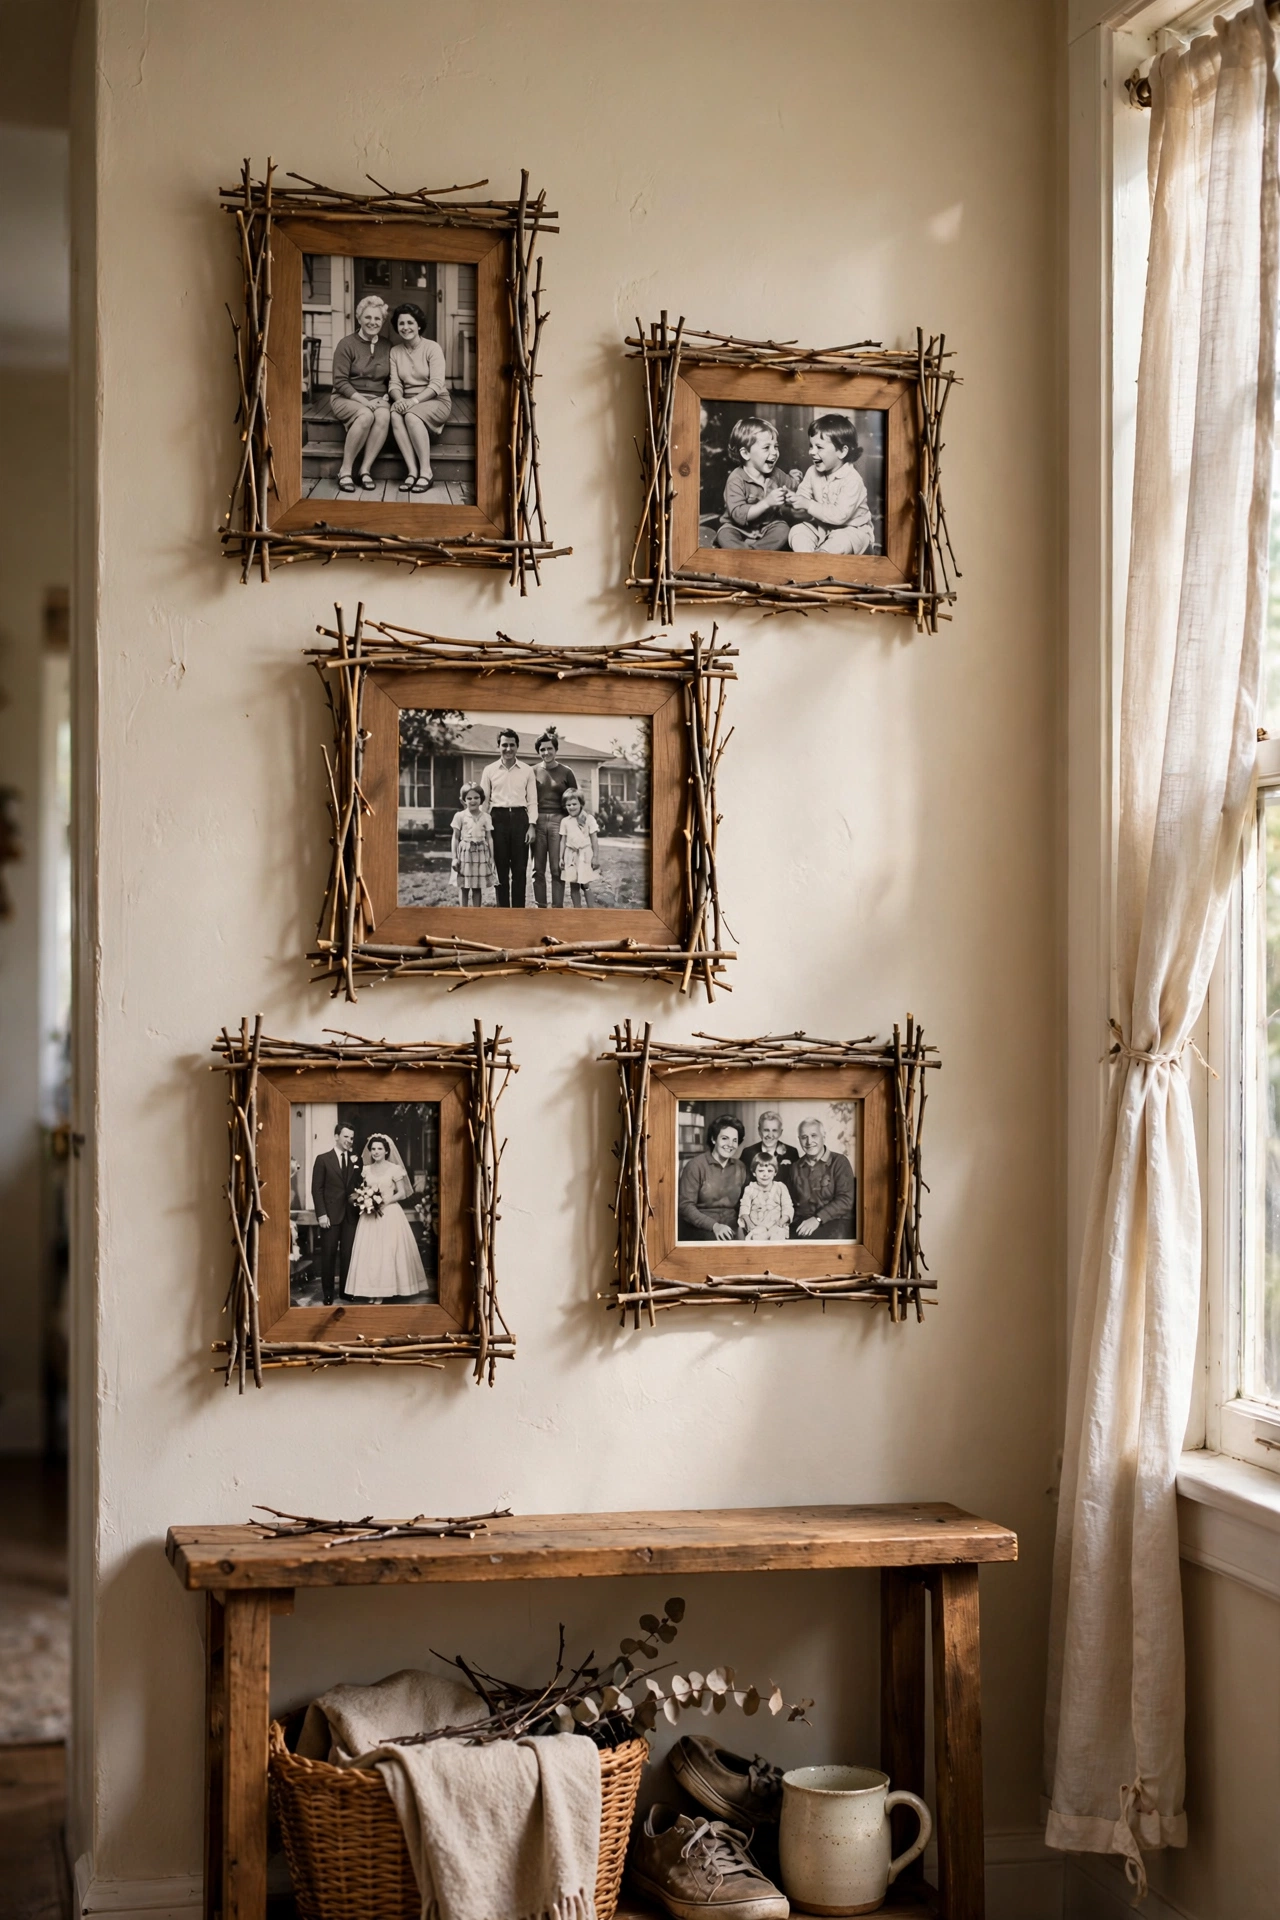
Straight twigs glued round a simple frame make art with real woodland character. I hot-glued uniform twigs around plain wooden frames, trimming them to equal lengths first, and sealed the whole thing with clear matte spray. They frame black-and-white family photos beautifully. Collect twigs all the same thickness, because mixed sizes look messy. My hallway gallery of four cost almost nothing. Loose twig fibres snag the photos, so freeze them first with a light coat of hairspray, then the matte sealer locks everything down.
Cost: ~$6-10 | Time: 1.5 hours
23. Faux Rust Tin Sign with Stencil
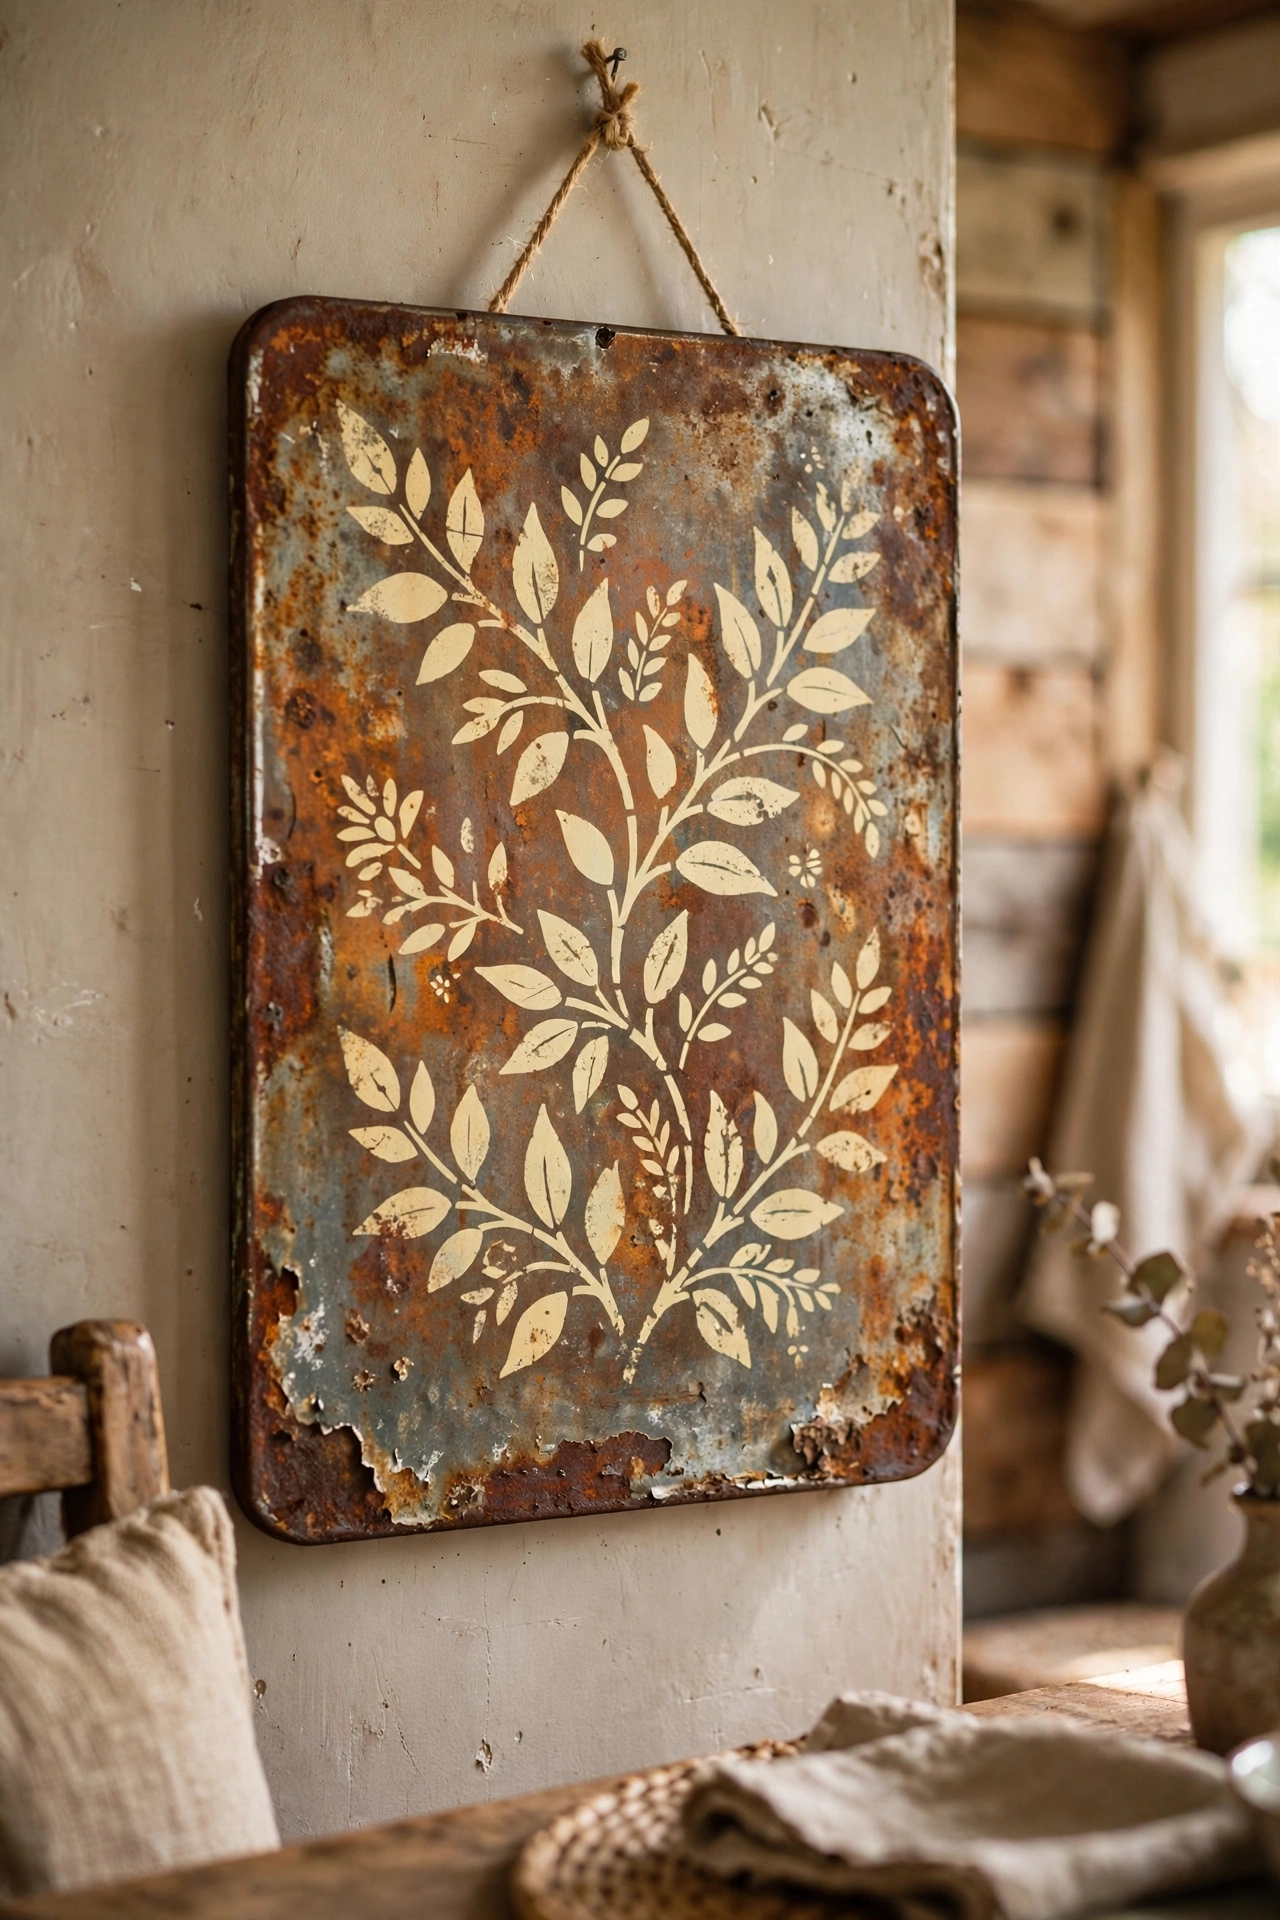
A sheet of tin roofing aged with vinegar and salt looks like a vintage farm sign. I sprayed a tin panel with a vinegar-salt mix, left it to rust for two days, then stencilled a simple word like GATHER in cream paint. It hangs in the dining room and everyone assumes it is antique. Seal the rusted areas with clear matte sealer or the rust keeps spreading. Wear gloves, because rust stains everything. Cream over rust needs two coats — one coat turns pink, and pink is not the farmhouse brief.
Cost: ~$10-16 | Time: 1 hour plus rusting time
24. Branch Candle Holders
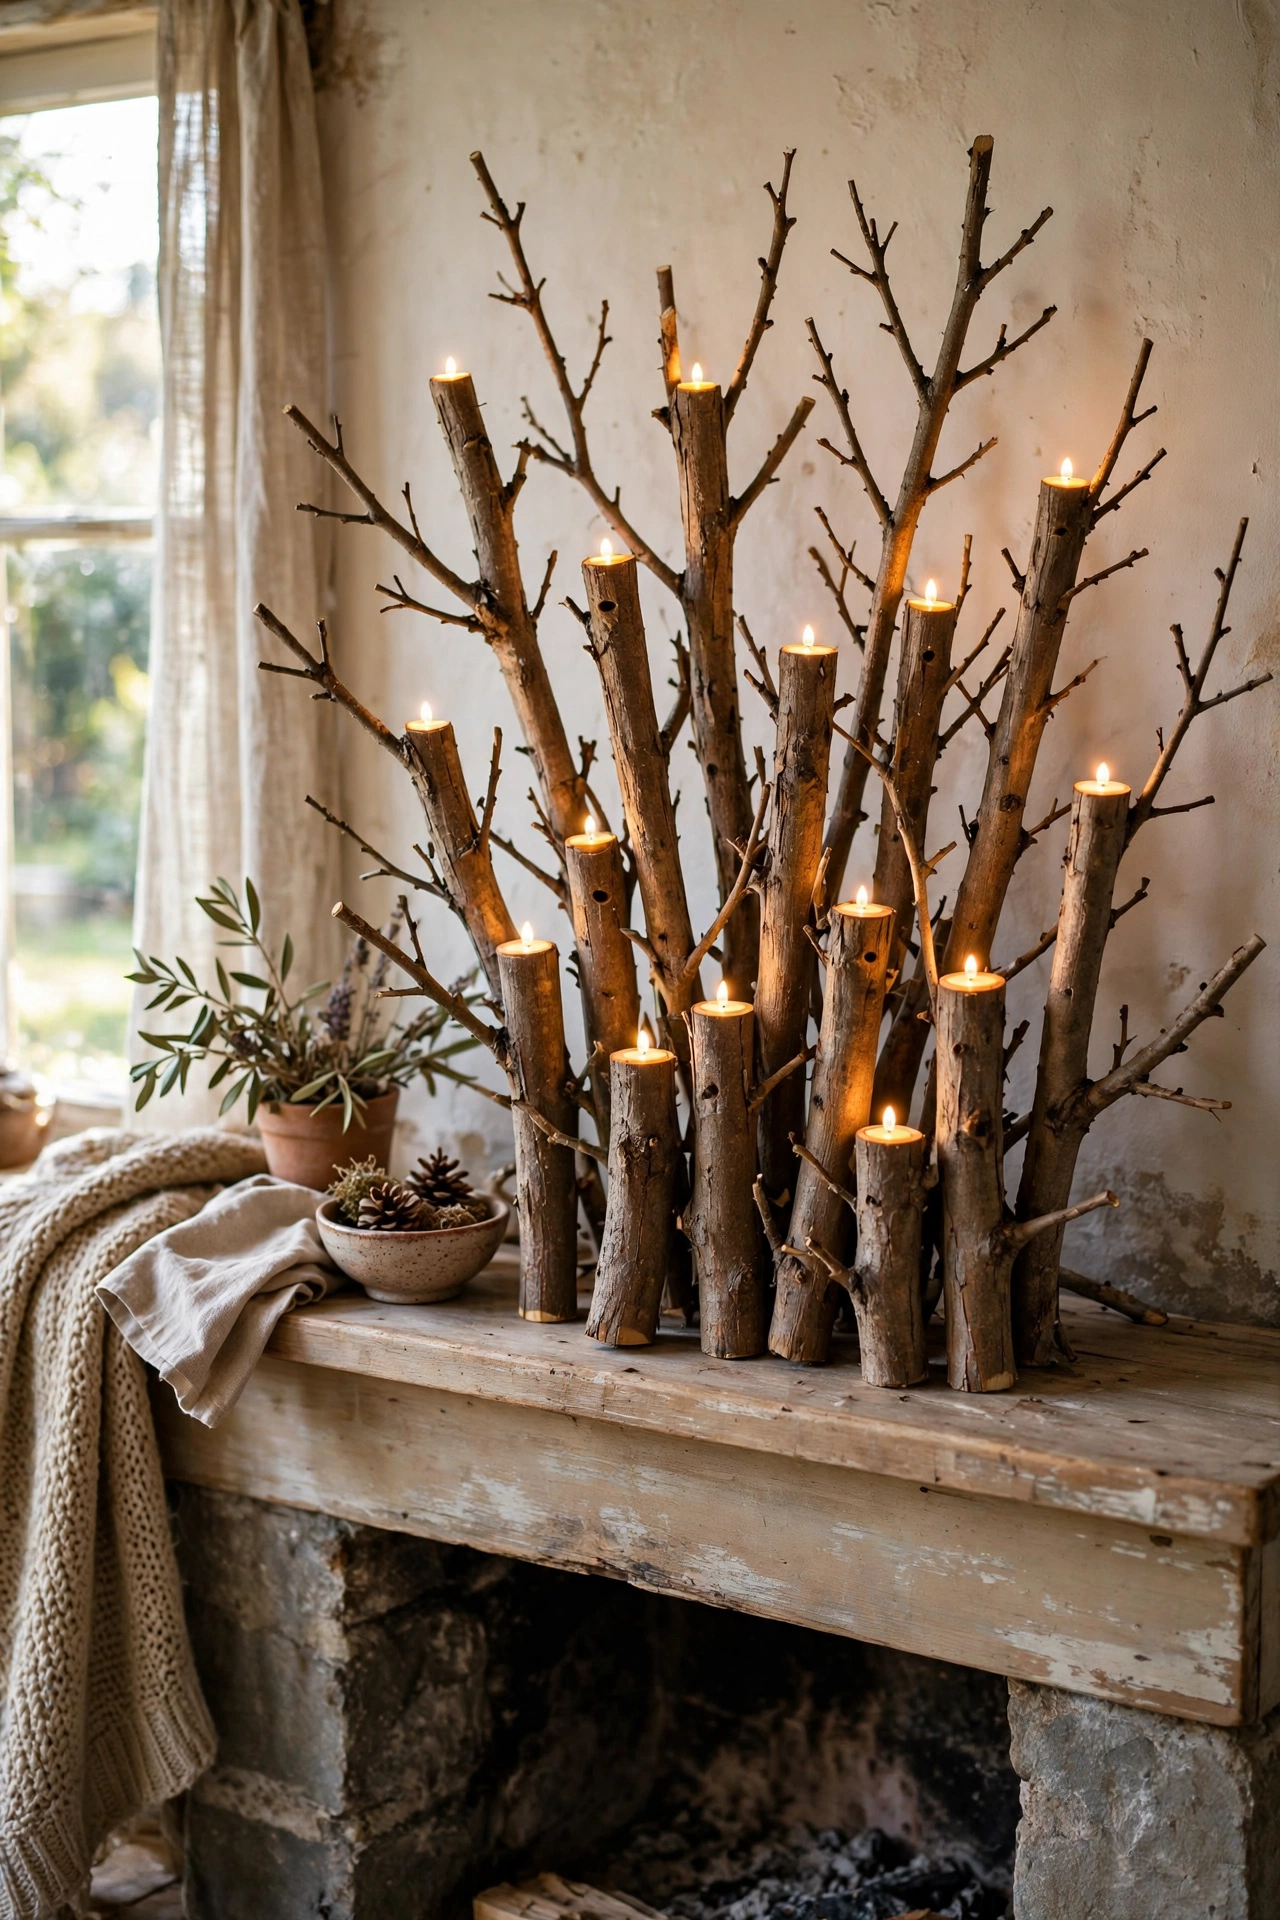
Thick branches drilled to hold tea lights become rustic candle holders. I cut dry branches into different heights, drilled a shallow hole in the top of each with a flat bit, and dropped in LED tea lights. Clustered on the mantel they look like a forest. Use LED lights only, because real flames on dry wood are asking for trouble. Sand the bases flat so they stand steady. I group three at staggered heights and add one with no candle — the empty one makes the others look intentional.
Cost: ~$5-10 | Time: 1.5 hours
Pro tip: Drill tea light holes slightly wider than the light. A tight fit looks neat but makes changing batteries a wrestling match.
25. Jute Rope Mirror Frame
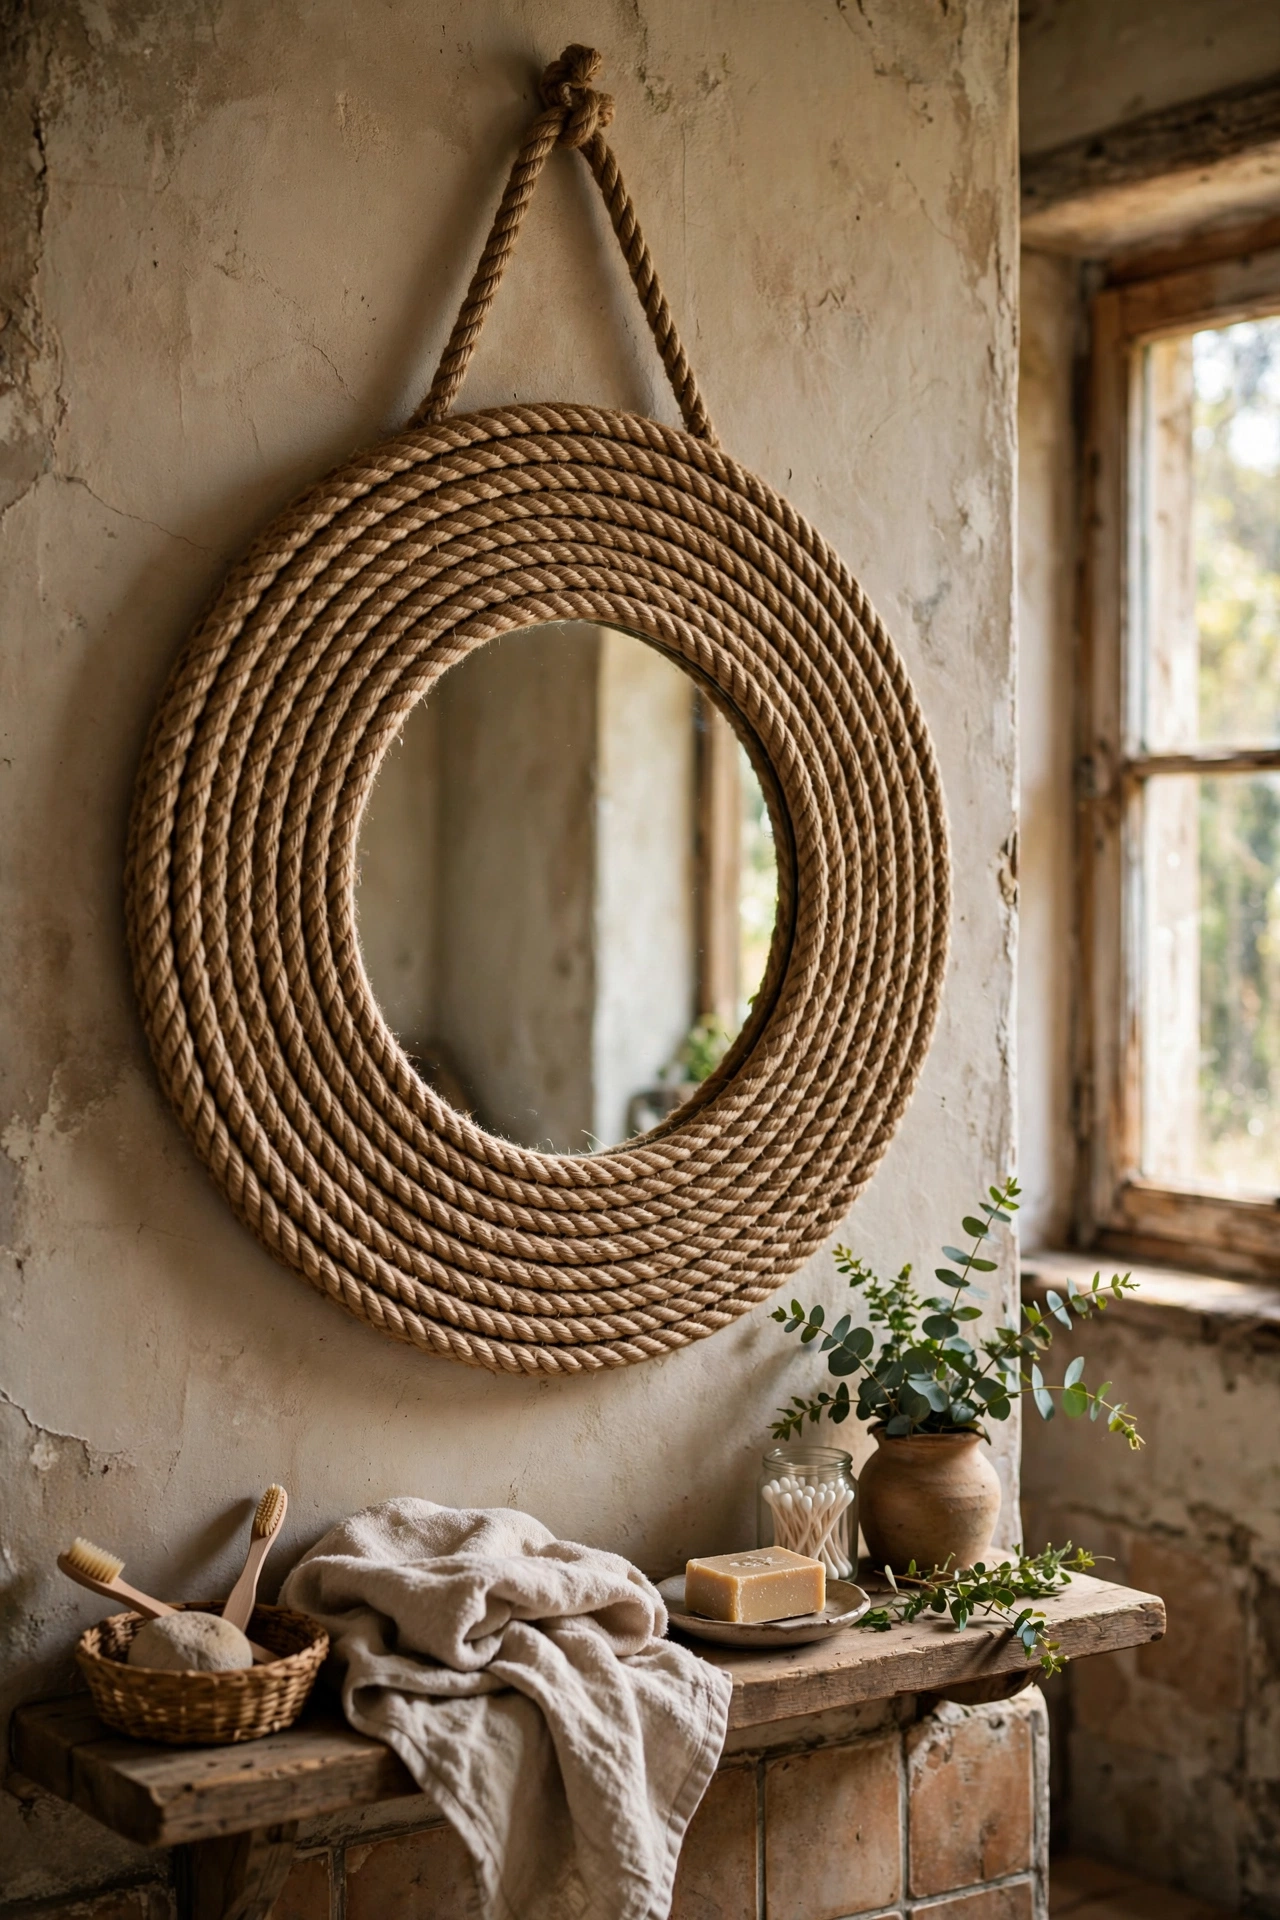
A plain round mirror wrapped in jute rope becomes a rustic statement piece. I hot-glued thick jute rope in concentric rings around a cheap round mirror, working outward from the glass edge. It took one long evening and now hangs in the bathroom looking far more expensive than it was. Keep the rings tight and even, because wobbles show. Seal the rope with clear spray so bathroom steam does not loosen the glue.
Cost: ~$12-18 | Time: 3 hours
Twenty-five rustic projects, most of them built from wood other people threw away. Start with the shelves and see where the sawdust takes you.
