21 Thrift Store DIY Ideas That Look Expensive
Thrift store DIY ideas are my favourite corner of budget decorating, because a secondhand find plus an hour of work can outshine a catalogue piece. The trick is learning which pieces have good bones: solid wood, real brass, heavy ceramic. This list is my full playbook from five years of charity shop hunting, and every idea includes a pro tip so you skip the mistakes I already made for you. Most cost under $20 and take an afternoon.
1. Brass Lamp Thrift Flip
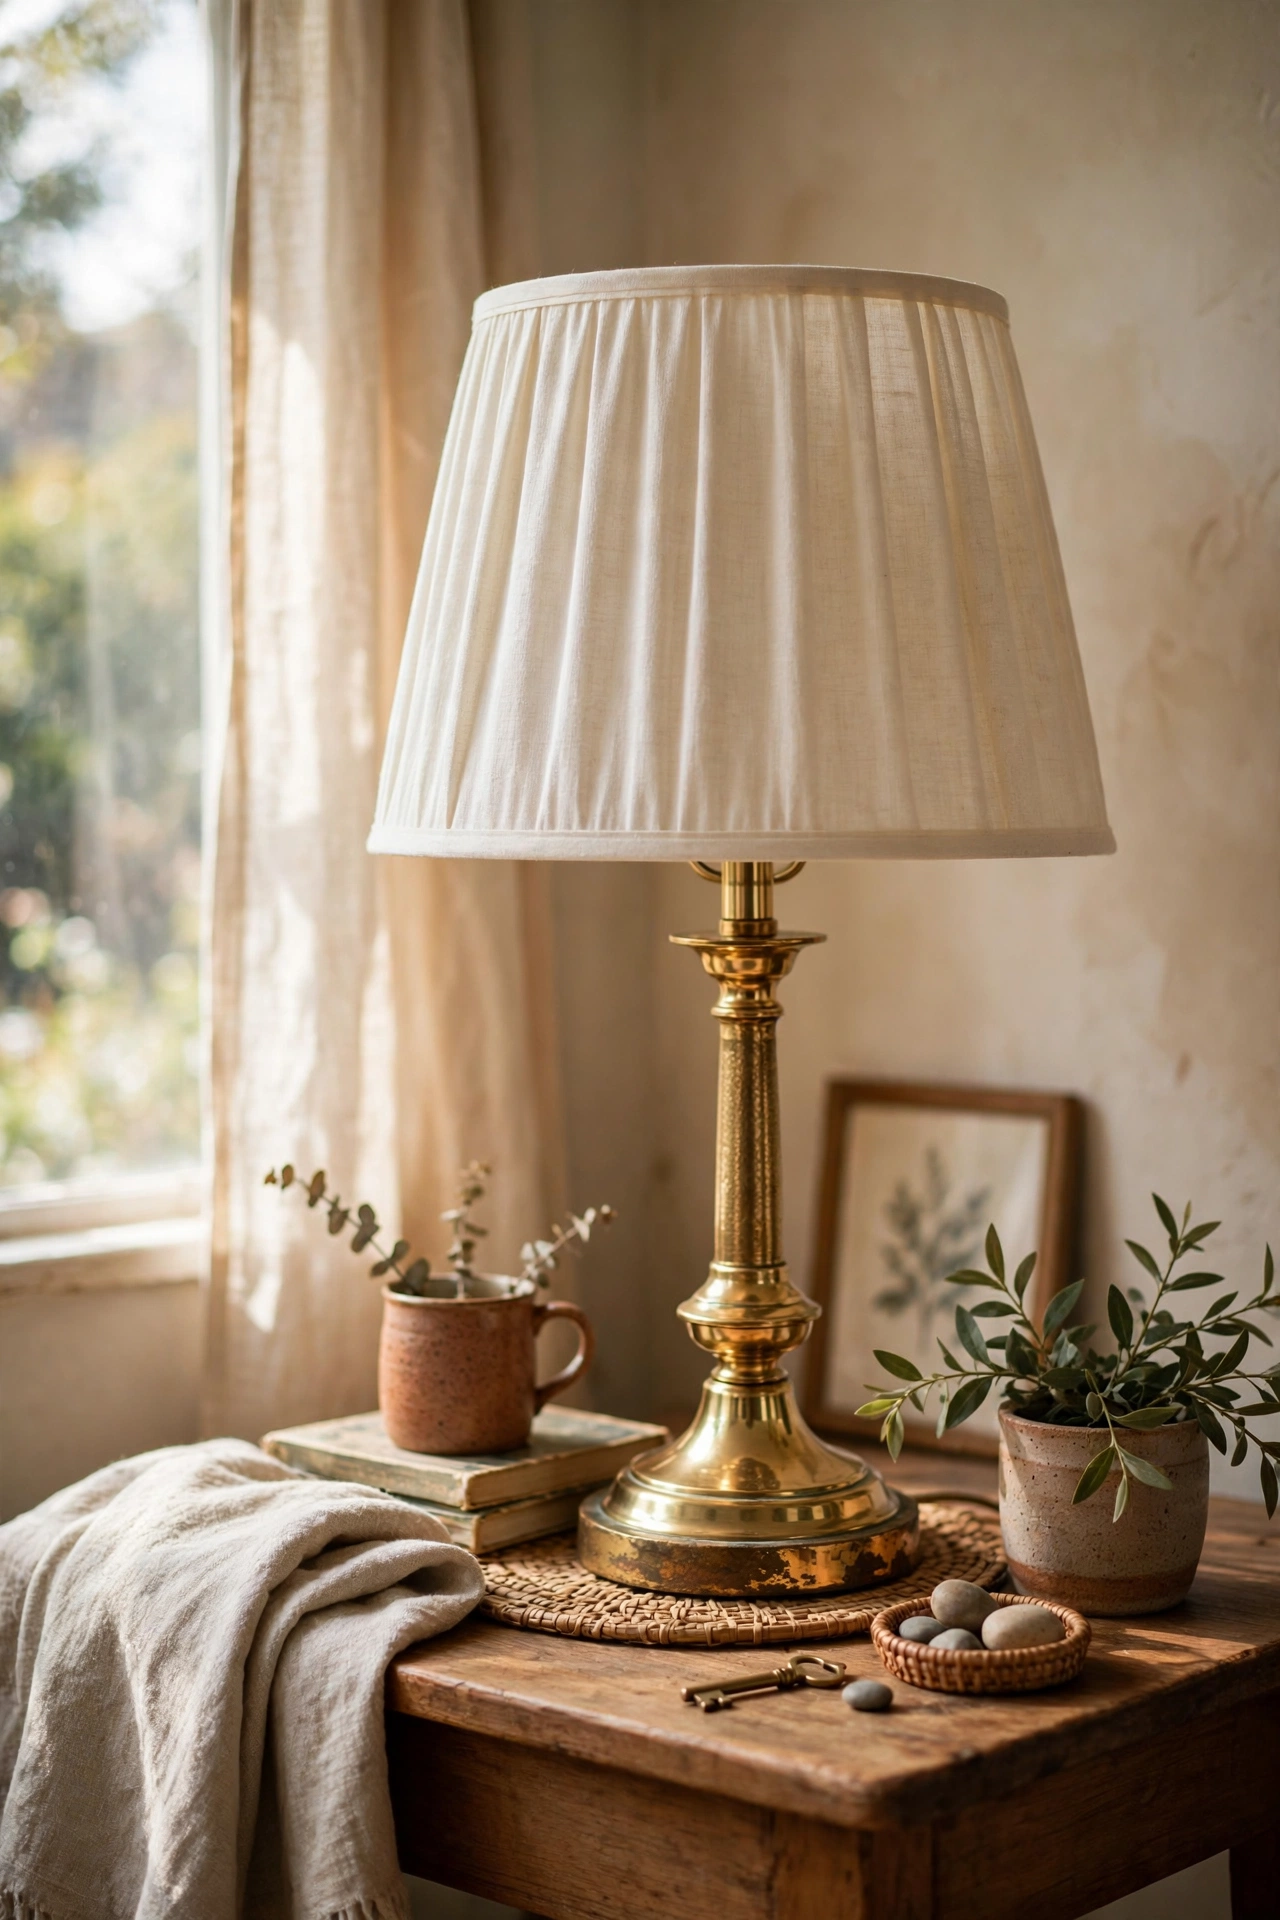
An ugly brass lamp base is usually one shade away from gorgeous. I bought a tarnished brass lamp for $6, polished it with vinegar and salt, and swapped the dated pleated shade for a plain linen drum shade. The polished brass glows like a boutique find. Check that the wiring feels solid and the socket is not cracked before you buy, because rewiring adds cost. My first lamp had a wobbly harp I did not notice until home, which meant a $5 replacement part. A good brass base, a clean shade, and warm bulb is a $150 look for about $20.
Cost: ~$15-25 | Time: 1 hour
💡 Thrift pro tip: Test lamps in the shop if there is a plug nearby. A working lamp is worth three broken ones, because replacement sockets eat your savings fast.
2. Gild a Dated Wooden Frame
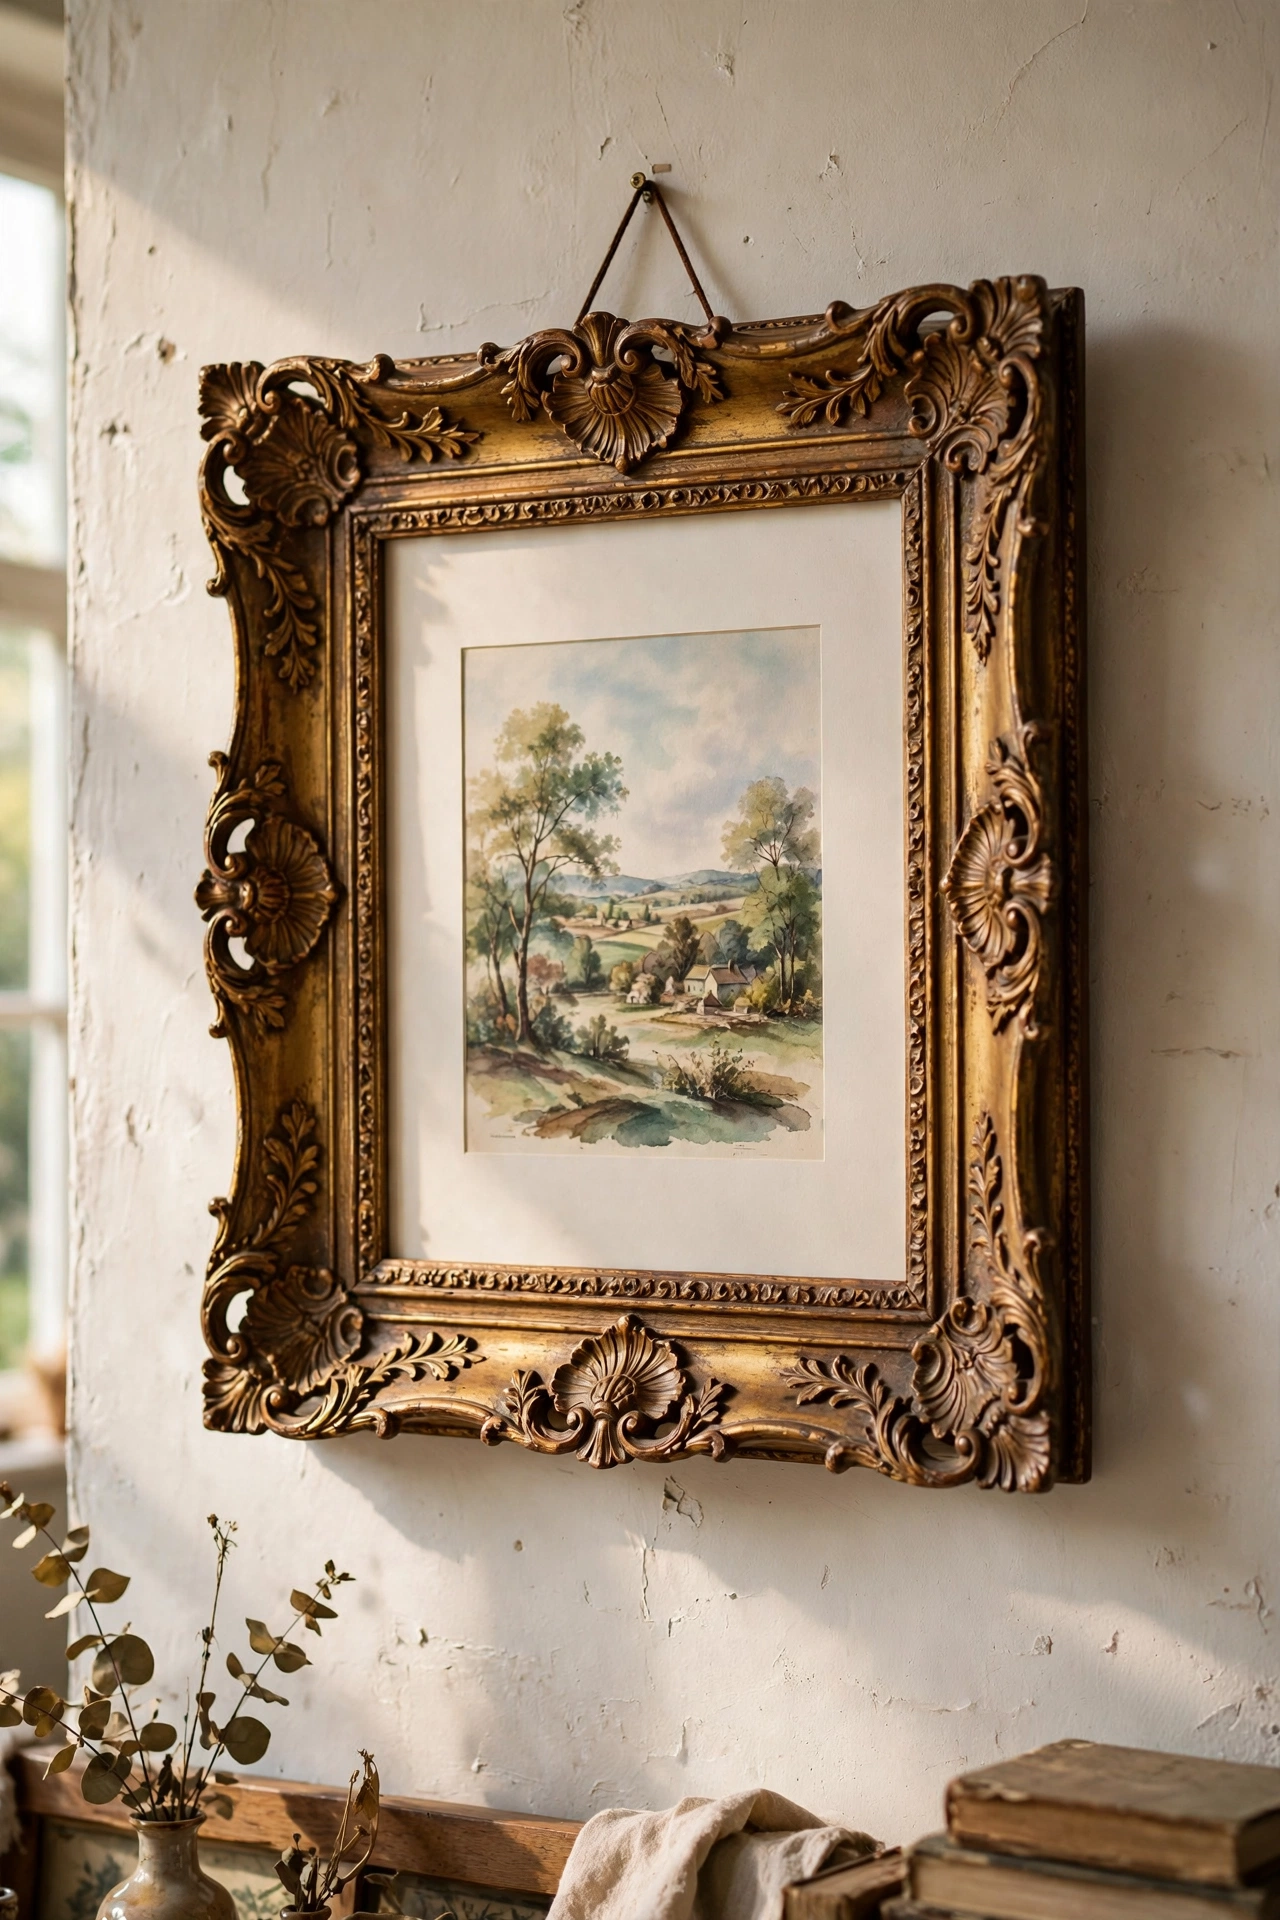
Ornate wooden frames are always at the thrift store because nobody wants the heavy brown ones. I bought a carved frame for $4 and brushed it with antique gold metallic paint, wiping the excess so the dark crevices stayed dark. The result looks like an estate-sale find. Work the paint into the carving with a dry brush and step back often, because heavy coverage flattens the detail. My first frame got too much gold and looked plastic until I toned it back with a dark wax glaze. Thin layers, dark crevices, and it reads expensive.
Cost: ~$8-14 | Time: 1 hour plus drying
💡 Thrift pro tip: Heavier frames usually mean real wood and real carving. If it feels light, it is probably resin, which still works but chips if you drop it.
3. Mirror Tray from a Thrifted Frame
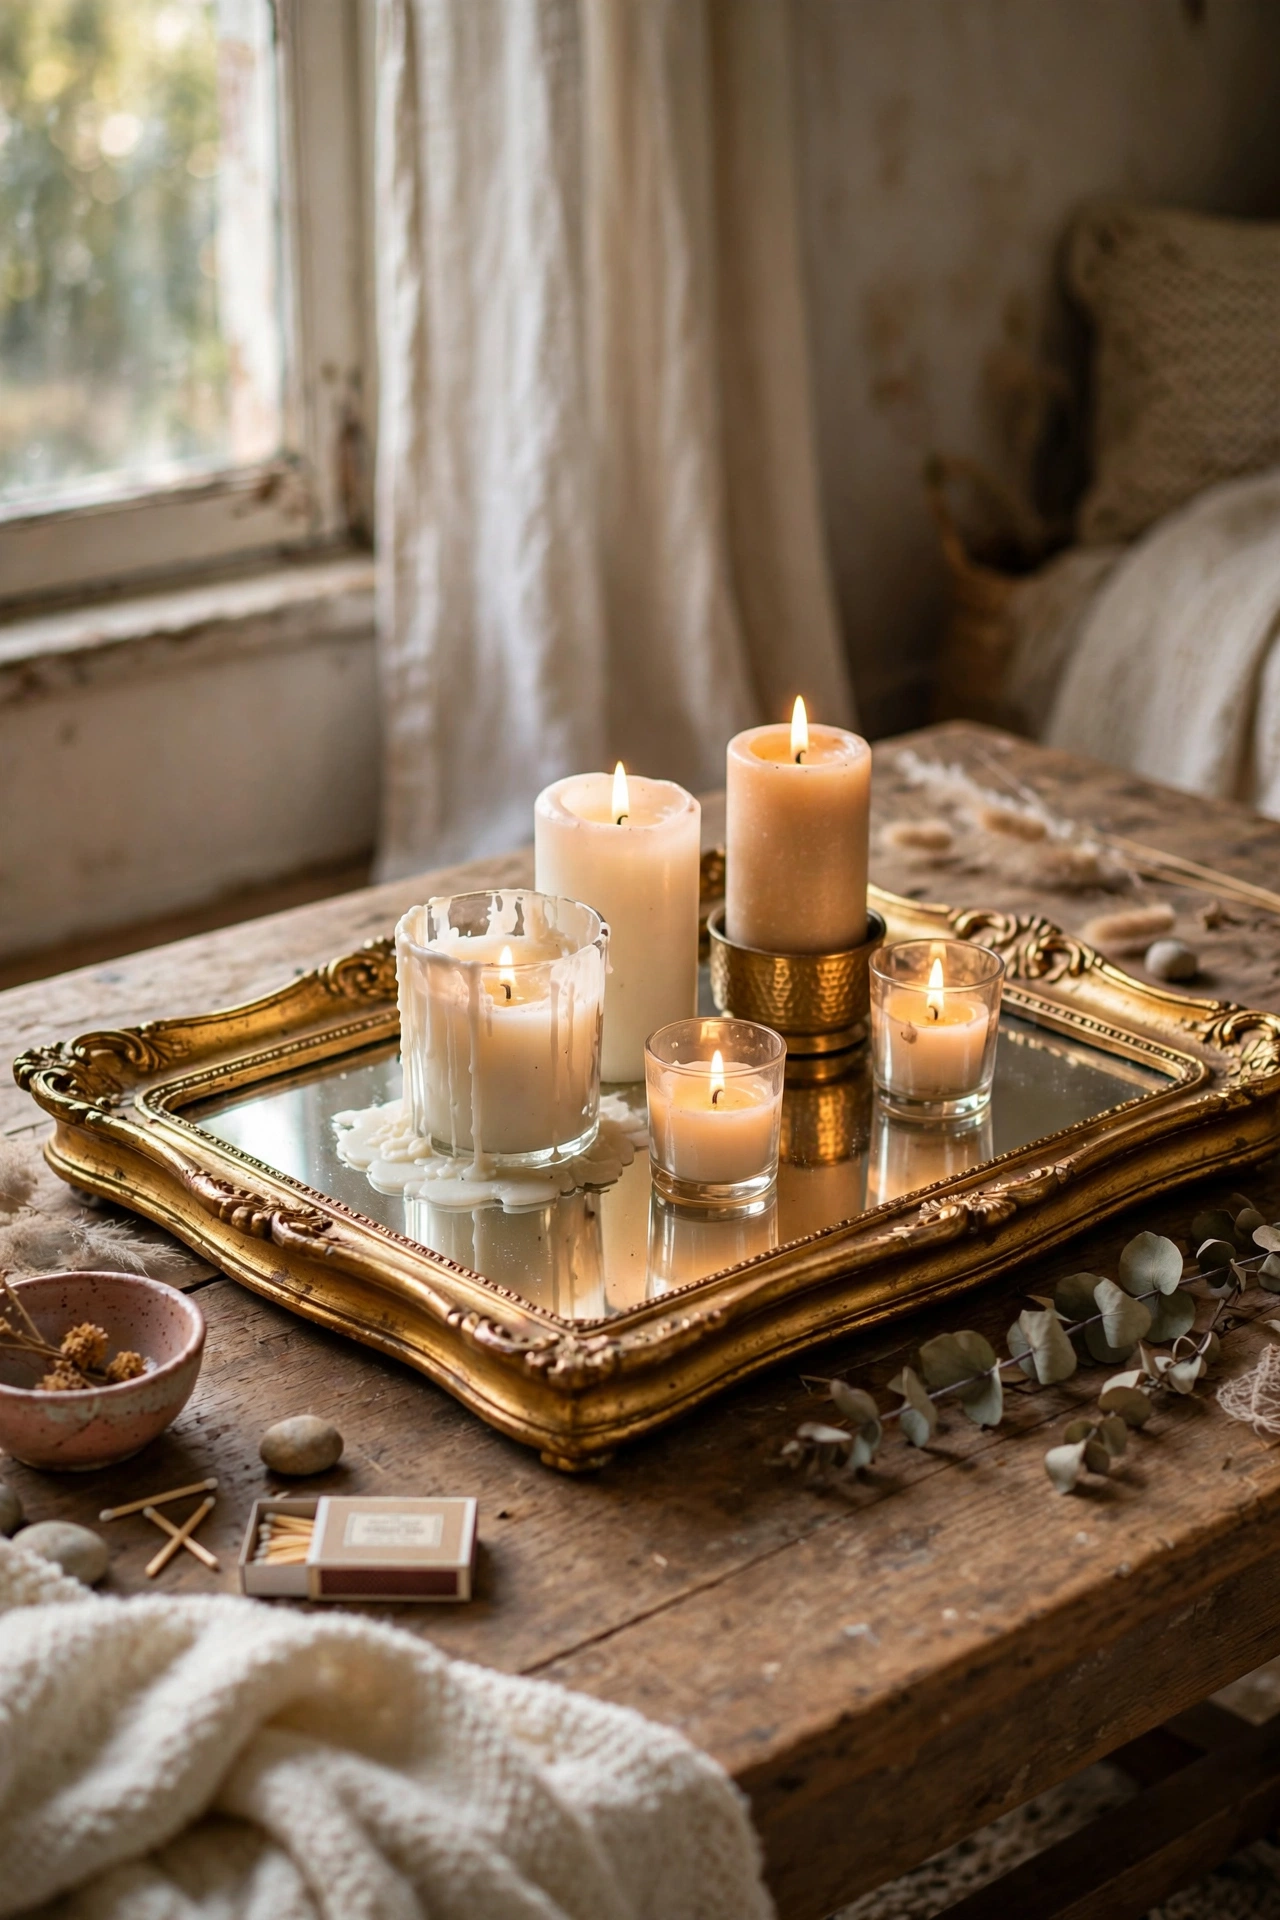
A flat frame plus a mirror cut to fit becomes a luxe serving tray. I found a gold frame for $5, had the glass shop cut a mirror for $12, and glued two small handles from the hardware store to the back. It lives on my coffee table holding candles. Measure the inside of the frame before you go to the glass shop, and bring the frame with you. I guessed once and the mirror was a quarter inch too big, which cost me a second cut. This tray looks like something from a home boutique and cost $22 total.
Cost: ~$18-28 | Time: 30 minutes
💡 Thrift pro tip: Deep, flat frames with wide rails make the best trays. Thin frames do not leave room for handles and look flimsy with weight on them.
4. Cluster Mismatched Vases in One Colour
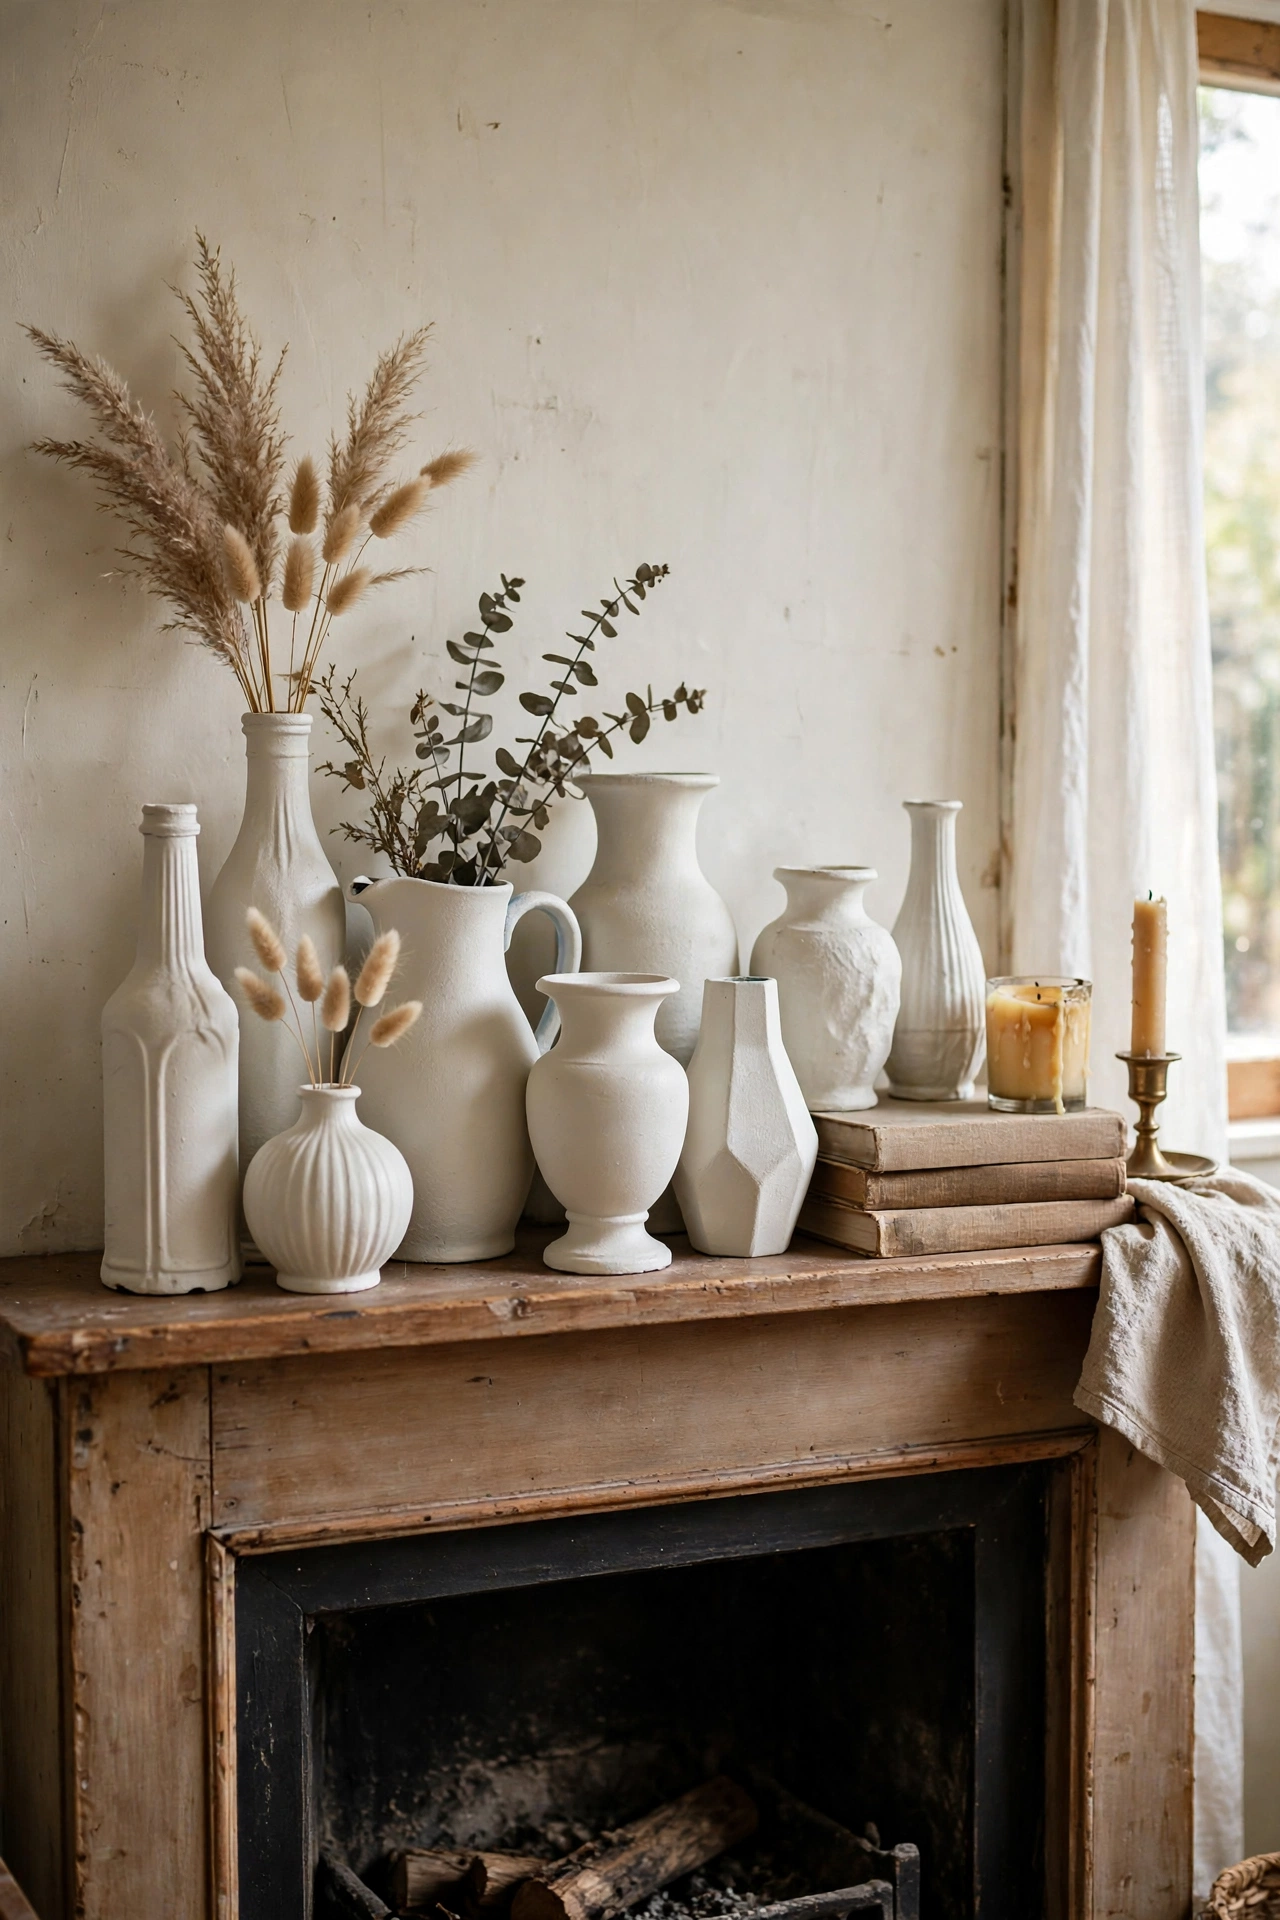
Five different thrifted vases sprayed in the same matte finish look like a curated collection. I gathered vases in all shapes for about $1 each and painted them warm white, grouping them in odd numbers on my mantel. The single colour unifies completely different shapes, which is the whole trick. My first attempt used glossy paint and they looked like plastic toys, so stick with matte or stone-finish sprays. Odd numbers and varied heights make the cluster look collected rather than accidental.
Cost: ~$10-16 | Time: 1 hour plus drying
💡 Thrift pro tip: Flip vases over and check for the country stamp. Older pieces often have thicker glass that takes spray paint beautifully.
5. Refinish a Cane Chair
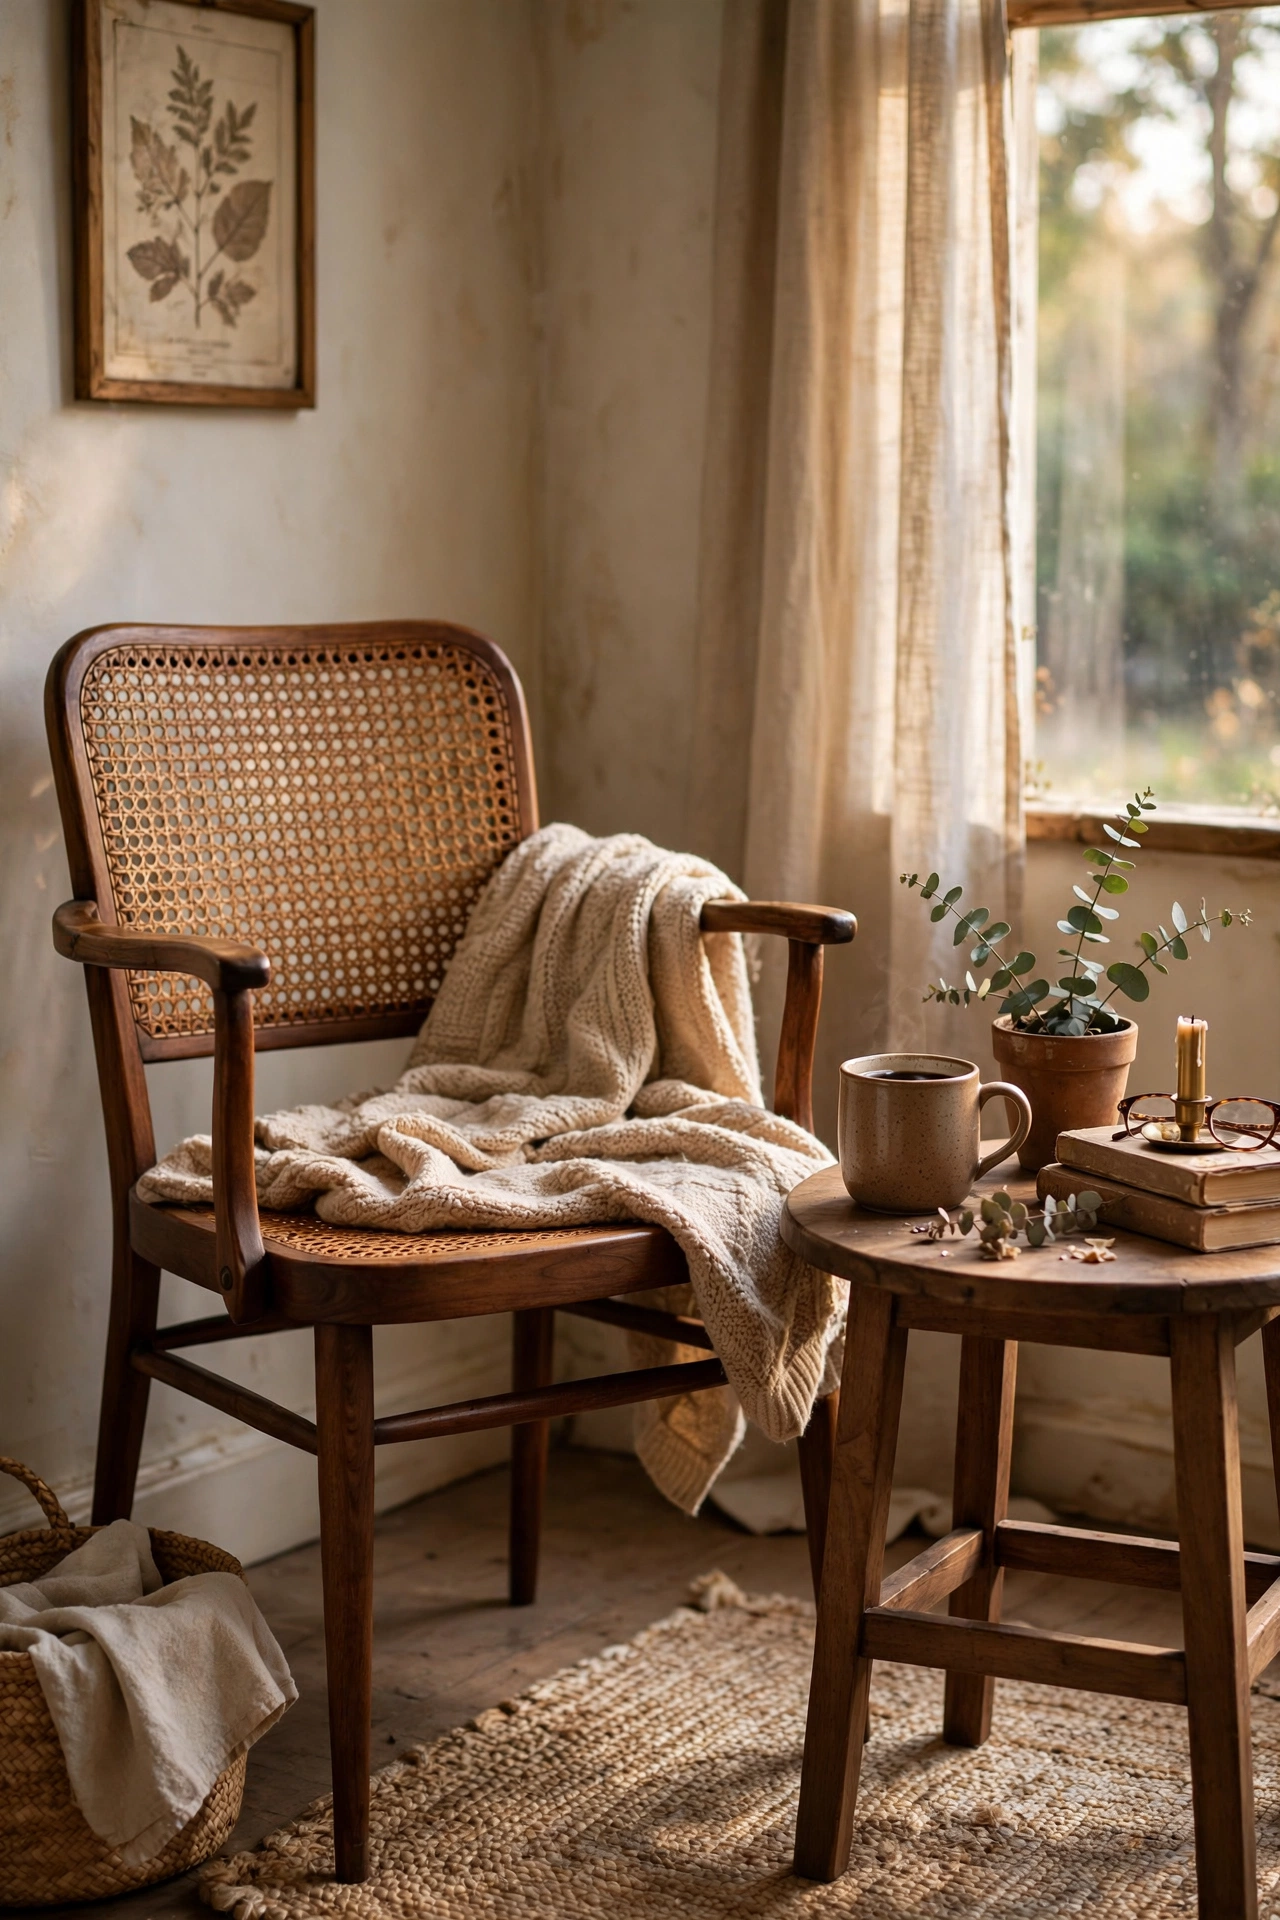
Cane chairs show up at thrift stores constantly, usually with scratched frames. I bought one for $12, sanded the wood frame, and stained it a rich walnut. The cane seat just needed a scrub with soapy water and a soft brush. Do not soak cane, because it sags when wet and tightens as it dries, which is actually how you fix a saggy seat. I learned to check the cane for breaks before buying, since re-caning is a specialist job. A solid cane chair with a refreshed frame looks like a design classic for under $25.
Cost: ~$18-28 | Time: 3 hours
💡 Thrift pro tip: Press the cane firmly with your thumb. If it gives a little and springs back, it is healthy. Cracks or brittleness mean walk away.
6. Reframe Cheap Art in Quality Frames
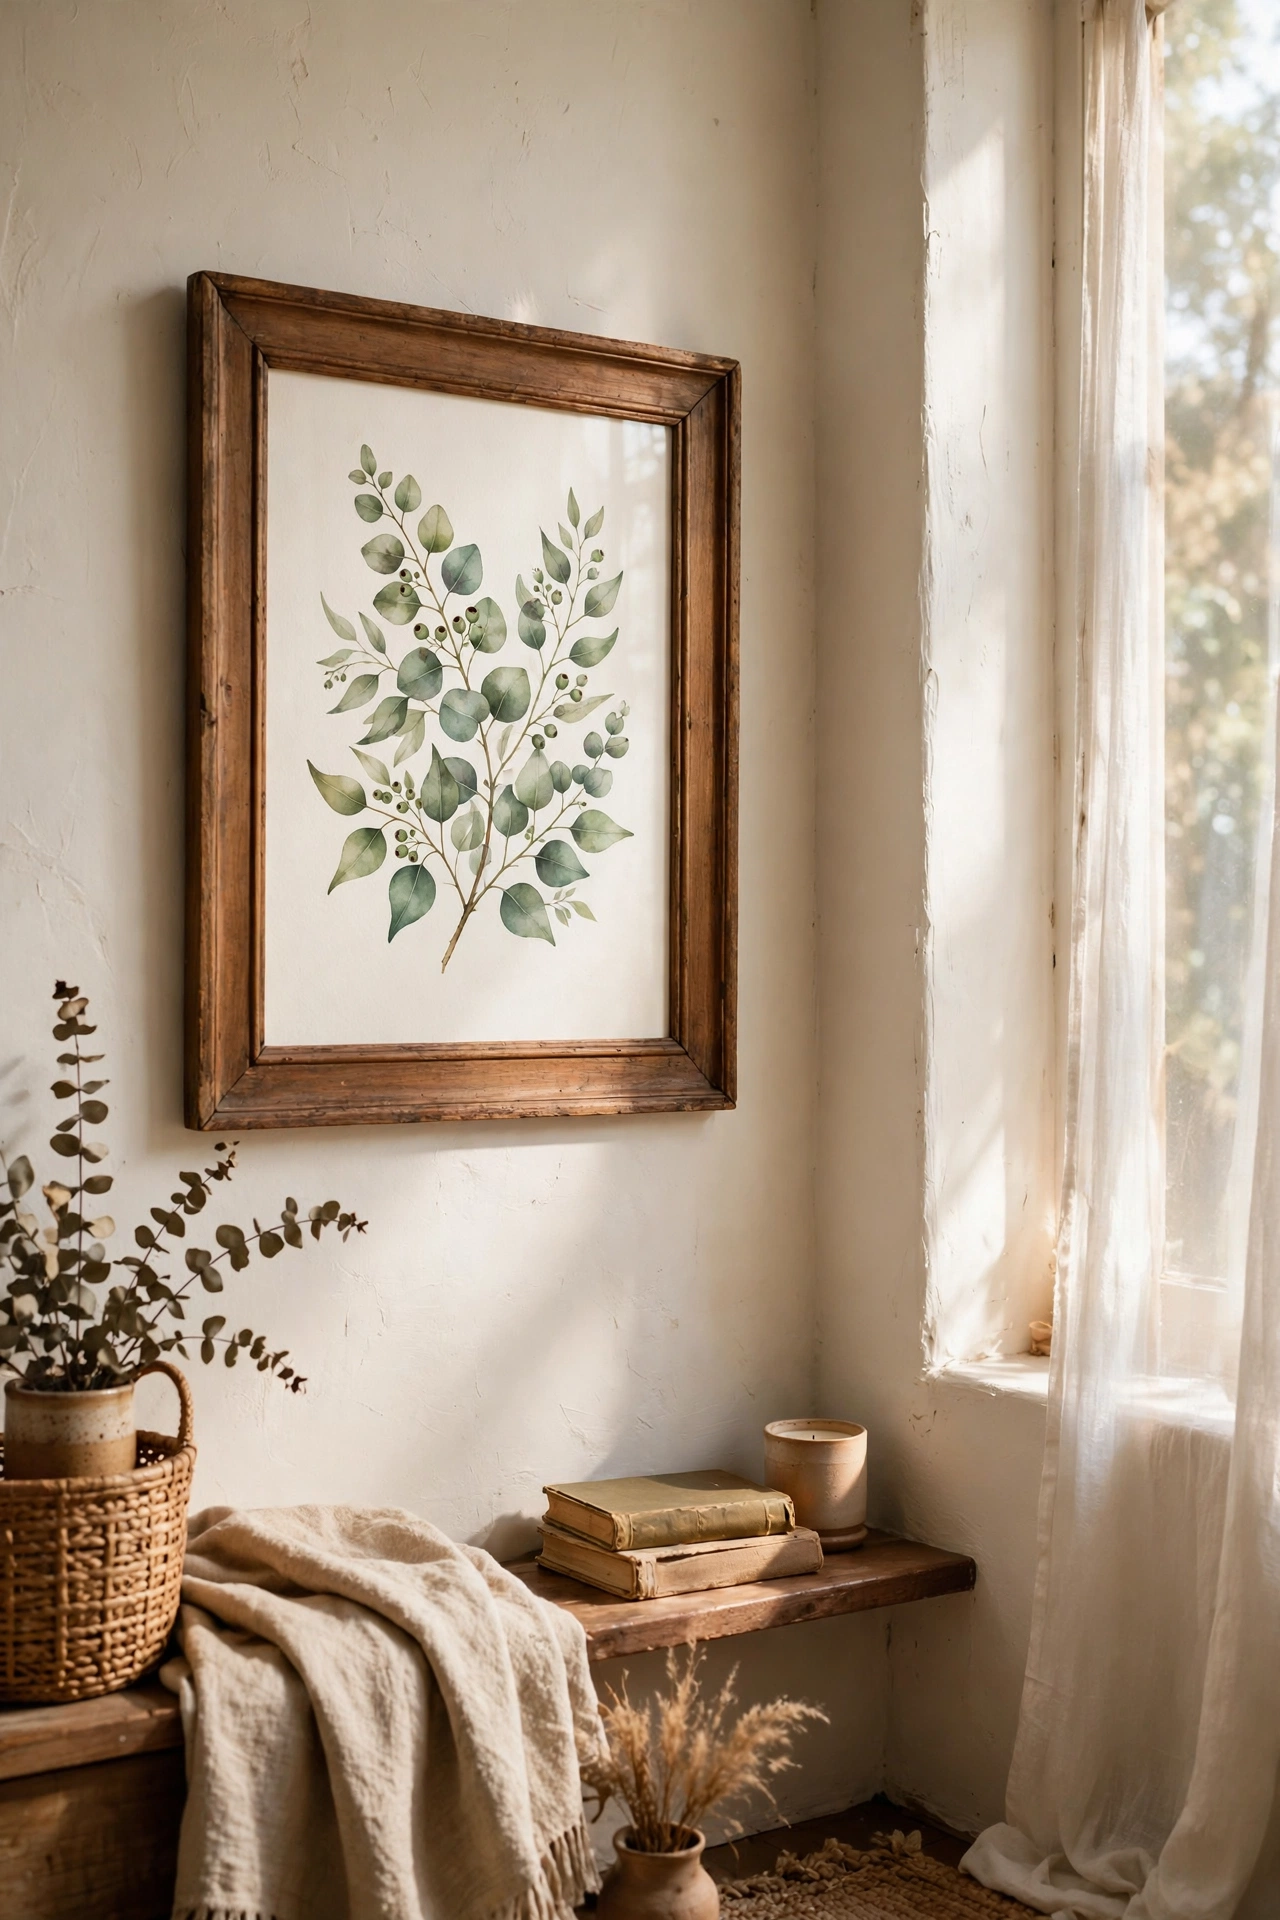
The art at thrift stores is often terrible but the frames are excellent. I bought a ghastly floral painting for $8, threw away the canvas, and put a free botanical printable inside the solid wood frame. The frame alone would cost $60 new. Measure the inside opening and print to fit, leaving a mat border if the art is smaller than the frame. I keep a stack of charity shop frames in my closet now for exactly this. Good frames with fresh art is the fastest wall upgrade there is.
Cost: ~$8-15 | Time: 30 minutes
💡 Thrift pro tip: Ignore the art and inspect the frame: solid corners, real glass, and a working hanging wire. Those three things are what you are actually buying.
7. Book Stack Risers
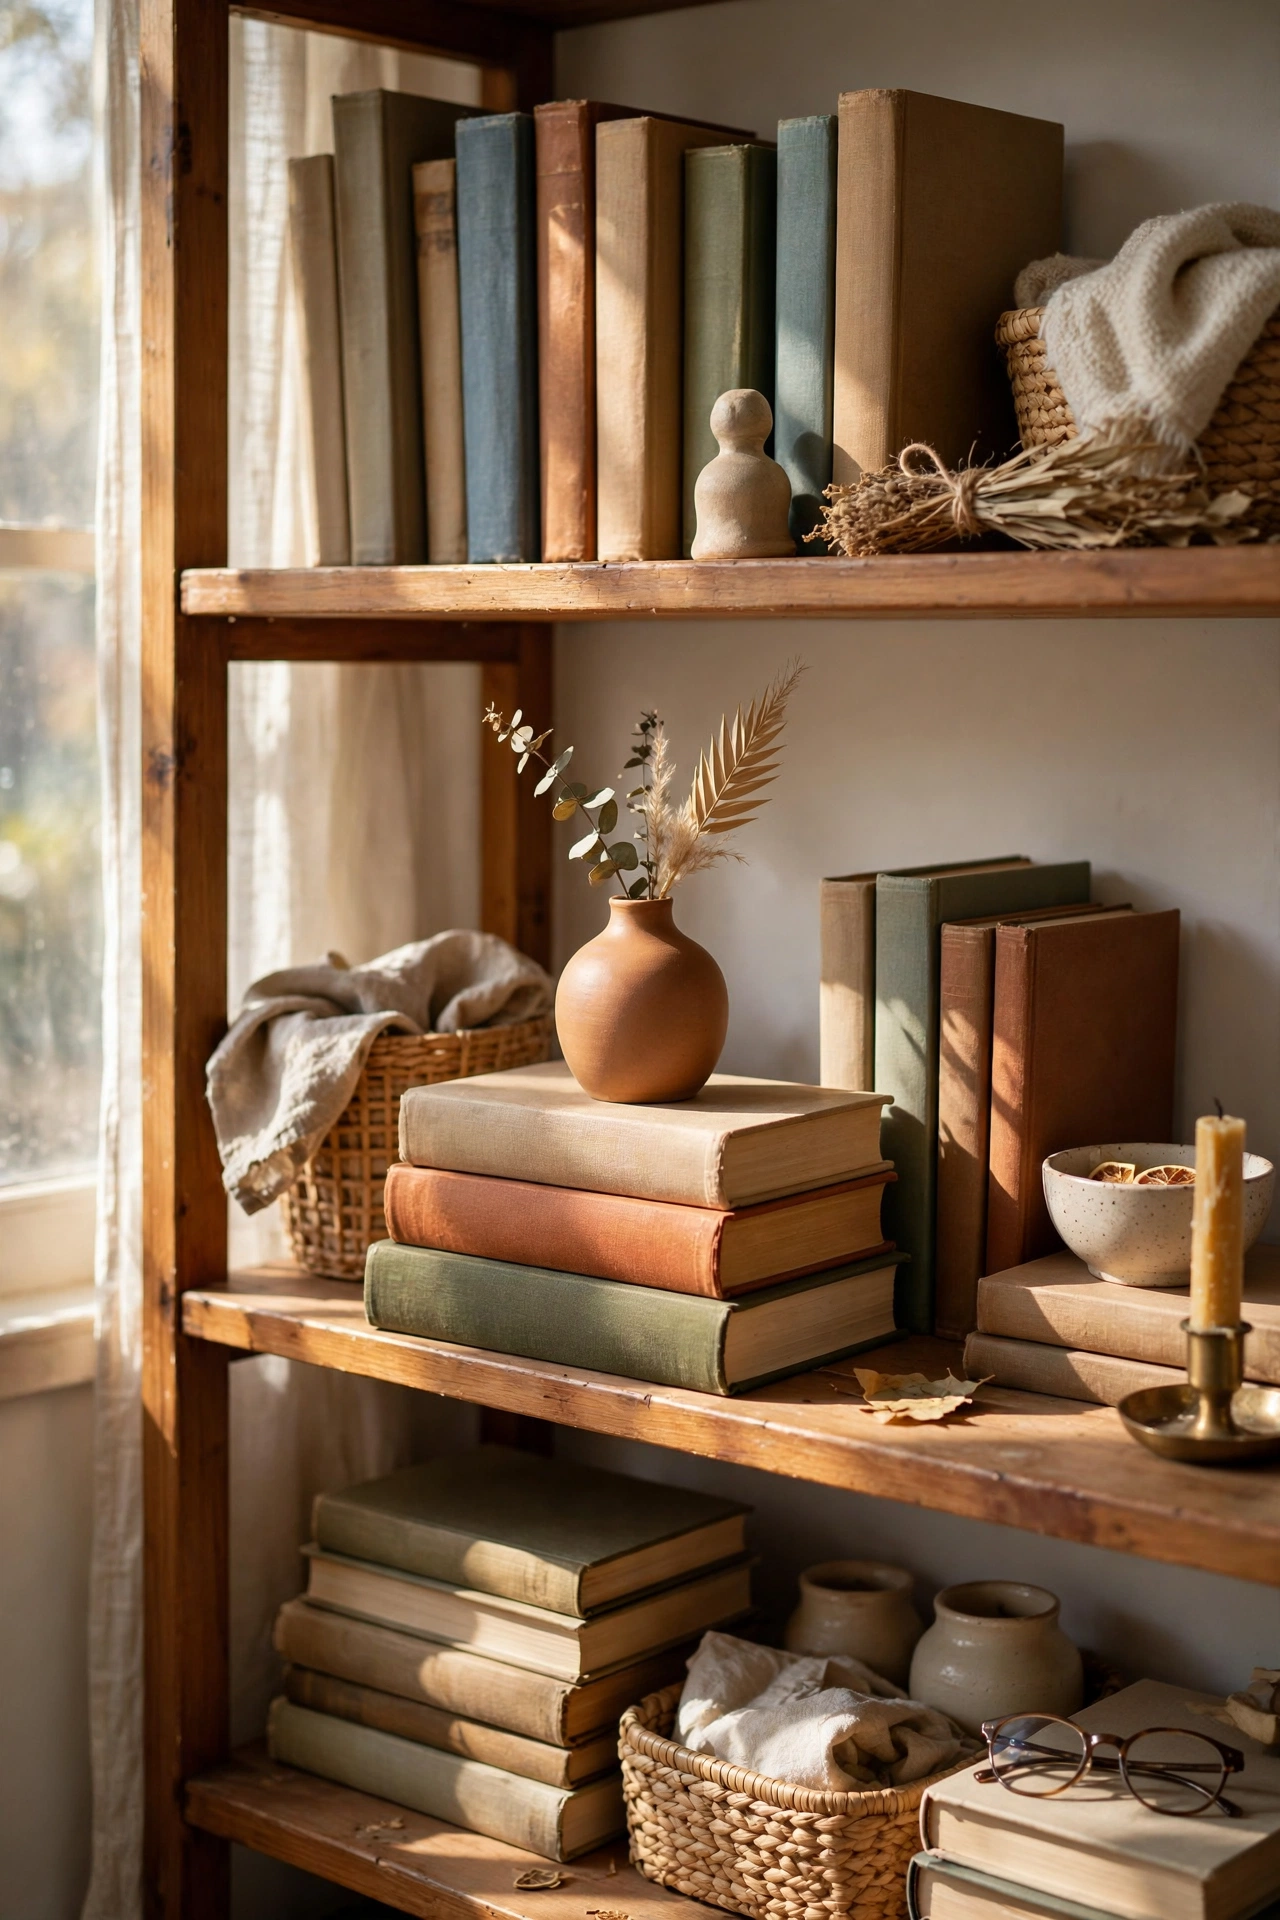
Hardcover books from the 25-cent bin make perfect display risers. I stack two or three under a vase or lamp to add height to a vignette, and nobody realises they are books. Choose books with plain, attractive spines or wrap them in kraft paper. I wrap mine in brown paper and tie with twine for a cohesive look. My first stack had a bright red spine that shouted across the room, so neutral covers work best. Three books, zero dollars, and your shelf styling suddenly has layers.
Cost: ~$0-3 | Time: 10 minutes
💡 Thrift pro tip: Old encyclopaedias and dictionaries are riser gold: thick, uniform, and usually sold as full sets for pennies.
8. Vintage Glassware Centrepiece
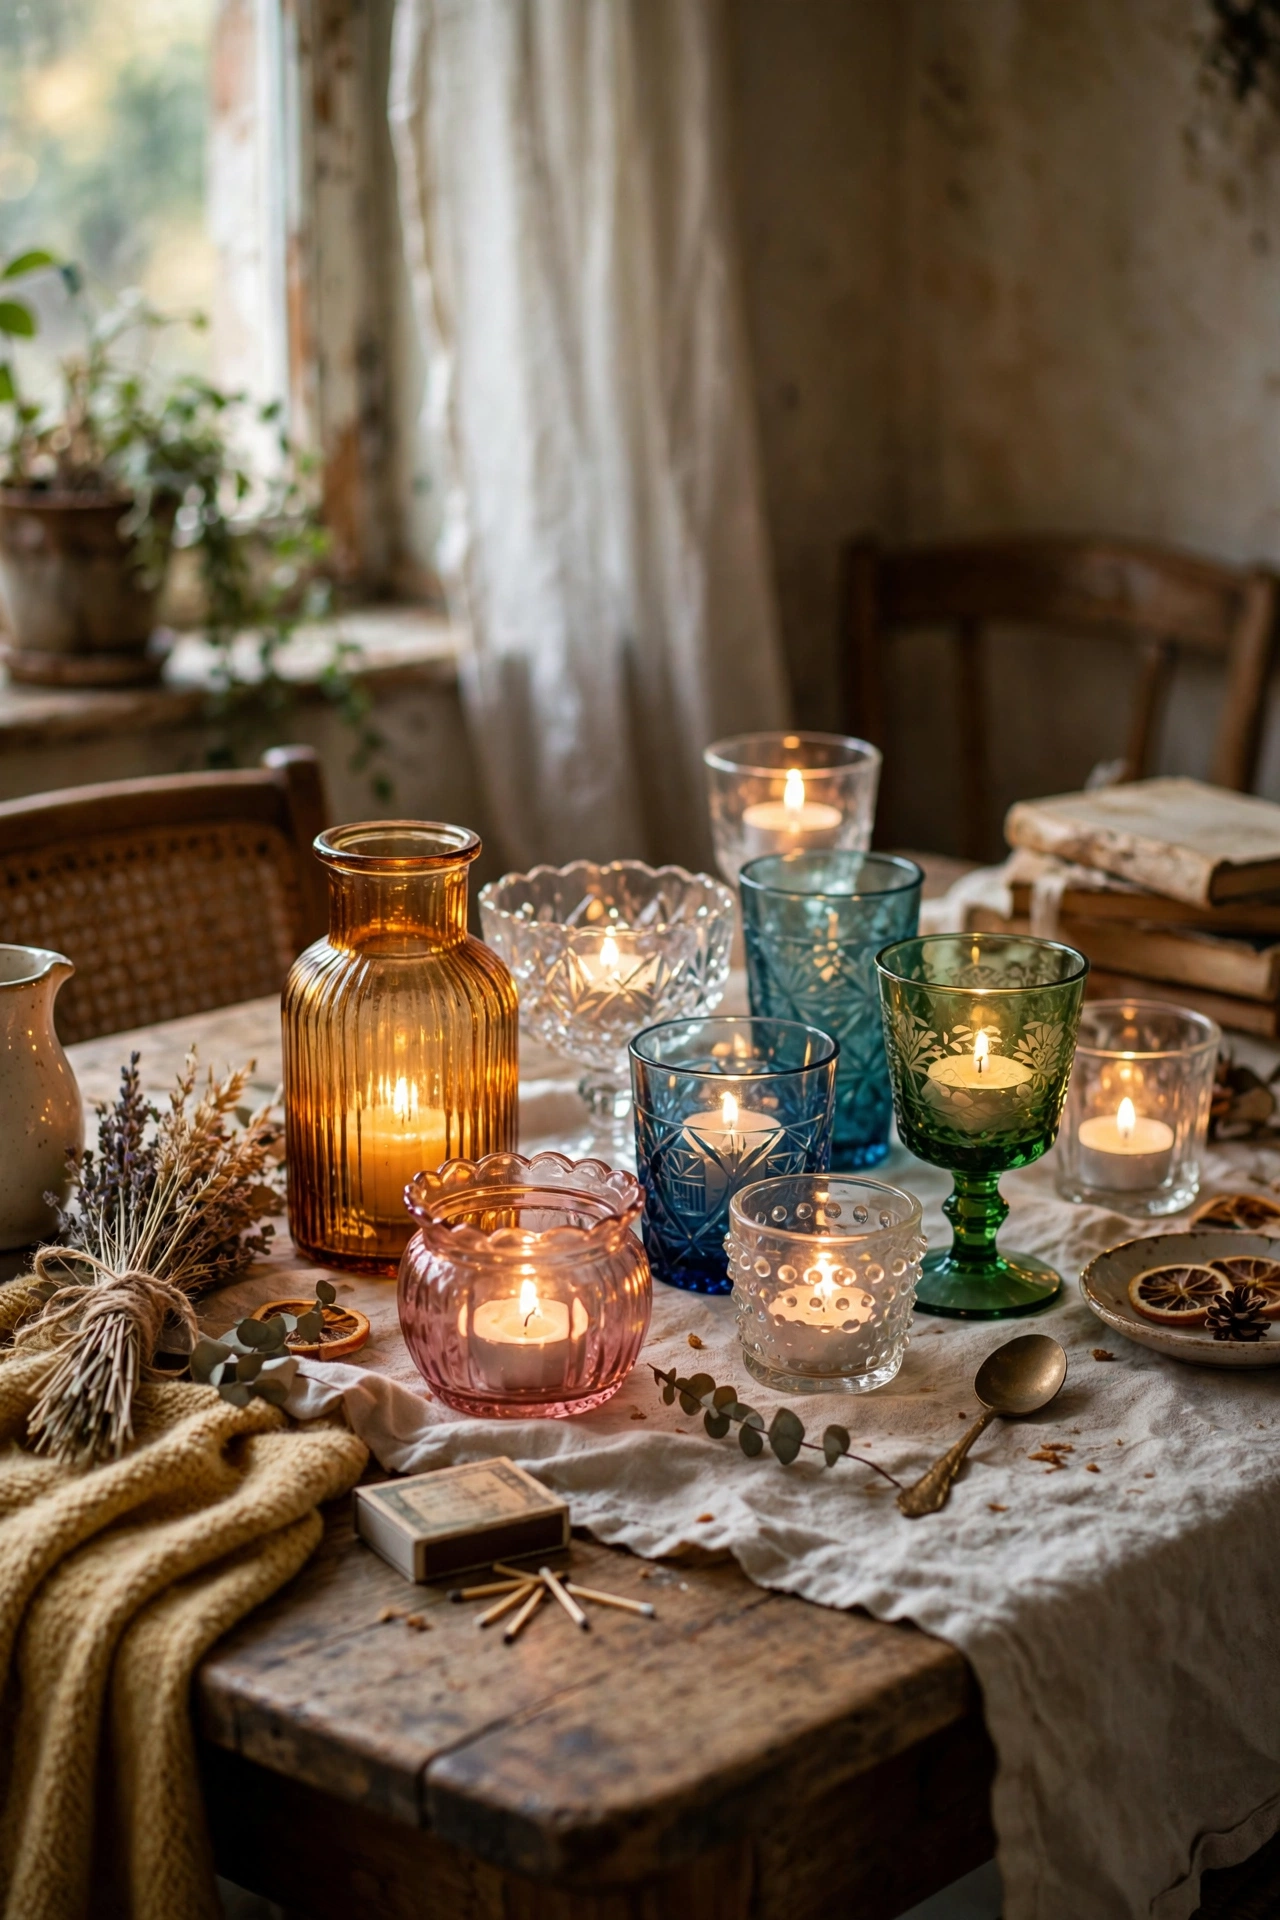
A row of mismatched vintage glasses down the table makes the prettiest centrepiece. I collect small cut-glass dishes and goblets for $1 each and line them down a runner with a tea light in each. The glass catches candlelight beautifully. Wash them well, because thrift glassware can smell musty. I soak mine in hot water with a splash of vinegar. Group by rough size so the row feels intentional, and use battery tea lights if you have kids or cats. Ten glasses cost me $9 and the table looks magical every dinner party.
Cost: ~$8-15 | Time: 20 minutes
💡 Thrift pro tip: Hold glass up to the light in the shop. Chips on rims catch the light and are easy to miss, but they also make the piece unsafe for candles.
9. Wooden Crate Coffee Table
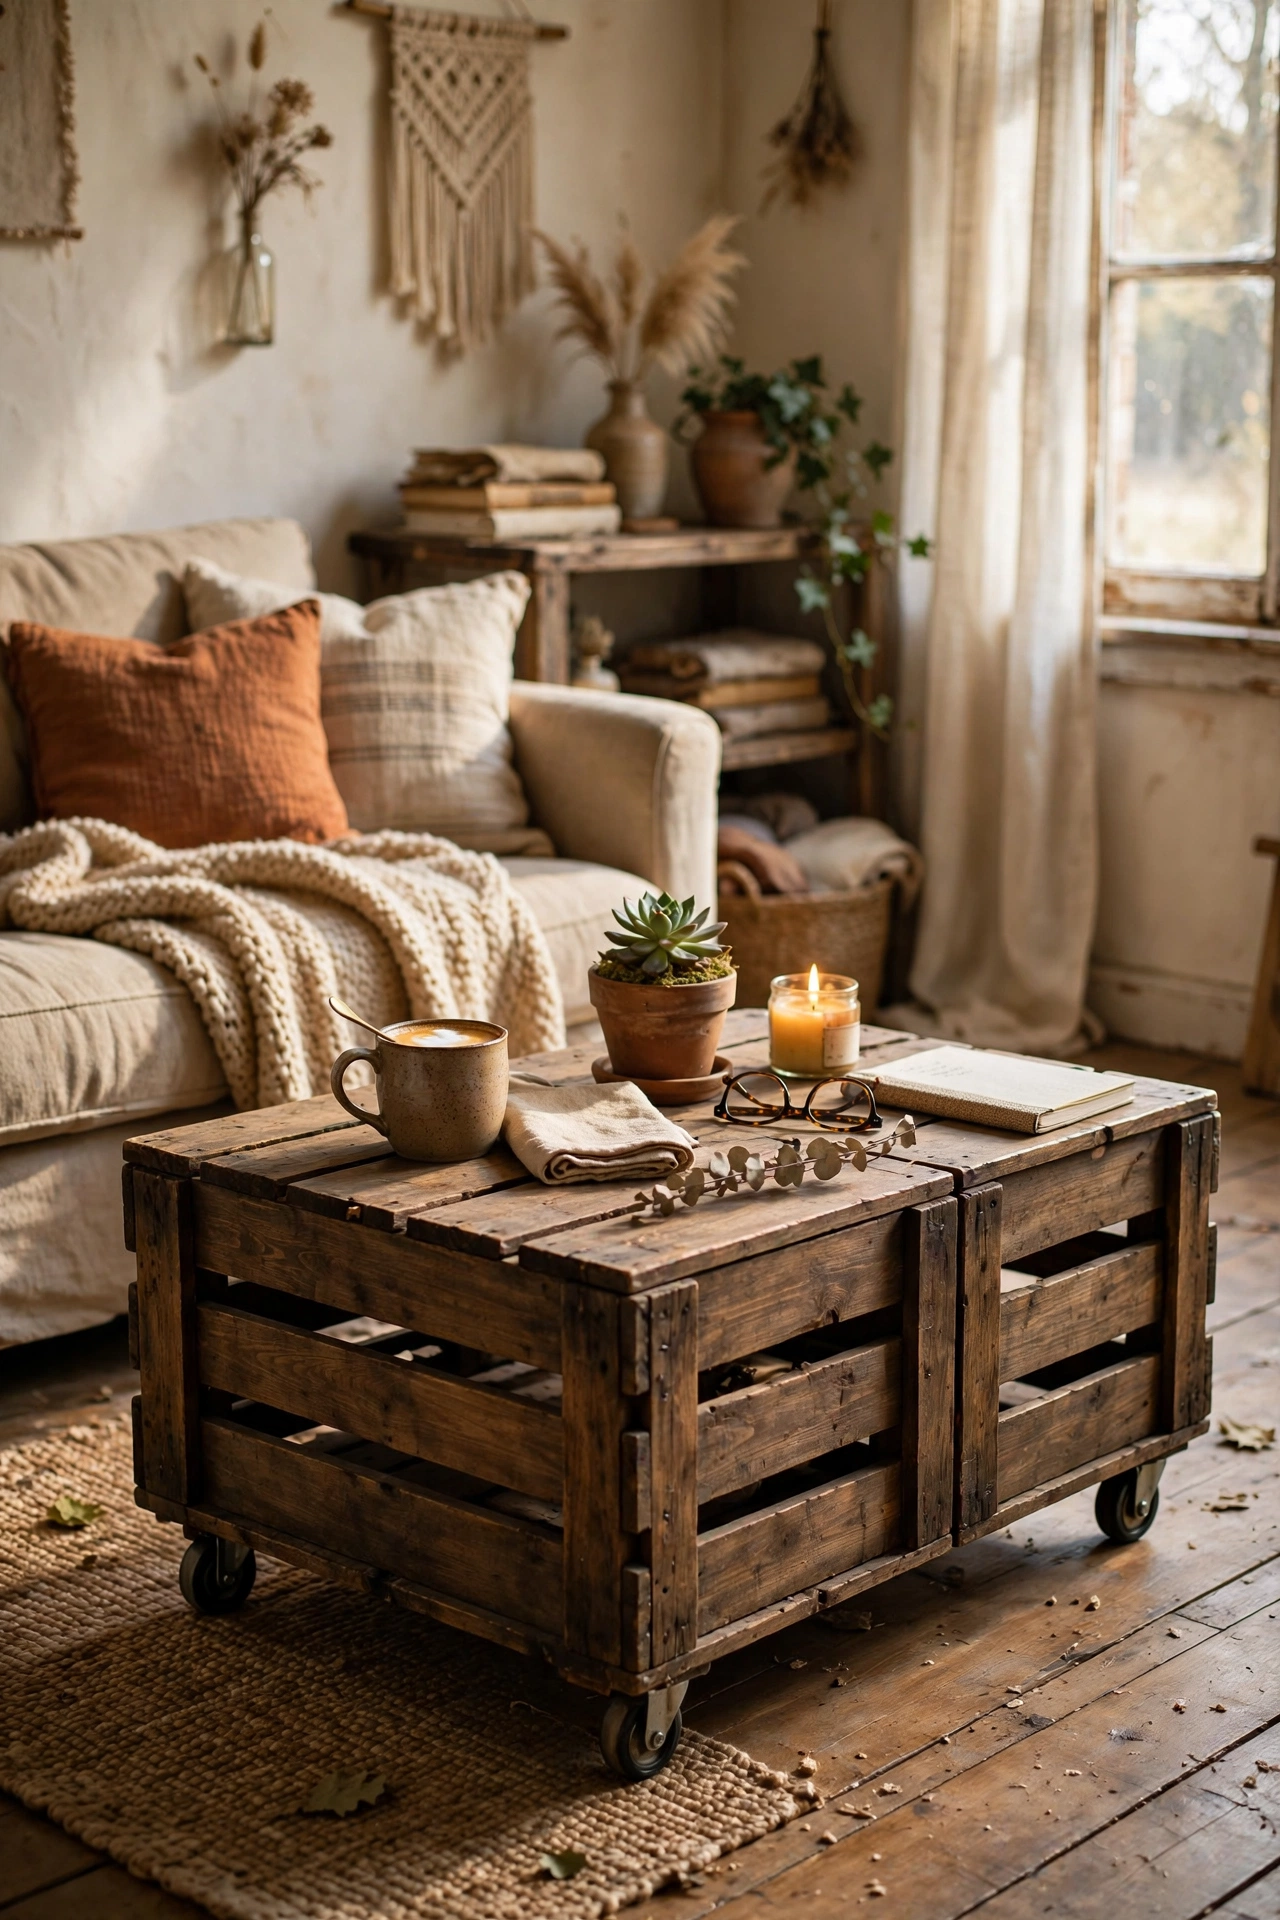
Two large wooden crates bolted together and set on castors became my coffee table. I found the crates for $8 each, sanded them smooth, stained them, and screwed on furniture castors. The open sides face out for magazine storage. Sand thoroughly, because crate wood is rough and splinters are not charming. My first crate scratched my rug until I sanded the bottom edges properly. Add a piece of glass or a tray on top for a stable surface. It looks like a rustic boutique piece and cost $30 all in.
Cost: ~$25-40 | Time: 3 hours
💡 Thrift pro tip: Smell the crates before buying. Some held chemicals or motor oil, and that smell never fully leaves the wood.
10. Woven Basket Gallery Wall
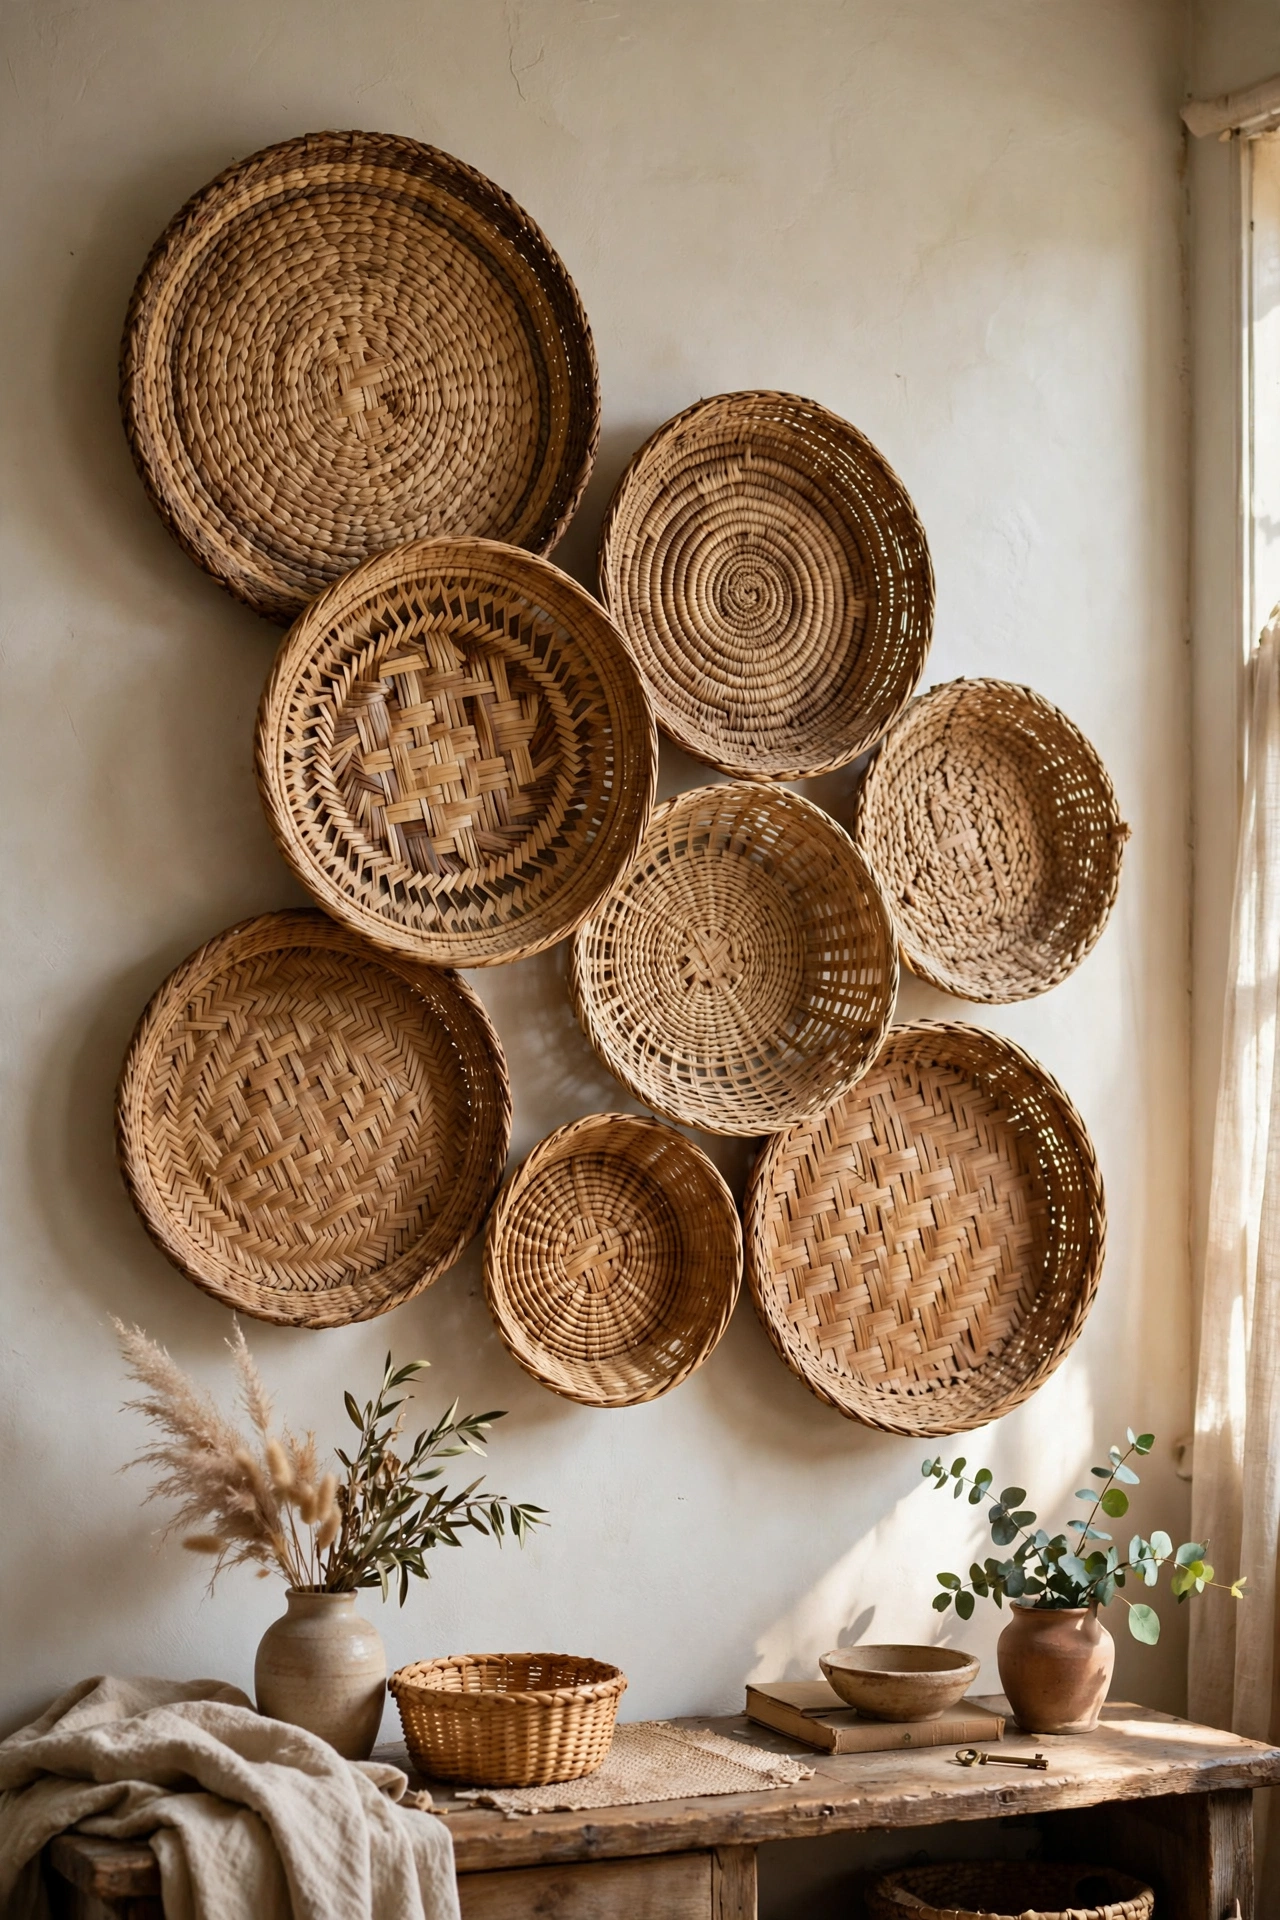
Flat woven baskets hung as a group make a wall that looks straight out of a design magazine. I collected seven baskets in different sizes for about $2 each and arranged them in an organic cluster. Hang them with small nails through the weave or removable hooks for renters. I laid mine out on the floor first and photographed the arrangement before hanging a single nail. Vary the sizes and keep the palette natural for a cohesive look. The whole wall cost $14 and took one afternoon.
Cost: ~$12-20 | Time: 2 hours
💡 Thrift pro tip: Check the backs of baskets for hanging loops or flat weaves that sit flush. Deep, rounded baskets stick out awkwardly on a wall.
11. Swap a Dated Lampshade
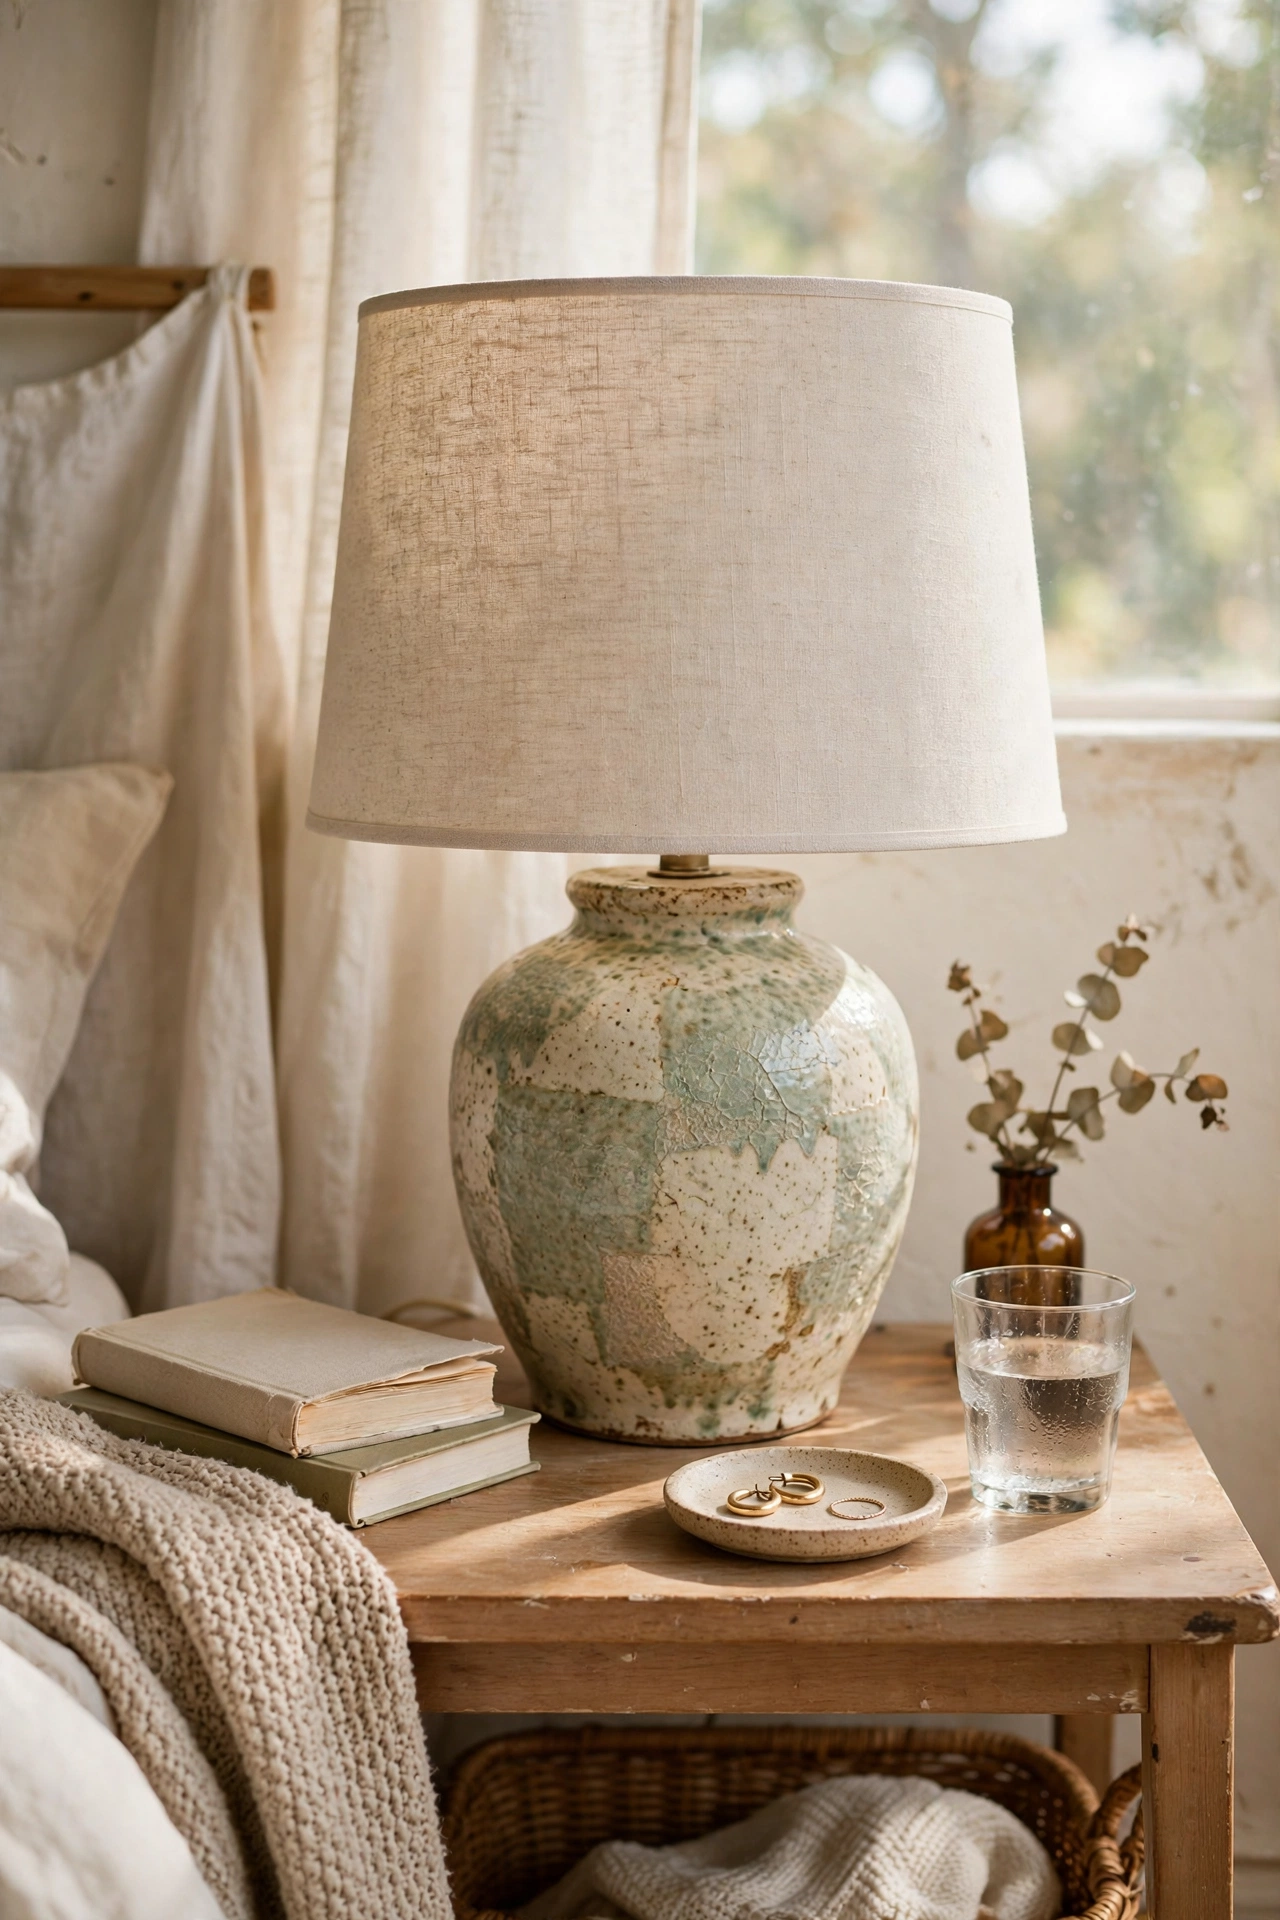
A thrifted lamp base with a new shade is a brand-new lamp. I found a ceramic base for $7 with a hideous pleated shade, tossed the shade, and added a $14 linen drum shade. The base went from dated to modern in five minutes. Match the shade size to the base: the shade diameter should be roughly the height of the base. My first shade was too small and the lamp looked like it was wearing a hat. When in doubt, size up slightly. This is the single fastest thrift flip I know.
Cost: ~$18-28 | Time: 15 minutes
💡 Thrift pro tip: Wiggle the harp and finial in the shop. Missing or bent harps are replaceable but add $5 and a hardware store trip.
12. Style a Thrifted Tray Vignette
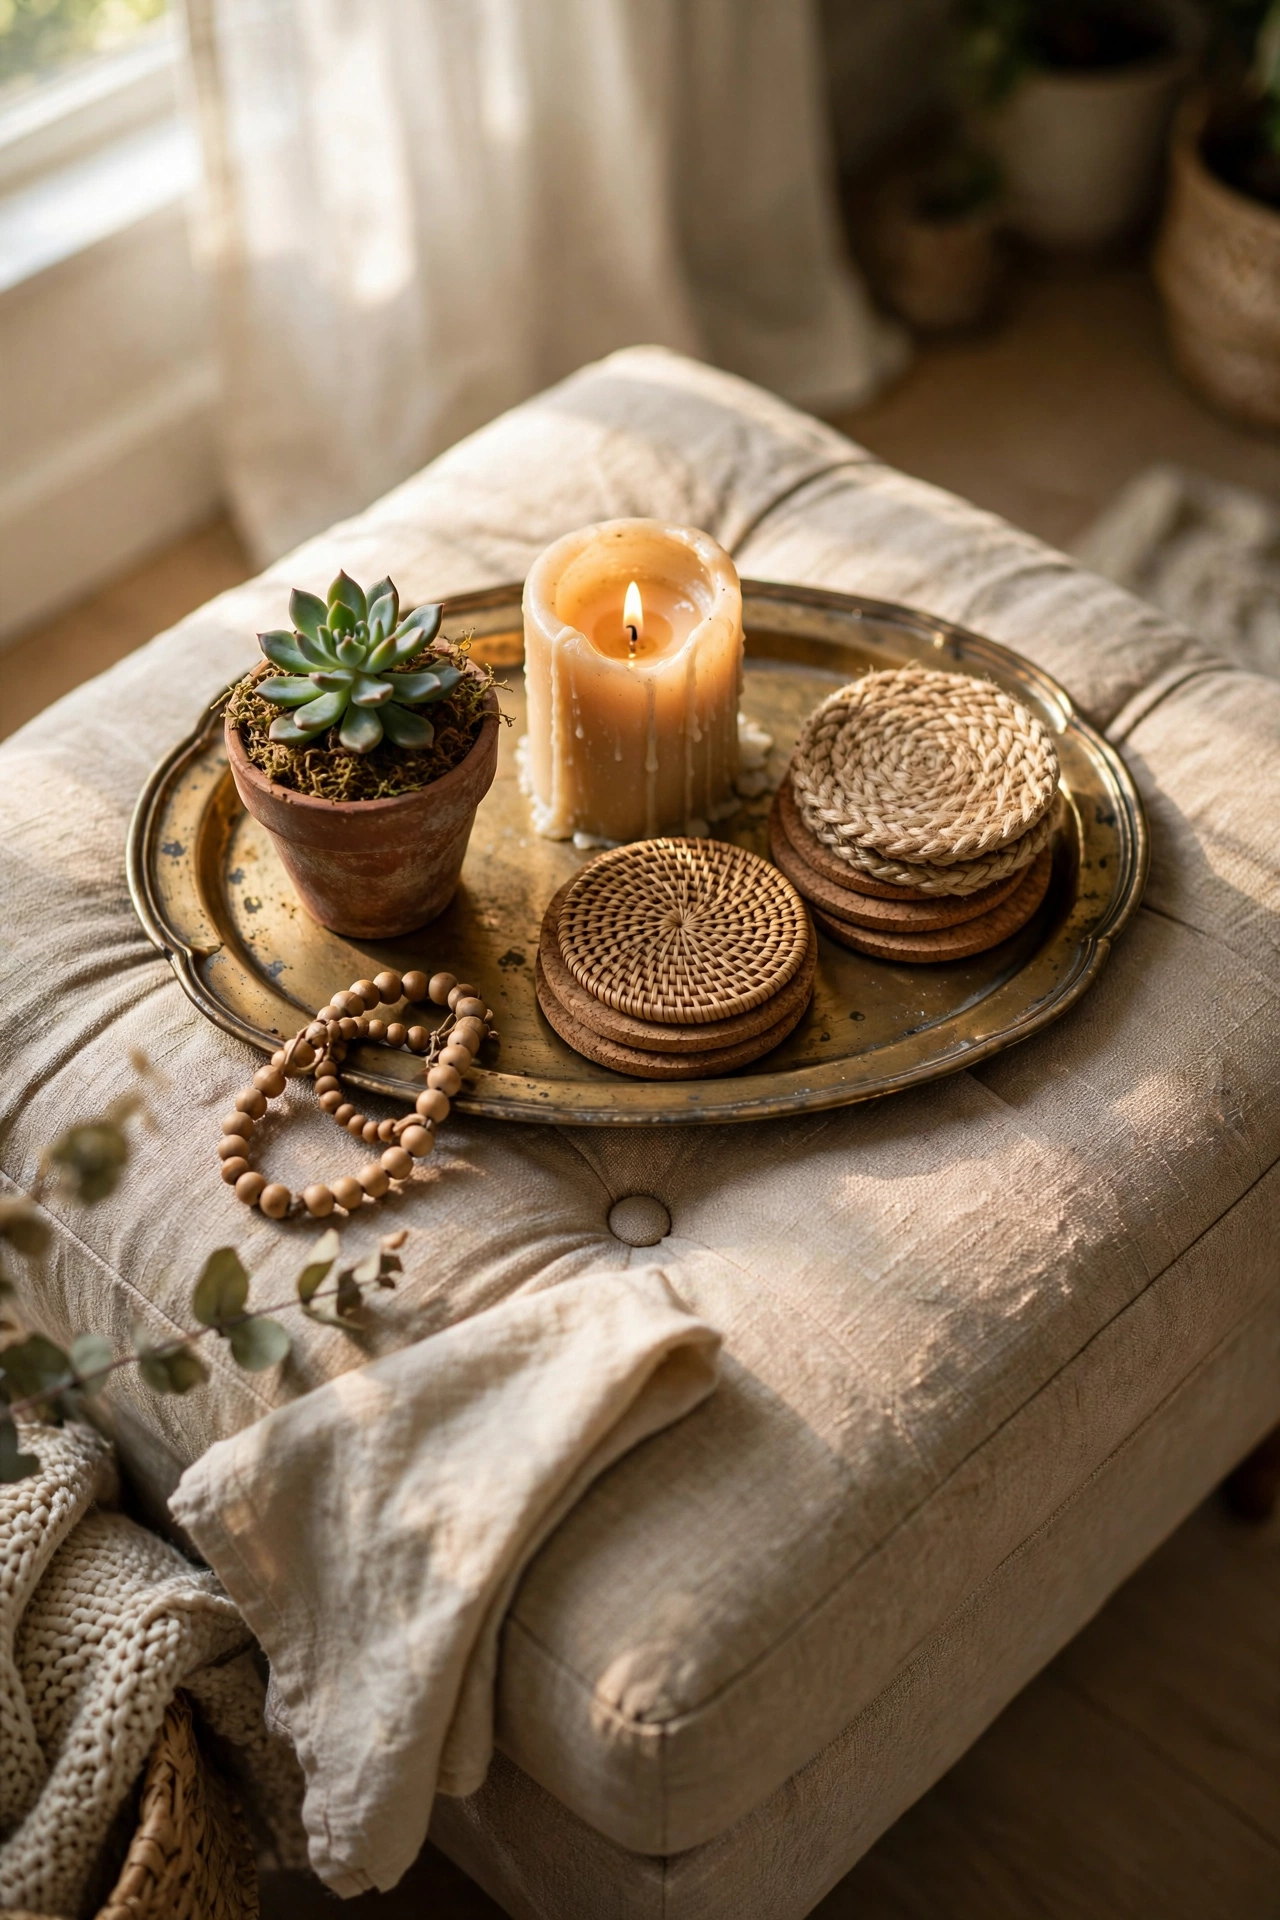
A tray corrals clutter into a styled moment. I found a brass tray for $6 and styled it with a candle, a small plant, and a stack of coasters on my ottoman. The tray makes three random objects look like a deliberate arrangement. Polish metal trays lightly but leave some patina, because over-polishing makes old brass look new and cheap. My first tray I polished to a mirror shine and it lost all its character. A little age is the whole point of thrifted pieces. Six dollars, ten minutes, instant styling.
Cost: ~$6-12 | Time: 15 minutes
💡 Thrift pro tip: Heavy trays are better trays. Weight usually means real metal or solid wood, and it keeps the tray from sliding around.
13. Paint Thrifted Candleholders
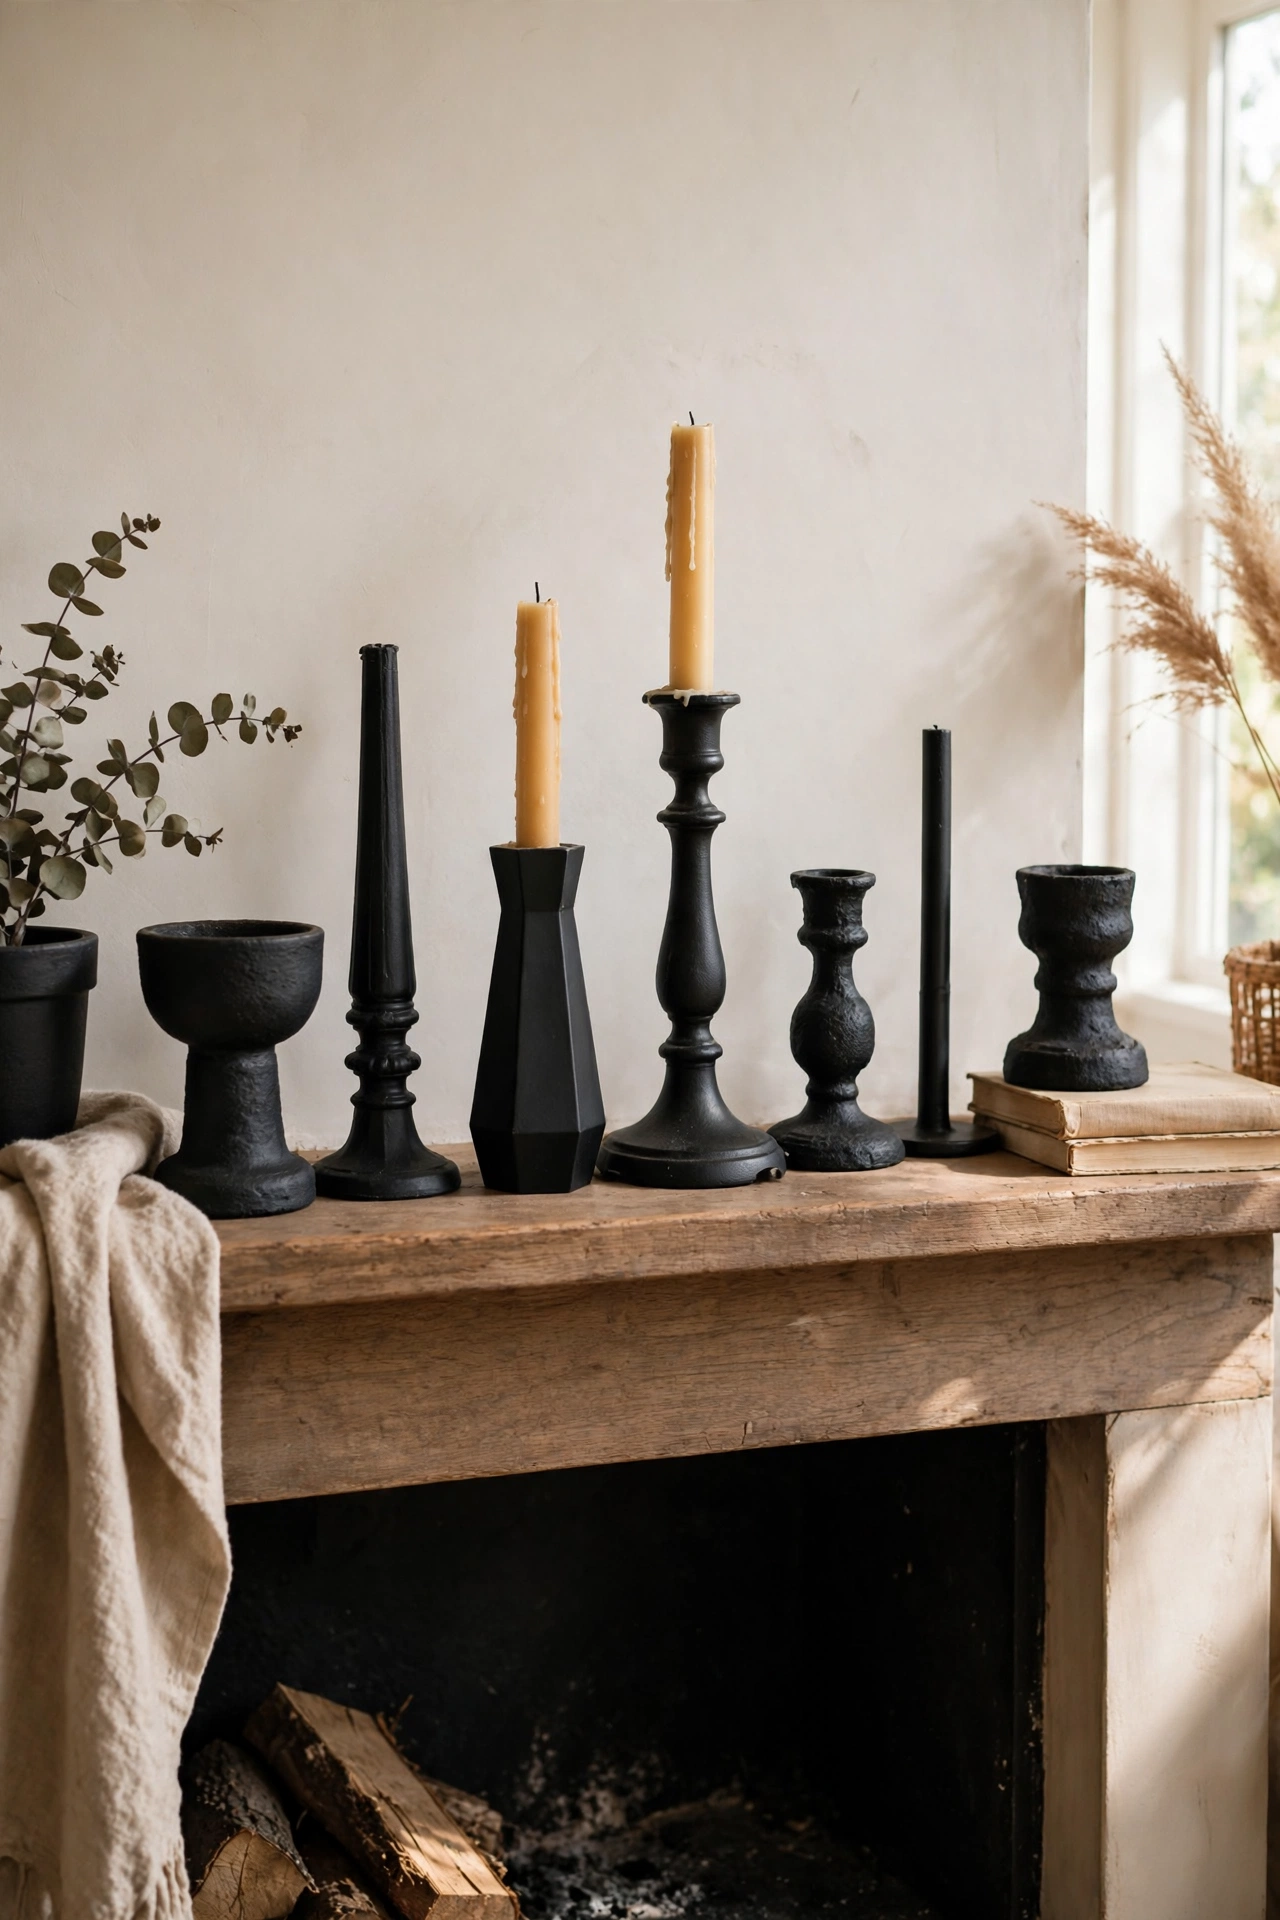
Brass and wood candleholders from the thrift store take paint beautifully. I bought five mismatched holders for $1 each and sprayed them all matte black for a modern set. The single colour makes different shapes look like they belong together. Use candleholders with a stable, wide base, because painted or not, a wobbly holder is a fire risk. I stick to LED candles in mine anyway for peace of mind. Group them in odd numbers at different heights for a mantel that looks expensive.
Cost: ~$8-14 | Time: 45 minutes plus drying
💡 Thrift pro tip: Buy candleholders in the same material family, like all brass or all wood. Mixed materials painted one colour still look slightly off.
14. Upgrade a Dresser with New Knobs
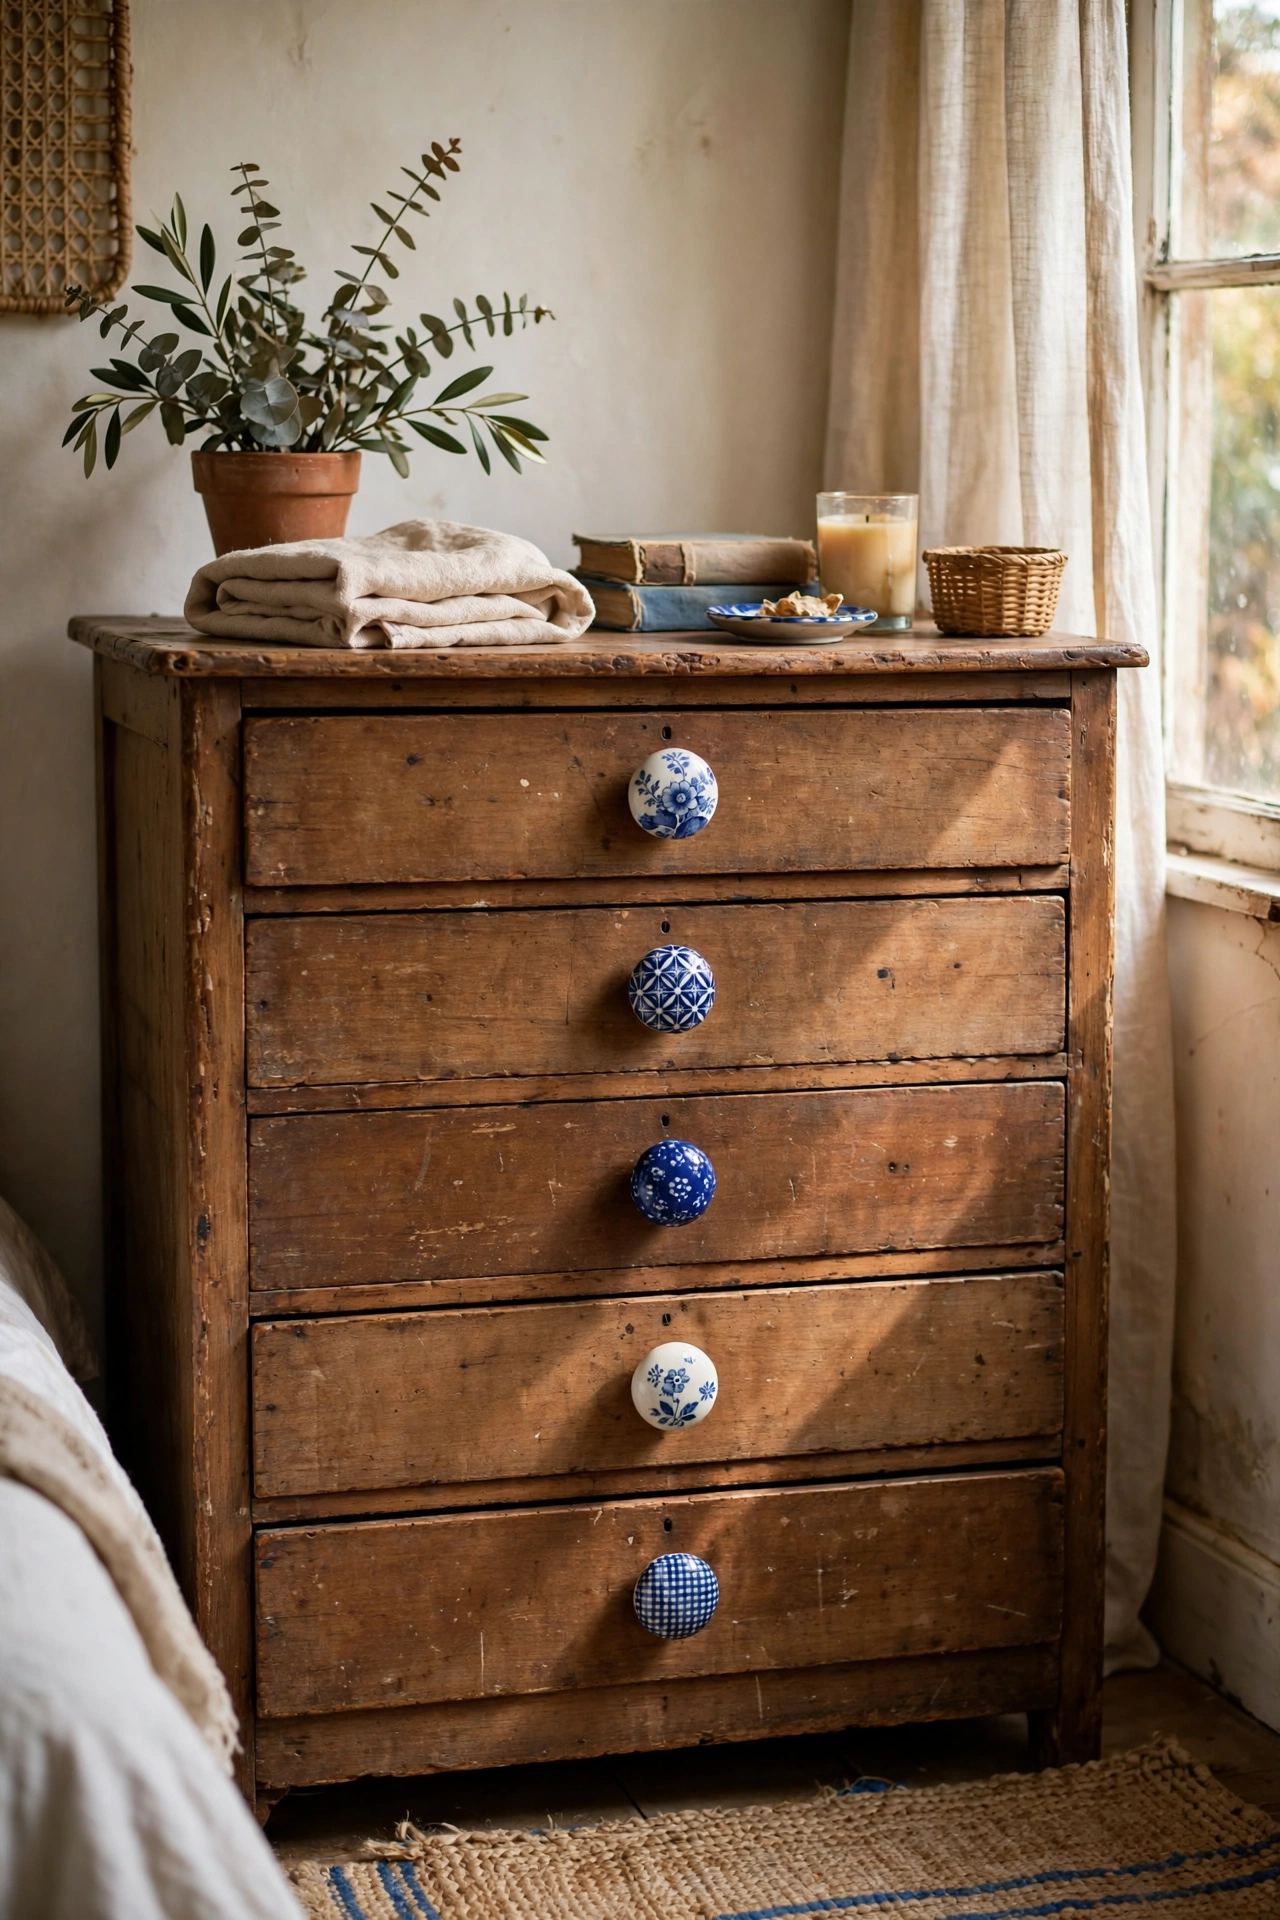
A plain thrifted dresser transforms with statement knobs. I bought a simple wooden dresser for $25 and added eight $3 ceramic knobs, and it looks like a completely different piece. Mixing knob styles works if you keep one unifying element, like the same finish or colour family. I use all blue-and-white ceramic knobs in different patterns and it reads intentional. Measure the existing holes before buying, because vintage dressers sometimes have odd spacing. New knobs are the jewellery of furniture.
Cost: ~$30-45 | Time: 30 minutes
💡 Thrift pro tip: Open every drawer in the shop. Sticky drawers often just need wax on the runners, but cracked drawer bottoms are a harder fix.
15. DIY Wicker Mirror Arch
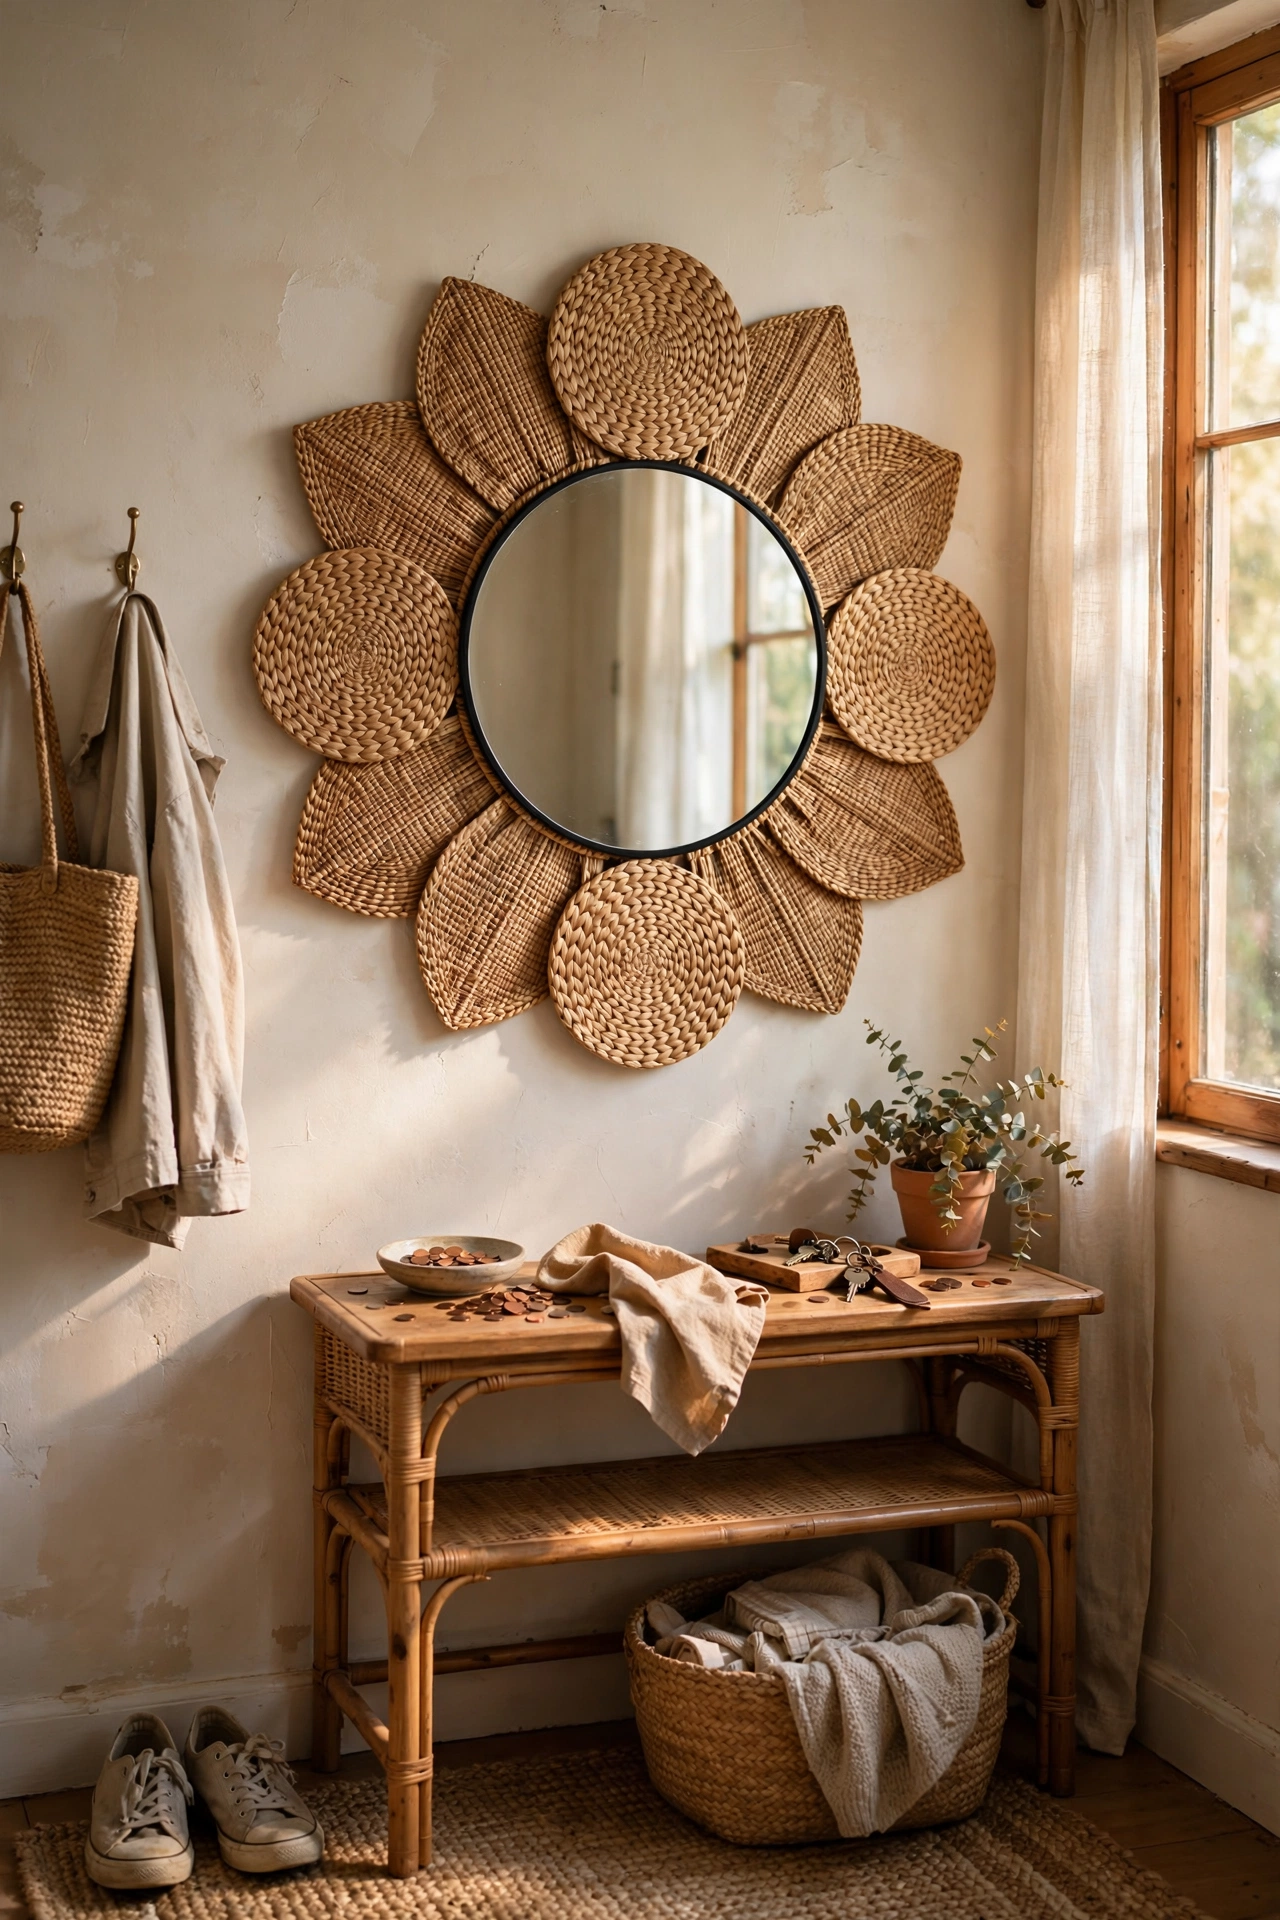
A thrifted round mirror plus a $3 woven placemat becomes an arched rattan-look mirror. I glued the placemat as a sunburst behind the mirror edge and hung it in my entryway. It looks like the expensive rattan mirrors all over social media. Cut the placemat into a circle slightly larger than the mirror and glue it behind so a woven halo shows around the edge. My first attempt used hot glue, which failed in summer heat. Use construction adhesive for anything hanging on a wall. Three dollars and it fools everyone.
Cost: ~$8-15 | Time: 45 minutes
💡 Thrift pro tip: Round mirrors without frames are the cheapest mirrors in any thrift store, usually under $5, and they are the perfect base for this project.
16. Create a Plate Wall
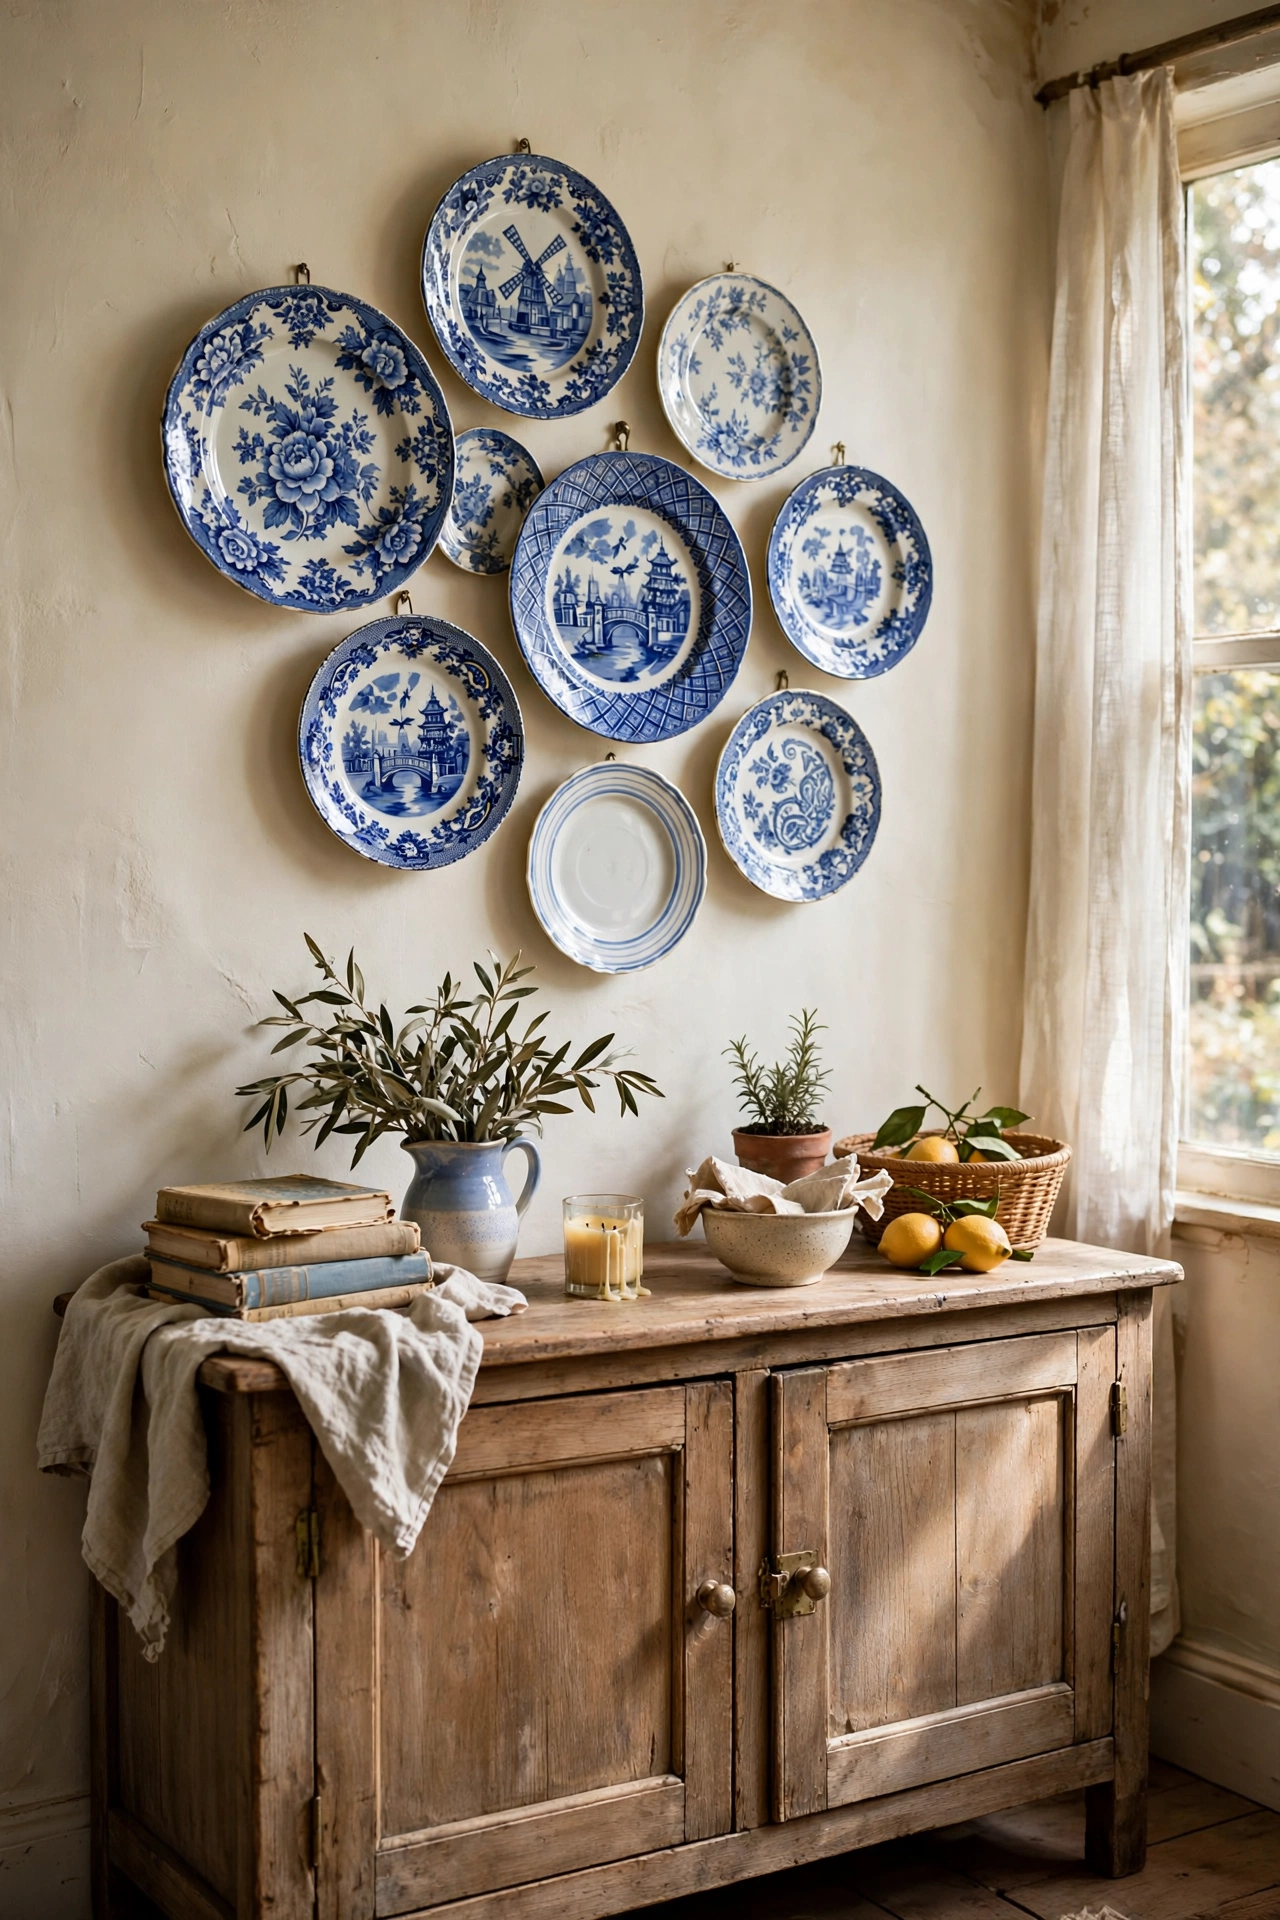
Decorative plates from the thrift store make a charming wall display. I collected eleven plates with blue-and-white patterns for about $1 each and hung them in a loose cluster above my sideboard. Plate hangers cost about $2 each and grip the plate without damage. I traced the arrangement on the floor first, which saved me from a lopsided wall. Stick to one colour family so mixed patterns feel curated. The whole wall cost under $25 and looks like a country cottage detail.
Cost: ~$20-30 | Time: 2 hours
💡 Thrift pro tip: Tap plates gently. A clear ring means solid ceramic; a dull thud can mean a hairline crack that will spread when hung.
17. Turn a Silver Tray into a Bar Cart Top
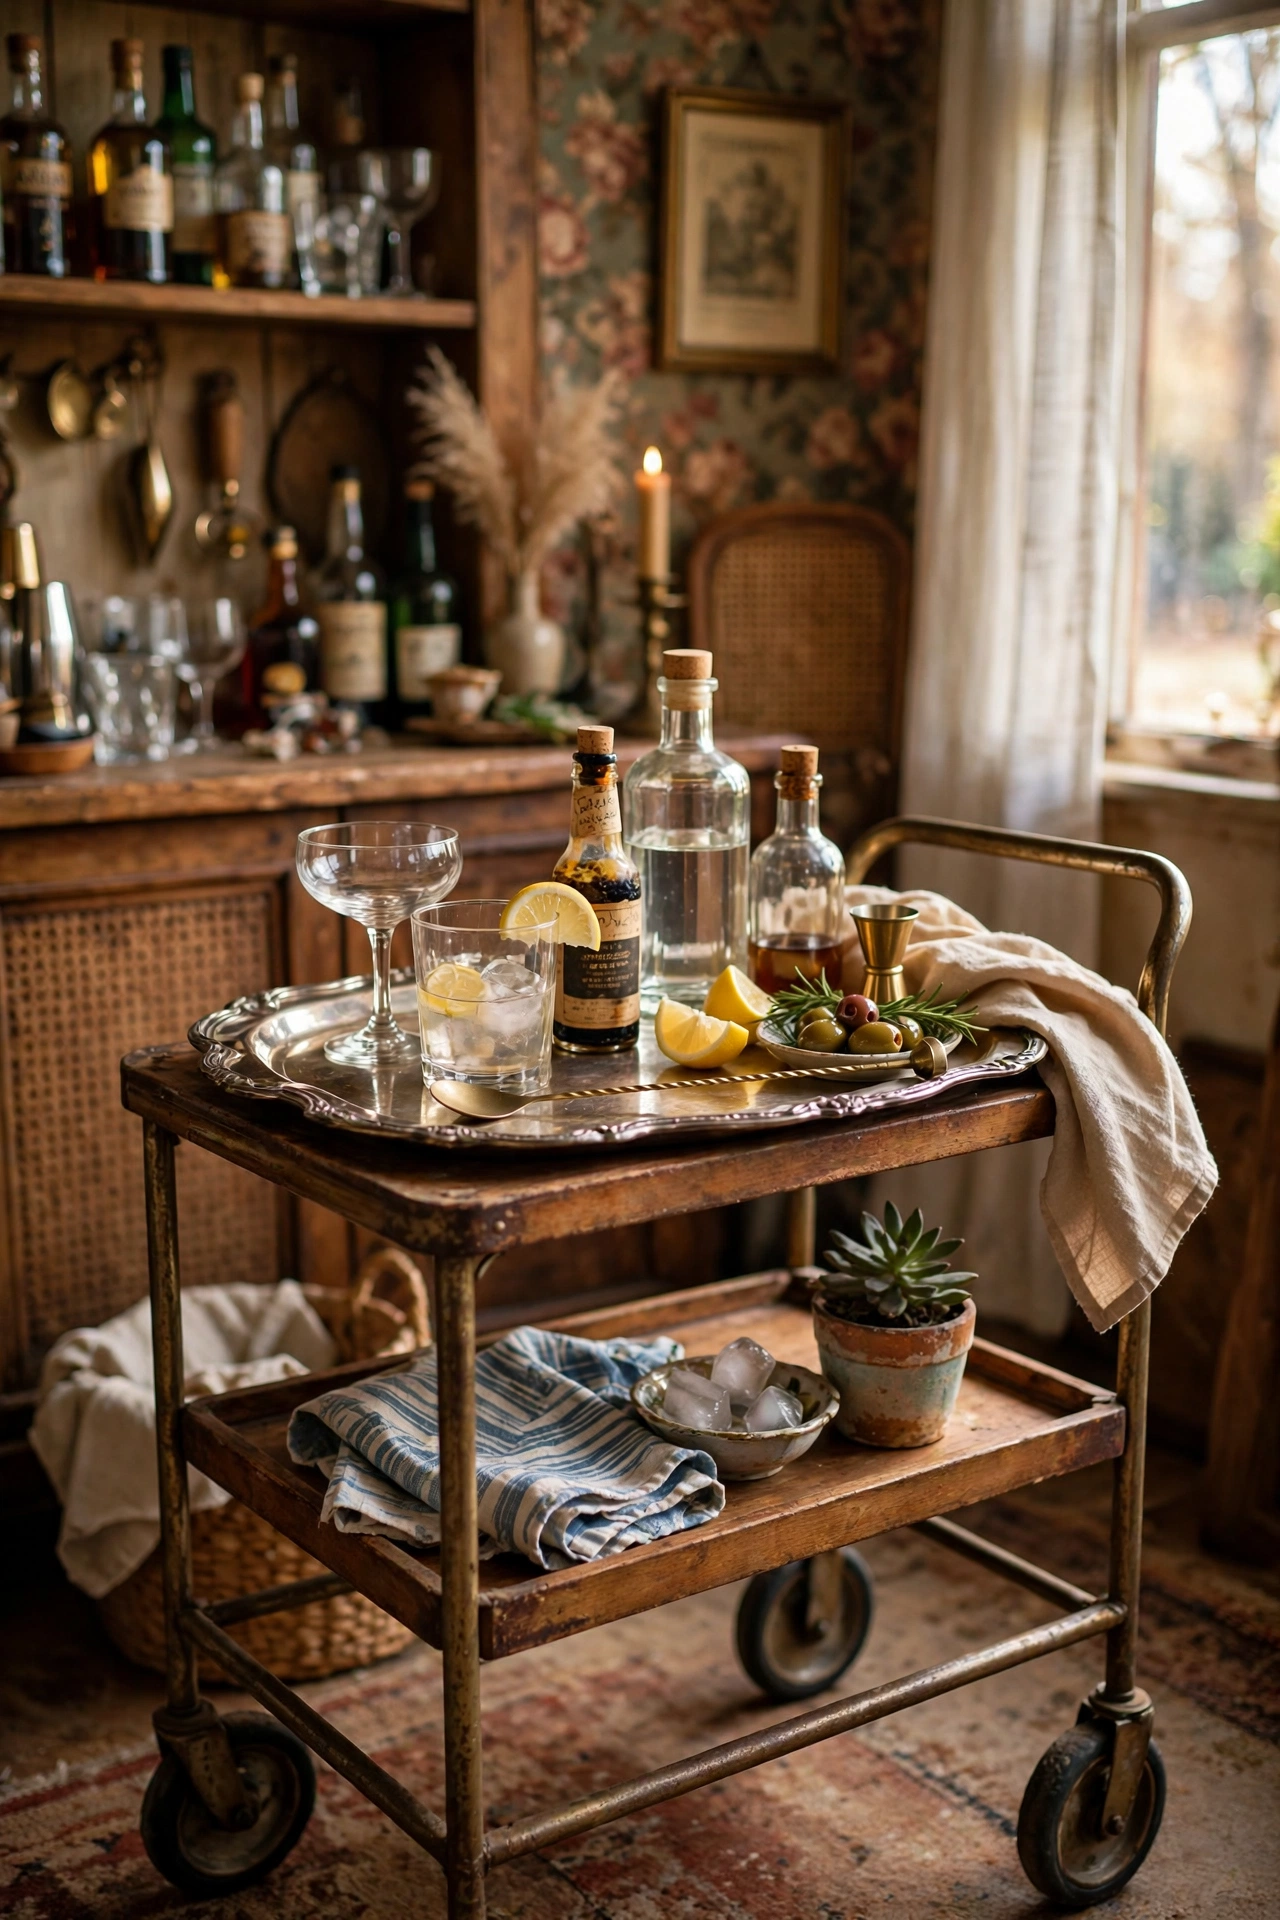
A tarnished silver-plated tray polished up becomes a glamorous bar cart surface. I found a large tray for $8, polished it with baking soda paste, and set it on my rolling cart. The reflective surface doubles the sparkle of glassware. Do not over-polish the recessed details, because the dark patina in the engraving is what makes it look antique. I keep bottles and a small ice bucket on mine. It looks like a vintage hotel bar and cost less than one cocktail out.
Cost: ~$8-14 | Time: 45 minutes
💡 Thrift pro tip: Check the back stamp for silverplate marks. Real silverplate polishes to a warm glow; chrome-plated pieces look cold and blue.
18. Paint a Ceramic Lamp Base
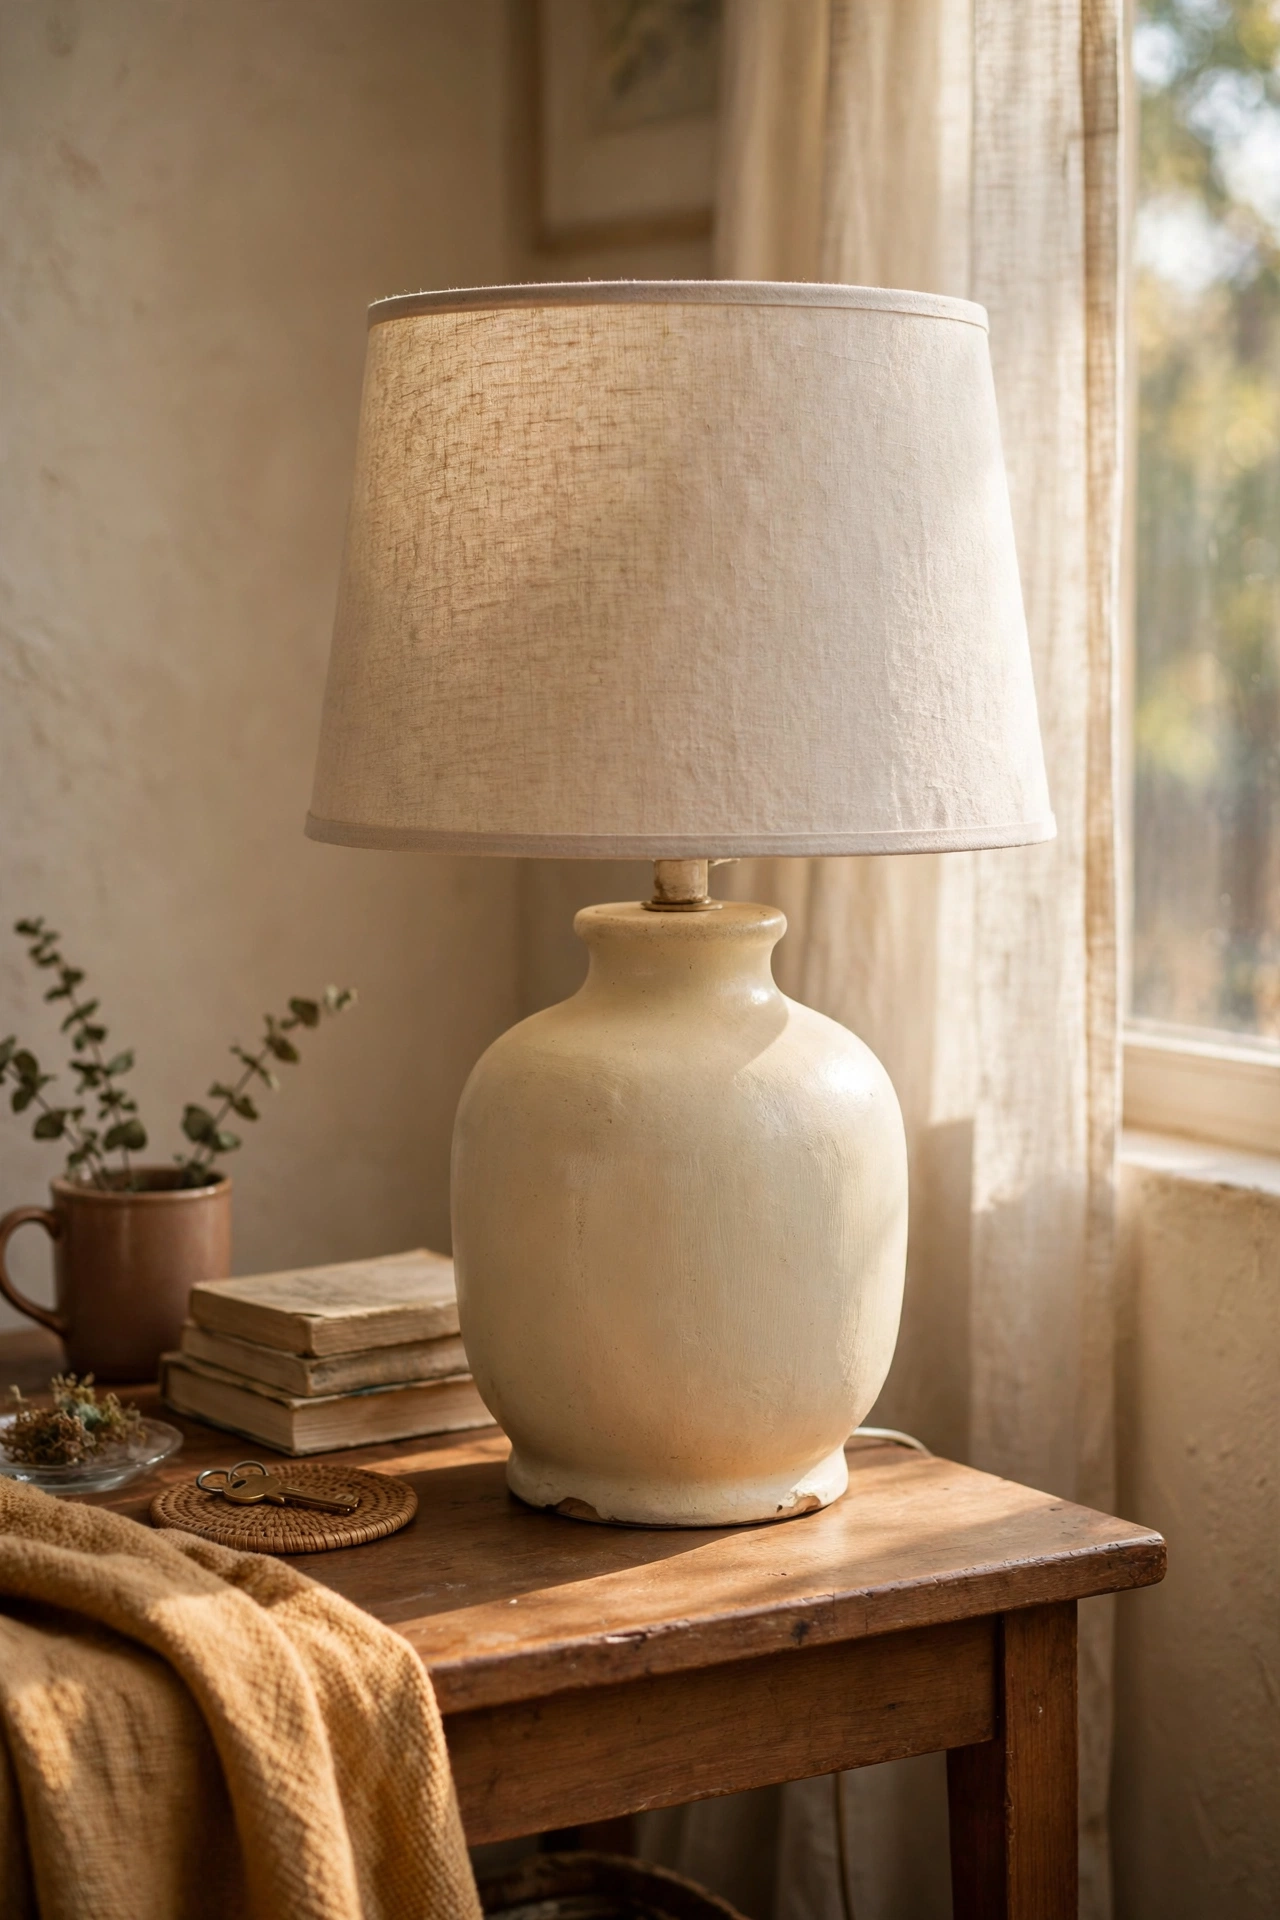
Dated ceramic lamp bases take spray paint wonderfully. I bought a floral ceramic lamp for $5 and sprayed it matte cream, which made the shape the star instead of the pattern. Ceramic needs a light sanding first so the paint grips. I skipped sanding once and the paint scratched off with a fingernail. A bonding primer fixes that if you forget. The painted base with a new linen shade looks like a $90 lamp. Shape matters more than finish when you are thrifting, because finish is the part you change.
Cost: ~$12-20 | Time: 1 hour plus drying
💡 Thrift pro tip: Look for lamp bases with interesting silhouettes: ginger jar shapes, gourds, and columns all paint up beautifully.
19. Frame Vintage Textiles as Art
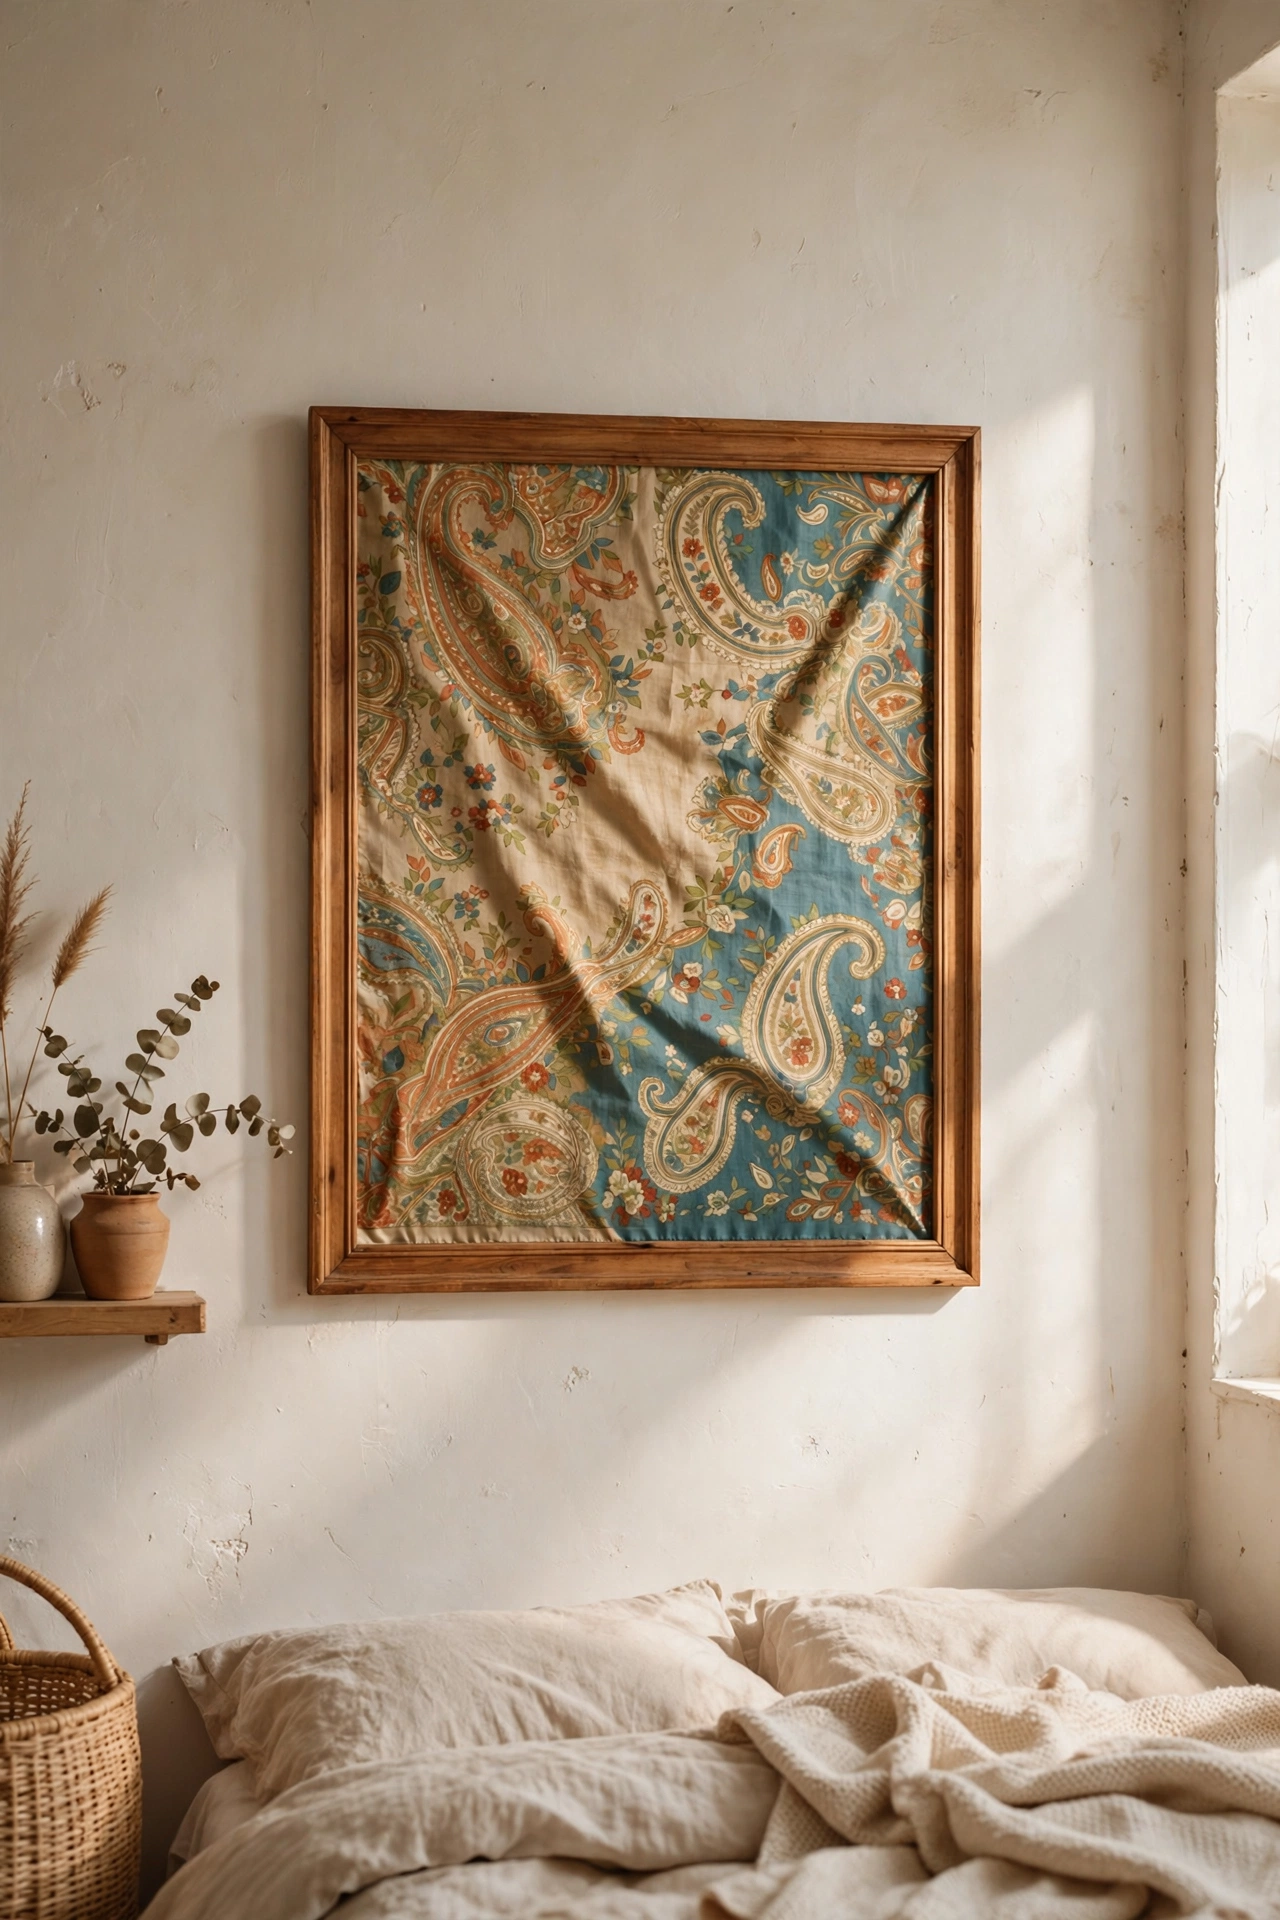
A beautiful scarf or fabric remnant in a thrifted frame is instant art. I found a silk scarf with a gorgeous print for $3 and framed it in a $5 wooden frame, and it hangs in my bedroom like a gallery piece. Iron the fabric first and mount it on acid-free board so it stays flat. I used regular cardboard once and it yellowed the fabric within a year. Embroidery hoops work beautifully for smaller pieces too. Textile art adds softness that prints cannot match.
Cost: ~$8-15 | Time: 30 minutes
💡 Thrift pro tip: Check the scarf and linen bins, not just the art section. The best textile art hides among the tablecloths.
20. Make a Throw Basket from a Laundry Hamper
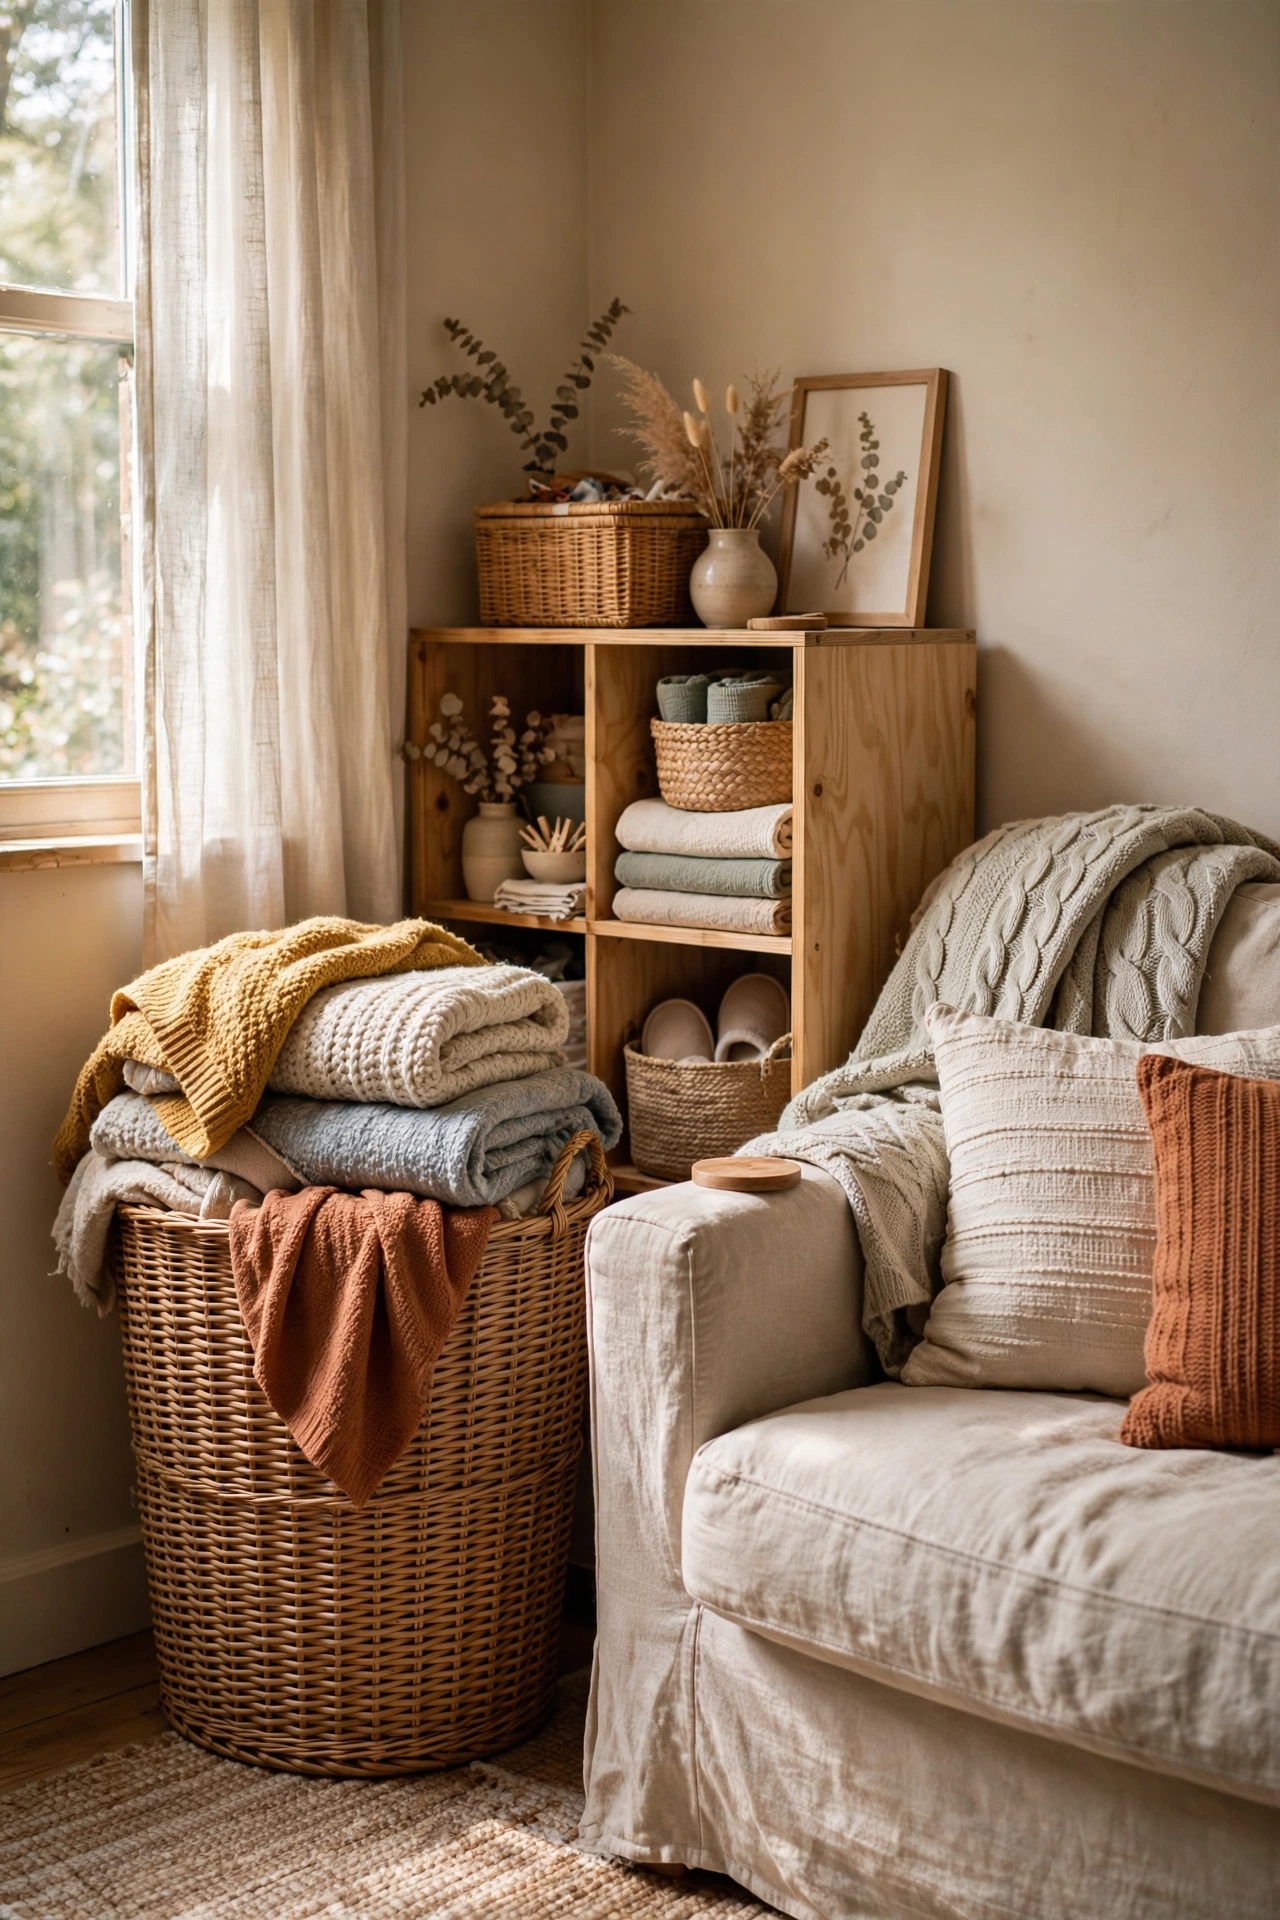
A wicker laundry hamper makes a perfect oversized throw basket. I found a lidded hamper for $9, removed the lid, and it now holds all my living room throws beside the sofa. The tall shape keeps blankets upright and tidy instead of slumping. Line it with a fabric bag if the weave is rough, because scratchy wicker snags knit throws. Mine snagged my favourite blanket before I lined it. A lidded hamper works even better with the lid on for hidden storage.
Cost: ~$9-15 | Time: 15 minutes
💡 Thrift pro tip: Tall hampers and waste baskets in natural fibres are throw-basket gold. They are always cheaper than pieces labelled as storage.
21. Style a Collected Bookshelf with Thrift Finds
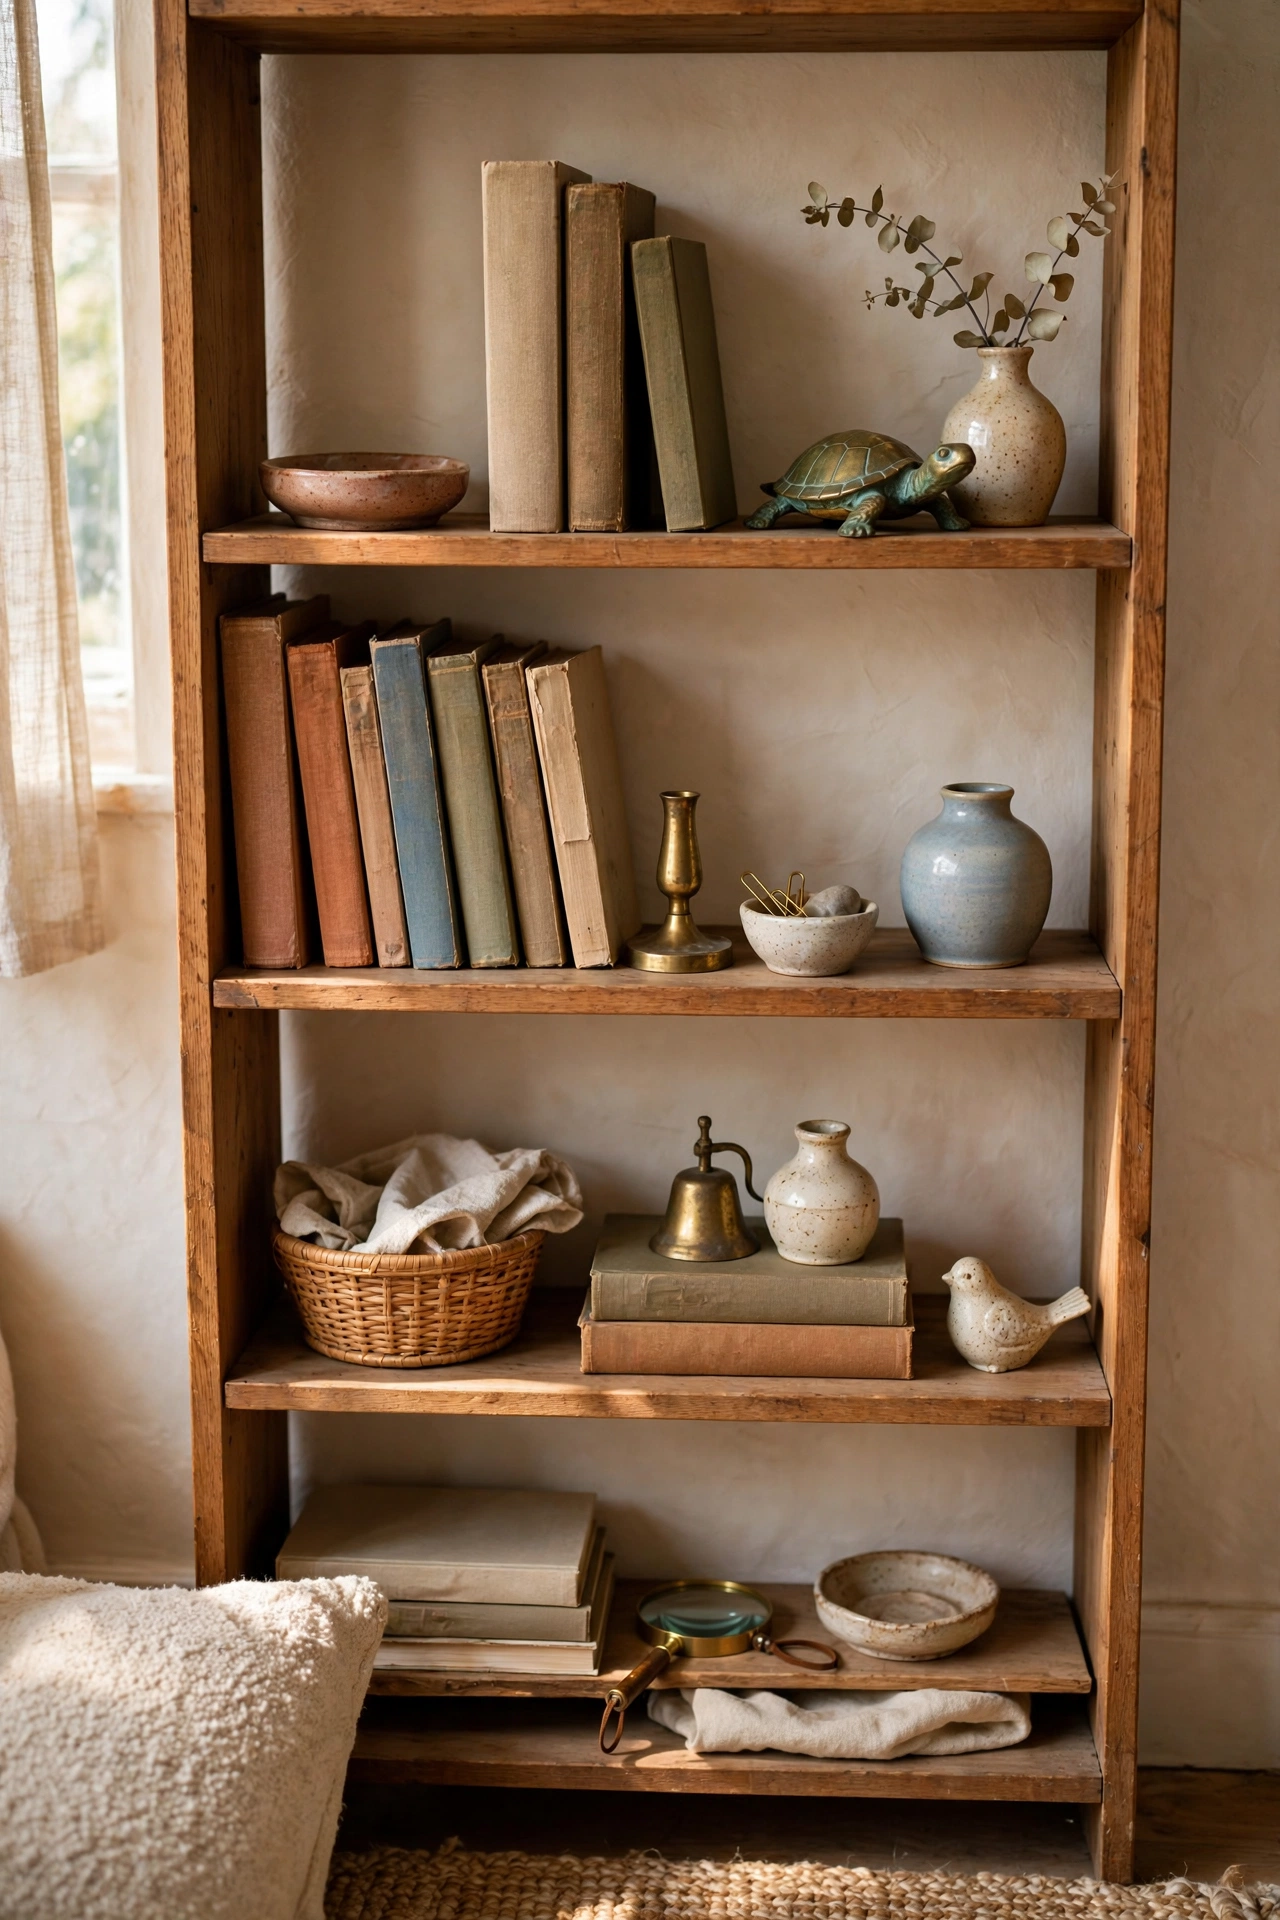
My bookshelves are ninety percent thrifted objects, and they look collected rather than decorated. The formula: books, then one interesting object per shelf, then space. I hunt for small brass animals, ceramic vases, wooden boxes, and interesting bookends, all under $3 each. The secret is restraint. My first attempt crammed every find onto the shelves and it looked like a shop. Removing half the objects made the remaining ones look special. A collected shelf tells a story, and thrift stores sell the chapters for pennies.
Cost: ~$15-25 | Time: 2 hours
💡 Thrift pro tip: Shop the bric-a-brac shelves with a colour in mind. A shelf of objects in one palette looks curated; random colours look cluttered.
📌 Found a treasure on this list? Pin this post now so you can save this idea for your next thrift run.
More budget transformations: (see also: 19-dollar-store-diys-that-look-designer) (see also: 15-upcycled-home-decor-ideas-worth-trying-this-weekend) (see also: 25-diy-shelf-ideas-on-a-budget)
