25 DIY Mirror Ideas in a Weekend
The first DIY mirror I ever made was a sunburst mirror, and it nearly ended up in the bin. I had glued eighty wooden dowels to a $10 round mirror with hot glue, and it looked fantastic for exactly one week of summer. Then the heat softened the glue and dowels started raining onto my dresser every morning. I rebuilt the whole thing with construction adhesive, let it cure for a full 24 hours, and that mirror has hung solid for four years. That failure taught me the only rule that matters with DIY mirror projects: the glue choice is the project.
Since then I have made mirrors in every style you can imagine, and these 25 DIY mirror ideas are the ones worth your weekend. Mirrors are the hardest-working decor item in a home: they double light, make small rooms feel bigger, and a framed mirror reads expensive even when it cost almost nothing. Every idea here fits into a Saturday or Sunday, uses a basic round or square mirror as the base, and costs under $45. Start with the right adhesive and you will skip my dowel disaster entirely.
1. Wood Dowel Sunburst Mirror
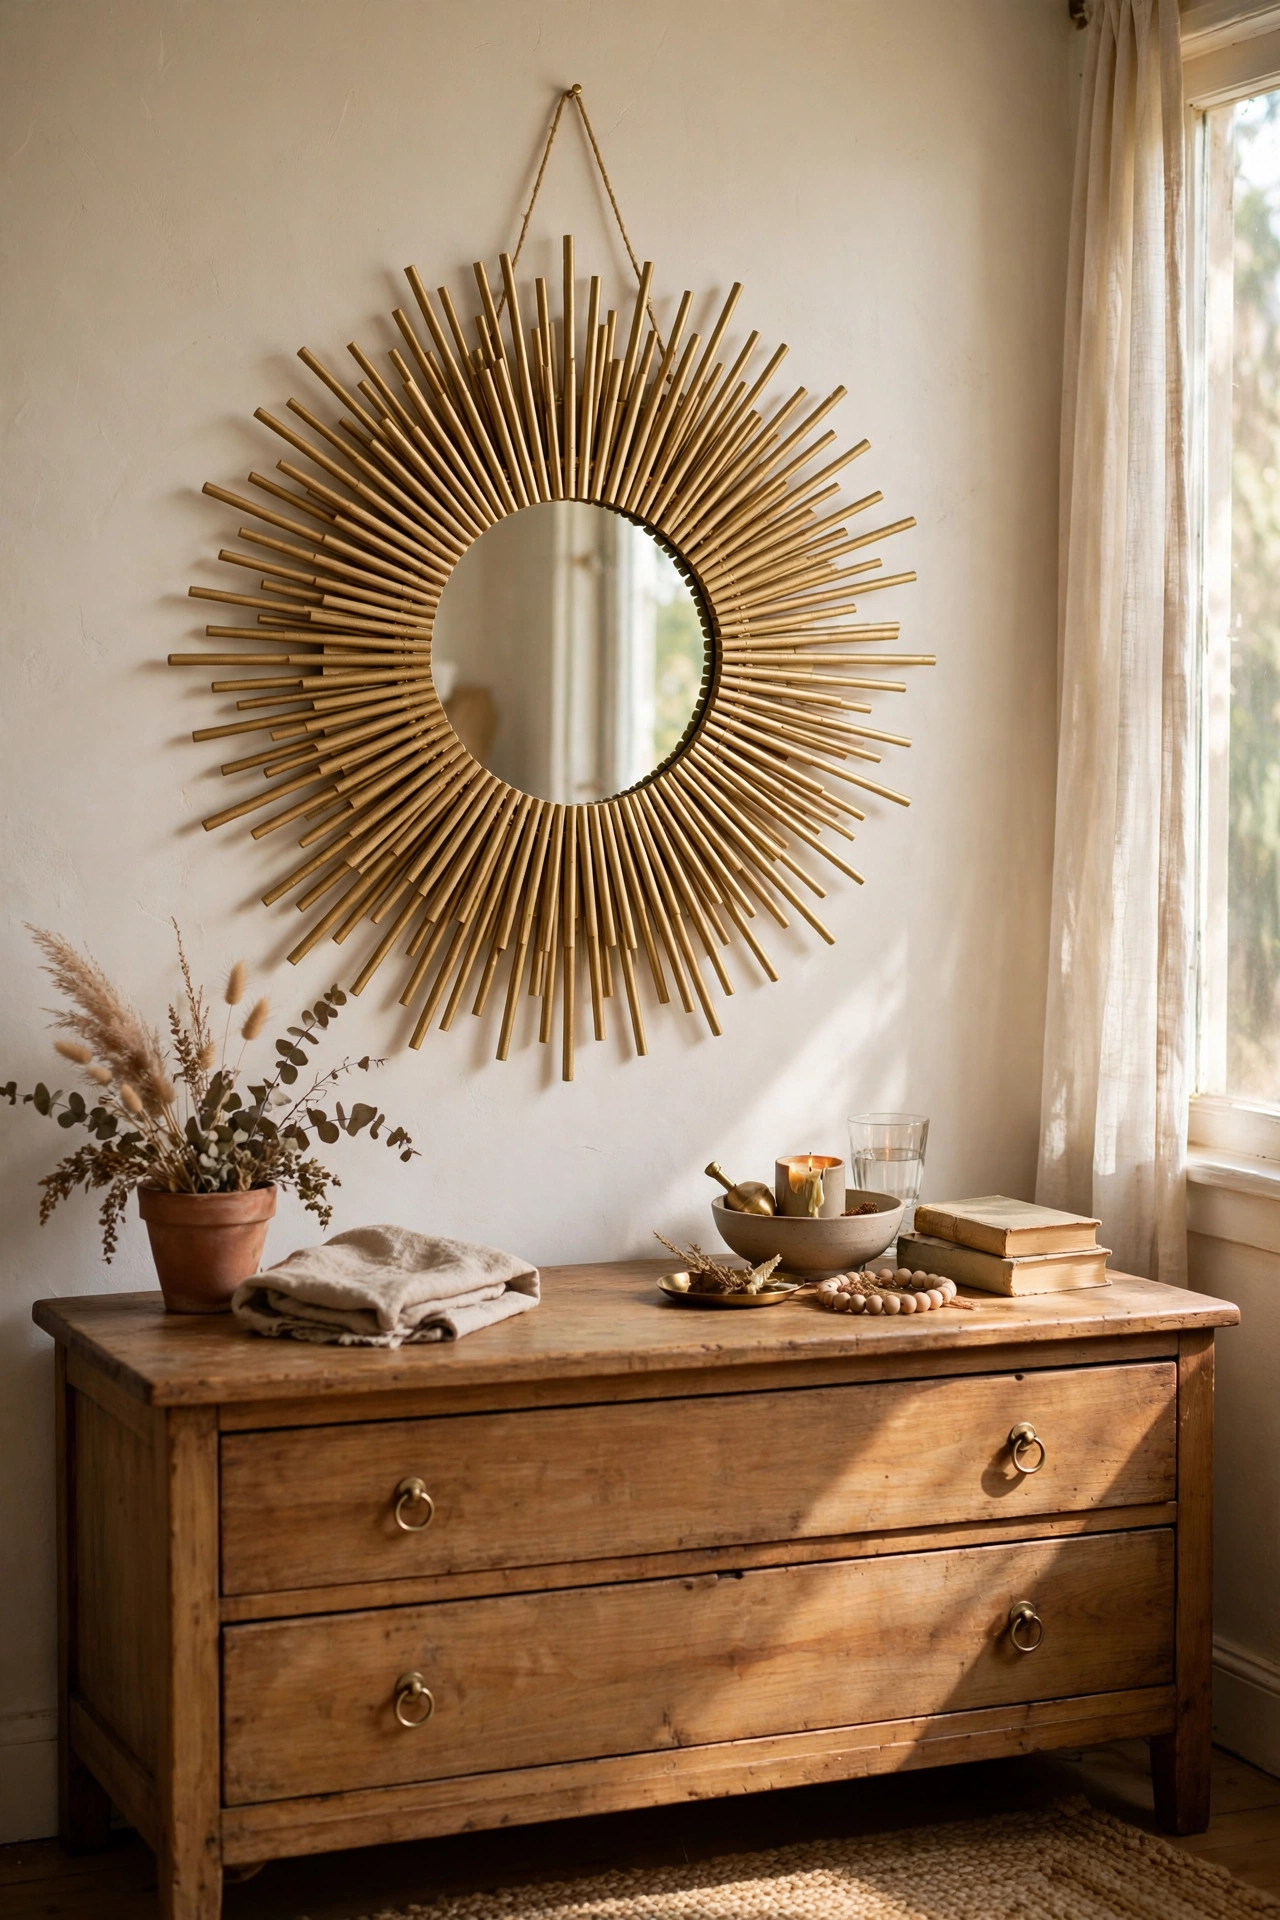
The classic sunburst mirror is still the best beginner project. I glued wooden dowels of three lengths around a $10 round mirror in a radiating pattern, then sprayed the whole thing matte gold. Use construction adhesive, not hot glue, and let it cure overnight before you hang it. I mark the dowel positions lightly in pencil first so the rays stay even. My original hot-glue version shed dowels within a week of summer heat. The rebuilt one has survived four years. It looks like a $150 statement piece and cost $22.
Cost: ~$18-28 | Time: 2 hours plus overnight cure
2. Rope-Wrapped Round Mirror
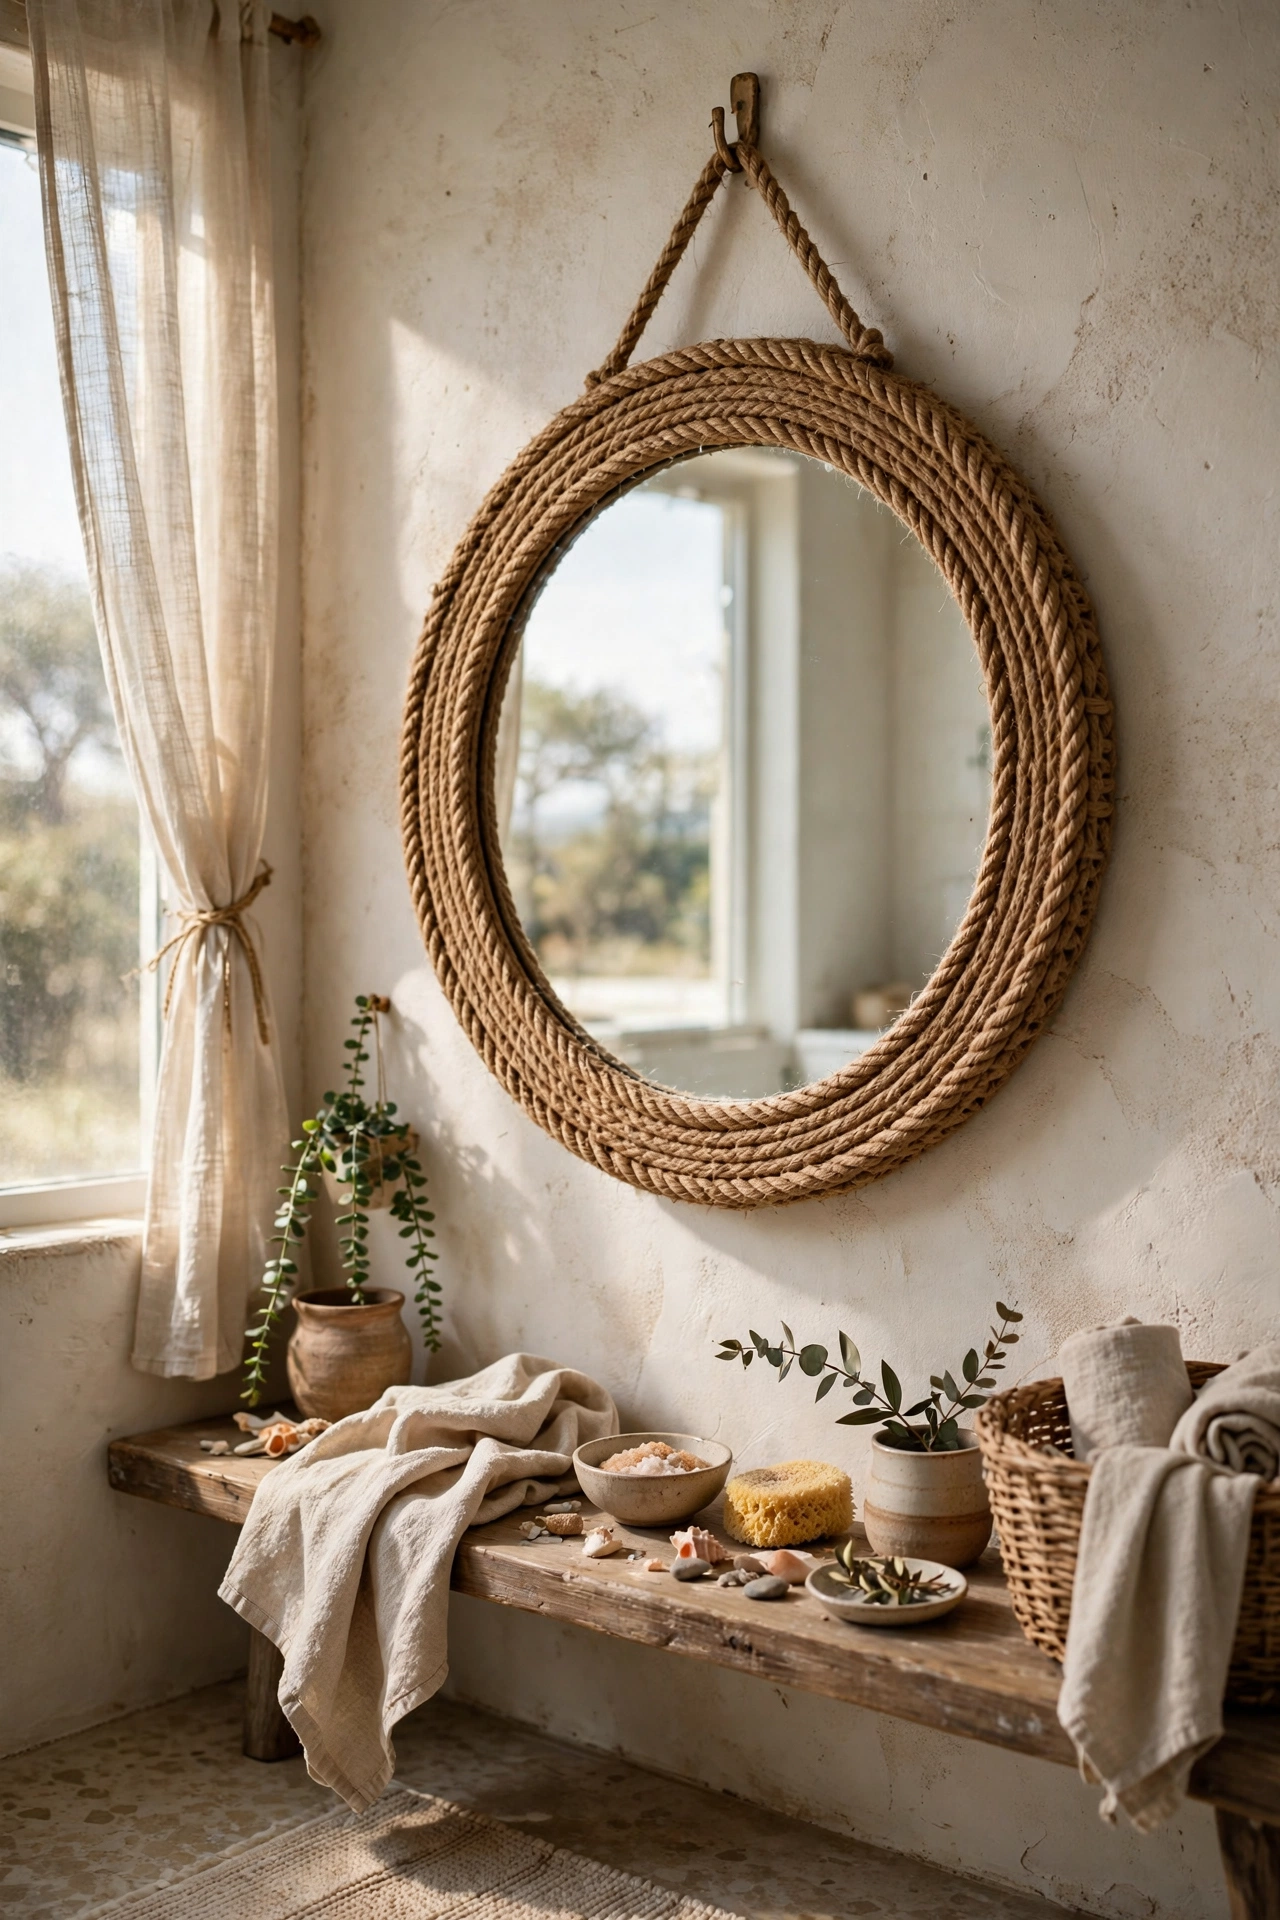
Wrapping a round mirror in jute rope gives you the coastal look for the price of a $4 rope coil. I wrapped two layers of rope around the edge of a frameless mirror, gluing as I went with a hot glue gun, and tucked the end underneath. Keep the tension even or the rope puckers. My first wrap was loose in spots and slid around until I redid it tighter. The finished mirror hangs in my bathroom and looks like a boutique coastal find. Two hours of wrapping while listening to a podcast, and it is done.
Cost: ~$12-20 | Time: 2 hours
3. Plywood Arch Mirror
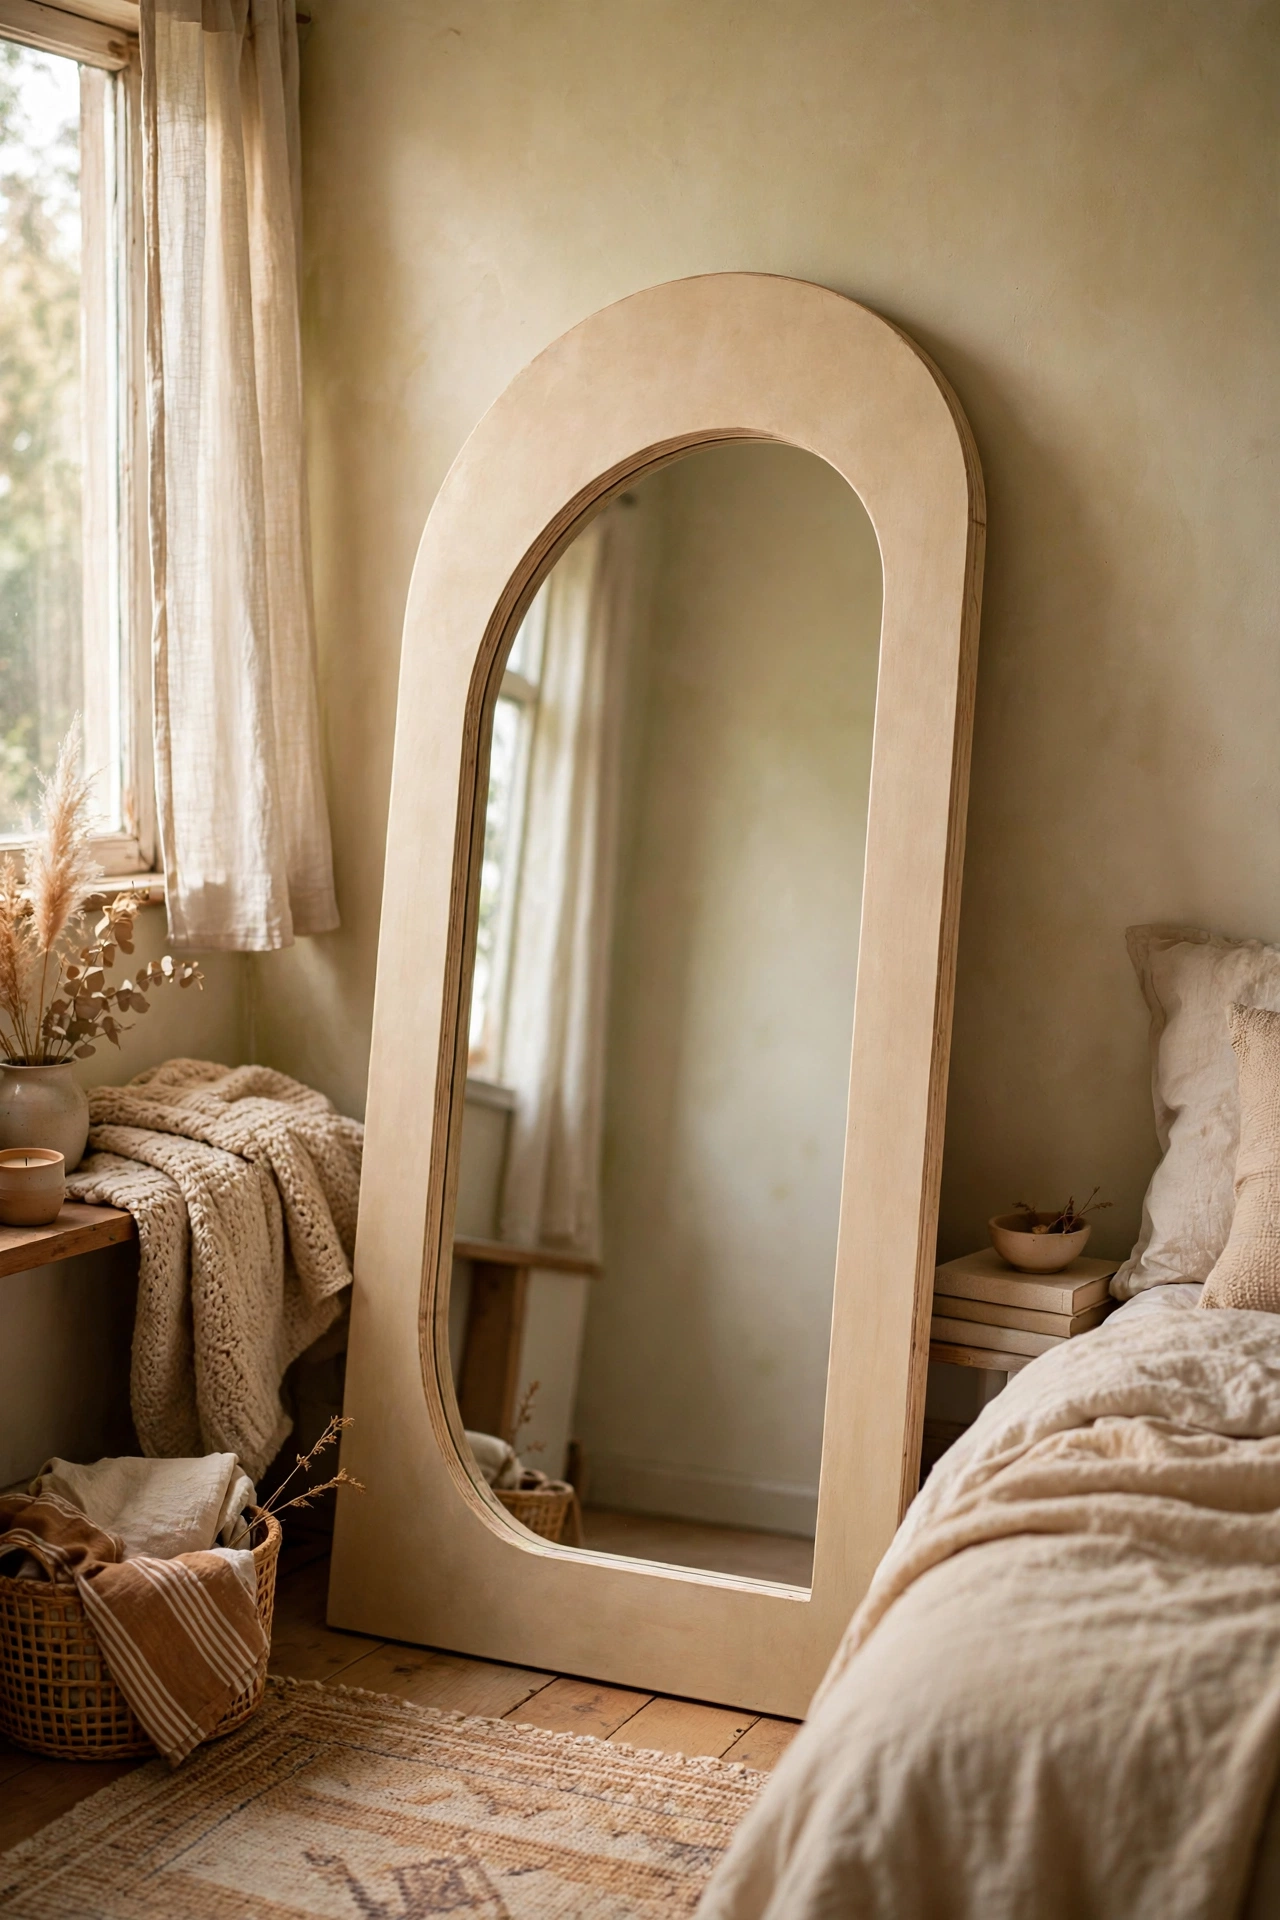
Arch mirrors are everywhere right now and cost a fortune, but plywood and a mirror make one for $35. I traced an arch shape on half-inch plywood, cut it with a jigsaw, and glued a round mirror to the centre. Sand the edges smooth and paint the plywood in a soft limewash tone. I cut my arch slightly lopsided the first time because I freehanded it. Trace a real arch using a bowl and a ruler for the straight sides. The finished piece leans against my bedroom wall and looks like it came from a design studio.
Cost: ~$28-40 | Time: 3 hours
4. Black Grid-Style Trim Mirror
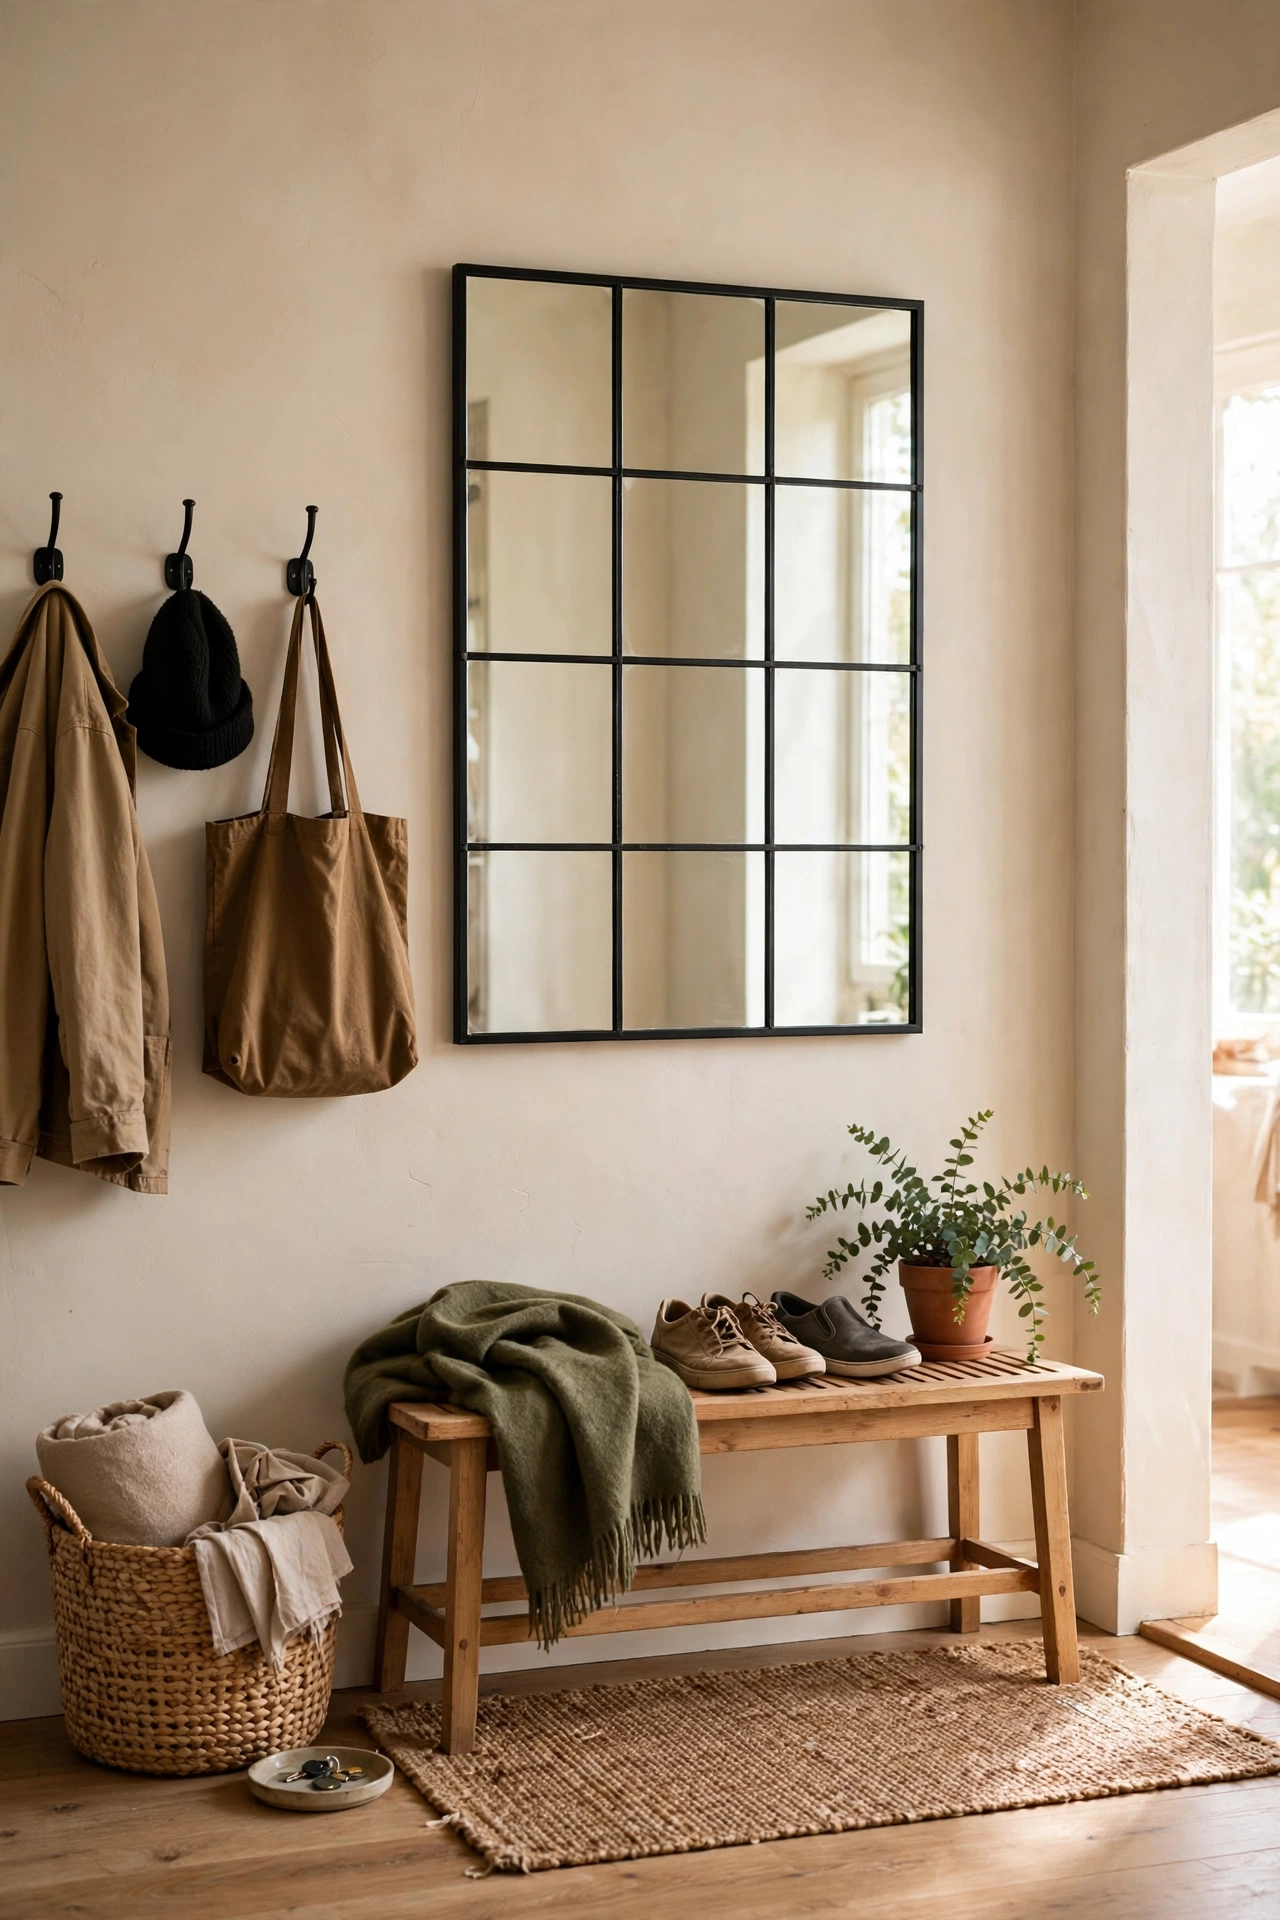
Thin black trim glued in a grid over a plain mirror creates the industrial windowpane look. I used half-inch balsa strips painted matte black on a $15 rectangular mirror, spacing them evenly with a ruler. Seal the raw wood first or the paint soaks in unevenly. My first grid warped because I used unstained craft wood that absorbed humidity. Proper trim from the hardware store stays flat. The finished mirror hangs in my entryway and guests assume it is a real steel window.
Cost: ~$20-30 | Time: 2 hours plus drying
5. Rattan Placemat Frame Overlay
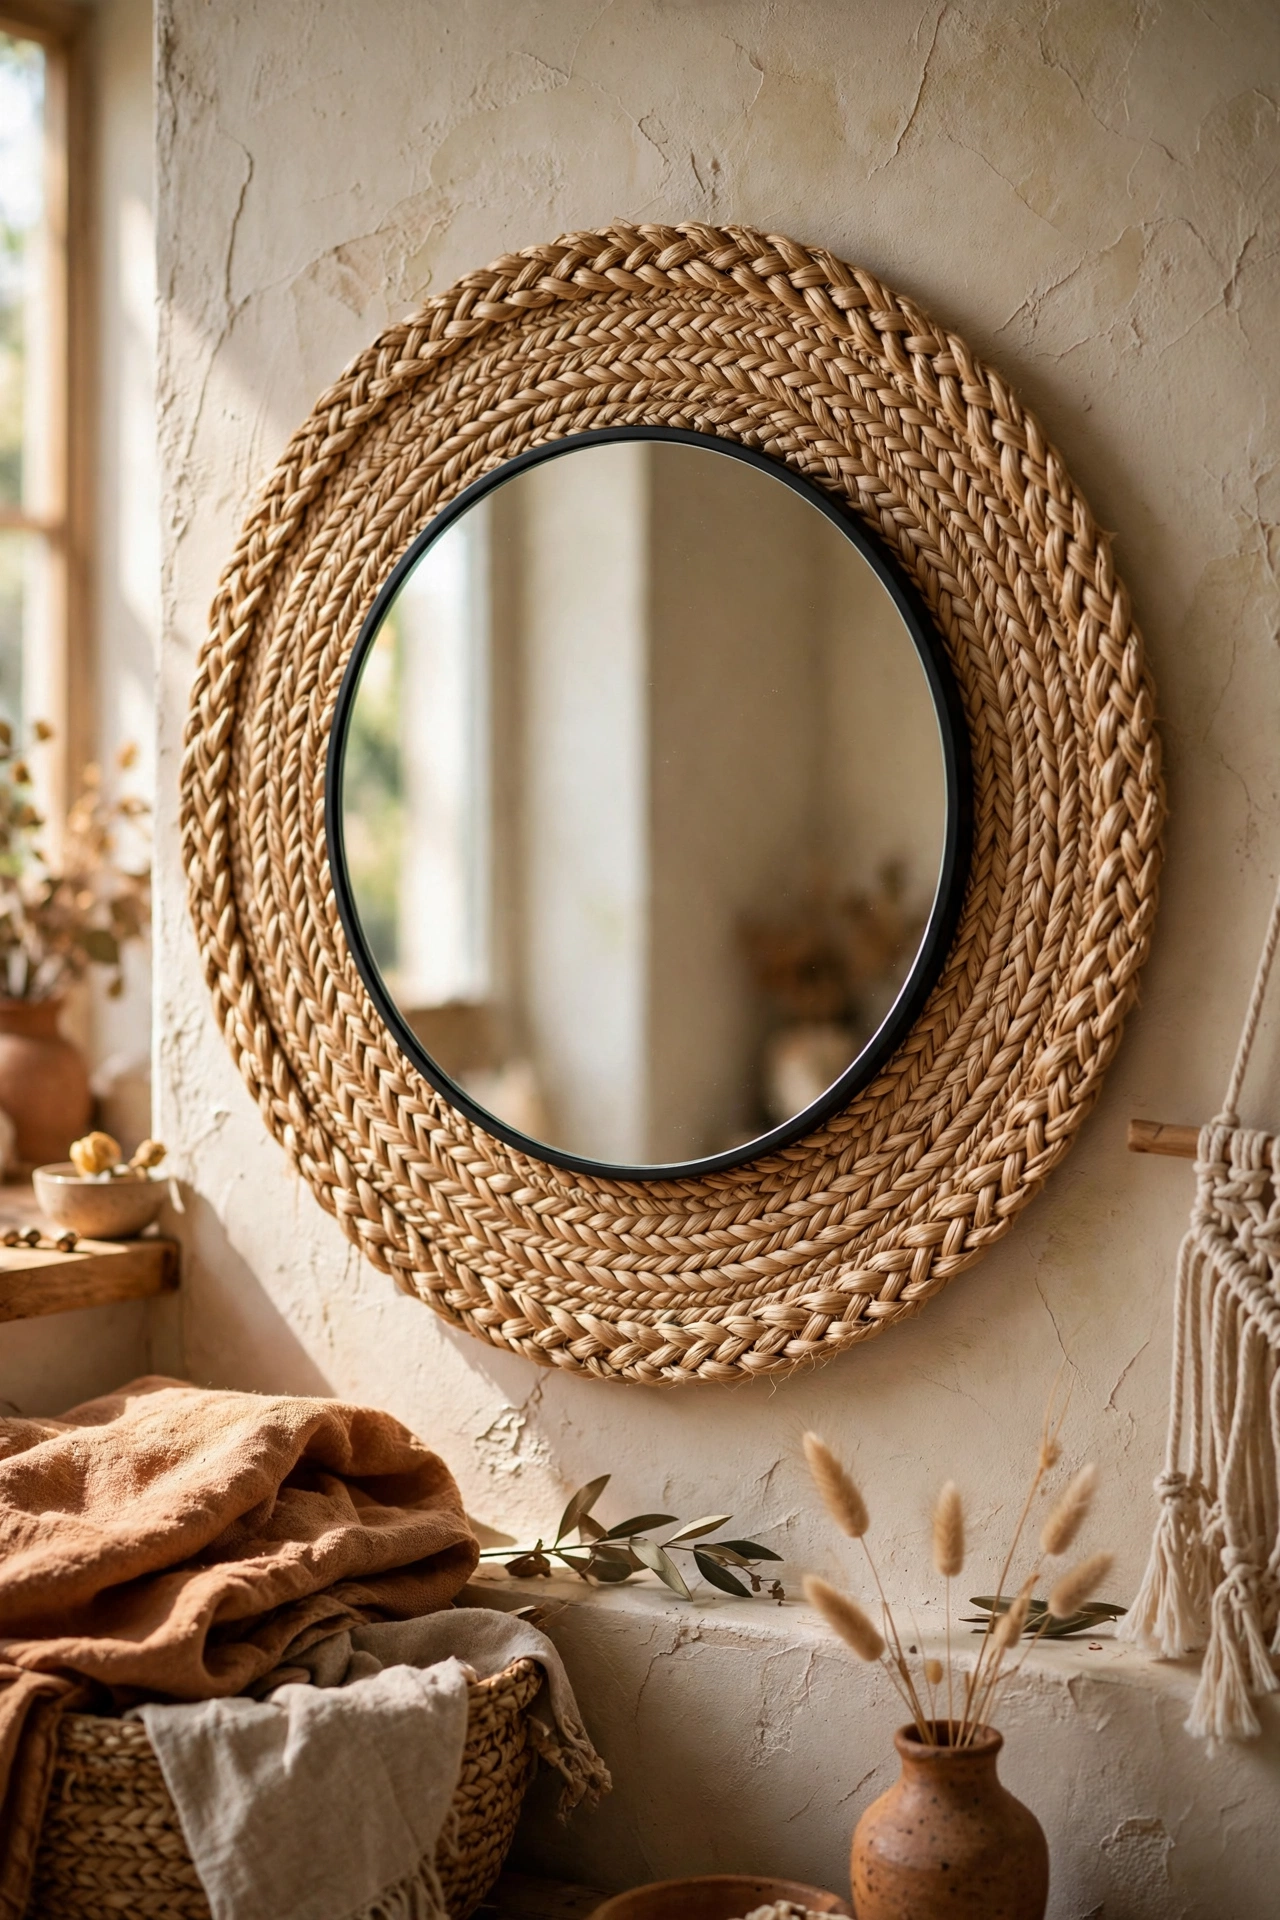
A woven placemat behind a round mirror creates the rattan halo everyone wants. I cut a round placemat slightly larger than my $12 mirror and glued it behind so a woven border shows all around. It takes twenty minutes and looks like the $120 versions online. Use construction adhesive rather than hot glue for anything that hangs on a wall long-term. My hot-glue attempt failed in summer heat, which is becoming a theme in my DIY life. The woven halo adds warmth that a plain mirror cannot.
Cost: ~$14-22 | Time: 30 minutes
6. Regilded Thrift Store Frame Mirror
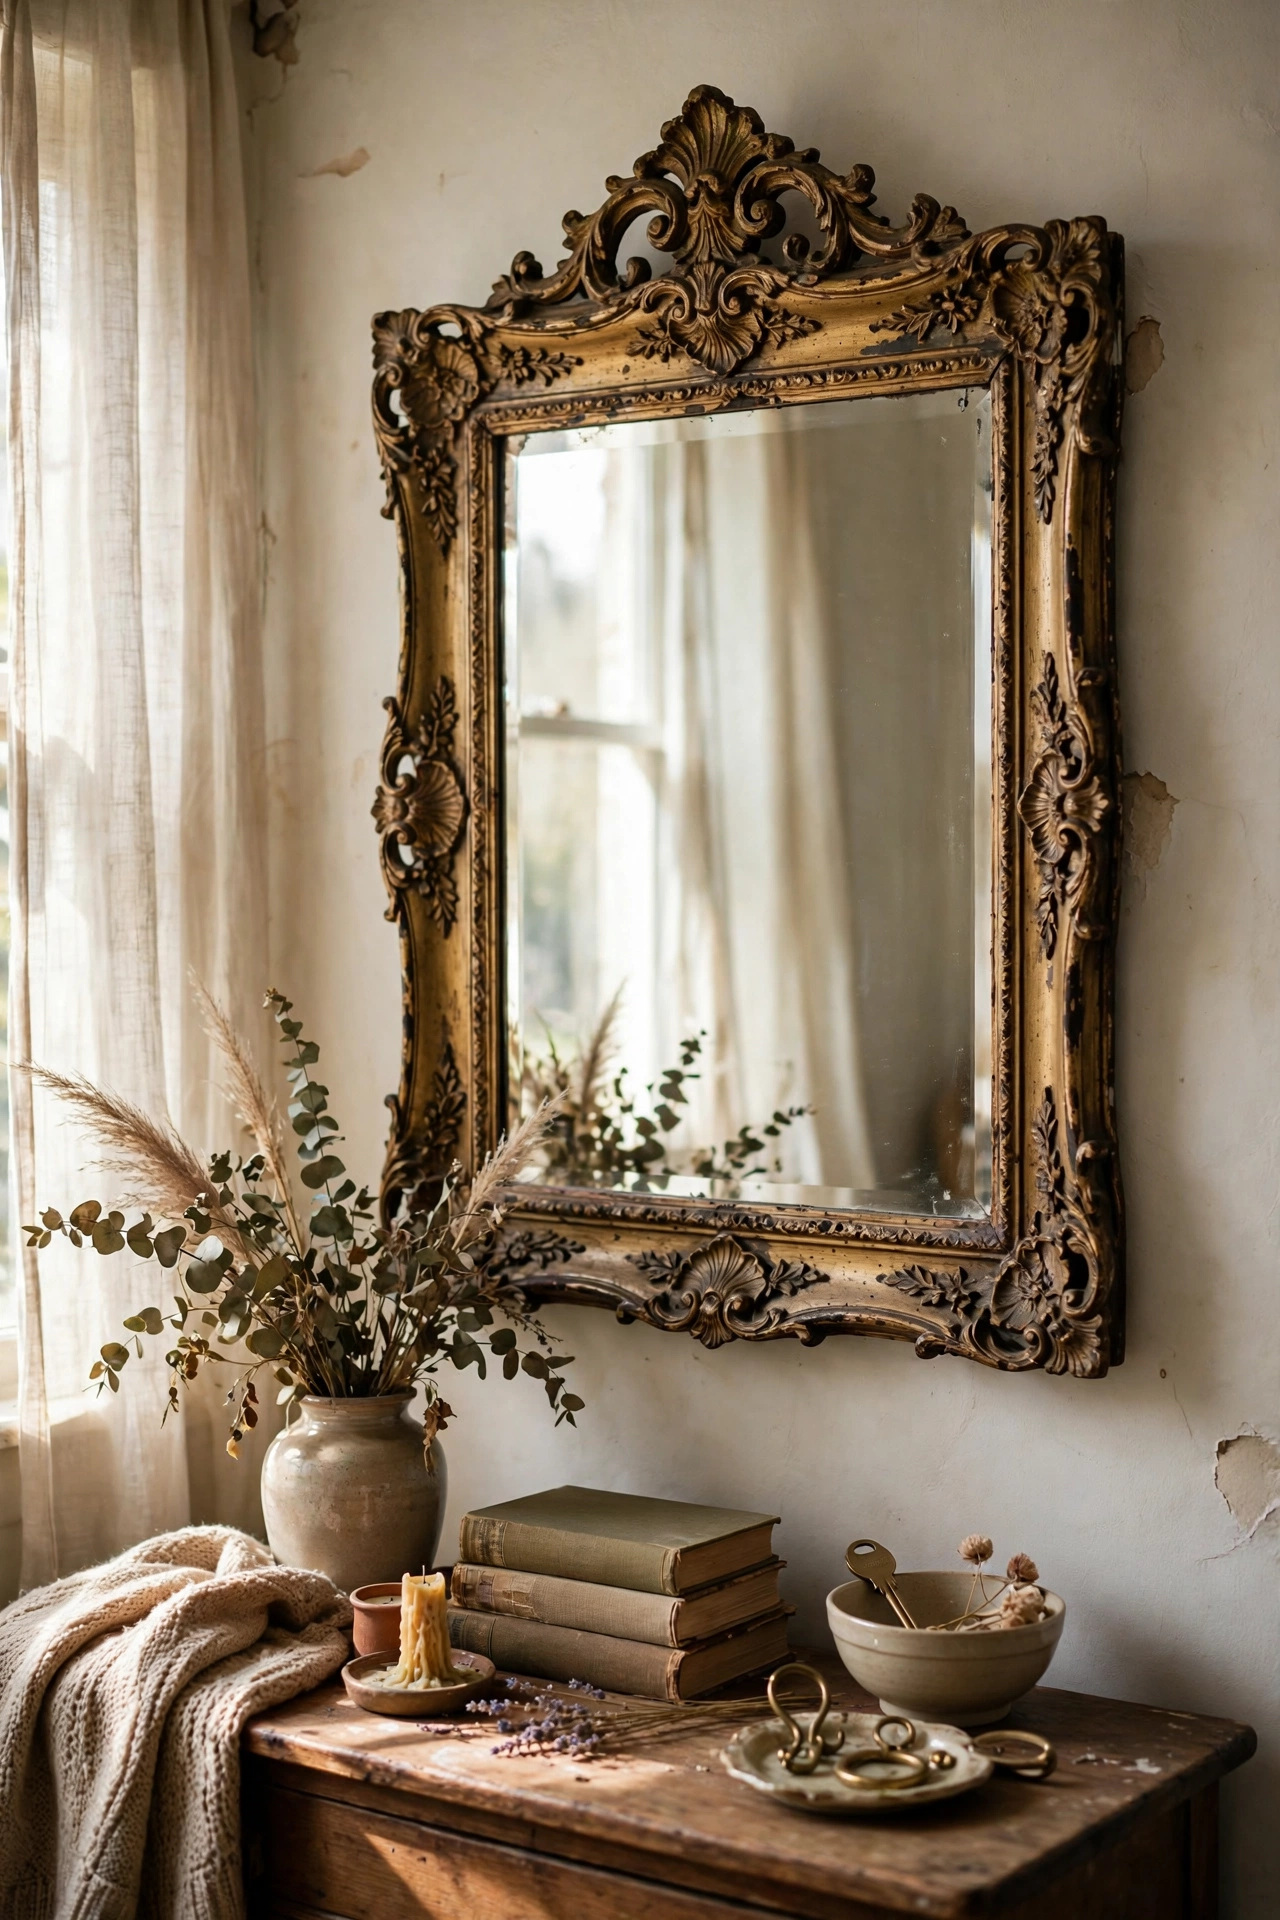
Thrift stores are full of ugly framed mirrors with good bones. I bought a heavy brown one for $8, brushed antique gold paint over the frame, and wiped it back so the dark crevices showed. The gold-over-dark technique is what makes it look aged rather than plasticky. I did one frame in solid gold first and it looked like a costume prop. Dry-brushing and wiping back is the difference. The mirror itself was perfect, and the frame now looks like an estate find.
Cost: ~$12-20 | Time: 2 hours plus drying
7. Peg Rail with a Hanging Mirror
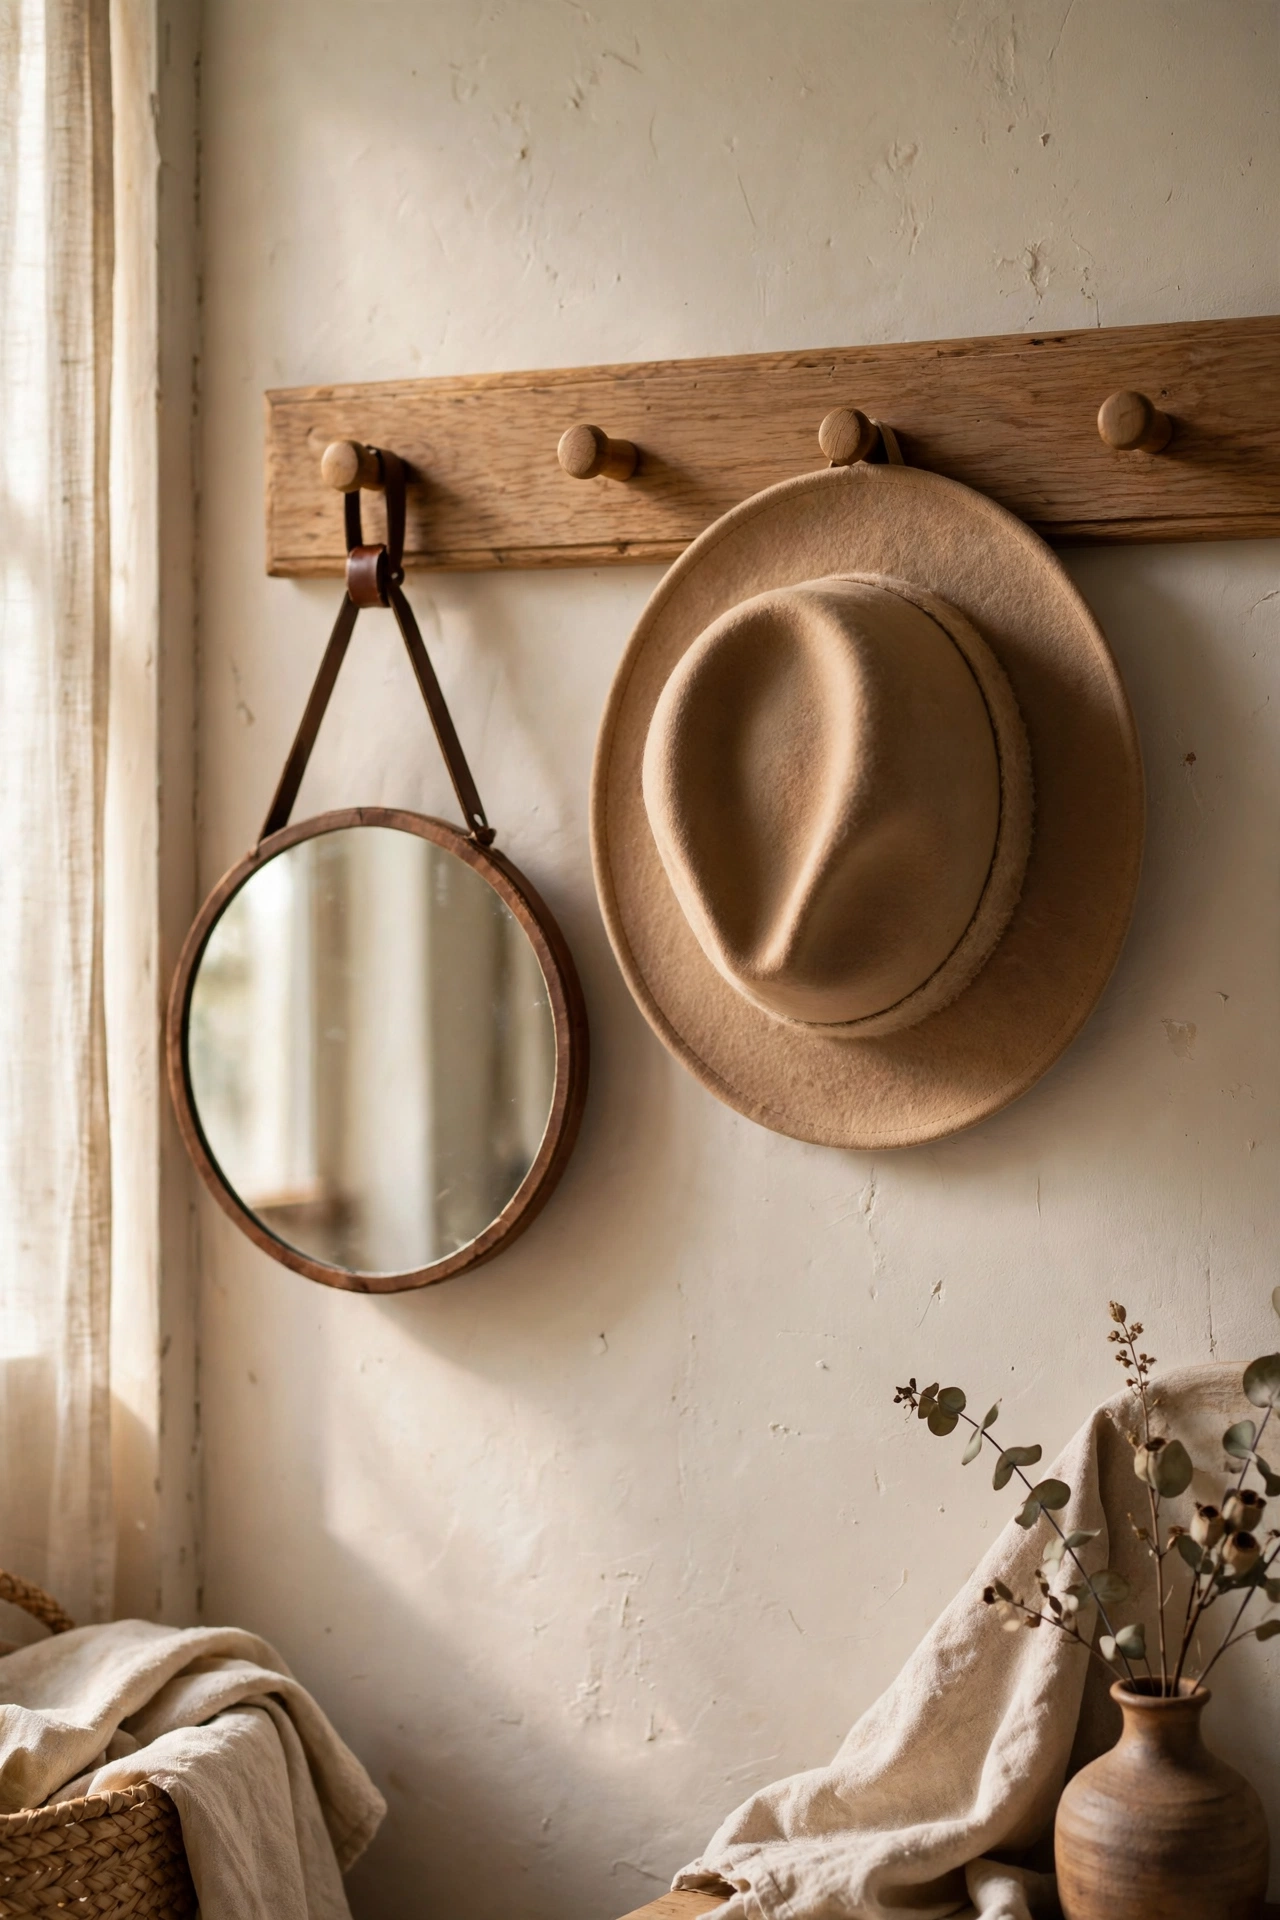
A wooden peg rail with a small round mirror hung from a leather strap is Shaker-style charm. I mounted a $12 peg rail, hung a $10 mirror from one peg with a leather cord, and used the other pegs for a hat and a tote. Mount the rail into studs or solid anchors because it carries weight. My first rail pulled out of drywall with cheap anchors, which I fixed with proper toggle bolts. The mirror-plus-storage combo works beautifully in an entryway or bedroom.
Cost: ~$25-35 | Time: 1 hour
8. Windowpane Mirror from Old Sash
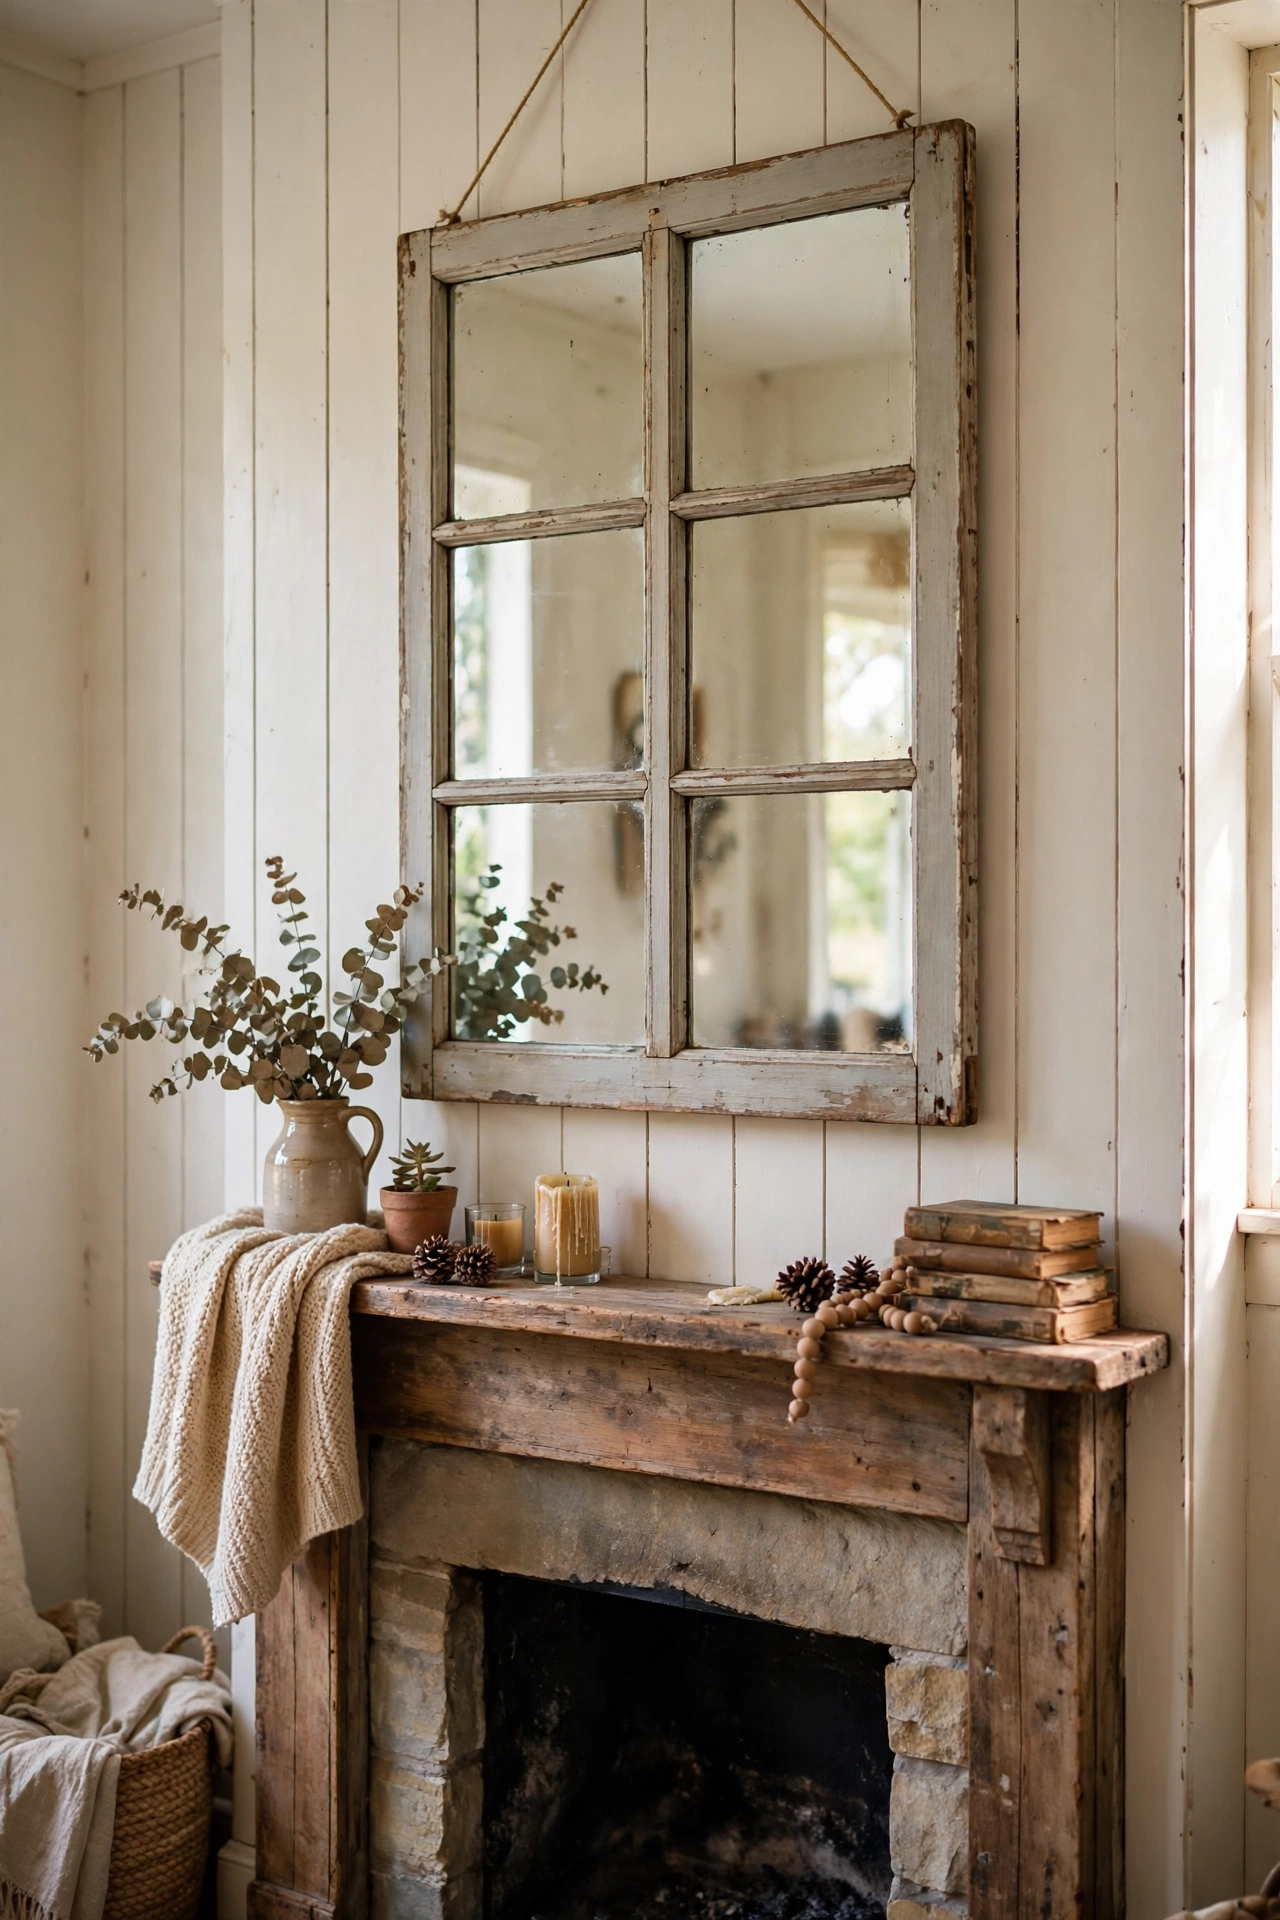
An old window sash with mirror in place of glass is pure farmhouse character. I found a sash at a salvage yard for $15, had mirror cut to fit each pane for $20, and painted the frame soft white. Check the sash joints before you buy, because loose joints will not hold mirror weight. I reinforced mine with corner brackets. The divided panes multiply reflections in the prettiest way. It hangs above my mantel and looks like an architectural salvage piece.
Cost: ~$35-45 | Time: 3 hours
9. Brass Clip Minimalist Mirror
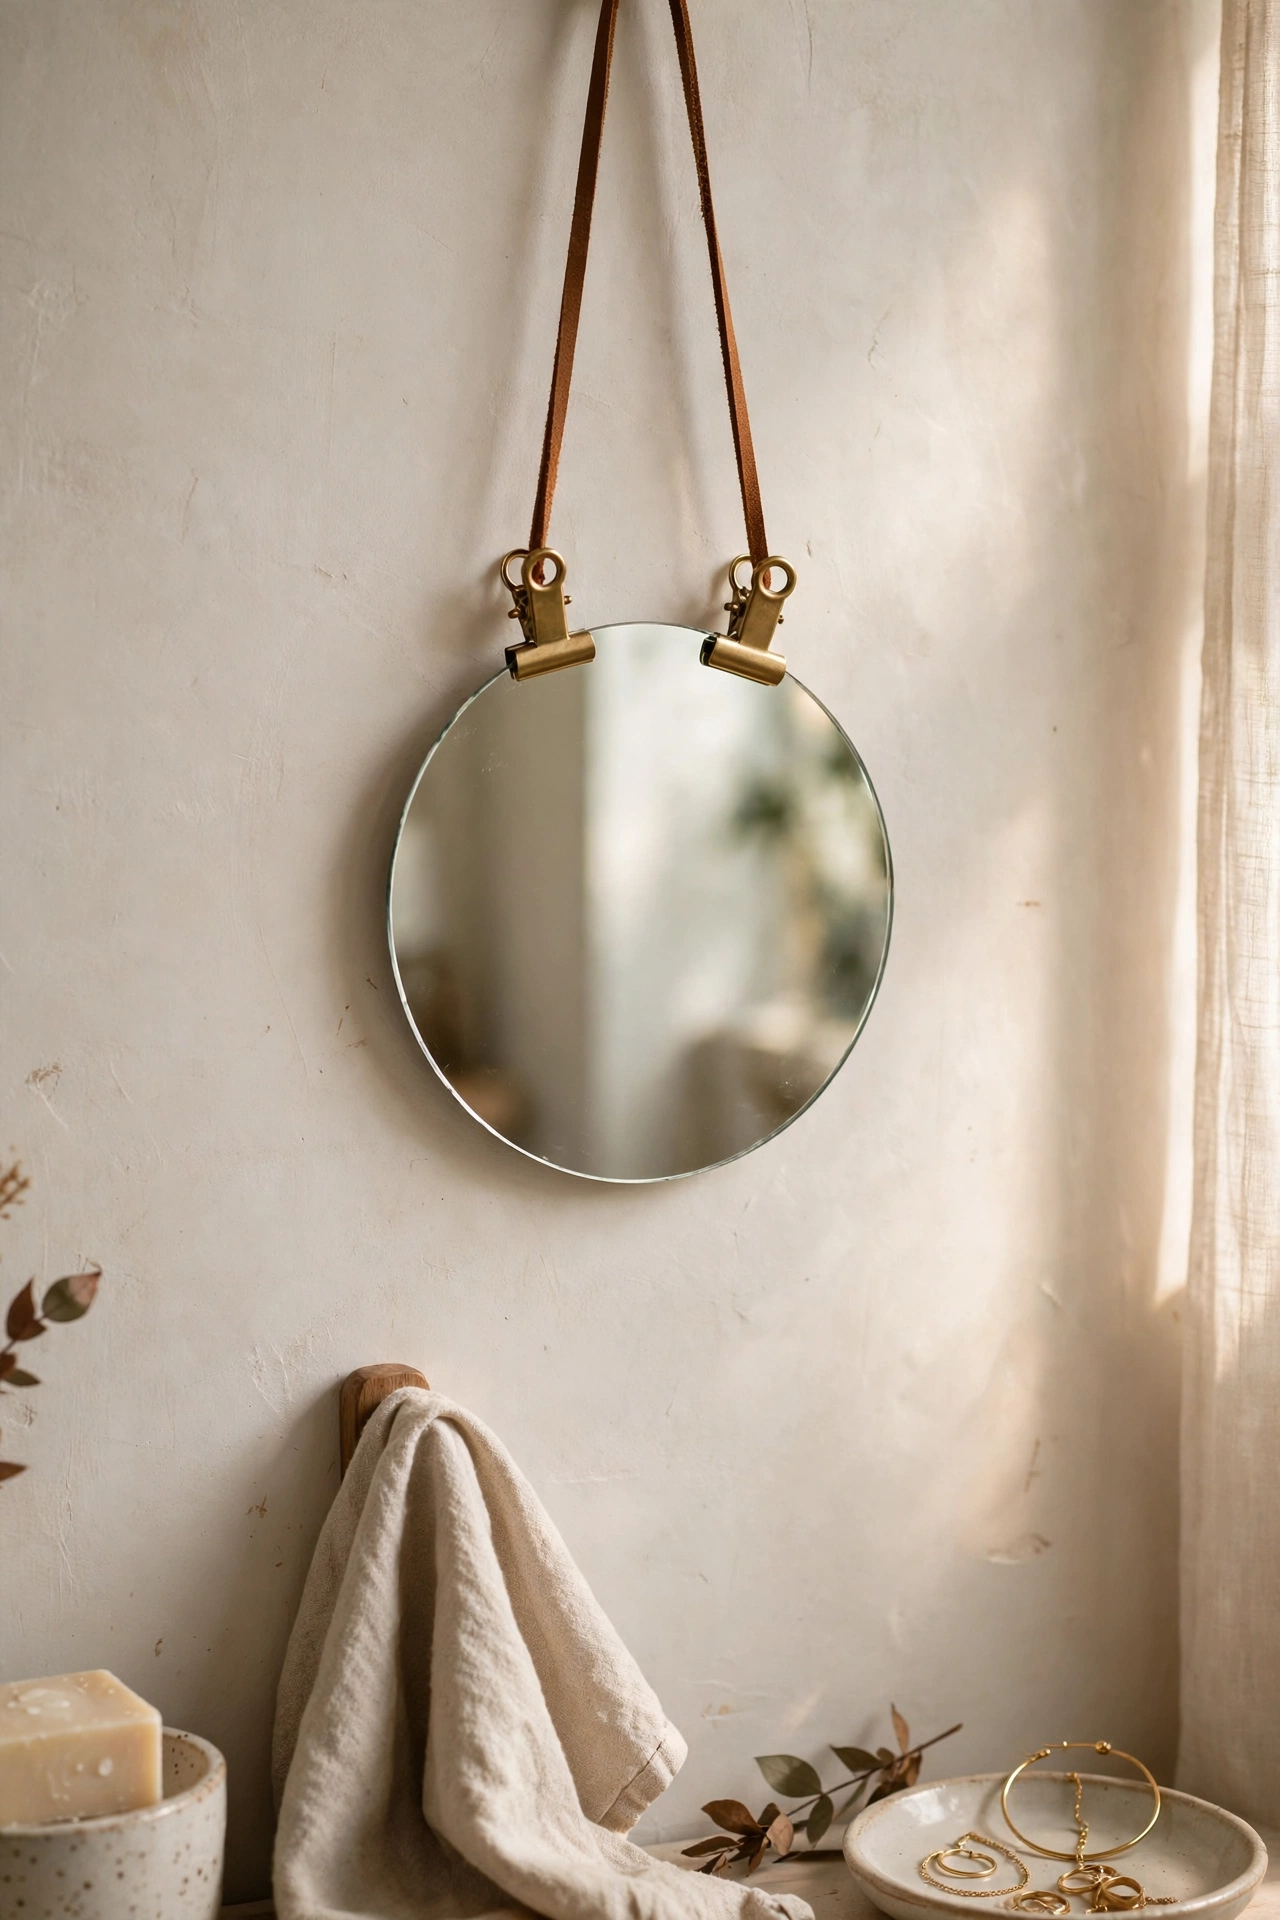
Two brass clips and a frameless mirror make the most minimal mirror possible. I bought brass picture clips for $6 and hung a $12 frameless mirror from a leather cord, which gives it a jewellery-like look. This works best with smaller mirrors under twelve inches, because heavy frameless mirrors need proper mounting hardware. My bathroom mirror has hung from clips for two years without budging. It is the cheapest idea on this list and one of the most elegant.
Cost: ~$15-25 | Time: 20 minutes
10. Scalloped Edge Painted Mirror
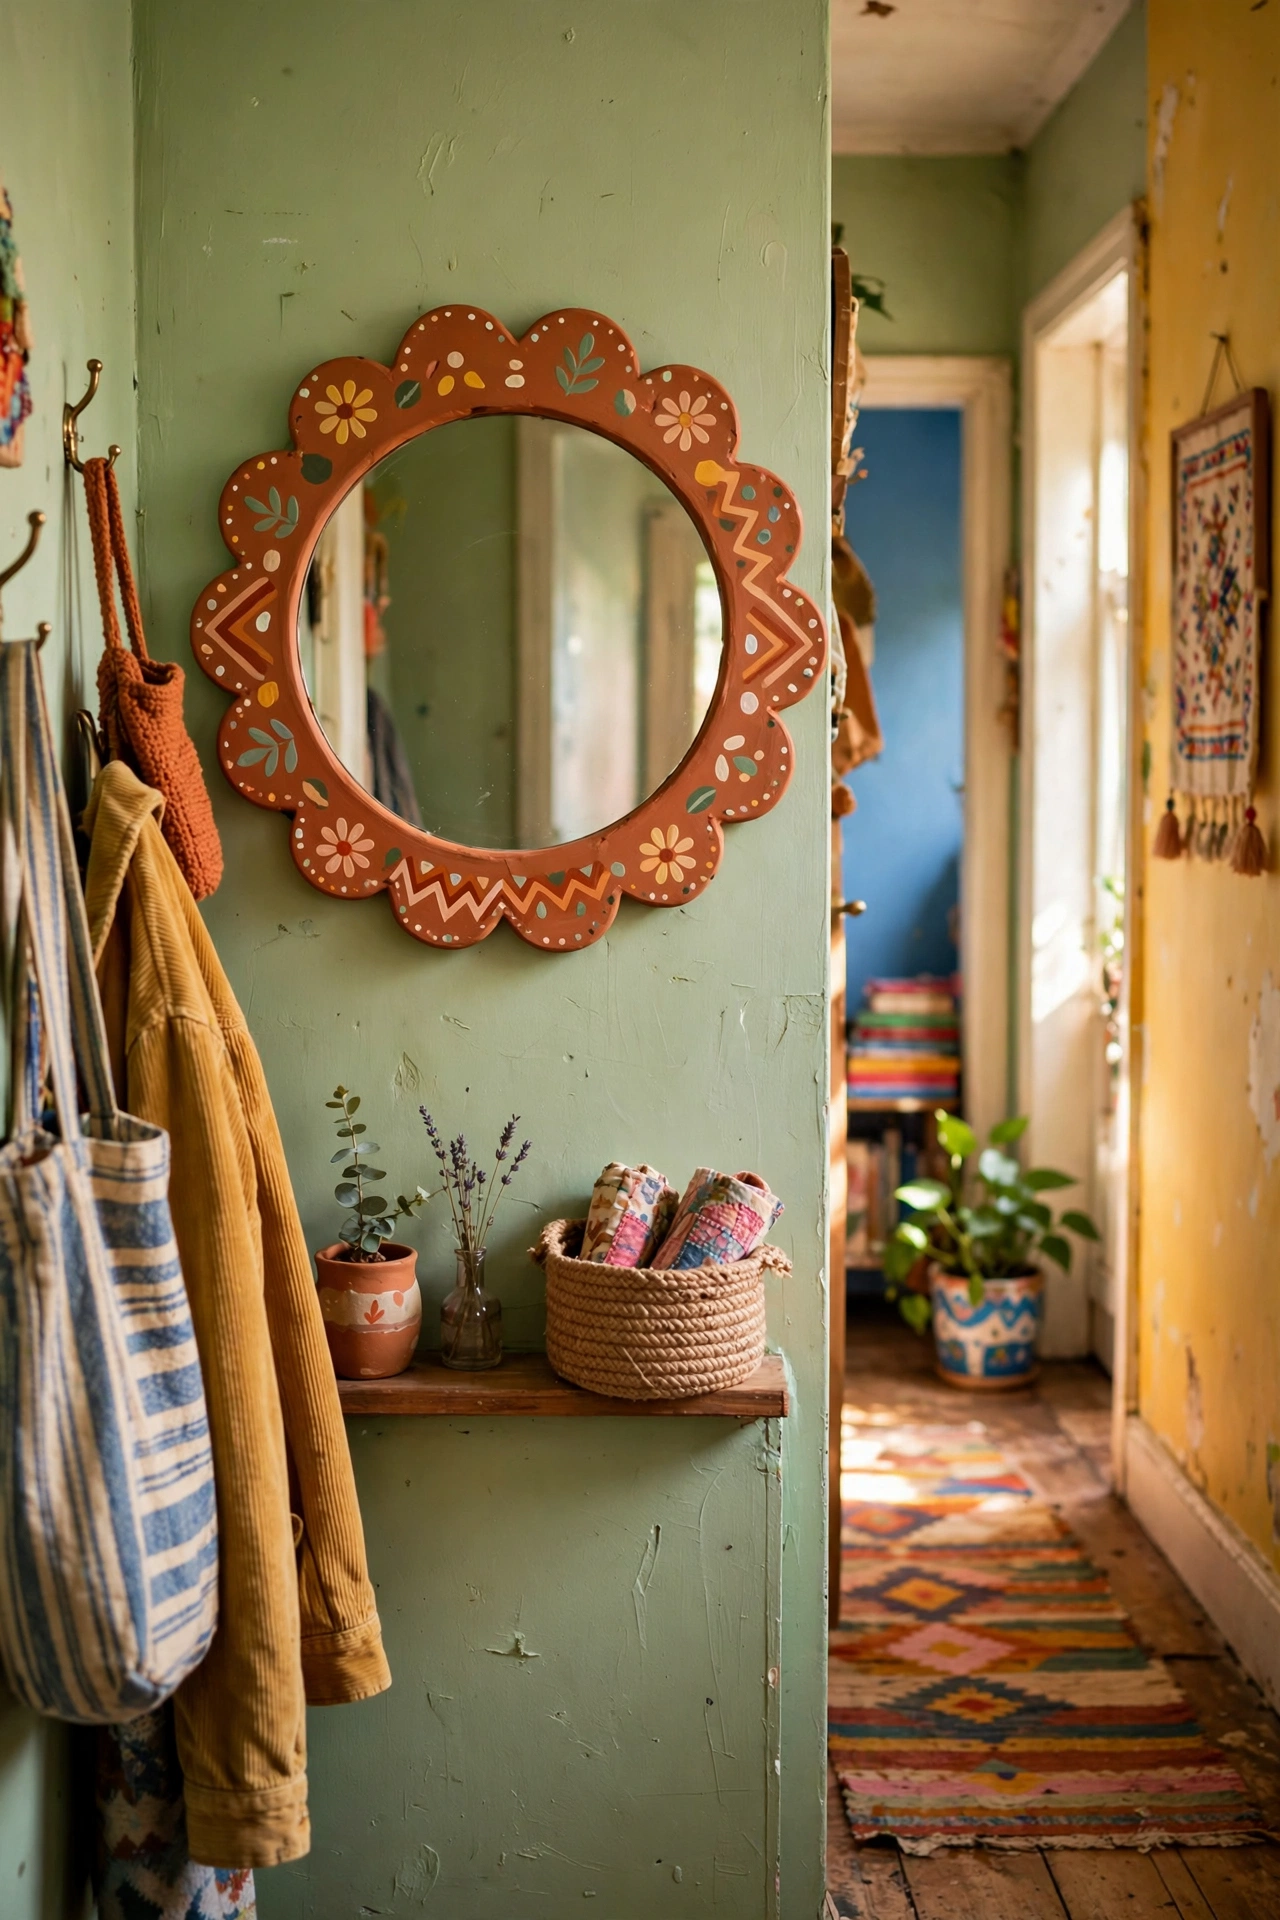
Painting a scalloped border directly onto a plain mirror creates a custom frame for the cost of a paint sample. I taped a scallop template around a $14 round mirror and painted the border in terracotta. Use glass paint or a bonding primer first, because regular wall paint scratches off glass. I learned that when my first border flaked within a month. The scalloped edge looks playful and handmade, perfect for a kids room or a colourful hallway.
Cost: ~$14-22 | Time: 1 hour plus drying
11. Framed Leaning Floor Mirror
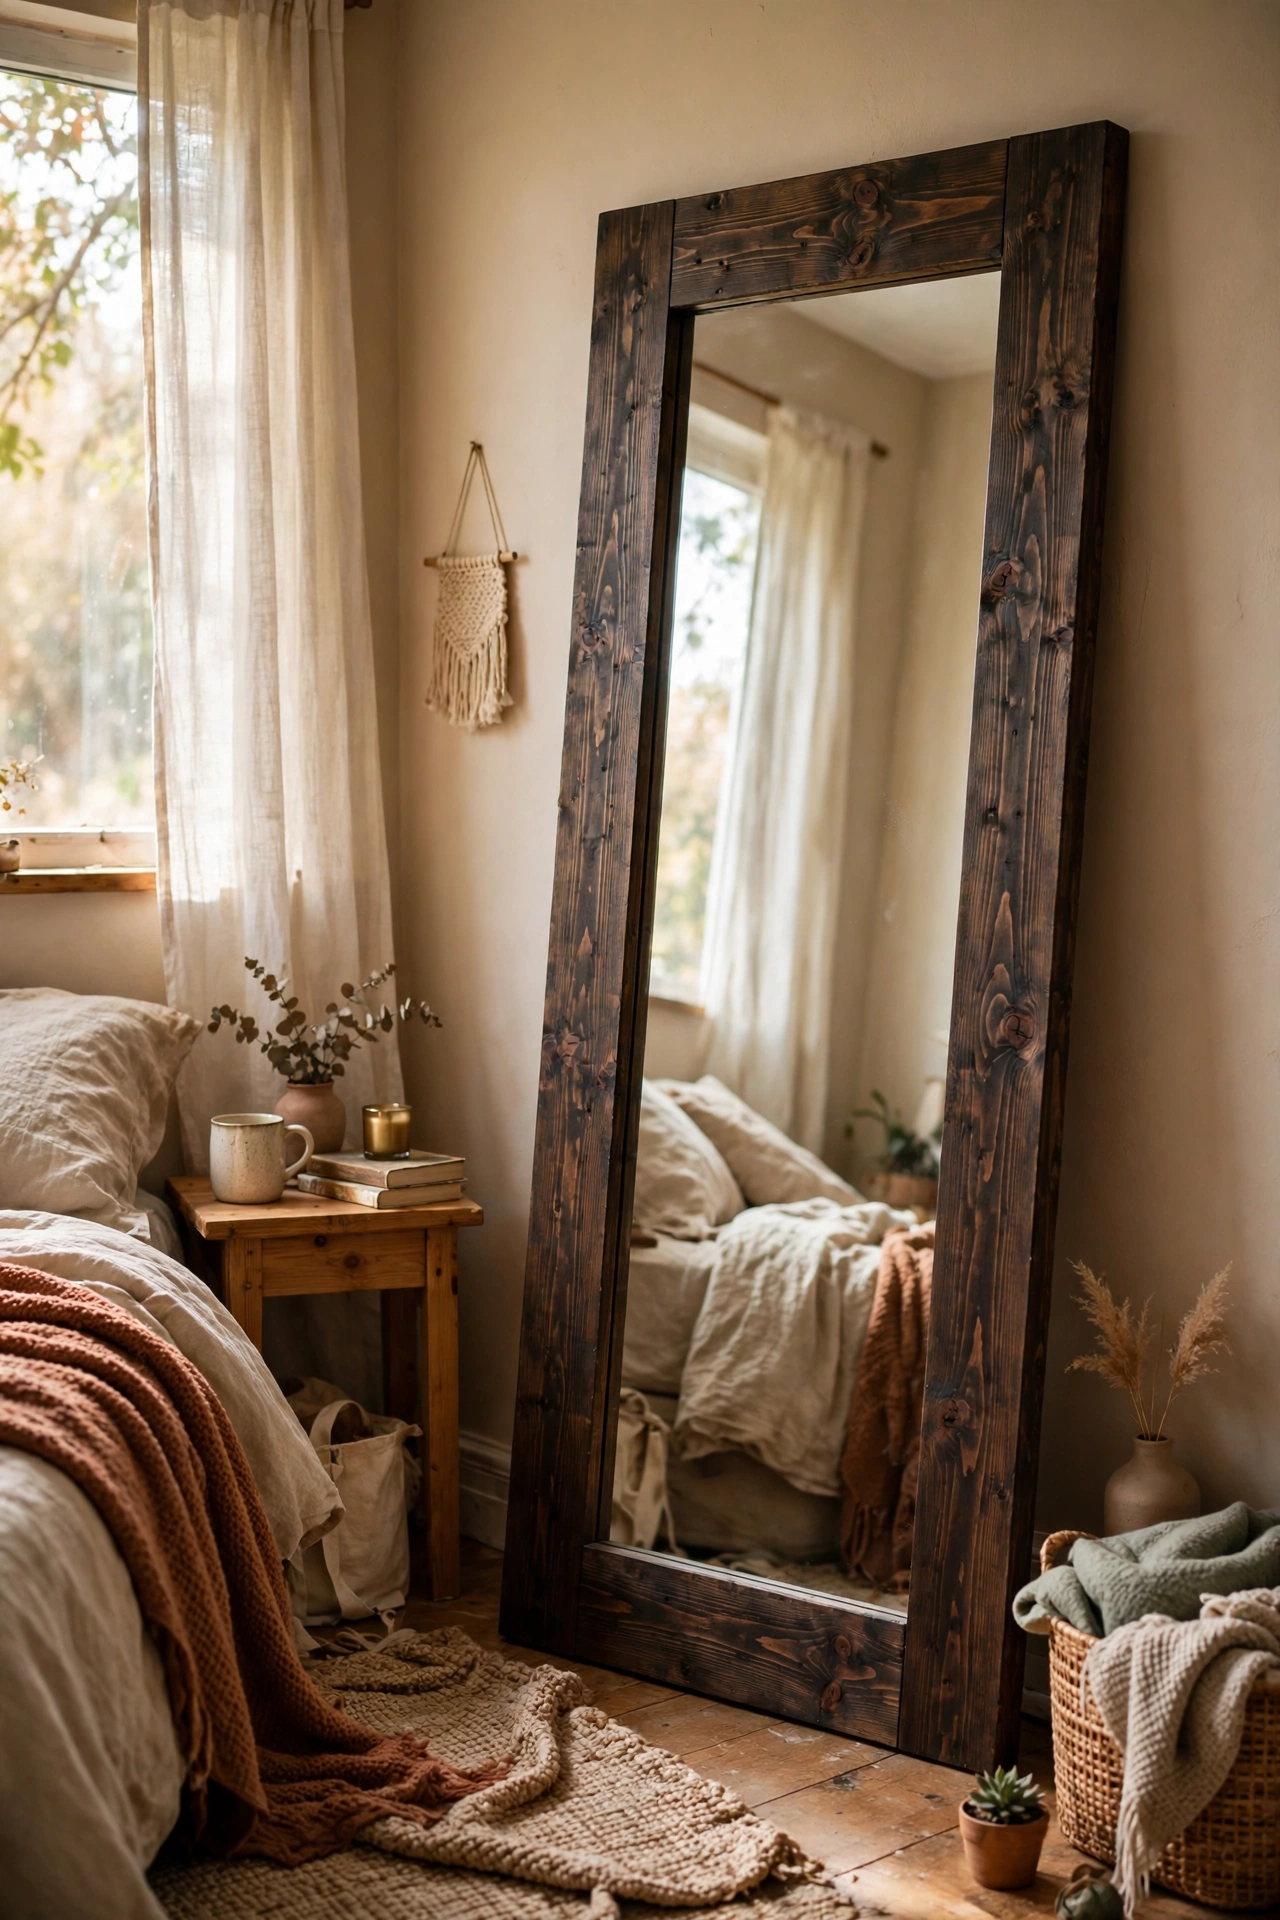
A full-length mirror framed in pine trim and leaned against the wall is the bedroom upgrade everyone photographs. I framed a $25 door mirror with 2-inch pine boards, stained them dark, and leaned it at a slight angle. Anchor the top to the wall with a bracket even when leaning, because a falling full-length mirror is dangerous. Mine is secured with a simple L-bracket hidden behind the top. The chunky frame makes a cheap mirror look like furniture.
Cost: ~$35-45 | Time: 2 hours
12. Mosaic Tile Frame Mirror
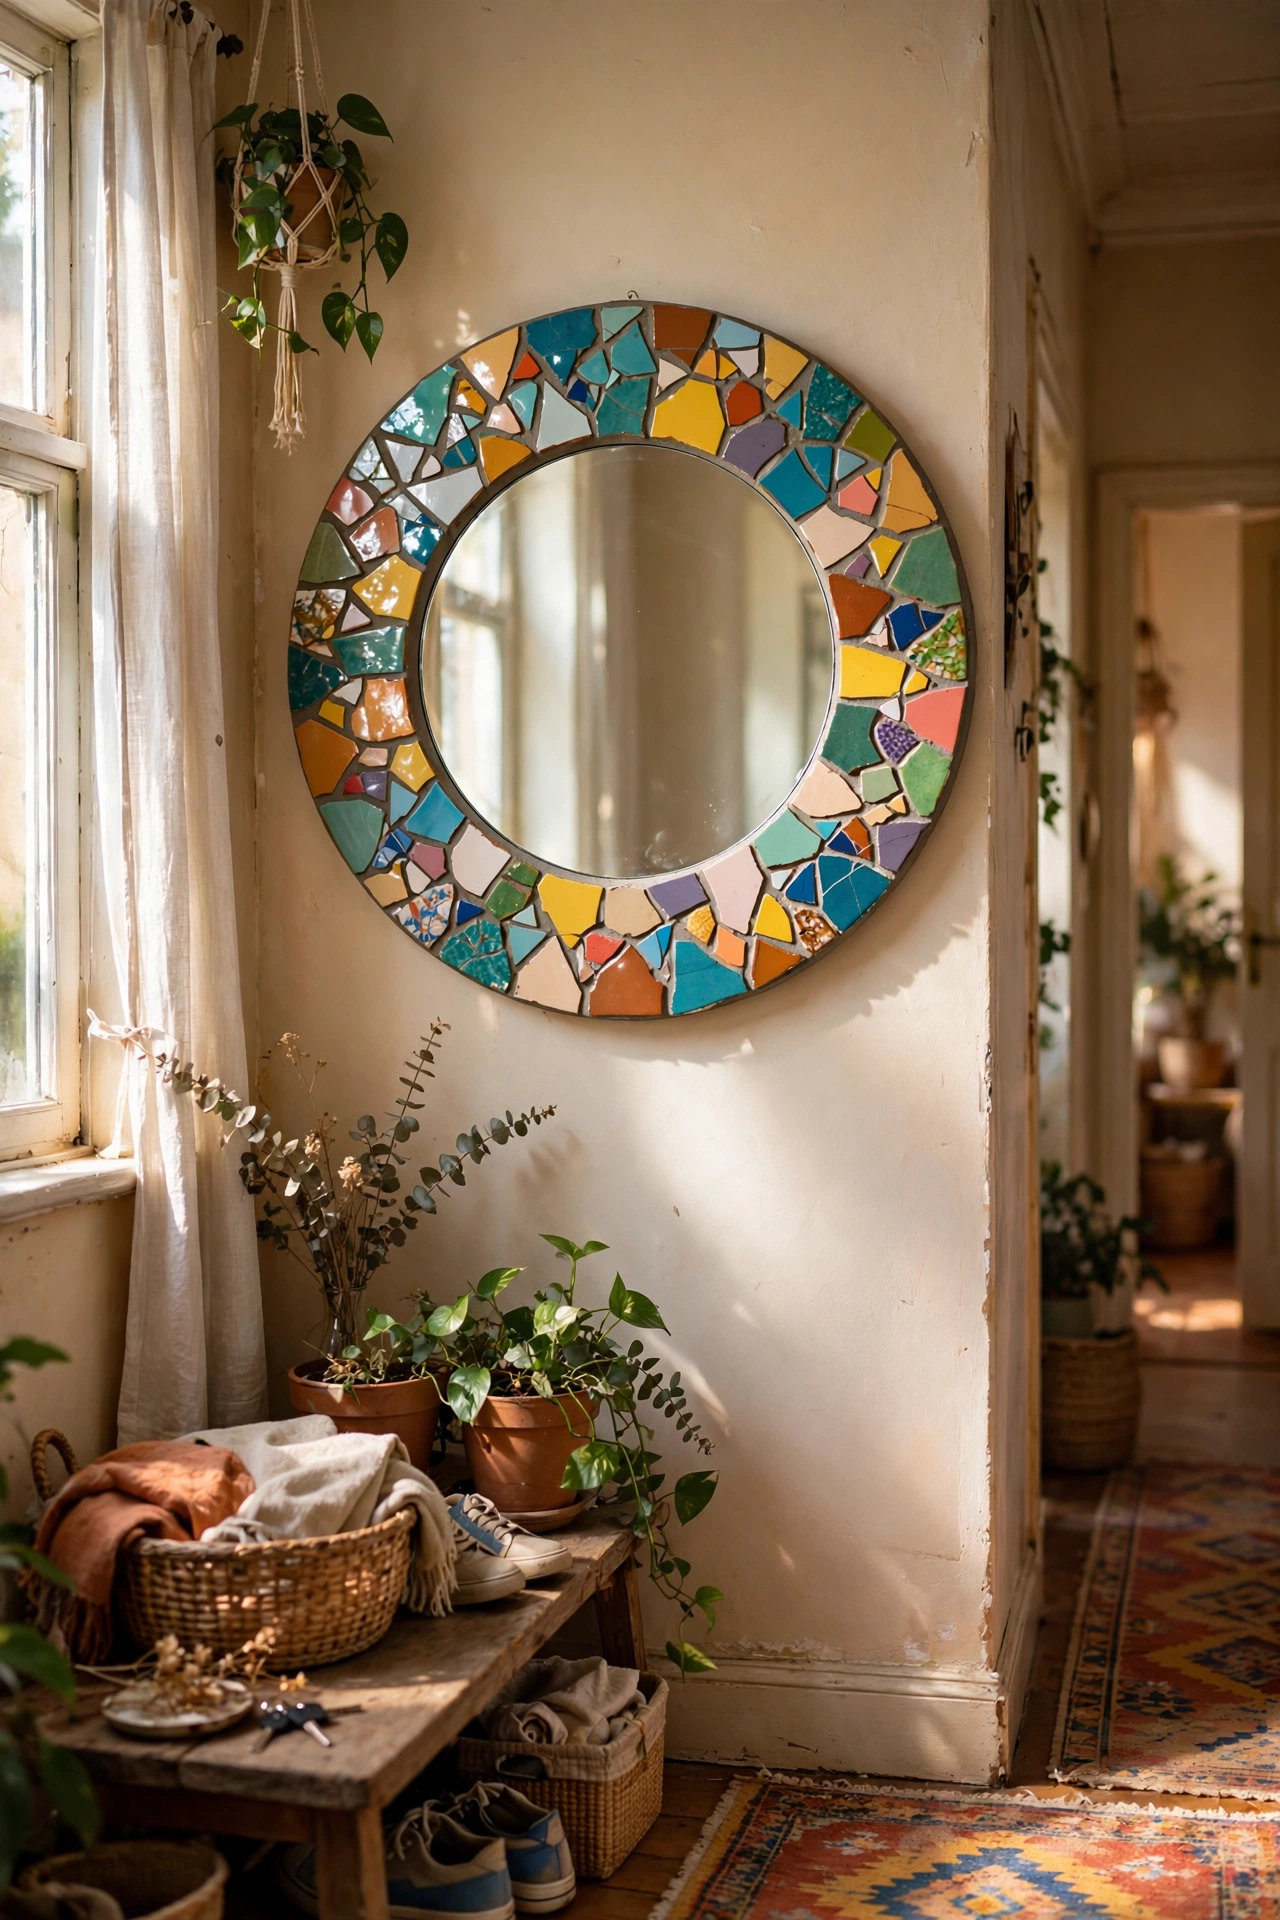
Broken tile samples glued around a mirror make a colourful mosaic frame. I asked a tile shop for discontinued samples, broke them into pieces with a hammer inside a towel, and glued them around a $12 mirror. Wear safety glasses when breaking tile, because shards fly. My mosaic mirror hangs in my colourful hallway and every piece catches light differently. Grout the gaps for a finished look, or leave them tight for a more modern feel.
Cost: ~$15-25 | Time: 3 hours
13. Barn Wood Frame Mirror
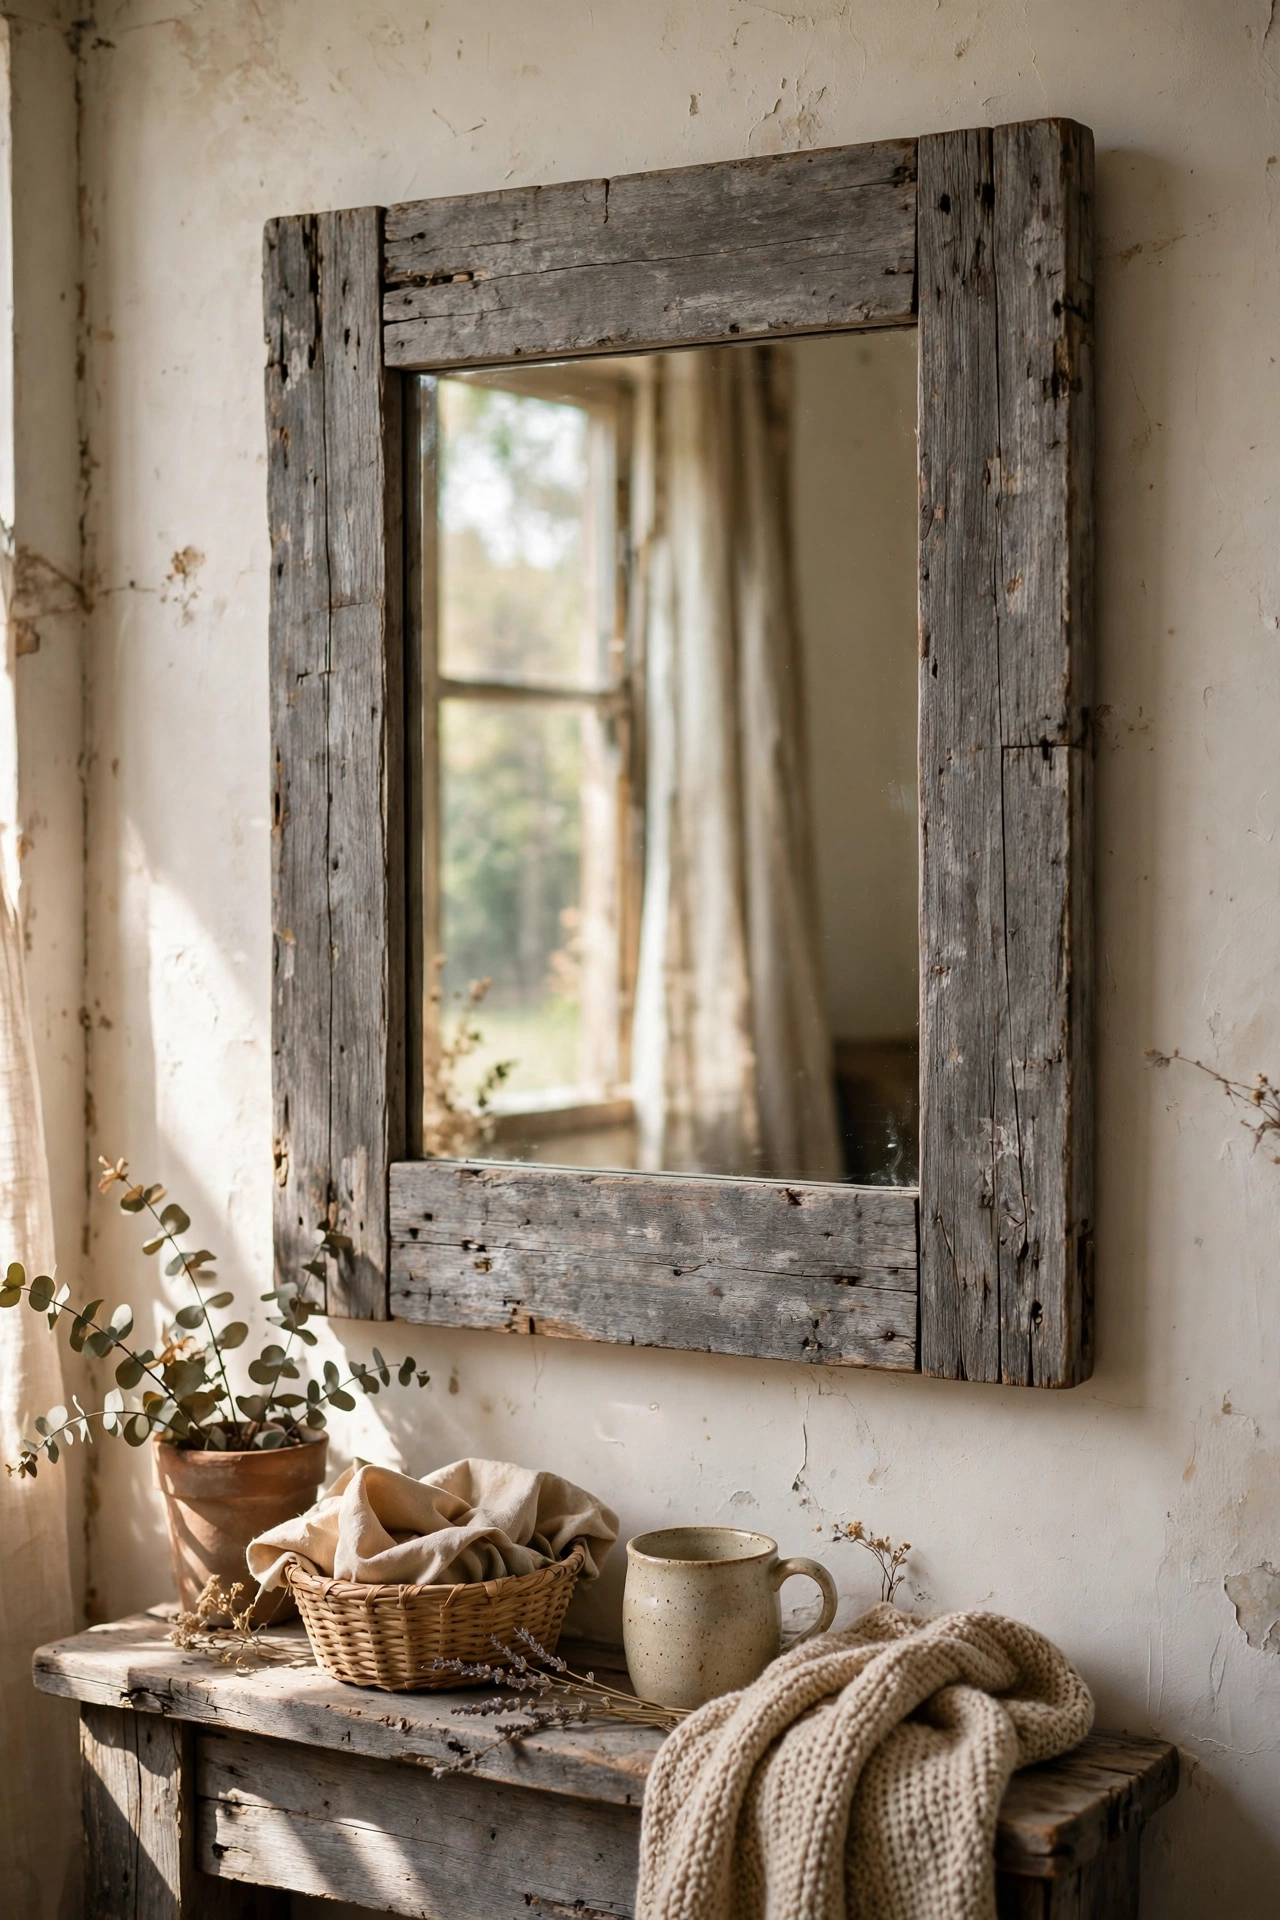
Reclaimed fence boards framed around a mirror give instant rustic character. I used weathered boards from a neighbour’s old fence, sanded them just enough to remove splinters, and built a simple frame around a $20 mirror. Keep some of the weathering because that is the whole point. I sanded one board too smooth and it looked brand new next to the others. The grey aged wood against the mirror is a beautiful contrast that suits farmhouse and modern rooms alike.
Cost: ~$20-30 | Time: 3 hours
14. Venetian Plaster Frame Effect
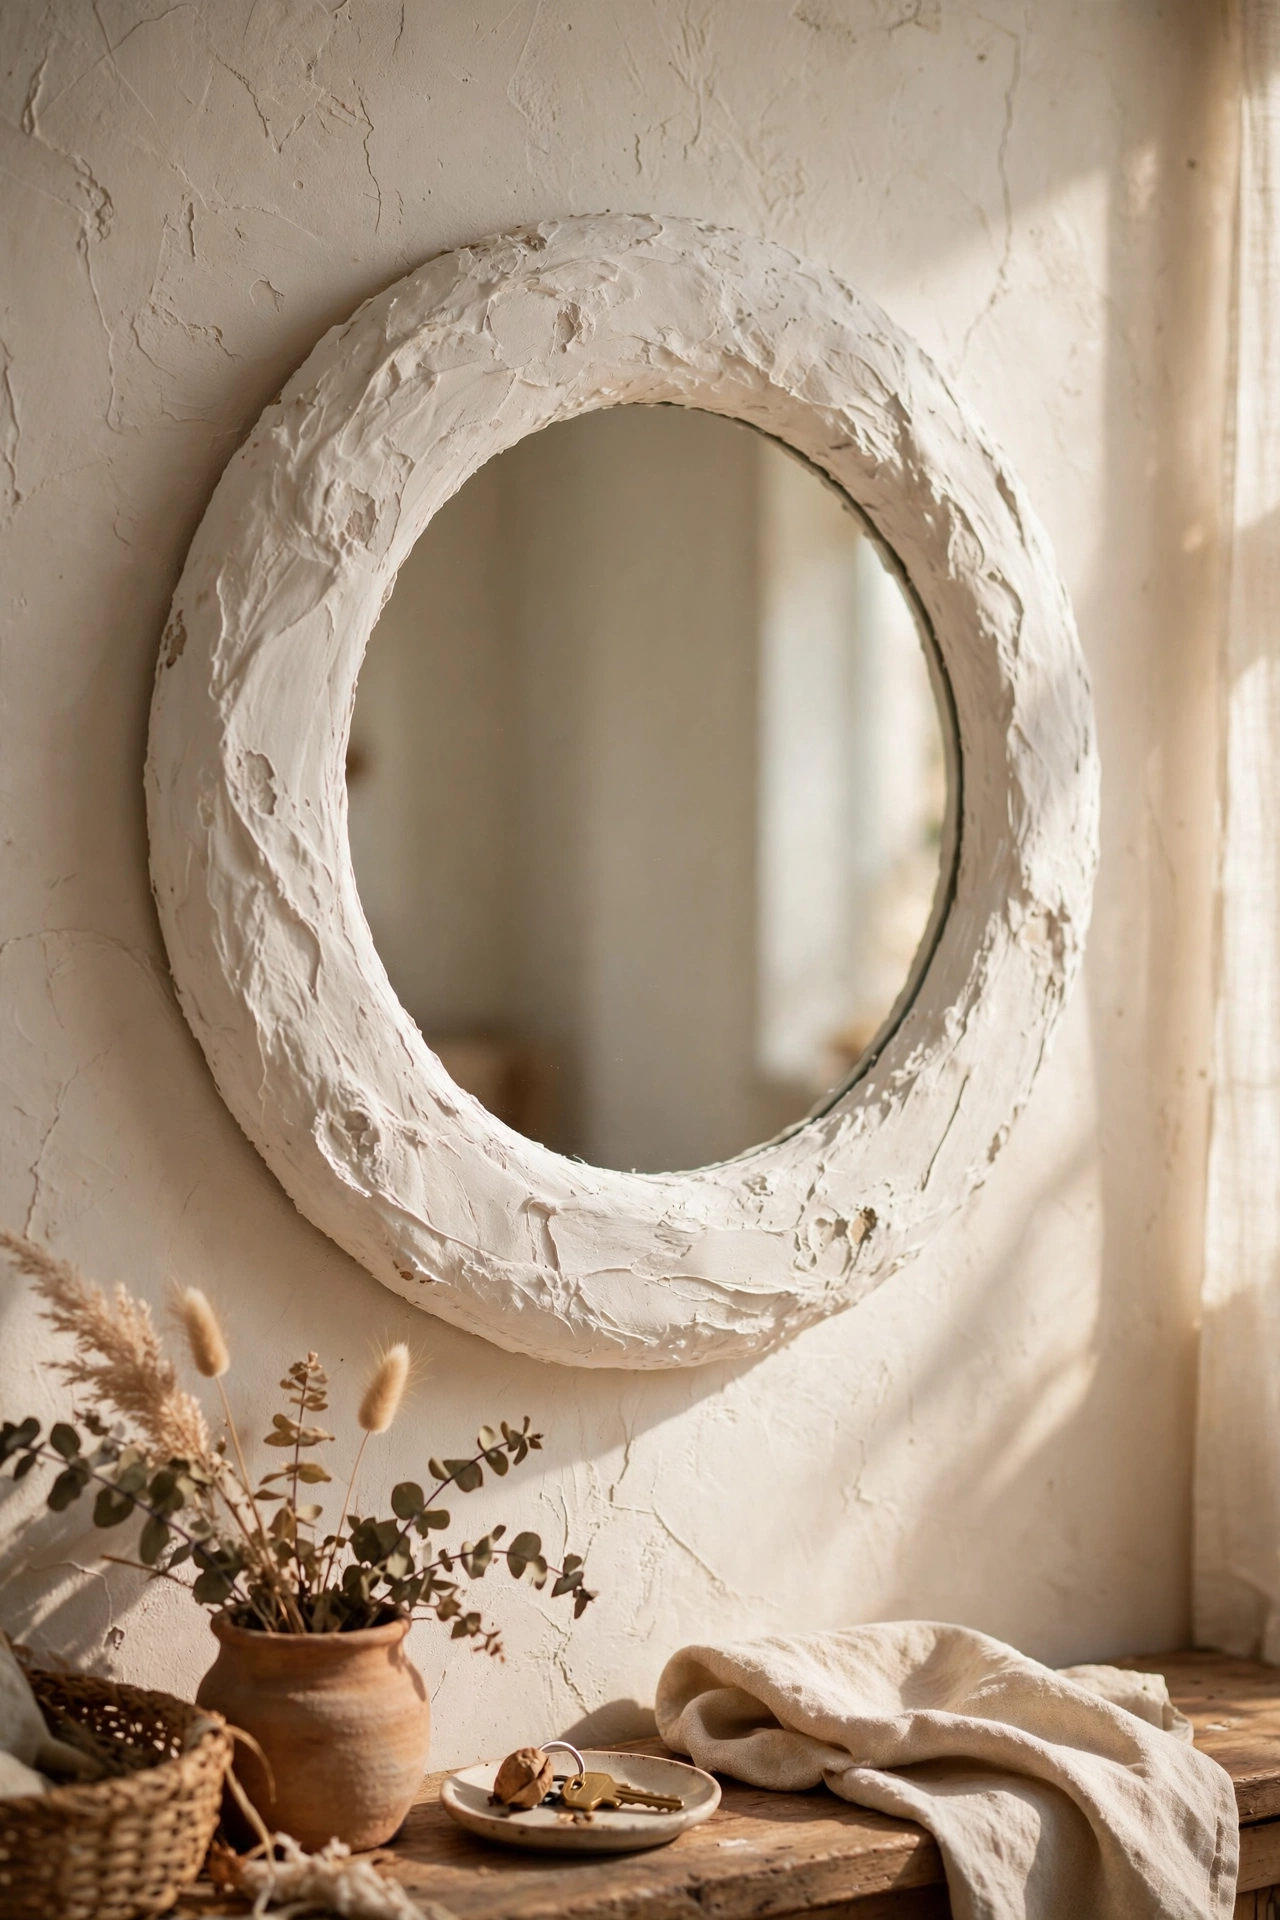
A thick textured frame made with joint compound looks like Venetian plaster. I built up layers of joint compound around a $14 mirror with a putty knife, let each layer dry, then painted it warm white. The organic texture catches light beautifully. Let each layer dry fully or the whole thing cracks. I rushed my first attempt and spent a day repairing cracks. Three thin layers beat one thick one. The finished frame looks like artisan plasterwork.
Cost: ~$15-25 | Time: 4 hours plus drying
15. Macrame Hanging Mirror
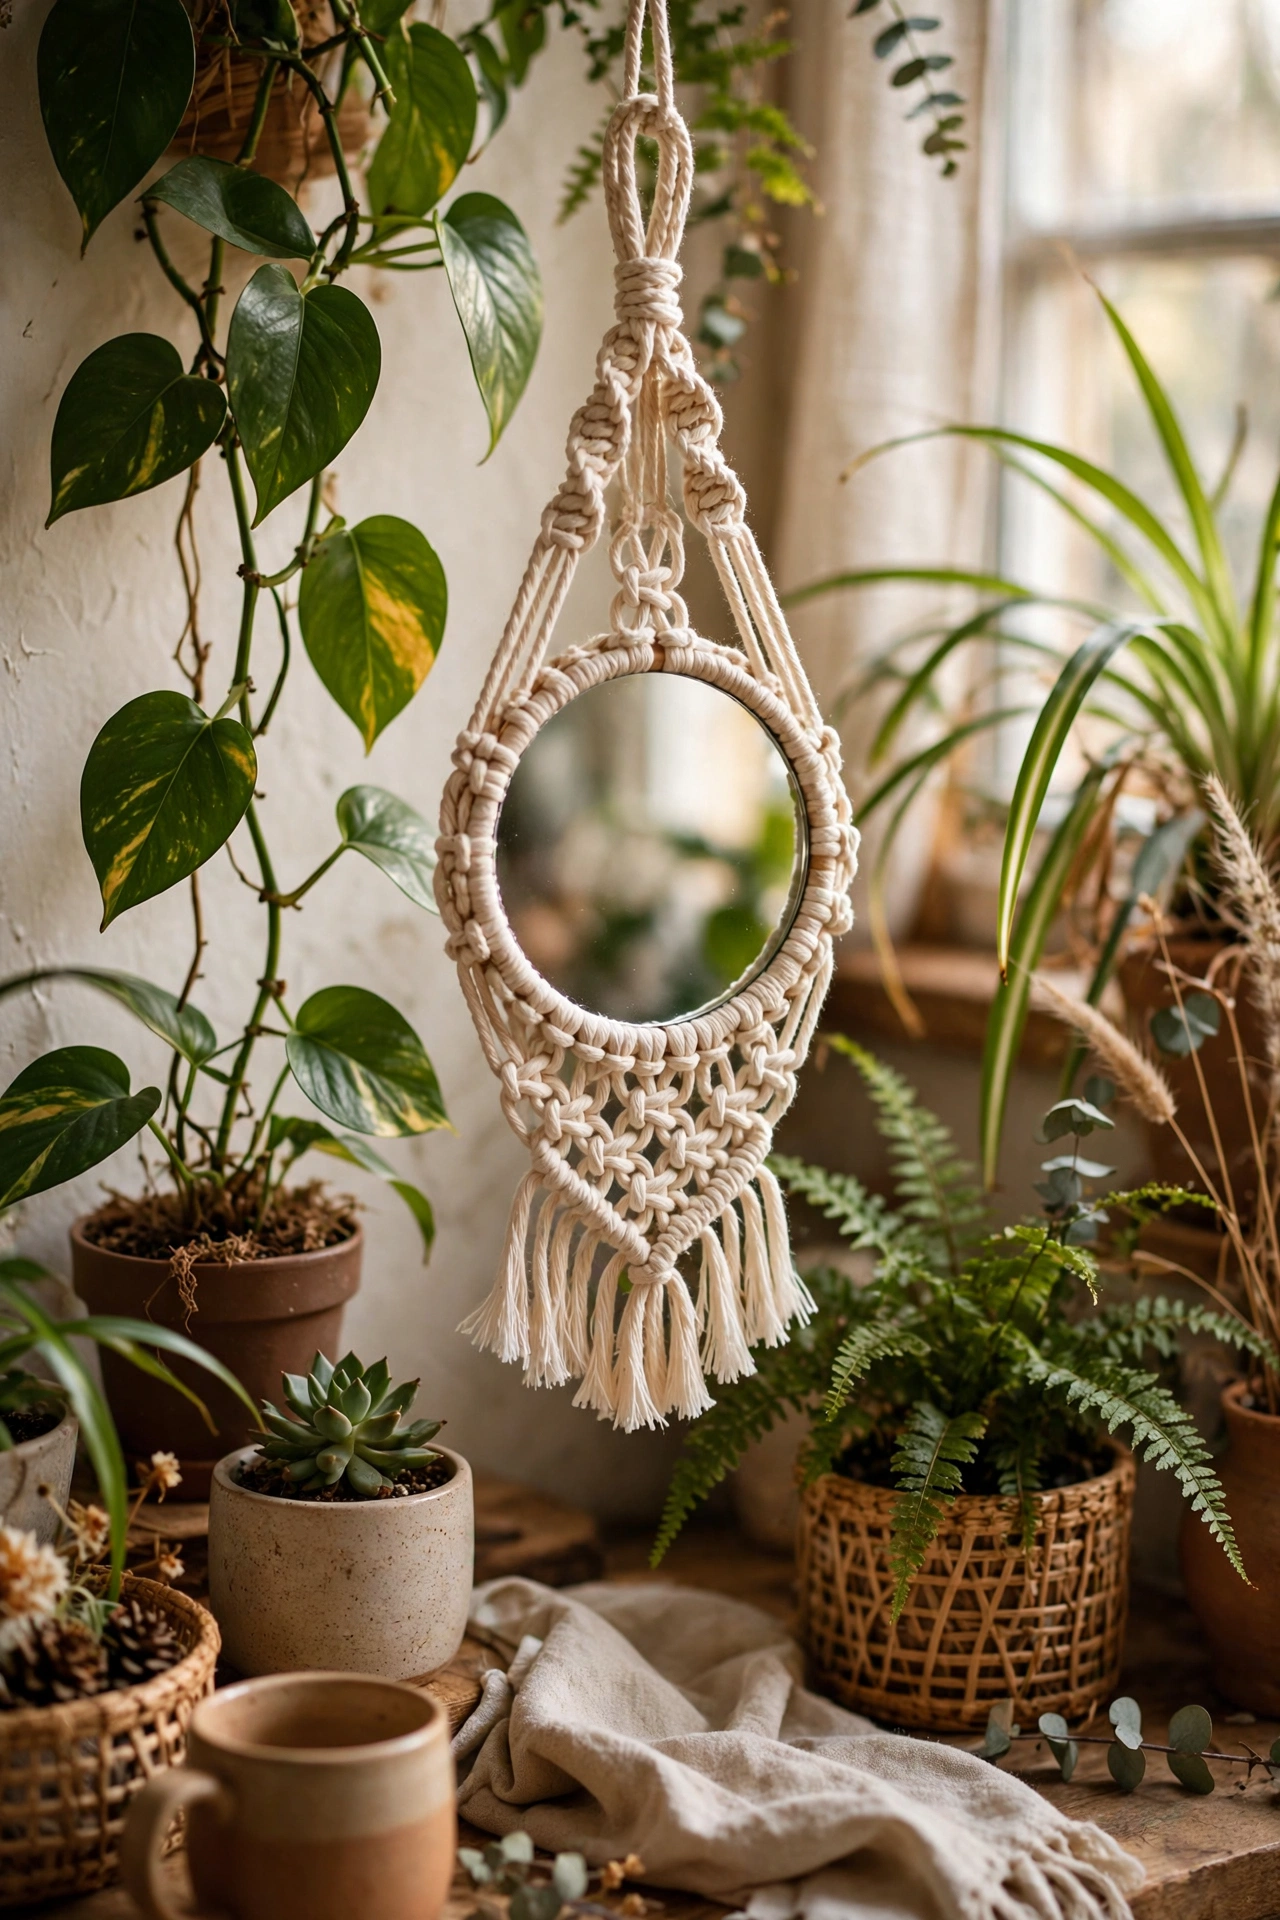
A small mirror hung in a macrame holder is boho perfection. I learned three basic knots from a free tutorial and made a hanging holder for a $8 mirror in one evening. Cotton cord from the craft store costs about $6 and makes two holders. Keep your knots tight and even, because loose macrame stretches and the mirror tilts. My first holder stretched lopsided within a week. Tight knots hold for years. It hangs in my plant corner and ties the whole boho look together.
Cost: ~$12-20 | Time: 3 hours
16. Shaker-Style Square Mirror
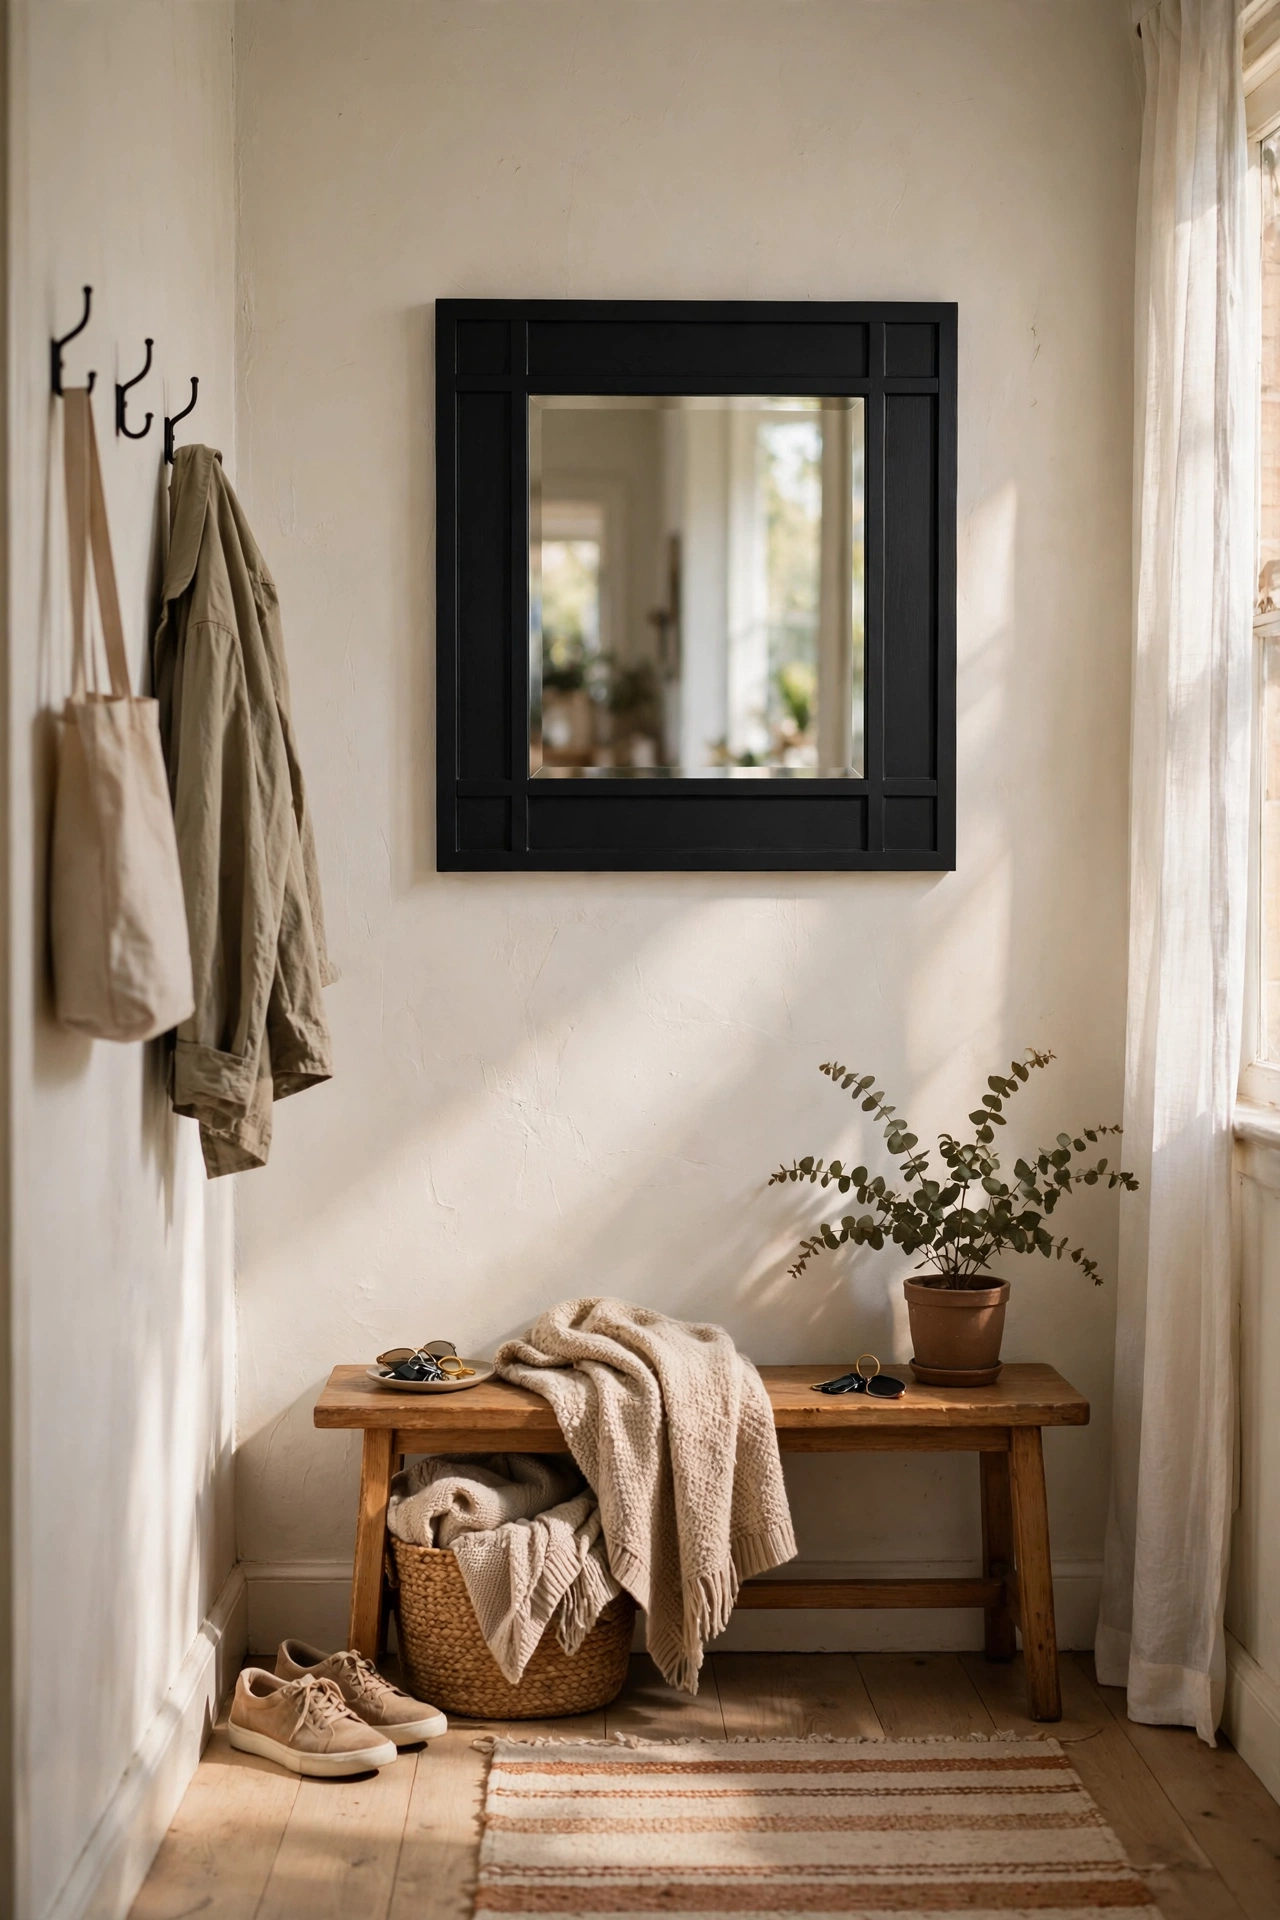
Simple square trim in a Shaker pattern turns a builder-grade mirror into a custom piece. I framed a $20 square mirror with flat pine trim in a classic Shaker layout and painted it matte black. Measure twice and cut once is never more true than with mitred corners. My first corner was off by a hair and the gap showed. Wood filler hides small sins. The clean lines suit modern and traditional rooms, and the black frame makes the mirror pop.
Cost: ~$25-35 | Time: 2 hours
17. Antique Distressed Mirror Frame
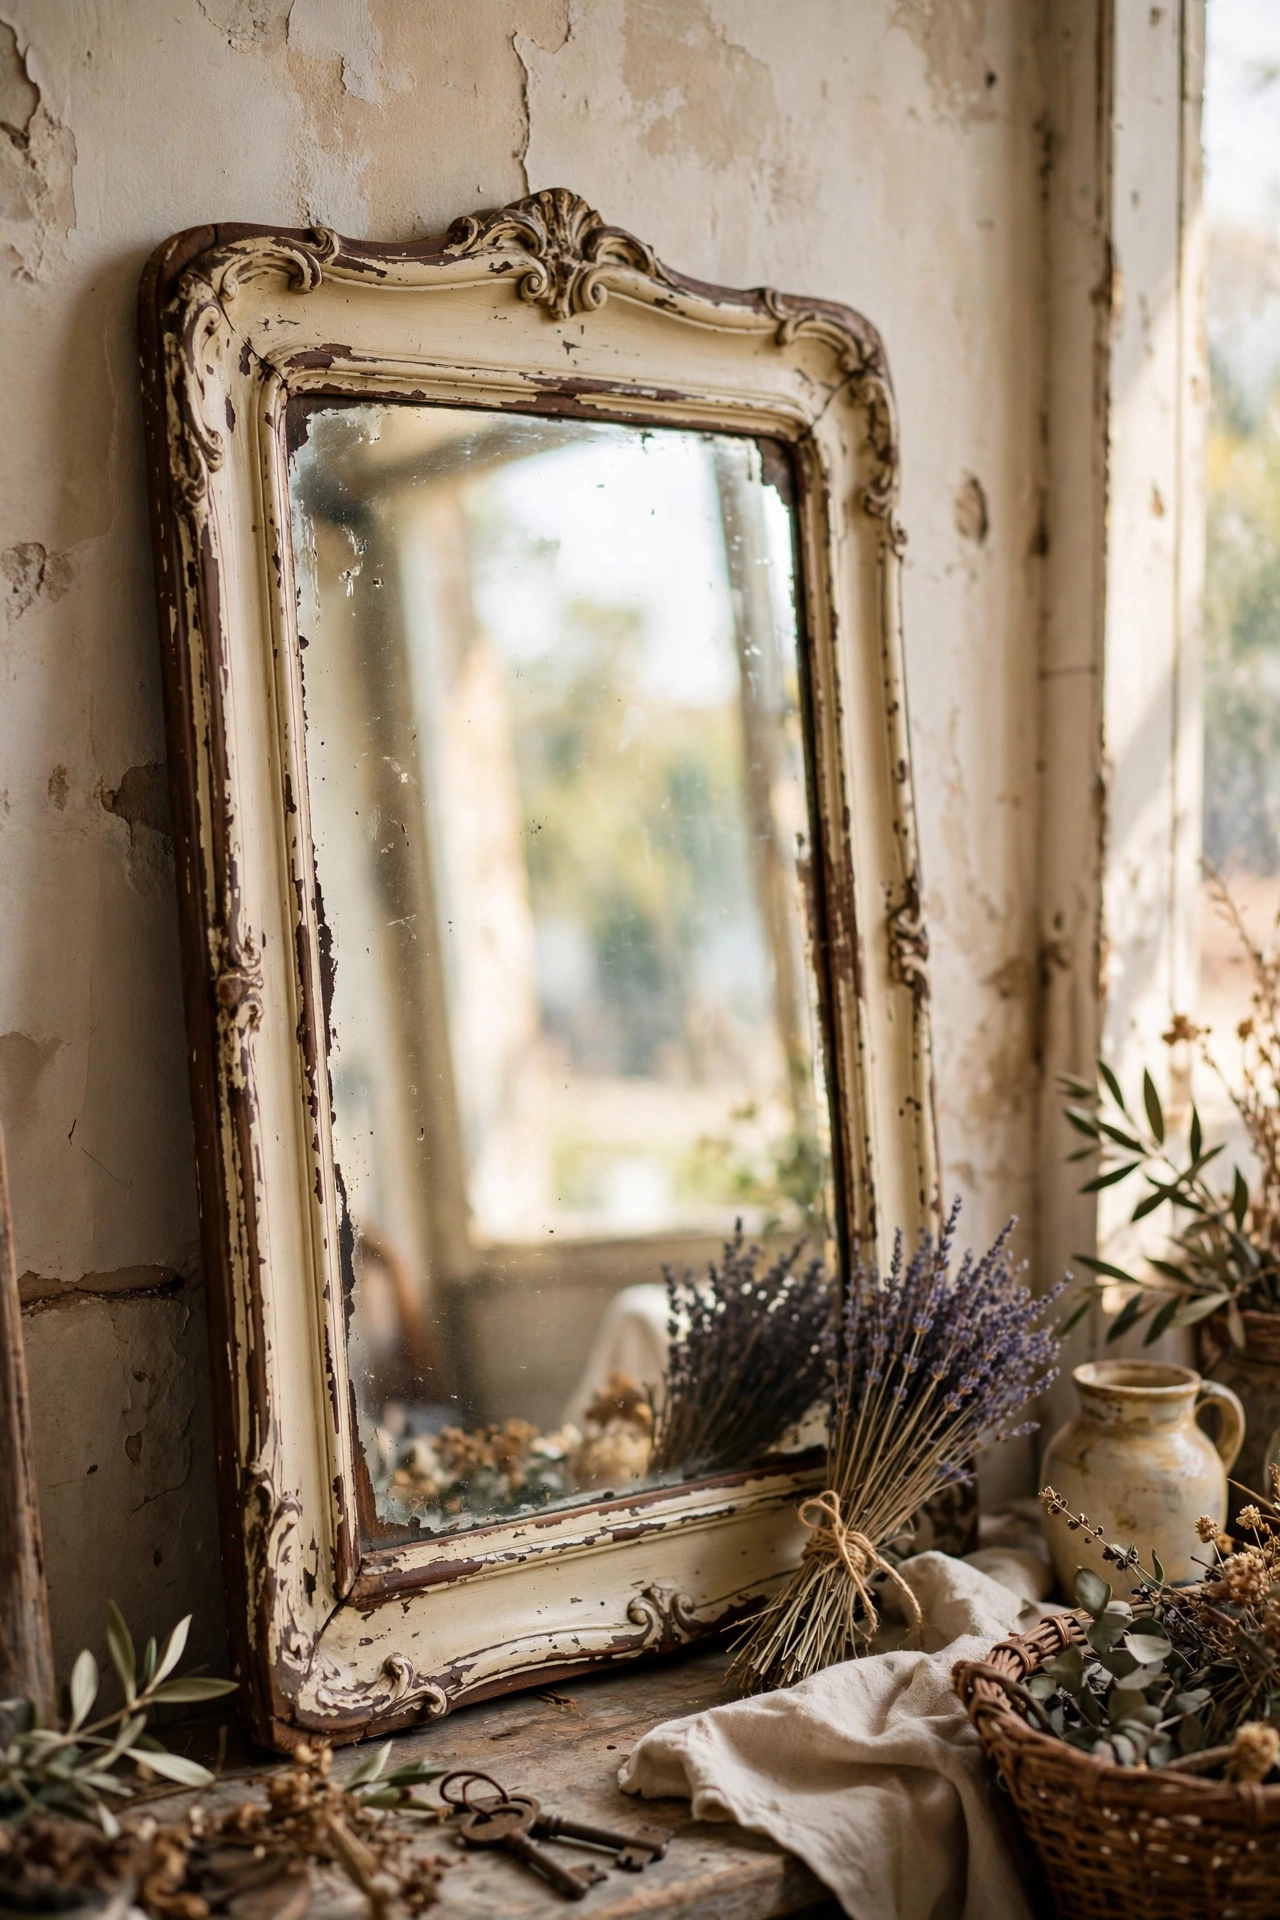
Layering two paint colours and distressing between them creates an authentically aged frame. I painted a thrifted frame dark brown, then cream over the top, then sanded the edges so the dark showed through. The two-tone wear looks genuinely old. Distress the edges and corners where natural wear would happen, not the flat middle. My first attempt sanded random spots and looked fake. Strategic wear on raised details fools everyone. The mirror looks like a French flea market find.
Cost: ~$15-25 | Time: 3 hours plus drying
18. Mirror Gallery Cluster
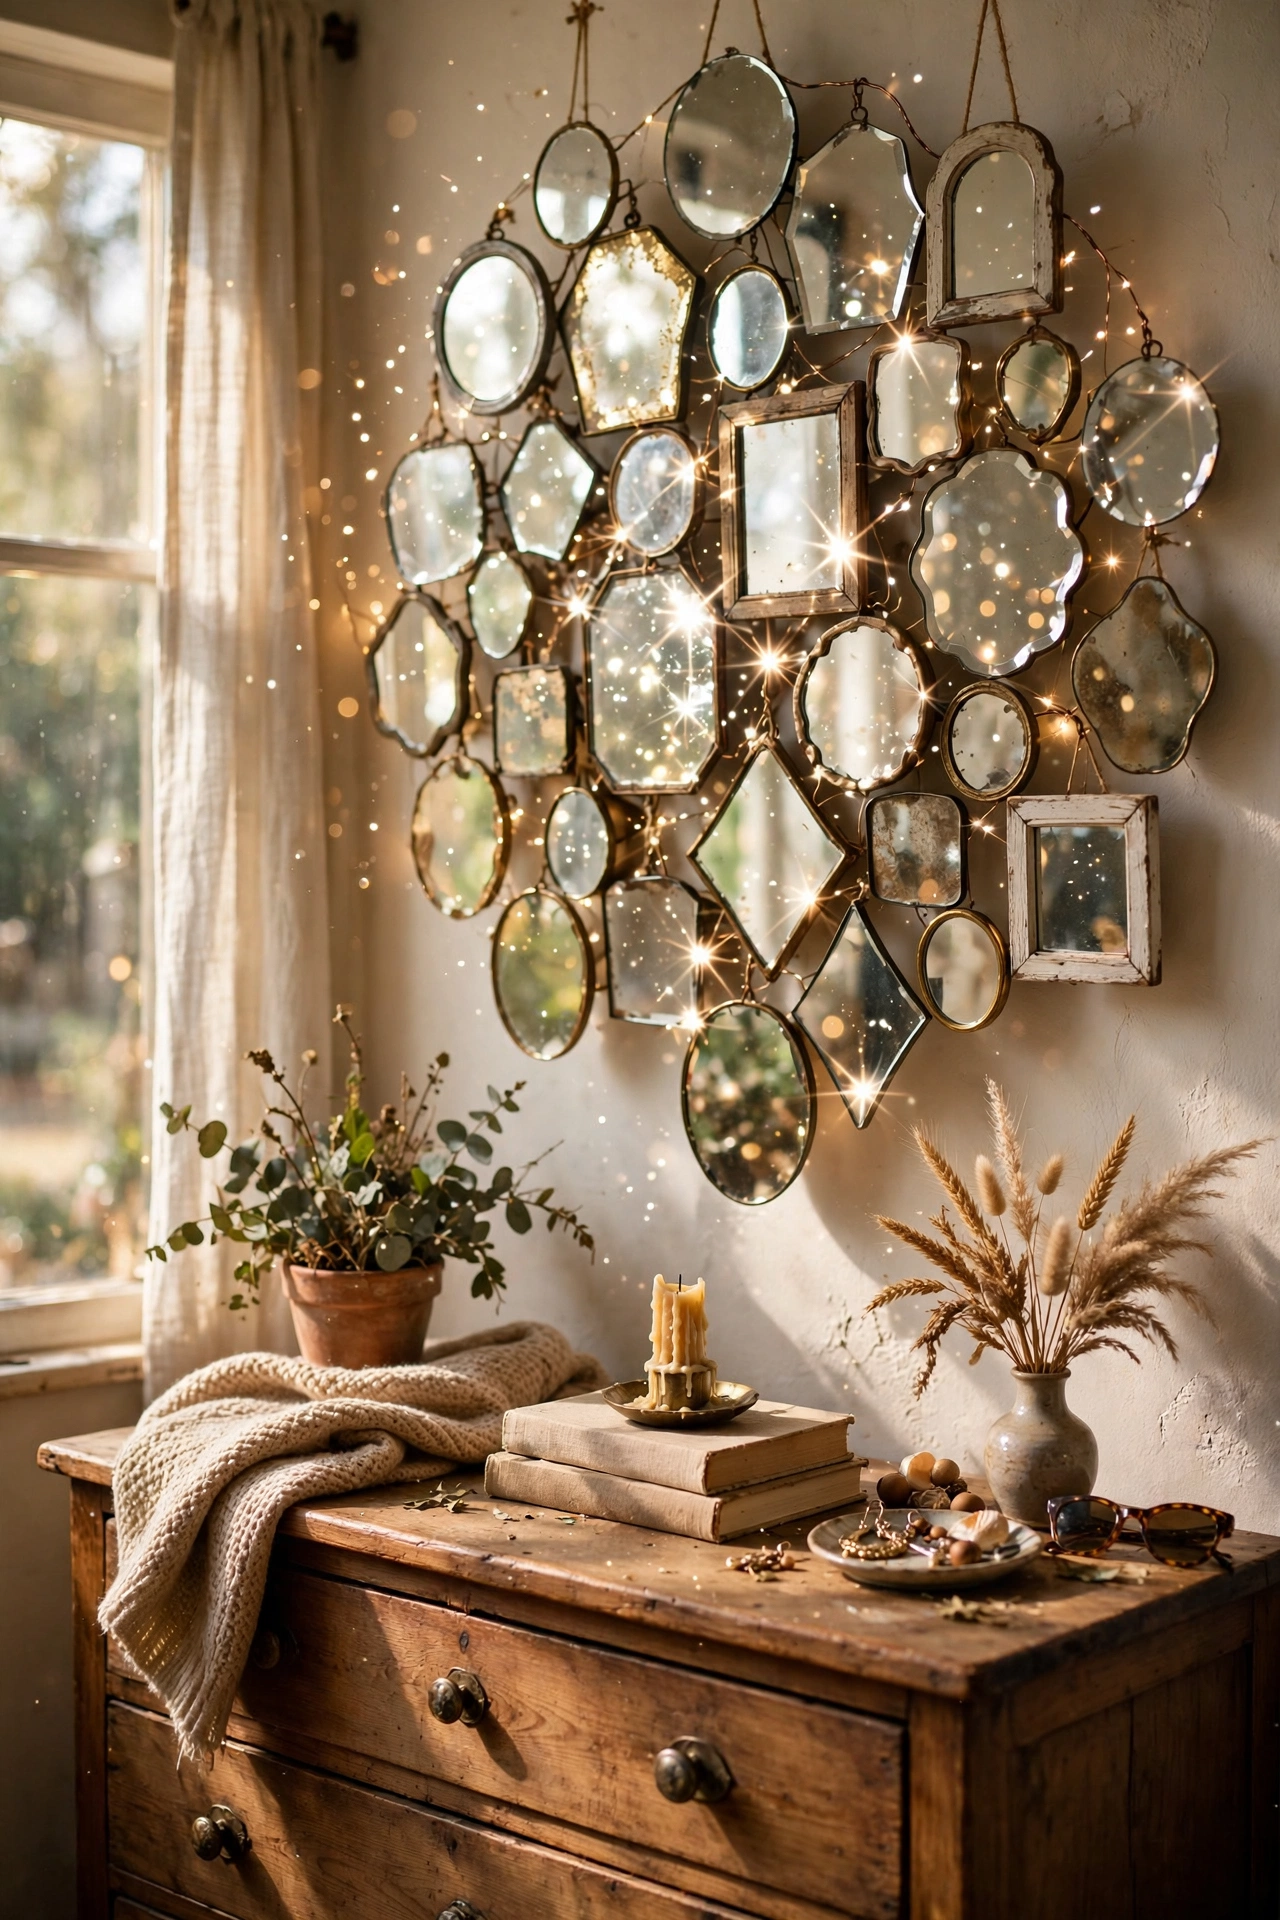
A cluster of small mirrors in different shapes makes a wall that sparkles. I collected seven small thrifted mirrors for about $3 each and arranged them in an organic cluster above my dresser. Vary the shapes: round, oval, square, arched. I laid them on the floor first and photographed the layout before hanging. Keep the spacing tight, about two inches apart, so they read as one composition. The cluster doubles light from my window and looks like an art installation.
Cost: ~$20-30 | Time: 2 hours
19. Half-Moon Painted Mirror
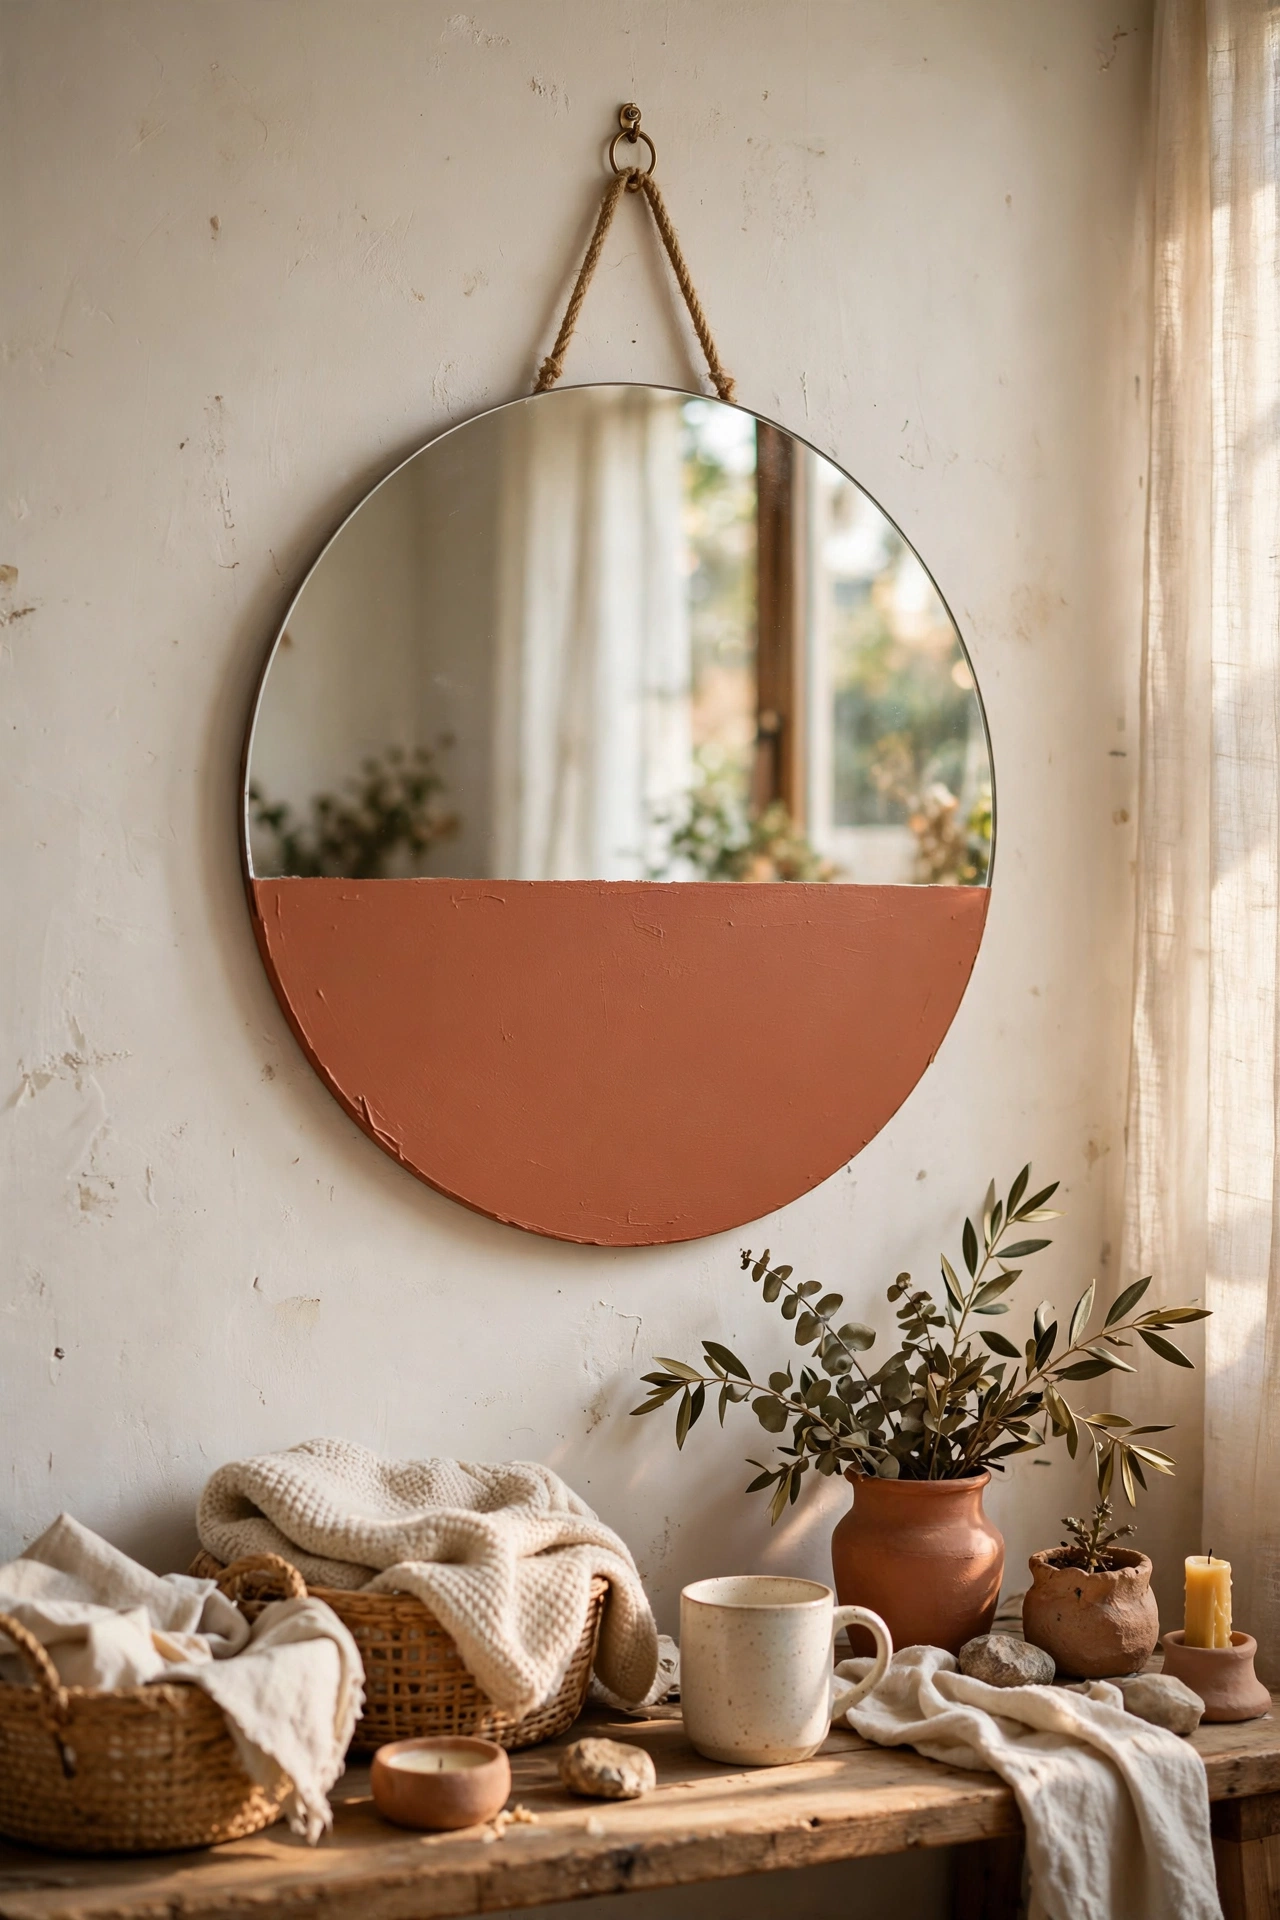
Painting the bottom half of a round mirror in a bold colour creates a modern dipped effect. I taped a crisp horizontal line across a $14 mirror and painted the lower half terracotta. The painted glass still reflects above the line, which is a striking effect. Use glass paint so it bonds properly. My wall-paint version scratched off when I cleaned it. The half-dipped mirror looks like a designer piece and took one afternoon.
Cost: ~$14-22 | Time: 1 hour plus drying
20. Beaded Edge Mirror
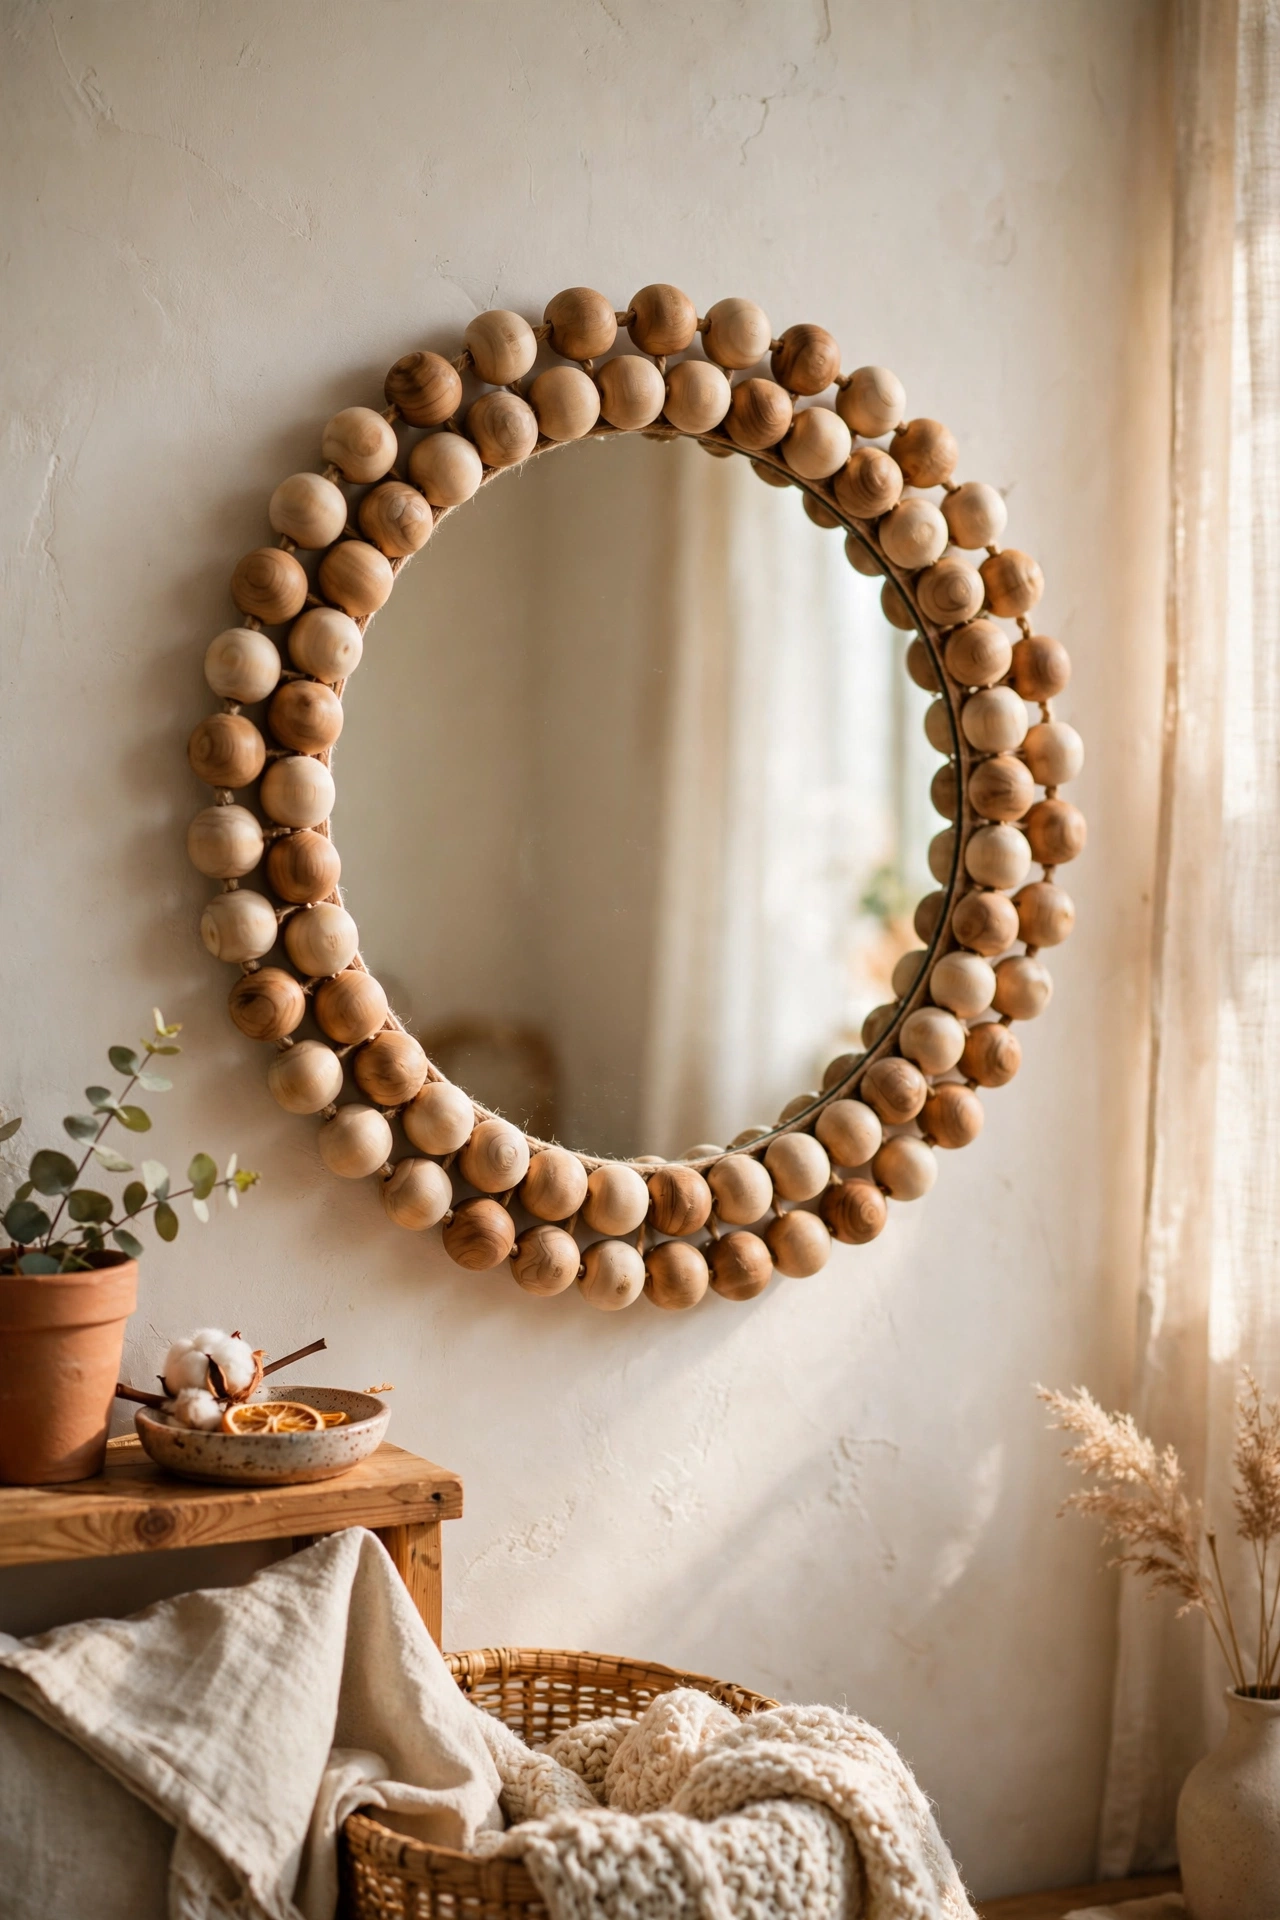
Wooden beads glued around a mirror edge make a charming bobble frame. I strung large wooden beads on wire around a $12 round mirror, gluing the wire to the back. The bead frame adds a playful, crafted feel. Keep the beads tight against each other or gaps show. My first row had loose beads that rattled. A dab of glue between each bead keeps everything snug. Paint the beads or leave them natural; both look lovely.
Cost: ~$14-22 | Time: 2 hours
21. Bamboo Frame Mirror
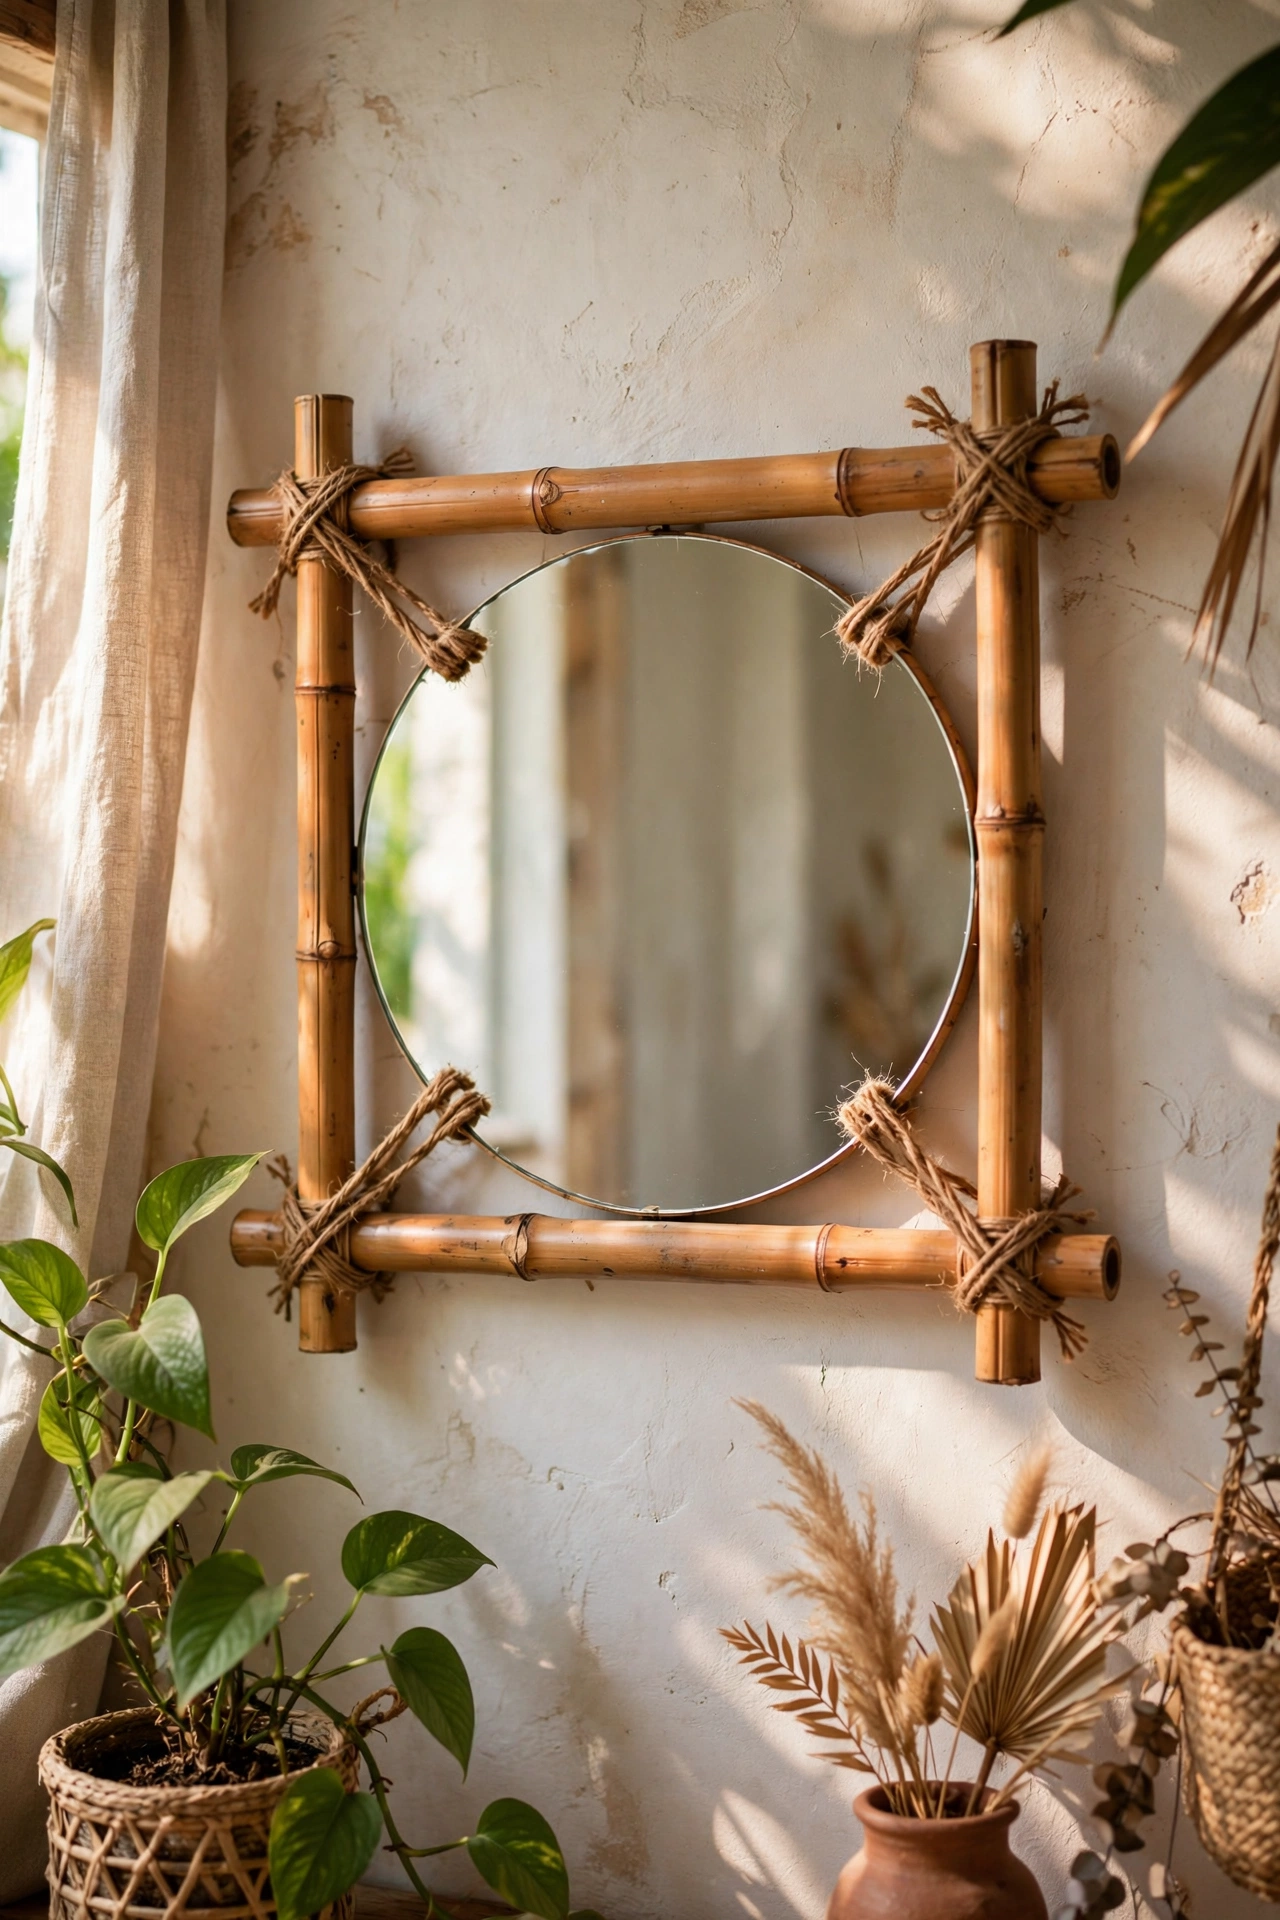
Thin bamboo poles lashed around a mirror make a tropical frame. I bought a bundle of bamboo garden stakes for $5, cut them to length, and lashed the corners with jute twine. The natural bamboo suits bathrooms and sunrooms. Seal the bamboo with clear matte sealer if it will hang in a humid bathroom. Mine went unsealed in the bathroom and developed spots within months. The lashed corners are the detail that makes it look handmade rather than homemade.
Cost: ~$15-25 | Time: 2 hours
22. Chalk-Painted Ornate Frame
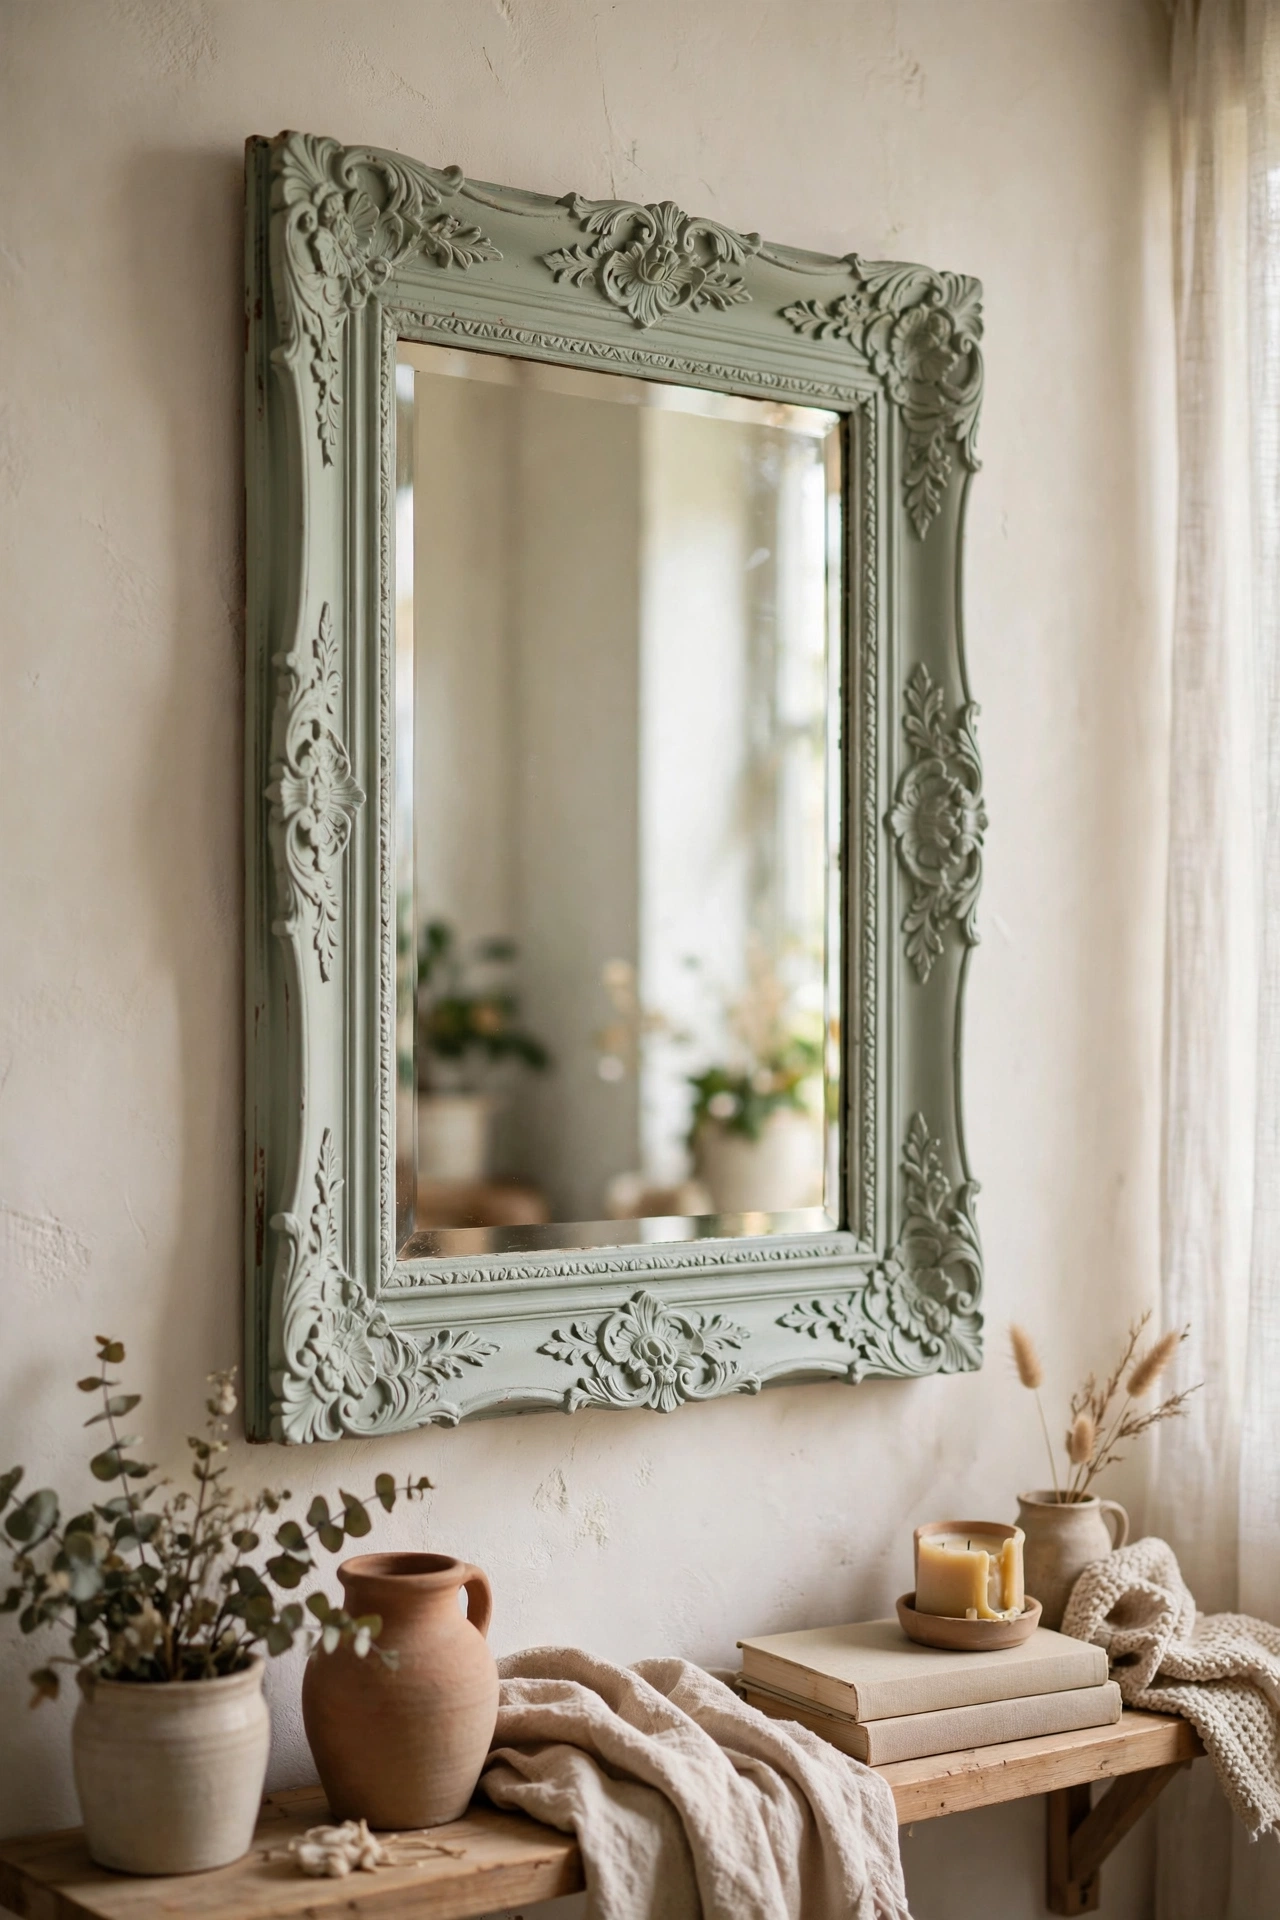
Chalk paint in a soft colour modernises an ornate thrifted frame instantly. I painted a fussy gold frame in pale sage chalk paint and the carving became texture instead of fussiness. Chalk paint needs no priming, which is why it suits a weekend project. Wax the finished frame to protect it. I skipped wax on a frame in my hallway and it scuffed within weeks. One colour over ornate carving is a combination that always works.
Cost: ~$12-20 | Time: 2 hours plus drying
23. Leather Strap Hanging Mirror
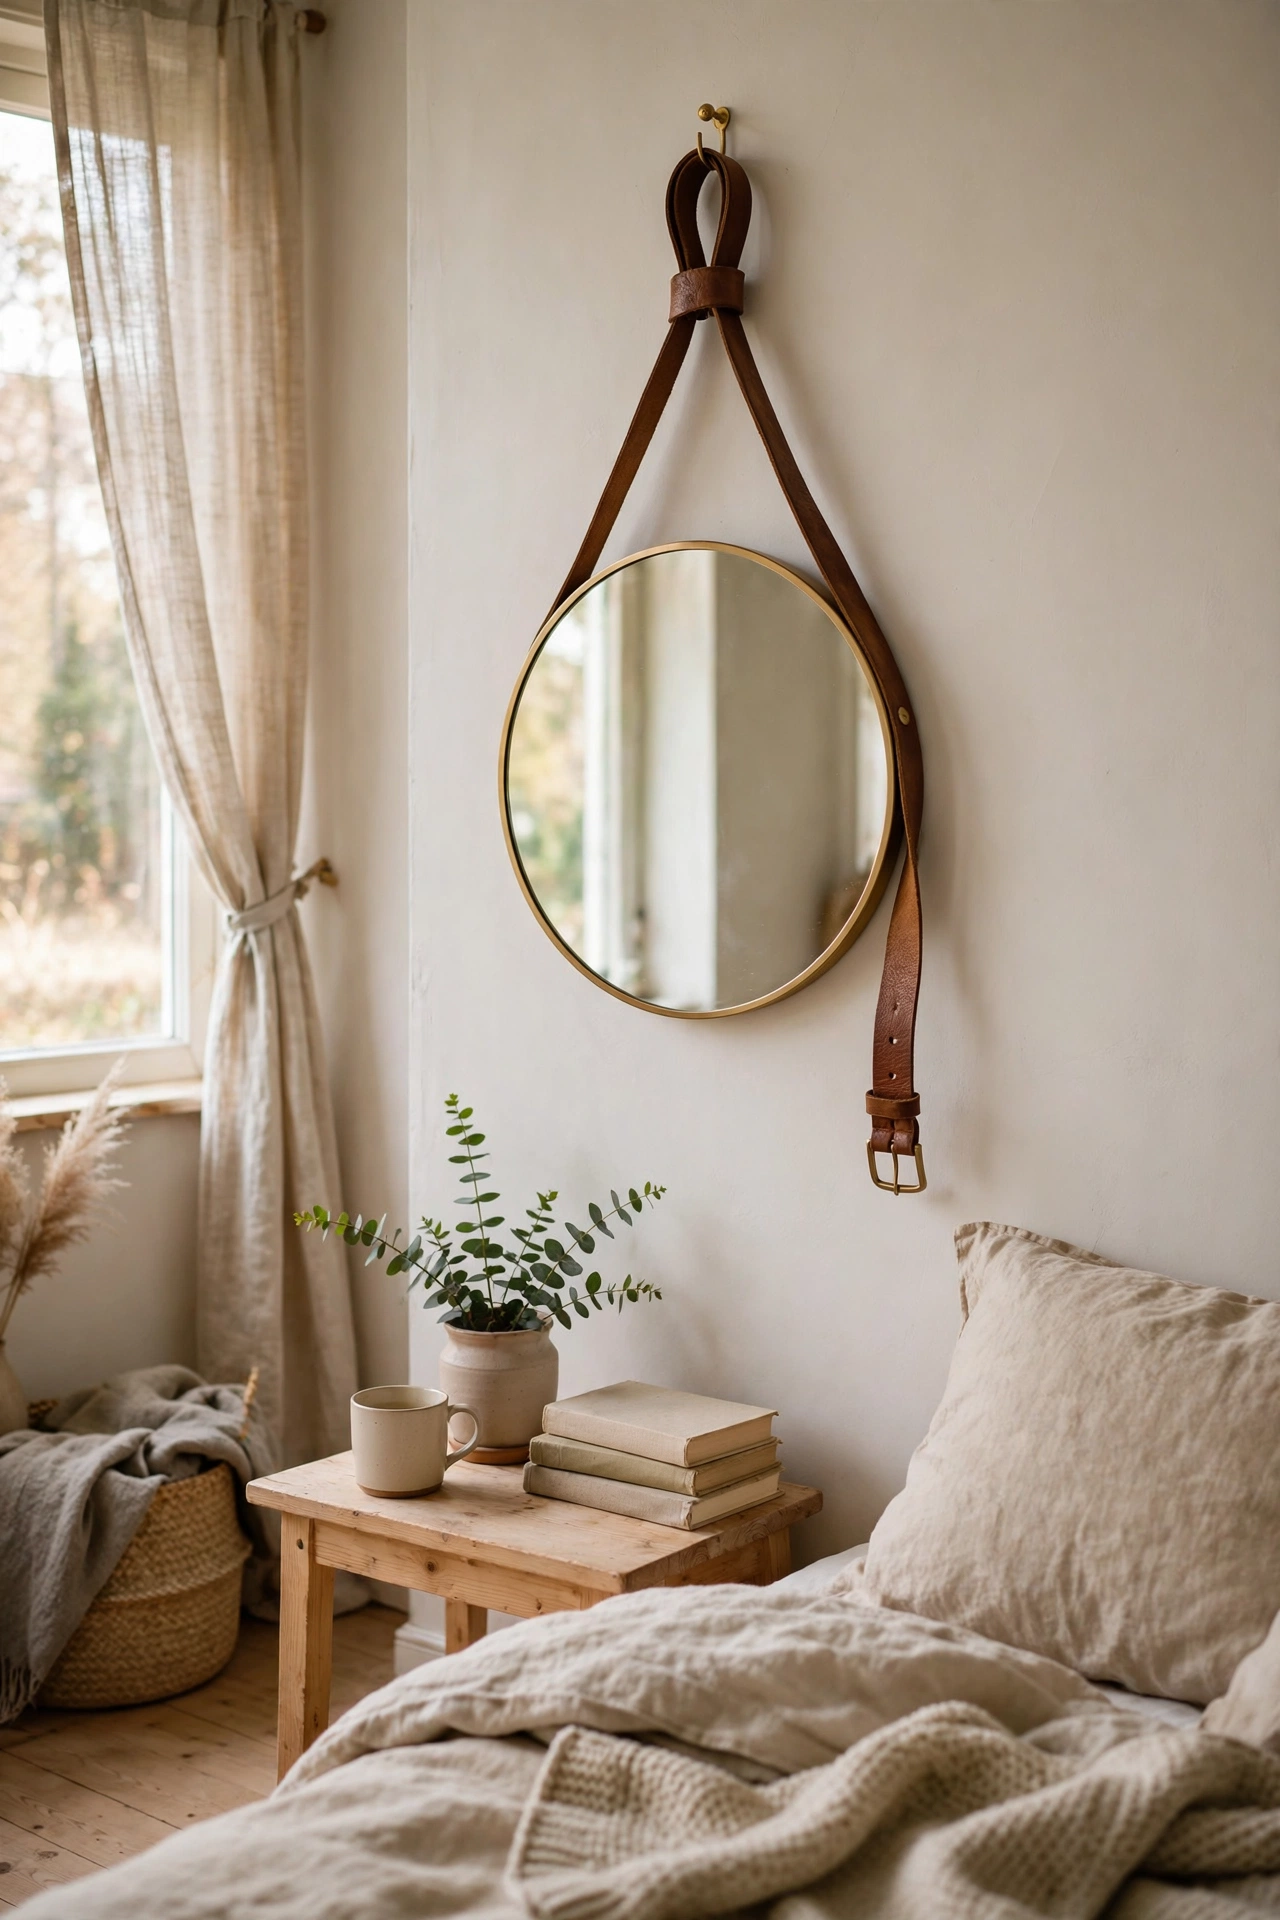
A round mirror hung from a leather belt strap is Scandinavian simplicity. I bought a $4 belt from the thrift store, looped it through a brass ring, and hung my $12 mirror from it. The leather adds warmth that metal hardware cannot. Use a real leather belt, not bonded leather, because bonded leather cracks under weight. My first strap was bonded and snapped within a month. Real leather stretches slightly then holds for years. It hangs in my bedroom and looks effortlessly cool.
Cost: ~$14-24 | Time: 30 minutes
24. Mosaic Mirror Tray Combo
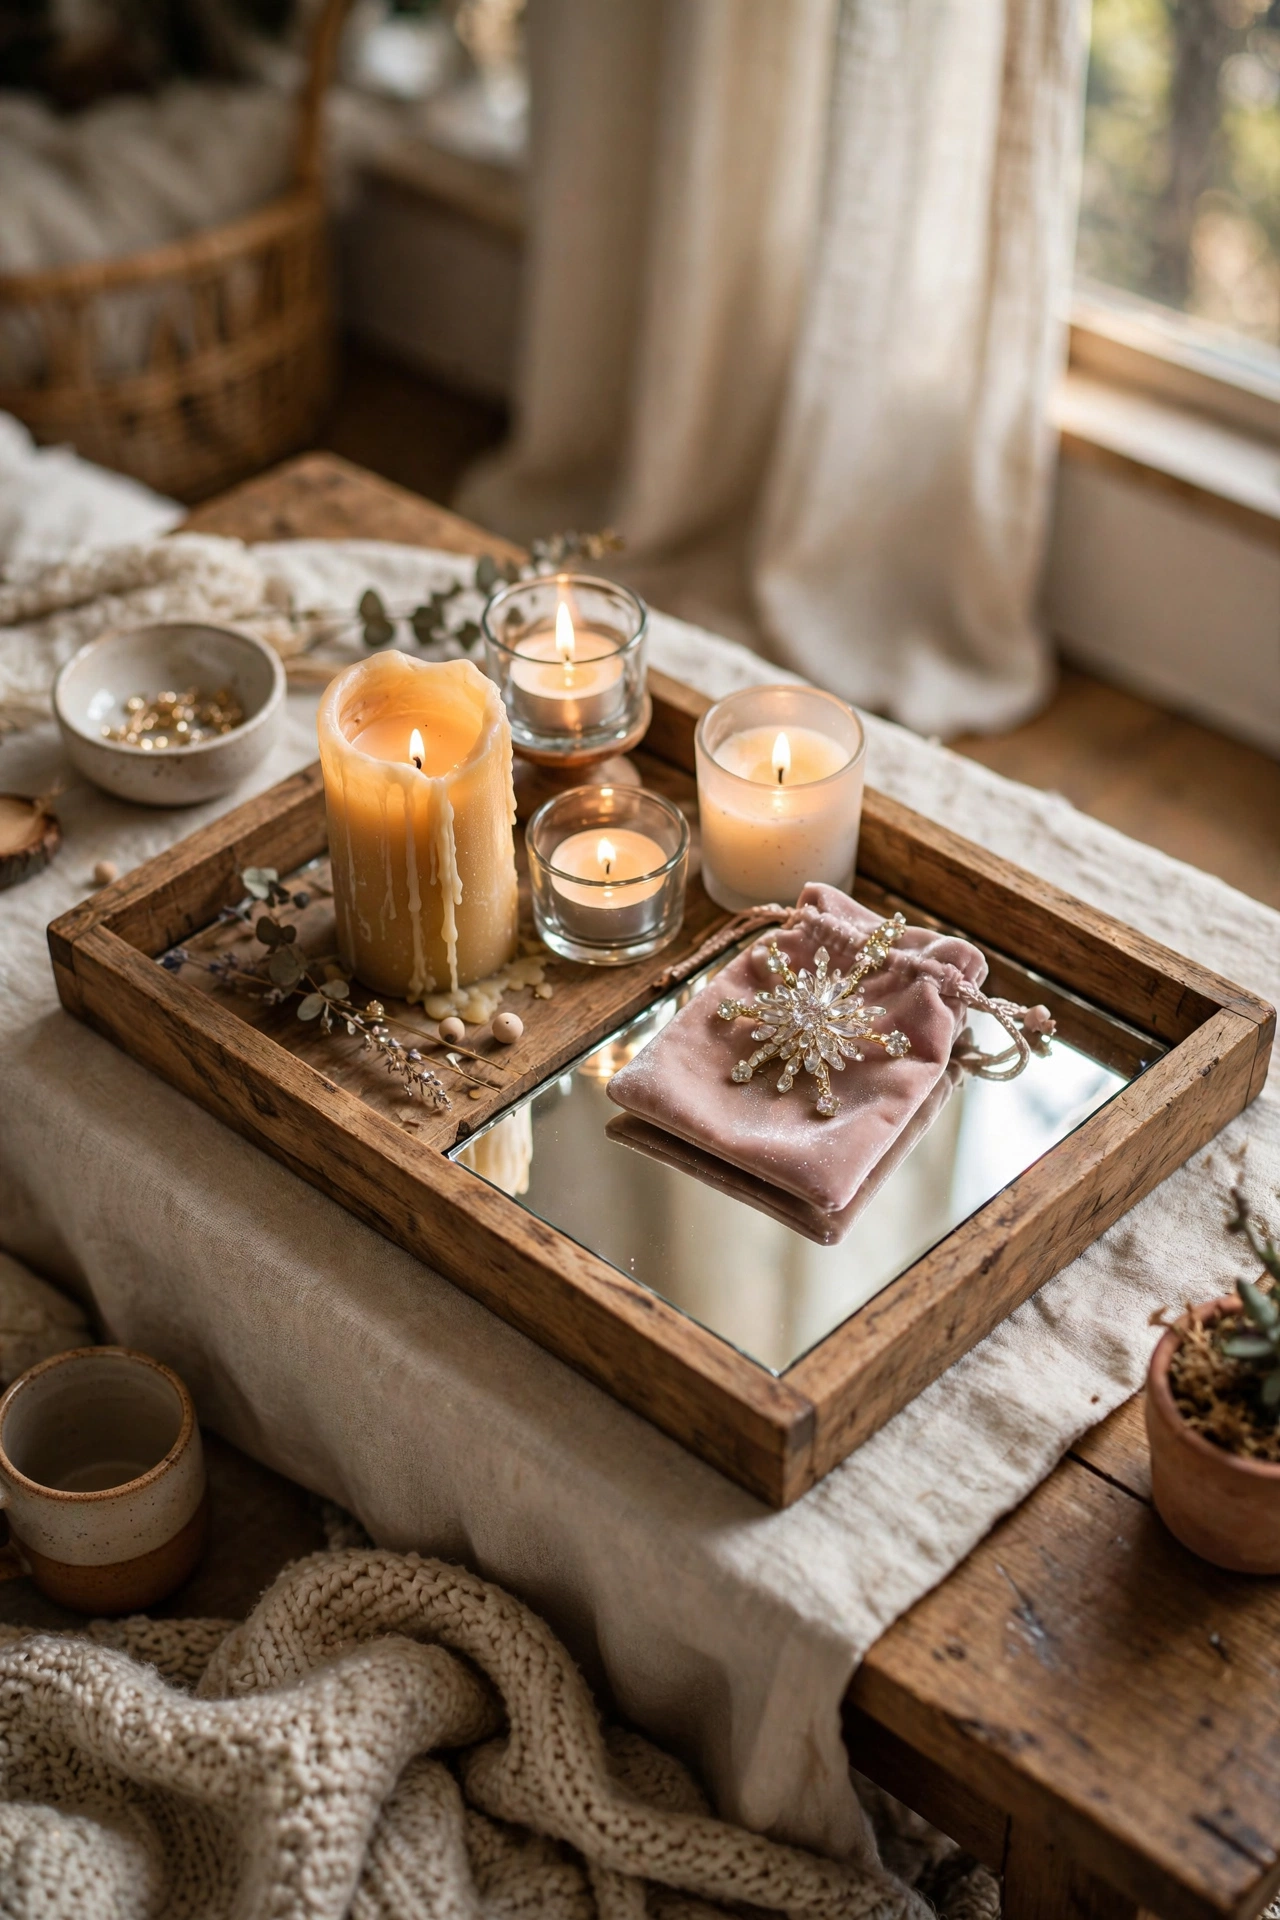
A small mirror set into a wooden tray becomes a reflective serving piece. I glued a $6 mirror into the base of a thrifted wooden tray and sealed the edges with clear silicone. The mirror base makes candles and glasses sparkle. The silicone seal matters if you will set drinks on it, because spills seep under an unsealed mirror. Mine lives on my coffee table with a candle cluster. It looks like a boutique accessory and cost $11 total.
Cost: ~$10-18 | Time: 30 minutes plus curing
25. Vintage Window Mirror Statement
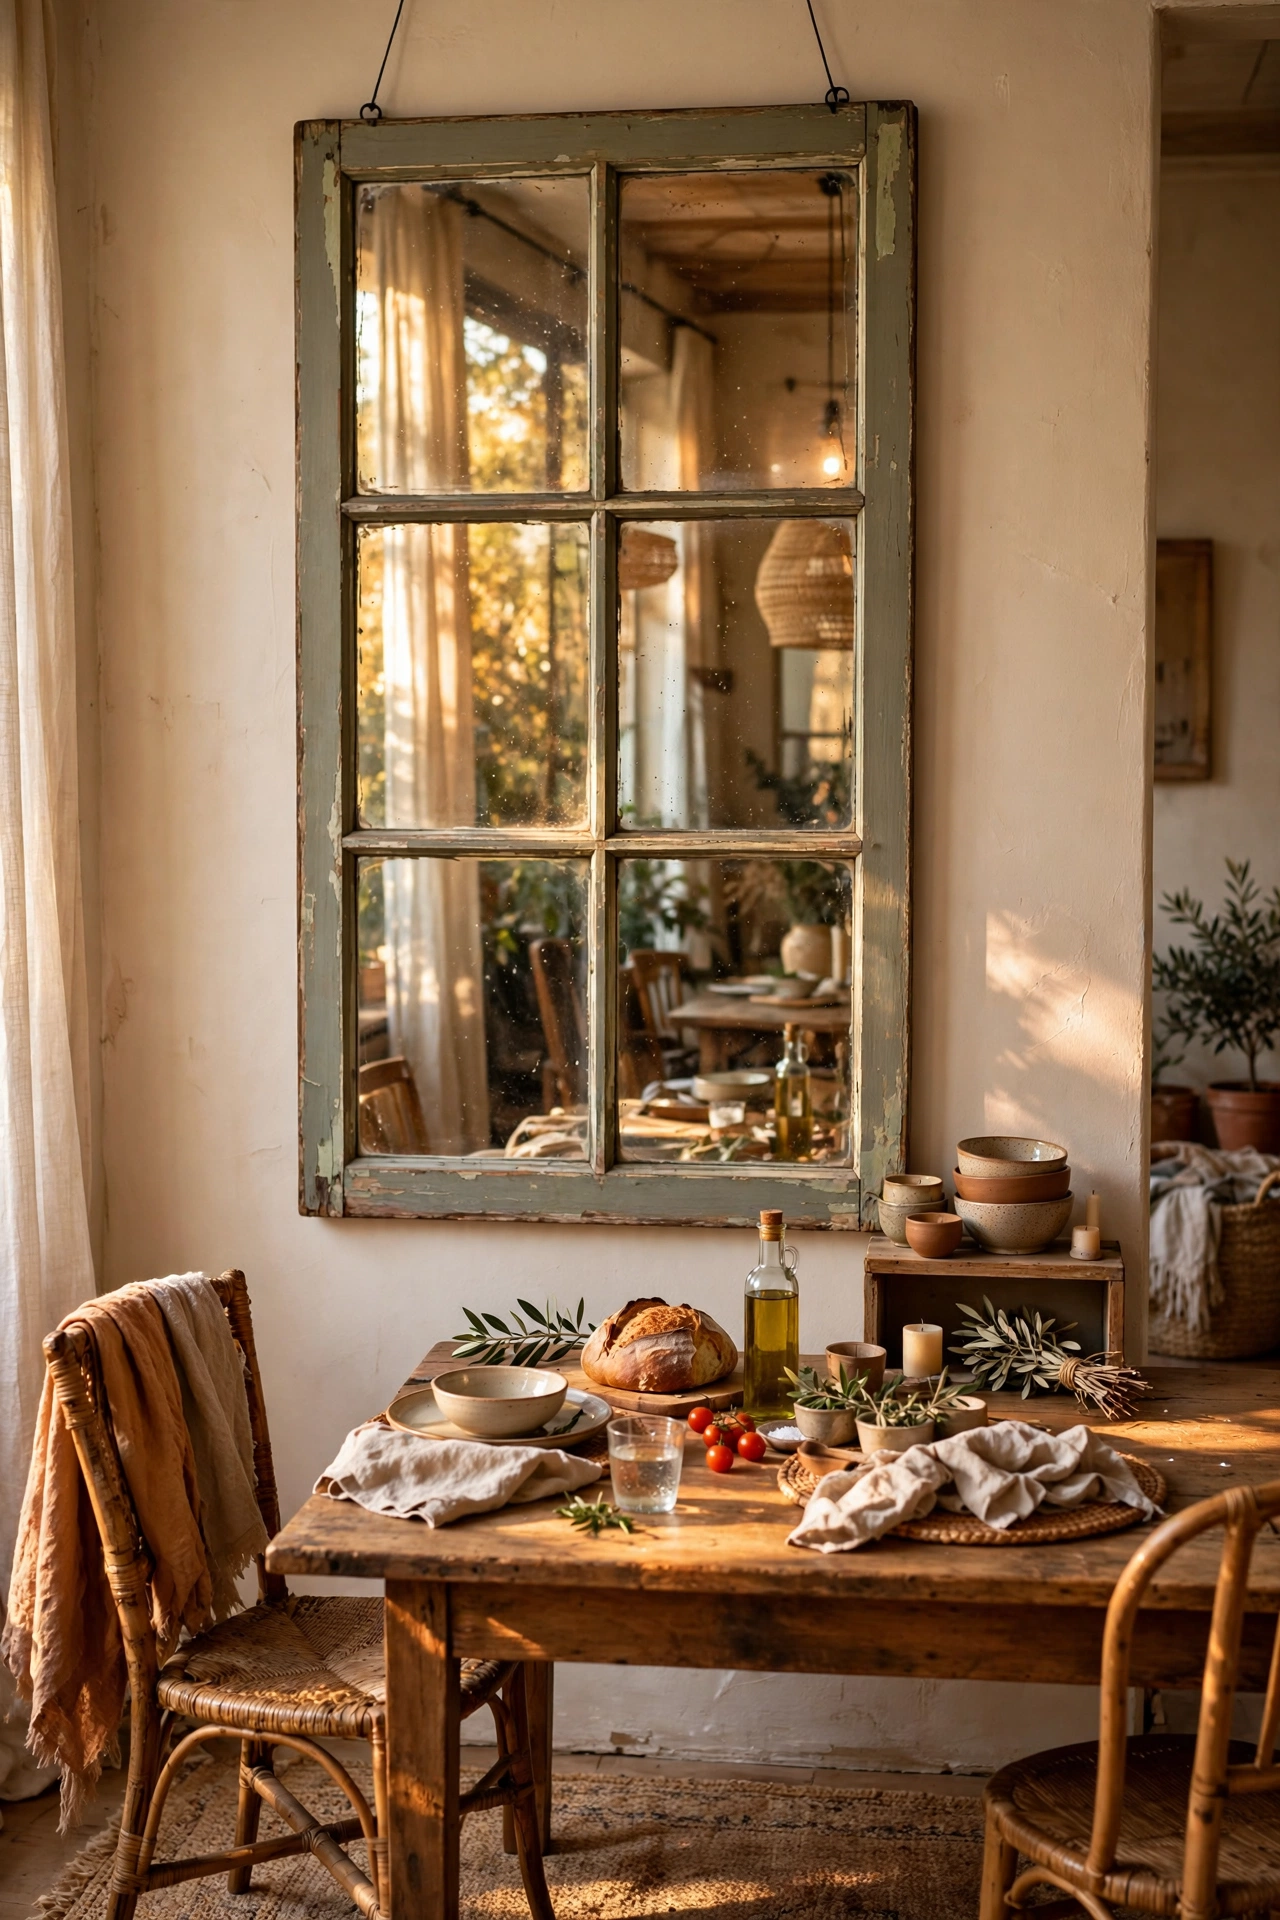
A tall vintage window with mirror panes is a statement piece for a large wall. I found a six-pane window at a salvage shop for $25, had mirrors cut for each pane, and hung it in my dining room. It reflects the chandelier and doubles the light beautifully. This is the heaviest project on the list, so mount it into studs with serious hardware. Mine weighs about thirty pounds and is anchored with French cleats. It looks like architectural salvage because it is.
Cost: ~$40-55 | Time: 3 hours
Quick questions, answered
What glue should I use for DIY mirror projects?
Construction adhesive for anything structural or hanging on a wall, because hot glue softens in heat and fails over time. I learned this the hard way with a sunburst mirror that shed dowels. Hot glue is fine for lightweight temporary bonds only.
Where do I find cheap mirrors for DIY?
Thrift stores sell frameless round mirrors for under $5, and discount stores sell basic rectangular mirrors cheap. Check the mirror for scratches and desilvering around the edges before you buy, because flaws show more once framed.
How do I hang a heavy DIY mirror safely?
Always mount into studs or use proper toggle bolts for drywall. French cleats distribute weight beautifully for large pieces. A falling mirror is dangerous, so never trust a single small nail with anything over ten pounds.
📌 Made a mirror from this list? Pin this post now so you can save this idea for your weekend project.
More weekend transformations: (see also: 25-weekend-diy-projects-that-instantly-refresh-your-home) (see also: 15-diy-wall-art-ideas-on-a-budget) (see also: 19-dollar-store-diys-that-look-designer)
