23 Blush Pink Kitchen Ideas That Feel Fresh
Blush pink got a bad reputation somewhere between the millennial-pink café era and every landlord’s magnolia phase, but hear me out: done in the right tone, these Blush Pink kitchen ideas make a kitchen feel warm, calm, and quietly expensive rather than sugary. I painted one wall the colour of weak tea with milk in my own kitchen last spring, half expecting regret, and instead I got a room guests photograph before they even sit down. The trick is choosing a soft, greyed pink and pairing it with honest materials — wood, brass, linen — so it reads grown-up. Here are 23 ways to get the look, from a full repaint to a ten-minute swap.
Paint & Colour
1. Paint the Lower Cabinets Blush Pink
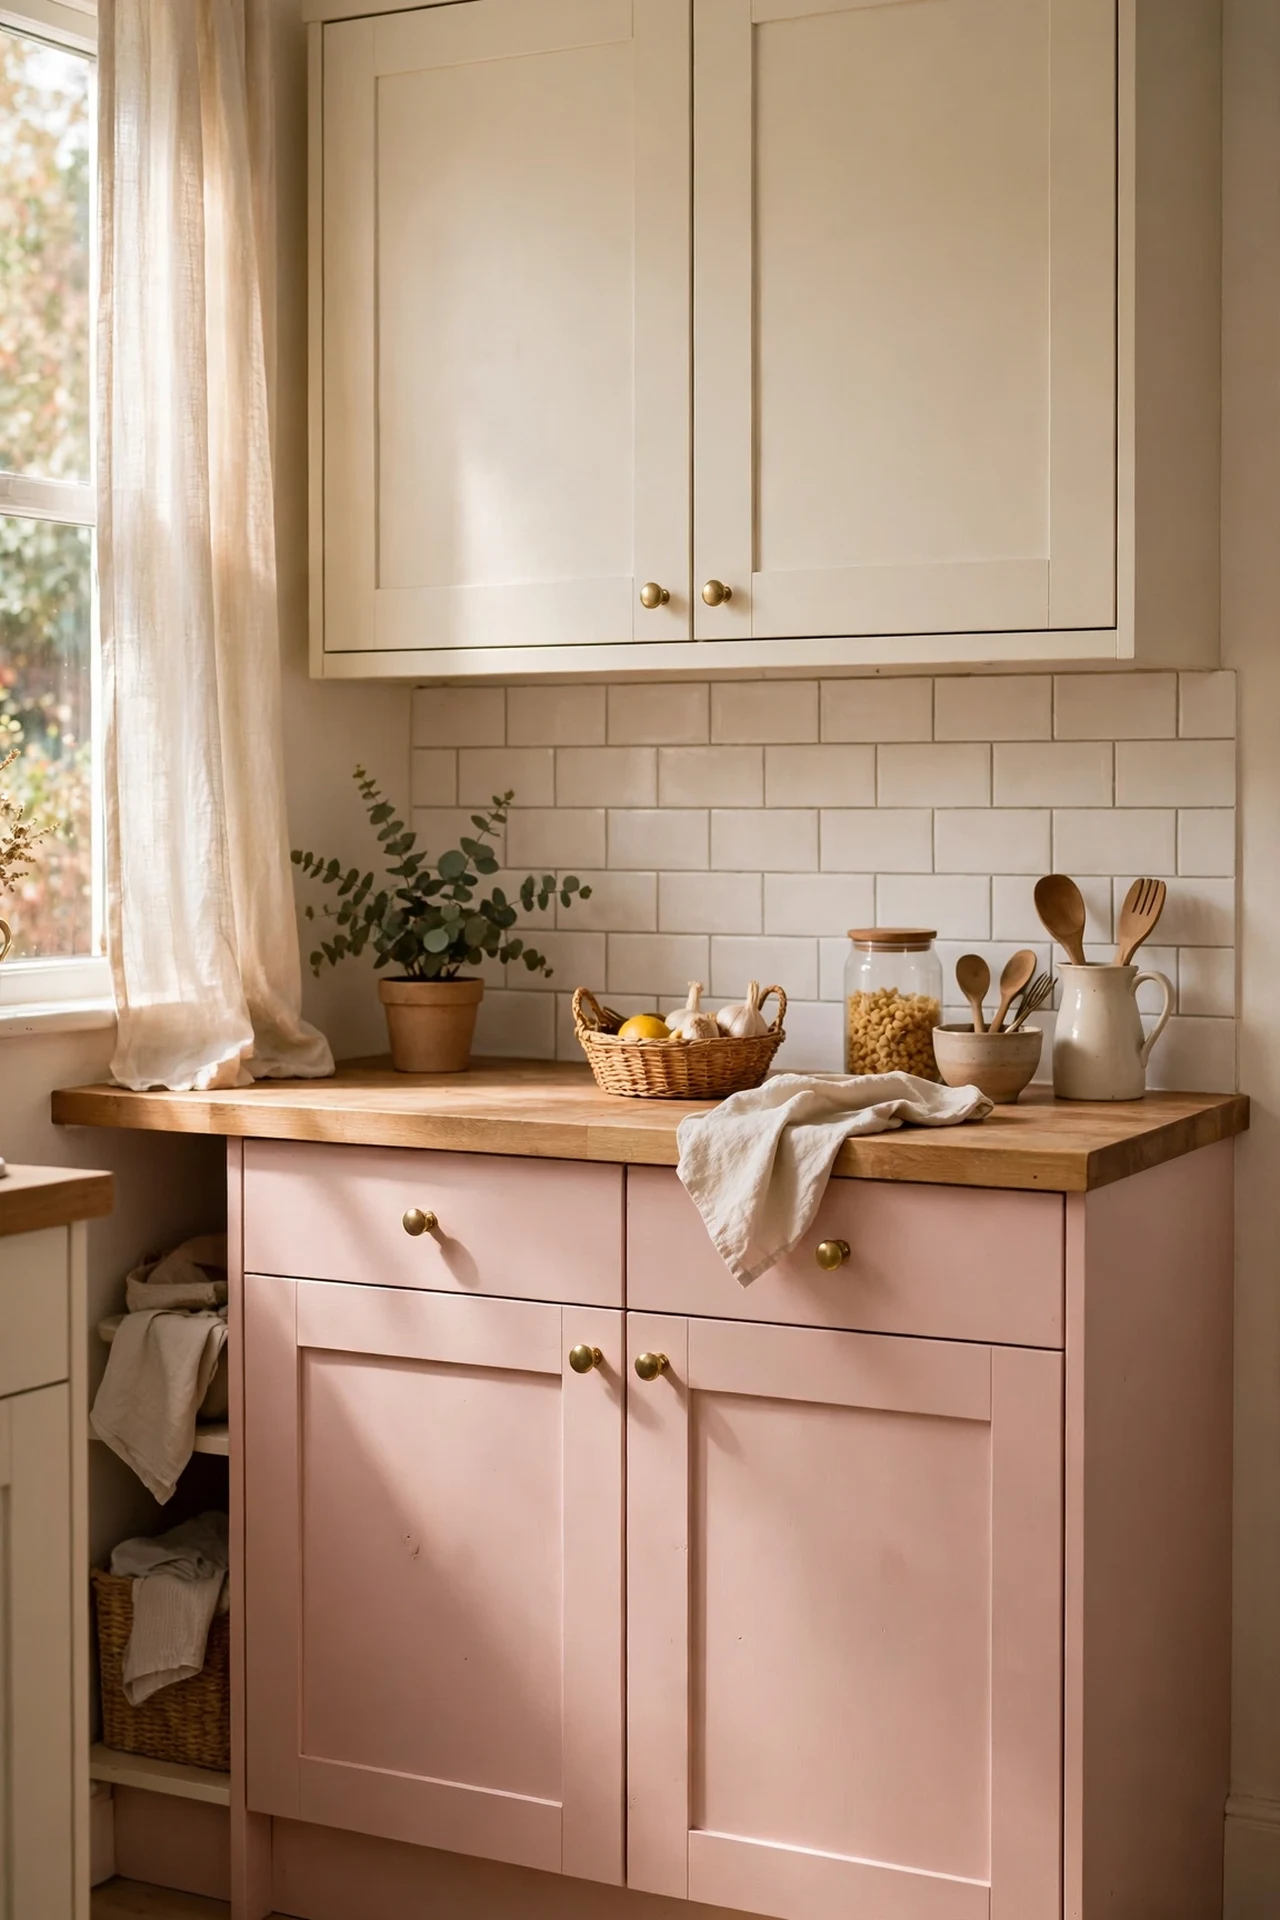
Blush pink lower cabinets with white or cream uppers is the headline look for a reason: it gives you the colour where it is grounded and keeps the top half bright and airy. Choose a muted, grey-based pink rather than anything bubblegum — test a sample pot on the door and live with it for three days in different light before committing. Remove doors and hardware, degrease thoroughly, apply a bonding primer, then two thin coats of a wipeable satin finish, sanding lightly between coats. I tried this on a friend’s rental with permission, using removable vinyl wrap instead of paint for reversibility, and the transformation honestly shocked me; the mistake to avoid is skipping the primer, because kitchen grease will have your beautiful pink peeling by Christmas.
Cost: ~$45 | Time: 1 weekend
2. Create One Blush Pink Accent Wall
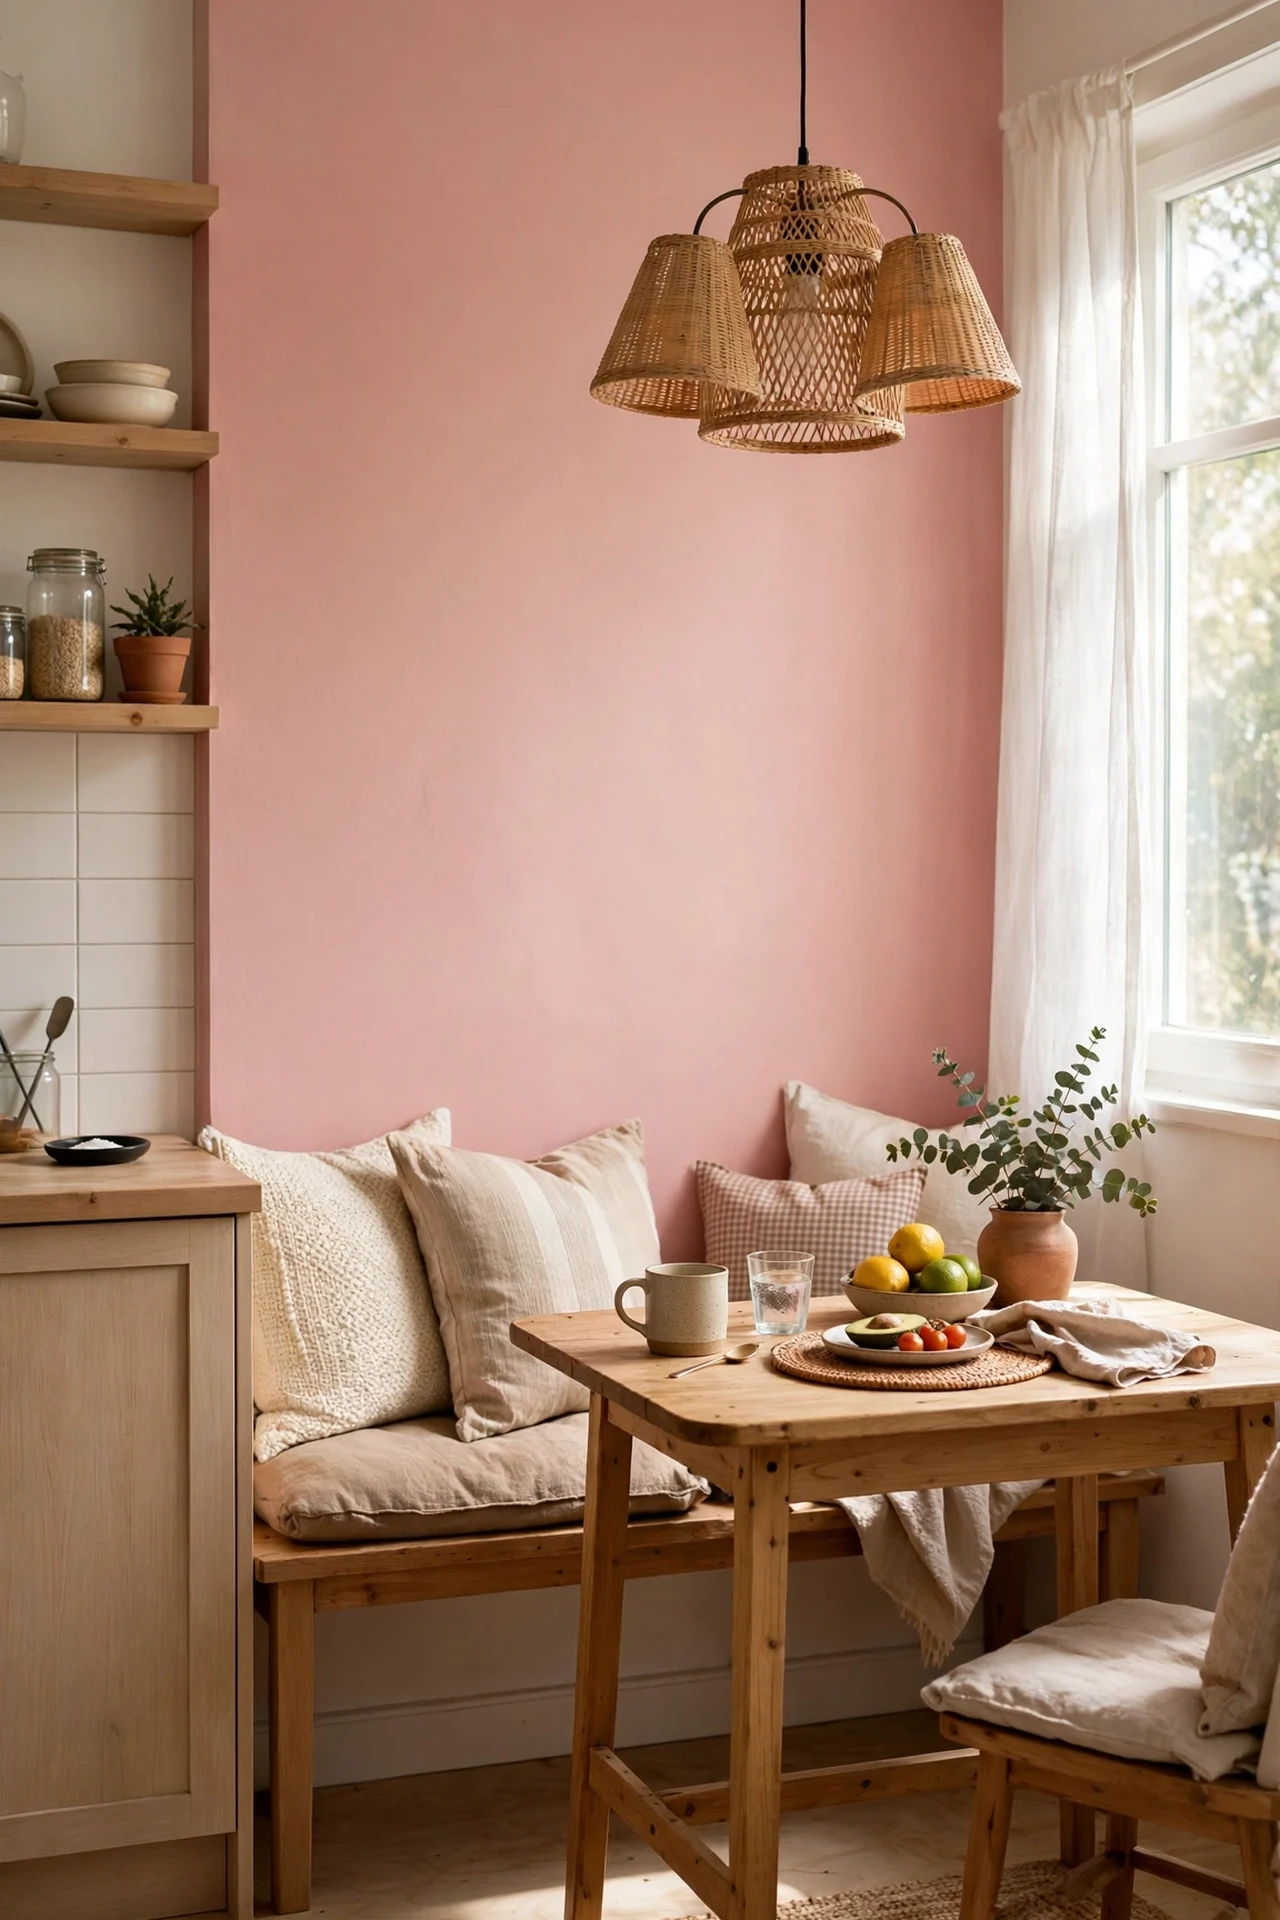
If full cabinets feel too committed, one blush pink accent wall behind the dining nook or breakfast bar gives you the colour fix with a single tin of paint. Pick the wall your eye lands on first when you walk in — that is where the colour earns its keep. Mask the skirting and ceiling line carefully, cut in with a brush, then roll two even coats, working top to bottom in a W pattern to avoid stripes. Let each coat dry fully before the next. I tried this in a white kitchen and it instantly made the space feel designed rather than default; the mistake to avoid is painting the wall behind the hob, where cooking splatter will stain pale paint faster than you can wipe it.
Cost: ~$25 | Time: 4 hours
3. Wash the Backsplash Zone with Pink Limewash
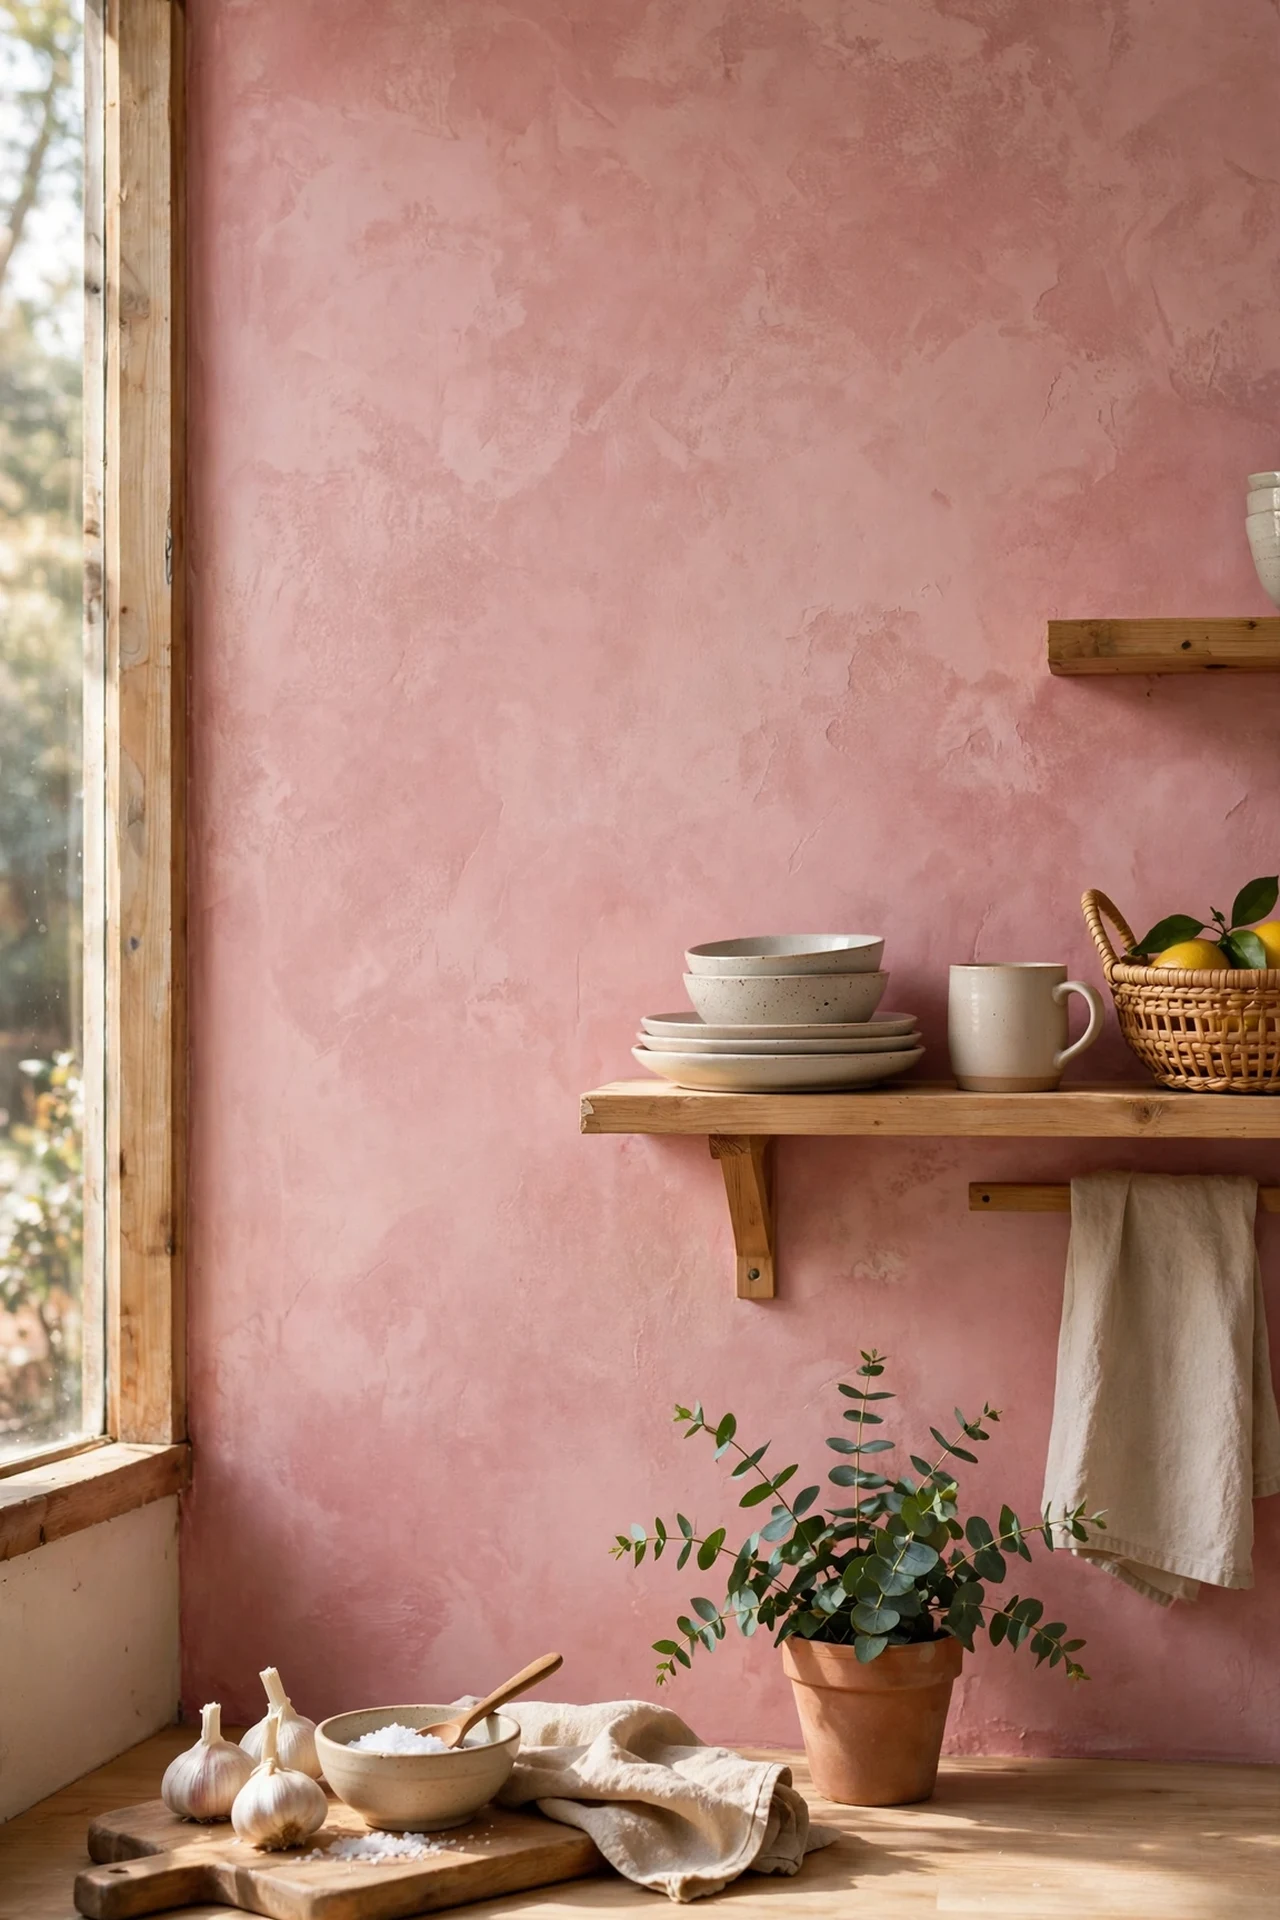
Limewash in a soft pink gives walls a cloudy, plaster-like depth that flat paint simply cannot match — it is the difference between a pink wall and a pink atmosphere. Apply it with a large block brush in loose criss-cross strokes over a clean, matte-primed wall, and let the mottled texture build naturally; two coats are usually enough. It dries lighter than it looks wet, so go one shade deeper than your target. I tried this on a small splashback area and the movement in the finish made the whole corner feel like a boutique hotel; the mistake to avoid is overworking it into a flat finish, because the uneven cloudiness is the entire point of limewash.
Cost: ~$35 | Time: 3 hours
4. Paint the Pantry Door Blush Pink
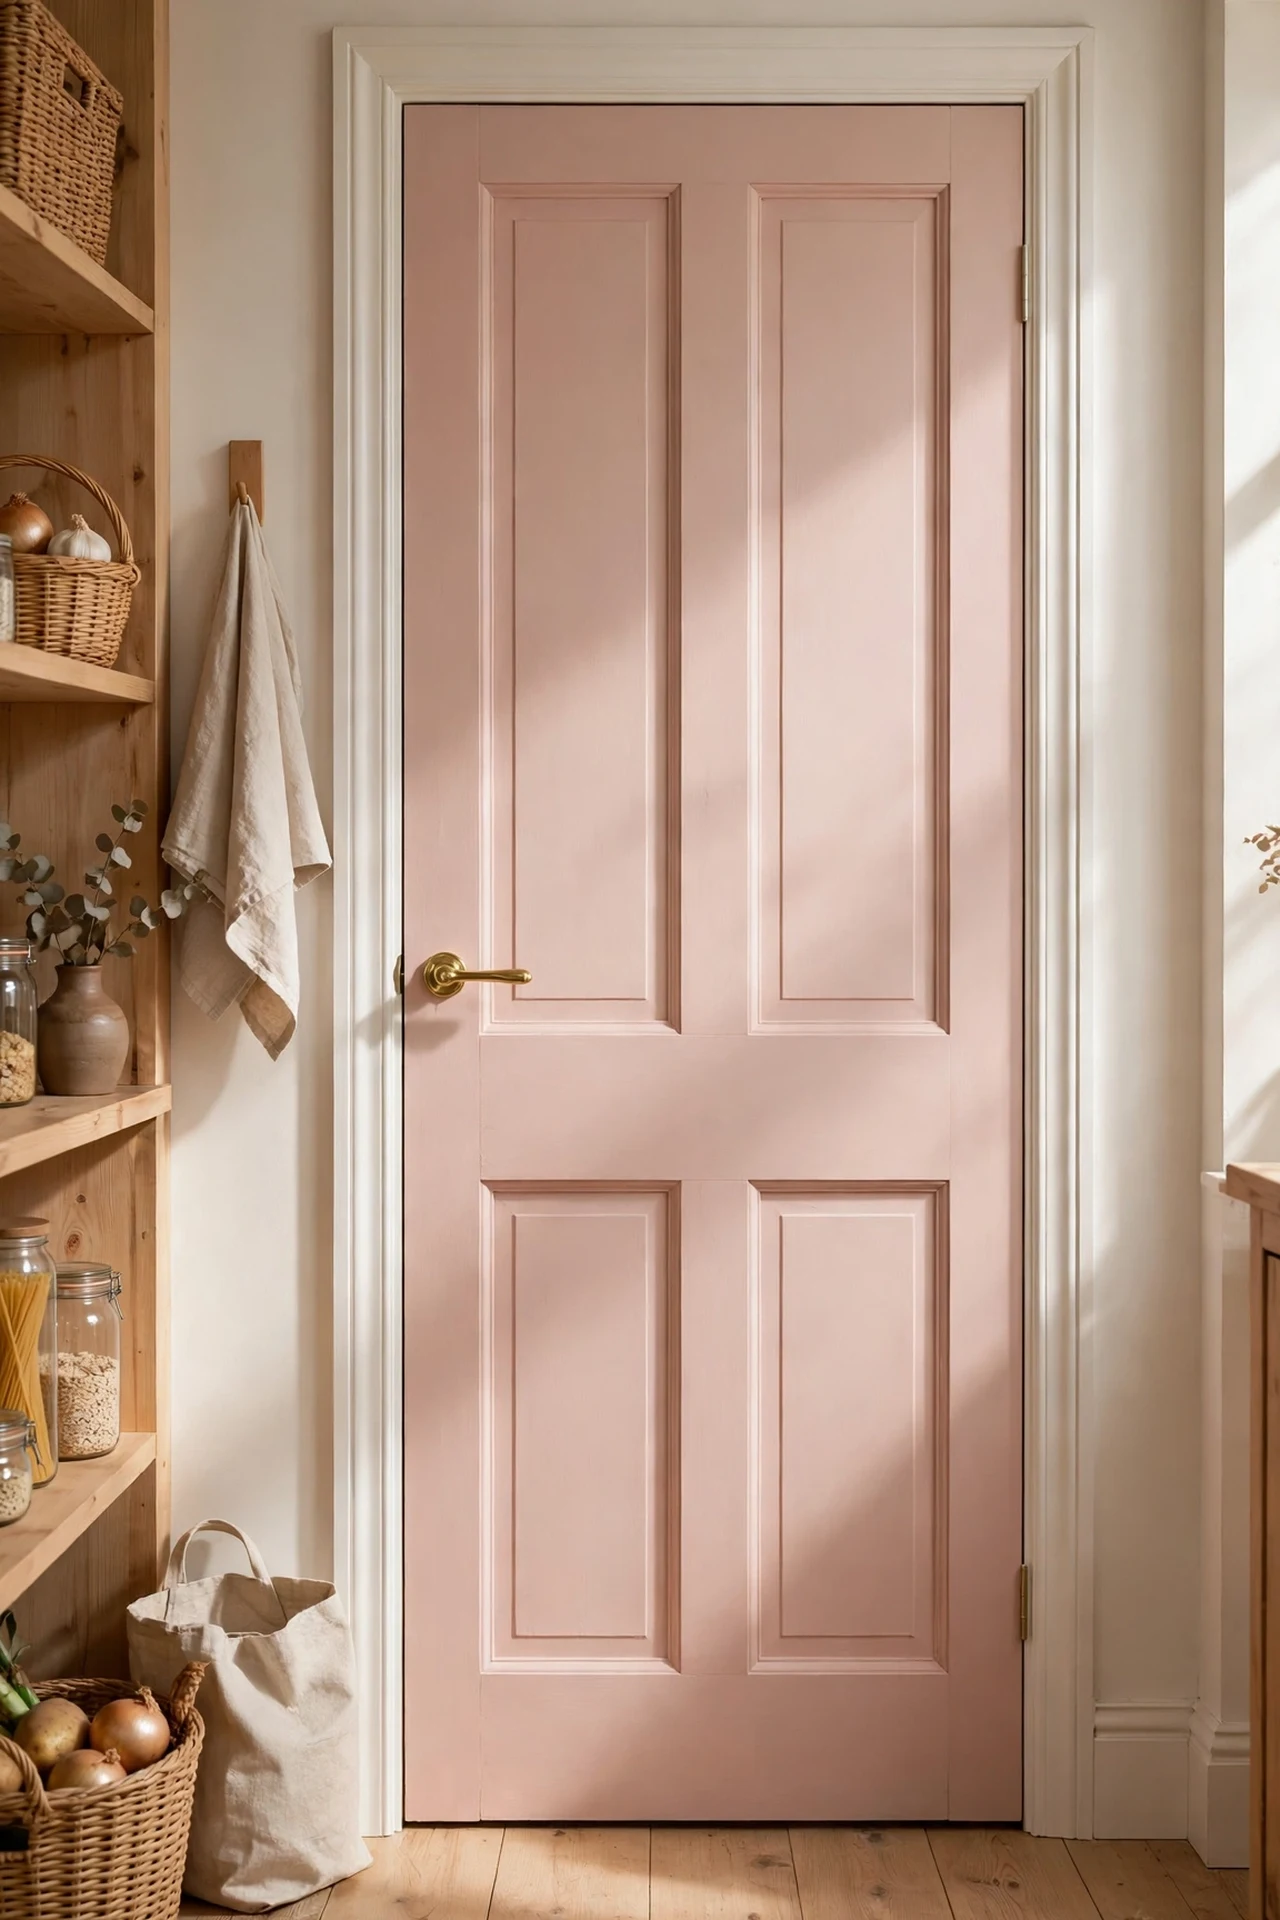
A pantry door painted blush pink is the little surprise guests remember — a flash of colour that costs one sample pot and an afternoon. Take the door off its hinges so you can lay it flat, which stops drips, then sand lightly, prime, and apply two thin coats of satin paint in a soft rose tone. While it is off, this is also the perfect moment to swap the handle for something brass. I tried this in a plain white kitchen and that one pink door became the talking point of every visit; the mistake to avoid is painting it while it hangs, because gravity will punish you with runs down the panels.
Cost: ~$12 | Time: 3 hours
5. Paint Open Shelves in a Dusty Rose
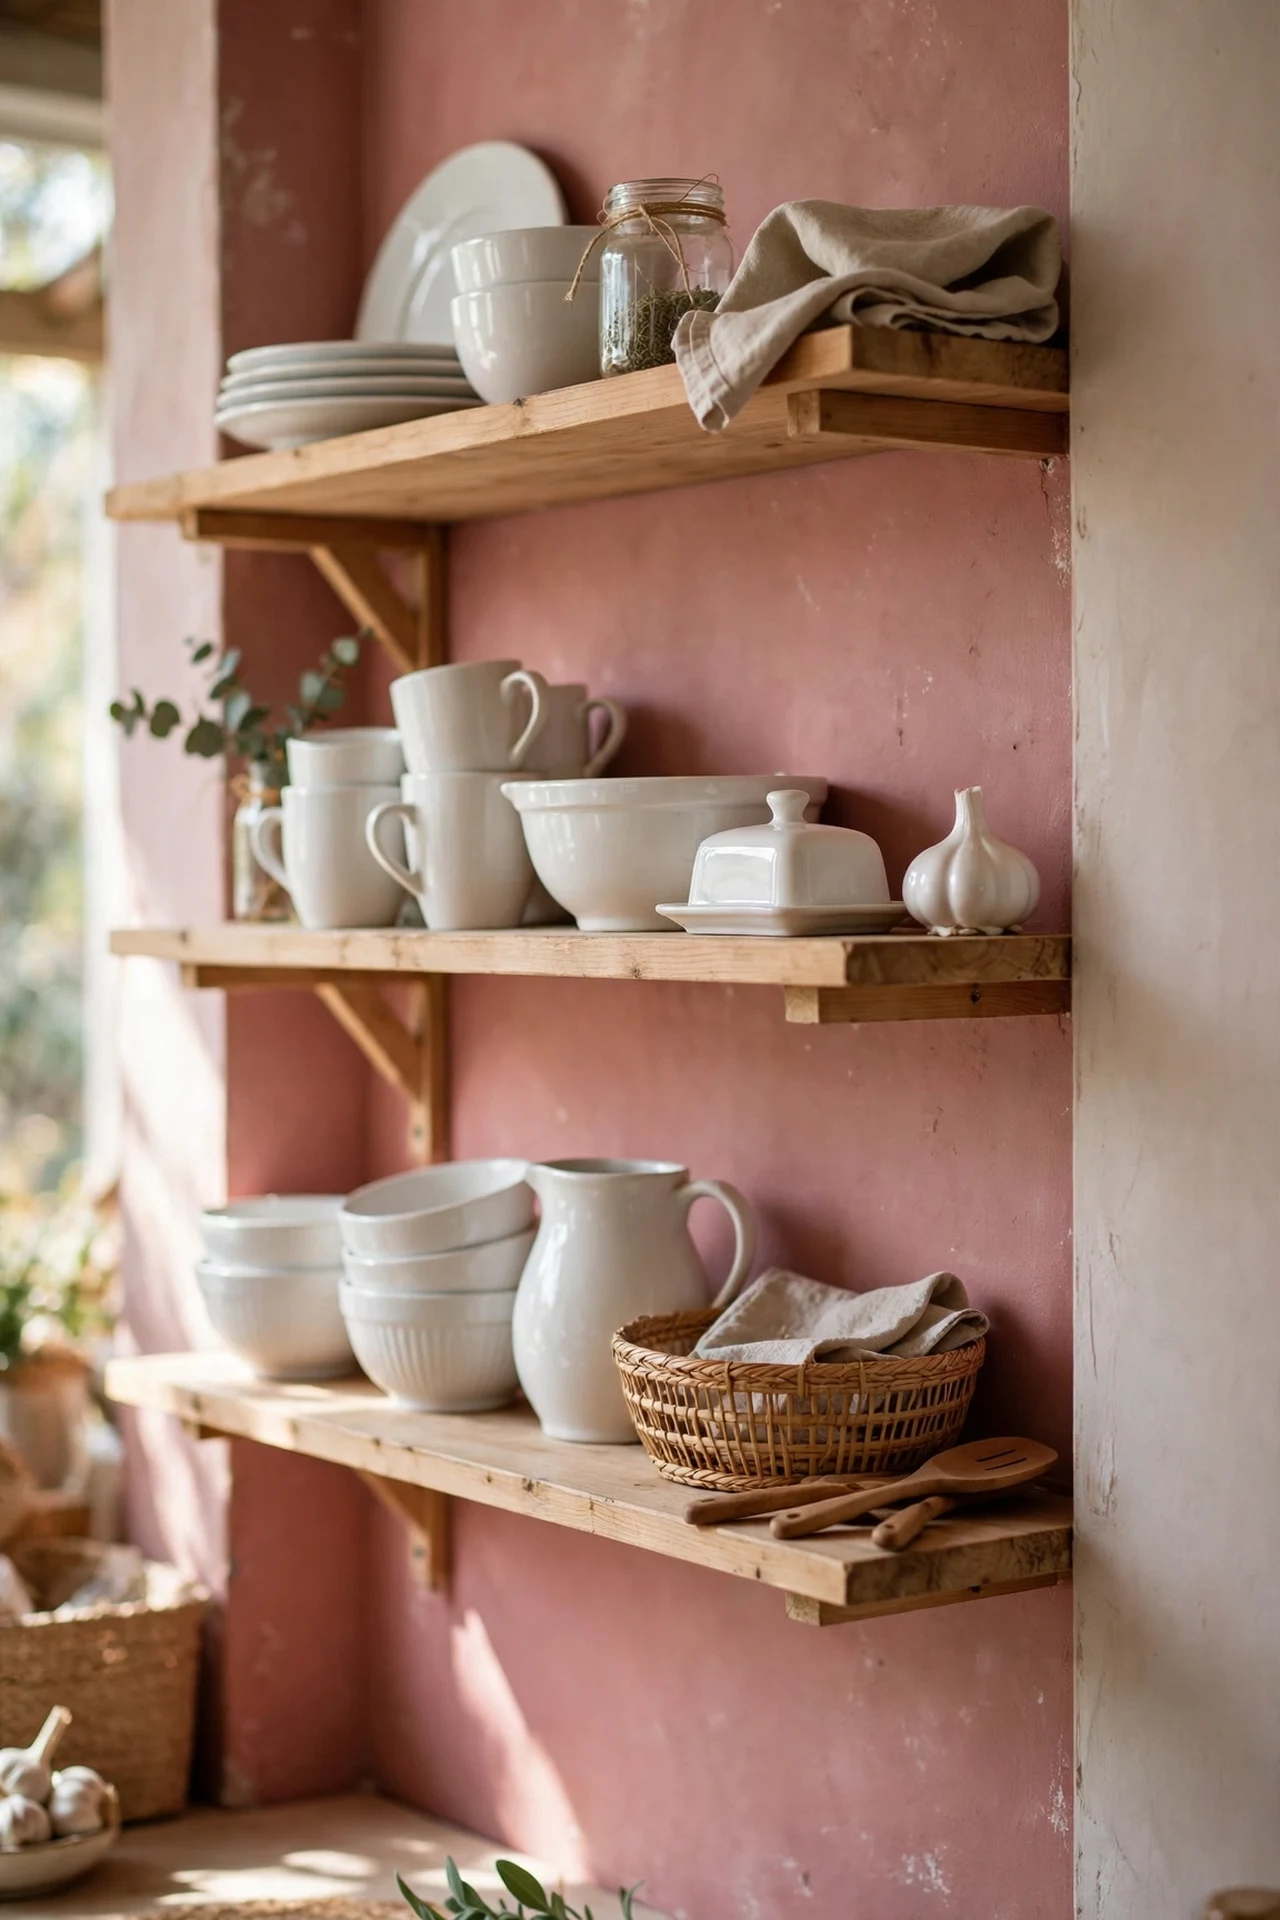
Open shelves in a dusty rose make even ordinary white crockery look curated, because the pink acts like a gallery wall behind your dishes. Sand the shelves lightly, wipe away every speck of dust, and apply two coats of furniture paint in a warm muted pink — a satin finish wipes clean of kitchen dust far better than matte. Let them cure a full day before loading them up, and keep the styling simple: white plates, clear glasses, and one small trailing plant. I tried this with bargain pine shelves and they looked three times the price once painted; the mistake to avoid is a pink that is too saturated, which fights with colourful packaging and makes the shelf look busy.
Cost: ~$18 | Time: 4 hours
6. Go Two-Tone: Blush Pink and Warm Cream
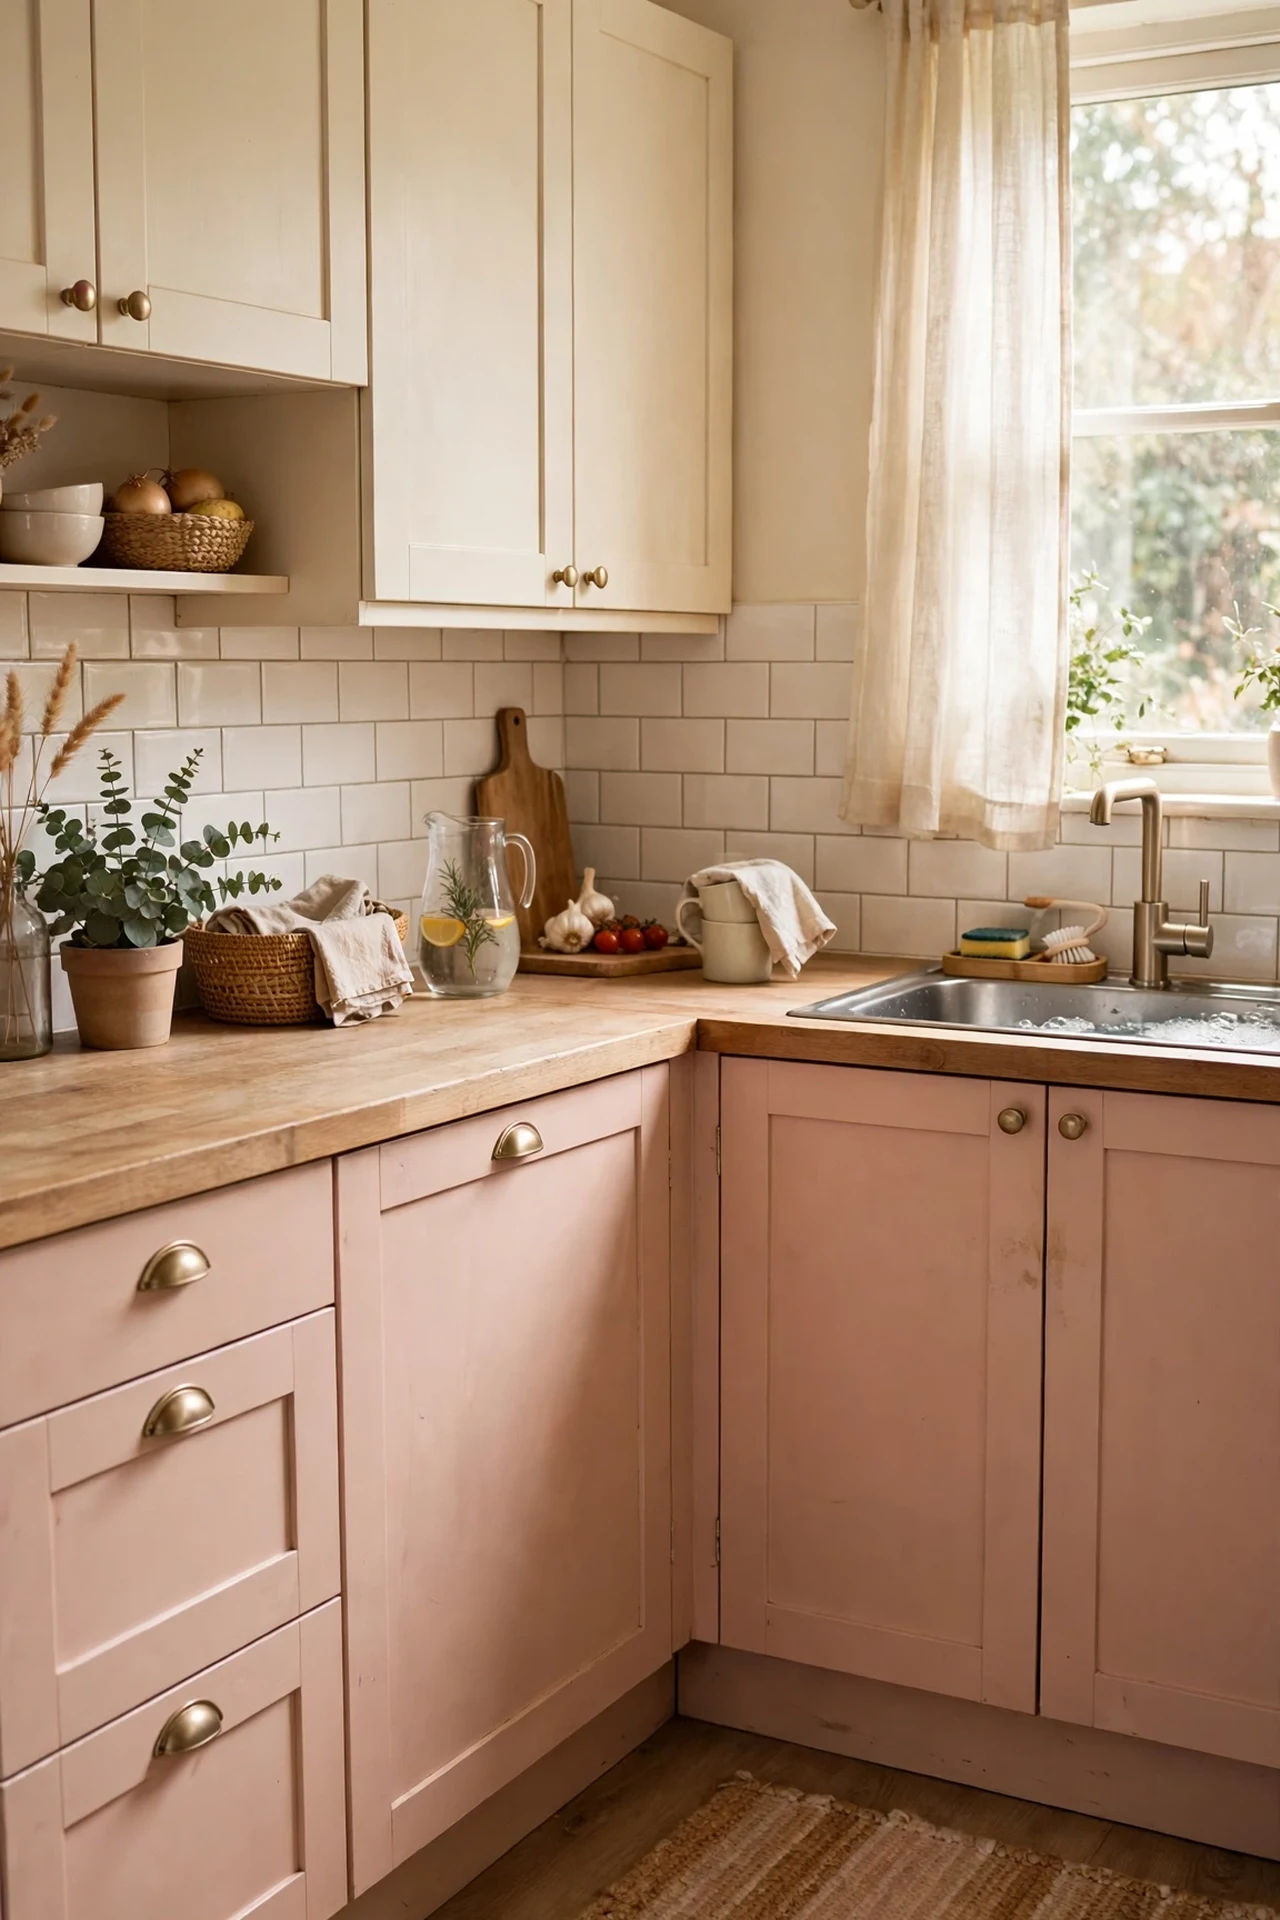
Pairing blush pink lowers with warm cream uppers is the combination that keeps the look fresh instead of flat — the cream stops the pink from feeling heavy and the pink stops the cream from feeling bland. Paint the uppers a warm off-white with a hint of yellow in it, which harmonises with pink far better than a cold blue-white, and use the same satin finish on both for a cohesive sheen. Work one section at a time so the kitchen stays usable. I tried mapping this out with painted cardboard swatches first, which sounds silly but saved me from a cream that clashed; the mistake to avoid is choosing a cool white, which makes blush pink look grey and tired beside it.
Cost: ~$60 | Time: 1 weekend
7. Tint the Ceiling with the Softest Pink Wash
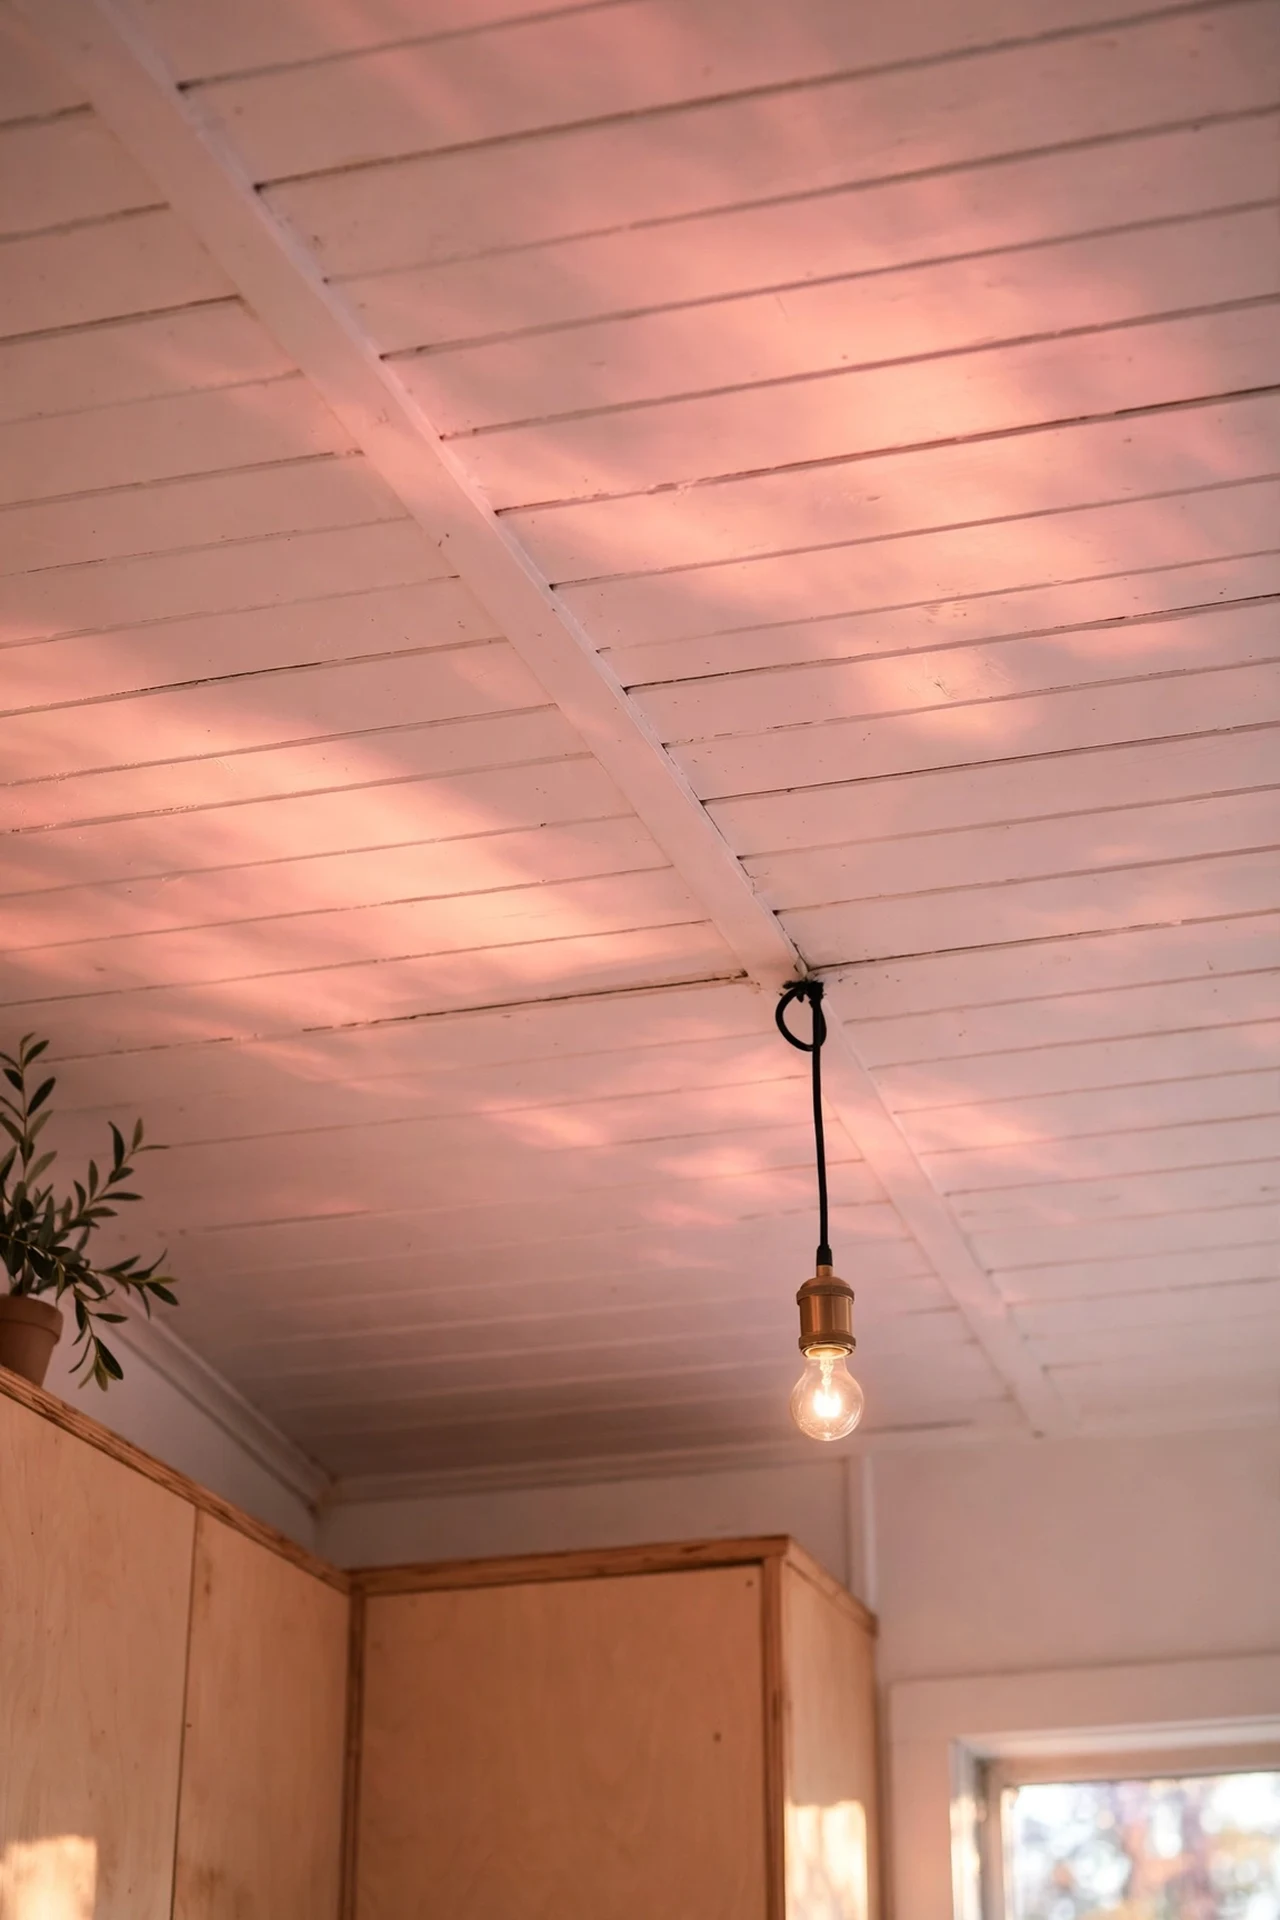
A whisper of pink on the ceiling sounds odd until you see it — it bounces a warm glow down into the room, like permanent golden hour. Mix your blush pink with white at about one part to four so the result reads as warm rather than pink, and roll it on like a normal ceiling, cutting in neatly at the walls. It works best in kitchens with decent natural light, where the tint stays luminous rather than murky. I tried this in a north-facing kitchen and the difference in how flattering the room felt at night was remarkable; the mistake to avoid is going too strong, because a fully pink ceiling can feel like the inside of a cake box.
Cost: ~$20 | Time: 3 hours
Textiles & Soft Touches
8. Hang Blush Pink Linen Café Curtains
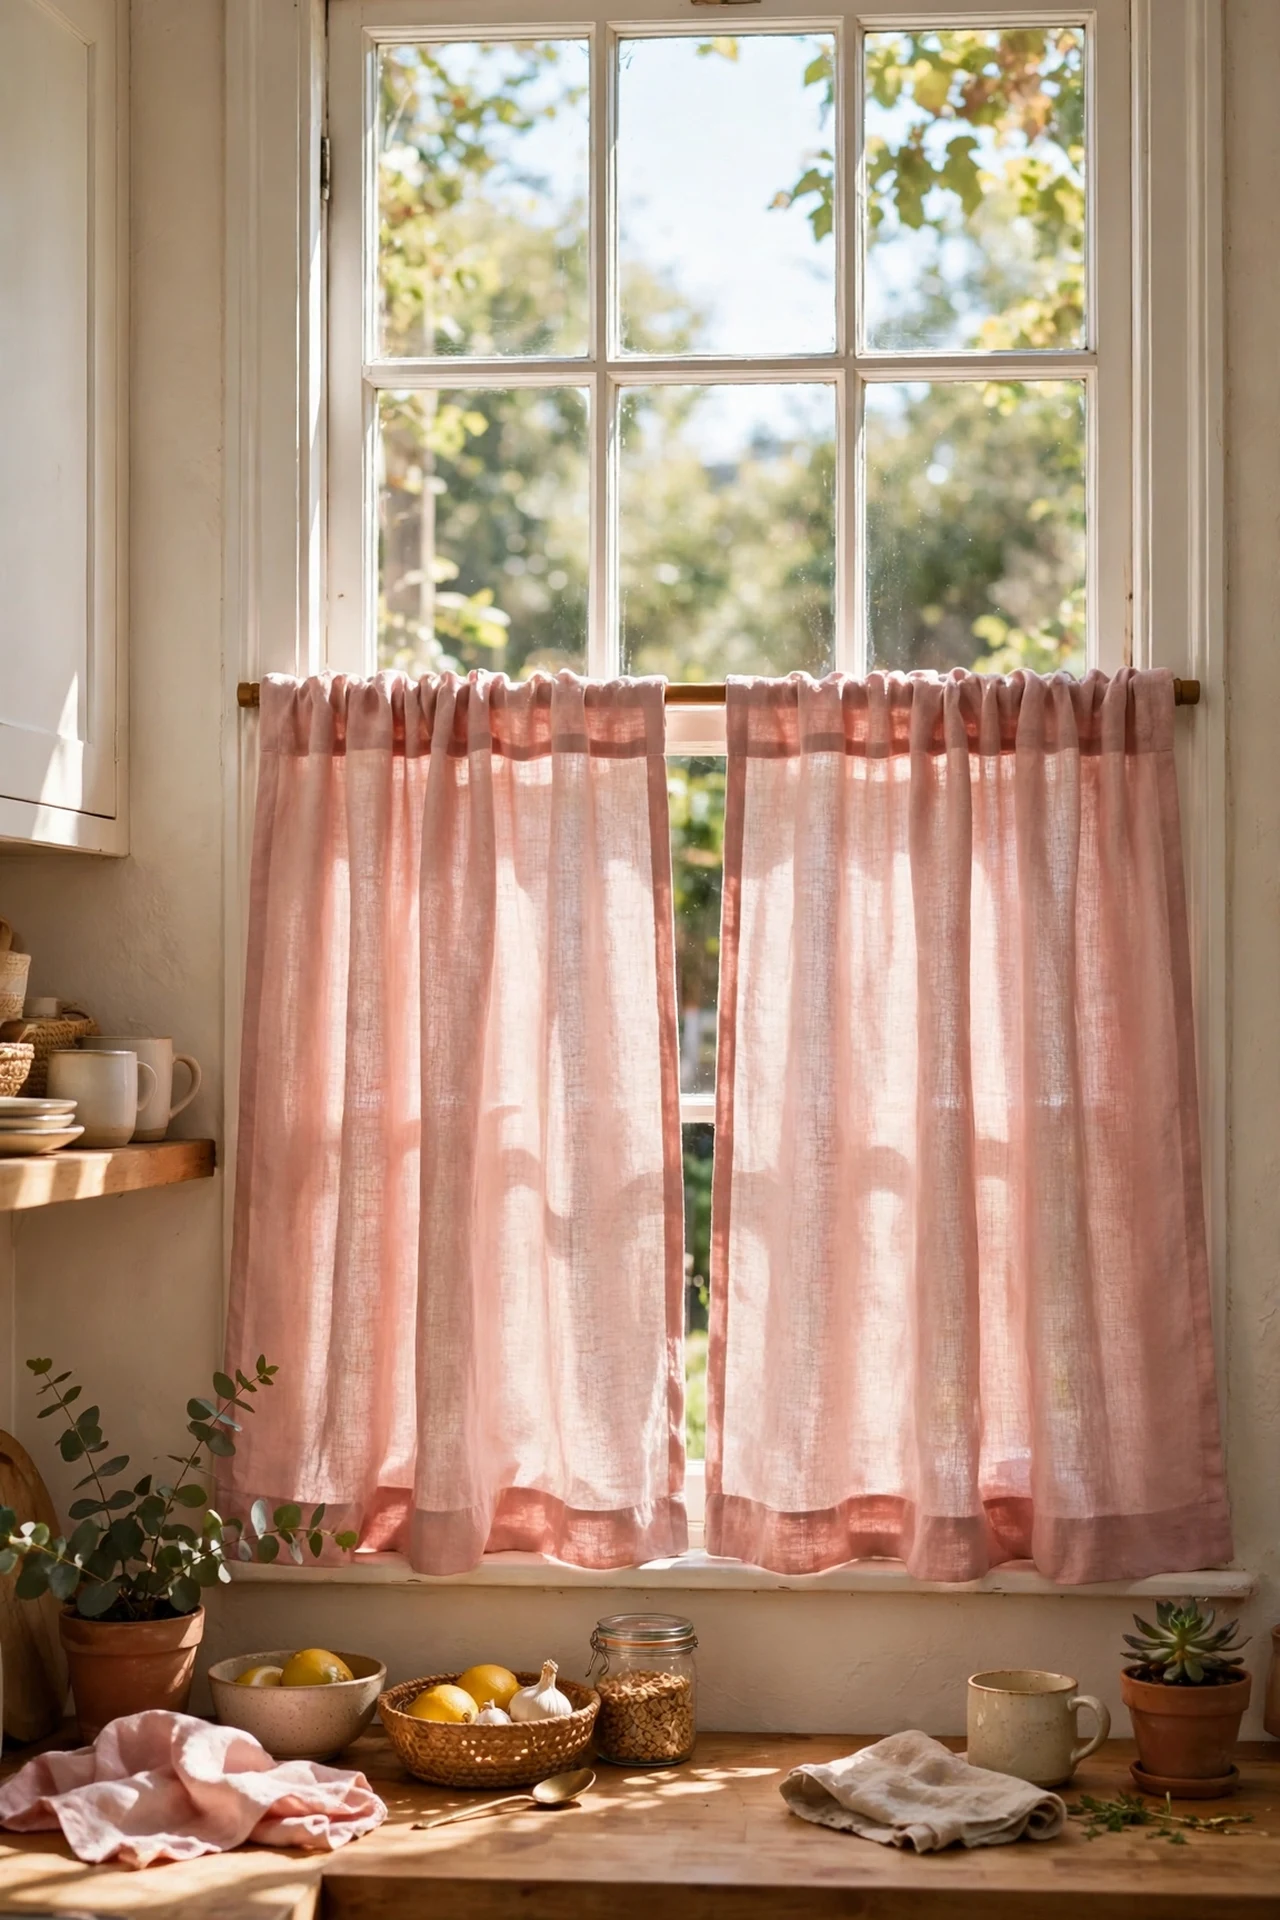
Blush pink linen café curtains filter the light beautifully and give the window a softness that blinds never manage. Measure the window, then buy or hem panels that cover the lower half — café style keeps the top open for light while screening the view. Hang them on a slim brass or black rod with clip rings, which makes linen look deliberately casual rather than unfinished. Wash and iron them once before hanging so they drop properly. I tried this and the morning light through pink linen made my whole kitchen glow; the mistake to avoid is polyester that claims to be linen — it does not breathe, hangs stiffly, and never gets that soft crumpled look.
Cost: ~$30 | Time: 1 hour
9. Lay a Blush Pink Runner Down the Galley
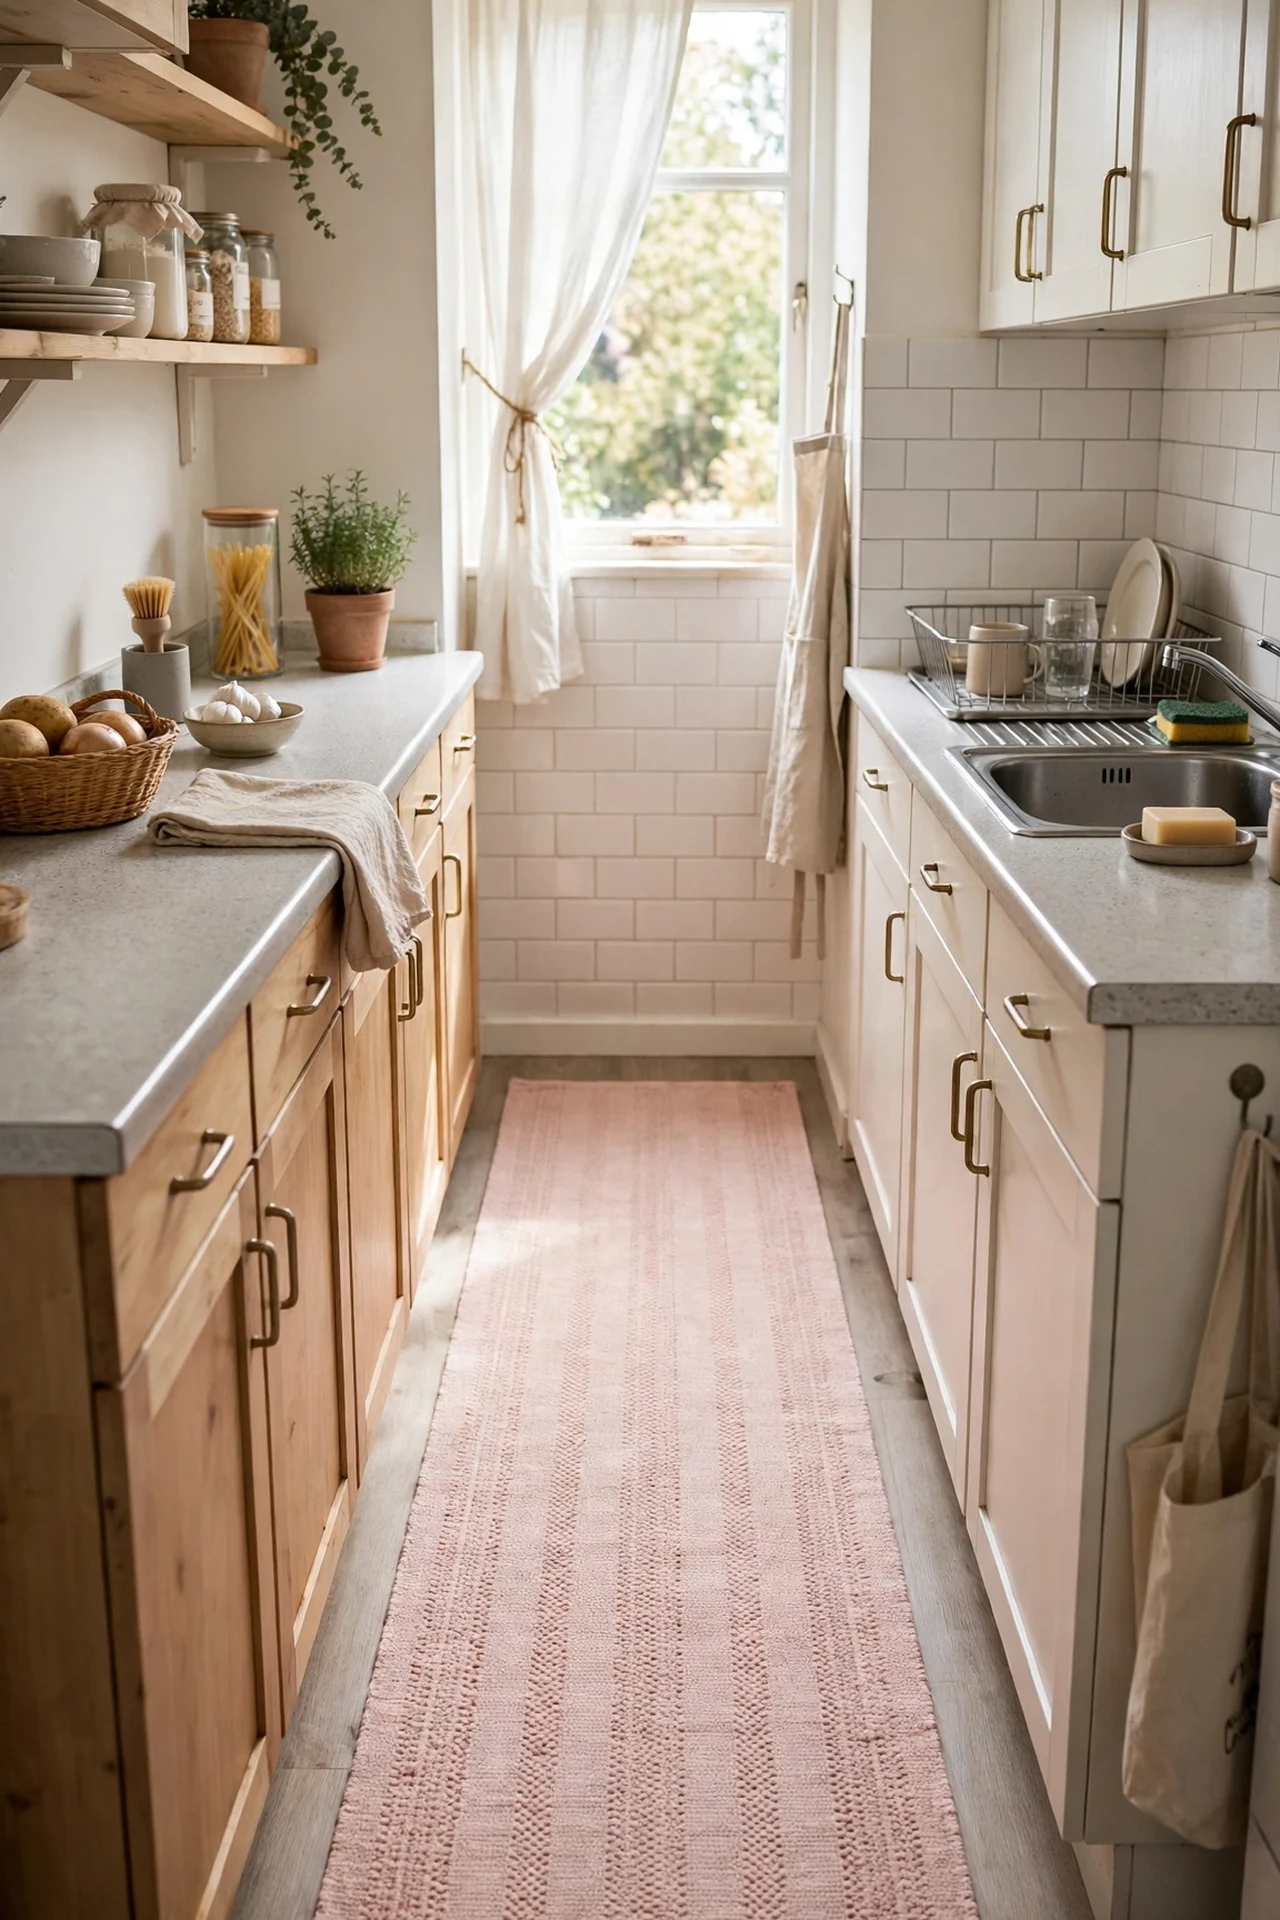
A blush pink runner turns a plain floor into part of the colour scheme and cushions your feet during long cooking sessions. Choose a low-pile, machine-washable runner in a pattern with some variation — solid pale pink shows every crumb — and add a non-slip pad underneath so it never creeps. Measure so it stops clear of the oven door and does not curl underfoot at either end. I tried this in a rental with grey lino and the pink pulled the whole room together in a way I genuinely did not expect from a rug; the mistake to avoid is a thick pile in a working kitchen, which becomes a crumb archive within days.
Cost: ~$32 | Time: 10 minutes
10. Swap In a Blush Pink Tea Towel and Mitt Set
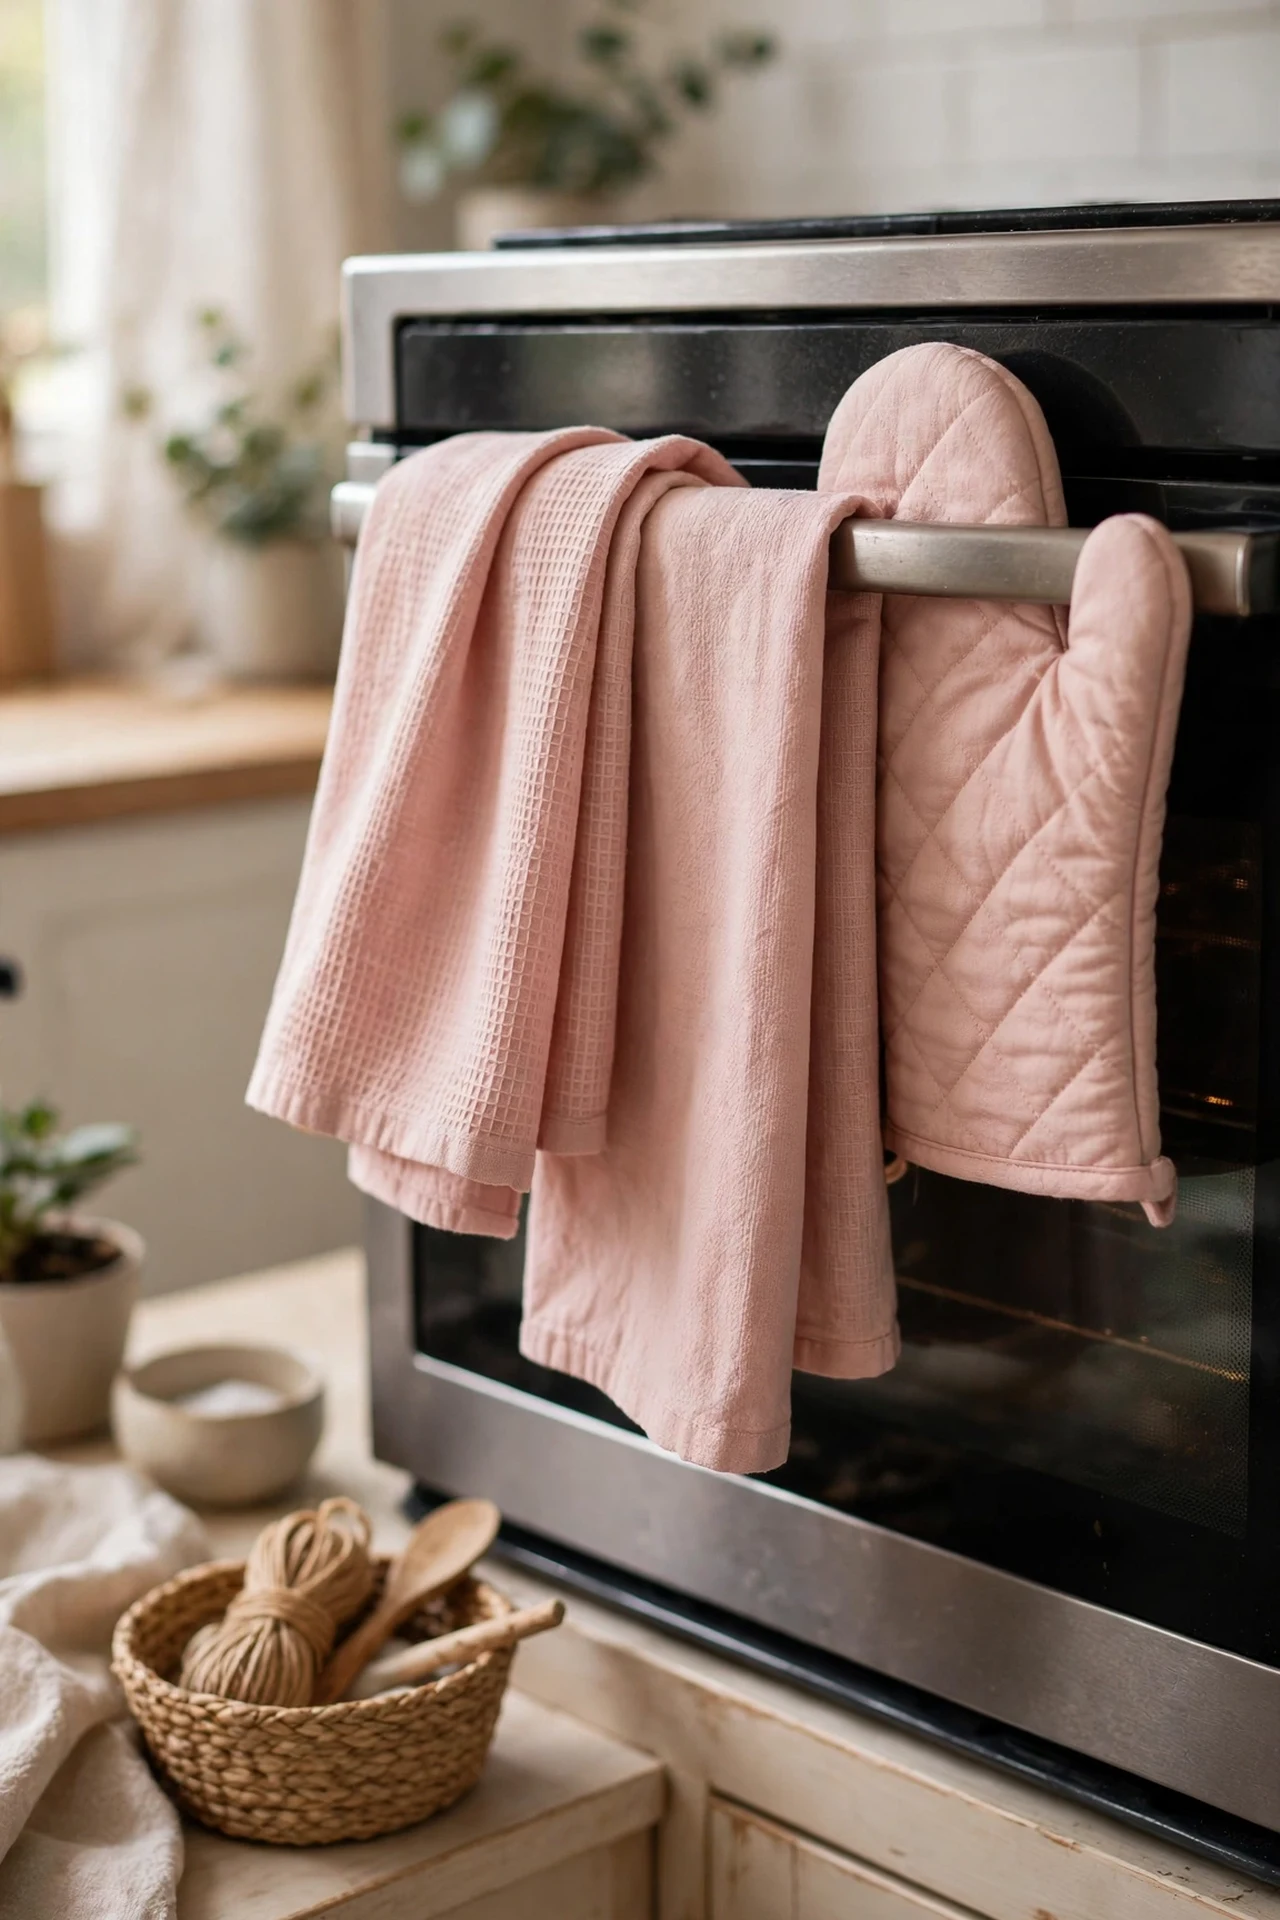
The fastest pink refresh in existence is a coordinated set of blush tea towels and an oven mitt — ten minutes, no tools, instant theme. Pick a set in a muted rose with a simple stripe or border rather than a novelty print, fold them uniformly, and hang one over the oven handle as the working display towel. Retire your stained mismatches to cleaning duty. I tried this as a test before committing to bigger pink changes and it told me everything about whether I actually liked living with the colour; the mistake to avoid is buying pale pink towels and never washing them hot, because they will grey out fast in a real kitchen.
Cost: ~$12 | Time: 5 minutes
11. Dress Dining Chairs with Blush Cushion Covers
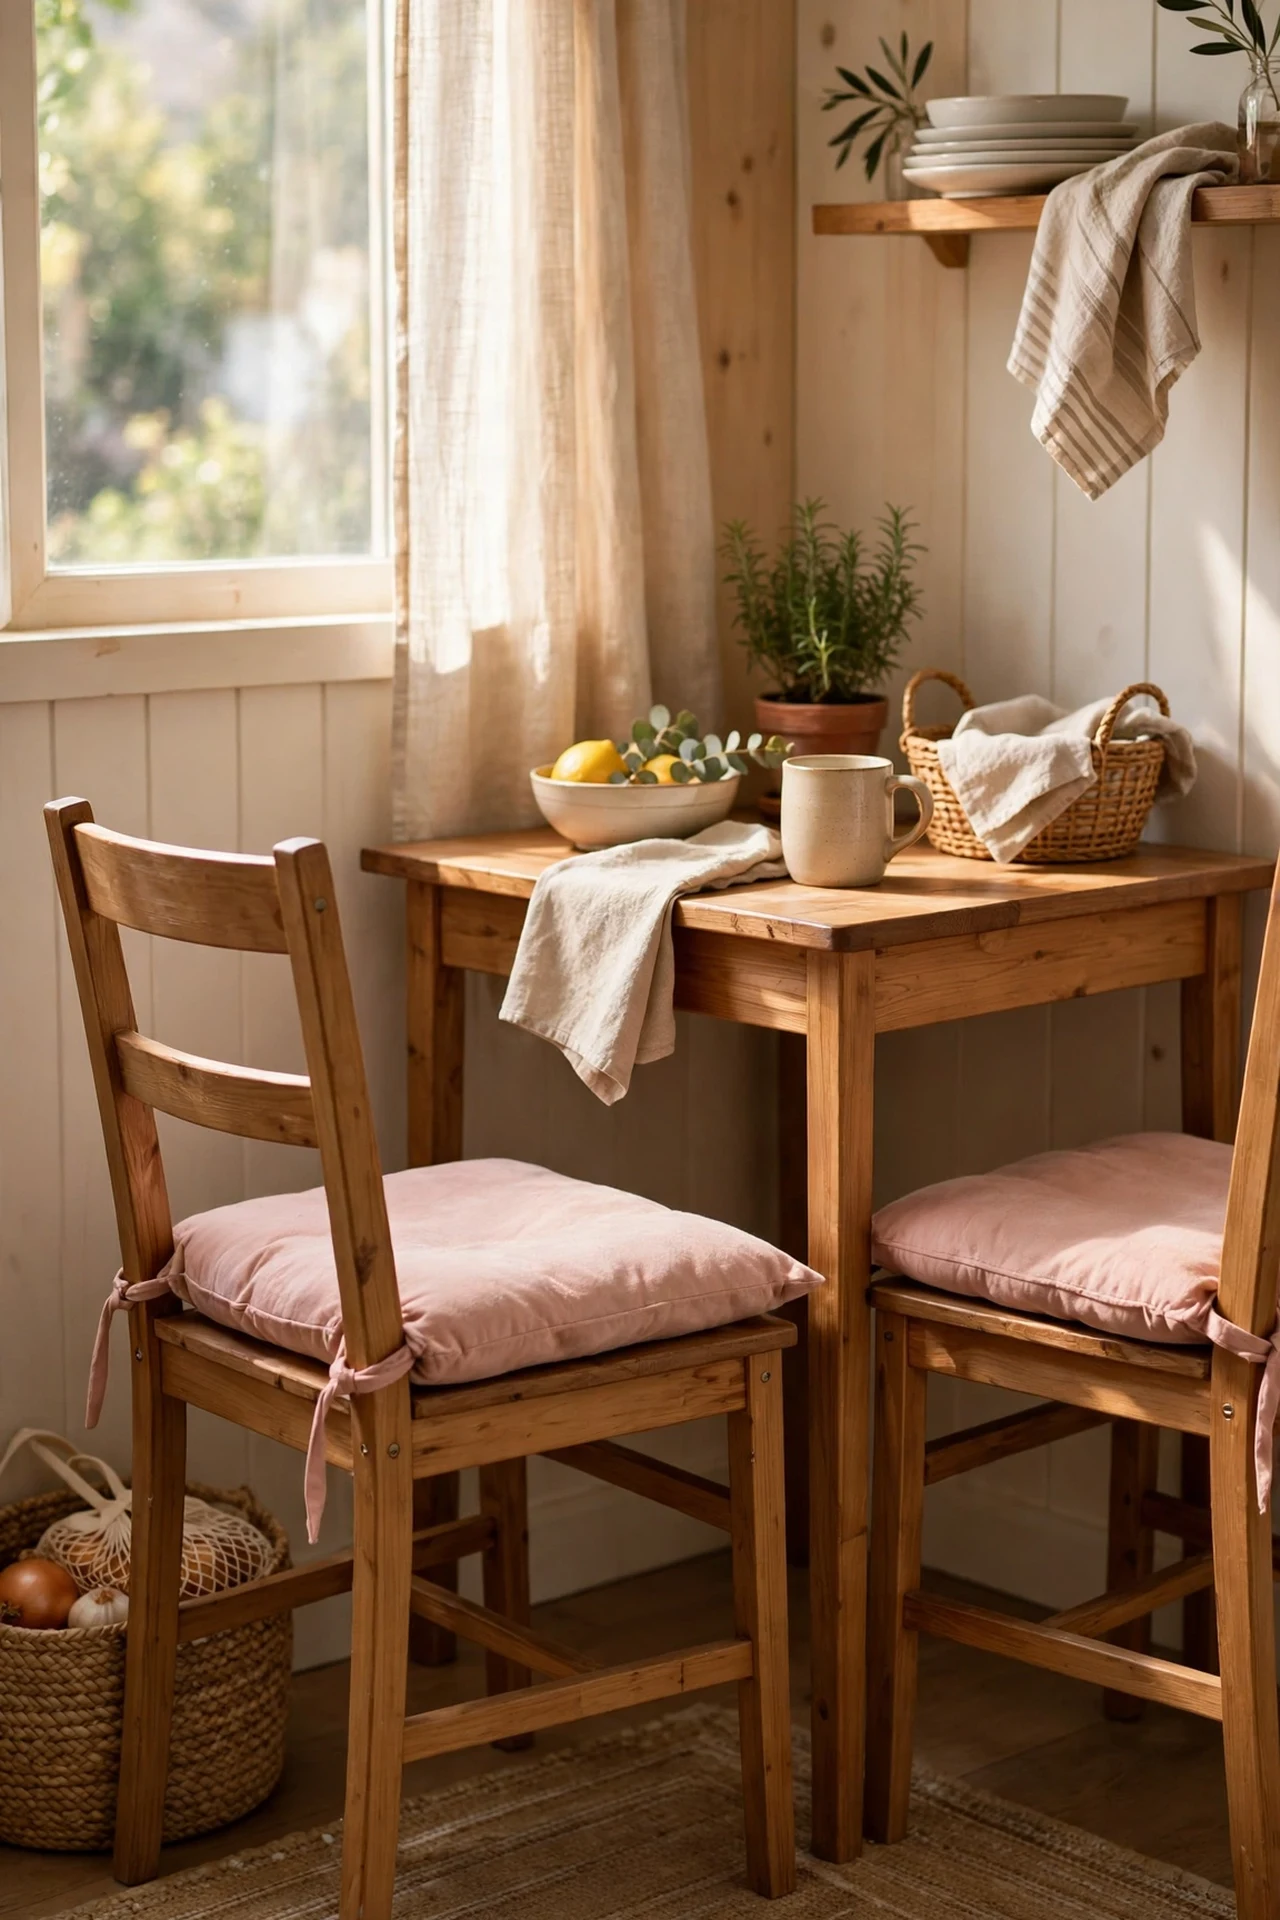
If your kitchen has an eat-in corner, blush cushion covers on the dining chairs bring the colour right to the table without touching a wall. Buy removable covers with hidden zips in a washable cotton or linen-blend, sized to your seat pads, and choose a shade that echoes your other pink accents so it reads intentional. They slip on in minutes and the whole set goes in the machine when curry night happens. I tried this when my chairs were fine but boring, and suddenly the breakfast corner felt like the prettiest seat in the house; the mistake to avoid is non-removable pads in a dining spot, because food stains are a question of when, not if.
Cost: ~$22 | Time: 15 minutes
12. Add a Blush Pink Tablecloth for the Eat-In Nook
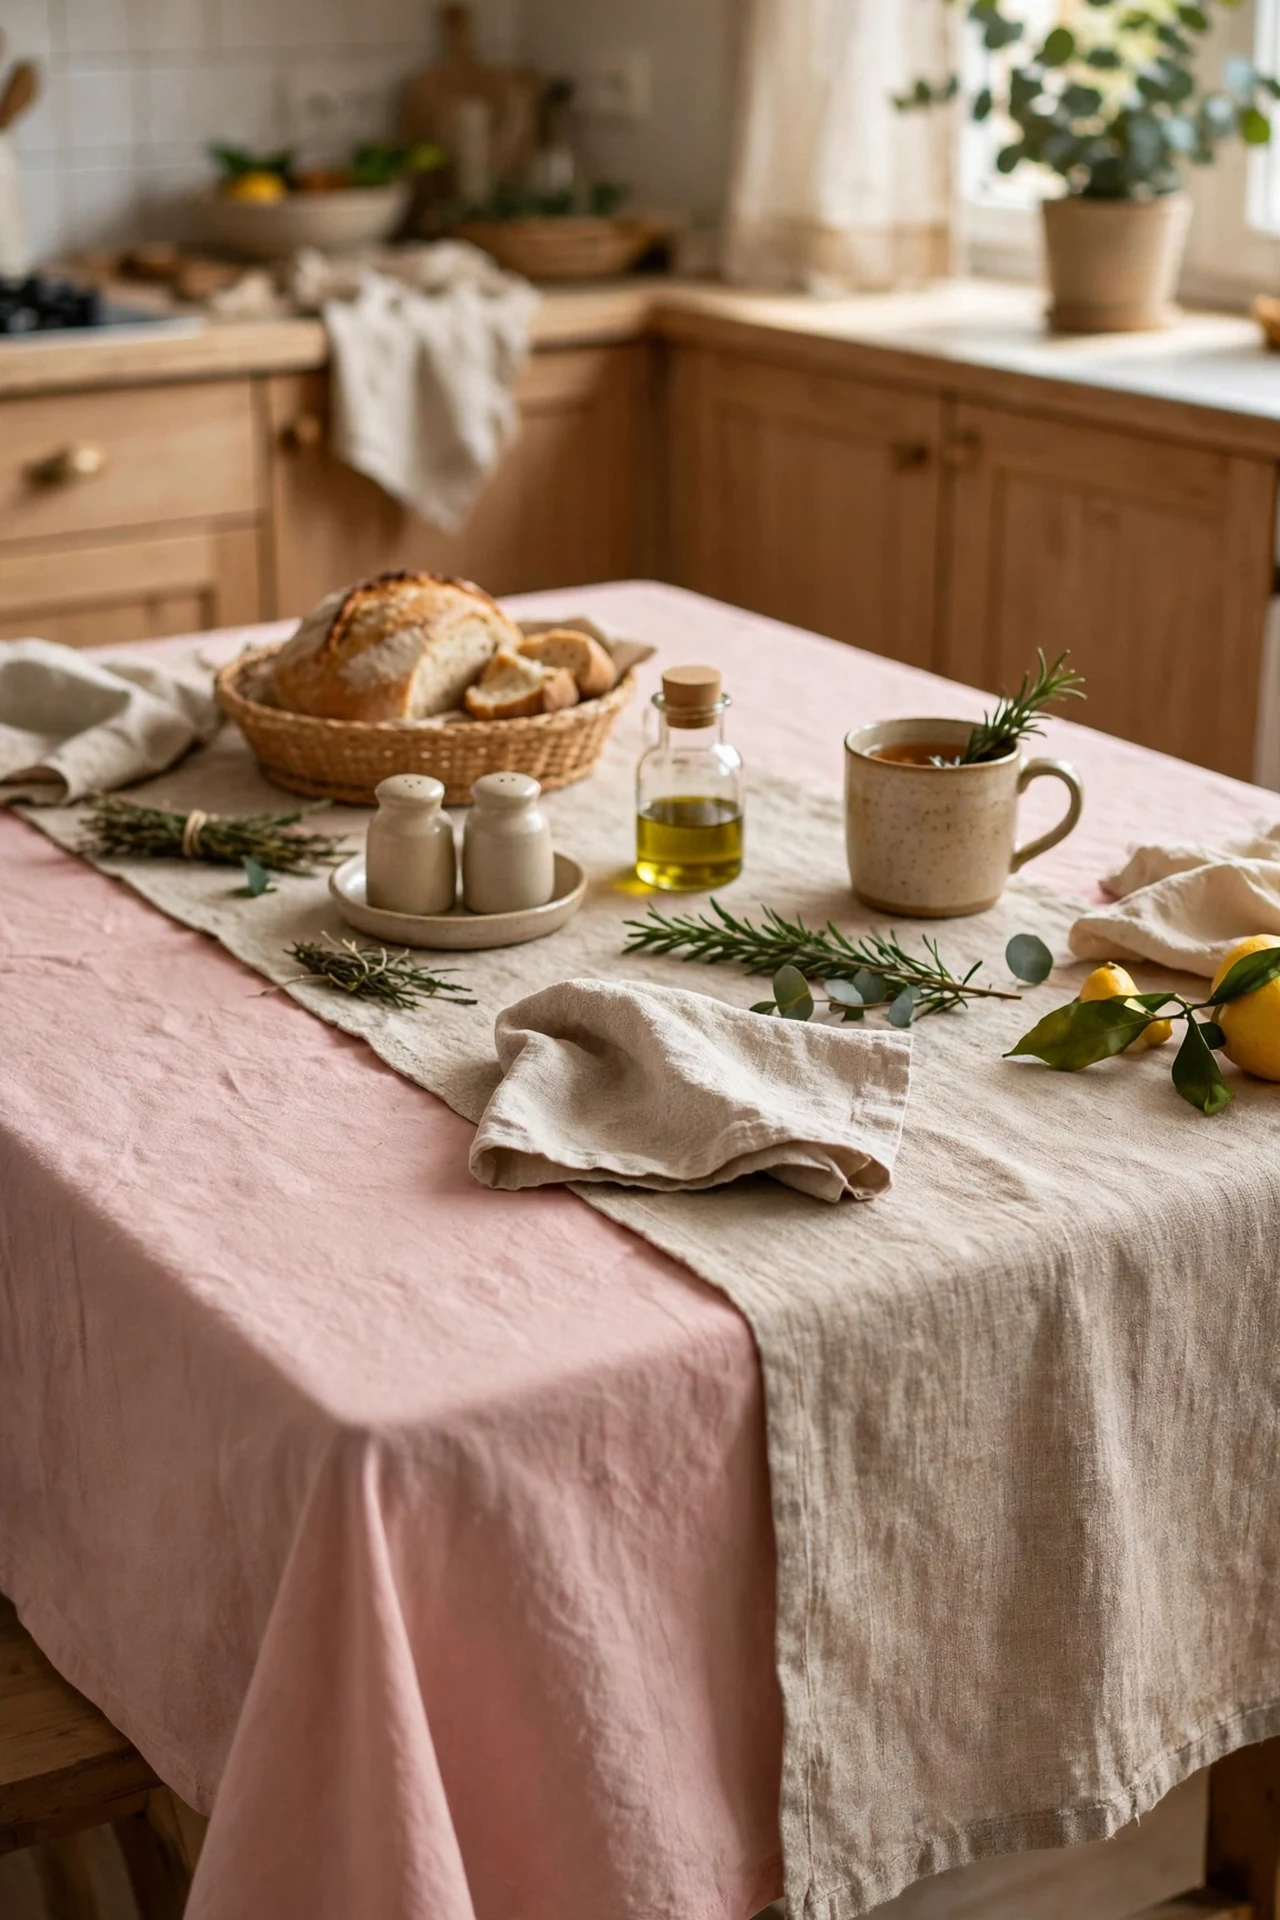
A blush pink tablecloth over a tired table is the table equivalent of a new dress — it hides scratches and sets the tone for the whole corner. Choose a wipeable or machine-washable cloth in a soft rose, sized to overhang by about 20cm on each side, and layer a simple runner down the centre for a styled look. Keep a spare for laundry day so the nook never sits bare. I tried this on a scratched secondhand table and stopped noticing the damage entirely; the mistake to avoid is a cloth that is too small, because a skimpy overhang looks accidental rather than deliberate. Save this one to your kitchen board — you’ll want it when you restyle the dining corner.
Cost: ~$18 | Time: 5 minutes
Hardware & Details
13. Pair Pink with Brushed Brass Knobs
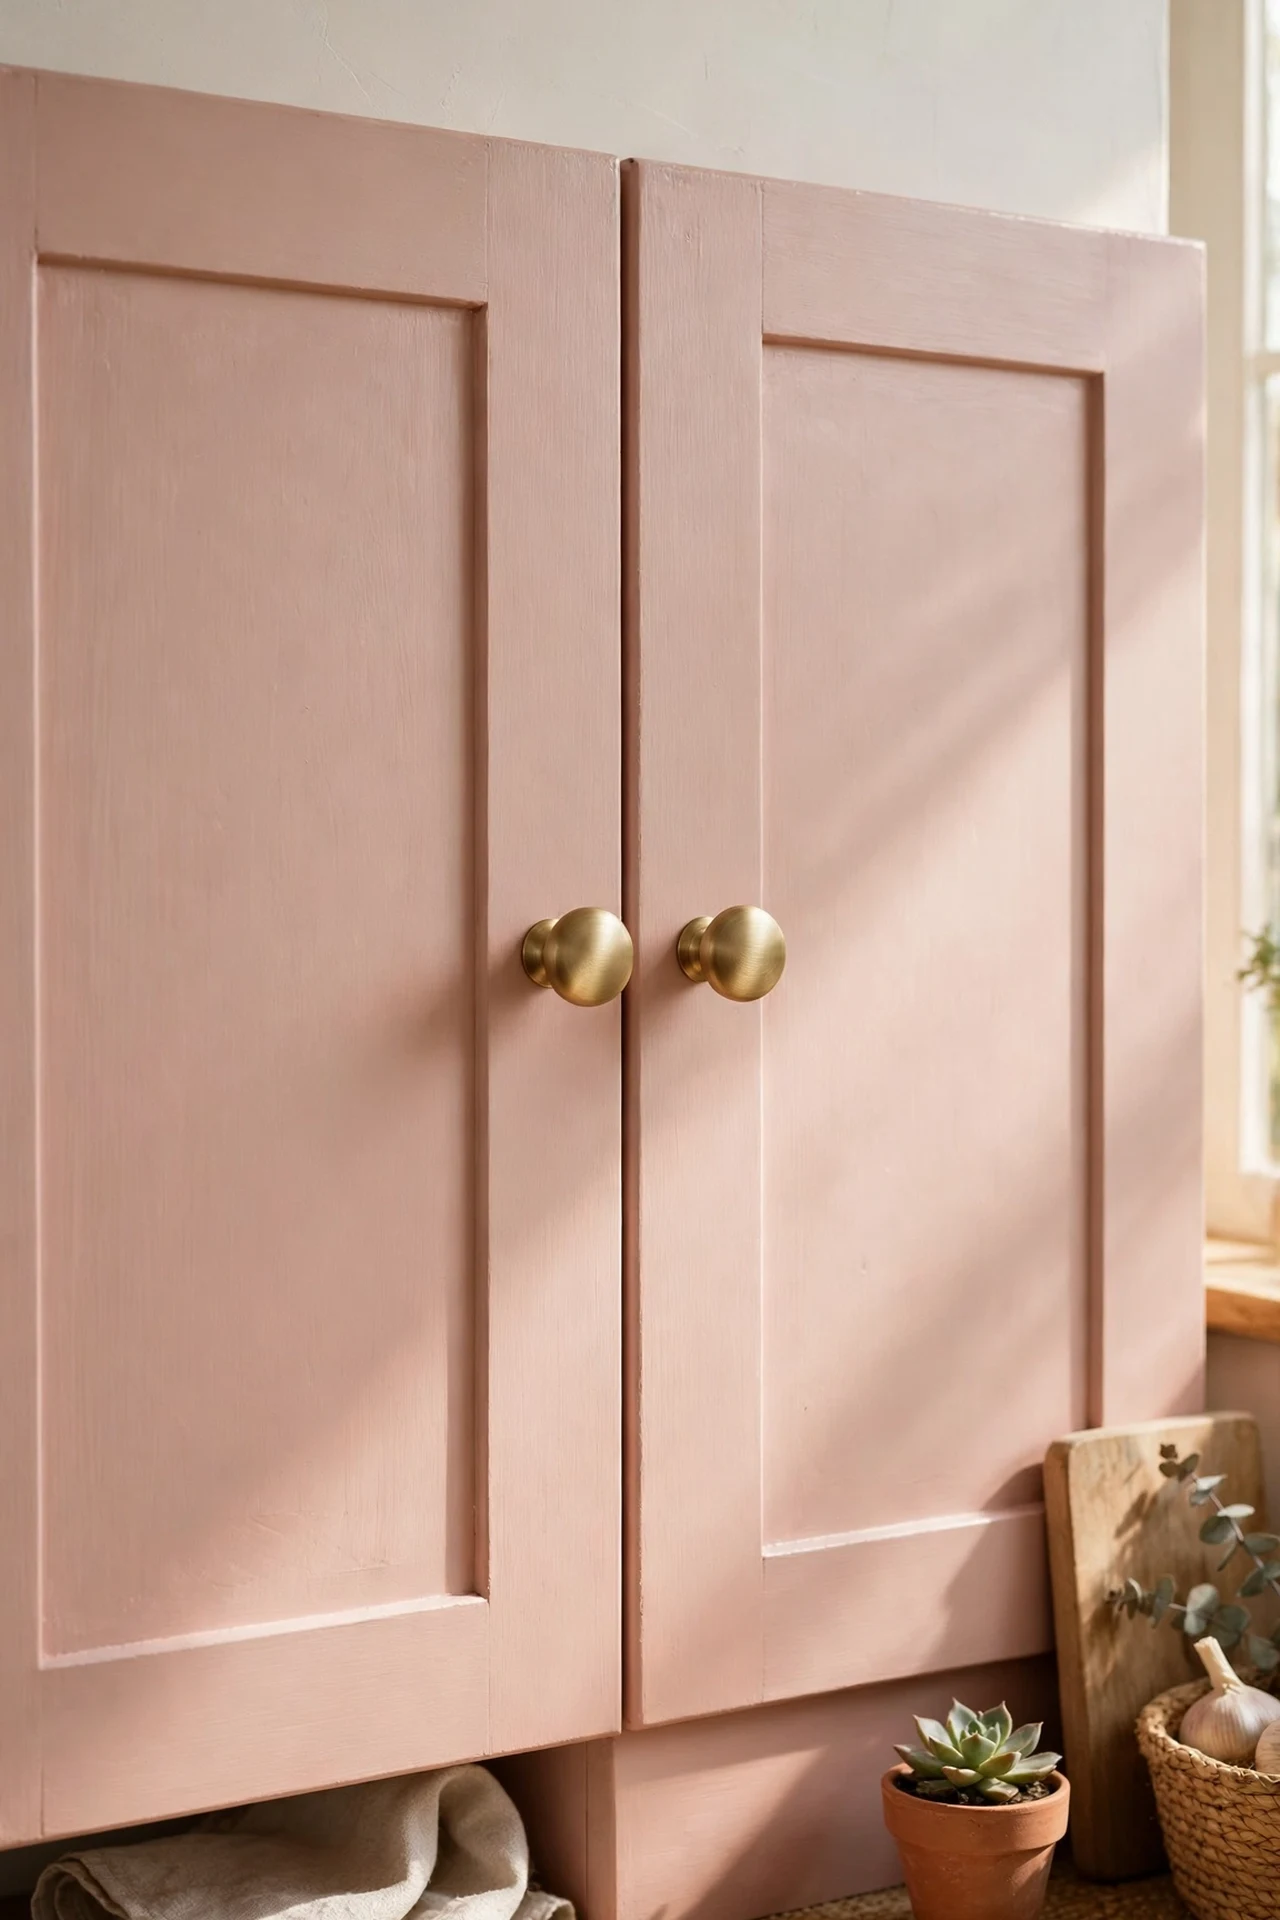
Brushed brass against blush pink is the combination that makes the colour feel expensive — the warmth of the metal flatters the warmth of the pink. Replace existing knobs and pulls with brass ones, counting every door and drawer first and ordering the full set together so the finish matches. All you need is a screwdriver, and keep the old hardware bagged for move-out day. I tried this on painted pink doors and the brass made the whole kitchen look like a deliberate design choice rather than an experiment; the mistake to avoid is mixing brass tones from different brands, because clashing golds are worse than none at all.
Cost: ~$35 | Time: 1 hour
14. Fit Blush Pink Ceramic Knobs on Plain Doors
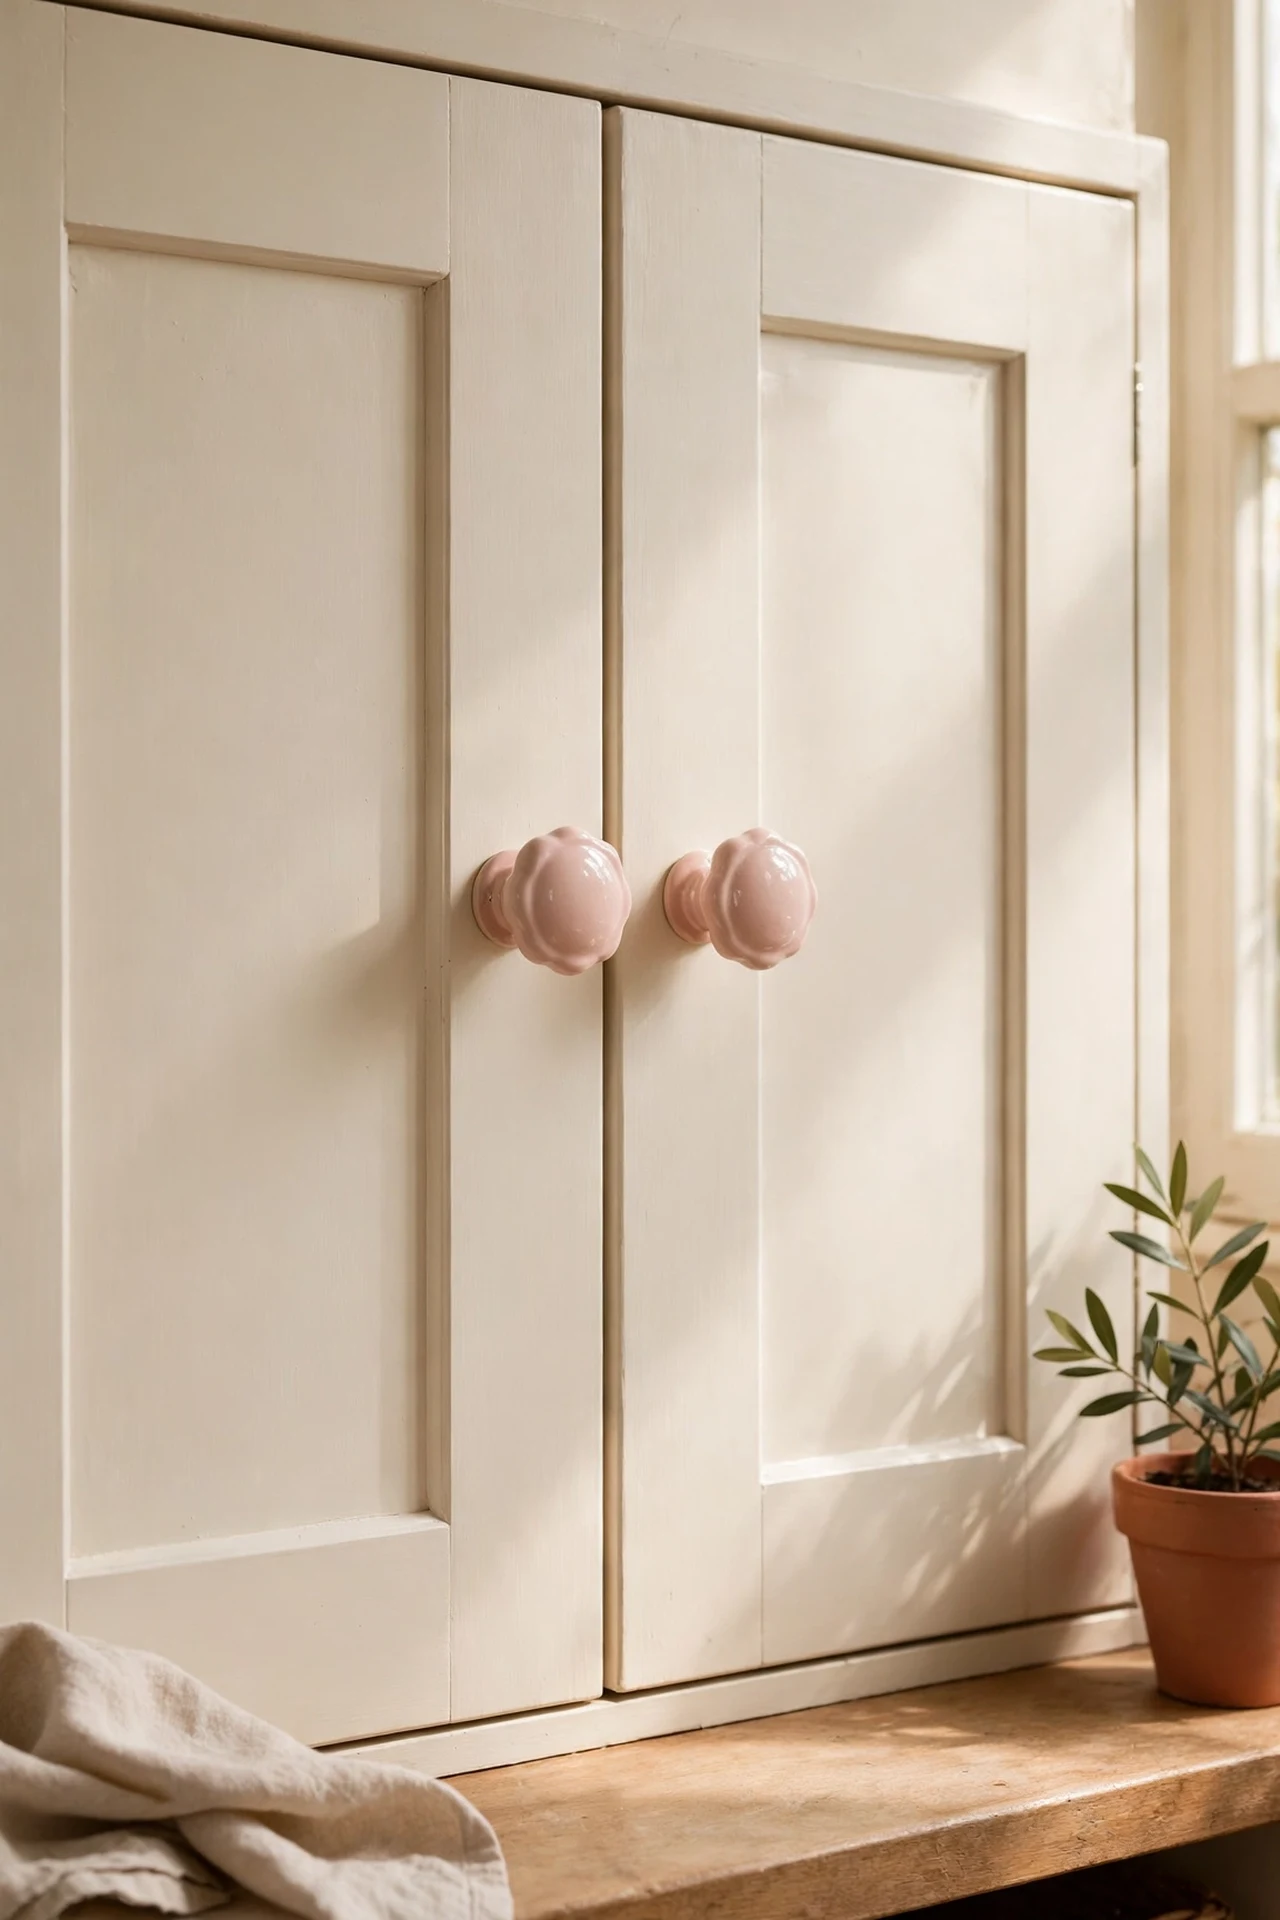
Blush pink ceramic knobs are jewellery for plain white or cream doors — a small change with an outsized payoff. Unscrew the old knobs, check the bolt length against your door thickness, and fit the new ones snugly without overtightening, which can crack ceramic. Mix round and faceted shapes if you like an eclectic feel, or keep them uniform for calm. I tried this on boring flat-pack doors and the knobs alone made the units look bespoke; the mistake to avoid is hanging heavy doors on decorative knobs with short bolts — if the bolt does not bite fully, the knob will work loose within weeks.
Cost: ~$20 | Time: 45 minutes
15. Hang a Copper Rail with S-Hooks
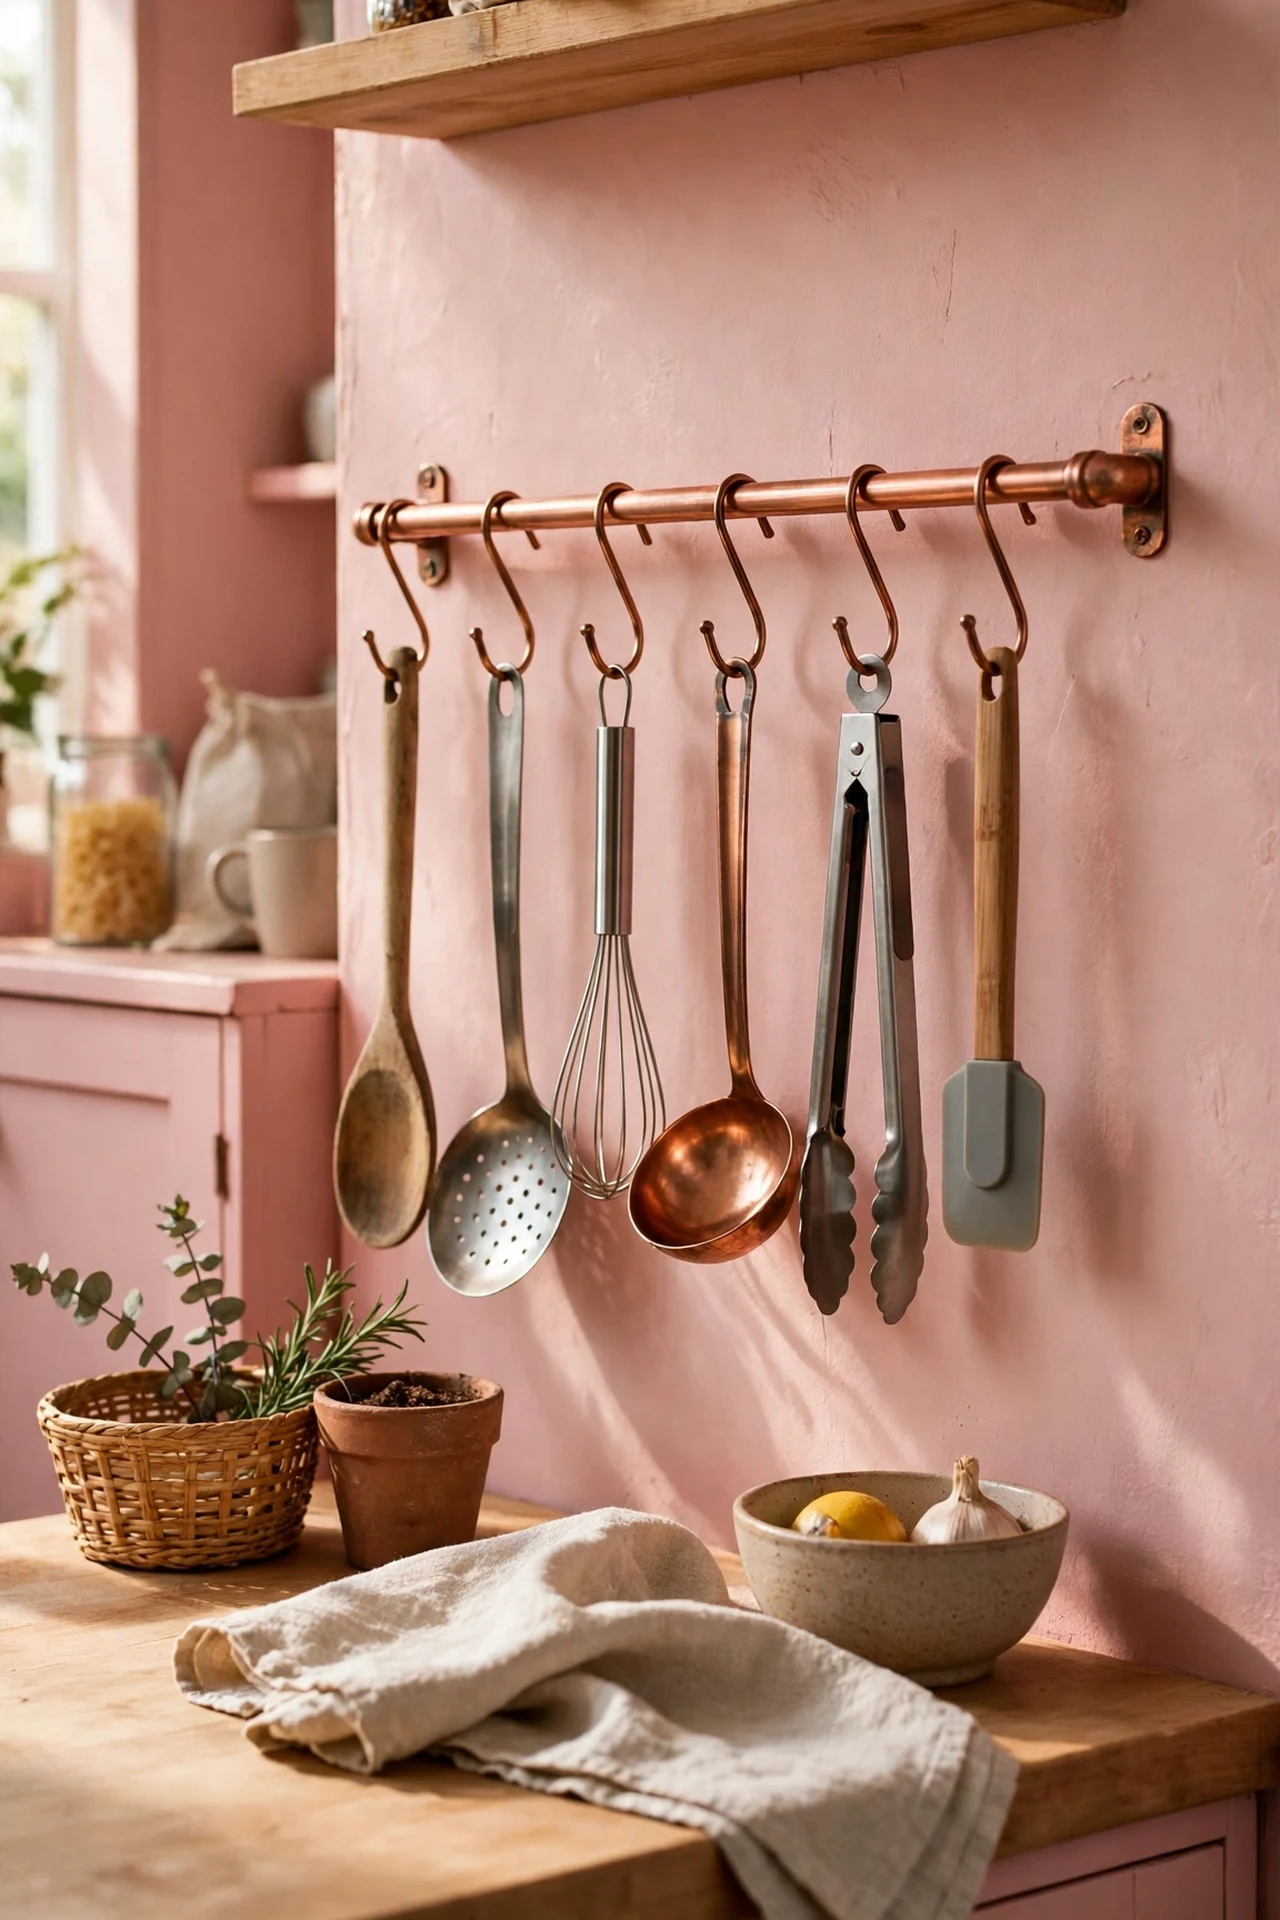
Copper sits beautifully beside blush pink — both warm, both soft — so a copper rail with S-hooks beside the hob ties the scheme together while clearing a drawer. Fix the rail into studs or with proper wall anchors, hang your prettiest utensils and a small copper pan, and keep it to daily-use items so it stays practical. Polish the copper occasionally or let it develop a natural patina, which actually suits the pink palette. I tried this and my wooden spoons finally had a home that looked good; the mistake to avoid is overloading the rail, because a collapsed rail of pans at midnight is a lesson you learn once.
Cost: ~$24 | Time: 30 minutes
16. Add a Blush Pink Retro Kettle
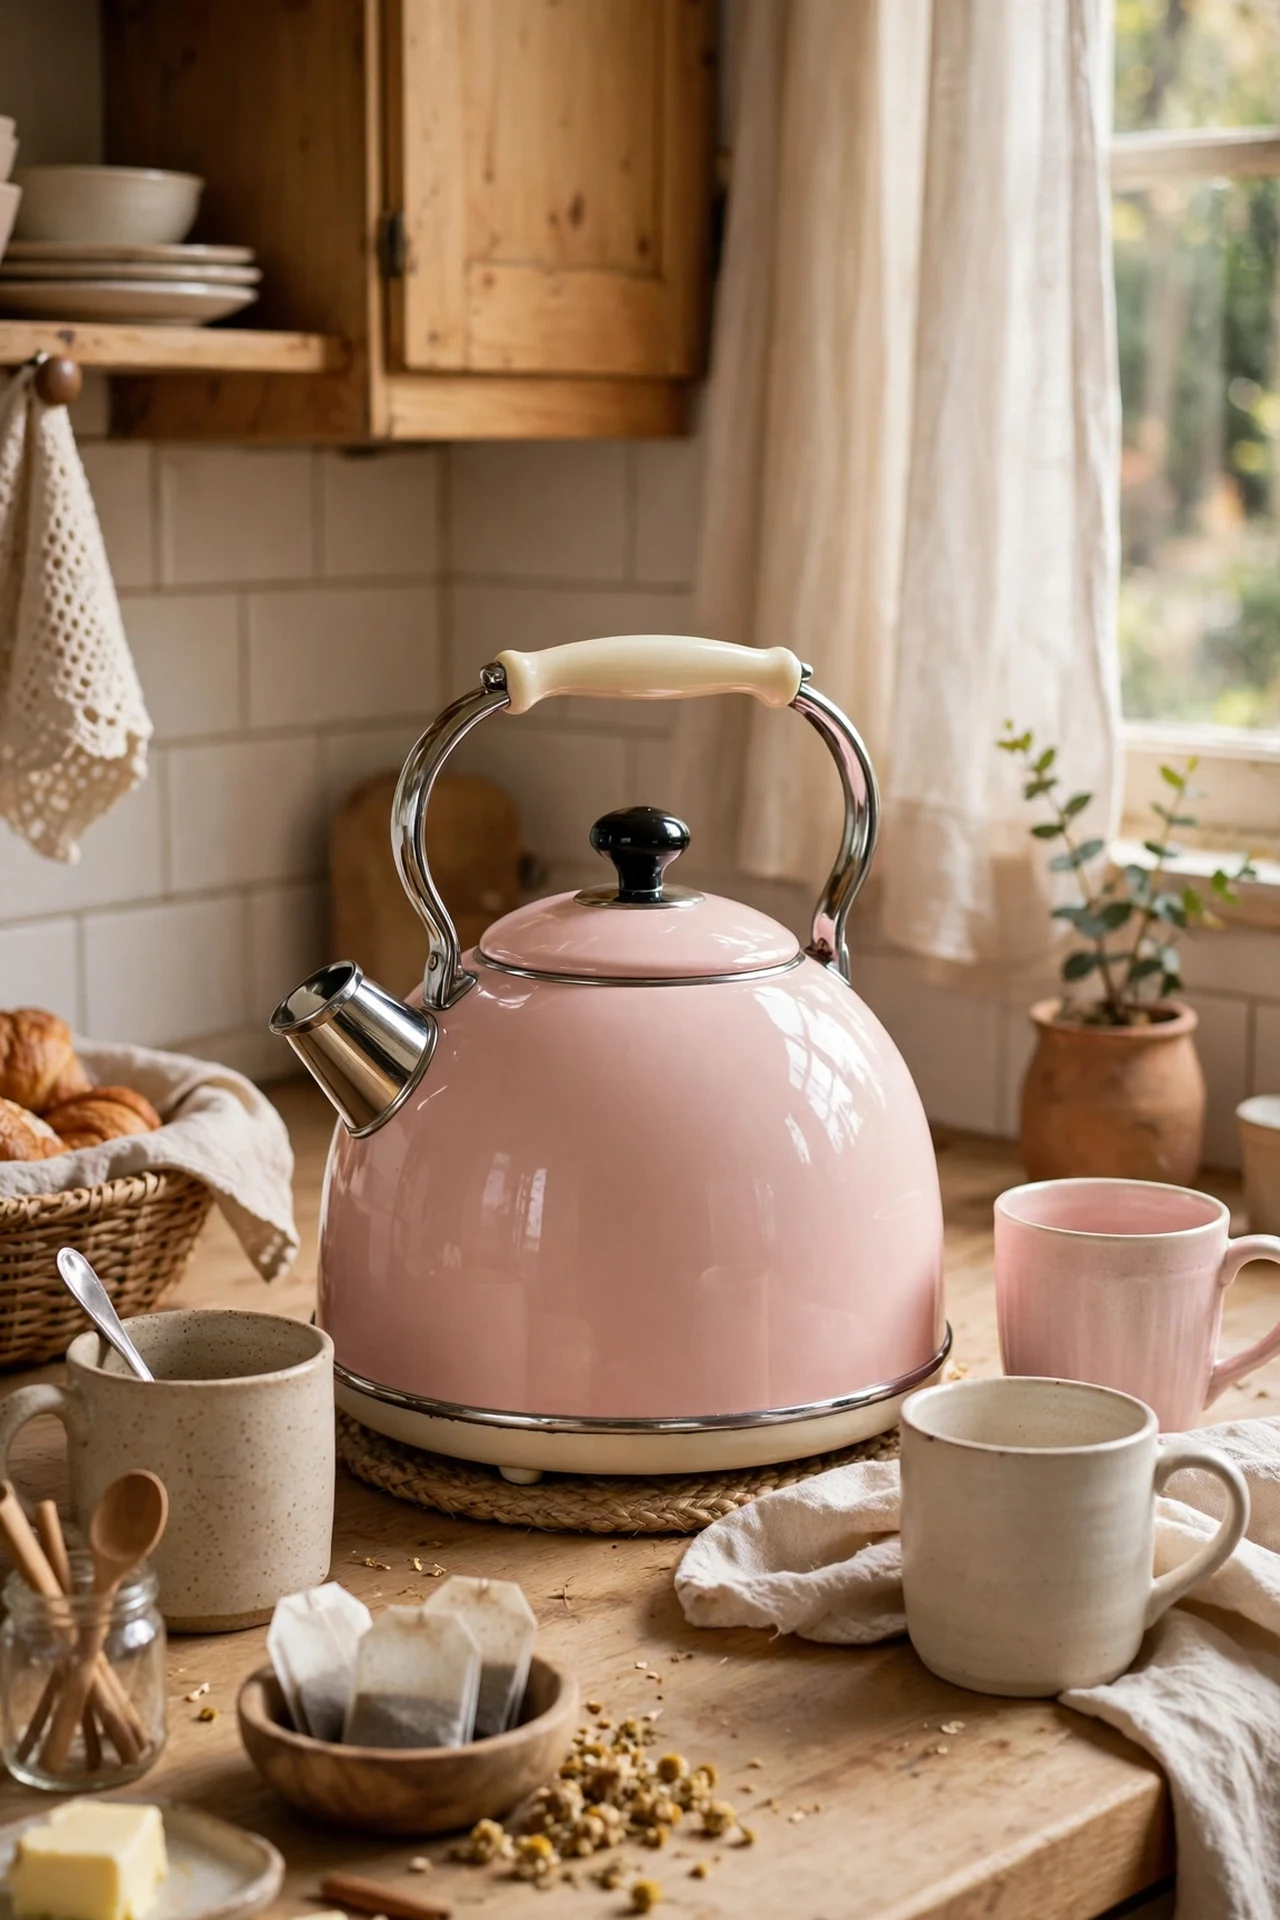
A blush pink retro-style kettle is the one appliance that earns its counter space — functional, pretty, and a daily dose of the colour scheme. Look for a 1.7-litre model with a proper rapid-boil element rather than buying purely on looks, and check it has a limescale filter if you live in a hard-water area. Keep it near the mugs so the morning routine flows, and descale monthly so the pink stays pristine. I tried this as my first pink purchase and it single-handedly convinced me the colour worked in my kitchen; the mistake to avoid is a kettle with a weak hinge on the lid, which every cheap retro copy seems to share — read the reviews first.
Cost: ~$40 | Time: 5 minutes
17. Choose a Rose Gold or Pink Tap
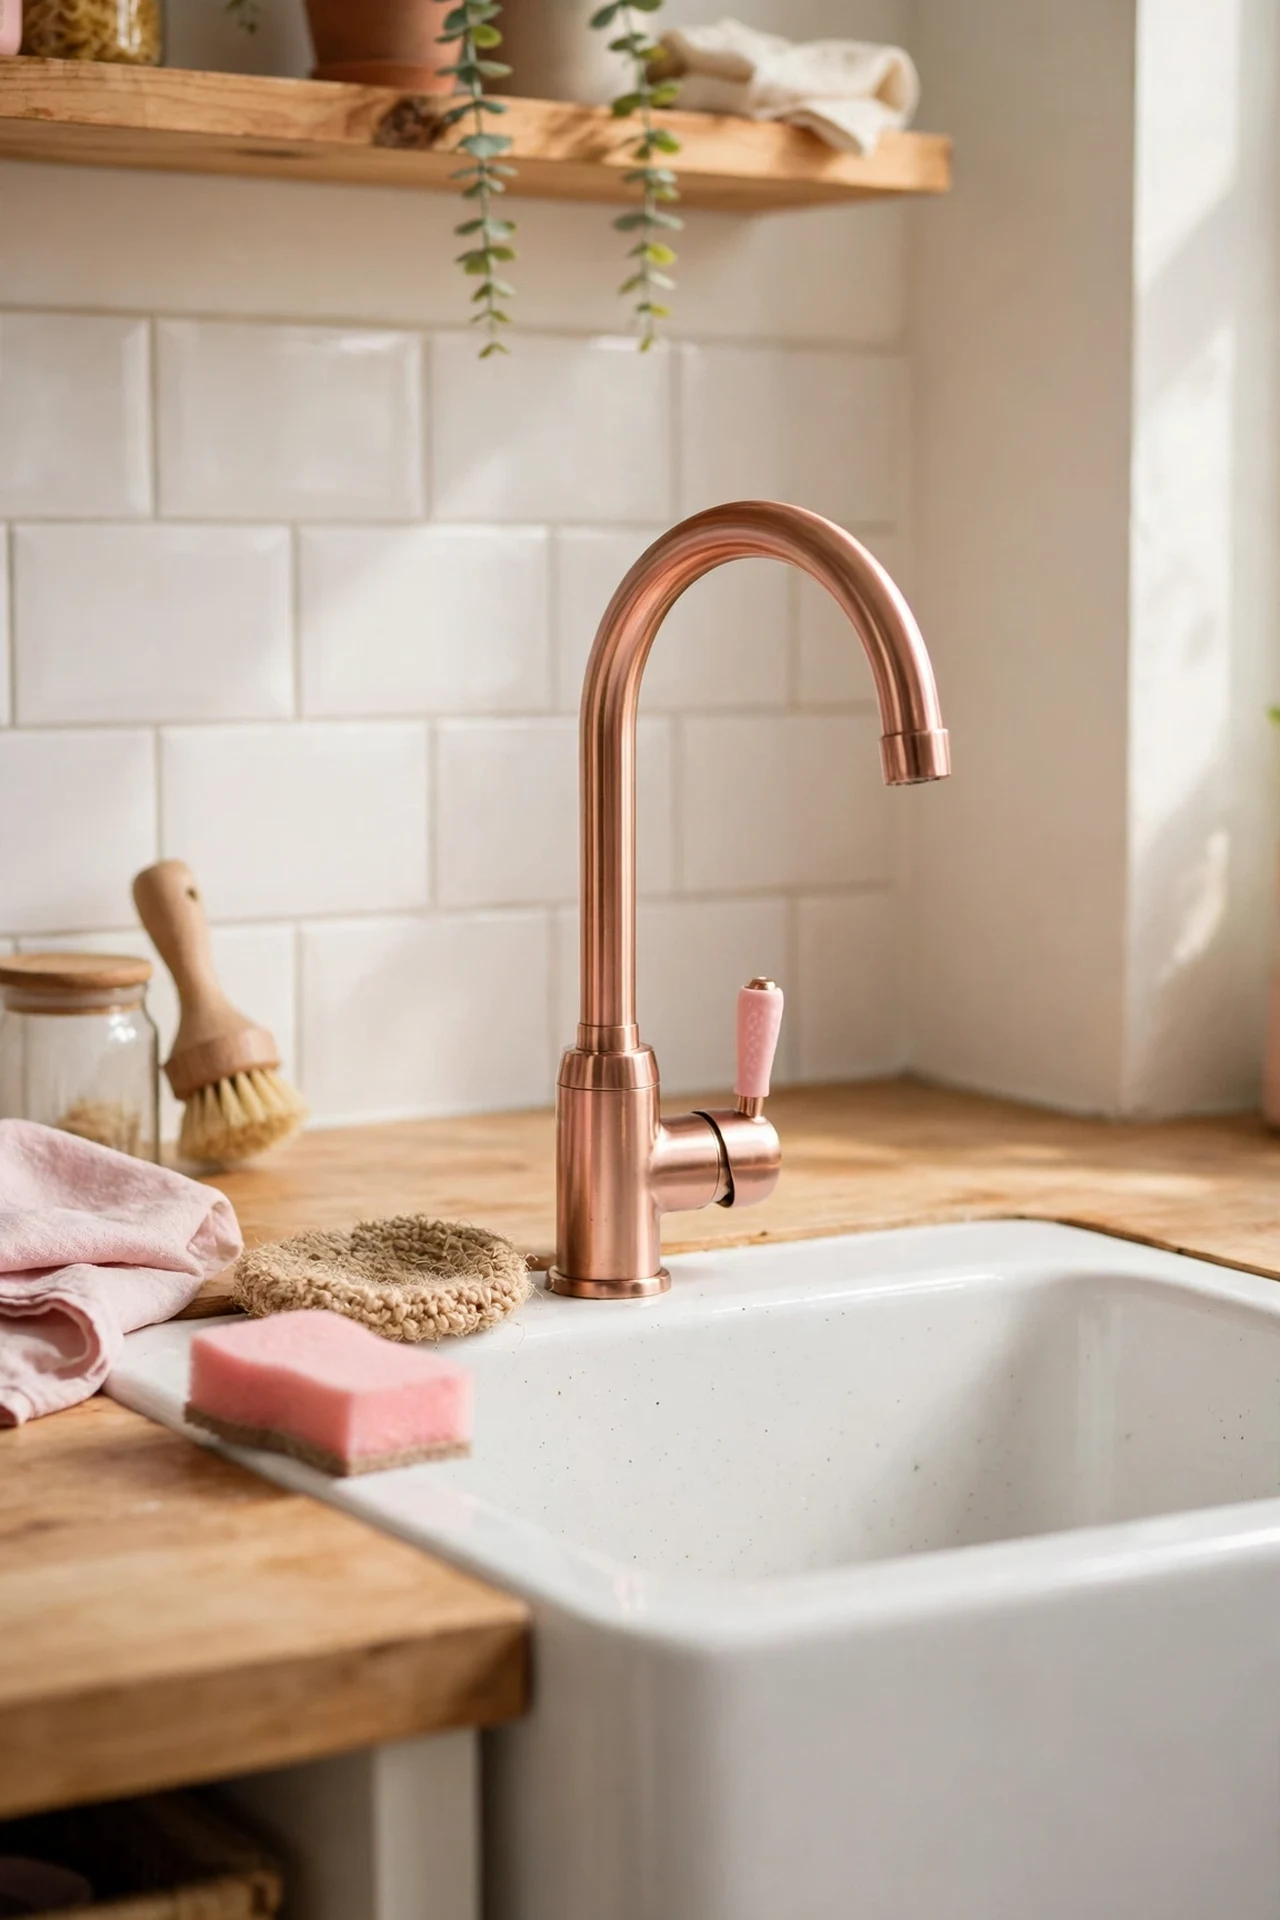
A rose gold or blush pink tap is the statement piece of a pink kitchen — the one detail visitors ask about first. If a full tap replacement feels too plumbing-heavy, a slip-on pink tap cover or rose gold spray attachment gives you the look for far less commitment. For a real tap, turn off the water, photograph the existing connections before you touch anything, and follow the manufacturer’s fitting guide carefully — or call a plumber for an hour’s work. I tried the slip-on version in a rental and it fooled everyone; the mistake to avoid is cheap chrome-painted plastic, which chips within months and looks worse than the tap you started with.
Cost: ~$15 | Time: 20 minutes
18. Fit Blush Pink Pendant Shades Over the Island
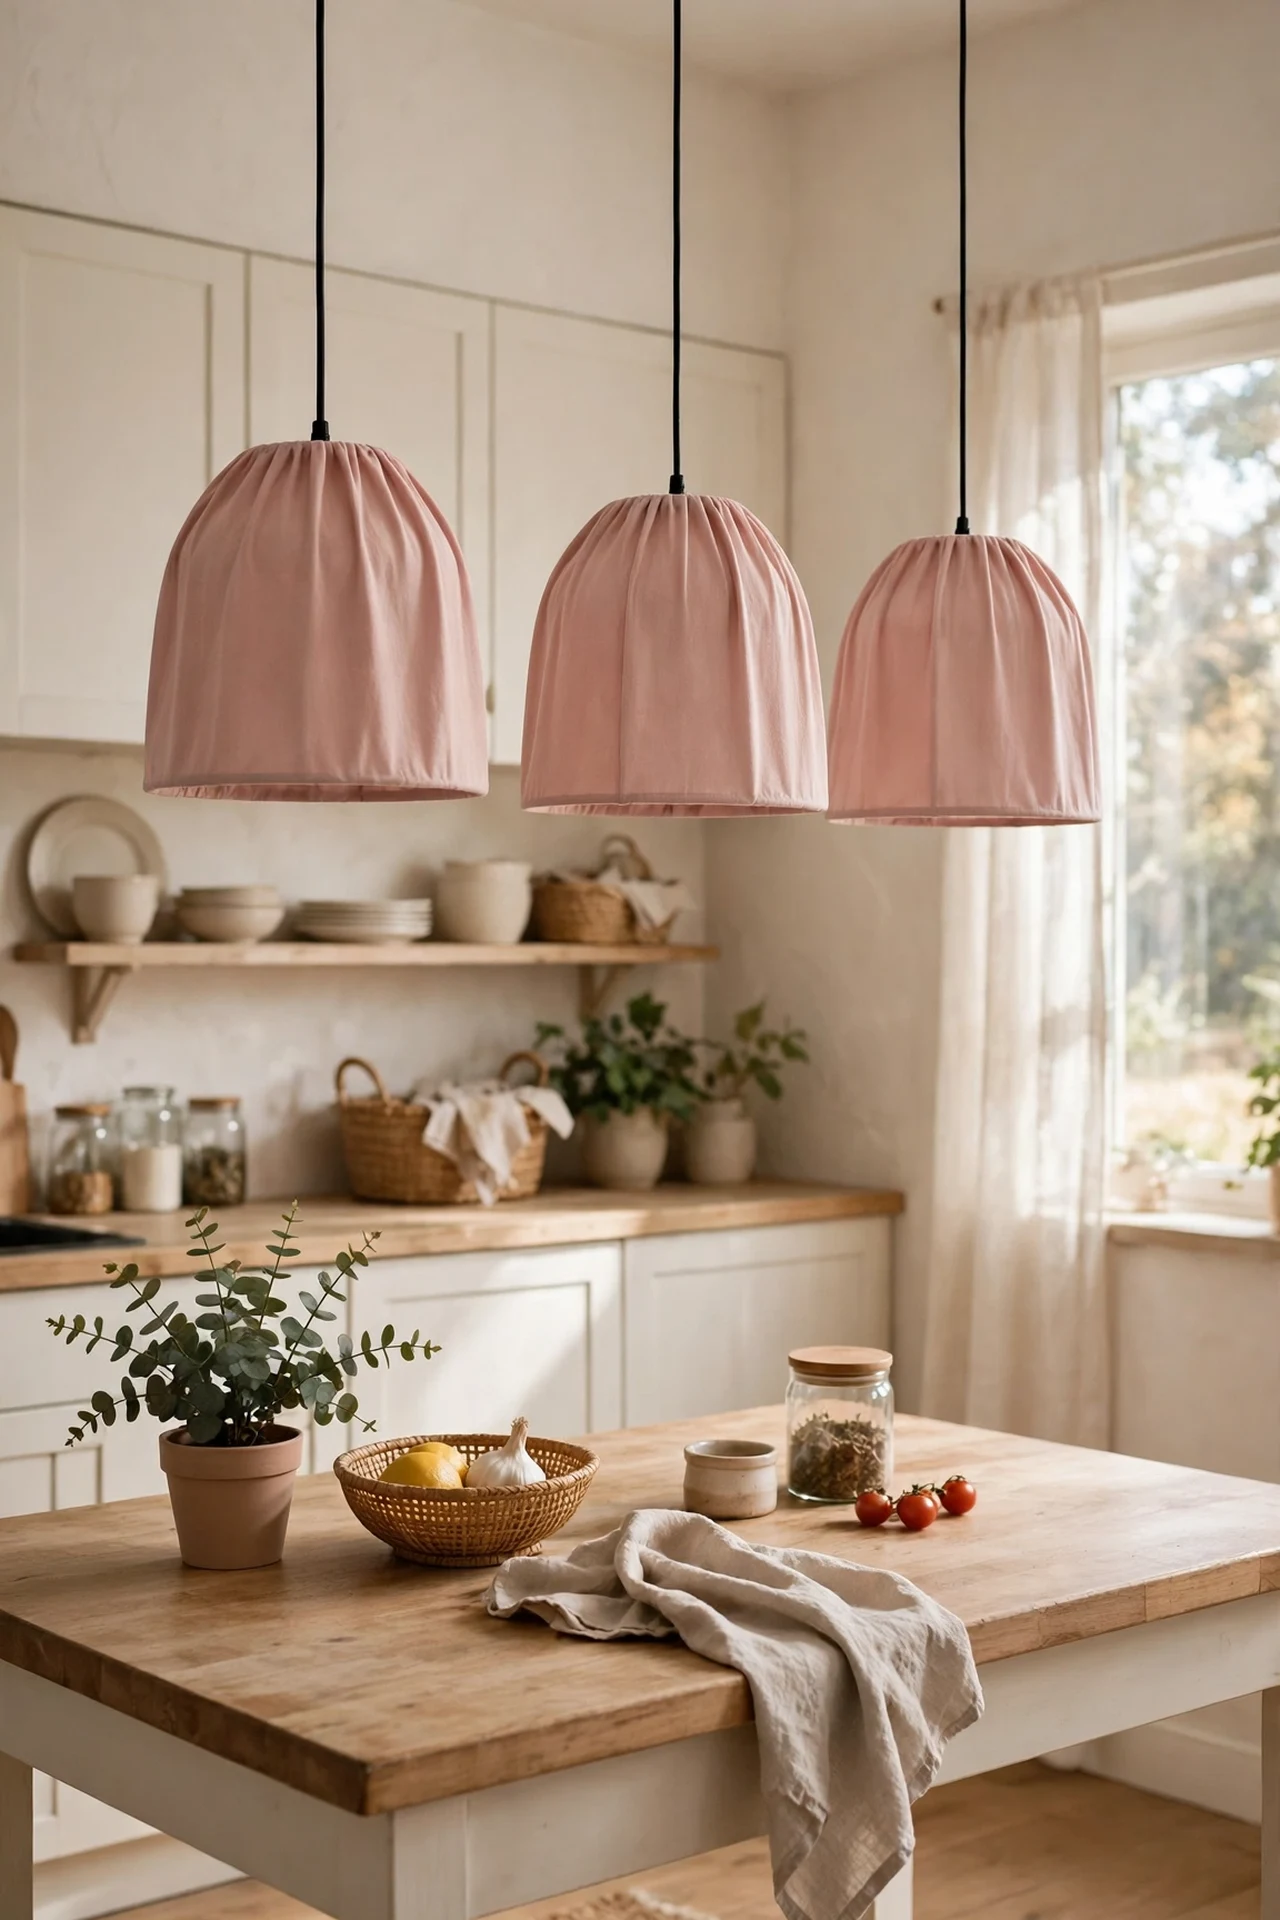
Blush pink pendant shades over an island or breakfast bar cast a warm, flattering pool of light and read as a deliberate design decision. Choose shades with an open bottom so the light actually reaches the worktop, hang them 75–90cm above the surface, and fit warm 2700K bulbs to keep the glow cosy rather than clinical. If you cannot rewire, plug-in pendant kits with long cords drape elegantly from a ceiling hook. I tried this over my breakfast bar and evening cooking felt noticeably calmer; the mistake to avoid is hanging them too high, where they become decoration that lights the ceiling instead of your dinner.
Cost: ~$45 | Time: 1 hour
Decor & Styling
19. Display a Blush Pink Stand Mixer
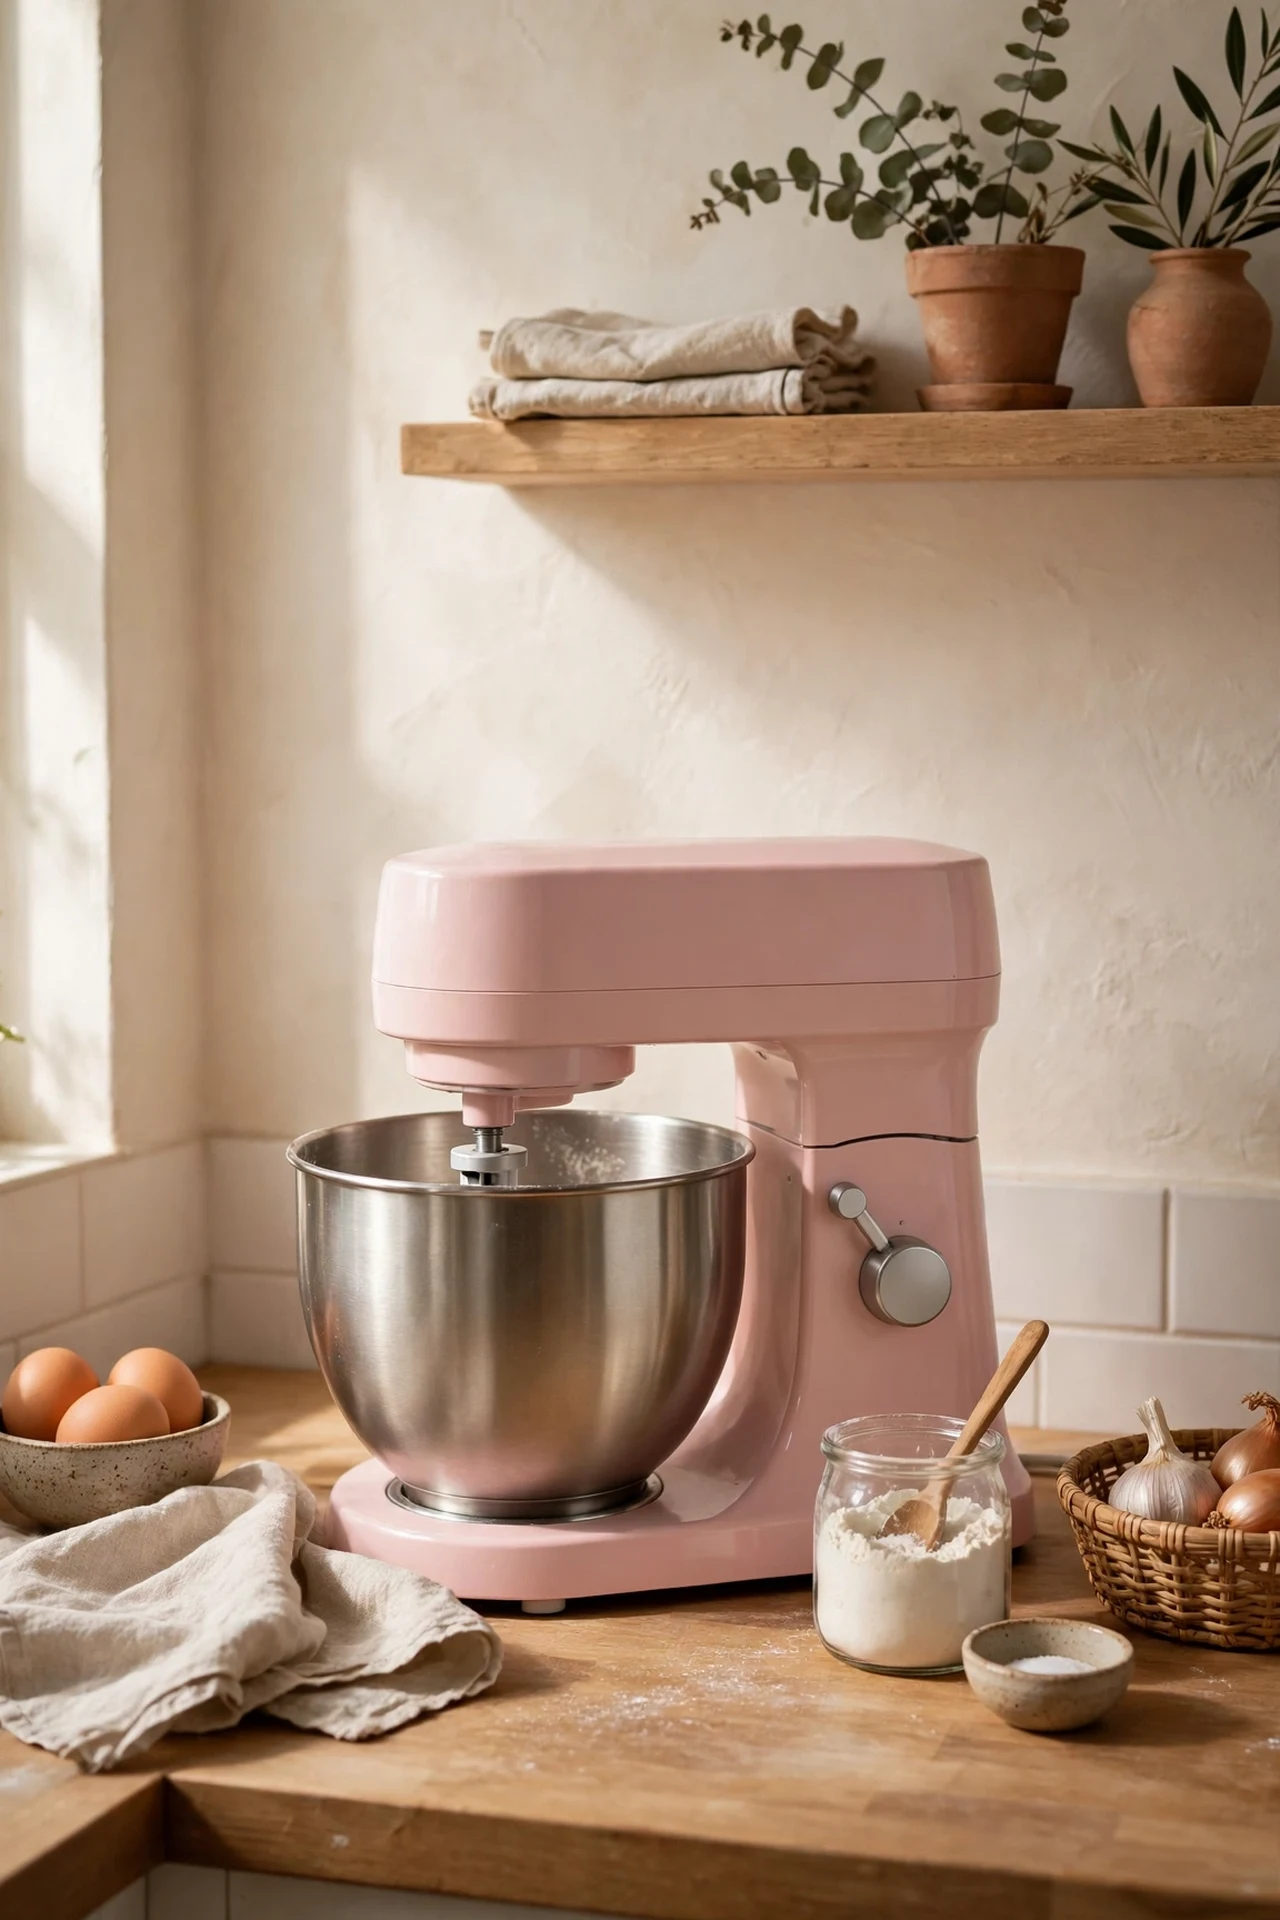
A blush pink stand mixer left out on the counter is part appliance, part sculpture — the one pink item that never needs styling. Give it a permanent home at the end of the worktop where the cord reaches easily, keep the bowl on it so it reads as ready-to-use, and store the attachments in the drawer directly below. Wipe it down after floury sessions so the pink stays clean. I tried tucking mine away once and missed it within a week — it genuinely earns its footprint; the mistake to avoid is buying the colour on impulse without checking it is the right pink for your scheme, because stand mixers come in six pinks and only one matches your walls.
Cost: ~$120 | Time: 10 minutes
20. Show Off Blush Pink Dinnerware on Open Shelves
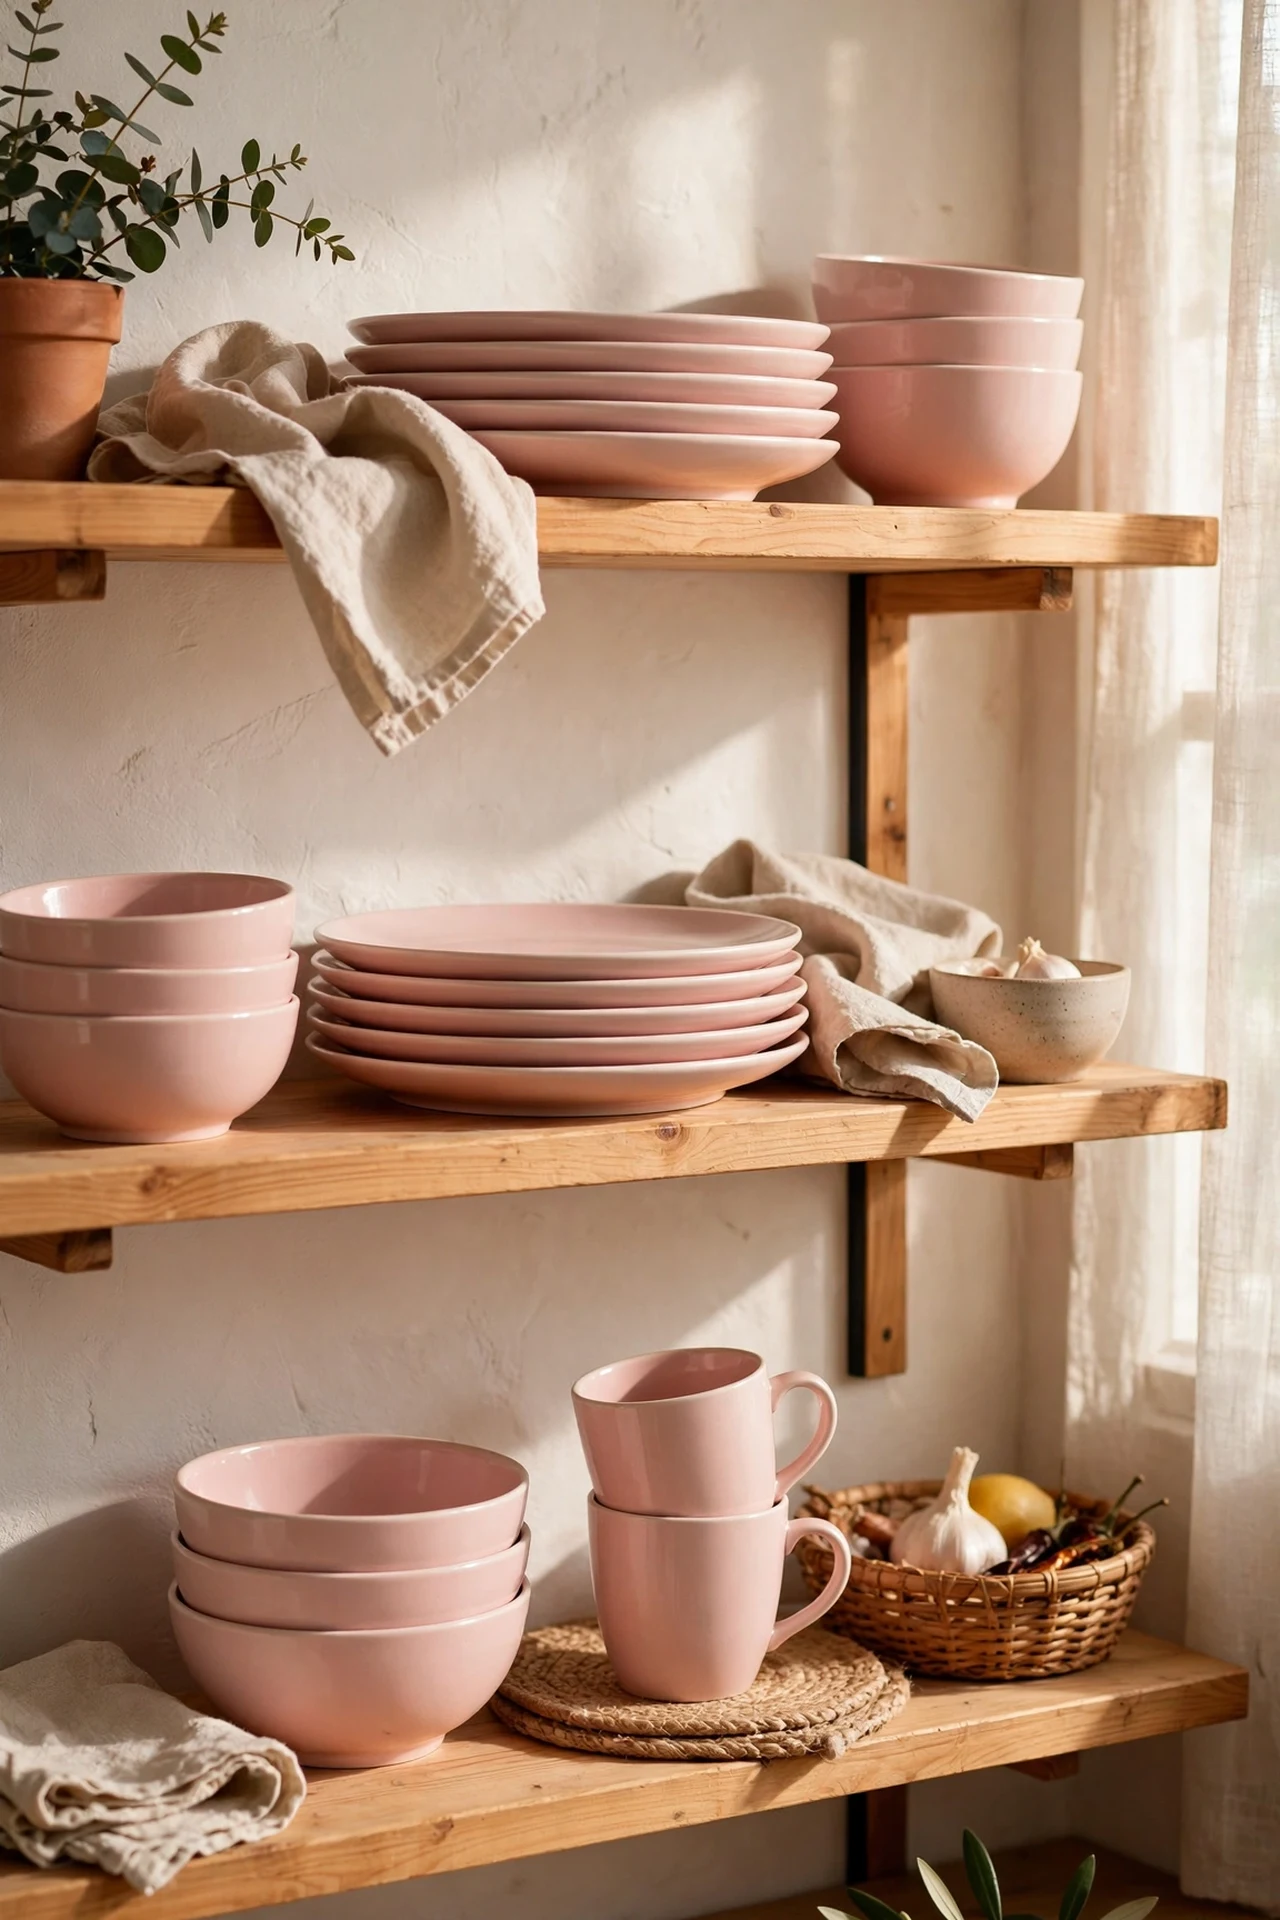
Blush pink dinnerware stacked on open shelves doubles as decor — you get the colour at eye level with zero commitment to paint. Buy a set of plates and bowls in a matte rose glaze, stack them by size with the prettiest pieces forward, and keep everyday white pieces mixed in so the pink reads as an accent. Hand-wash the glazed pieces if the manufacturer recommends it, since dishwashers can dull matte finishes over time. I tried this after spotting a pink set in a charity shop and my shelves looked styled overnight; the mistake to avoid is mixing five different pinks from five different shops — pick one set and let it be the pink authority.
Cost: ~$28 | Time: 20 minutes
21. Cook in a Blush Pink Dutch Oven
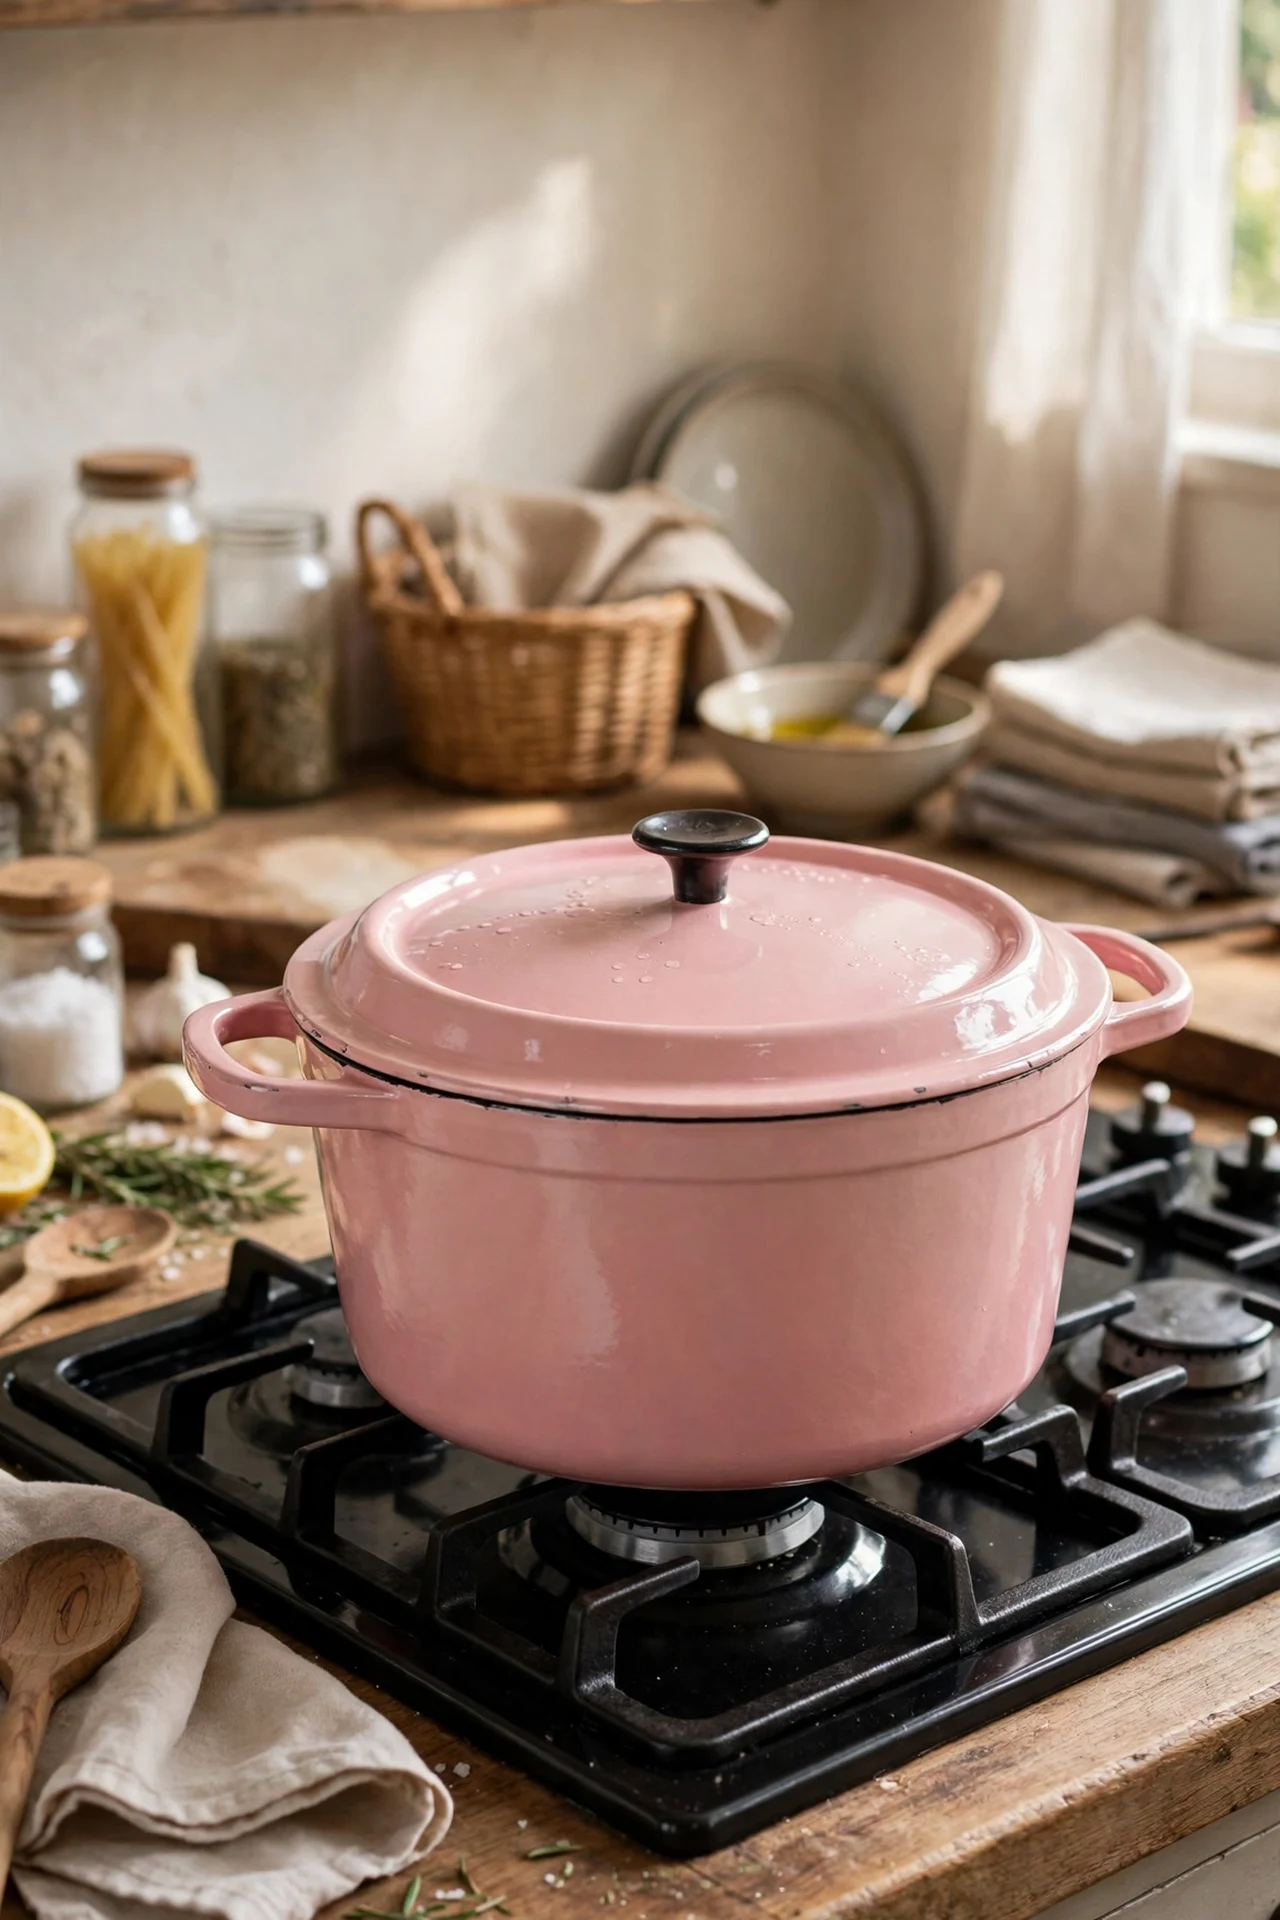
A blush pink enamelled Dutch oven lives on the hob and looks good doing it — the workhorse that happens to match the scheme. Choose a 4–5 litre size, which handles everything from stews to sourdough, and look for a light-coloured interior so you can see browning properly. It goes from hob to oven to table, so it replaces three other vessels and earns its shelf space. I tried baking bread in mine the first weekend and the pink pot on the table made a simple stew feel like an occasion; the mistake to avoid is thermal shock — never plunge a hot enamelled pot into cold water or the coating can craze.
Cost: ~$55 | Time: 5 minutes
22. Style Dried Flowers in a Blush Vase
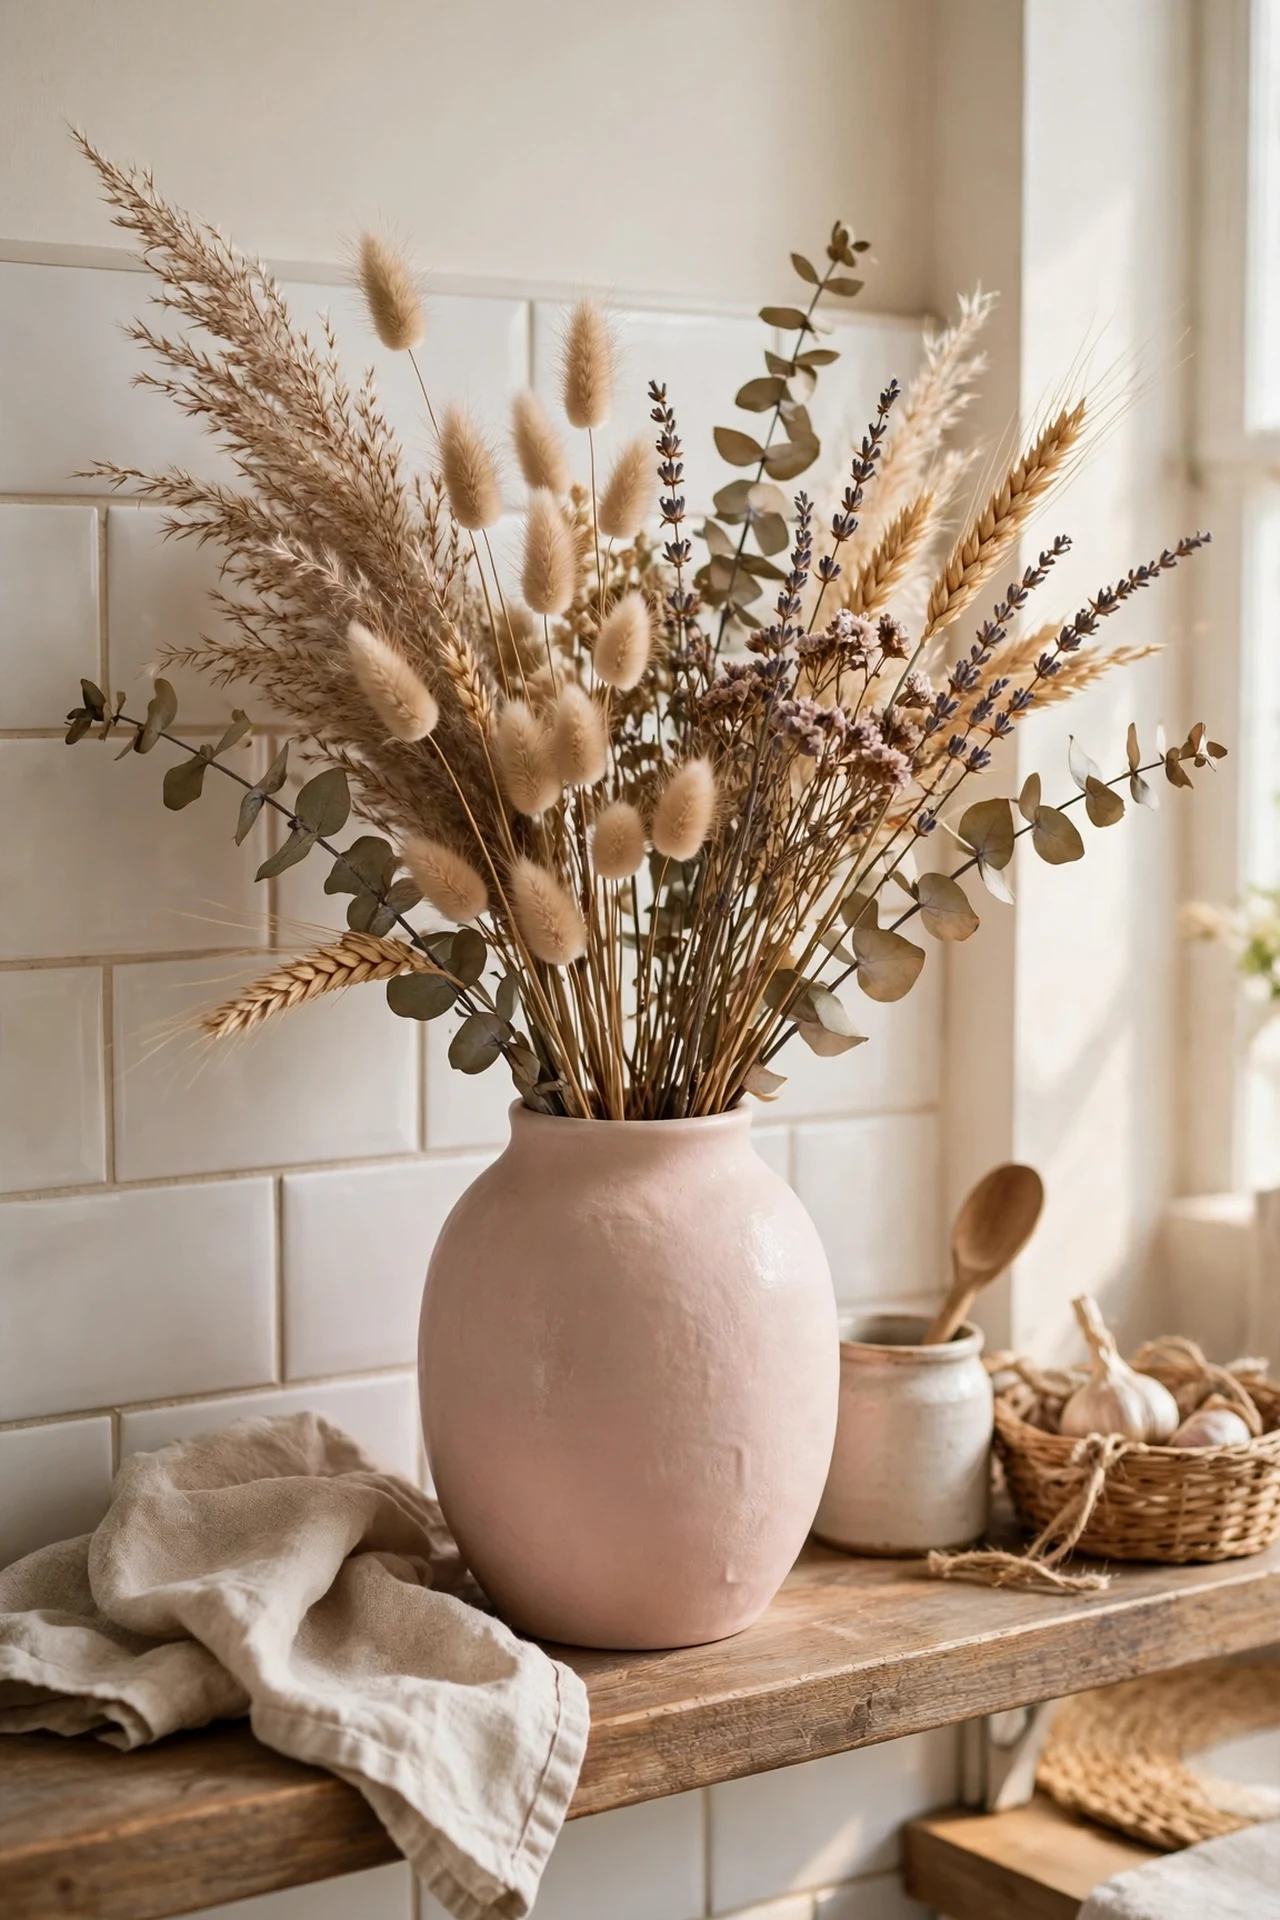
Dried flowers in a blush pink vase bring texture and height to a shelf or windowsill without any of the upkeep of fresh blooms. Choose a vase in a tone slightly deeper than your wall pink so it stands out, fill it with dried grasses, eucalyptus, or bunny tails, and trim the stems so the arrangement sits about one and a half times the vase height. Keep it away from the hob, where steam and grease will dull it. I tried this on a floating shelf and it softened the whole corner instantly; the mistake to avoid is fresh flowers in a porous unglazed vase, which will weep water onto your shelf — dried is the low-maintenance answer here.
Cost: ~$16 | Time: 10 minutes
23. Hang a Blush Pink Art Print Gallery
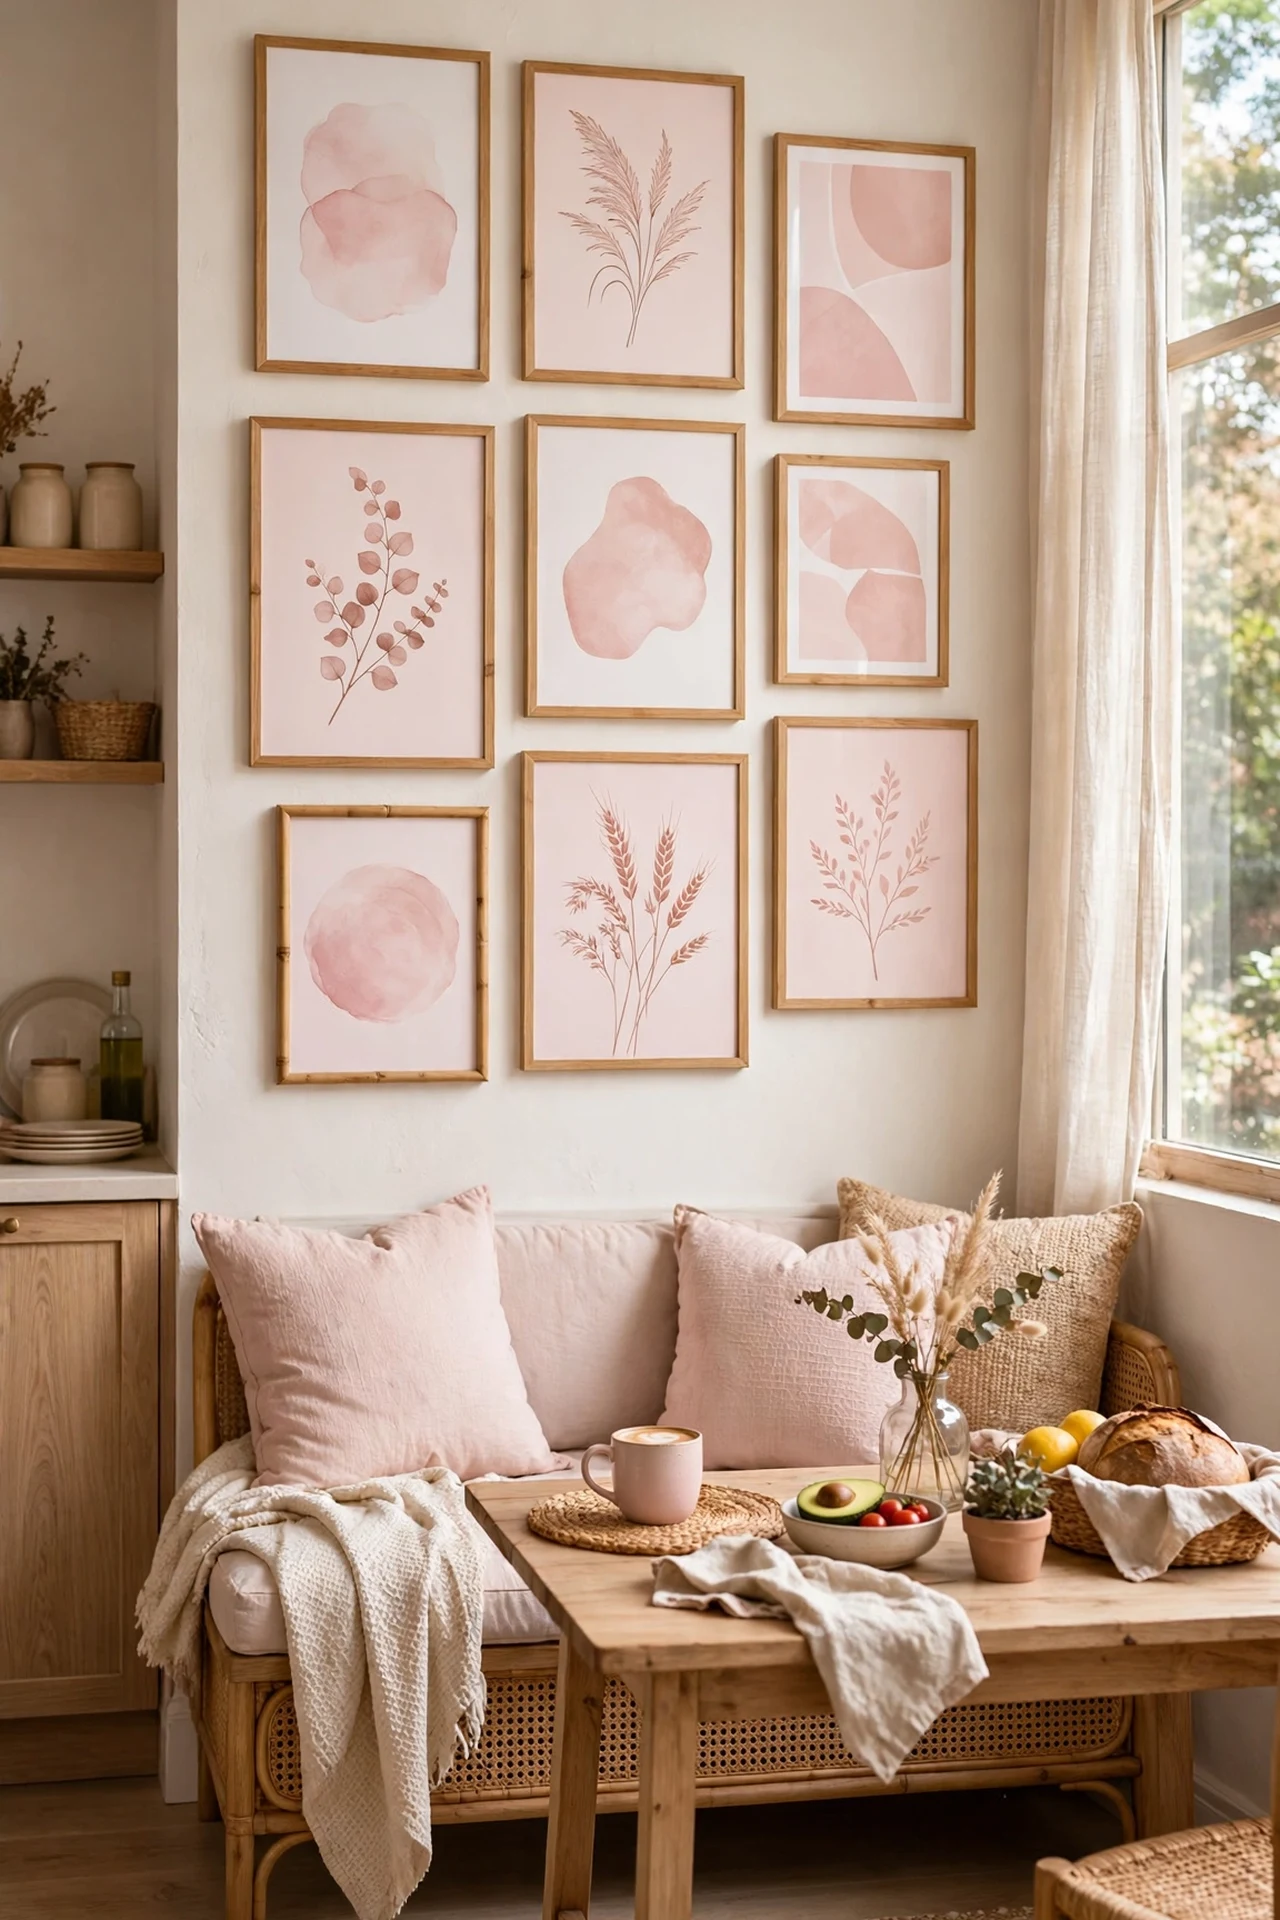
A small gallery of art prints in blush tones on the kitchen wall is the finishing layer that makes the scheme feel complete. Pick three to five prints with a shared pink palette — food illustrations, botanical line drawings, and one abstract all work — frame them in slim oak or white frames, and hang them in a loose grid or salon style above the breakfast nook. Use proper picture hooks rather than blu-tack, which fails spectacularly on warm kitchen walls. I tried this last and it tied every other pink choice together; the mistake to avoid is hanging art where steam rises, because moisture will cockle paper prints within months. For coordinating storage ideas, see these (see also: small-kitchen-organization-ideas).
Cost: ~$30 | Time: 45 minutes
Quick Answers
Q: Will a blush pink kitchen look dated in a few years?
A: A soft, greyed blush reads as a warm neutral rather than a trend colour, so it ages far better than bright pink. Stick to muted tones and natural materials like wood and brass and it will feel classic, not 2020s.
Q: What colours go with blush pink in a kitchen?
A: Warm cream, soft white, oak, walnut, brushed brass, copper, and sage green all sit beautifully beside it. Avoid pairing it with cold grey or stark white, which can make the pink look washed out.
Q: How do I add blush pink without painting anything?
A: Start with textiles and small items: a runner, tea towels, a kettle, dinnerware, and dried flowers in a pink vase. You can build the whole look from movable pieces and take it all with you when you move.
Blush pink works in a kitchen because it is warm without being loud — the colour equivalent of a kind voice. Start with one or two of these ideas, live with them for a fortnight, and add more only if you find yourself smiling at the room. And if you want more budget-friendly inspiration, these (see also: budget-kitchen-decor-ideas) pair perfectly with a pink refresh.
