17 Terracotta Kitchen Ideas on a Dime
My terracotta obsession started with a fifty-cent clay pot at a flea market. It followed me home, sat on my windowsill, and quietly convinced me that a warm, earthy kitchen does not need a renovation budget. If you have been hunting for terracotta kitchen ideas that actually cost pocket change, this list is the one I wish someone had handed me. Every idea below costs under fifty dollars, most under twenty, and each one takes an afternoon at most. No demolition, no contractors, just clay-toned warmth layered into the kitchen you already have.
1. Paint Only the Lower Cabinets Terracotta
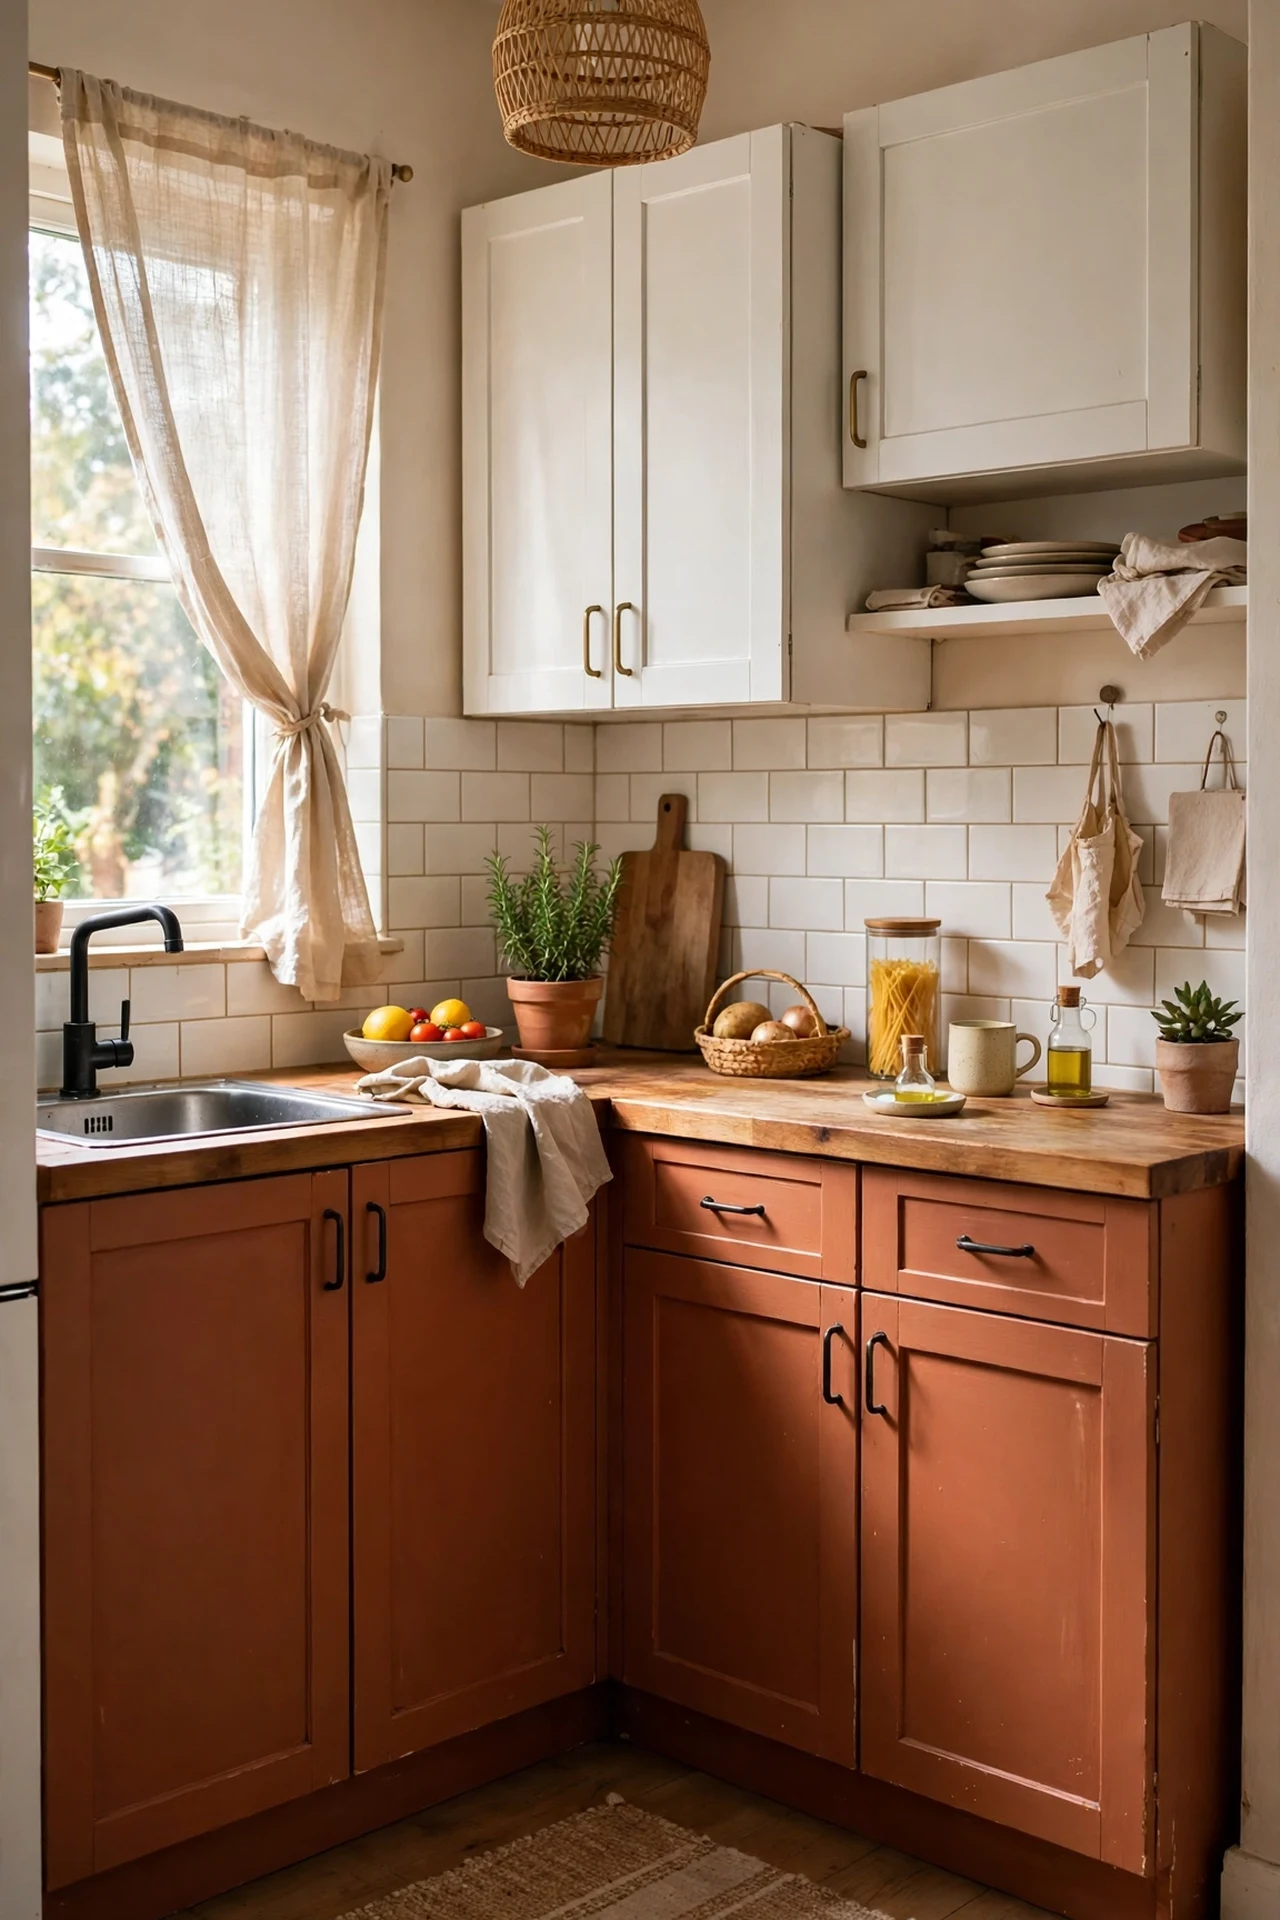
Painting the lower cabinets and leaving the uppers white is the single biggest terracotta move you can make on a budget. I tried this in my own galley kitchen after a full repaint quote came in at nearly two thousand dollars. Buy one quart of cabinet paint in a burnt-sienna tone, a small foam roller, and some painter’s tape, then degrease the doors first with dish soap and warm water. Sand lightly with 120-grit paper, lay down two thin coats, and let each coat cure overnight before rehanging. The mistake to avoid is painting over greasy doors, because the finish will peel within months. The two-tone look grounds the whole room, and clay colours hide crumbs far better than white ever could.
Cost: ~$28 | Time: 1 weekend
2. Swap In Terracotta Open-Shelf Brackets
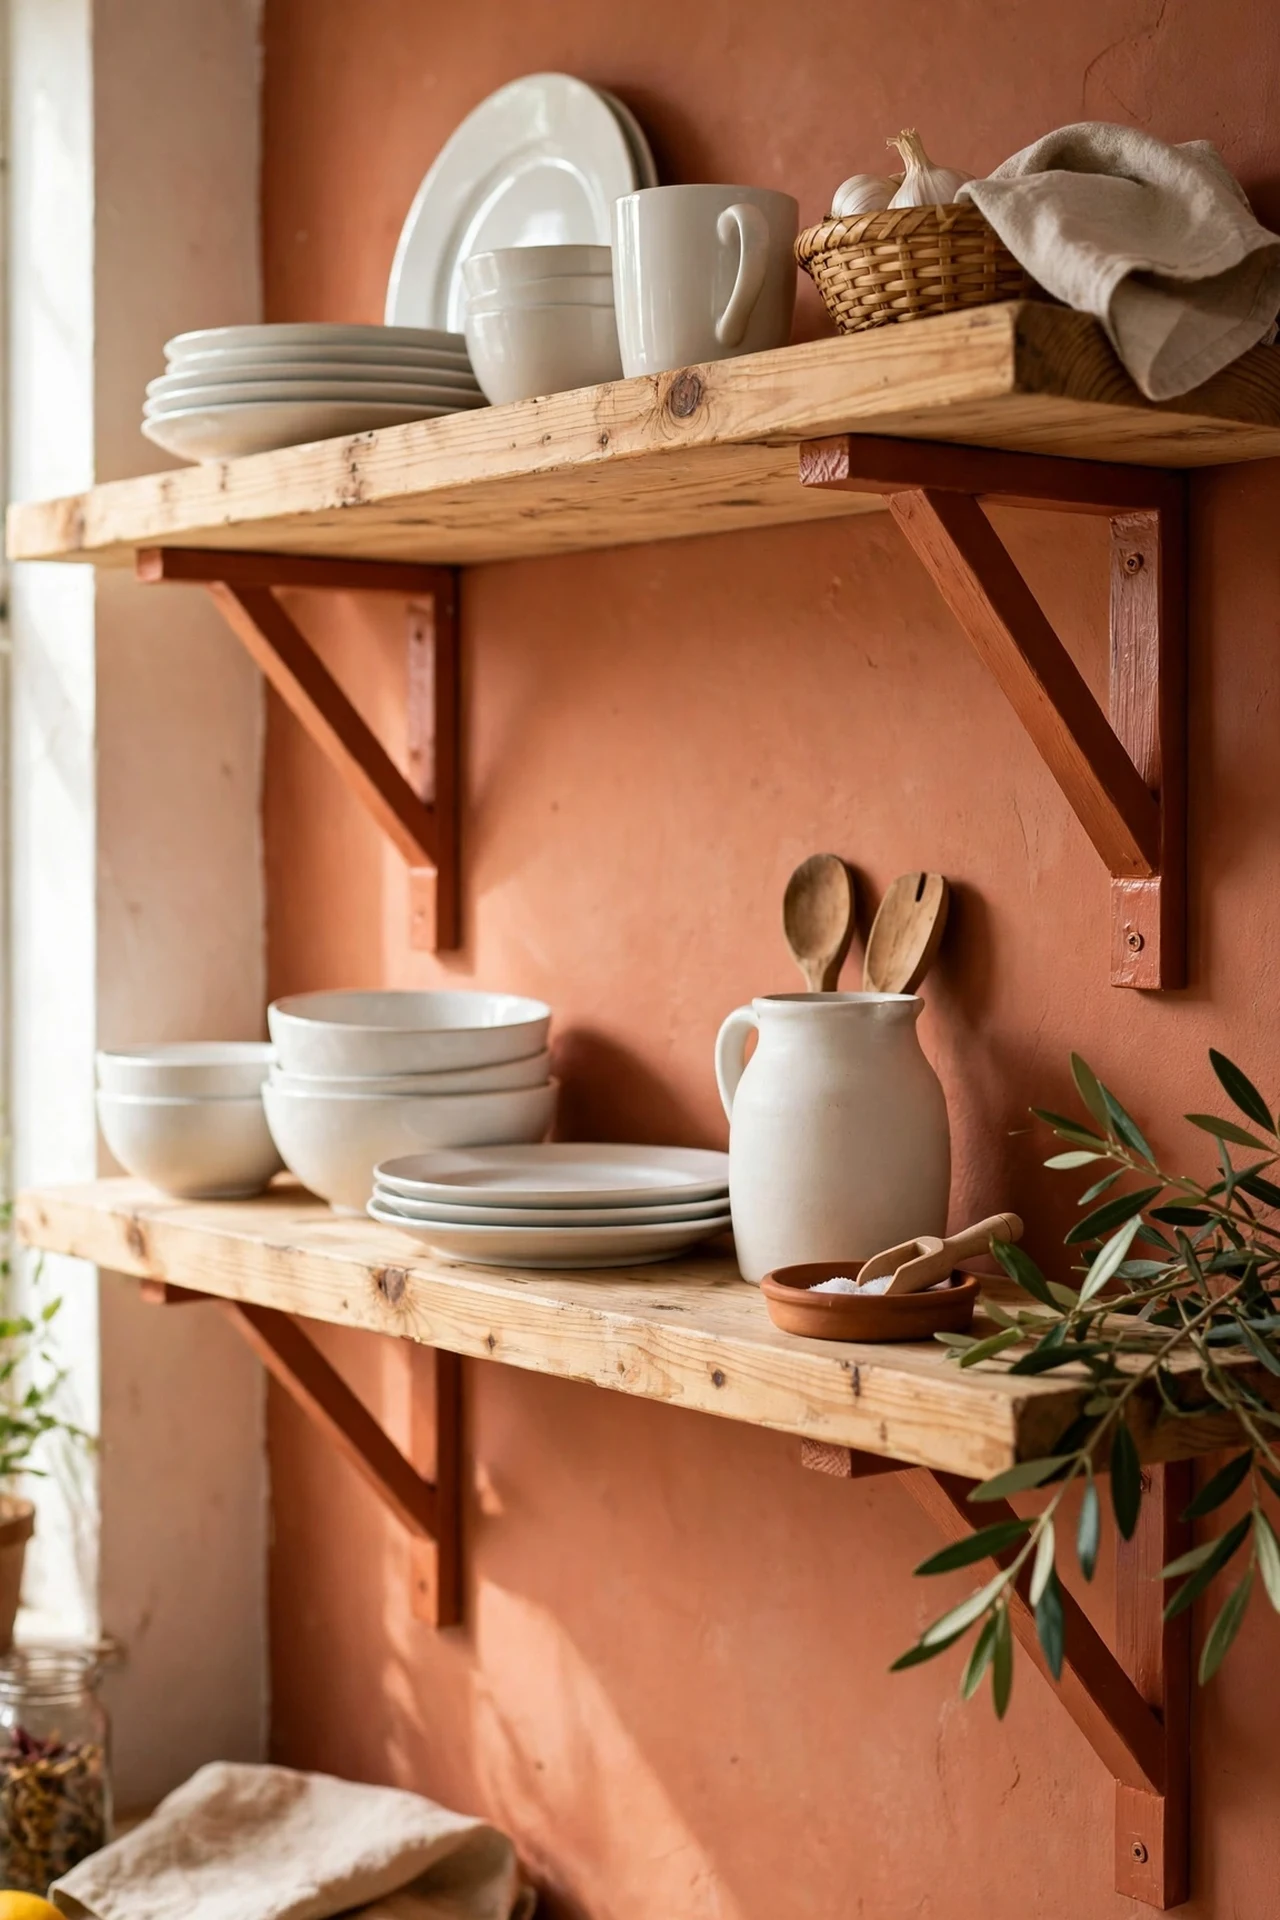
Open shelves with chunky terracotta brackets give you the farmhouse feel for the price of two pieces of hardware. I found plain pine boards at a salvage shop for four dollars each and spray-painted cast-iron brackets in a clay shade. First, hold the brackets up and mark your studs, because drywall anchors alone will sag under a stack of bowls. Drill pilot holes, screw the brackets in level, then rest the boards on top and secure them with the bracket’s top screws. Style the shelves with white dishes and one green plant so the terracotta brackets do the talking. The mistake to avoid is skipping the stud finder — ask me how I know.
Cost: ~$22 | Time: 2 hours
3. Lay a Peel-and-Stick Terracotta Backsplash
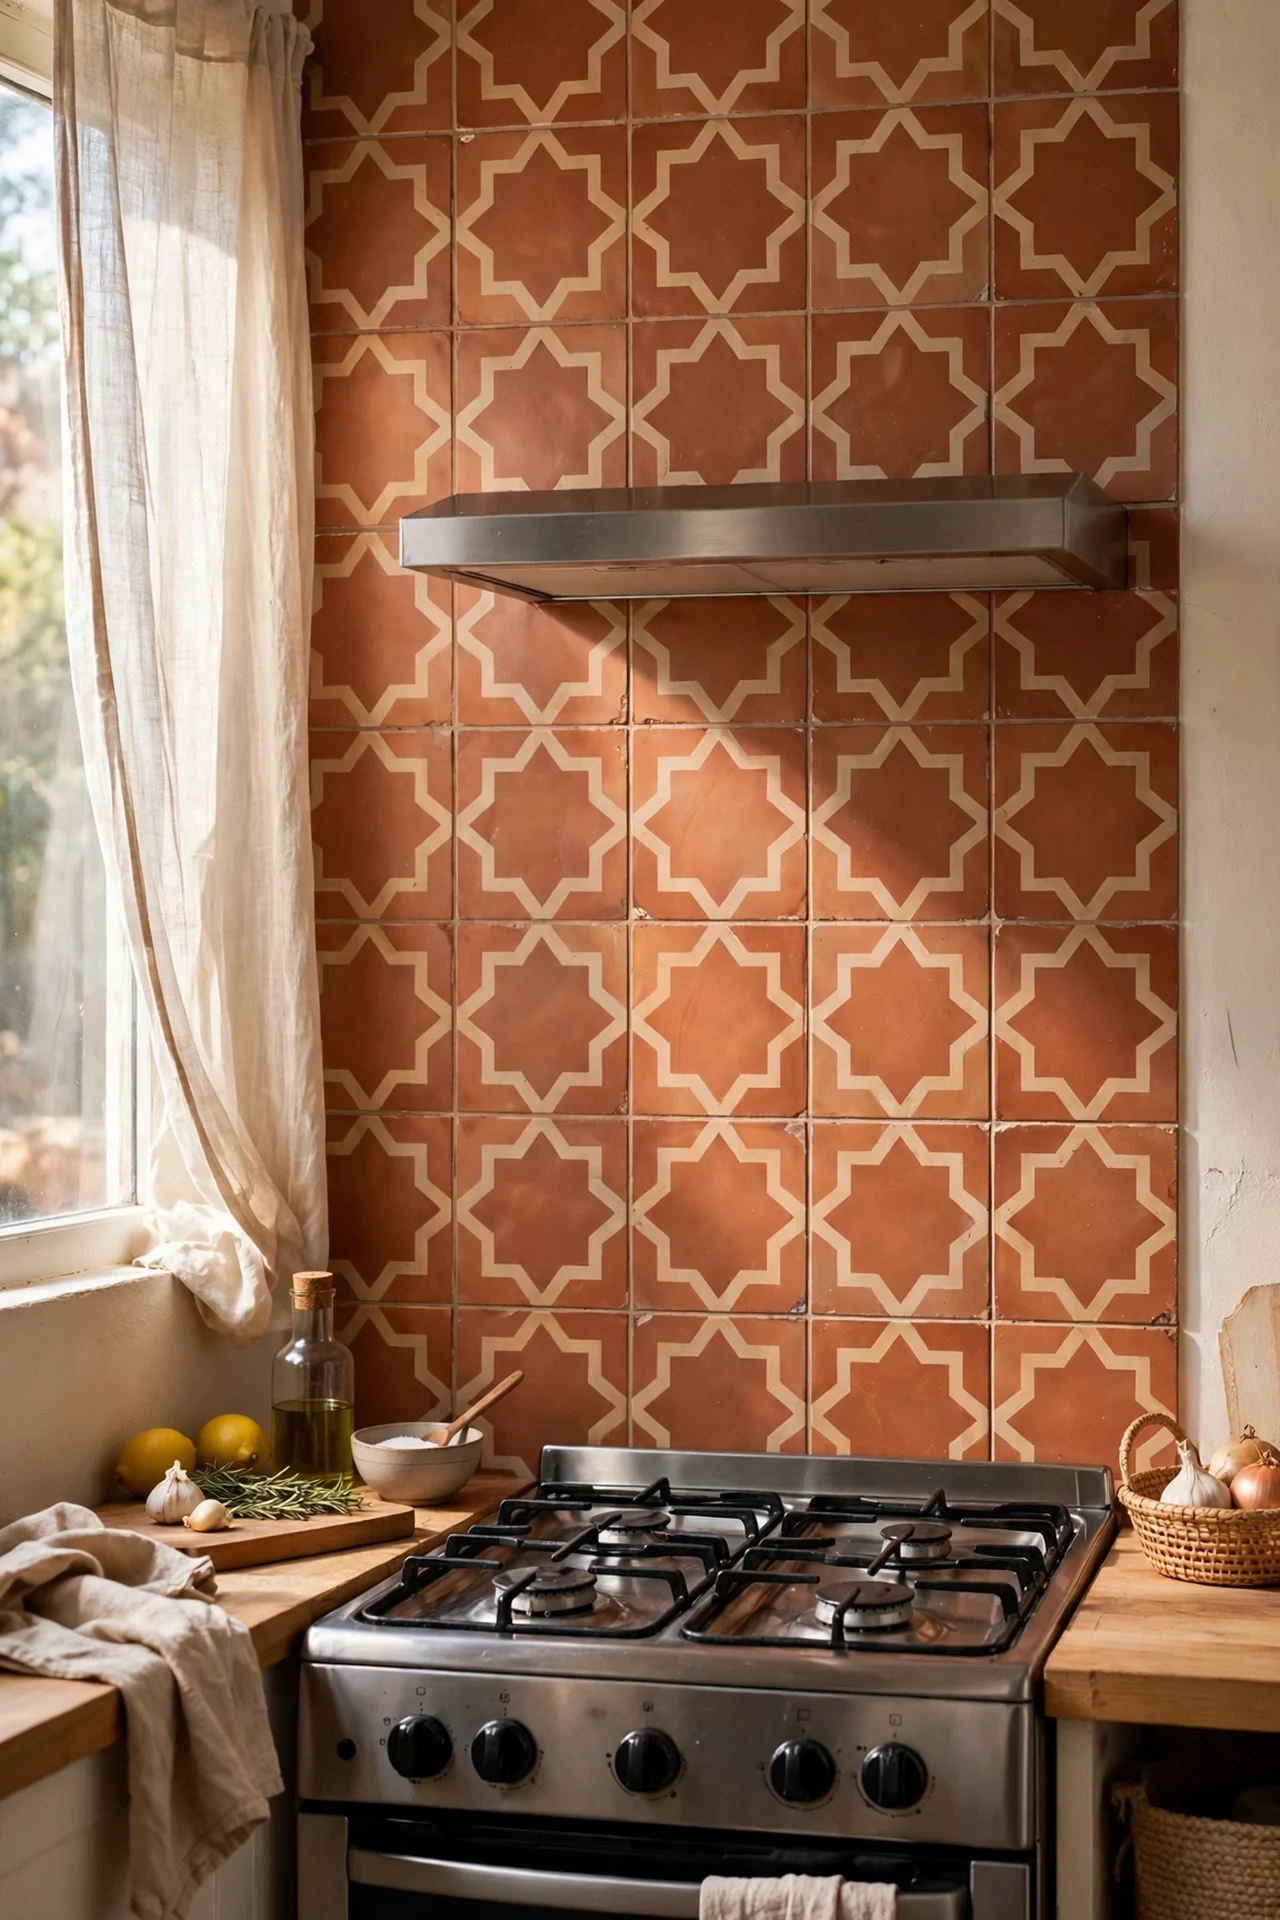
A peel-and-stick backsplash in terracotta tones is the fastest way to fake a hand-laid clay tile wall. I tried this behind my stove when real zellige tiles priced out at forty dollars a square foot. Clean the wall with a degreaser first, then start from the centre of the range and work outward so the cuts land evenly at the edges. Overlap each sheet by a hairline and roll the seams firmly with a wallpaper roller to kill air bubbles. Pair the look with brass or black hardware for contrast. If you want more cheap wall tricks, browse these (see also: budget-kitchen-decor-ideas). The mistake to avoid is sticking tiles over textured paint — they will not grip, so sand glossy spots first.
Cost: ~$35 | Time: 3 hours
4. Group Terracotta Utensil Crocks by the Stove
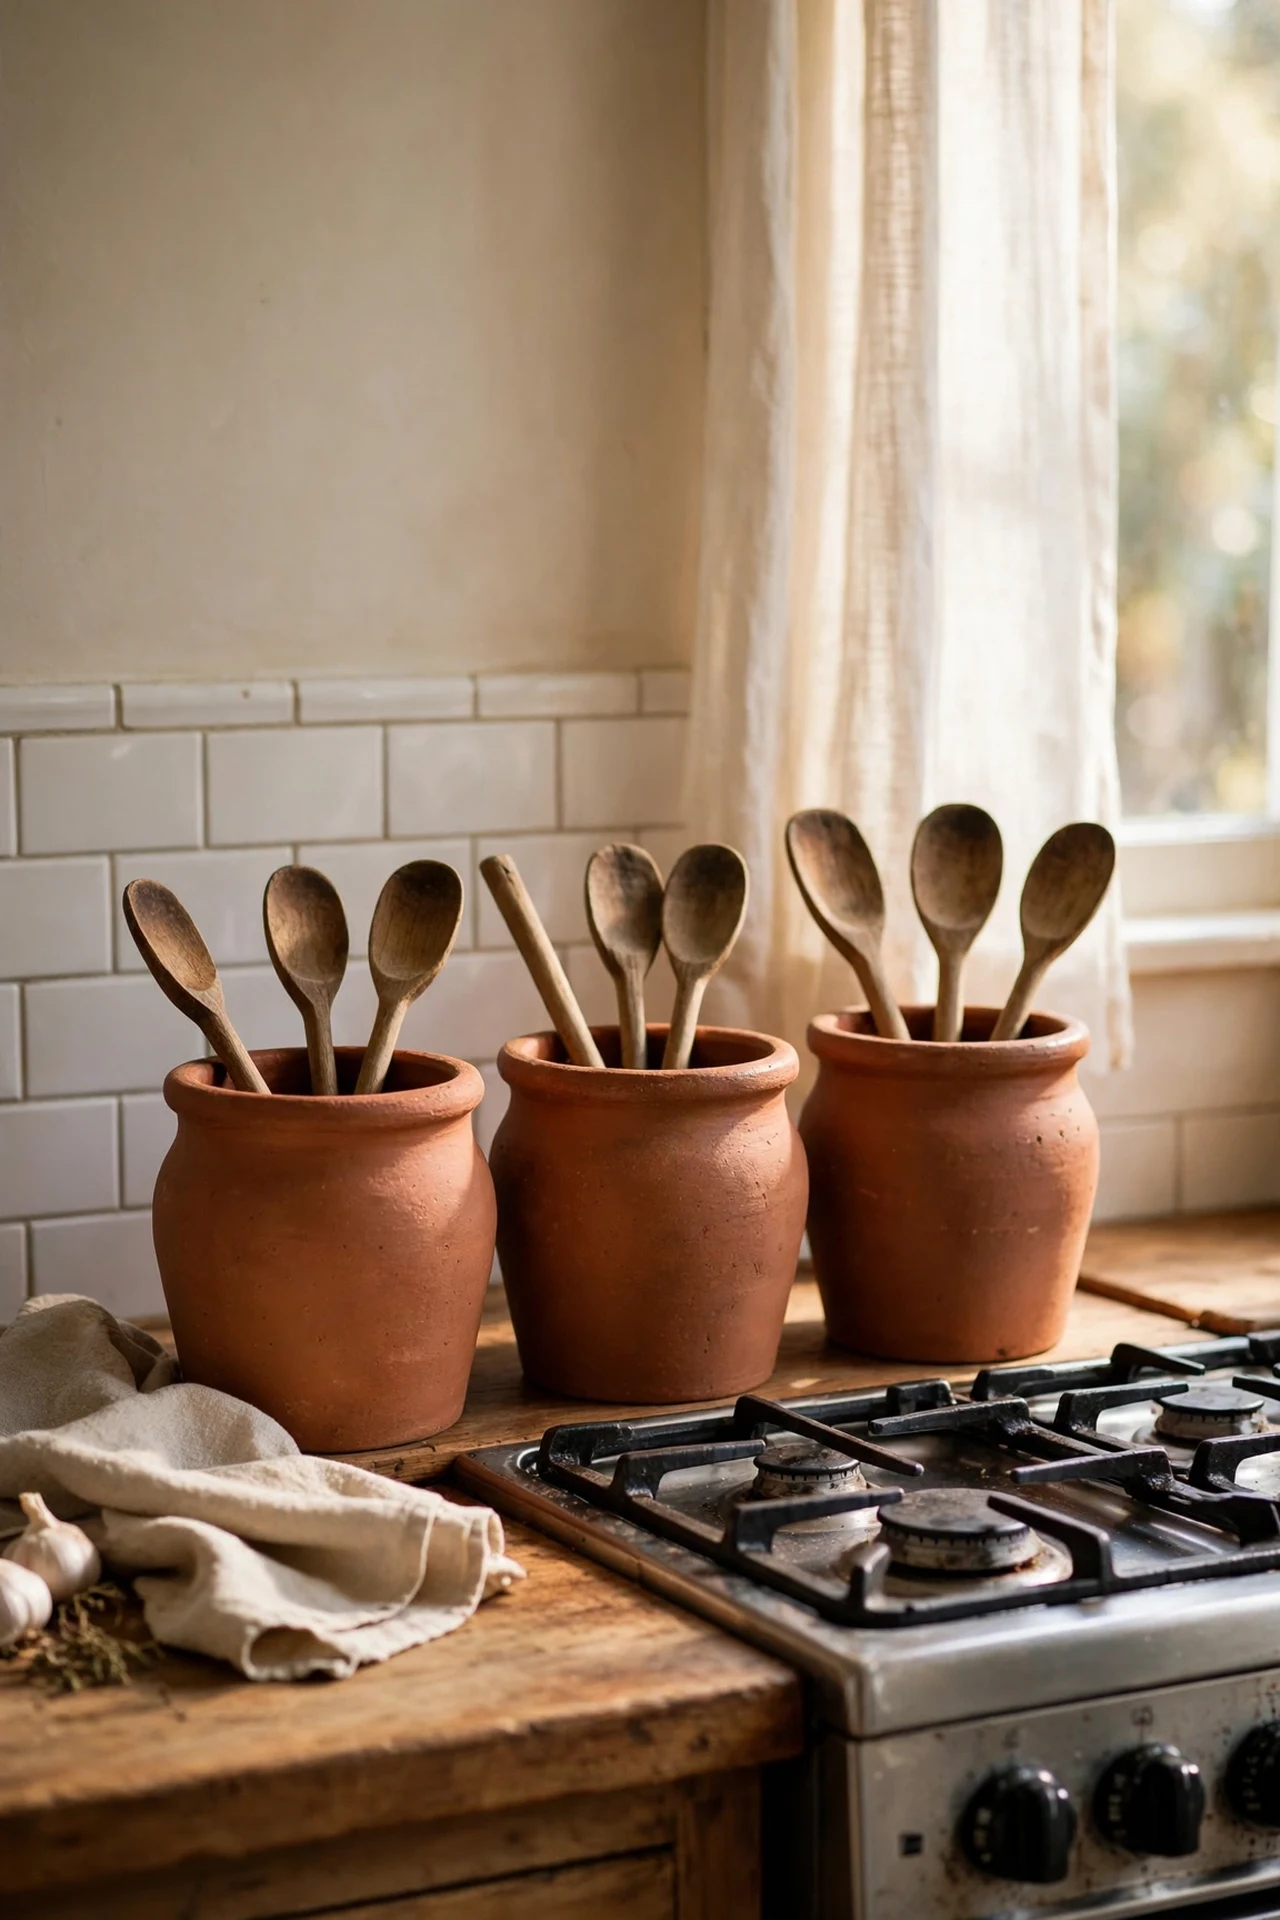
A cluster of terracotta utensil crocks next to the stove adds warmth exactly where your eye lands while cooking. I picked up three mismatched clay crocks at thrift stores for under two dollars each and they look intentional as a set. Start by lining up the tallest crock at the back and the shortest at the front so everything stays reachable. Fill them with wooden spoons and whisks only — the raw wood against the clay is half the charm. Wipe the crocks with a damp cloth once a month because cooking grease settles on them. The mistake to avoid is buying a tall, skinny crock that tips over; wide bases stay put when you grab a spatula mid-sizzle.
Cost: ~$8 | Time: 15 minutes
Pro tip: Stick to one terracotta shade family per corner of the room. Mixing burnt orange, dusty rose clay, and brick red in one spot makes the kitchen look busy instead of warm — pick the tone you love most and repeat it.
5. Hang Terracotta Linen Cafe Curtains
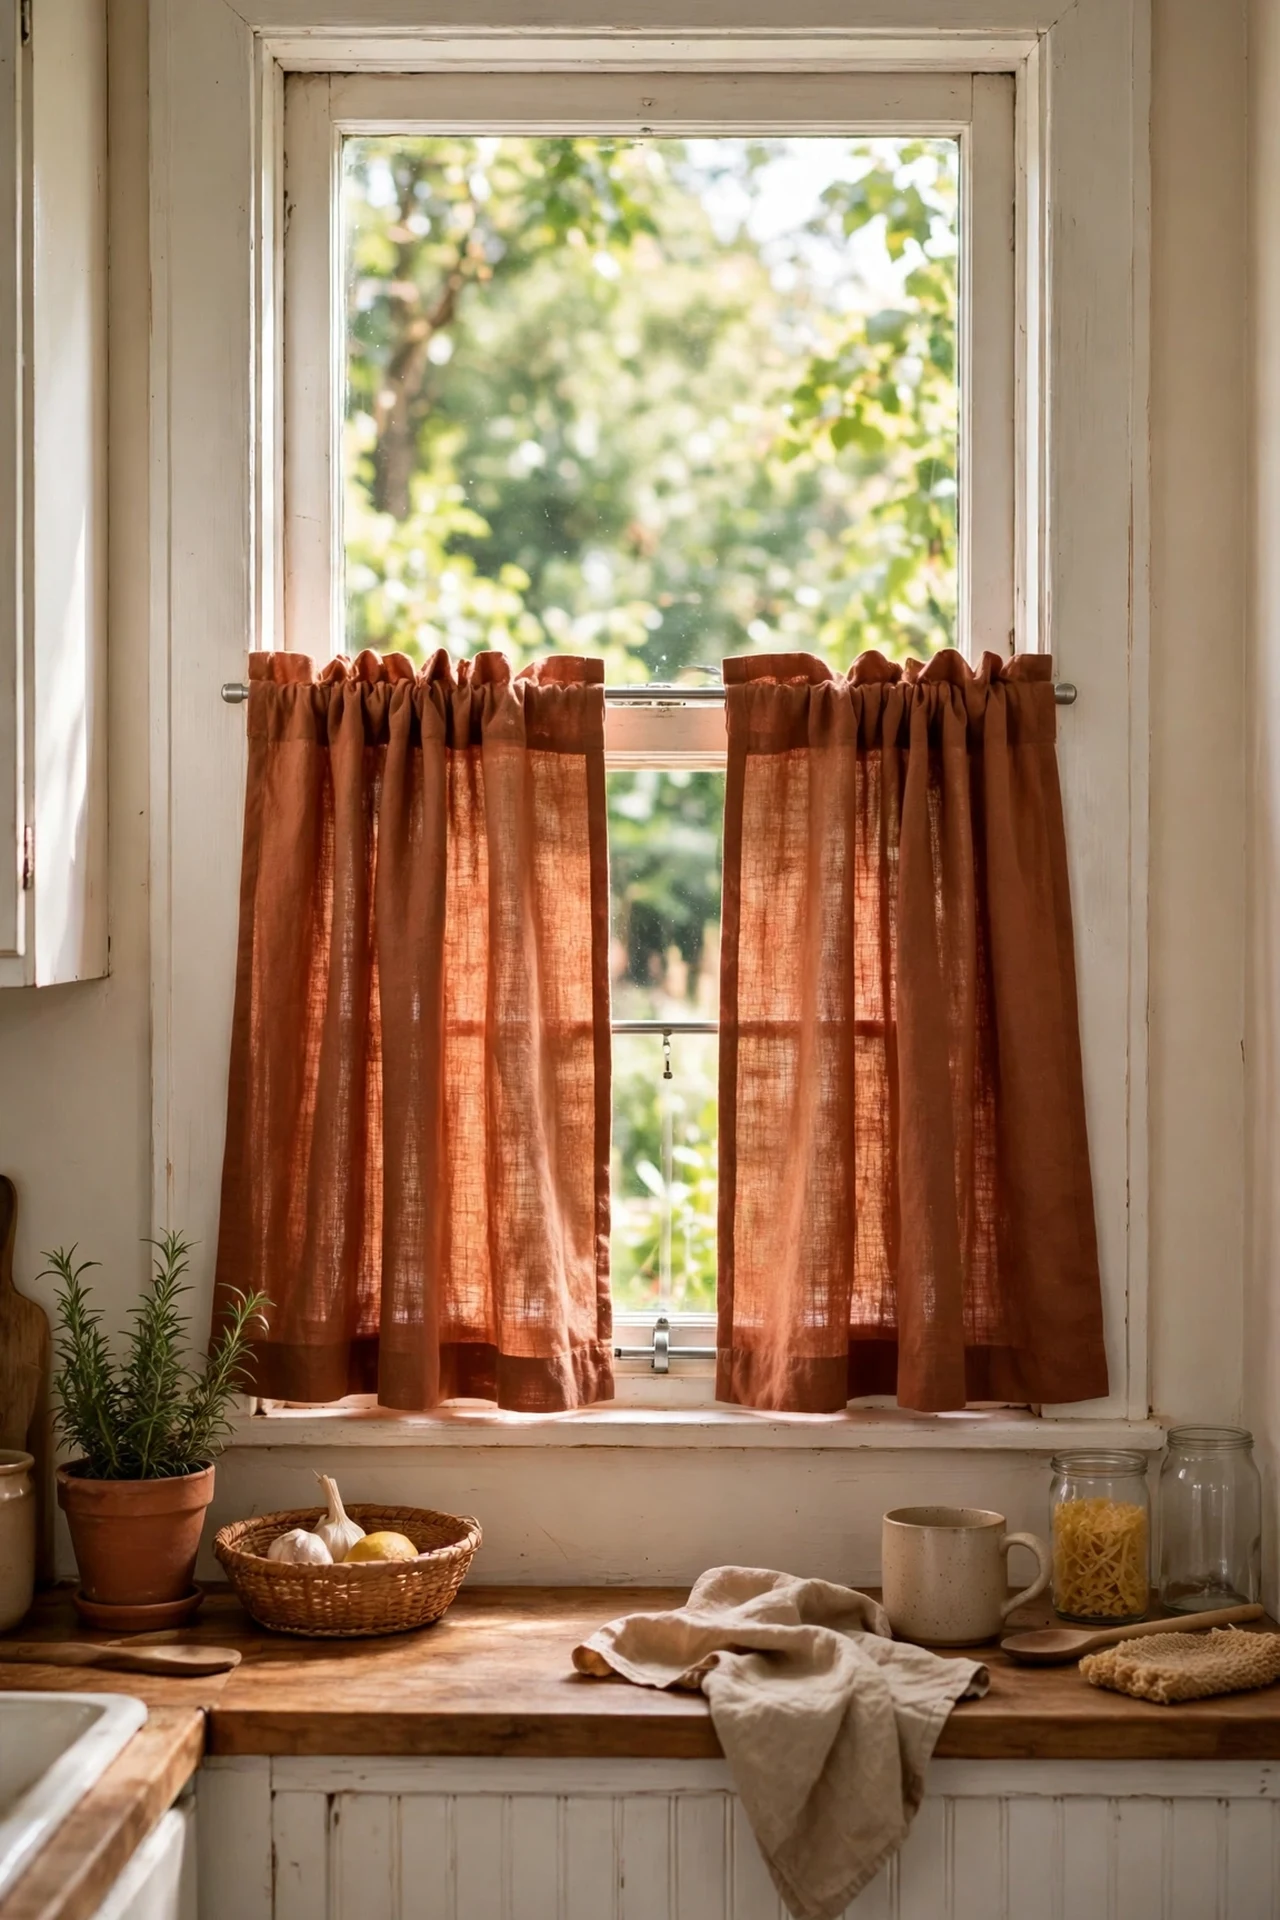
Cafe curtains in a terracotta linen soften harsh kitchen light and cost a fraction of full drapes. I tried this on my small kitchen window with a tension rod and two ready-made linen panels. Measure the window, then buy panels about one and a half times the width so they gather nicely. Slide them onto a slim tension rod at the window’s midpoint and let the bottom half of the glass stay clear for light. Steam the panels once to relax the folds. The mistake to avoid is hanging them too high — cafe curtains work because they sit low, keeping your privacy and your sunlight at the same time.
Cost: ~$18 | Time: 30 minutes
6. Paint a Plain Pendant Shade Terracotta
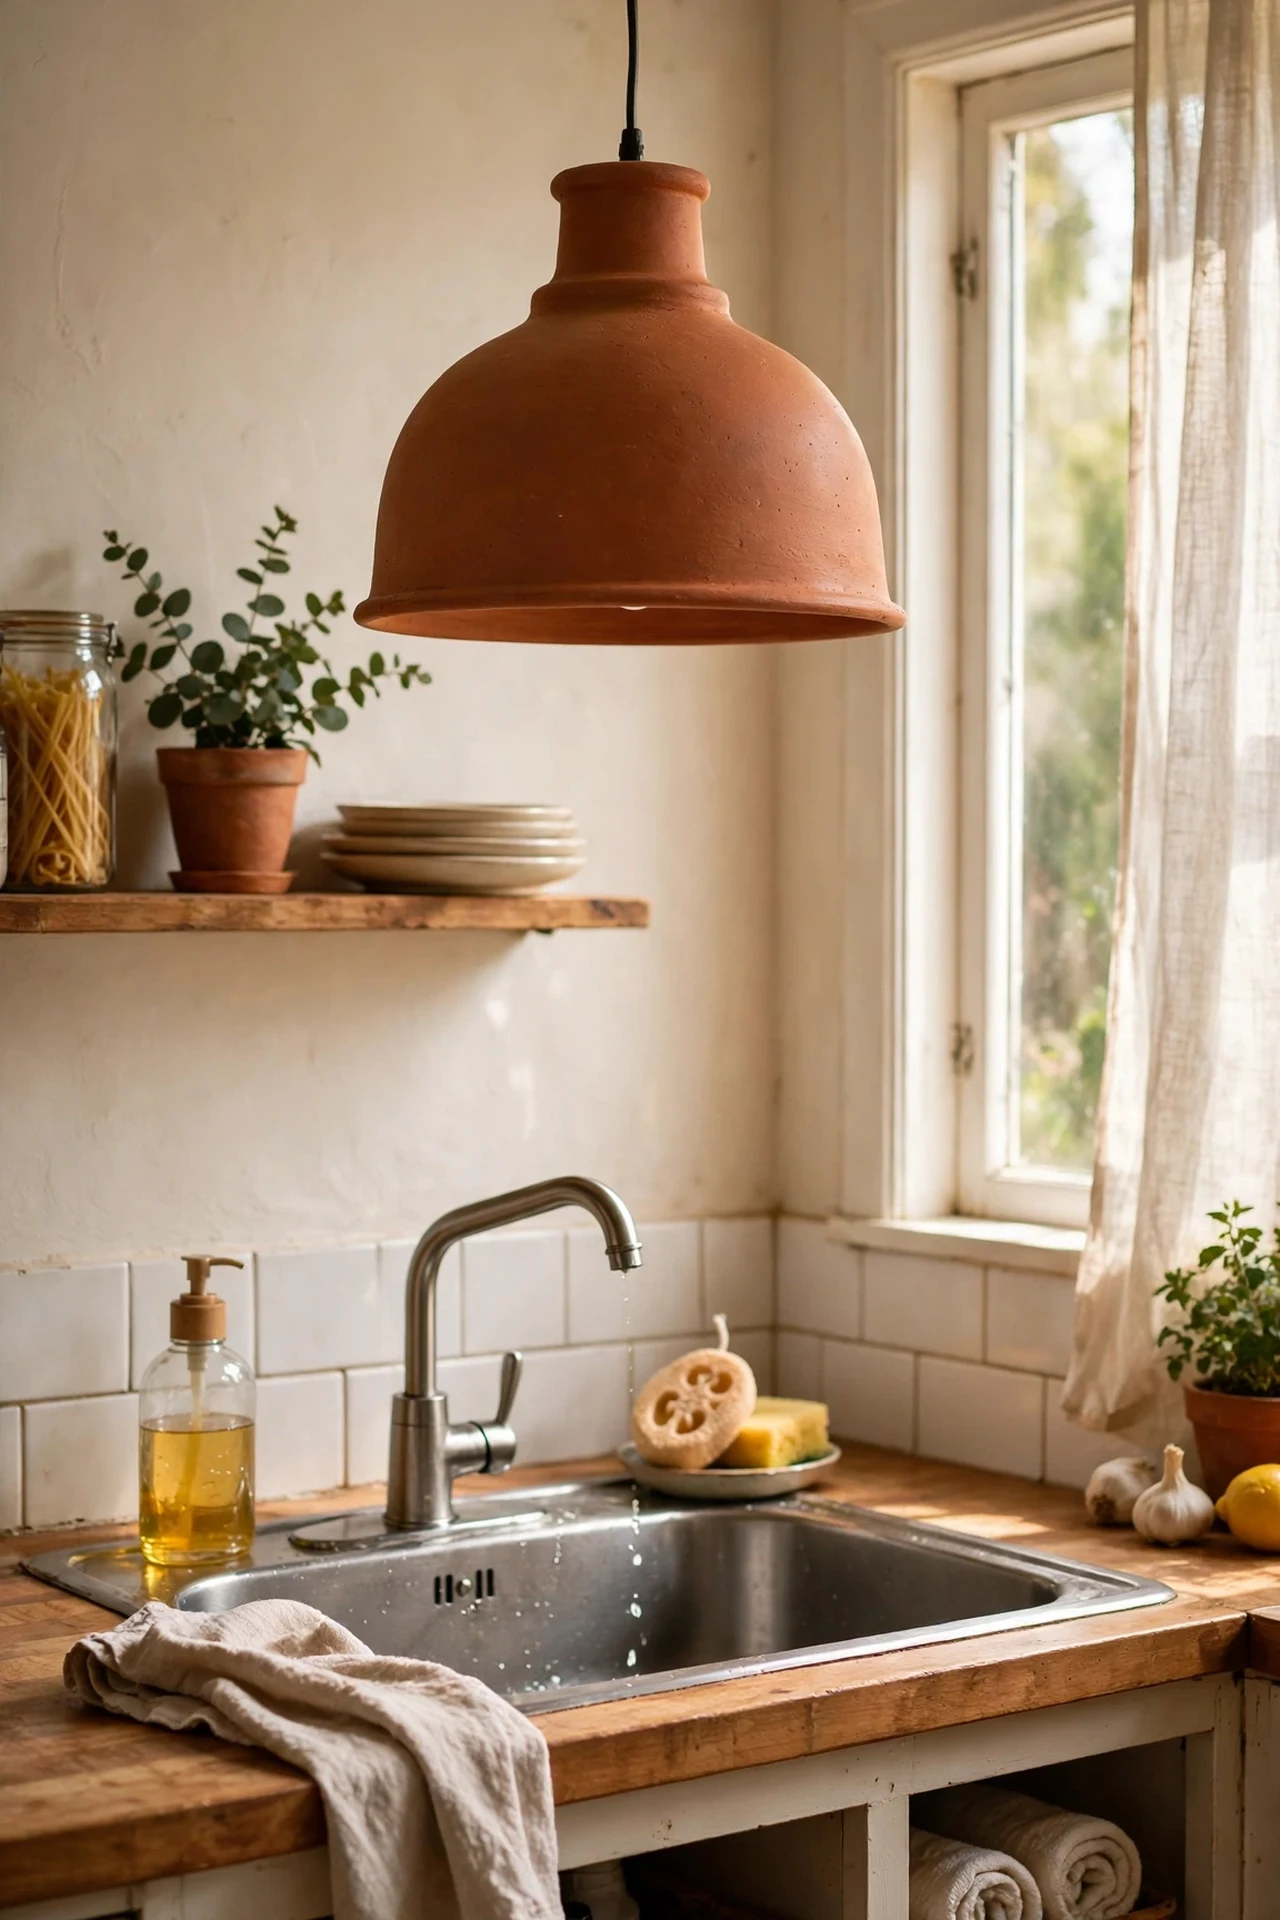
A terracotta pendant shade over the sink or island looks like a designer fixture for about the cost of a pizza. I bought a plain white metal shade at a discount store and sprayed it with a clay-coloured enamel. First, kill the power at the breaker and remove the shade so you can paint it outside. Sand it lightly, apply two thin coats of spray paint, and let it cure a full day before rehanging. Keep the inside of the shade white so it still bounces light downward. The mistake to avoid is using flat wall paint on metal — it chips from the heat, so stick with enamel rated for lighting.
Cost: ~$14 | Time: 1 hour
7. Line the Windowsill With Terracotta Herb Pots
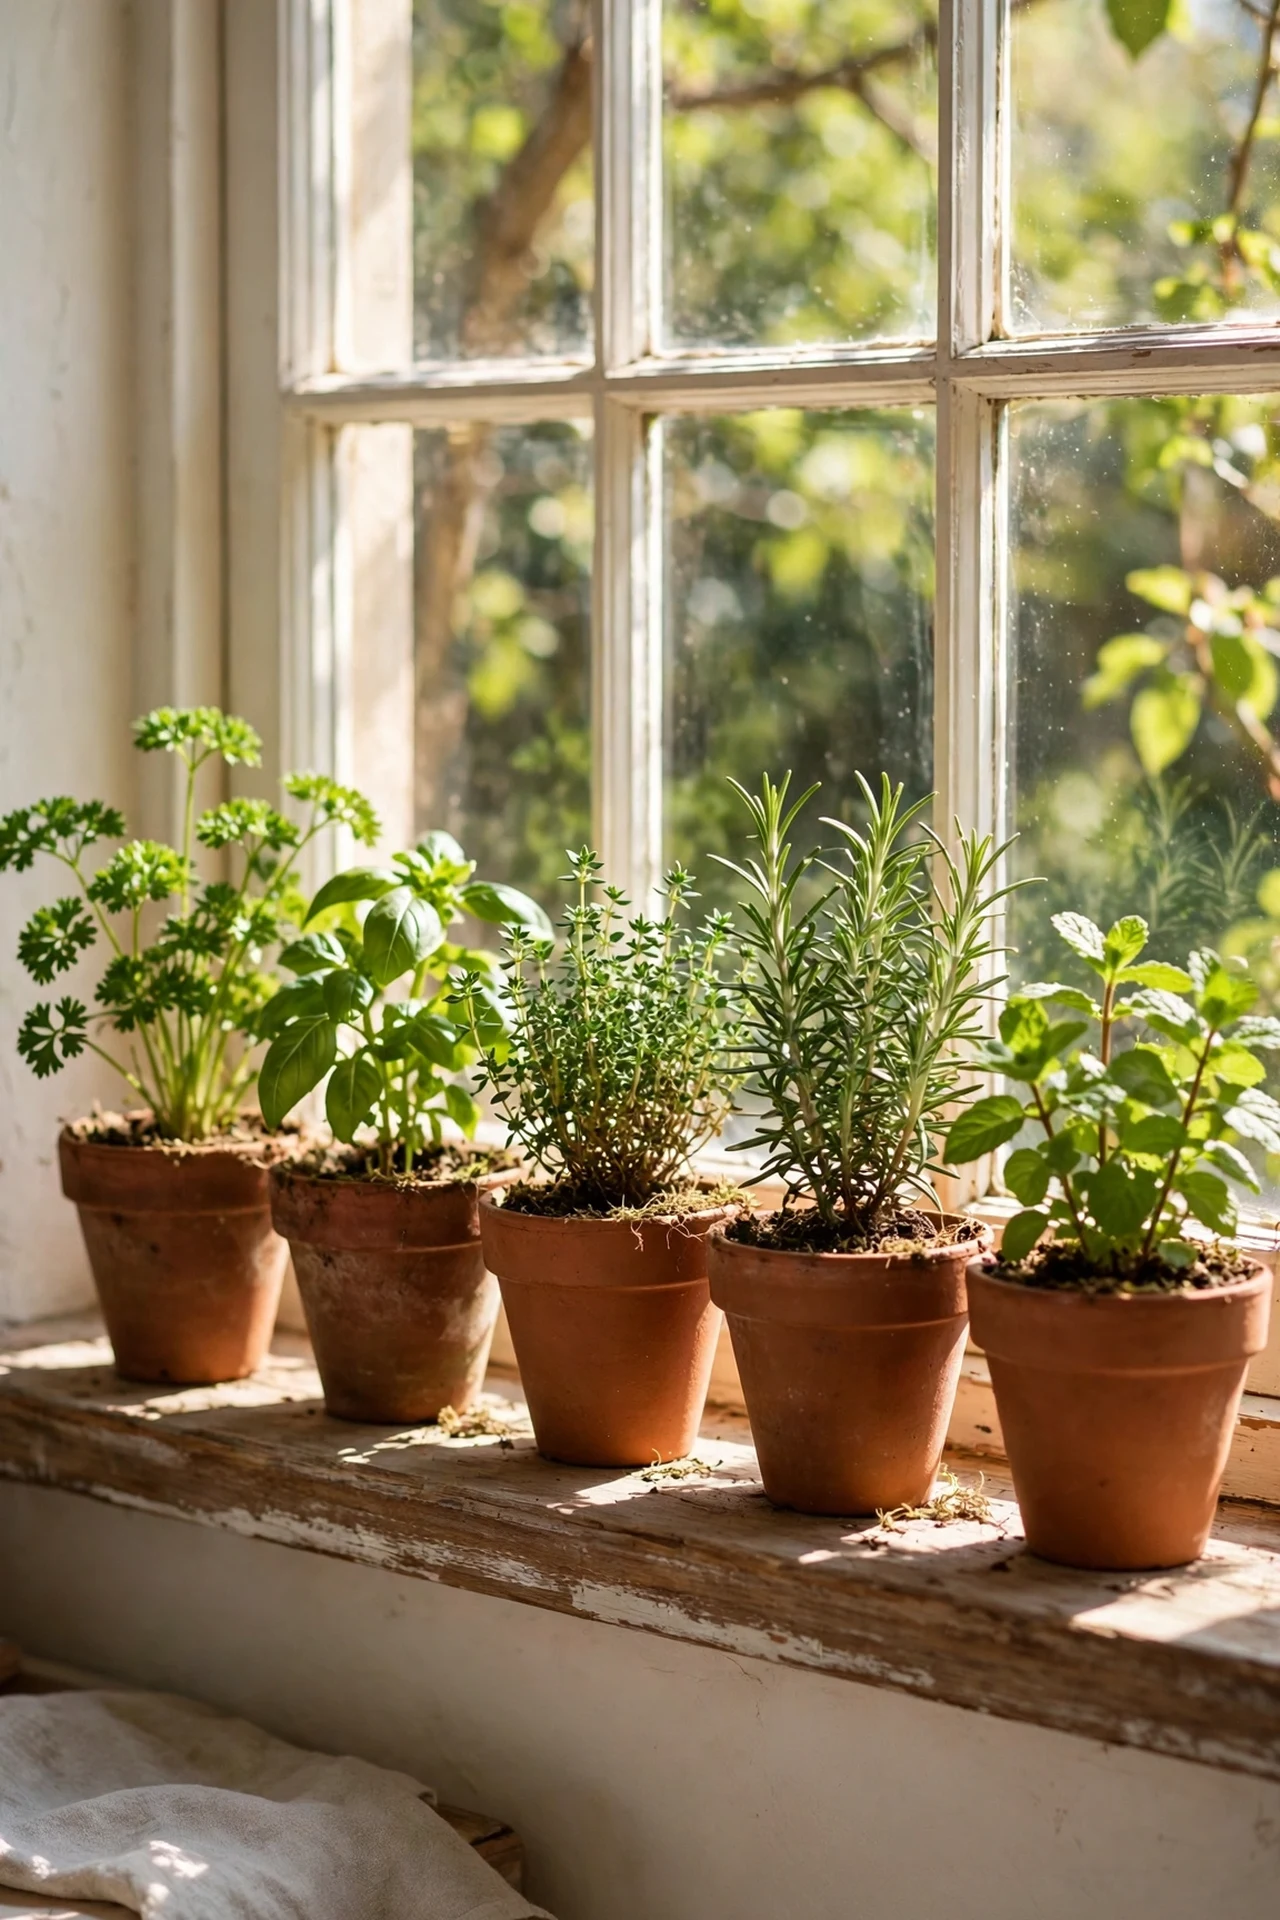
A row of terracotta herb pots on the windowsill brings life and colour into the kitchen for pennies. I tried this with basil, thyme, and mint, and the clay pots make even scraggly seedlings look charming. Buy standard nursery pots in the four-inch size, then set each inside a matching terracotta pot so the outer pot never gets soggy. Add a folded tea towel underneath to catch drips and protect the sill. Rotate the pots a quarter turn every week so the herbs grow straight. The mistake to avoid is skipping the drip tray — terracotta wicks moisture right through and will stain a painted sill.
Cost: ~$10 | Time: 20 minutes
8. Style a Terracotta Tray for Your Coffee Corner
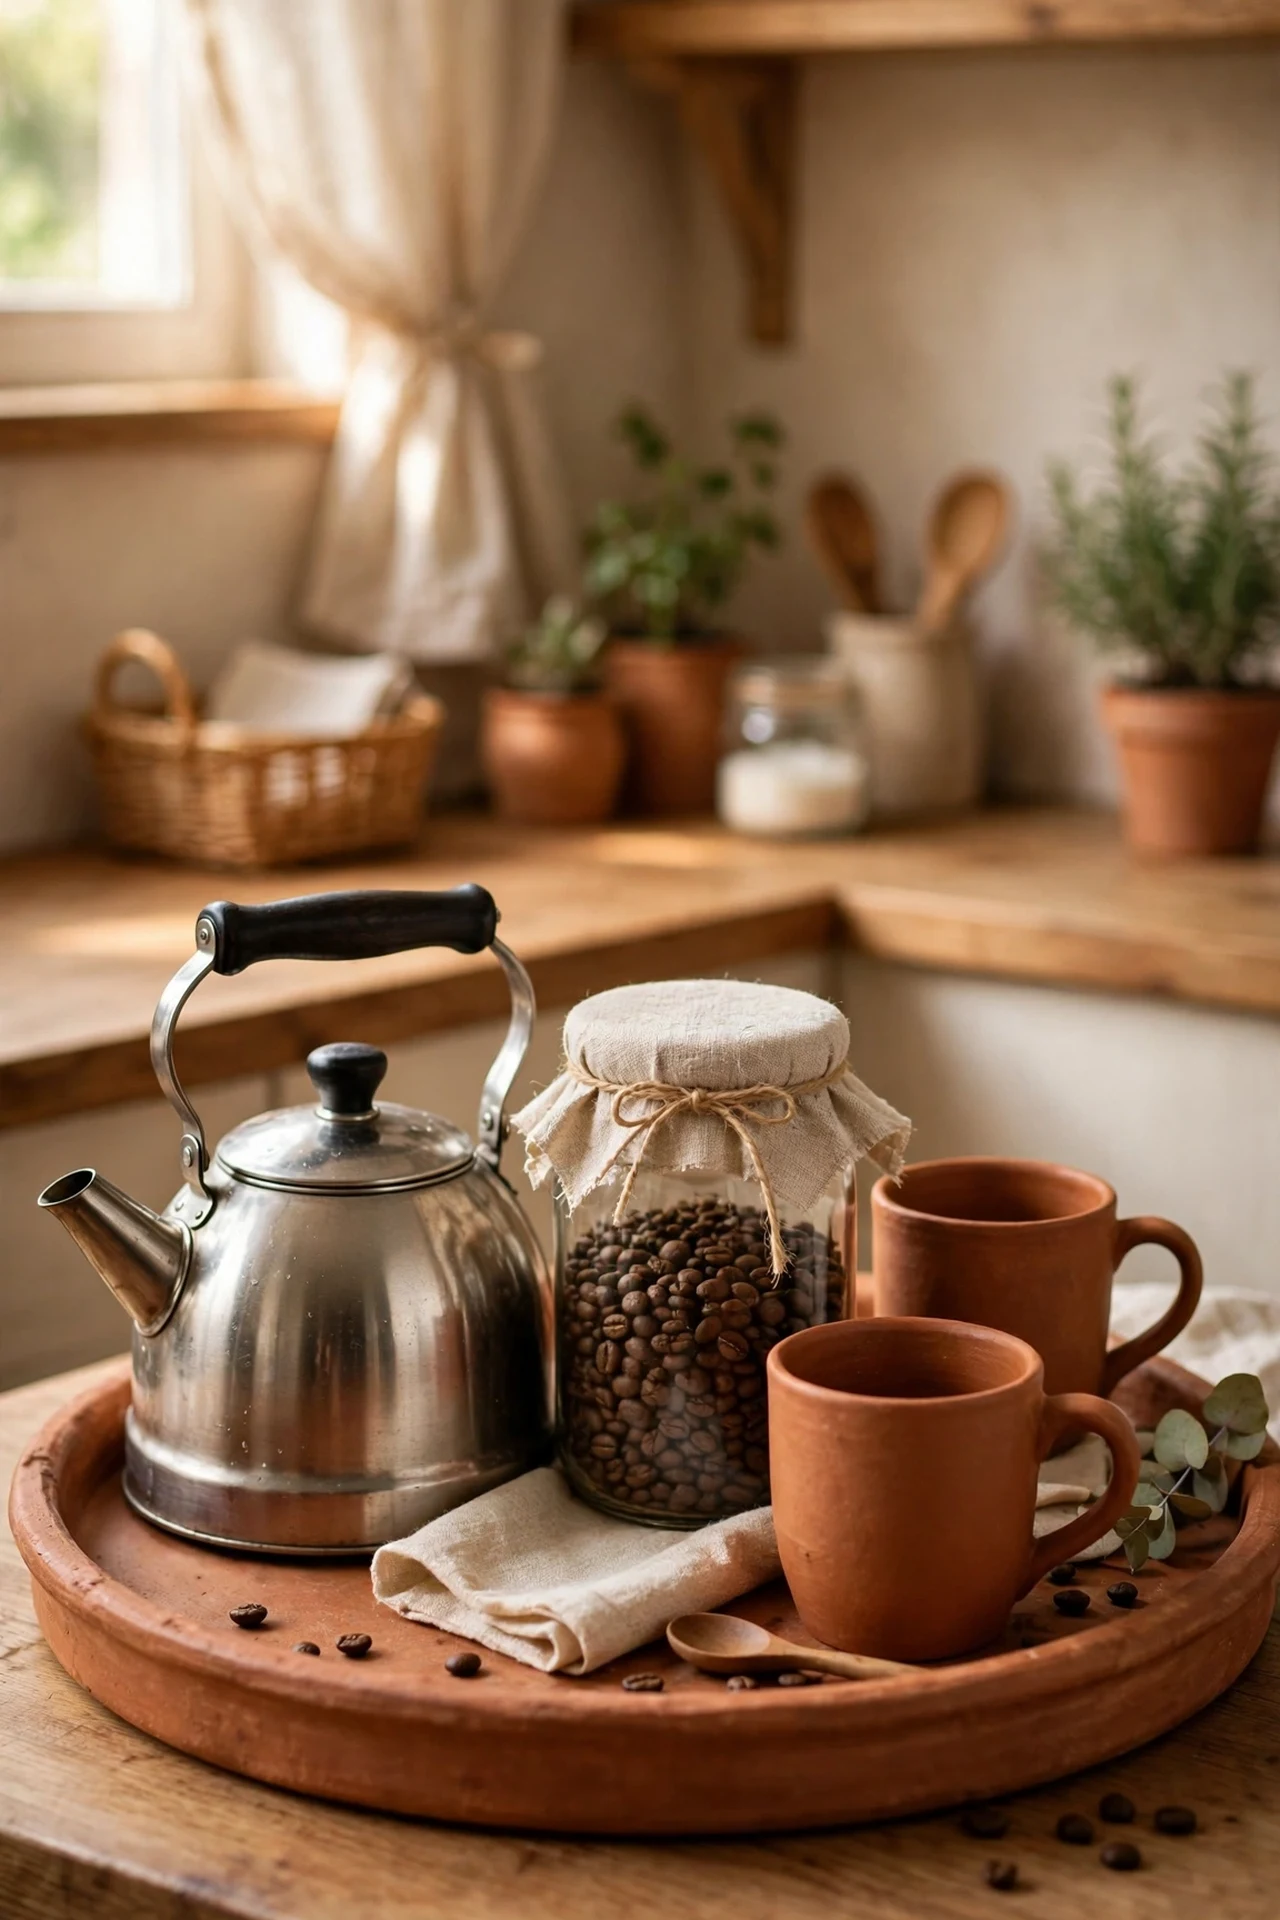
A single terracotta tray can turn a cluttered coffee corner into something that looks styled on purpose. I cleared my whole coffee station onto one large clay-coloured tray and the visual noise dropped by half. Choose a tray wide enough to hold your kettle, jar of beans, and two mugs with breathing room around each item. Corral everything inside the tray’s edges and wipe it down weekly since coffee grounds find every crack. If your counters need more order beyond the tray, these (see also: small-kitchen-organization-ideas) will help. The mistake to avoid is overfilling the tray — three to five items reads styled, ten reads like a junk drawer.
Cost: ~$16 | Time: 20 minutes
Pro tip: Real unglazed terracotta darkens when it absorbs cooking grease. If your pots and trays sit near the stove, spray them with a clear matte sealer first — it keeps the colour even and makes wiping them down painless.
9. Paint Bar Stools Terracotta Instead of Buying New Ones
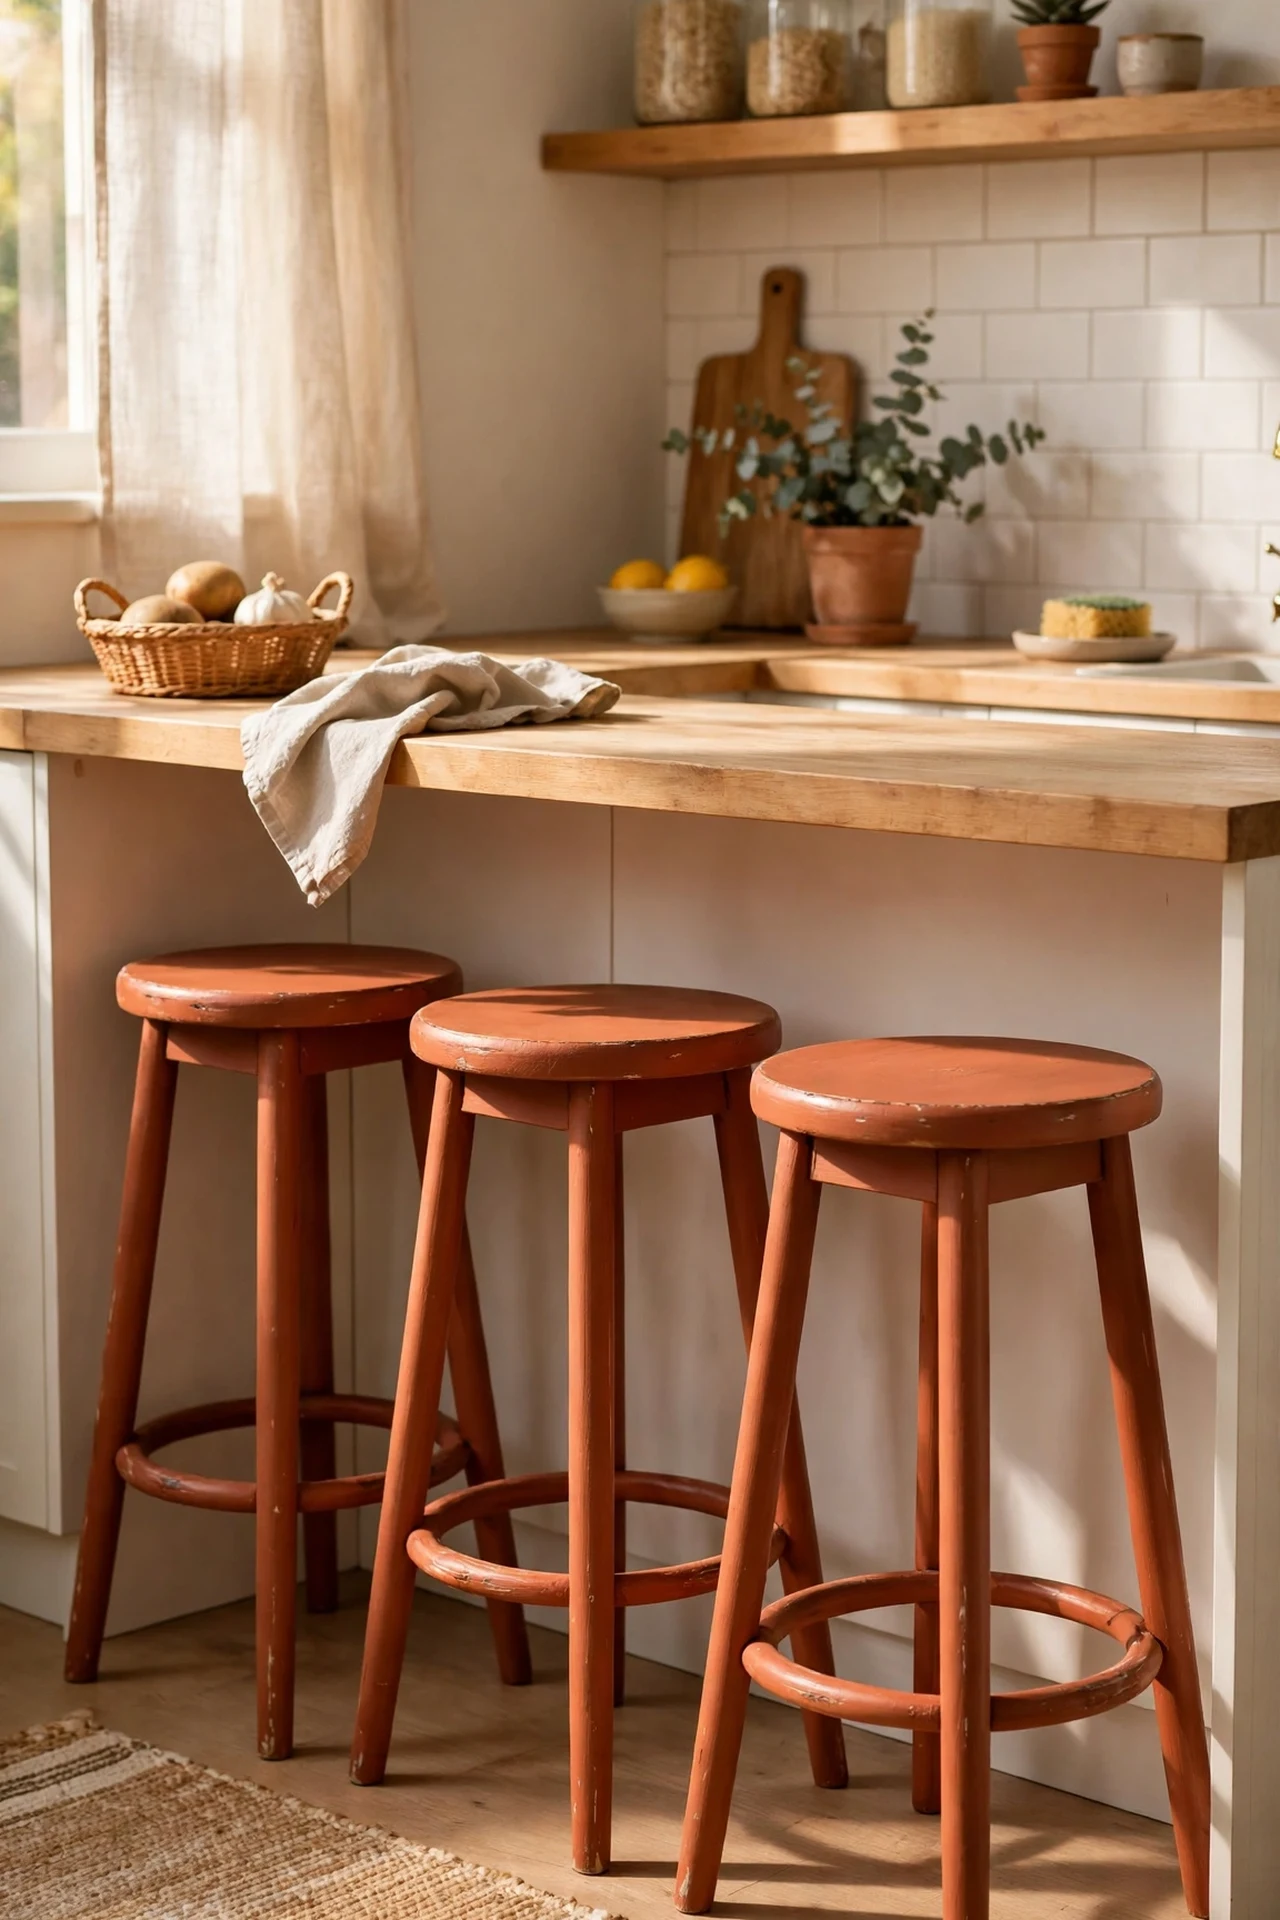
Chipped bar stools get a second life with a coat of terracotta paint, and the whole seating area suddenly matches the warm palette. I rescued two wobbly wooden stools from a curb pile and this trick made them look like a matched set. Tighten every screw first, then sand the seats and legs down to bare wood where the old finish is flaking. Brush on a bonding primer, followed by two coats of terracotta furniture paint, and finish with a matte topcoat on the seats for durability. The mistake to avoid is painting over loose joints — fix the wobble before you make them pretty, or the paint cracks at the seams.
Cost: ~$20 | Time: 3 hours
10. Decant Spices Into Jars With Terracotta Lids
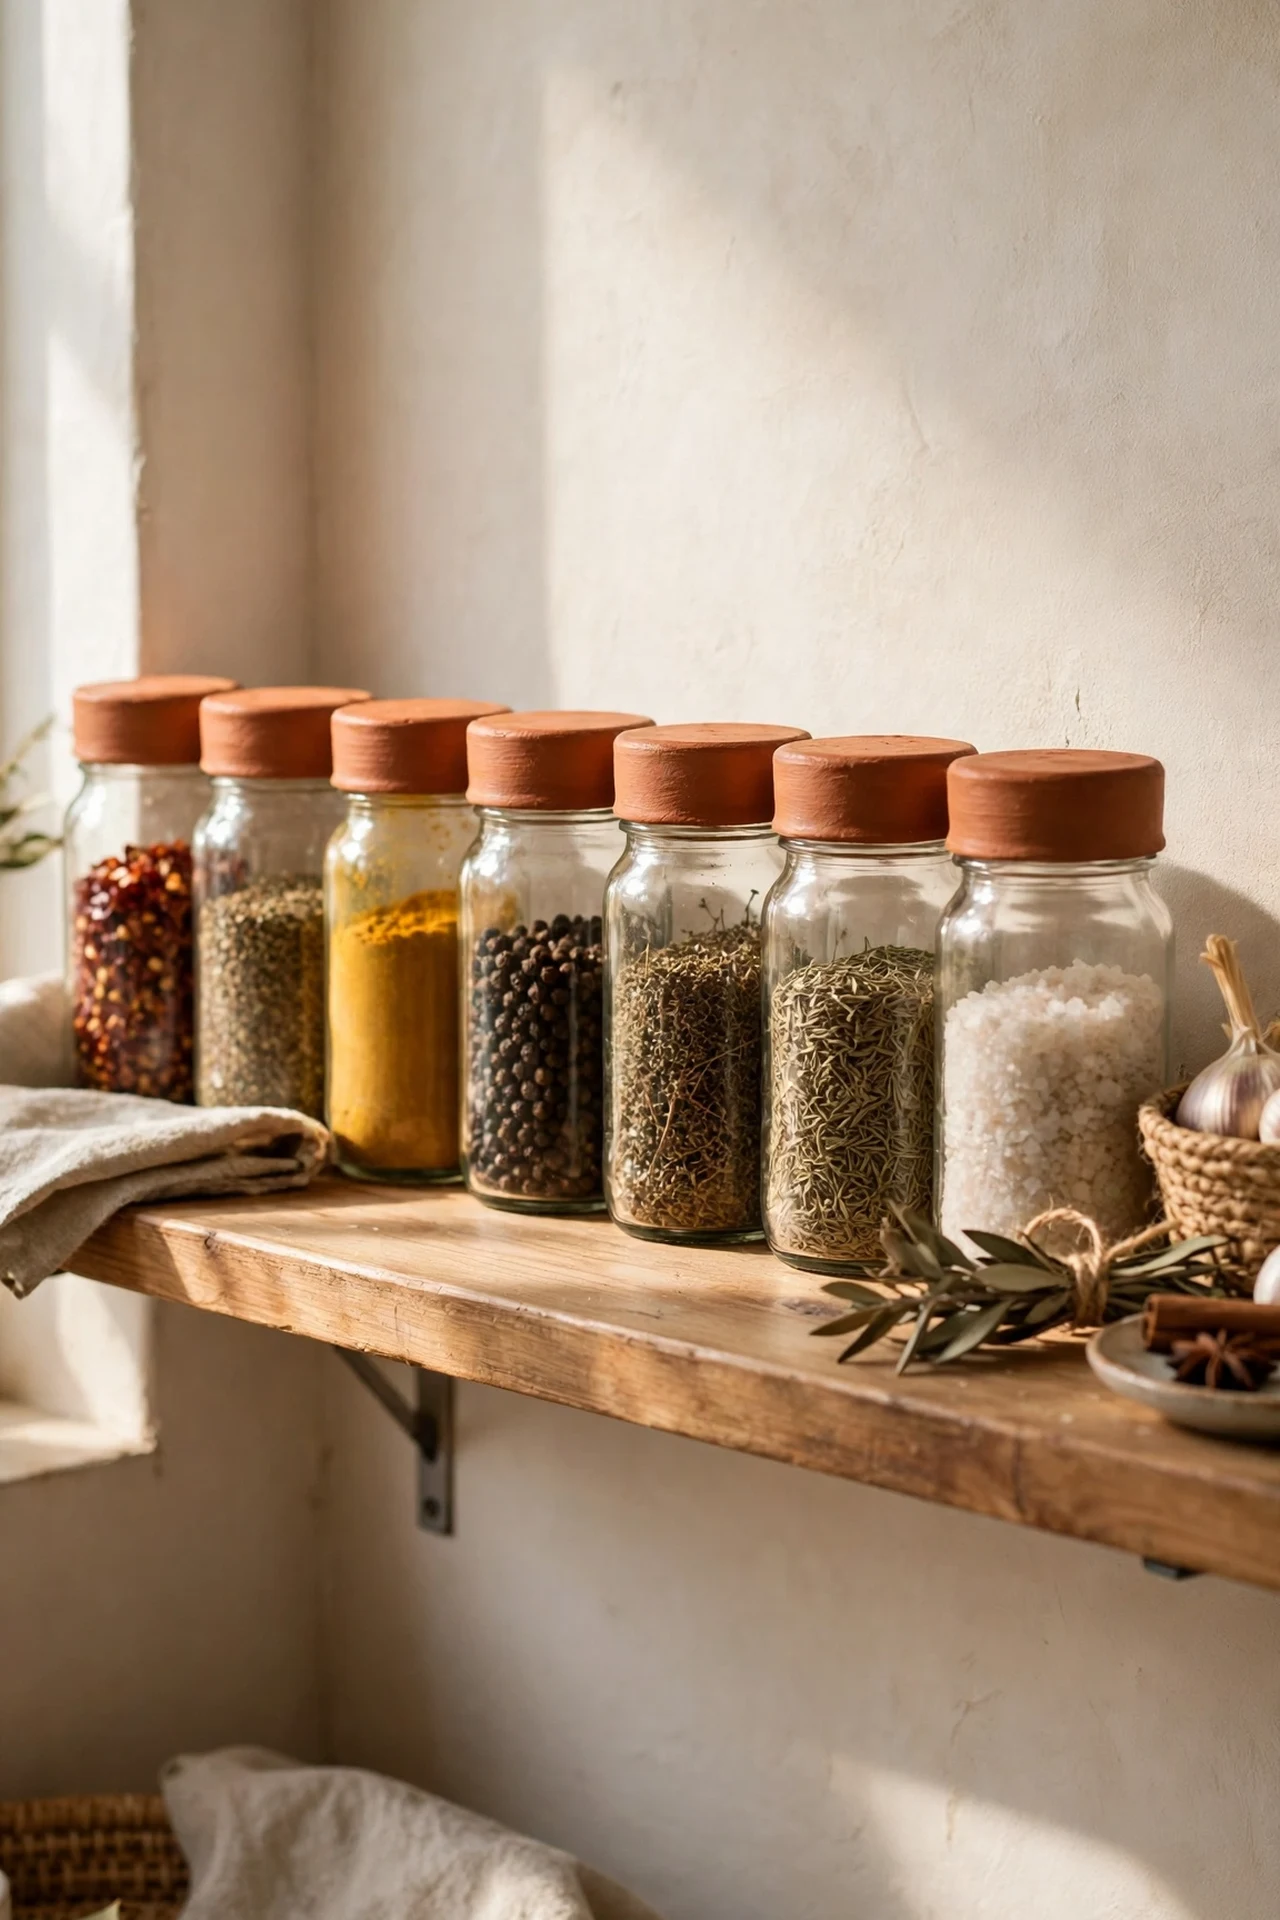
Matching spice jars with terracotta lids turn a messy spice drawer or rack into a display worth showing off. I bought a dozen plain glass jars and painted only the lids in a clay shade with food-safe enamel. Wash and dry the lids, sand them lightly, then apply two thin coats and let them cure for three full days before touching spices. Label each lid with a chalk pen so you can rewrite as jars rotate. Line the jars up on a small shelf by the stove for a uniform row of warm colour. The mistake to avoid is sealing the paint too soon — trapped fumes will taint the spices.
Cost: ~$15 | Time: 1 hour
11. Commit to One Terracotta Feature Wall
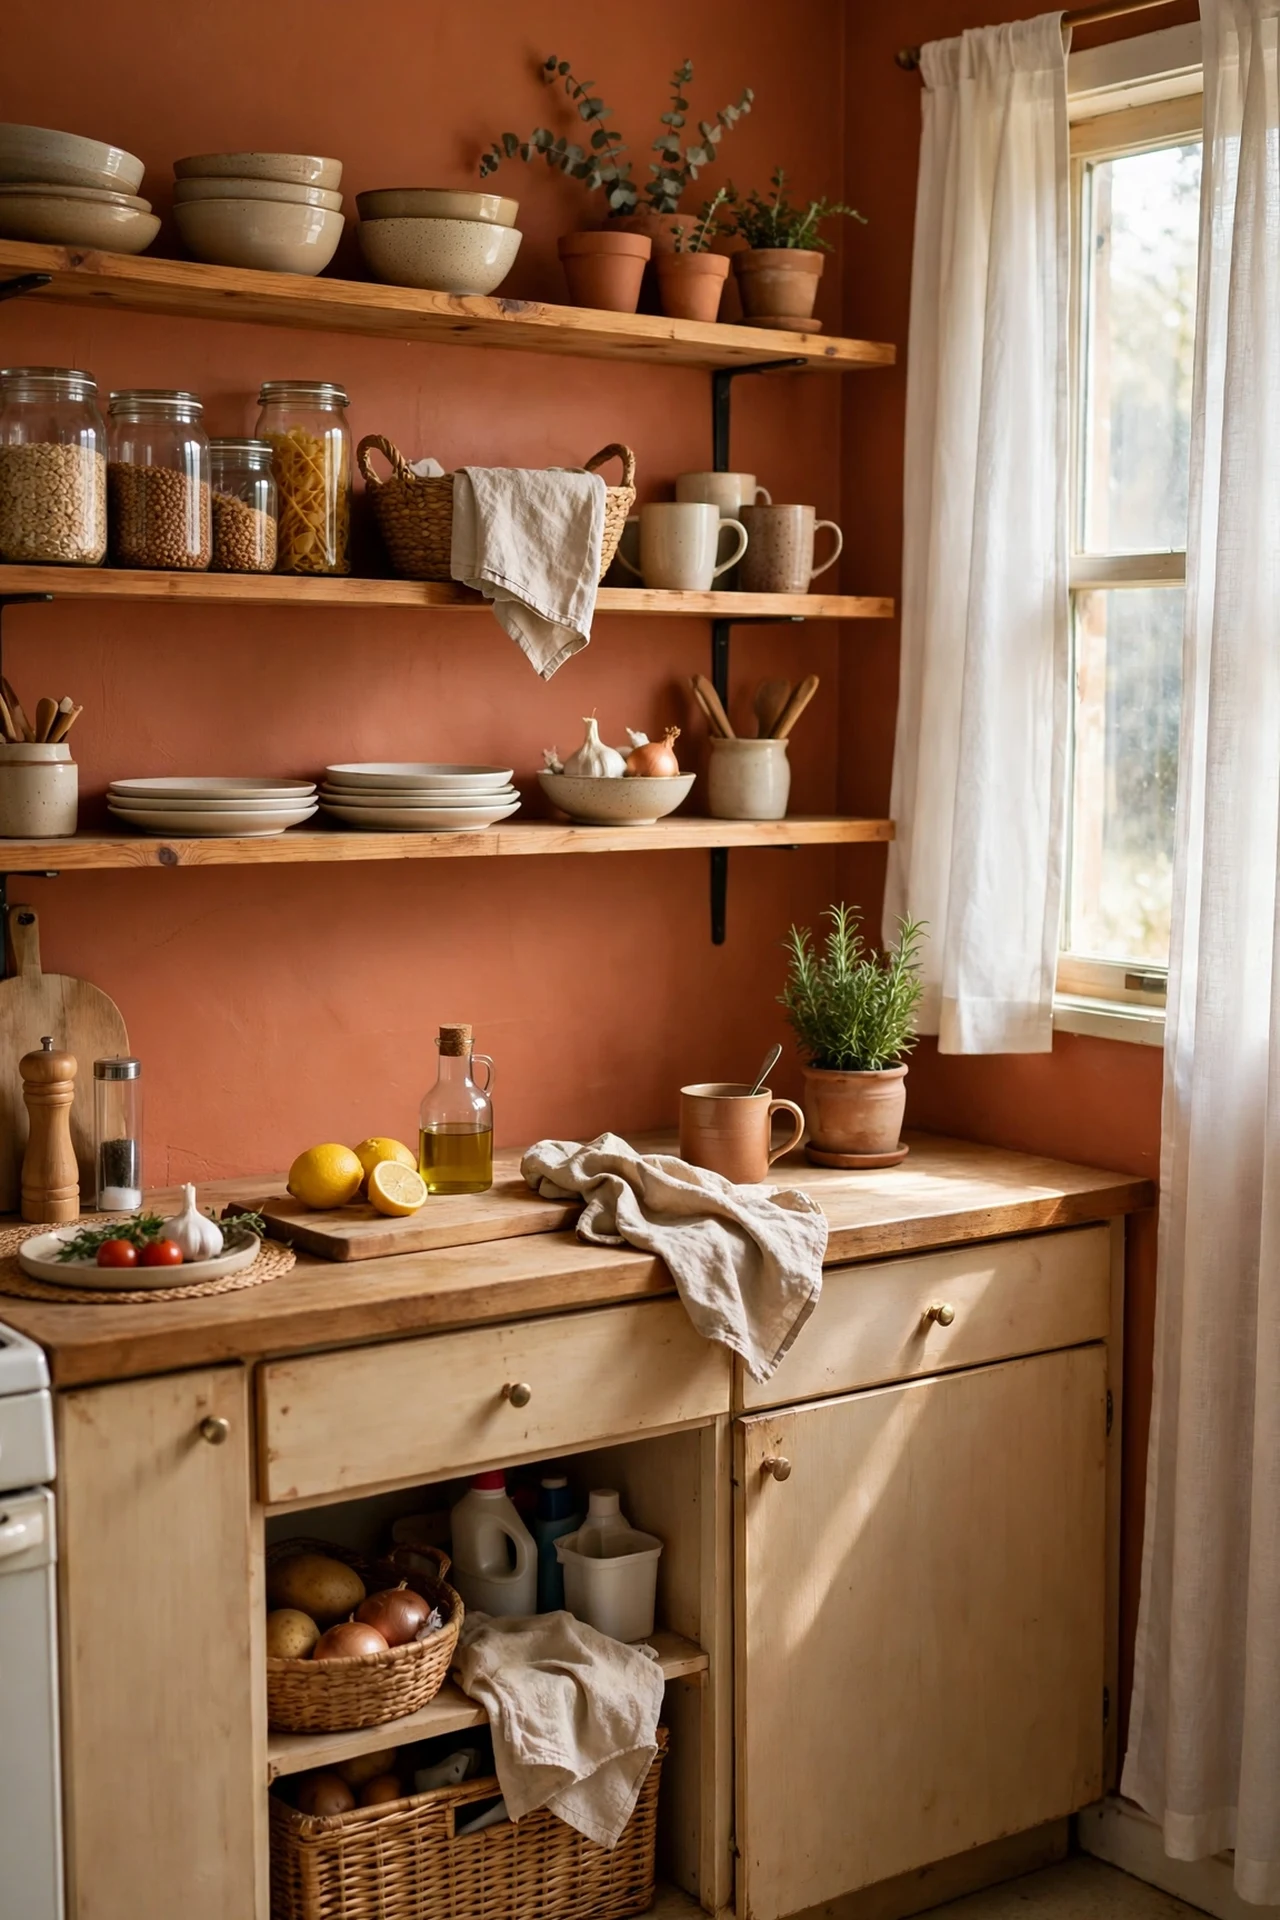
One terracotta feature wall delivers the drama of a full repaint with a fraction of the paint and effort. I tried this on the wall behind my open shelves and guests now ask who my decorator is. Pick the wall with the least cabinetry so the colour gets room to breathe. Cut in the edges with an angled brush first, then roll the field in long, even strokes, keeping a wet edge as you go. Two coats of a mid-tone clay paint over a tinted primer gives full coverage without a third coat. For the rest of the room’s refresh, see these (see also: cheap-kitchen-makeover-ideas). The mistake to avoid is painting the wall behind the stove — grease splatter will dull the finish fast.
Cost: ~$32 | Time: 4 hours
12. Roll Out a Terracotta Runner Underfoot
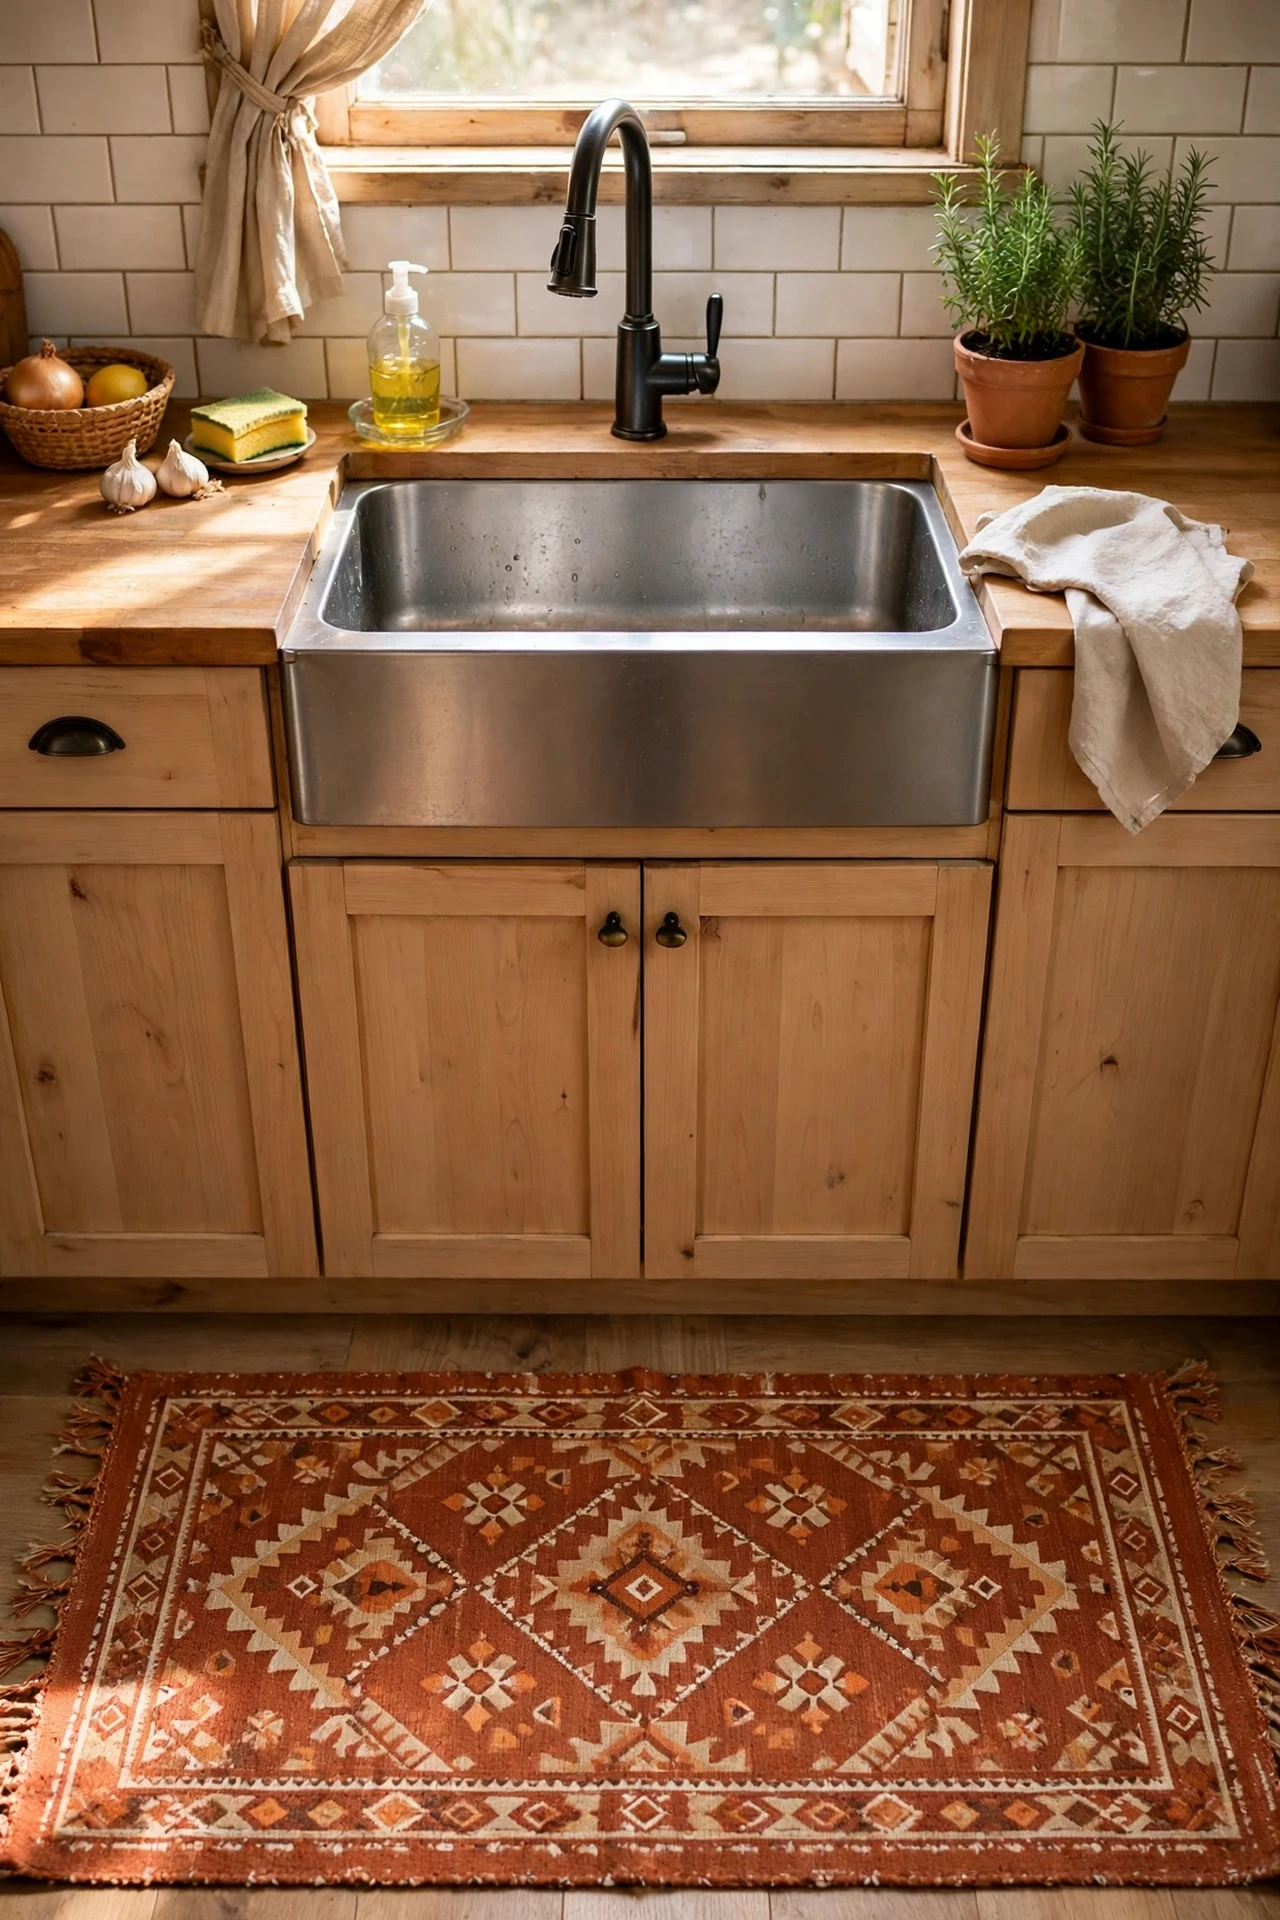
A terracotta runner softens hard kitchen floors and ties the whole colour story together at ground level. I laid a washable flatweave runner in front of my sink and it instantly made the room feel finished. Measure your run first, then buy a runner at least two feet longer than the counter it faces so it frames the workspace. Look for low-pile, machine-washable cotton — kitchen rugs take beatings. Vacuum weekly and toss it in the wash monthly. The mistake to avoid is skipping a non-slip pad underneath; runners on tile creep constantly, and the pad stops the daily shoving.
Cost: ~$26 | Time: 15 minutes
Pro tip: Before buying anything dyed terracotta, hold it against your actual cabinets in daylight. Clay tones swing orange under warm bulbs and pink under cool ones — a swatch check takes ten seconds and saves a return trip.
13. Swap Cabinet Knobs for Terracotta Ones
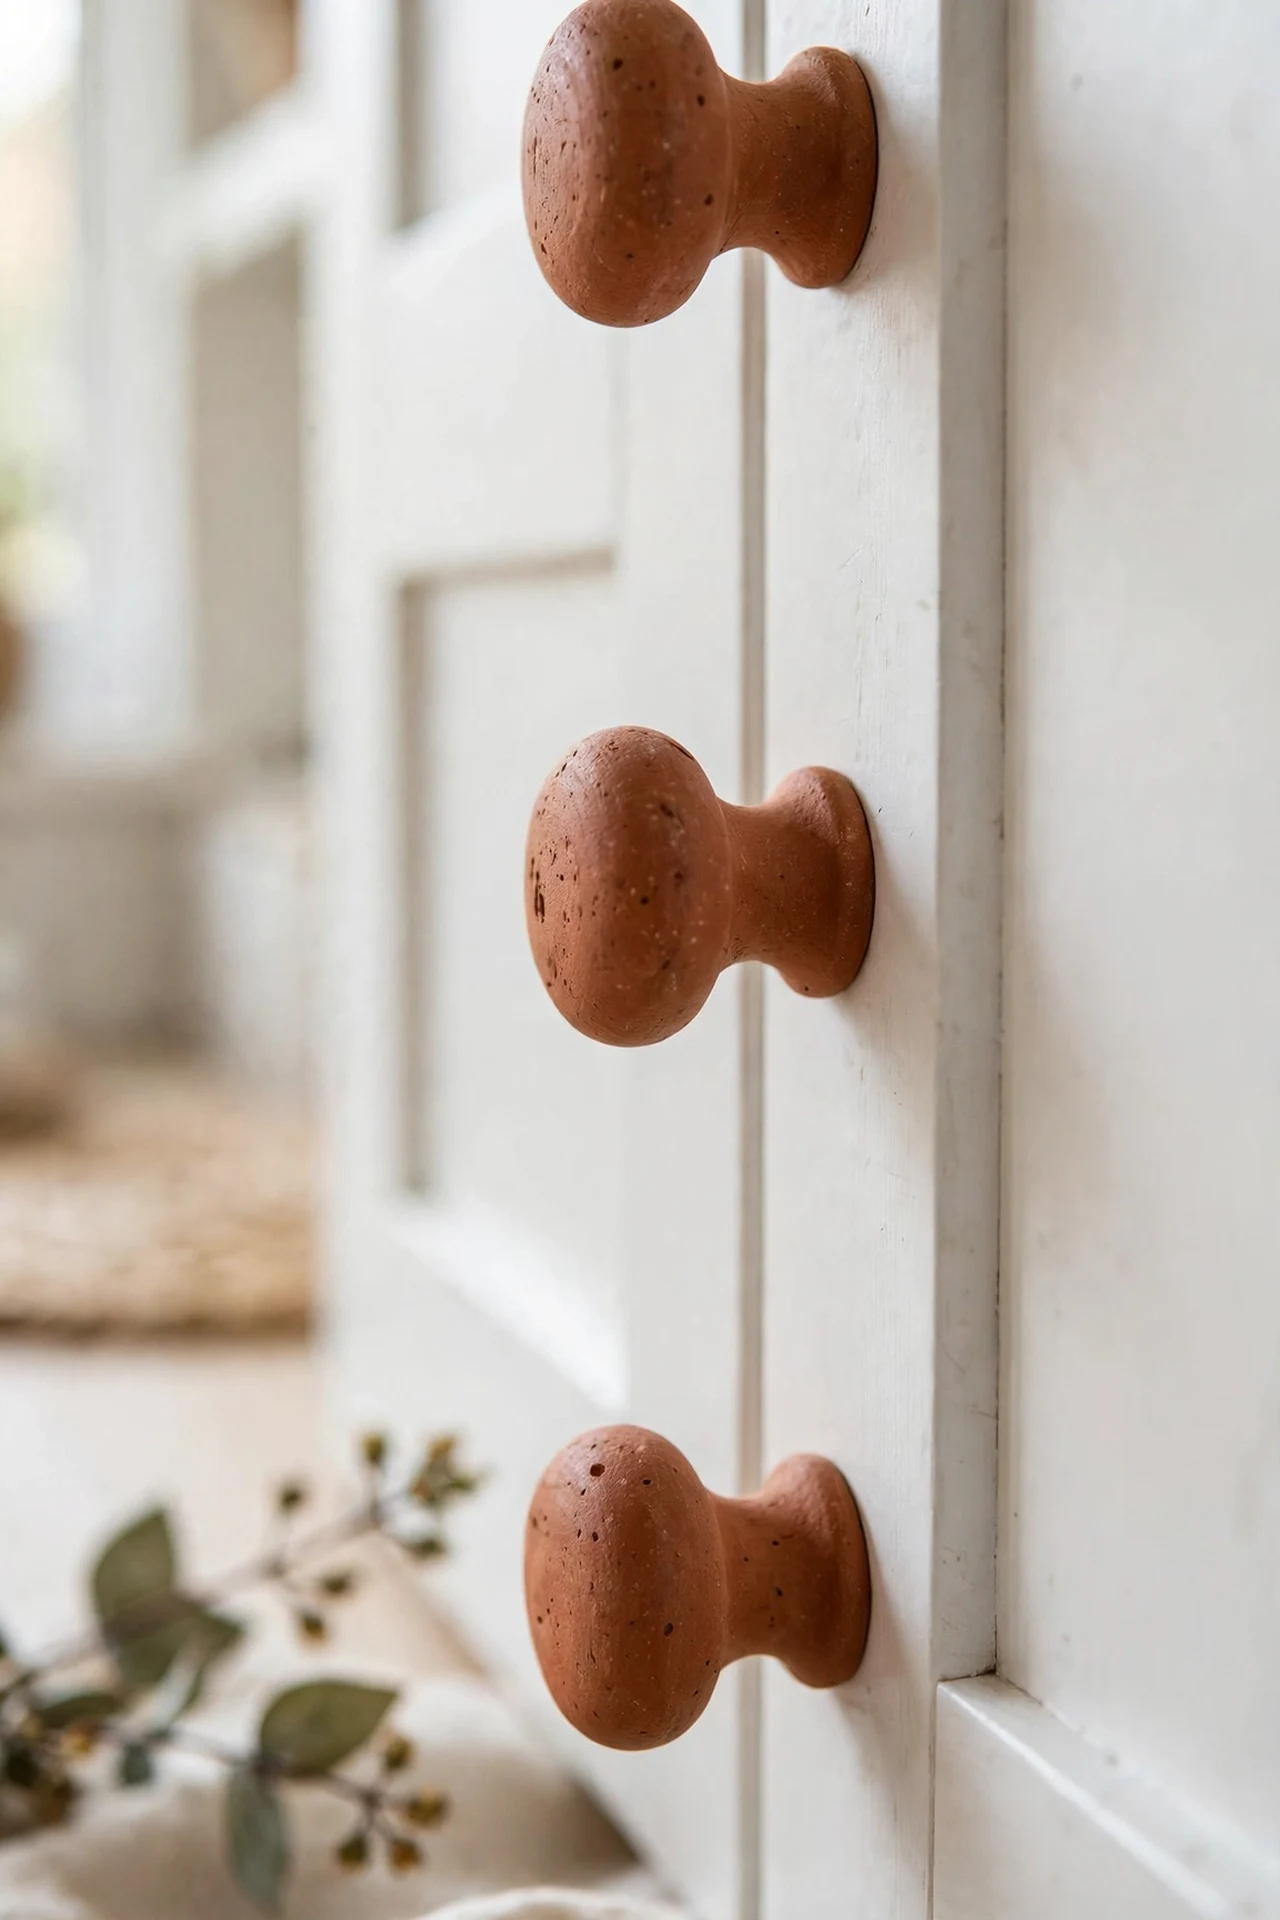
New knobs in a terracotta finish refresh every cabinet door in the room for less than a takeaway dinner. I ordered a bulk pack of clay-toned ceramic knobs online and changed all twenty-two doors in under an hour. Remove one old knob first and measure the screw spacing so the new ones fit your existing holes. Unscrew the old hardware, pop the new knobs on, and tighten just until snug — overtightening cracks ceramic. Keep the old knobs in a labelled bag in case you ever want to switch back. The mistake to avoid is mixing metals and clay knobs randomly; pick one finish for the whole kitchen so it reads as a plan.
Cost: ~$18 | Time: 45 minutes
14. Display Terracotta Plates and Bowls Openly
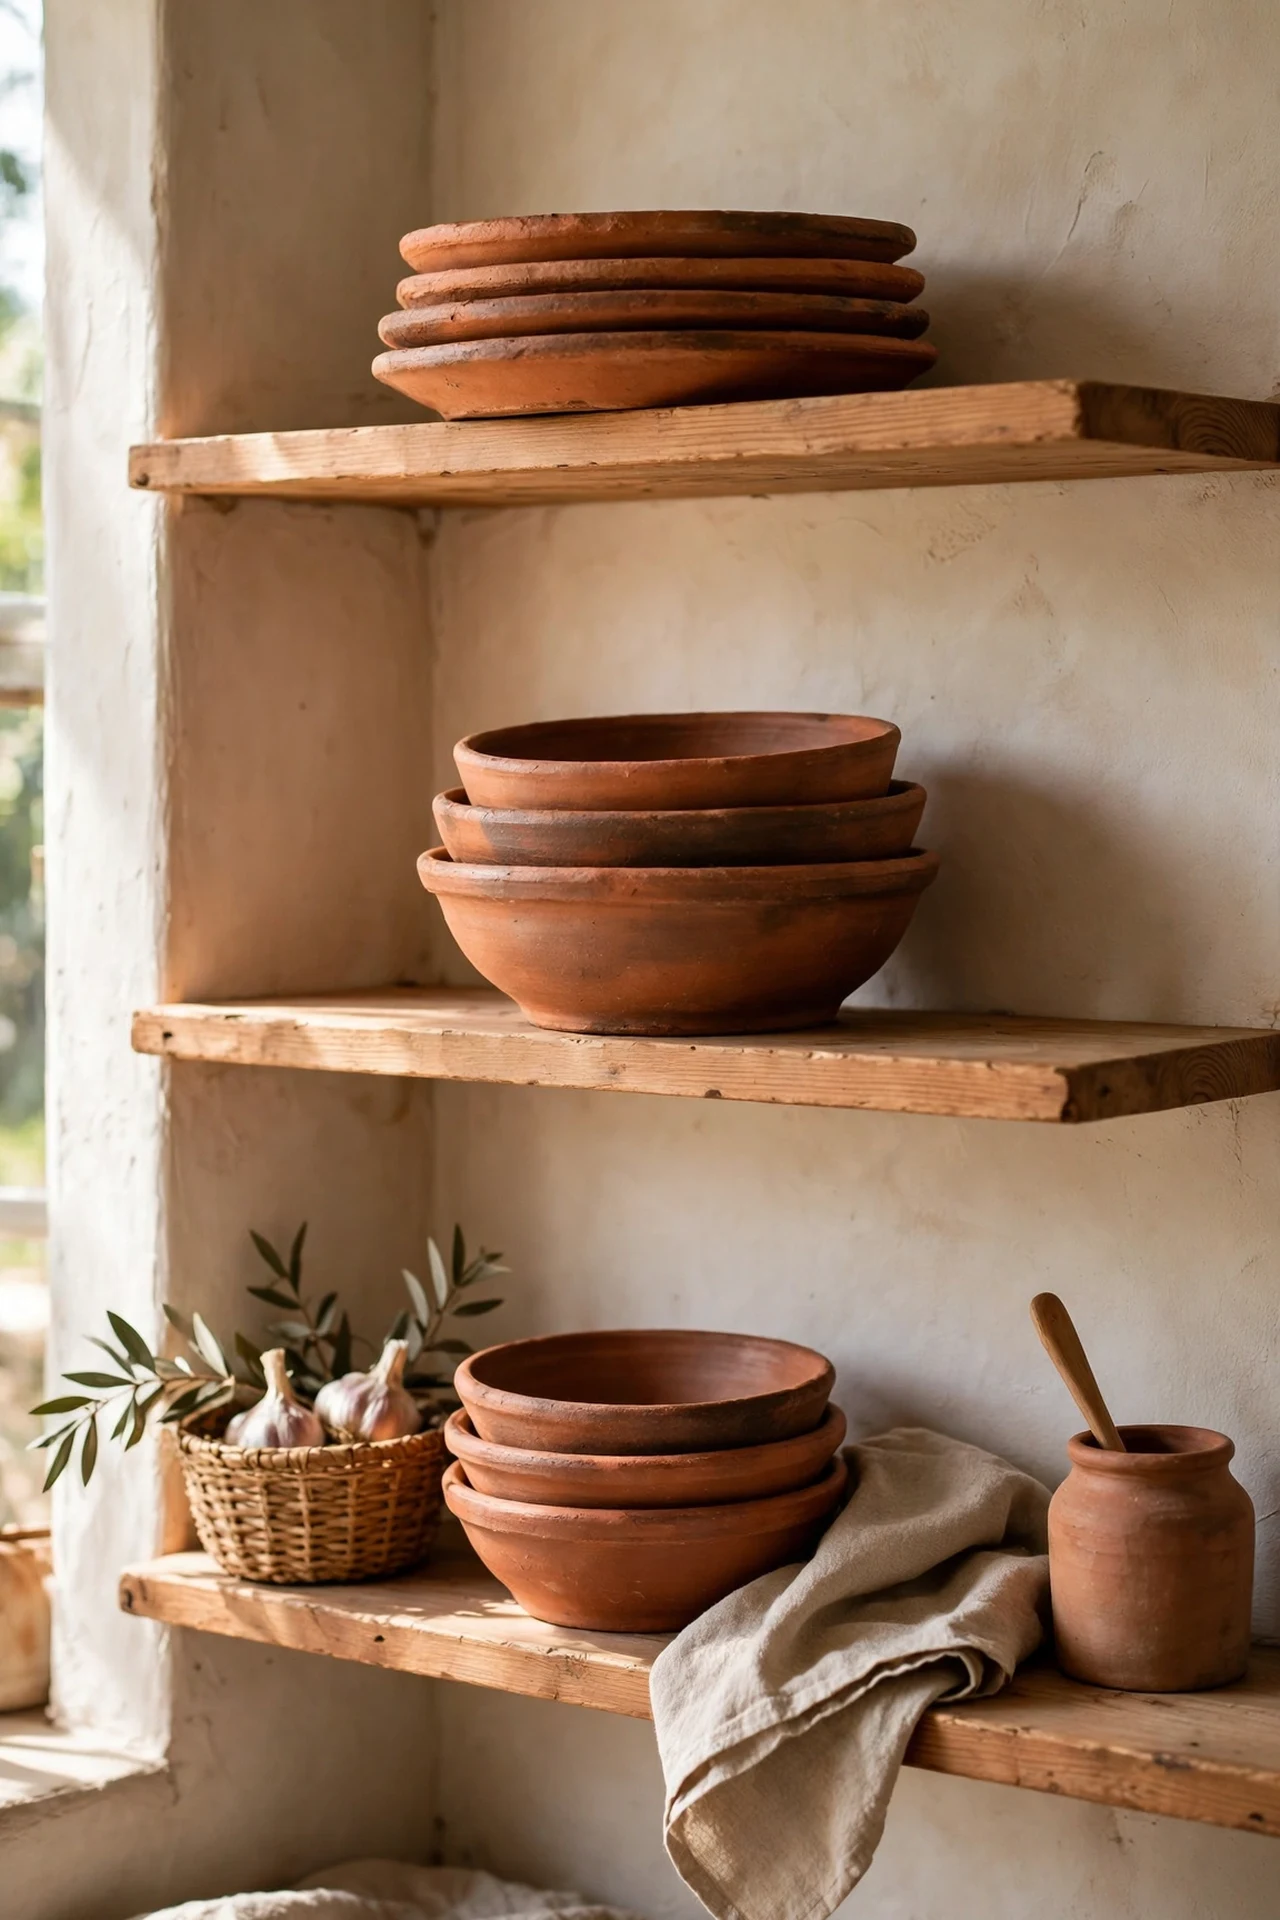
Stacking terracotta plates and bowls where you can see them doubles your storage and your decor in one move. I moved my everyday clay-toned stoneware from a dark cupboard onto the open shelf and the kitchen instantly felt warmer. Group pieces by tone rather than by exact match — three shades of terracotta look collected, not chaotic. Put the heaviest bowls on the bottom shelf and keep daily plates at hand height. Dust the display pieces weekly since open shelves collect grease film. The mistake to avoid is displaying dishes you never wash — use them regularly or they gather a sticky film that dulls the glaze.
Cost: ~$24 | Time: 30 minutes
15. Dress the Stove With Terracotta Dish Towels
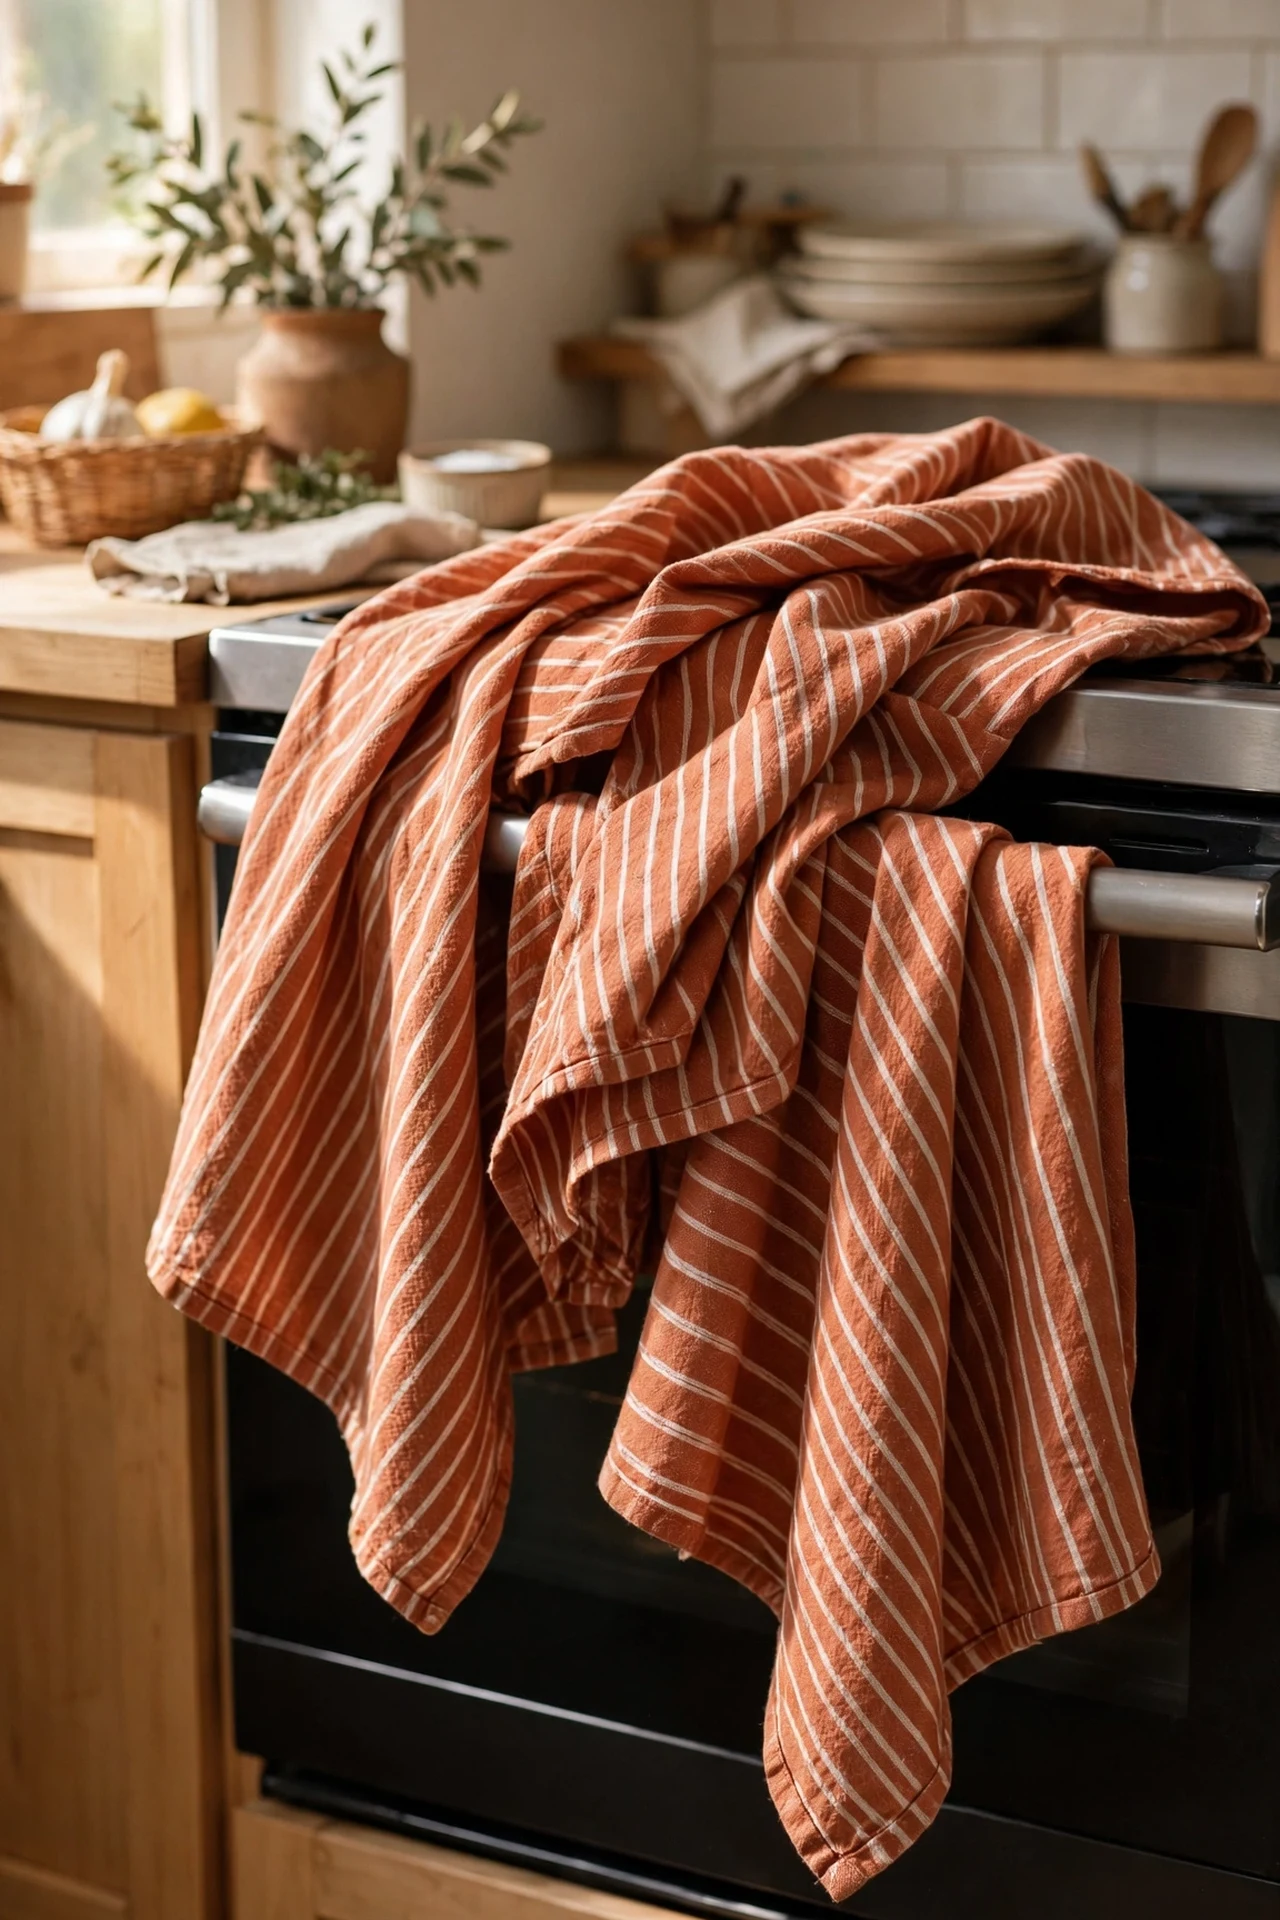
A folded stack of terracotta dish towels on the oven handle is the cheapest styling trick on this list. I swapped my faded grey towels for a four-pack of clay-striped cotton ones and the stove area looked made over. Buy 100% cotton towels because they absorb better and age with a nice softness. Fold each towel in thirds lengthwise and drape two over the handle with the stripes aligned. Rotate them into use so one towel doesn’t fade faster than the rest. The mistake to avoid is hanging a brand-new towel as pure decoration — towels are for drying hands, and a pristine one looks staged rather than lived-in.
Cost: ~$9 | Time: 10 minutes
16. Paint a Terracotta Chalkboard Menu Panel
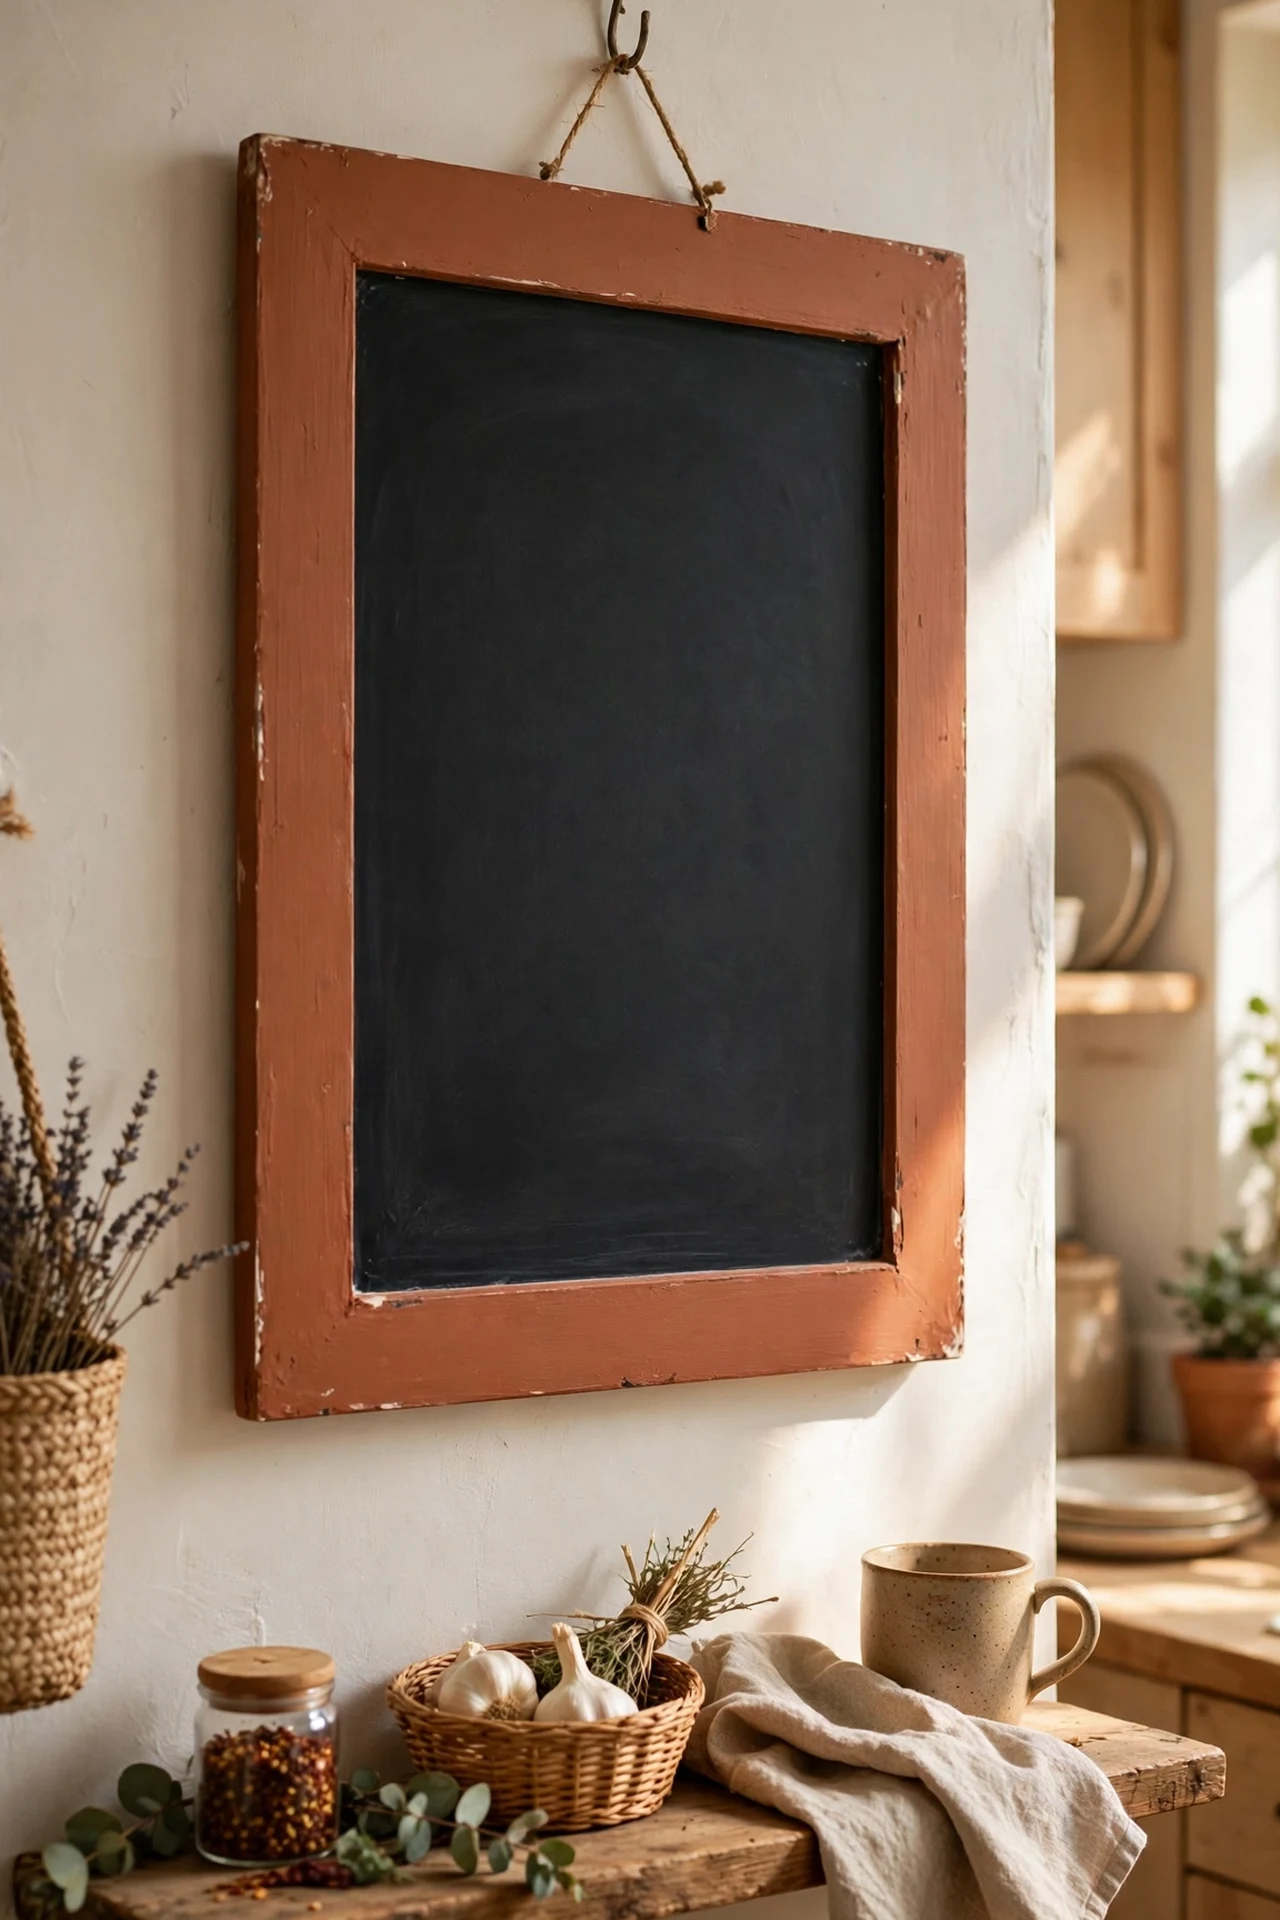
A terracotta-framed chalkboard menu panel adds charm and keeps the week’s meals where everyone can see them. I painted a thrifted frame in clay paint and mounted a chalkboard insert inside. Remove the glass and backing first, then paint the frame with two thin coats and let it dry fully. Cut the chalkboard panel to fit, secure it with the original backing clips, and season the board by rubbing chalk over the whole surface and wiping it off. Hang it near the fridge with a small chalk tray. The mistake to avoid is writing the menu before seasoning — the first lines will ghost permanently on an unseasoned board.
Cost: ~$12 | Time: 1 hour
Pro tip: Thrift stores are terracotta goldmines — clay pots, plates, and trays show up constantly because the style cycles in and out. Check the housewares aisle first and you will often find real terracotta pieces cheaper than any paint project.
17. Lean Terracotta Cutting Boards on the Shelves
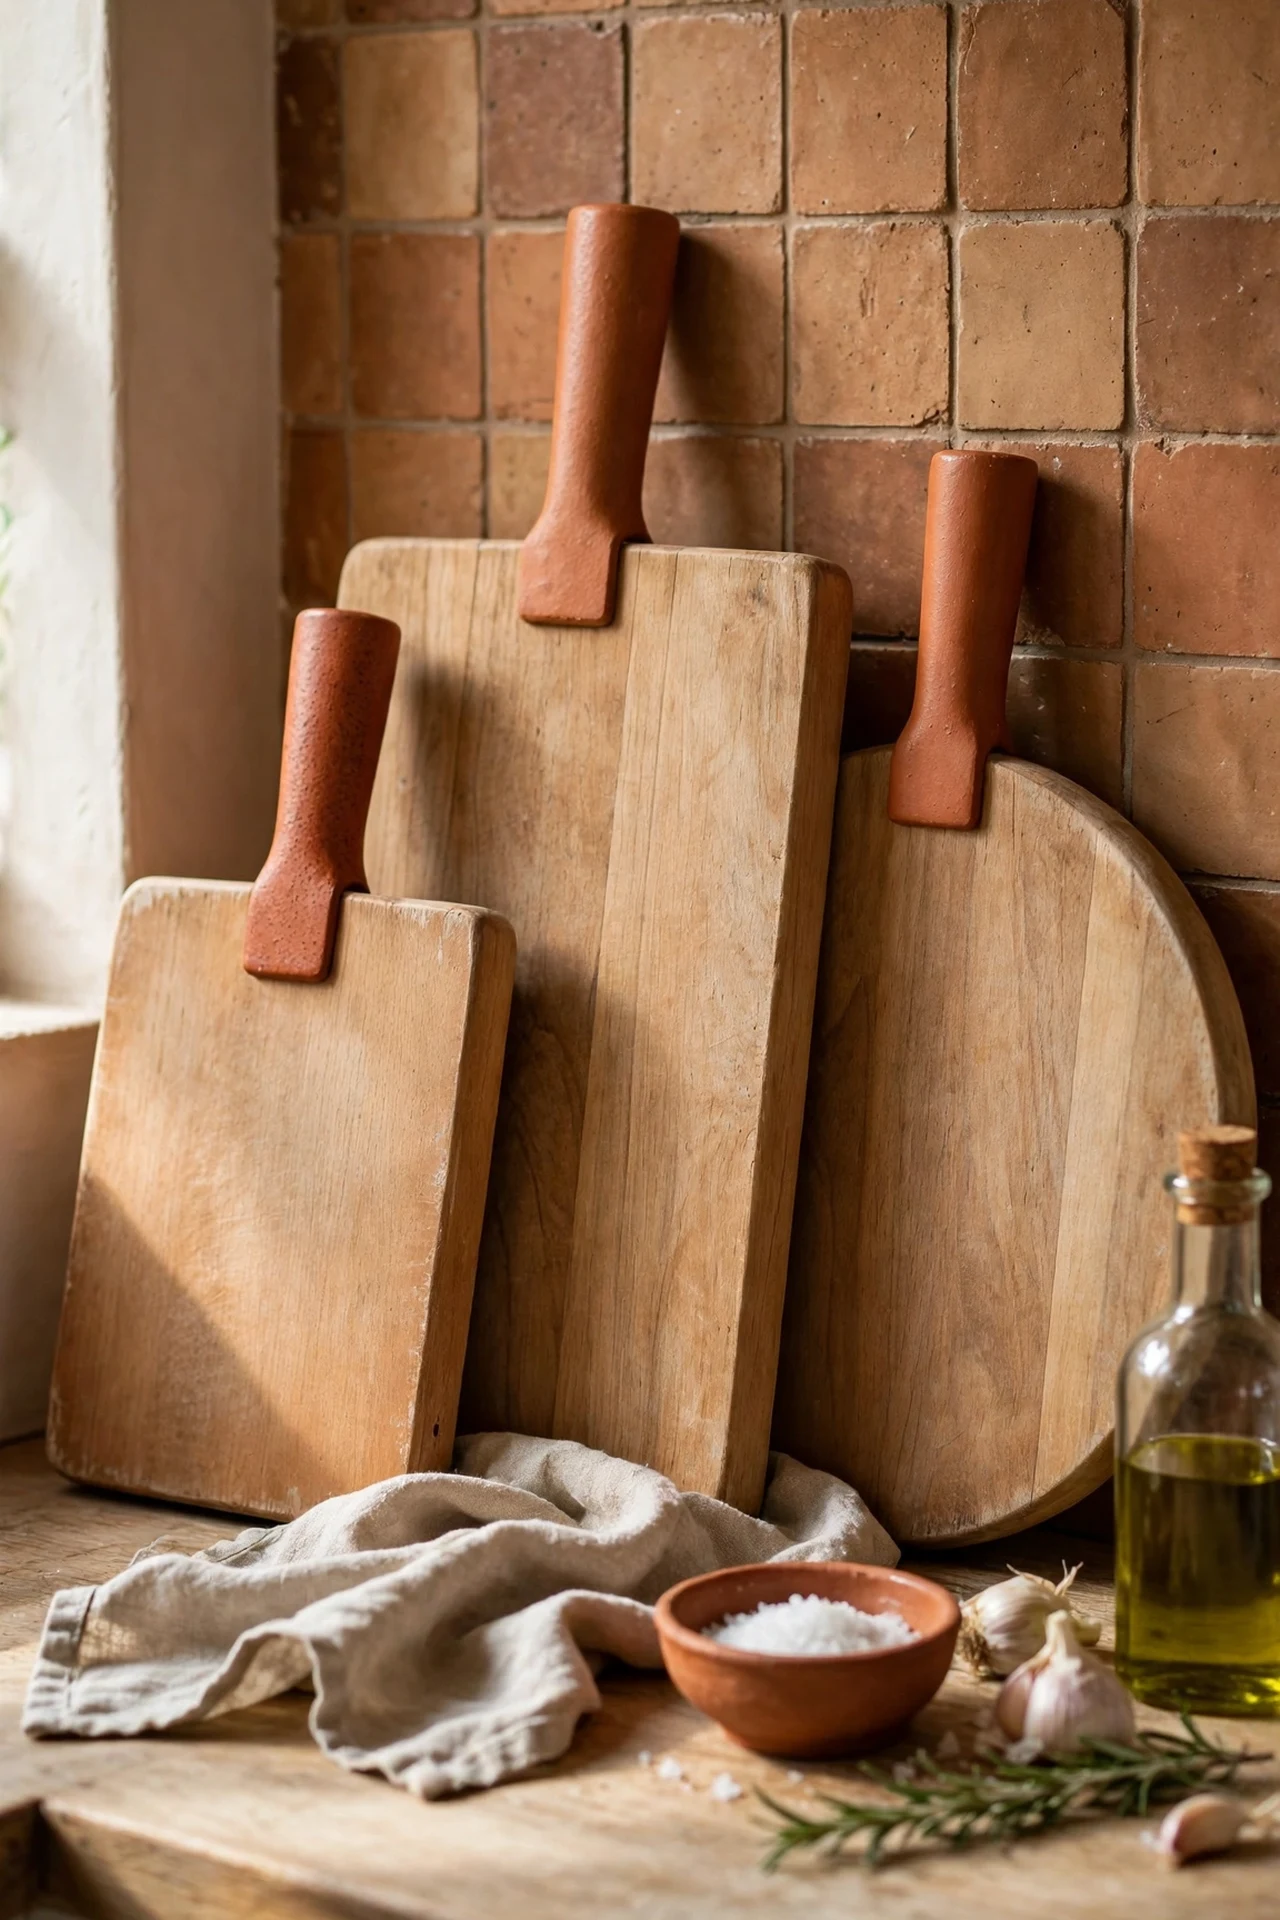
Wooden cutting boards with terracotta-toned handles, leaned against the backsplash, add a sculptural layer for almost nothing. I collected three boards in warm wood tones with clay-coloured accents and they filled an awkward gap between my shelf and the stove. Choose boards in different heights so they cascade instead of lining up like soldiers. Lean the tallest at the back against the wall and the smallest in front, angled slightly. Oil wooden boards monthly with food-safe mineral oil to keep them from drying out. The mistake to avoid is leaning them where the kettle steams — constant moisture warps wood and stains the clay finish.
Cost: ~$14 | Time: 15 minutes
Save this one to your kitchen board — you’ll want it open when you’re standing in the paint aisle.
Quick Answers
Q: Will terracotta make my small kitchen feel darker?
A: Not if you use it in doses. Keep terracotta to lower cabinets, accents, and one wall at most, and pair it with white uppers or light counters so the room keeps bouncing light around.
Q: What colours go well with a terracotta kitchen?
A: Cream, warm white, sage green, natural wood, and black hardware all sit beautifully next to clay tones. Avoid pairing it with cool greys, which tend to make terracotta look muddy.
Q: Is terracotta still trendy or already dated?
A: Clay tones have cycled through kitchens for decades because they read as natural rather than trendy. Used as accents rather than a full-room commitment, they age gracefully no matter what the trends do.
Start with the cheapest idea that caught your eye and live with it for a week — you will quickly see whether your kitchen wants a whisper of terracotta or a full clay-coloured conversation. Warmth this affordable is hard to argue with.
