15 DIY Shelf Ideas in a Weekend
Our landing had one bare stretch of wall for the better part of two years, and I walked past it every single day thinking, “I should really do something with that.” The problem was never a lack of ideas — it was money, and a genuine fear of drilling holes in the wrong place. Then one rainy Saturday I stopped overthinking it, bought a pine board for less than a takeaway costs, and built my first diy shelf. It took about an hour, it wobbled for exactly one day until I fixed the bracket, and now it holds my favourite plants. Here are fifteen shelves you can genuinely finish in a weekend, most of them for pocket money.
1. Simple Floating Pine Shelf
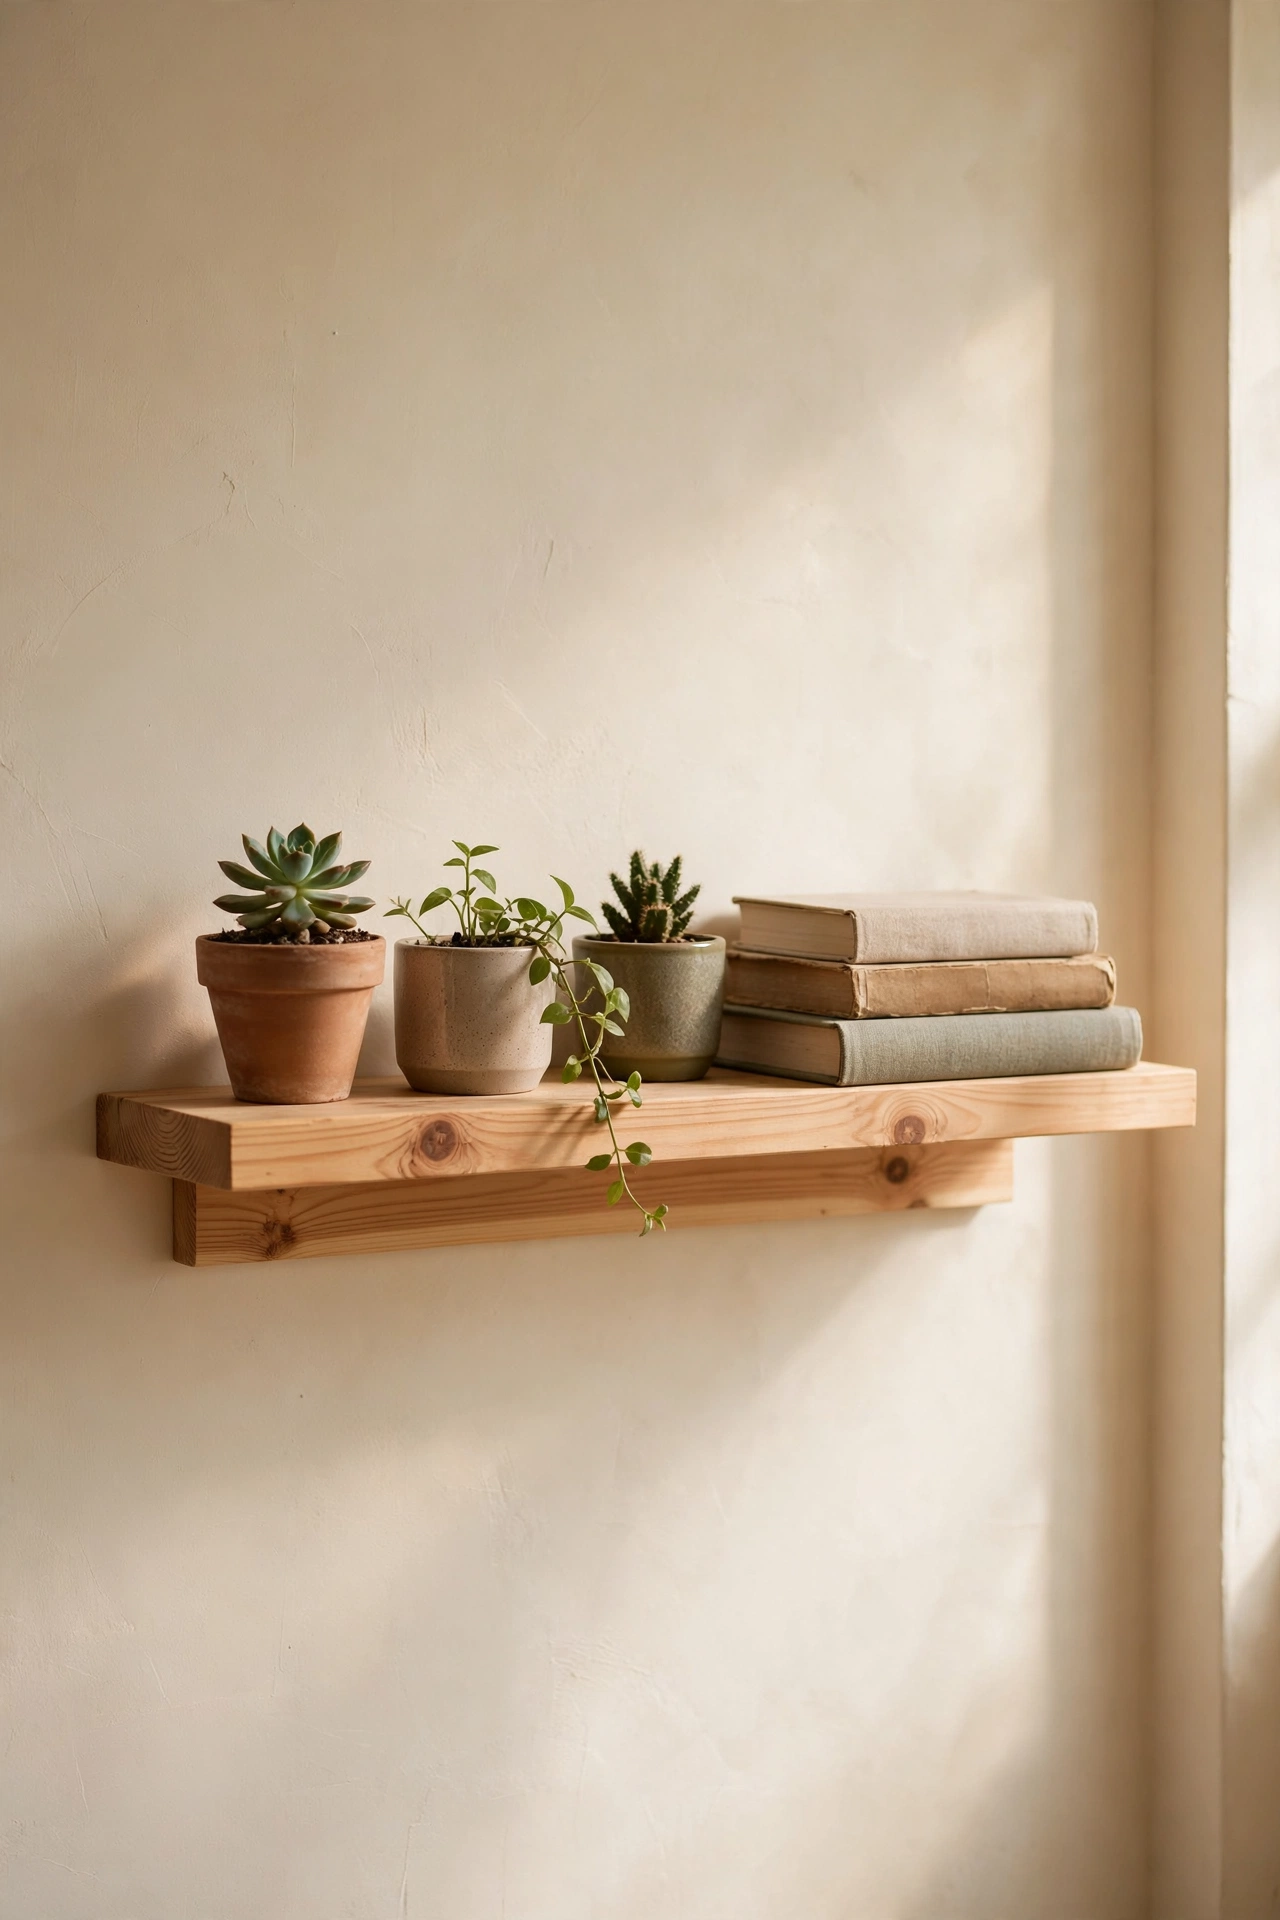
A single pine board on concealed metal brackets is the classic beginner project for a reason: it looks far more expensive than it is, and the whole job is three holes in the wall. Cut (or have the hardware shop cut) a board to length, stain or paint it, then fix the brackets level and slide the board on.
- One pine board, roughly 90cm — ~$6 from the timber section.
- A pair of concealed floating brackets — ~$8 online or in-store.
- Sandpaper, screws and wall plugs — ~$5 if your toolbox is empty.
I tried this first and hung it too high — I kept reaching up like I was changing a lightbulb. Take it down a notch from where you think it should go. Also, use a spirit level on the brackets, not just the board; brackets are where things go wrong.
Cost: ~$19 | Time: 1–1.5 hours
2. Stacked Crate Shelving Tower
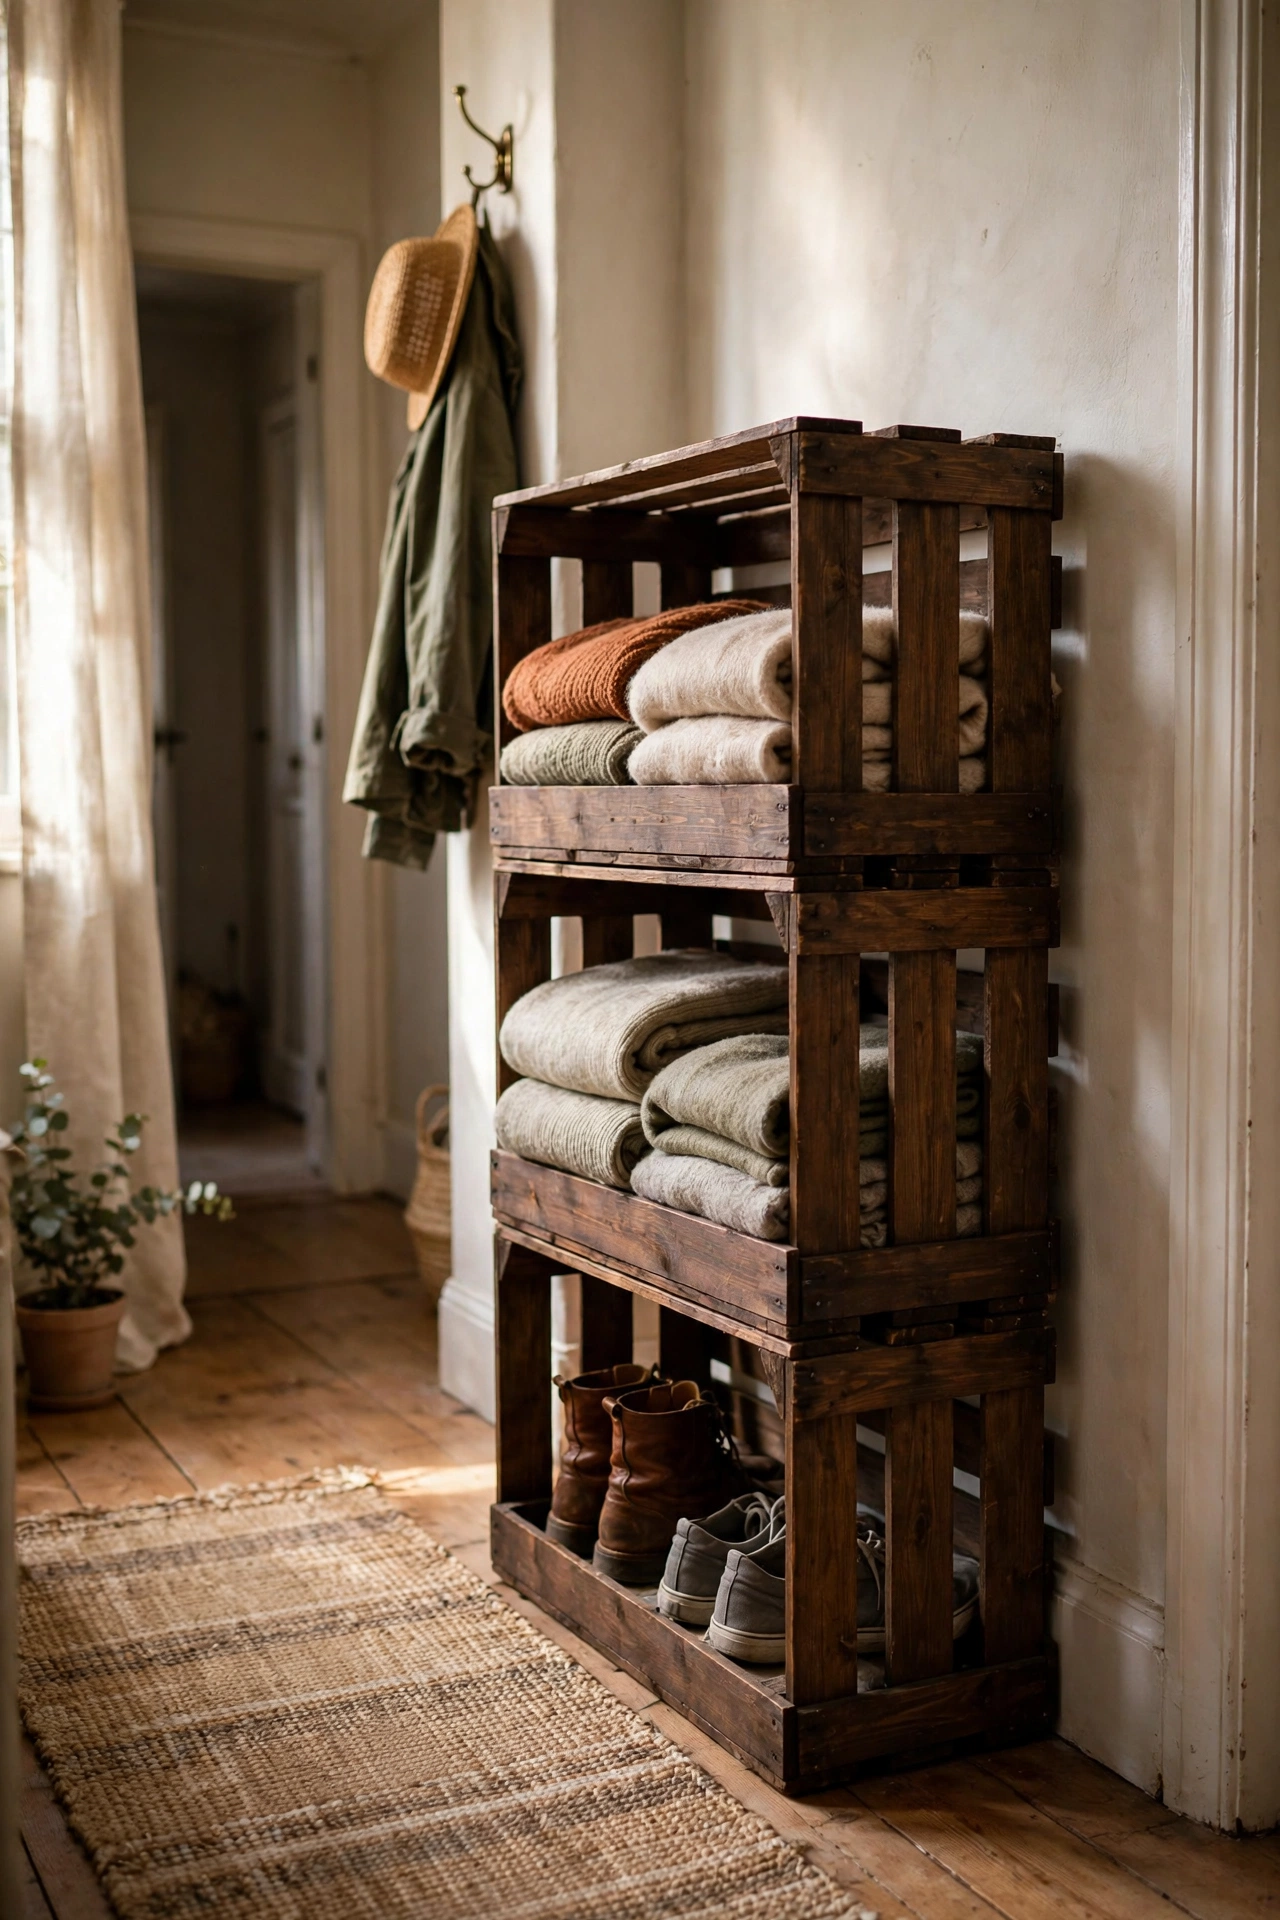
Wooden crates stacked two or three high make a chunky storage tower that suits a hallway, a kid’s room or anywhere shoes breed. Sand the rough edges, stain them a single colour so they read as one piece, then screw the crates together from the inside so no fixings show.
- Three wooden crates — ~$18 new, or free from a market stall.
- Wood stain in one colour — ~$9 for a small tin.
- Short wood screws to join crates — ~$4 a box.
I tried this and left the crates unstained for a month — big mistake, it looked like a removal van had parked indoors. One coat of dark stain pulled the whole tower together. Don’t skip screwing the crates to each other; mine slid apart when a toddler climbed it.
Cost: ~$31 | Time: 2 hours (plus drying)
3. Hanging Rope Shelf
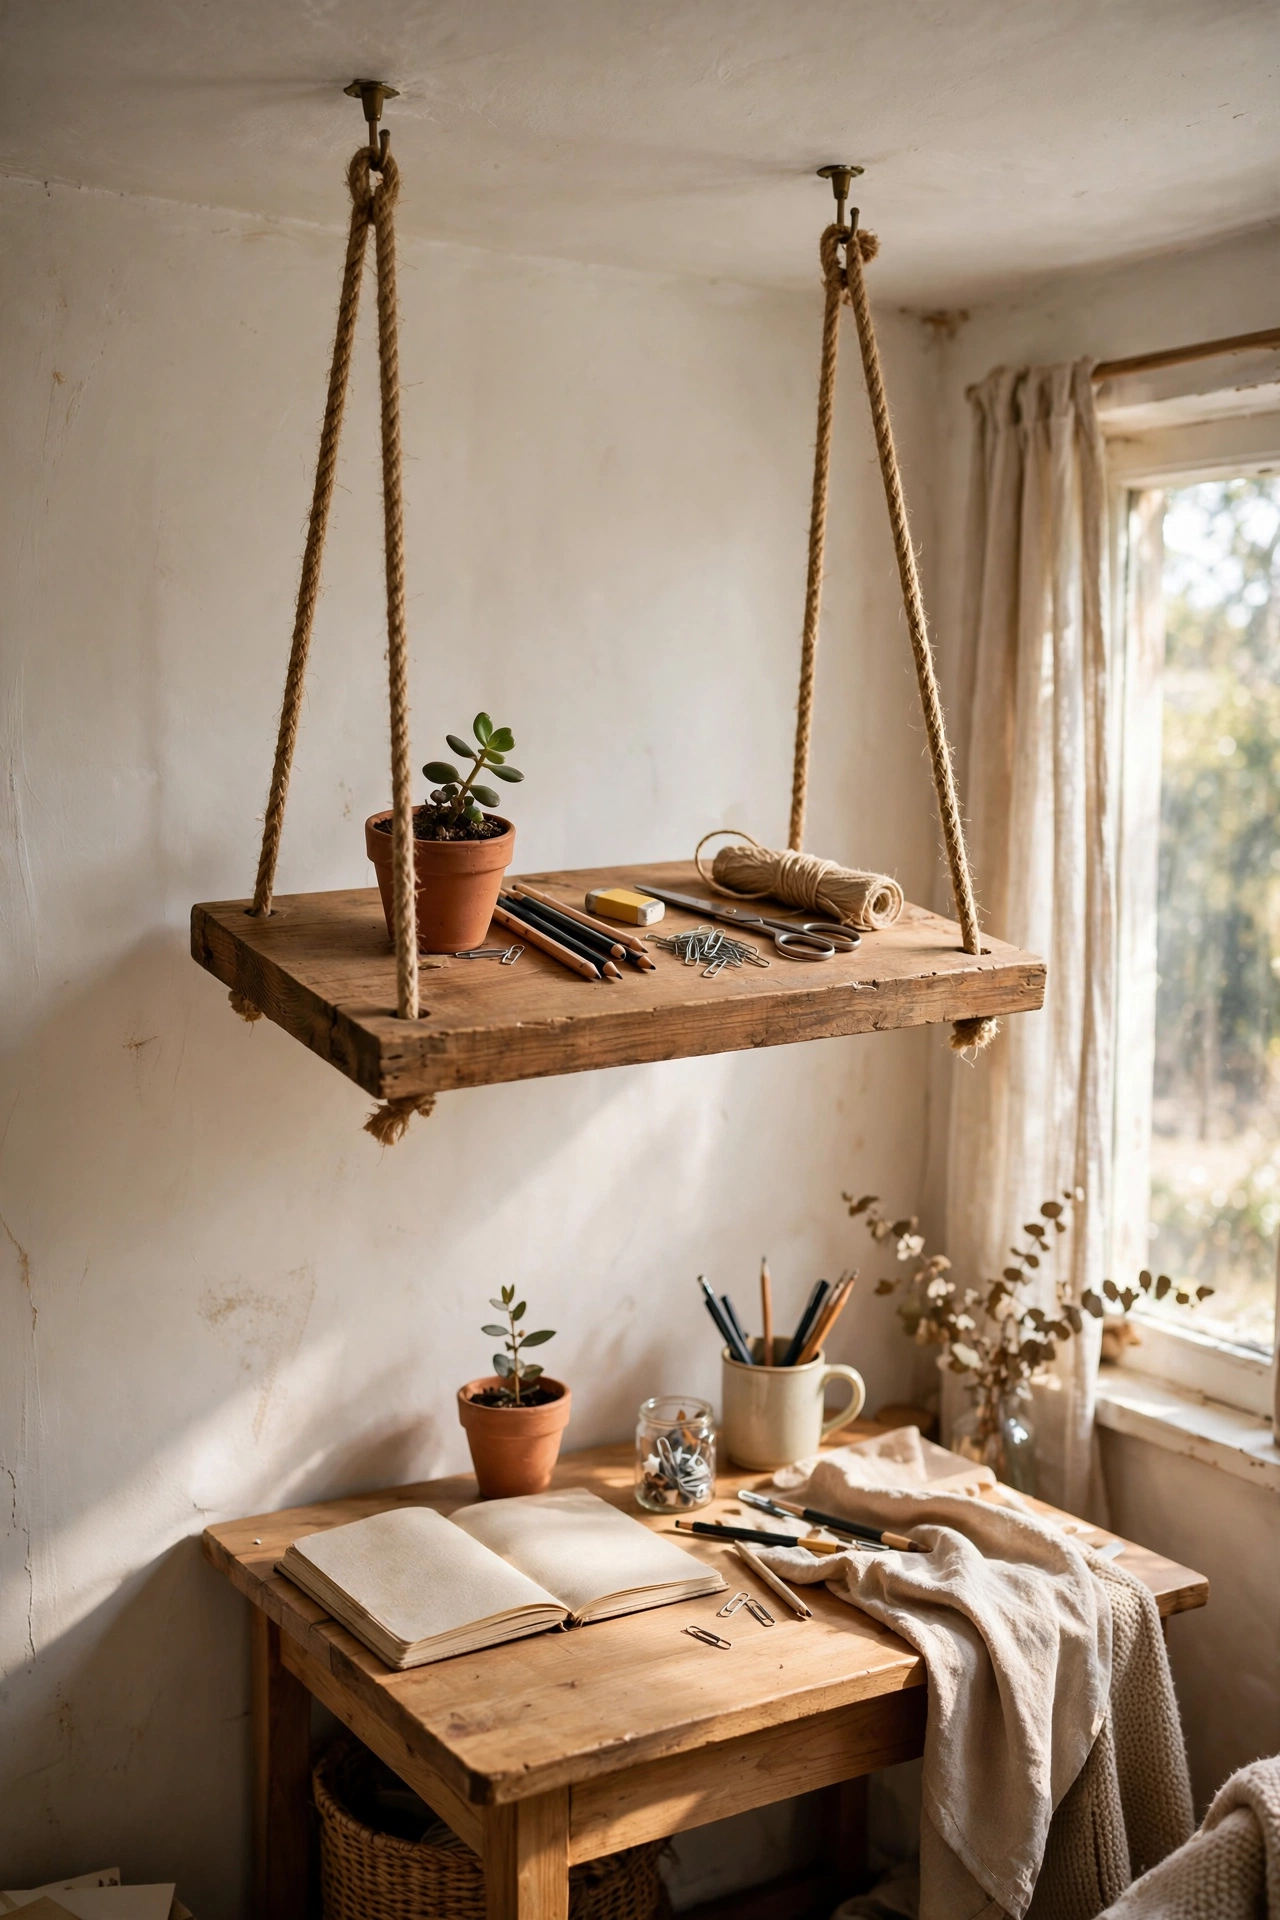
Two lengths of rope, one board, two hooks in the ceiling or wall — that’s the entire project, and it gives you that lovely boho look for almost nothing. Drill a hole in each corner of the board, thread the rope through, knot underneath, and hang from sturdy hooks. A small shelf level on top while you tie the knots keeps it straight.
- A sanded wooden board — ~$6, or an offcut for free.
- Thick cotton or jute rope — ~$7 for several metres.
- Two ceiling hooks rated for weight — ~$4 a pair.
I tried this over my desk and used thin string the first time — the shelf tilted like a sinking ship within a week. Use proper thick rope and knots you can adjust. Don’t hang it from a plasterboard ceiling without finding a joist; I had to re-drill mine into solid wood.
Cost: ~$17 | Time: 45 minutes
4. Corner Floating Shelf Pair
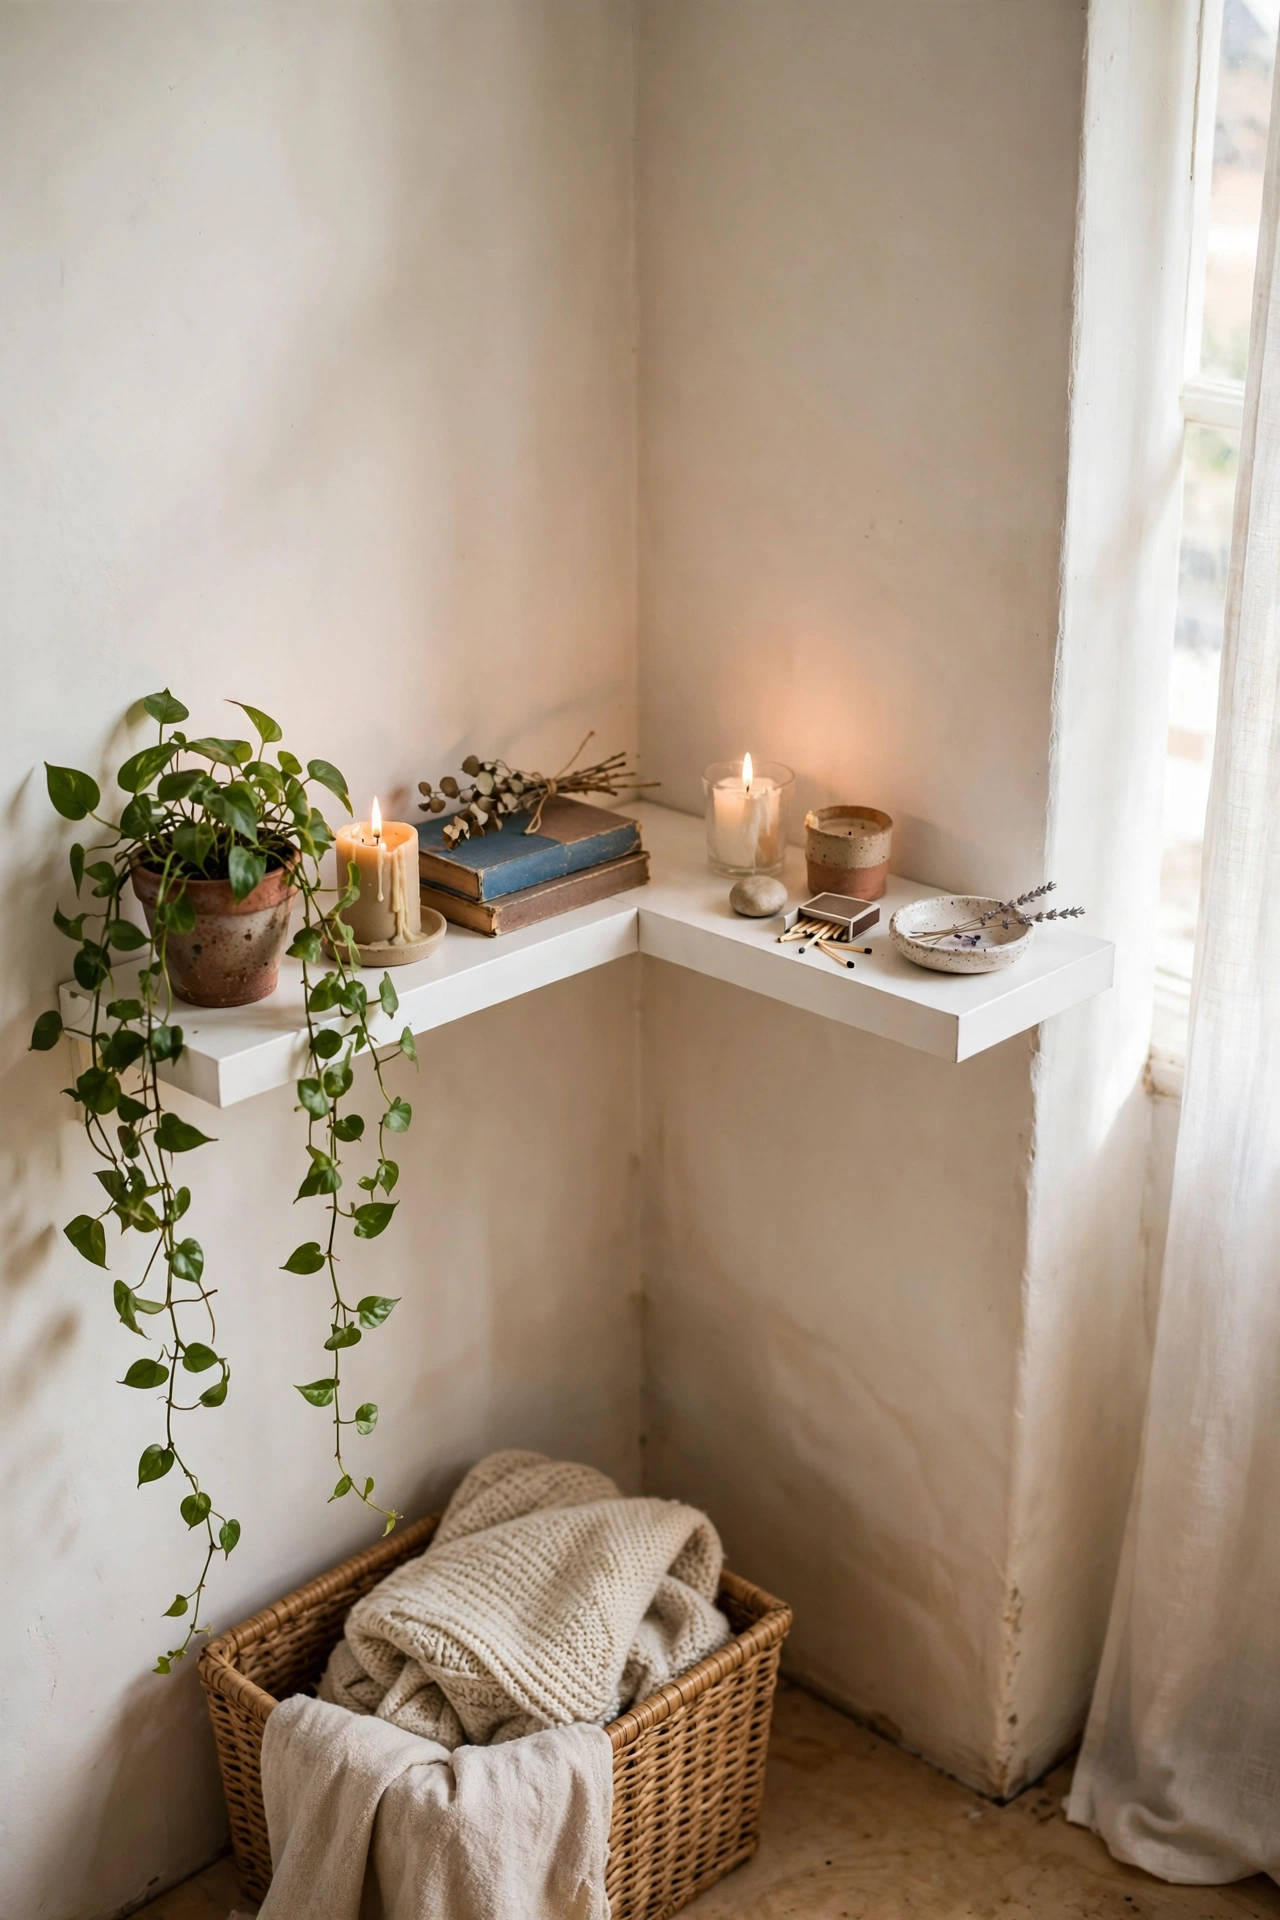
Corners are the most wasted space in most homes, and two small shelves meeting in a corner turn dead space into a plant or book nook. Cut boards to identical lengths, fit a bracket each, and butt the ends together so they read as one continuous L.
- Two short pine boards — ~$9 for both.
- Four small L-brackets — ~$6.
- White paint to match the wall — ~$8 for a tester pot.
I tried this in my bathroom corner and painted the shelves the same colour as the walls — they almost disappeared, which was exactly the effect I wanted. Do measure both walls; my corner wasn’t square and I had to shave a board edge with a handsaw. Don’t load one side much heavier than the other.
Cost: ~$23 | Time: 1.5 hours
5. Thrifted Ladder Shelf
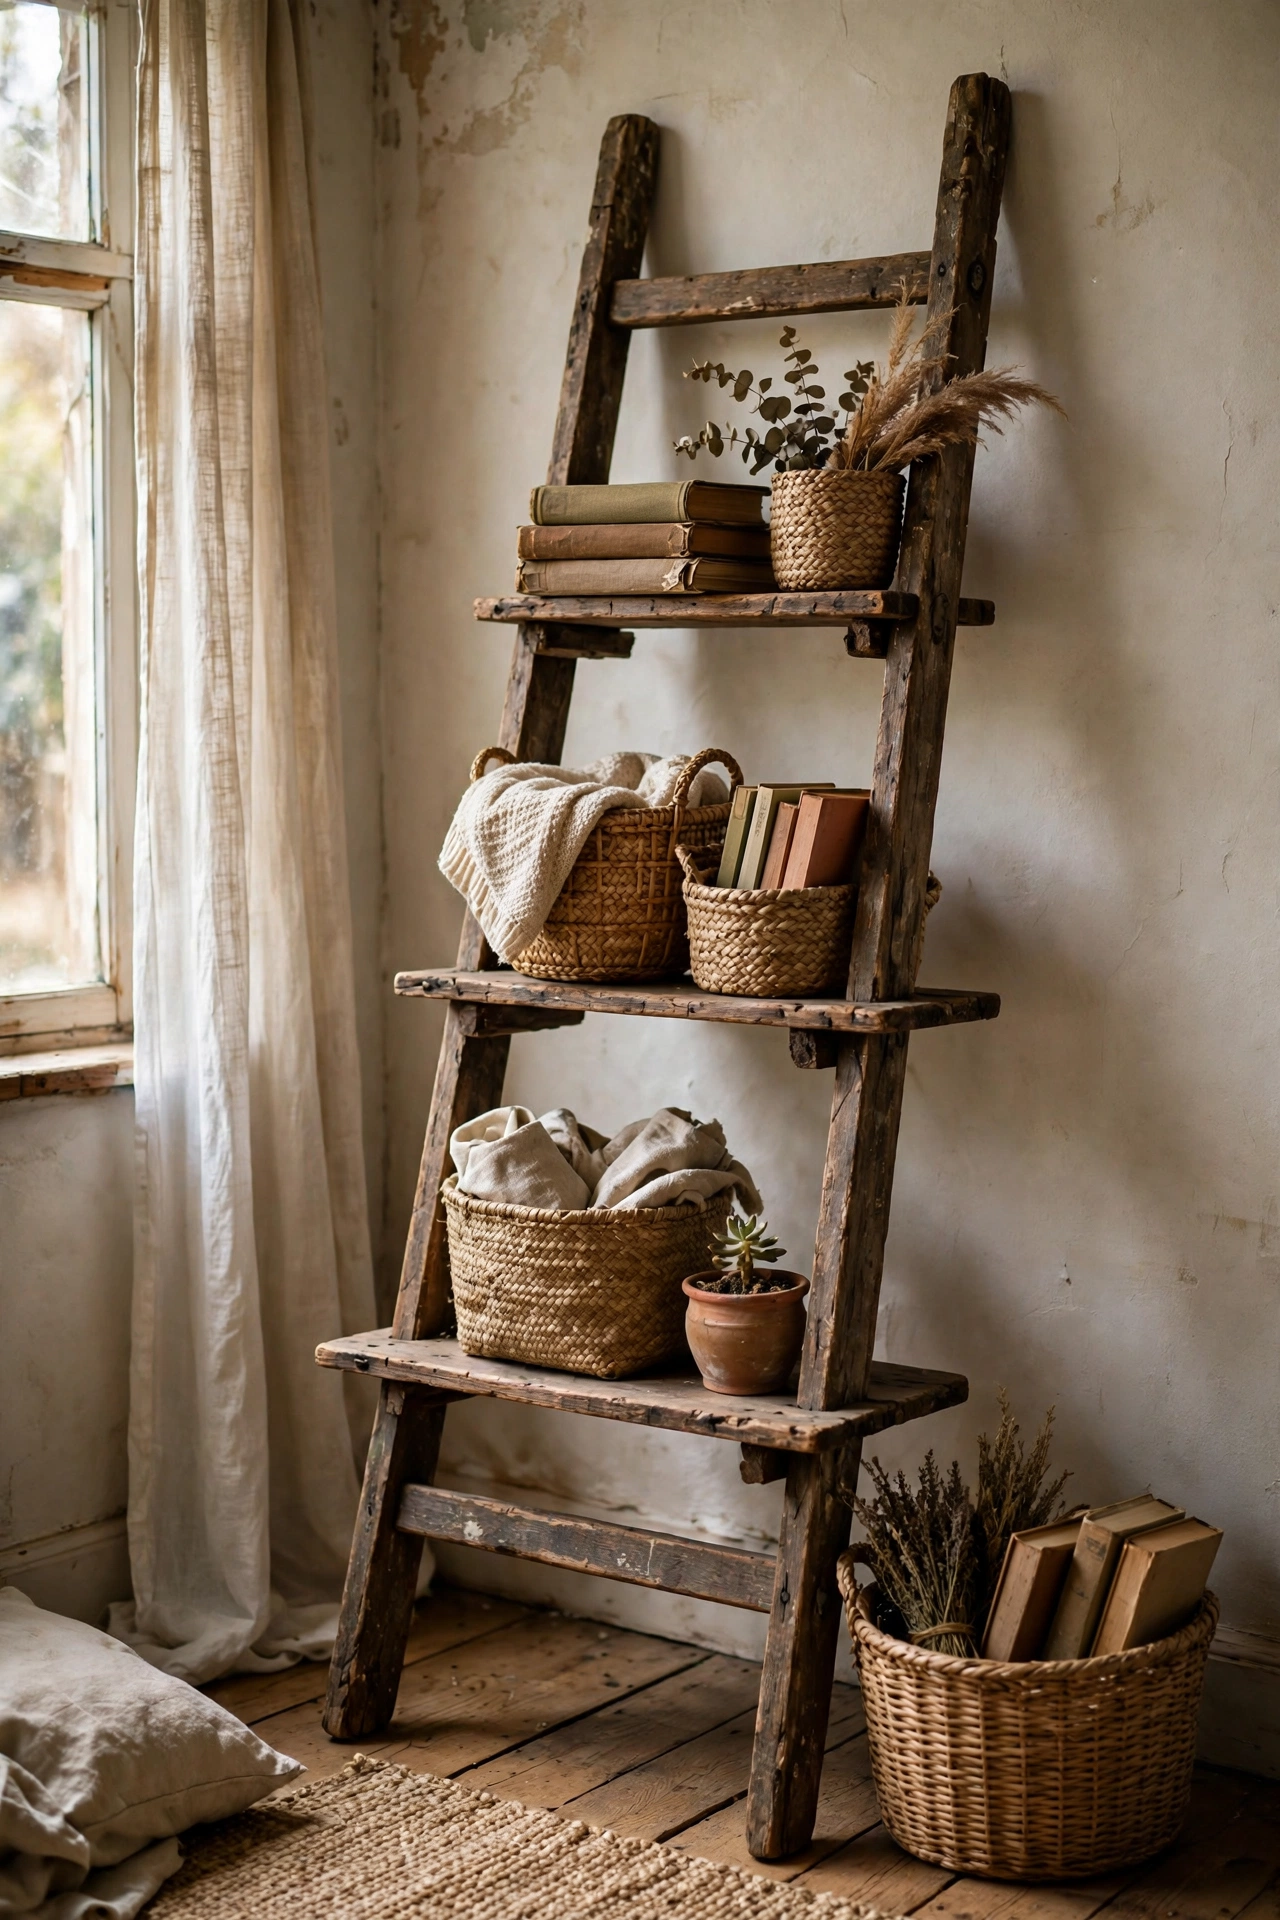
An old wooden ladder leant against a wall, with boards laid across the rungs, is about as simple as shelving gets — no drilling at all. Scrub it, sand the splinters, paint or stain it, then rest planks across pairs of rungs at whatever heights you like.
- An old wooden ladder — ~$12 from a charity shop.
- Two or three planks for shelves — ~$10.
- Sandpaper and paint — ~$9.
I tried this and nearly bought a flimsy bamboo ladder — check the rungs can take weight before you commit. Mine is now my favourite thing in the spare room. Do screw small battens under each plank so they can’t slide off the rungs; I learnt that after a midnight crash.
Cost: ~$31 | Time: 2 hours
6. Narrow Picture Ledge Shelves
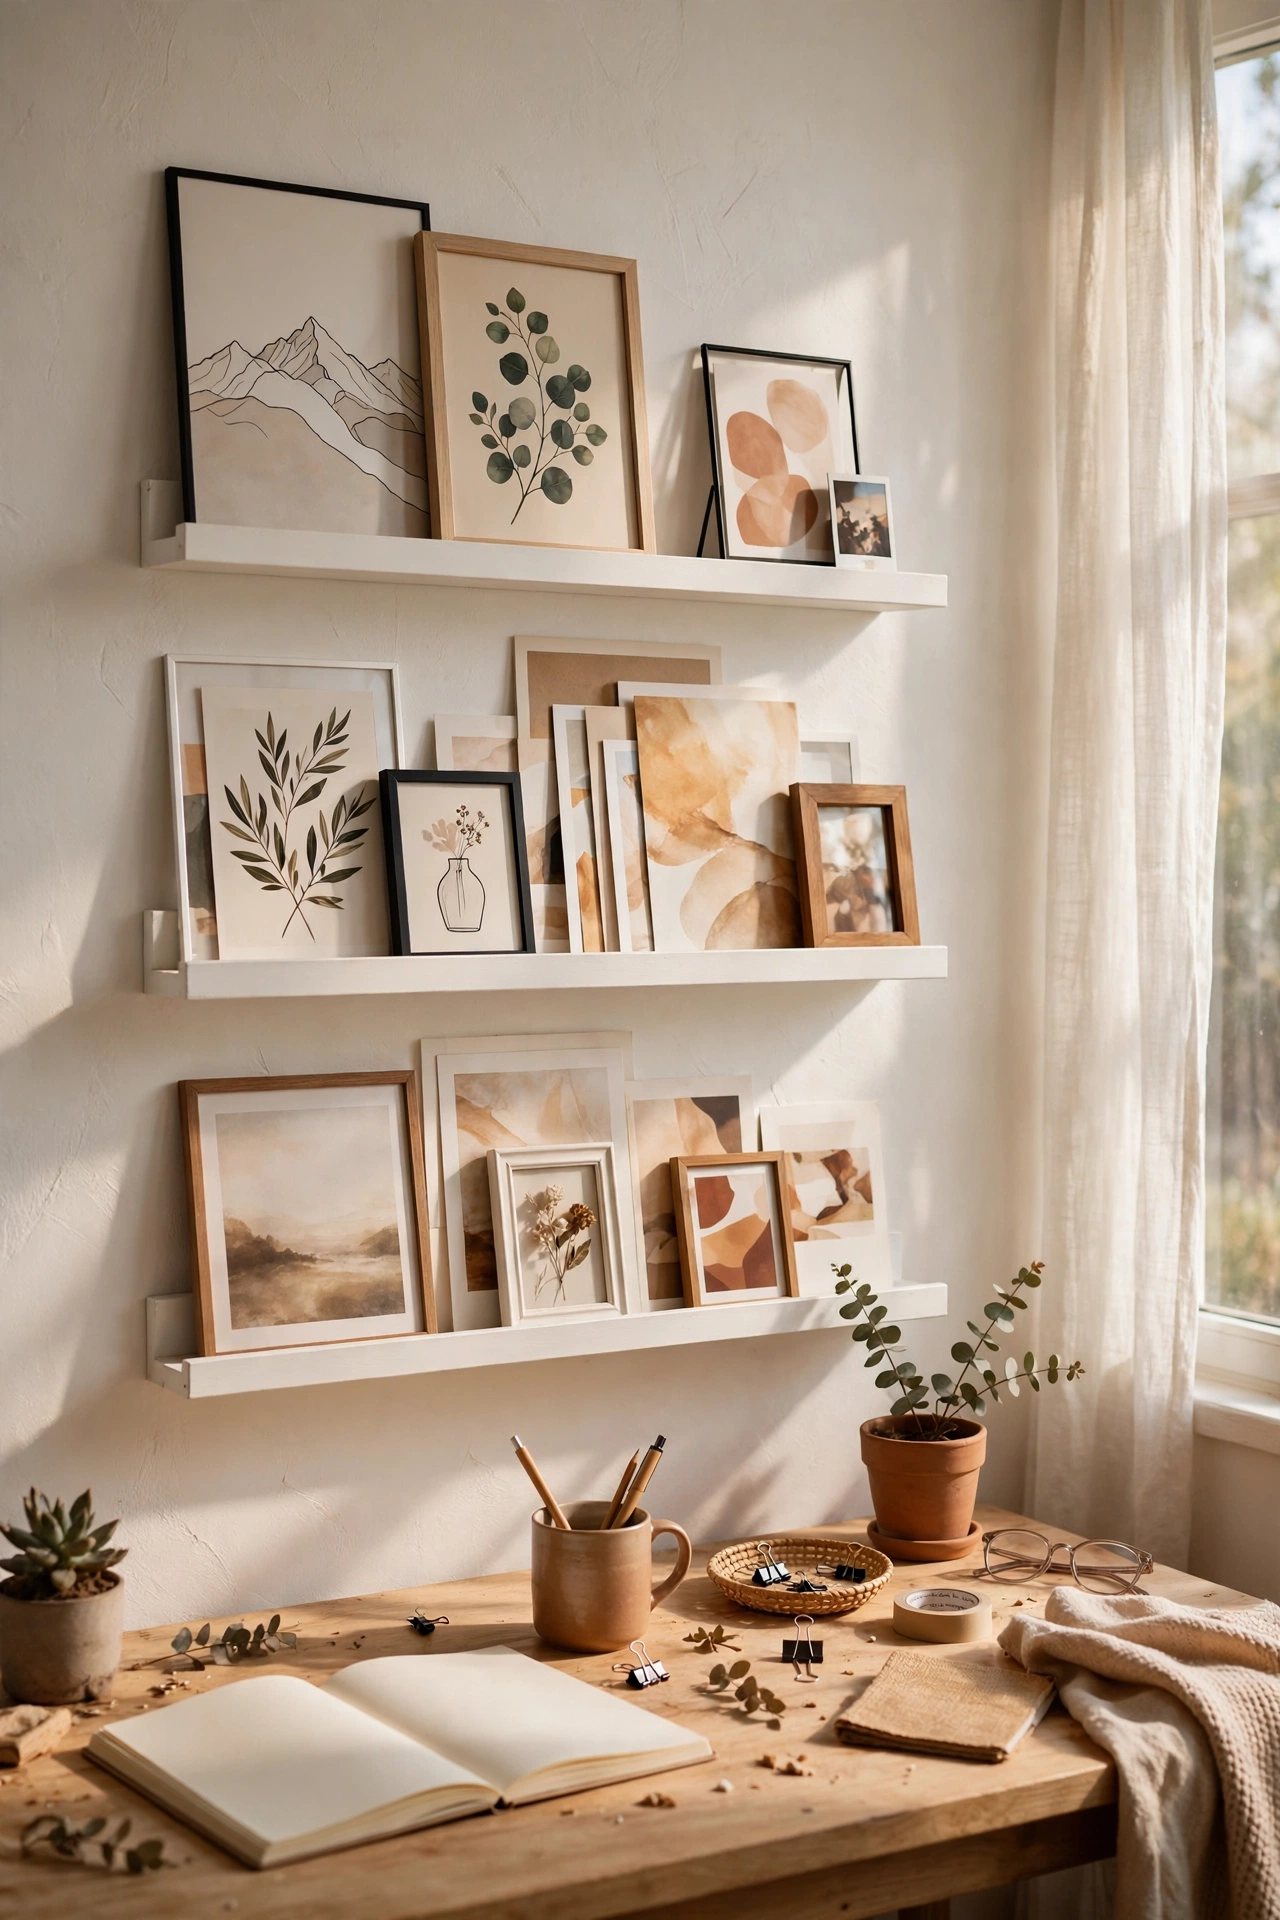
Picture ledges are shallow shelves with a small lip at the front, perfect for layering prints, kids’ books or small frames without a single nail per item. Fix a length of narrow timber with a thin front batten to the wall, paint it white, and just lean things on it.
- Two lengths of narrow pine — ~$10 total.
- Thin batten strips for the front lip — ~$4.
- Wood glue plus wall brackets — ~$8.
I tried this above my desk and immediately loved how easy it is to swap prints around — no new holes, ever. Do make the ledge deep enough for your biggest frame; my first one was too shallow for a chunky frame and it leant forward precariously. Don’t skip the front lip — it’s what makes a ledge a ledge.
Cost: ~$22 | Time: 1.5 hours
7. Reclaimed Pallet Plank Shelf
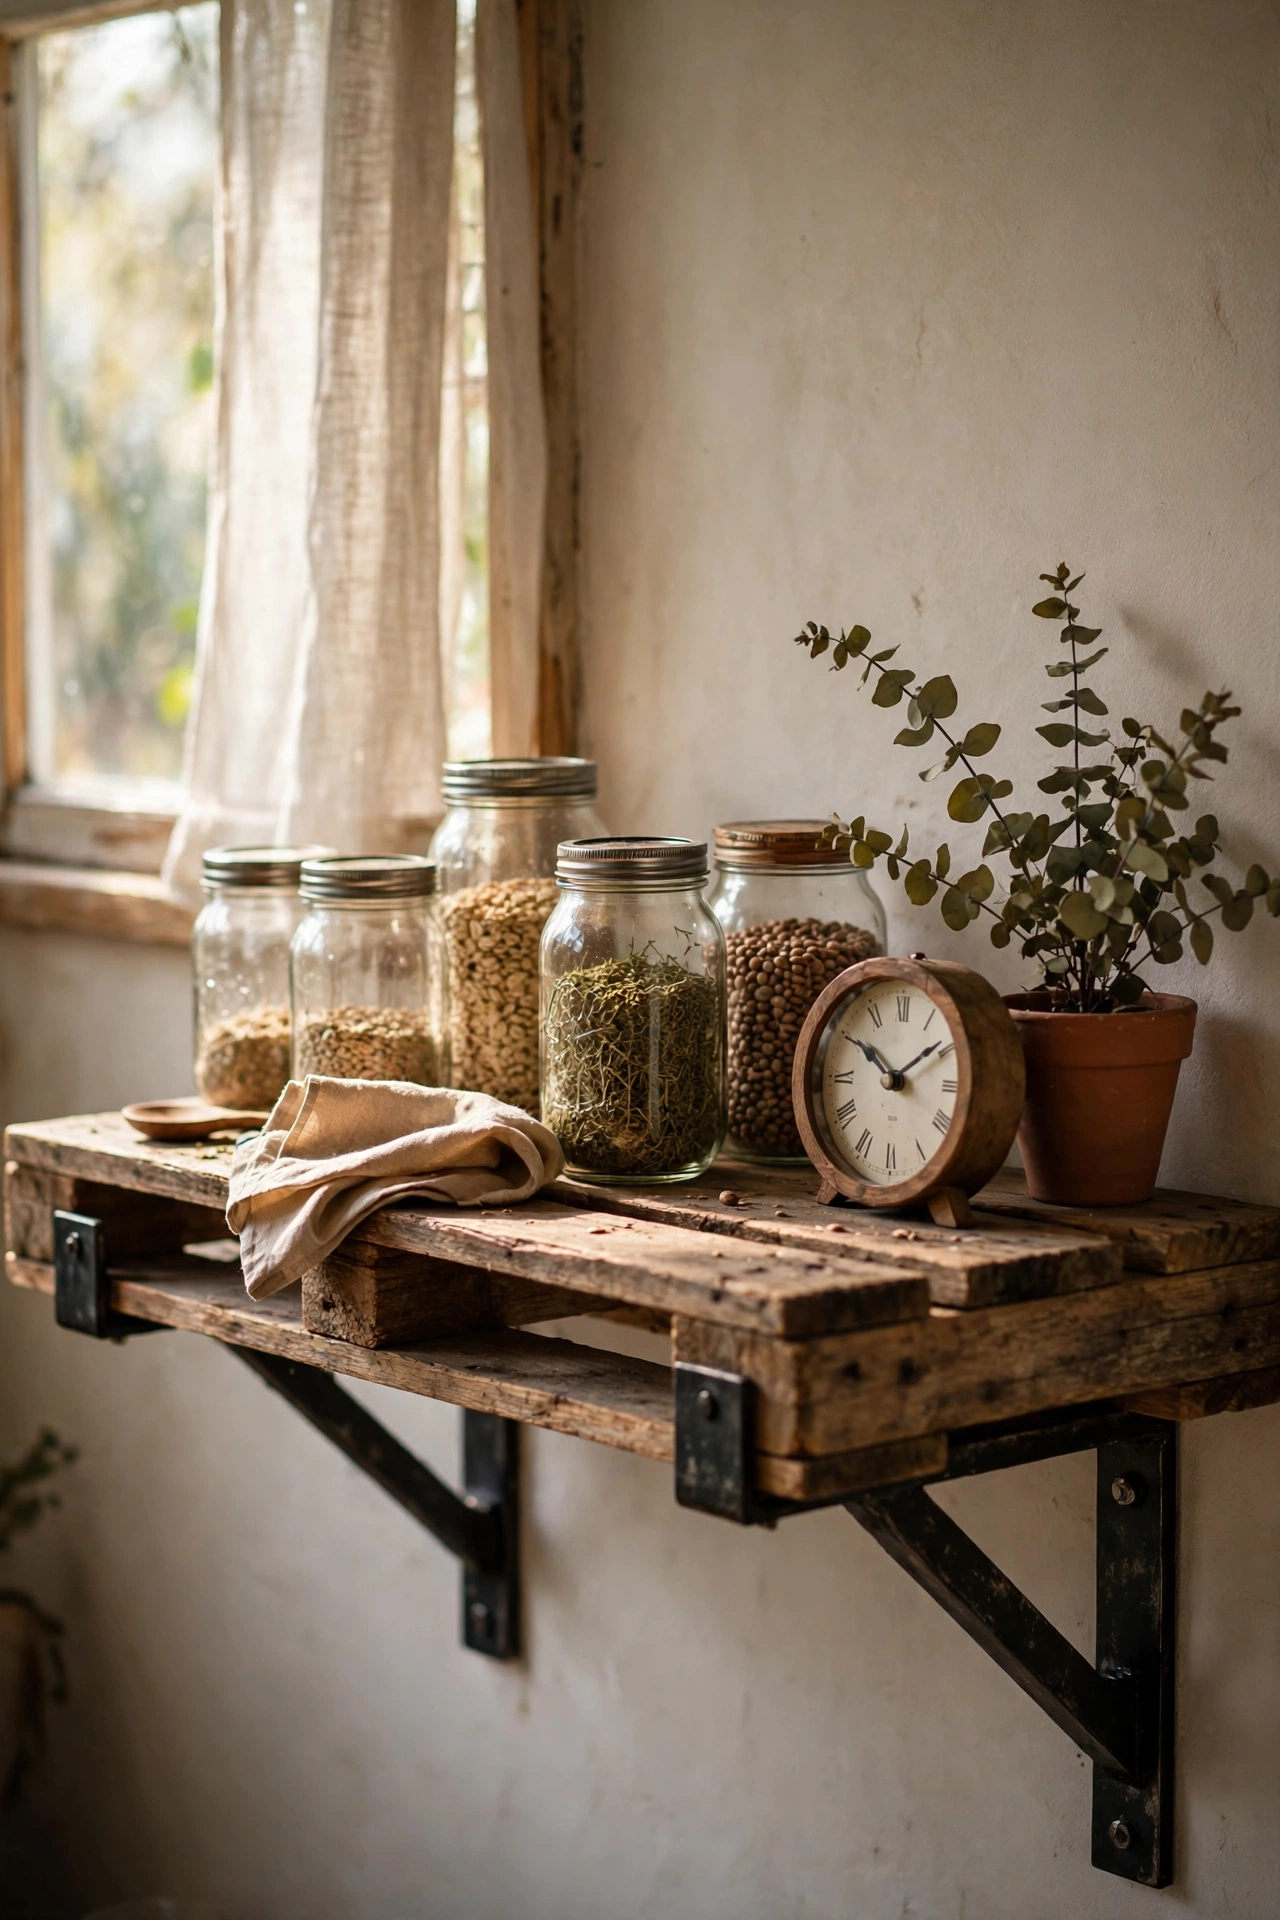
Pallets get thrown out constantly, and a single good plank from one, sanded smooth and mounted on chunky brackets, has that rustic character people pay good money for. Pry one plank loose, sand it well (pallets are rough), and seal it before mounting.
- A pallet — $0 from behind most warehouses, just ask.
- Sandpaper in coarse and fine grits — ~$6.
- Two chunky metal brackets — ~$10.
I tried this and discovered pallet wood can hide nails — run a magnet over it before you saw or sand, please. Do look for pallets stamped with “HT” (heat-treated) rather than chemically treated ones. Don’t mount it in a bathroom; the damp makes old pallet wood swell and warp.
Cost: ~$16 | Time: 2 hours
8. Over-the-Toilet Bathroom Shelf
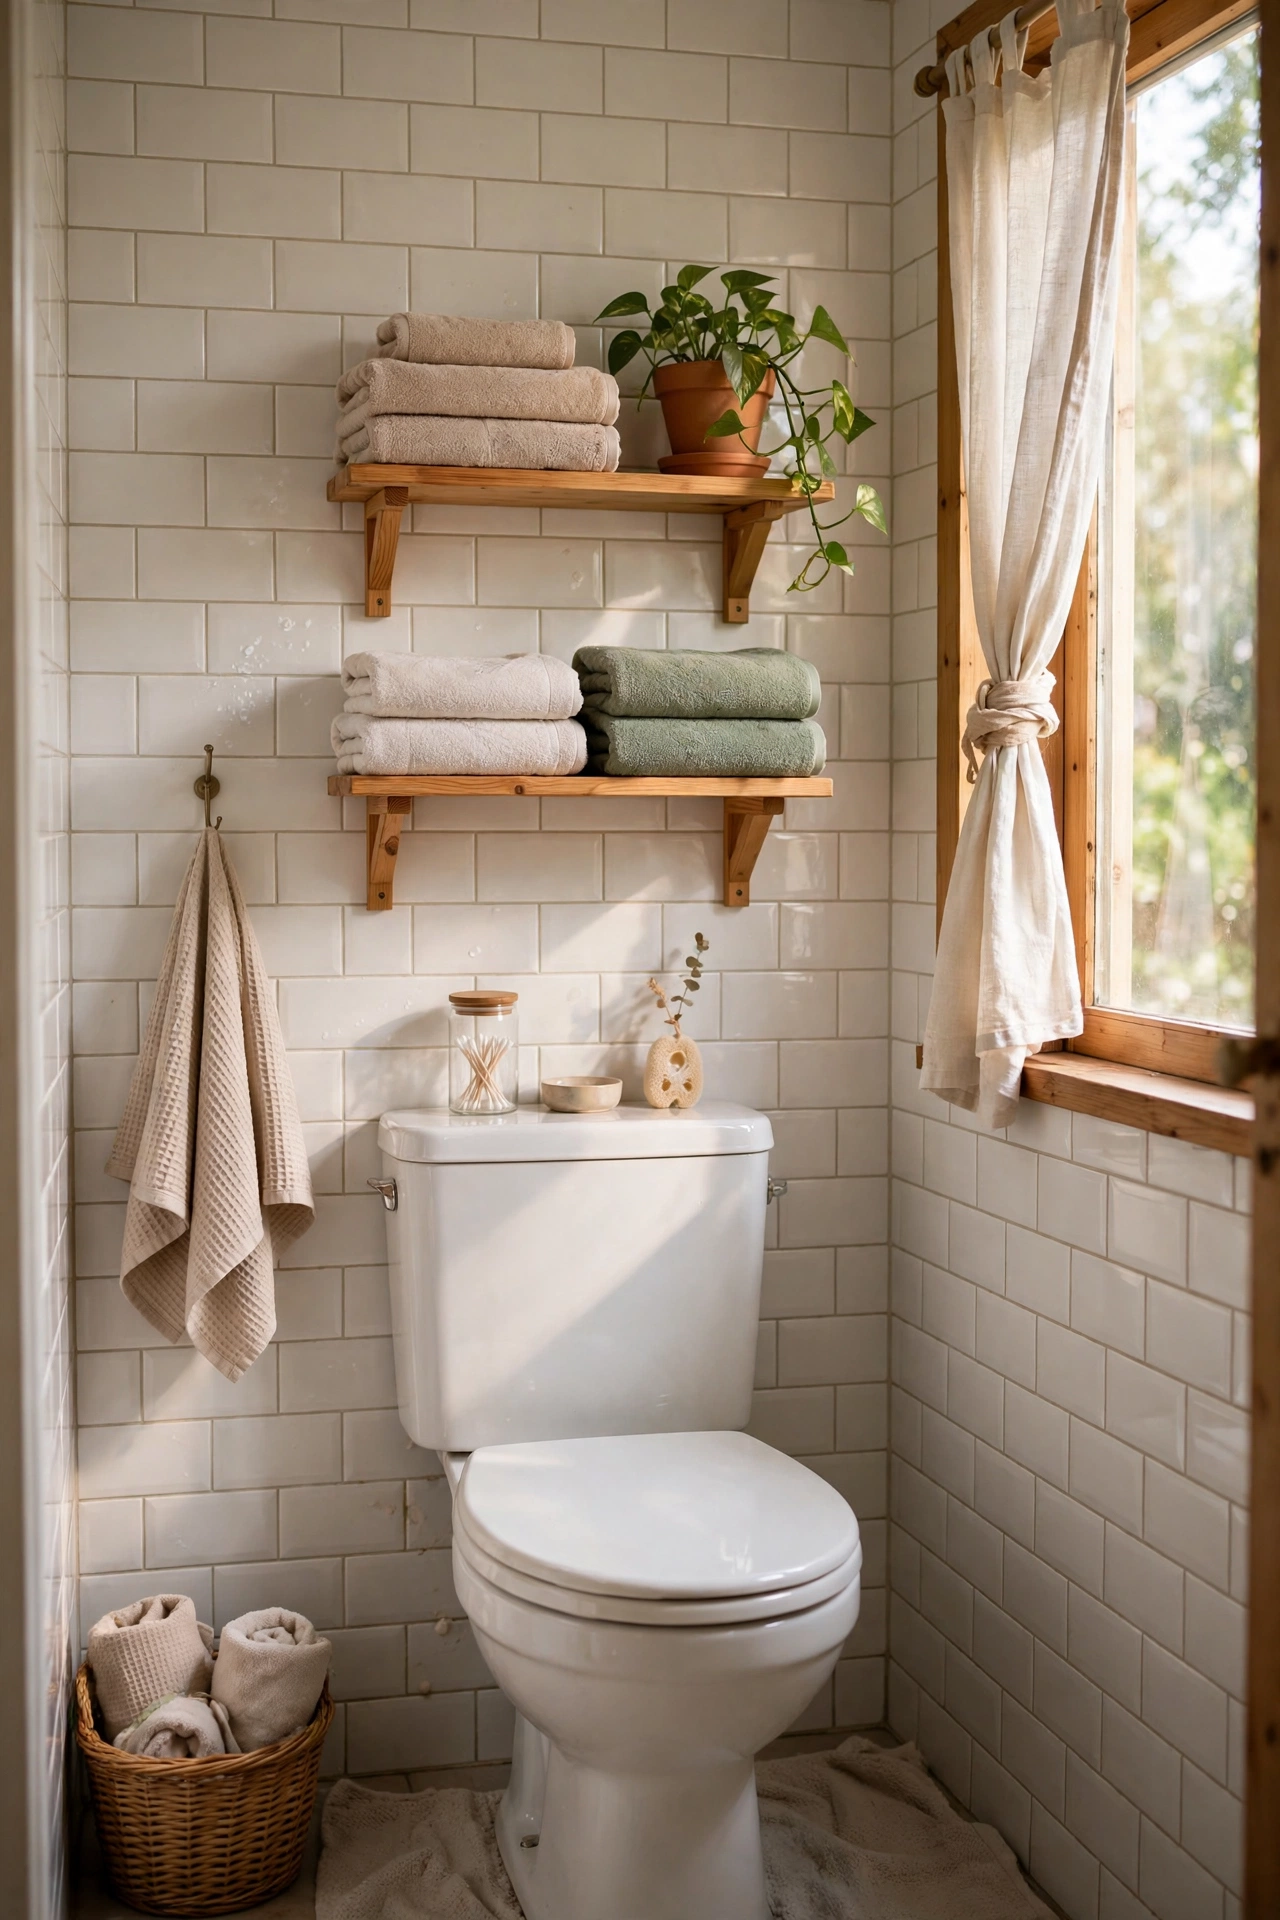
The wall above the cistern is empty in nearly every bathroom, and two small shelves there solve the “where do the towels go” problem in one afternoon. Two short boards on simple brackets, sealed against steam with varnish, give you folded towels and a plant where there was nothing.
- Two short boards — ~$8.
- Four simple metal brackets — ~$7.
- Moisture-resistant varnish — ~$10.
I tried this and mounted them dead centre over the cistern — then spent a week knocking shampoo off with my elbow. Offset them slightly or keep the front edge clear. Do seal every surface including the undersides; steam finds the one spot you missed. Don’t use raw MDF here — it drinks moisture.
Cost: ~$25 | Time: 2 hours (plus drying)
9. Cube Shadow-Box Shelves
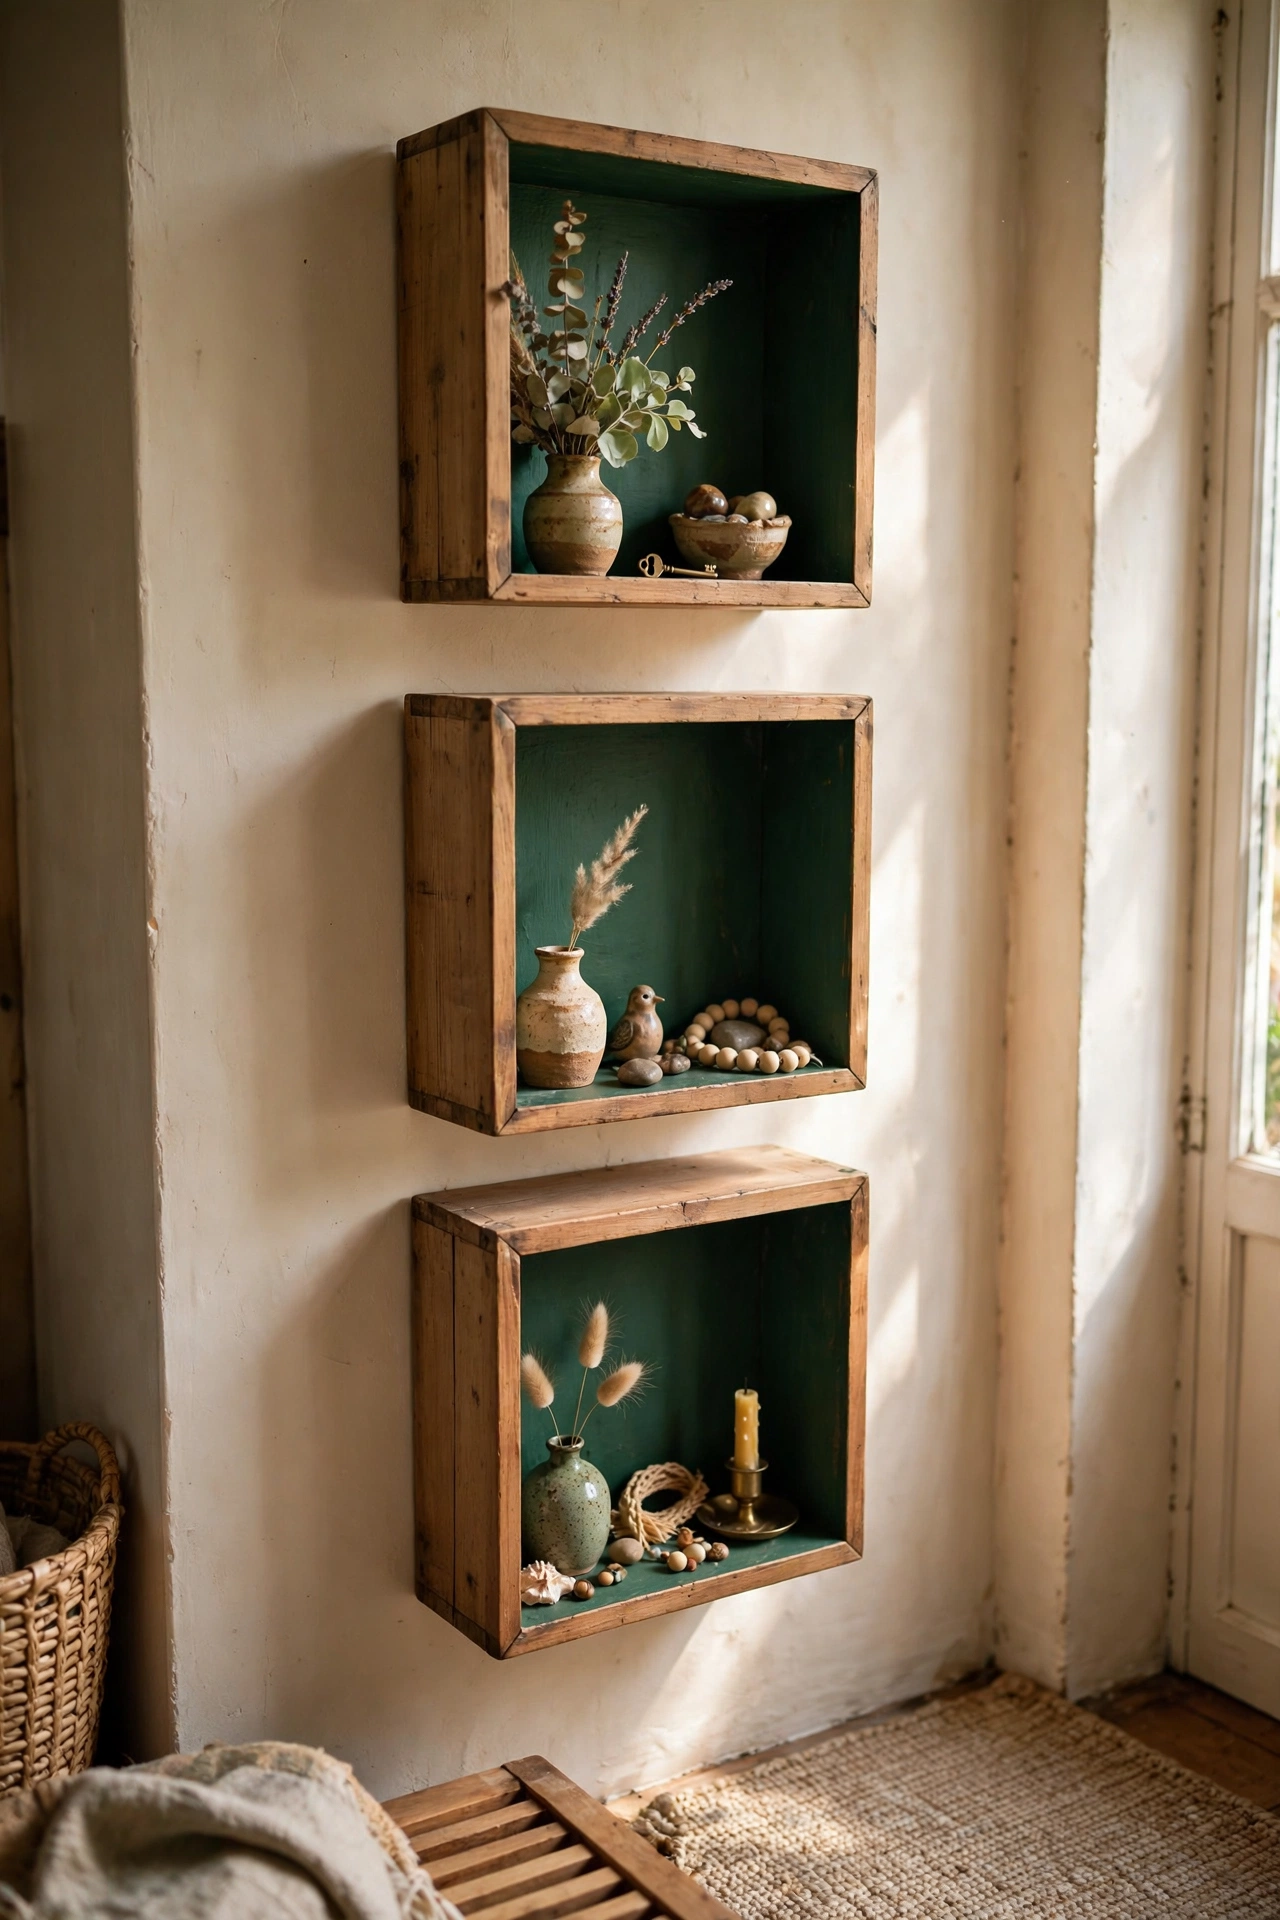
Deep square shadow-box frames grouped on a wall double as display cubes for small treasures. You can build them from offcuts or buy unfinished ones cheap, paint the insides a bold colour, and arrange three or five in a loose cluster.
- Three unfinished wooden shadow boxes — ~$18.
- A bold tester pot of paint — ~$5.
- Picture-hanging strips or brackets — ~$6.
I tried this in the hallway with the insides painted a deep green — visitors always comment on them, which still surprises me given how cheap they were. Do lay the arrangement on the floor first and live with it for an hour before drilling. Don’t hang them perfectly straight; a slightly irregular cluster looks more collected and less catalogue.
Cost: ~$29 | Time: 1.5 hours
10. Tiered Kitchen Spice Shelf
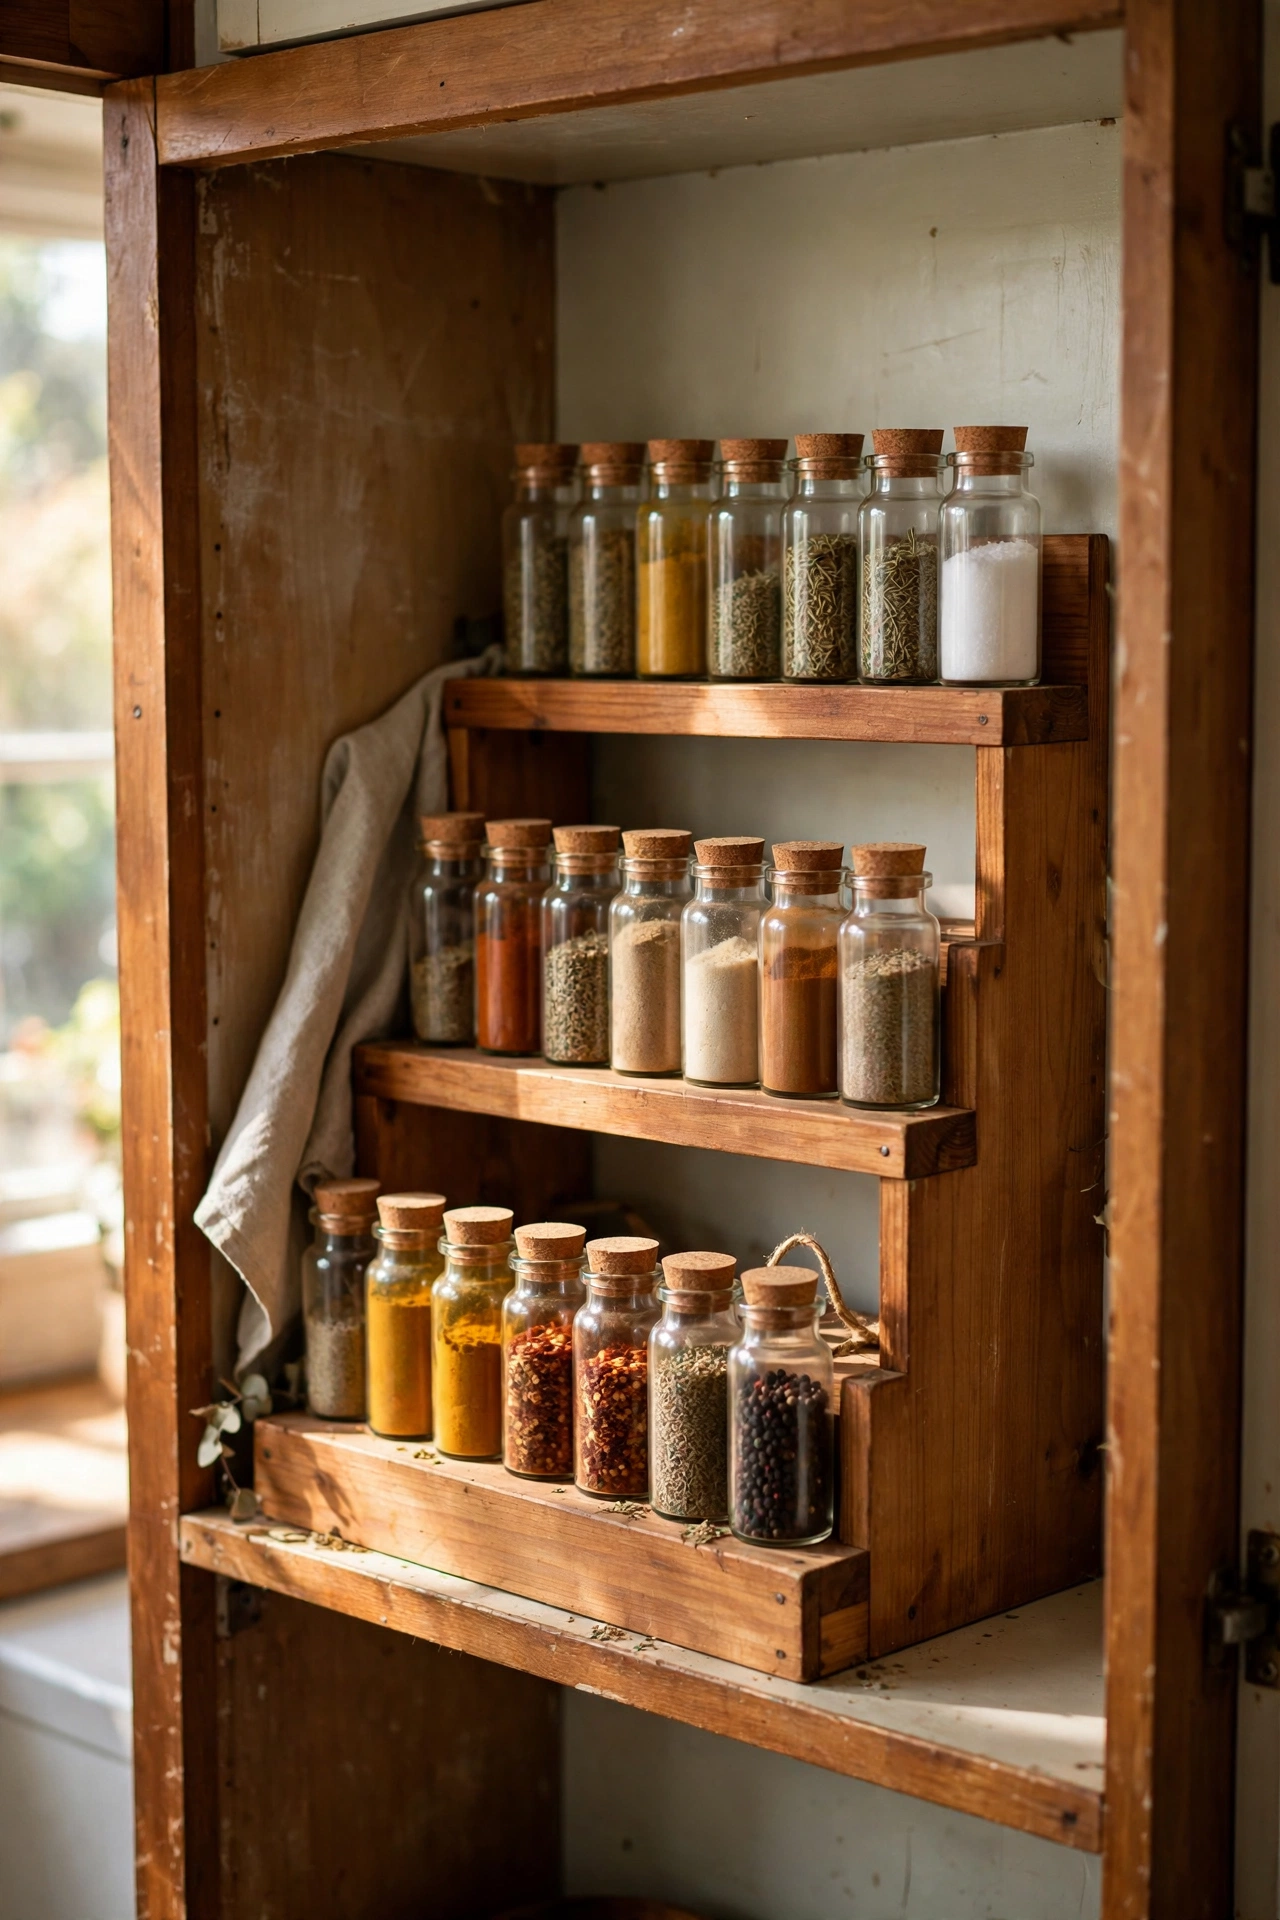
A three-tier stepped shelf for the kitchen counter or inside a cupboard door means no more knocking over jars to reach the paprika. Cut three boards in decreasing depths, join them with small side panels, and sand everything smooth so jars slide easily.
- Pine board offcuts for three tiers — ~$10.
- Small side panels and wood glue — ~$5.
- Food-safe oil finish — ~$8.
I tried this and made my tiers too shallow — tall spice jars fell forward like dominoes. Measure your tallest jar first and add a centimetre. Do put a thin front lip on each tier; it’s the difference between tidy and chaos. Don’t place it right next to the hob; heat and steam age spices fast.
Cost: ~$23 | Time: 2 hours
11. Entryway Coat-and-Key Shelf
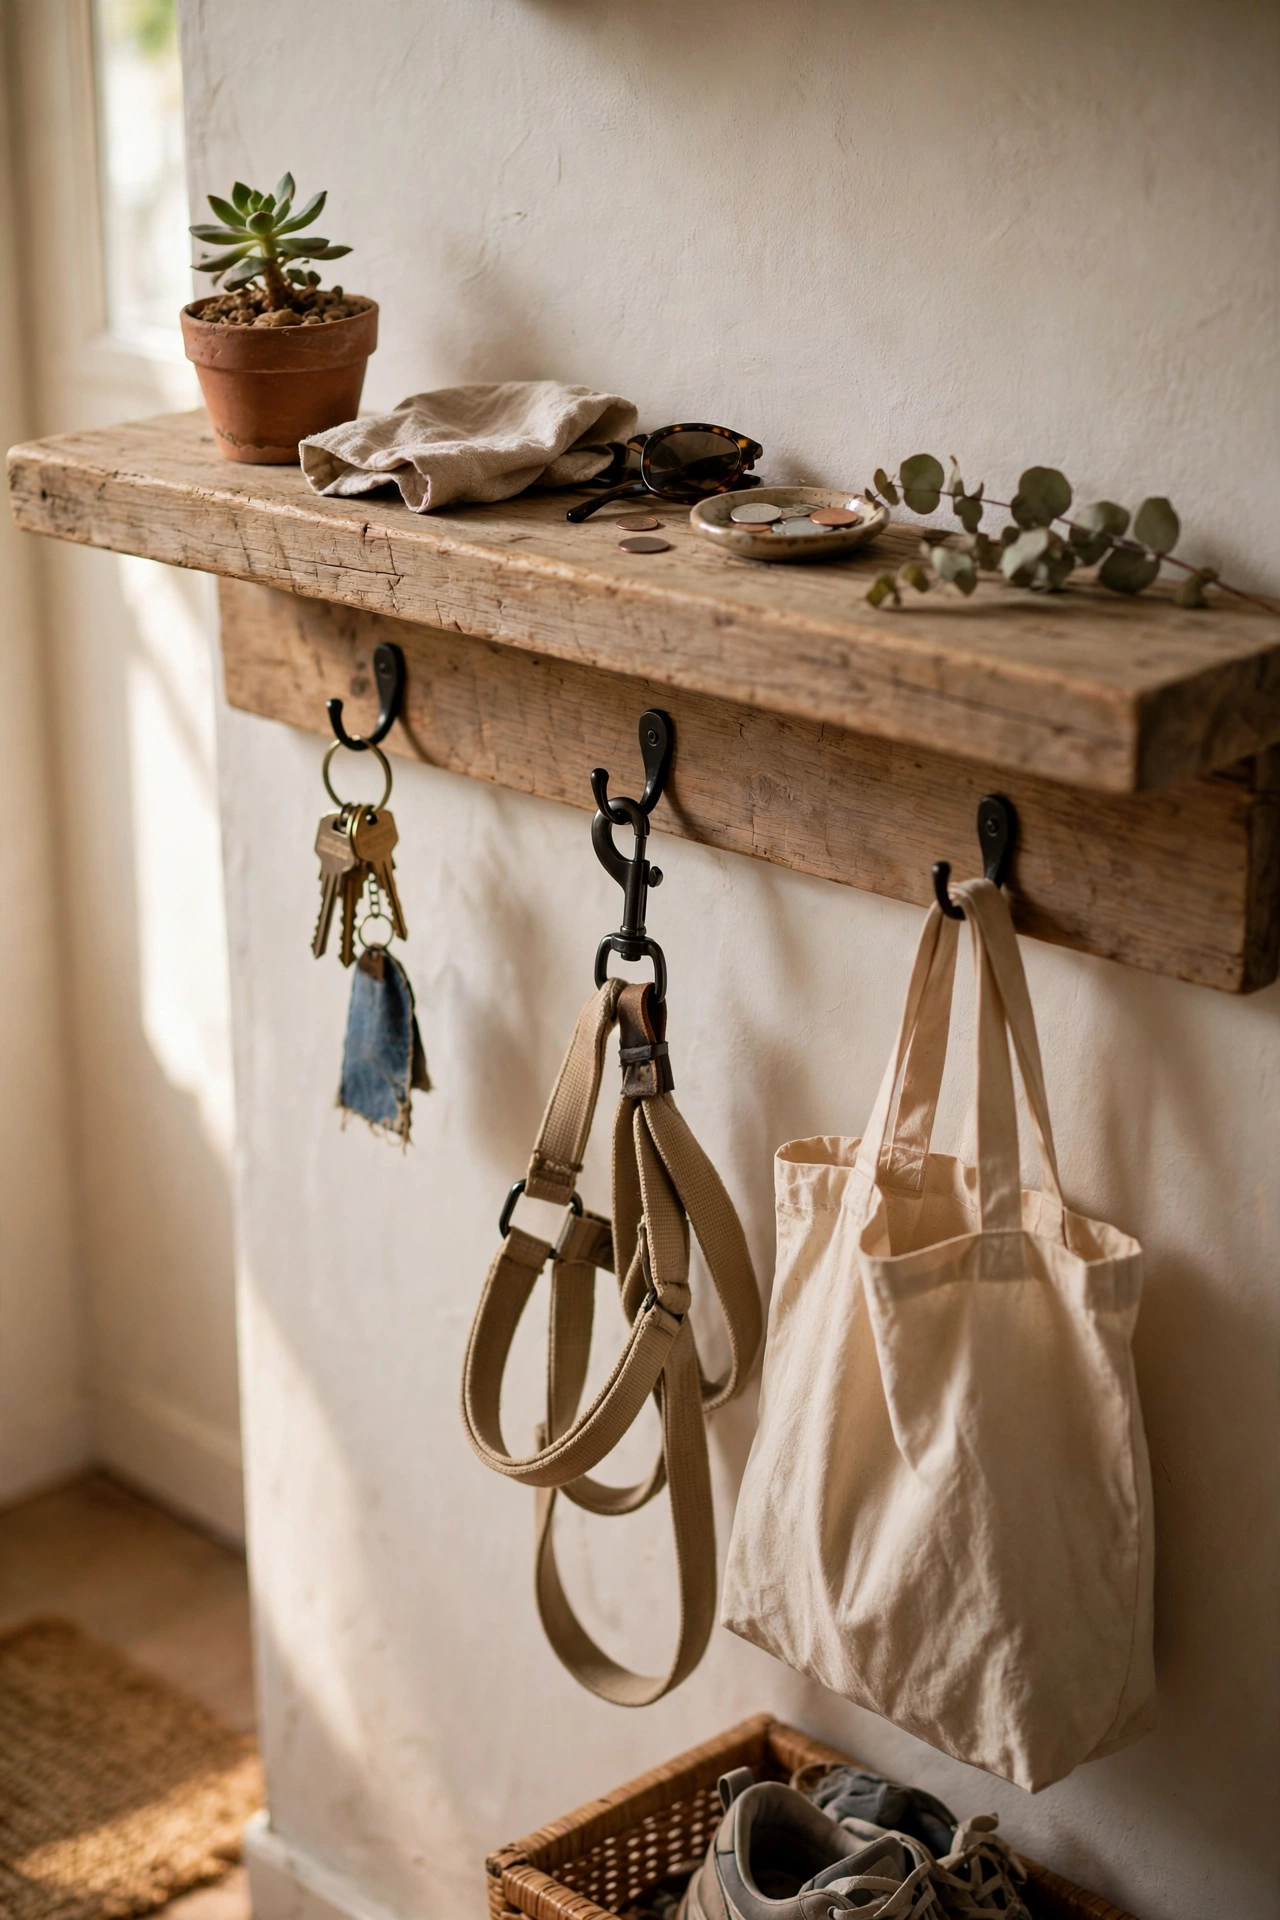
A hallway shelf with hooks underneath is the single most life-improving shelf I’ve built — keys, post and the dog lead all in one place. One wide board, a row of screw-in hooks beneath it, and two sturdy brackets is all it takes.
- One wide board, about 15cm deep — ~$8.
- Five screw-in metal hooks — ~$7.
- Two heavy-duty brackets — ~$8.
I tried this and hung it at shoulder height, which meant coats brushed the wall and left marks — go a touch higher than you think. Do space the hooks generously; five hooks look better half-used than nine crammed together. Don’t put it on the door-swing wall; I moved mine after the front door nearly took it off twice.
Cost: ~$23 | Time: 1 hour
12. Windowsill Plant Shelf
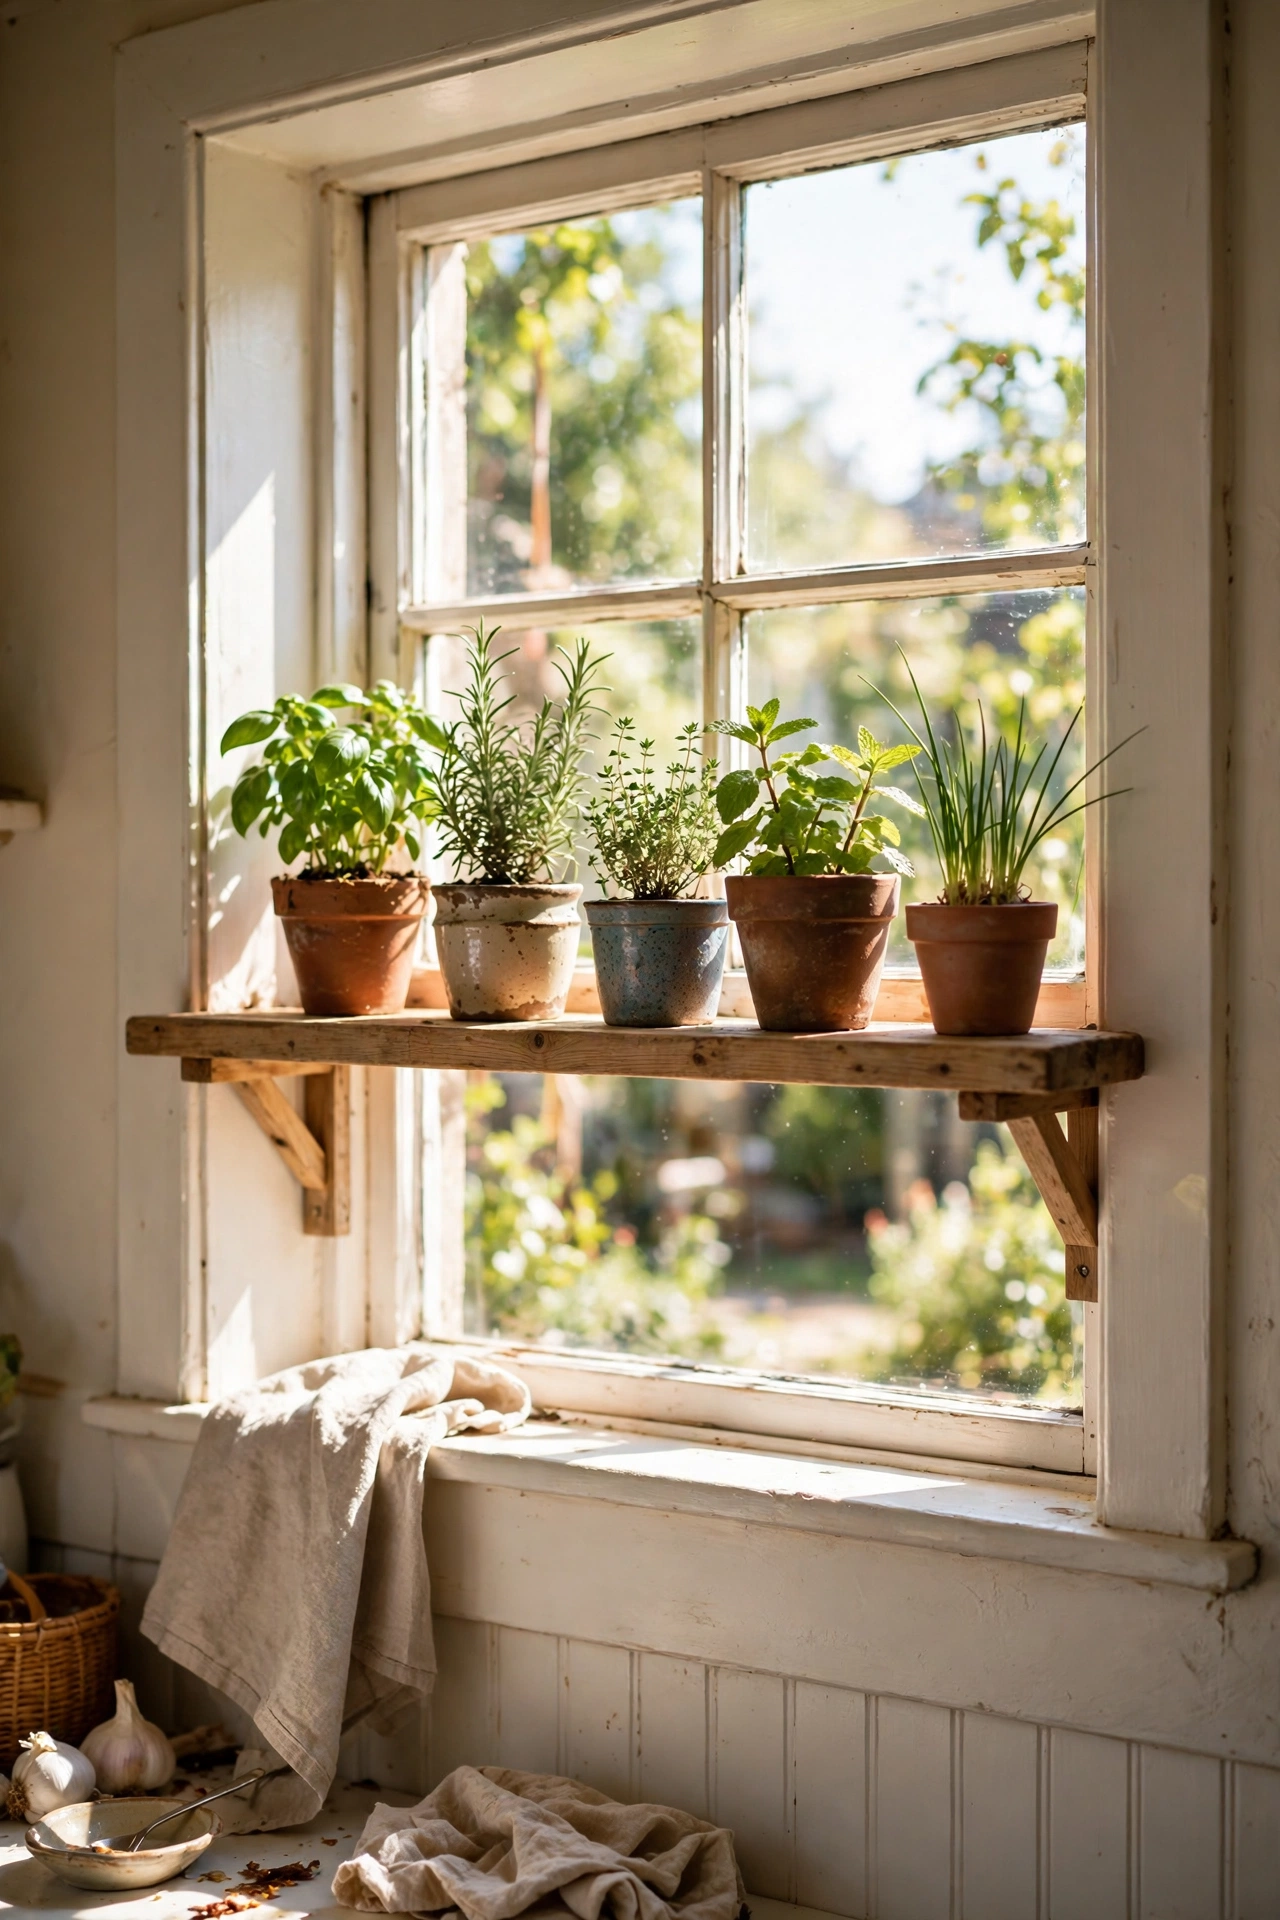
A slim board fixed across the top of a window recess creates a sunny shelf for trailing plants without drilling into the window frame itself. Bracket it to the side walls of the recess, keep it shallow, and suddenly you have a greenhouse corner.
- One slim board to fit the recess — ~$6.
- Two small angle brackets — ~$5.
- Waterproof sealant — ~$9.
I tried this in the kitchen window and my herbs have never been happier — though I did learn to water them over the sink, because drips pooled on the board. Do seal the wood properly; constant watering will ruin bare timber in months. Don’t make it so wide it blocks the window opening; mine slides out easily when I need to open the glass.
Cost: ~$20 | Time: 1 hour
13. Woven Basket Wall Shelves
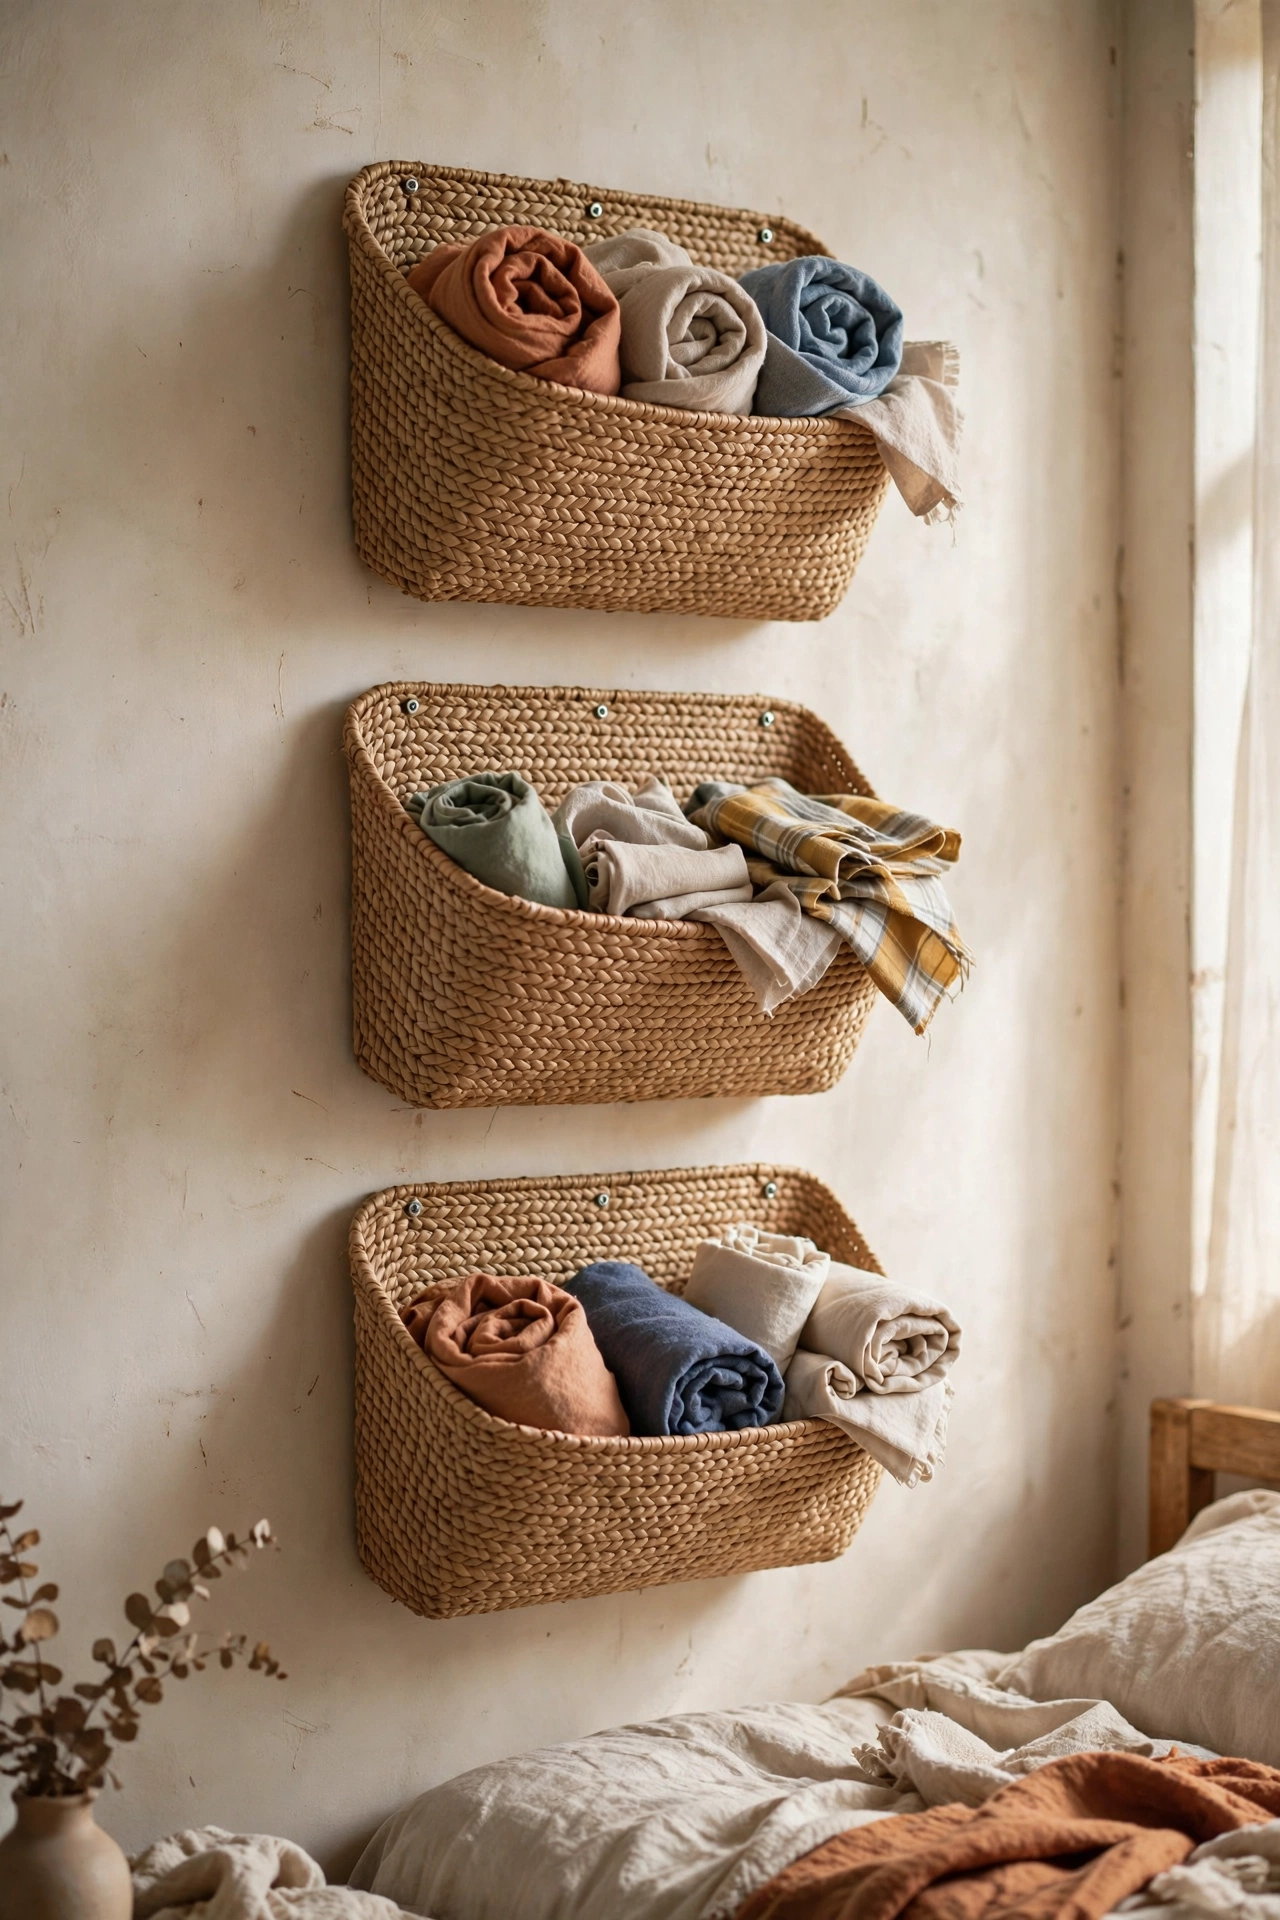
Flat-backed seagrass or wicker baskets screwed directly to the wall make soft, textured shelves for rolled hand towels or scarves. Pick baskets with a flat side, drive a screw through the back weave into a wall plug, and they sit surprisingly solid.
- Three flat-backed baskets — ~$15.
- Screws and wall plugs — ~$4.
- Command: none — just a screwdriver — $0.
I tried this in the spare bedroom for scarves and everyone assumes they were expensive. Do choose baskets with tight, even weaving; loose weave stretches under weight. Don’t overload them with books — they’re for soft, light things, and I learnt that after one sagged dramatically.
Cost: ~$19 | Time: 45 minutes
14. Pegboard Shelf Ledge
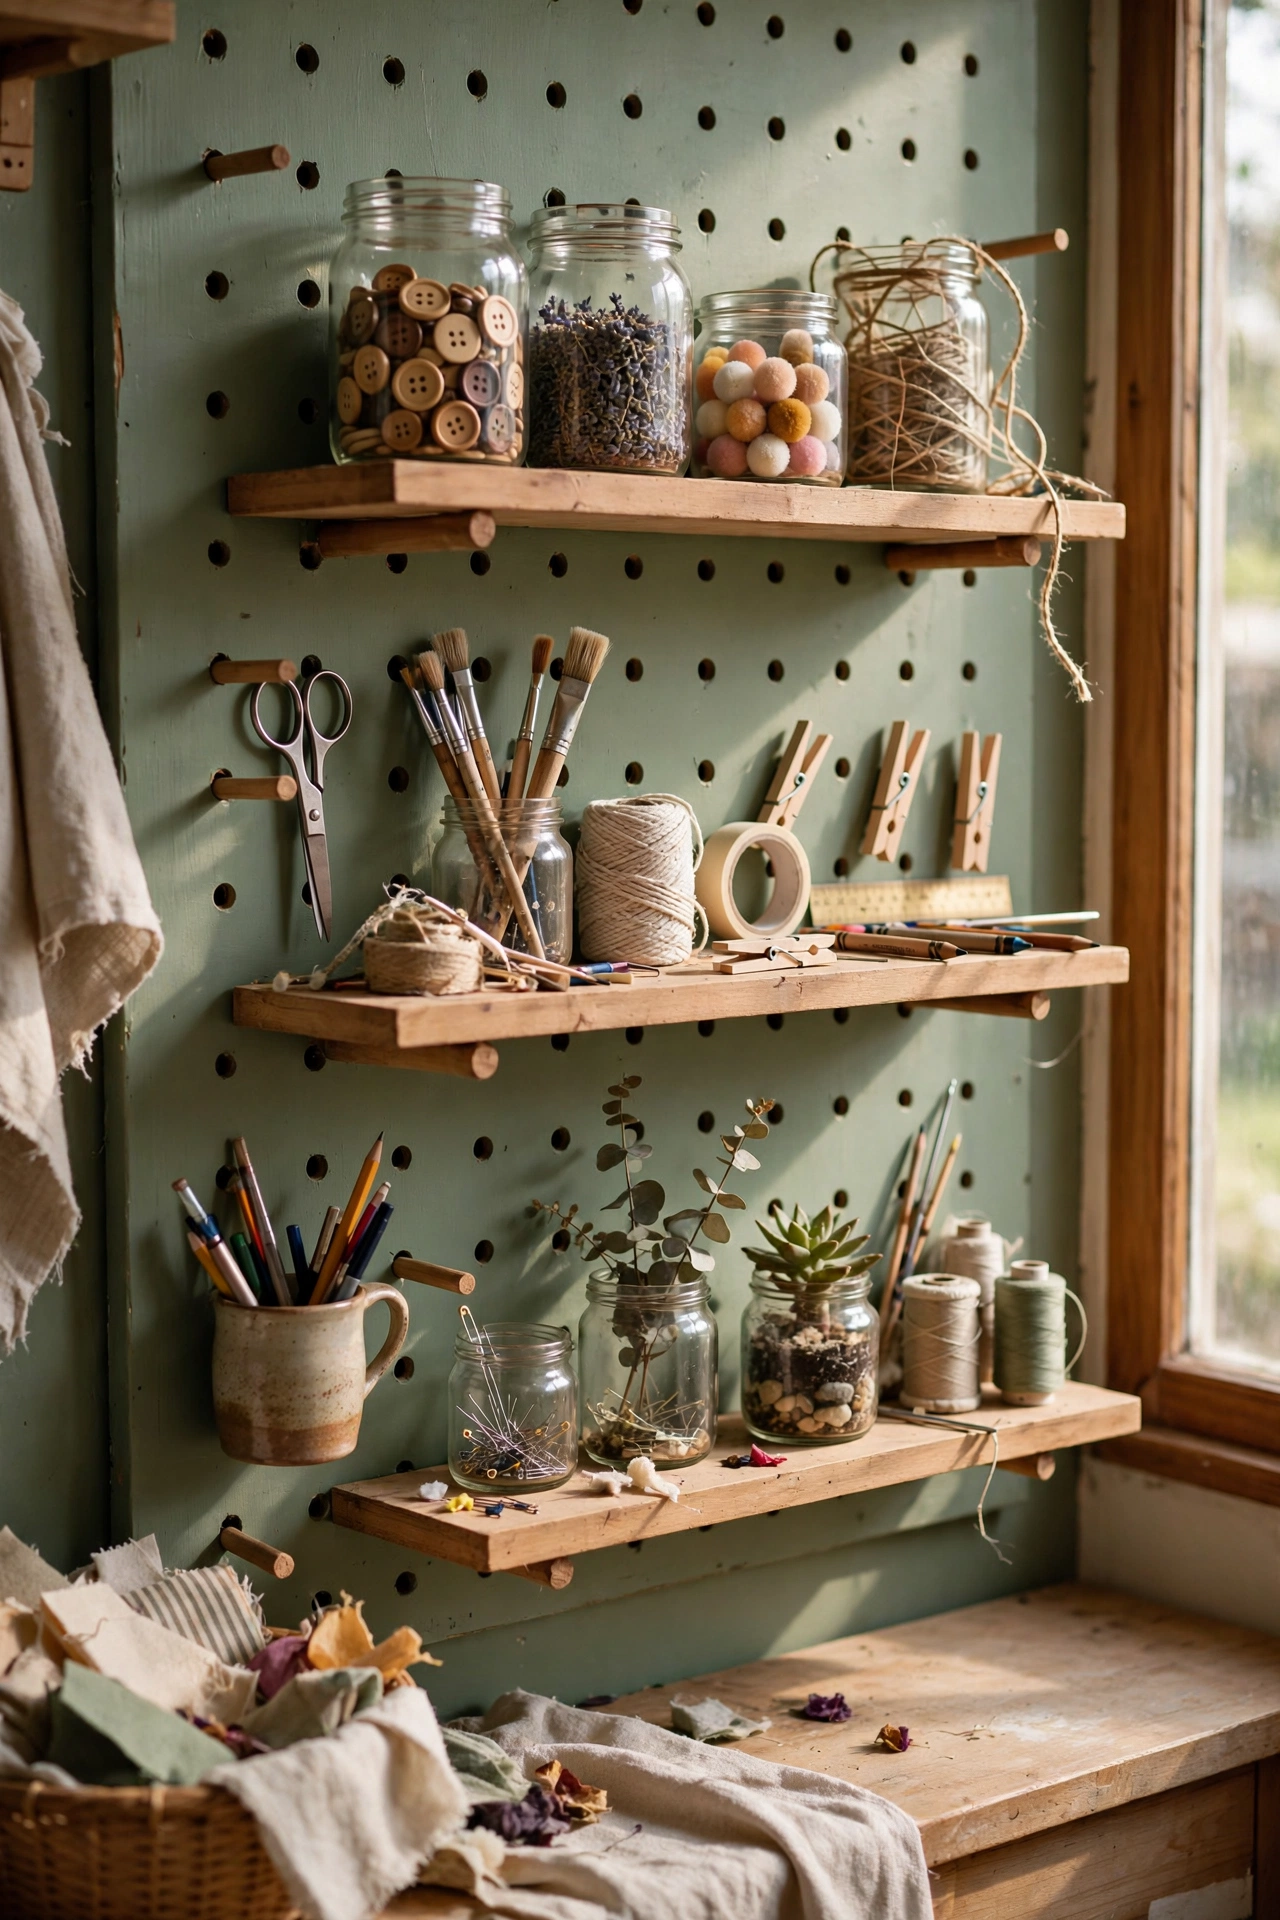
A small pegboard with a couple of shelf boards slotted on dowels gives you storage that rearranges whenever you like. Fix the board to the wall, push short dowels into the holes as pegs, and rest boards on top — move them in seconds.
- A small hardboard pegboard — ~$12.
- Two short shelf boards — ~$7.
- Dowel pegs and a frame batten — ~$6.
I tried this in my craft corner and rearranged it three times in the first week, which tells you everything about how fun it is. Do paint the pegboard a colour you love; raw hardboard looks unfinished and dulls the whole idea. Don’t use it for heavy books — pegs are for light jars, tools and bits and bobs.
Cost: ~$25 | Time: 1.5 hours
15. Alcove Boxed-In Shelf
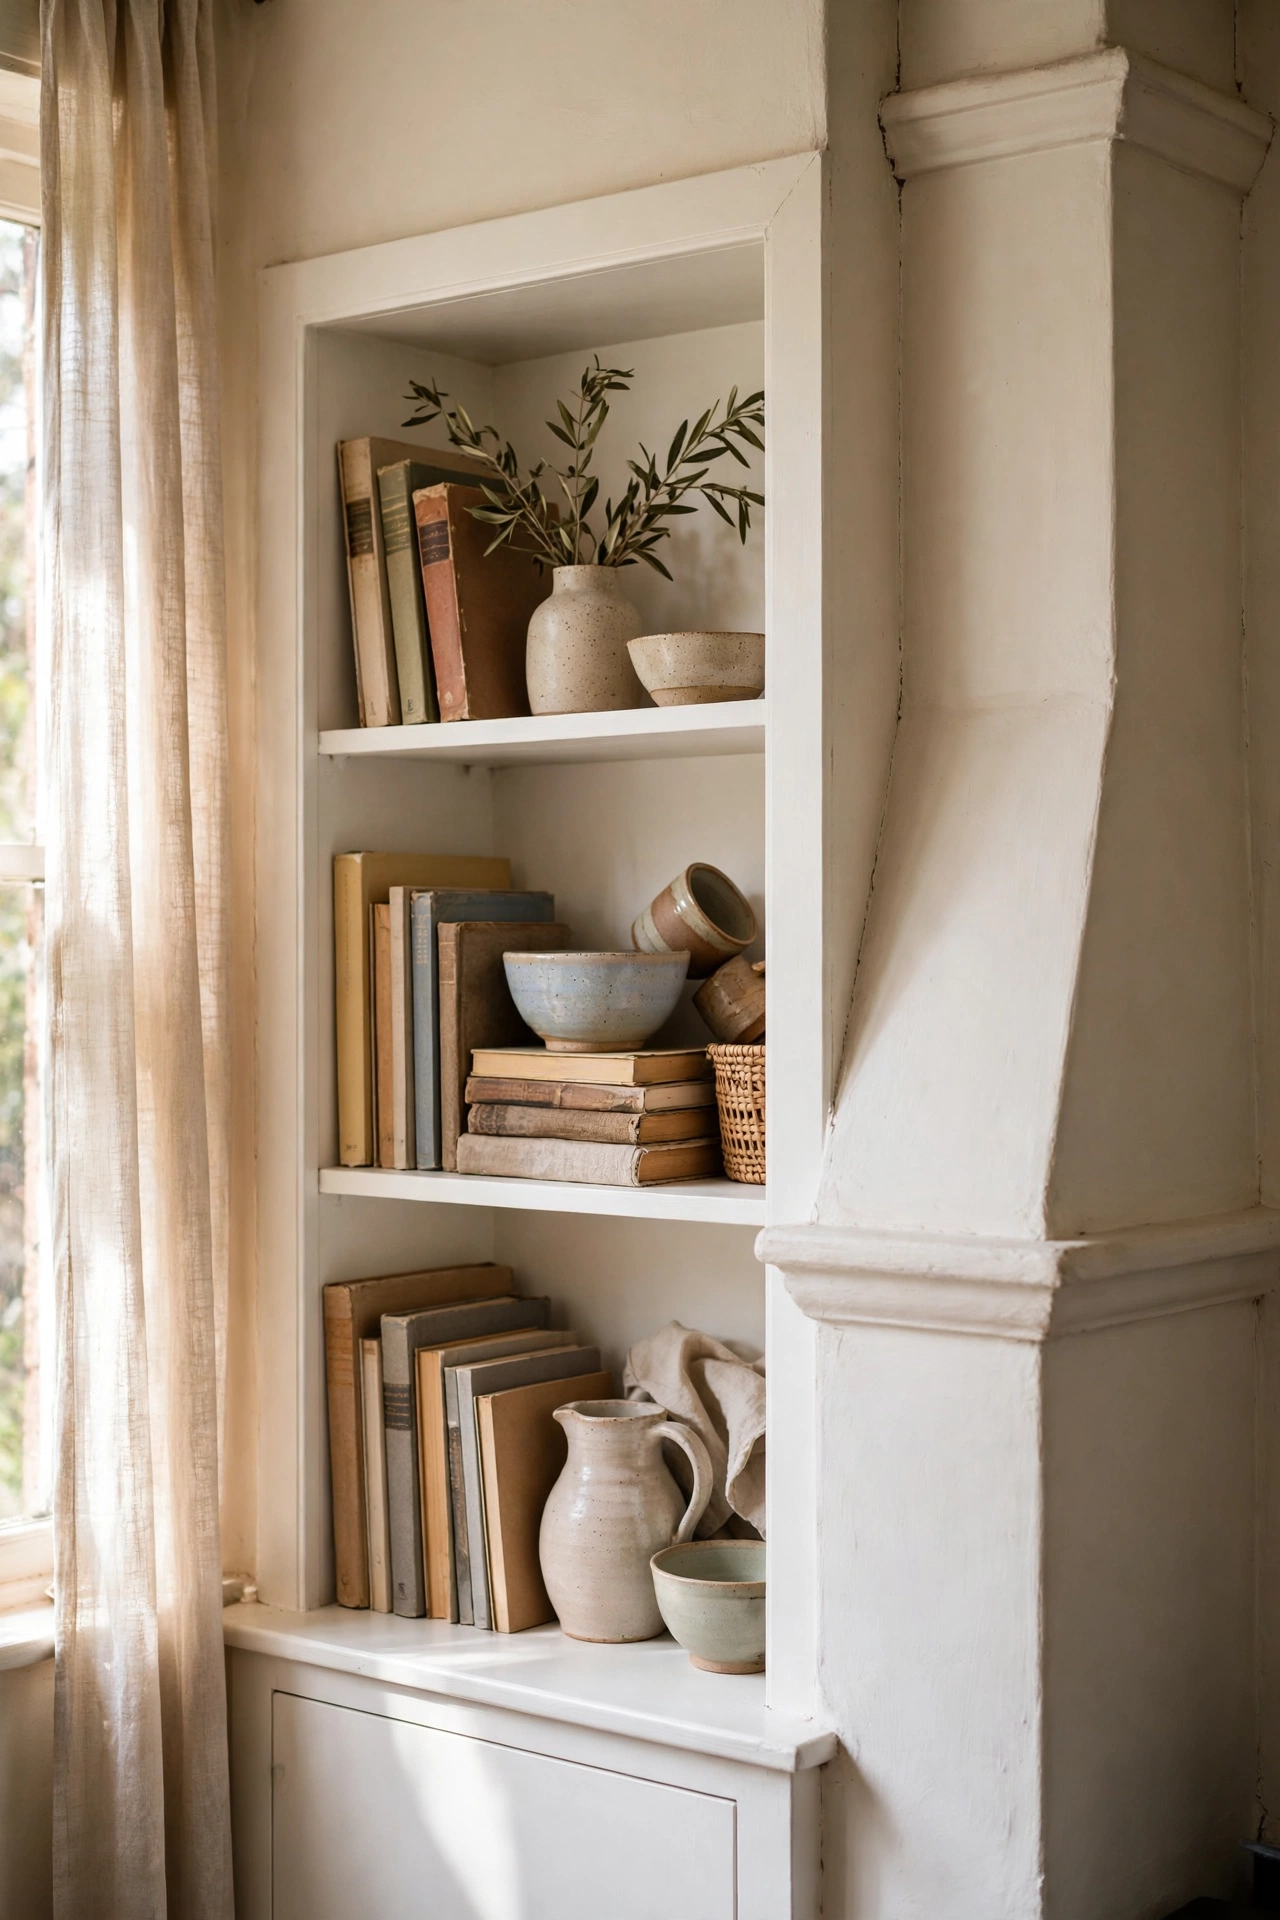
If you have an awkward alcove beside a chimney breast, a simple boxed-in shelf that fits it exactly looks like bespoke joinery. Measure the alcove, cut boards to fit snugly, support them on battens screwed to the alcove sides, and caulk the edges for that built-in finish.
- Pine boards cut to fit — ~$14.
- Support battens for the sides — ~$5.
- Caulk and matching paint — ~$11.
I tried this next to our fireplace and the caulk is the whole secret — without it, it looks DIY; with it, it looks custom. Do measure the alcove at the top, middle and bottom; old walls taper and one measurement will lie to you. Don’t rush the painting; two thin coats beat one thick gloopy one.
Cost: ~$30 | Time: 3 hours
Quick questions, answered
How much weight can a DIY floating shelf hold?
With proper wall plugs in solid wall, a floating shelf on concealed brackets holds 10–15kg comfortably — plenty for books and plants. In plasterboard, use proper cavity fixings and keep loads lighter, or find a stud.
What is the cheapest way to make shelves?
Reclaimed timber and pallets cost nothing if you ask around local businesses, and simple brackets are a few pounds. My cheapest shelf here was the pallet plank at around $16 all-in, and the free pallet itself did the heavy lifting.
Do I need power tools to build shelves?
Not necessarily. Most hardware shops will cut boards to size for free or a small fee, and a hand drill, spirit level and screwdriver cover the rest. I built my first three shelves with nothing more than that.
📌 Loving this look? Pin this post now so you can save this idea for your next weekend refresh.
Keep the calm going with these next: (see also: 23-diy-gallery-wall-ideas-on-a-budget/) (see also: 17-diy-planter-ideas-for-beginners/) (see also: 25-weekend-diy-projects-that-instantly-refresh-your-home/)
Start with the shelf that solves your most annoying problem — the cluttered hallway, the bare bathroom wall, the dead corner. One shelf, one Saturday, and you’ll have the confidence (and the drill holes) to build the next one. Weekend projects have a funny way of becoming a habit.
